
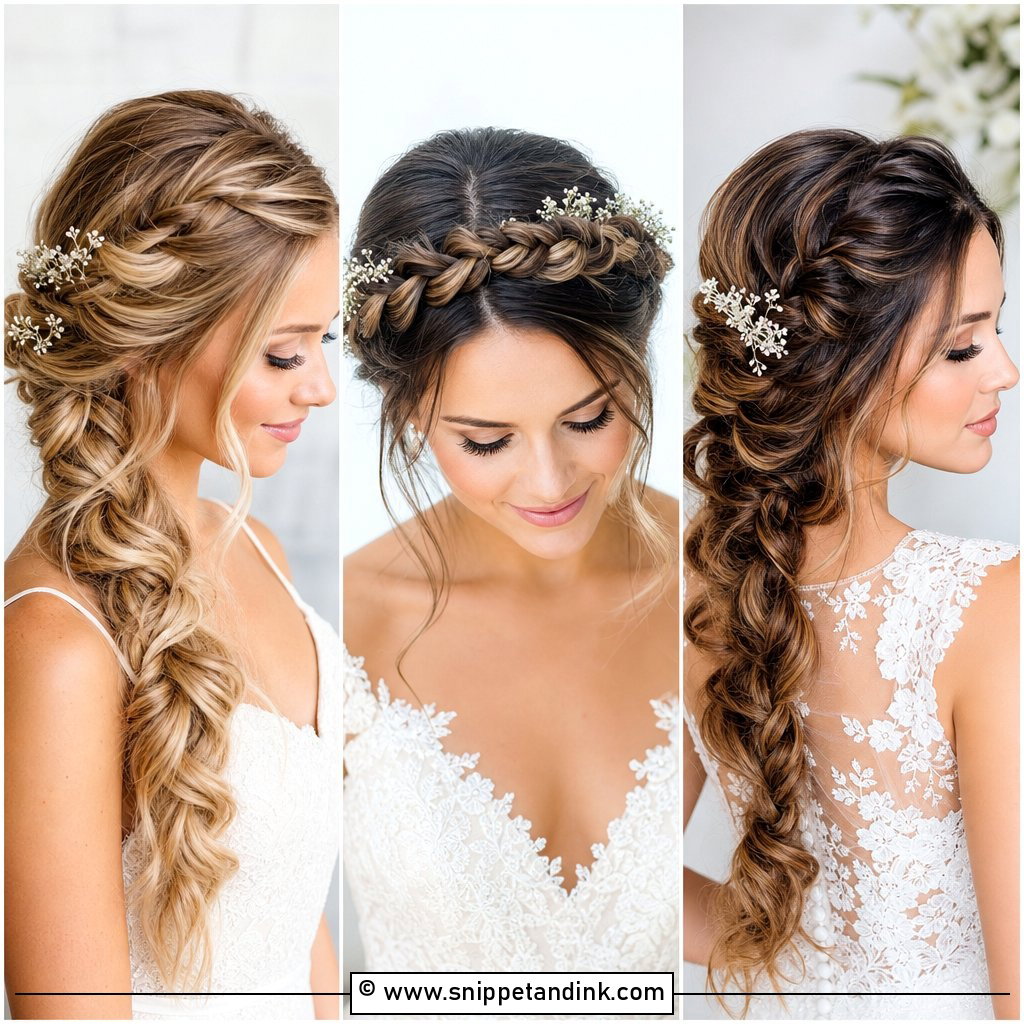
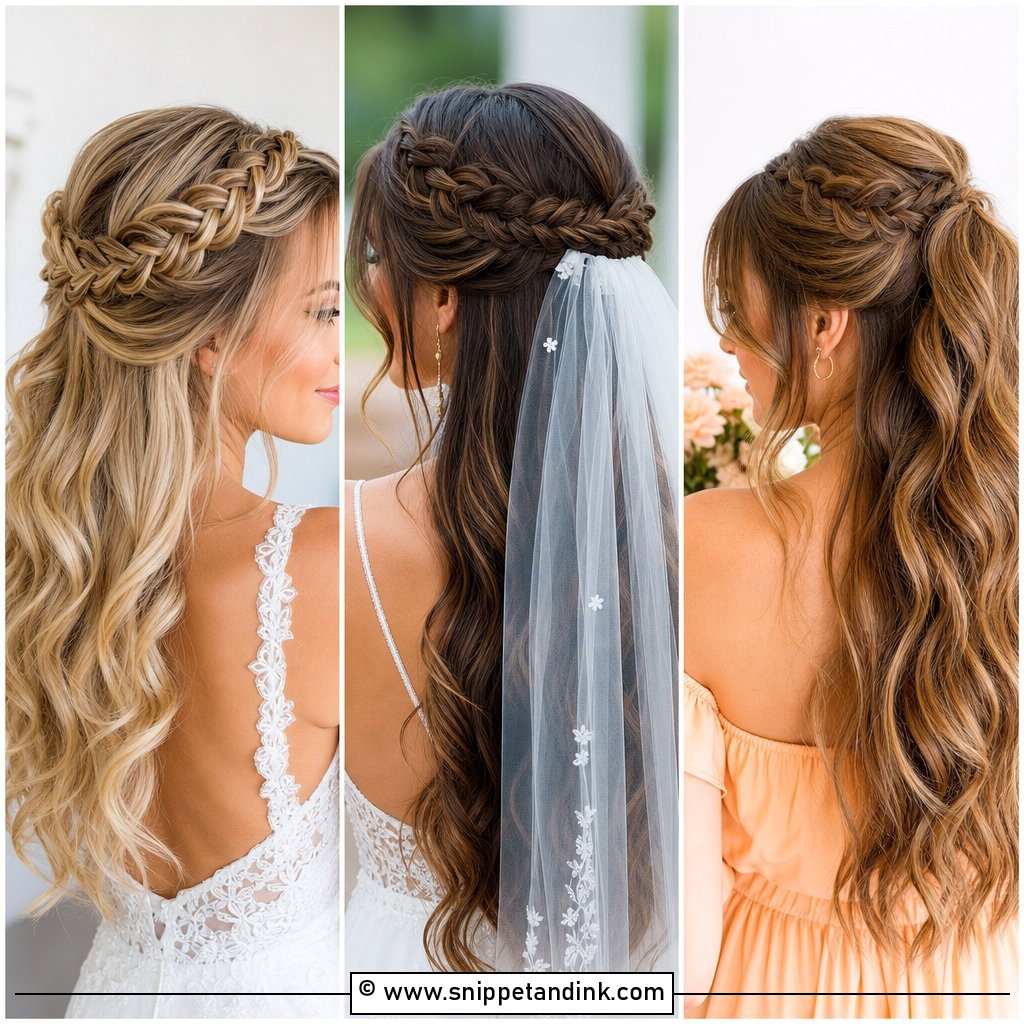
A side braid is the style I reach for when a bride wants her hair down in spirit but secure in practice. Everything sweeps over one shoulder, the braid locks the length in place, and nothing ends up stuck to lip gloss during the vows. The variety is wider than most people expect, from a loose bohemian plait with flowers worked through it to a tight fishtail studded with pearl pins. Below are 20 versions I’d happily put on a bride, with notes on the hair each one needs and where each tends to struggle.
Why Second-Day Hair Braids Better Than Freshly Washed Hair
Most brides arrive at my chair with squeaky-clean hair, washed that morning, and it’s the hardest hair to braid. Every strand is silky, so the crossings slide, the hairline pulls loose and the whole plait relaxes within an hour or two. I’d much rather you wash the night before, dry it properly and sleep on it.
If you have very oily roots and can’t stretch a day, wash in the morning but skip the conditioner on the top half of your head. I’ll add grip with a texture spray or dry shampoo worked through the mid-lengths before I start. That one step is the difference between a braid that keeps its shape and one that slides down your back by the first dance.
Adding length and thickness without it showing
A side braid shows the entire length of your hair at once, so it’s honest about thinness. If your hair stops at the collarbone or thins out at the ends, a couple of clip-in wefts placed under the crown give the braid enough bulk. Buy them in advance, have them color-matched in daylight, and bring them to the trial so your stylist can blend them. Clip-ins bought on the morning of the wedding rarely match.
- Wash the night before, and dry your hair fully before bed.
- Avoid heavy conditioner or oil at the roots on the wedding morning.
- Bring clip-in wefts to the trial, not just the wedding day.
- Tell your stylist about any layers shorter than chin length; they’ll poke out of a braid and need pinning.
1. Loose Side Fishtail Braid
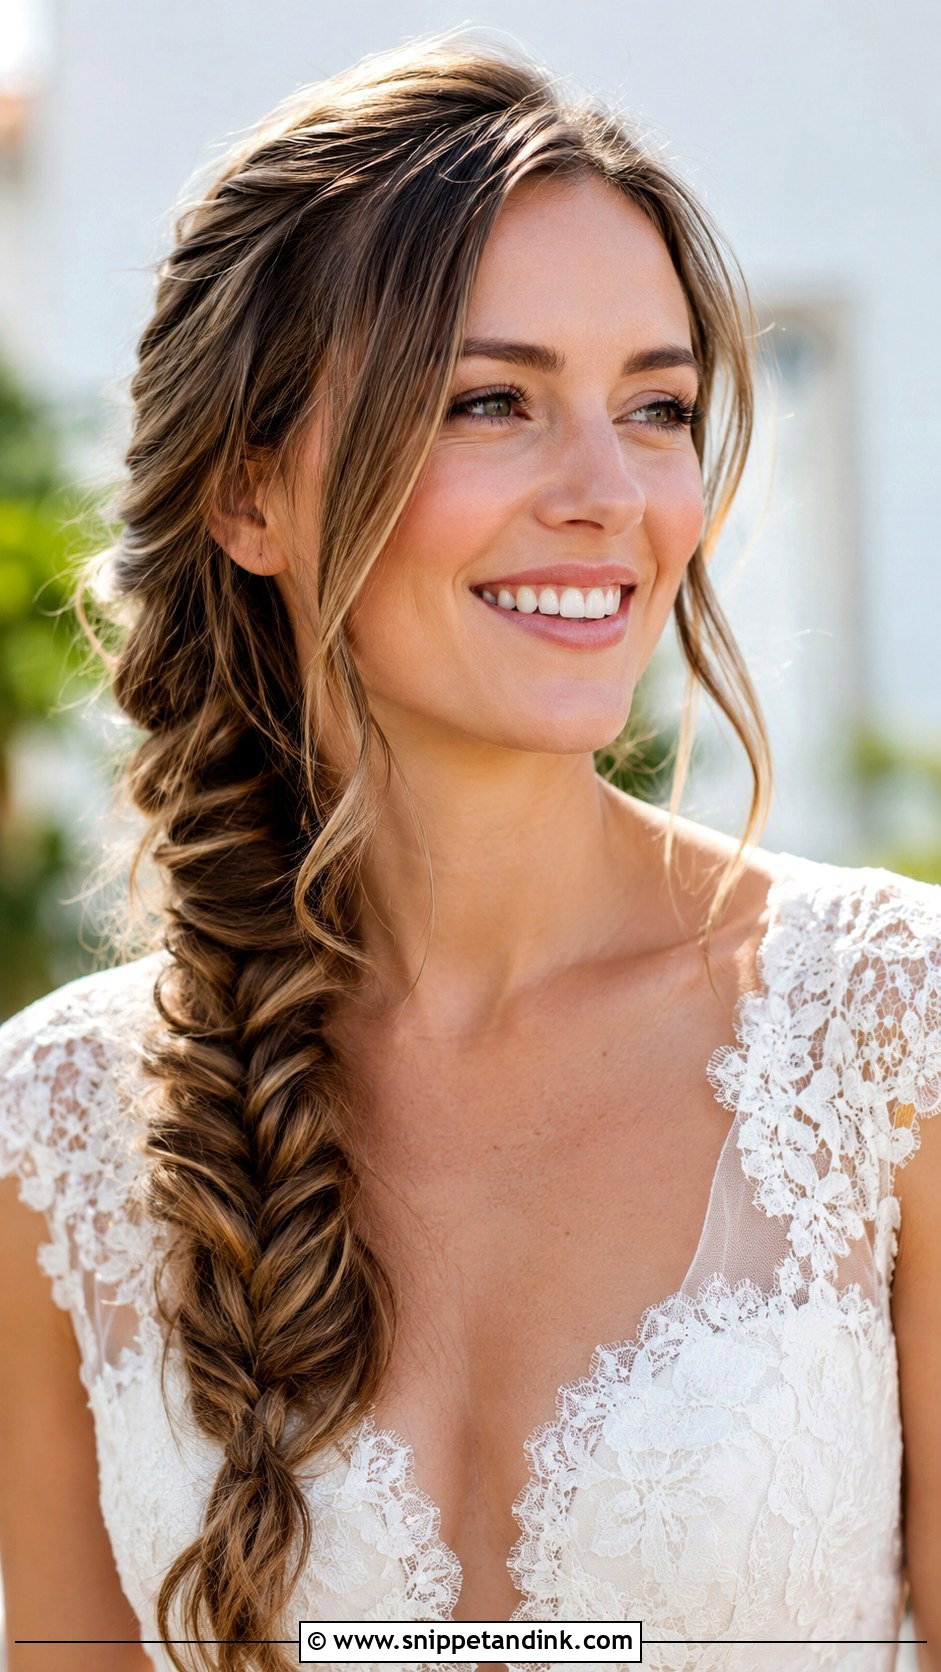
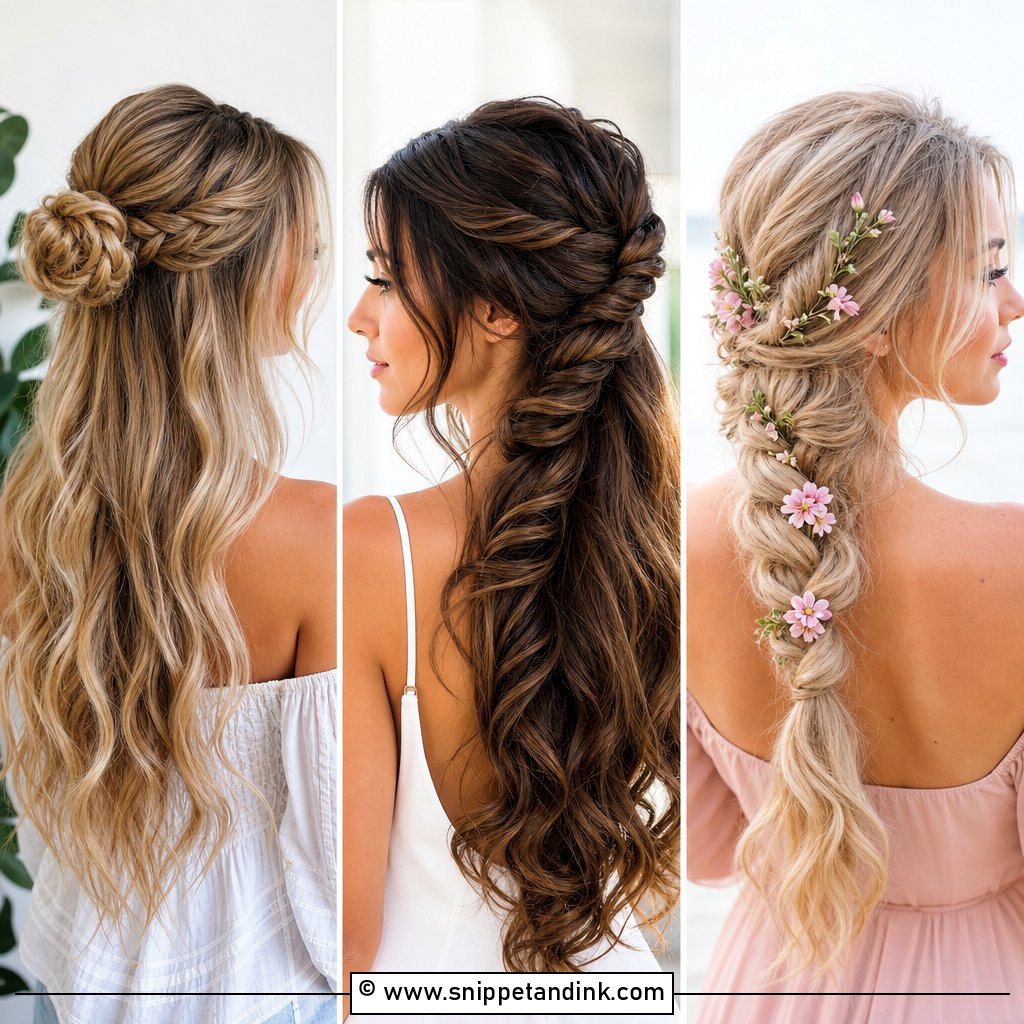
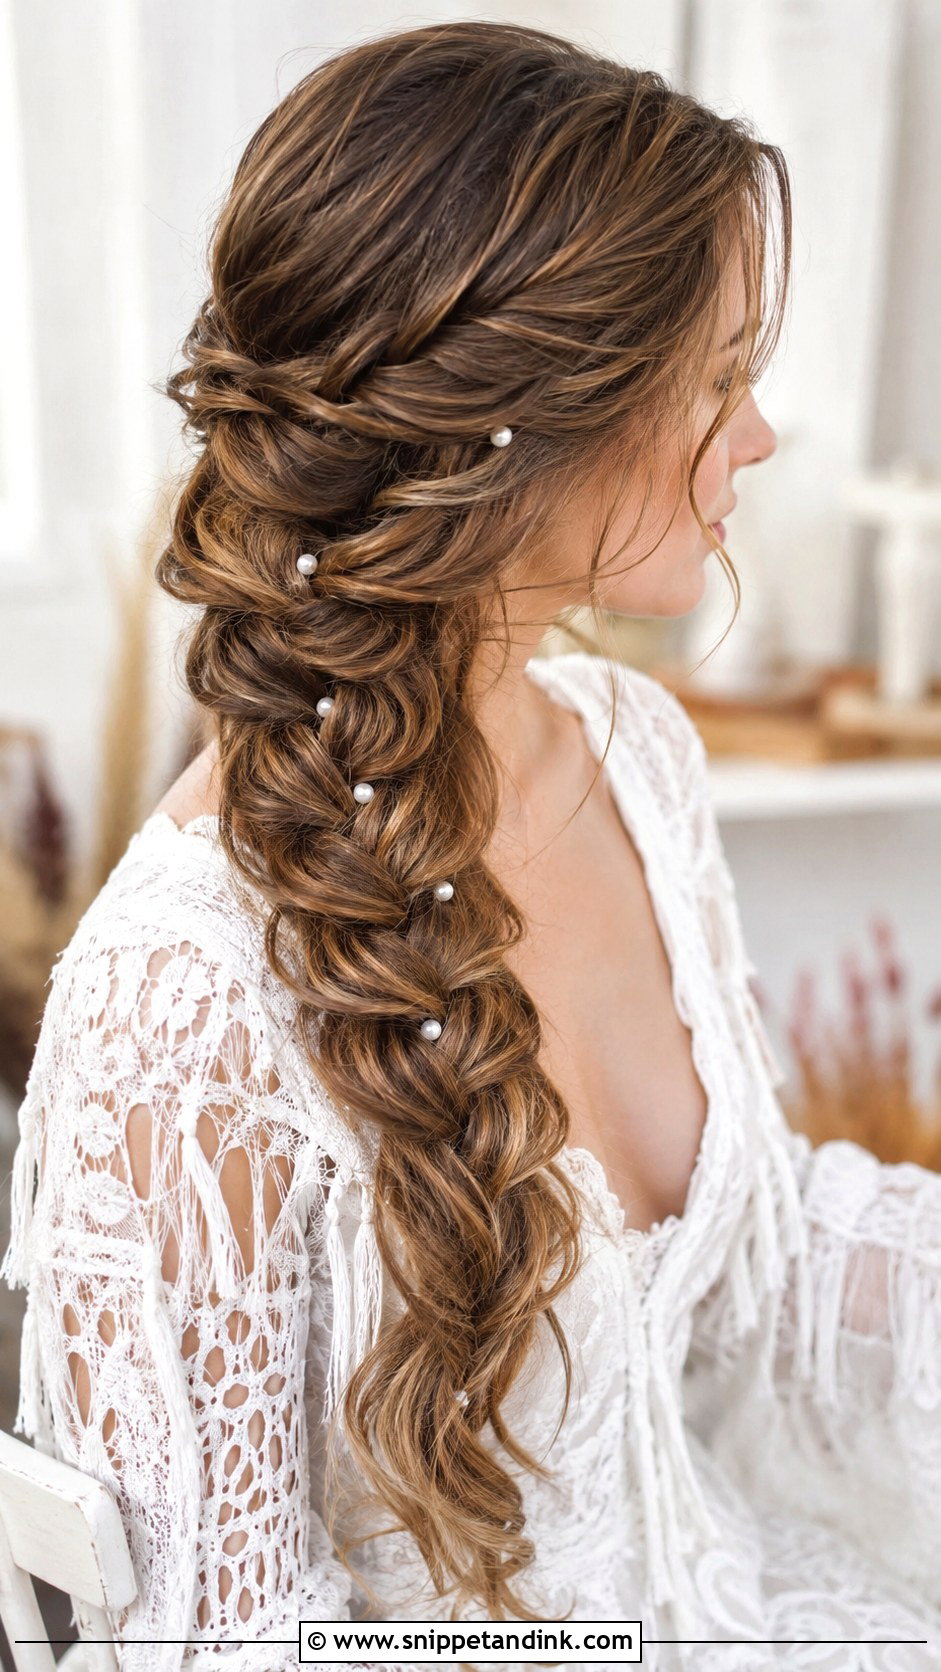
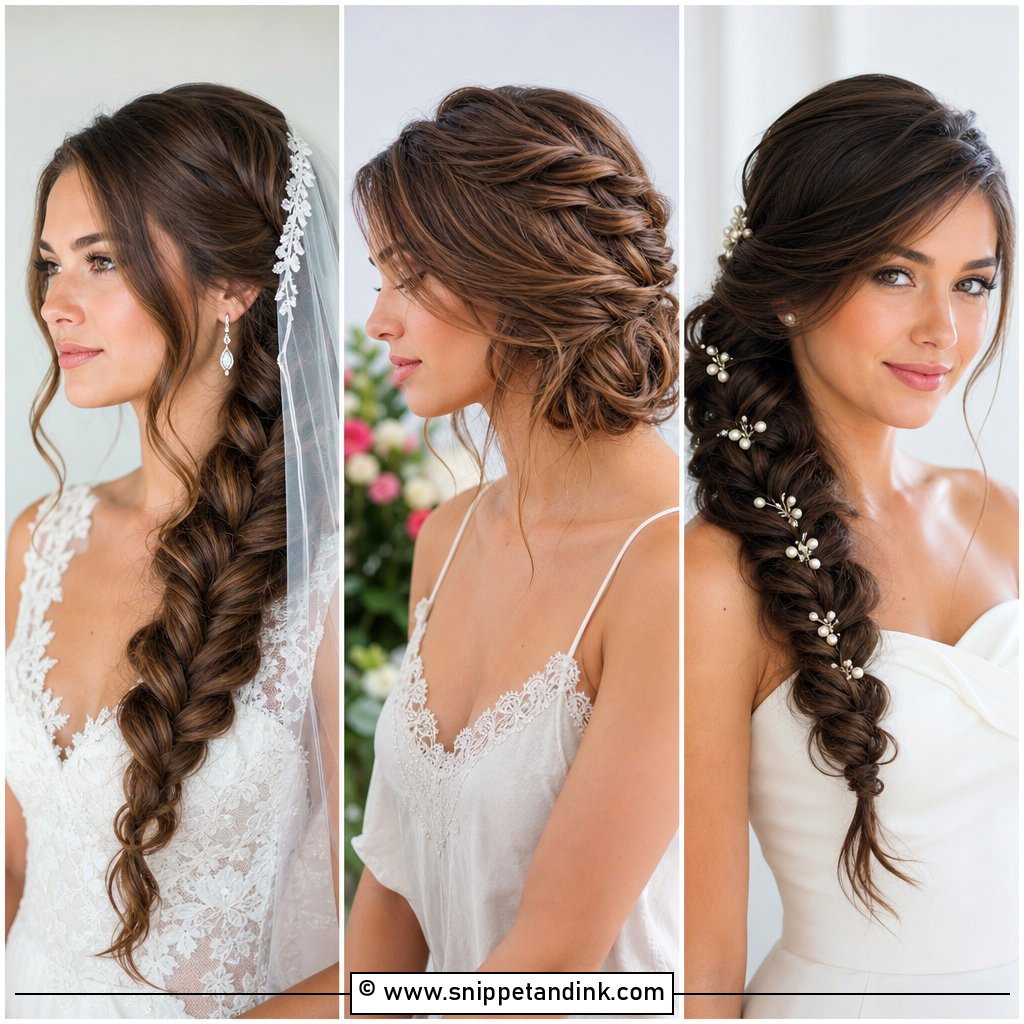
A fishtail only splits the hair into two sections, so it’s quicker to build than it looks and very forgiving on medium-thick hair. The trick is braiding it fairly snug first and pancaking it afterwards; a fishtail braided loose from the start tends to slide apart by the reception. I leave two face-framing pieces out at the front and hide a small clear elastic under a jeweled pin at the base. On hair shorter than the collarbone the tail gets very short, so I’d add a clip-in weft underneath.
2. Bohemian Side Braid With Flowers
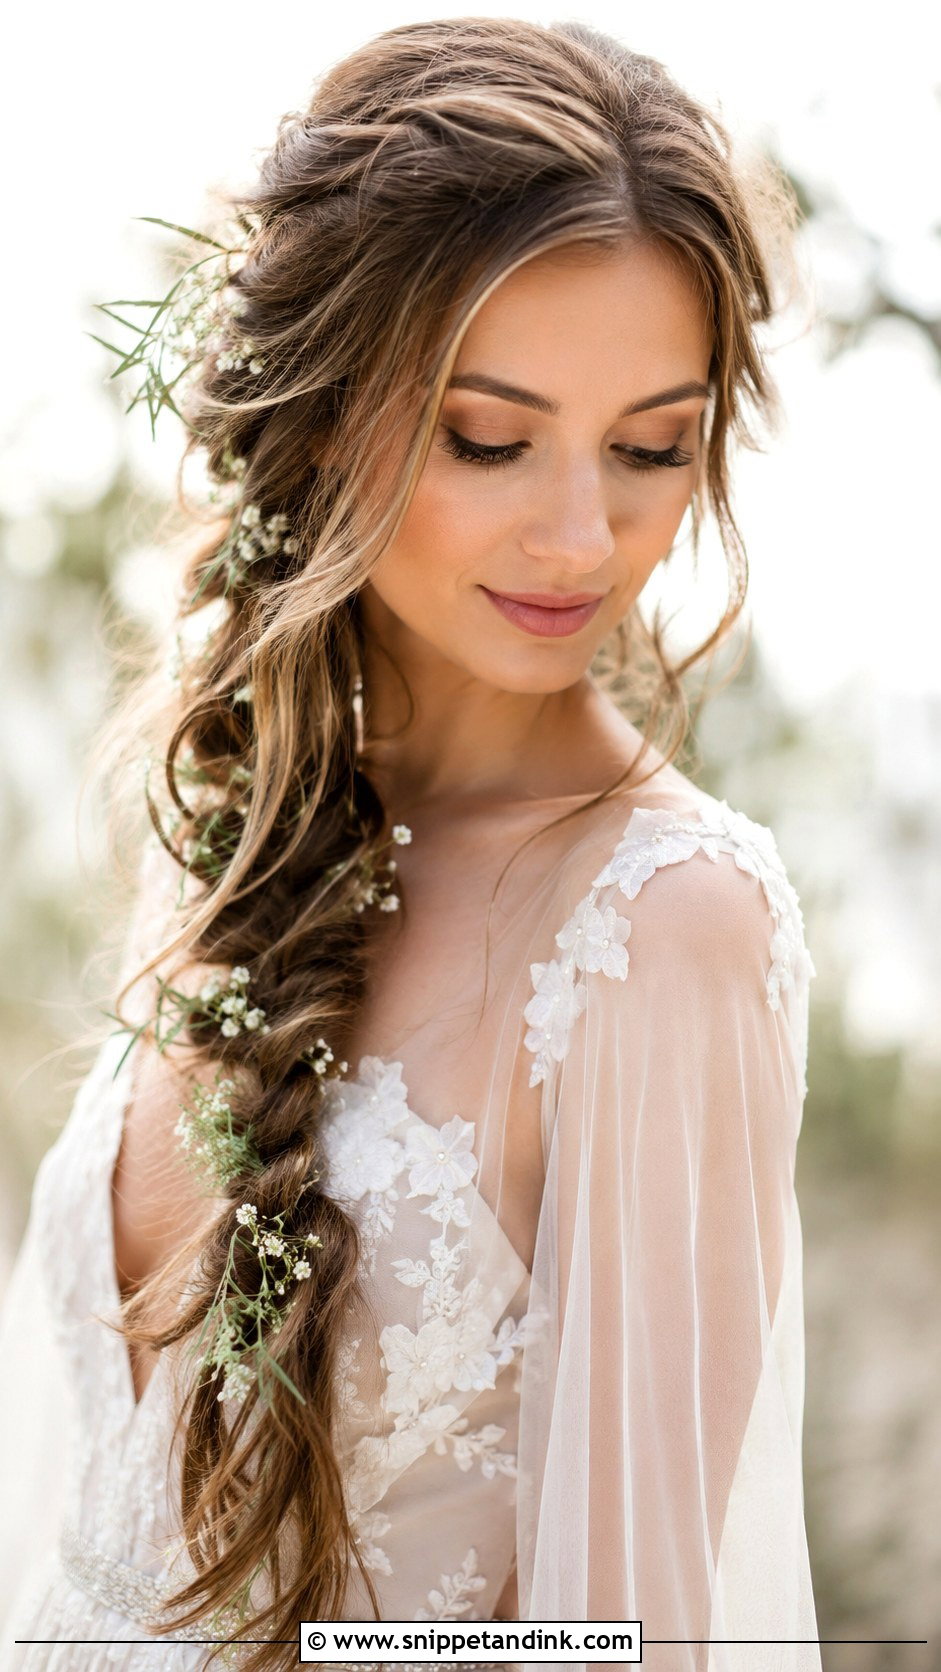
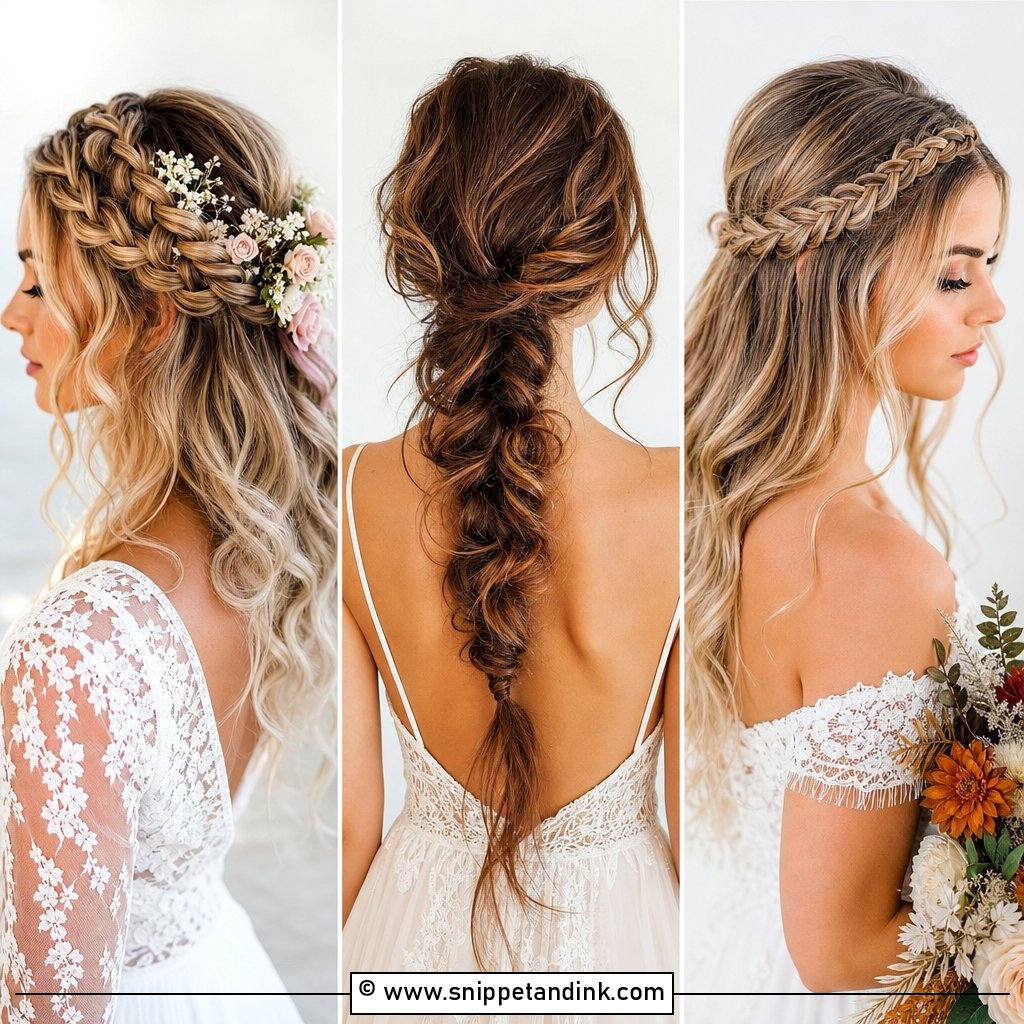
This is the braid people picture for a garden ceremony or a sunlit aisle. I curl the hair first so the braid has grip, then plait it loosely and drape it forward. Baby’s breath and small spray roses hold well out of water for a few hours; anything with soft petals will wilt against warm hair by the evening, so I wire the stems and add them last. Ask your florist for a small bag of extra stems so the braid can be refreshed after photos.
3. Classic Side French Braid
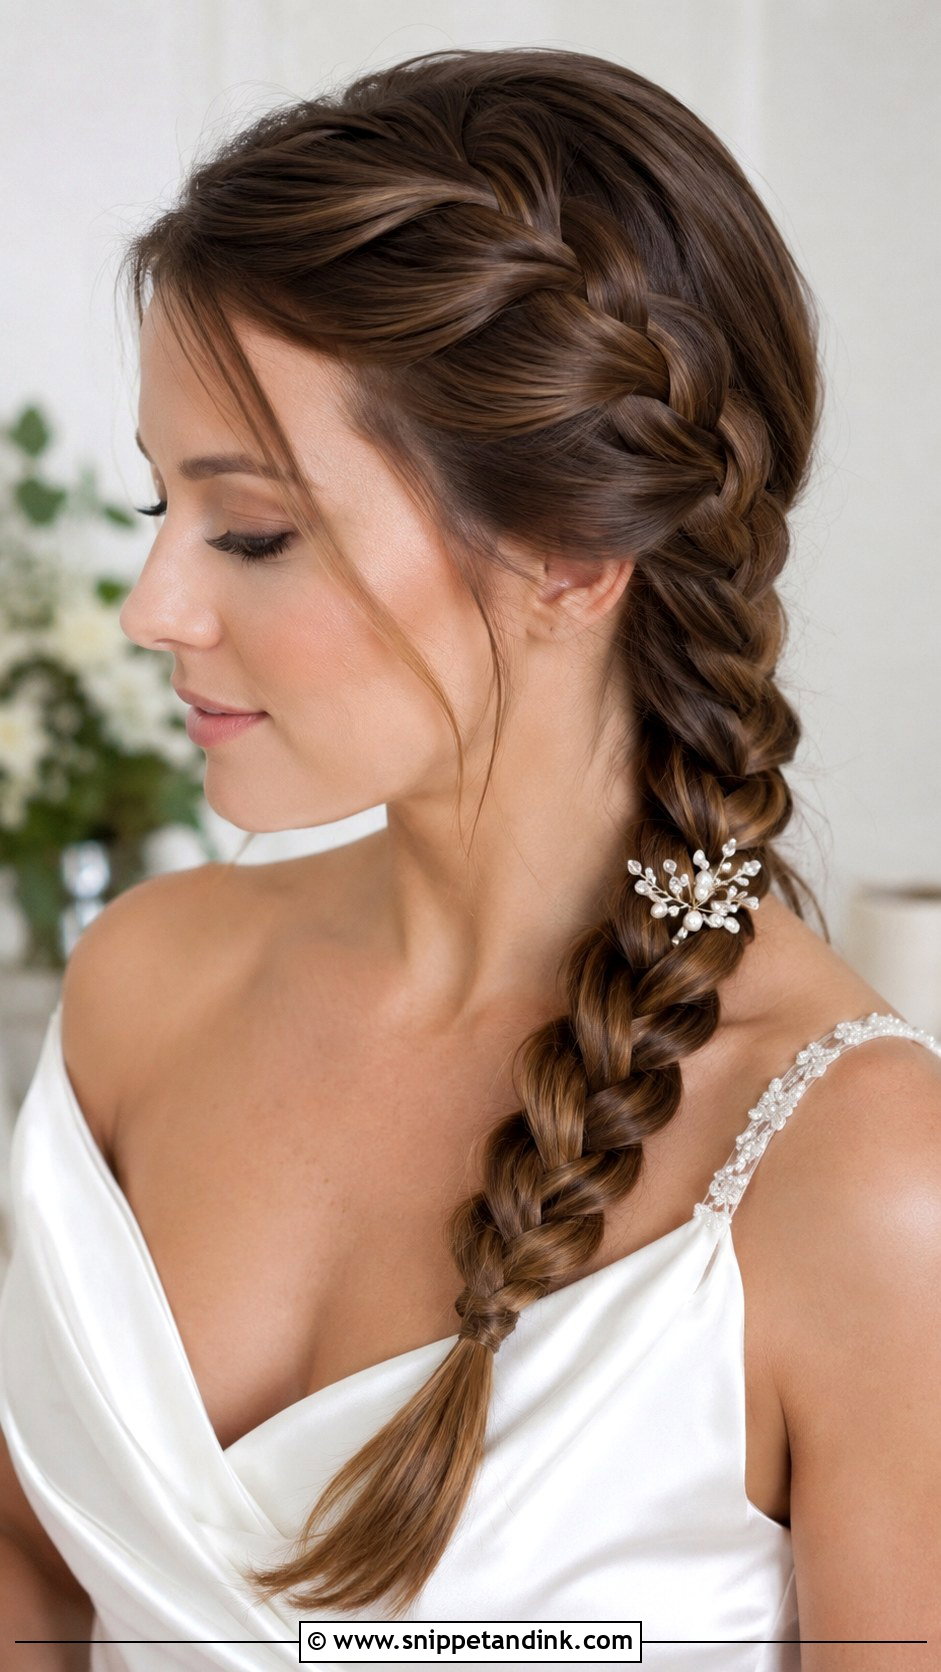
The French braid gathers hair from the crown and travels diagonally toward one ear, which is why it reads as neat and structured rather than casual. I start it slightly off-center so the angle looks deliberate from the front. Very slippery, freshly washed hair is its enemy: sections escape at the hairline within an hour. A light texture spray before I begin solves most of that. It suits a ballroom as easily as a registry office, and a small comb placed where the braid begins gives the eye a starting point.
4. Dutch Braid Over One Shoulder
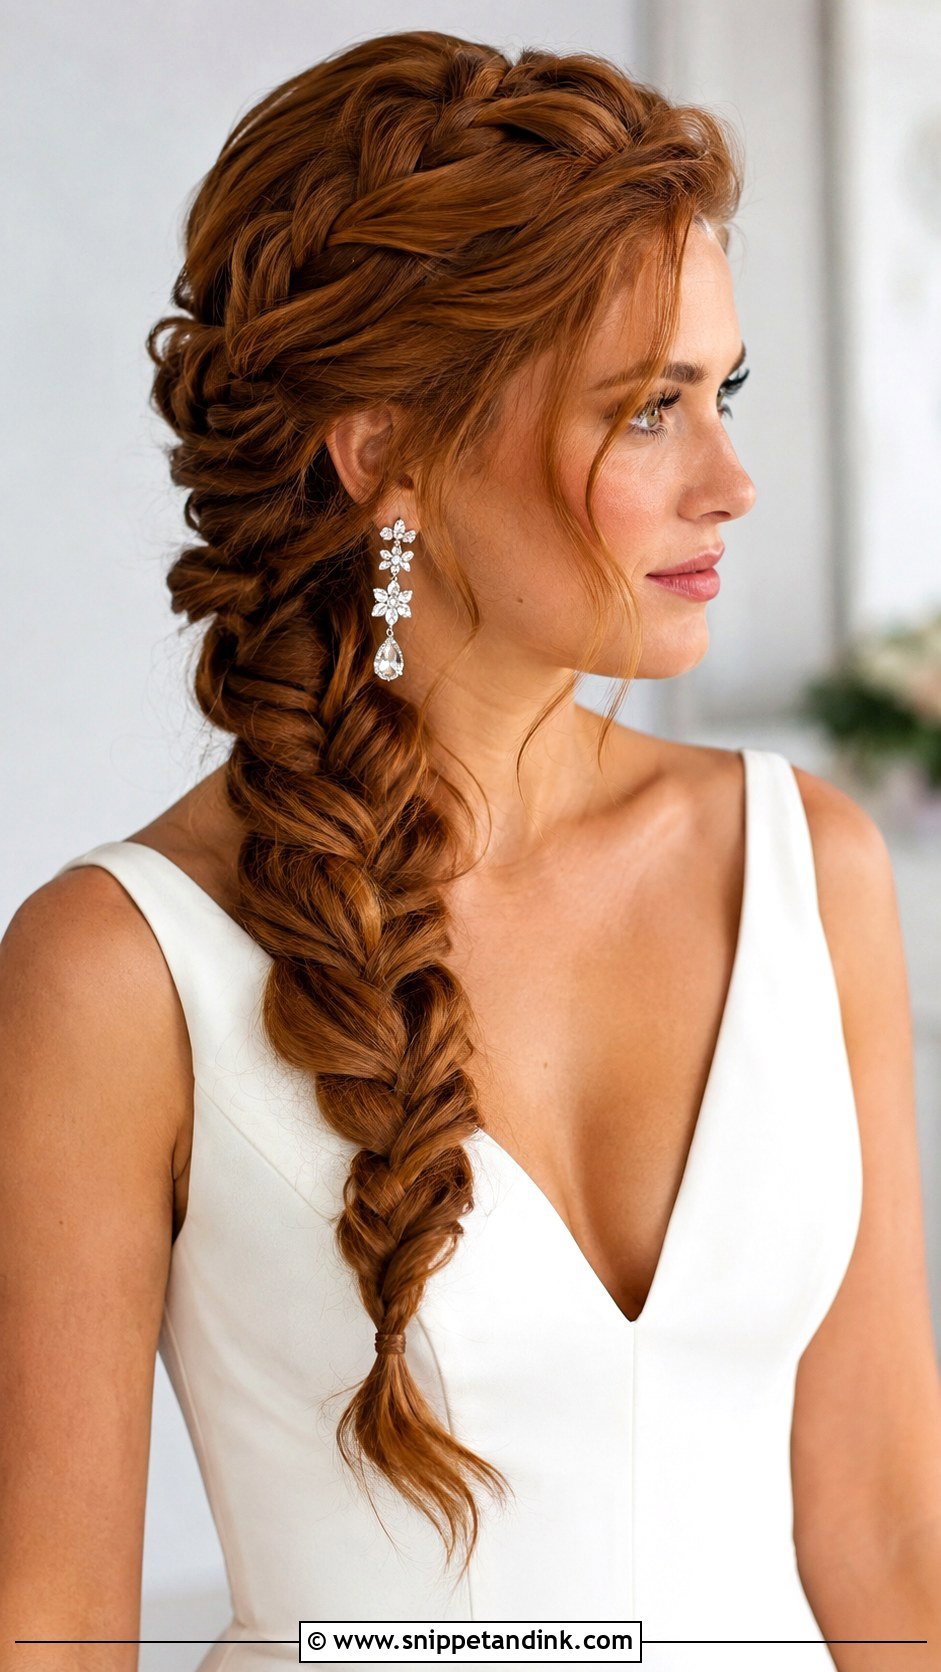
A Dutch braid crosses each strand under rather than over, so the plait stands up off the head instead of lying flat inside it. That raised ridge is what reads in photos from twenty feet away. I pancake the outer loops once the braid is finished and pinned, never before, because pulled-out loops snag when you’re still working. It holds up to wind better than most styles here. Brides with very fine hair can find it looks thin once loosened, so I’d test it at the trial first.
5. Side Braid With Loose Waves
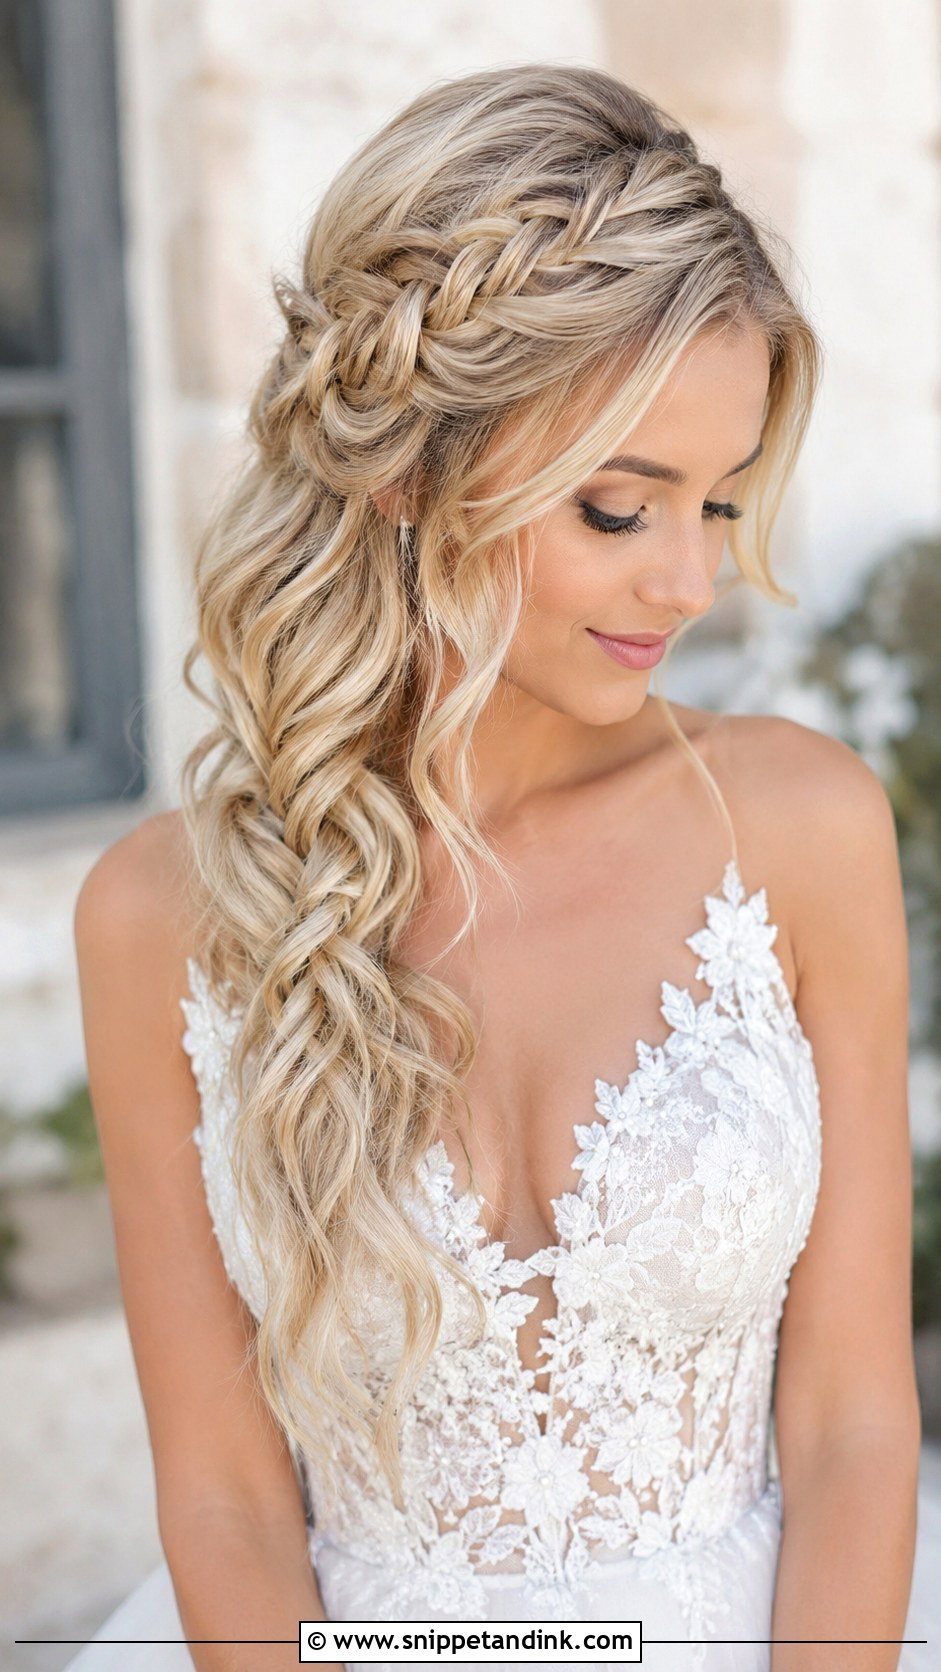
A slim braid near the crown with waves left loose gives you structure where your hair usually collapses and movement everywhere else. The waves carry this style, so they need a proper set: I curl, let each curl cool pinned, then brush it out. Humid venues are the risk. On fine hair the waves drop within a couple of hours, and at that point the braid is the only shape left. Thick, long hair gets the most out of this one.
6. Twisted Side Braid Updo
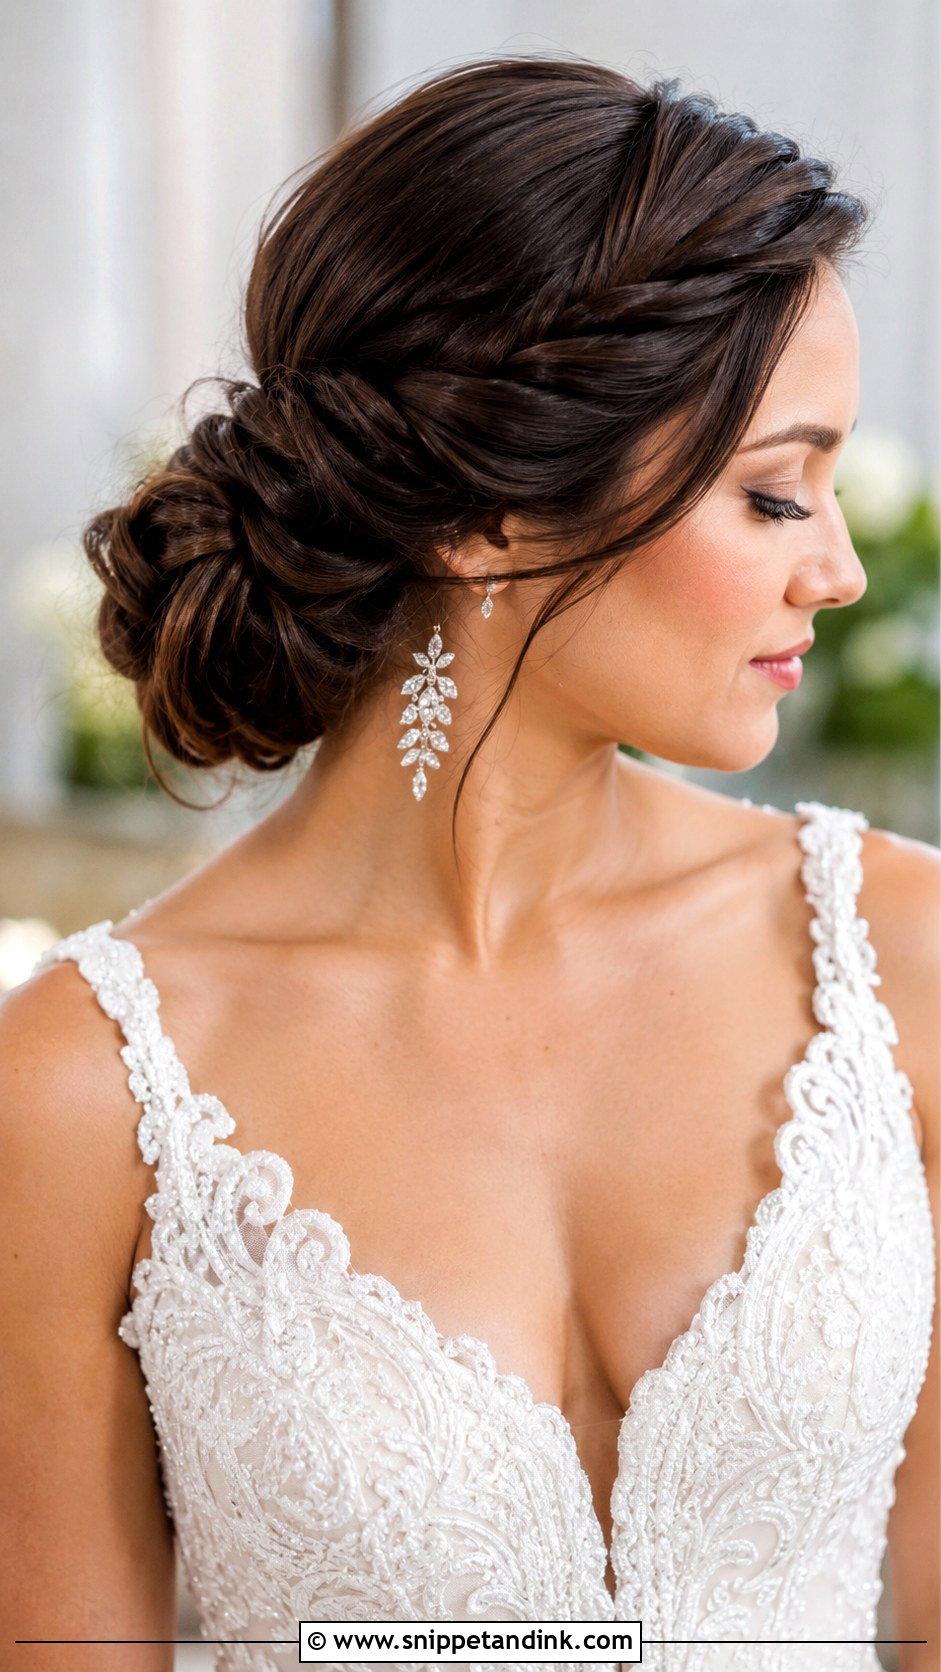
Rope twists wrapped toward one side and tucked into a low bun give the most volume of anything in this list without backcombing the whole head. Two-strand twists unravel if they aren’t pinned along their length, so I cross pins in an X every few inches where they’re hidden by the next twist. The bun sits just behind one ear, which leaves the neckline and earrings fully visible. I wouldn’t pair it with a heavy cathedral veil anchored at the same spot; the weight drags the bun sideways.
7. Reverse French Braid With Bun
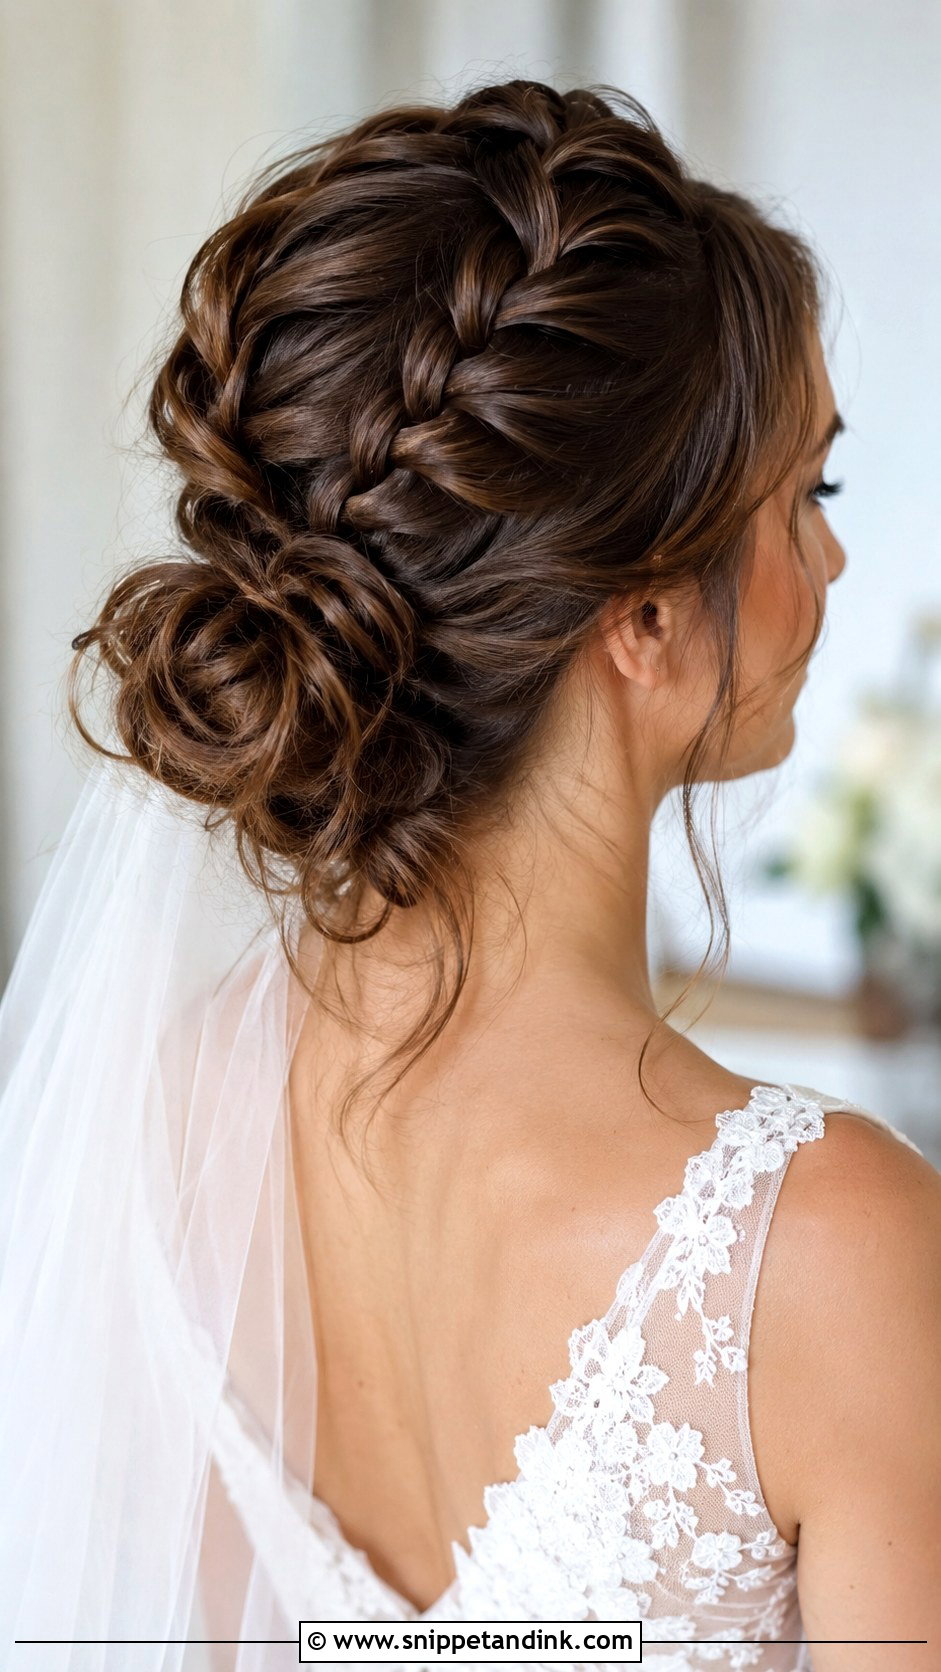
A reverse French braid runs up the side of the head and finishes in a messy braided bun at the nape. Because the strands cross underneath, the braid sits raised and defined along the side. I leave a few waves out near the ear for softness. Long, thick hair handles this best, since the bun needs enough length left after the braid to build any size. A veil comb slides in just above the bun, where the braid is firmest and the pins have something to bite into.
8. Side Braid With Pearl Pins
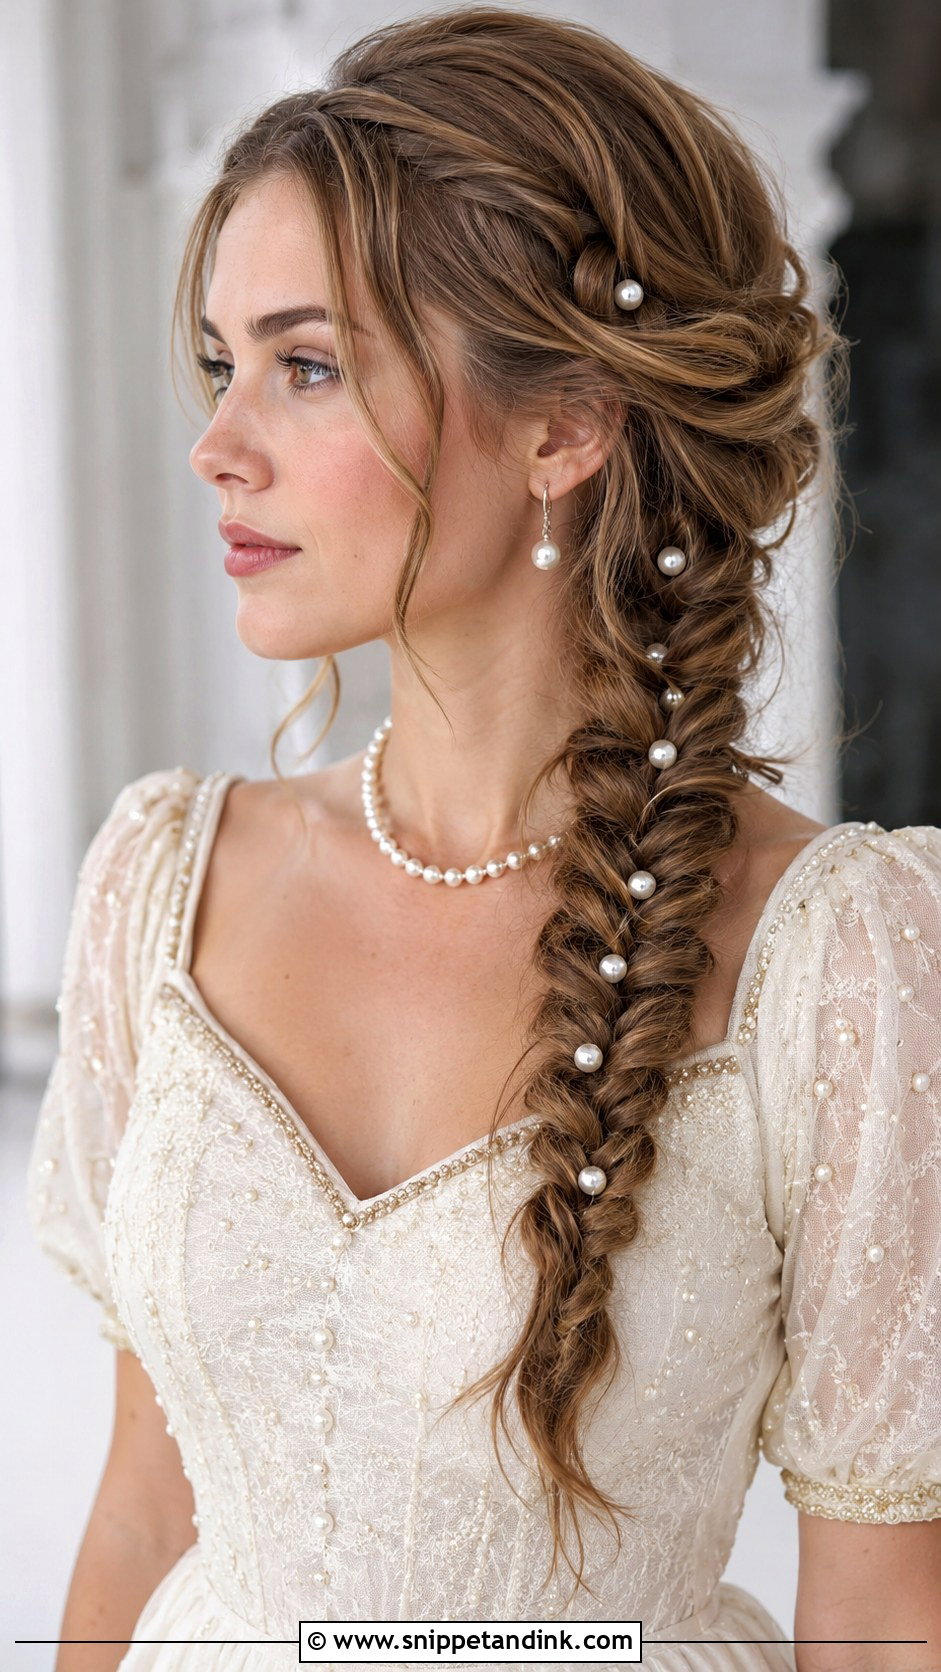
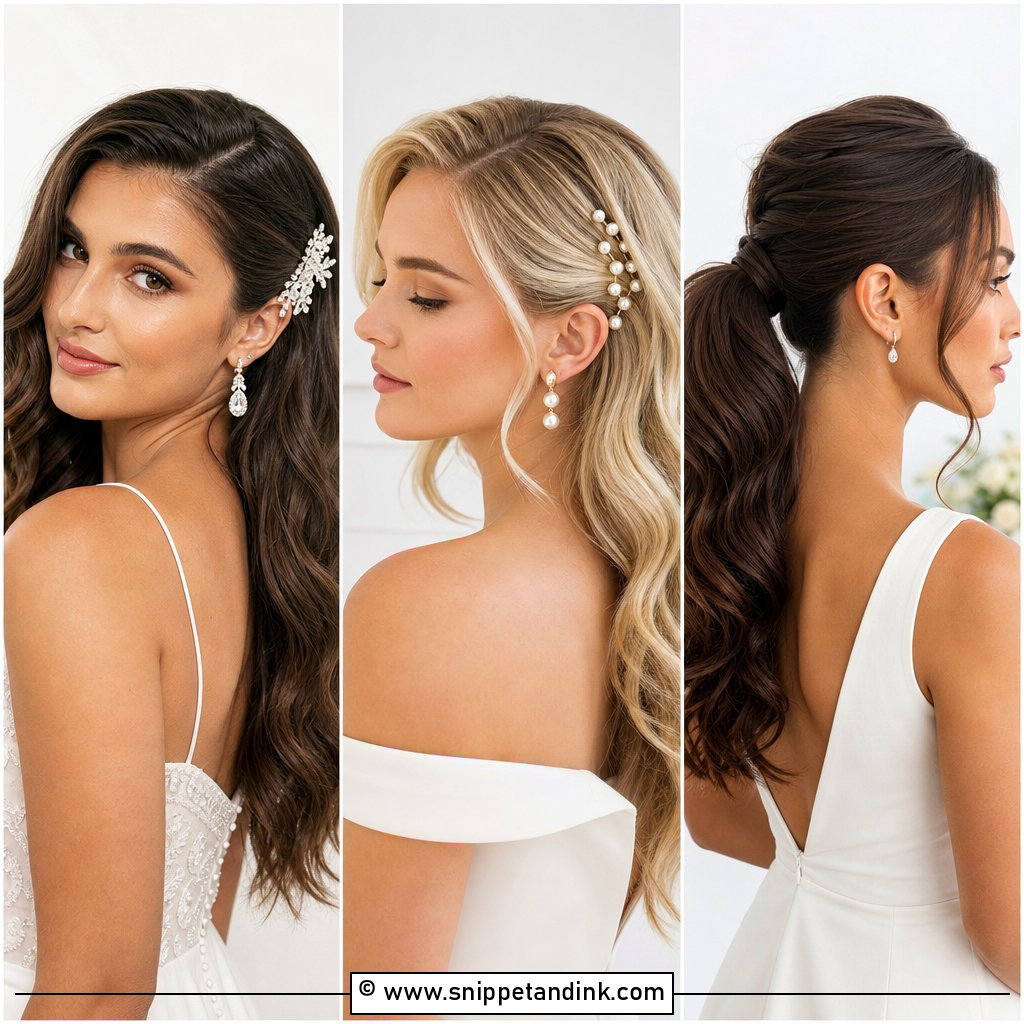
Pearl pins are a quiet way to make a simple plait feel bridal. I braid a soft fishtail or French braid first, then work the pins in at a slight angle so they lock across two crossings rather than one. Spacing matters more than quantity: I prefer them clustered more densely near the top and thinning out toward the end. Pearls stay matte under flash, so they won’t create hot spots in photos the way some crystals do, and they sit naturally beside pearl earrings.
9. Boho Side Braid With Cornrows
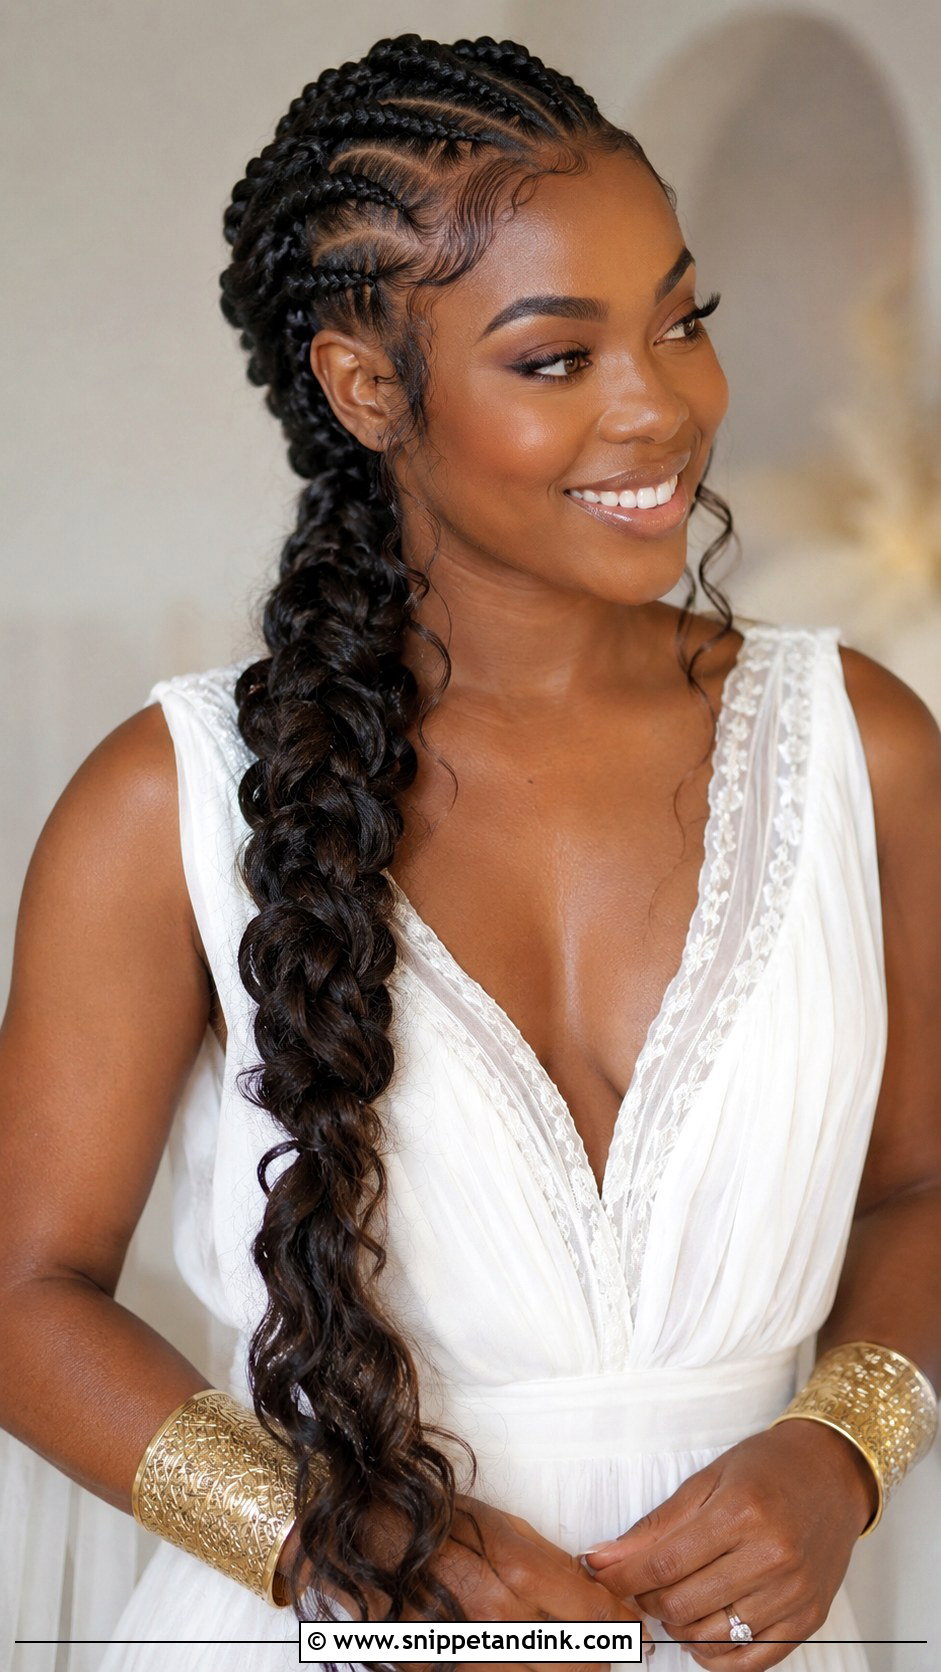
Cornrows at the crown leading into a loose side braid give a sharp, sculpted front with relaxed length behind it. Coily and curly hair holds the cornrow grip without needing gel at the roots, which keeps the scalp from flaking by evening. I braid the cornrows a day or two early if the bride is comfortable with that, since fresh cornrows can feel tight. Gold cuffs slide onto the loose braid easily. Tension is the thing to talk through with your stylist; it shouldn’t hurt, and a sore hairline by noon is a sign it was pulled too hard.
10. Messy Side Braid With Curls
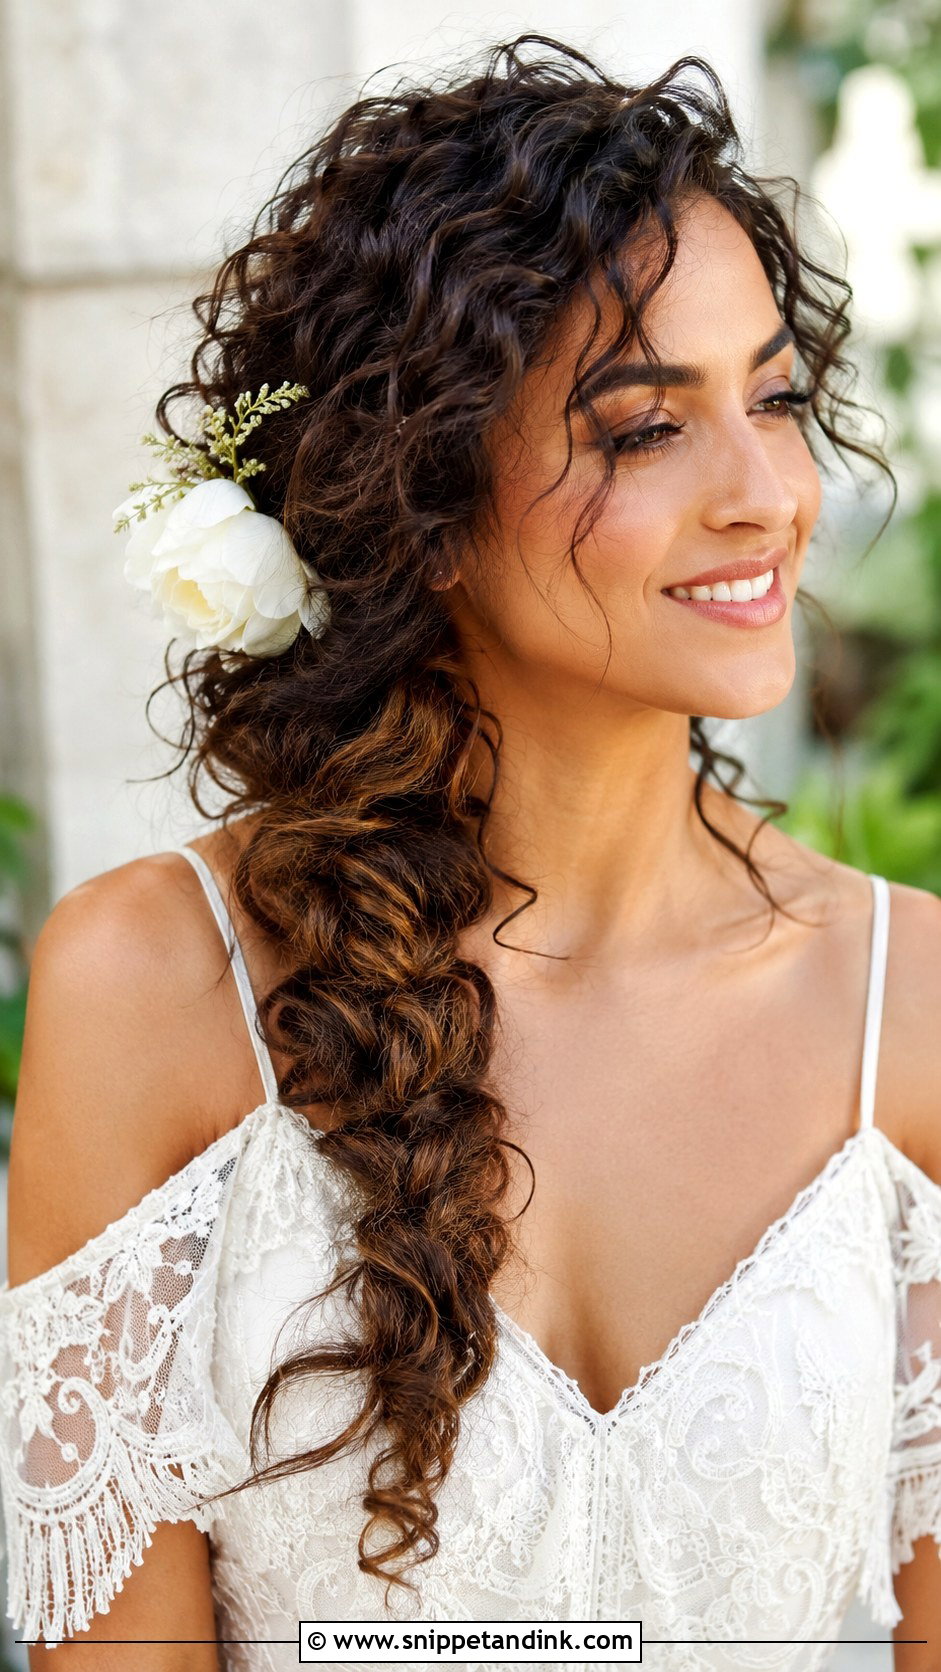
Start with curls, then gather them into a braid that’s deliberately loose, with pieces pulled out on purpose. Naturally curly or textured hair is ideal here because the curl pattern fills the gaps a straight-haired braid would show. The risk with any messy braid is that it reads unfinished rather than intentional. I fix that by keeping the hairline at the temples smooth while everything below is relaxed, which signals to the eye that the mess was planned. A single flower or pin near the nape is enough.
11. Crown Braid Into Side Braid
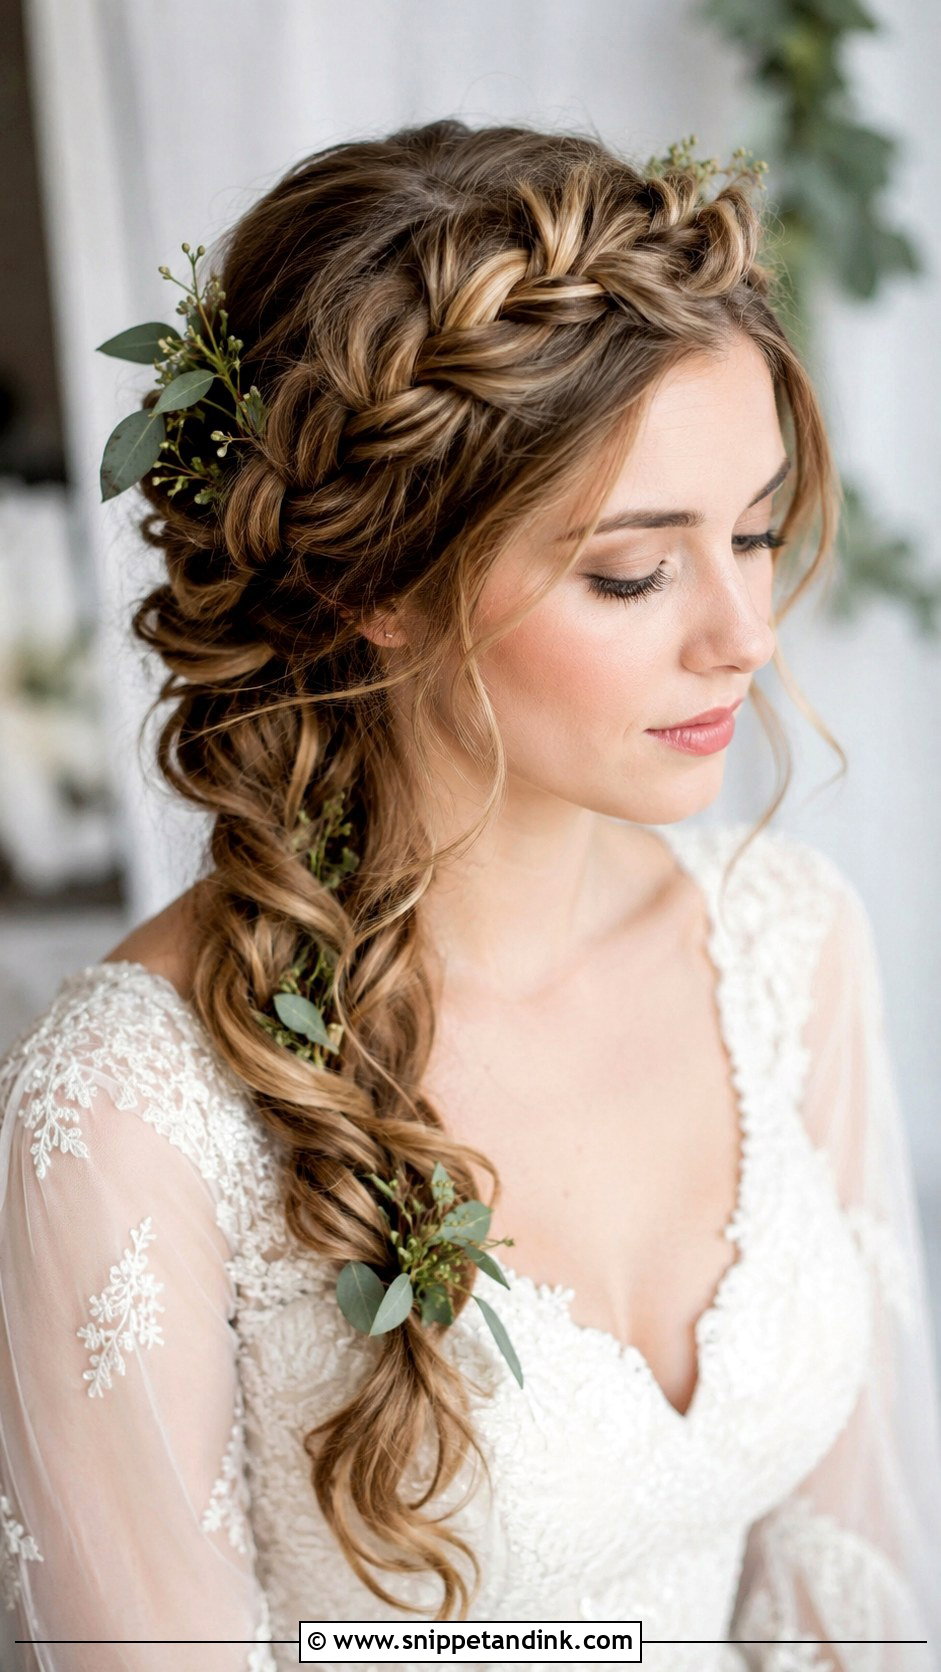
This style starts as a halo around the head and then drops into a braid over one shoulder, so hair is off the face completely. It takes length: I need roughly shoulder-blade hair to get round the crown and still have a braid left. Where it becomes tricky is with a veil, because the crown braid occupies the spot a comb usually goes. I anchor the veil just behind the braid instead, angled slightly down. Tucked greenery works well, as it’s sturdier than most petals.
12. Side Braid With Veil
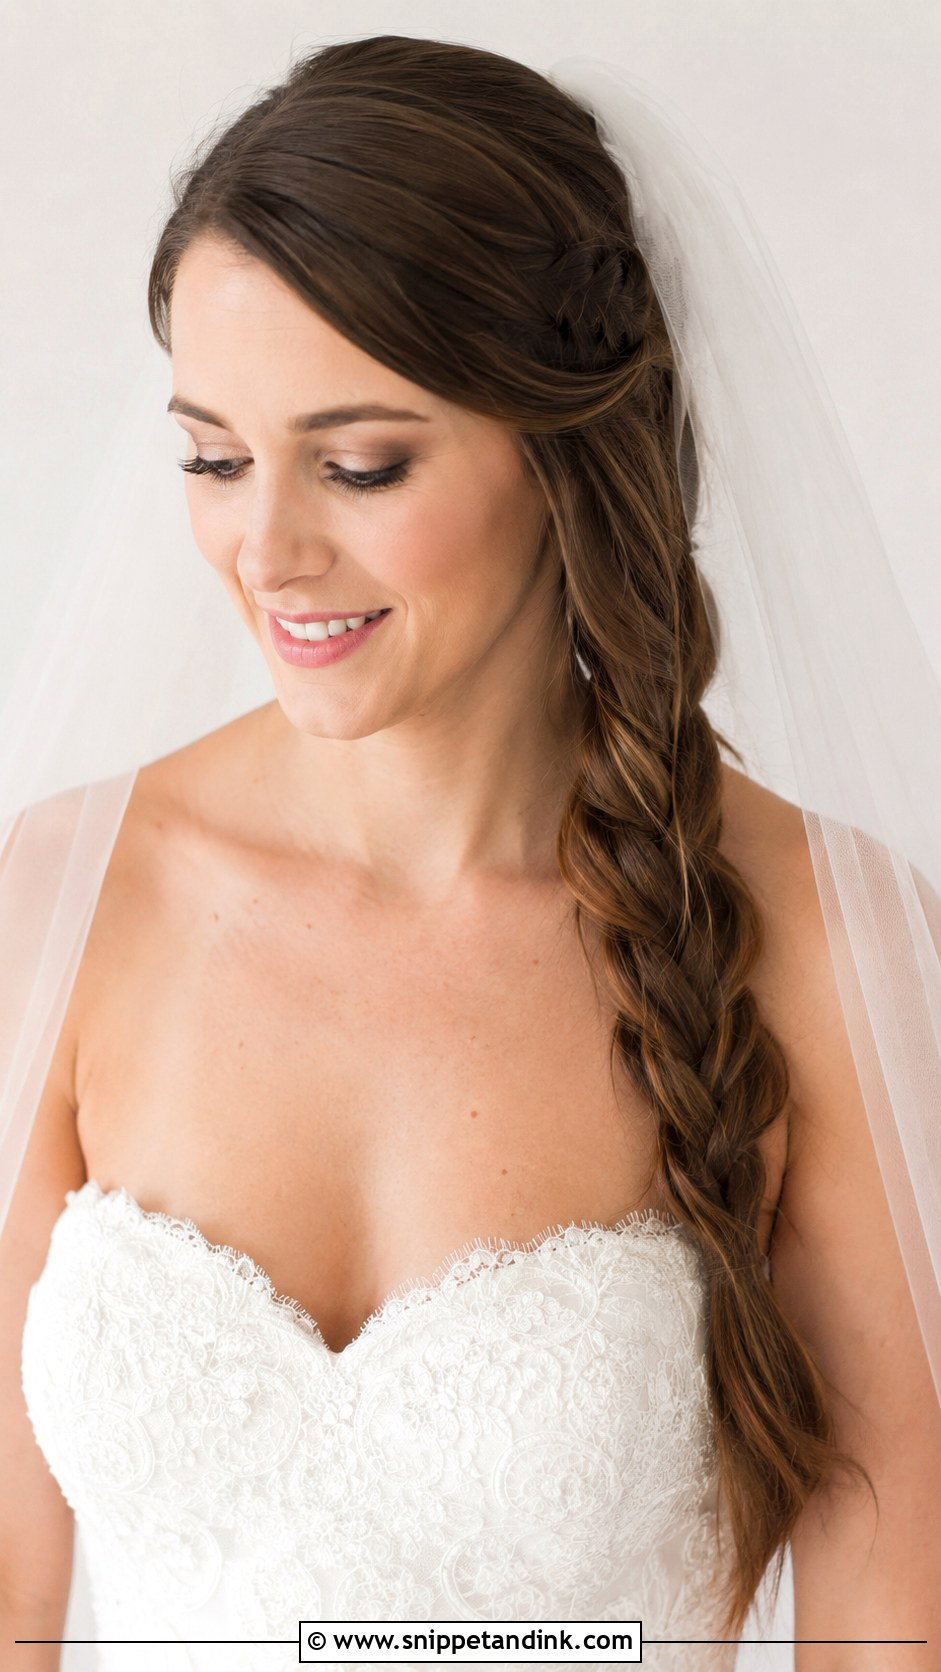
Veils and side braids work together if you plan the anchor point first. I pin the veil comb at the crown, slightly back from where the braid begins, and the braid sweeps forward under it. After the ceremony the veil comes out with two hidden bobby pins, and the braid stays untouched for the reception. Heavy veils need two crossed pins under the comb; a single comb in loose hair slides. Long hair is easiest, but medium hair works with a little added length clipped in.
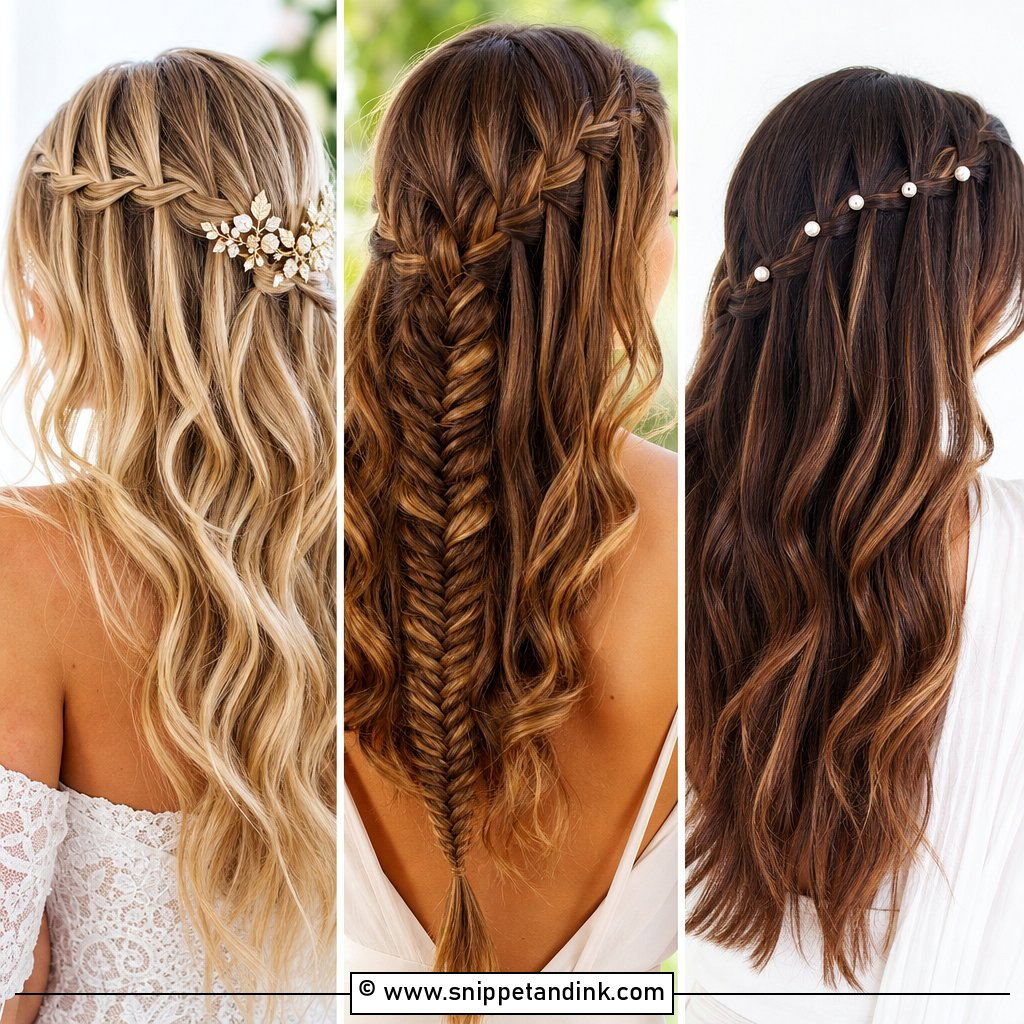
13. Waterfall Side Braid
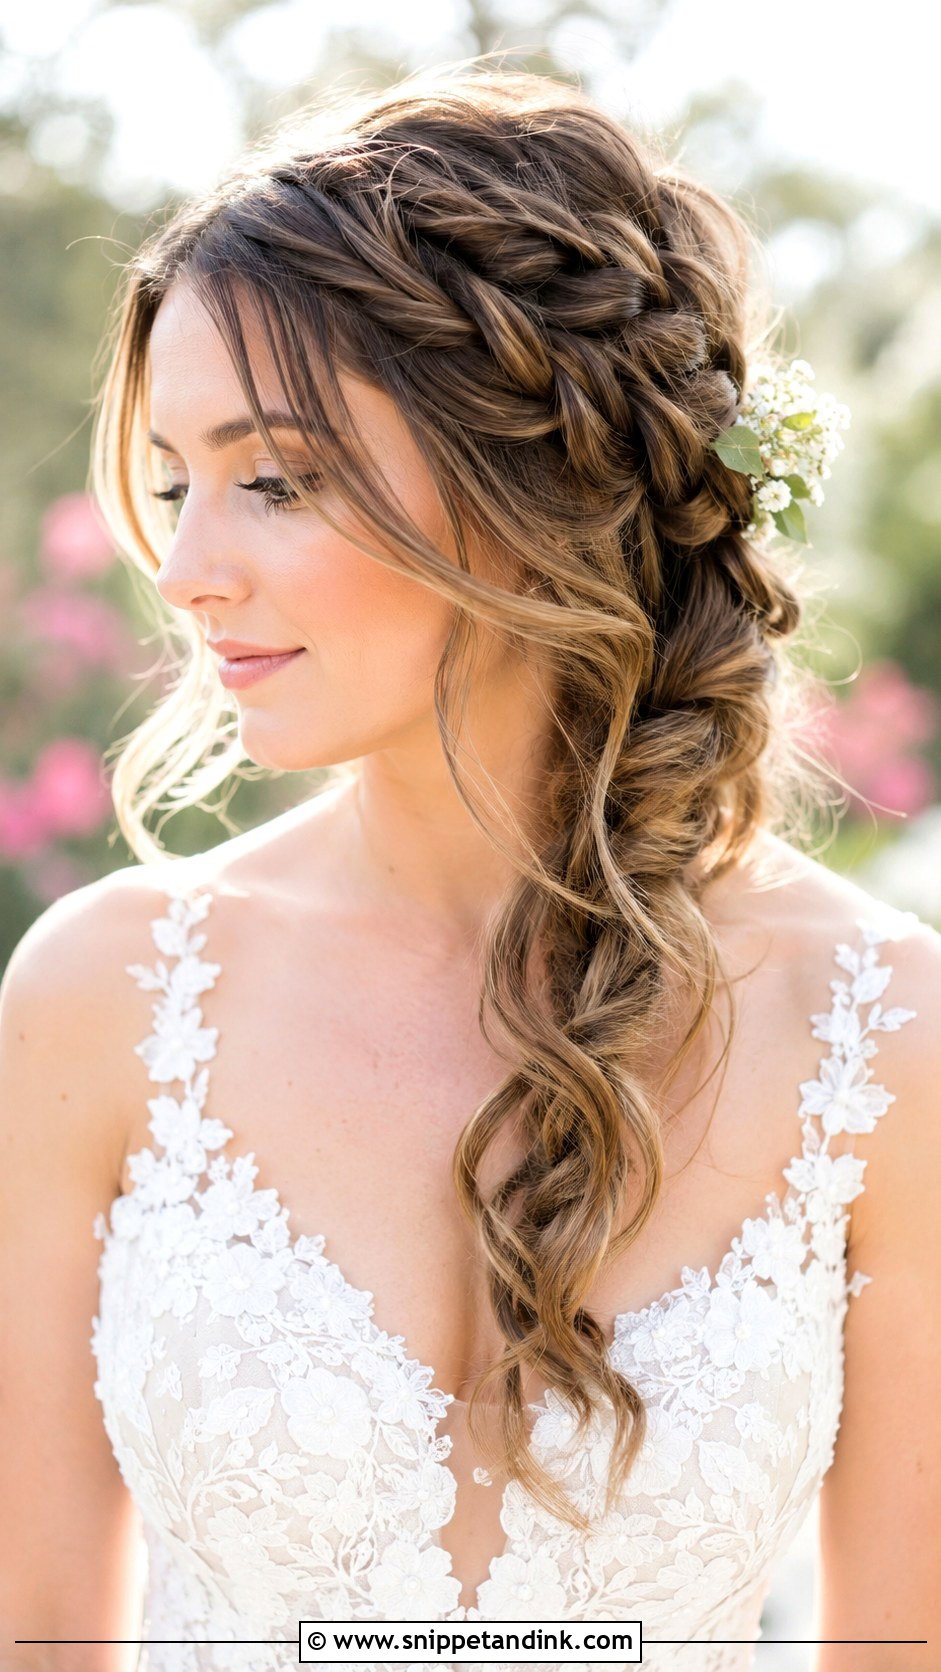
In a waterfall braid, a strand is dropped at each crossing and a new one picked up, so loose pieces hang through the plait like a curtain. It’s mostly a half-up style that travels across the back of the head and ends at one side. Those dropped strands are only as good as the curl in them; straight dropped pieces disappear into the rest of the hair. I set a wave throughout first. On thin hair the braid itself can look sparse, and a fishtail is often the better choice.
14. Sleek Low Side Braid
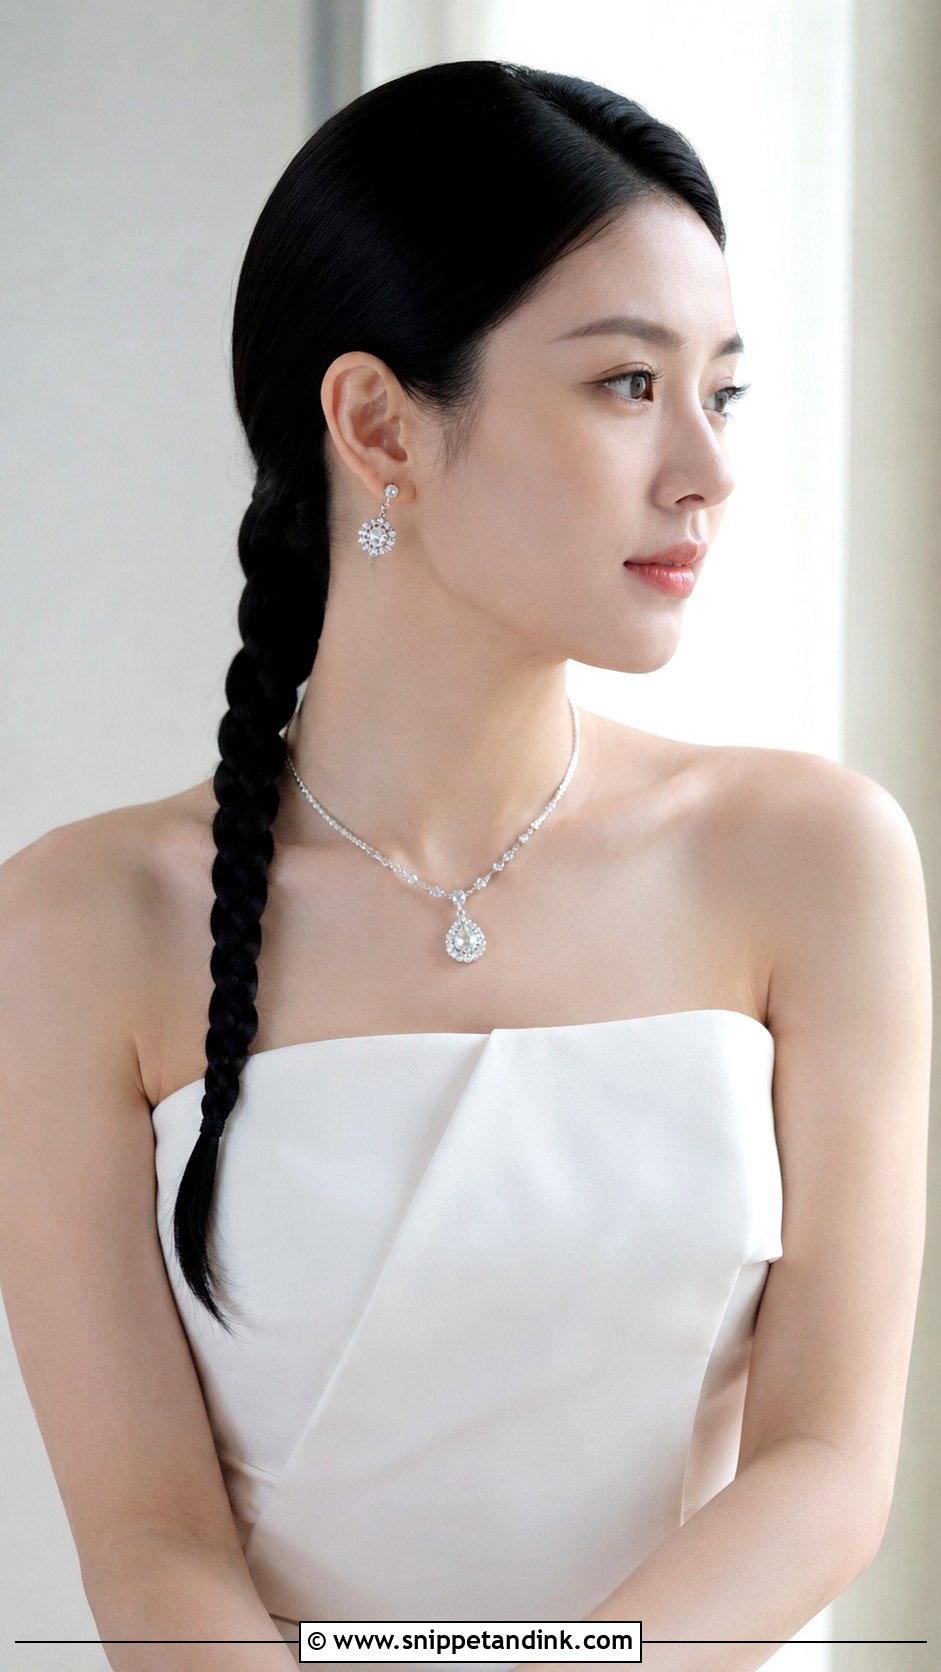
A sleek low braid is all about the smoothing. I blow-dry with a paddle brush, use a small amount of smoothing cream, and brush the hair into a low side ponytail before braiding so the base is flat and clean. There’s nowhere to hide flyaways, which is why I keep a toothbrush and a tiny amount of wax in my kit for the photos. It sits well against a plain crepe gown or a minimalist neckline. Very curly hair can be smoothed for it, but humidity will win by evening unless you’re indoors.
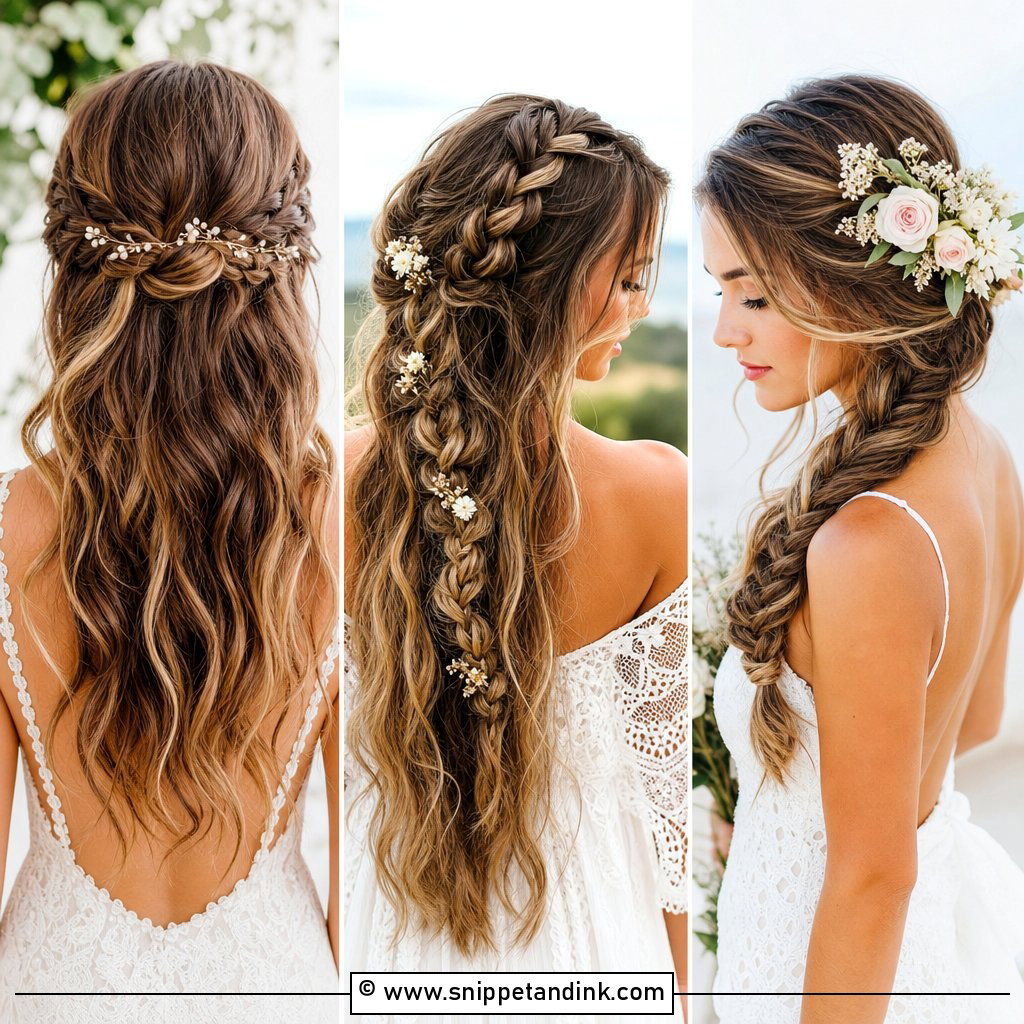
15. Side Braid With Curtain Bangs
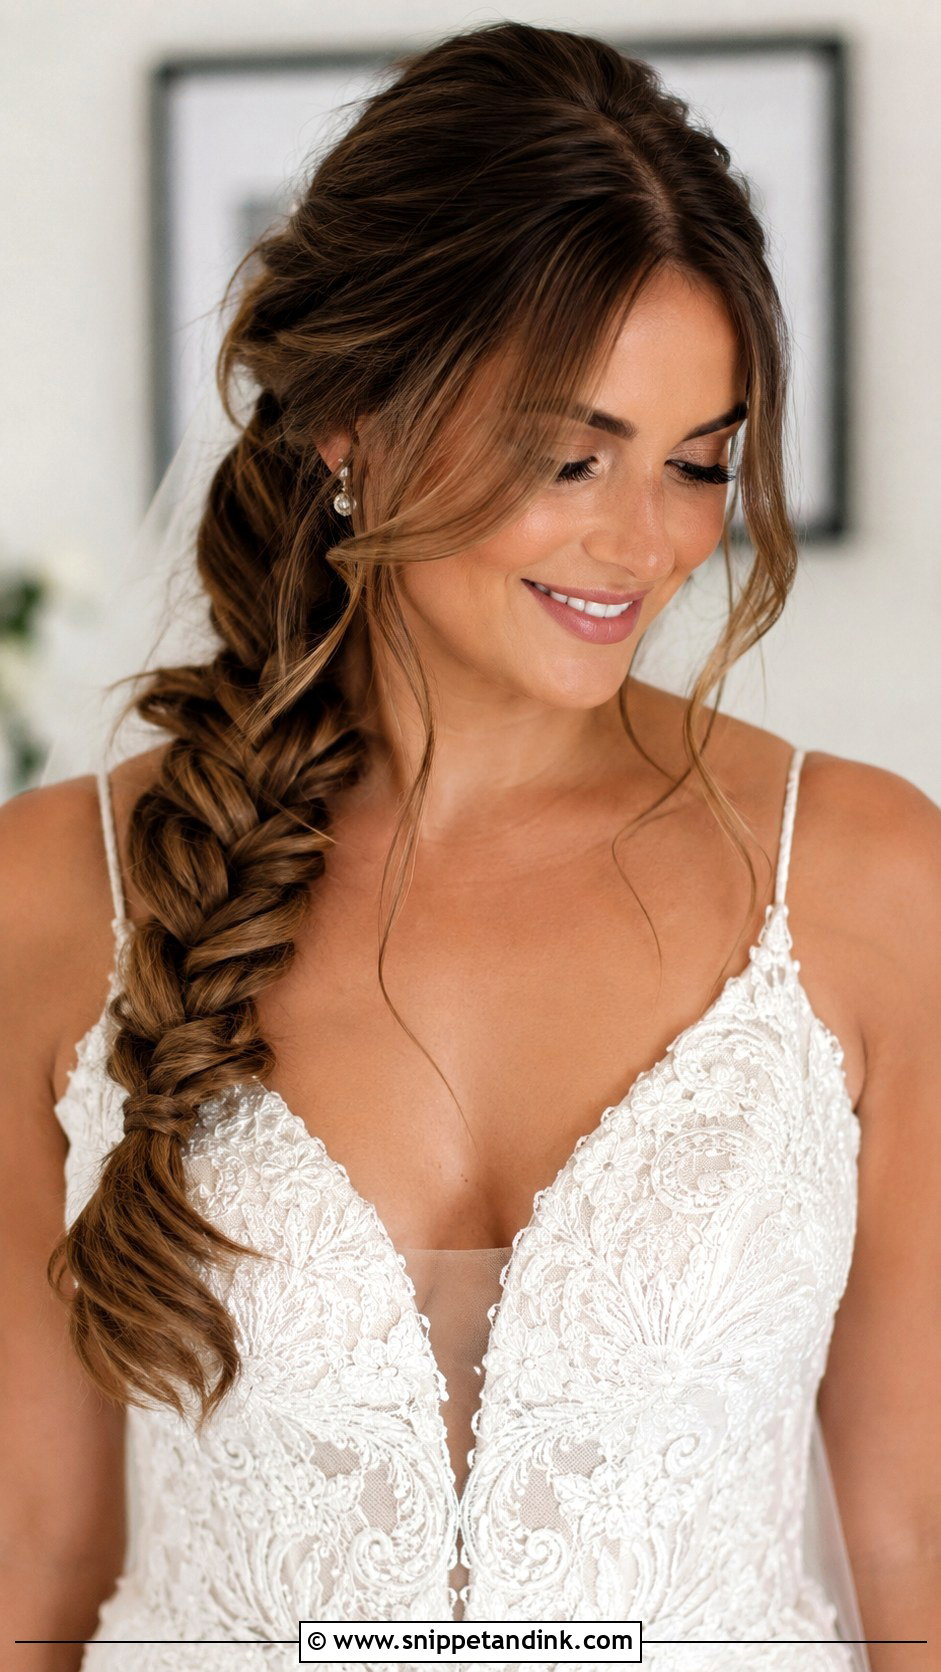
Curtain bangs parted down the center take the edge off any braid and frame the eyes in close-up portraits. The braid stays loose and textured; the bangs need a round brush and a proper blow-dry the morning of, not a quick pass with a straightener. Don’t get bangs cut for the first time in the week before the wedding. They need a couple of weeks to settle into the way they’ll fall, and a fresh cut always looks heavier than it will.
16. Double Side Braid
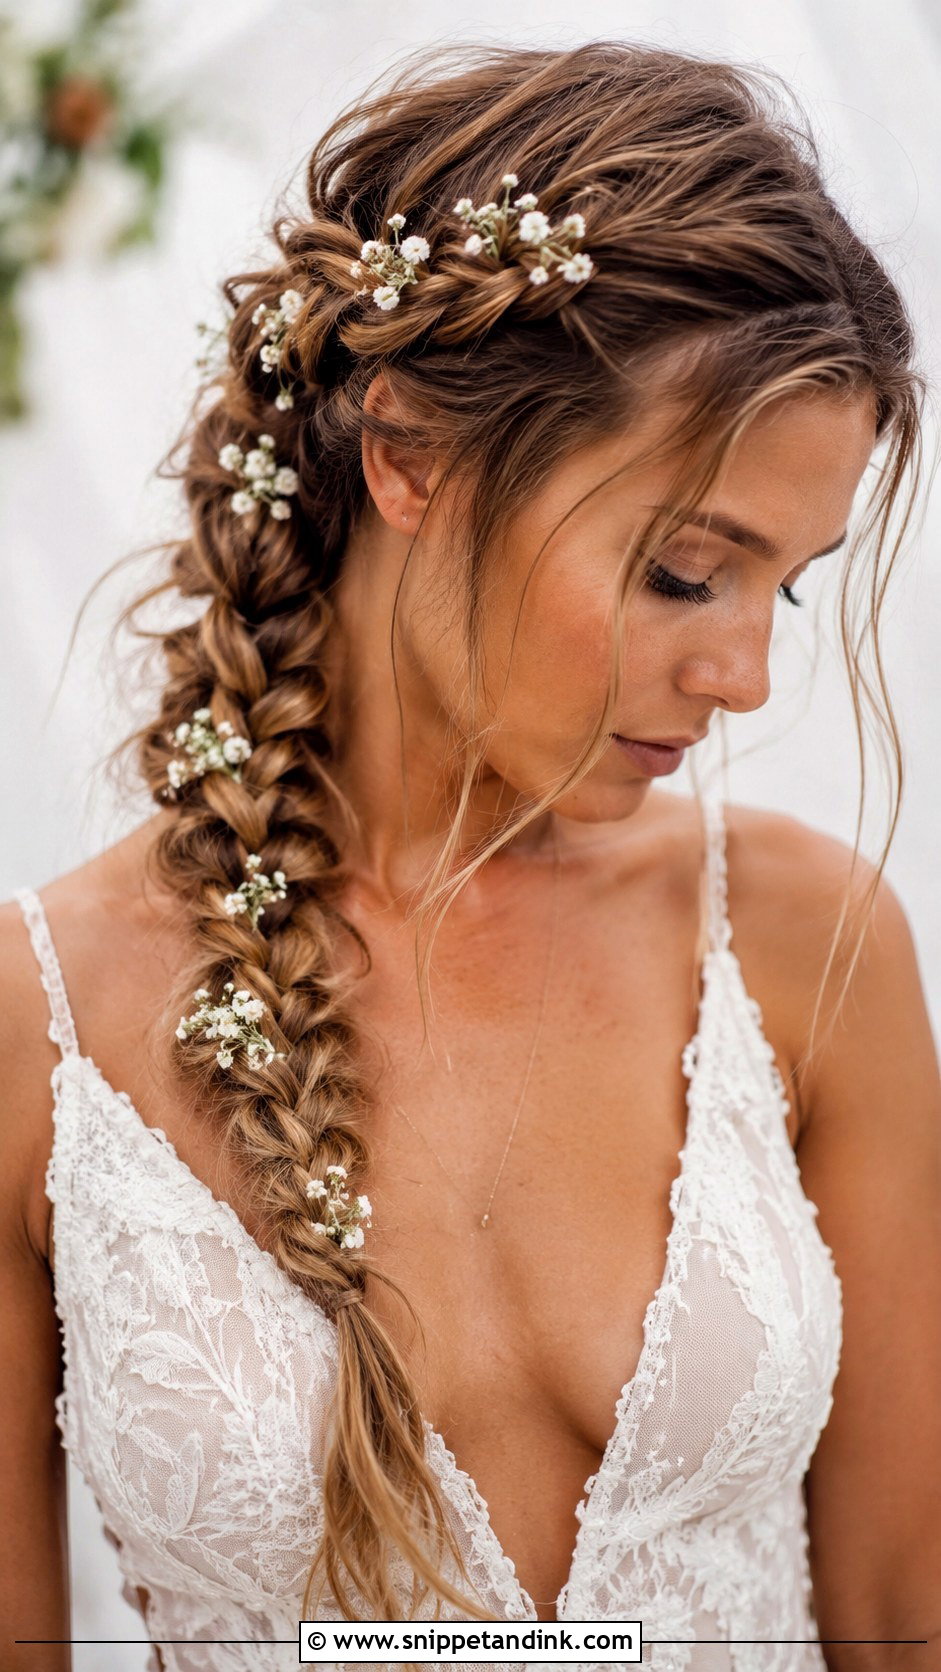
Two plaits running alongside each other before merging into one over the shoulder adds width that thick hair actually needs. I often recommend it for brides whose hair makes a single braid look like a rope. The pair can be French, Dutch or fishtail, though mixing types usually looks accidental. Loosen them evenly so one doesn’t read as bigger. Small flowers fit naturally in the channel between the two braids, where they’re held from both sides.
17. Vintage Side Braid With Waves
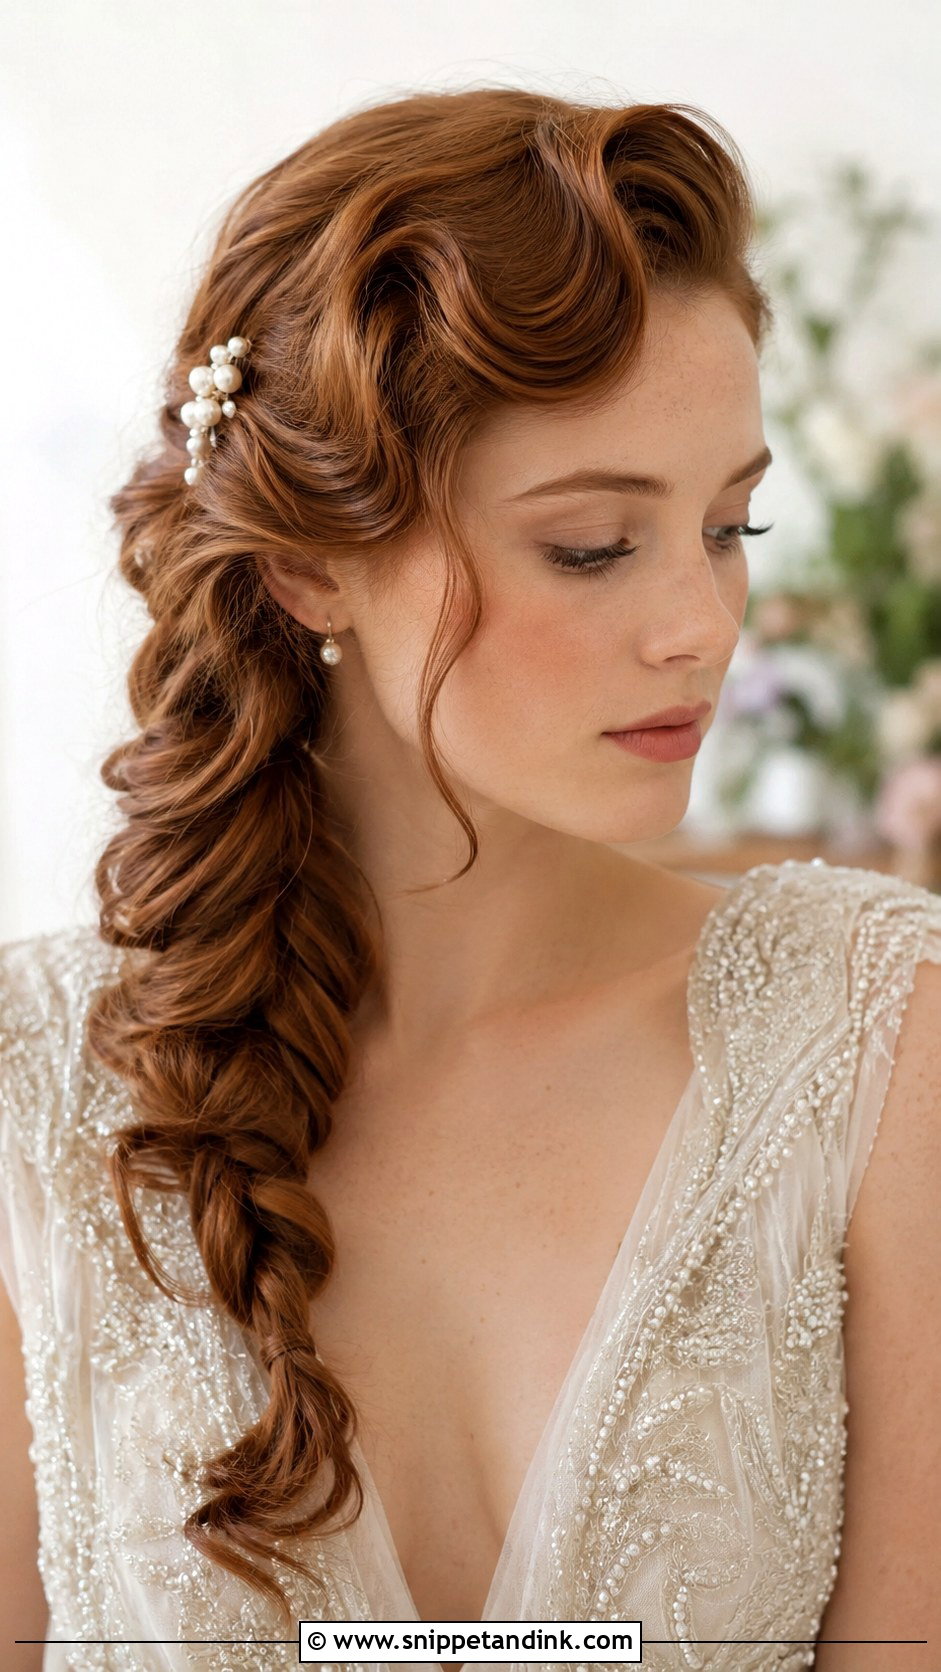
Finger waves are an old pressing technique: the hair is set in S-shaped ridges close to the head, either with a styling gel and combs or with a flat iron in a modern version. Pairing those with a soft side braid gives a 1930s look that still lets you move. I keep the waves polished on the side of the parting and let the braid itself stay loose. Medium to long hair works; very fine hair can need a stronger setting product to hold the ridges. A crystal pin at the transition point finishes it.
18. Side Braid Half-Up Style
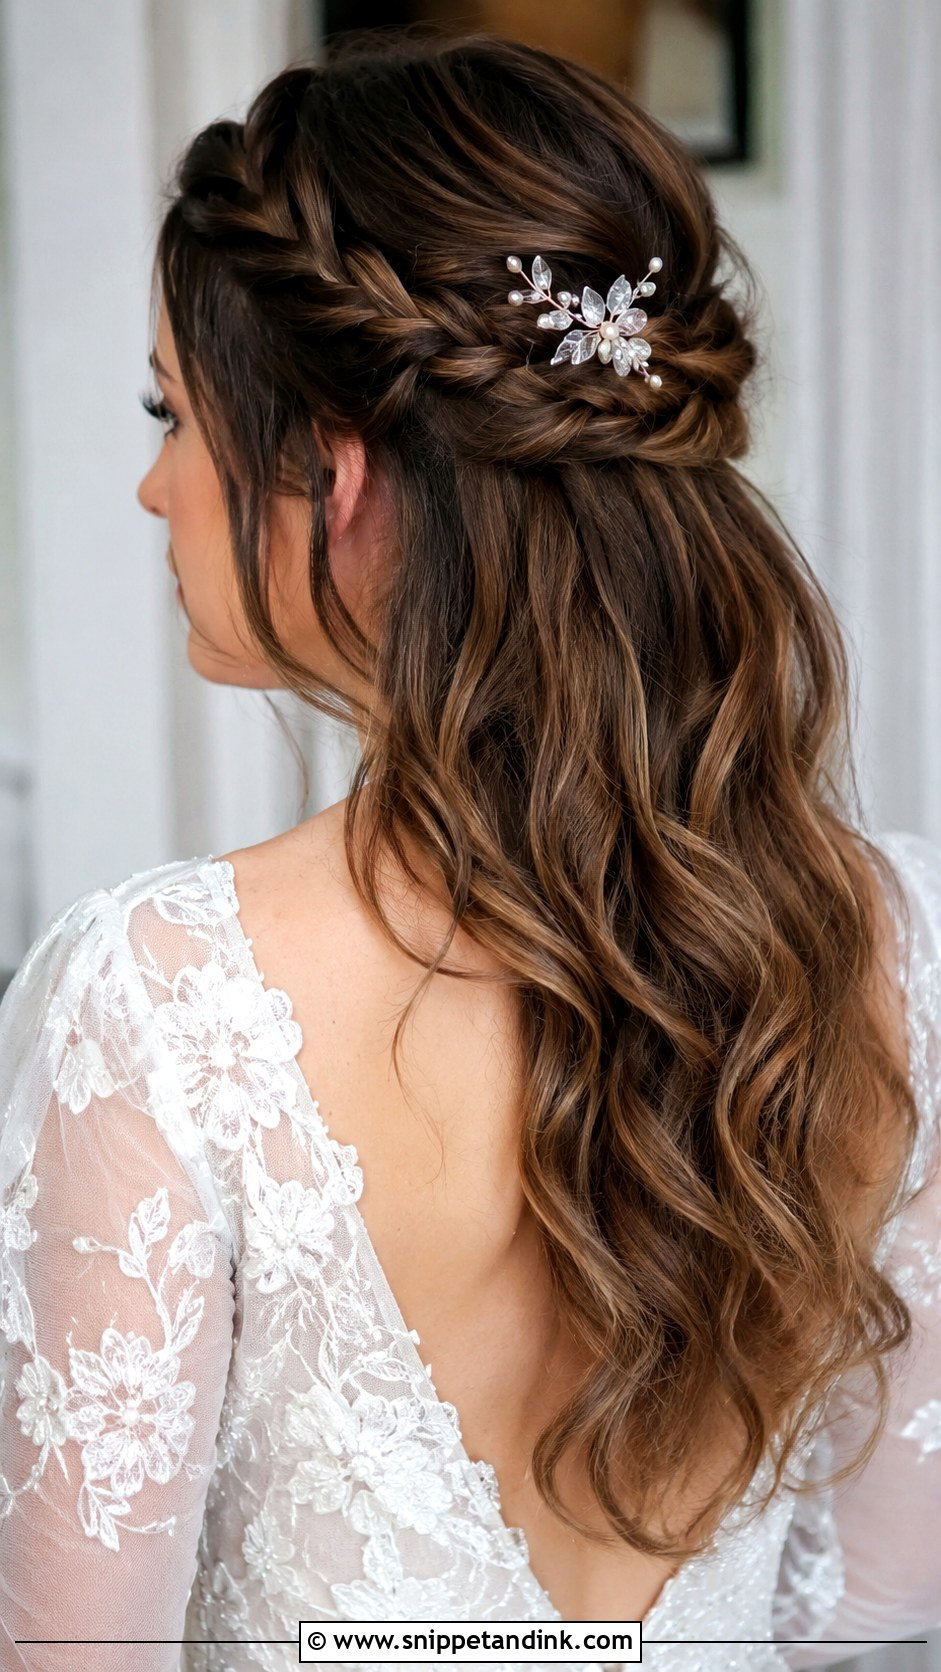
The top section goes into a side braid and the rest stays down. It keeps hair off the face, and it’s kind to brides who feel exposed with everything pulled back. Where I take care is the weight: if the loose hair is thick, the braid can tug at the scalp by evening. A clear elastic at the end of the braid, then pinned flat under the loose hair, takes that strain off. A small comb at the end point finishes the style without adding much bulk.
19. Braided Side Ponytail
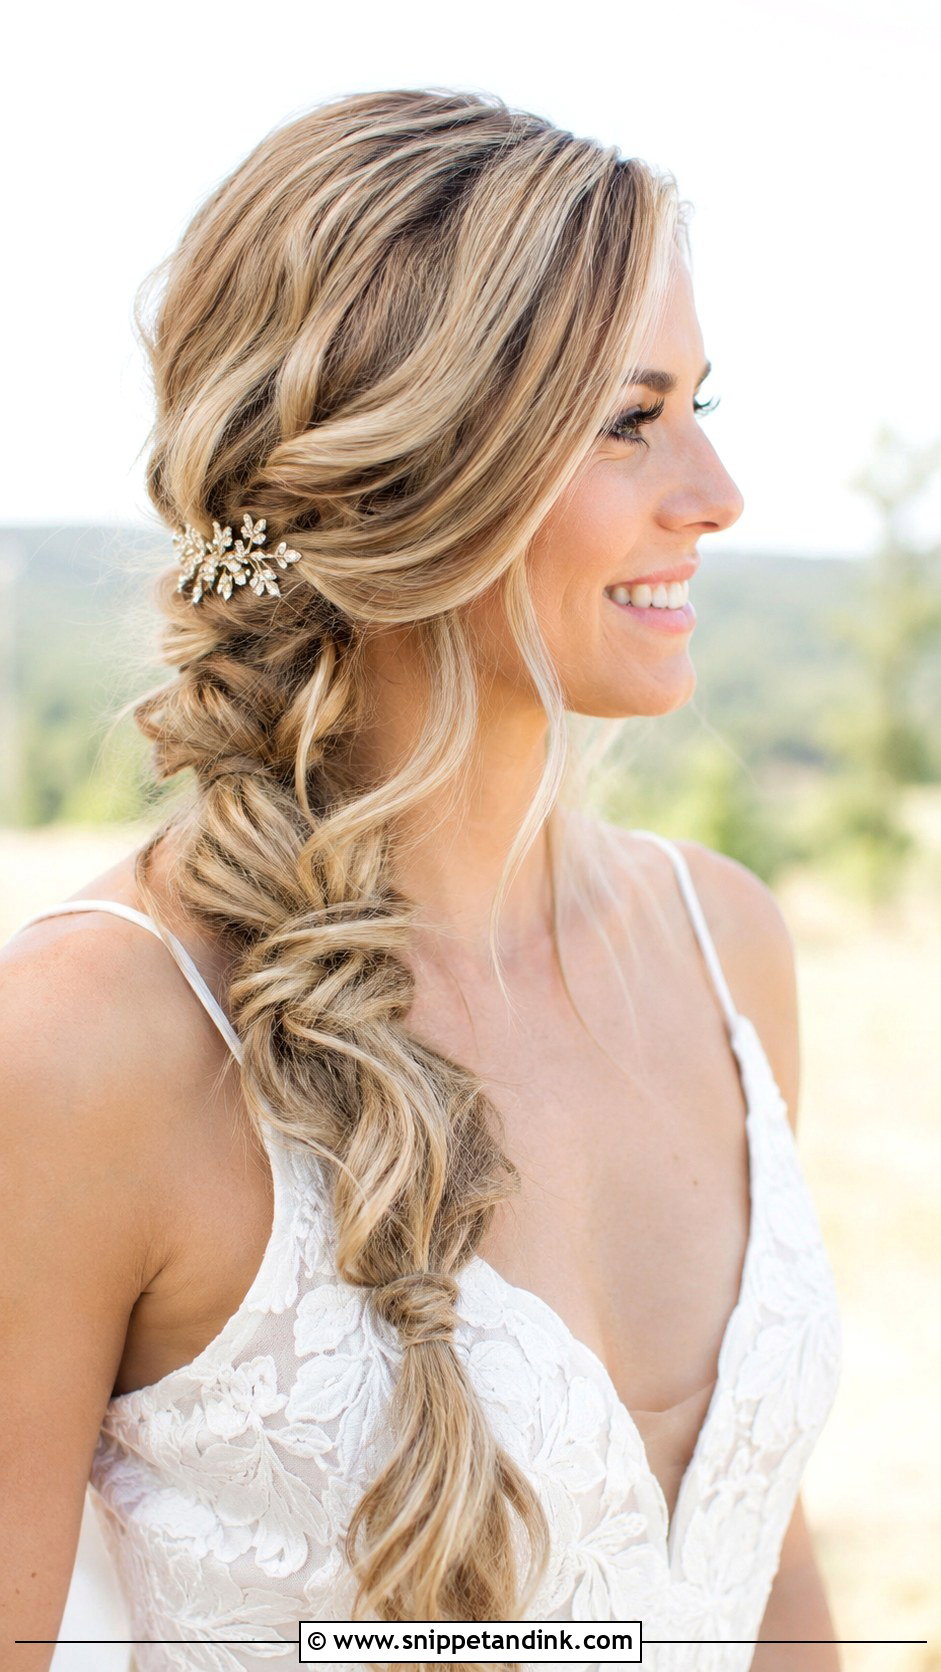
Gather the hair into a low ponytail placed behind one ear, then braid the length loosely and pull it wider. It’s the most straightforward style here to do yourself, which makes it ideal for brides doing their own hair or for bridesmaids. I wrap a strand around the base to hide the elastic and pin it underneath. Long, thick hair gives the widest result. On fine hair a ponytail can pull the hairline flat, so a little backcombing at the crown first helps.
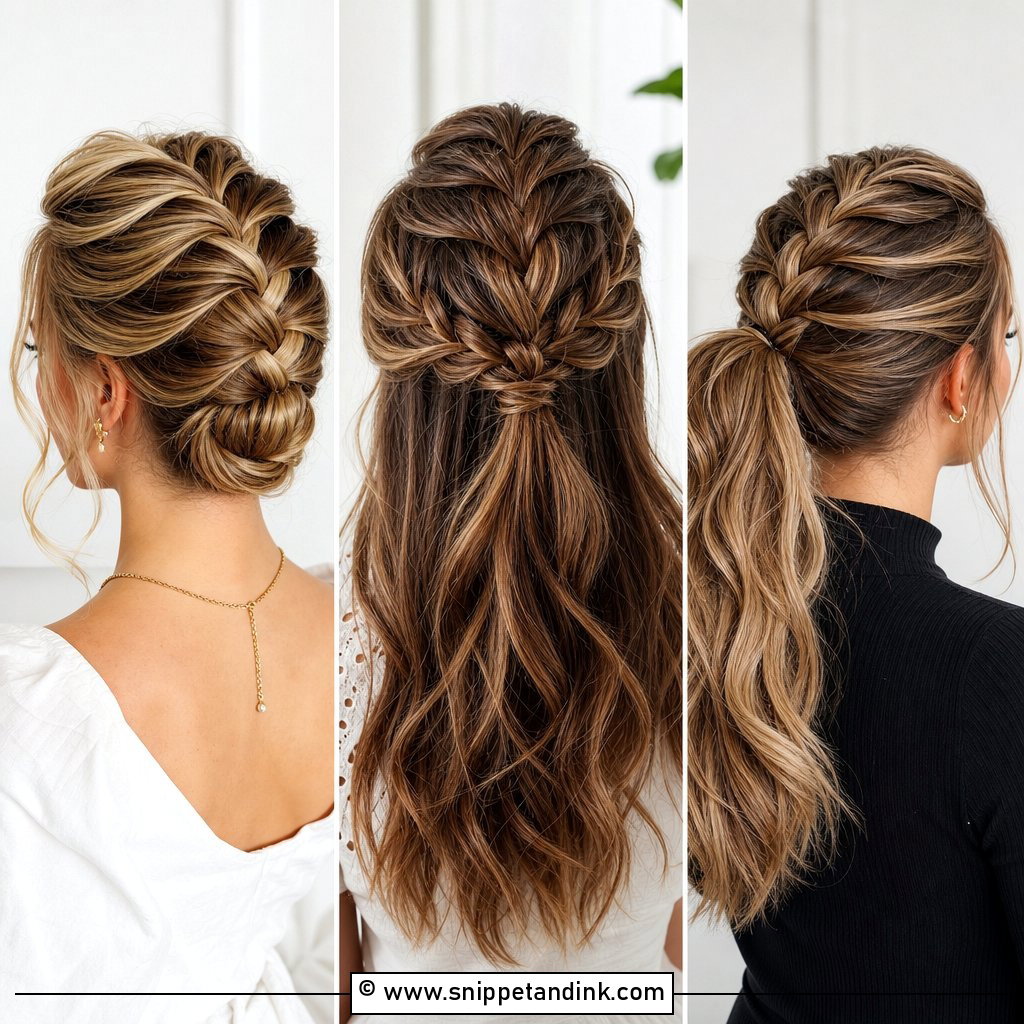
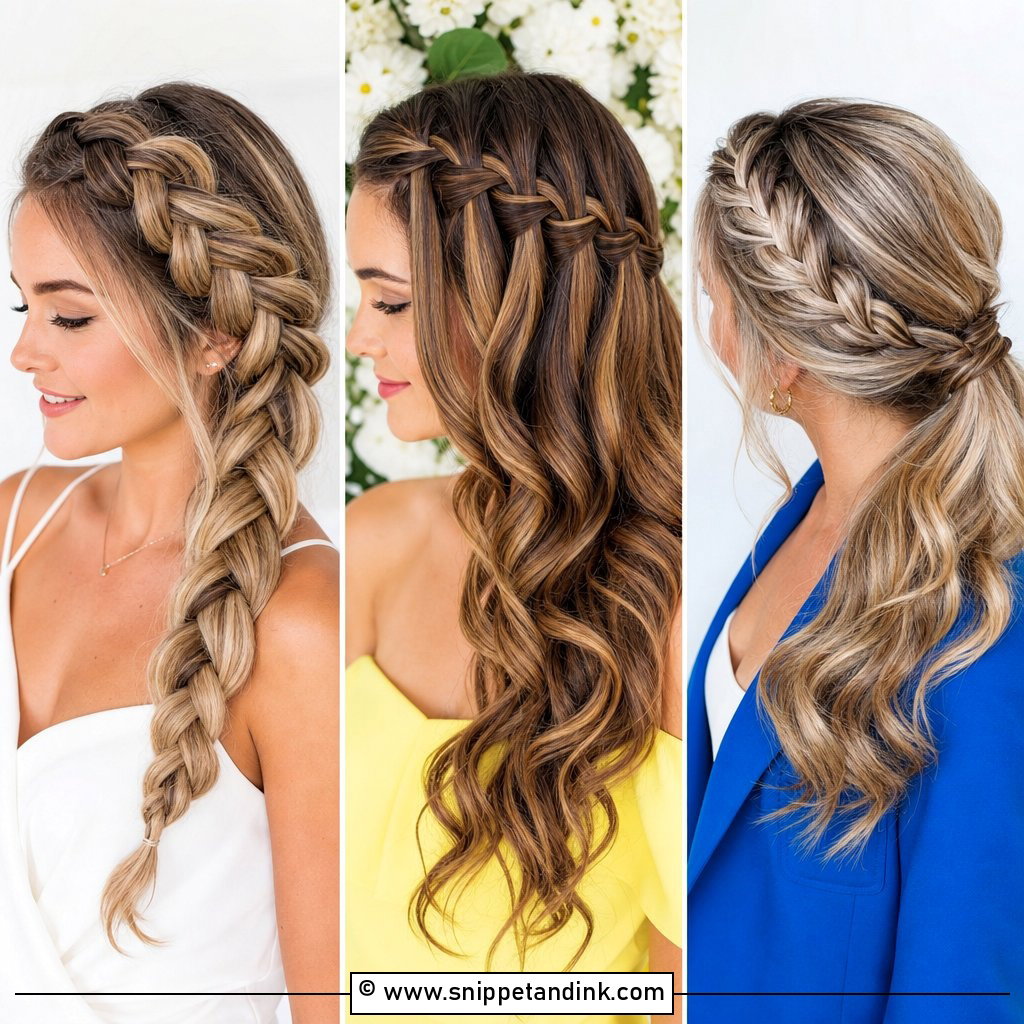
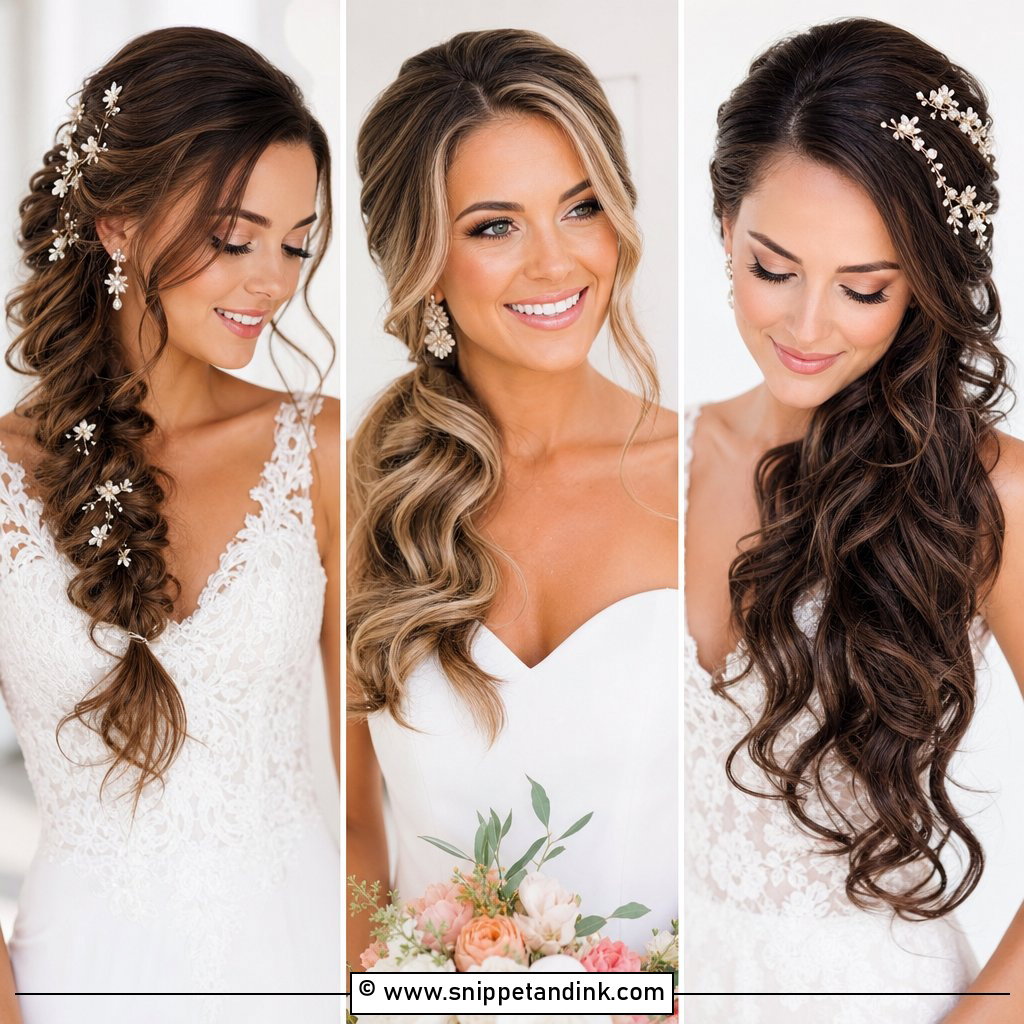
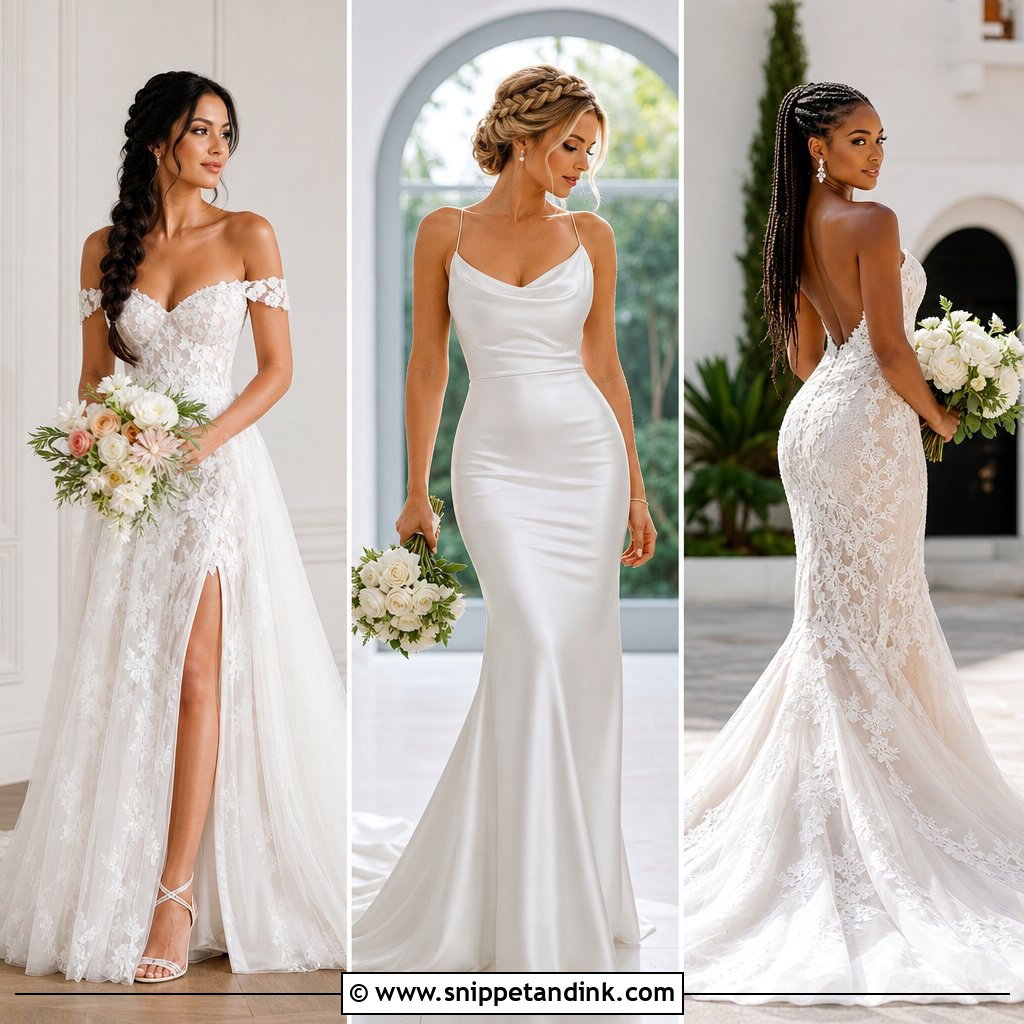
20. Ladder Braid Over Shoulder
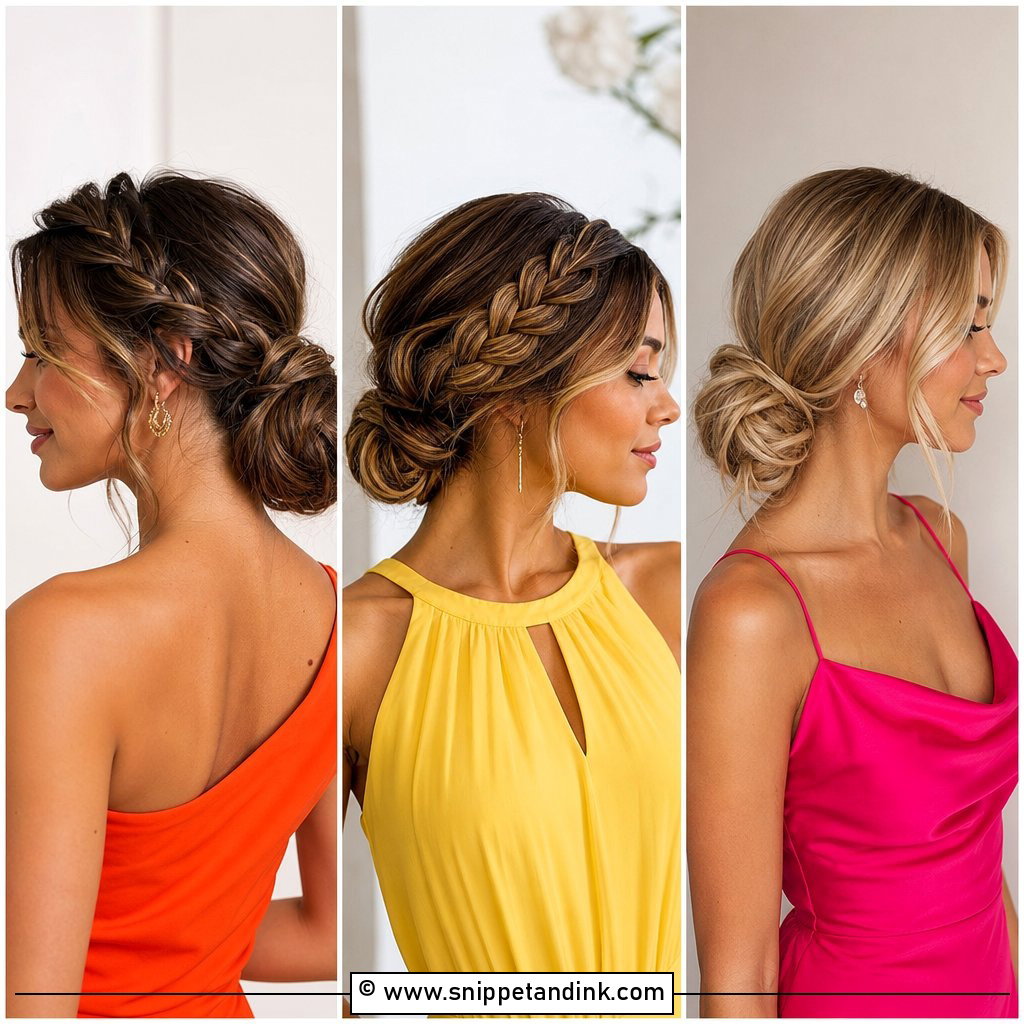
A ladder braid sits on the side of the head with horizontal rungs crossing a vertical strand, and it’s the most technical style in this list. It’s one I’d only book with a stylist who has done it before, because uneven rungs are obvious in close-up photos. For brides drawn to unique detail, it rewards the effort. I drop waves below it and place tiny pearl pins inside the rungs rather than on top. Hair that’s at least mid-back length gives enough to build it cleanly.
What Happens to a Side Braid Between the Vows and the Last Dance
A braid that looks perfect at 2pm faces a lot by midnight. It’s resting on one shoulder, so it gets pressed against every hugging relative, rubs against lace or beading on that side of the dress and carries its own weight on one side of your neck. Knowing this changes how I build it.
Anchoring it so it doesn’t drift
The weak point of a side braid is where it leaves the head. If it’s only held by the braid itself, the weight pulls it backward until it hangs down your spine. I secure it at the nape with two bobby pins crossed in an X, hidden under the first crossing. That one anchor keeps the braid forward on your shoulder all evening.
Friction from your dress
Beaded or textured lace straps act like sandpaper on a loose braid, and you’ll see fuzz along the side touching your shoulder by evening. If your gown has a beaded strap on the braid side, ask your stylist to keep that braid a little tighter or swap it to the opposite shoulder. A light mist of shine spray on the surface of the braid also reduces friction.
A small fix-it pouch for your maid of honor
- Six bobby pins matched to your hair color
- Two clear elastics in case the end comes undone
- A travel-size flexible-hold hairspray
- A clean mascara wand to smooth flyaways at the hairline
Show your maid of honor where your anchor pin sits so she can push it back in after a long hug. That small step saves most braids that start to slip.
One Shoulder, a Long Day, and a Plait That Holds Its Shape
Pick the braid by your hair first and the photos second. A fishtail or Dutch braid forgives fine hair; a ladder or waterfall braid needs length and a stylist who has practiced it. Book a trial in the dress neckline you’ll actually wear, move around in it for an hour, and watch where it slips. Then ask your stylist to adjust the anchor points rather than add more spray. A side braid that’s pinned properly will still look like itself when the last song plays.
You'll Like These Ideas:


Leave a Reply