
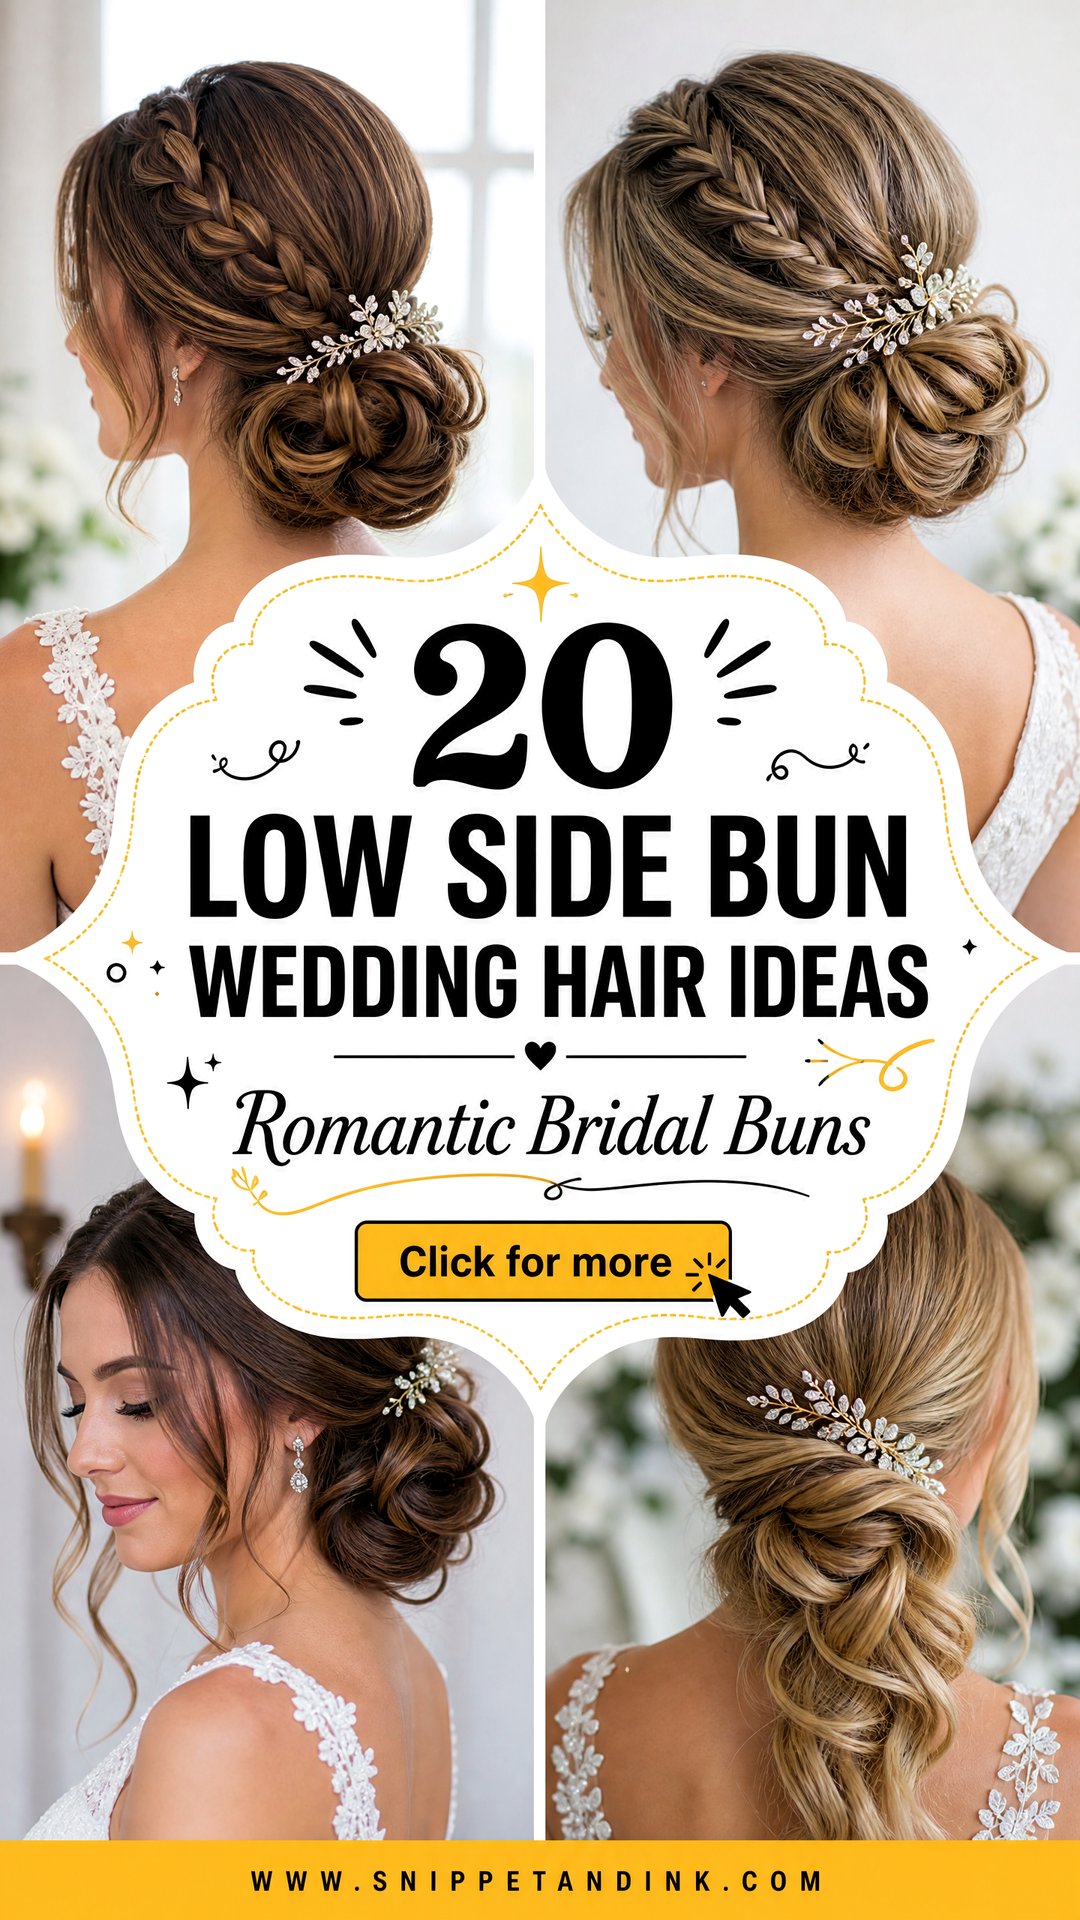
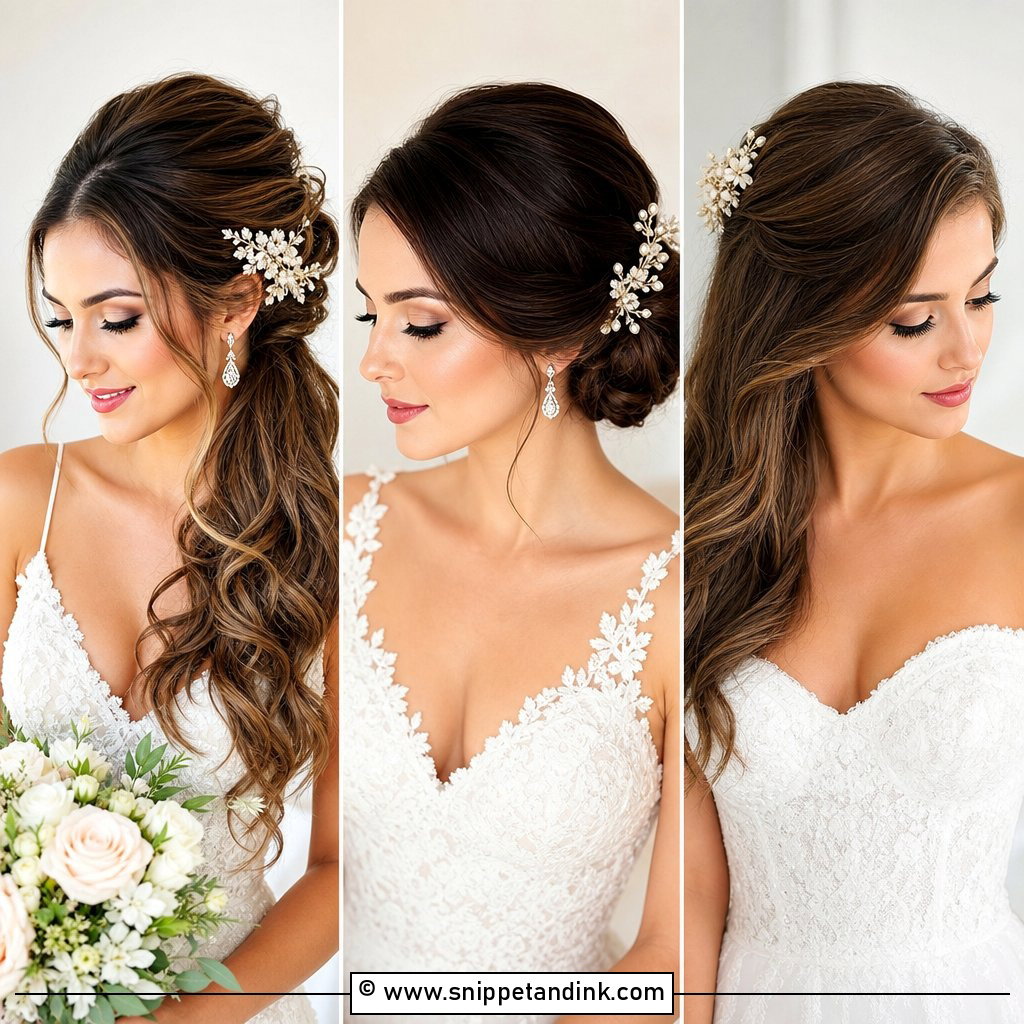
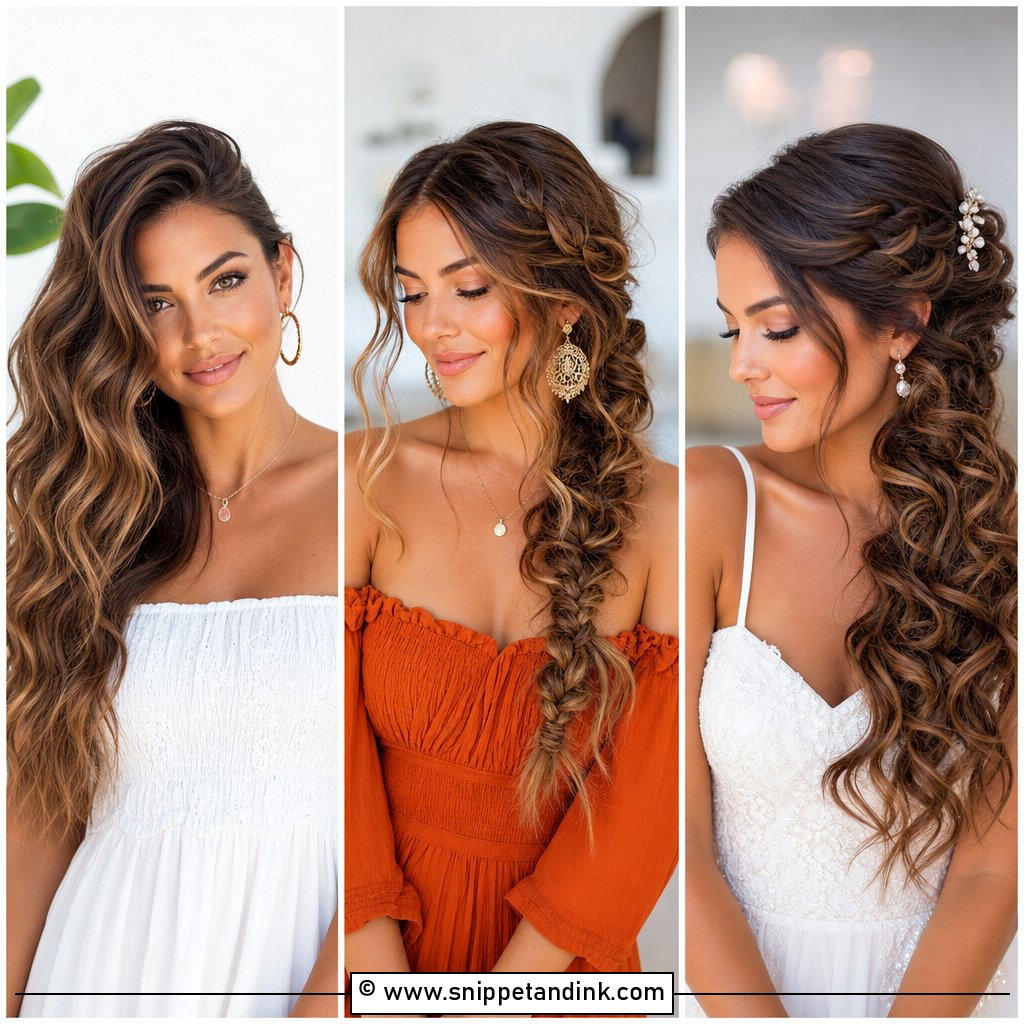
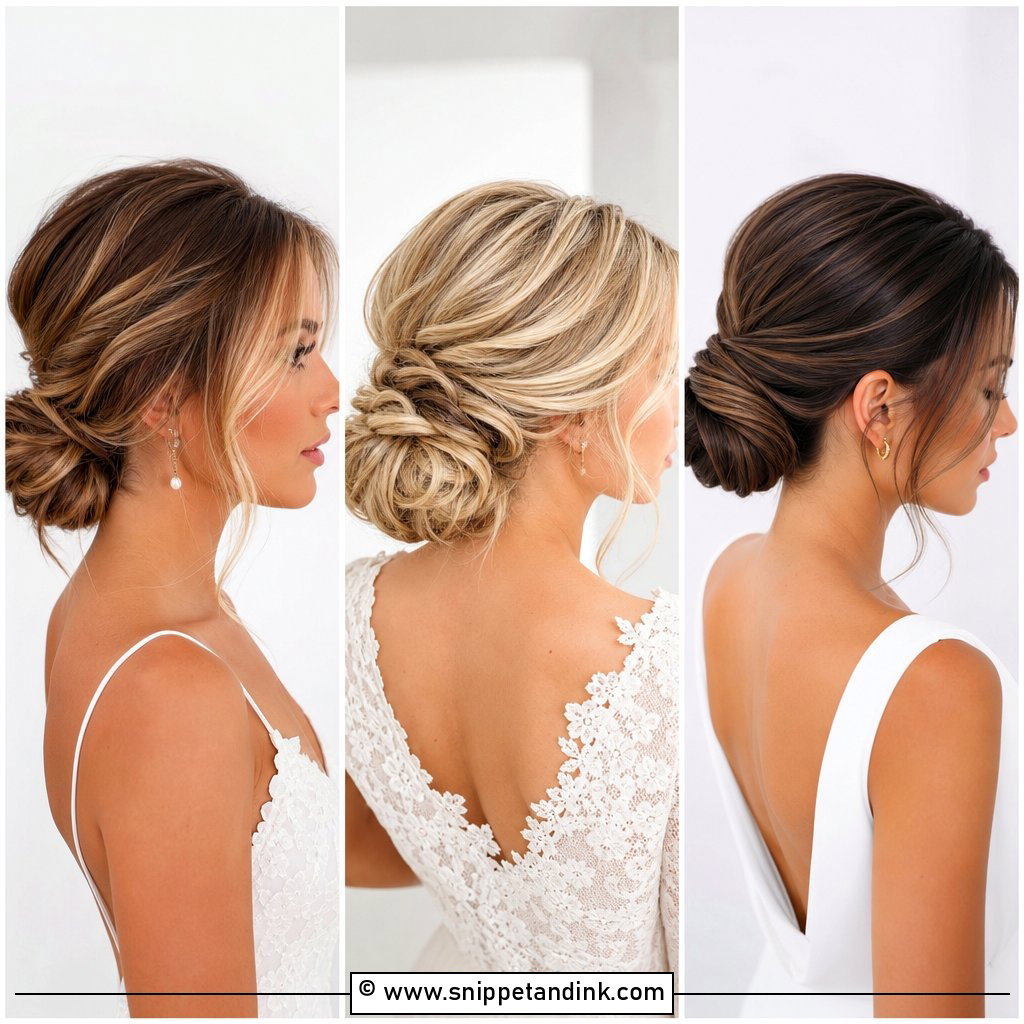
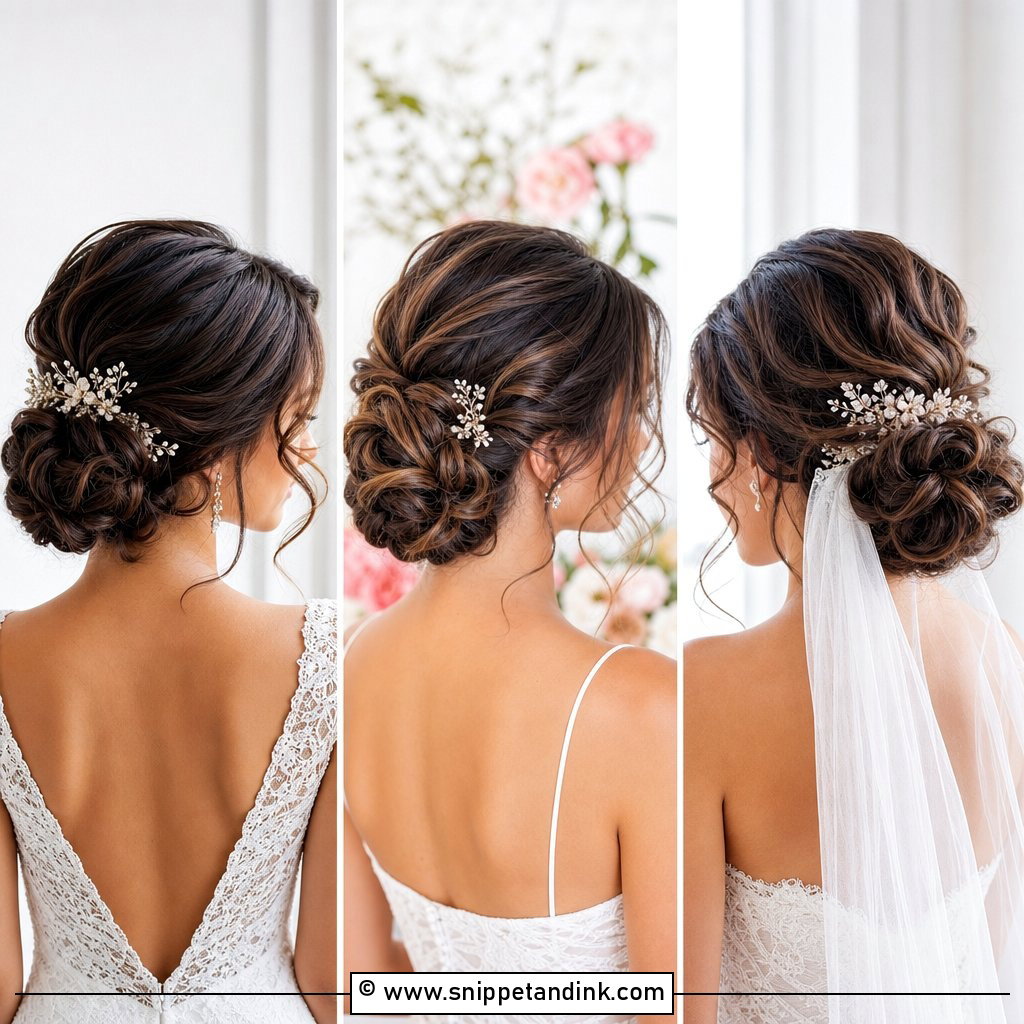
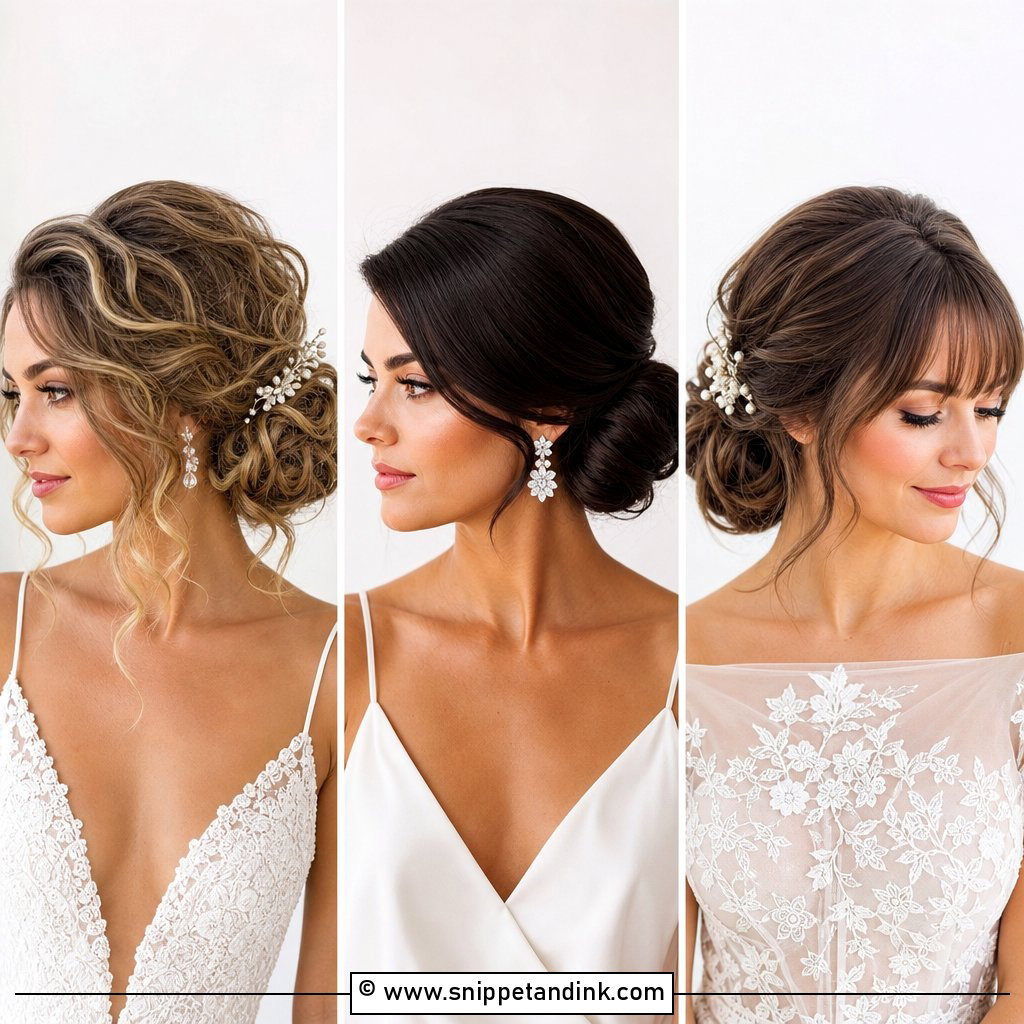
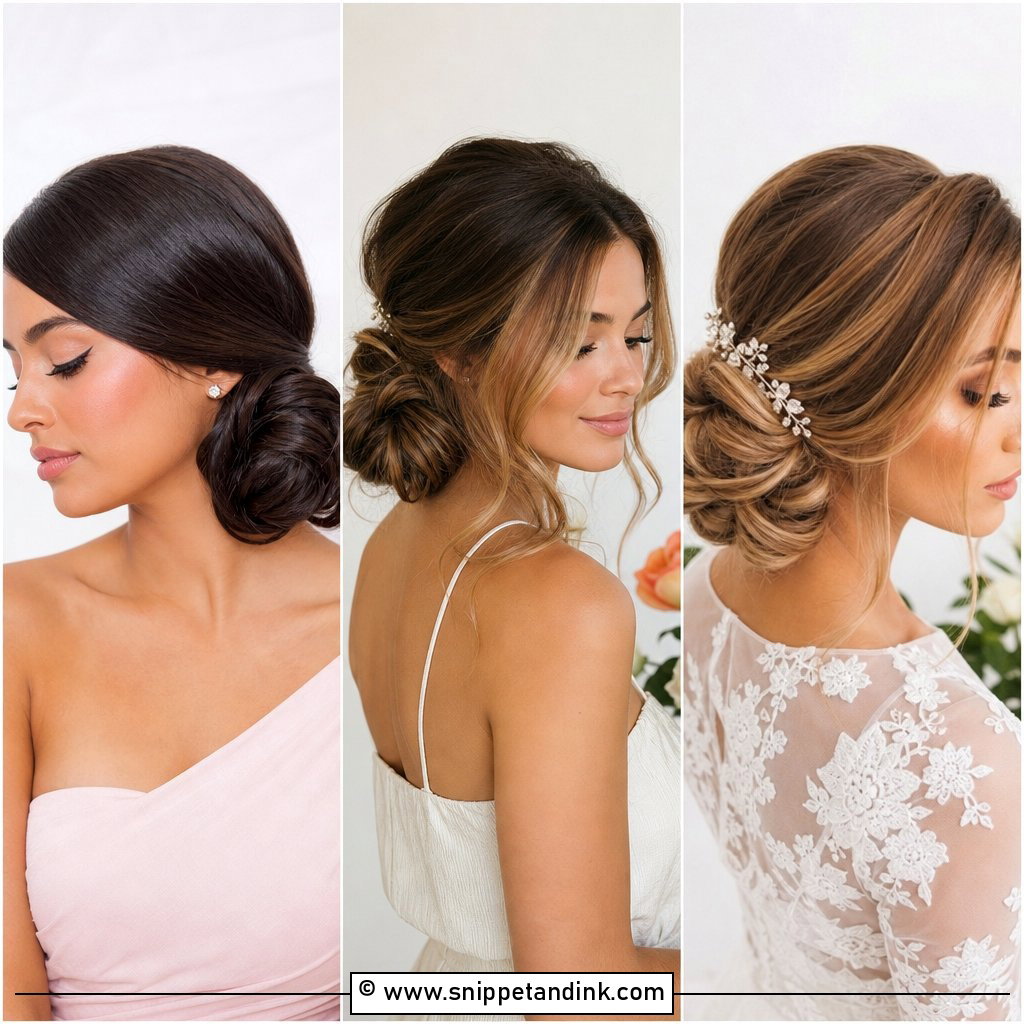
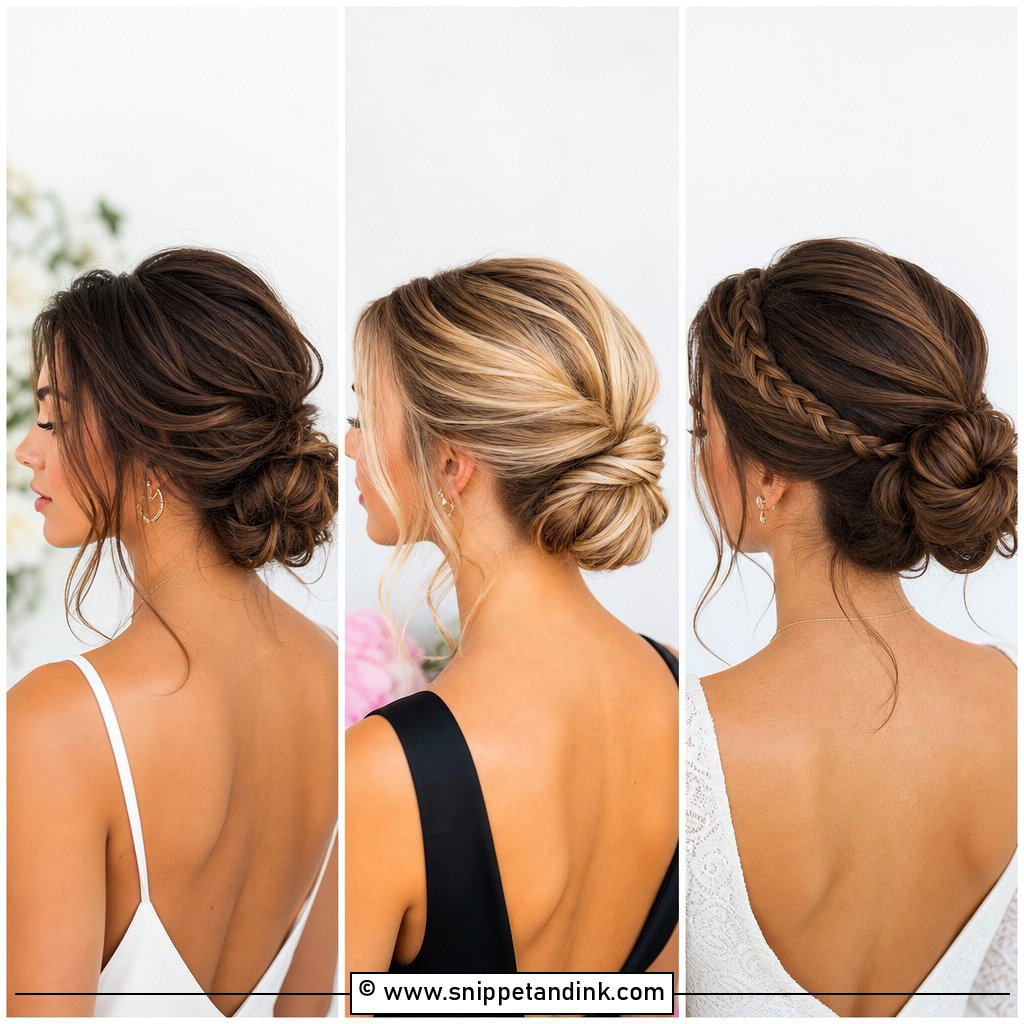
A low side bun is one of the updos I reach for most when a bride wants something romantic that still stays put. Sitting below and behind one ear, it shows off the neck on the open side, leaves room for a veil comb, and gives the photographer a clean profile from the other. It suits medium and long hair best, and it handles summer heat better than a full down style because the weight is off your shoulders. Below are 20 versions I’d actually put on a bride, from glossy and tight to loose and braided, with notes on what each one needs from your hair and your dress.
Left Ear or Right? Deciding Where the Knot Sits
The side matters more than brides expect, and I settle it before anything else at a trial. In most Western ceremonies the bride stands on the left as guests look toward the front, and once you turn to face your partner, the side of your head they see is your right. If the bun sits on that side, guests get the detail through the vows; if it sits on the left, they mostly see smooth hair while the photographer facing you gets the knot. Neither is wrong, but it should be a choice.
- Follow your natural part. Hair falls more easily to the side it already falls to, and a part forced the other way will fight back by evening.
- Check your crown and nape for cowlicks. A strong whorl near the nape on one side can make a tight bun bulge there.
- Think about your earrings. A statement earring on the open side shows clearly; on the bun side it gets hidden.
- Ask what your ceremony layout is. A couple standing side by side facing an officiant shows guests your back and both sides, so the bun position matters less there.
I place the bun just behind and below the ear, roughly level with the earlobe. Higher than that and it starts to look like a side ponytail; lower and it can catch on a high collar or a beaded strap.
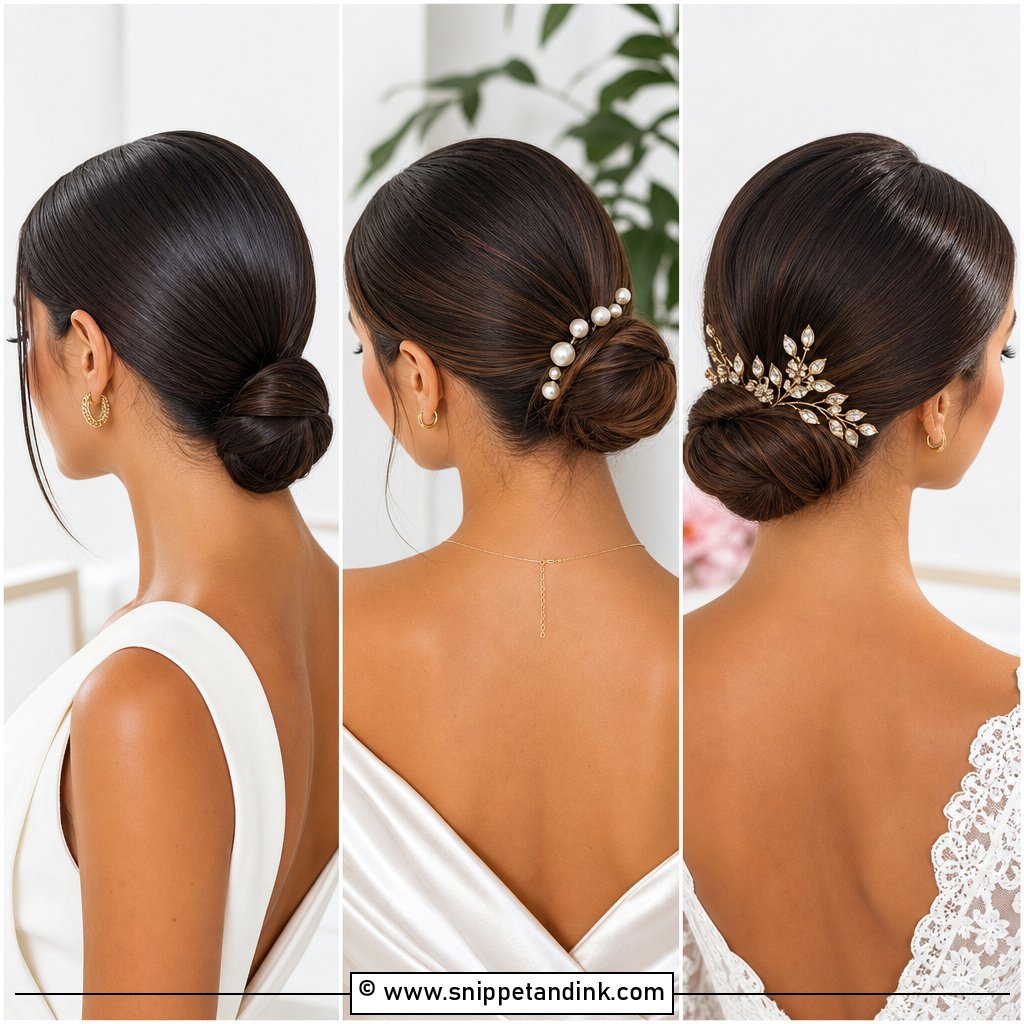
1. Sleek Low Side Bun
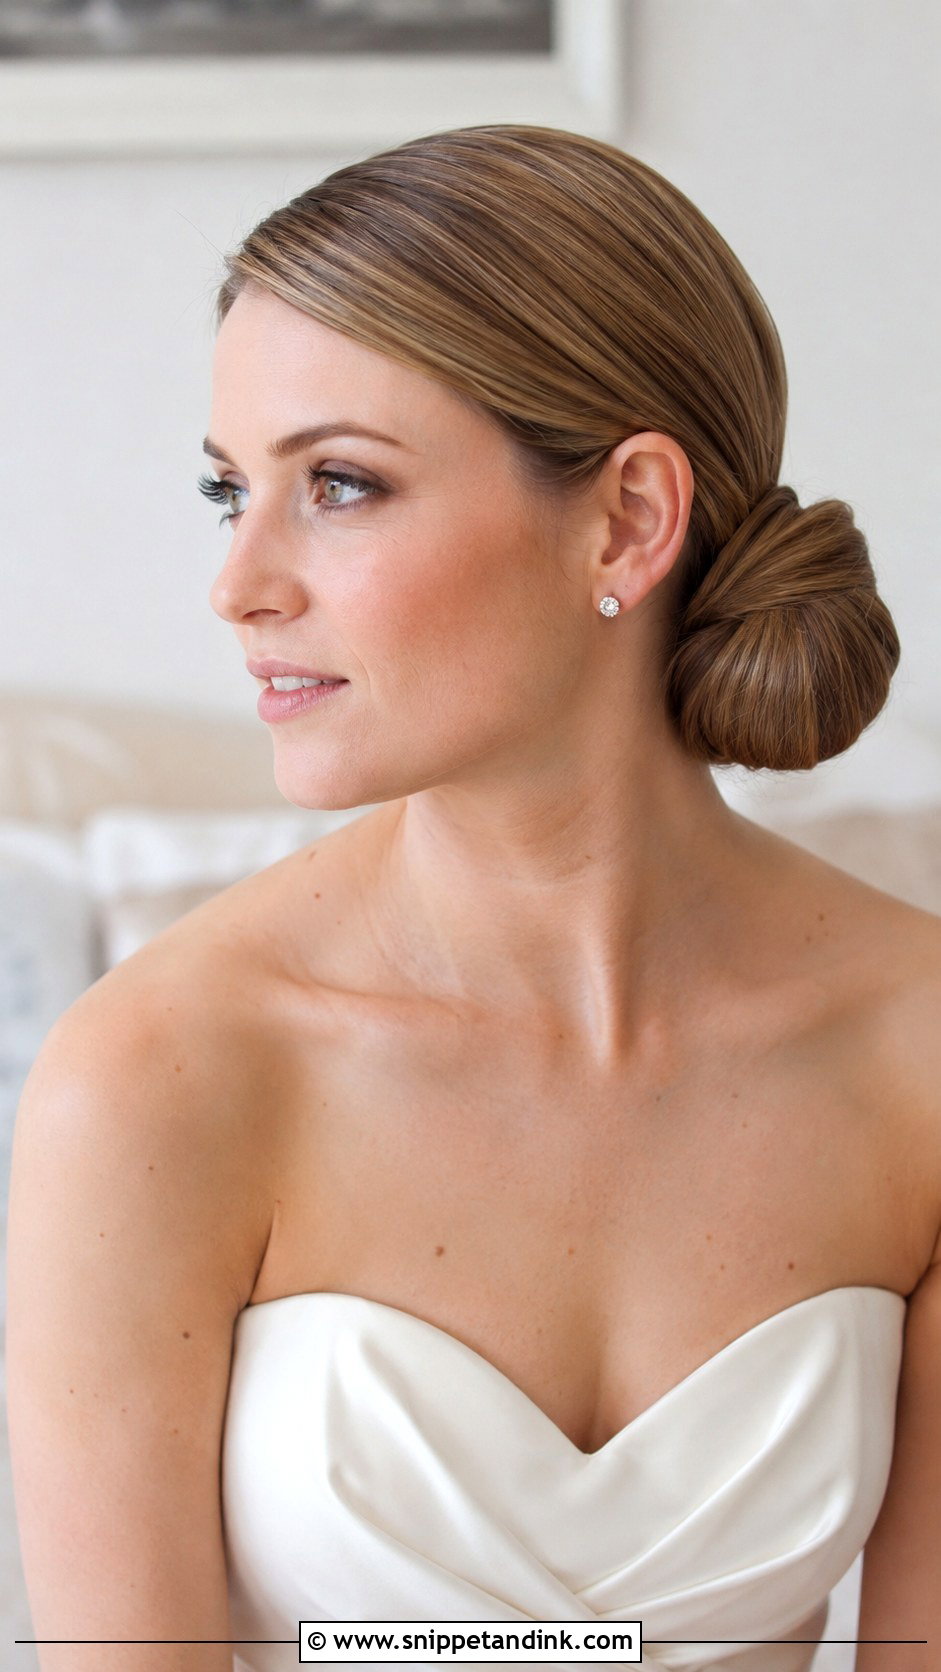
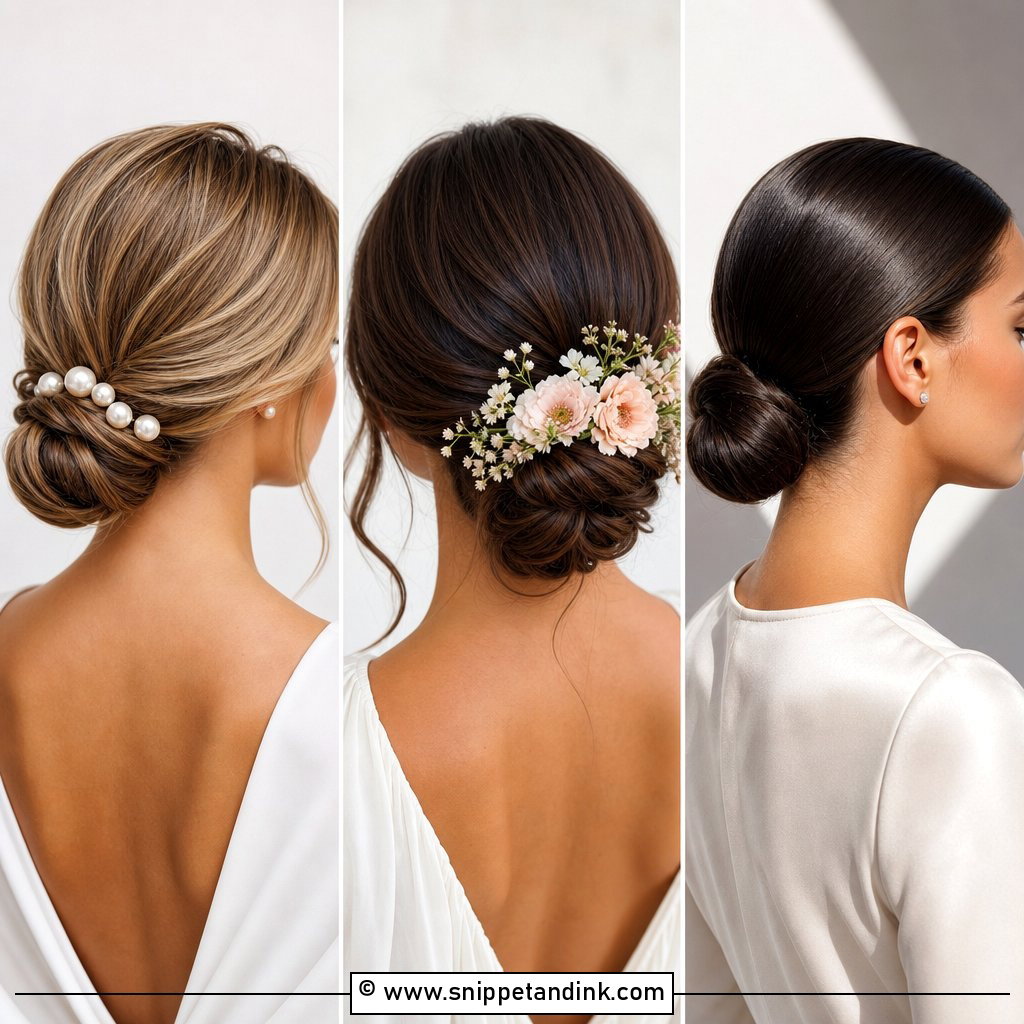
The sleek version lives or dies on the base. I smooth everything into a low ponytail just behind the ear first, set it with a bungee band, and only then coil the length, because a coil pinned straight onto loose hair always shows ridges. A deep side part and a little shine serum on the surface give that glassy finish against a structured gown. One warning: on very fine hair, slicked-back styles can show scalp at the part, so I sometimes dust in a root powder that matches your color before I start. A single jeweled pin beside the knot is plenty here.
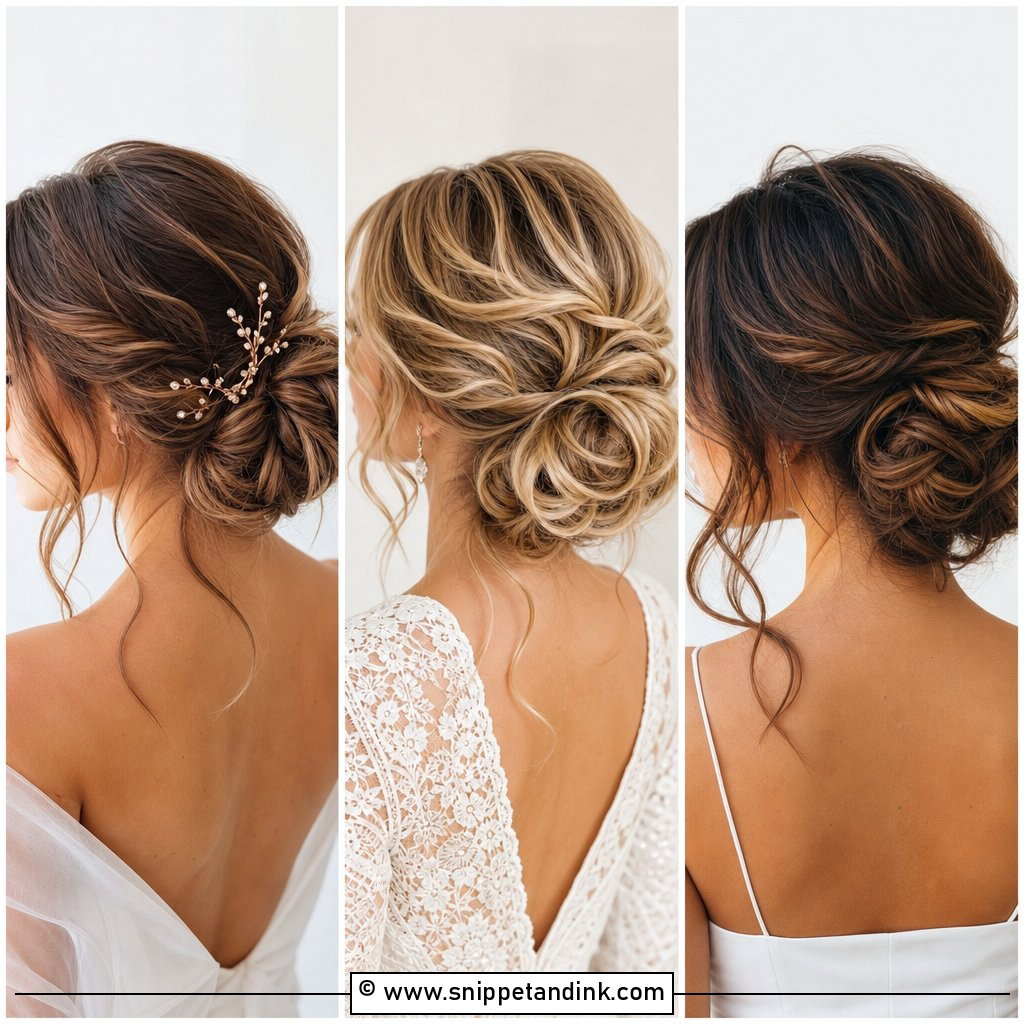
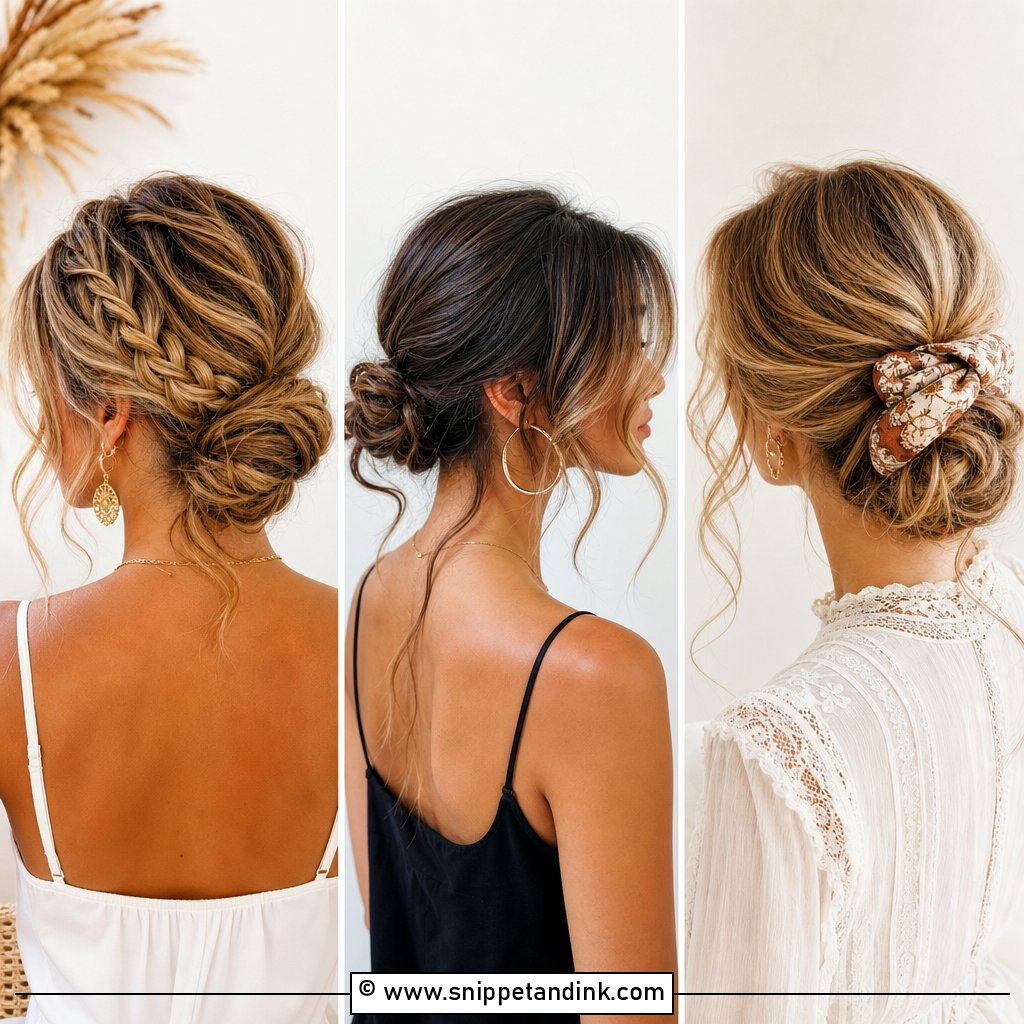
2. Messy Low Side Bun
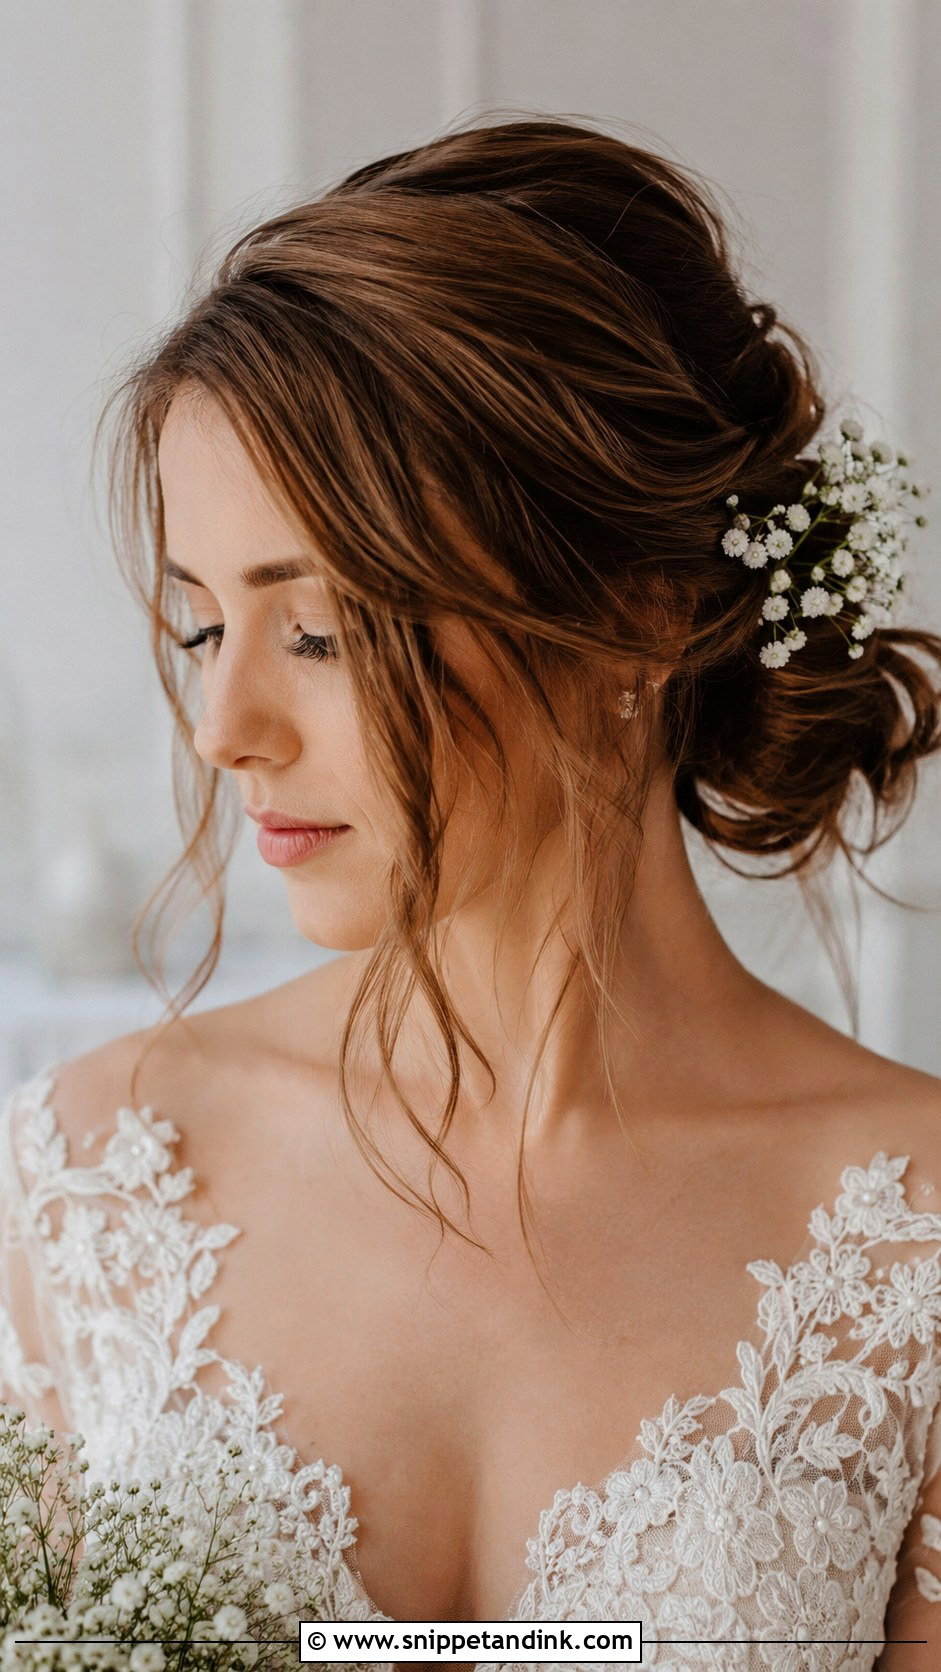
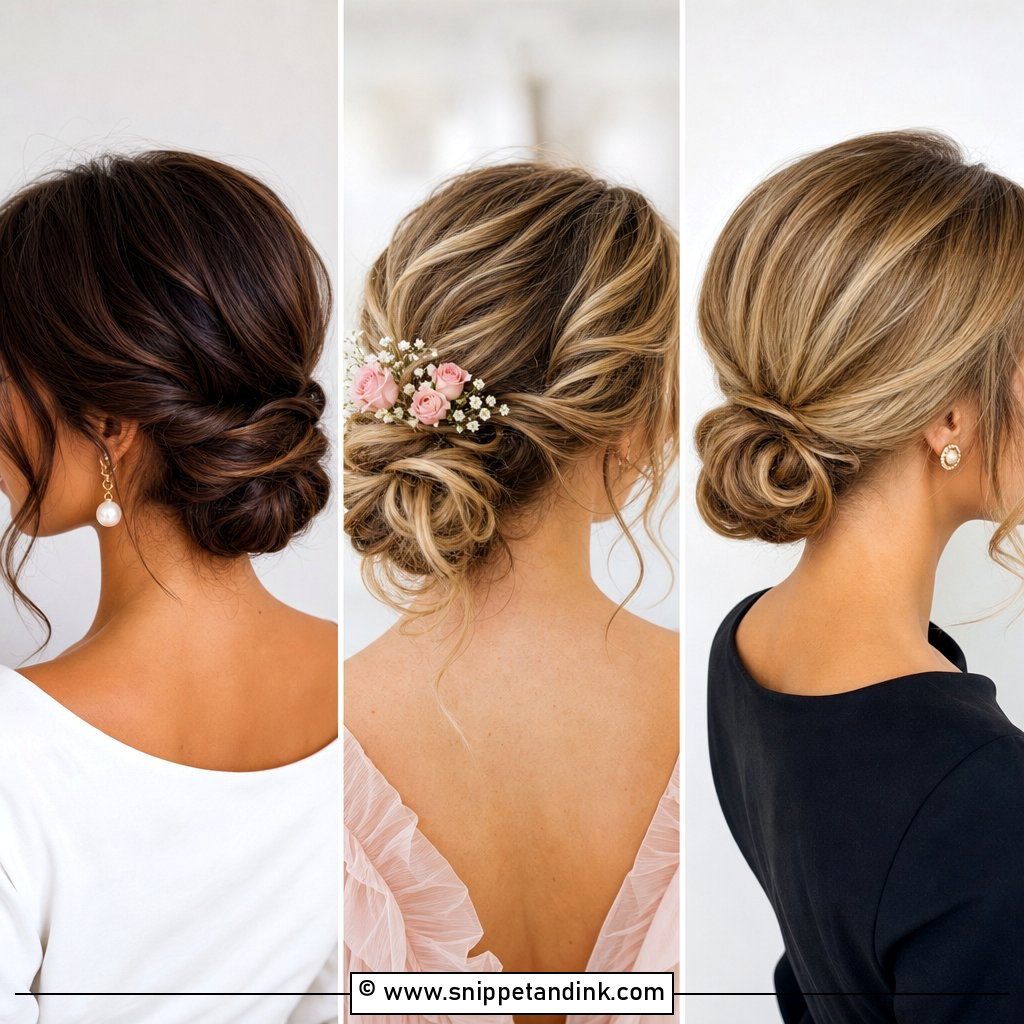
This is the version that hides the most mistakes, which is why I like it for outdoor weddings where wind is guaranteed. I prep with texture spray, gather the hair loosely to one side and twist it into a soft knot, then pull a few pieces free around the crown. The tendrils at the face soften everything. Fine hair actually does well here, since pancaking the twists makes the bun look twice as thick. Baby’s breath or small wildflowers tuck straight into the loose sections without extra pins.
3. Braided Low Side Bun
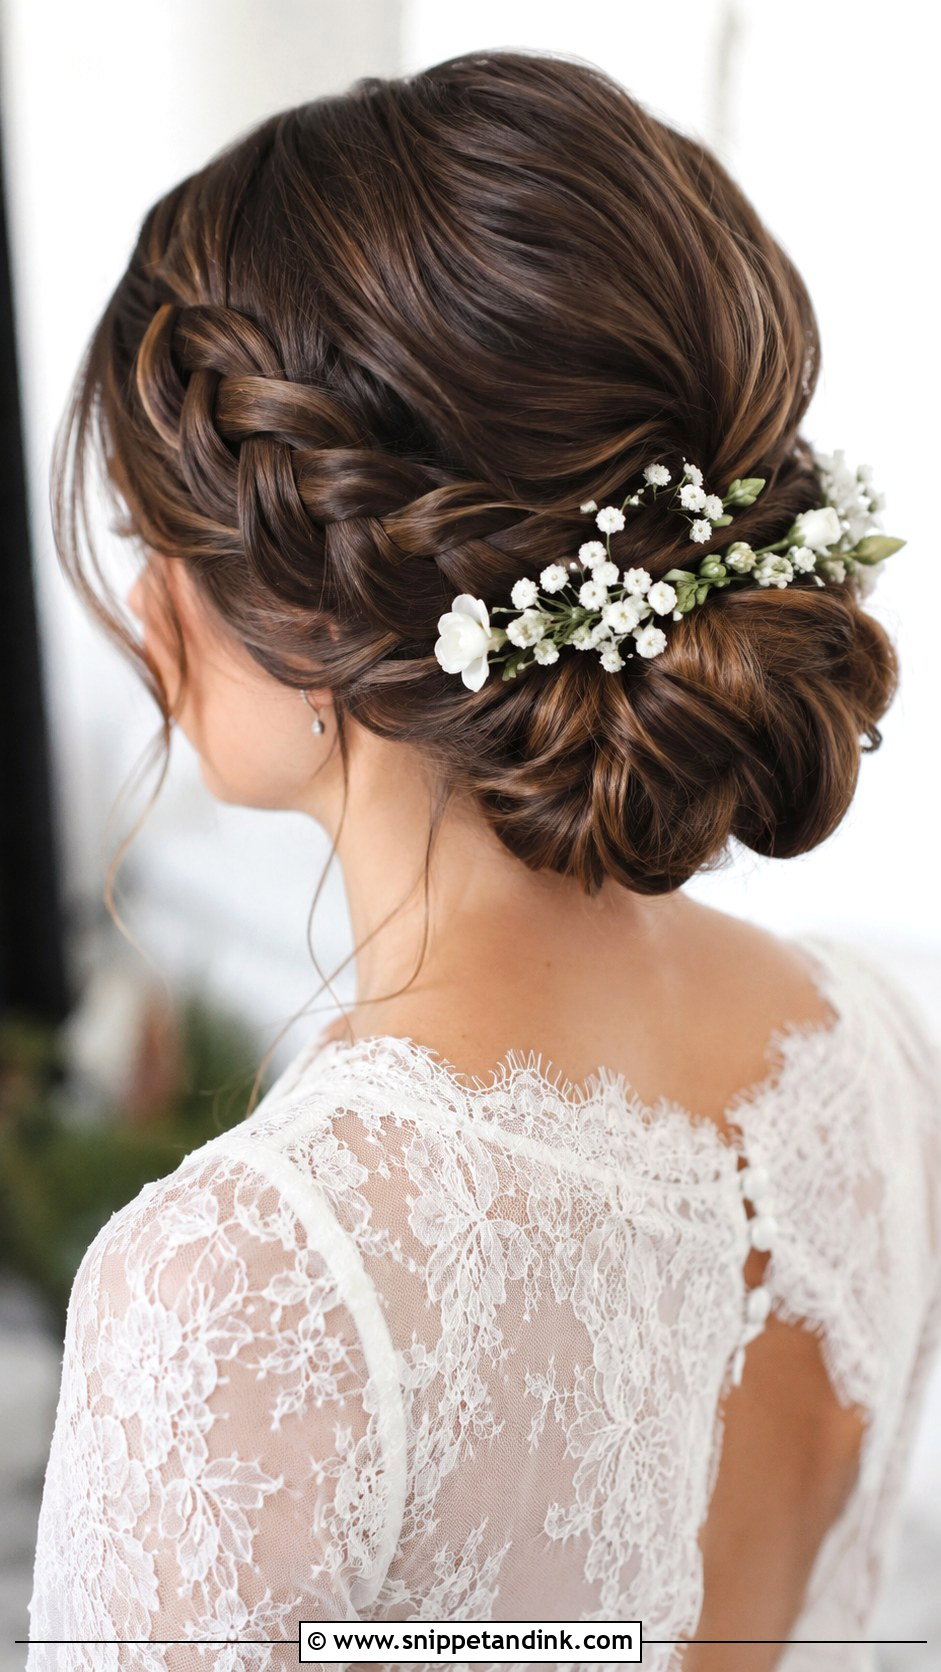
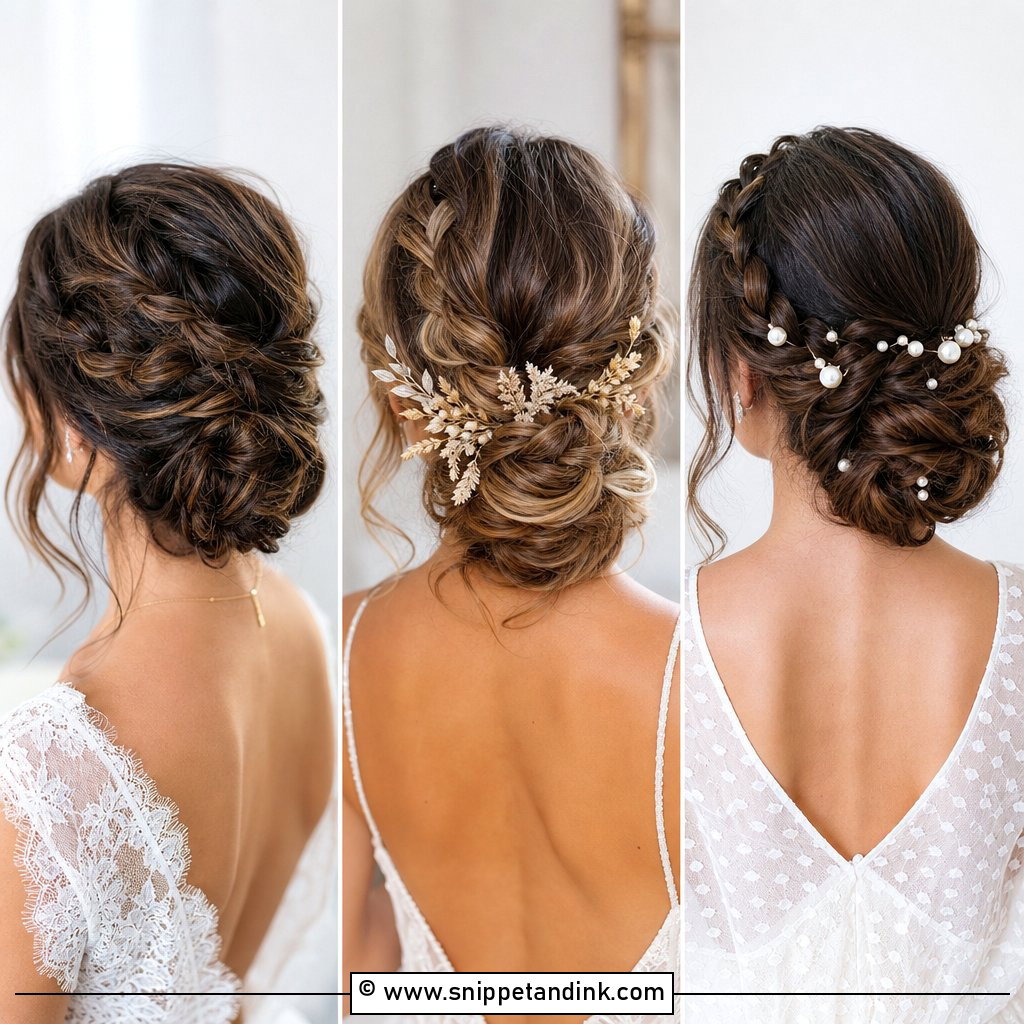
A braid is the easiest way to give a side bun detail that lasts. I either start a Dutch braid at the crown and run it down toward the bun, or braid the ponytail itself and wrap it around the knot. Braids act as a built-in anchor, so this style holds through hugging and dancing better than a plain twist. Keep the braid tight if you have slippery hair; loosen it only after it’s pinned. It sits nicely next to lace, and small flowers slide easily between the plaits.
4. French Braid Side Chignon
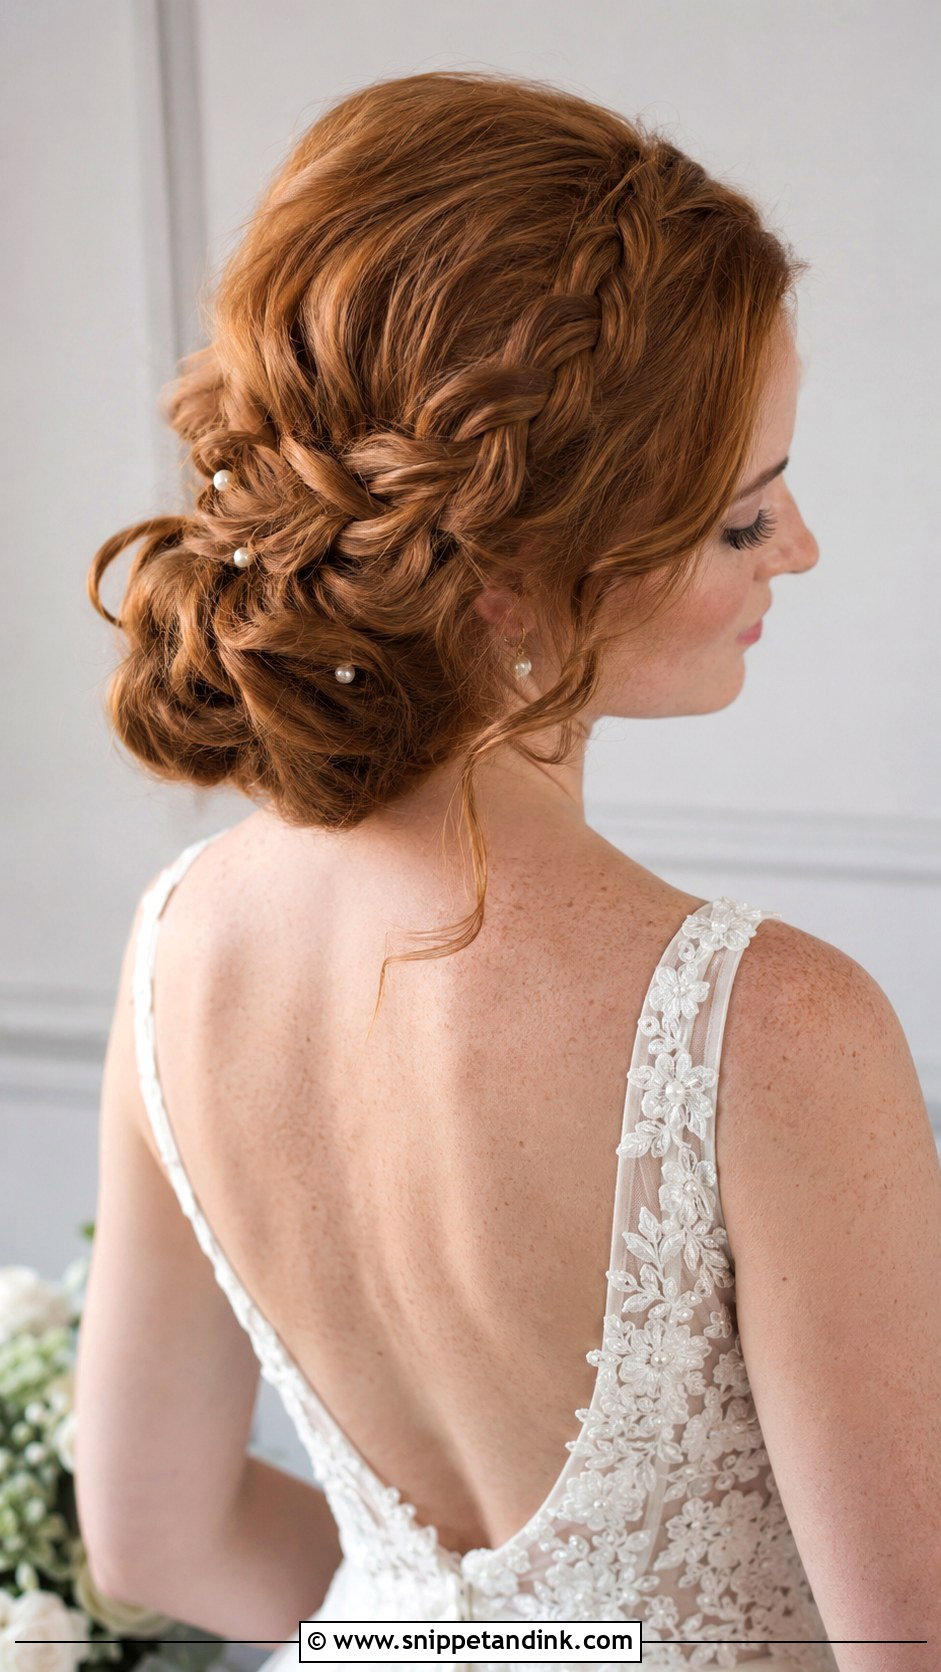
Here the braid travels diagonally across the scalp and melts into a low knot at the nape, so you get detail on top and volume underneath. It looks intricate in photos but is comfortable to wear, because the weight is spread along the braid instead of hanging from a few pins. I loosen the edges after pinning for softness. Because it keeps the back clear, this chignon works well with backless gowns. Tiny pearl pins along the braid add a heirloom note without weight.
5. Low Side Bun With Face-Framing Tendrils
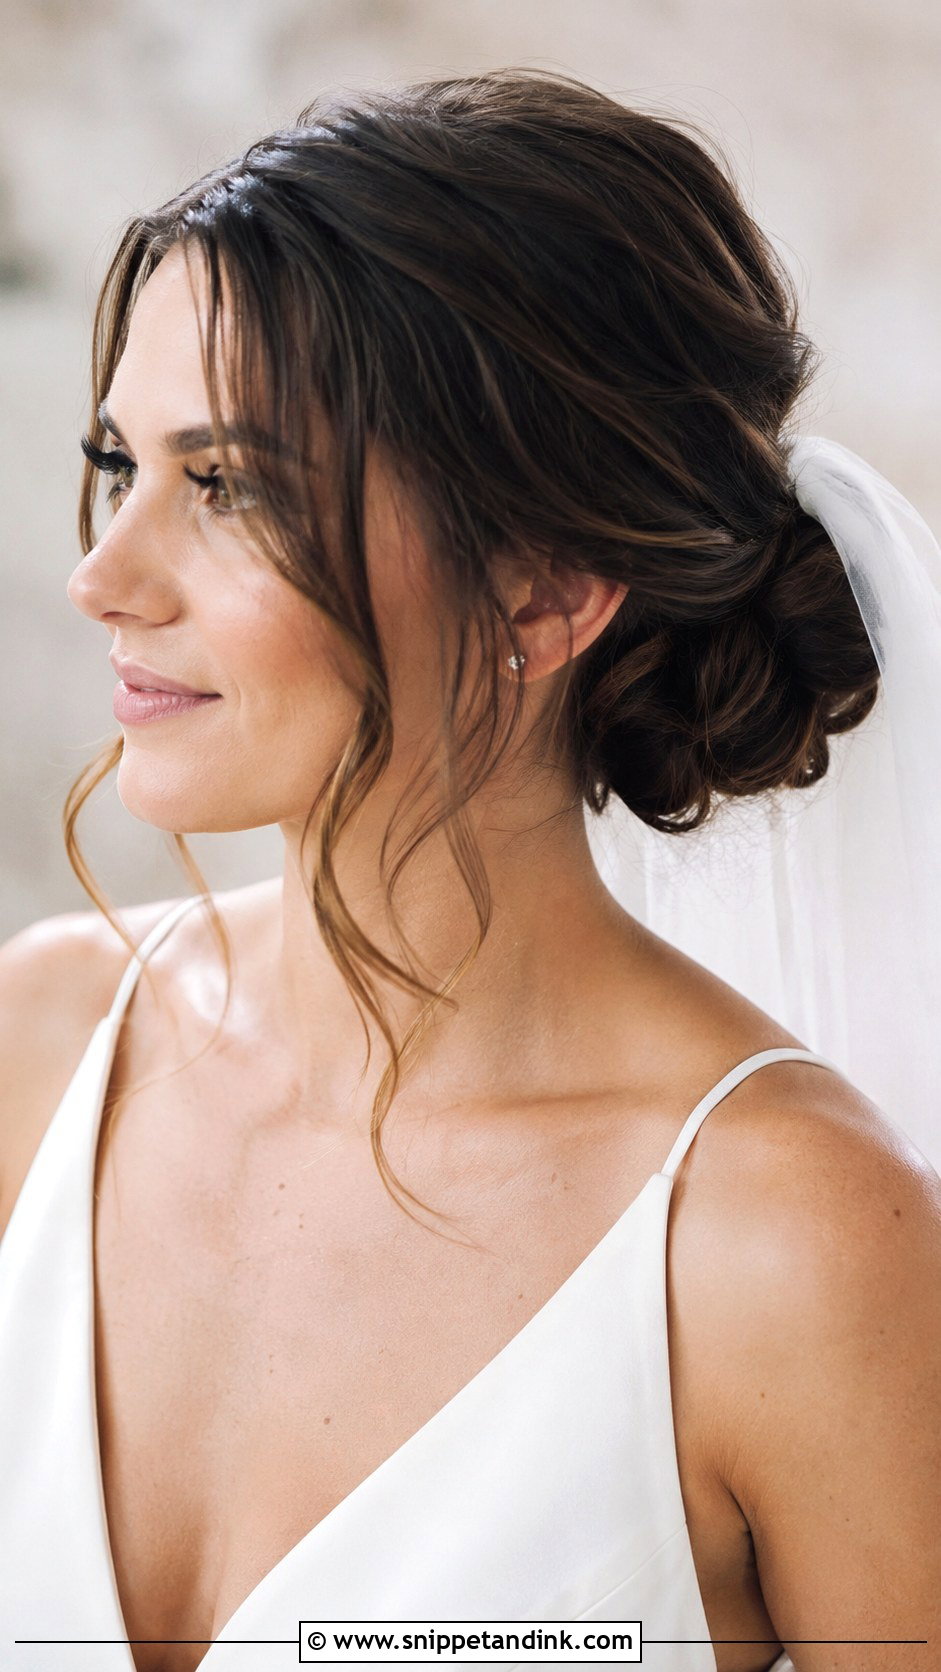
Most brides ask me for soft tendrils framing your face, and the trick is choosing them before the bun goes in, not pulling them out afterward. Pulled-out pieces come from the wrong place and look stringy. I section two thin strands at the temples, curl them away from the face with a small iron, and leave them until the very end. If you have a strong jawline or a long face, tendrils just in front of the ear soften it more than pieces at the cheekbones. Keep accessories minimal so the face stays the focus.
6. Low Side Bun With Veil
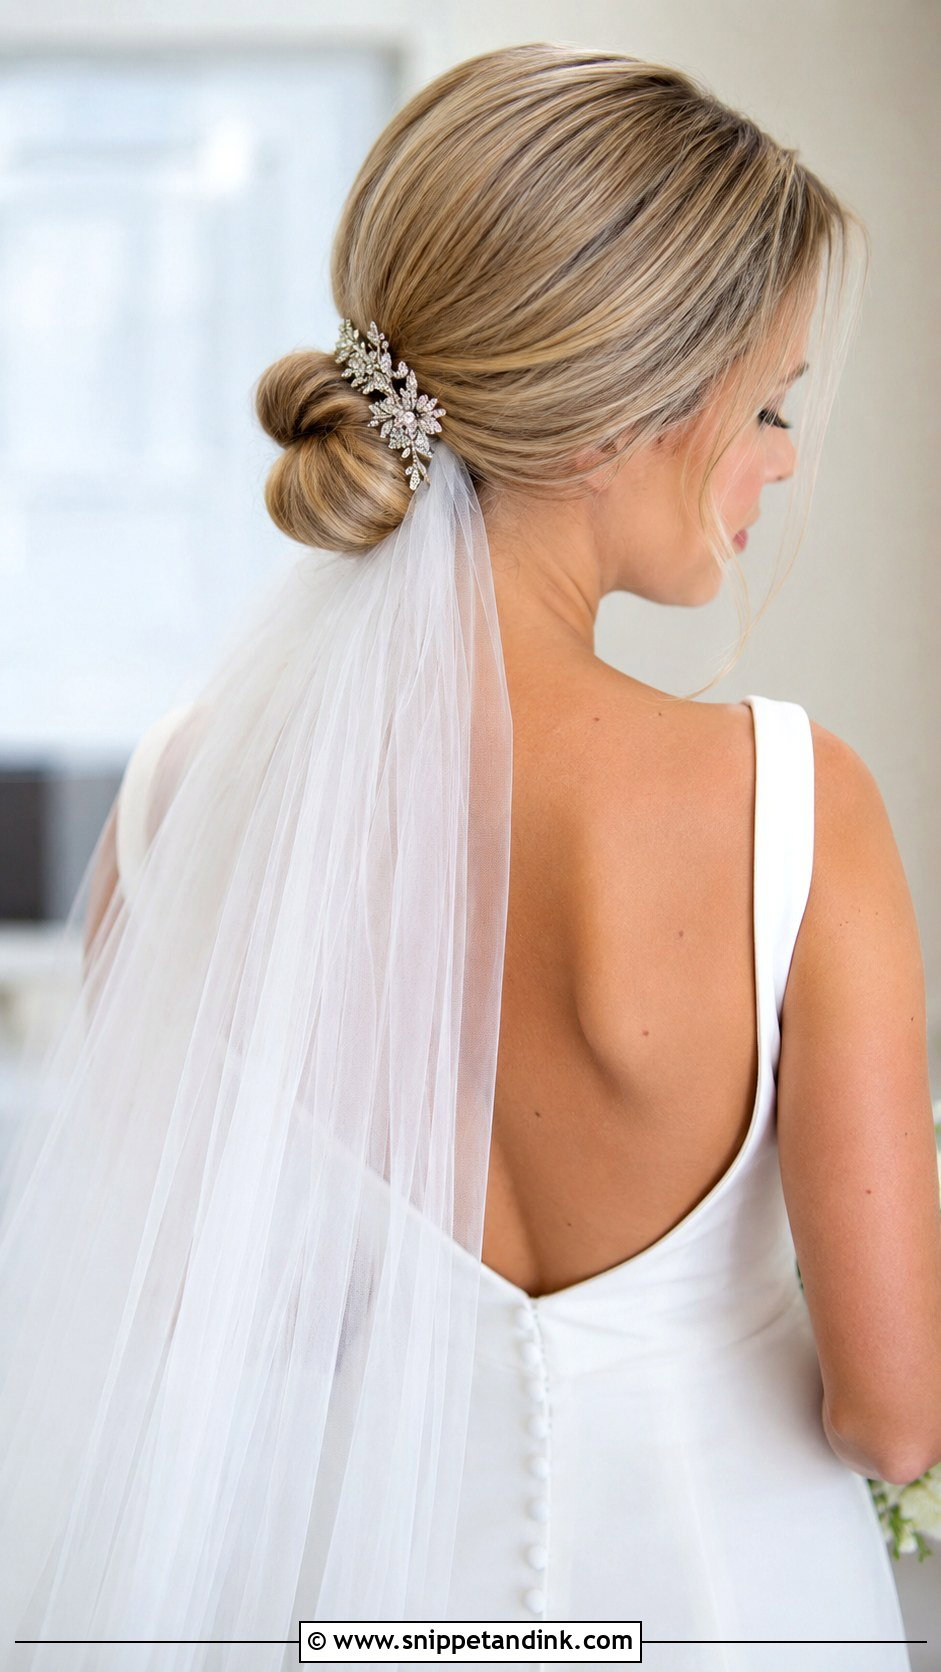
A side bun is a very good veil base because the comb can slide in above the knot, into hair that’s already anchored. I always pin a small hidden braid or crossed bobby pins under where the comb will sit, so the veil has something to grip. Cathedral veils pull backward when they catch the wind; birdcage styles barely weigh anything. The low position lets fabric fall without a lump at the crown. After the ceremony the veil comes out and the bun is still intact, and a jeweled comb can go into the same spot for the reception.
7. Bohemian Low Side Bun
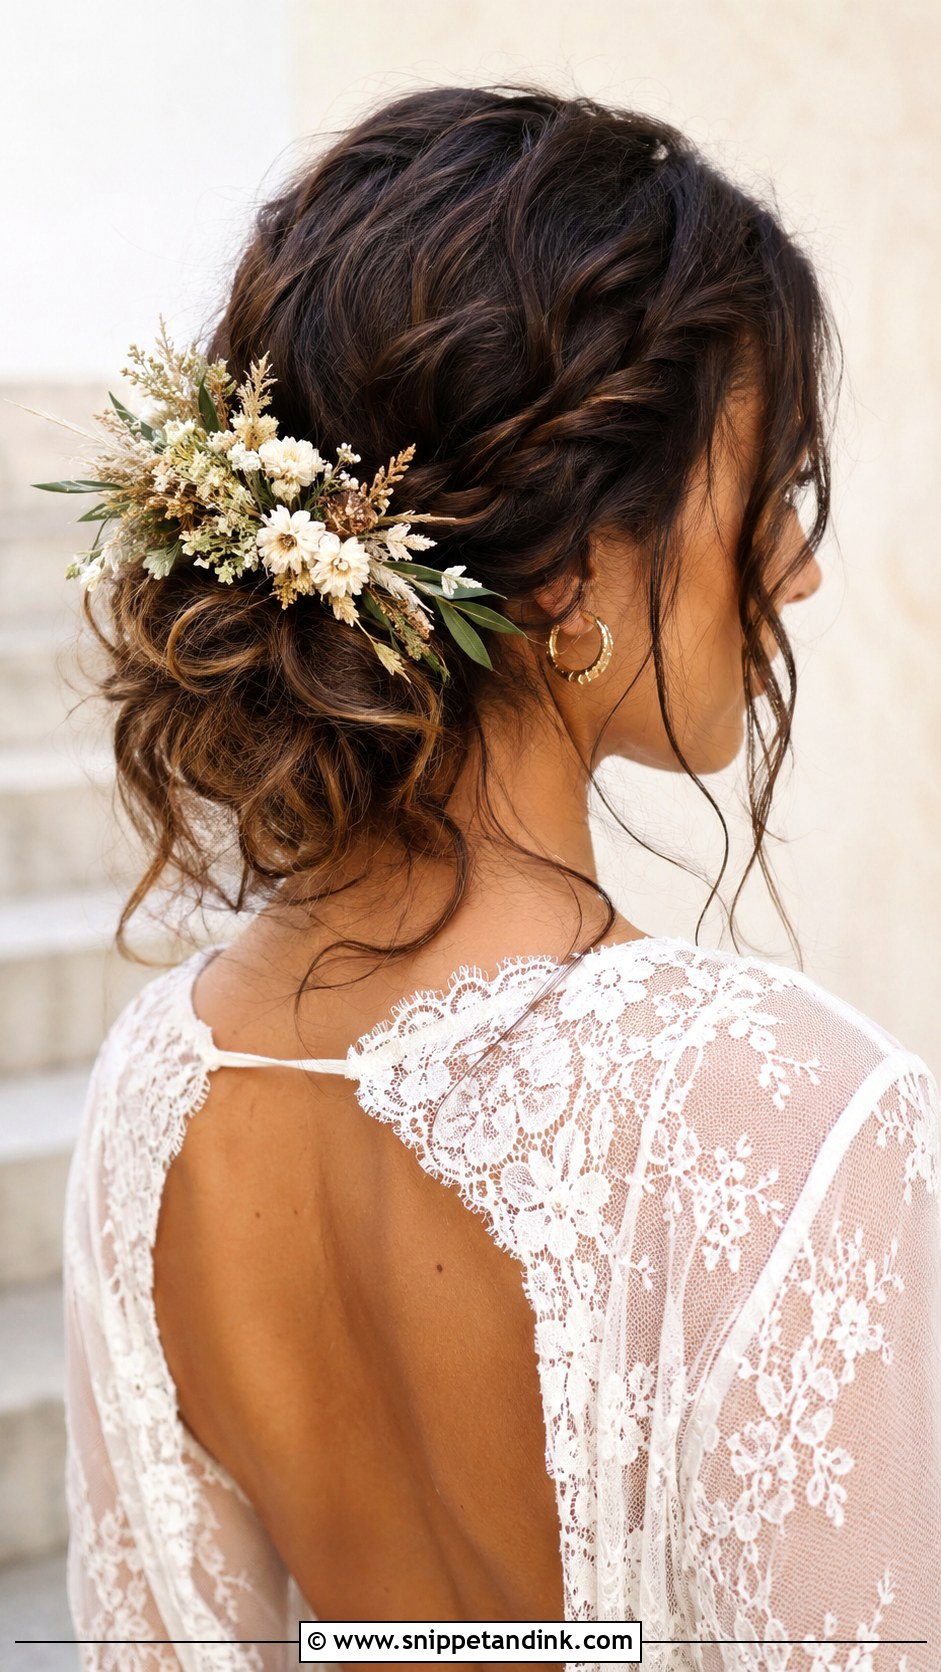
The boho side bun is the one where I put down the fine-tooth comb. I build texture with a few mini braids and twisted strands, then let the knot sit loosely so waves and curls show through. Wavy and curly hair are a natural fit because the texture is already there. Dried flowers or a little greenery tuck in well, and dried stems won’t wilt in an outdoor ceremony the way fresh ones can. Paired with a flowy lace gown, it gives a whimsical vibe without looking unfinished.
8. Low Side Bun With Flowers
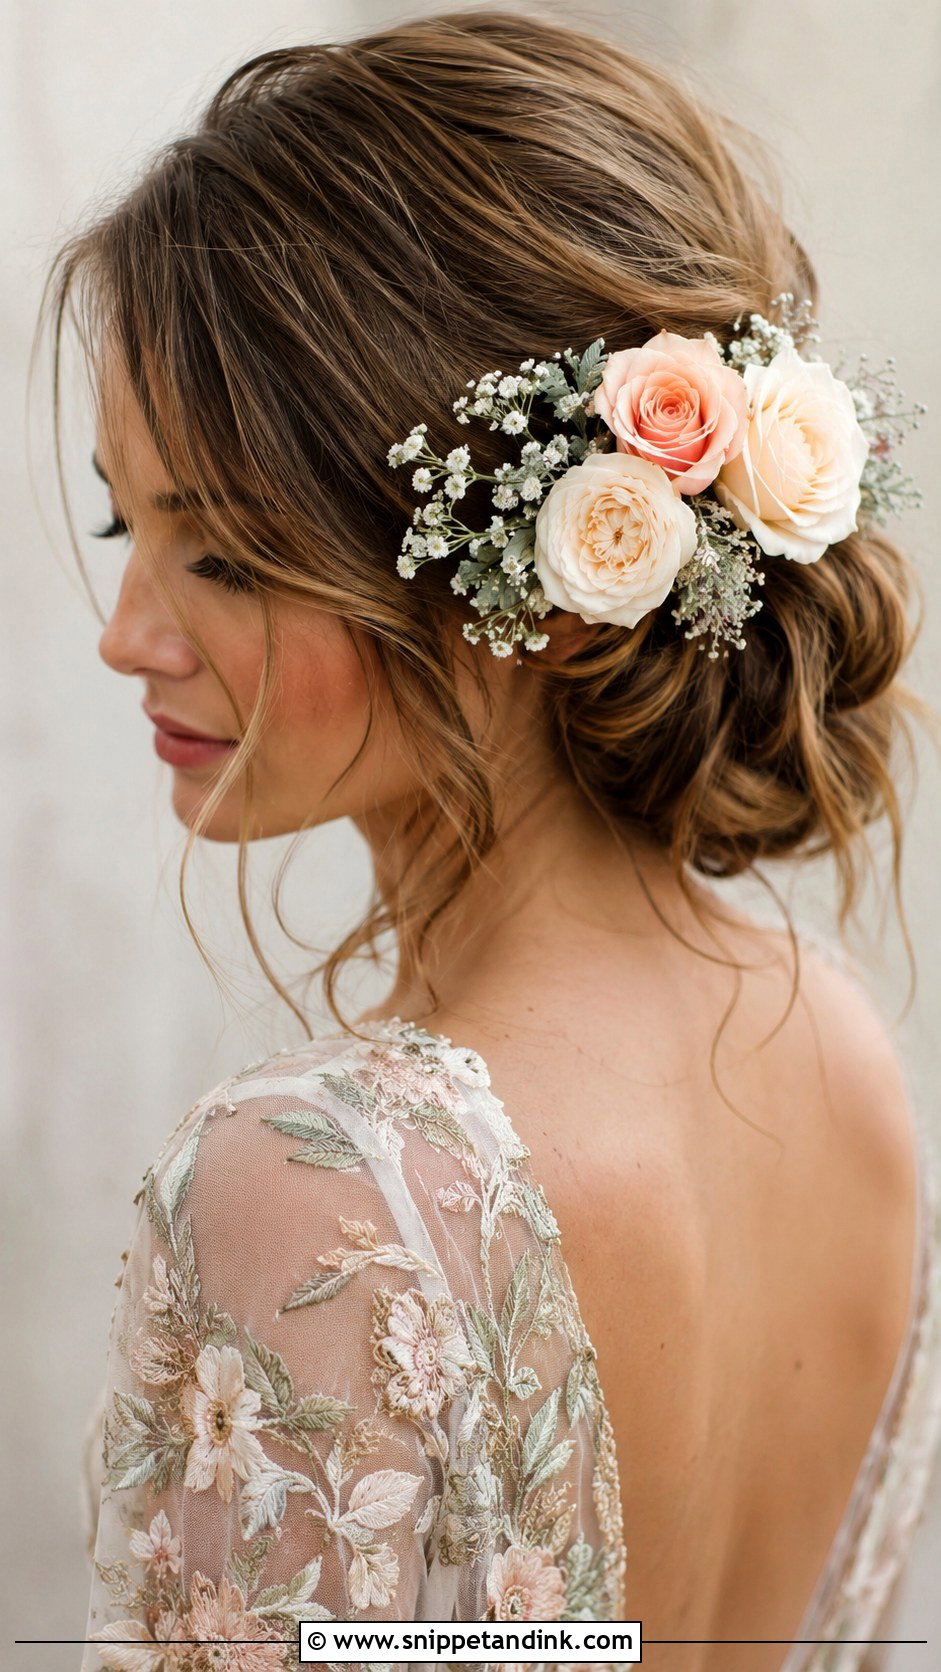
Fresh flowers need a plan, not just a handful of blooms. I ask the florist for wired, sturdy stems and keep them in the cooler until the hair is finished, then place them last. Roses and spray roses last well out of water; baby’s breath is tougher still. Delicate stems like gardenias brown at the edges within hours, so I’d skip them on a hot day. Cluster the flowers at the side of the bun so they catch the camera on your good side, and match a variety to your bouquet so the two read as a set.
9. Twisted Low Side Bun
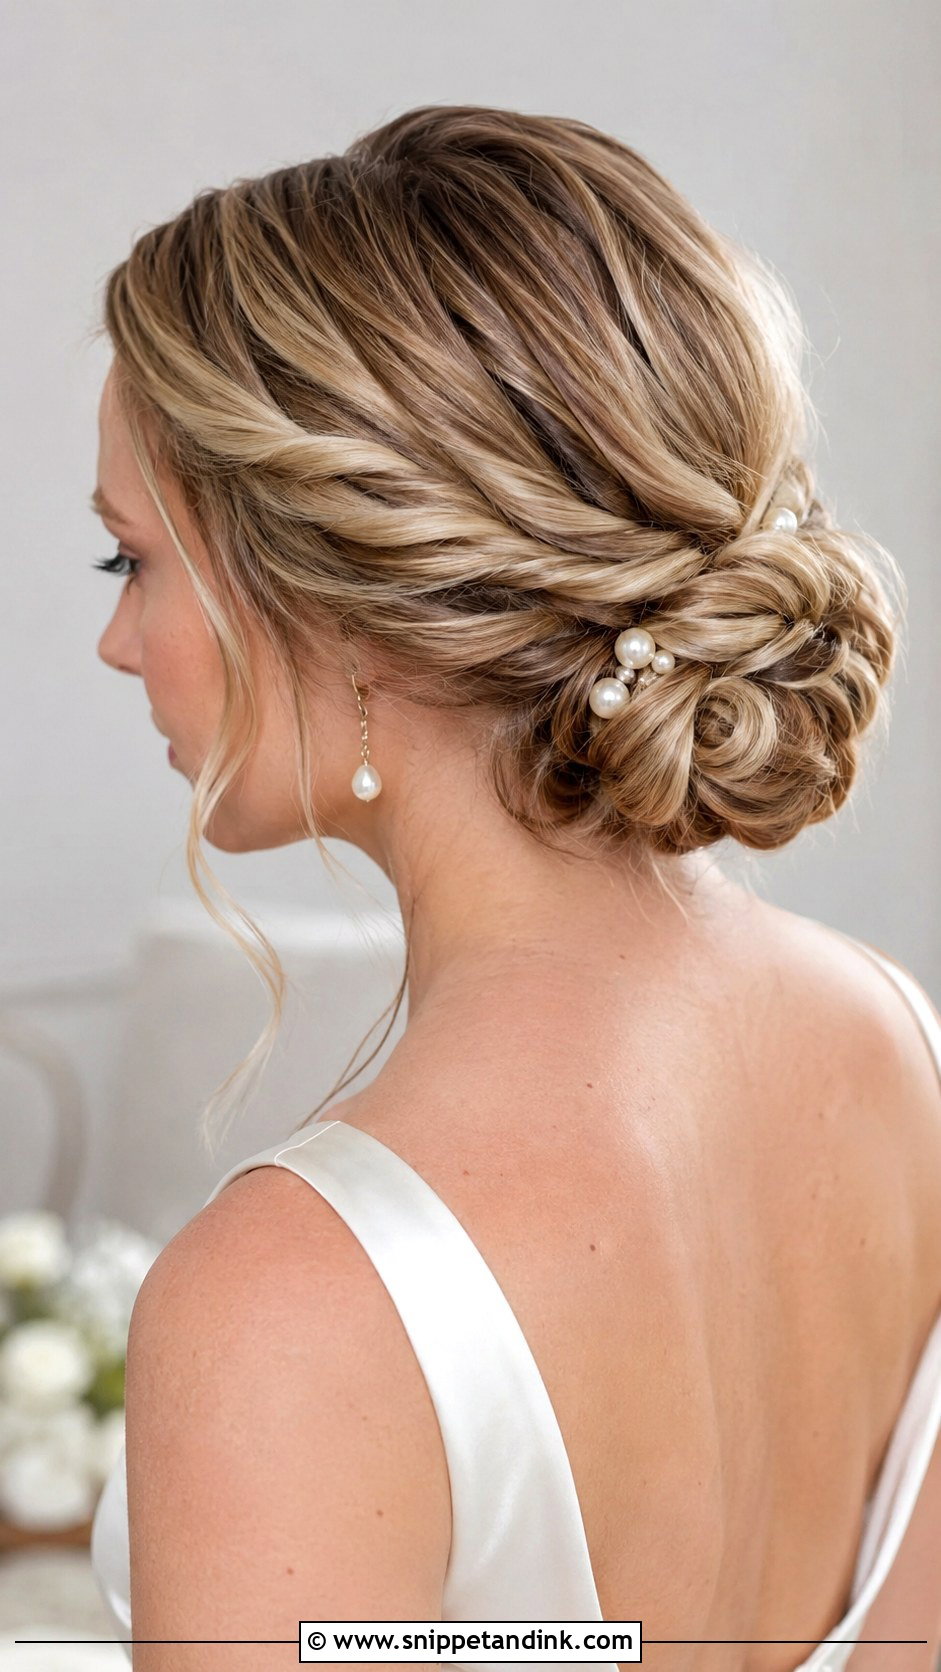
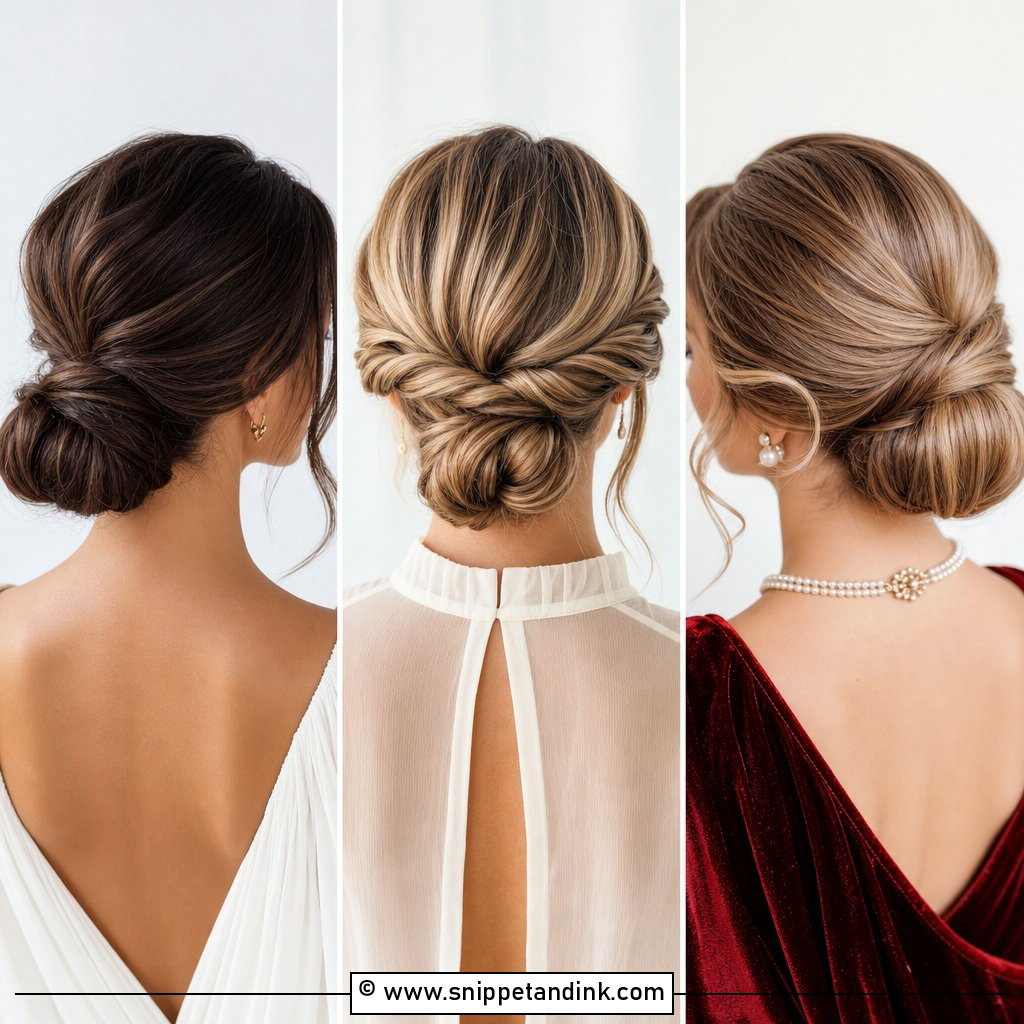
Twists give a rope-like texture without the time of a full braid, and they’re a good middle ground between sleek and boho. I twist each section away from the face, pin it as I go, and coil the ends into the knot. The catch is that a twist will unwind if it’s pinned in only one place, so I cross two pins at every turn. It suits medium to long hair, and a few pearl pins along the twists add sparkle without drawing the eye away from the shape.
10. Low Side Bun With Curls
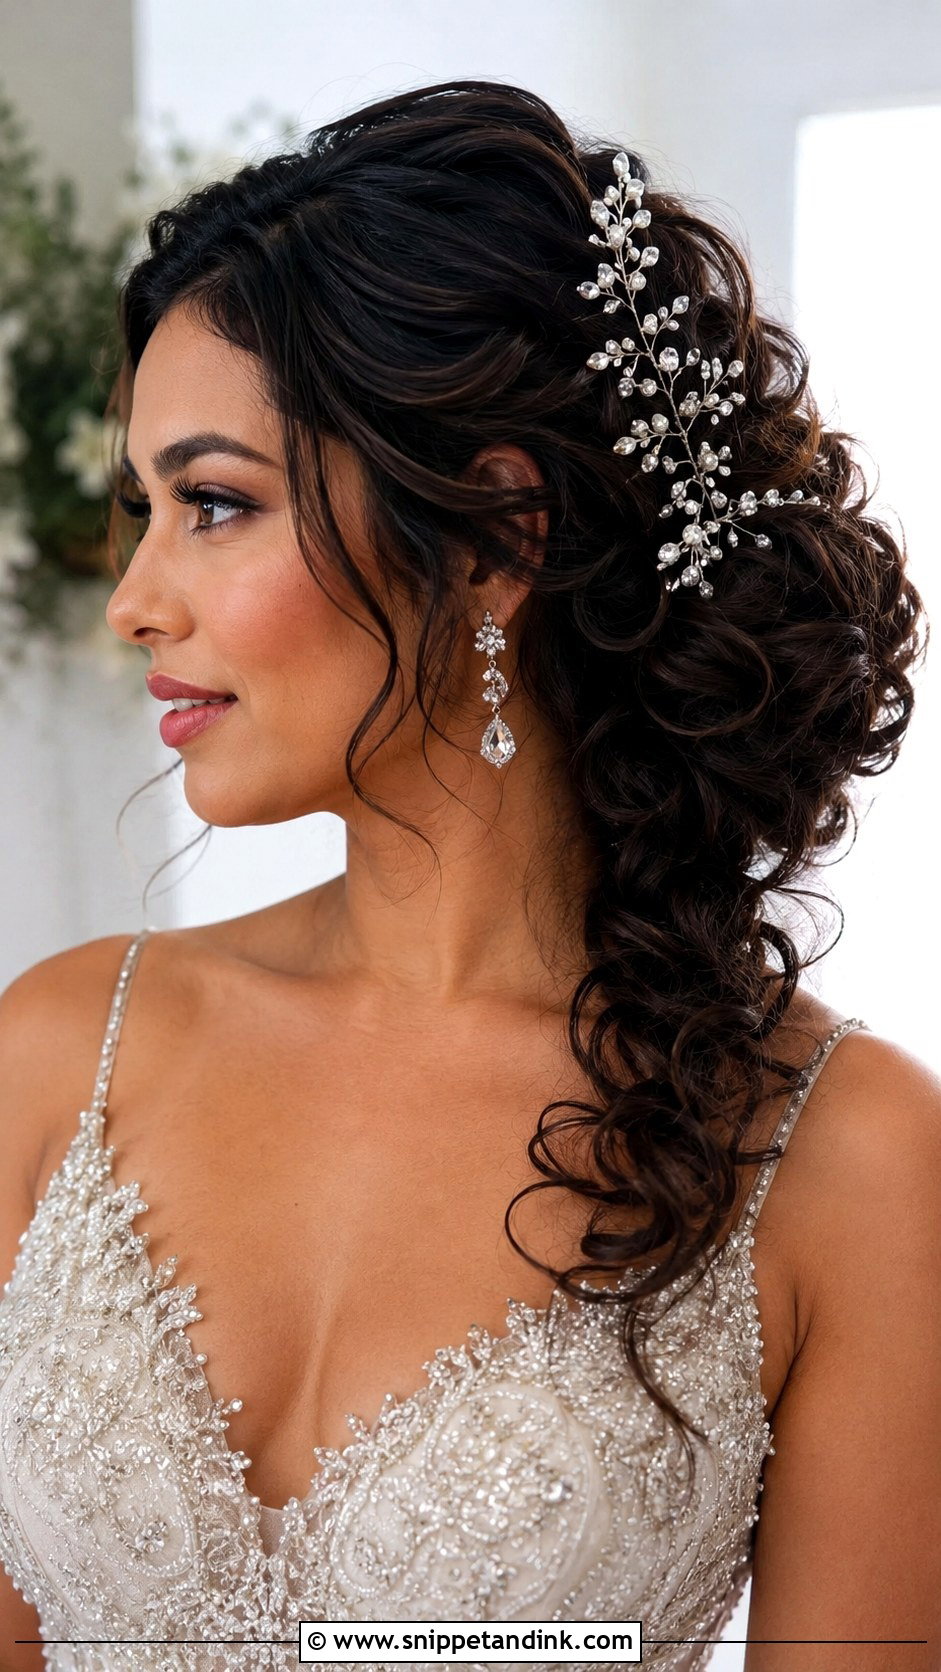
Curls add the most volume of any version on this list, and they give the bun a fuller shape. With natural curls I work with your pattern and set it with a cream, never brushing it out. With straight or fine hair, I curl in sections the night before or at least an hour before pinning, then let the curls cool completely; warm curls drop. Leaving a couple of curls loose near the face softens the side profile. A small comb or a flower is all it needs.
11. Low Side Bun With Side Part
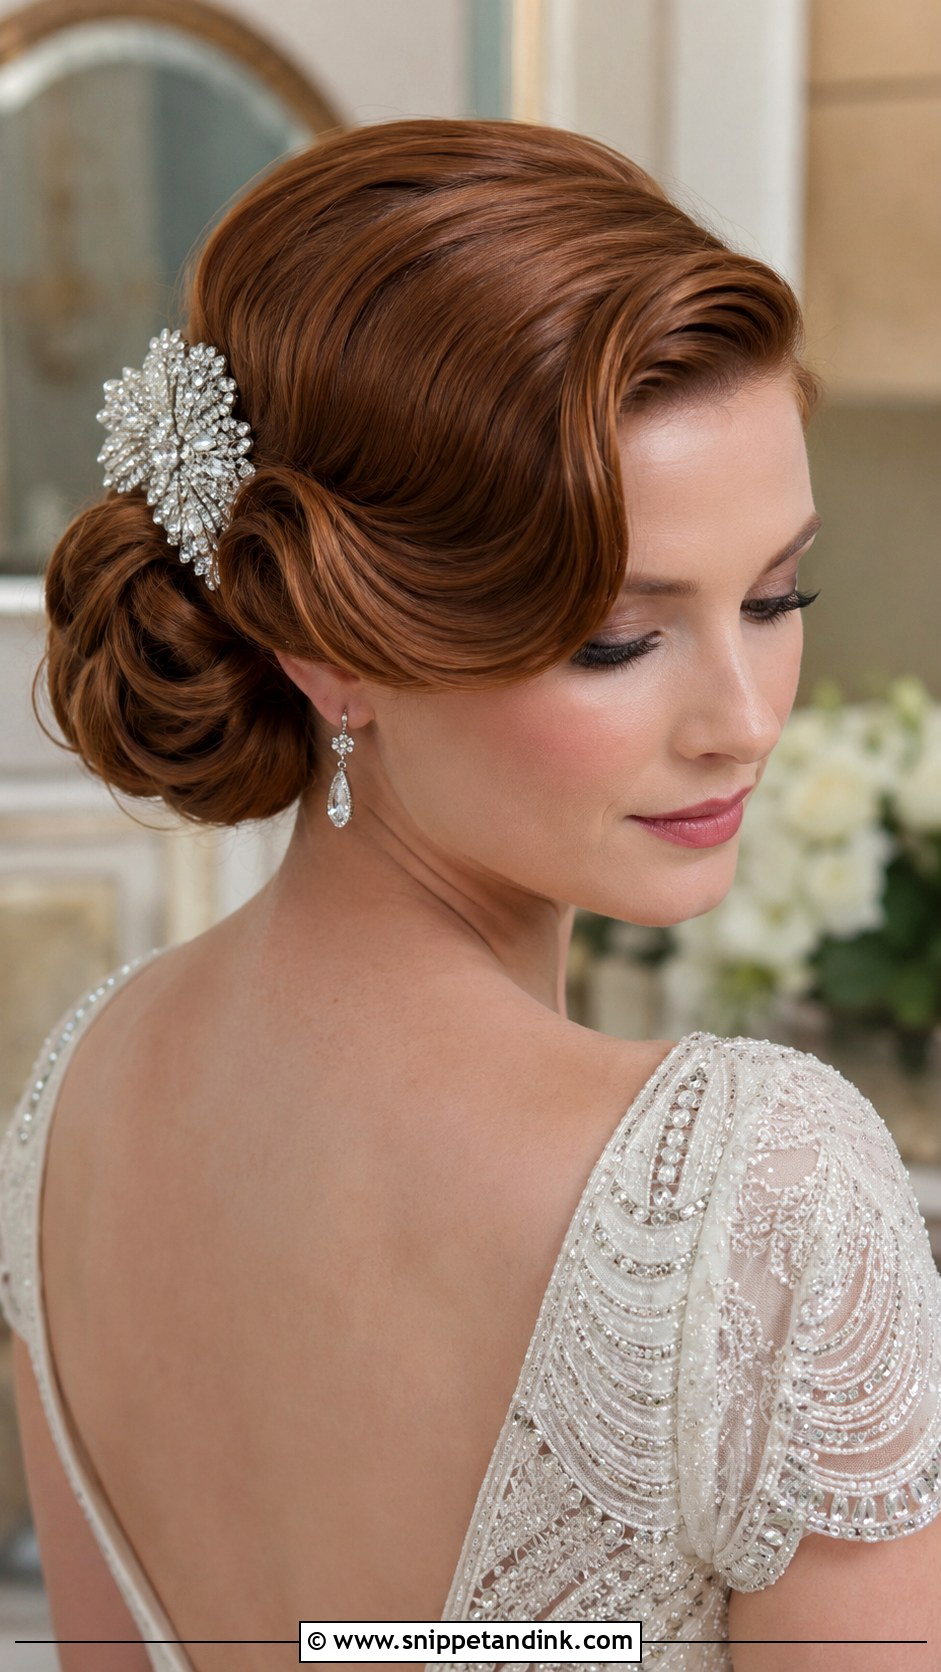
A deep side part shifts the whole look toward old Hollywood. The part pulls hair across the forehead and draws attention to the eyes, and the asymmetry flatters most face shapes. I check where your natural part falls first, because forcing a part against a cowlick means it springs back by the reception. A smooth sweep or a soft wave across the forehead both work, and a comb placed where the sweep meets the bun ties the two together.
12. Fishtail Braided Side Bun
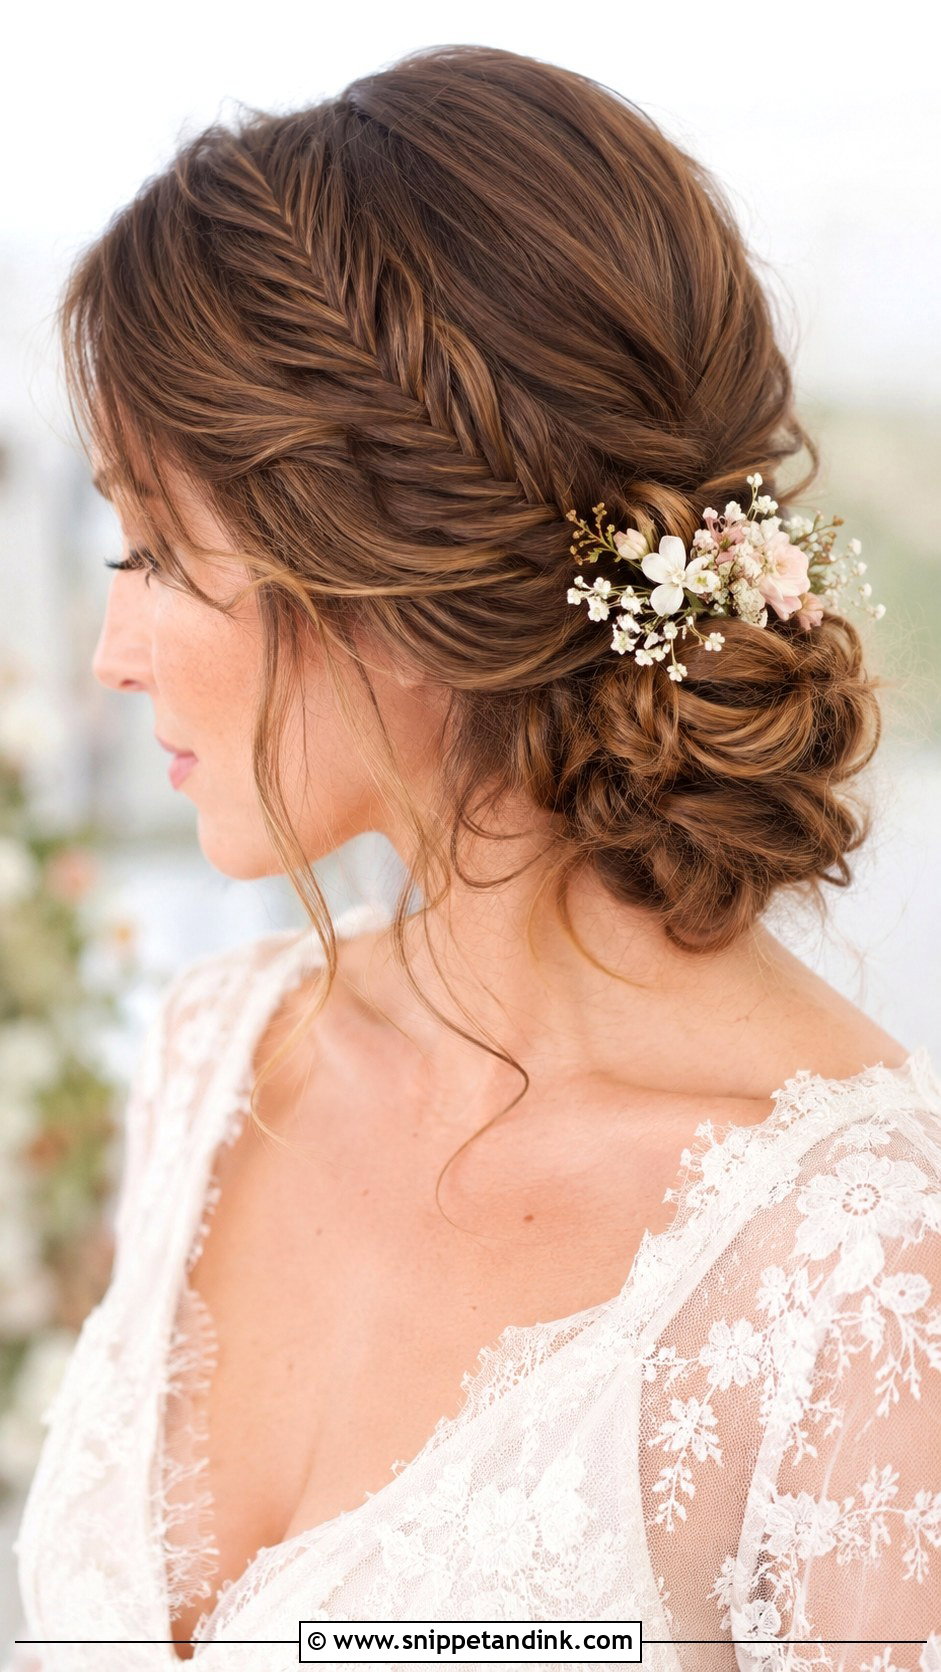
A fishtail looks complicated but it’s only two strands crossing back and forth, and it holds surprisingly well because the pattern grips itself. I braid down one side and coil the tail into a low knot, then pancake the edges so the herringbone shows from every angle. It needs length, ideally past the shoulders, or the coil ends up tiny. Small flowers or pearls woven through the plait work well for a bohemian or romantic wedding.
13. Low Side Bun With Hairpins
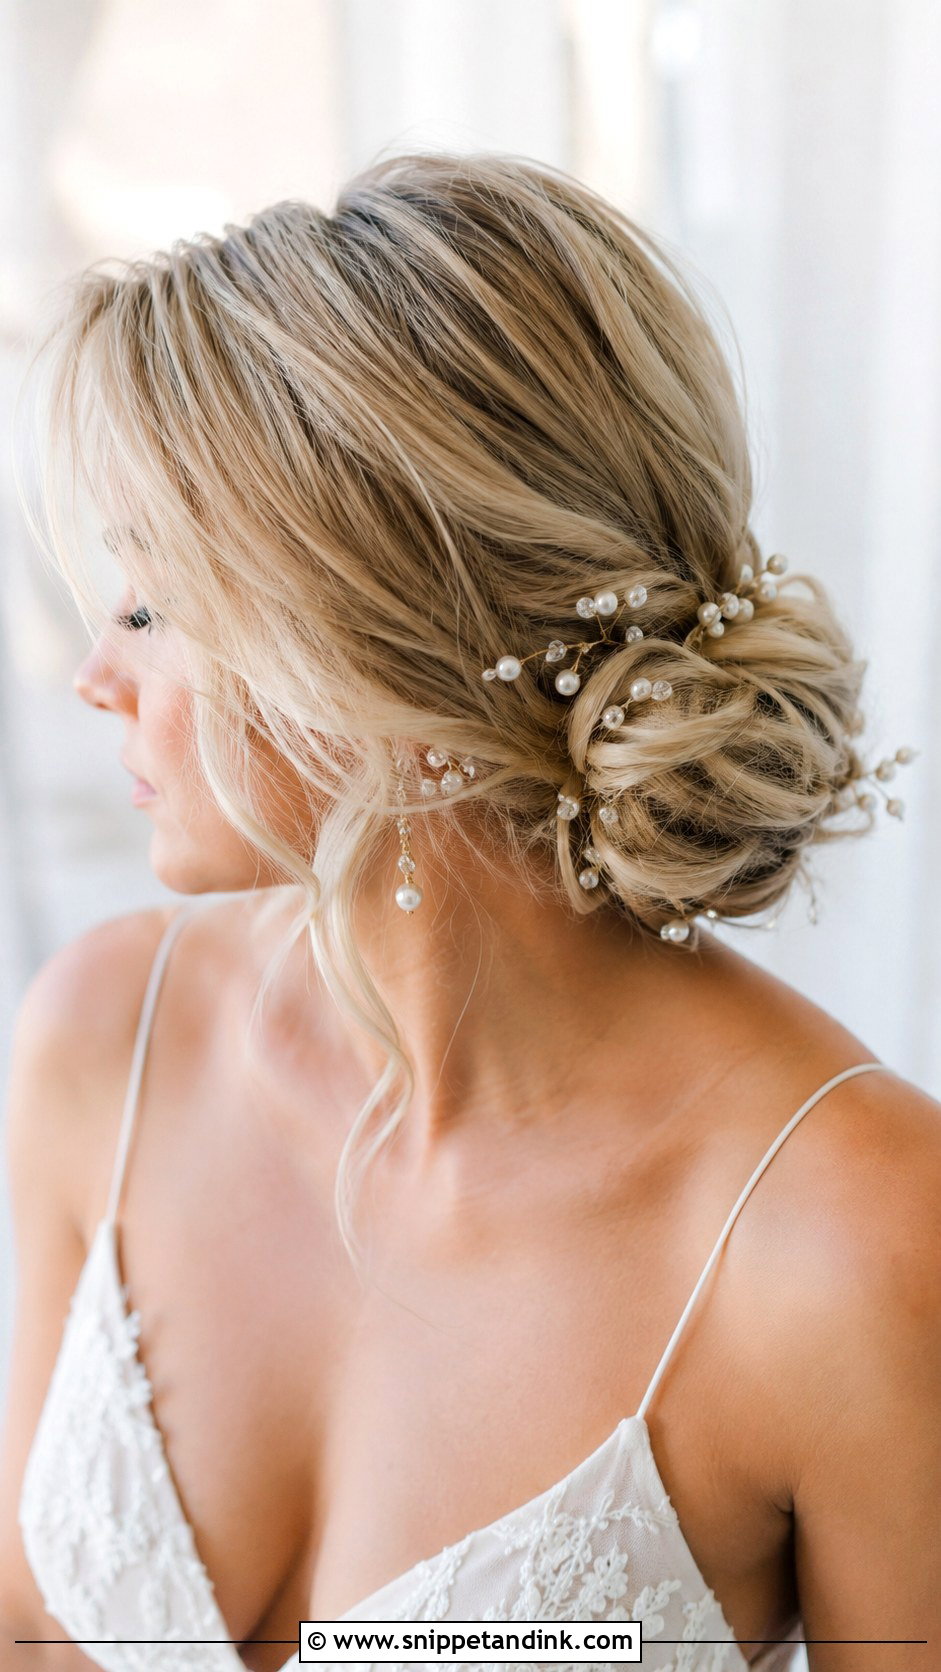
Decorative pins are the cheapest way to change a plain bun. Pearl, crystal or floral pins can be scattered around the knot or lined up in a neat row. The thing people don’t realize is that decorative pins hold almost nothing; I secure the bun fully with plain pins first and add the pretty ones on top. An asymmetrical cluster reads modern; a tidy line looks classic. They work on sleek and textured buns alike.
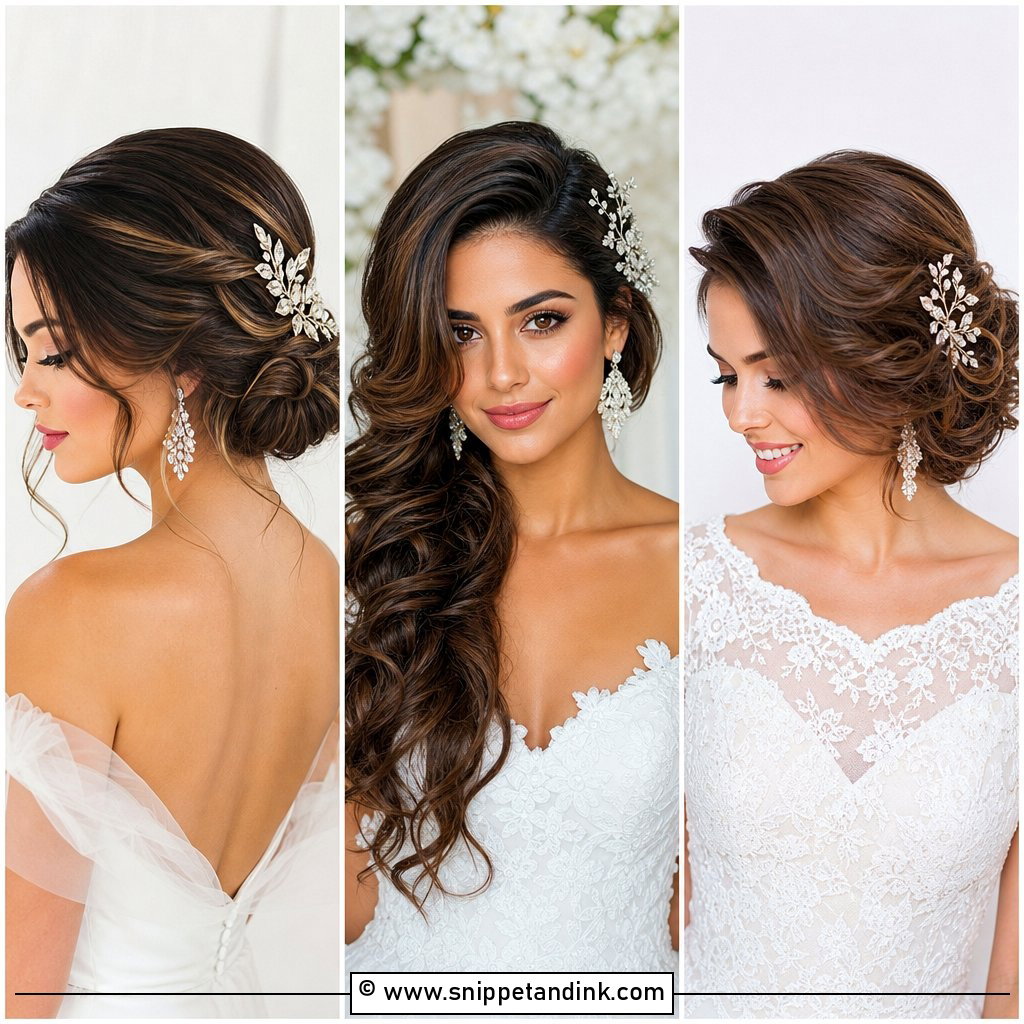
14. Low Side Bun With Jeweled Comb
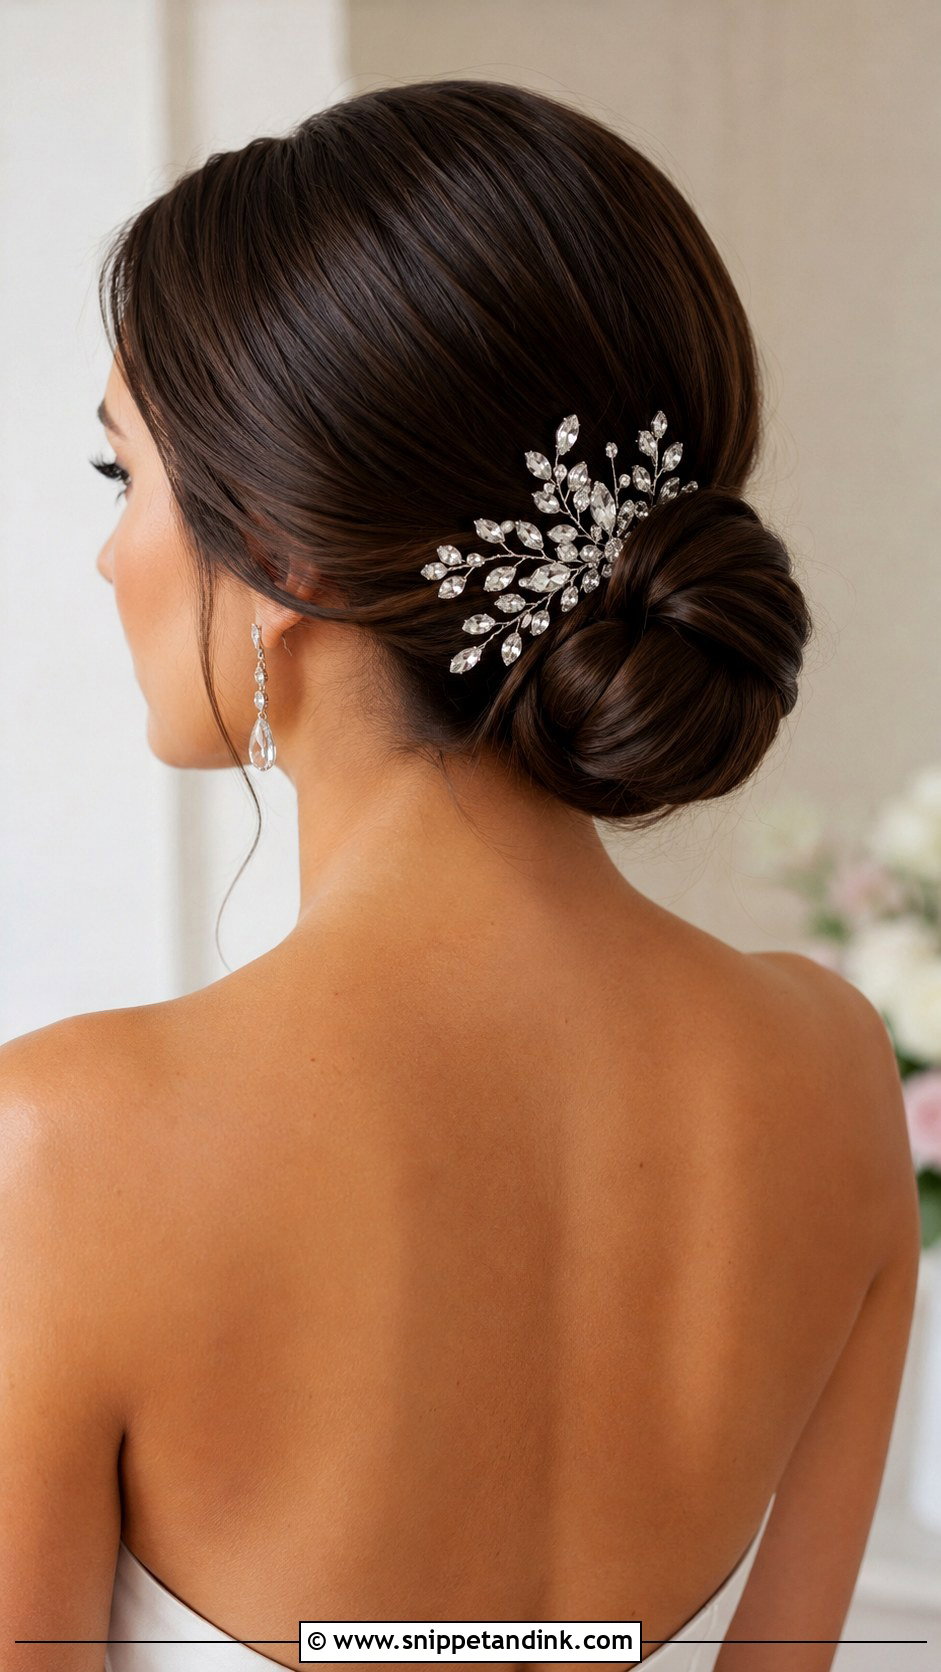
A jeweled comb gives a side bun one clear focal point. I slide it just above or beside the knot, teeth angled against the direction of the hair, then lock it with a bobby pin through the comb’s teeth. Crystals, rhinestones, or pearls pick up light well, so keep the bun smooth around them. The comb also draws the eye up, which works with backless or strapless gowns. Match the metal to your jewelry, and do a test wear before the wedding: heavy combs can pull and feel uncomfortable by the end of the night.
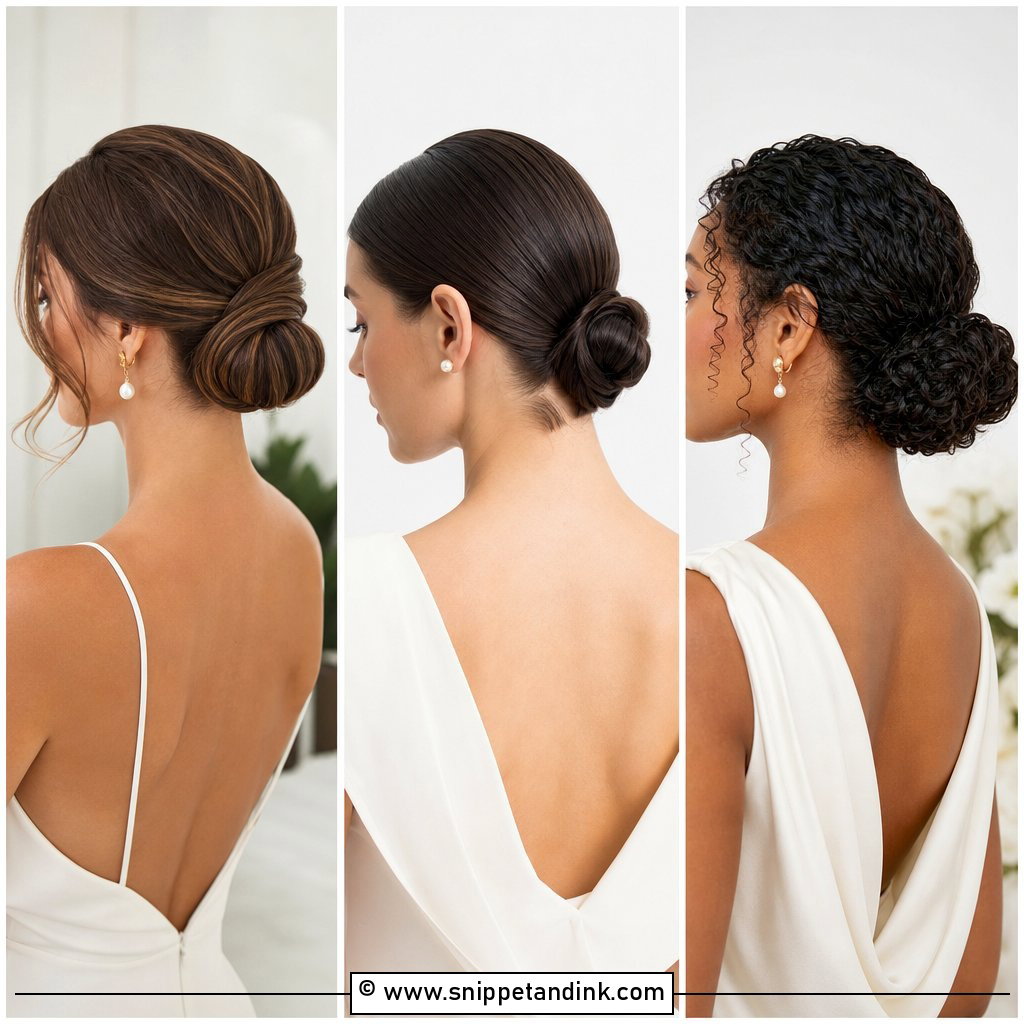
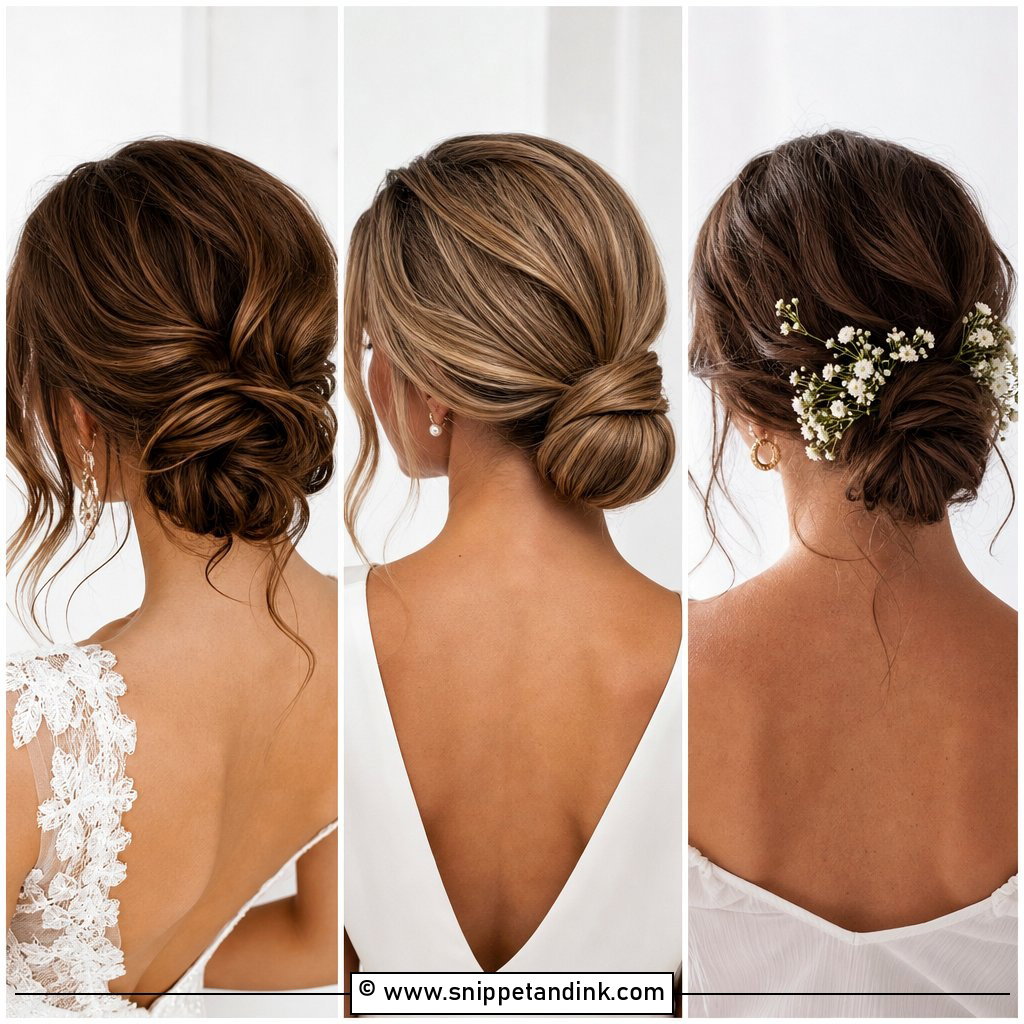
15. Waterfall Braid Low Side Bun
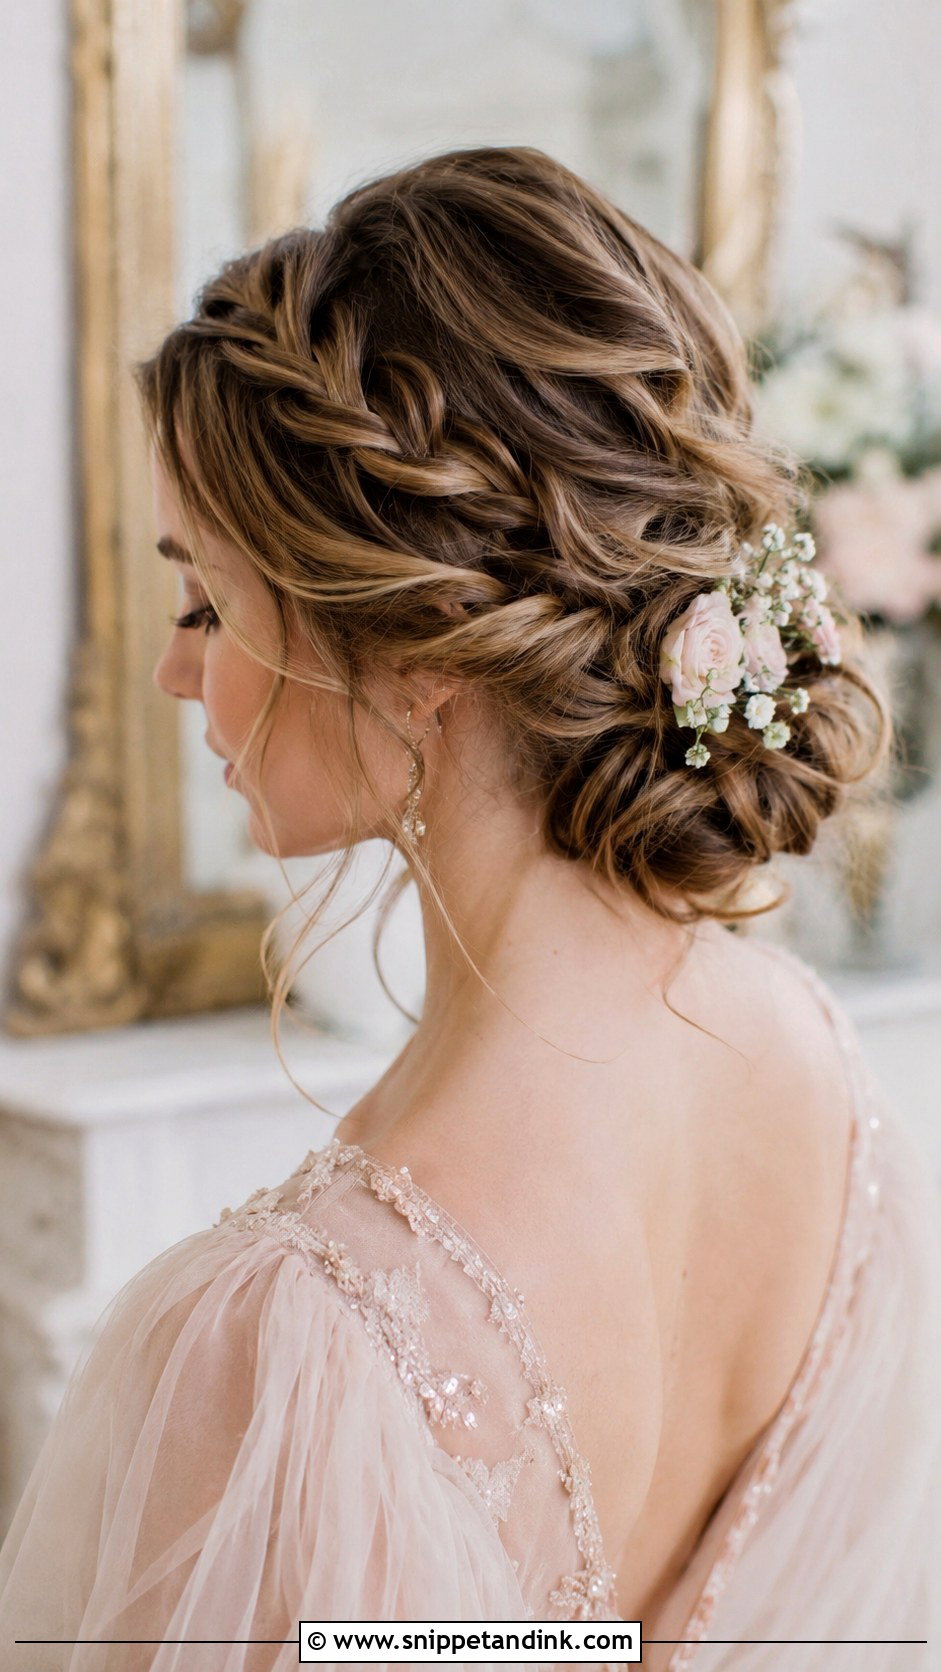
A waterfall braid runs across the head and drops strands as it goes, so you get loose waves underneath a braided band before everything gathers into a soft chignon at the nape. It’s my pick for a fairytale theme. The dropped pieces need curling, or they fall flat and look like they escaped. It works best with medium to long hair. A few flowers or pearls near the knot are enough, since the braid already carries the detail.
16. Low Side Bun For Long Hair
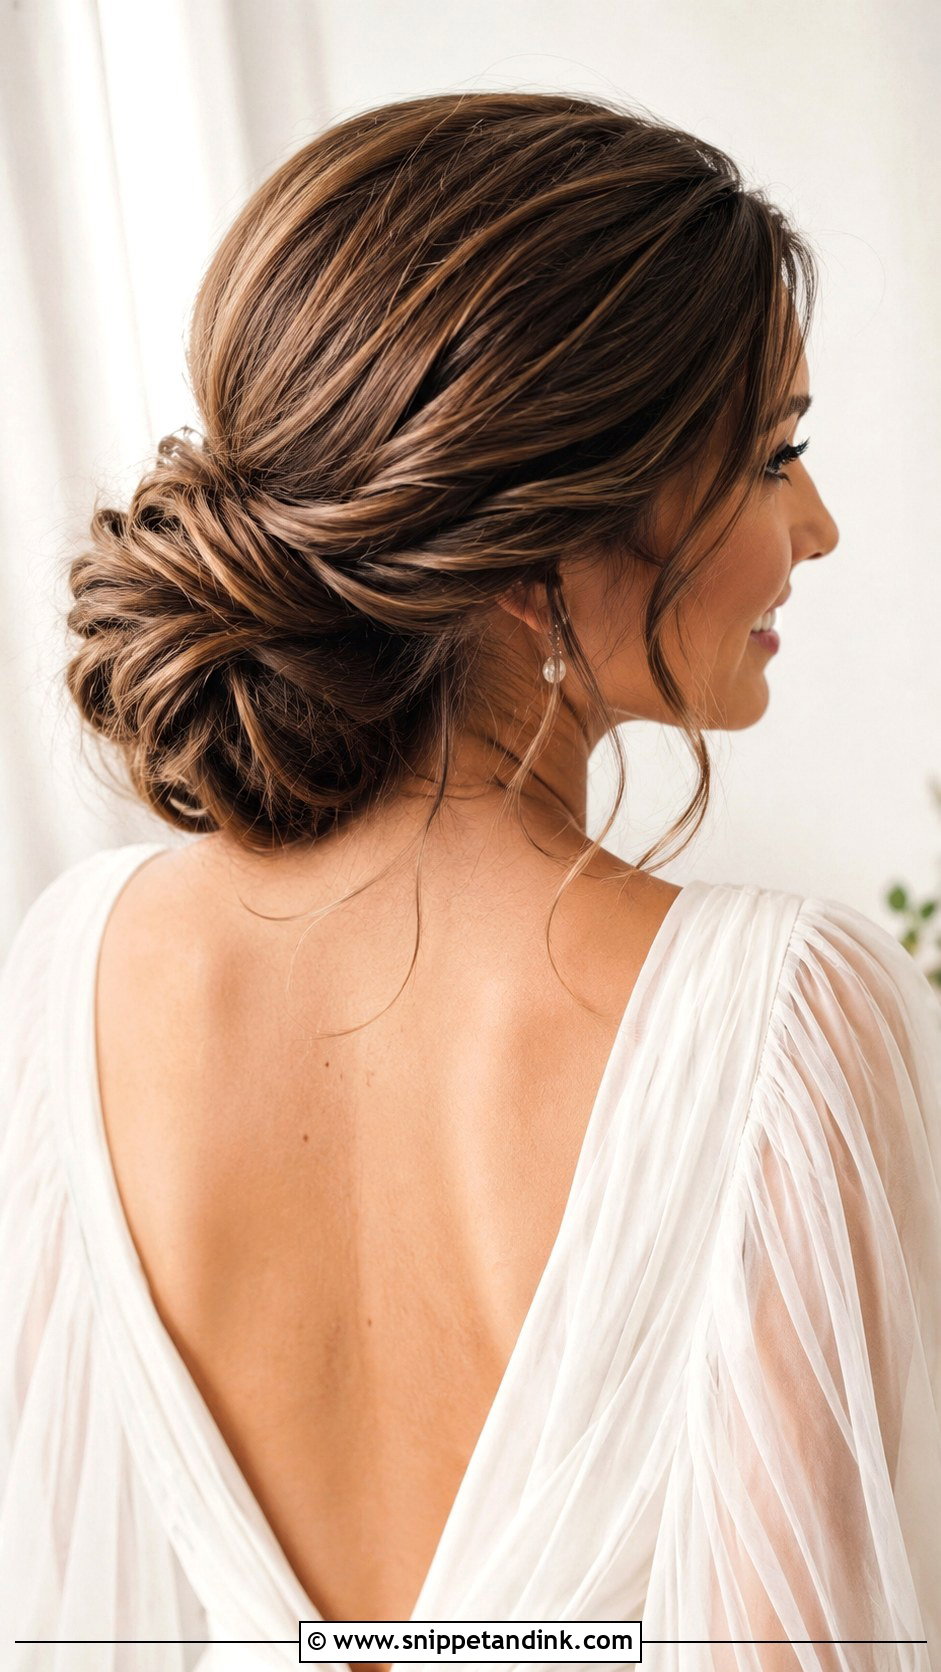
Long hair gives you the fullest knot, but it brings a weight issue. Waist-length hair pulls on the pins all night, so I split the length into two or three sections and pin each one separately instead of wrapping it all in one coil. That keeps the bun close to the head and stops it from sagging during dancing. A few long tendrils at the face look romantic. Combs or flowers sit well against the thick base.
17. Low Side Bun With Wavy Texture
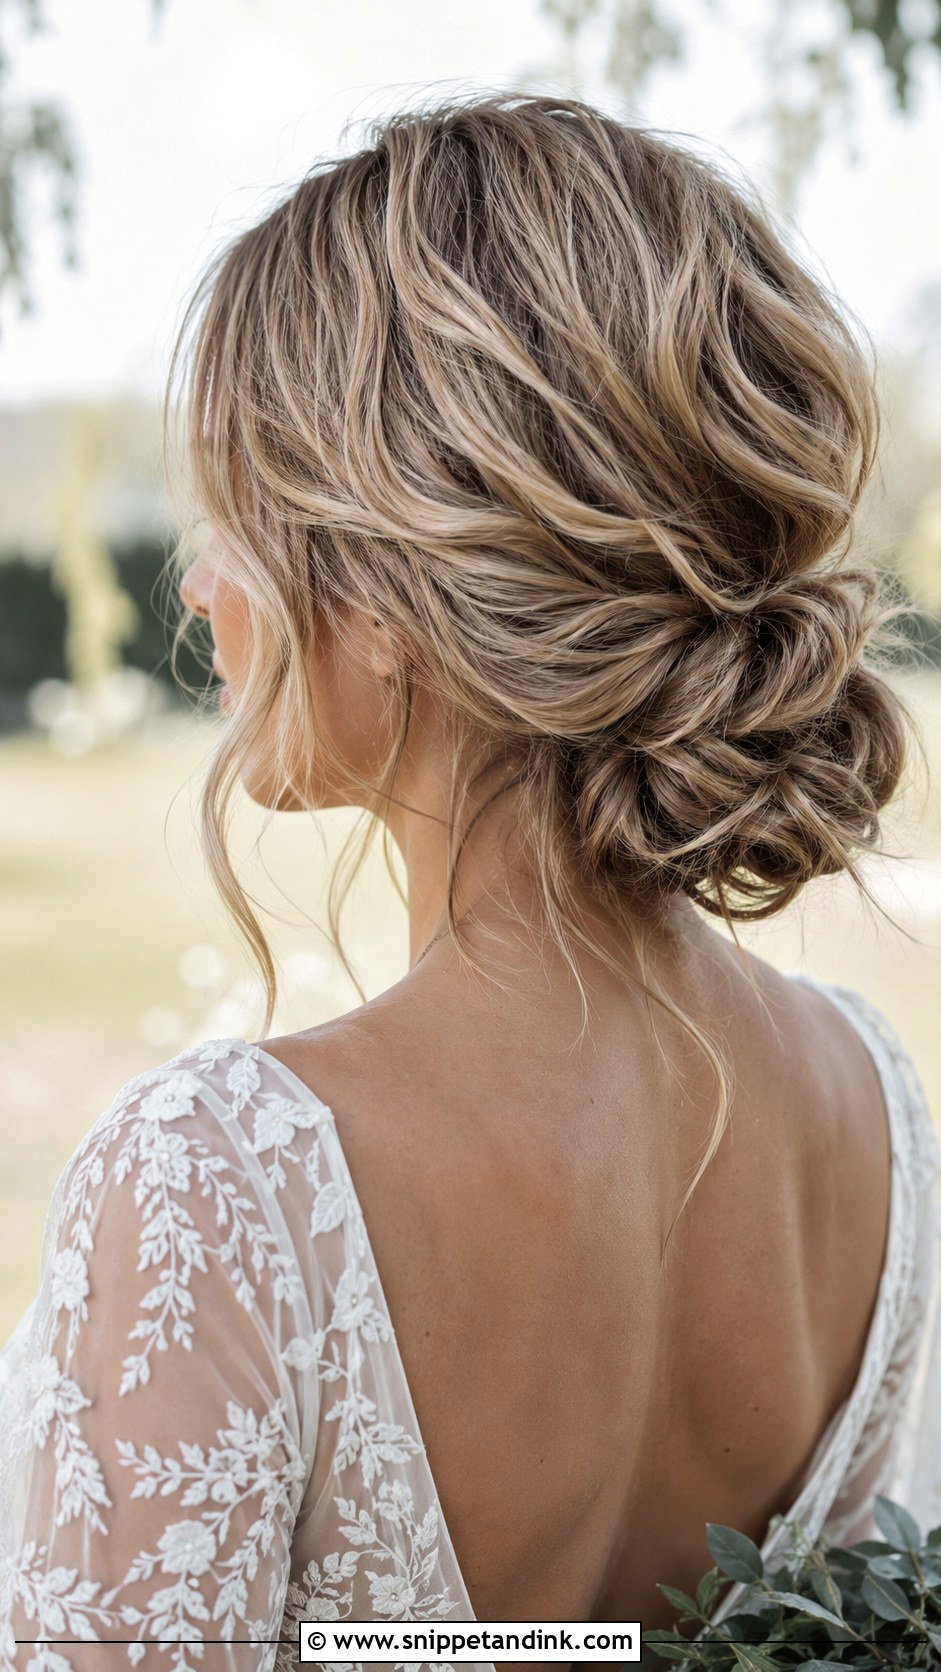
Waves give the bun body and a relaxed look, and they help fine hair look thicker. I set loose waves through the length, brush them out slightly, then gather to one side. In humid weather waves lose definition faster, so I use a light hold spray at each step rather than a heavy one at the end. Leave a few waves loose near the face, and add greenery or fine accessories. If you want polish without stiffness, a wavy textured low side bun is the one I’d suggest.
18. Vintage Low Side Bun
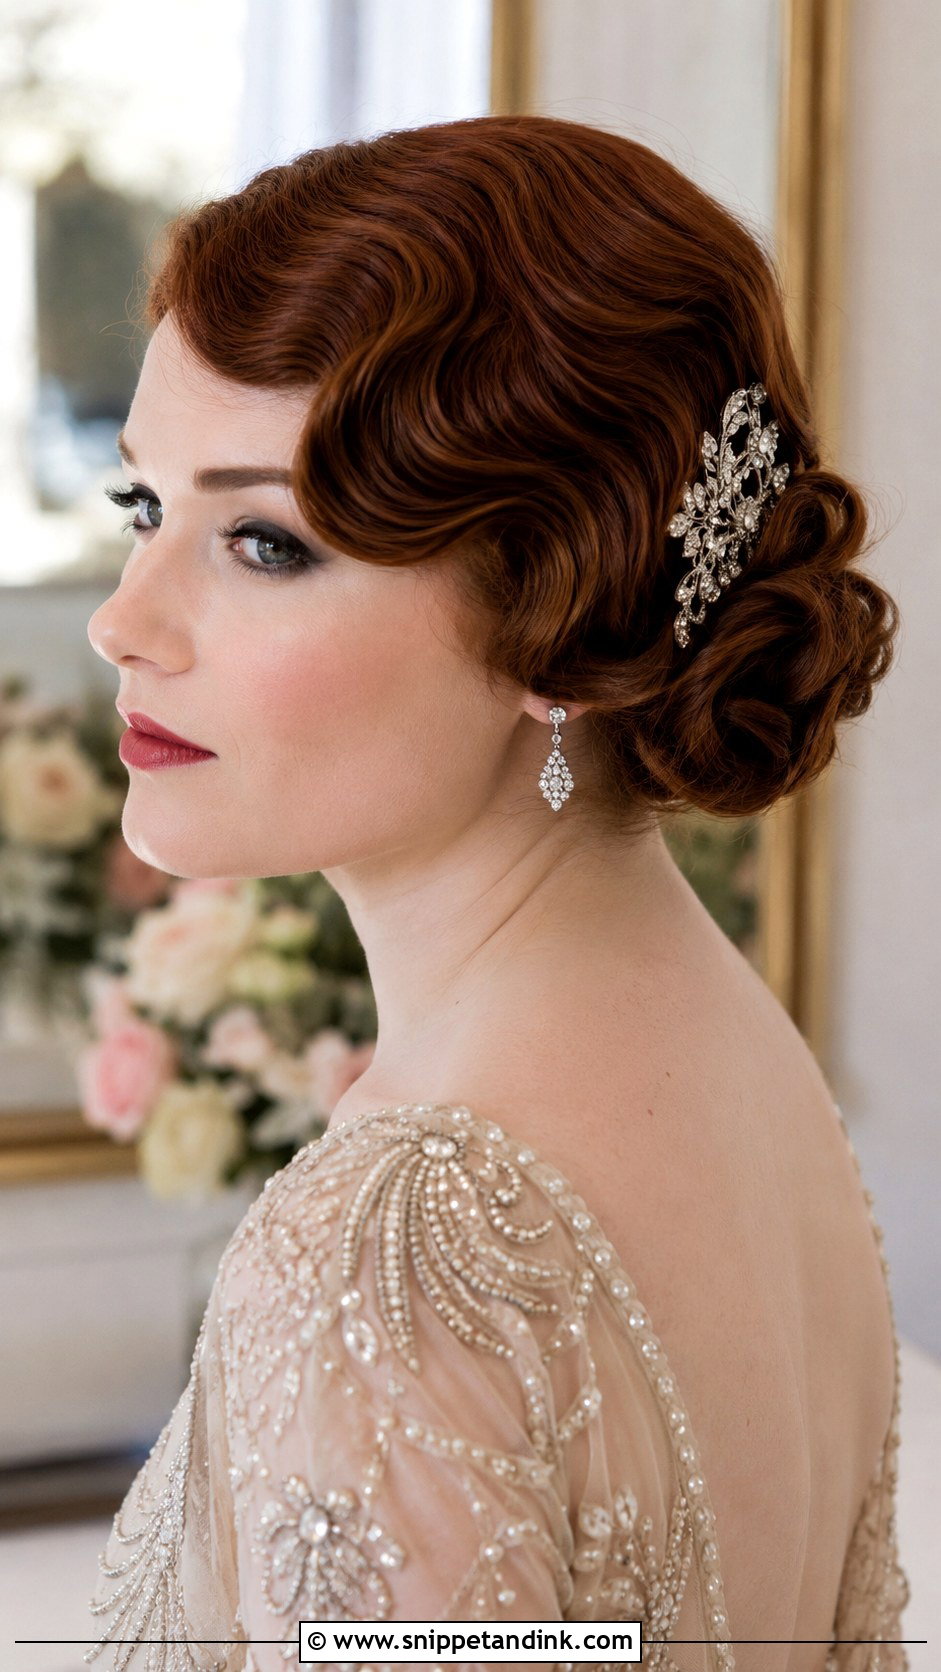
The vintage version leans on finger waves and a deep side part, set and sculpted, then finished into a smooth bun at the side. It’s a natural fit for an art deco or classic theme. Finger waves take time and a firm setting lotion, so book a longer trial for this one, and plan for clips to sit in the waves while your makeup goes on. A vintage comb finishes it. It also reads strongly in black and white photos, where the wave lines become graphic.
19. Low Side Bun With Pearls
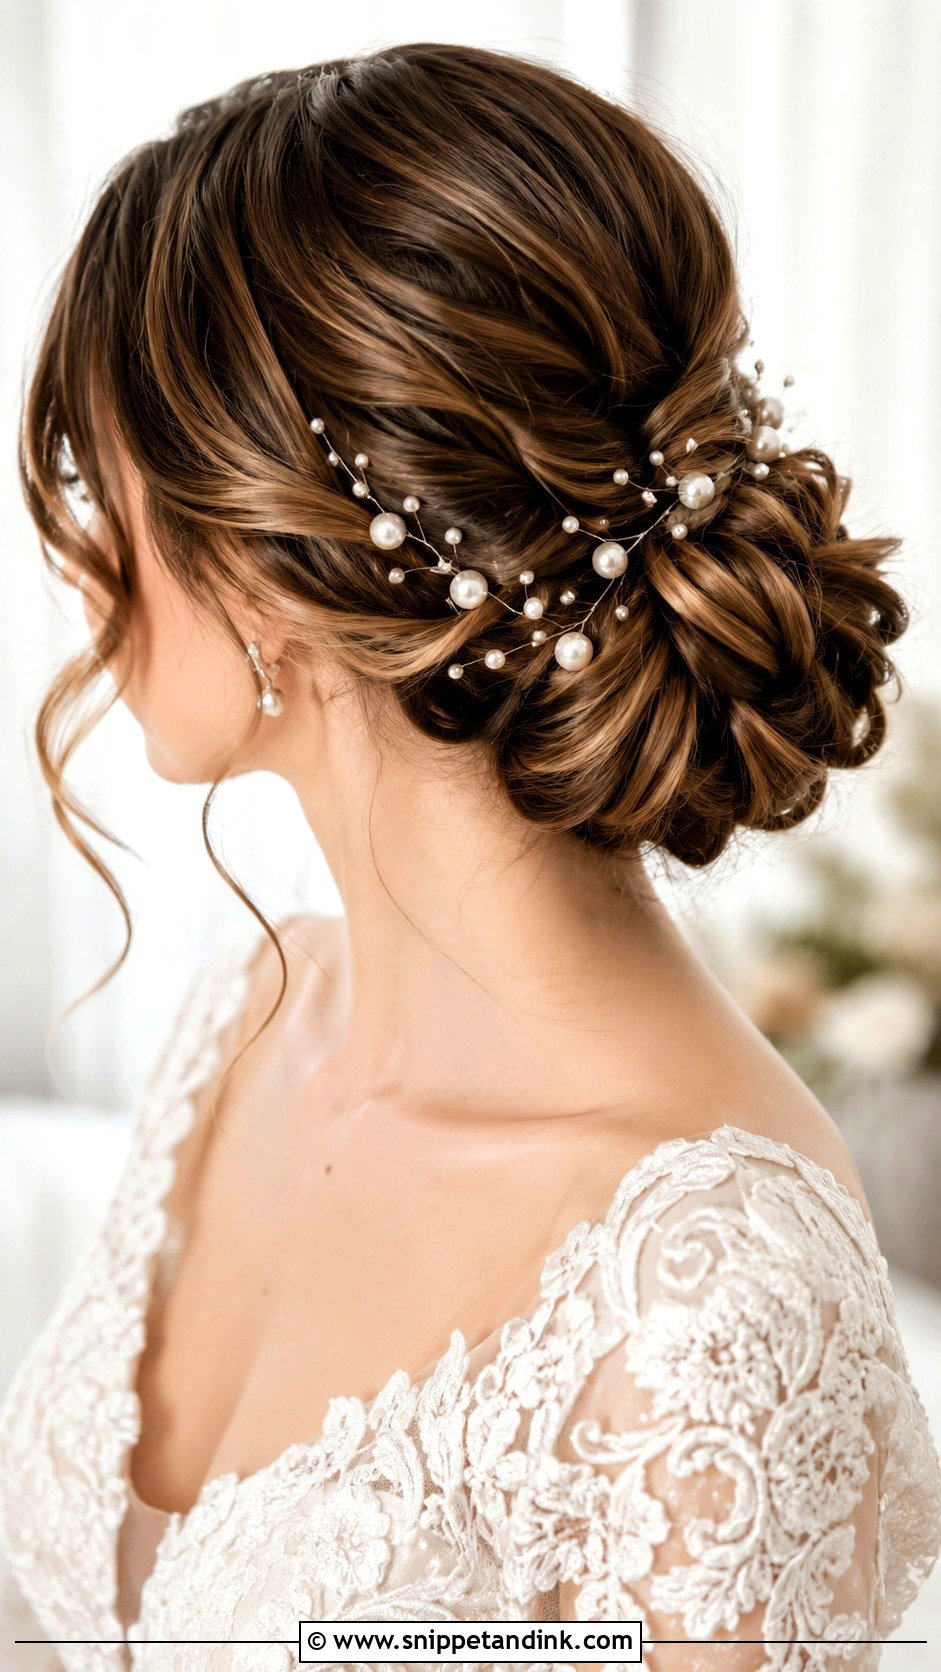
Pearls add soft shine without the glare of crystals, and they suit almost every skin tone and gown. I weave pearl pins through braids or arrange them across the knot. Before you buy, hold your pearls next to your dress in daylight: bright white pearls can make an ivory gown look yellow, and ivory pearls look grubby against pure white. They work on both sleek and textured buns, and they don’t date.
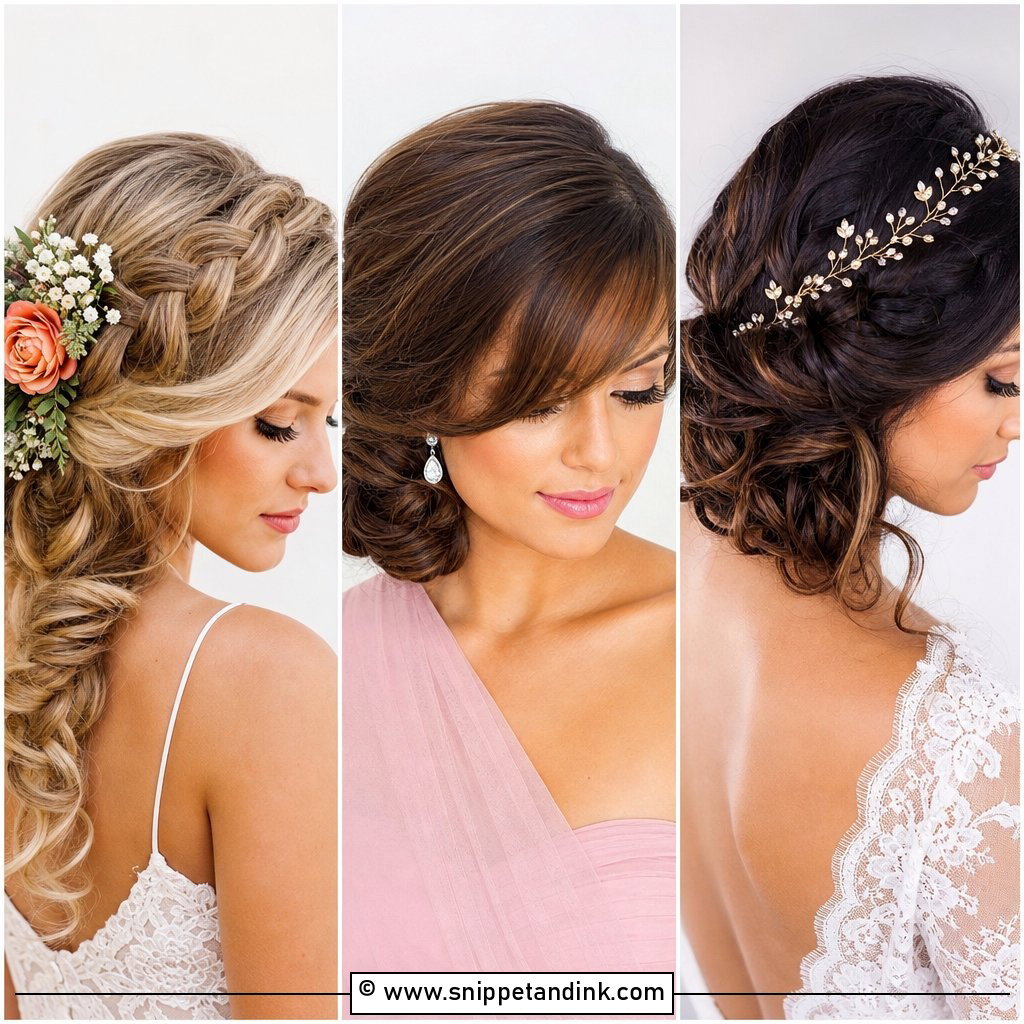
20. Low Side Bun With Curtain Bangs
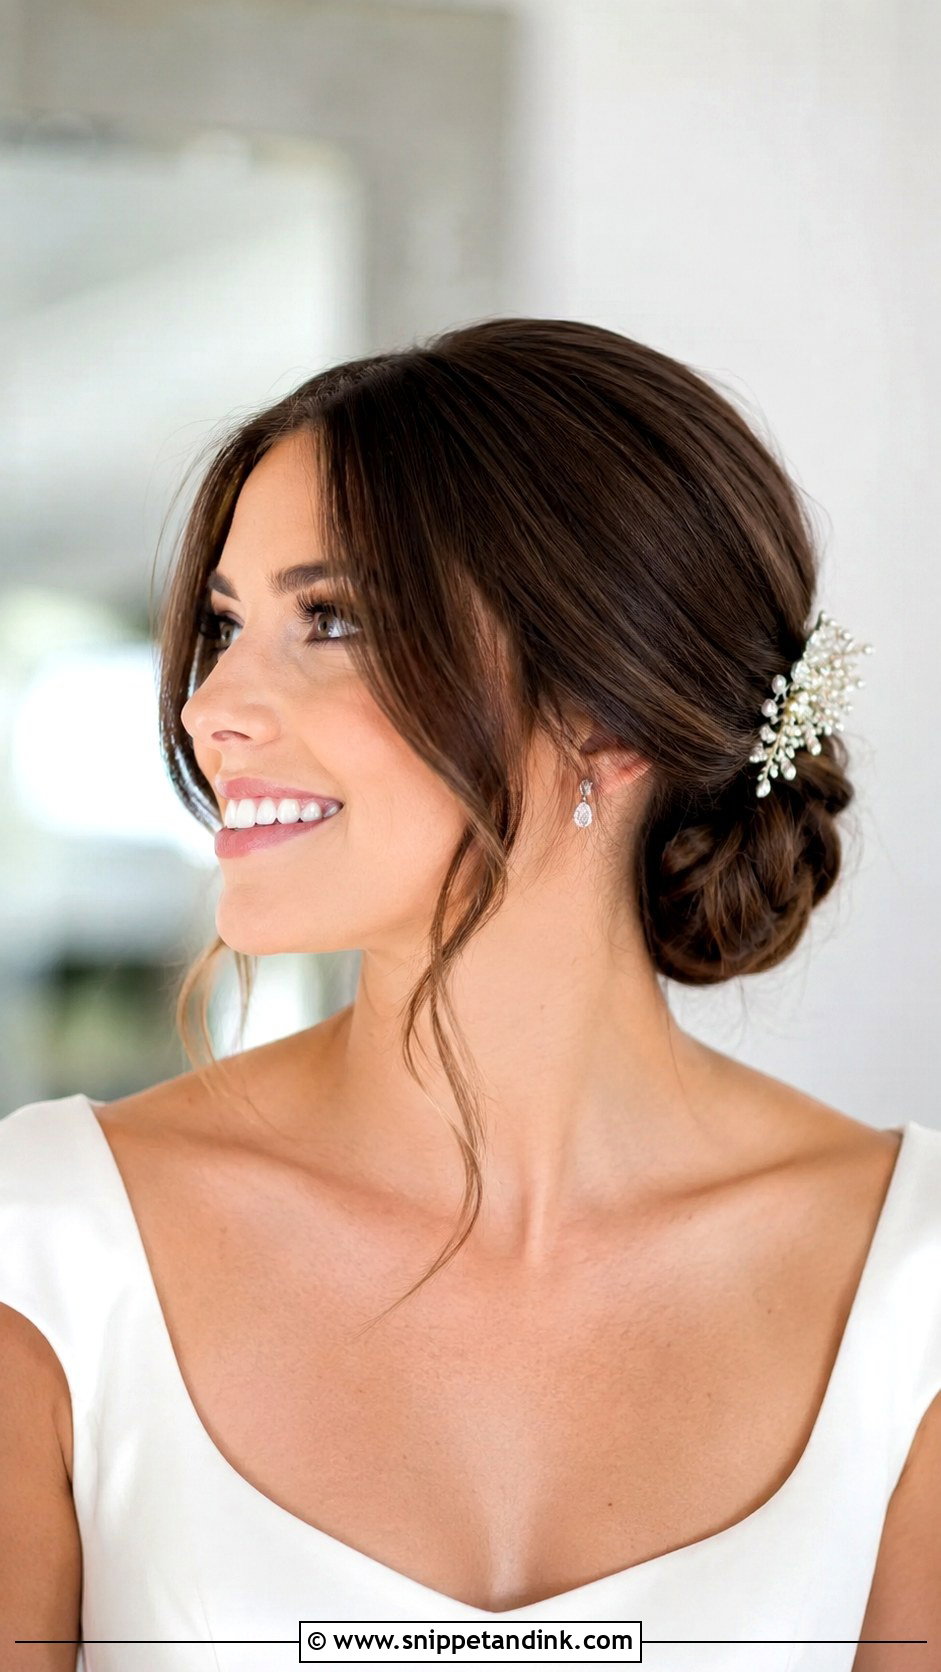
If you already wear curtain bangs, I’d keep them for the wedding. They frame the cheekbones and soften the forehead. I blow them out with a round brush, parted in the center and swept outward, then give them a light bend with a flat iron. Cutting new curtain bangs right before a wedding is risky; they need a few weeks to settle. The rest of the hair stays smooth in a low side bun, with a small comb or a few flowers for balance.
Short of Length? Building a Side Bun on Shoulder Length Hair
Hair that just reaches your shoulders can still make a low side bun, but it needs help. Without enough length, the knot comes out small and the shorter pieces at the nape keep slipping out of the pins. These are the tools I use:
- A small bun form or a mesh donut matched to your hair color. I wrap your hair around it so the knot looks fuller than the length allows.
- Clip-in extensions placed only at the back and under the bun. They add bulk and length where it’s needed, and the seam is hidden by your own hair on top.
- Pinning the short nape layers up first with crossed pins, before gathering the rest, so they can’t drop out during the night.
- Texture spray or dry shampoo on clean hair, so the strands grip each other.
If you’re growing your hair out for the wedding, bring a photo of your current length to the trial, not the length you hope to have. That is what I’ll actually be working with.
A Low Knot Through Hugs, Dancing and a Long Car Ride
The usual way a side bun fails is not gravity but contact. Every hug presses on the knot, and leaning back against a car seat or a chair flattens it. Here is how I make it last:
- Build a tight foundation. A firm ponytail or a small braid at the base gives every pin something to grip.
- Use U-pins for shape and bobby pins for security. Two bobby pins crossed in an X hold far better than one pin pushed straight in.
- Set the hair before styling. Curling or waving on clean, dry hair with a light hold spray gives the style a memory.
- Pack a small touch-up kit with matching pins, a mini hairspray and a tail comb, and give it to someone who will be with you all evening.
In the car, sit forward slightly or turn your head away from the bun side. It sounds fussy, but it’s the difference between arriving with a full knot and arriving with a flattened one.
Trial Both Sides Before You Commit to One
Start with the dress and the veil, then pick the version that suits your hair’s length and texture, and test it at a trial. Sleek, braided, curled or loose, a low side bun holds up through a long day when the base is built properly. Take photos at the trial from both sides and from behind, so you can see what your guests will see when you face the officiant.
You'll Like These Ideas:


Leave a Reply