
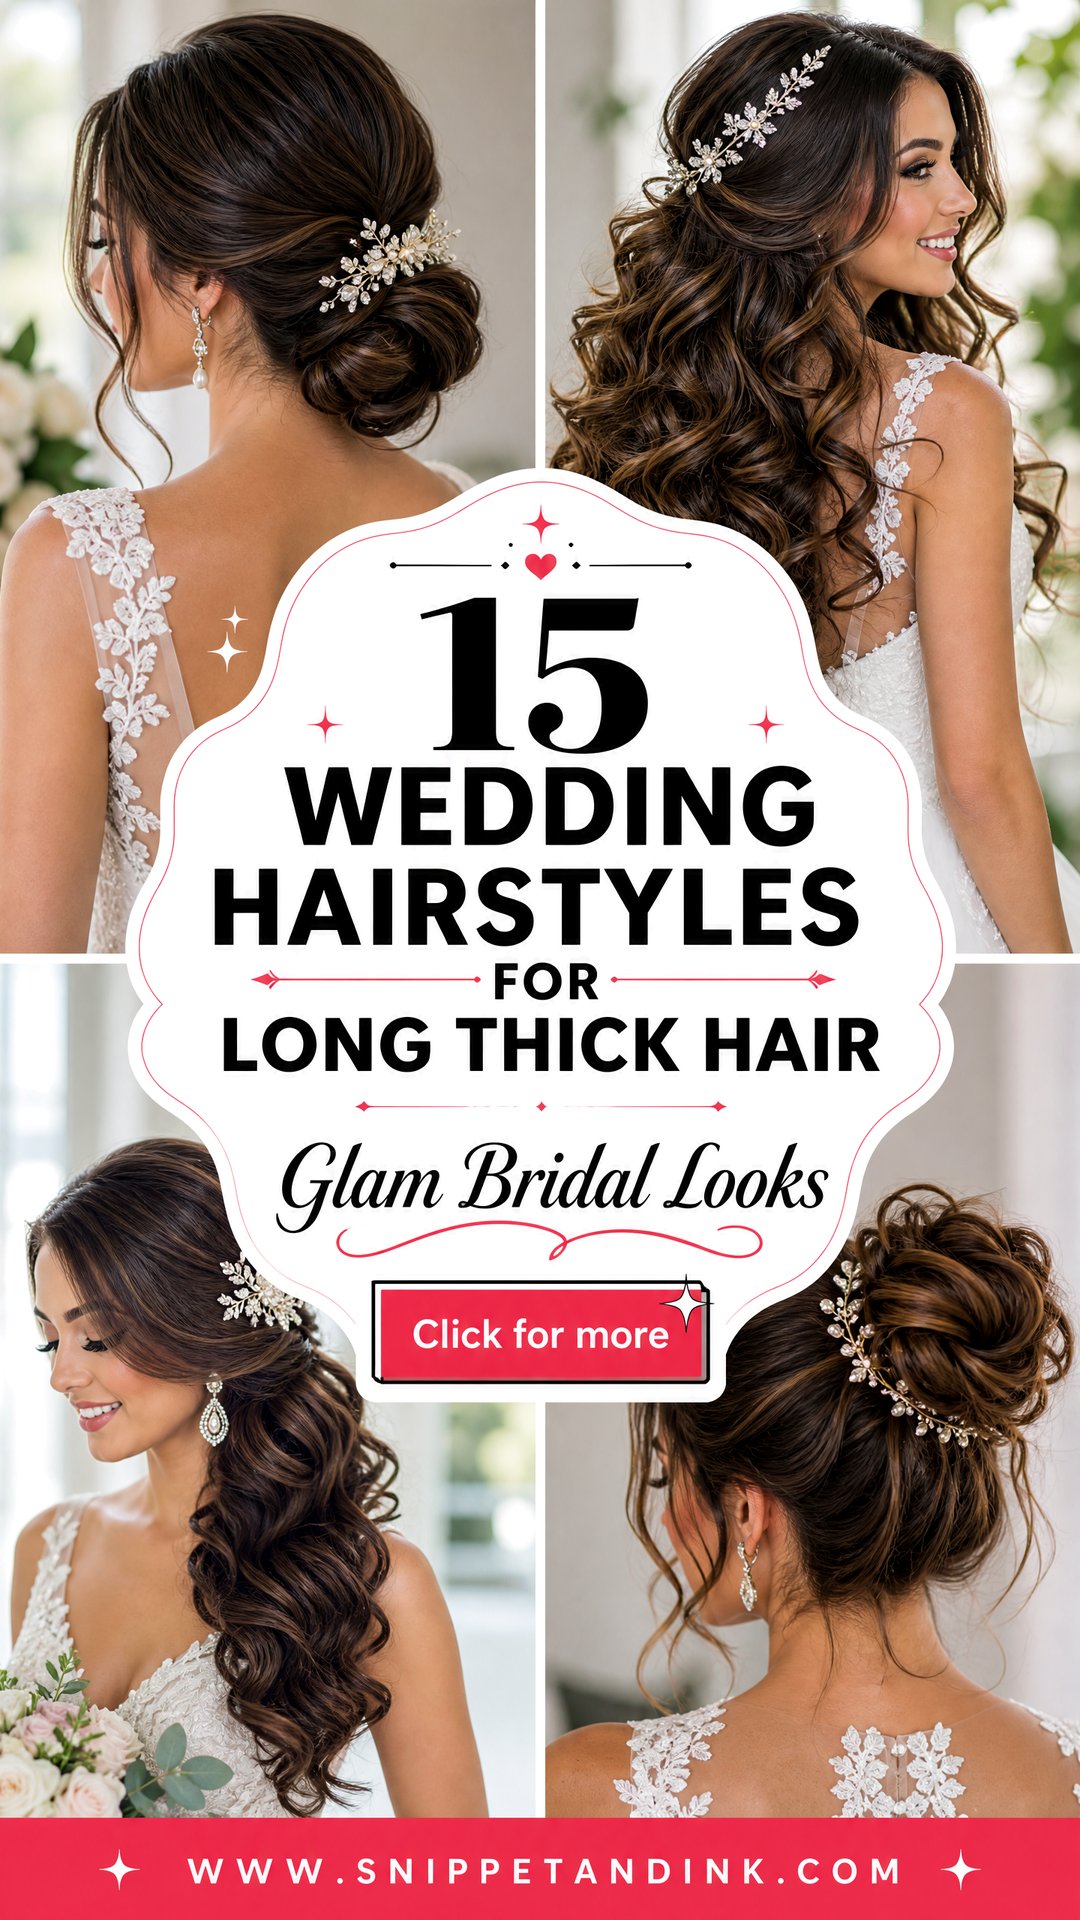
Thick hair is the hair most stylists secretly hope for. It holds curl, hides pins and fills a bun without padding. It also has two habits that ruin wedding styles: it takes forever to dry properly, and its weight slowly pulls everything downward over a long day. The fifteen looks here all work on long, thick hair, and for each one I’ve noted how I deal with the bulk, so the finished shape stays balanced from the ceremony to the last dance.
Damp Roots Ruin More Thick Hair Styles Than Anything Else
With thick hair, the outside can feel dry while the layer next to the scalp is still damp. Curl that hair and the moisture relaxes it within an hour or two. Pin it, and the updo slowly loses its shape. Most of the wedding-day droops I see on thick hair start here, not with the style.
- Wash the evening before or early on the morning itself, whichever gives you time to dry completely. Many stylists prefer hair washed the night before, because slightly lived-in hair grips pins better.
- Dry it all the way to the roots with a proper blow-dry, not air-drying. A round brush on thick hair takes time, so plan on it.
- Skip heavy conditioners and oils in the last wash. They make thick hair slippery, and slippery hair spits out pins.
- Arrive in the chair with nothing in your hair: no clips, no ponytail kinks, no leftover product from a rehearsal dinner style.
Thick hair also simply takes longer to style. Tell your stylist your hair type when you book, so the schedule has room for it. Being squeezed into a slot sized for fine hair is how corners get cut on the bride.
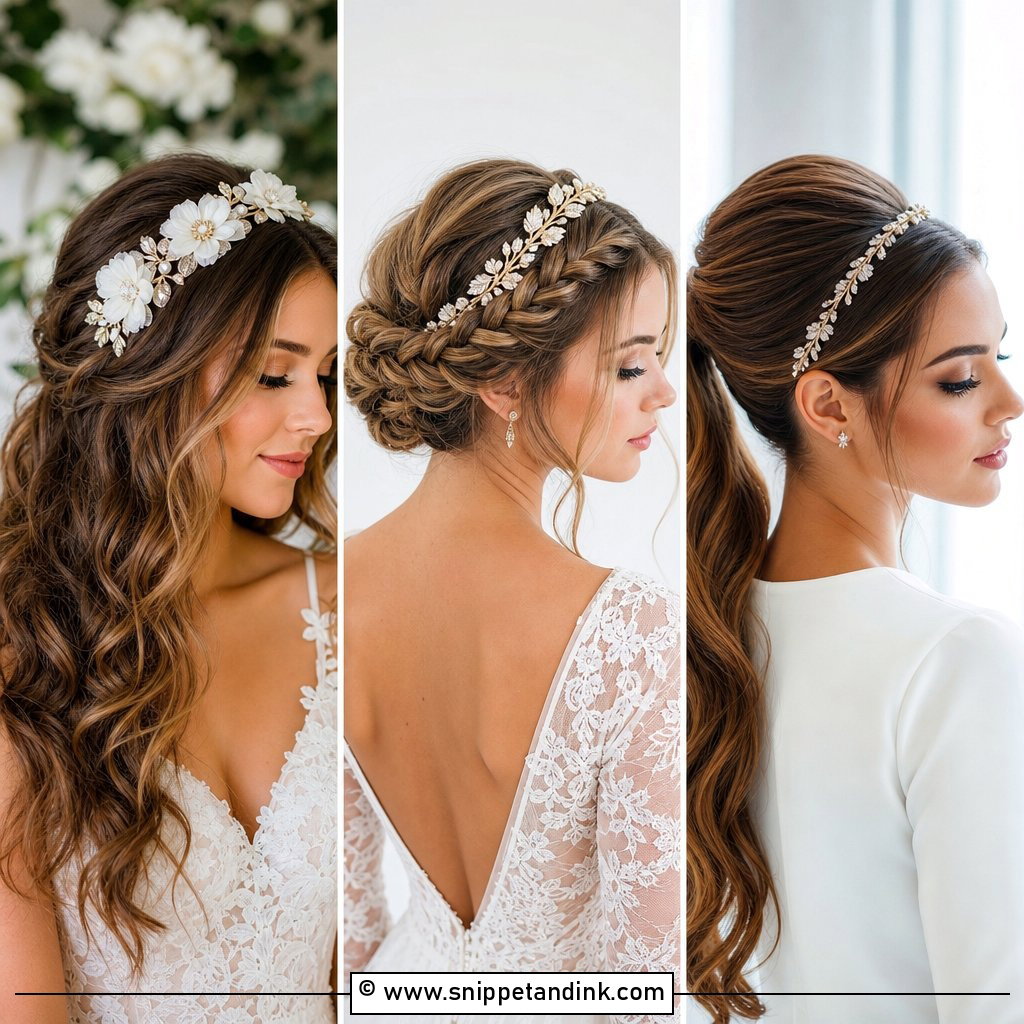
1. Half Up Half Down Wedding Hair
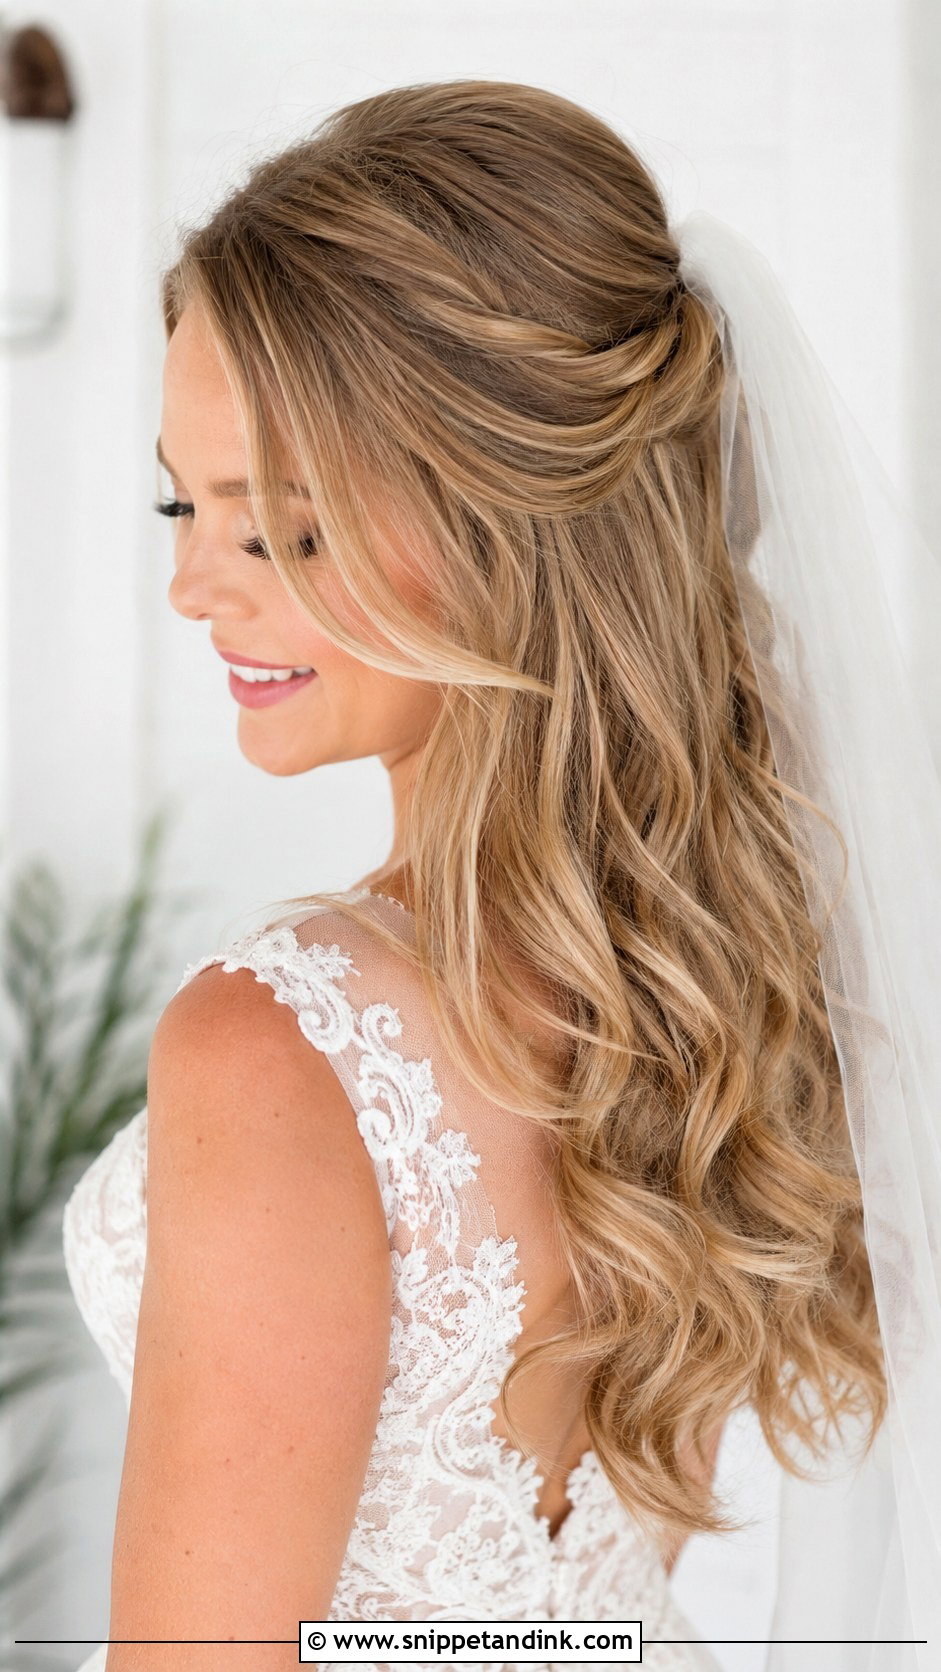
Half up is where I start most consultations with thick-haired brides. Pinning the top section takes a surprising amount of bulk off the face, while the length still shows. I usually split that top section in two and secure each part on its own, because one big twist of thick hair sits proud and looks heavy at the crown. The secured section also gives a veil comb something firm to grip. Leave a couple of face-framing pieces out; on thick hair they fall into shape on their own.
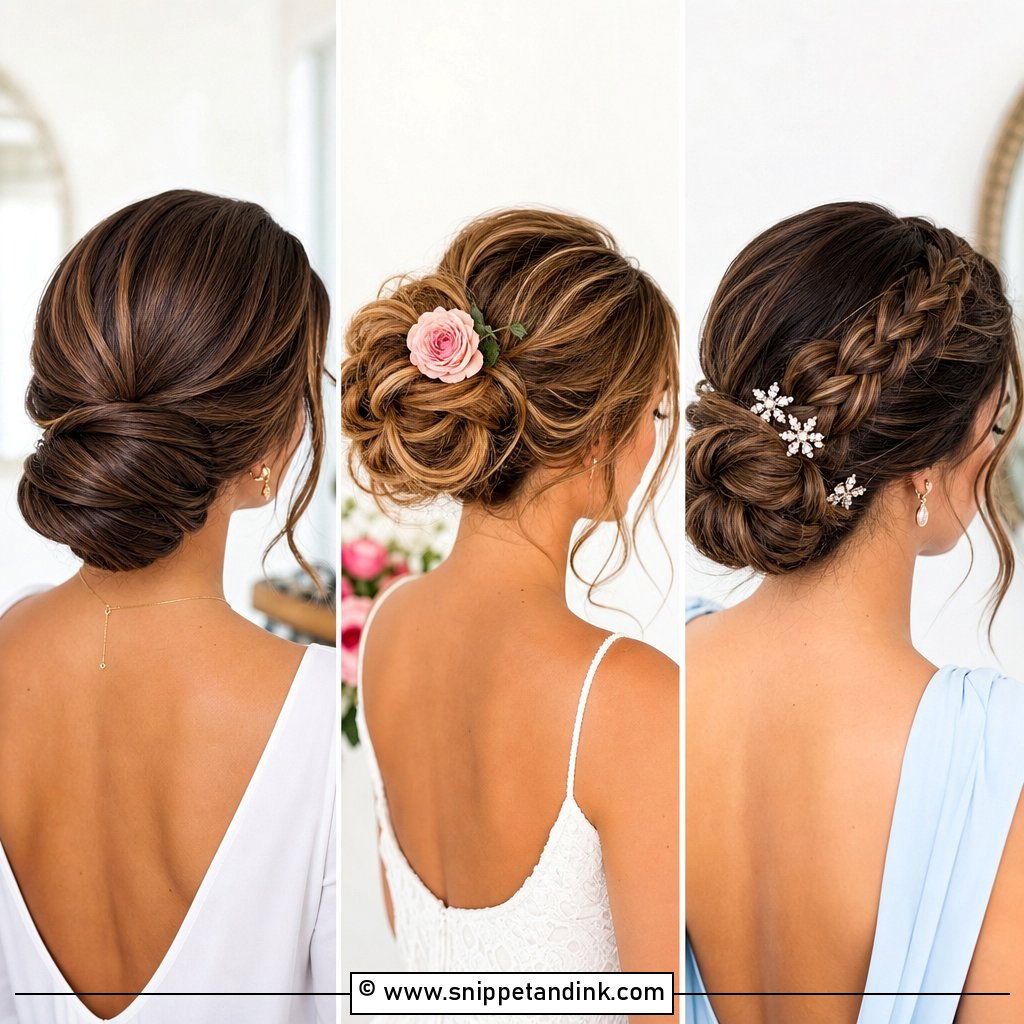
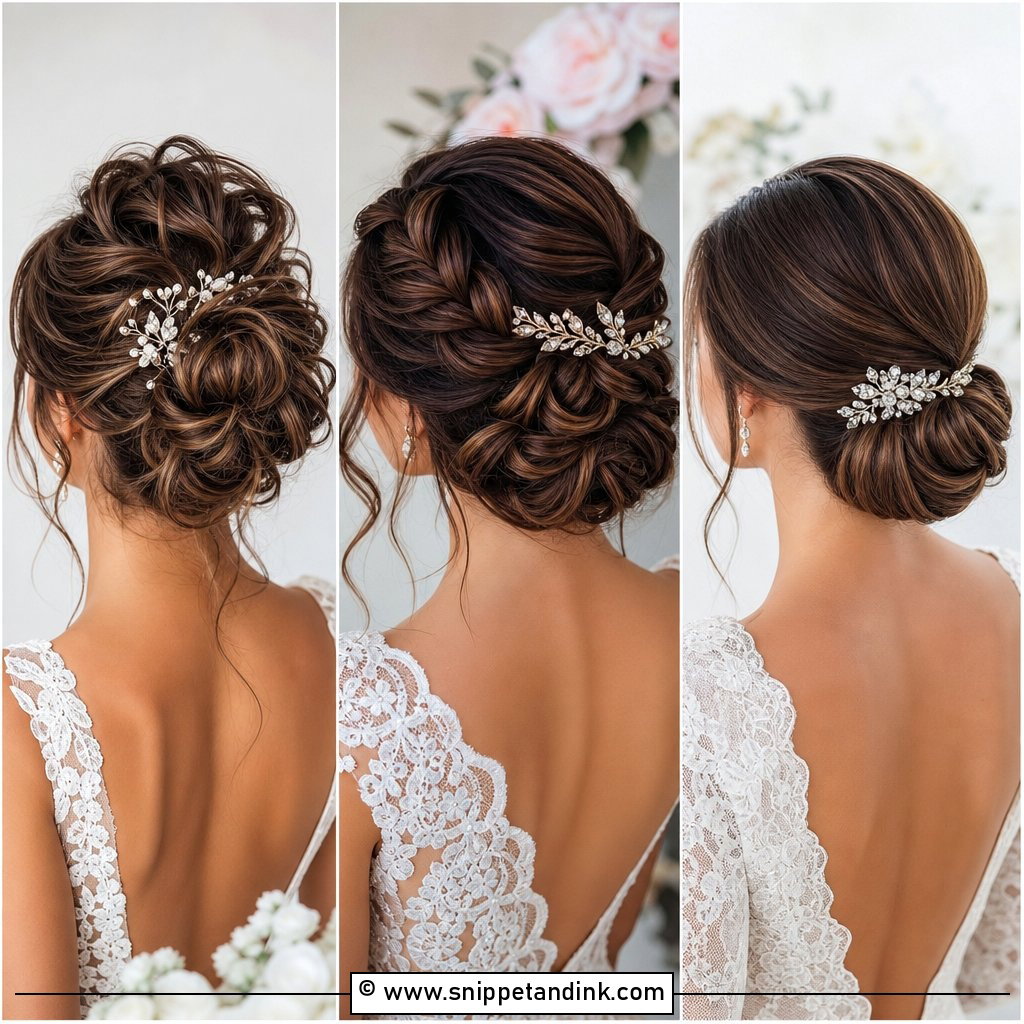
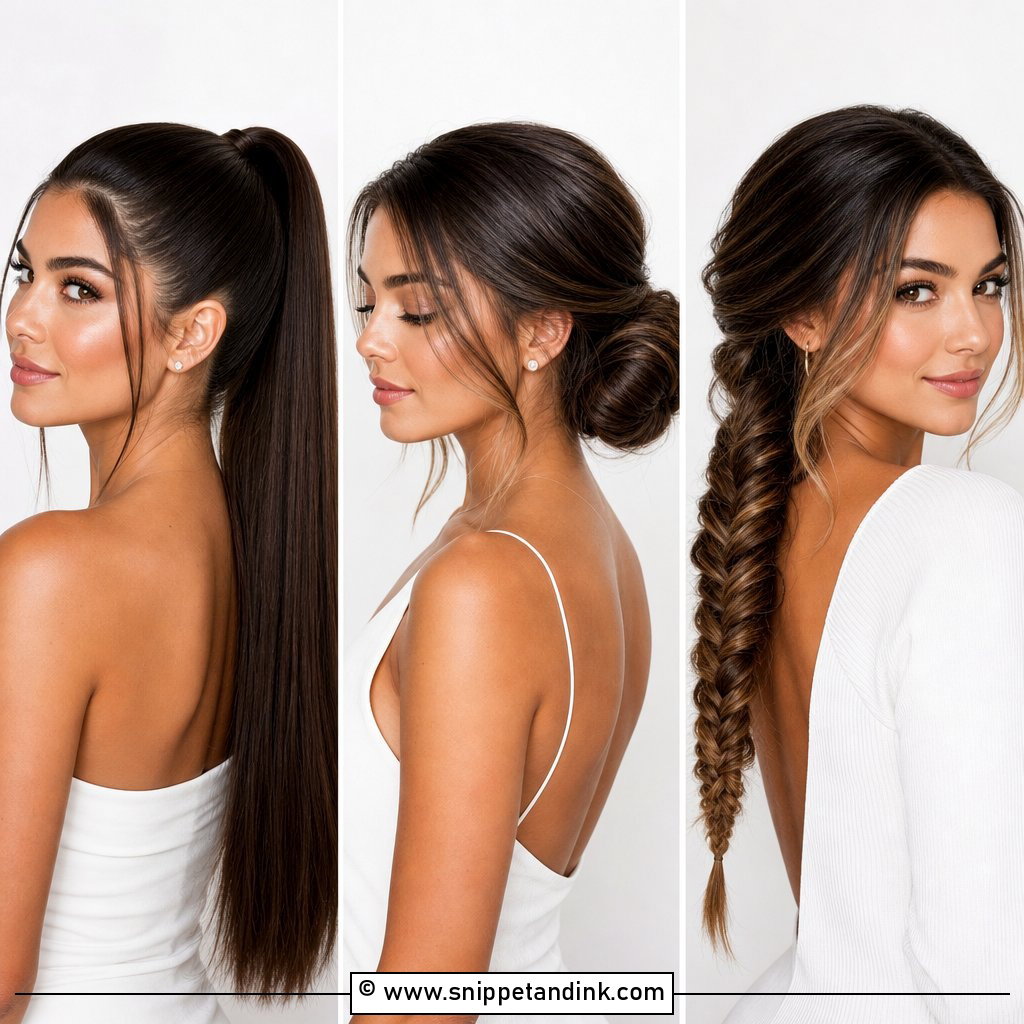
2. Low Bun Wedding Hair
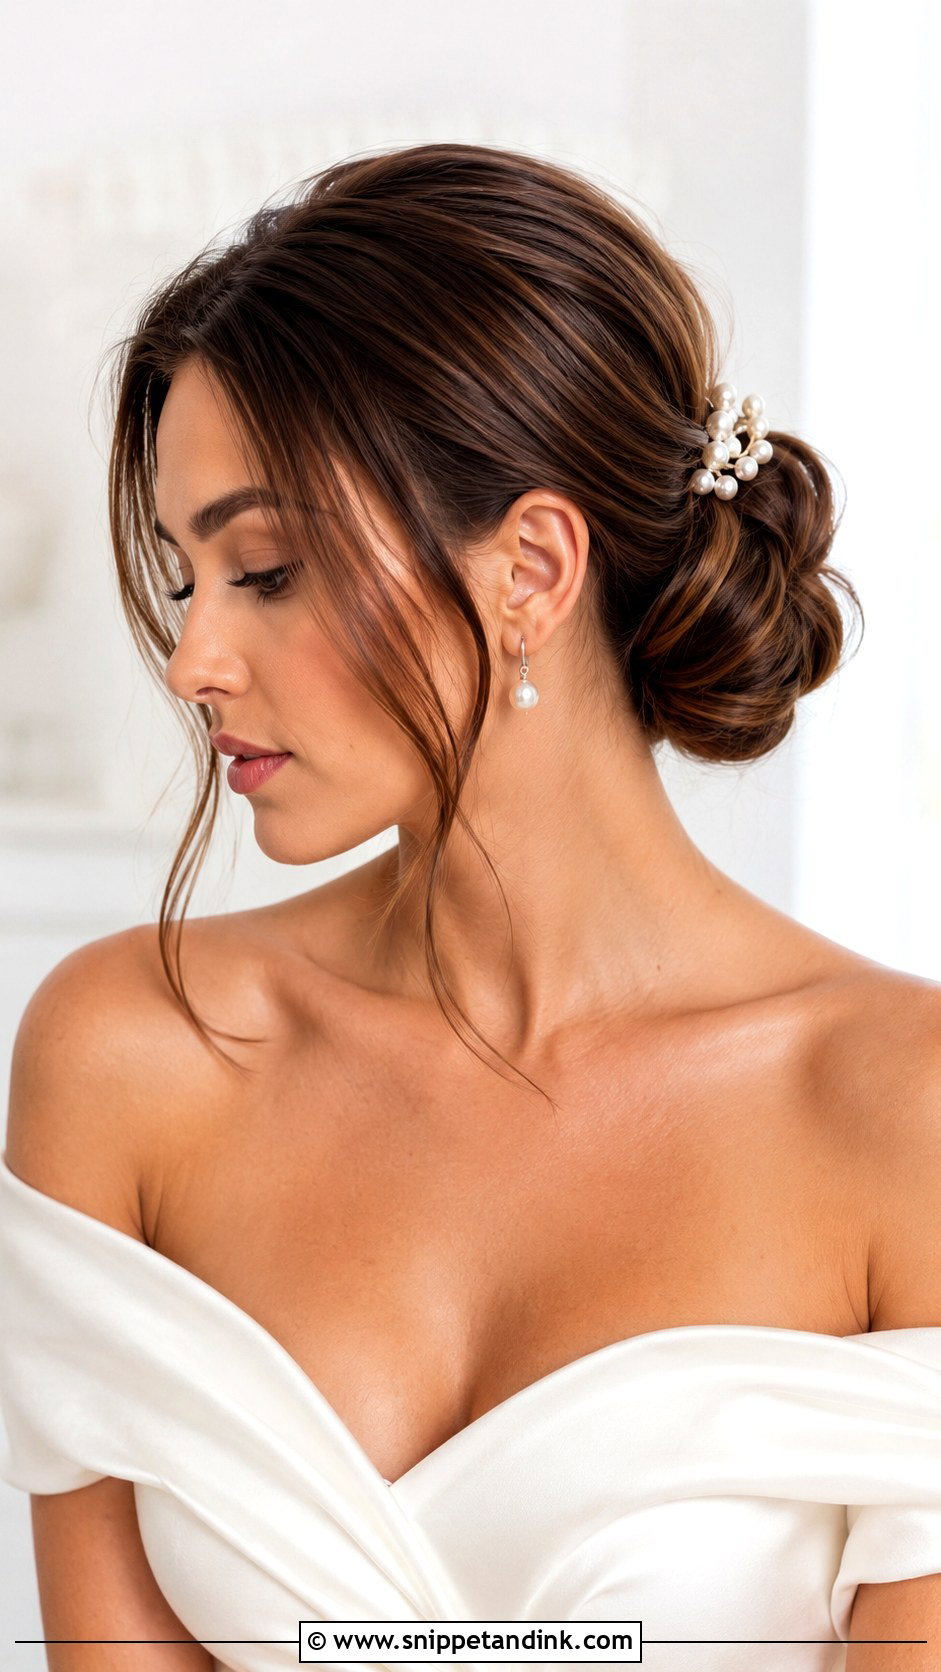
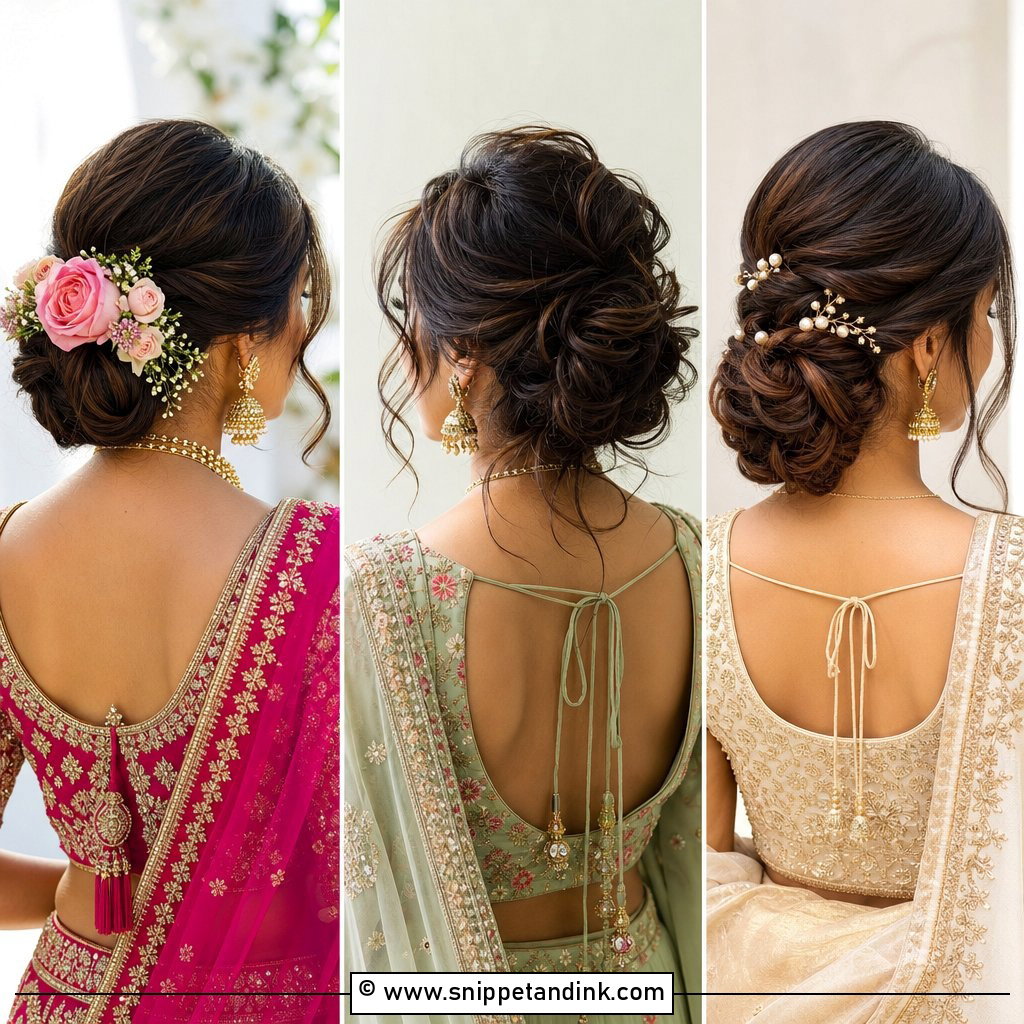
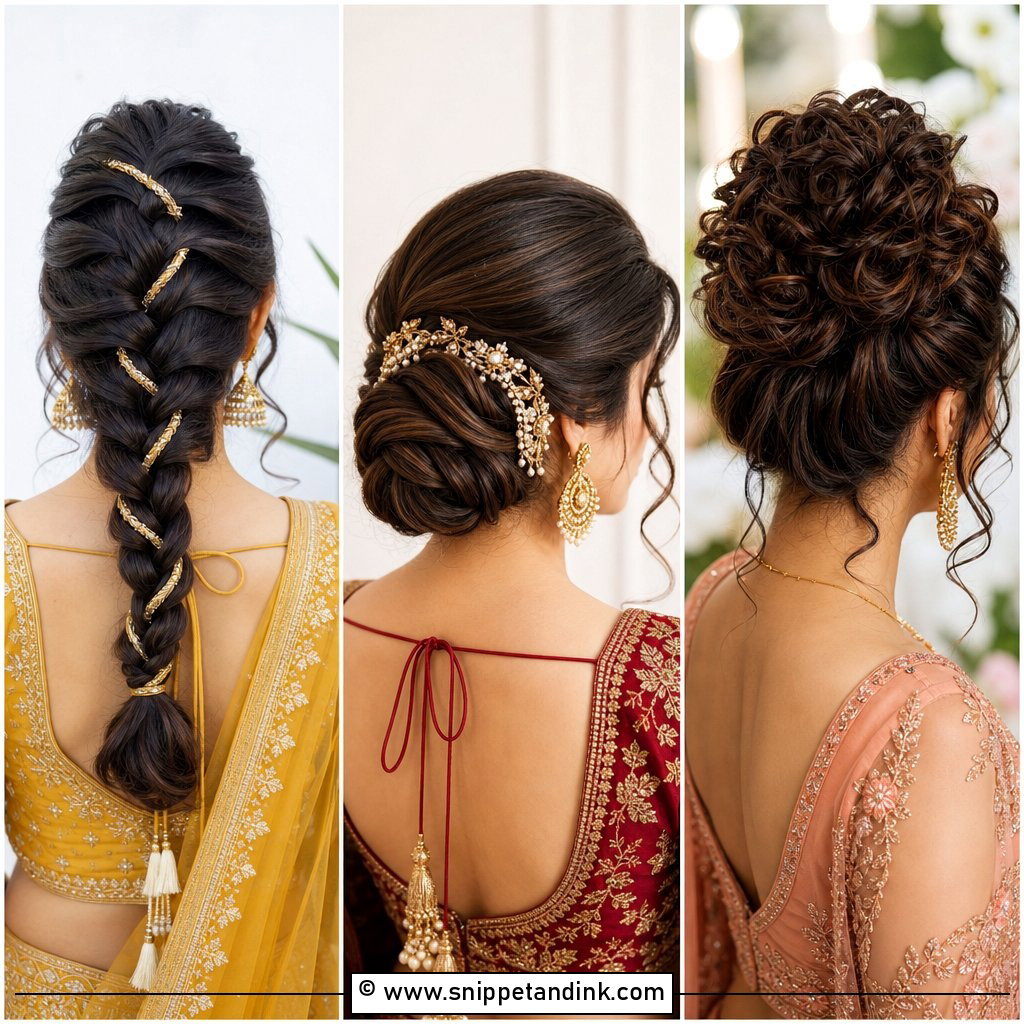
A low bun puts the weight right at the nape, where your neck can carry it, which is why it is far more comfortable over twelve hours than anything high. With thick hair I avoid one tight coil; I build the bun from several smaller sections so it is wide rather than tall. It can be smooth, softly textured or wrapped into a fuller chignon. Backless gowns and high necklines both suit it. I anchor it on a small ponytail first, so the pins have something solid to hold.
3. Loose Curl Wedding Hair
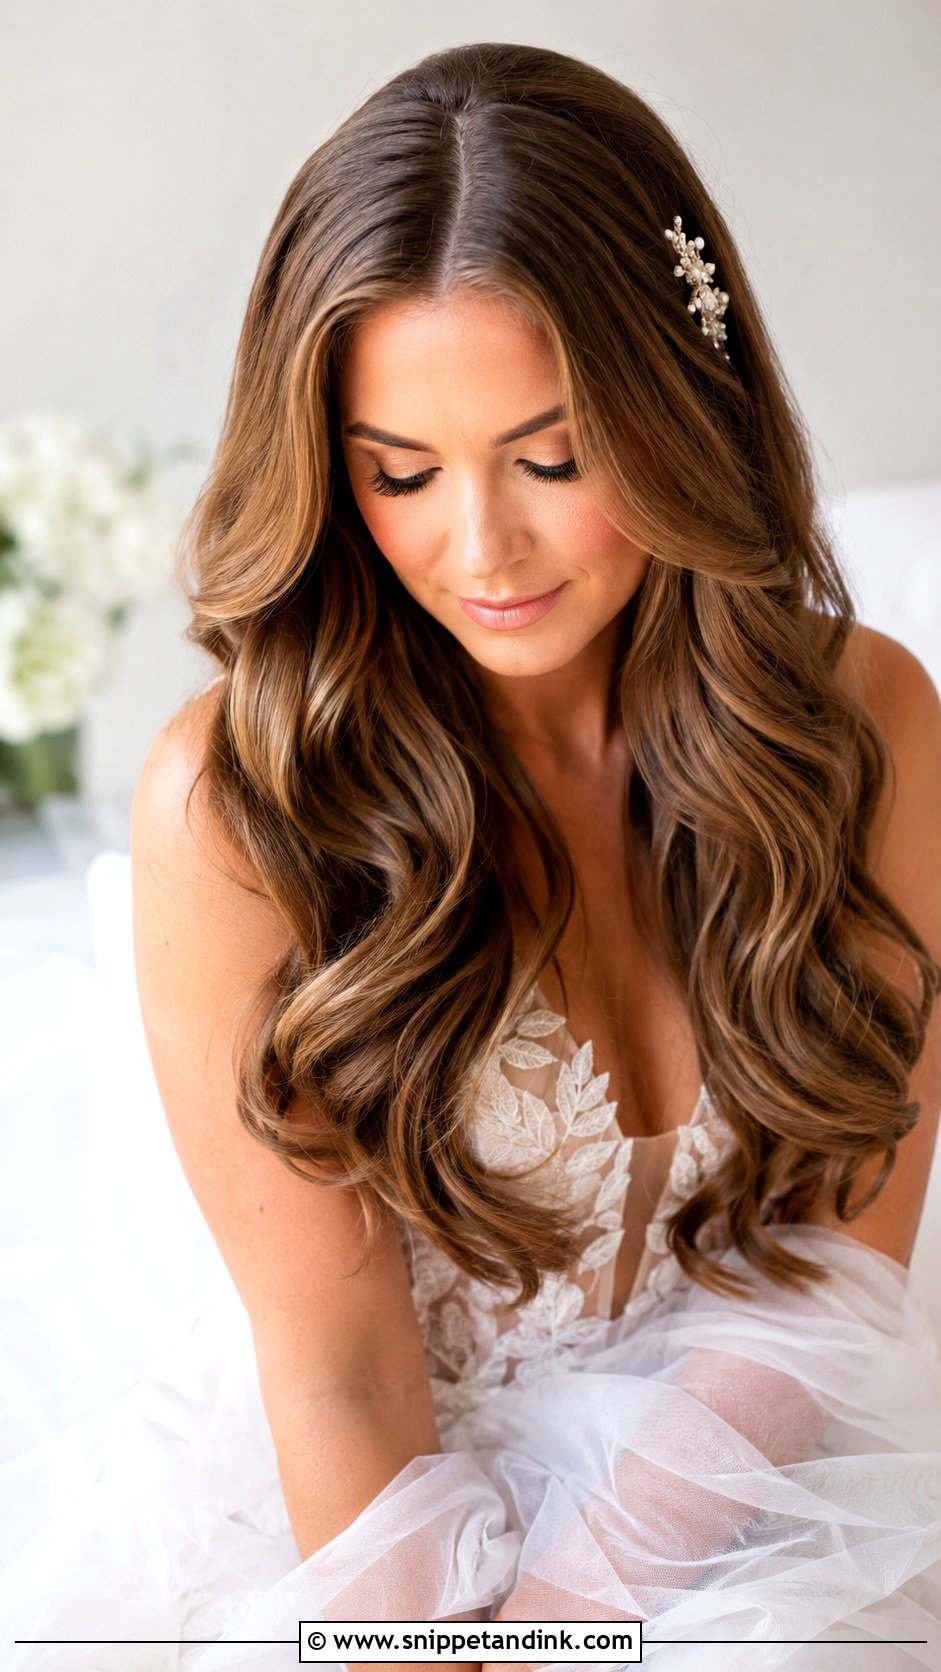
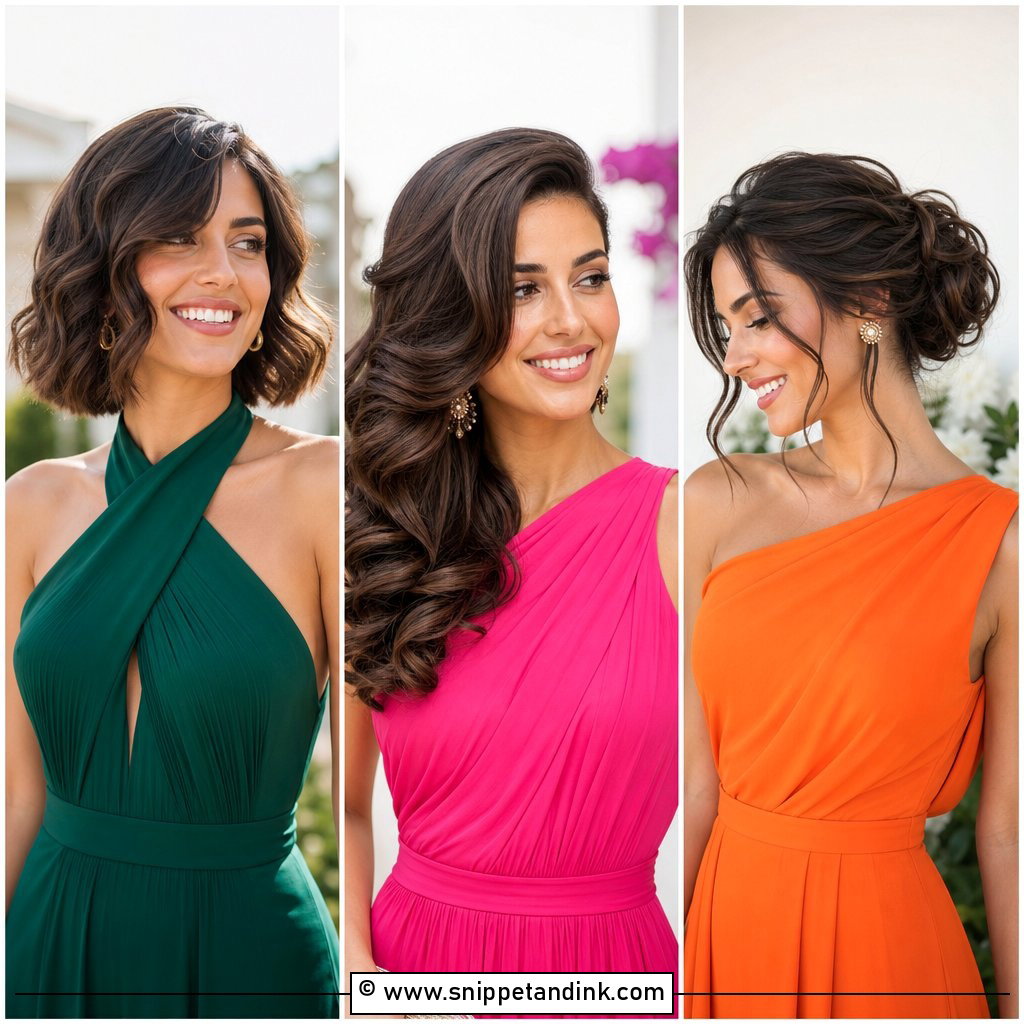
Loose curls are where thick hair really shows off, and also where it can turn into a triangle. Preparation decides which. I blow-dry smooth first, then curl in small sections, and I let every curl cool fully before touching it. Brushing out too early leaves the hair fluffy; brushing out cool curls blends them into soft waves that move. A deep side part or a clean center part both work. If your thick hair is also coarse, expect the trial to show exactly how much product it needs to hold.
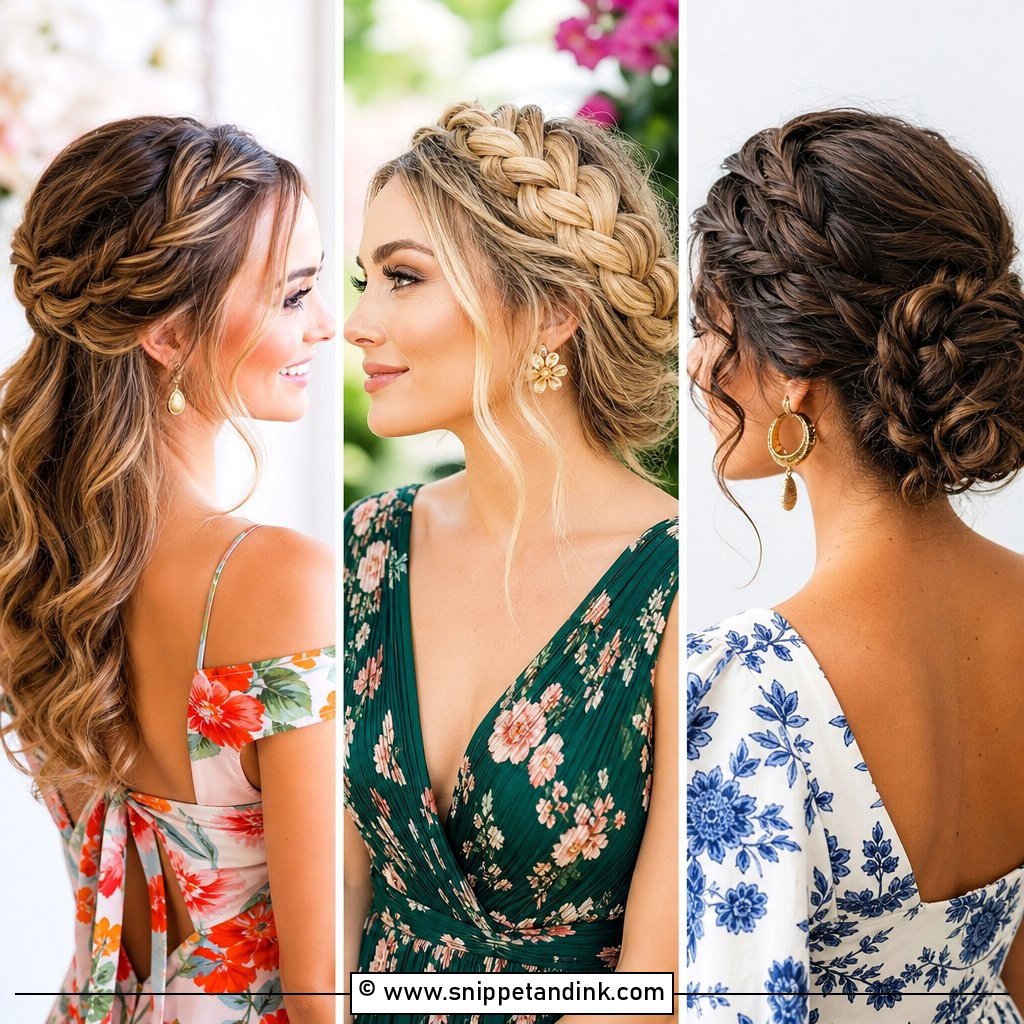
4. Braided Crown Wedding Hair
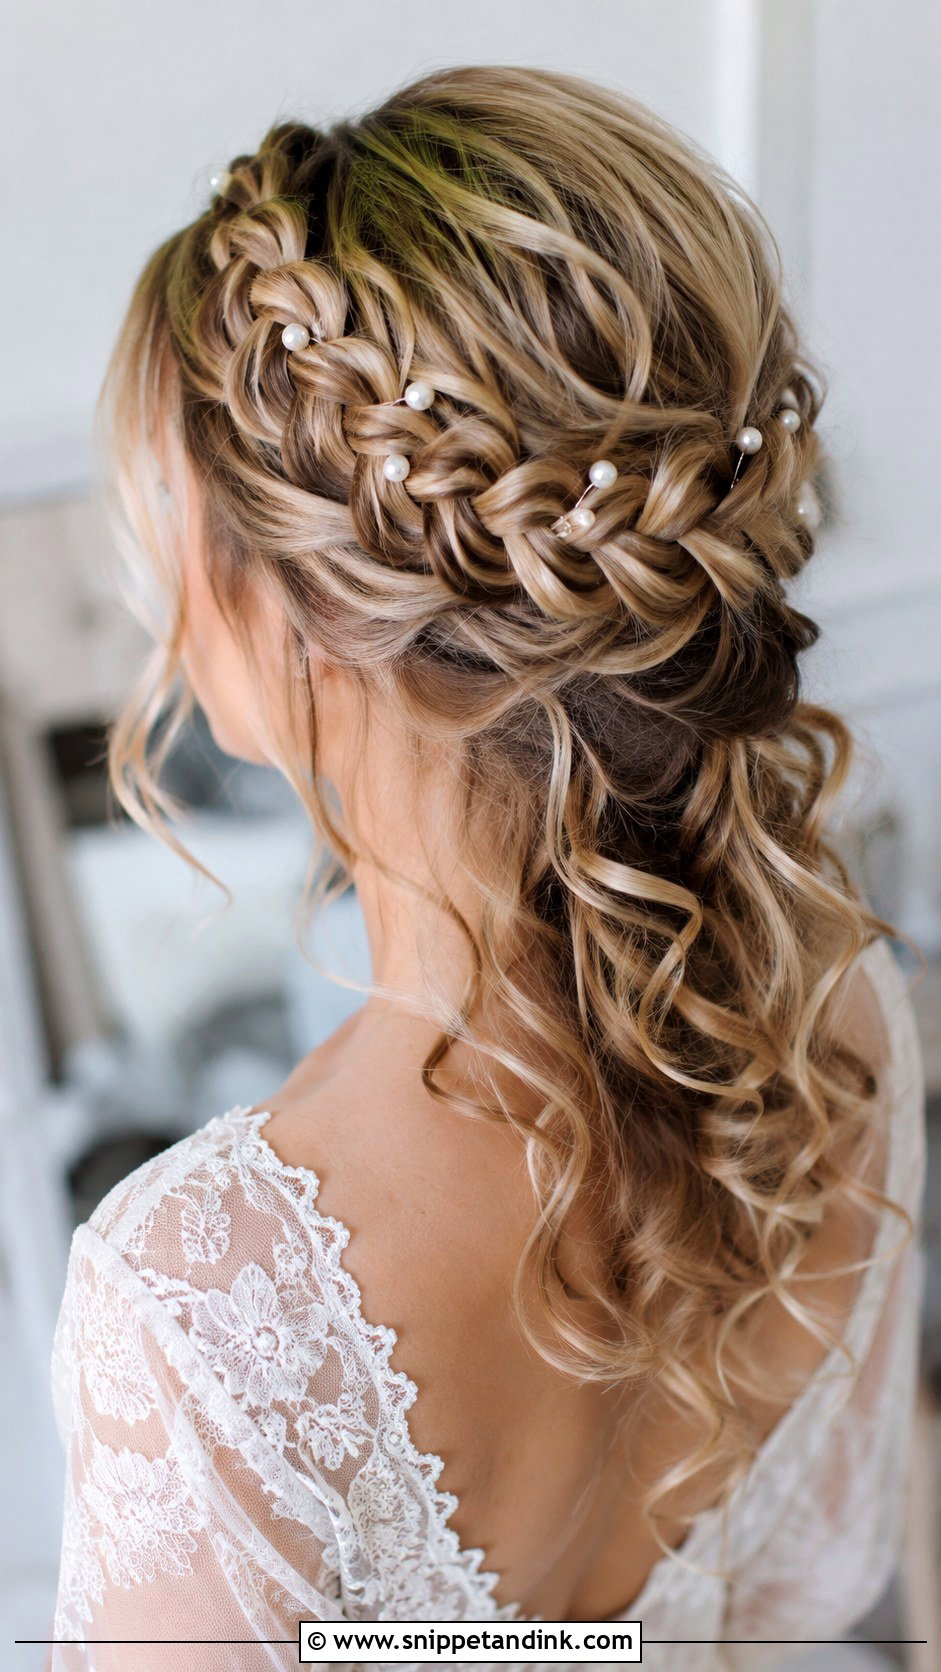
Thick hair makes a braided crown easy because the braid is naturally wide enough to wrap the head without padding. The catch is length; very long thick hair can make the braid too bulky to wrap neatly, so I sometimes split it into two braids that meet at the back. Worn tight it looks crisp, pulled loose it softens. Once pinned, a crown barely moves, which makes it a strong option for a windy garden. Tuck pearl pins or a few small flowers into the braid’s gaps.
5. Side Swept Wedding Hair
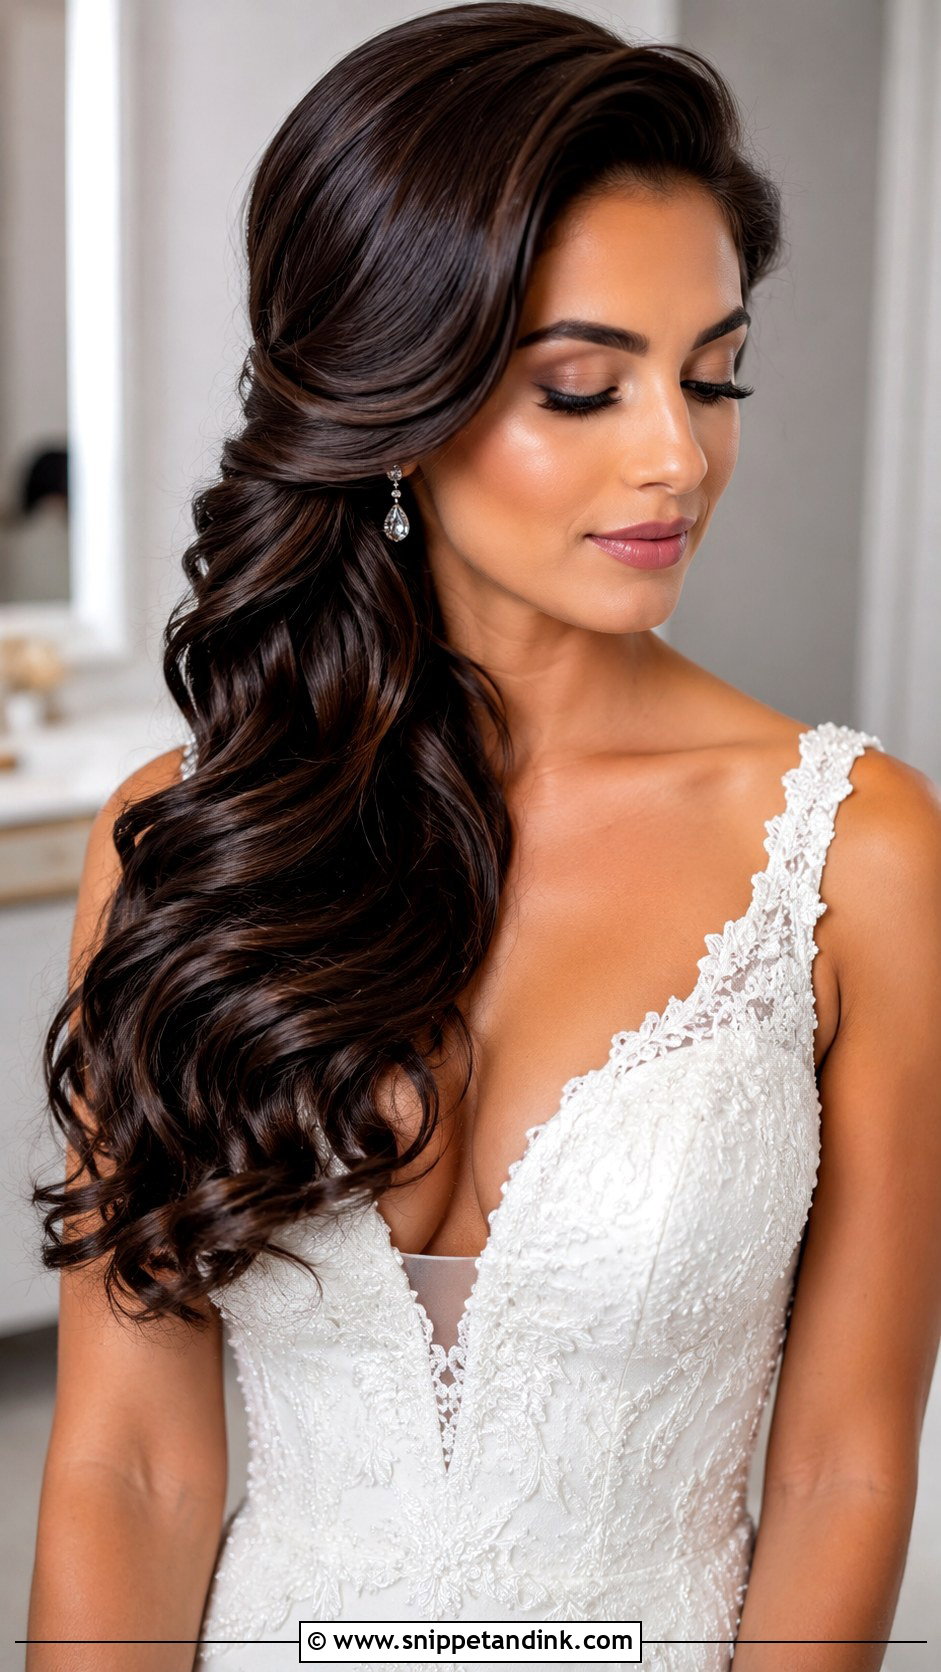
Sweeping all of that hair to one side is dramatic, and it is heavy. The pinned side has to anchor a lot of weight, so I lay a strip of crossed bobby pins behind the ear before any curls move over. Without that, a side-swept style on thick hair drifts back toward center by the reception. A deep part helps the volume fall naturally. One-shoulder and strapless gowns are the classic match, and statement earrings stay visible on the open side.
6. High Bun Wedding Hair
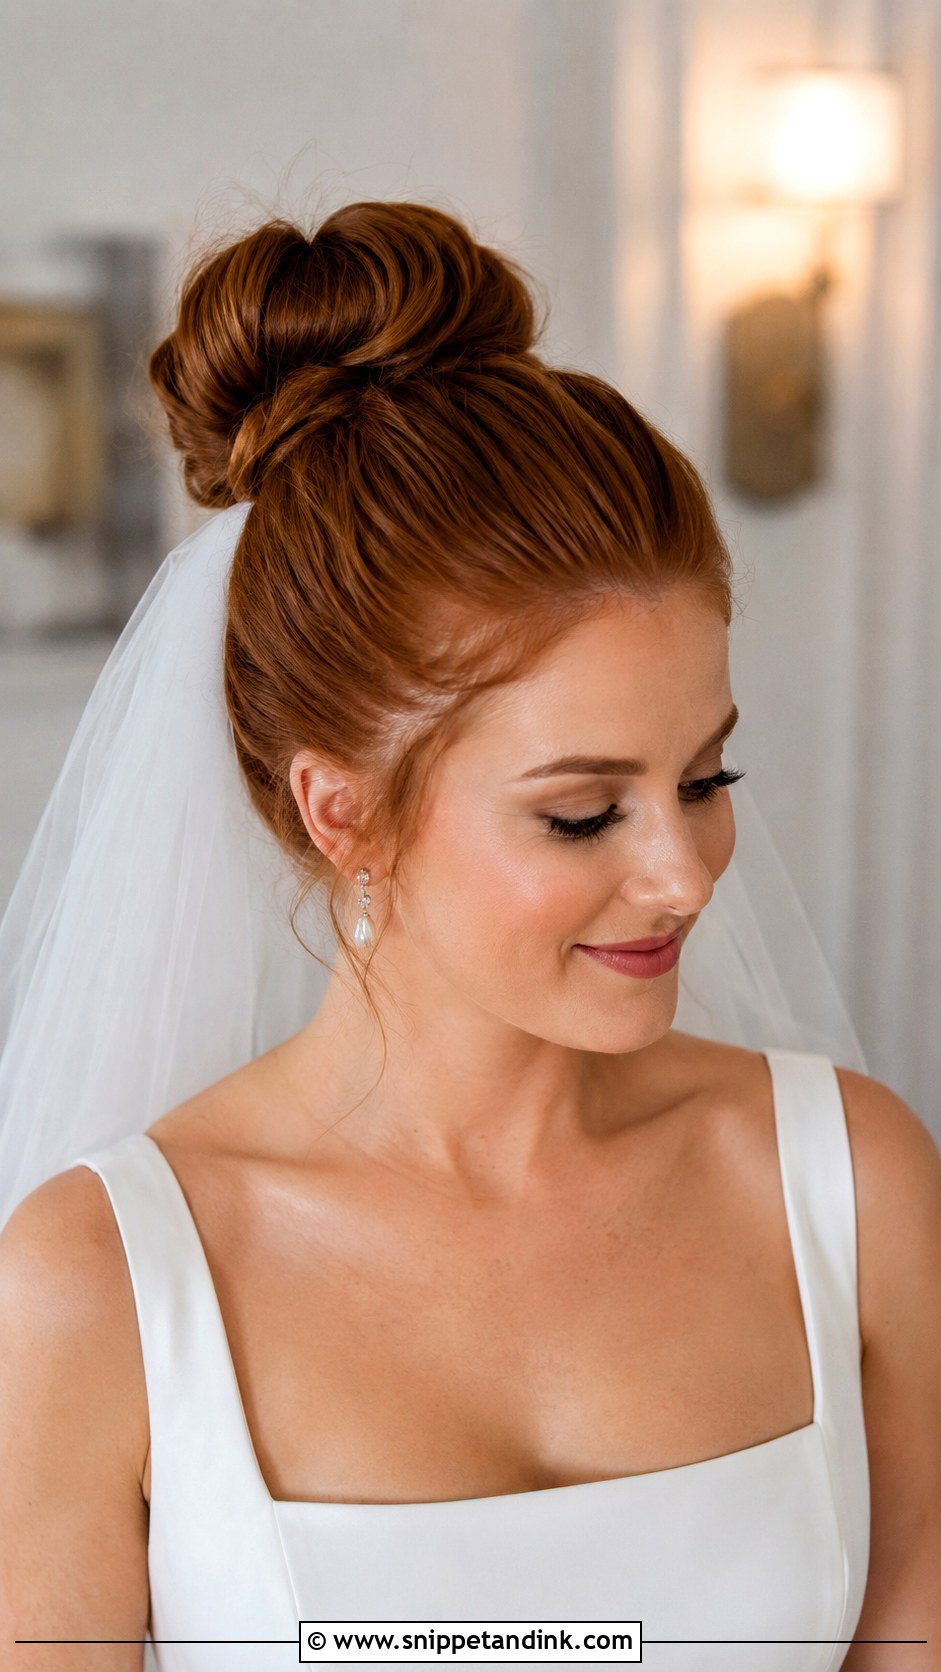
A high bun is lifting and clean, but on thick hair it’s the one I discuss most carefully. All that weight sits on the crown, and some brides get a headache within a few hours. If you love it, I’ll pin it in balanced sections, never as one tight coil, and I’ll set it slightly lower than a ballet bun to spread the load. It is a good warm-weather choice because the neck stays completely clear. Soft edges at the hairline keep it from looking severe.
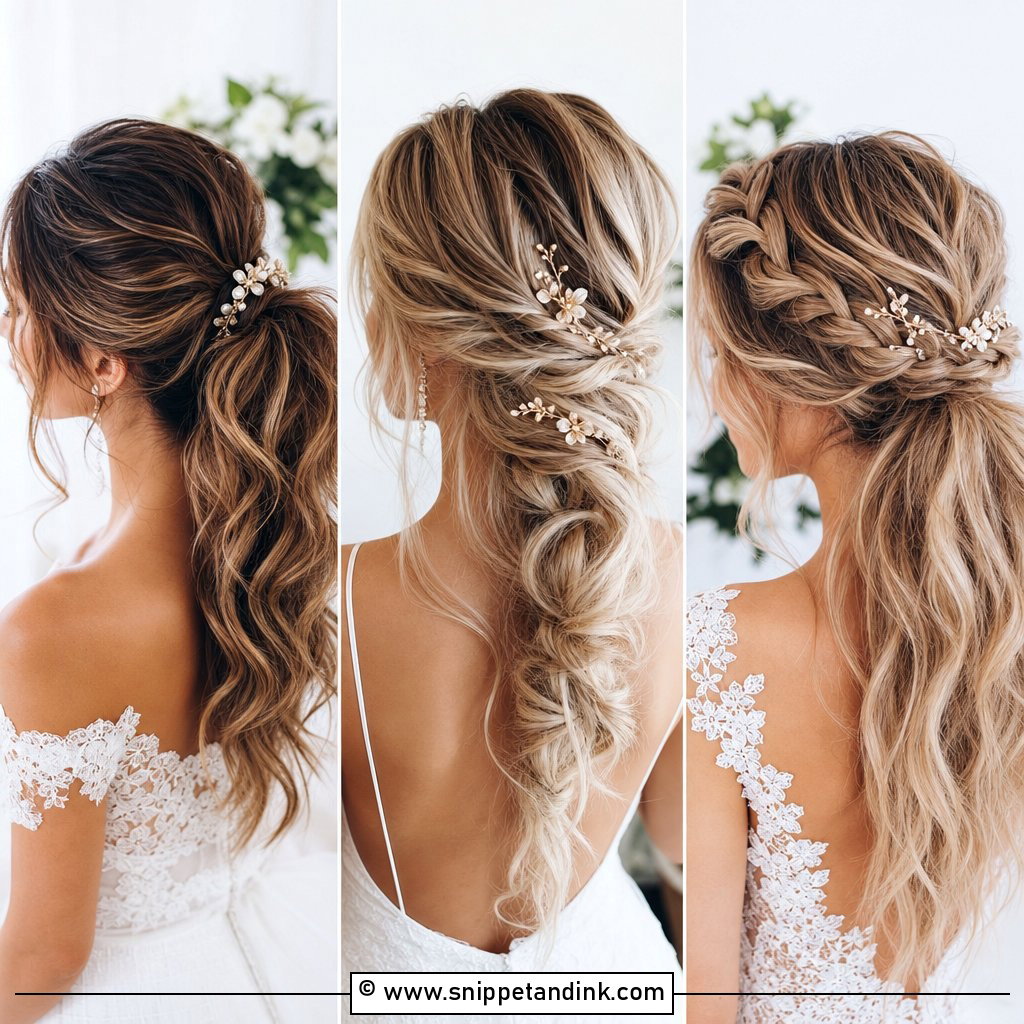
7. Fishtail Braid Wedding Hair
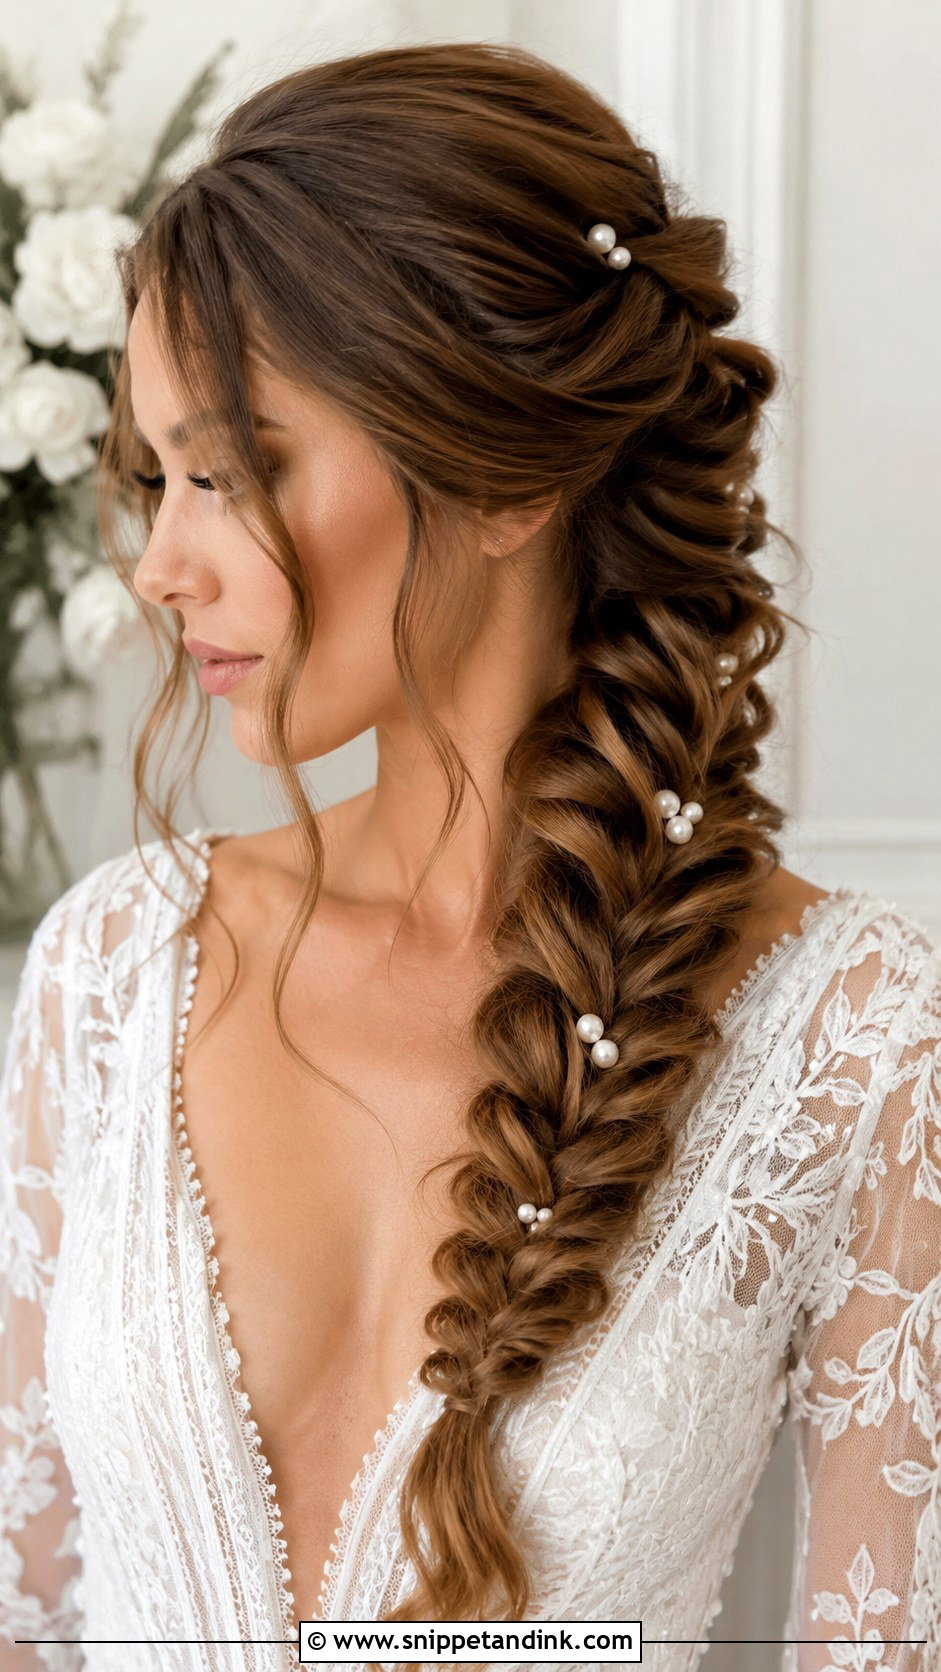
Fishtail braids need length to show their pattern, and long thick hair gives them plenty. On very thick hair the braid can look rope-like, so I pancake it, gently pulling the outer edges, to flatten and widen it. Worn down the back it keeps all the hair gathered, which helps on a hot day. Over the shoulder works too, but check that it won’t catch on lace or beading at the bodice. Small pearl pins make it read more formal.
8. Hollywood Waves Wedding Hair
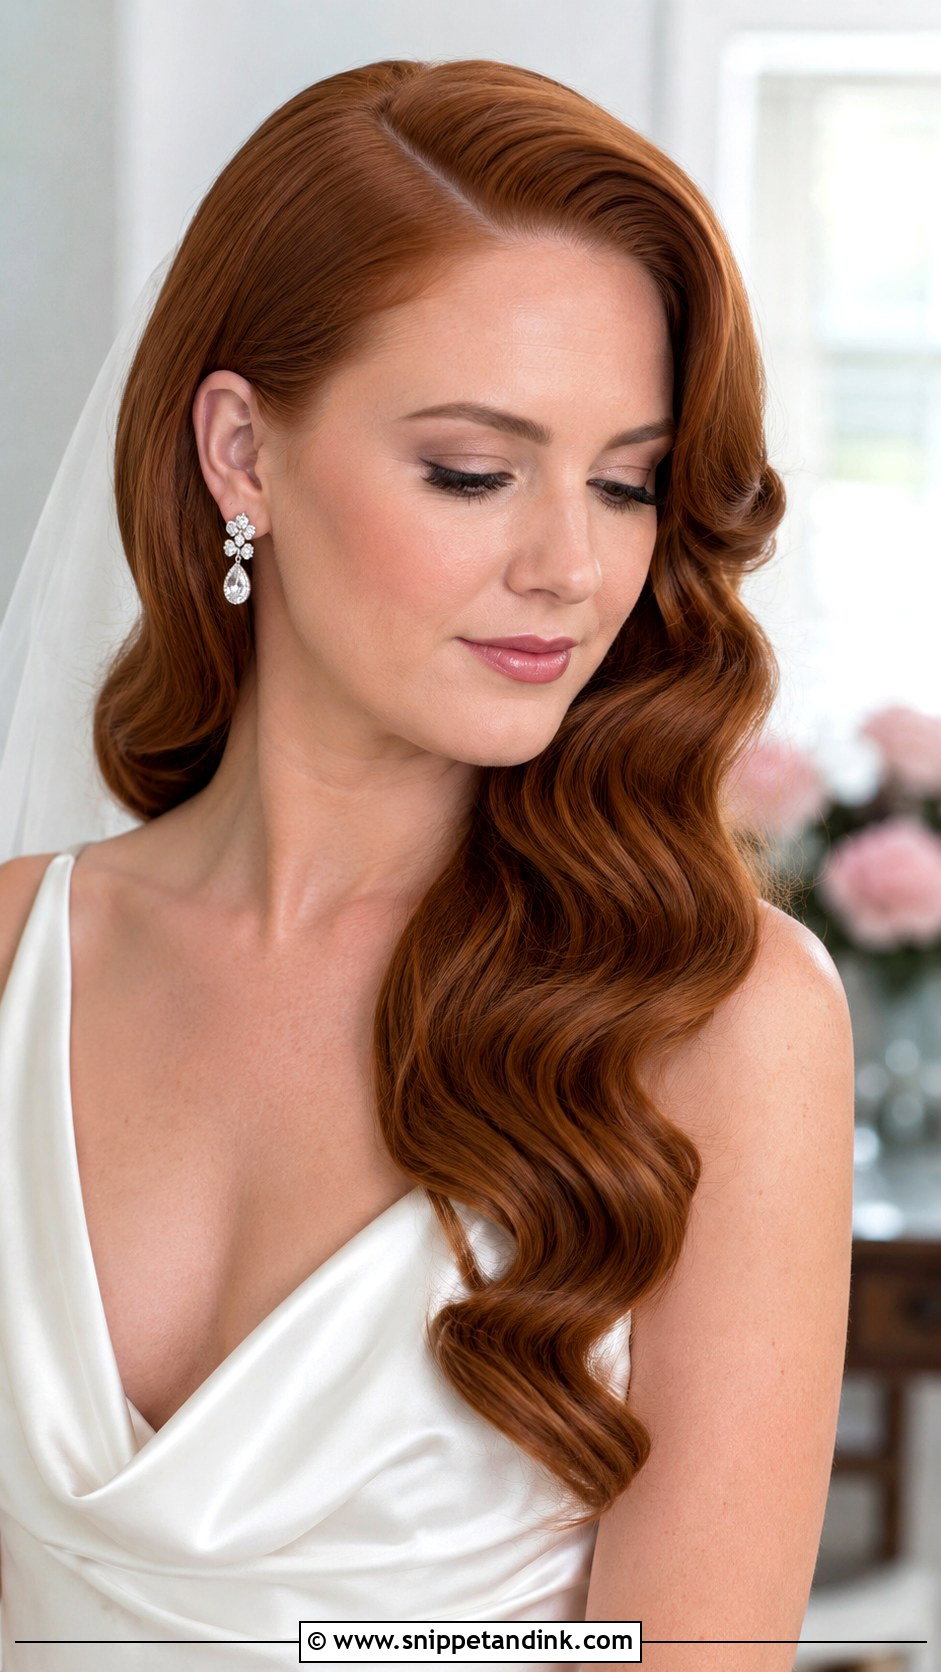
Hollywood waves are the most technical look on this list. Every section has to be curled the same size in the same direction, then brushed into one continuous wave and set with clips while it cools. Thick hair gives the waves body, but it needs a smoothing cream and a full blow-dry first or the finish turns fuzzy. I’d skip it for very humid outdoor weddings. It suits satin gowns, statement earrings and red carpet makeup beautifully, and a veil should sit behind the wave, never over it.
9. Messy Bun Wedding Hair
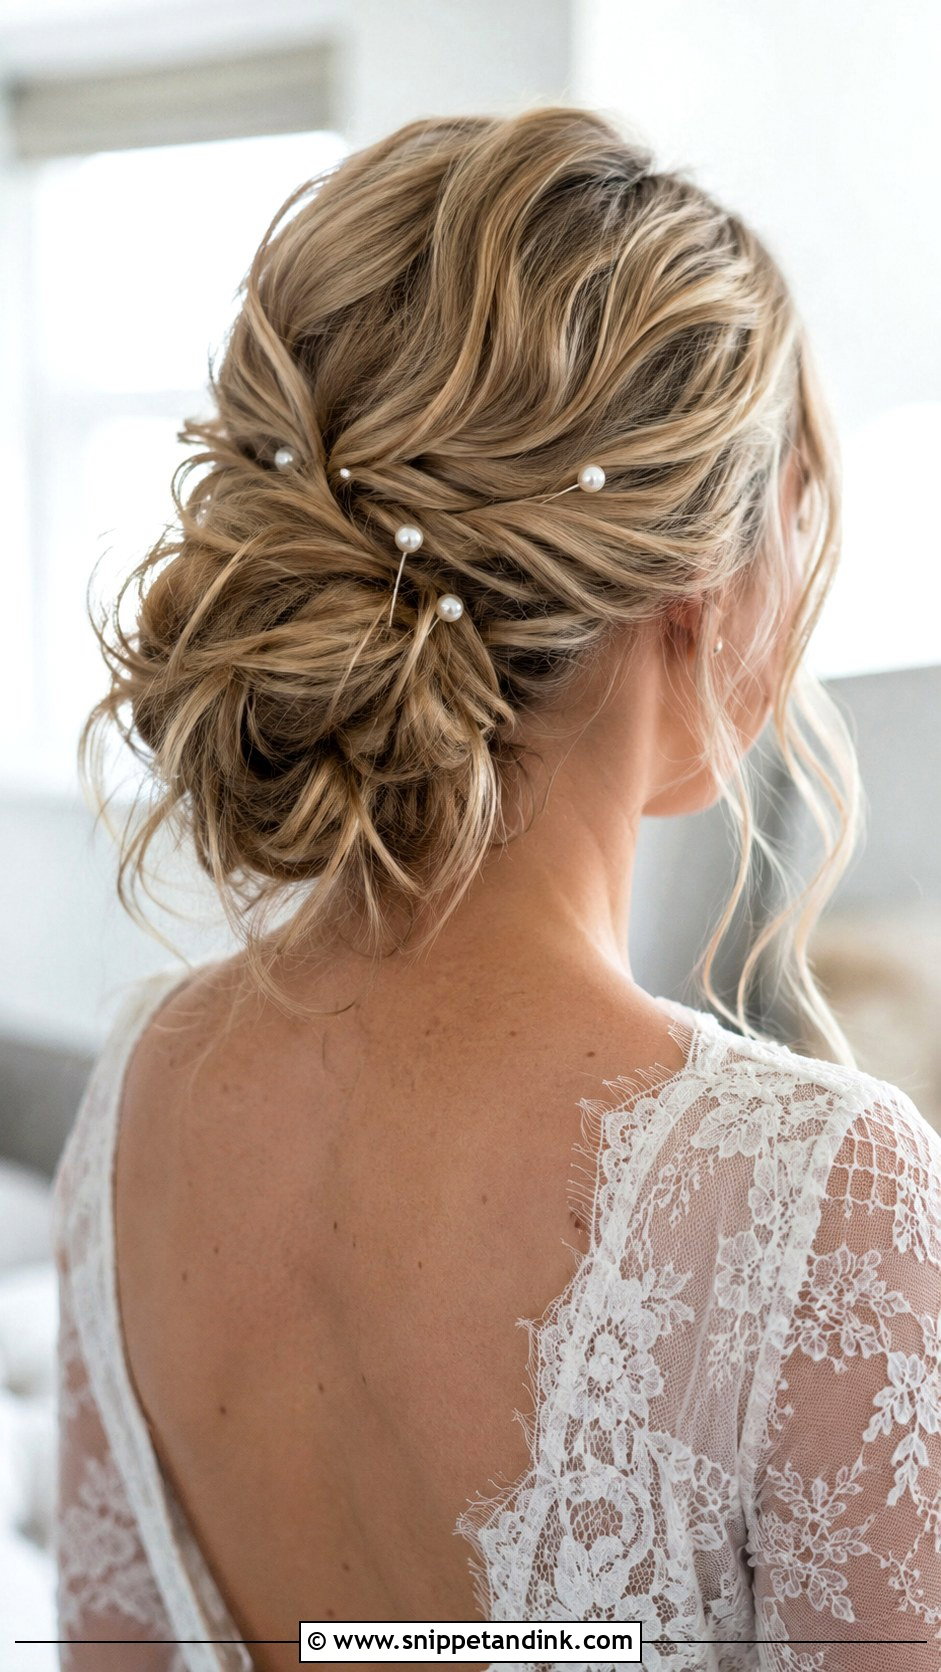
A messy bun is not messy at all; it is built carefully to look relaxed. Thick hair gives it natural fullness, so I rarely need to backcomb much. The real work is choosing which pieces to pull loose: a few at the temples and nape, not everywhere, or it starts to look slept in. It can sit low or slightly higher. Lace dresses and outdoor ceremonies suit it, and a comb or veil slides into a textured bun more easily than into a sleek one.
10. Waterfall Braid Wedding Hair
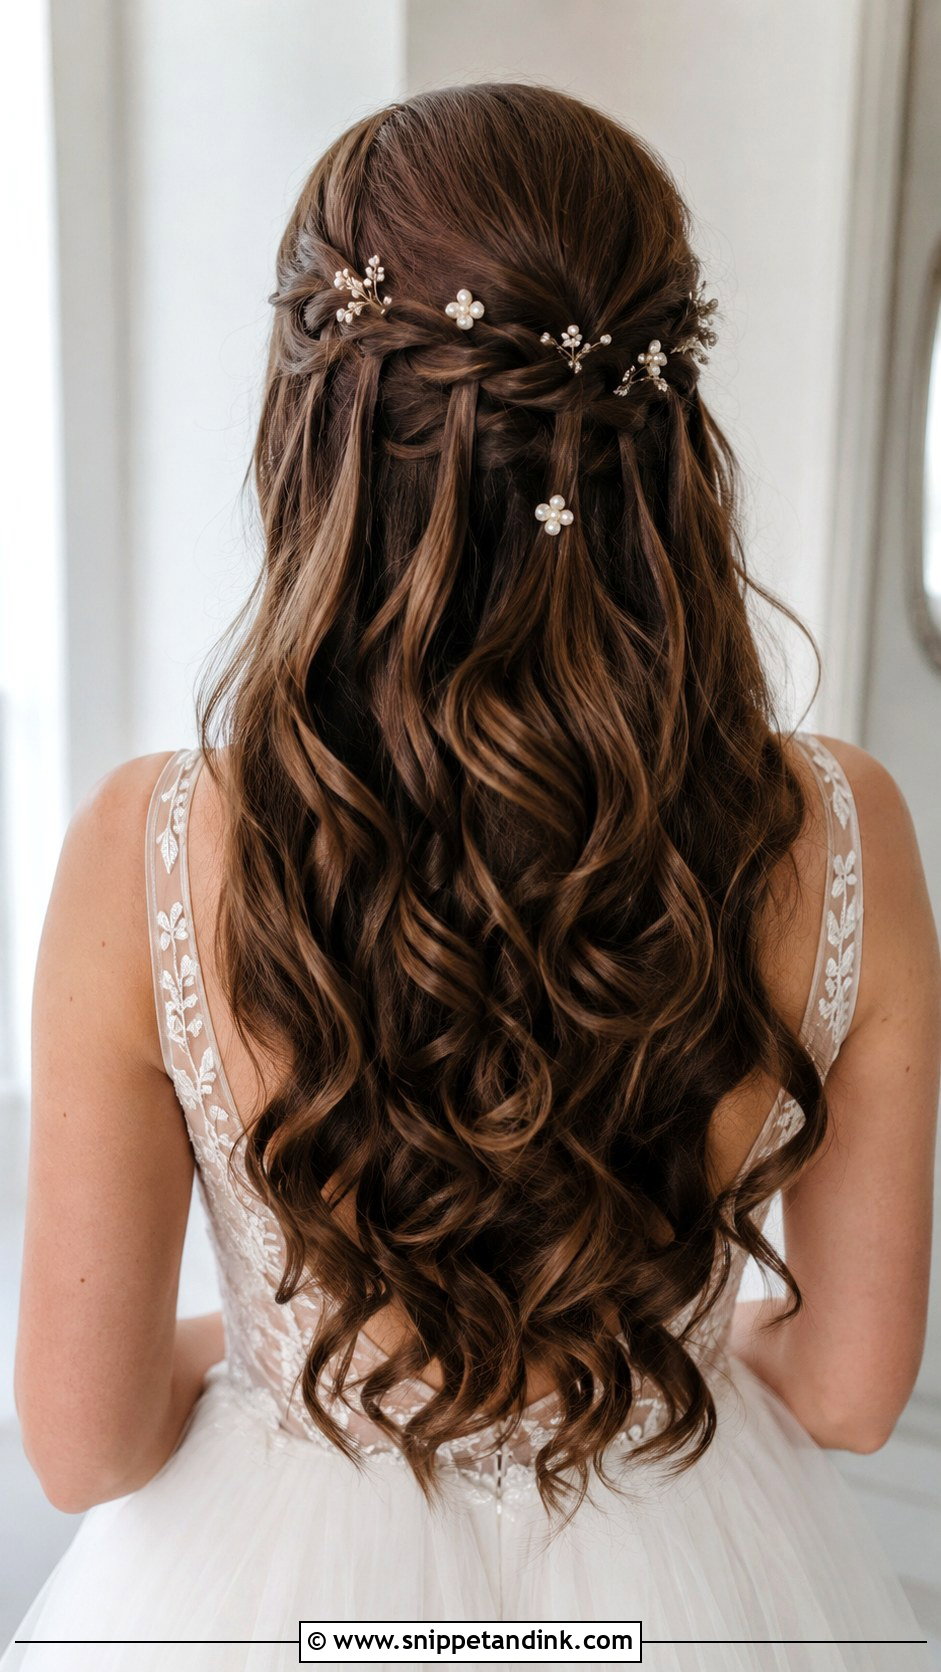
Waterfall braid wedding hair keeps most of your length down while adding one detailed band across the back. Thick hair makes that band fuller and much easier to see from behind, where guests watch most of the ceremony. I braid it on dry, prepped hair and curl the dropped sections afterwards, so they fall through the braid in the same shape. Loose curls feel soft; defined waves feel more formal. Small pearl accents along the braid line finish it.
11. Sleek Ponytail Wedding Hair
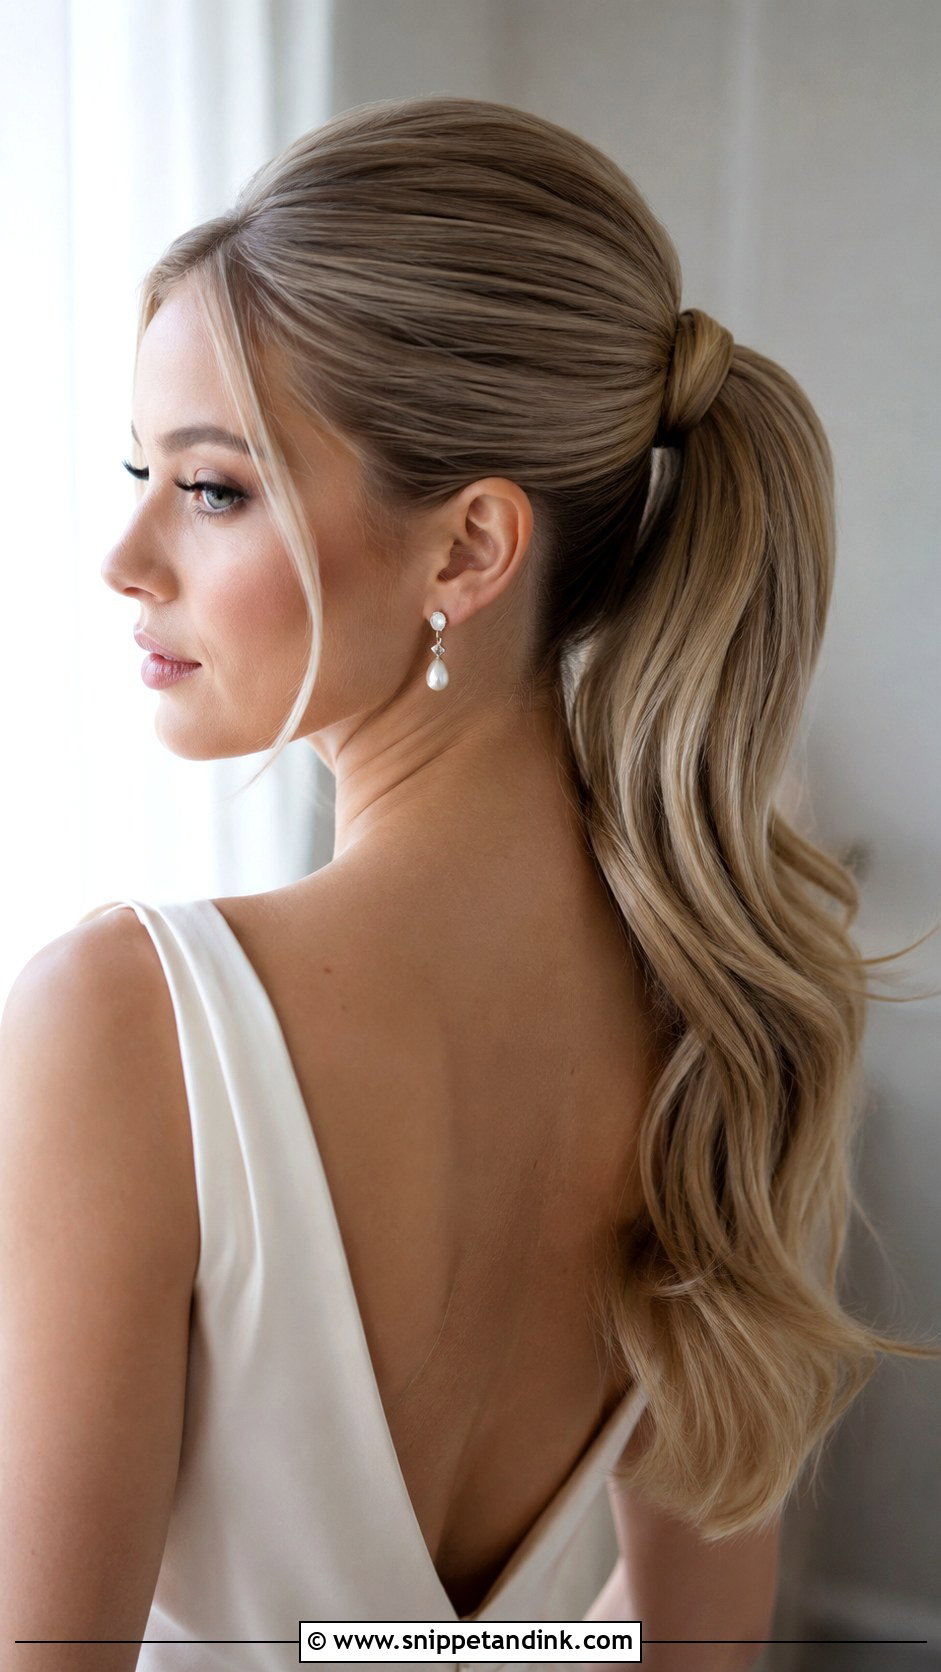
A ponytail looks simple, which is why it needs perfect prep. I blow-dry thick hair sleek with a paddle brush, then secure it with two elastics, because one band rarely holds that much hair at the end of a day. A wrapped section of hair around the base hides them. Height changes the mood: high is bold, low is calm. A smoothing balm at the crown keeps it glossy without the flat, plastered look heavy gel gives.
12. Twisted Updo Wedding Hair
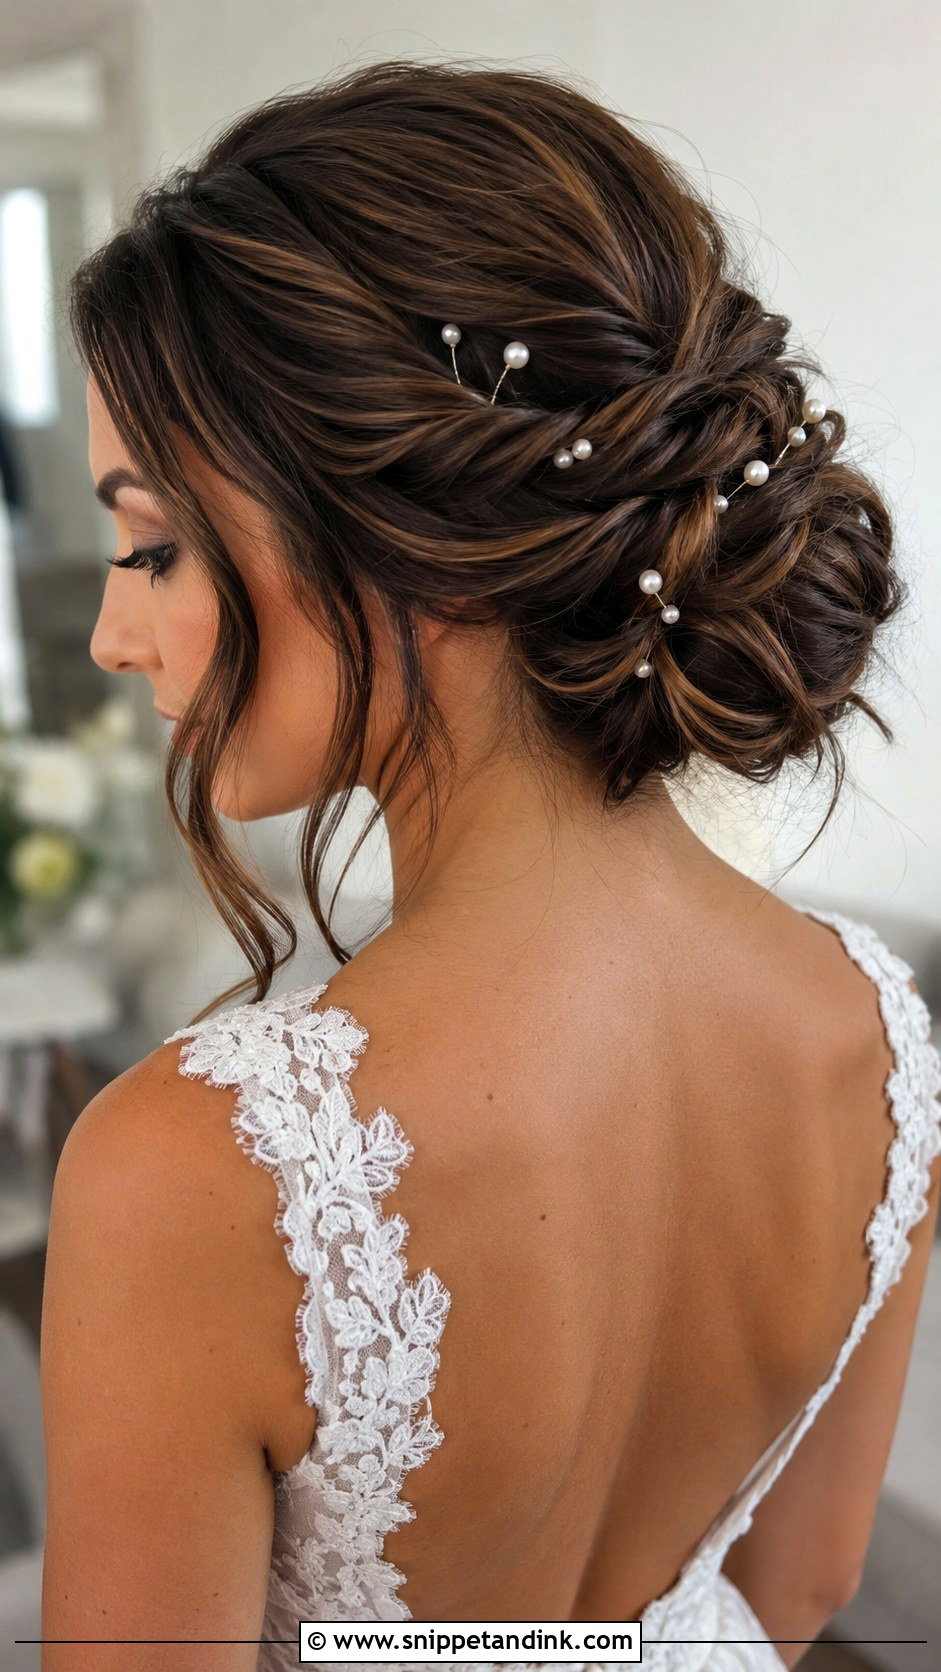
This is the updo I recommend most for very thick hair. Instead of forcing everything into one bun, I twist small sections and pin each one separately, so the weight is spread across the back of the head. It stays comfortable and keeps its shape. It can sit low, centered or off to one side. Highlighted hair shows the twists best; on solid dark hair, a little shine spray stops them merging into one mass in photos.
13. Long Wavy Wedding Hair
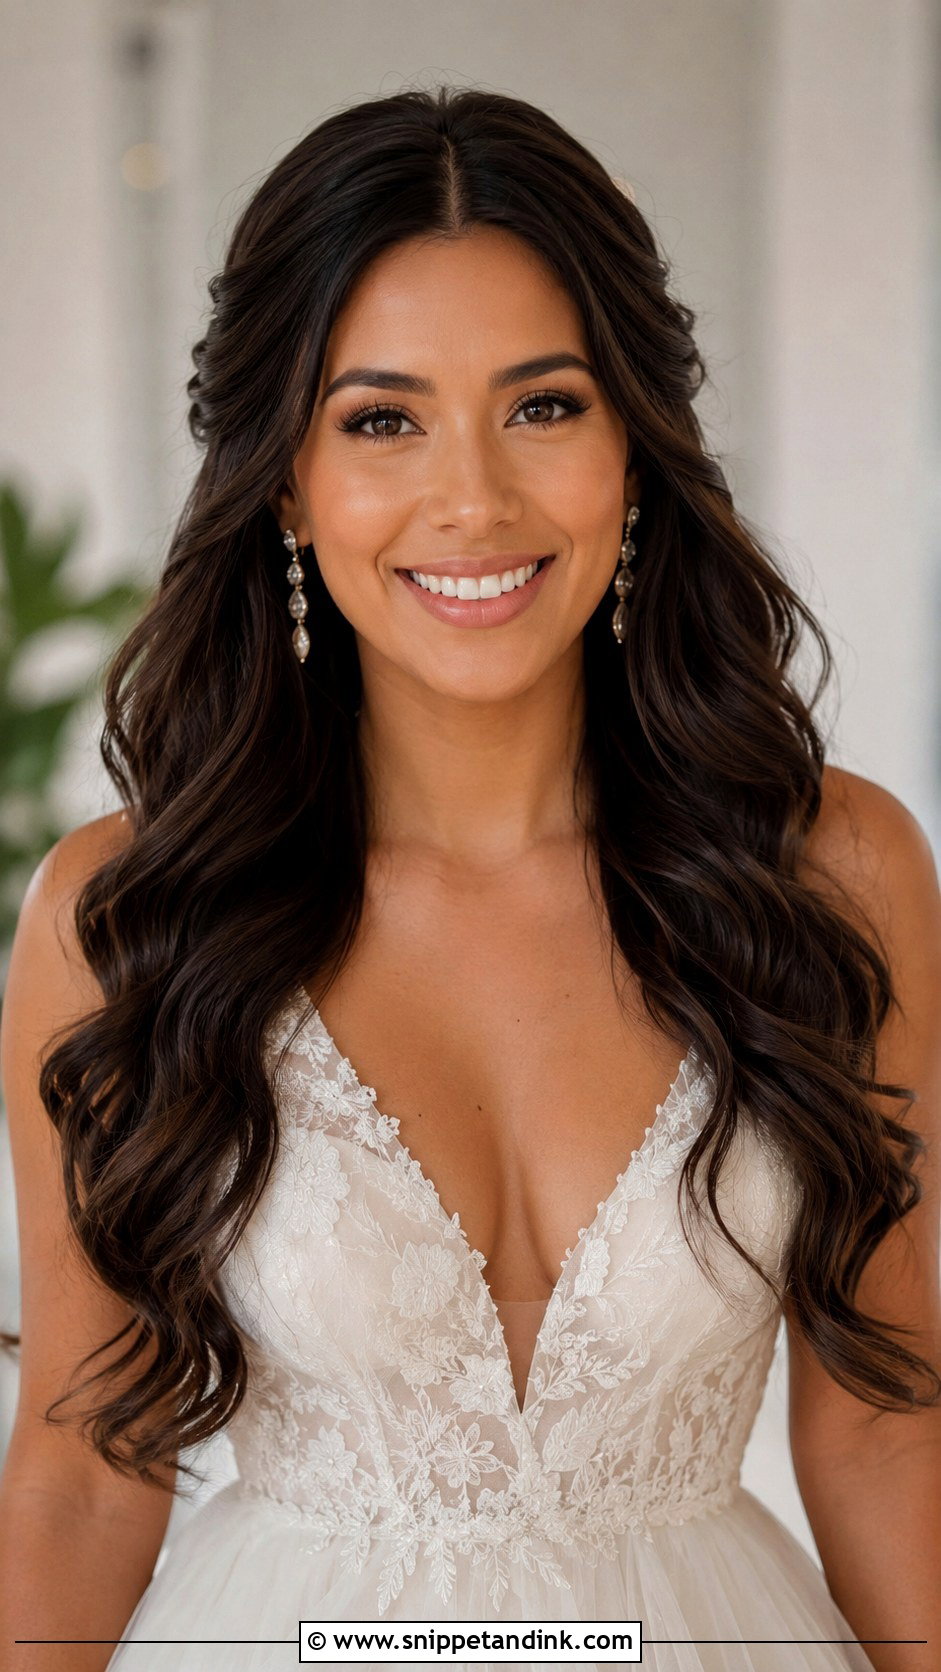
Long wavy wedding hair on thick hair has one risk: width. Without long layers, the waves stack out at the sides and the ends look heavy. If you can, have layers cut four to six weeks before the wedding so they settle. I tuck the front pieces back loosely and keep the waves looser near the roots. A light shine spray helps in photos. With this much texture, accessories can stay minimal.
14. Low Ponytail Wedding Hair
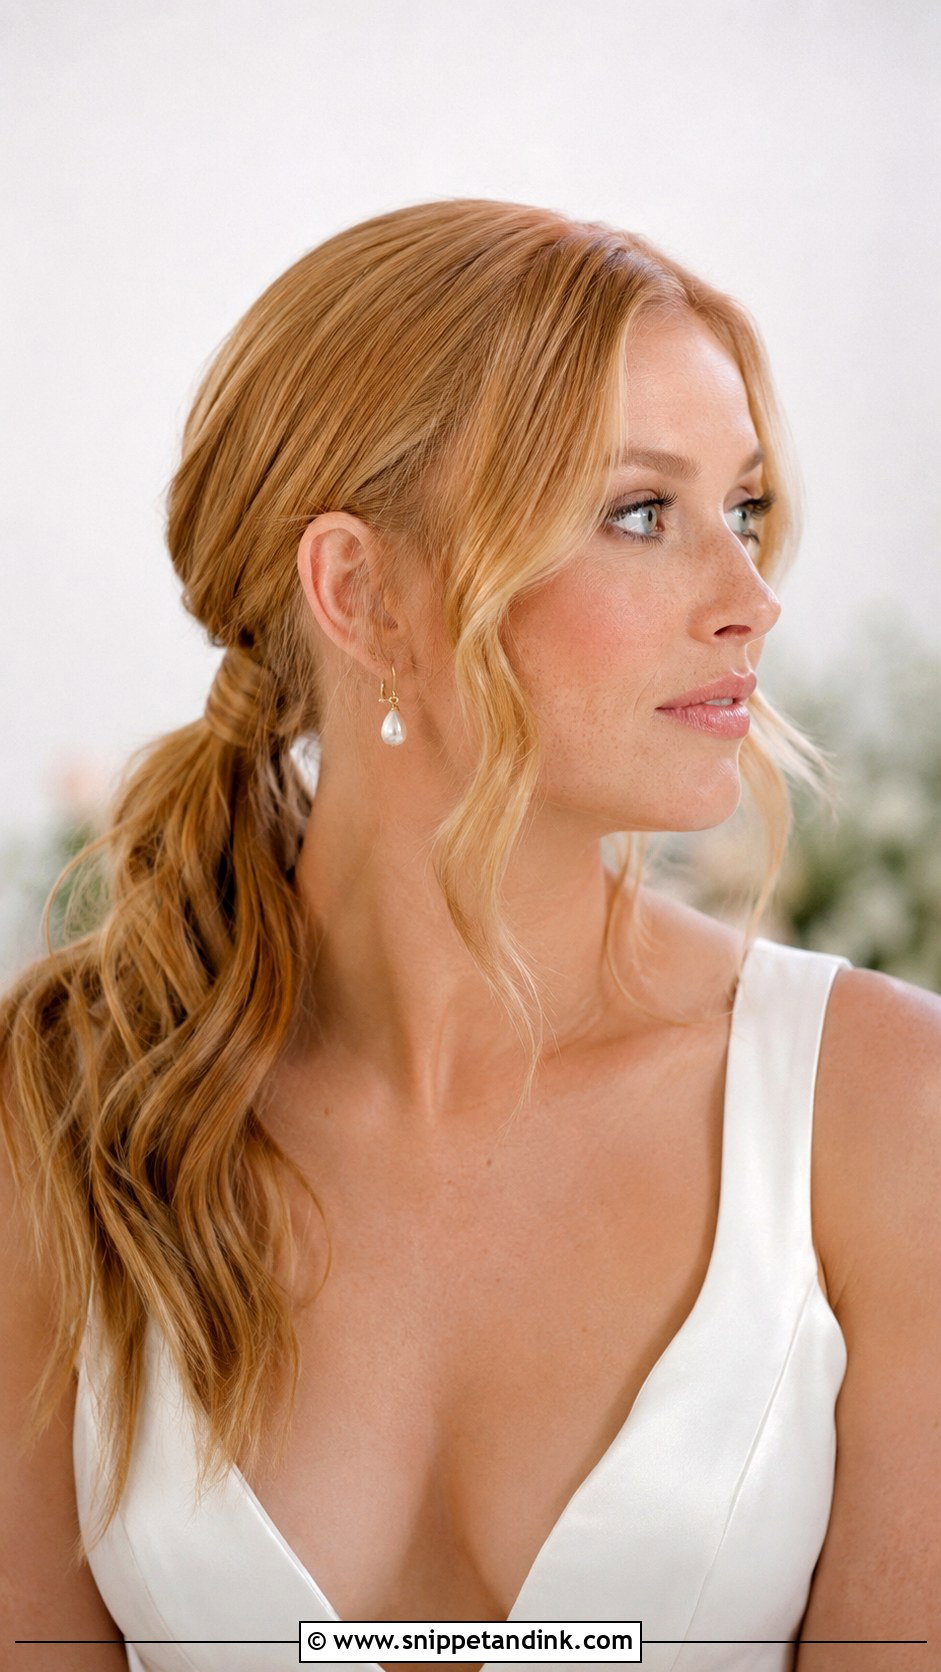
A low ponytail is the calm, comfortable cousin of the sleek high one. Weight stays at the nape and the shape holds through dancing. With thick hair I often wrap a twist around the base or add a small braid along the top for detail. A middle part reads modern; a side part softens it. It can be tied with hair, ribbon, or a decorative clip. Open backs show it off nicely.
15. Curly Updo Wedding Hair
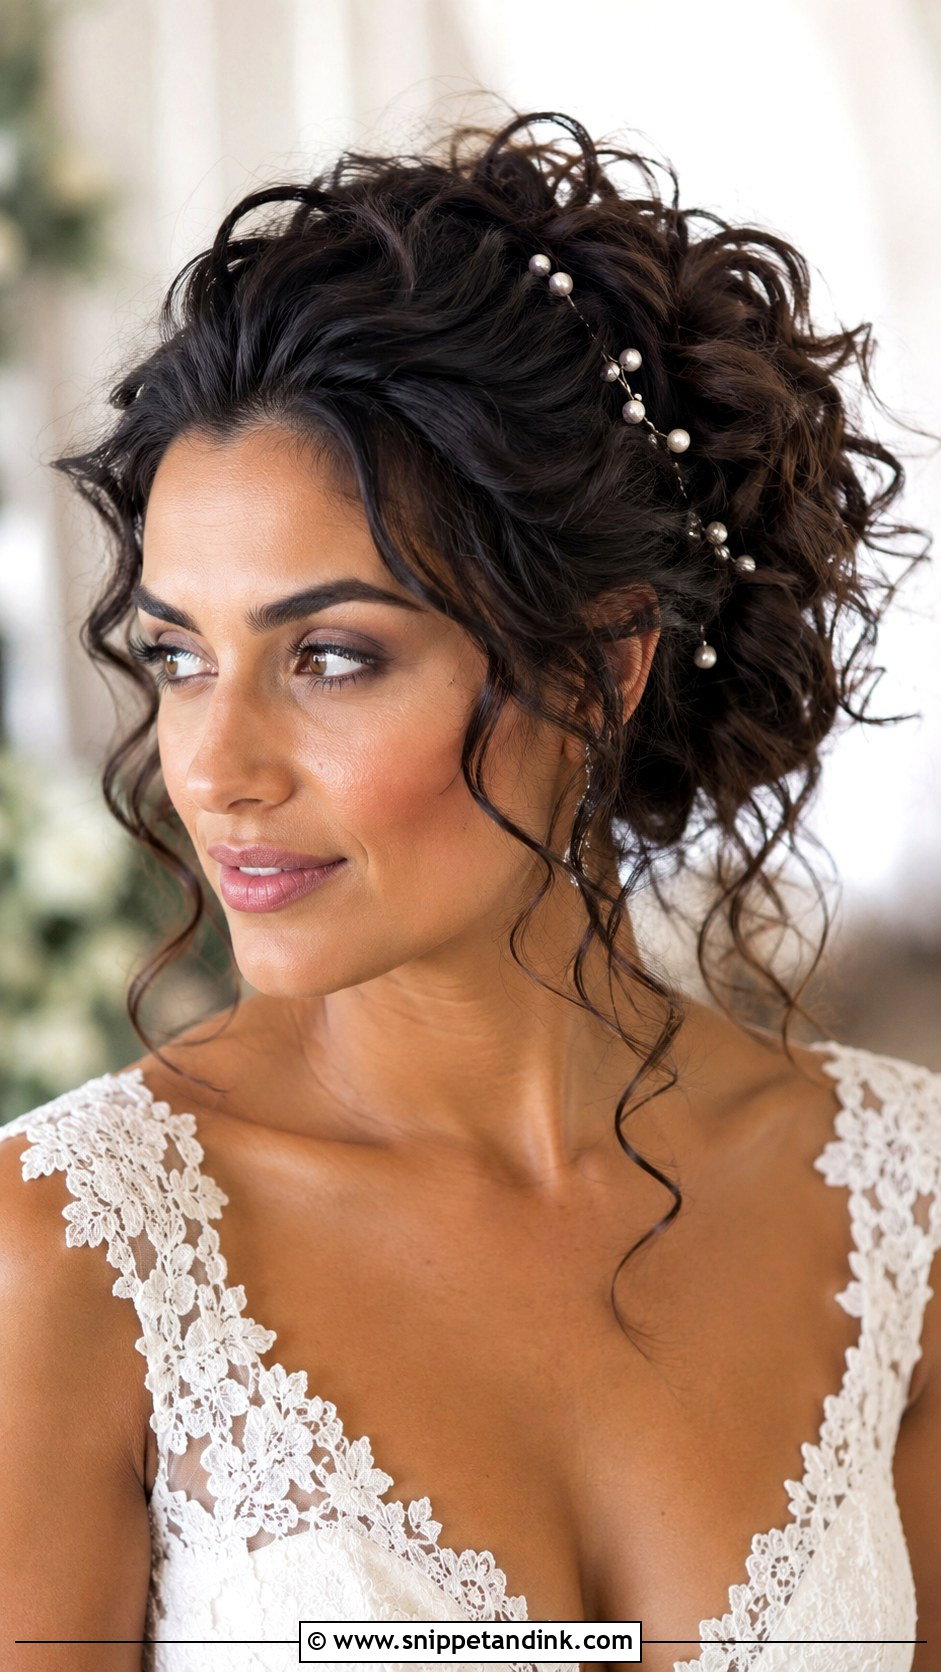
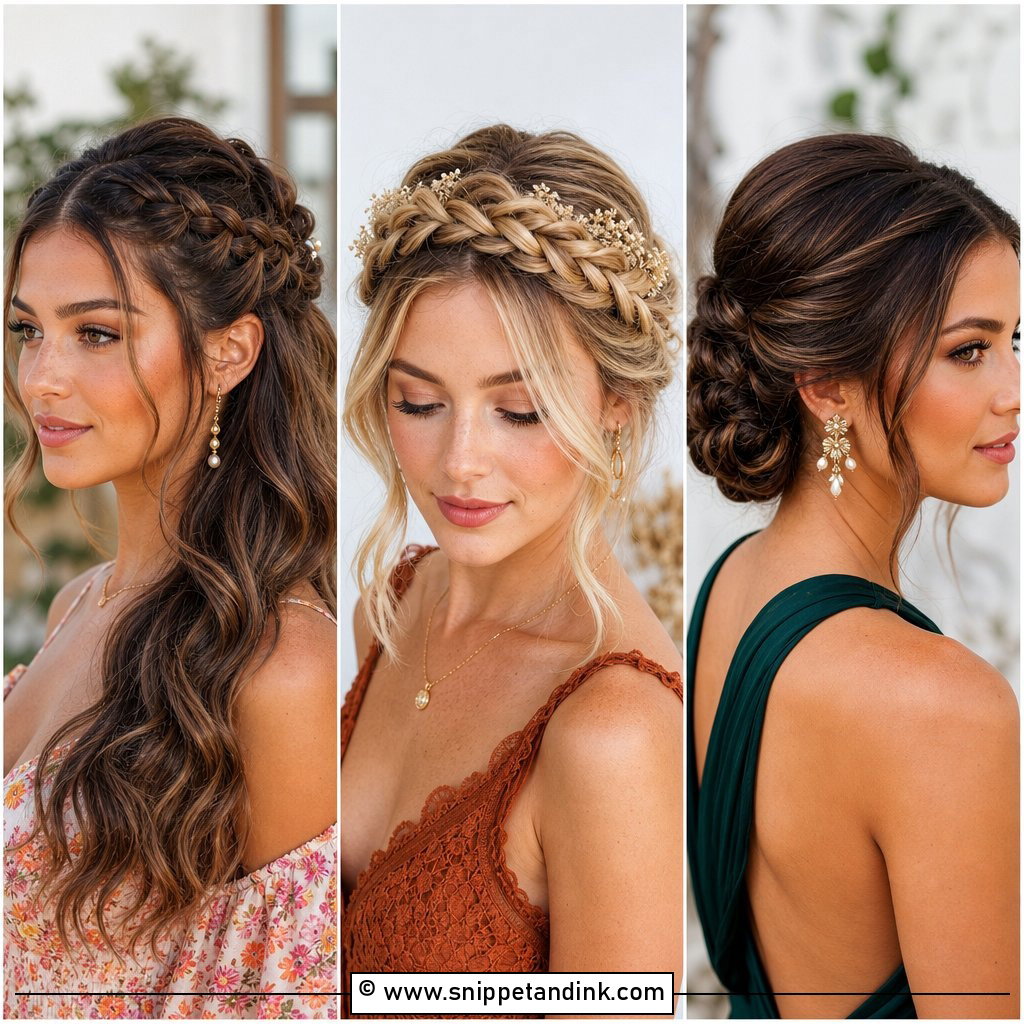
Thick natural curls should keep their bounce in an updo, not get stretched flat. I work with the hair the way it already curls, defined with a cream and fully dry, and pin it in clusters rather than smoothing it into a bun. Big U-shaped pins hold curly hair better than bobby pins, which get lost in the volume. Leave a few curls loose at the face and nape. Low is classic; higher shows off more height.
Headaches, Heavy Pins and Getting It All Down Again
An updo on thick hair can use a lot of pins, and all that metal plus the weight of the hair adds up. A dull ache by mid-afternoon usually means one spot is pulling too tight, often at the crown or where the veil comb sits.
Tell your stylist at the trial if anything feels tight in the first ten minutes. It will only get worse. A good fix is moving the anchor lower or swapping a few bobby pins for U-pins, which hold by shape rather than pressure. Wear the trial style for several hours afterwards if you can, so you know how it feels by evening.
Taking it down needs patience. Find the pins with your fingers before you brush, working from the bottom up, and never drag a brush through hairspray. Rinse with plenty of conditioner and detangle in the shower. Thick hair that’s been set and sprayed all day knots easily, and forcing it is how you lose more hair than you’d like on your wedding night.
Your Volume Is the Advantage, Not the Problem
Long, thick hair already has the fullness most bridal styles try to fake, so the job is shaping and supporting it rather than adding anything. If you want softness, look at loose curls, long waves or the waterfall braid. If control and comfort matter more, the low bun, twisted updo and ponytails are safer. Do a full trial, ideally on hair washed the same way you’ll wash it for the wedding, so pins, products and veil placement are tested on the real thing.
You'll Like These Ideas:


Leave a Reply