
Most brides who sit at my desk for a wedding set end up asking for less than they planned. Once the ring is on and the bouquet is in hand, a quiet manicure looks finished where a busy one starts to fight with everything else. Sheer pink, milky white, a hairline French tip, a pearly glaze: these are simple to look at and surprisingly unforgiving to do, because translucent colour shows every bump in the nail and every uneven cuticle. Below are twenty sets I’d happily put on a bride, with notes on the shapes they suit, how they wear over a long week of events, and what I check before I start each one.
Sheer Colour Shows Everything Underneath, So Plan Your Nails Early
Opaque polish hides a lot. Translucent shades don’t, which means the condition of your natural nail matters more for these sets than for a bold red. Peeling, ridges, white spots and uneven cuticles all show through sheer pink or milky white. A month or two of care before the wedding makes a bigger difference to the final look than anything I do on the day.
- Stop picking or peeling off old gel. It strips the top layers of nail and leaves white, rough patches that show through sheer colour.
- Use cuticle oil every evening. Hydrated cuticles push back cleanly and don’t flake around the edge of the polish.
- Let your nails grow to an even length rather than cutting one broken nail back hard right before the appointment. I can shape the others down to meet it.
- If you bite your nails, book a few maintenance manicures ahead. A builder layer can give a short nail a smoother shape to work with.
At the trial, bring the actual ring if you can, plus a scrap of fabric or a clear photo of the dress. I hold a swatch against each one. Small undertone mismatches are invisible in a salon mirror and very obvious in a close-up of hands resting on a bodice.
1. Milky White Wedding Nails
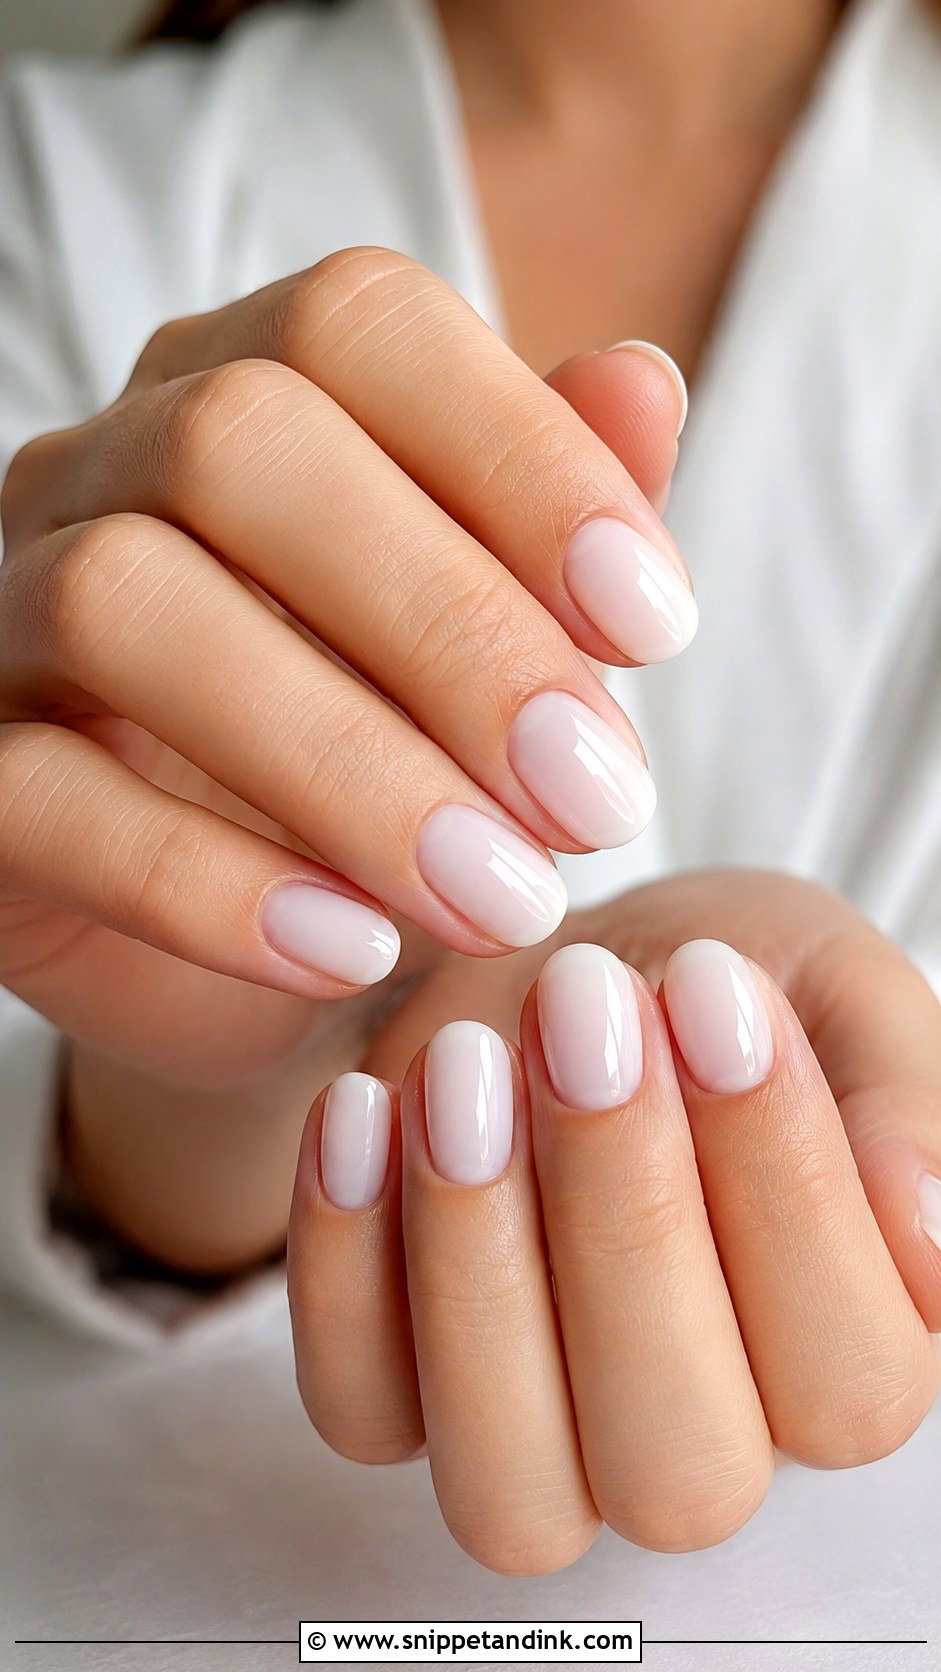
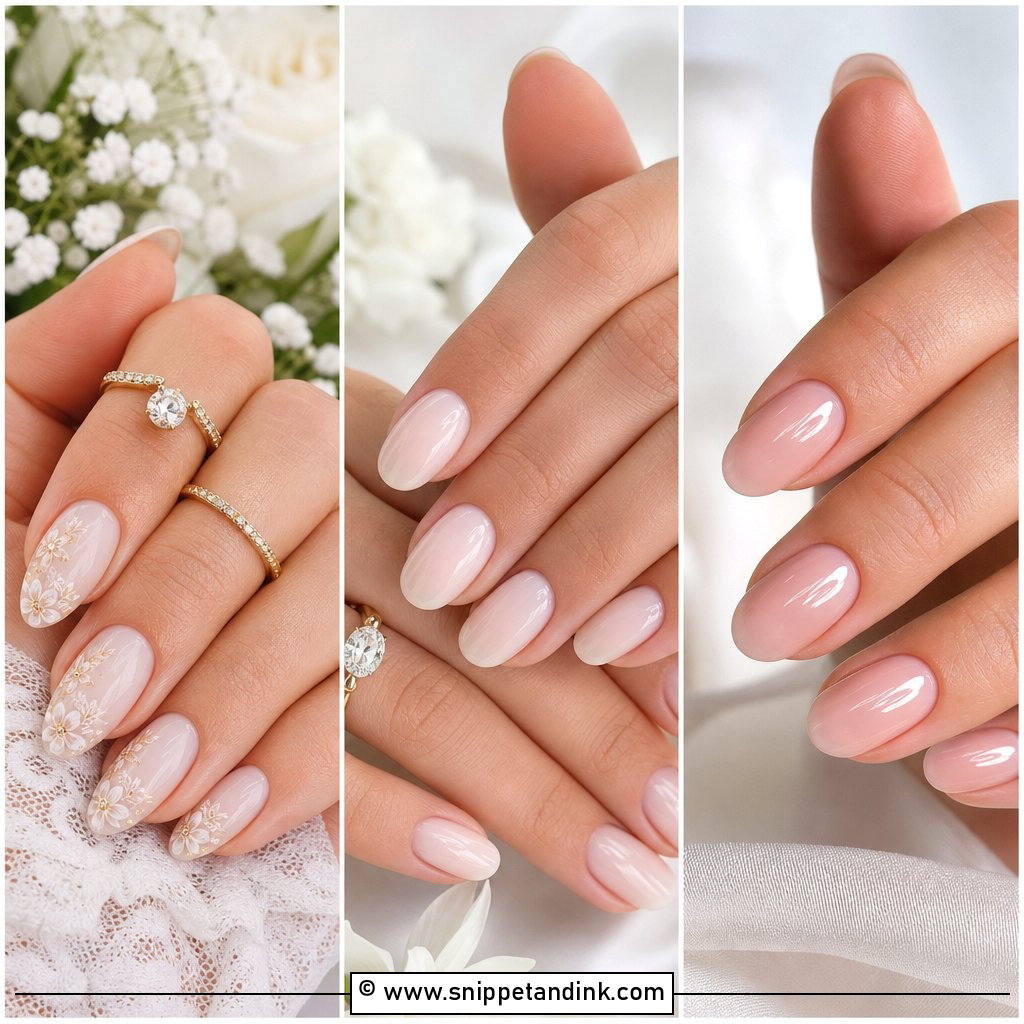
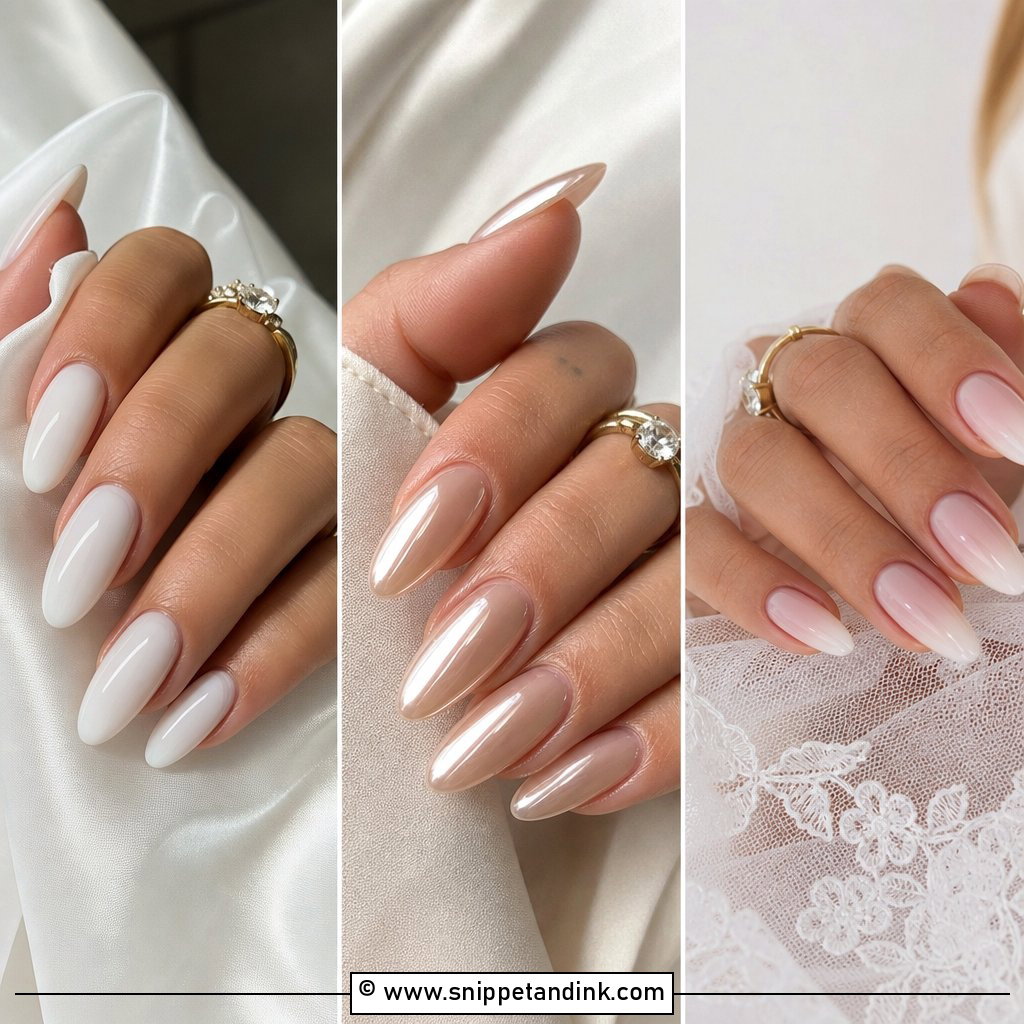
Milky white wedding nails sit between sheer white and cream, which is why they look bridal without the toothpaste effect of solid white. I build them in two thin coats rather than one thick one; a single heavy layer of milky gel streaks and pools at the sidewalls. Oval, almond and short square shapes all take it well because the colour evens out the whole plate. Hold your swatch against the dress: a bright white gown wants a cooler milk, an ivory gown a slightly warmer one, or the nails will look grubby beside the fabric.
2. Sheer Pink Wedding Nails
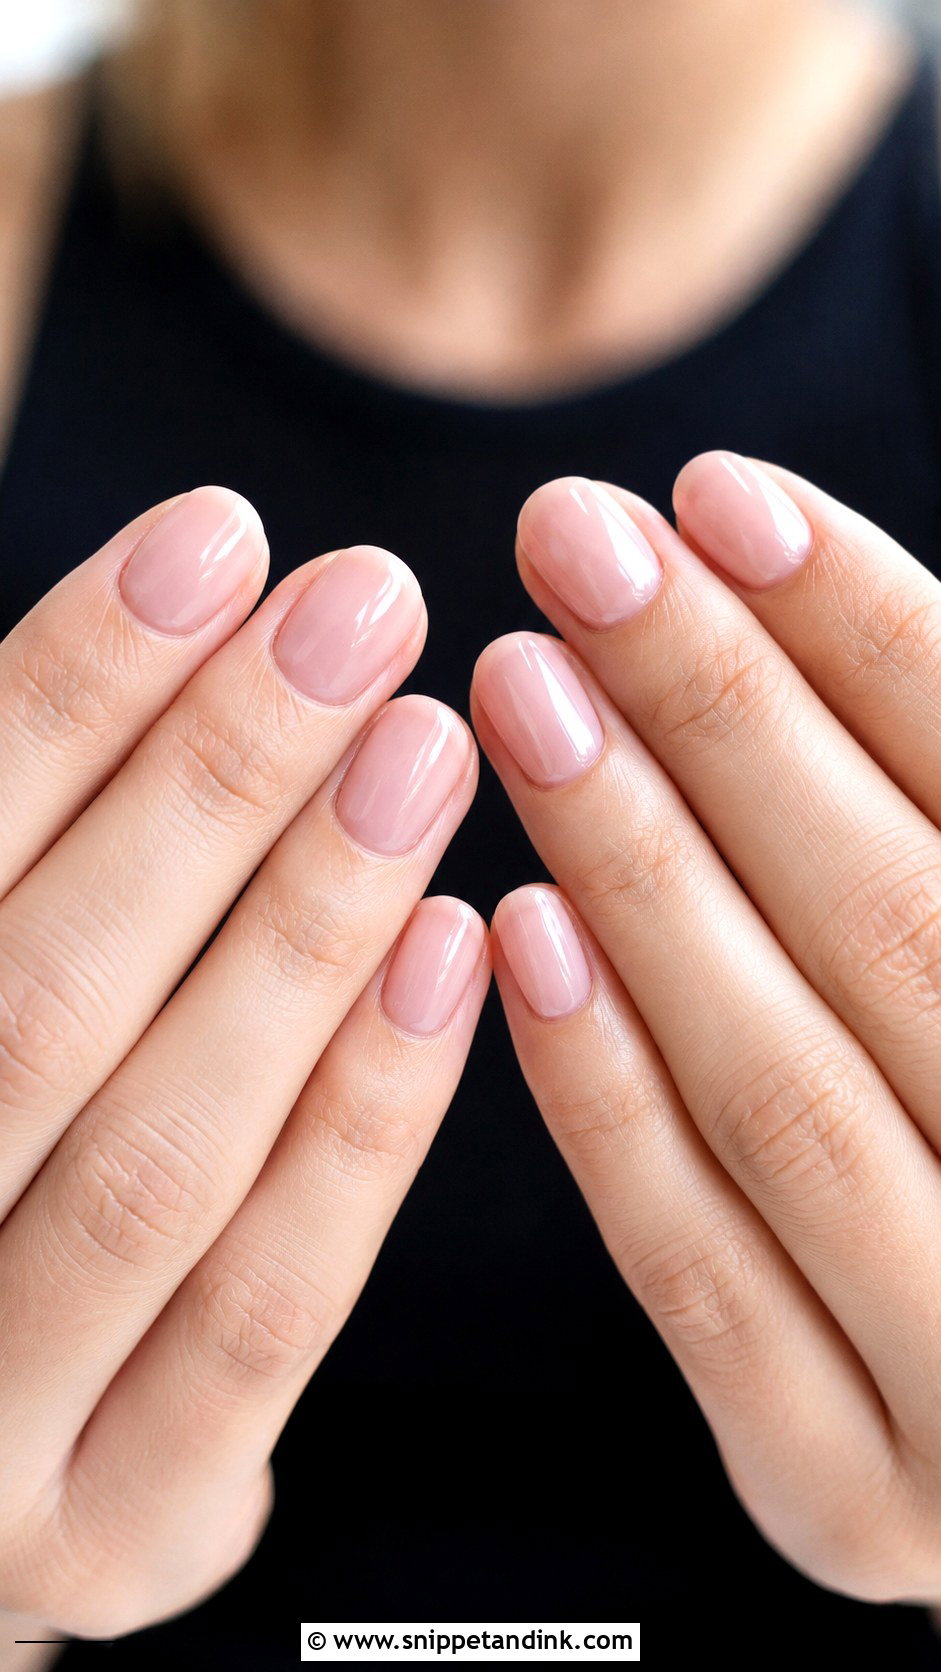
A sheer pink only works if it matches what’s underneath it. Your nail bed already has its own colour, so the polish combines with it rather than covering it. As a rough guide I test a cool baby pink on fair skin, a rosy nude on medium skin and a warm pink beige on deeper skin, then look at the hand from arm’s length, which is how the camera will see it. Rounded or oval tips keep it soft. Gloss matters more here than on any opaque colour, since a dull topcoat on a sheer shade just looks like bare nails.
3. Nude French Wedding Nails
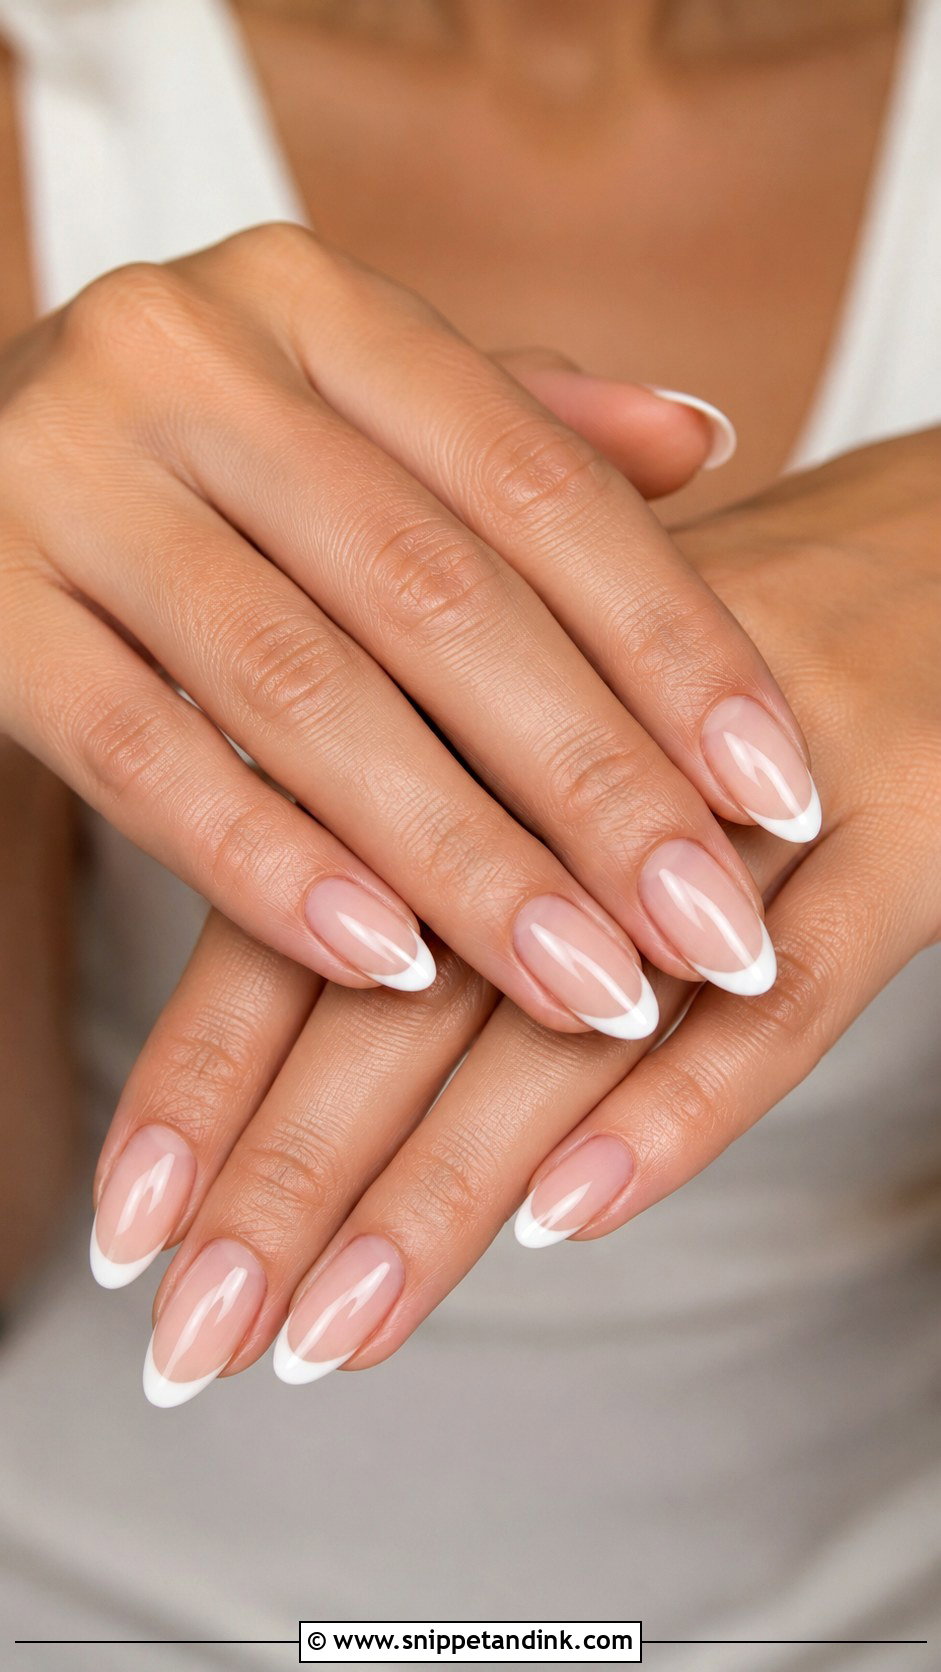
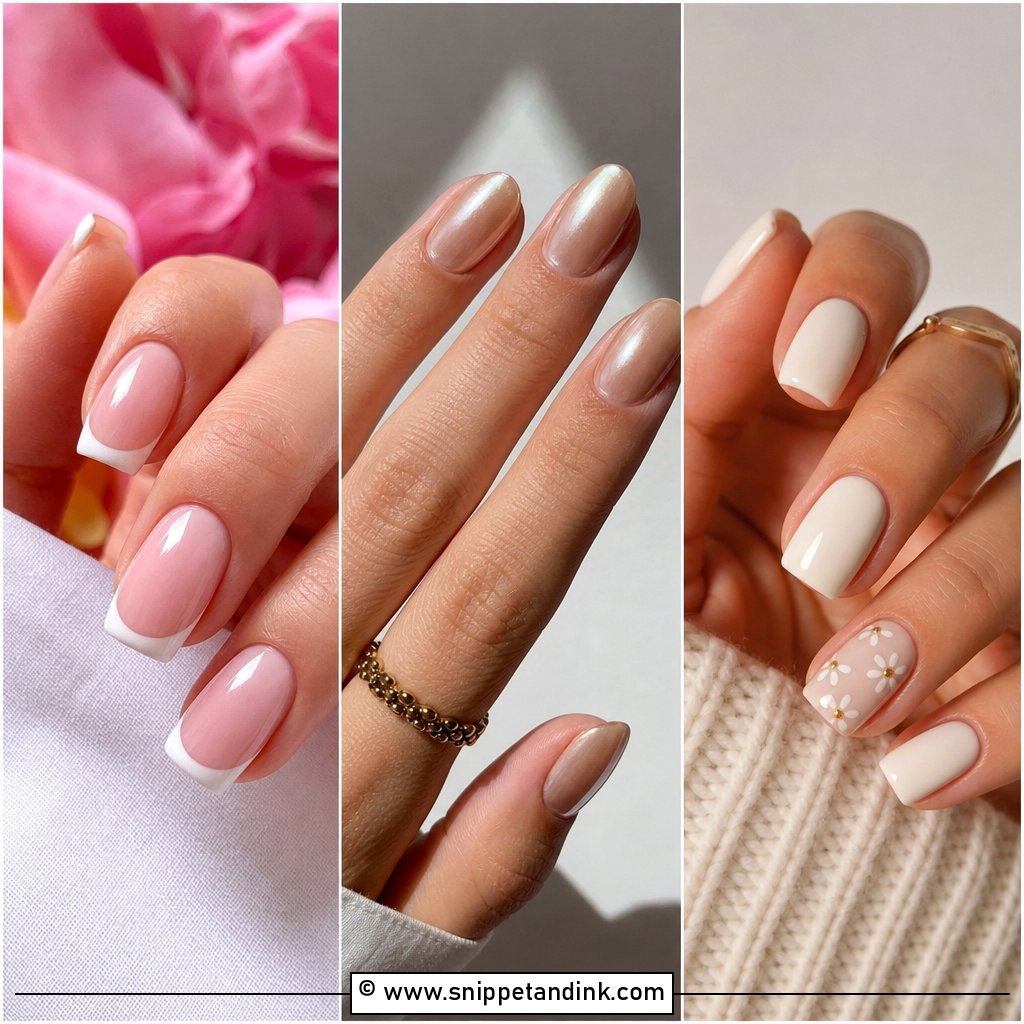
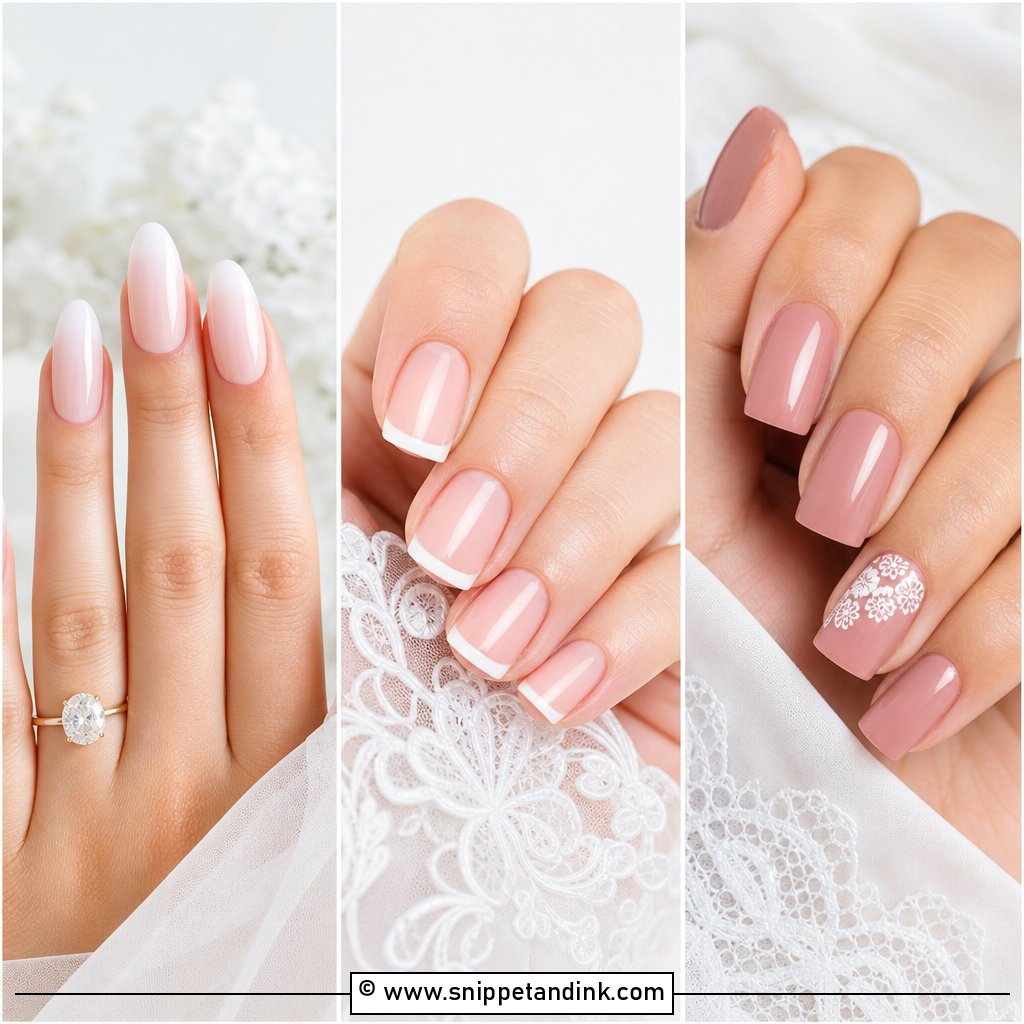
This is the classic French with the volume turned down: a sheer nude base close to your own nail colour and a thin white or off-white tip. Painting a slim smile line by hand takes a steady brush and more time than people expect, so I always allow extra minutes in the appointment. It flatters almond and oval nails because the narrow tip draws the eye along the finger. If your nail bed is short, I sit the smile line a touch lower than your natural free edge to make the bed look longer.
4. Micro French Wedding Nails
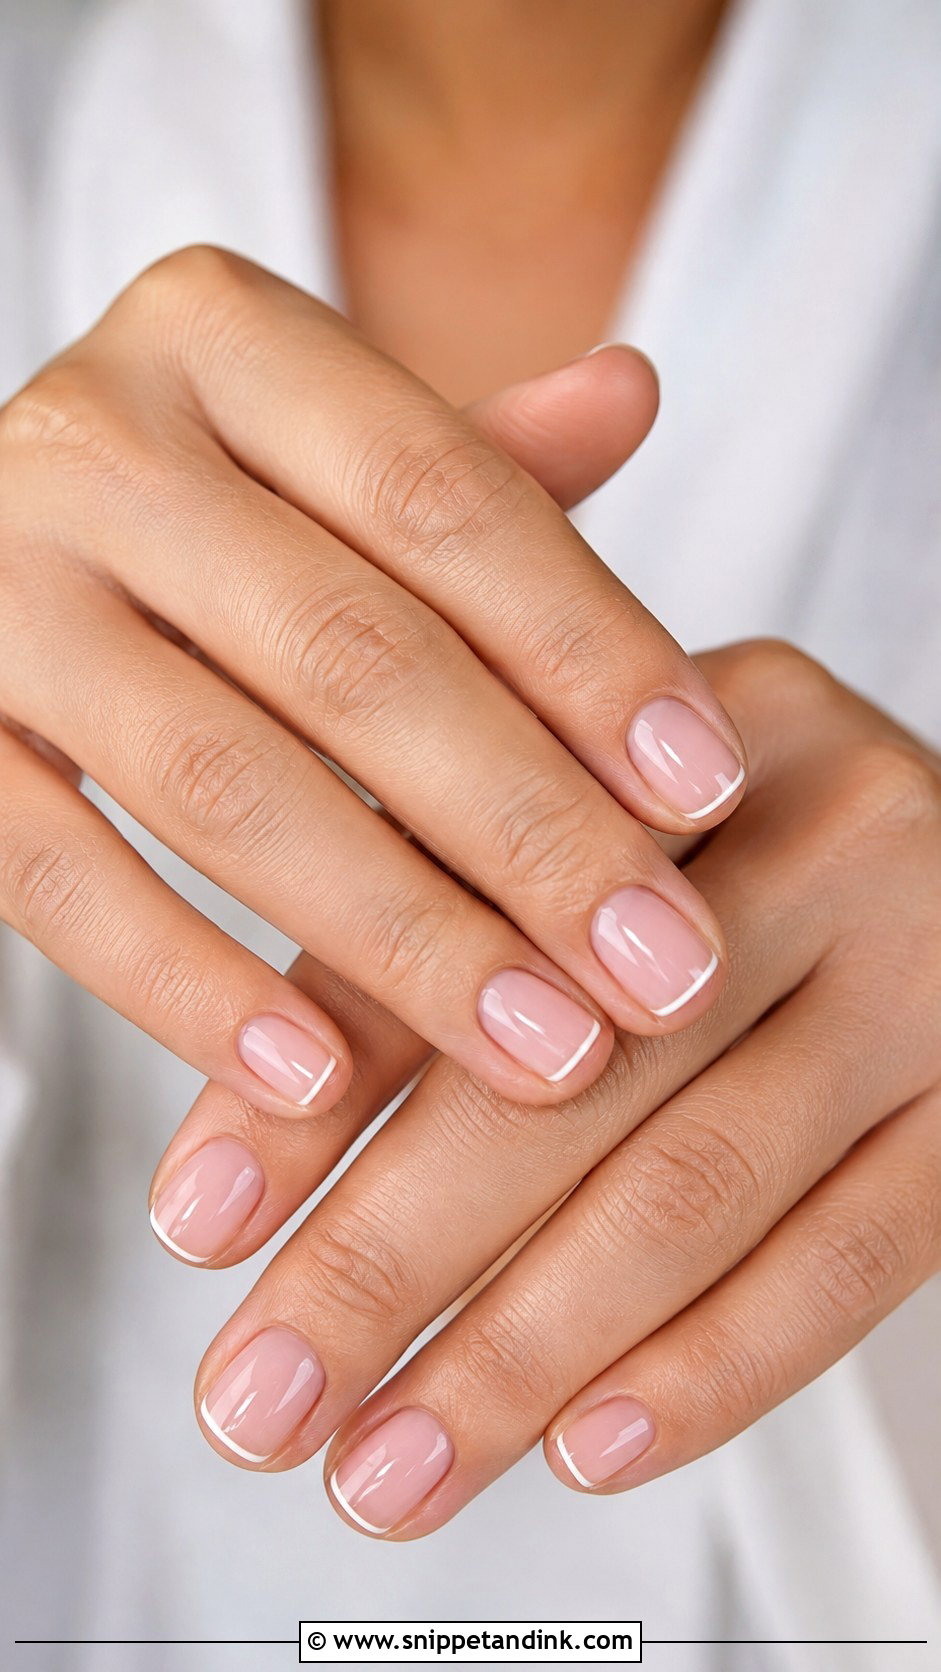
The micro French is my answer for short nails. A full white tip on a short nail cuts the bed in half and makes it look stubby; an ultra-thin line along the very edge defines it without stealing length. White, ivory or soft cream all work over a sheer pink, nude or milky base. The challenge is consistency, since one tip a millimetre thicker than the others shows straight away in a ring close-up. I paint all ten and then check them side by side with the hands flat before curing the final coat.
5. Glazed Donut Wedding Nails
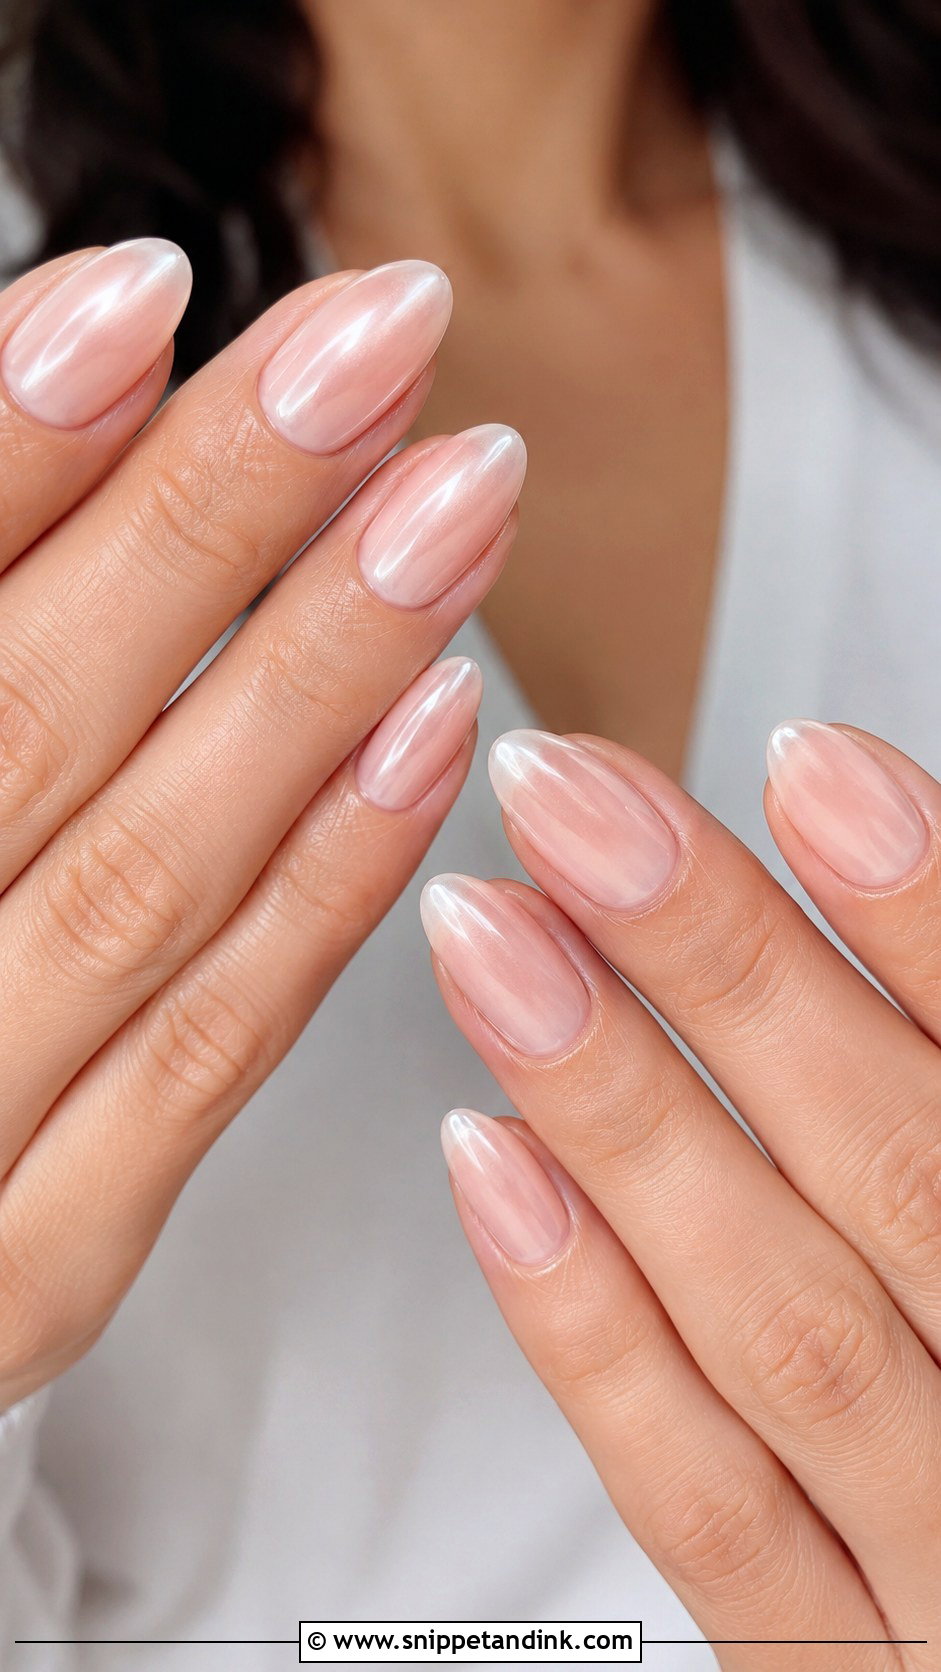
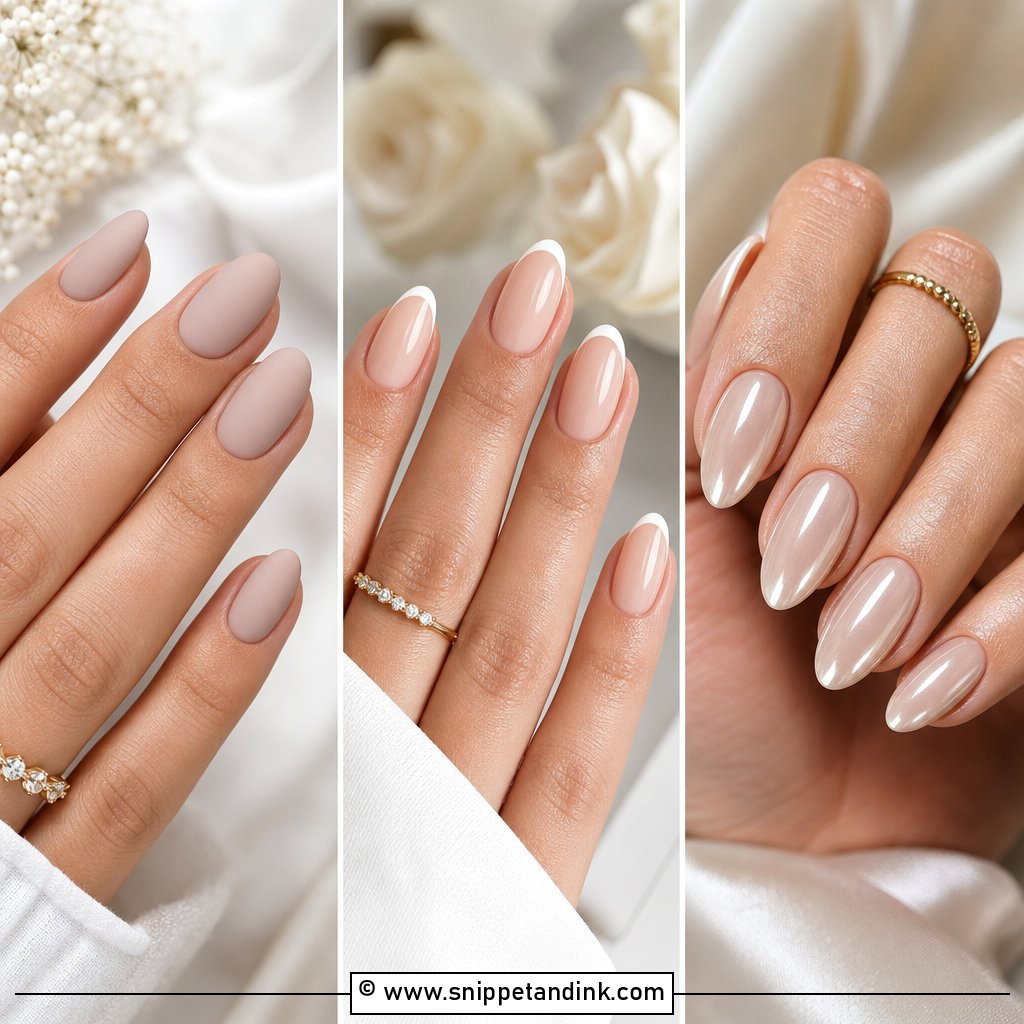
Glazed donut wedding nails start with a sheer pink, nude or milky base and get a fine pearl powder rubbed over a no-wipe top coat. The result glows rather than sparkles. My one rule is restraint: I buff the powder on lightly, because a heavy rub flips from pearly to metallic and stops looking minimal. Almond, oval and squoval shapes at medium-short length show it best. Seal the edges carefully; chrome powder that isn’t capped at the free edge is the first thing to wear off.
6. Pearl Chrome Wedding Nails
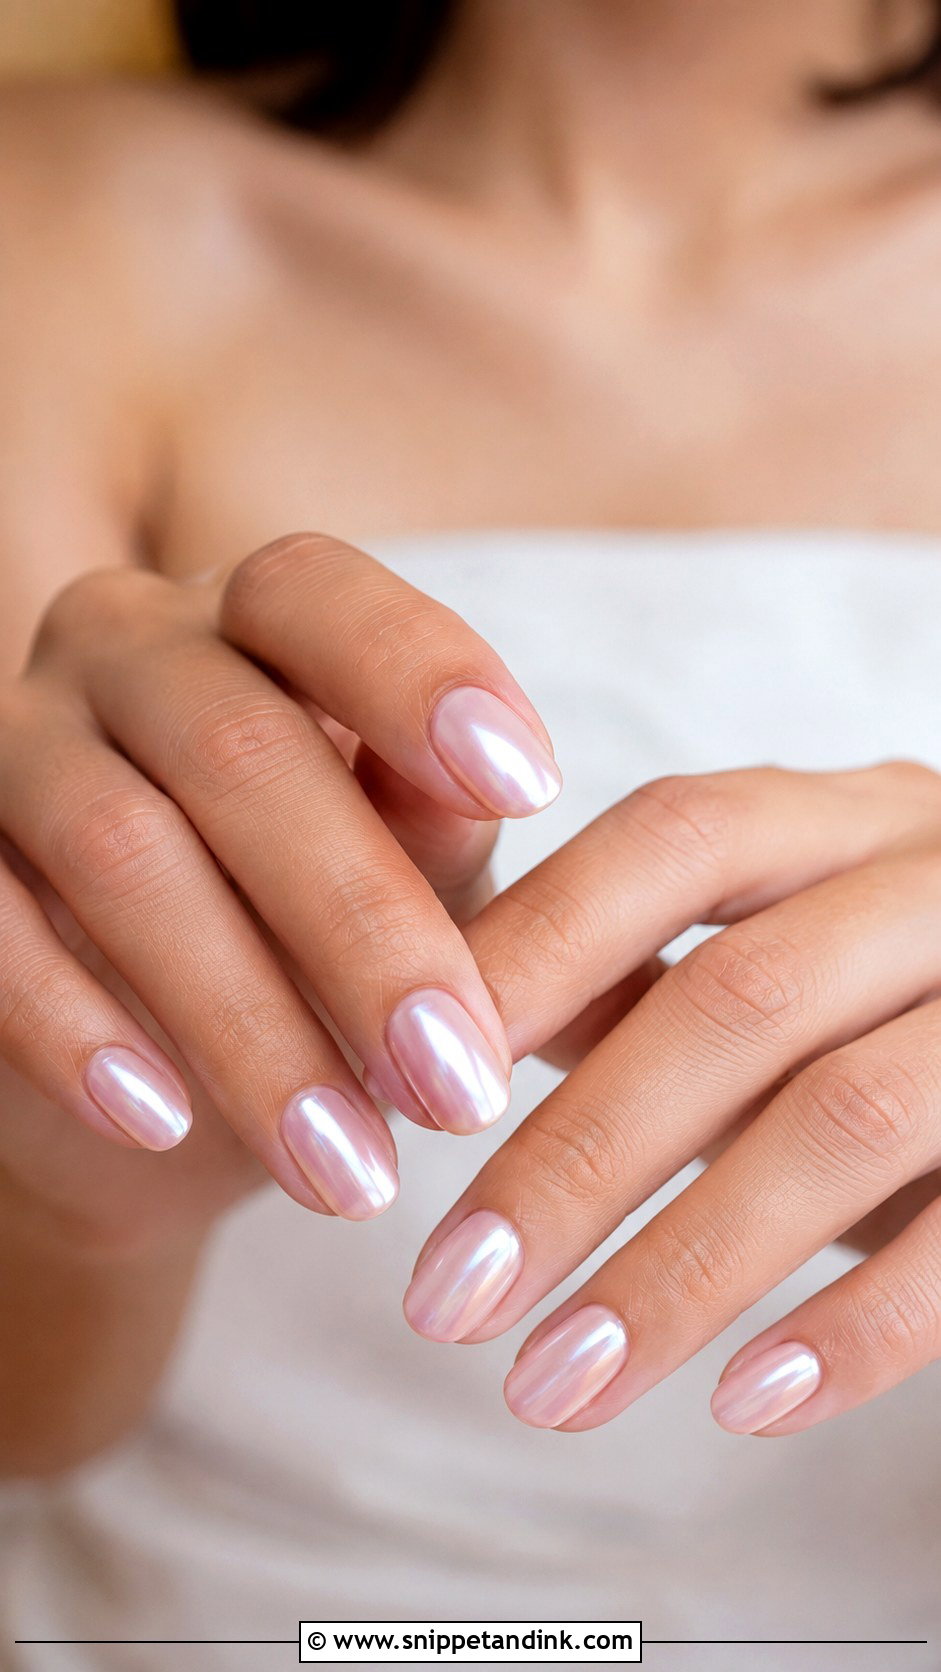
Pearl chrome is a step up from plain polish without going near glitter. A soft white or pink base gets a pearly powder that shifts gently as the hand moves, which pairs naturally with satin fabric and pearl jewelry. The thing I watch is the undertone of the powder: some pearl chromes lean silver and look icy against warm skin, so I swatch two before choosing. It sits nicely on almond, oval and short rounded nails, where there’s a curve for the light to travel across.
7. Baby Boomer Wedding Nails
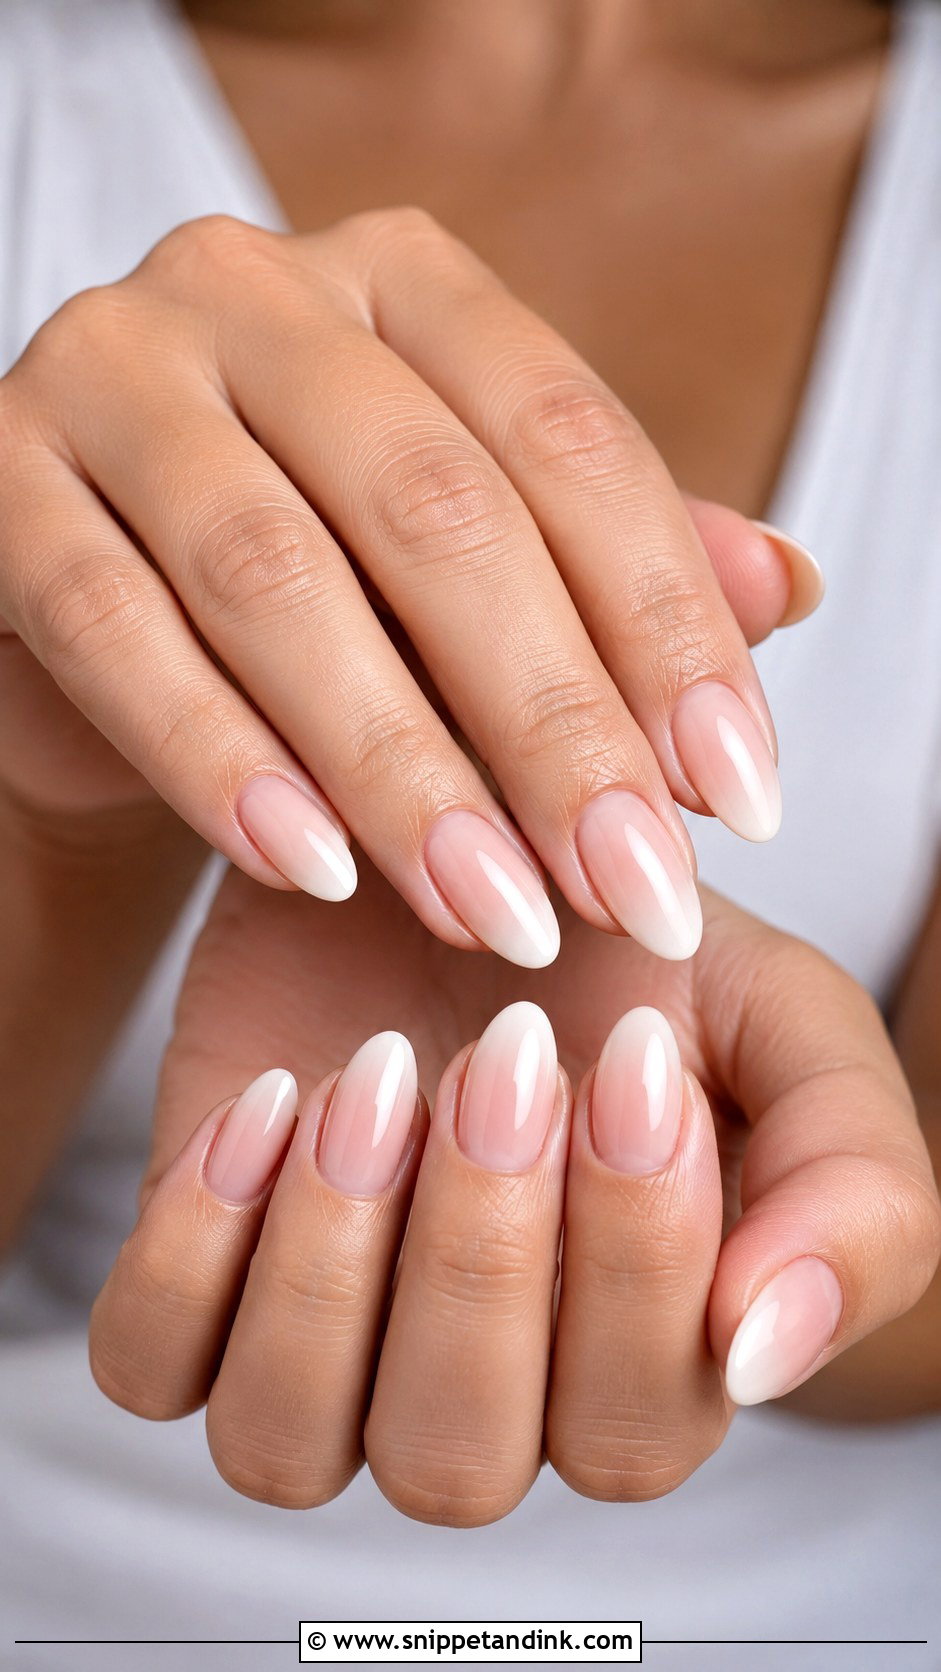
Baby boomer nails are a soft ombré French design where nude or pink fades into white with no line between them. I usually create the fade with a sponge or a gel blending technique and build it up in thin passes; rushing it leaves a visible band halfway up the nail. It suits longer almond or coffin shapes best, since the fade needs room. For most brides I suggest ivory at the tip instead of bright white, and a base as close to the natural nail as possible so regrowth is less obvious by the end of the honeymoon.
8. Short Square Wedding Nails
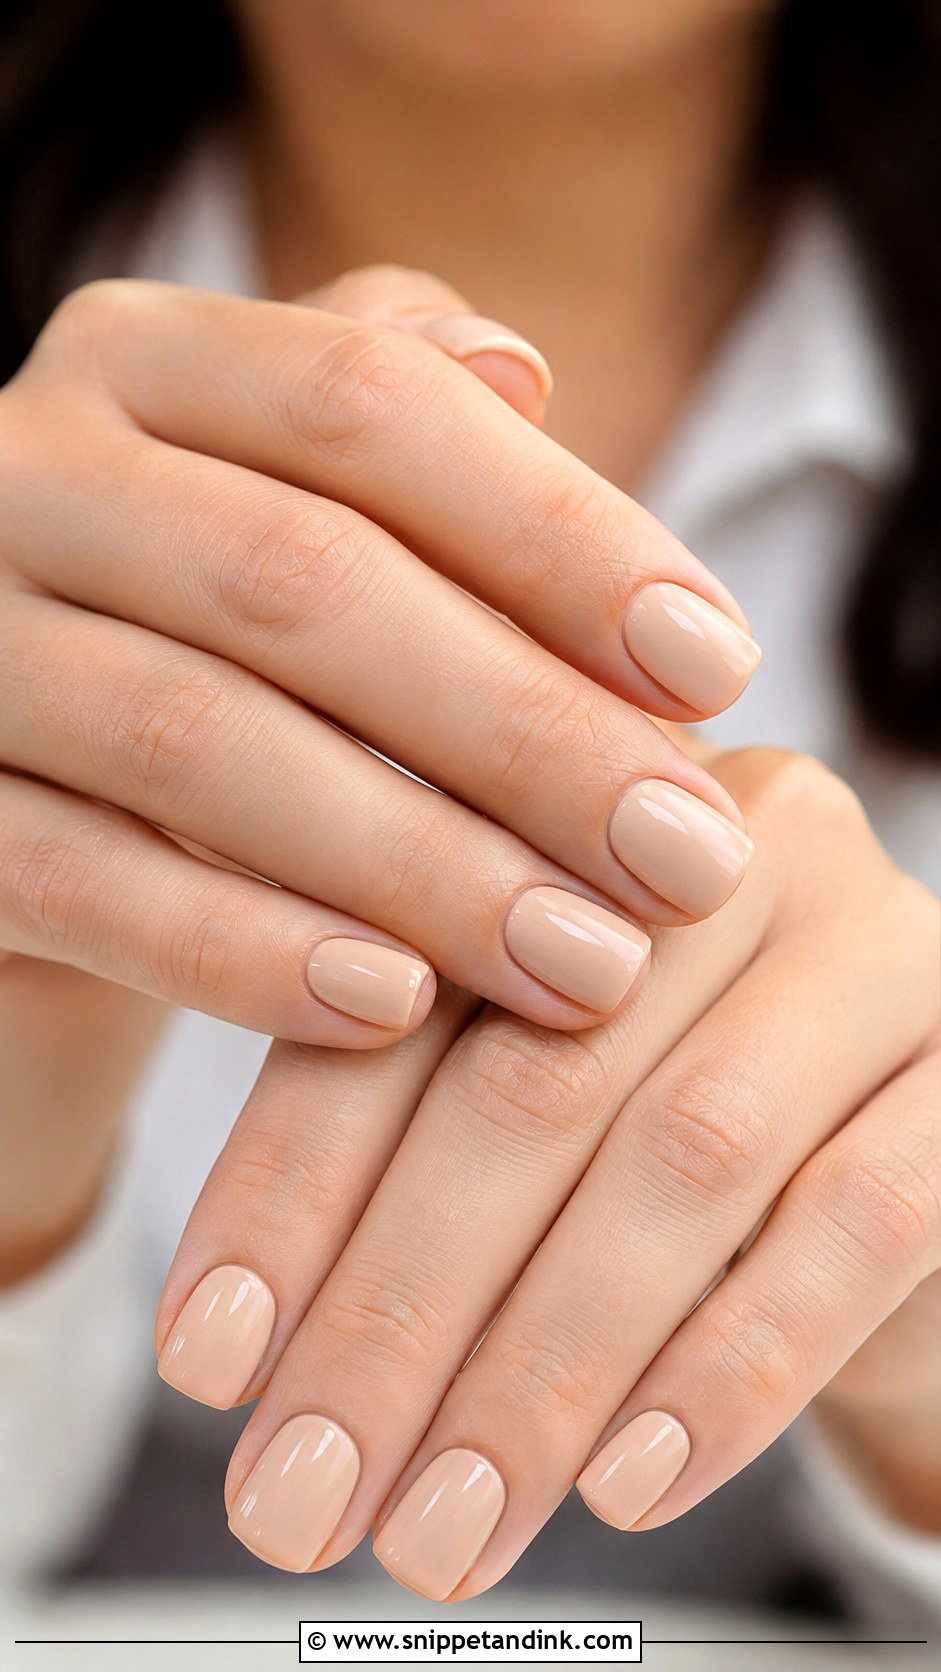
Short square nails look smartest with the corners eased into a squoval; a sharp corner snags tights and veil netting and chips first. This set is all about precision, so I spend most of the appointment on prep: matching every length, pushing back and tidying cuticles, filing the sidewalls straight. Then one translucent colour, such as sheer pink, nude beige or milky white, and a high-shine top coat. With a structured gown or a bridal suit, that neatness reads as deliberate rather than plain.
9. Almond Nude Wedding Nails
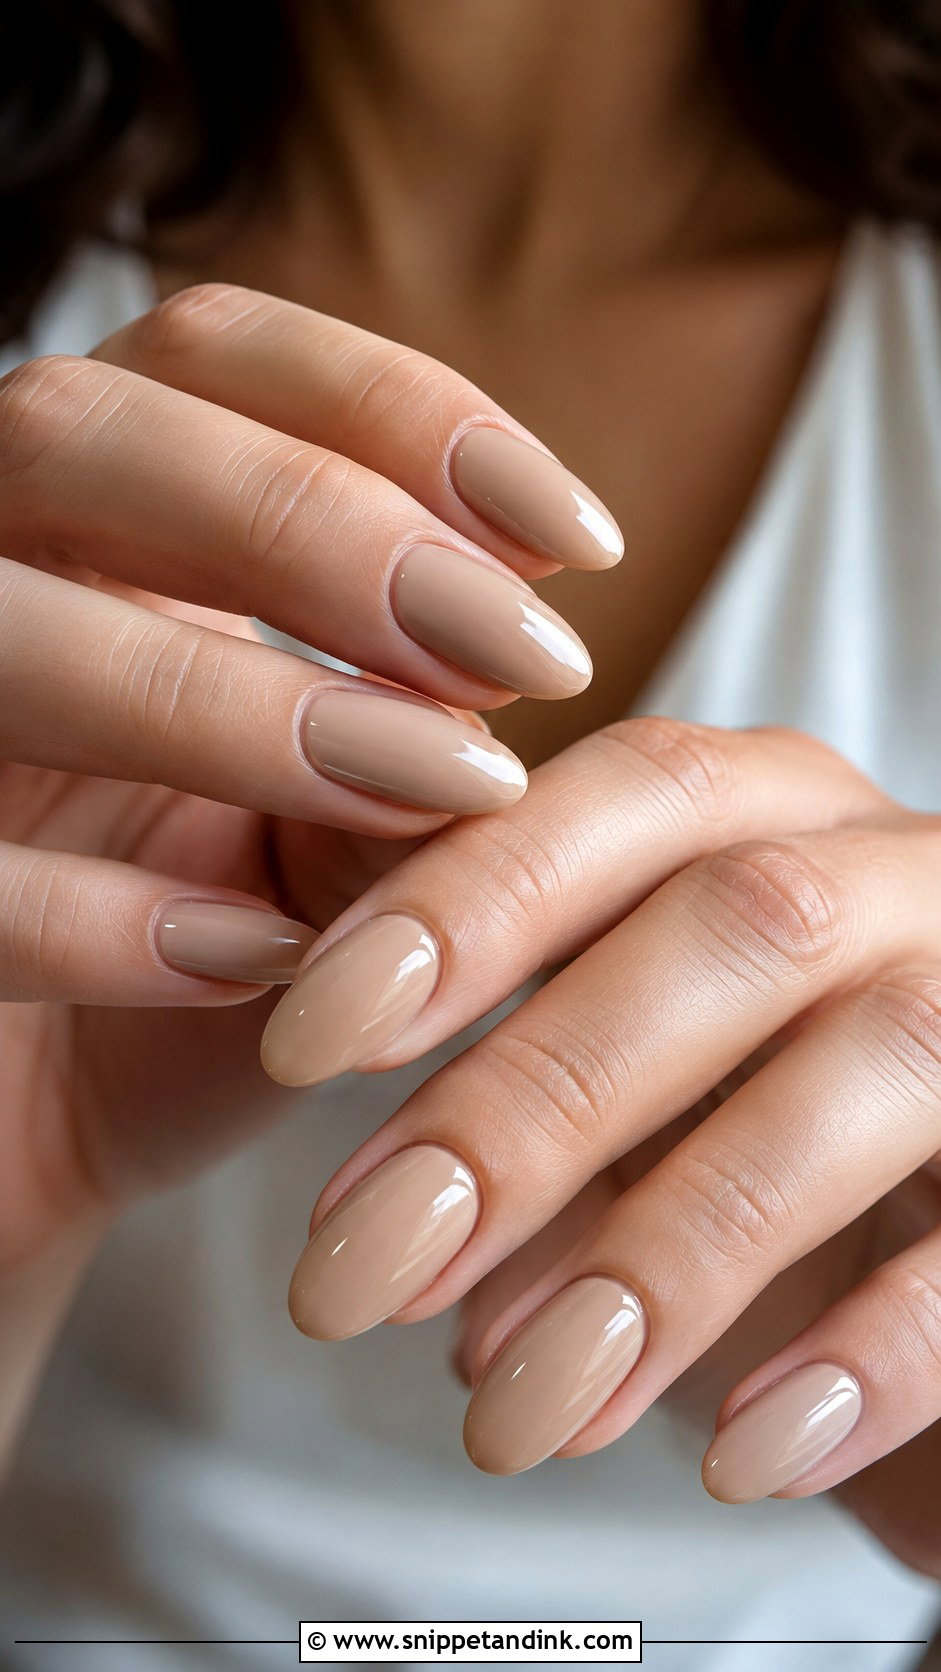
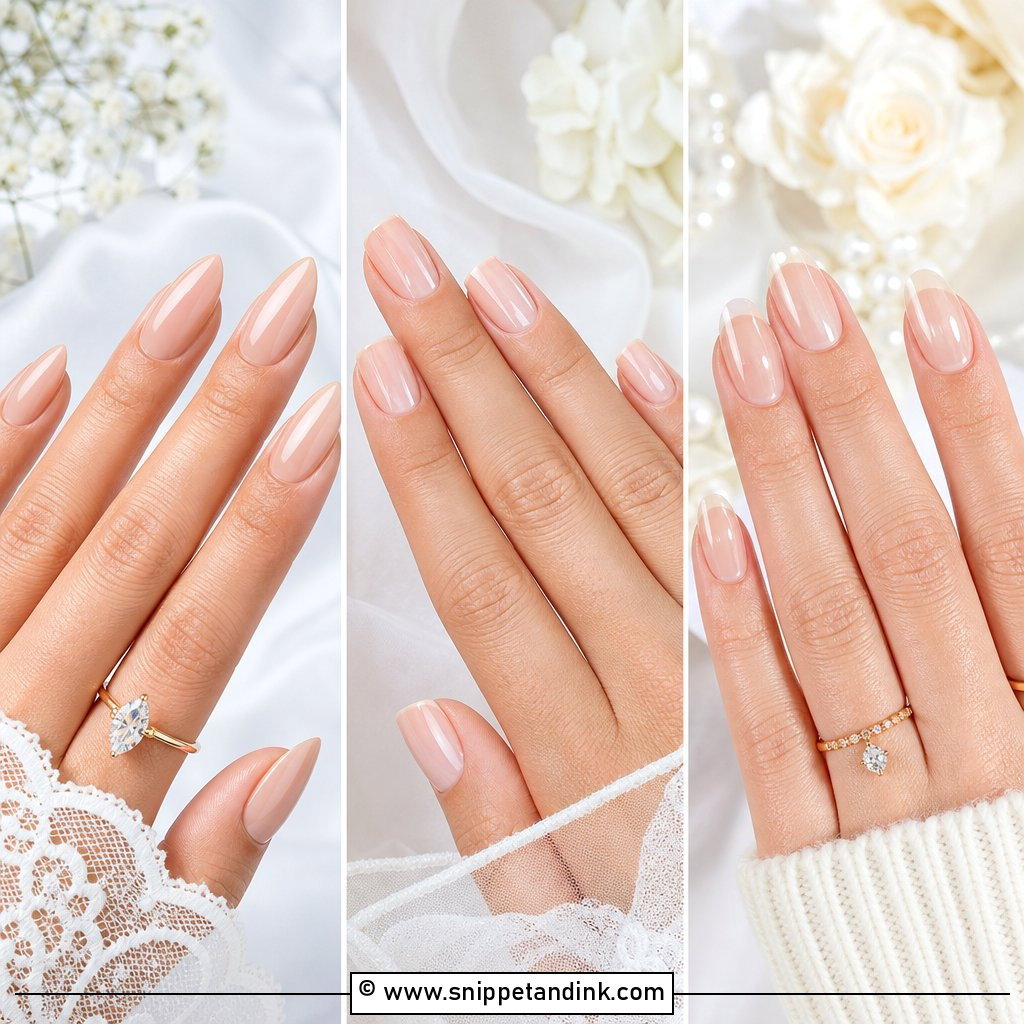
Almond nude is the shape and colour I’d suggest to almost anyone unsure what to pick. The tapered tip makes fingers look longer without real length, and the nude lets the ring lead. The work is in the shade: pink nude on cool skin, beige nude on neutral skin, caramel on warm skin and cocoa on deep skin are good places to start. I swatch on the nail itself, never on a tip wheel, because a nude that looks right on plastic often goes chalky over a real nail bed.
10. Oval Pink Wedding Nails
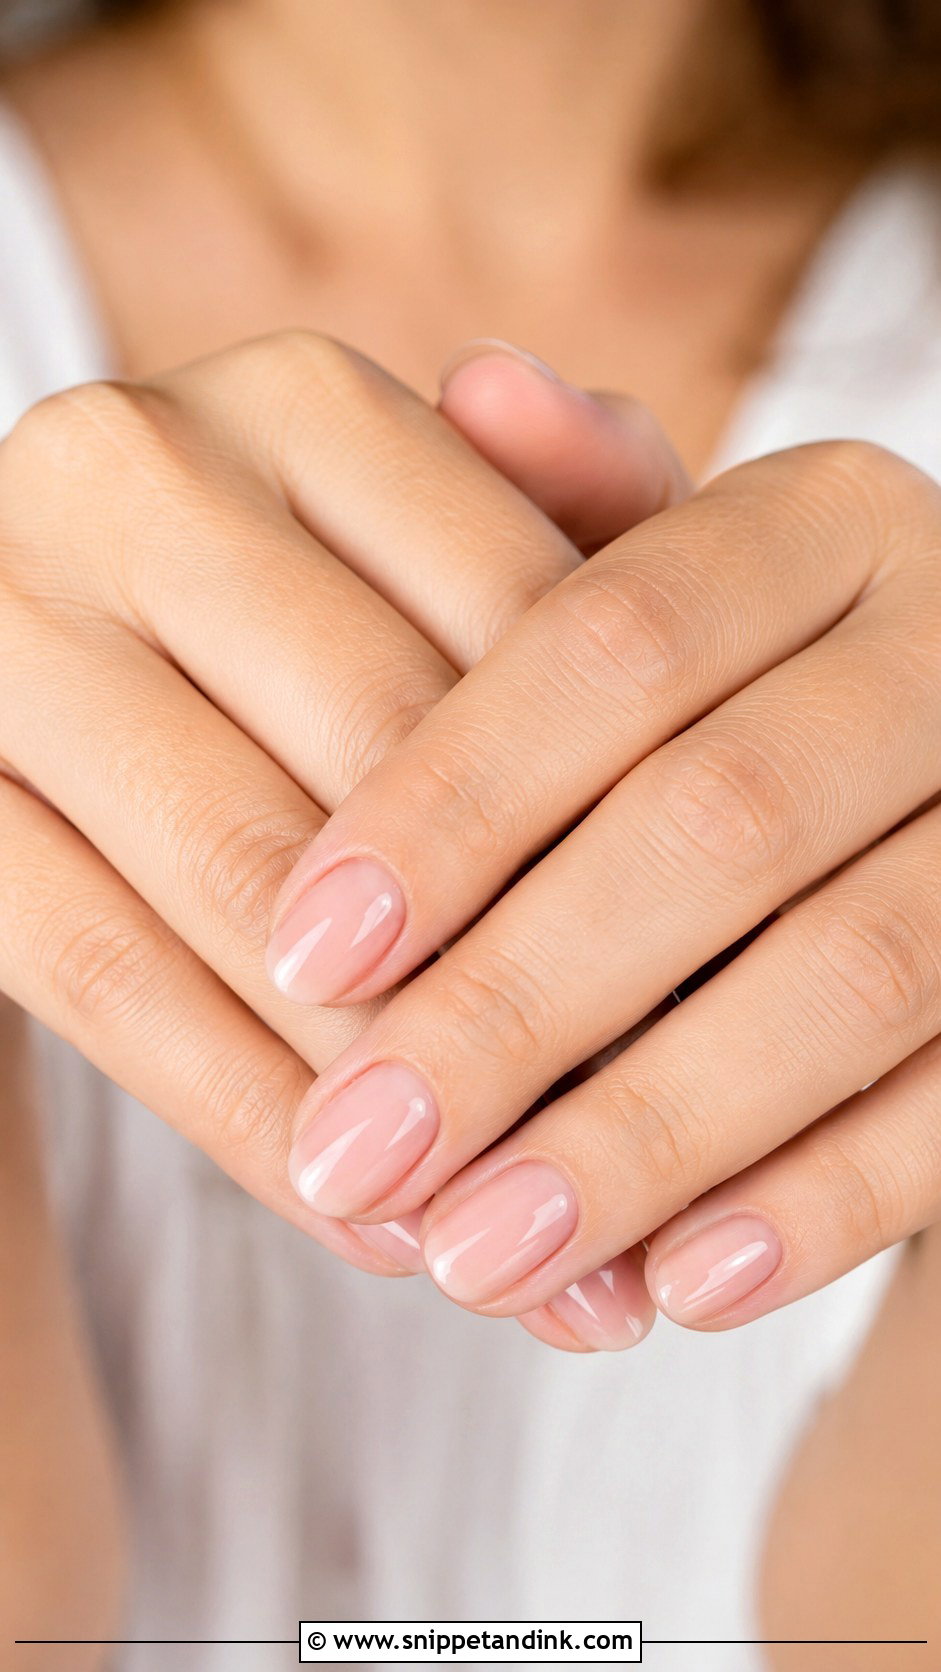
Oval tips flatter almost any hand and suit short, medium and natural lengths alike, which is why I recommend them to brides who don’t usually wear nails. A semi-sheer pink gives a healthy colour without looking painted, and it won’t date in photos. If the natural nail has white spots or uneven tone, I put a thin builder base underneath first so the pink sits on a smooth, even surface. Without that step, sheer pink exaggerates every mark rather than hiding it.
11. White Tip Wedding Nails
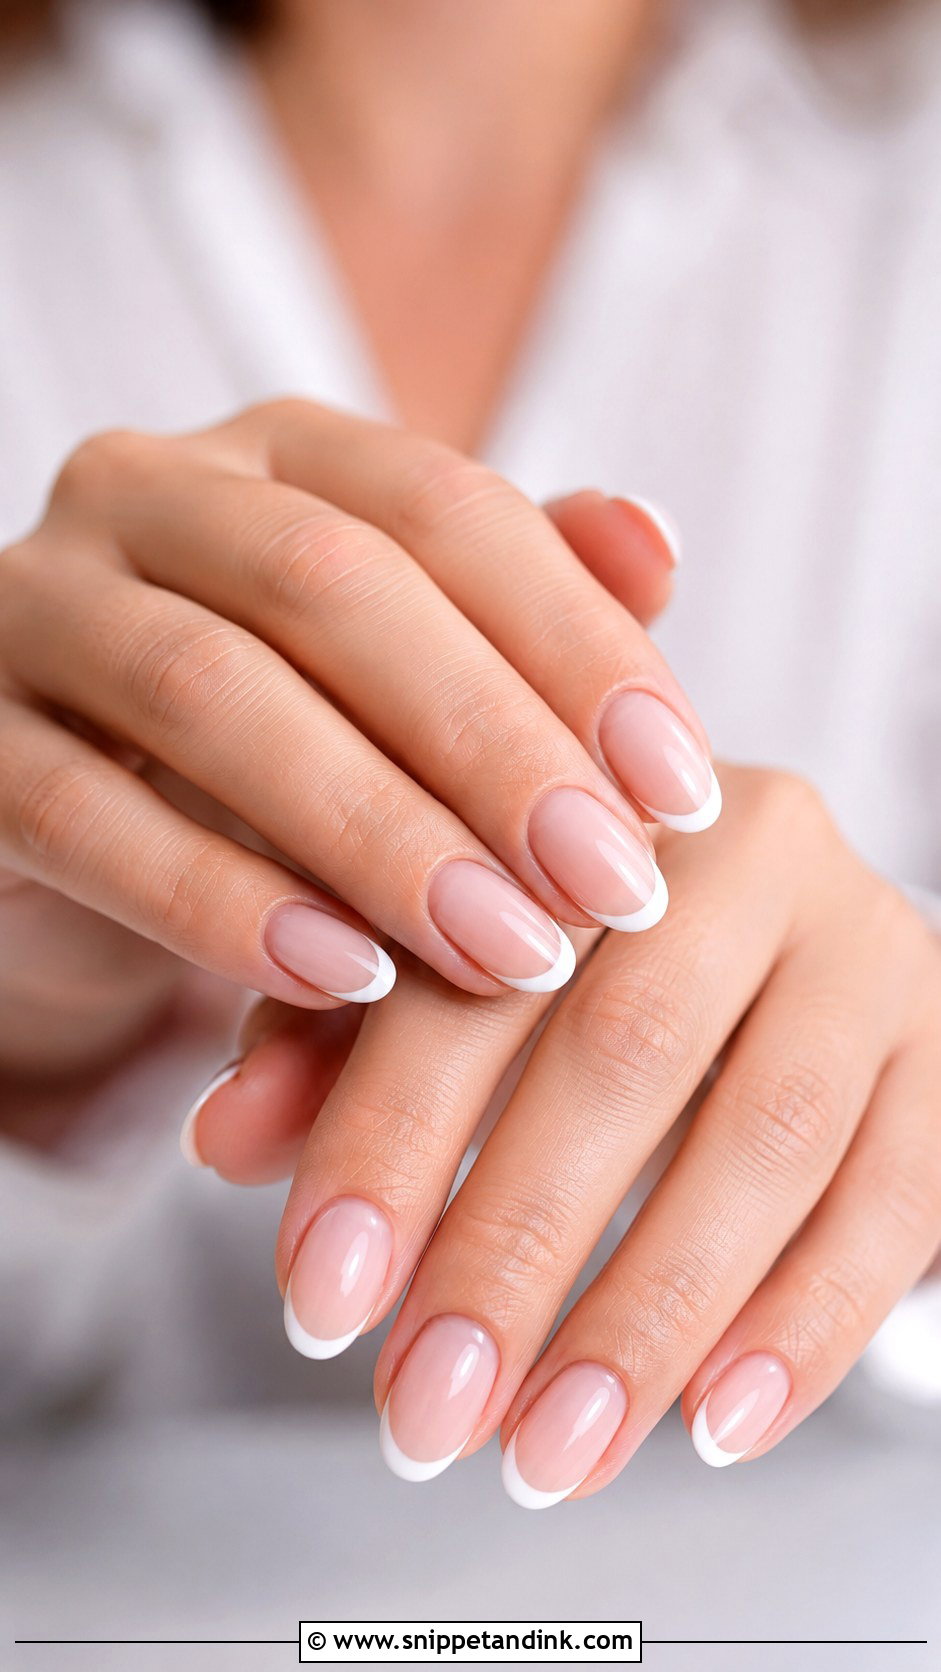
A minimal white tip should follow the natural curve of your smile line, not a straight band across the nail. I keep it slim and paint it over a sheer nude or pale pink. Bright white can look harsh next to an ivory dress, so I’ll often mix in a drop of nude to soften it, or use ivory outright. Oval, almond and square shapes all work. What I’d avoid is a deep, curved tip on a very wide nail; it makes the nail look even broader.
12. Ivory Wedding Nails
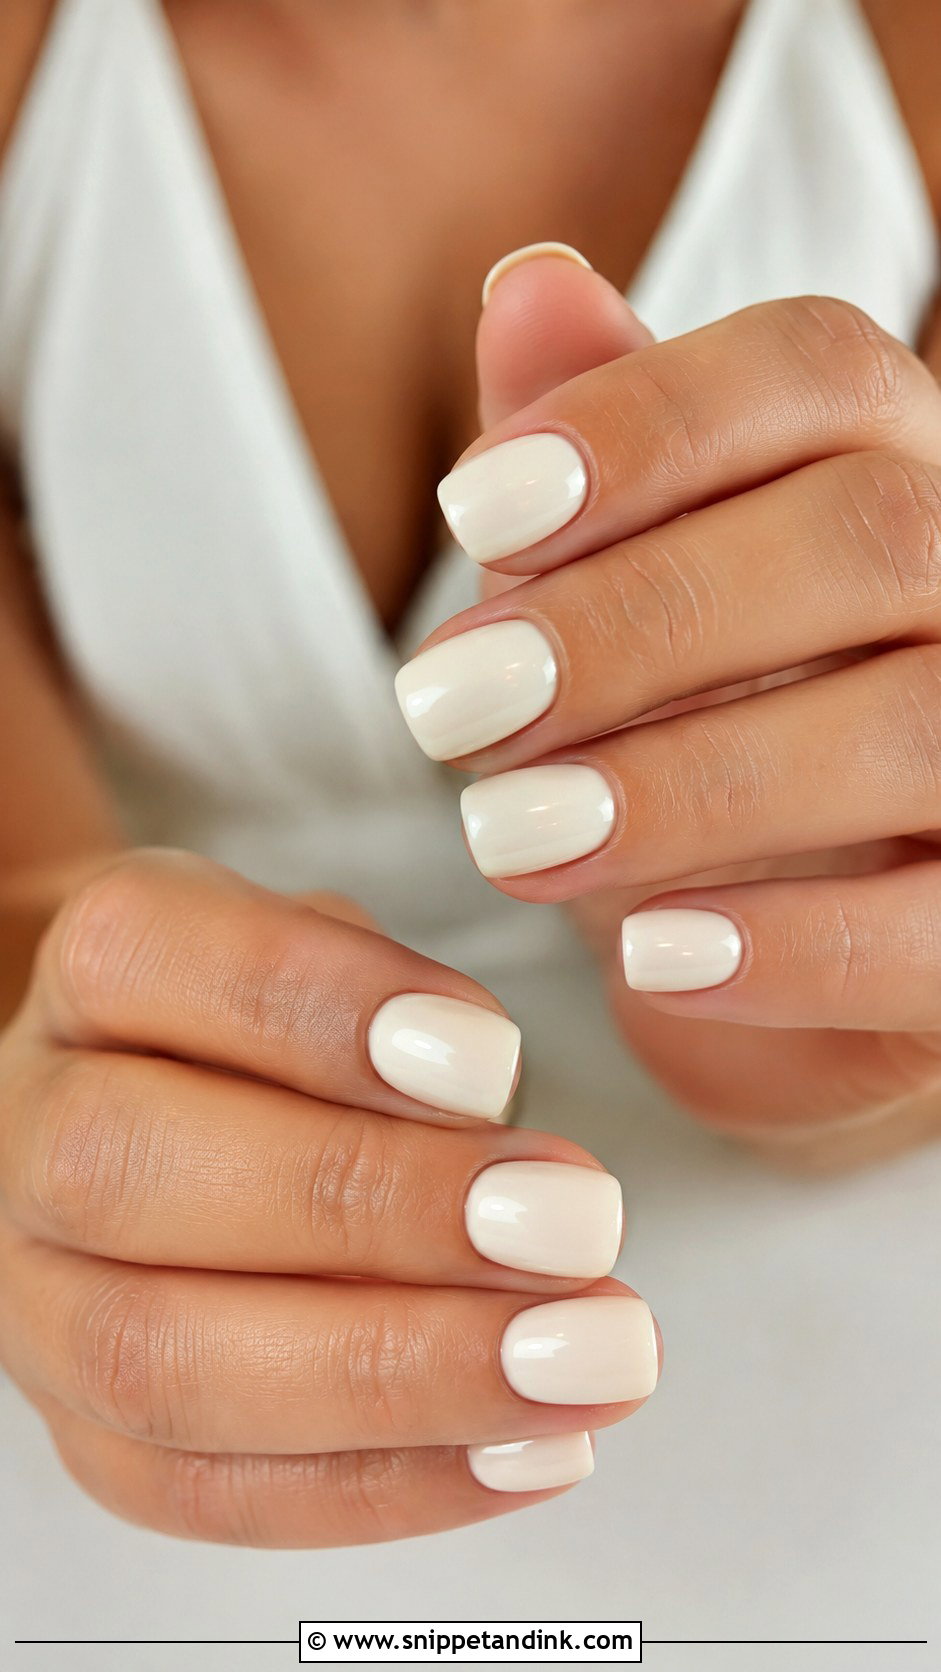
Ivory is my usual swap when a bride with a cream or champagne dress asks for white. The warmth in it keeps the hands from looking cold in photos. On short oval, almond and squoval nails a full ivory set looks clean and finished. Sheer ivory reads more natural, and a creamier version gives more coverage over stained or uneven nails. Gloss keeps it classic; a satin top coat looks more modern but marks more easily. It sits especially well beside gold jewelry and warm-toned flowers.
13. Barely There Wedding Nails
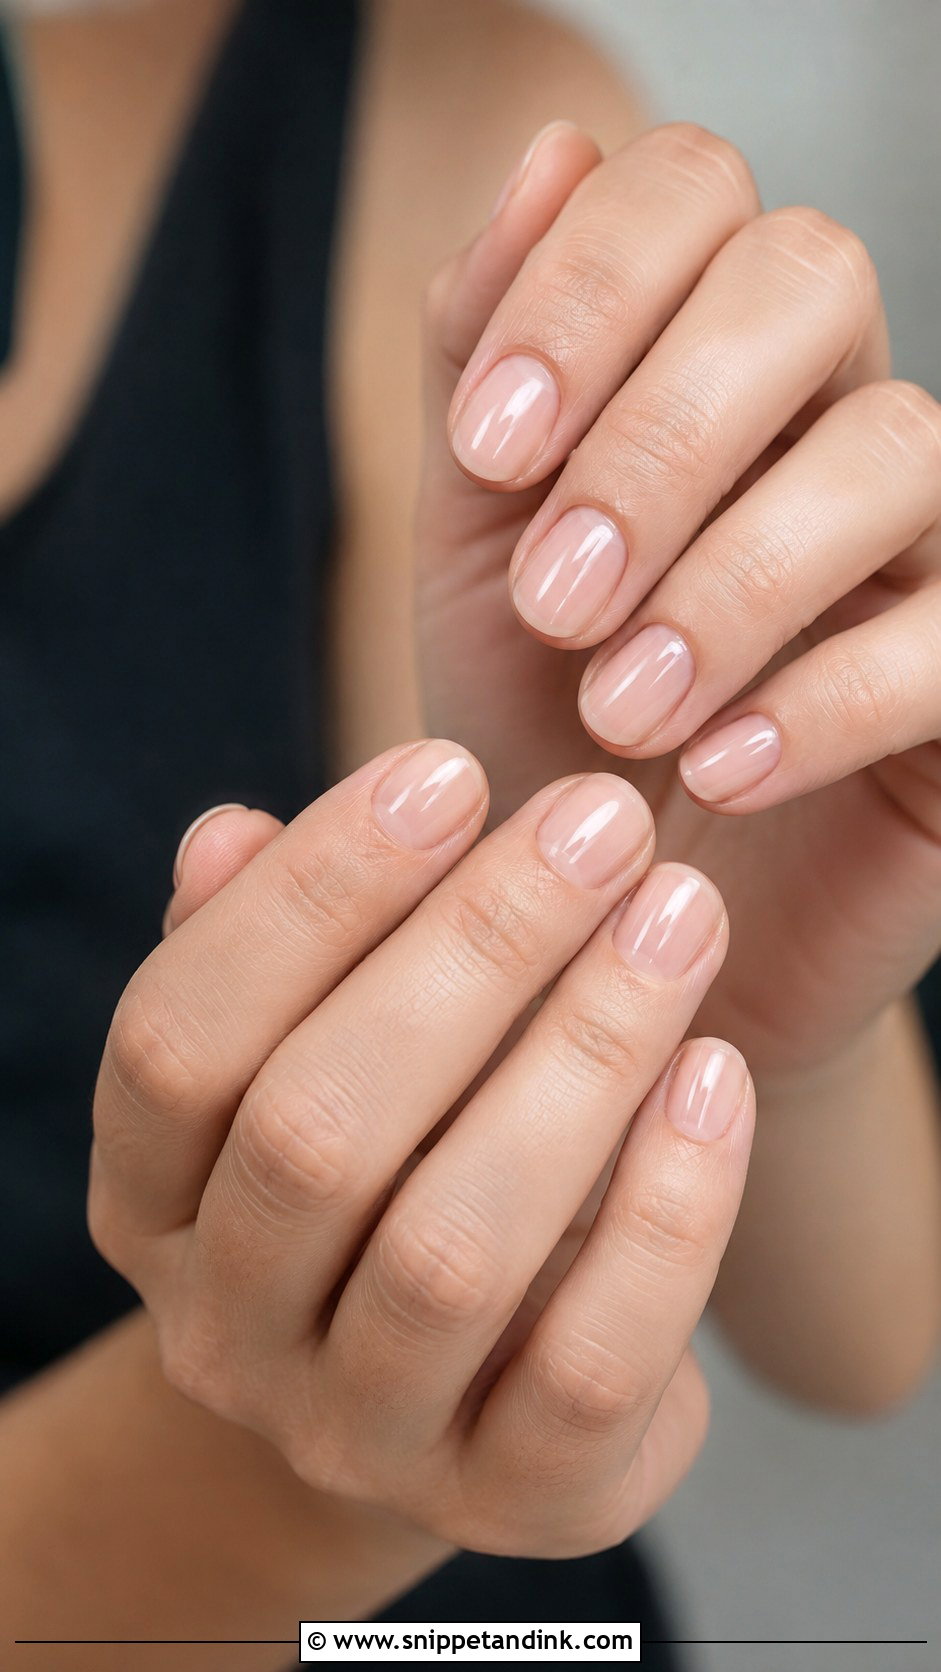
This looks like nothing, and that’s exactly why it takes the most prep. A transparent nude, pink or beige shows every ridge, every ragged cuticle and every nail that’s a slightly different length. So I tidy cuticles, match lengths, soften the shape and often lay down a thin strengthening base or builder layer to level out ridges before any colour goes on. It suits outdoor and city hall weddings and brides who wear very little makeup. If your nails are badly stained, though, I’d pick a slightly more opaque shade instead.
14. Soft Beige Wedding Nails
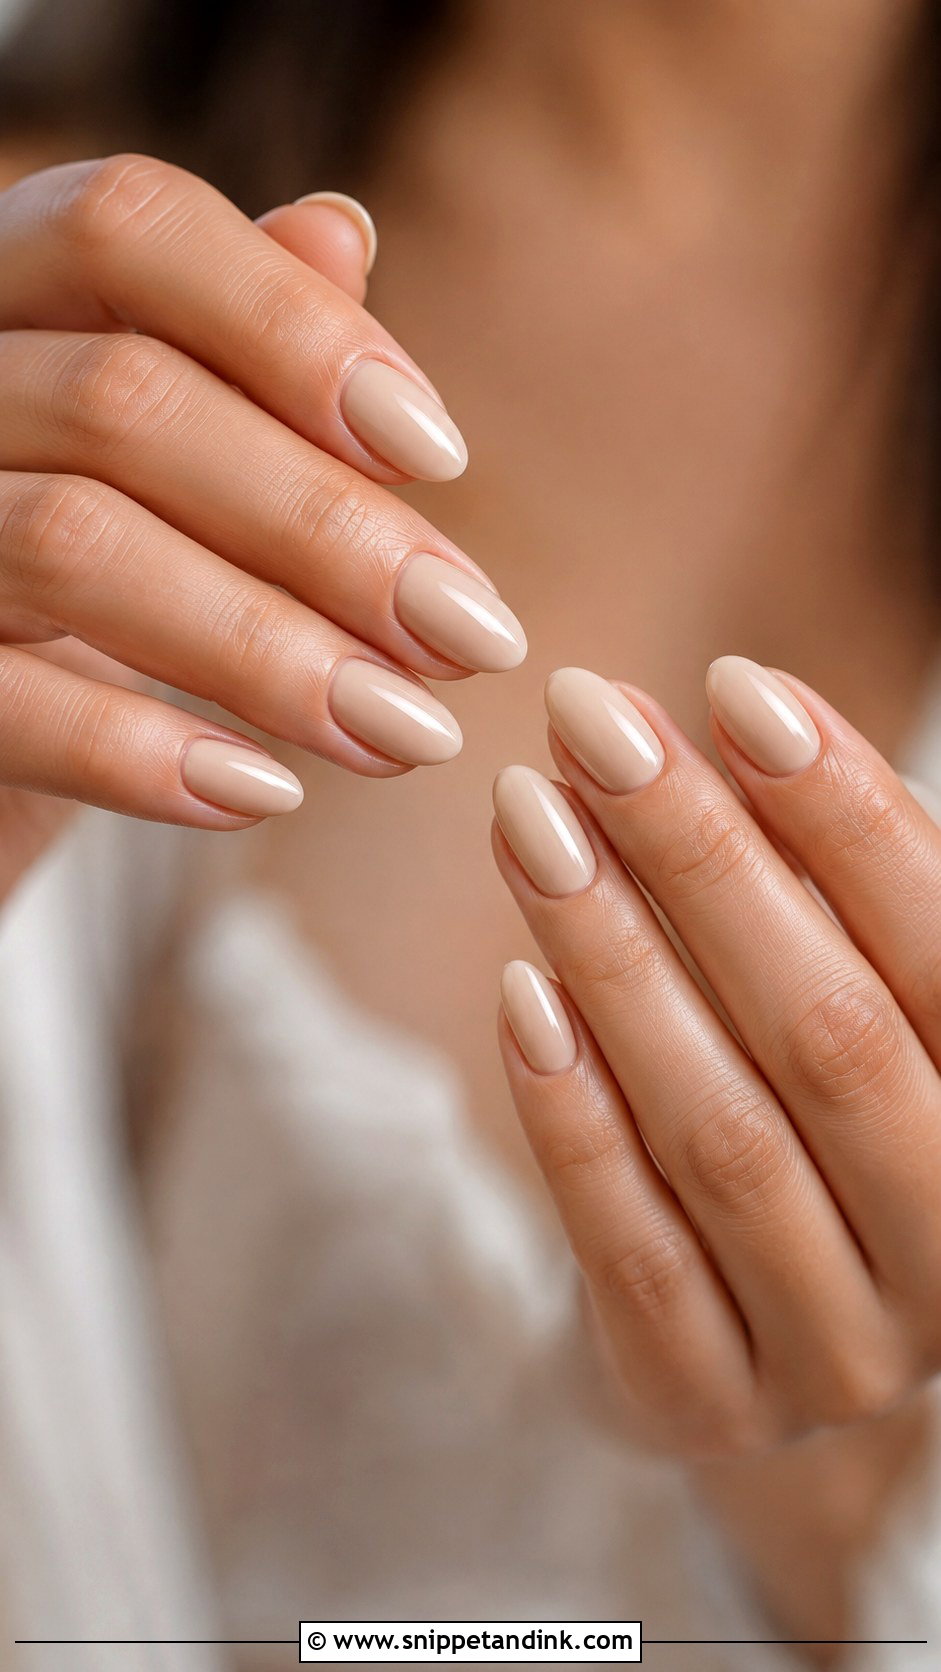
Beige gives more coverage than sheer pink and stays neutral, which makes it a good choice when the natural nail needs hiding a little. It looks especially smart on medium, olive, tan and deep skin tones. The tricky part is finding one that isn’t too grey or too yellow; grey beige can make hands look tired and yellow beige looks dated quickly. A creamy shade with a glossy finish on short square or almond nails is the version I reach for most, and it sits comfortably next to gold bands and champagne fabrics.
15. Blush Ombré Wedding Nails
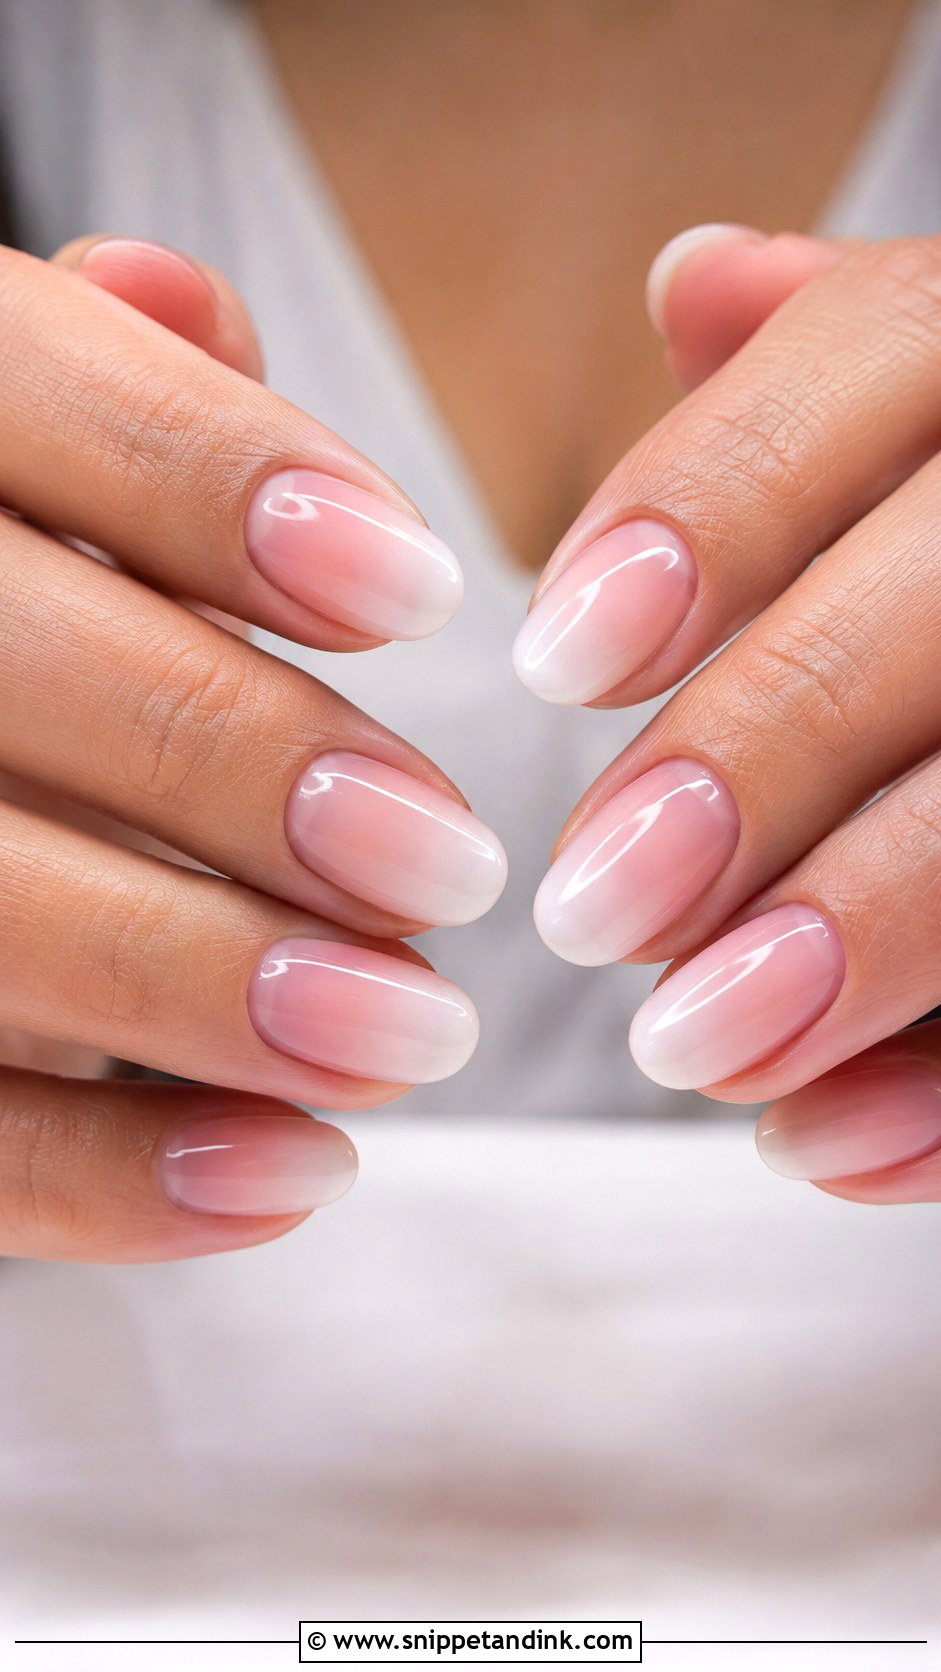
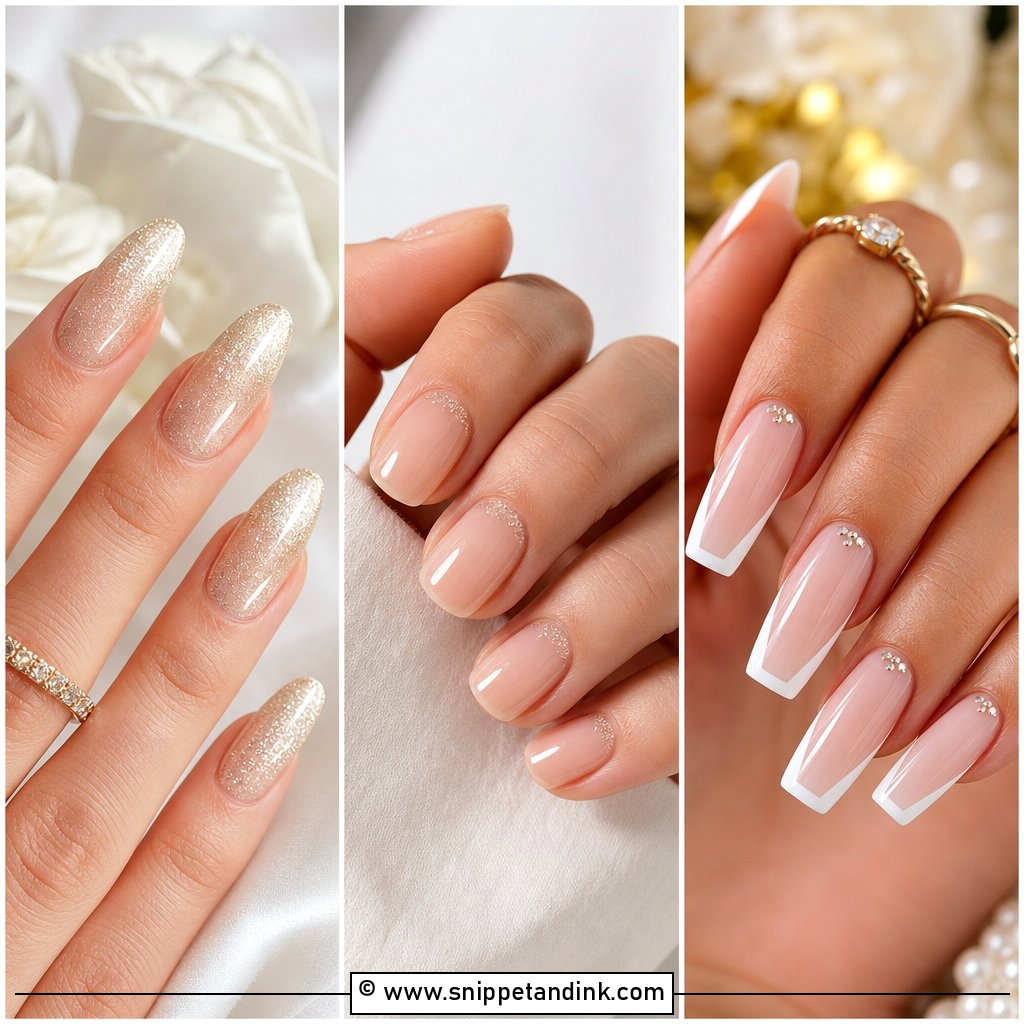
Blush ombré wedding nails fade a sheer blush pink into a milky or ivory tip, softer than any French. The two colours need to be close in tone; with too much contrast it looks like a gradient sticker rather than a glow. Almond and oval shapes suit it because the fade follows the length of the nail. I finish with a thick glossy top coat, which also smooths any faint texture left from the blending sponge.
16. Minimal Pearl Wedding Nails
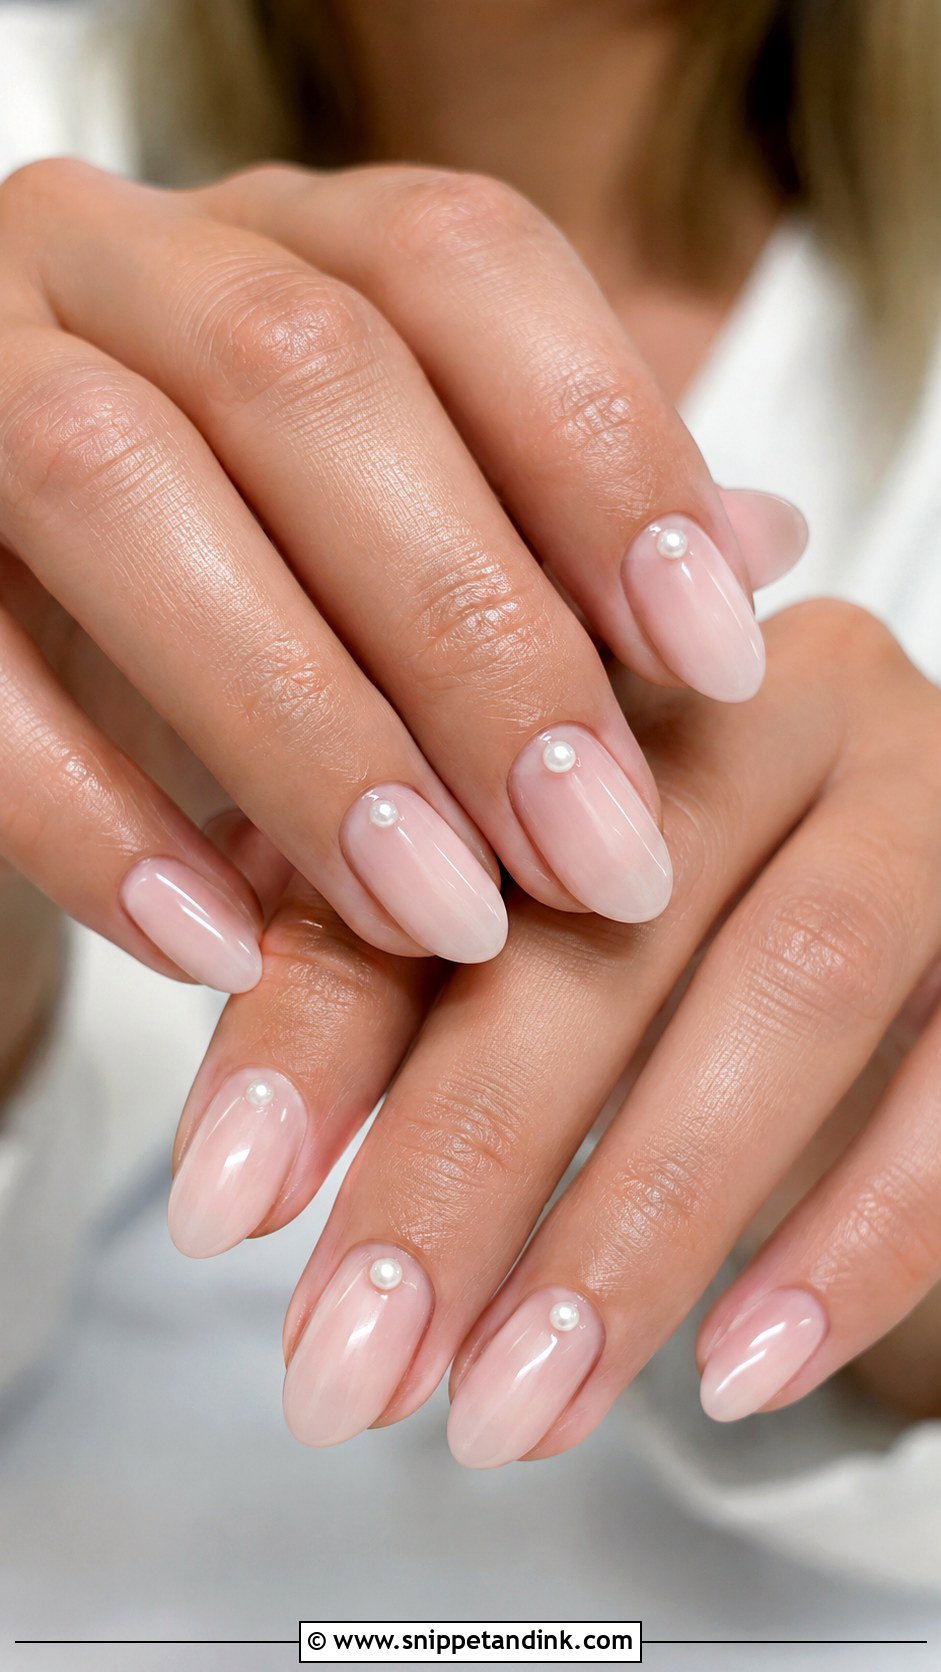
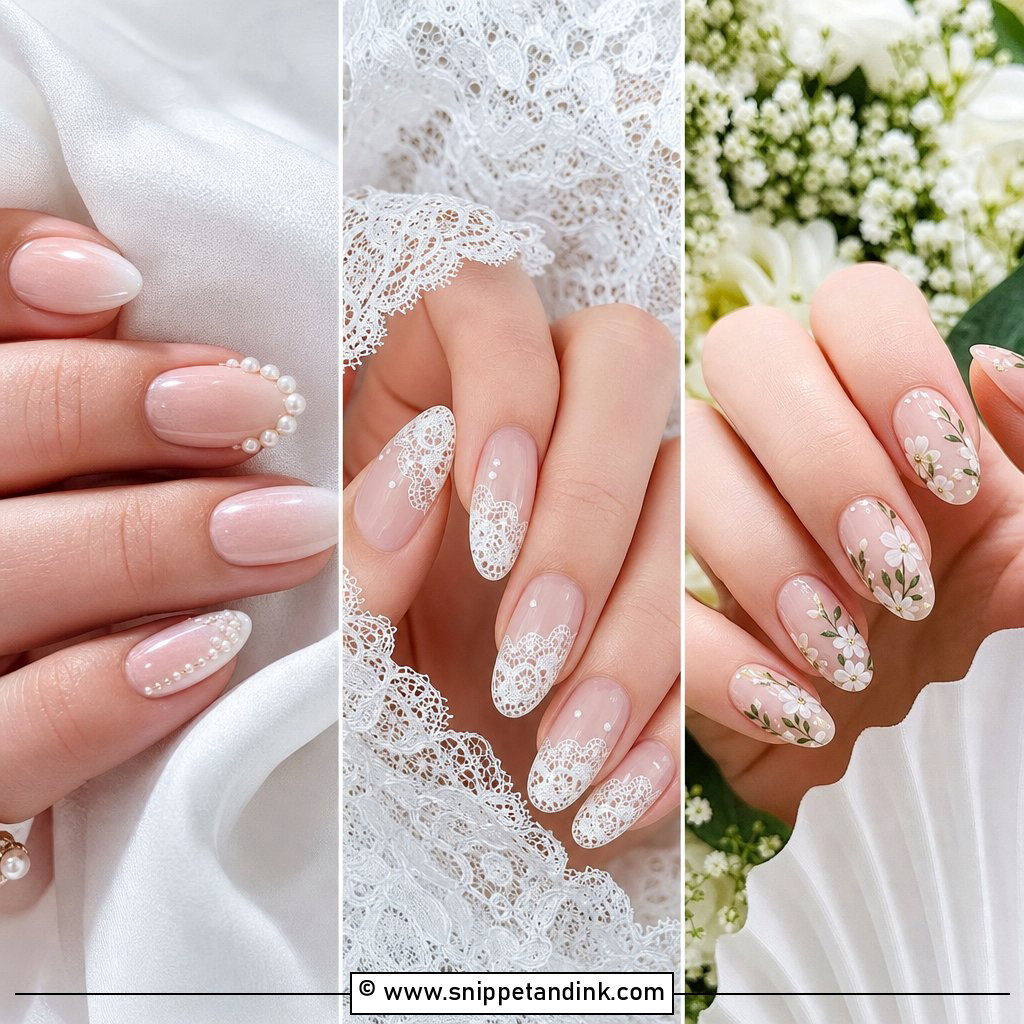
A few tiny flat-back pearls bring a bridal note into an otherwise plain set. I place them on a sheer pink, milky or nude base, usually at the cuticle area or centred on one or two nails per hand, and keep the sizes small and matched. Larger pearls catch on veil tulle and lace, which I’ve learned to warn brides about before they choose. I embed each one in gel and cap it so it can’t lift. It pairs well with pearl earrings, a pearl-edged veil or light beading on the dress.
17. Thin Line Wedding Nails
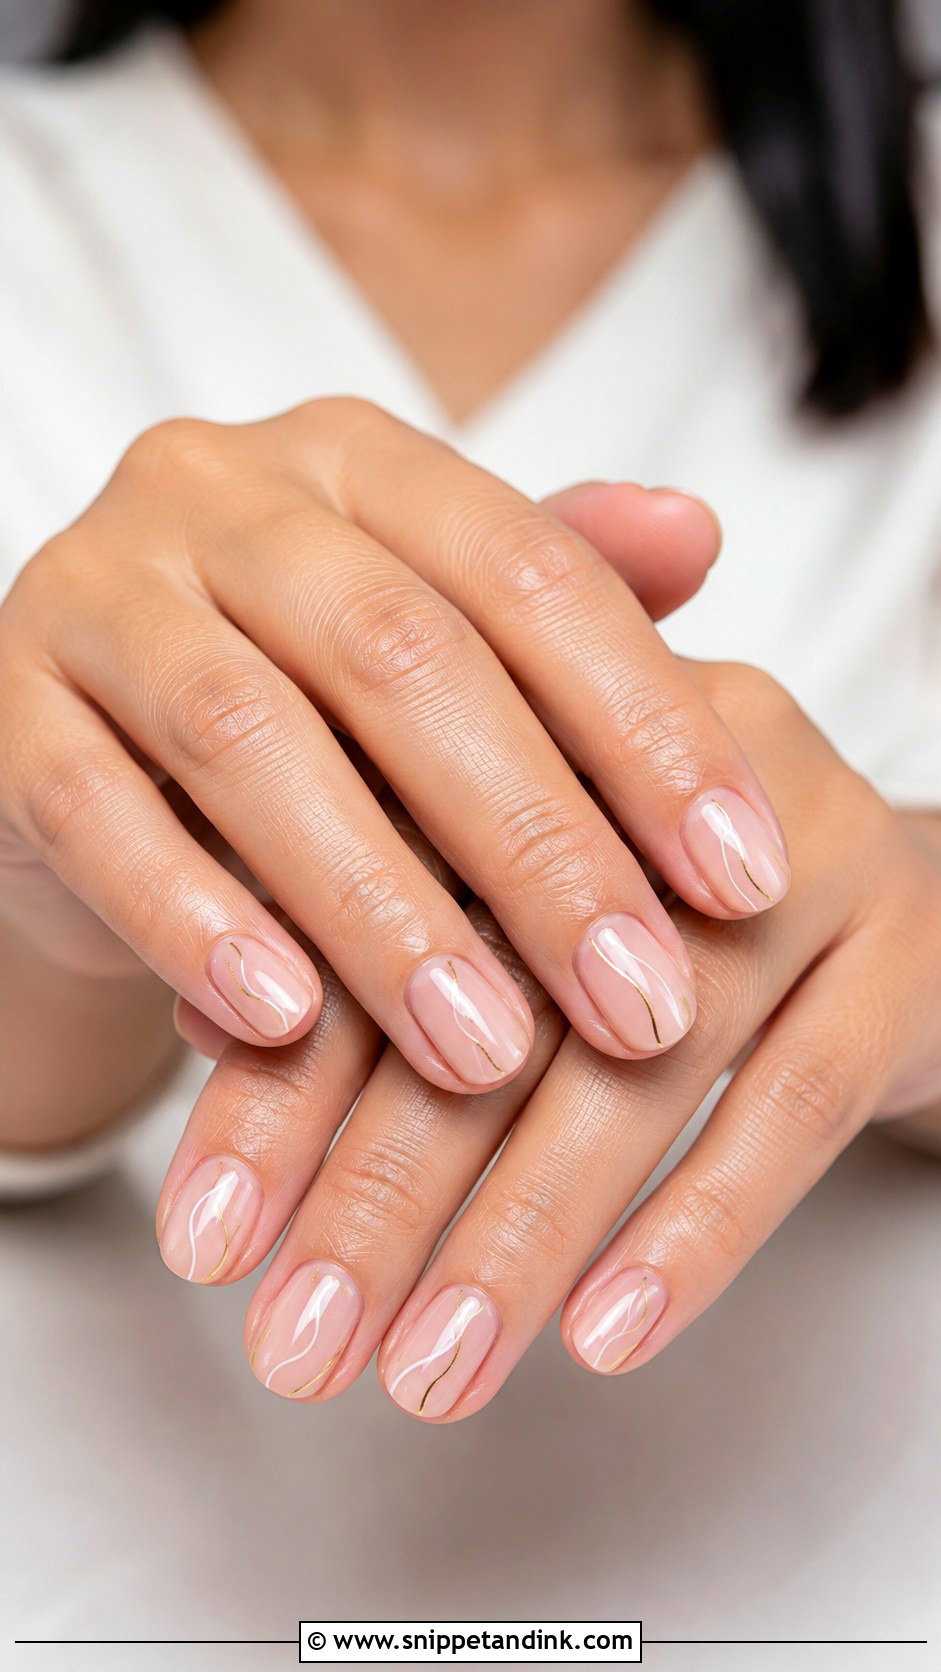
Thin line art suits modern dresses and clean silhouettes. Over a sheer nude, pink or milky base I paint fine white, ivory, silver or gold lines, either vertical, curved or tracing the tip. The lines need a very fine liner brush and gel thick enough not to spread before curing. White or ivory keeps the look soft, while metallic reads more like jewelry. If you’re unsure, try lines on just two accent nails per hand at your trial; it’s easy to add more, impossible to make ten fine lines look less busy.
18. Matte Nude Wedding Nails
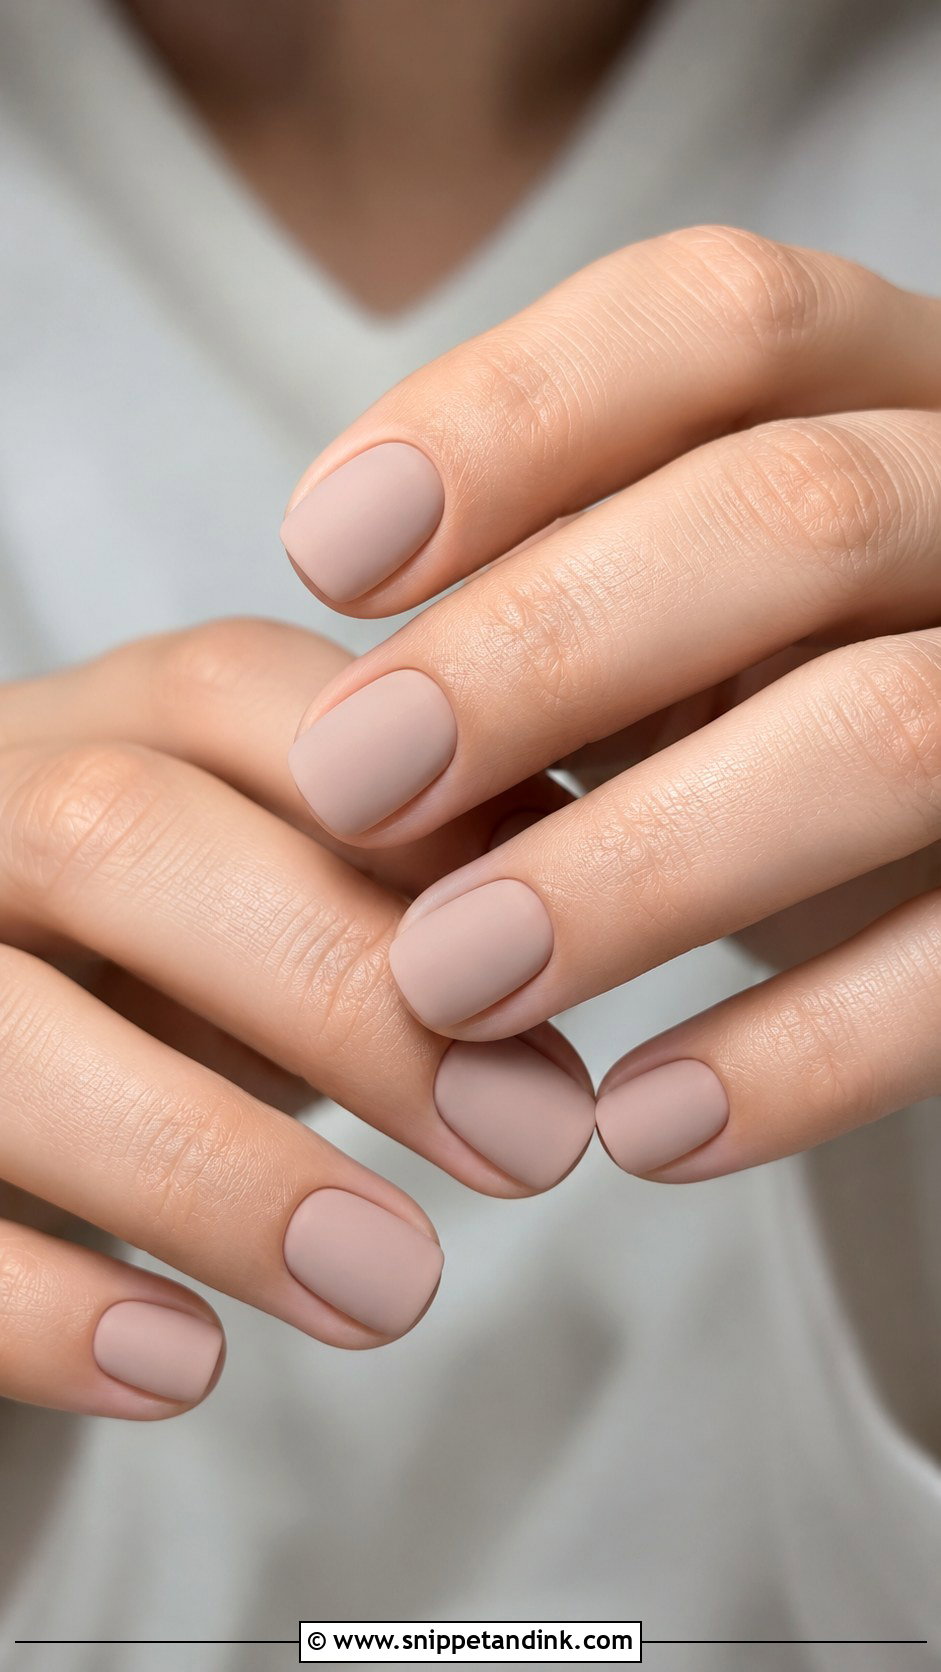
Matte nude feels modern, but I’m upfront that it’s the least forgiving finish in this list. A velvet-matte top coat shows every bump in the surface, so the base layer has to be perfectly level. It also picks up oils and makeup from your hands, and can look slightly grubby by the second day. Choose a nude that doesn’t go chalky under matte, and stick to short square, squoval or almond shapes. A glossy micro French over the matte base adds a bridal detail and some contrast.
19. Sheer White Wedding Nails
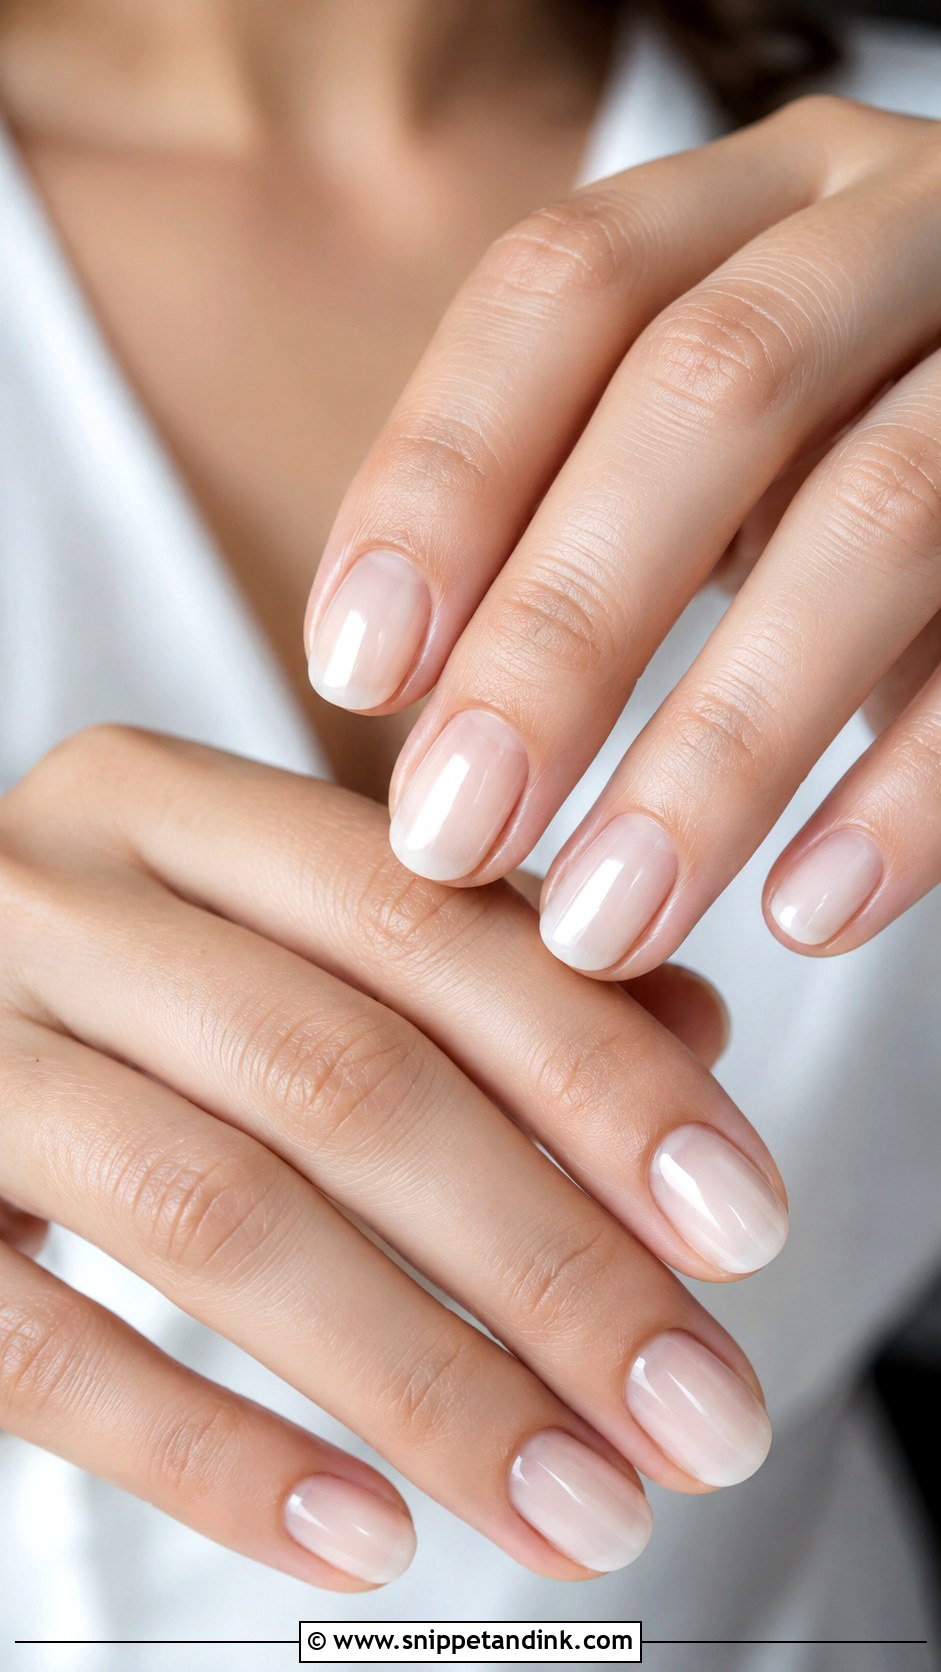
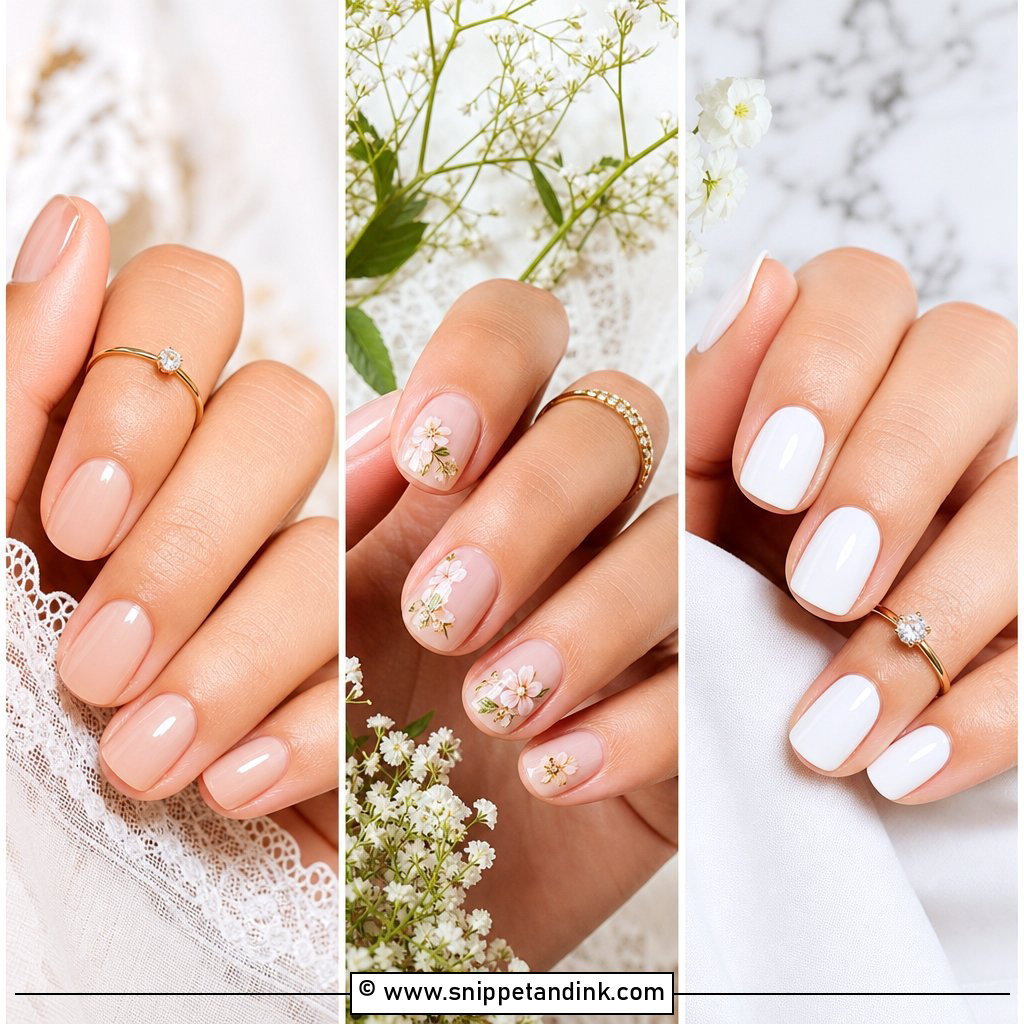
Sheer white lets a little natural nail show through, which is what keeps it soft instead of stark. I use one coat for a hint and two for a cloudier finish. It’s a smart option for short natural nails, since it looks done without needing length. Glossy top coat gives a glassy effect. If the nails have uneven tone, I’ll put down a milky base first; it blurs discolouration better than adding more coats of sheer white, which can turn streaky.
20. Simple Gold Wedding Nails
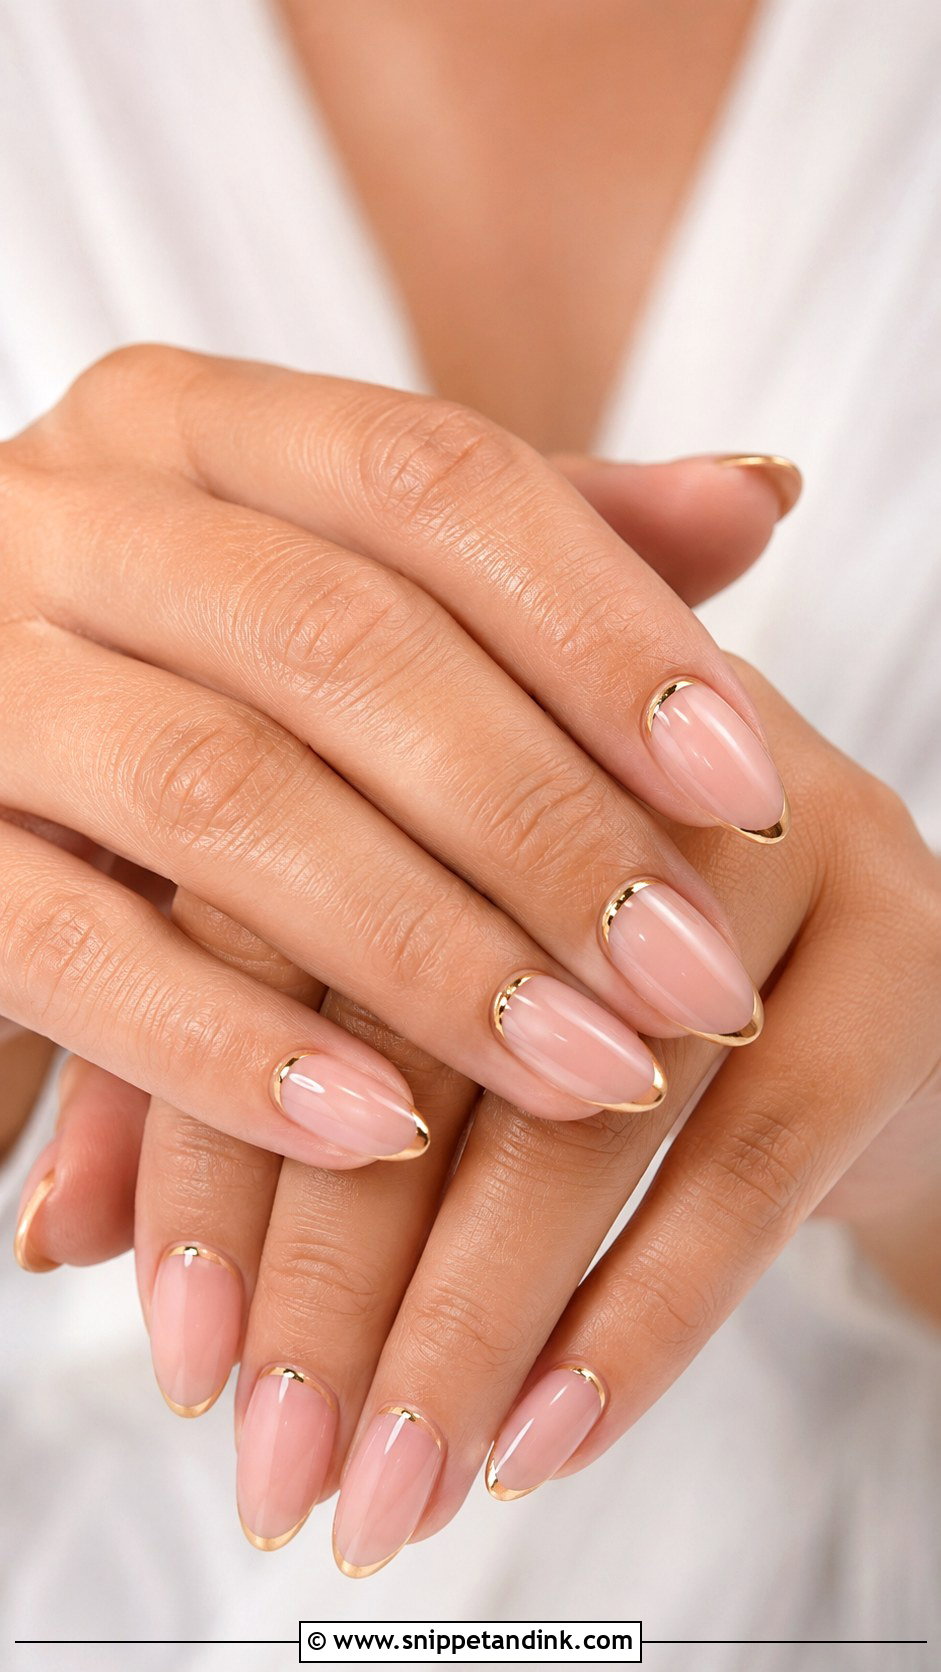
Gold works on a minimal set when it behaves like jewelry: an ultra-thin tip, a small arc at the cuticle or a single fine vertical line, all over a sheer nude, blush or milky base. I use a gold gel paint or a foil rather than glitter, because glitter reads as party nails in close-ups. Match the gold to your ring metal; yellow gold beside a platinum band looks like a mismatch in the ring shot. Keep the shape simple and the accents to a few nails, with the rest left sheer.
Timing the Final Set Around the Rehearsal and the Ring Shots
Gel or builder gel lasts well for two to three weeks, so I usually book the final set two to four days before the wedding. That leaves time to fix a chip and lets any redness around the cuticle settle, while the nails still look fresh for the ring photos and keep going through the honeymoon. Booking the day before is risky; if anything lifts or the shade looks wrong, there’s no time to correct it.
Regular polish is a different story. It chips far sooner, so if you prefer it, have it done the day before and bring the bottle and top coat with you. Pressing a slightly wider top coat across the free edge helps it survive a busy morning of zips, buttons and bouquet ribbons.
If a Nail Chips or Breaks on the Morning
- Keep a small file and a bottle of the matching colour or a sheer pink in the bridal bag. On sheer sets, a small chip is barely visible once smoothed and topped with gloss.
- For a crack, a dot of nail glue with a thin layer of top coat over it holds until after the photos.
- If one nail snaps short, file the others down slightly rather than leaving one stubby finger beside long ones. Even length reads neater in a ring close-up.
- Don’t soak hands in hot water or use hand sanitiser repeatedly on the morning; both can dull a glossy top coat.
One Clean Shape, One Quiet Shade, One Detail at Most
A wedding manicure doesn’t need heavy art, long extensions or strong colour to feel finished. What makes these sets work is prep you’d never notice and a shade chosen against your own skin, your ring and your fabric. Take a swatch or a fabric sample to your trial, look at your hand in daylight, and photograph it next to the ring. If it still looks right in that photo, it will look right in the ones taken on the day.
You'll Like These Ideas:


Leave a Reply