
A round face doesn’t need hiding. When I style one for a wedding, I’m moving weight around: a little more height at the crown, a little less fullness beside the cheekbones, and at least one line that runs on a slant rather than straight across. Side parts, tendrils that fall past the jaw and updos built upward all do that job. Below are the wedding hairstyles for rounded faces I’d actually put on a client, with notes on where each one tends to go wrong and how to brief your stylist so it doesn’t.
Where the Width Really Sits on a Round Face
Before I plan a single pin, I look at the client straight on with her hair pulled back. On most round faces the face is close to as wide as it is long, and the widest point is across the cheekbones, with a soft jaw and a rounded hairline. That widest band is the danger zone. Any volume, curl or short wisp that lands at that level adds width; anything that sits above it or below it adds length.
Then I check two things a mirror selfie won’t show you. First, the profile: a flat back of the head makes a high or low bun look stuck on, so I add padding or backcombing behind the crown. Second, the hairline: if it’s low or uneven at the temples, I won’t pull it back tight, because a scraped hairline shows the full width of the forehead.
- Stand at arm’s length from a mirror with your hair tied back and note where your face is widest.
- Try a center part and then a deep side part. Most round faces look narrower with the side part straight away.
- Hold a section of hair up at the crown with your hand. If your face suddenly looks longer, styles with height will suit you.
- Notice your hair density. Fine hair needs more help to hold height; very thick hair needs thinning out at the sides.
1. Wedding Low Bun For Round Face
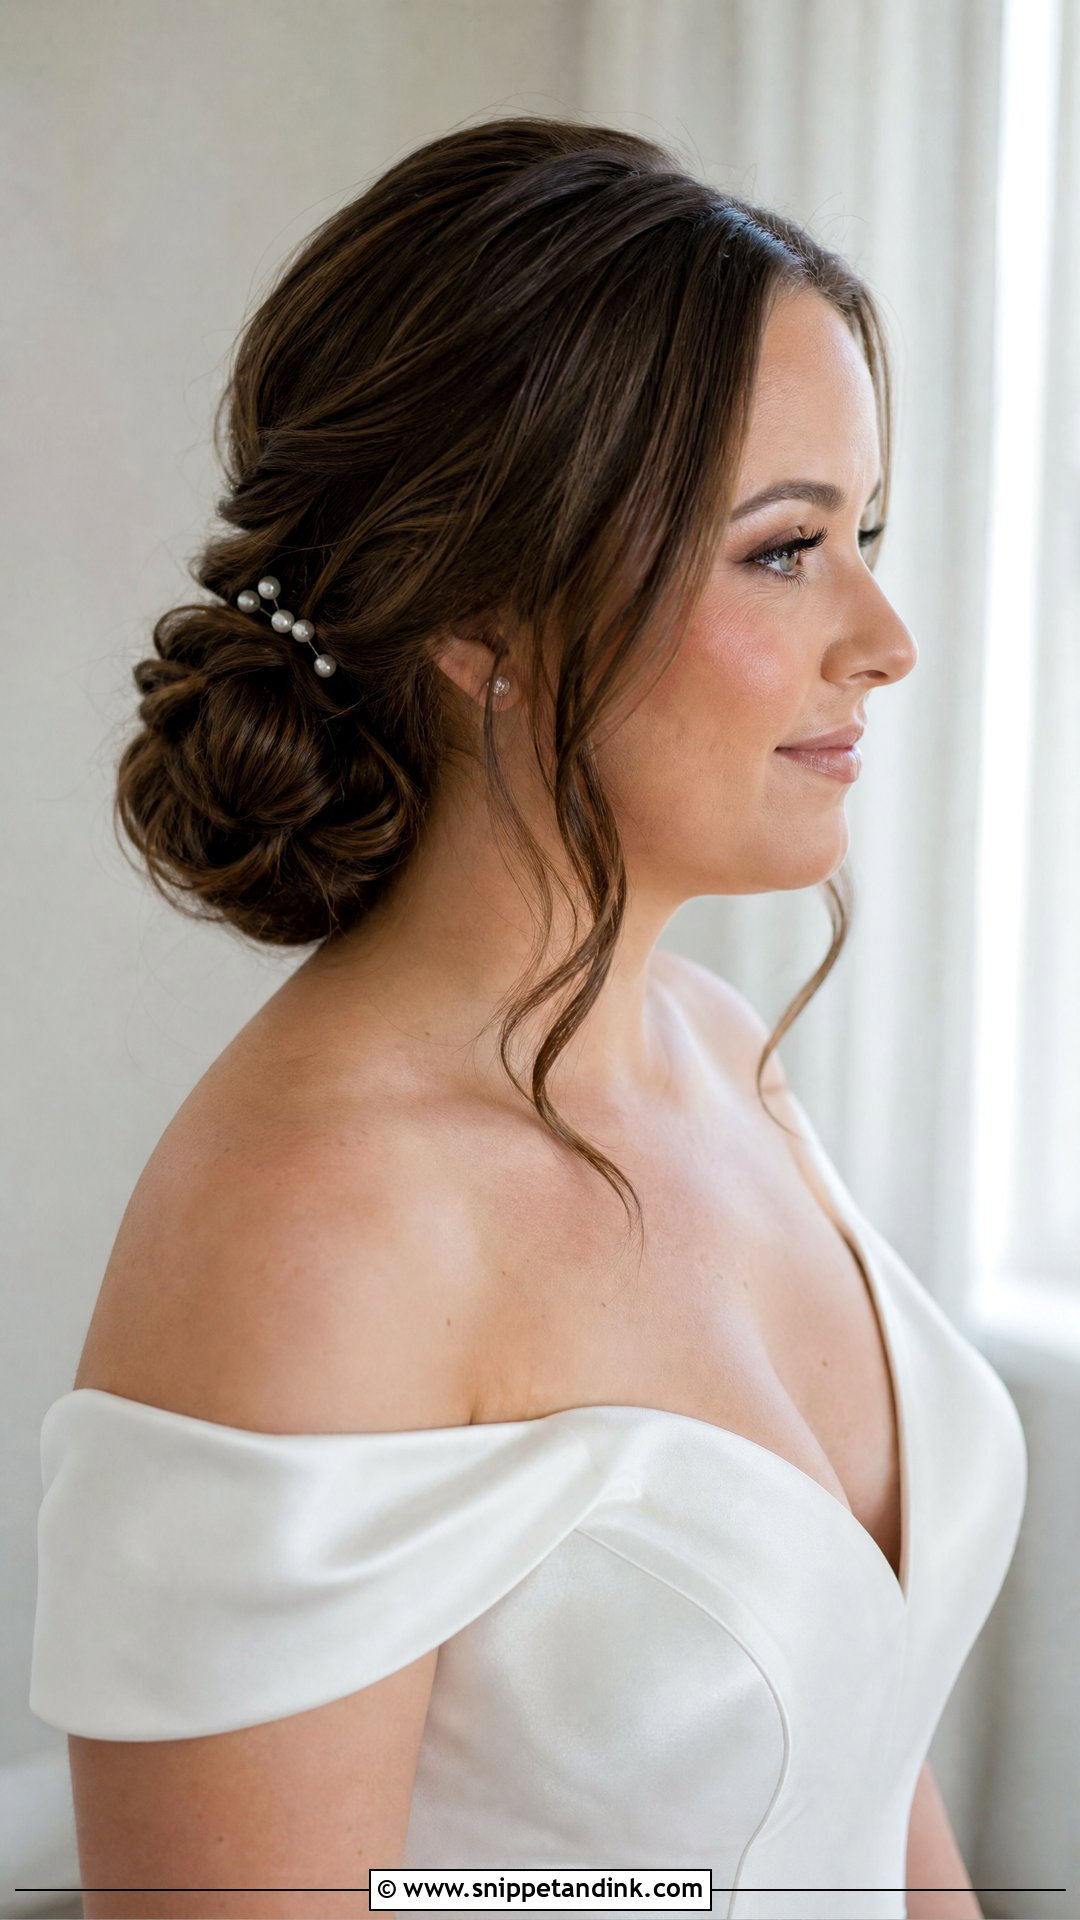
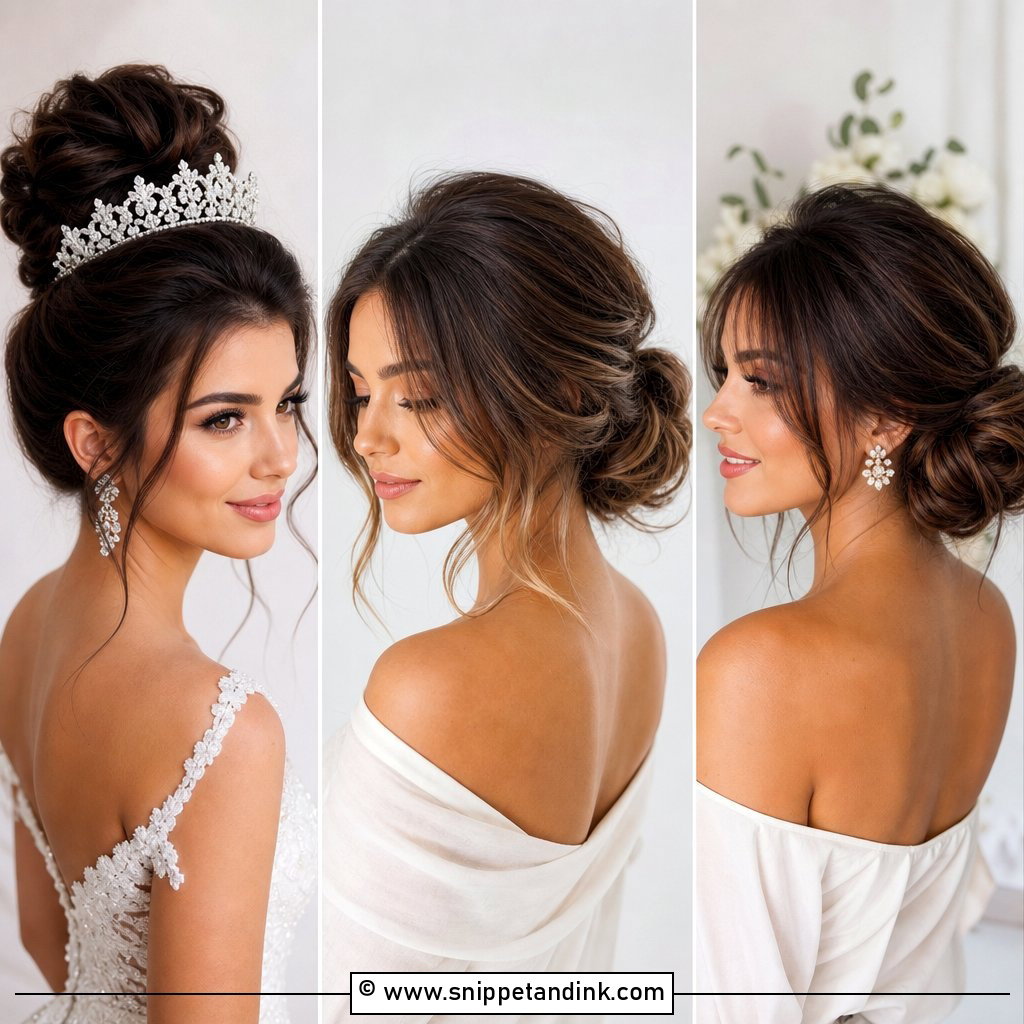
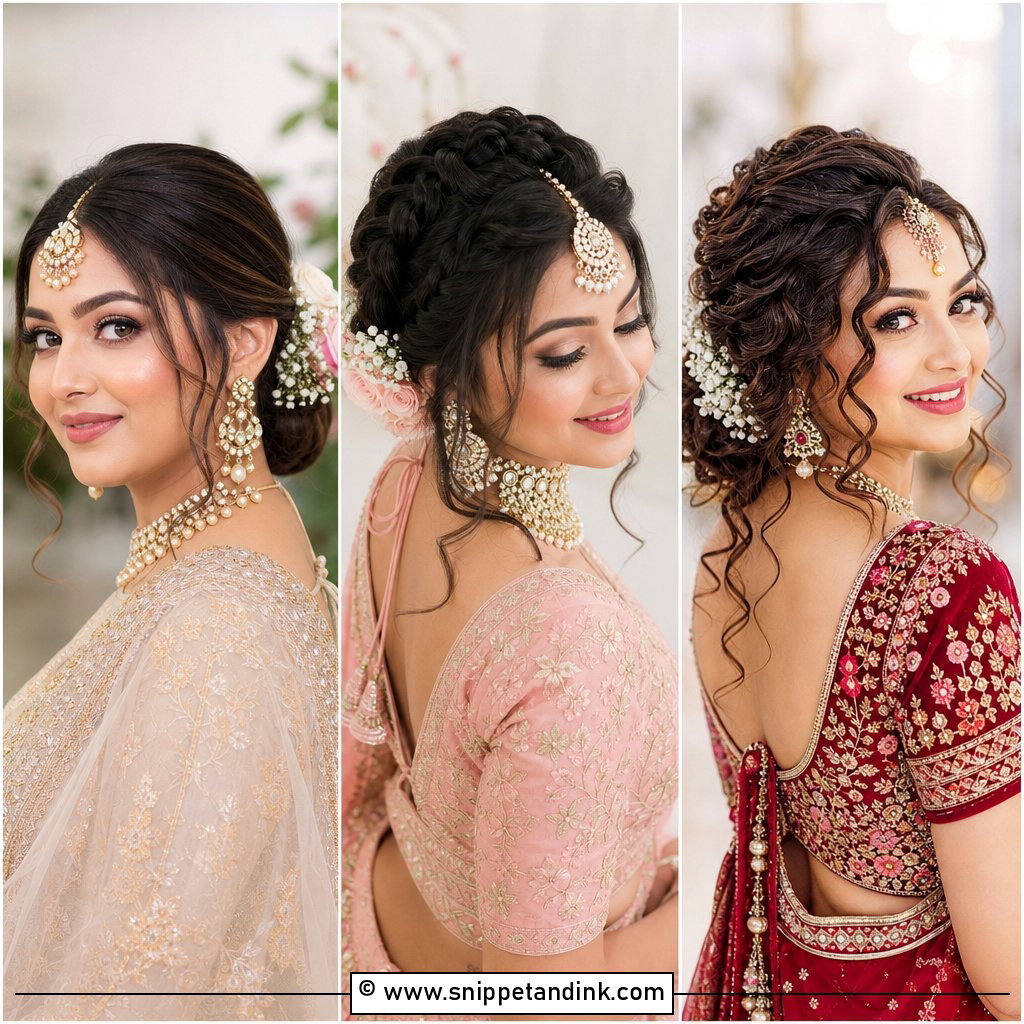
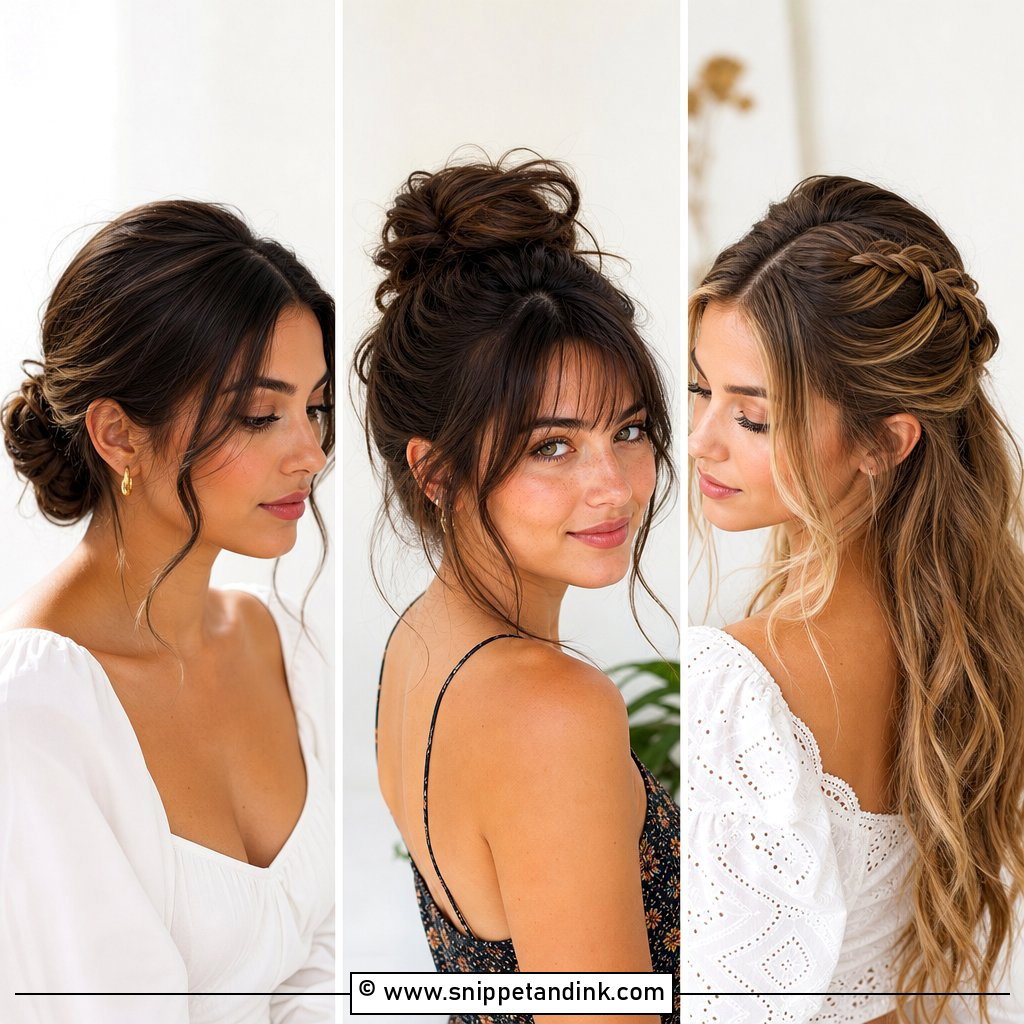
The trap with a low bun is pulling everything flat to reach the nape. On a round face that leaves the head looking like a smooth circle sitting on another circle. I tease the crown section first, smooth the top layer over it, then let the bun sit relaxed rather than tight, with two pieces left out in front of the ears. A side part breaks the symmetry further. Because the weight sits low and is pinned against the head, it’s one of the most secure shapes I do, and it takes a cathedral veil comb without shifting.
2. Wedding High Bun For Round Face
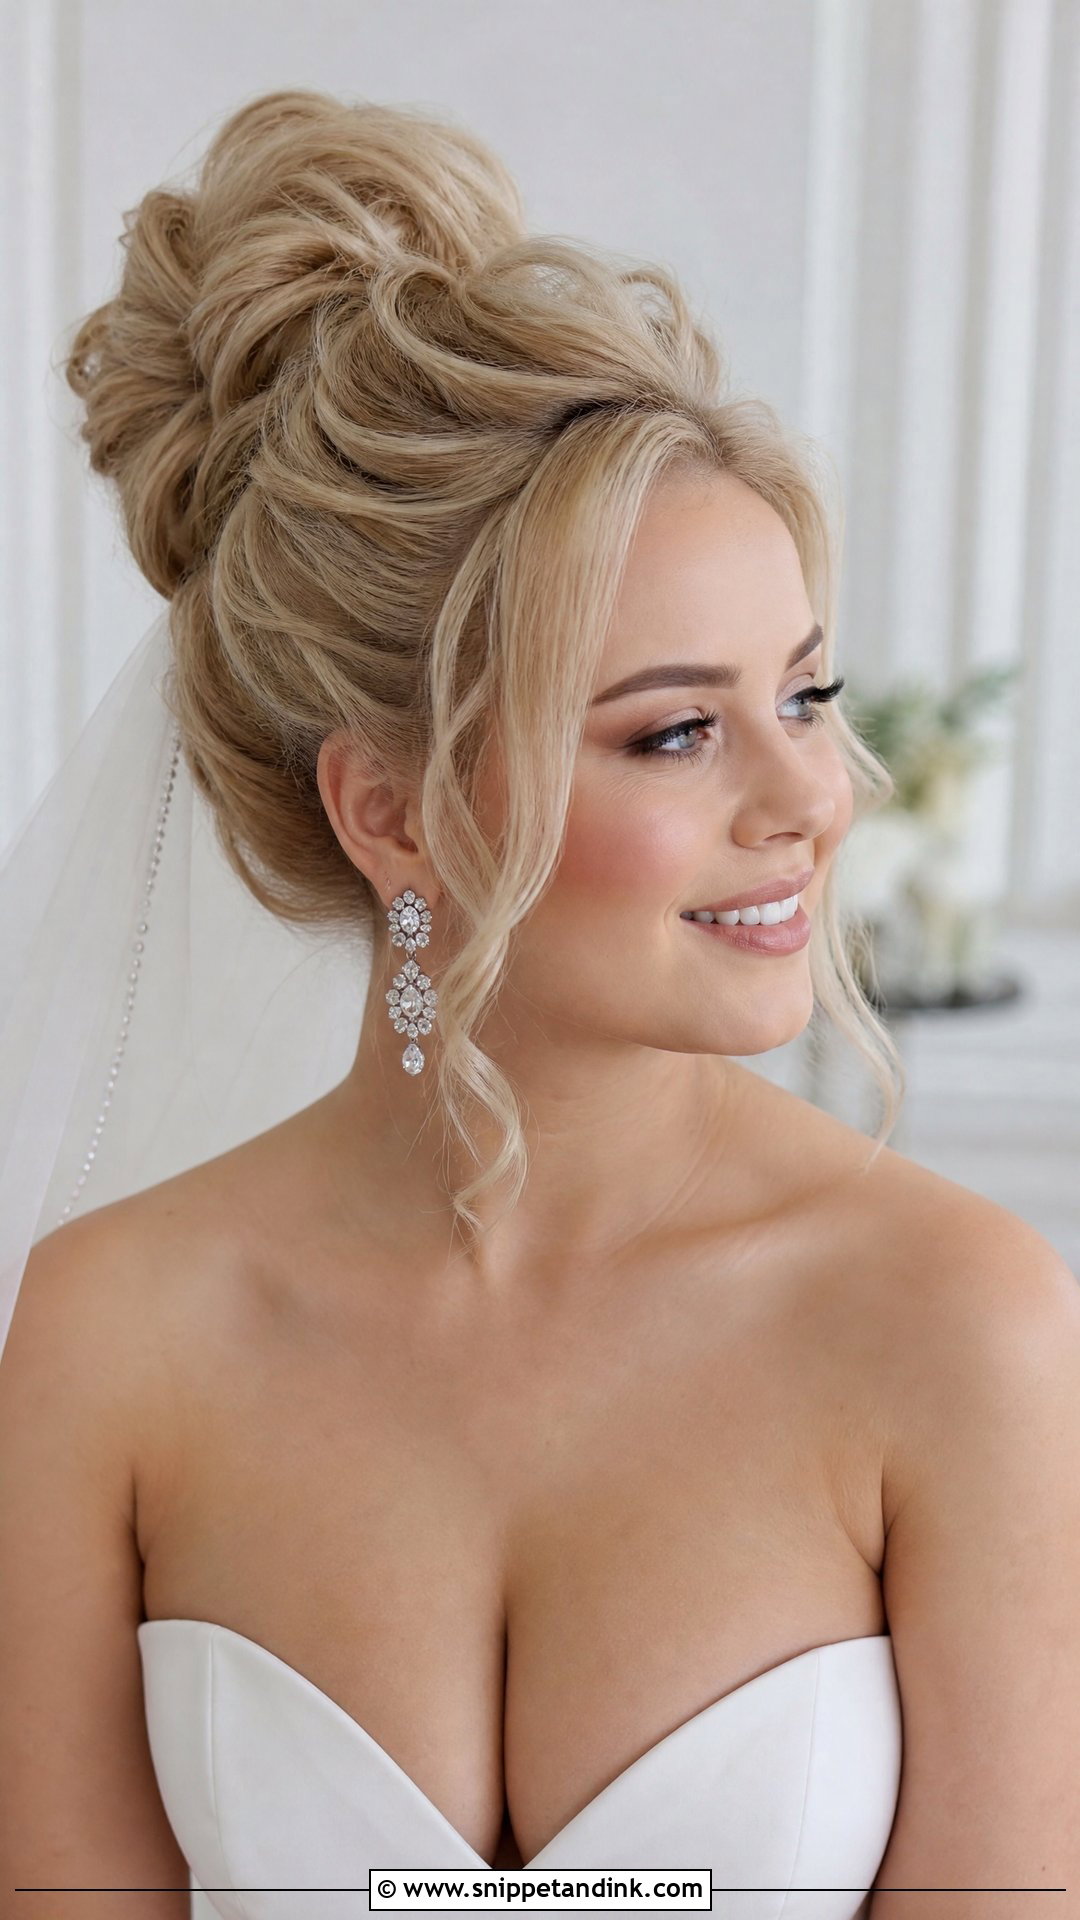
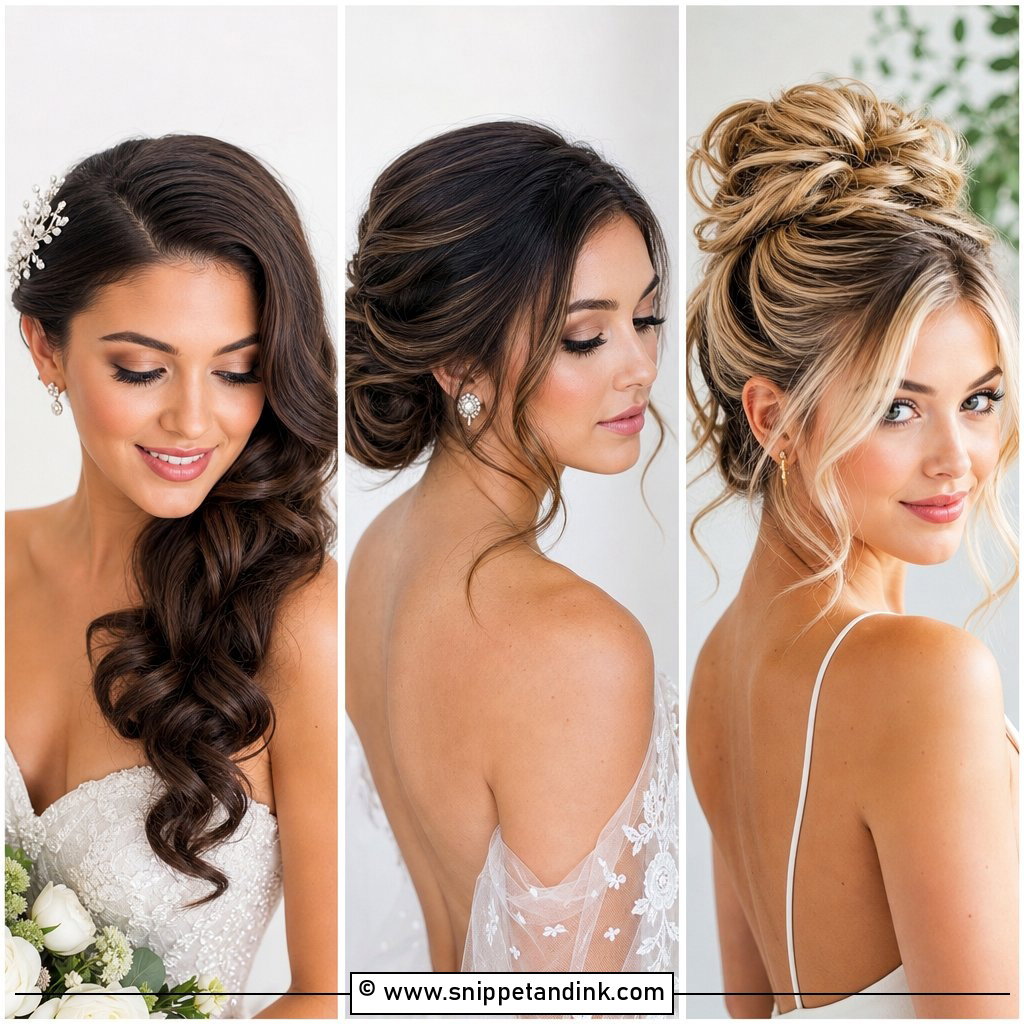
Height on top is the most direct way to add length, and a high bun gives you plenty of it. The thing I watch is the hairline: scraped back hard, it exposes the full width of the face, so I keep a little softness at the temples and pull a few fine strands loose before setting. On thick hair I split the bun into two pinned sections so it doesn’t drag backwards by the evening. It’s my first suggestion for a hot summer wedding, since nothing touches the neck.
3. Wedding Side Bun For Round Face
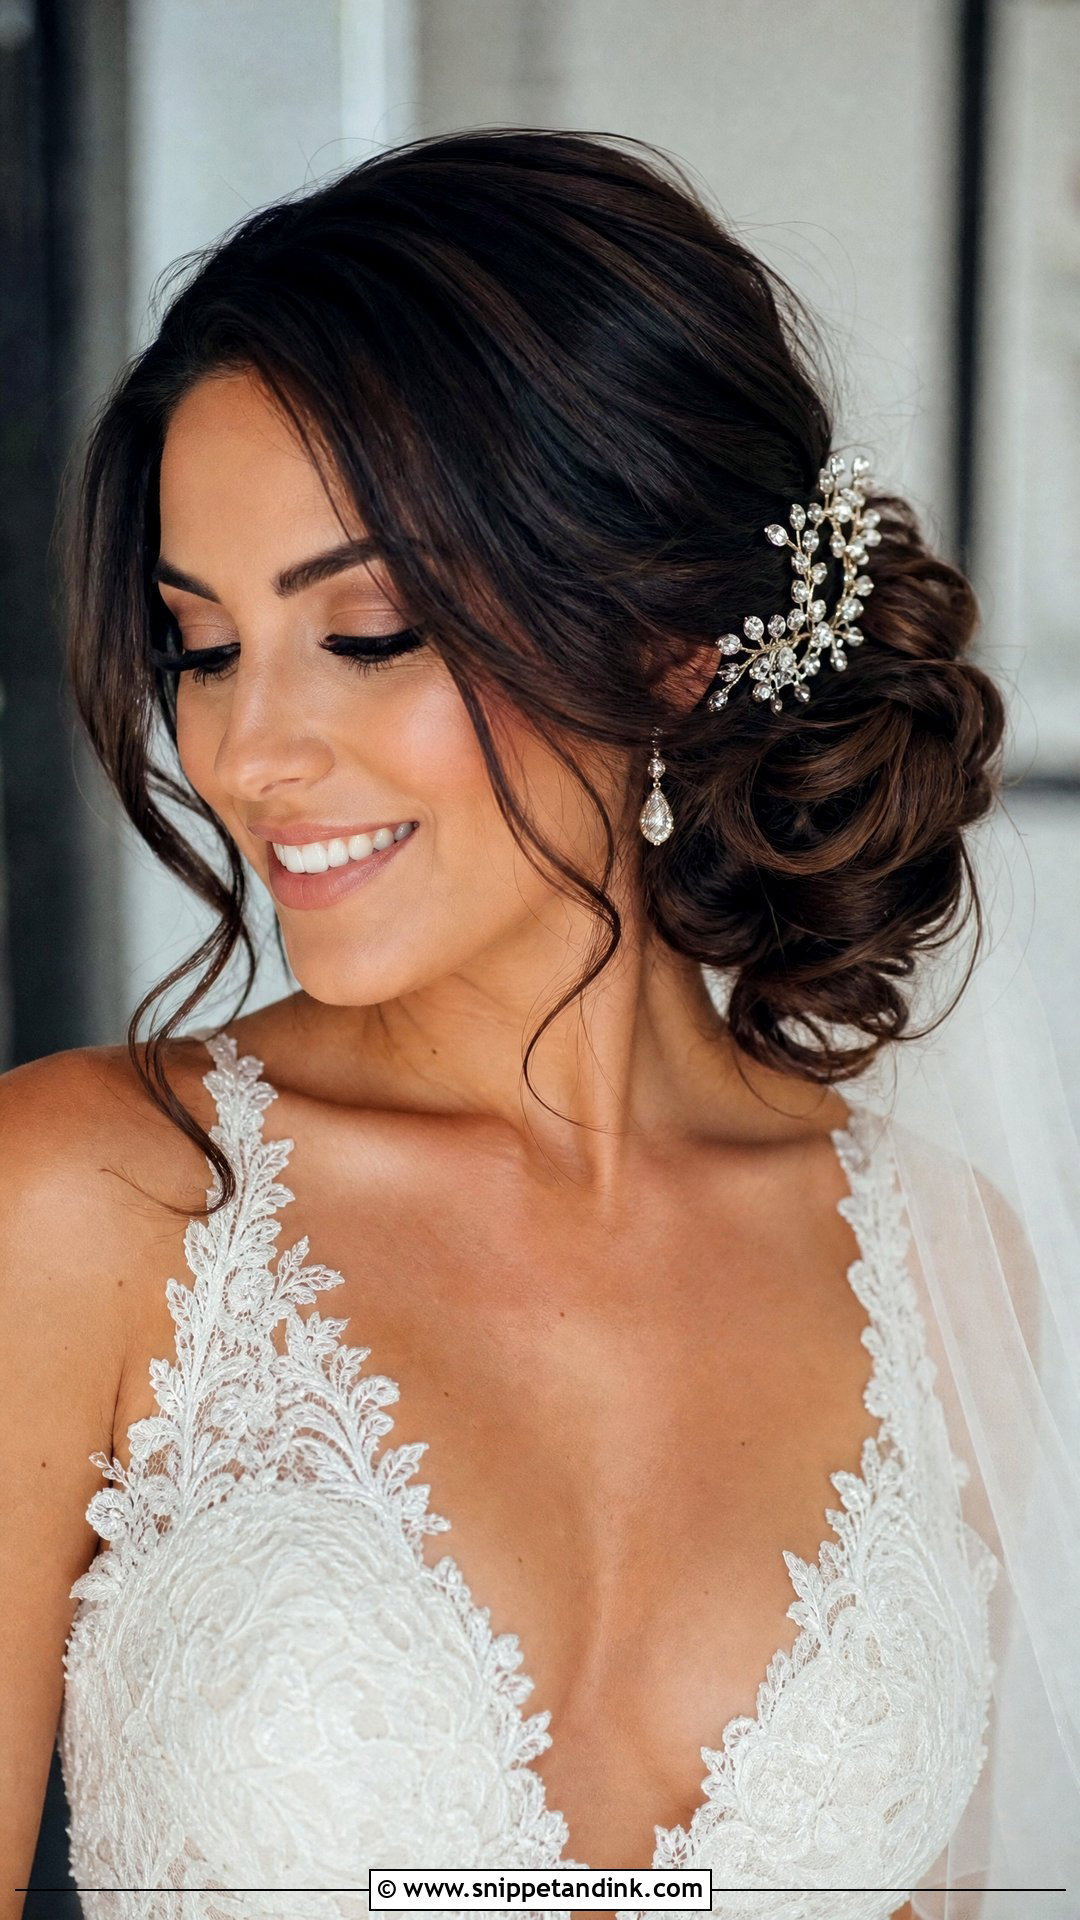
Moving the bun off-center creates a diagonal from the part to the nape, and that slant does more to sculpt a round face than almost anything else. I place it just behind the ear on the side opposite the part, so the eye travels across the head instead of around it. Keep the front airy. A flat front with a side bun reads as an afterthought rather than a choice. It sits well under a vintage fingertip veil and suits lace.
4. Wedding Half Up Half Down For Round Face
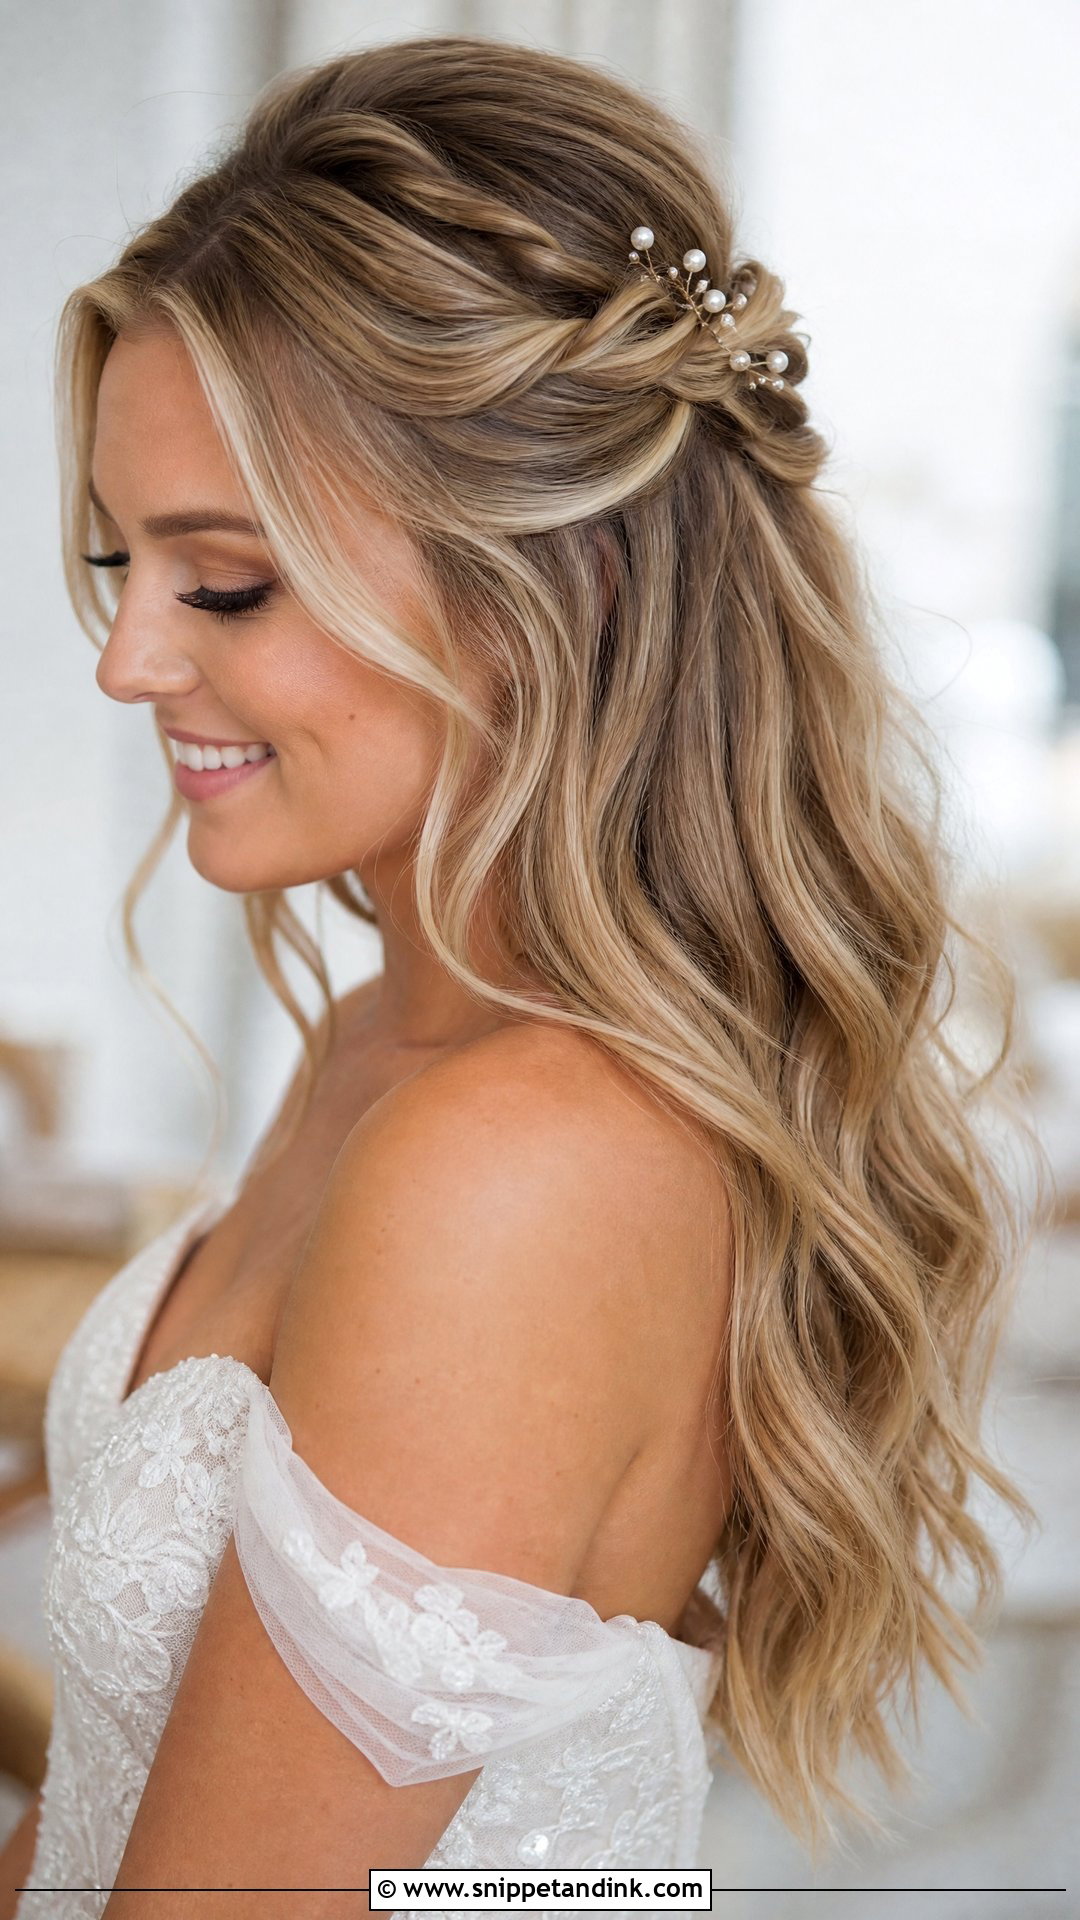
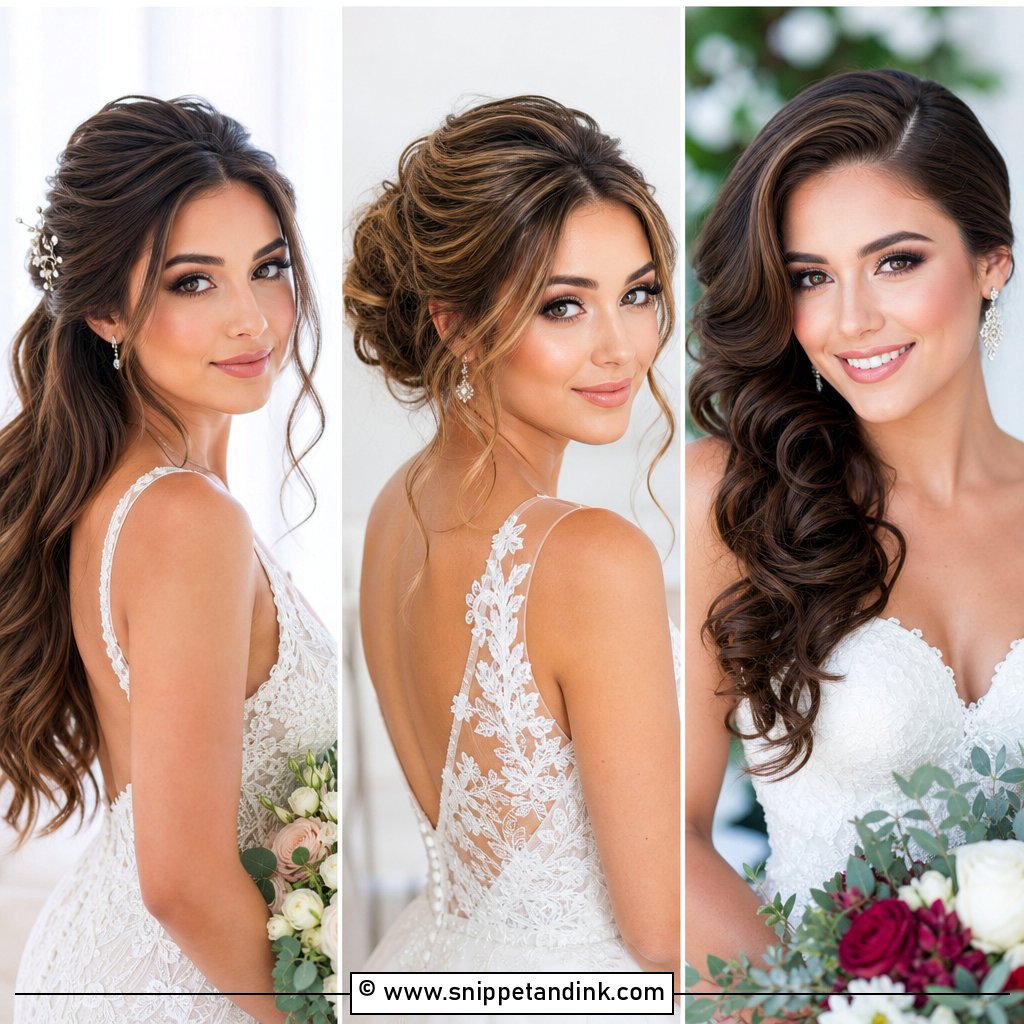
Half up half down gives you loose lengths without letting them crowd the cheeks. The version I build for round faces has volume at the crown and front pieces long enough to fall below the cheekbone, ideally to the collarbone. What I avoid is pinning the sides out wide to show off the twists, because that adds width at exactly the wrong level. Pin them back close to the head instead. If your hair is fine and slippery, ask for a small bungee or hidden elastic under the twist, as bobby pins alone tend to slide by mid-afternoon.
5. Wedding Hollywood Waves For Round Face
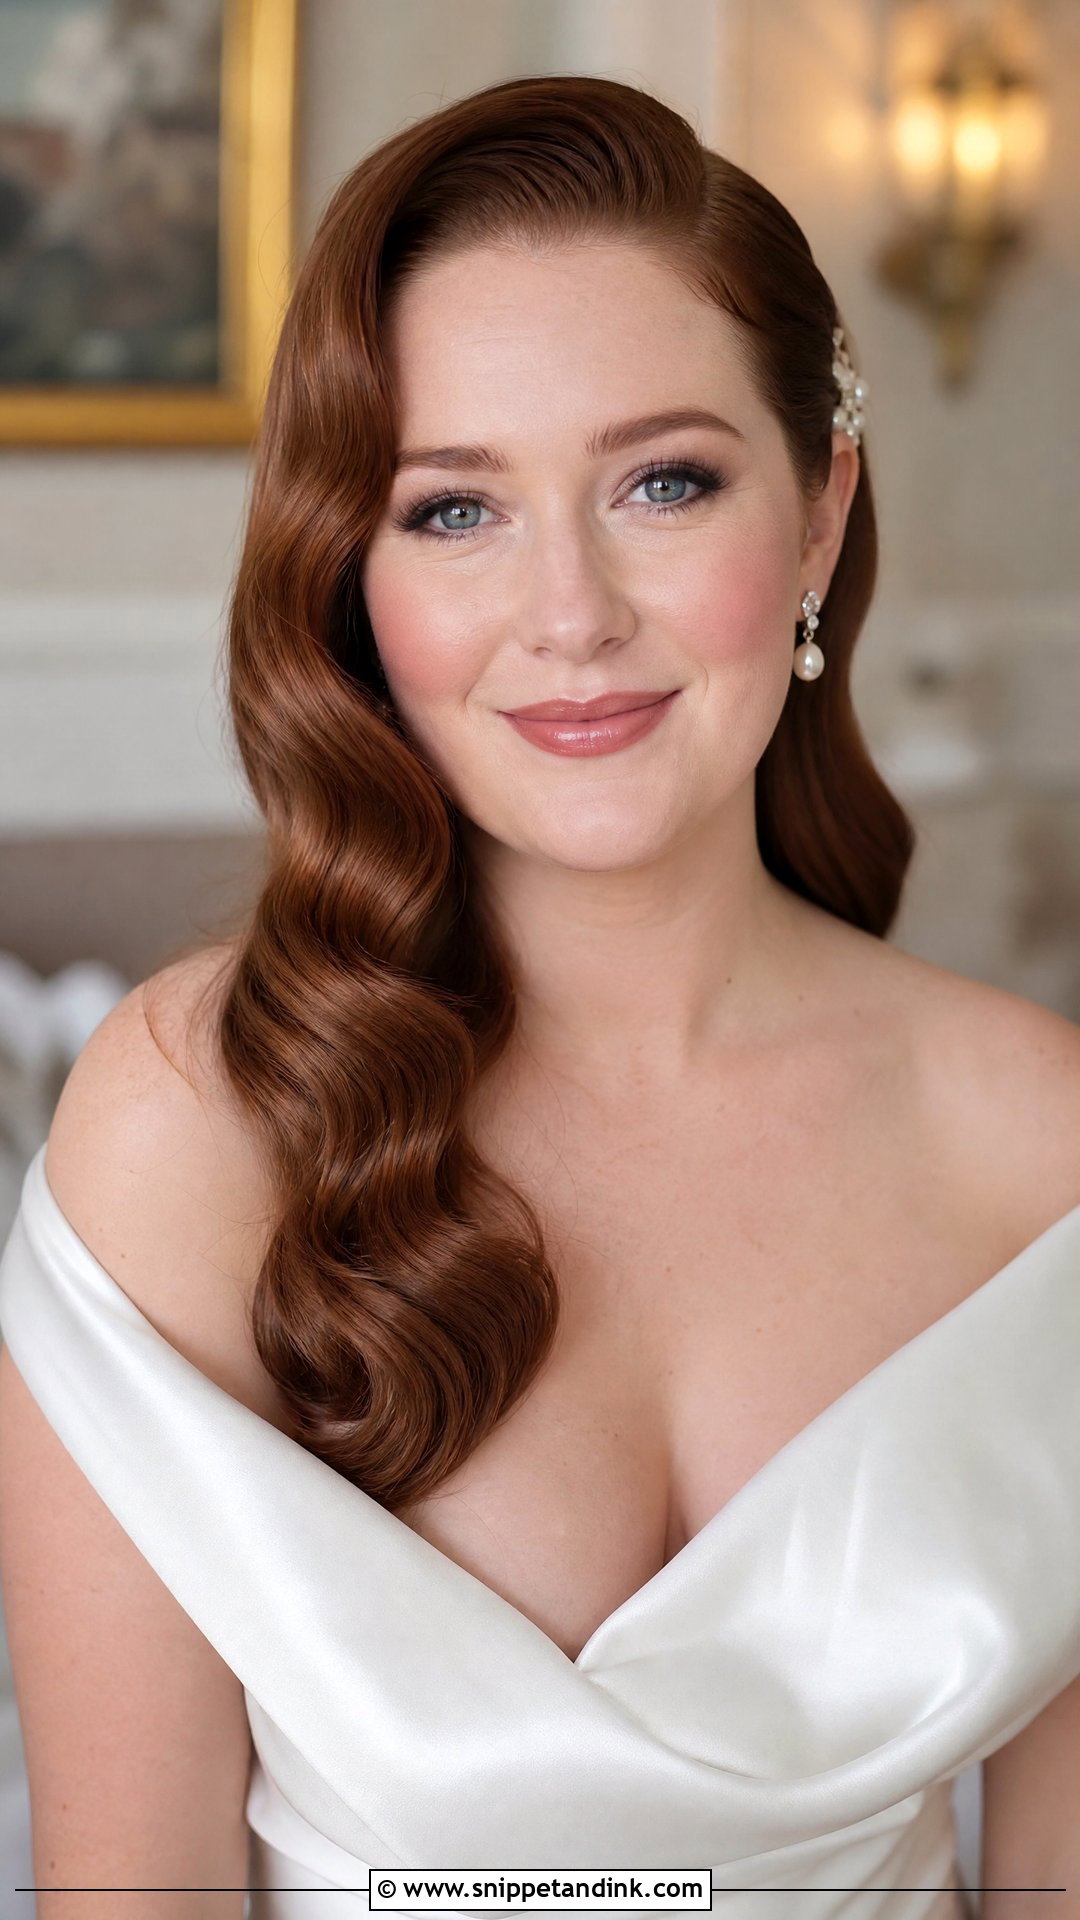
Old-Hollywood waves depend on a deep side part, and that’s why they work here. The part gives you an angle, and the smooth S-shape carries the eye down past the jaw. I set them in pin curls, let them cool completely, then brush out and sculpt with clips, which takes longer than a curling-wand wave but holds through a long day. The one thing I’ll refuse is volume at the sides; if the waves start puffing at cheek level, the face reads wider. Pair them with satin and pearl studs, and let the hair do the talking.
6. Wedding Loose Waves For Round Face
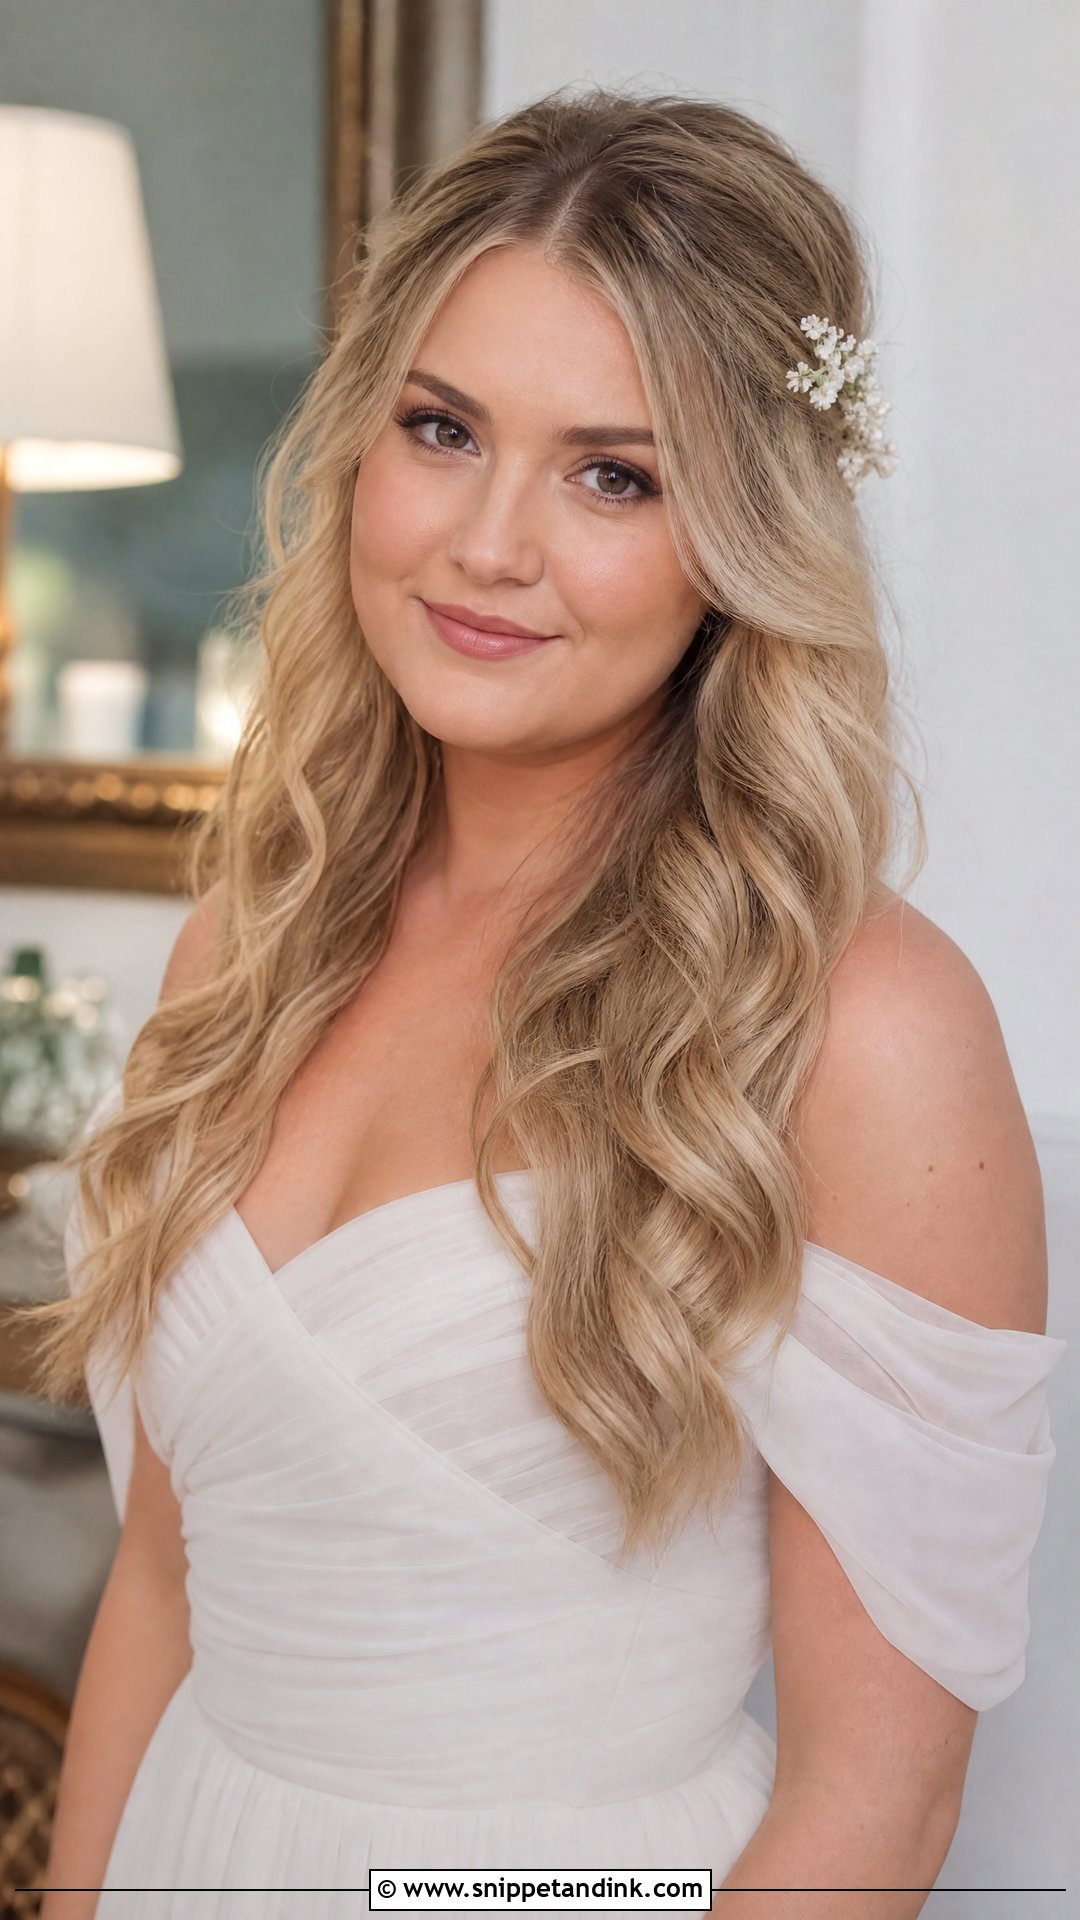
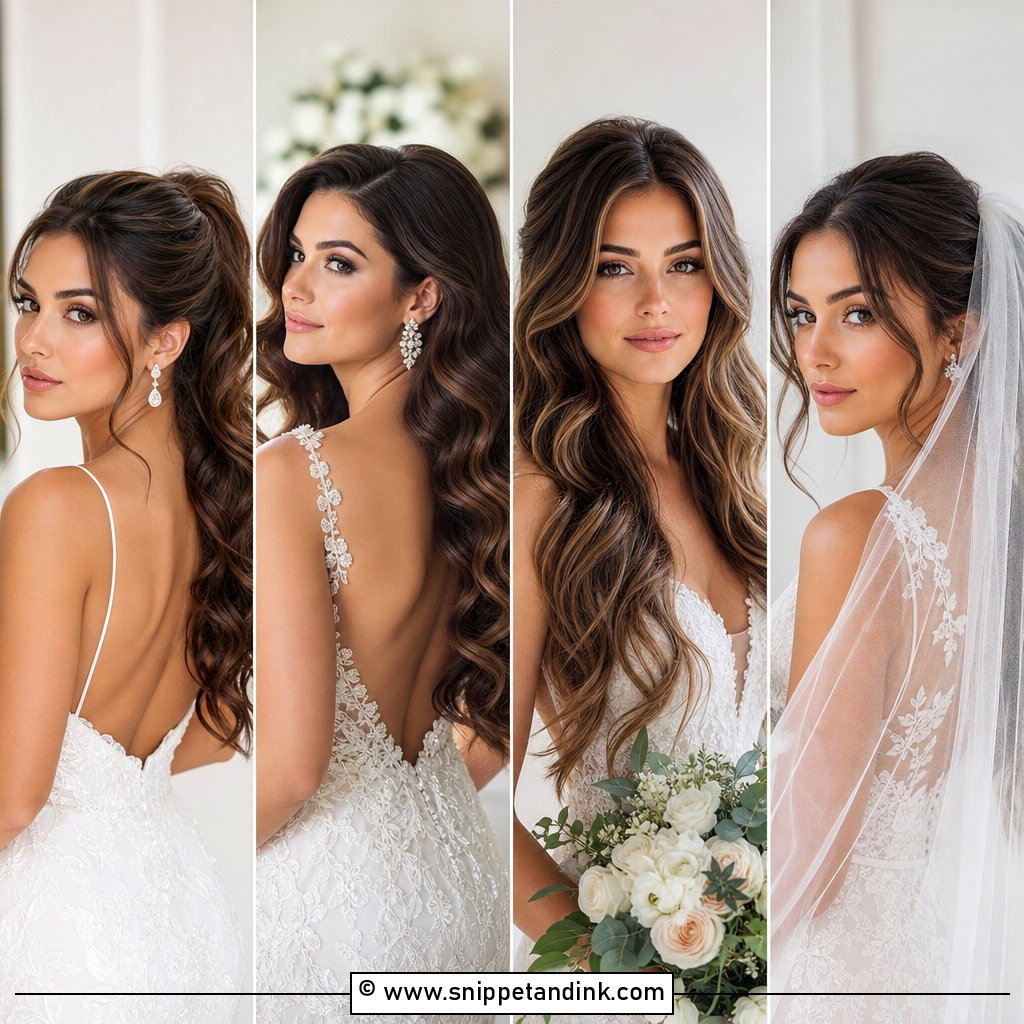
Loose waves go wrong on round faces when they’re styled wide. I start the bend lower, at the cheekbone or jaw, keep the root area smooth with a little lift at the crown, and brush the curls so they hang vertically. A center part is fine if your front layers reach past the chin; otherwise a side part does more for you. On humid outdoor days, curls drop, so I curl tighter than the finished look and let them relax over the morning. A small comb behind one ear is all the decoration this needs.
7. Wedding Side Part Waves For Round Face
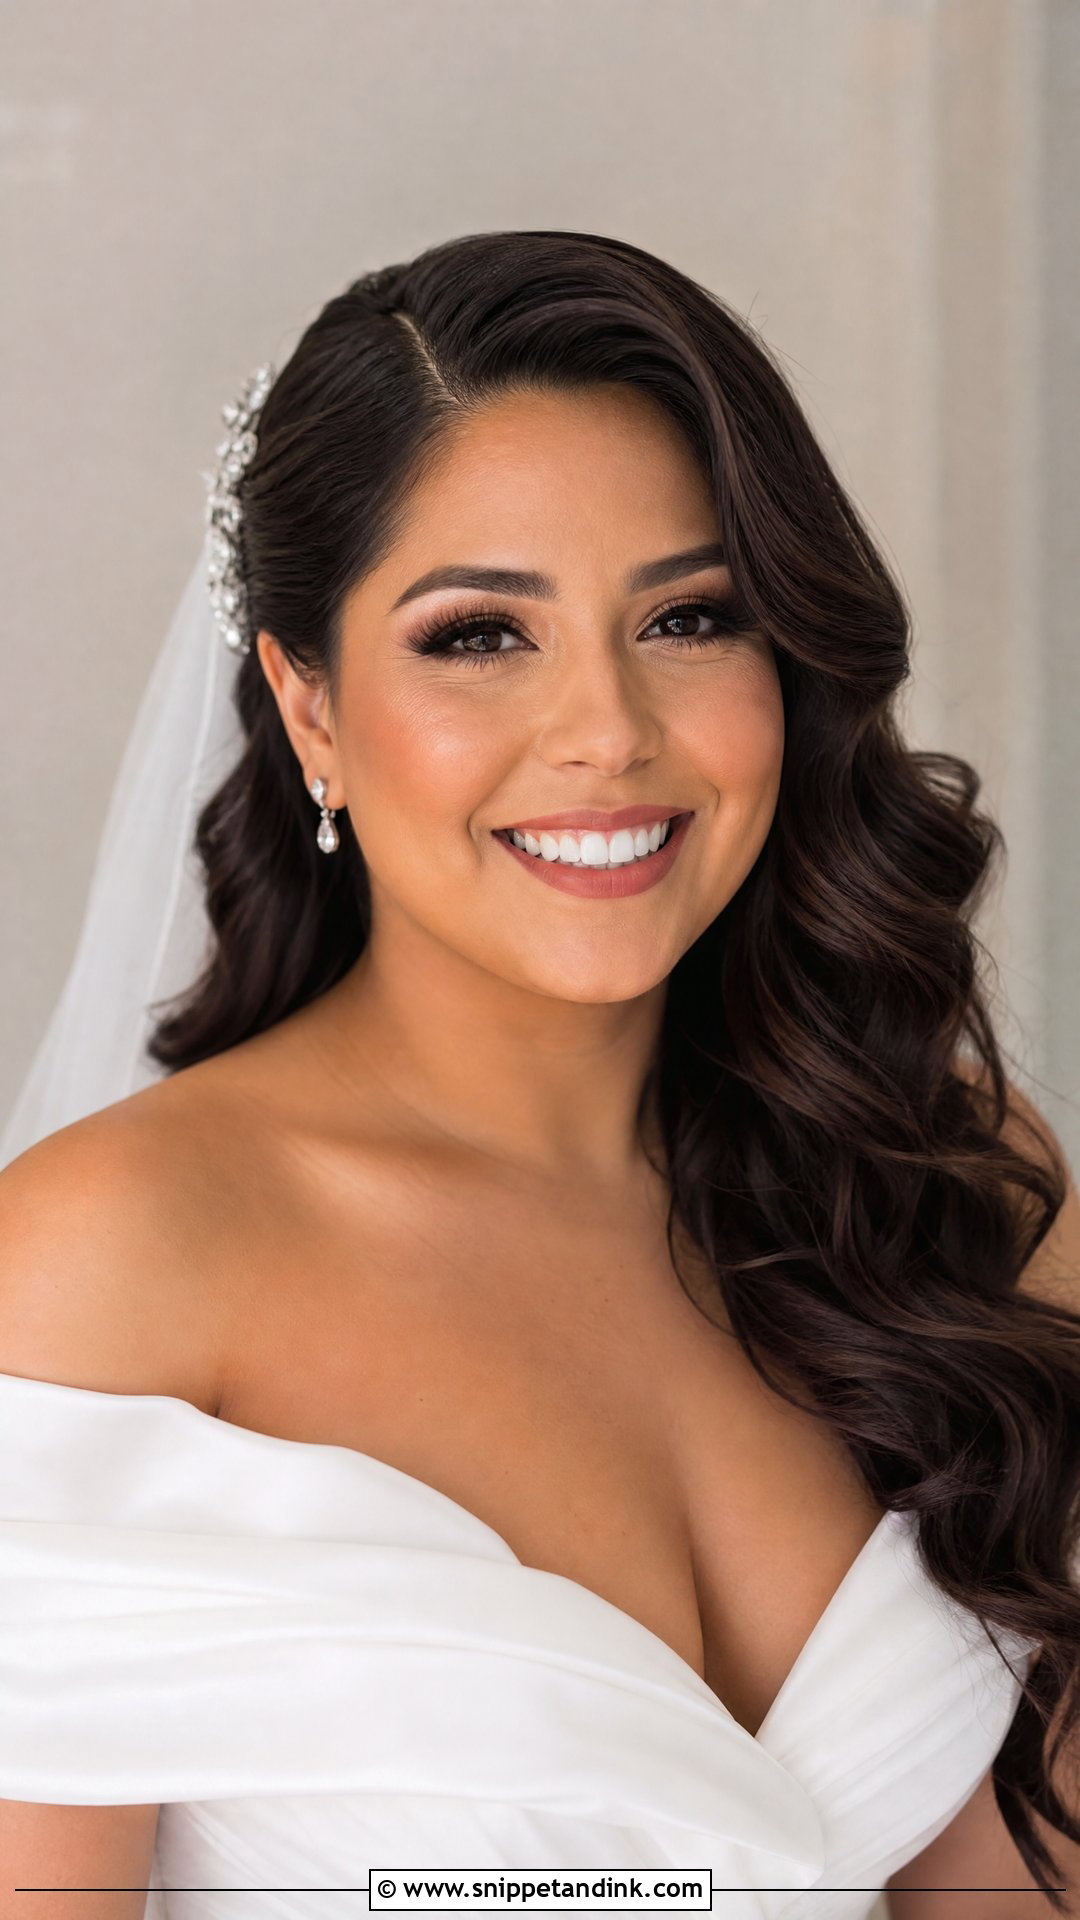
Of all the quick fixes, the side part is the one I reach for most often to flatter a round face. An off-center part breaks the symmetry of a round face, and that asymmetry photographs as shape. Tuck one side behind the ear with a comb and let the heavier side fall in waves below the chin. I finish with a light shine spray rather than heavy hairspray, since glossy, smooth waves look longer than matte ones. It’s easy to wear and very hard to get wrong.
8. Wedding Braided Crown For Round Face
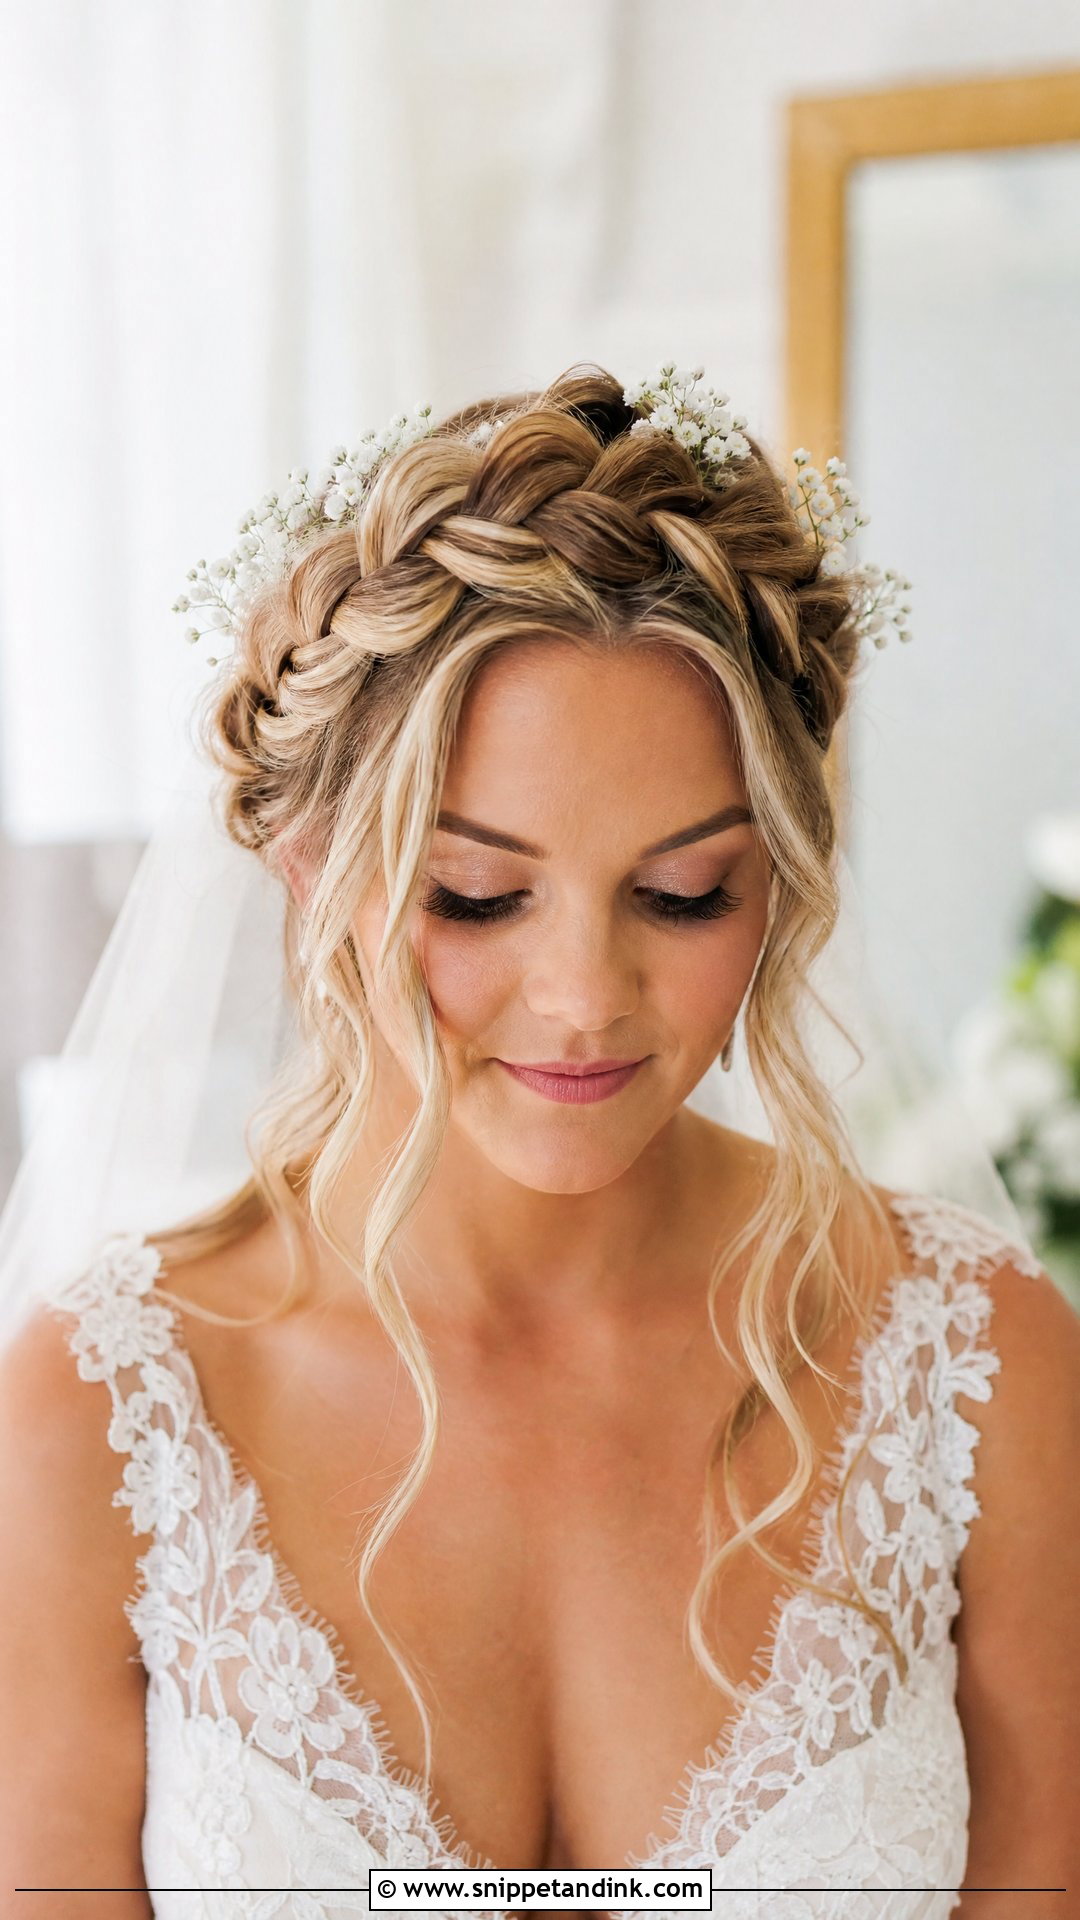
A braided crown can tighten into a headband across the forehead if it’s wrapped too low and too firm, and on a round face that horizontal band is the last thing you want. I sit the braid higher, toward the top of the head, and pancake the loops so it looks fuller and softer. Wispy tendrils at the temples and jaw take the edge off. It’s well suited to a garden or outdoor ceremony and leaves room for a few small flowers or pearl pins tucked into the plait.
9. Wedding Fishtail Braid For Round Face
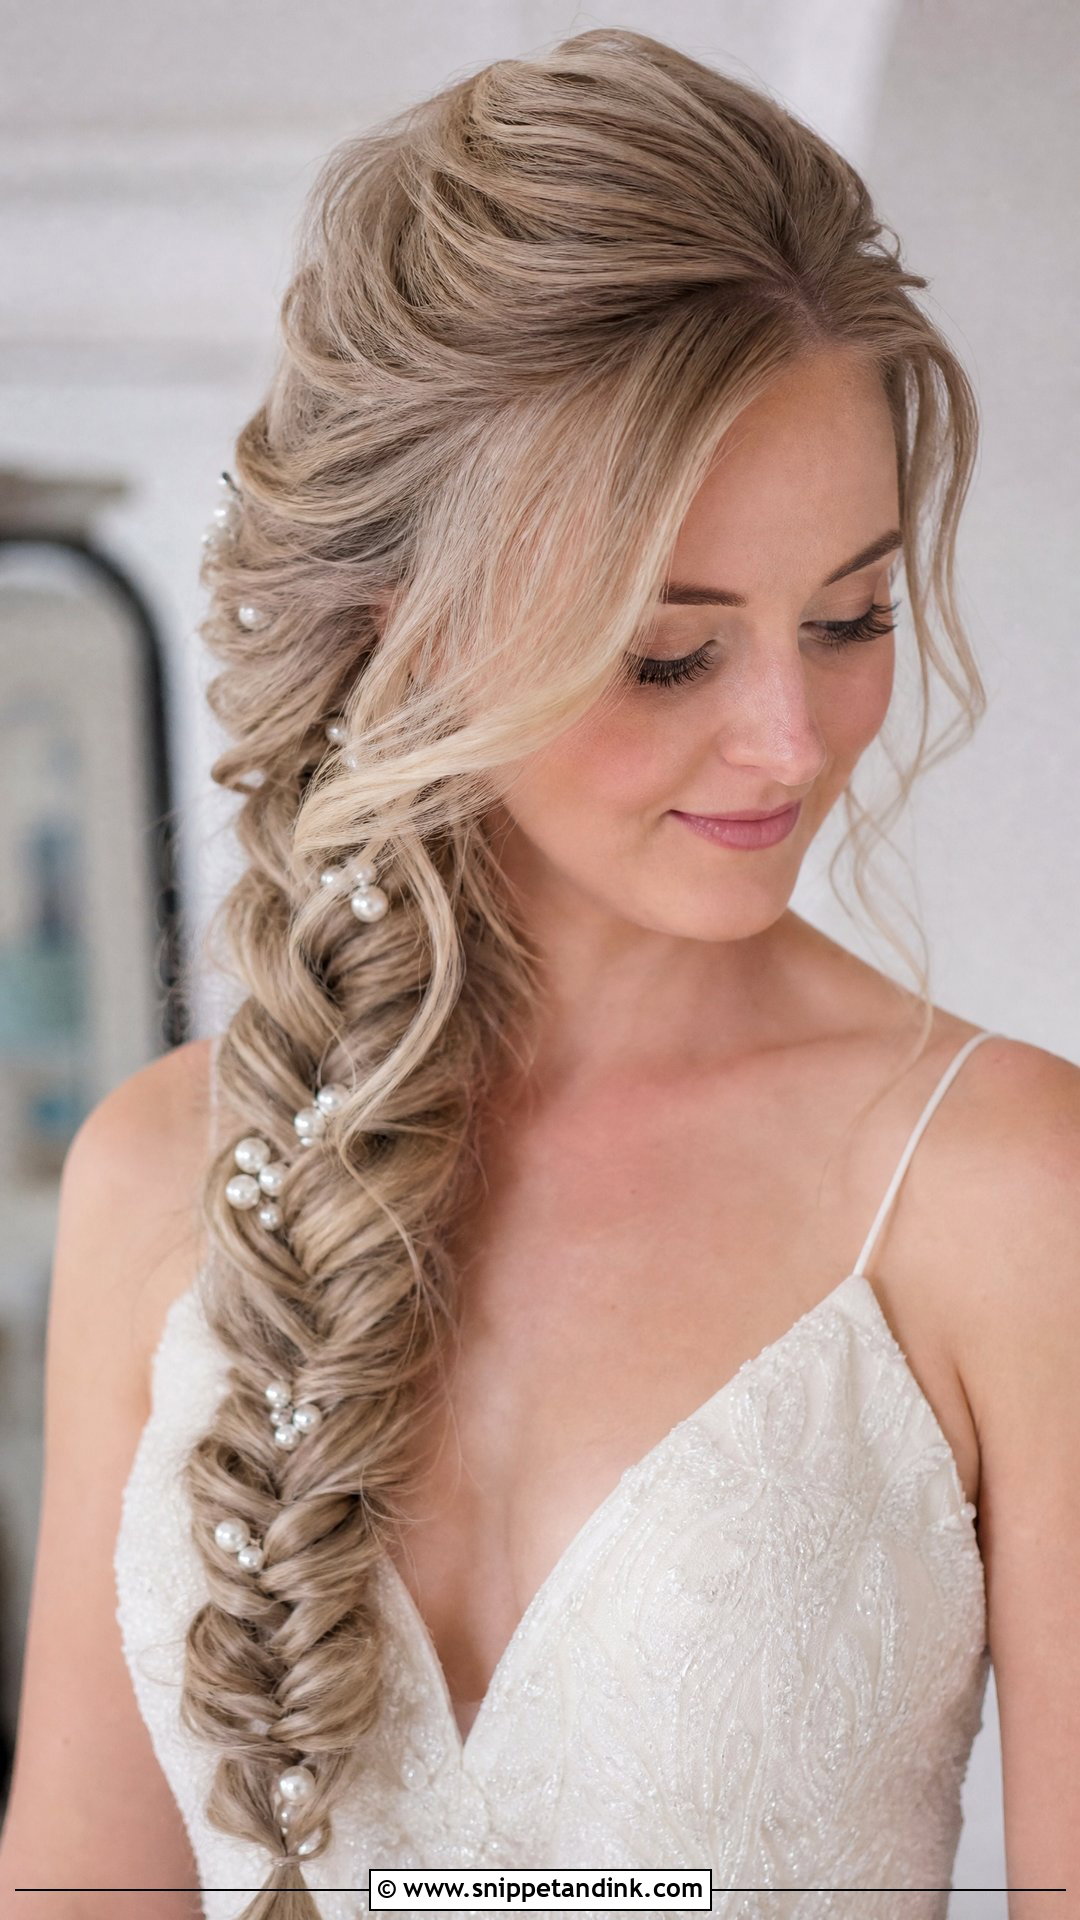
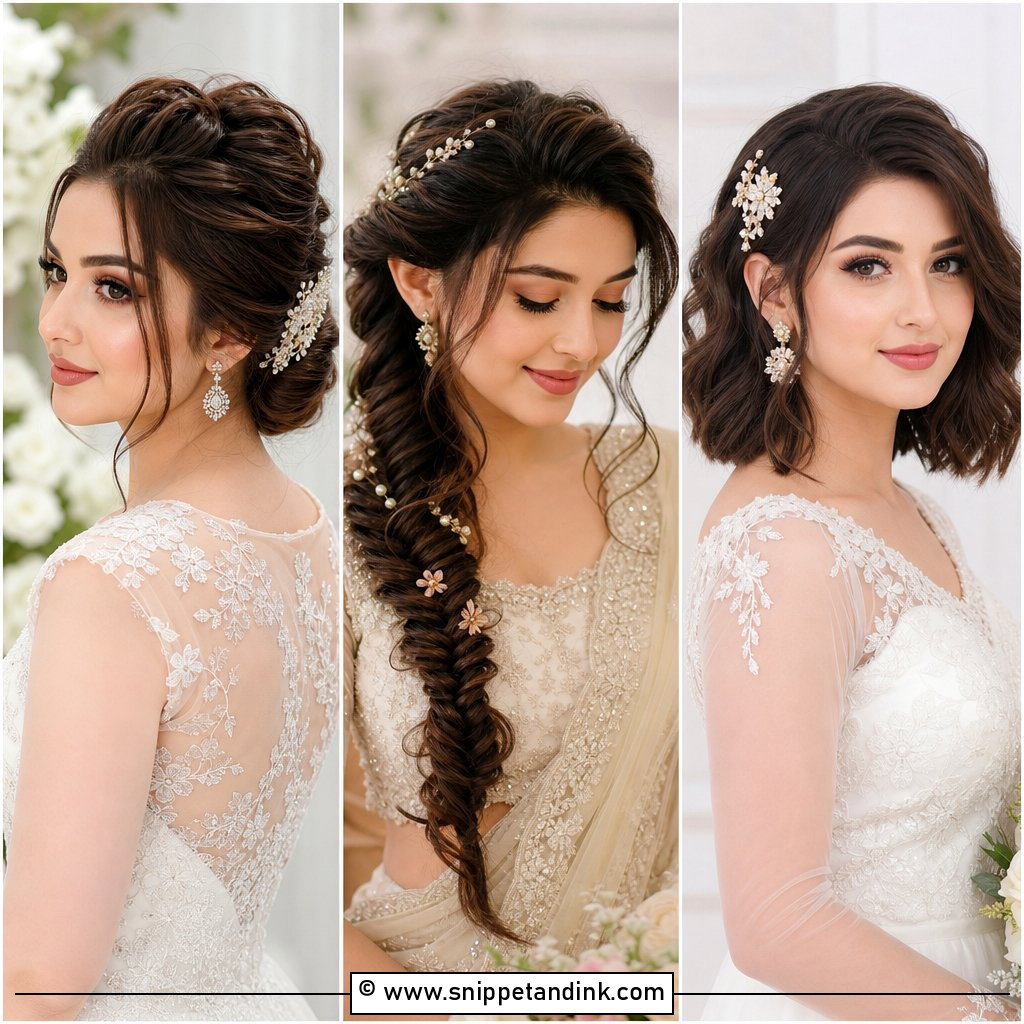
Worn over one shoulder, a fishtail draws a long diagonal across the body, which is exactly the line a round face benefits from. I braid it slightly loose, then pull the edges apart for width down the braid, not at the head. The crown stays lifted. Fishtails need medium to long hair with a fair bit of grip, so on very silky hair I prep with a texture spray first or the braid will slip out of its tie. It’s comfortable through dancing and holds its shape well.
10. Wedding Ponytail For Round Face
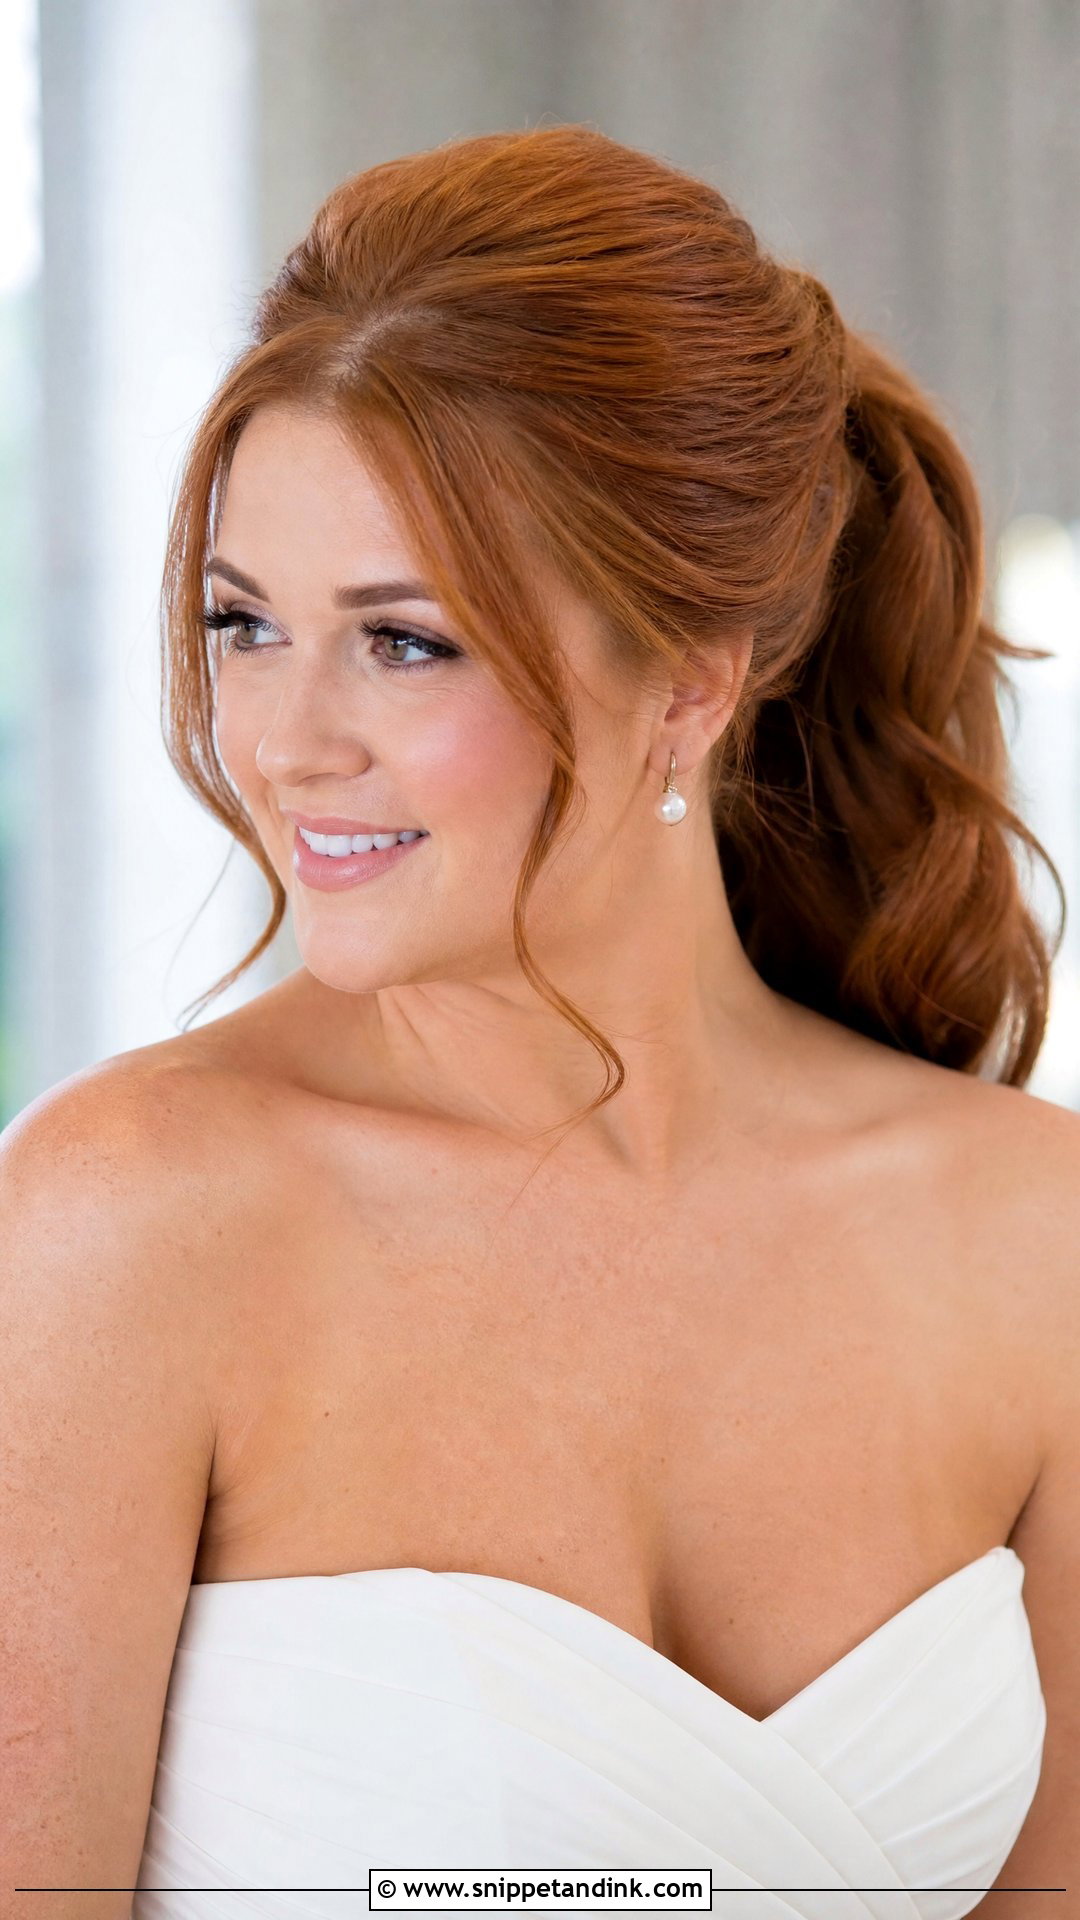
Height is everything with a bridal ponytail. A mid to high ponytail pulls the eye up, while a low one can sit at the same level as the jawline and widen it. I backcomb the crown before gathering, secure the base with two elastics so it doesn’t sag, then wrap a strand around to hide them. Loose waves through the length add movement without touching the cheeks. Leave a couple of face-framing pieces at the temples. It’s the cleanest look on this list, and it suits a minimal gown or a jumpsuit.
11. Wedding Curly Updo For Round Face
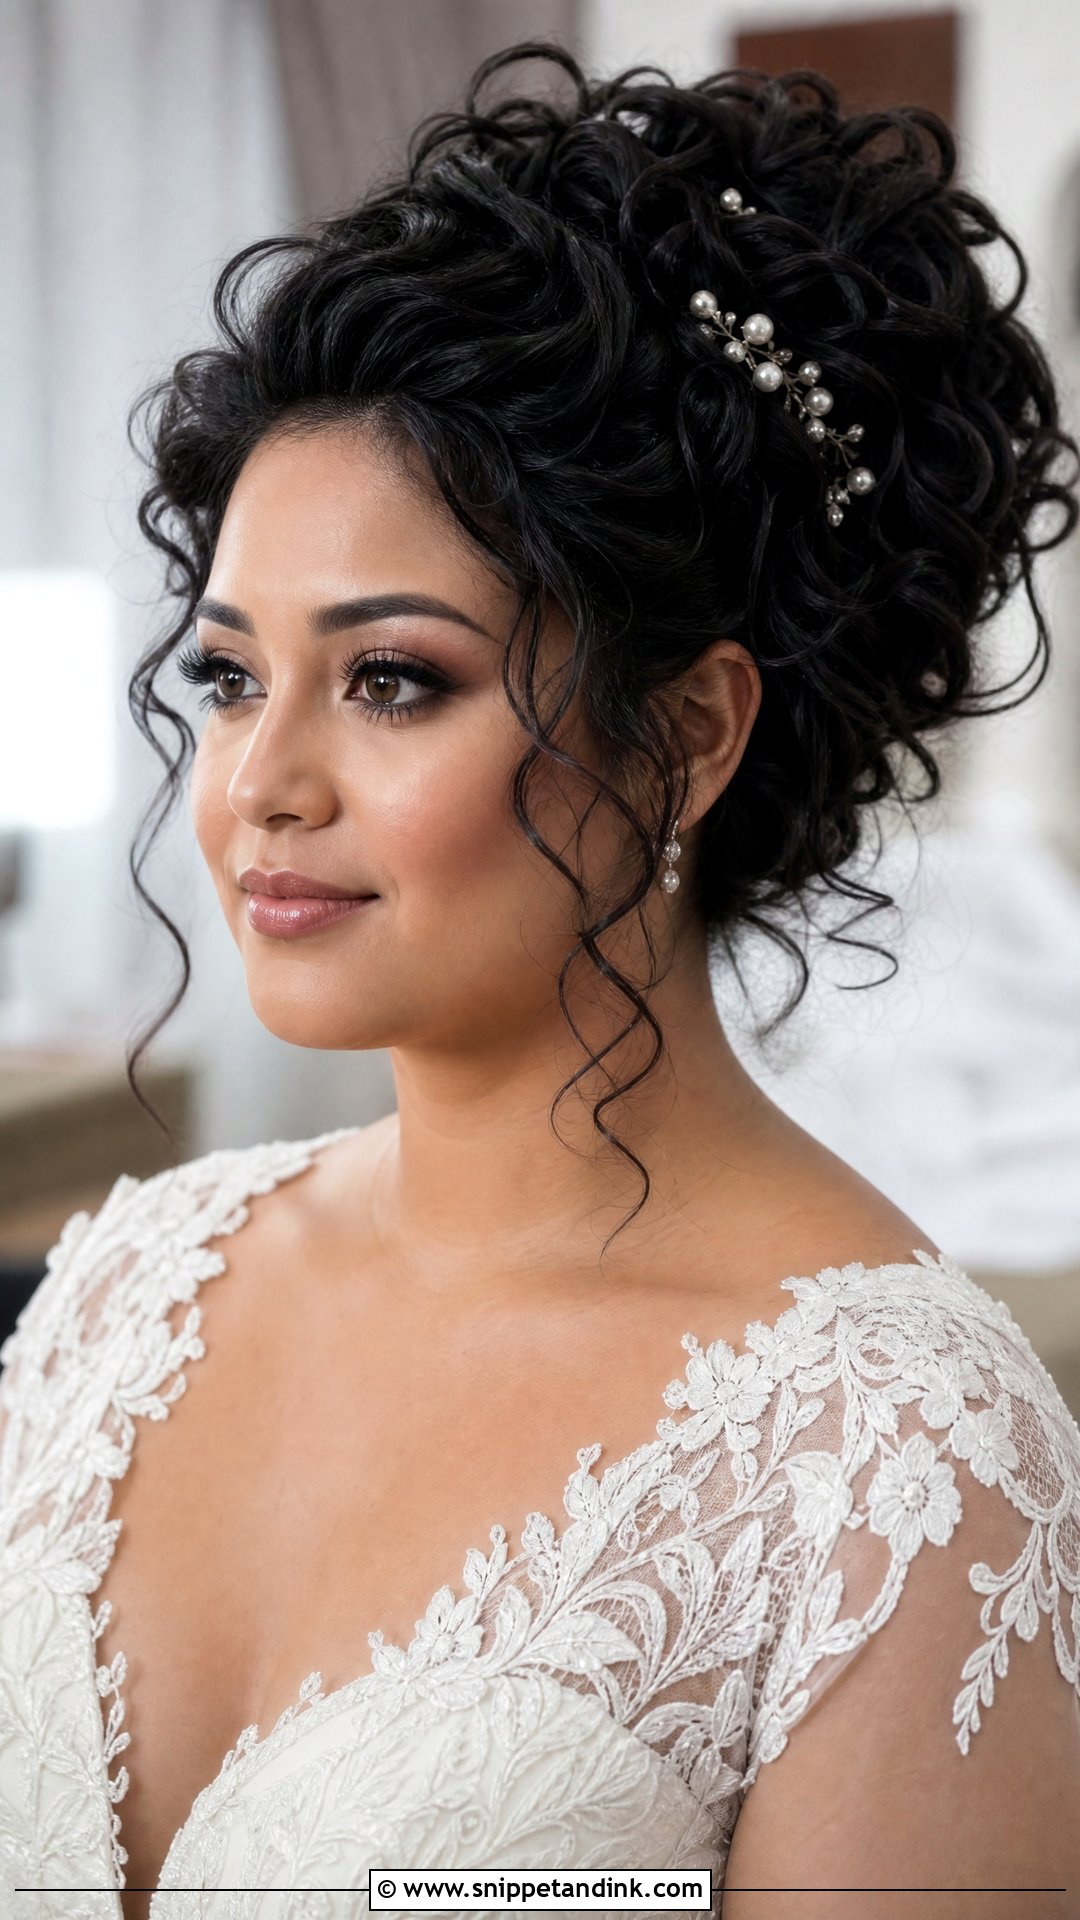
With curly hair I build up, not out. The curls want to expand sideways, so I pin the volume toward the crown and keep the sides close to the head, then pull a few defined curls loose by the face, long enough to fall below the cheekbone. Work with your curl pattern rather than smoothing it; brushing curls out to make them look polished usually creates frizz and width. Moisture-heavy products help the shape hold through a humid day. It’s secure, it celebrates texture, and the back looks good under a sheer veil.
12. Wedding Natural Hair Updo For Round Face
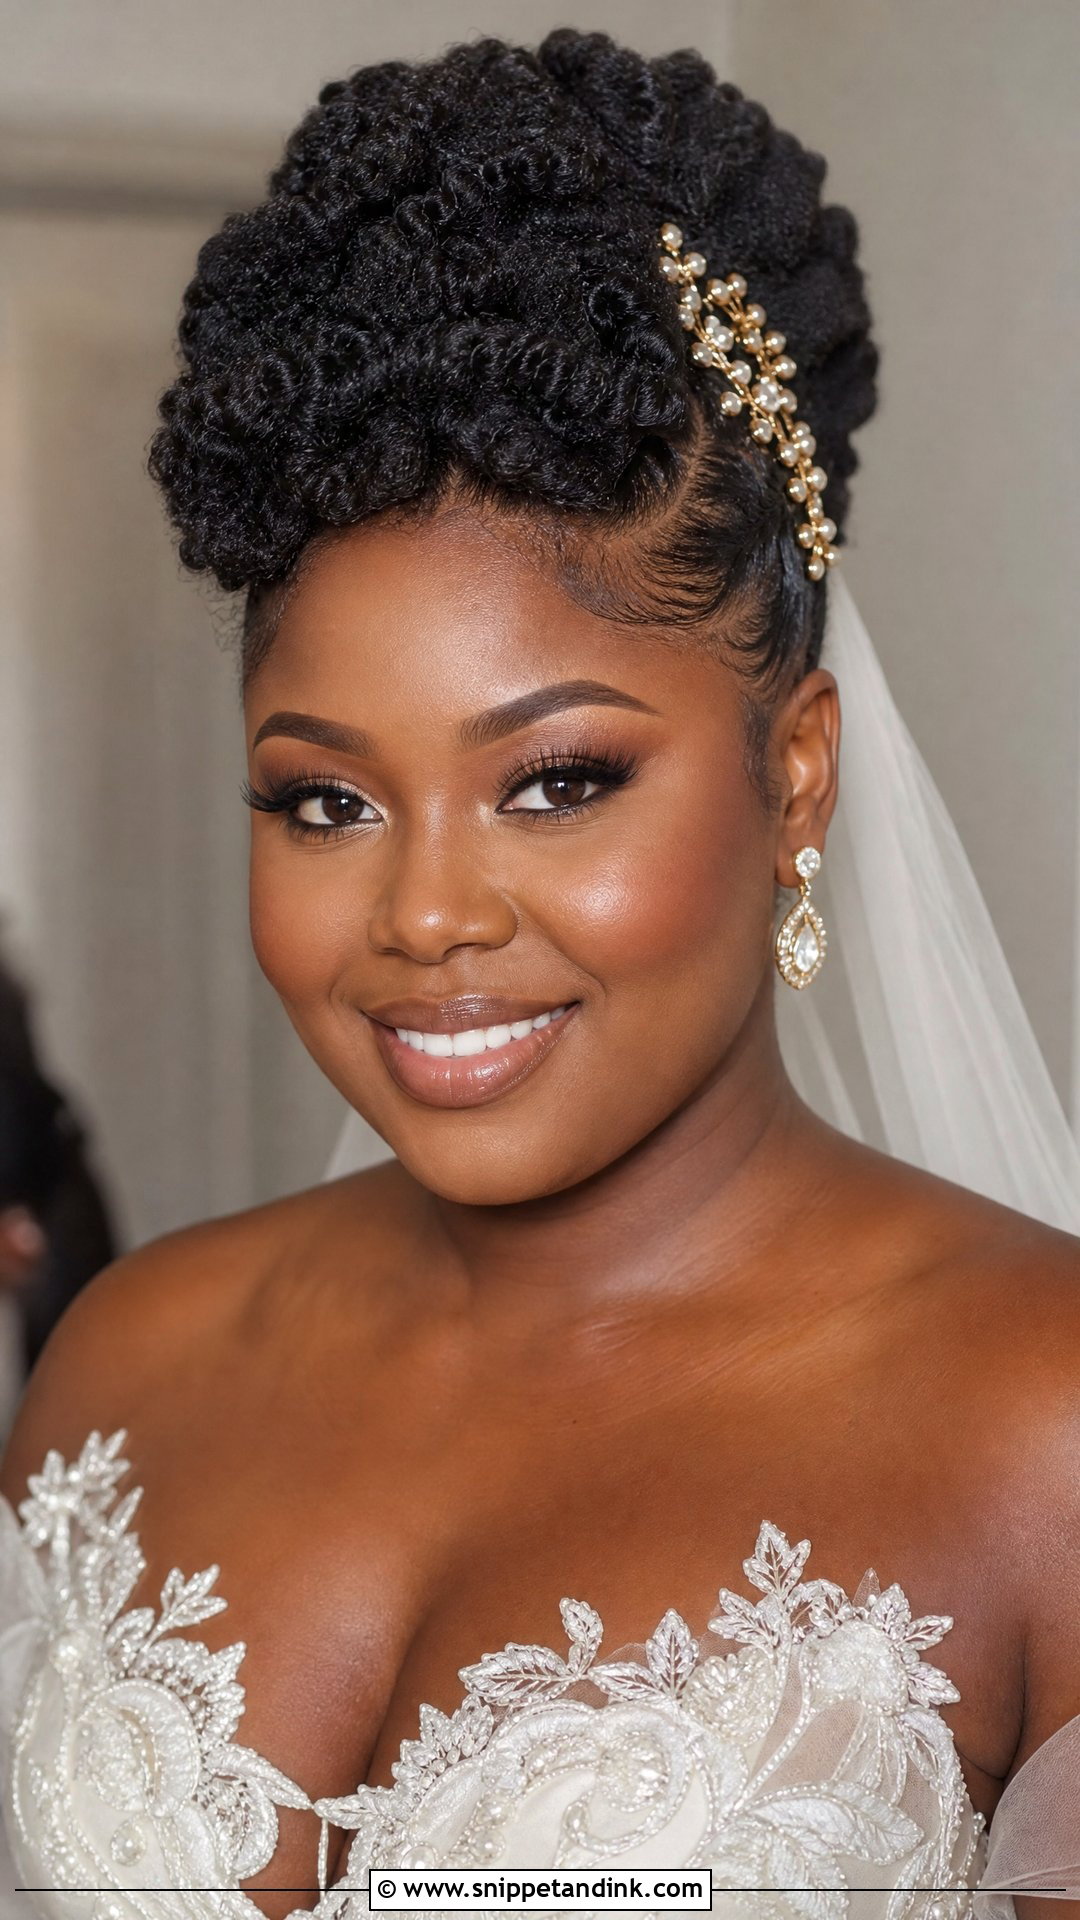
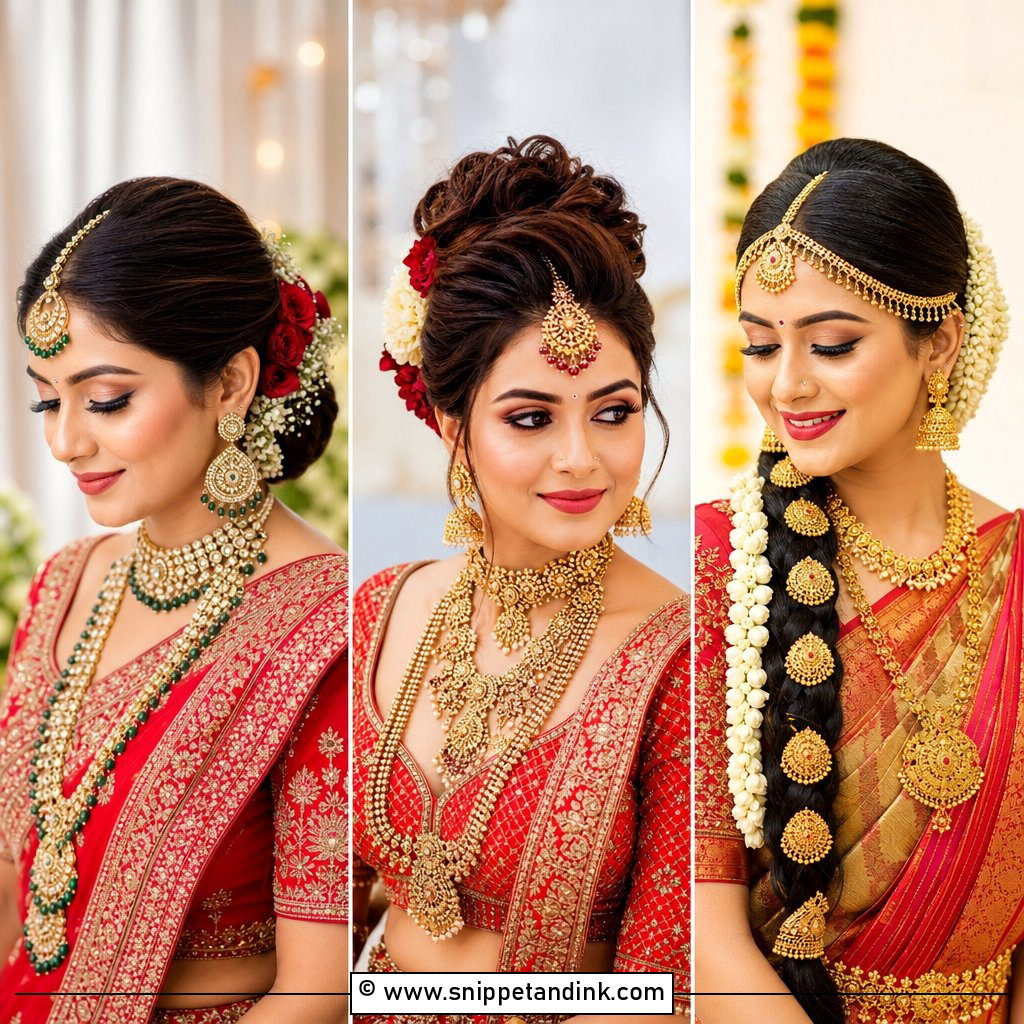
For natural hair, crown height is your best tool. A sculpted puff, a high bun or pinned curls all lift the shape and lengthen the face. I stretch the hair a day or two before with a blow-out or a braid-out so the updo has length to work with, which reduces tension on the edges on the day. The sides can be full if the top is fuller still; balance comes from proportion. I’d hold off on tight edge styling if your hairline is sensitive, since a ten-hour wedding is long to wear it. Gold pins and statement earrings sit nicely against this shape.
13. Wedding Twisted Updo For Round Face
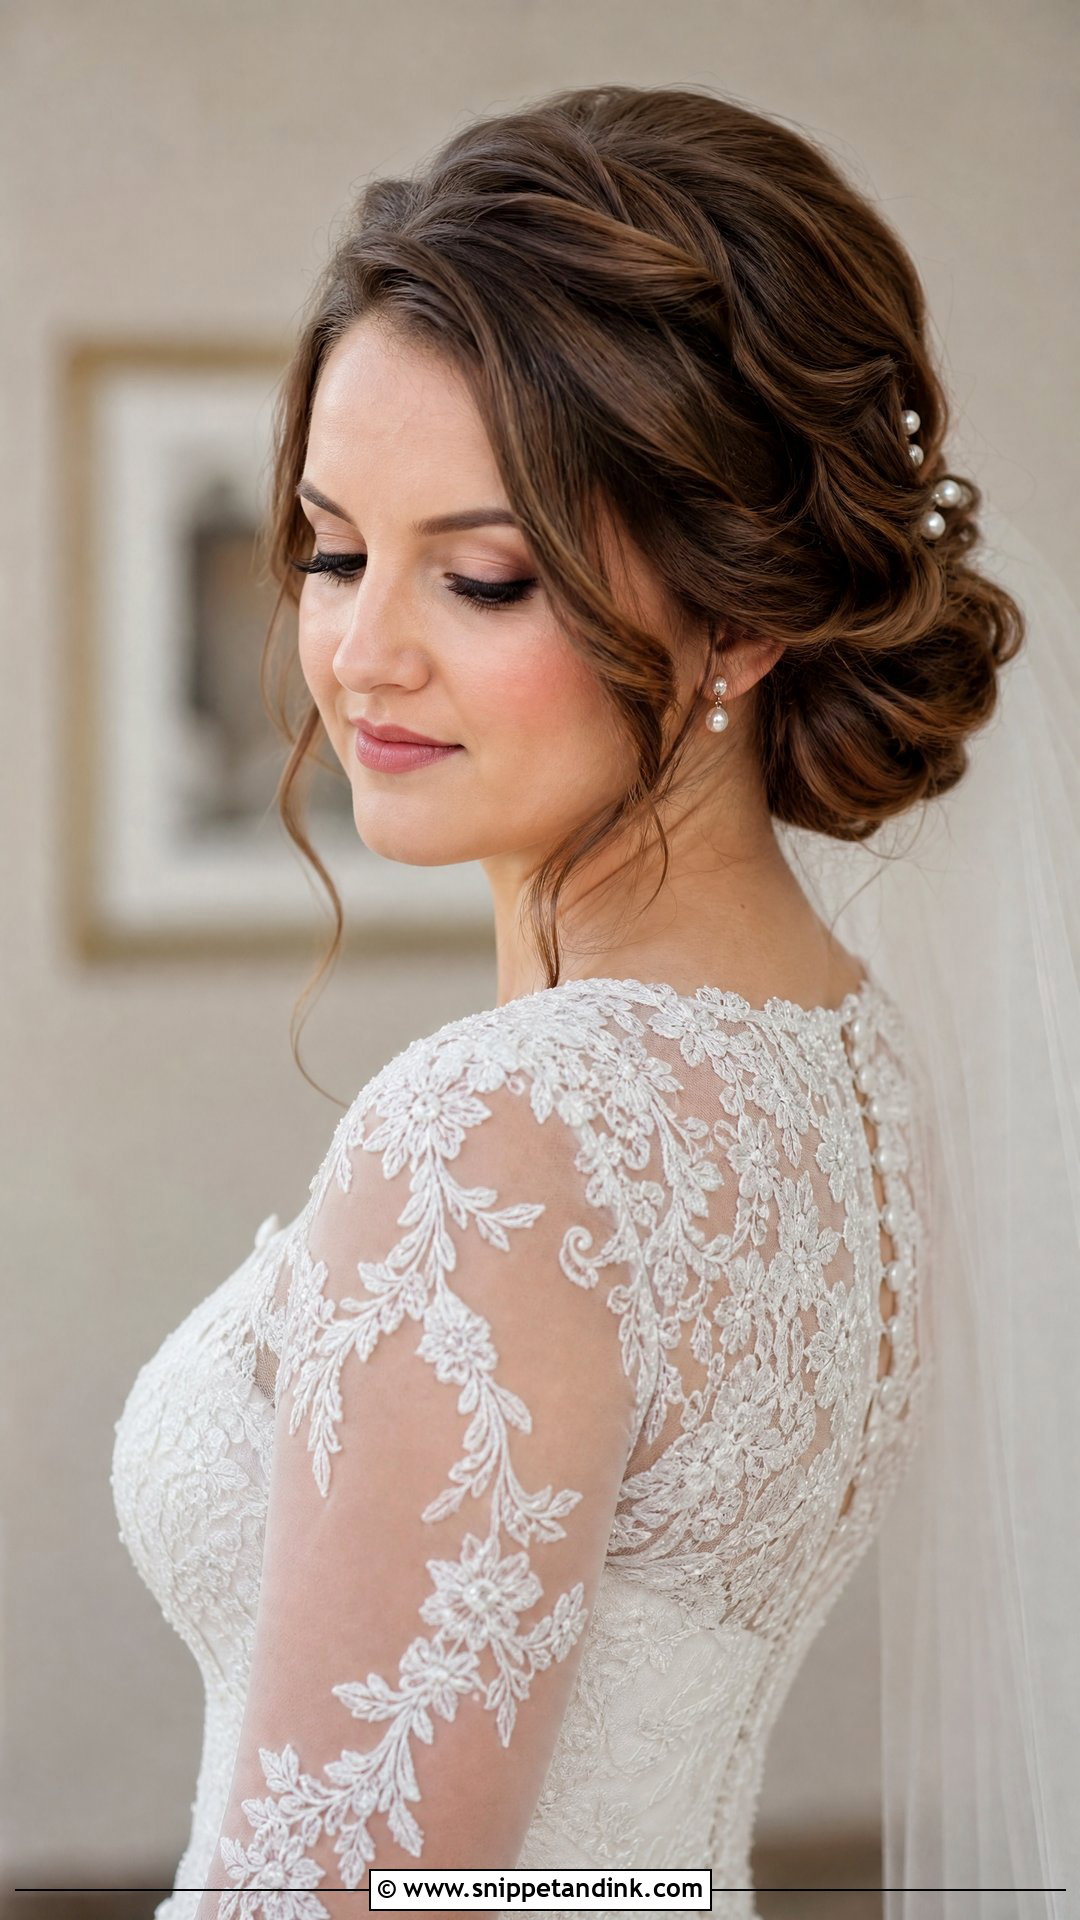
Twists are forgiving: you can adjust the shape strand by strand at the trial until it’s right for your face. I lift the volume just above the crown, keep the face-framing strands narrow, and use a side part so the twists flow on a slant. You’ll need medium to long hair. Shorter layers pop out of twists unless they’re pinned individually, so expect a few more pins if your hair is layered. It looks polished without the stiffness of a classic sleek updo.
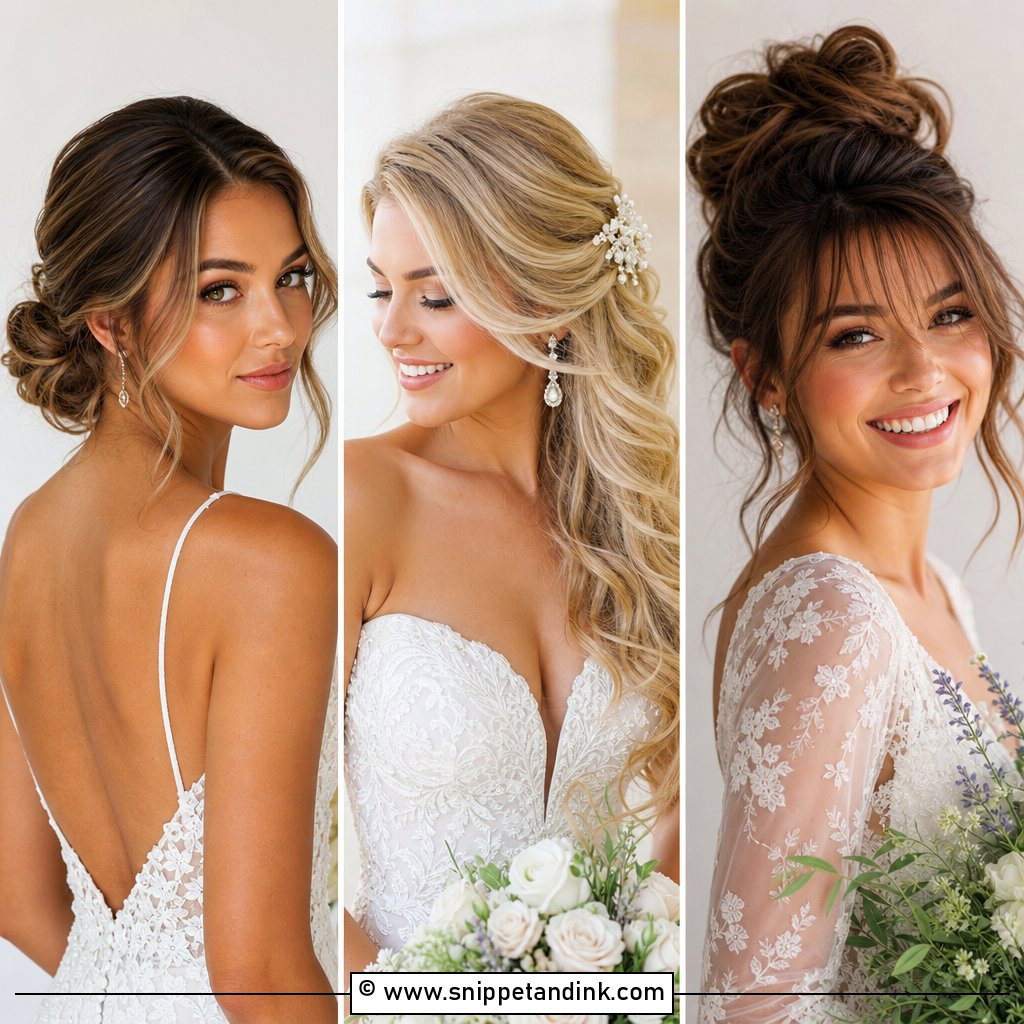
14. Wedding Chignon For Round Face
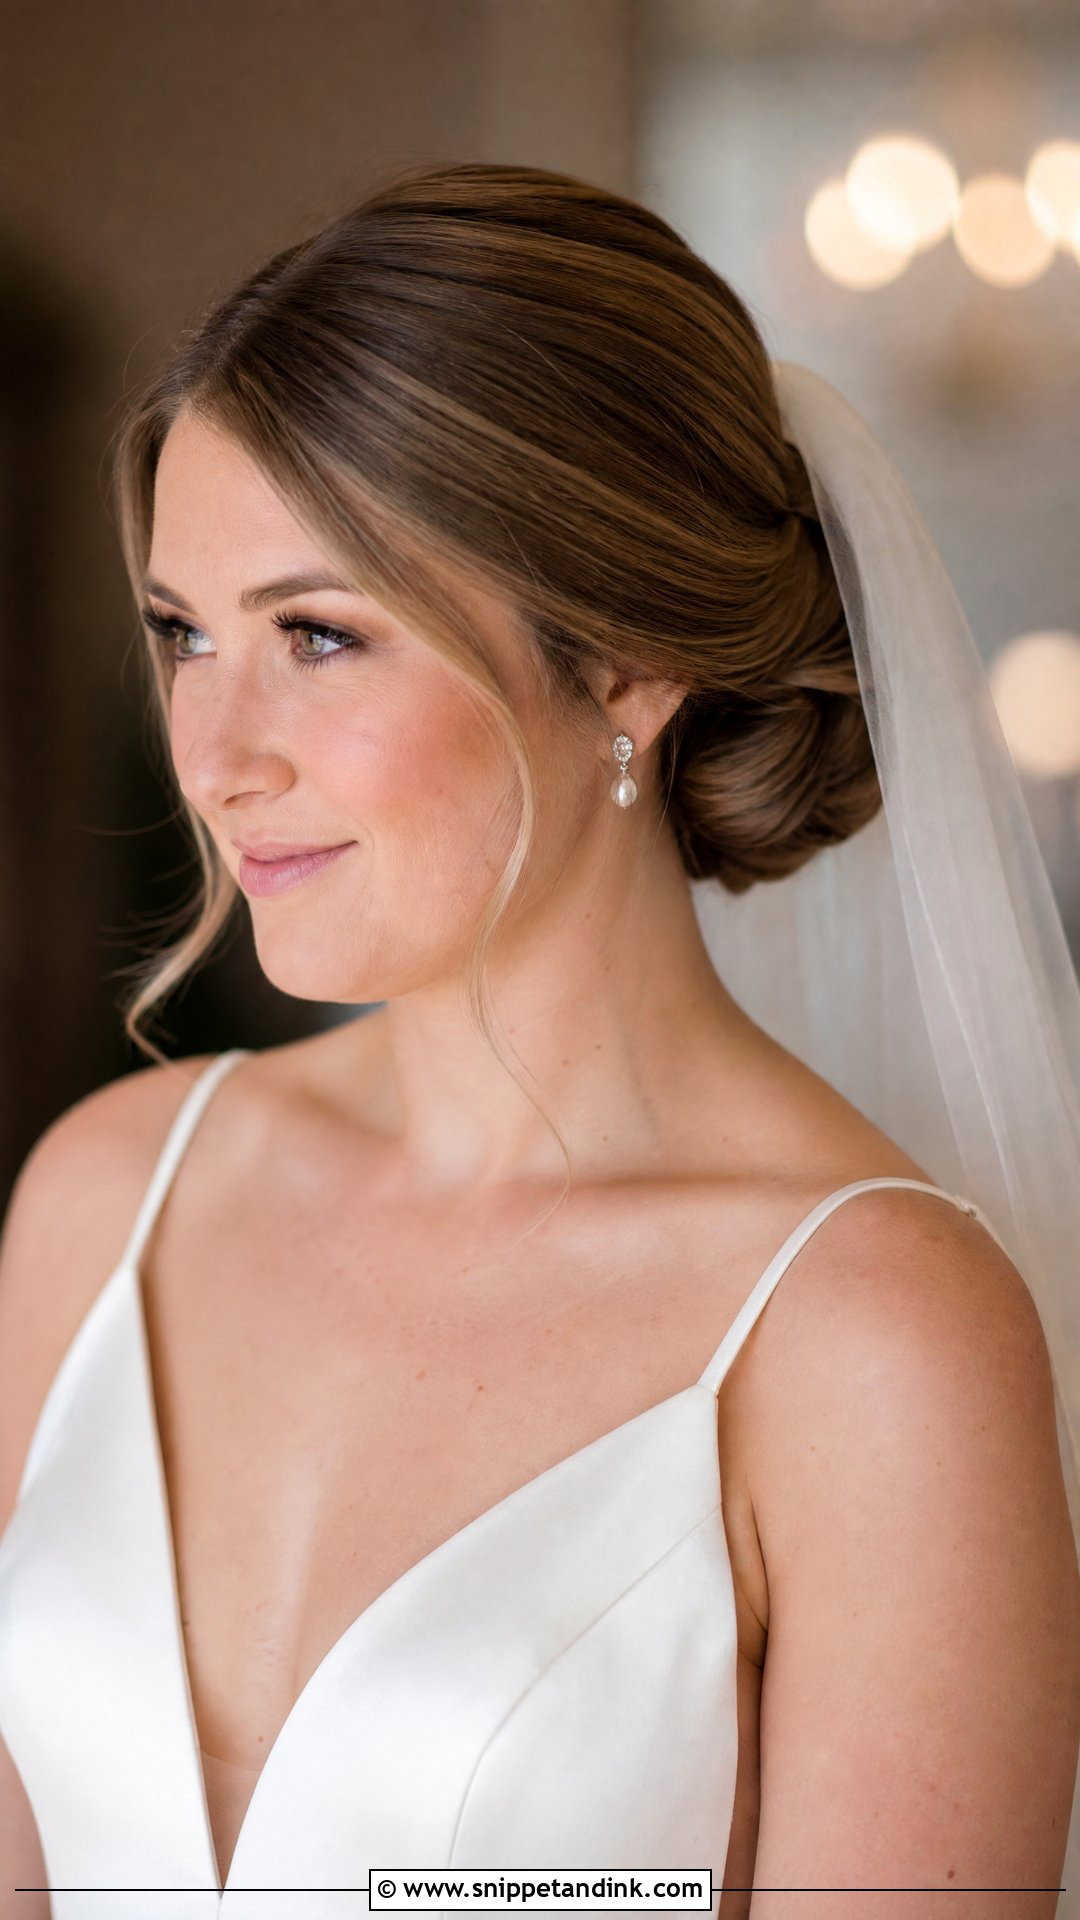
A chignon flattens easily, and a flat chignon on a round face reads as severe. I keep the crown slightly lifted, set the bun low or just off center, and leave relaxed pieces at the front. Smooth for a formal ballroom; textured for something softer. It’s my preferred base for a long veil because the comb grips the bun firmly, and the veil hangs from behind rather than flattening the top. Bring your veil to the trial so we can find the spot where it doesn’t tug.
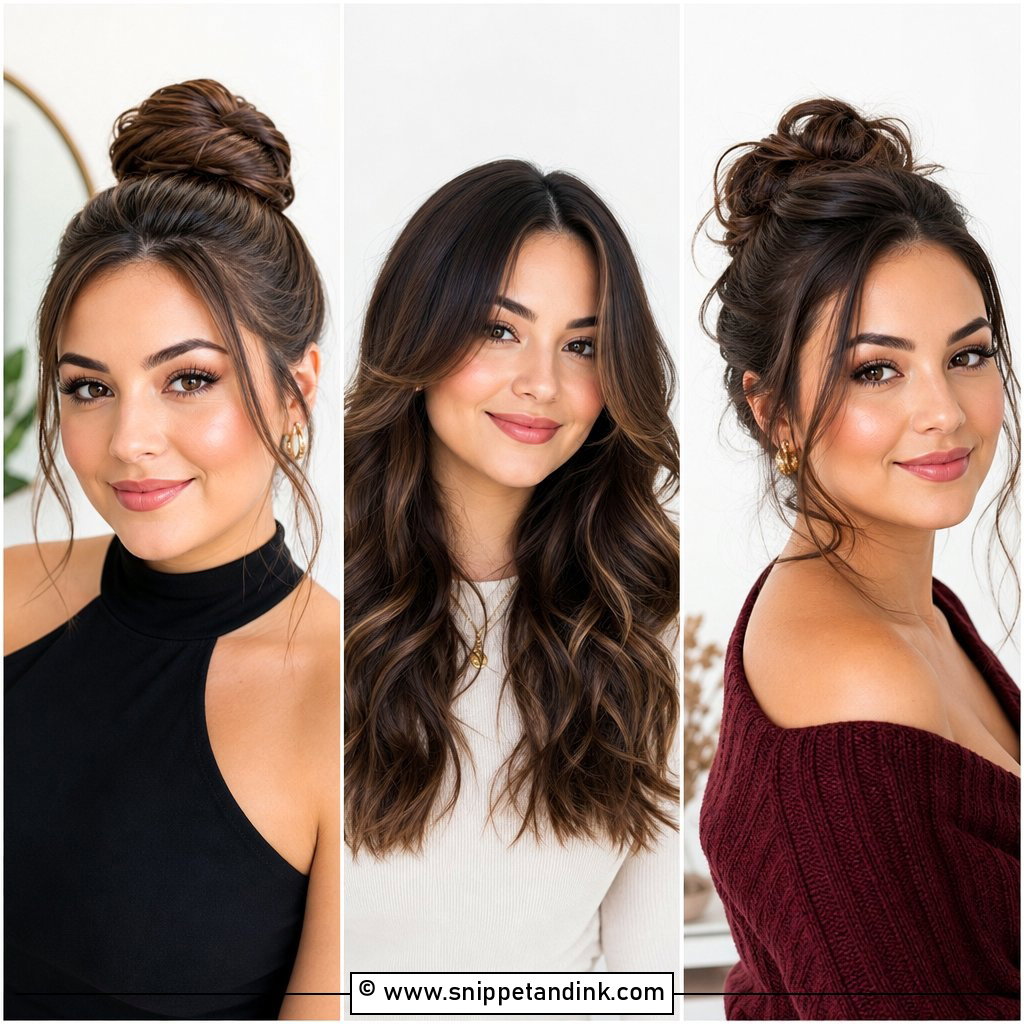
15. Wedding Messy Bun For Round Face
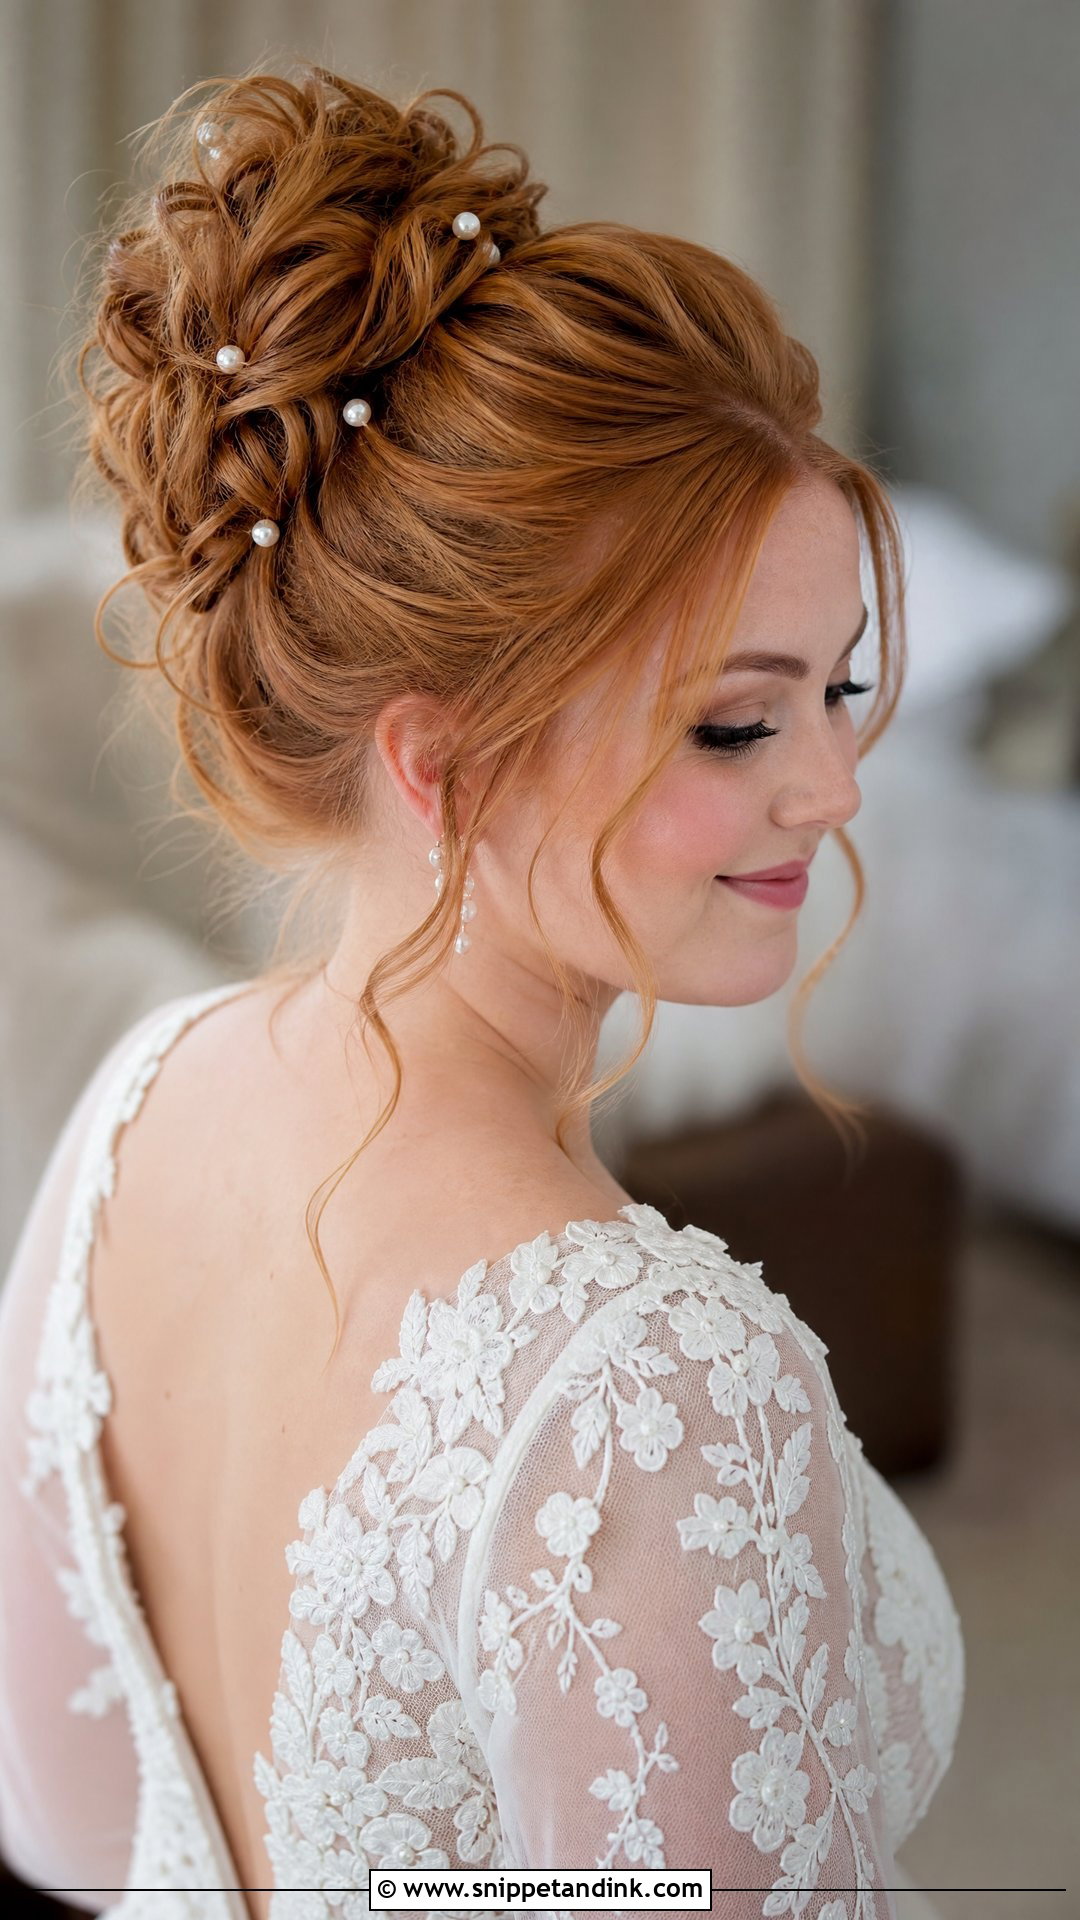
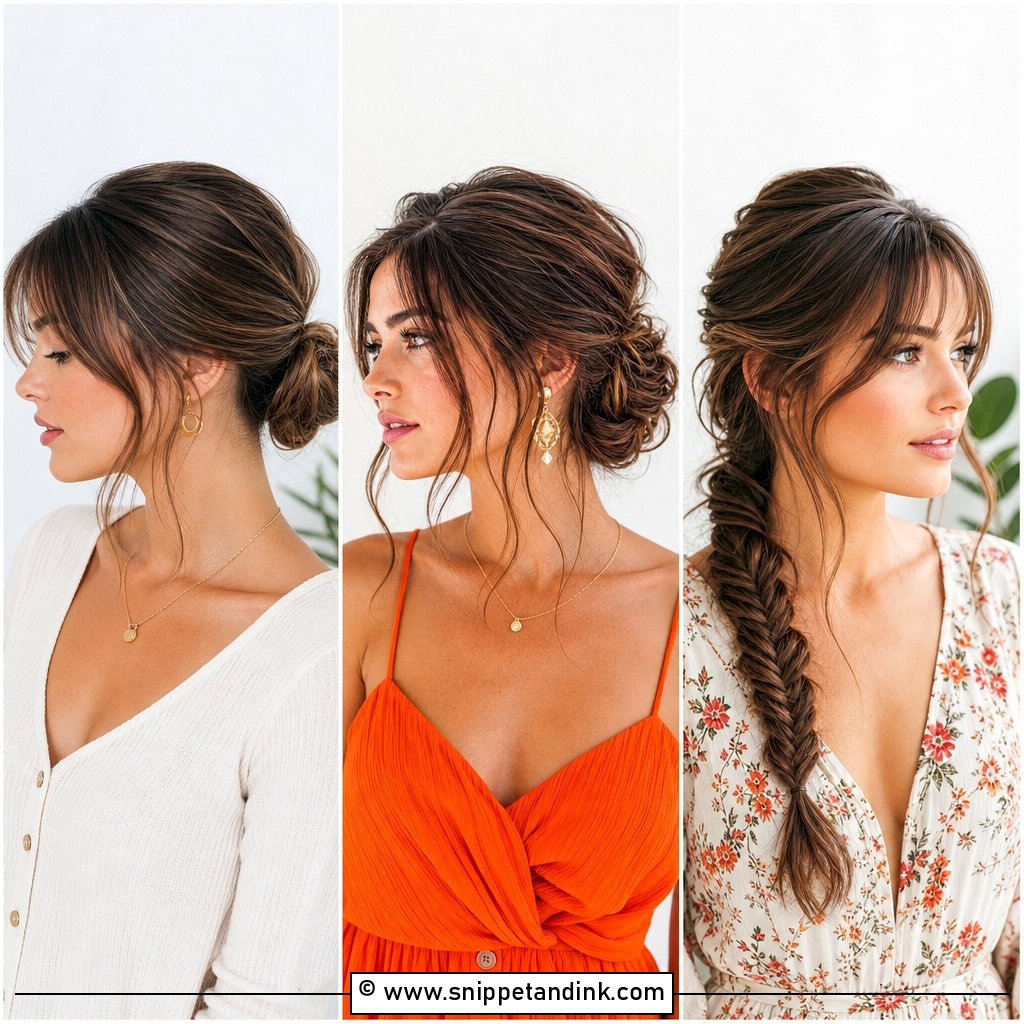
A messy bun is never actually messy. Every loose piece in a bridal version is placed: I build it with lift at the crown, texture through the back, then pull out tendrils at the temples and jaw with my fingers once it’s pinned. Random strands near the cheeks add width, so I keep them long and tucked toward the face rather than poking out. It suits outdoor weddings and lace. If you’re worried it’ll look undone in photos, ask for a slightly tighter base and looser surface.
16. Wedding Long Layers For Round Face
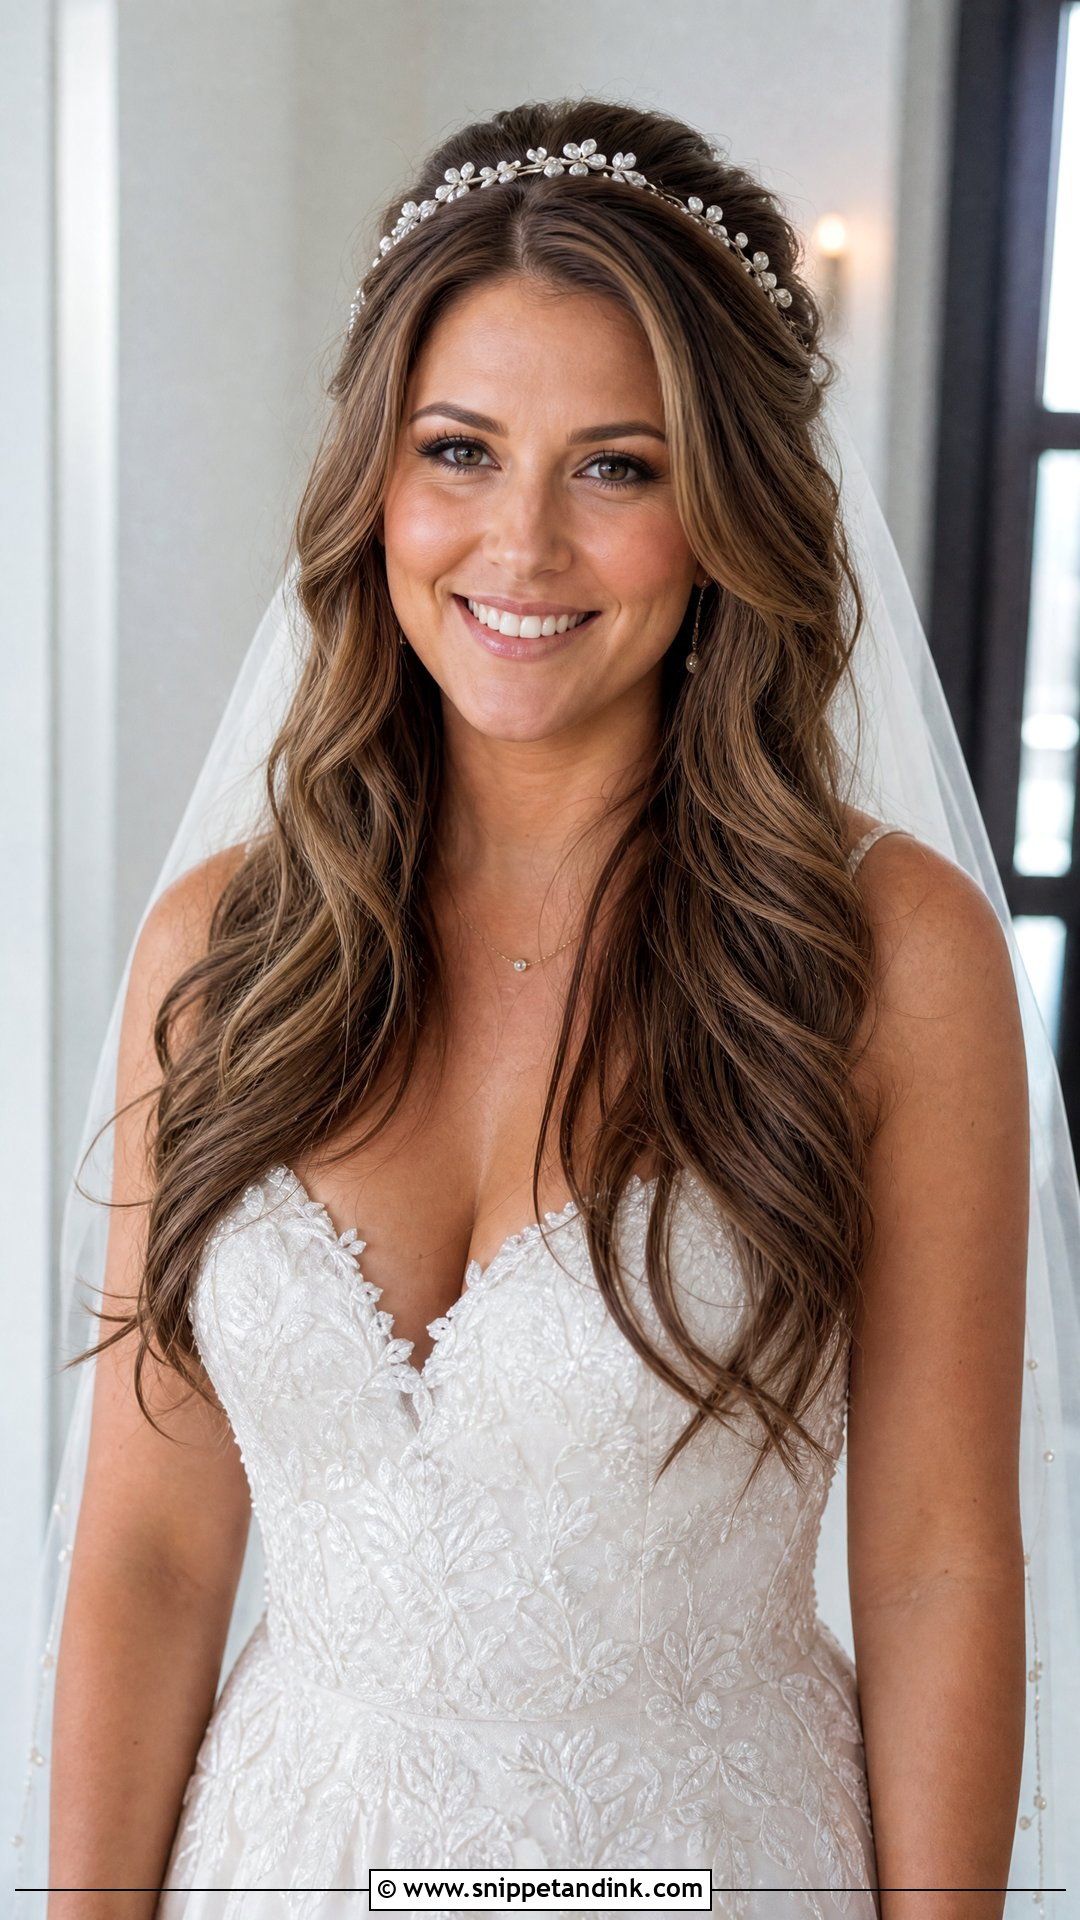
Layers that begin below the chin give loose hair vertical movement on a round face. When layers start near the cheekbones they flip out at the widest point, and I’ll ask a client to grow them out for a couple of months before the wedding if there’s time. Style with a side part and gentle crown lift, curling the lengths away from the face. A hair vine or simple pins hold the front back if you need it. Down hair moves well in candid shots.
17. Wedding Short Hair For Round Face
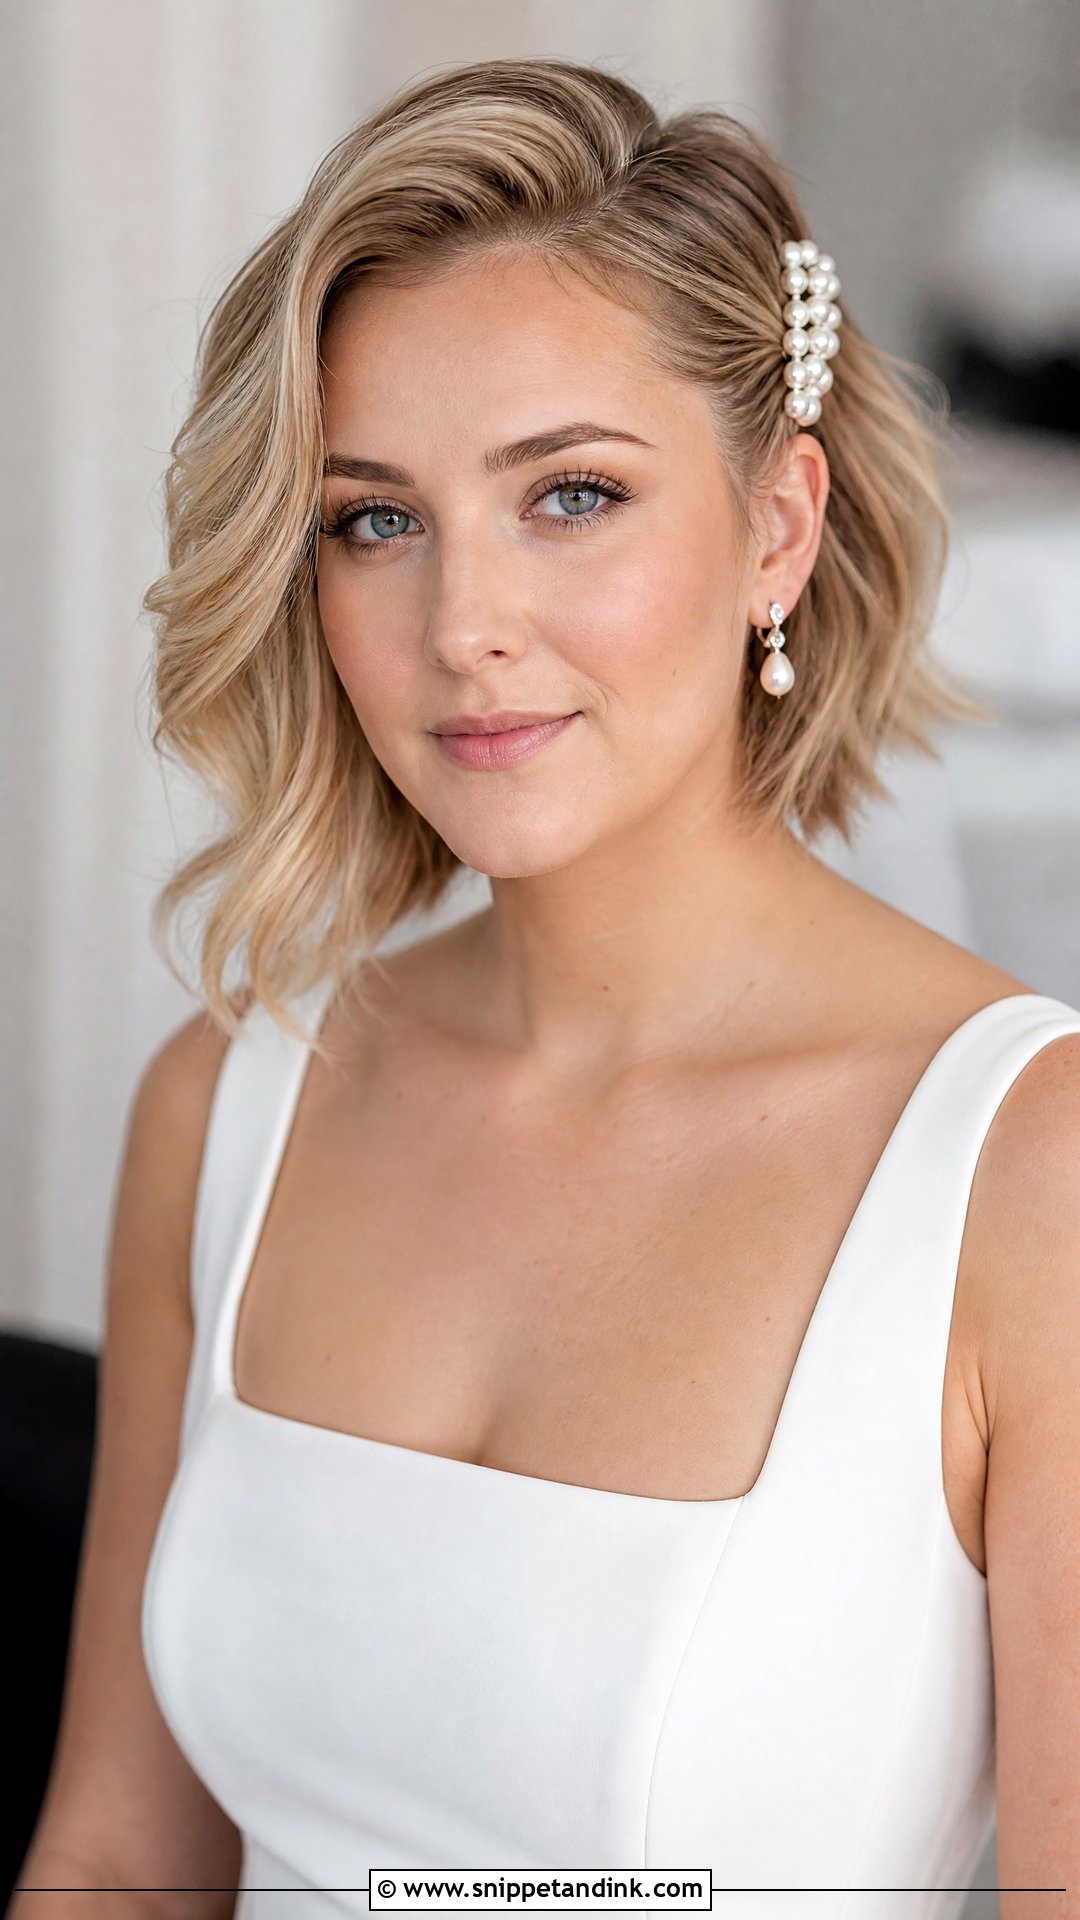
Short hair needs texture and height to suit a round face. A soft bob, a textured pixie or a waved lob can all work, as long as there’s lift near the crown and no puffiness at the cheekbones. I’ll often sweep one side behind the ear with a pearl clip to create an angle. Get your last trim two to three weeks before the day so the ends settle. The upside of short hair is that your earrings, makeup and neckline get all the attention.
18. Wedding Bob For Round Face
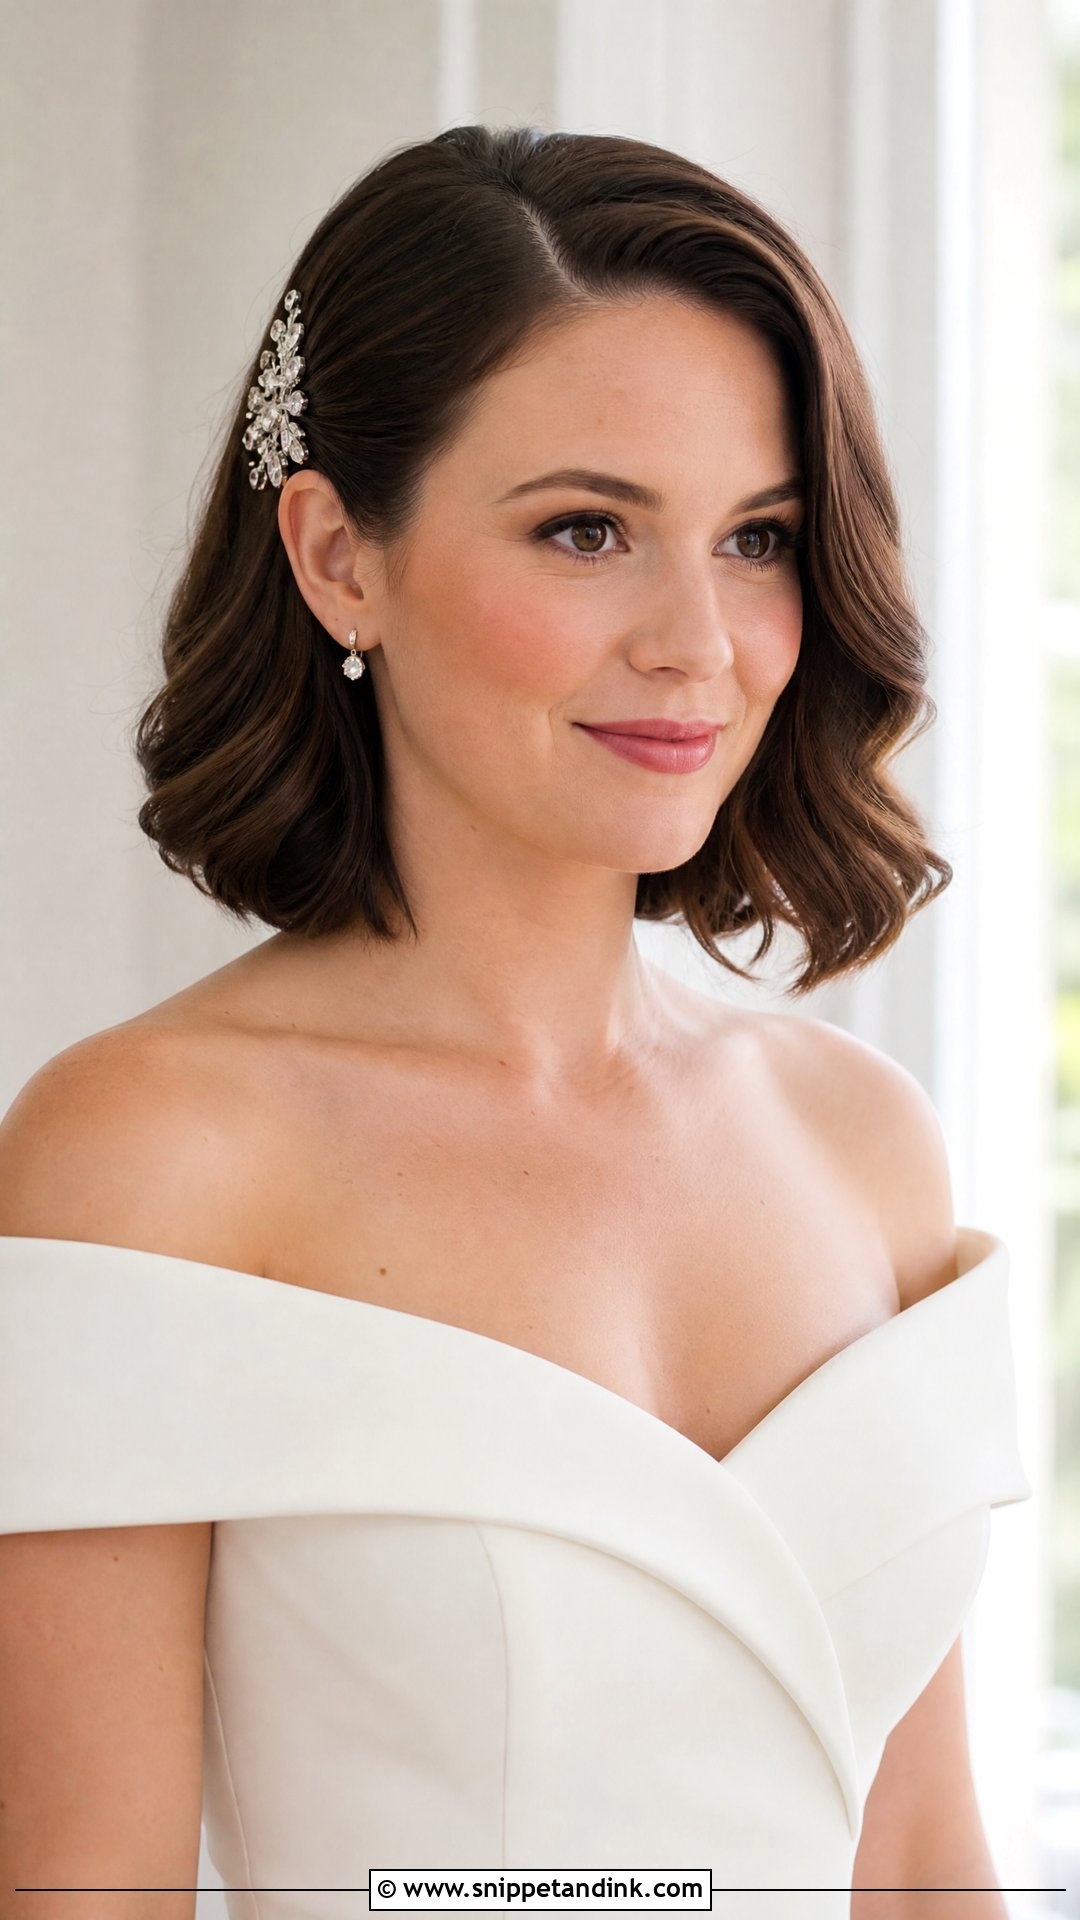
Length matters more than anything with a bob. Below the chin or near the collarbone, it lengthens the face; a rounded, chin-length bob echoes the face shape and can widen it. I prefer a deep side part and one tucked side for a bob at a wedding, with soft bends rather than full curls. It’s easy to wear all day and works for a courthouse ceremony, especially with a short veil or pearl clips.
19. Wedding Veil Hairstyle For Round Face
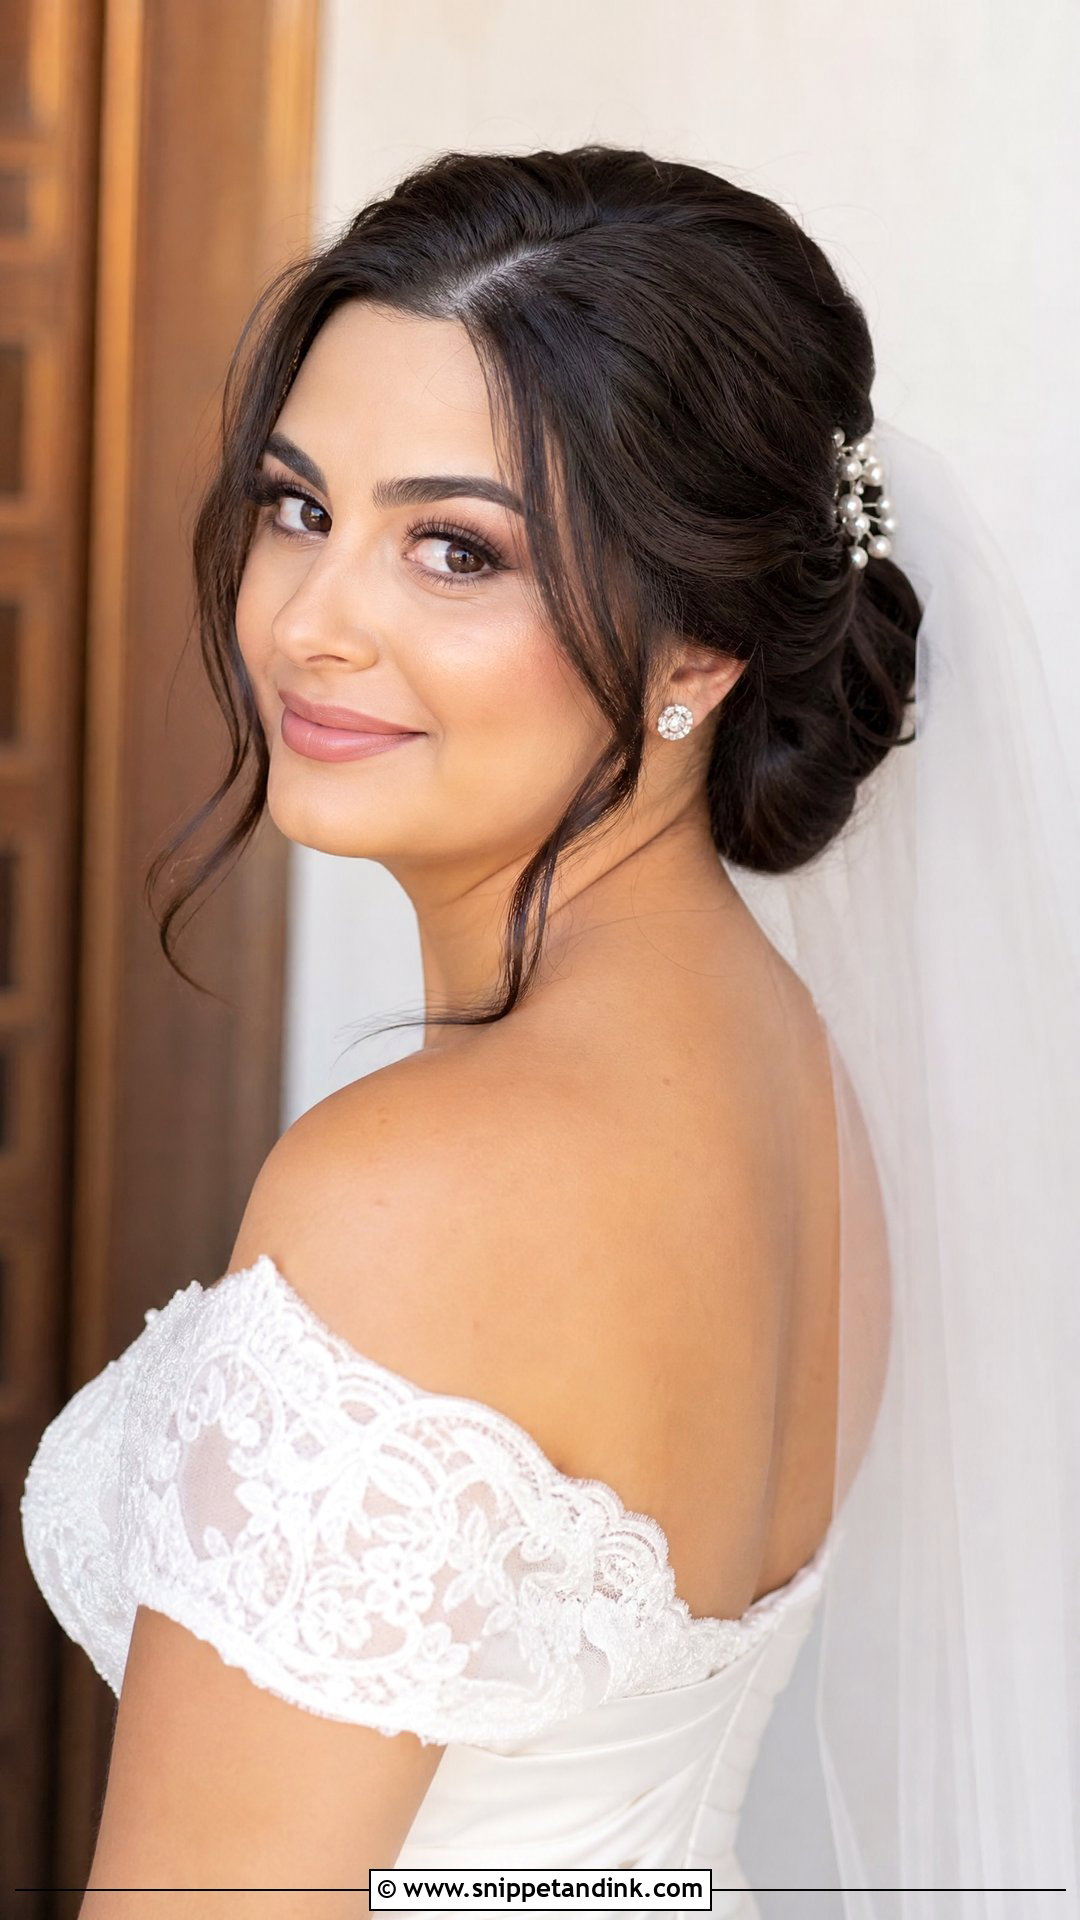
Build height before placing the veil. If I set the comb on a flat crown, the veil presses everything down and the face looks wider underneath it. With a low bun, chignon or half-up base, I secure the comb either just behind the crown or directly above the bun, depending on how much of the hair you want visible. A couple of loose front pieces soften the frame. Please bring your veil to the trial, as the weight and comb style change where I can anchor it.
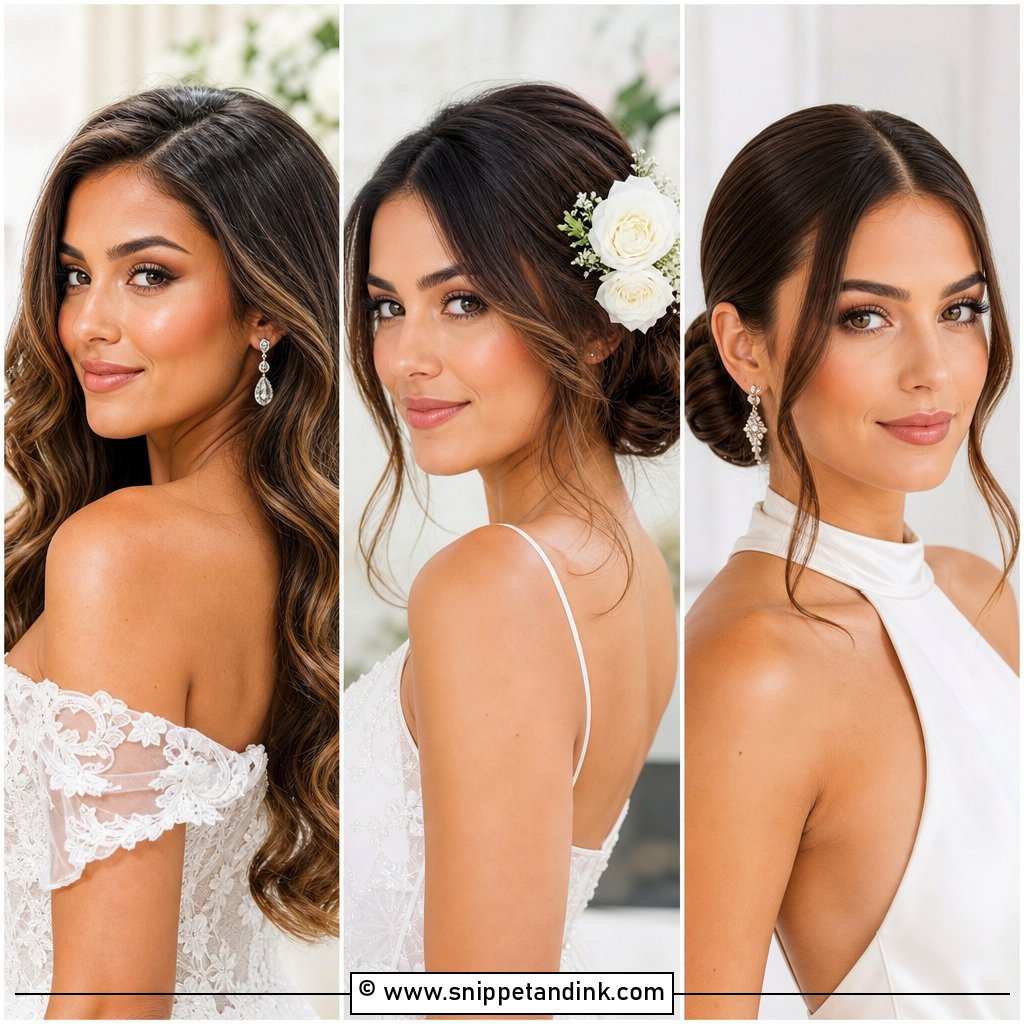
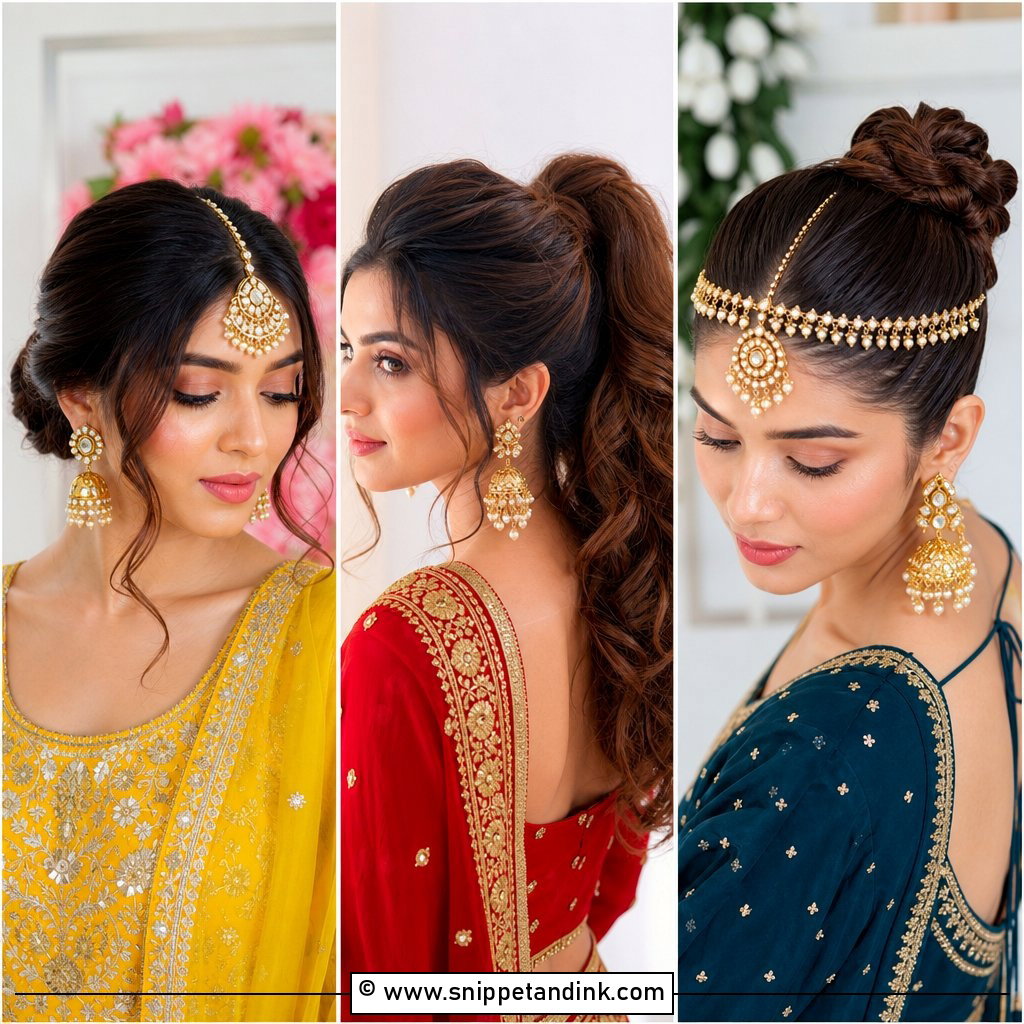
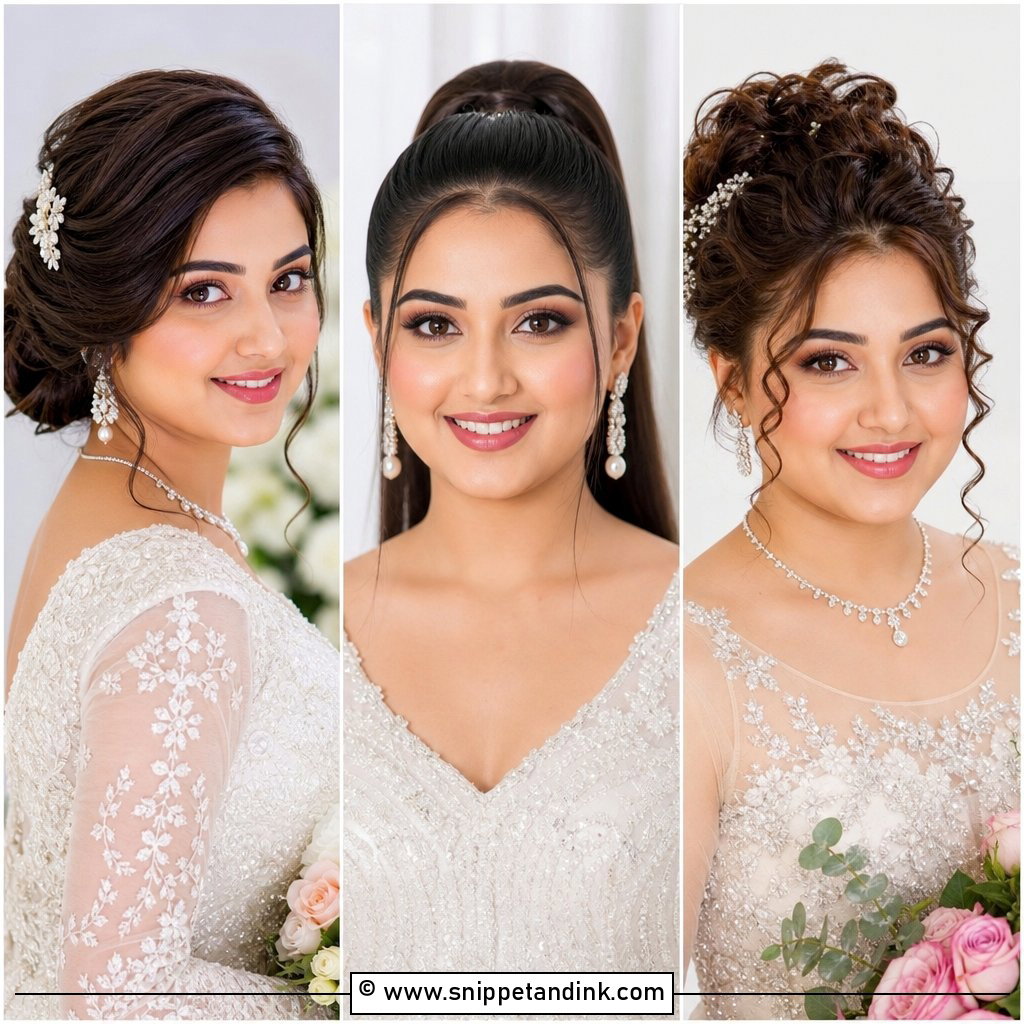
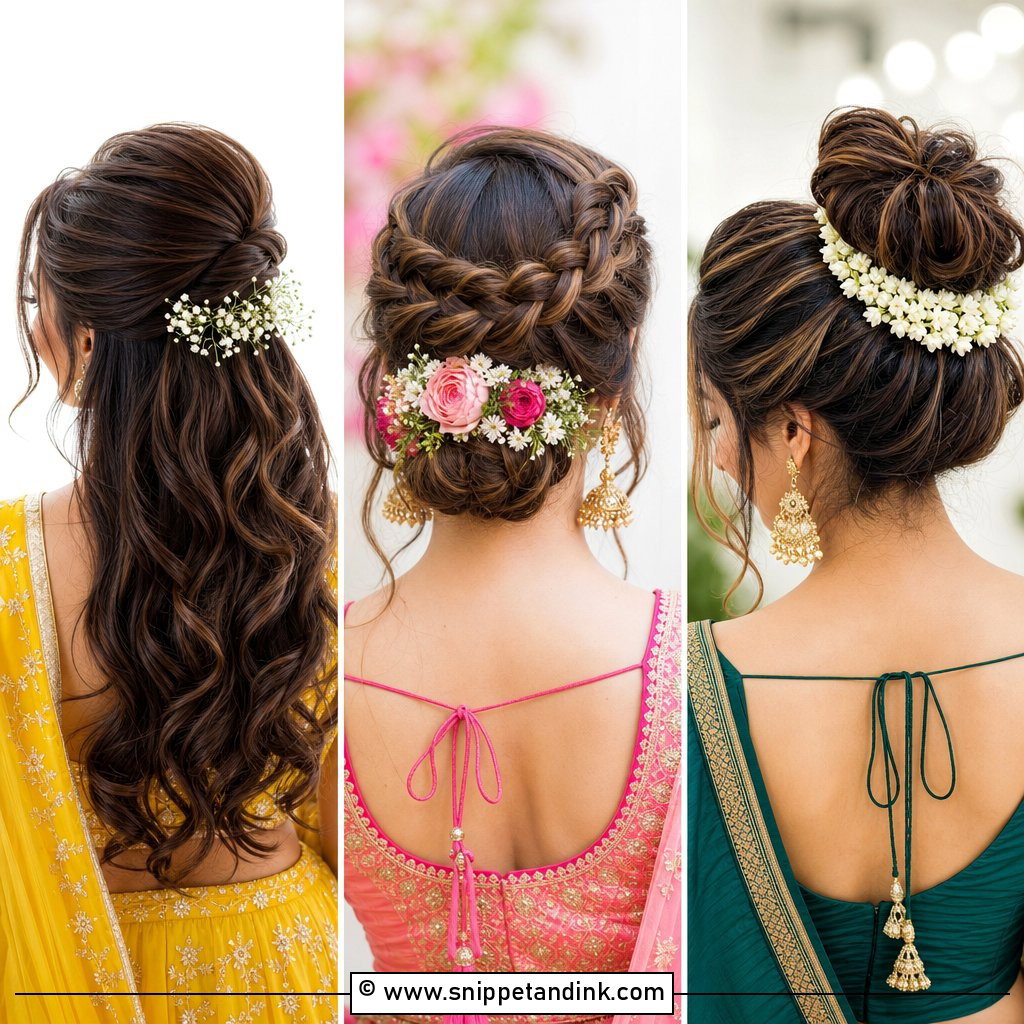
20. Wedding Hair With Face Framing For Round Face
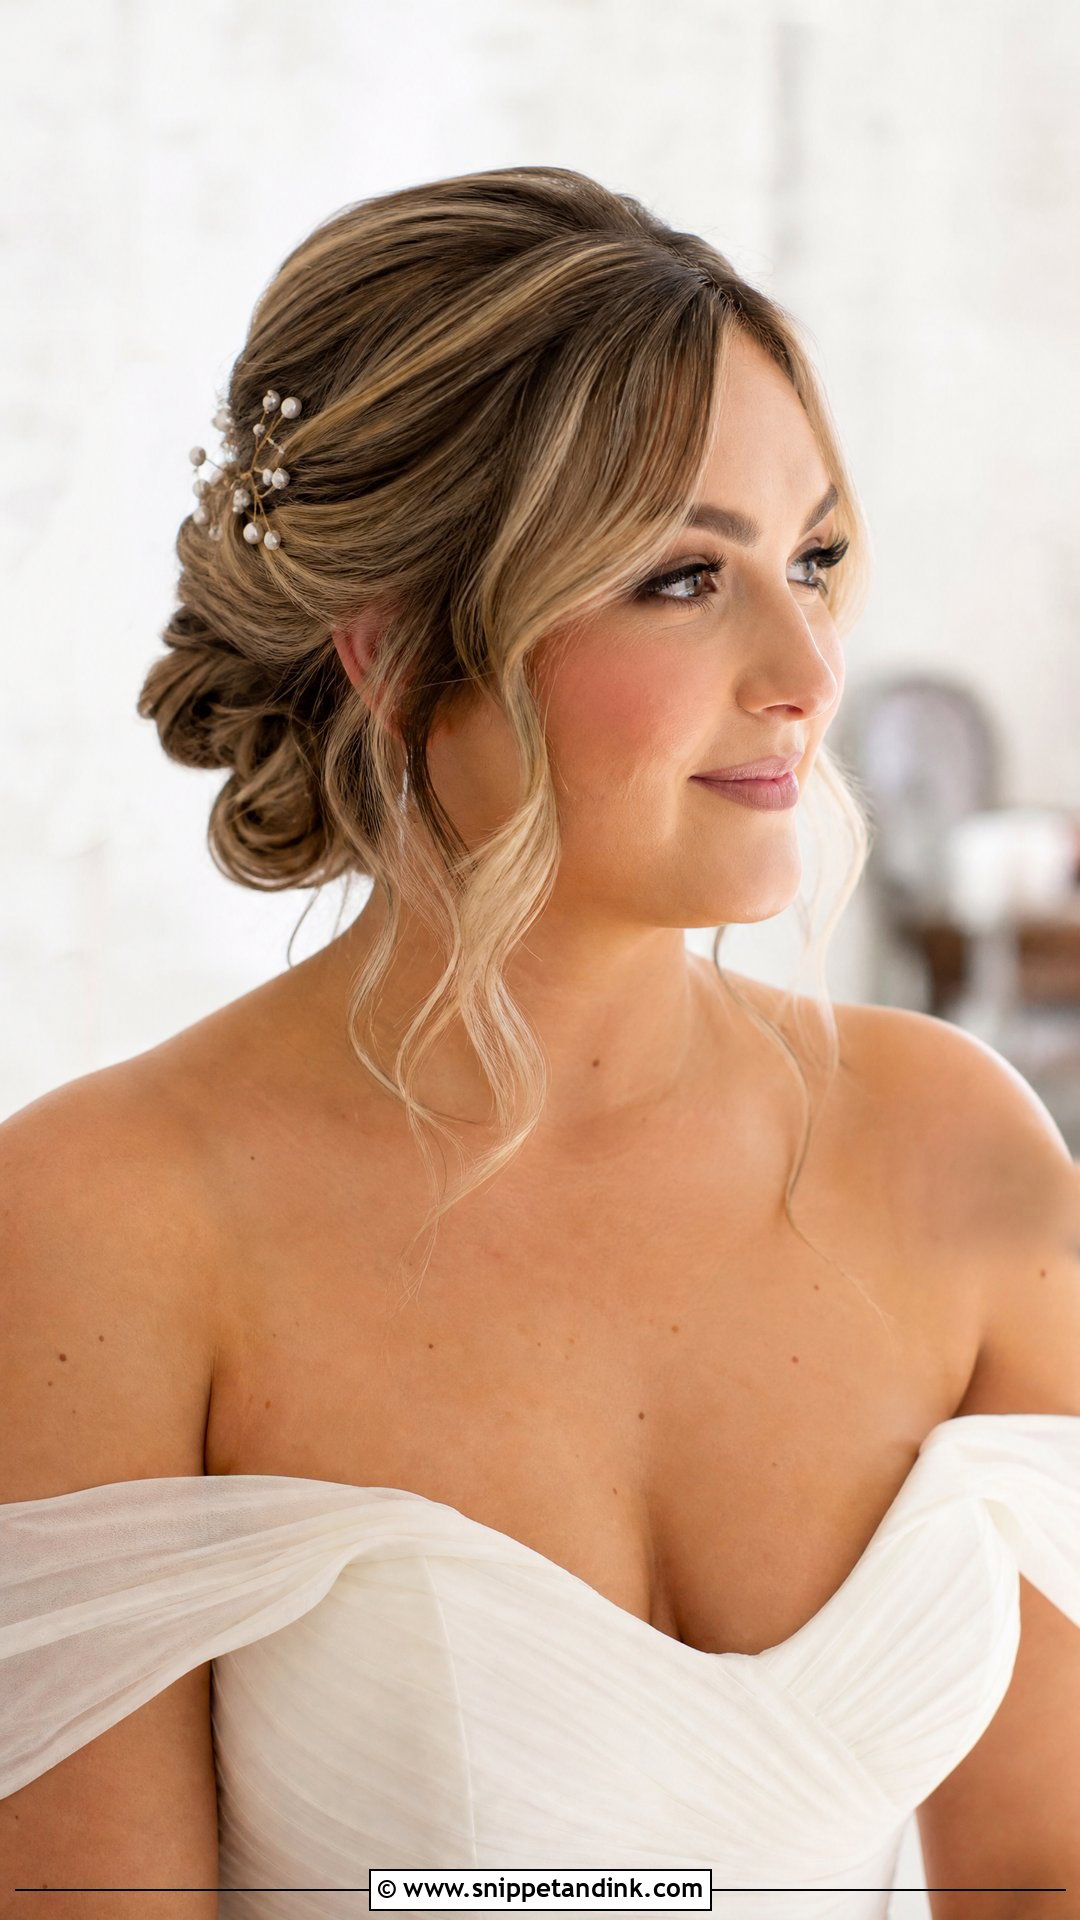
Face-framing pieces can make or break this whole list. Short wisps that stop at the cheekbone frame the widest part of the face, which is the opposite of what you want. I cut nothing at the trial; I pull out longer strands that fall to the jaw or collarbone and bend them gently away from the face. They work with almost any style: buns, ponytails, half-up and braids. Keep them light, not heavily sprayed, so they move.
Lift That Still Holds After the First Dance
Crown height is the thing that makes these styles flattering, and it’s also the first thing to go. A crown teased that morning can sink by early evening, especially under a veil or on fine hair. Here’s how I build lift that lasts.
Prep the Night Before
Wash the night before, not the morning of, unless your hair gets oily fast. Day-old hair has more grip. Skip heavy conditioner on the roots and any shine serum near the scalp, because slip is what makes pins slide.
Build Structure Under the Surface
I backcomb in small sections at the root, then smooth only the top layer over it. On fine hair I’ll use a small hair pad or a mesh donut at the crown so the height isn’t relying on teasing alone. Pins cross over each other in an X so they lock, and I set the shape with a flexible spray rather than a stiff one.
Plan for Humidity and the Veil
Humidity relaxes curls and flattens volume, so for an outdoor summer wedding I curl tighter than the final look and leave the curls pinned to cool while you do your makeup. When the veil comes off for the reception, give the crown a gentle lift with your fingertips and a tail comb. Ask your stylist to leave you a few bobby pins and a mini spray in your clutch.
Judge Your Trial From the Side and in Photos
A mirror only shows you straight on, and wedding photos are rarely straight on. At the trial, ask someone to take photos from the front, at a three-quarter angle, in profile and from behind, in daylight if possible. A bun that looks perfectly balanced from the front can look heavy at an angle, and front pieces that seem long enough can disappear into the cheek line from the side.
Look at the photos the next day, not in the chair. If the face looks wider than you’d like, the fix is almost always one of three things: lift the crown a little more, deepen the part, or lengthen the tendrils. Wear a top with a similar neckline to your dress so you judge the whole silhouette.
Crown Height, a Slant and Longer Tendrils
Every style above is built on the same three adjustments: height at the crown, a diagonal line somewhere and front pieces that fall past the jaw. Once you know those, you can look at any inspiration photo and tell whether it will suit you. Bring the photos you love to your trial, along with your veil and the neckline of your dress, and let your stylist tweak the proportions for your hair’s density and texture. The right version is the one you forget about by the reception.
You'll Like These Ideas:


Leave a Reply