
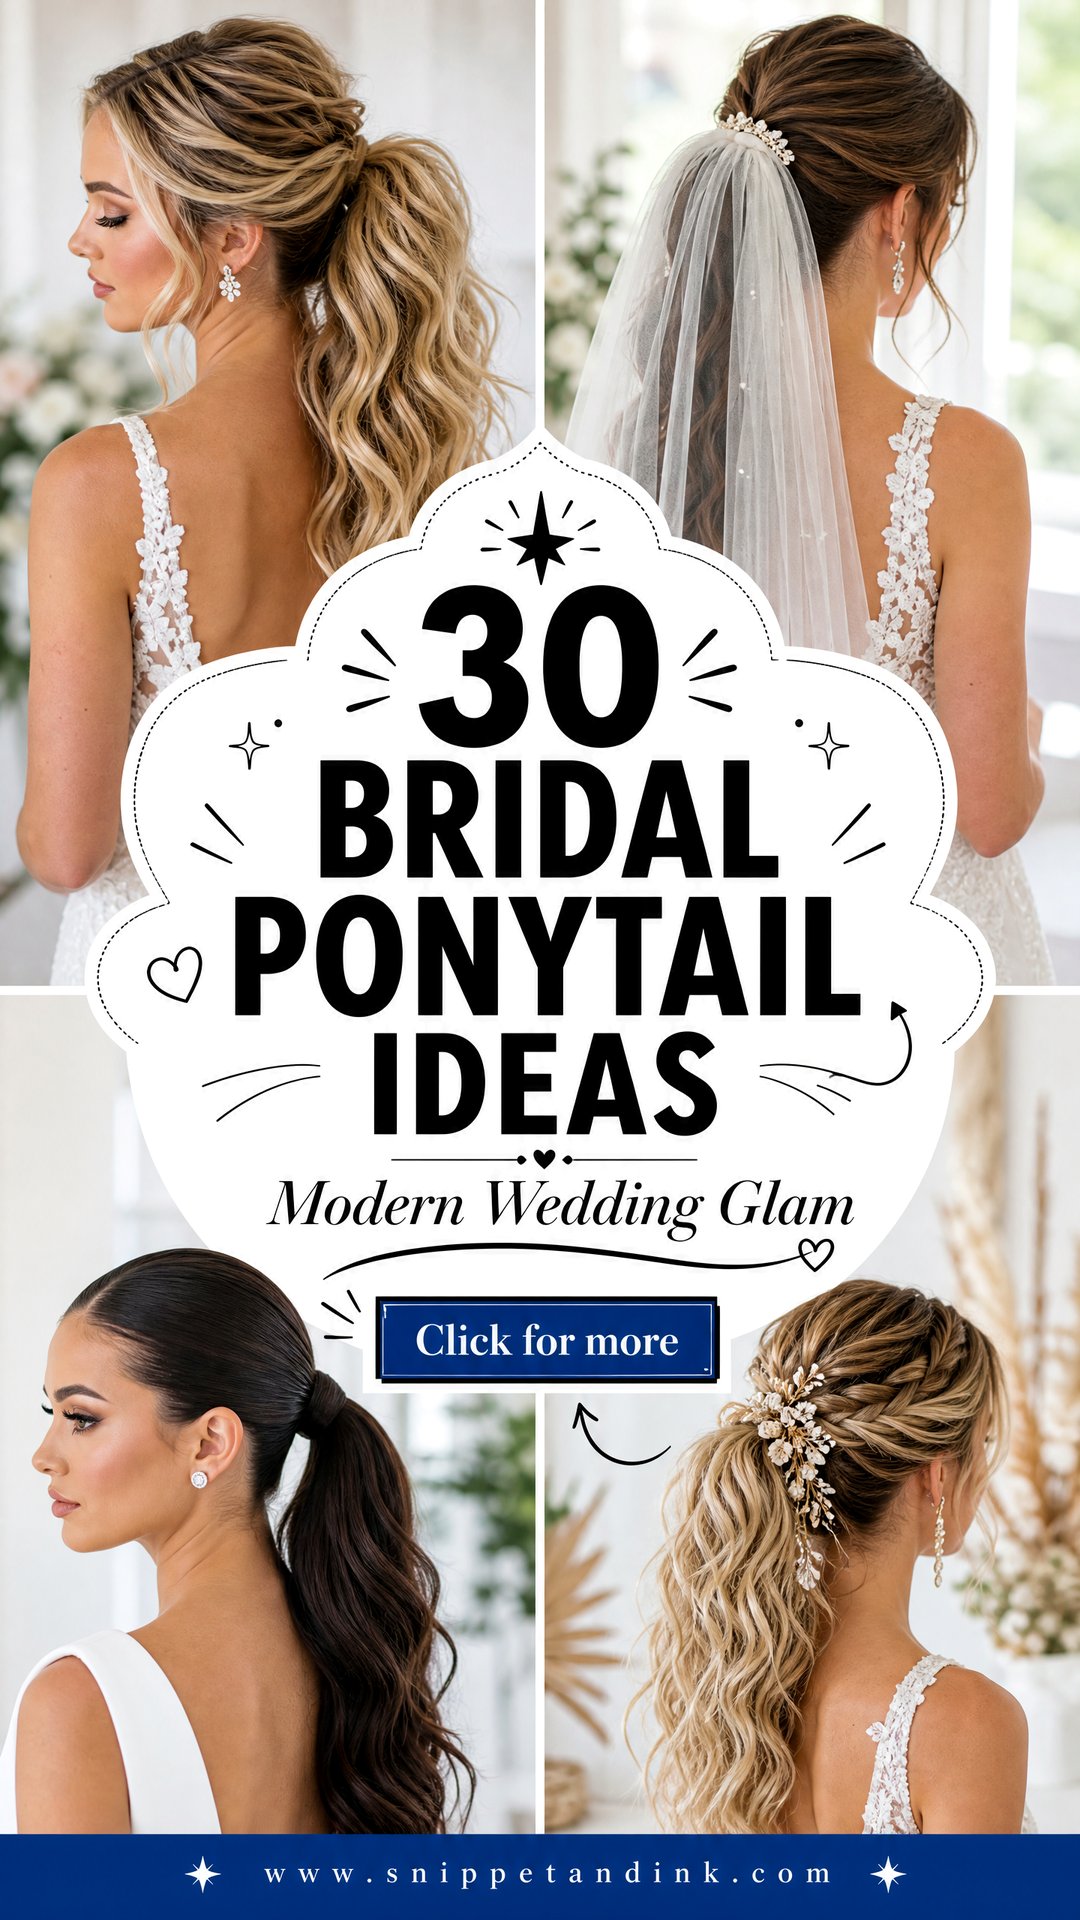
A ponytail is the wedding style I’m asked for most by brides who plan to actually dance. There’s nothing to unravel at the nape, nothing pressing into the scalp under a veil comb, and it still looks finished from the back of the church. The catch is that a ponytail shows every shortcut: a lumpy base, a visible elastic, a tail that goes limp by the speeches. Below are thirty versions I’d happily build, from glassy and minimal to braided and full of texture, with notes on what each one needs from your hair and your dress.
Ponytail Height, Hair Density and the Back of Your Dress
Before I look at accessories, I look at three things: how much hair you actually have, what the back of your gown is doing, and whether a veil will be pinned in. Those decide the height of the pony far more than any inspiration photo.
Density first
Fine hair gathered into a single elastic often makes a pony that looks thinner than the bride expects. I add volume at the crown, curl the tail, or hide a small clip in extension under the base. Very thick hair has the opposite problem: one pony can be too heavy for the elastic, so I split it into two stacked sections and wrap the join.
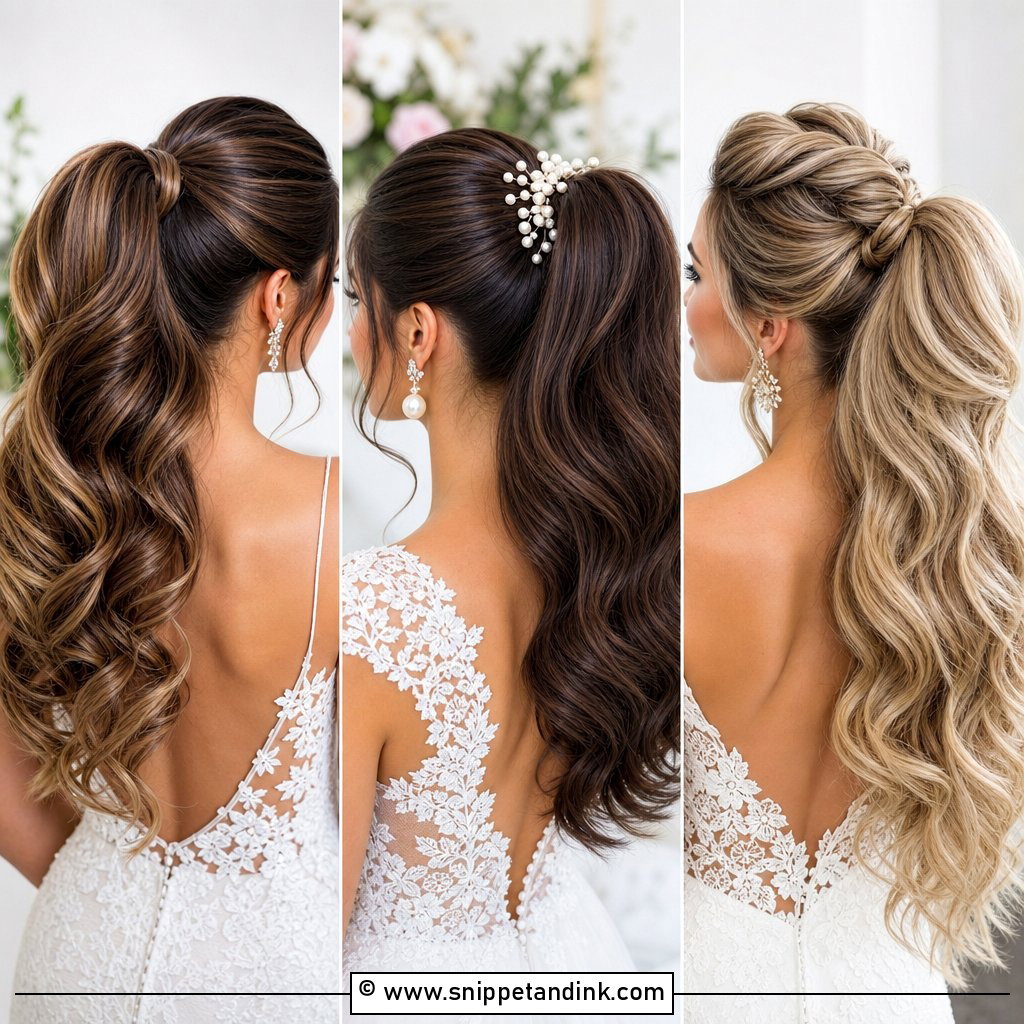
Reading the gown
- Open or low backs: a low or mid pony with length shows off the dress rather than covering it.
- High necklines and halters: a high pony keeps the neckline visible and stops hair catching on fabric.
- Heavy beading or lace at the shoulders: avoid loose tails brushing against it all day, since lace snags ends and frizzes them.
- Cathedral veil: plan a low or mid pony so the comb sits above the base without flattening anything.
Shape of the face matters less than people think. A pony high on the crown lifts the features, a low one is calmer and frames the jaw, but the right height is usually the one that sits comfortably with your veil and neckline.
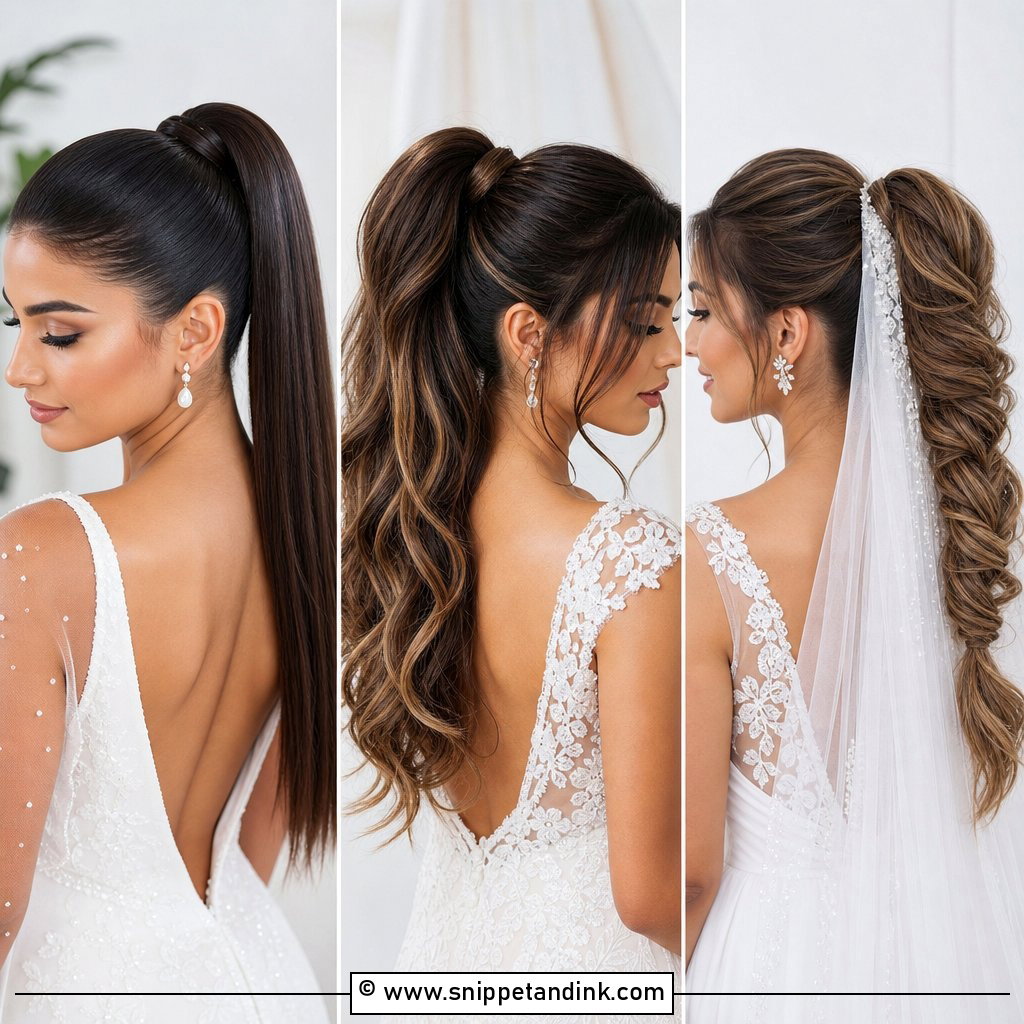
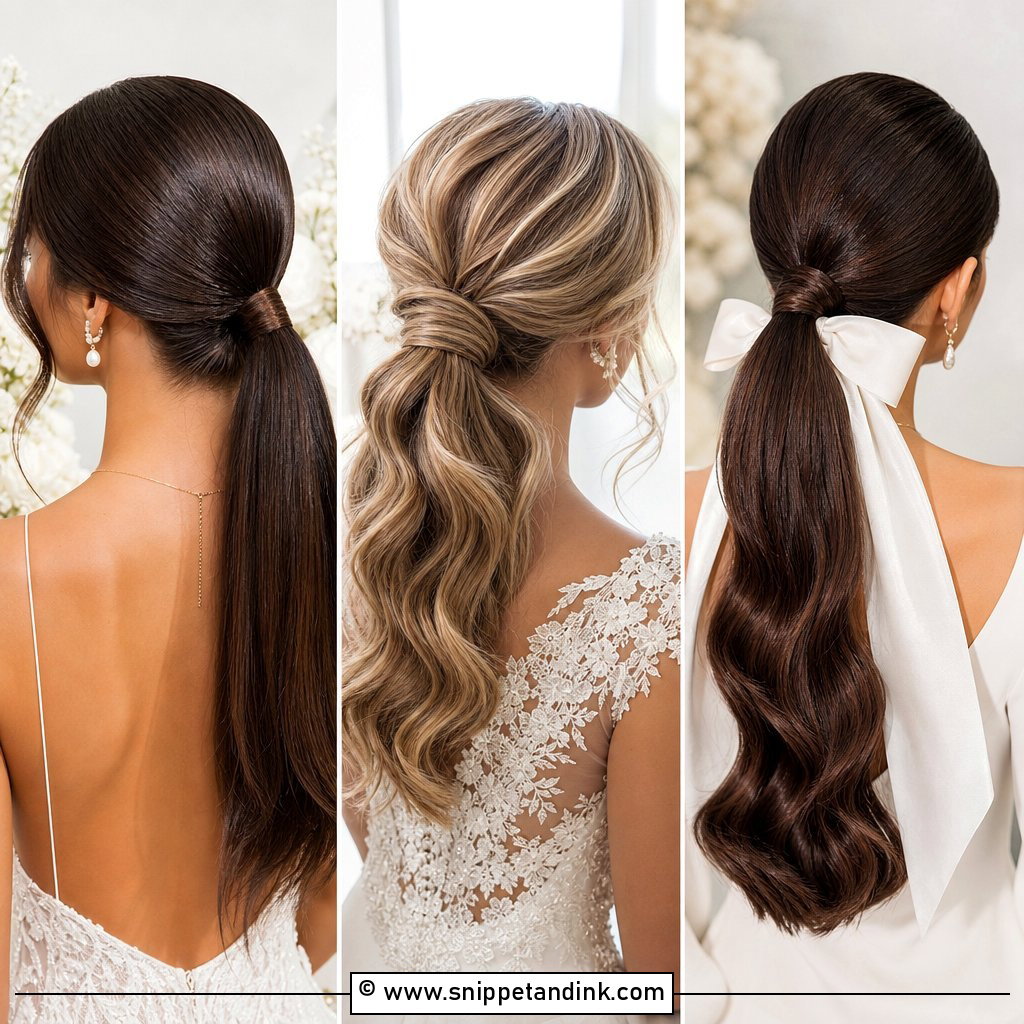
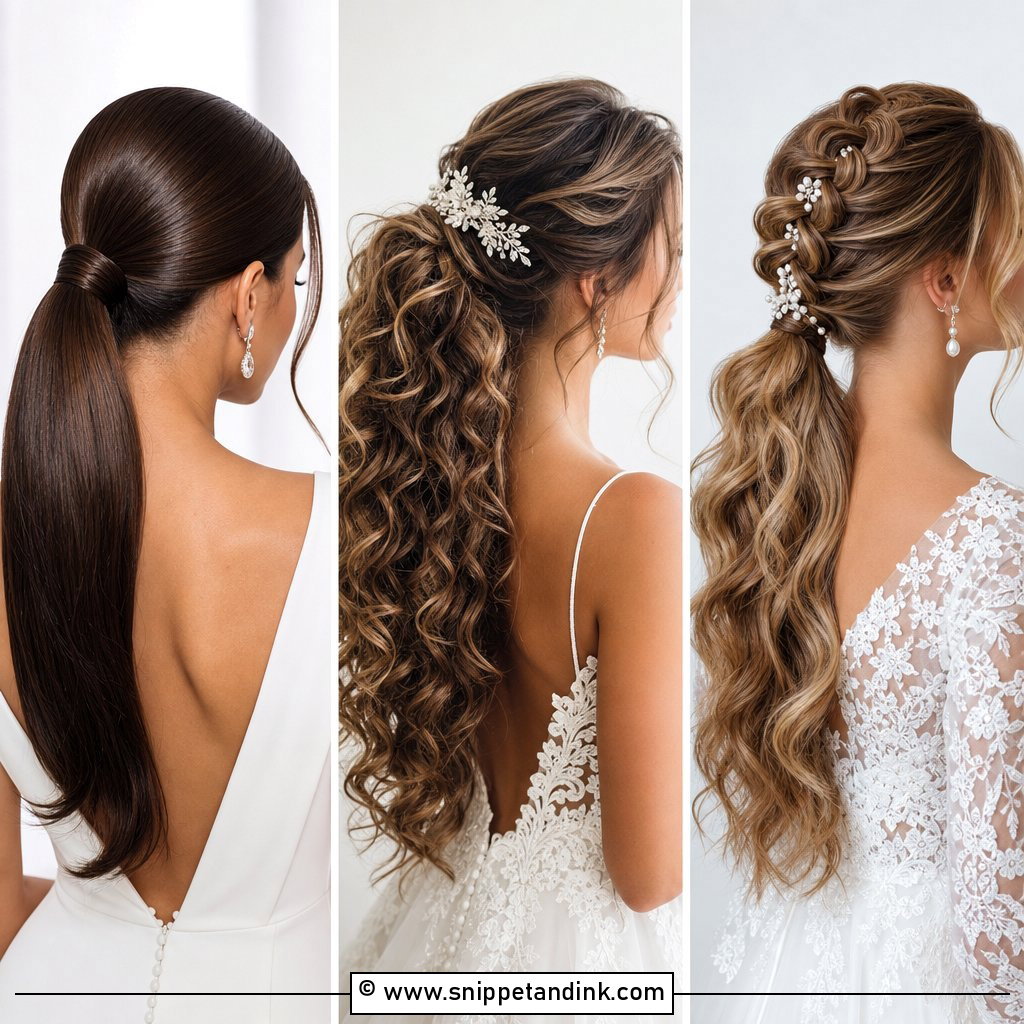
1. Sleek Low Bridal Ponytail
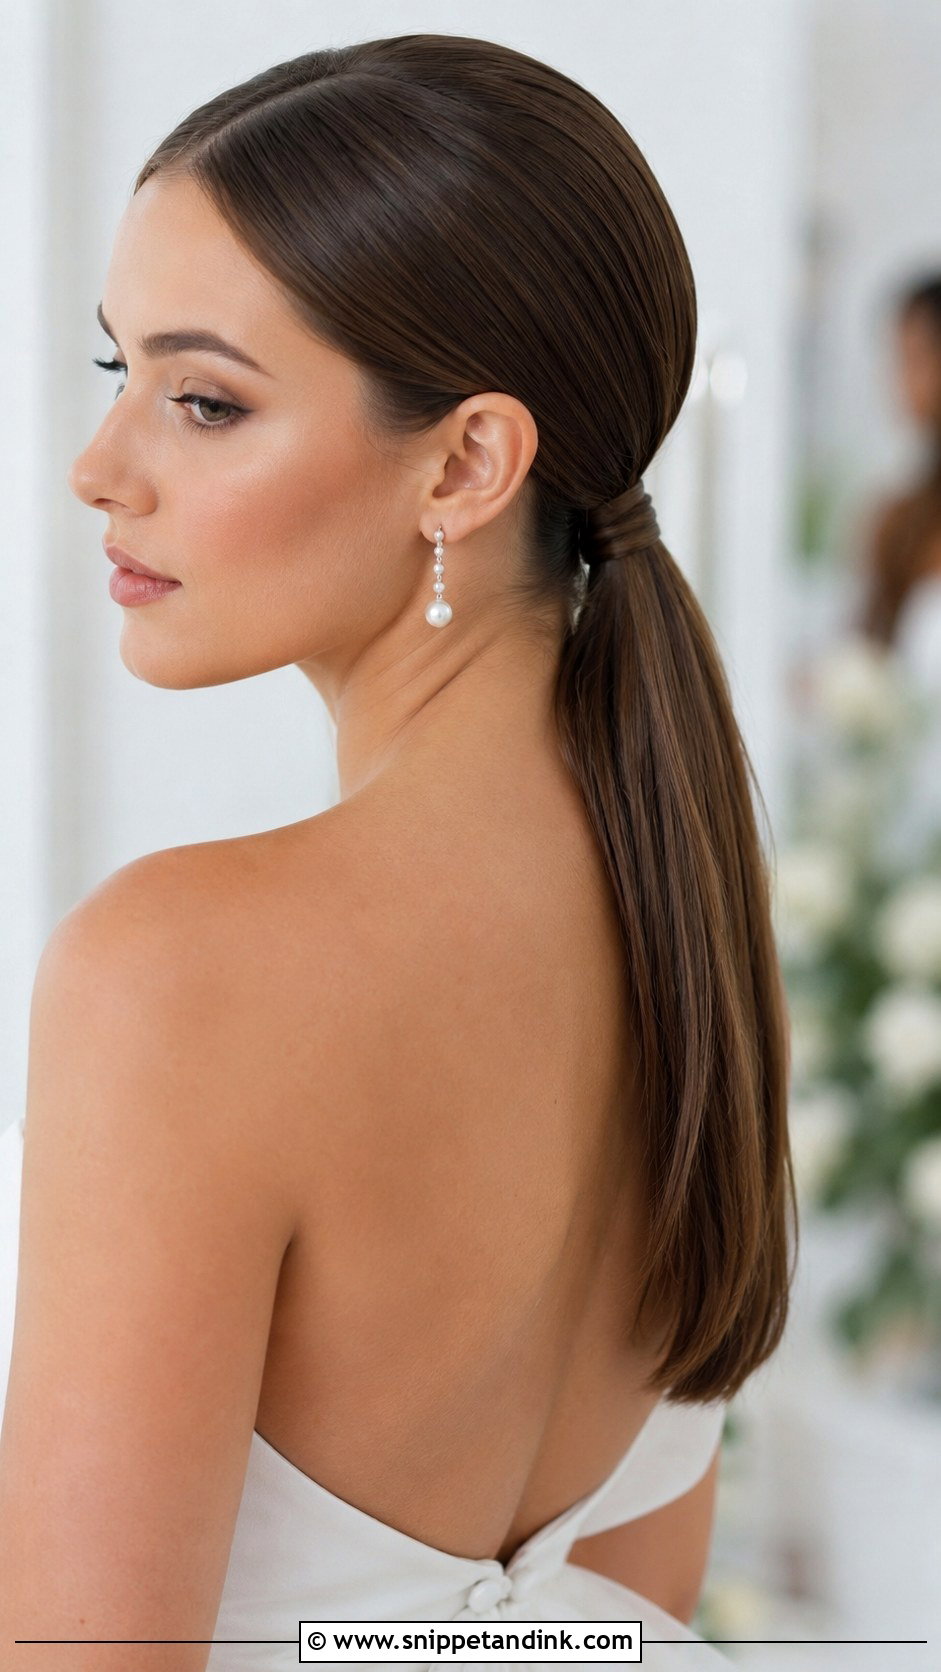
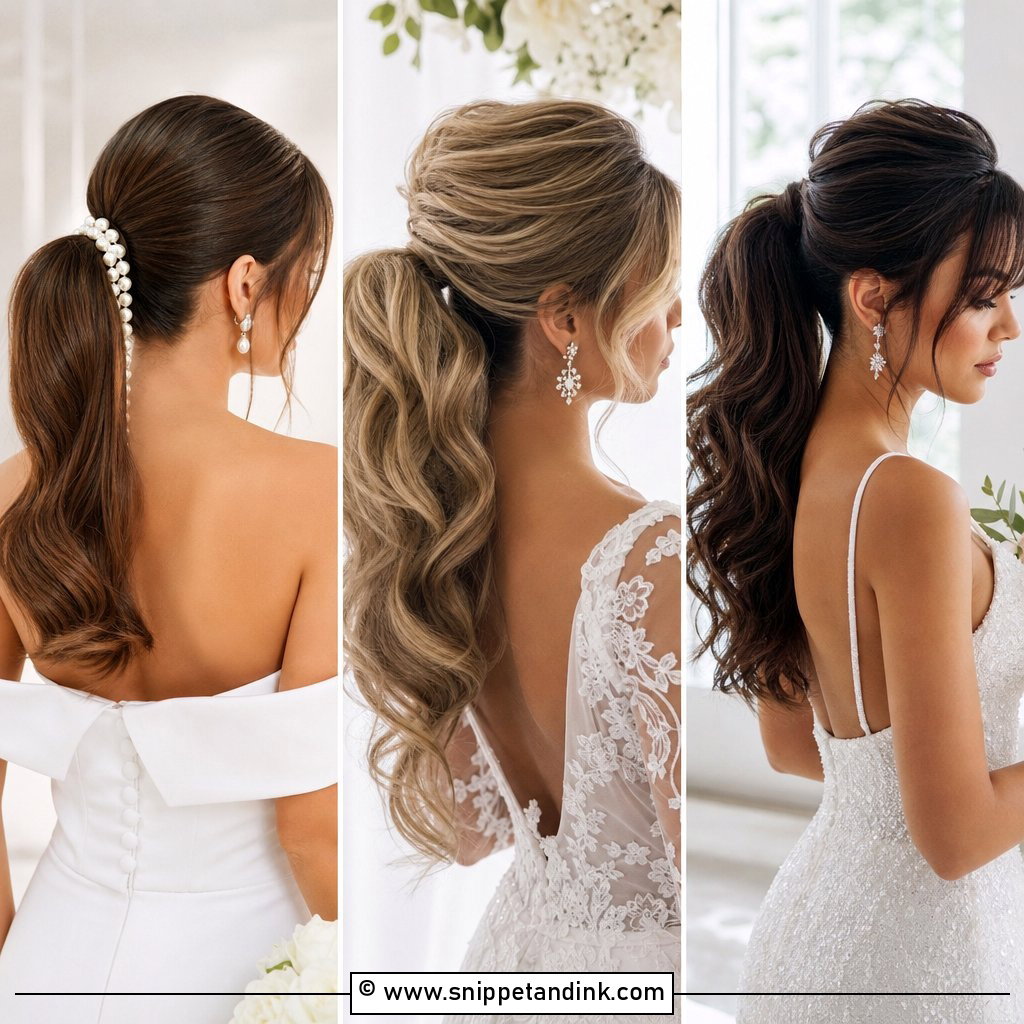
This is the one I reach for with clean, modern gowns. Everything is brushed back to the nape with a boar bristle brush, set with a light serum, then secured with a hidden elastic plus two crossed bobby pins under the base so it can’t slide. The thing I check first is the hairline at the temples: if it’s fine or has baby hairs that won’t lie flat, I’ll lay them with a little gel and a toothbrush rather than fight them with spray. A single pearl pin or a wrapped section is all the decoration it needs.
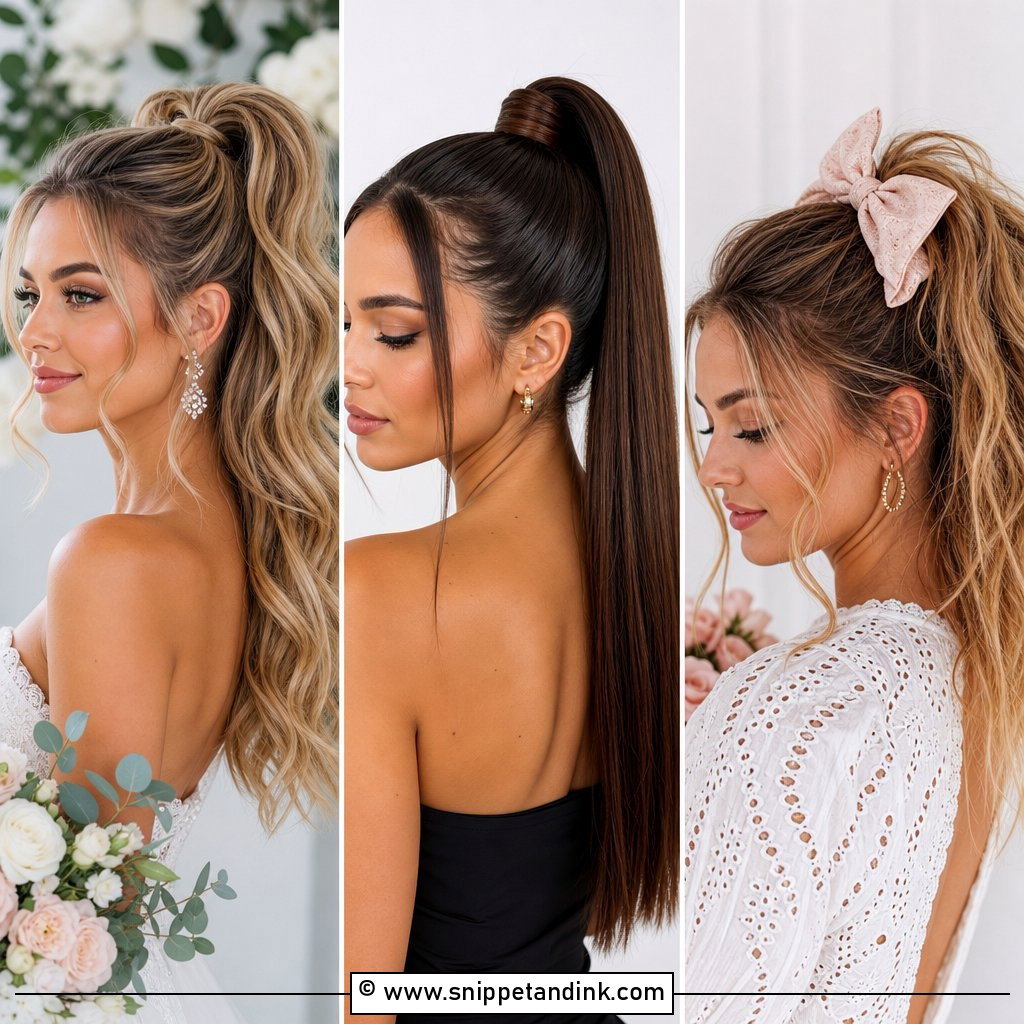
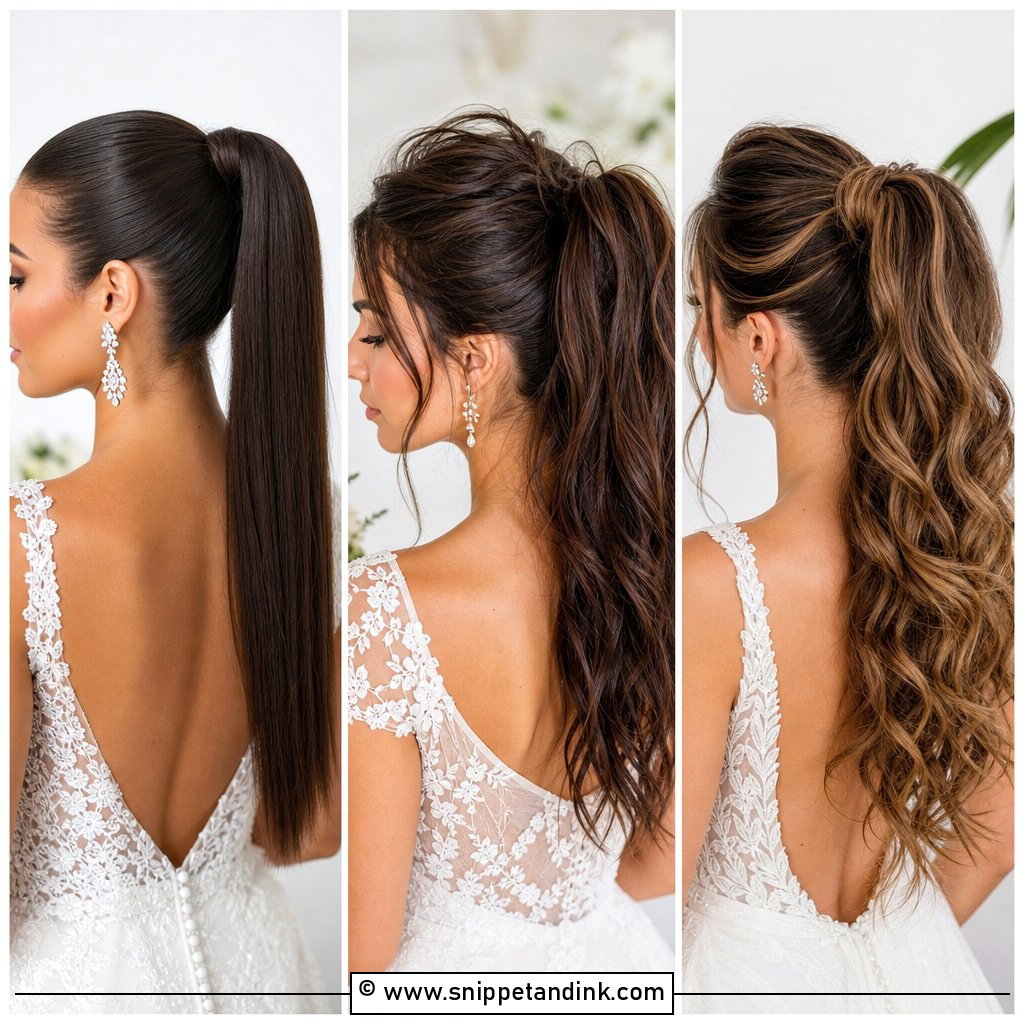
2. High Sleek Bridal Ponytail
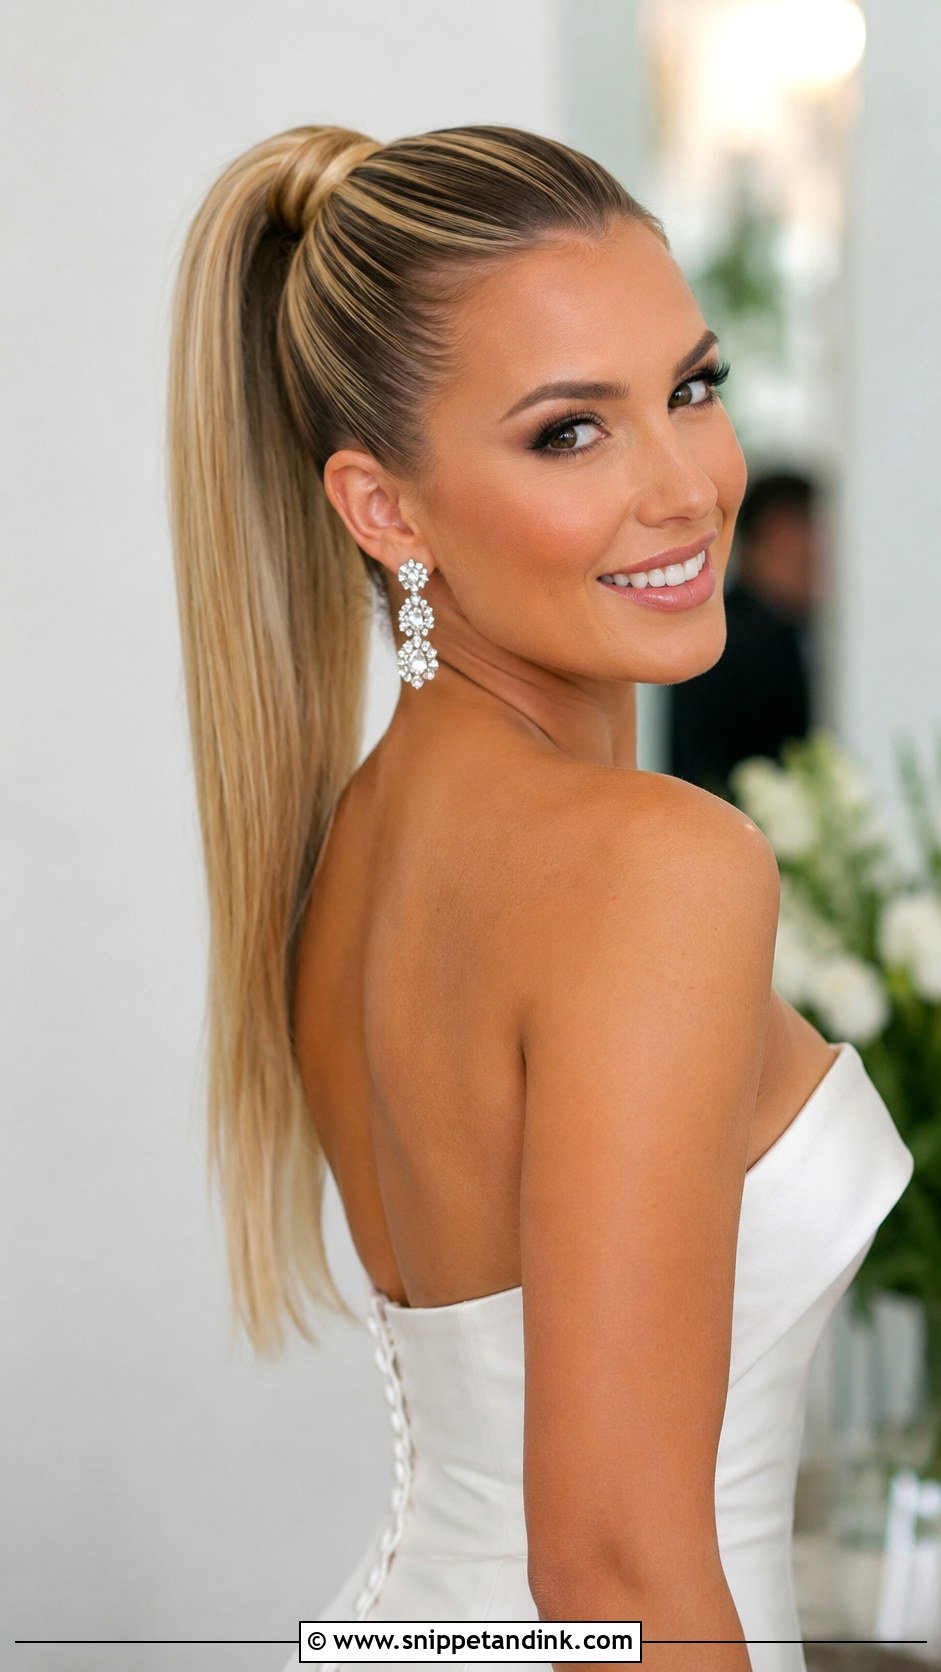
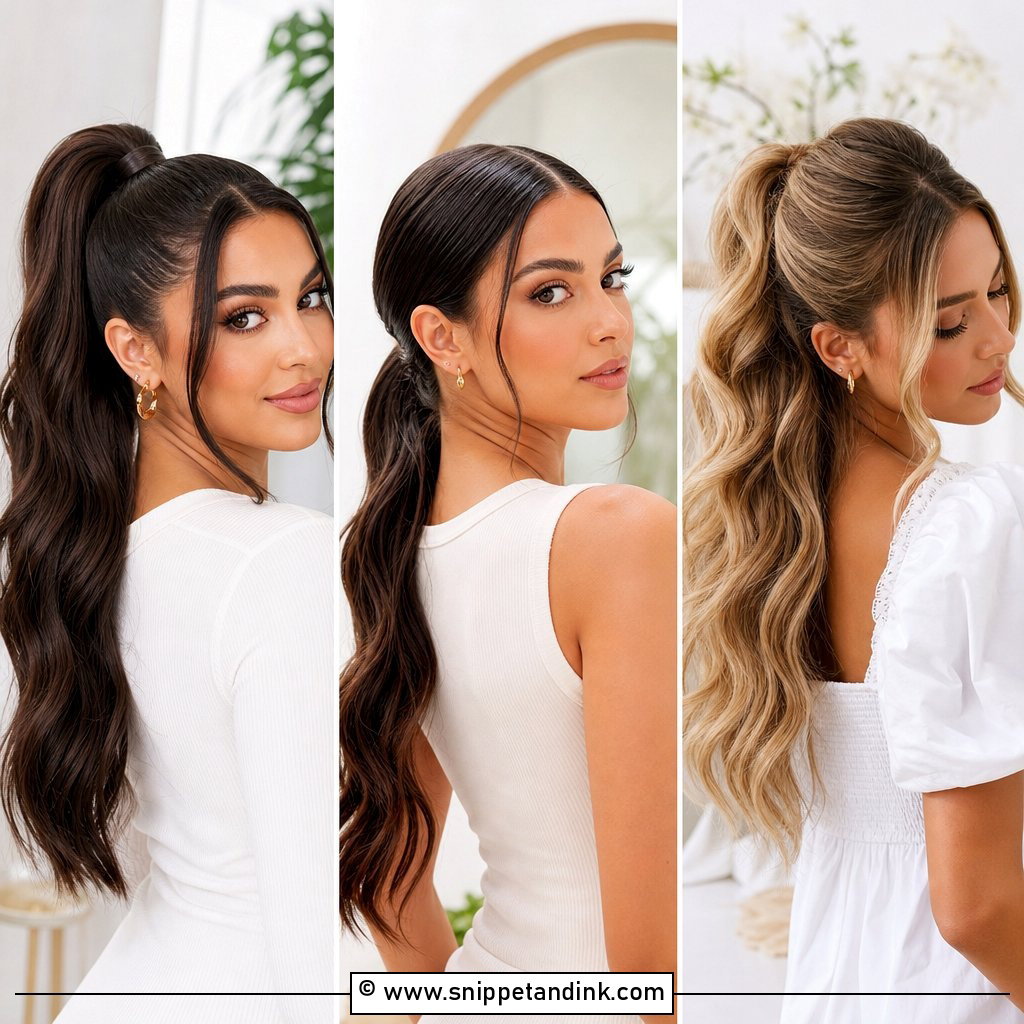
A crown ponytail lifts the cheekbones and keeps every strand off your neck, which is why I suggest it for hot outdoor weddings. It also puts the most tension on the scalp of any style here. If you get headaches from tight hair, tell your stylist before the trial; I build it as two stacked ponytails so the weight is spread across more of the head and the tail still sits high. Wrap a strand around the base, pin it underneath, and pair it with a bolder earring since the whole jawline is on show.
3. Low Bubble Bridal Ponytail
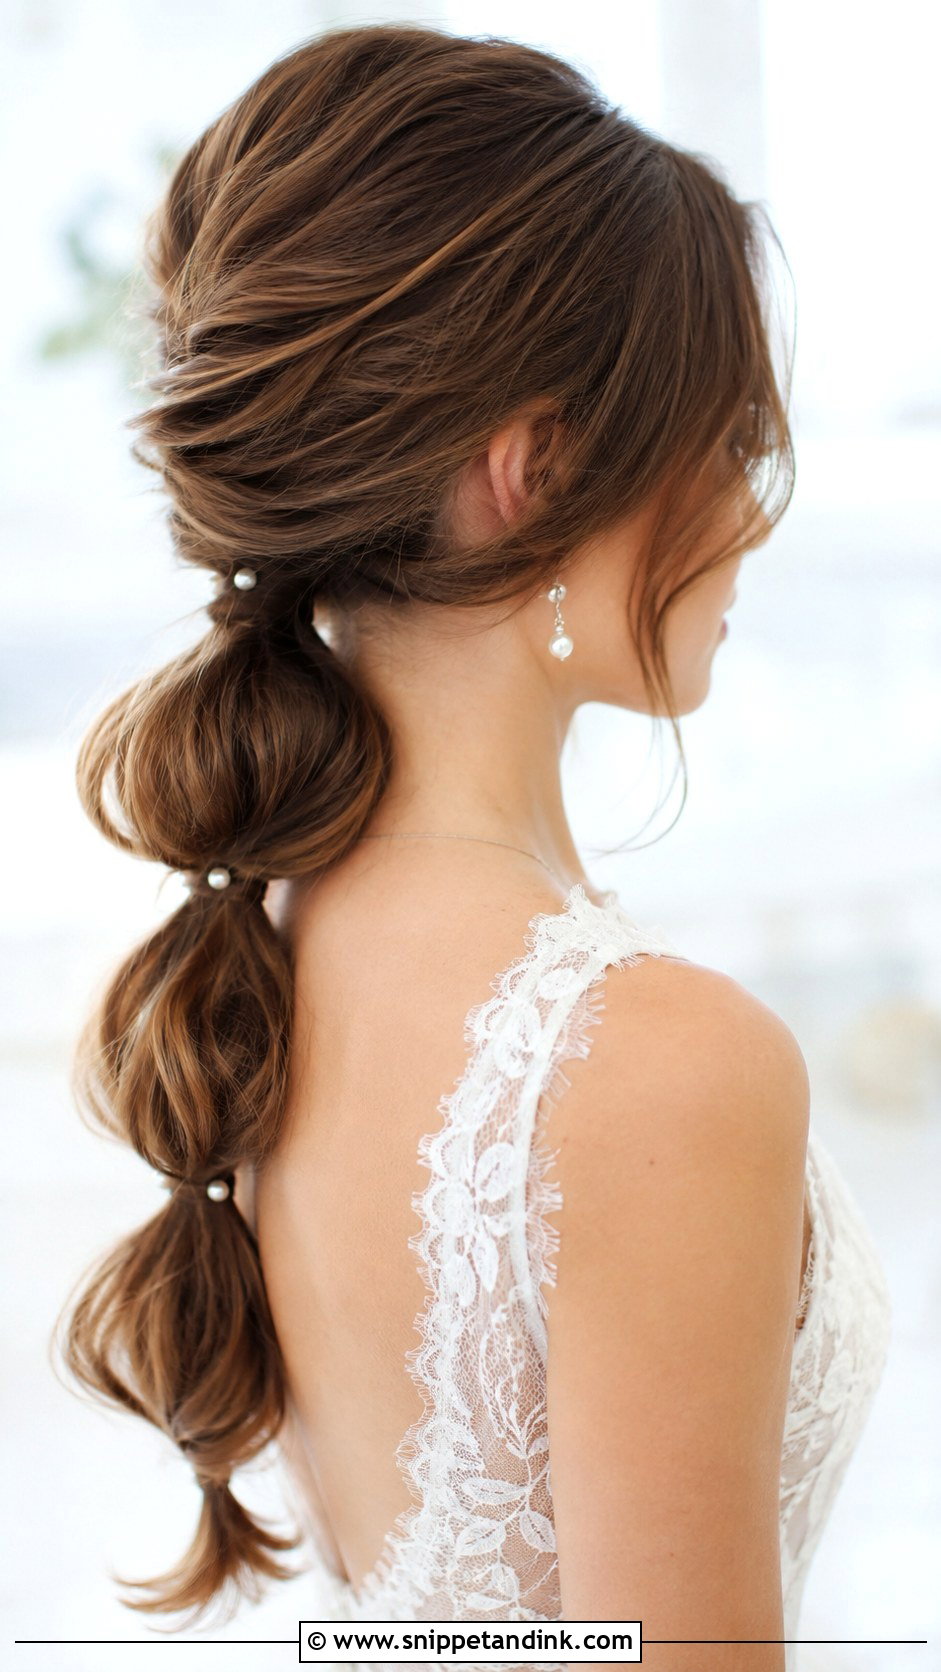
Bubbles are made by adding clear elastics every few inches down a low pony and teasing each segment outward with your fingertips. On fine hair I backcomb the tail lightly before sectioning, otherwise the bubbles look like thin sausages in photos. Expect them to compress a little after hours of hugging, so I tuck a couple of spare clear bands in your clutch. Small pearl pins between segments look sweet with a floral or boho dress.
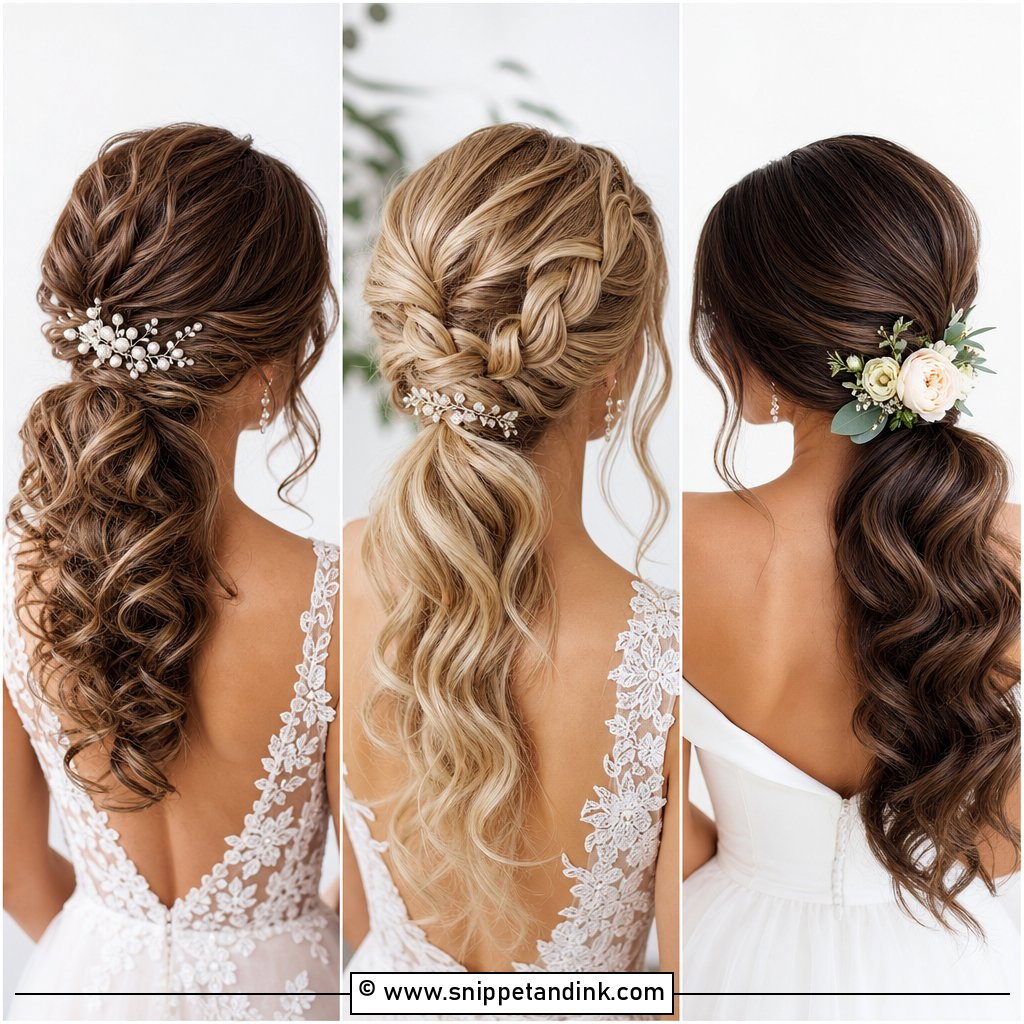
4. Braided Bridal Ponytail
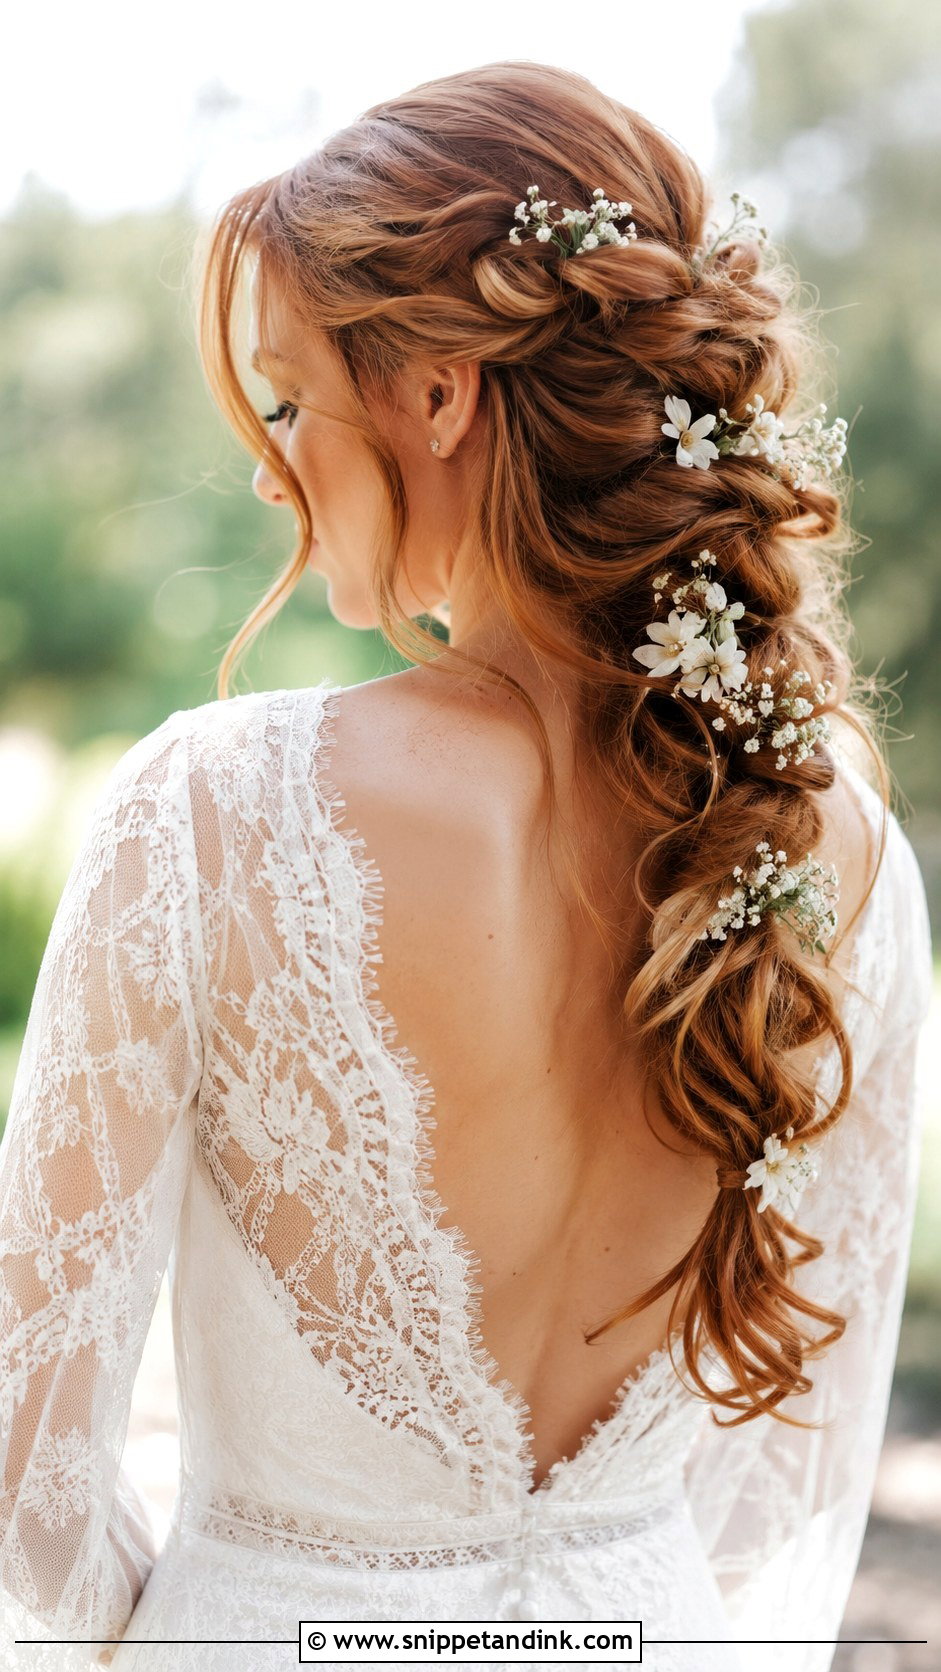
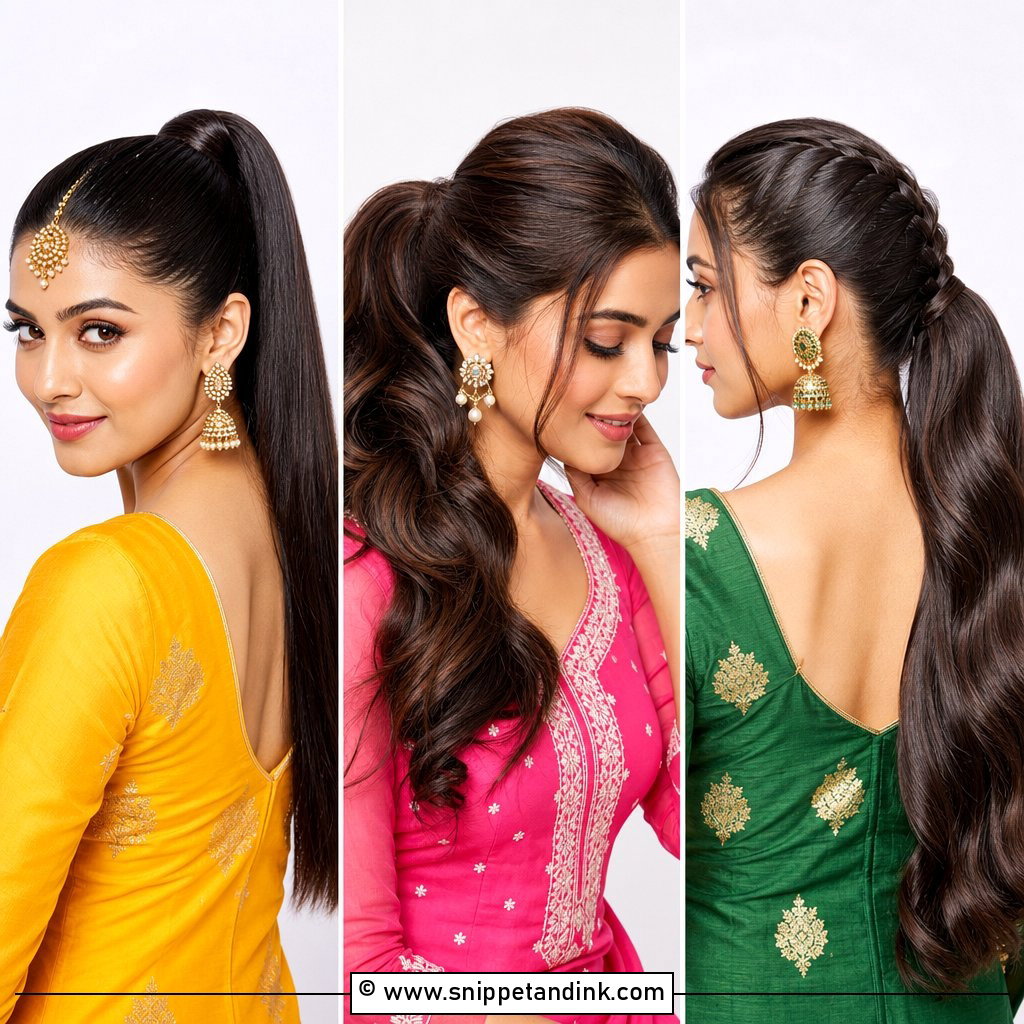
A braid gives a ponytail a skeleton. I’ll usually run a Dutch braid from the crown to the base, then let the tail fall free, because the braid holds the top flat even if your hair is slippery. Pancake the braid gently once it’s secured so it reads from the back pews; a tight braid looks thin at a distance. It’s my go to for garden and rustic weddings where wind is a factor, and small blooms tuck neatly into the gaps between plaits.
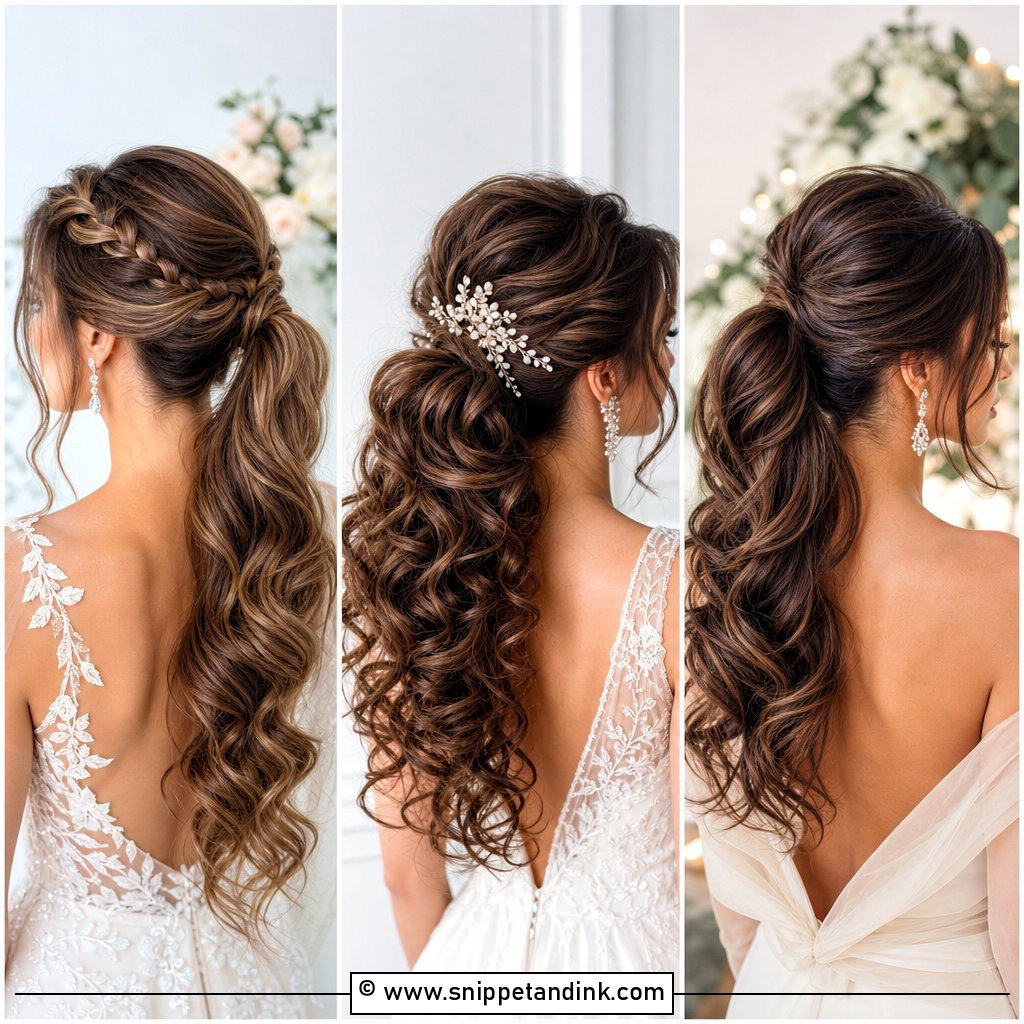
5. Textured Bridal Ponytail With Waves
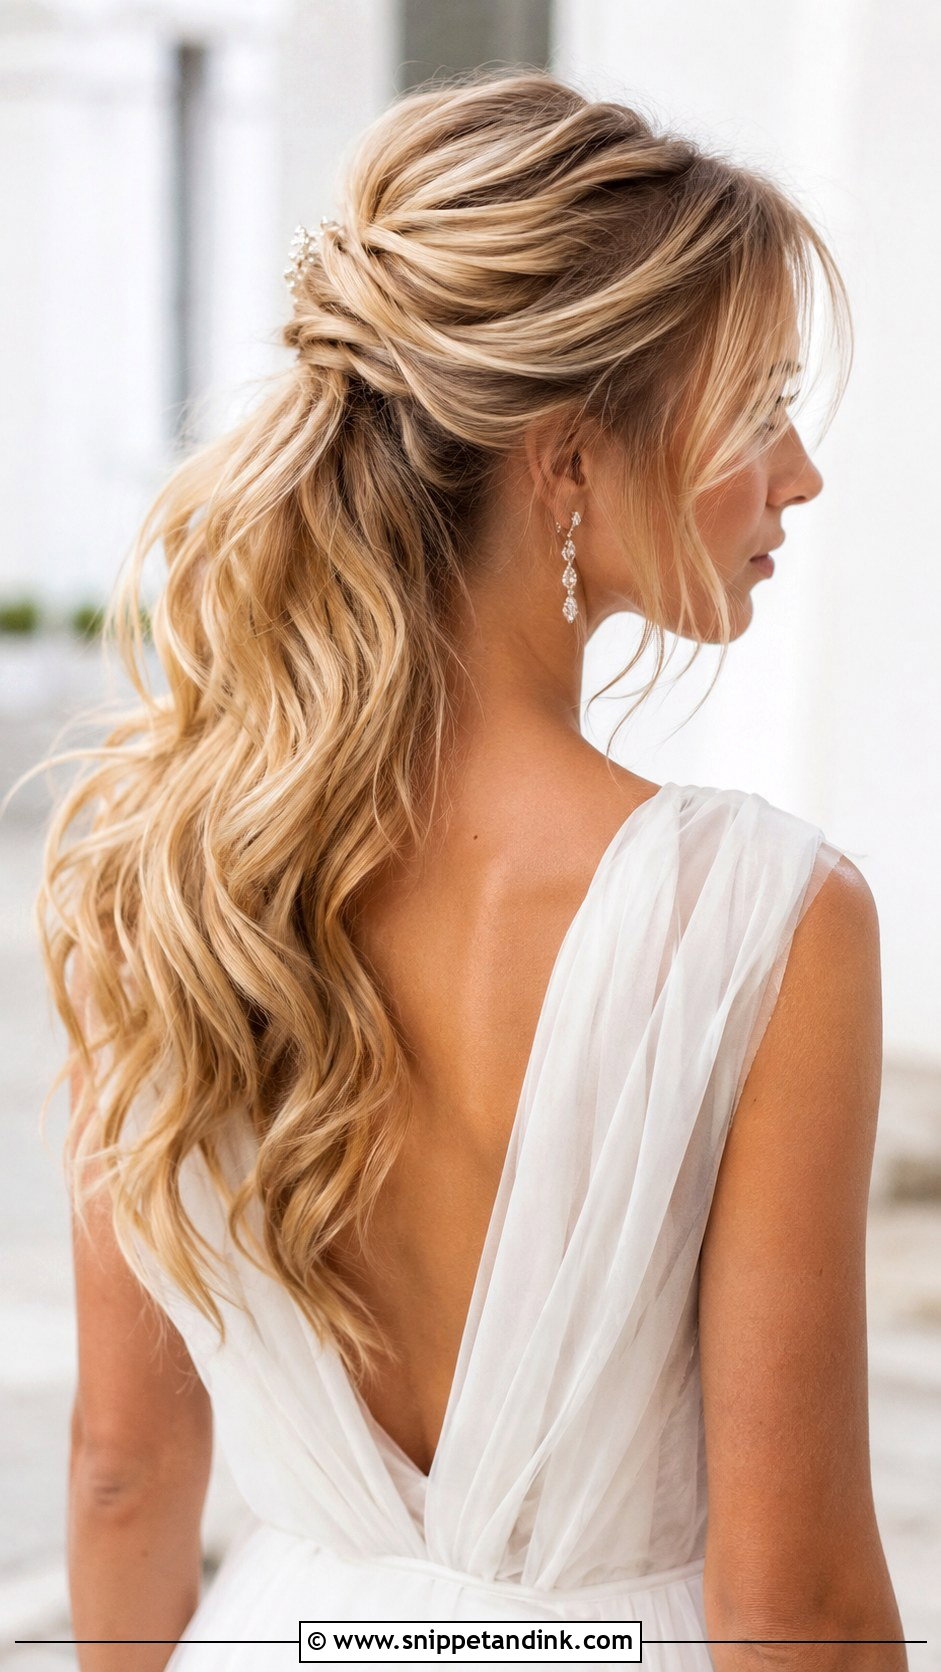
Curl the length before you gather it, not after. I set the whole head in 1.25 inch barrel curls, pin each one to cool, then brush them out once the pony is secured so the wave melts into one soft shape. Fine hair looks noticeably thicker this way. Very straight, silky hair can drop its curl within a few hours, so I prep it with a light mousse at the roots and mid lengths and finish with a flexible spray rather than a stiff one.
6. Bridal Ponytail With Face-Framing Pieces
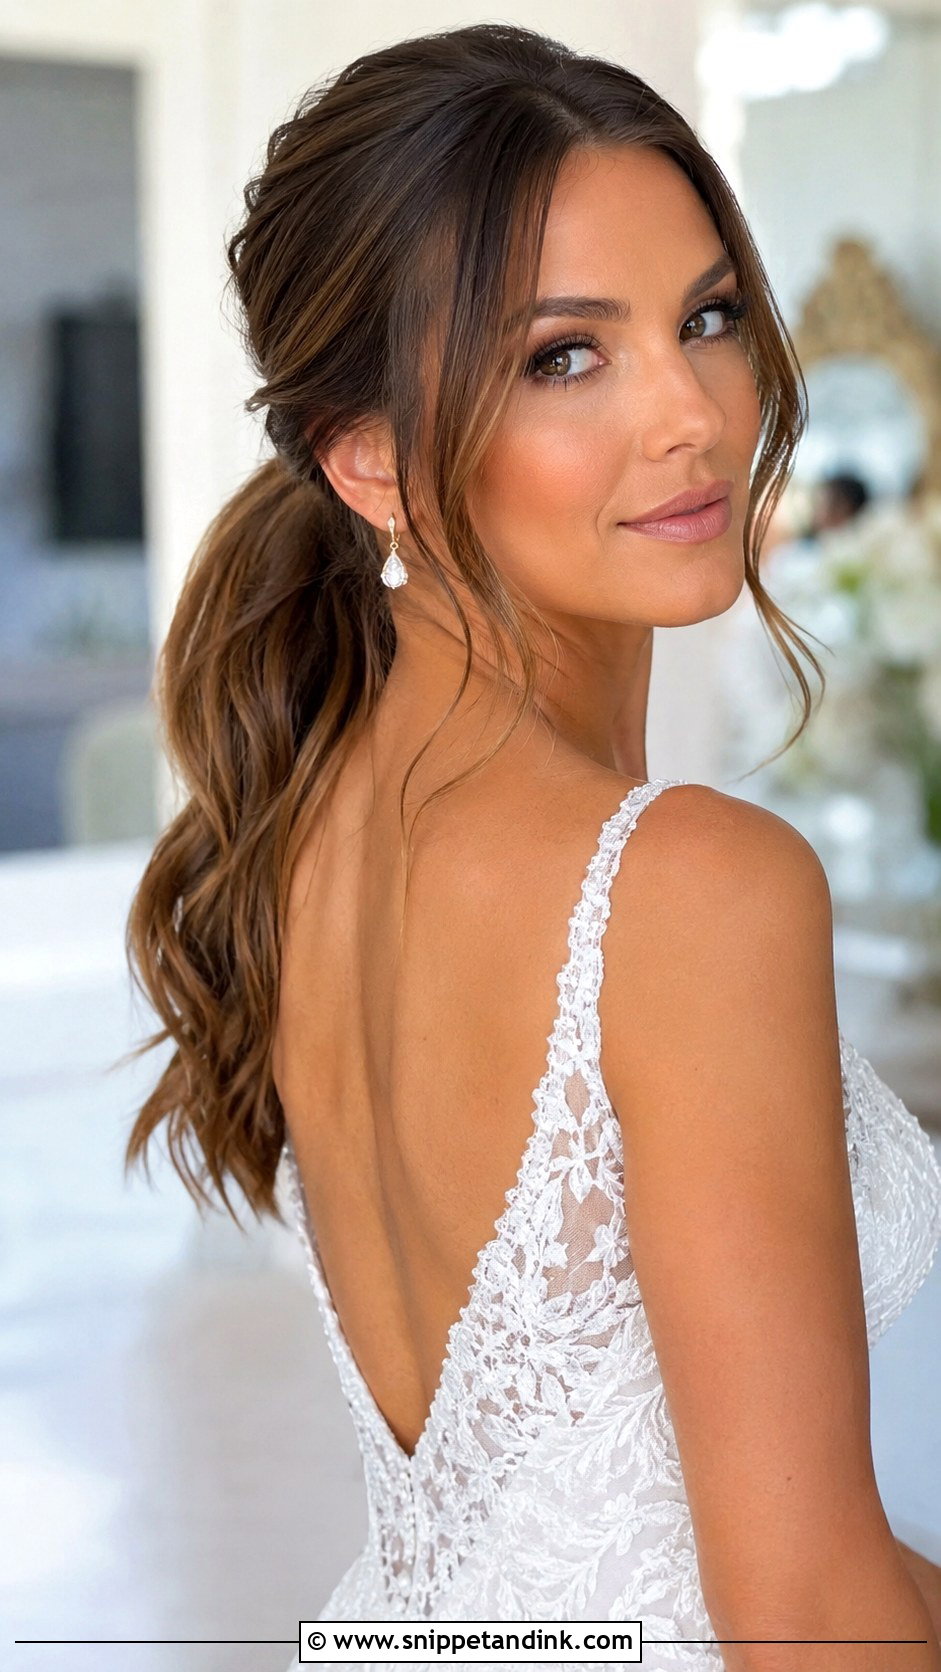
Face framing pieces are where I spend the most time at a trial, because two strands in the wrong place can make a round face look wider. I cut them from just in front of the ear, curl them away from the face and keep them no longer than the chin unless the bride asks otherwise. They soften a very sleek pony and help if you’re nervous about having your ears fully exposed. Ask for them to be left slightly longer than you think; curls shrink.
7. Bridal Ponytail With Pearl Accessories
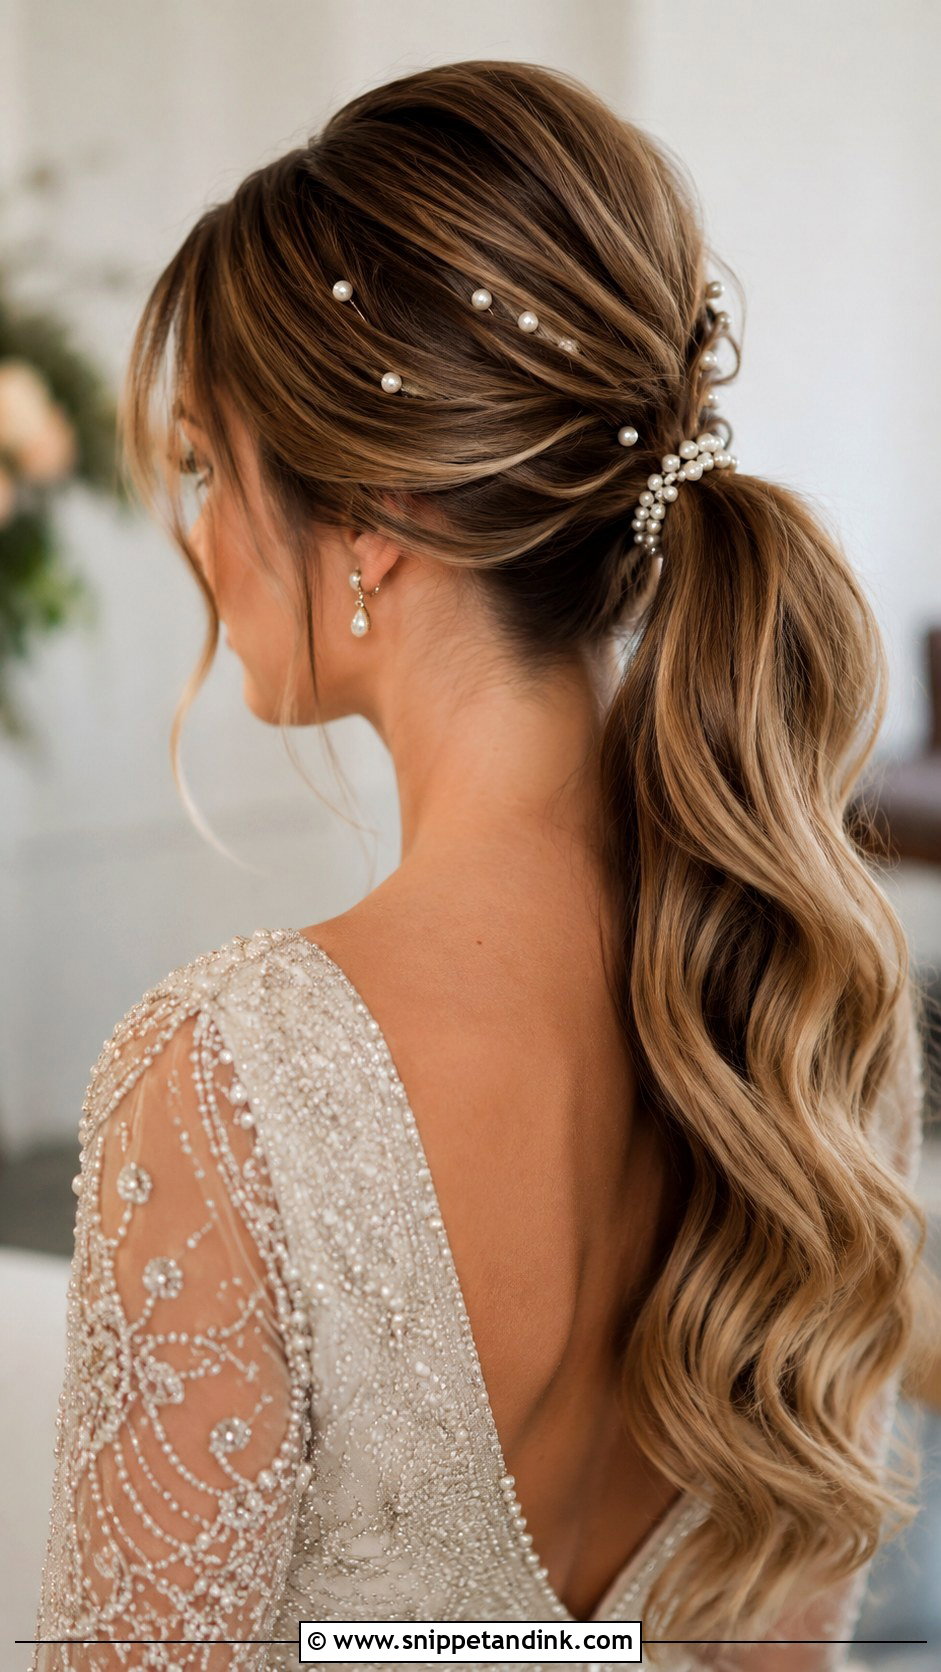
Pearls suit a ponytail because they sit on the surface of the hair instead of needing a structure to grip. Single pearl pins are the easiest; I slide them in at an angle so the U bend catches a little hair beneath the smooth top layer. A pearl cuff over the elastic is quicker still, but make sure the inner diameter fits your actual ponytail, since thick hair will pop a cuff meant for a fine pony. Ivory pearls look better than bright white against most gowns.
8. Low Wrapped Bridal Ponytail
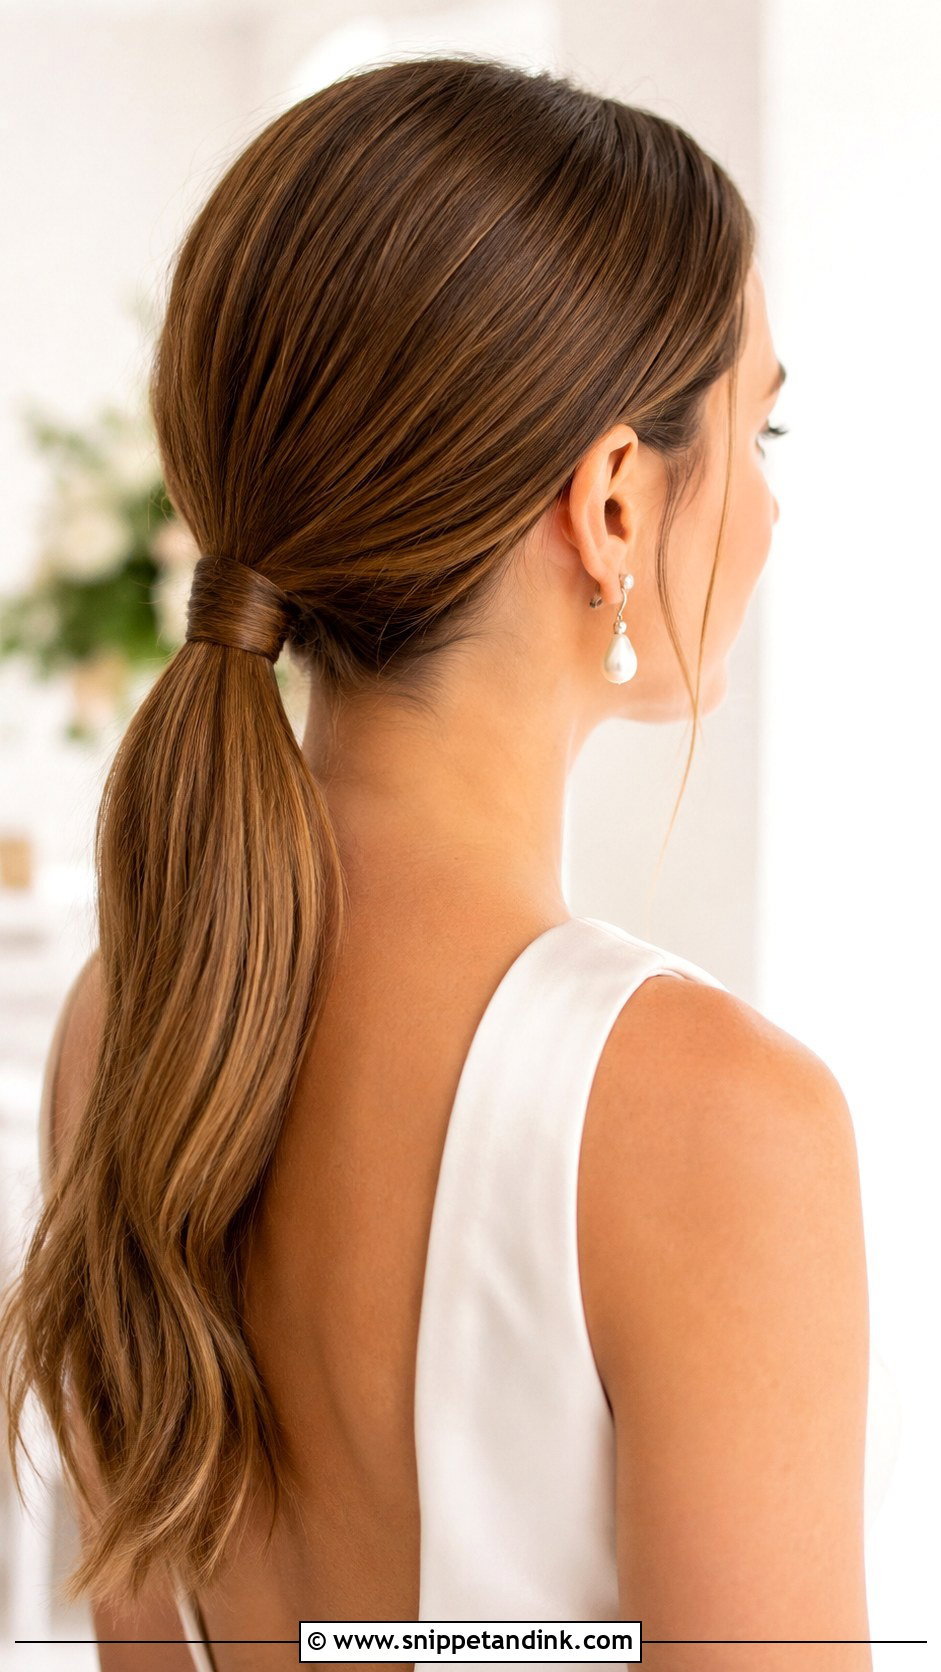
Wrapping the base is the small step that separates a wedding ponytail from a gym one. I take a strand from underneath the tail, smooth it with a drop of serum, wind it around the elastic and pin it with a bobby pin pushed upward into the base. On layered hair the short ends can poke out of the wrap, so I sometimes use two thinner strands instead of one. It’s a quiet detail, and it suits a structured, minimal dress.
9. Bridal Ponytail With Volume
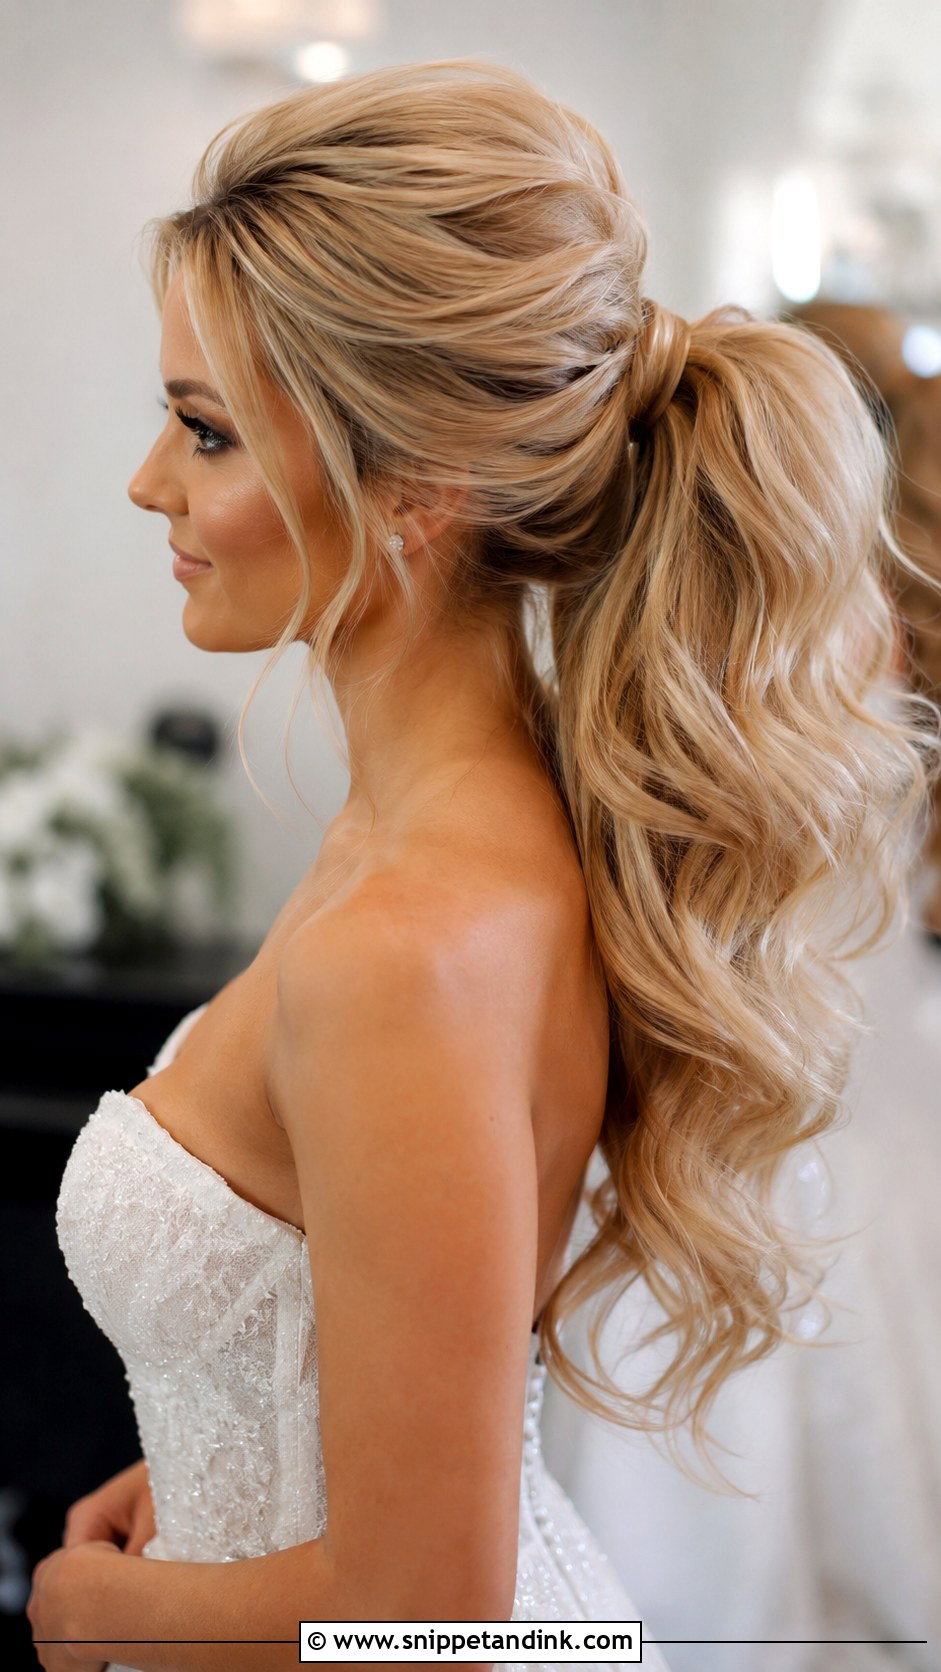
Volume at the crown comes from backcombing the underside of each section, never the top layer, then smoothing a thin veil of hair over it. That keeps the outside glassy while the inside does the lifting. I’d steer you away from this if you’re wearing a cathedral veil anchored at the crown, because the comb will flatten the height you’ve built. For ballgowns and big rooms it balances the scale of the dress and holds its shape well into the night.
10. Curly Bridal Ponytail
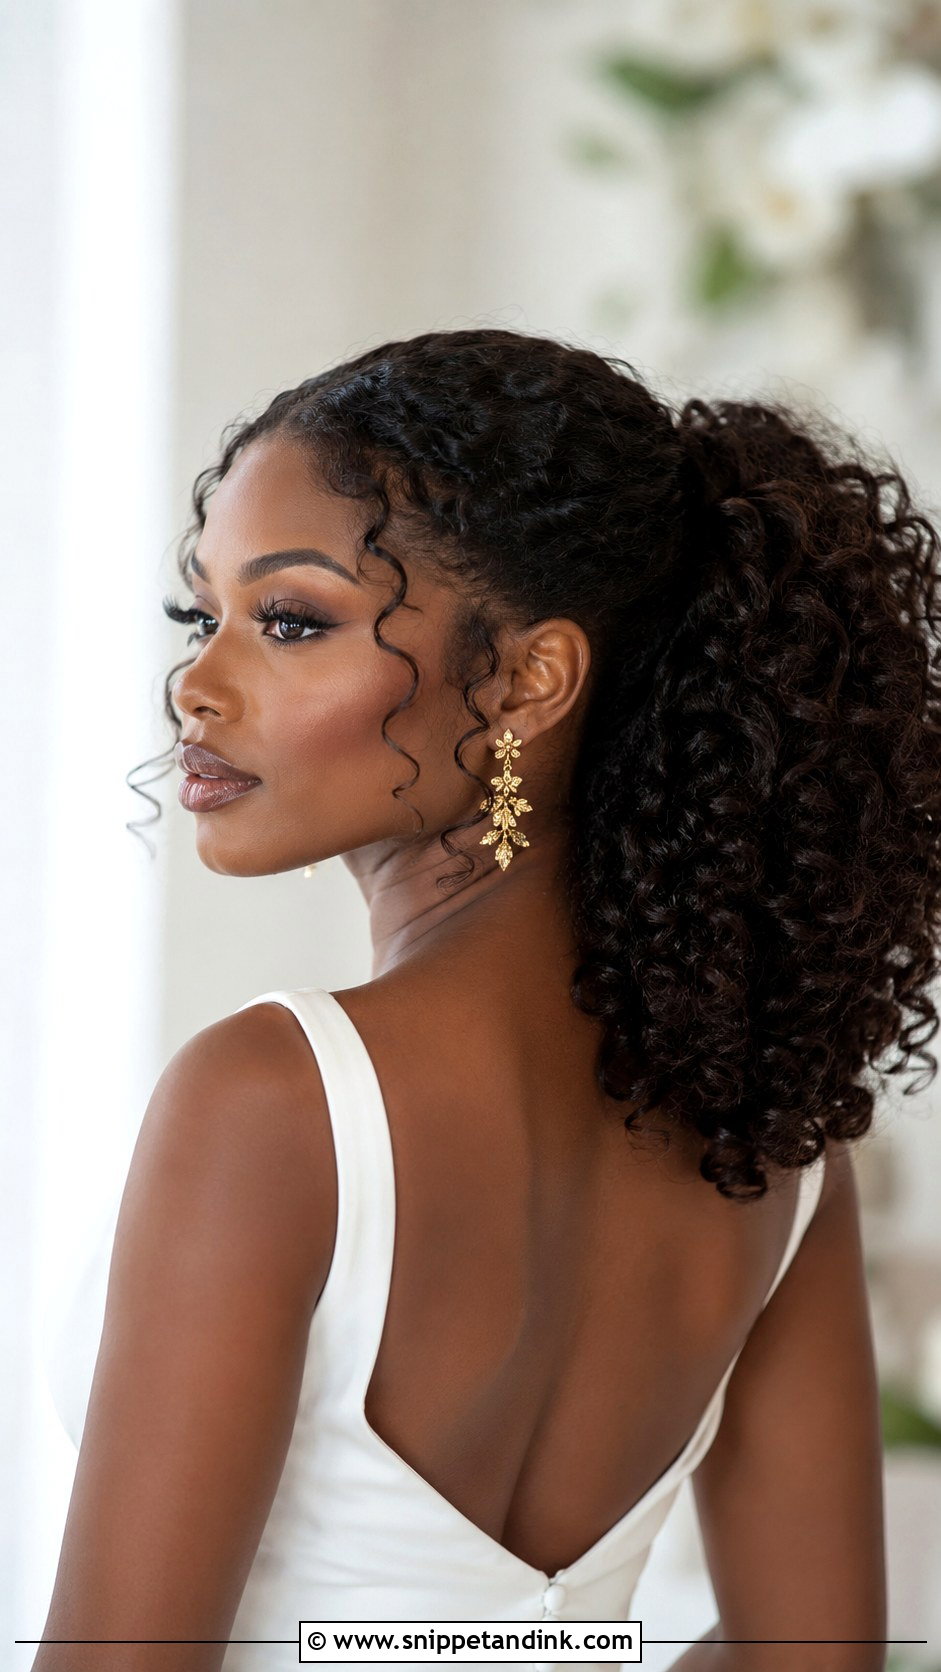
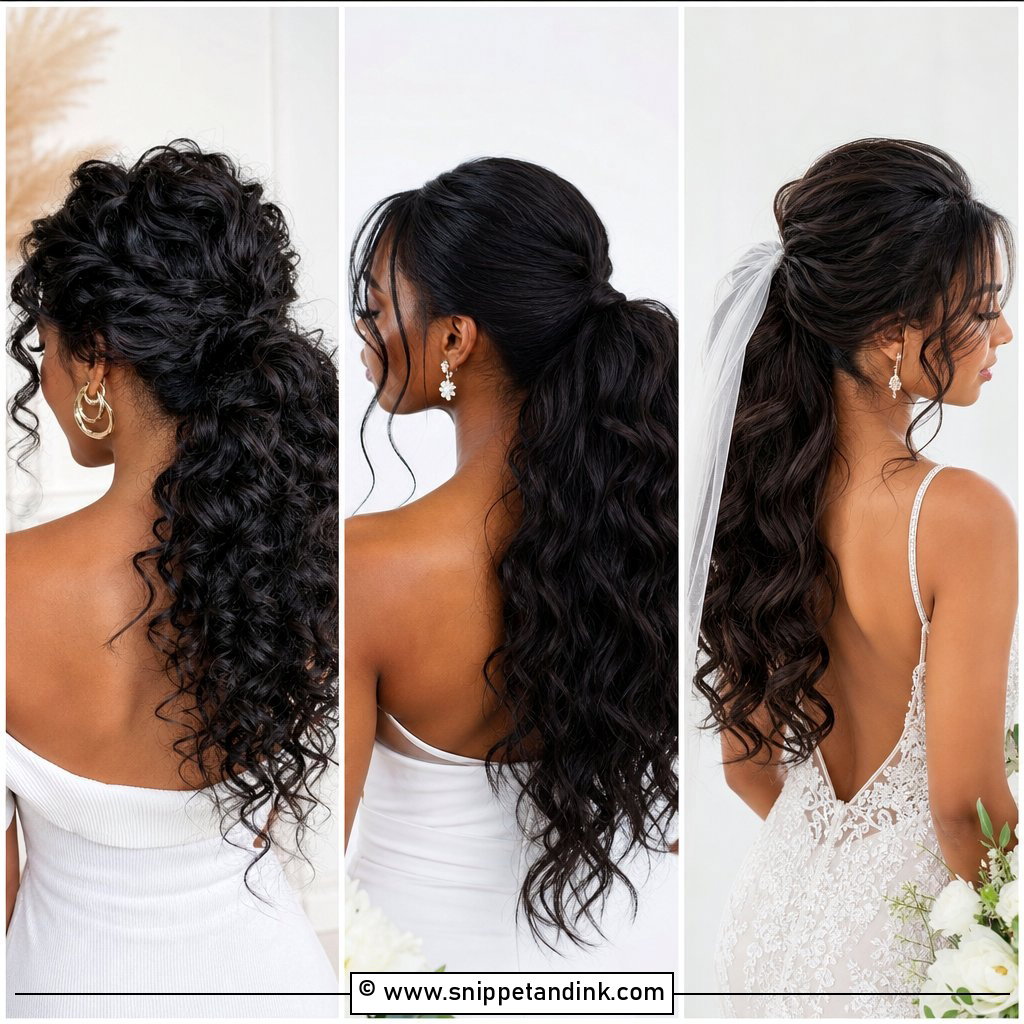
Natural curls should look like your curls, only more defined. I work on damp or freshly refreshed hair with a curl cream and gel, gather it with a soft scrunchie or a wide spiral band so the curls aren’t crushed at the base, and let it dry before touching the tail. Coily hair can shrink considerably as it dries, so plan the pony height on dry hair at the trial. A satin lined scrunchie under a decorative pin is kinder to fragile ends than a tight elastic.
11. Bridal Ponytail With Veil
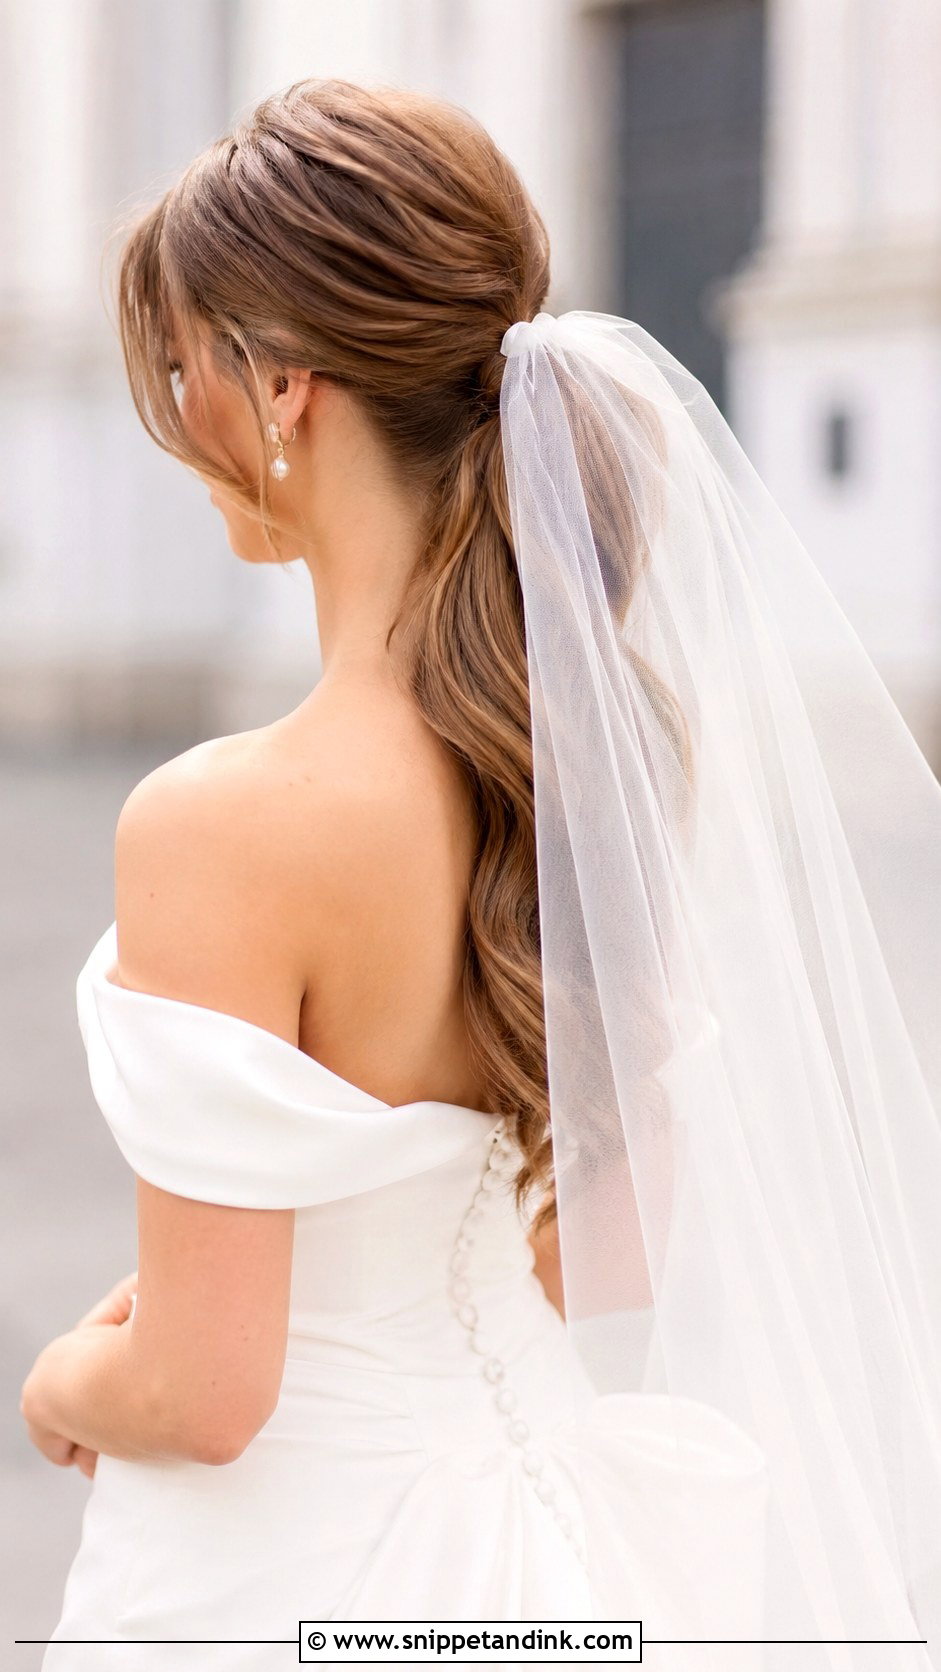
Veils and ponytails work well together, but where the comb goes matters. For a low pony I slide the veil comb in just above the base so the tulle falls over the tail; for a high pony I place it beneath the base so the tail sits on top of the veil. Practise taking the veil out at the trial. A comb pushed in from the wrong angle drags the smooth top section with it, and after the ceremony you want the pony left untouched for the reception.
12. Twisted Bridal Ponytail
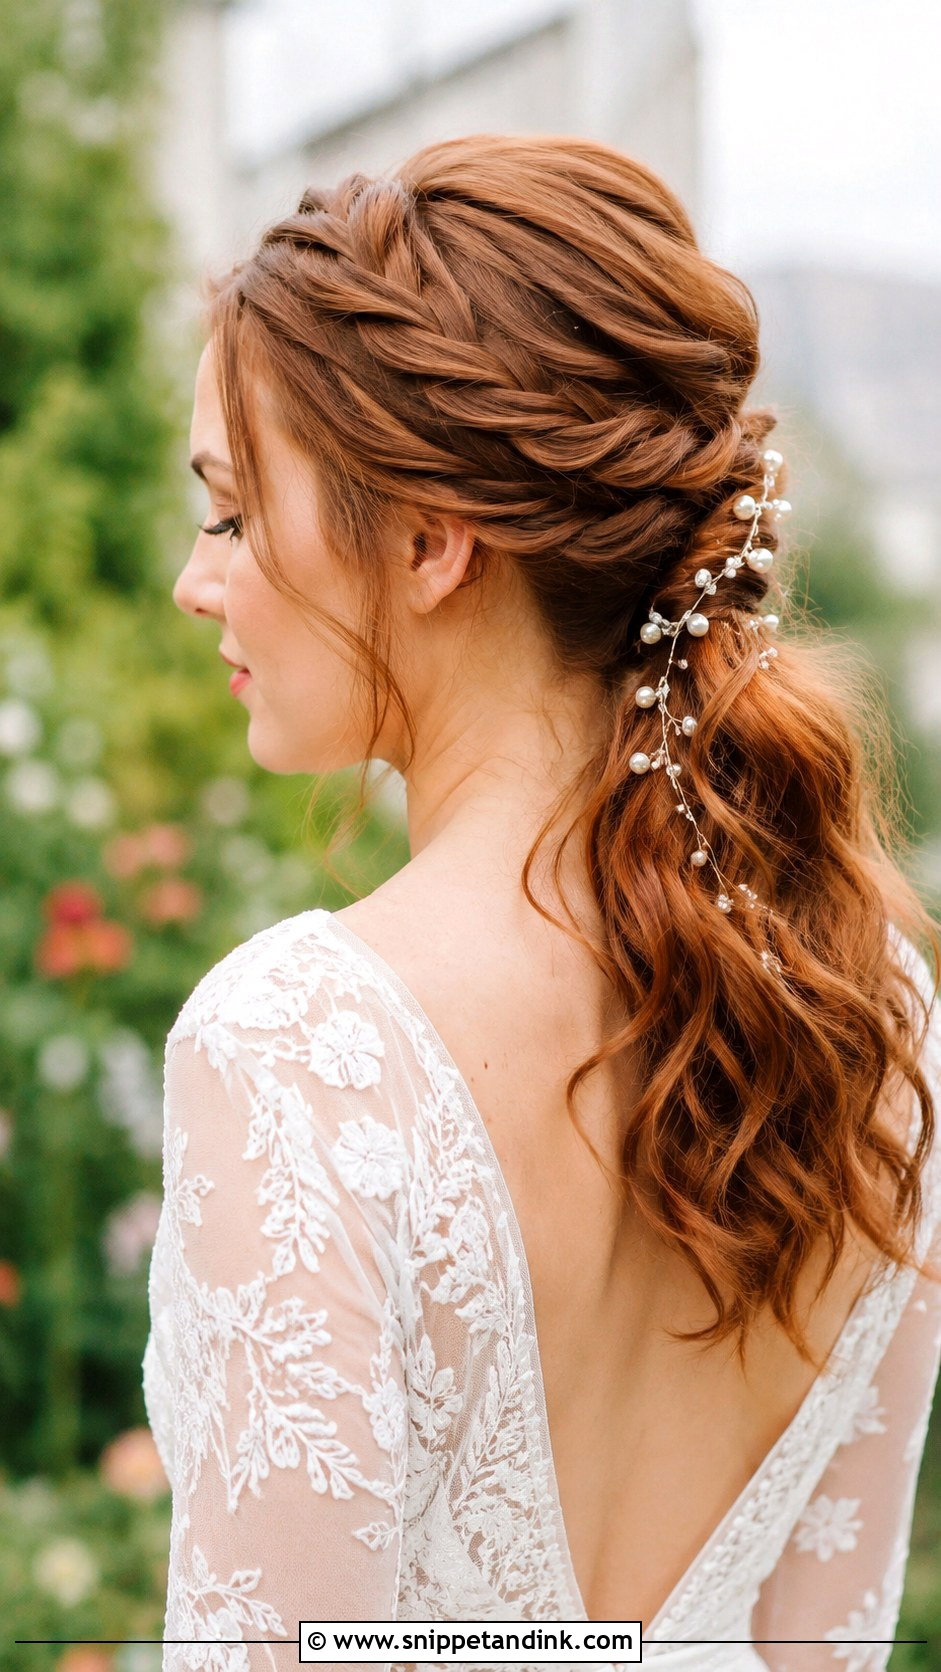
Rope twists give a lot of texture for very little time, which helps when there are bridesmaids to finish. I twist two sections in the same direction and wrap them around each other in the opposite one; get that backwards and the twist unwinds within the hour. Loosen the loops with your fingertips after pinning. Fine hair benefits from a texture spray first so the twist has something to grip.
13. Half-Up Bridal Ponytail
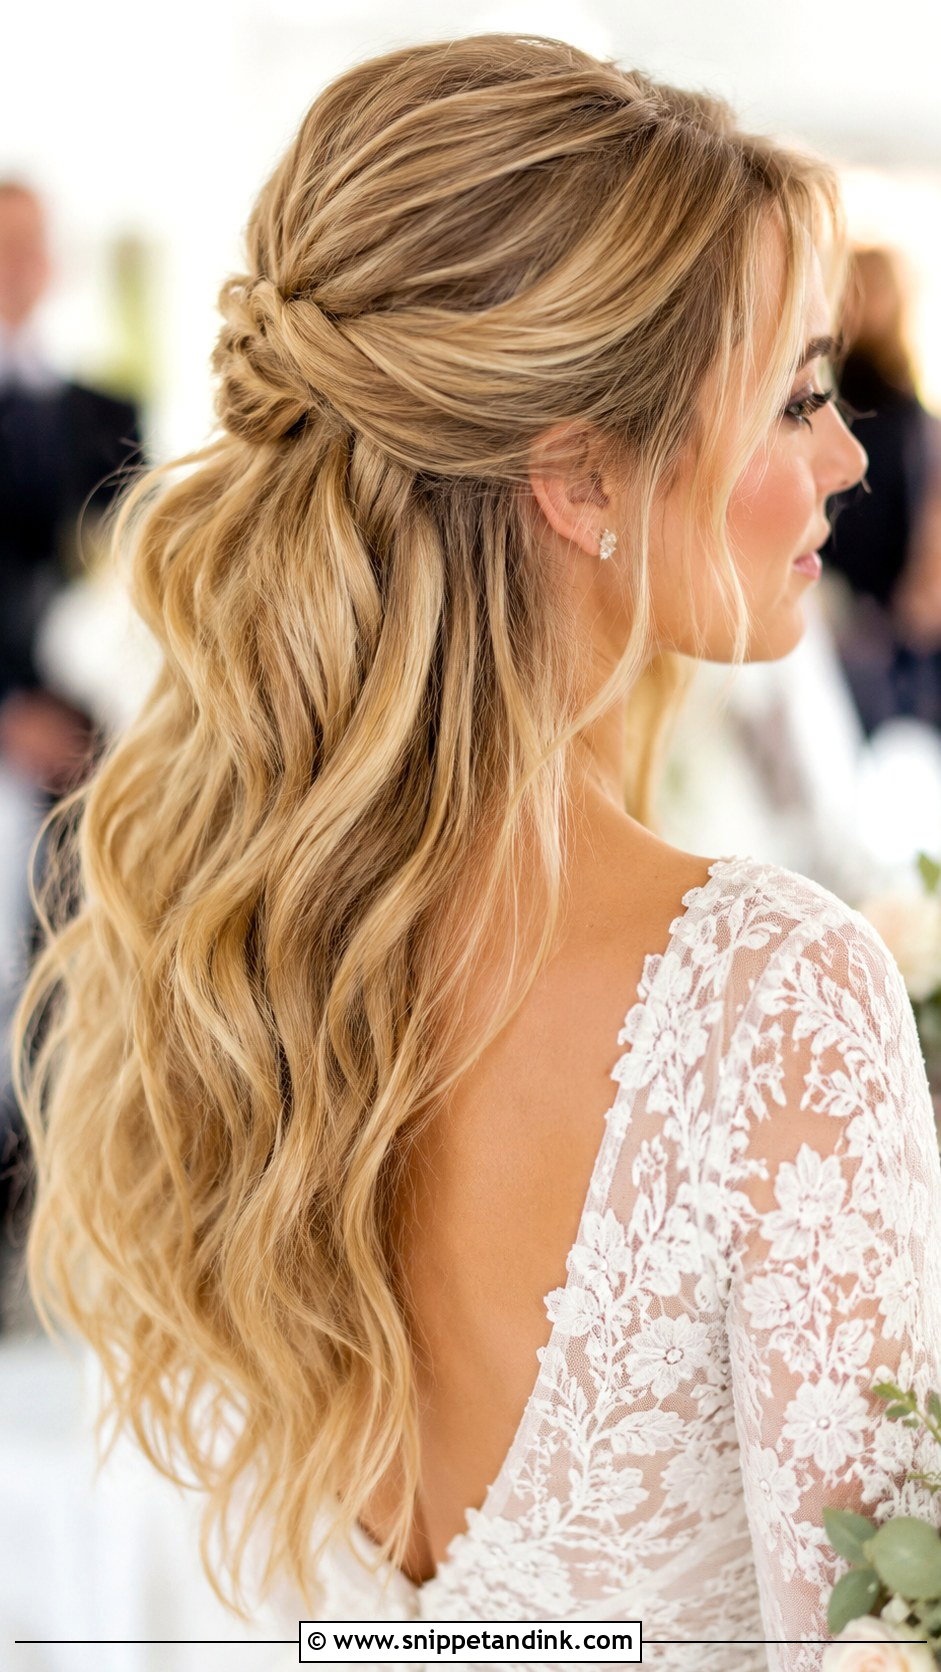
A half up pony suits brides who still want to feel their hair on their shoulders. I take the top section from the temples back, add a little volume at the crown and secure it with a clear elastic hidden under a wrapped strand. The lower half is where it can fail: loose length tangles against lace and beading, and it frizzes faster than the gathered part. Curl it, set it with spray, and consider a dress with a smooth back if you’re going this route.
14. Bridal Ponytail With Side Part
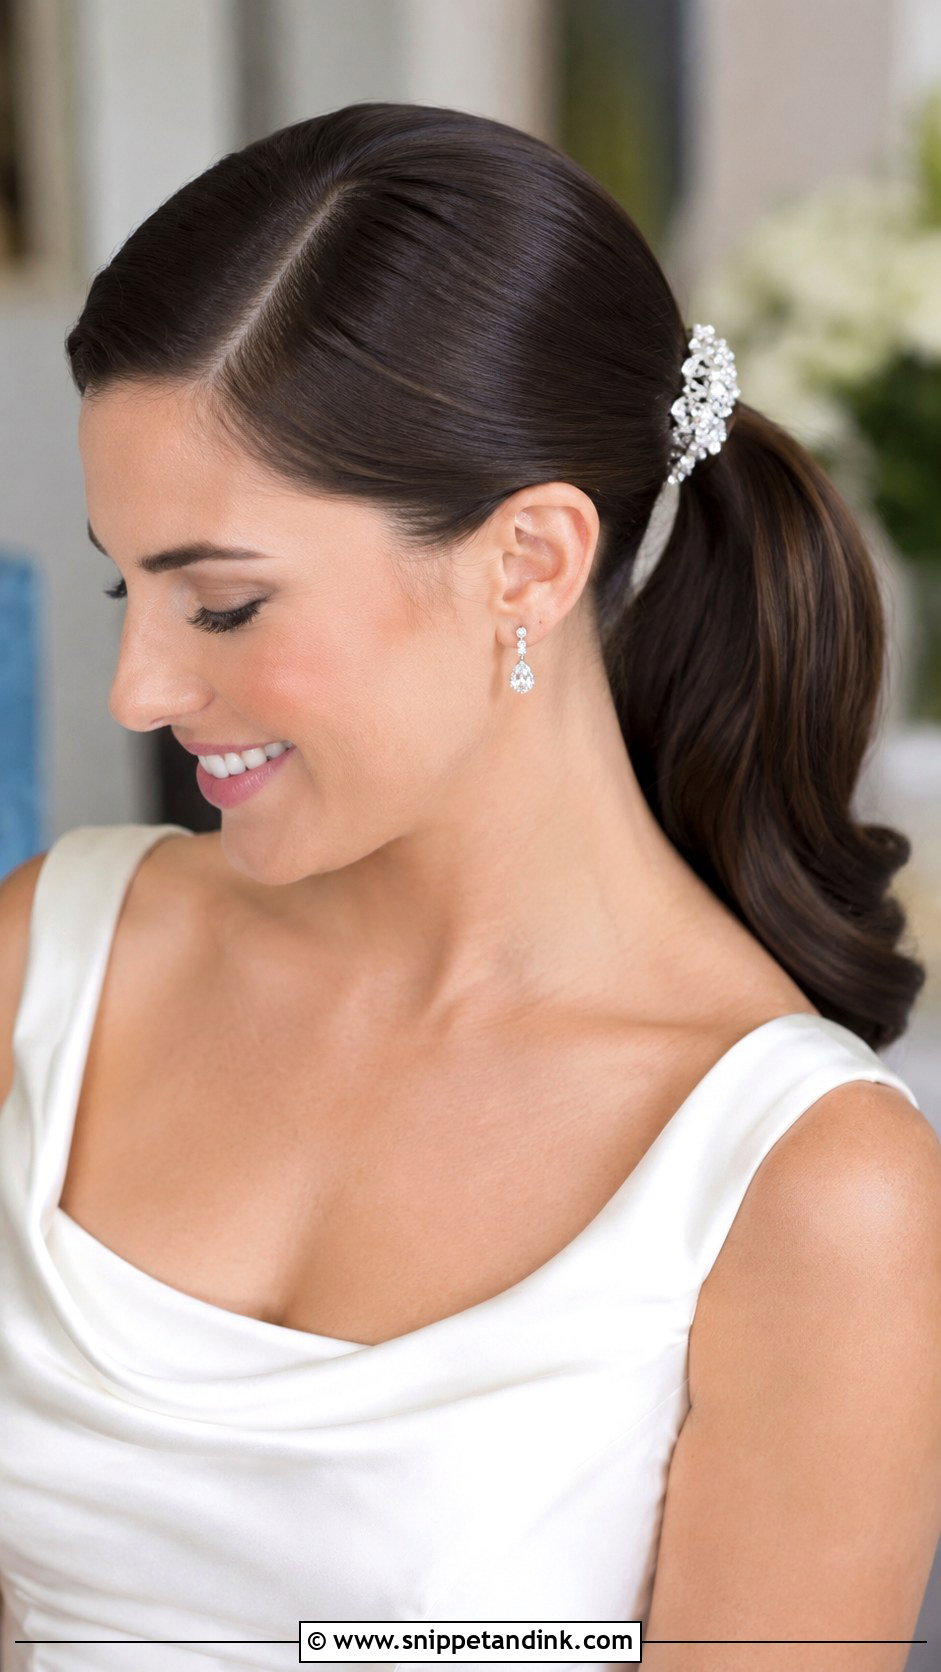
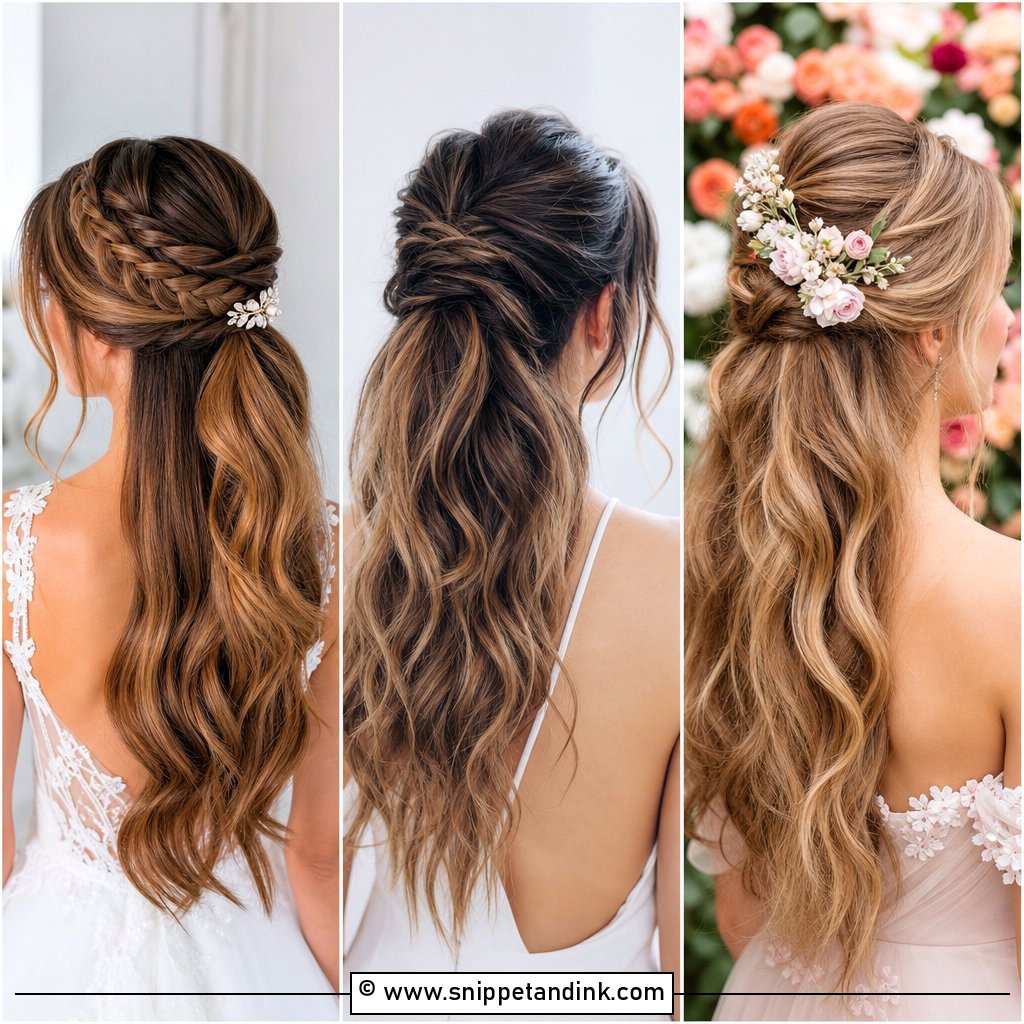
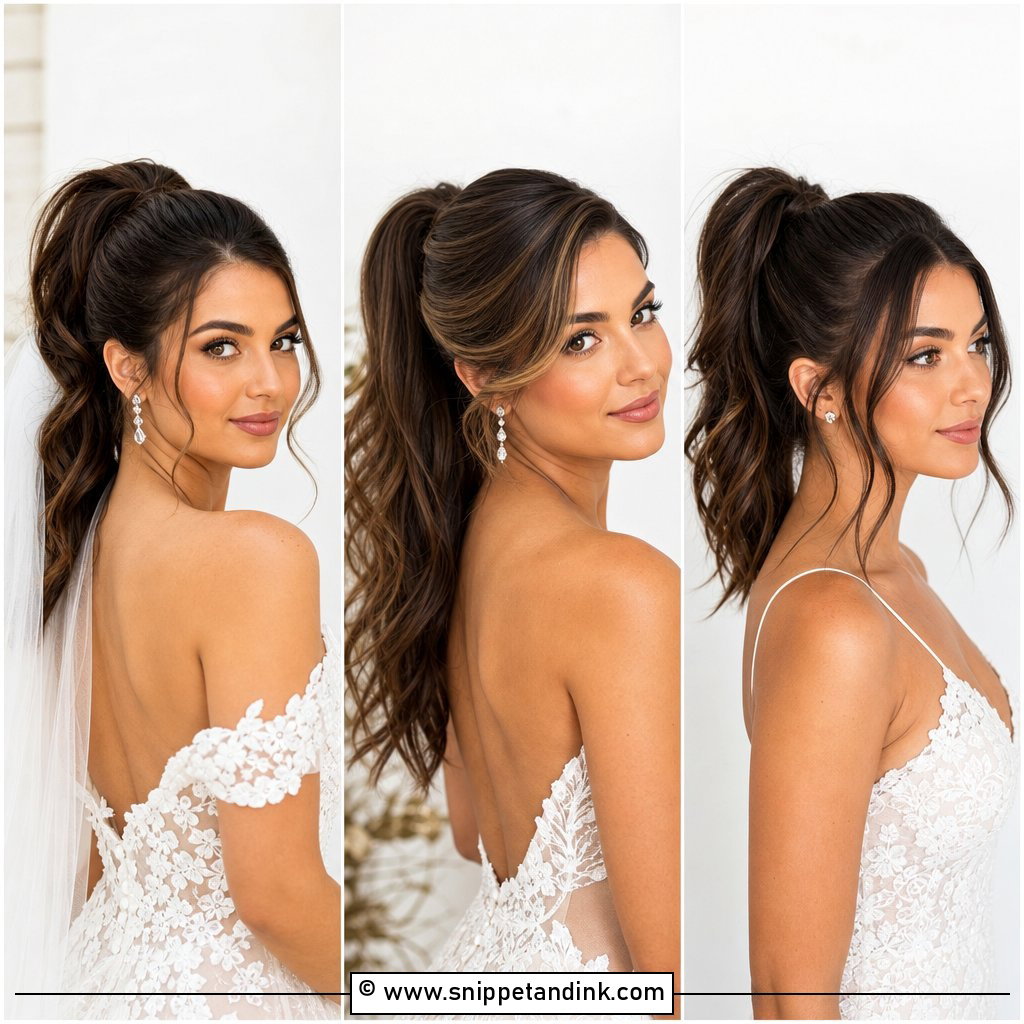
A deep side part shifts the weight of the style and gives a slightly Old Hollywood feel. Pick the side you naturally part on, or at least the side your hair already falls toward; forcing a cowlick the other way rarely lasts the day. I sweep the heavy side back with a soft wave across the temple before gathering. One sparkly pin near the part draws the eye without cluttering the line.
15. Bridal Ponytail With Hair Bow
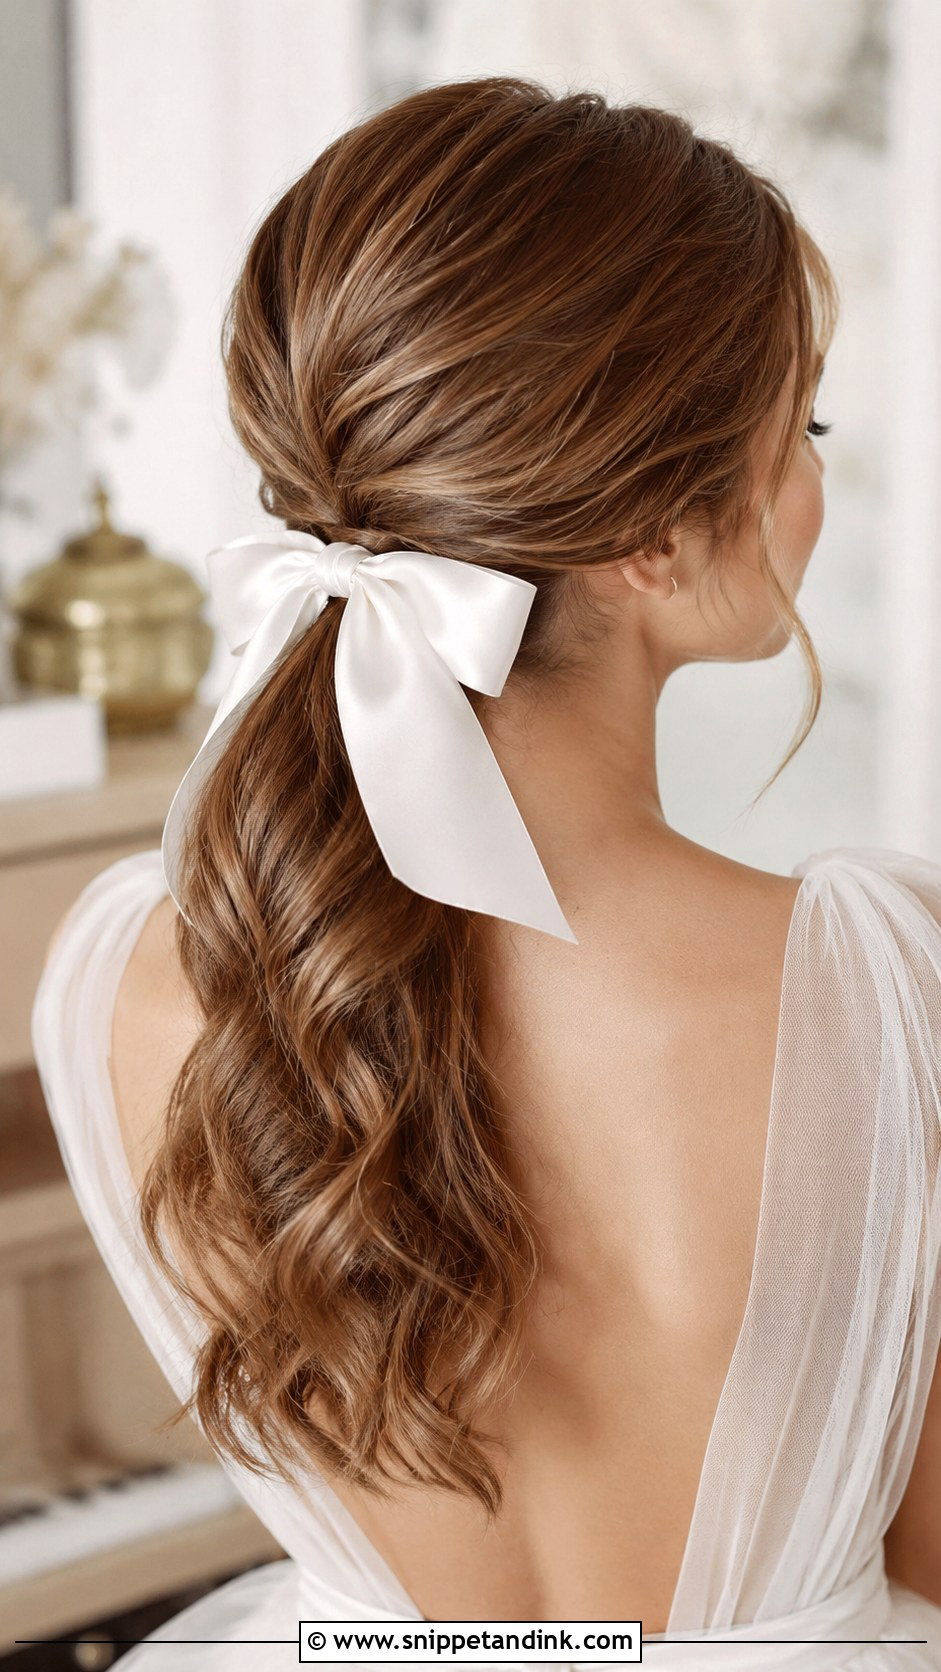
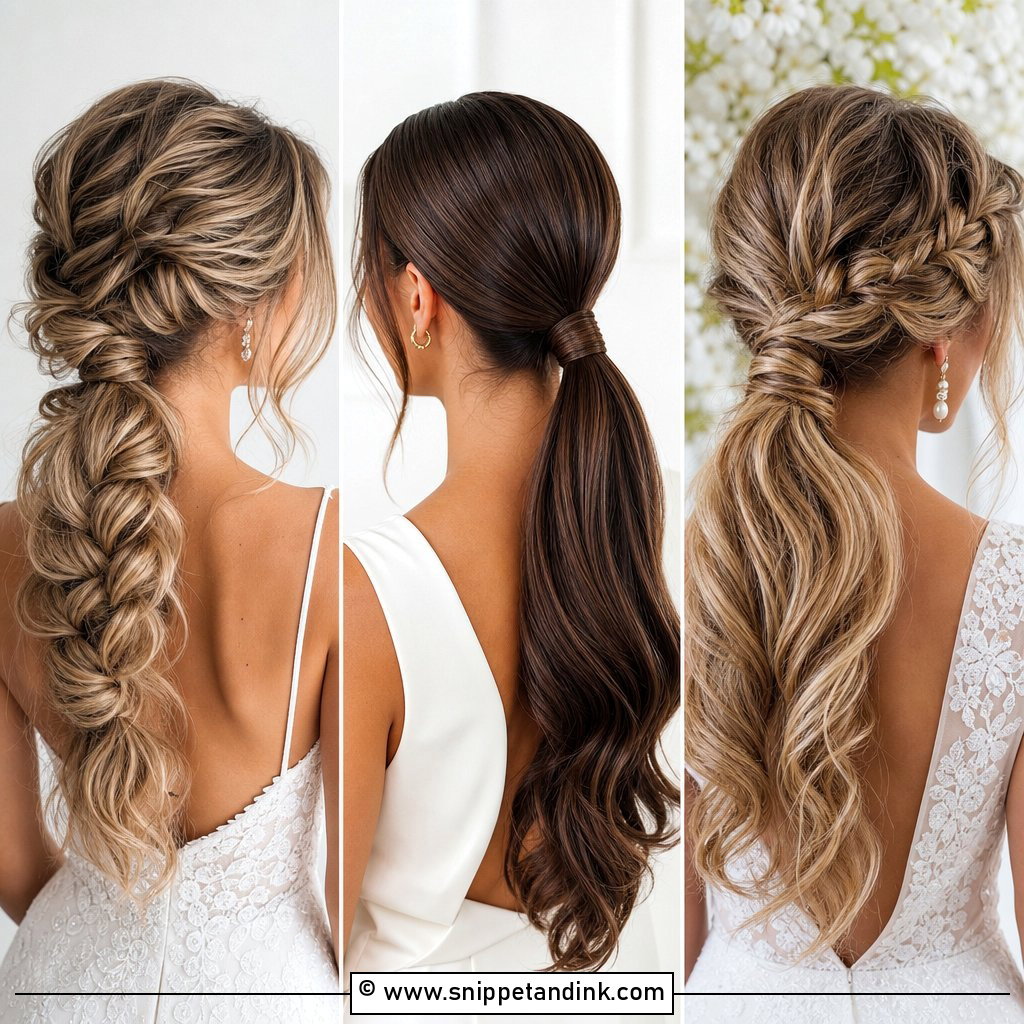
Bows are back, and they’re the quickest way to give a plain pony a point of view. I tie them over the elastic and stitch or pin the knot at the back so it can’t rotate when you move your head. Choose satin, tulle, or pearl-embellished bows to echo the fabric of your gown, and test the bow’s weight at the trial. A large, stiff bow on a high pony can drag the whole style backward by evening.
16. Slicked-Back Bridal Ponytail
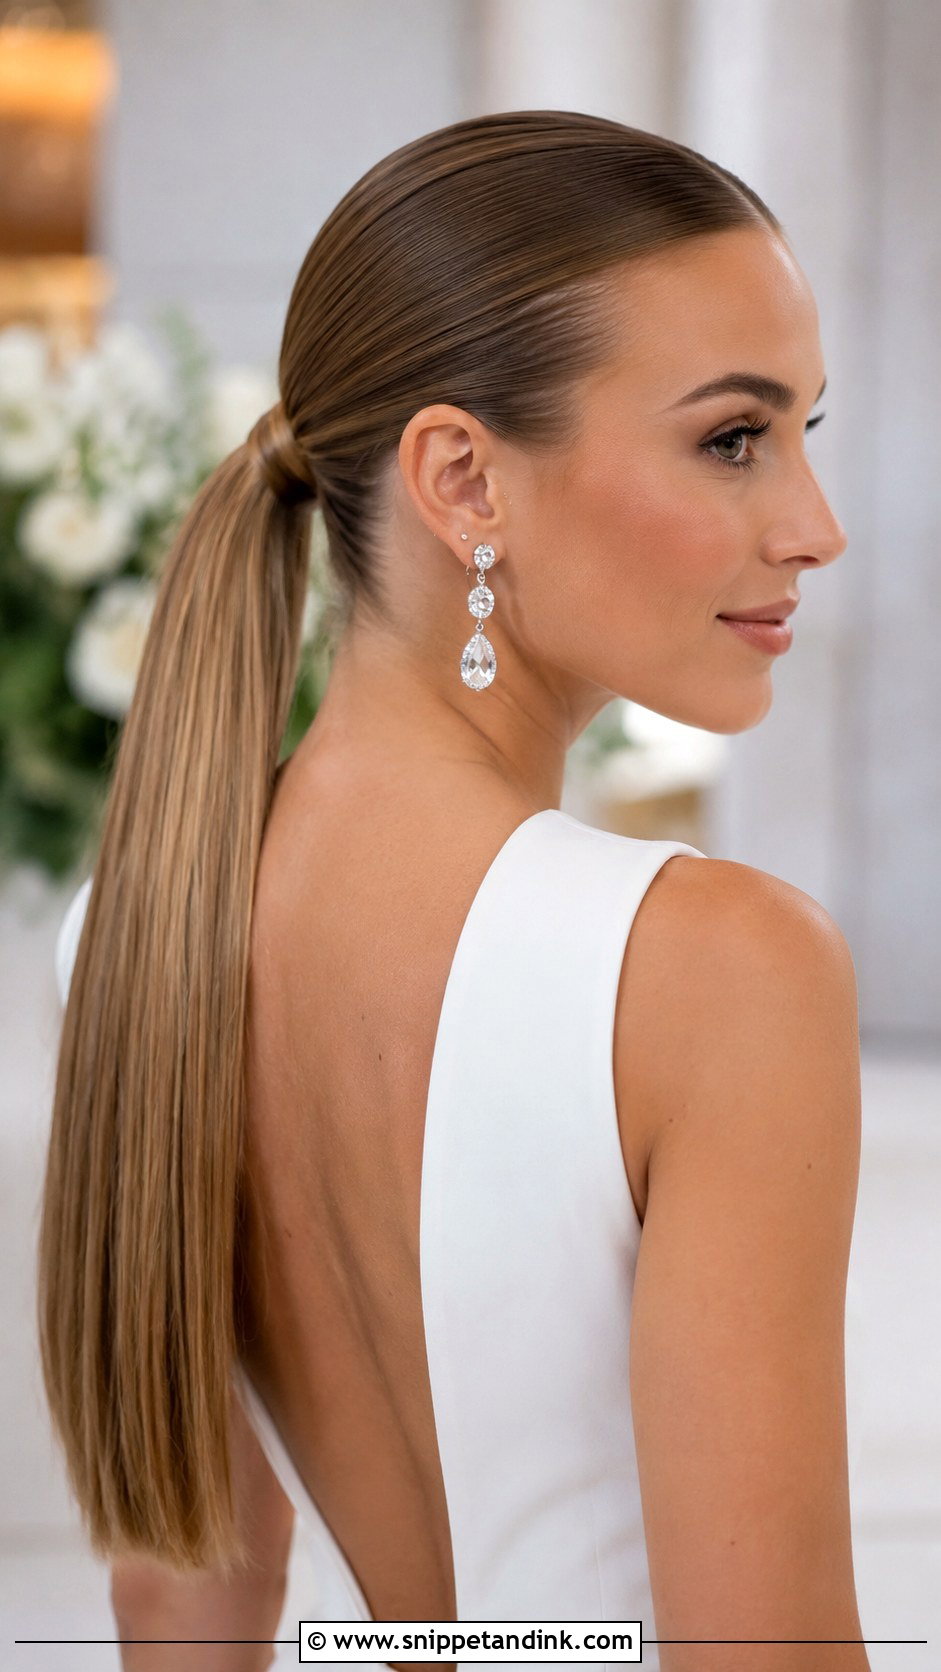
This is the most editorial option here, and the least forgiving. Hair is set with a strong gel while damp, brushed flat, then sealed with shine spray once dry. Every bump shows, so the base has to be perfect, and any grown out color at the roots becomes very visible. I only recommend it to brides comfortable with a fully exposed face and hairline; with sculptural earrings it looks deliberate and sharp.
17. Bridal Ponytail With Flowers
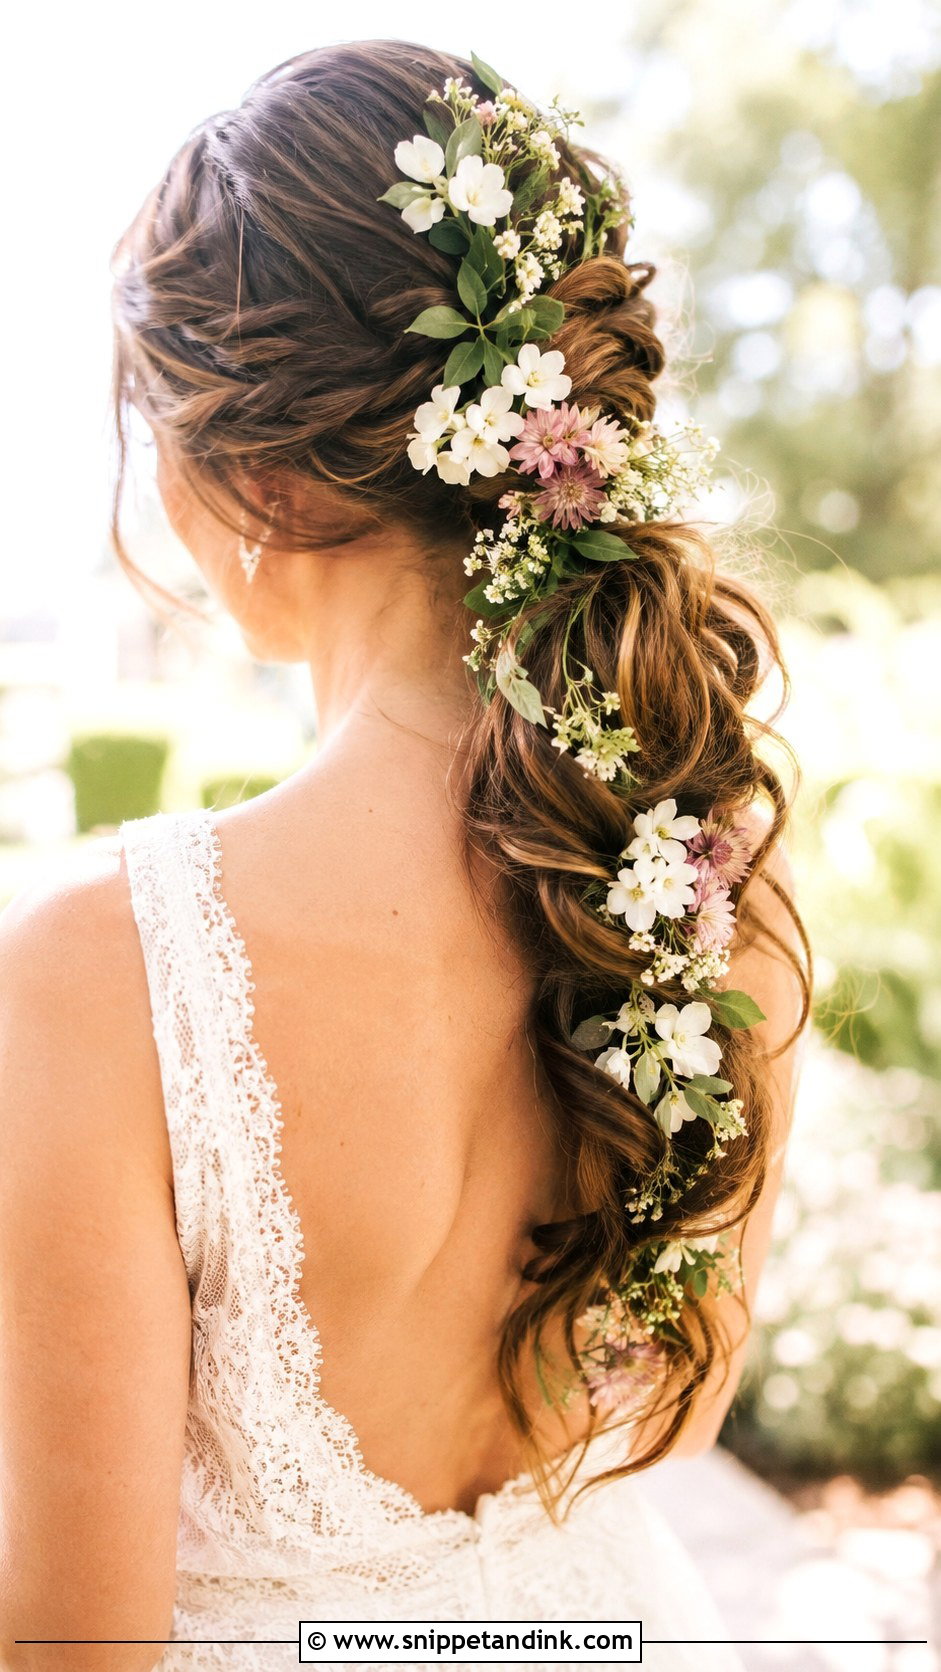
Fresh flowers in a ponytail need planning with your florist, not just your stylist. Hardy stems like spray roses, waxflower and small orchids last much longer out of water than hydrangea or gardenia, which bruise and brown quickly against warm skin. I ask for flowers wired or glued individually, delivered with the bouquets, and I pin them in last. Silk flowers are the safer choice for a long day in heat, and matching a few from your bouquet ties the look together.
18. Bridal Ponytail With Headband
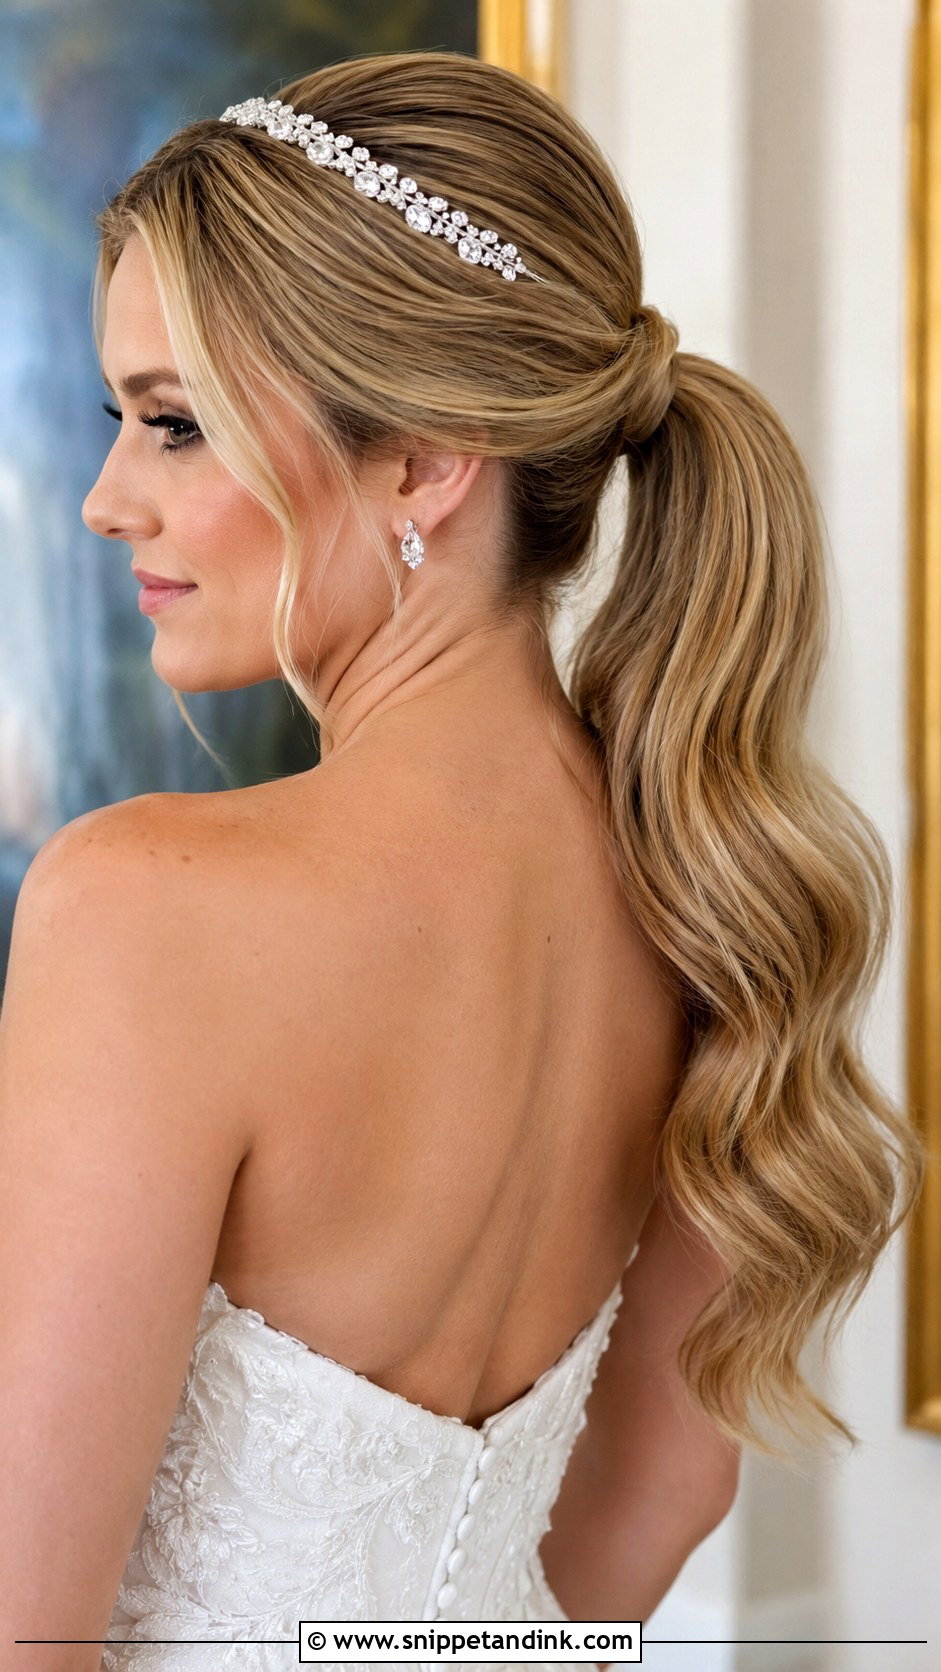
A sparkling headband does a lot of the styling work for you, which is why it’s popular with brides doing their own hair. Put the band on before you smooth the hair back, then pull the pony through, so the band sits in the hair rather than on top of a tight surface. Rigid headbands can press behind the ears after a few hours; try yours for at least an hour at the trial. A crystal or pearl band reads more formal than a fabric one.
19. Bridal Ponytail With Fishtail Braid
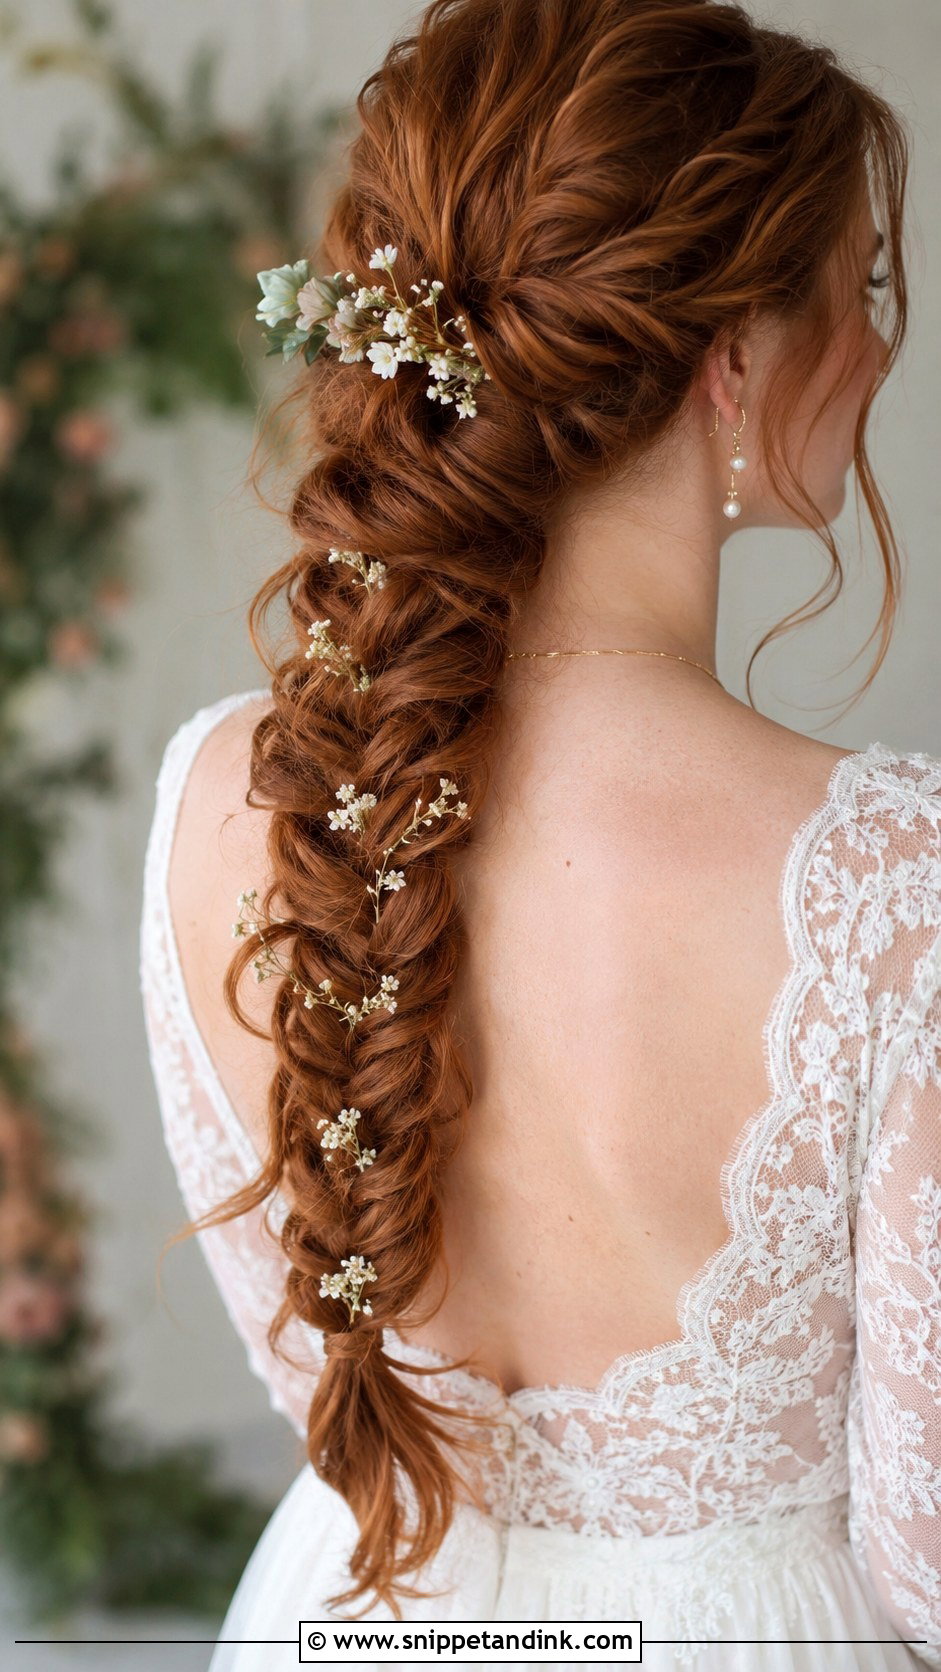
A fishtail takes longer than a three strand braid but looks finer and more intricate in close photos. I usually braid down the tail after securing the pony, finish with a tiny clear elastic, then gently pull the outer edges to widen it. It suits hair at least shoulder blade length; on shorter hair the fishtail runs out before it shows its pattern. Pearls tuck into the woven edges nicely if you want a little shine.
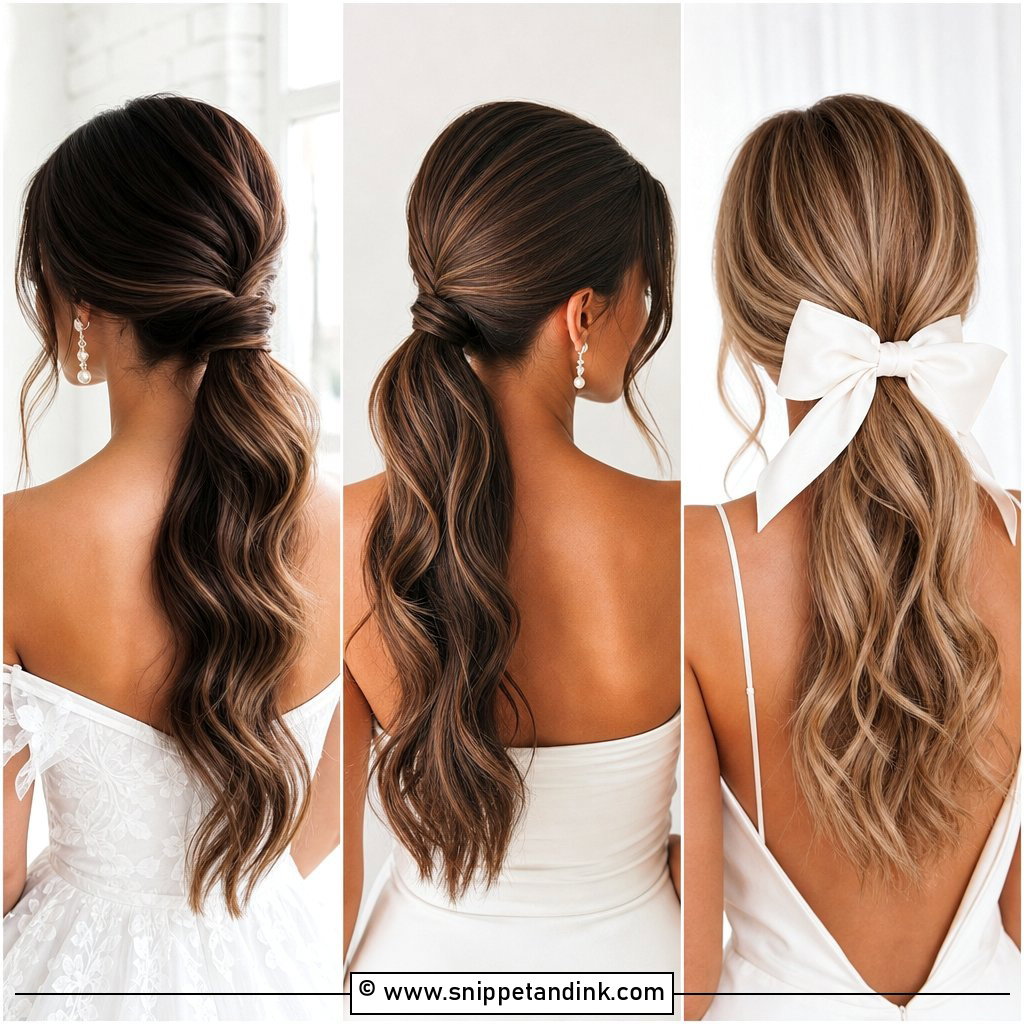
20. Vintage Bridal Ponytail
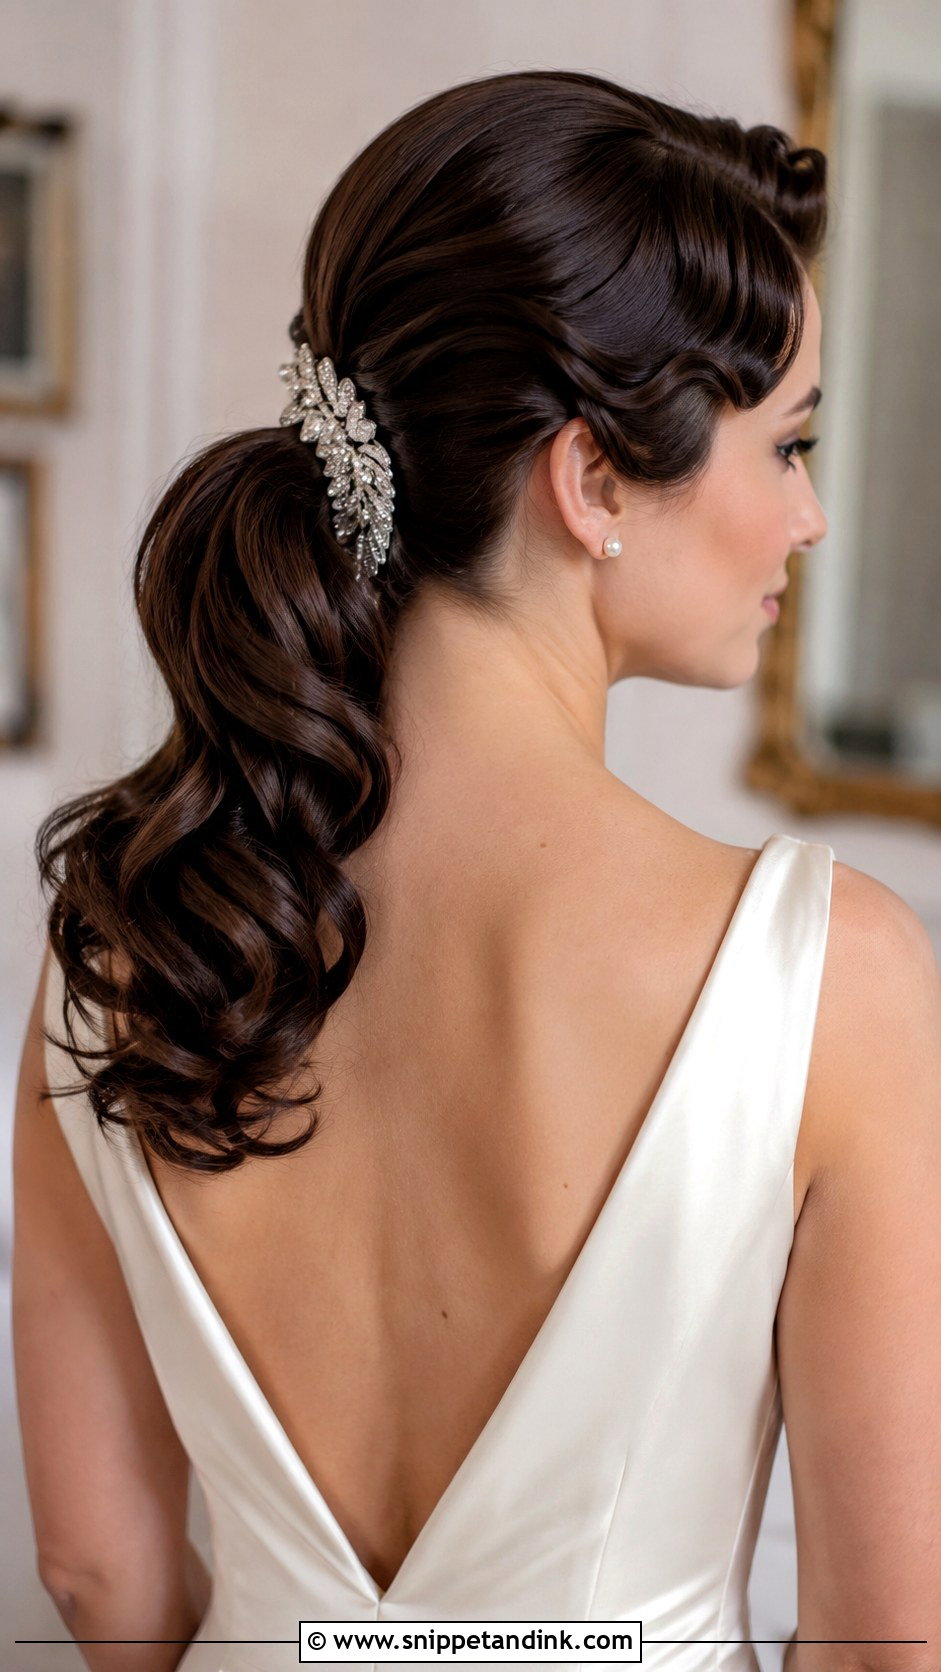
For a vintage feel I set sculpted waves at the crown and front with pin curls or a flat iron, then gather everything into a low, smooth pony. A deep side part sells the era. This needs a firmer hold product than most styles here because a dropped finger wave looks messy rather than relaxed. A sparkly comb at the side keeps it formal and suits a fitted, classic gown.
21. Bridal Ponytail With Tendrils
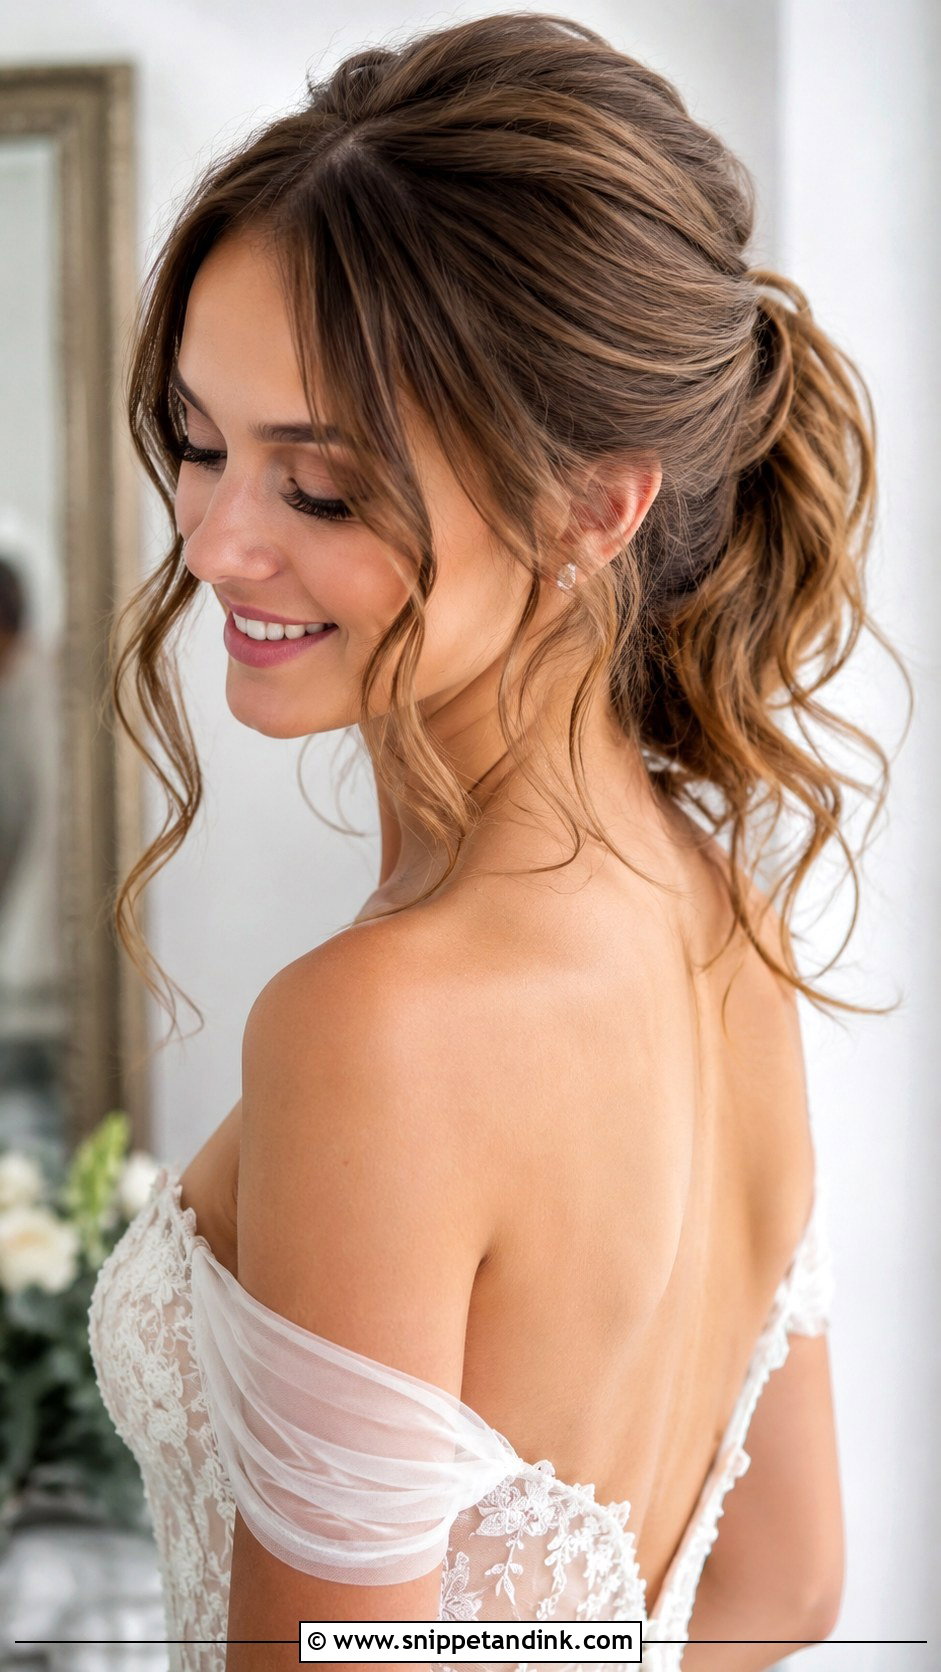
Tendrils are softer and longer than face framing pieces; they can fall from the nape and around the ears as well. I curl them in alternating directions so they don’t clump together. These wispy pieces are the first part of a style to go flat in humidity, so I give them a mini curling iron touch up before portraits if I’m staying on. Keep them fewer than you’d think; three or four reads intentional, ten reads unfinished.
22. Boho Bridal Ponytail
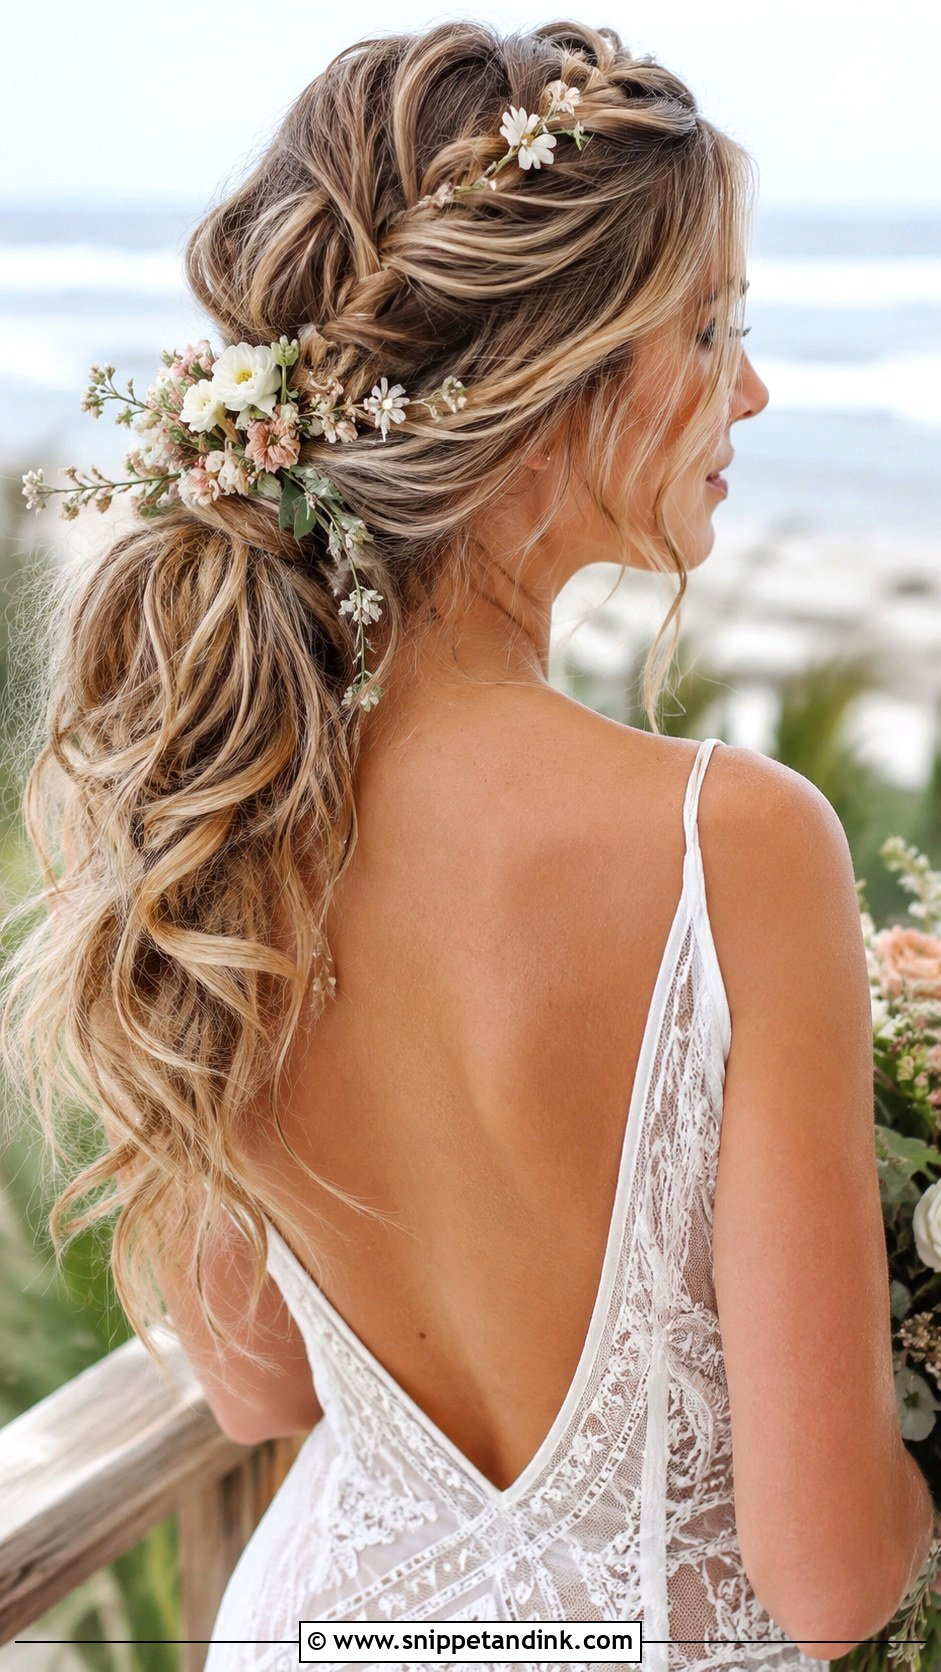
Boho ponytails depend on texture prepped the night before. I like hair washed the day before, then braided loosely overnight or curled in the morning with a wand left open at the ends. On the day I mess it up deliberately with a texture spray, add a loose braid or two, and pull pieces out at the hairline. It’s forgiving in wind and suits beach or field weddings, but it won’t satisfy you if you secretly want everything neat.
23. Bridal Ponytail With Crown Braid
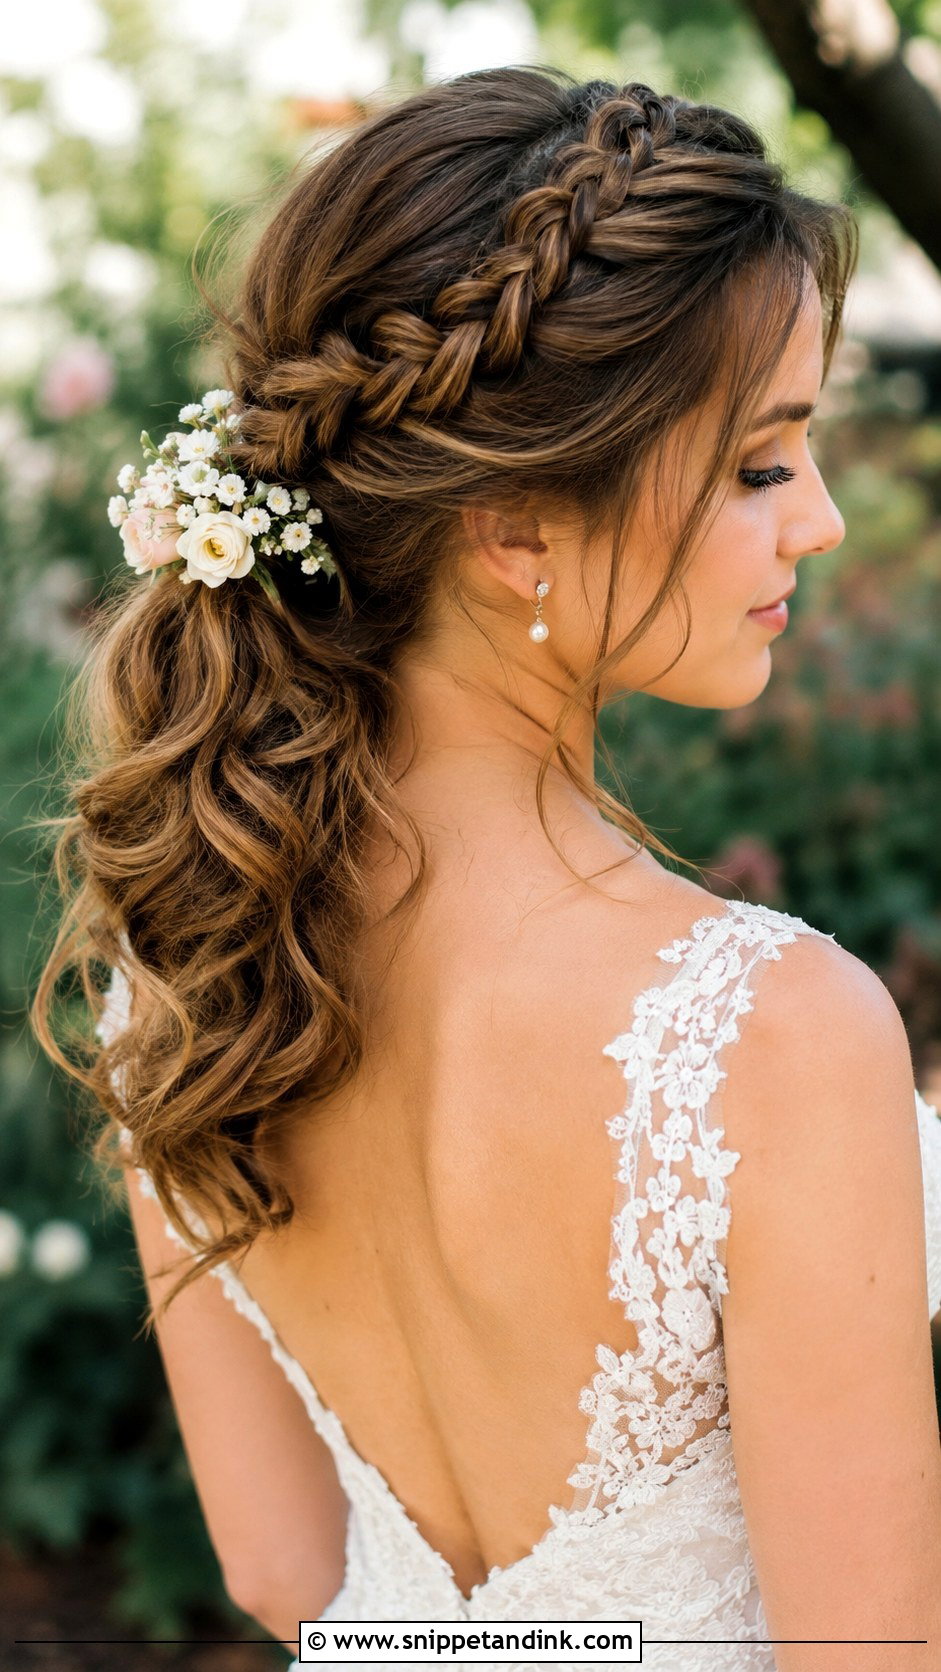
A crown braid wraps the head like a band and then releases into the pony at the back. It’s one of the most secure styles in this list because the braid itself becomes the anchor. Thick hair can make the braid look bulky over the ears, so I sometimes braid only a thinner front section. Loosen it slightly after pinning and add tiny blooms or pearls into the braid’s gaps for a halo effect.
24. Long Bridal Ponytail
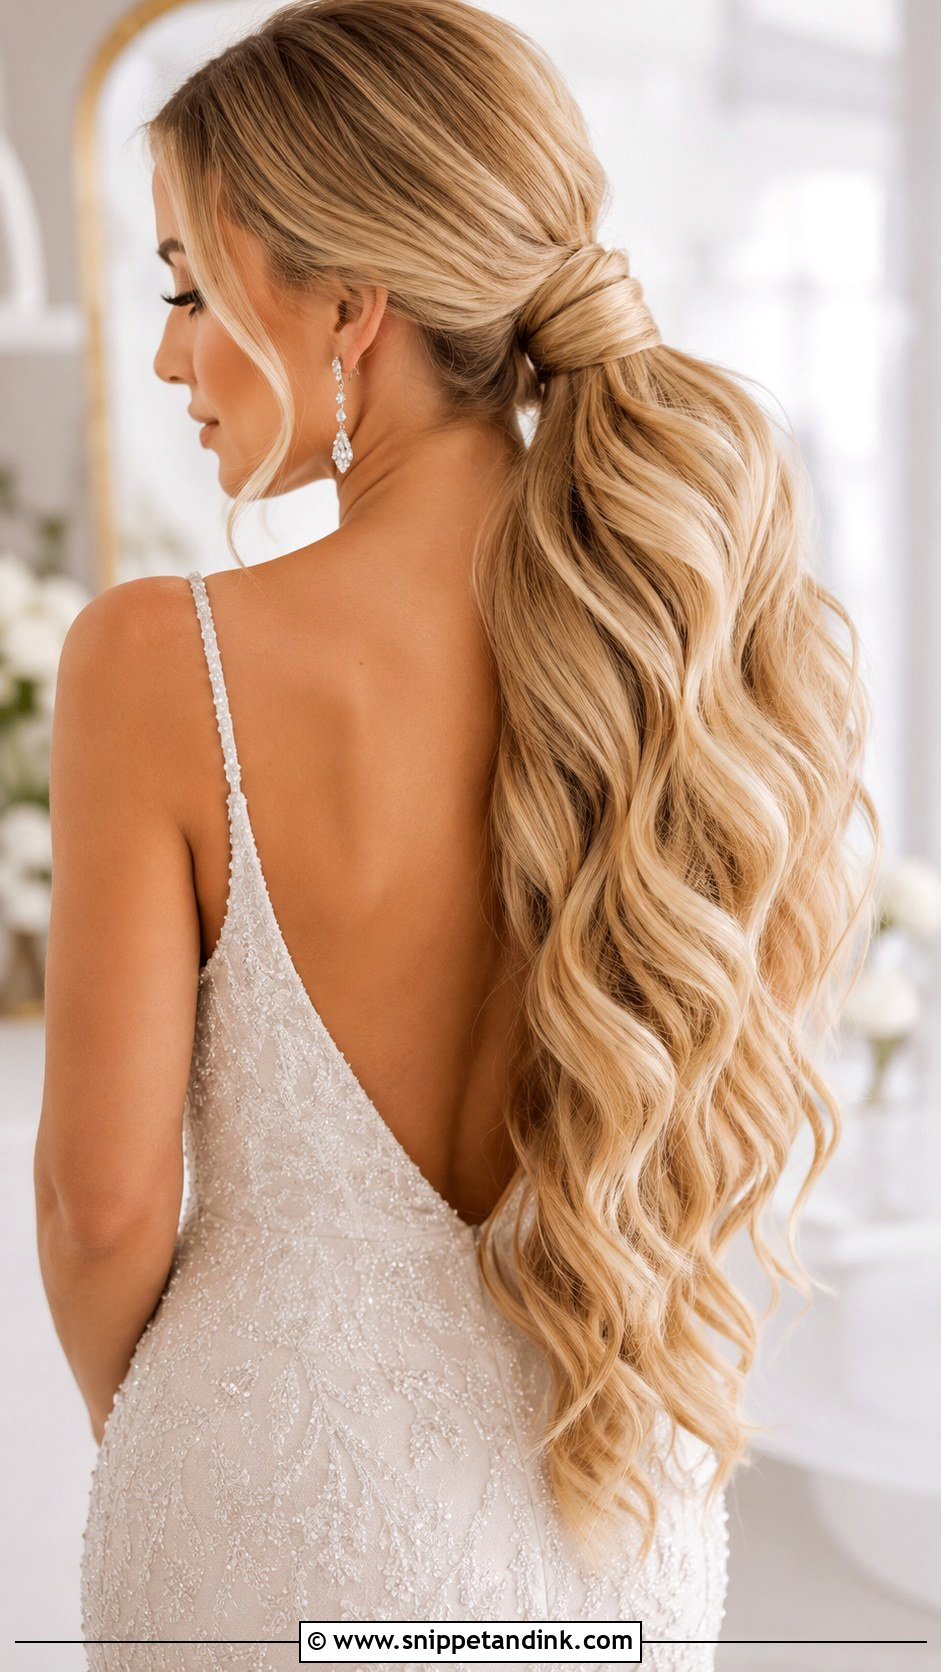
Length takes the attention to the back of the dress, so it suits gowns with open or detailed backs. If your hair stops above your shoulders, clip in extensions underneath the gathered pony or use a wrap around ponytail piece; I color match these in daylight, not salon lighting. Heavy extensions add real weight, so the base needs extra pins. Wrap the base to hide everything and choose waves or a sleek finish depending on your dress fabric.
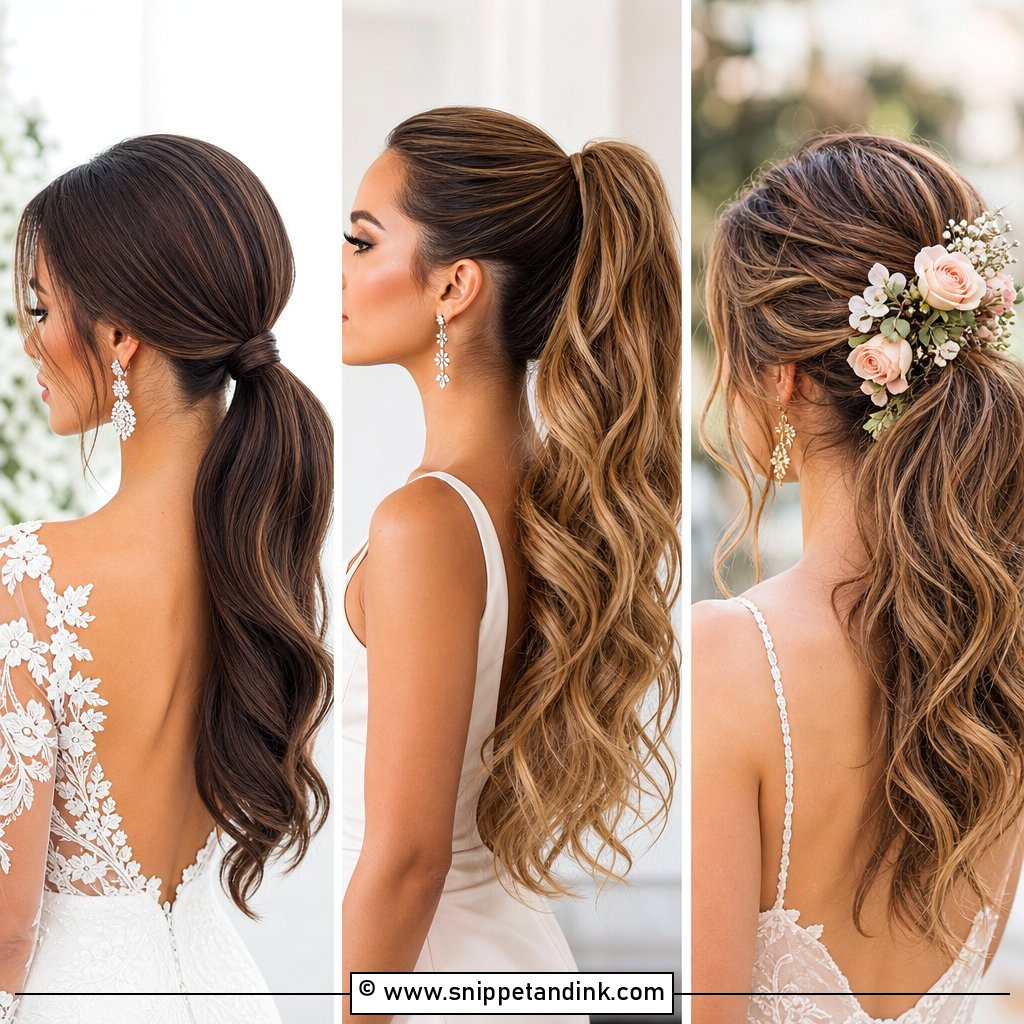
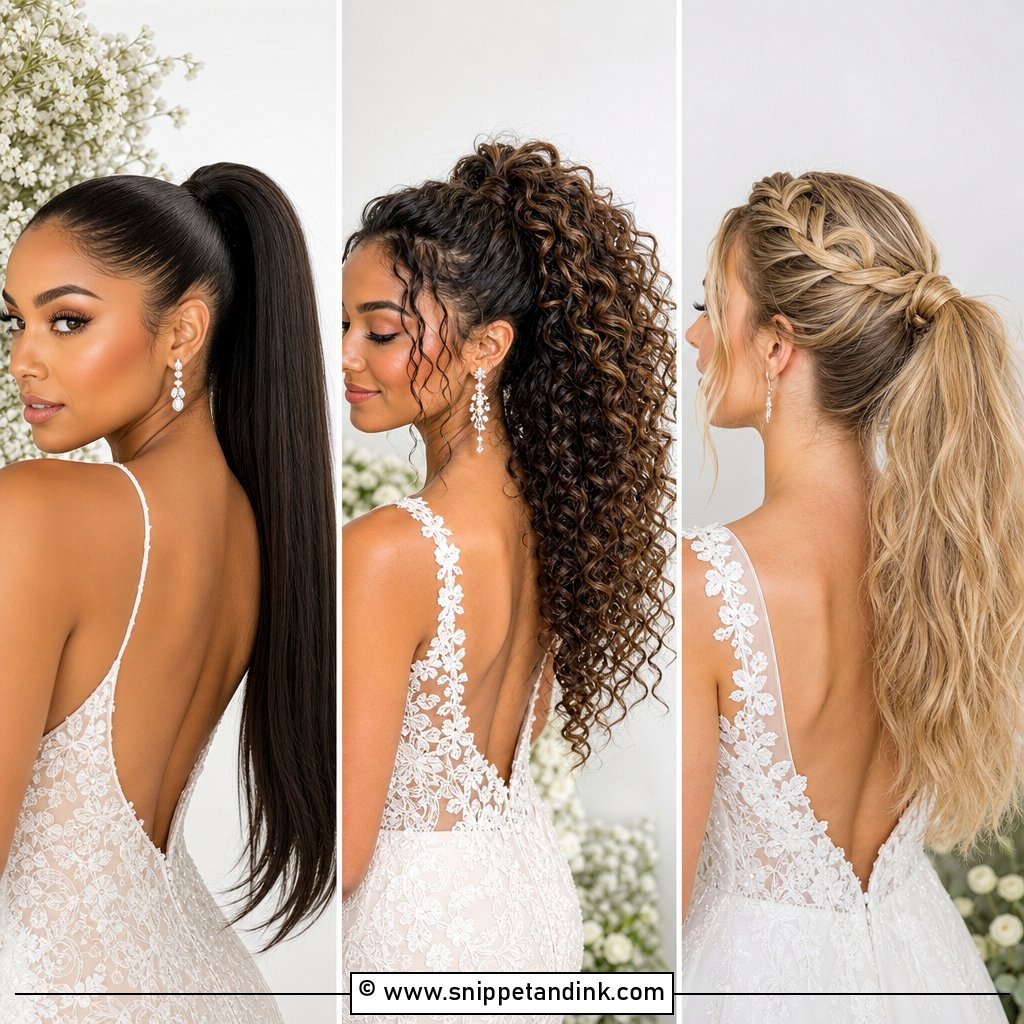
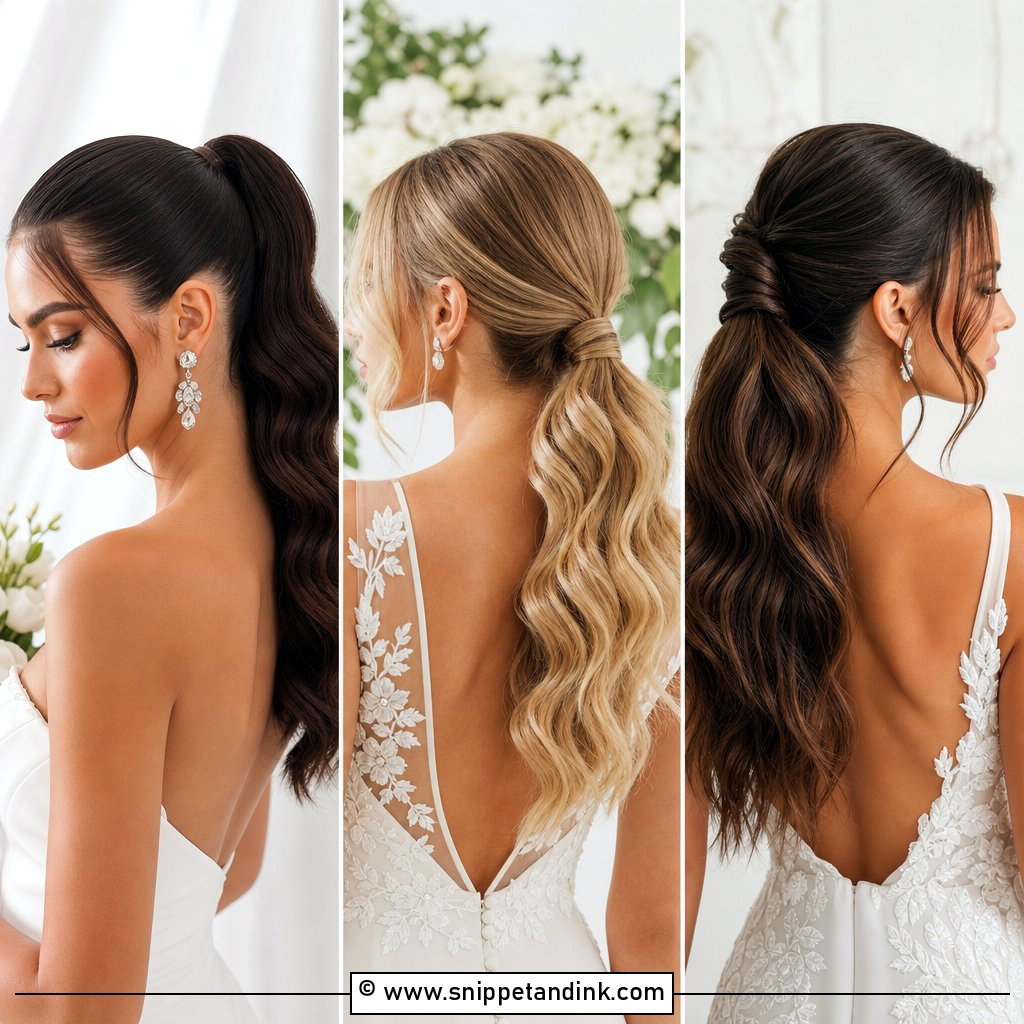
25. Bridal Ponytail With Rhinestone Accessories
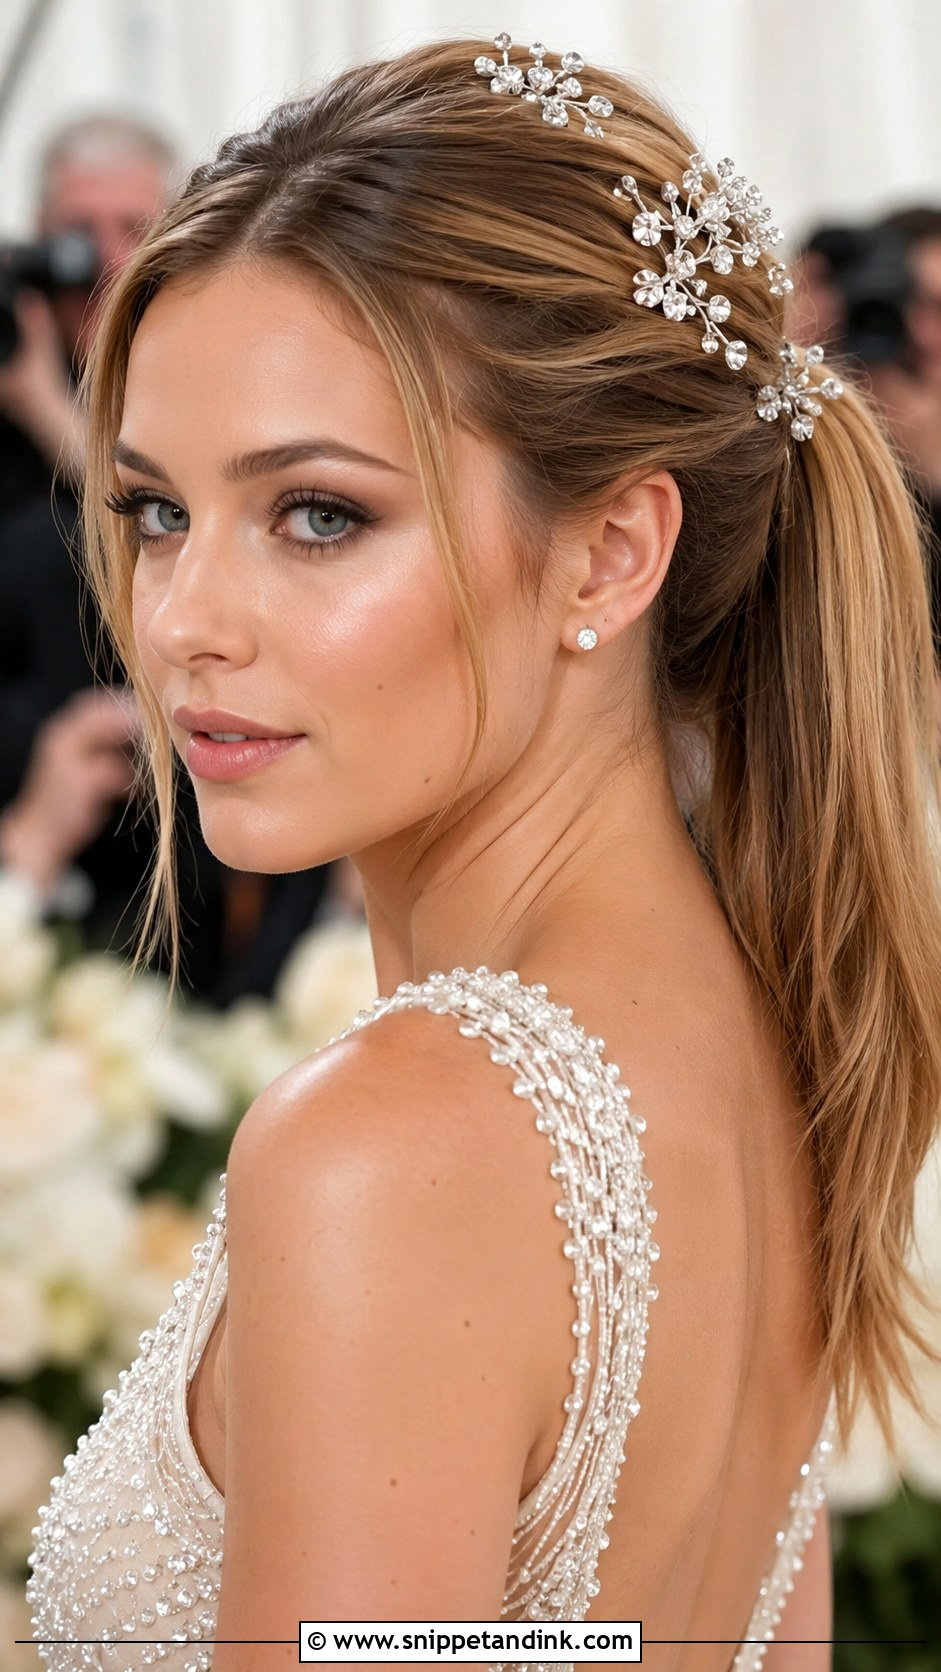
A little shine goes a long way under evening lights. I place rhinestone pins, clips at the base or scatter a few along the side of the crown, angled so they catch the photographer’s flash. Too many and the pony starts to look busy, especially with a beaded bodice. Check the backs of clips; some have sharp prongs that snag lace when you turn your head.
26. Messy Bridal Ponytail
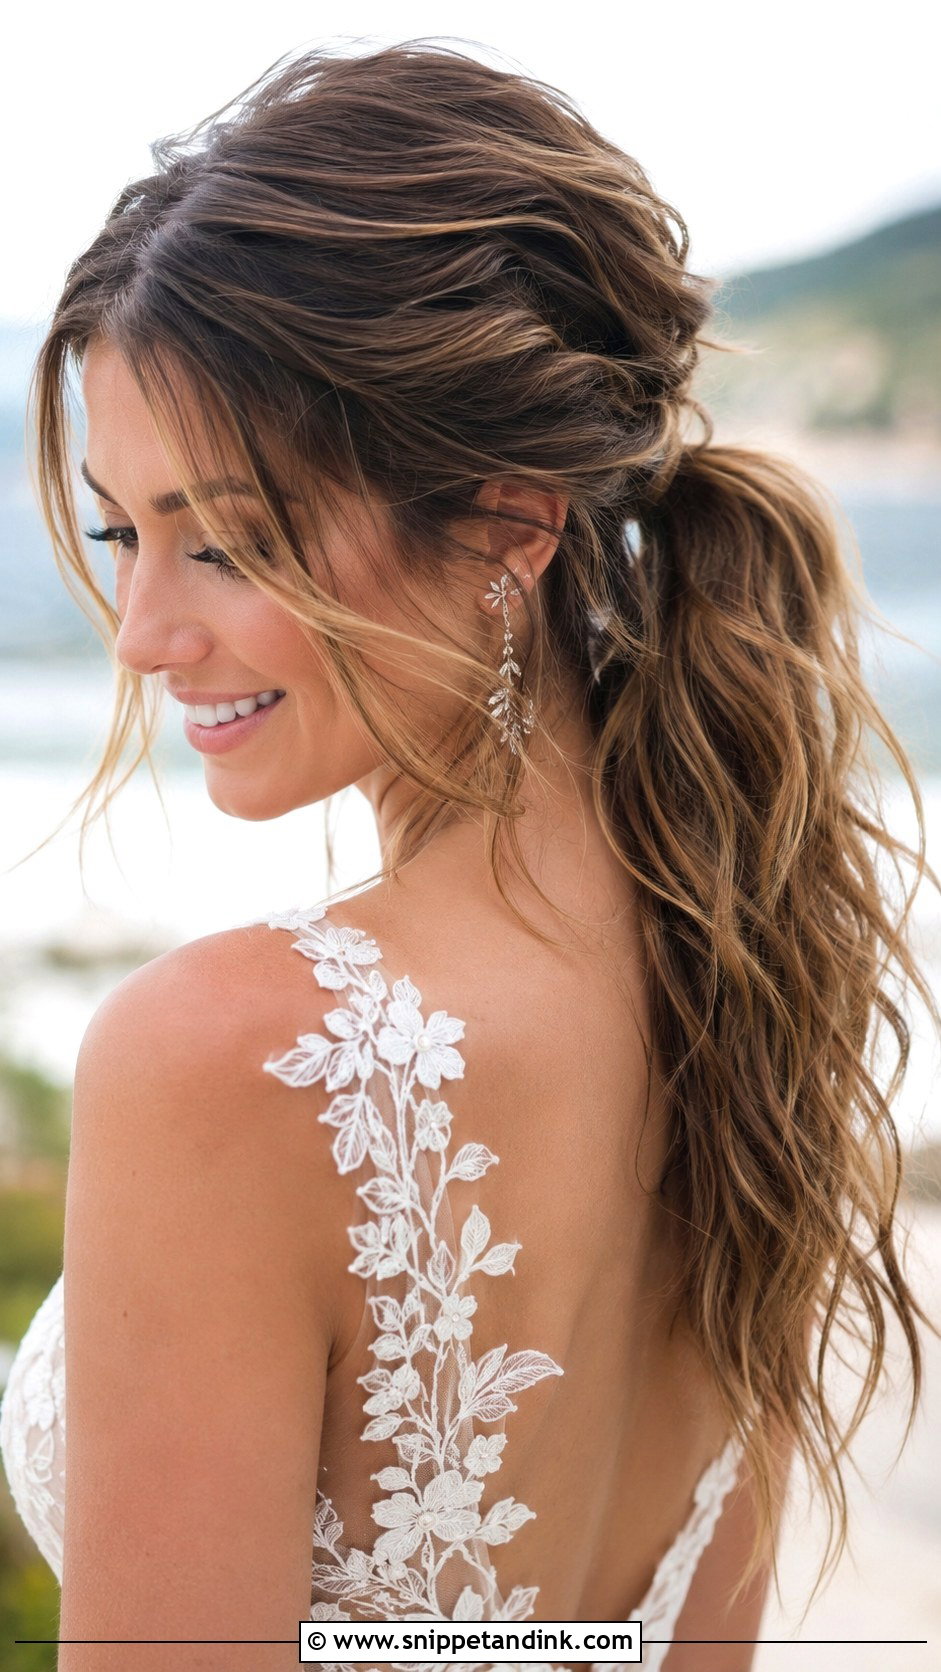
A messy pony still needs a solid base underneath it, or it simply falls apart. I secure the structure first, then add loose, tousled strands by pulling small pieces from the crown with the tail of a comb. Texture spray, not hairspray, keeps it soft. It’s the right choice for relaxed outdoor weddings and brides who dislike a polished look, and the wrong one if you’ll be fussing with it all night.
27. Bridal Ponytail With Bangs
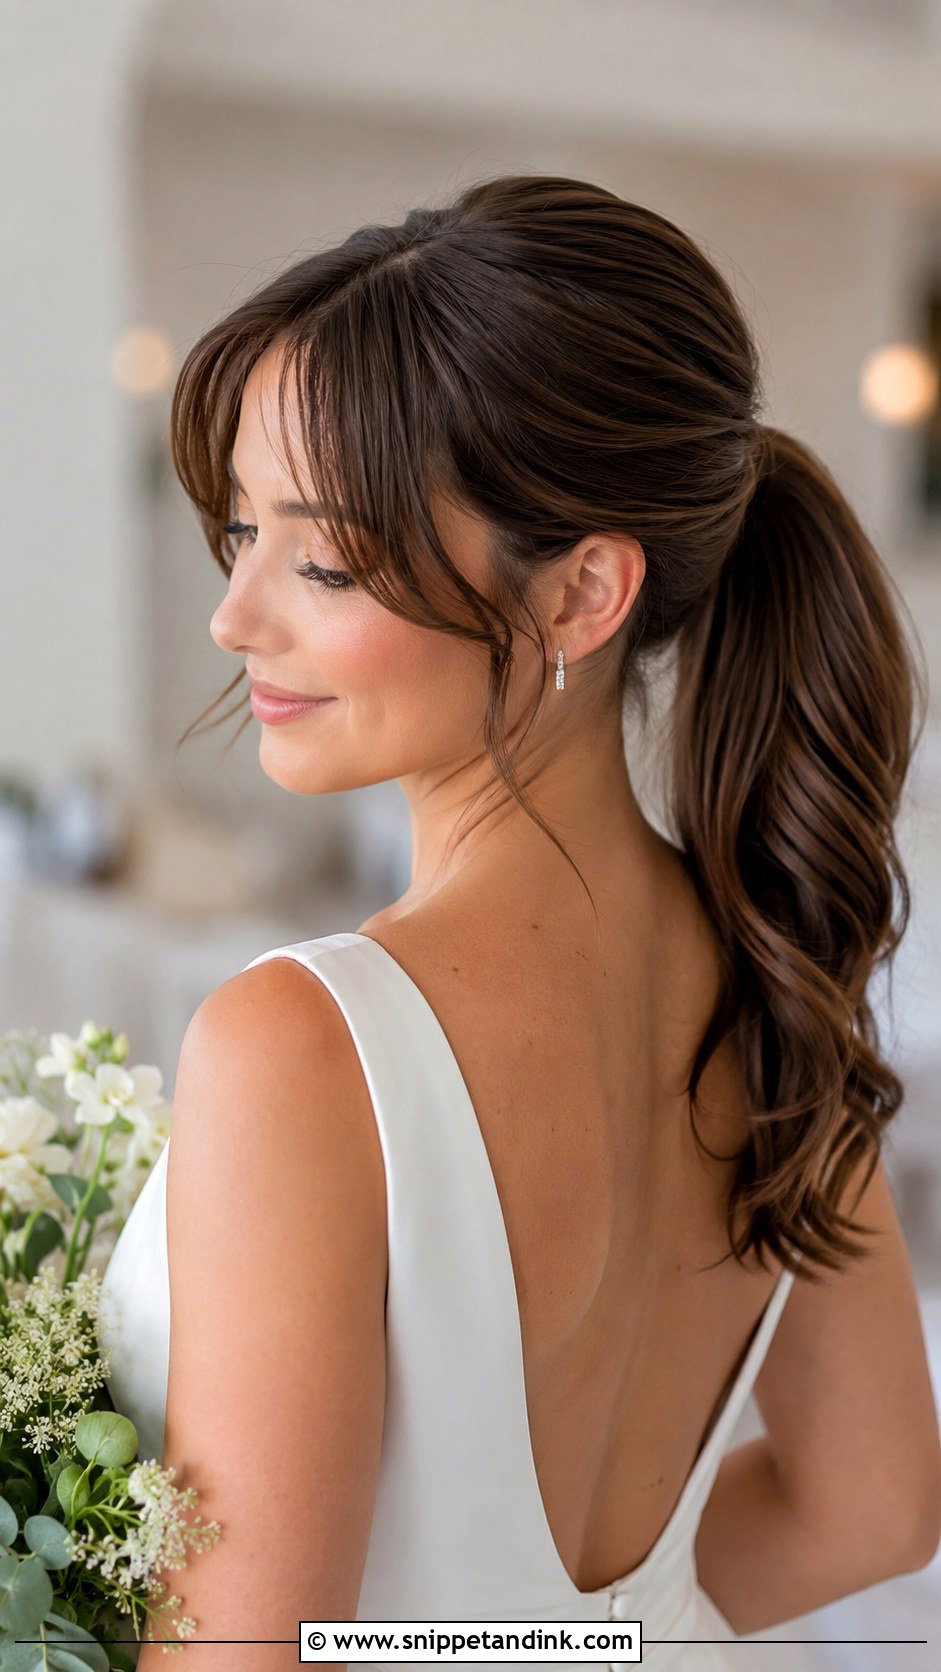
Bangs change how the whole pony is balanced. With wispy, curtain, or full bangs, I keep the crown flatter so the front stays the focal point. Never cut new bangs in the final week before the wedding; get them trimmed about a week out so they settle. Blunt bangs suit a sleek high pony, while curtain bangs blend best into a low wave.
28. Bridal Ponytail With Gold Accessories
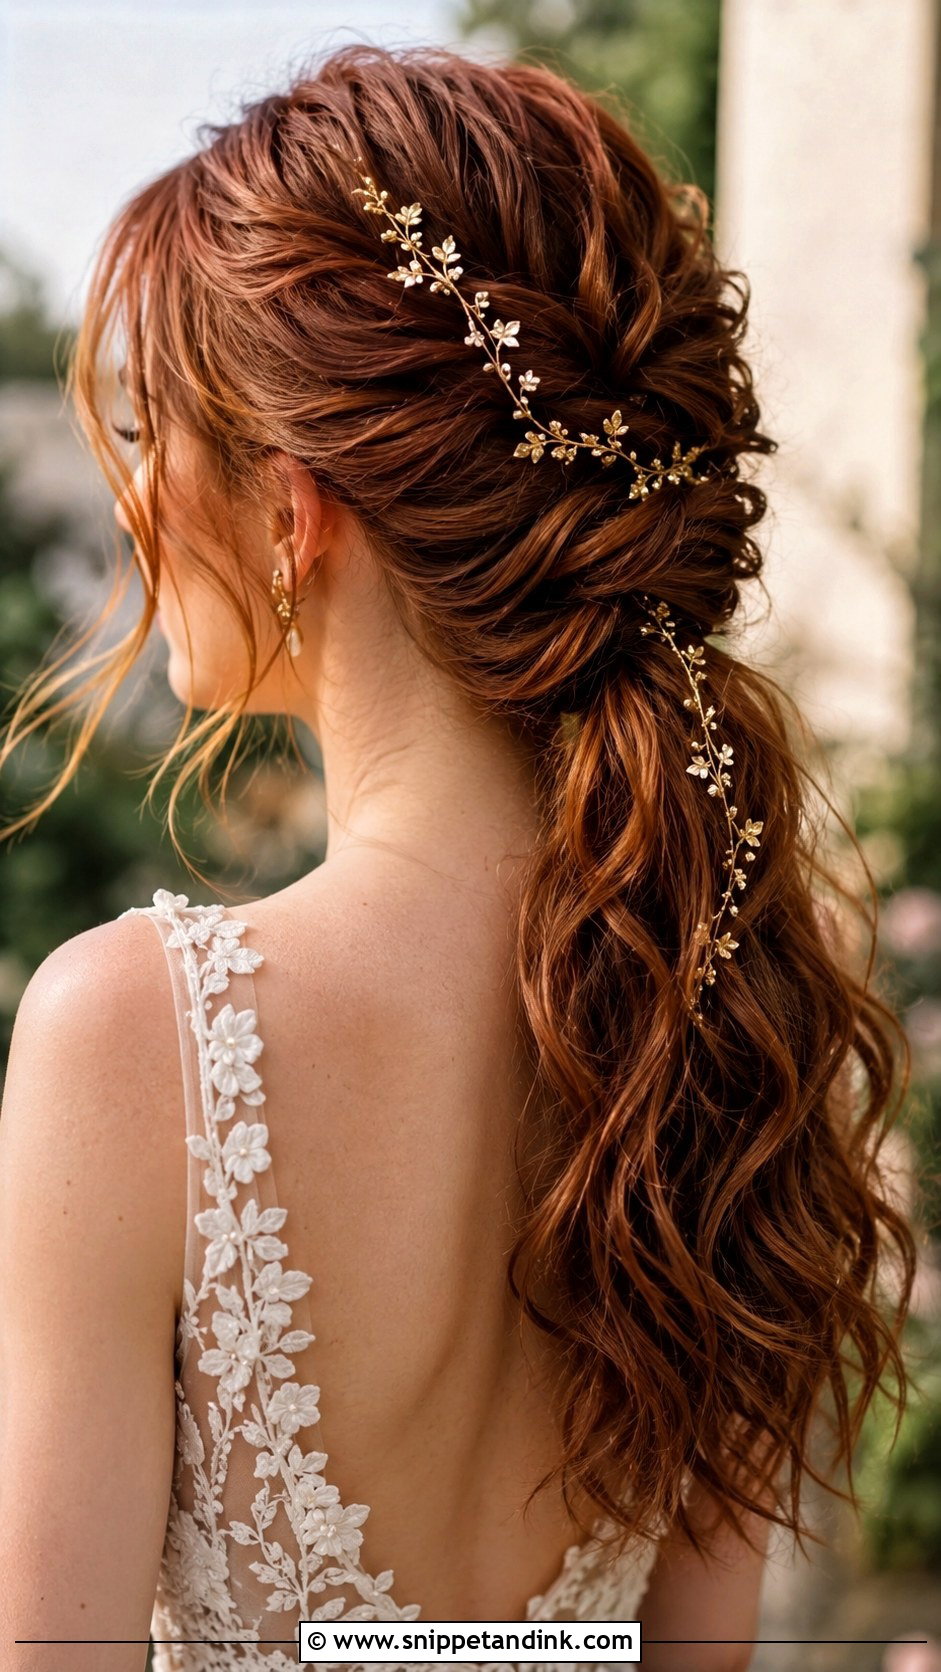
Gold accessories warm up a look, especially against ivory or champagne fabric. Gold leaf clips and hair vines look natural woven along the side of a textured pony; I pin vines with small bobby pins every couple of inches so they don’t sag. Match the gold to your jewelry, since yellow gold beside rose gold looks unintentional in close photos. It also suits warm-toned or darker hair, where silver can disappear.
29. Sleek Mid-Height Bridal Ponytail
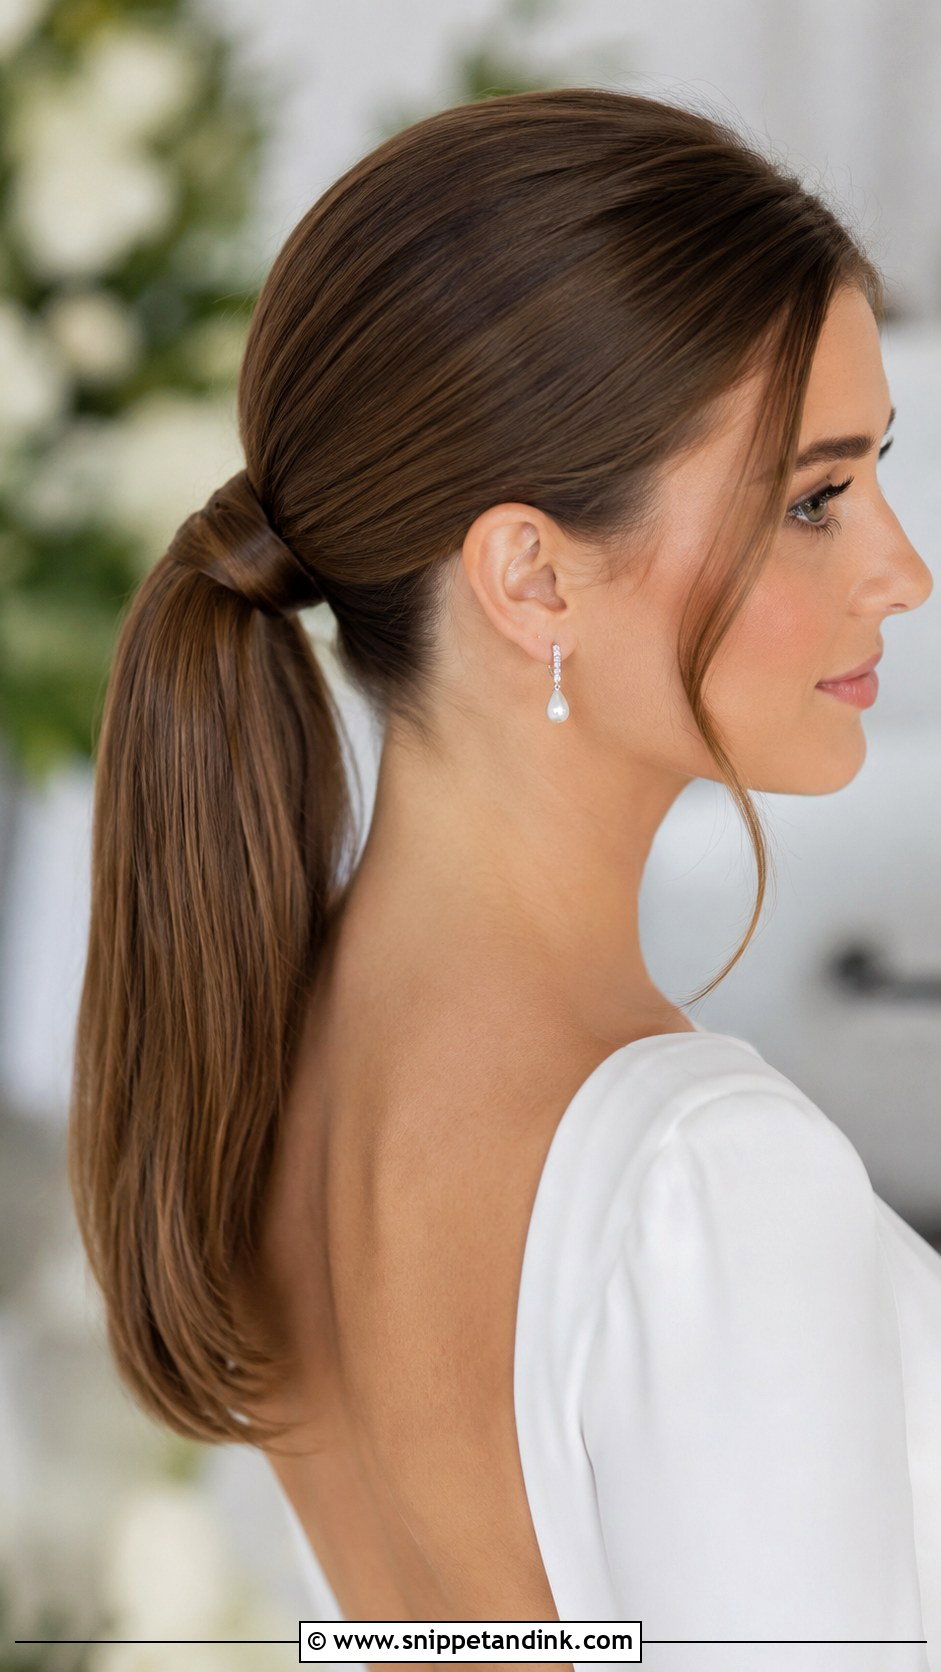
Mid height, roughly in line with the top of the ears, is the safest ponytail position for most faces and most dresses. It doesn’t fight a veil comb and it shows from the front without the strain of a crown pony. I find it the easiest to keep smooth on medium thickness hair. Wrap the base and finish with a light gloss spray for a clean look that works through ceremony and reception.
30. Bridal Ponytail With Loose Curls
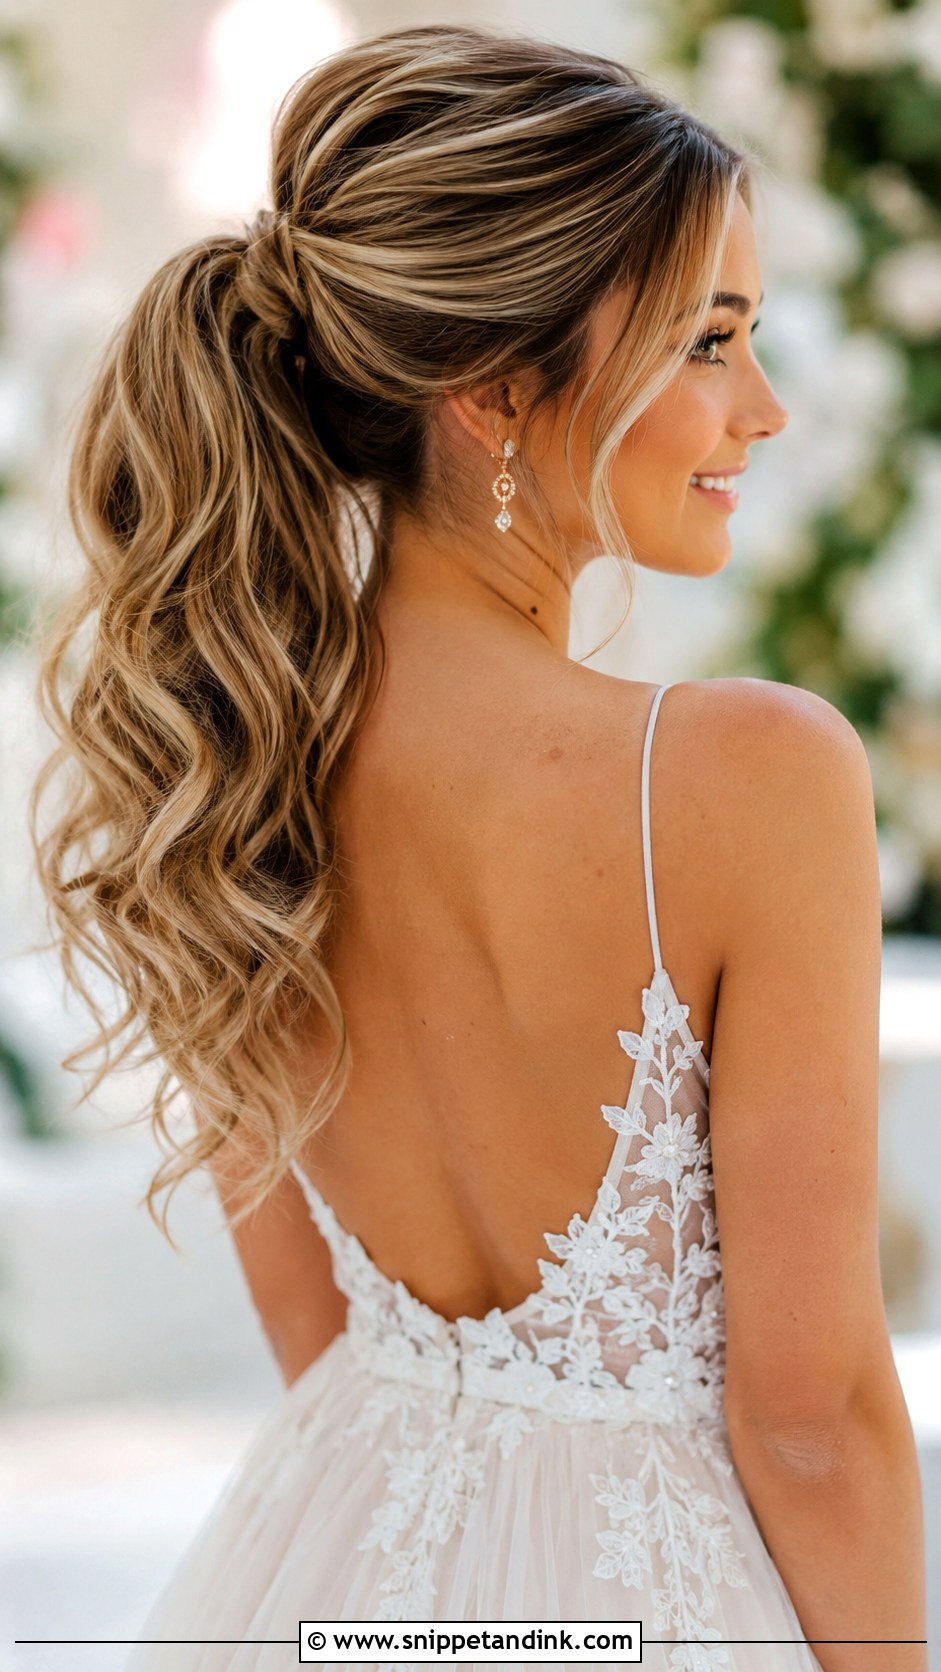
Loose curls are the softer cousin of the textured wave pony. I curl the length in larger sections, brush through lightly once secured, and leave the ends a bit more defined so they keep their shape. Heat and humidity are the main risks here; if your venue is outdoors in summer, plan a touch up moment before portraits. Release a couple of face framing pieces so the front isn’t too tight.
What Loosens a Wedding Ponytail, and How I Prevent It
Ponytails fail in predictable ways, and almost all of them start in the prep, not on the dance floor. Freshly washed, silky hair slides out of elastics, so I prefer hair washed the day before, or I add a dry texture spray at the roots before brushing back.
- The base slips: an elastic alone isn’t enough. Two bobby pins crossed under the base, pushed up toward the head, lock it in place.
- The tail droops: curls set without cooling relax fast. Each curl gets pinned until it’s cold before brushing out.
- The front puffs up: humidity lifts the smooth top. A light anti humidity spray before the gel or serum helps more than extra hairspray afterwards.
- Headaches by evening: a style pulled too tight pulls on the scalp. If it aches at the trial, it will ache by the reception.
For the day itself, I pack a small clear bag for the maid of honor: a few bobby pins matched to your hair color, two clear elastics, a travel serum and a fold up comb. That covers almost every repair.
Taking It Down Without Ripping Your Hair
At the end of the night, don’t yank the elastic. Remove pins and accessories first, then cut a clear elastic with nail scissors rather than pulling it off; they tangle and break hair. Detangle from the ends upward with a wide tooth comb and a little conditioner or oil. If you’ve had gel and lots of spray, a gentle double shampoo the next morning gets the build up out without stripping your hair.
Take Your Dress Photo to the Ponytail Trial
Every pony here comes down to the same few decisions: how high it sits, how smooth the base is, and what texture runs down the tail. Bring a photo of your dress from the back, your veil if you have one, and the accessories you plan to wear to the trial so your stylist can place everything together. Wear a button front top so you can change without disturbing the style, and leave it in for at least a few hours afterwards. If it still feels secure after dinner and a walk outdoors, you’ve found your wedding ponytail.
You'll Like These Ideas:


Leave a Reply