
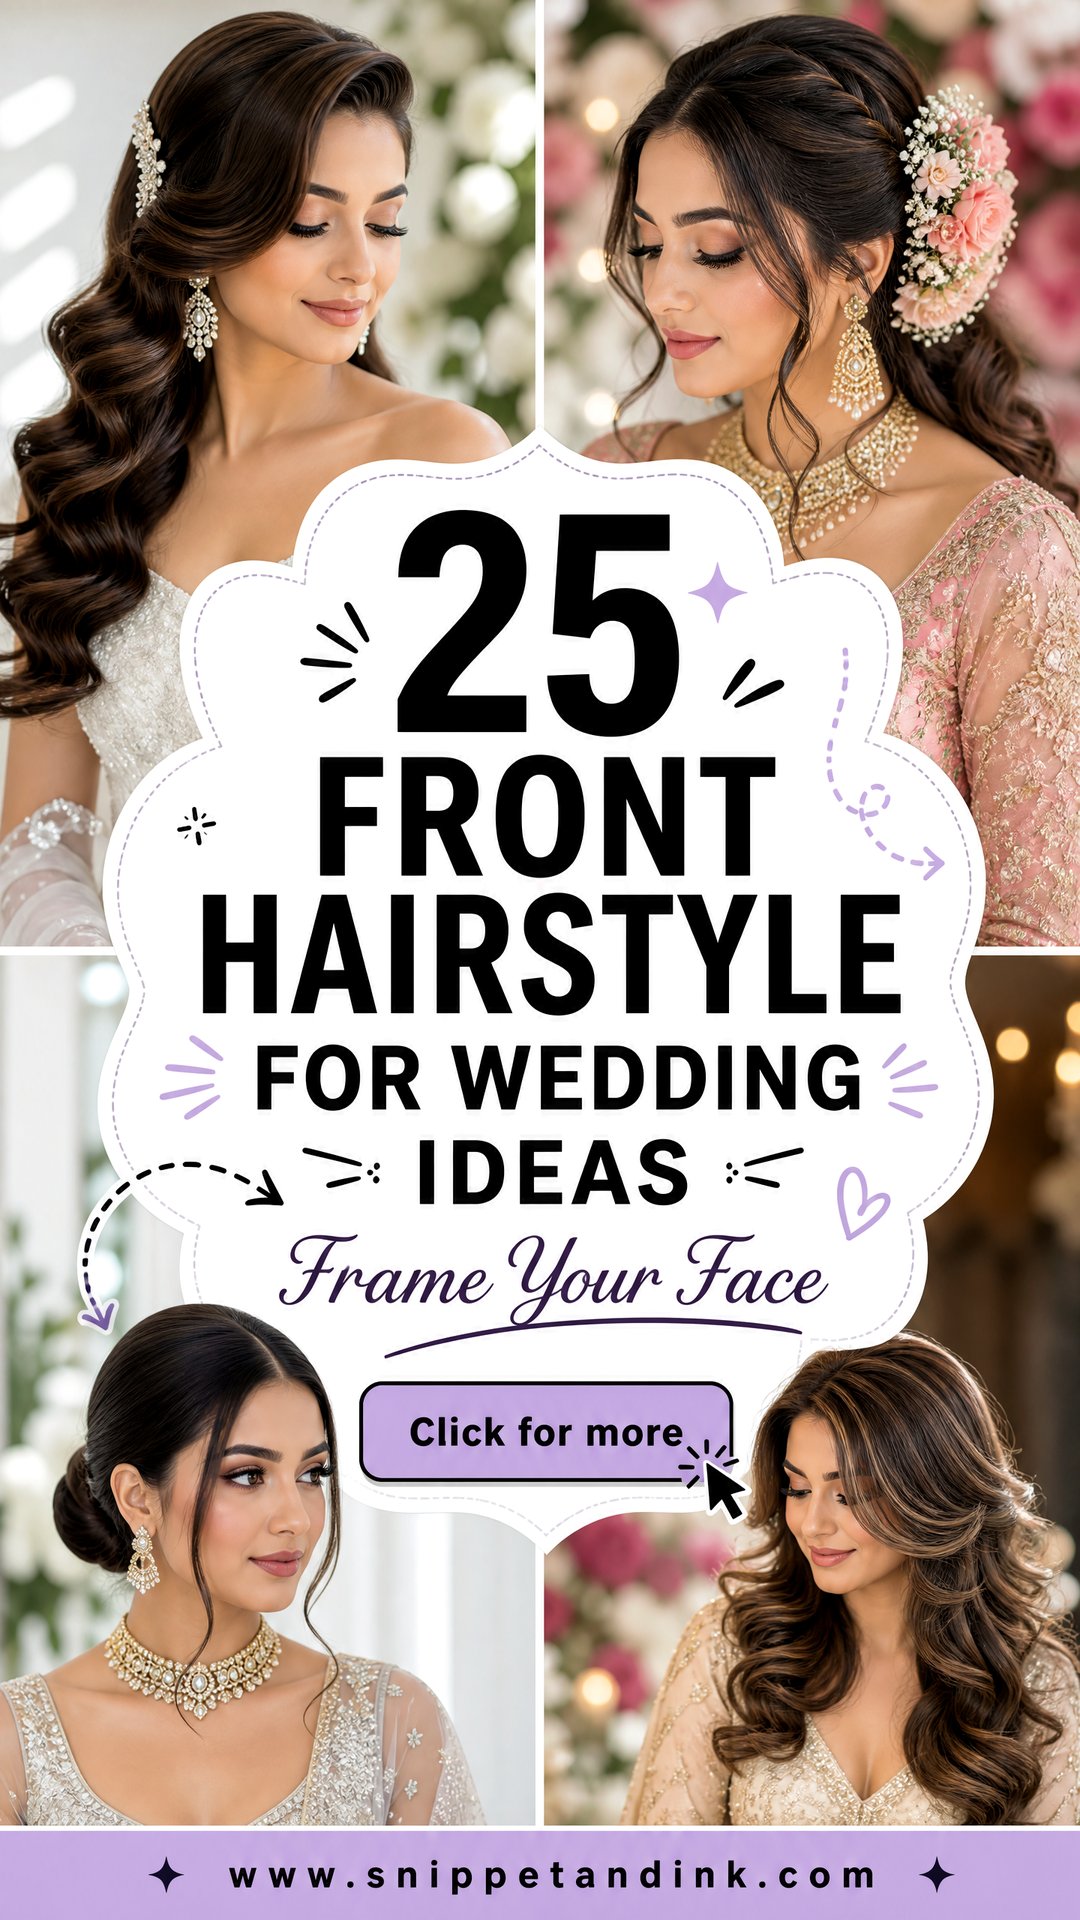
The front of the hair is where most of my trial time goes. The back of an updo is seen from the pews; the front is in every close-up, every kiss and every candid at the table. It decides whether your face looks open or softened, which side the camera favours and how the veil sits. Below are 25 front styles I use with brides, from curtain bangs and Hollywood waves to braids and slicked-back finishes, with notes on the hairlines, textures and lengths each one actually suits.
Cowlicks, Partings and Baby Hairs Decide More Than Face Shape
Face shape gets most of the attention, but the hairline itself is what makes a front style hold or fail. At a trial I wet the front and let it dry naturally to see where it wants to fall before choosing anything.
- A cowlick at the front decides where your part goes. Working against it gives a flick by mid-afternoon.
- A widow’s peak suits a side part or a swept-back front better than a dead-centre part, which can make the point look sharper.
- Fine baby hairs at the temples stick out of slick styles. I either gel them flat or leave them soft on purpose.
- Thinning at the temples shows in slicked-back and centre-part styles. Curtain bangs or a soft side sweep cover it naturally.
Bangs need planning too. If you want a fringe for the wedding and don’t wear one now, cut it at least six weeks before, so there’s time to grow it out if it doesn’t suit you.
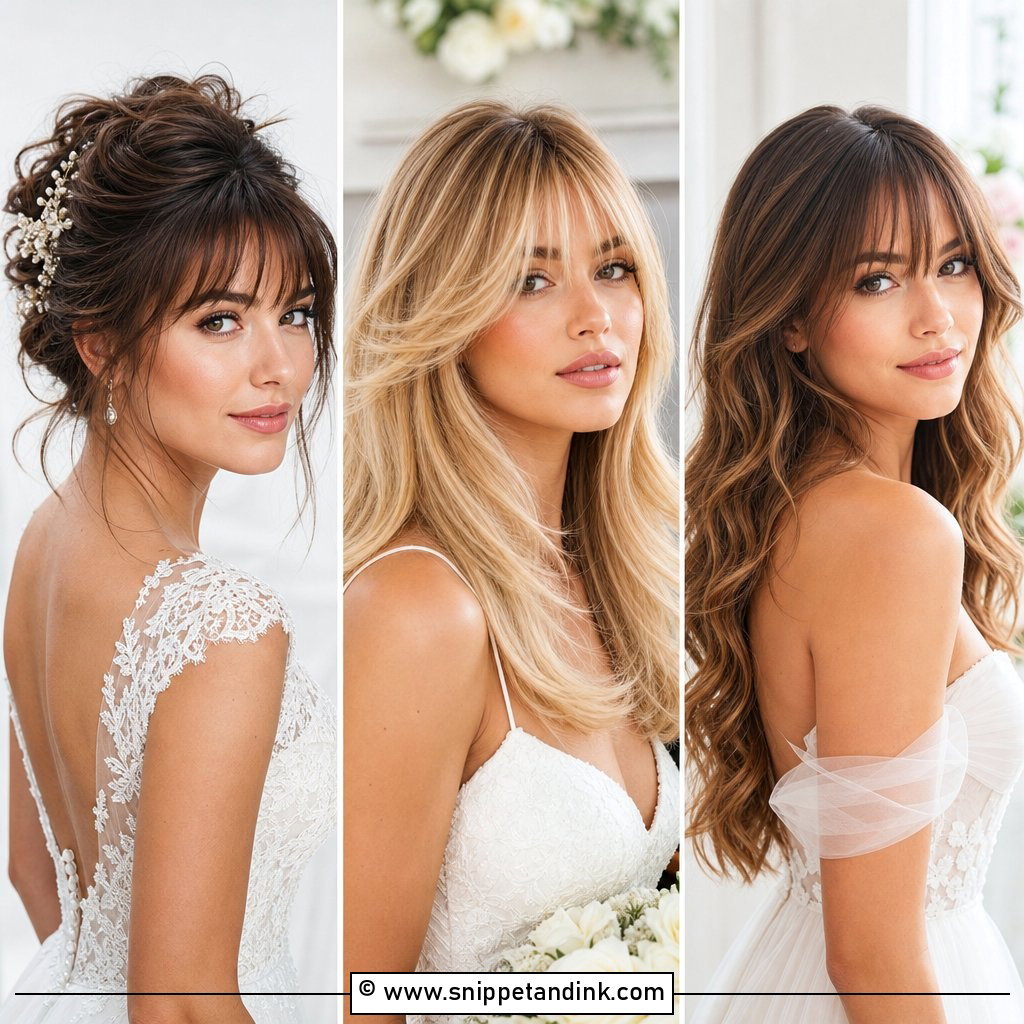
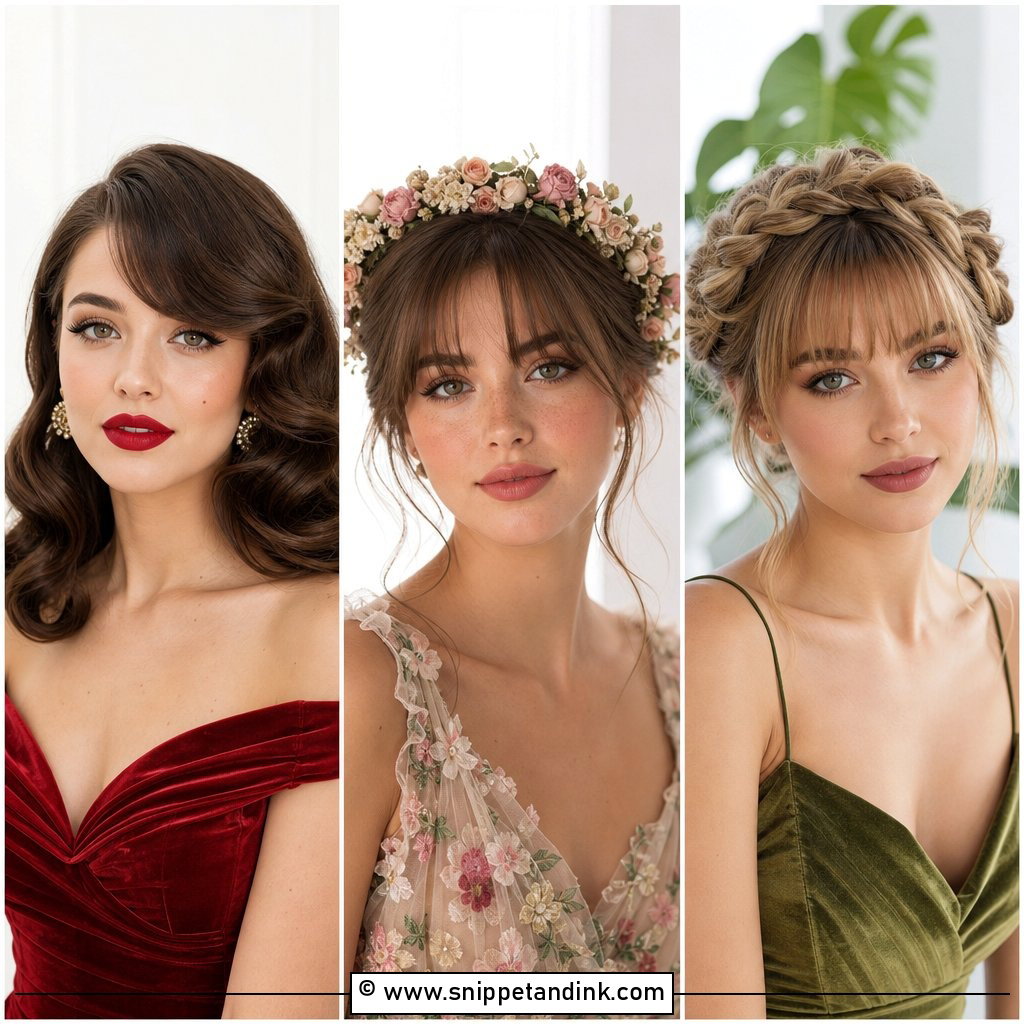
1. Face-Framing Curtain Bangs for Wedding
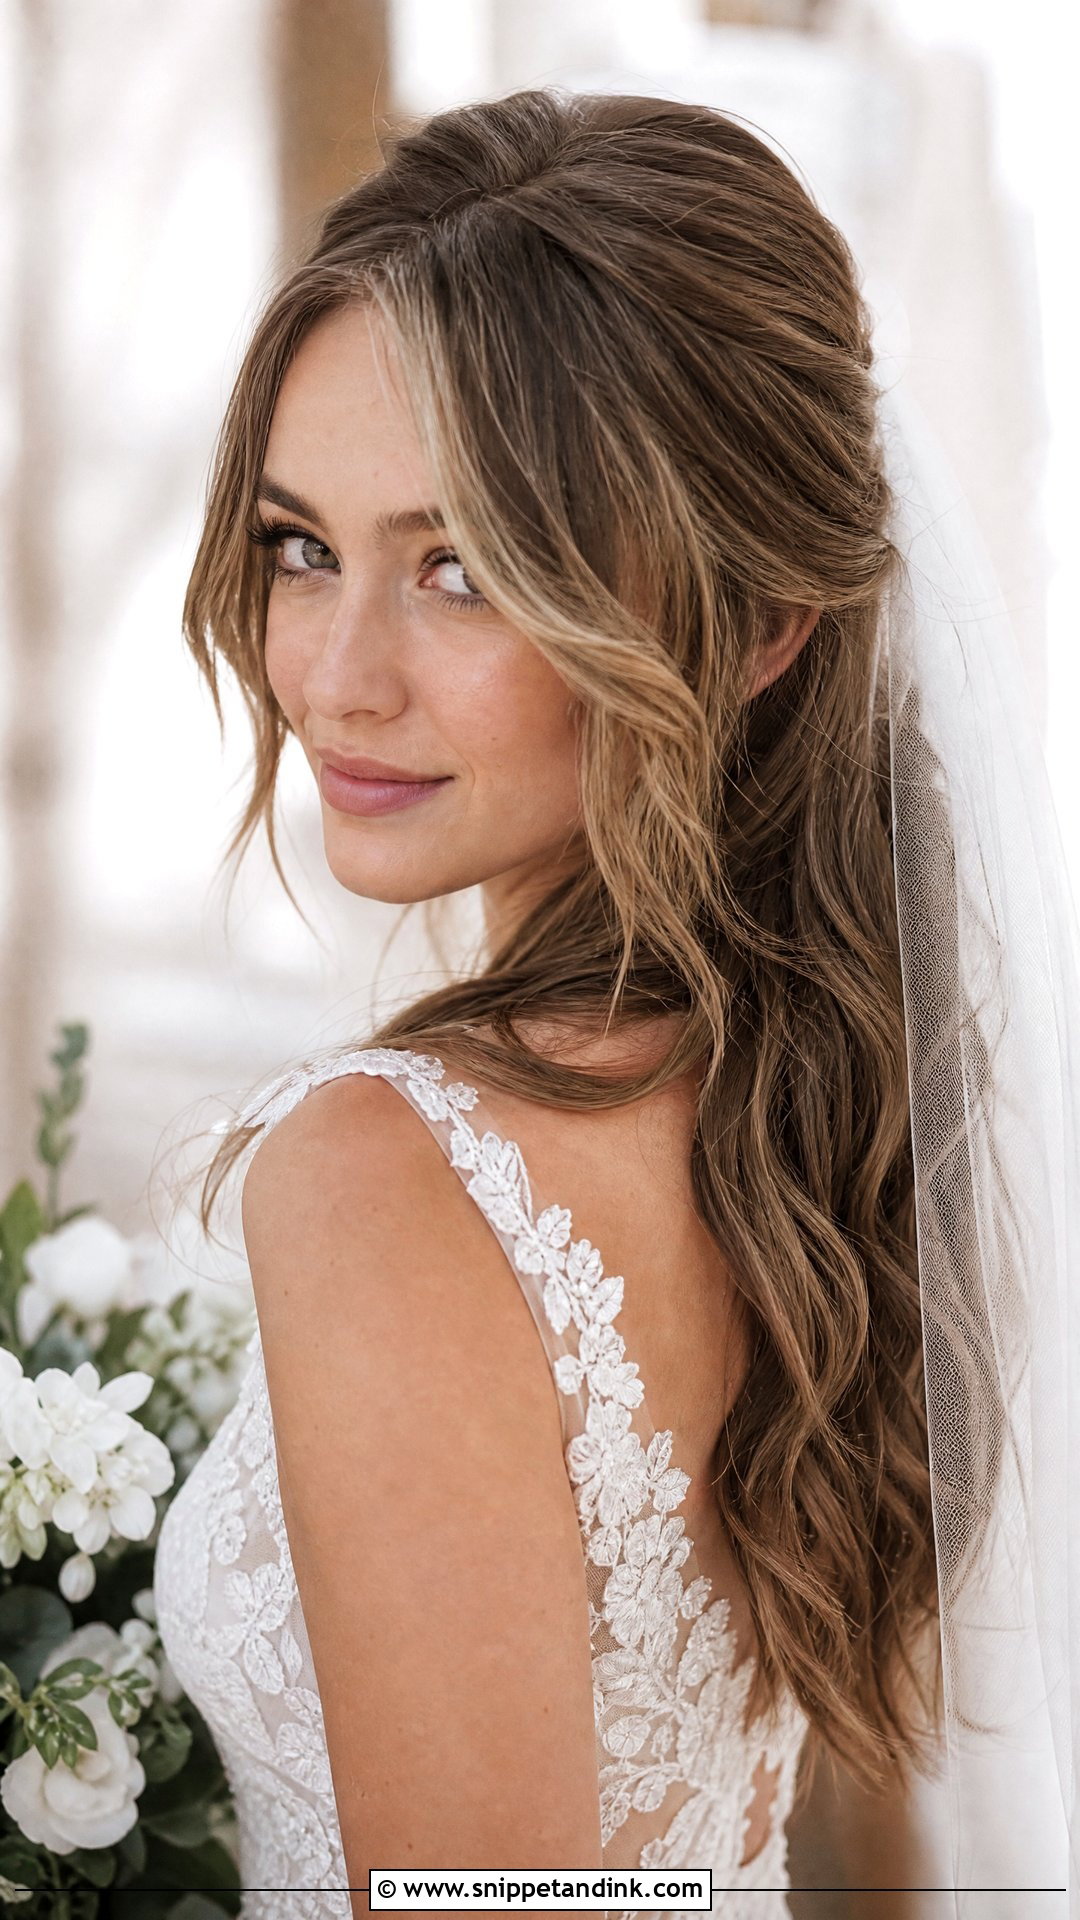
Curtain bangs part in the centre and fall away to each side, so they frame the cheekbones without covering the eyes. They only behave if they’re blow-dried properly: I use a medium round brush and dry them up and back, then curl the ends away from the face. Dried flat, they split and hang straight. They blend into updos, half-up styles and loose waves, and they soften a long or angular face. Get them trimmed about a week before the wedding so they’ve settled.
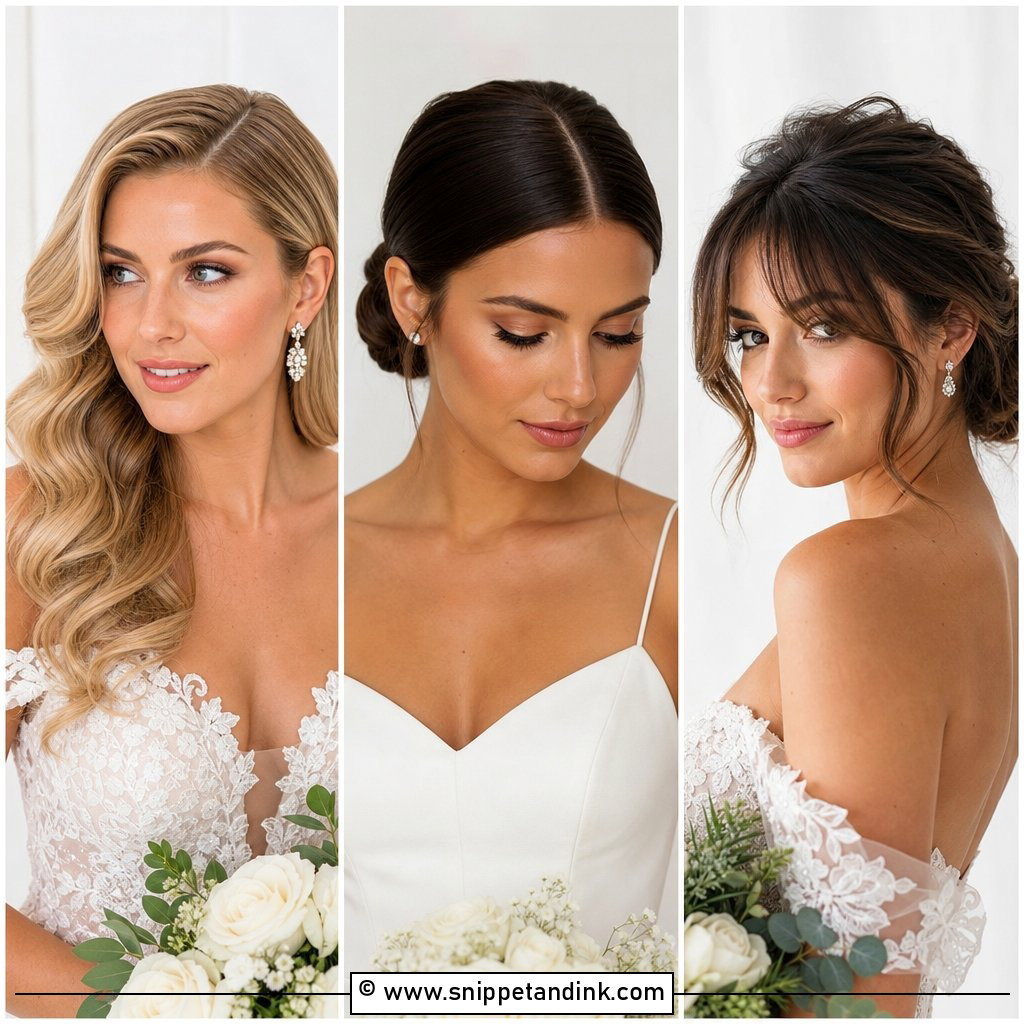
2. Hollywood Waves for Wedding
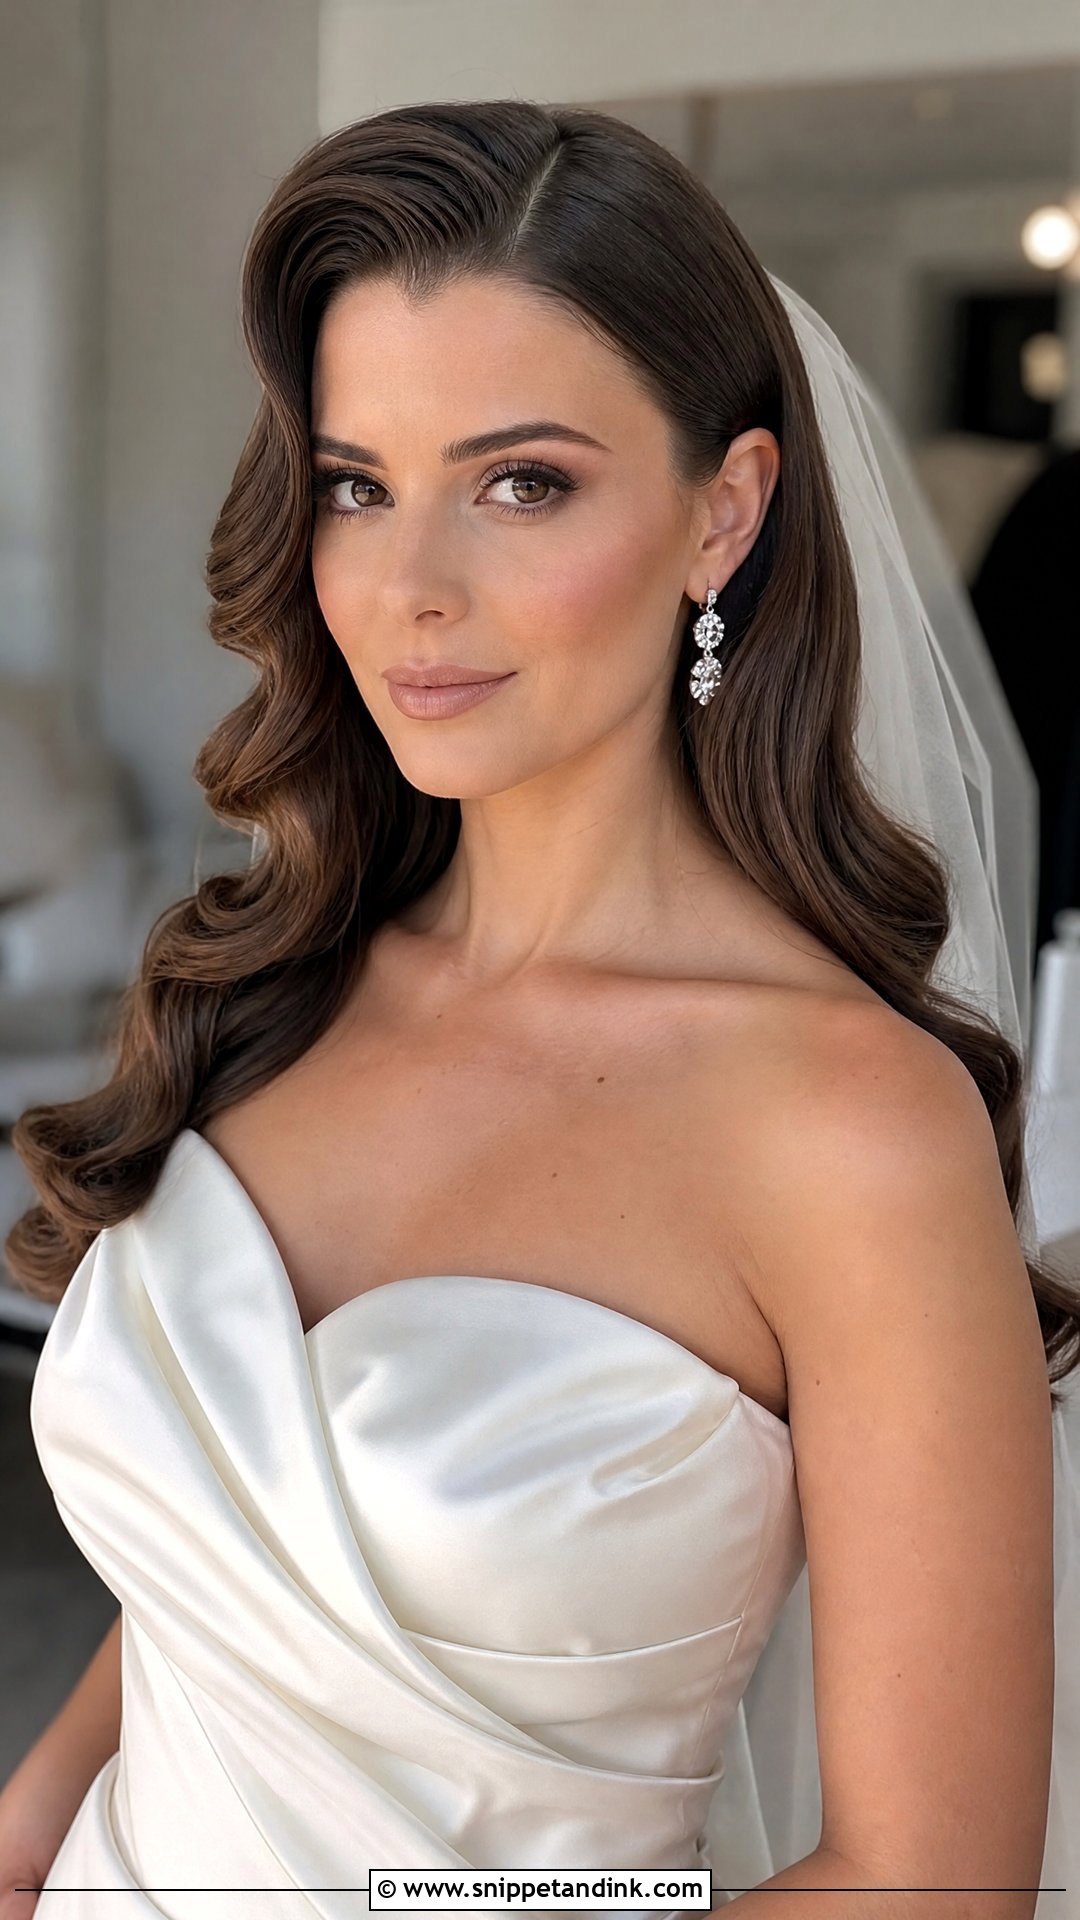
Hollywood waves are deep S-shaped waves that all fall in one direction, swept across the forehead from a side part. I set them with a large iron, pin each curl to cool, then brush them out and press the ridges in with clips. They need medium to long hair with some weight; very layered hair won’t hold a continuous wave. For that red-carpet feel, keep the shine high and add a single jewelled clip at the front ridge.
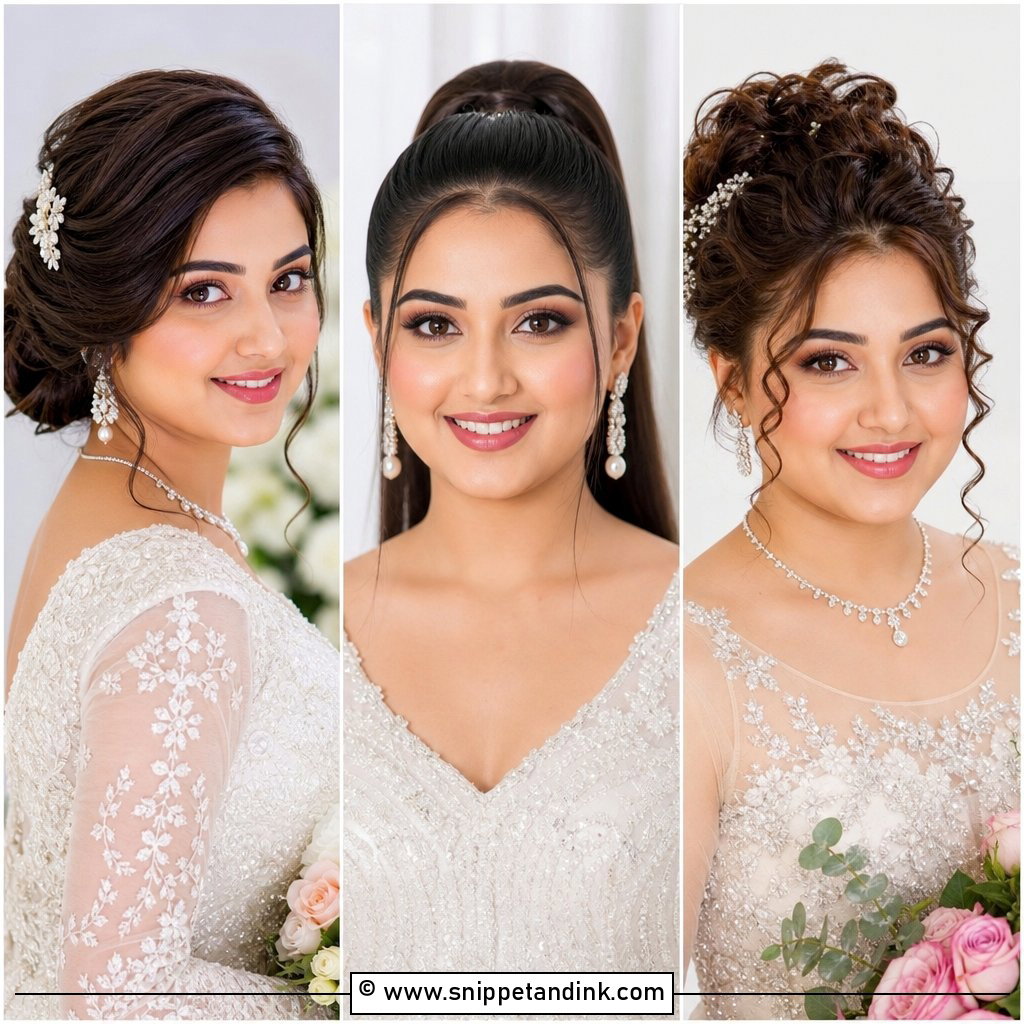
3. Half-Up Half-Down With Front Twists
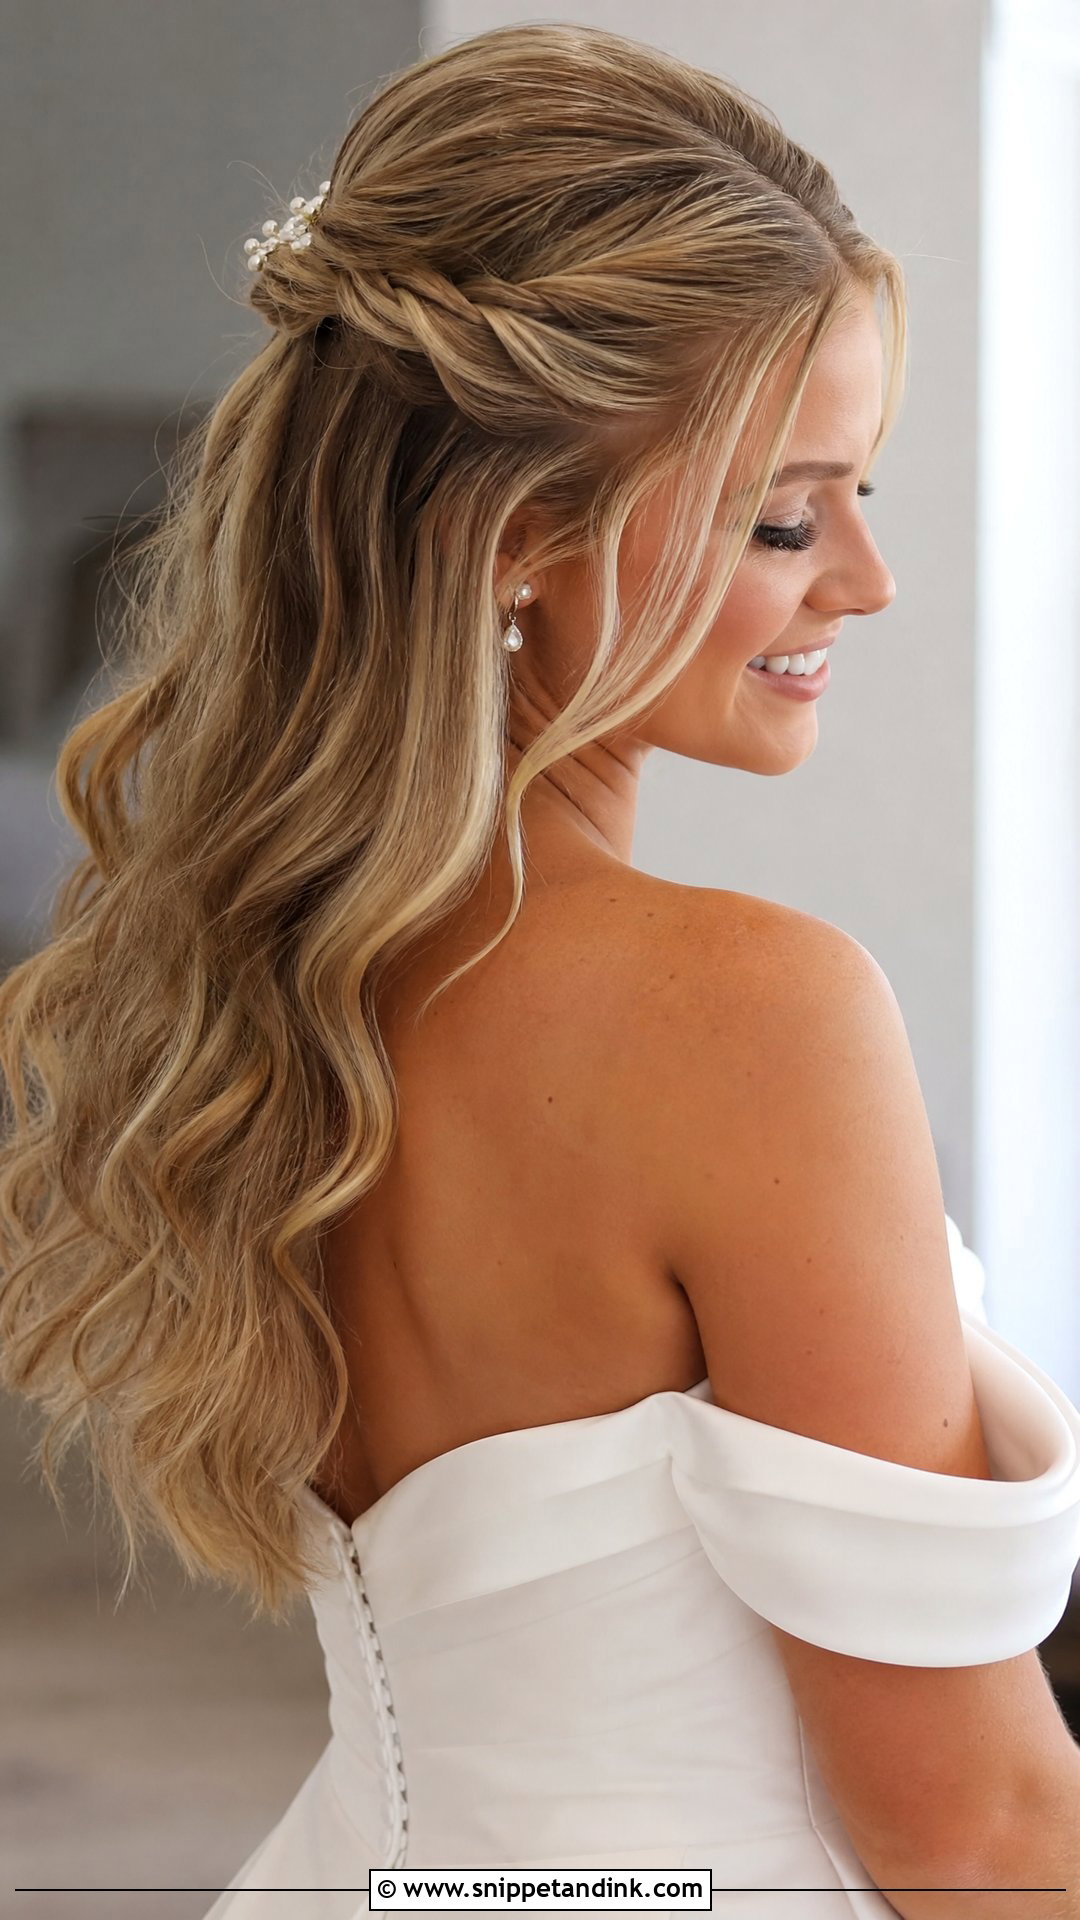
Here I take a section from each temple, twist it back and pin it at the back of the head, leaving the length loose. It keeps hair out of your face during the ceremony and the dinner, which is why it’s my default for brides who say they’ll be annoyed by hair in their eyes. The twists hold better in slightly textured hair; on freshly washed silky hair they slide, so I add texture spray first. Small pins or a few flowers can sit where the twists meet.
4. Sleek Side-Swept Front for Wedding
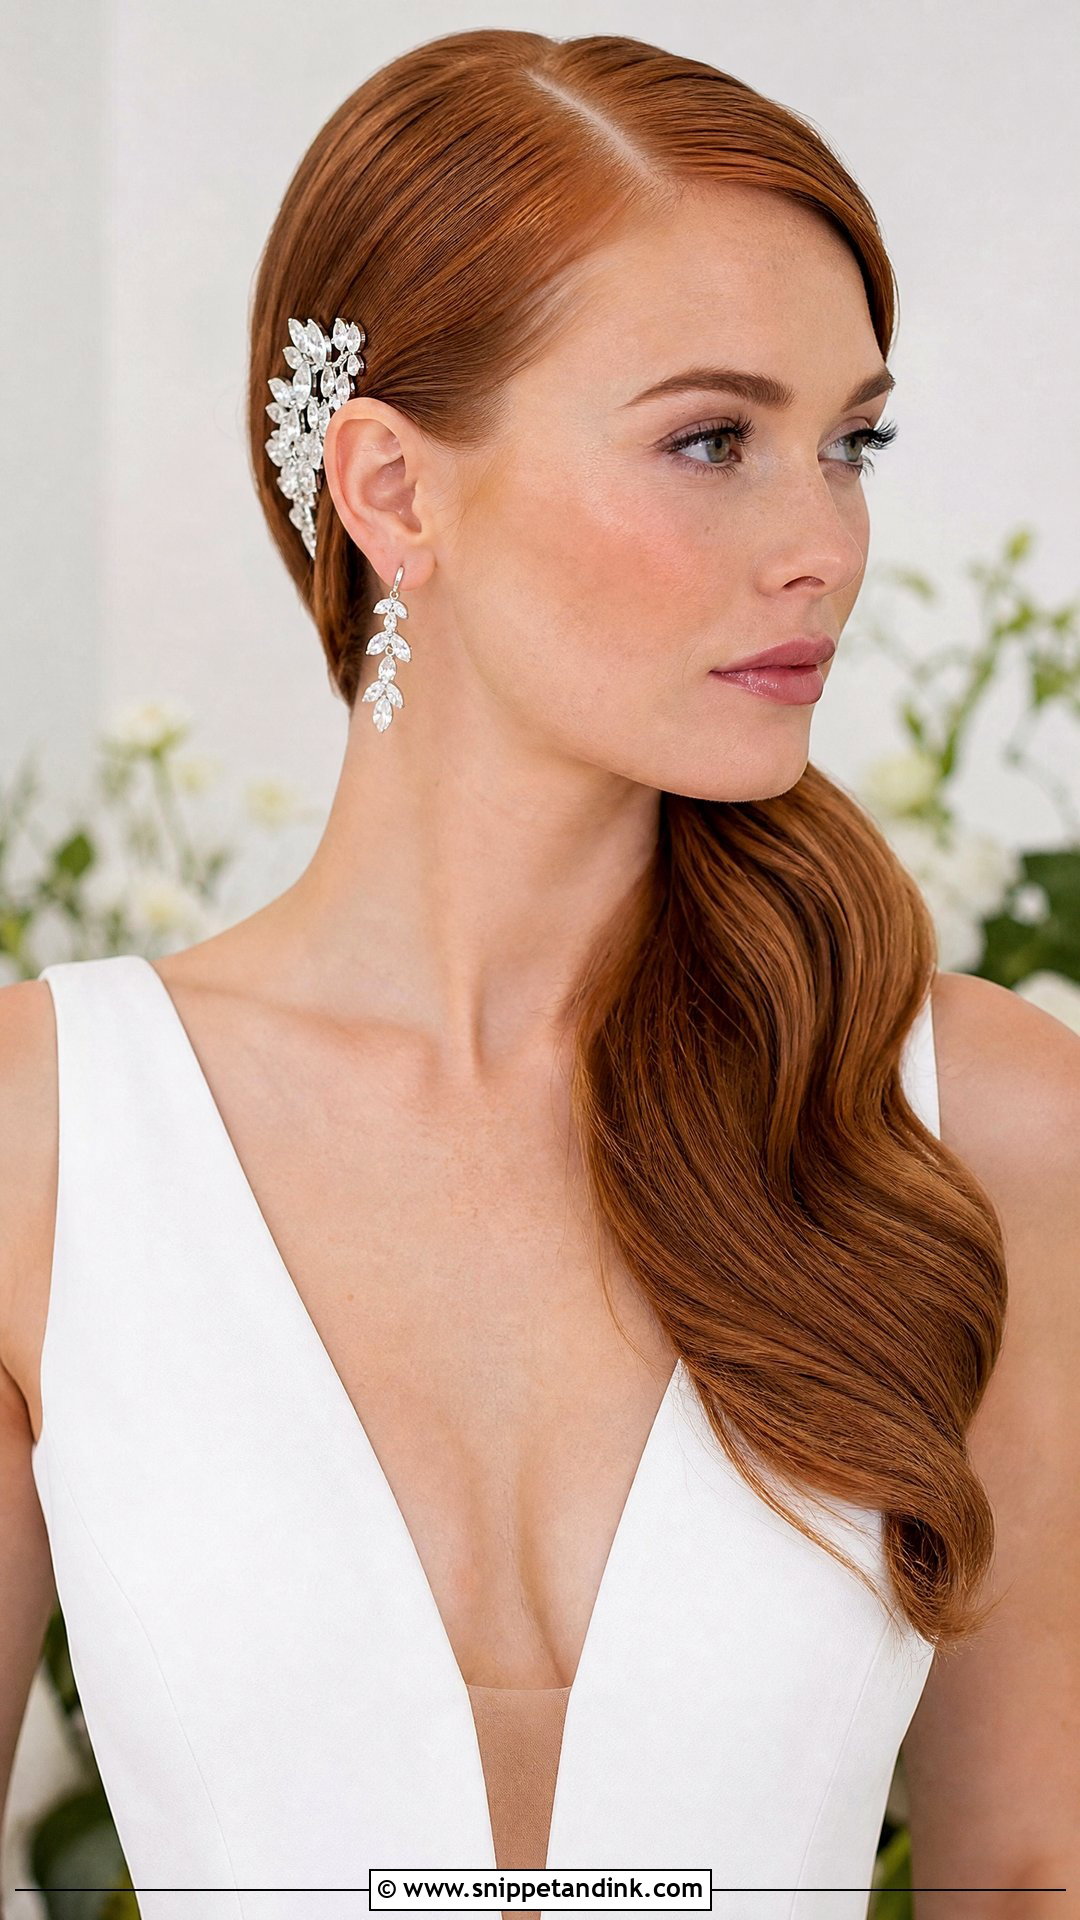
All the hair is brushed to one side and pinned behind the ear on the other, leaving one side of the face open and the jaw and neck visible. It works with a low side bun, a side ponytail or waves over one shoulder. Choose the side by looking at your parting and your best angle, then make sure it’s the side guests will see during the ceremony. A comb tucked where the hair meets the ear finishes it and hides the pins.
5. Boho Braided Front for Wedding
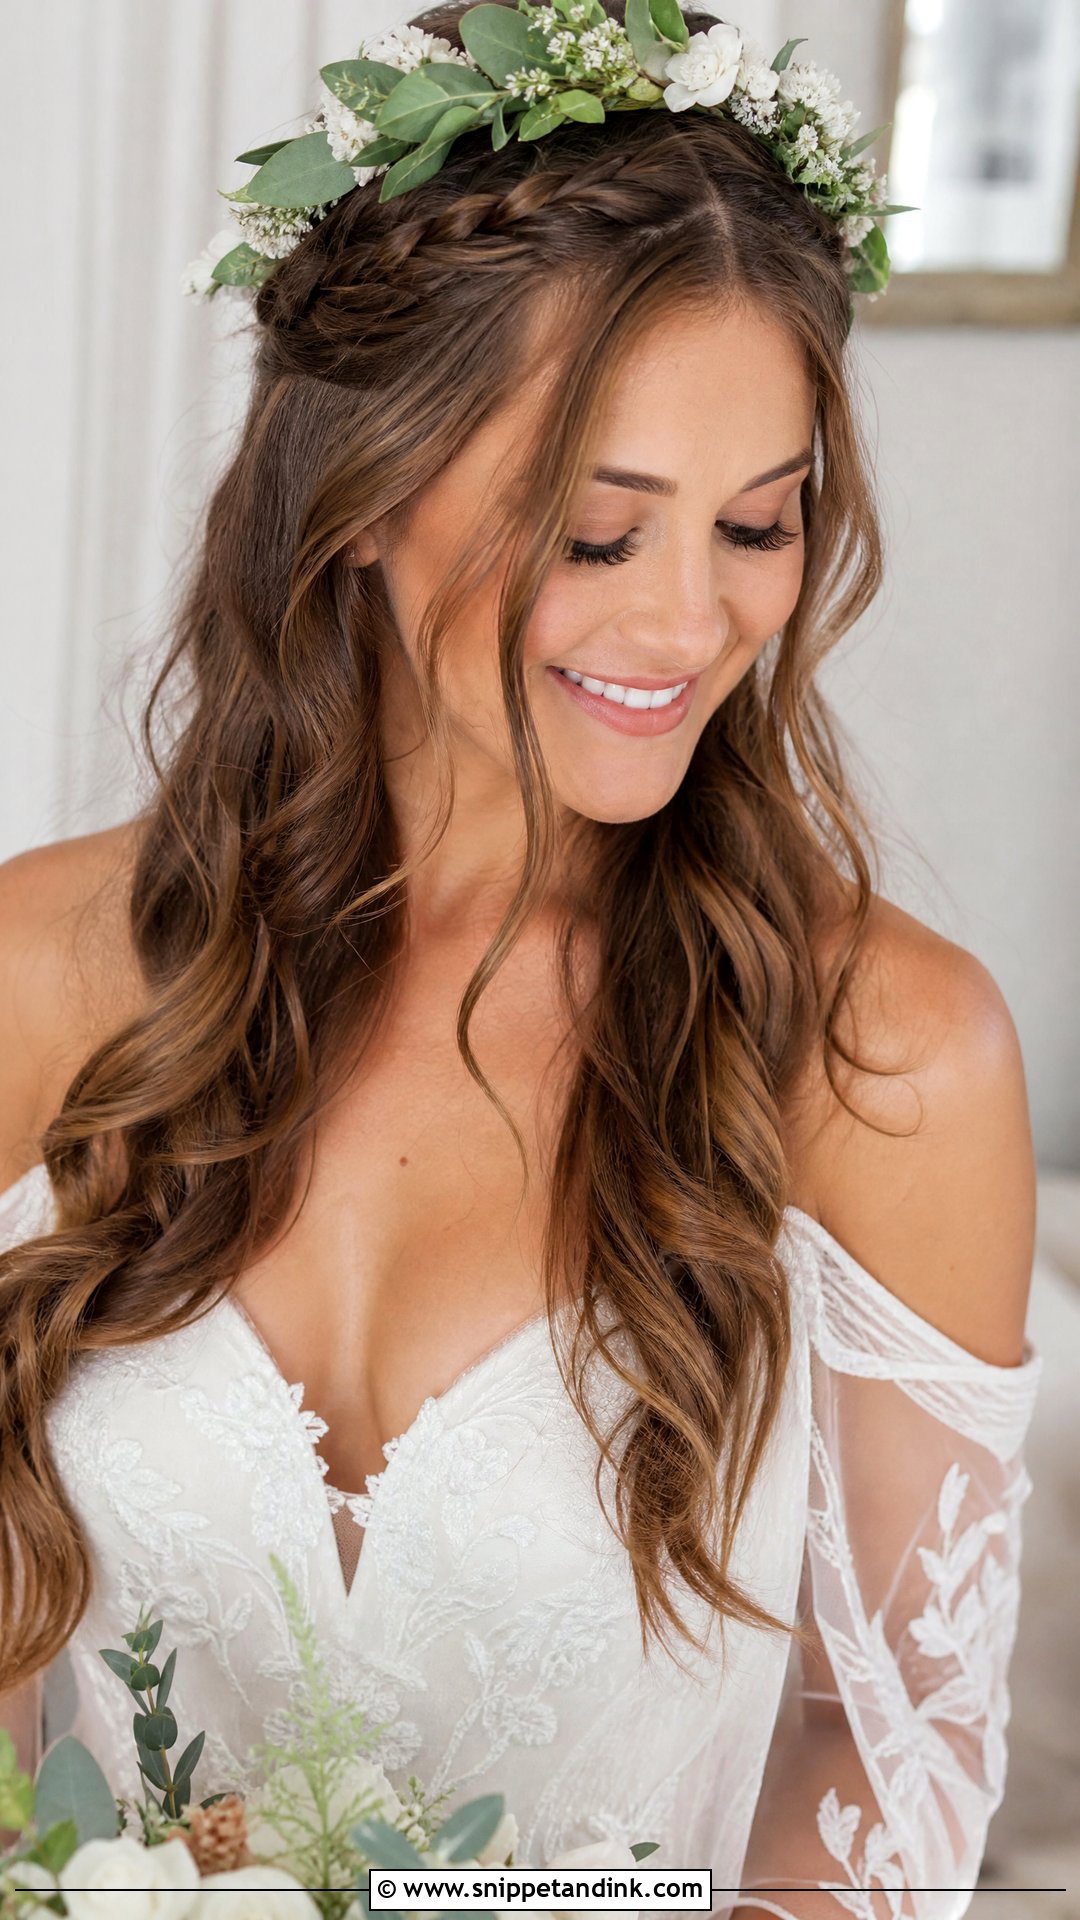
Loose braids taken back from the front, with a few face-framing pieces left out, give a relaxed textured look for outdoor and rustic weddings. I braid tightly first, then pancake the loops with my fingers for width; braiding loosely from the start makes it fall apart. Layered hair pokes out of loose braids, but in a boho style that’s part of the charm. Wildflowers or small beads can be tucked into the loops.
6. Front Twist Crown for Wedding
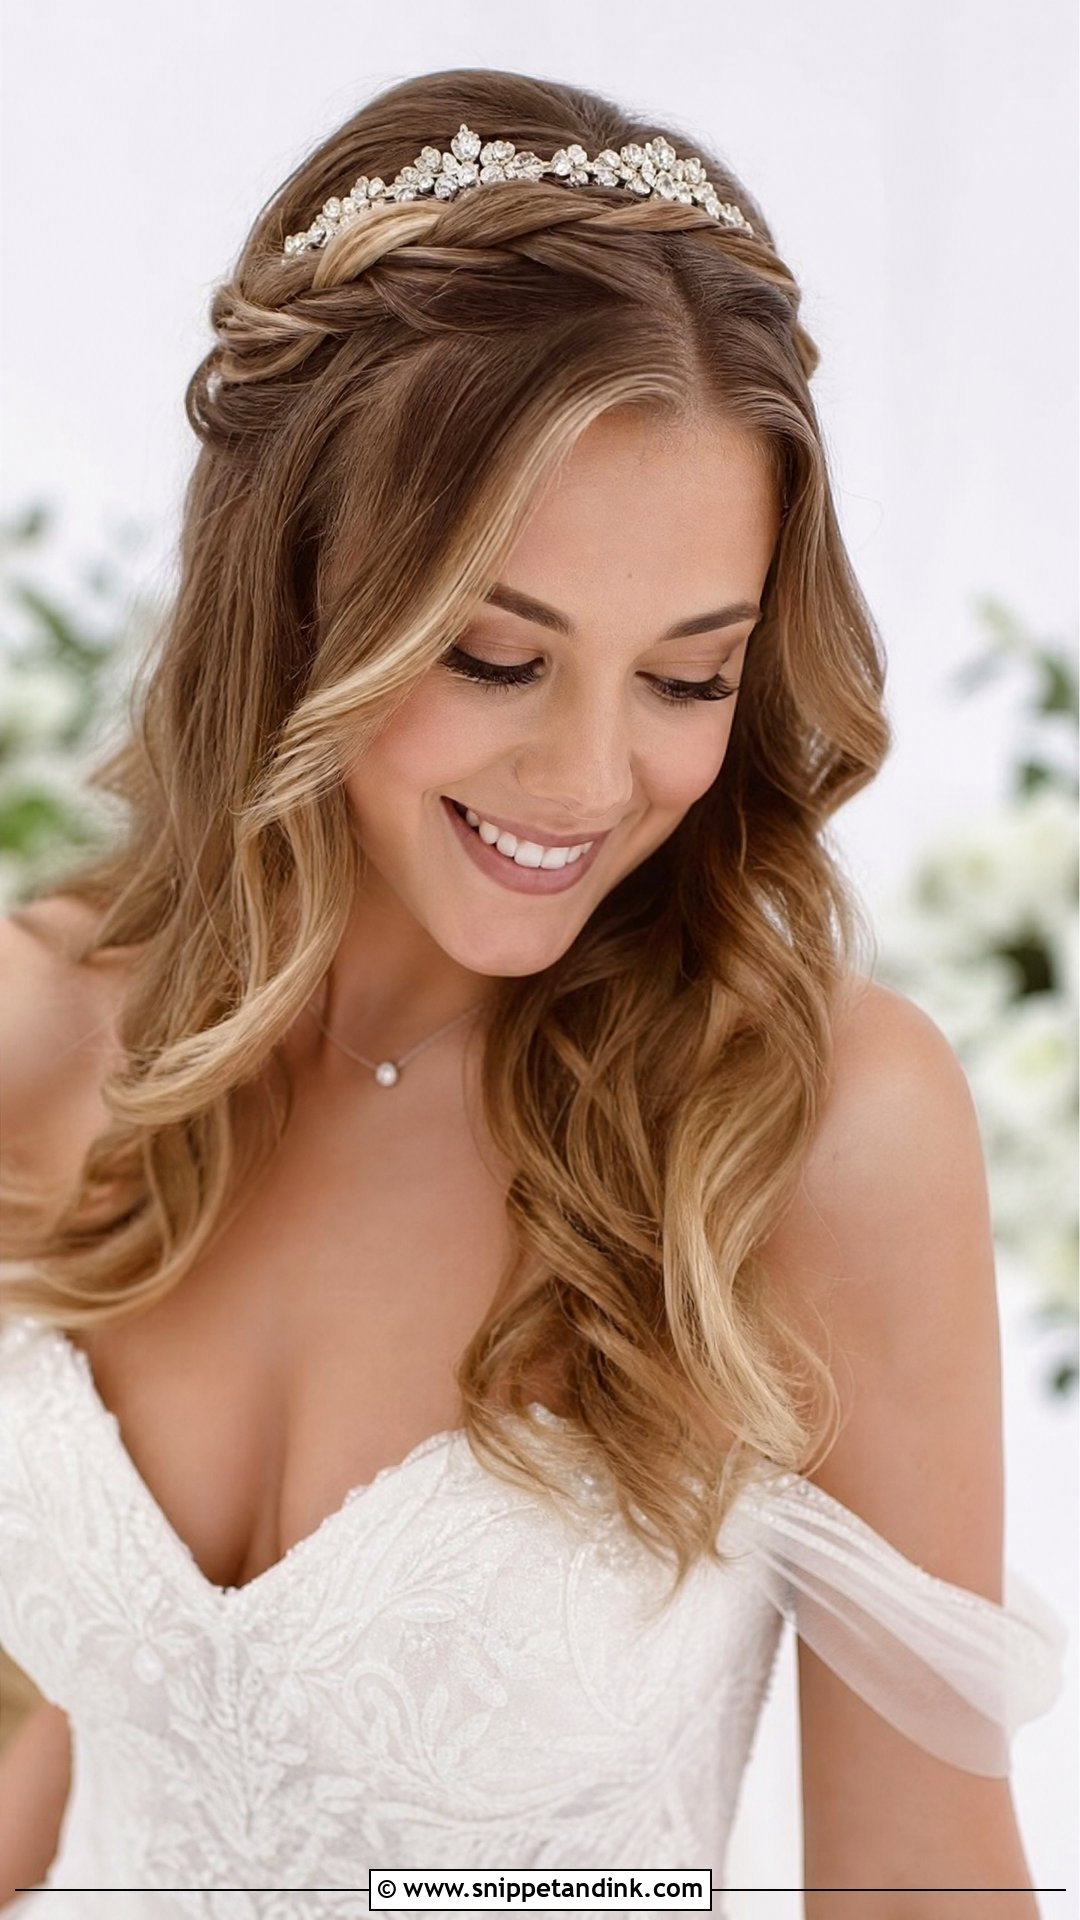
Twists from each side of the front wrap round and join at the back, forming a halo that keeps every strand off the face. It’s one of the most comfortable styles for a long day because nothing moves forward. It sits easily under a veil or tiara. Fine hair can look thin in a twist crown; I backcomb each section lightly before twisting so the twist has body. The rest of the hair can stay down or go up.
7. Soft Waves With Center Part for Wedding
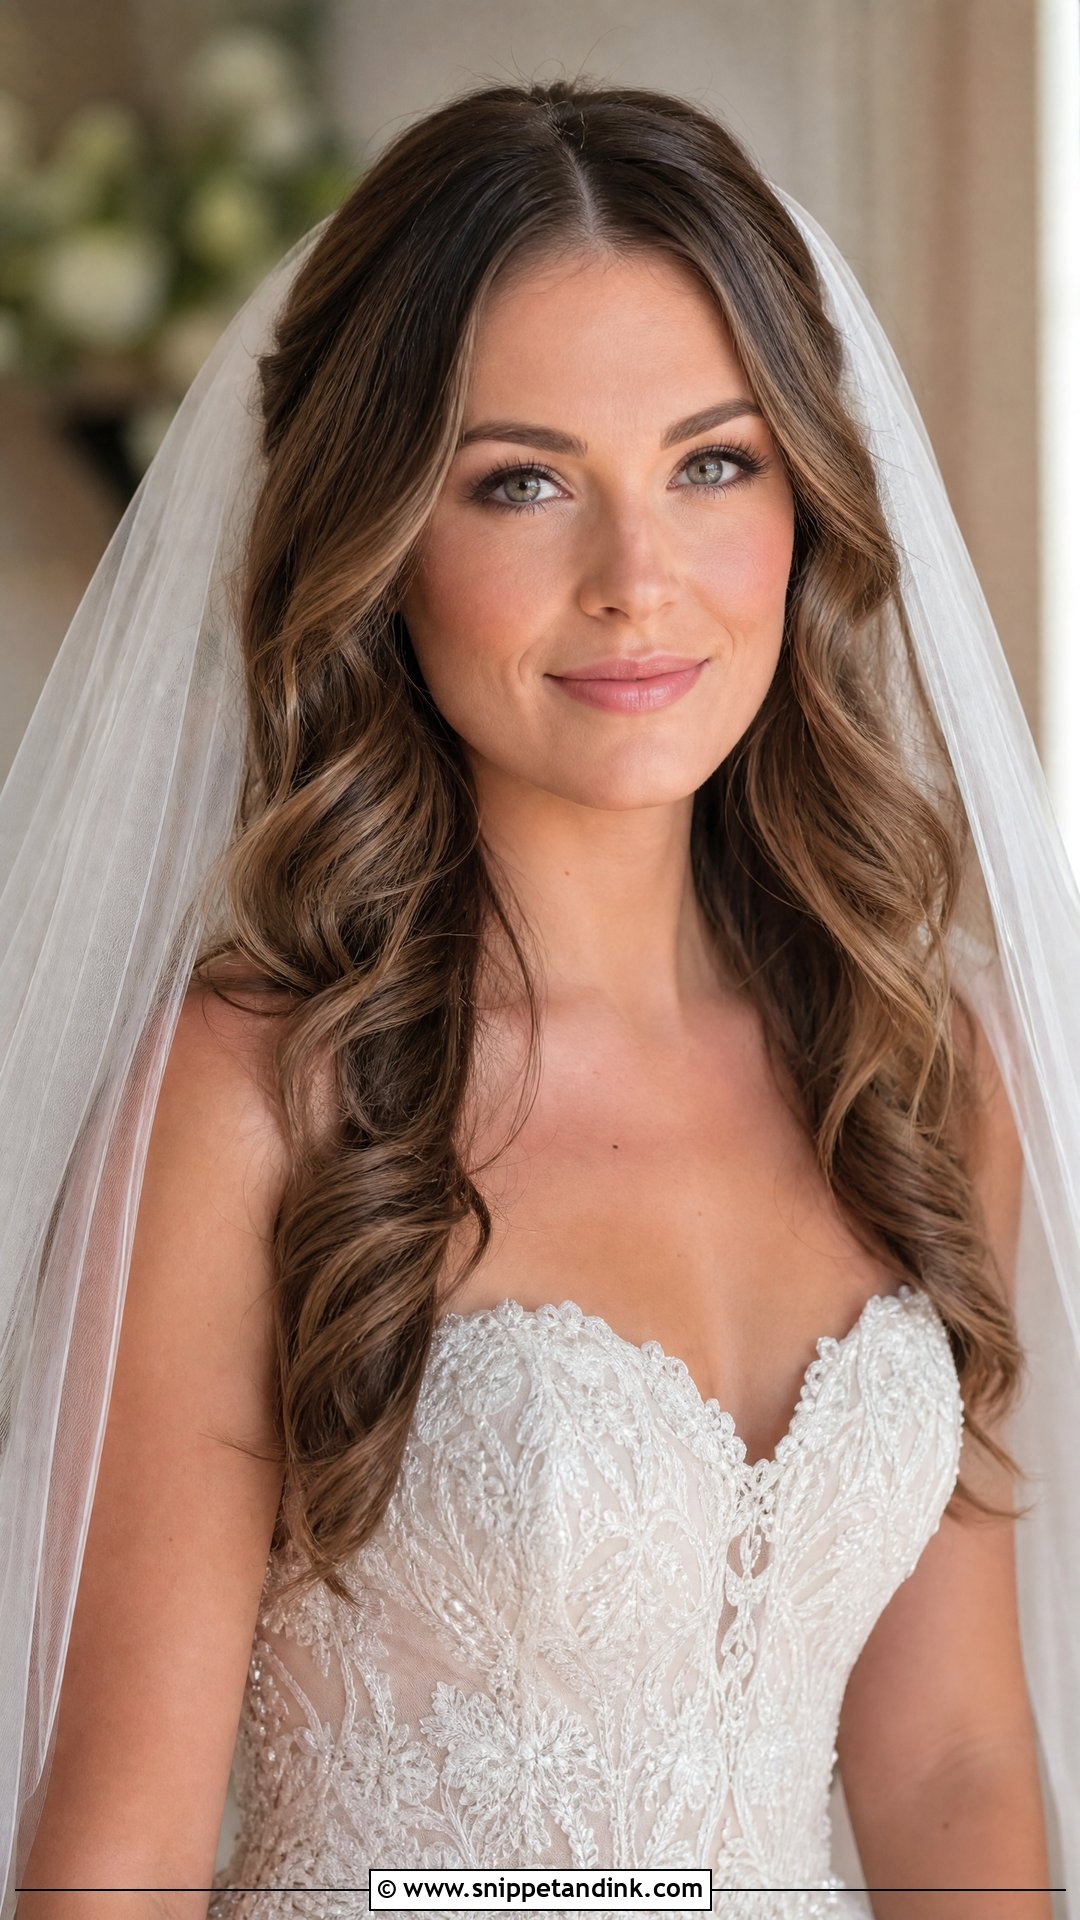
A centre part with waves on both sides is balanced and quiet. It suits oval and heart-shaped faces most; on a very round face it can emphasise width, so I’d move the part slightly off centre. The waves should start below the cheekbone rather than at the root, or the front looks puffy. Veils, flower crowns and simple pins all sit easily on it, and it can be worn fully down or partly pulled back.
8. Vintage Finger Waves for Wedding
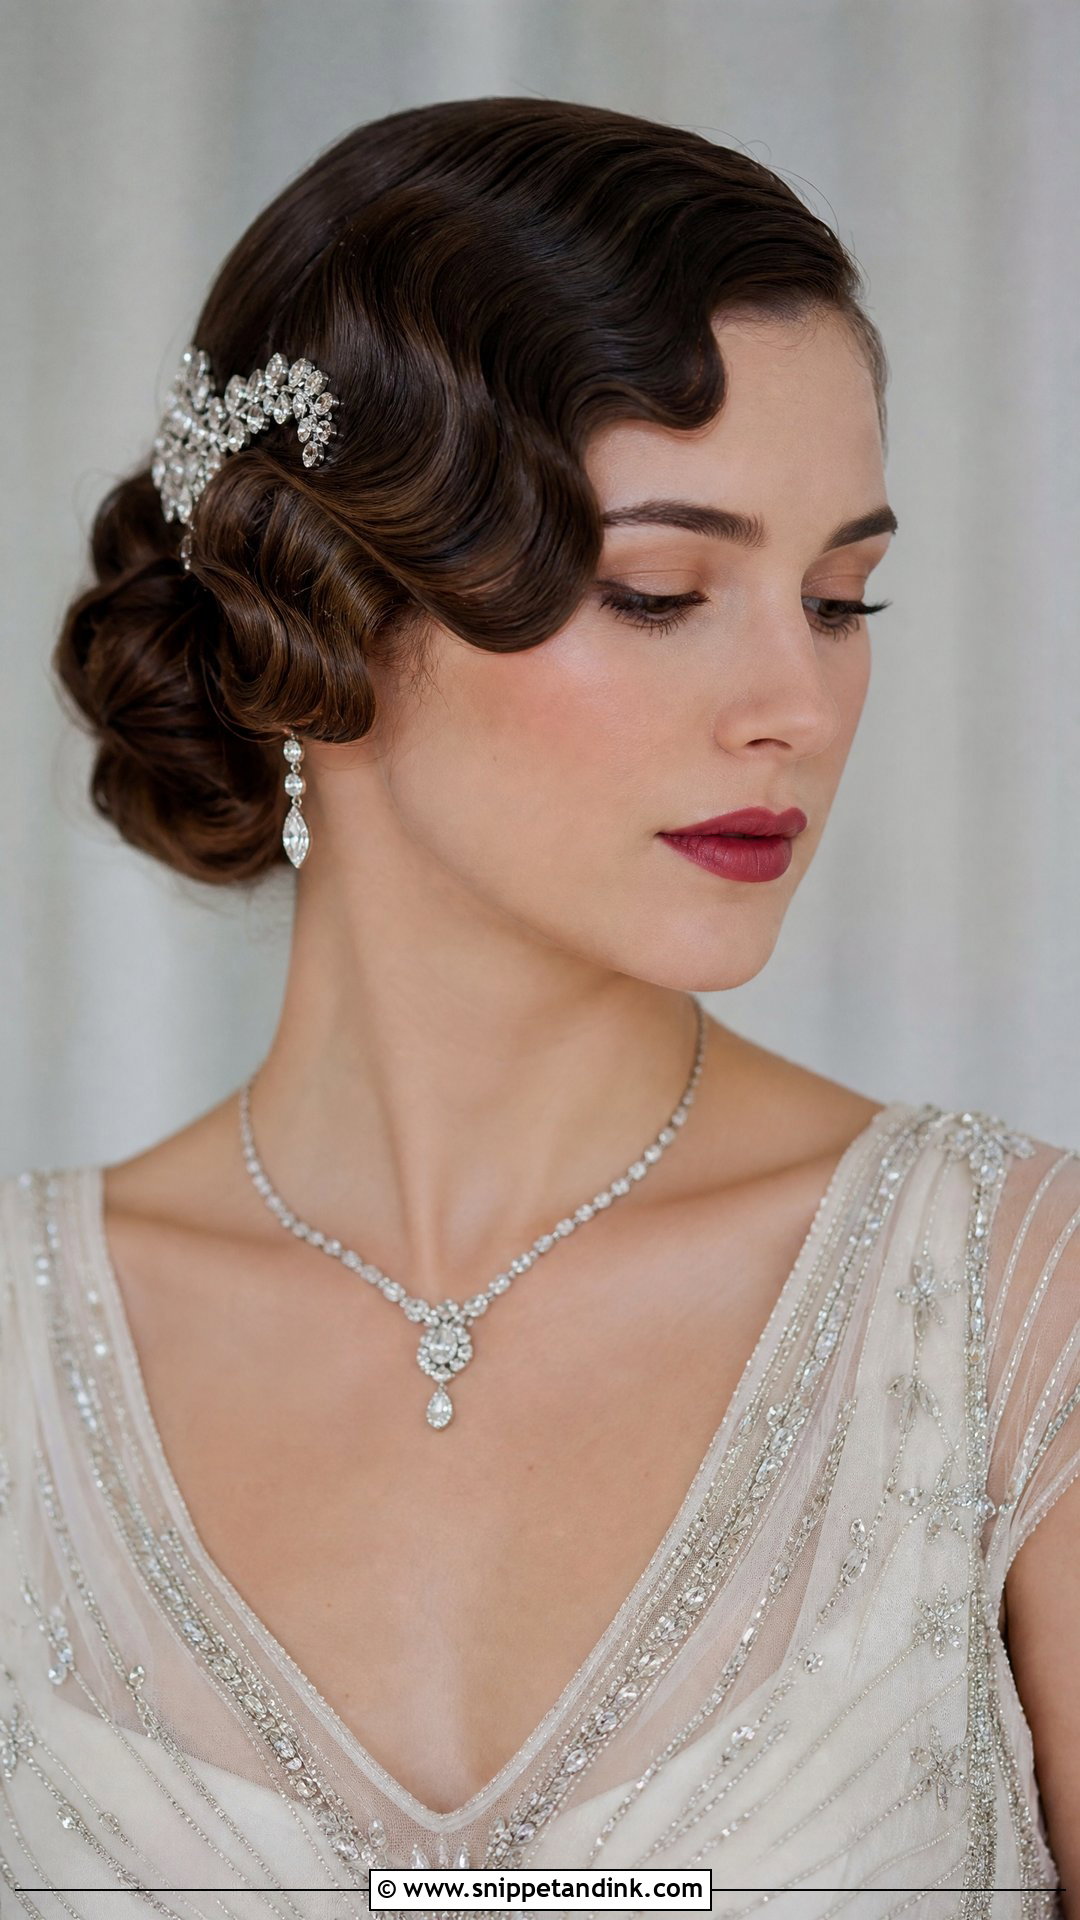
Finger waves are sculpted S-shapes pressed close to the head. Traditionally they’re formed in wet hair with setting gel and a comb, then left to dry with clips holding each ridge; it takes time and hair that cooperates. They work best on short to medium lengths, and the art-deco look suits vintage gowns and jewelled accessories. If your hair is long, I usually do them only at the front on one side and pin the rest into a low roll. Budget extra time in the schedule for this one.
9. Front Braided Headband for Wedding
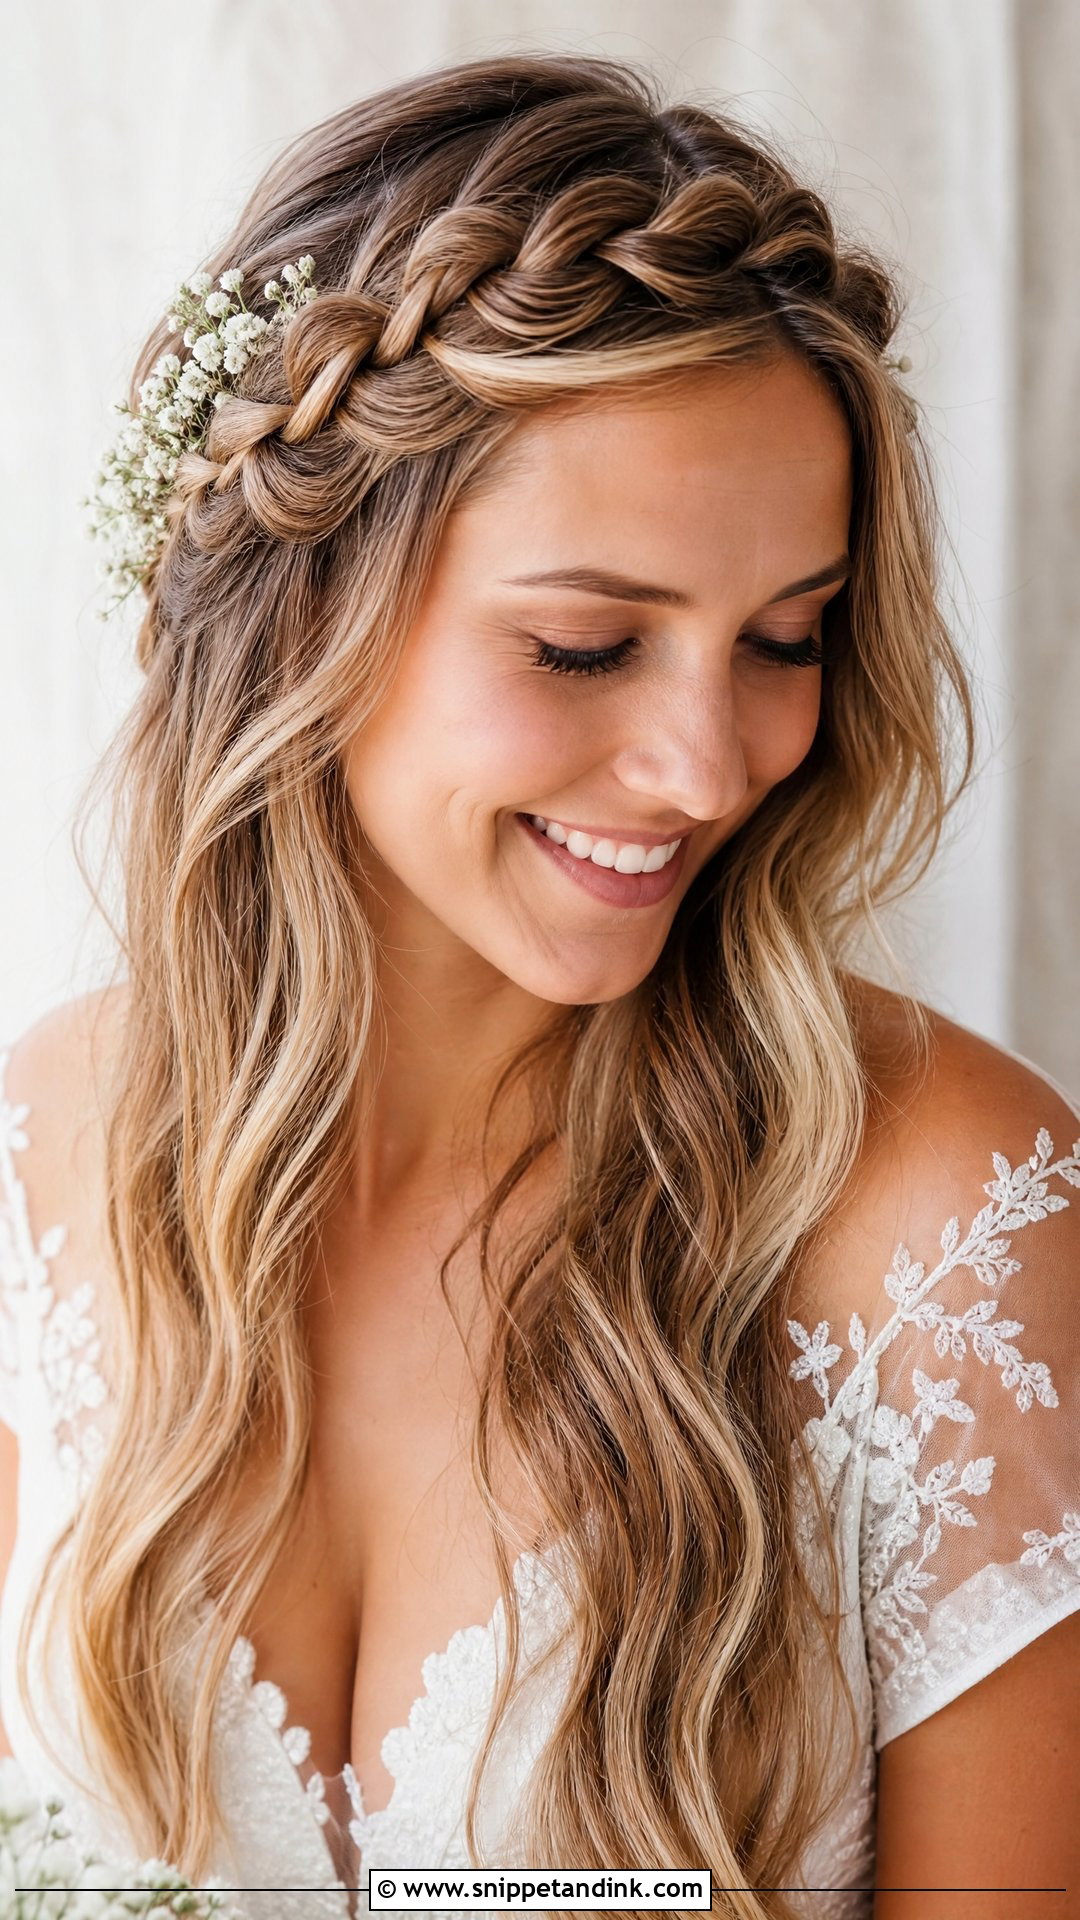
A braid across the front works like a natural headband and keeps the hairline clear. I start it behind one ear and braid over the crown to the other, pinning the end under the hair. It suits boho, garden and rustic weddings and holds fine through dancing. Brides with a lot of fine baby hair at the front get a softer edge, which is fine; just don’t expect a perfectly smooth line. Tiny flowers or pearls can be pinned along the braid.
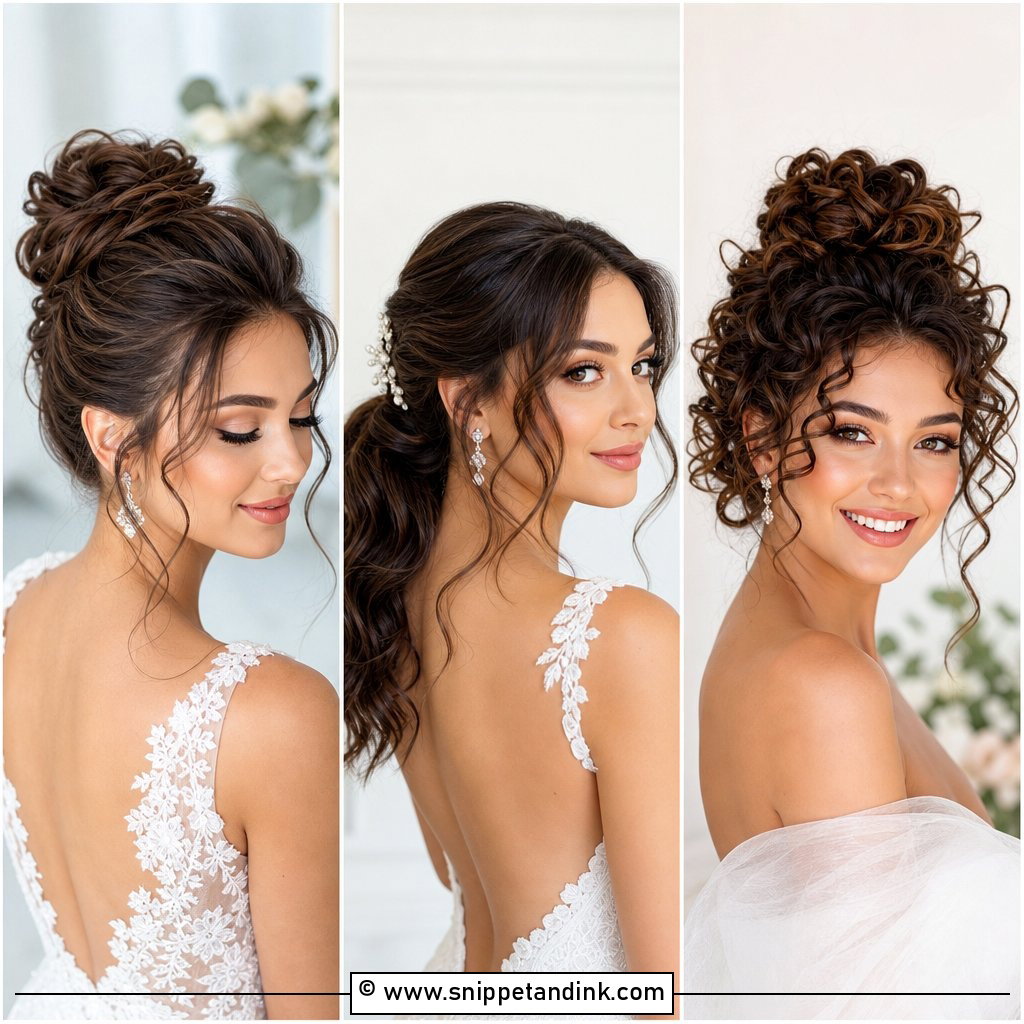
10. Pulled-Back Front With Volume for Wedding
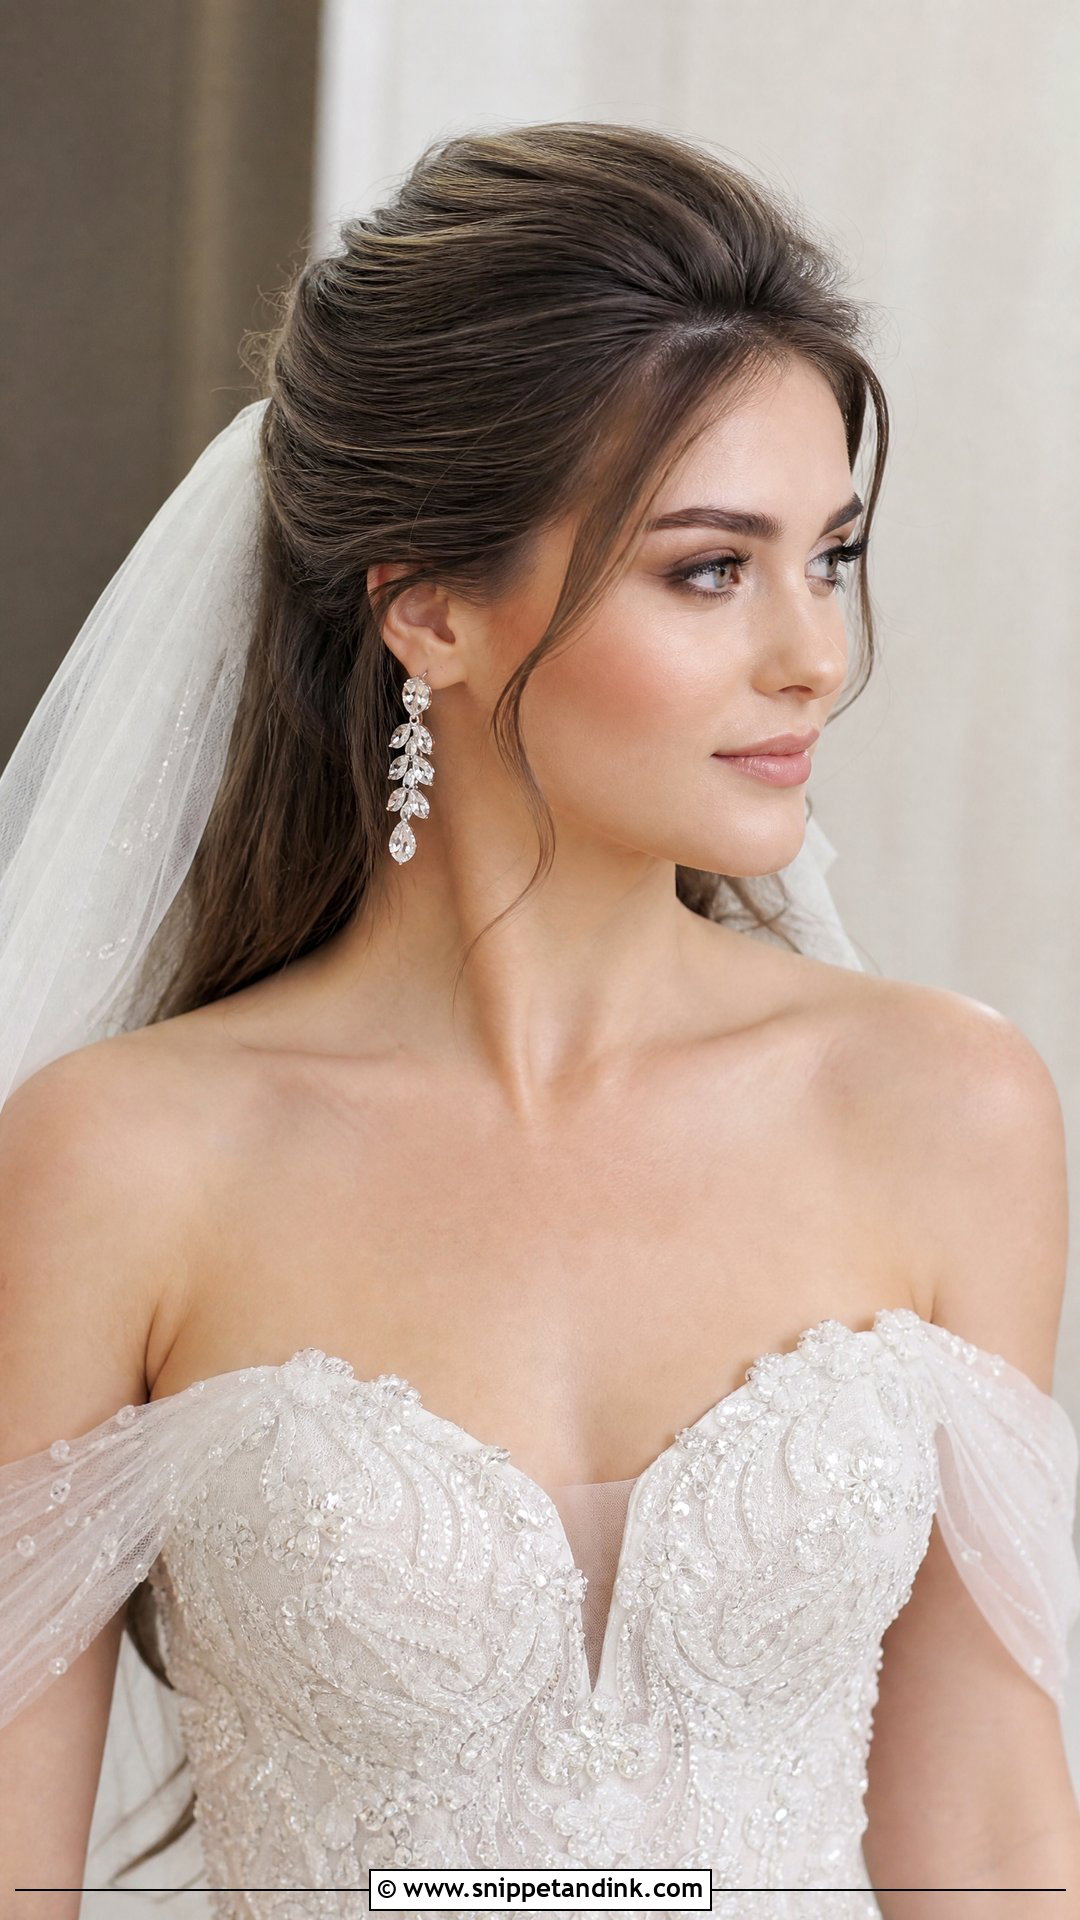
Teasing the front and sweeping it back gives lift at the forehead and lengthens a round face. I backcomb small sections at the roots, smooth the top layer over and pin from underneath so no grips show. Too much height reads dated, so I build it gradually and check your profile. It works with both updos and loose hair, and statement earrings stand out because the face is fully open.
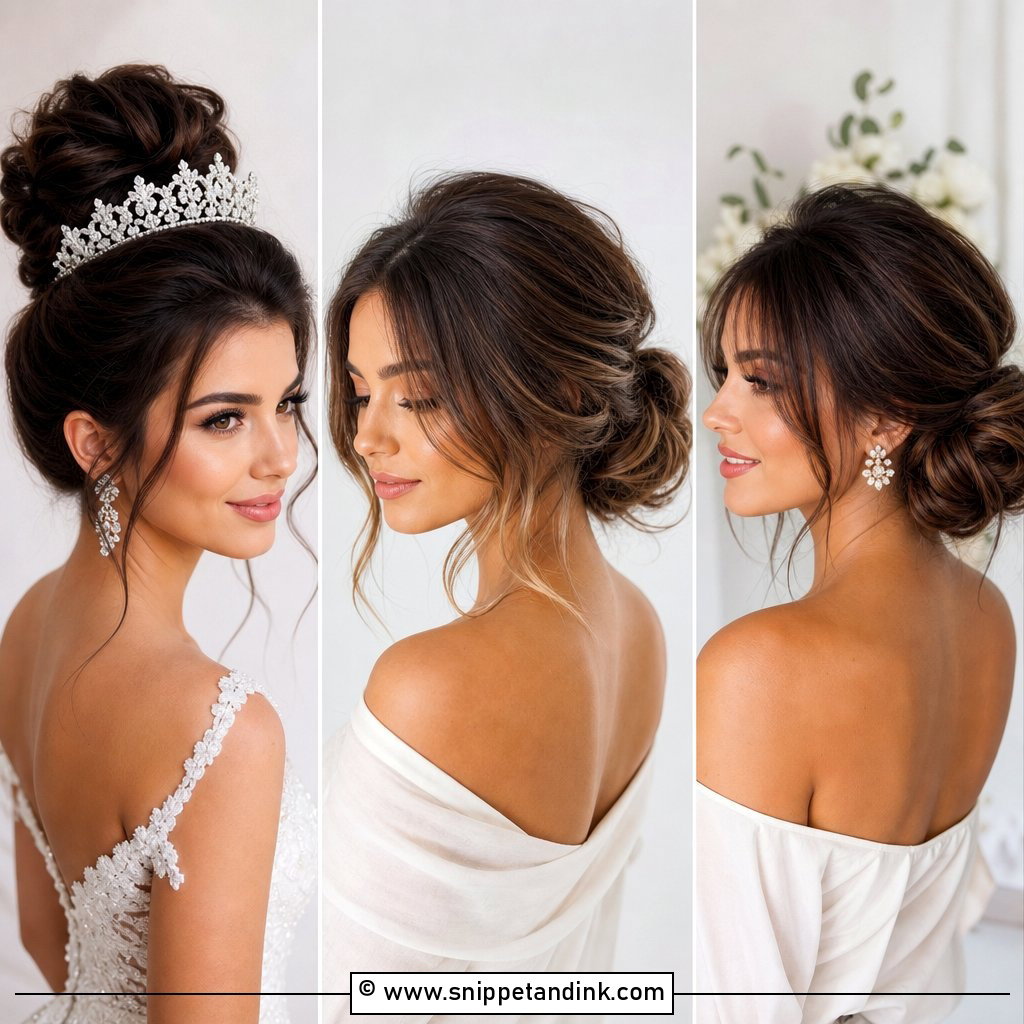
11. Loose Tendrils With Updo for Wedding
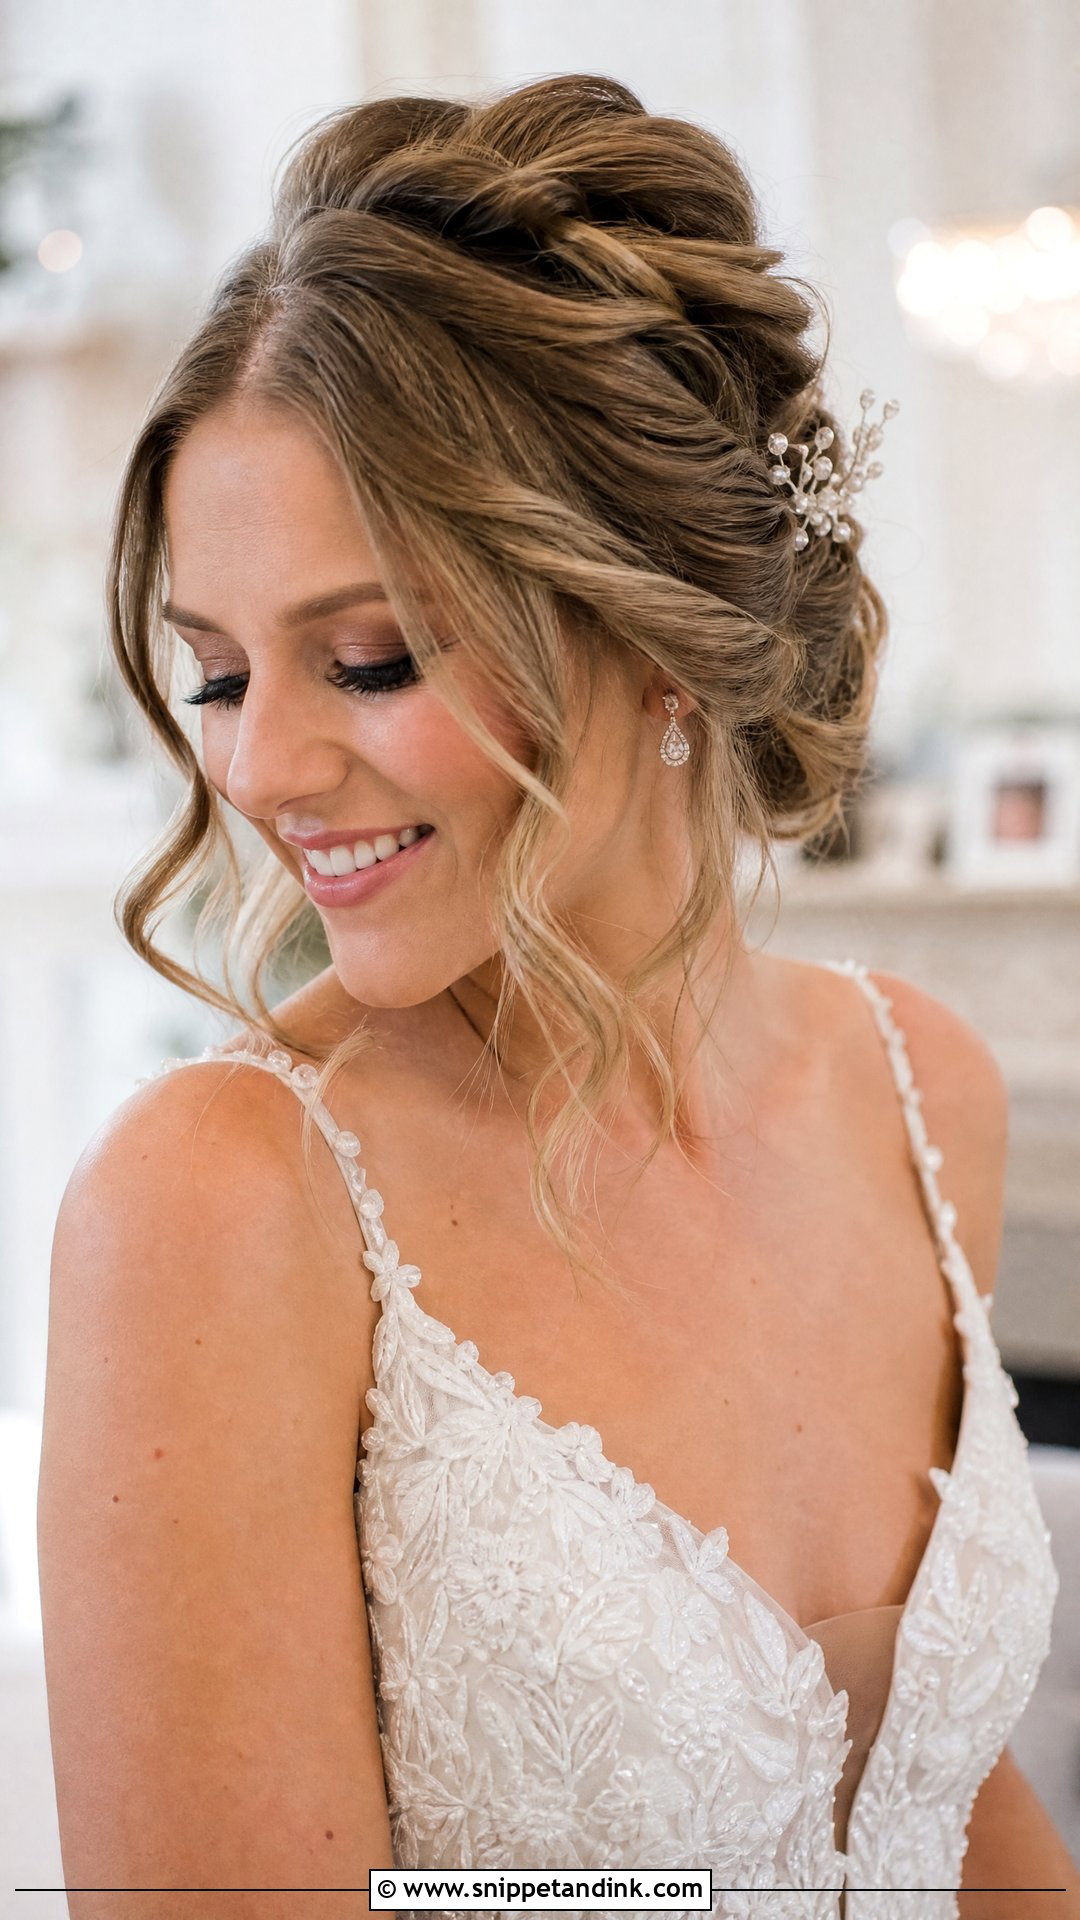
Leaving a few loose, curled pieces at the front of an updo softens a structured style. I decide which pieces to leave out before the hair goes up, not after, so they come from the hairline rather than looking like escaped strands. Two to four pieces is usually enough. In heat or humidity, curl them a little tighter than you want because they’ll relax as the day goes on. They work in ballrooms and gardens alike.
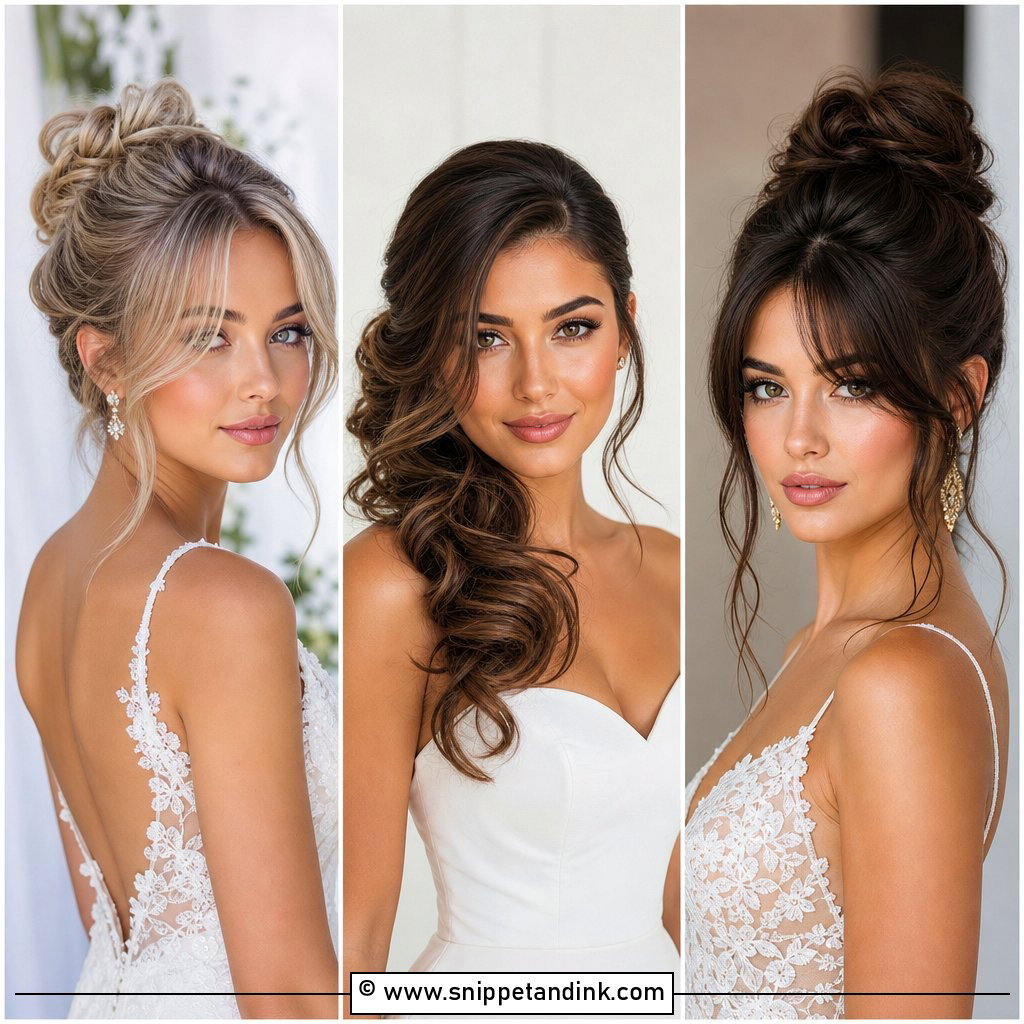
12. Deep Side Part With Waves for Wedding
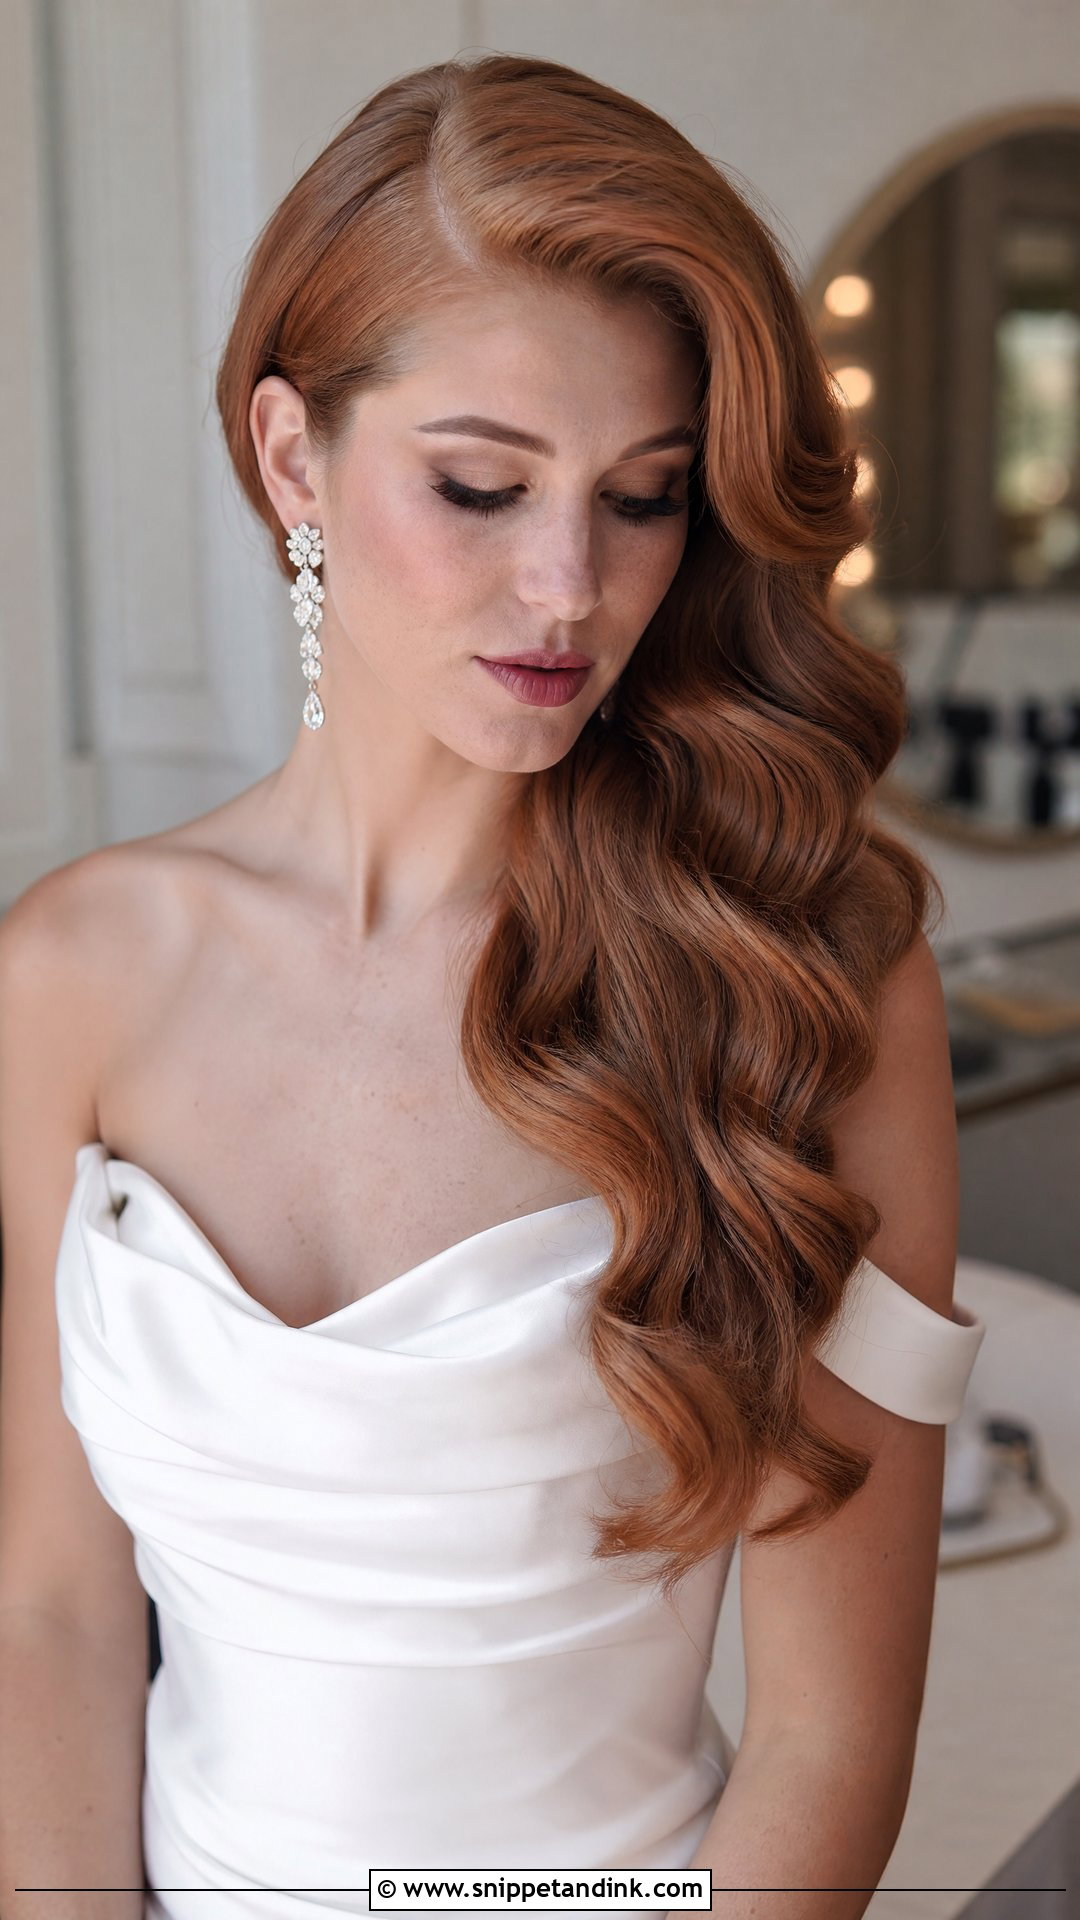
A deep side part shifts most of the hair over one side of the forehead and creates instant volume at the crown. It adds asymmetry, which flatters a square or round face by breaking up the width. Soft waves from the part give it a Hollywood edge. The part has to be placed where your hair naturally falls on that side; forcing a part against a cowlick means it flips back by evening. Wear it down or partly back, with earrings on the open side.
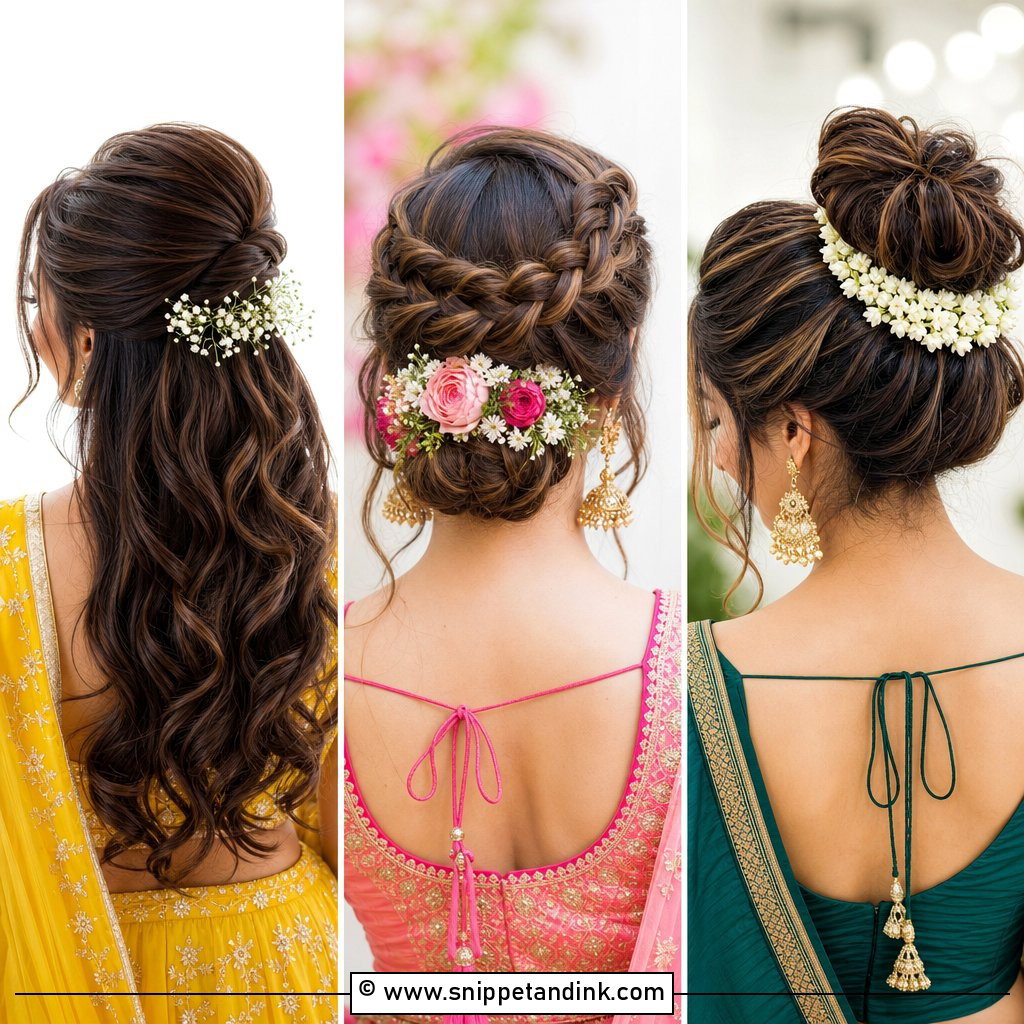
13. Front Flower Accent for Wedding
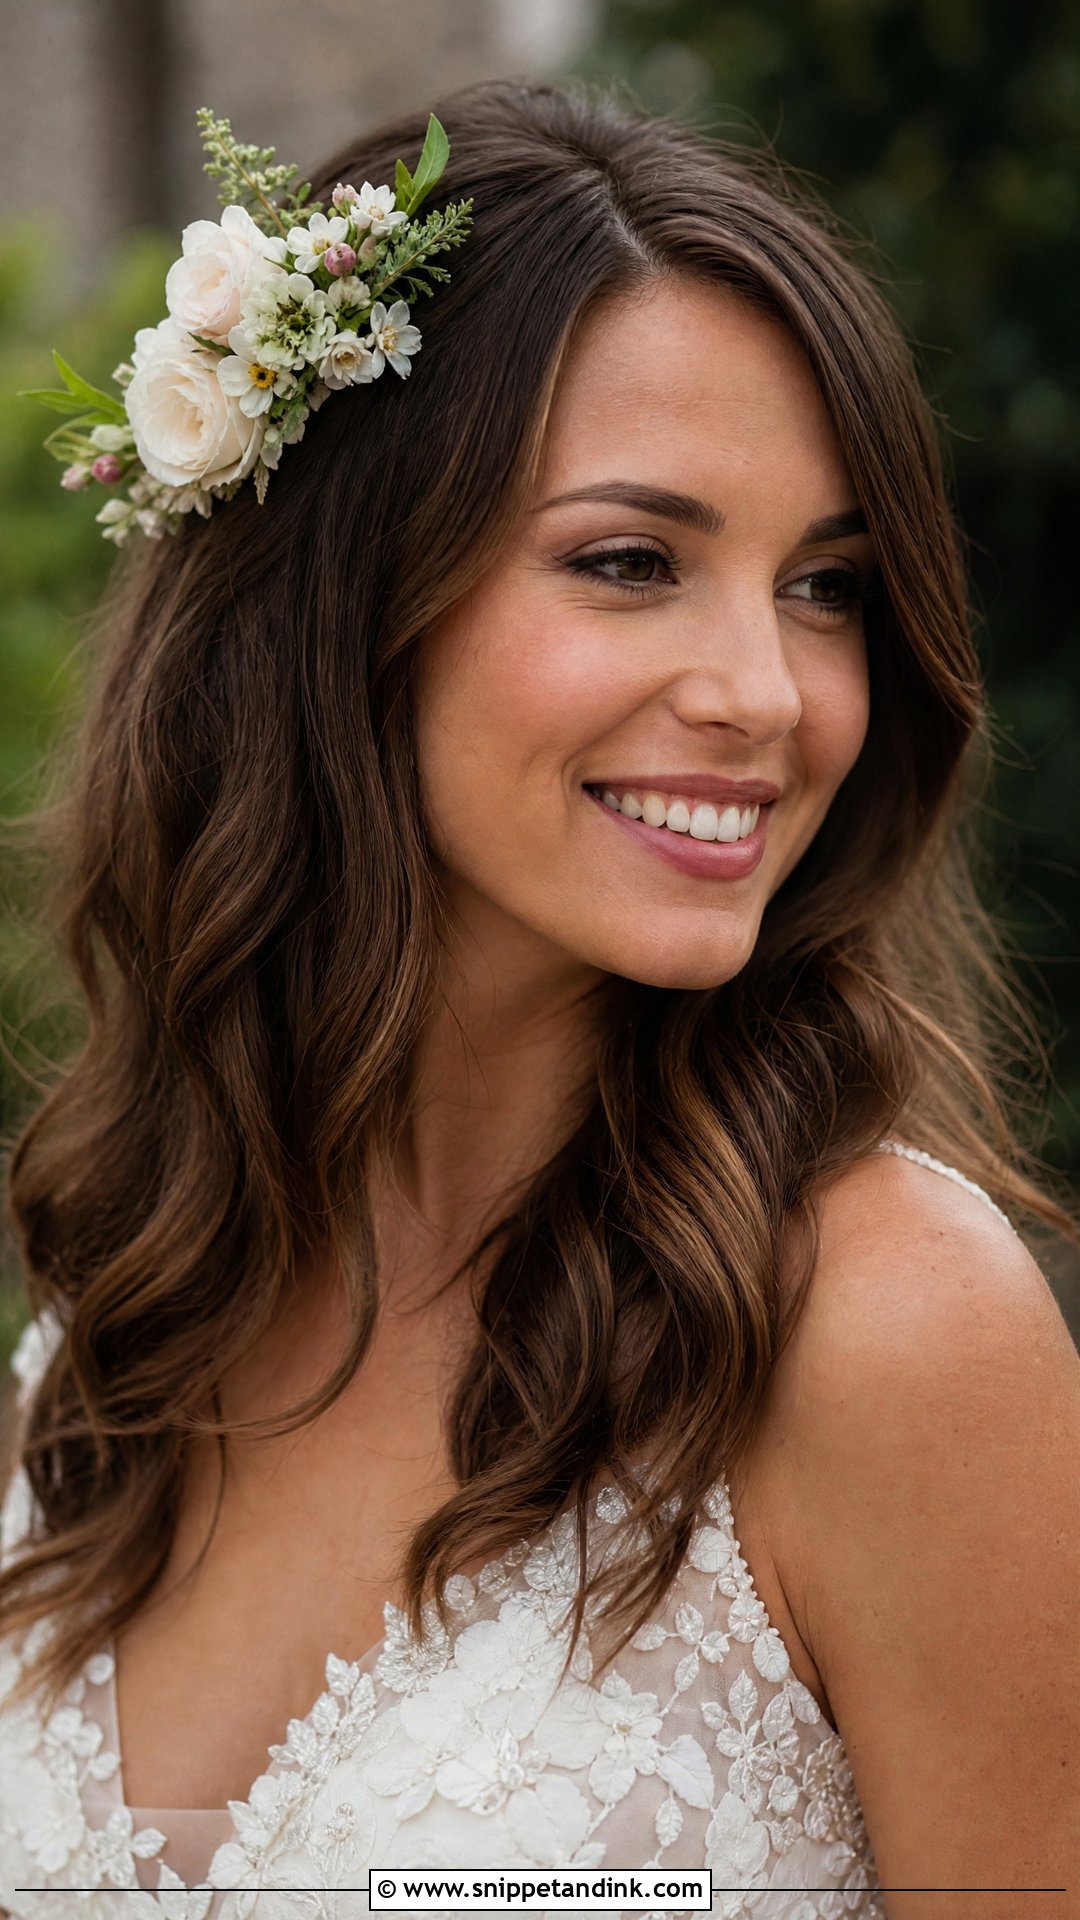
A small flower or cluster near the hairline or part adds a garden detail at face level, where it will show in close-ups. I choose blooms that survive hours out of water, such as spray roses and waxflower, and wire them so they can be pinned firmly. Avoid heavy blooms at the front; they pull the hair and lean forward. Matching the flower to one in your bouquet links the two. It works with hair down, half-up or in an updo.
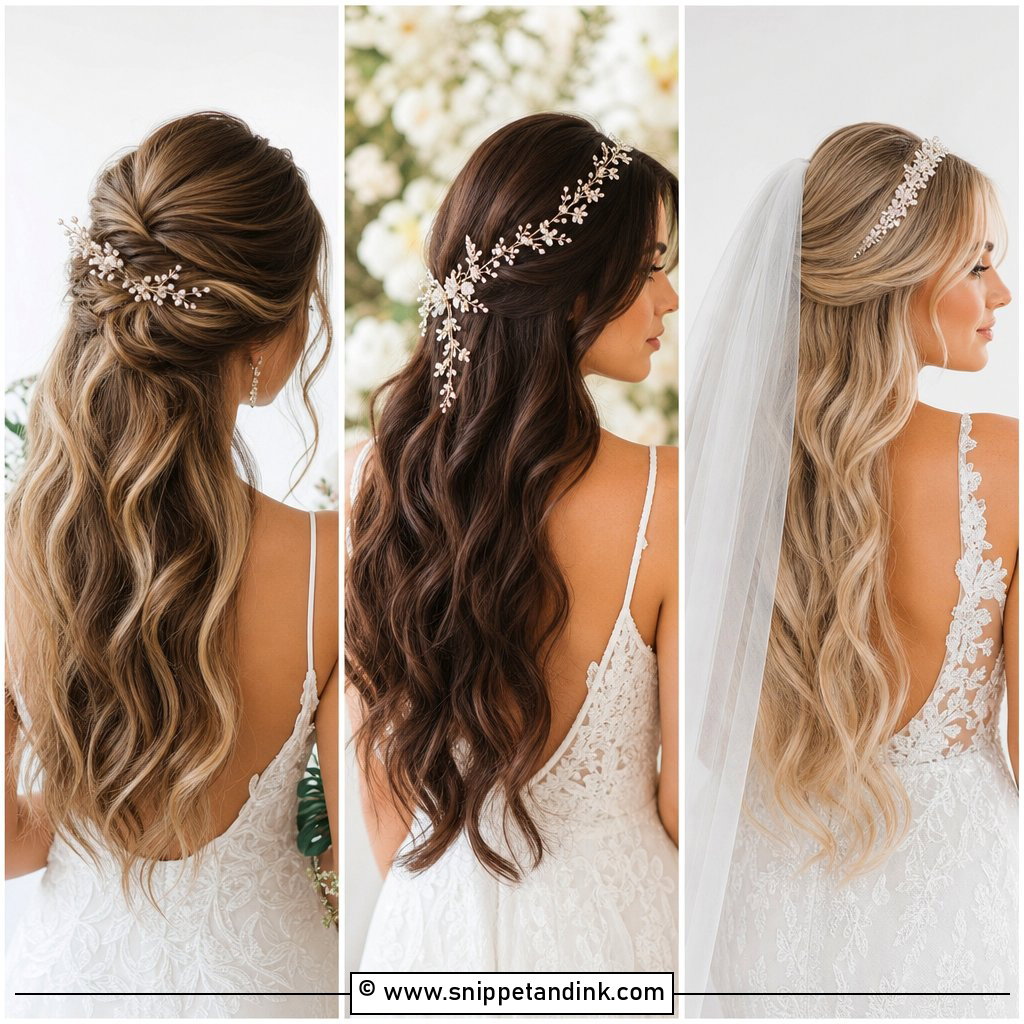
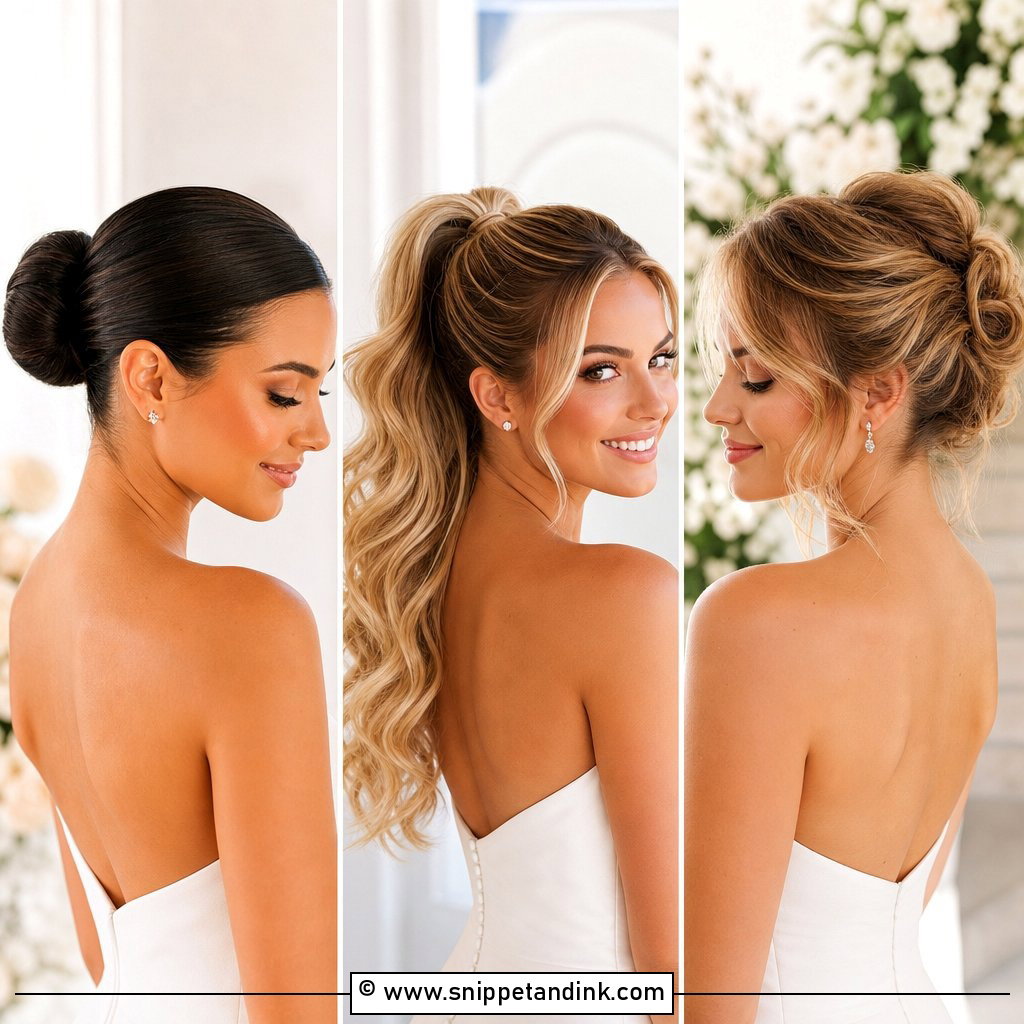
14. Slicked-Back Front for Wedding
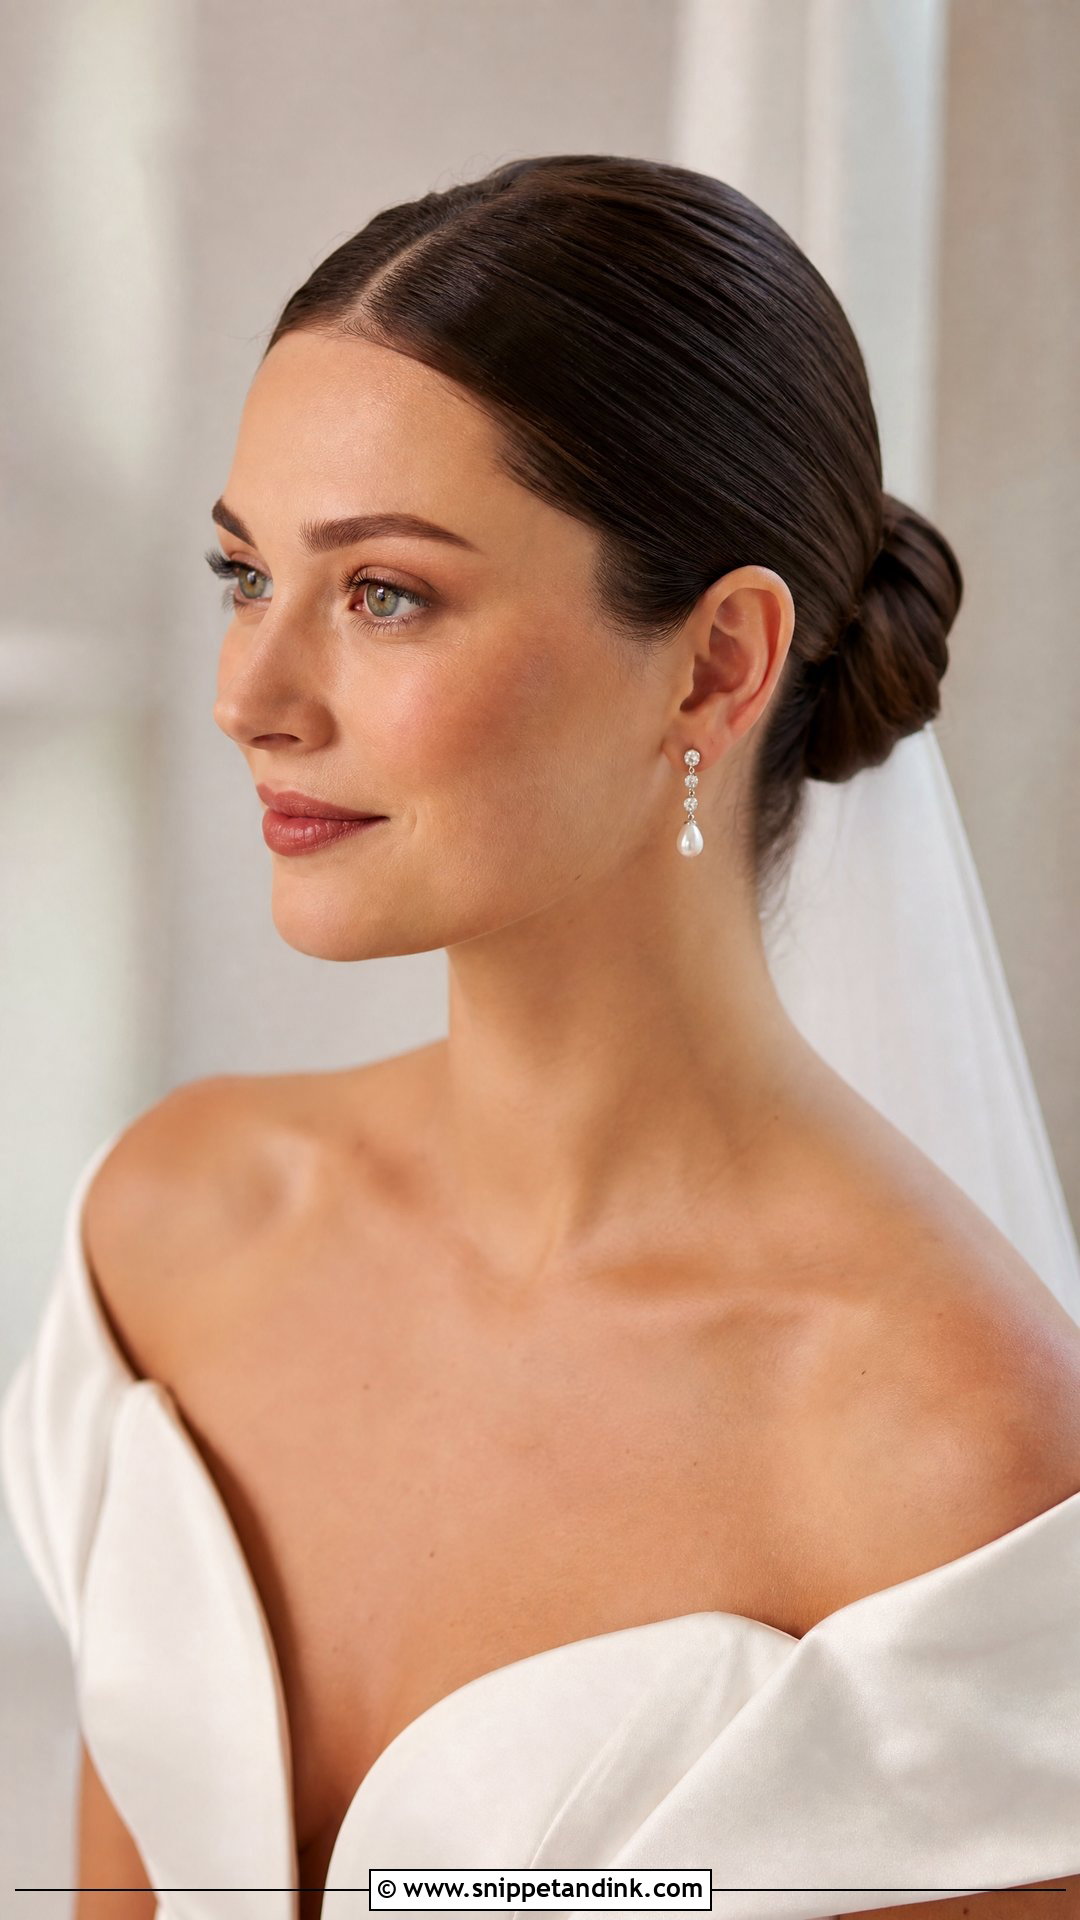
Slicked-back hair is smoothed away from the face completely, with a glossy finish. It shows bone structure and looks editorial, and it’s the most practical front style for wind and heat because nothing can move. Before committing, check your hairline: a slick look exposes thinning at the temples and any short broken hairs. I use a strong gel, a boar brush and finishing spray. Low buns, sleek ponytails and minimalist gowns suit it.
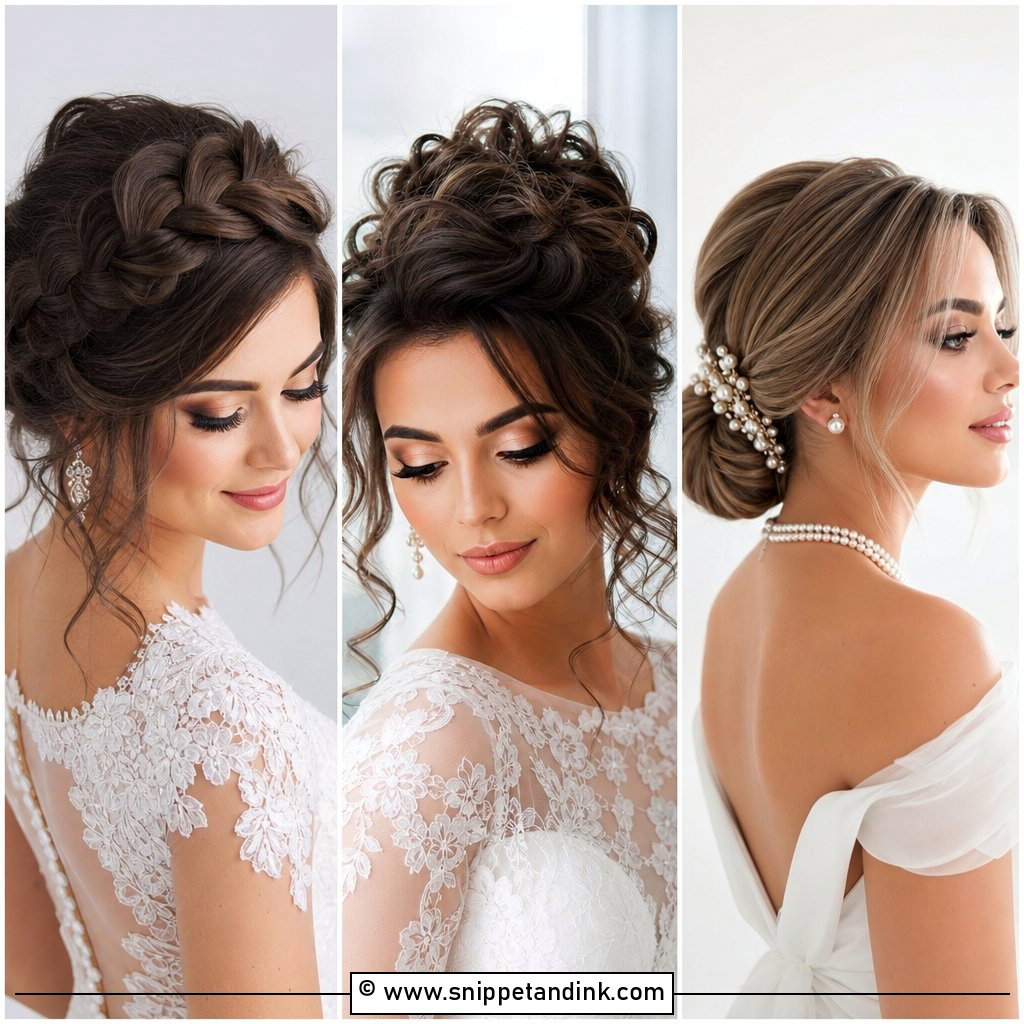
15. Romantic Side Braid Front for Wedding
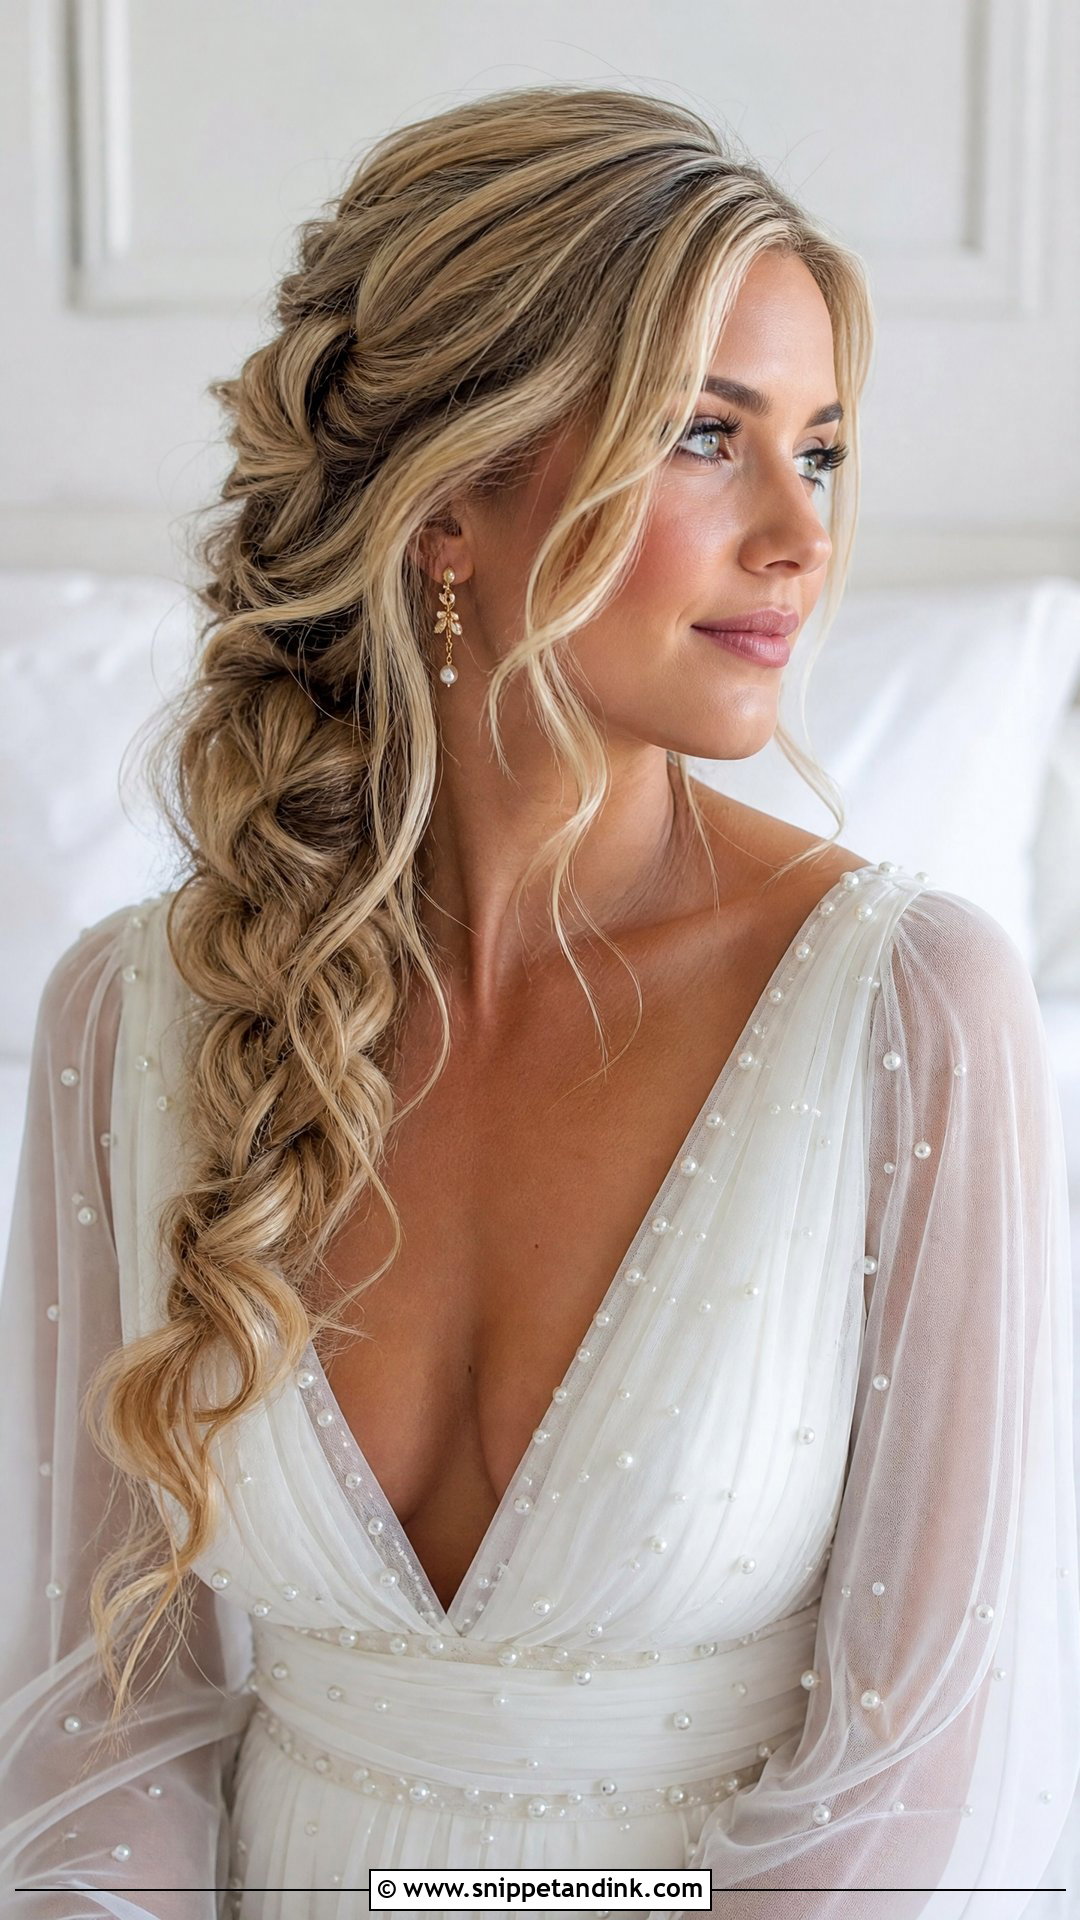
The front is braided loosely to one side and the braid drapes over the shoulder, with a few soft pieces left at the cheek. It needs long hair to reach the shoulder properly. A side braid is heavy on one side, so I anchor it with pins behind the ear to stop it slipping backward during dancing. Small flowers or pearls can be woven in. It sits best in outdoor and rustic settings.
16. Front Quiff With Updo for Wedding
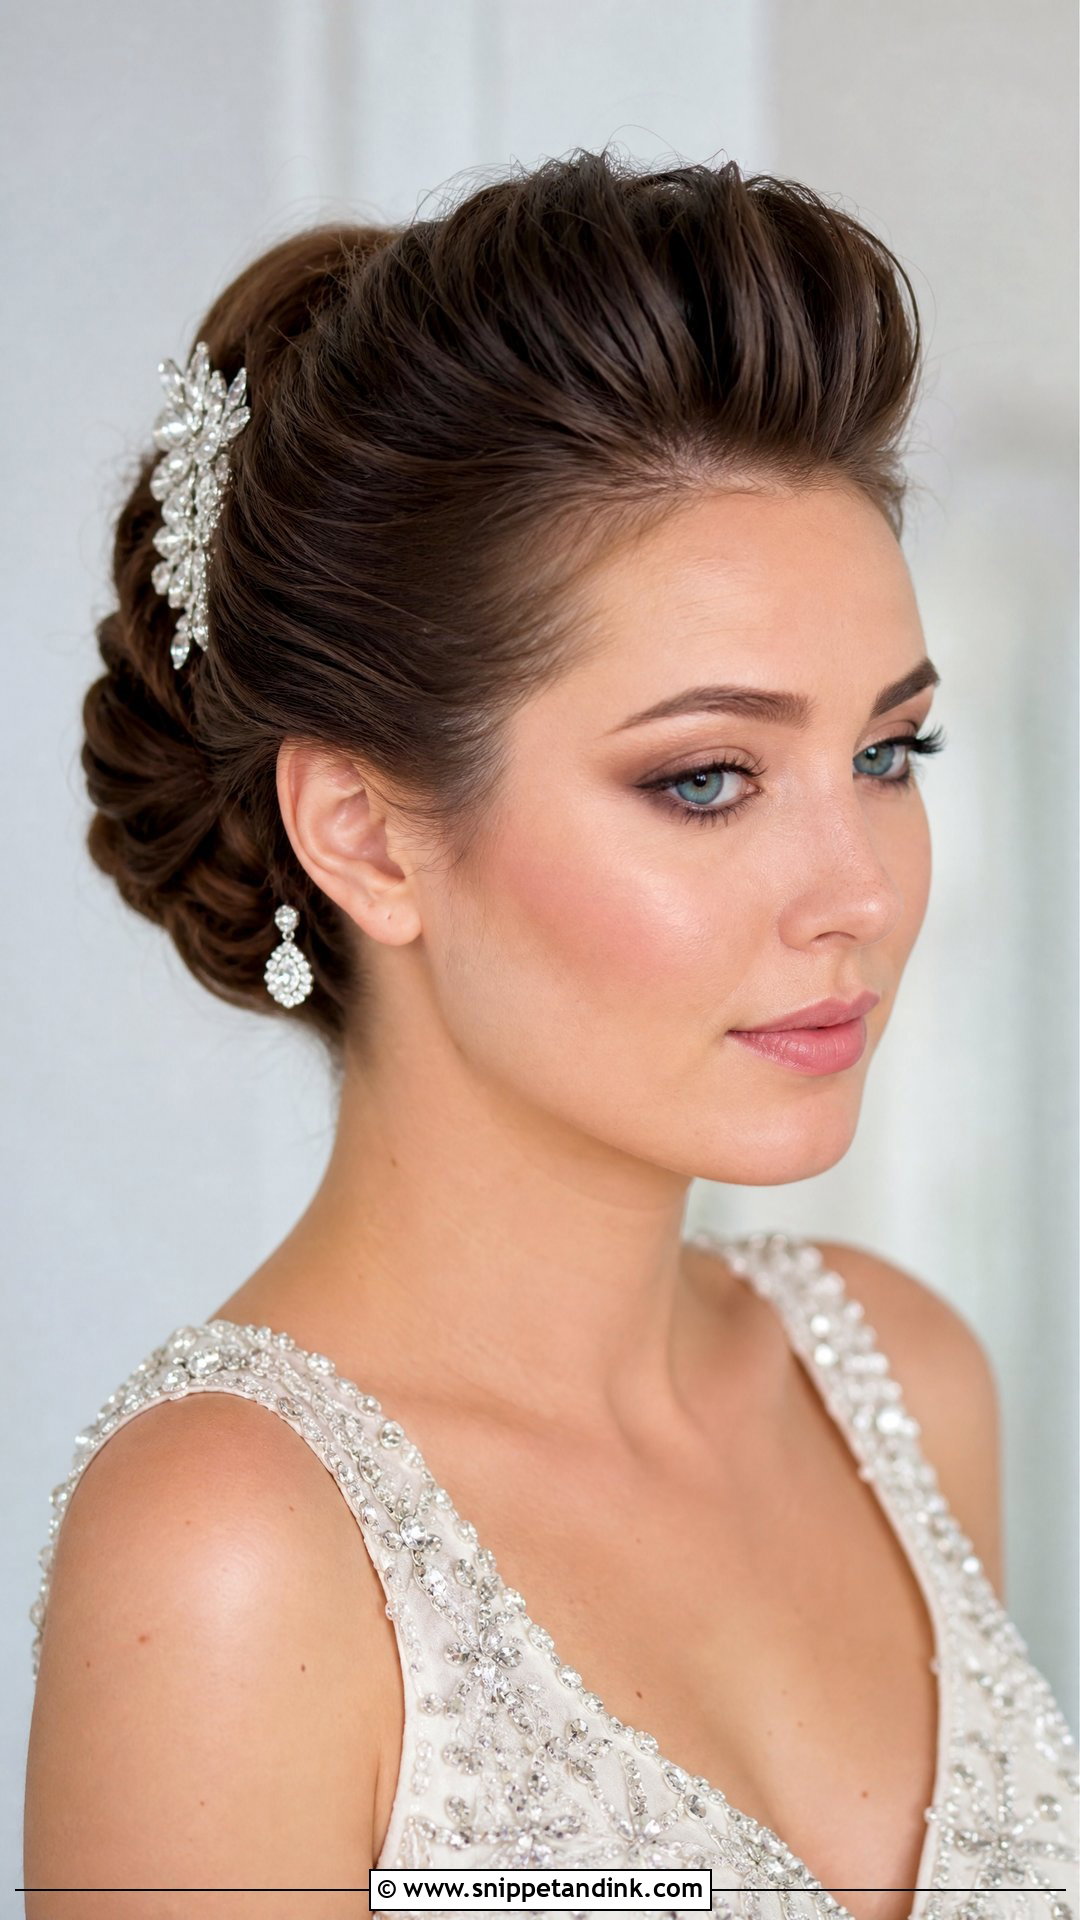
A quiff lifts the front section with backcombing and sweeps it back into a sleek updo, adding height at the crown. It lengthens a round face and suits black-tie and formal weddings. The risk is the veil: a comb pressed into the quiff flattens it. I place the veil just behind the lifted section or below the updo. Secure the base with crossed grips before adding any jewelled clip.
17. Curly Front With Half-Up Style for Wedding
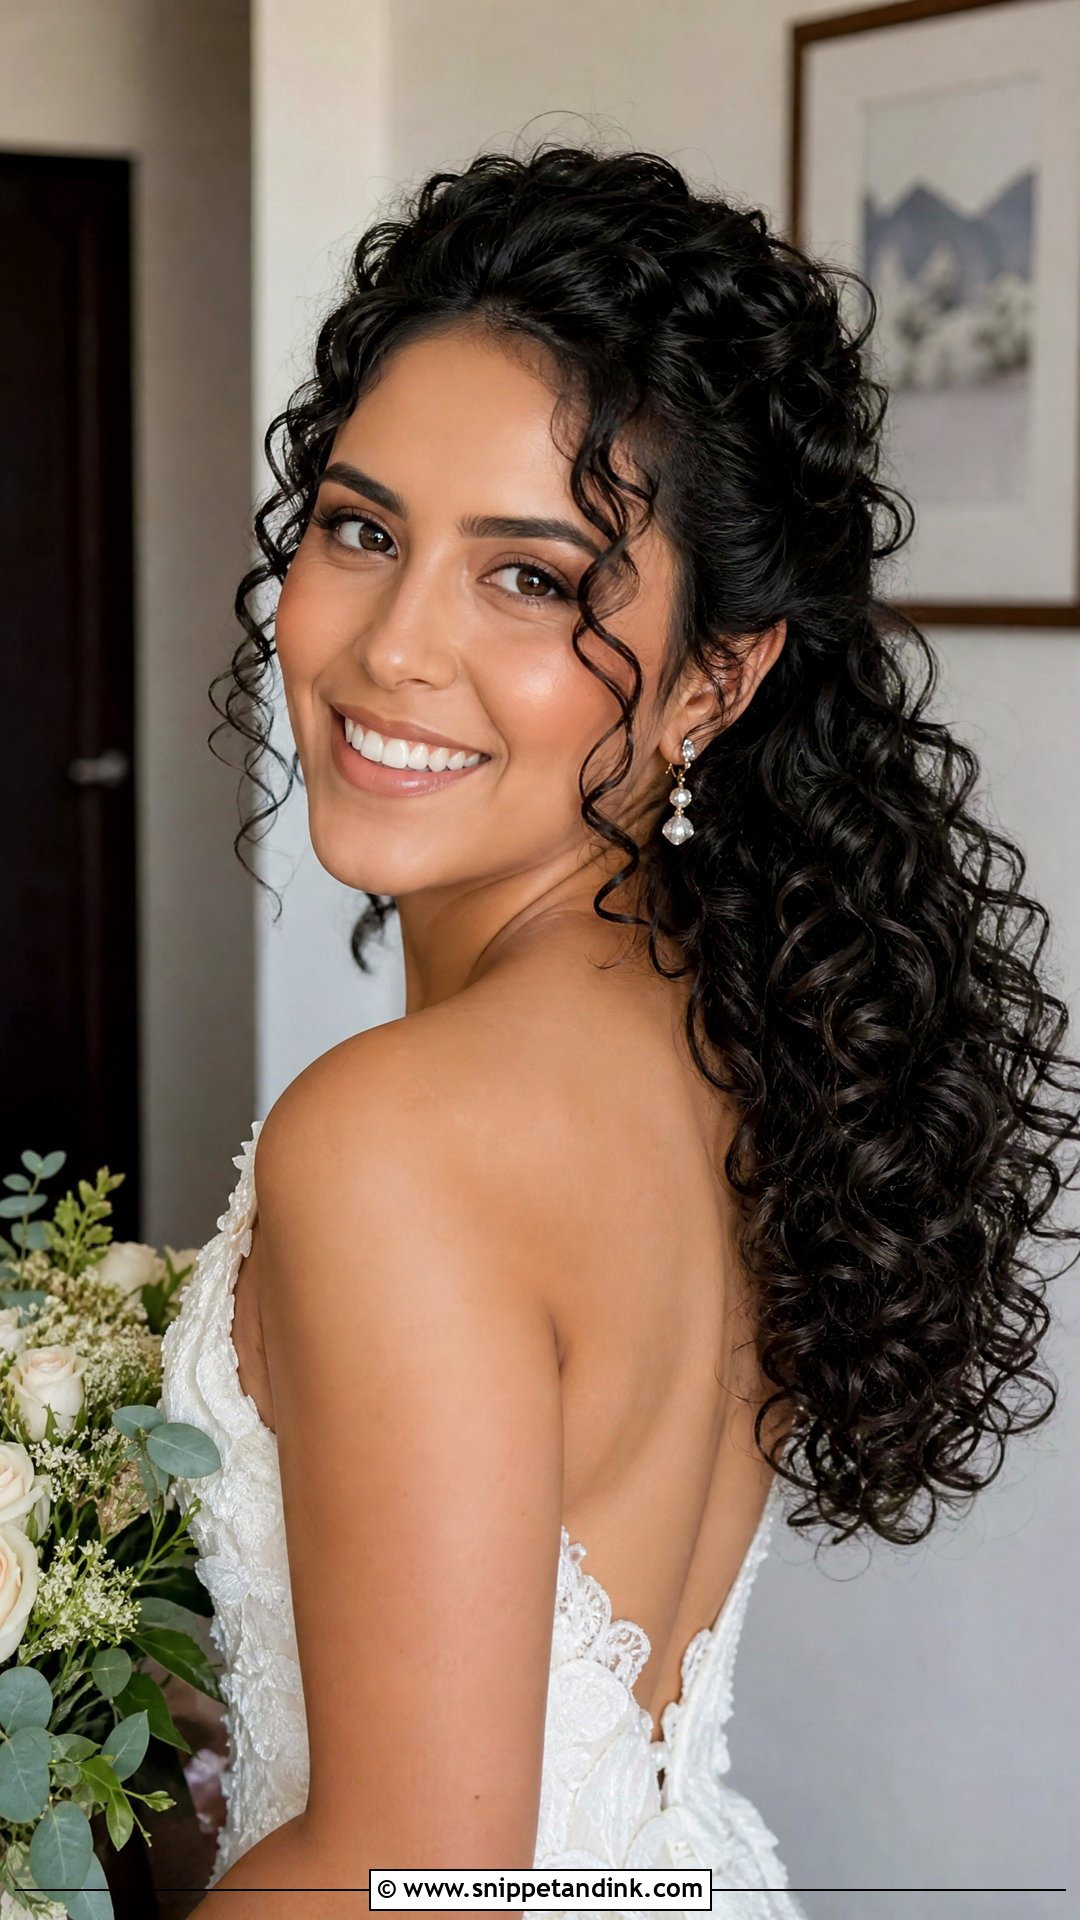
Natural curls pulled back from the face in a half-up style keep the texture while clearing the eyes. I define the curls the day before with your usual products, then on the morning I just refresh, set and pin, since brushing curls on the day causes frizz. The pulled-back section can be decorated with pins or flowers. It suits any wedding style, and curly brides tend to feel most like themselves in it.
18. Front Bump With Sleek Hair for Wedding
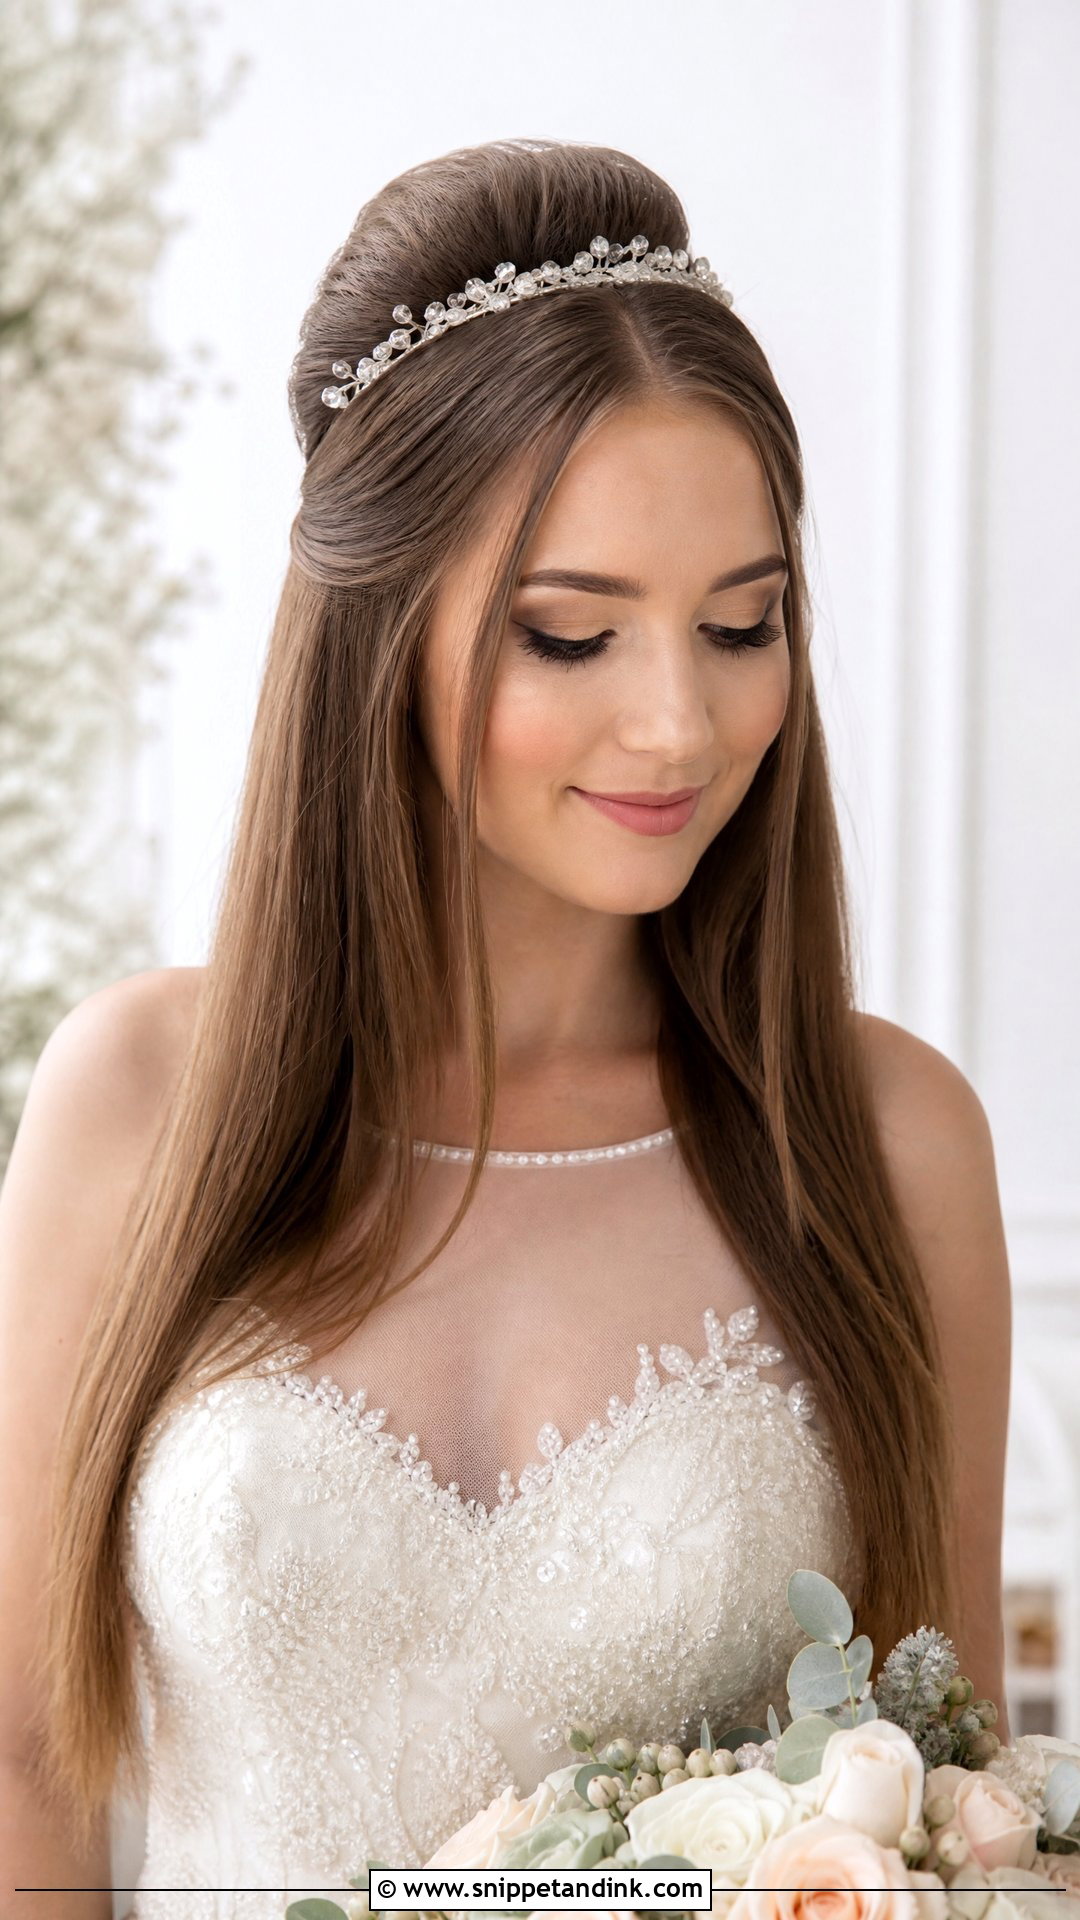
A small bump at the crown gives height while the rest stays sleek. I backcomb a horseshoe section at the top, smooth it over and pin it behind, keeping the bump low enough to look modern. It balances a short forehead and adds structure to a sleek ponytail or bun. A thin headband placed just in front of the bump defines it. It’s quick to do and holds well.
19. Wispy Bangs With Loose Waves for Wedding
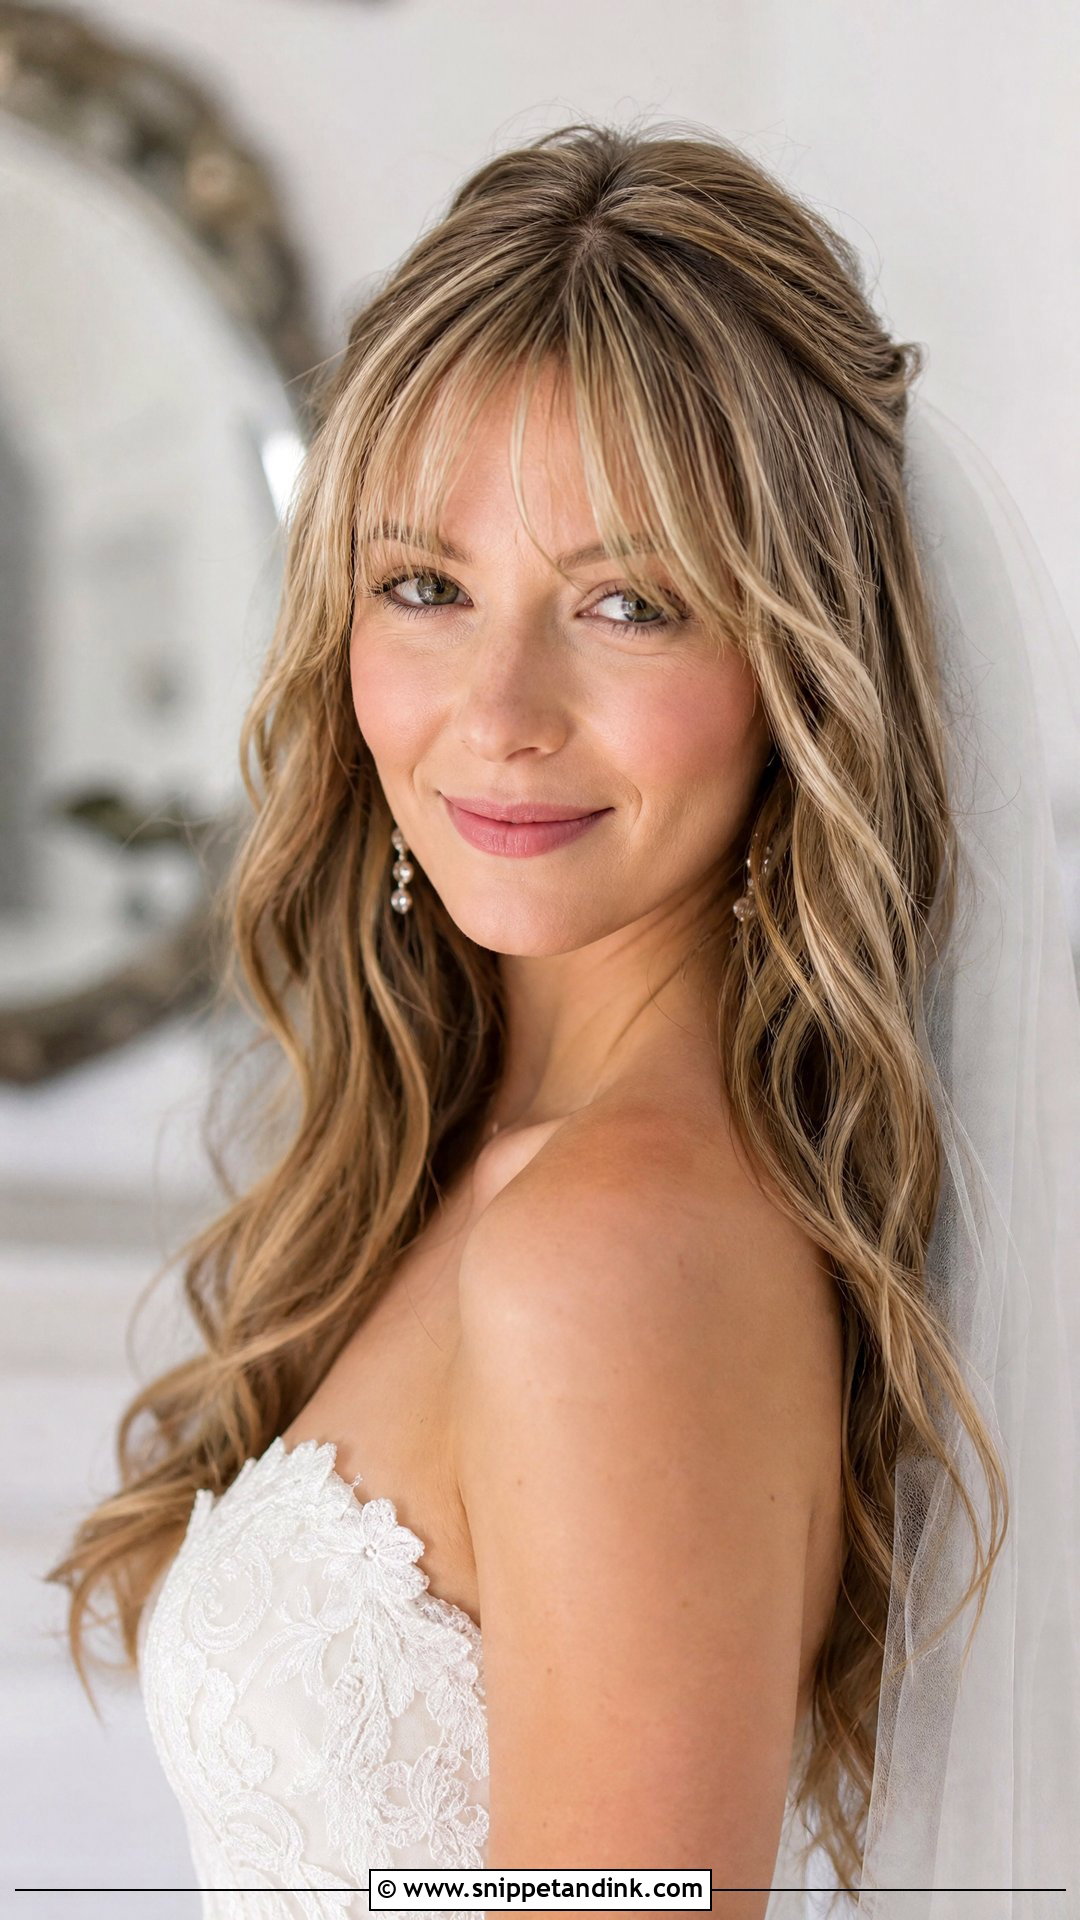
Wispy bangs are light and feathery, so the forehead shows through them. They soften a high forehead without the heaviness of a blunt fringe. Paired with loose waves, they give a relaxed look. On the day, oily skin is their enemy: by late afternoon, wispy bangs separate and stick to the forehead. I blot the skin, use a little dry shampoo at the roots and leave a mattifying sheet in your bag for touch-ups.
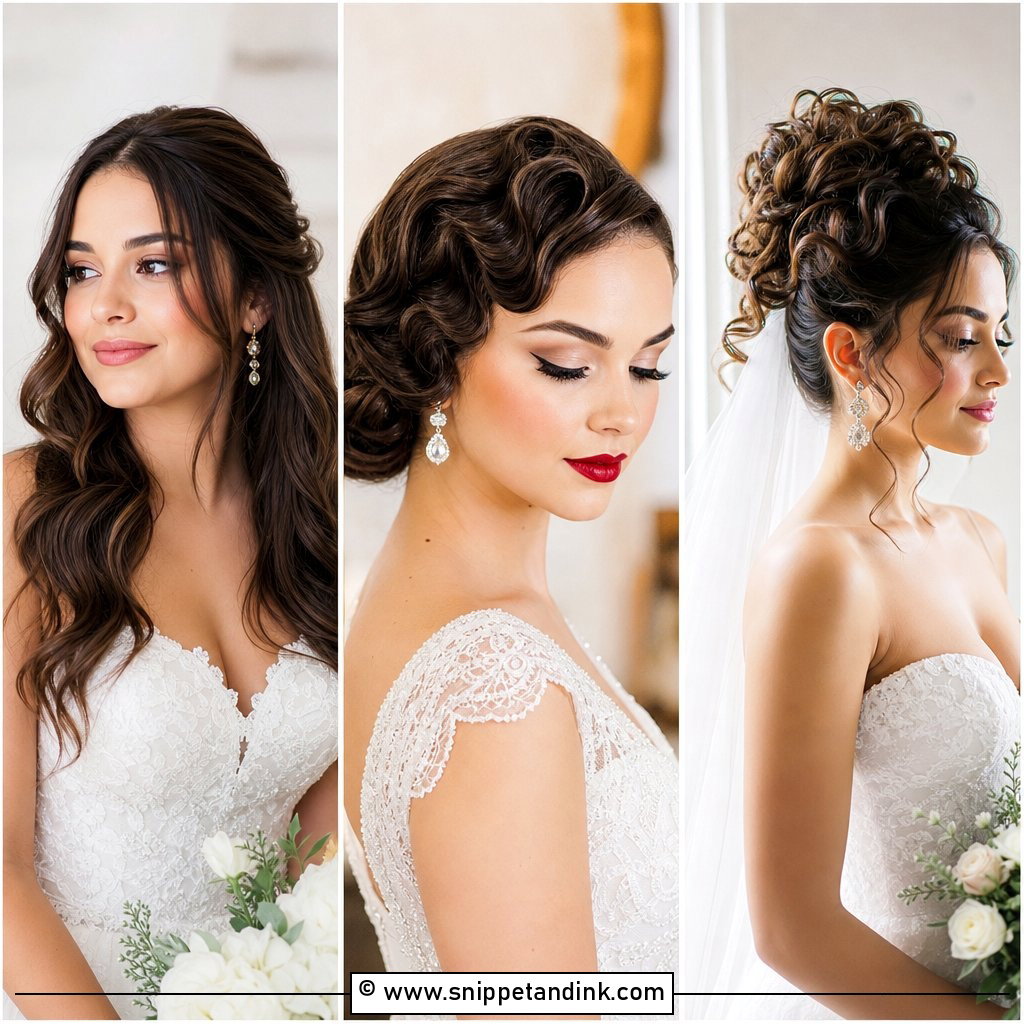
20. Front Pinned Curls for Wedding
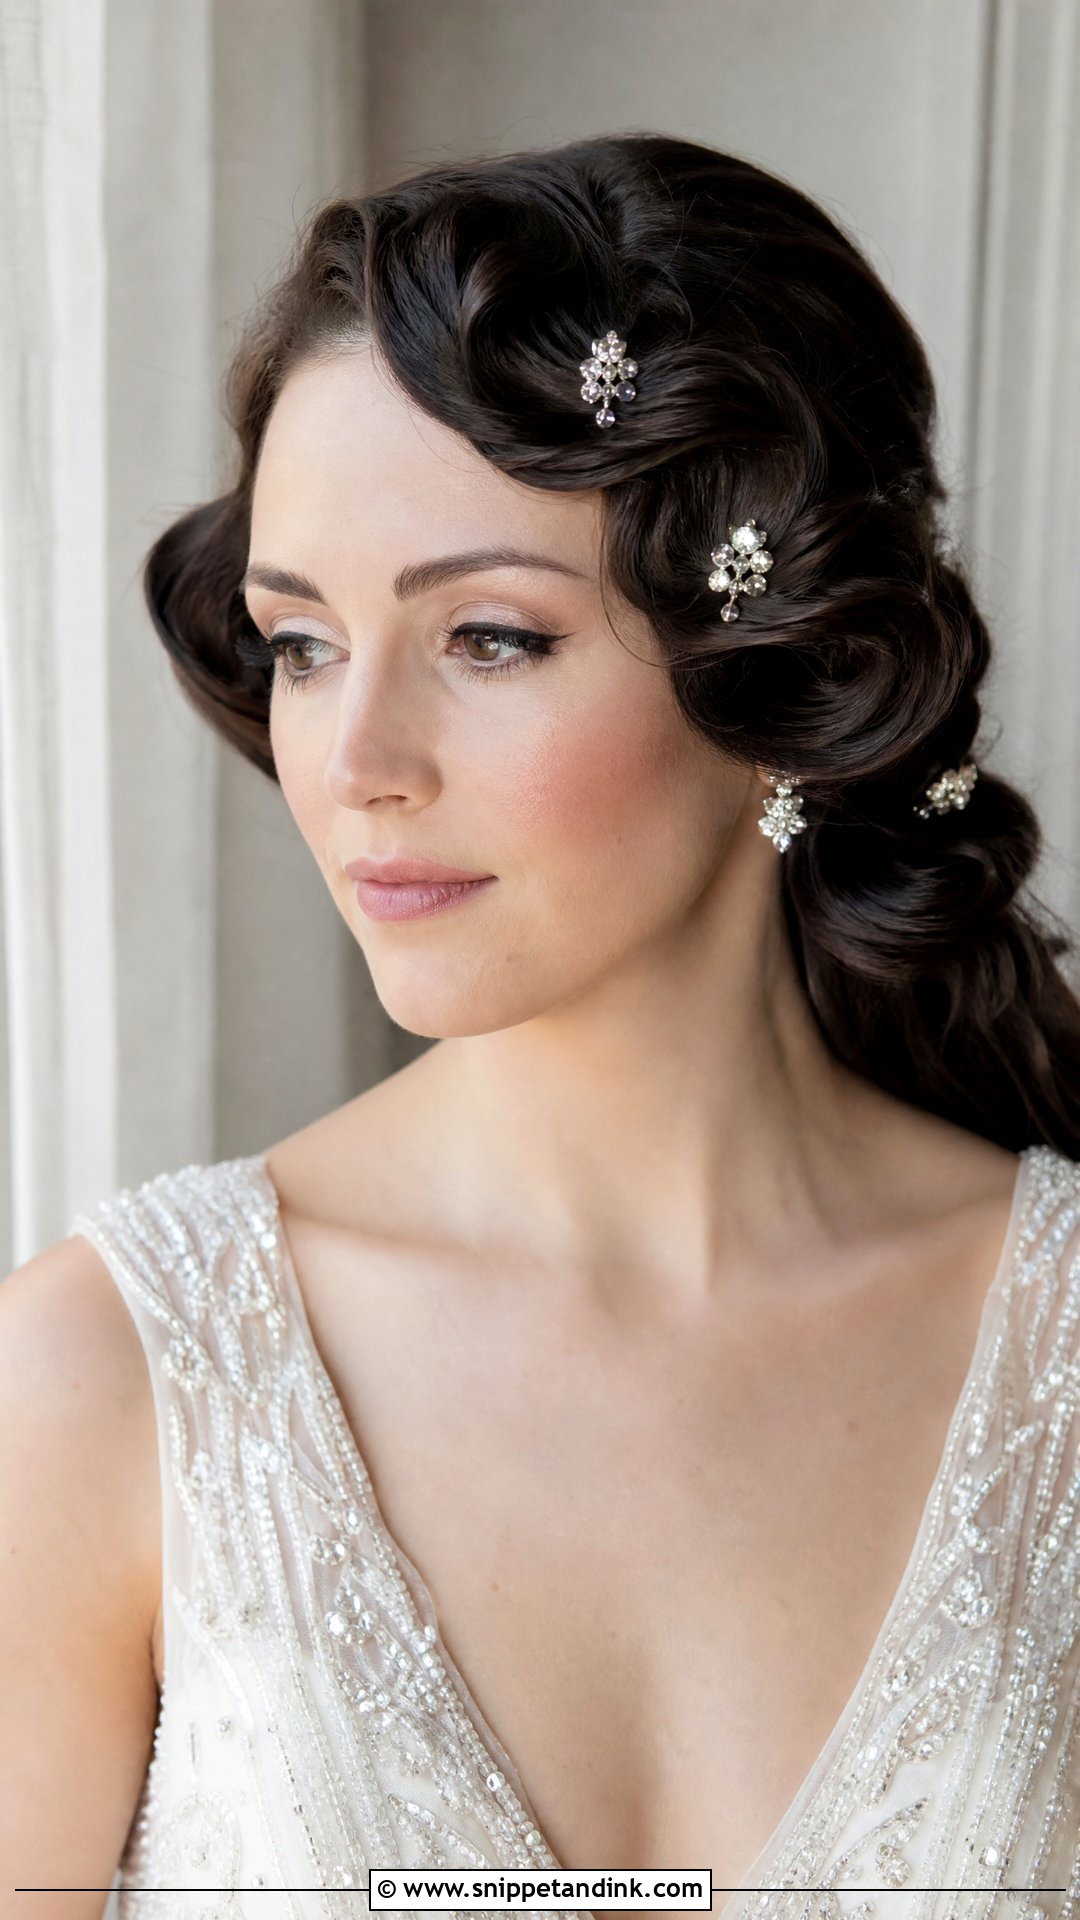
Pin curls at the front are formed by winding small sections into flat coils and holding them with clips while they set, then either leaving them as sculpted curves or brushing them out. They’re delicate work and suit retro weddings. Short to medium lengths take them best, while long hair is usually too heavy to hold a pinned curl all day. Decorative pins where the curls sit add detail near the hairline.
21. Middle Part Sleek Bun With Front Pieces
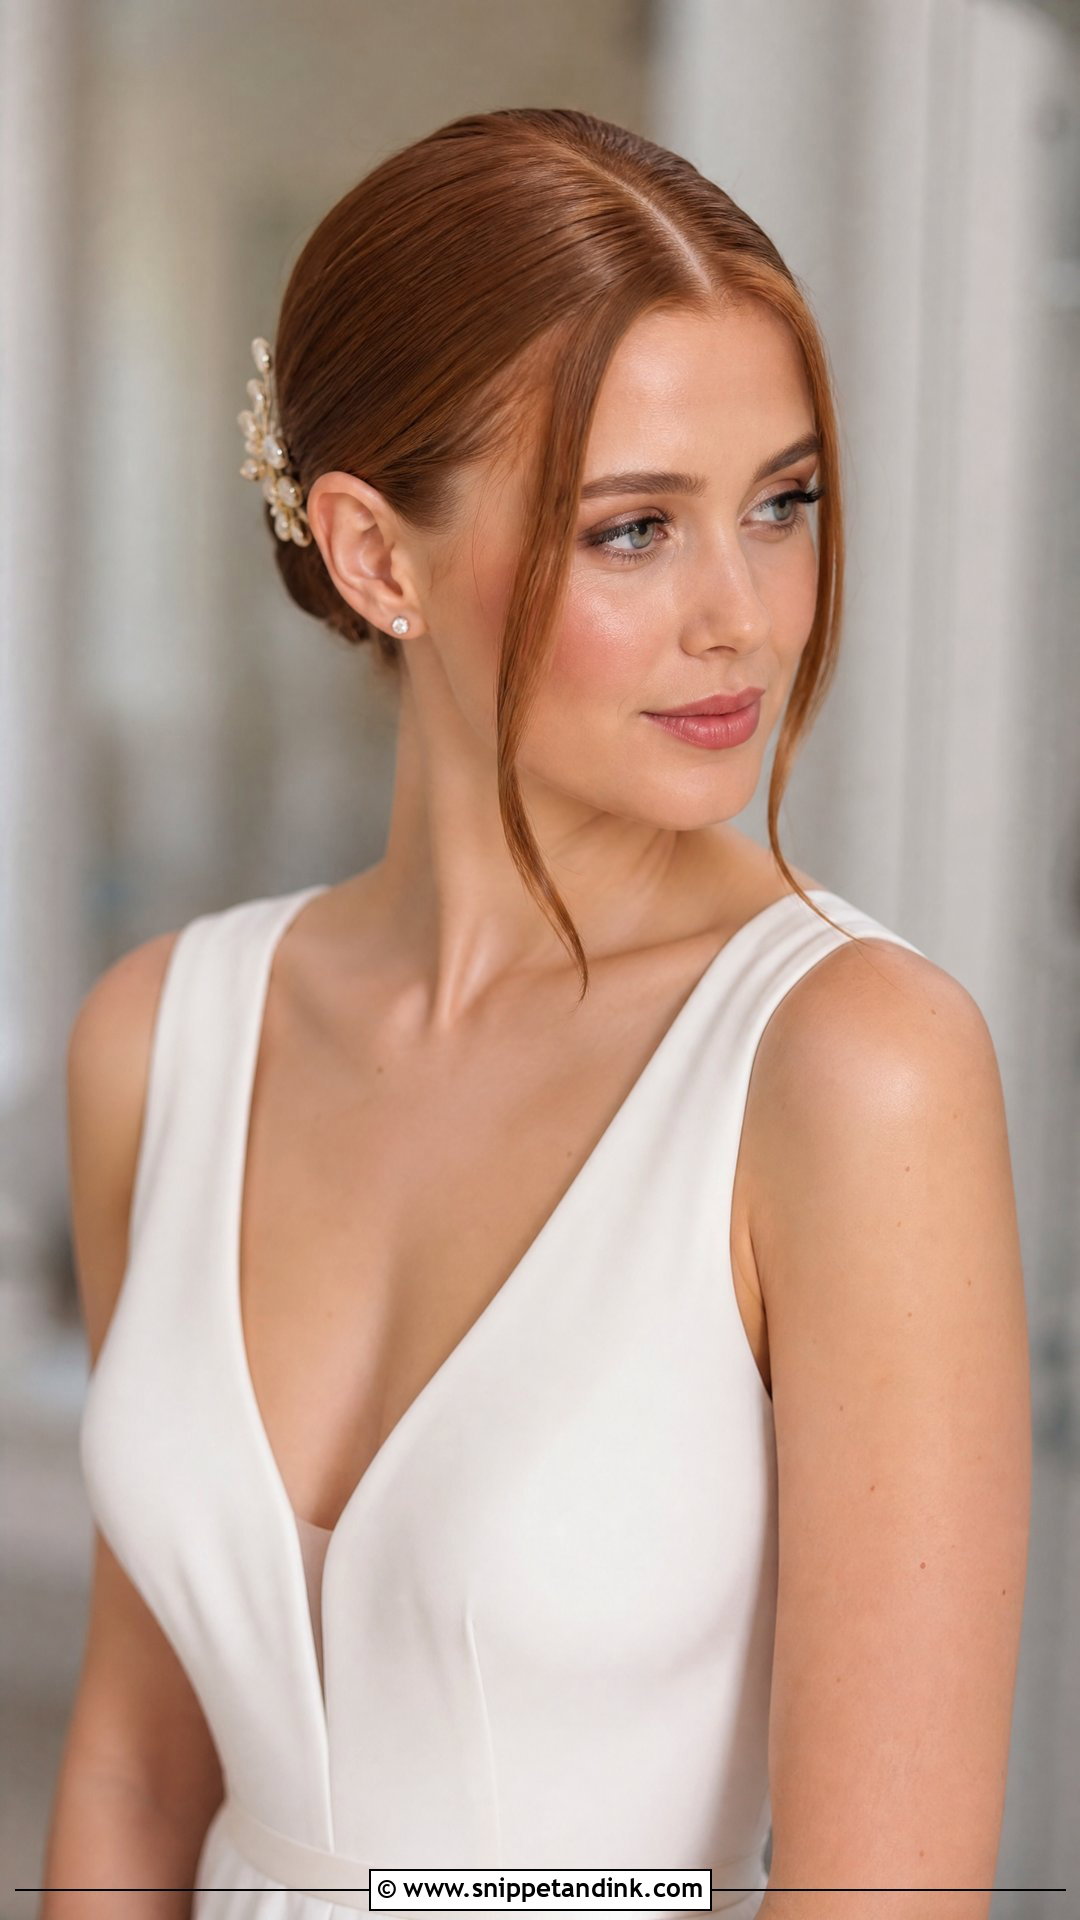
A middle part and a low sleek bun with a few loose front pieces is clean and modern. The part must be ruler-straight, so I draw it with a tail comb and spray it before pulling the hair back. Leave the face-framing pieces out first, then smooth everything else. Minimalist gowns and contemporary venues suit it, and small pins or a delicate clip near the bun add a little detail.
22. Front Waterfall Braid for Wedding
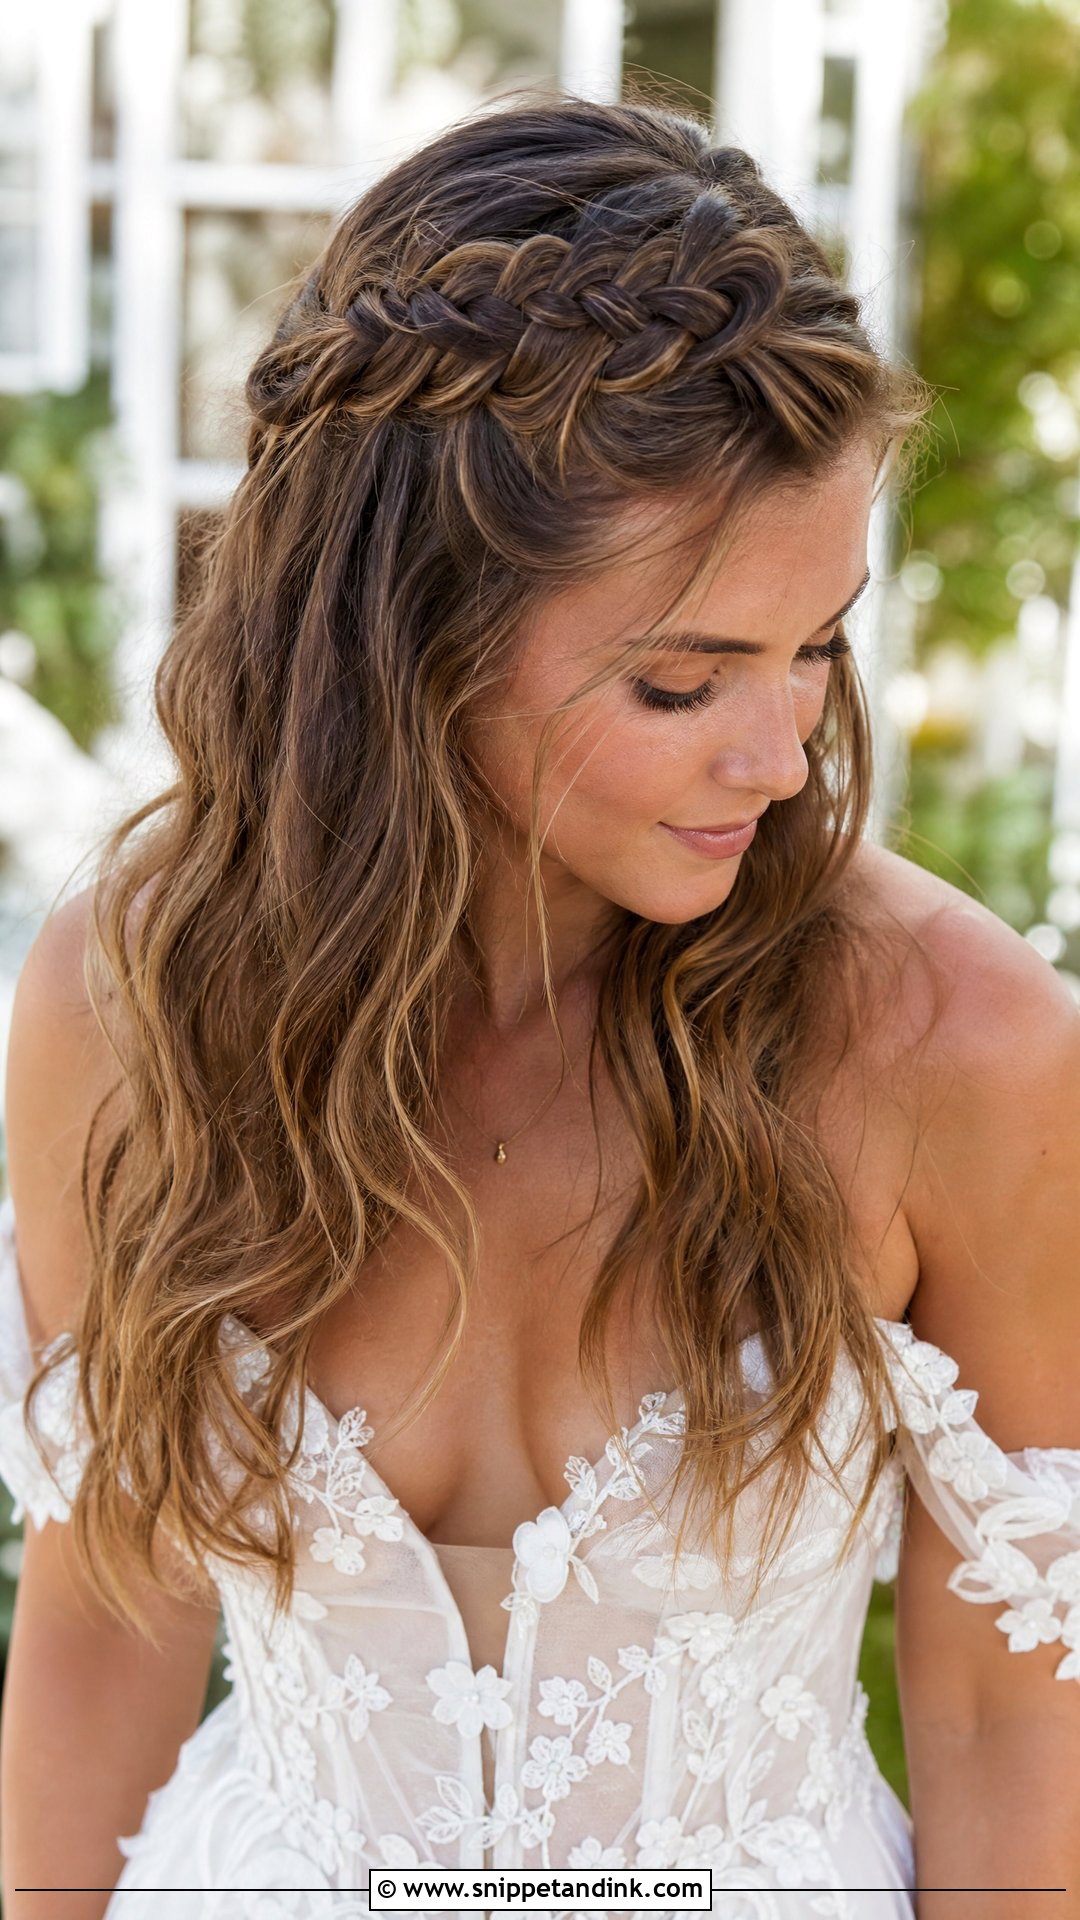
A waterfall braid runs horizontally across the head, dropping one strand on each pass so it falls loose below the braid. That falling strand is what gives the cascading effect. It needs layered or wavy hair with enough length to fall through, and it’s fiddly, so leave extra time. I curl the dropped strands after braiding so they don’t hang straight. Boho and garden weddings suit it, and small flowers can be tucked into the braid.
23. Voluminous Blowout Front for Wedding
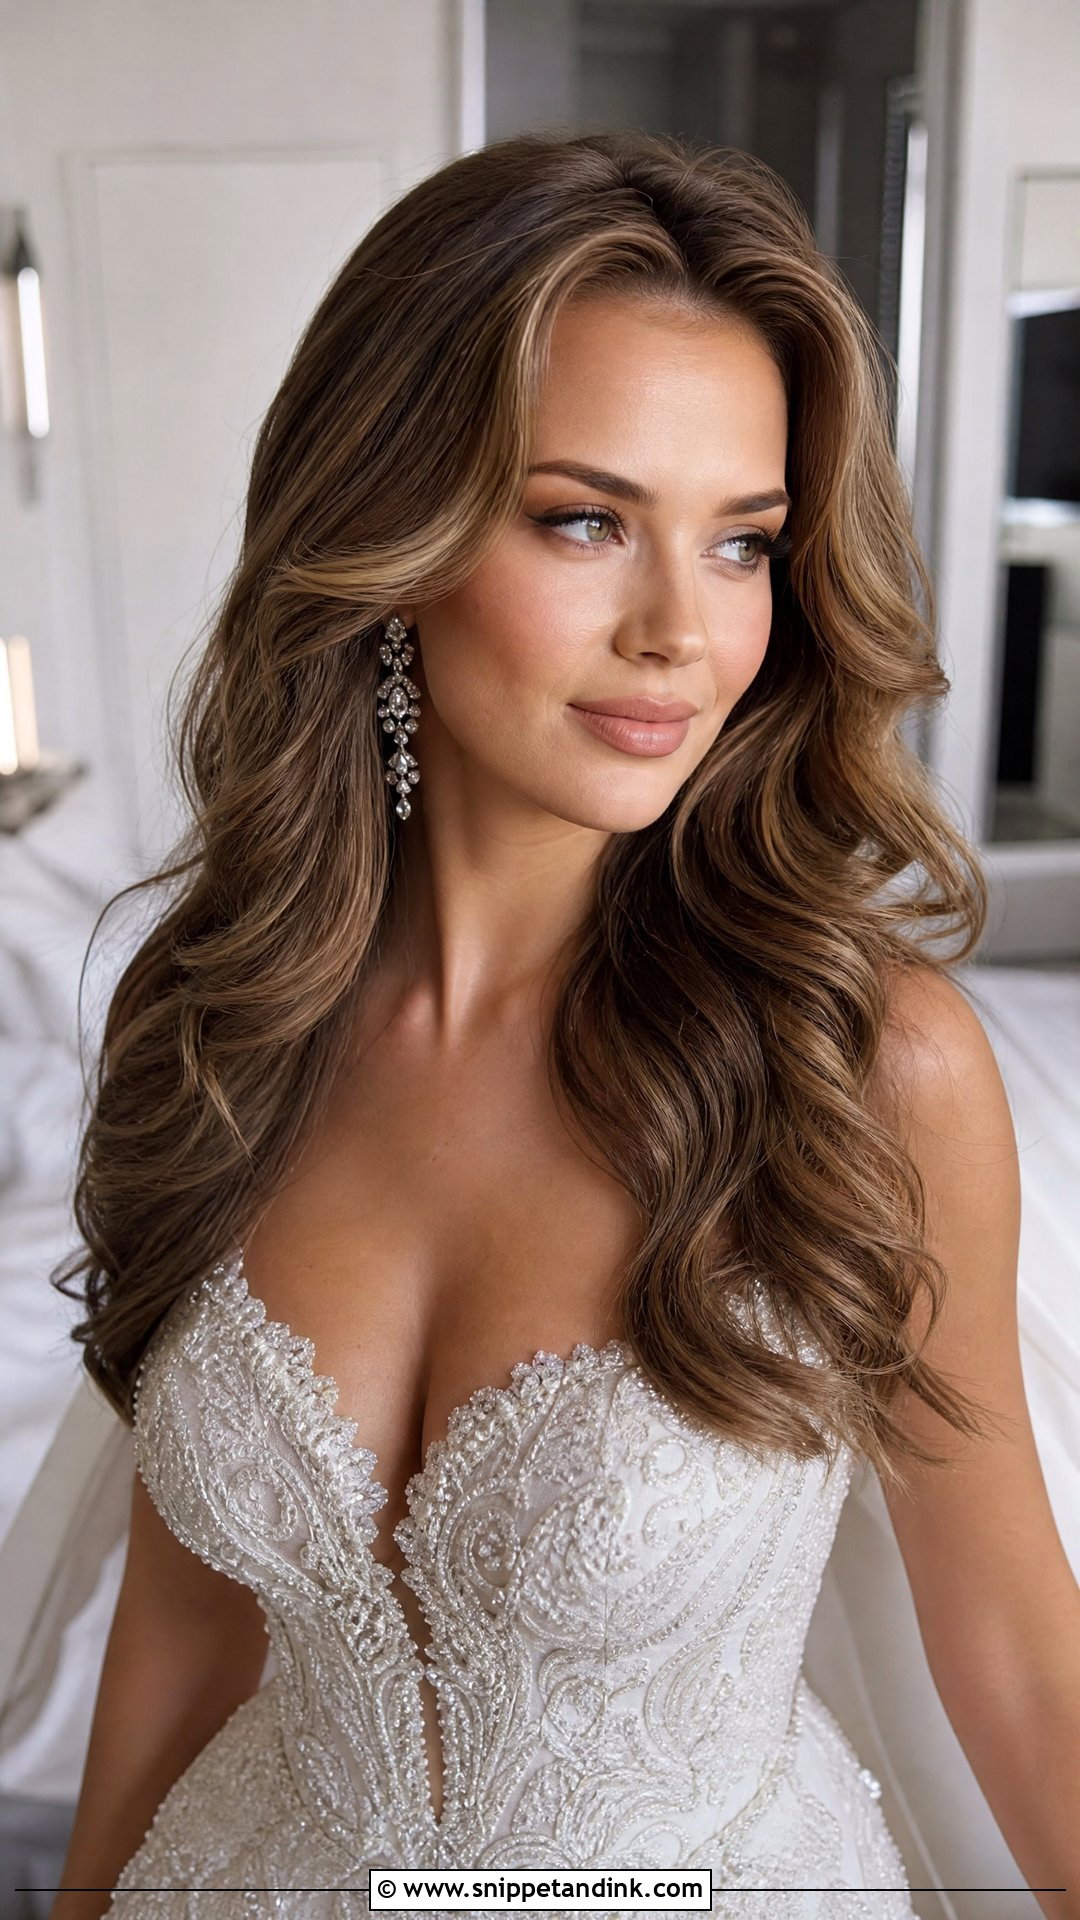
A bouncy, voluminous blowout lifts the front with a round brush and lots of heat directed at the roots. It gives fullness that frames the face, and it can be worn down or half-up. A blowout depends on the weather more than any other style here. Humidity will drop it within a couple of hours unless I set it with velcro rollers while you do your makeup. Statement earrings and a simple gown pair well with it.
24. Front Pompadour Updo for Wedding
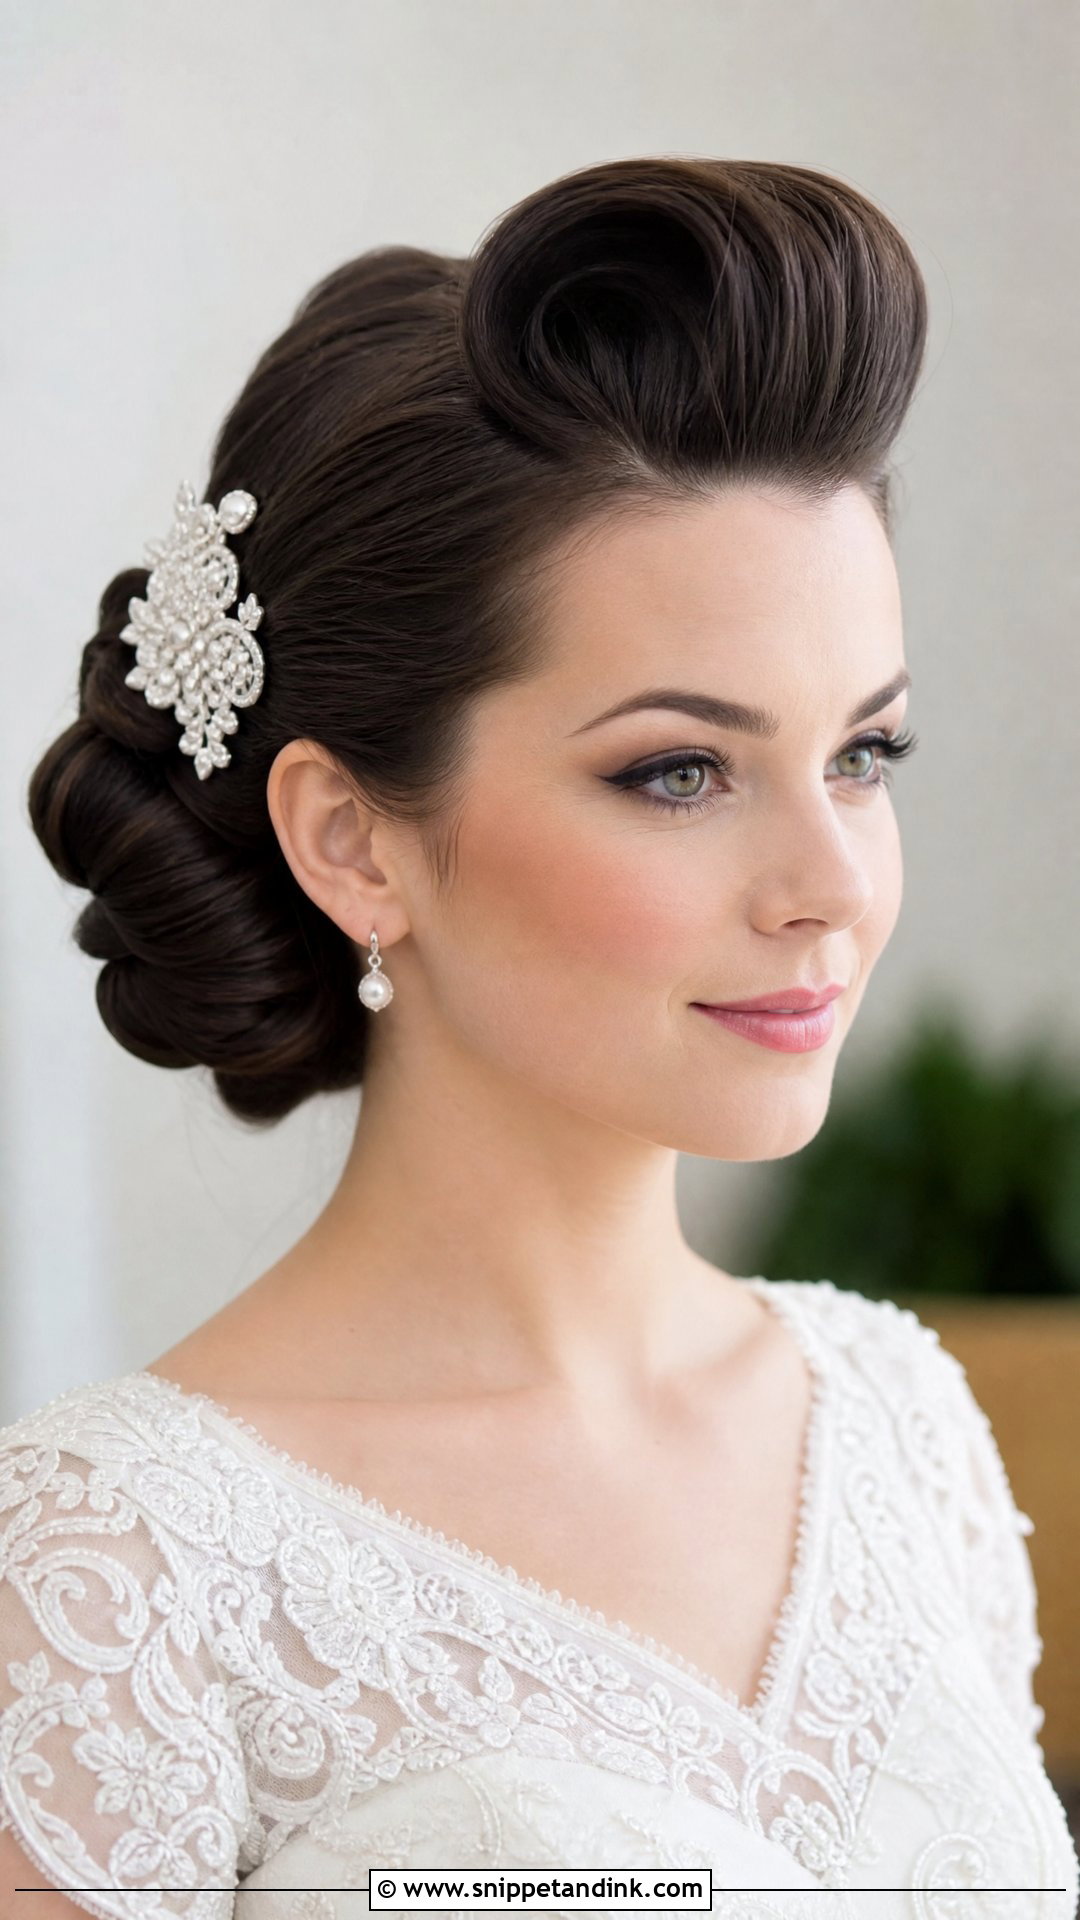
A pompadour lifts the front high with backcombing and sweeps the rest into an updo. It’s dramatic and rooted in vintage glamour, so it suits formal and retro weddings. The base needs more pins than any other front style here because the lift wants to collapse forward. I’d only suggest it to brides with medium to thick hair; fine hair can’t hold a tall pompadour without visible teasing. A decorative clip at the base hides the anchoring.
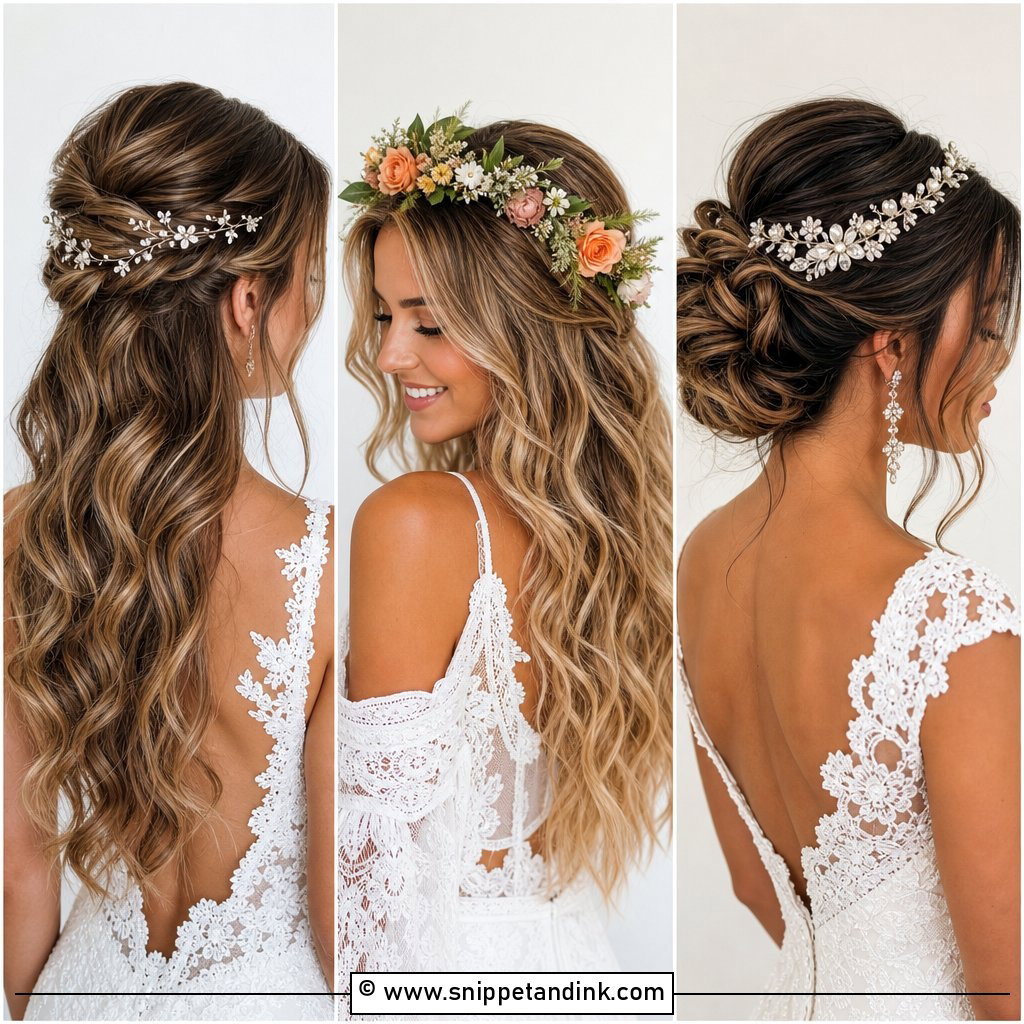
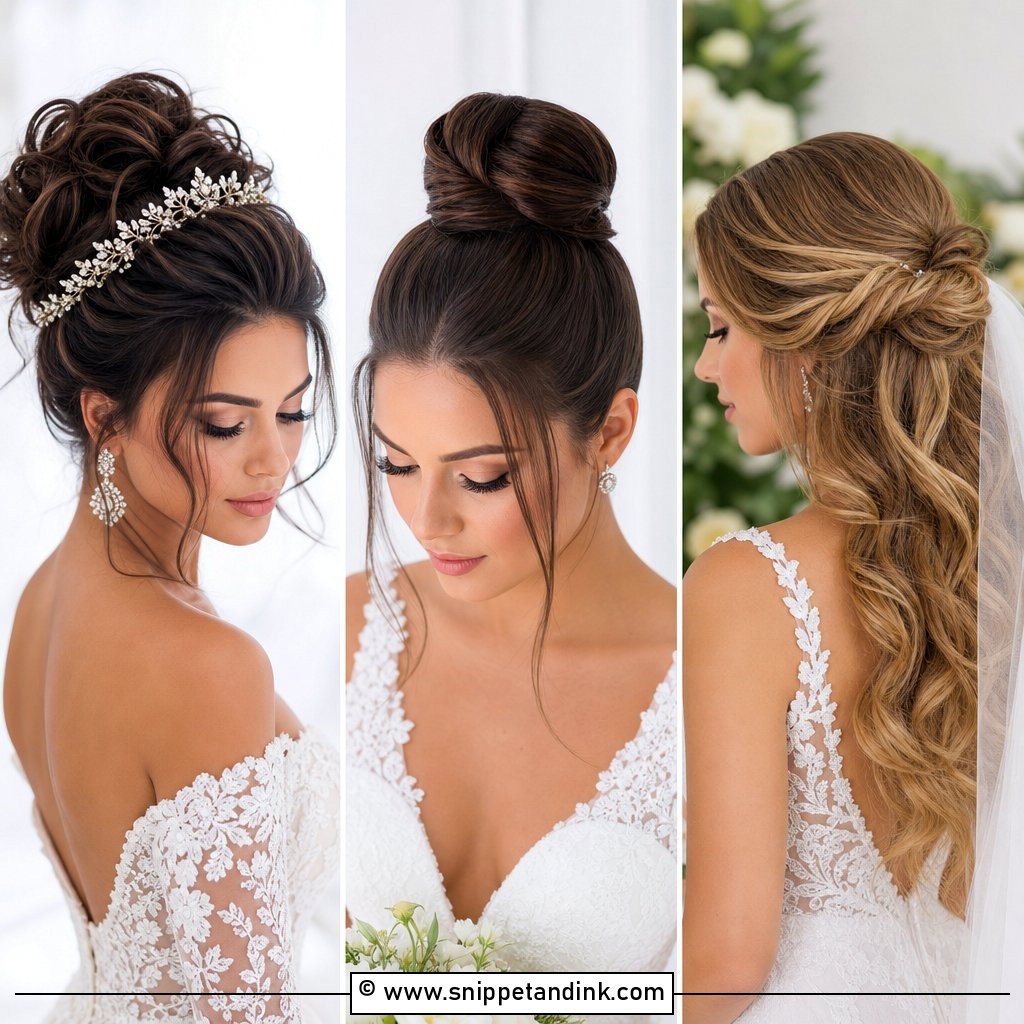
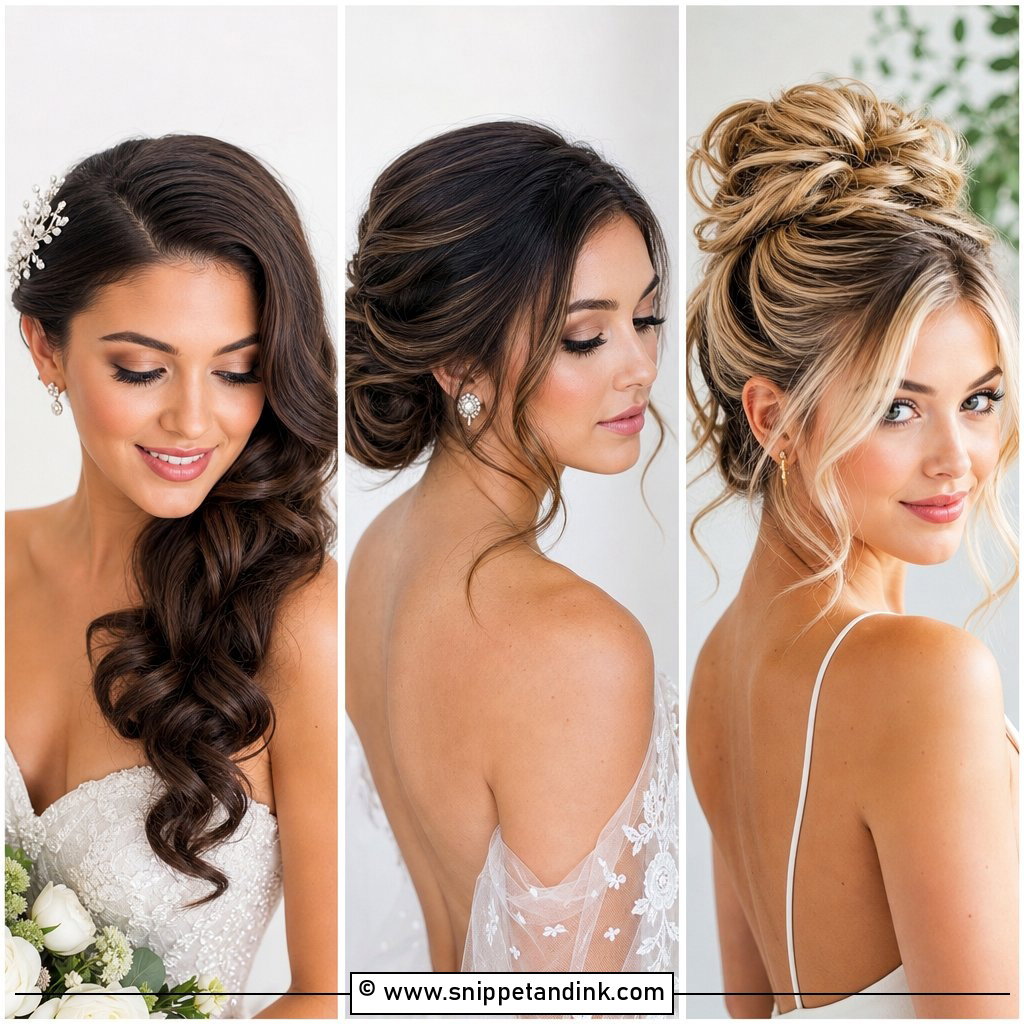
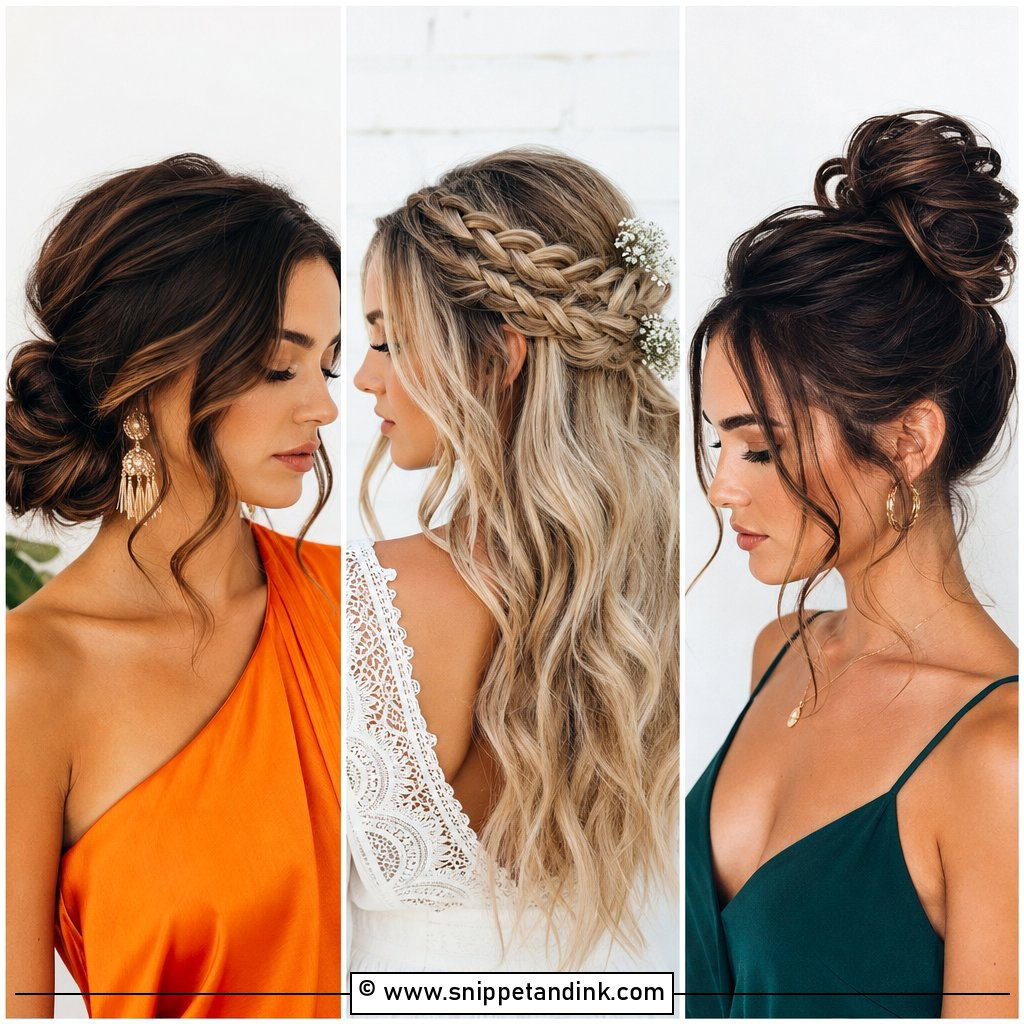
25. Soft Swoop Bangs With Updo for Wedding
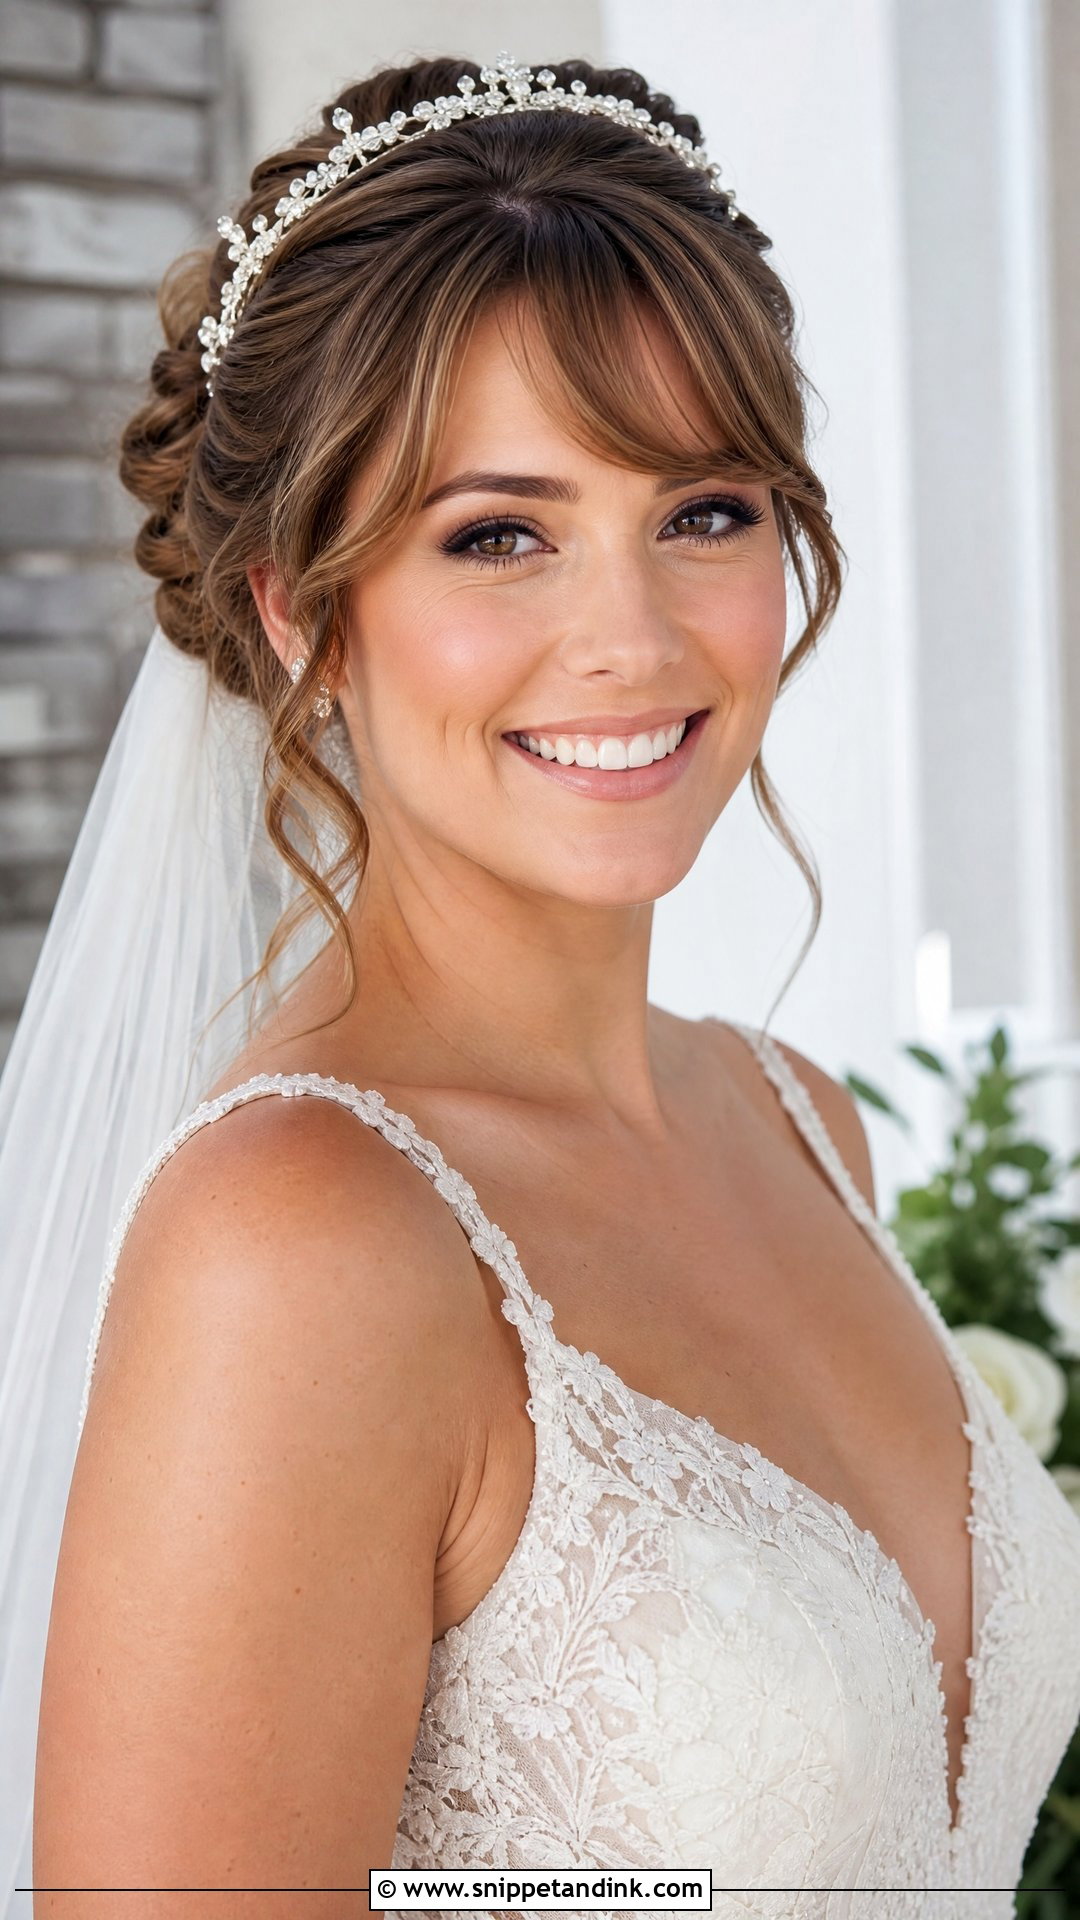
Swoop bangs curve gently across the forehead to one side and blend into an updo. They’re softer than a straight fringe and keep attention on the eyes. I blow-dry the swoop with a round brush and pin the end discreetly behind the ear so it holds its curve. They work with veils, tiaras and fine pins, and they suit most face shapes. On the day, a quick touch with a flat brush and spray restores the curve if it drops.
What Happens to Front Pieces After Six Hours of Hugging
Face-framing pieces take more punishment than any other part of the style. They brush against cheeks and lip gloss, get caught in the veil and soak up humidity. Most problems are avoidable with the right order of work on the morning.
Do makeup before the front is finished
Hairspray goes on before you put the dress on, with your face covered by a card or your hand, so it doesn’t settle on fresh makeup and leave it tacky.
I curl and pin the front pieces out of the way while makeup is applied, then release and set them afterwards. Hair that touches wet foundation or setting spray goes stringy and stays that way.
Build in a reset before the portraits
The front drops first, especially in heat. A five-minute reset with a small curling iron or a flat brush and spray before the couple portraits restores it. If your stylist isn’t staying, ask her to show you how to retwist and repin your loose pieces, and keep a few bobby pins, a mini hairspray and blotting papers with whoever is holding your bag.
Lip gloss is the other trap. Glossy lips catch every loose piece in the wind, so for an outdoor ceremony I suggest a satin lipstick and slightly shorter front pieces.
Which Way Does Your Hairline Want to Fall?
The front of your hair frames your face in every close-up, so it’s worth planning carefully. Curtain bangs, Hollywood waves, braids and slicked-back finishes all work, but the best choice depends on your hairline, face shape, texture, dress and the weather. Book a trial and bring your veil and accessories. Look at the photos from that trial, not just the mirror, and choose the front that frames your face the way you want it remembered.
You'll Like These Ideas:


Leave a Reply