
A slicked back bun looks simple, and that is exactly why it’s unforgiving. There is nowhere for a bump, a kink from an elastic or a patch of flyaways to hide, so most of my work happens in the base before the bun is even formed. Done well, it stays put from the first look to the last song and keeps hair off your neck all day. The ideas below run from a glossy low chignon to a high ballerina knot, and a few soften the line with face-framing tendrils. I’ve added notes on who each one suits and where it tends to fail, so you can walk into your trial with a clear brief.
Building a Slick Base That Won’t Flake by the Speeches
The finish you see in photos comes from the blow-dry, not from piling on gel. I start with hair that was washed the night before, or that morning for very oily scalps, and work a smoothing cream through the lengths while damp. A flat paddle brush and a nozzle pointed down the hair shaft give the smoothest surface. Only then does gel go on, and only over the top layer.
Adjusting for your hair texture
- Fine or thin hair: a light mousse at the root before blow-drying gives the base some grip, and I skip heavy oils that make the slick look flat and stringy.
- Thick hair: I silk-press or flat-iron the surface sections only and secure the ponytail in two stages so the elastic doesn’t snap.
- Curly and coily hair: a stretched blow-out or a protected silk press is the base; on unstretched hair, I lay the edges with a firm gel and let the curl pattern sit in the bun.
- Layered cuts: short layers around the face need a wax stick or pomade to sit down, because gel alone won’t hold the ends.
Tell me about any scalp sensitivity before the trial. A slick look depends on tension, and some brides are fine with it for a photo but not for twelve hours.
1. Classic Slicked Back Low Bun
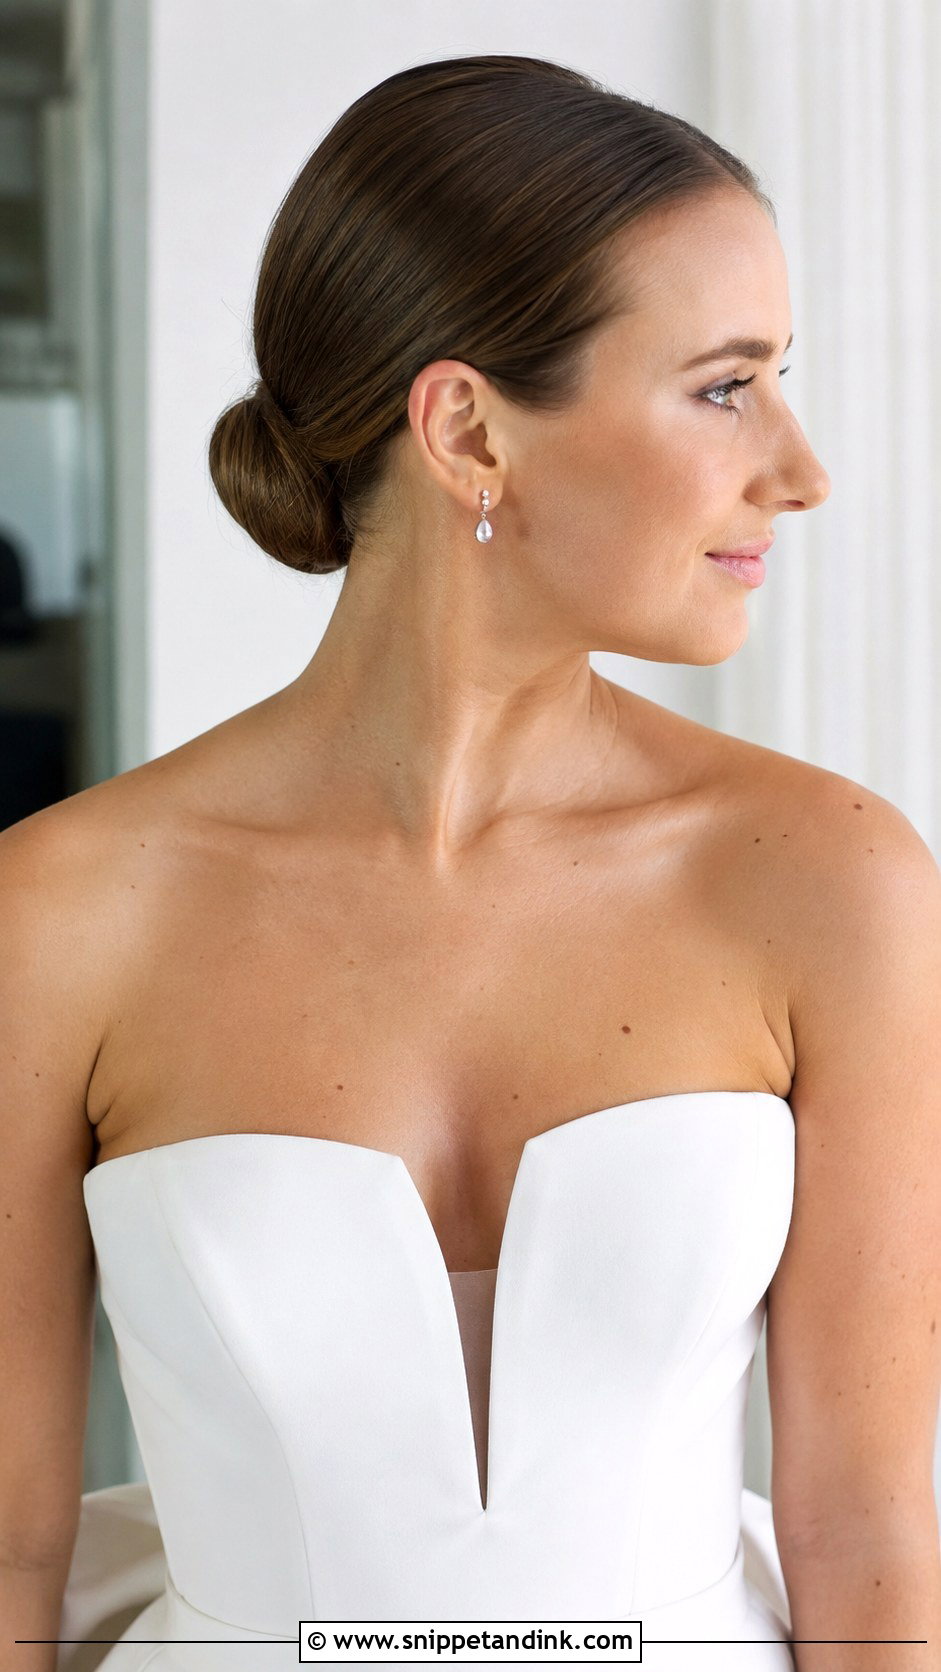
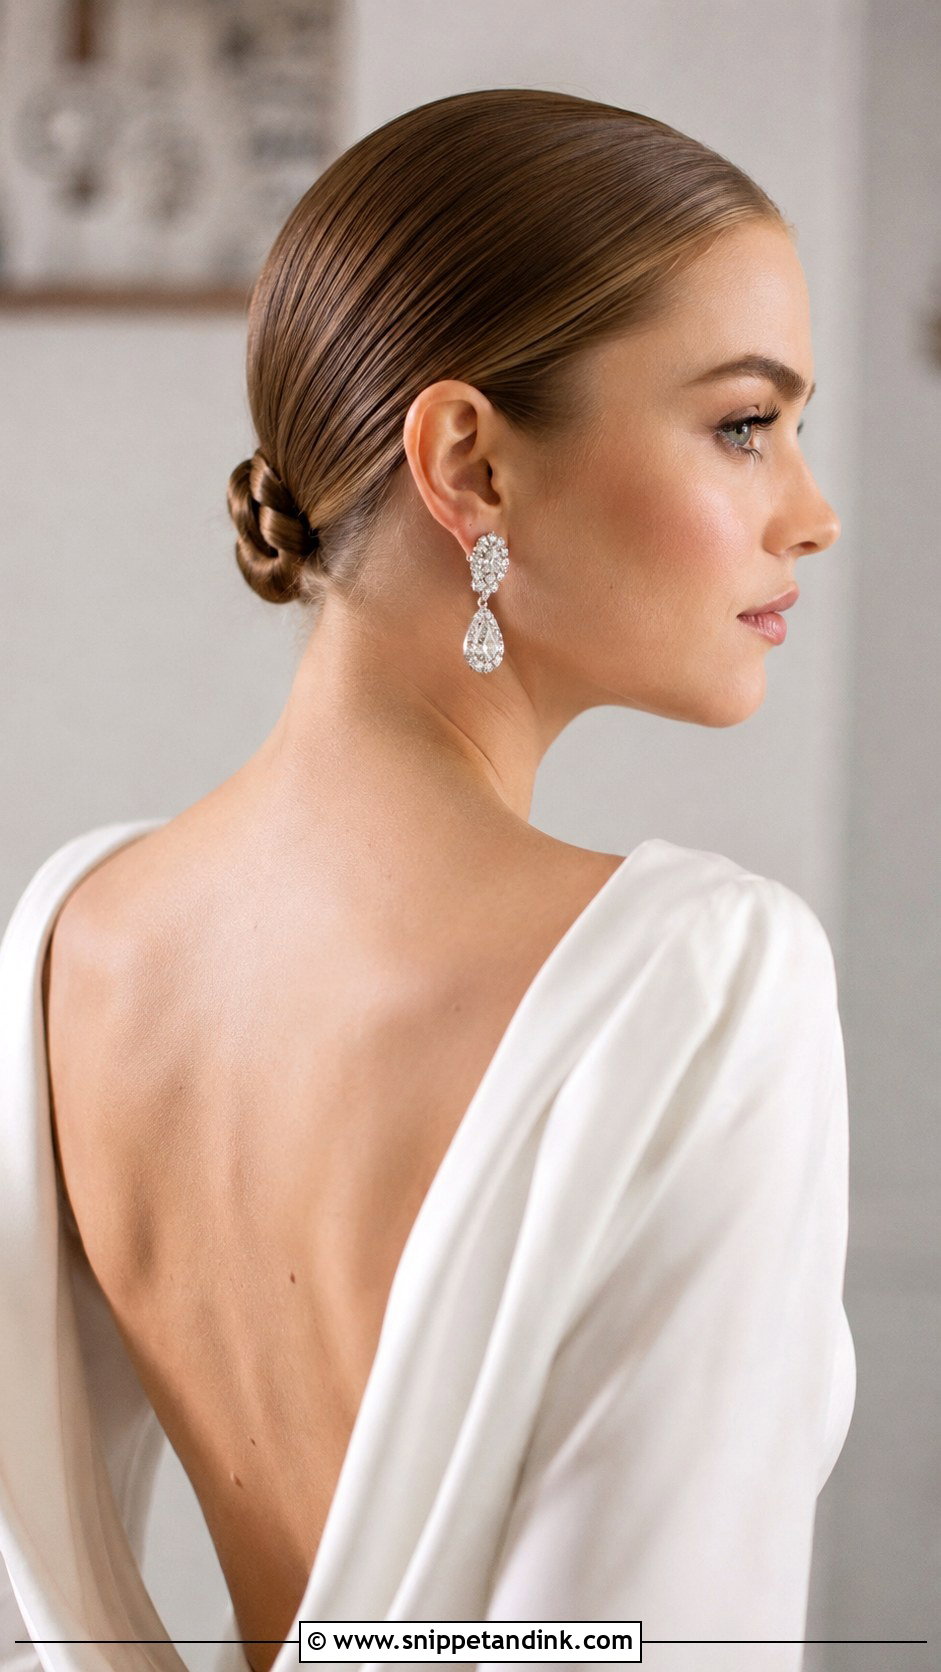
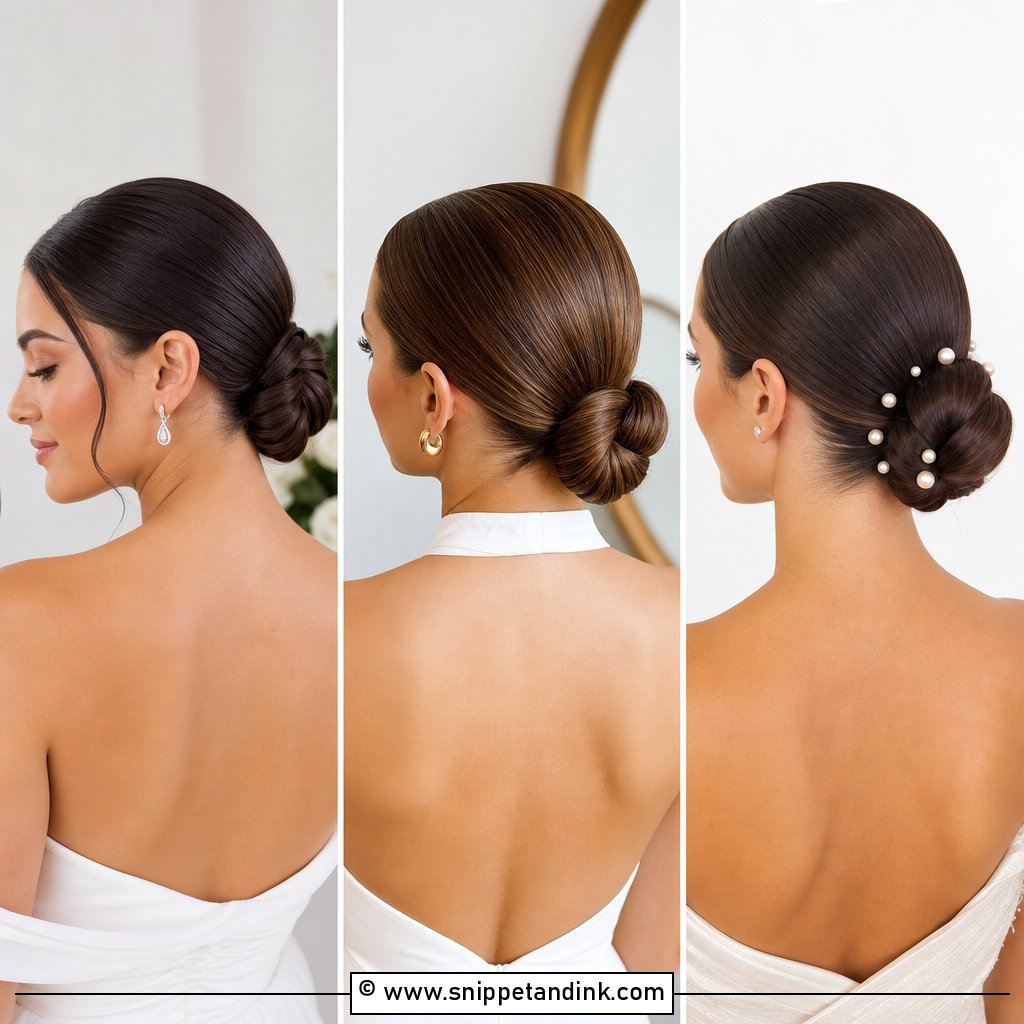
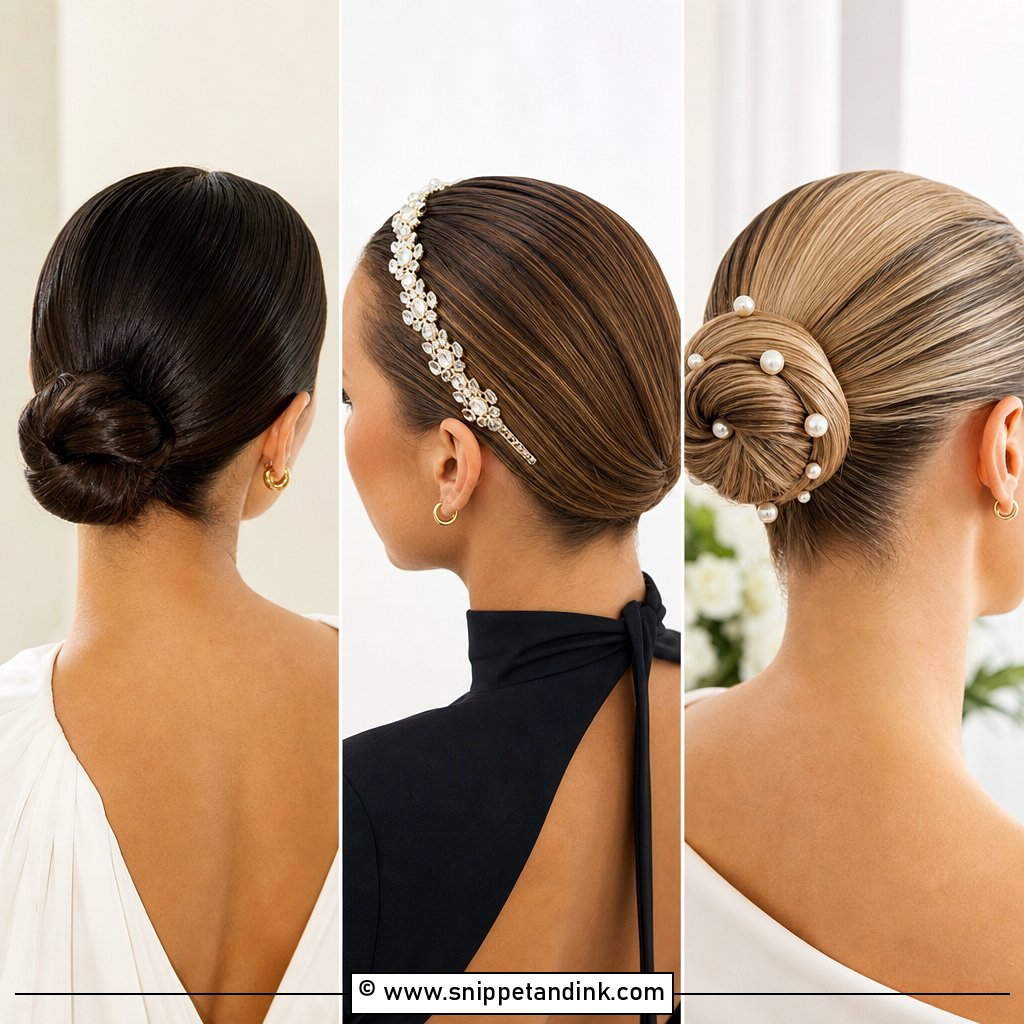
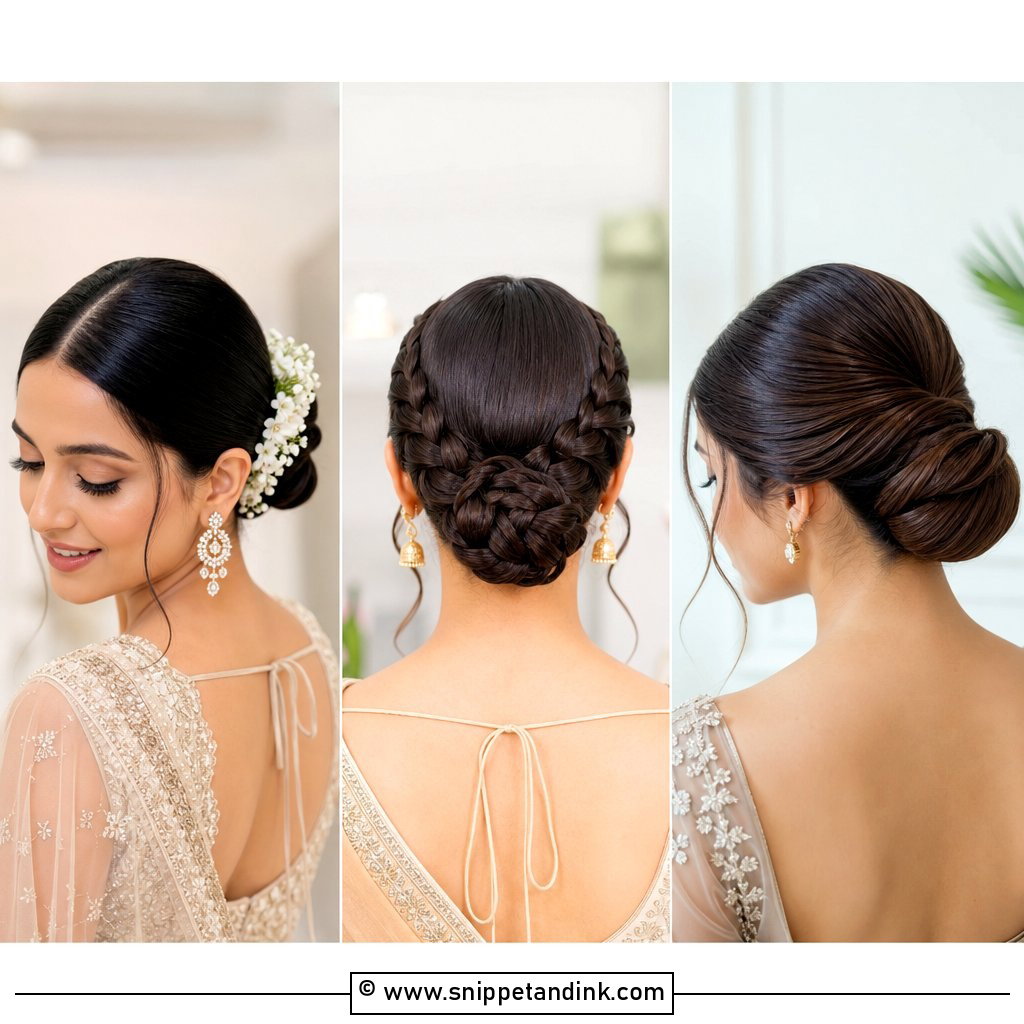
This is the version I’m asked for most, and the one I judge every other slick bun against. Hair is brushed straight back or from a center part, secured at the nape and wrapped into a tight, glossy knot. I set the ponytail a finger’s width above the hairline at the nape, not right on it, because a bun sitting too low gets pushed up by a high collar and catches on a zip. It suits high necks and open backs equally. For the mirror finish I work a smoothing cream through damp hair, blow it flat with a paddle brush, then press a strong gel over the surface only.
2. High Slicked Back Ballerina Bun
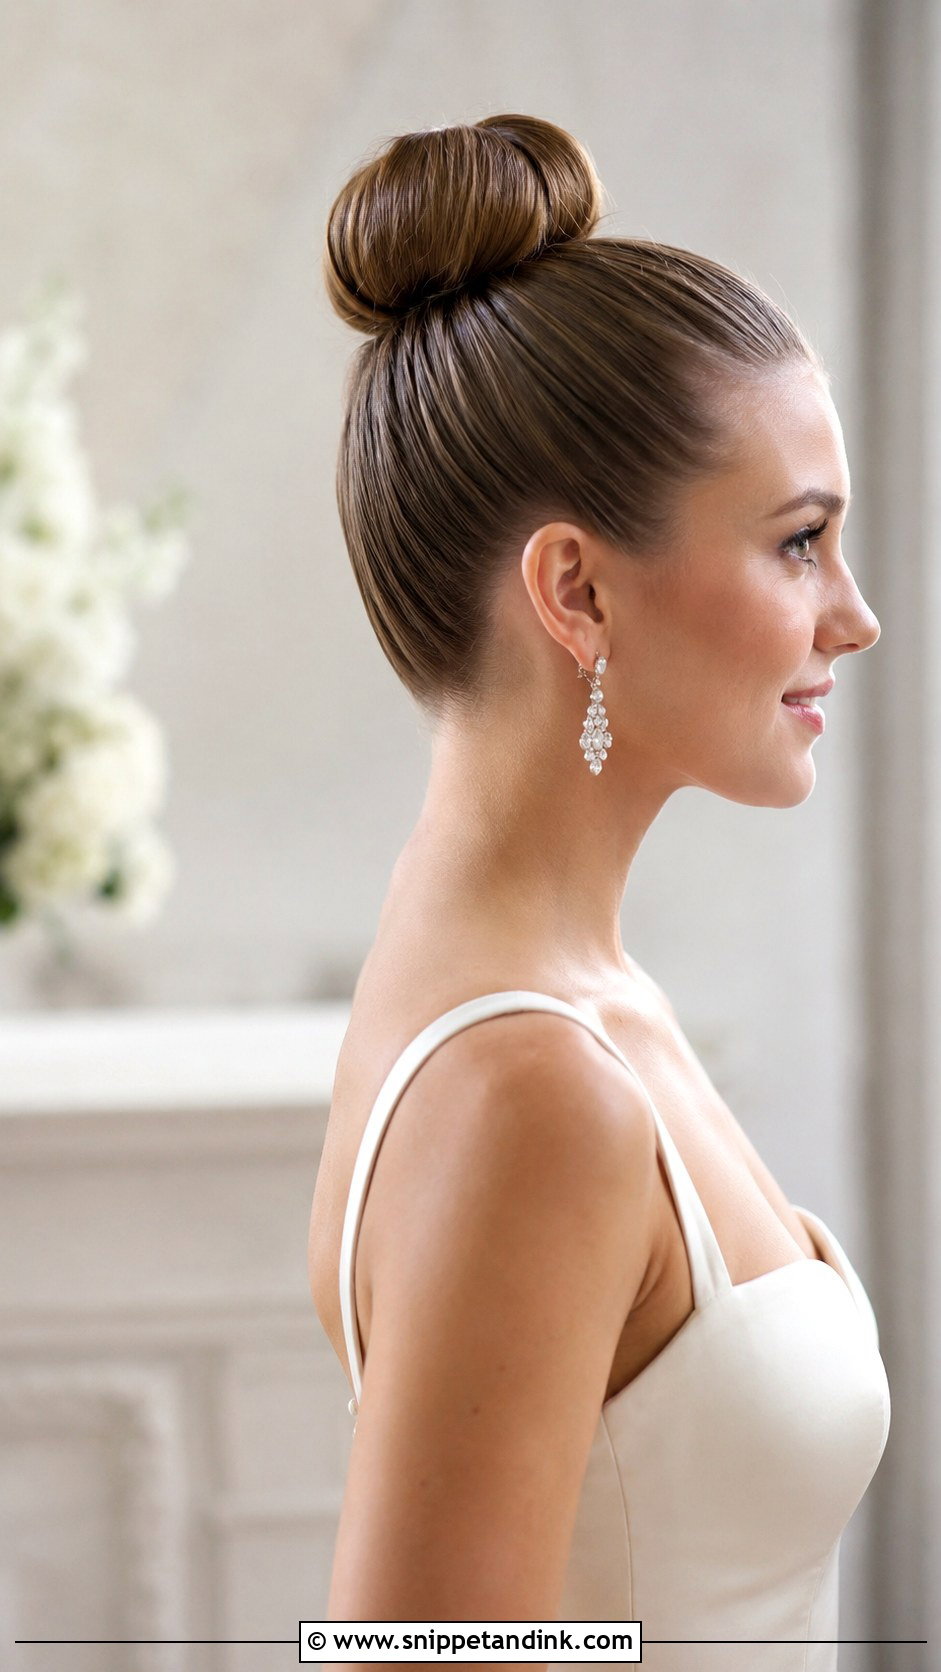
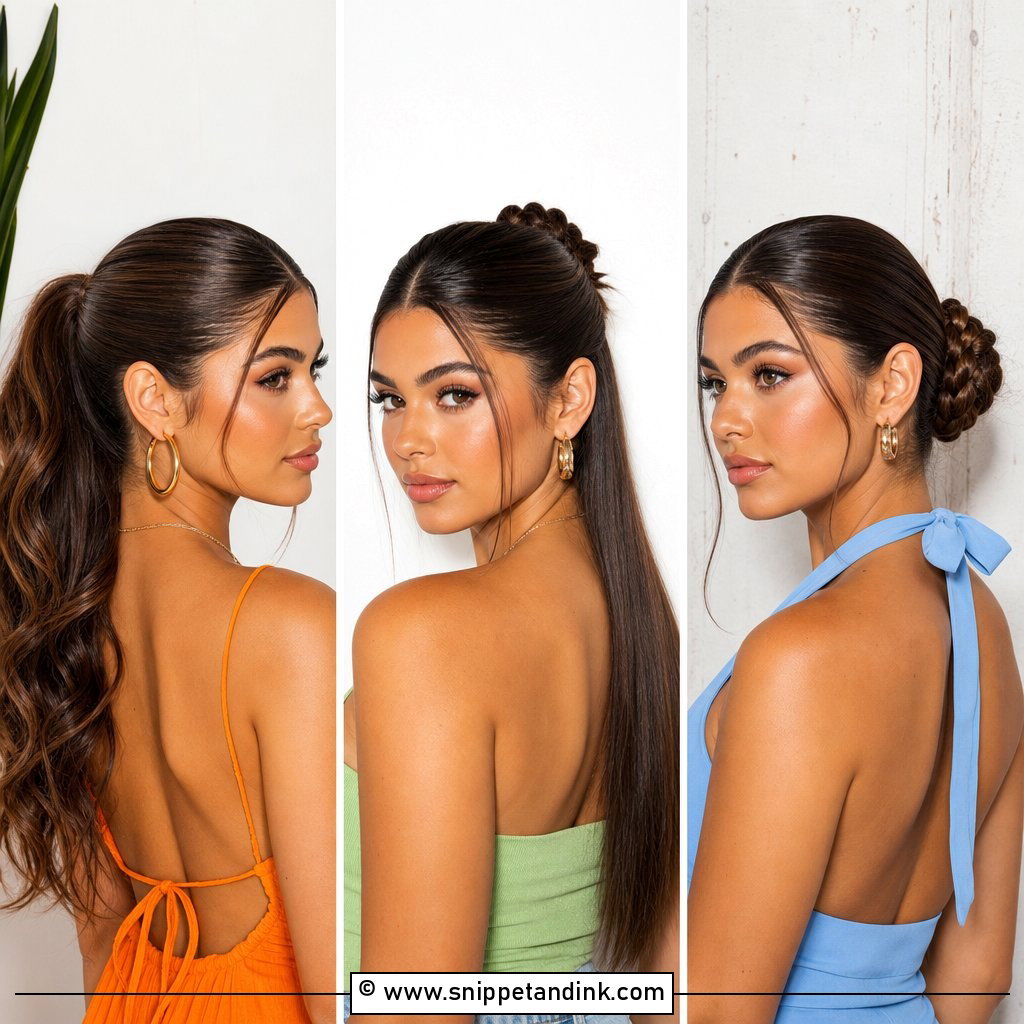
A high ballerina bun lengthens the neck and clears the shoulders completely, which is a relief at a hot summer ceremony. The ponytail goes at the crown, the surface is slicked flat, then the length is wrapped into a round, sculpted shape. The thing that ruins it is a crown pulled up from a low, loose ponytail; you get ridges above the ears. I brush it up with the head tipped slightly forward so the nape stays tight. Tall veils and big headpieces fight with this placement, so I usually pair it with a thin ribbon or a single clip at the base.
3. Slicked Back Bun With Middle Part
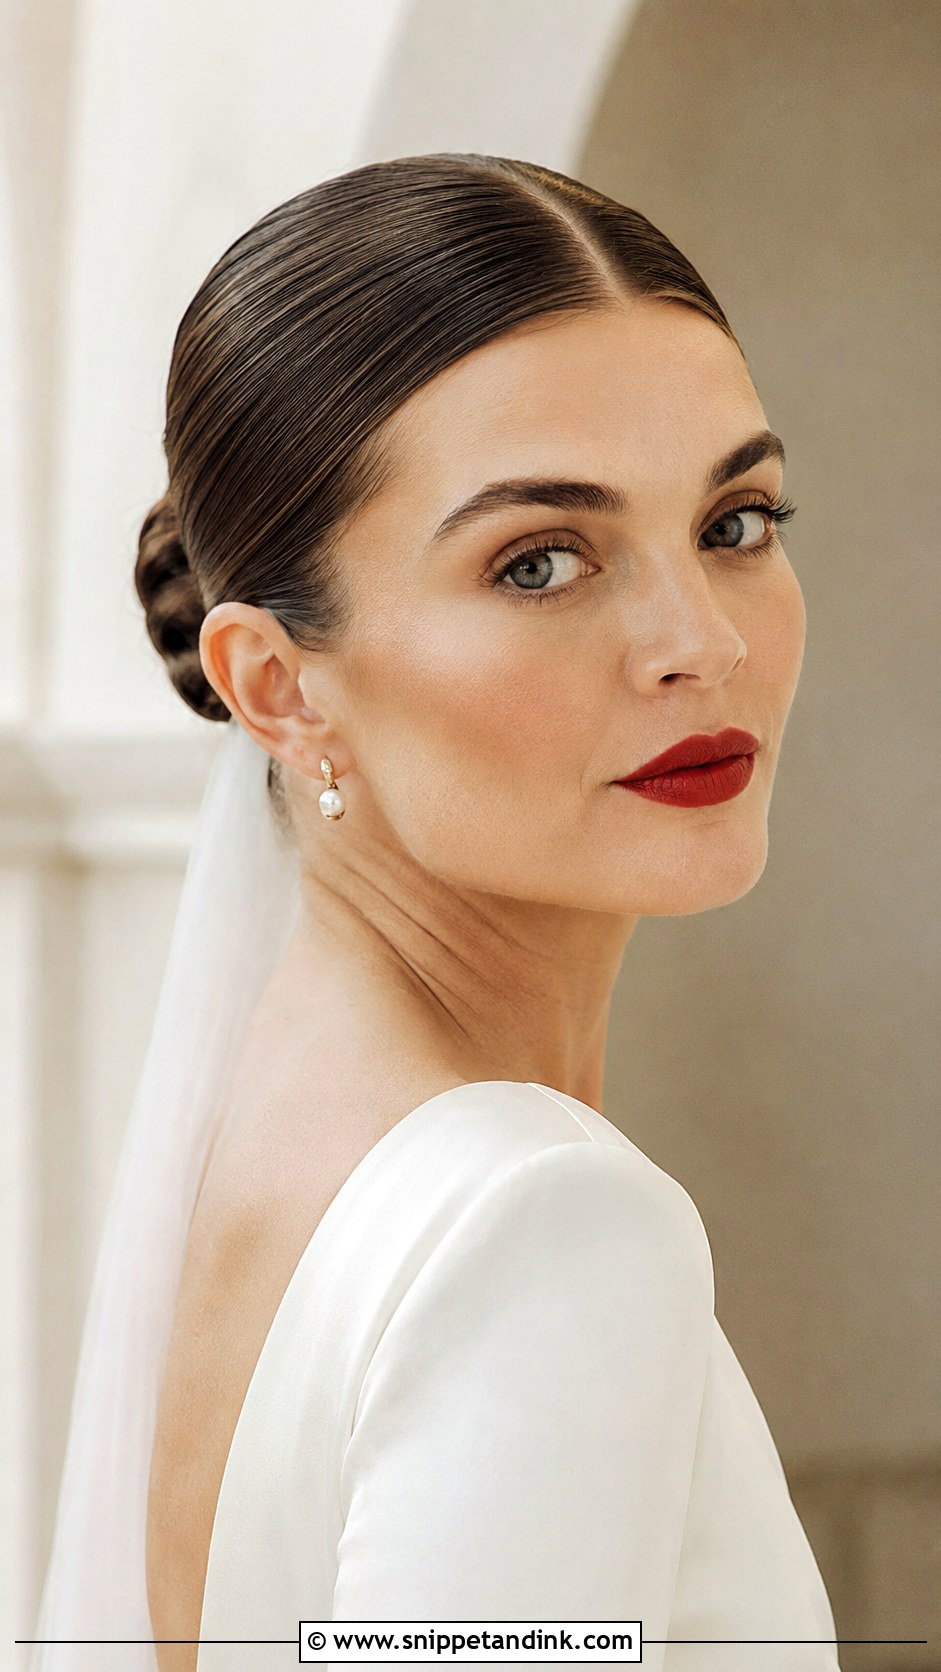
A center part looks precise and editorial, and it shows every flaw in the parting line. I cut the part with a tail comb on clean, dry hair, then gel only the first inch either side so the scalp line stays sharp without looking greasy. It sits well on oval and heart-shaped faces. If your hairline has a cowlick at the front, tell me at the trial, because a middle part on a cowlick needs pinning flat while the gel sets or it lifts by the ceremony. Bold lips and minimal jewelry keep the attention on those clean lines.
4. Low Chignon With Slicked Back Sides
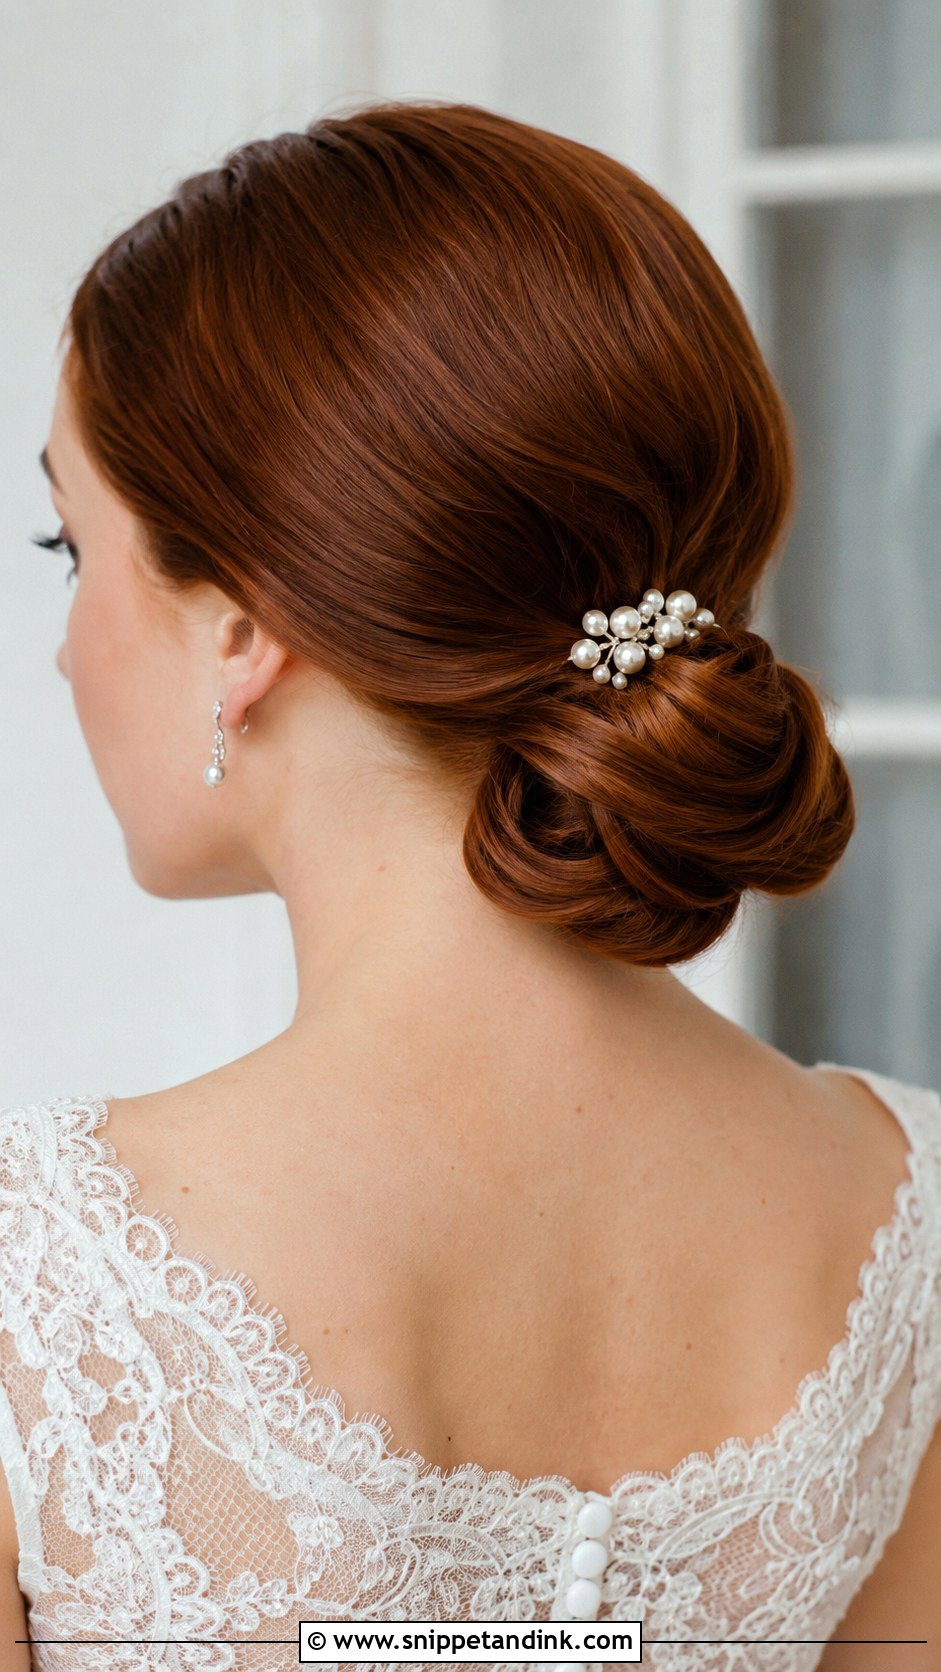
Slicking the sides flat and rolling the length into a soft knot gives you the contrast that makes a chignon interesting: smooth at the temples, softer at the nape. I roll it rather than wrap it, which means the knot is built with crossed pins rather than relying on one elastic, and that construction is why it holds through hugs and dancing. It works with almost any neckline. A single pearl pin is plenty; the shape is the detail.
5. Slicked Back Bun With Veil
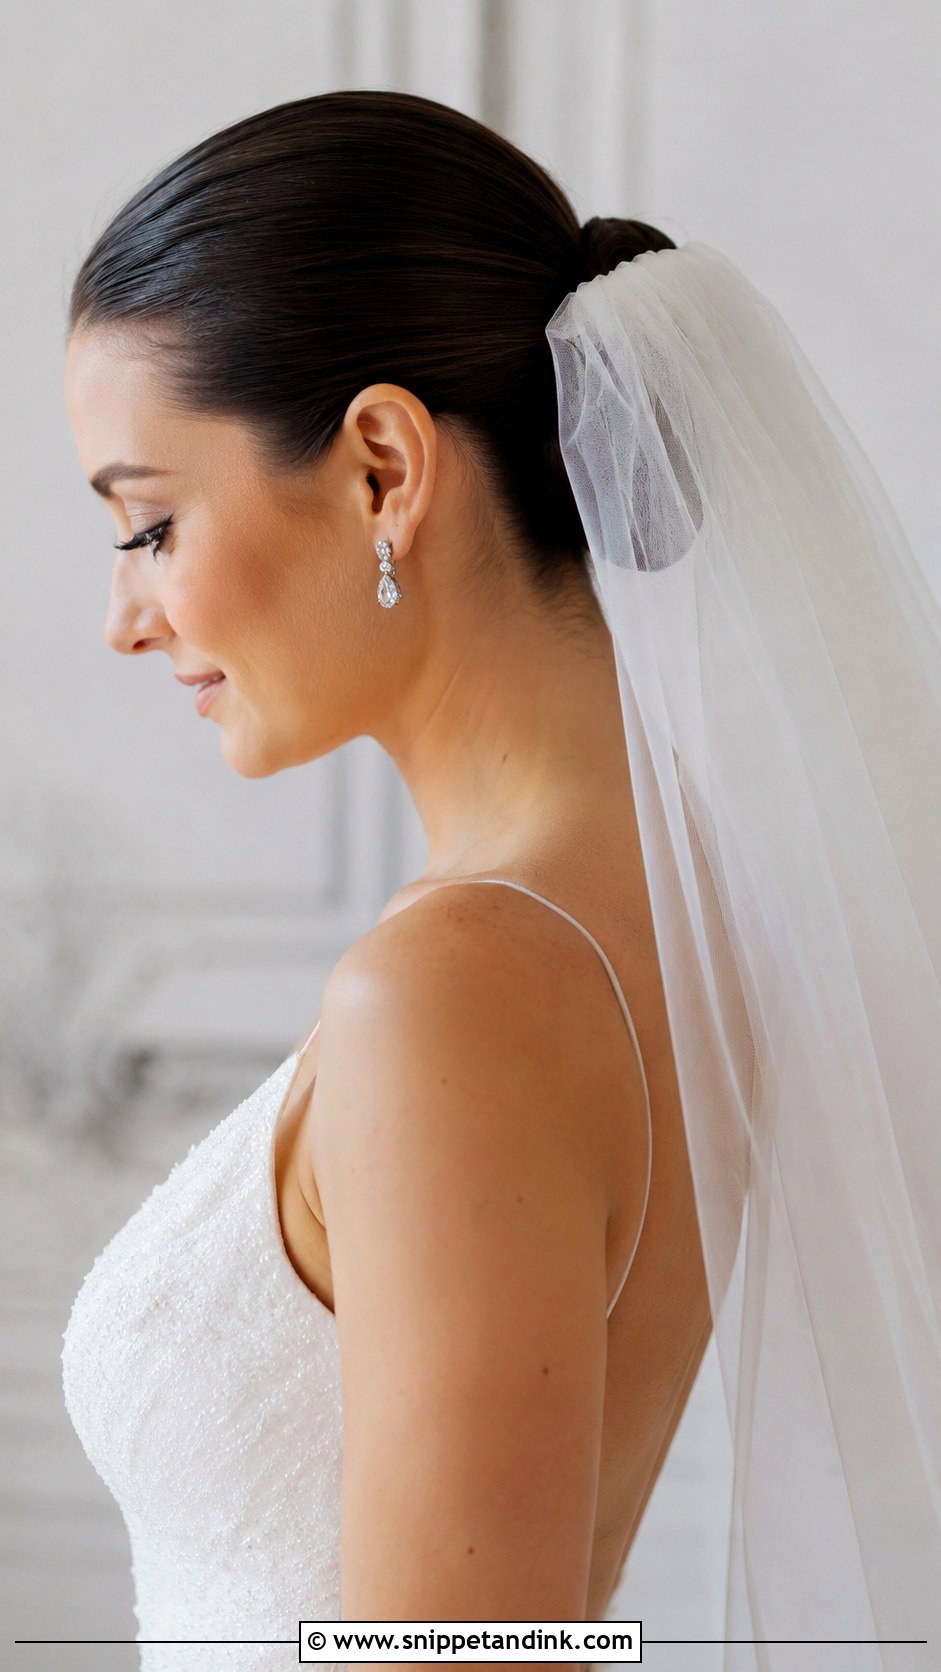
A tight slick base is the best foundation I can give a veil comb. I slide the comb in on an angle, teeth pointing toward the bun, and lock it with two crossed bobby pins beneath so it can’t slide when the veil gets stepped on or caught by wind. Placing the veil just above the bun keeps the fabric falling cleanly; placing it underneath hides the bun in the ceremony photos, so decide which matters more. When the veil comes off for the reception, there are no pin holes or flattened sections to fix, which is the real practical win here.
6. Glossy Slicked Back Bun With Side Part
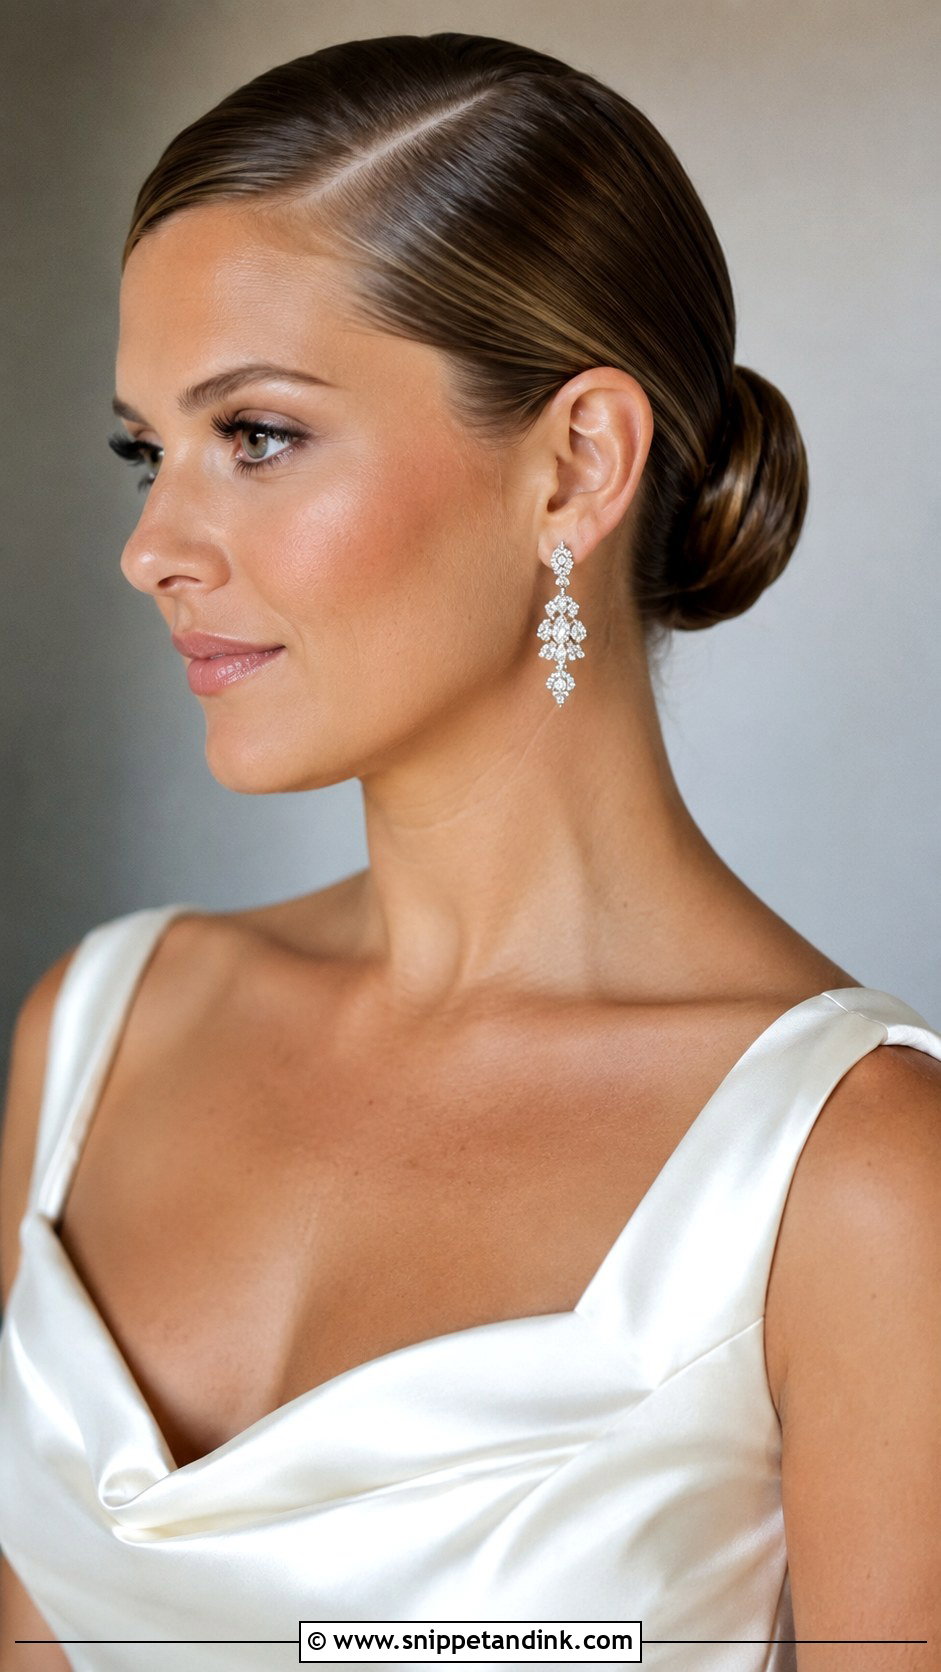
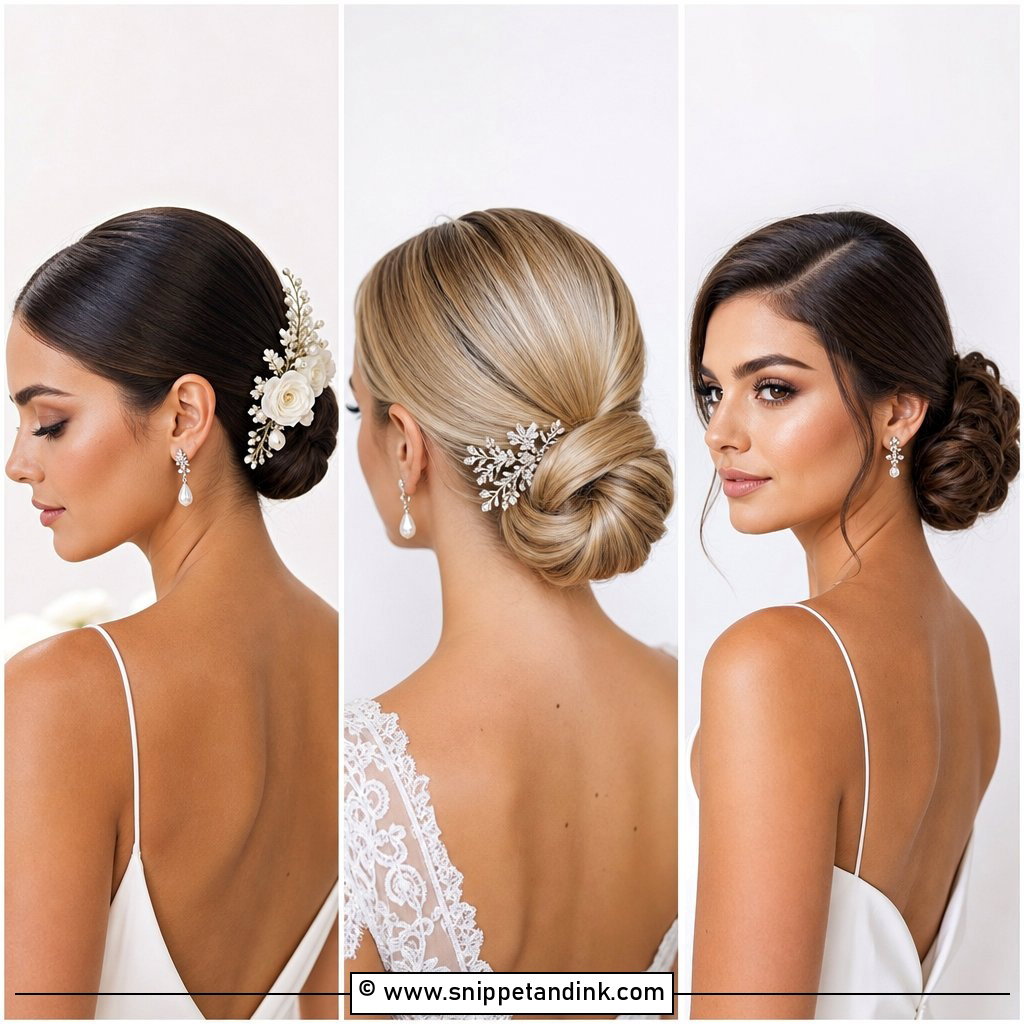
A deep side part pulls the slick in an old-Hollywood direction and adds some angle to round and square faces. The sweep across the forehead is the hard bit: it wants to lift and fall into the eye by dinner. I set that front section with gel, then hold it with a couple of flat duckbill clips for ten minutes while makeup finishes. The bun can sit at the back or slightly off-center toward the heavier side. Chandelier earrings and a red lip suit it, especially at an evening reception.
7. Slicked Back Bun With Face-Framing Tendrils
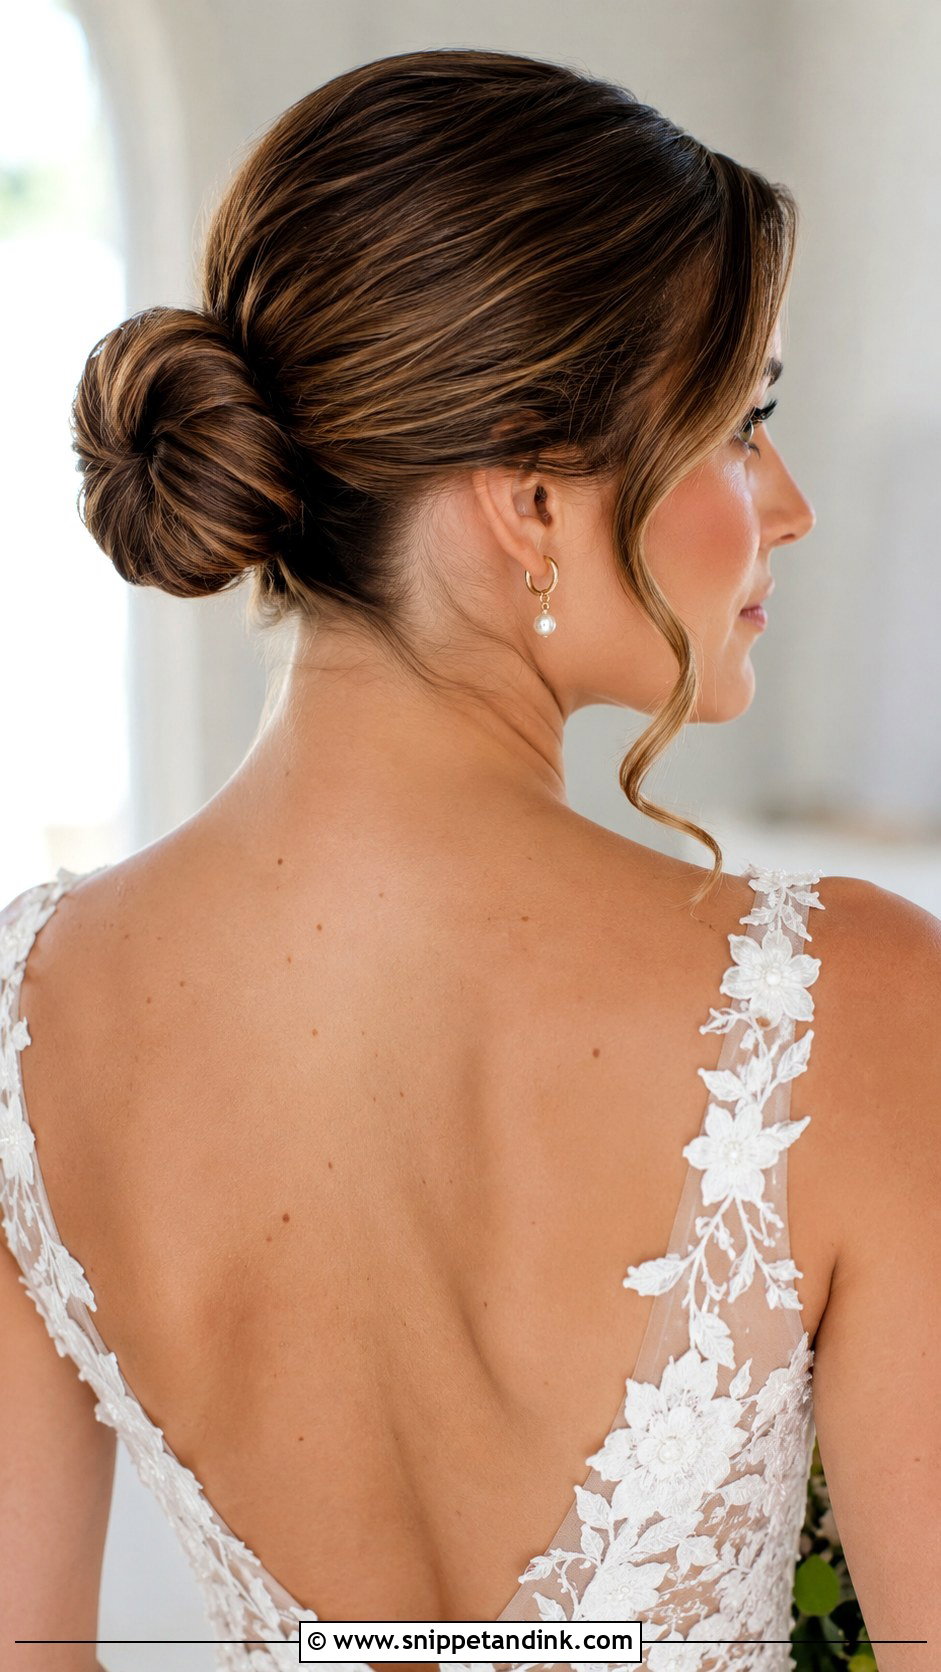
Pulling a few tendrils loose softens the slick for brides who find the full version too severe. The catch is that I have to decide on them before I slick, not after. Pulling pieces out of gelled hair leaves them stiff and crimped, so I section them off first and leave them product-free. Fine tendrils hold a curl better if I set them in small pin curls while the bun goes in. Keep them short, around jaw length, or they end up stuck in lip gloss during portraits.
8. Sleek Bun With Pearl Hair Accessories
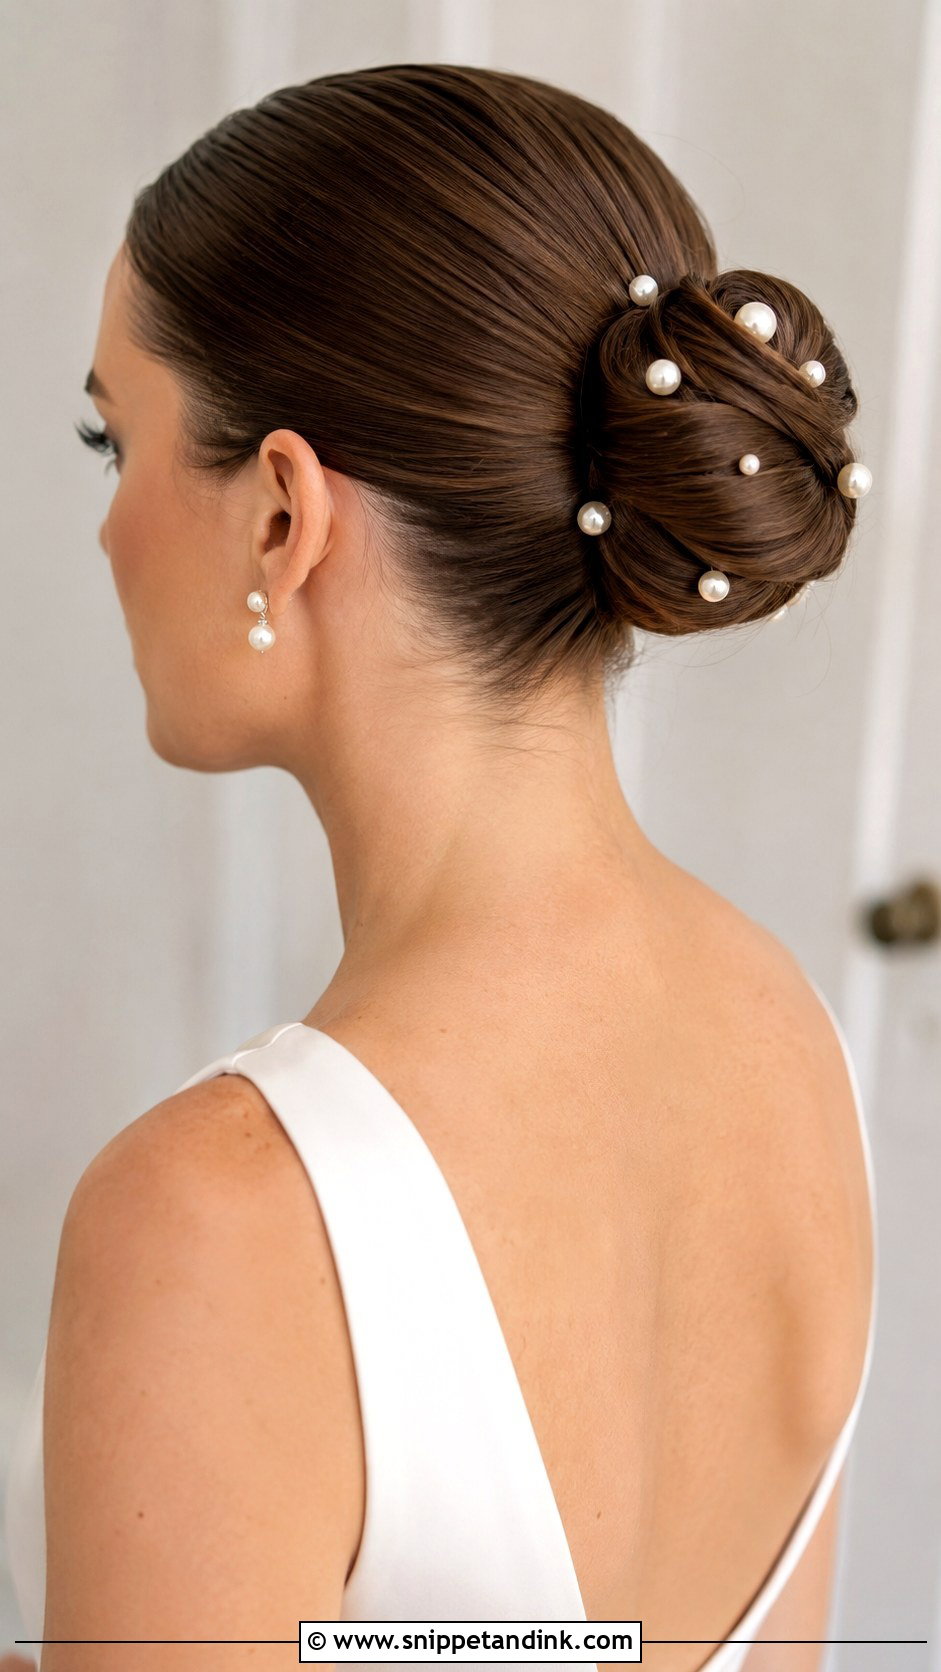
Pearls look right against slick hair because the surface is smooth enough for them to read clearly. I place pearl pins after the gel has set; pushed into wet product, they slide and leave white residue on the pearl. You can cluster them along the side of the bun or scatter a few across the crown, but scattered pins on a very flat surface need to go in at a steep angle or they sit proud. Pearl earrings and a plain gown keep it from looking busy.
9. Slicked Back Bun For Long Hair
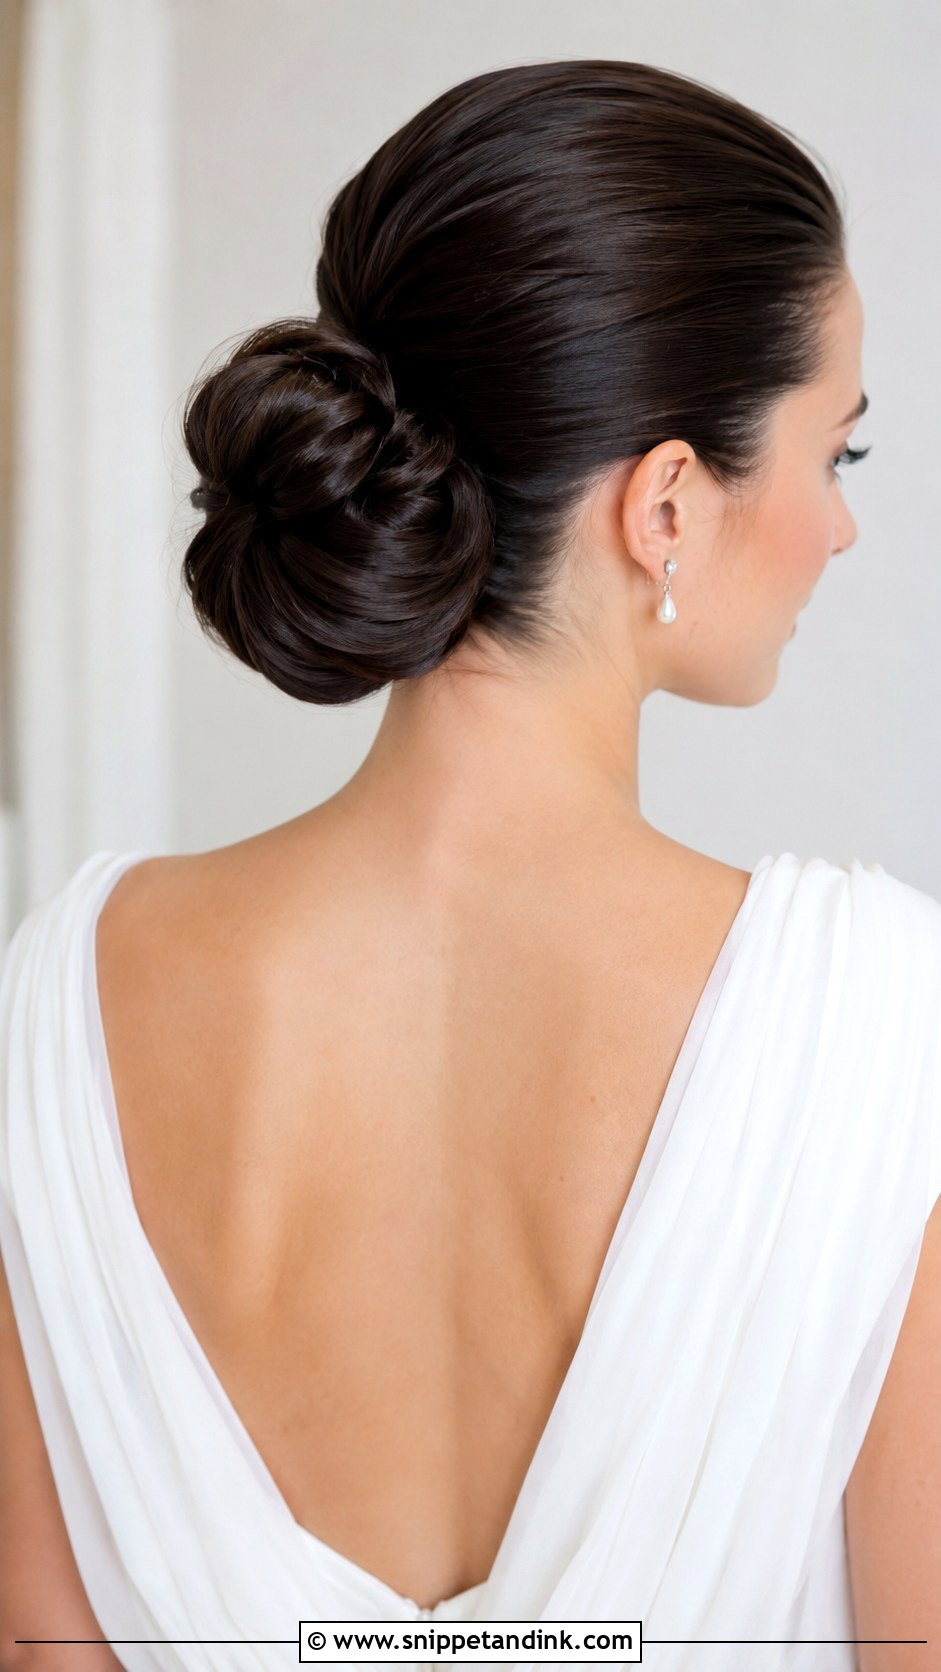
Long hair makes a fuller, heavier knot, and the weight is both the advantage and the problem. Past mid-back, a bun can drag the slicked sections loose by mid-afternoon. I split the length in two and wrap each half separately, pinning each one, so the load is spread across more anchors. A braid wrapped around the base hides the joins and adds texture if you want it. Done this way, long hair holds a sleek bun through a full day without any sag.
10. Modern Slicked Back Bun With Sculptural Waves
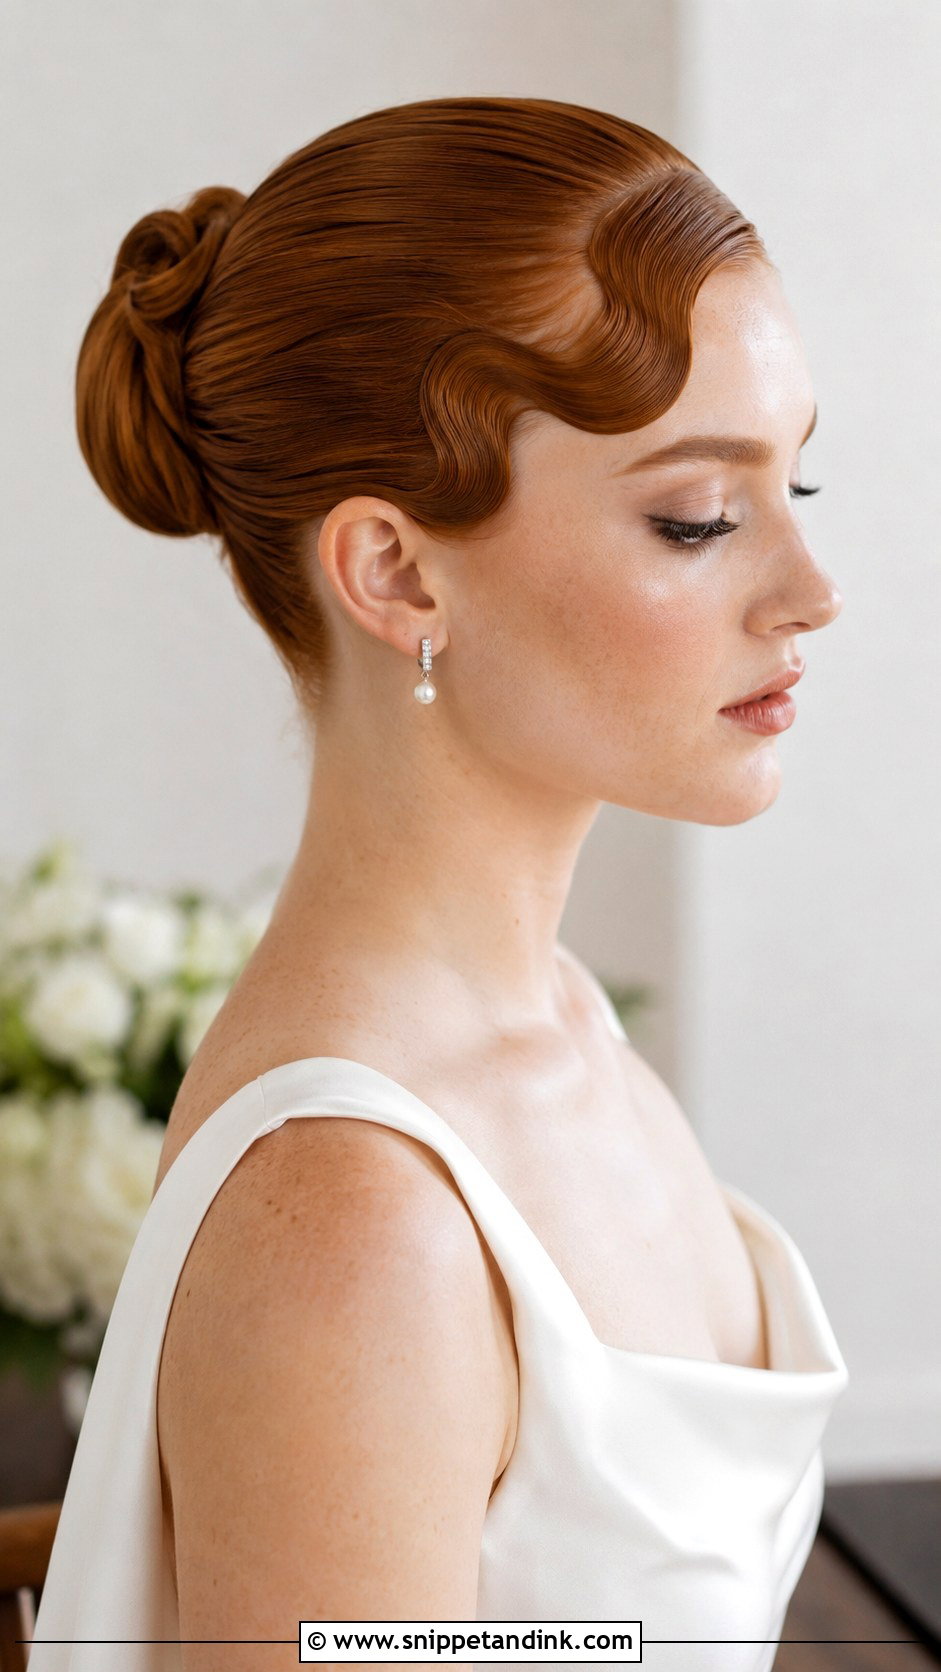
Pairing a slick back with sculptural finger waves at the front is a fashion look, and it takes time. The waves are pressed into wet setting gel with fingers and clips, then left to dry completely before I touch them; that can be forty minutes on thick hair. The back is gathered into a clean bun. I’d only suggest it if your schedule has room for a long chair slot and you’re confident about the vintage reference, because it is the hair people will remember first.
11. Slicked Back Bun With Braided Detail
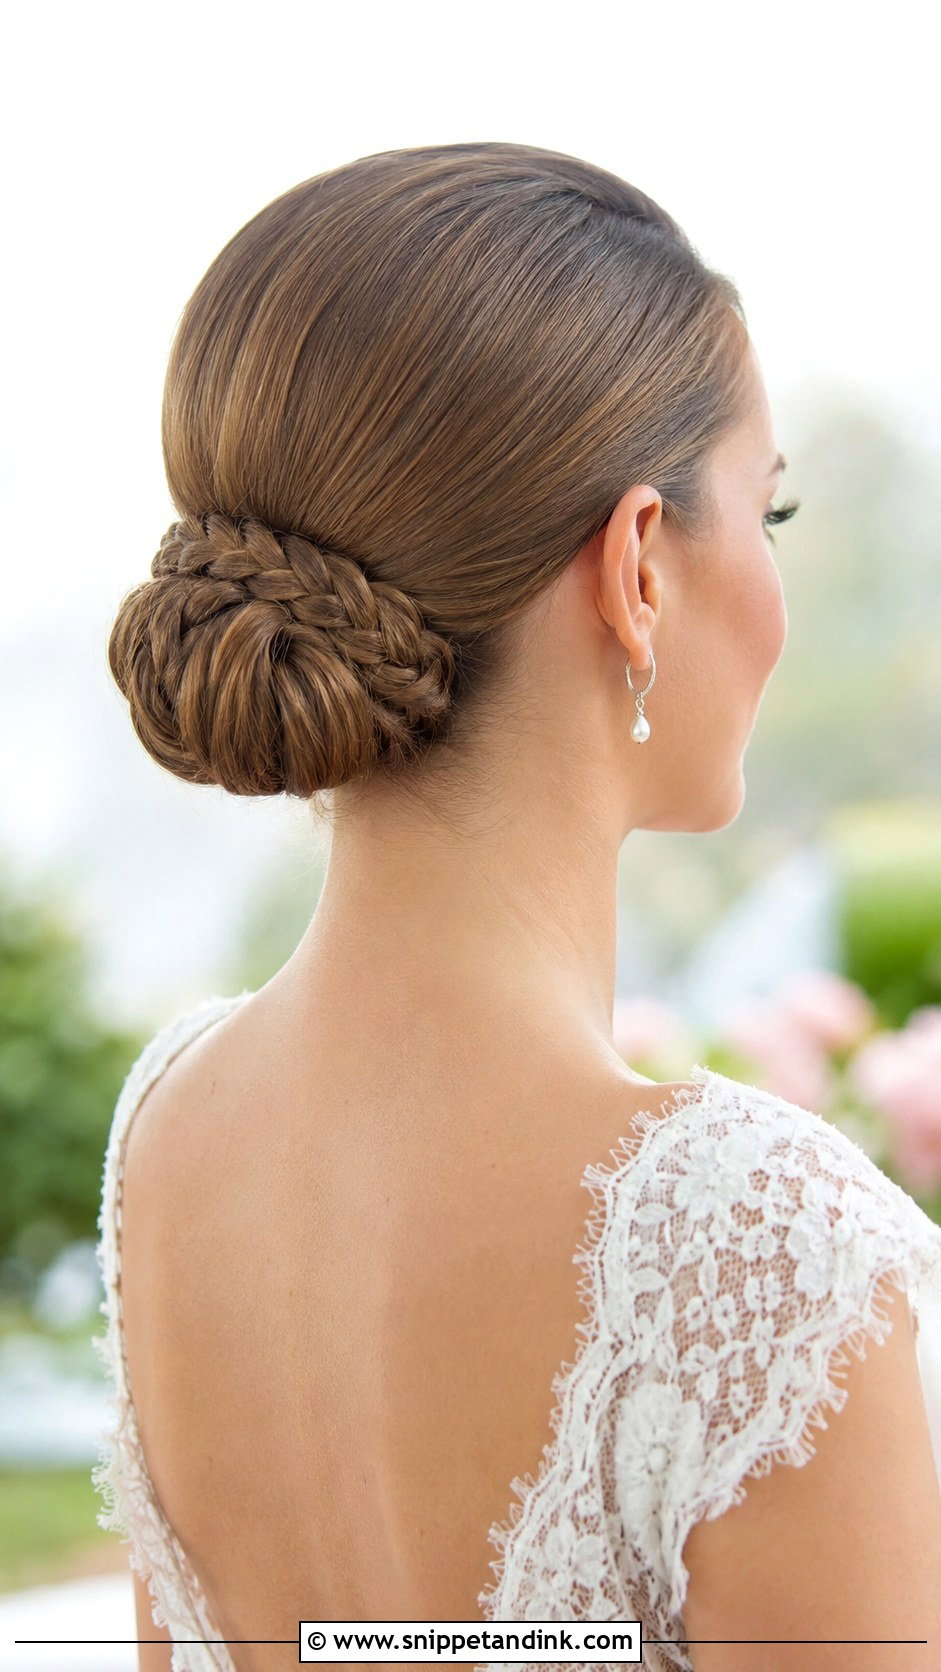
Weaving a braid into the bun gives the slick some hand-worked texture without losing its polish. The crown stays smooth while a fishtail, three-strand or rope braid wraps the base or runs along one side. I braid that section before I gel the rest; braiding through hardened product breaks hair and looks fuzzy. A boho bride who still wants a tidy line usually lands here, and it holds up well outdoors.
12. Slicked Back Bun With Statement Hair Comb
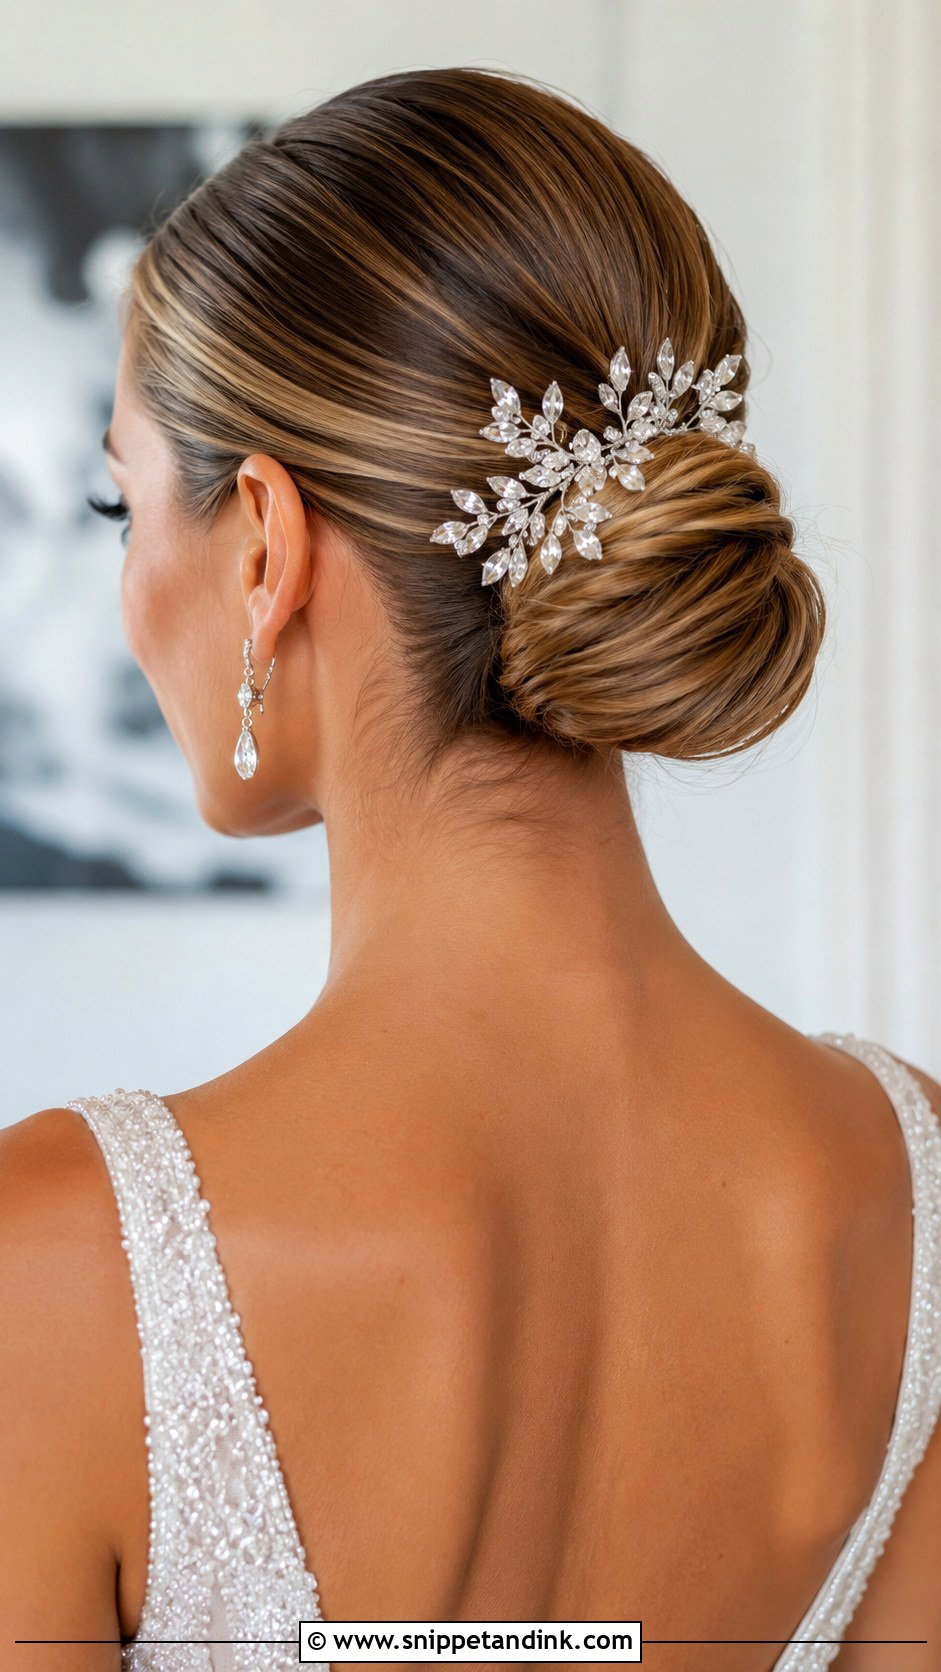
A jeweled comb turns a plain slick bun regal, because there’s nothing else competing with it. I seat the comb just above the bun or along the side and anchor it with pins hidden under the teeth. Heavy crystal combs pull forward on fine hair, so I check the weight at the trial and sometimes sew the comb onto a small pinned section for grip. Pick metal tones that match your earrings. For anyone who wants sparkle without a tiara, this is the simplest route.
13. Slicked Back Wet-Look Bun
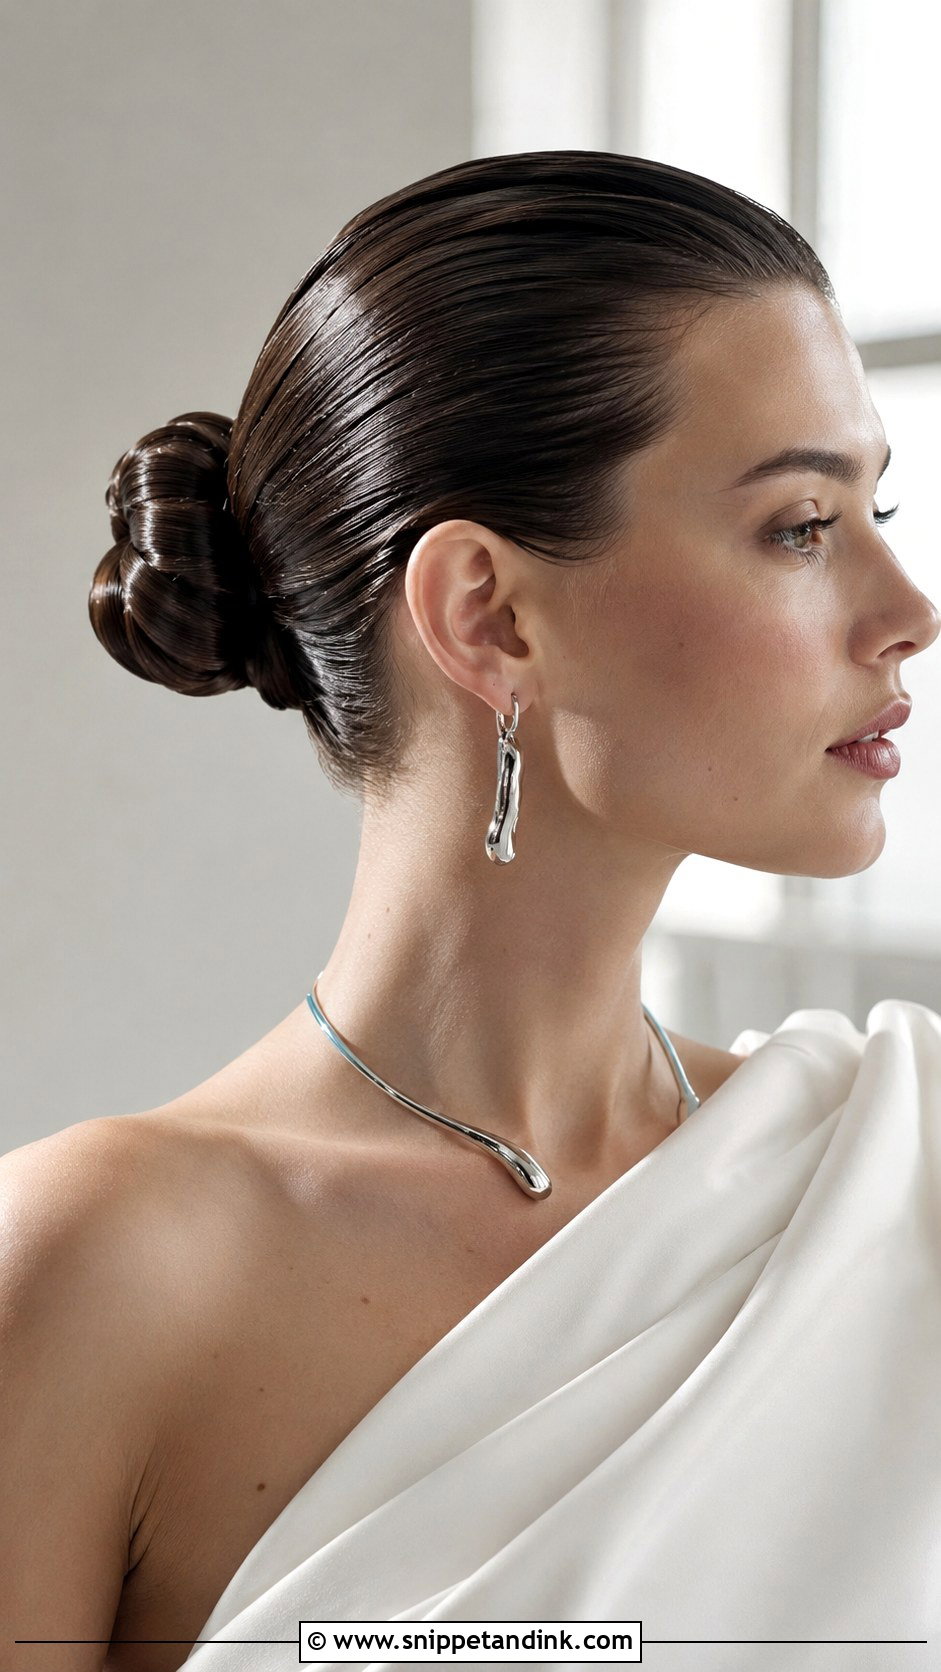
The wet-look slicked back bun uses enough gel and gloss to make the hair look freshly out of water. It suits a minimal, urban wedding and photographs sharply under evening light. The risk is flaking. If gel is layered too thickly, it dries white at the hairline by the speeches, so I build it in thin passes and finish with a shine serum on top instead of more gel. Keep the makeup clean and the jewelry architectural; anything soft fights it.
14. Slicked Back Bun With Flowers
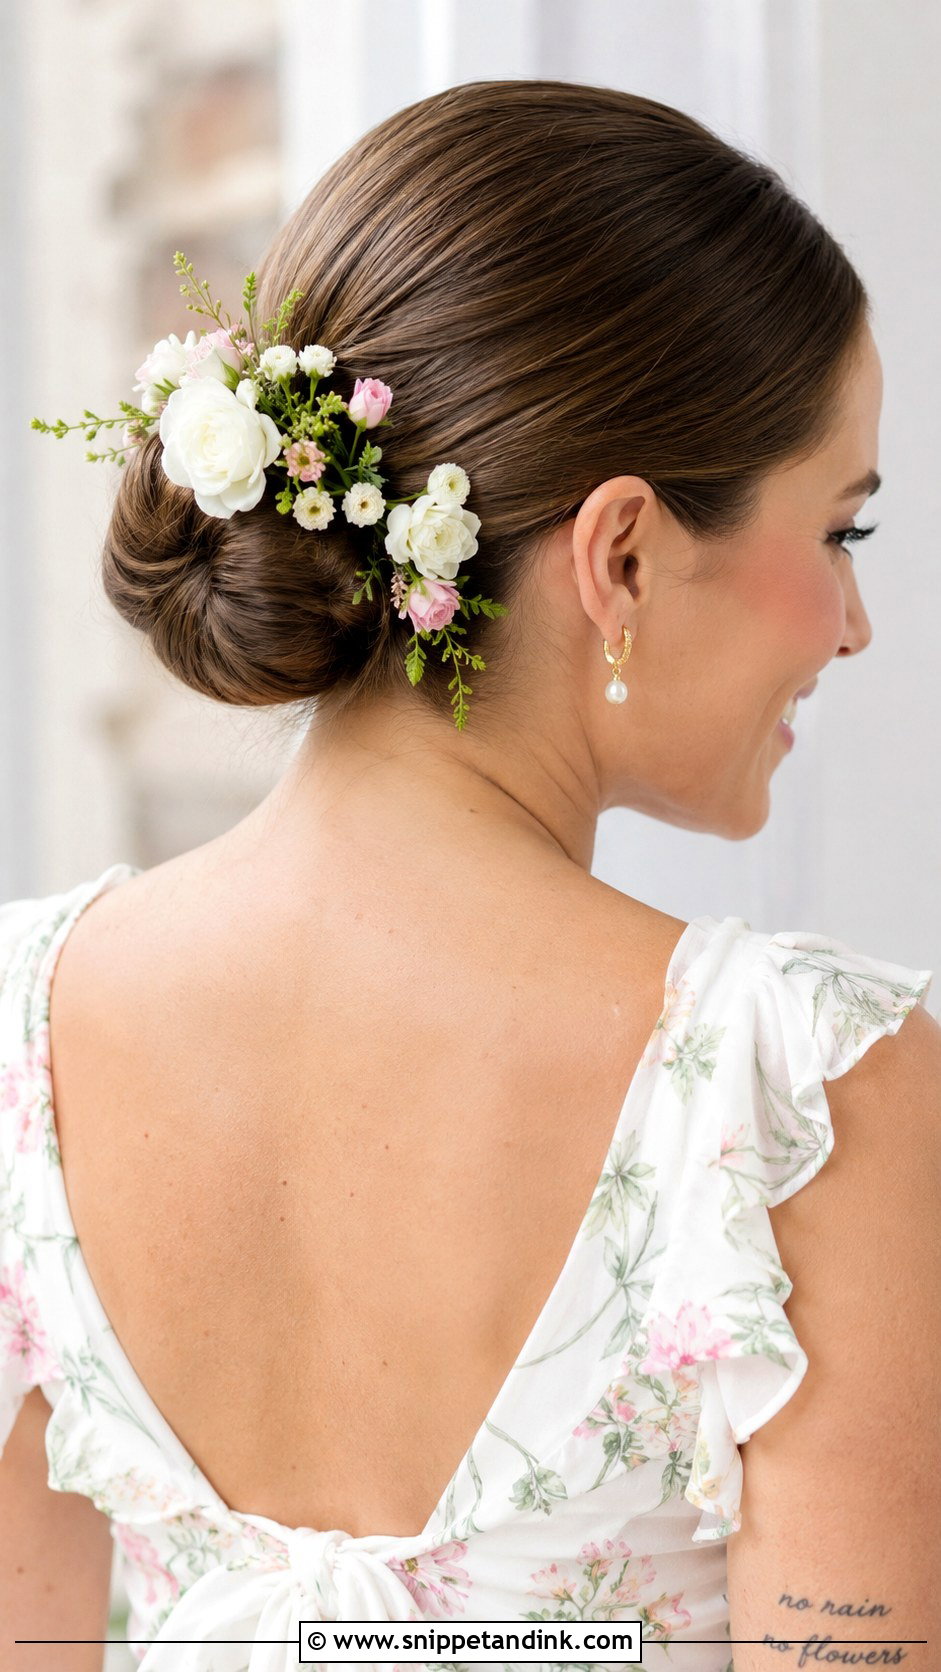
Flowers soften a sleek bun quickly, tucked around the base or laid along the crown. I wire fresh stems into a small pinned cluster rather than poking them straight into the hair, which crushes the stems and lets them wilt faster. Spray roses and waxflower are sturdy; gardenias brown at the edges within hours. Choose baby’s breath for a fine texture or small roses for more color. Ask your florist for the hair stems to arrive chilled and in a separate box.
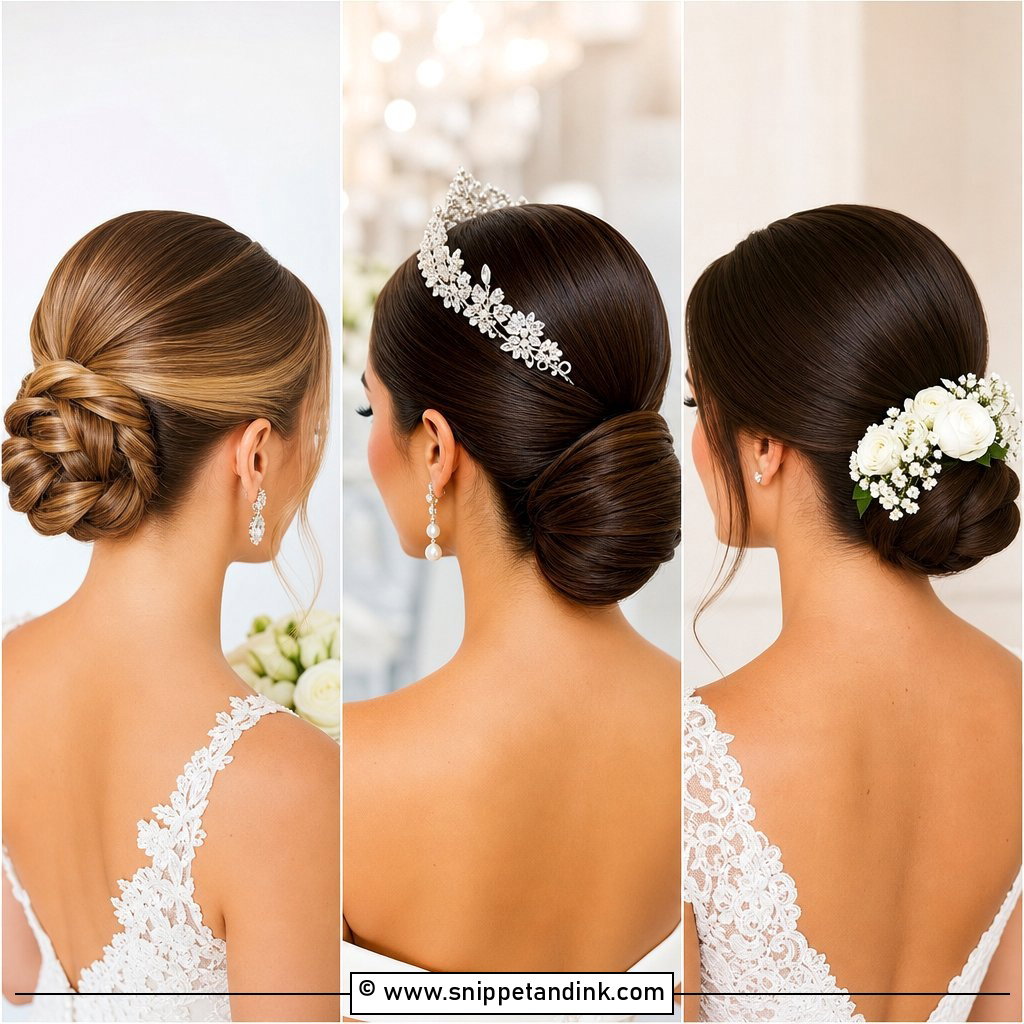
15. Slicked Back Bun For Short Hair
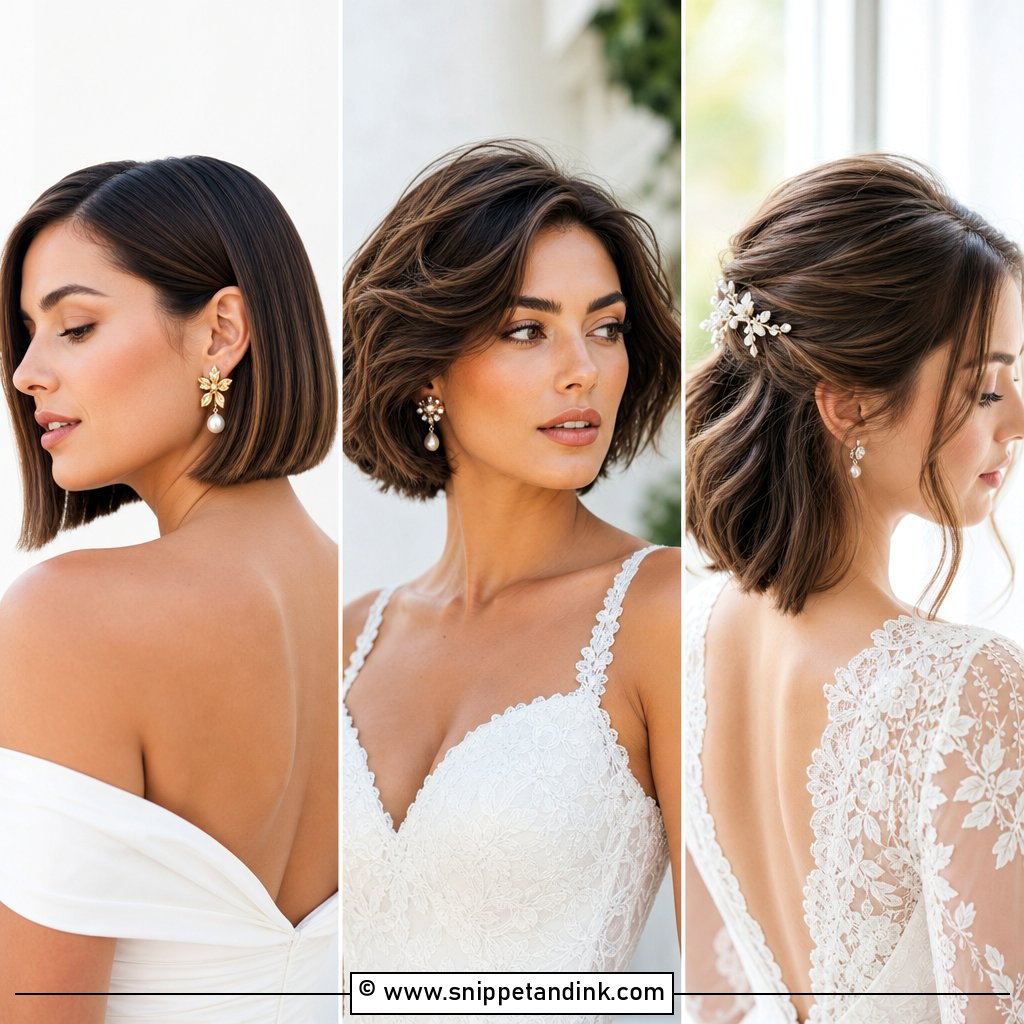
A bob or lob can still make a slick bun, but you need enough length to reach a ponytail at the nape. Below chin length, I work with small sections, pin the shorter back pieces upward and hide them under a little knot. A clip-in bun matched to your color adds fullness if you want a larger shape. Statement earrings help with proportions. If your shortest layers sit above the ears, a tight slick won’t hold them, and a low twisted style is the better choice.
16. Slicked Back Bun With Headband
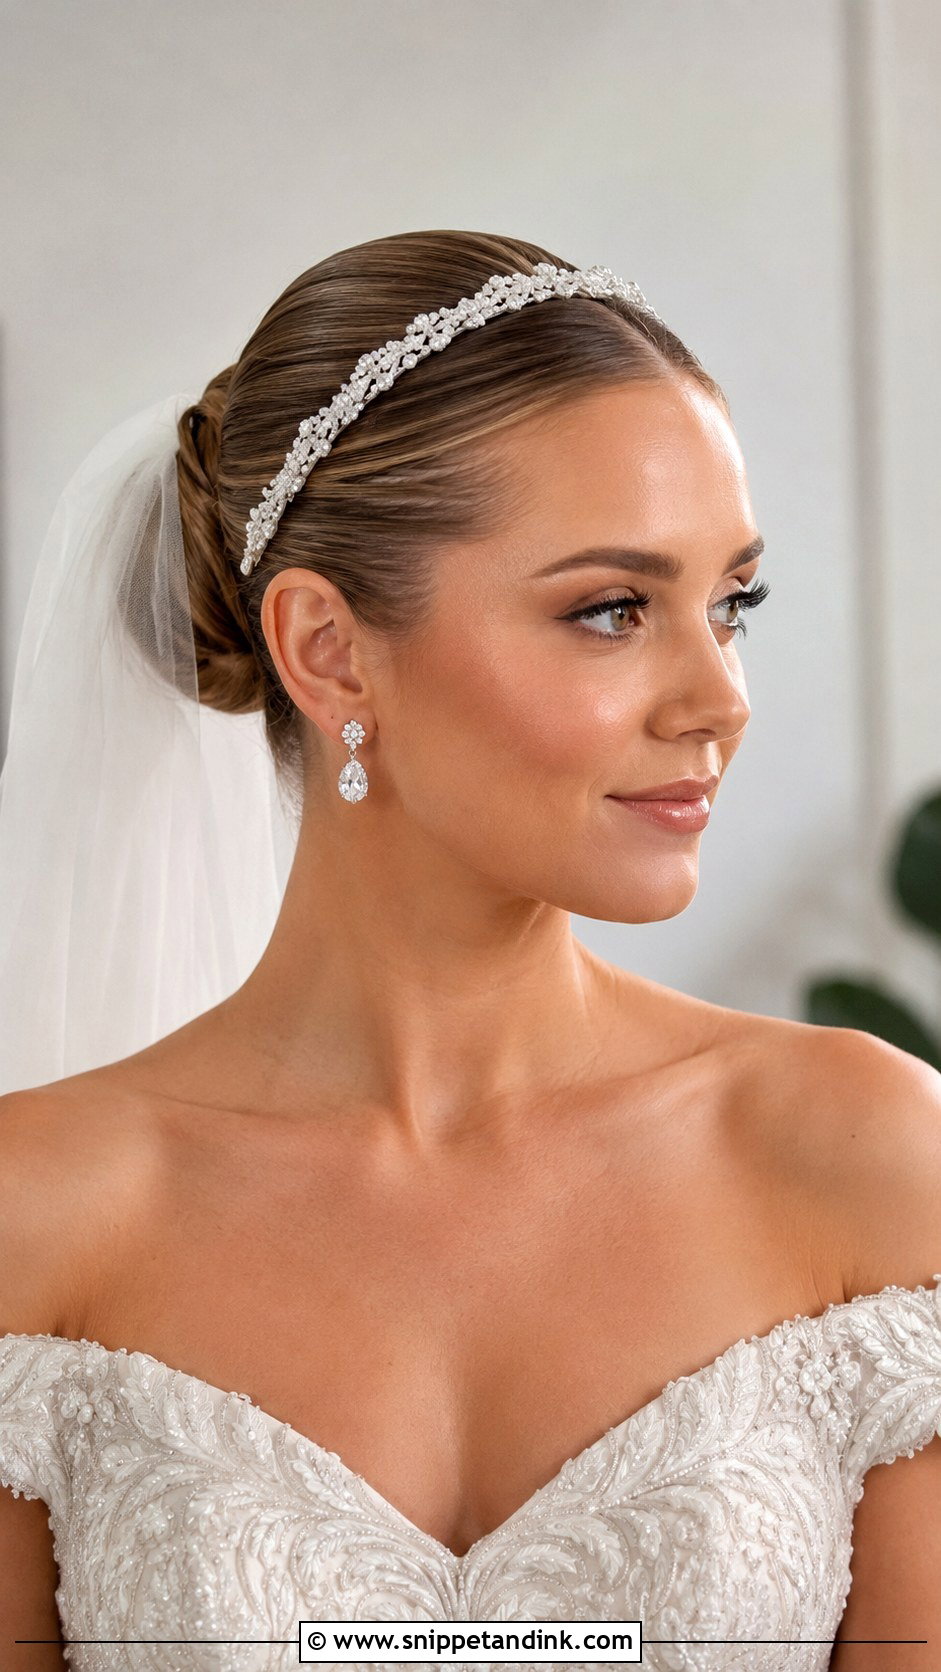
A pearl headband on a slick bun gives the crowned look without the height of a tiara. The flat base means the band sits evenly, but it also presses on the gelled surface and can leave a dent if it’s moved. I put the headband on after the bun is finished and leave it in place for the day. Wear it at the trial for an hour; some bands press behind the ears and give a headache by the reception.
17. Romantic Slicked Back Bun With Loose Curls
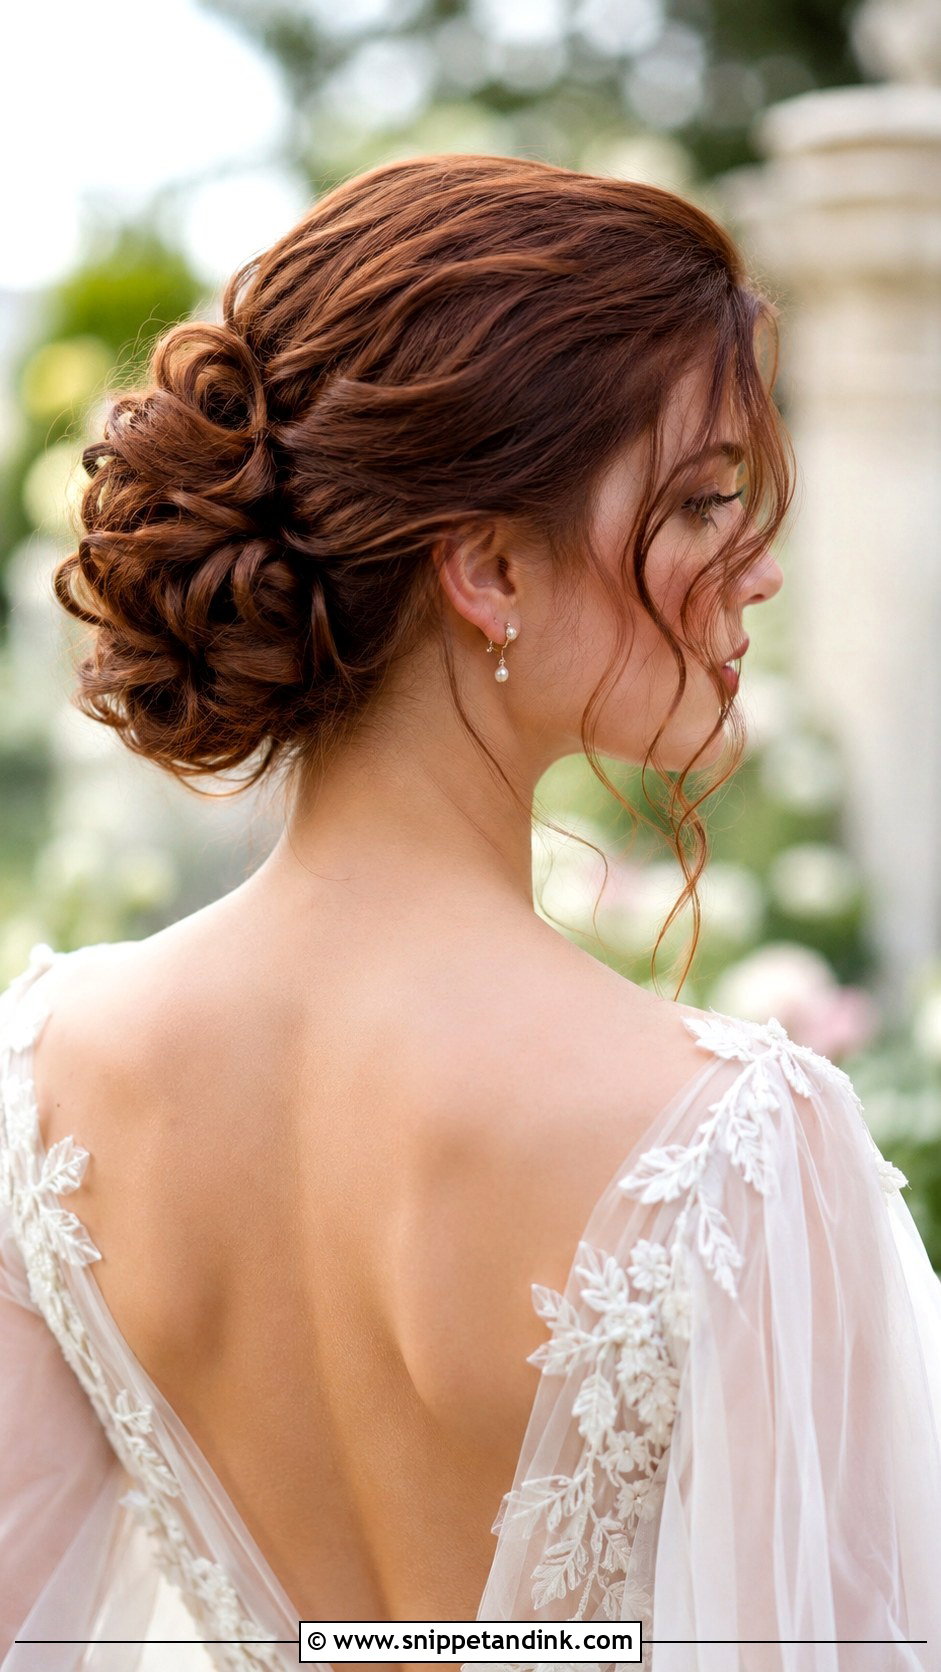
Loose curls tucked into the bun itself add volume and softness while the crown stays slick. I curl the length first, let each curl cool in a pin, then loosen them before shaping the bun so they look relaxed rather than perfect. A few curls left loose near the face complete it. It’s a garden-wedding favorite. Be aware that very fine hair loses curl definition fast in humidity, so I set it with a firmer spray than you’d expect.
18. Slicked Back Bun With Center Part And Earrings
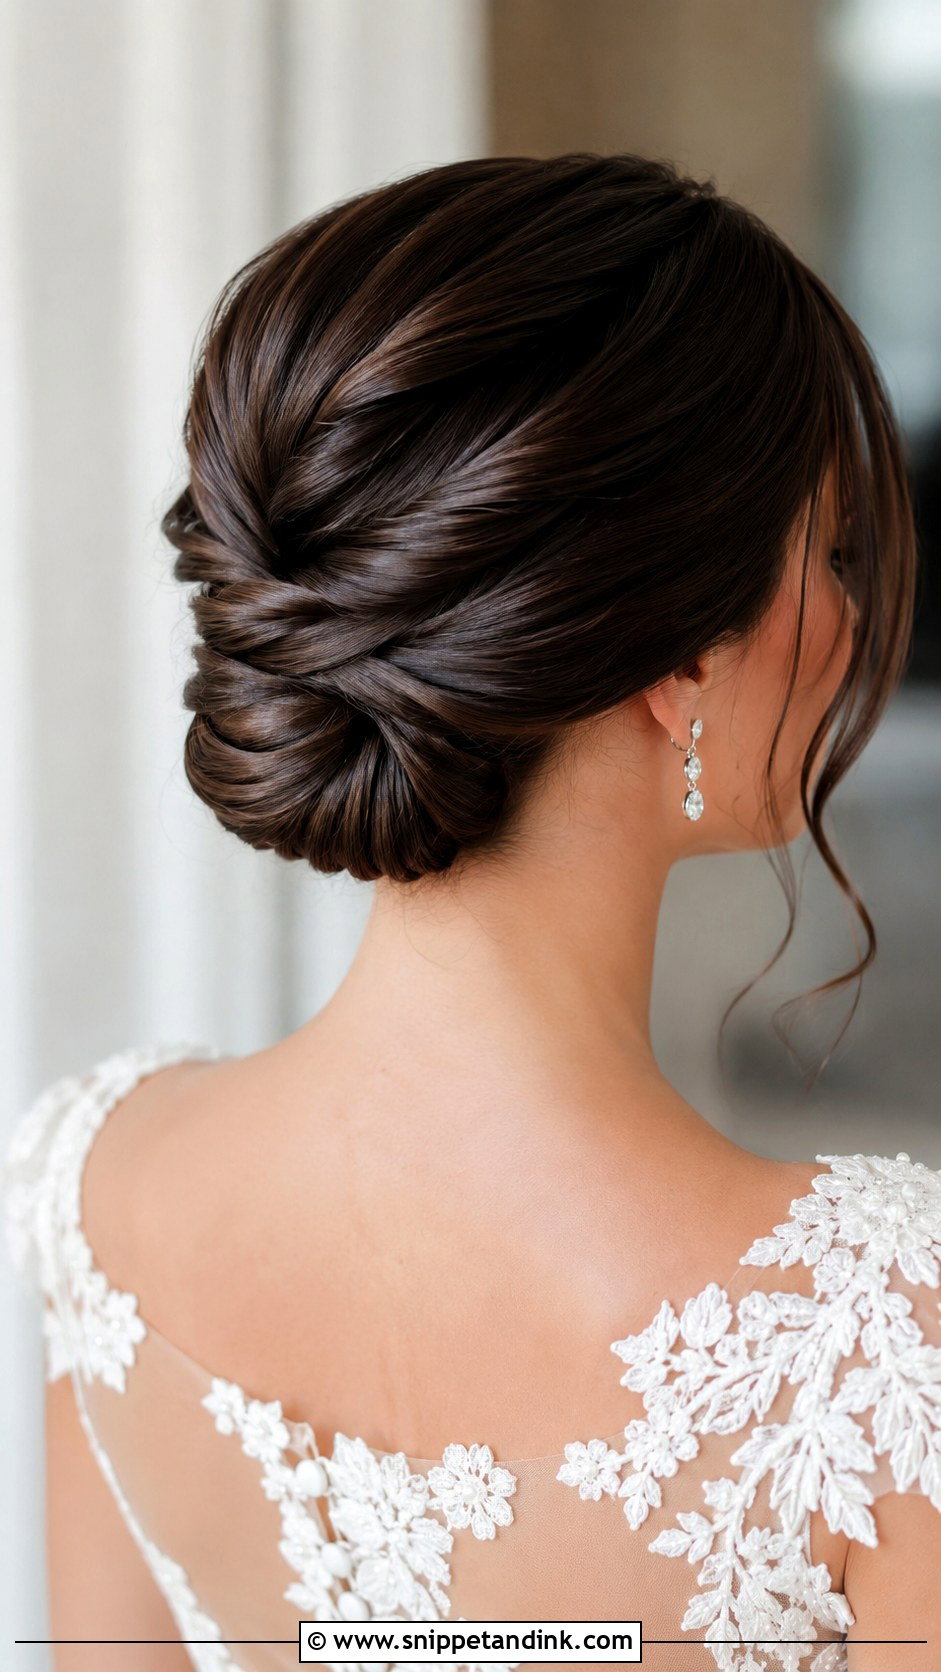
If you bought statement earrings, a center part and plain slick bun put them in the spotlight. The hair is all symmetry and smooth line, so nothing competes. It flatters long and oval faces most. I keep the bun small and low for this one, because a large knot pulls the eye back and away from the ears. A minimal gown finishes it.
19. Twisted Slicked Back Bun
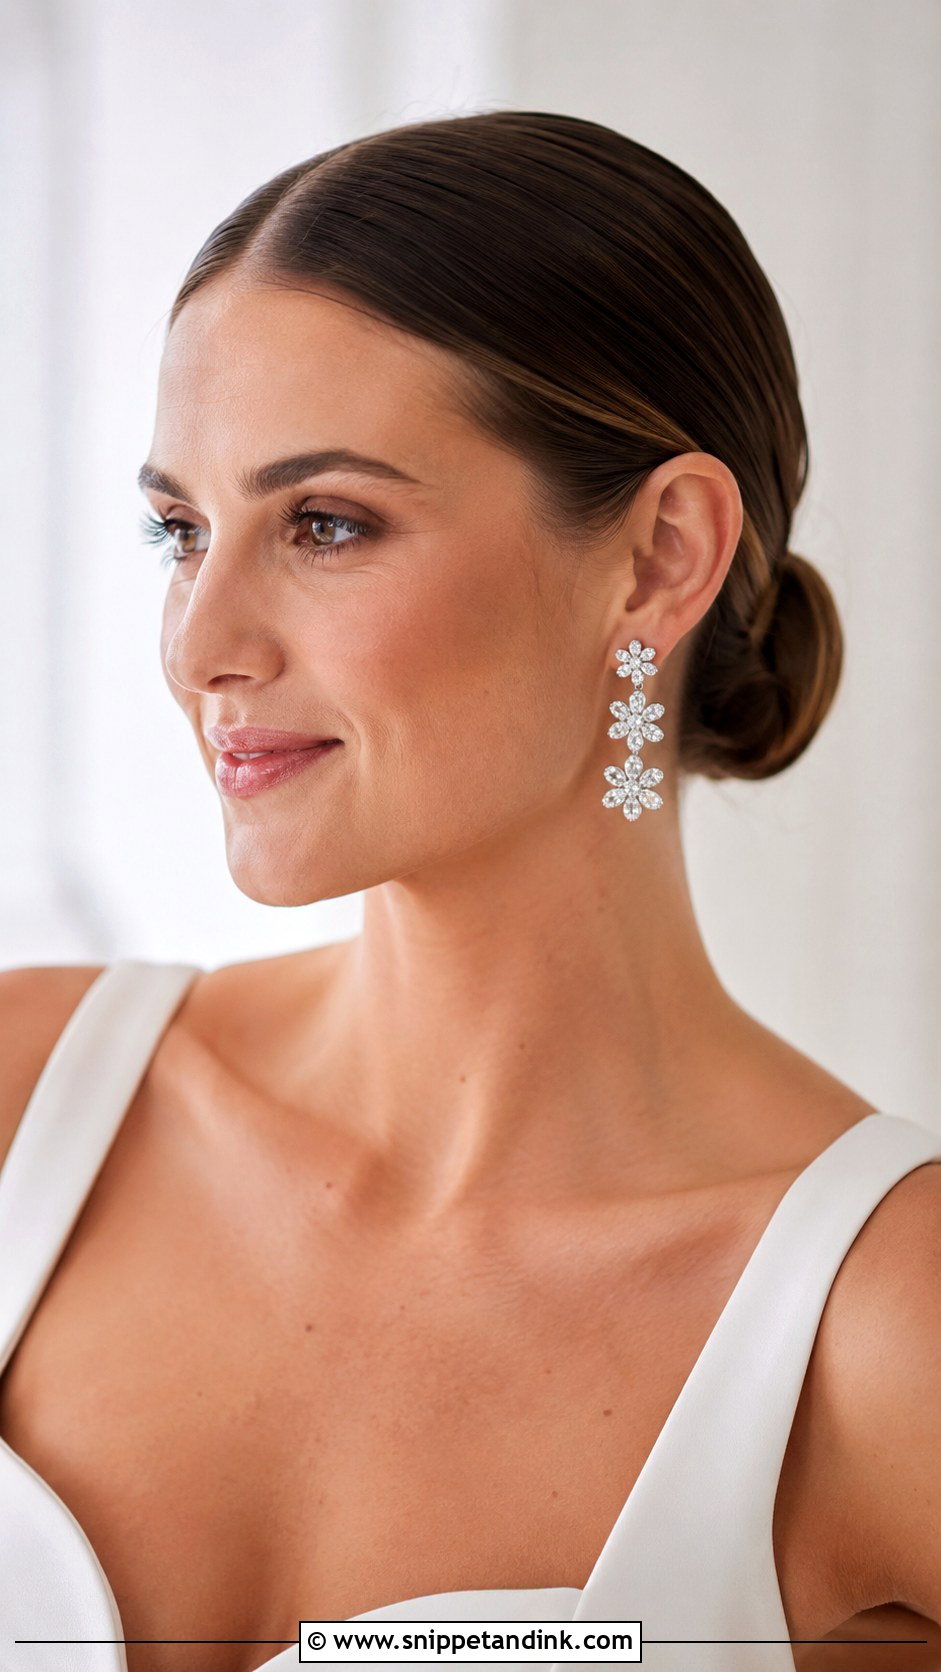
Twisting sections as they’re pulled back gives rope-like detail into the knot and adds depth without looking fussy. The crown stays smooth; the twists only start behind the ears. I twist against the direction of the bun so each rope tightens as it wraps rather than unwinding. It suits formal and semi-formal weddings and sits comfortably between sleek and textured. Delicate pins or a simple comb are enough decoration.
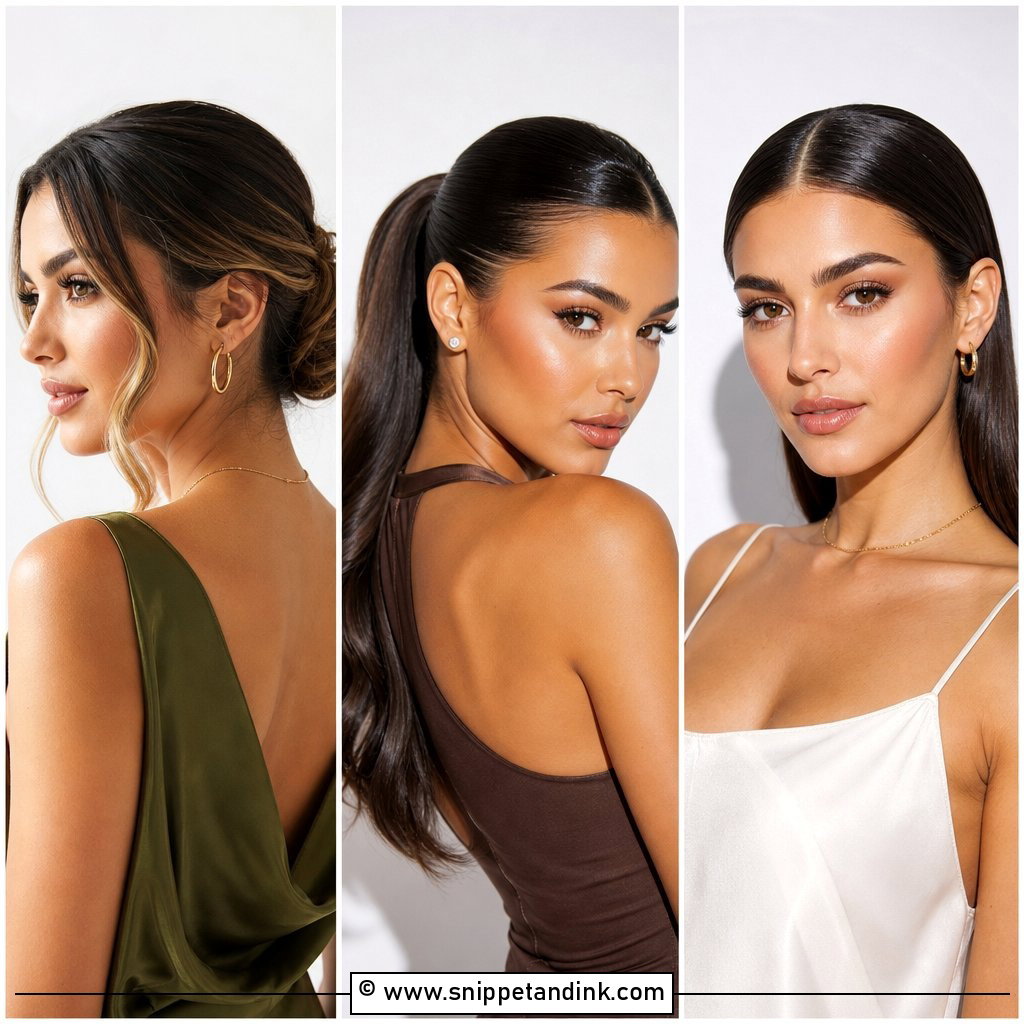
20. Slicked Back Bun With Bold Lip
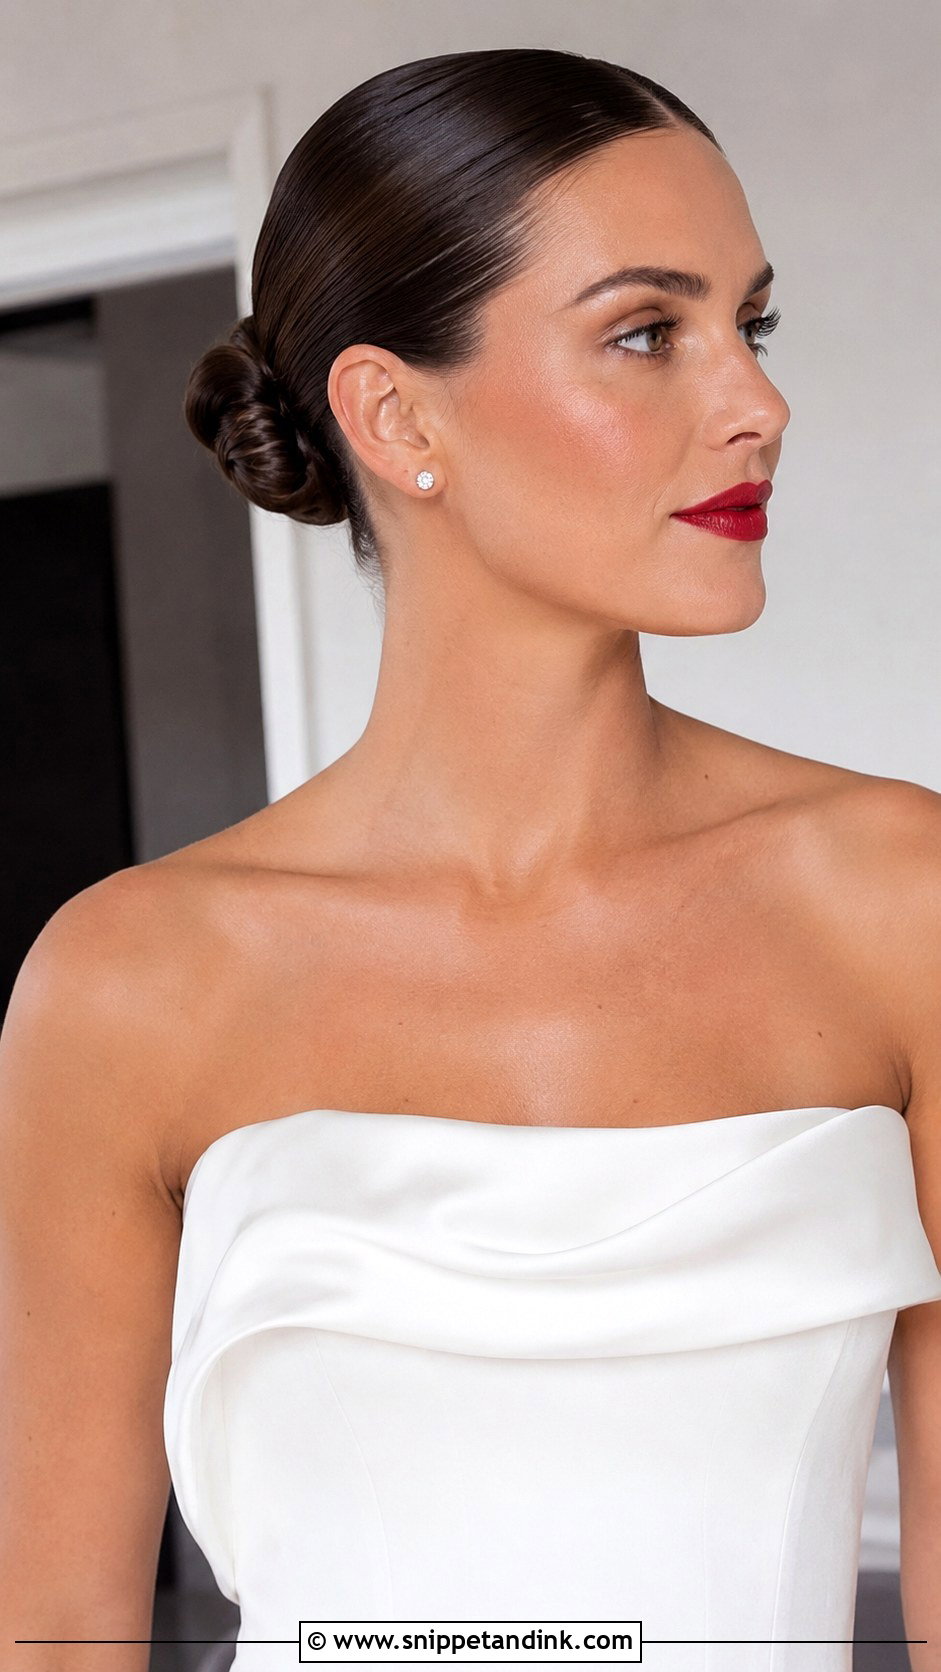
A slick bun and a red lip are an old pairing for a reason: polished hair lets the makeup take the lead. Keep the eye soft so the lip carries the whole face. It suits evening and black-tie weddings especially. The practical point I always raise is the kiss and the cake: a bold lip needs a long-wear formula and a blotting powder in your touch-up bag, or it transfers. The hair, at least, will look exactly the same at midnight as it did at the ceremony.
Flyaways, Headaches and a Bun That Starts to Sink
These are the three things that go wrong with a slicked back bun, and each has a quick fix if someone knows what to do.
Flyaways after the ceremony
Humidity and hugging lift fine hairs along the crown. A clean toothbrush or spoolie with a little gel or a wax stick lays them back in seconds. Pack one in your clutch; it’s the most useful item in my kit.
A tension headache by the reception
If the ponytail is pulling, I loosen it from underneath by sliding a pin out and re-anchoring the bun slightly lower, leaving the slicked surface intact. Don’t pull the elastic out yourself; the whole shape collapses.
A bun that drops
Usually that’s weight plus a single elastic. Two crossed pins pushed up through the base of the bun and into the ponytail lift it back. I give a bridesmaid four spare pins and show her the move at the trial so she can do it without me.
Taking a Sleek Bun Photo to Your Trial
A slick bun is a short list of decisions: placement, part, and how much softness you allow around it. Bring two or three photos to your trial that share the same placement, and tell your stylist what your gown neckline and veil plan are, because both change where the bun should sit. Wear the outfit’s earrings if you have them. If the trial version still feels too tight or too plain after an hour, say so then; adjusting tension and adding tendrils is easy at a trial and difficult on the morning.
You'll Like These Ideas:


Leave a Reply