
Ask me which bridal style survives a wedding day best and I’ll say a bun, almost every time. It keeps hair off the neckline, gives a veil something solid to hold, and leaves room for earrings and makeup to show. Where buns differ is in placement and finish: a smooth knot at the nape and a loose, curled gather near the ear need completely different foundations. The current mood leans toward clean shapes with a little softness at the face, and the fifteen buns below cover that range, with notes on how I build each one and the hair it suits.
Not Enough Hair for the Bun You Saved? Padding and Clip-Ins
Many inspiration photos are styled with extensions or a hidden bun form, so the bun looks bigger than most natural hair can manage. I don’t see that as a problem; it just means planning. Bring the exact photo to your trial and I’ll tell you honestly whether your hair can make that size on its own.
Fine or thin hair
A hair-matched padding or bun form hidden inside the bun adds size without weight. Two or three clip-in wefts placed under the crown give the bun more to wrap around. Matching the colour exactly is essential, so order them early enough to test.
Shoulder-length hair
Short lengths won’t wrap a full bun, so I build smaller twists and tuck the ends. For a big, round bun, clip-ins are the honest answer. Wait to trim until after the wedding if you can; extra length helps.
Very thick or long hair
The problem flips: a bun can end up too large and heavy. I may thin out the base section by pinning part of the hair flat underneath, or split it into two buns, so the shape stays neat and comfortable.
1. Low Bridal Bun
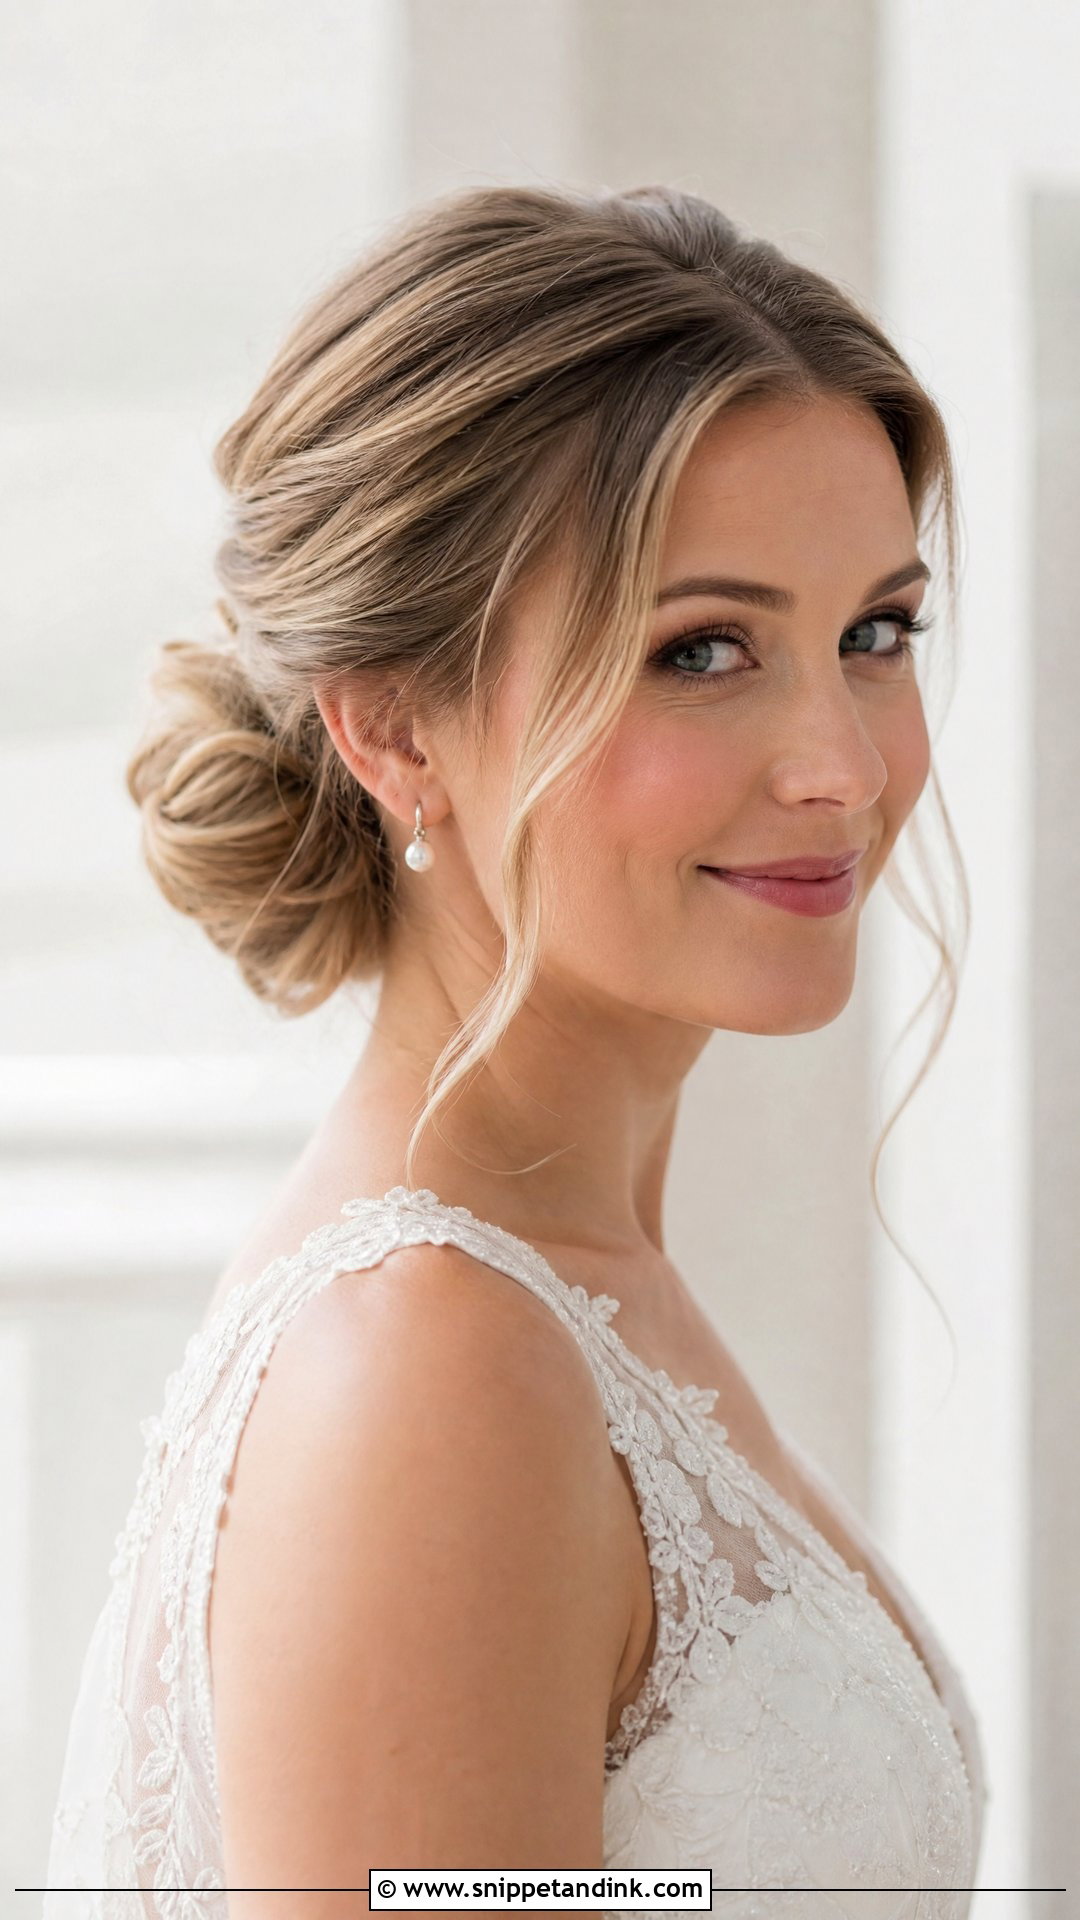
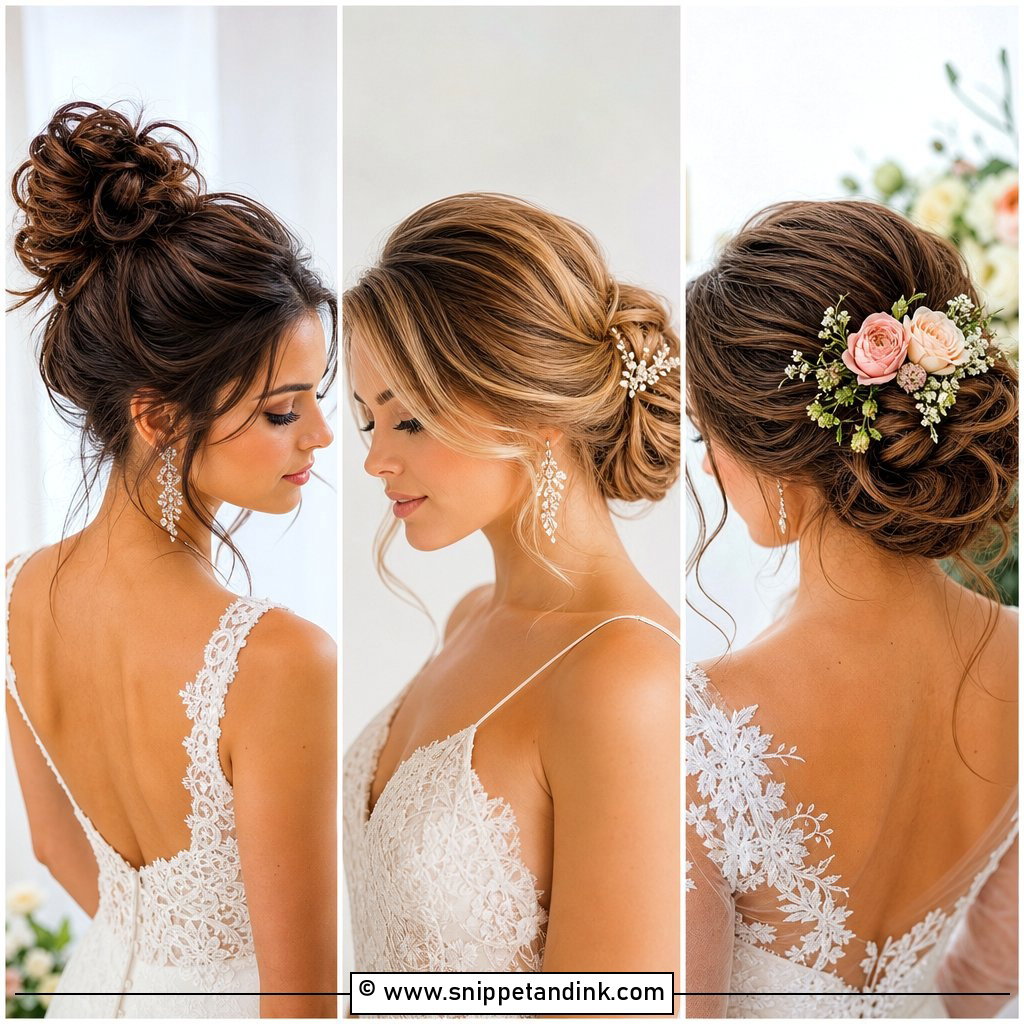
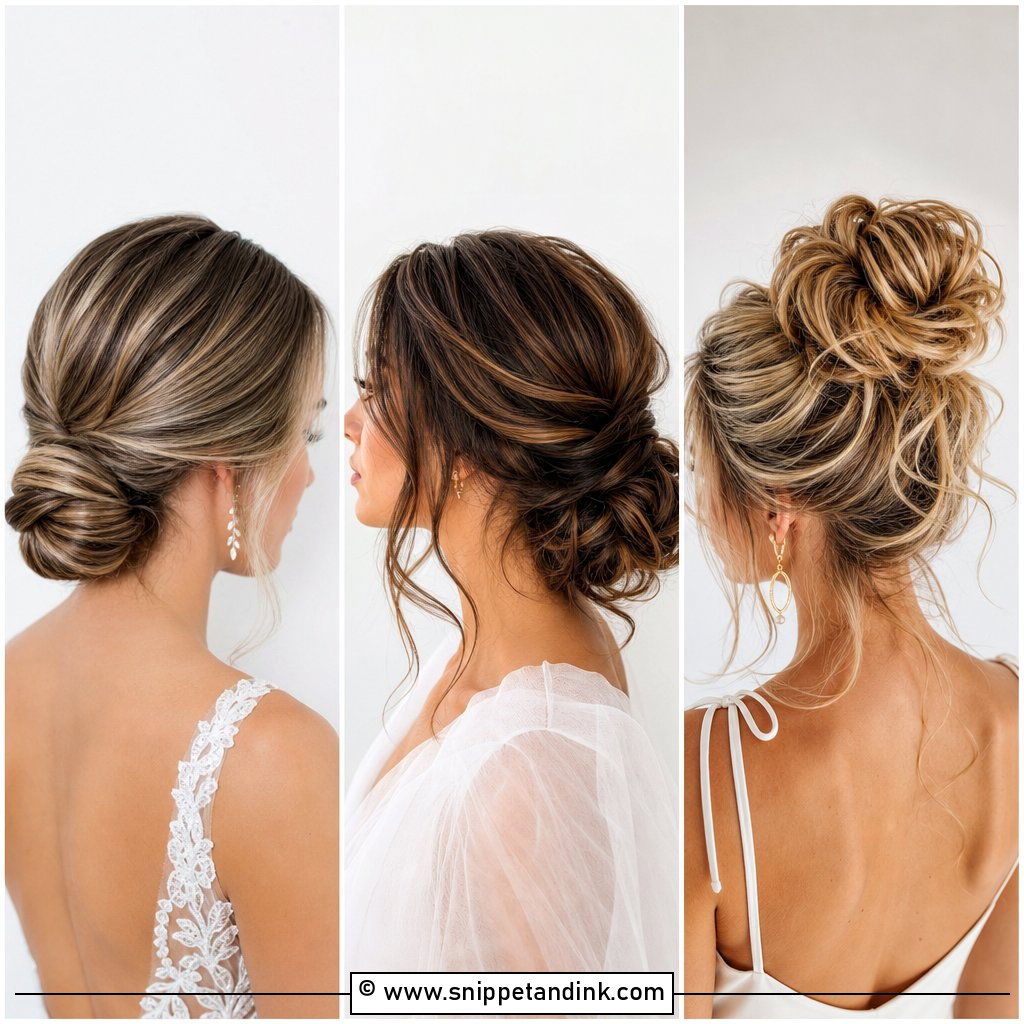
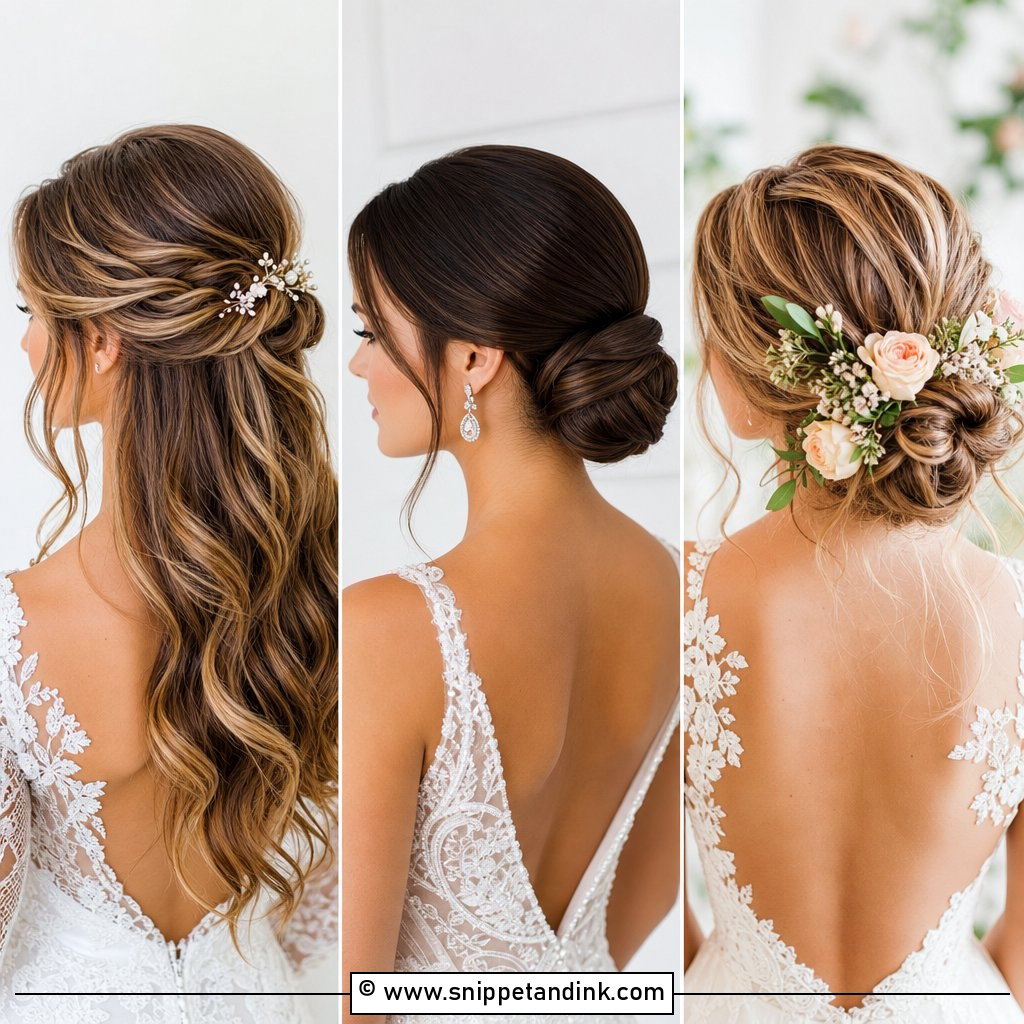
A bun at the nape is the most comfortable updo I can give a bride, because nothing presses on the back of the head when she sits, leans on a pew or rests in the car. It sits low enough for a veil above it, an open back below it, and statement earrings on either side. Smooth, softly textured and lightly twisted versions all work. I anchor it on a small elastic close to the head; low and tight to the scalp, it hardly moves over a twelve-hour day. A little crown volume keeps it from looking flat from the front.
2. Sleek Low Bridal Bun
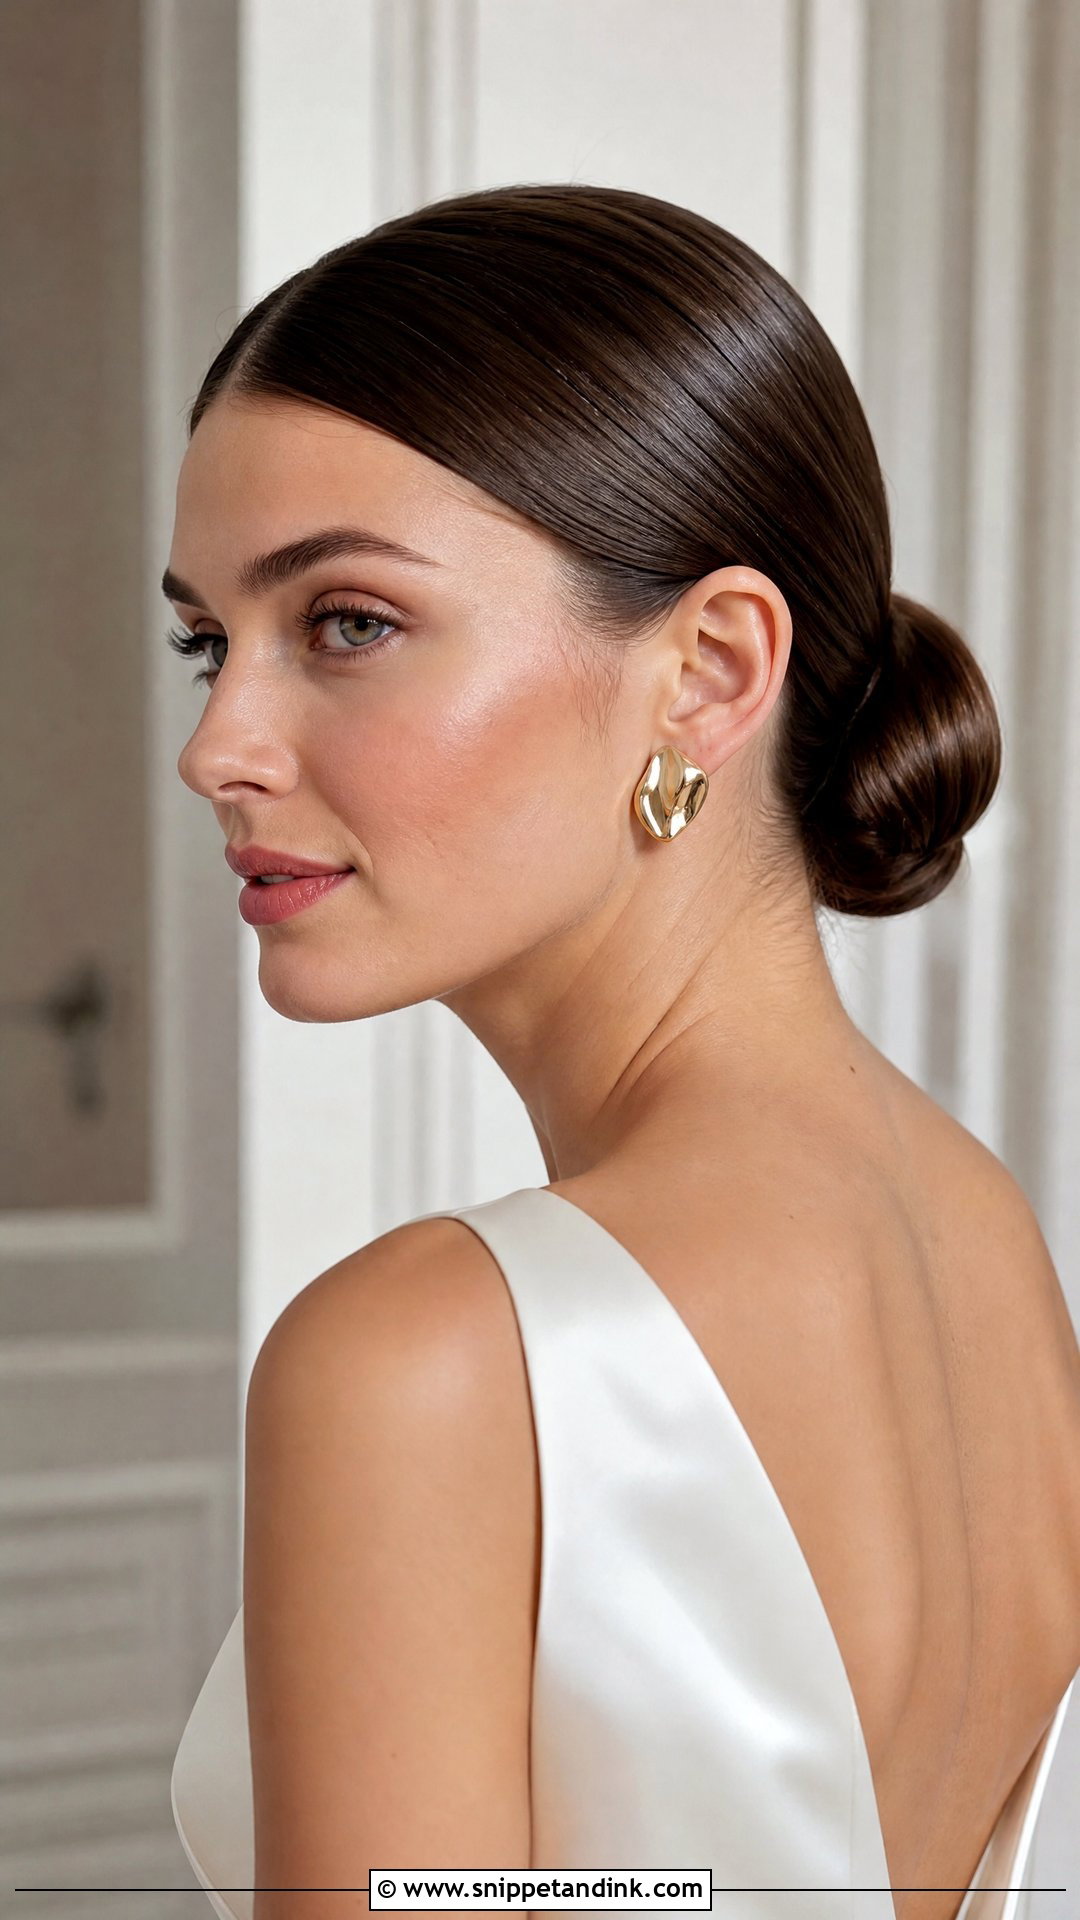
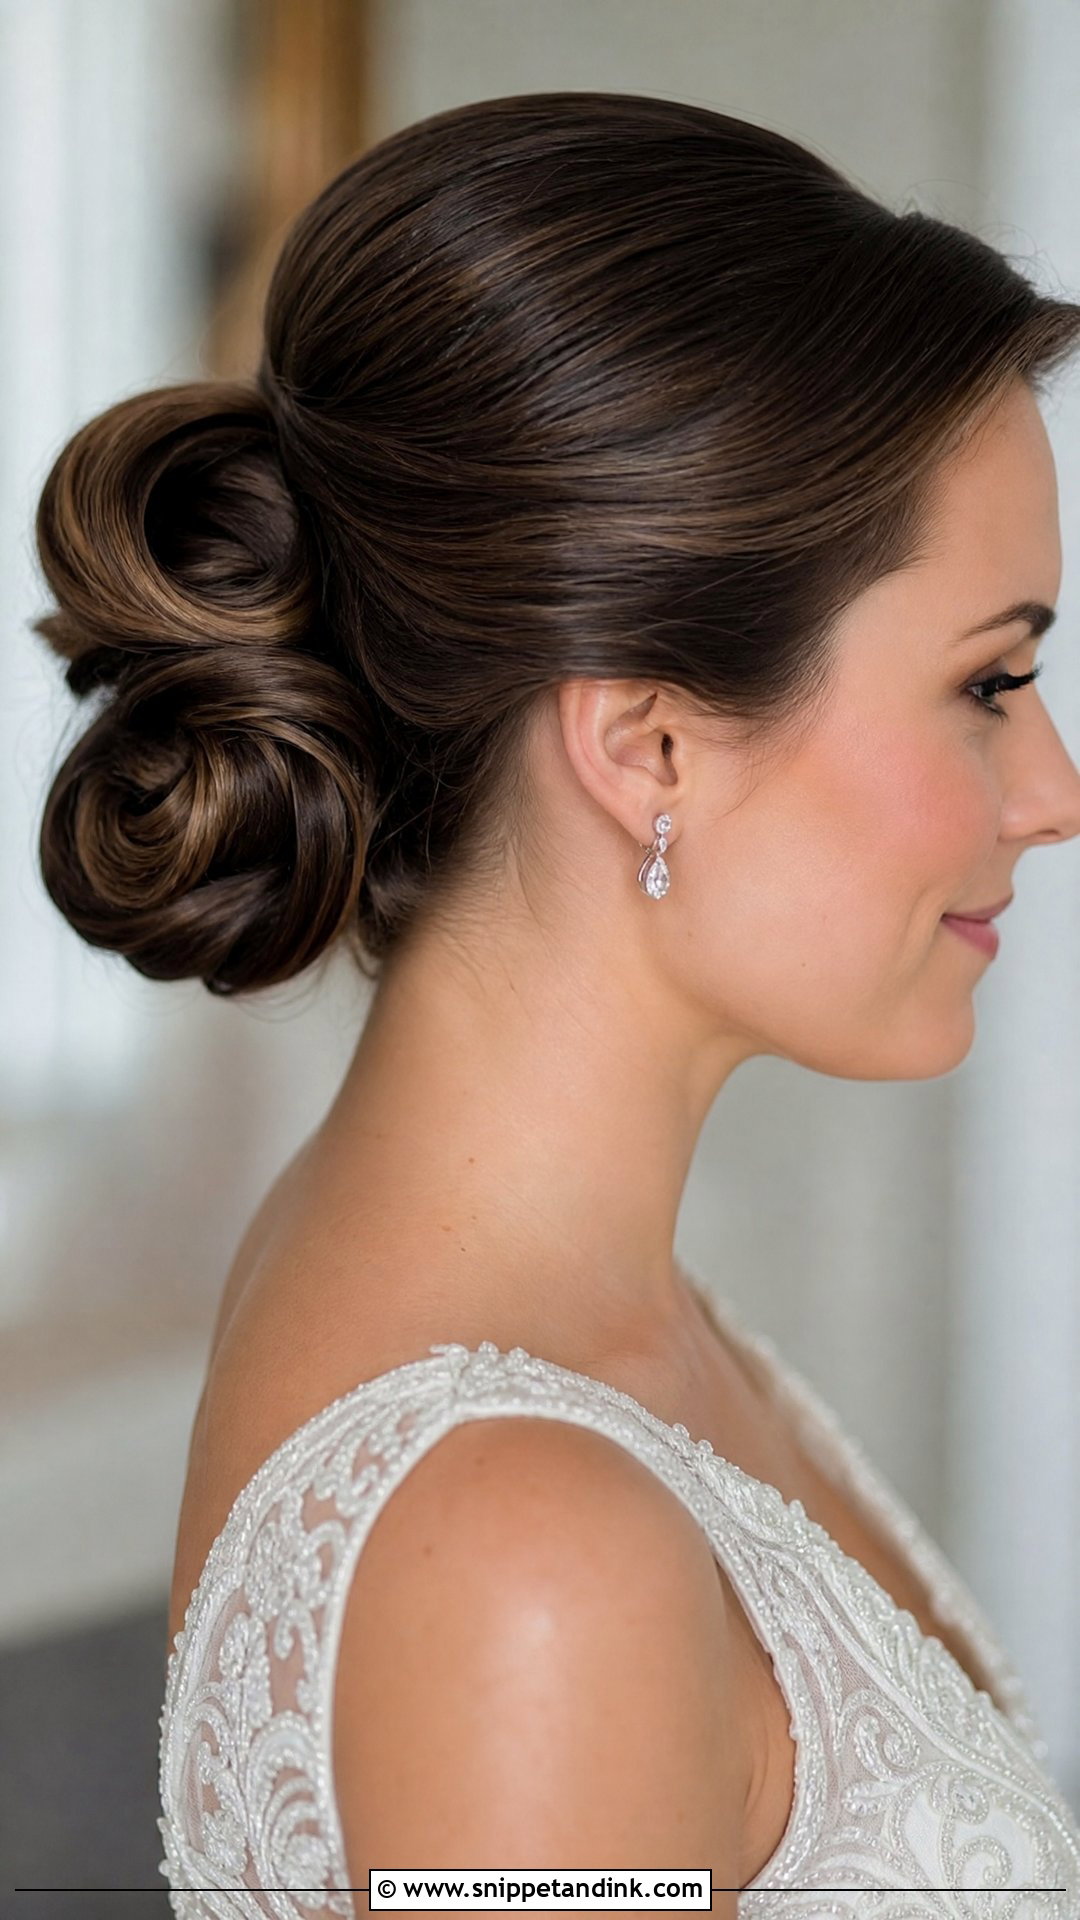
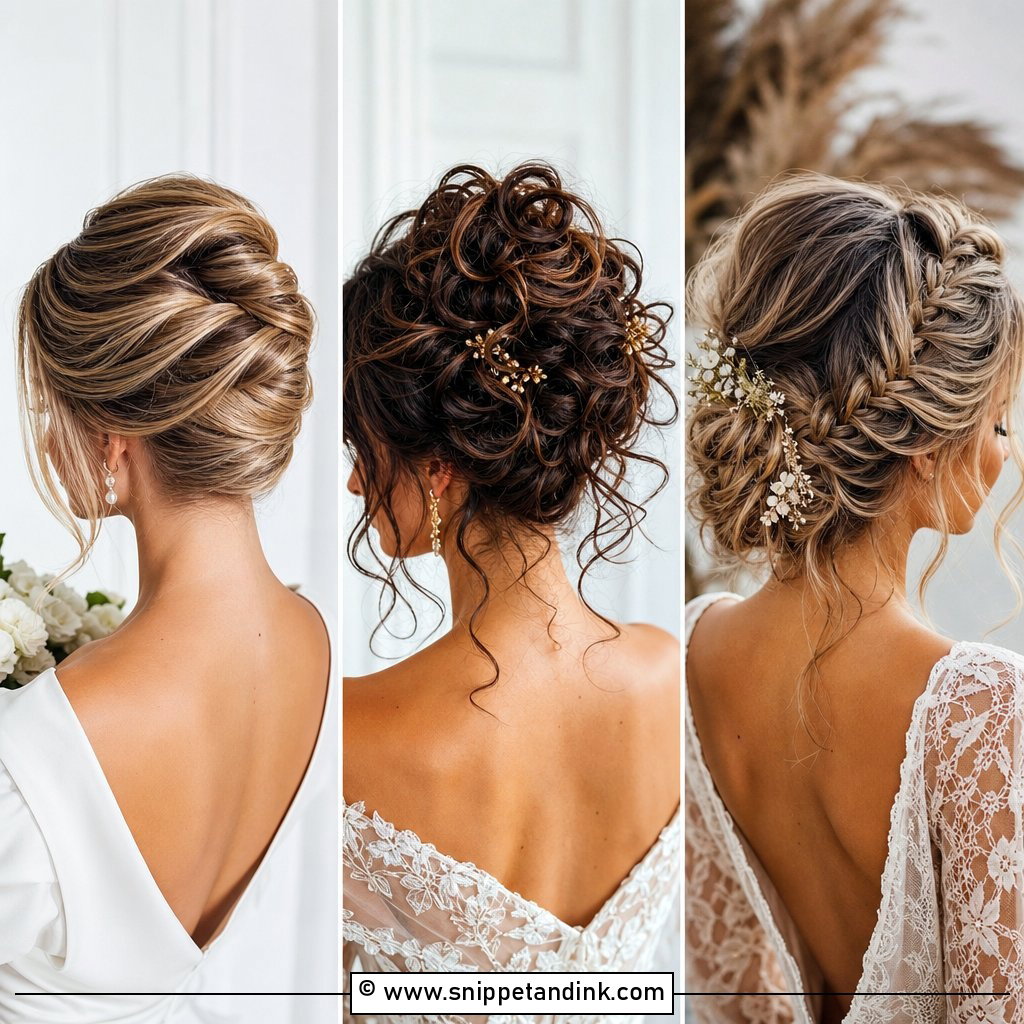
Sleek buns show everything, so the prep is slow: I blow-dry the hair completely straight, then brush it back under tension and check the sides in a hand mirror before securing. Minimalist and satin gowns, high and square necklines, and bold earrings all suit it. It’s my quiet recommendation for hot or windy venues, since no loose pieces means nothing to frizz or blow across the face. Keep the bun itself rounded rather than flattened, or it can read harsh in side profile. Strong pins, a light shine spray and a proper trial will help it stay flawless all day.
3. Textured Low Bridal Bun
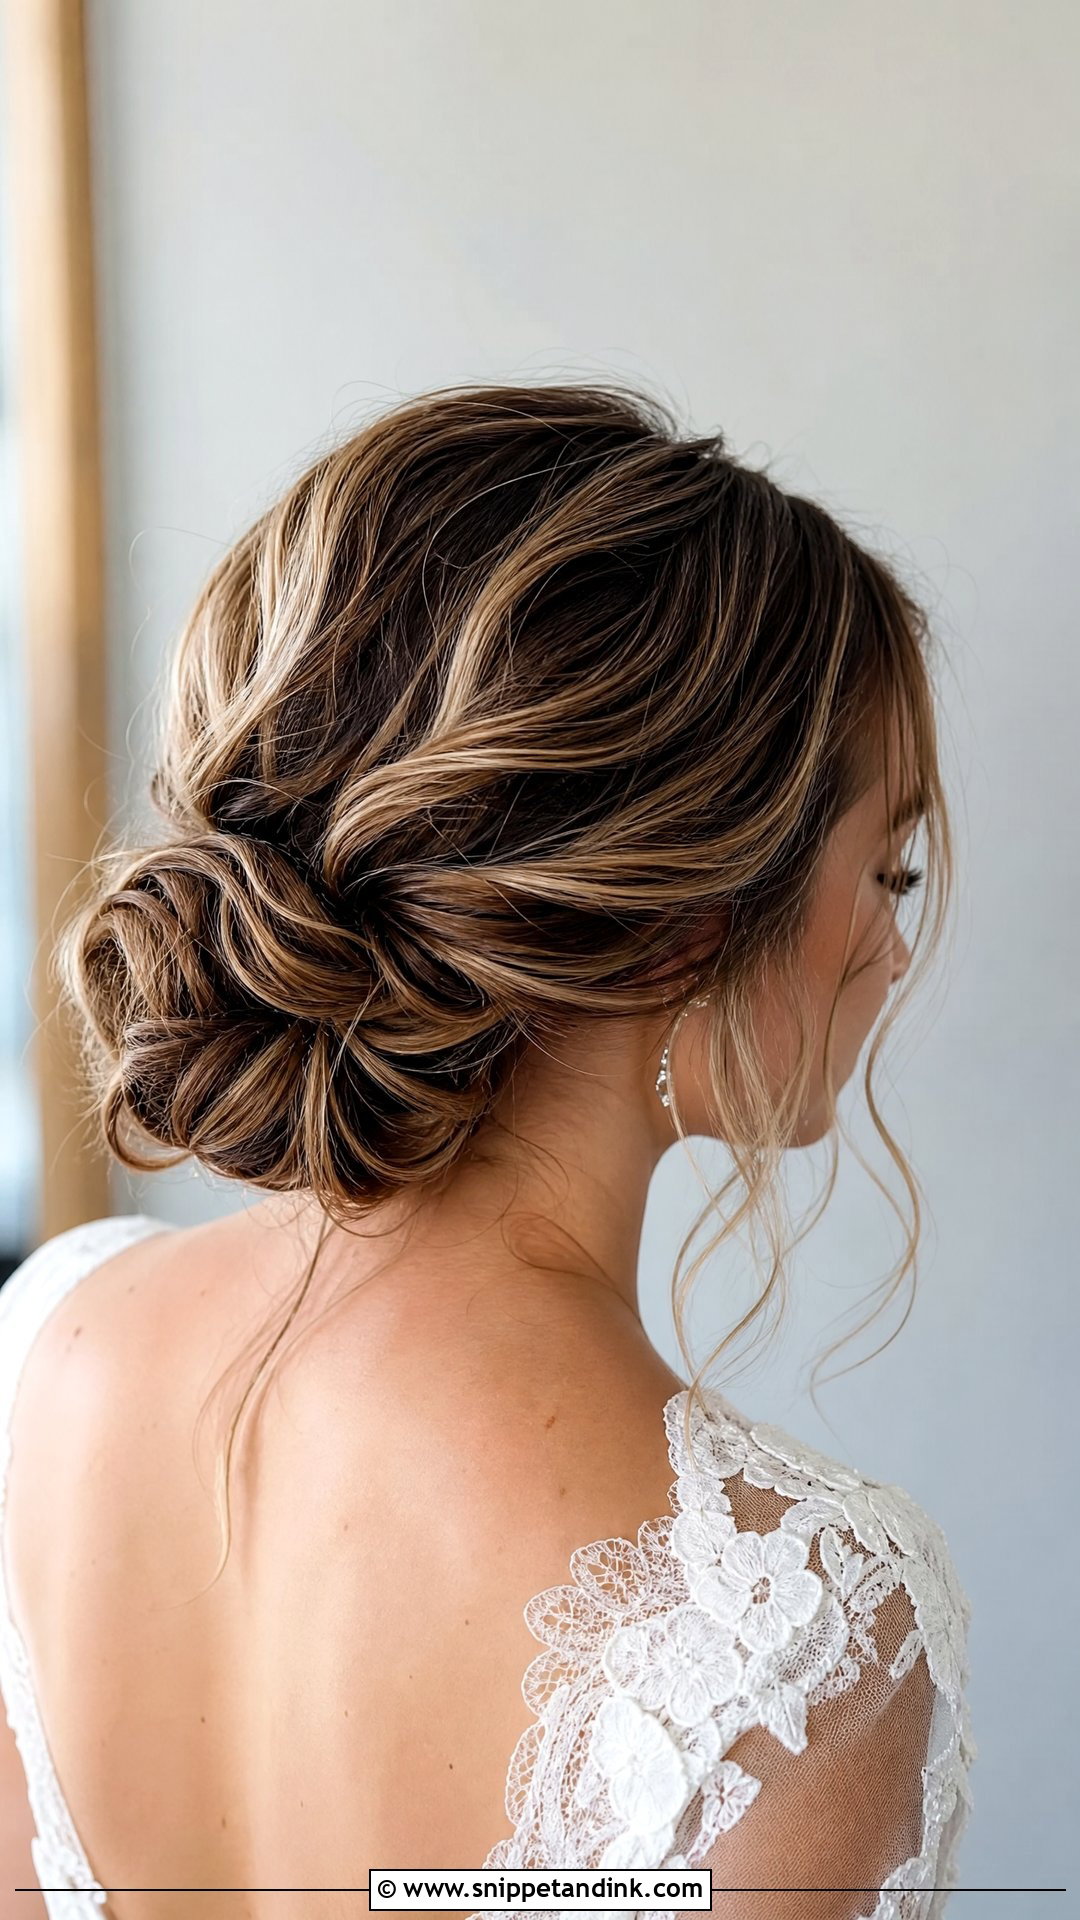
A textured bun only looks soft if the curls underneath were properly set. I curl in medium sections, let each one cool pinned in a coil, then brush through gently before gathering. That cooling step is the difference between texture that holds until midnight and waves that relax by the speeches. Small pieces pulled around the temples frame the face. Garden, beach and rustic venues suit it, as do lace and floral dresses. Highlighted or balayage hair looks especially good, since the colour shows in the folds.
4. Braided Bridal Bun
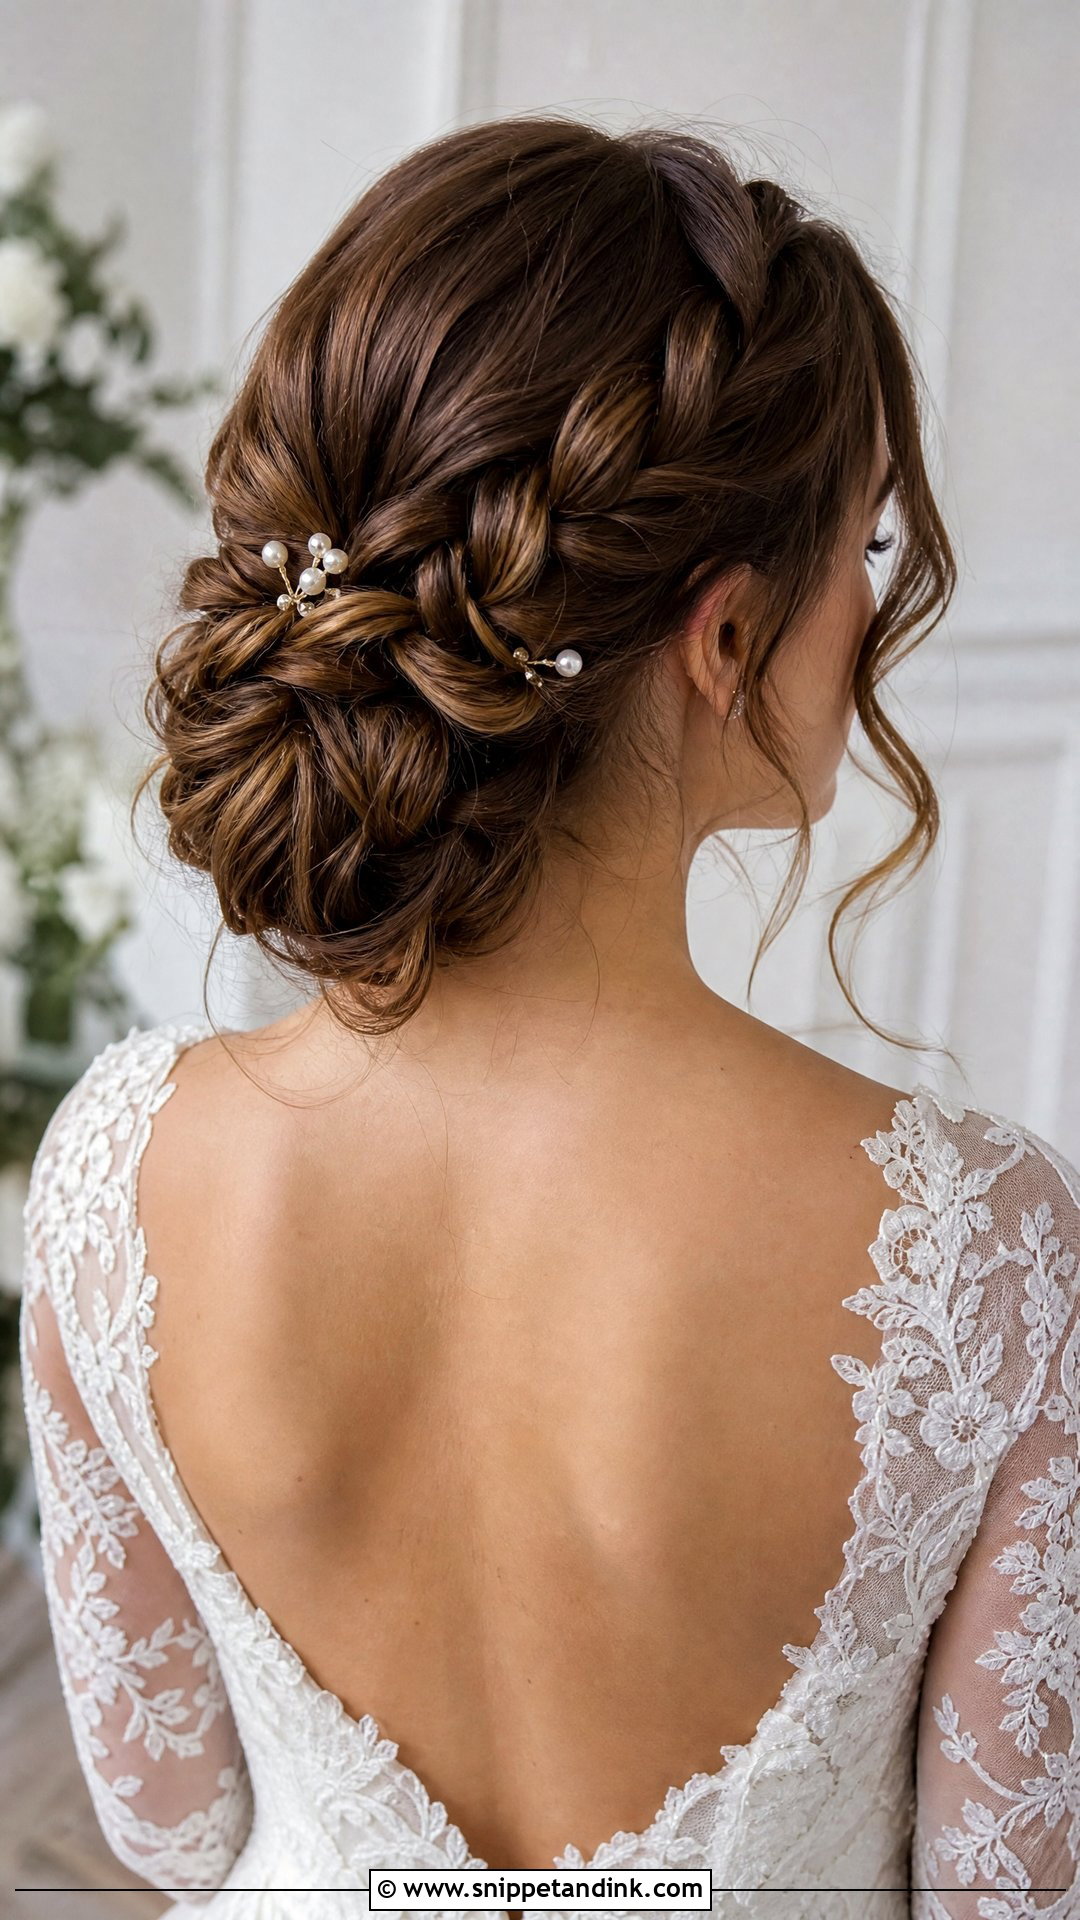
Braiding a bun gives me a strong frame to pin into, so I often suggest it to brides with slippery hair that won’t hold a plain bun. The braid can wrap around the base, run along one side, or be woven through the updo. I widen each section gently once it’s done; a tight braid looks sporty, a loosened one looks bridal. Boho gowns, lace sleeves and outdoor venues are its natural setting. Small pins or pearls slotted into the braid’s gaps stay put much better than ones pushed into smooth hair.
5. Side Bridal Bun
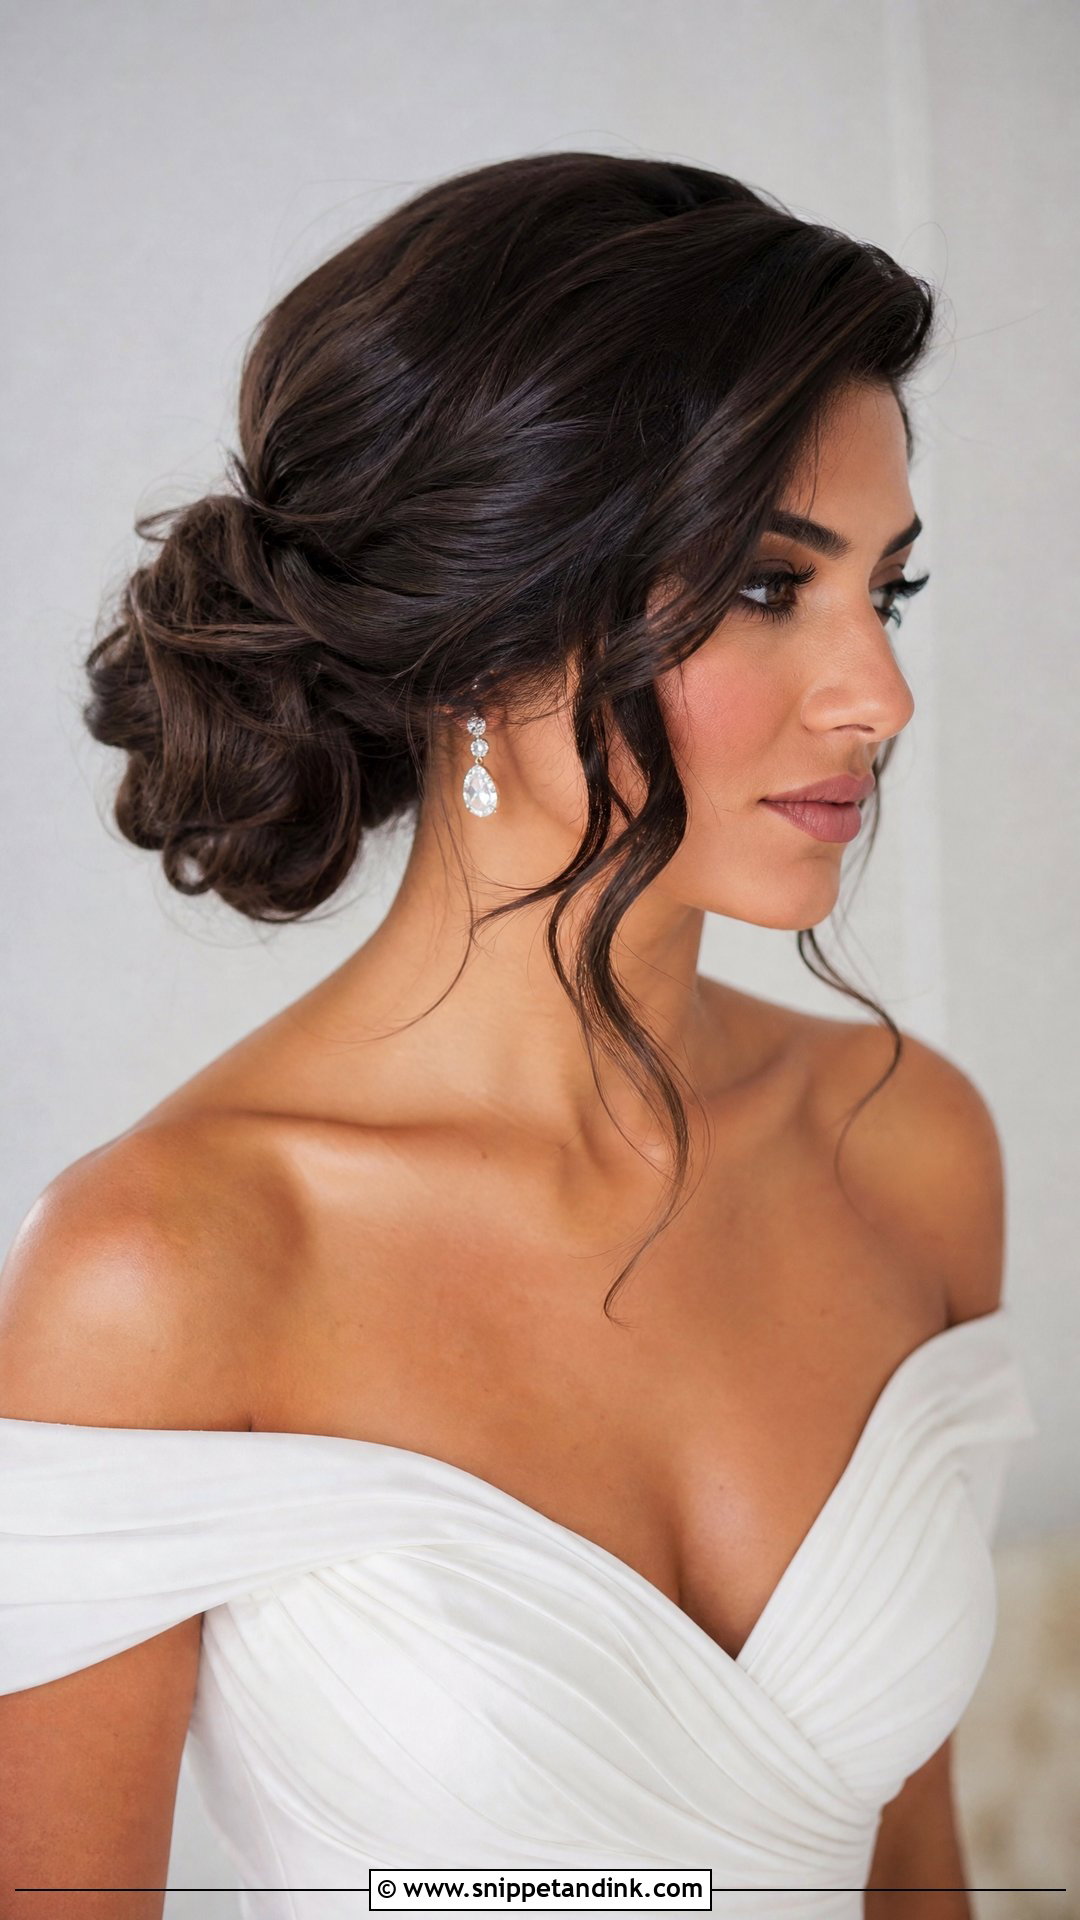
A side bun sits low near the ear or jawline, so it’s visible from the front in portraits. Before placing it, I ask which side your partner stands on at the altar; that side faces the guests and the camera through the vows. One-shoulder gowns, asymmetric necklines and side-swept bangs balance against it. The bun can be smooth, curled, braided or twisted. All the weight sits on one side, so I add extra crossed pins on the lower edge and keep face-framing pieces light, otherwise it feels lopsided by evening.
6. High Bridal Bun
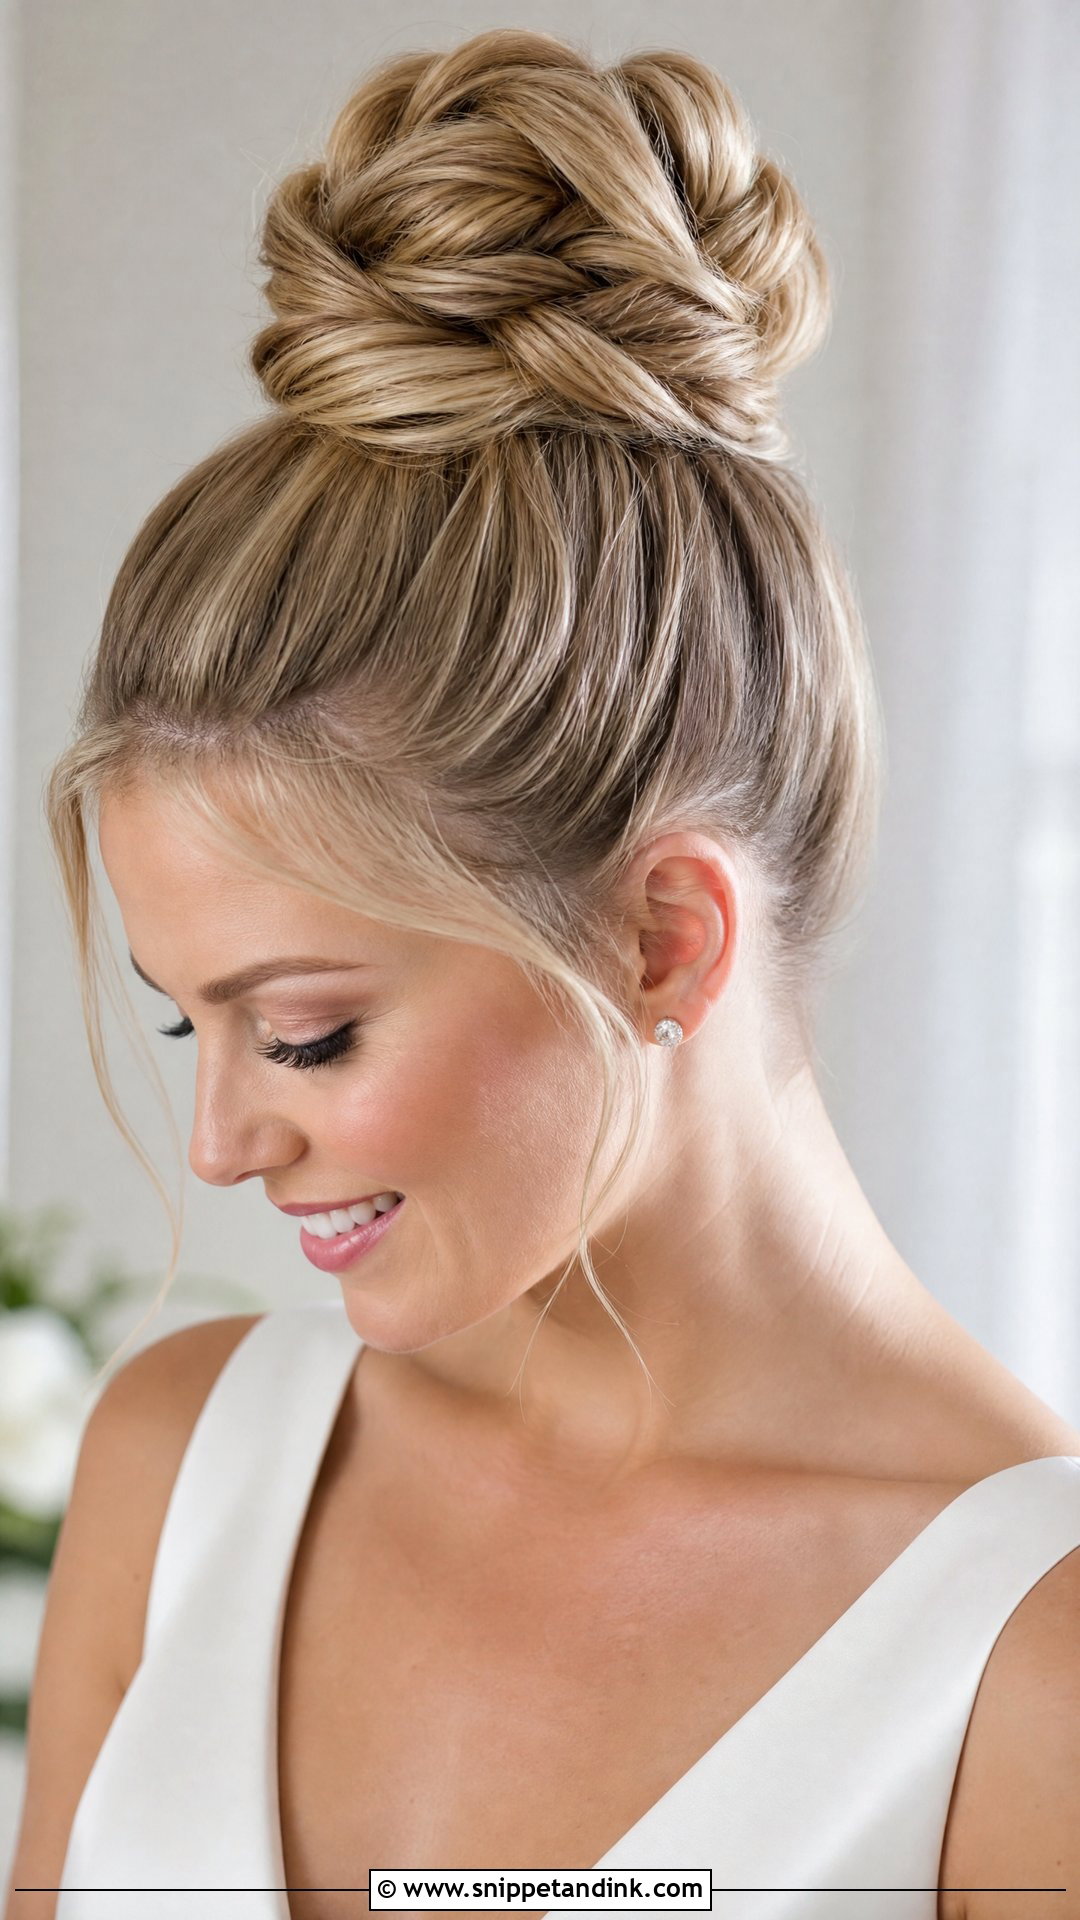
A high bun draws the eye upward and lengthens the neck, which gives ball gowns and dramatic veils a formal, lifted feel. I’d be careful with it on very long, thick hair: all that weight at the crown can start to ache after a few hours. I split the ponytail into two stacked sections to spread the load. Fine hair is the opposite problem; it can look small, so a hair-matched padding or a few clip-in wefts helps. Keep a little height at the crown and a smooth front so it doesn’t read too tight.
7. Messy Bridal Bun
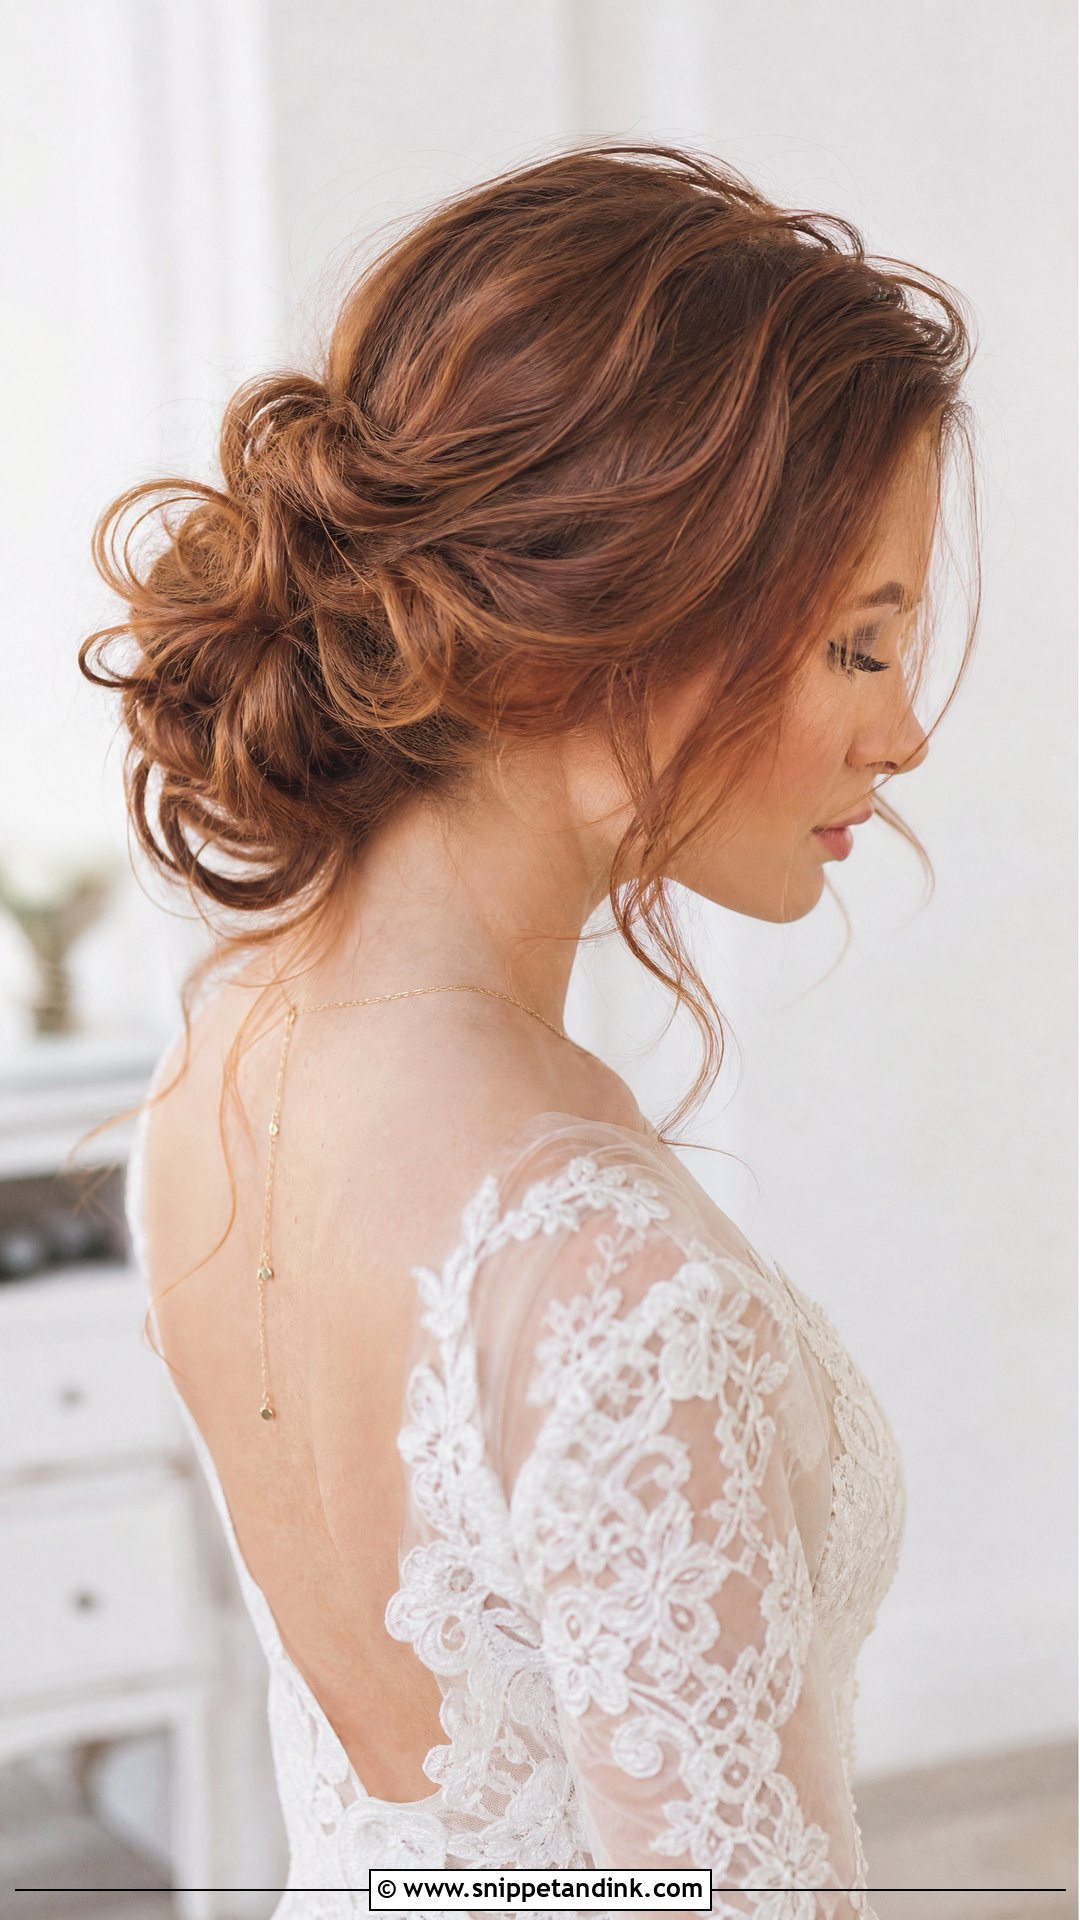
Messy buns look careless and take longer than sleek ones. I curl the whole head, backcomb gently at the roots of each section, and pin the bun in loops so the texture sits on a secure base. Loose tendrils around the face and neckline soften it, but I keep them few; too many and it looks like the bun is falling out. Lace, gardens and delicate hair vines suit it. Even when the top looks undone, the foundation underneath should survive hugs, wind and dancing.
8. Chignon Bridal Bun
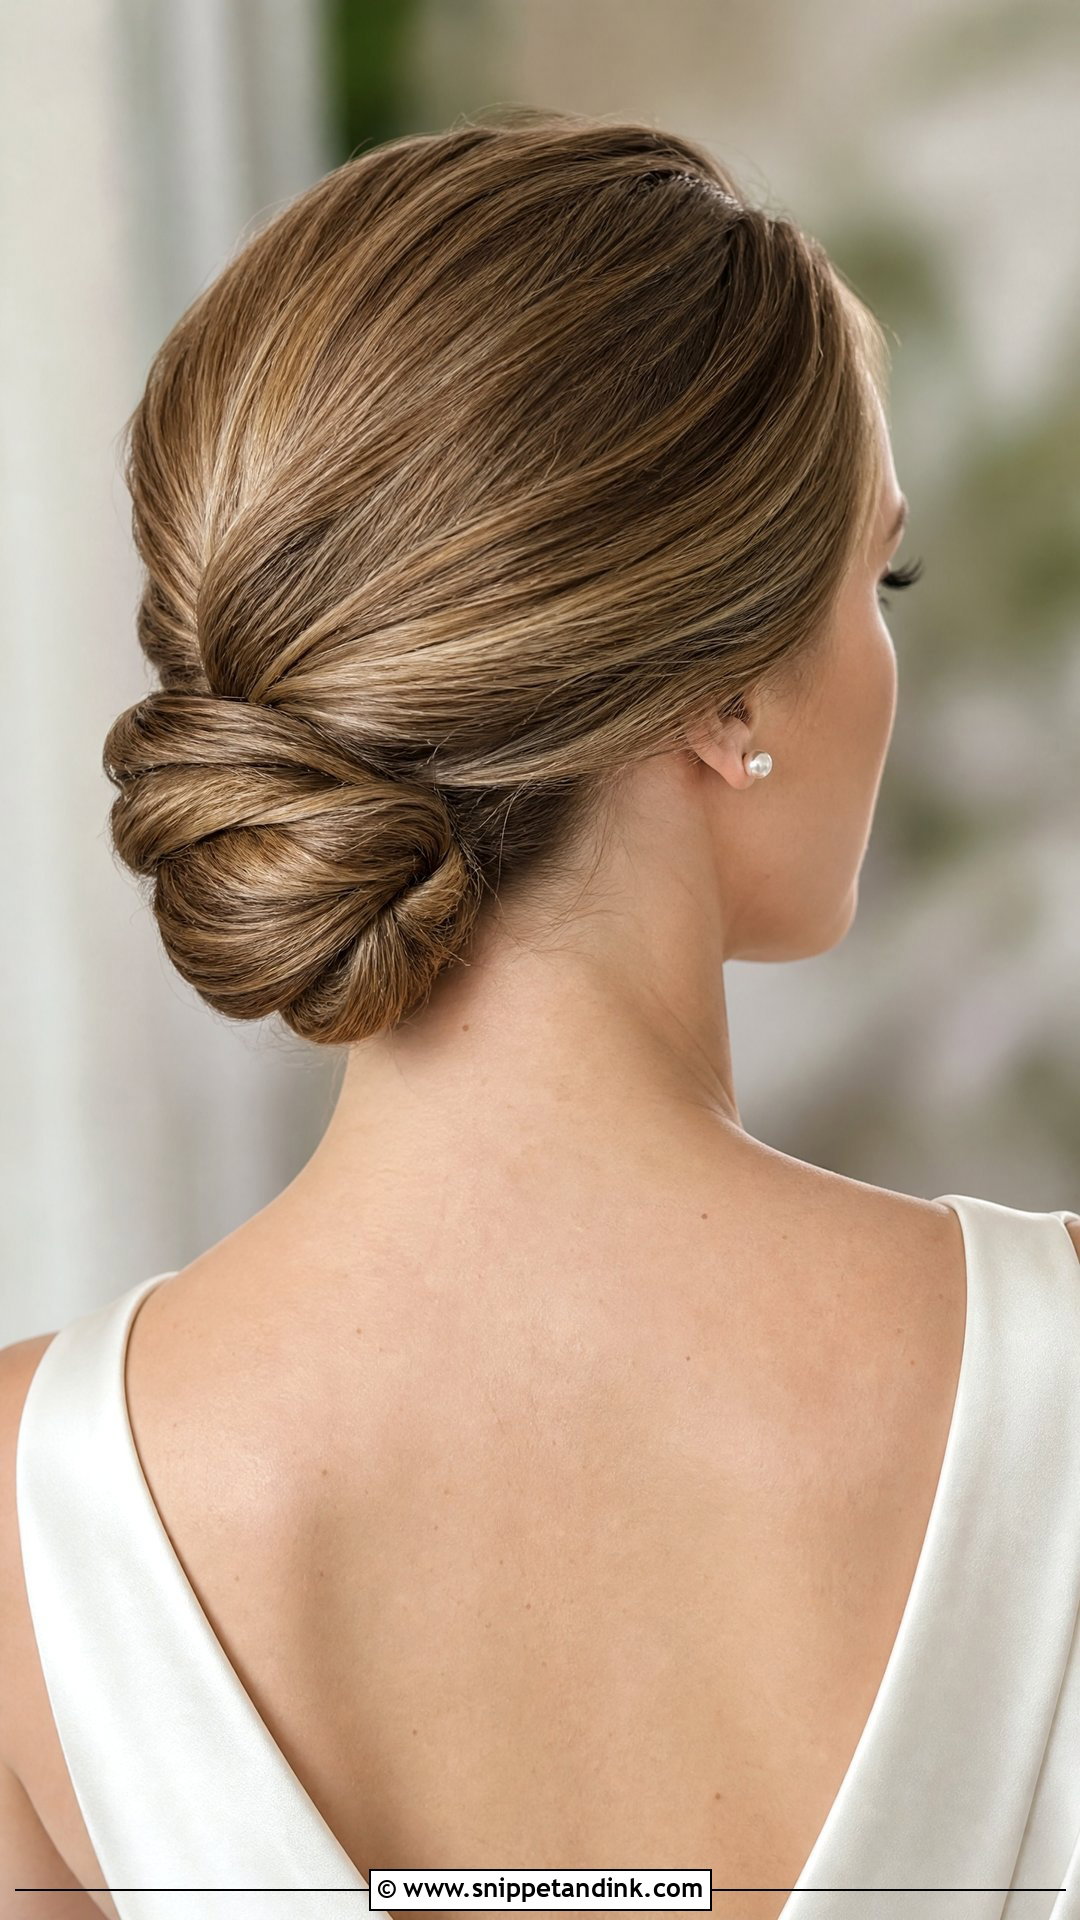
The chignon differs from a wrapped bun in its shape: a tucked, rolled, or folded shape at the nape that looks more tailored. It’s softer than a ballerina bun but neater than a messy one, and it suits classic satin and modern crepe alike. Fine hair works well here, because I can roll the hair around a small padding and nobody can tell. A veil comb sits neatly above it. Add a little crown volume and it reads polished in photos from any side.
9. Twisted Bridal Bun
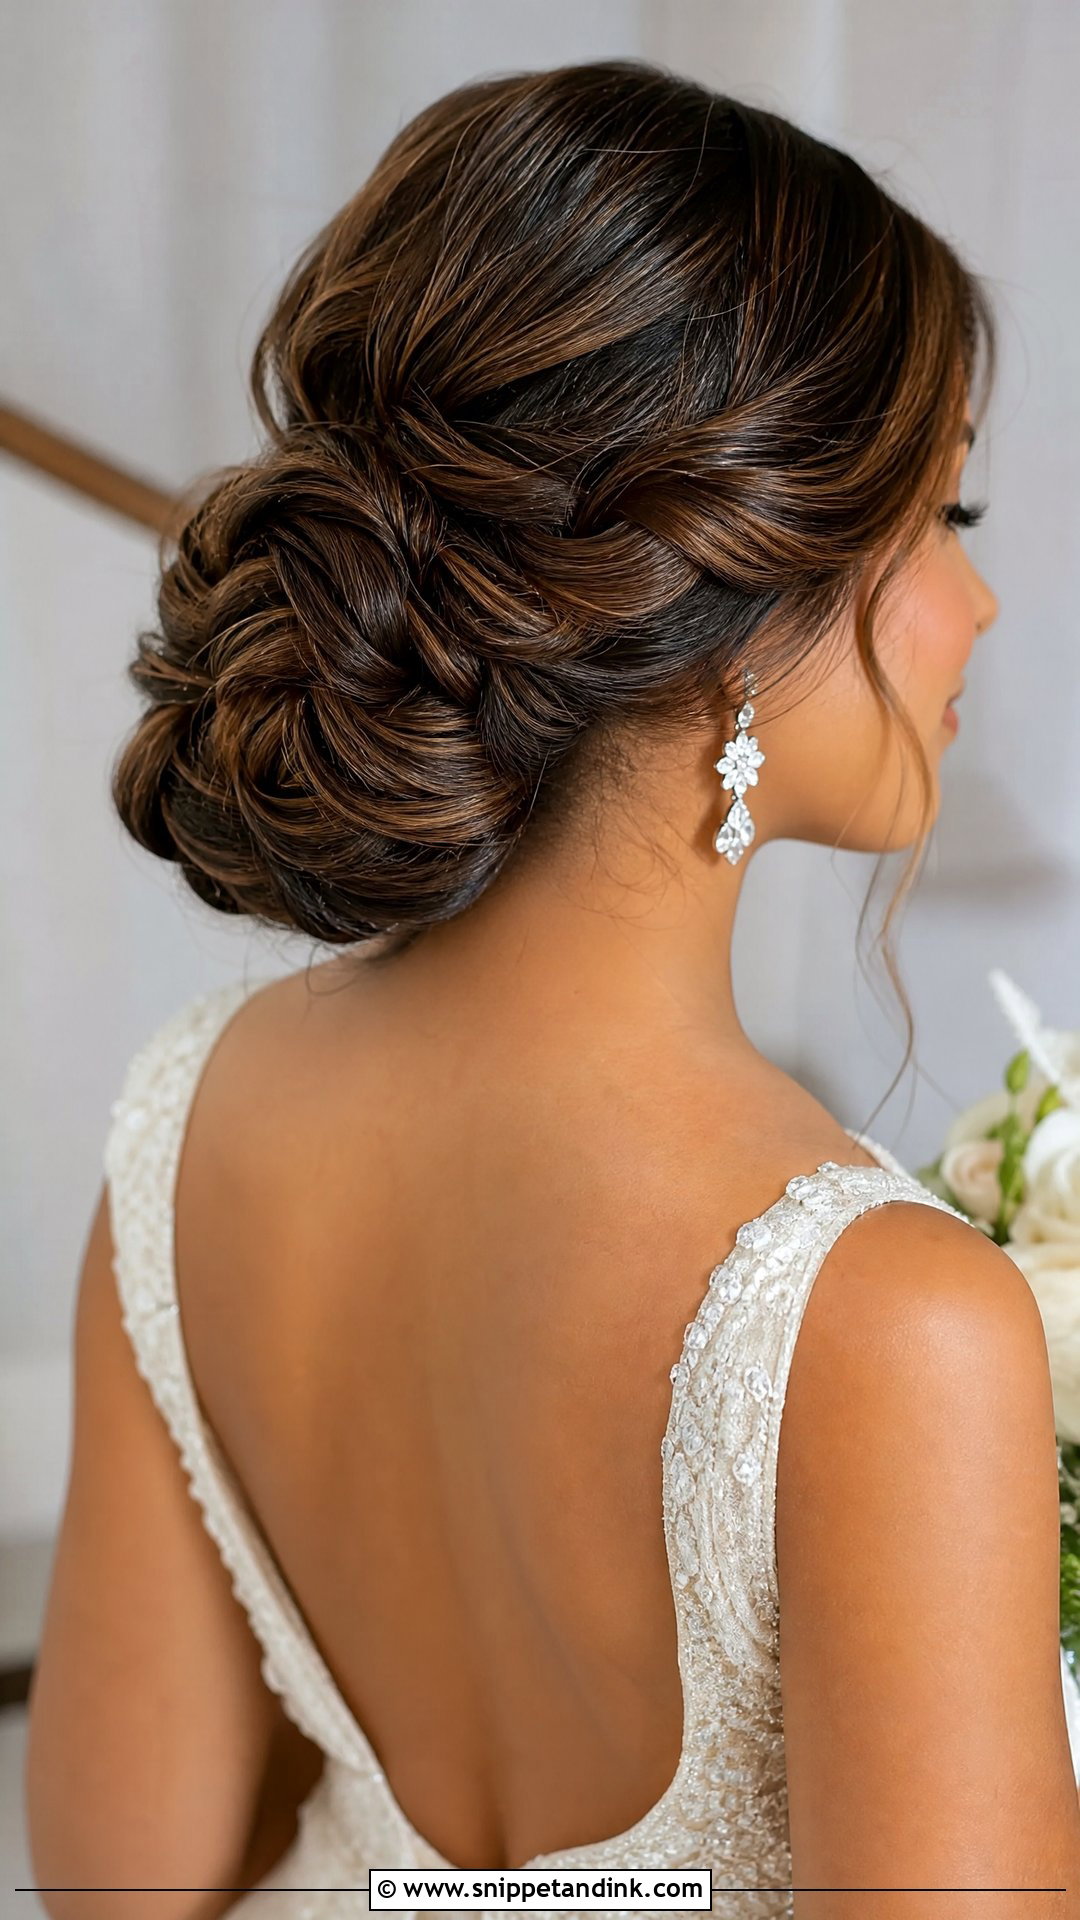
Twists add the detail of a braid in half the time. I take sections from the front and sides, twist them back loosely and pin them into the bun so all the lines lead to one point. Medium to long hair is best. Highlights, dimensional colour and warm brunette tones look especially good, because each twist turns lighter and darker strands over each other. Loose and airy or smooth and sculpted, both work. From behind, the bun should look full; I check it with a hand mirror at the end, because that’s the view guests have through the ceremony.
10. Floral Bridal Bun
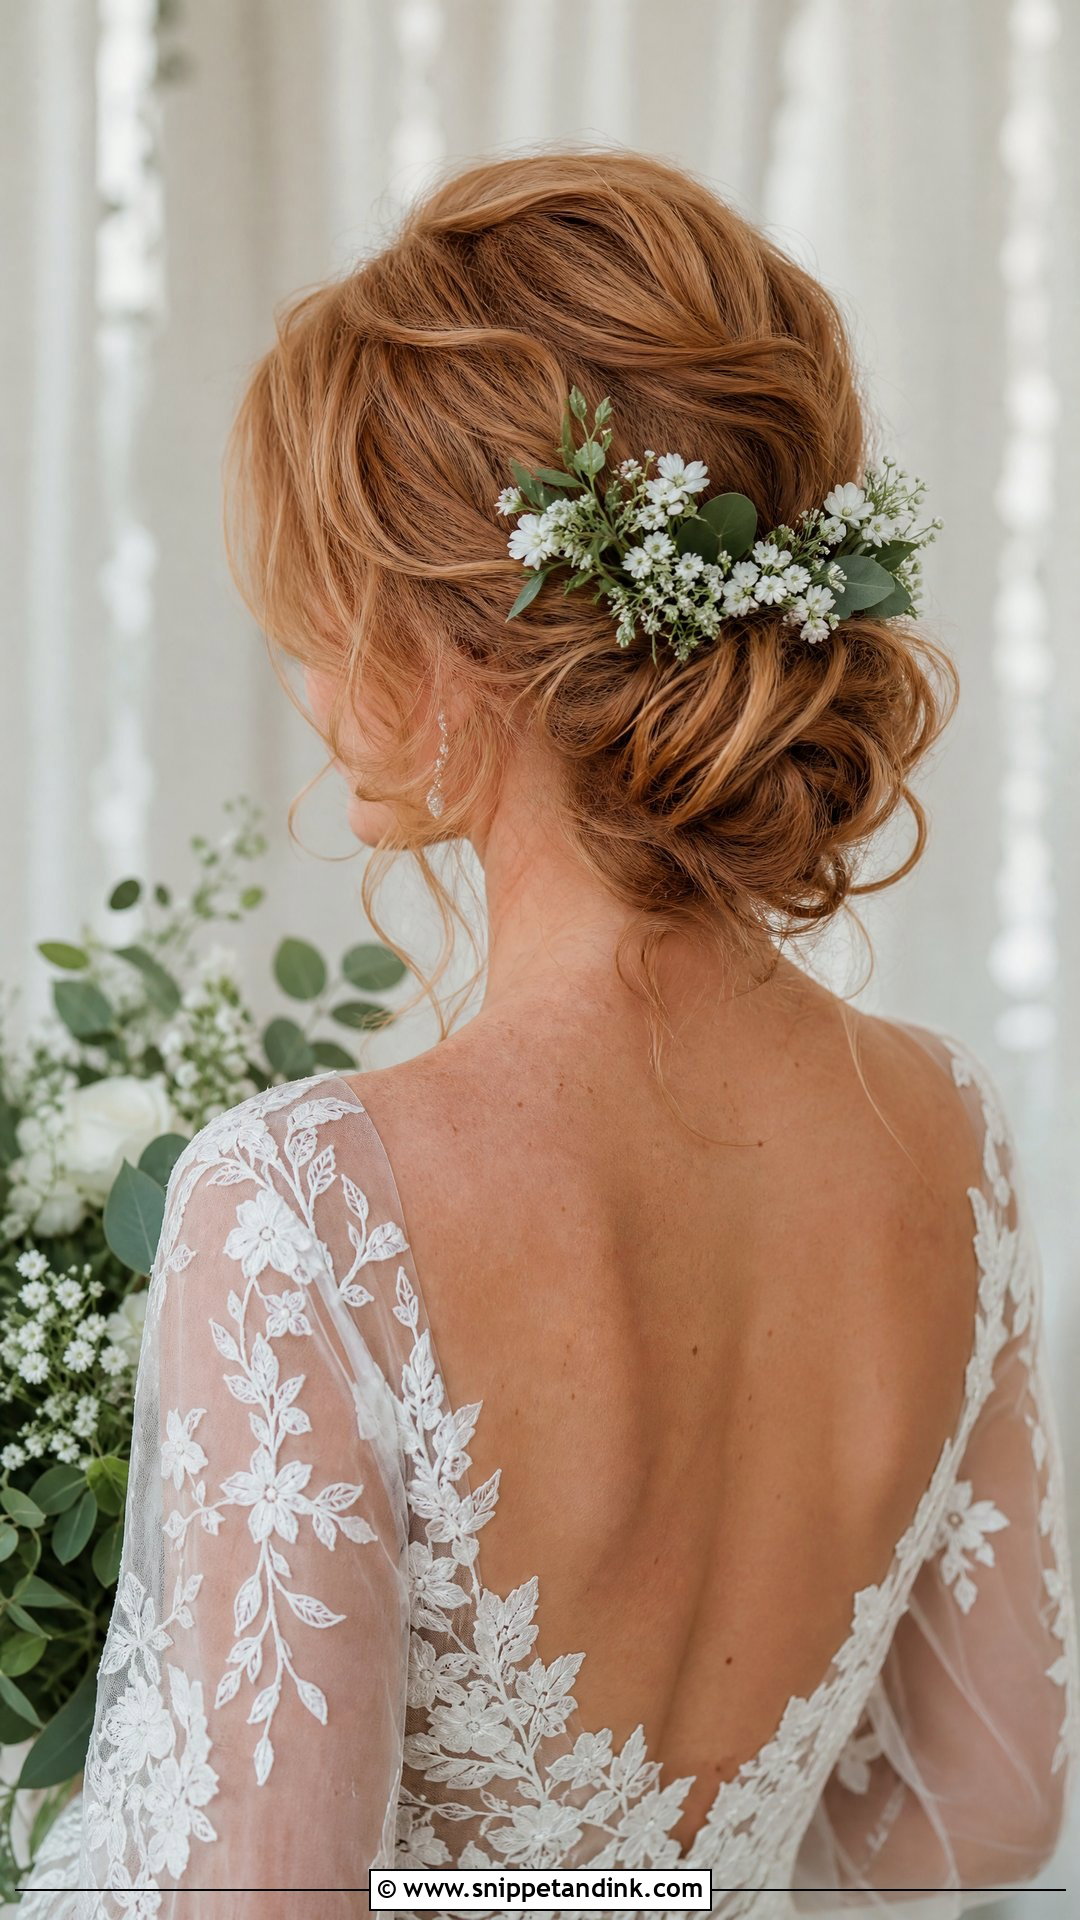
Flowers in a bun look lovely in photos and wilt fast out of water, so this is a style I plan with the florist. Hardy blooms such as spray roses, waxflower or baby’s breath, wired and taped, hold up best; dried flowers and realistic floral pins are the safe choice for a hot outdoor ceremony. The bun can be low, textured, braided or twisted. Scale the flowers to your face and bouquet. I add them last, after hairspray, because spray can mark and dry petals.
11. Veil Bridal Bun
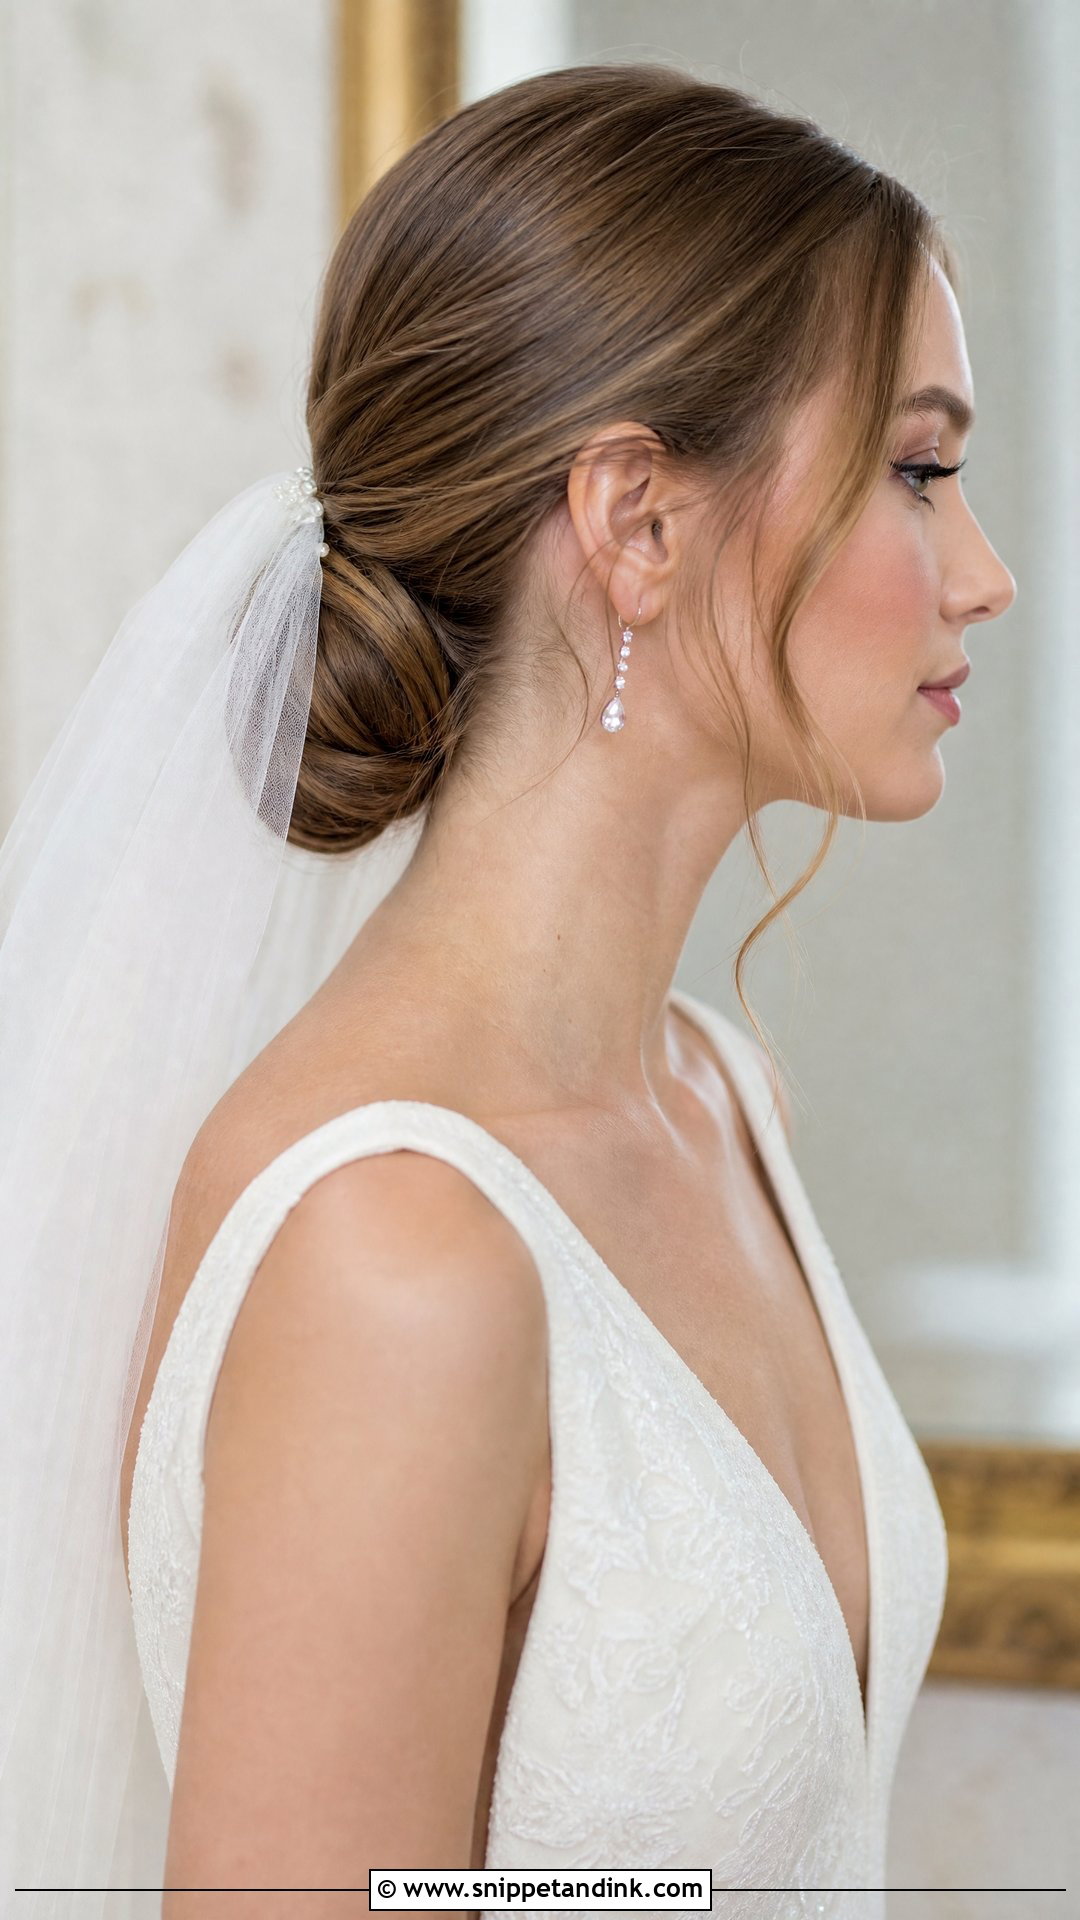
The veil and the bun have to be planned together. Placed above the bun, the comb reads classic and frames the head; tucked underneath, it softens the look and shows off the bun. A sleek bun carries a heavy cathedral veil well, while a textured bun pairs with lace or fingertip lengths. Please bring the actual veil to your trial. Its weight changes everything, and I need to check the hair still looks finished once it comes off after the ceremony.
12. Pearl Bridal Bun
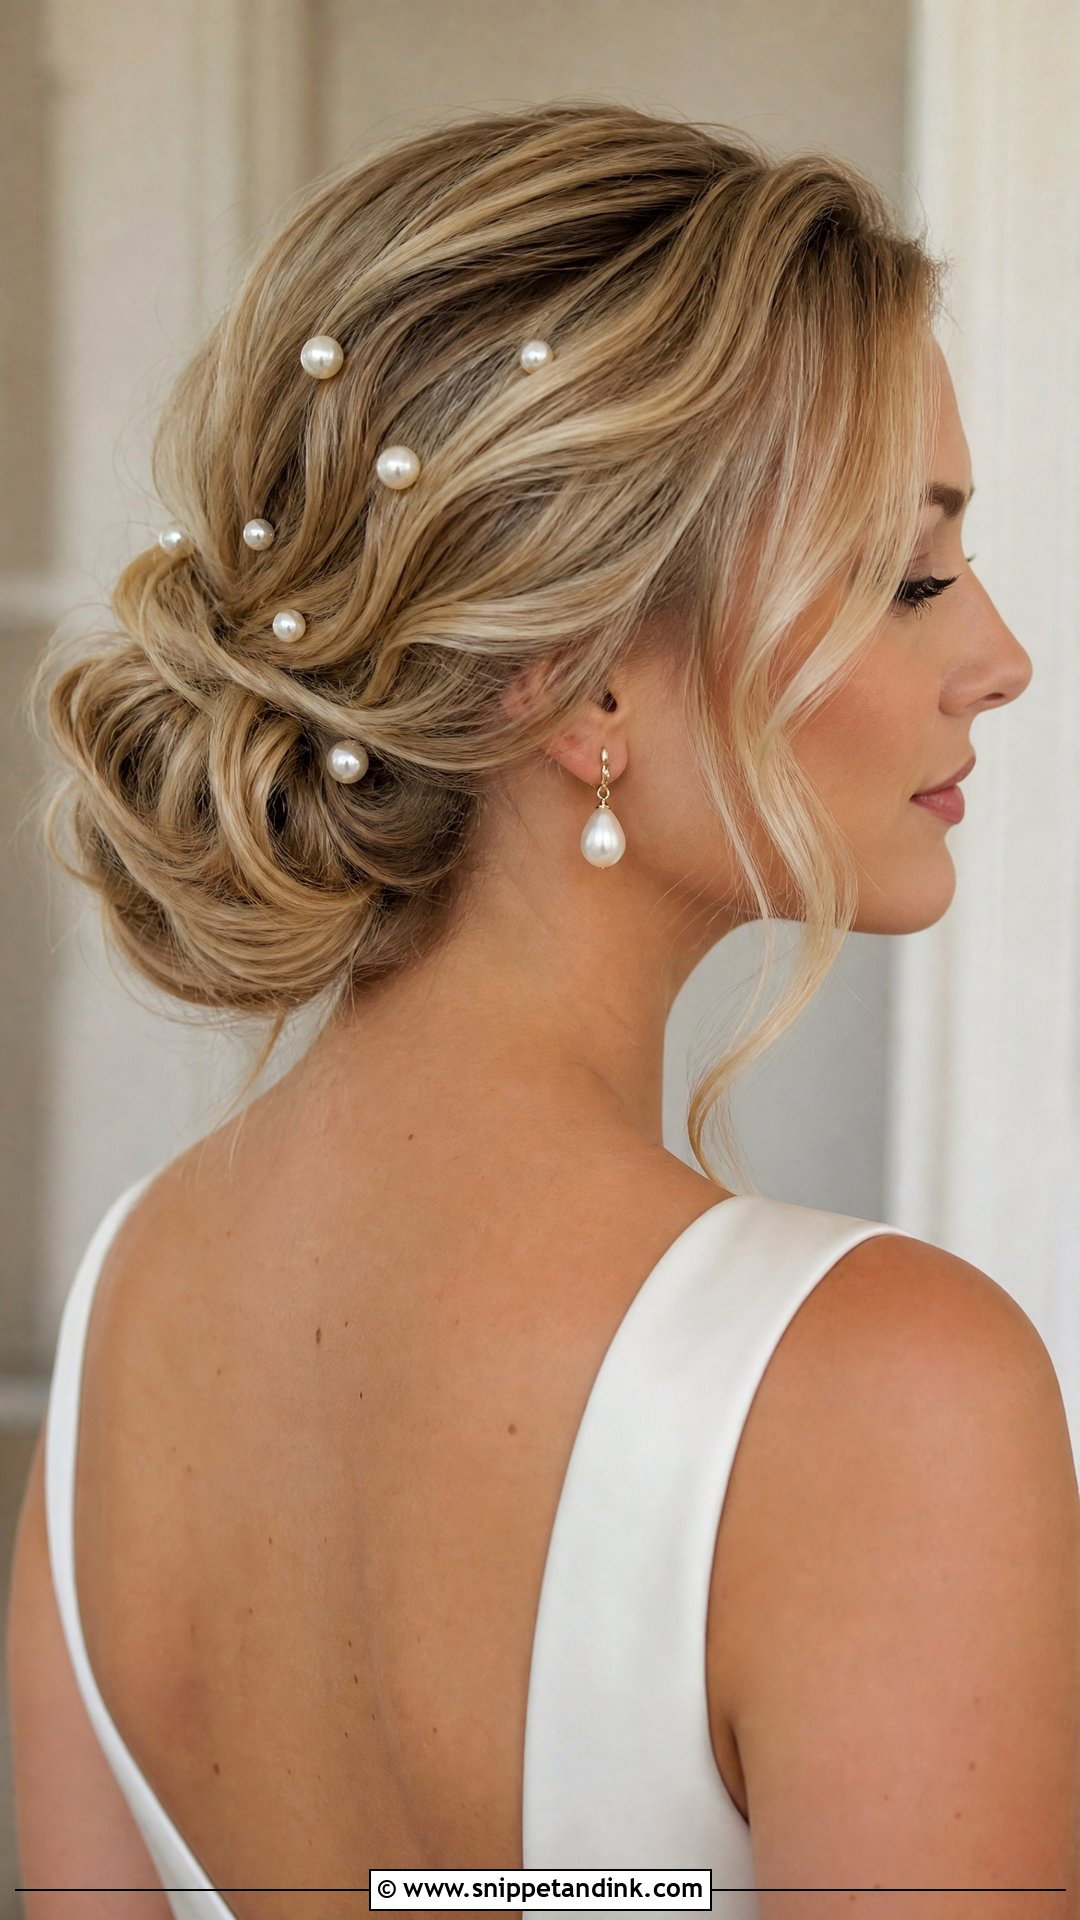
Pearls can go in as pins, a comb, a headband or tiny scattered accents. My rule is to place them where the hair already makes a shadow, along a twist, at the base of the bun or inside a braid, so they catch light instead of sitting flatly on top. They suit sleek, chignon, twisted and braided buns, satin gowns, square necklines and soft glam makeup. Stop earlier than you think: a handful looks deliberate, while two dozen looks like a pattern.
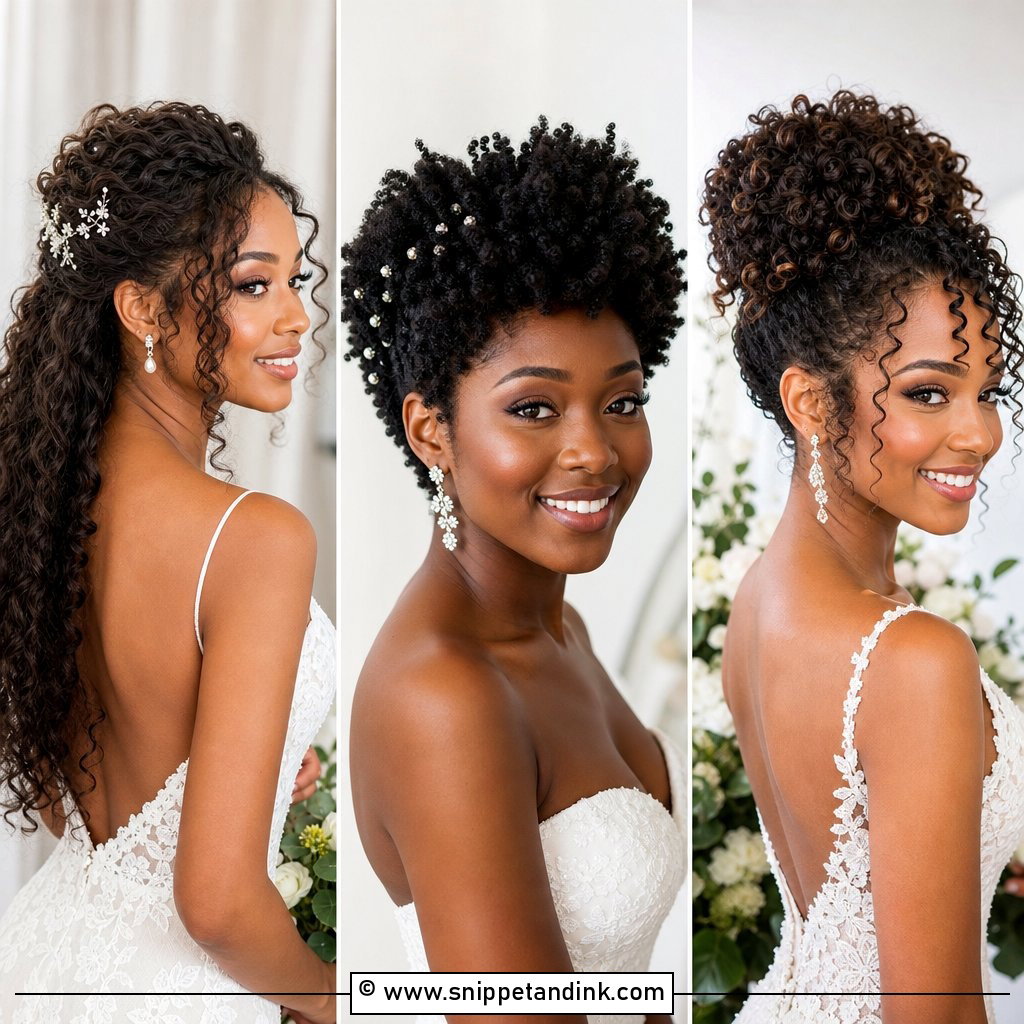
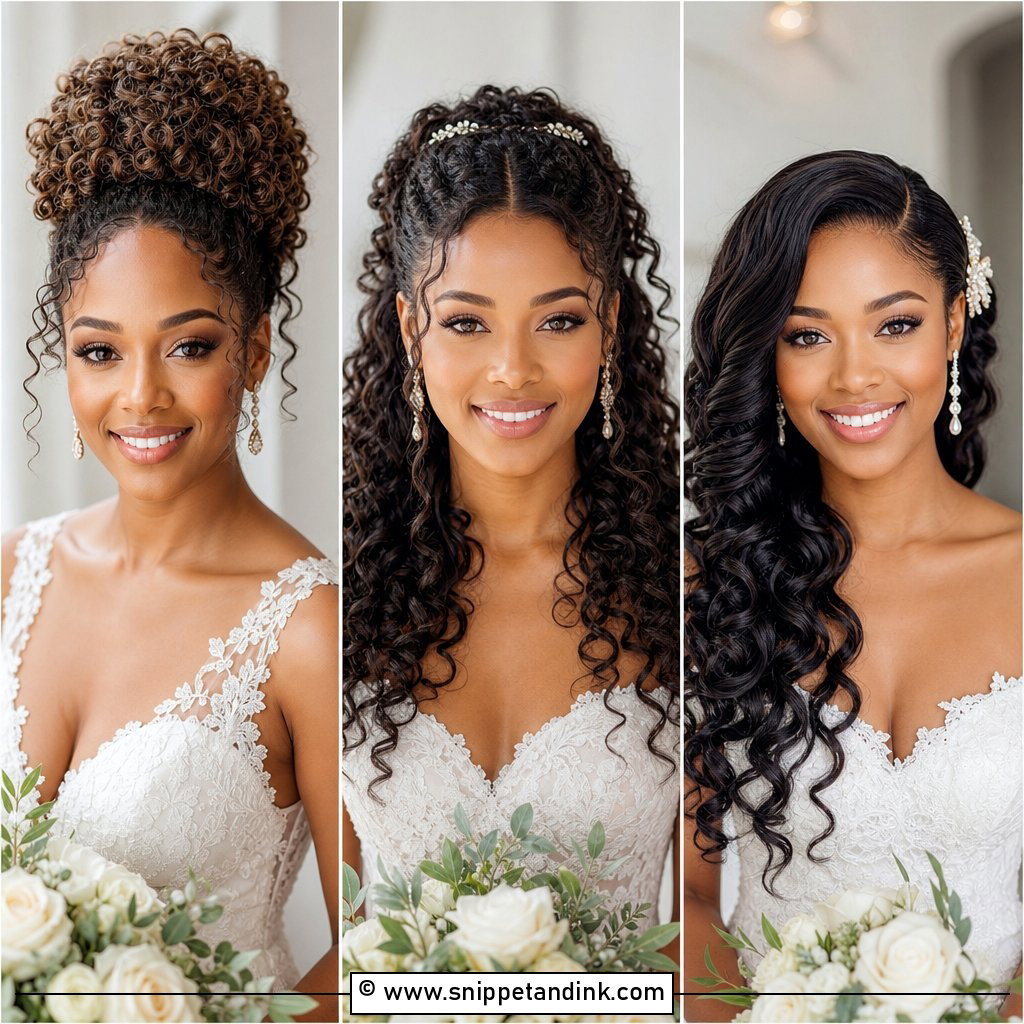
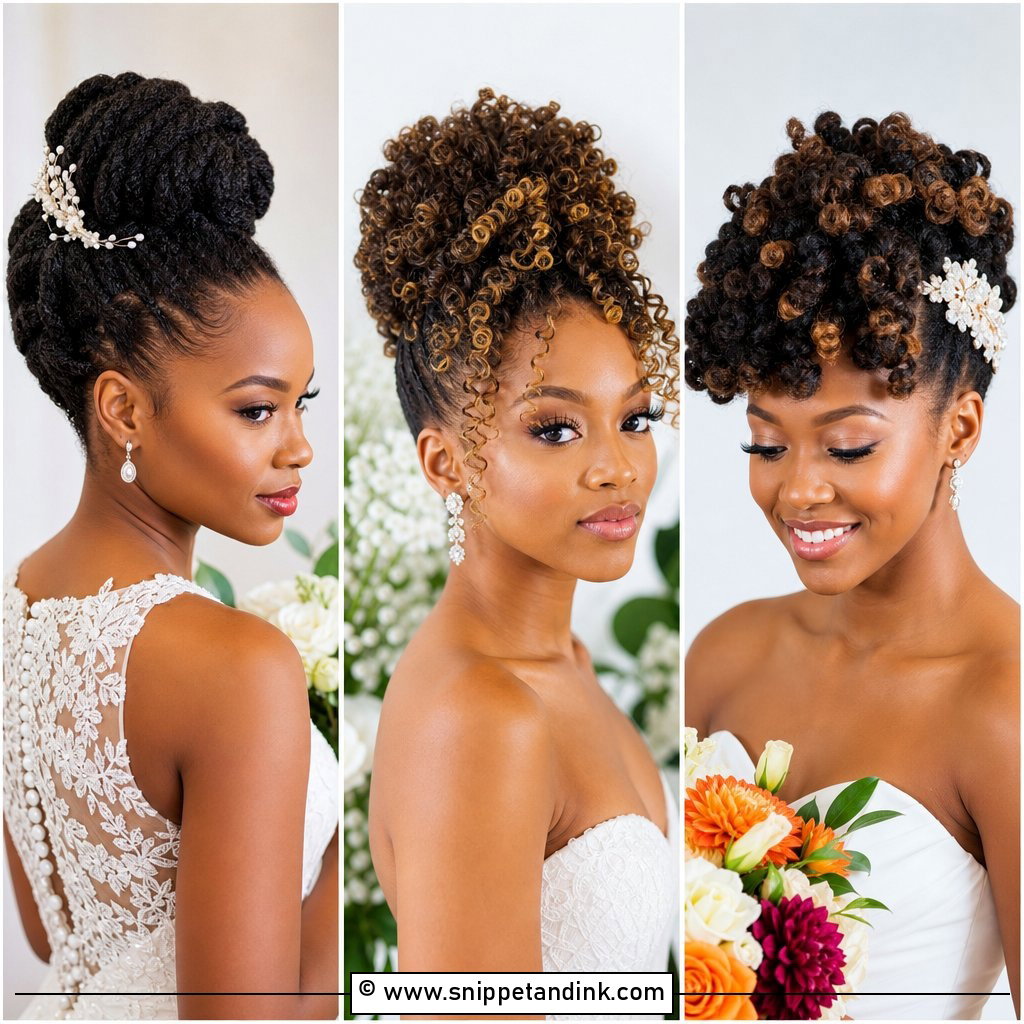
13. Curly Bridal Bun
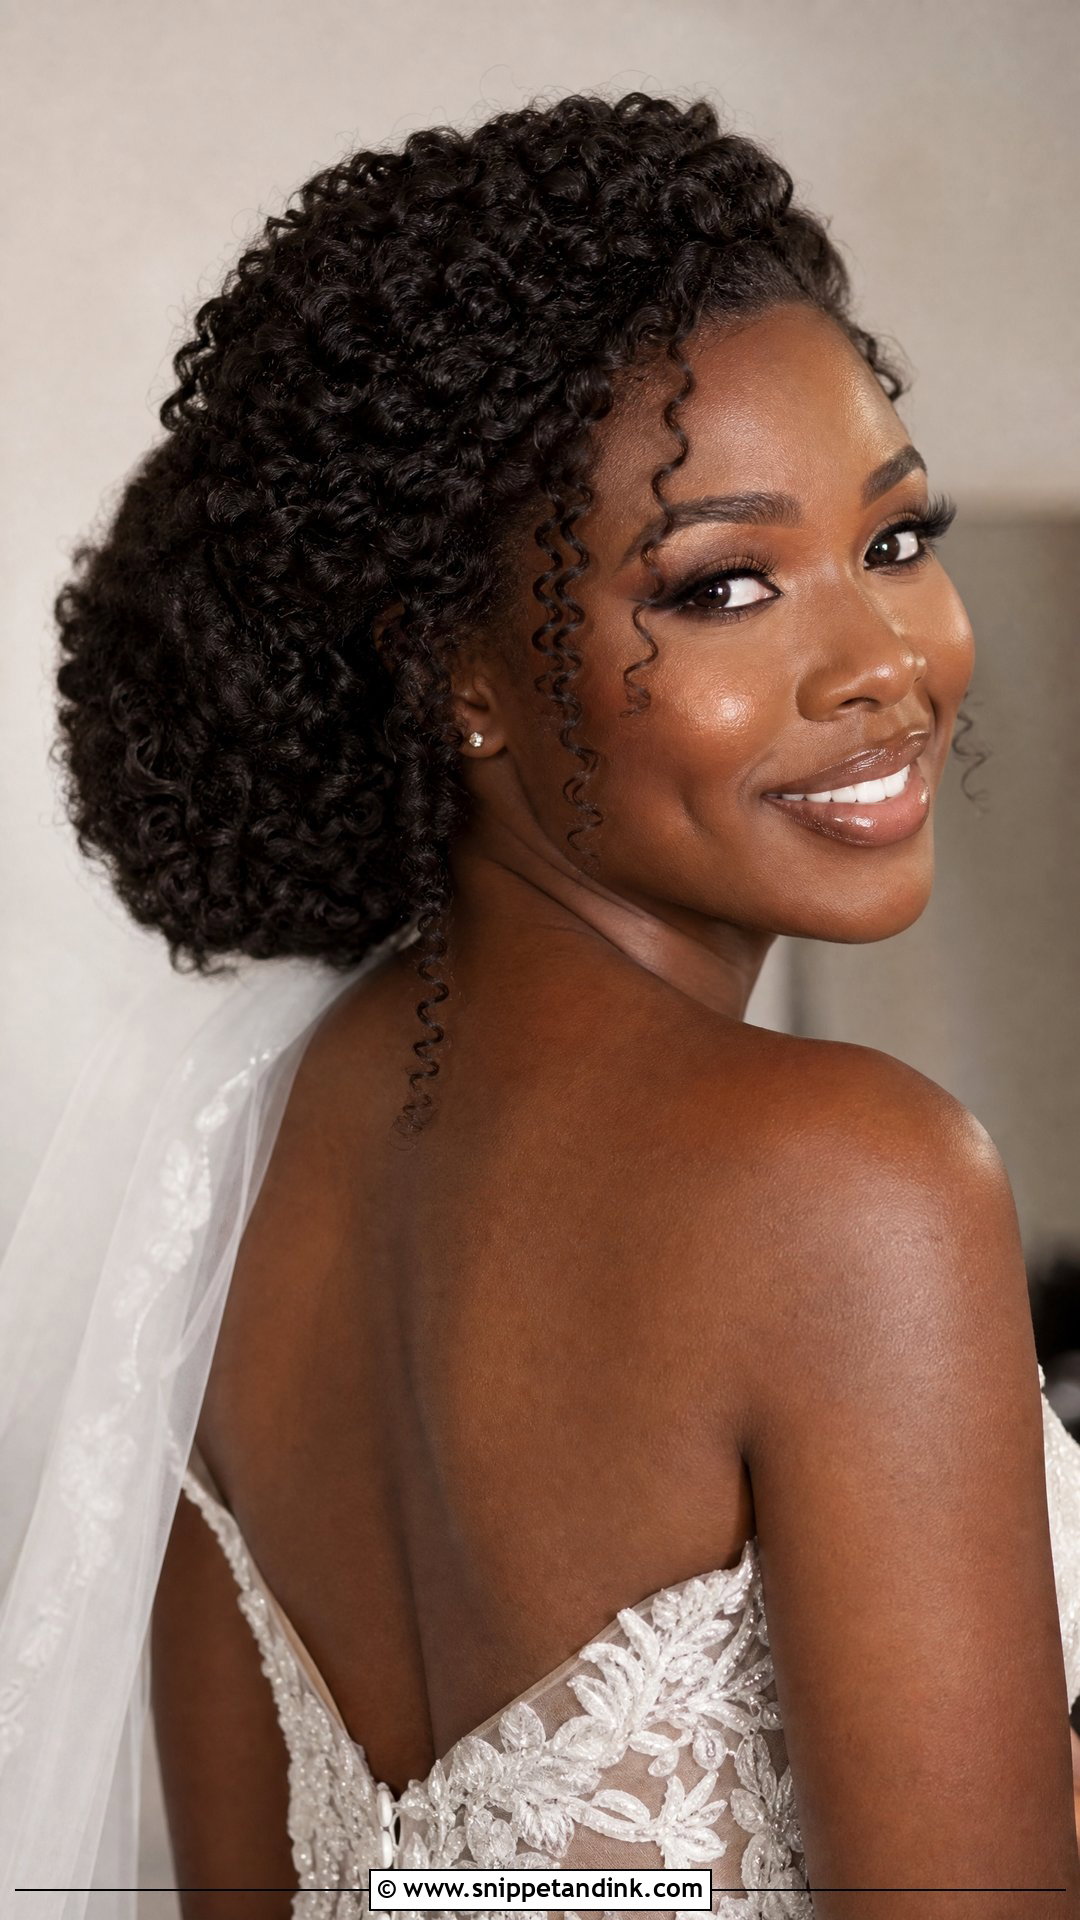
Curls make a bun look full with very little effort, and they grip pins far better than straight hair. For natural curls, I define them damp with a cream or gel, let them dry fully, then pin into a low, side or high bun without brushing. Heat-styled curls should be set and cooled before gathering. A few curls left near the face or neck soften the shape. The one mistake I see is brushing curls out at the end, which turns them to frizz the moment the air is humid.
14. Middle Part Bridal Bun
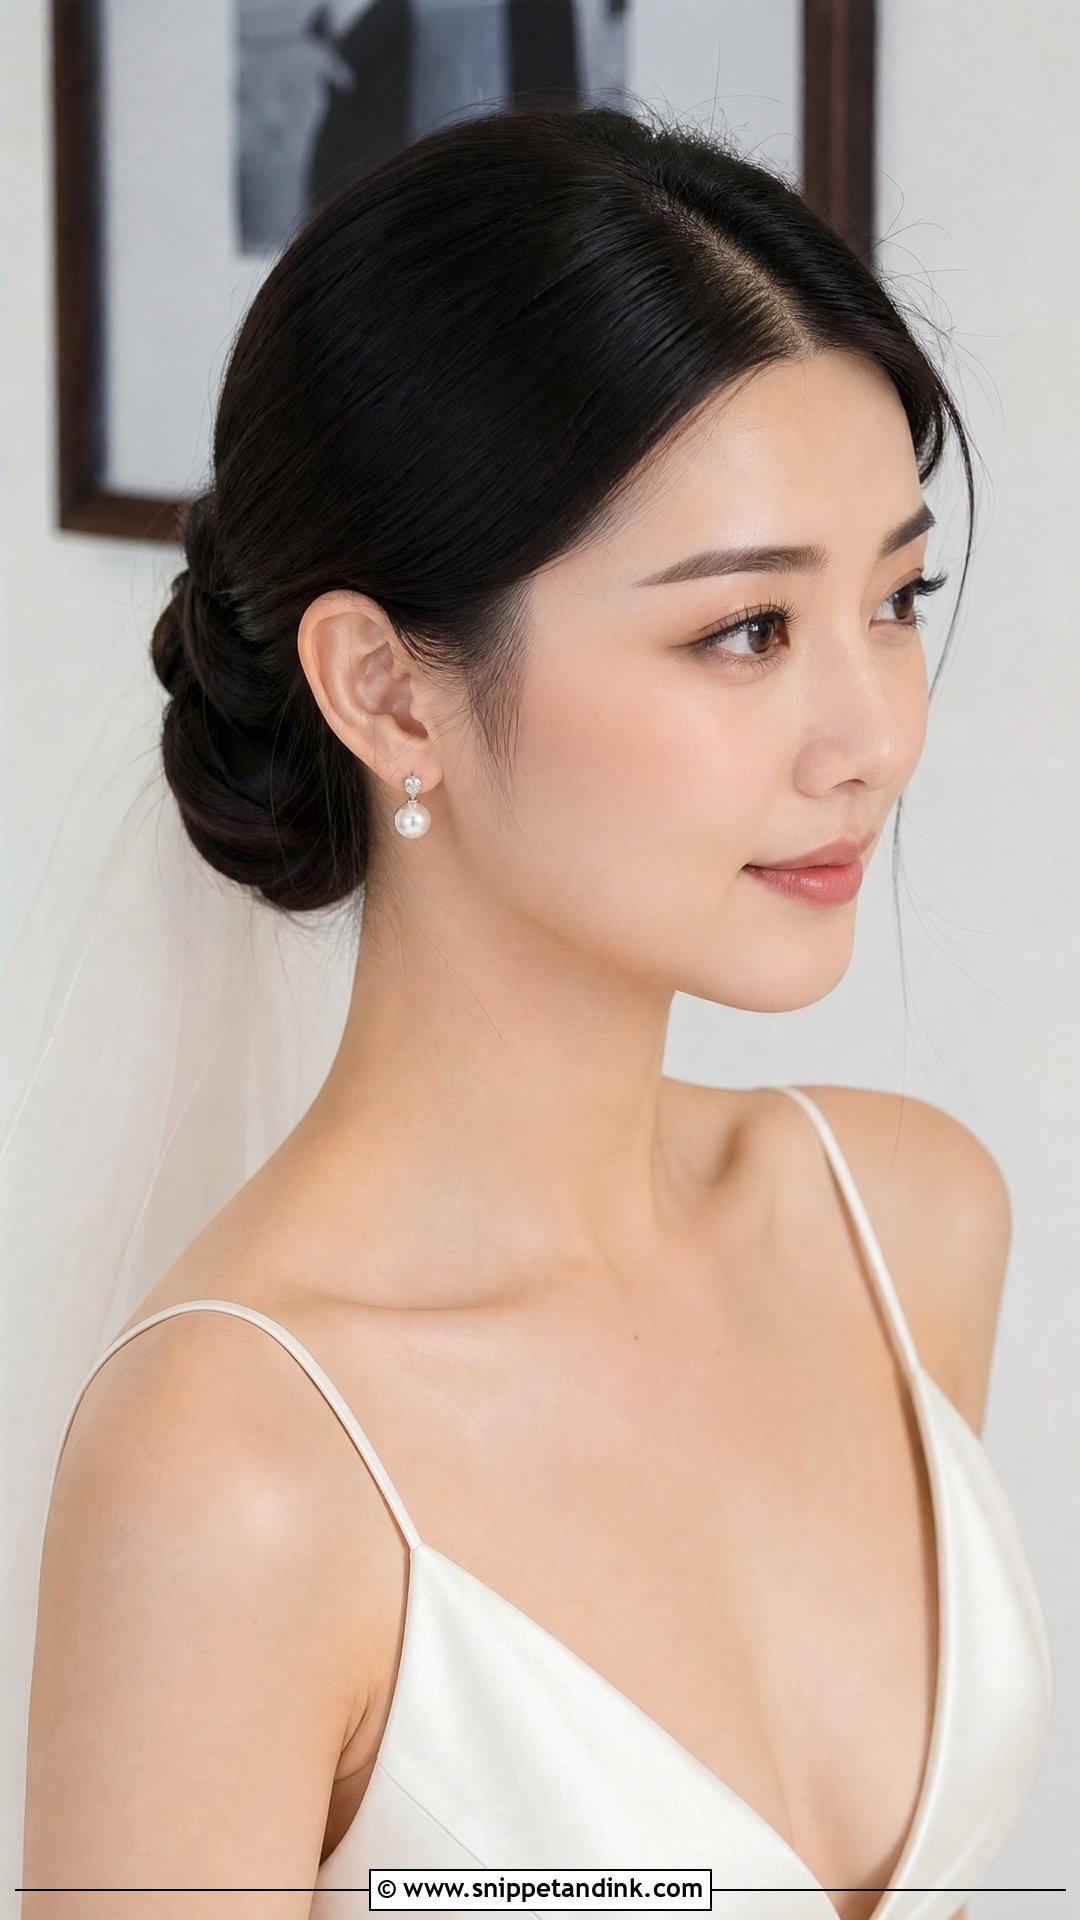
A centre part creates symmetry, and symmetry shows every slight imbalance in the face and hair. I check that the part lines up with the nose and the bun sits exactly central from the front. Minimalist gowns, strapless dresses, pearl earrings and plain veils suit it. If a sharp centre part feels too stark, I’ll give it a softer edge and a touch of root lift so it doesn’t lie flat against the head. A little shine spray on the lengths keeps it looking fresh.
15. Double Bridal Bun
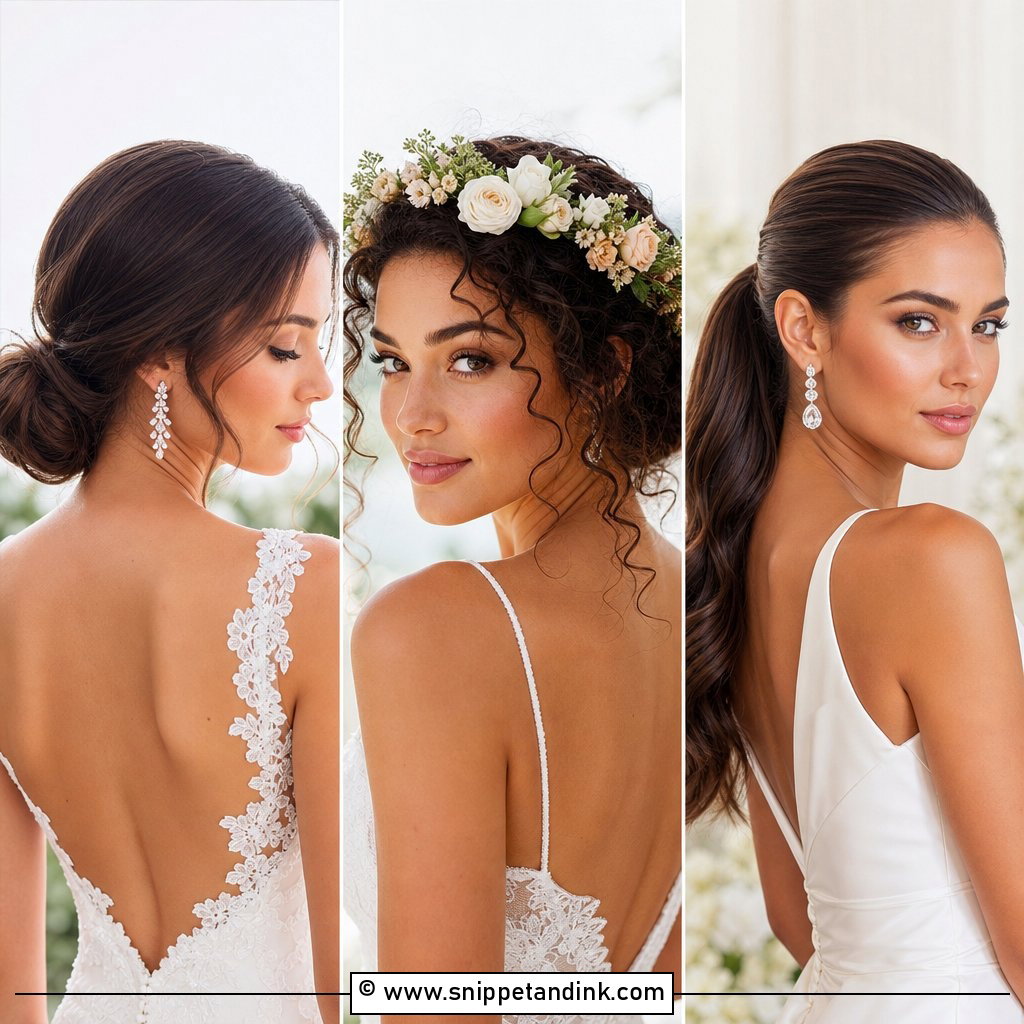
Two buns stacked vertically or placed side by side at the back give a modern, architectural look. They suit sleek gowns, contemporary venues and simple accessories. Thick or very long hair actually benefits, because the weight is split across two anchor points instead of one, which is noticeably more comfortable by evening. Keep both shapes smooth and evenly sized; uneven buns look accidental. I’d avoid this style with a long veil, as there’s no single obvious place to anchor the comb.
Letting the Bun Down for the Reception
Some brides want a bun for the ceremony and loose hair for dancing. It’s very doable, but the down look has to be planned into the morning, not improvised at nine at night.
- Tell your stylist at the trial. I’ll curl the lengths before building the bun, so the hair inside is already set in waves.
- Avoid heavy backcombing in the bun; it’s slow and painful to brush out later.
- Take pins out from the outside in, keeping a small dish or zip bag nearby so none are lost.
- Shake the hair out with your fingers, not a brush, and add a little texture spray to loosen any kinks from the elastic.
If you’d rather not do it yourself, many stylists can stay or return for a quick change, so ask when you book. Otherwise, I’d teach a bridesmaid the steps at the trial.
One Trial Photo From Behind Settles It
Every bun here can work; the question is which suits your hair, dress and day. Sleek low buns give polish, textured ones give softness, and braids, pearls, flowers, curls, twists and side placement each shift the mood. At your trial, bring photos from several angles, wear the veil and accessories, and ask someone to photograph the back of your head. That one photo shows more than any mirror. Then wear the style for the rest of the afternoon and notice whether it feels comfortable. If it still looks and feels right by evening, it will on the day.
You'll Like These Ideas:


Leave a Reply