
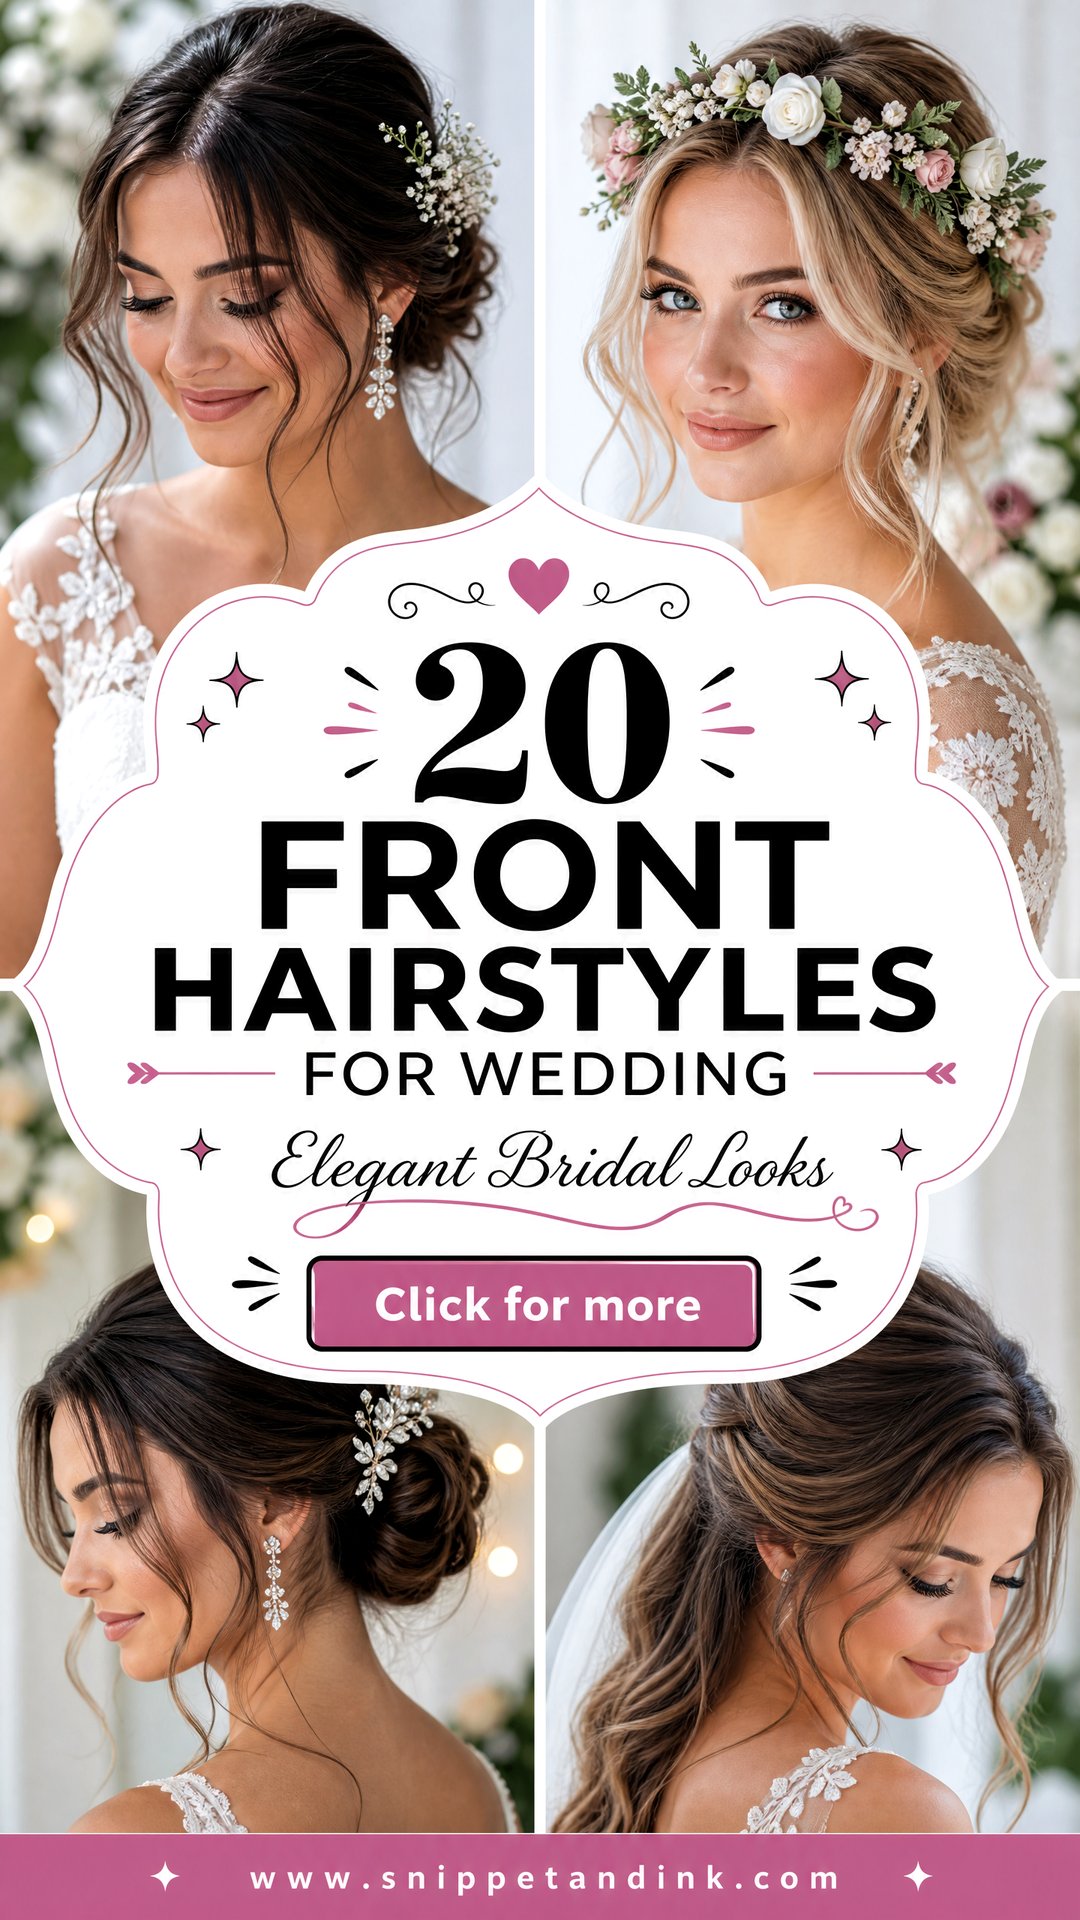
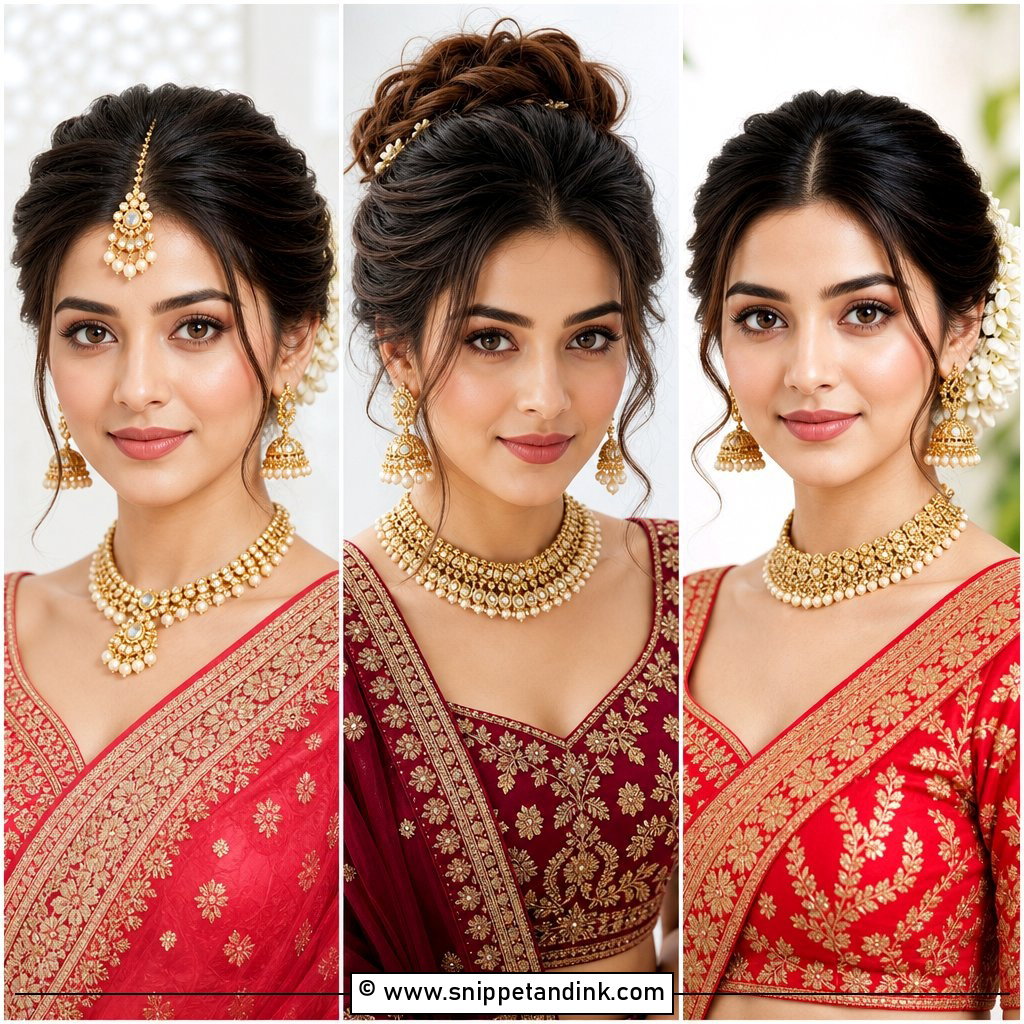
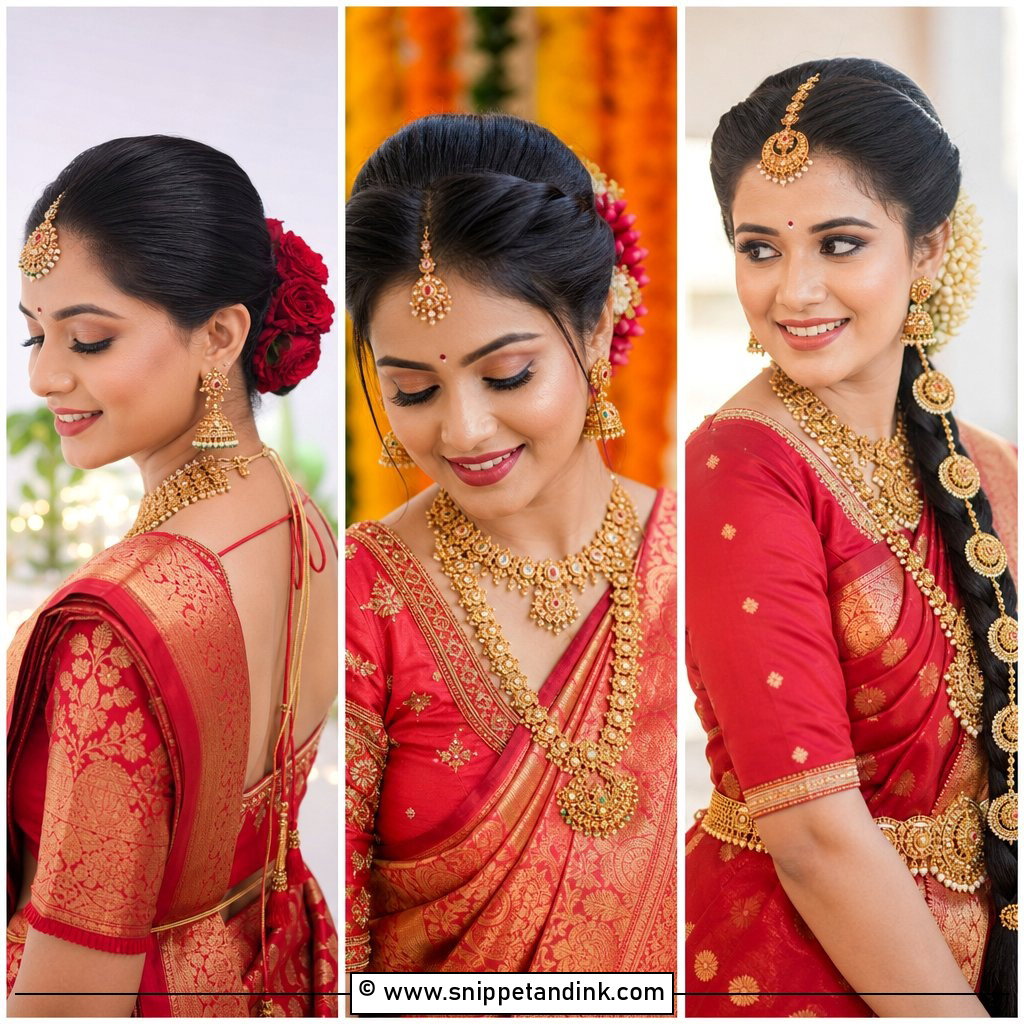
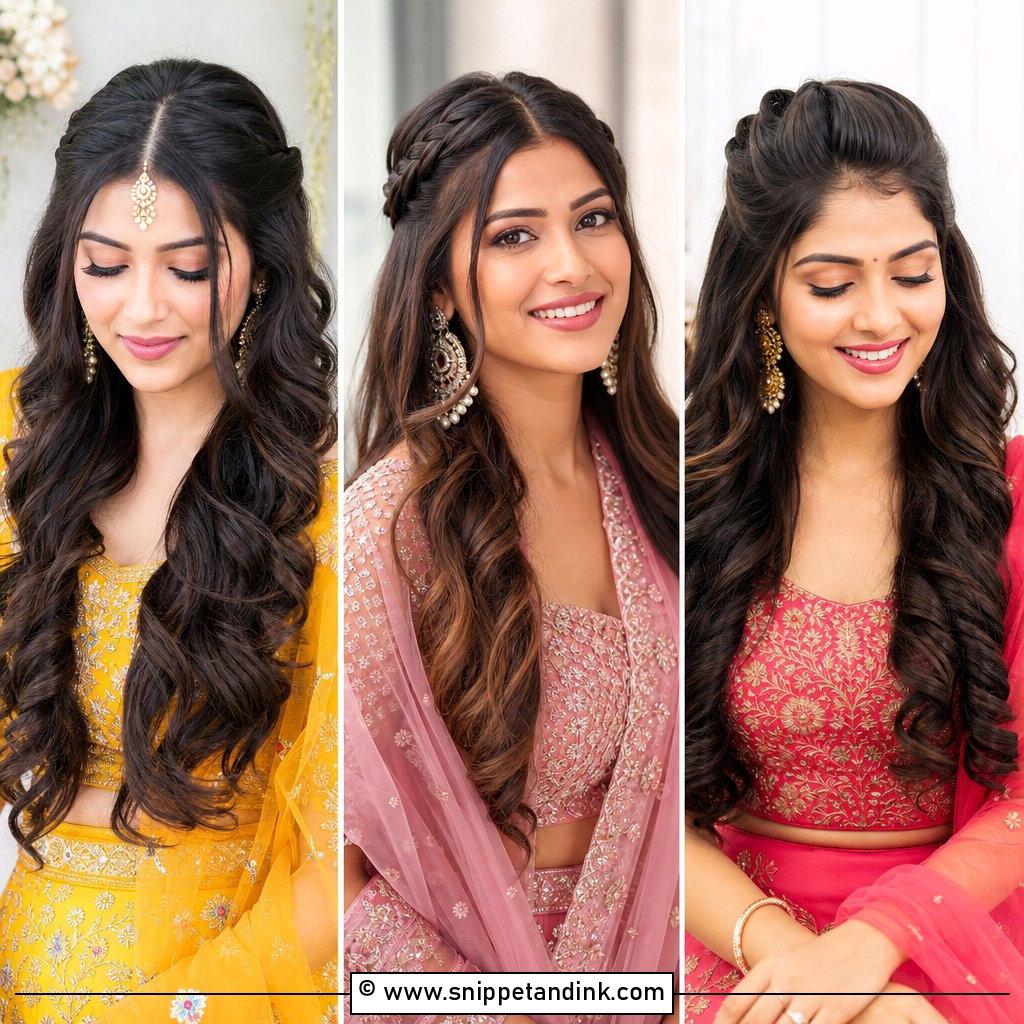
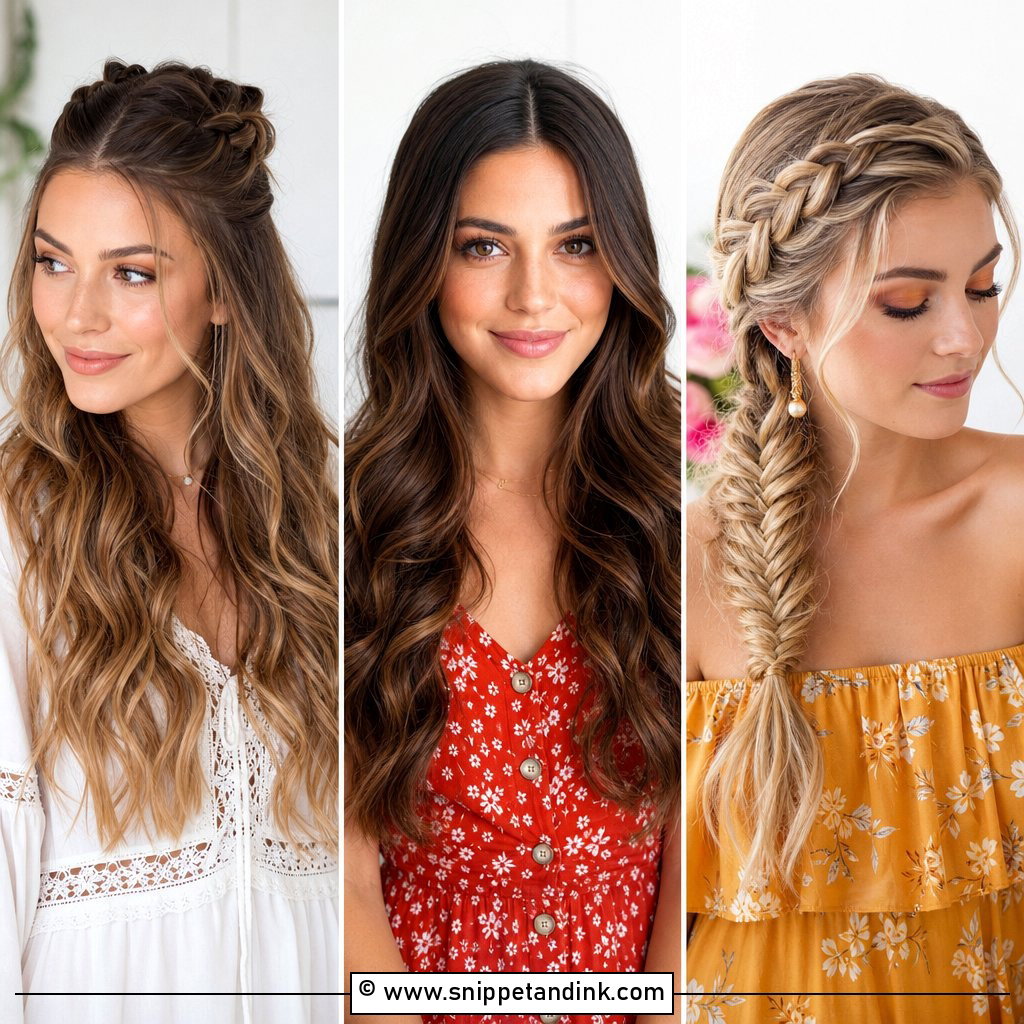
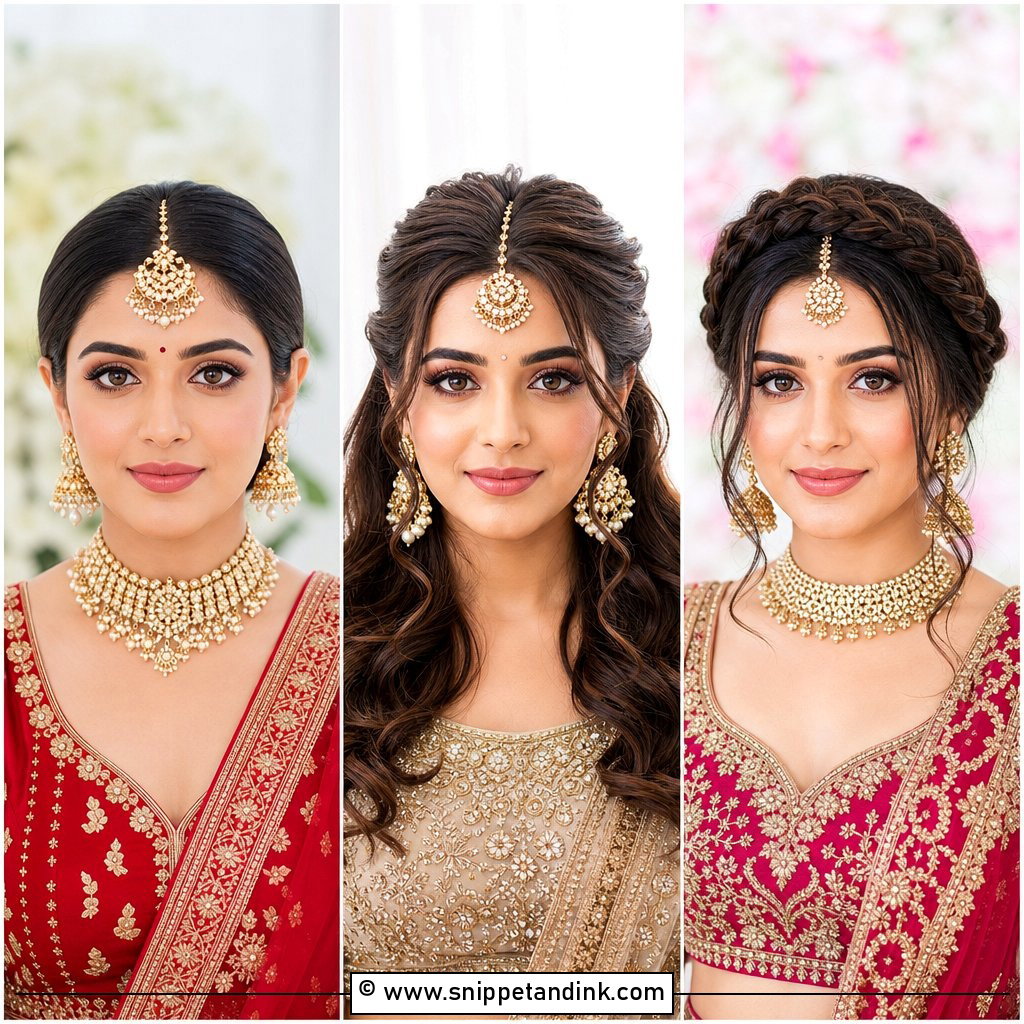
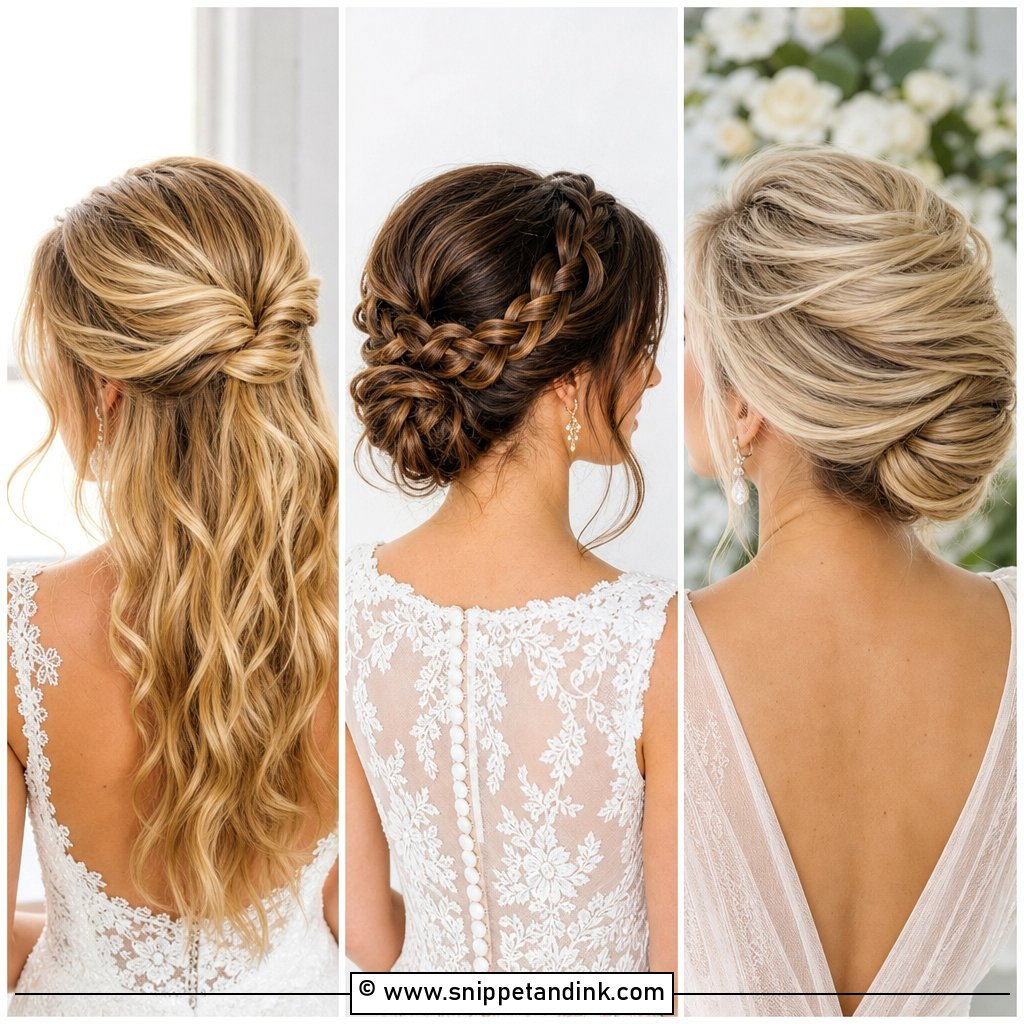
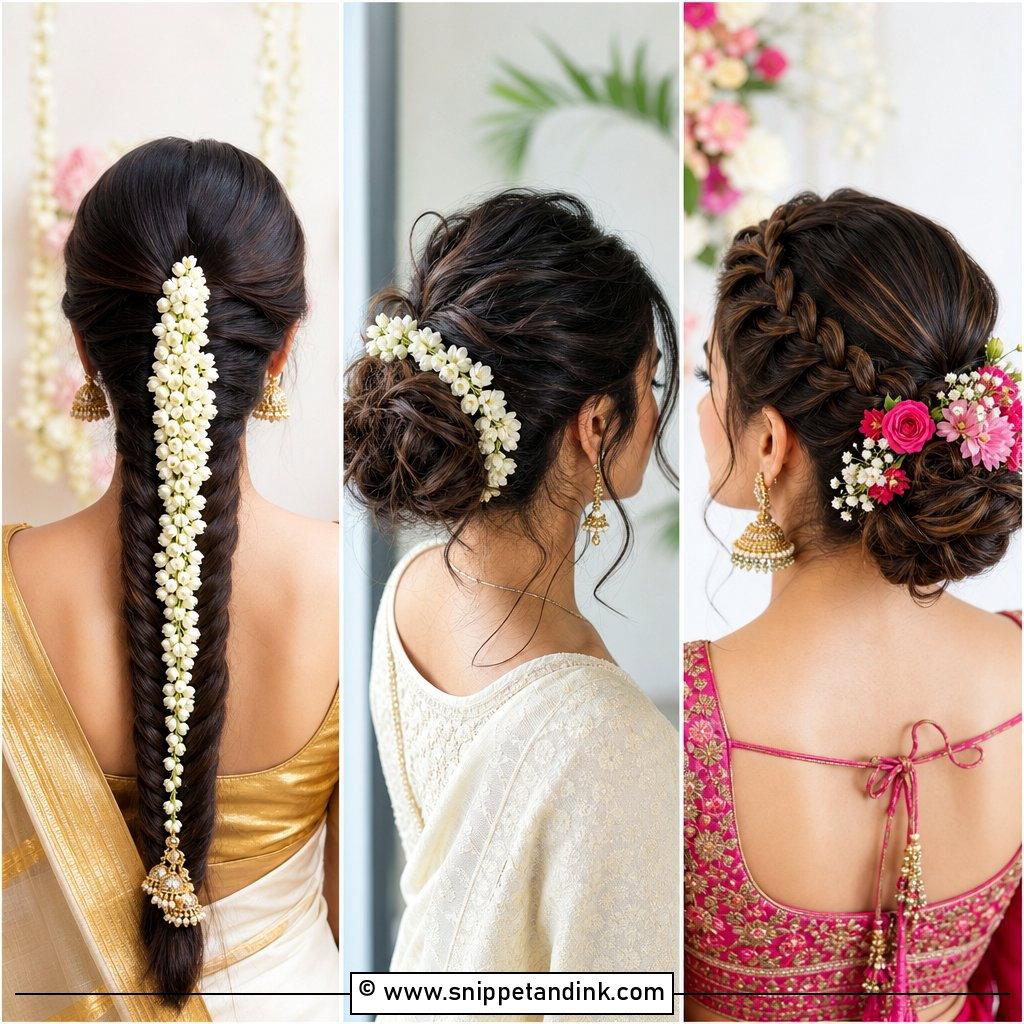
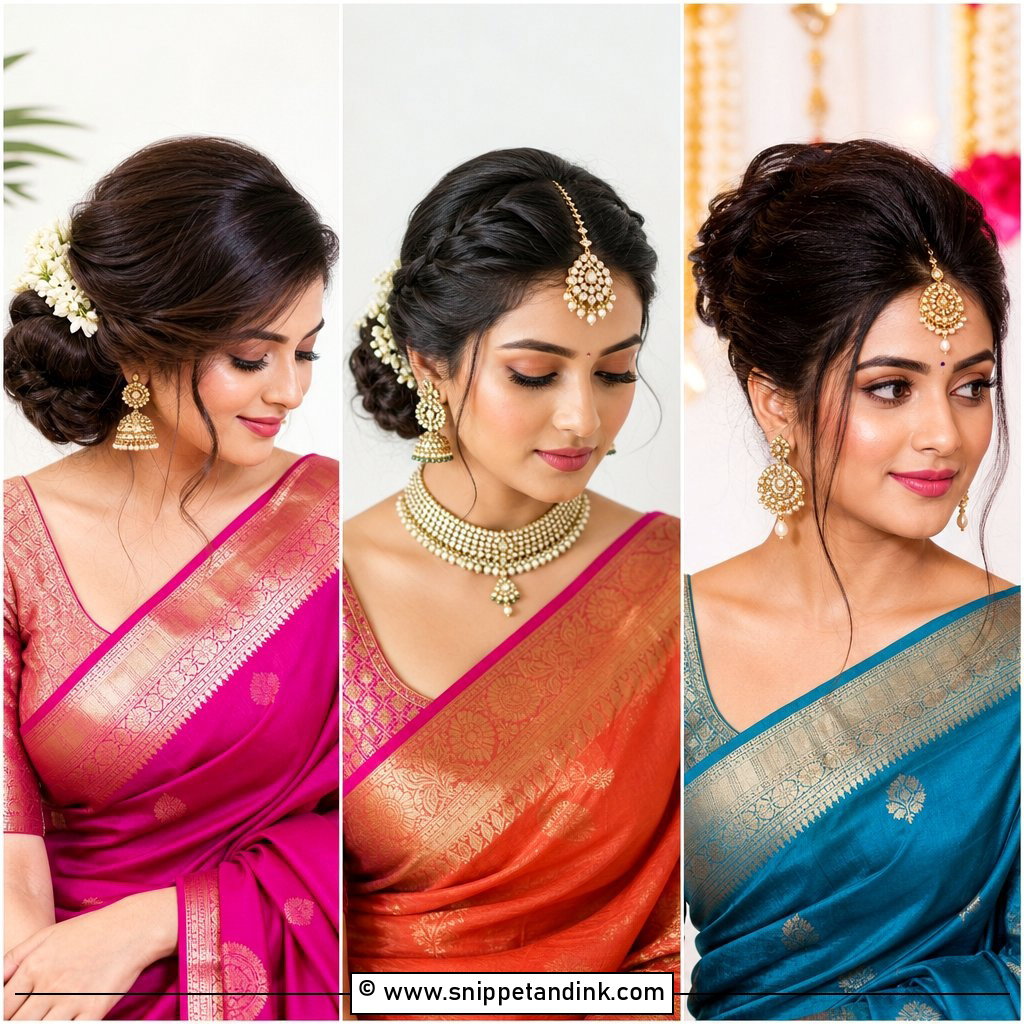
Most of what a camera sees of your hair is the front two inches. The back gets its moment during the processional, but every portrait, every close-up during vows and every candid at the table is really a picture of your hairline and the pieces around your face. When I plan a bridal style, I decide the front first and build the rest around it. Below are twenty front treatments I’d actually put on a bride, from loose tendrils to a sculpted finger wave, with notes on how each one behaves over a long day and which hair it suits.
Your Hairline Decides More Than Your Face Shape Does
Brides usually ask me which front suits their face shape. The more useful question is what your hairline is doing. Before I suggest anything, I pull your hair straight back and look at where it grows, because the same face can wear a side sweep beautifully and fight a middle part all day.
- Cowlicks at the front lift whatever lies over them. I work with the direction of the cowlick, usually by parting on the side it pushes toward, rather than flattening it with heat that wears off.
- A widow’s peak looks sharp with a middle part or a pulled-back front. A deep side part splits it and can look uneven in photos.
- Baby hairs and breakage at the temples will escape any sleek style. I either smooth them with a little gel and a toothbrush or plan tendrils that cover them on purpose.
- Thinning at the part is more common than brides admit. Moving the part over an inch onto fresh hair gives instant volume and hides it without extra product.
Then think about your part. If you’ve parted on the left for ten years, the hair has a memory of it. A switch is possible, but it needs a few days of training at home, sleeping with it pinned the new way, before the trial, not just on the morning.
1. Face-Framing Curls for Wedding
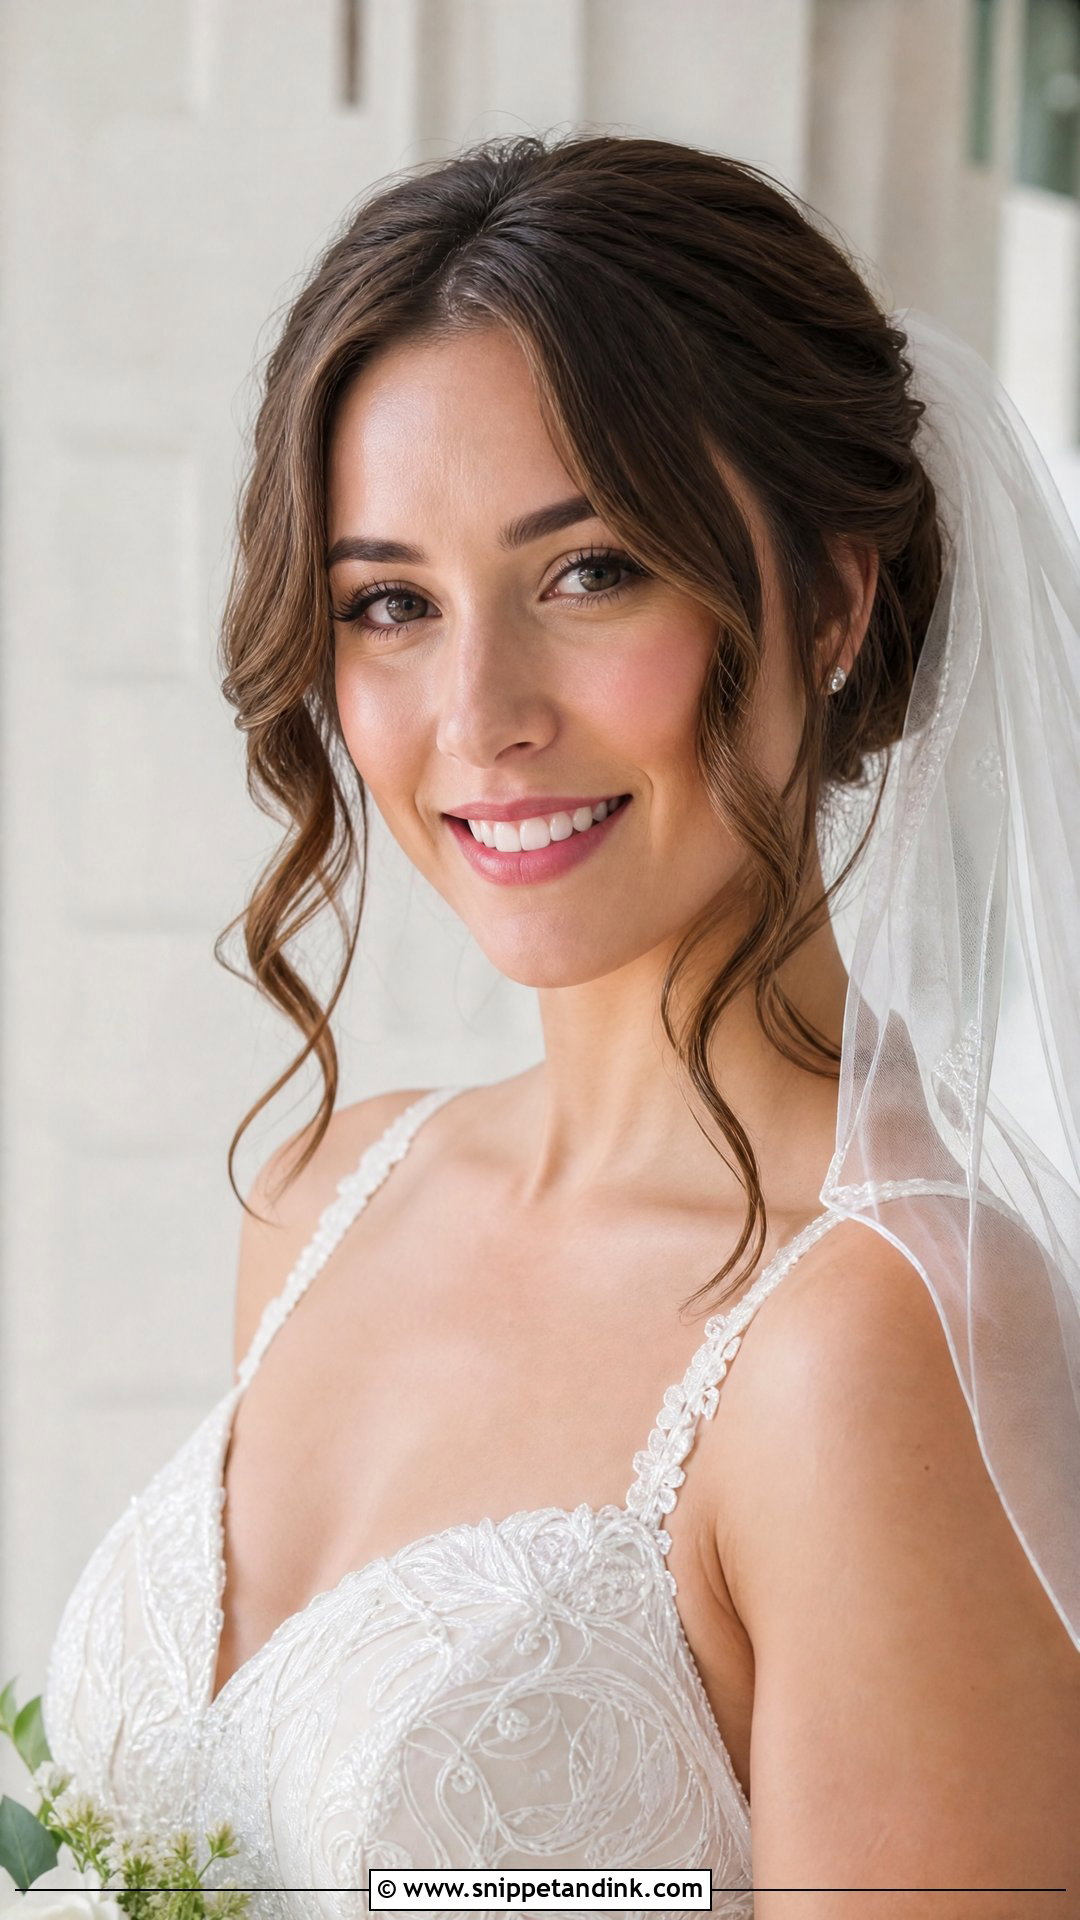
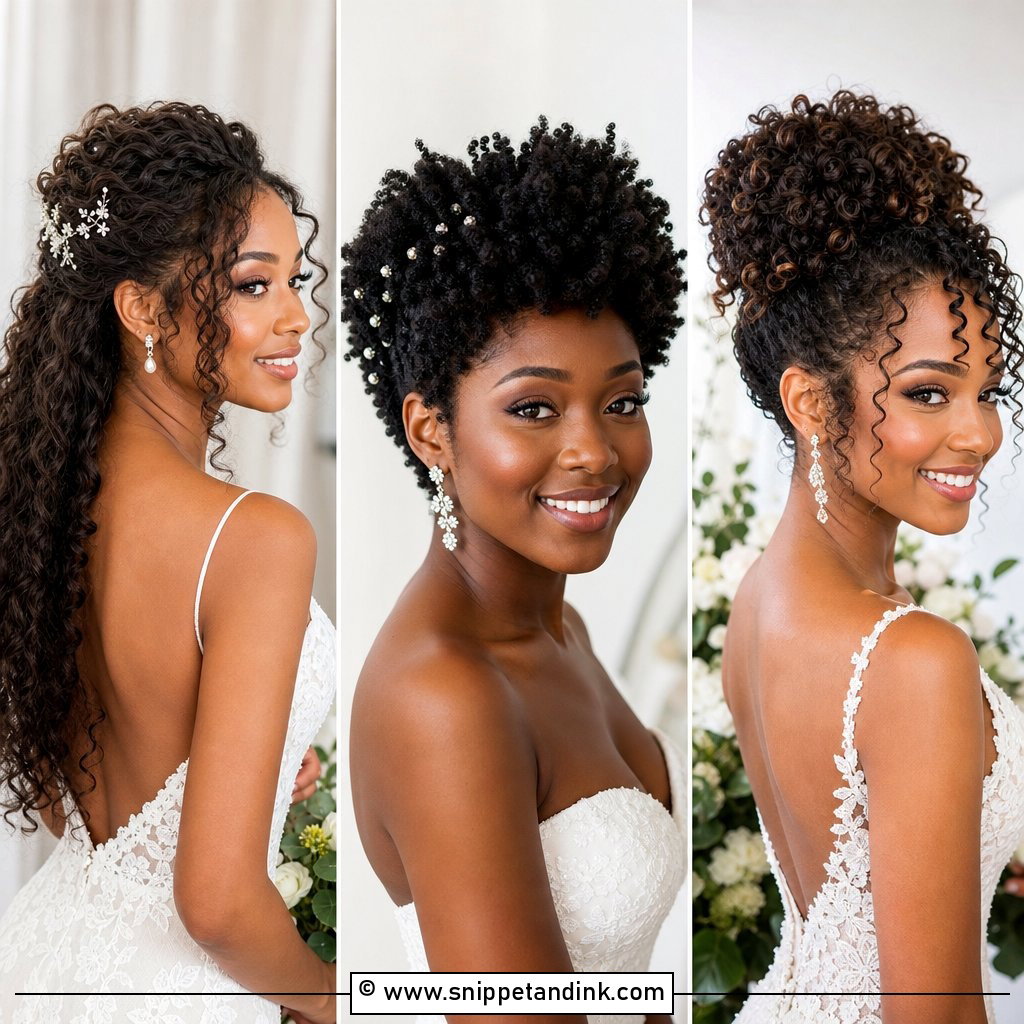
Curls that turn away from the cheekbones open the face rather than closing it in. I set the front sections with a medium barrel, rolling them away from the face, then pin each curl flat to cool before brushing it out. That cooling step is what keeps the shape past the ceremony. Keep them loose for a relaxed look or leave them tighter for a vintage feel; either way they sit happily with an updo, a half-up or hair worn down. On very round faces I keep the curl lower, starting below the cheekbone, so it doesn’t add width right where you don’t want it.
2. Side-Swept Front for Wedding
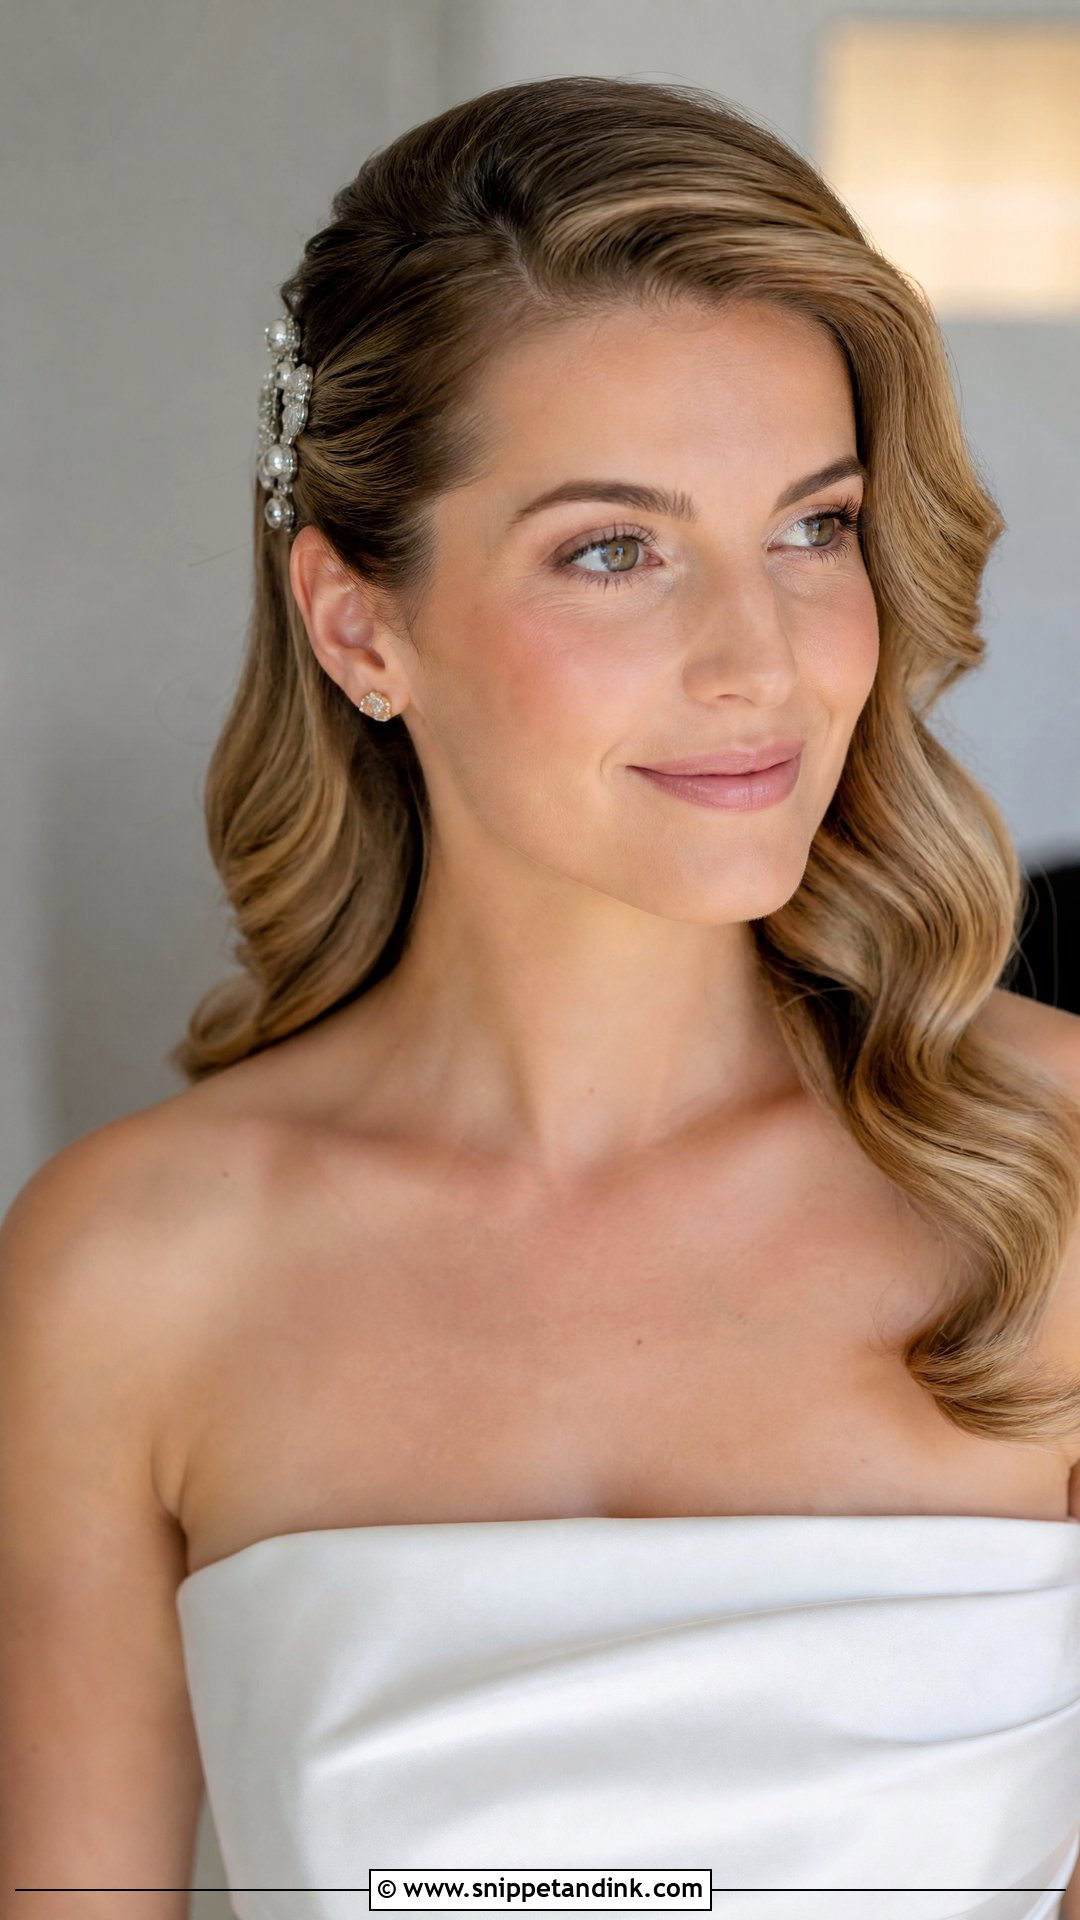
A side sweep is one of the few fronts I trust on almost anyone. The hair crosses the forehead on a diagonal and tucks behind one ear, held by a jeweled clip or a small floral piece that does real work hiding the anchor pins. It sits naturally over a low bun or chignon. The thing I watch is direction: sweep against your natural growth and the piece will spring back up by lunchtime, so I check which way your hair wants to fall before we commit.
3. Wispy Tendrils for Wedding
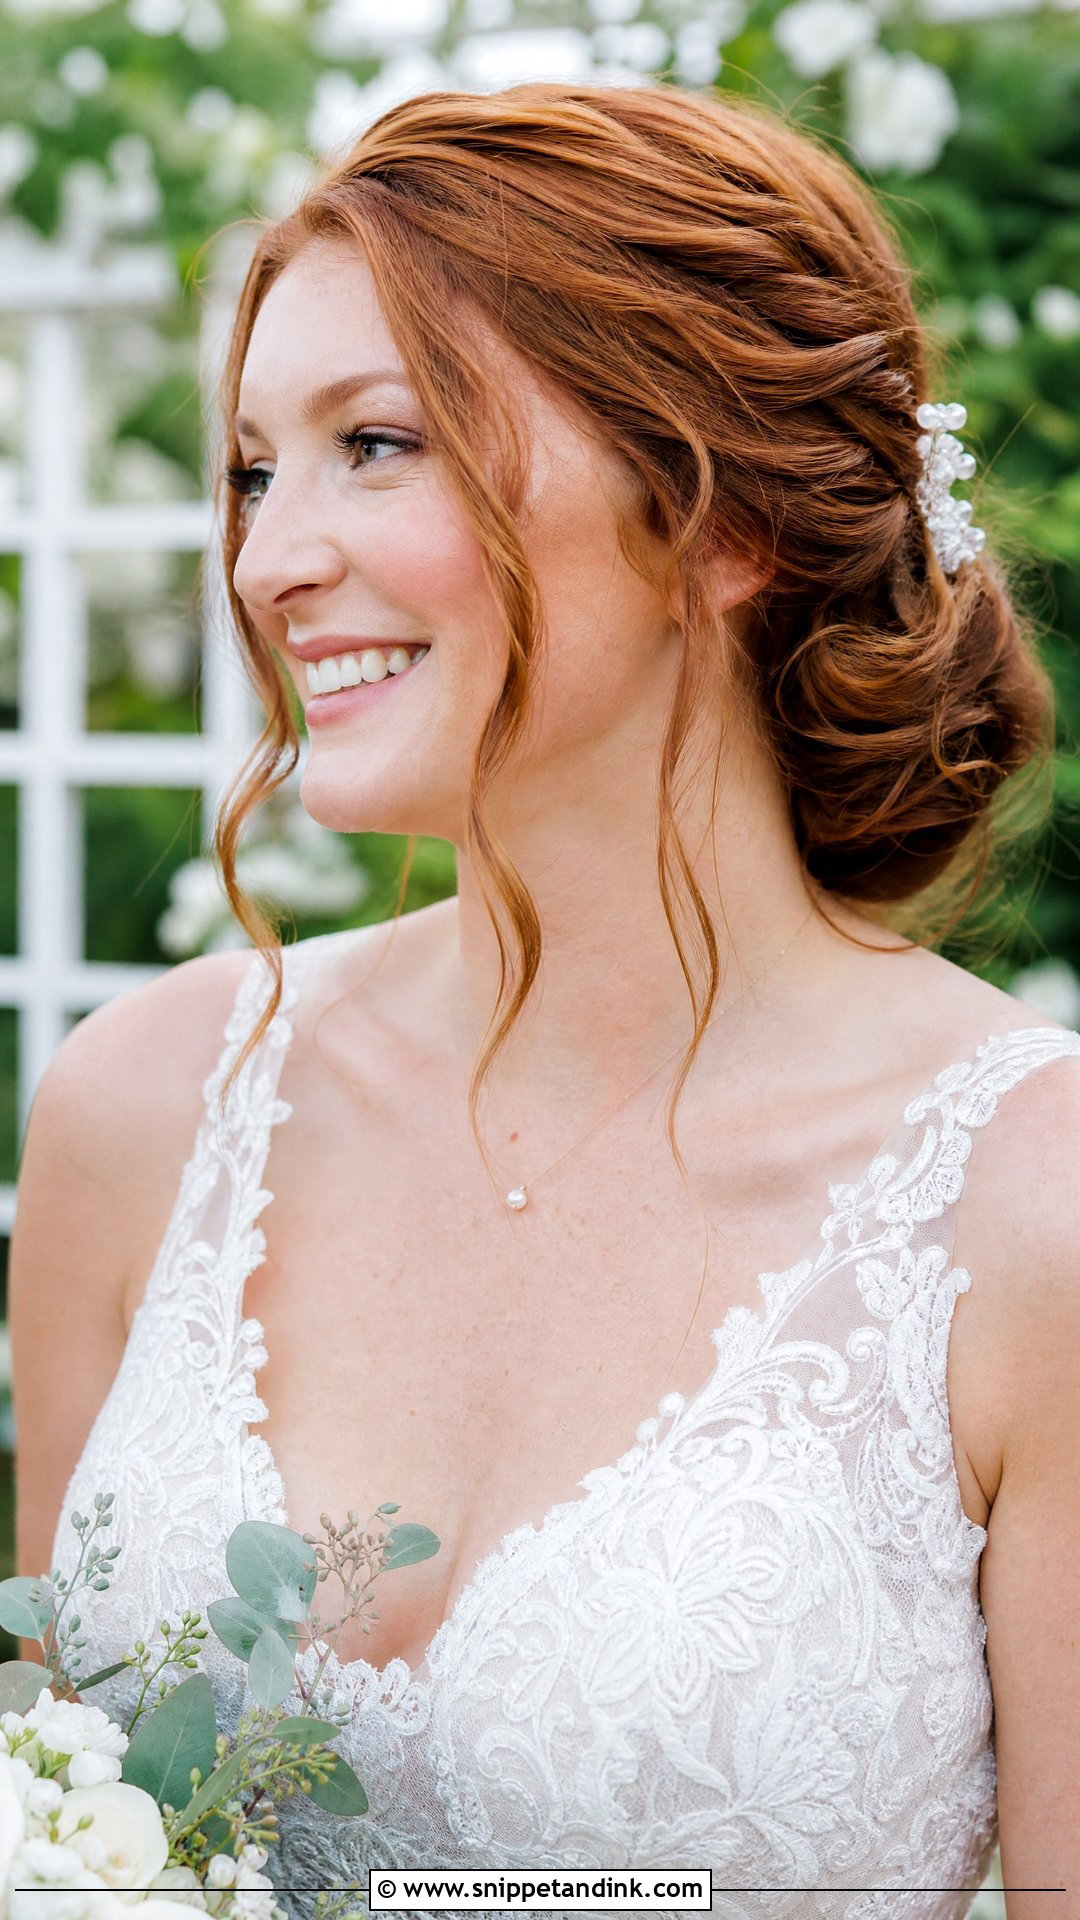
Two or three loose strands near the ears can make a structured updo look like it belongs to a person rather than a mannequin. Wispy tendrils are pulled from the hairline after the style is finished, never before, so I can see exactly where they fall against the face. Balance is everything here. Pull too many and the look reads unfinished; pull too few and it feels stiff. I give each one a light bend with a small iron, then a mist of flexible spray, because straight tendrils on fine hair tend to look accidental in photos. They suit garden and beach weddings well, but in real wind you’ll be tucking them behind your ears all afternoon.
4. Half-Up Half-Down for Wedding
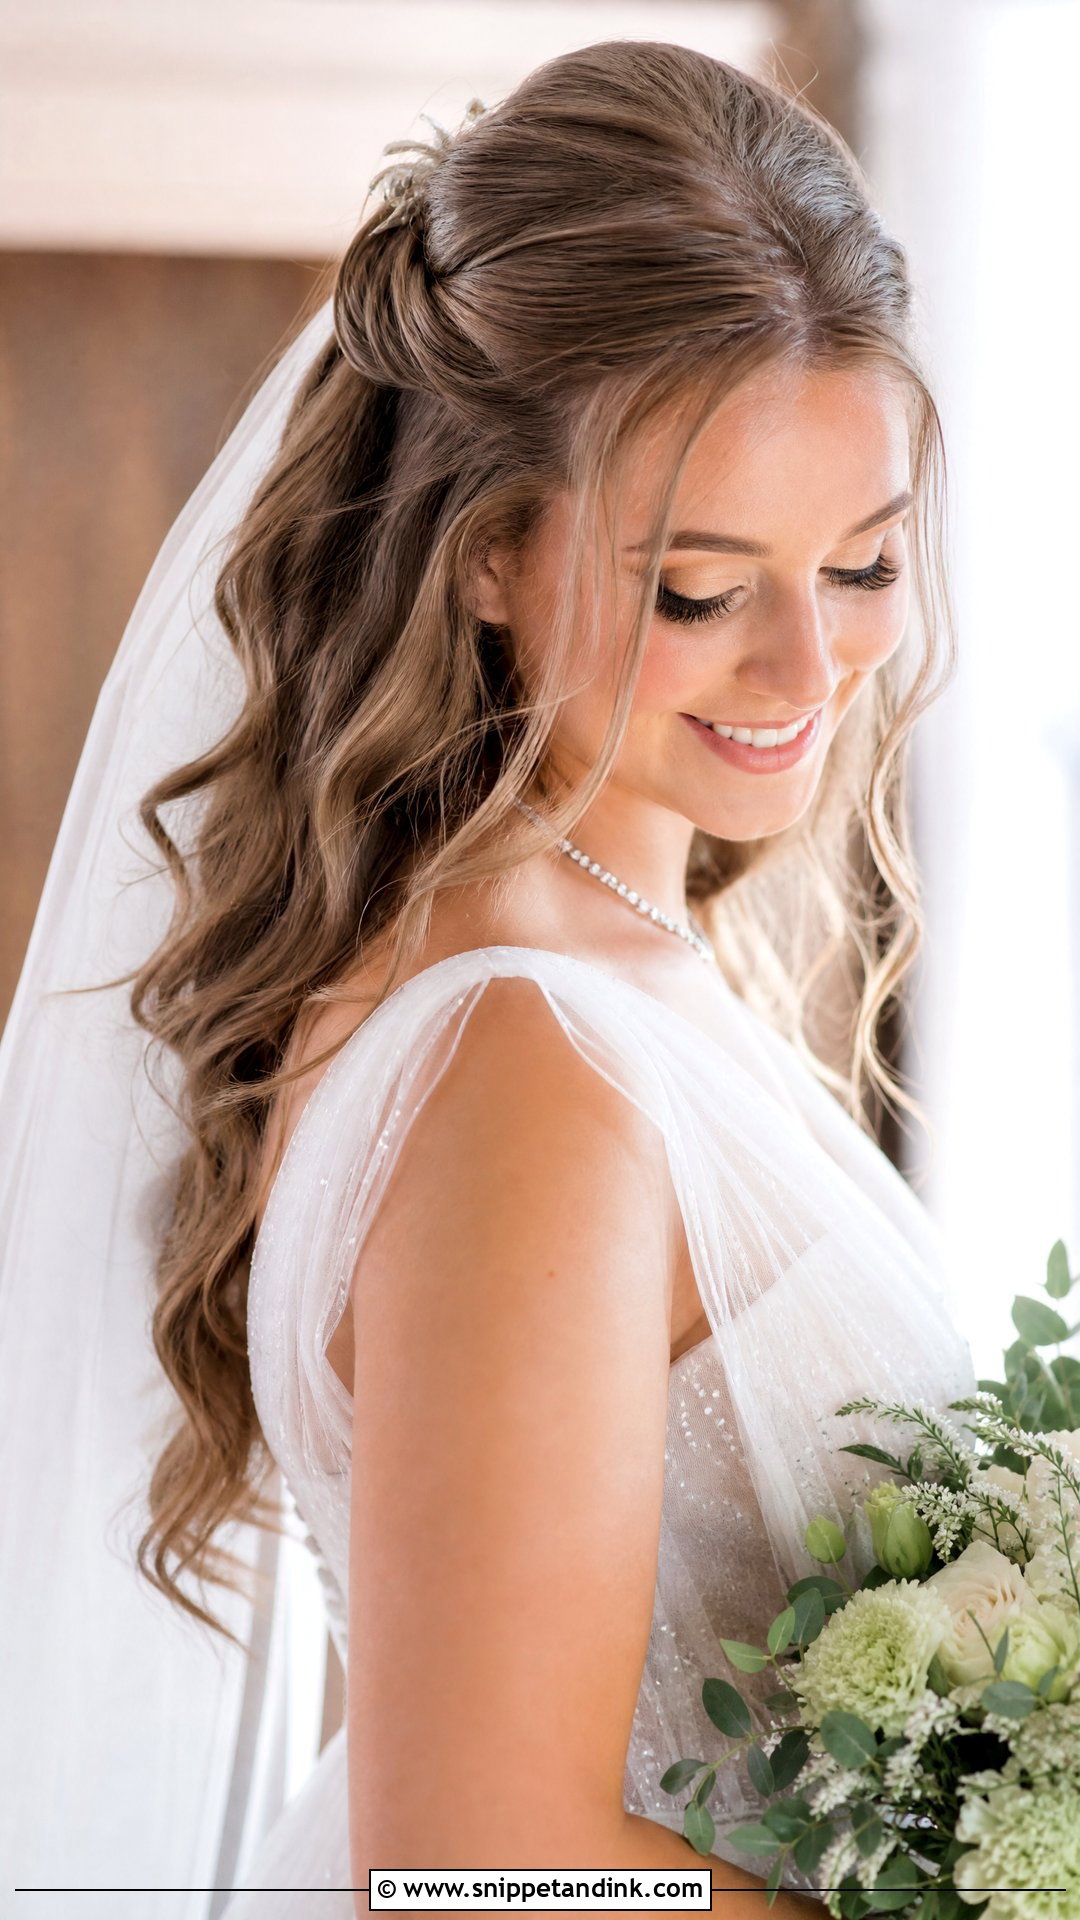
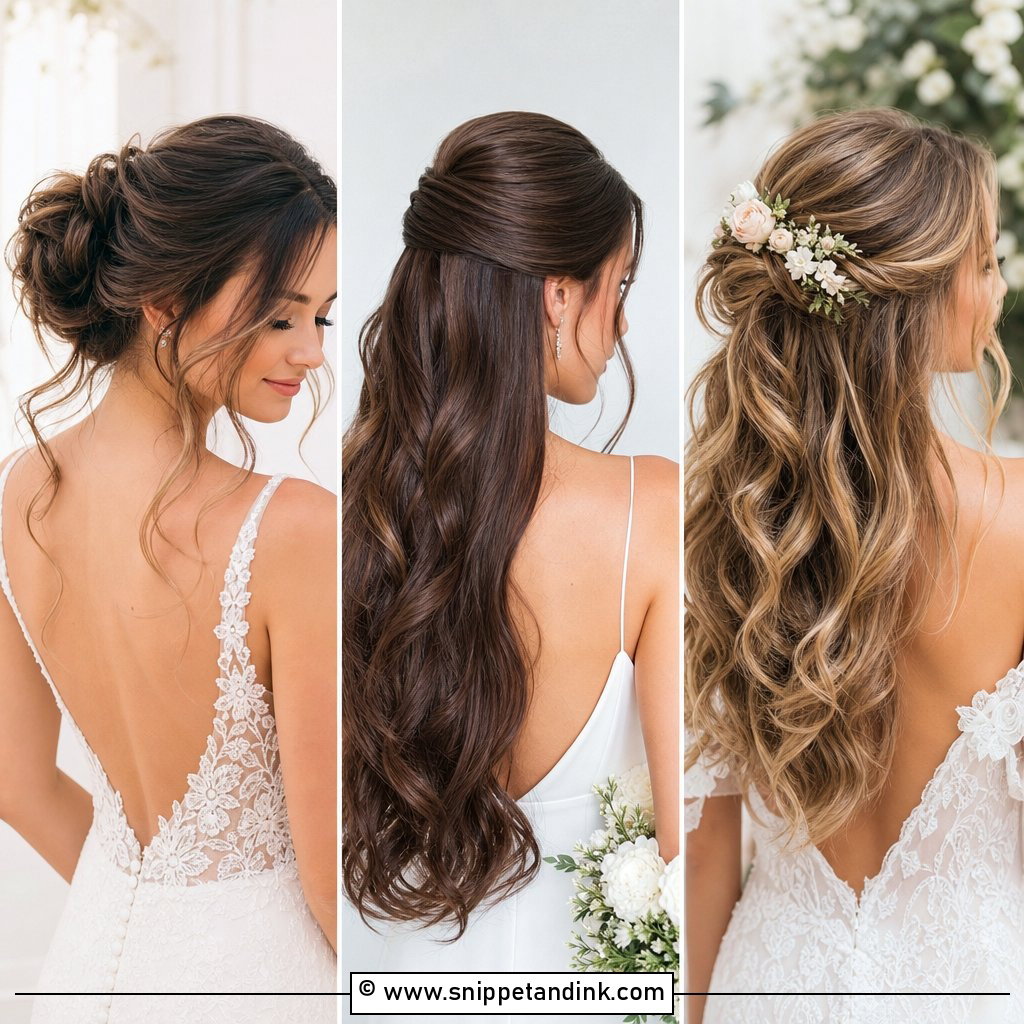
The half-up is popular for a practical reason: it keeps the front off your face while the length still moves. I gather the top and front sections and anchor them at the crown, then wave or curl what hangs below. That crown anchor is also where a veil comb or tiara grips, so I build it slightly firmer than it looks. Medium and long hair both work. If your hair is heavy and very straight, the down part can drop within a few hours; I’d plan a twist or small braid at the back to give the anchor more to hold.
5. Twisted Front Sections for Wedding
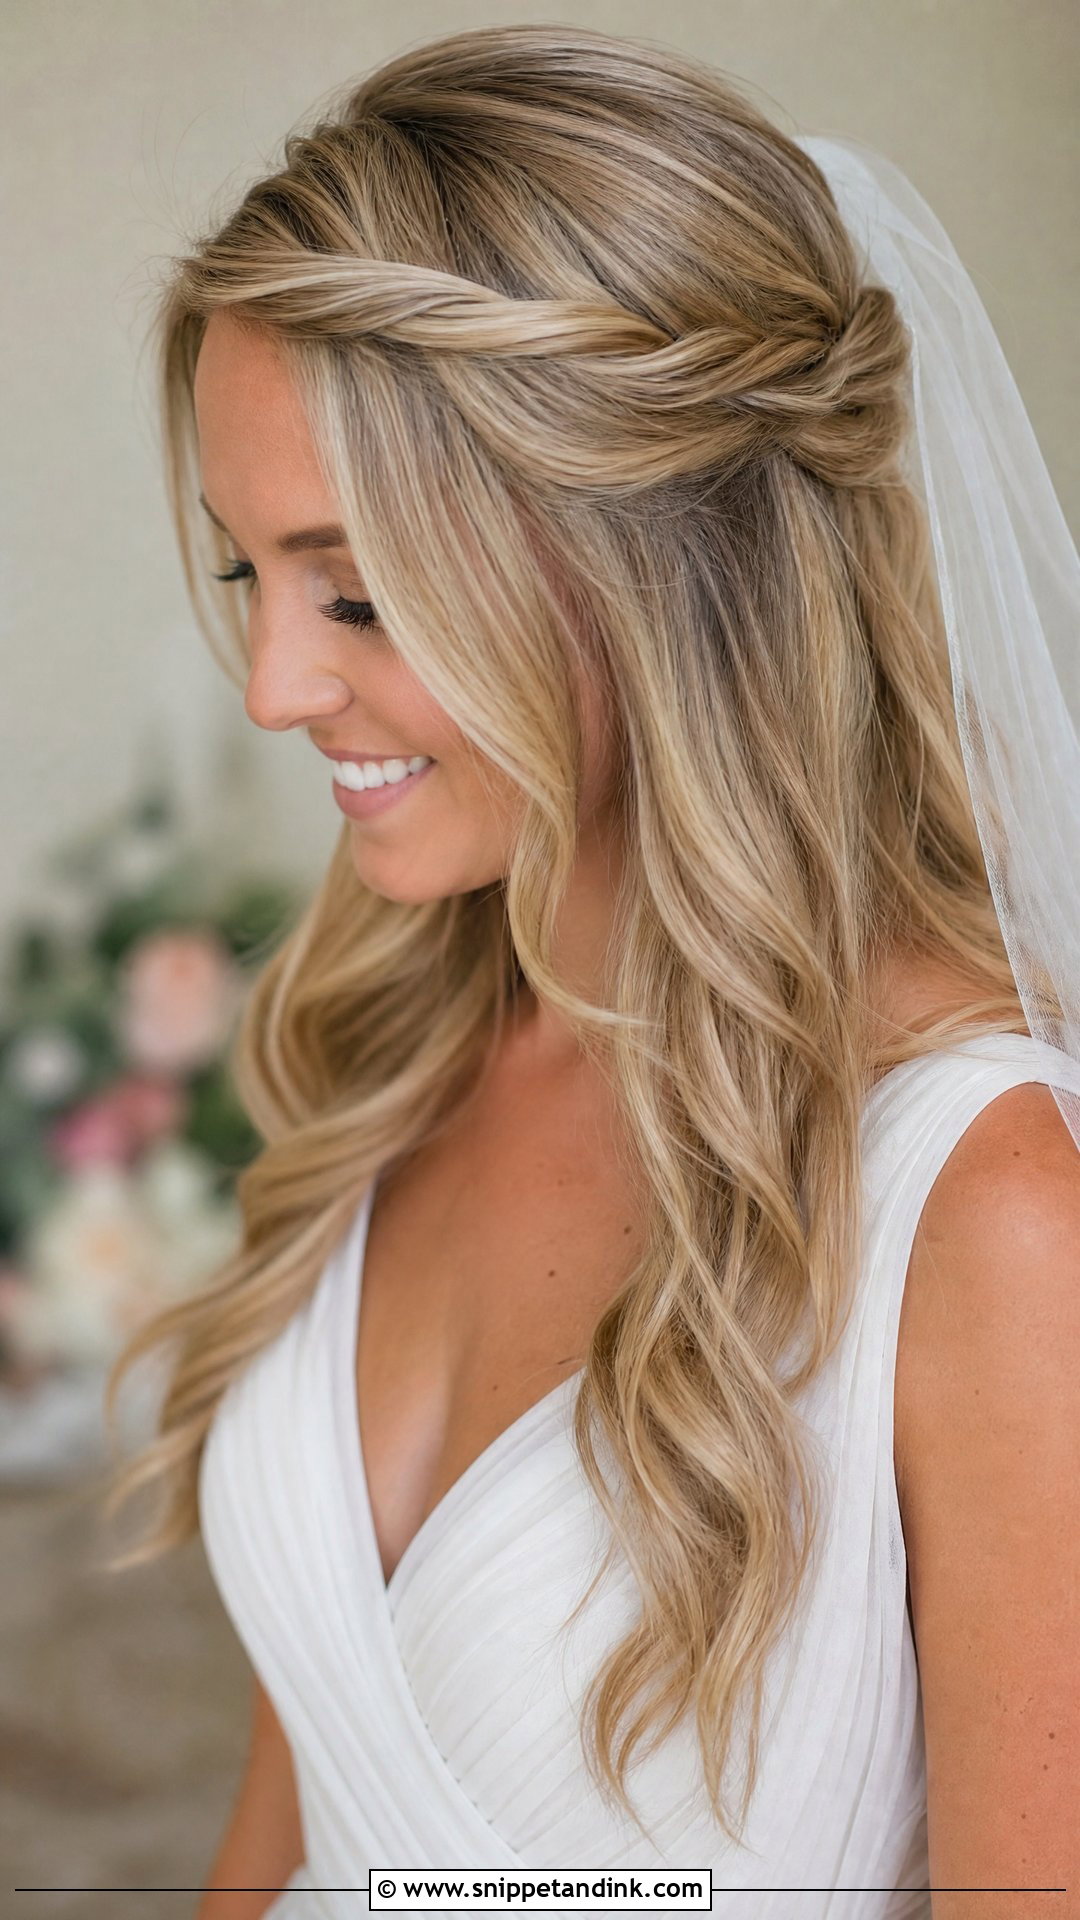
Twisted fronts give you detail without a long chair time. I take two small sections near the face, twist them loosely, and pin them back one above the other, then pancake the twists gently with my fingertips for width. It works on most textures and lengths, including layered cuts where shorter pieces would escape a braid. On slippery hair I rough up the section with texture spray first; otherwise the twist slowly unwinds. It takes minutes and holds for hours, which is why I reach for it so often on bridesmaids too.
6. Curtain Bangs for Wedding
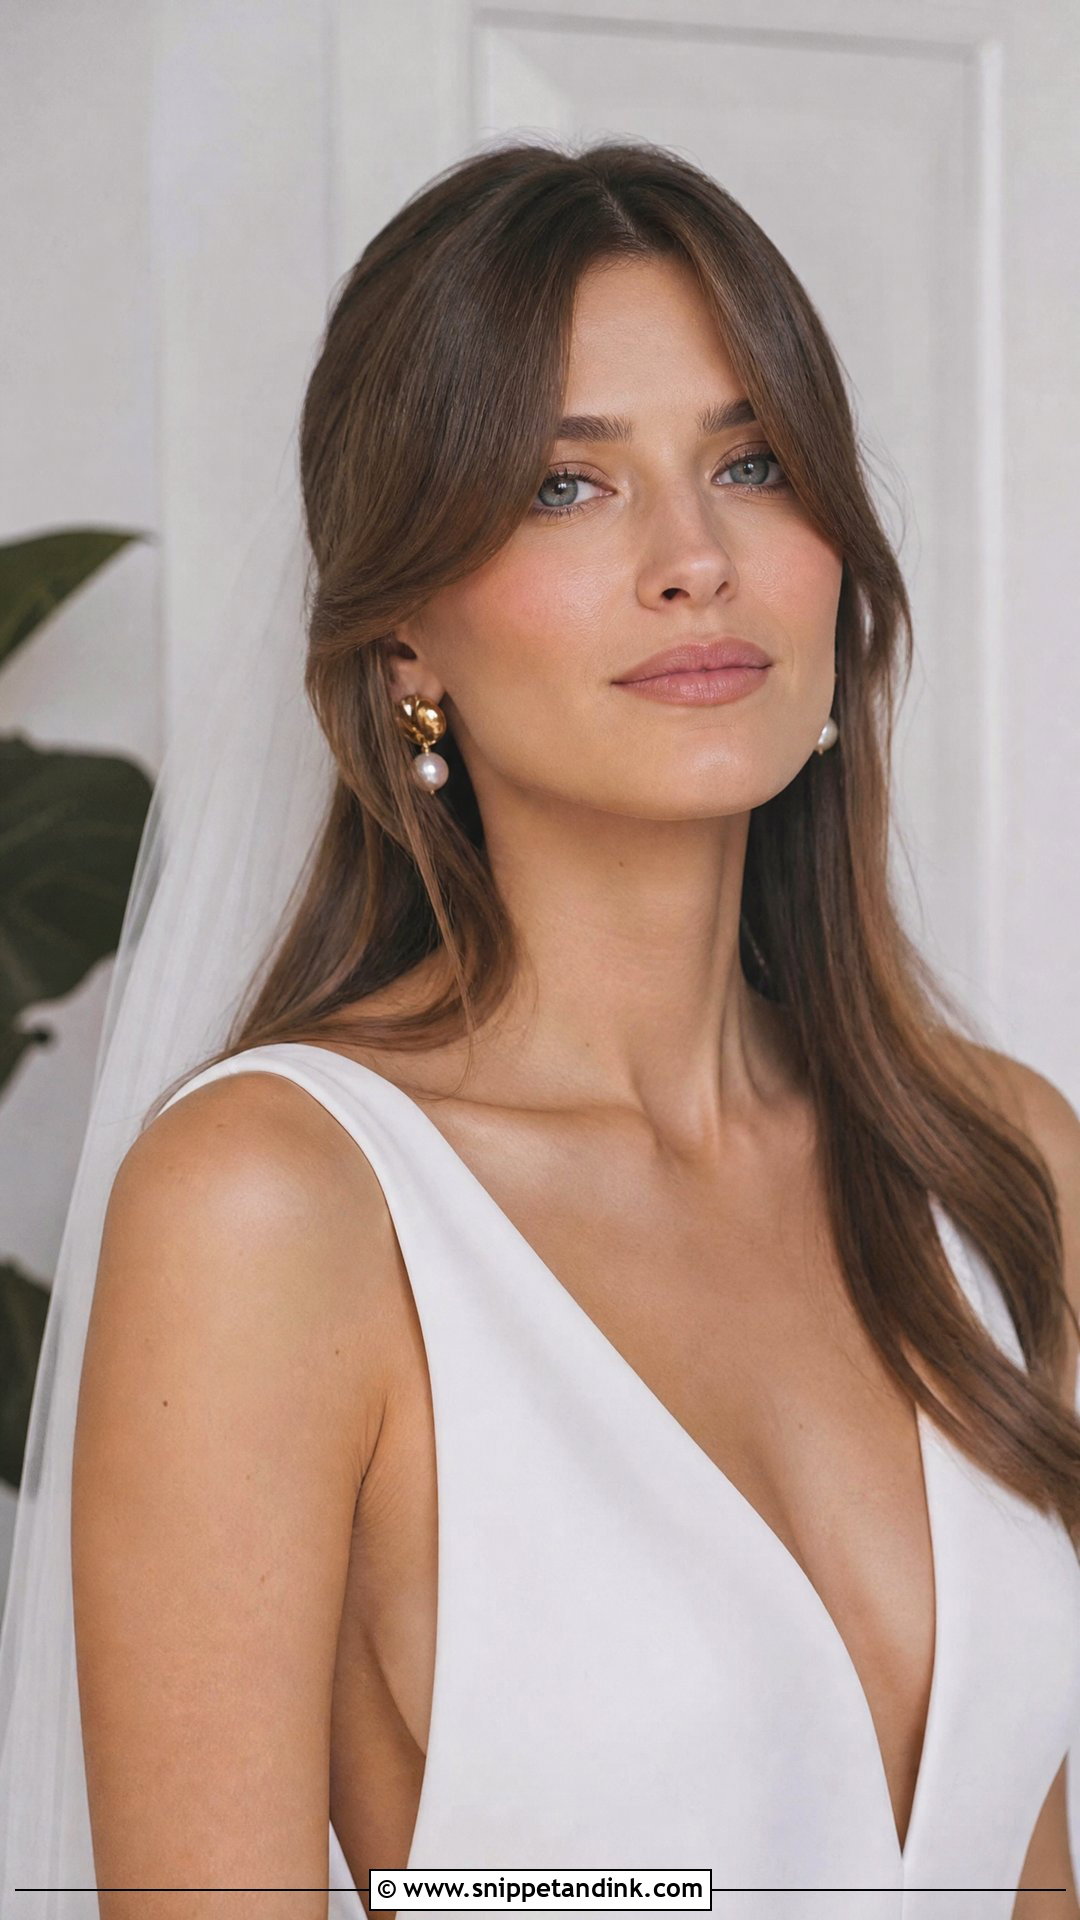
Curtain bangs part at the center and fall outward on each side, blending into longer layers. I blow-dry them over a round brush away from the face, then bend them once with a large iron so they curve rather than flip. They pair with updos, ponytails and loose waves, and they soften a sleek style without the commitment of a full fringe. My one caution: get them cut at least four weeks before the wedding. Fresh curtain bangs are always a little too long or too short, and they need a few weeks to settle into how they’ll actually fall.
7. Braided Front Sections for Wedding
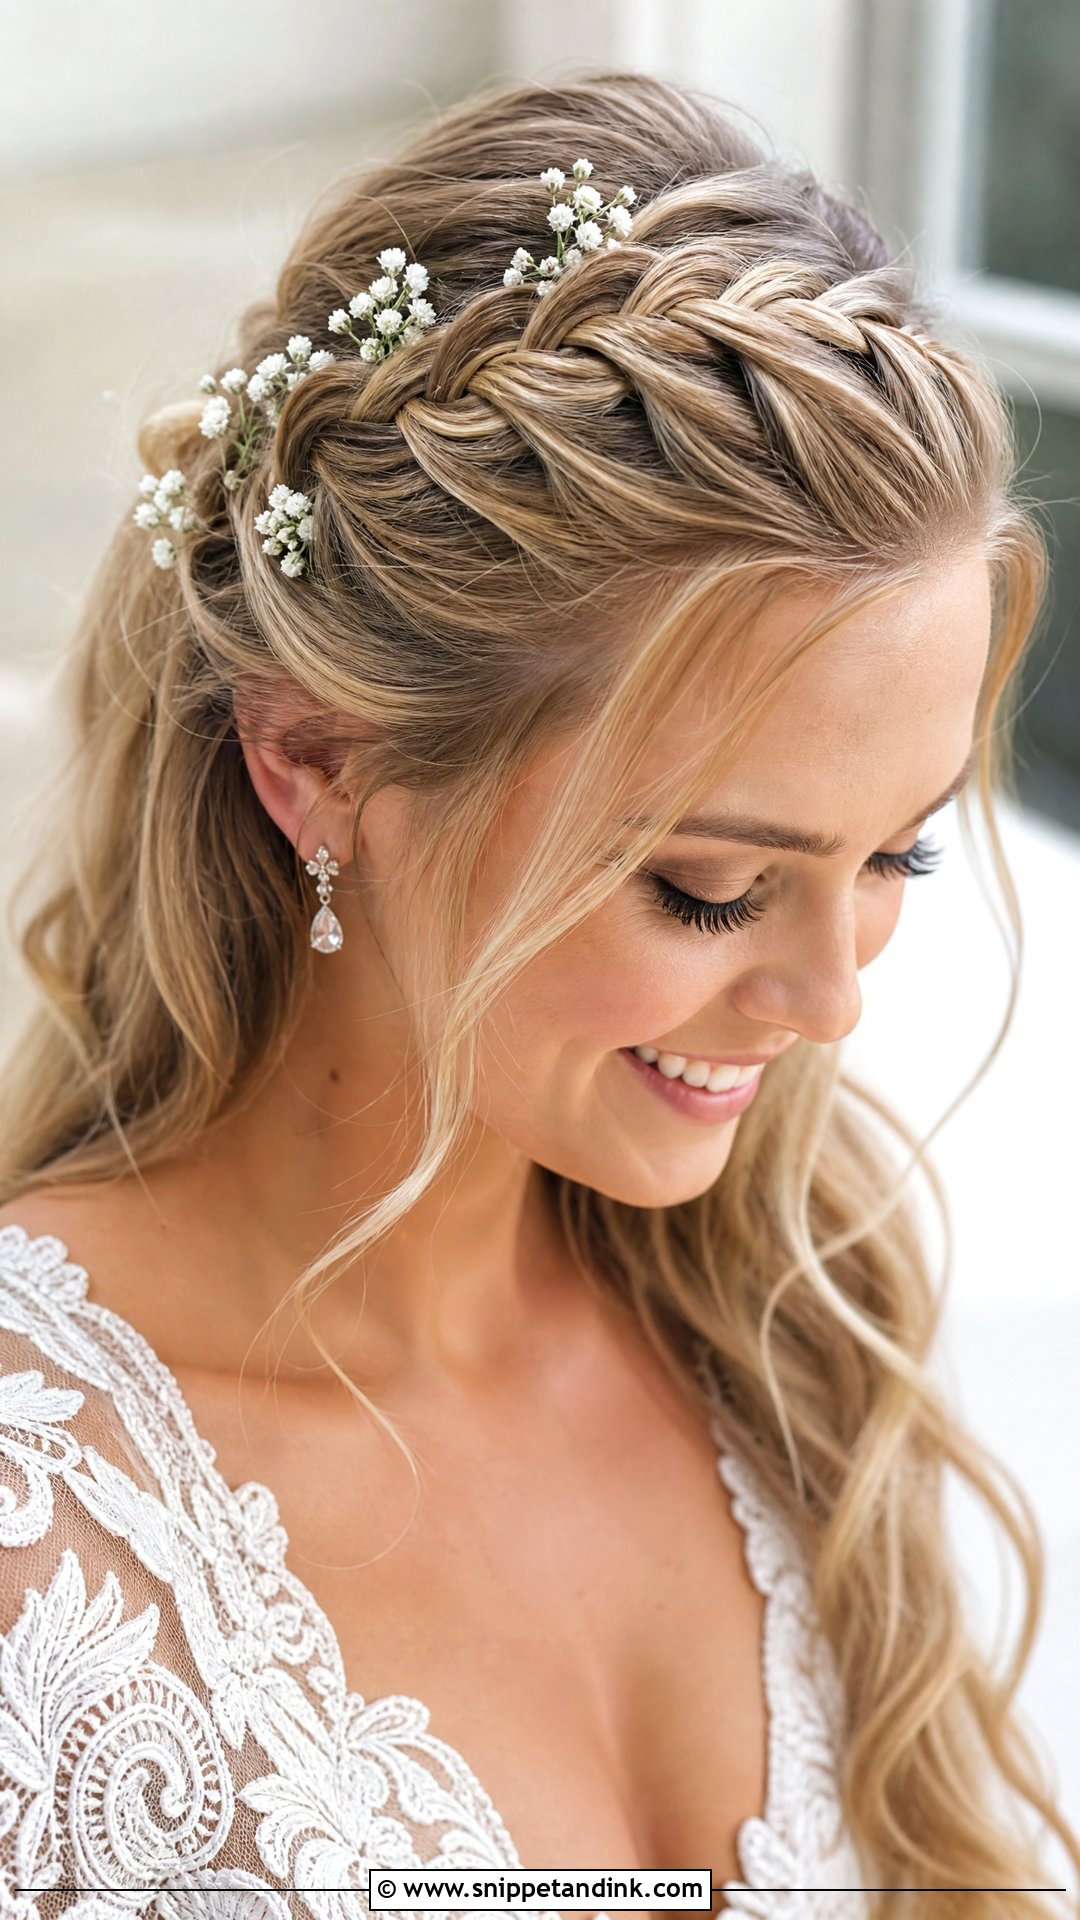
A small French braid or fishtail along the hairline adds texture that reads clearly even in wide shots. I braid it, sweep it back into the main style, then loosen the outer edges so it looks fuller than the hair really is. This is one I steer fine-haired brides toward with a small adjustment: a two-strand twist braid looks bulkier than a French braid using the same amount of hair. Tiny flowers tucked into the braid hold well because the plaits grip the stems, as long as they’re wired or sturdy varieties that won’t wilt against warm skin.
8. Sleek Middle Part for Wedding
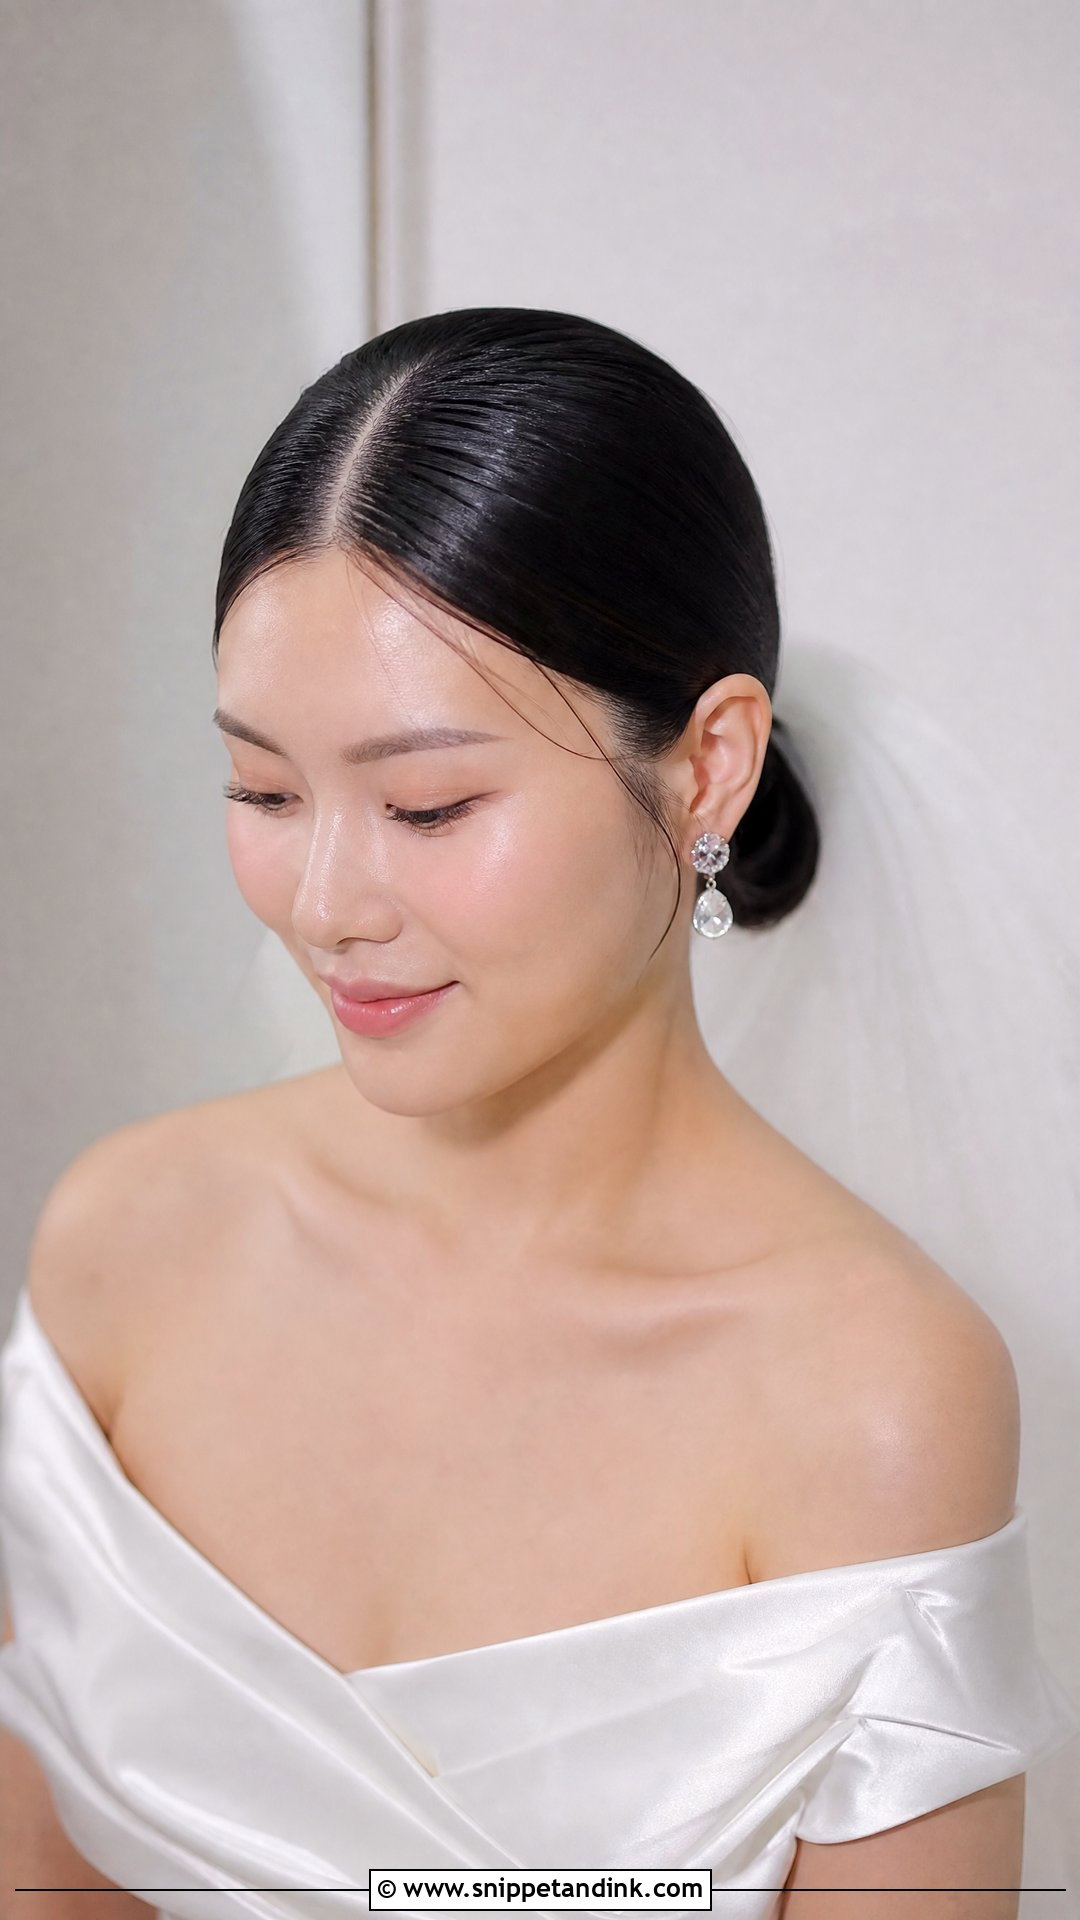
A clean center part pulled straight back is the most honest front there is, and that is both its appeal and its risk. It shows symmetry, so it suits oval and heart-shaped faces and looks sharp with a low bun or chignon and statement earrings. I finish it with a smoothing serum and a soft bristle brush for that glossy surface. The catch is that it hides nothing. Regrowth, a cowlick or a slightly uneven hairline will all show, and flyaways catch flash. I’d book a color appointment about two weeks out if you’re wearing this one.
9. Deep Side Part for Wedding
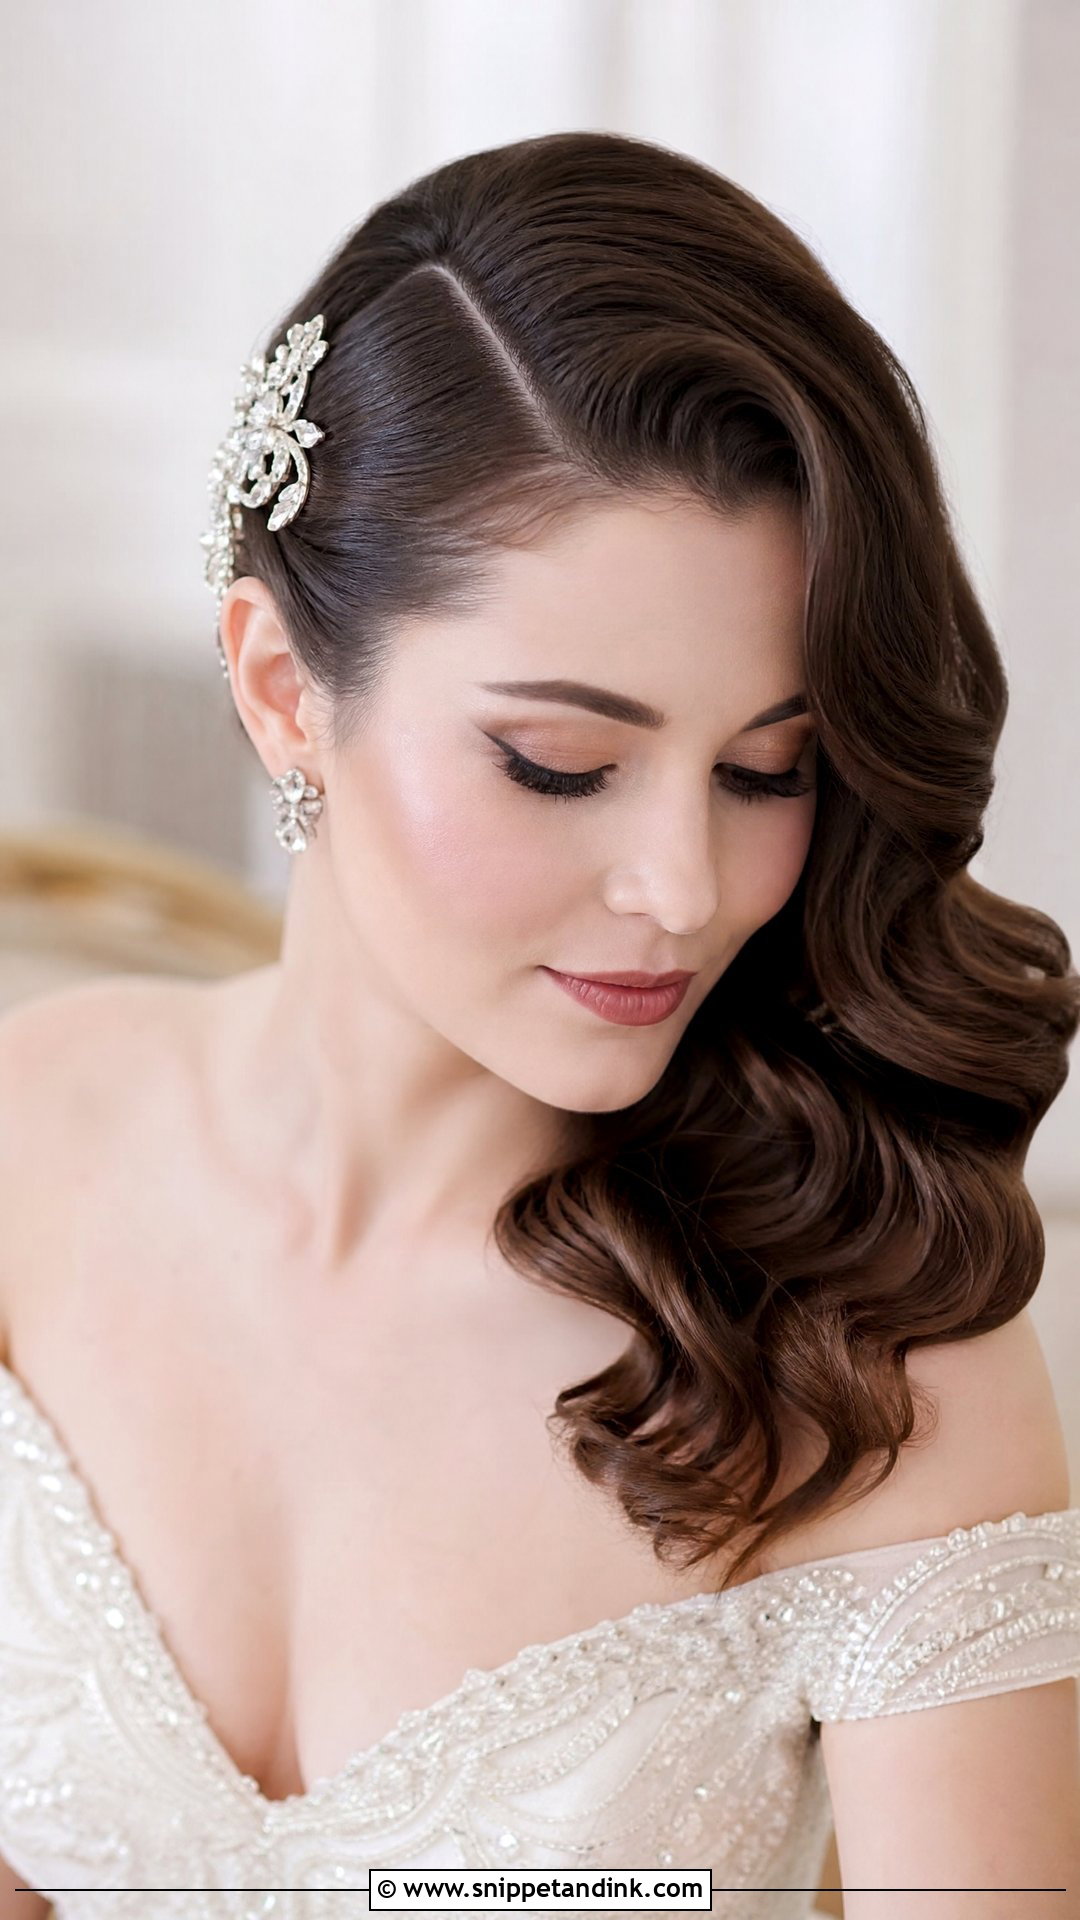
Moving your part far to one side lifts the roots immediately, because the hair is being pushed against the way it has lain for years. That built-in volume is why the deep side part has such an old-Hollywood feel. It adds angles to round and square faces and looks right with a vintage gown and waves or a sleek low style. I place a jeweled comb on the heavier side, partly for sparkle and partly to stop that side from sliding forward over your eye during the first kiss.
10. Flower Crown Front for Wedding
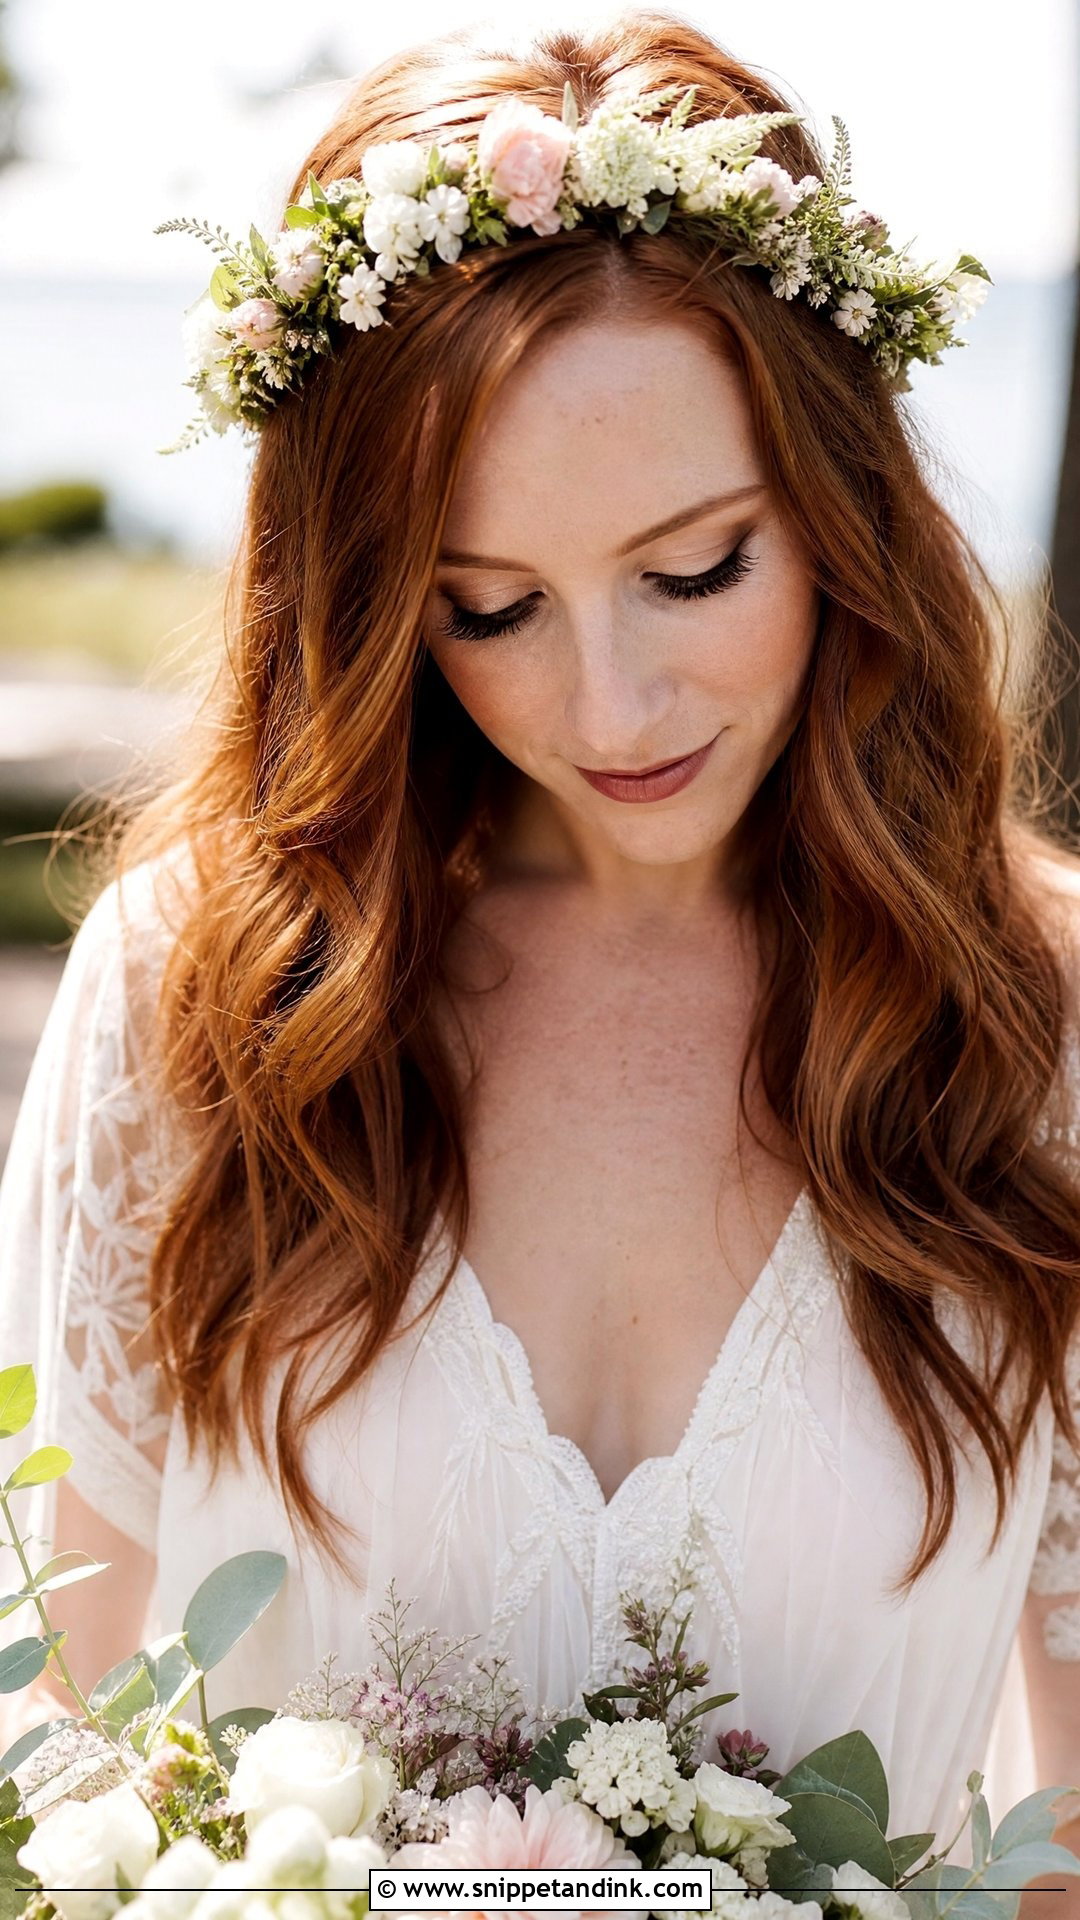
A flower crown sits along the front hairline and keeps hair off the face on its own. I always build the hair first and set the crown last, securing it with bobby pins crossed into an X through the base, since crowns tend to slide backward as you move. Fresh blooms look wonderful at a garden or outdoor wedding, but they wilt against body heat; ask your florist for hardy flowers and deliver the crown as late as possible. Silk flowers are the safer bet for a long summer day. Leave a couple of tendrils loose so the crown doesn’t look like it’s sitting on a helmet.
11. Pulled-Back Front With Volume for Wedding
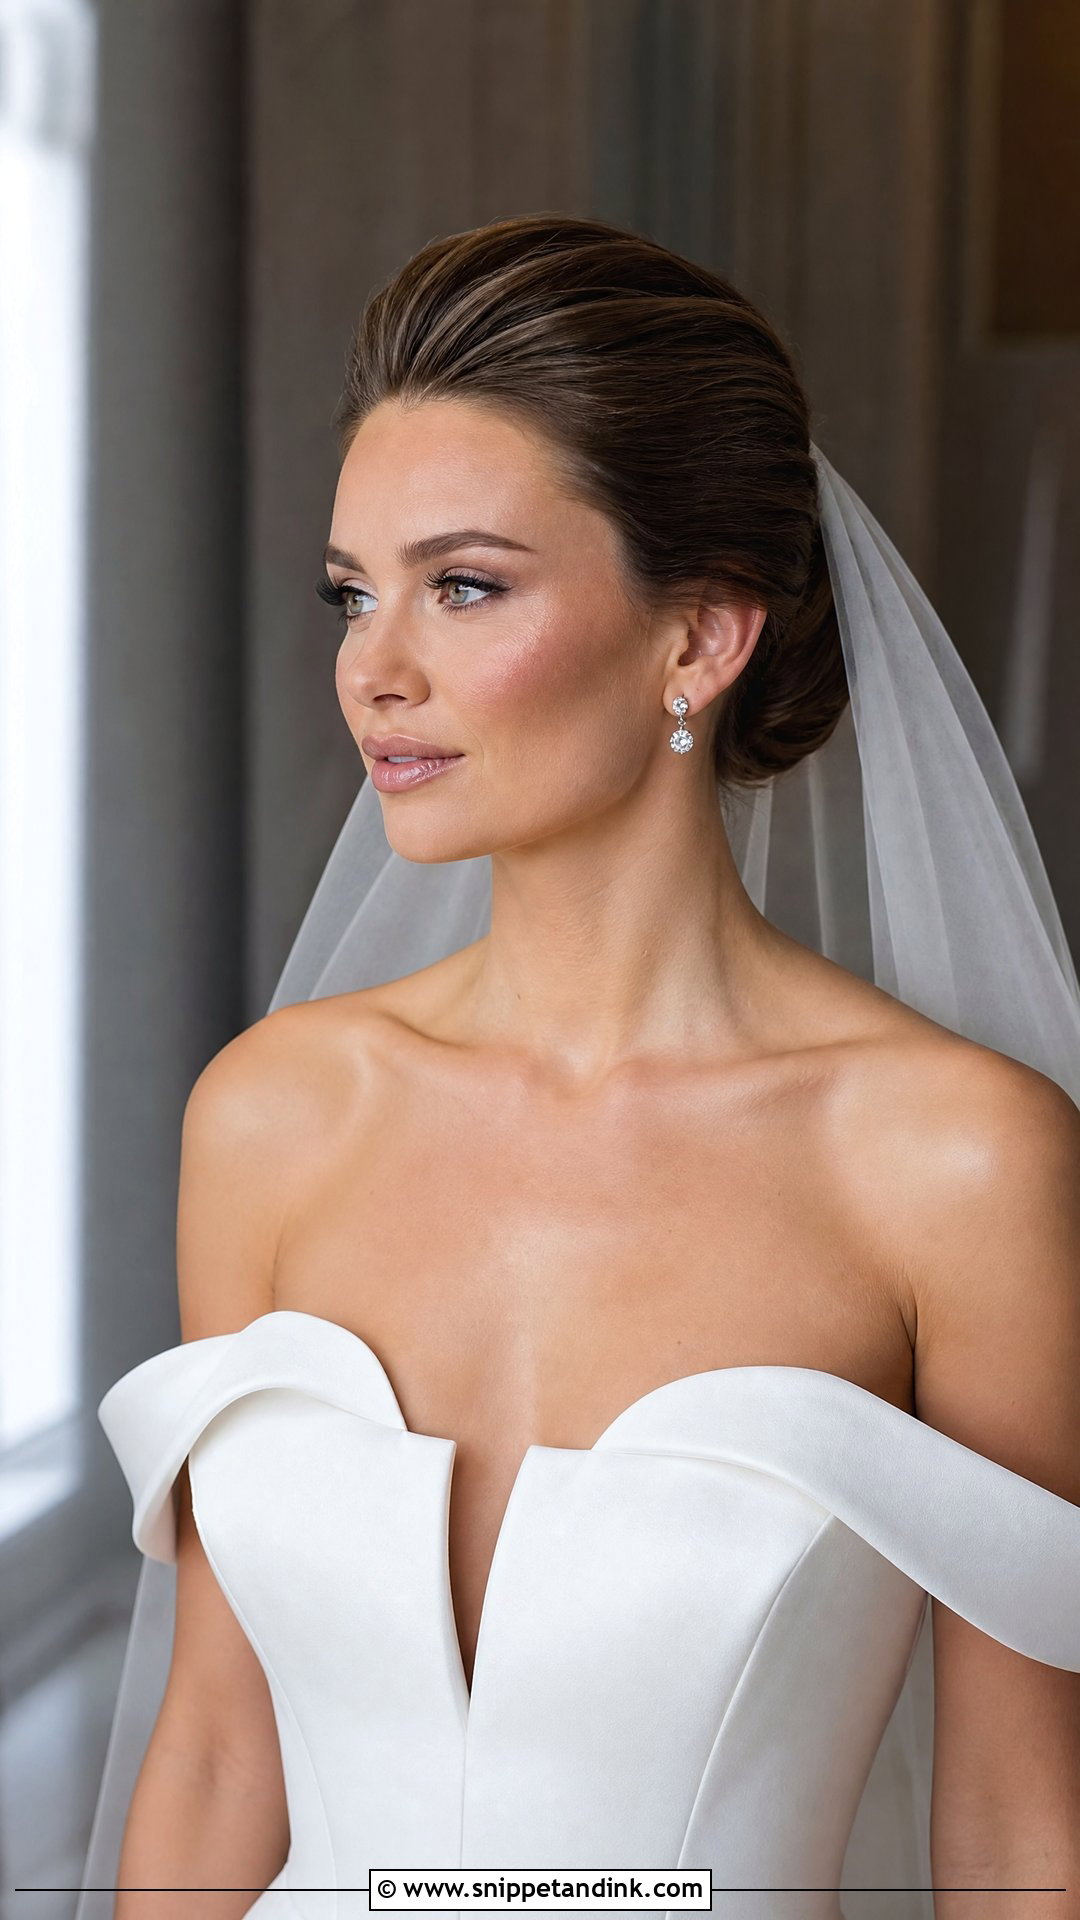
Lift at the crown changes the proportions of the whole face. I backcomb the front section at the root, smooth the surface over it with a soft brush, and sweep it back without slicking it flat. The height balances big skirts and cathedral veils that can otherwise make the head look small. Hidden pins hold it all day if they’re anchored into the teased base rather than the smooth top layer. Fine hair collapses here unless I prep it with a root lift spray while it’s still damp; I’d test this at the trial before trusting it on the day.
12. Boho Waves With Front Twists for Wedding
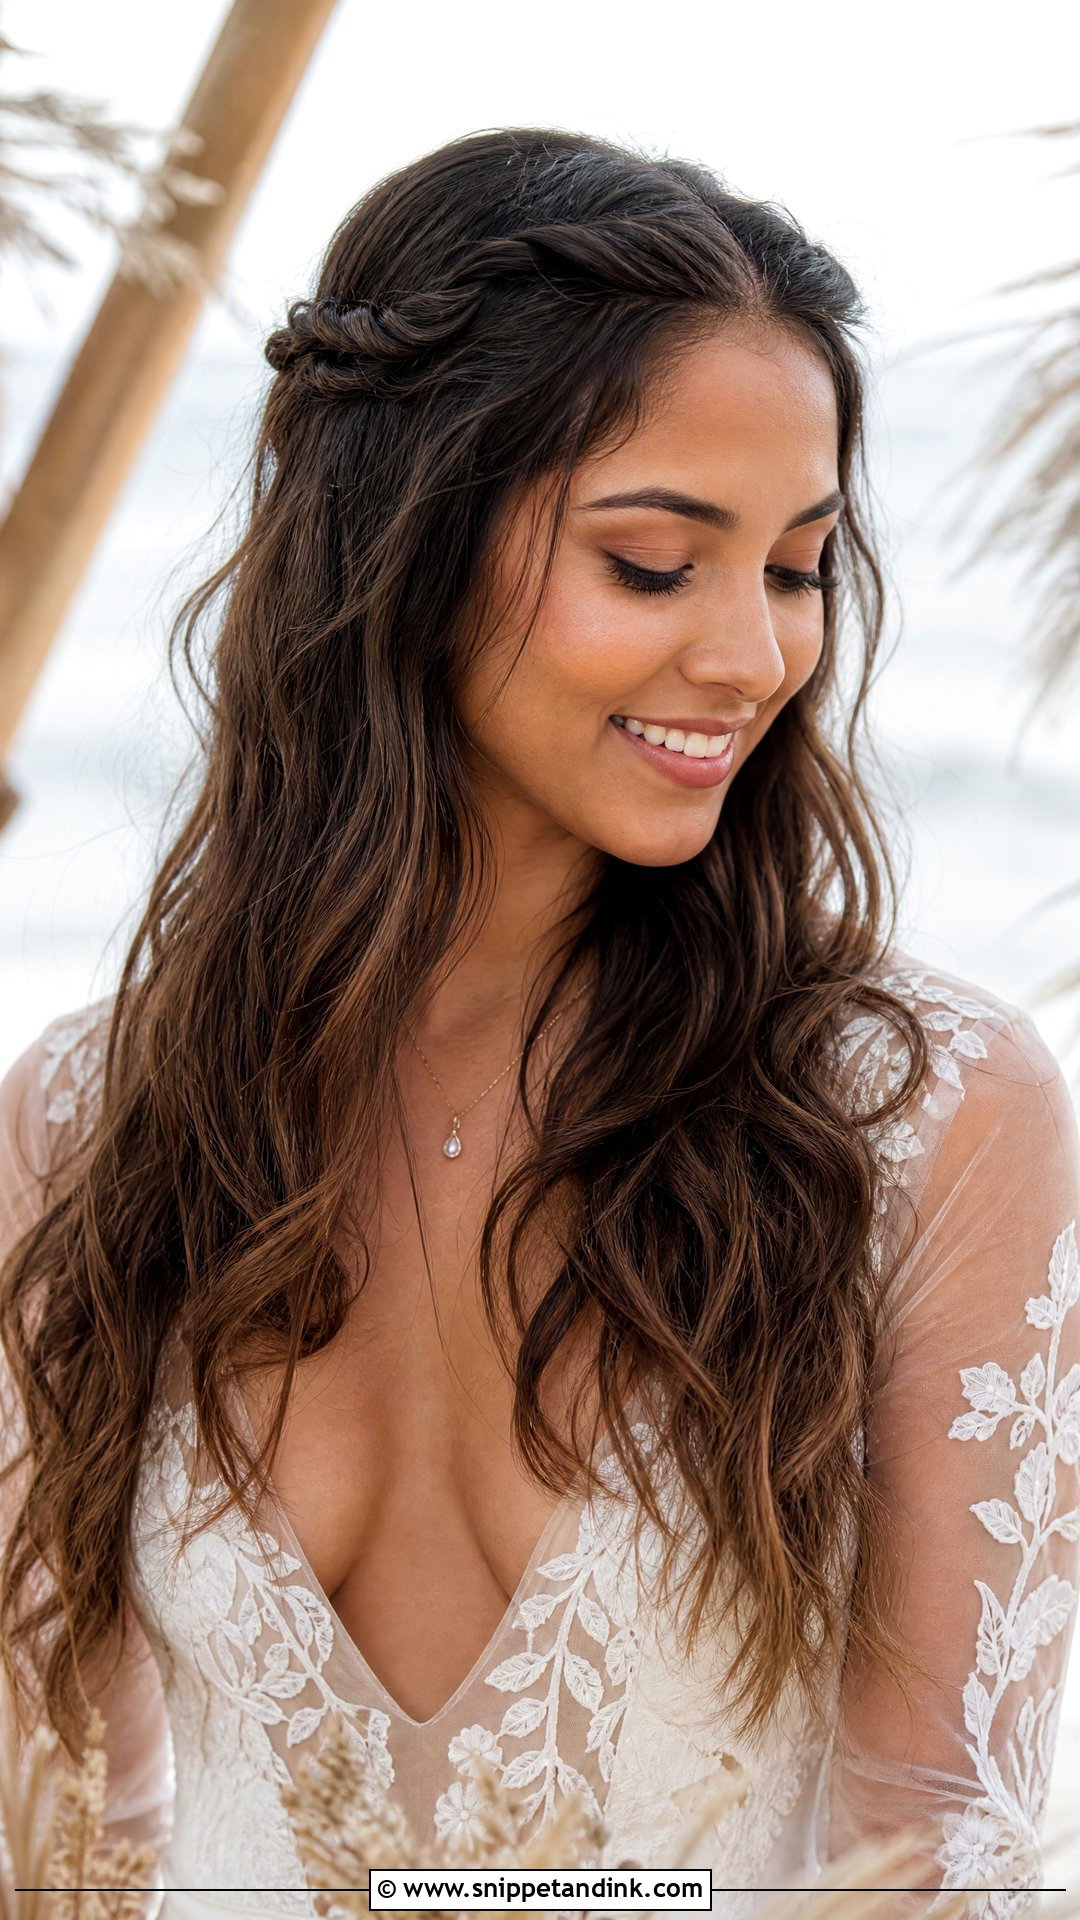
Loose, undone waves through the length with a few small twists pulling the front back is the boho combination I get asked for most. The twists aren’t decoration; they’re what keeps the waves from blowing into your face during an outdoor ceremony. I wave the hair with a flat iron for a bent, uneven texture rather than uniform ringlets, then leave a tendril or two free. It takes a flower crown or a few pins comfortably. It captures that free-spirited bridal vibe, though on humid days the waves loosen fast, so I set them a touch tighter than you’ll want them at the start.
13. Low Bun With Face-Framing Pieces for Wedding
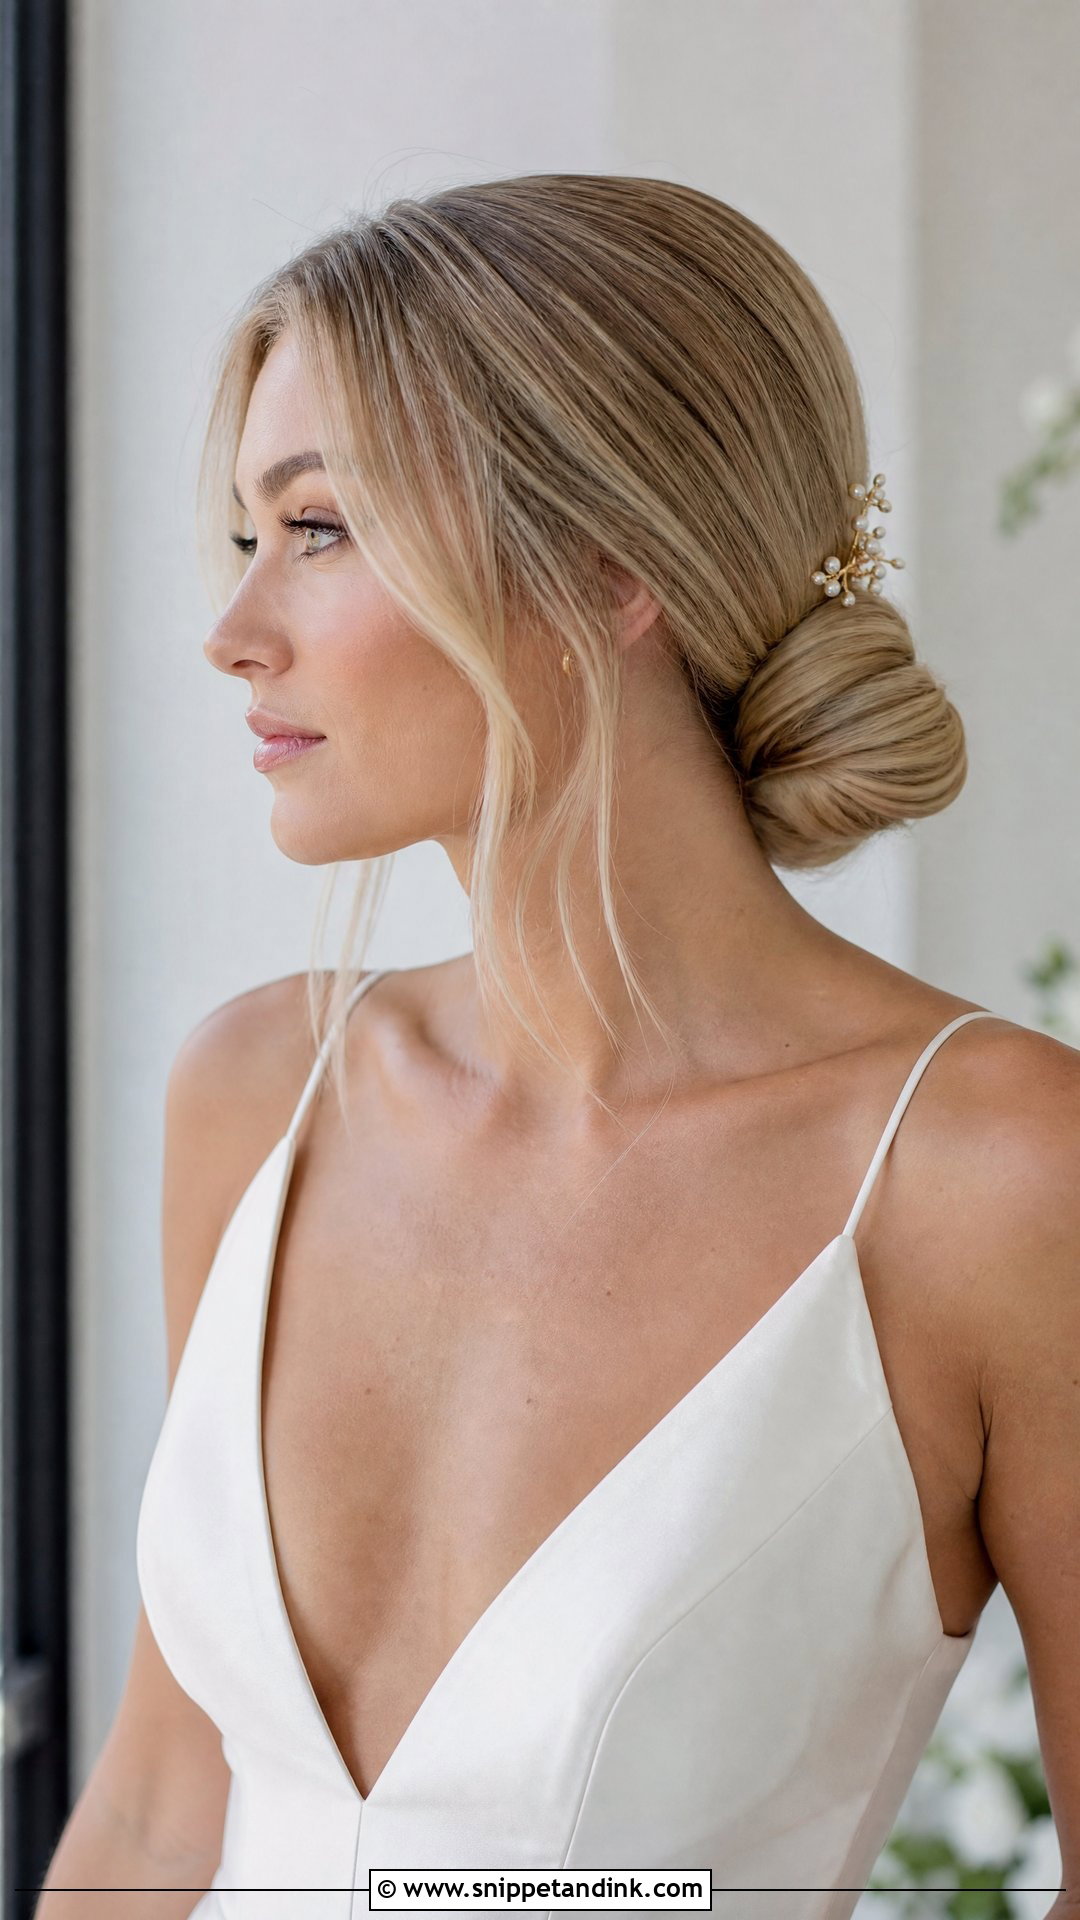
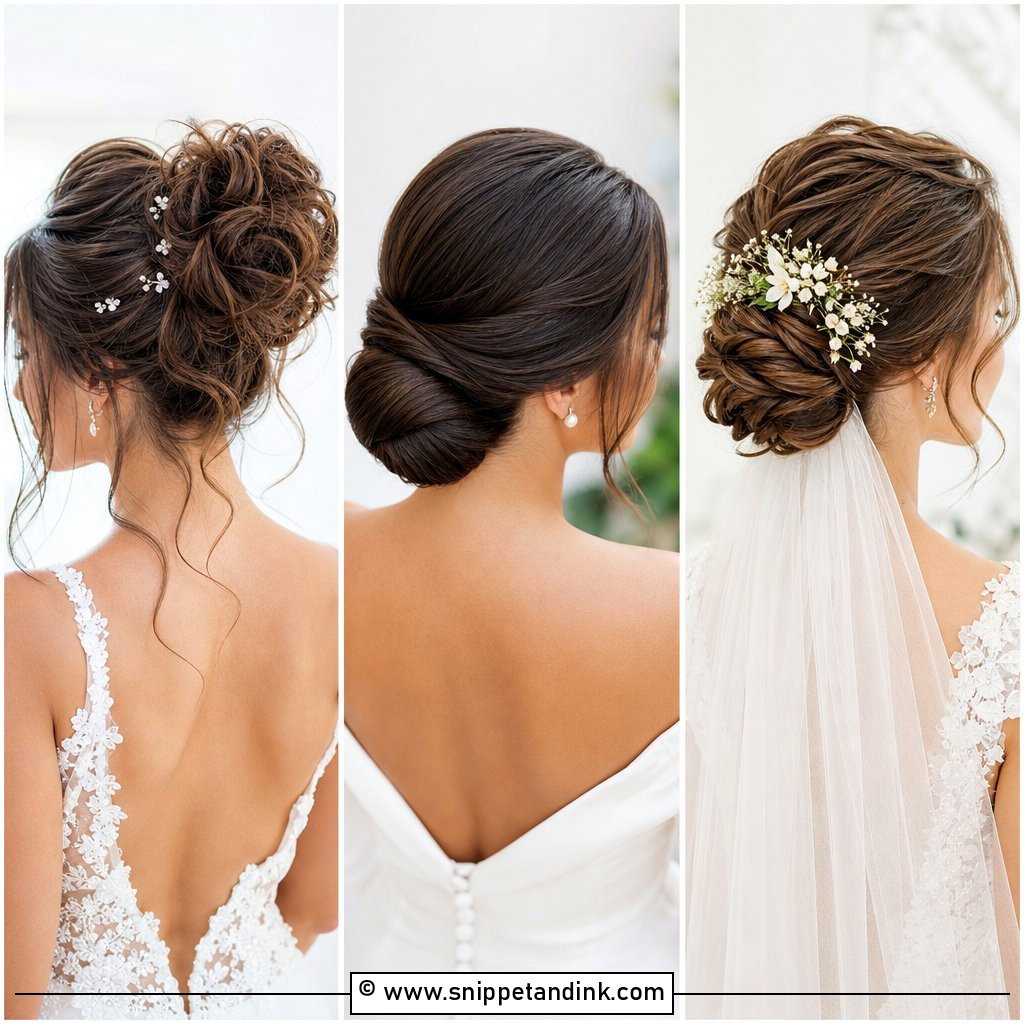
A smooth bun at the nape with a few strands pulled out near the face is the style I’d call the safest bet on this list. The bun is comfortable for a long day, sits well under a veil and lets you lean back in a chair without crushing anything. I pull the face-framing pieces after the bun is pinned, then curl them, so they fall exactly where I want against the jaw. For thick hair I split the bun into two smaller coils pinned together; one big coil gets heavy and starts dragging by evening.
14. Sleek High Ponytail for Wedding
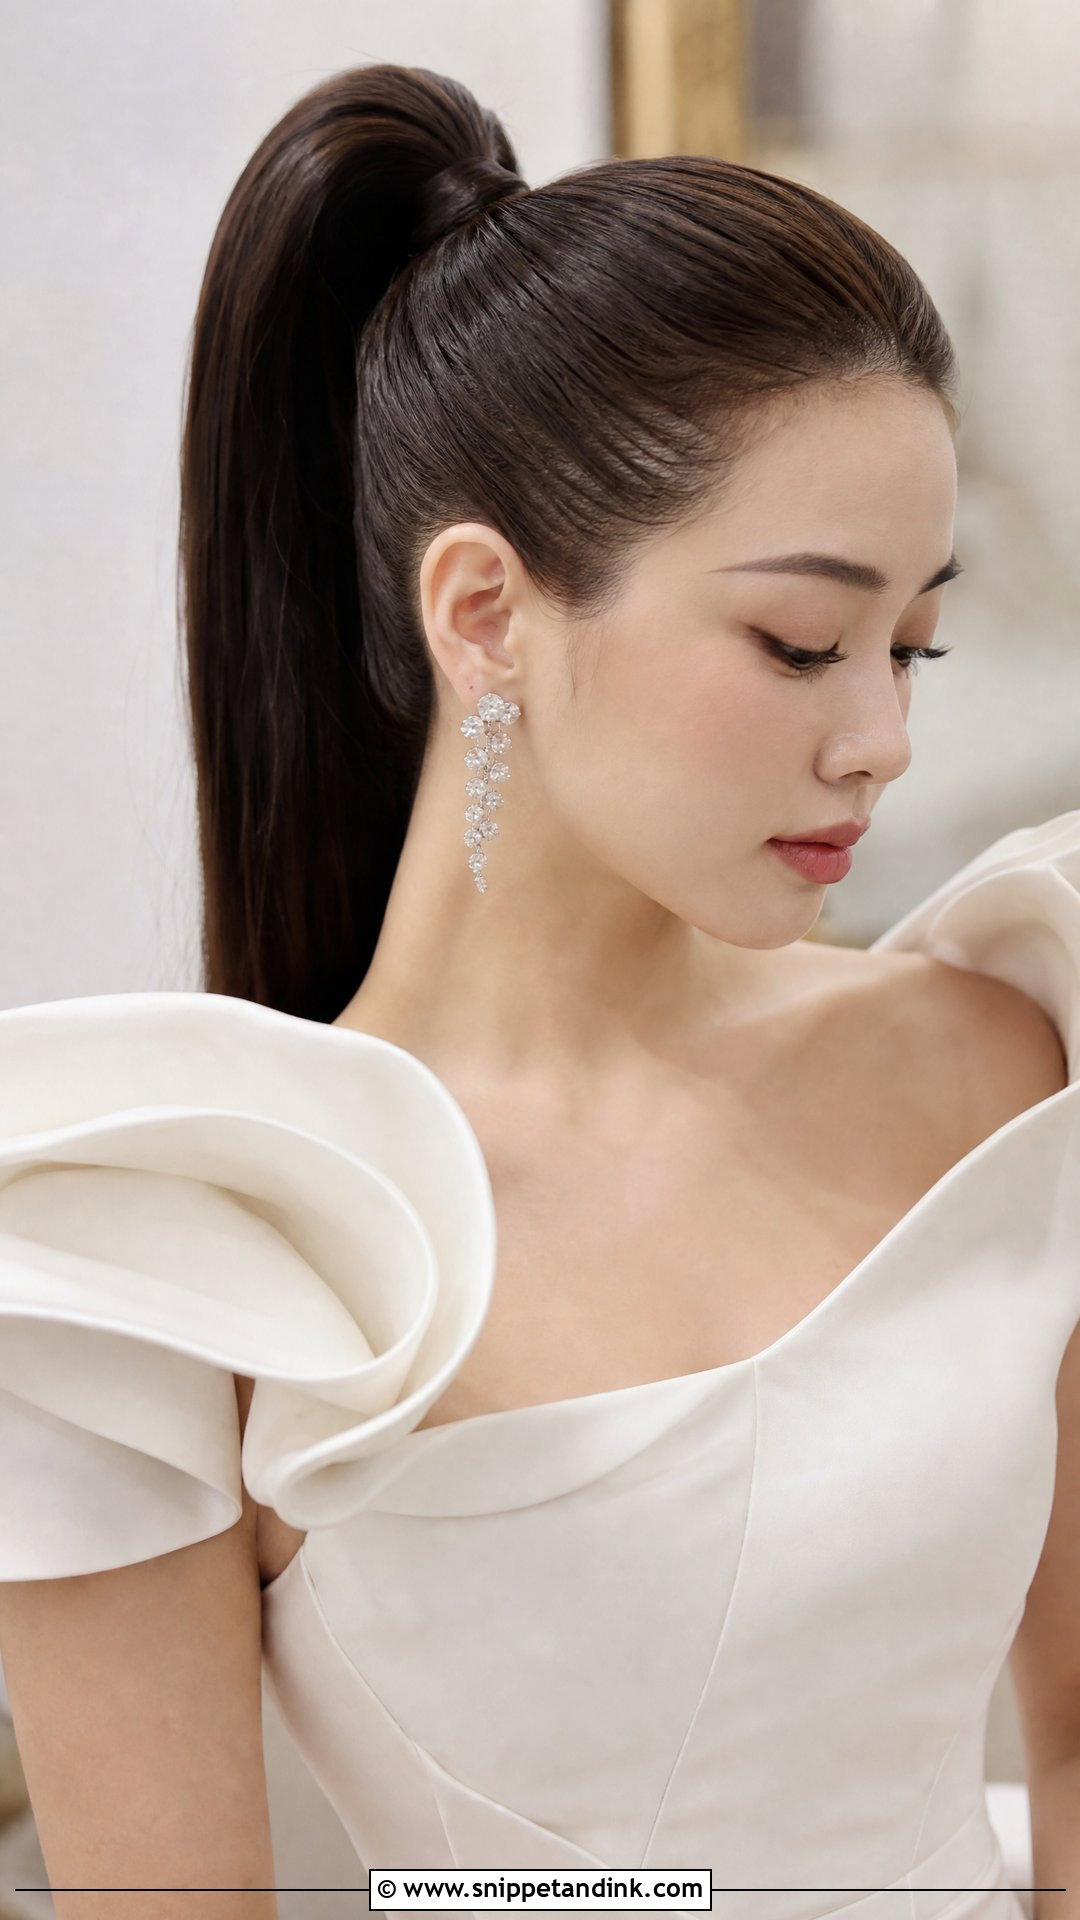
Everything goes up and back into a smooth tail, and the result looks sharp and modern. It lengthens the neck, flatters long faces and leaves room for statement earrings. I wrap a strand of hair around the base to hide the elastic and secure it underneath with a pin. Honestly, a high ponytail is harder to wear than it looks: the weight pulls on the hairline after a few hours, and very heavy hair can give you a headache. I anchor it with two elastics, one inside the other, and add a few pins at the base to spread the tension. It looks great with sculptural gowns, less so with a cathedral veil.
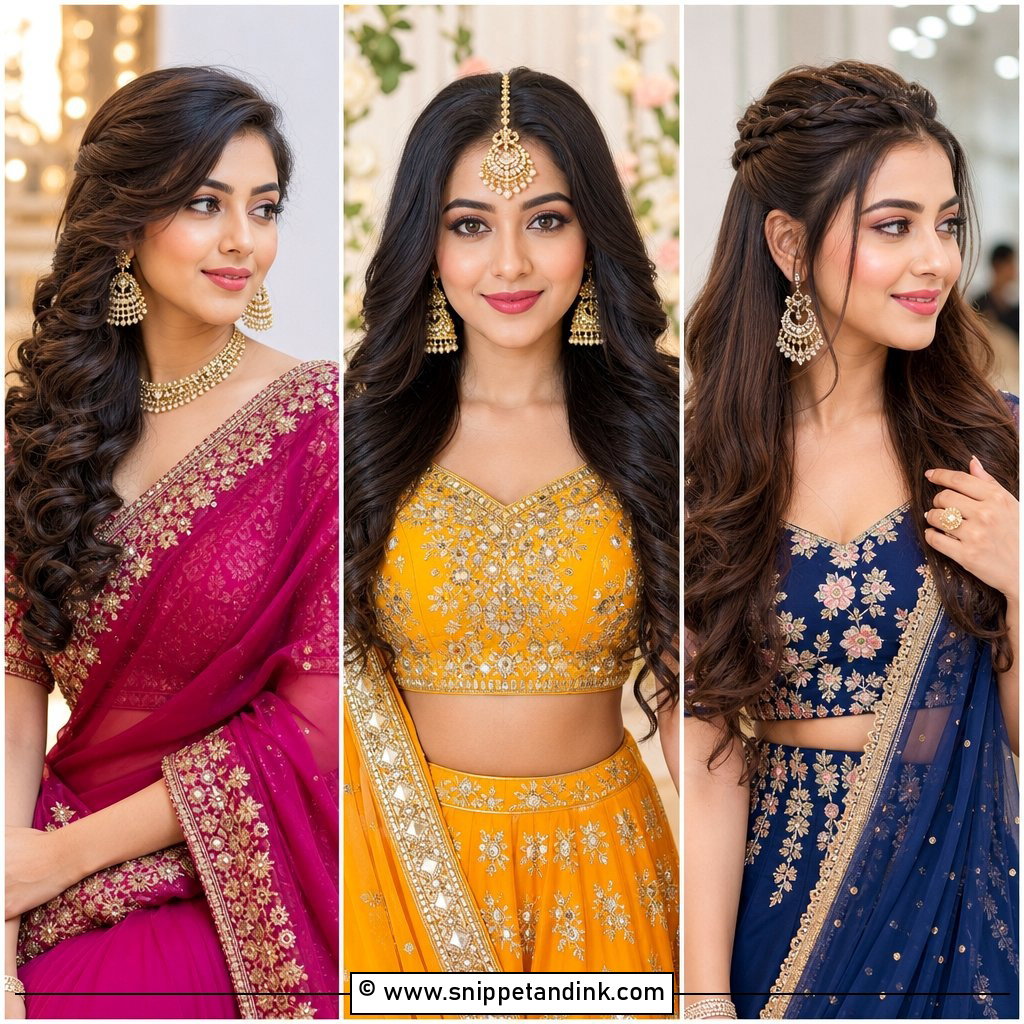
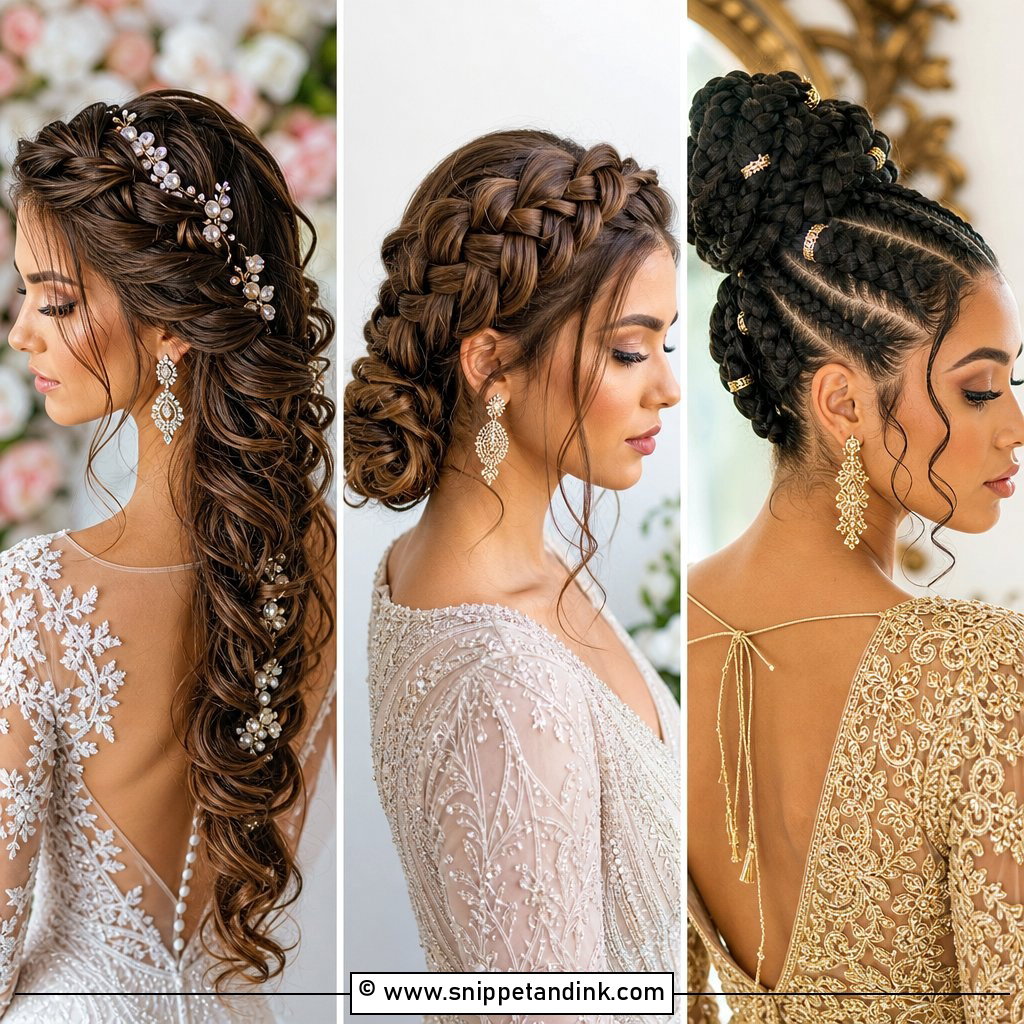
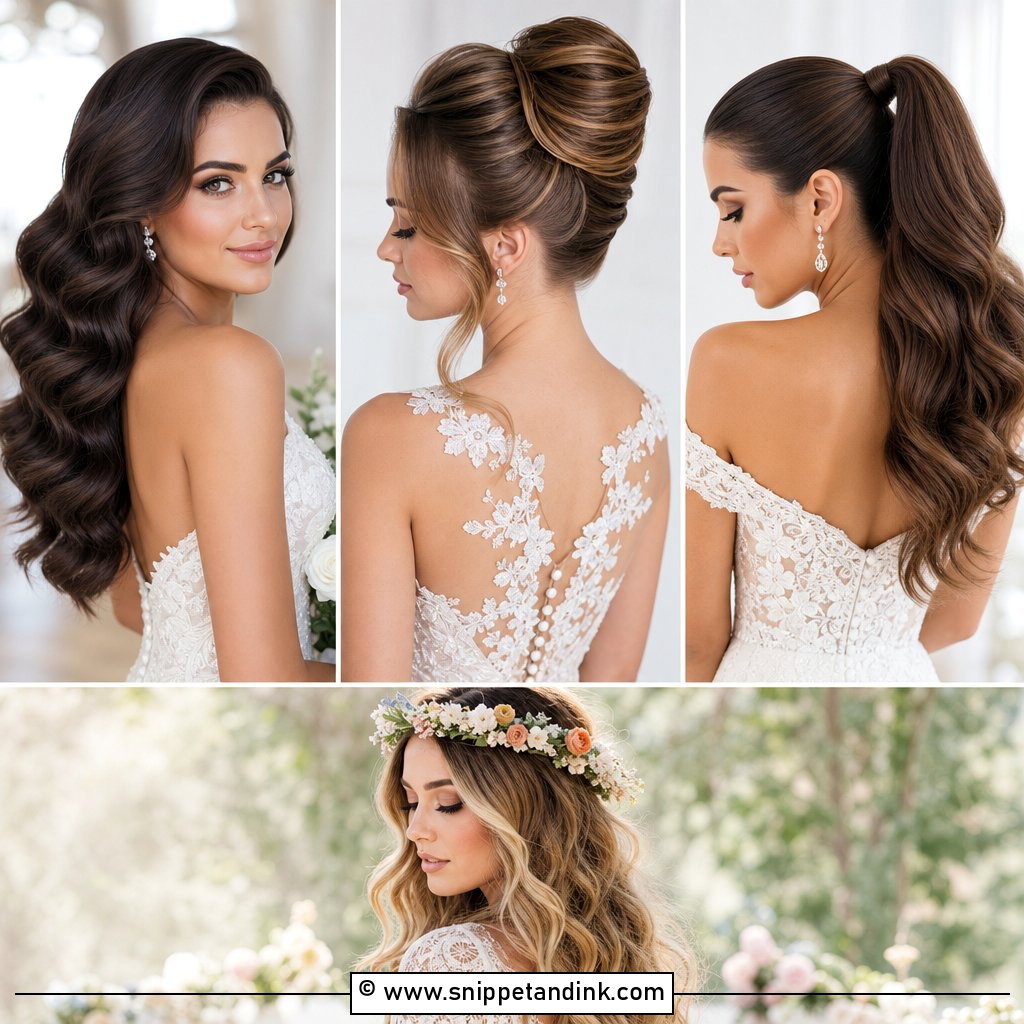
15. Vintage Finger Waves for Wedding
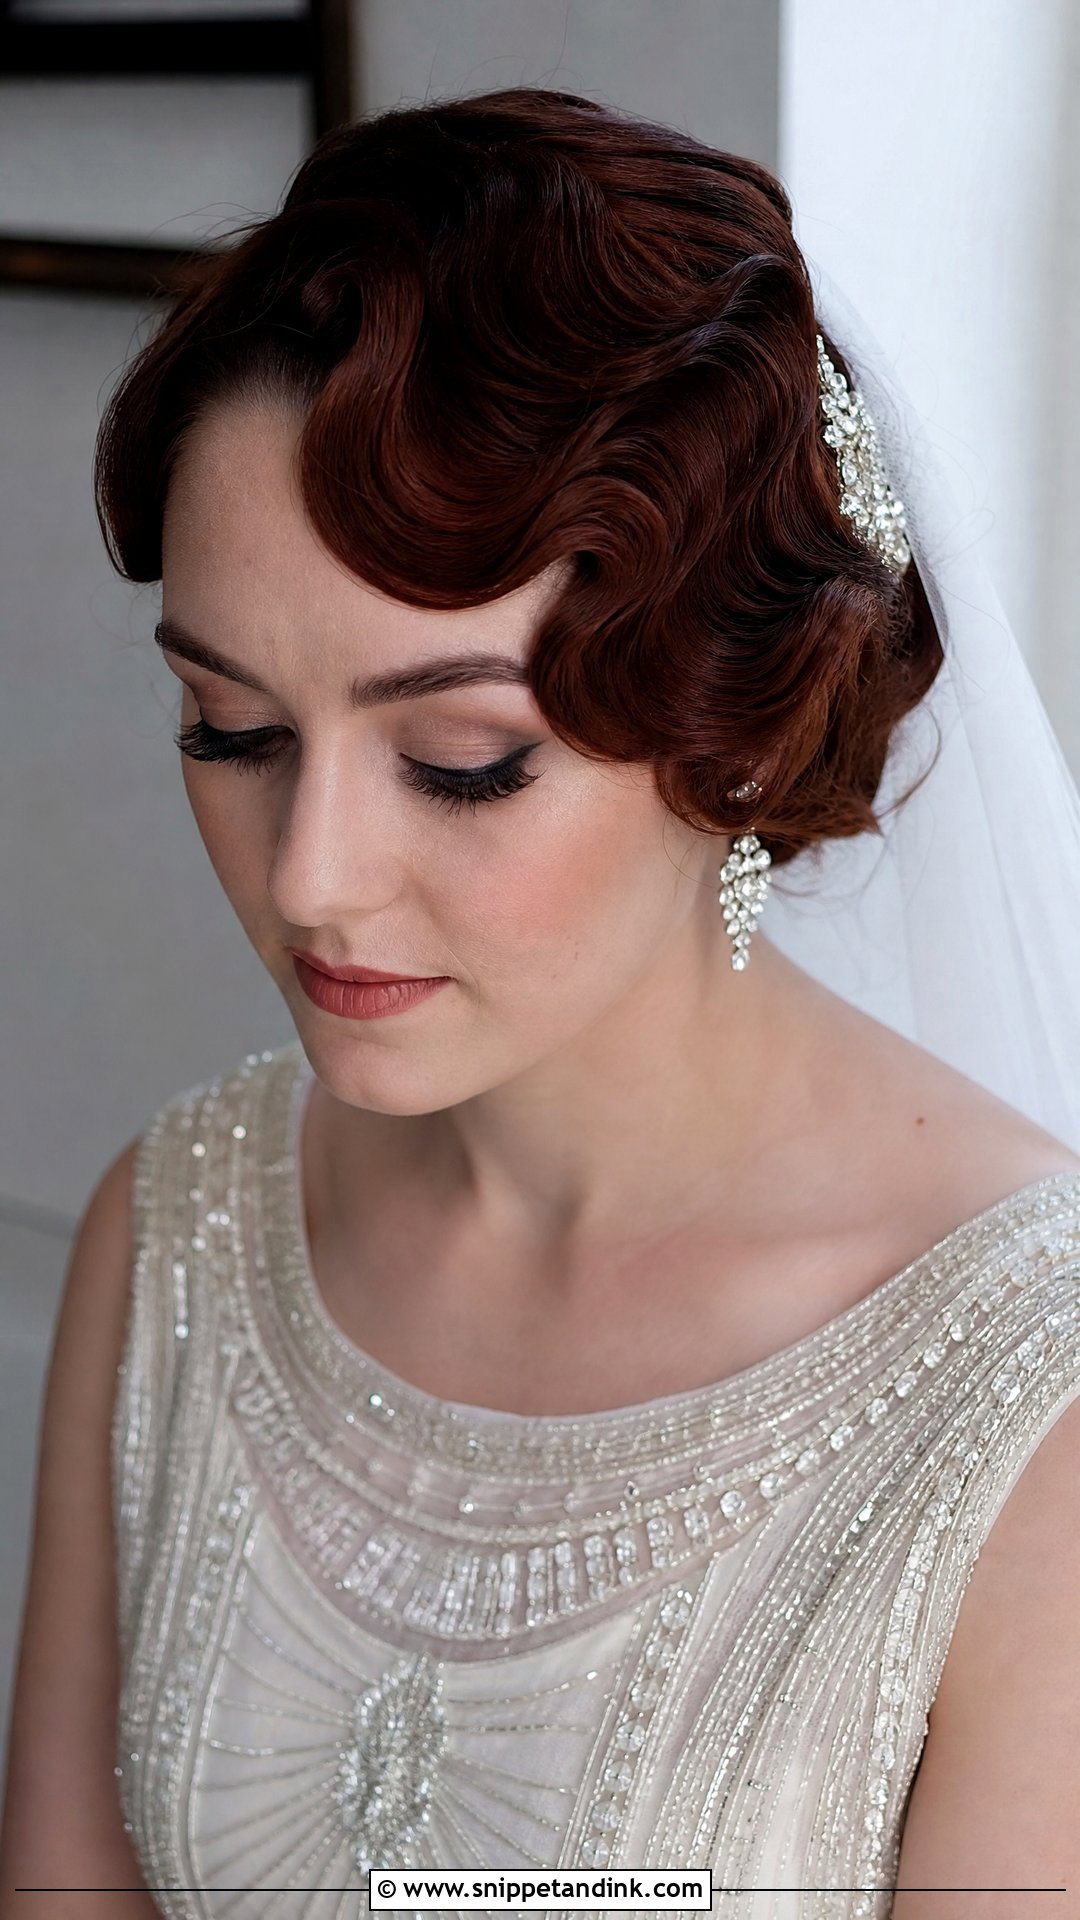
Step into old-Hollywood glamour with sculpted finger waves. The front is shaped into S-curves that lie close to the head, set with gel or a firm styling cream and pinched into ridges with fingers and a fine comb while still wet. Short and medium hair hold them best. Long hair can do the look, but I usually fake it by setting waves only at the front and pinning the length into a low roll. They pair with art-deco accessories and come alive in black and white photos. Allow extra chair time, because they need to dry fully before anyone touches them.
16. Headband Front Style for Wedding
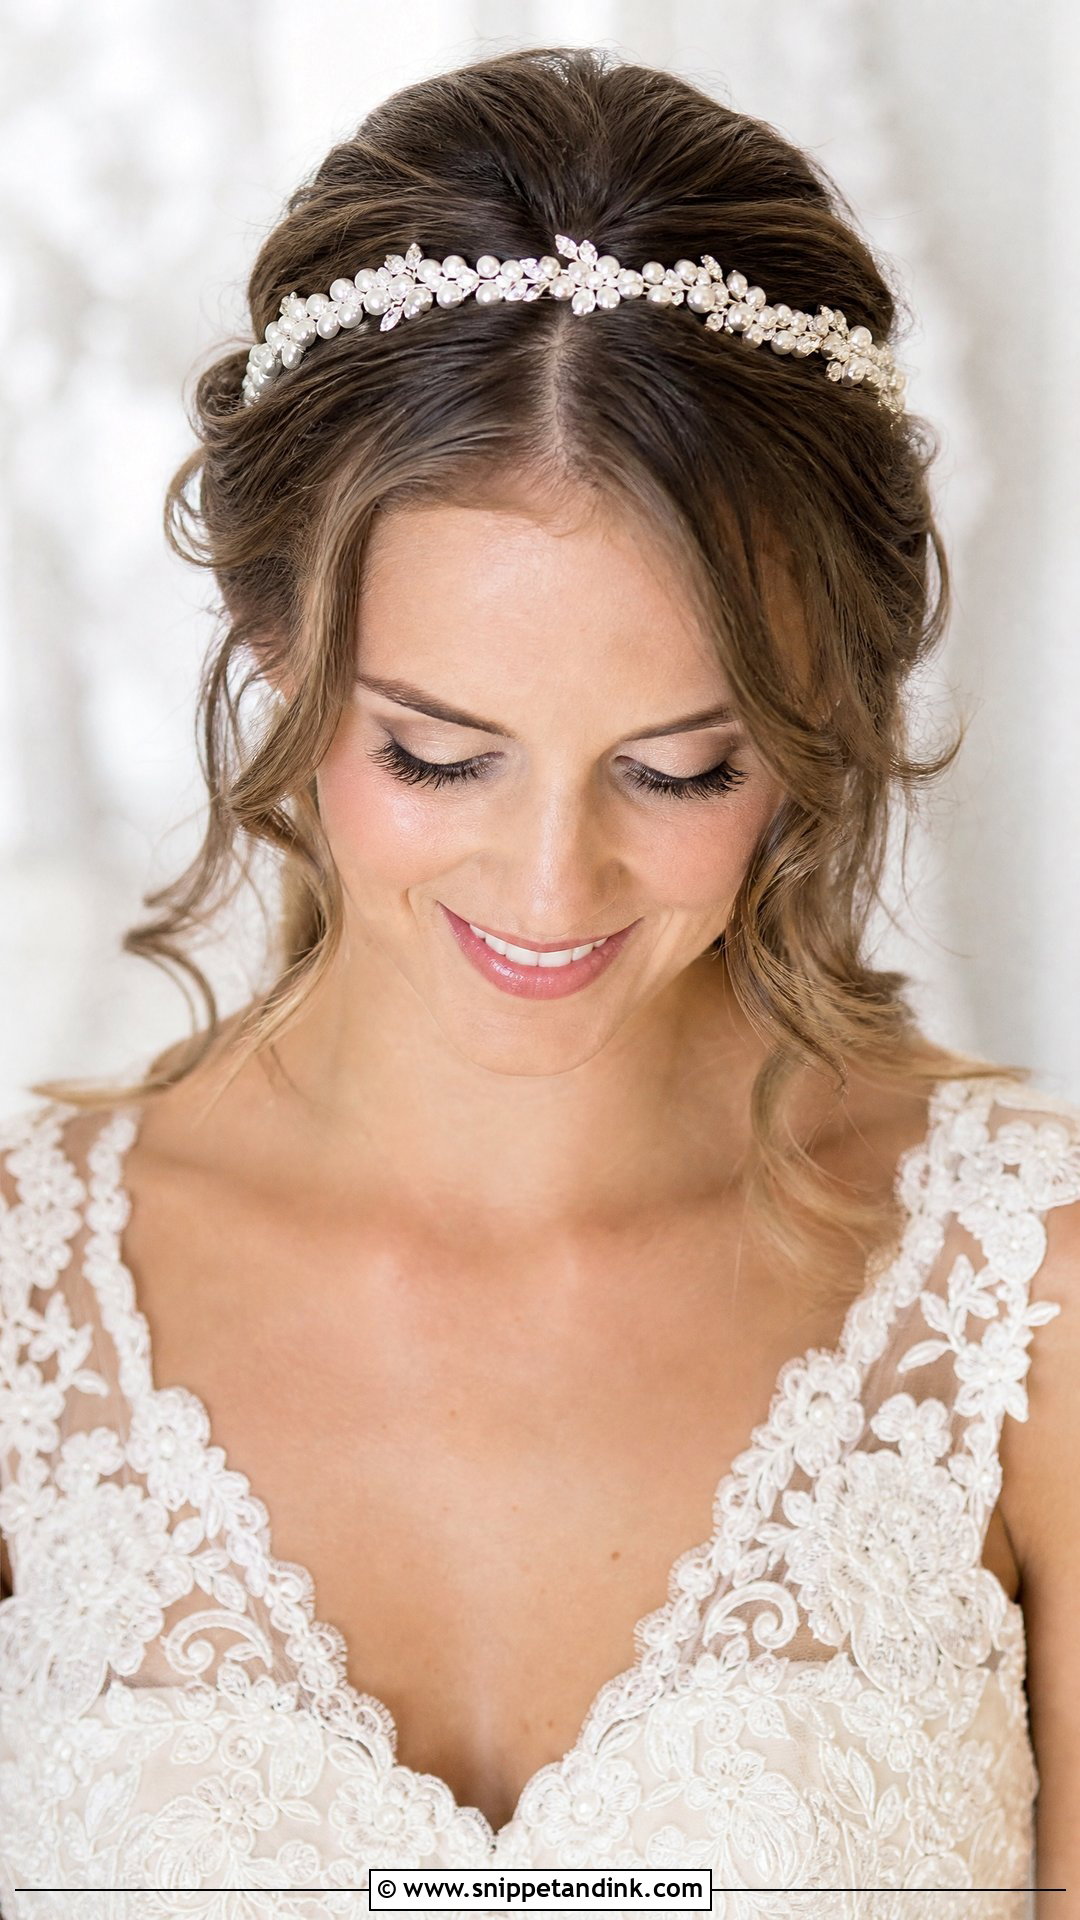
A jeweled headband sits across the front of the hairline and sweeps the hair back for you. It works over updos, half-up styles and waves. Pearls, crystals and floral details all come in this form, and I’d match the metal tone to your earrings rather than your dress. The common problem is the band pressing behind the ears after a few hours. I bend it slightly wider before placing it and anchor each end with a pin hidden beneath it, so it holds by grip rather than pressure. Soft tendrils in front balance the hard line of the band.
17. Soft Swept-Back Front for Wedding
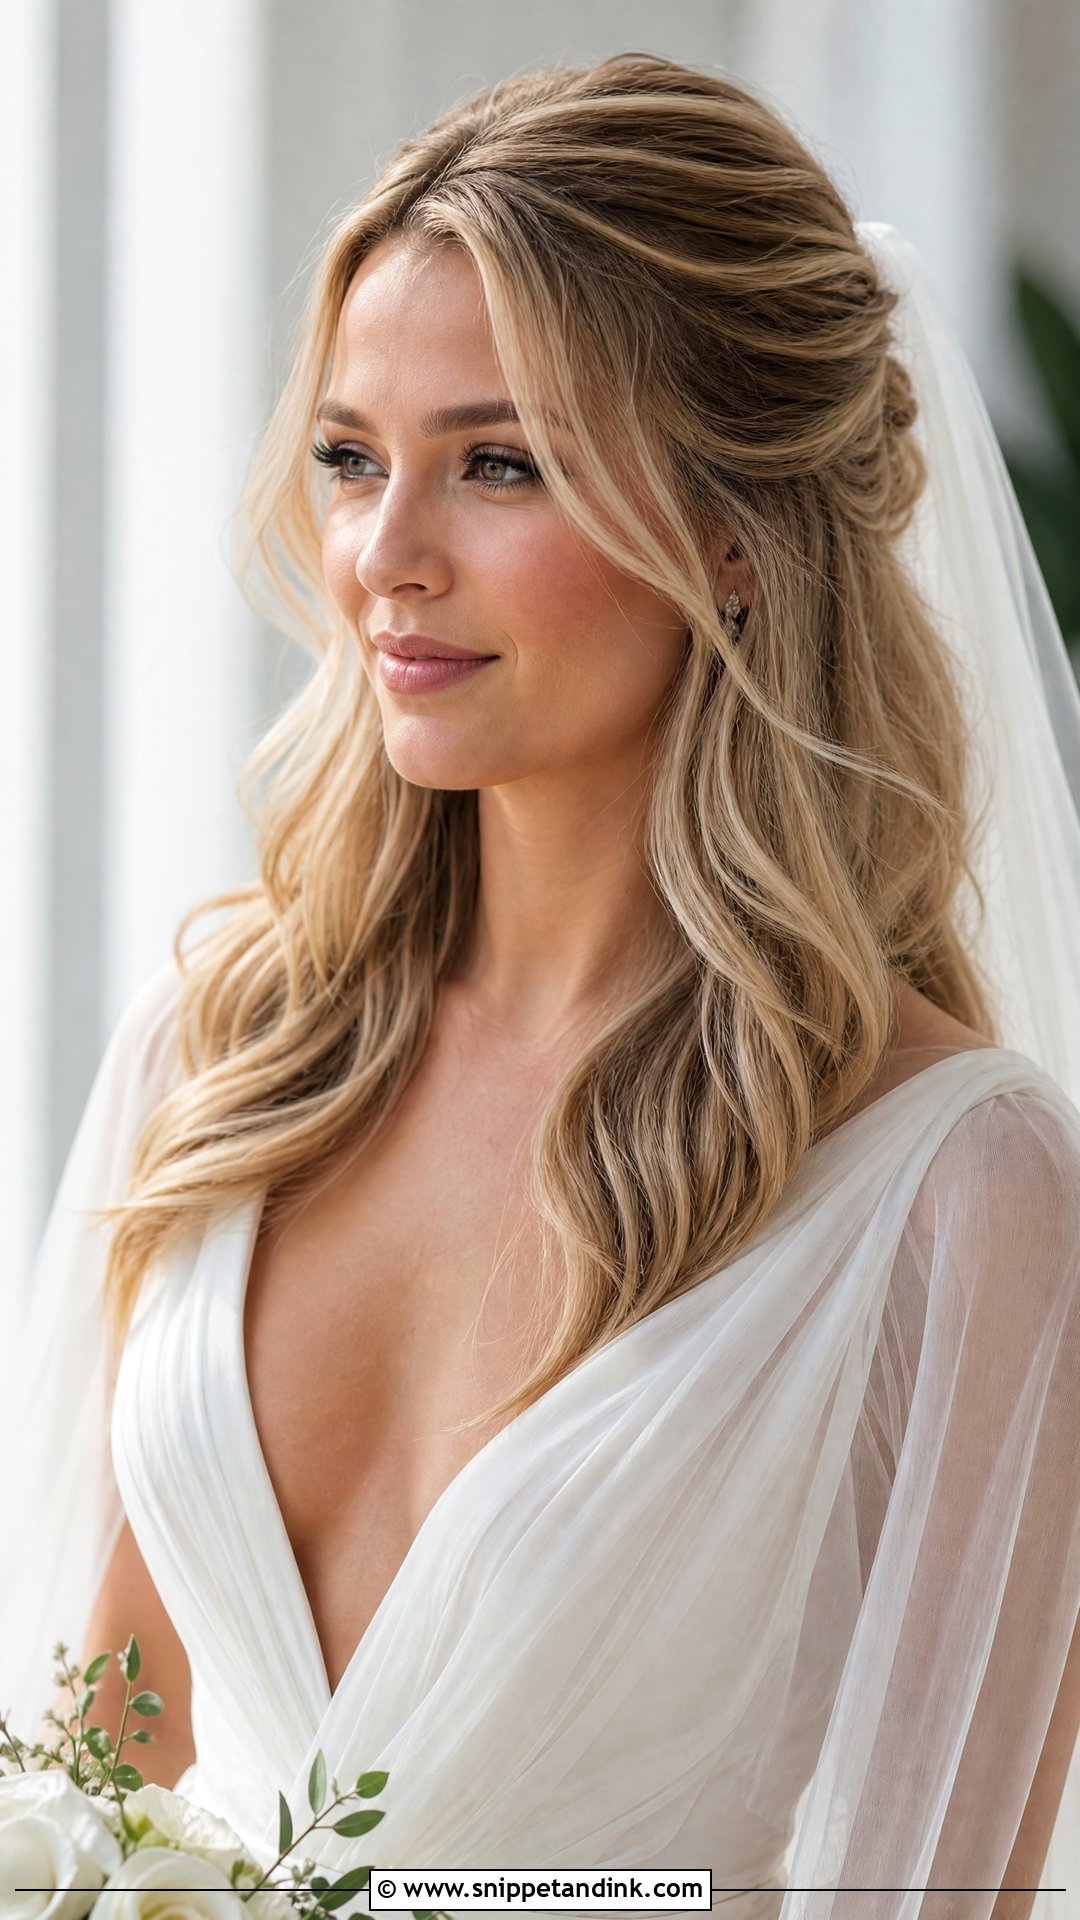
Sometimes the quietest front is the right one. Here the front hair is brushed gently away from the face with no hard slicking, so it moves when you do. It goes with waves, buns and ponytails, and it opens the face for every type of feature. I secure it with pins hidden under the top layer and leave a few wispy pieces out. Where it can go wrong is fine, very straight hair: without texture spray at the root, the sweep flattens and starts to look like hair that simply wasn’t styled. It suits casual and formal weddings alike.
18. Crown Braid Front for Wedding
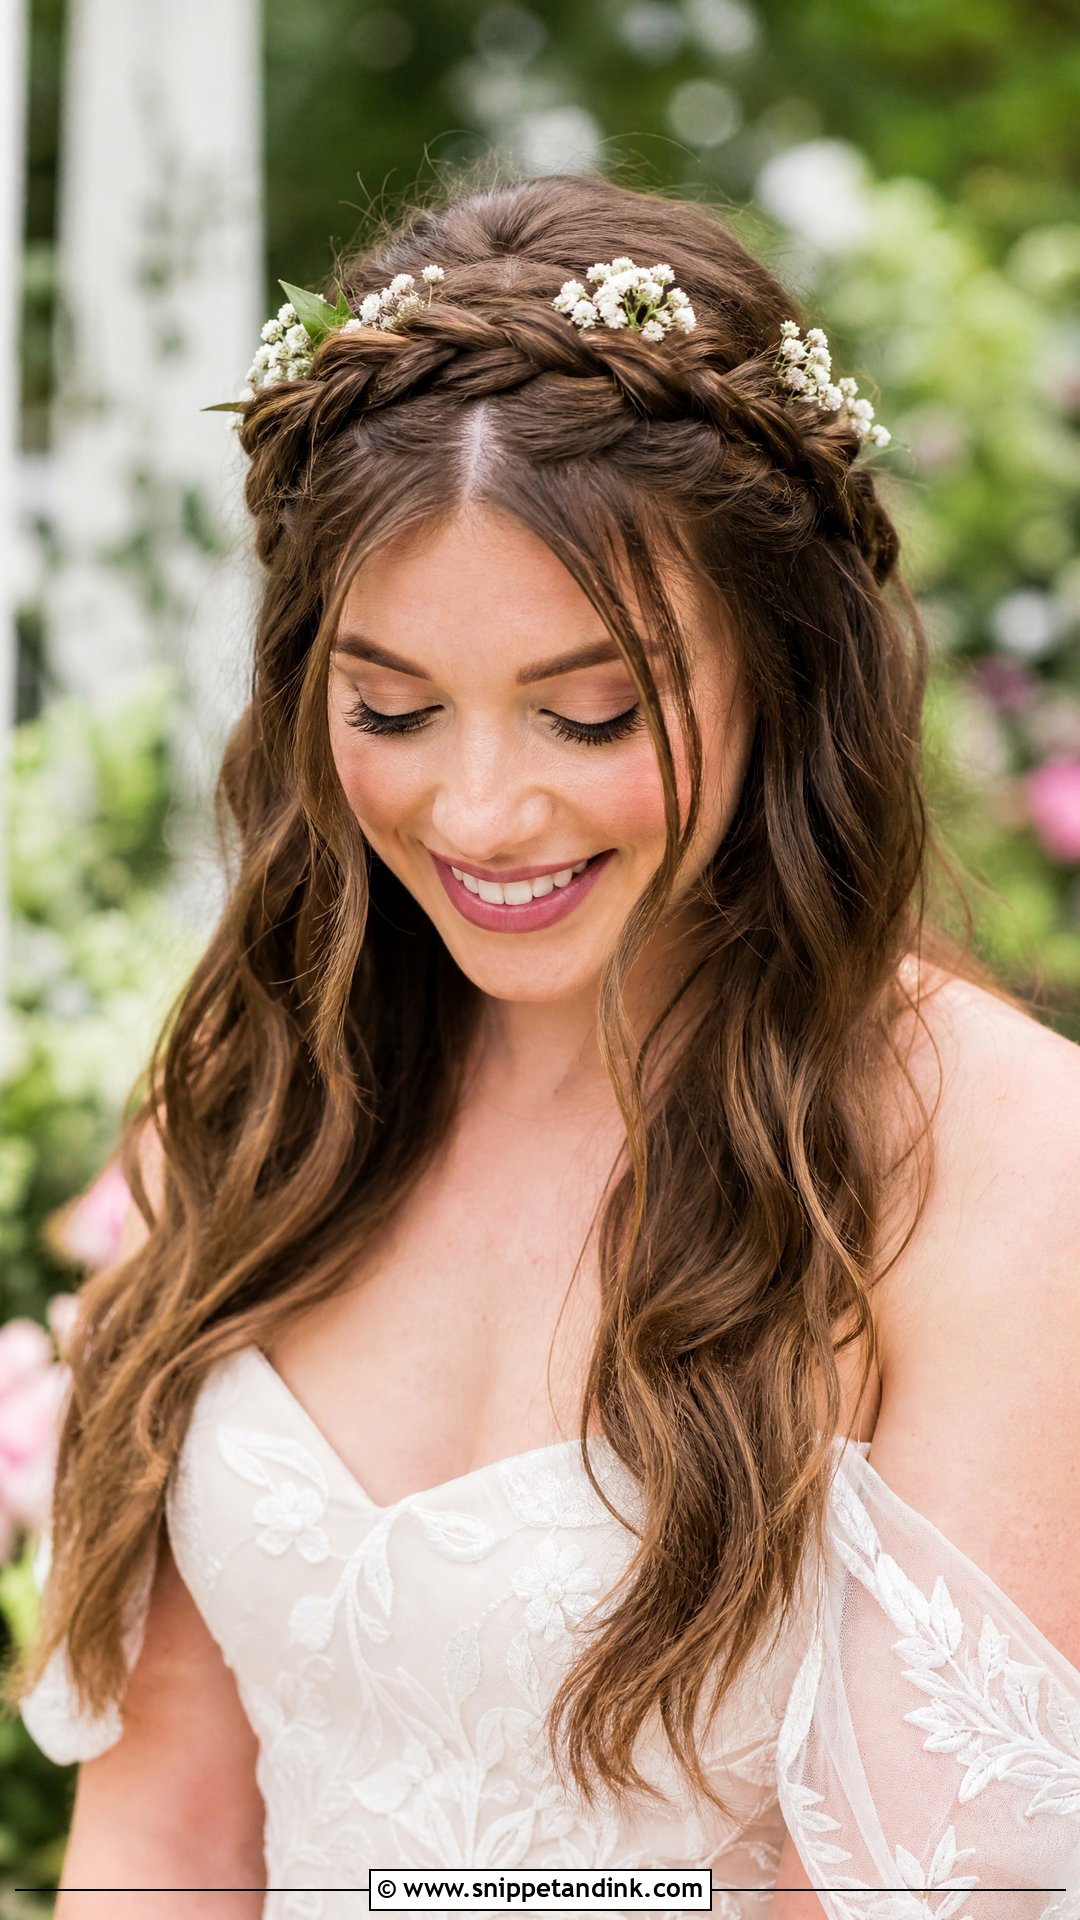
A crown braid wraps around your head like a regal halo. I braid the front and sides, then circle the plaits across the crown and pin the ends under. Every strand is off the face, which makes this one of the most practical styles for a hot day or a lot of dancing. Small flowers or pearl pins tuck into the braid easily. Hair below the shoulders is what makes it work; on shorter lengths I often add a clip-in braid to complete the circle. I’d skip it if you plan to wear a heavy veil comb, because there’s no solid base to anchor it into.
19. Curled Bangs With Updo for Wedding
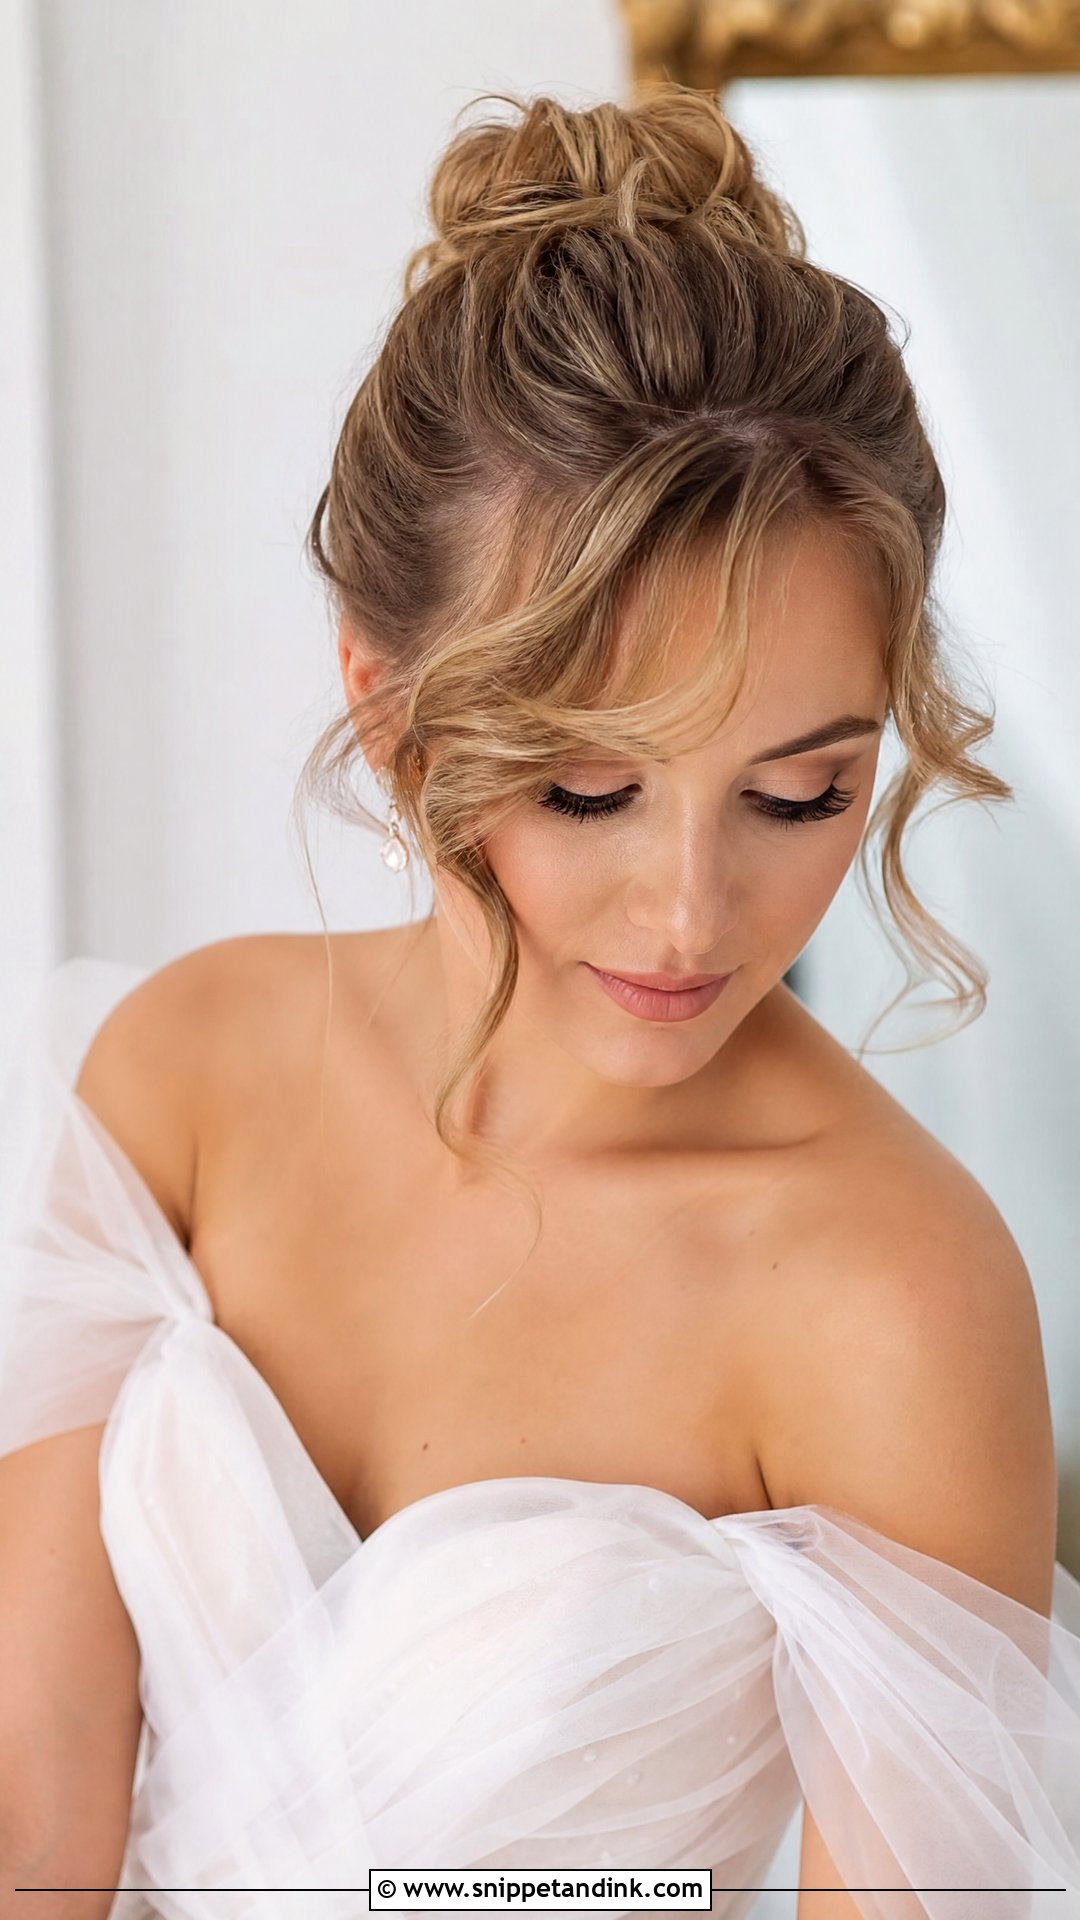
Curled bangs sweep across the forehead over a smooth updo, and they soften the whole look. I use a small wand for a loose bend rather than a tight curl, then break it up with fingers. They flatter round and oval faces especially well. If you already wear a fringe, this is your style; growing bangs in just for the wedding usually ends up awkward in length. On oily skin, a fringe separates by mid-afternoon, so I set it with a little dry shampoo first and pack a small comb in your bag.
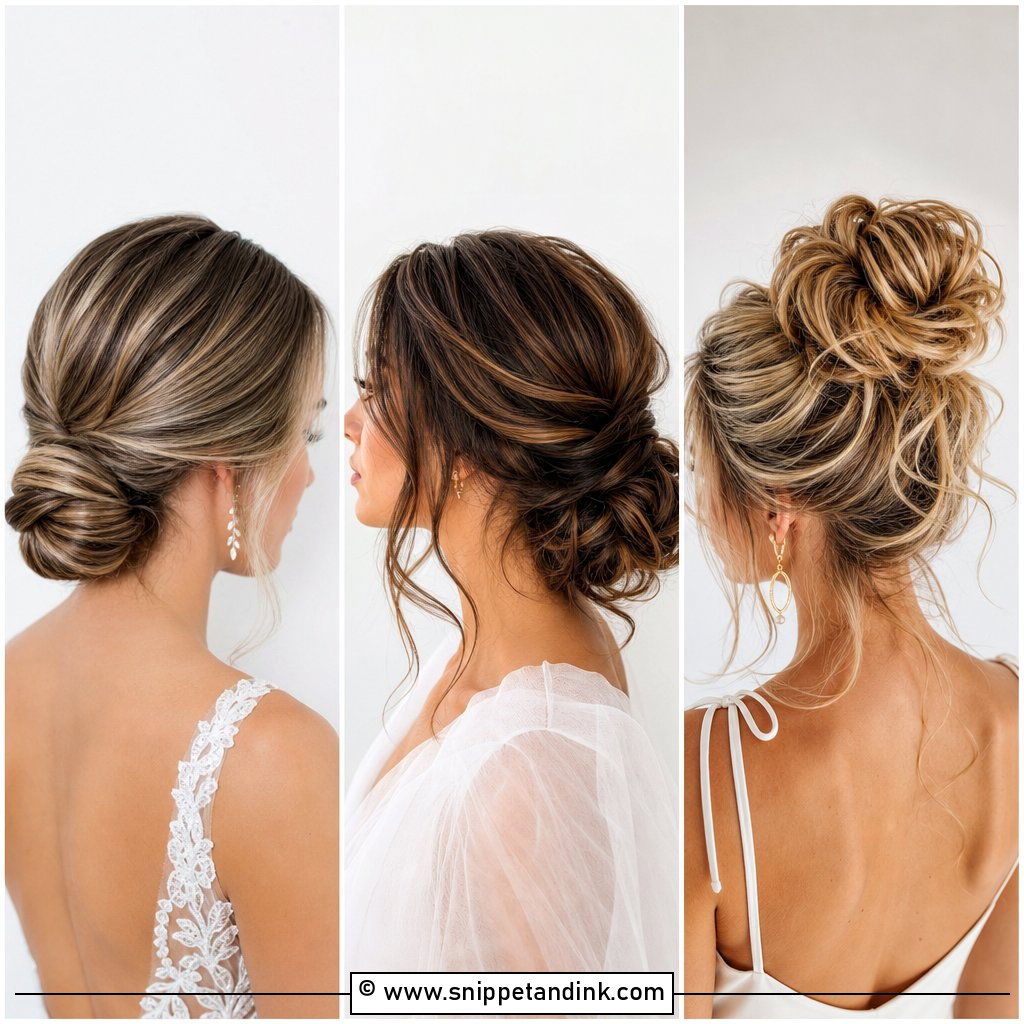
20. Pinned-Back Waves for Wedding
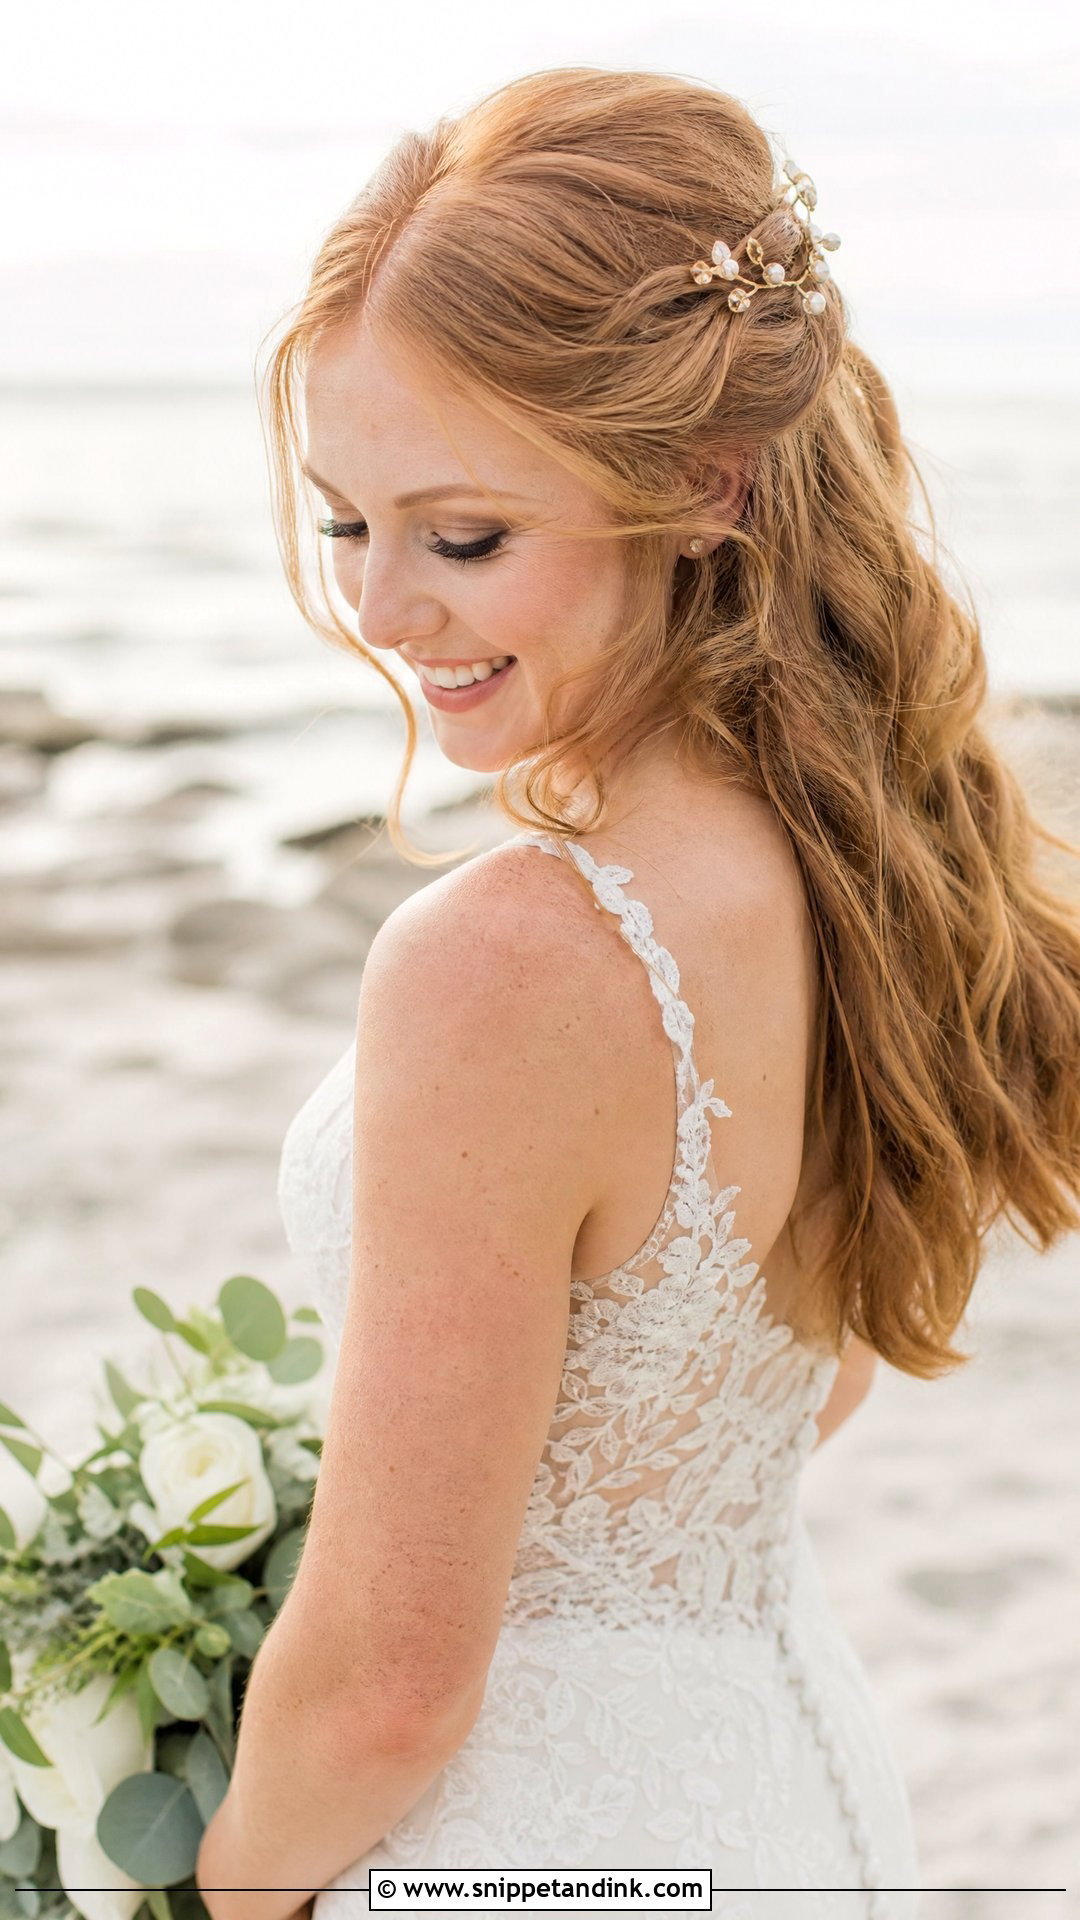
Soft waves through the length, with the front sections pinned gently back, keep the hair out of your eyes while still showing off the texture. It suits half-up and fully down styles. Decorative pins are worth choosing carefully, because they’re doing the holding; I place a plain bobby pin first and slide the decorative one over it, so the pretty pin never takes the strain. This works for nearly every hair type and length. For beach and garden weddings I use more pins than you think necessary, since wind pulls at loose waves from every direction.
Why Front Pieces Go Limp by the Speeches
The front is the first thing to fail and the most visible when it does. Skin oil, a warm room, happy tears and hugging every relative all land on those few inches of hair. Here is what I do so the pieces around your face still have shape at nine in the evening.
Prep starts the day before
Wash the night before or the morning of, and skip conditioner on the front few inches. Silky, freshly conditioned hair is the hardest to curl and the quickest to drop. I add a light texture spray or mousse at the root of the front sections so there’s grip for the curl to hold onto.
Set, cool, then release
A curl takes its shape as it cools, not while it’s hot. I pin every front curl in a flat coil and leave it while makeup finishes, often twenty minutes or more. Brushing out a warm curl is the single most common reason a front style looks flat by the ceremony.
A small kit for your maid of honor
- Six bobby pins in your hair color and two spare decorative pins
- A travel-size flexible hairspray, not a firm one, which goes crunchy on touch-ups
- Blotting papers, so you aren’t pressing oily fingers against the hairline
- A fine-tooth comb for smoothing a fringe or re-tucking a tendril
In real humidity I set the front tighter than you’ll want it at first and warn you about it. It will relax into the right shape by the time you walk out, instead of falling out entirely by dinner.
Test the Front at Your Trial, With the Veil On
The front of your hair shows up in every close photograph of the day, so it deserves more of your trial time than the back. Bring your veil or headpiece, a photo of your neckline, and wear a top with a similar cut. I’d book the trial four to eight weeks out and wear the style for the rest of that day, checking it in a mirror every couple of hours to see what drops first. Whatever you pick from these twenty, choose it for how it behaves on your hair, not only how it looks in a picture.
You'll Like These Ideas:


Leave a Reply