
Doing your own wedding hair is very possible, but the styles that survive are the ones built for two hands, one mirror and a clock that keeps moving. You do not need a salon chair for a bridal look, a bridesmaid look or a wedding guest hairstyle. What you do need is honesty about your hair: how long it is, how fast it drops a curl, and how much it fights pins. I’ve picked the looks below because each one can be built with a curling iron, bobby pins and a decent spray, and I’ve noted where each tends to go wrong when you’re working on the back of your own head.
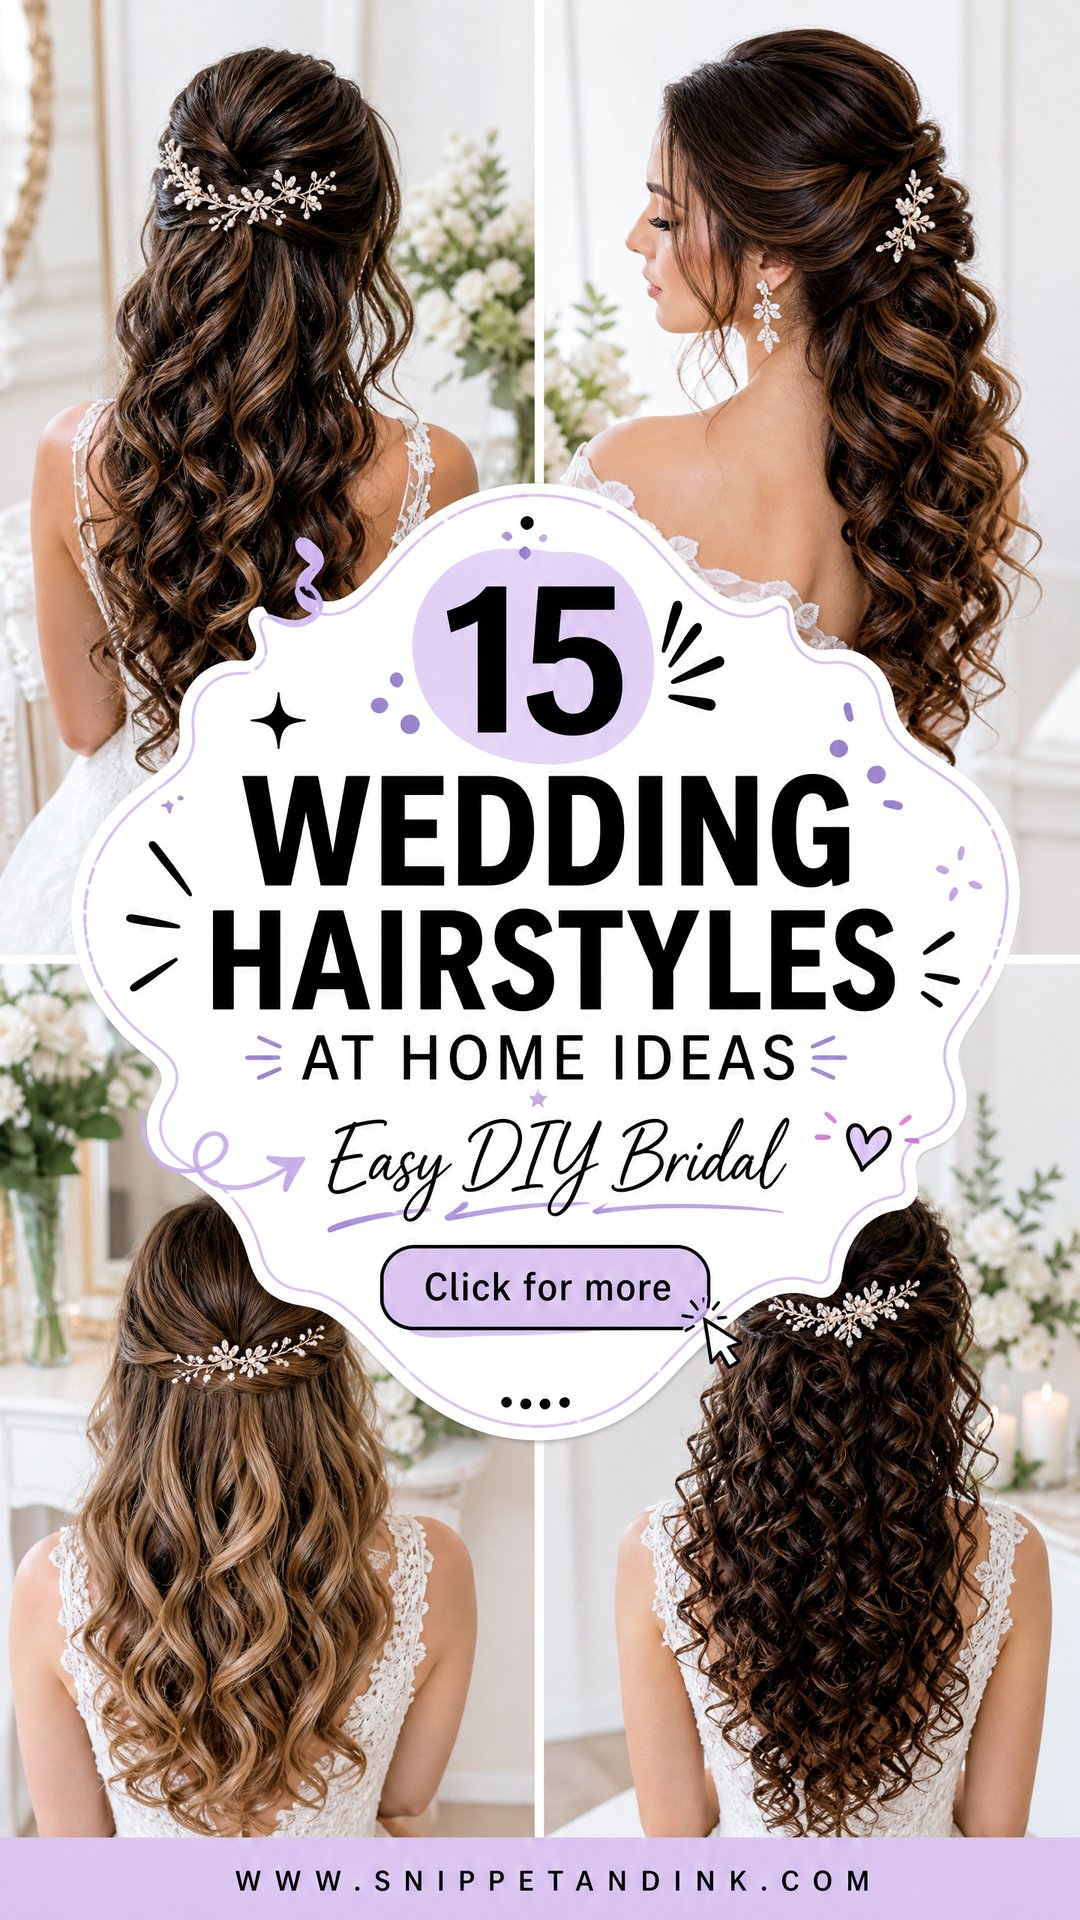
Setting Up a Mirror Station So You Can Actually See the Back
Most at-home styles fail because the person styling can’t see where the pins are going. Before you practise anything, set up your space the way I’d set up a station: a large mirror in front of you, a hand mirror or a second mirror behind, and good light coming from the front rather than overhead. Overhead bathroom light hides bumps at the crown that a camera flash will find later.
- Lay out pins by type before you start: bobby pins for gripping, open U-pins for shaping buns and twists. Fumbling in a jar with one hand holding a section is where styles collapse.
- Use pins that match your hair color, and keep the wavy side facing your scalp. That ridged side is what grips.
- Section with clips, not elastics. Elastics leave dents in hair you plan to wear down.
- Prop your phone on a shelf behind you and record a short video. Watching it back is easier than twisting toward a mirror.
Give yourself more time than the tutorial says. Your hands tire when they’re held above your head, and tired arms rush the last pins, which are usually the ones holding everything up.
1. Low Chignon Wedding Hairstyle
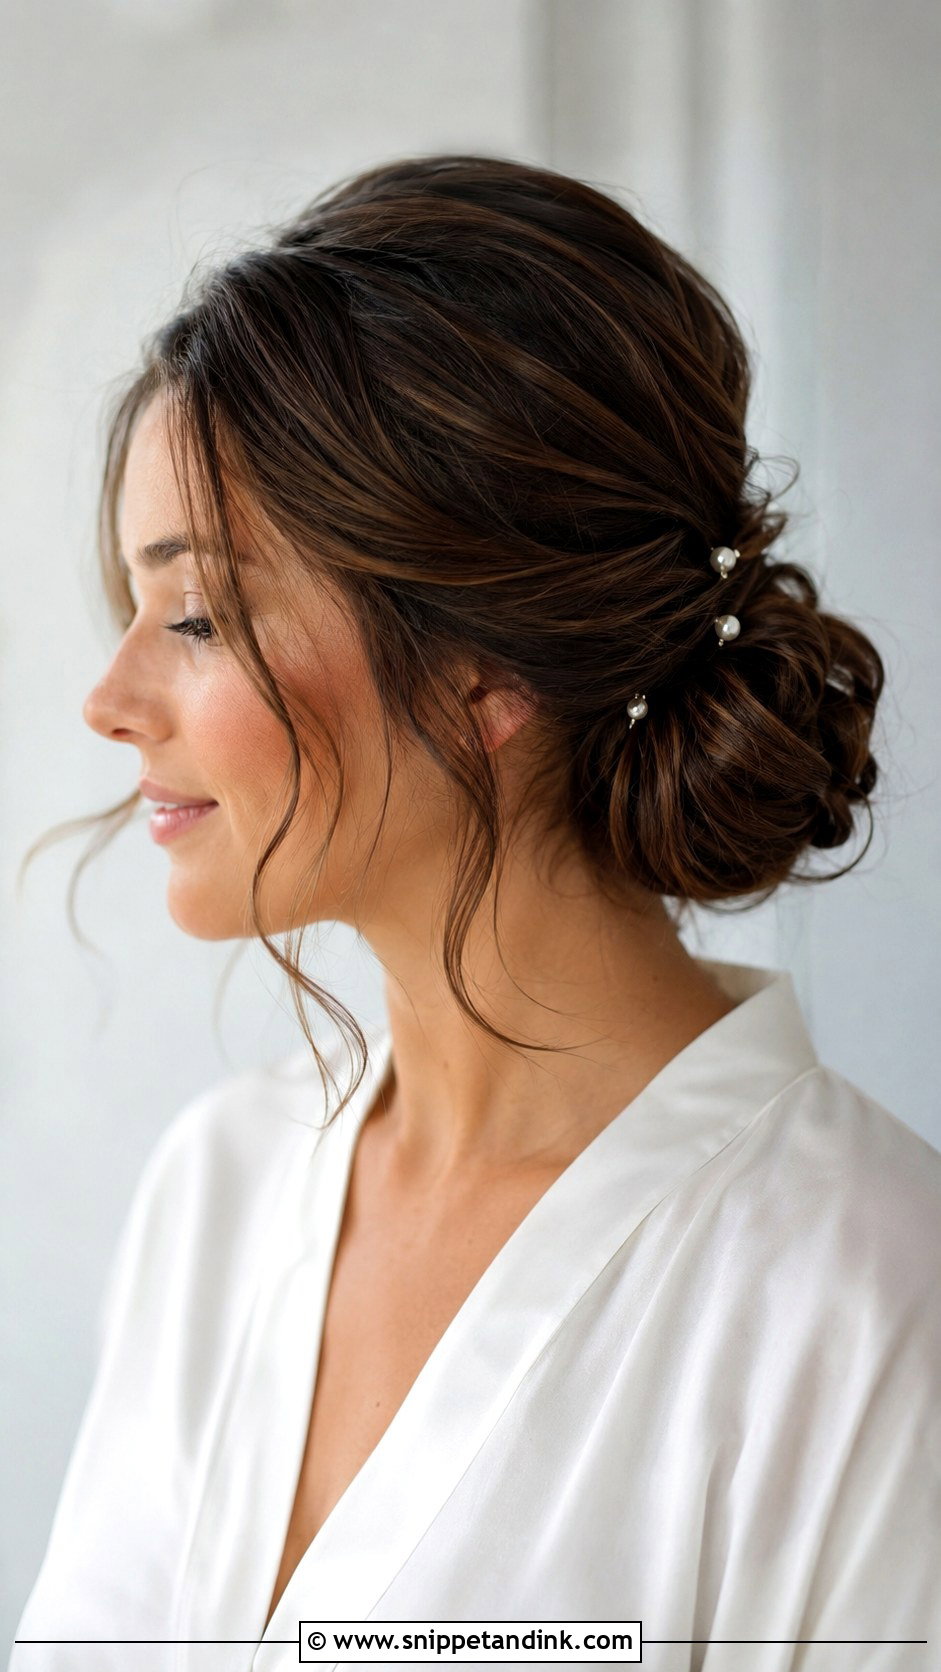
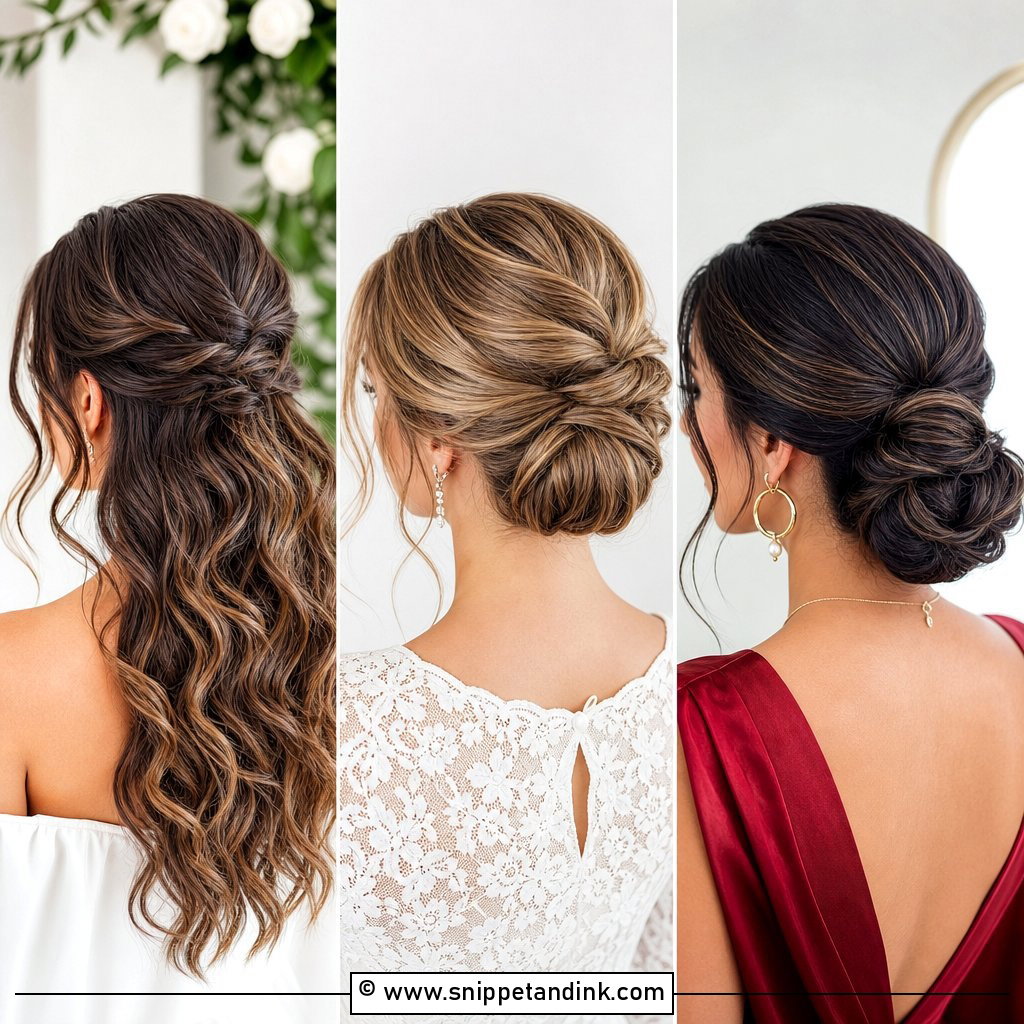
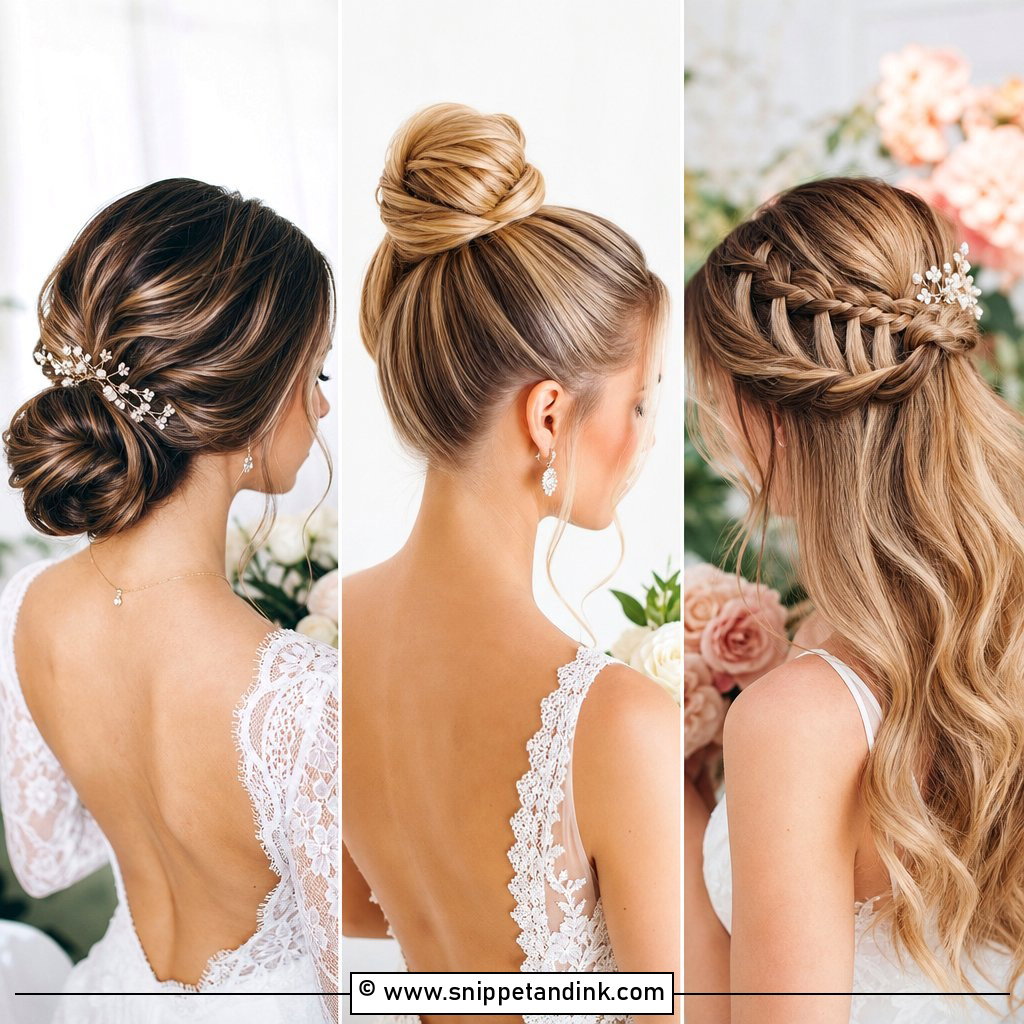
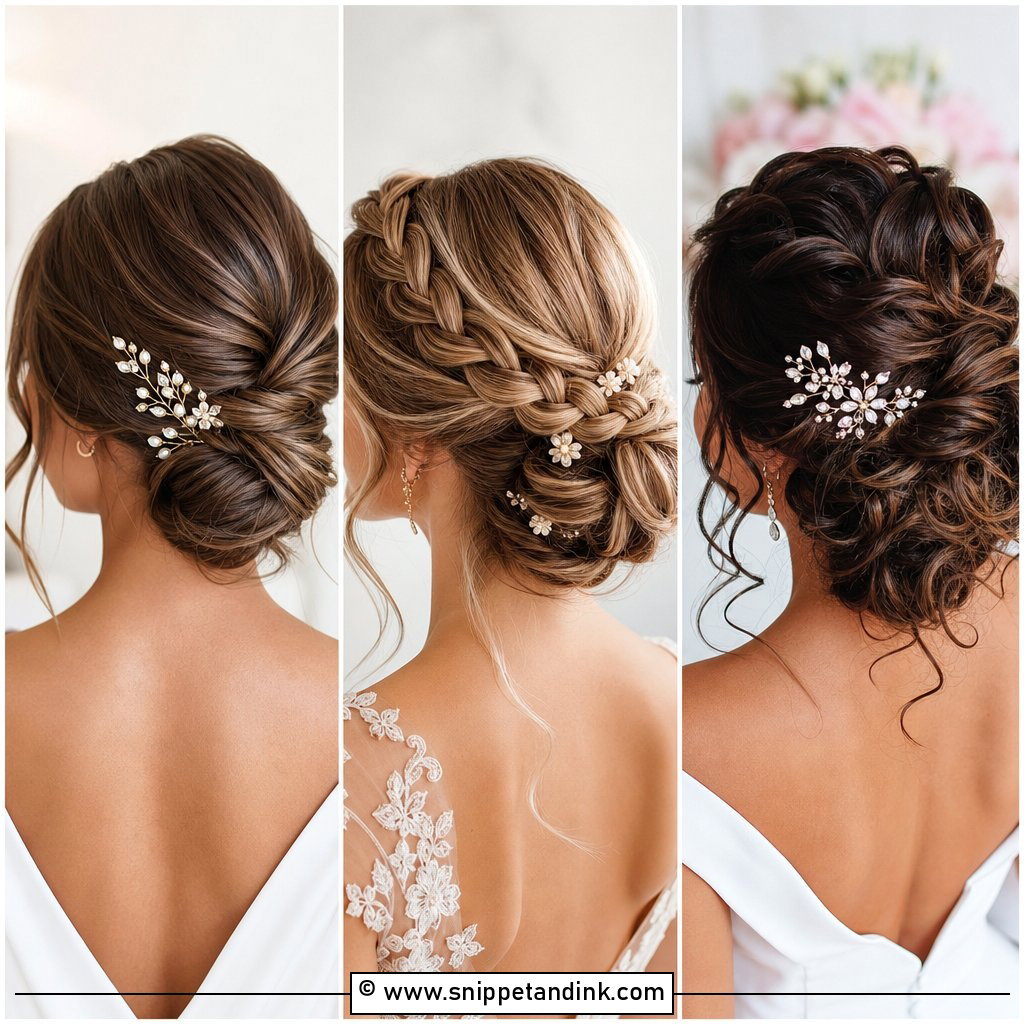
If I could only teach one of the wedding hairstyles at home, it would be this one, because the nape is the easiest place to reach without twisting your arms behind you. Gather softly curled or smooth hair low, twist it into a bun, and pin it with pins that match your hair color. The trick most people miss: slide each pin in against the direction of the twist, catching a little of the scalp hair underneath, or the bun will slowly sag by evening. It sits neatly under a veil comb and stays tucked in humid weather. Leave out a few face pieces and finish with a light spray rather than a lacquer.
2. Half Up Half Down Wedding Hairstyle
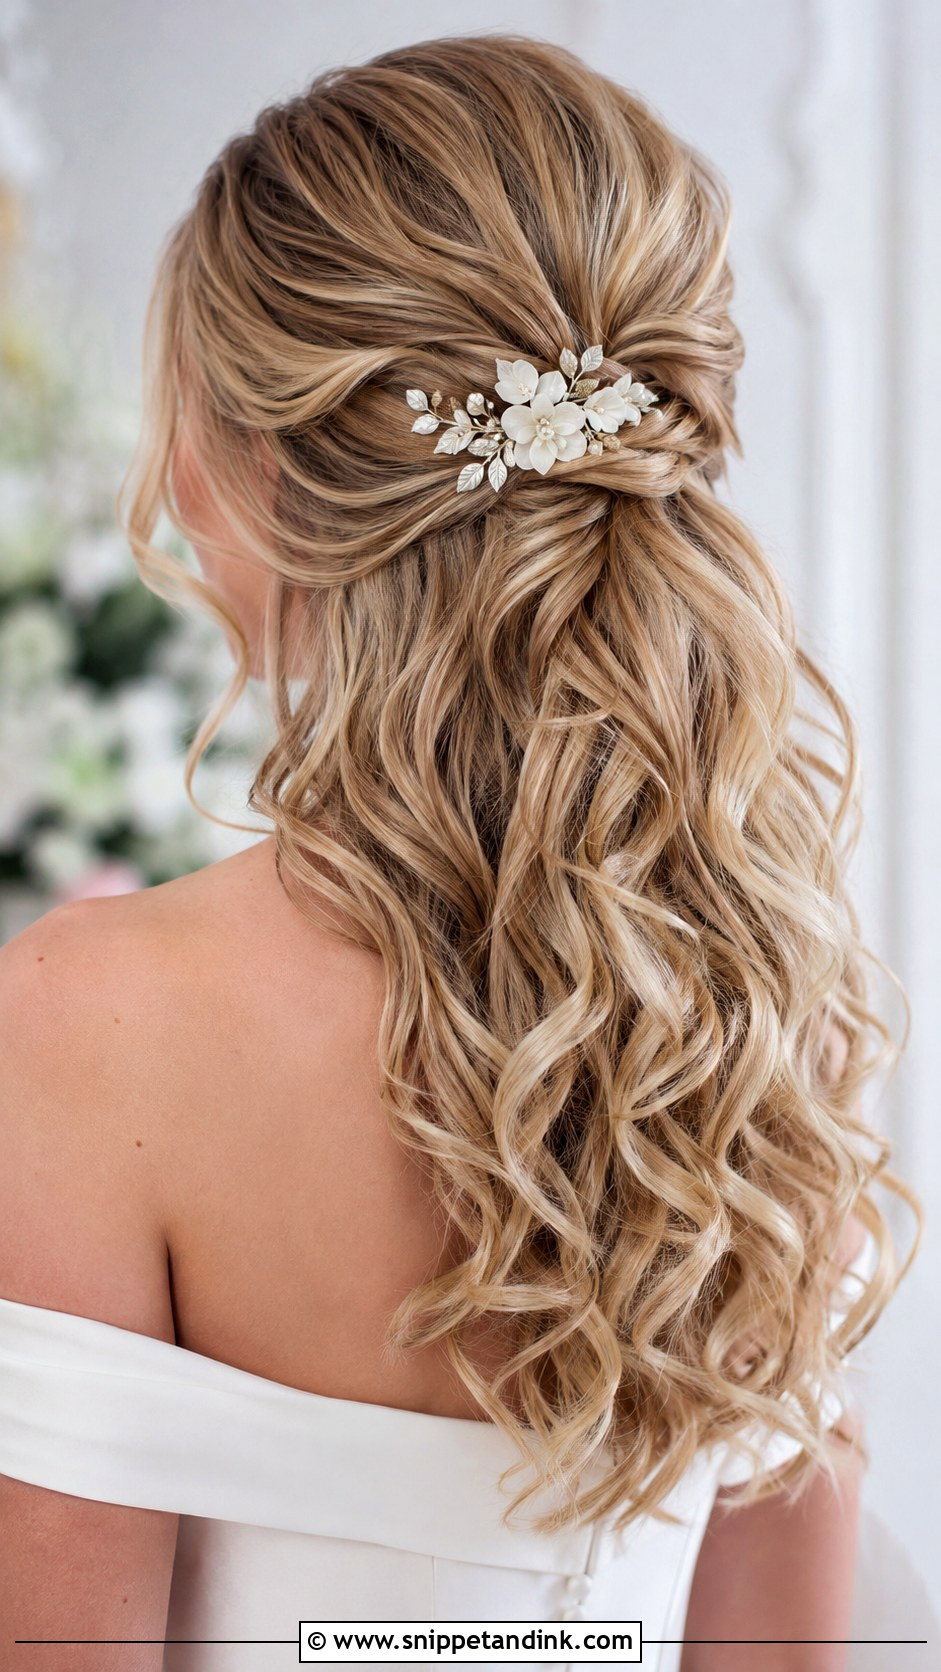
Half up hair gives you length and keeps your face clear, and it forgives a wobbly hand because nobody can see perfect symmetry from the back. Curl everything first, then take two sections from the front, bring them behind your crown and pin them where they meet. Twist or braid them if your hair is slippery; plain sections slide on freshly washed hair. On very fine hair, I’d backcomb a little at the crown before pinning so the section has something to sit on. A pearl barrette over the join hides any mess.
3. Loose Curls Wedding Hairstyle
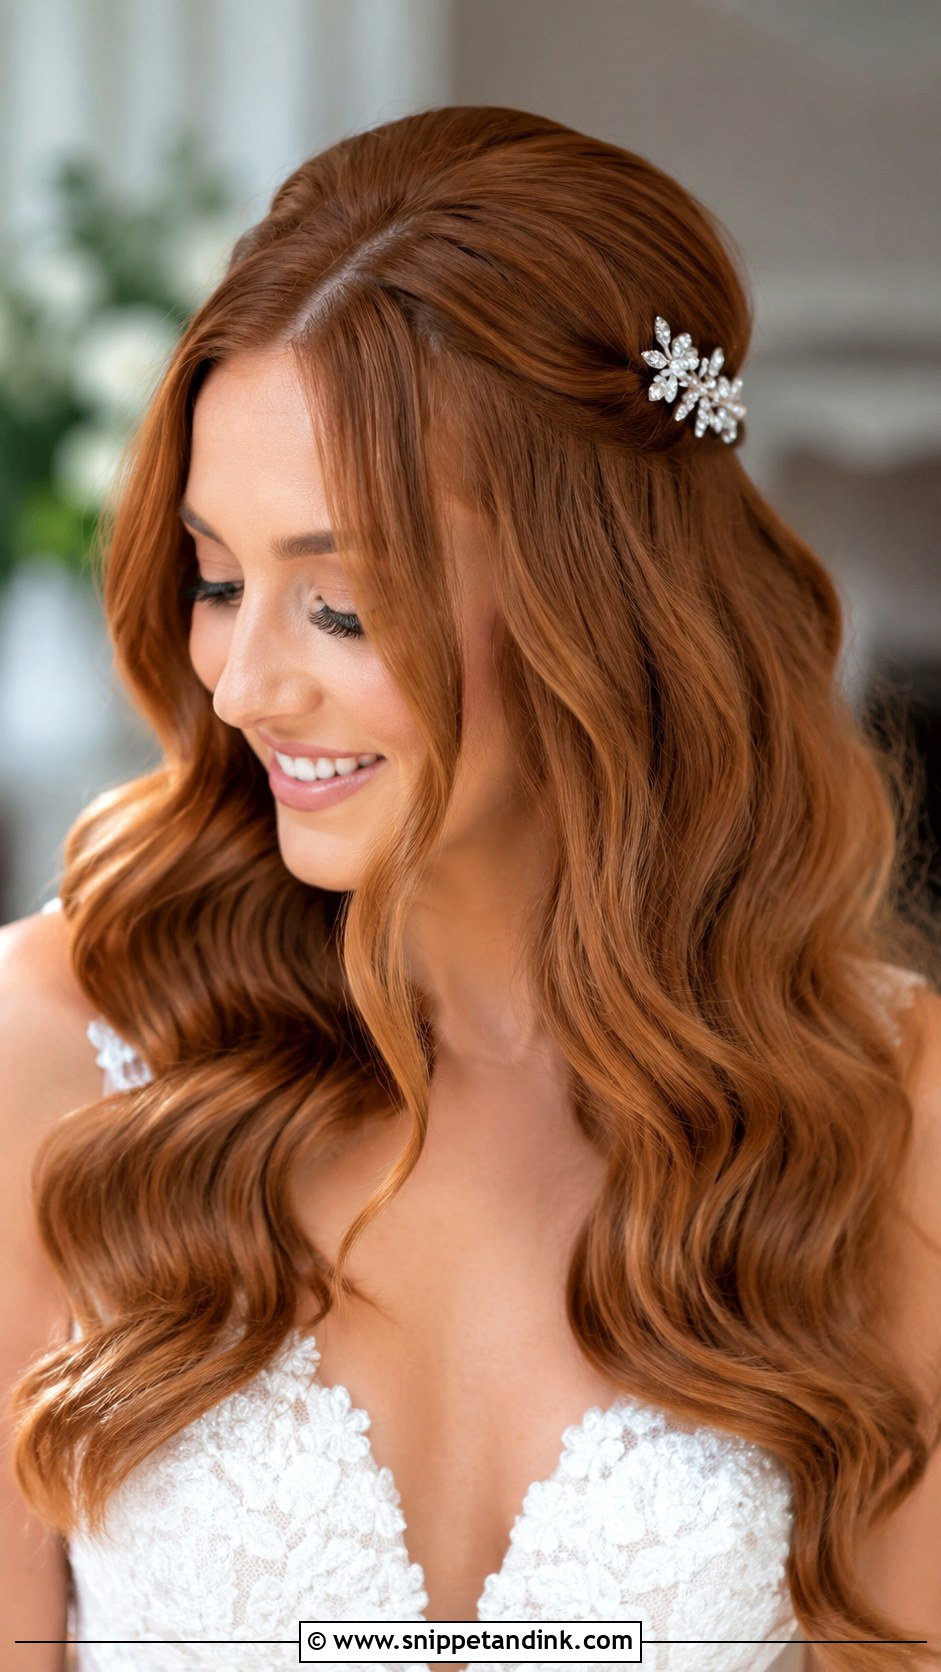
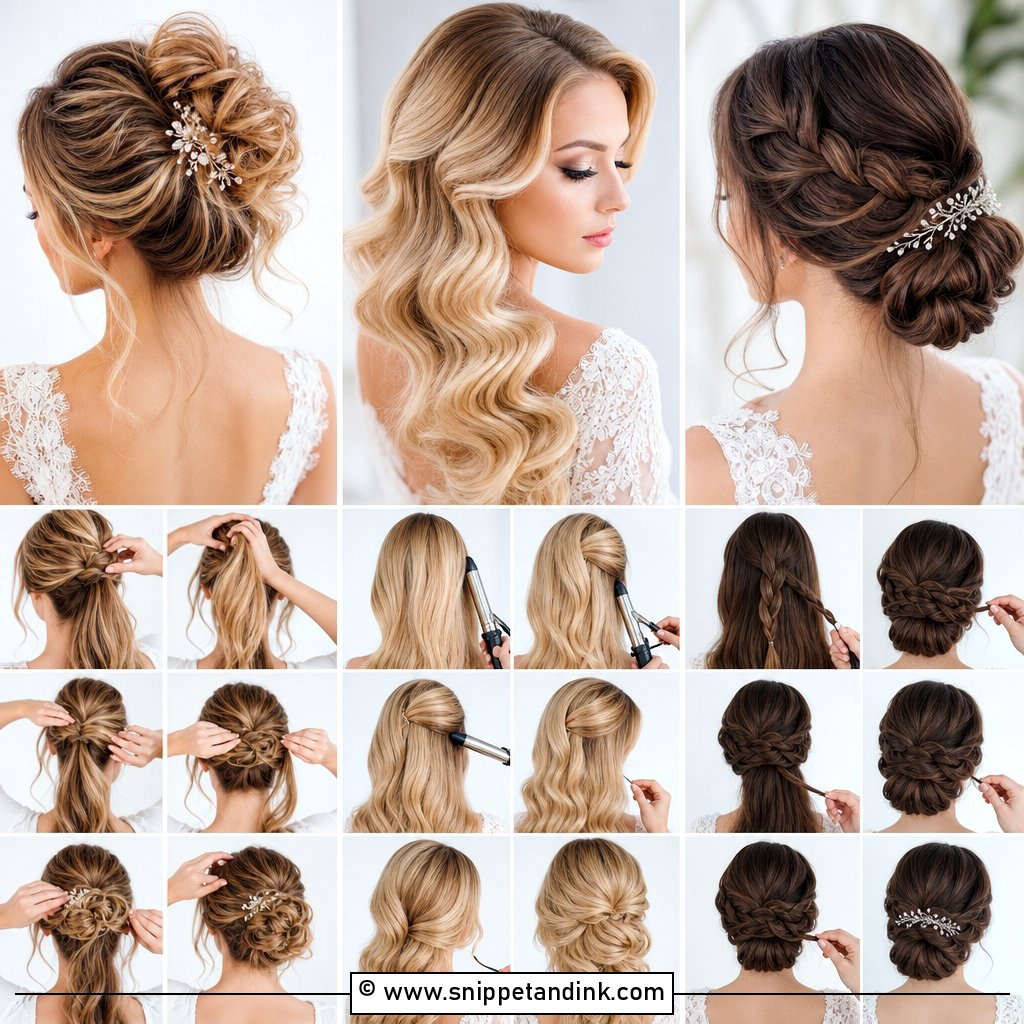
The curl itself is rarely the problem. The problem is brushing it out while it’s still warm. Curl away from your face with an iron or heatless rollers, then let each curl cool completely before you touch it; pinning the coil flat against your head while it sets makes a huge difference on hair that drops by lunch. Prep with mousse at the roots before drying if your hair is straight and heavy. Once cool, brush through gently with a paddle brush and use a flexible spray, never a crunchy one, so the curls still move under a veil or clips.
4. Braided Crown Wedding Hairstyle
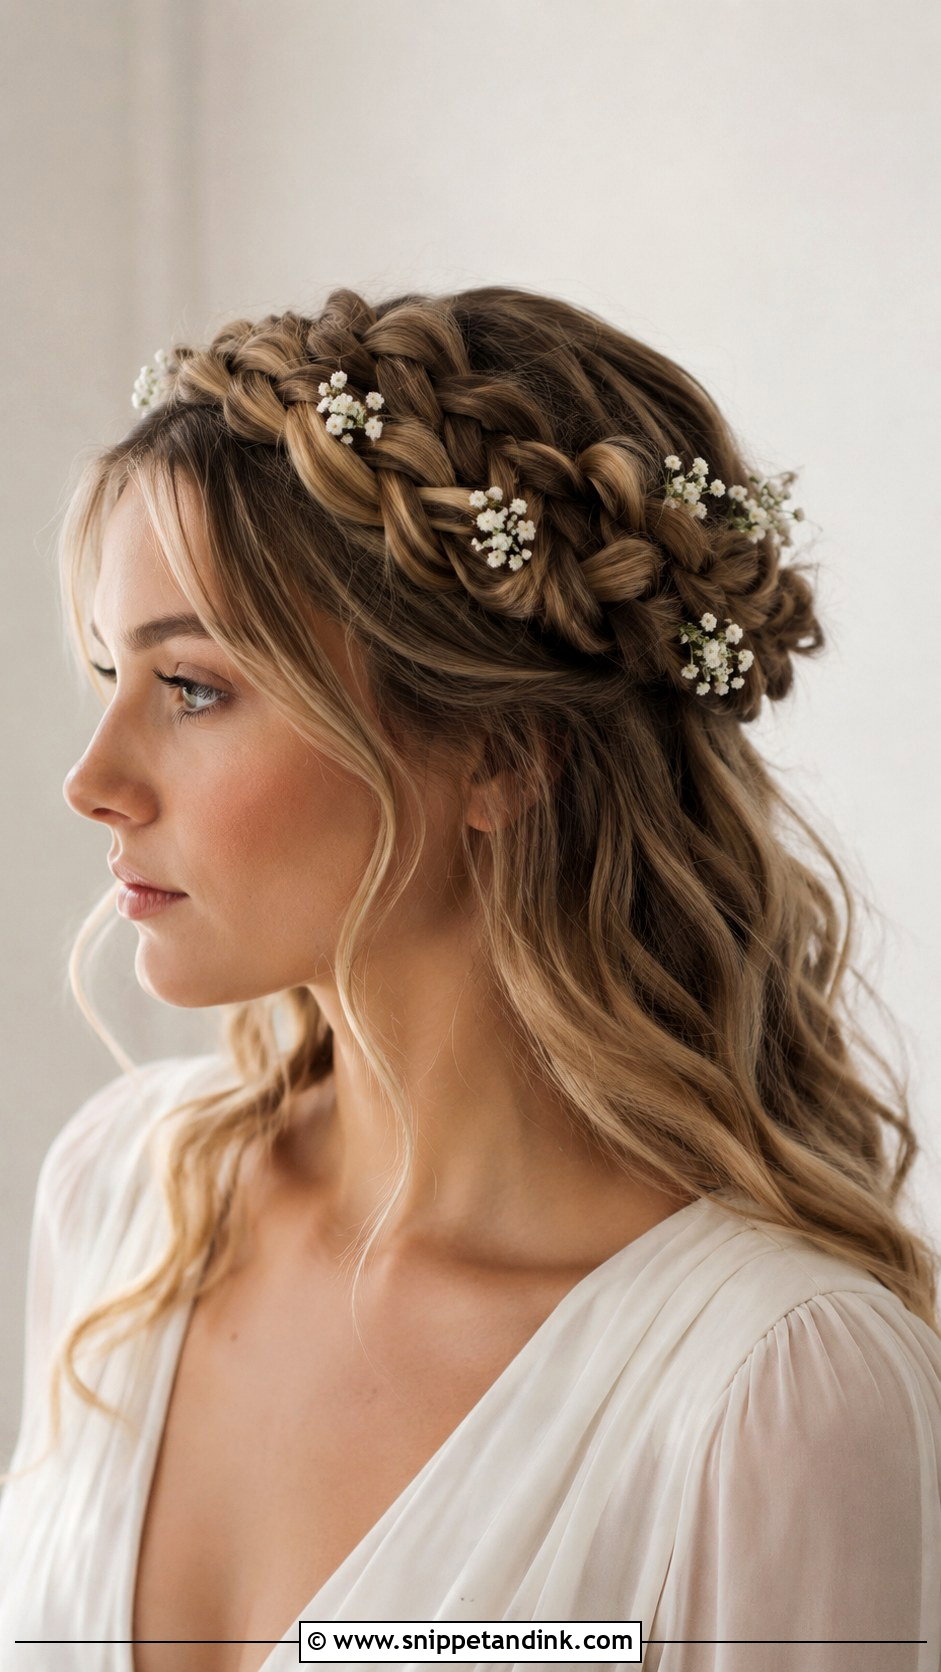
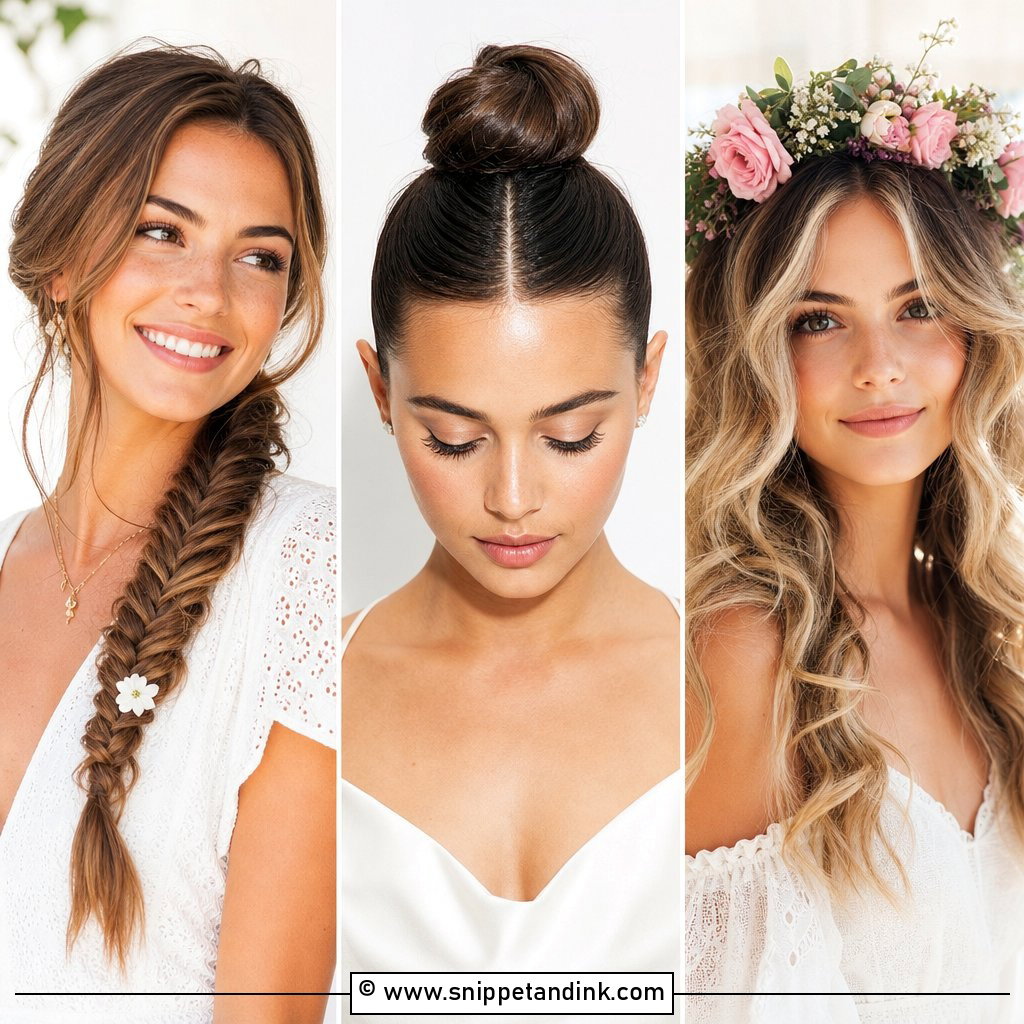
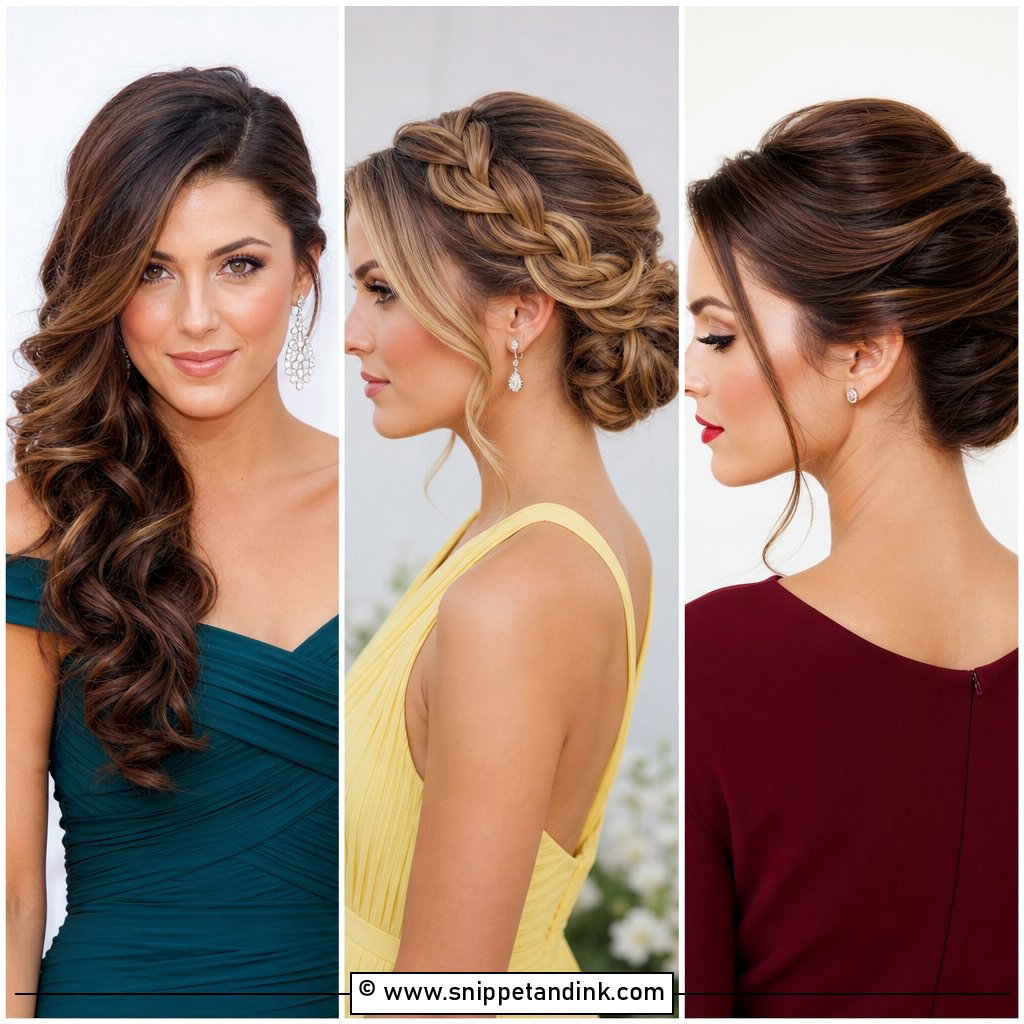
Second-day hair is your friend here. A braided crown needs grip, and clean, silky hair lets the braids slip apart before you’ve even pinned them. Braid one section on each side, wrap them across the top or back of the head, and pin into the braid itself, not just over it. Then pull the edges of the braids apart gently to widen them. It suits a garden or boho dress, and the rest of the hair can stay wavy or go into a low bun. If you add fresh flowers, push the stems into the braid last so they aren’t crushed while you work.
5. Sleek Low Bun Wedding Hairstyle
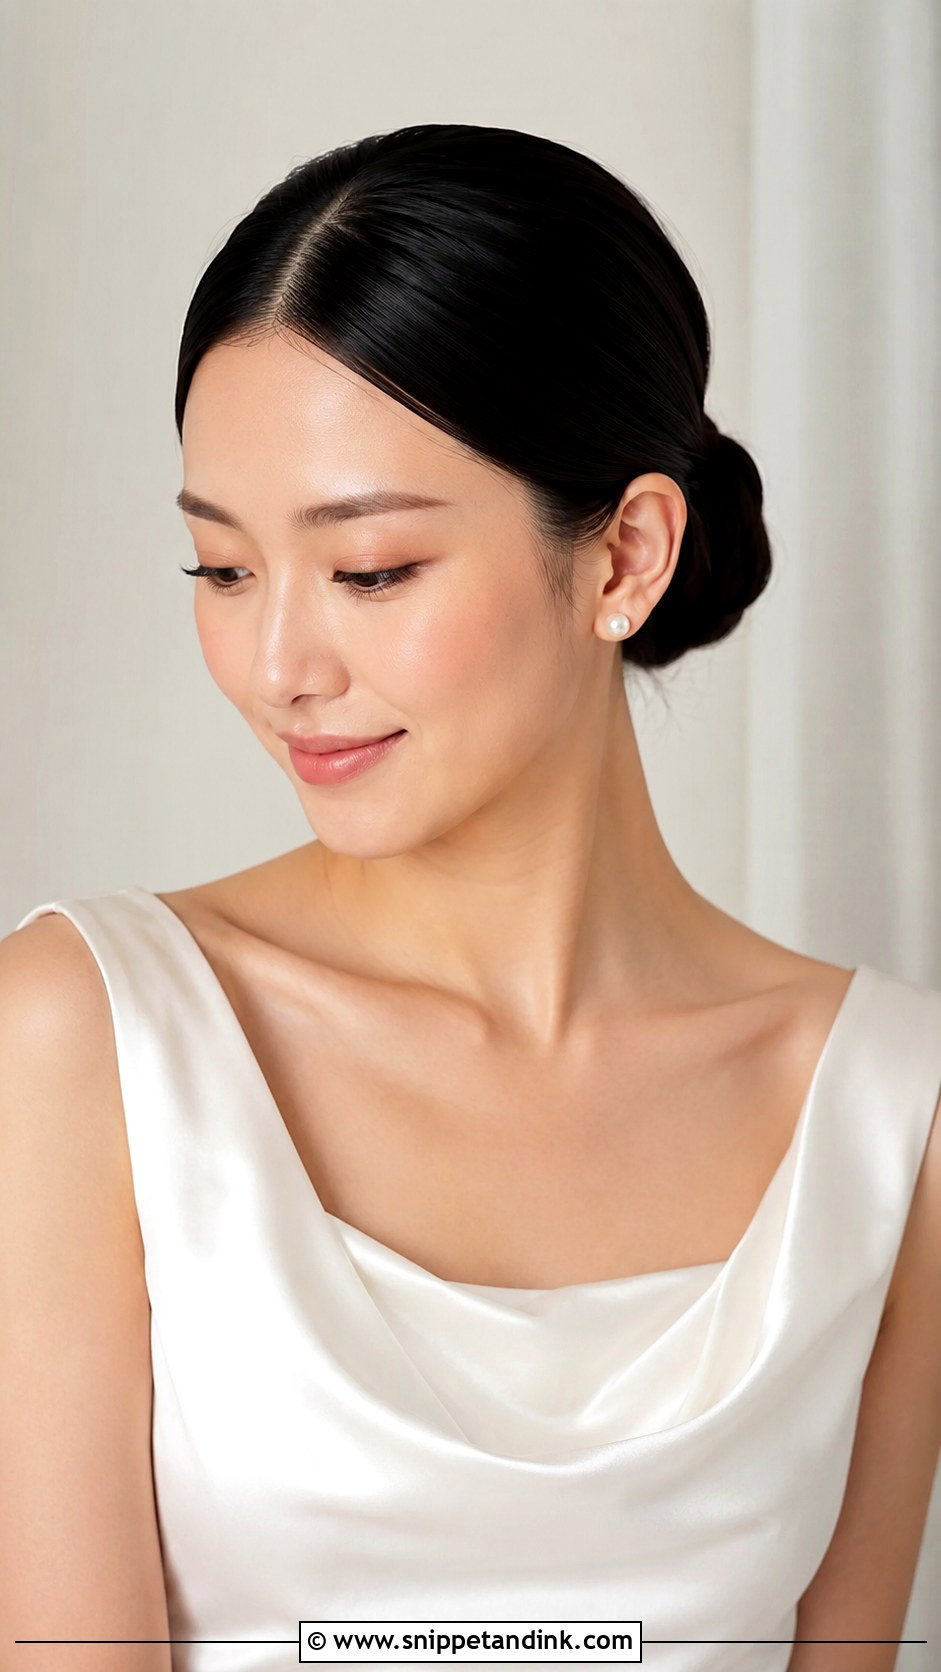
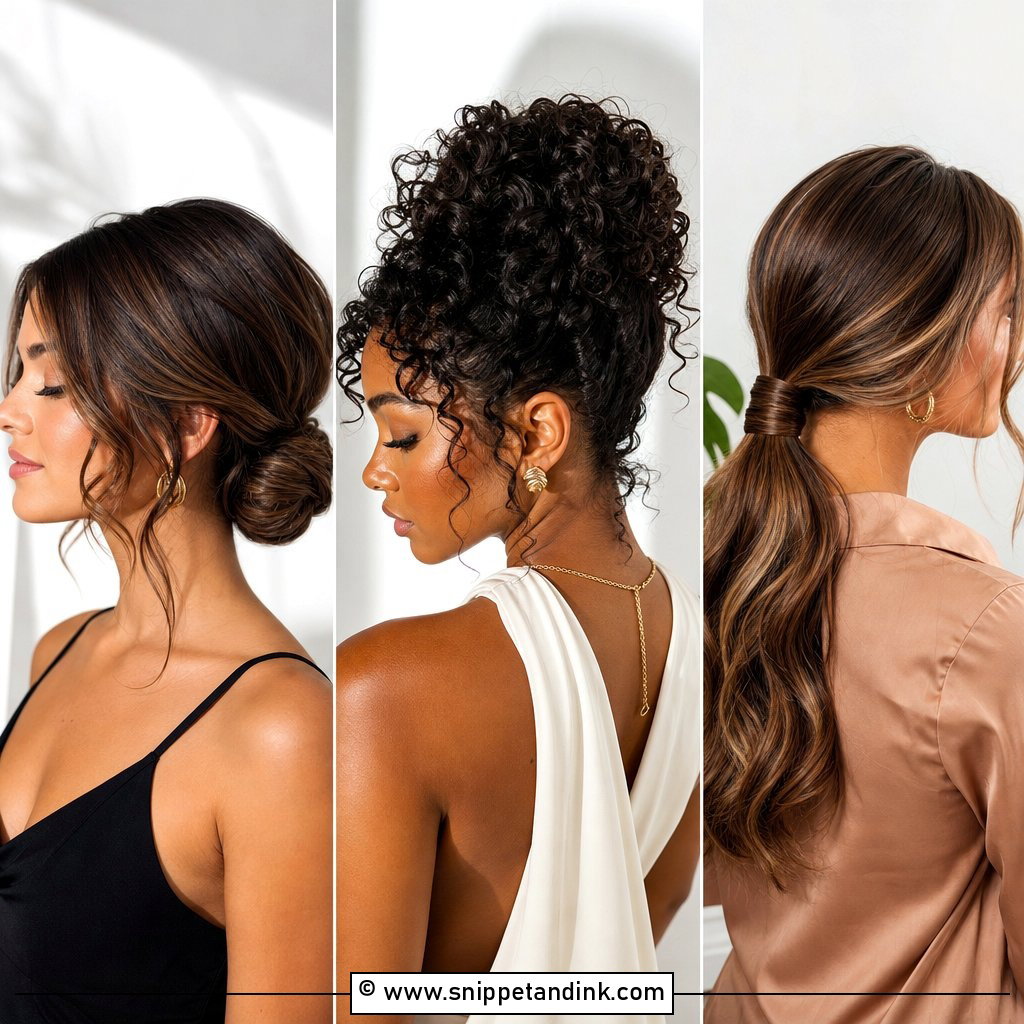
A sleek low bun shows every bump, so this one is about smoothing rather than styling. Part your hair, brush it back with a little cream, tie a low ponytail and twist it into a bun pinned close to the neck. I always smooth a second time after the elastic is on, because the first tie pulls little ridges into the sides. Straight hair shines beautifully in this shape, and it suits a minimal satin dress or a high neckline with statement earrings. A clean toothbrush misted with spray handles flyaways at the hairline. Curly hair can do it too, but needs more cream and patience.
6. Messy Bun Wedding Hairstyle
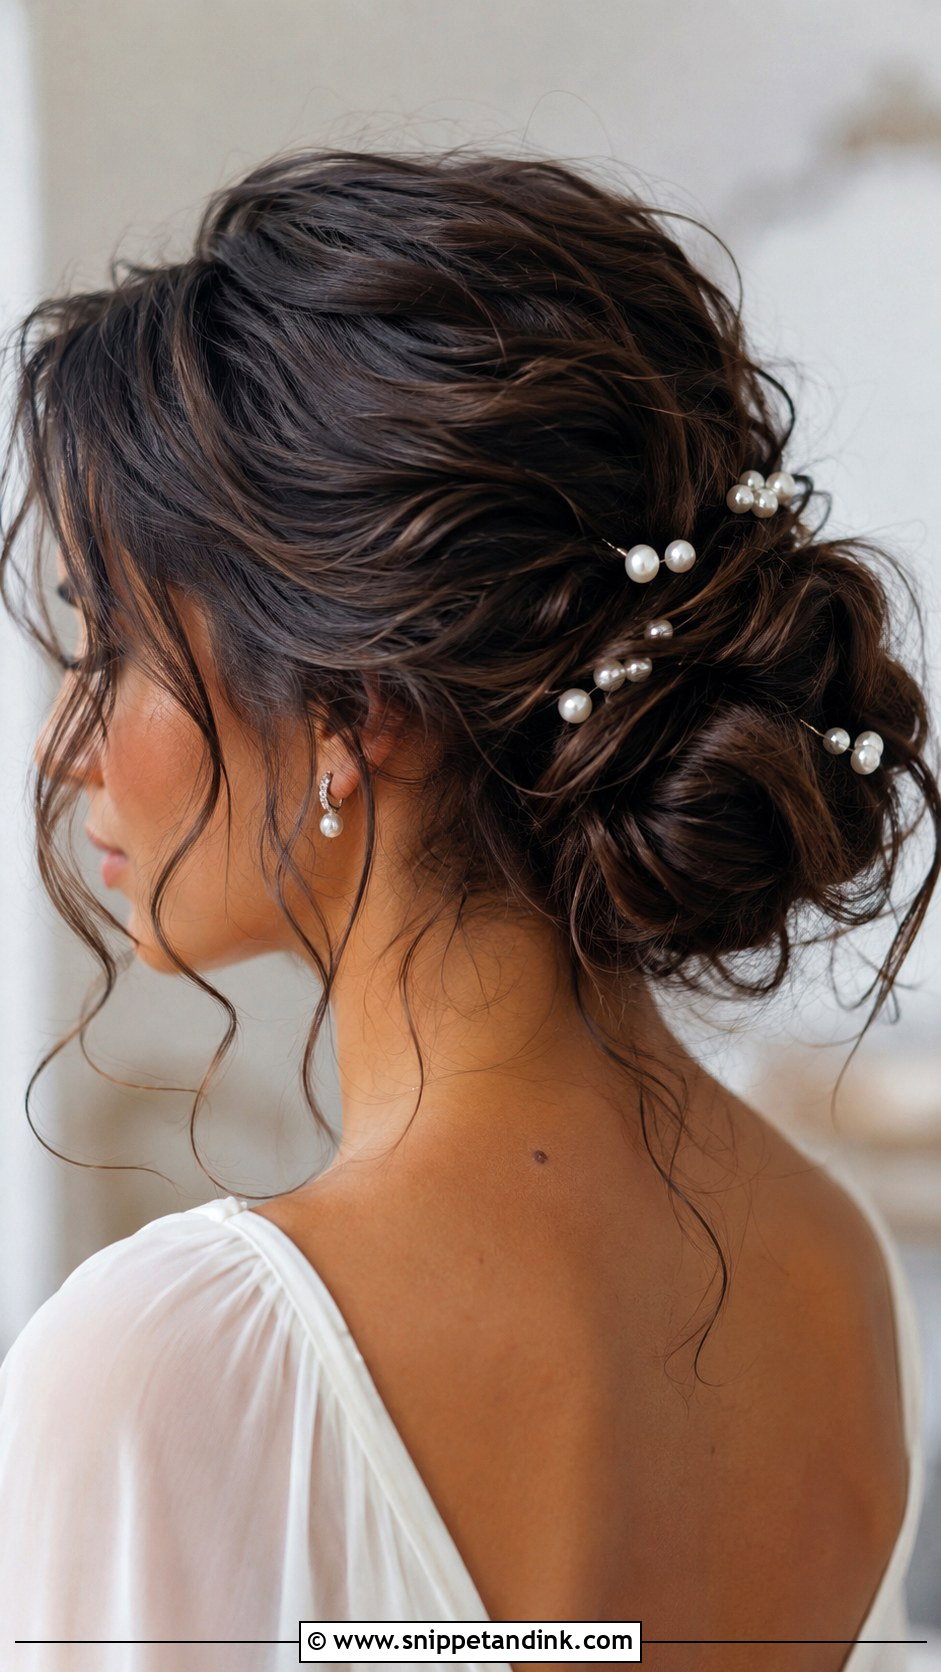
Messy is harder than it sounds, because a bun that’s genuinely untidy just looks unfinished in photos. Build it in pieces: curl first, gather the hair loosely at low or mid height, then pin small sections one by one around the base instead of twisting everything into one knot. That’s what gives the full, airy shape. Layered hair loves this style since the shorter pieces tuck in as part of the texture. Pull out a few strands at the face and neck, spray with texture spray, and stop fiddling once it looks soft, not before.
7. Side Swept Curls Wedding Hairstyle
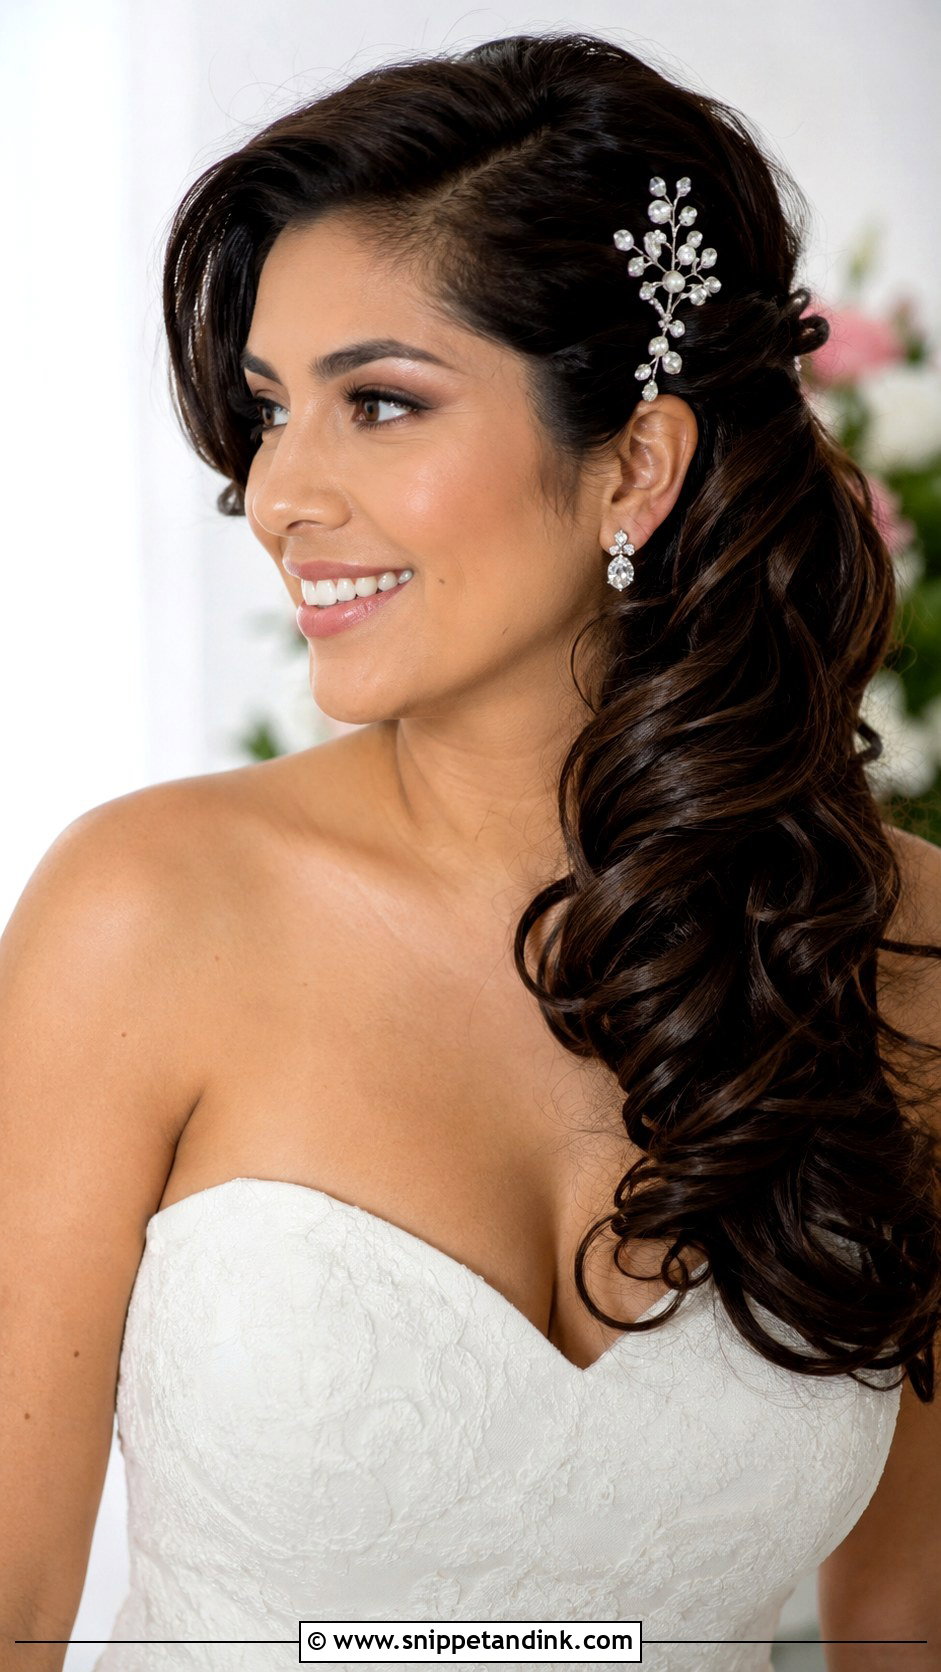
Side swept curls are a good choice if you can’t reach the back of your head well, because almost all the work happens on one side. Curl all your hair, tease the roots lightly behind one ear, then sweep everything over the opposite shoulder and cross two pins in an X behind the ear to anchor it. A decorative comb or pearl clip covers the pins. This shape suits a one-shoulder or strapless dress, and the curls stay visible from the front. Brush the curls together at the end so they read as one smooth mass.
8. High Ponytail Wedding Hairstyle
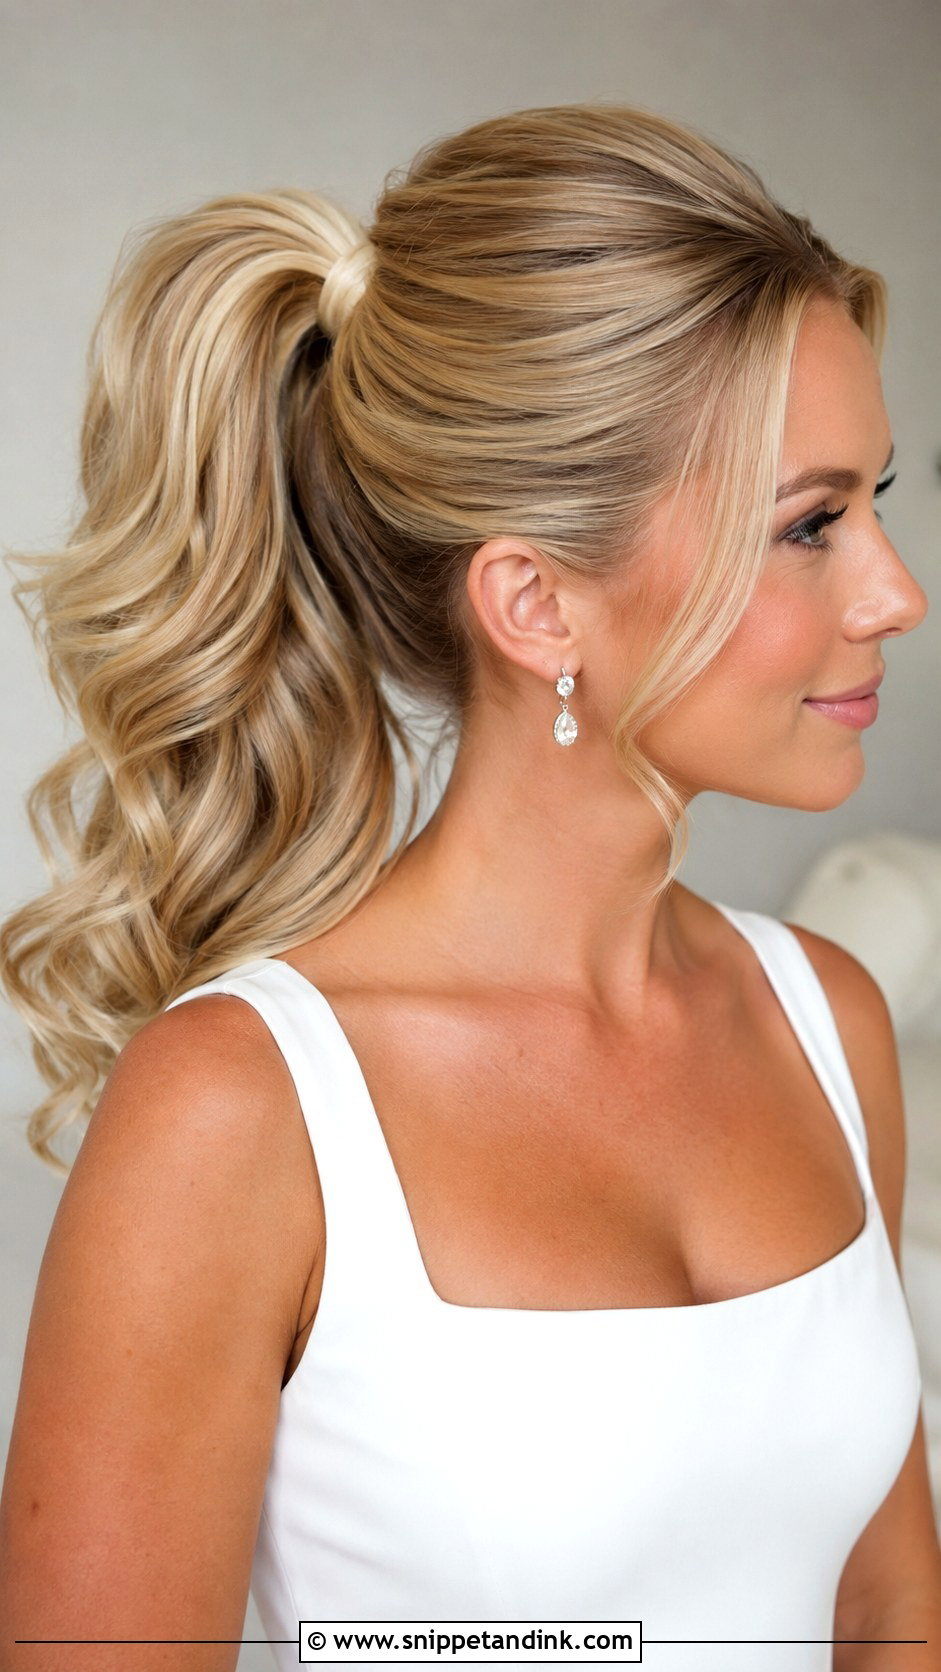
A high ponytail is genuinely easier than most updos, but only if the base is tight. Curl the hair, brush it up to the crown, and secure it with a strong elastic, then wrap a small piece of hair around the band and pin it underneath. With thick or long hair, I use two elastics, one on top of the other, because the weight swings and pulls a single band loose during dancing. It keeps hair off the neck on a hot day, and extensions blend into it easily. Lift the crown a little and finish with shine spray.
9. Low Ponytail Wedding Hairstyle
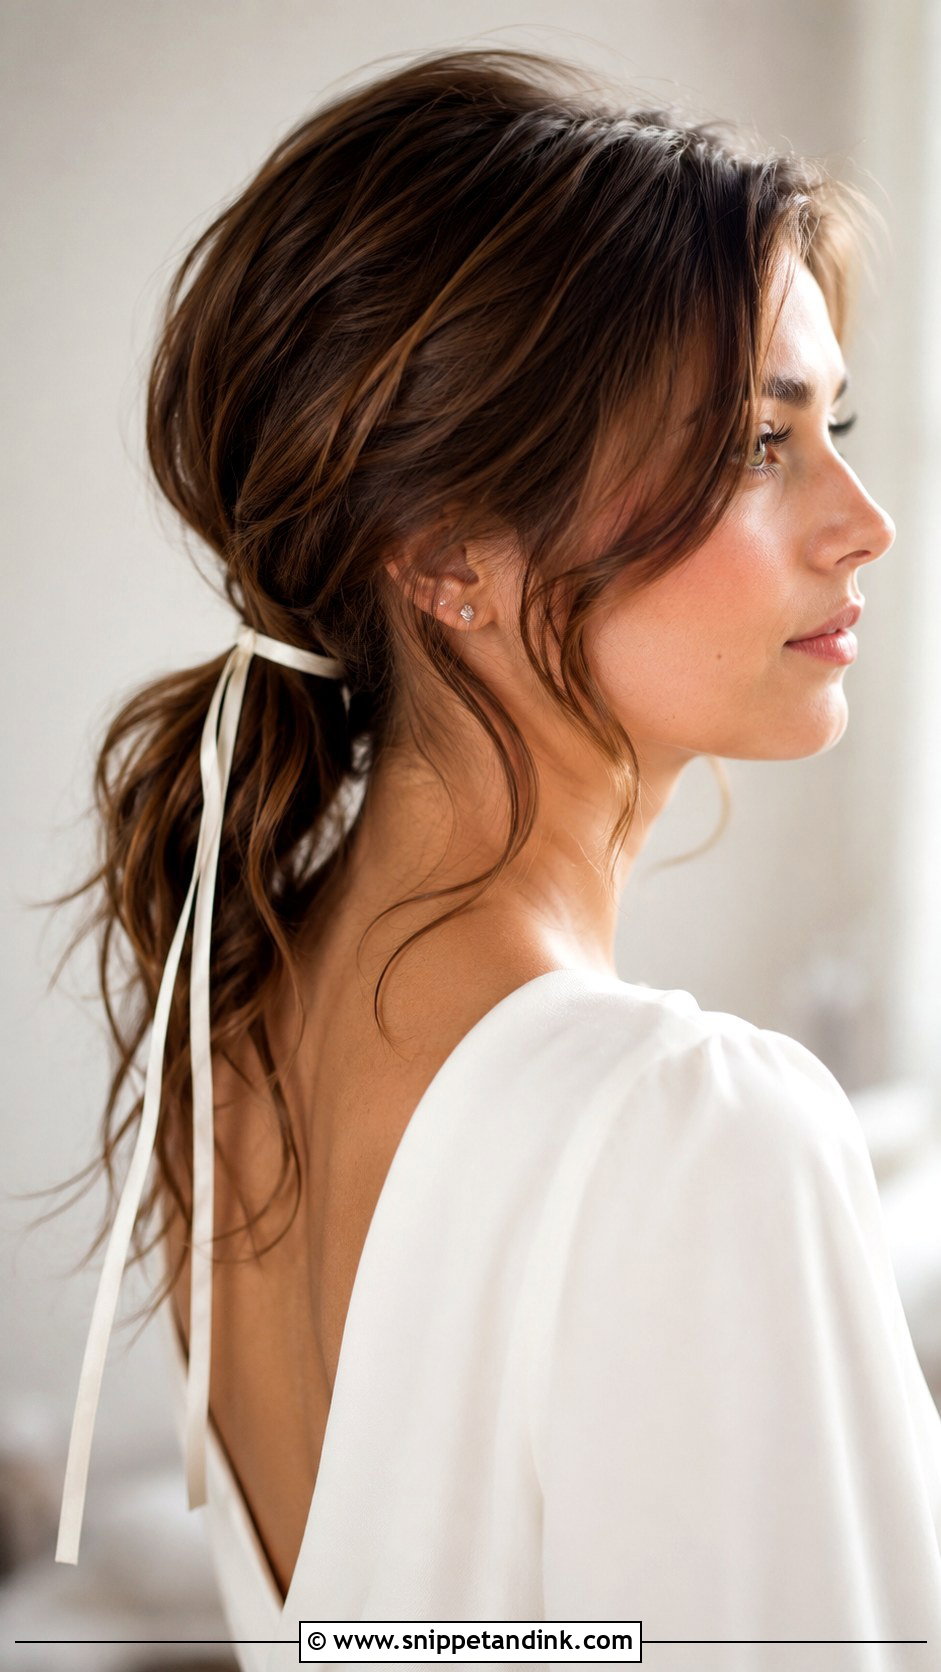
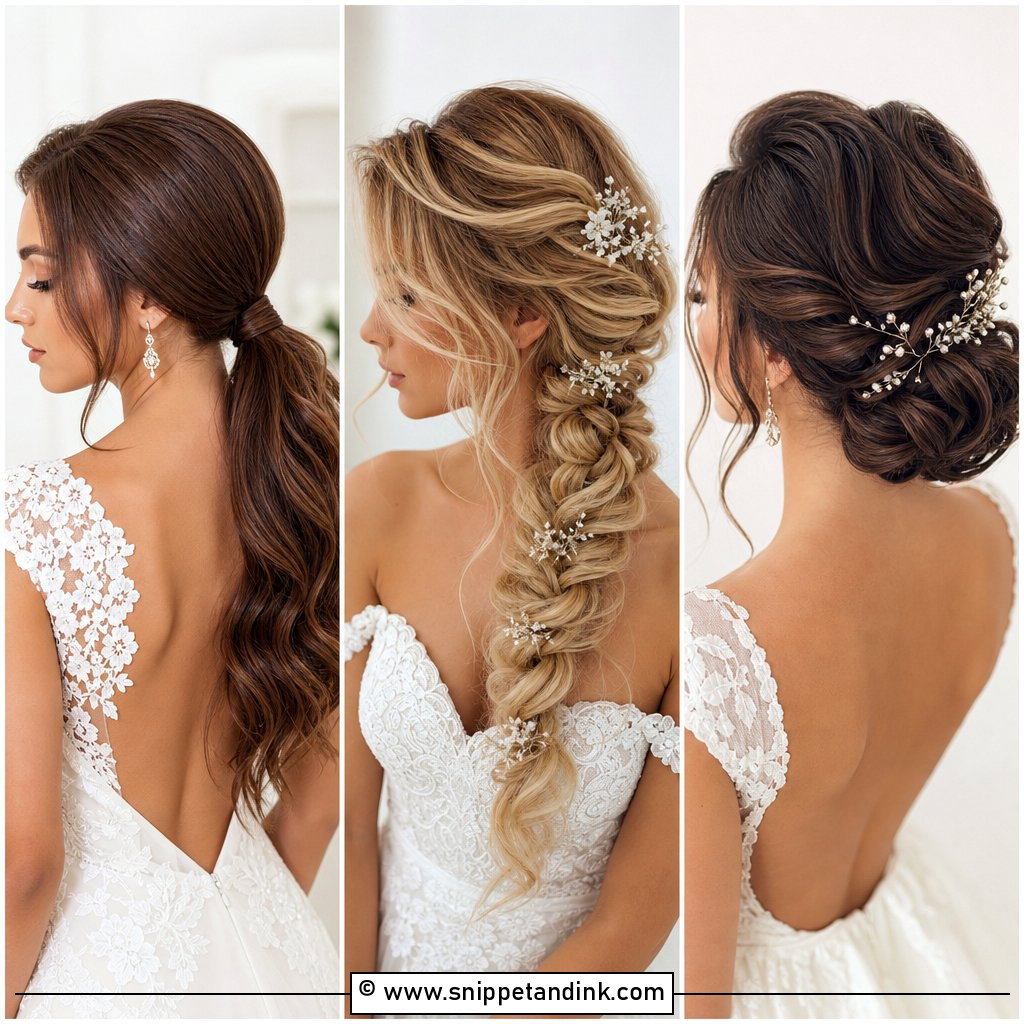
Comfort is the whole point of a low ponytail, and it’s the one I’d suggest if you’ll be in a car or leaning back in a chair for hours. Make soft waves first, gather everything at the nape, and decide whether the crown stays flat or gets a little lift. Wrap a strand around the elastic and pin it under. Fine hair benefits from texture spray before you tie it, otherwise the ponytail looks thin from the side. Pearl pins, a ribbon or a soft veil all sit comfortably above it.
10. French Twist Wedding Hairstyle
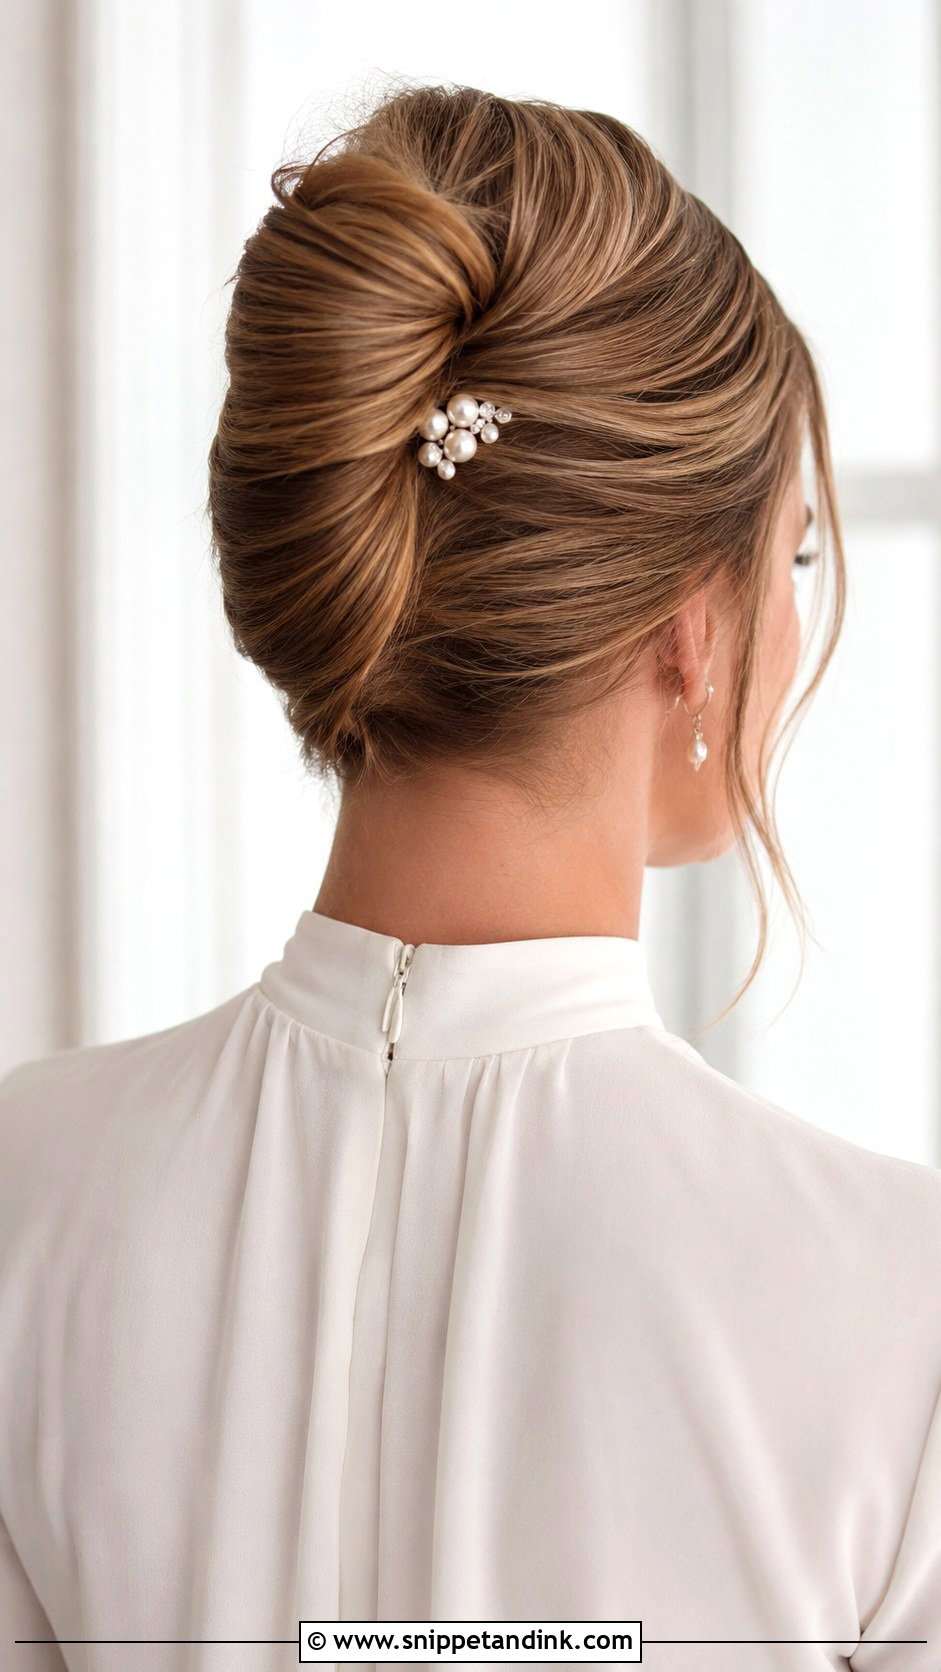
I won’t pretend a French twist is beginner territory. It takes practice because you’re twisting upward against the back of your head, which is awkward to see even with a hand mirror. Brush the hair back, gather it low, twist the length up, tuck the ends inside, and secure it with strong pins pushed in vertically along the seam. Medium to long hair with a little texture holds the roll best; very silky hair unwinds. A slightly soft twist looks more current than a tight one anyway, so don’t chase perfection. Give it strong hold spray and do at least two full practice runs.
11. Soft Waves Wedding Hairstyle
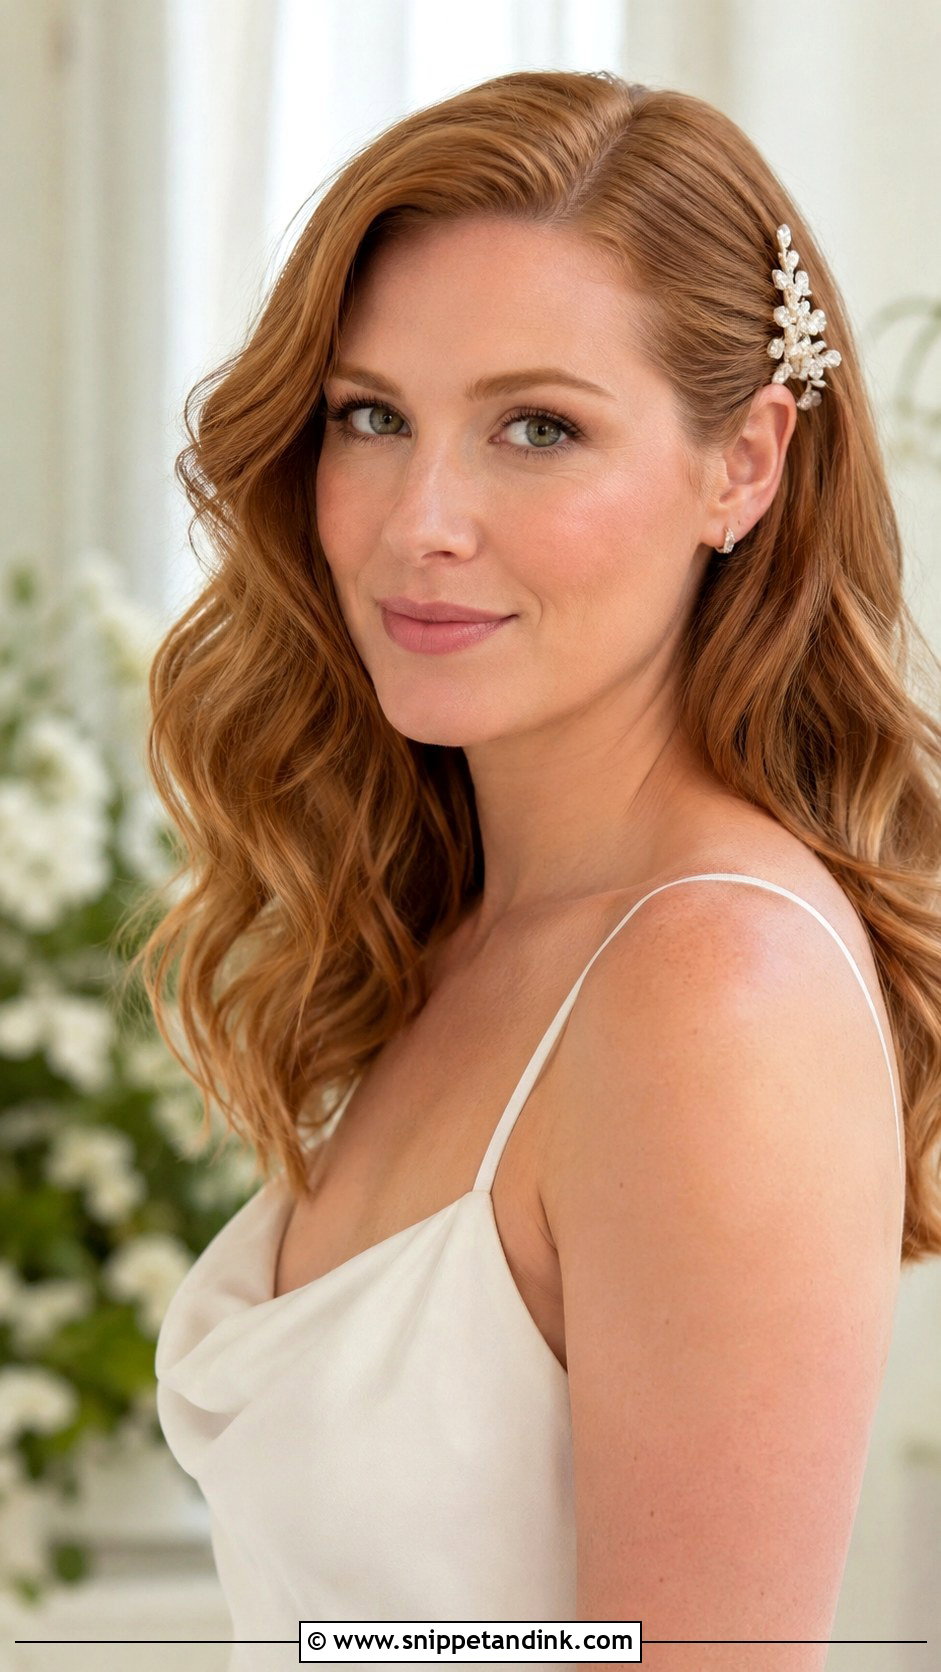
Soft waves suit almost any length, which is why I suggest them to anyone nervous about pinning. Make gentle bends with a curling iron, a flat iron or a heatless method, then break them up with your fingers or a wide-tooth comb. Keep the roots light and put shine spray only on the ends so the waves stay airy instead of greasy by the evening. They sit naturally with a relaxed dress at a beach, backyard weddings, courthouse weddings and similar low-key settings. One clip at the side adds a detail if you want it.
12. Braided Low Bun Wedding Hairstyle
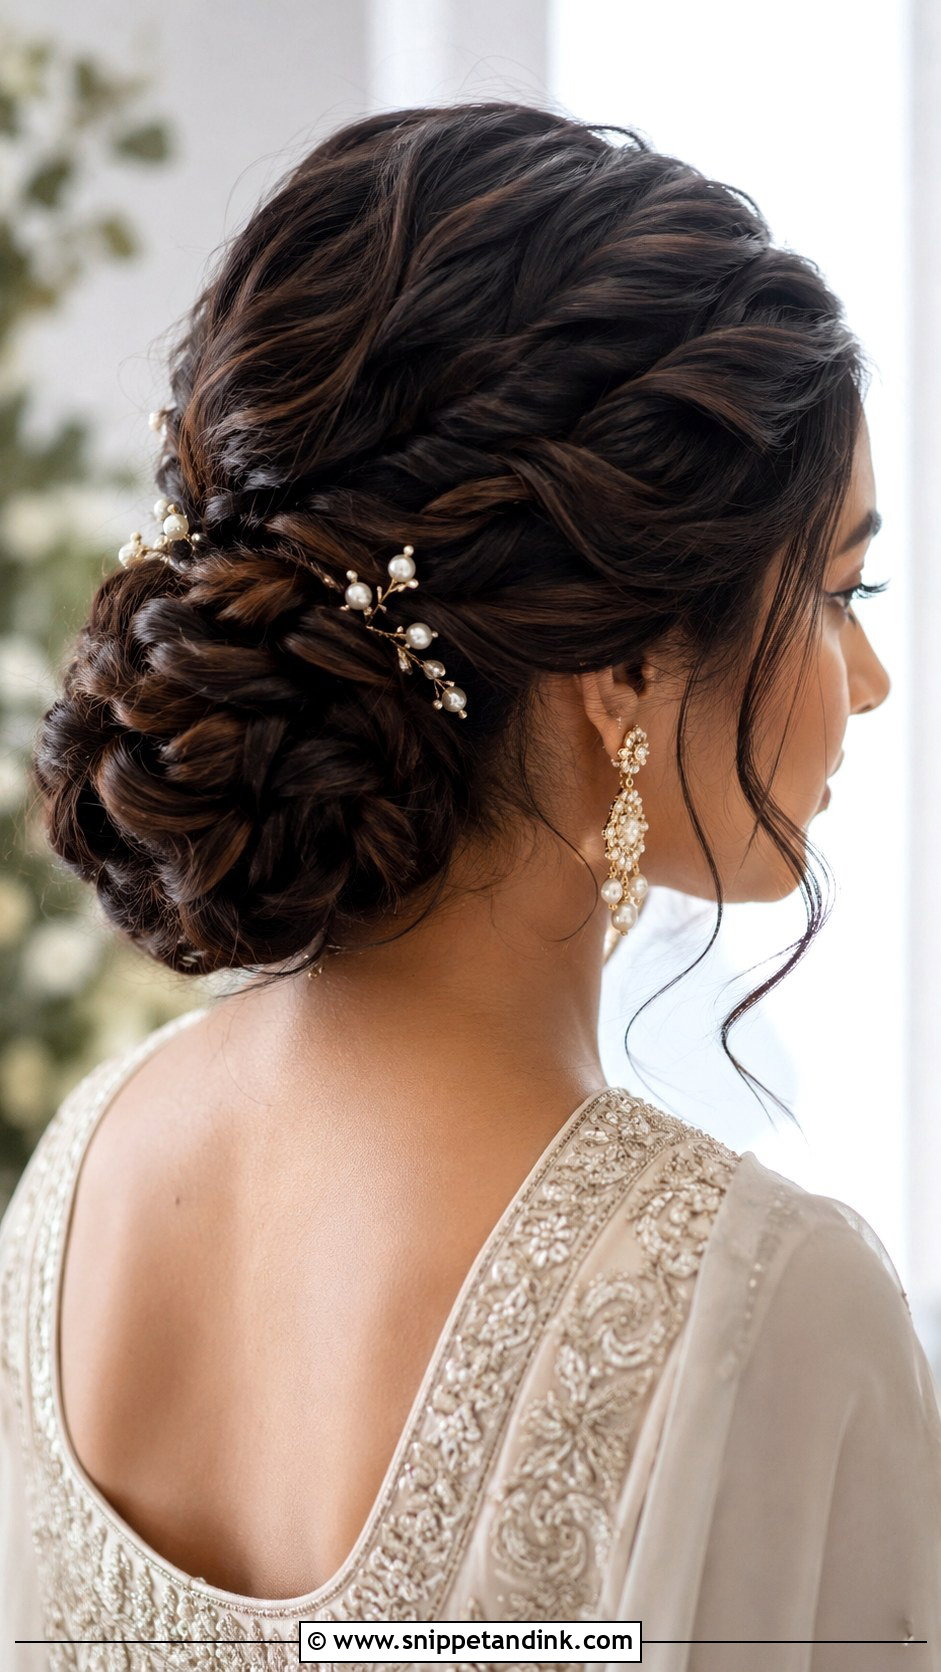
For long or thick hair, a braided low bun solves the weight problem, because the braid distributes the hair instead of leaving one heavy coil. Make a loose braid down the back of the head, coil it at the nape, and pin it through the braid’s loops so each pin grips something. Then tug the braid gently to widen it. Pearl pins tucked along the braid, or a comb above the bun, add a bridal finish. I’d choose this over a plain bun if your hair usually makes your neck ache after a few hours.
13. Short Hair Wedding Hairstyle
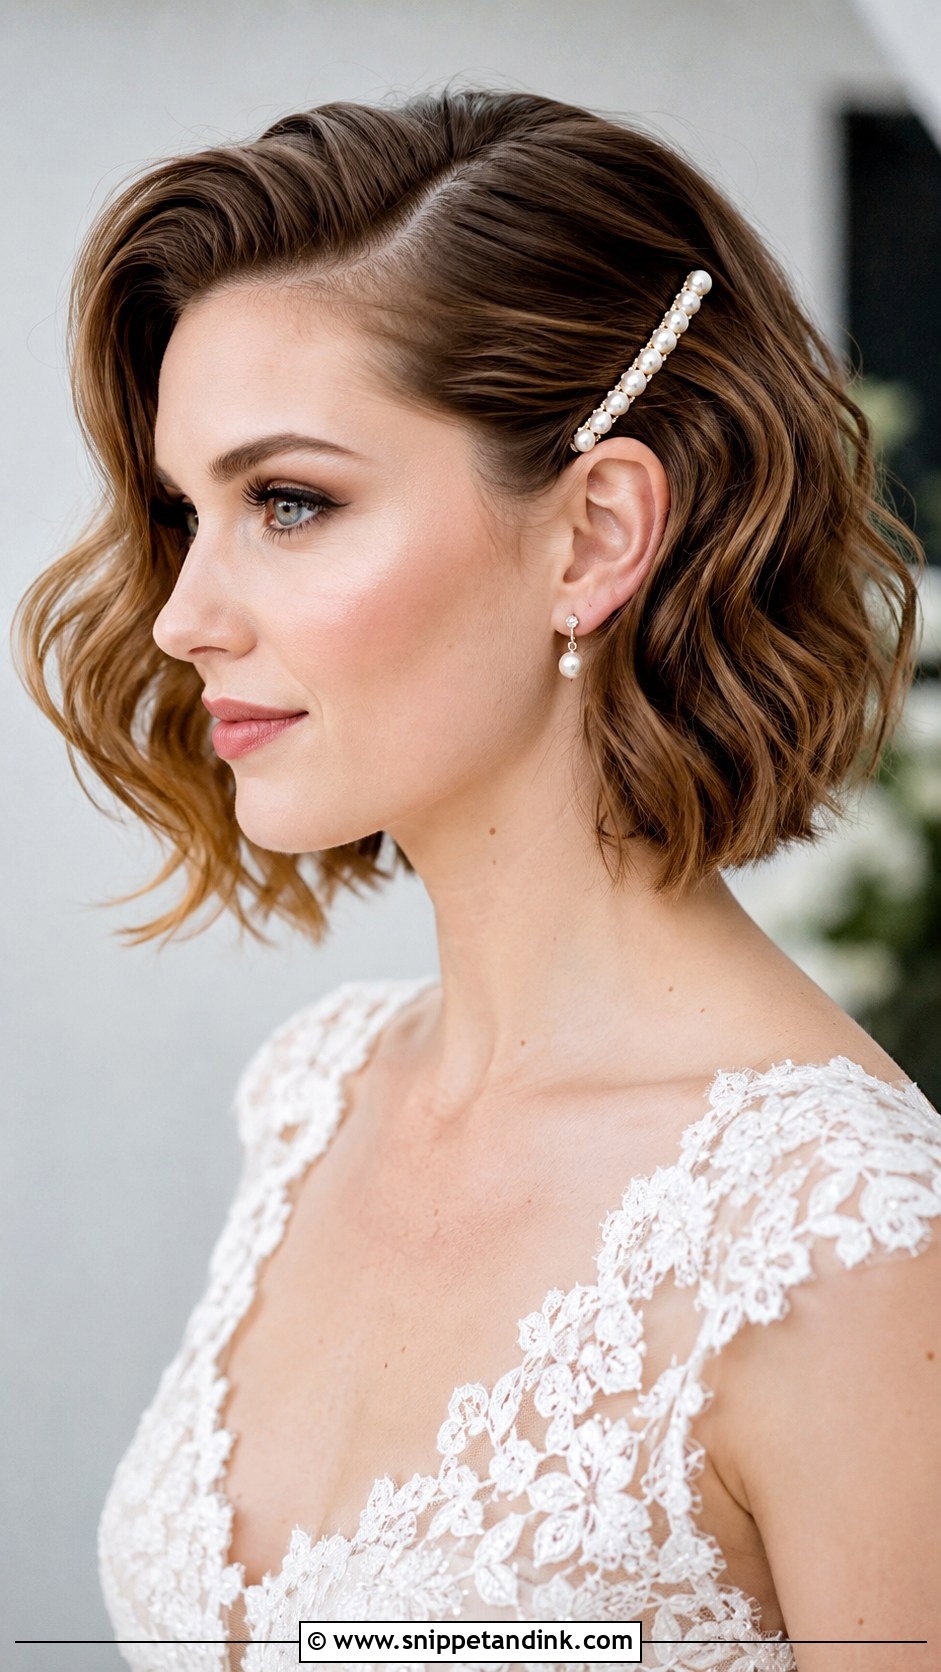
Short hair needs less pinning but more precision, since there’s nowhere for a messy section to hide. If you have a bob, lob, or pixie, pick one focus: texture, shine or a single accessory. Soft waves suit a bob; a deep side part makes a lob feel dressier. With a pixie, smooth the sides and build a little height on top with paste rather than spray. A pearl clip or slim headband does the bridal work. Keep the product light so the hair still looks touchable up close.
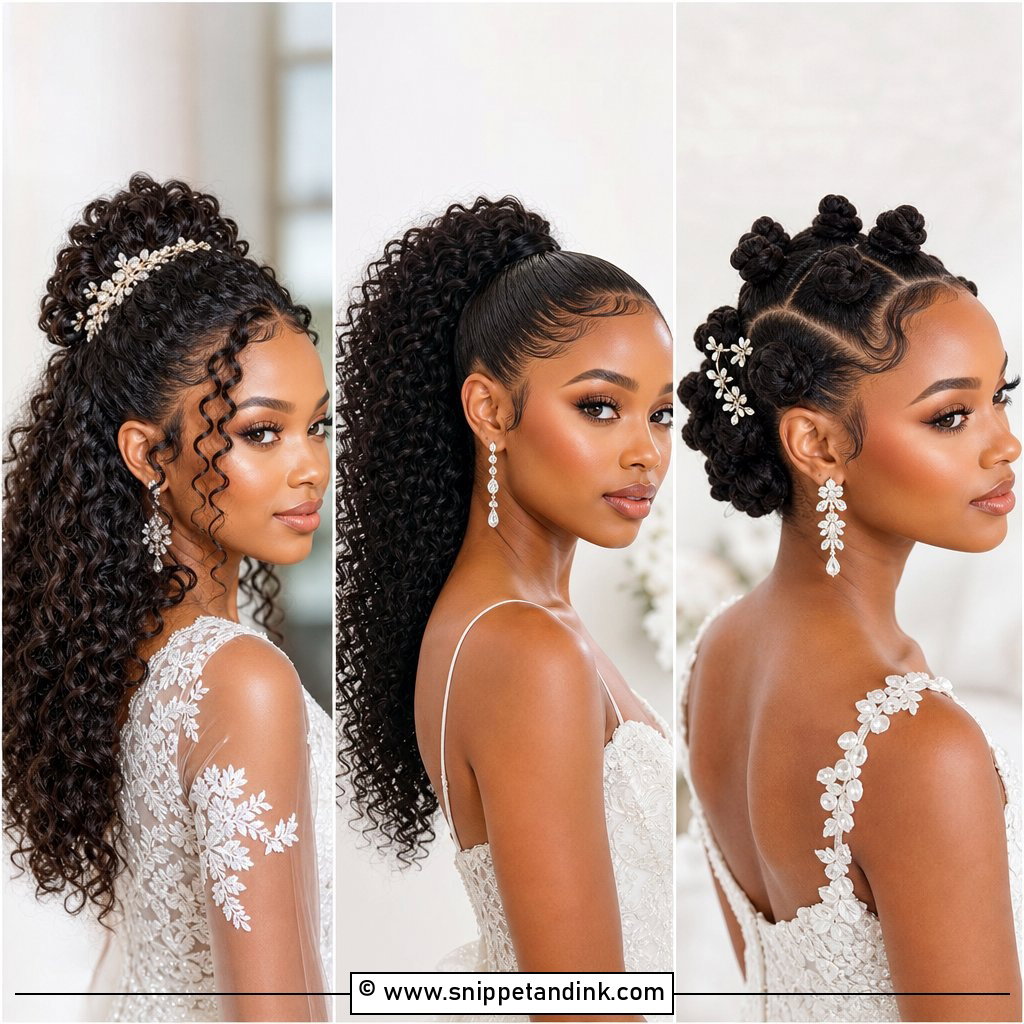
14. Curly Hair Wedding Hairstyle
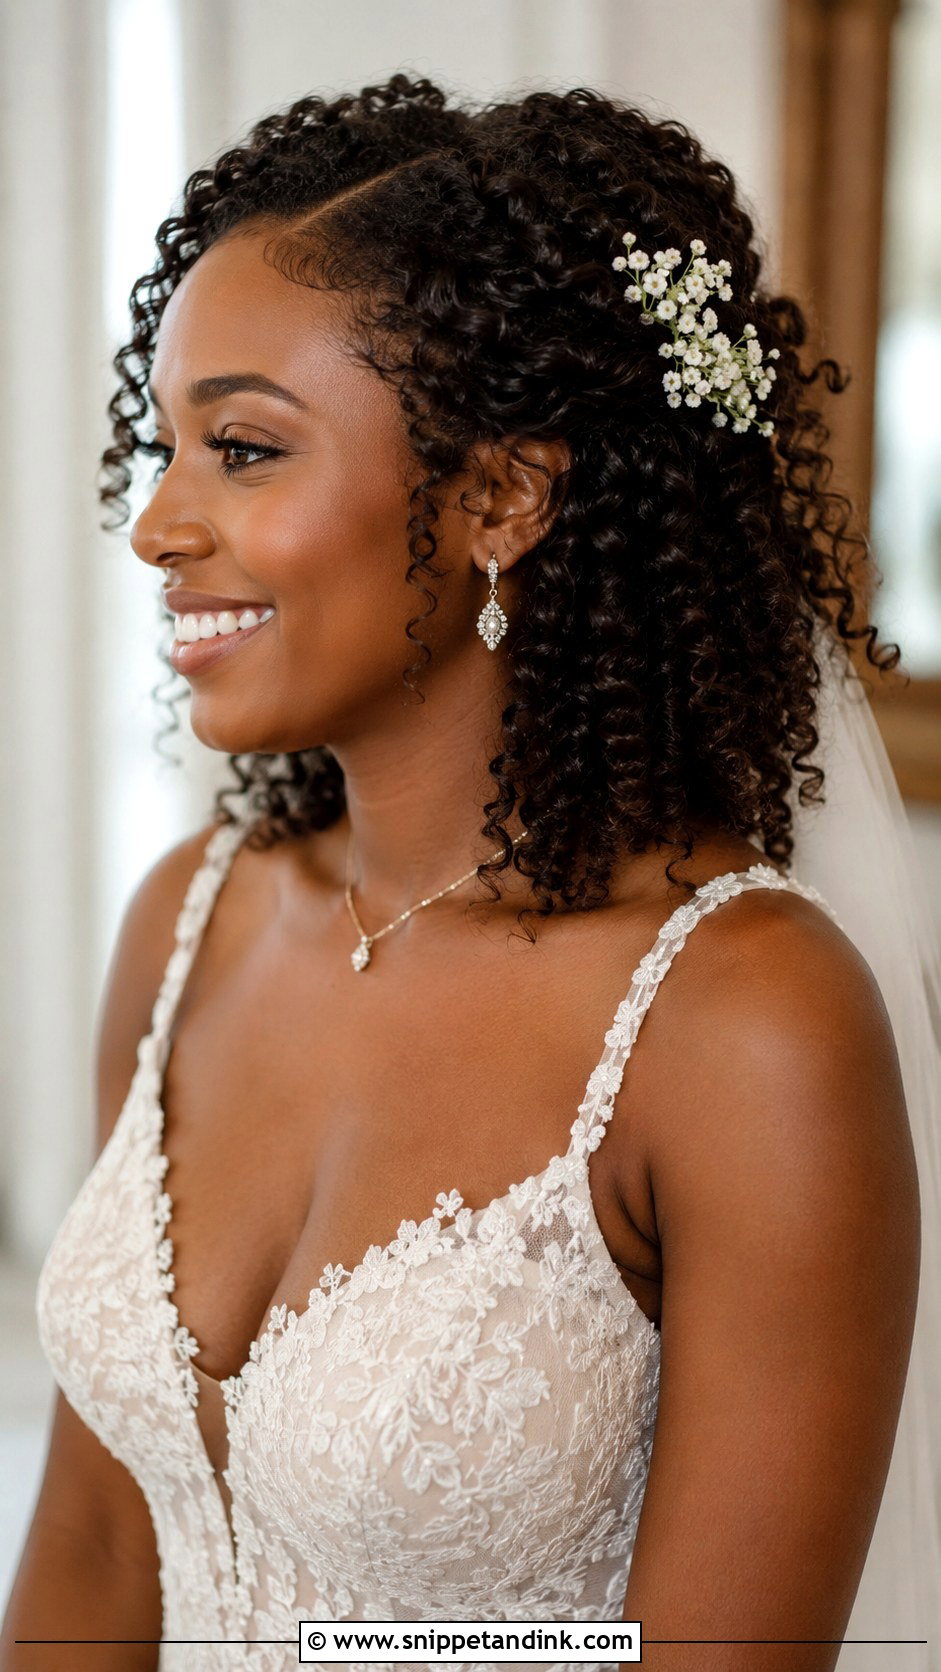
Curly hair should be styled on wash day, not the morning after, if you want defined curls. Apply curl cream or mousse on soaking wet hair, then diffuse or air dry without touching it. Once dry, pin the top sections back for a half up look or gather the curls into a loose bun. Never brush dry curls; separate them with your fingers so they stay grouped and don’t frizz. Choose pins in a color close to your hair and slide them under curl clusters so they vanish. A small comb or a few flowers sit on top without flattening the shape.
15. Pearl Clip Wedding Hairstyle
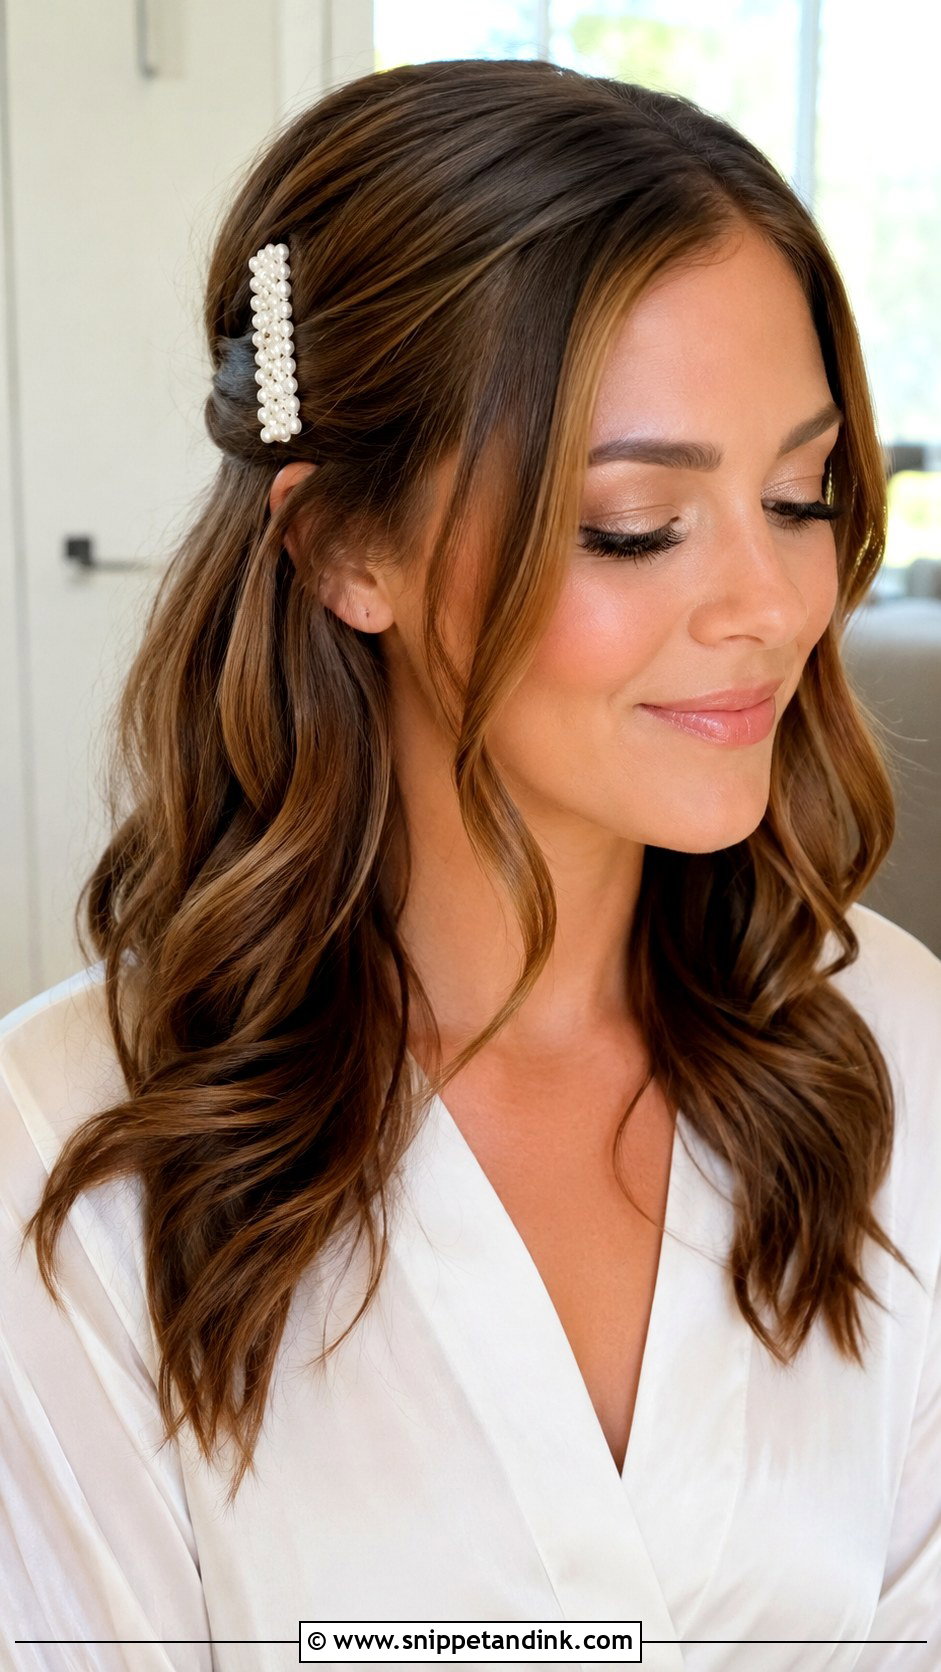
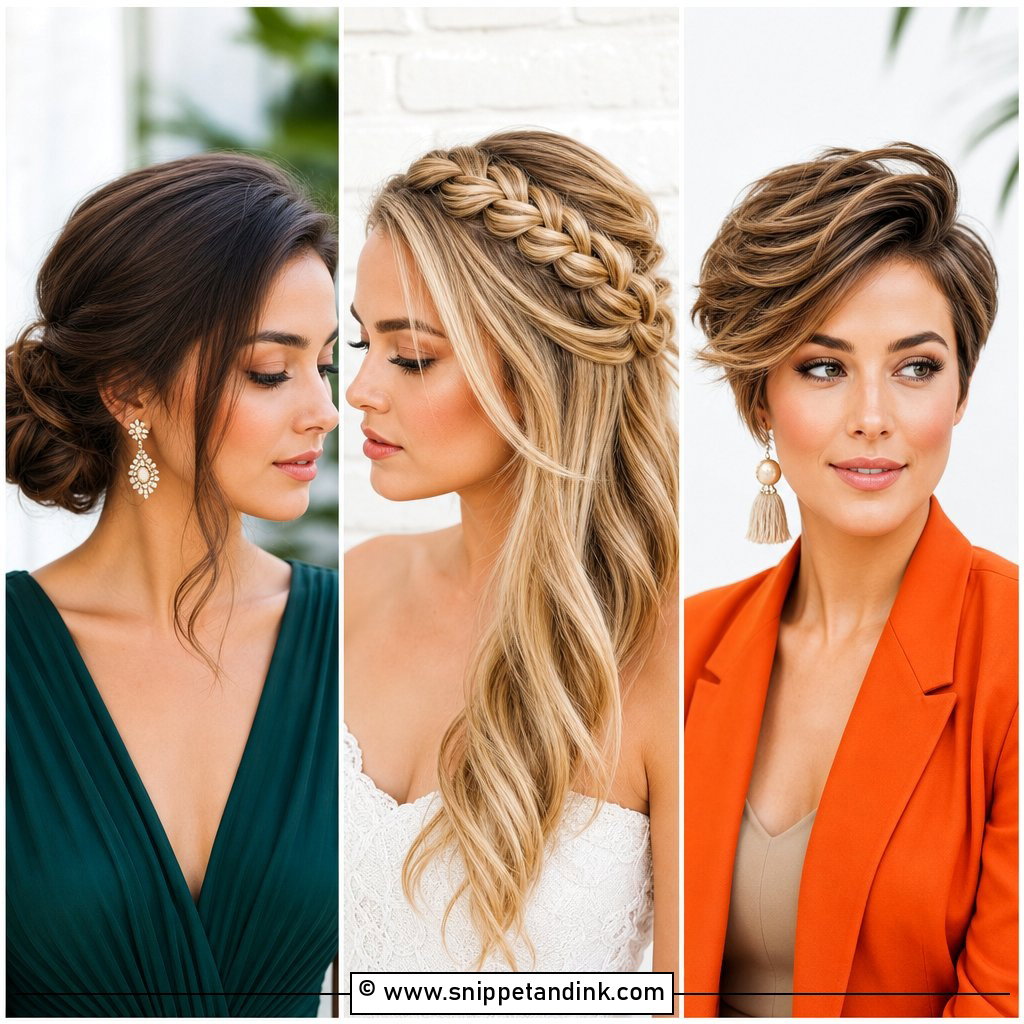
A pearl clip wedding hairstyle is the quickest upgrade on this list: one accessory turns everyday waves into something that reads as bridal. The easiest version is soft curls with one side pinned back behind the ear under a pearl barrette. It also sits on a low bun, half up hair or a sleek side part. Decide early between one large clip and several small pins, because mixing both usually looks busy. Bridesmaids, guests and courthouse brides can all wear it without needing much skill.
When Your Hair Won’t Hold a Pin
This is the most common complaint I hear about doing wedding hair yourself, and it usually comes down to prep rather than talent. Hair washed that morning with a smoothing conditioner is too slippery for an updo. Wash the day before, skip heavy conditioner on the roots, and add grip with dry shampoo or texture spray before you start pinning.
Fixes for the usual trouble
- Bun sliding down: create a small anchor first. Pin two bobby pins crossed in an X where the bun will sit, then pin the bun into that X.
- Curls flat within an hour: use a smaller barrel than you think, pin each curl while it cools, and brush out only right before you leave.
- Flyaways at the parting: a little hairspray on a clean mascara wand or toothbrush, not more spray from above.
- Pins showing: push each pin in, then turn it slightly back into the hair so the end disappears under the section.
A Morning Timeline for Doing It Yourself
Start your hair before your makeup, so any hairspray mist and heat sweat don’t land on finished skin. Plan roughly an hour for an updo you’ve practised and about half that for waves or a ponytail, then add a buffer. If you’re getting dressed over your head, button-front shirts while you style save you from pulling a top over finished hair. Put a small pouch in your bag with six bobby pins, a travel spray and a comb, and give it to someone you trust so you aren’t the one hunting for it after the ceremony.
Two Practice Runs Will Tell You Which Style Is Yours
Doing your own hair works when the style matches your actual skill and your actual hair, not the photo you saved. Pick one or two looks above, practise them twice, and photograph the back and sides each time using a second phone or a timer. Test your pins, spray and accessories together, since a heavy comb behaves differently on a real bun than on a hand. Clean sections and secure pins matter more than perfection, and a slightly soft finish photographs better than a stiff one. Whoever you are in the wedding party, practice is what keeps the morning calm and budget-friendly.
You'll Like These Ideas:


Leave a Reply