
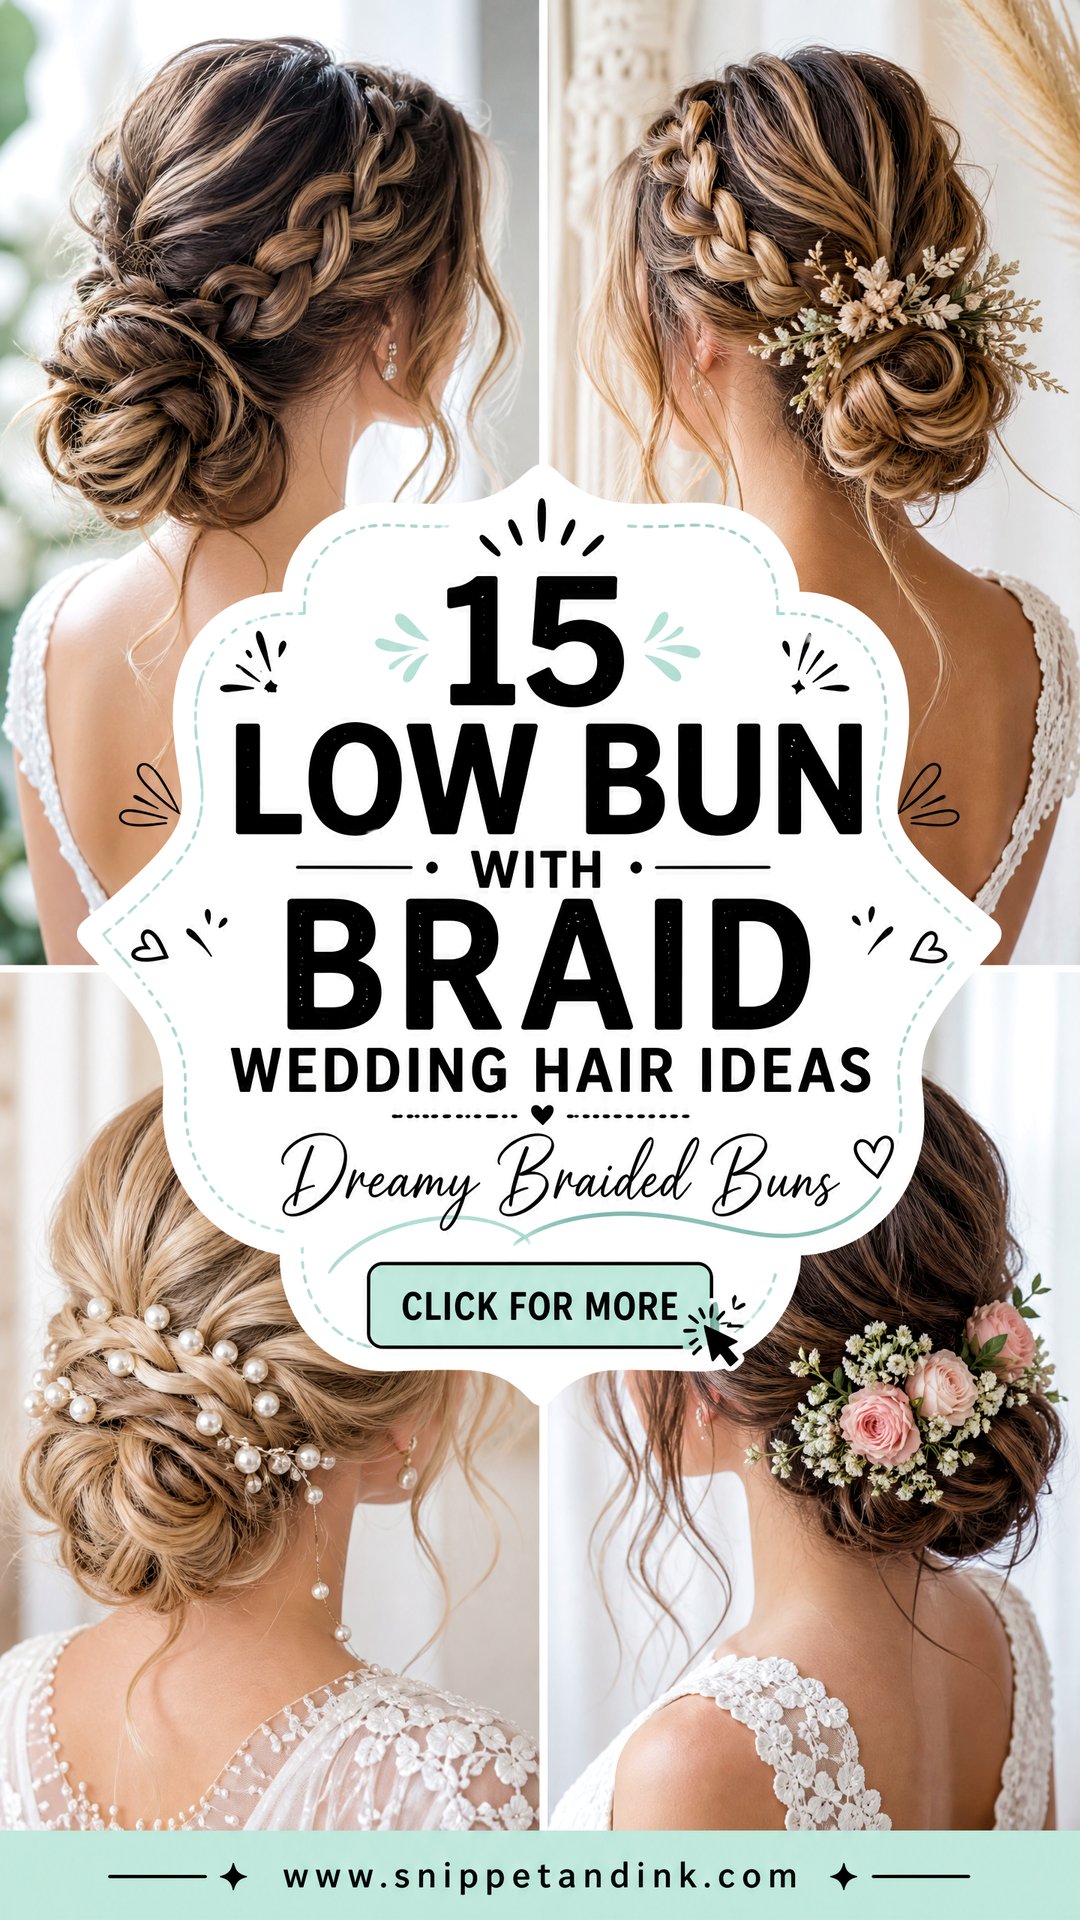
A low bun is the style I reach for when a bride needs her hair to stay put and still give the camera something to look at from behind. Adding a braid gives it a line to follow and gives veils, combs and flowers a firmer grip than smooth hair ever does. The braid can be a thin side plait or a thick wrap that becomes part of the bun itself. Which version suits you comes down to your neckline, your hair’s density, where the veil goes and how polished you want to look by the last dance.
Matching the Braid Type to Your Hair Before Picking a Photo
Most brides arrive with a picture, and the first thing I do is check whether their hair can actually build it. A braid only shows clearly if there’s enough length to carry it past the ear and into the bun. Below that length, the plait runs out halfway and the bun ends up small.
- Shoulder-length or shorter: a small side plait or a single French braid along the hairline, finished in a compact bun. Extensions open up the bigger styles.
- Fine or thin hair: loose three-strand or Dutch braids that I can pull wide. Fishtails look stringy on fine hair unless it’s padded.
- Thick or very long hair: double braids or a split bun, so the weight sits in two places rather than one.
- Curly or coily hair: braids hold wonderfully and need less product, but stretch the hair first so the plait shows its pattern.
Prep matters as much as the photo. Wash the day before, not the morning of, and skip heavy conditioner on the lengths. Slightly gritty hair holds a plait far better than hair that’s just been washed.
1. Side Braid Low Bun Wedding Hair
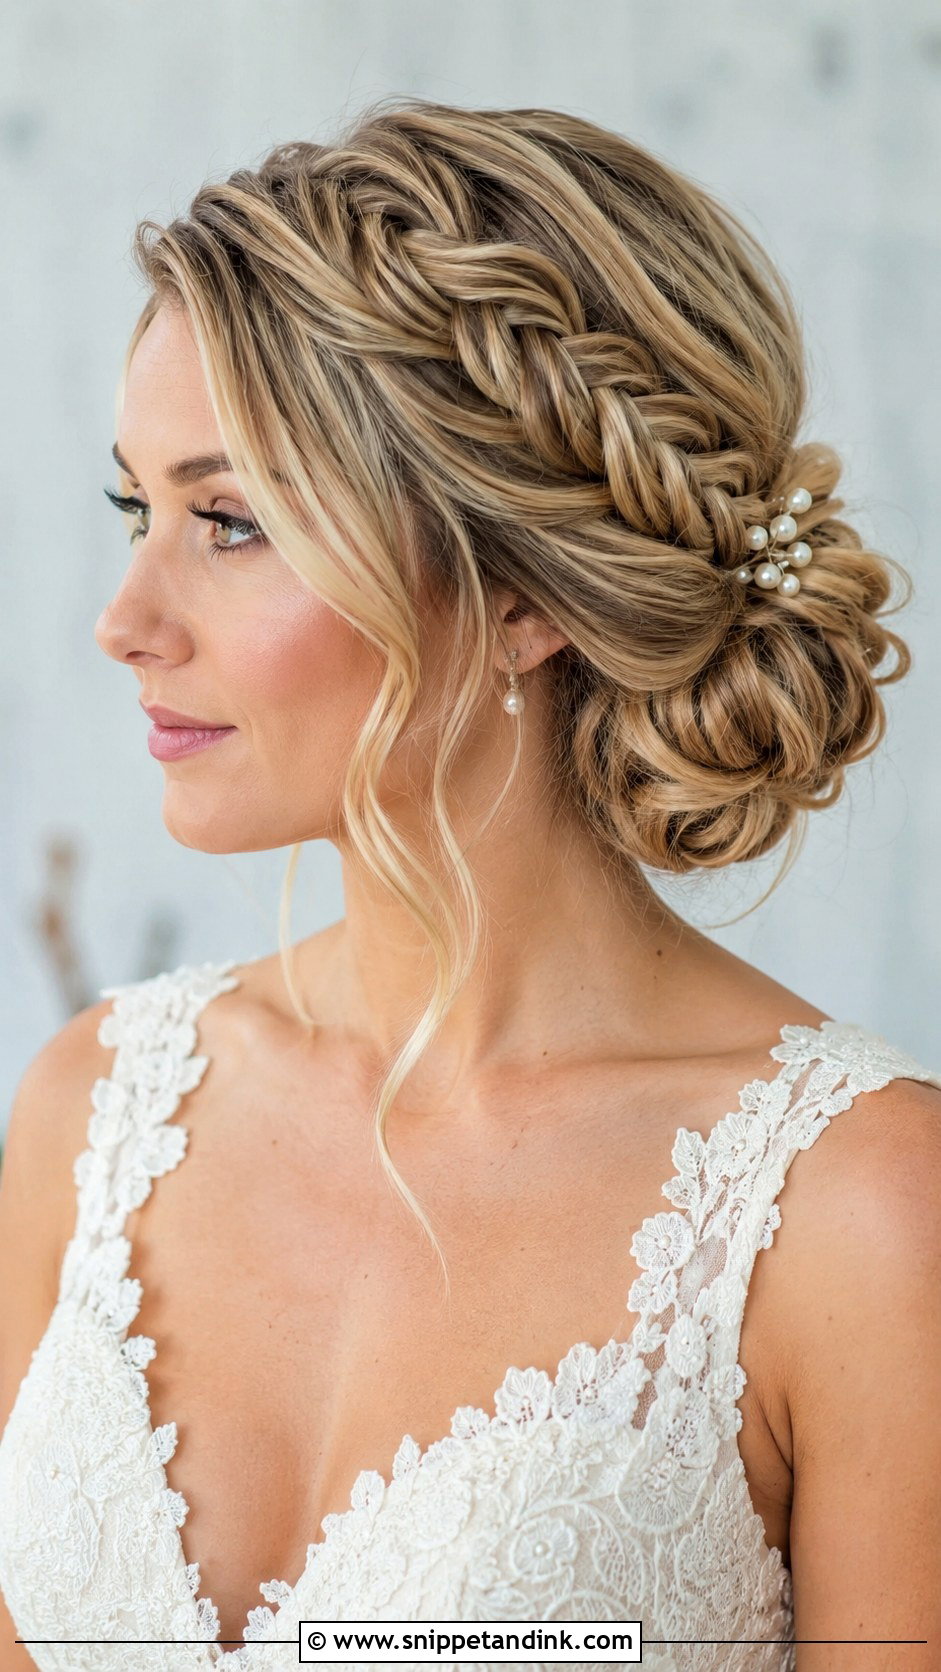
The side braid starts at one temple, follows the hairline and disappears into the bun at the nape, so it adds detail without much bulk. I keep it on the side you’ll stand on at the ceremony, because that’s the profile your guests and photographer see most. Pancaking the braid after it’s pinned makes it read fuller in pictures. A lace gown or an off-shoulder neckline suits it well. Leave a couple of face-framing pieces at the front, and anchor the bun with crossed pins so it doesn’t drift during the reception.
2. Dutch Braid Low Bun Wedding Hair
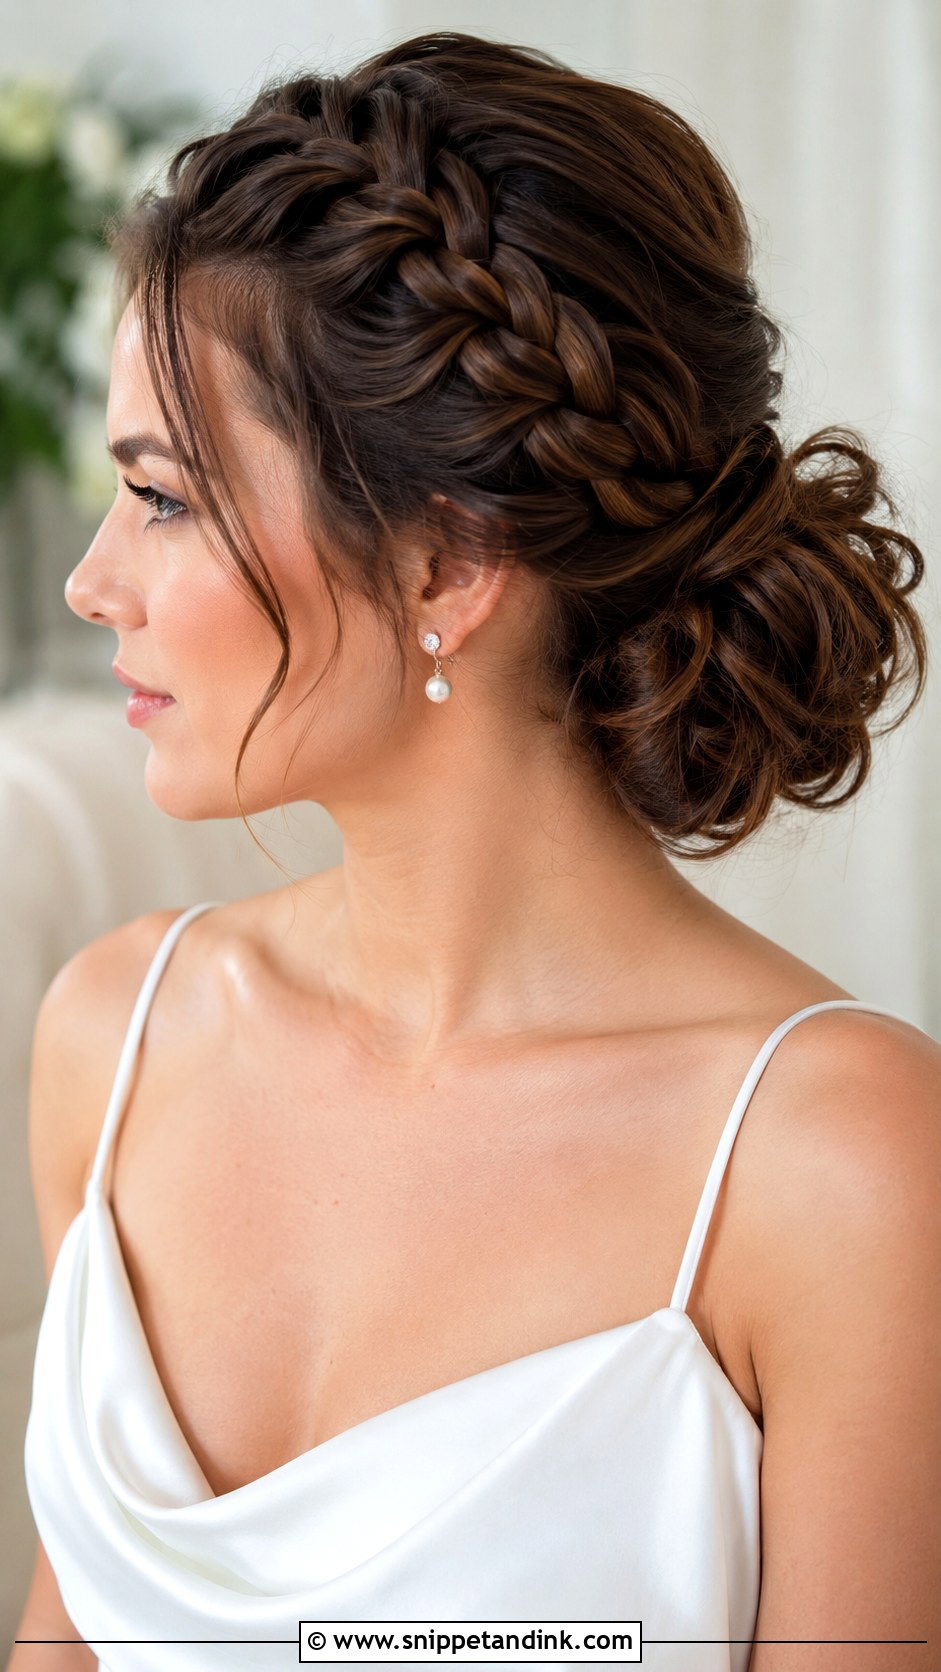
With a Dutch braid low bun, the plait sits raised on top of the hair rather than lying flat, which is why it shows so clearly in back-view photos. I build it inside out, crossing each section under the middle strand. You need medium to long hair for this; on a collarbone cut the braid runs out before it reaches the nape and the bun ends up tiny. Start it at the crown or along one side, then feed it into a textured bun. A small comb finishes it without hiding the plait.
3. French Braid Low Bun Wedding Hair
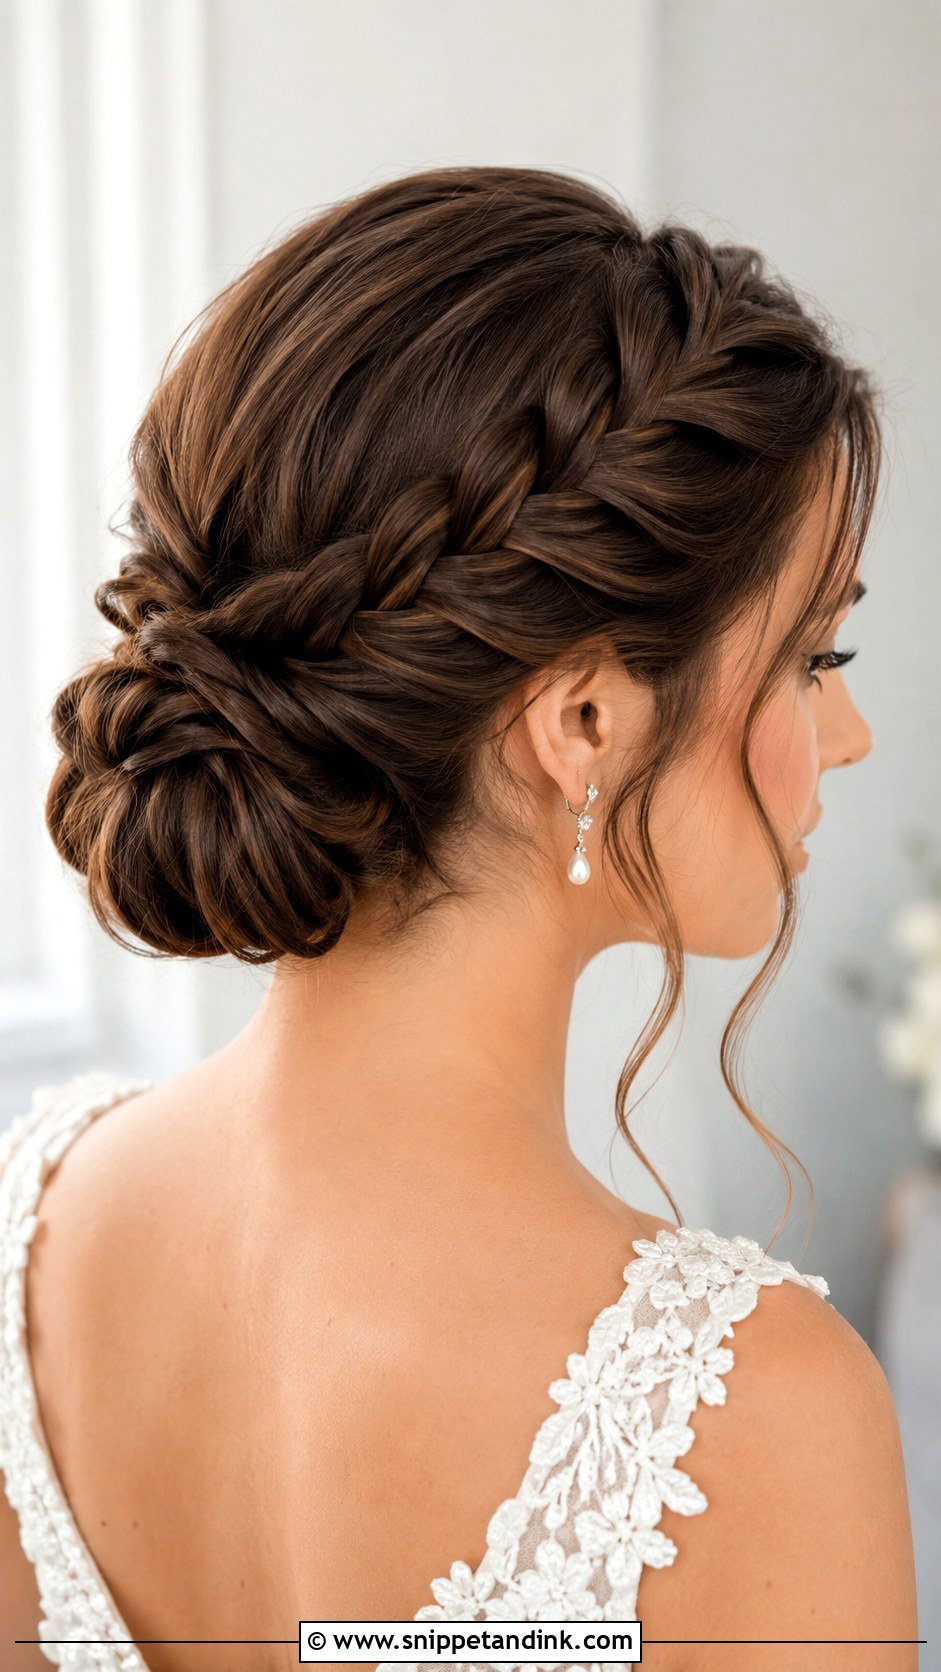
A French braid lies close to the scalp, so it’s the one I suggest when a veil comb has to sit on top of the head. It follows the curve of your skull and collects everything neatly into the bun. Brides who don’t want volume tend to like it. Outdoors it holds well, since there are no loose sections for wind to catch. If it looks too tidy at the trial, I loosen the edges with my fingertips and pull a few soft pieces out at the temples.
4. Fishtail Braid Low Bun Wedding Hair
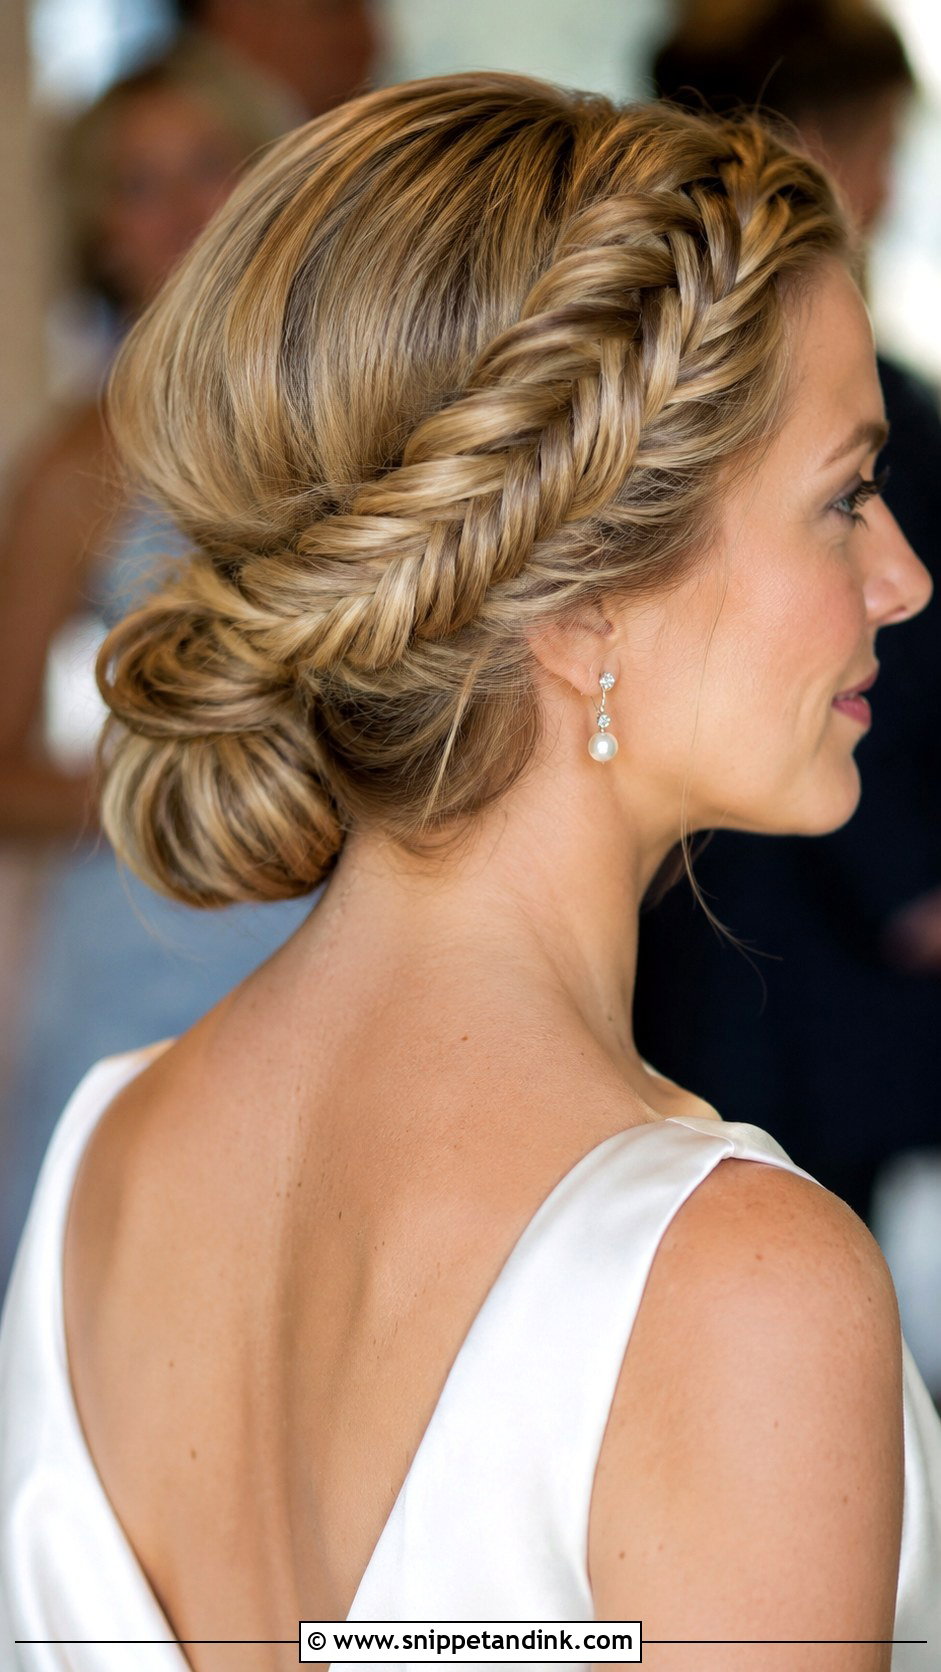
Fishtails take patience. You cross tiny sections from side to side, and on slippery, freshly washed hair they slide apart before the bun is even pinned, so I ask for second-day hair or I add a grippy texture spray first. The fine woven pattern suits a plain satin or crepe gown, where nothing else is competing with it. Highlights and balayage show it off best because every crossed section catches a different tone. Widen it gently once it’s finished, place it along one side or across the back, and keep the bun low and round.
5. Crown Braid Low Bun Wedding Hair
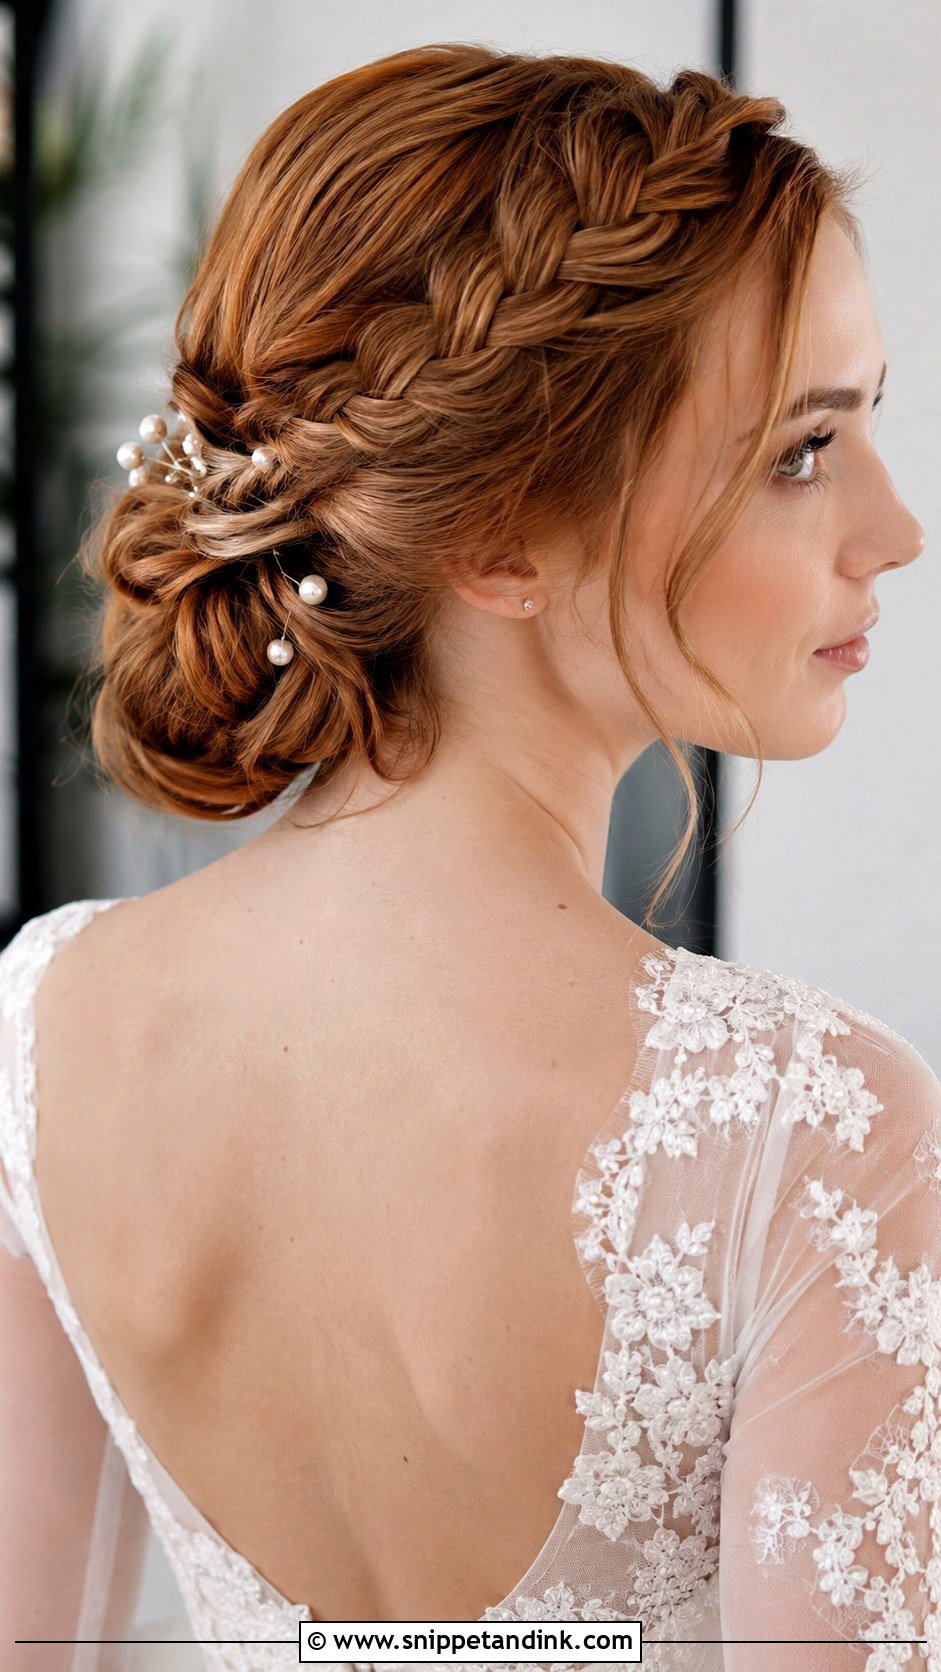
A crown braid wraps the head like a halo and then drops into a low bun, so there’s something to see from the front, the sides and the back. It suits garden and chapel weddings and floral lace. The weak point is the join where the braid meets the bun behind the ear; I hide it with a pin or a small bloom. If you’re wearing a veil, slide it under the bun or behind the crown so the plait stays visible, and finish with a few loose tendrils near the temples.
6. Messy Braided Low Bun Wedding Hair
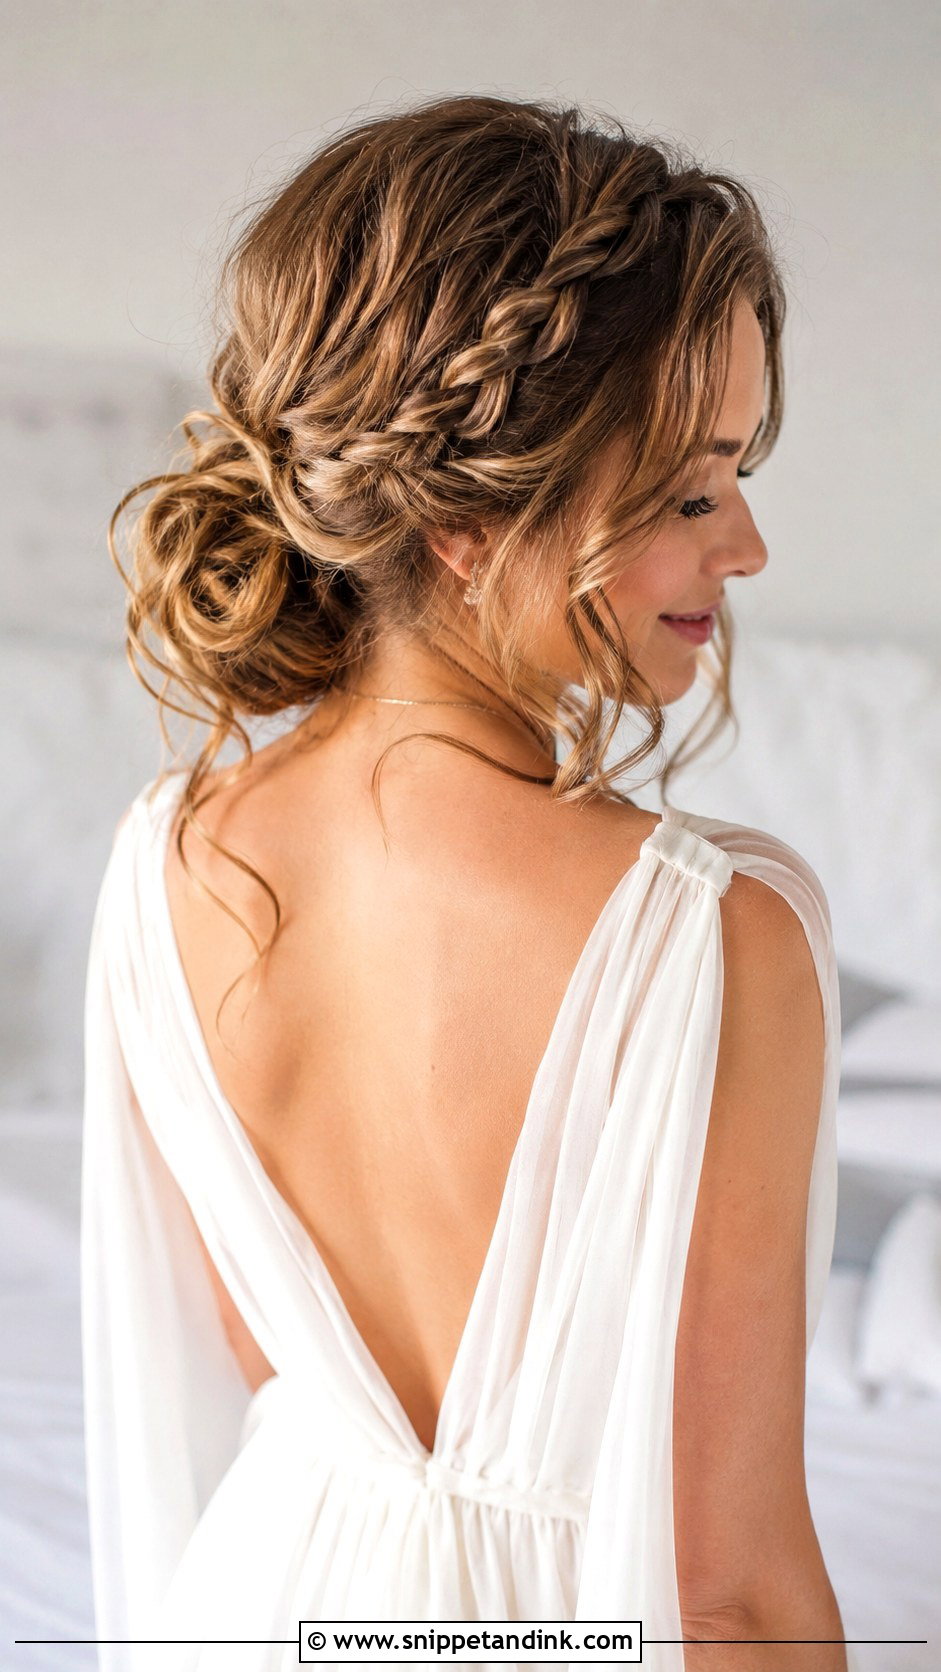
Messy is the hardest finish to get right, because it has to look relaxed at nine in the morning and still look relaxed at ten at night, not collapsed. I curl everything first, braid loosely, pull the plait wide and then tuck it into a textured bun with hidden pins doing the real work. Chiffon, tulle and boho gowns sit well with it. If your hair is very straight and silky, expect it to soften a lot during the day, so tell your stylist you’d rather start a little too tight than too loose.
7. Sleek Braided Low Bun Wedding Hair
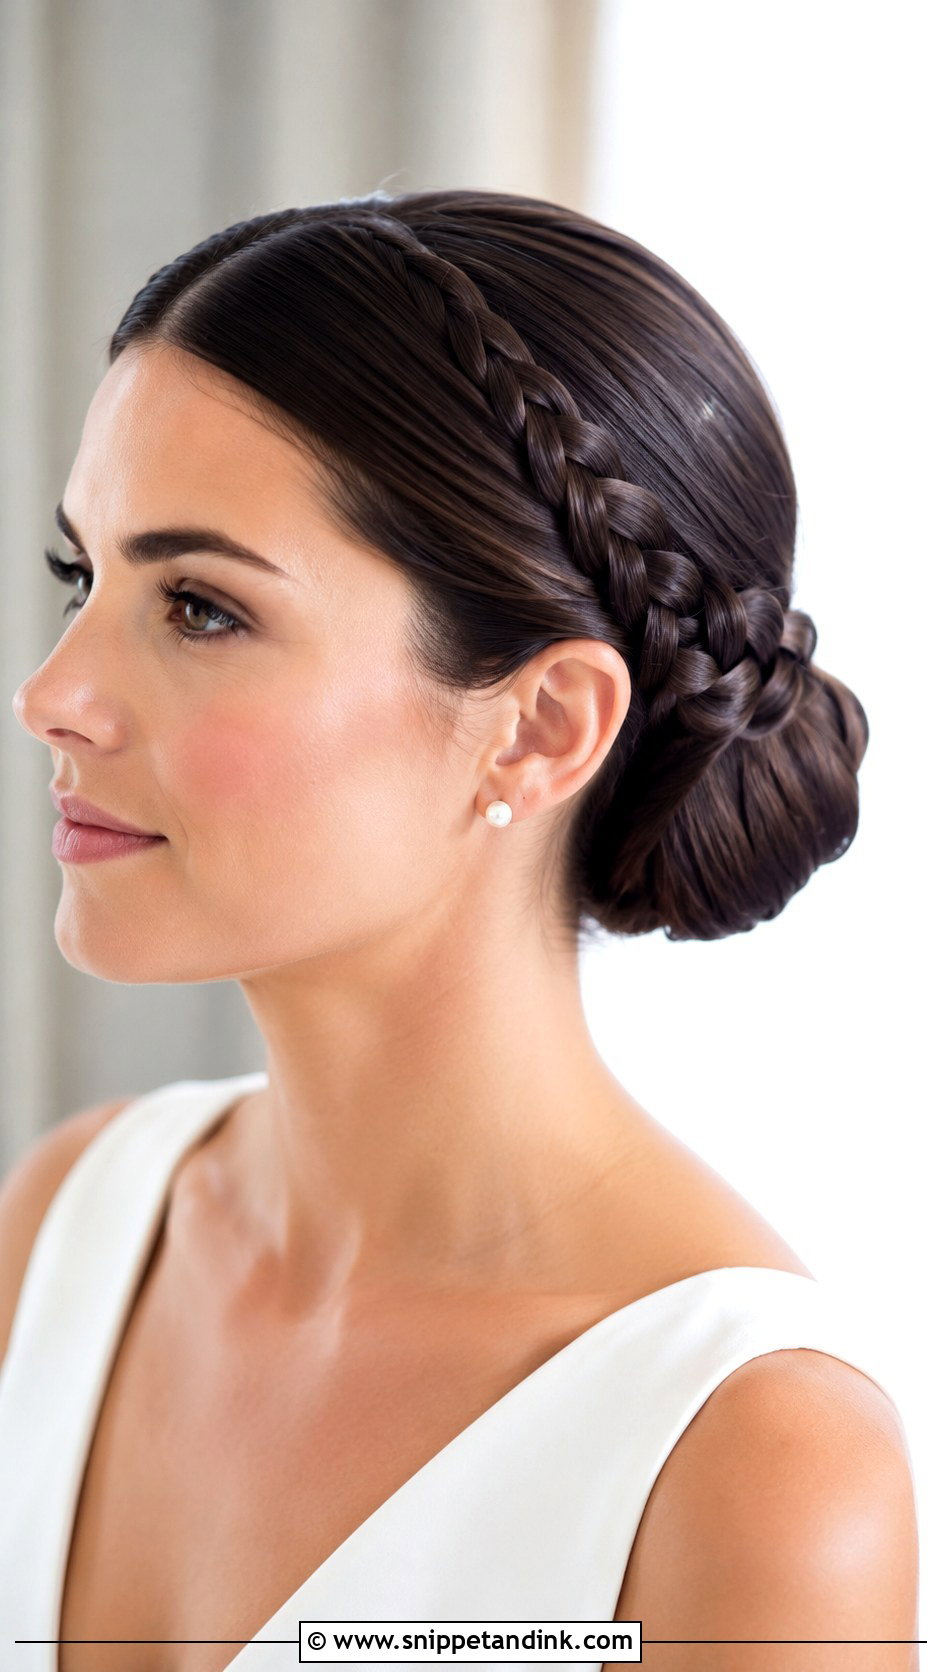
For the sleek version, everything is smoothed close to the head with a little cream, braided tightly and wrapped into a polished low bun. Minimal gowns, high necklines and city venues suit it. It’s also the longest-lasting option on this list, since nothing is loose to drop. The catch is that it shows every flyaway and every uneven part line, so I set the parting before I braid and finish with a light shine spray. One sculptural pin or a thin comb is plenty.
8. Boho Braided Low Bun Wedding Hair
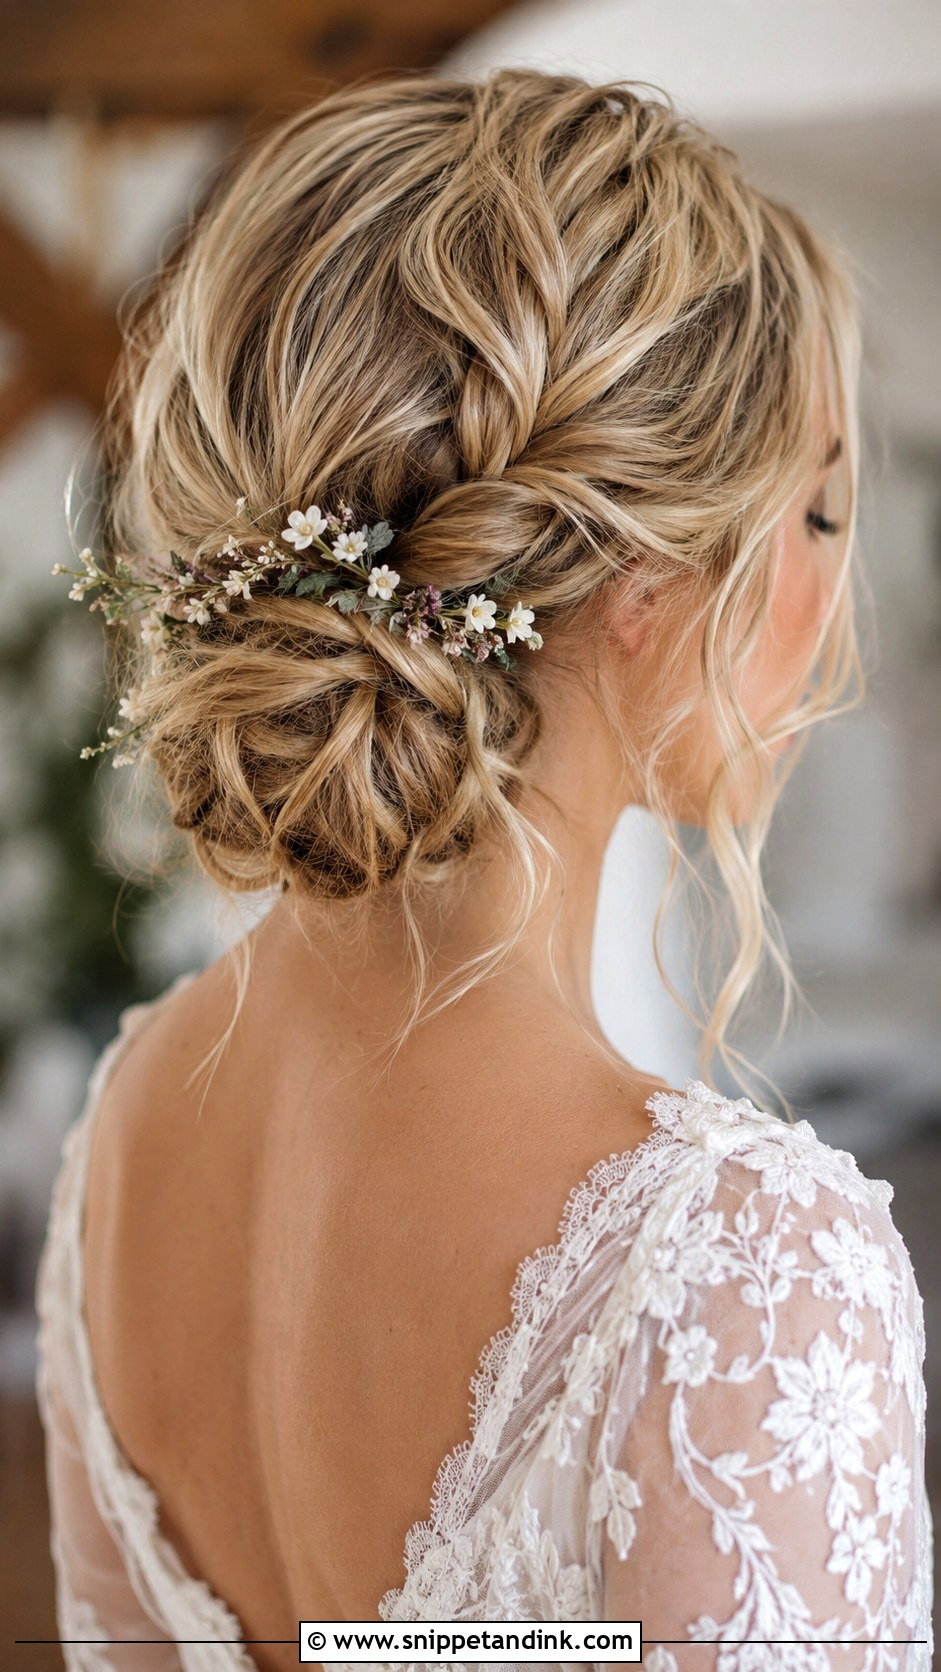
Boho braids are loose by design, so the bun underneath has to be extra secure, otherwise the whole style slides down the nape after an hour of hugging. I mix airy waves with one or two soft braids and pin the bun firmly from below where no one sees the hardware. Barn venues, beach ceremonies and floral prints suit it. Put the braid on one side or across the crown. A thin hair vine or a few leaves add a bridal touch, and a little backcombing at the crown stops it from flattening by the evening.
9. Braided Chignon Low Bun Wedding Hair
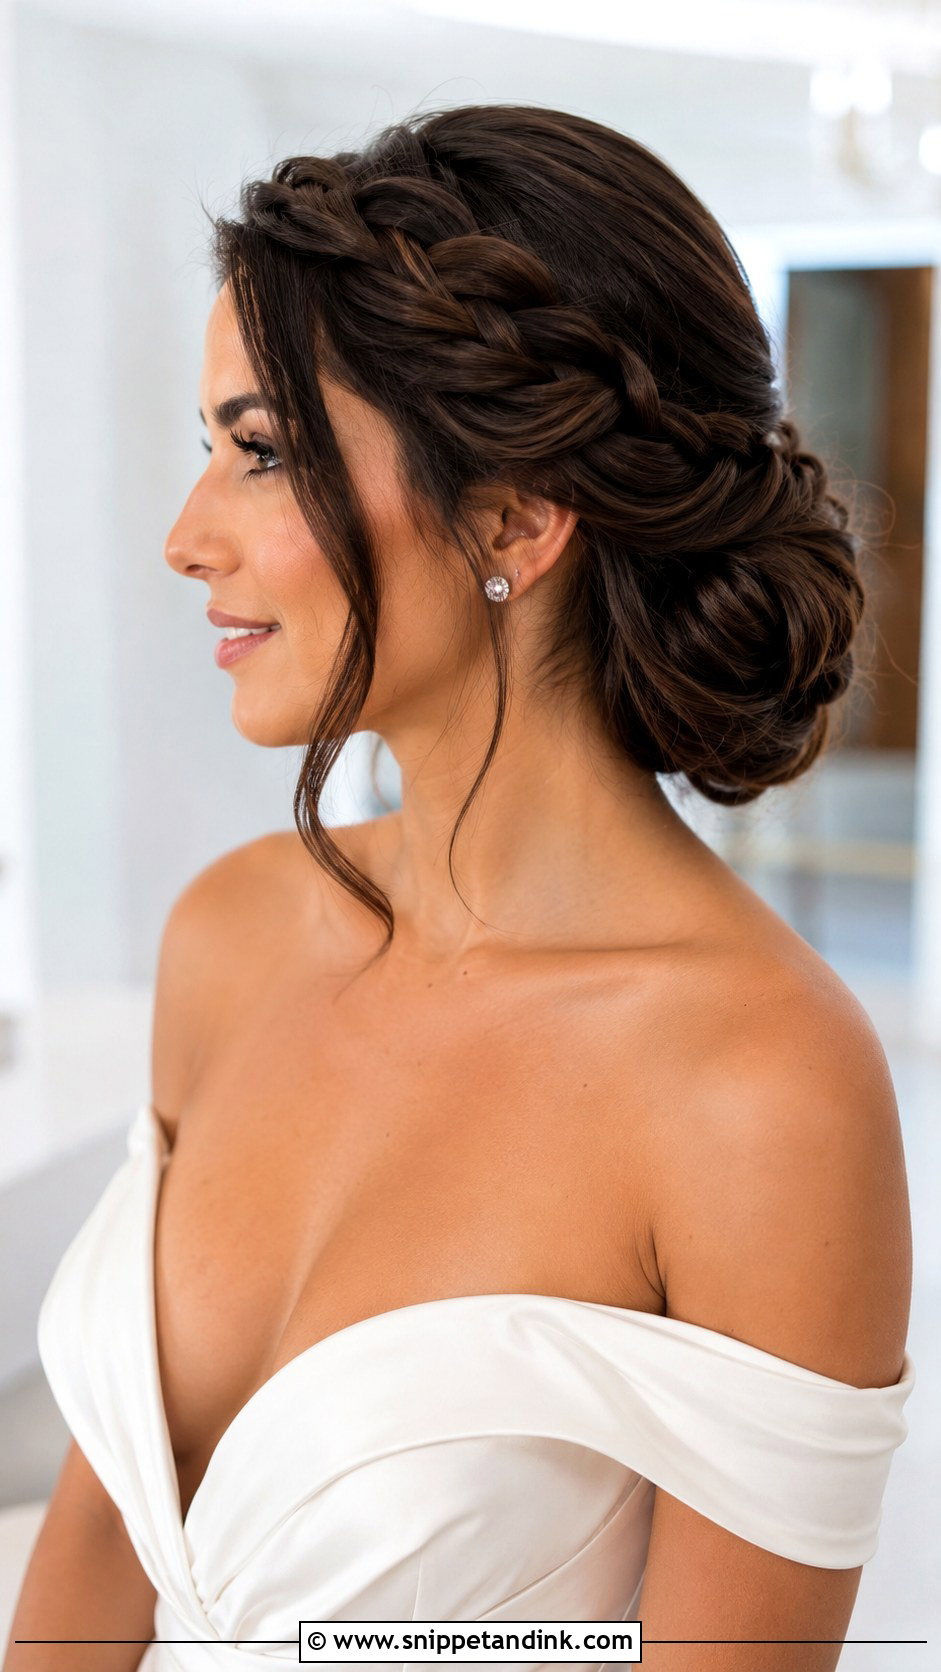
A chignon is the most classic shape here: a smooth, low knot with a braid wrapped around its base or running in from one side. Because it lifts hair cleanly off the shoulders, it works with nearly every neckline, and it gives a veil comb or a pair of statement earrings room to breathe. Decide early whether you want it glossy or softly textured, since the prep is different. On fine hair I usually tuck a small padding donut or a few extensions inside so the knot looks full without looking stuffed.
10. Braided Low Bun Wedding Hair With Pearls
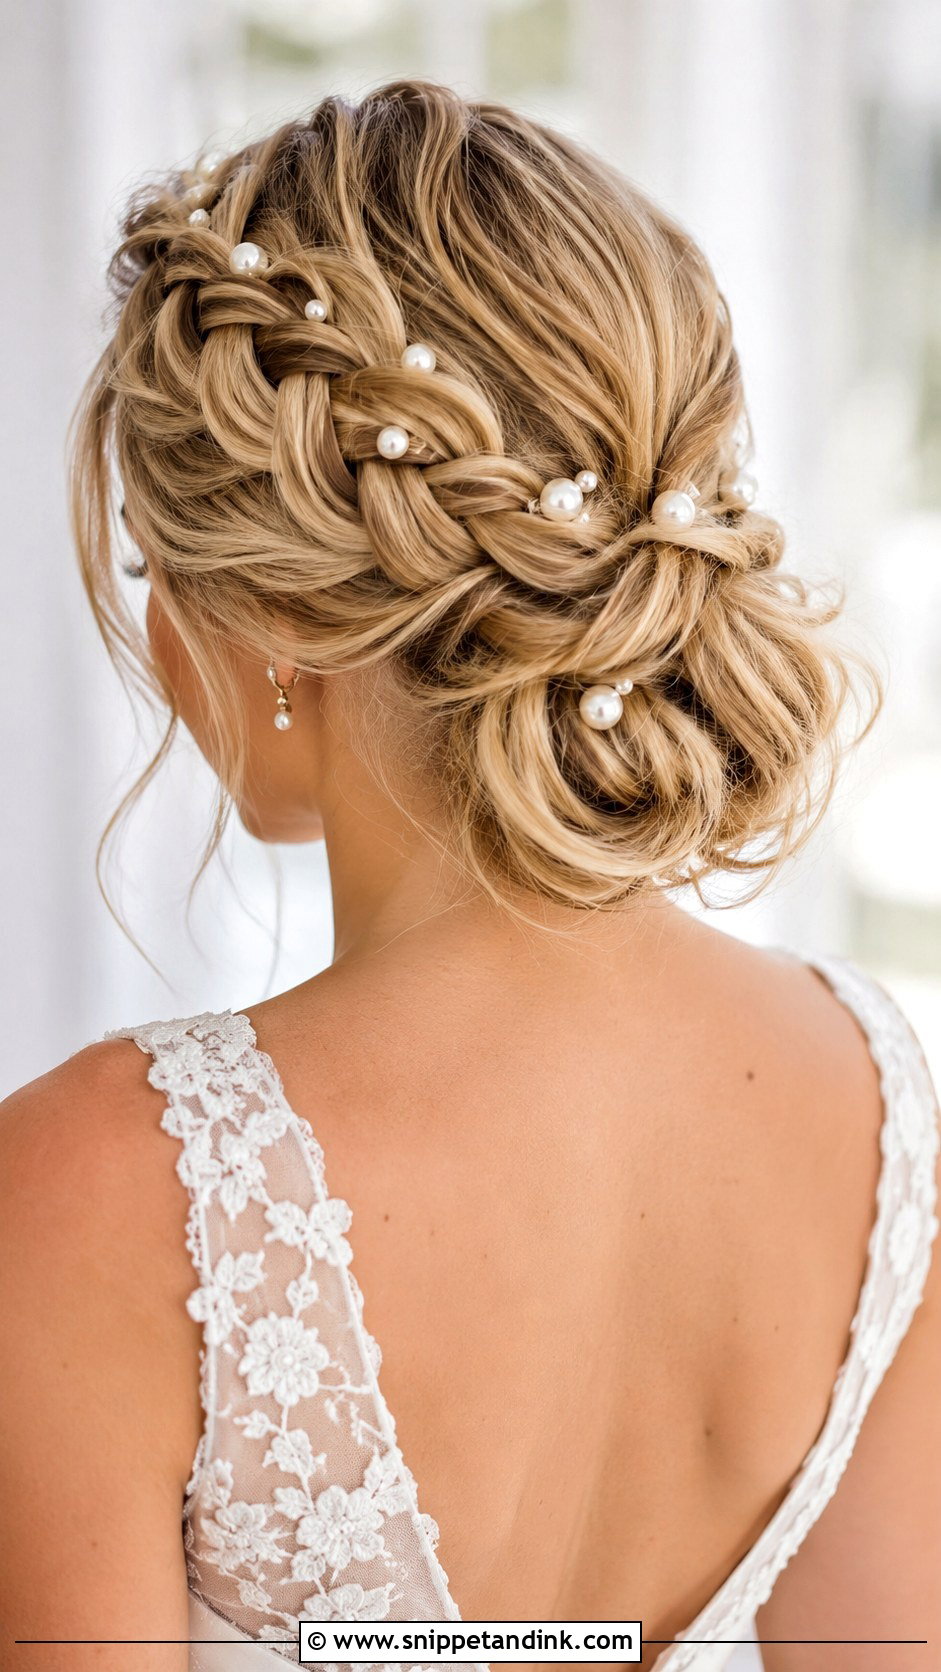
Pearls work best when the braid is textured enough to grip them. On a tight, smooth plait they sit on the surface and can slide, while a slightly pulled braid holds each pin in place. Scatter them through the plait, ring them around the bun or line them up along one side. Lace and satin are easy partners. Small pearls disappear on blonde hair from a distance, so if you’re fair I’d suggest slightly larger ones or a cluster rather than singles.
11. Braided Low Bun Wedding Hair With Veil
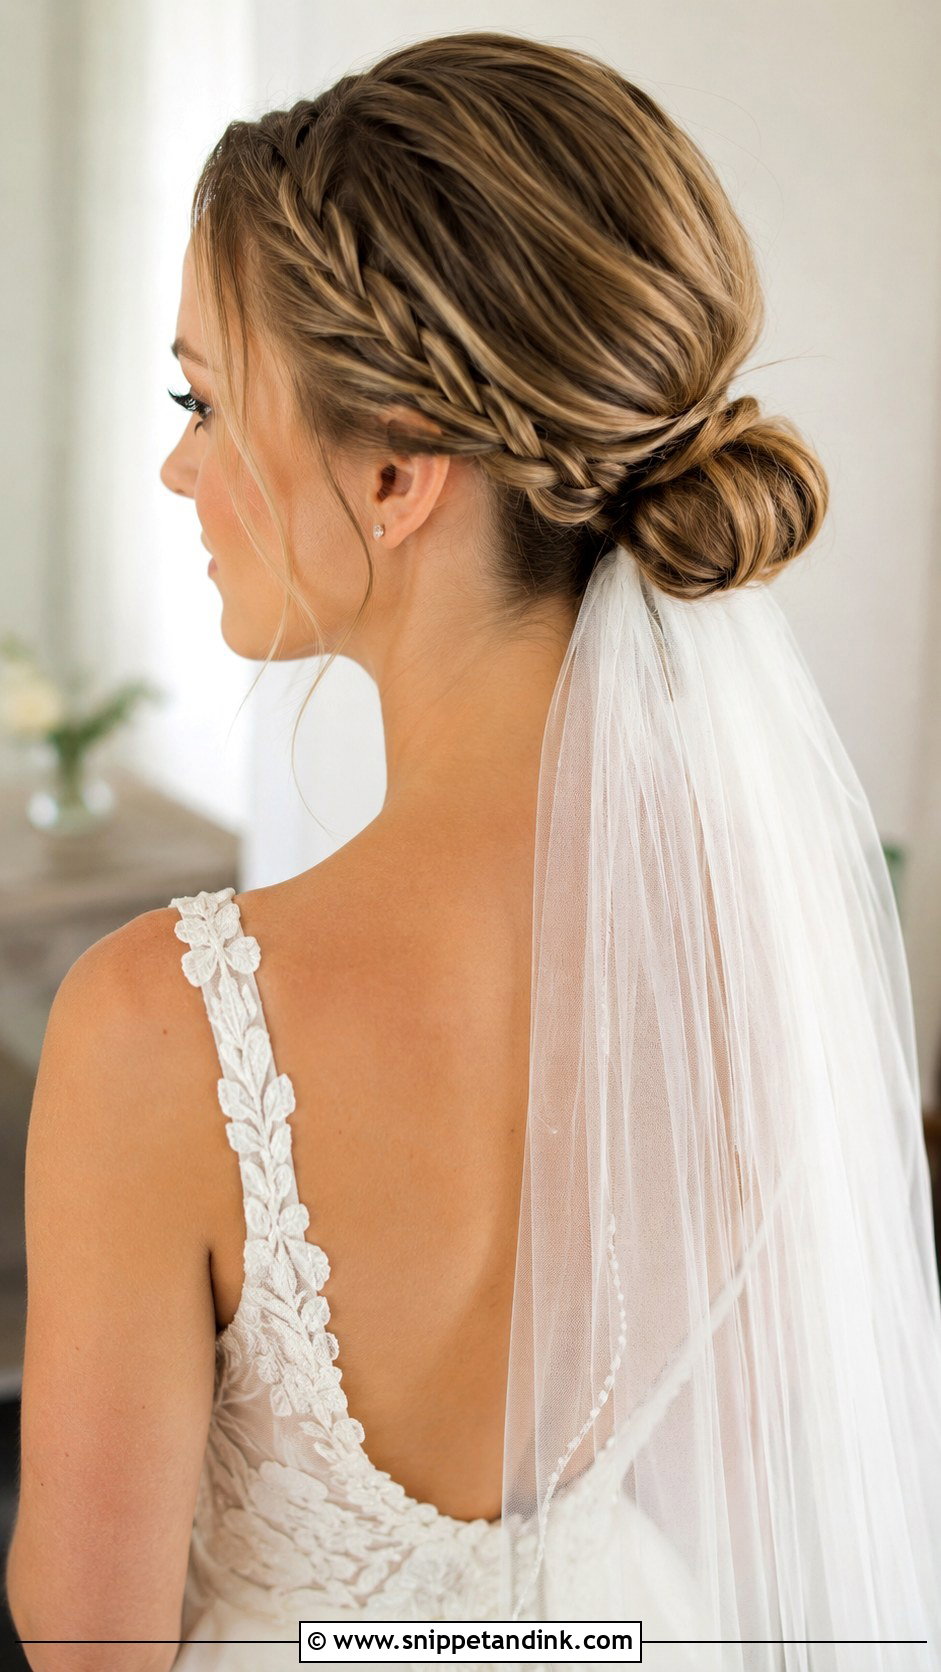
The bun is what makes this pairing work, since it gives the veil comb something solid to bite into. Where the braid sits depends on where the veil goes. Attach the veil just above the bun for a traditional line, or slide it underneath so the braid stays fully on show. Cathedral, fingertip and simple tulle styles all work. A long cathedral veil pulls hard when you walk, so I anchor the comb with two crossed bobby pins behind it. Bring the actual veil to your trial, not a stand-in, so we can test the weight.
12. Braided Low Bun Wedding Hair With Flowers
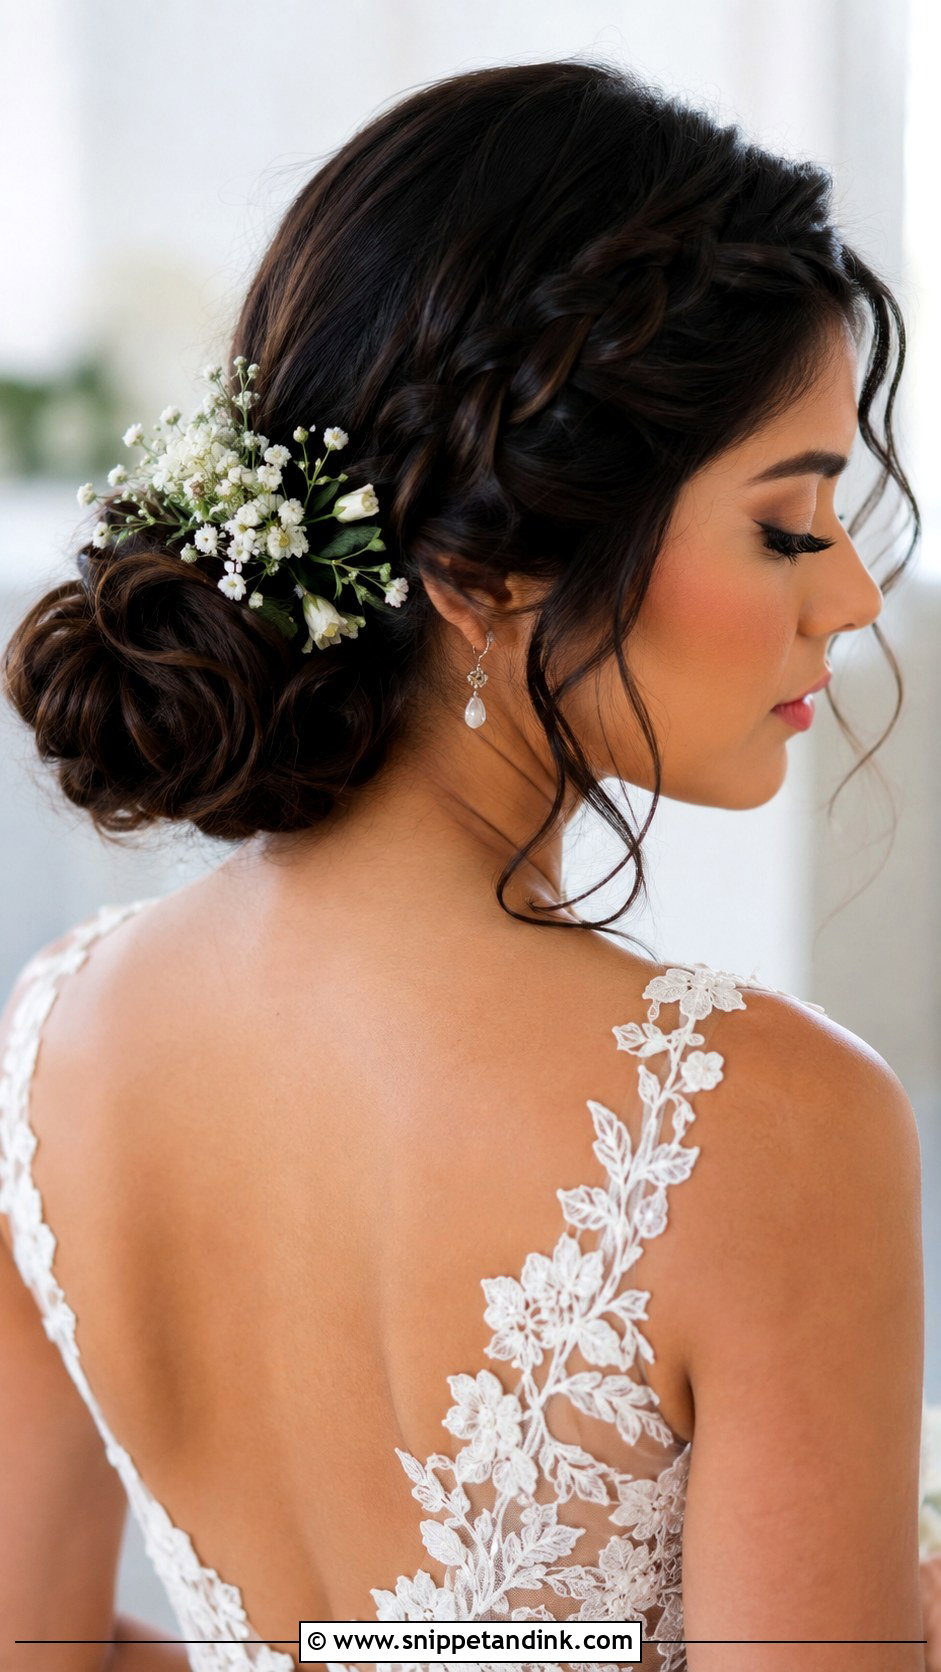
Flowers tuck easily into a braid because every crossed section is a little pocket to hold a stem. Spring, summer and garden weddings suit them best. Baby’s breath, tiny roses, orchids and dried florals each set a different mood. Keep the braid slightly loose so the blooms sit inside it rather than perched on top. Fresh flowers wilt against a warm scalp, so I ask the florist for hardy stems, wired and kept cool until the last ten minutes of styling.
13. Double Braid Low Bun Wedding Hair
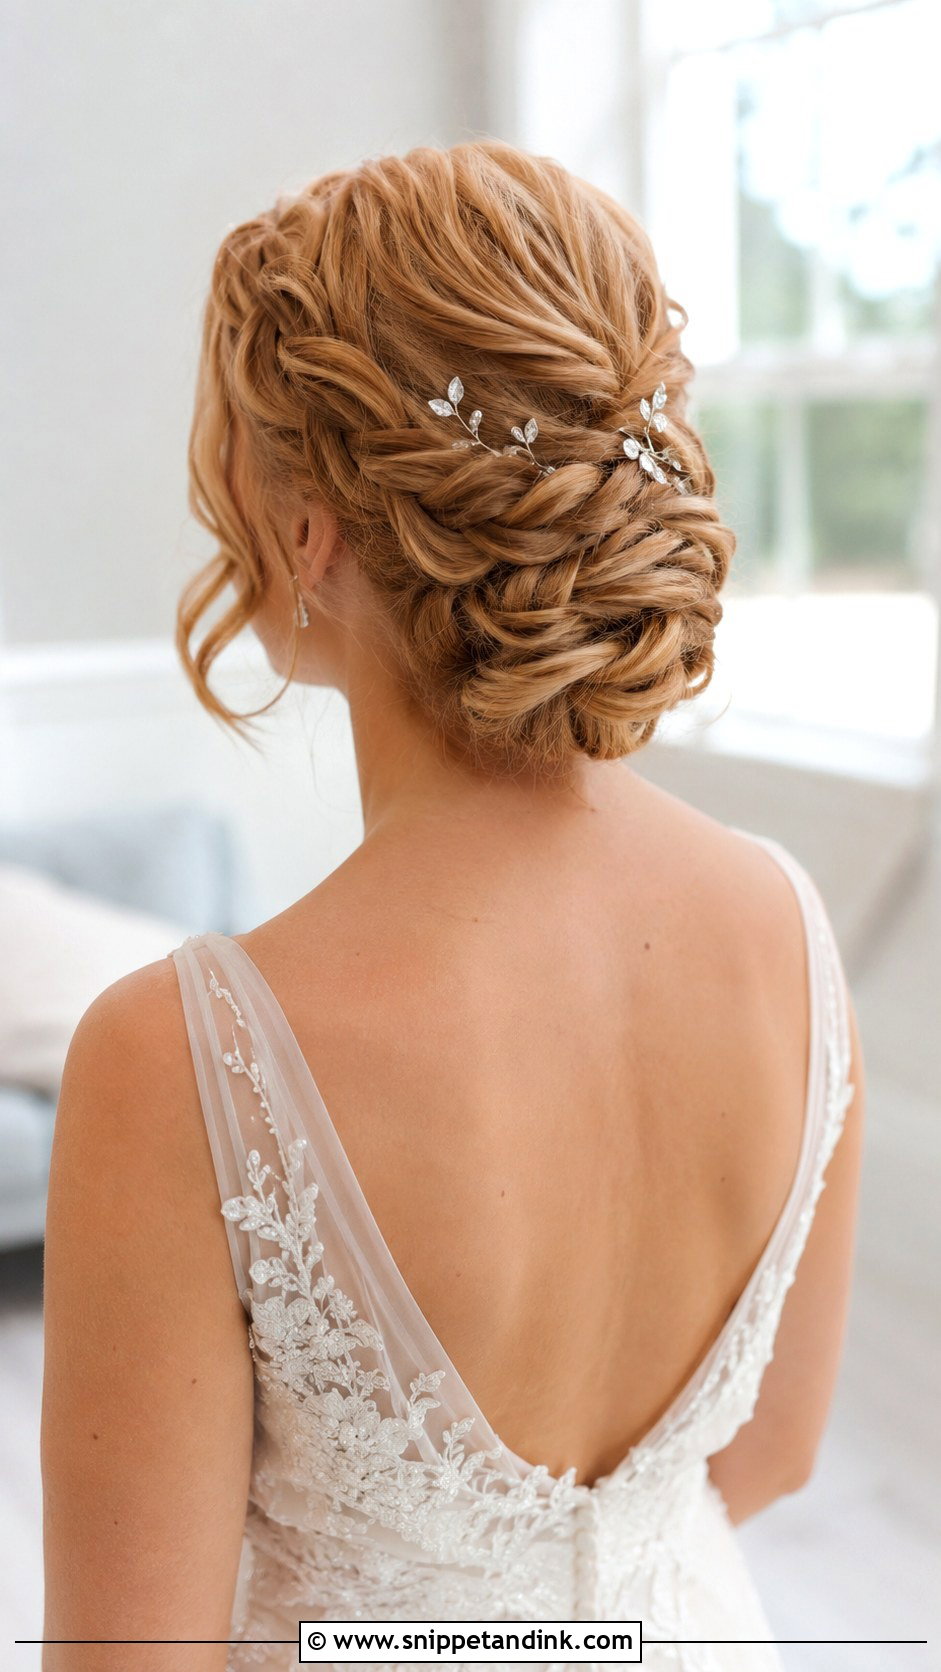
With a double braid low bun, two plaits start at either side of the head, meet at the back and wrap into one bun. On thick hair it’s my favourite way to manage volume, since splitting the hair into two braids stops the bun from turning into a heavy ball. Bridesmaids can all wear it and still match without looking stiff. Getting the two braids even is the hard part, so I check the symmetry in a hand mirror from behind before pinning. Loosen each one slightly and keep the bun rounded.
14. Braided Low Bun Wedding Hair For Long Hair
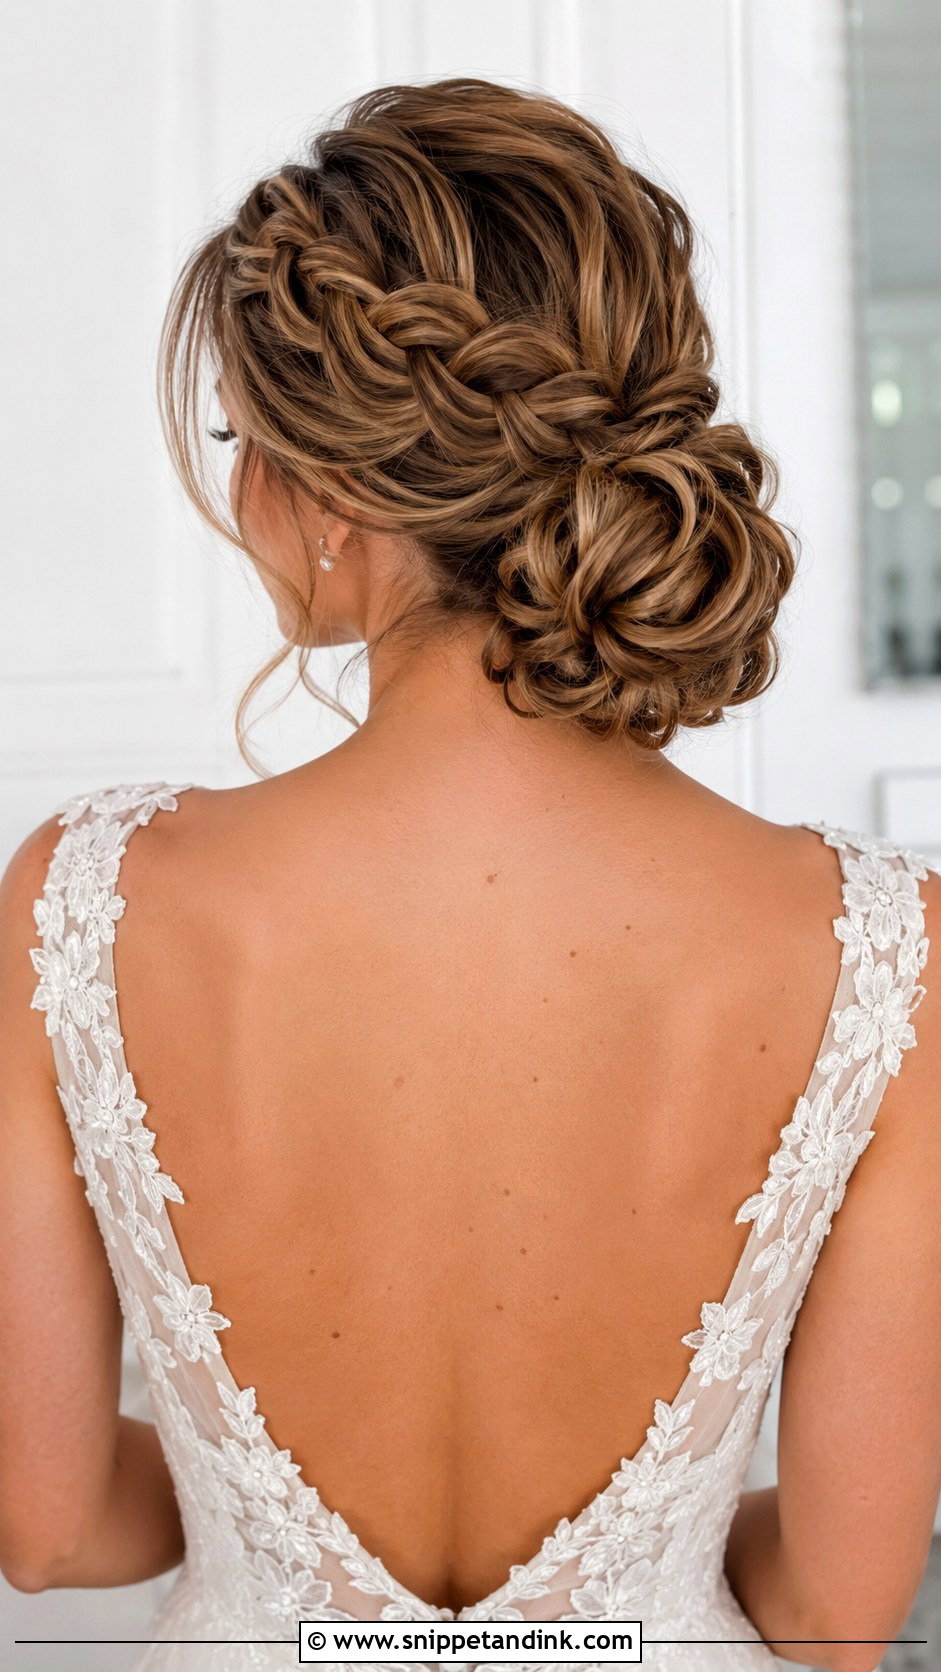
Long hair gives me enough length to braid, loop and wrap into a big low bun, which is the style to choose if you want a dramatic back view over an open-back dress or lace train. Weight is the real problem. All that length pinned into one spot pulls on the scalp, and by late afternoon it can bring on a headache. I split the hair into two or three sections and pin each to its own base so the load spreads out. Soft texture in the braid and a smooth crown keep it bridal.
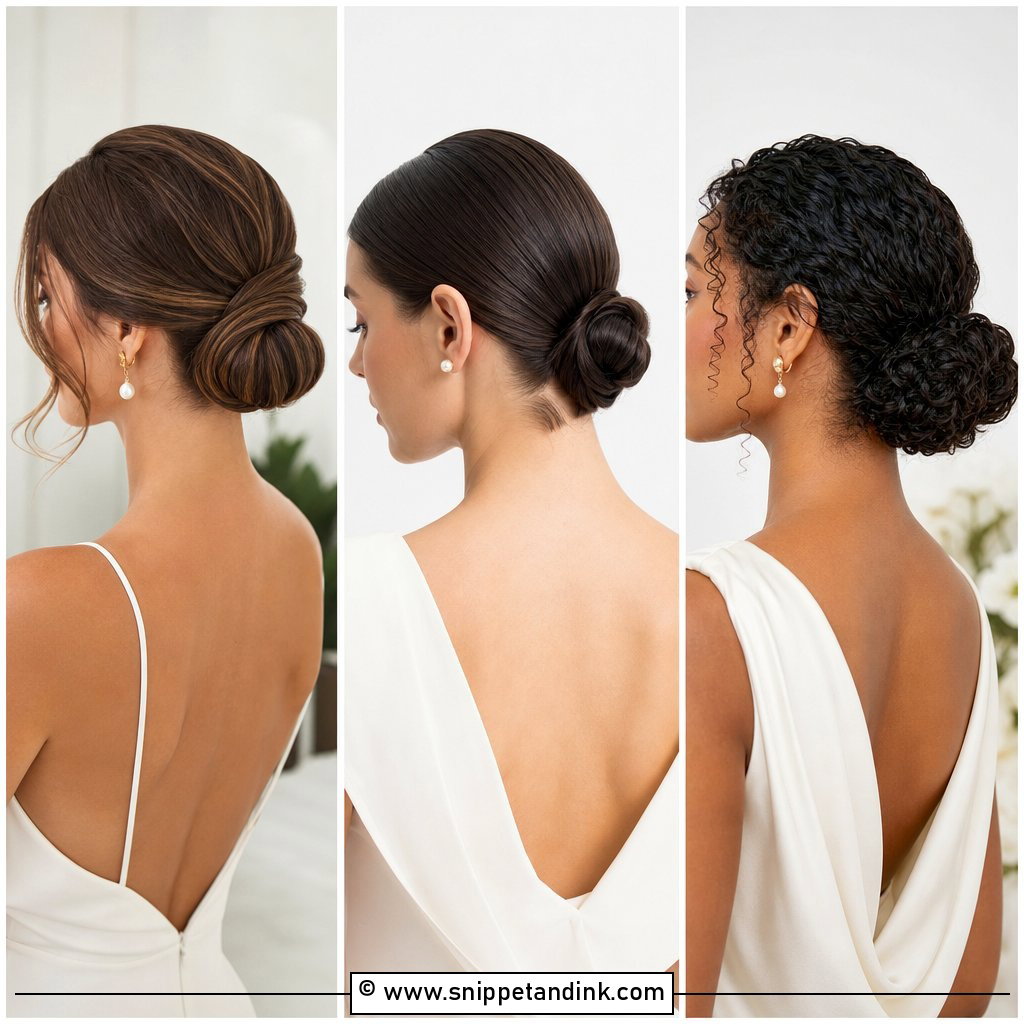
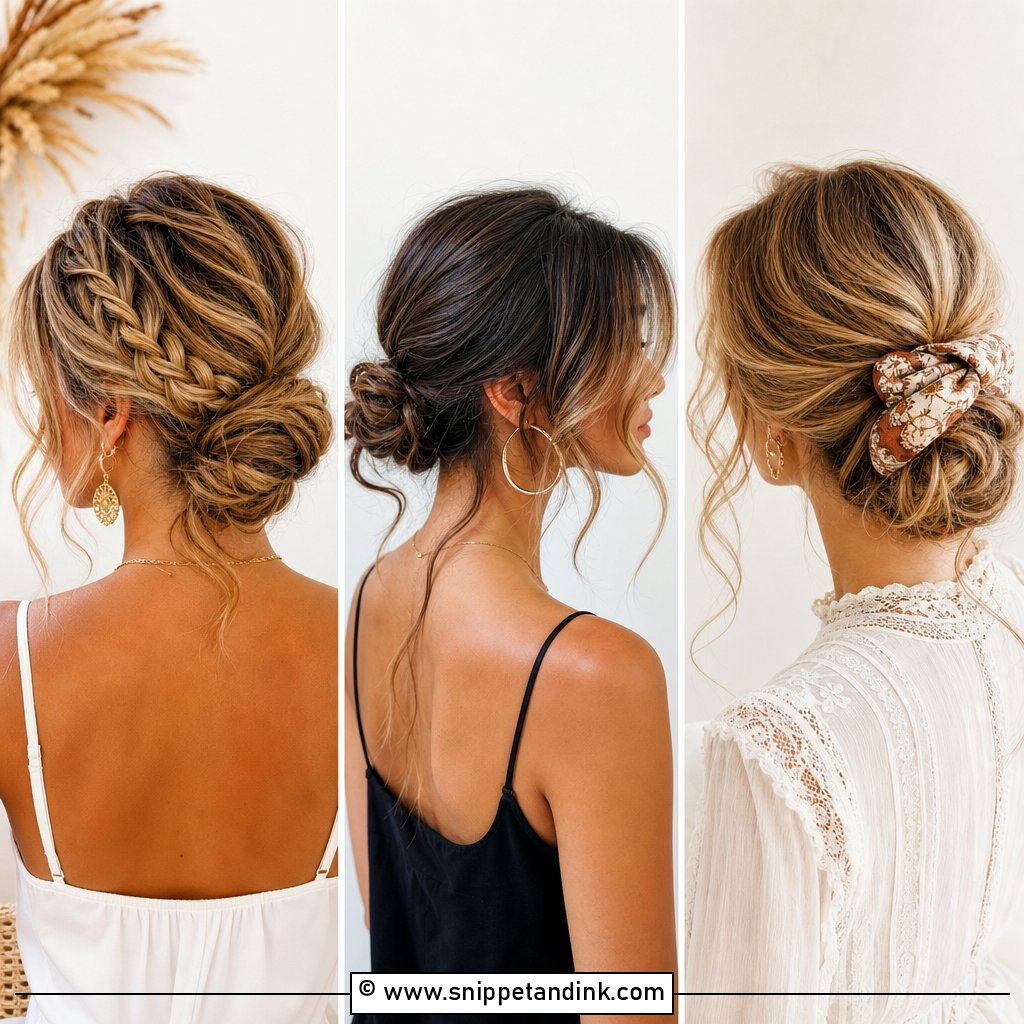
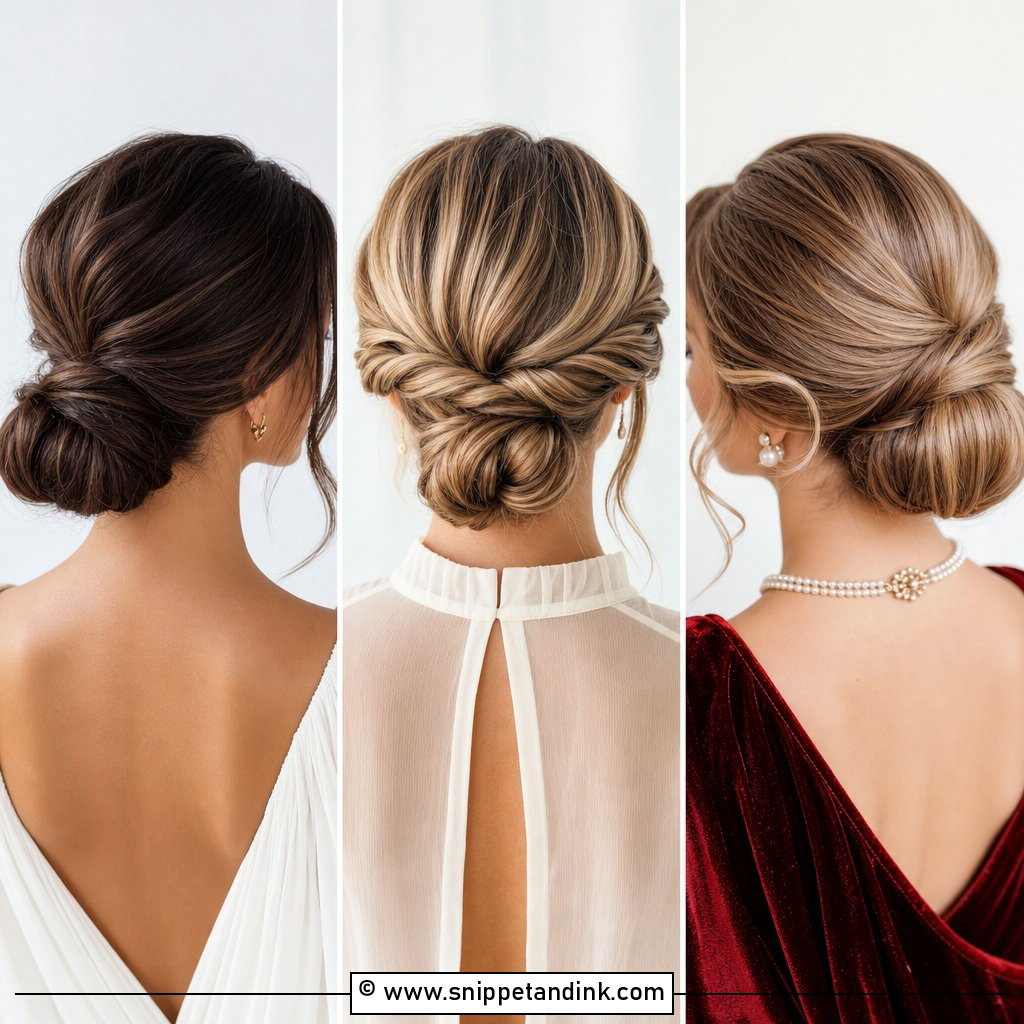
15. Braided Low Bun Wedding Hair For Thin Hair
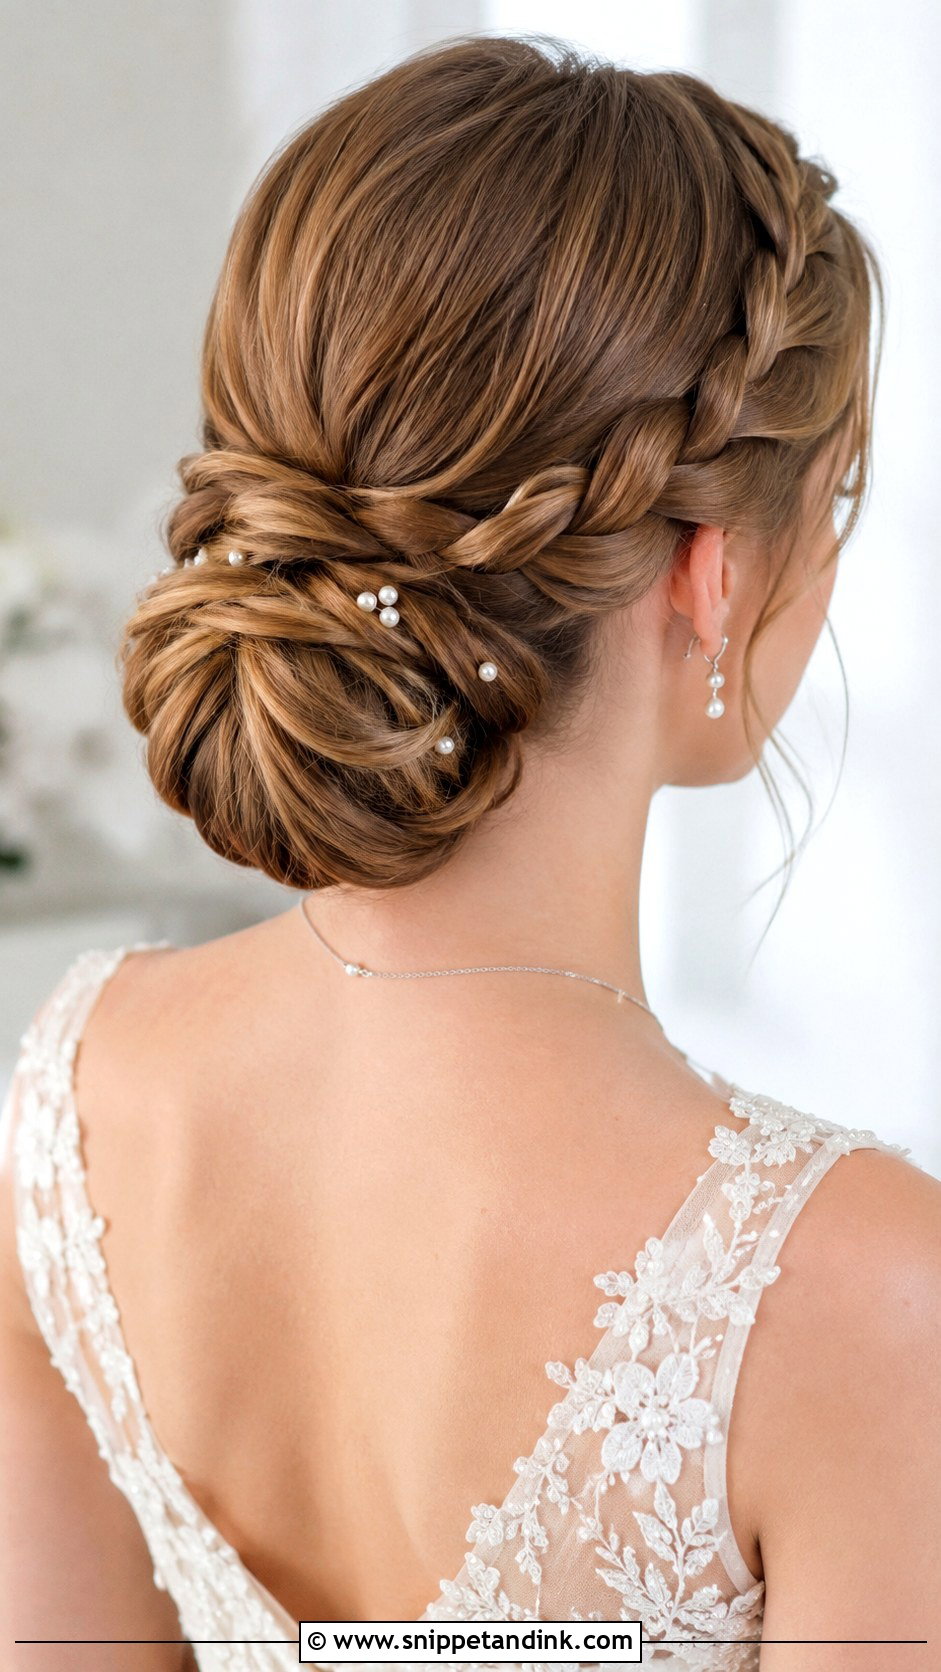
Thin hair can carry a braided bun, but it needs prep. I braid loosely and widen each section by hand, because a tight braid on fine hair looks like a cord. A little teasing at the crown and a dry texture spray give it grip, and a small padded bun underneath adds shape. Colour-matched clip-in extensions are worth asking about if you want real fullness. Keep accessories small, such as a few pearl pins or a thin comb, so they don’t drag the hair down.
Where a Braided Bun Gives Way During a Long Wedding Day
These styles are sturdy, but they fail in predictable places, and you can plan around each one.
The braid shrinks back
A braid that’s been pulled wide slowly tightens again as you move, and in humid weather it can look half its size by dinner. Ask your stylist to set the pancaked sections with a light hold spray rather than leaving them loose, and pack two bobby pins to pin back any section that tightens.
Pins press against the chair
A low bun sits exactly where you lean back at dinner and in the car. If pins point outwards, you’ll feel them within an hour. At the trial, sit in a high-backed chair for a few minutes. Anything that digs in should be re-angled so it points up into the bun.
Taking it down at night
Count the pins as they go in, or ask your stylist roughly how many she used, so you know when you’ve found them all. Undo the bun before the braid, spray the plait with a little leave-in conditioner and work it loose from the ends up. Pulling it down from the top snaps strands that are already dry from a day of spray.
A Low Braided Bun Should Still Feel Light at Midnight
A braided low bun can be sleek, soft, classic or relaxed, and it holds well through a long day. Take your neckline, your veil and your hair’s real density into account before you commit to one, and bring back-view and side-view photos to the trial as well as front ones. At the end of that trial, shake your head, sit back against a chair and wear it for a few hours. If it still feels comfortable and looks like you, book it.
You'll Like These Ideas:


Leave a Reply