
Doing your own wedding hair is very doable if you pick a style that forgives a wobbly hand. The best self hairstyle for a wedding is rarely the most complicated one; it’s the one that suits your length, your neckline and the weather, and that you can repeat on a nervous morning. Textured buns, half up styles, ponytails and loose braids hide small mistakes in a way that sleek, symmetrical styles don’t. Below are fifteen I’d happily teach a bride or guest to do herself, with the step that usually trips people up.
Pin Like a Stylist and Most of These Will Hold
Almost every style below fails the same way at home: the pins are holding hair to hair instead of hair to the head. A few habits fix that.
- Wavy side of the bobby pin goes down, against the scalp. That’s the side with grip.
- Slide the pin in against the direction the hair is going, then flip it and push it back the other way. It locks.
- For anything heavy, cross two pins in an X. One pin alone is a hinge.
- Use U-shaped hairpins for shaping a bun or twist and bobby pins for anchoring. They do different jobs.
- Spray a little texture or dry shampoo on the hair before pinning. Clean, silky hair lets pins slide straight out.
Buy pins that match your hair colour, and get more than you think you’ll use. A bun on thick hair can take twenty or more.
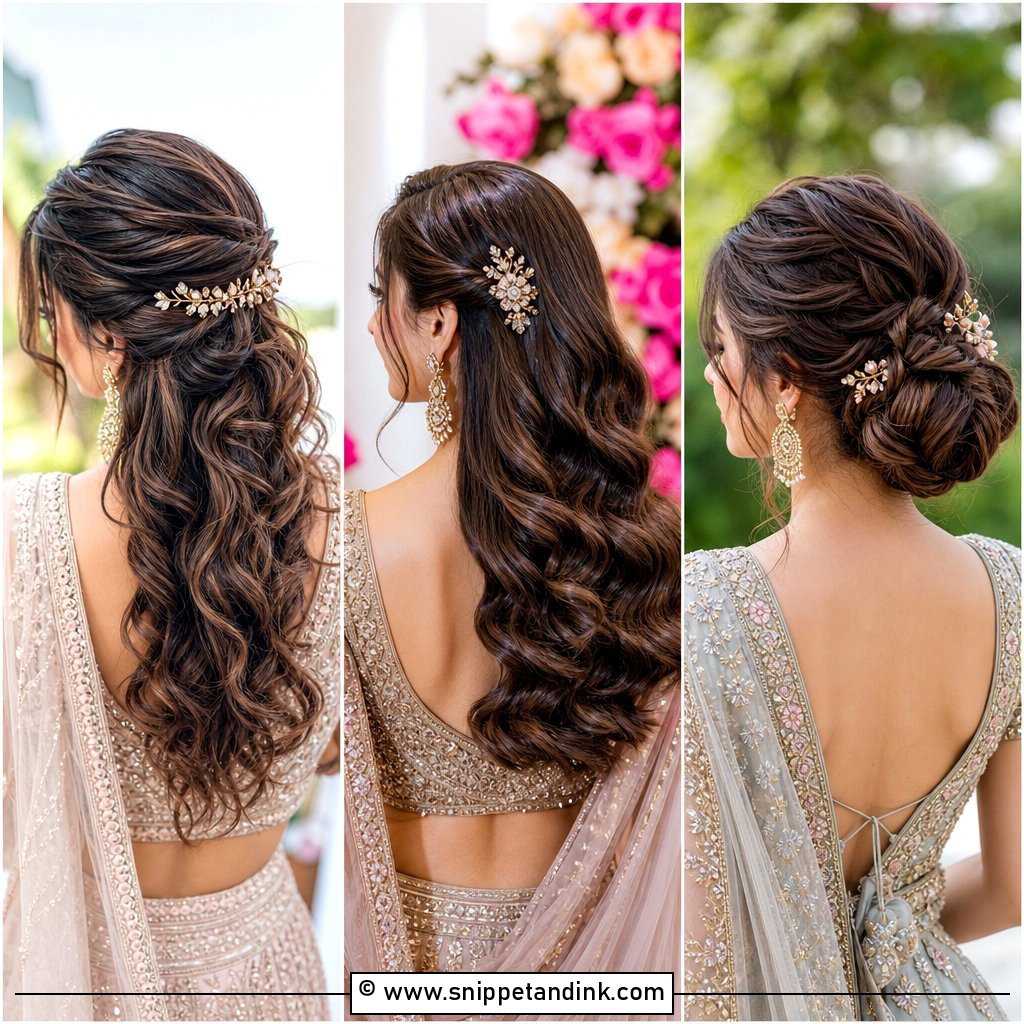
1. Low Bun Wedding Hairstyle
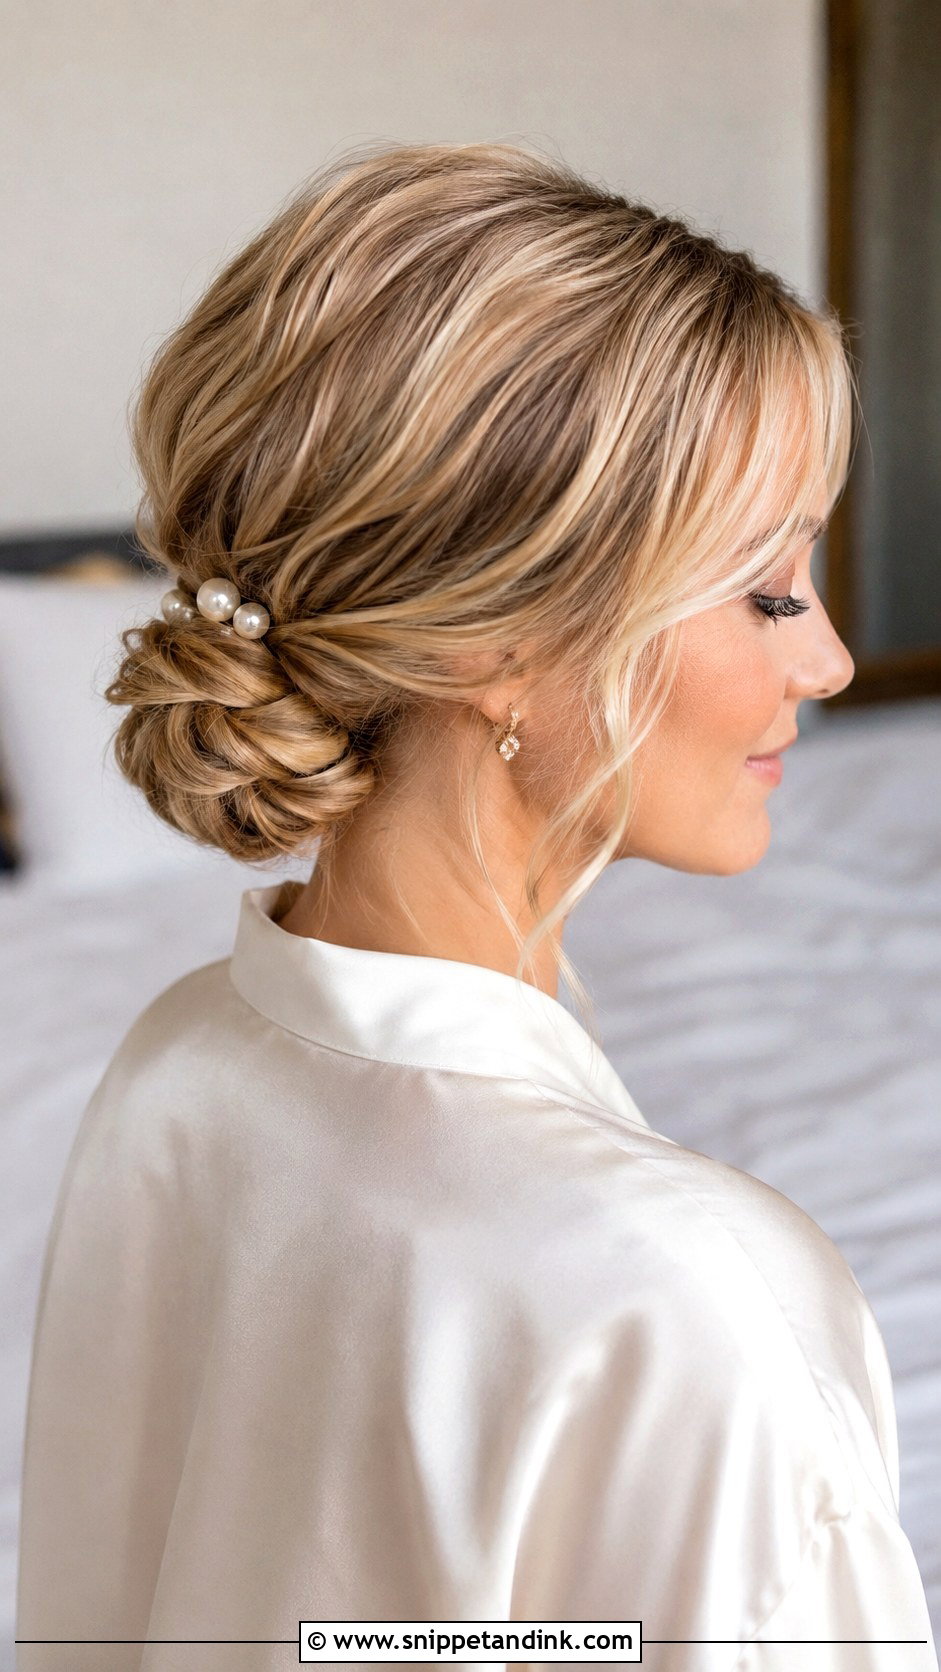
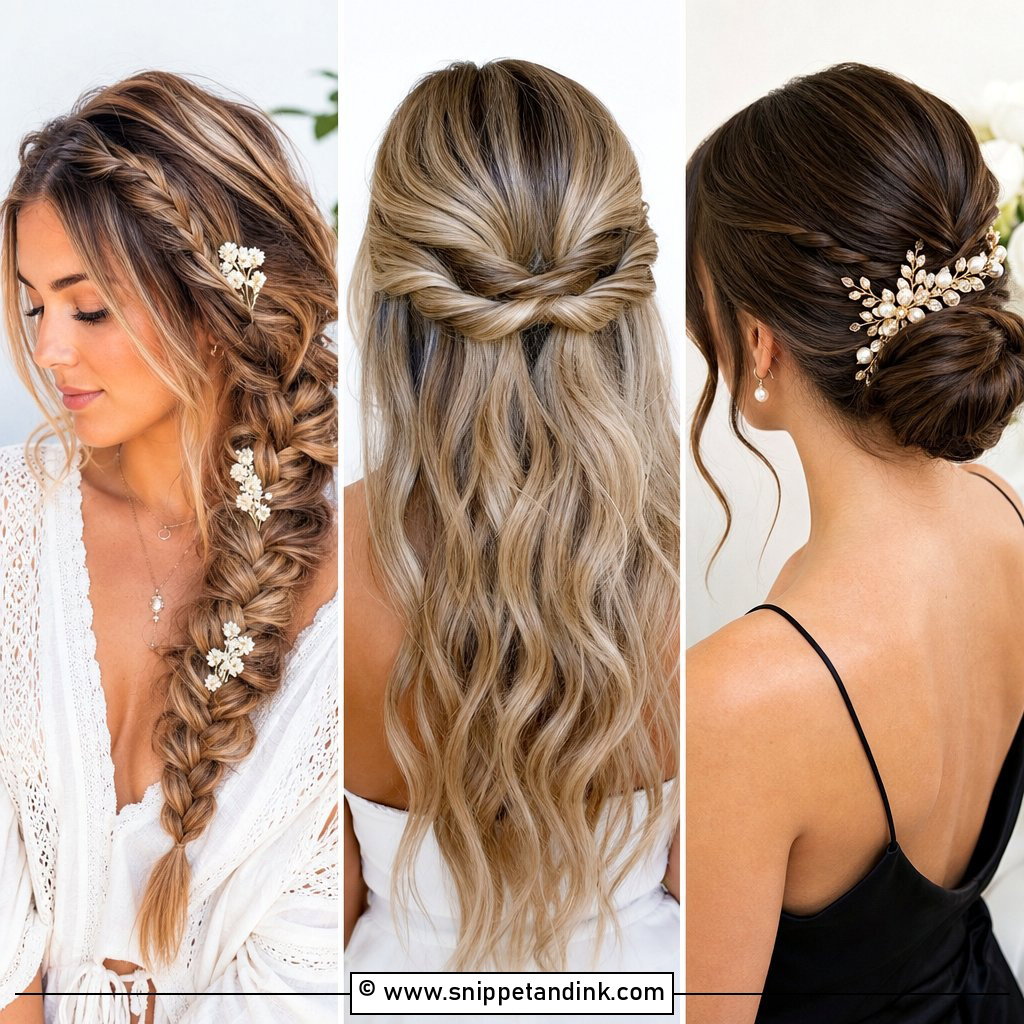
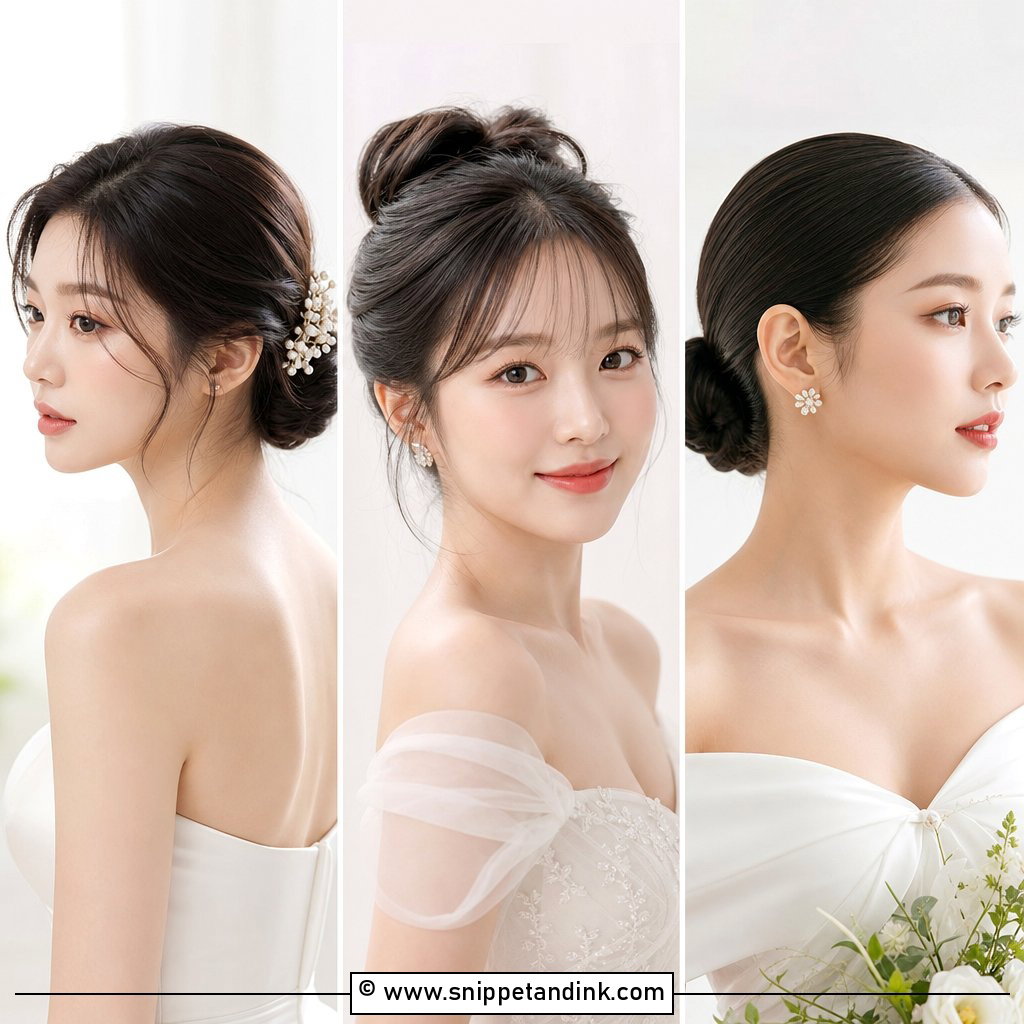
If you only practise one style, make it this. Curl or wave the hair first, gather it at the nape, twist it into a bun and pin. Texture spray before you gather is what gives the pins something to grip. The bit people get wrong is pinning only around the outside of the bun; I push two pins straight through the bun into the base, crossed, so it can’t swing. A few loose pieces at the front soften it. It keeps your neck cool in summer and holds a veil, comb or vine without fuss.
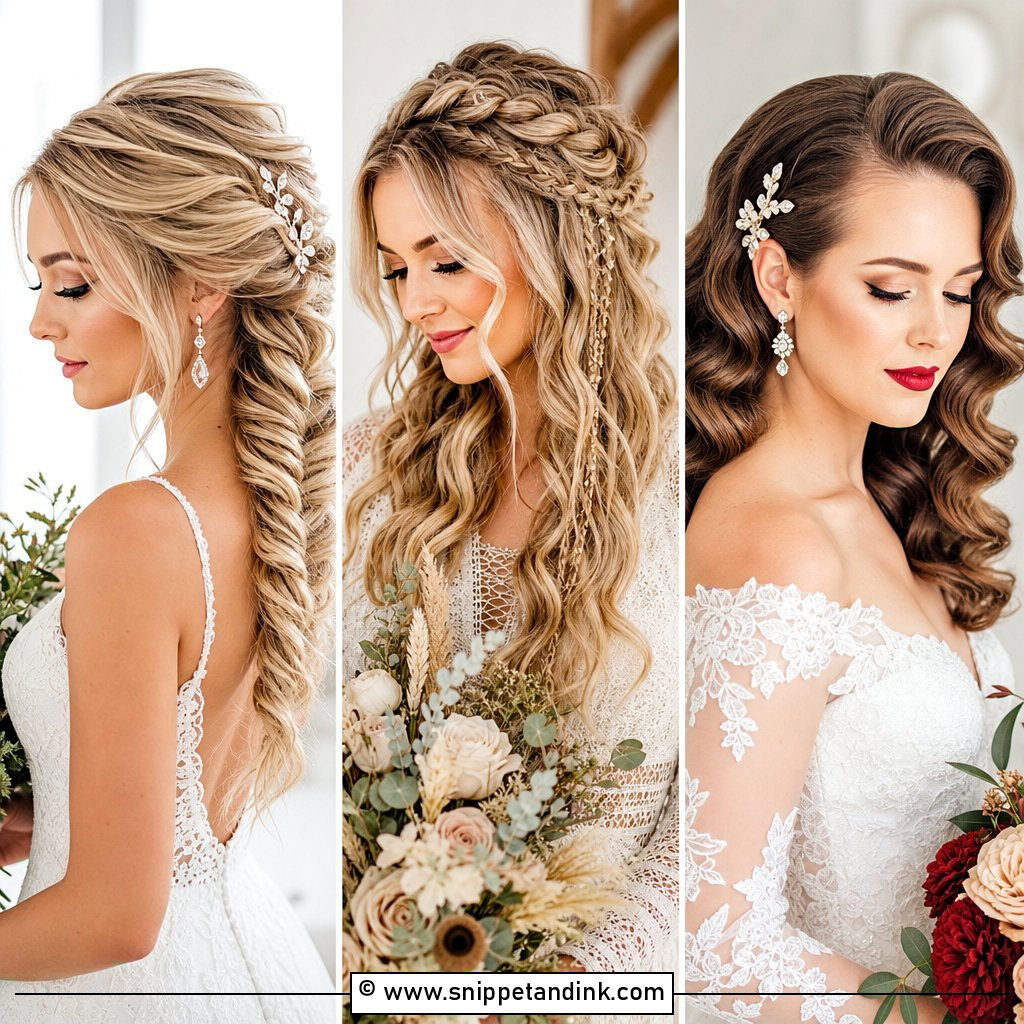
2. Half Up Half Down Wedding Hairstyle
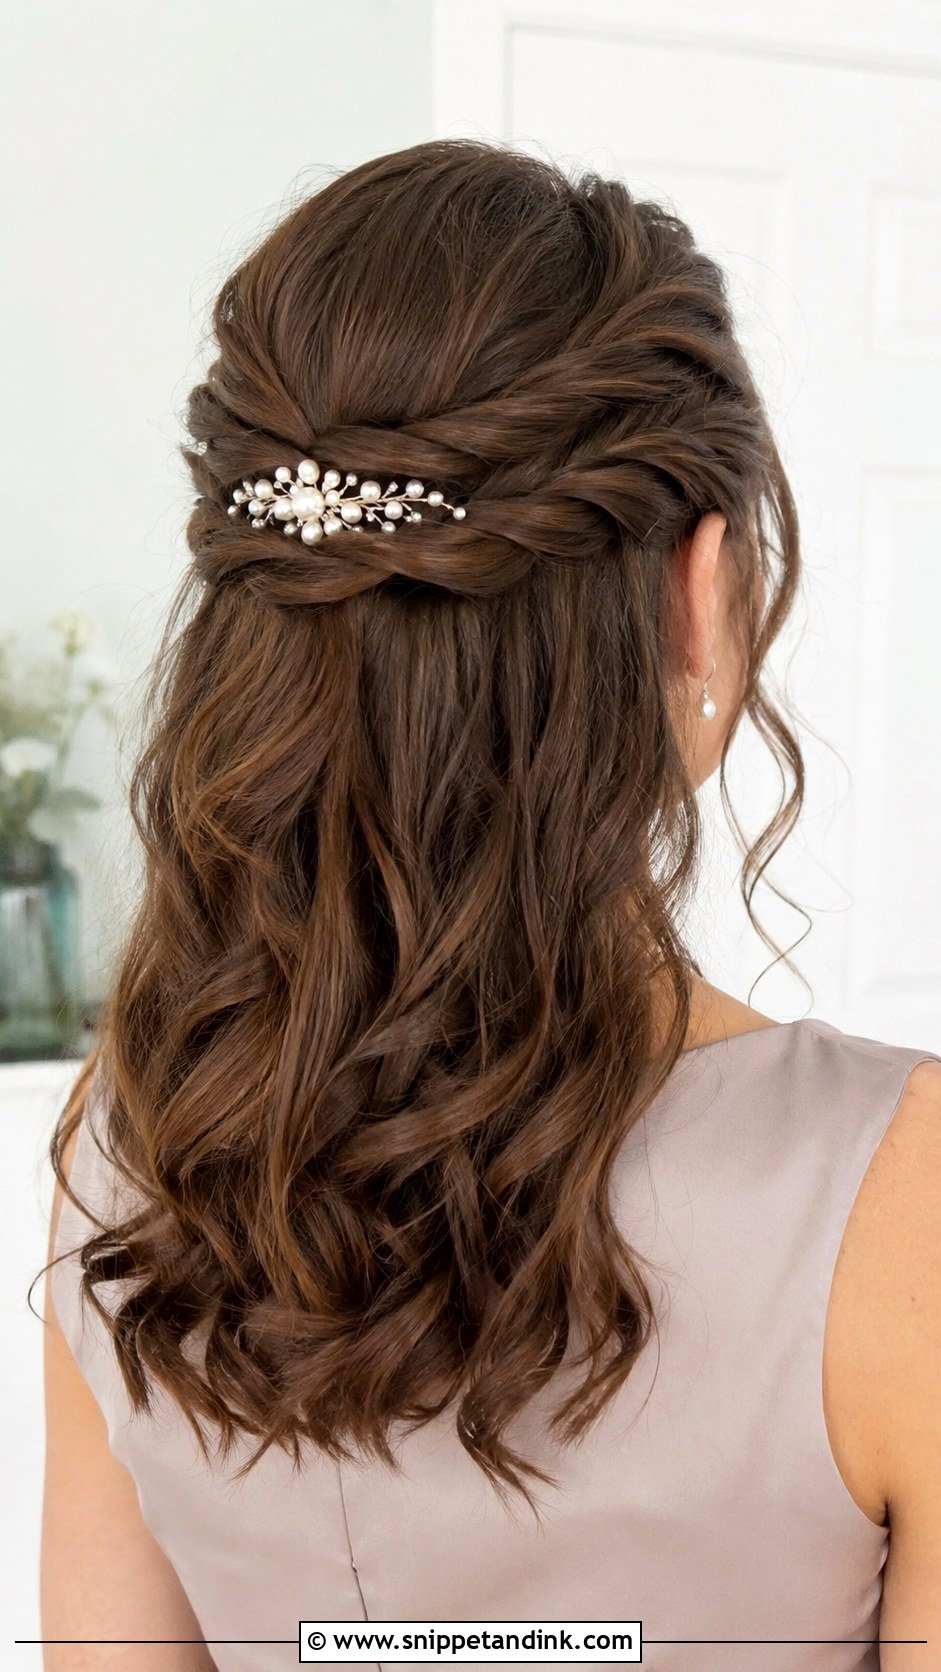
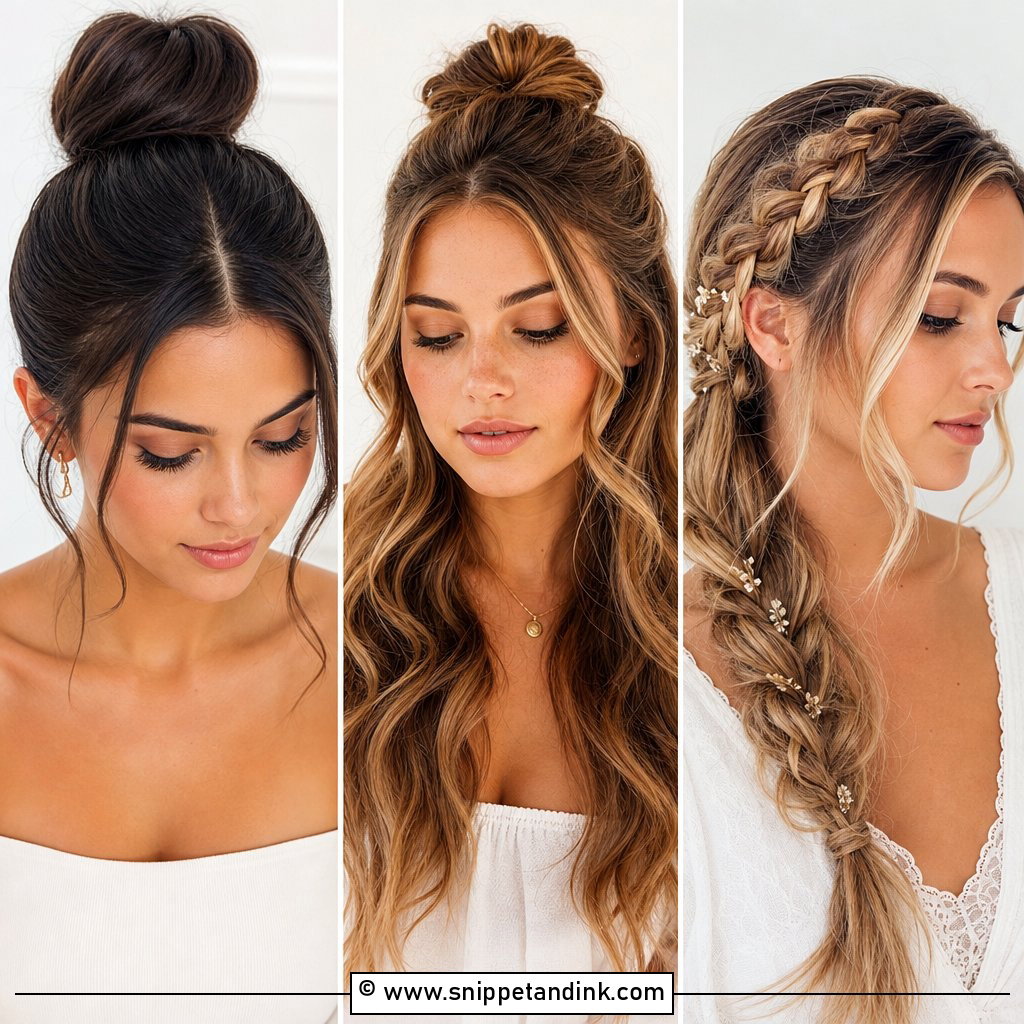
Half up hair keeps the front tidy and still shows off curls at the back. Curl everything first. Then take two sections from the front and meet them at the crown, holding with a small clear elastic before you pin; trying to pin two loose sections together freehand is where most DIY half ups go lopsided. Twist or braid the side pieces if you like. A little teasing under the crown adds lift. Medium and long hair suit it best.
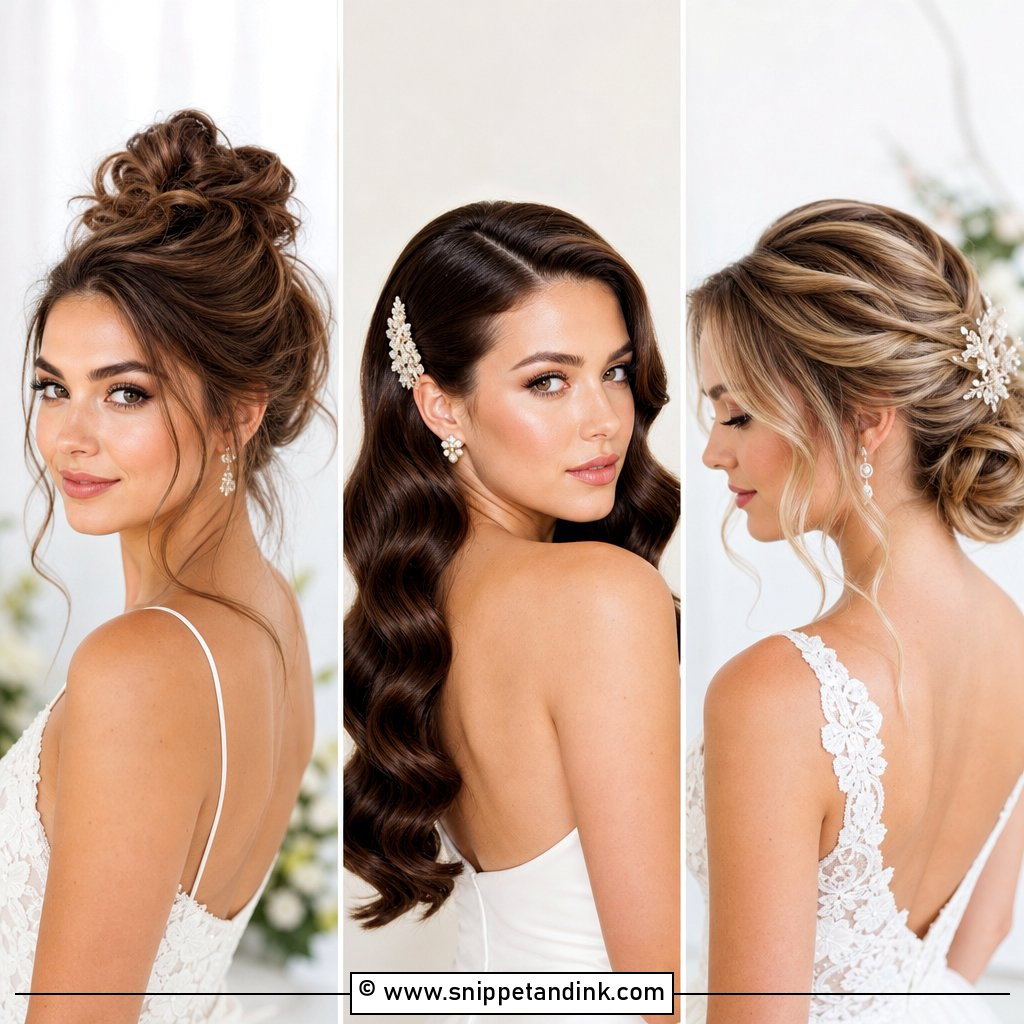
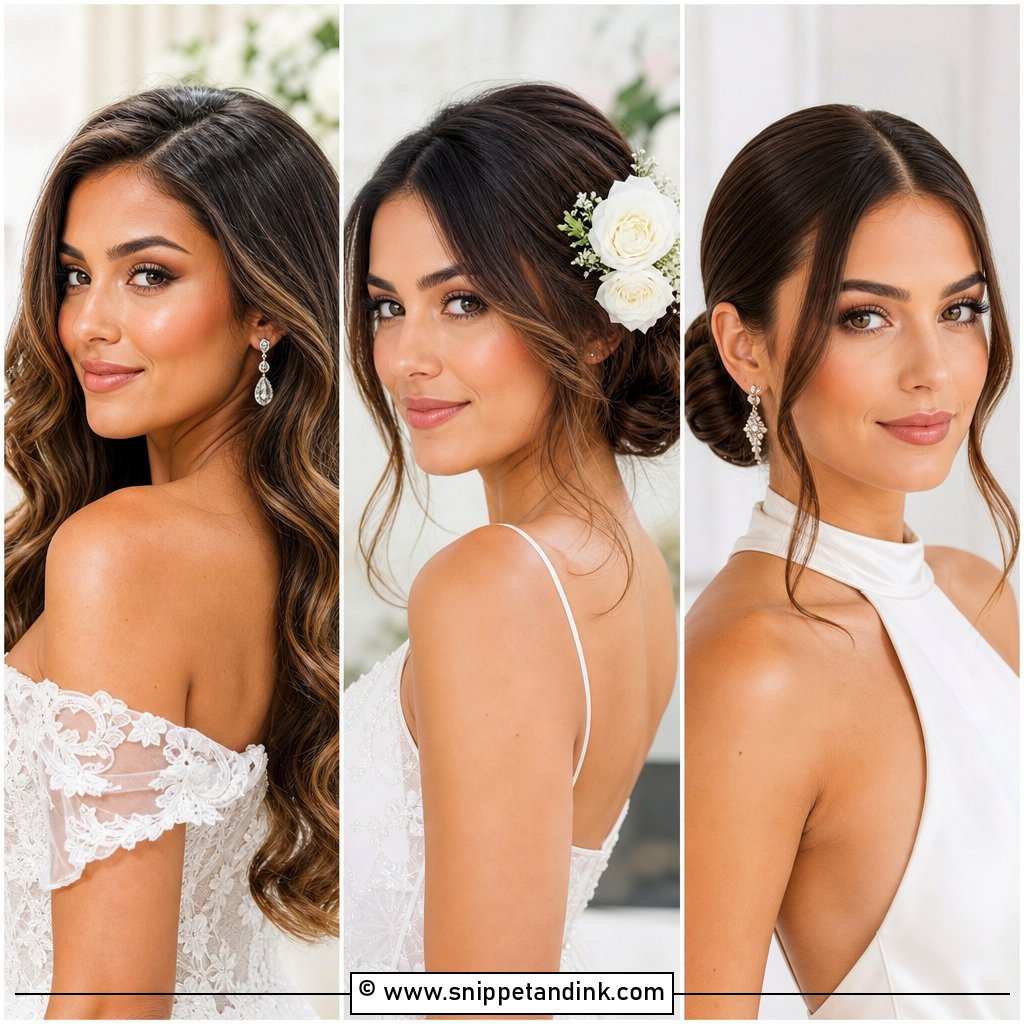
3. Loose Waves Wedding Hairstyle
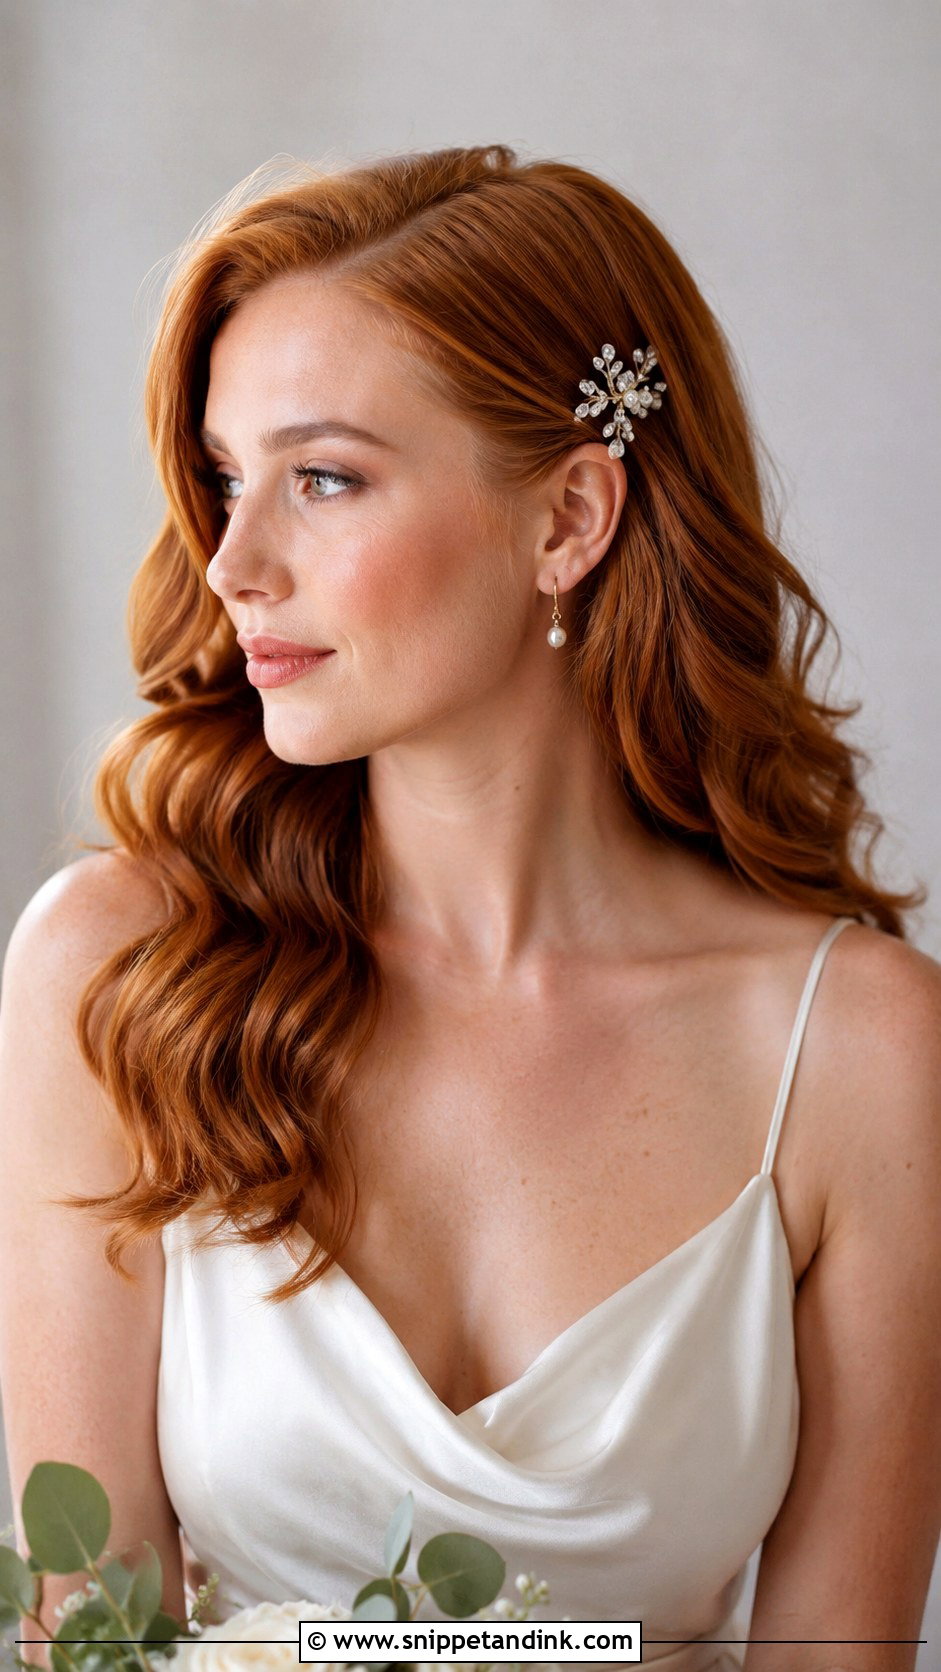
Waves are the easiest look to touch up through the day, which matters when there’s no stylist on hand. Use a wand or flat iron for relaxed bends, let them cool completely, then brush out gently. I’d skip a stiff spray; flexible hold keeps them moving. On shoulder-length hair, keep the curl away from the ends so they don’t flip out. Centre part for modern, side part for classic. A pearl clip or small comb on one side does the rest.
4. Sleek Ponytail Wedding Hairstyle
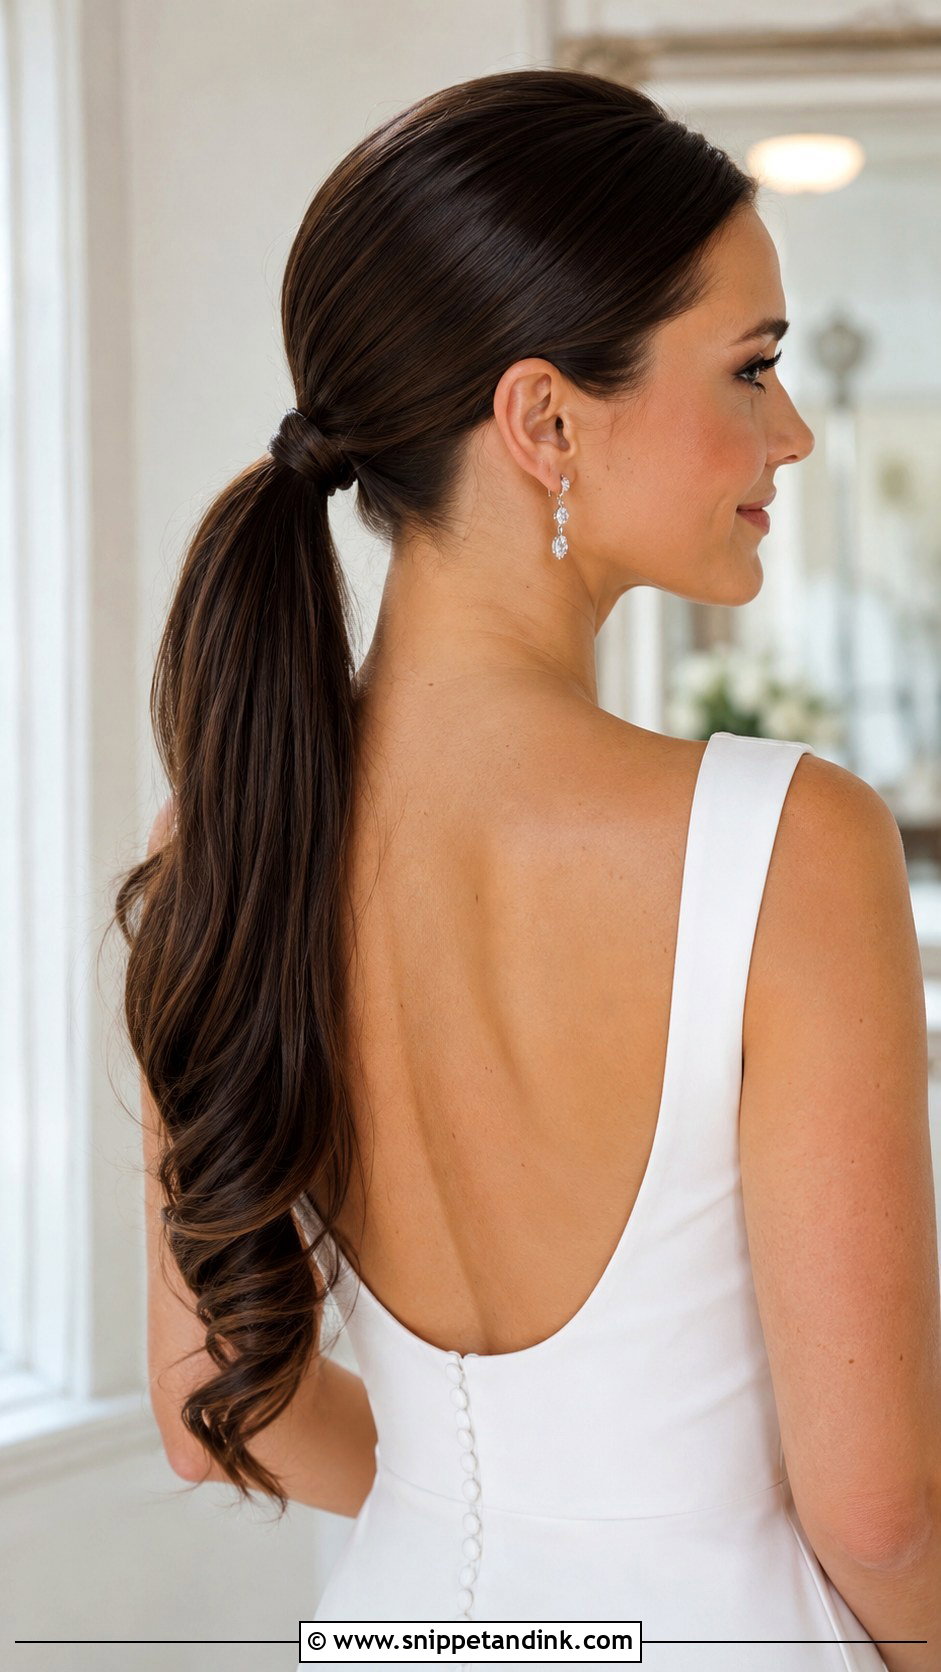
A sleek ponytail looks simple and shows every bump, so it’s less forgiving than it seems. Smooth the hair with a light serum, brush it into a mid or low ponytail, and check the back with a hand mirror before you tie it; lumps behind the crown are the usual problem. Wrap a small piece around the elastic and pin it underneath. It suits high necklines and open backs, and it’s the easiest style to keep tidy in humidity. Shine spray at the end.
5. Braided Crown Wedding Hairstyle
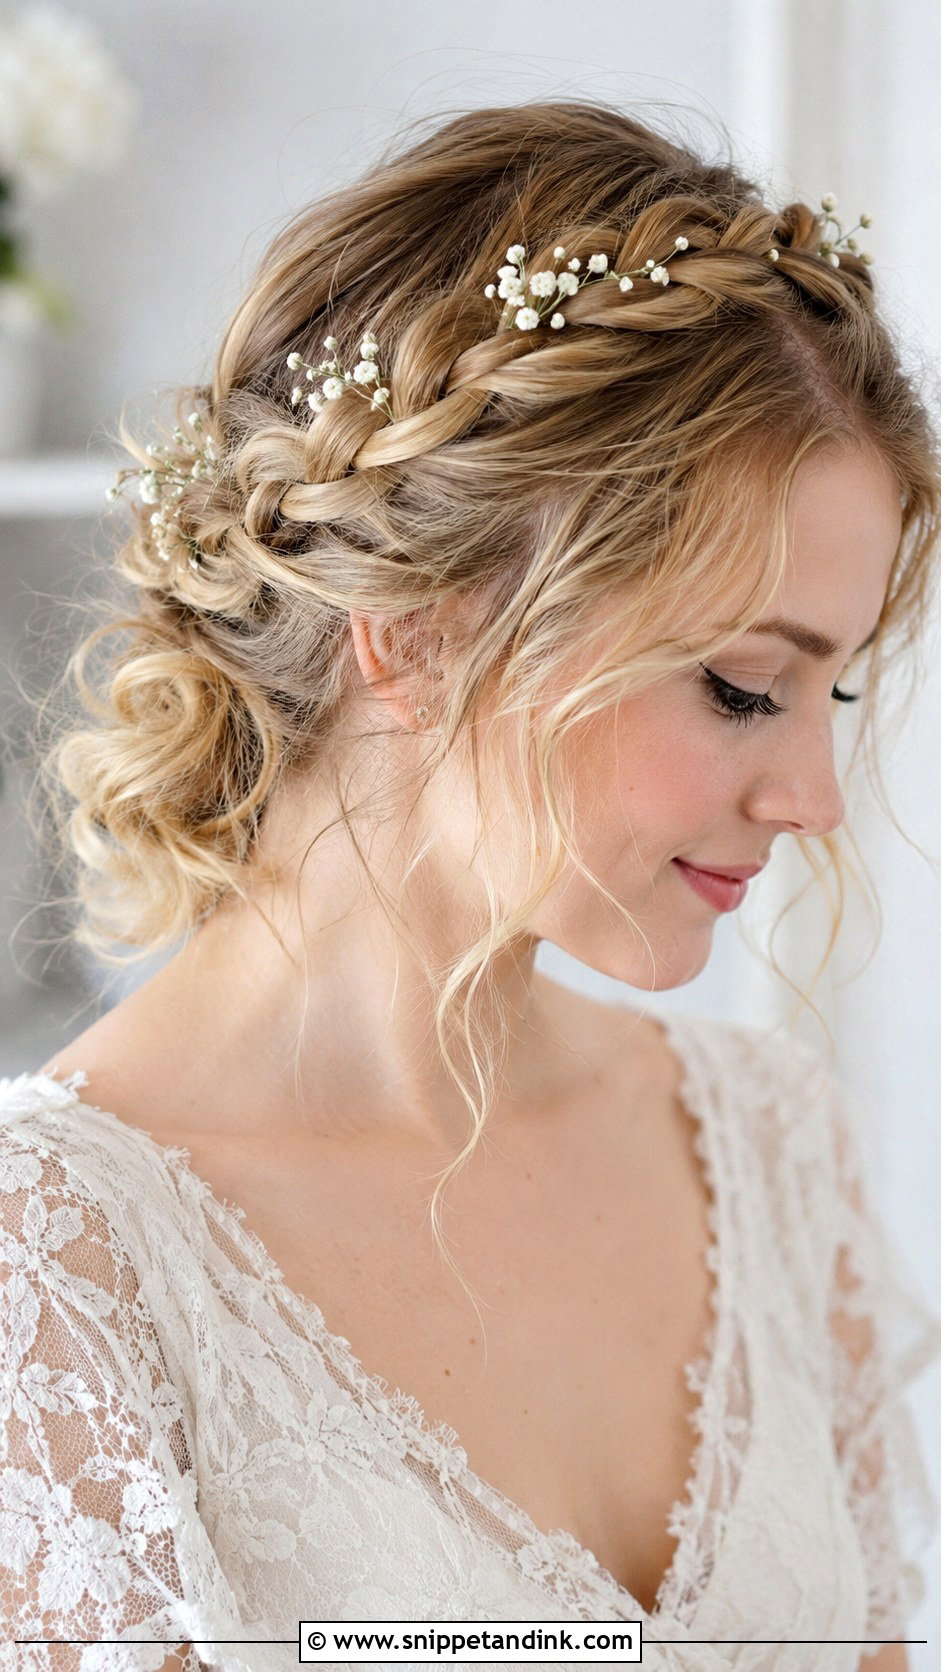
A braided crown is a good DIY pick because nobody expects the two sides to match exactly. Make two loose braids, one from each side, then wrap and pin them across the back or over the top. Pin each braid along its length, not just at the end, or it will sag by evening. Leave curls loose underneath for movement. Texture spray keeps the braids full and stops slipping. Tiny floral pins or pearls suit garden and outdoor ceremonies.
6. Side Bun Wedding Hairstyle
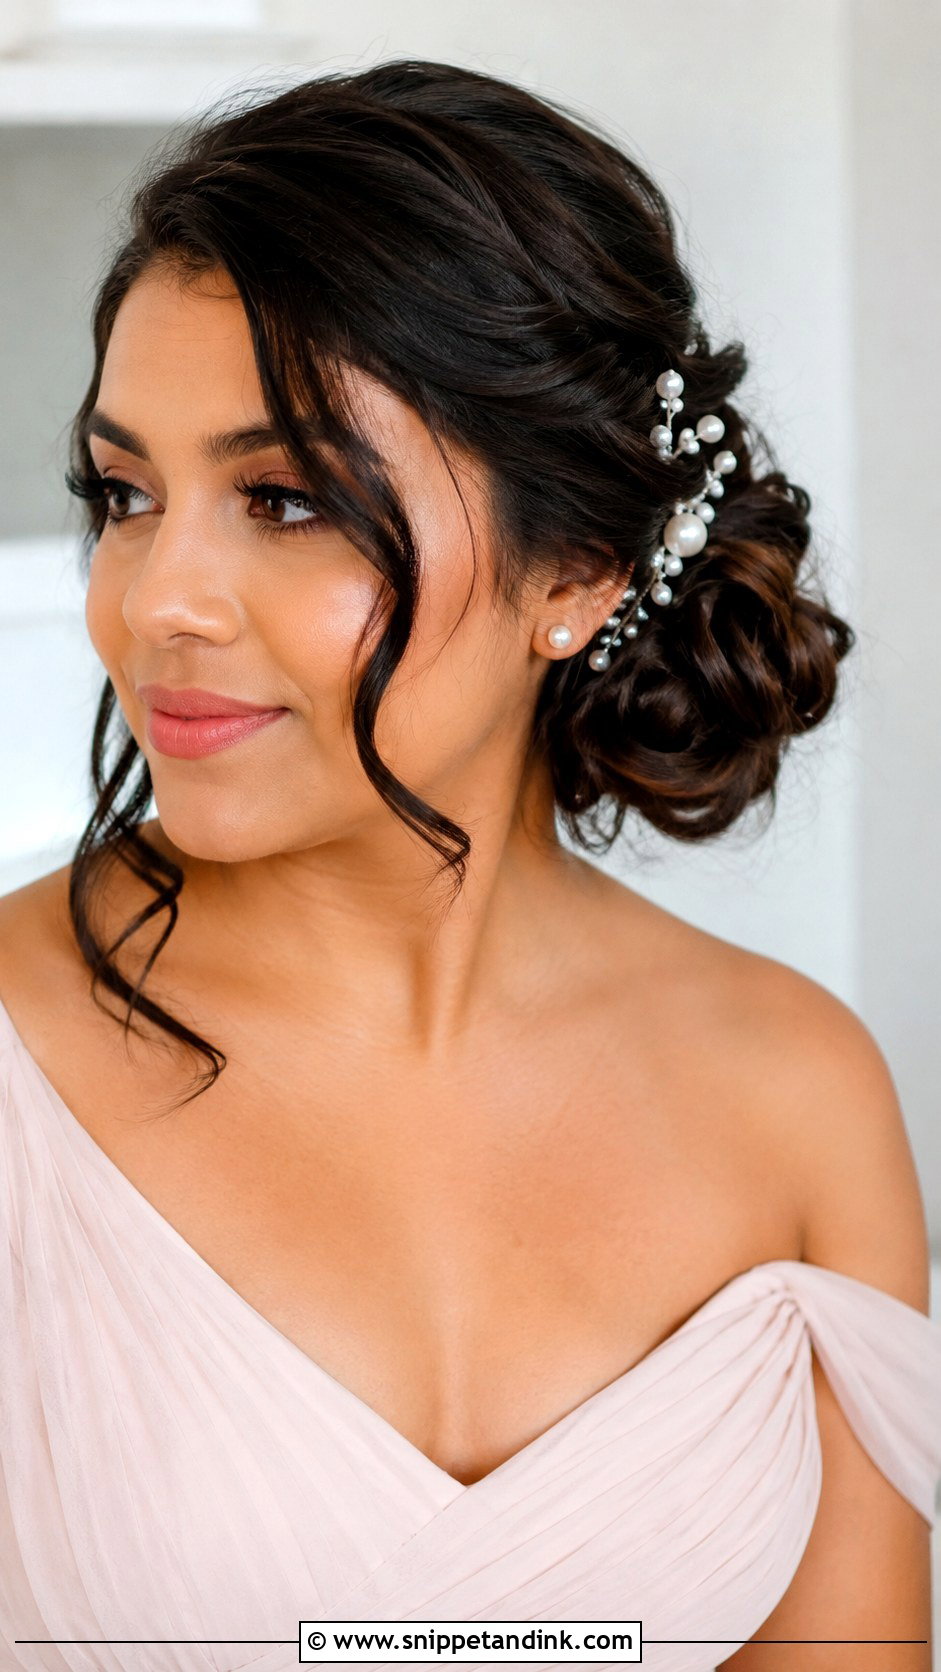
Curl first, sweep everything to one side, and pin a loose bun near the jaw or just behind the ear. Side buns look elegant with a side part, a one-shoulder dress or big earrings. The awkward part is the hair at the back of the opposite side, which wants to drop. I lay a row of bobby pins up the back, crossed, before sweeping, so the hair has a rail to sit on. Pins matched to your hair colour, then flexible spray.
7. Twisted Updo Wedding Hairstyle
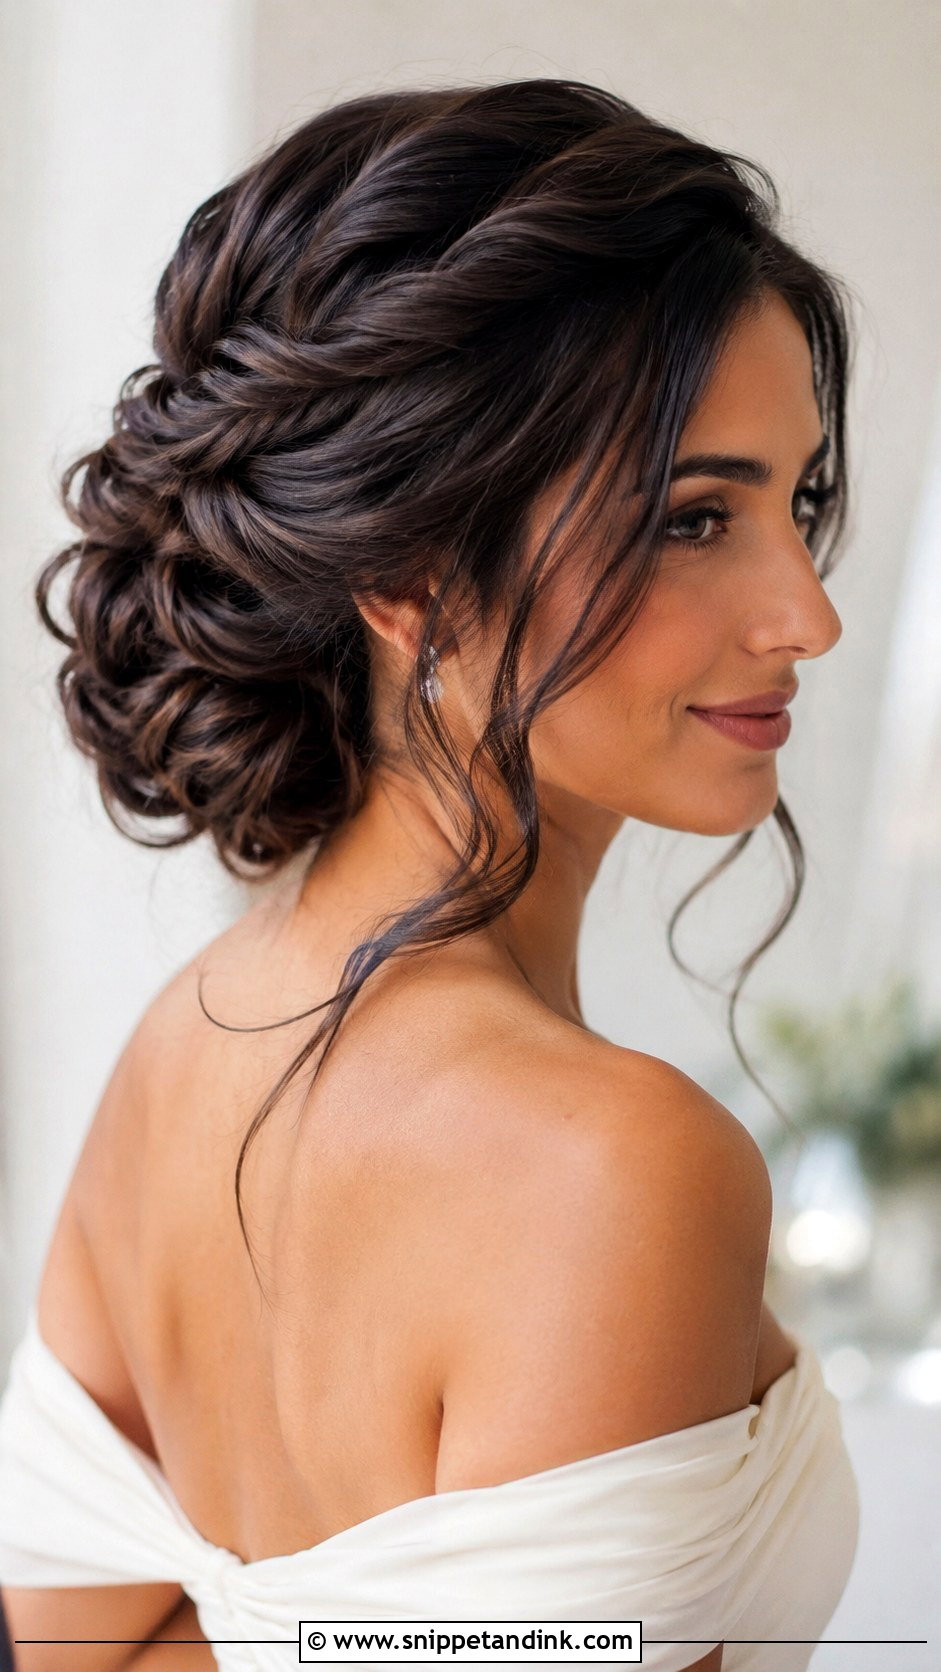
The twisted updo looks detailed but is just repetition. Curl for body, then twist small sections from each side toward the back and pin them low, adding one section at a time until everything is tucked in. No braiding skill needed. Layered cuts actually help here because short pieces blend into the texture. Keep sections small; big twists unravel. A comb above the twist or a few pearl pins around it finish it.
8. Low Ponytail Wedding Hairstyle
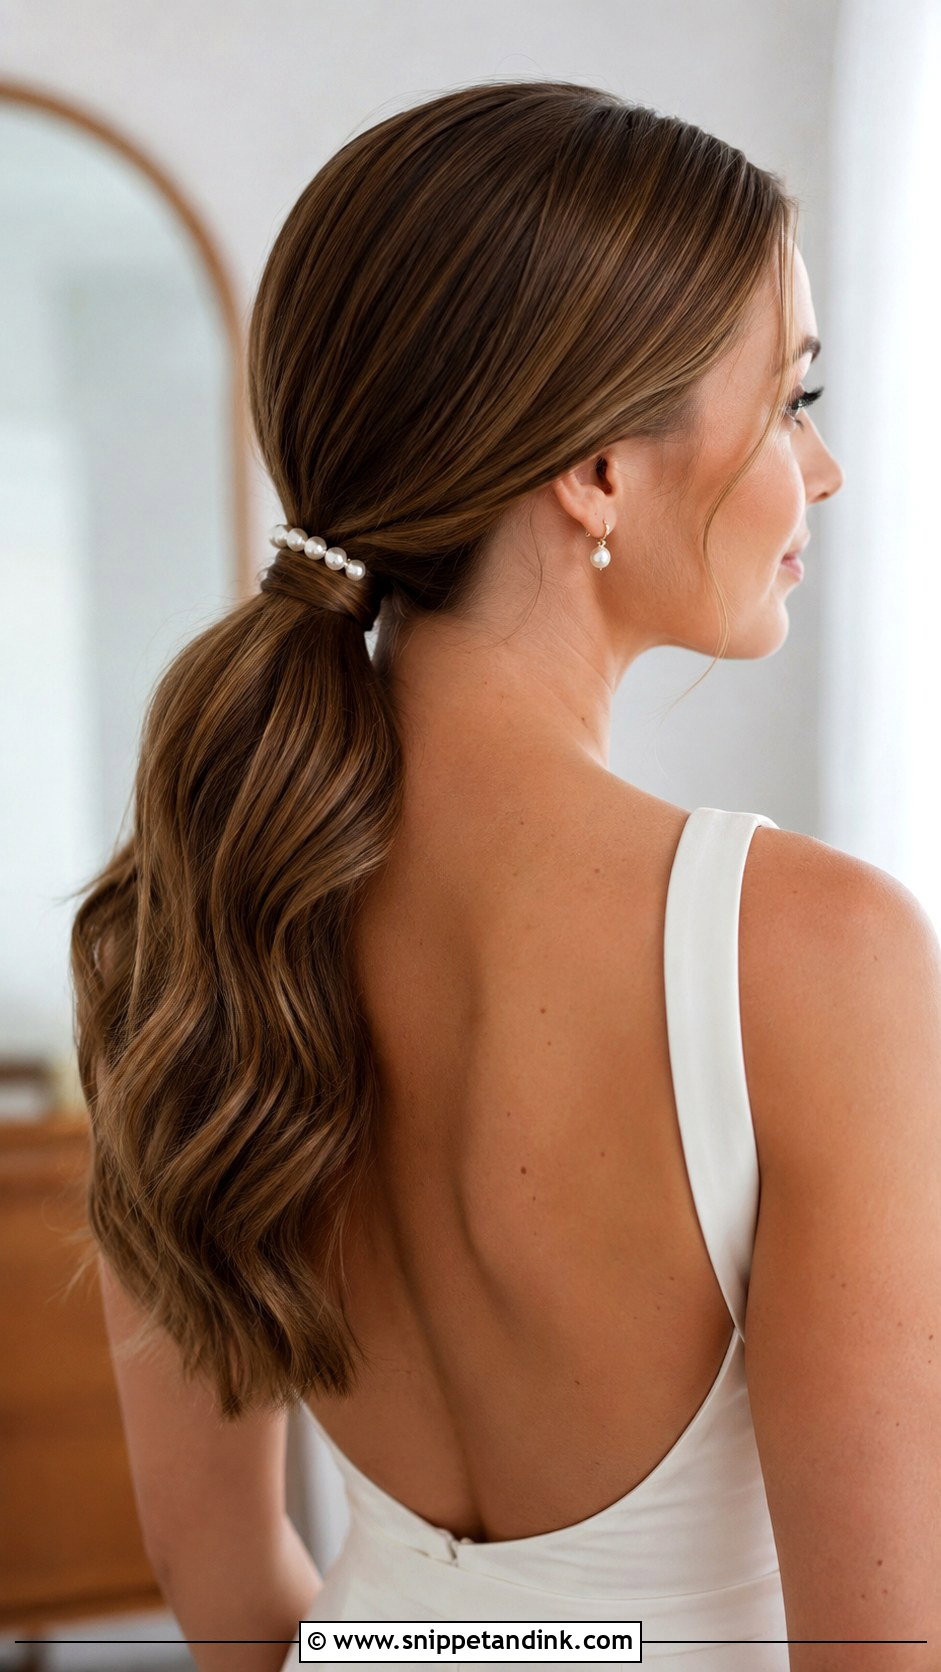
Smooth at the top, soft waves through the length: the low ponytail is about as easy as wedding hair gets. Part centre or slightly off, gather at the nape and tie it tightly. Wrap a section around the elastic and pin underneath. Add volume at the crown or keep it sleek. It’s comfortable for long days and sits well with a veil, a bow or a pearl clip, which makes it my go-to suggestion for anyone who has never pinned hair before.
9. Messy Bun Wedding Hairstyle
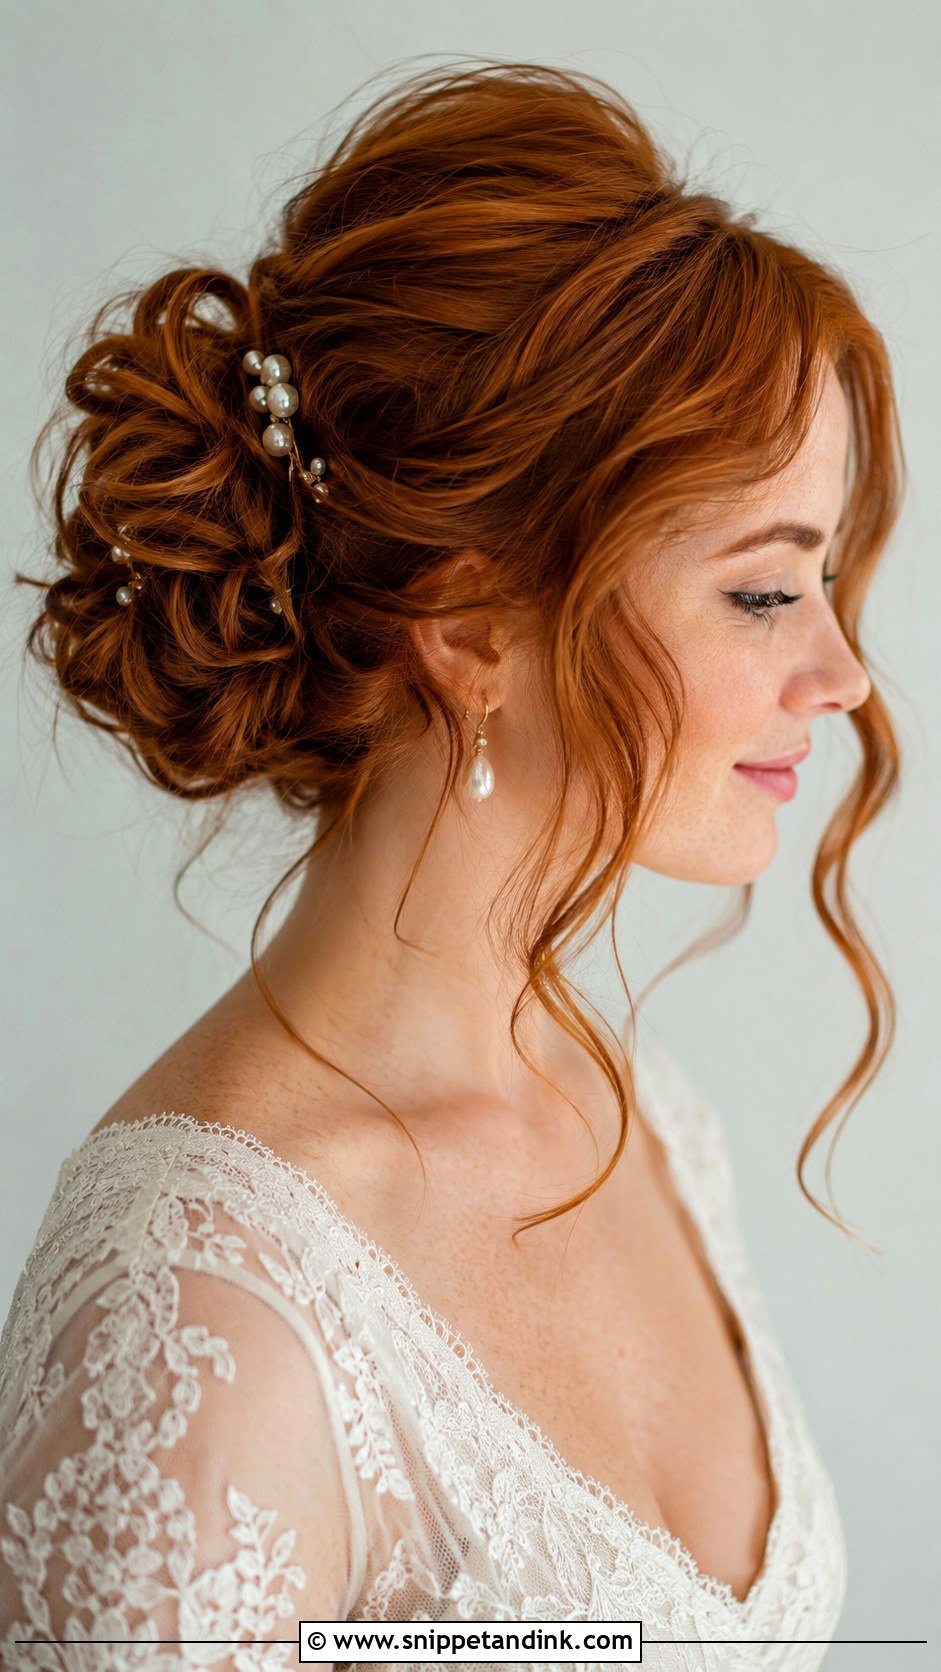
A messy bun needs to look intentional, and that comes from prep, not luck. Curl the hair, spray in dry texture, gather a loose bun and pin curls in different directions to build shape. Leave a few strands at the face and neck. It’s very forgiving for beginners and better on second-day hair, which grips. The one rule I’d give: decide where the bun sits before you start, because moving a half-built messy bun just turns it into an actual mess. Small pearl pins dress it up.
10. French Twist Wedding Hairstyle
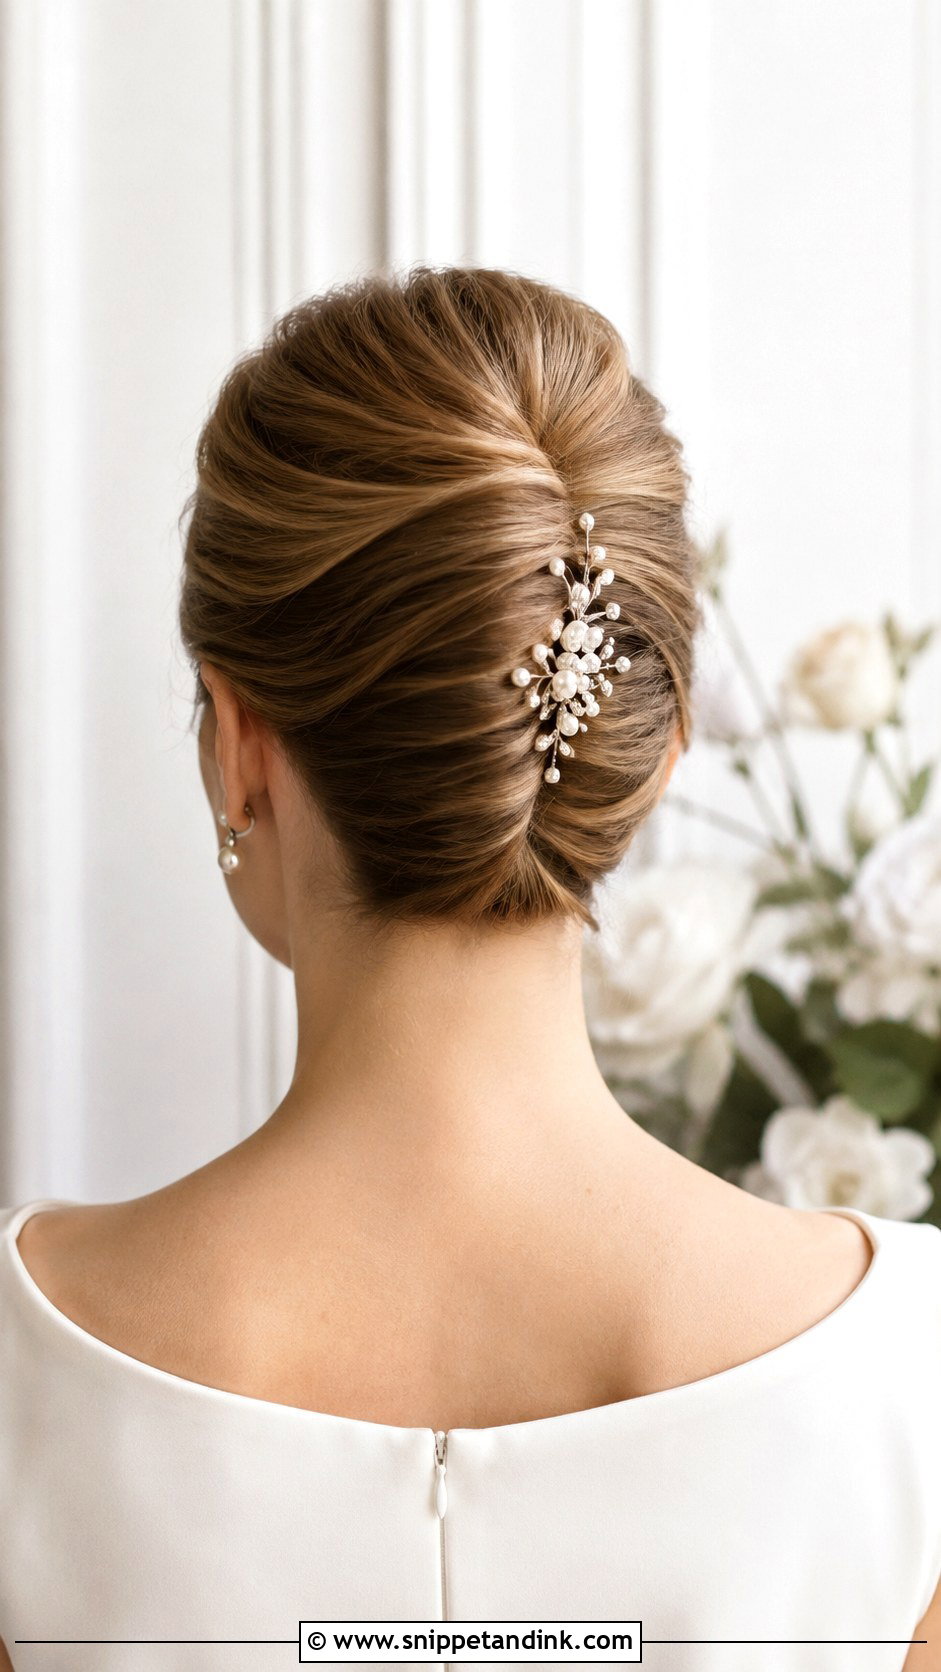
A French twist is easier than it looks once you understand the backbone. Add texture first. Brush everything to one side and lay a vertical line of crossed pins up the centre of the back; that line is what holds the whole twist. Then roll the remaining hair inward over it and pin along the fold. Keep it smooth for formal or loosen the crown for softer. Very slippery or freshly washed hair fights this one, so give yourself a practice run. Medium to long hair, simple or vintage dresses, pearls.
11. Curly Half Up Wedding Hairstyle
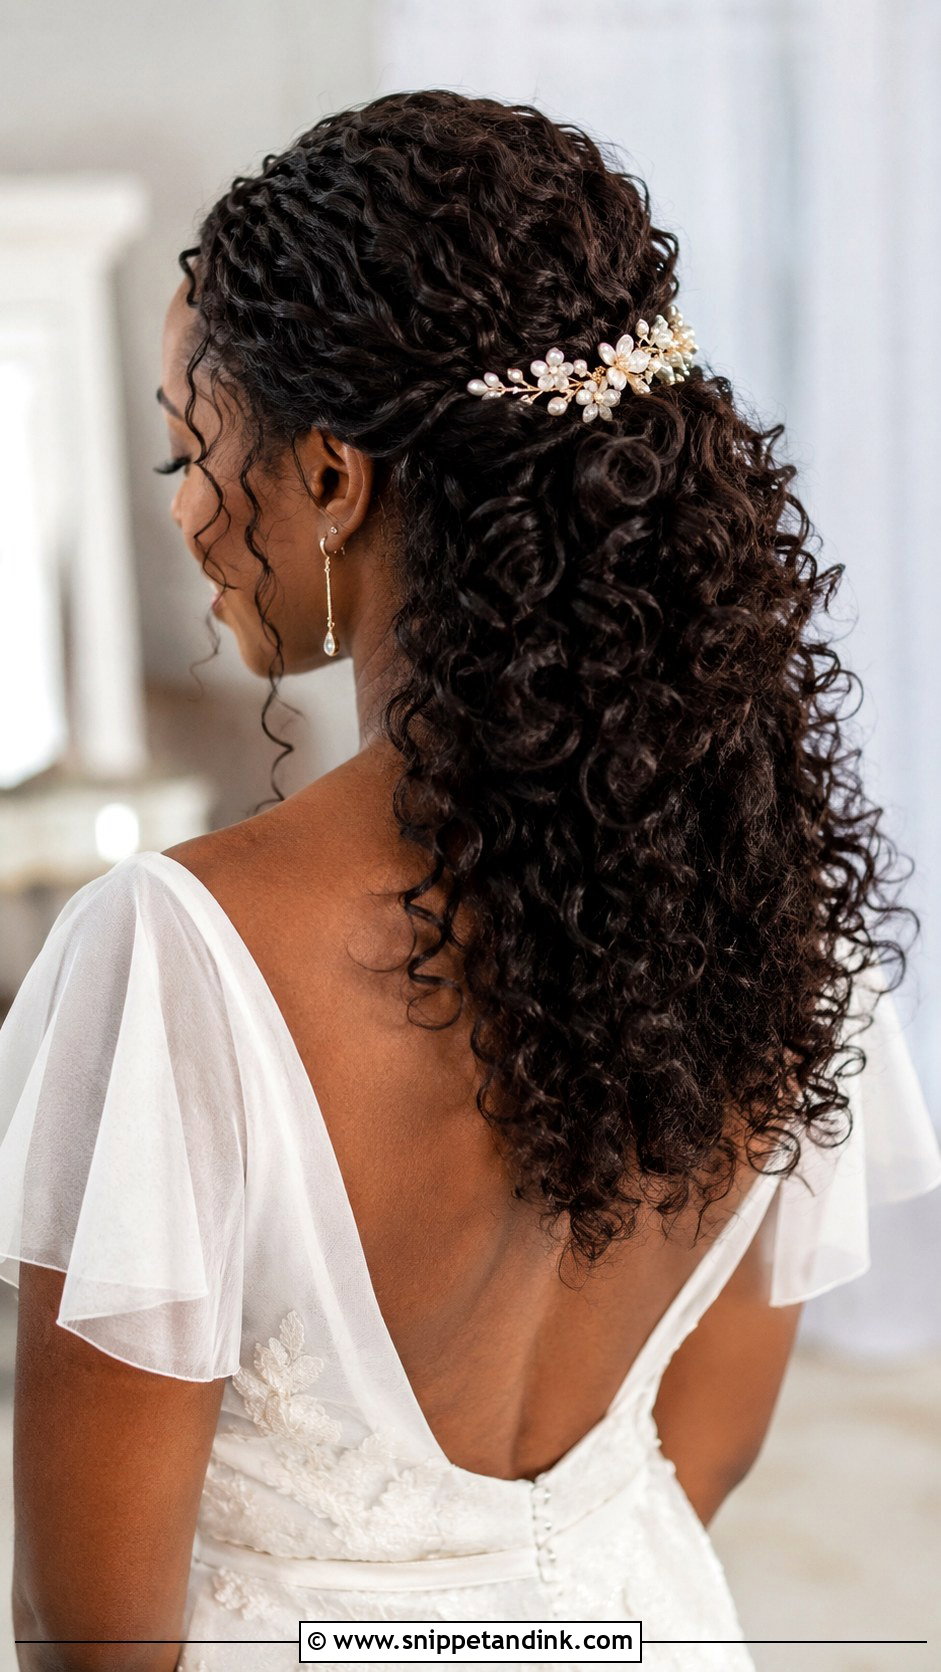
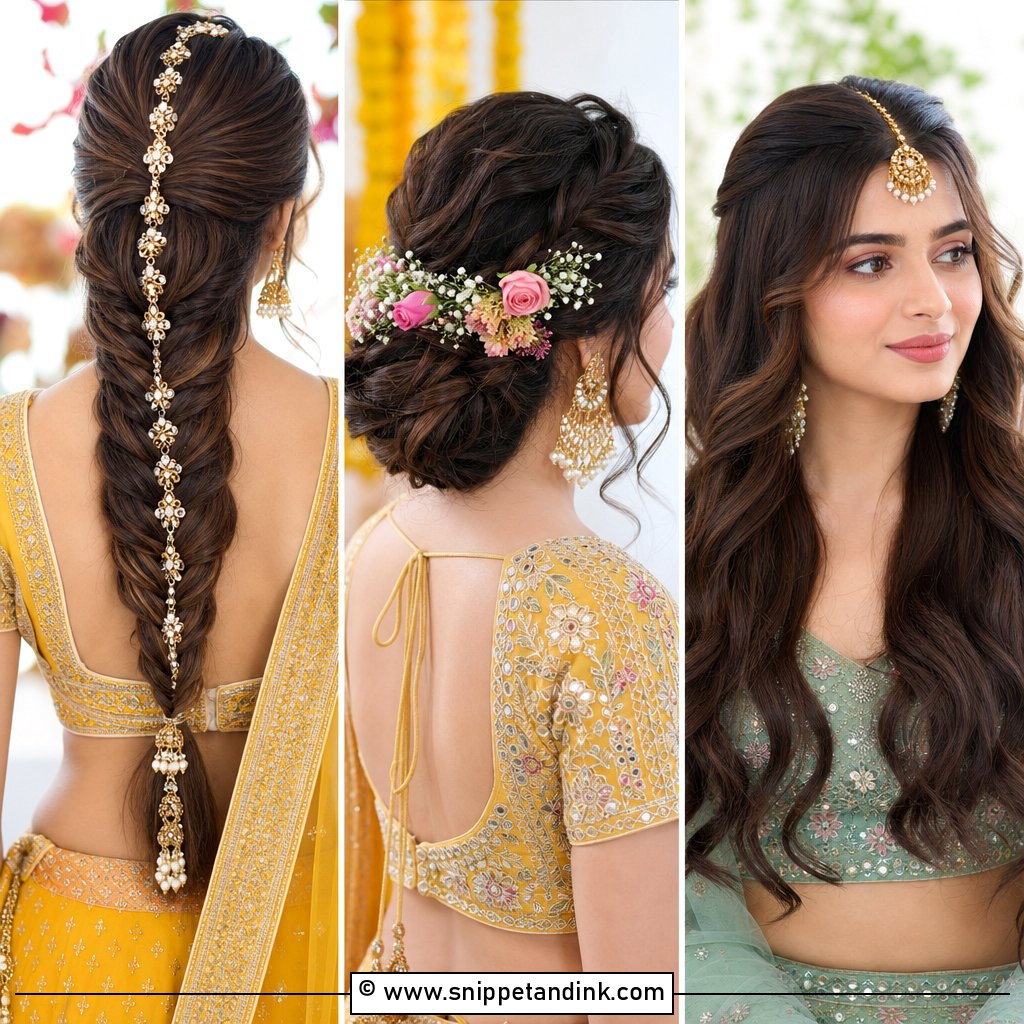
Curly half up shows off texture and keeps the face clear. Define the curls first, whether natural or wand-made, then gather the top and side sections back with your fingers rather than a brush. Secure with pins, a small clip or a clear elastic. Brushing curls at this stage is the one thing that will ruin it; it turns definition into frizz. A floral comb or pearl barrette over the join looks pretty and hides any pins.
12. Fishtail Braid Wedding Hairstyle
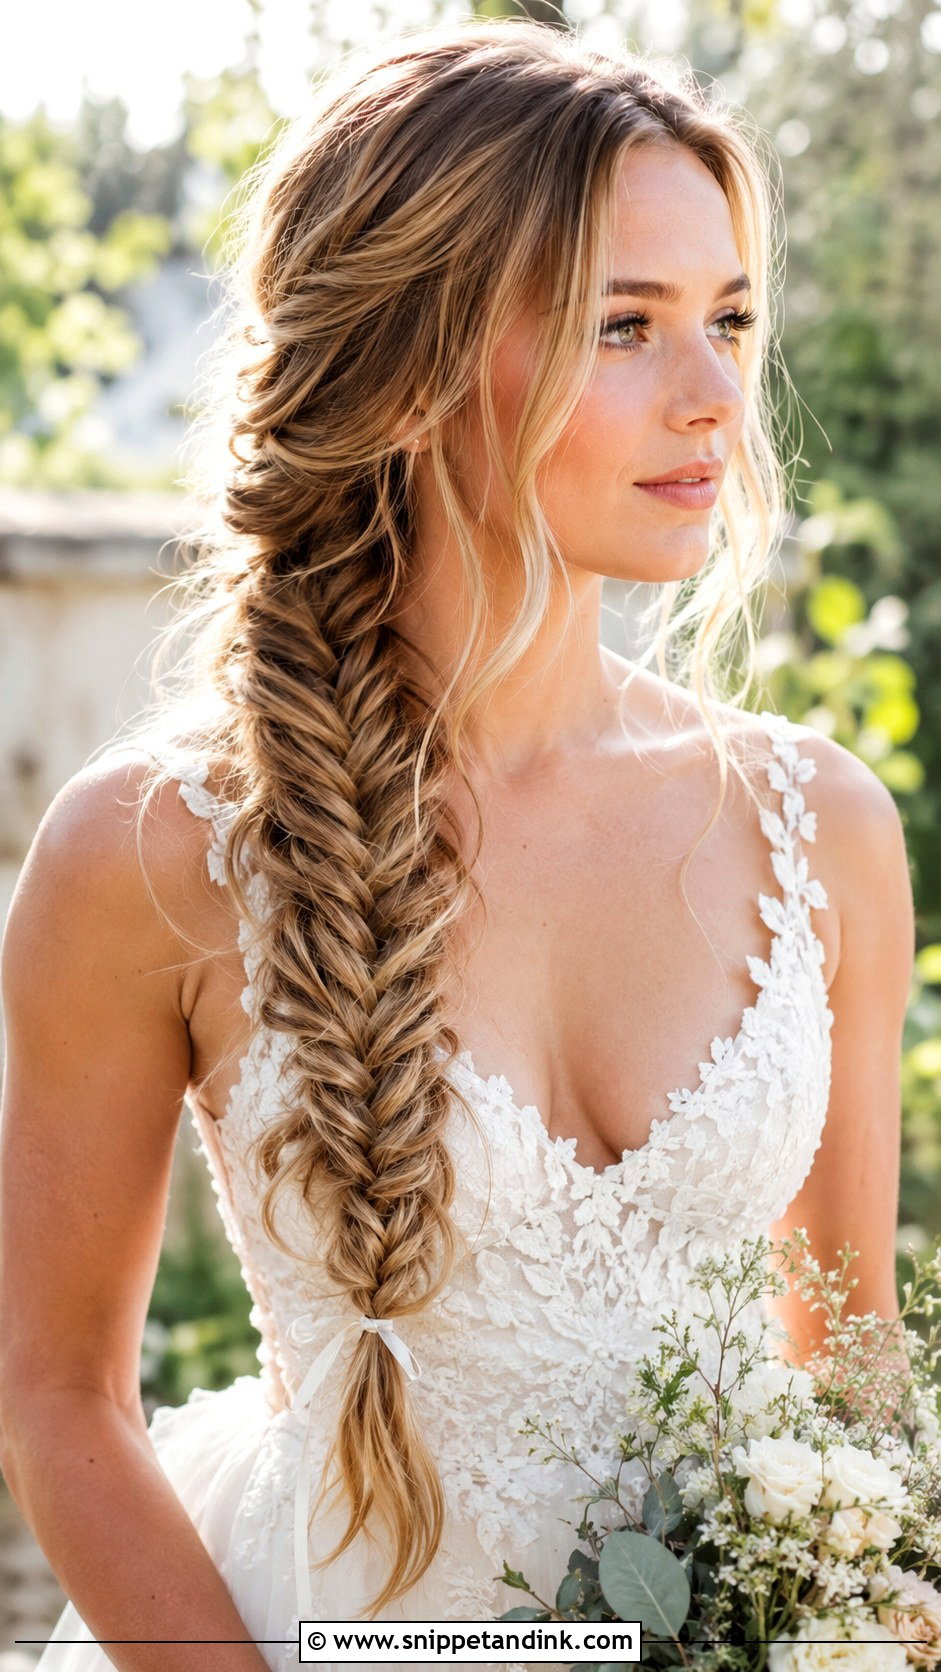
A fishtail is just two sections and crossing small pieces from the outside over to the other side, again and again. It looks intricate and it’s secure, which is why I like it for long hair at a beach, rustic or outdoor wedding. Practise it a few times because it takes longer than a normal braid. Pull it apart gently once it’s finished. Wear it down the back or over one shoulder, and hide the end elastic with ribbon or a delicate hair tie.
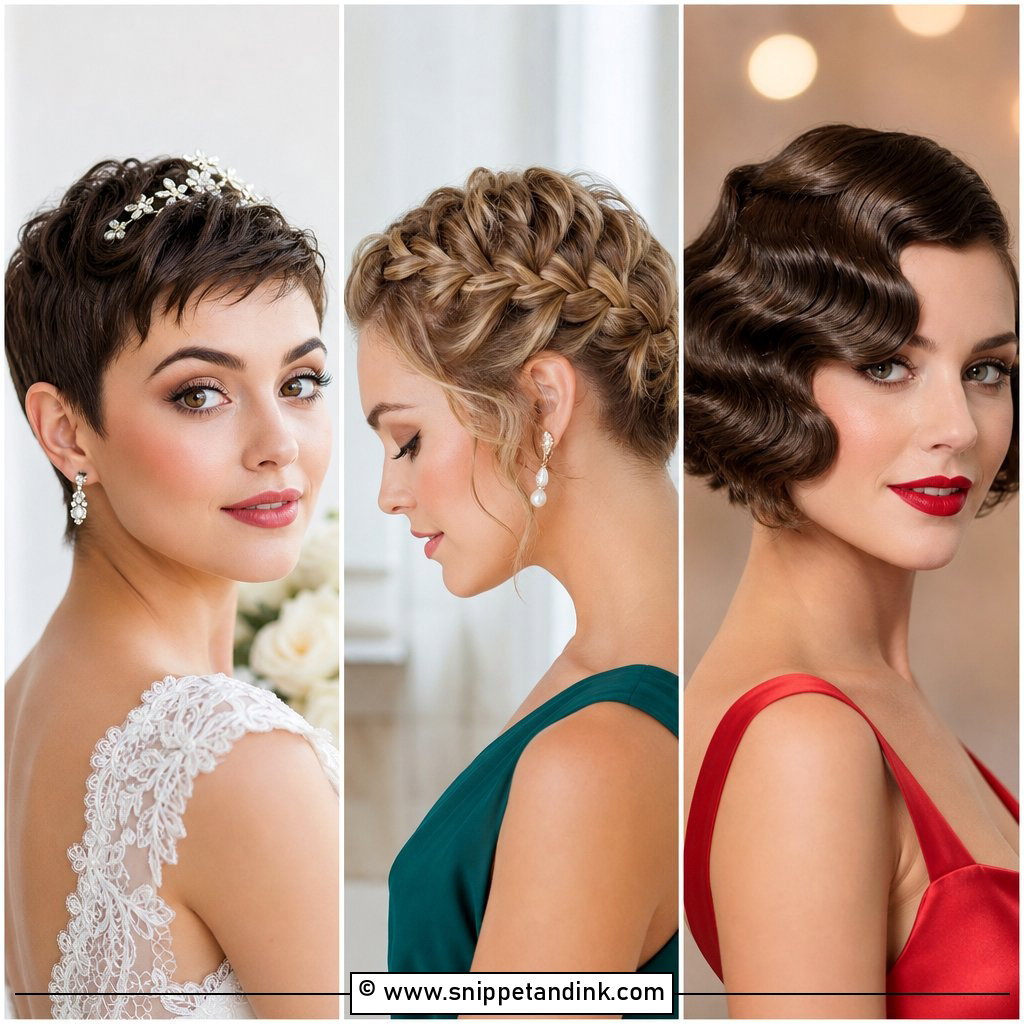
13. Short Hair Wedding Hairstyle
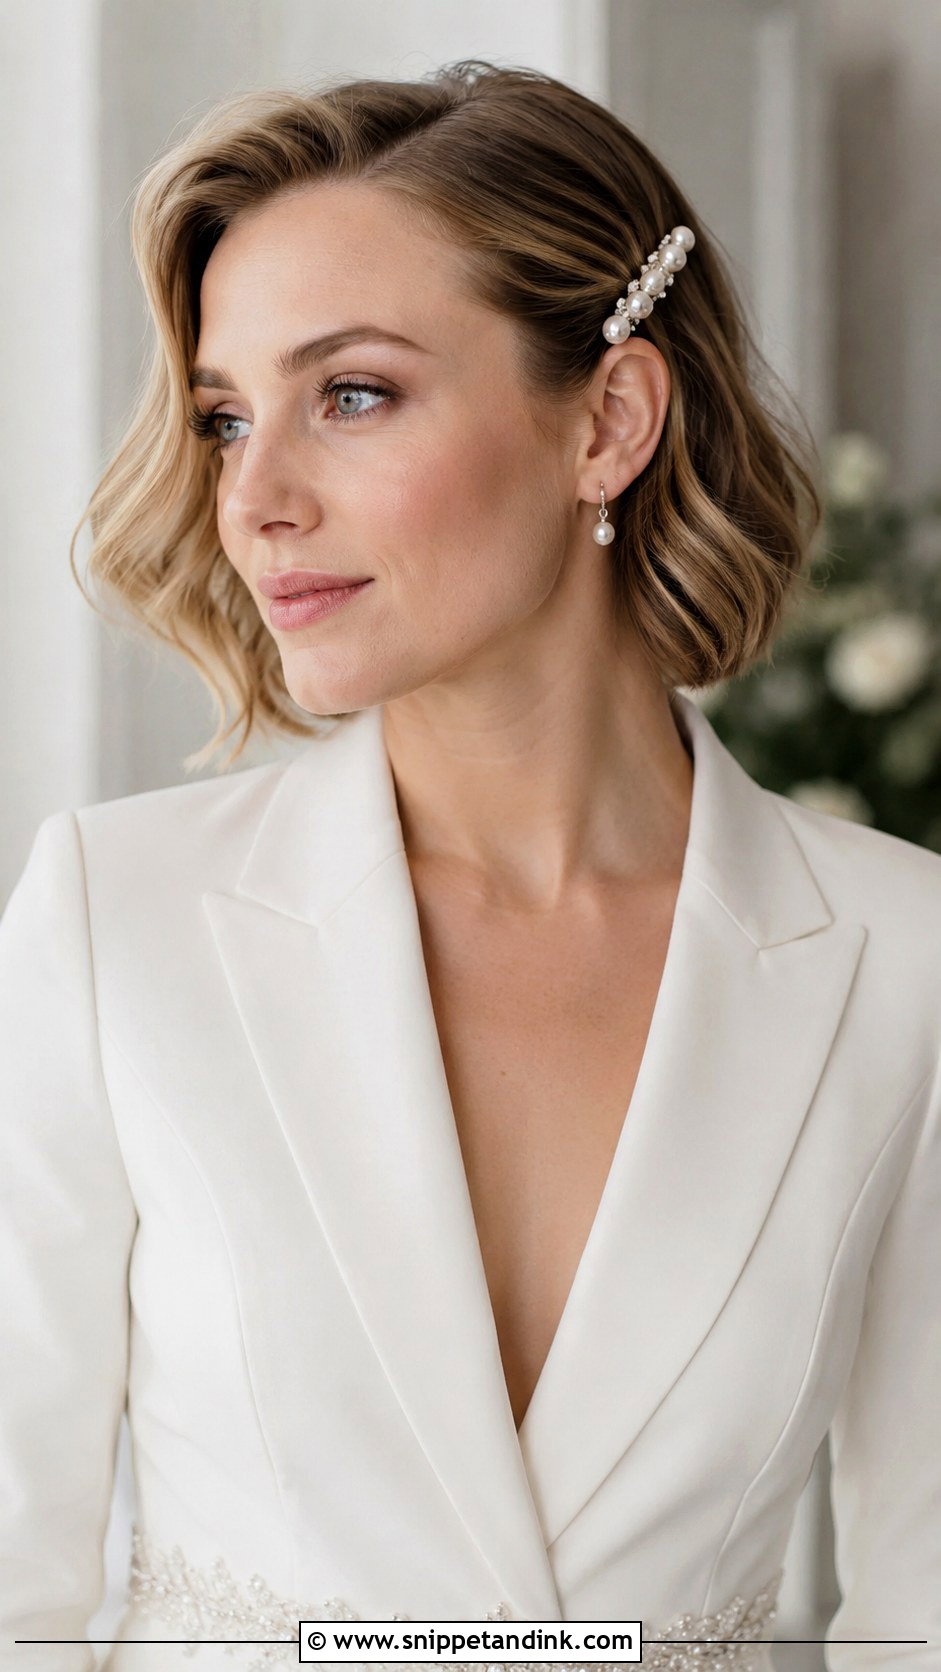
Short hair needs shape, shine and one strong detail, and nothing more. For a bob or lob, make soft waves with a flat iron and tuck one side behind the ear under a pearl clip or comb. On a pixie, smooth the sides and lift the top with styling cream. I’d get a trim about two weeks before rather than the week of the wedding, so the cut has softened and the ends sit right.
14. Side Swept Curls Wedding Hairstyle
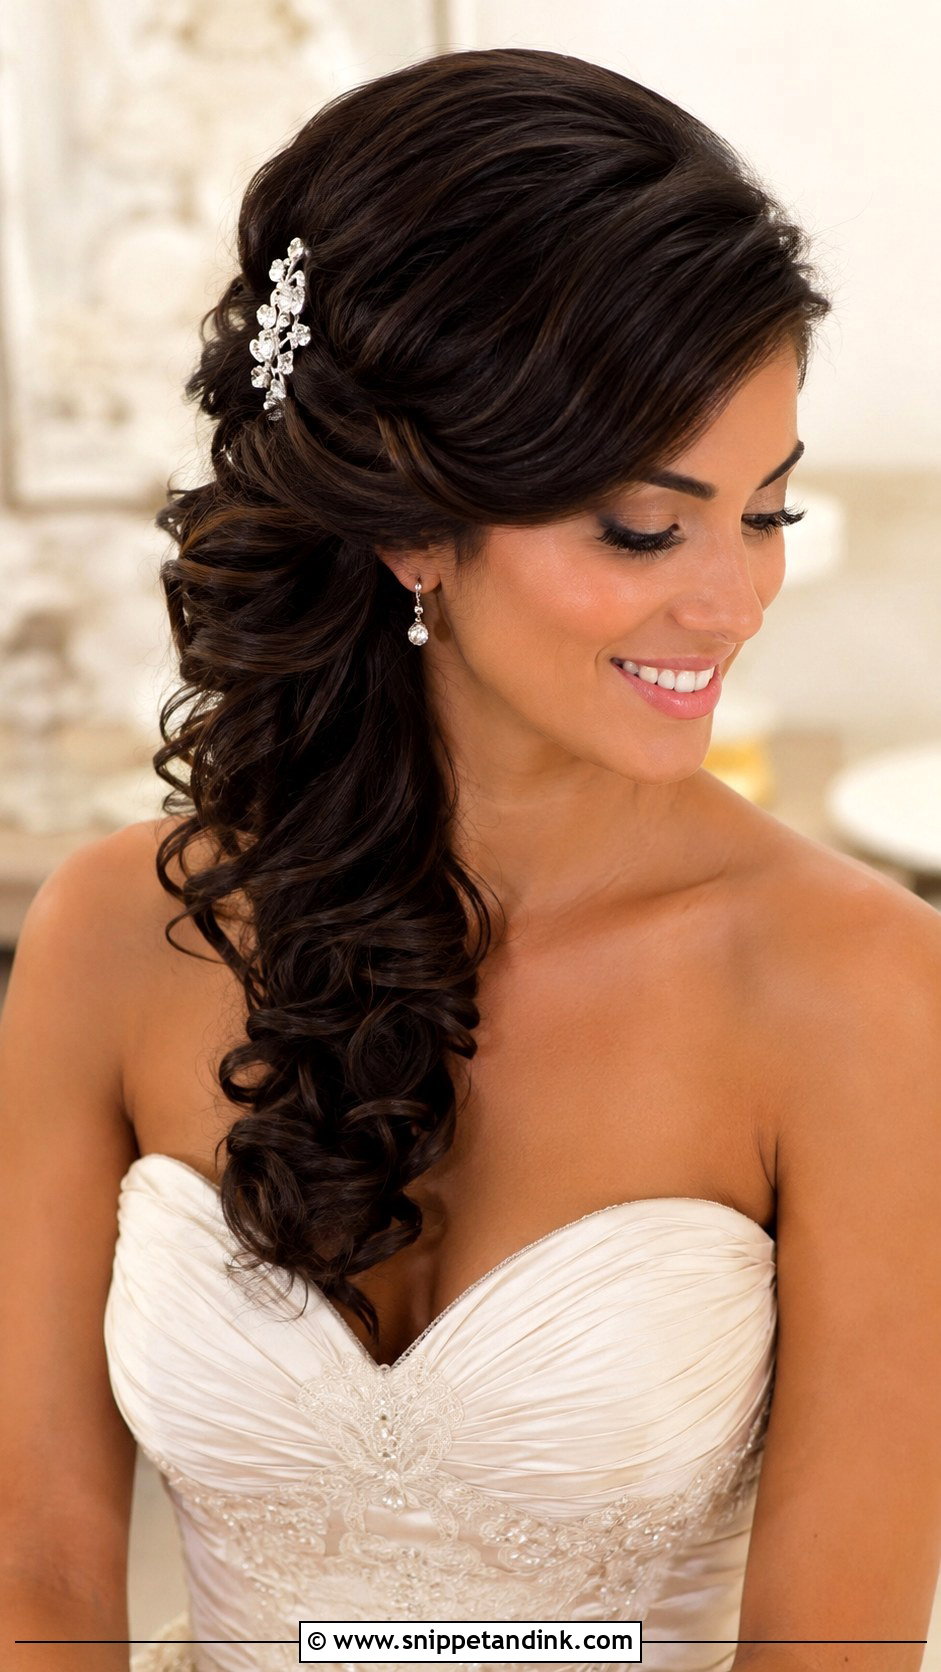
Side swept curls rely on length moving over one shoulder, so they suit medium to long hair. Curl every section in the same direction so they fall together, then sweep to one side and hide pins at the back. Keep the front smooth or use a side part. Strapless dresses and open necklines suit it, as do bold earrings on the bare side. Flexible spray only, and a small comb or flower above the ear.
15. Bubble Ponytail Wedding Hairstyle
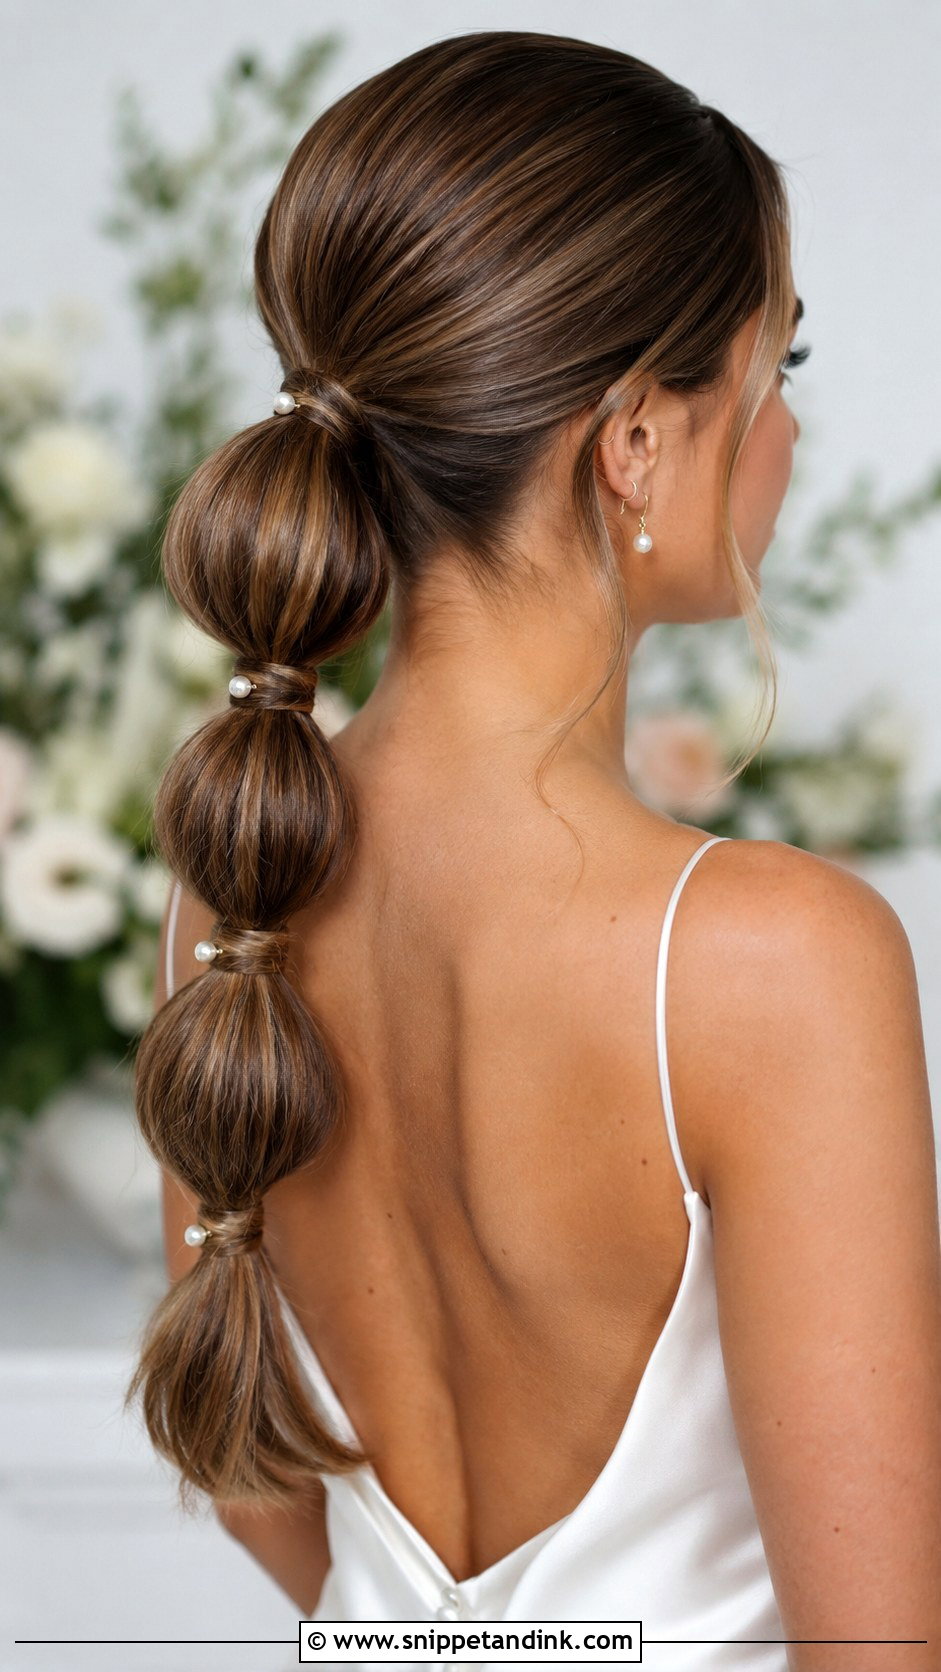
A bubble ponytail wedding hairstyle holds for hours because every elastic is a fresh anchor. Start with a smooth ponytail at any height, then add small elastics down the length and pull each section out gently into a rounded bubble. Space the elastics evenly; uneven gaps are the most obvious DIY tell. Sleek reads modern, textured reads softer. Pearl pins between bubbles or wrapped elastics add polish.
Three Practice Runs Before the Wedding Morning
Doing your own hair on the day is mostly a timing problem. Arms get tired, the back of the head is hard to see, and nerves make hands slower. Practising takes the guesswork out.
- Around a month out: try the style with no pressure. Work out which steps you struggle with and which products you’re missing.
- Two weeks out: do it again, timed, with the accessory you’ll wear. Wear it for a few hours and see what drops.
- A few days before: one final run with exactly the products, pins and tools you’re packing. Write the steps on your phone if it helps.
Set up a second mirror behind you, or prop your phone on selfie video, so you can see the back. On the morning itself, allow double your practice time; hands are shakier than you’d expect. Wash the night before rather than that morning if your hair is fine or slippery, since day-old hair holds pins much better.
If one section won’t behave
Don’t take the whole style down. Remove just the problem pins, mist that section with spray, let it set for a minute, and re-pin with fresh pins. A comb or clip placed over a lumpy patch also hides it neatly.
Your Own Hands, Your Own Hair
You don’t need a difficult style to look polished in photos. Simple steps, good texture, and pins placed where they actually anchor are what make DIY hair last. Practise at least once, and photograph the front, side and back. Keep a small kit with pins, elastics, hairspray, a mini comb and smoothing cream in your bag. Then it’s done, and you can stop thinking about your hair for the rest of the day.
You'll Like These Ideas:


Leave a Reply