
Wedding updos for Black women range from sculpted braided crowns to a loose puff that lets coils do the talking, and I’ve learned that the photo you fall for is only half the decision. The other half is your texture, your neckline, where the veil has to sit, and how many hours the style must survive between the first look and the last dance. Below are fifteen shapes I’d happily build for a bride, with notes on how each one holds, who it suits and where it tends to go wrong. Save the ones that fit your hair as it really is, not as it looks on someone else.
Wash Day, Install Day and the Week Before
Most updo trouble I see starts days before anyone picks up a pin. The calendar matters as much as the inspiration photo, and each type of base has its own timing.
- Braids, cornrow bases and faux locs: install three to seven days out. The scalp needs a few days to stop feeling tight, and brand new braids are often too stiff to fold neatly on day one.
- Silk press: one to two days before, never the morning of. Pressed hair needs time to settle, and there is no time on the day to fix a revert.
- Twist-outs, braid-outs and flexi-rod sets: set them a night or two before so the hair dries all the way through. Damp sets frizz the moment they’re unravelled.
- Locs: retwist about a week ahead, so new growth looks neat without the roots feeling sore at the ceremony.
Book your trial one to two months before the wedding and bring the veil or headpiece plus a top with a similar neckline to your dress. Then wear the style home and sleep on it in a satin bonnet or scarf. If it still feels comfortable the next morning and the shape has barely moved, you’ve found your updo.
1. Braided Bridal Bun Updo
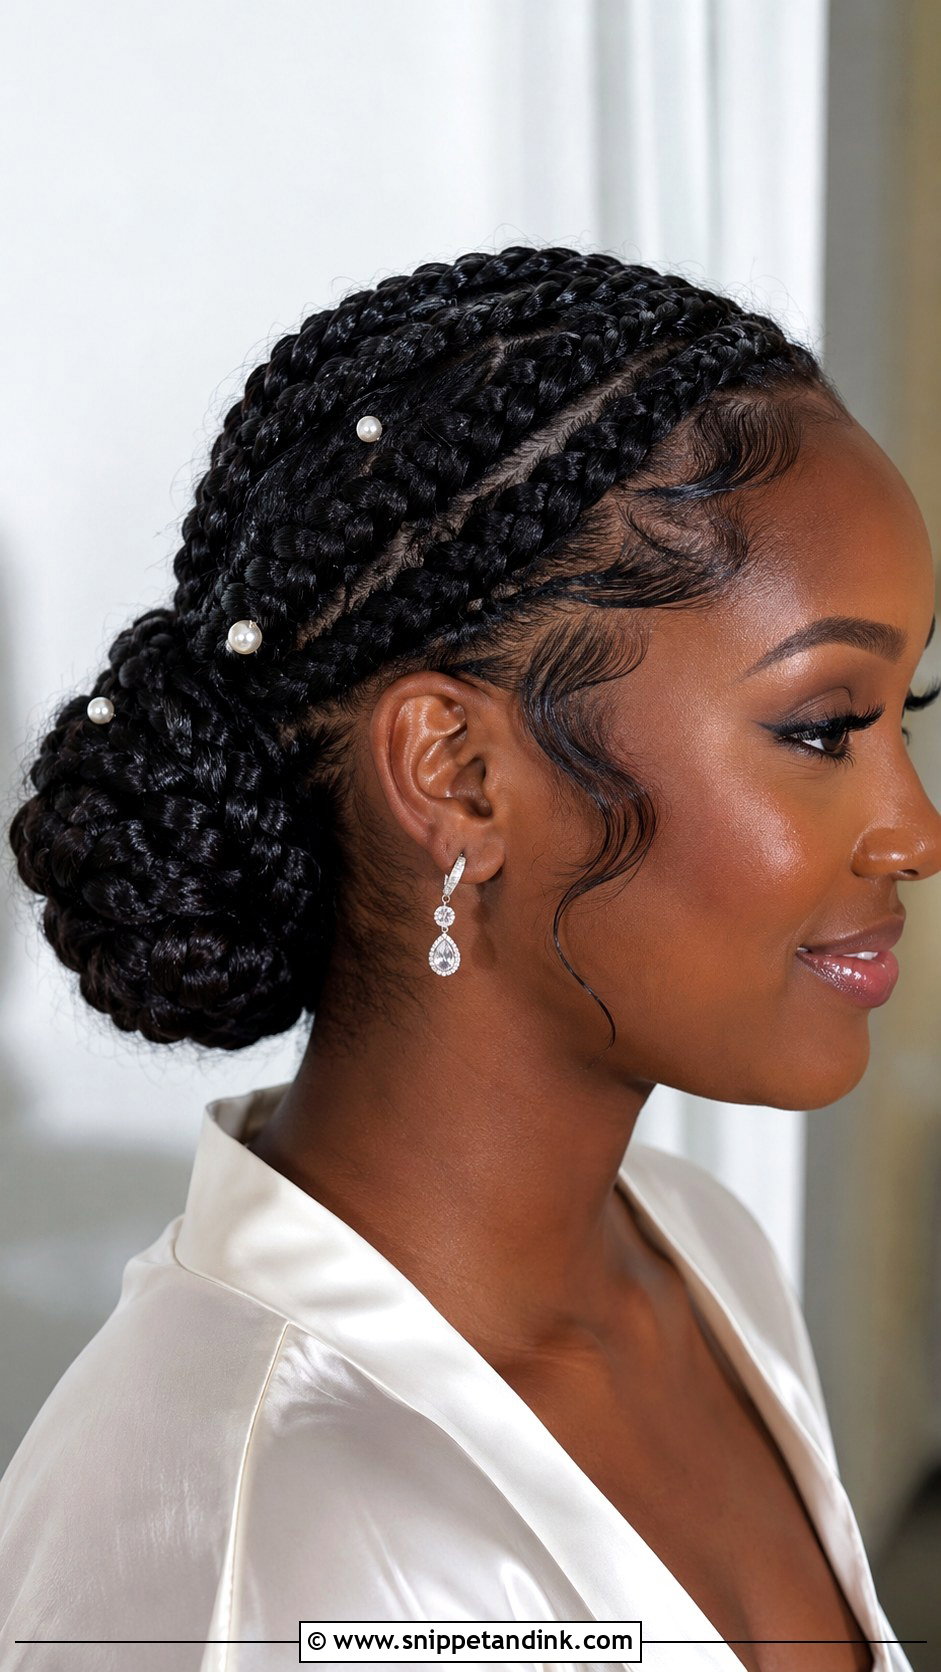
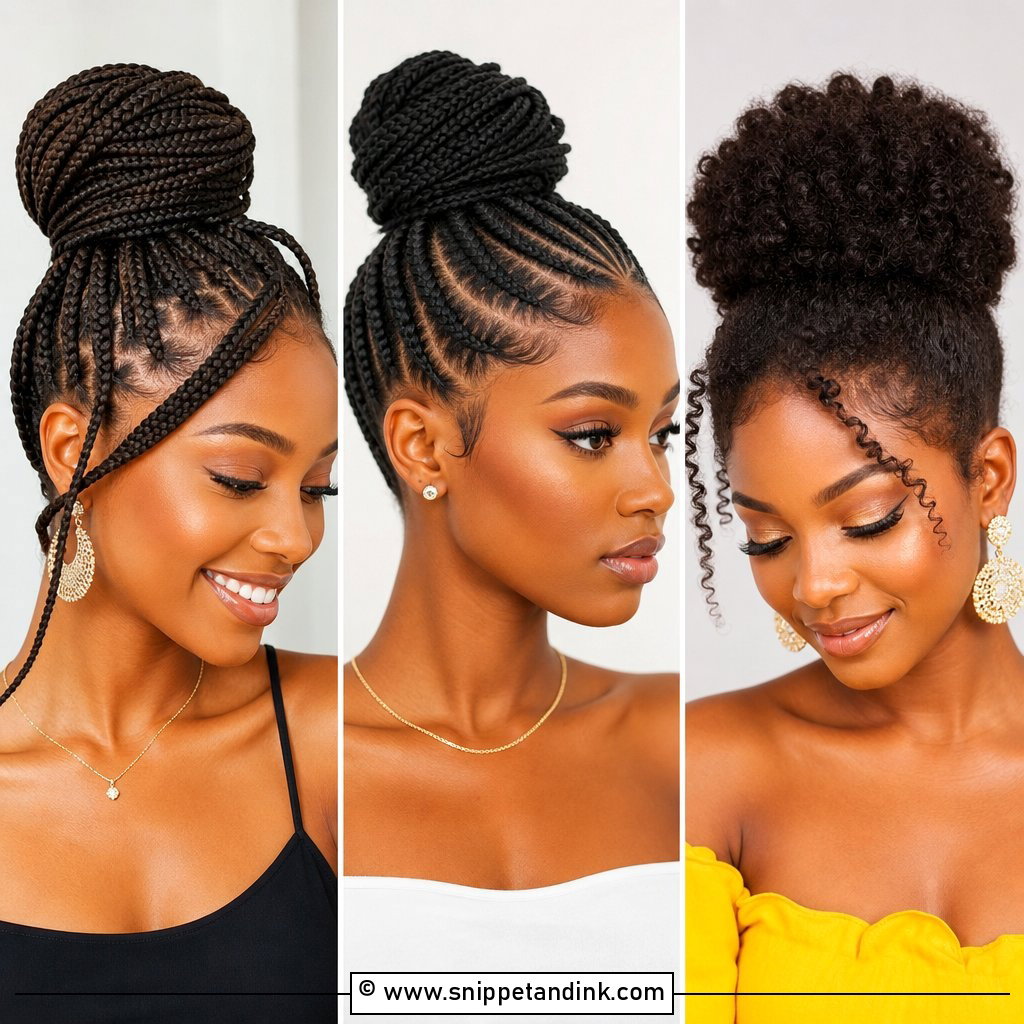
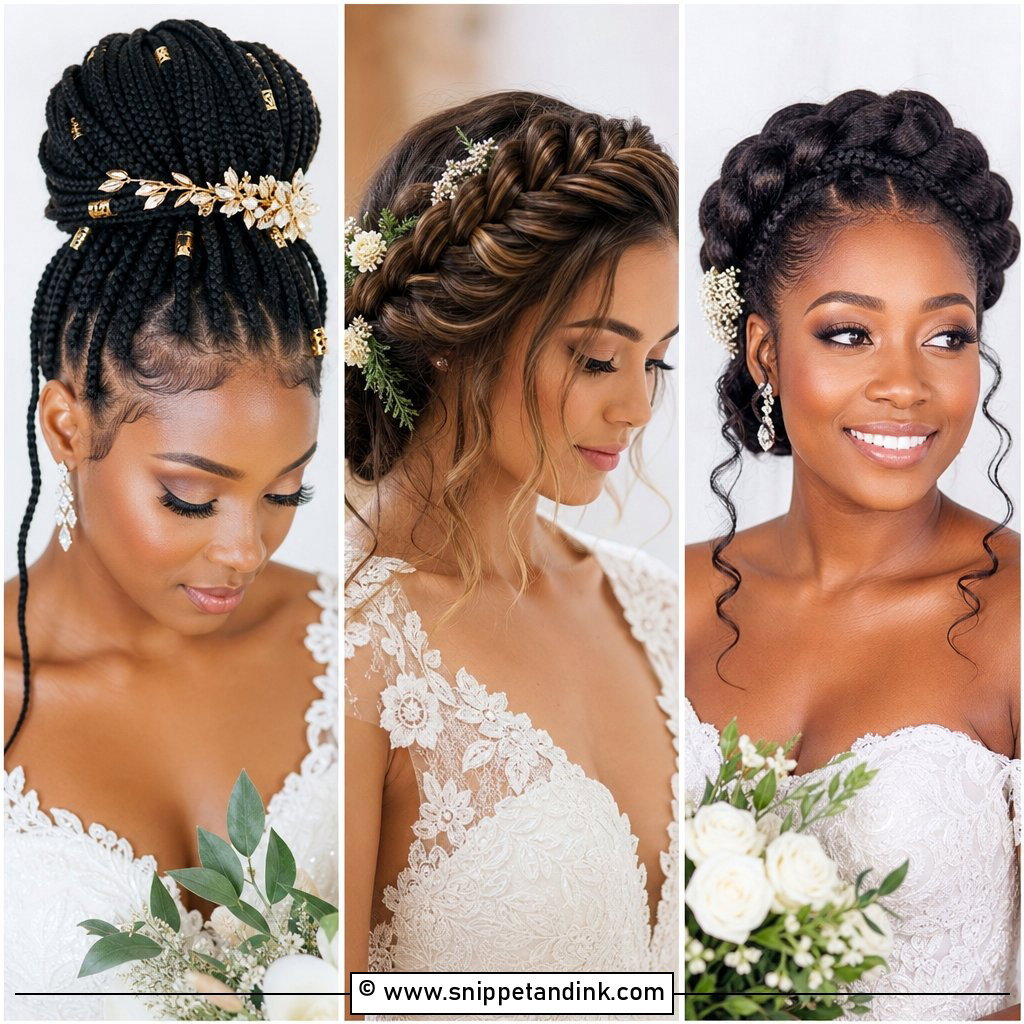
Braids give a bun something to grip. When the base is cornrowed or plaited, the pins slide into the braid rather than into loose hair, so the shape stays put through hugging and dancing. I decide the height by the veil first: a low bun lets a comb anchor above it, while a high bun usually means the veil goes underneath. Pearl pins and gold cuffs both suit this, but I cluster them along one side of the bun instead of scattering them, so the braid pattern still reads in photos.
2. Low Twisted Wedding Updo
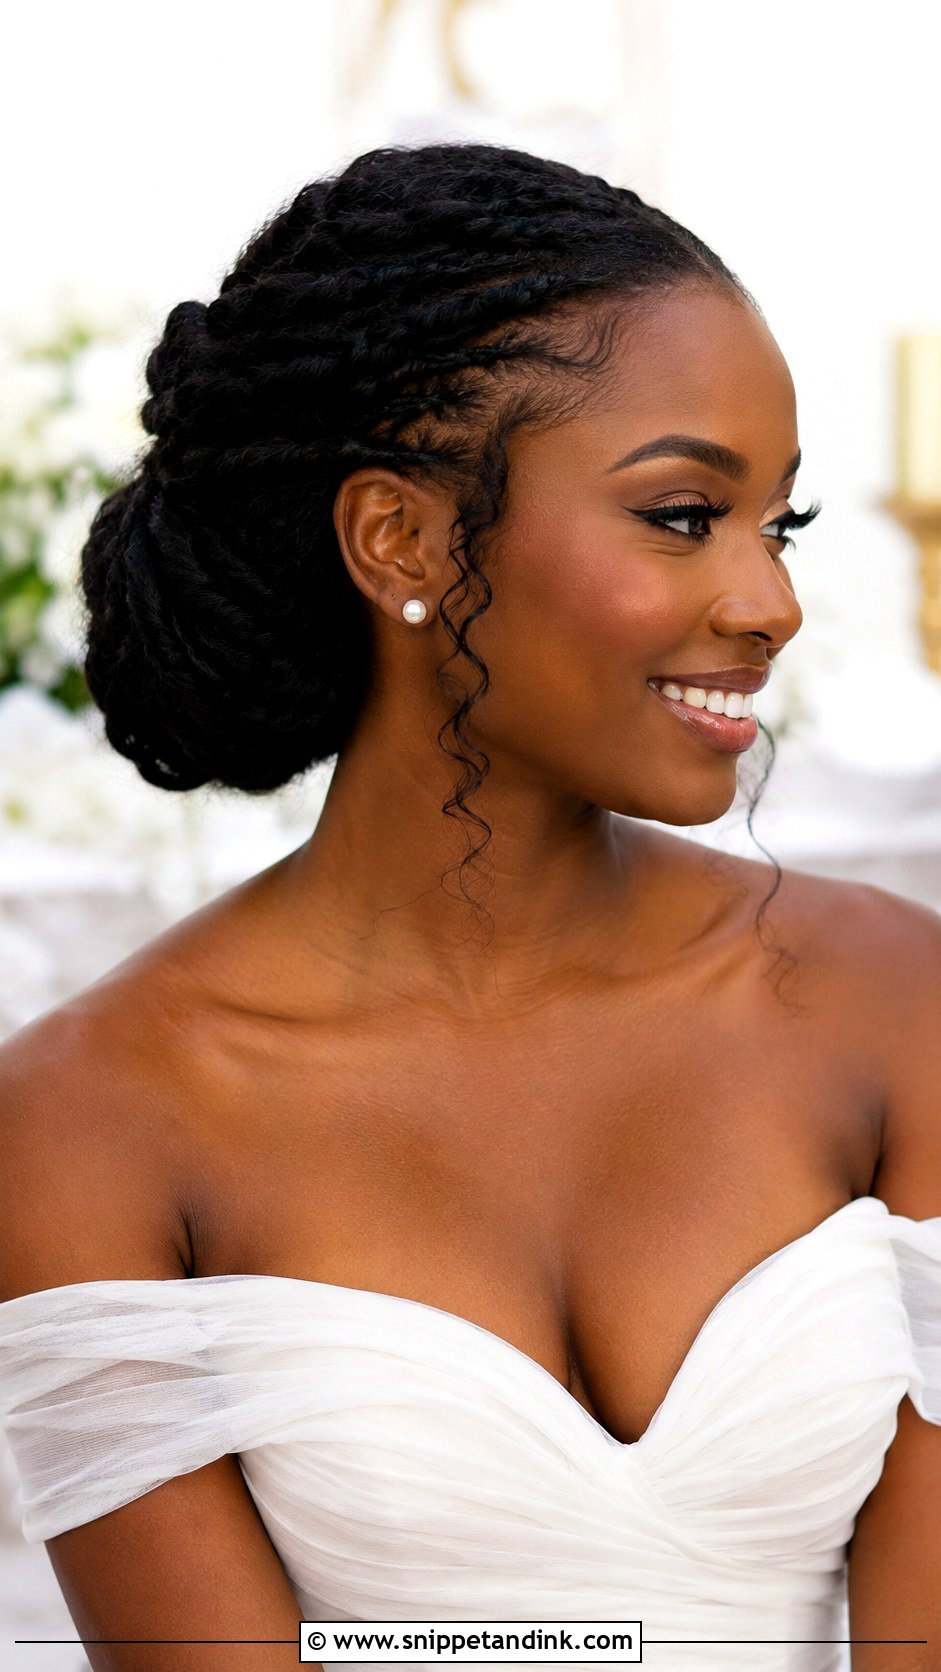
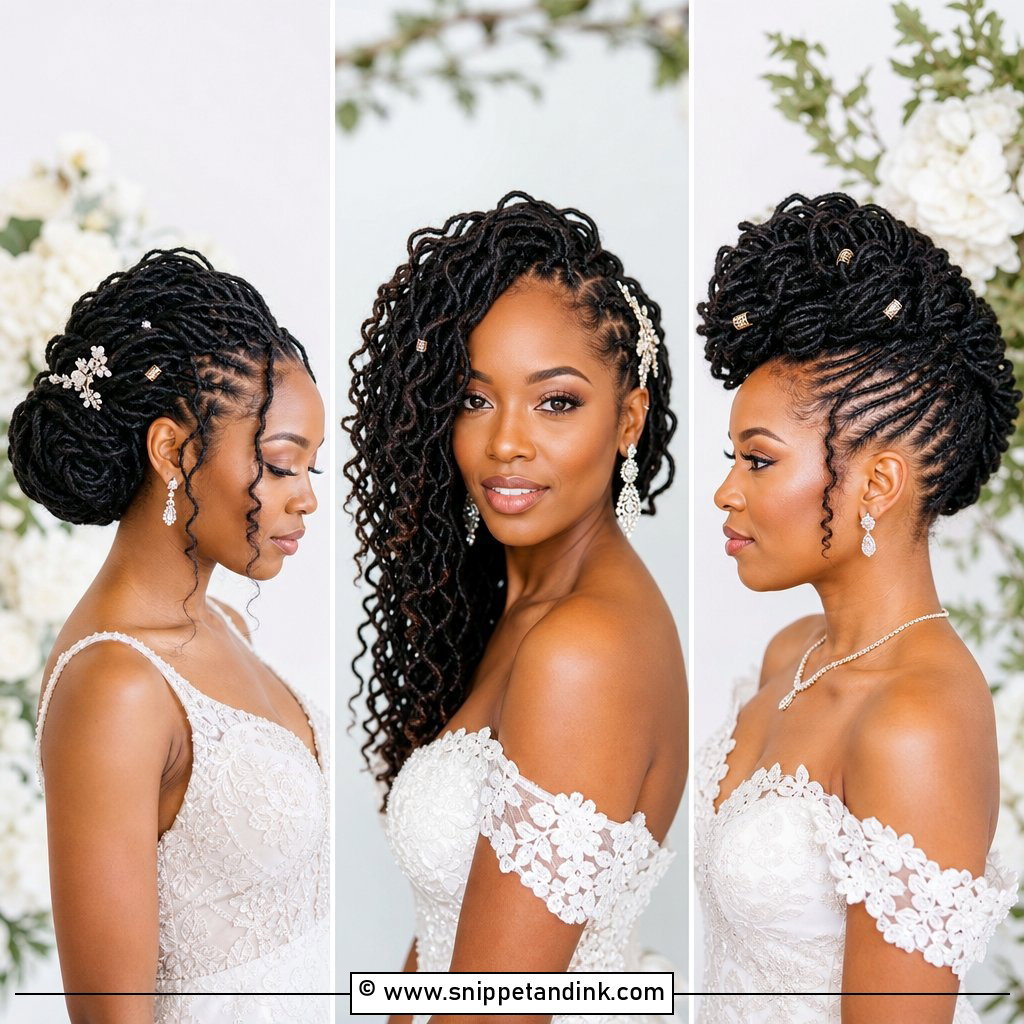
Twists sit well at the nape because the weight is low and close to the head, so there’s little pull on the hairline over a long day. I can build them on natural, stretched or added hair; added hair makes the bun fuller but also heavier, so I only use as much as the shape needs. This is the one I suggest to brides with tender edges, since the front can be laid smooth without being dragged tight. For hold, I push the pins deep into the twists and cross them in pairs, which stops the bun shifting when a veil comb tugs on it.
3. Natural Hair Crown Updo
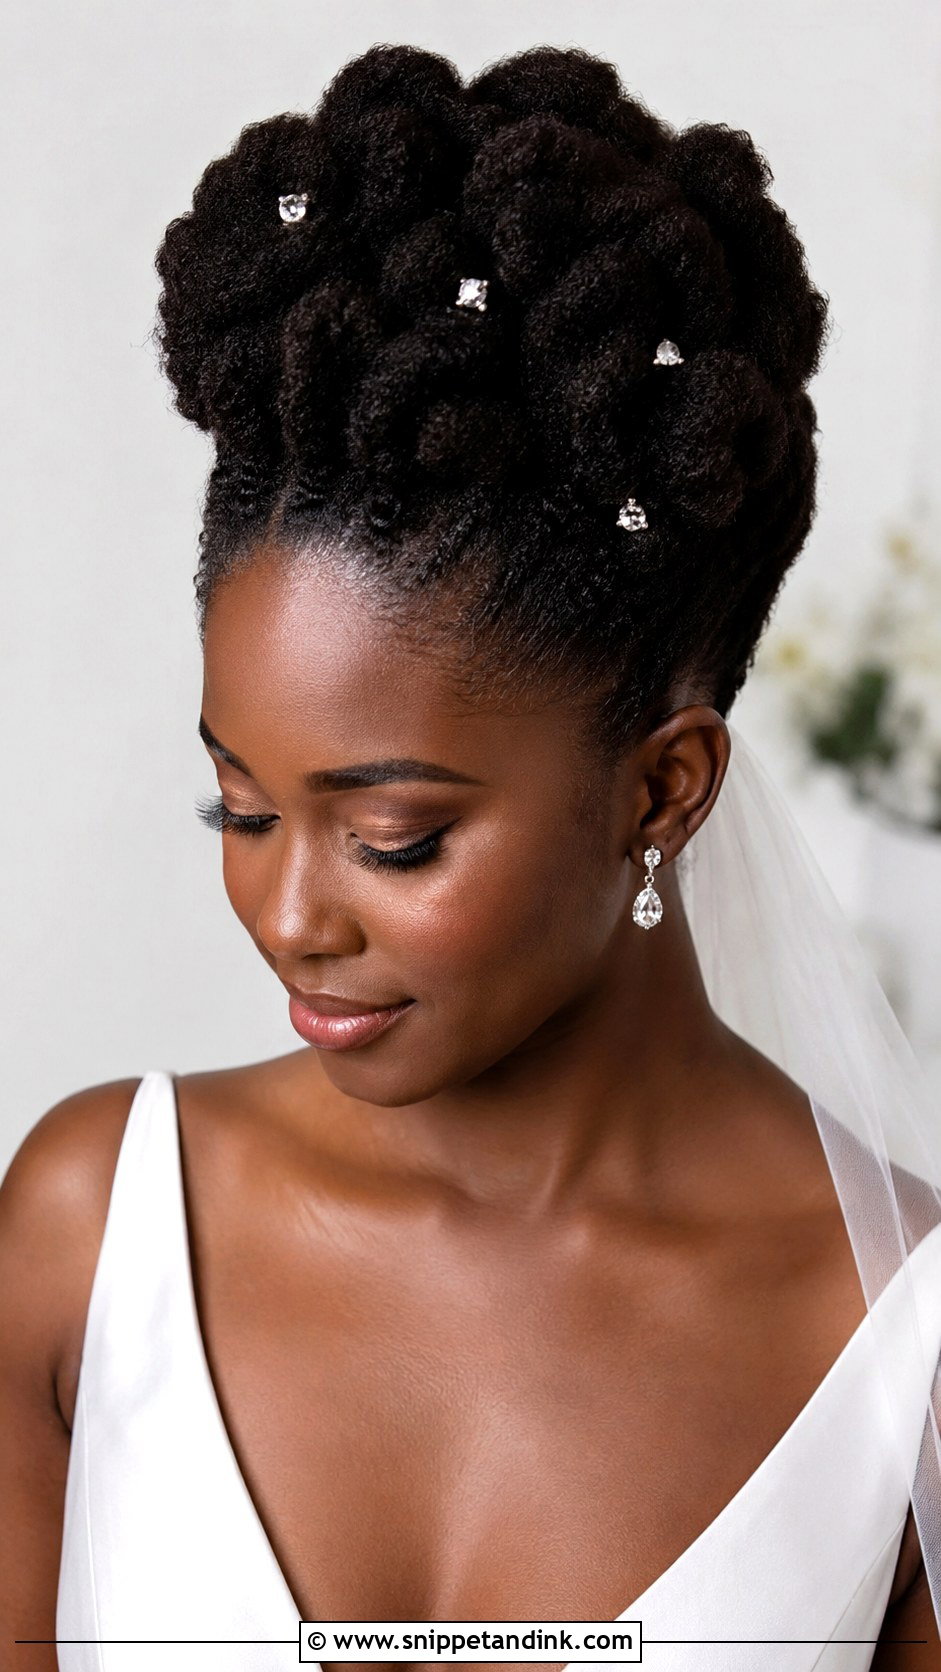
A crown updo lets coily and kinky texture be the whole design. I lift and shape the hair up and around the head so it sits like a soft halo, and it needs to be stretched just enough to mould while keeping its body; fully blown-out hair loses the definition that makes this look worth doing. Because the shape is already the statement, I keep extras light: one veil, a few small pins or a couple of flower stems. The thing I check at the trial is humidity. Stretched coils shrink back in damp air, so for a summer garden wedding I set the shape slightly larger than the finished size.
4. Cornrow Bun Wedding Updo
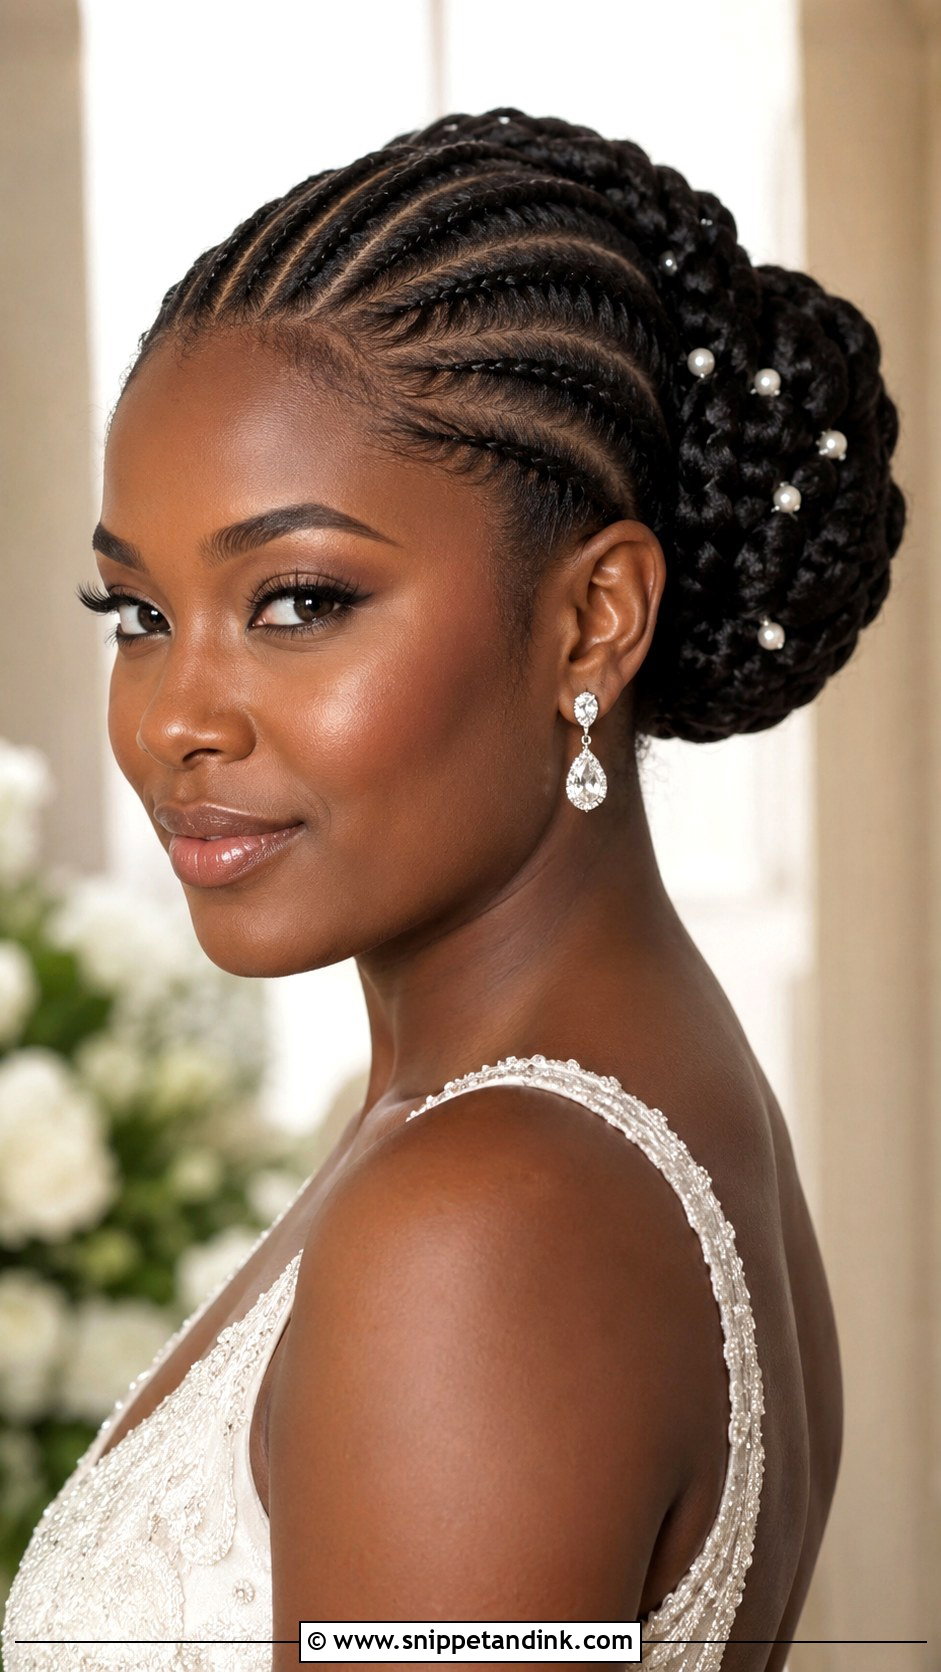
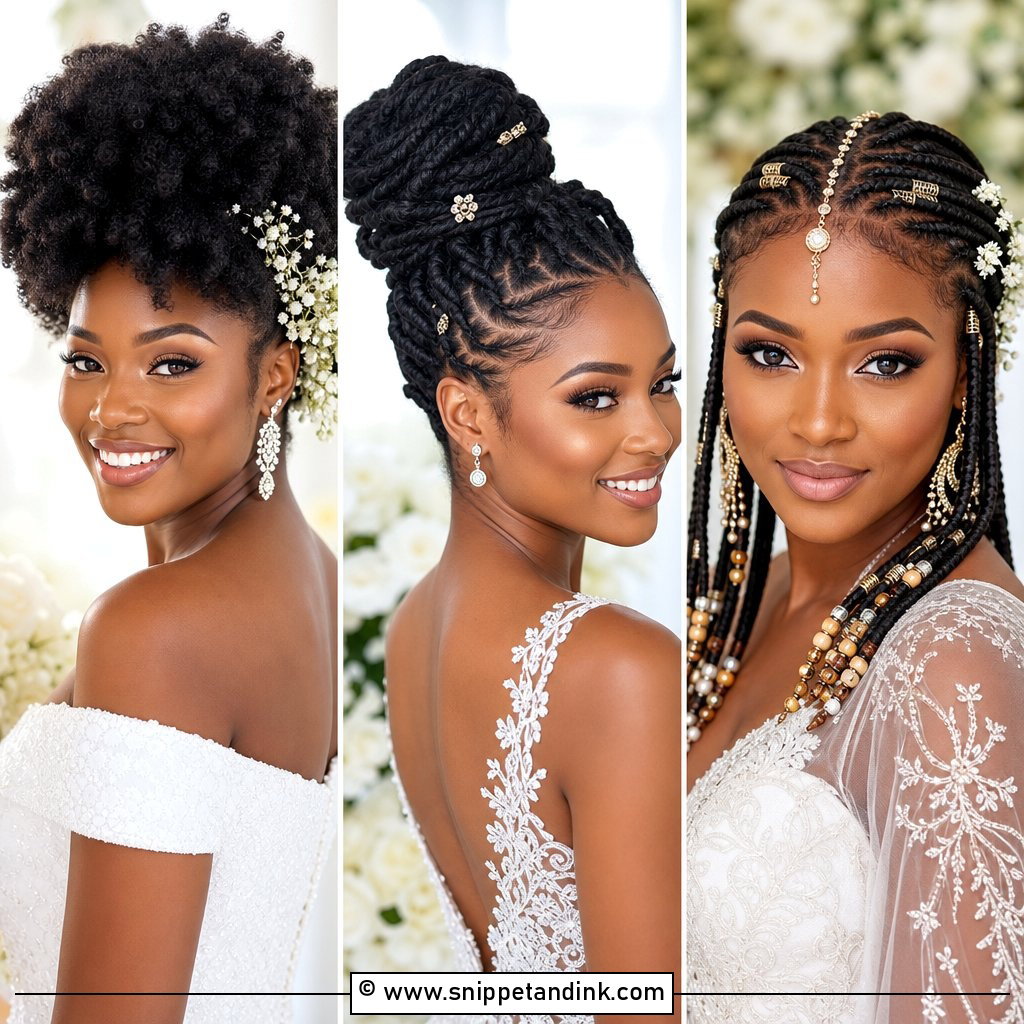
Cornrows are about as secure as a bridal style gets, which is why I reach for them when the day runs twelve hours or the reception is outdoors. The rows can run straight back, curve, sweep to one side or feed into the bun in a pattern. I’m careful with tension at the hairline. Rows braided too tight the week of a wedding leave a sore scalp and stress fragile edges, so I’d rather the parts be clean than the braids be pulled hard. The flat base takes a veil easily. Put pearls or crystal pins on the bun and leave the scalp design bare so the parting stays crisp.
5. High Puff Bridal Updo
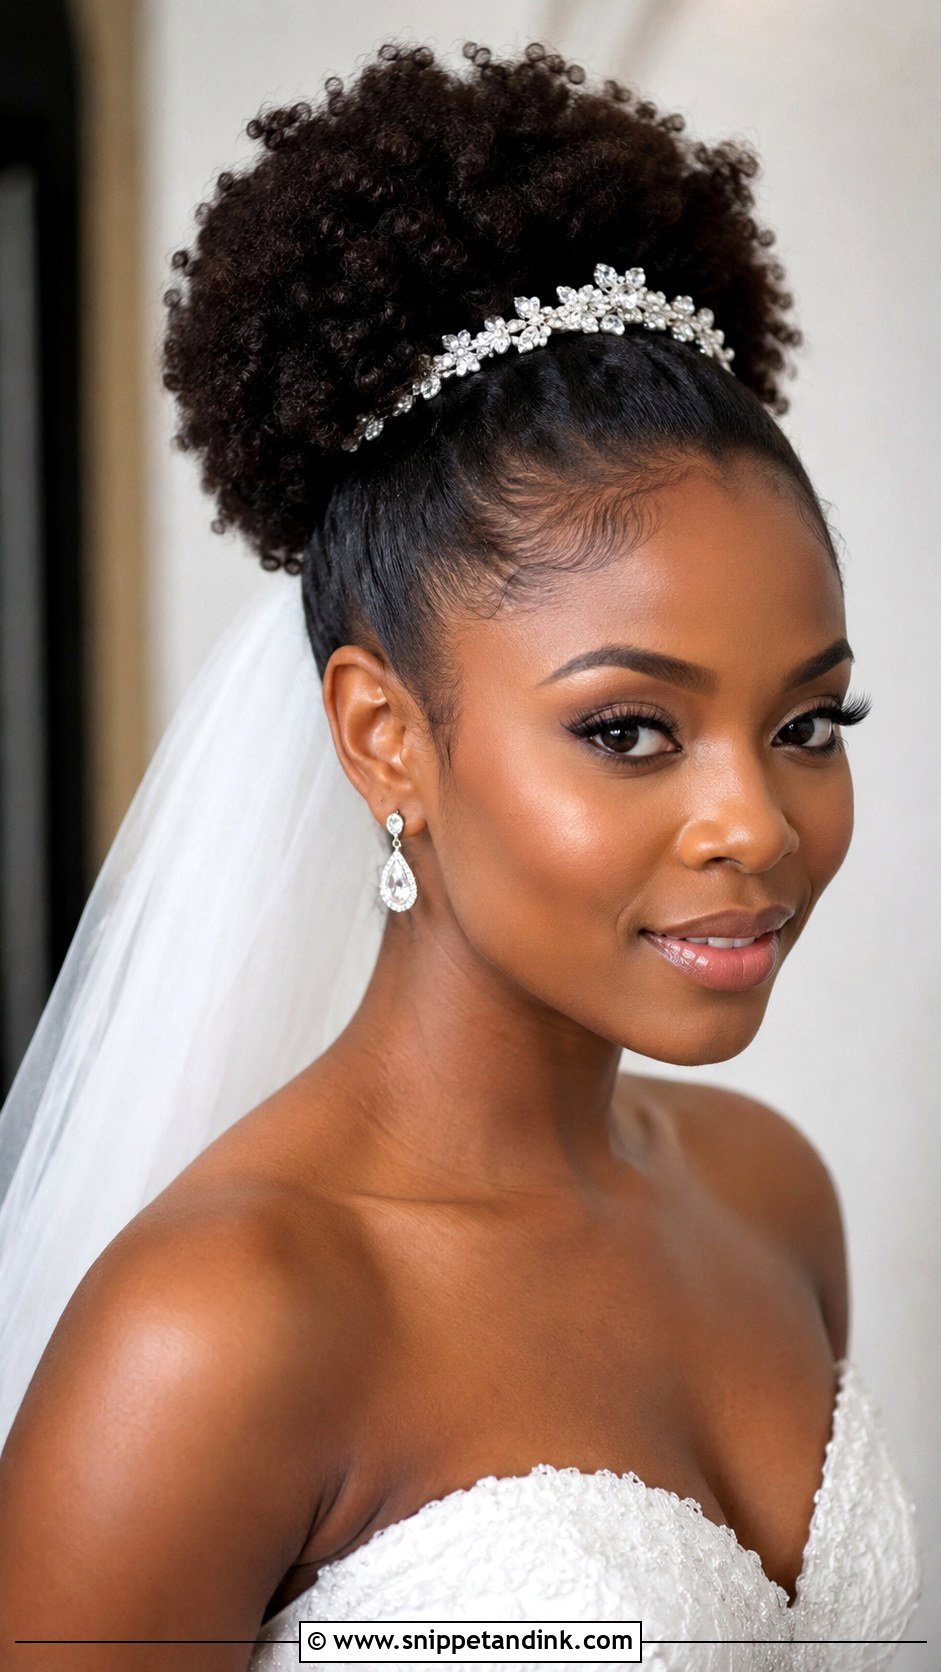
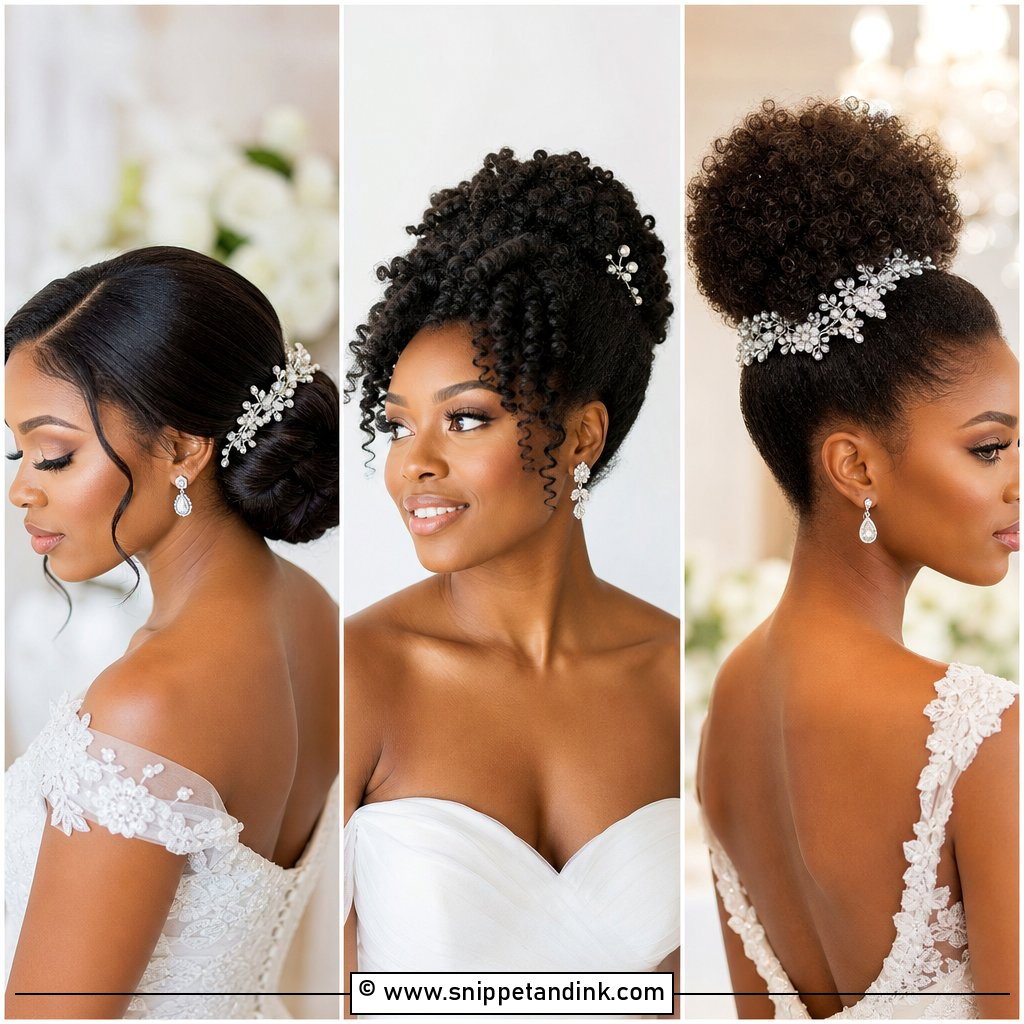
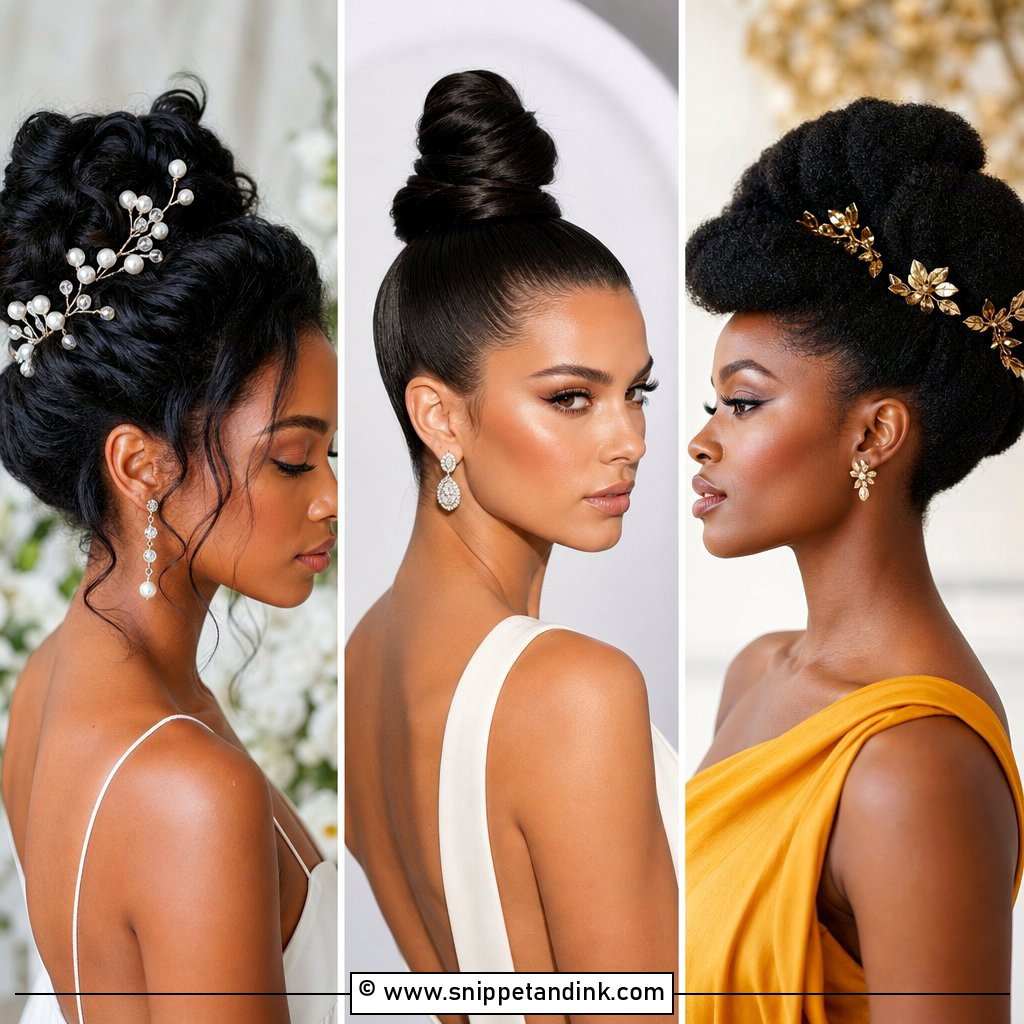
A high puff bridal updo shows off natural volume with very little manipulation, which is good news for hair that hates heat. I gather it with a soft band or a stretched-out scrunchie rather than a tight elastic, then pin the edges of the puff into the base so it doesn’t tip forward as the day goes on. Strapless, square and halter necklines leave room for the height. Damp weather is its weak spot because puffs grow, so I use a light gel at the base and a humidity-resistant cream through the lengths instead of a heavy oil.
6. Loc Bun Wedding Updo
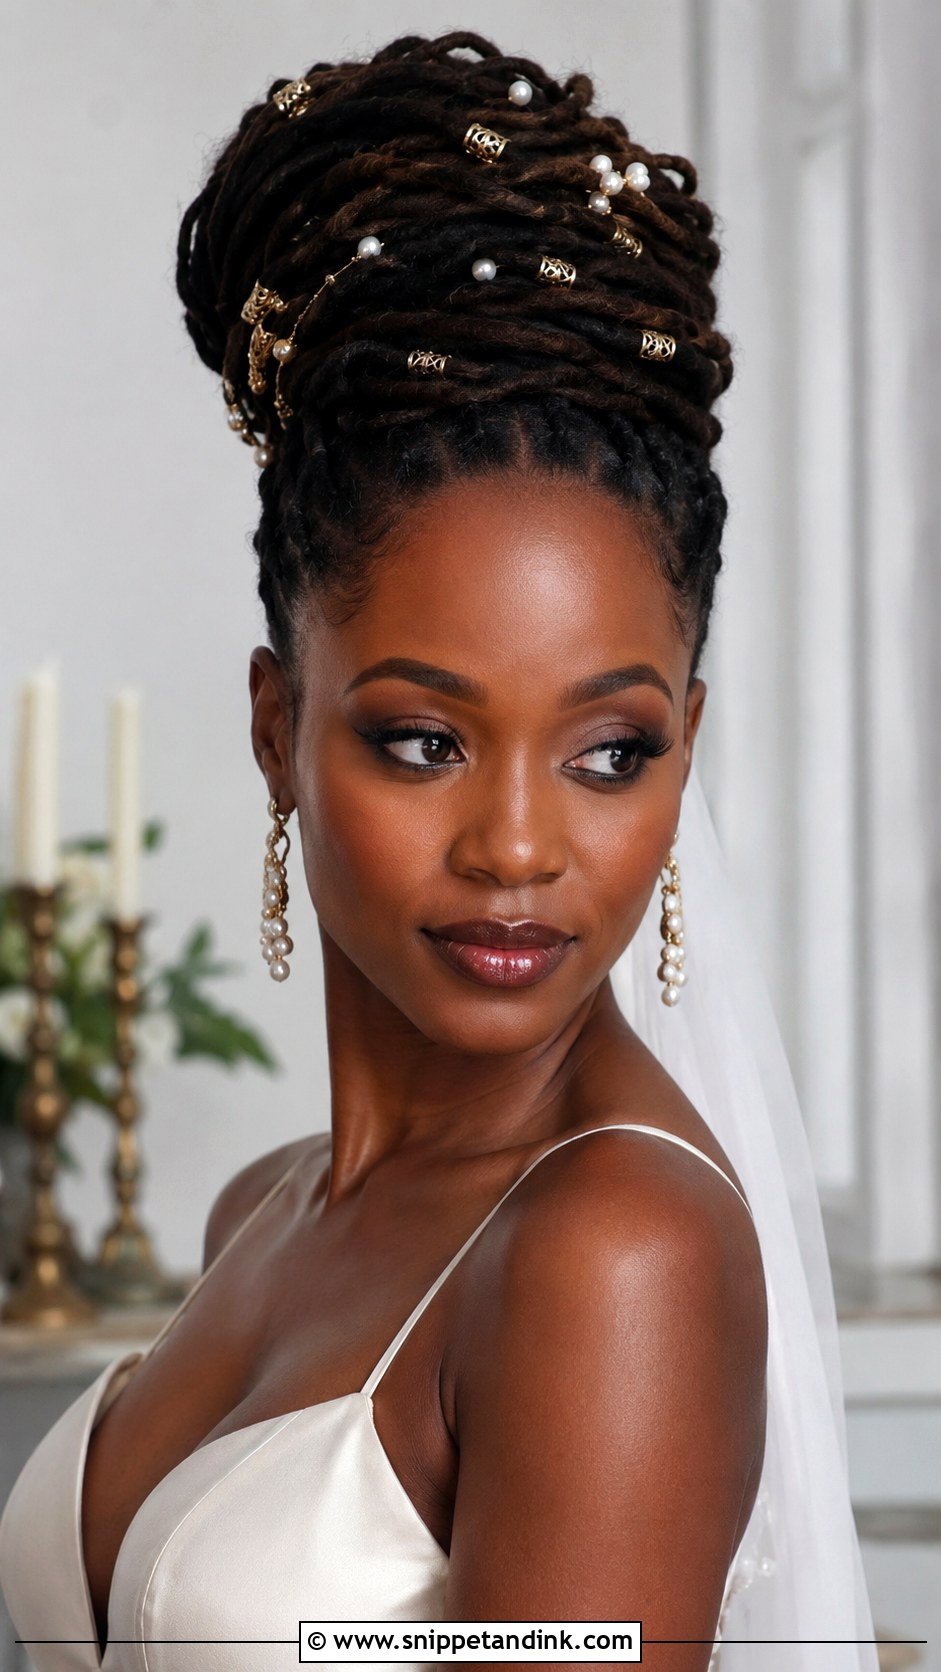
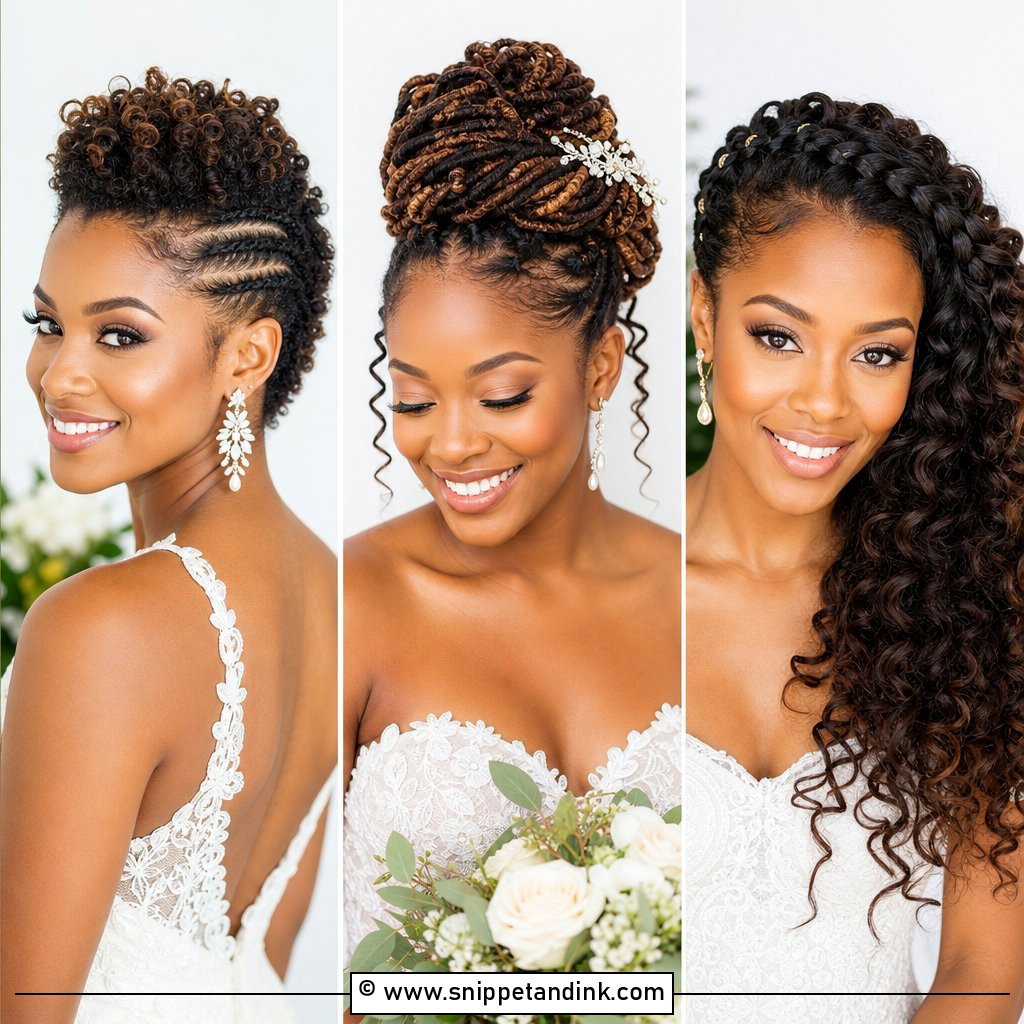
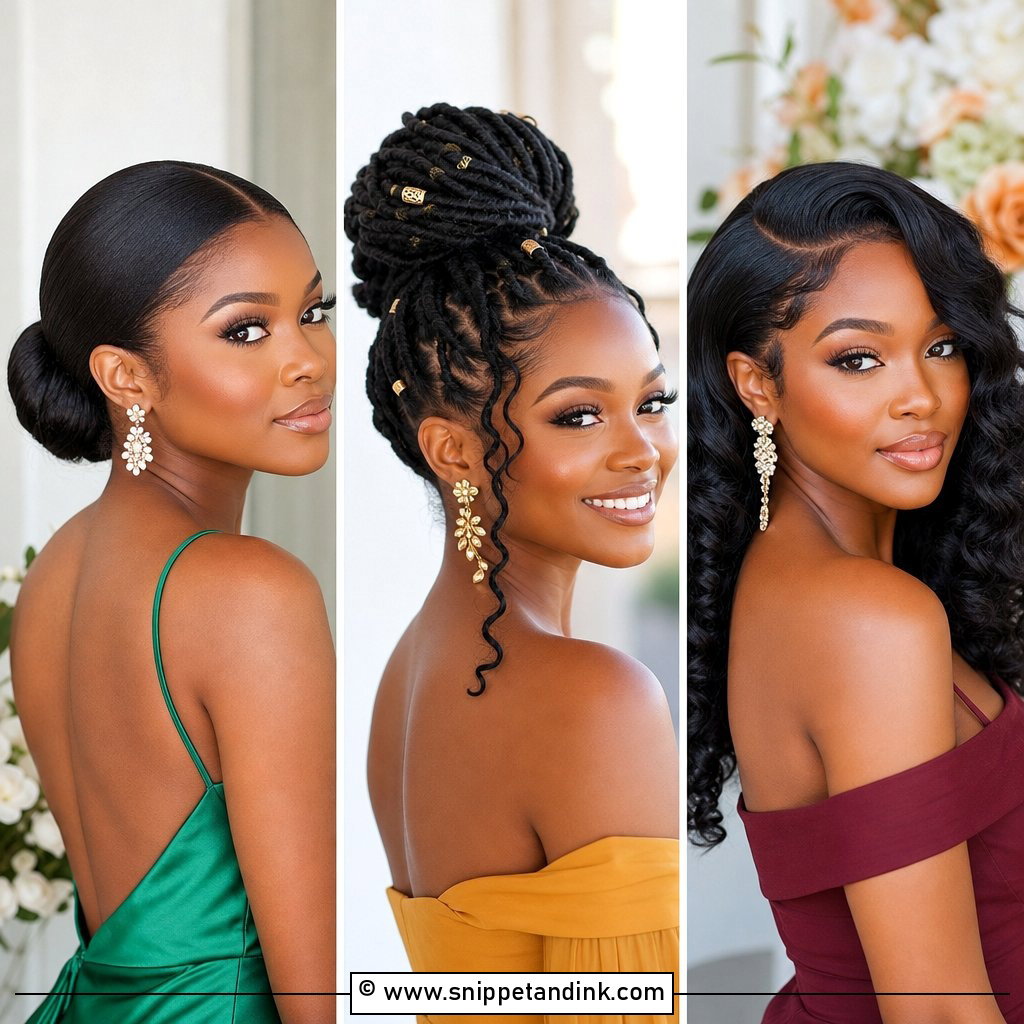
Locs are a pleasure to pin because they hold a fold without slipping. A loc bun wedding updo can be wrapped high, folded into a low knot or set to the side. Short and medium locs work too; I just build a smaller, tighter bun, while long locs give a bigger sculptural shape. I use U-pins and long hair pins here, because ordinary bobby pins can’t grip a thick loc and work loose by the reception. Heavy locs also need their weight spread over two or three anchor points so the bun doesn’t drag on the scalp by evening. A veil tucks neatly underneath.
7. Flat Twist Wedding Updo
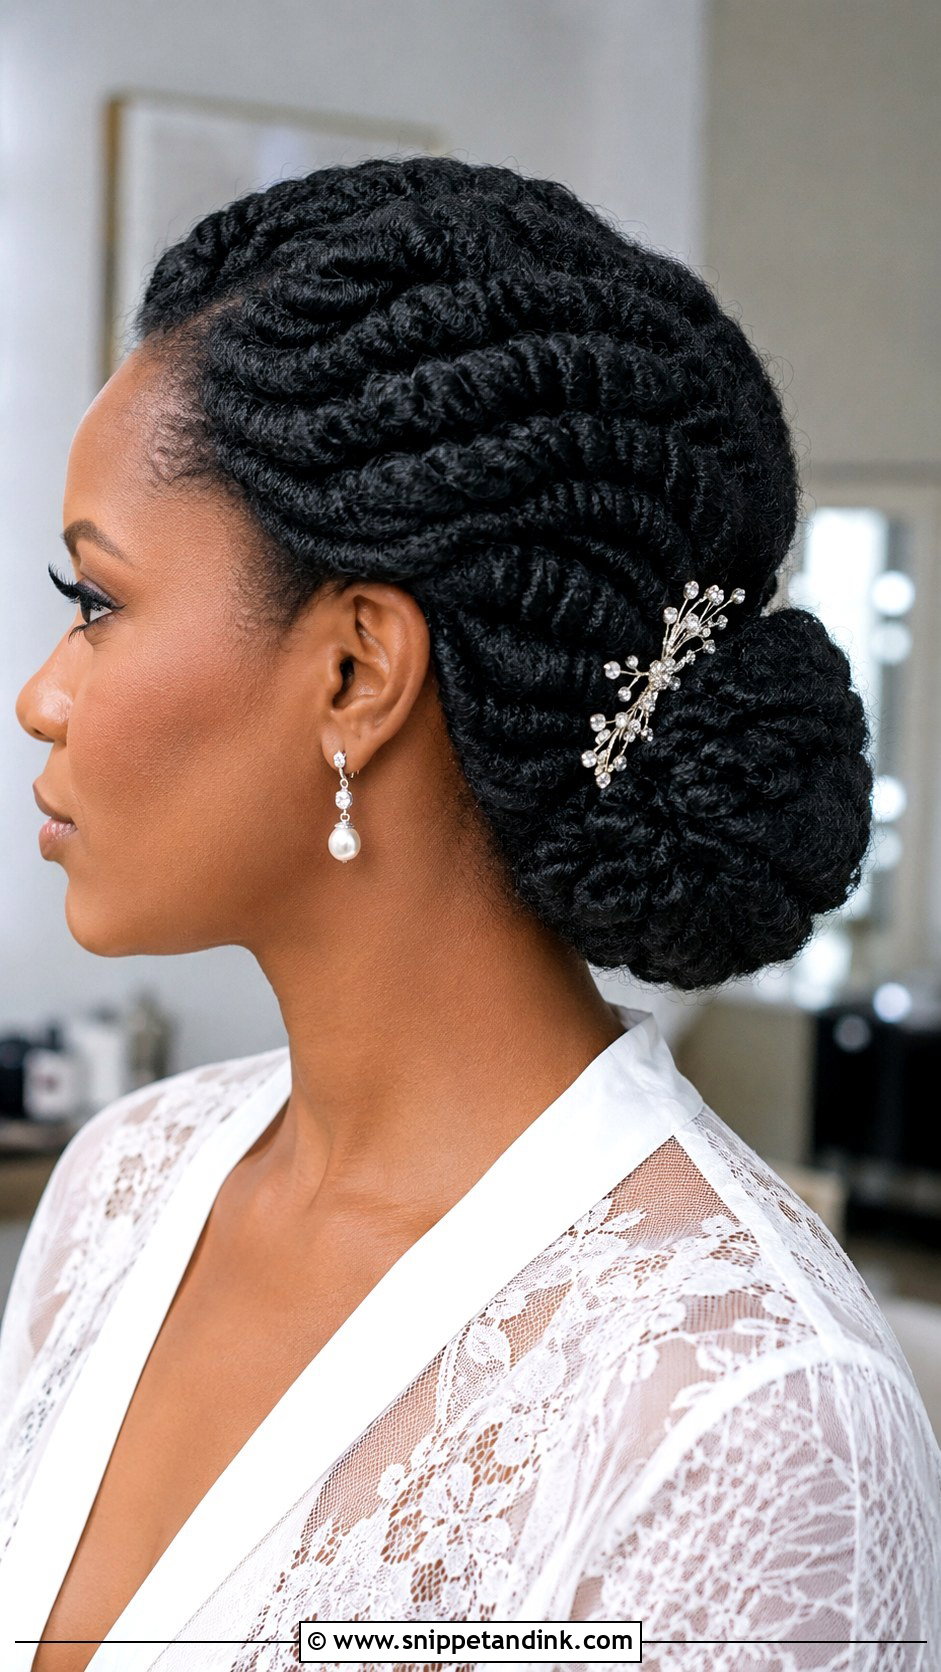
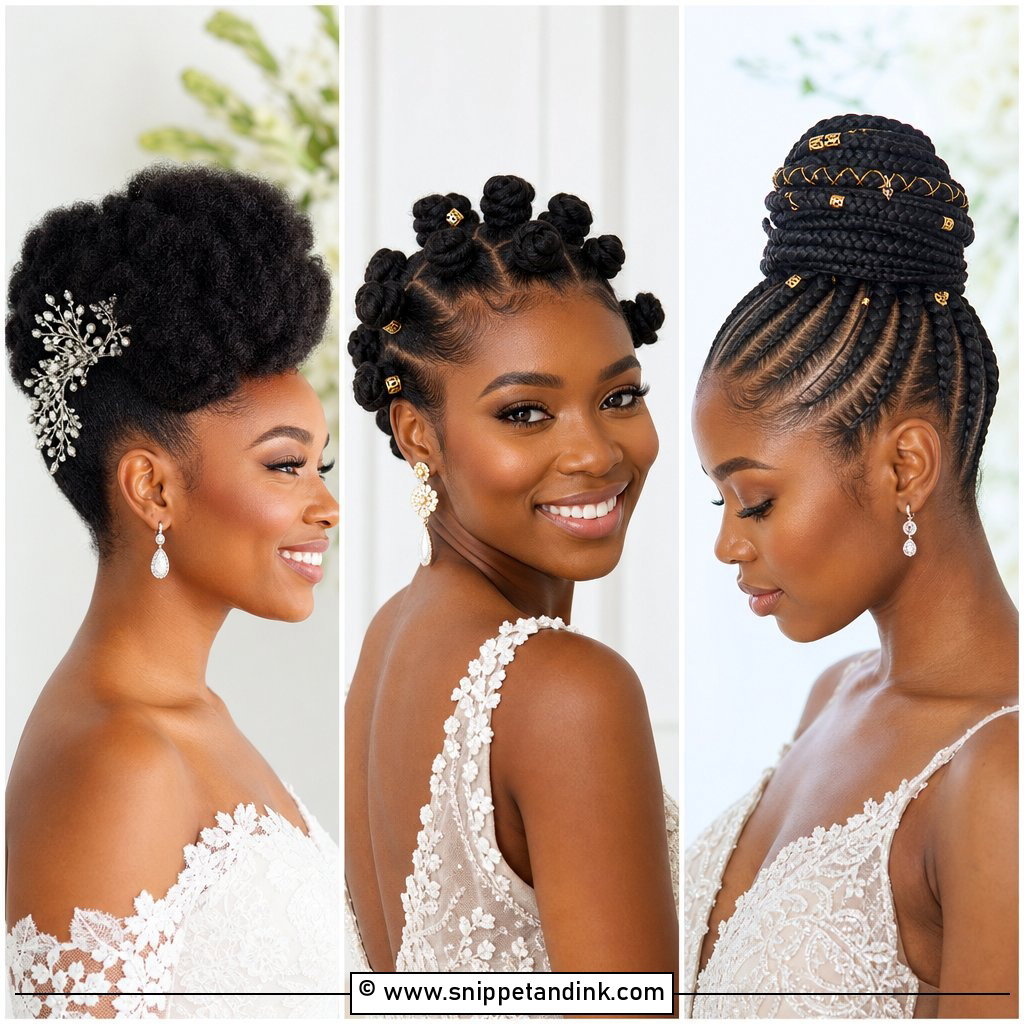
Flat twists sit between cornrows and loose twists: neat enough to give a firm base, softer in texture than a braid. I route them upward, back or in curves that lead into a bun, a puff or a tucked roll. They need a little length to twist cleanly, and very short hair tends to unravel at the ends, which is where added hair earns its place. I put accessories where the twists meet, since that’s the spot that photographs and also the spot that hides the pins.
8. Sleek Chignon Wedding Updo
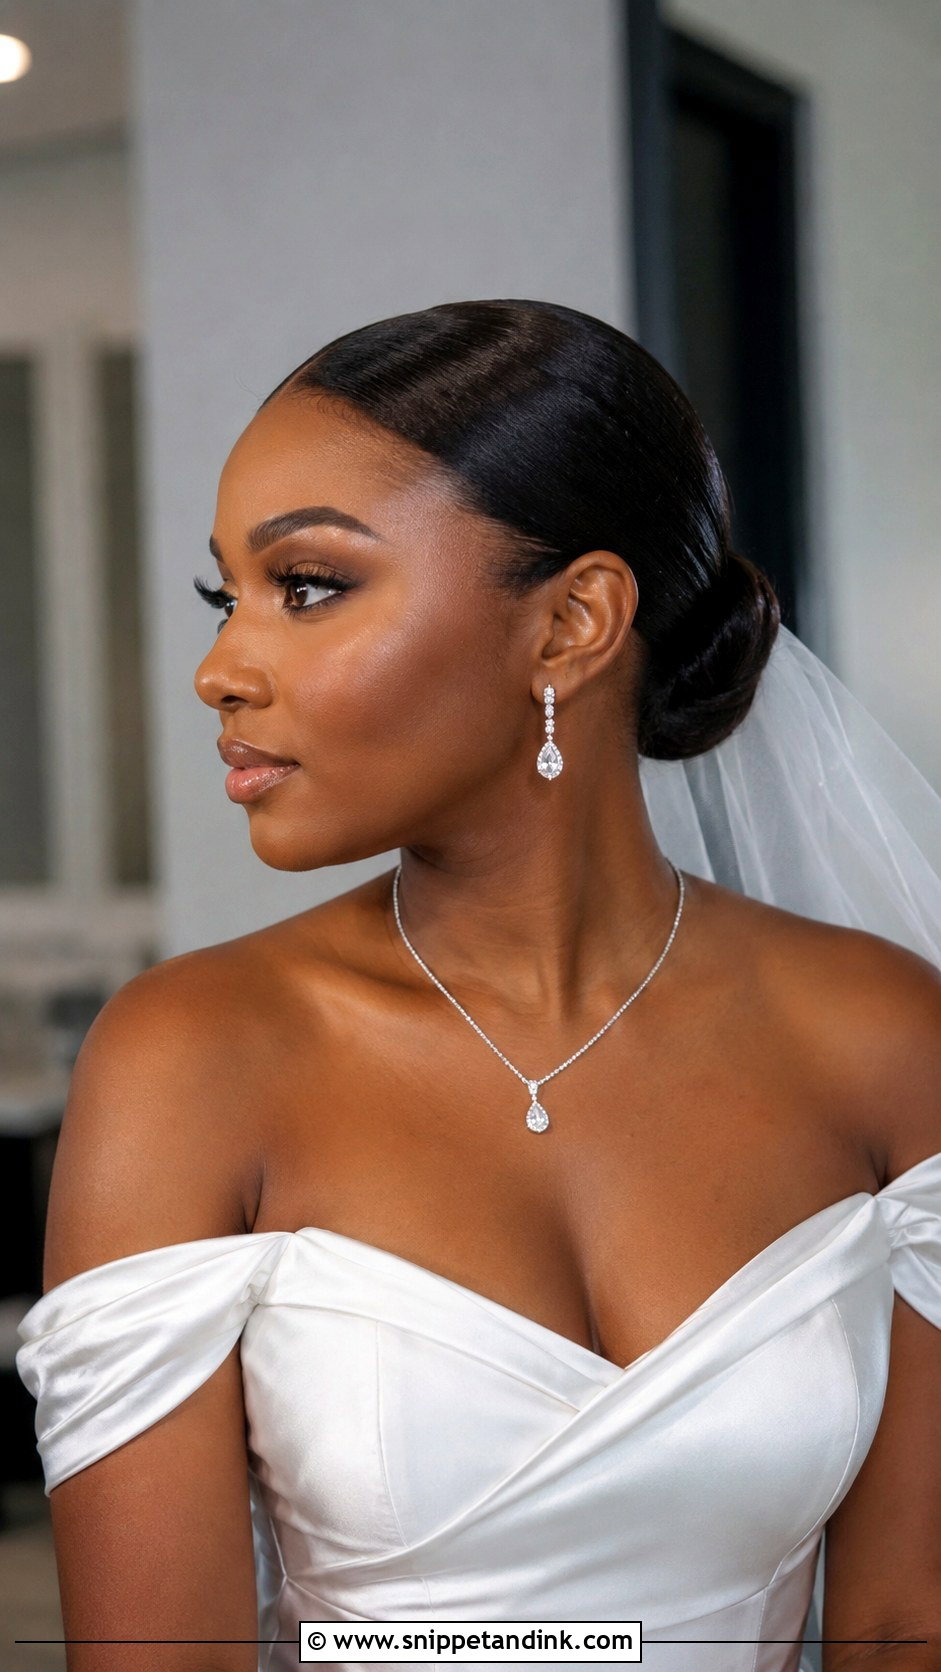
A sleek chignon is the hardest style here to keep looking fresh, because there’s nowhere for frizz to hide. It suits silk-pressed, relaxed or well-stretched natural hair smoothed back and gathered low. Book the silk press a day or two before the wedding, not that morning, so the hair has settled. I’d steer you away from this one for a humid outdoor venue, since pressed hair can revert within a few hours of damp air. Aim for shine without crunch; heavy product goes stiff and dull on camera. A middle part reads modern, a side part softer, and either pairs well with lace, high necklines and long veils.
9. Goddess Braids Wedding Updo
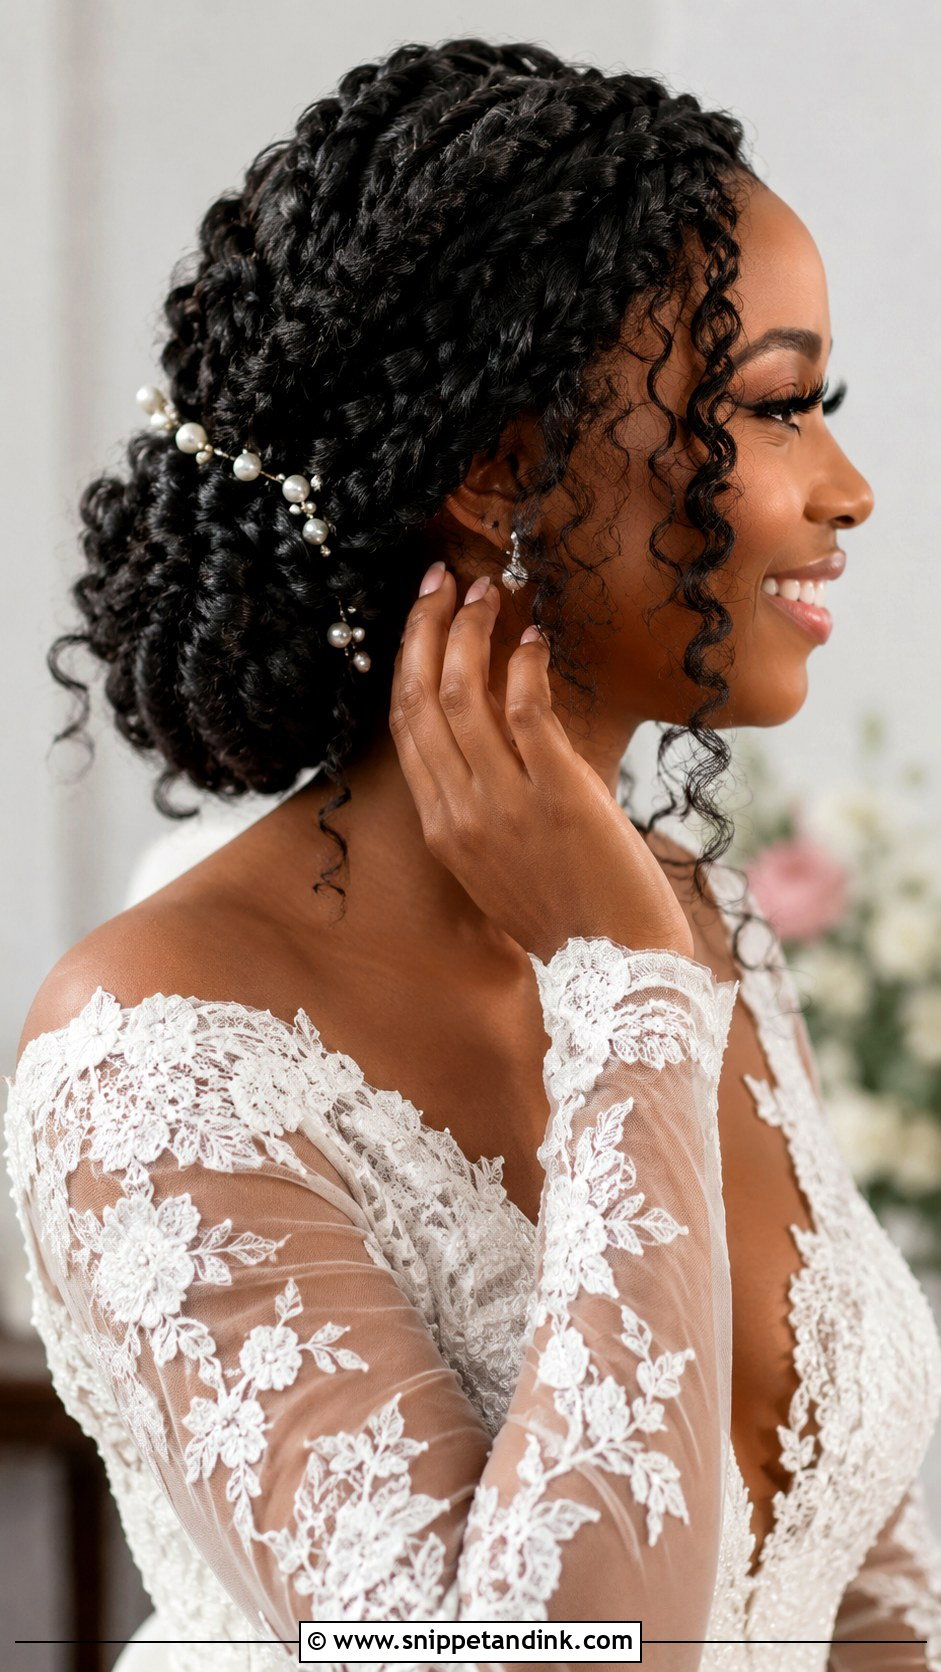
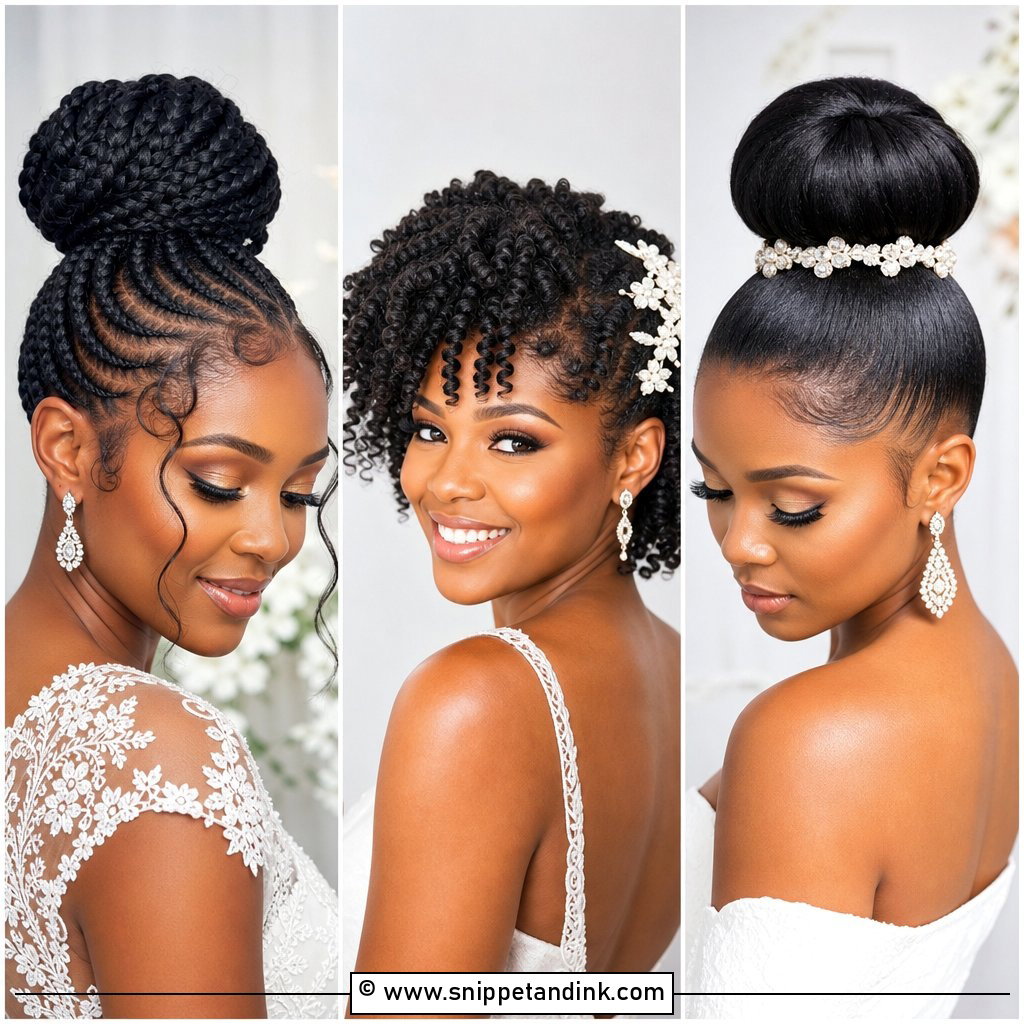
Goddess braids wedding updo styles mix a braided base with loose curly pieces, so you get hold and movement at once. The braids can wrap into a bun, a crown or a textured updo with curls left out around the face. Watch the curly ends. Human-hair curls can be refreshed with water and a little cream, but synthetic curls frizz if you brush them and won’t take heat, so I tell brides to keep their hands off them on the day. I keep the loose pieces deliberate, a few at the face and nape, because too many start to look like the style is coming undone.
10. Side Swept Bridal Updo
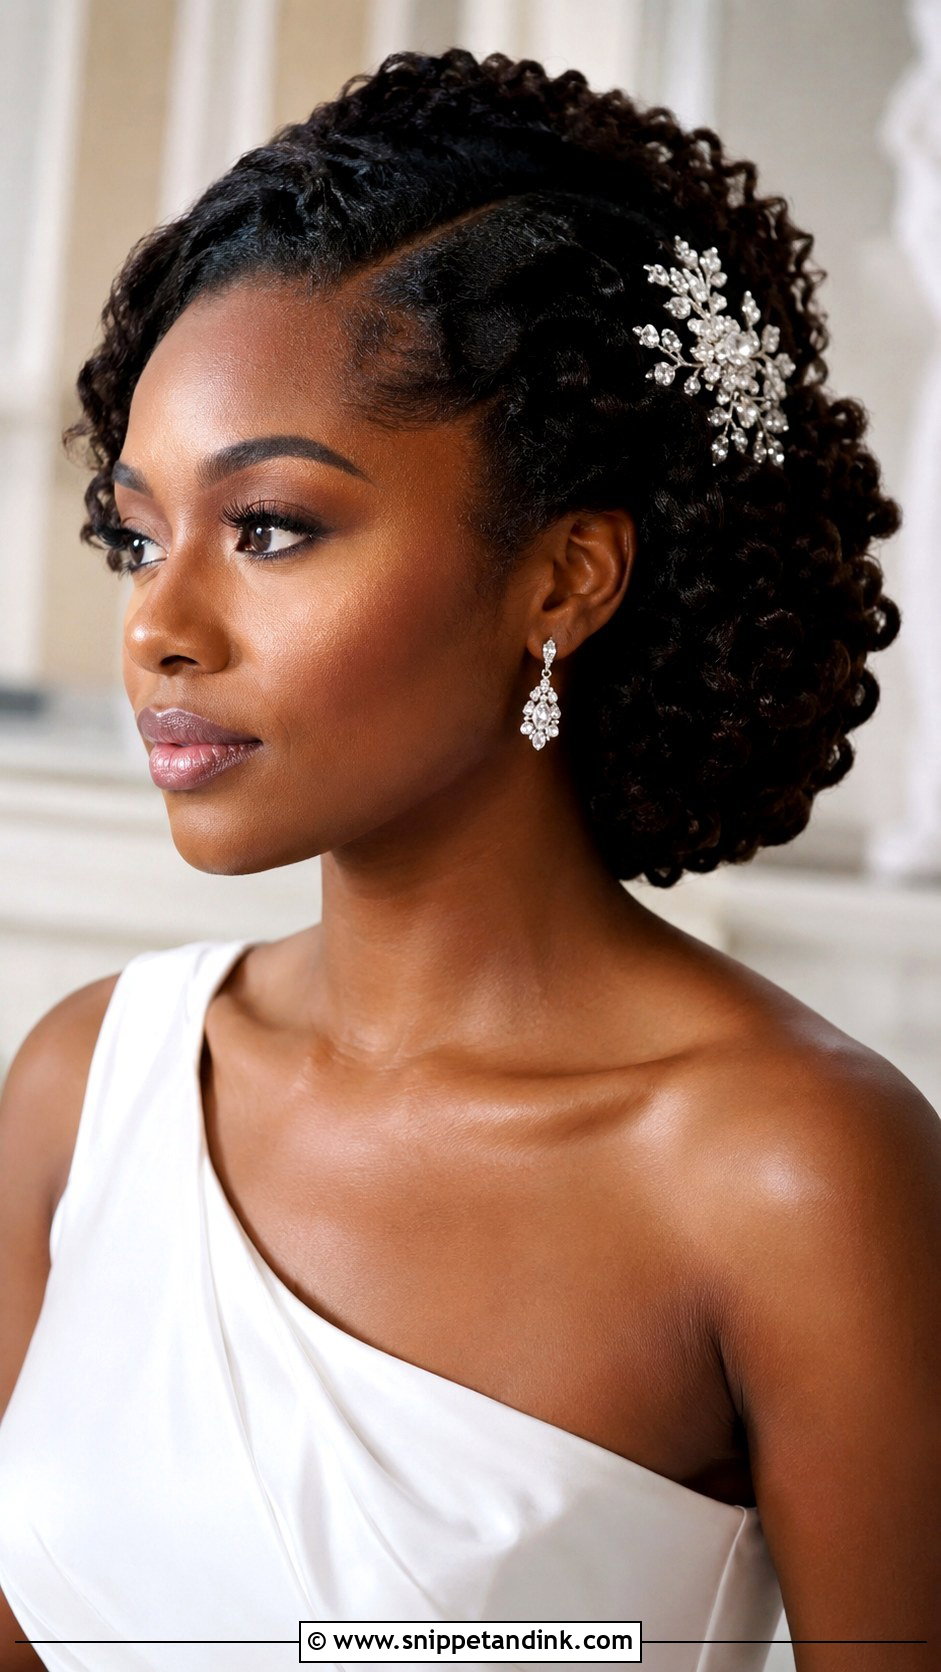
Side-swept updos are mostly a balance problem. All the weight goes to one side, so I anchor the shape at the centre of the head first and only then sweep it across; otherwise it slides toward the shoulder by the speeches. Twists, curls, braids, locs or a silk press all work, and the style suits one-shoulder dresses and a statement earring on the open side. Before we commit, I ask which side you’ll stand on at the ceremony, because that’s the profile most guests and the photographer see during the vows.
11. Curly Pin Up Wedding Updo
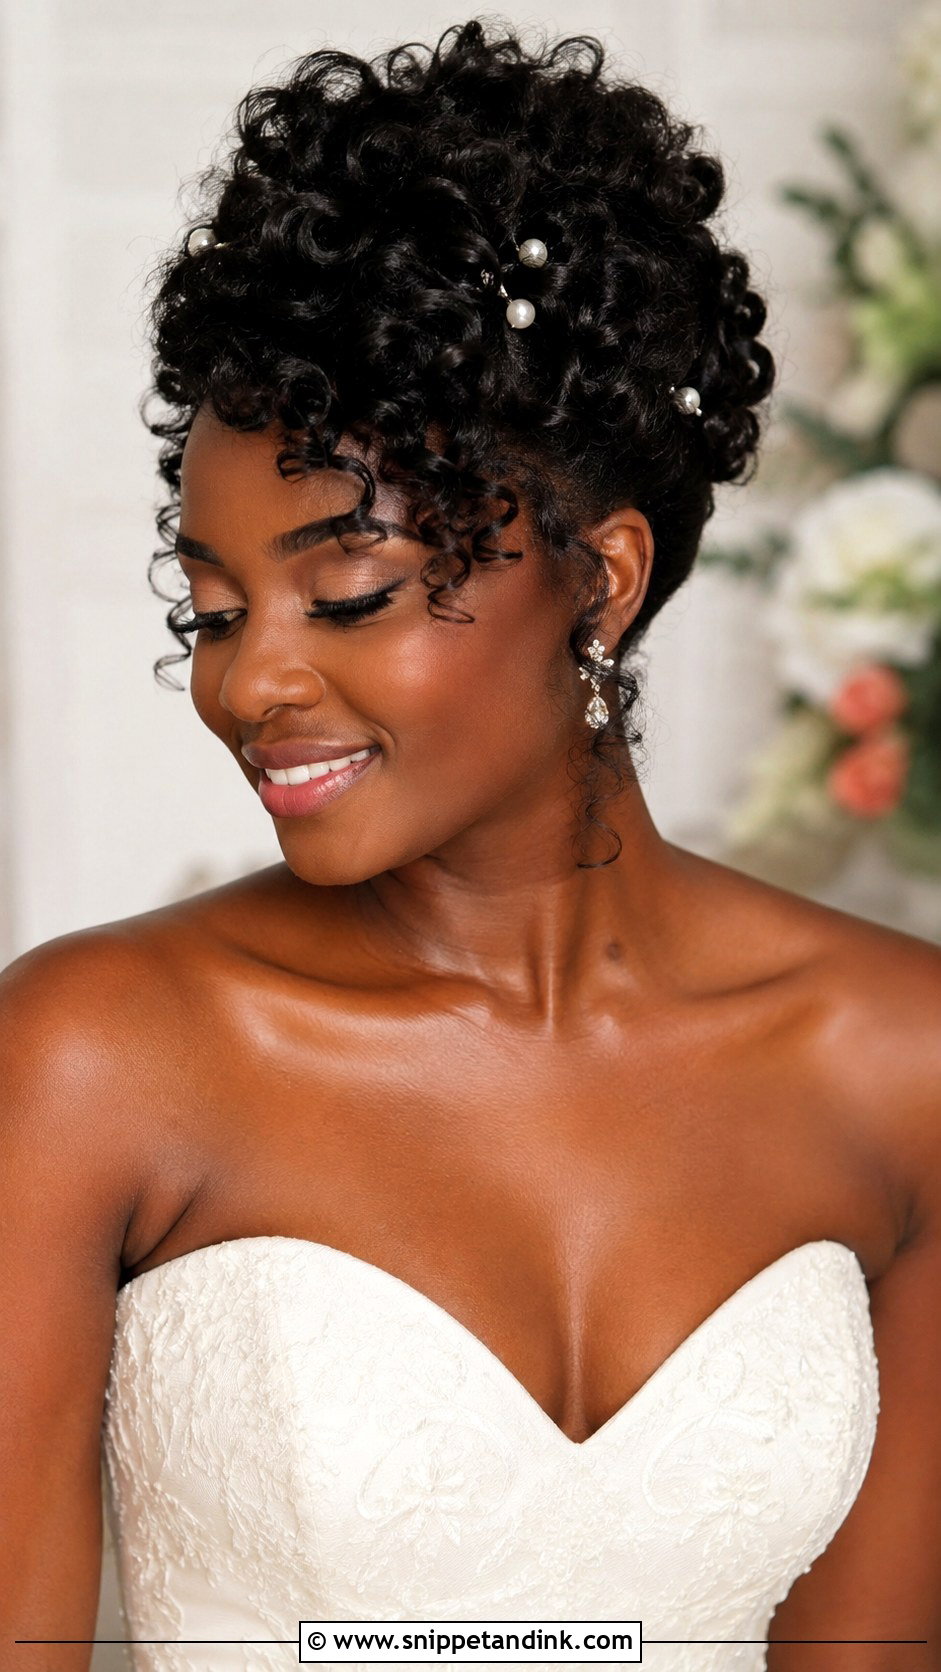
This one keeps your curl pattern on show, so the set matters more than the pinning. Twist-outs, braid-outs and flexi-rod sets all work, but they must be completely dry before I touch them; a set taken down damp turns to frizz within the hour. I pin the curls upward in sections for height, around the crown, tucked at the sides or gathered into a faux bun. Expect some shrinkage through the day, more if it’s humid. A jeweled comb adds sparkle without flattening the curls around it.
12. Box Braids Wedding Updo
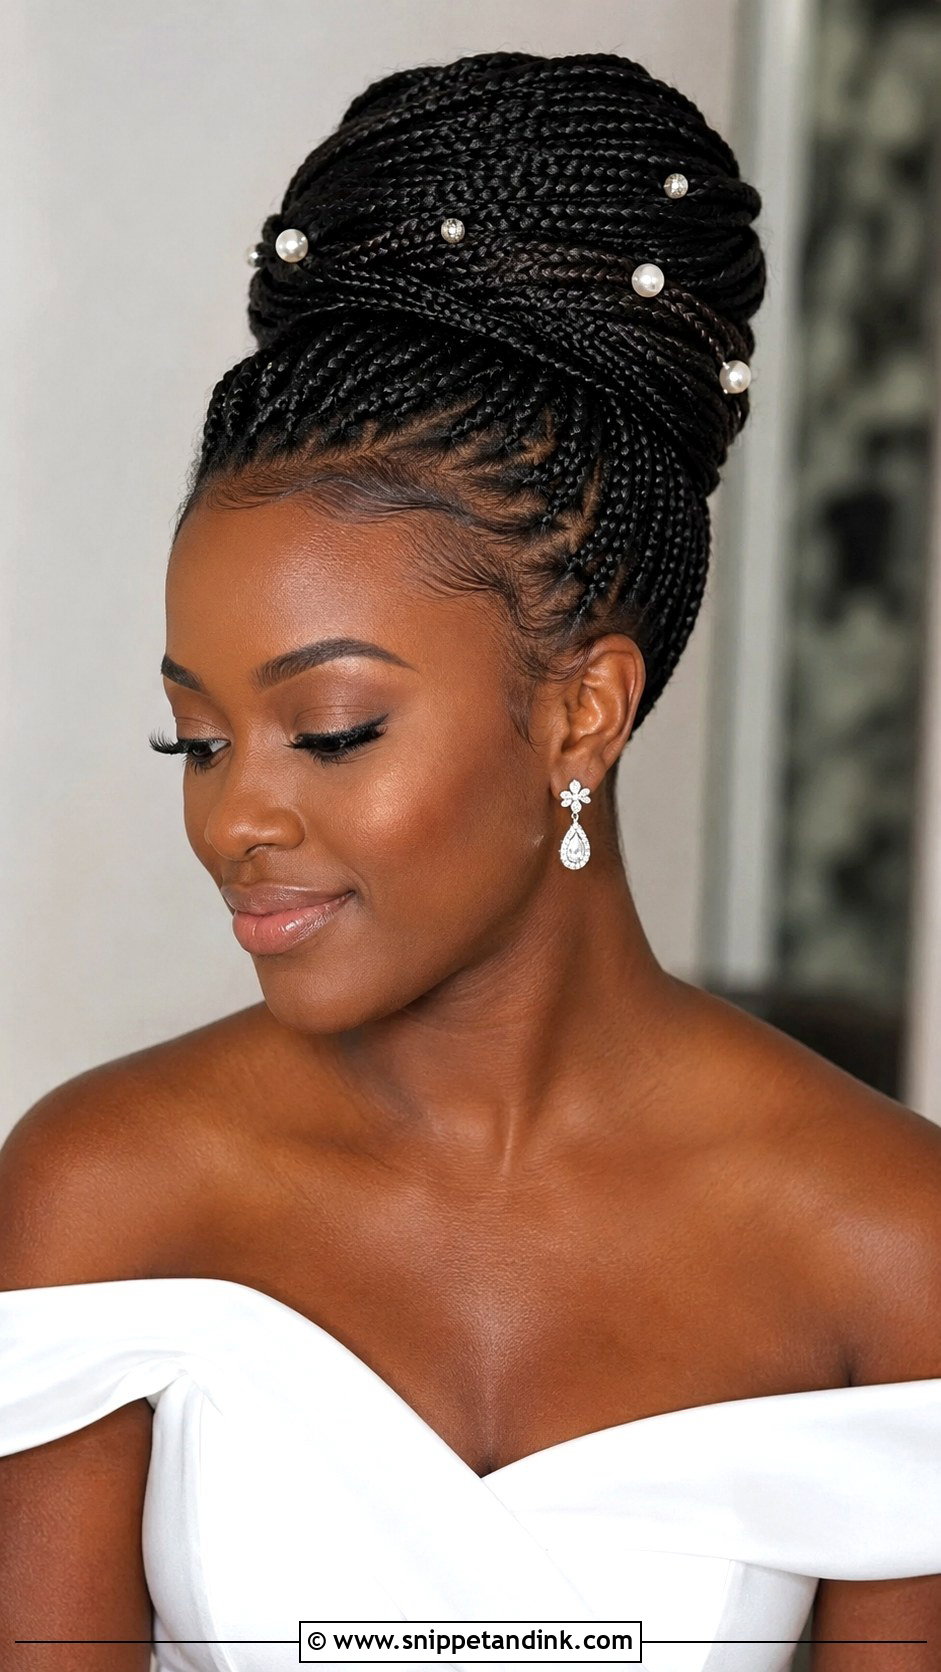
If you already wear braids, a box braids wedding updo is often the least stressful route, because the hard work is done before the wedding week. I’d have them installed three to seven days ahead so any tightness at the scalp has eased. You can go high, low, into a braided crown or a folded chignon. Small and medium braids bend into neater shapes than jumbo braids, which get bulky fast. Weight is the honest trade-off: a big bun of long braids can feel heavy by the fourth hour, so wear it for a while at the trial before deciding.
13. Halo Braid Wedding Updo
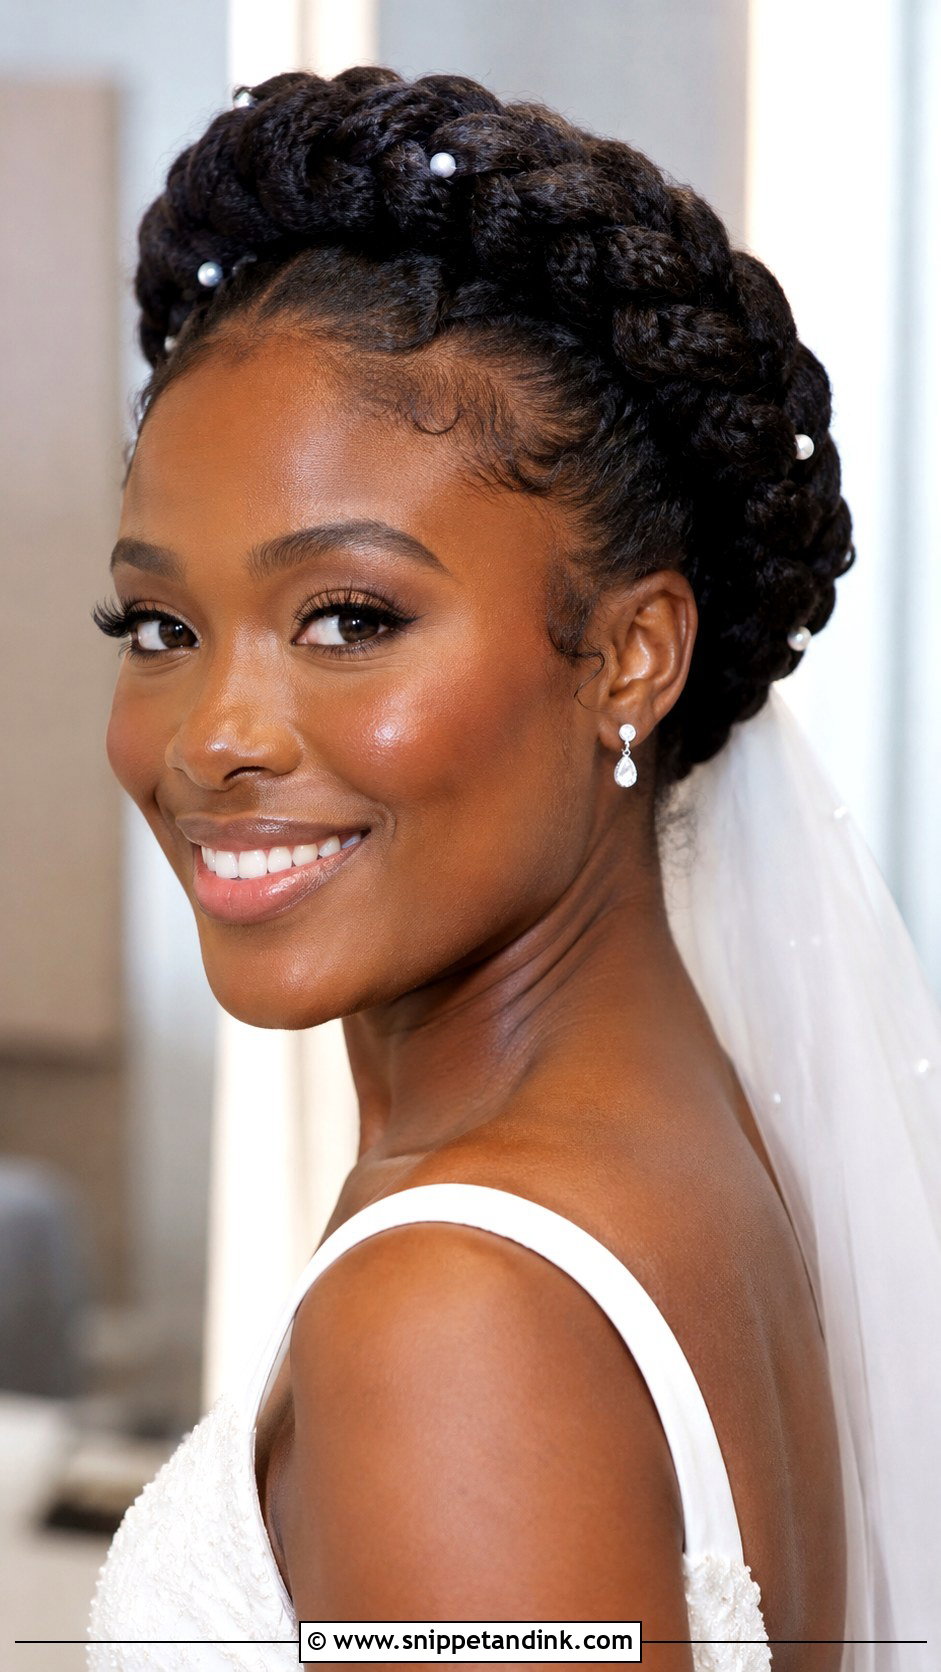
A halo braid wraps around the head as one big braid or several joined ones, and it keeps hair completely off the face. The outline is so clear that it’s easy to pick out even in wide shots. Natural hair, added braiding hair or textured extensions all give it fullness. The catch is the veil. There’s no bun to anchor a comb into, so I tuck a small hidden braid or a few crossed pins at the back of the crown for the comb to grip. Plain gowns suit it best, since the braid carries the detail.
14. Faux Locs Wedding Updo
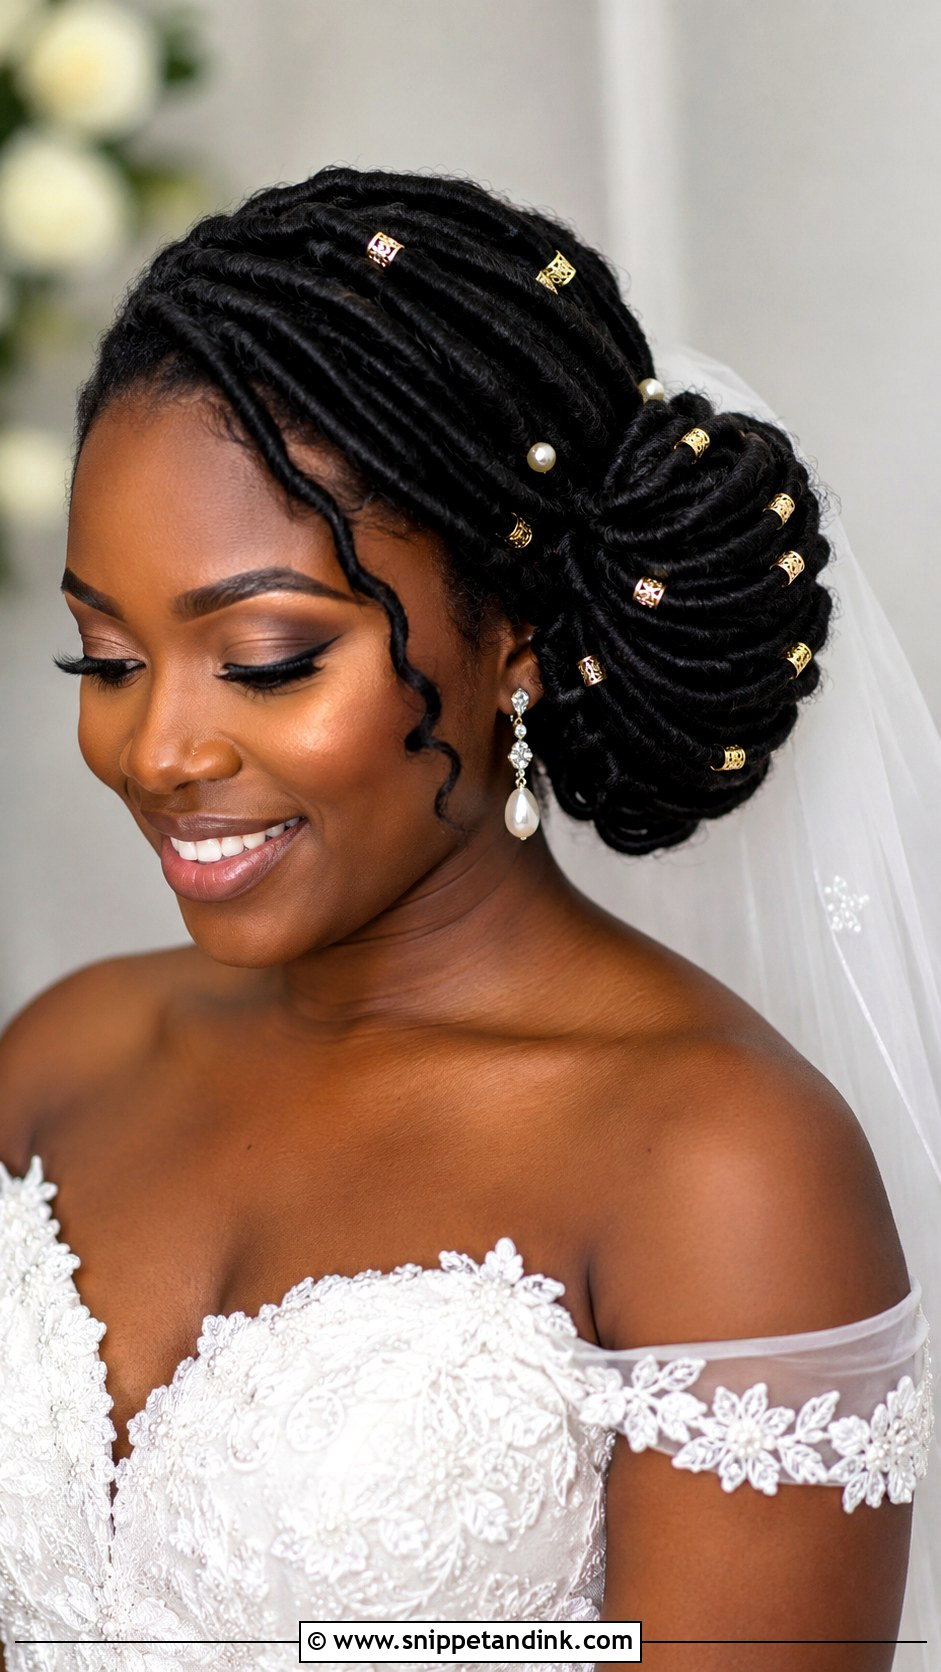
Faux locs give you the texture and drape of locs with more freedom in shaping, swept into a high bun, wrapped into a low knot or pinned to the side. Like braids, they’re best installed several days before the wedding so the roots relax. The texture is already detailed, so I add very little, maybe a few gold cuffs or pearl pins. Long faux locs are heavy, and I’ll usually suggest trimming the length for the updo rather than packing it all into one bun. They hold up across multi-day celebrations, which helps if you have events either side of the ceremony.
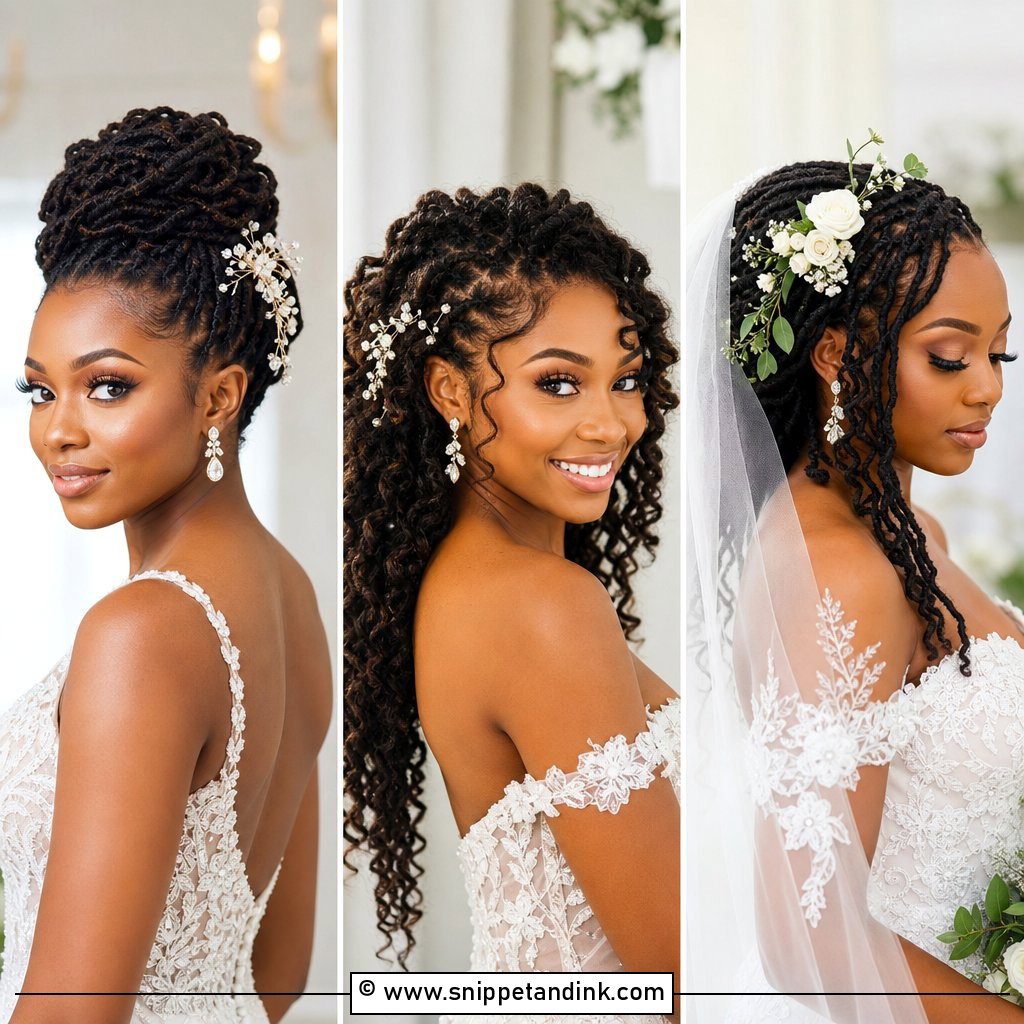
15. Textured Low Bun Wedding Updo
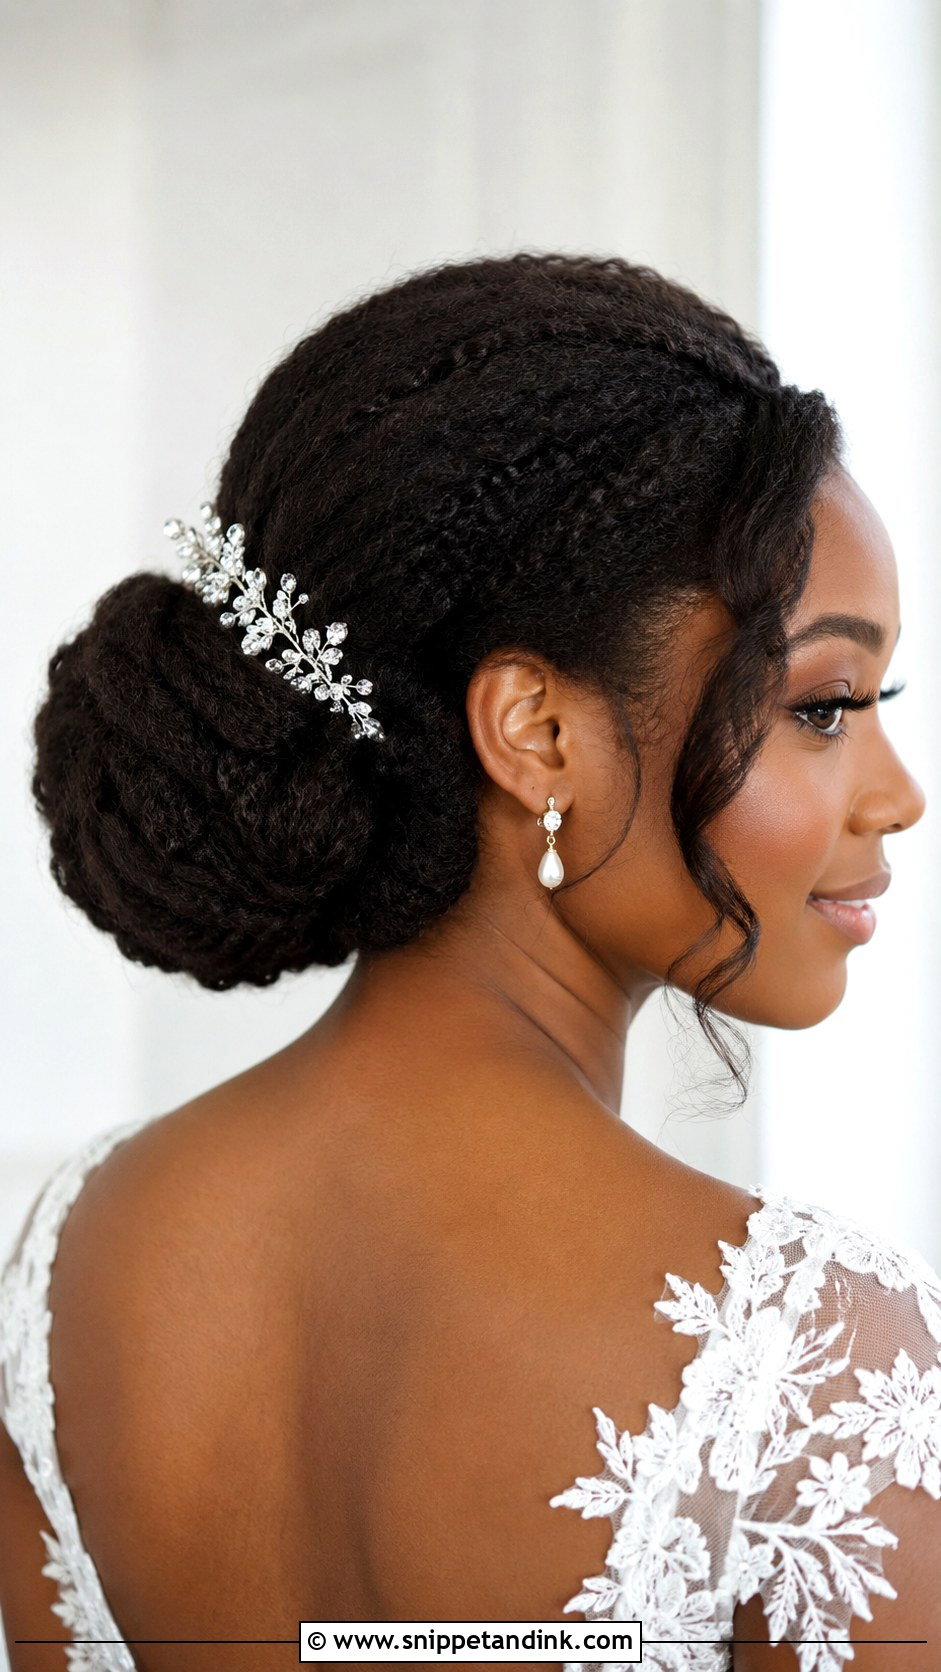
Where the sleek chignon is all polish, this bun keeps texture visible at the nape, which makes it far more forgiving. The hair can be twisted, curled, braided or tucked into a full bun, and a few flyaways look intentional rather than messy. I suggest it to brides who find tight styles give them a headache by afternoon, because it sits loosely against the scalp. A couple of curls at the face soften the front, and the low position leaves the crown free for a veil.
Pins, Edges and a Veil Comb at Hour Ten
An updo that looks right at the first look has done the easy part. What I’m really building for is the moment the veil comes off, someone hugs you hard and you’ve been dancing for two hours.
What actually holds the shape
Every style I build sits on anchors: a small braid, a ponytail base or crossed pairs of pins pushed into the structure. Pins matched to your hair colour disappear, while shiny gold ones look like a mistake in close-ups. For locs and thick braids, U-pins and long hair pins grip far better than ordinary bobby pins.
Edges without the crunch
Edge control looks crisp at nine in the morning and can flake or turn chalky by evening, especially when it’s layered on thickly and then touched up again and again. I use a thin layer, tie a satin scarf over it for ten to fifteen minutes and then leave it alone. Please don’t let anyone brush your edges tighter every hour. Constant pulling on a fragile hairline isn’t worth any photo.
For your maid of honour’s bag
- Six to eight pins in your hair colour, plus two U-pins if you have locs or braids
- A small pot of light gel and a soft toothbrush for edges
- A satin scarf for the car ride between ceremony and reception
- A small spray bottle of water with a little leave-in, only if the curls are your own hair
Your Texture Gets the First Vote
A saved photo shows a finished shape on someone else’s hair. It doesn’t show how long that shape took, how much added hair is hidden inside it, or how it looked at eleven at night. Braided buns, loc updos, twisted crowns, sleek chignons, textured buns and natural puffs can all read as properly bridal when they’re built for your texture and your schedule. Bring three or four photos to your trial, then ask your stylist the harder question: which of these will still be standing at the end of the reception, on my hair, at my venue?
You'll Like These Ideas:


Leave a Reply