
A big updo is mostly invisible engineering. What you see is a lifted, rounded shape; what holds it is curls set in advance, a firm base, padding where the hair is thin and a lot of pins placed in the right direction. Get that foundation right and the shape lasts through the ceremony, portraits and dancing. Volume also balances a veil, statement earrings, a high neckline or a long train. Looking at 2026 brides, polished texture, soft face-framing pieces and modern updos are all trending, and the fifteen below show the range, with my notes on how each is put together.
How Many Pins, How Much Weight: What Sits Under a Big Updo
Brides are often surprised by how much hardware goes into a full updo. Knowing what’s in there helps you judge comfort at the trial, not on the wedding morning.
The base
Most of these styles start with a ponytail or a pinned anchor that everything else attaches to. A ponytail base is firmer; a pinned base lies flatter and suits low, soft shapes. If the base is wrong, no amount of hairspray rescues the shape later.
Pins that do different jobs
Bobby pins grip and lock sections flat against the head. U-shaped hairpins hold volume in place without squashing it, so I use them inside buns and curls. A full updo can easily take a few dozen of each.
Weight you’ll feel later
Thick hair, clip-ins and a heavy veil all add up. A slight pull at the trial becomes a headache by dinner. Say so if anything presses; moving a pin a centimeter costs me seconds and saves your evening.
1. Voluminous Low Bun Wedding Updo
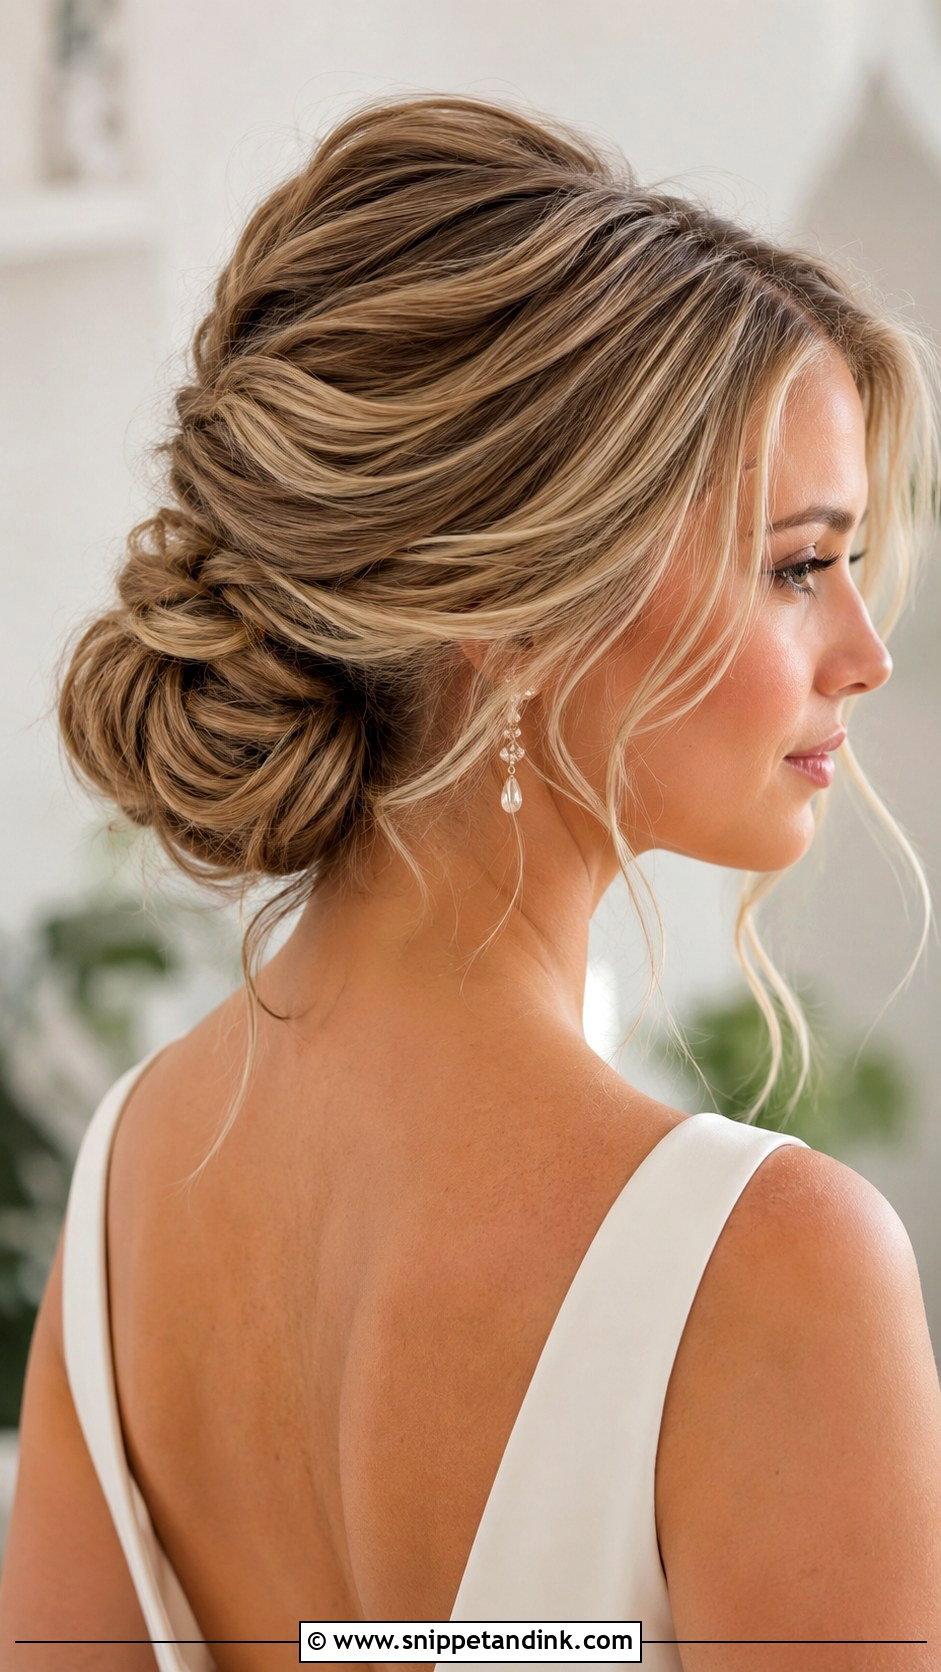
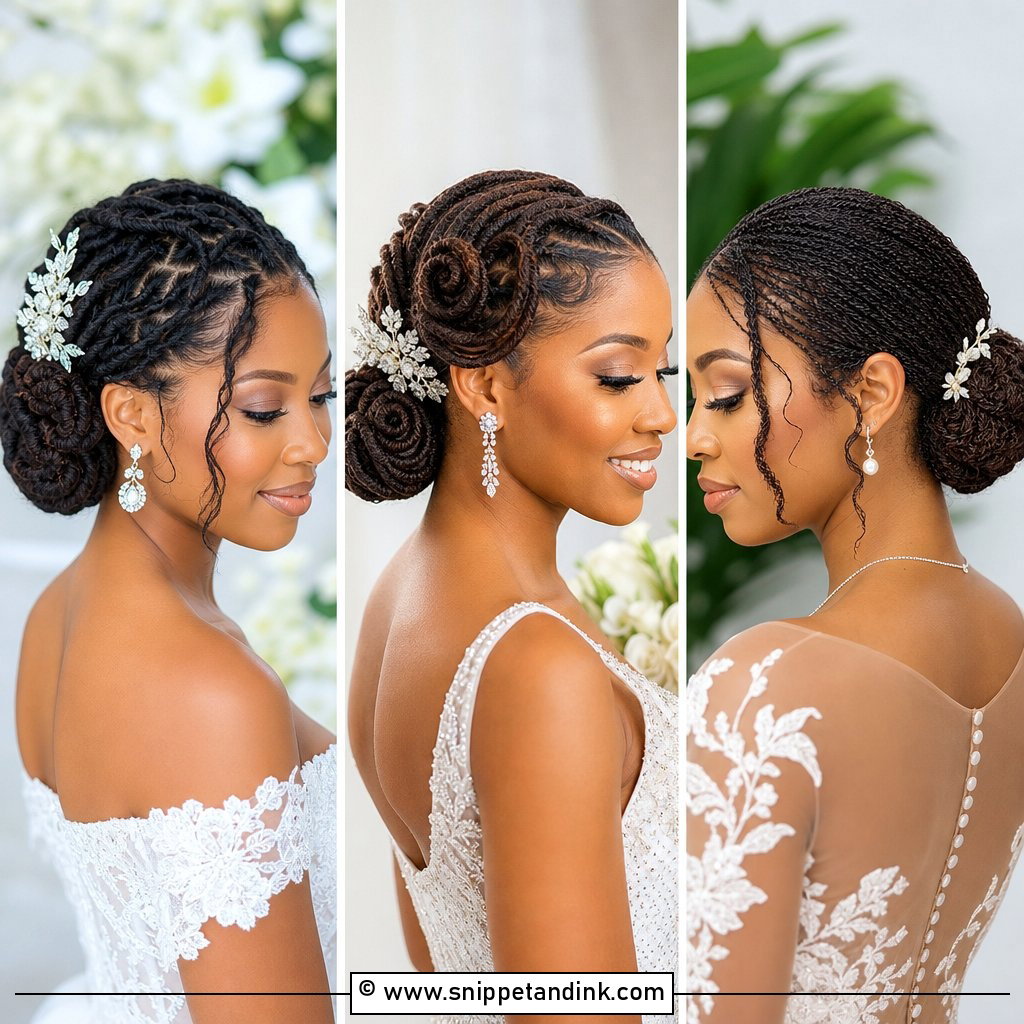
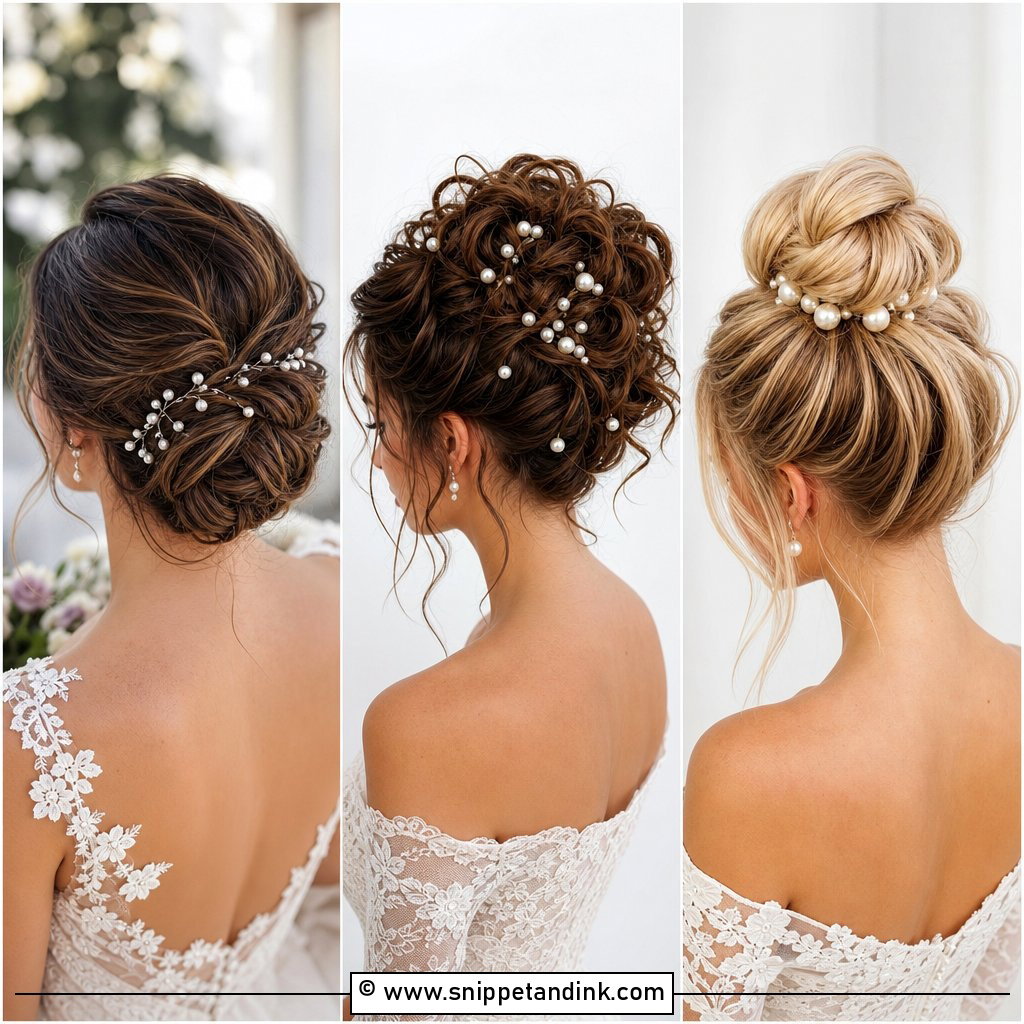
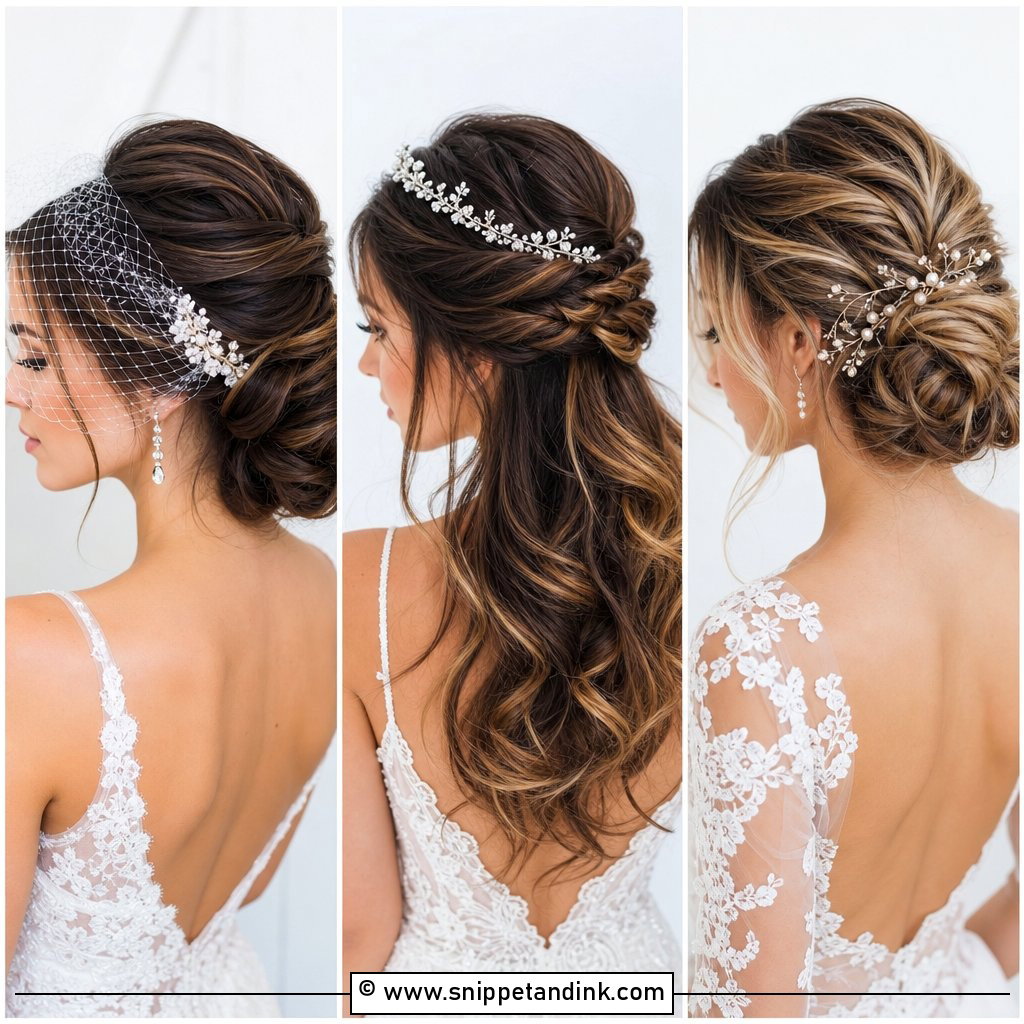
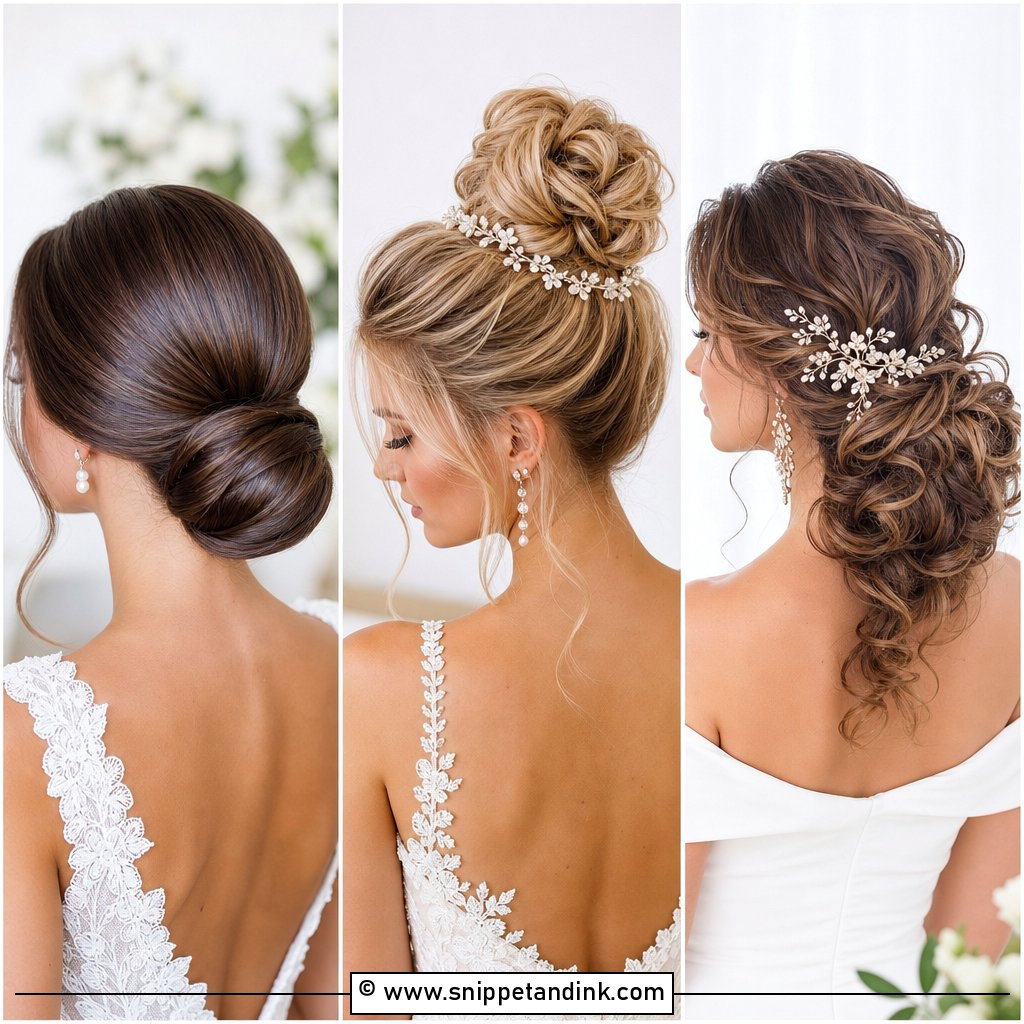
A voluminous low bun wedding updo keeps the fullness at the nape, where a veil comb has an easy home. On medium to long hair I curl everything first, because curled hair grips pins far better than straight, freshly washed hair. A little lift at the crown stops it from looking flat in side photos. Hidden pins hold the bun; loose face-framing pieces soften the front. It sits naturally with lace, classic satin and garden settings.
2. Textured High Bun Wedding Updo
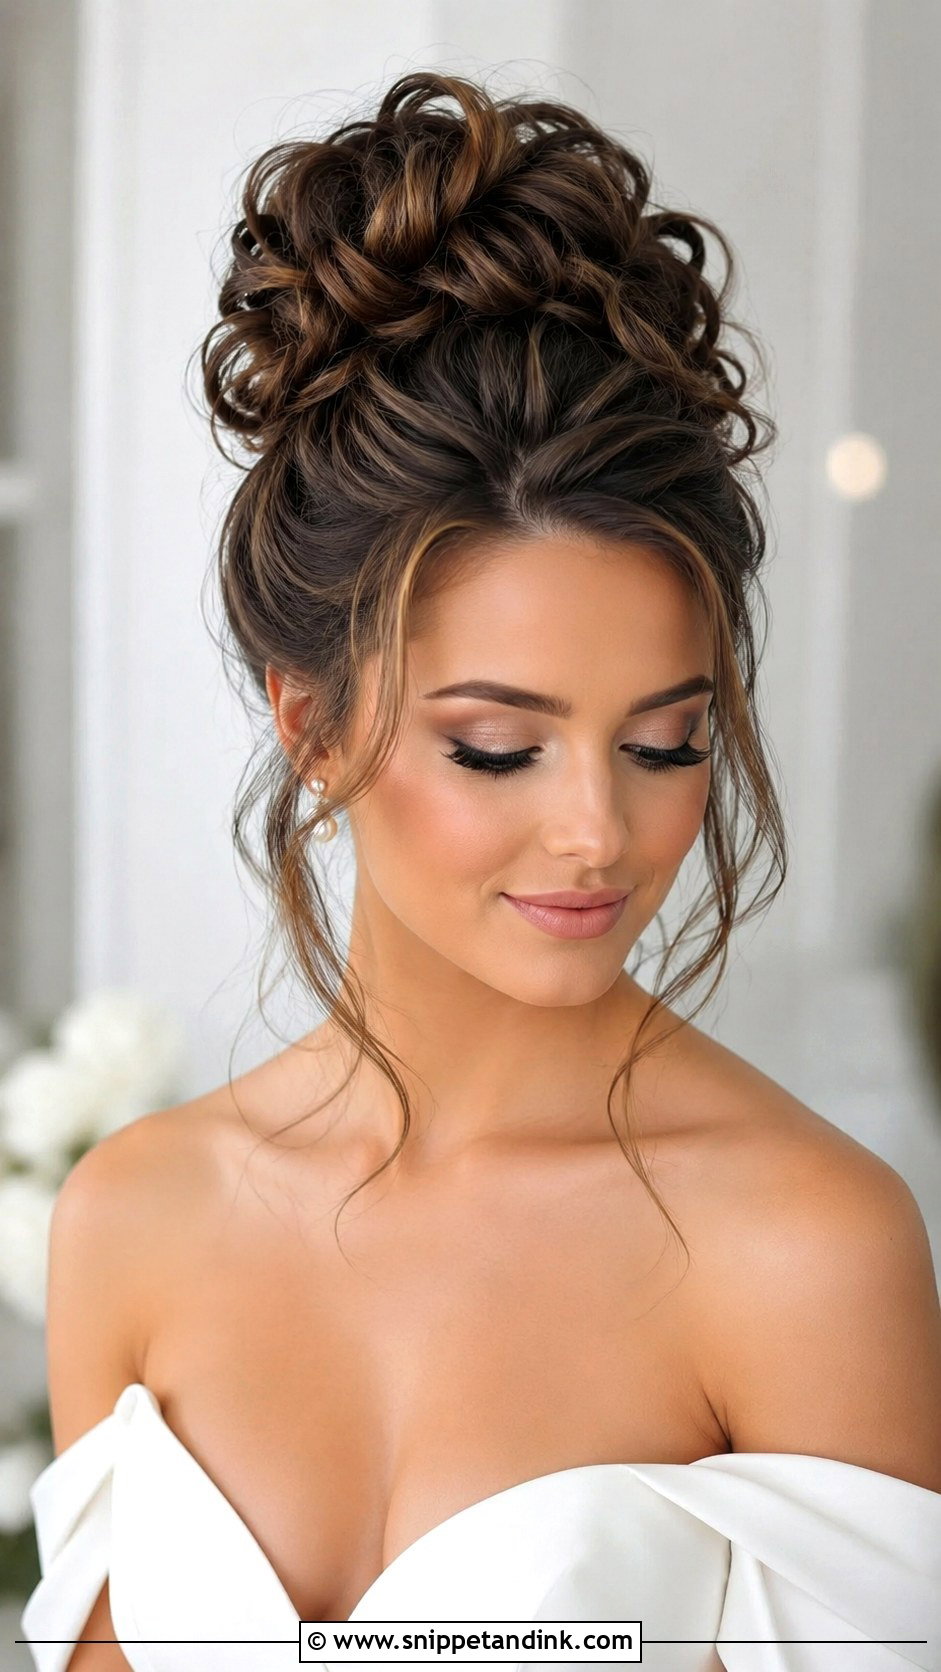
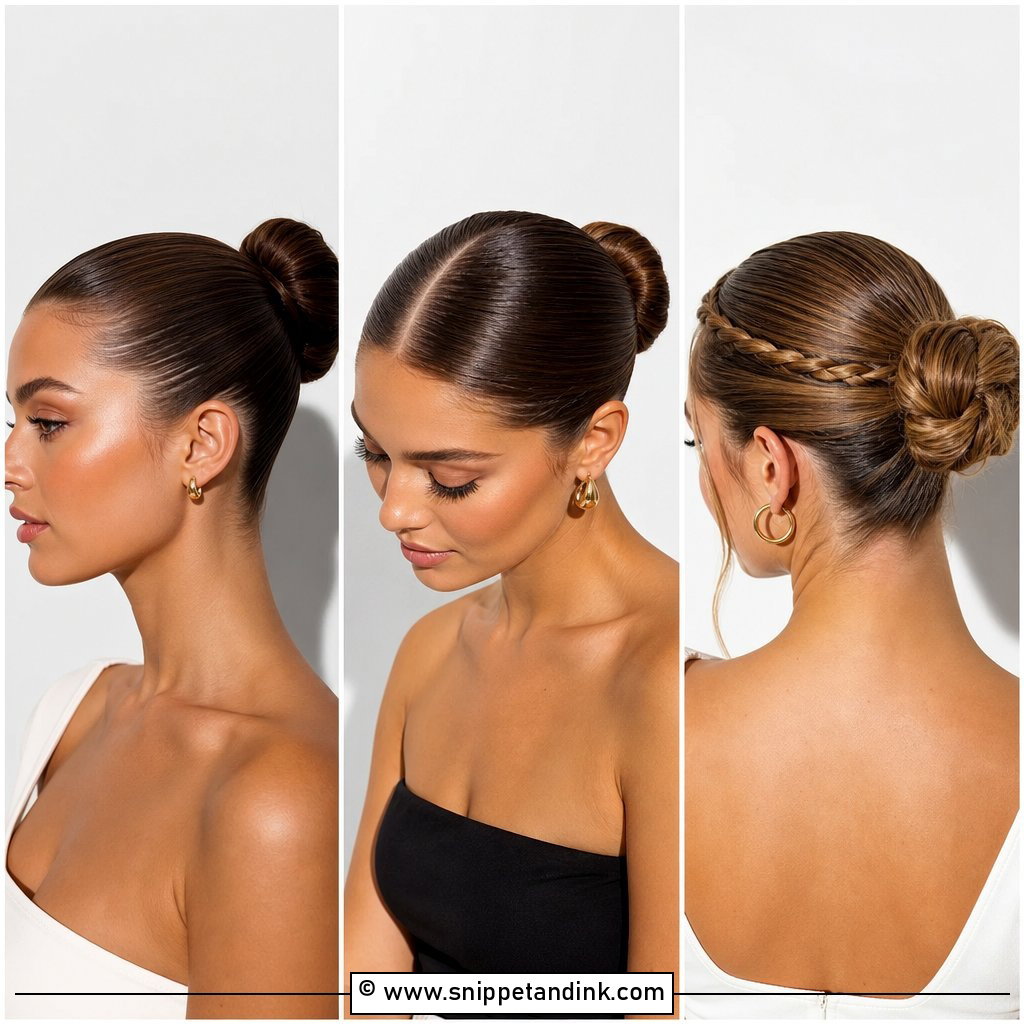
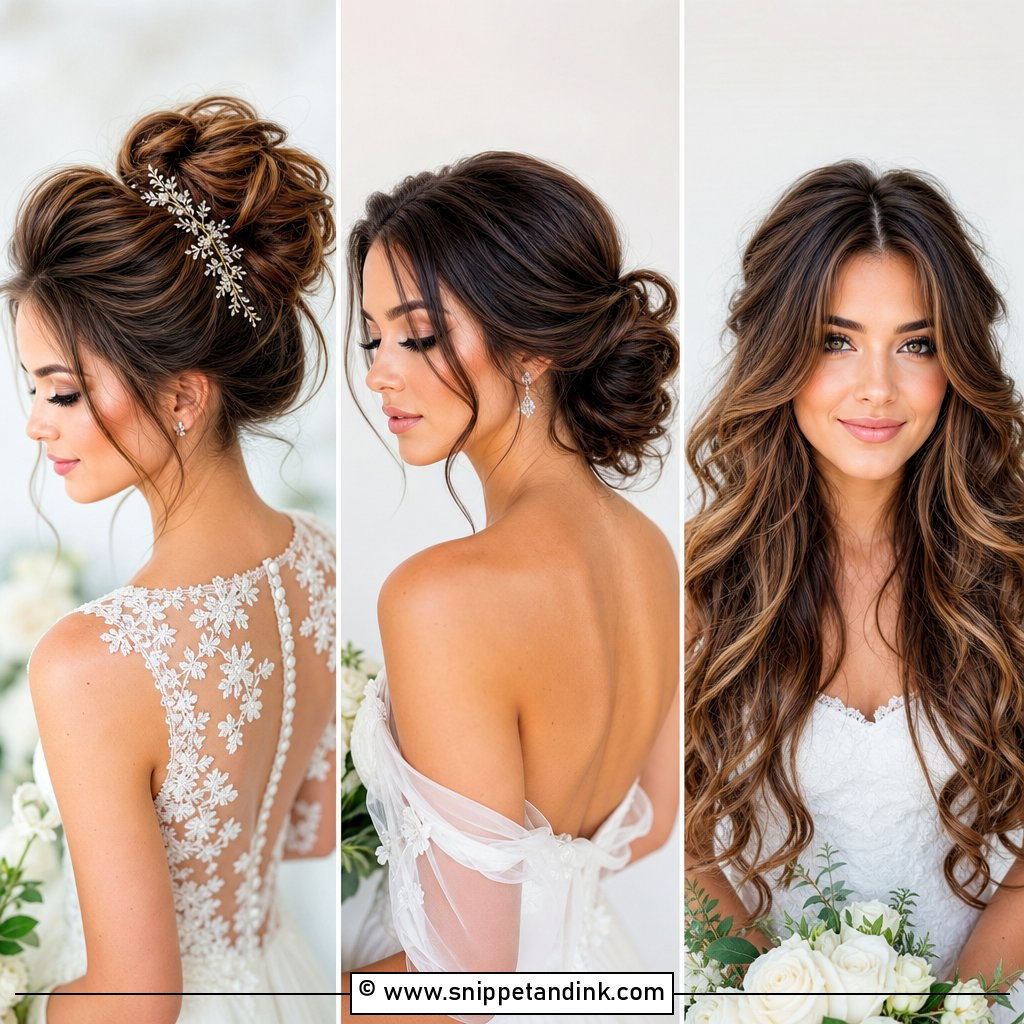
A high bun lifts the face and shows the whole neckline, which is why I like it for a warm-weather wedding. It keeps hair off the shoulders without the scraped-back look of a tight ballerina bun. The rounded shape is built from curled sections, light teasing and pieces pinned one at a time around a secure ponytail. One honest drawback: weight sits on the crown, so a high bun on very thick hair can ache by evening. I check that at the trial.
3. Messy Voluminous Wedding Updo
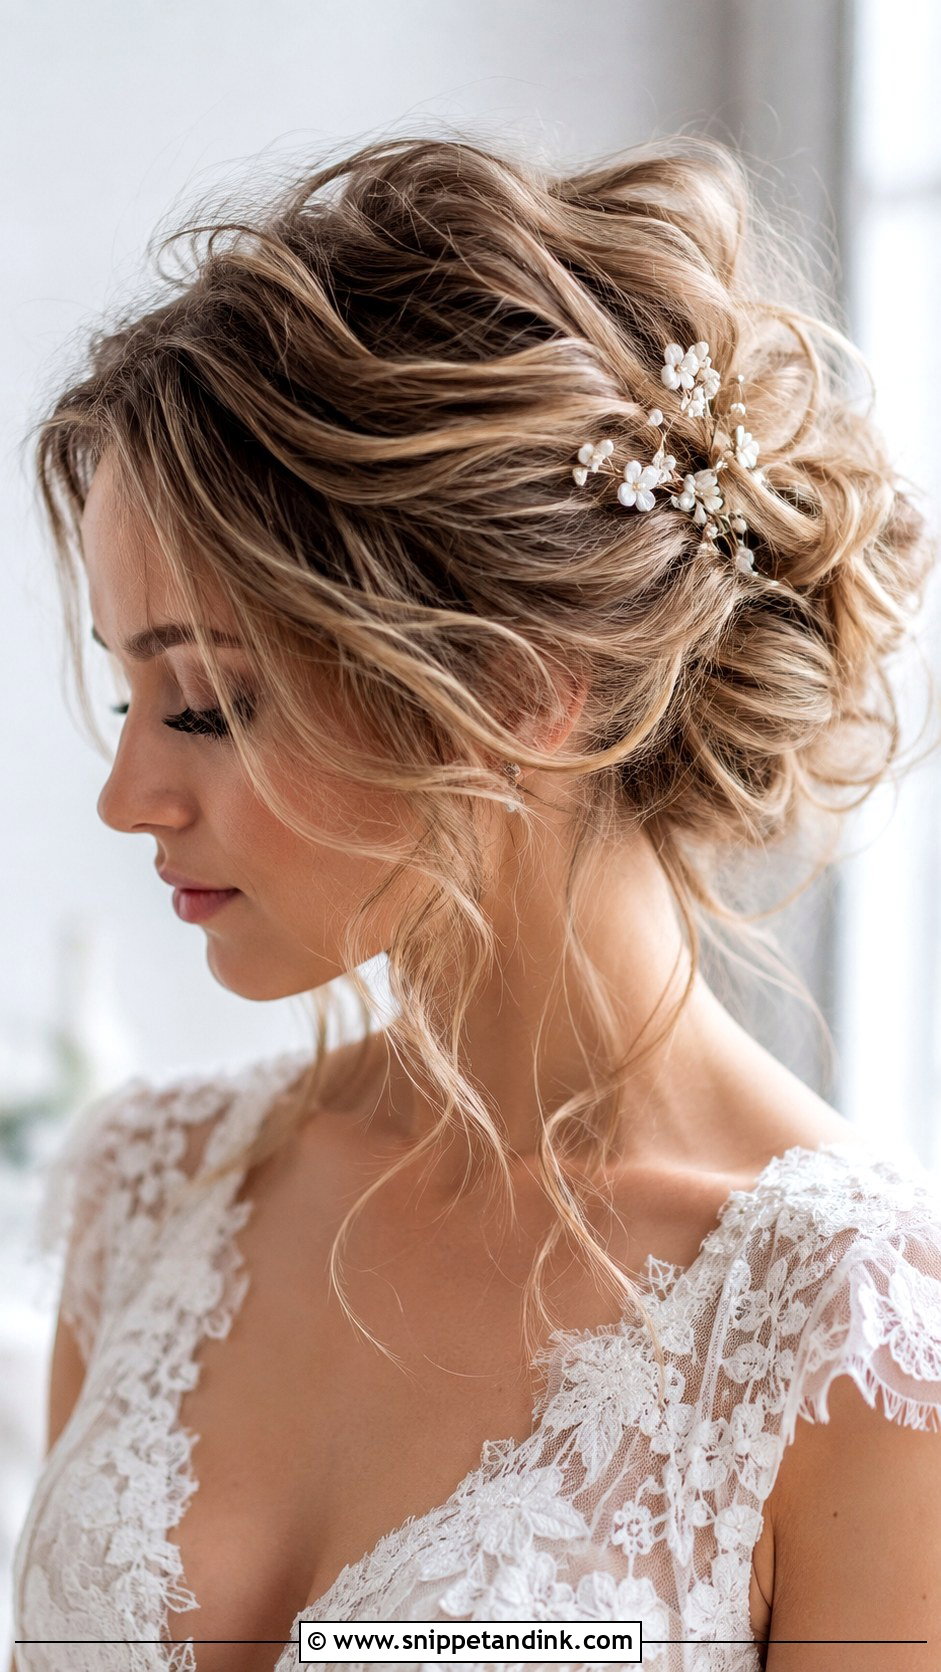
Messy in a bridal updo means controlled. Curls are pinned loosely, the crown is lifted and the bun is built with movement, but every piece is placed. The nice part is that it forgives a little shifting through the day; a strand that slips just adds to the look. I pull the face-framing pieces after the bun is secure, not before, so they look chosen. Boho gowns, outdoor ceremonies and delicate pins suit it.
4. Curly Voluminous Wedding Updo
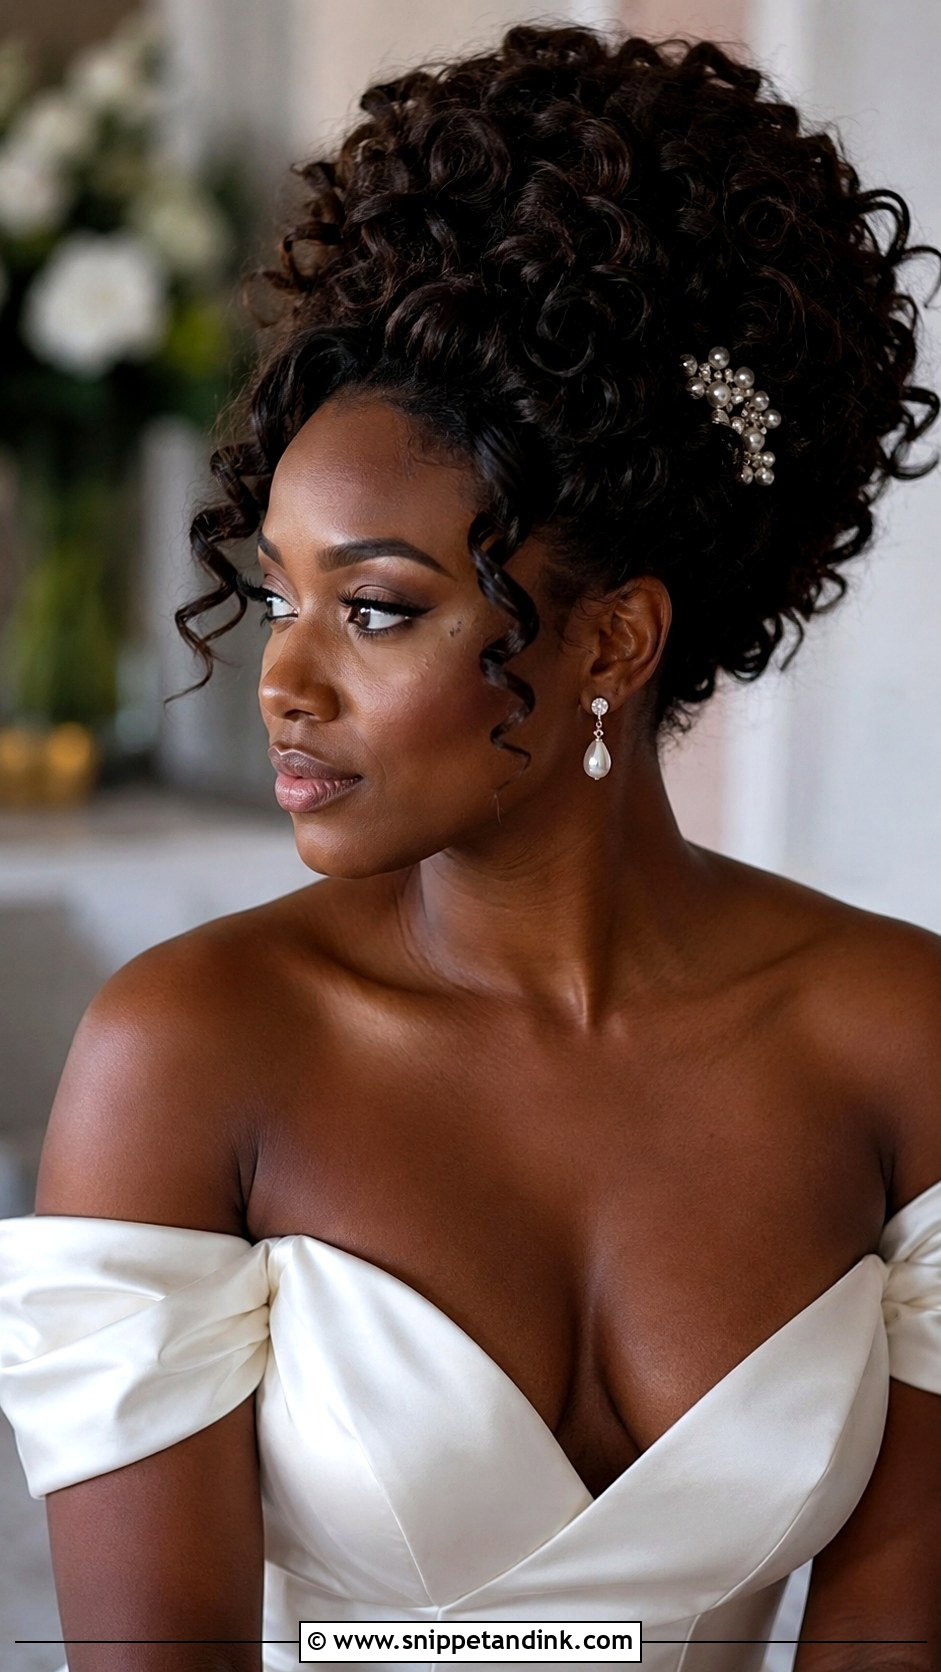
With curly hair, the curl pattern does the work. I pin curls into a lifted shape instead of brushing them out, which gives volume with very little backcombing. It can be soft or tightly defined depending on how polished you want the curls. Naturally curly hair, curled straight hair and extensions all work. Pinning each curl individually takes longer but keeps the shape balanced from every side. Pearl pins finish it simply.
5. Voluminous Chignon Wedding Updo
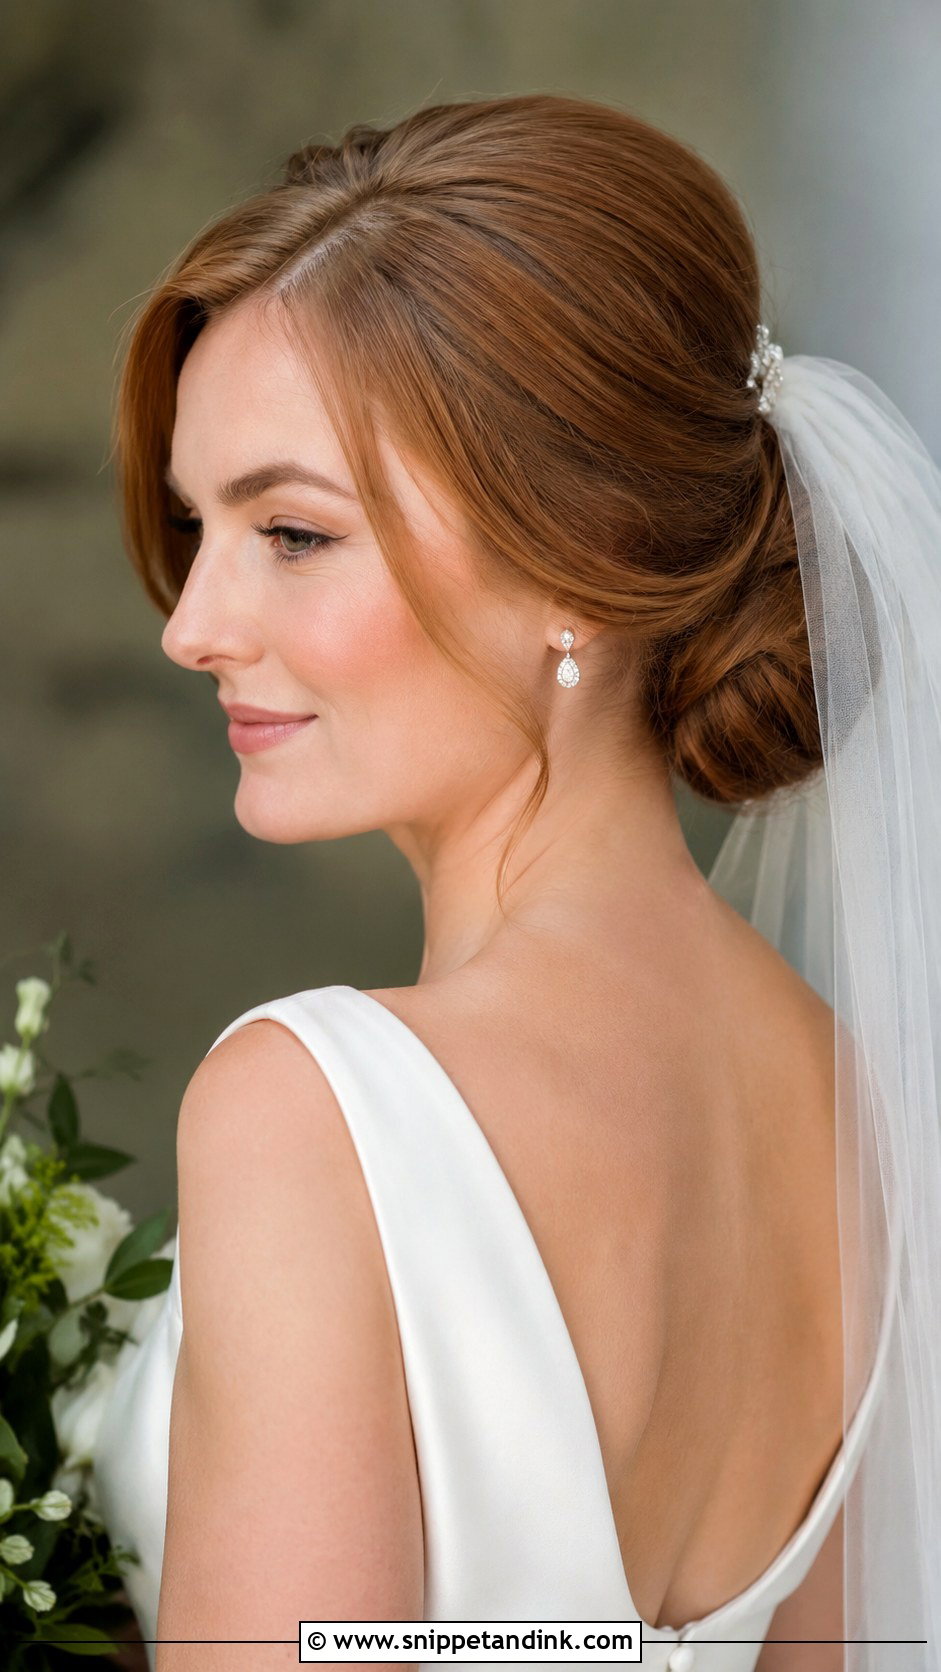
A chignon sits low at the back of the head, and the added fullness makes it look softer than the classic smooth version. Smooth, twisted or lightly textured all work. Fine hair can wear it with a small pad, clip-ins or extra curled sections underneath. Part it in the center, to the side or sweep it back. With a cathedral veil, it’s one of the most reliable bases on this list, since the comb slides straight into the dense core of the chignon.
6. Braided Voluminous Wedding Updo
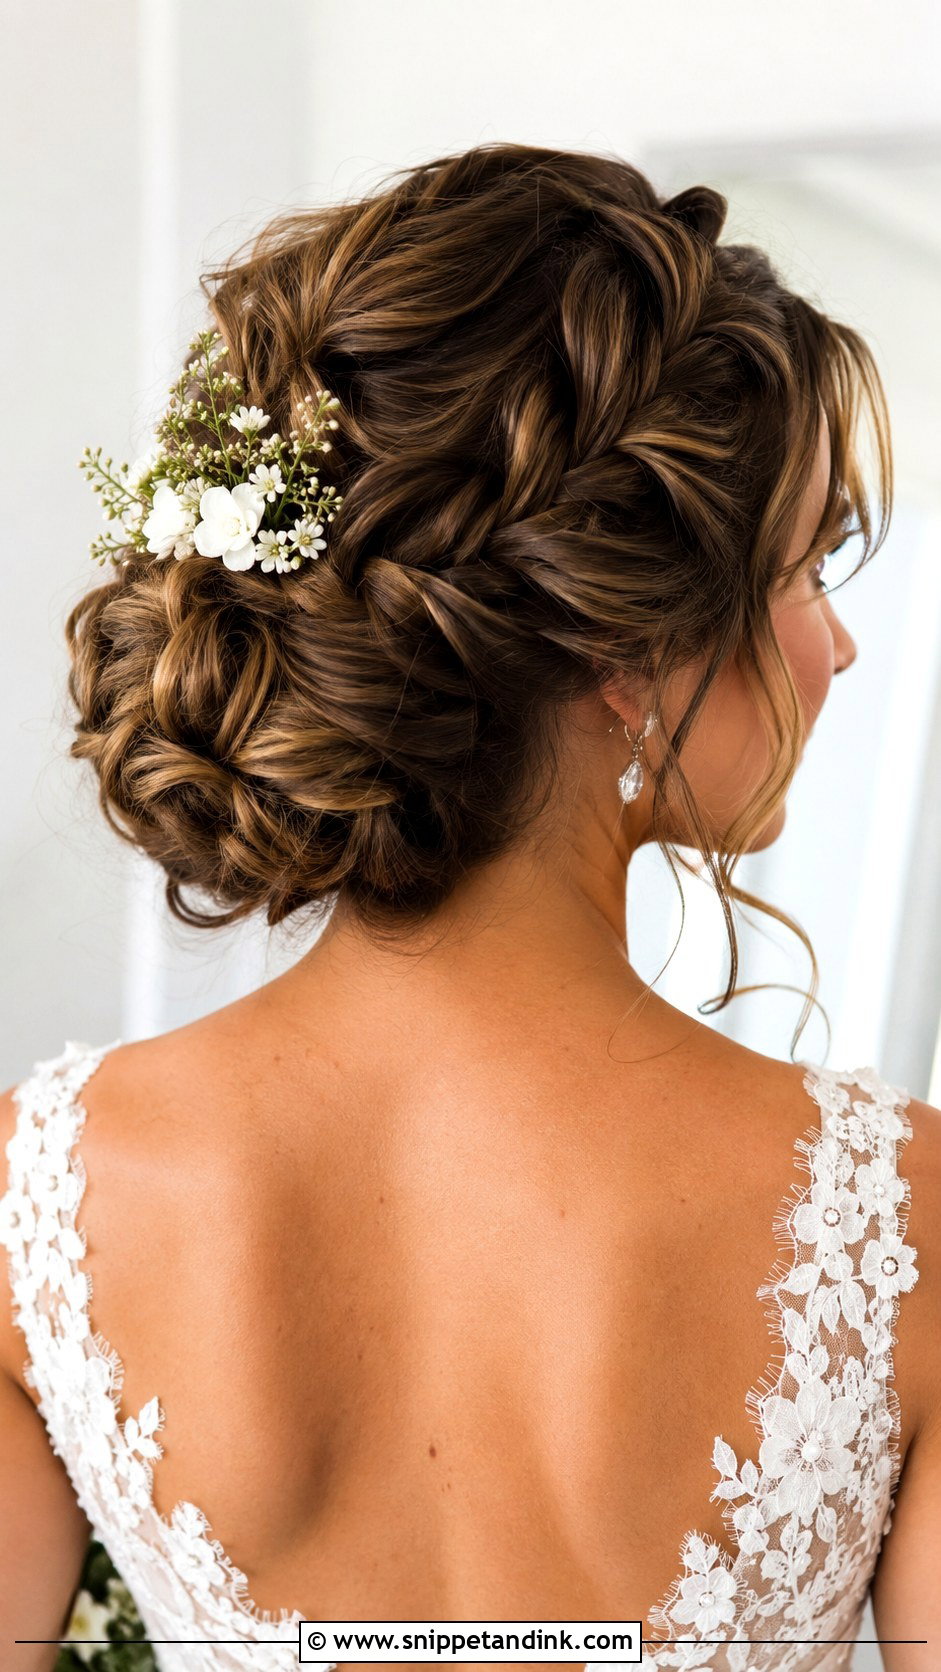
Braids add hold as well as detail. A braid can wrap around the crown, feed into a bun or run down one side into pinned curls. After securing it I gently pull the loops wider so the braid looks fuller, and on lighter hair colors that dimension shows clearly in photos. On very dark hair the pattern shows less, so I’d make the braid chunkier. Barn and garden venues suit it. Tiny floral pins or pearls placed along the braid catch the light.
7. Voluminous French Twist Wedding Updo
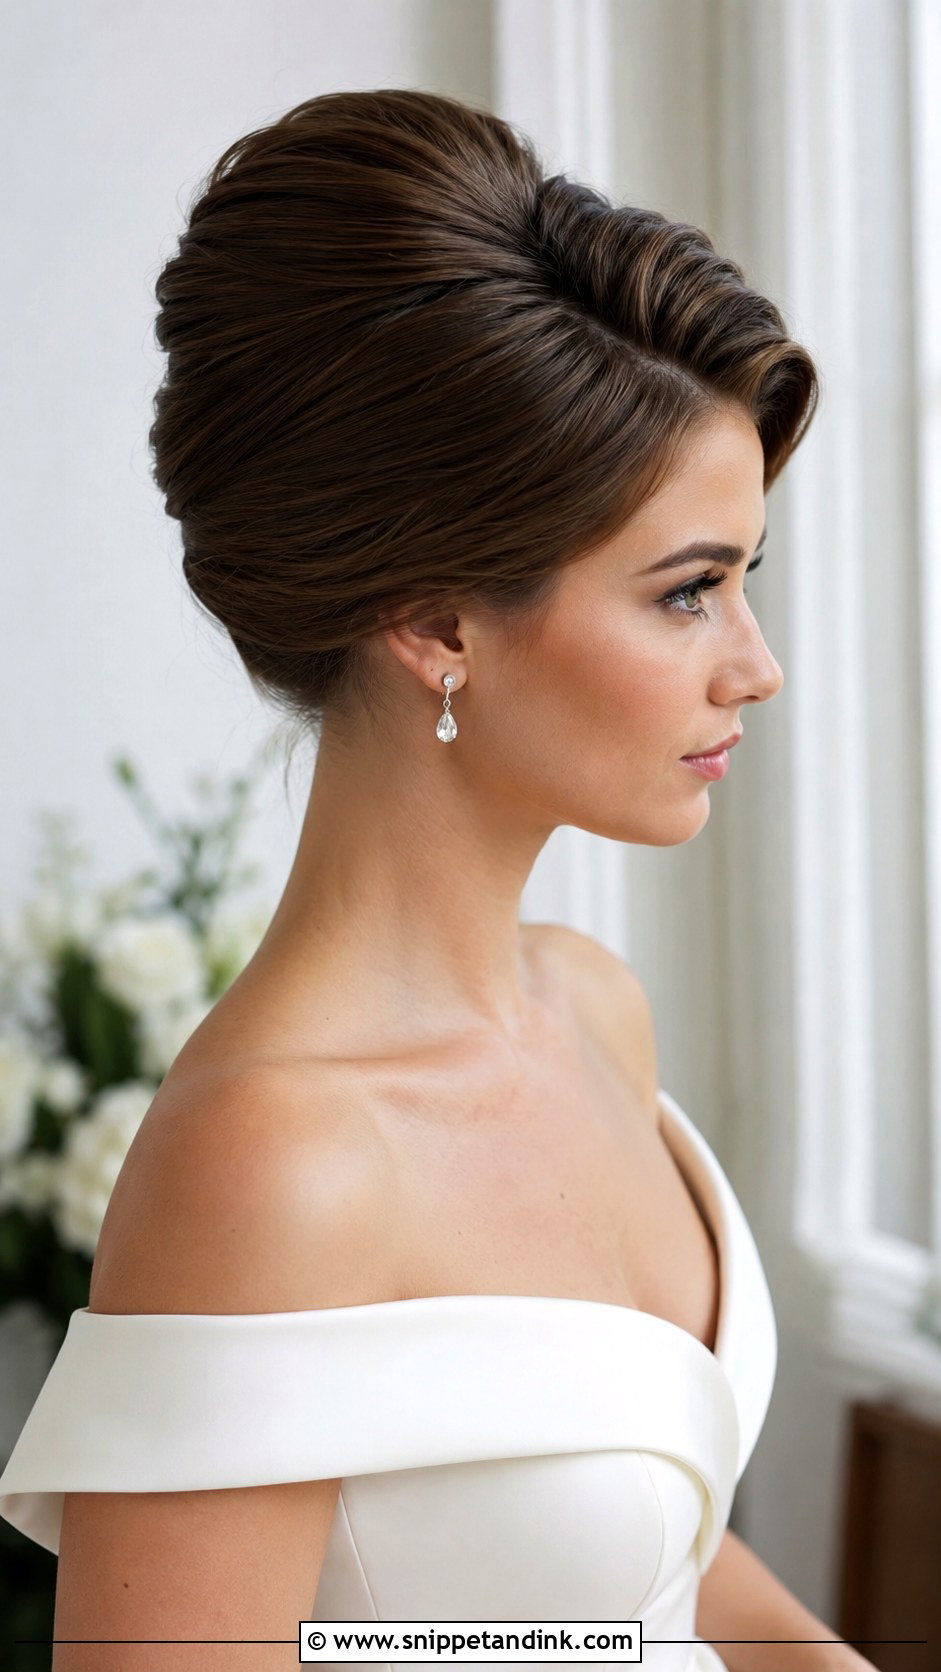
This French twist has more lift at the crown and a softer roll than the tight traditional version, so it looks less severe. Gowns with clean lines, open backs or strong shoulders work well with it, since the back of the head becomes part of the outline. I set a vertical line of crossed bobby pins under the twist before rolling; that spine is what keeps it closed until midnight. Sweep the front smooth or leave out a couple of soft pieces. For a black-tie venue it’s the one I’d suggest first.
8. Voluminous Updo With Face Framing Pieces
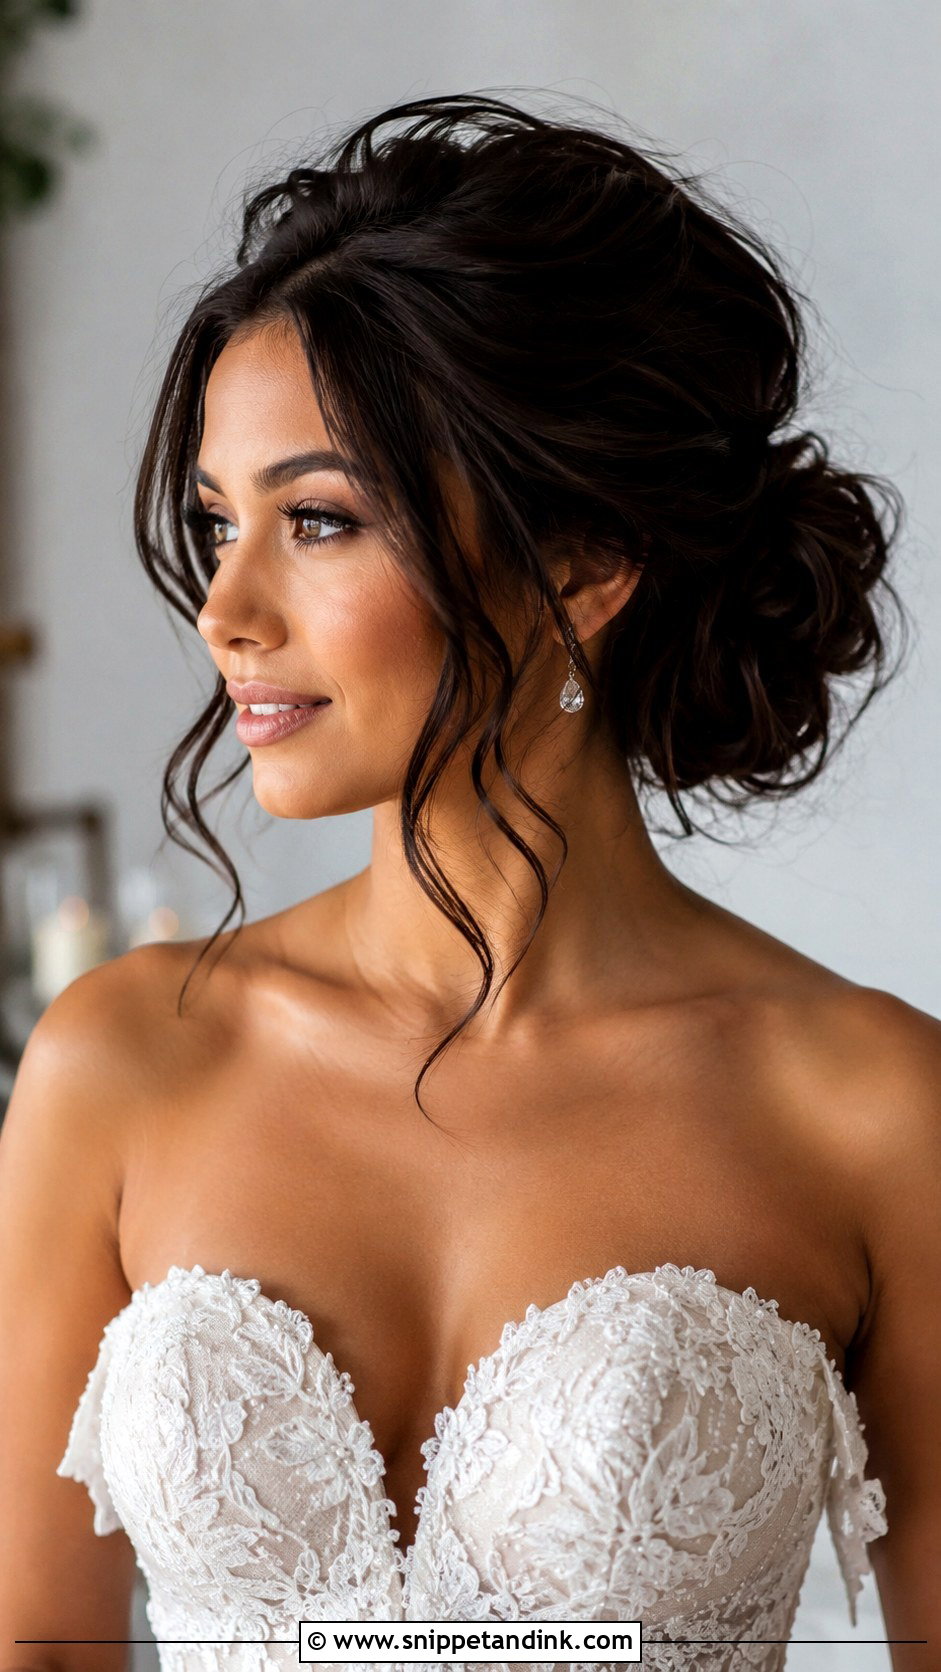
Face-framing pieces change an updo more than any accessory does. They work with low buns, high buns, chignons and textured updos. The mistake is leaving them too thin: two strands hanging straight look stringy in photos. I take slightly thicker sections and give each a soft bend away from the face. Well placed, they soften a strong jaw, frame cheekbones or balance a middle part, while the volume at the back keeps it bridal.
9. Voluminous Updo With Curtain Bangs
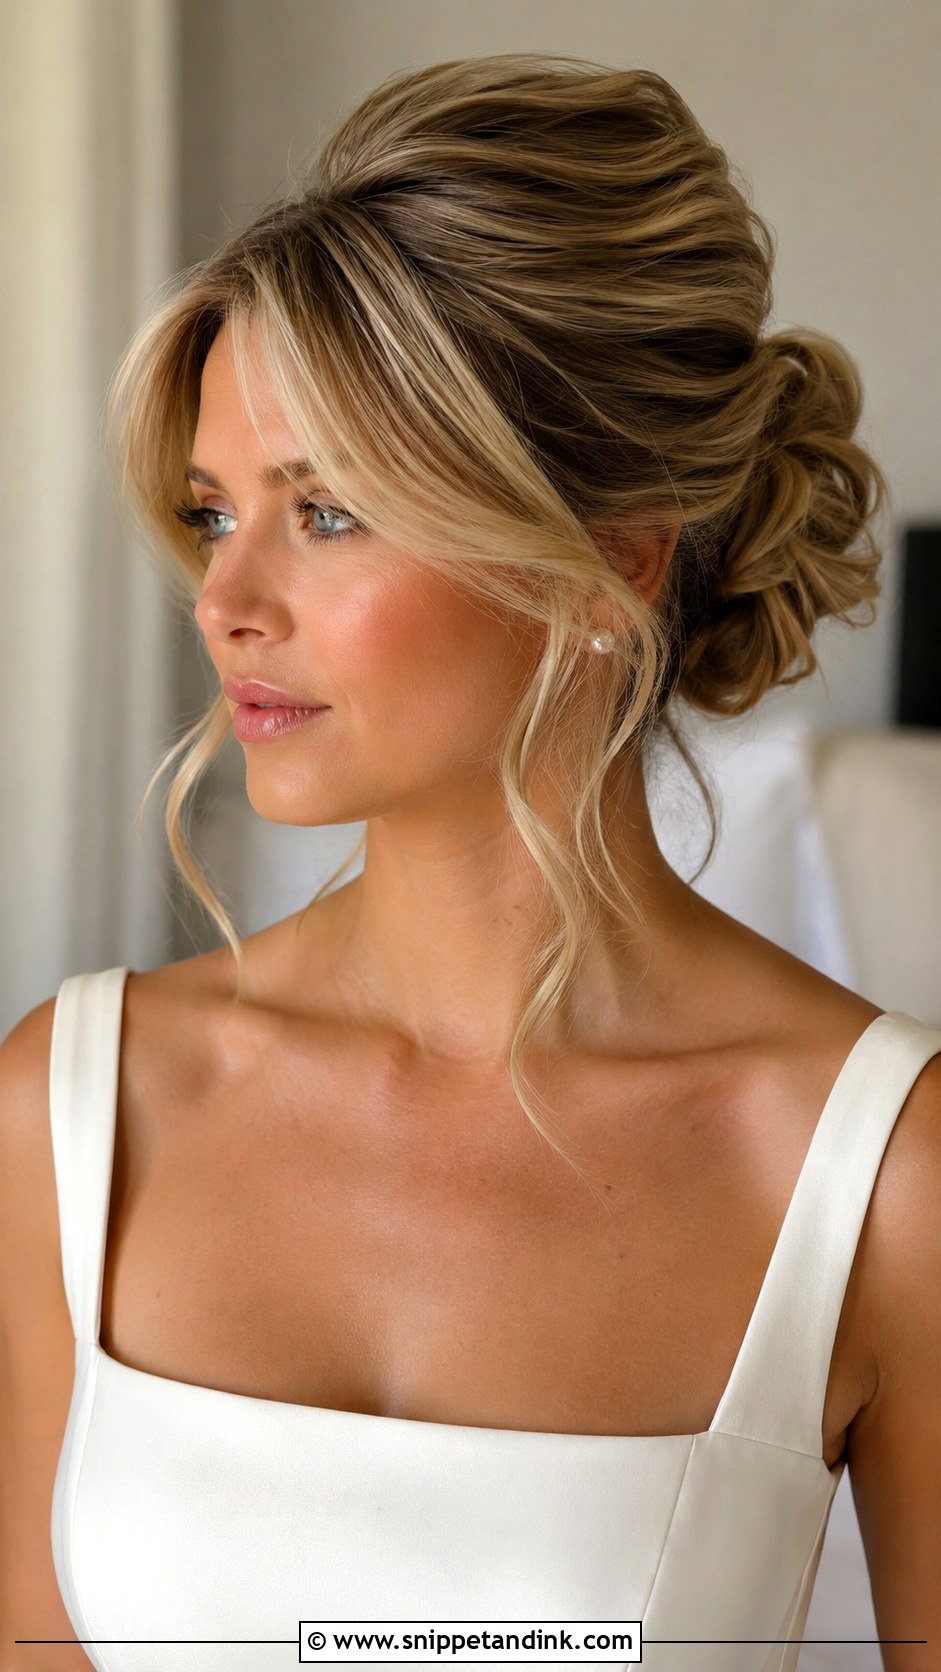
A voluminous wedding updo with curtain bangs is the right call if you already wear curtain bangs every day, because you’ll look like yourself. I blow the bangs out over a round brush so they curve away from the face, then pin the rest into a bun, chignon or textured shape. Bangs that are growing out or very short may split in humidity, so carry a small flat brush. The volume behind keeps the whole look formal.
10. Voluminous Updo For Long Hair Wedding
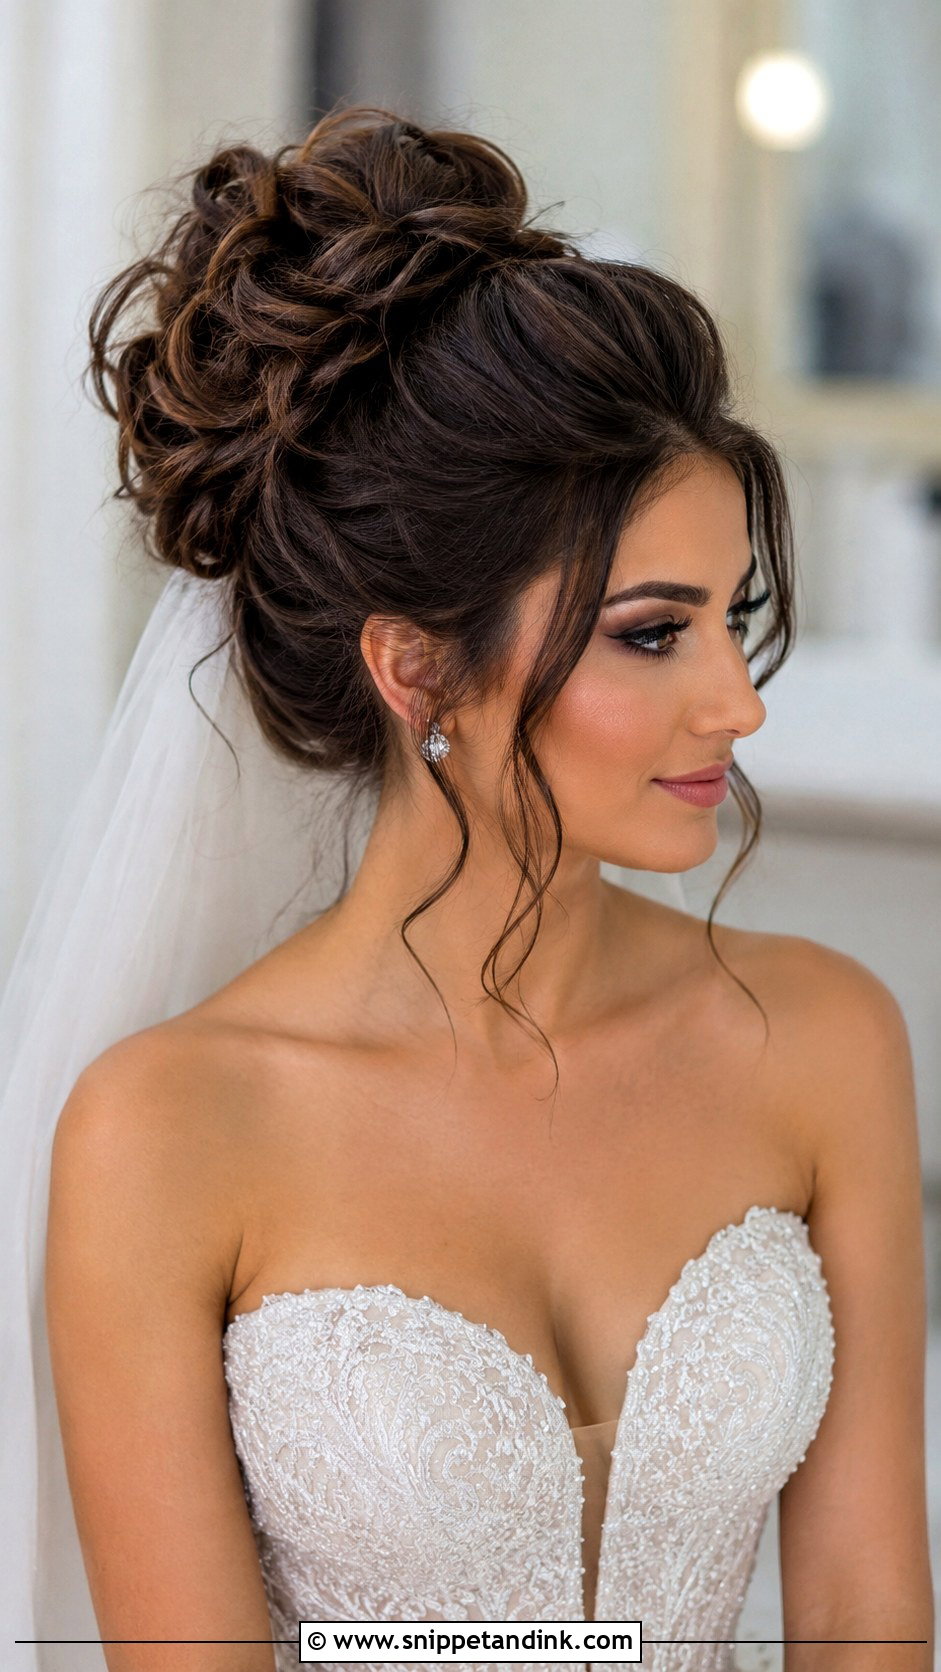
Long hair gives me lots to work with, and lots of weight to manage. The length can be curled, twisted, braided or wrapped into a larger bun, but it pulls downward, so I build the updo in layers from the bottom up, each tier pinned before the next goes on. That stops the volume from sagging toward the nape by evening. Veils, decorative combs and pearl pins sit well on it, and the bare shoulders of strapless or off-the-shoulder gowns balance the size.
11. Voluminous Updo For Medium Hair Wedding
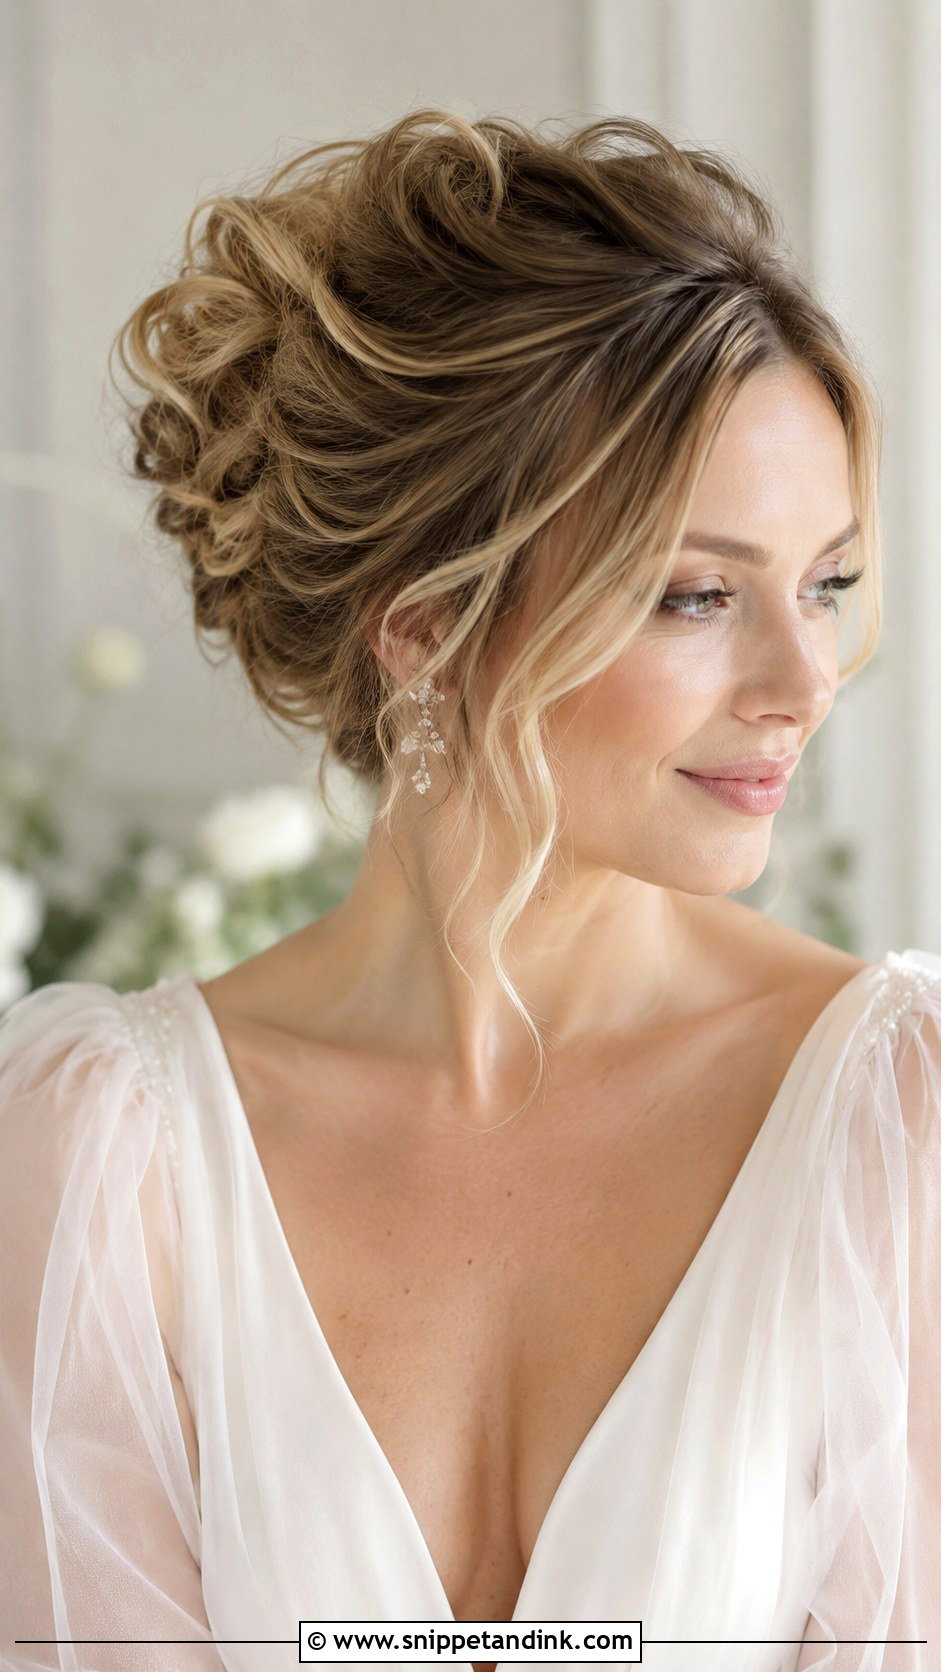
Medium hair can still look full. Curling adds body and a little teasing at the crown gives height. The bun or twist will be smaller than on long hair, but careful pinning makes it look round and complete. Clip-ins are optional if you want a larger shape. Soft low buns, textured chignons and tucked updos suit this length best. It’s also noticeably lighter on the scalp, which matters more than people think by hour eight.
12. Voluminous Updo For Fine Hair Wedding
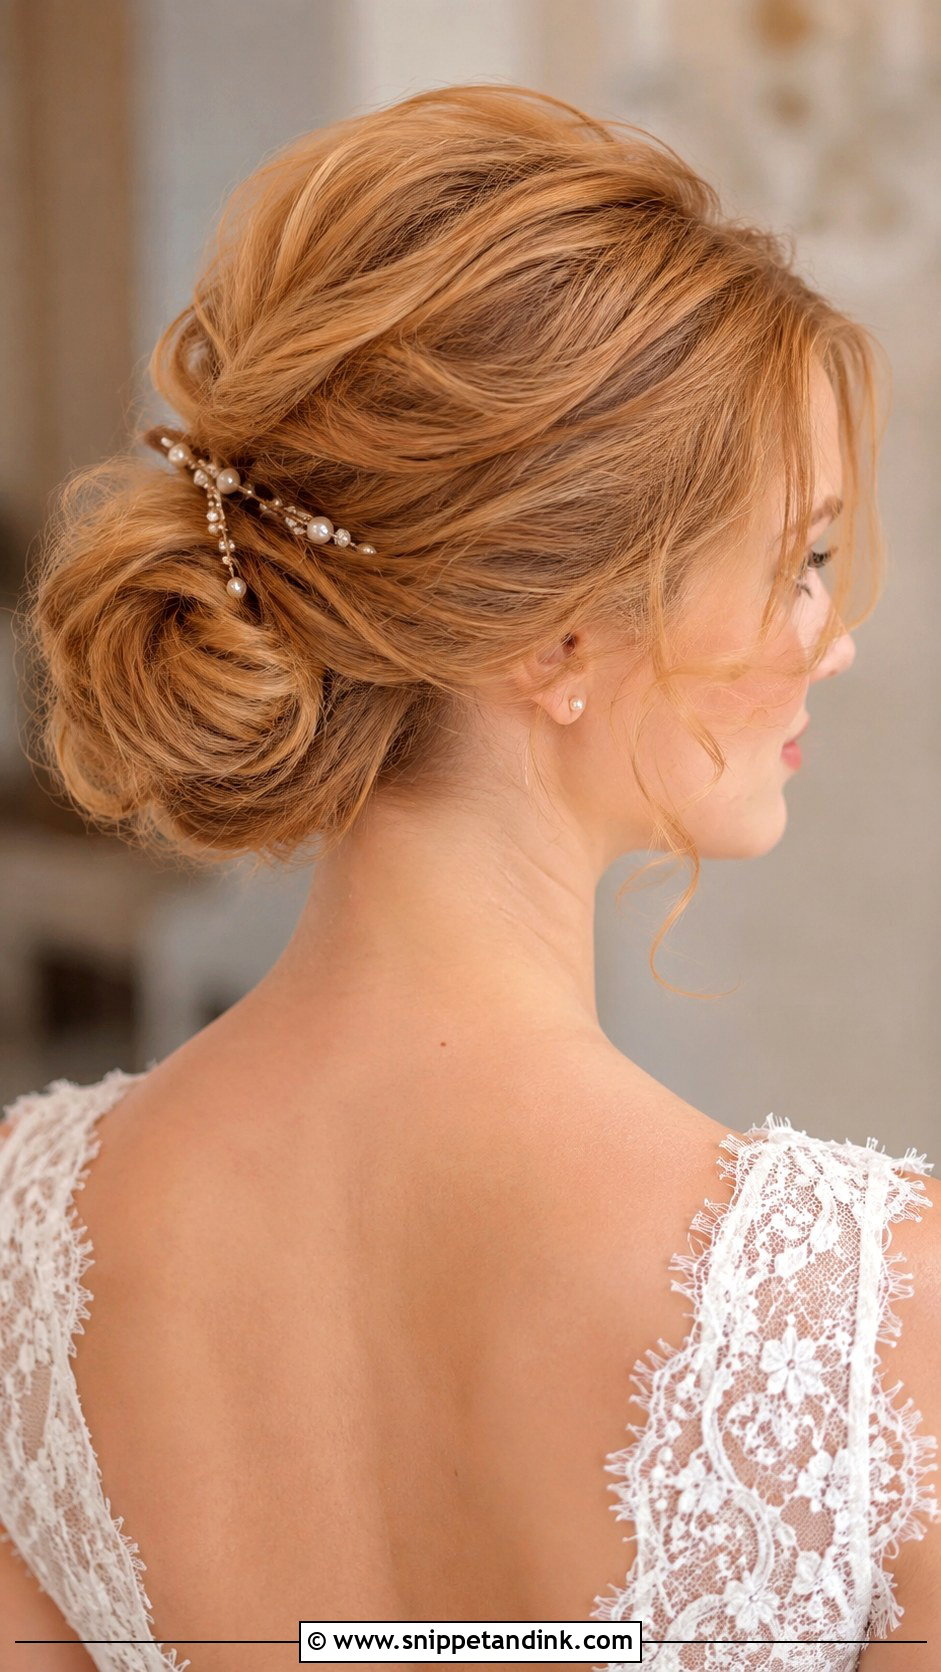
Fine hair needs grip before pins. Volumizing mousse on damp hair, texture spray when dry, curls and light teasing all give the pins something to hold. Clip-ins or small pads build a fuller bun. I’d pick a soft textured updo over a super sleek one here, because texture hides gaps and adds dimension while sleek styles show every thin patch. Keep the crown lifted and the whole head looks thicker.
13. Voluminous Updo With Veil
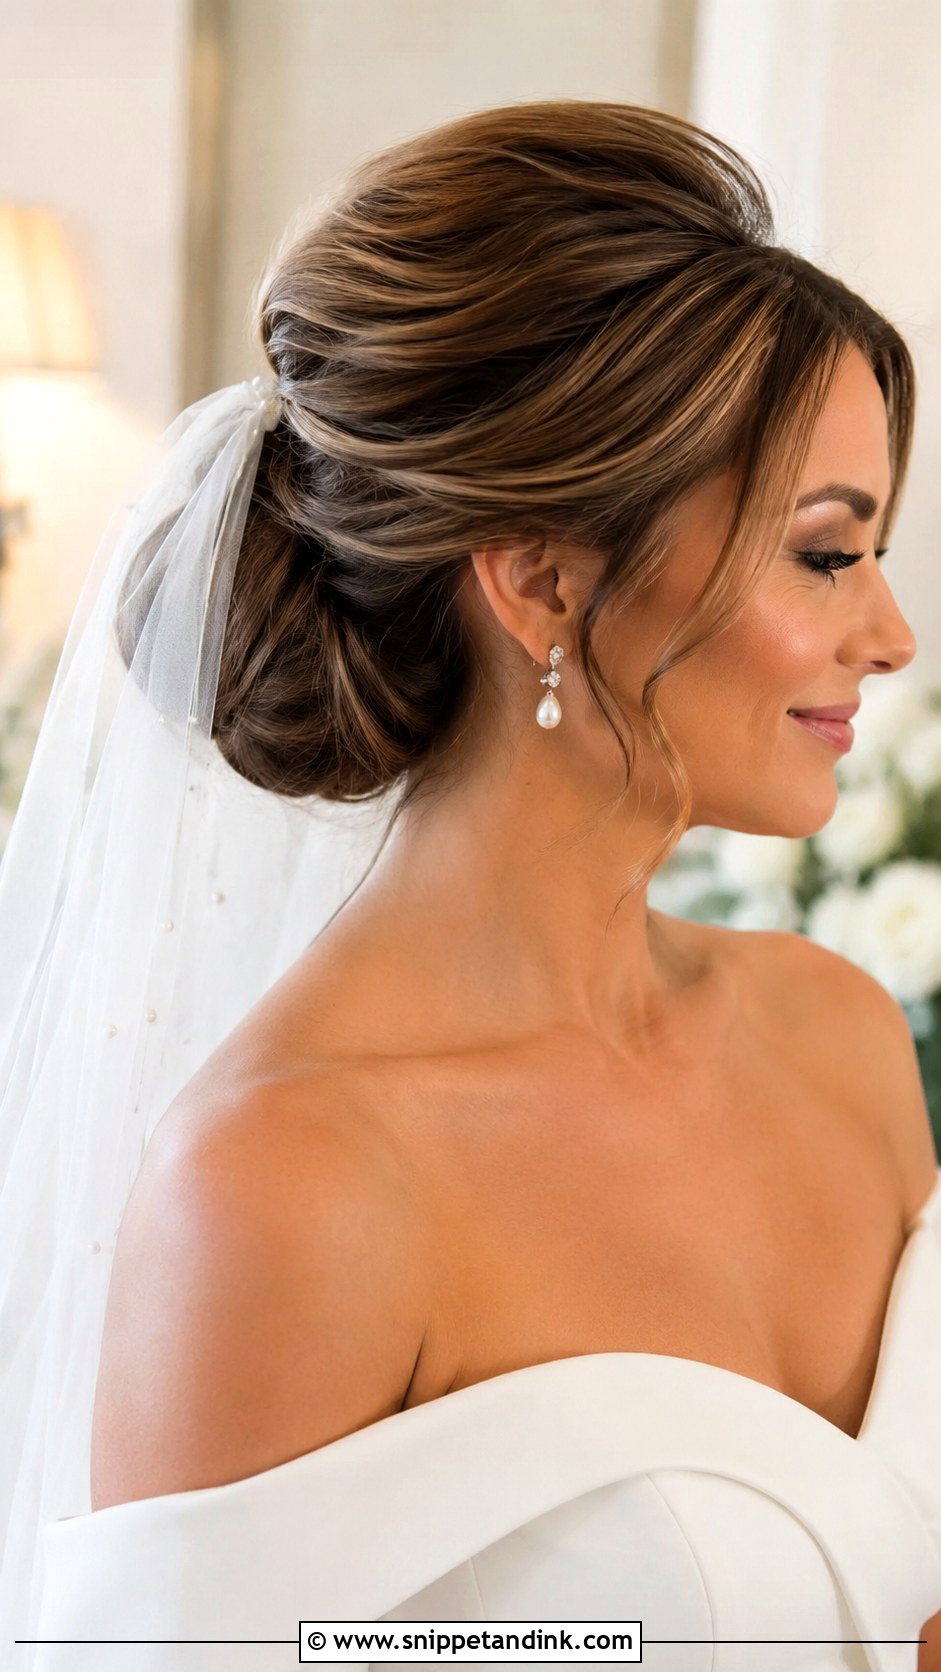
An updo under a veil needs enough structure to hold the comb without losing its lift. Low buns, chignons and textured pinned updos work well because the veil can sit above or below the bun. For a heavy veil I anchor the comb into a hidden ponytail base or a small braid inside the updo, since loose curls alone can’t carry the pull. Crown volume shows nicely under sheer fabric from the side. The real bonus is the reveal when the veil comes off and the full shape is still there.
14. Voluminous Updo With Pearl Pins
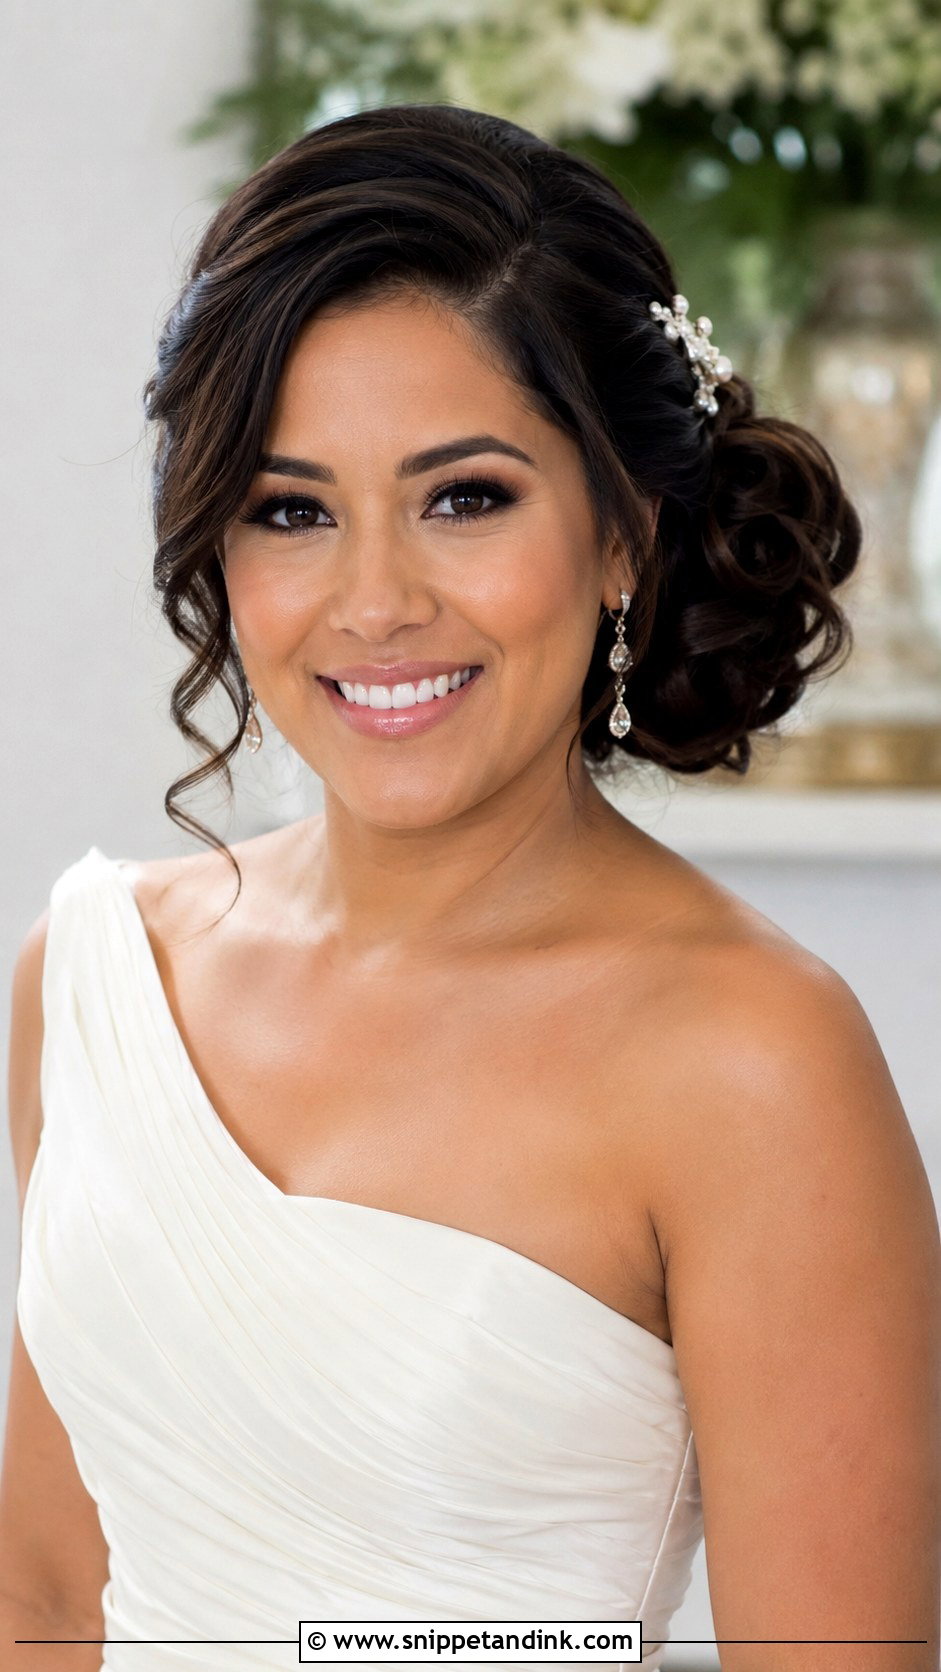
Pearl pins sit better in a full updo than a flat one, because the volume gives them depth. Tuck them into a textured bun, scatter them through pinned curls or line them along a twist. I mix sizes and place them where the light hits when you face the camera, usually around the crown and the side of the bun. Fewer than you’d expect is the right number. The hair should still be the focus.
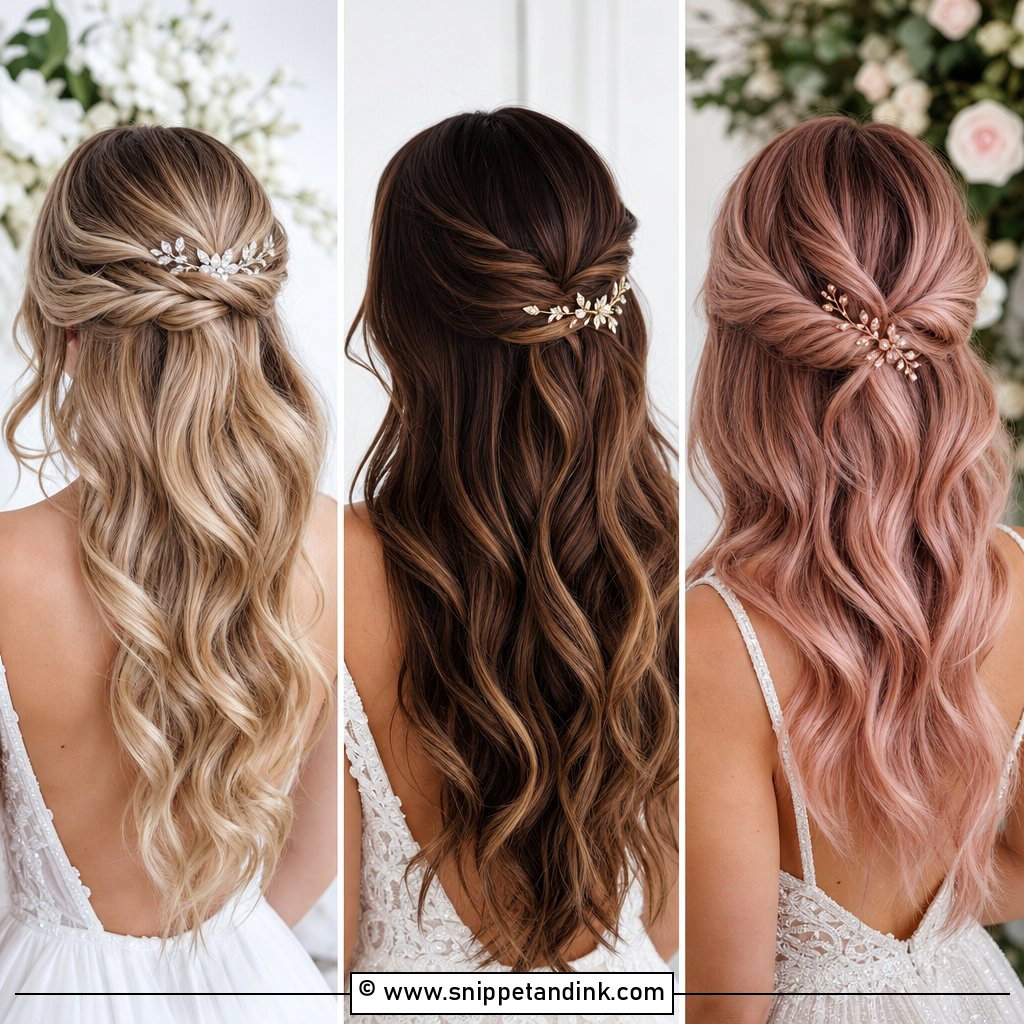
15. Voluminous Side Bun Wedding Updo
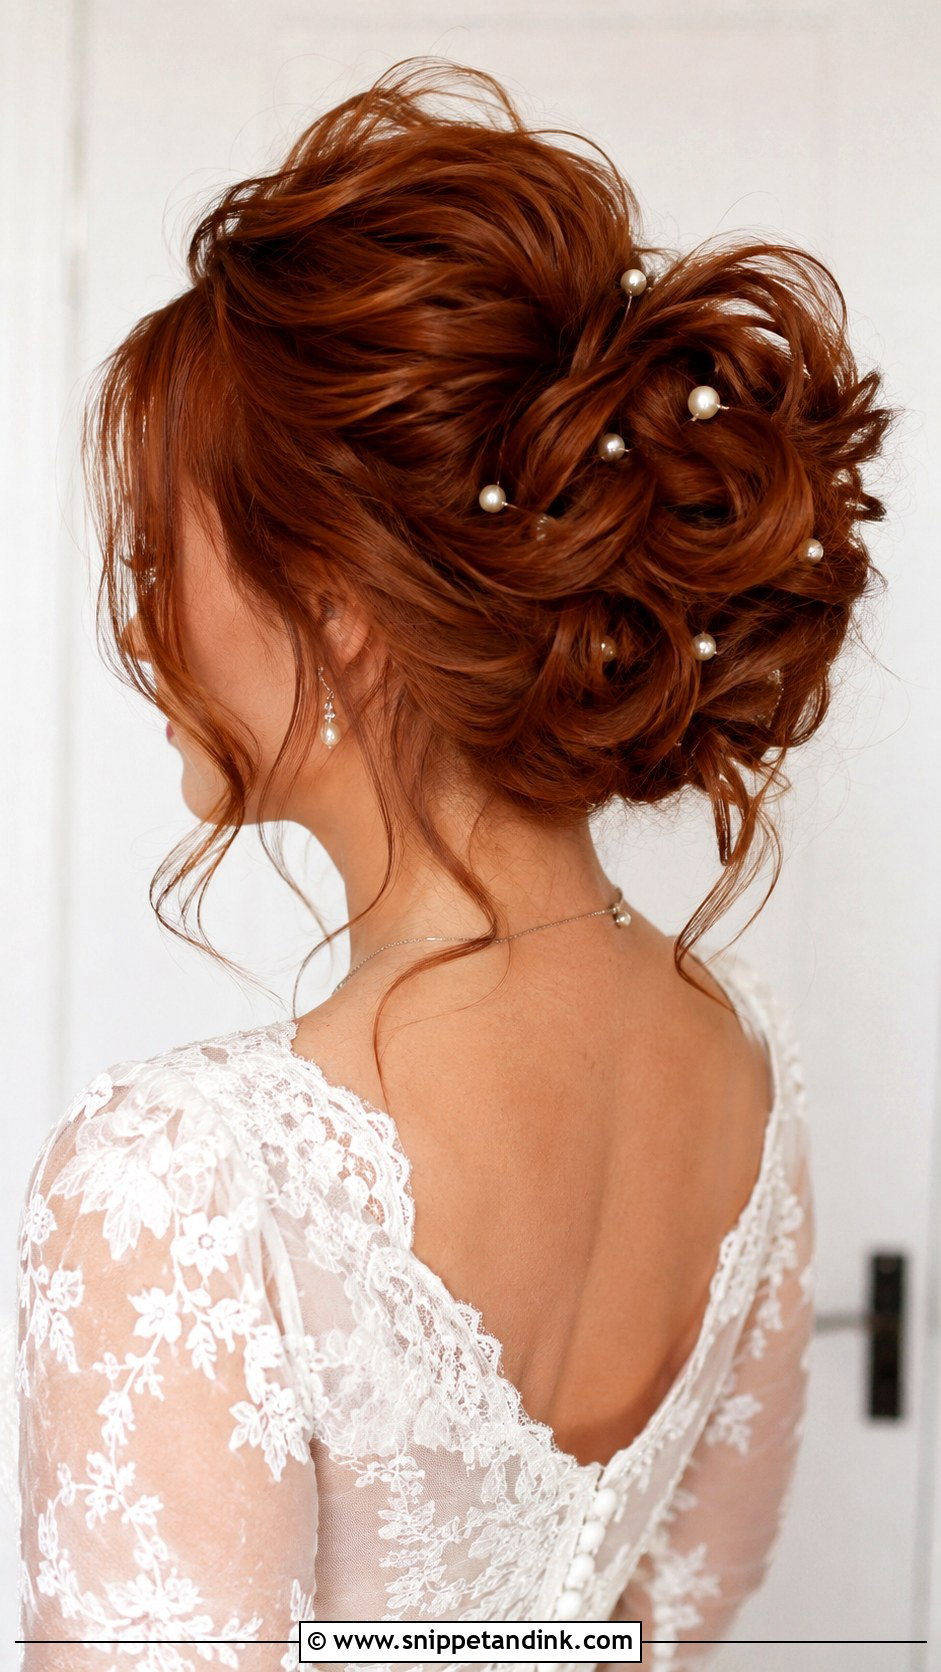
A side bun sits slightly to one side, so the shape is visible from the front in a way a low center bun never is. It suits a side part and balances a one-shoulder neckline. Curls and twists pinned into it build extra fullness. I’d keep the opposite side smooth or softly swept for contrast. The bun carries its weight off-center, so it needs a firm base pinned close to the scalp, or it starts to lean by the reception. A comb above it adds the bridal detail.
At Midnight, Pins Out Before Any Brush Goes In
How you take a big updo down decides whether you keep your hair. Teased, sprayed hair knots easily, and pulling a brush through it tears strands.
- Find and remove every pin first, working from the outside of the bun inward. Feel along the base with your fingertips; pins hide there.
- Let the hair fall and loosen it gently with your fingers.
- Work a generous amount of conditioner or a light oil through the teased areas, then detangle with a wide-tooth comb from the ends up toward the roots.
- Wash the next morning rather than sleeping with tight pins still in. Sleeping in an updo strains the hairline.
Ask a bridesmaid to help with the back. It’s much easier for someone who can see where the pins went in, and it turns a fiddly job into a few quiet minutes at the end of the night.
A tender scalp the next day is normal after a full day of pins, especially at the crown where a high bun sits. A warm shower and a loose style for a day or two usually settle it. If the same spot hurt at your trial too, tell your stylist before the wedding so the base can sit a little lower.
Height, Weight and How Long You Can Comfortably Wear It
Full updos handle a lot at once: they hold accessories, suit most hair types and stay put through long days. A low bun is classic, a textured high bun modern, a braided updo romantic and a French twist refined. Your dress, venue, length, texture and comfort narrow it down. Bring clear photos to the trial, then listen when your stylist tells you what your hair will actually do. With good prep and pinning, the shape you leave the chair with is the one you’ll still have in your last photo.
You'll Like These Ideas:


Leave a Reply