
Waves are the bridal style I set most often, and the one most often misunderstood. A photo labeled glam waves might show a sculpted 1940s ribbon, a brushed-out bend or something close to beach hair, and each one needs a different iron, a different set and a different amount of product. The thirty below cover that whole range. With each I’ve noted what it asks of your hair and where it tends to struggle, so you can take your stylist something more useful than a screenshot.
Ribbon Waves, Brushed Bends and Beach Texture Aren’t the Same Request
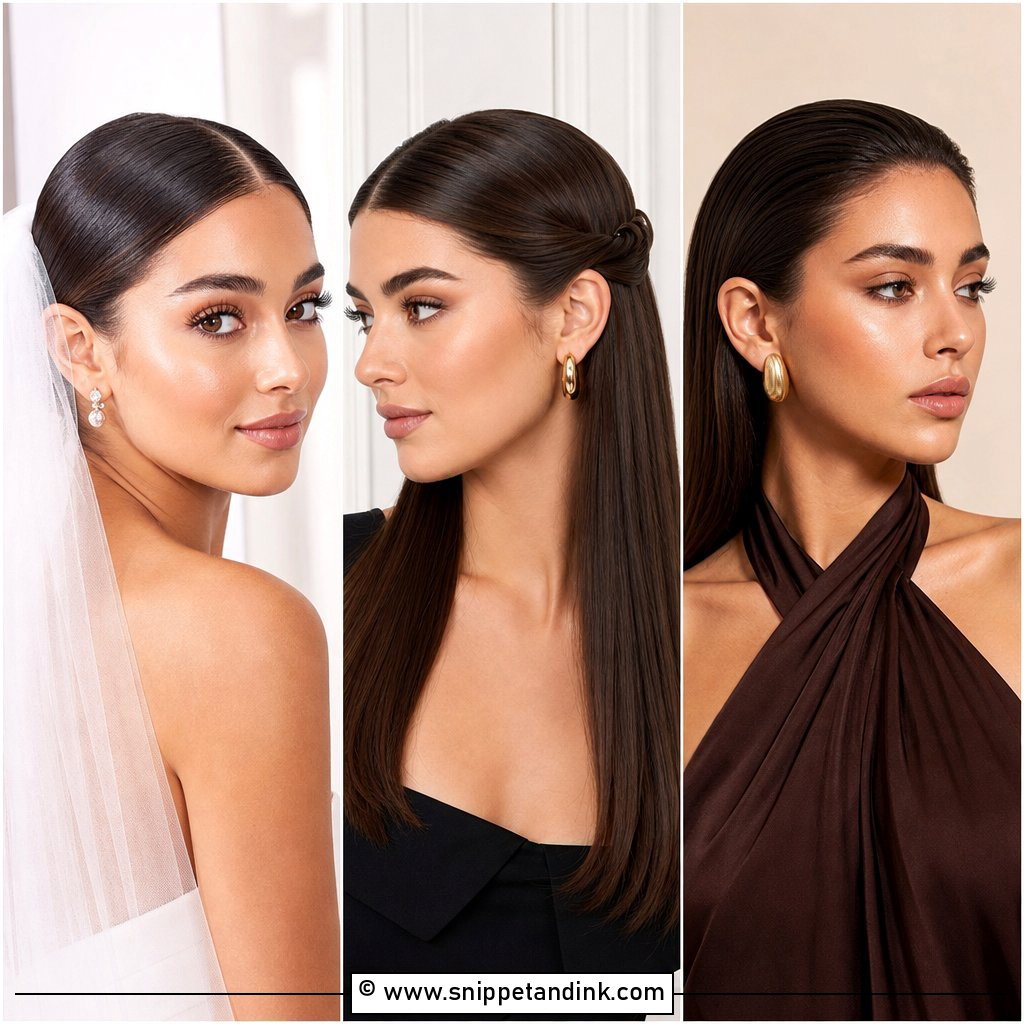
When a bride shows me a photo of glam waves, I first work out which of three looks it really is. They use different tools and finishing, and they last for very different lengths of time.
- Sculpted ribbon waves: a large barrel, every curl wound the same way, pinned to cool, then brushed into one continuous wave. The most polished and the slowest to create.
- Brushed-out bends: a medium barrel, alternating directions, softened with a wide brush. Fuller, less formal and kinder to small mistakes.
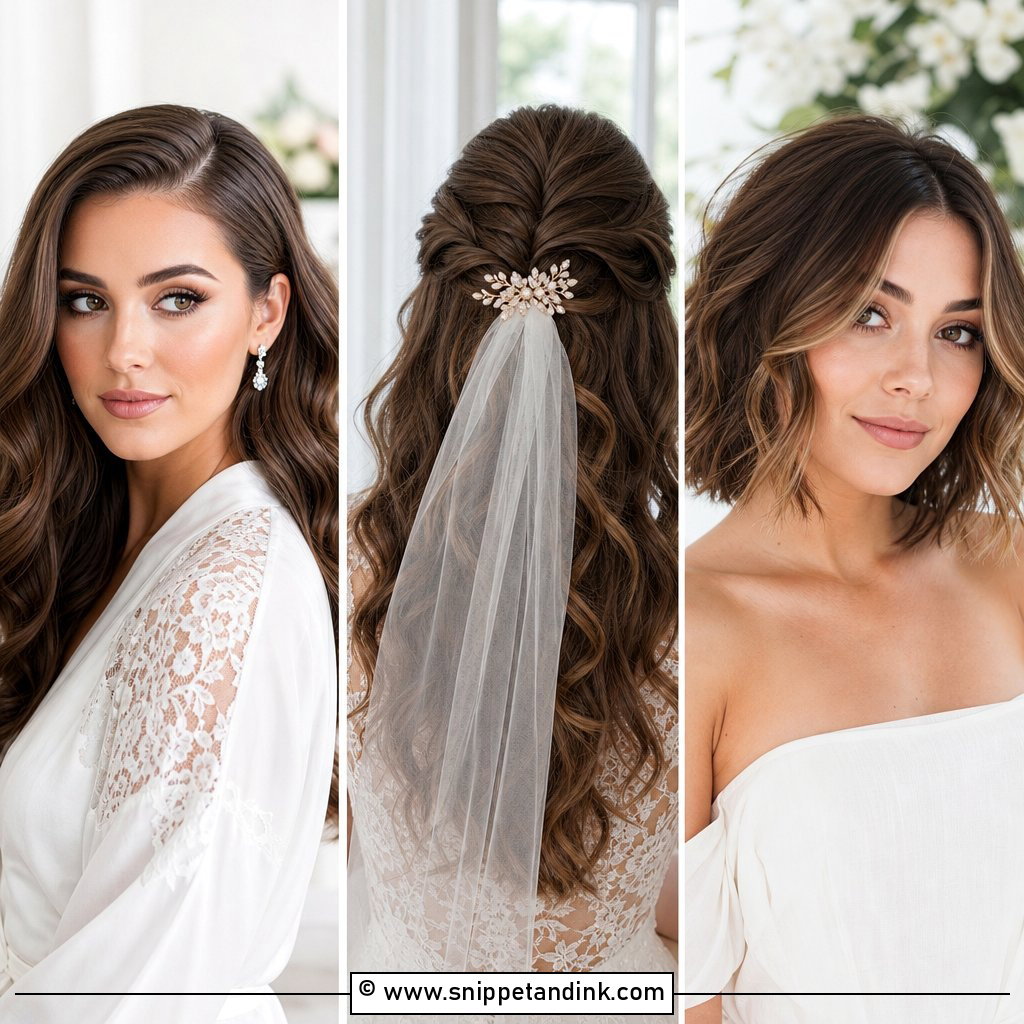
- Beach texture: a large barrel or flat iron with the ends left out, separated with fingers. The most relaxed, and the best behaved in heat.
Showing your stylist what you mean
Bring photos of the wave from the side and from behind, not just the front. Point out where the wave starts, at the root or below the chin, and how glossy you want it. Those two details tell a stylist more than the word glam ever will.
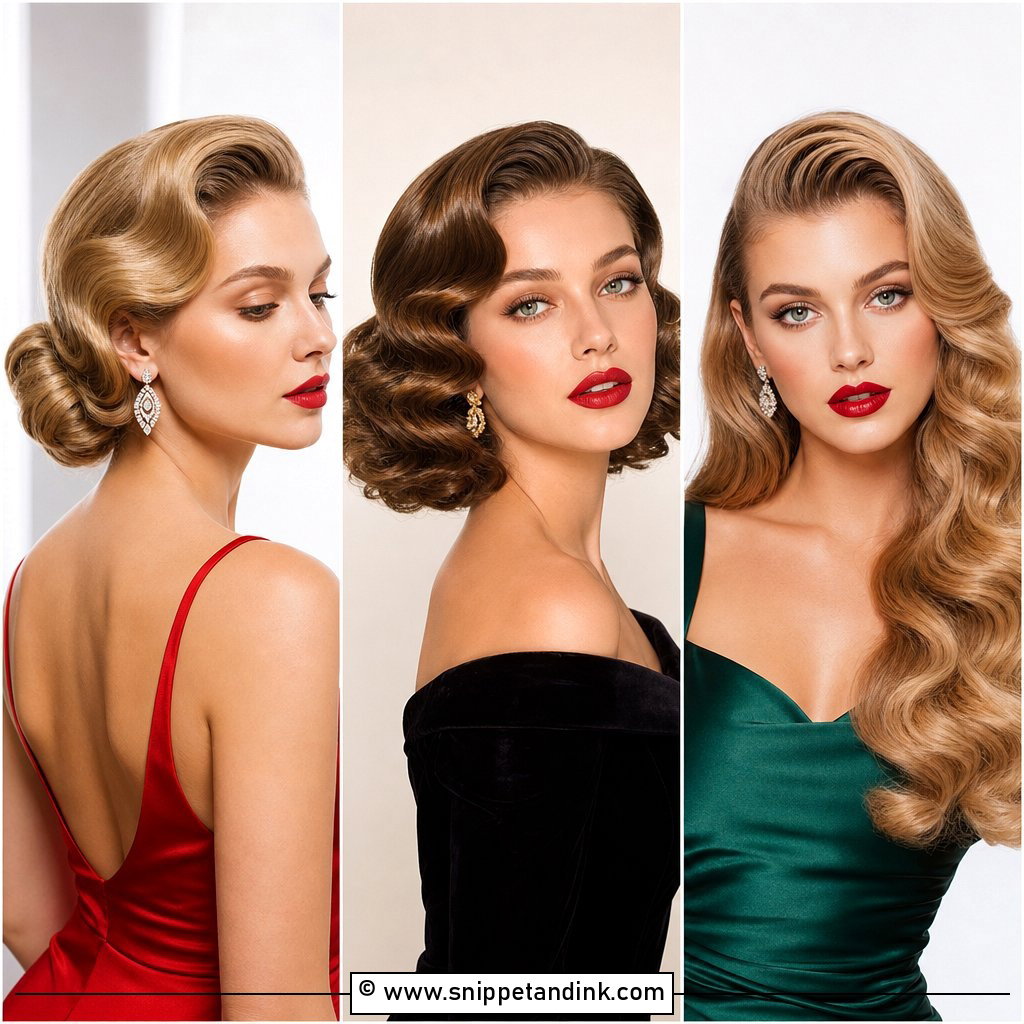
1. Classic Hollywood Glam Waves
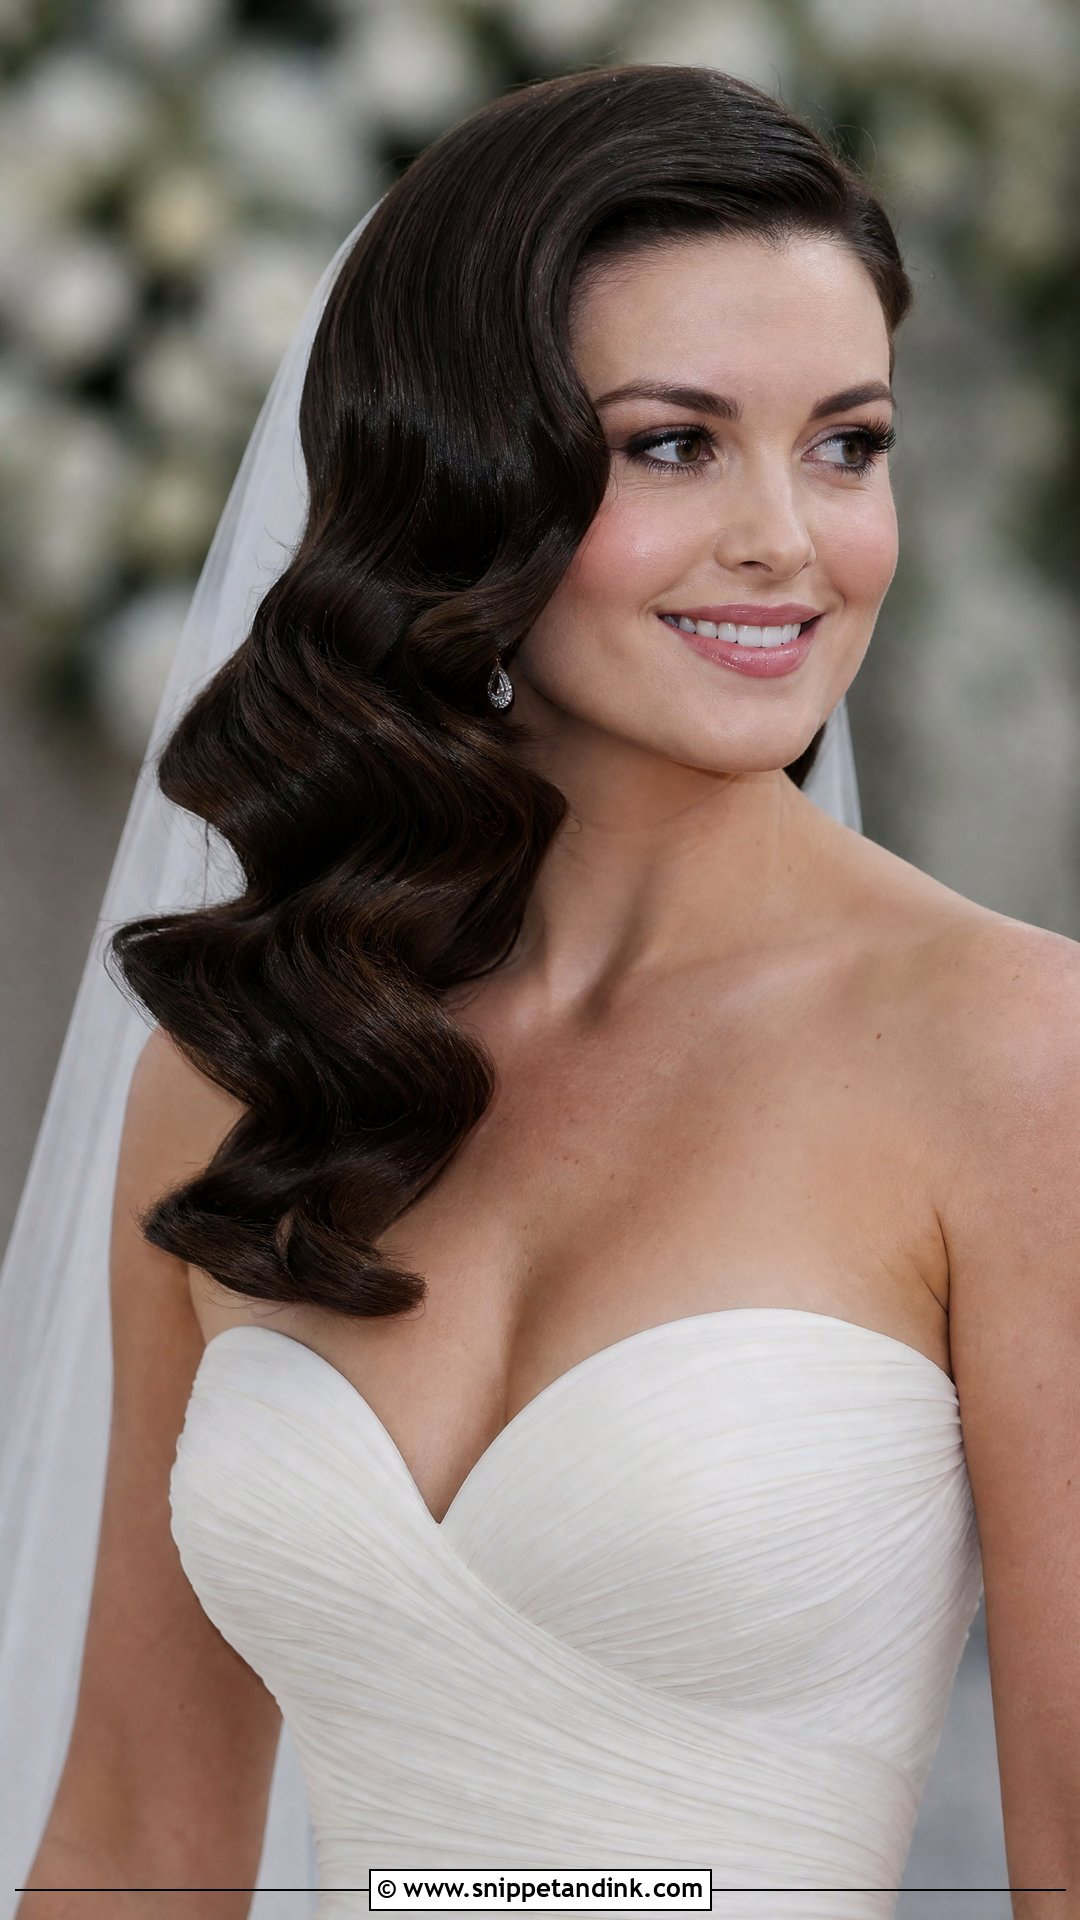
This is the version most people picture. Large barrel curls, all wound in the same direction, are set and left to cool, then brushed until the separate curls merge into one ribbon running from the part to the ends. The brushing is where it succeeds or fails: too little and you still have curls, too much and the ridges disappear. I only lock it with firm-hold spray once the shape is right. A simple gown and statement earrings let the hair carry the look.
2. Soft Glam Waves for Long Hair
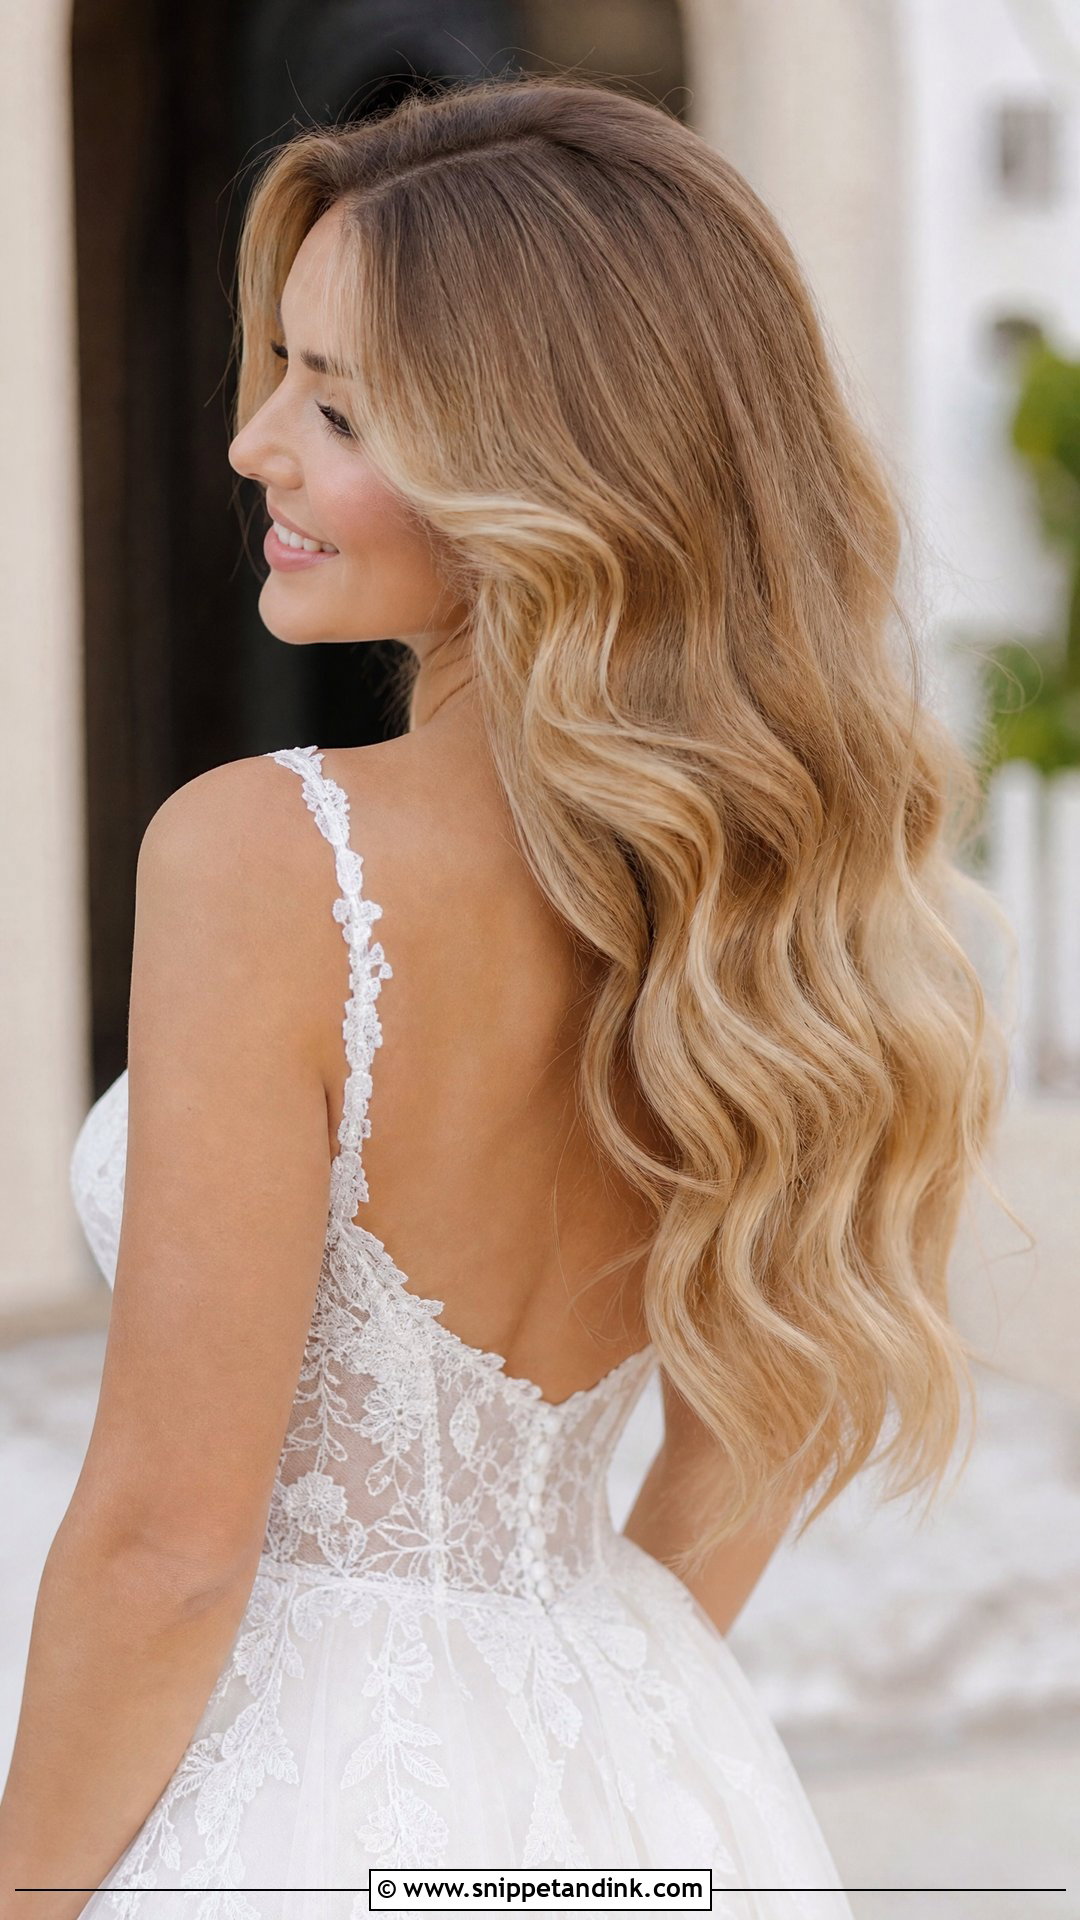
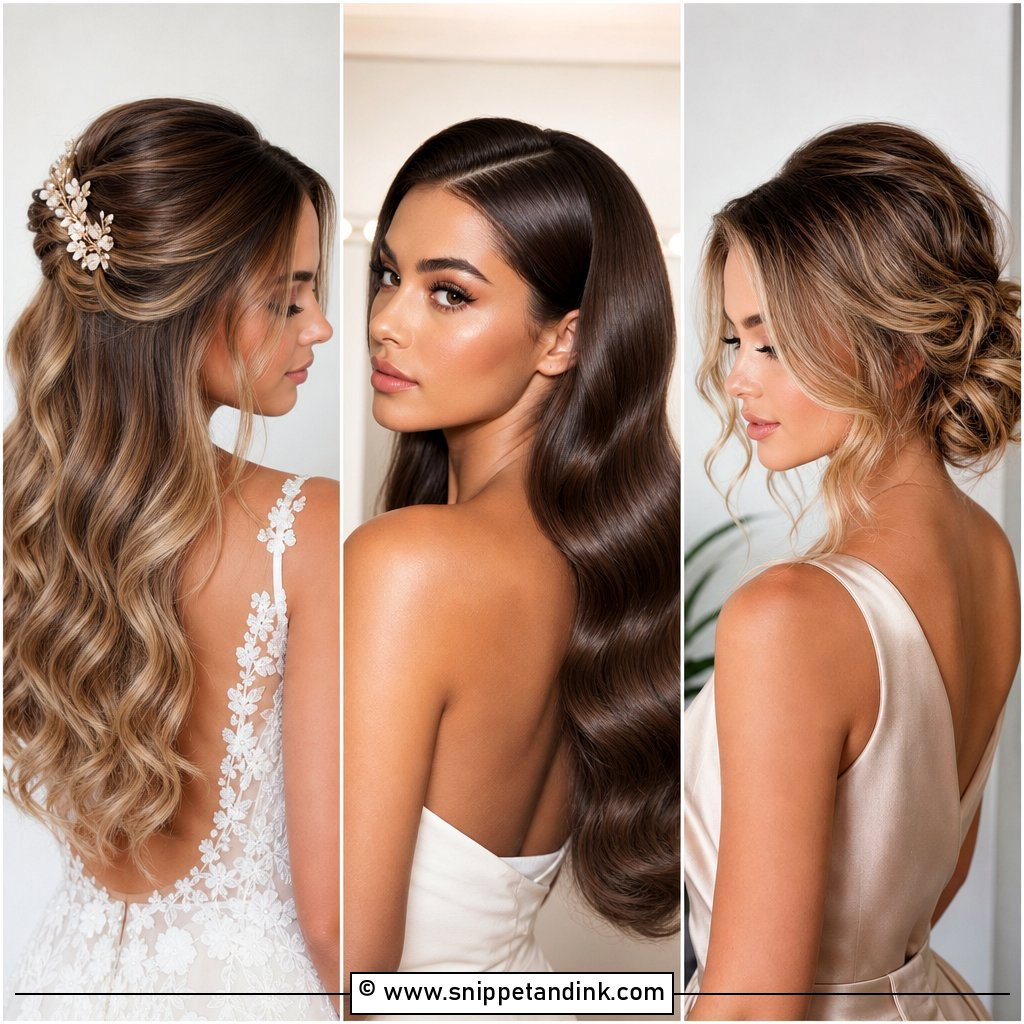
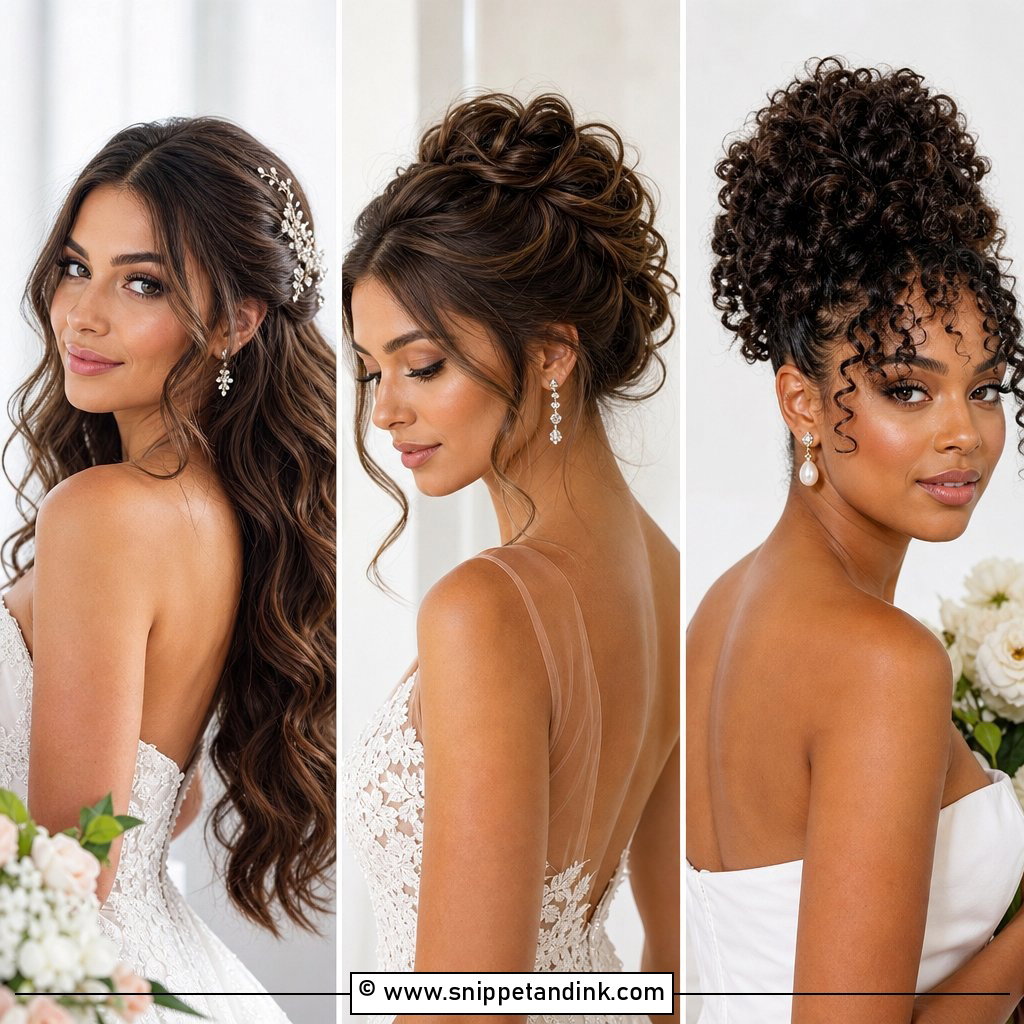
Long hair gives waves room to fall, but weight works against them. Hair past the bra strap pulls curls straight faster than shorter hair, so I curl with a medium iron, a little smaller than the finished wave, after a root-lift spray. The curls are softened with fingers rather than a brush for a looser fall. Extensions bring the same length to shorter hair if they’re color-matched at the trial. Outdoors, a flexible spray keeps the movement without freezing it.
3. Side-Swept Glam Waves
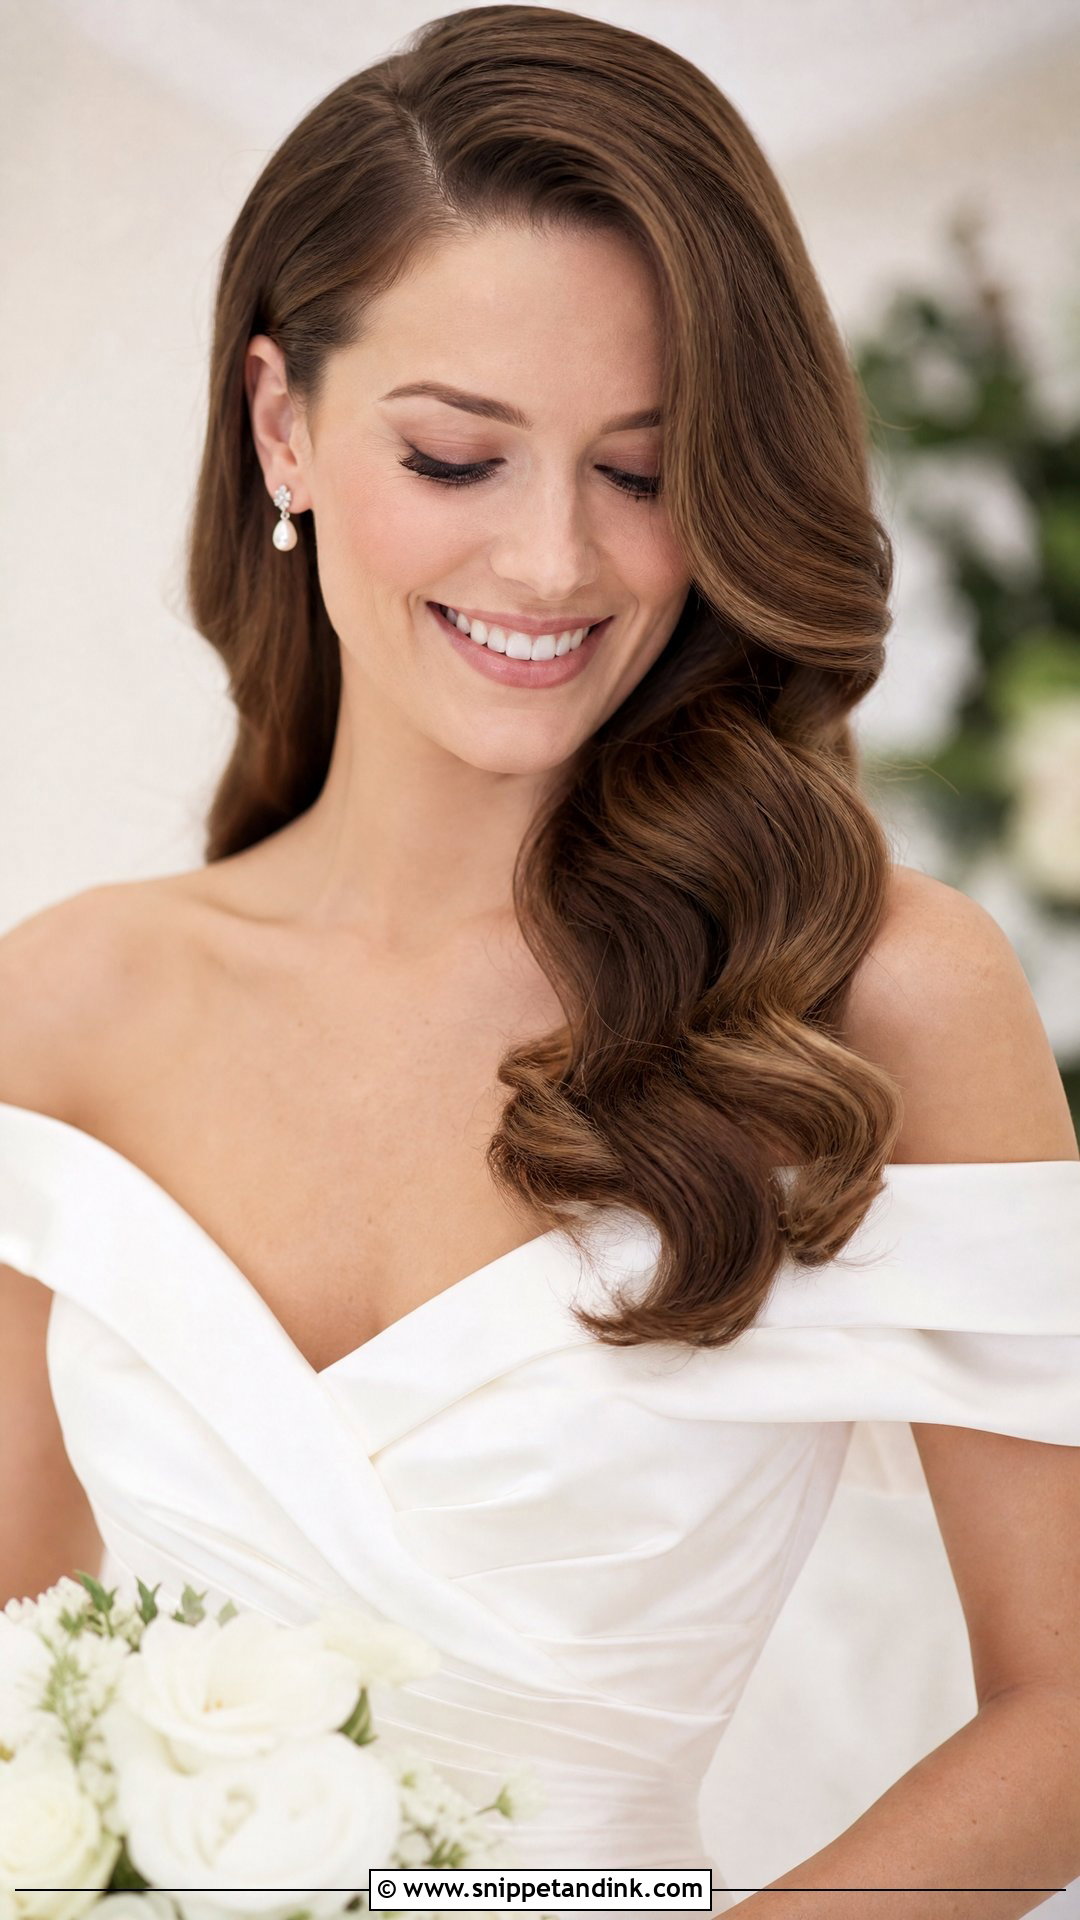
Off-shoulder and one-shoulder gowns are the reason I reach for this one. Sweeping the waves to a single side leaves the bare shoulder clear and puts the volume where the neckline sits higher. Crossed bobby pins behind the ear on the swept side, hidden under a wave, hold the shape, and a deep part on the same side anchors it. Skip those pins and the weight slides back toward center by the time you sit down to dinner.
4. Glam Waves With a Veil
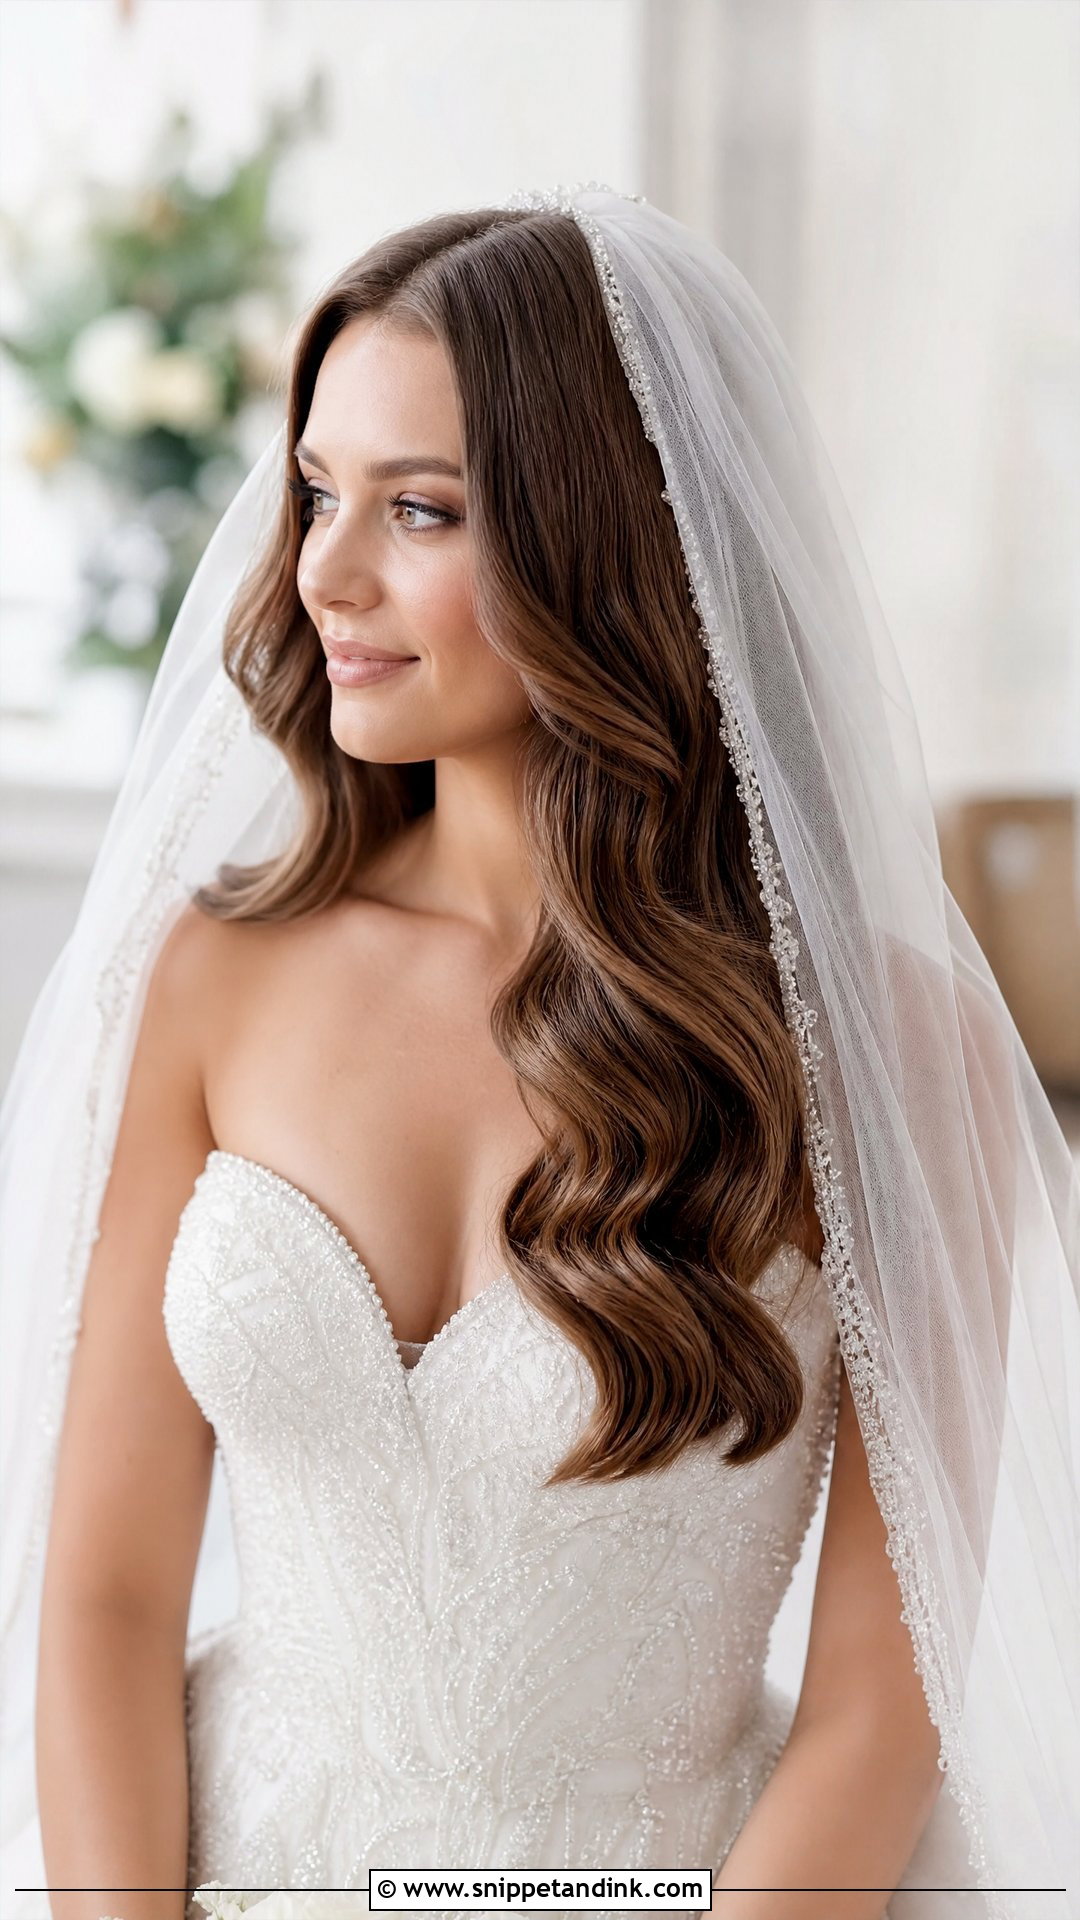
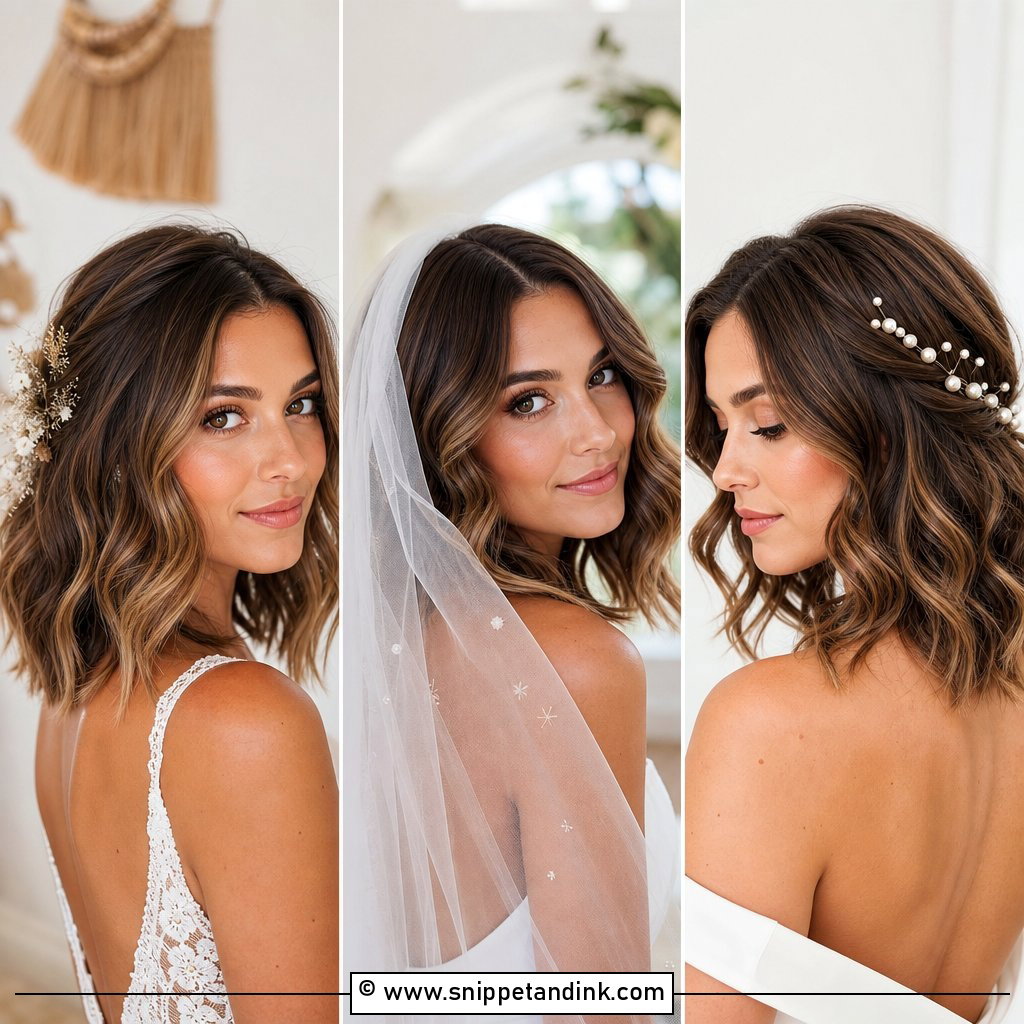
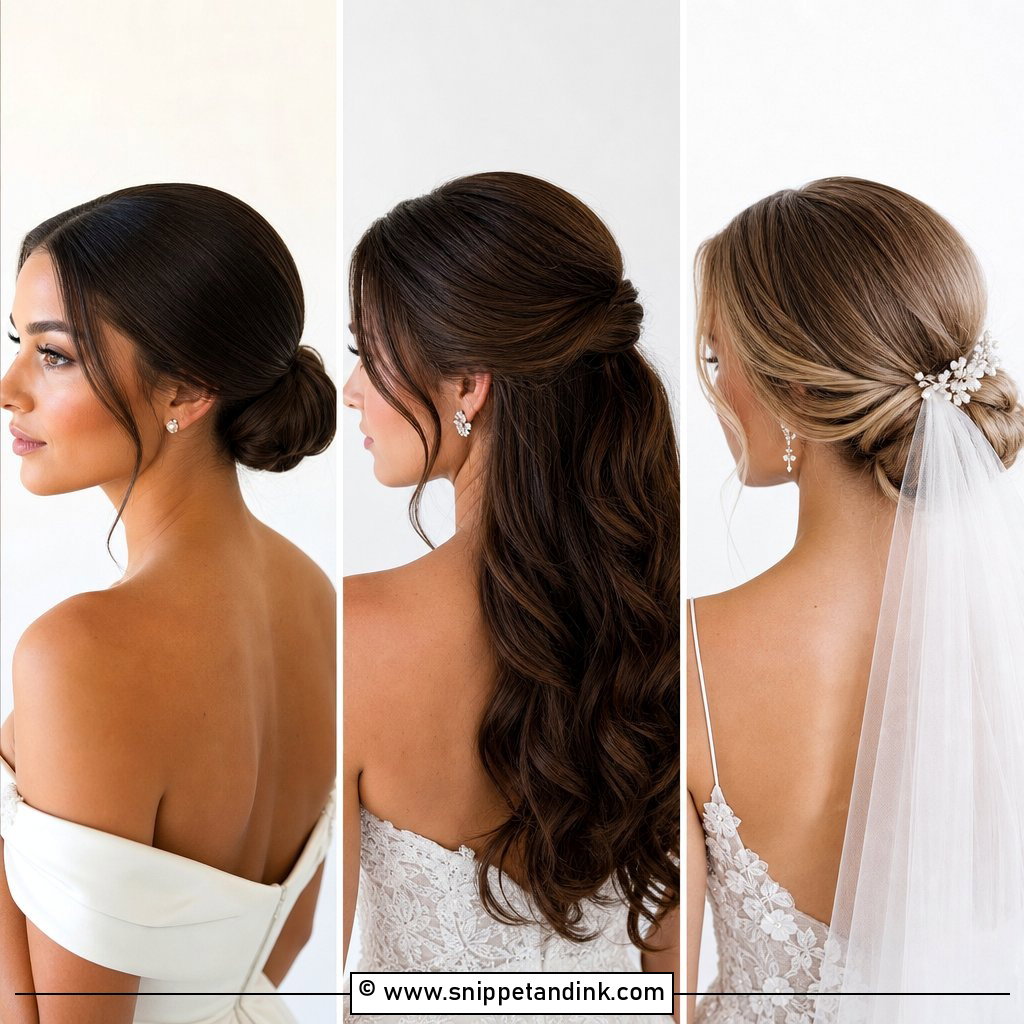
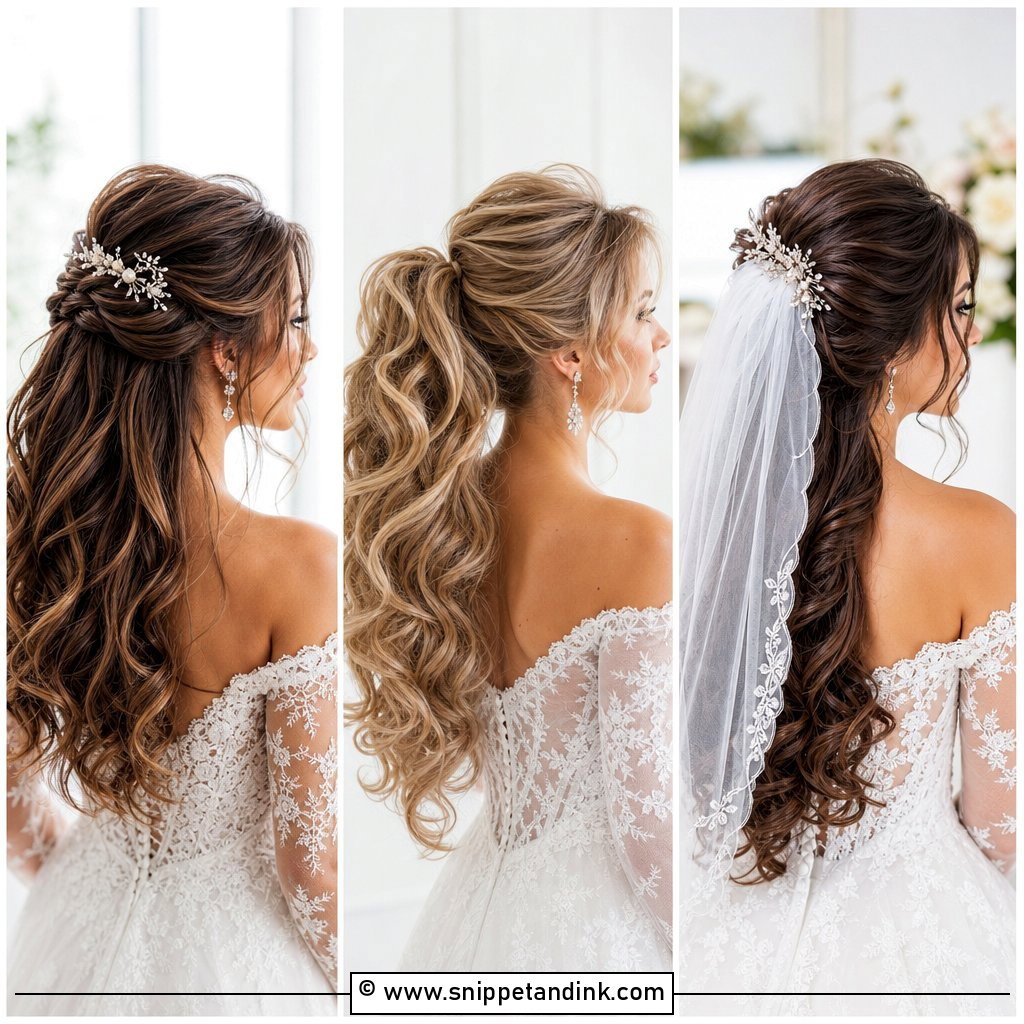
Waves and a veil get along, but comb placement decides it. I tuck the comb above the crown into a small pinned anchor, never into loose waves, where it slips and flattens them. Cathedral and birdcage lengths both work. When the veil comes off for the reception, the waves underneath stay intact, provided they were finished polished rather than glued with spray, so the tulle slides away instead of catching.
5. Half-Up Glam Waves
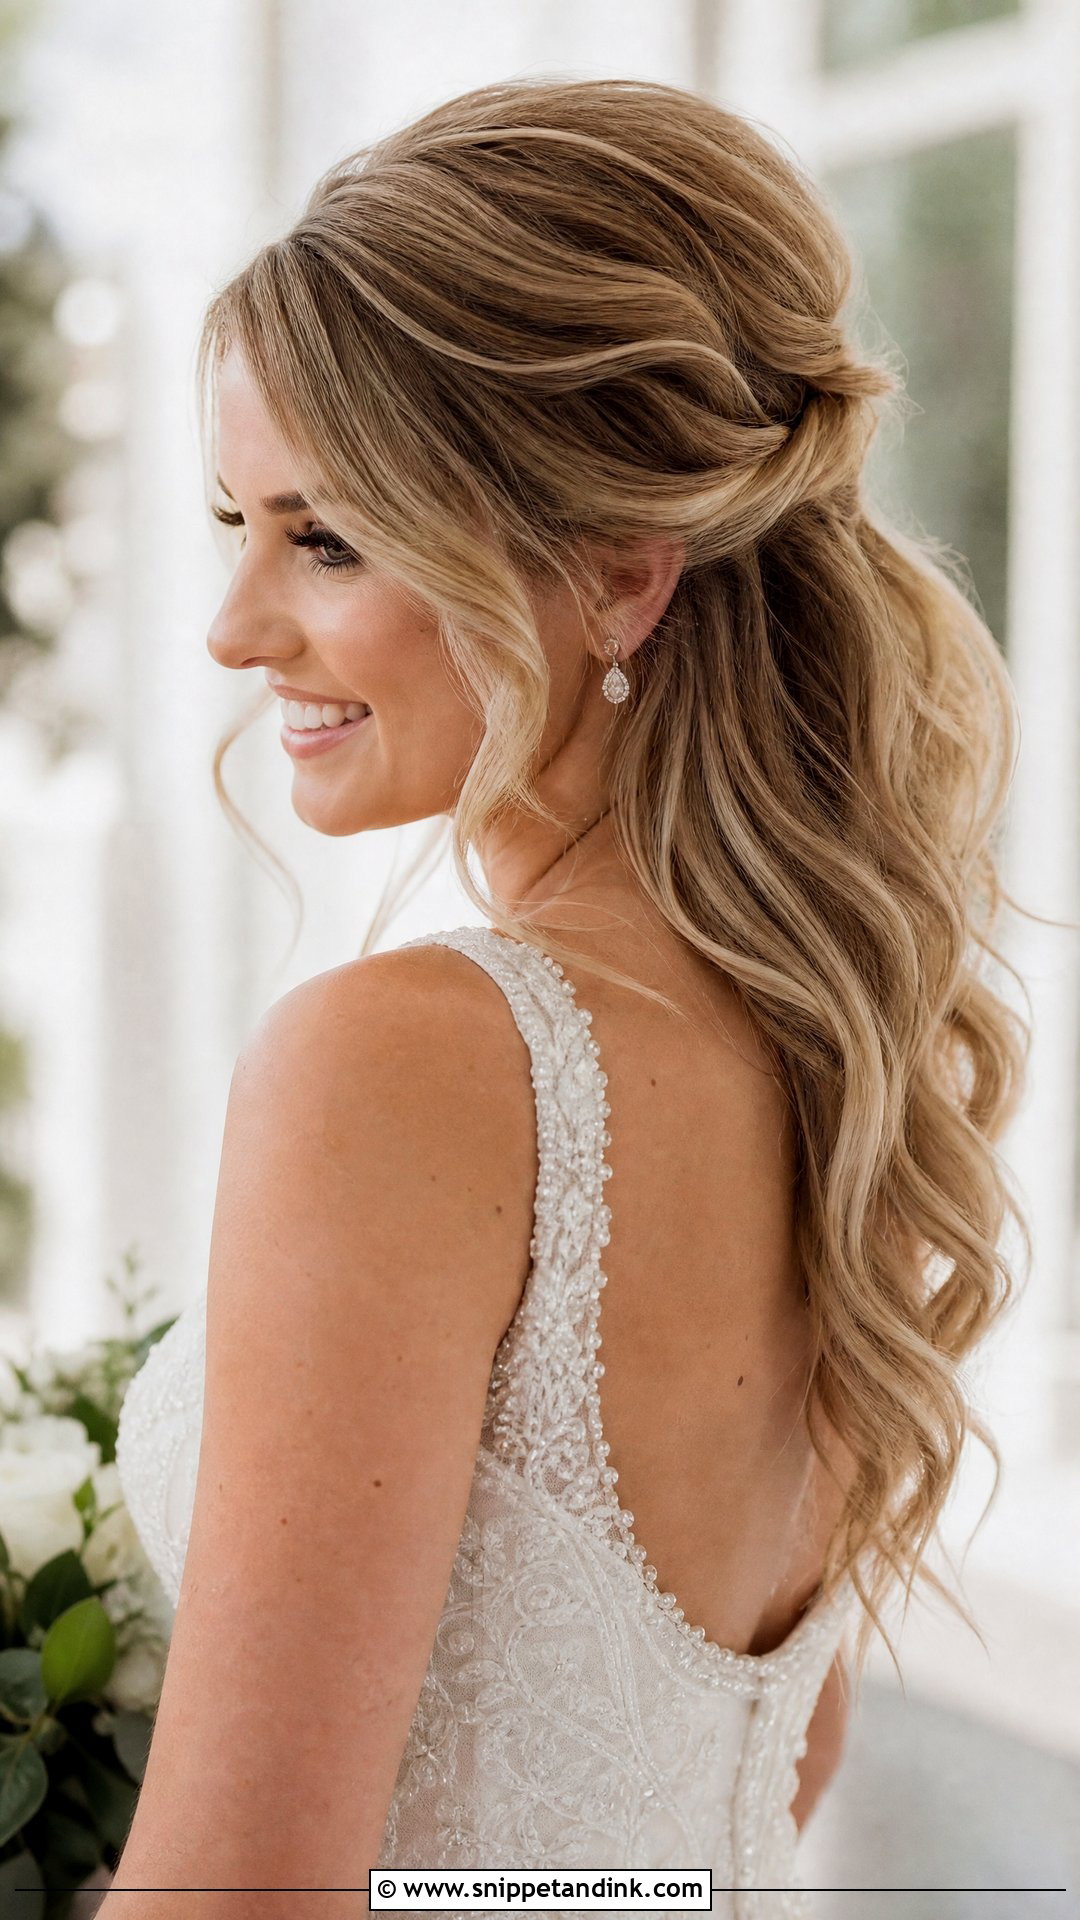
Half-up waves keep hair off your face for the ceremony and still show your length. The root of the top section is teased lightly for lift, smoothed over and pinned. I set a small braid or two crossed pins under the gathering point so it can carry a jeweled clip without sliding. It moves easily between boho and formal. There’s a practical bonus, too: if the lower waves relax, the pinned section still looks finished.
6. Vintage Finger Waves
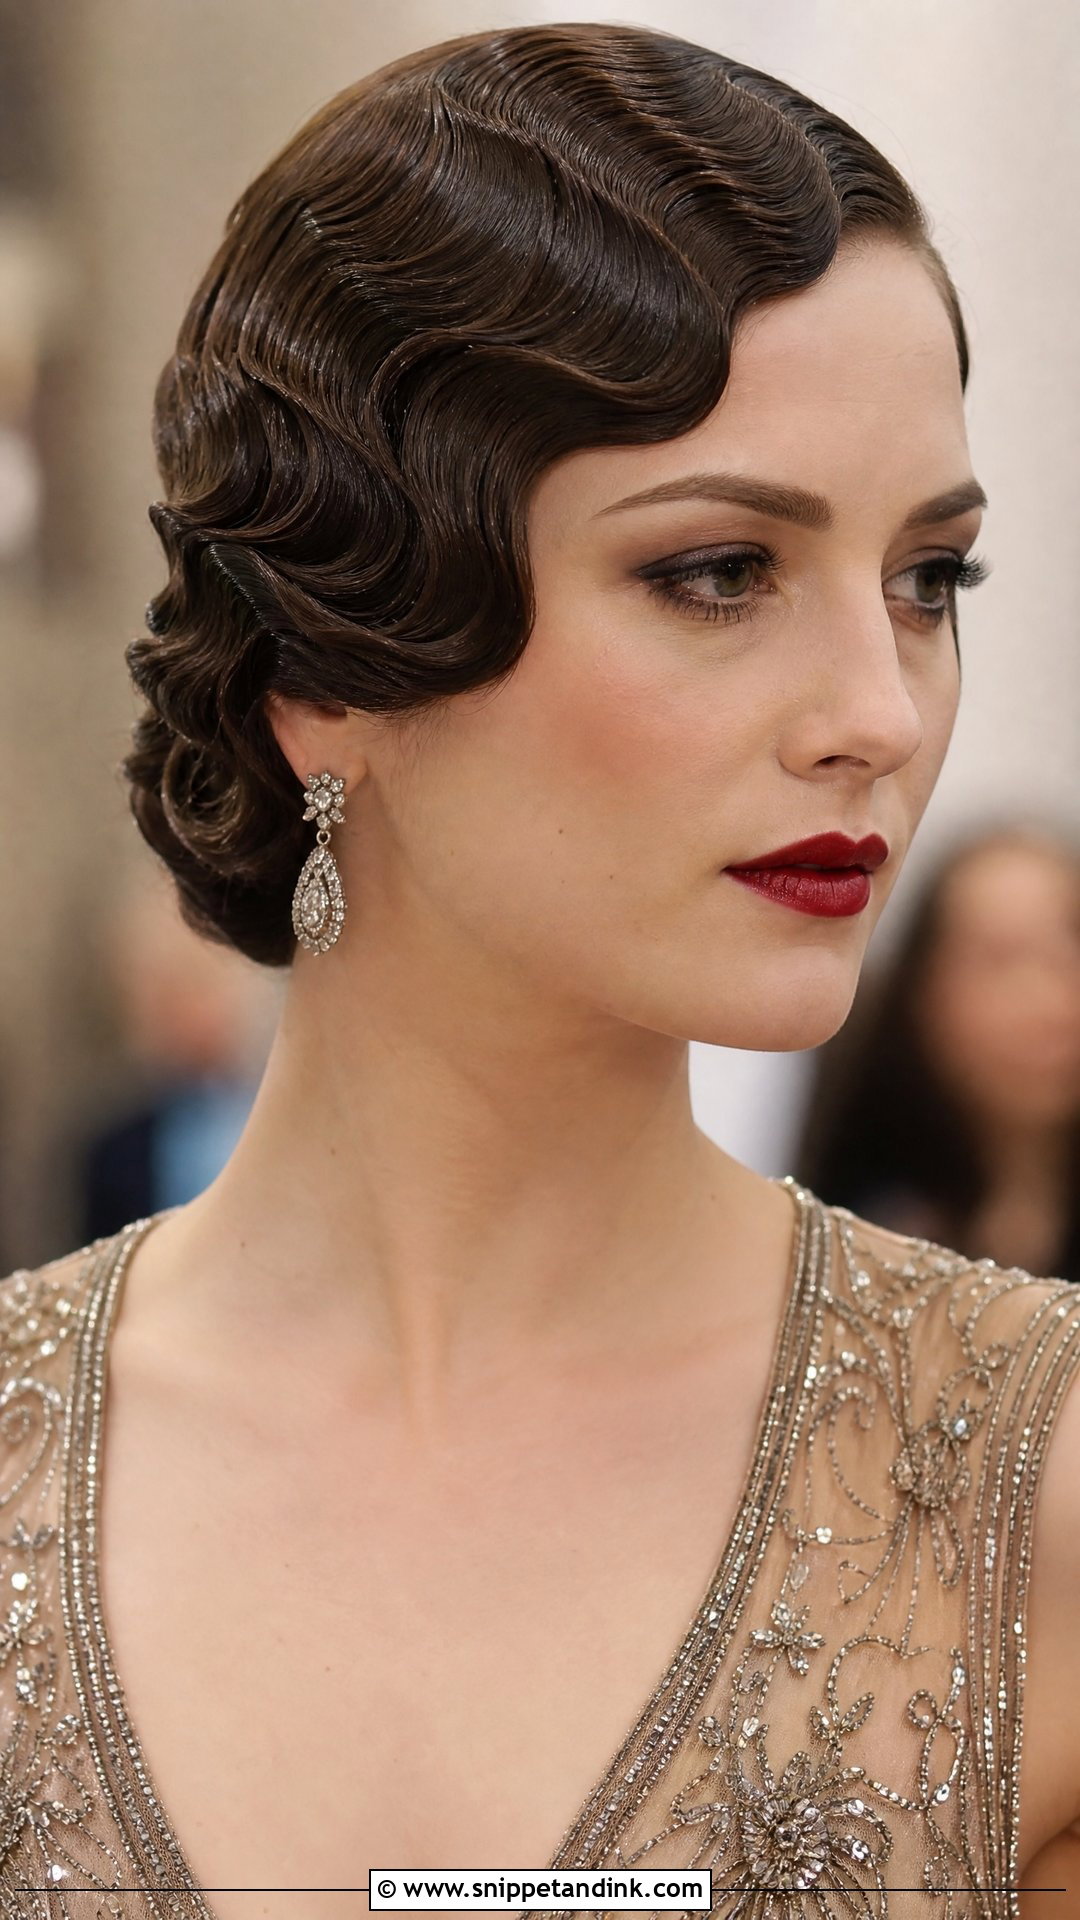
Finger waves are a different craft altogether, sculpted with fingers, a comb and setting lotion into S-shapes that lie flat against the scalp. They’re precise and slow, and they belong to the 1920s and 1930s. Book extra time and someone experienced in period work. They suit short cuts or hair tucked into a low chignon, with art deco accessories. Choose them only if you love that era, because they never soften into a modern look.
7. Glam Waves With Deep Side Part
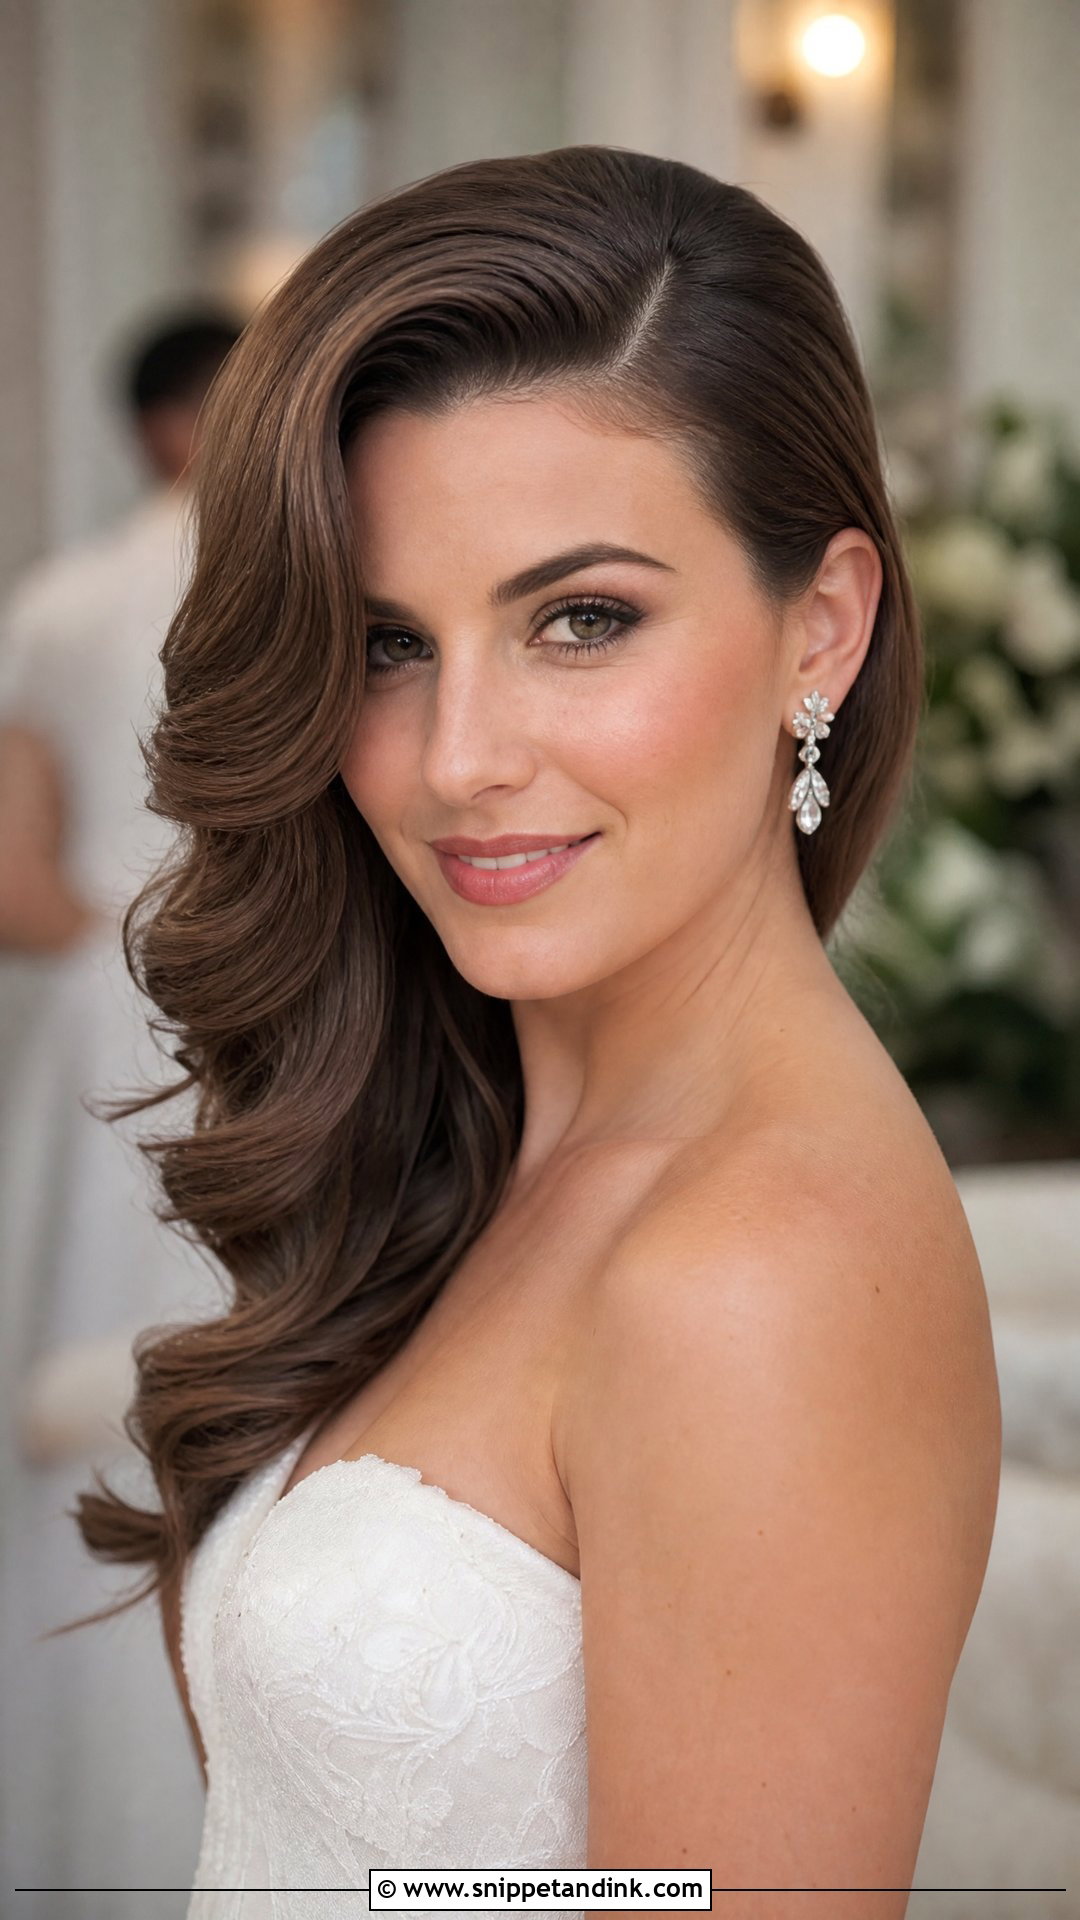
A deep side part lifts the hair on the heavy side and throws it across the forehead, which is why it makes fine hair look fuller. I create the part while the hair is still damp so the root dries in that direction; forced onto dry hair, a part springs back within the hour. Bold lips and statement earrings suit the mood. It works up or down and leans formal.
8. Loose Beachy Glam Waves
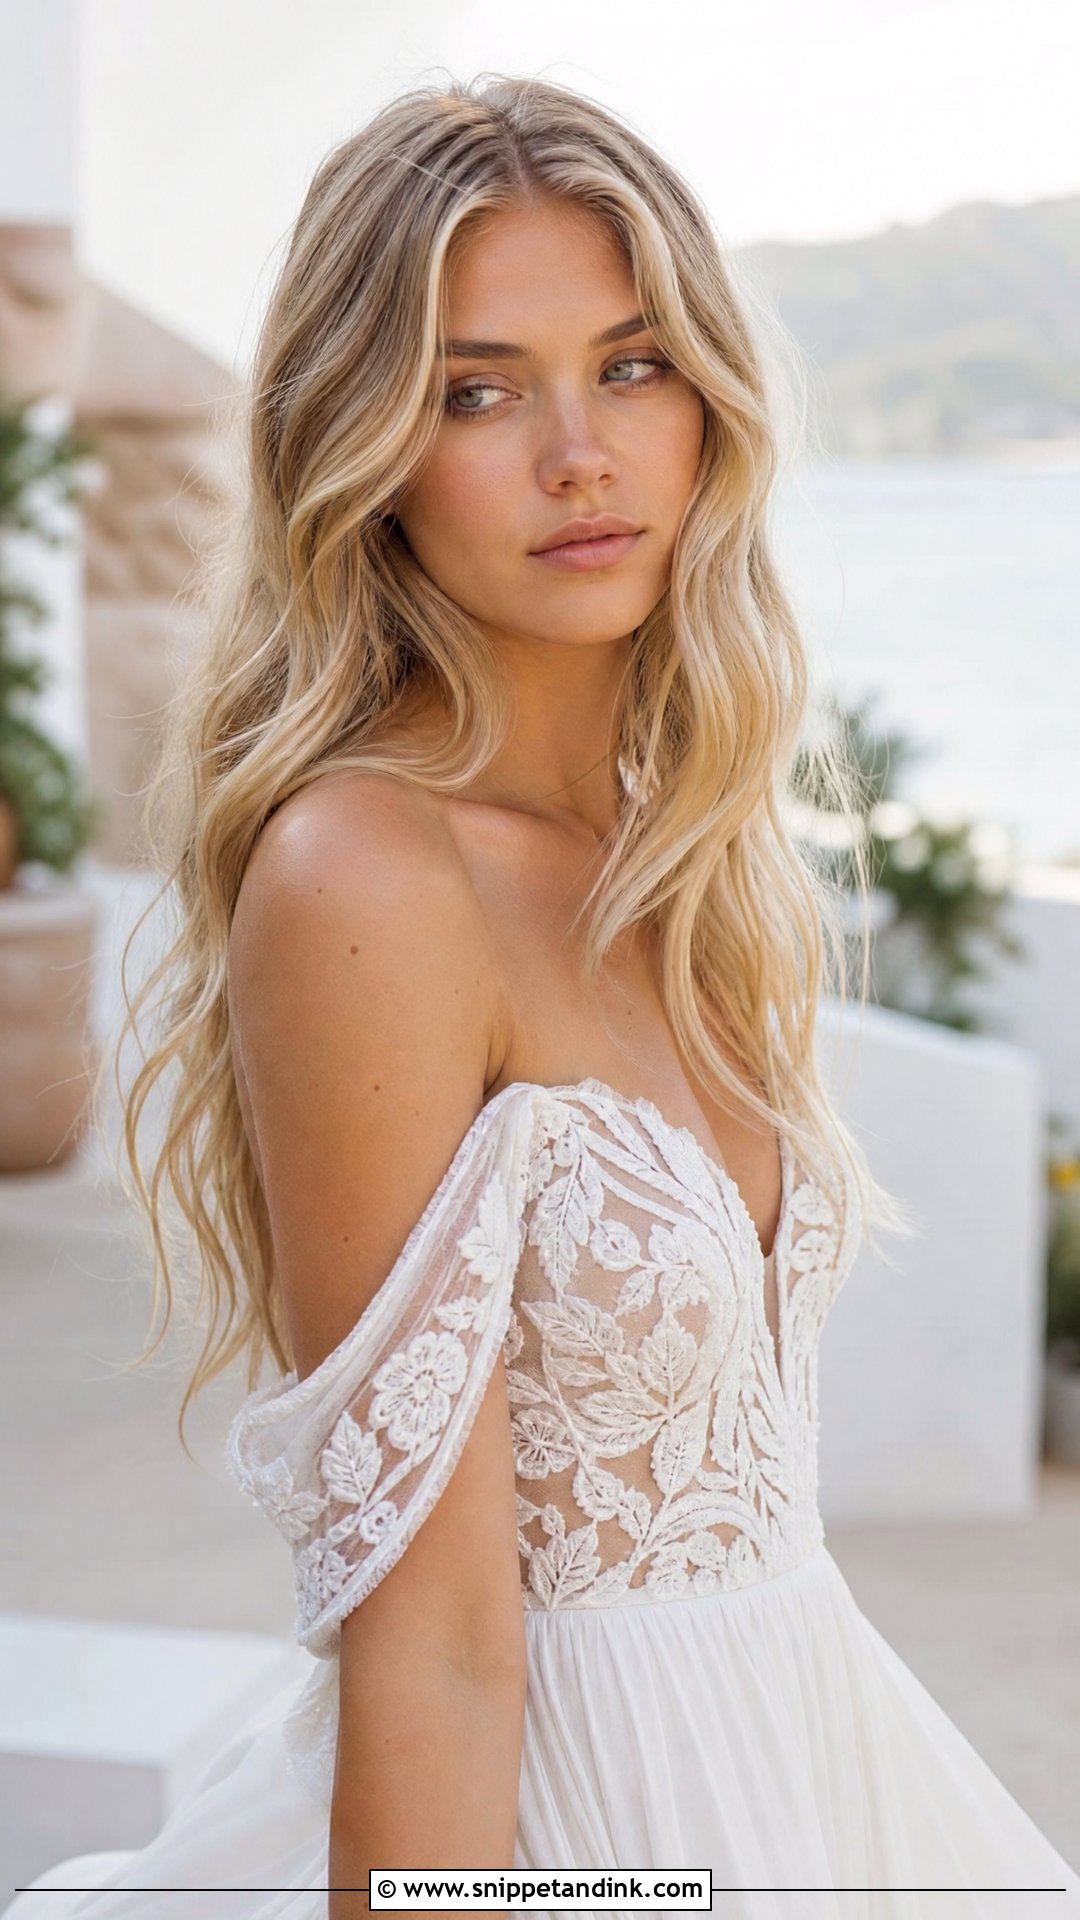
Beachy waves use a bigger barrel and a lighter hand. I curl with the ends left out, which gives a bend instead of a ringlet, and separate them with fingers rather than a brush. In warm weather they’re the most forgiving waves on this list, because they’re meant to look relaxed, so a little drop never reads as a failure. A flower crown or a few pins finish them for a coastal or bohemian wedding.
9. Glam Waves for Short Hair
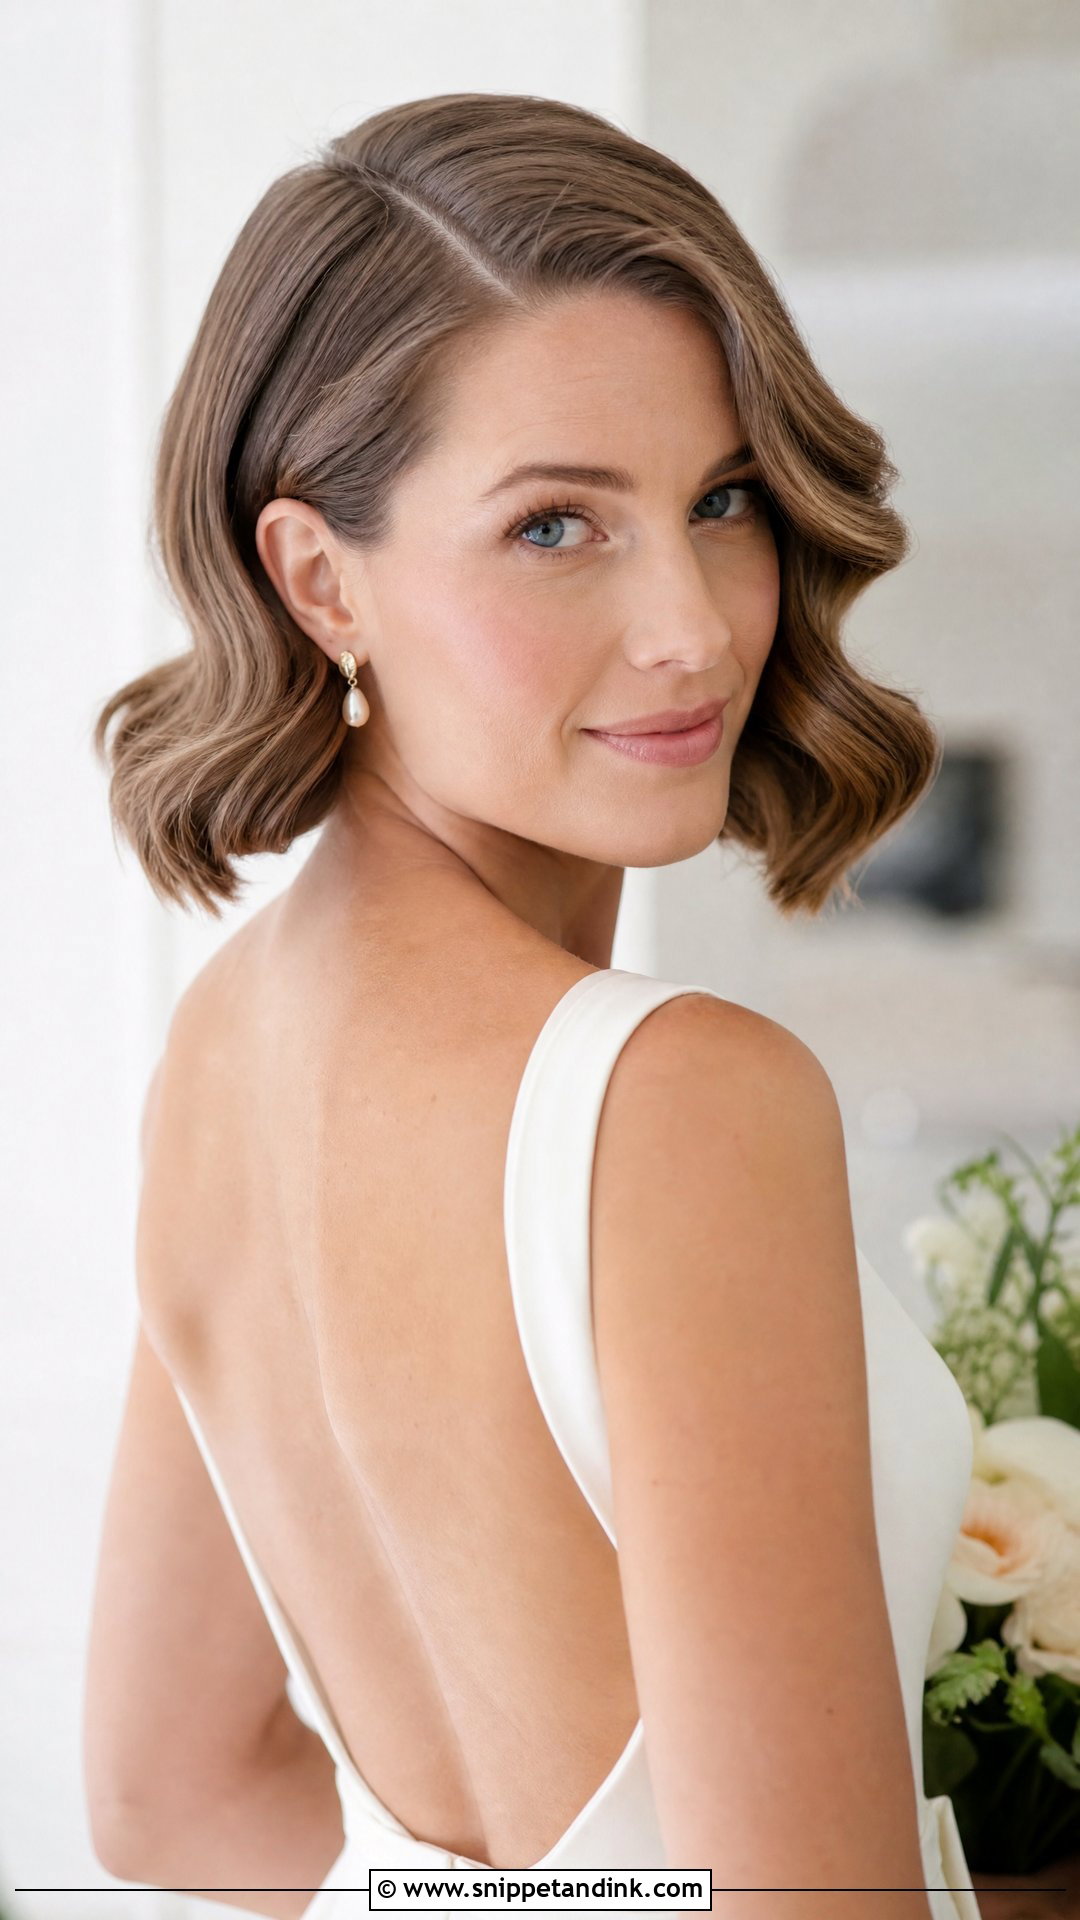
Waves on a bob or lob need a smaller iron and more precision, since there’s less length to hide an uneven curl. I set them with a side part and finger-style them close to the face for a soft vintage line. Short hair also holds curl much longer than long hair, a real advantage across a long day. A small headpiece near the ear finishes it.
10. Glam Waves Low Bun
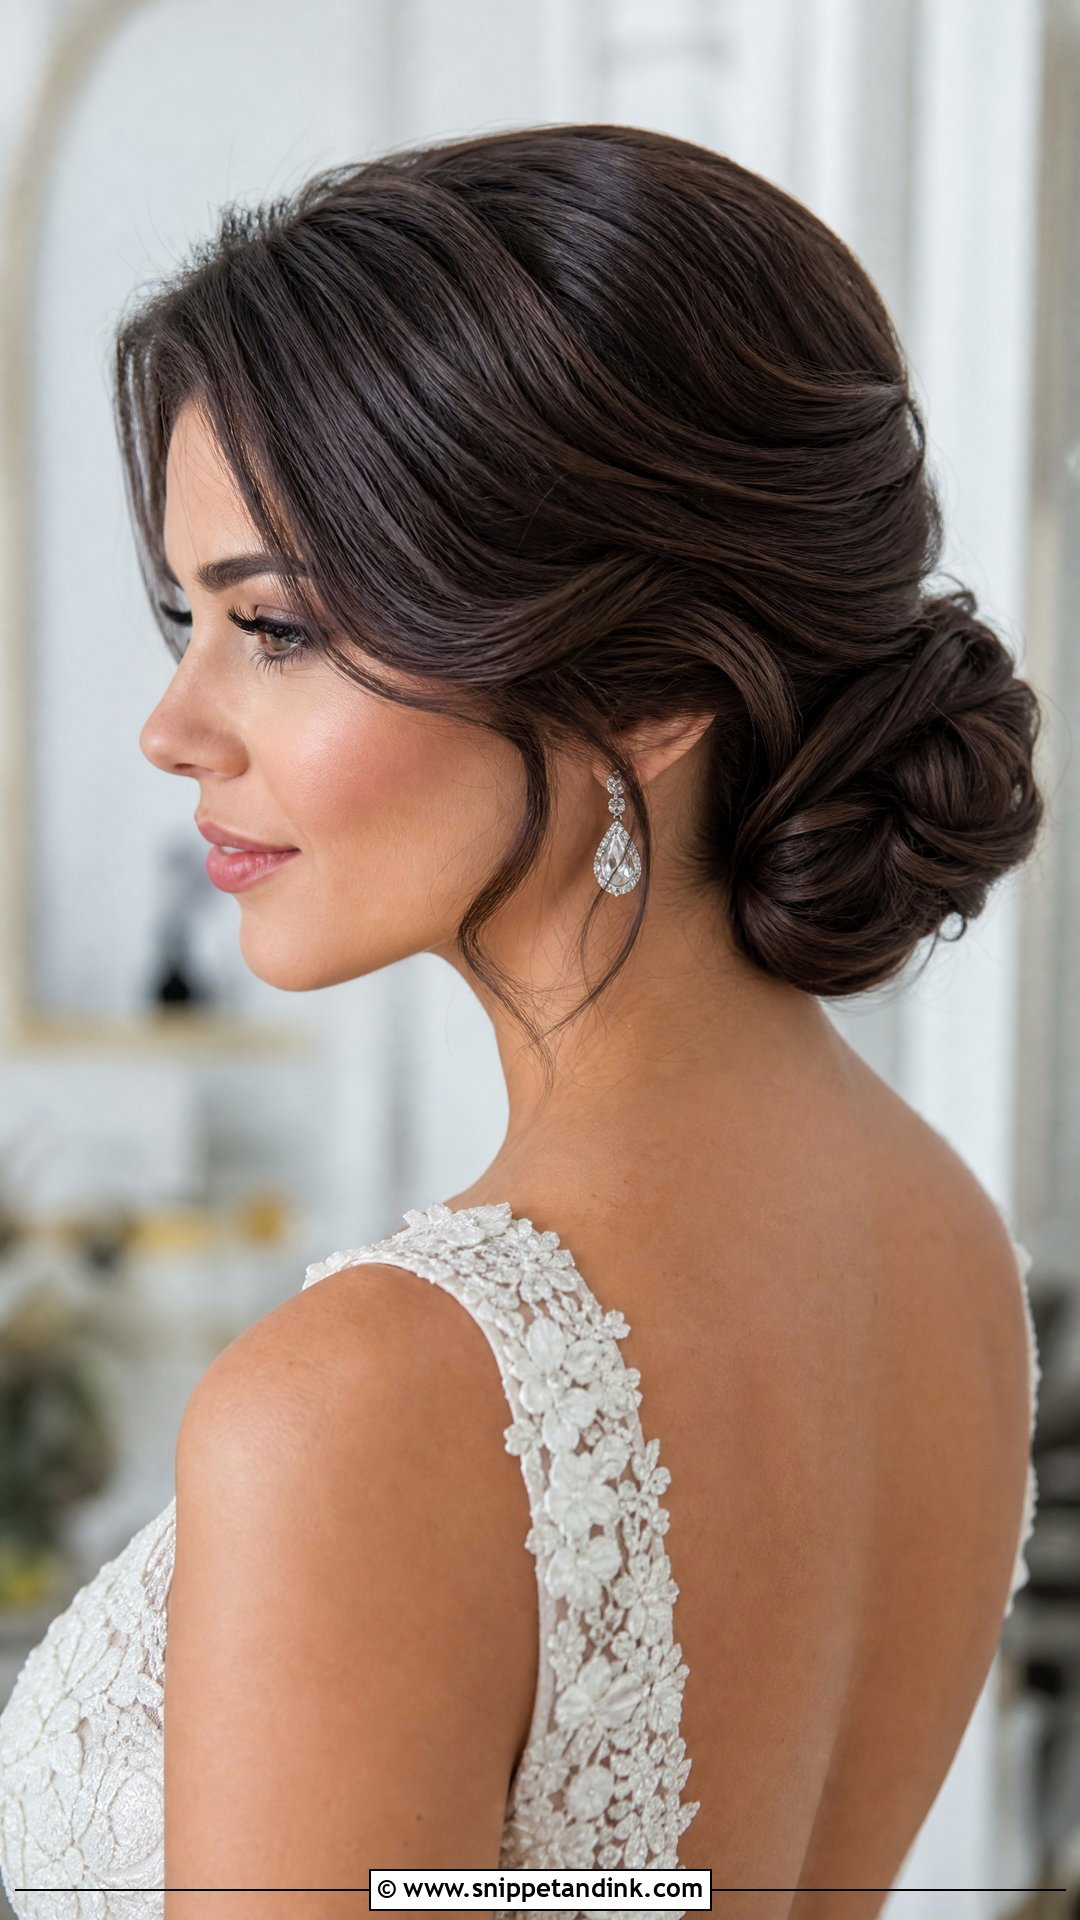
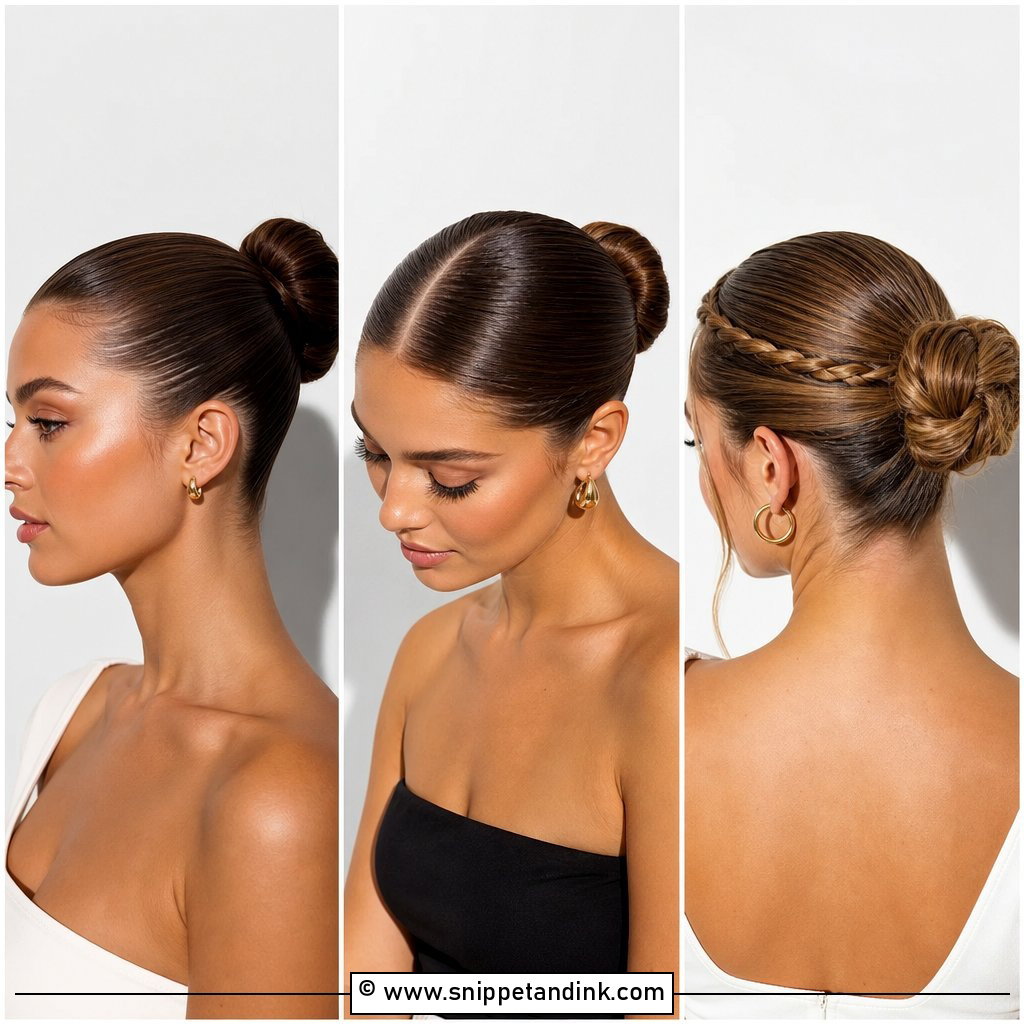
Waving the hair before it goes into a low bun gives the bun texture, so it never looks flat. I gather the waved hair at the nape into a loose chignon, leave a few front pieces out and pin with U-pins so the waves inside the bun stay visible. Black-tie weddings suit it. It’s also my answer when a bride wants waves and the forecast says hot.
11. Glam Waves With Hair Accessories
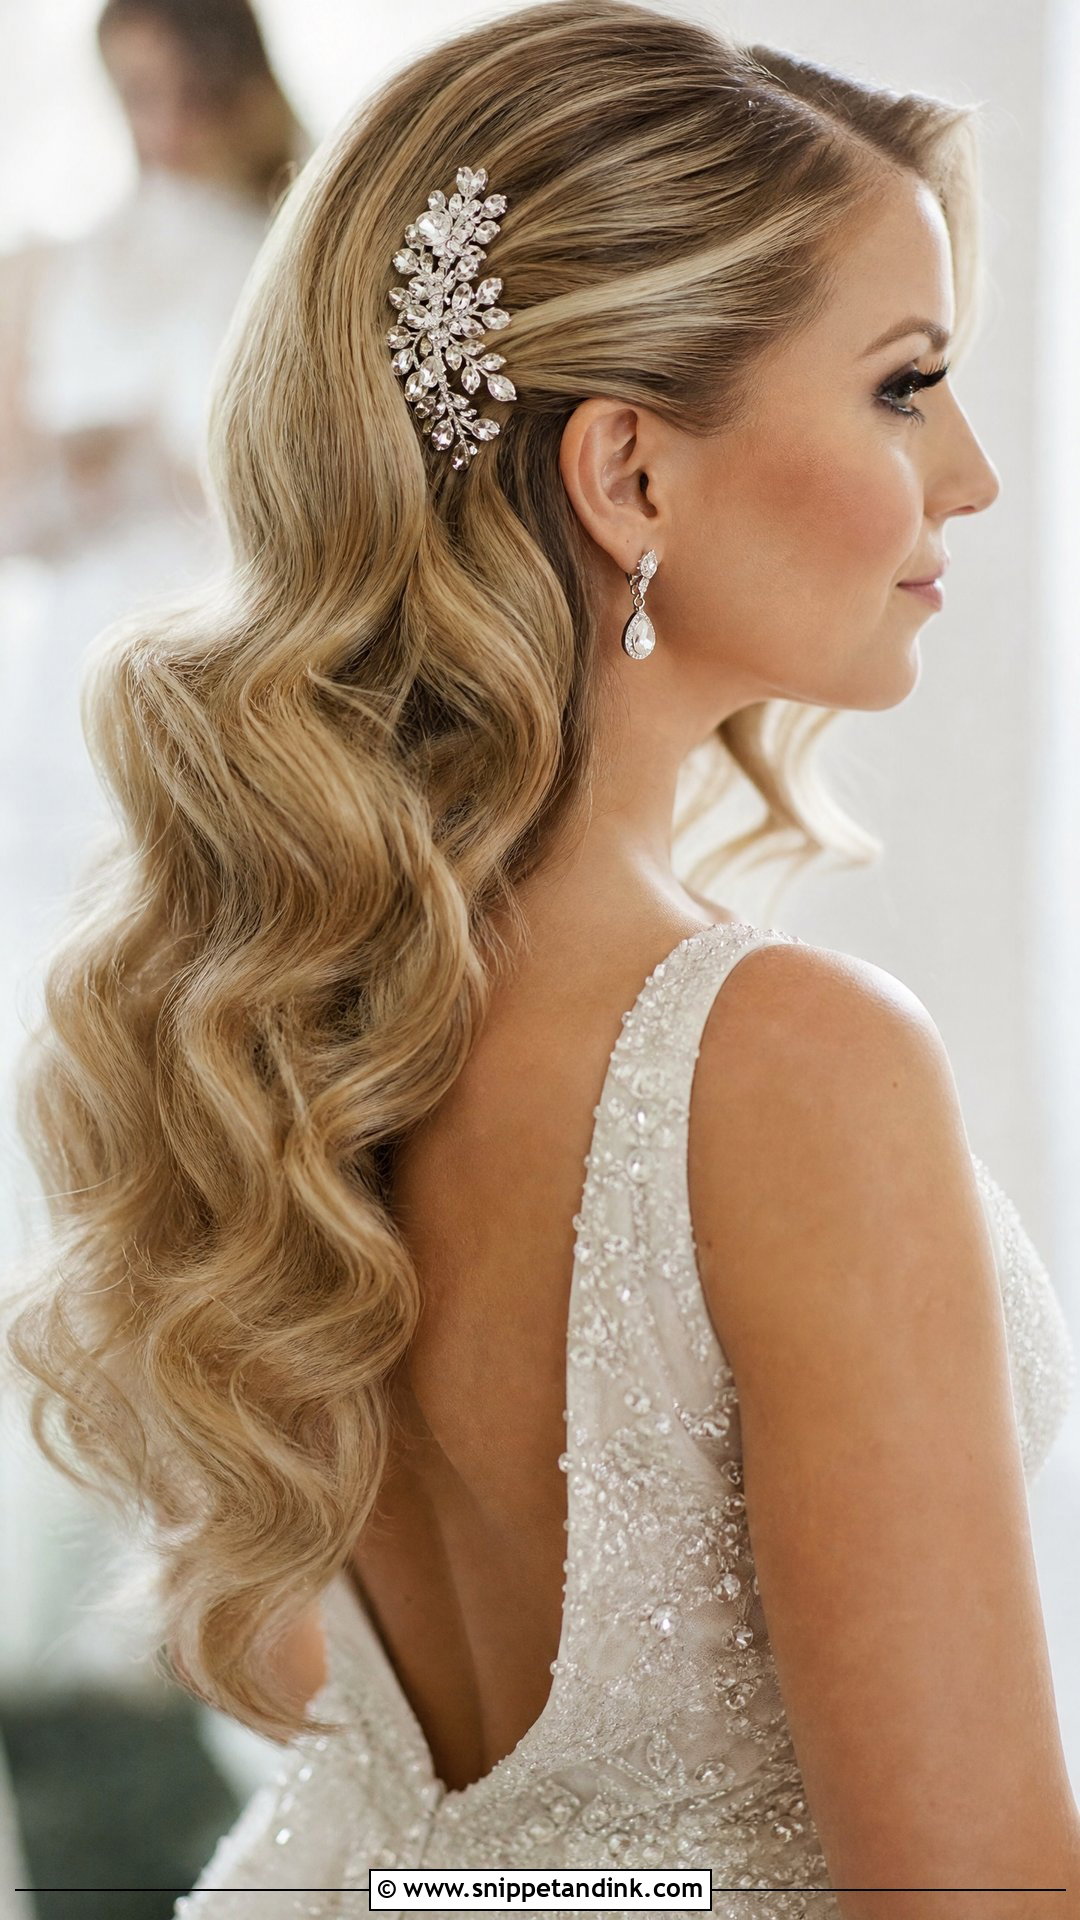
Accessories sit best in the natural dip between two wave ridges. That’s where I slide a jeweled comb or pearl pins, usually just behind the side part, so the piece follows the wave instead of flattening it. Headbands go on last, after the waves are set. Match the metal and stones to your earrings and gown details, and decorate one area rather than scattering sparkle everywhere.
12. Voluminous Glam Waves
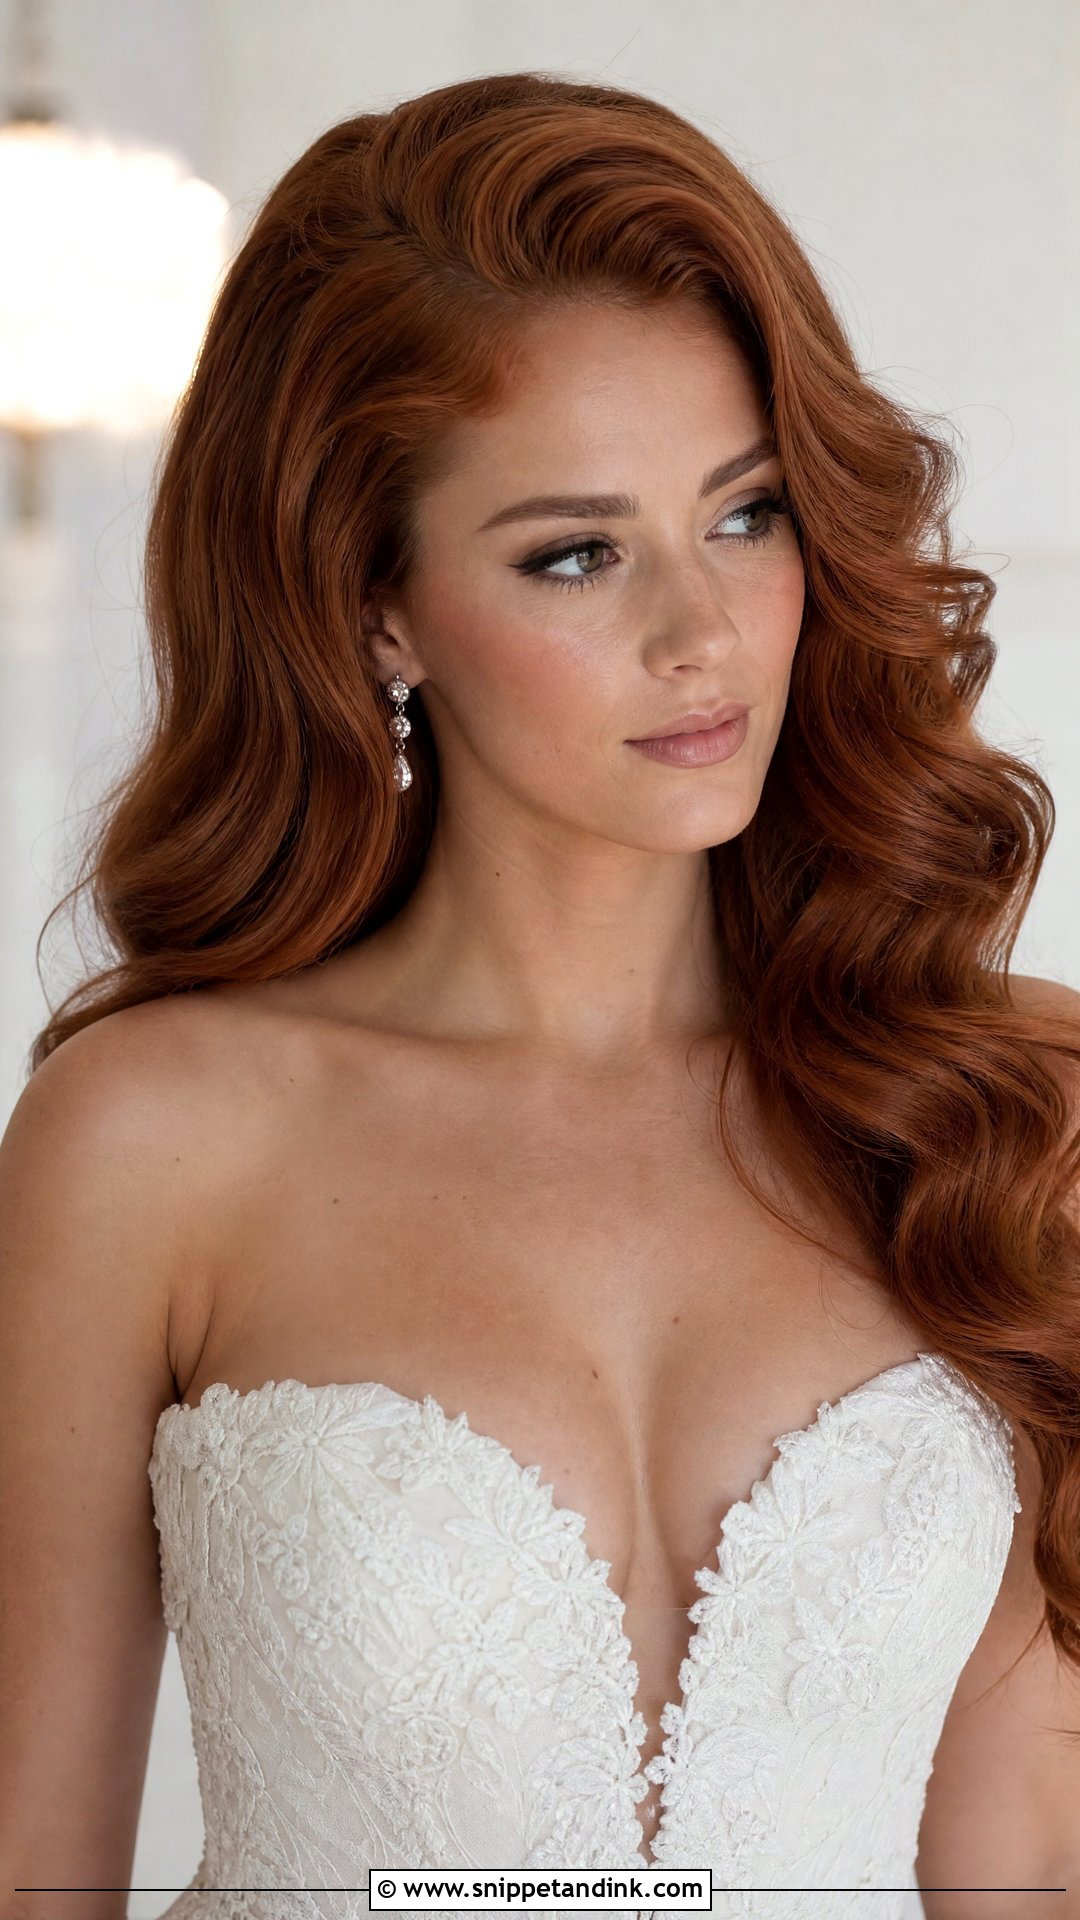
Volume needs a foundation. I tease the roots in sections, smooth the top layer over them, then curl with a large barrel for full, cascading waves that keep their height. Fine hair usually needs extensions to reach this fullness, and I’d rather add two wefts than tease fine hair until it mats. A strapless or sweetheart neckline balances the size. With a high, heavily embellished neckline, it gets crowded fast.
13. Glam Waves With Curtain Bangs
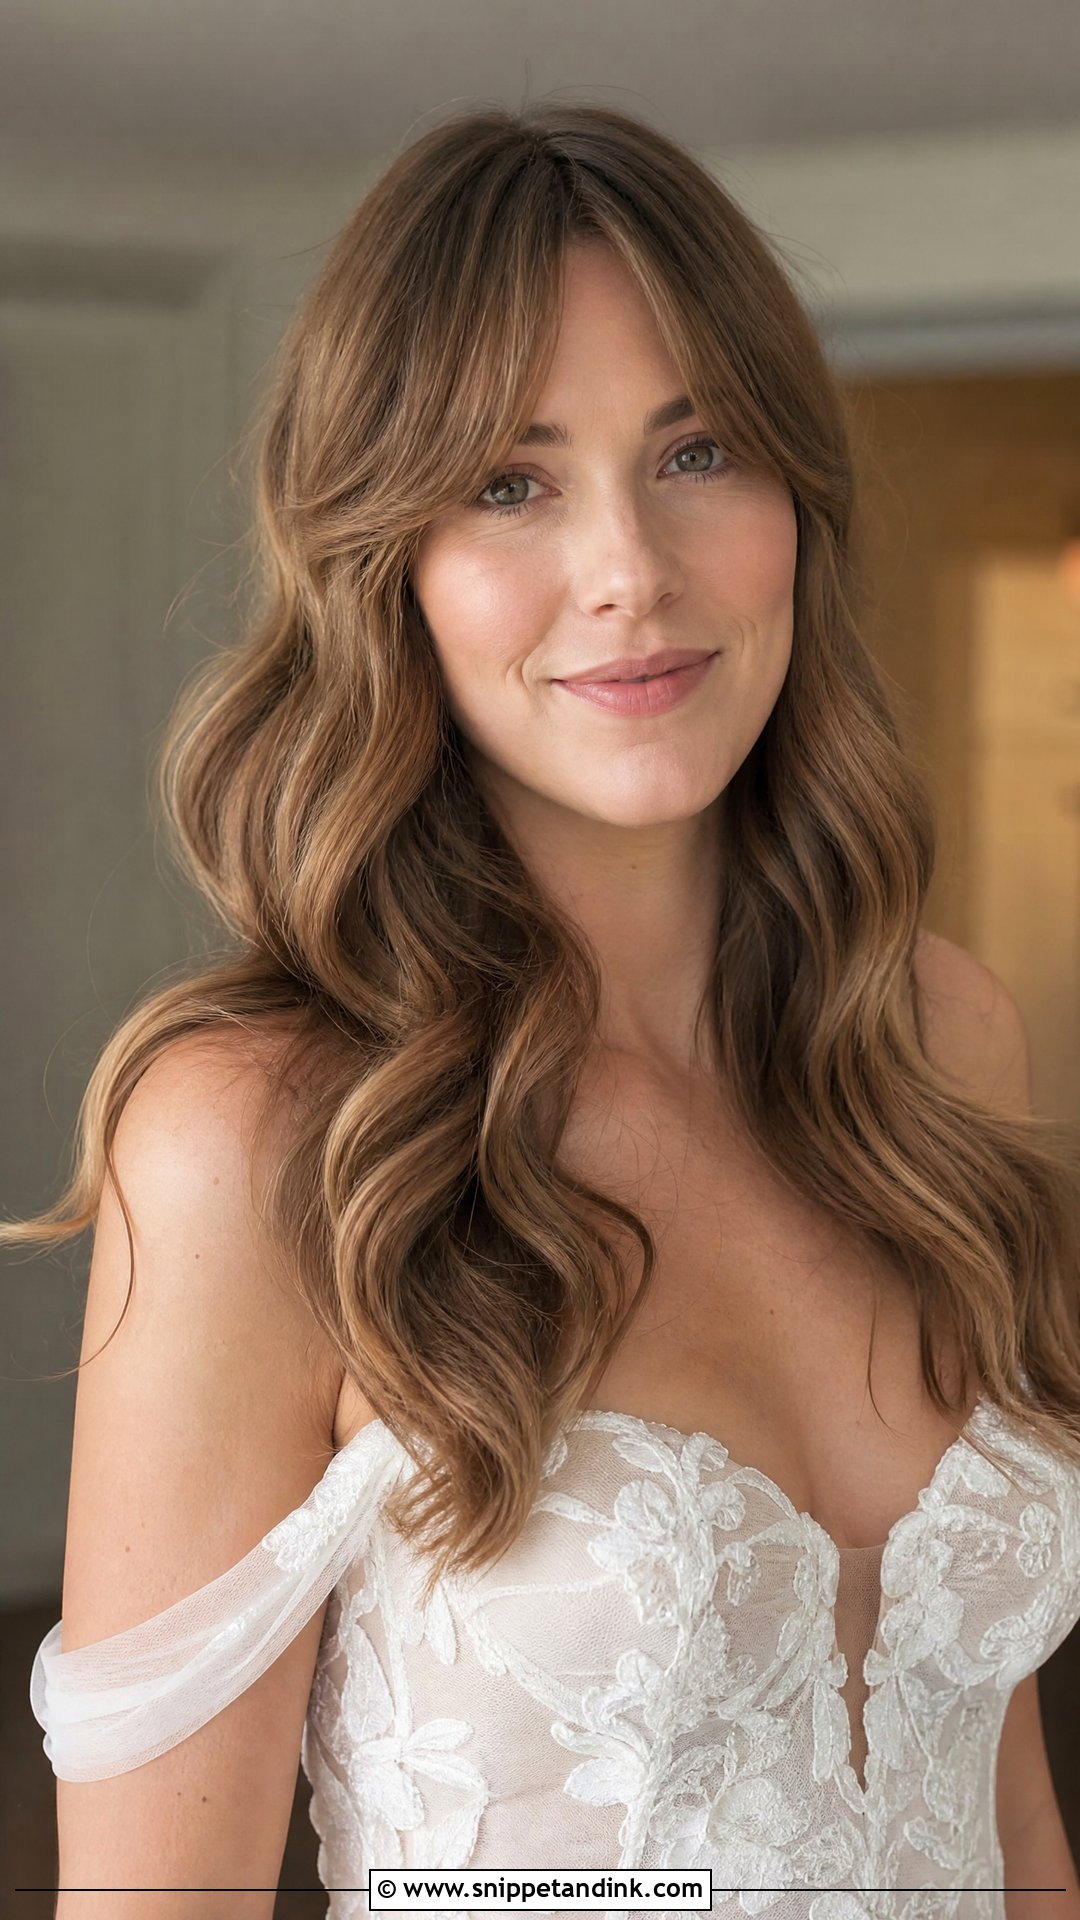
Curtain bangs blend into waves when they’re curled in the same direction as the first wave beside them, so they run straight into the lengths. I round-brush them first, then give them a light bend with the iron. They suit round and heart-shaped faces by breaking up the width of the forehead. Keep them soft. A blunt, freshly cut fringe won’t sit right with waves, so get any trim done well before the wedding.
14. Sleek Glam Waves
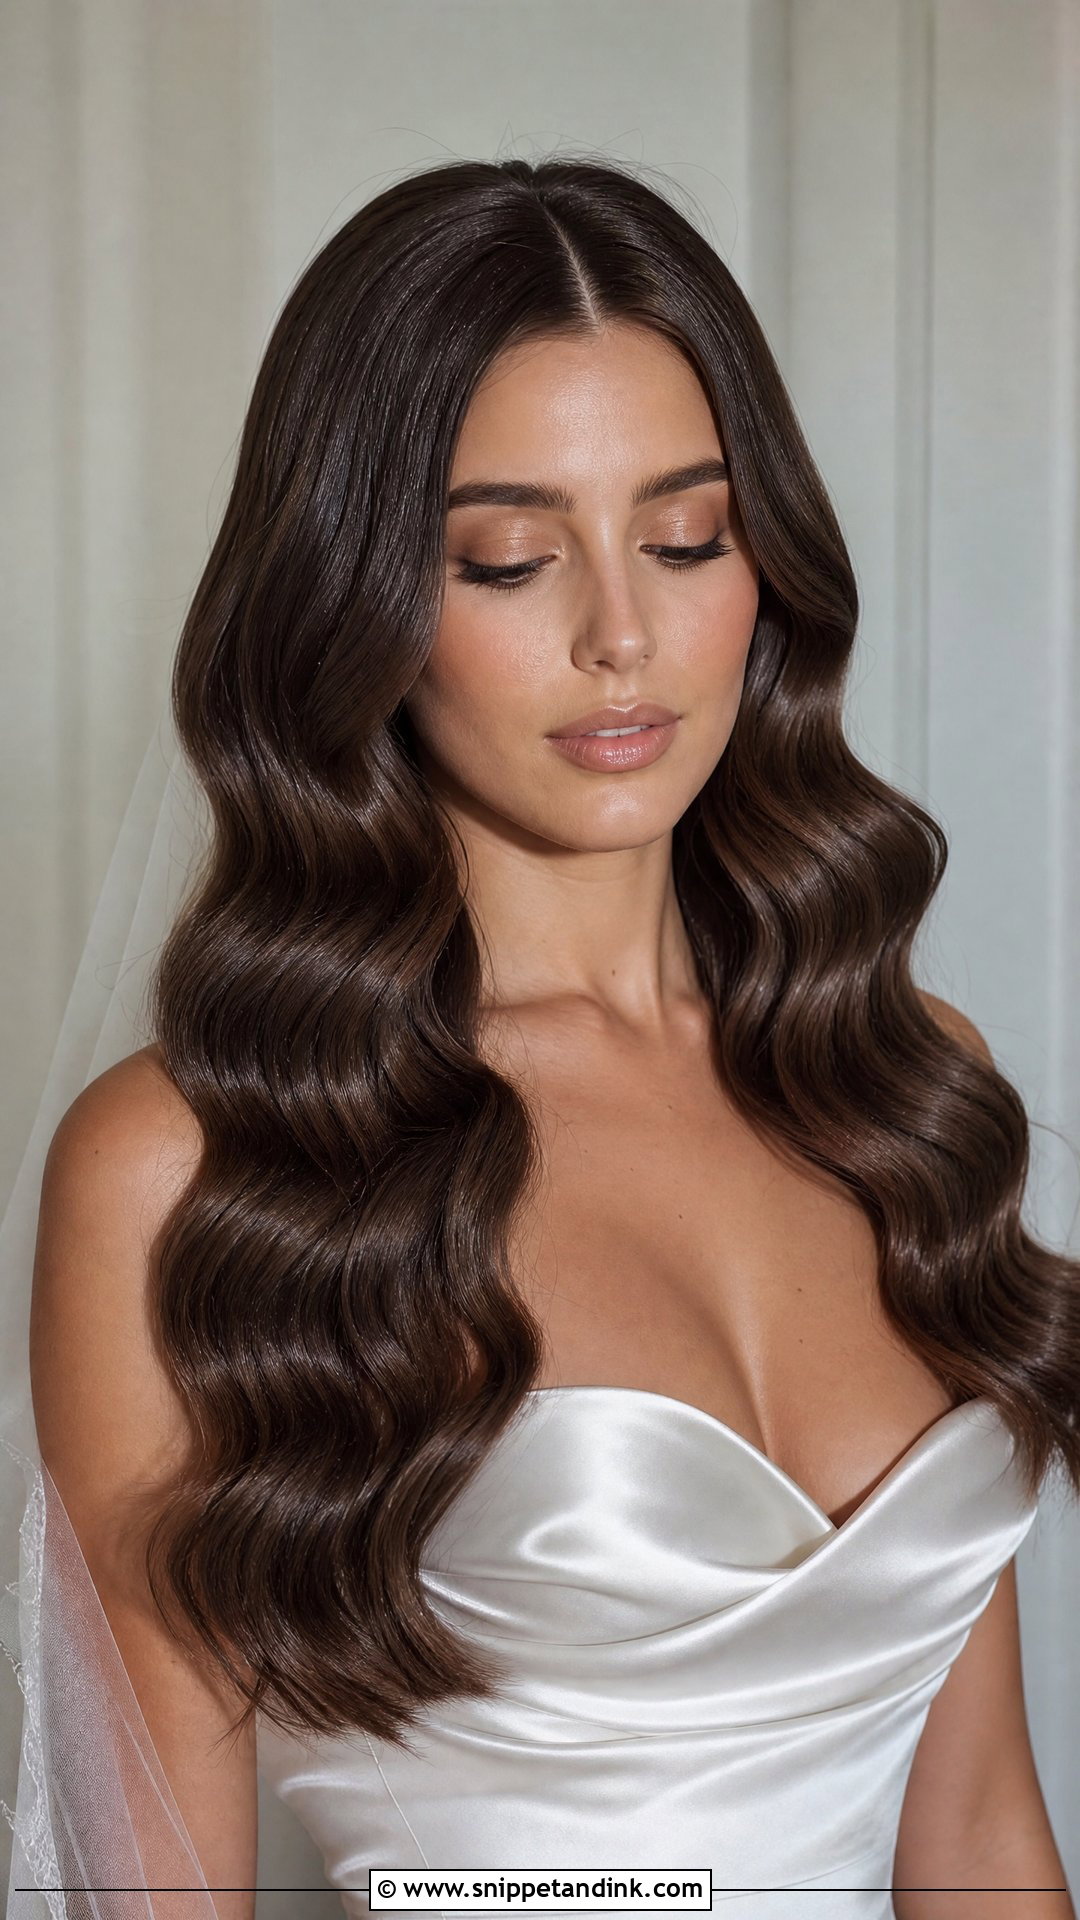
Shine is everything here, and it comes from a smooth cuticle before the waves go in. I blow-dry with a paddle brush and flat-iron each section before curling it, then finish with a few drops of serum on the lengths. It’s the high-fashion version, made for minimalist gowns and a clean center part. Humidity is its weakness; the first frizz shows instantly on a glossy surface. An air-conditioned indoor venue is where it holds best.
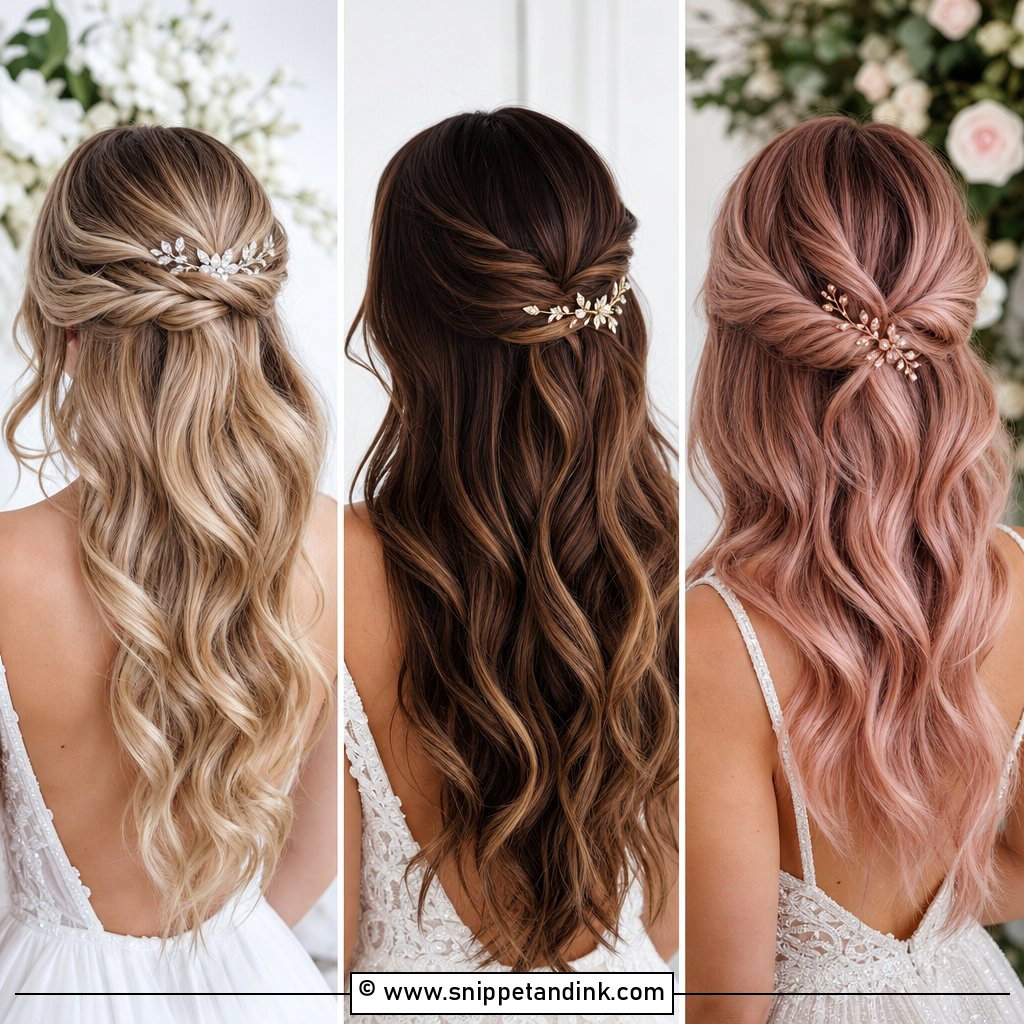
15. Glam Waves With Flowers
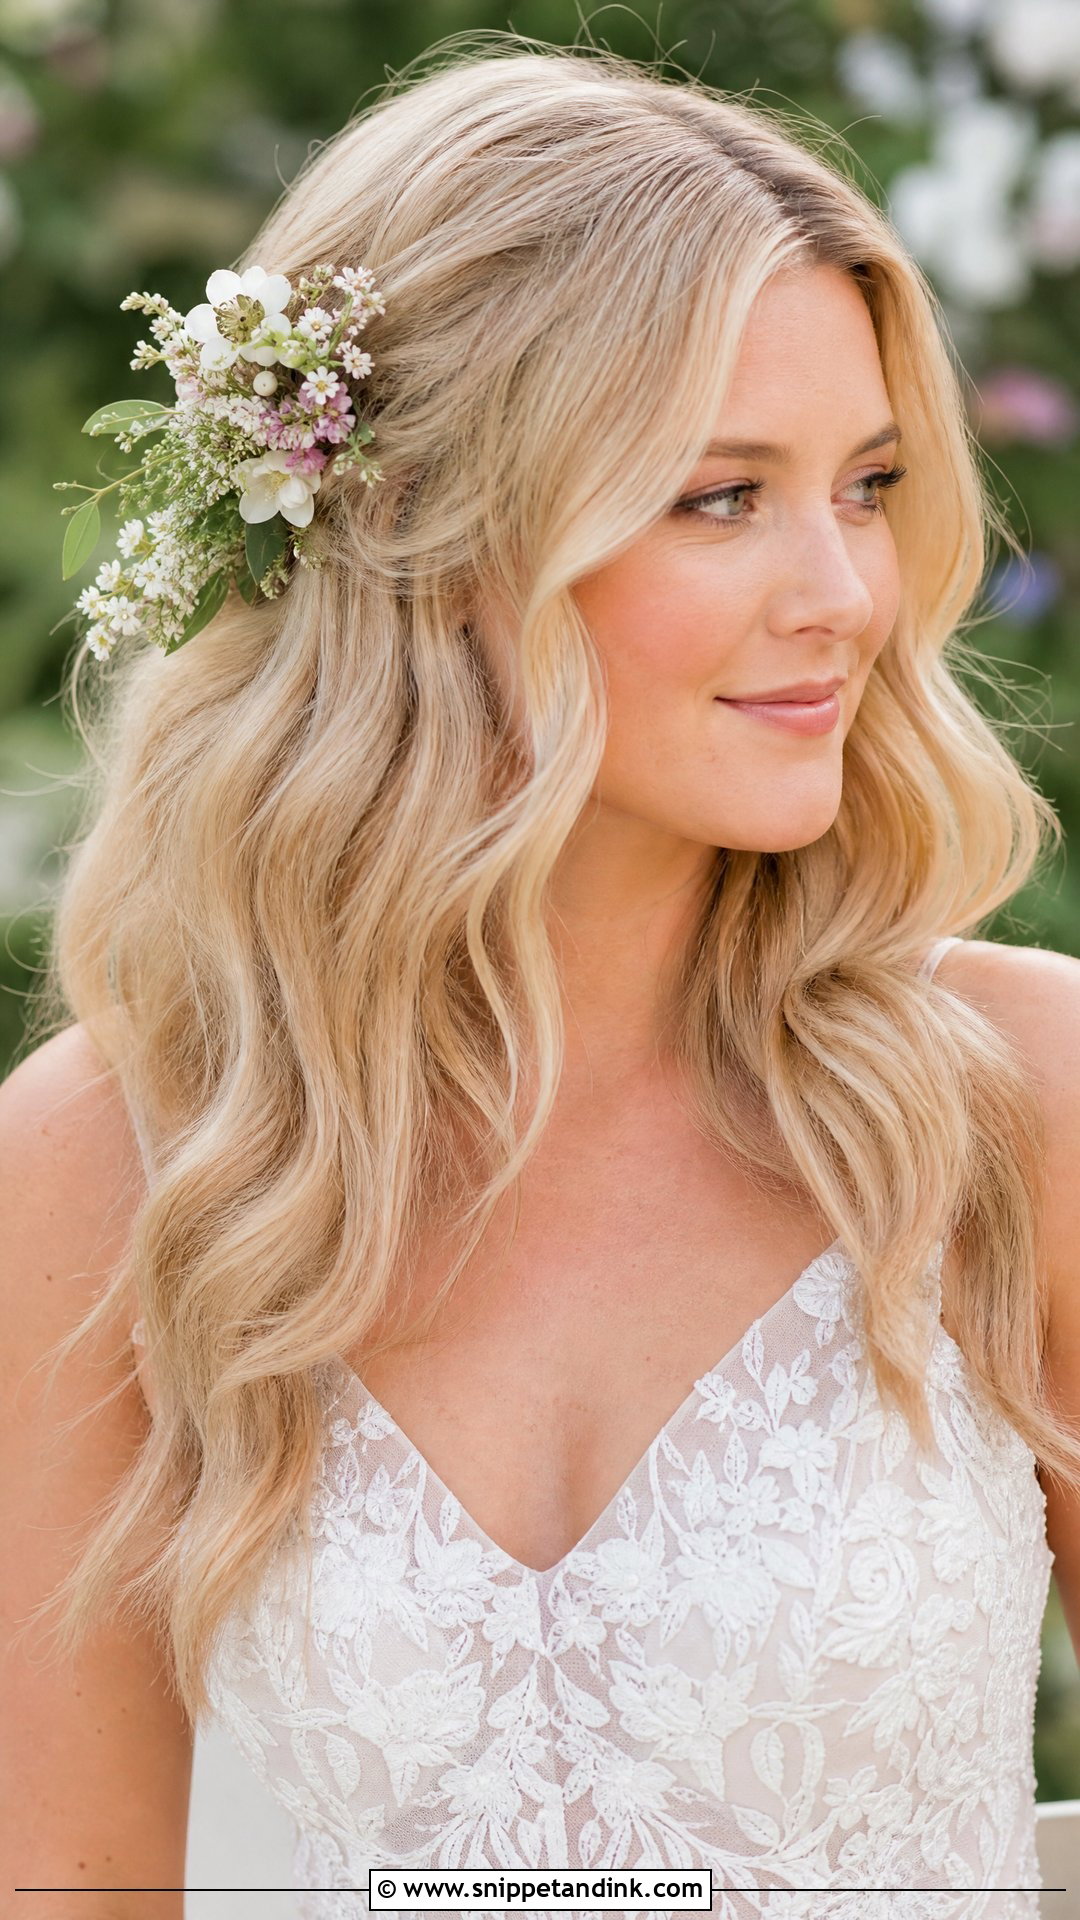
Waves give flowers a soft bed, but blooms add weight, so I pin each stem into a small anchor pin rather than into loose hair. Small clusters on one side look more deliberate than flowers dotted everywhere. Coordinate with your florist so they echo the bouquet. Baby’s breath, roses, and small wildflowers all hold up reasonably well out of water. In summer heat, silk flowers are the safer bet, since they won’t wilt before the reception.
16. Glam Waves Half-Up With Braids
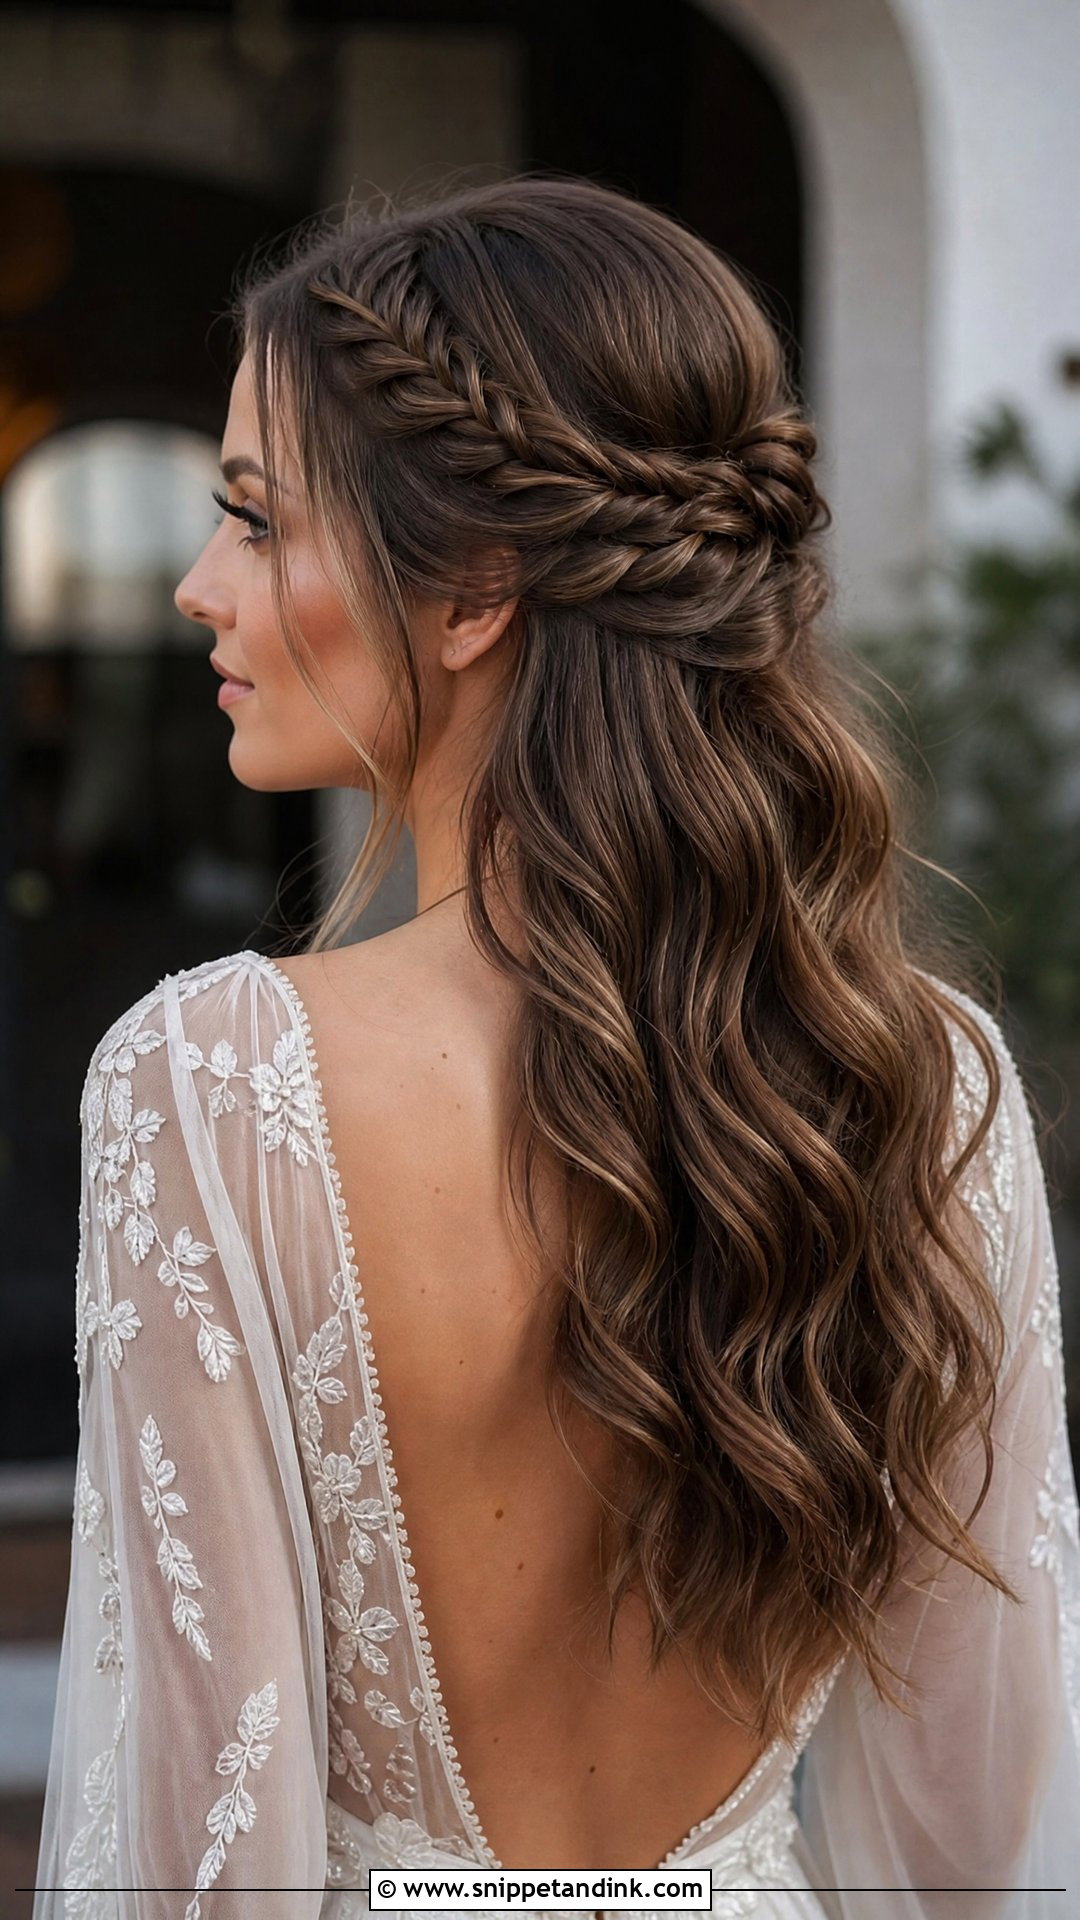
Braids give half-up waves a frame to hang from. I braid the crown or side sections before curling the rest, so the braids anchor the hair and the waves fall freely below. Loose braids look more romantic than tight ones, but I braid firmly and loosen by hand afterward; a braid started loose loses its shape within hours. Small flowers or pins woven through suit boho and rustic weddings.
17. Glam Waves for Black Hair
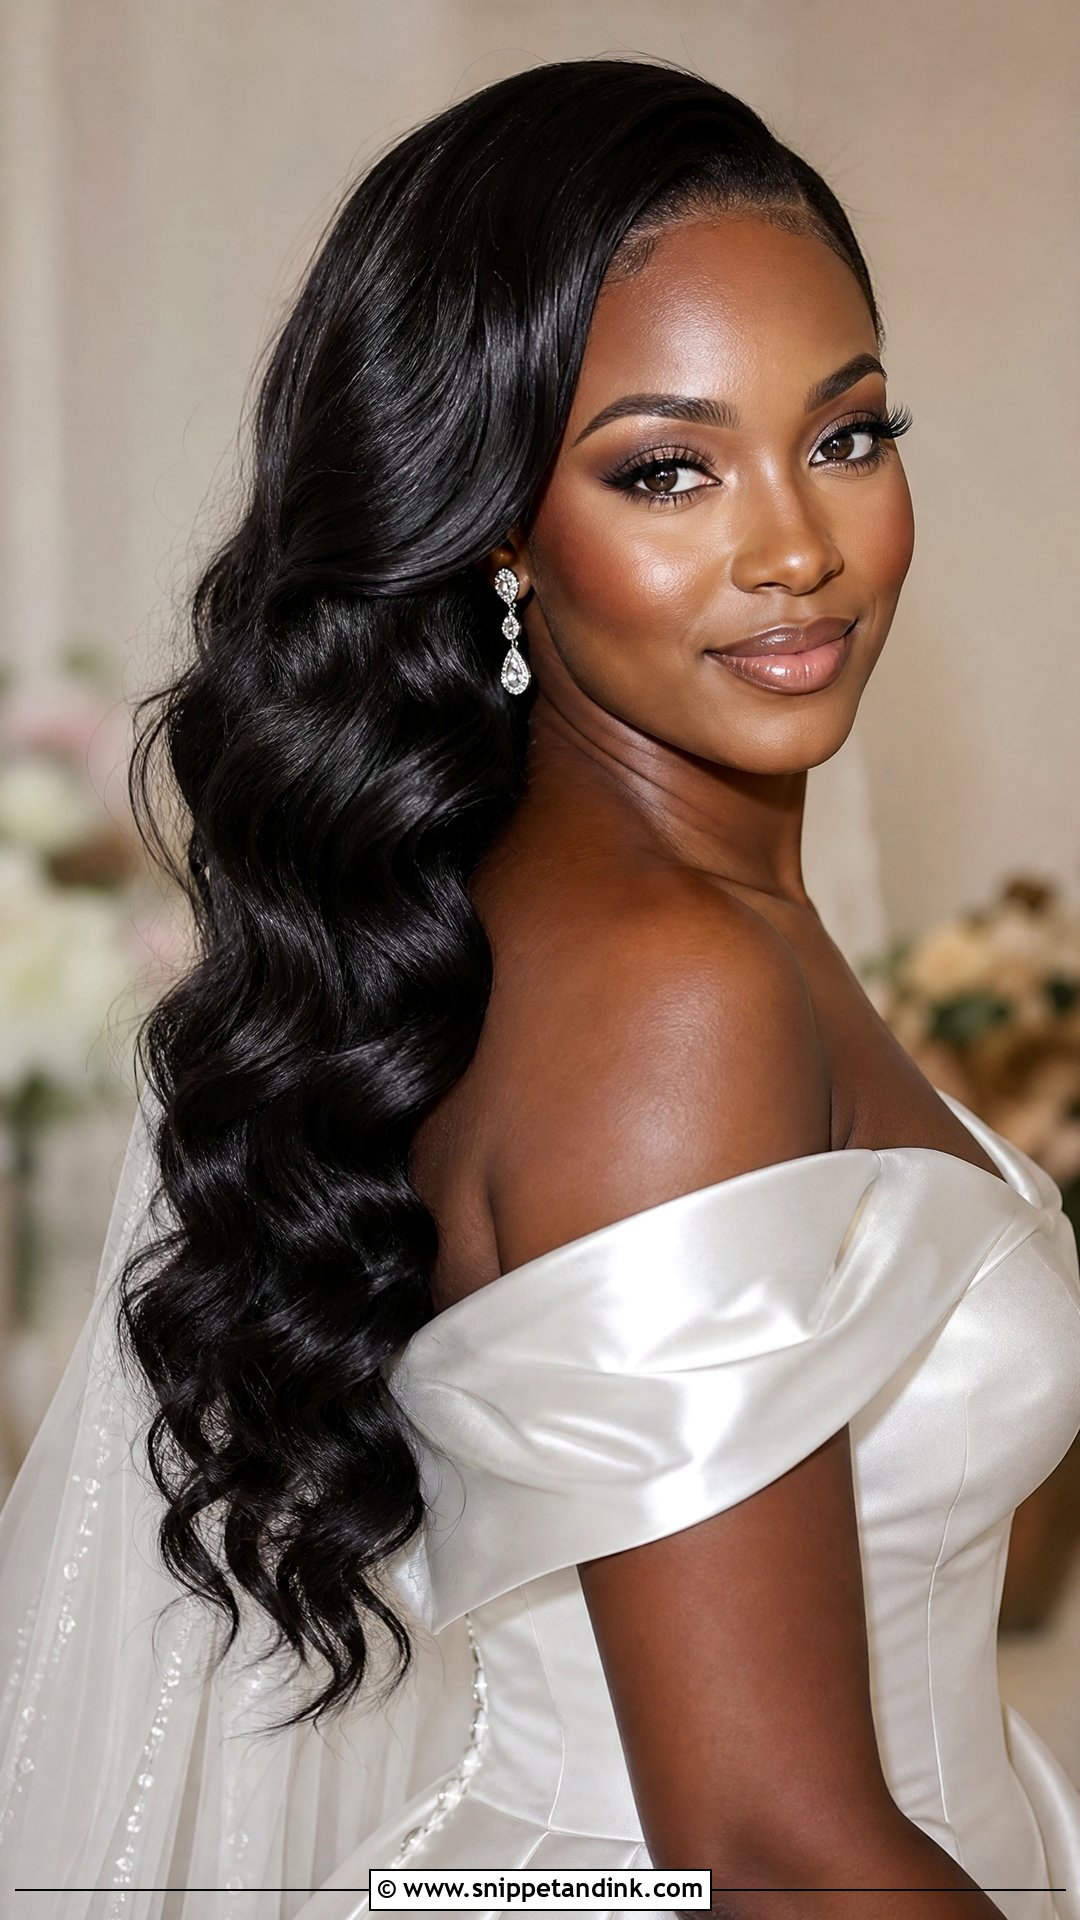
Dark hair reflects light so clearly that every ridge of a wave shows, which means the shape has to be clean. I finish with a shine spray and keep other product light, because heavy product dulls dark hair in photos. Textured and coily hair can be waved too, but I talk through heat with the bride first and use a protectant, since repeated high heat can loosen a natural curl pattern. A sparkly accessory shows up well against a deep base.
18. Glam Waves With Tiara
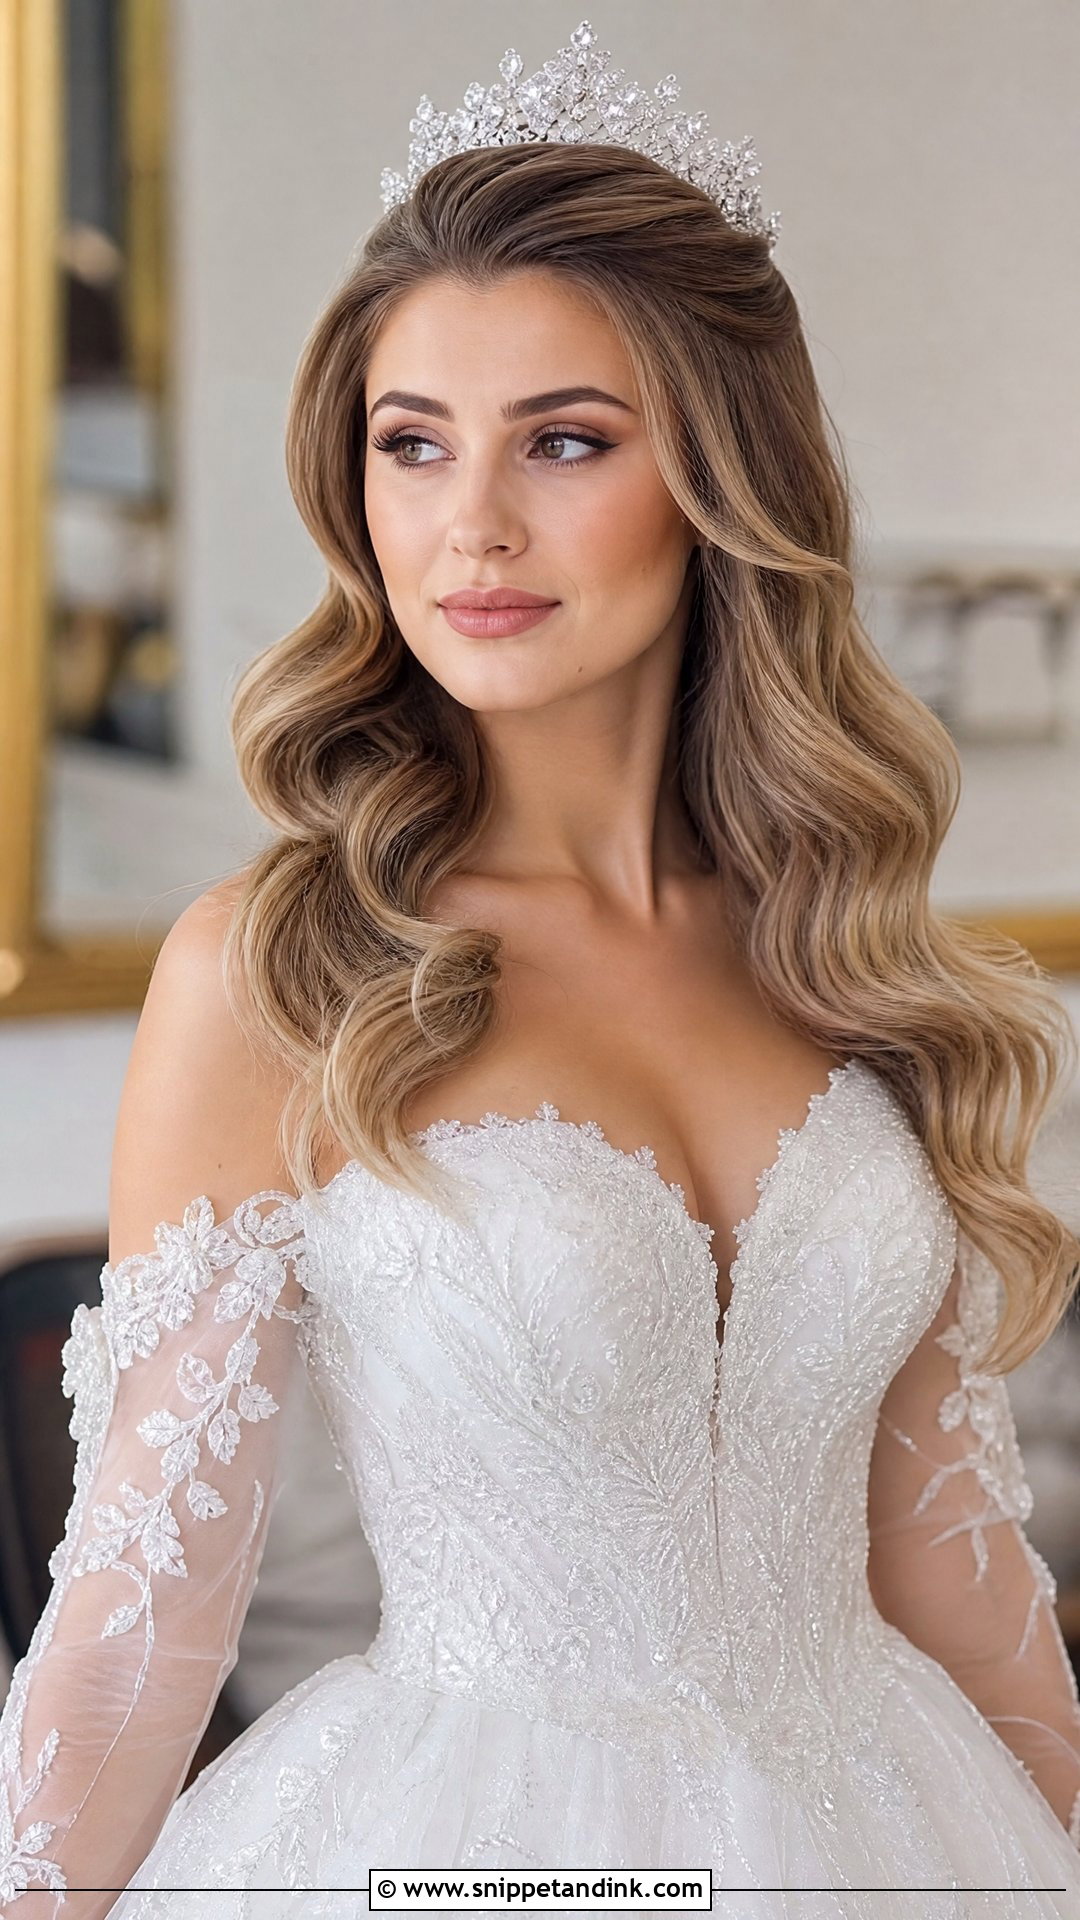
A tiara needs something to grip. On waves, I backcomb a small section at the crown, smooth it over and set the tiara’s ends into that base, then pin through the loops at the sides. Without the base, a tiara slides forward on silky hair. Keep the waves full enough to balance the sparkle so the tiara doesn’t look perched on top. Delicate or bold, it belongs at formal and fairytale weddings.
19. Glam Waves With Middle Part
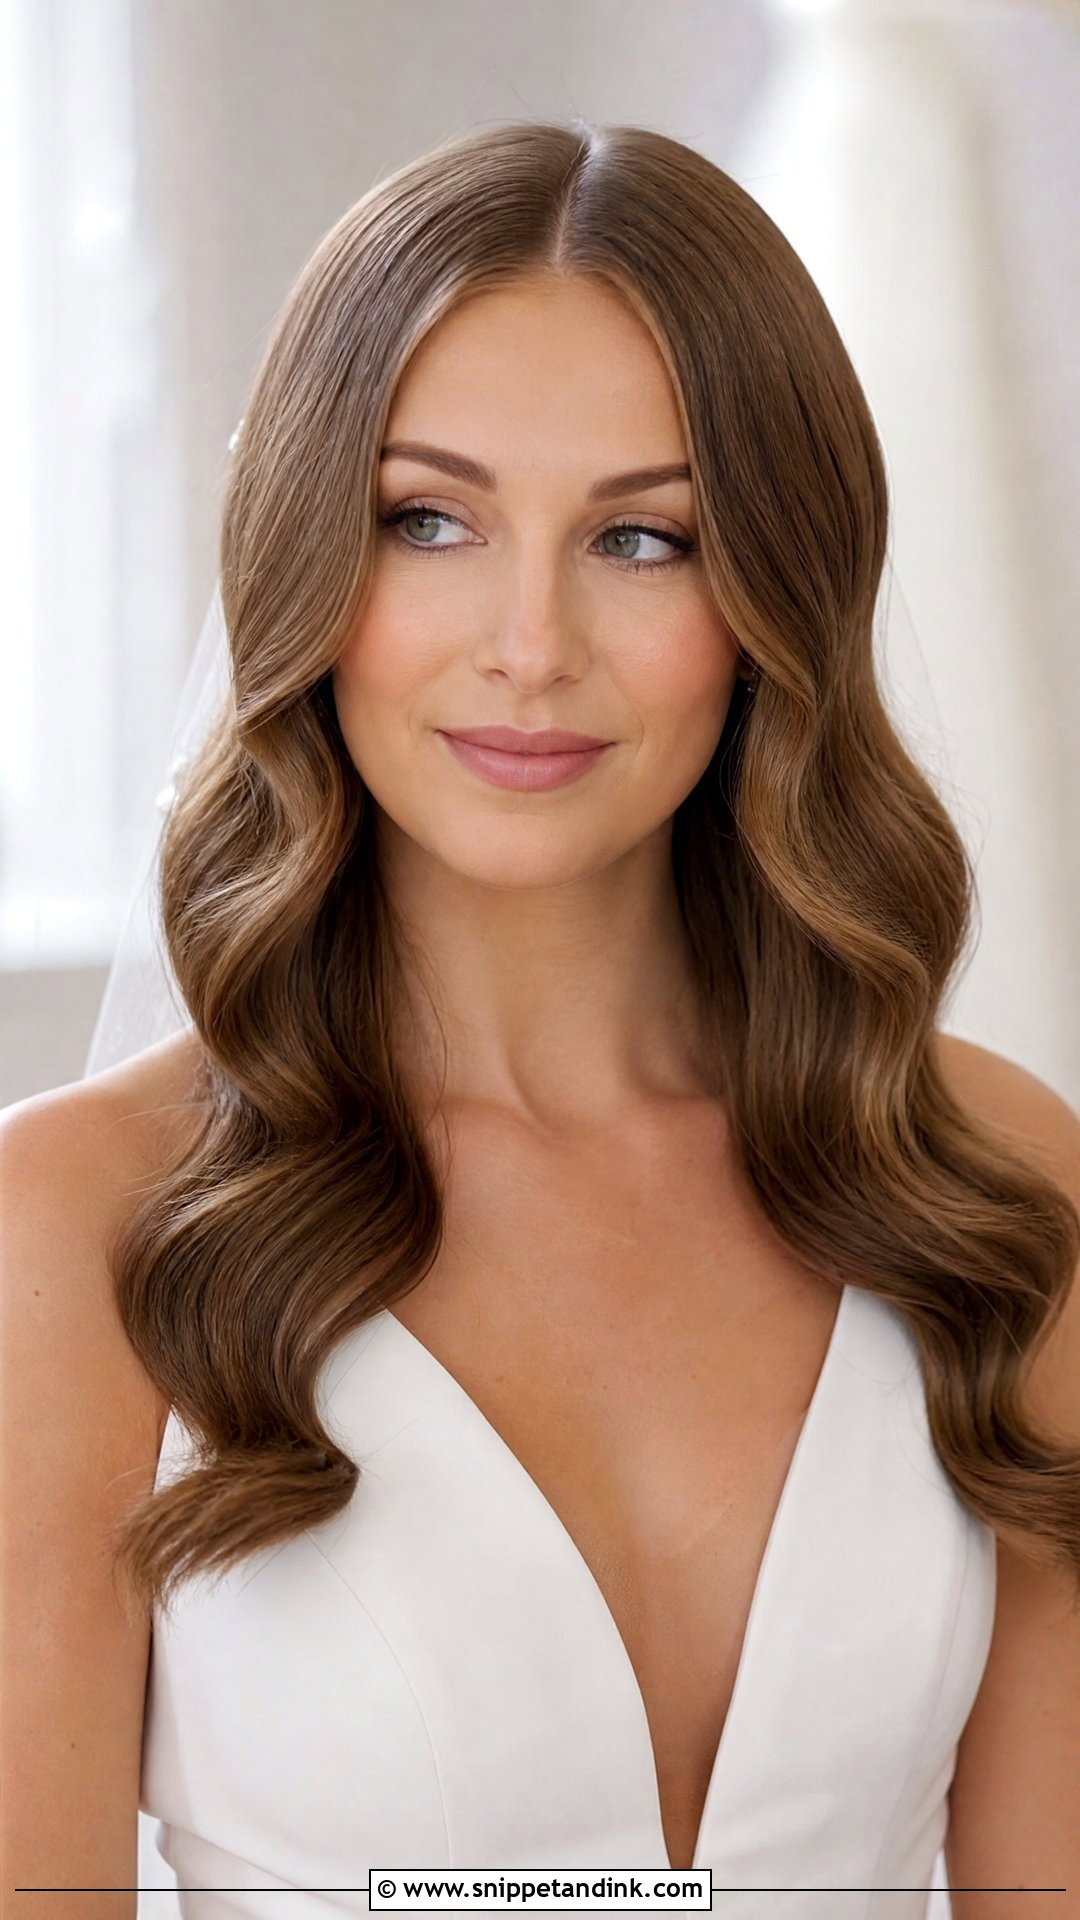
Symmetry punishes small mistakes. With a middle part, I curl both sides away from the face so they open evenly and check the part on camera before finishing. It suits oval and heart-shaped faces and minimalist gowns. If your hair has a strong natural part to one side, dry it into the center at the trial to see how it behaves; it may fight you all day.
20. Glam Waves Updo
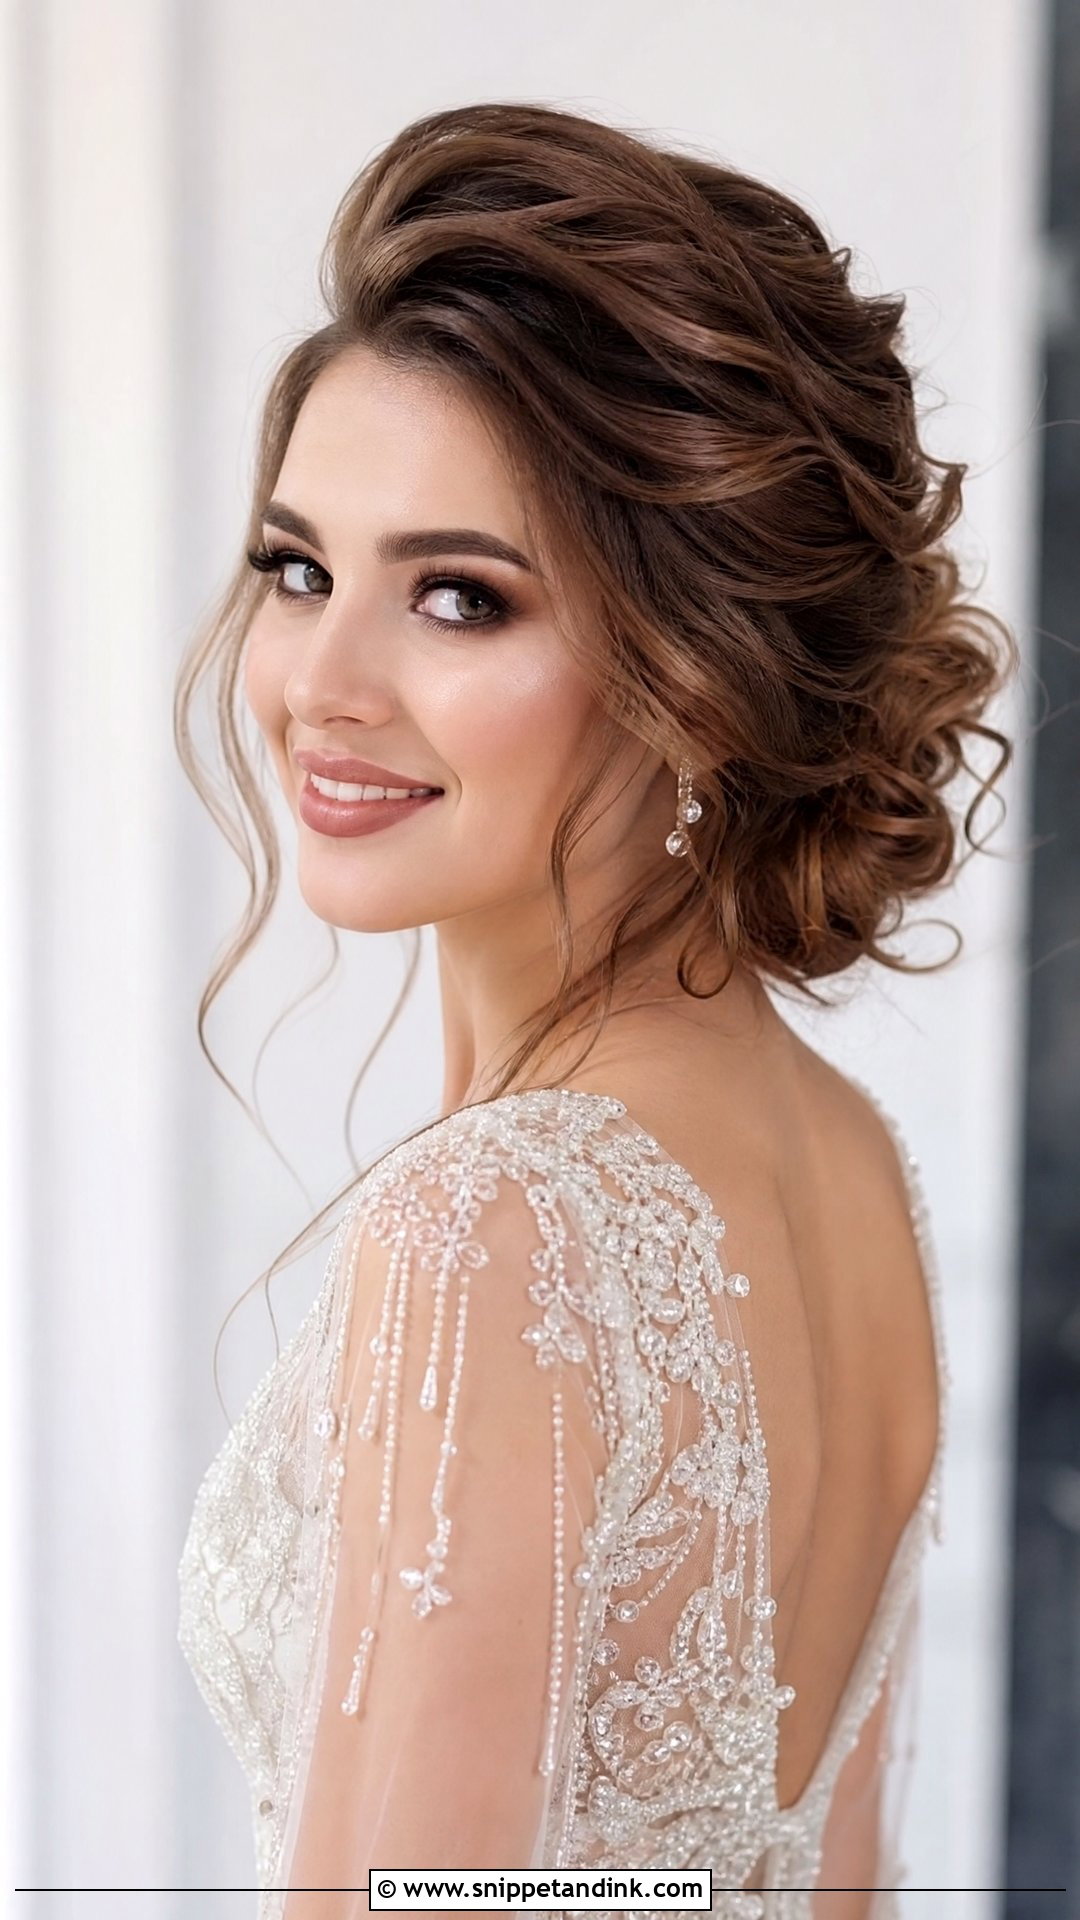
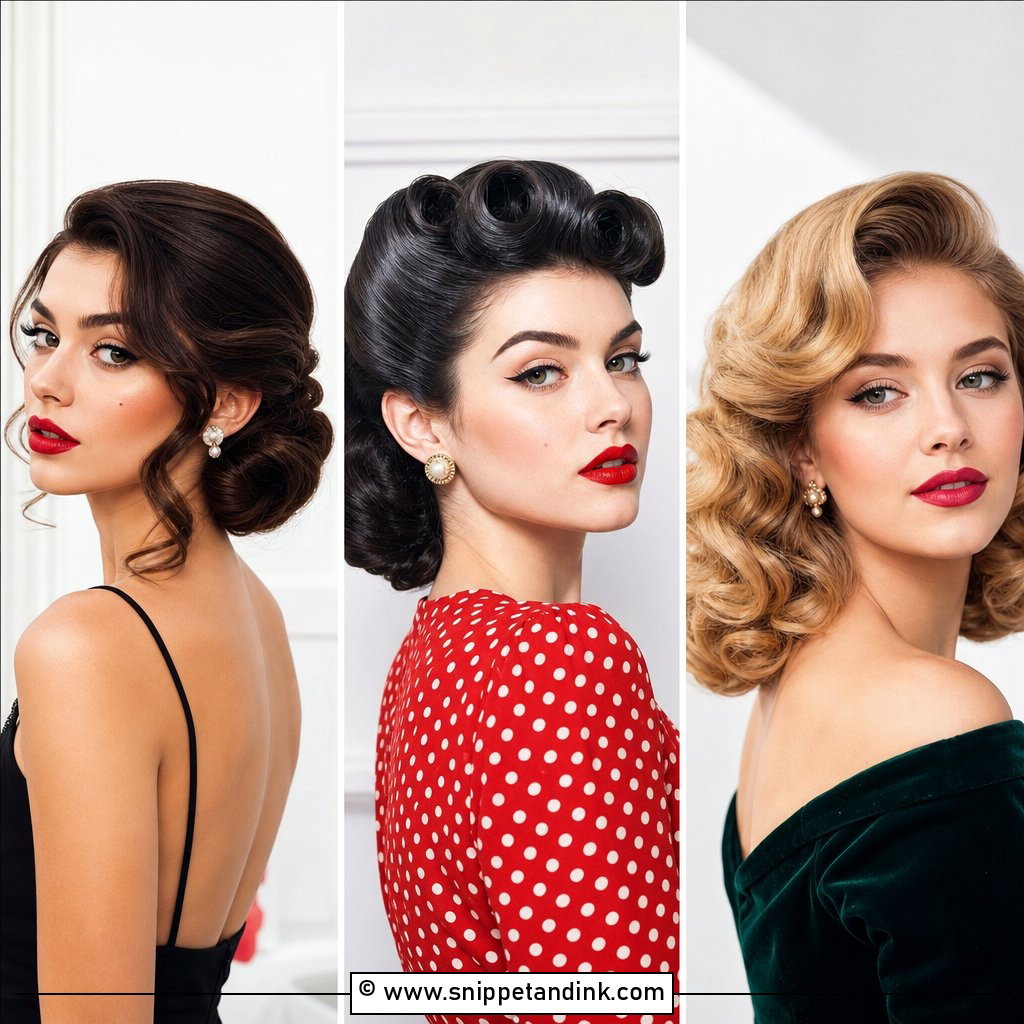
Waves pinned up keep their texture, so the updo looks full instead of flat. I curl first, let the hair cool completely, then pin each wave into place at the back, working up from the nape. Face-framing tendrils soften it. Of all the wave styles, it’s the most secure and the coolest on a warm day, and a jeweled pin sits neatly in its folds.
21. Glam Waves With Headband
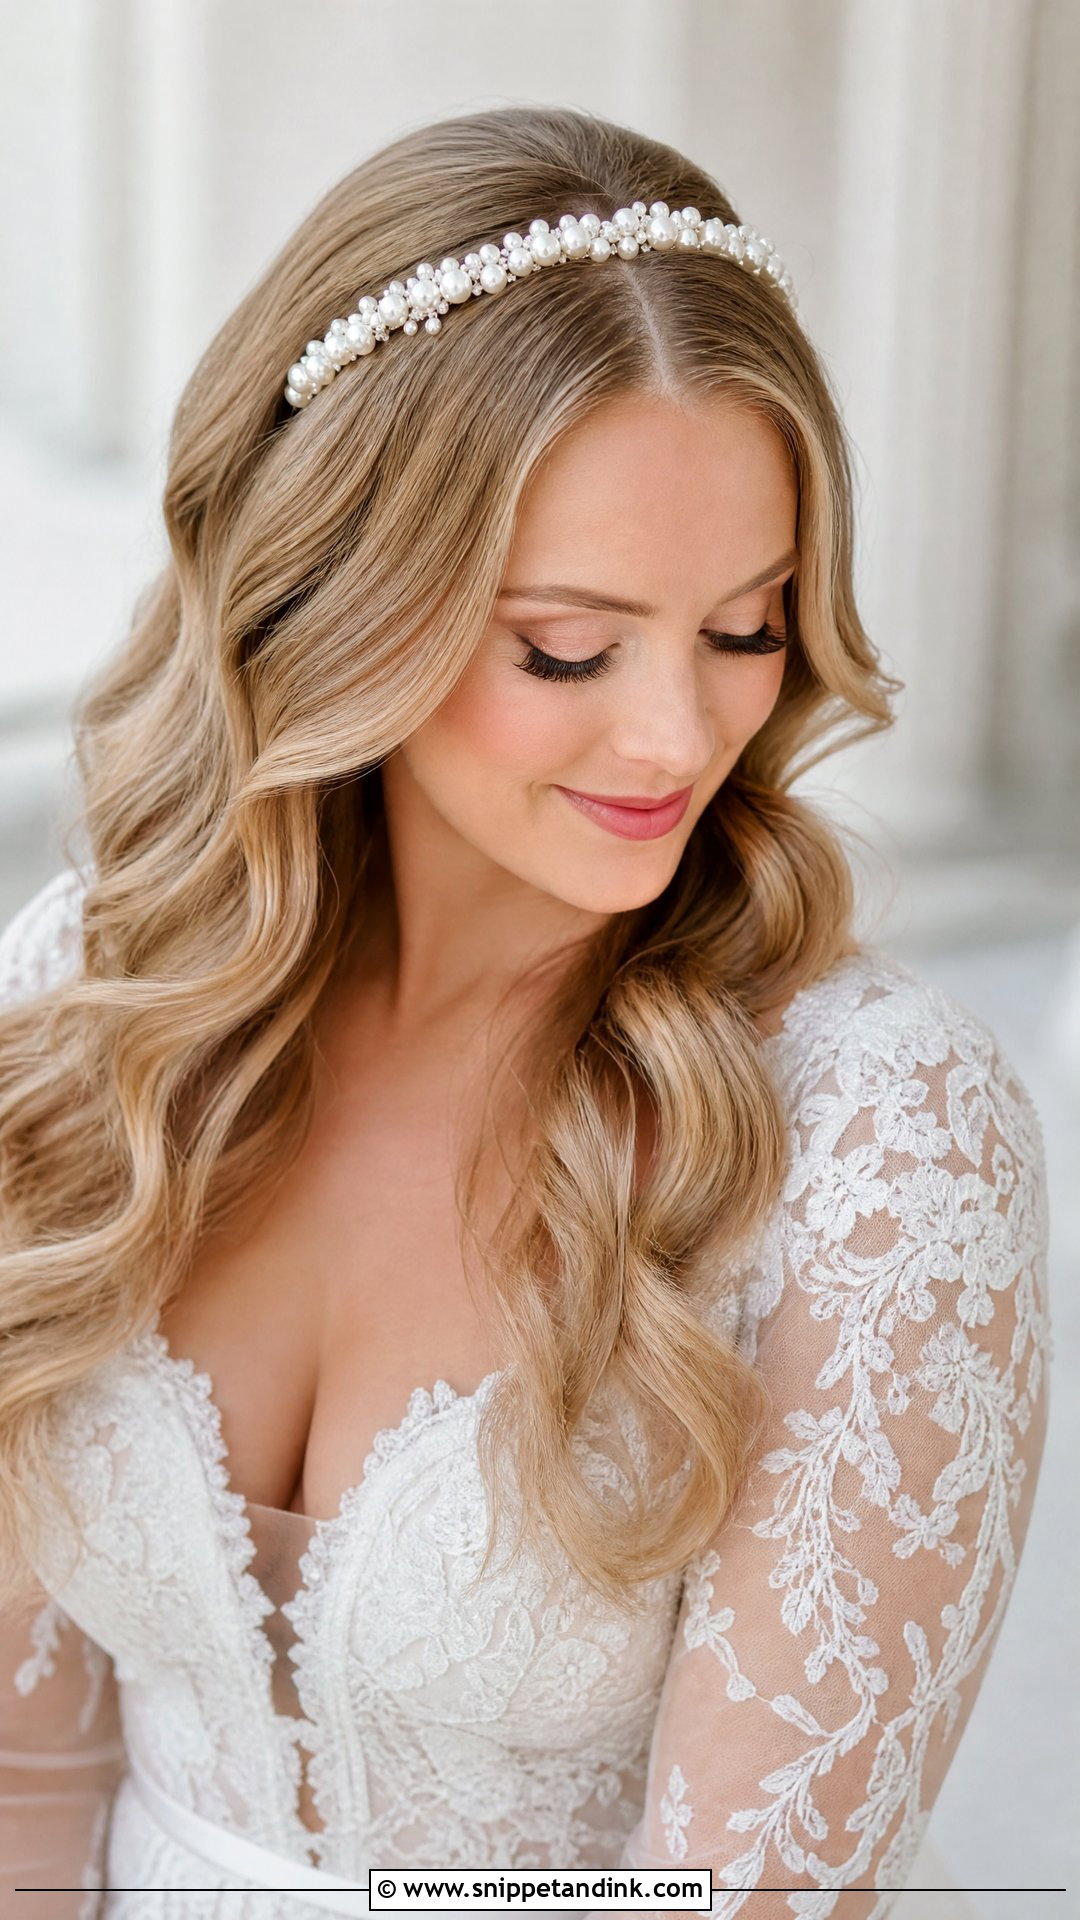
A jeweled or pearl headband should sit just behind the hairline, not on it, so the front waves still show. I place the band after curling, tuck its ends behind the ears and hide them under a wave. Headbands can pinch behind the ears after a few hours, so wear yours for an hour at the trial. Let the band set the mood: crystals lean modern, pearls lean vintage.
22. Glam Waves for Medium Hair
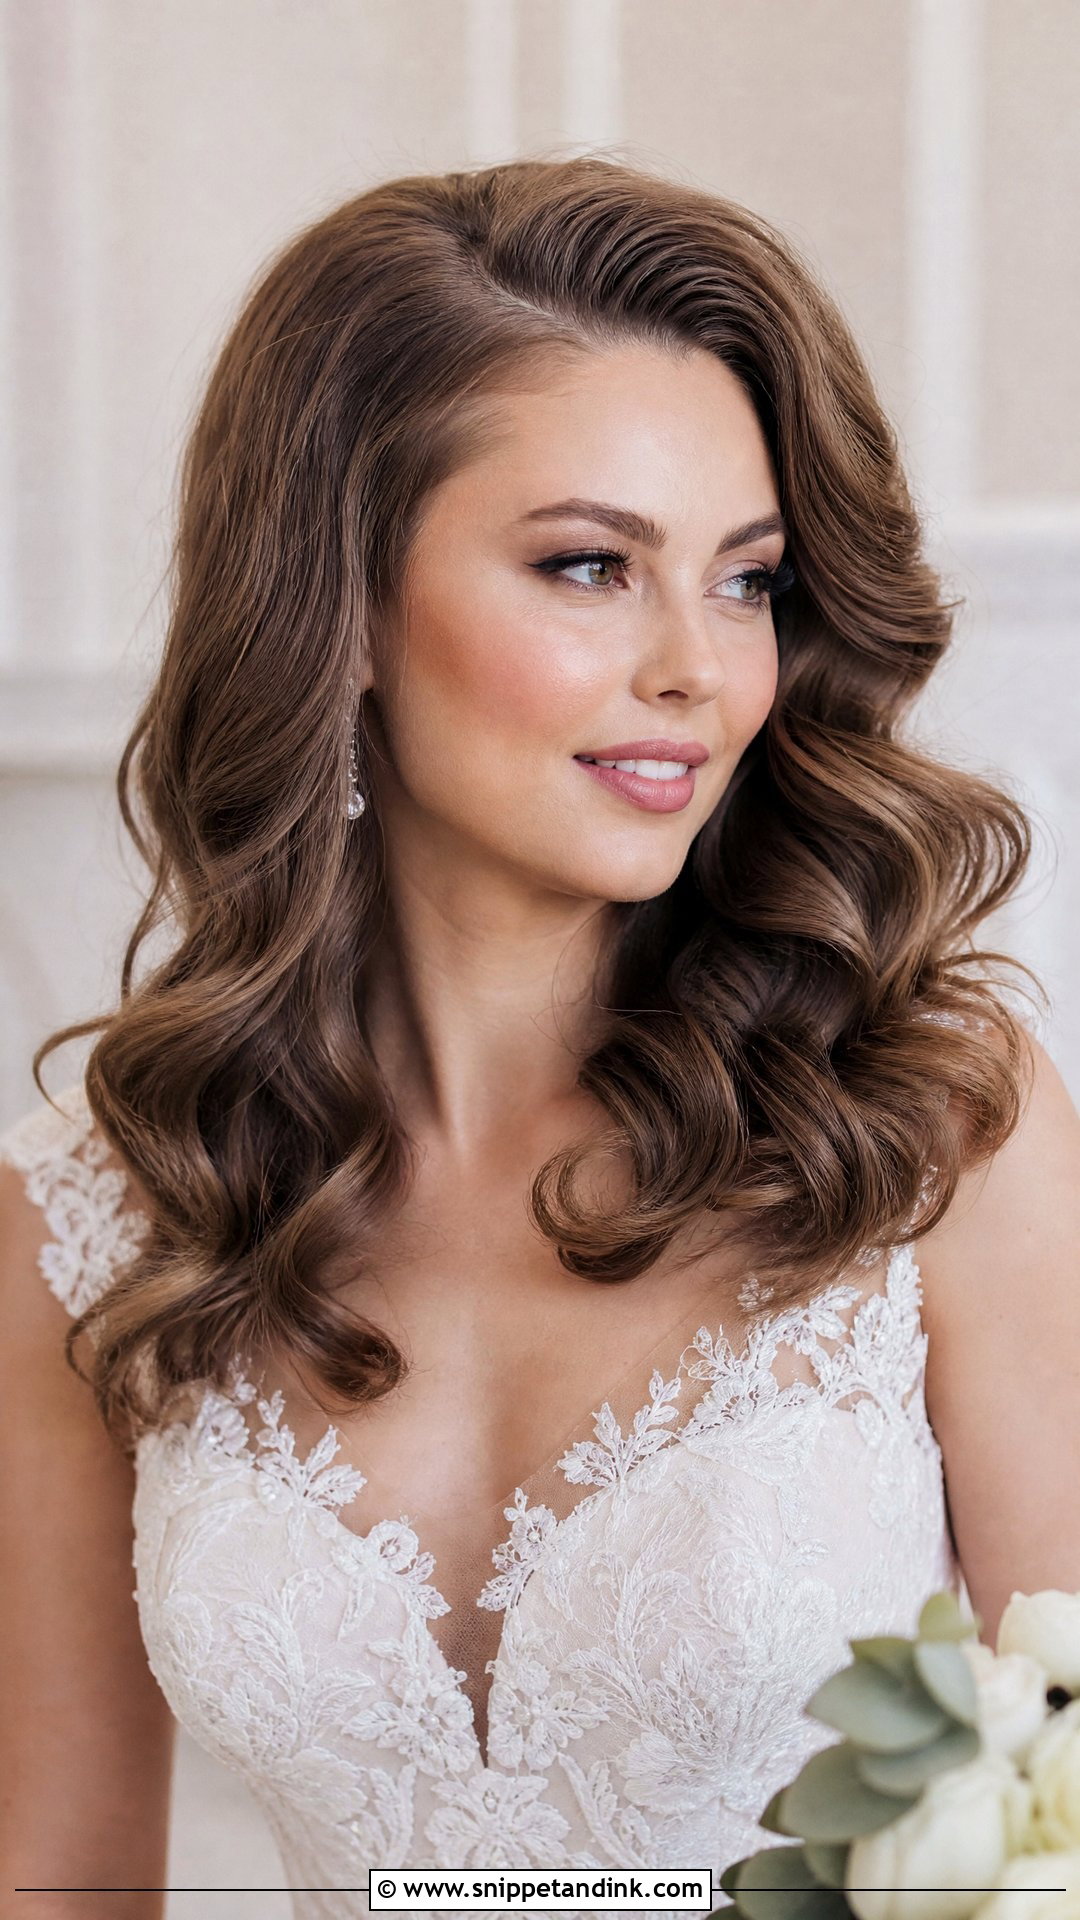
Shoulder-length hair waves well because there’s little weight to pull the curl straight. I use a medium barrel, curling away from the face at the front and alternating through the back, then brush lightly. The waves fall just past the shoulders, and a side part adds lift. They hold longer than long-hair waves and need less spray. Of every length, this is the easiest one to wave and keep waved.
23. Glam Waves With Pearls
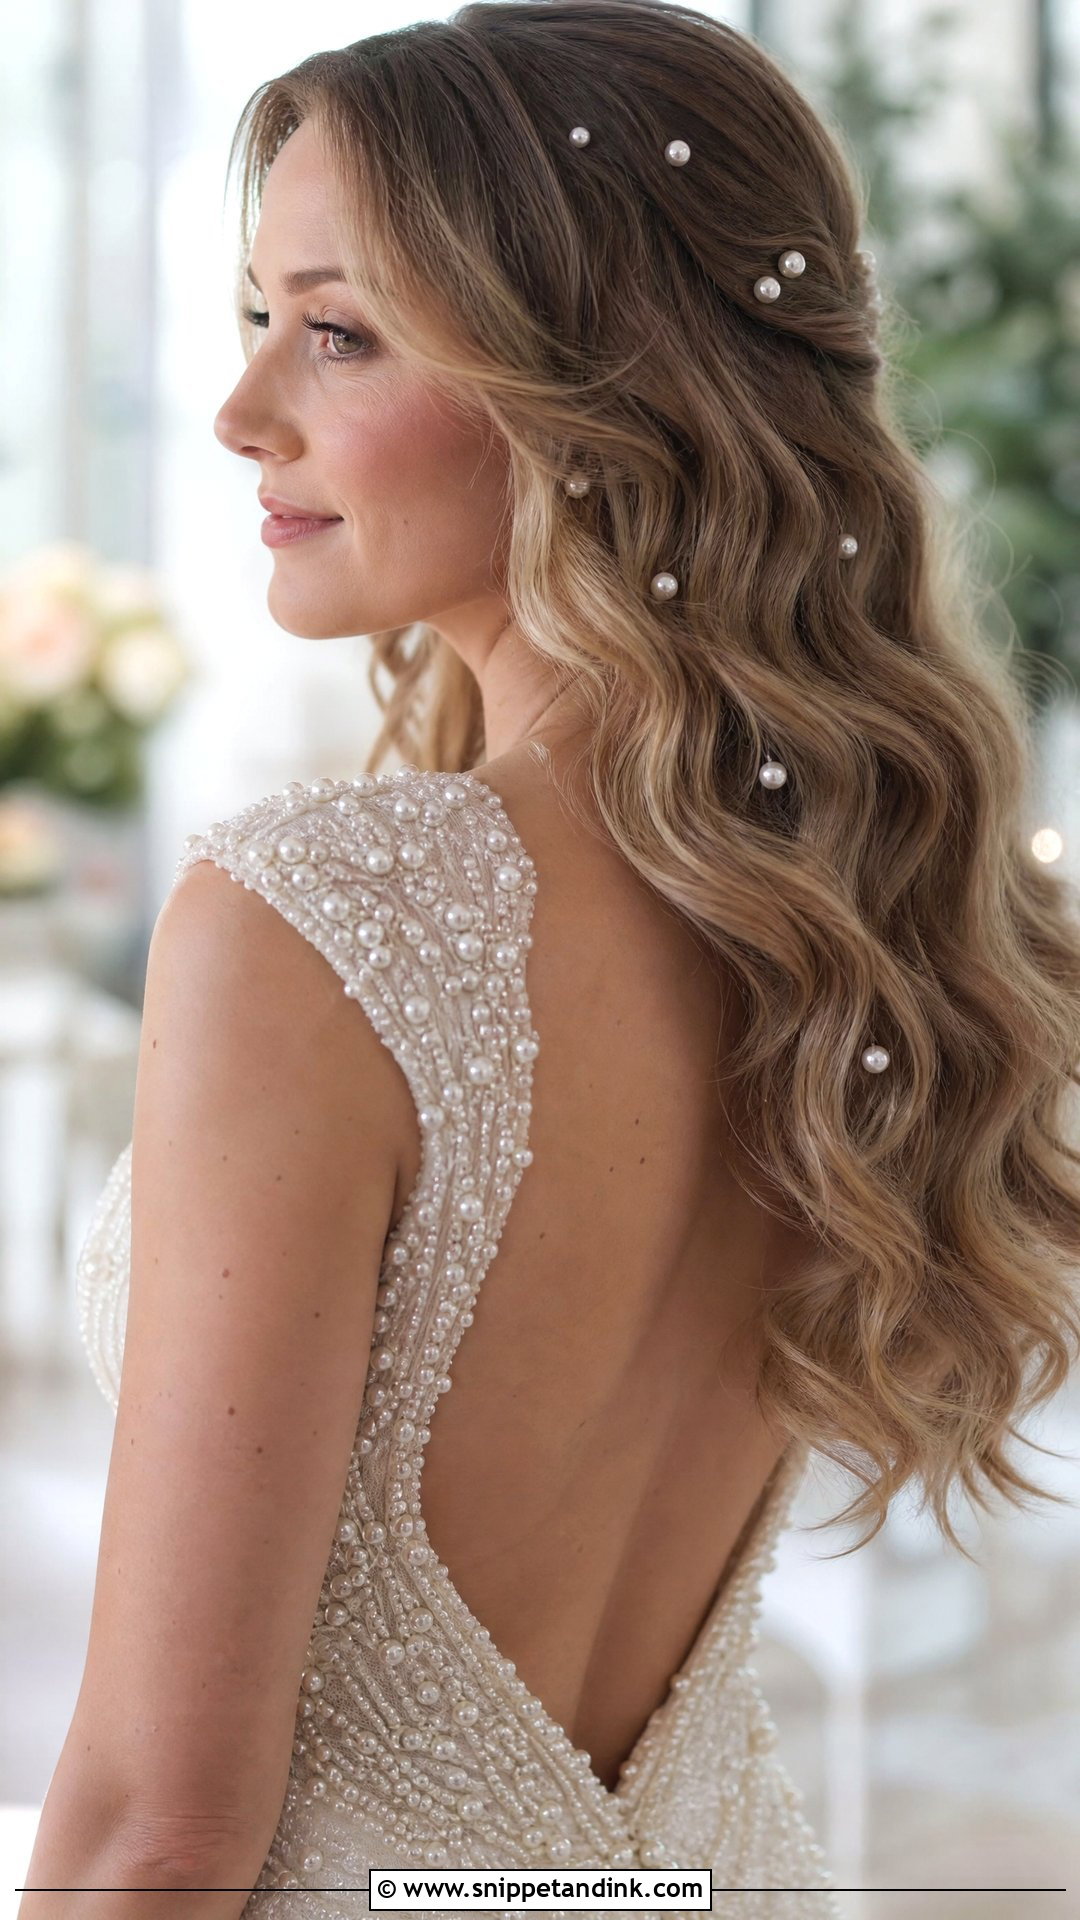
Pearl pins go in after the waves are brushed, or the brush knocks them straight out. I follow the line of one wave across the back so the pearls look as if they’re riding it. Clustered on one side they read as an accent; scattered all over they can look busy. Match the pearl tone to your earrings, because cream and bright white pearls side by side look mismatched.
24. Glam Waves Low Ponytail
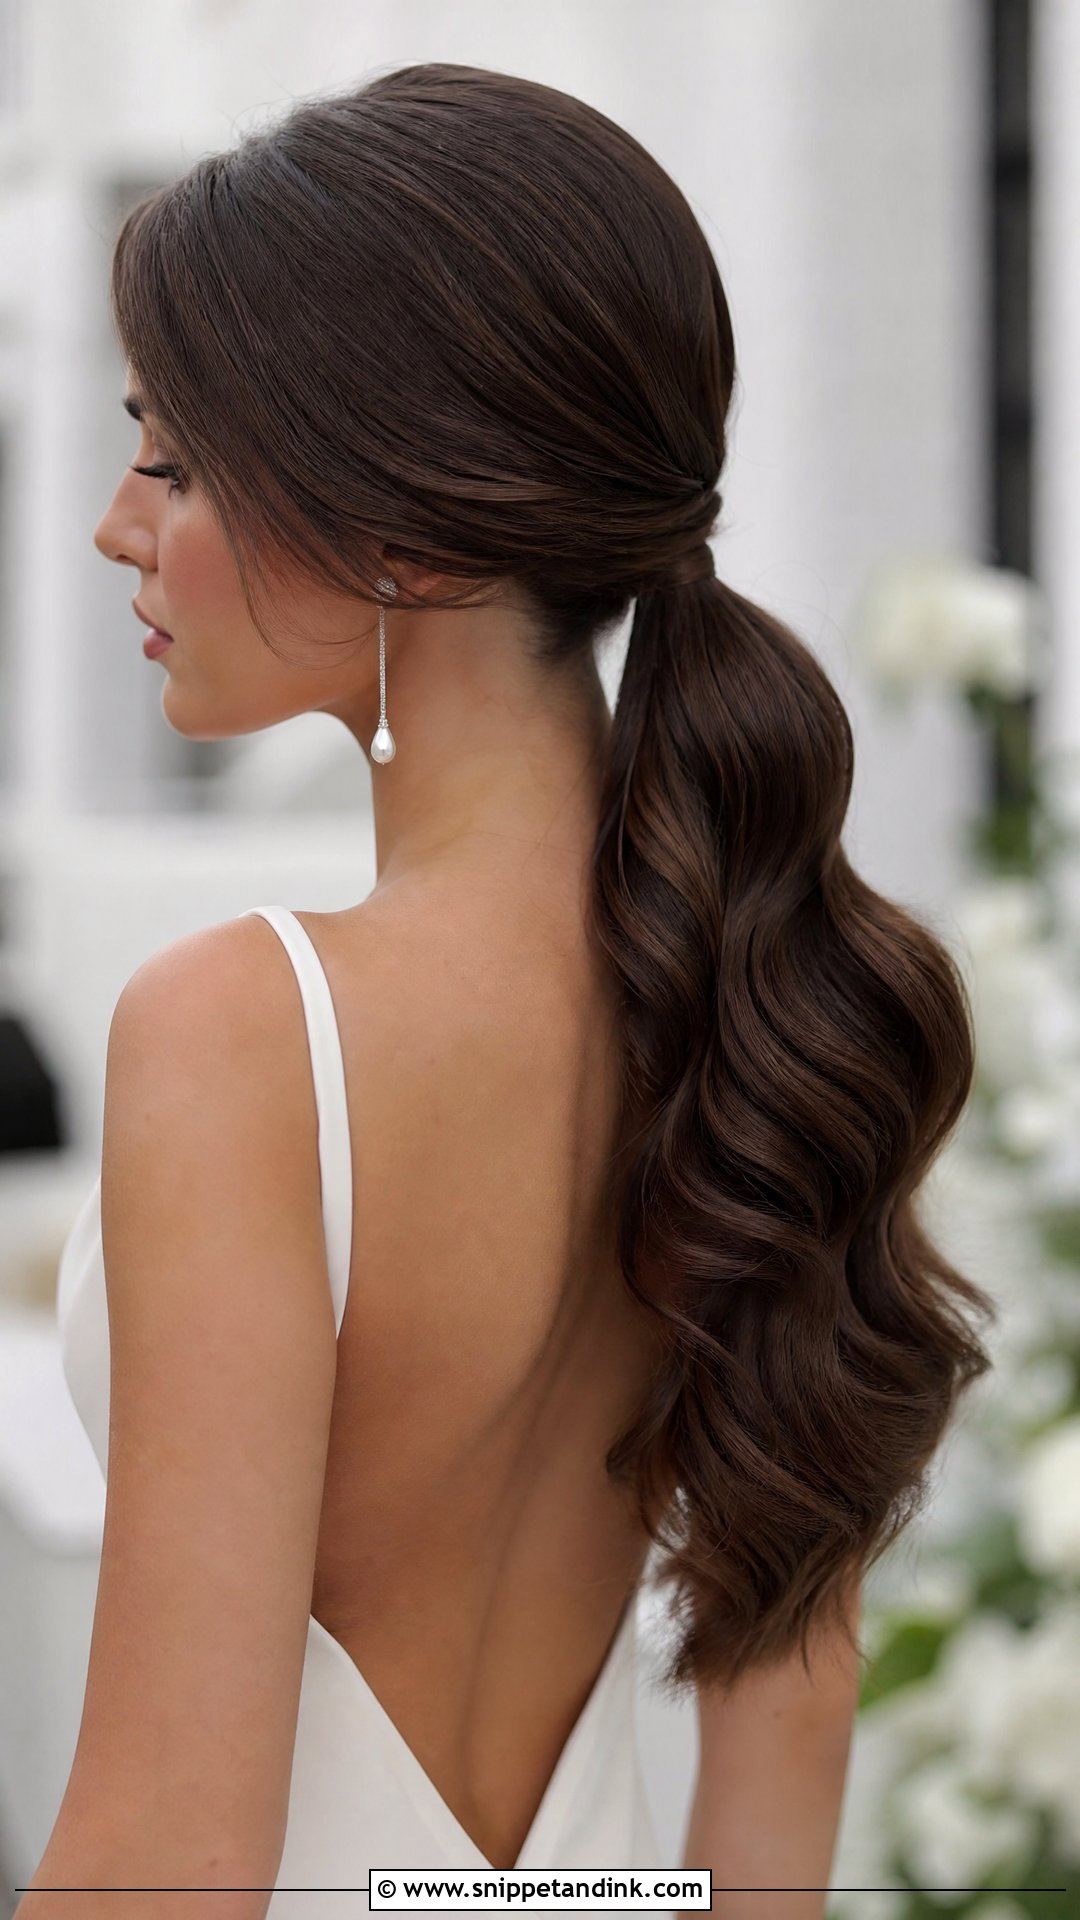
The ponytail is tied tight at the nape and a strand is wrapped around it and pinned underneath to hide the elastic. I curl the lengths after tying, not before, so the waves start right at the tie. Face-framing tendrils soften the clean line. It suits contemporary weddings, and it’s practical: everything stays controlled even while you hug every guest in the room.
25. Glam Waves With Blonde Highlights
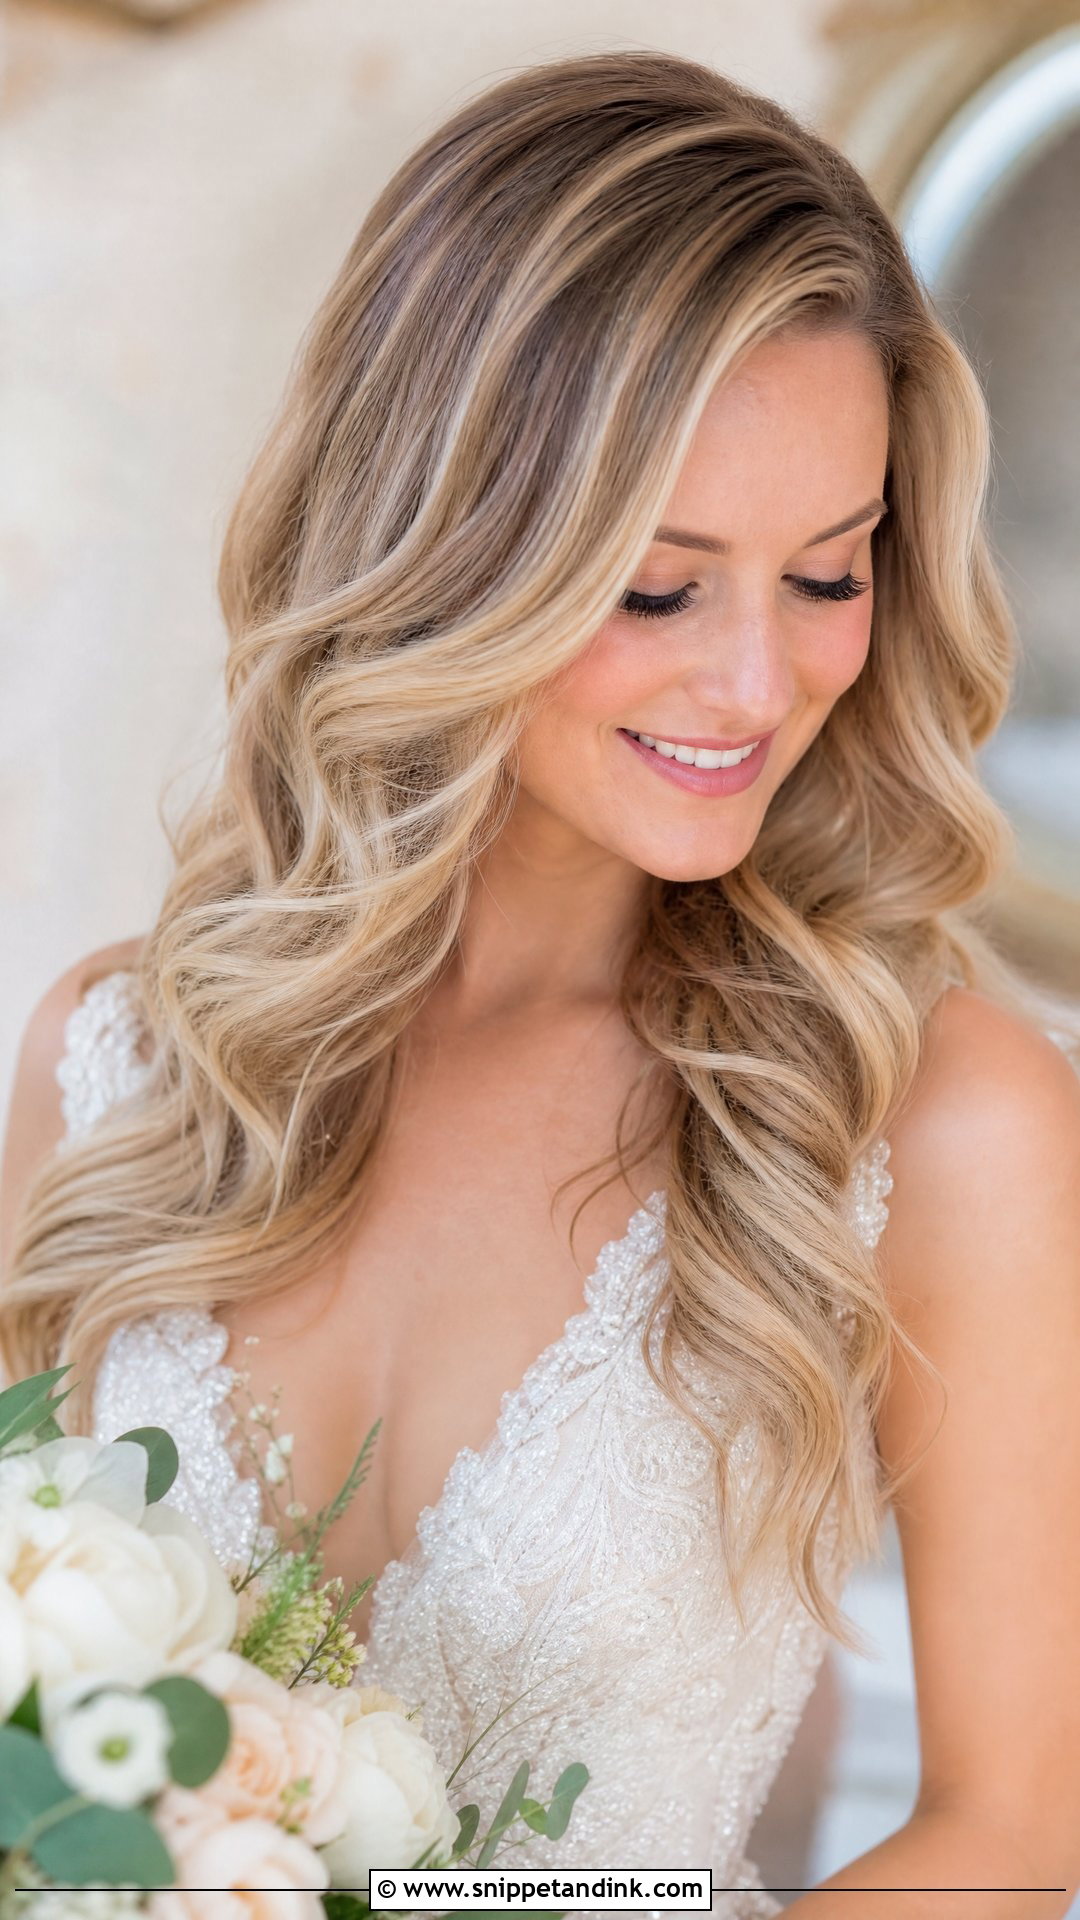
Waves turn lighter blonde tones into visible movement, because each ridge catches the light differently. Book any color refresh two to three weeks before the wedding, so the tone settles and any brassiness can still be corrected. A side part shows off the placement. Lightened hair is often more fragile, so I lower the iron temperature and never skip protectant.
26. Glam Waves With Side Bun
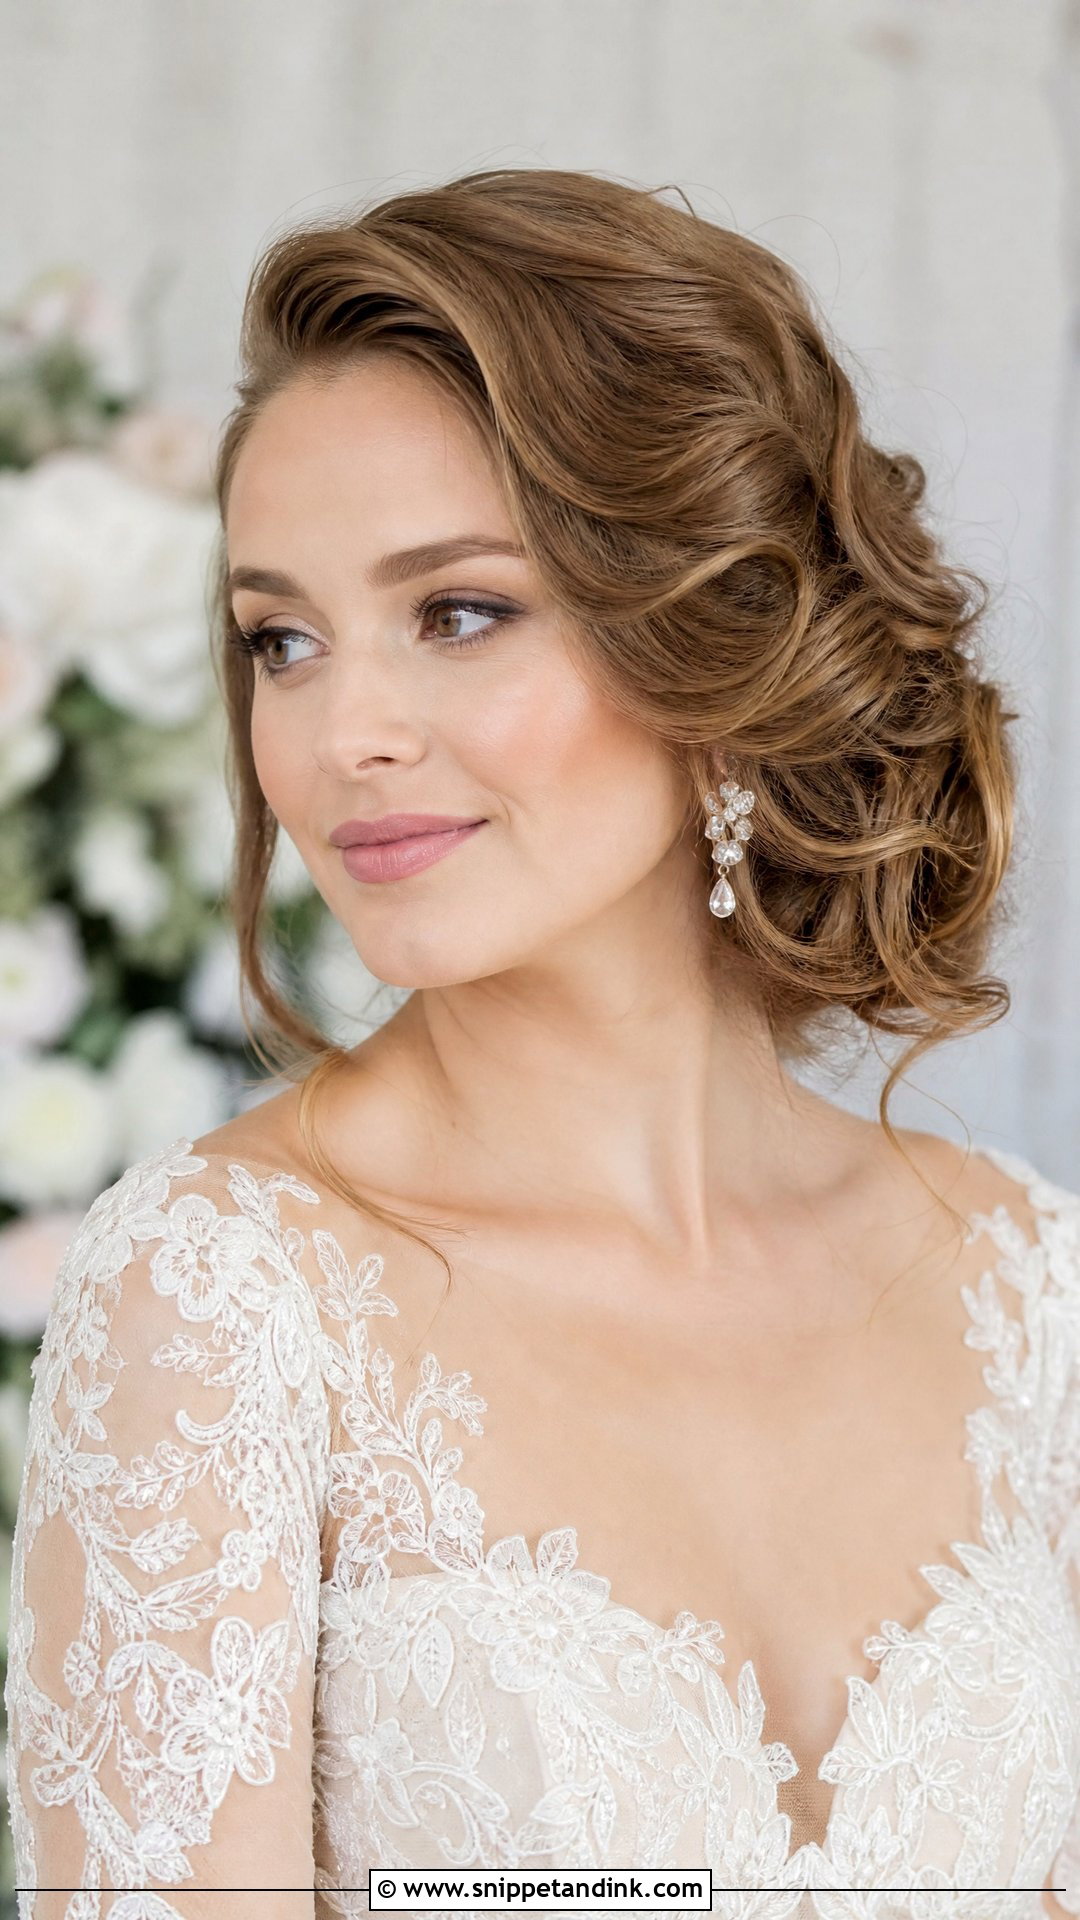
An off-center bun has nothing to balance it, so it needs a firmer anchor than a centered one. I gather the waves toward one ear and pin the base into crossed pins hidden under the hair, then shape the bun around them. The waves give it depth. One side of the neck stays bare, which suits asymmetric necklines and drop earrings, and a decorative pin covers the joins.
27. Glam Waves for Curly Hair
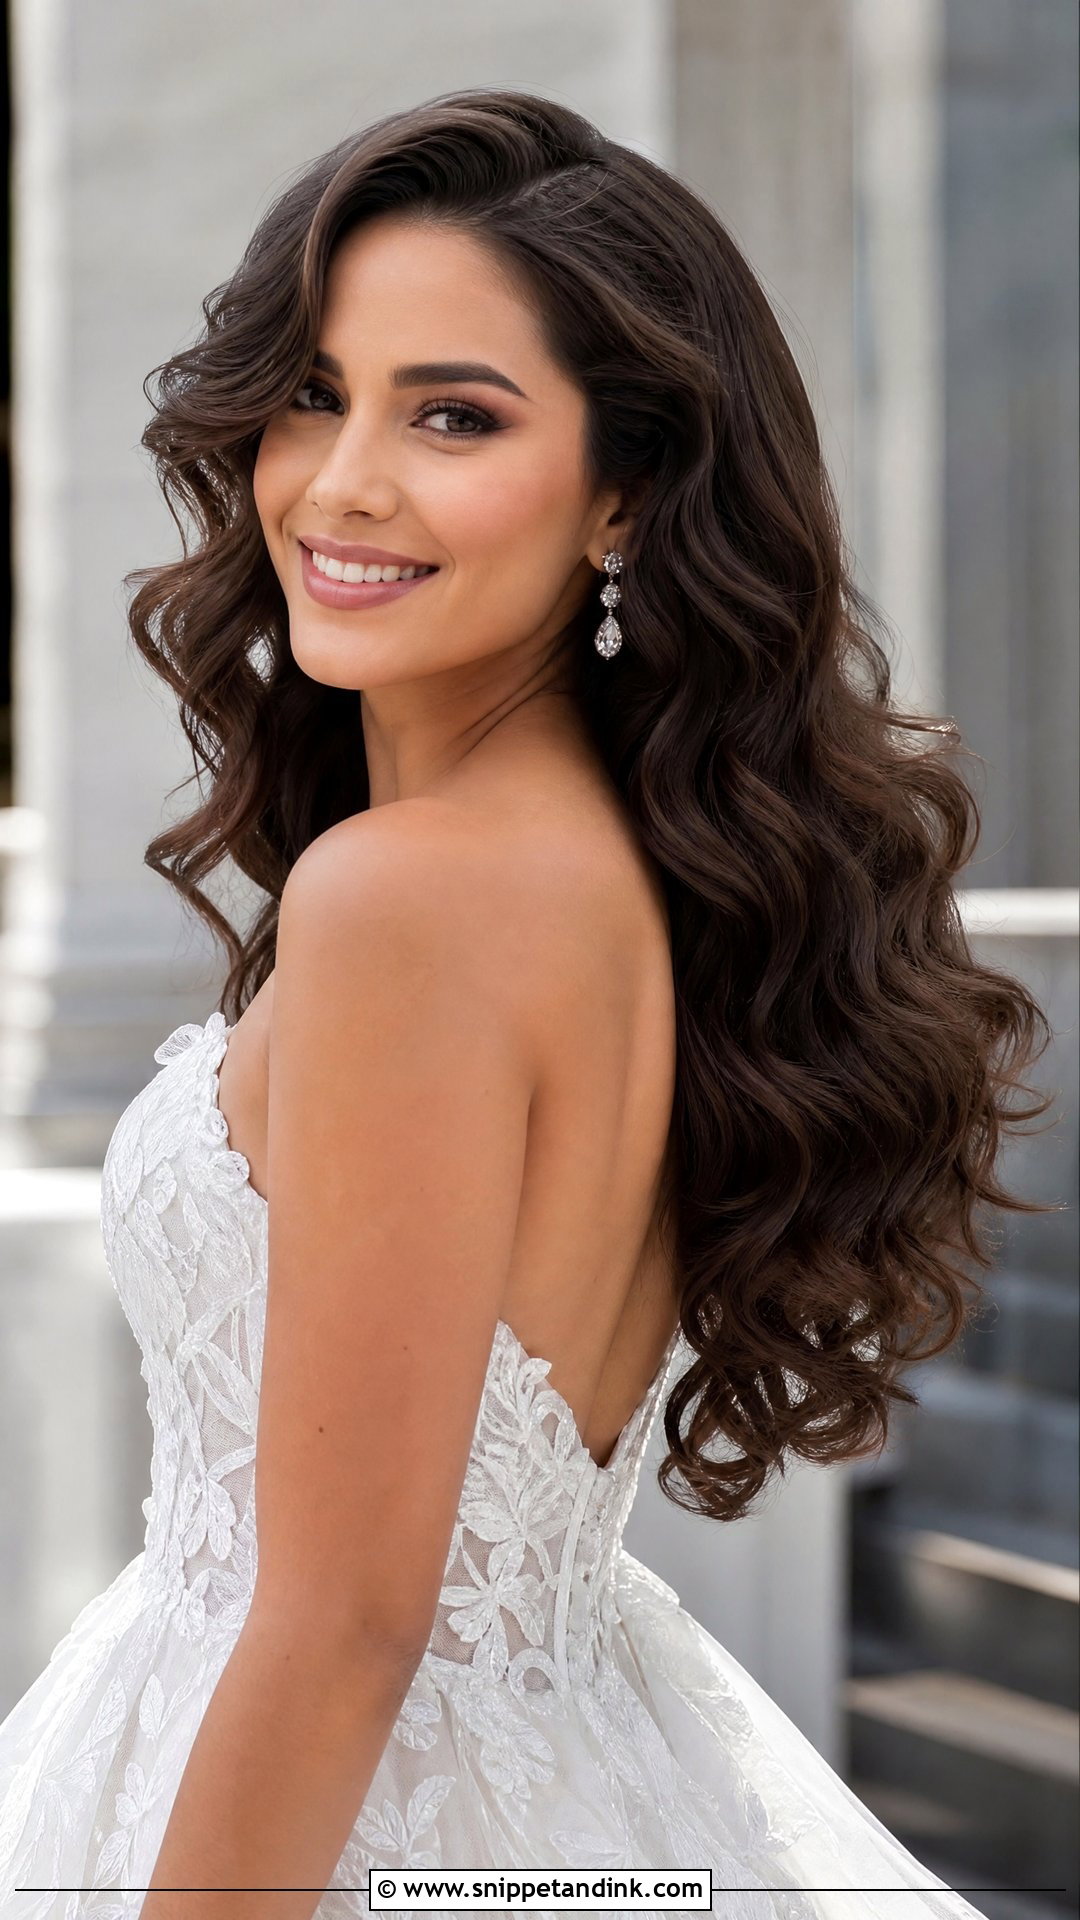
Curly hair doesn’t have to be ironed flat to wear glam waves. I stretch the curls with a blow-dry, then set them into larger waves with a big barrel, keeping natural body underneath. A little smoothing cream controls frizz without flattening definition. Curly hair often holds a set better than straight hair, so these waves come out thick and full, and they last.
28. Glam Waves With Loose Tendrils
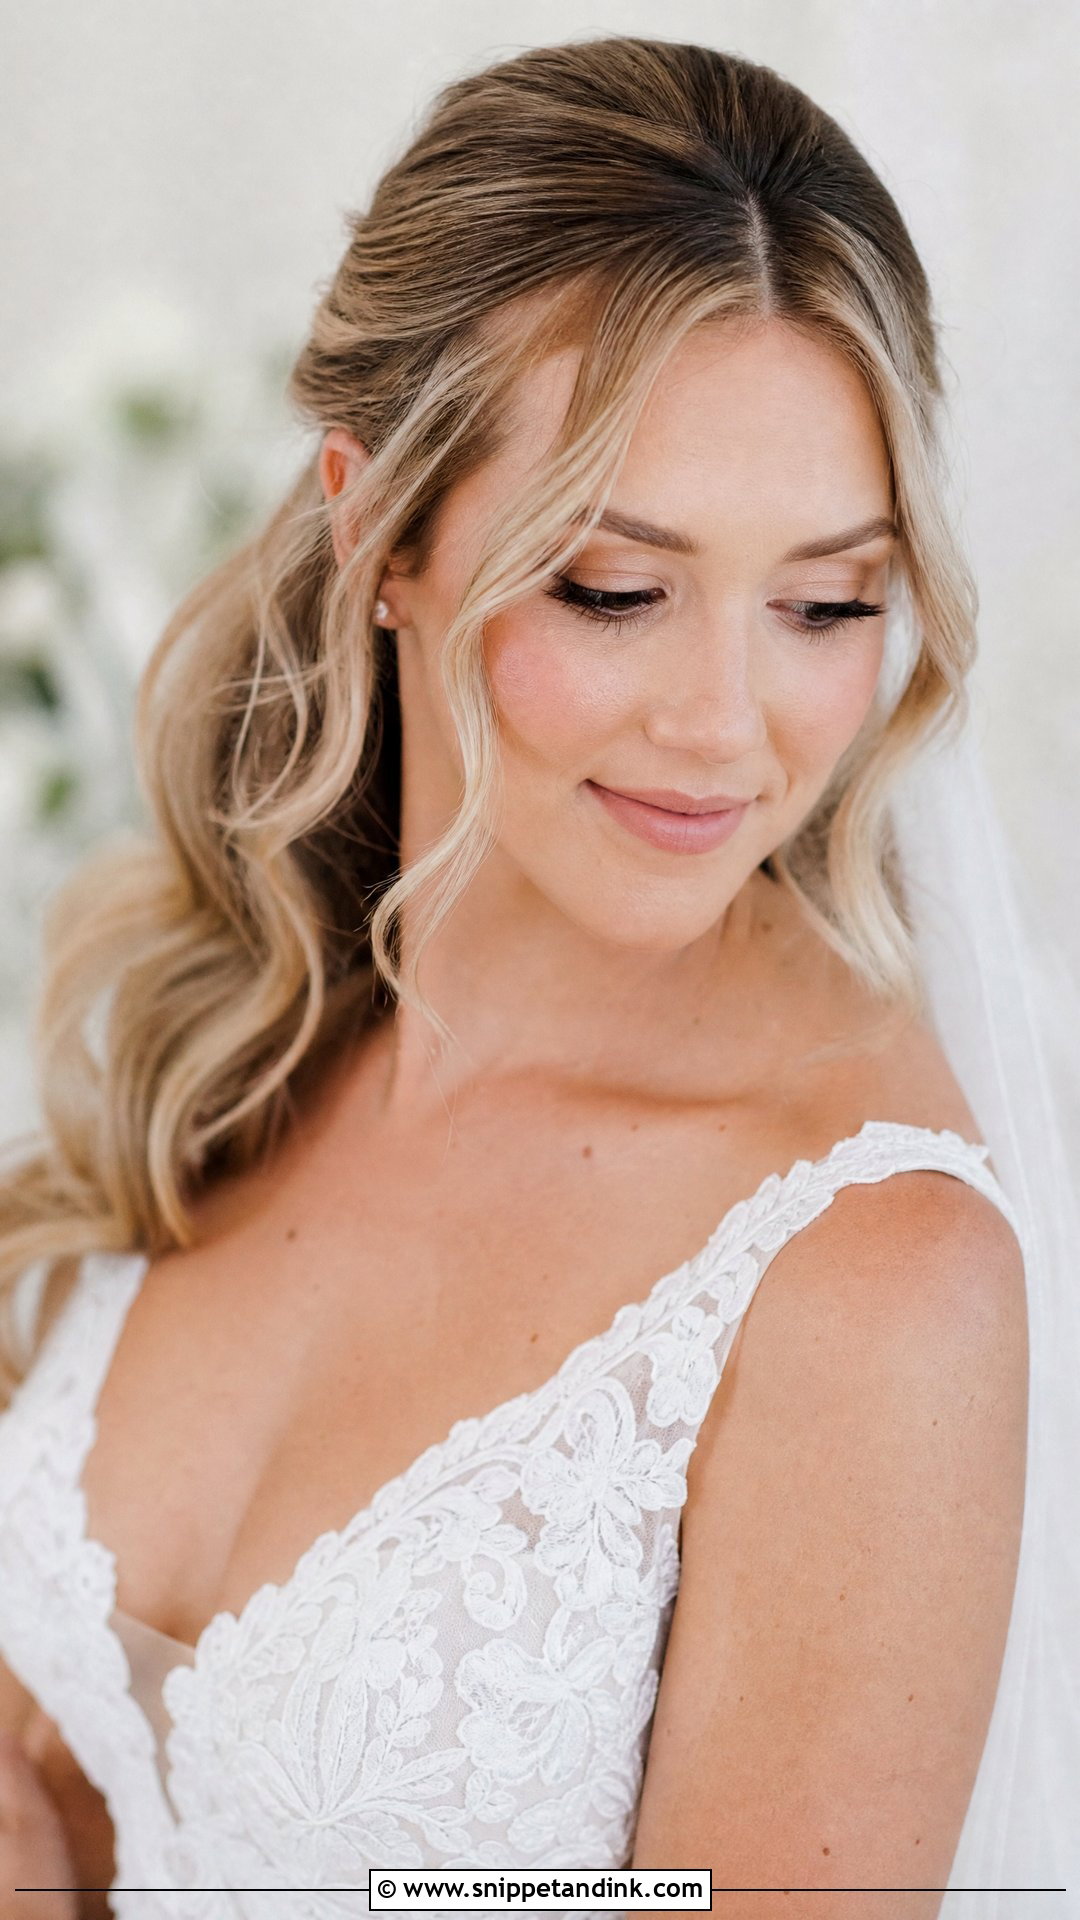
Tendrils look accidental and aren’t. I curl them separately with a small iron so they spiral rather than hang, and pull them out only after the main style is finished: two at the temples, one or two at the nape. Too many and the style looks unfinished rather than soft. They suit up and down arrangements and frame the face nicely in close-ups.
29. Glam Waves With Auburn Tones
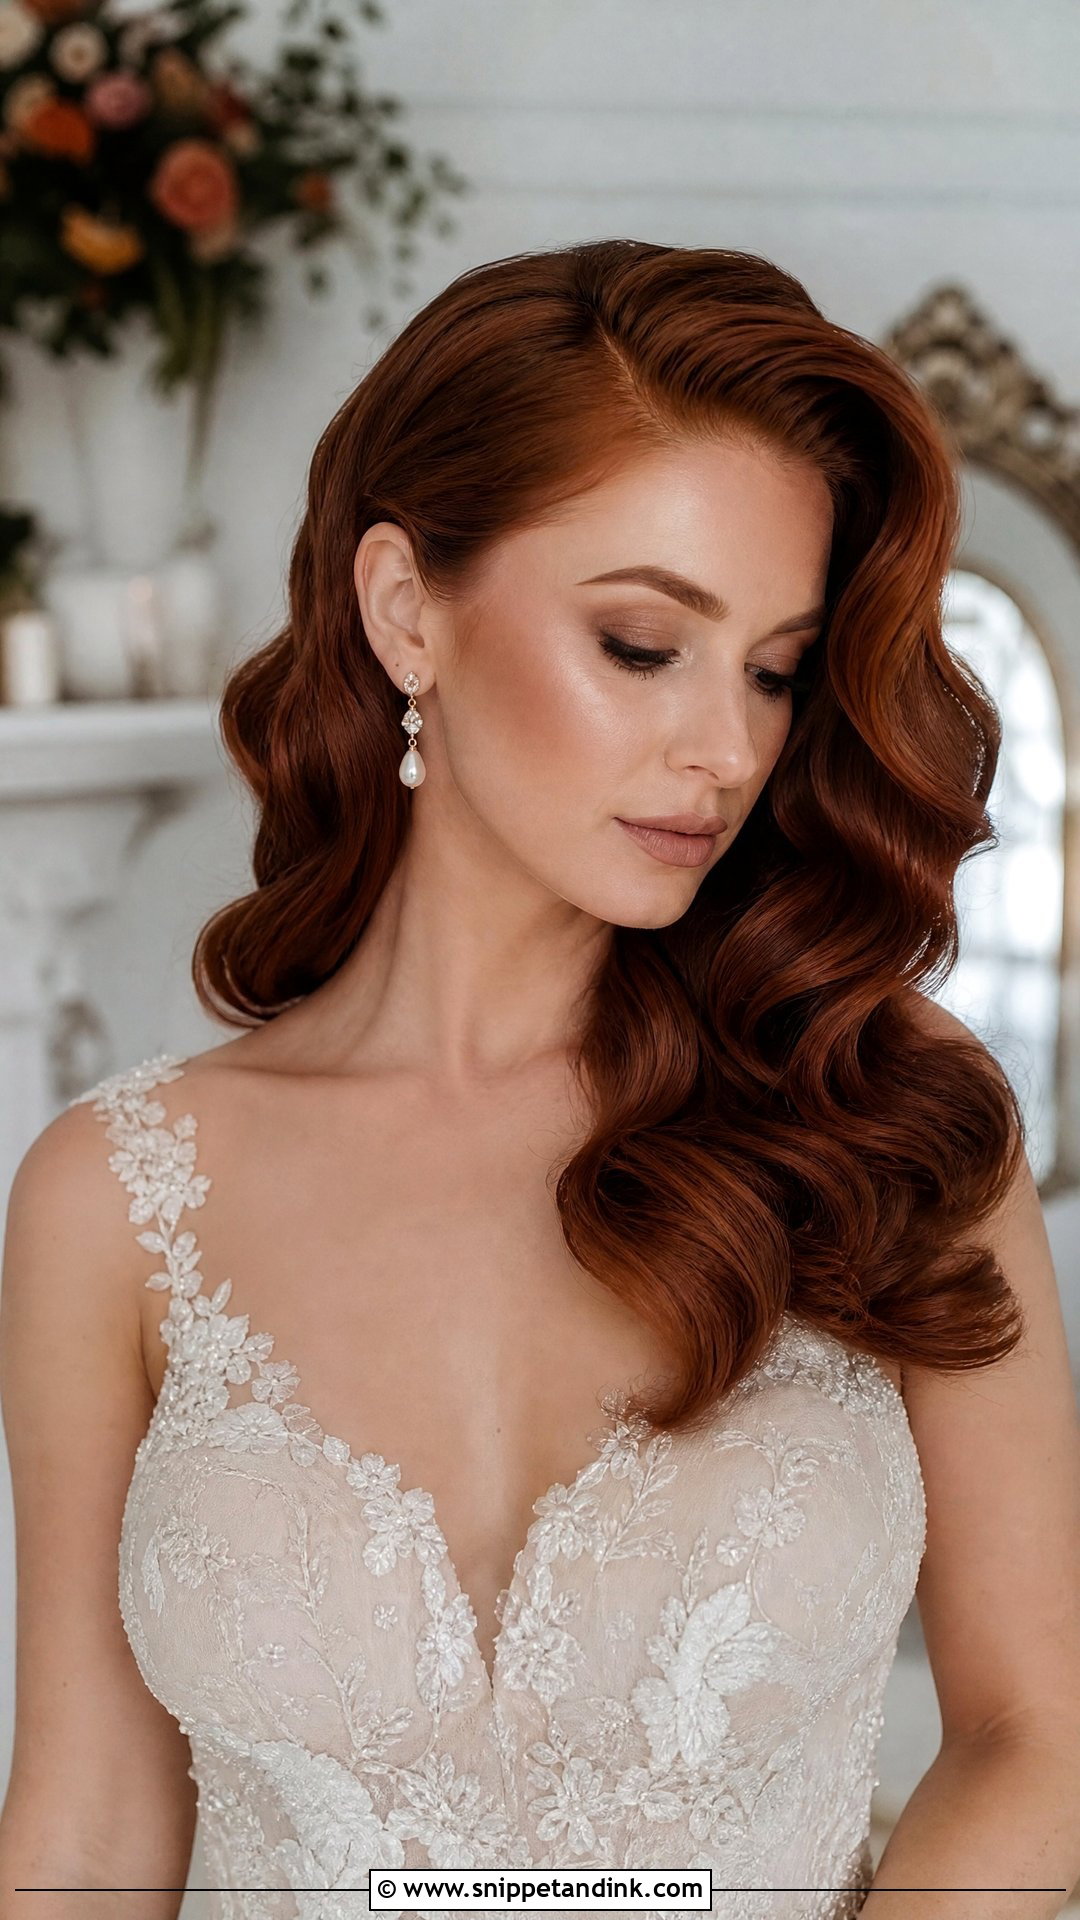
Red and copper hair shows rich, fiery dimension in waves, since each curve reflects the warm tones. Red dye fades faster than other shades, so a gloss a week or two before the wedding keeps it vivid. A deep side part shows off the color. It’s a natural match for fall weddings and warm-toned palettes.
30. Glam Waves With Statement Earrings
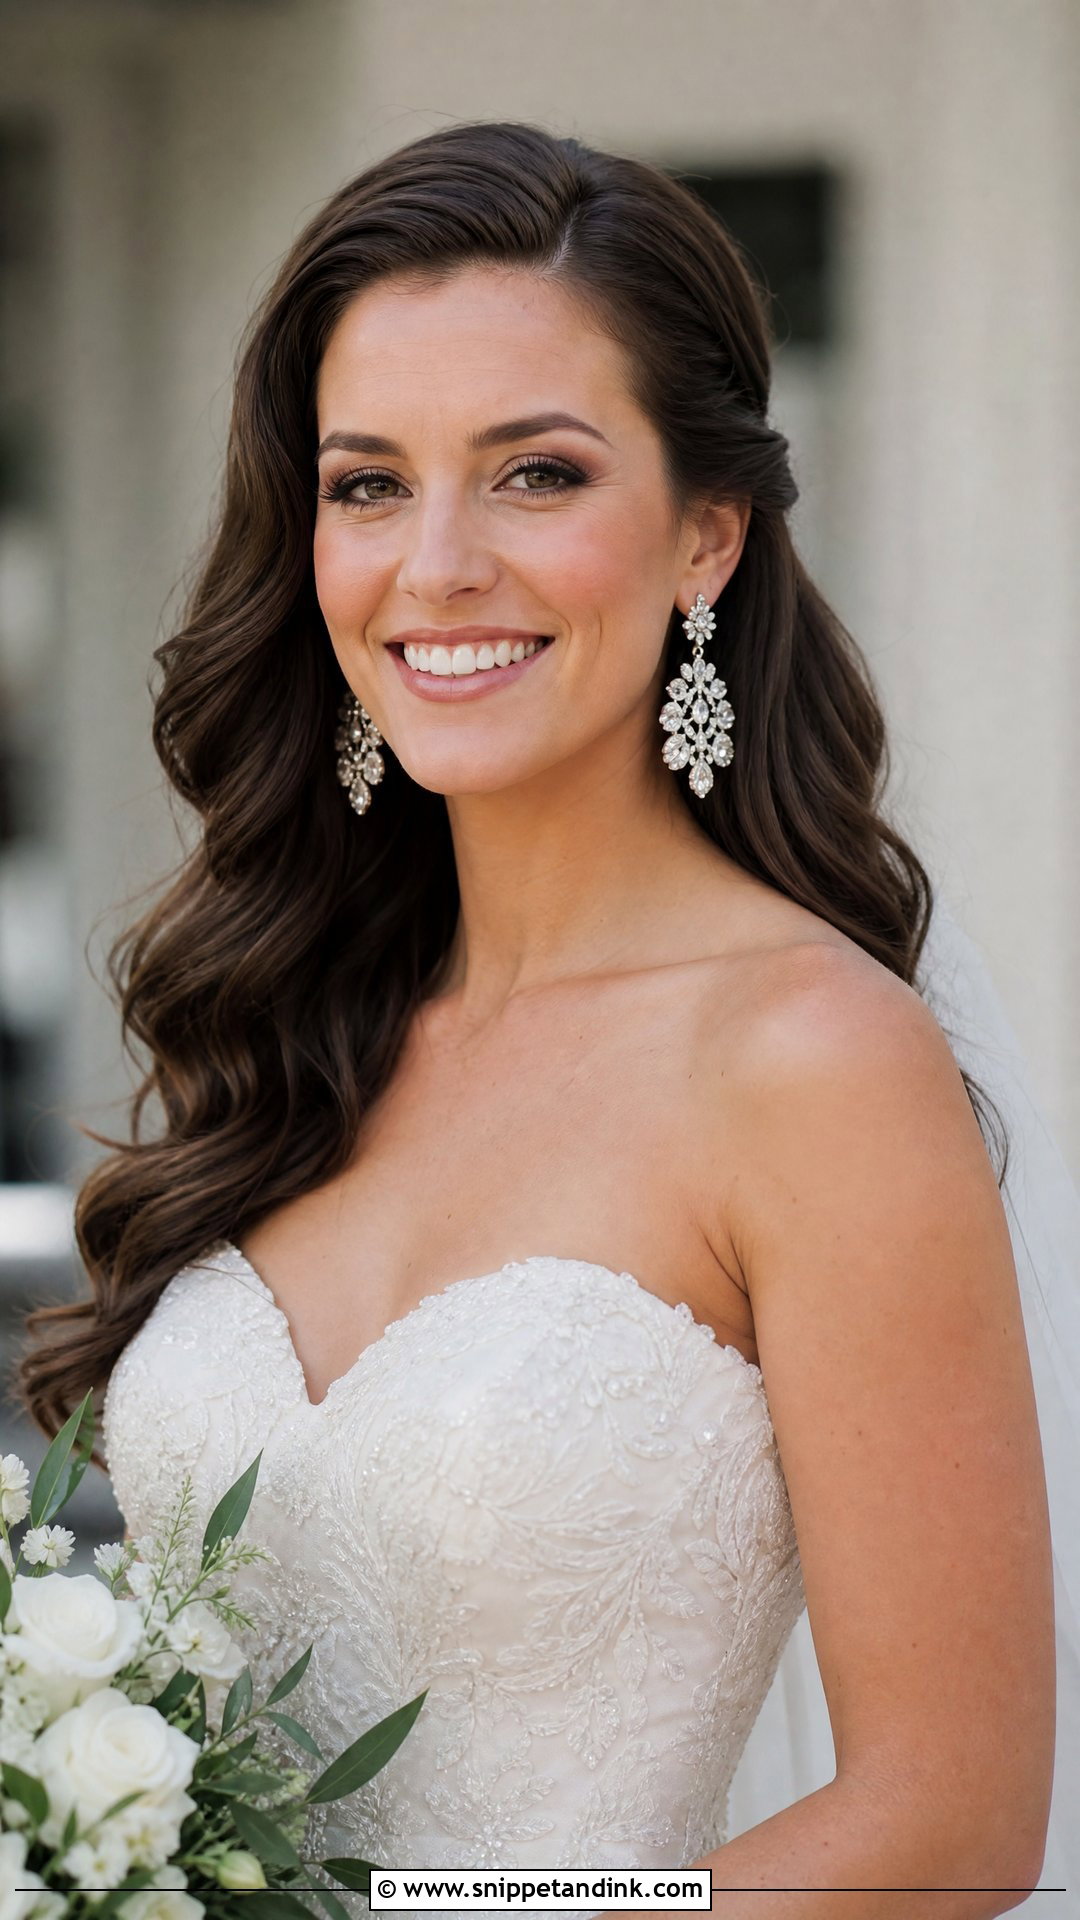
Big earrings need the hair to move away from them. I sweep the waves back from the face or to the opposite side and pin them behind the ear, so they don’t catch on chandelier or drop styles. Curls tangle around long earrings surprisingly easily, so test the pairing at your trial with the real pair. Formal weddings suit this combination best.
Why Waves Drop, and How to Revive Them at the Reception
Waves fall for predictable reasons: curls brushed while still warm, conditioner left in the hair, heavy lengths with no root support, and damp air. Nearly all of them are prevented in the morning rather than fixed later.
If yours do loosen, there are quick fixes. A bridesmaid can twist a dropped section around two fingers, pin it flat for ten minutes while you eat, then release it. Sweeping everything to one side and pinning it behind the ear turns tired waves into a deliberate side-swept look. A little dry shampoo at the root brings back lift without adding weight.
Color and Extensions Run on Their Own Calendar
Waves show color more than any other style, so plan around the date. A full color or highlight appointment works best about two to three weeks before, with a gloss or toner a week or so ahead if needed. Don’t try a new shade in the final month; there’s no time left to correct it.
Extensions belong at the trial, not as a surprise on the morning. Clip-ins have to be curled into the same wave pattern as your own hair, and tape-ins need a few washes to settle. If the color or texture doesn’t match at the trial, there’s still time to swap them.
How Long Your Waves Hold Is the Real Test
Waves stretch from sculpted ribbons to loose beach bends, and there’s a version for nearly every length, veil and gown. What matters is matching that version to your hair’s weight and texture, then testing it honestly. At your trial, keep the waves in for a few hours and watch how they settle, and take photos from the side and back as well as the front. A stylist who understands how your hair holds curl can then plan the set so it lasts to the end of the night.
You'll Like These Ideas:


Leave a Reply