
I can build a slick back bun in under an hour, but most of the decisions happen before I pick up a brush: how big the bun should be for your frame, where it sits, and what has to attach to it. Get those right and it is one of the most comfortable bridal styles there is, steady under a veil and still tidy at the last dance. Below are twenty variations, from a bare low knot to a sculpted geometric shape, with notes on what each one needs and who it really suits.
Size the Bun to Your Frame Before Anything Else
The shape of a slick back bun changes your proportions more than people expect. A petite bride with a large, high bun can look top-heavy in full-length photos, while a tall bride with a tiny knot can look unfinished from behind. I judge the size by holding the gathered hair in place and stepping back to look at you in a full-length mirror, gown on if possible.
For most brides, the bun should be roughly the width of the space between the ears seen from behind, or slightly less. If your hair is fine or short, I fill it out with one of these:
- A foam or mesh donut, which keeps a round shape and adds height
- Clip-in extensions matched to your color, tucked inside the bun where no one sees the clips
- A small padding piece rolled into the coil for a low chignon
Bring your extensions to the trial so the color can be checked in daylight. A shade that matches in the bathroom often looks different outdoors.
1. Sleek Low Bun Wedding Hair
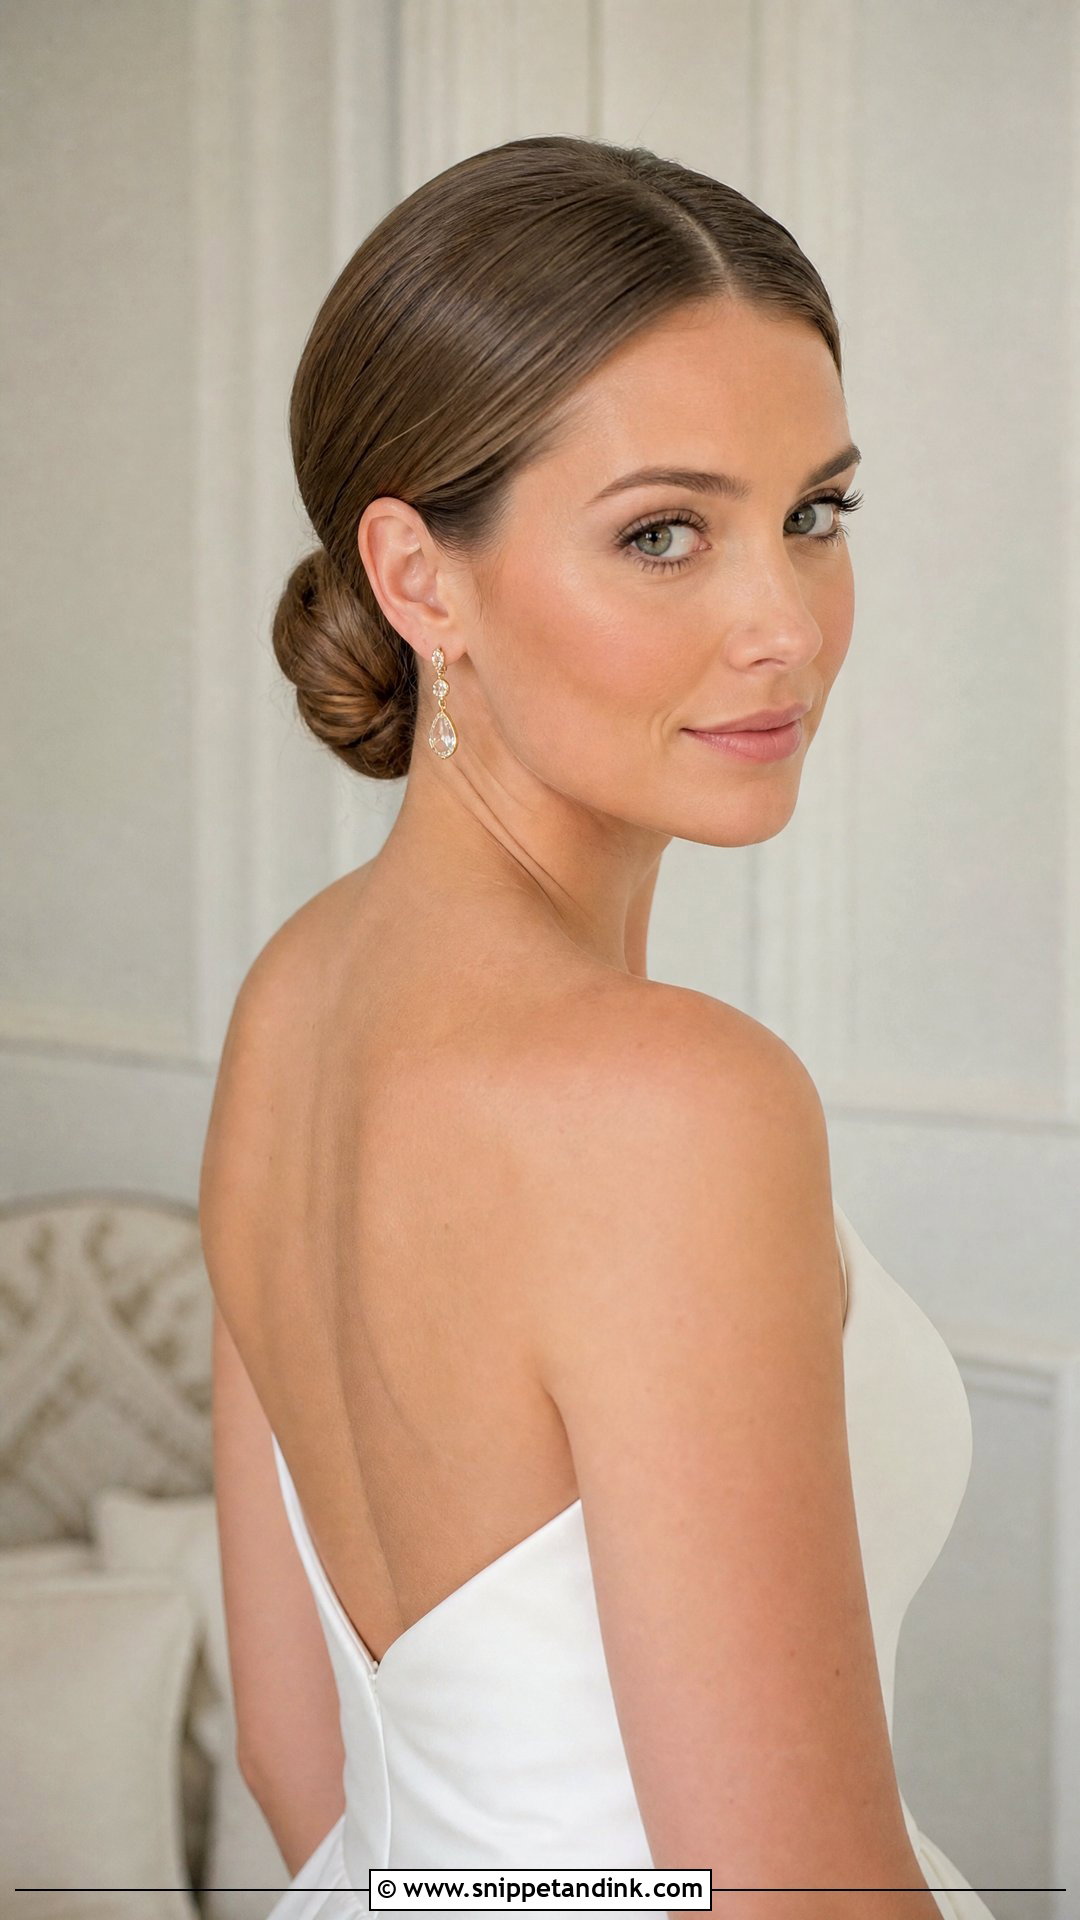
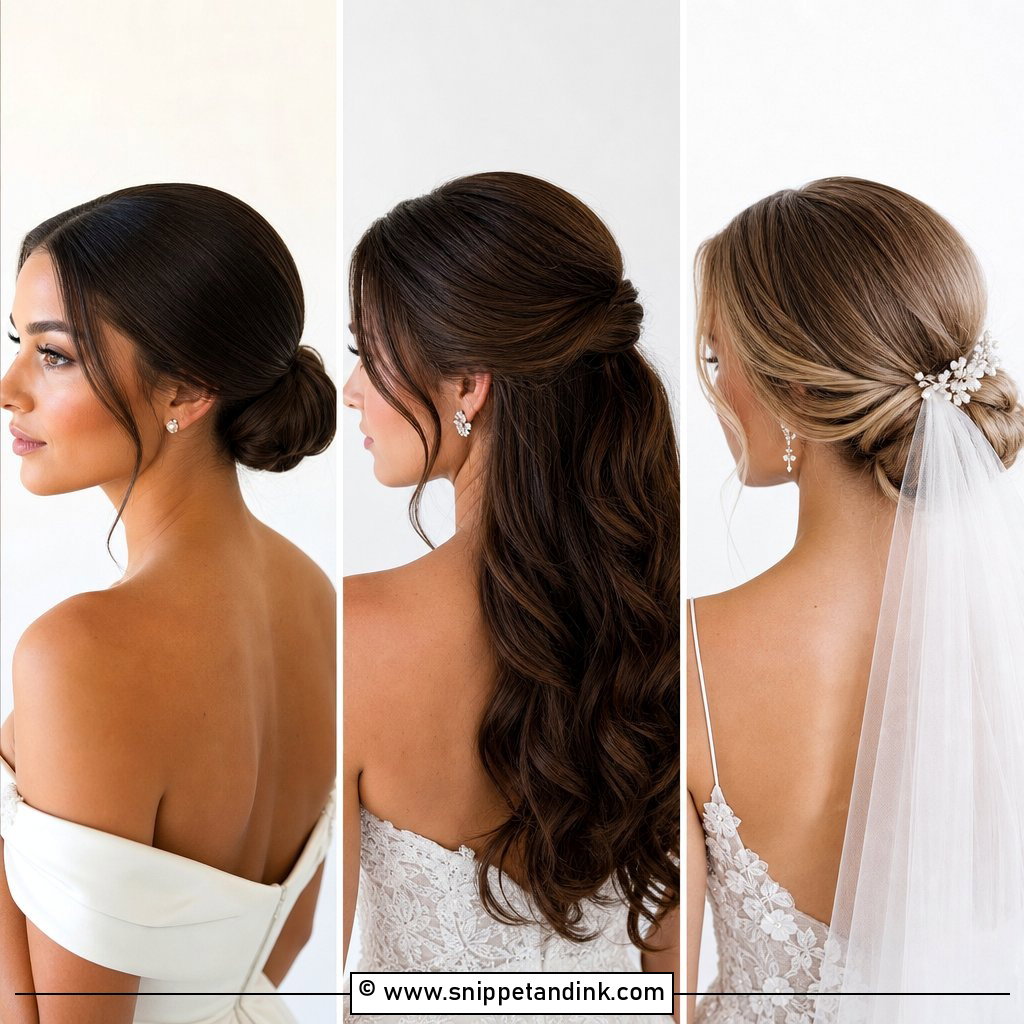
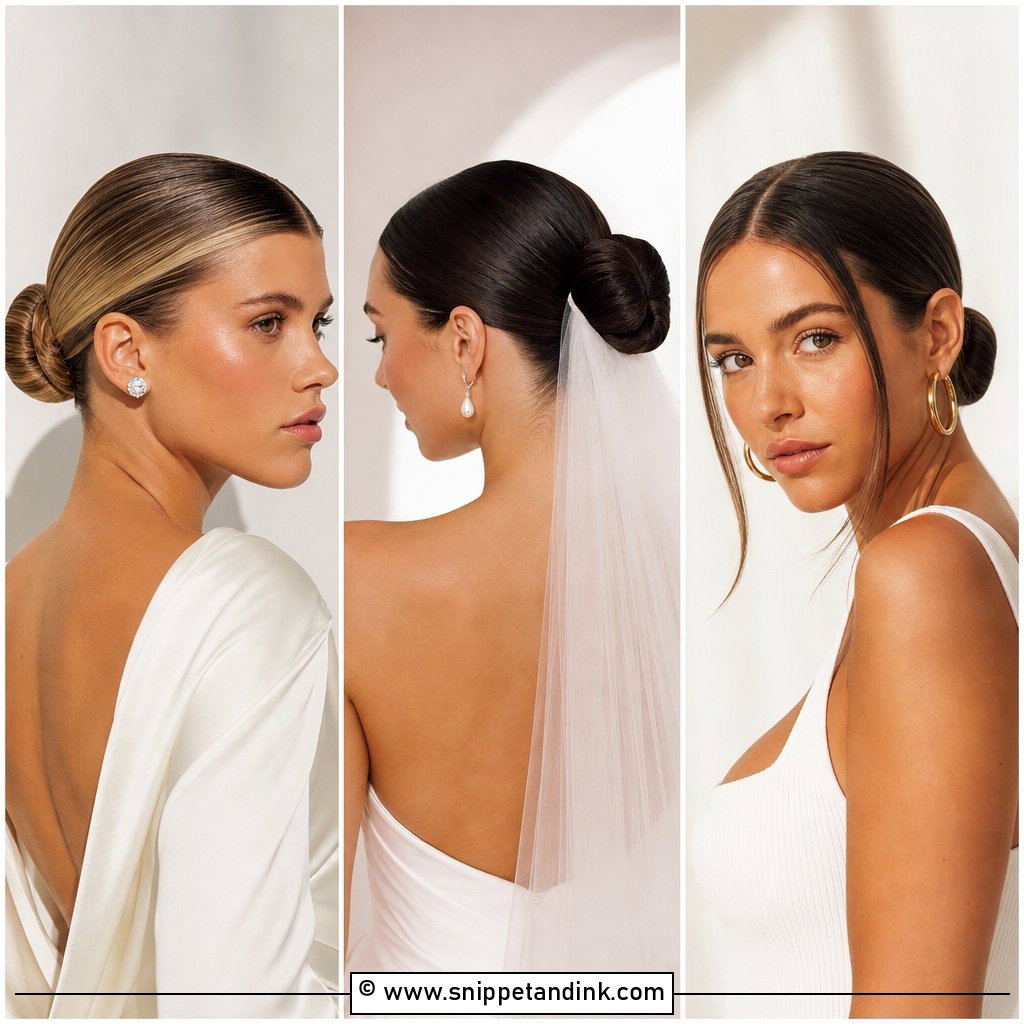
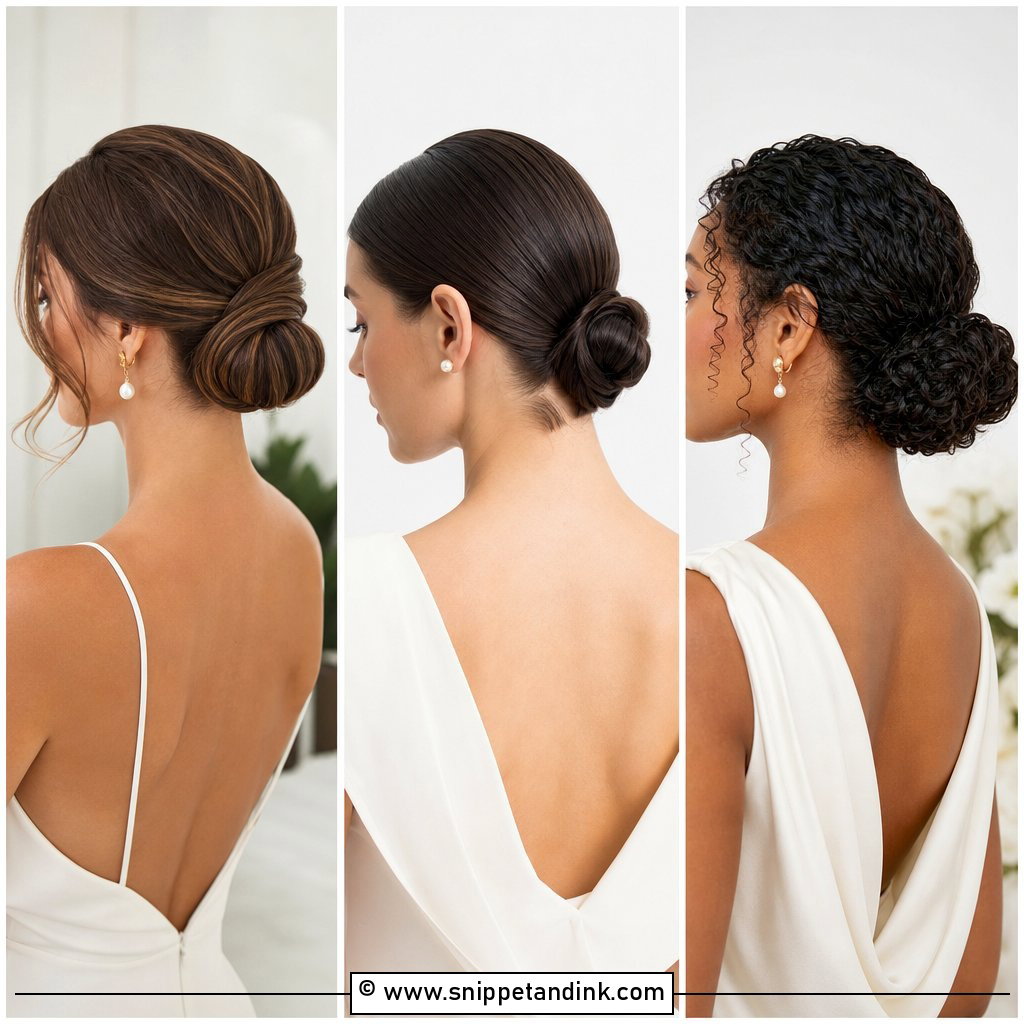
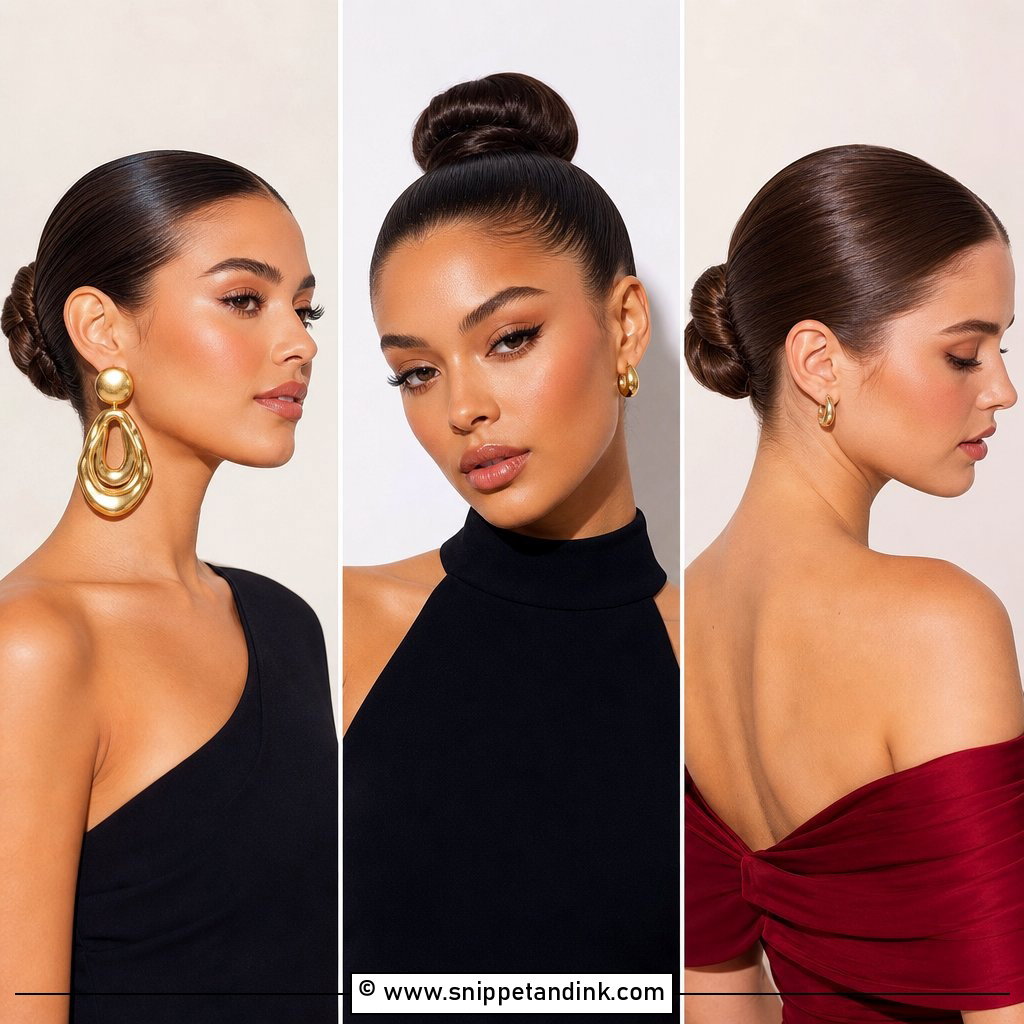
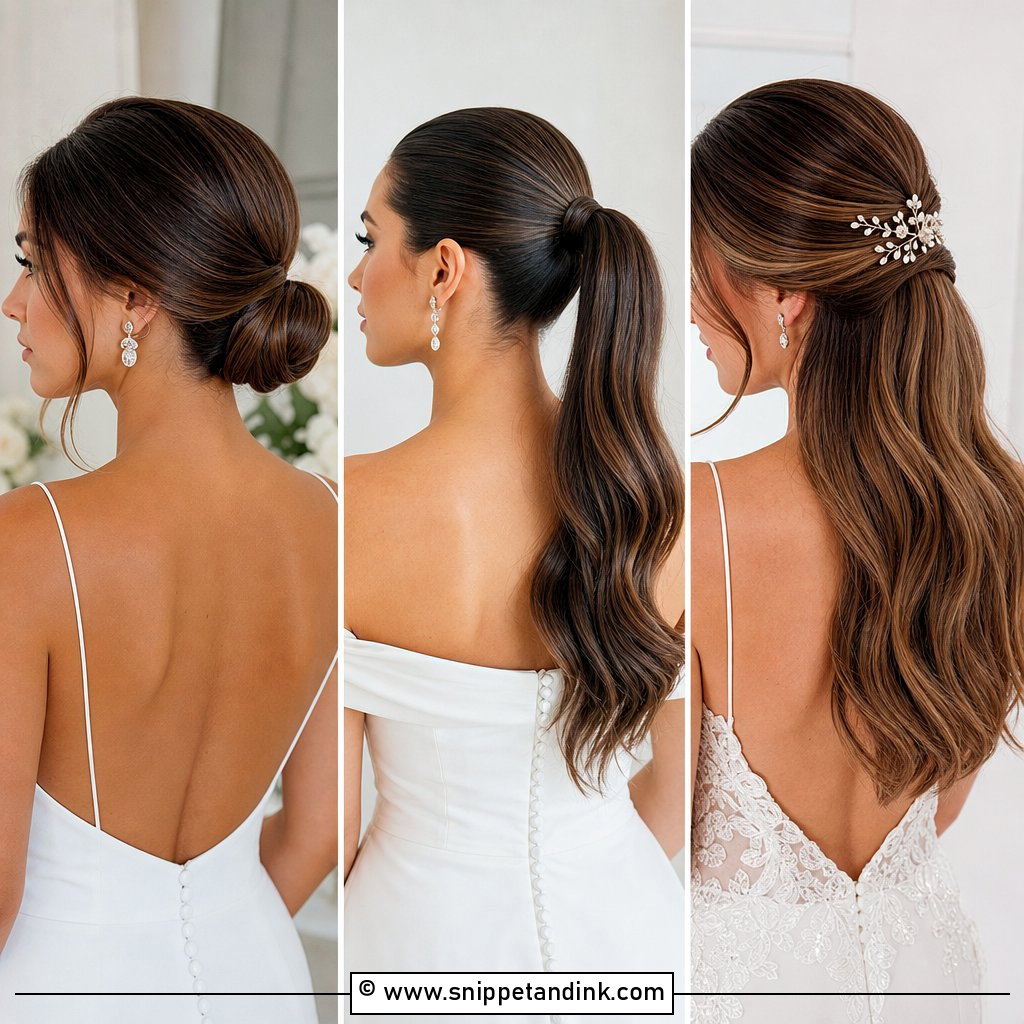
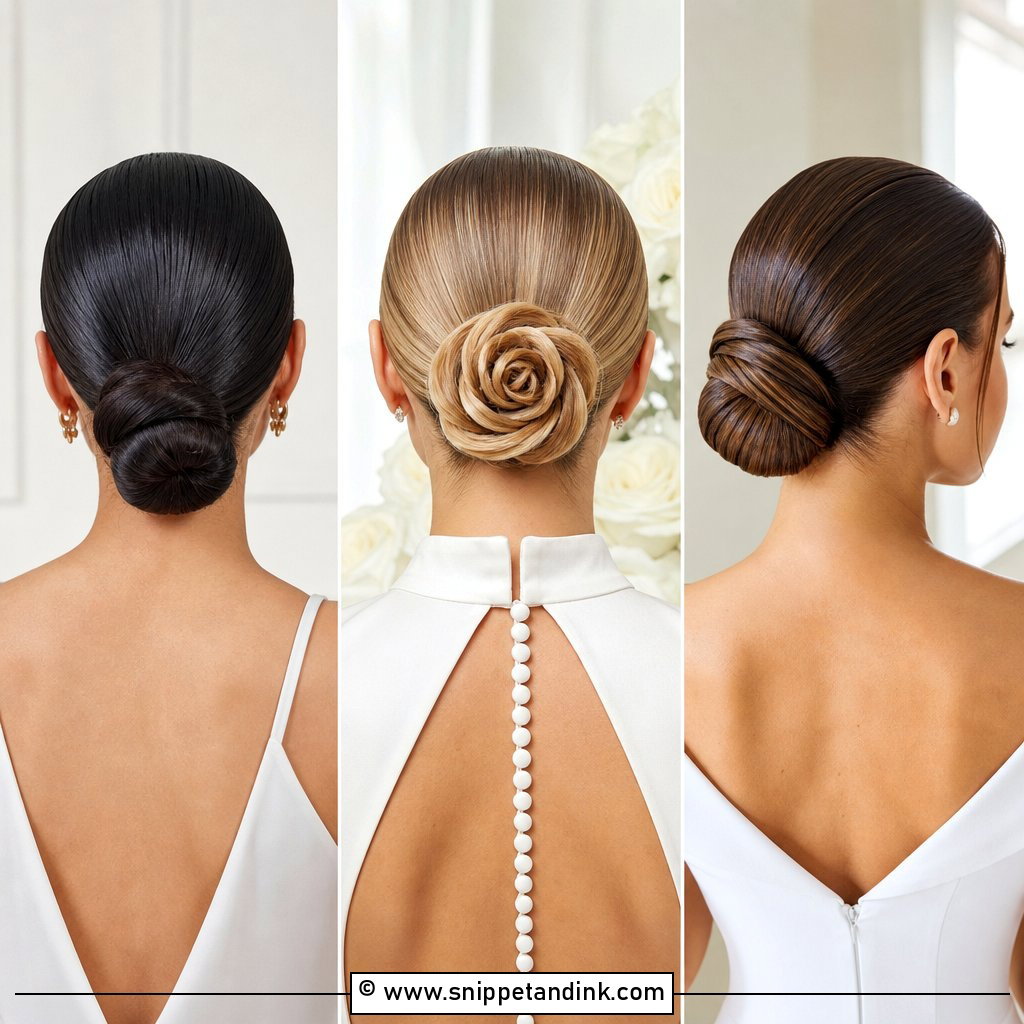
If I had to pick one bun for an unknown bride, it would be this one. Sitting at the nape, it puts almost no strain on the scalp, so it is still comfortable after ten hours. The hair hugs the head and gathers low, which shows off the jawline and suits oval, round and square faces. I smooth it with a styling cream and a fine-tooth comb, working in sections from the hairline back. Wear it with a light veil or nothing at all.
2. Slicked Back High Bun
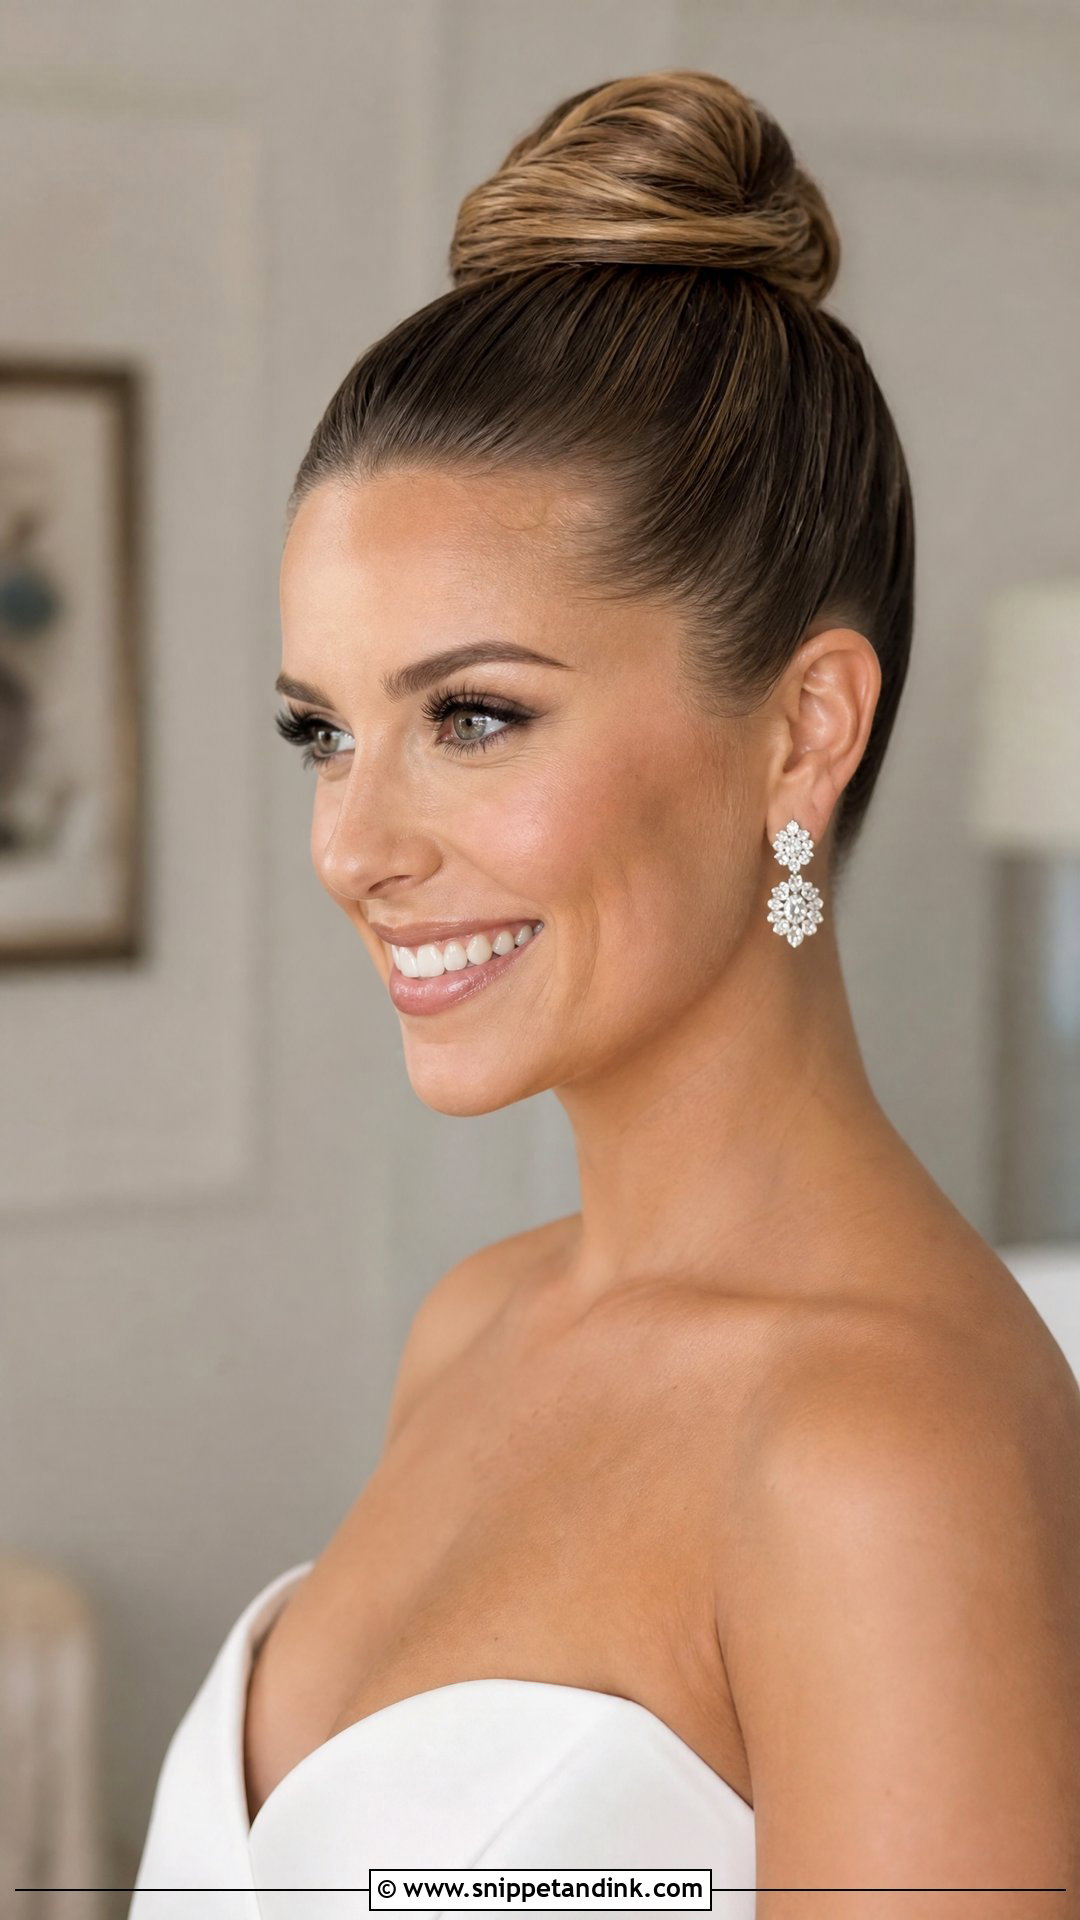
Sitting right on top of the head, a high bun lengthens the neck and looks lively, almost athletic. That height comes with tension, though; the hair is pulled upward against gravity all day. I use strong gel and secure the base with two elastics to spread the pull. A veil tucked underneath the bun adds height and drama. Statement earrings finish it. If you have never worn a high bun for more than an hour, try it for an afternoon before choosing it.
3. Slick Back Bun With No Part
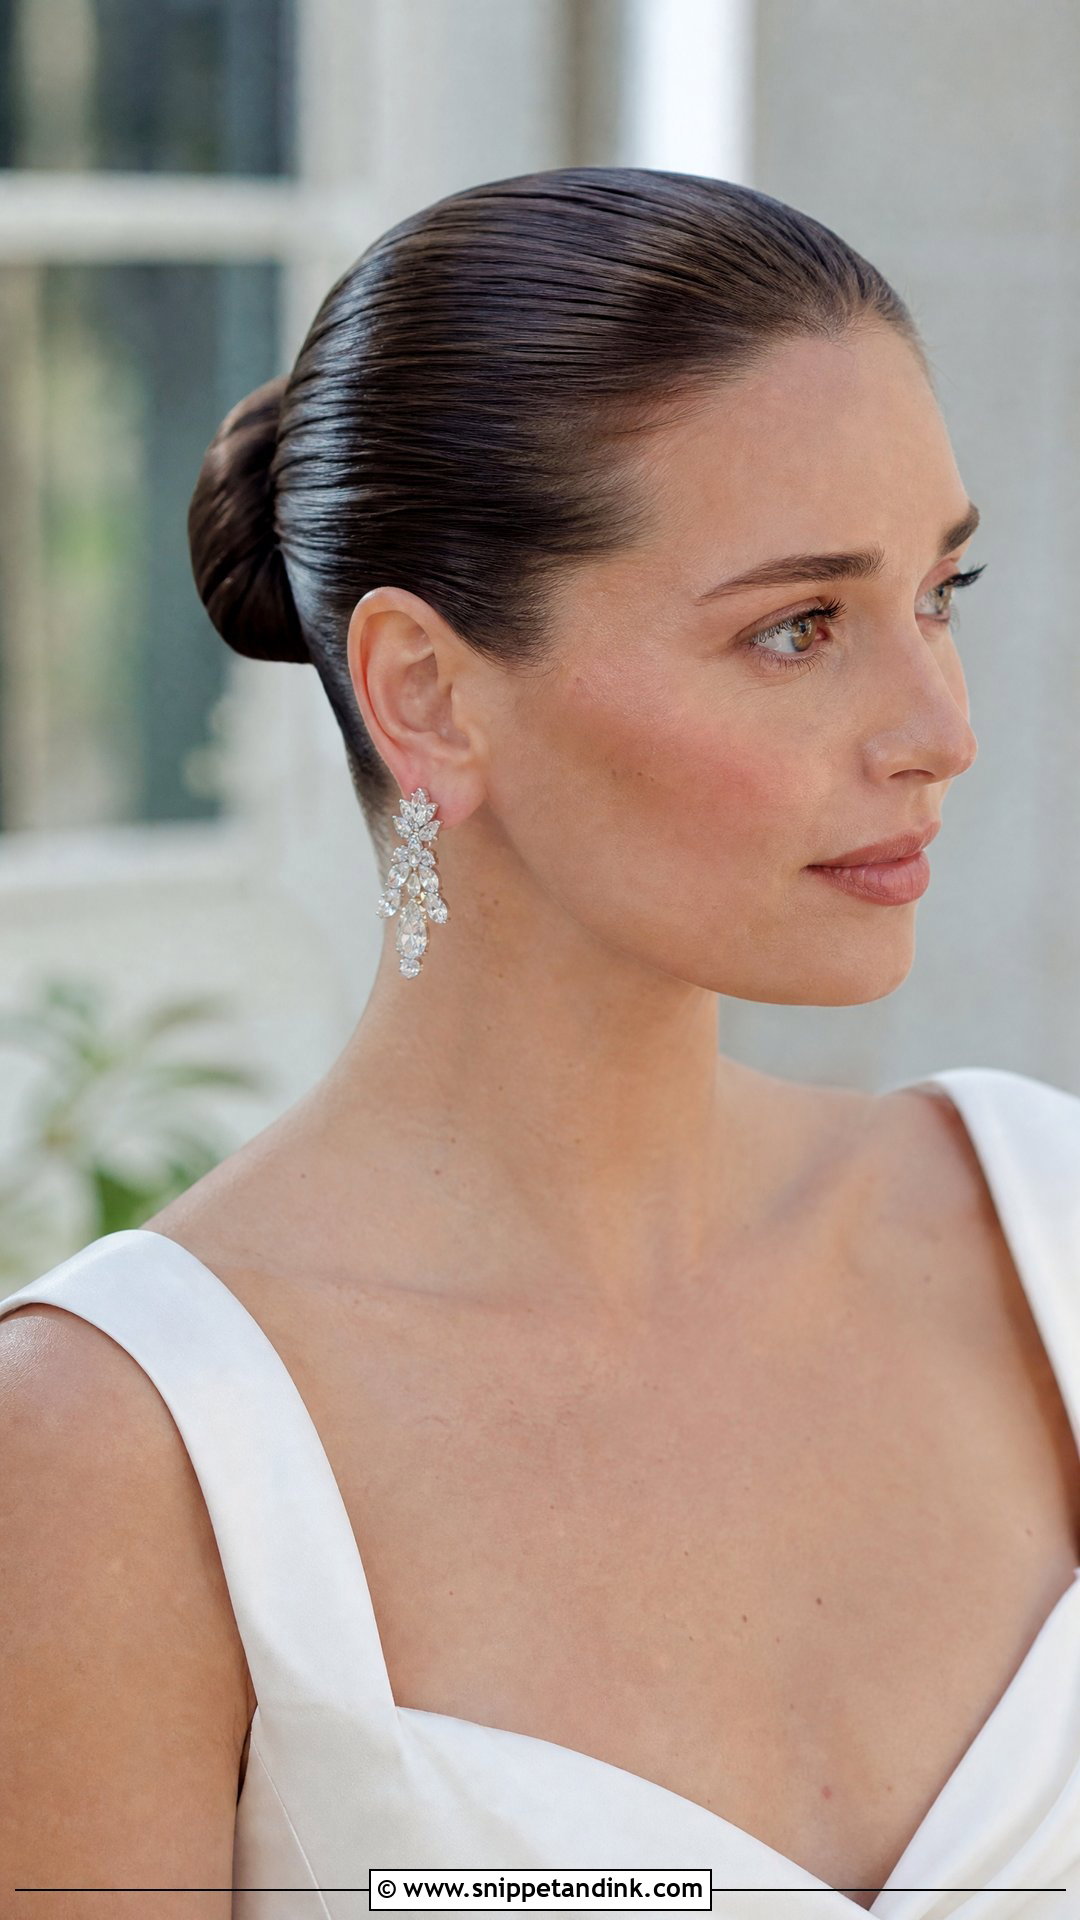
No part at all gives an androgynous, editorial look. Every strand goes straight back in one sweep, so attention lands on your bone structure instead of your hairline. It is less forgiving than a parted bun, because any bump or cowlick at the crown shows. I brush it in thin layers and blow-dry each one flat before adding the next. A high-shine spray finishes it, and it pairs best with a minimal gown and bold jewelry.
4. Braided Slick Back Bun
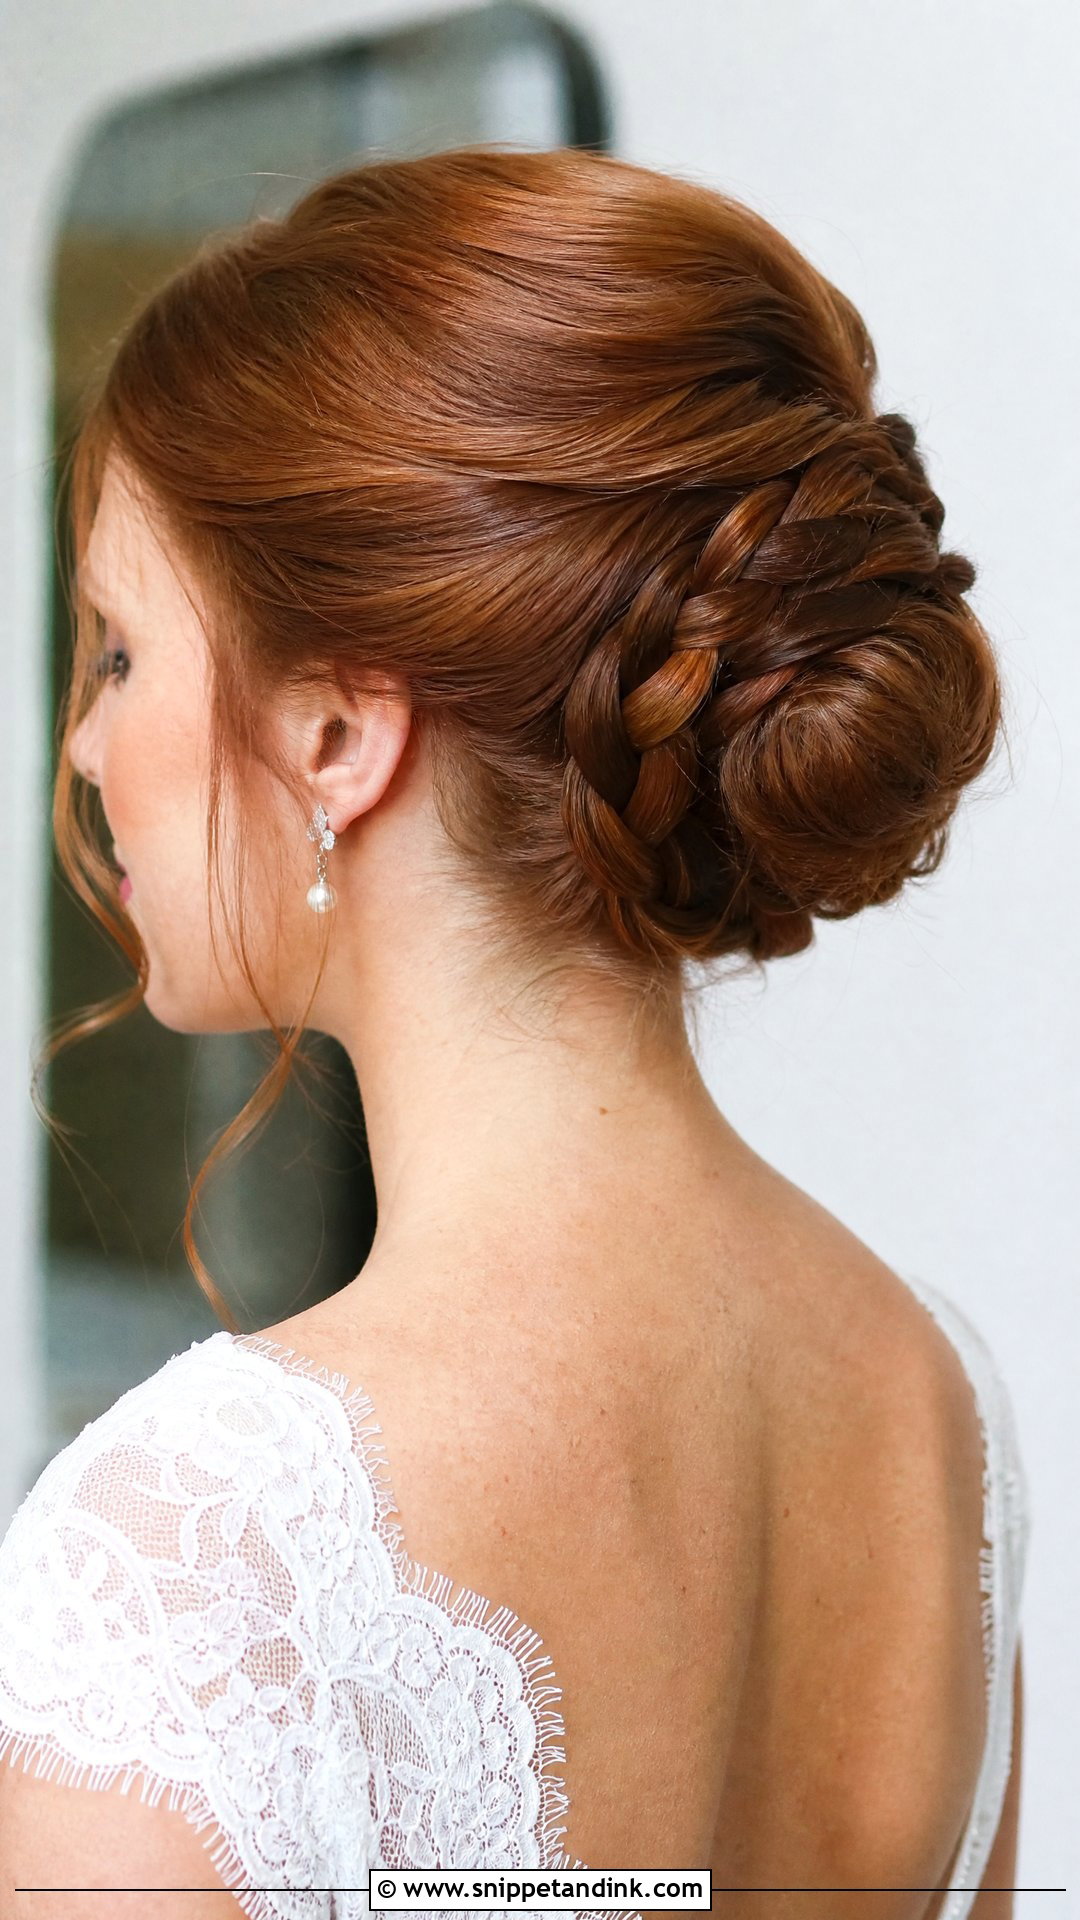
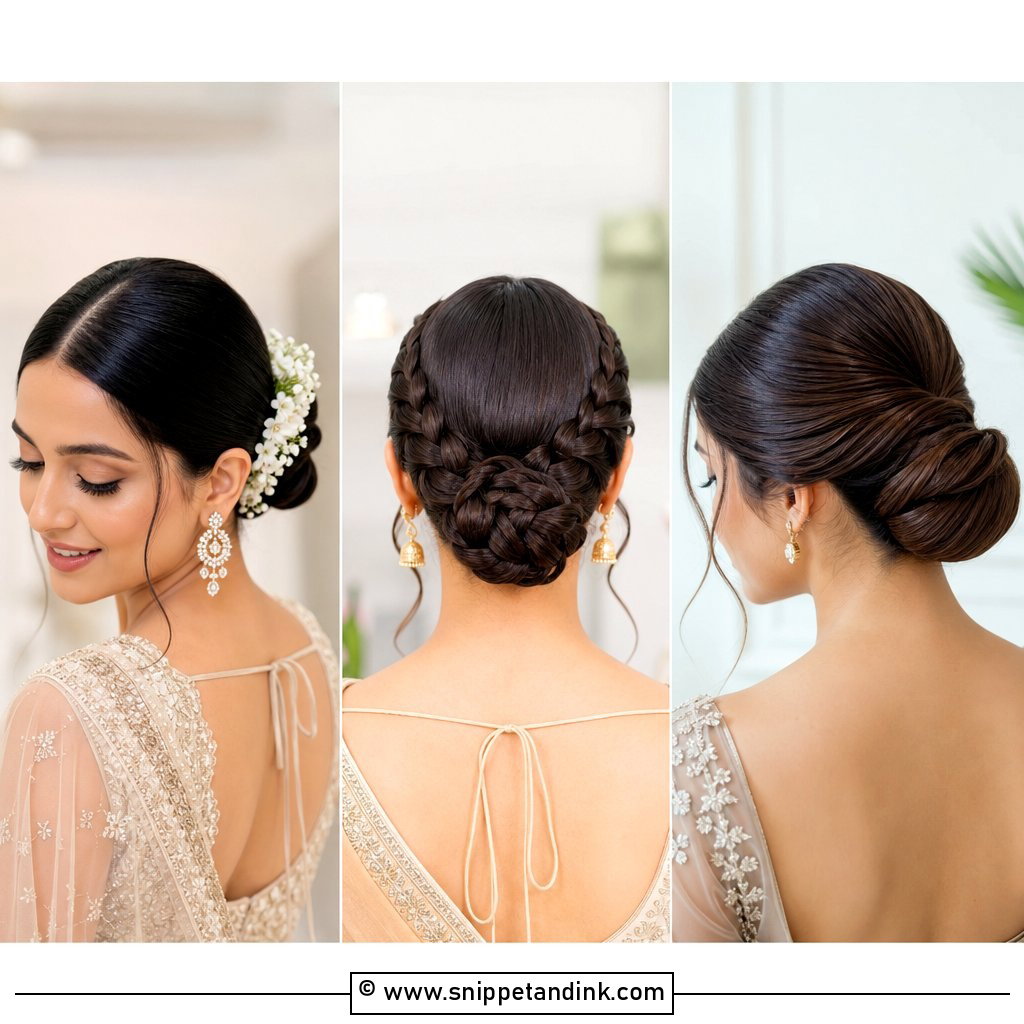
A braid set into a smooth bun adds an intricate plaited element without spoiling the clean sides. It can run as a French braid down the center or wrap around the base of the coil. The practical bonus is grip: a braid gives the veil comb a solid anchor point. Fishtails look finer and more detailed; a three-strand braid is chunkier and reads better from the back of a big room. Ask your stylist to braid tight near the scalp so the braid doesn’t loosen by evening.
5. Slick Back Bun With Veil
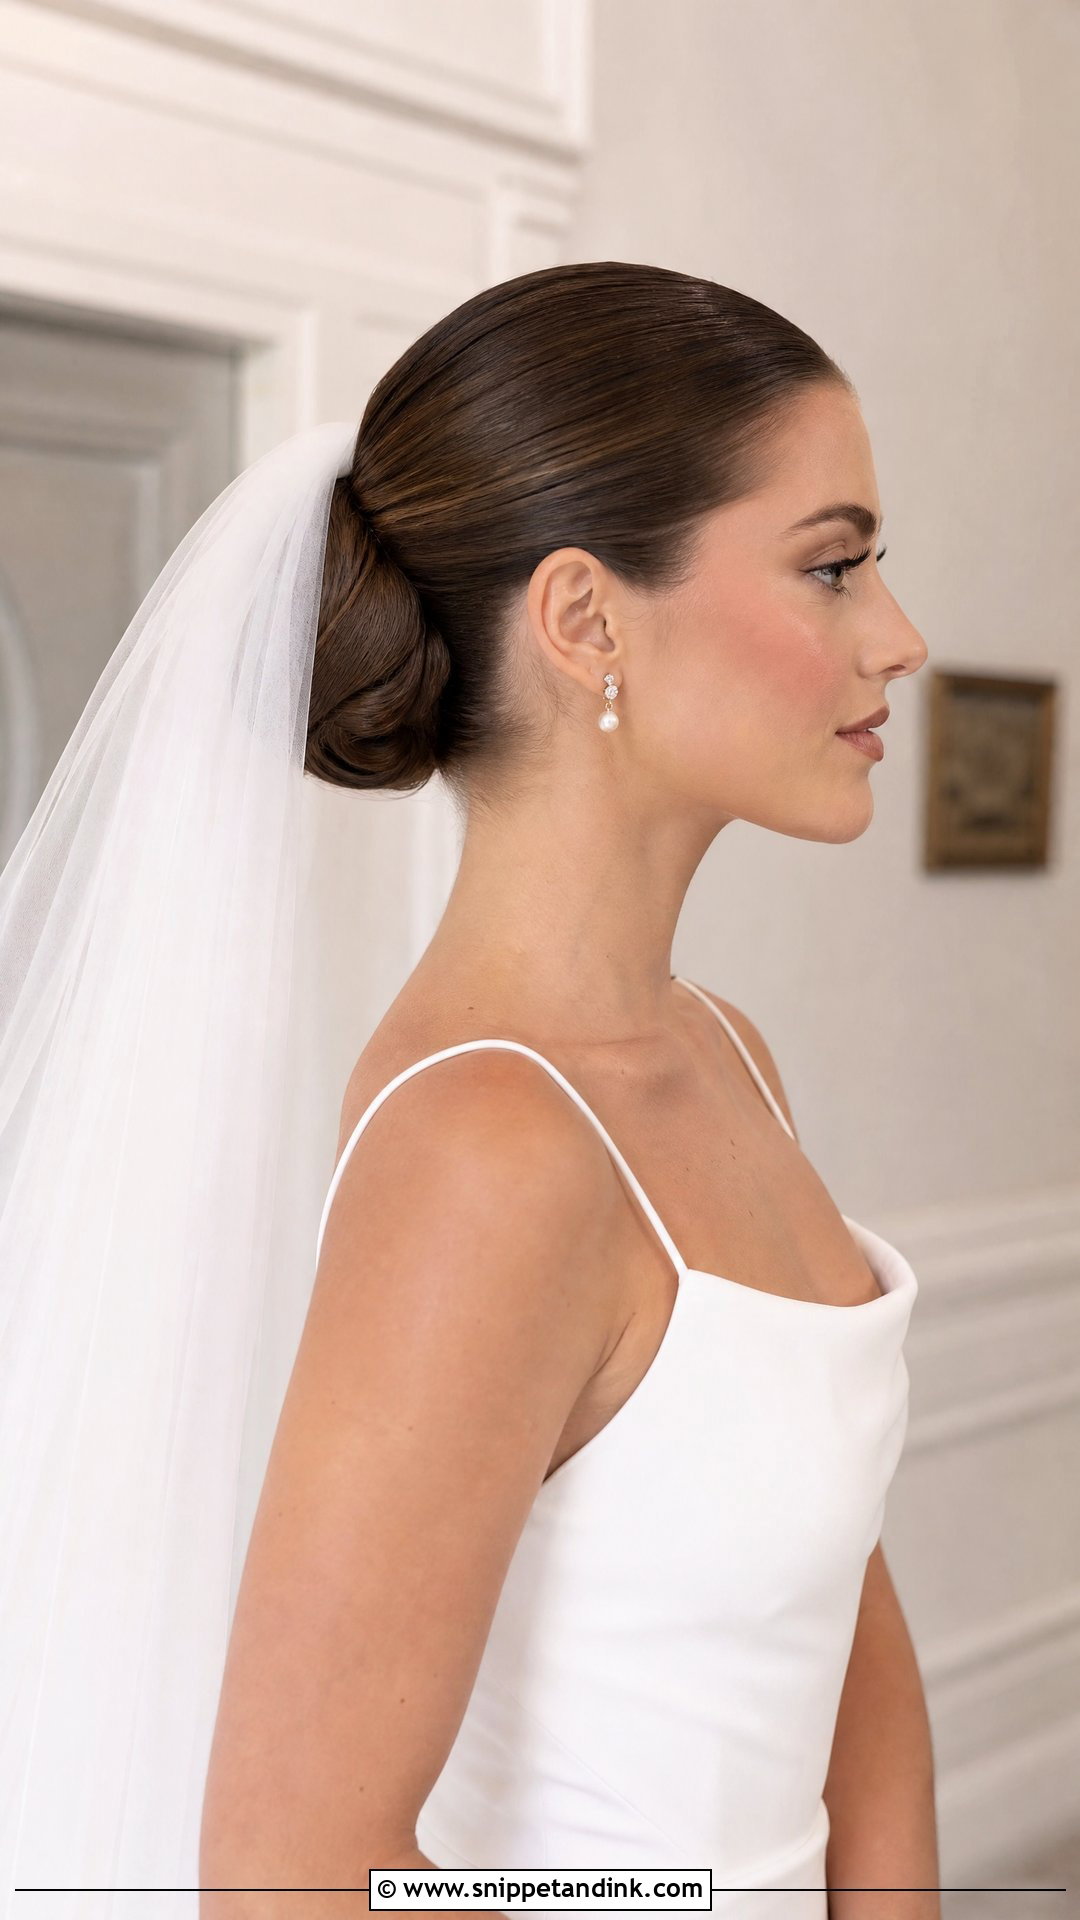
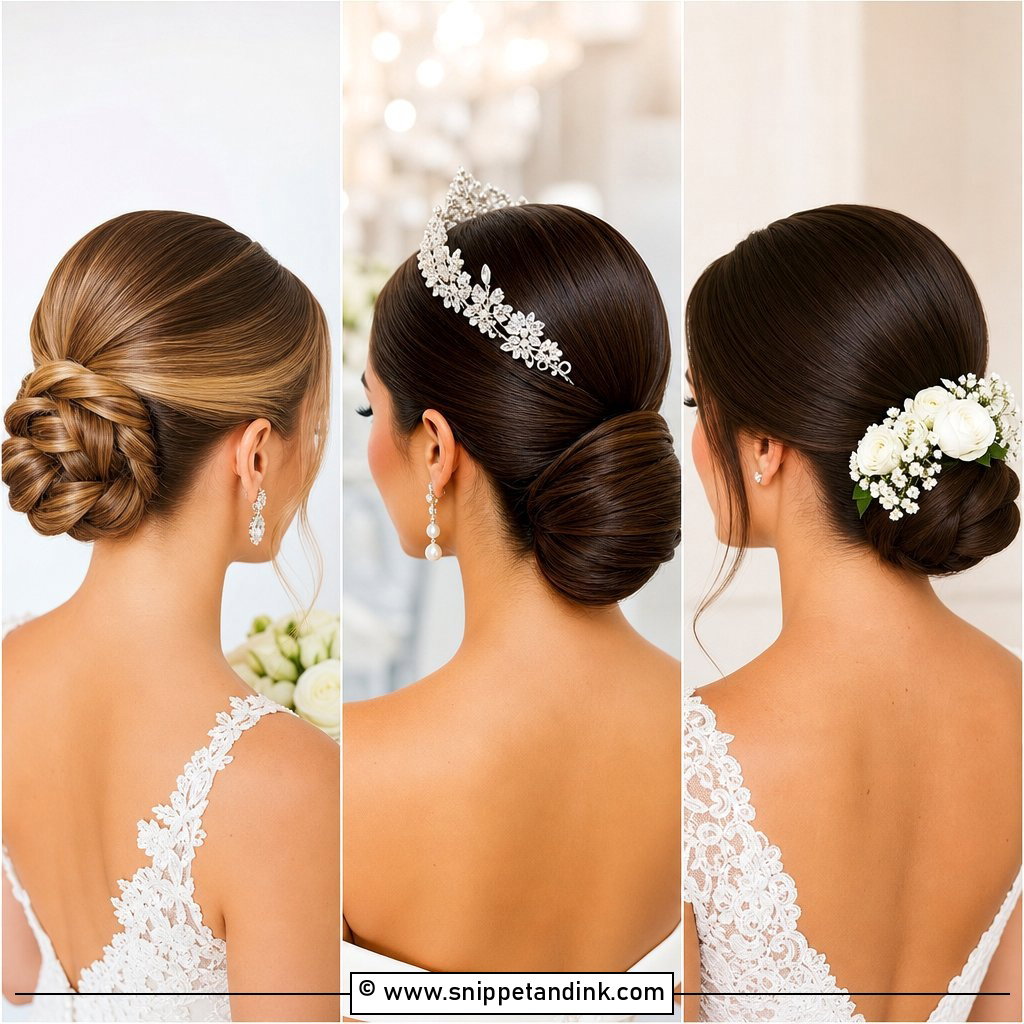
When a veil meets a sleek bun, the structure does the hard work. A cathedral veil tucked under a low chignon drapes gracefully down the back; set under a high bun, it adds height and a more formal outline. A short tulle veil with pearl pins feels lighter and more modern. The firm base keeps the veil in place through hugs. Once it comes off for the reception, the bun is still smooth and finished, with no dents to hide.
6. Ballerina Slick Back Bun
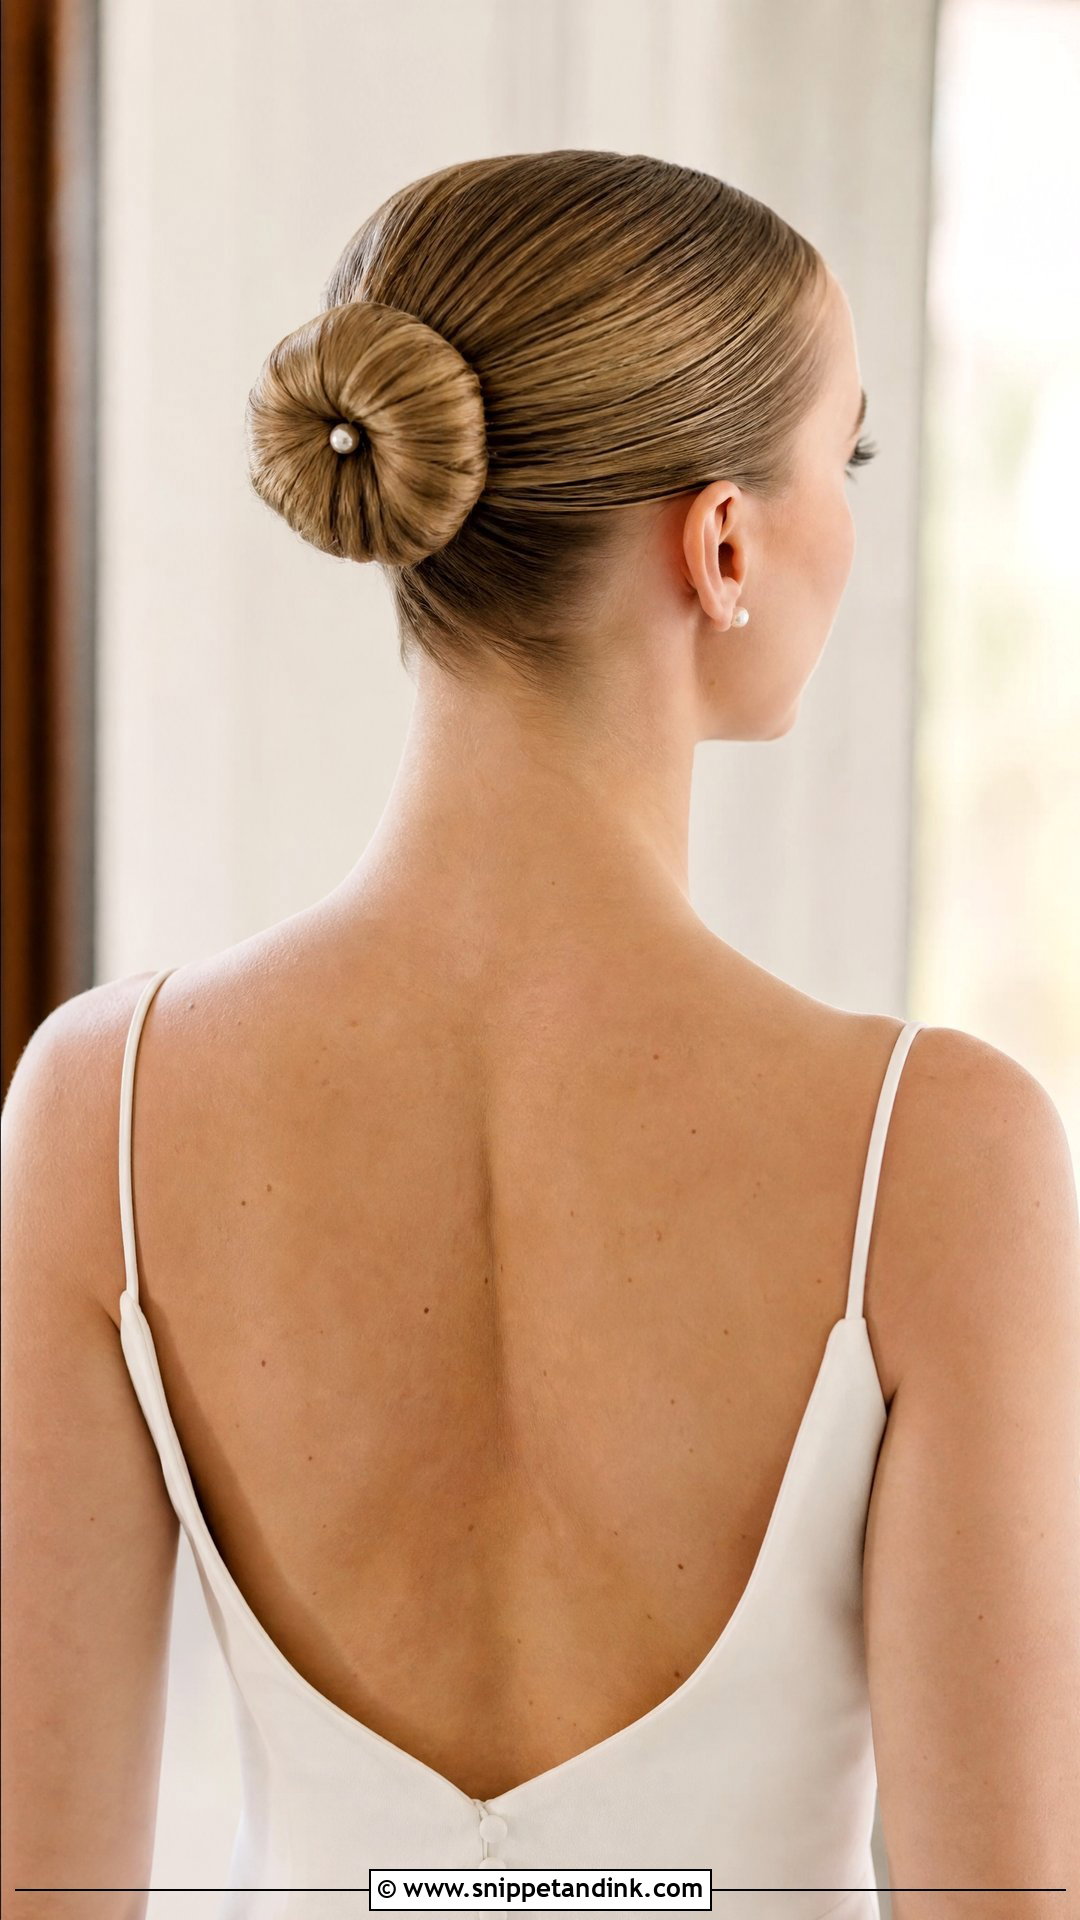
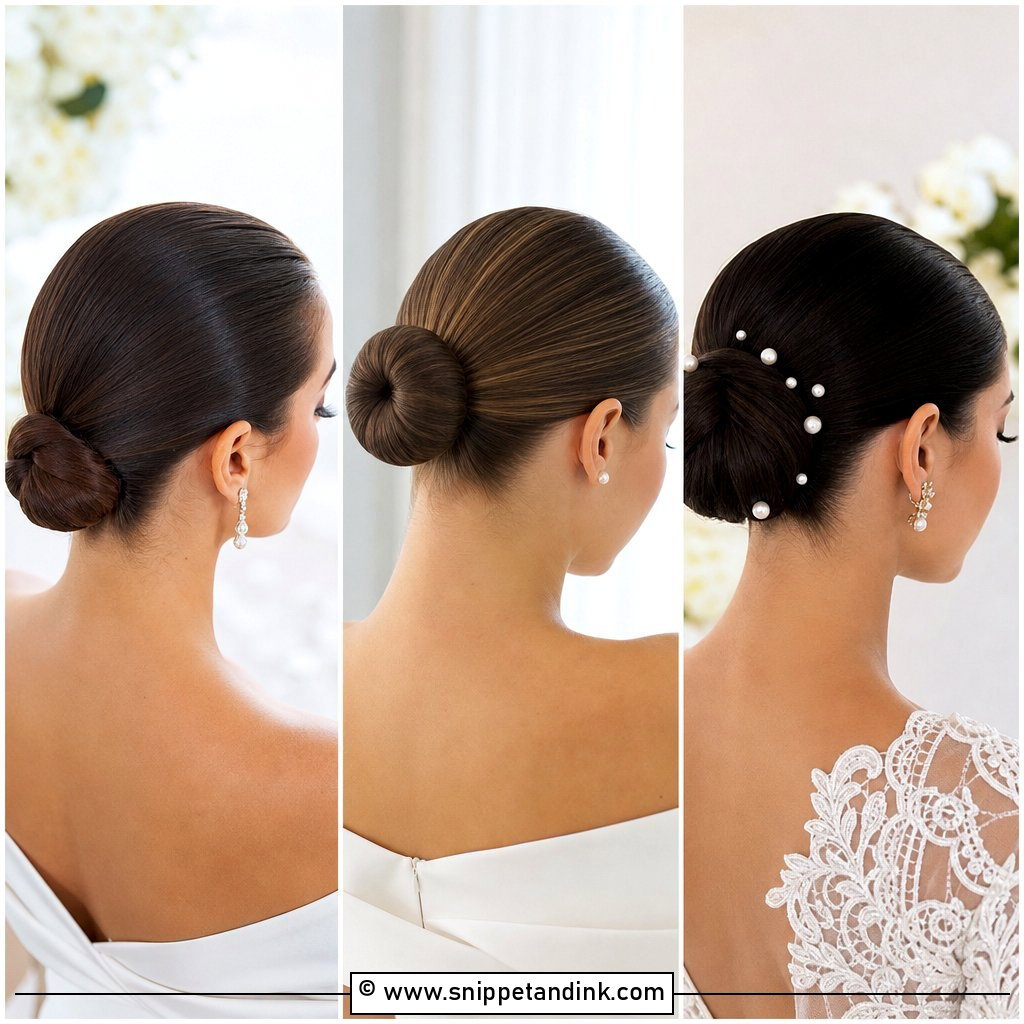
Precision is the whole point of the ballerina bun. The hair is pulled smooth and coiled into a neat, round shape at the center or low at the back. I wind it around a donut or a coil of the hair itself, depending on your hair’s thickness, so the circle stays even. It suits minimalist gowns and simple jewelry. A touch of gel keeps every strand down. Add one pearl pin, or leave it bare.
7. Messy Slick Back Bun
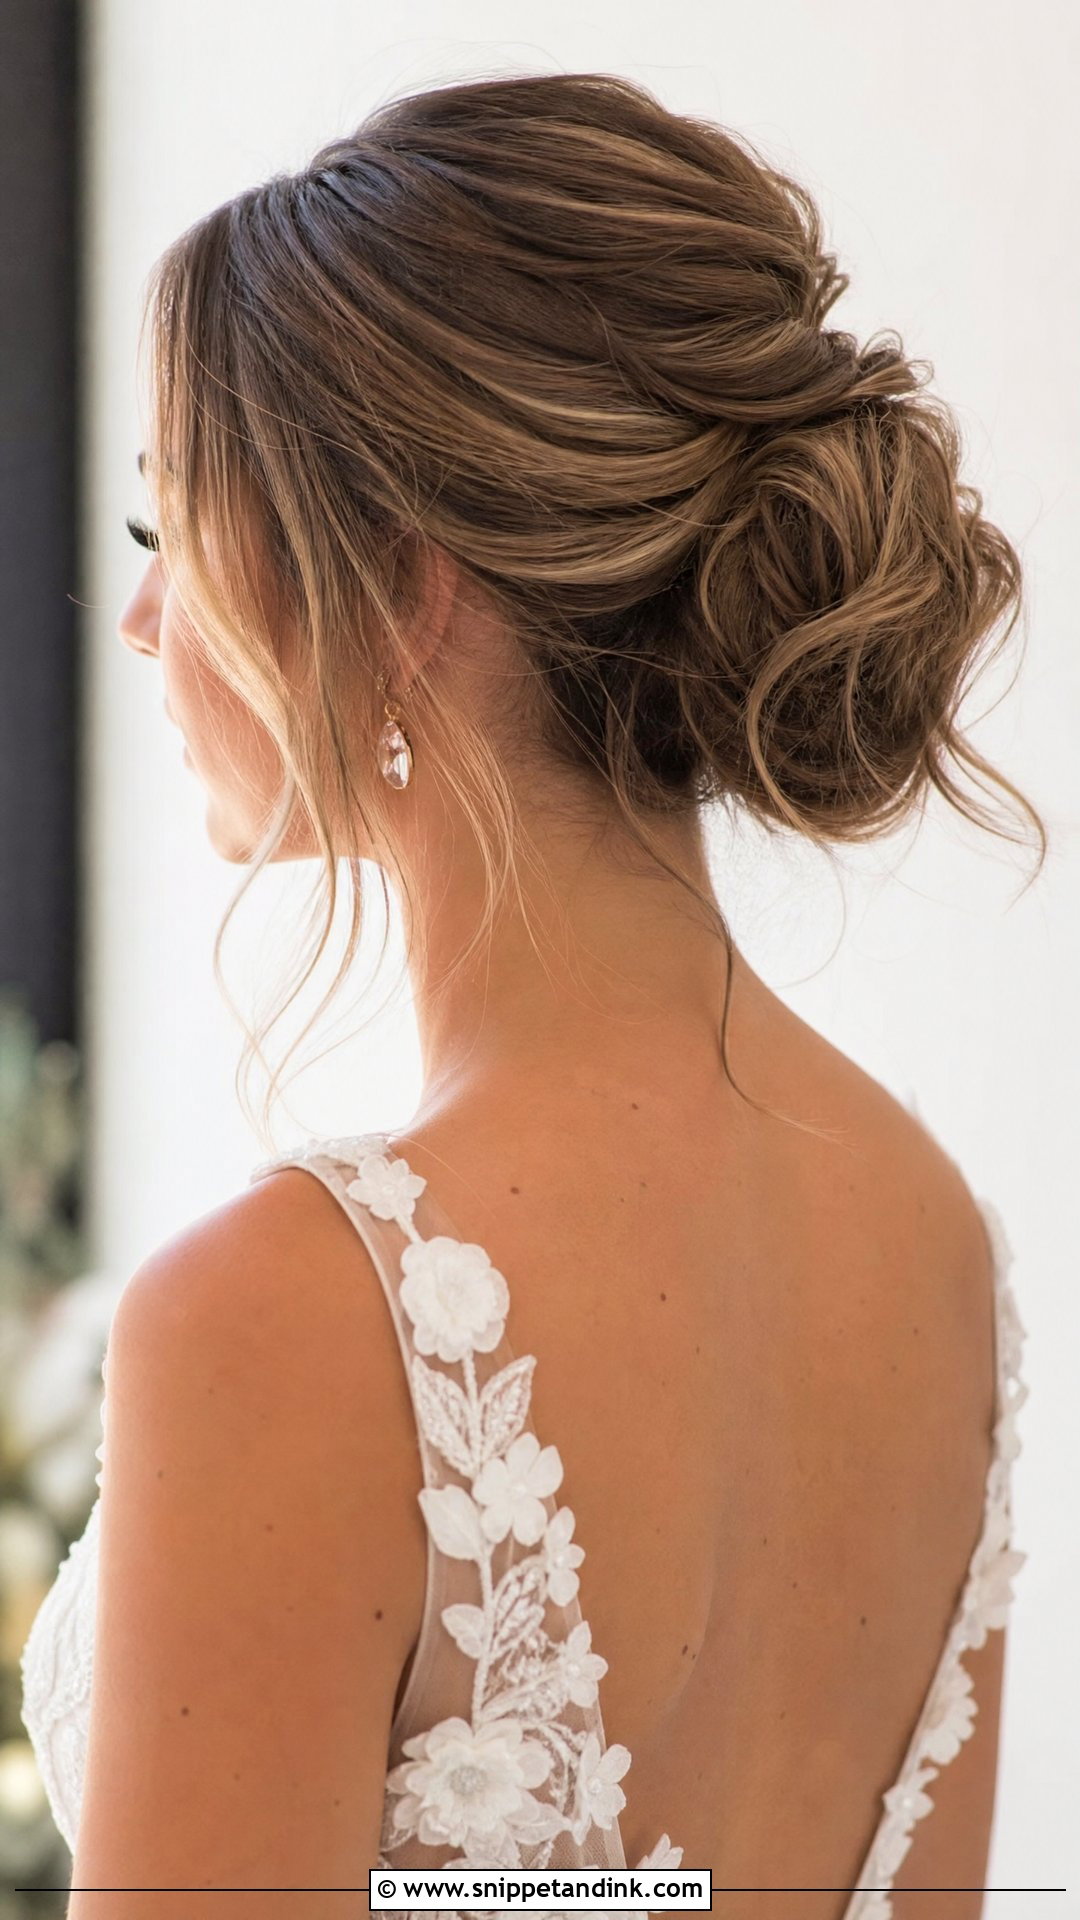
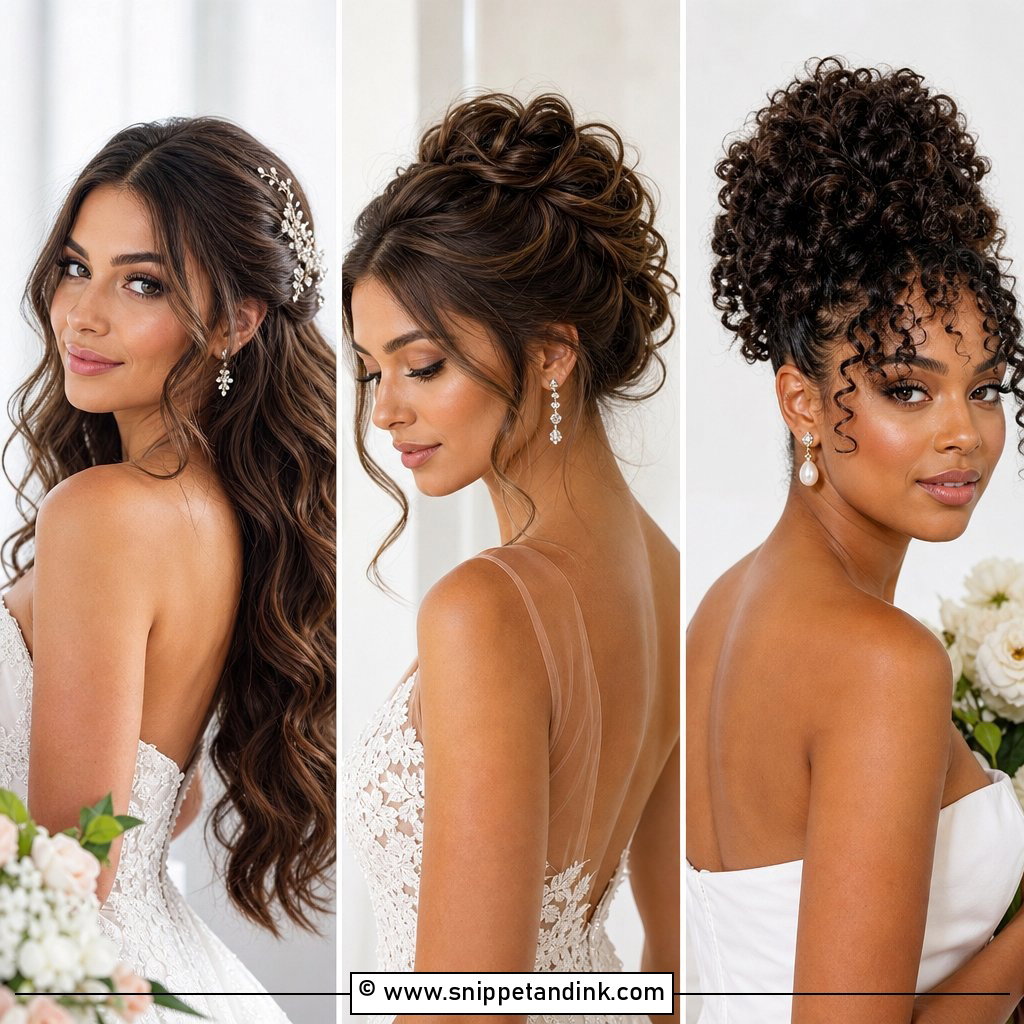
Messy and slick sound like opposites, and that tension is why this works. The sides stay smooth and glossy while the bun itself is loose and full, with a few pieces left free around the face. Texture spray before pinning gives the loose bun enough grip to stay put. The risk is that it looks unfinished in photos if the mess is random, so I pull pieces out deliberately, a few at a time, checking in a mirror. Relaxed outdoor weddings suit it best, and it holds flowers or a flowing veil easily.
8. Slick Back Bun With Face Framing Fringe
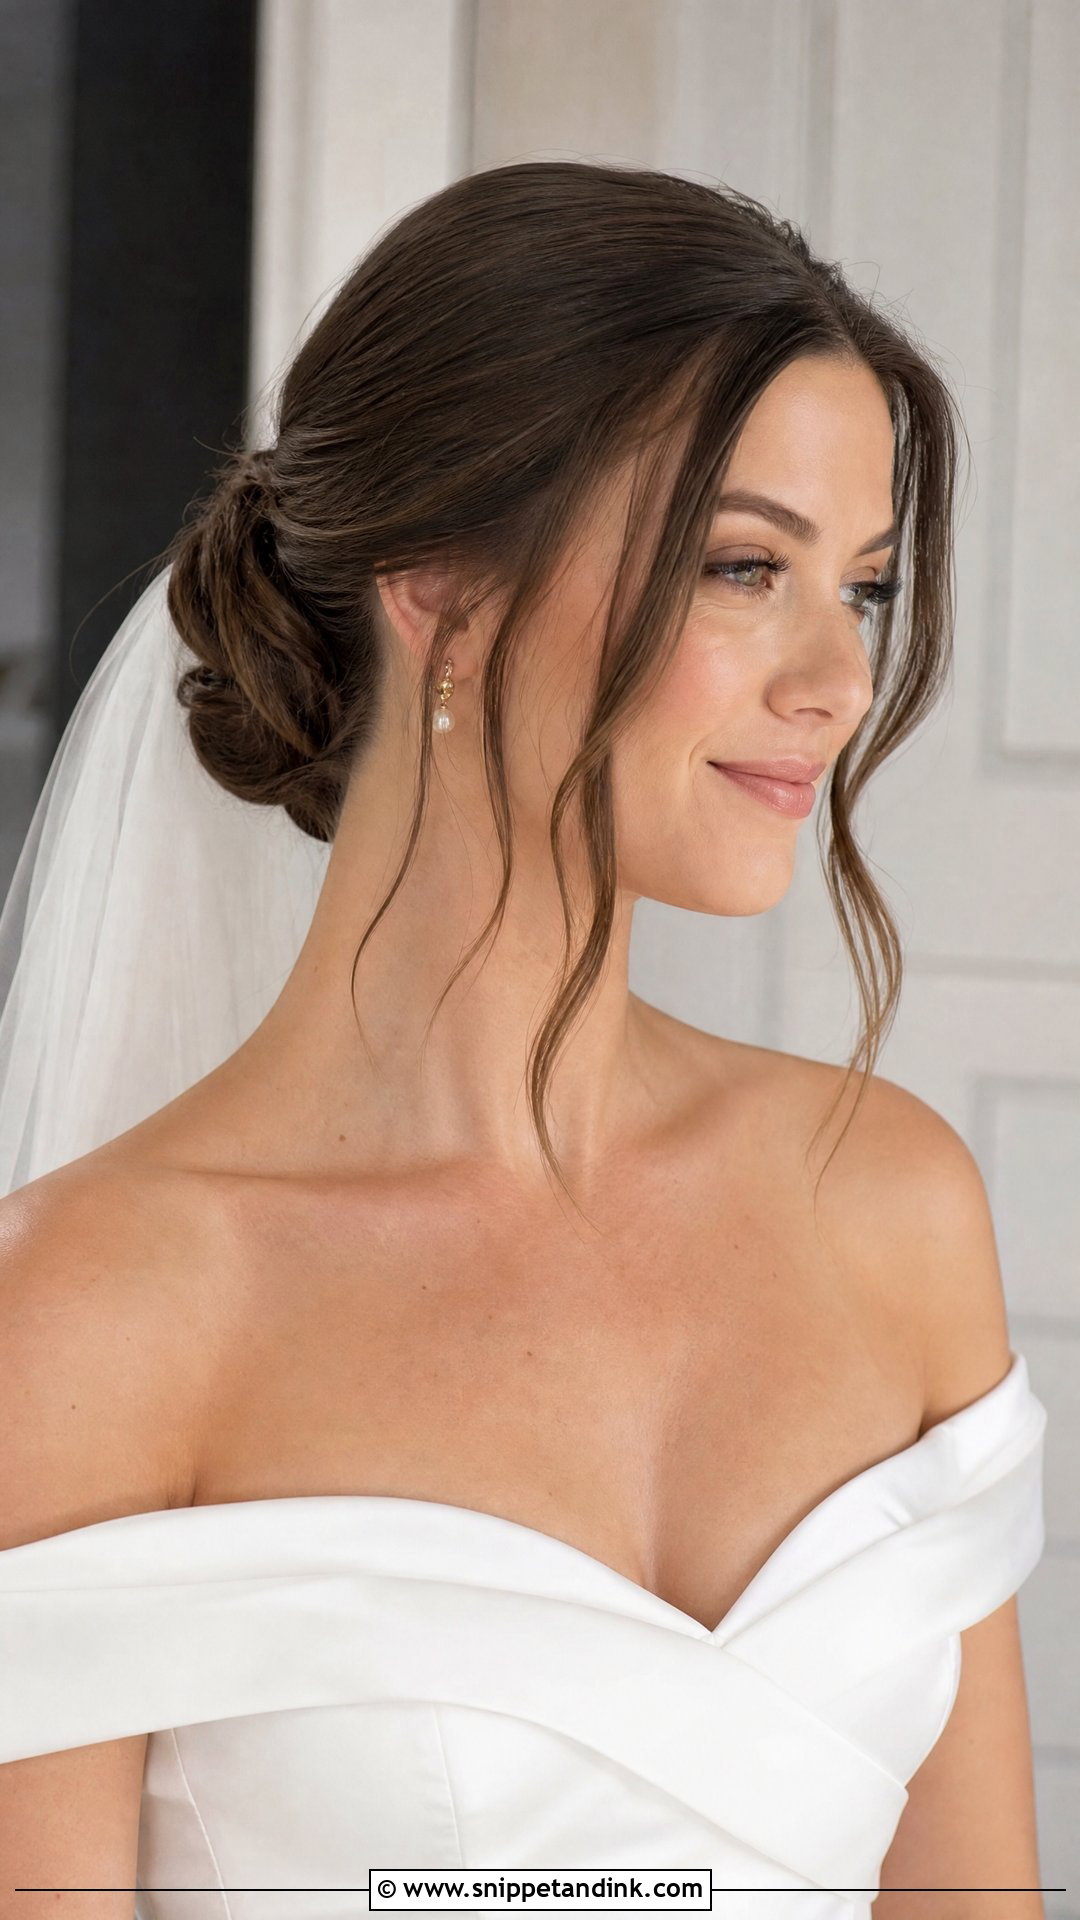
Leaving a few pieces loose at the front is the easiest way to soften a slick back if the full pulled-back look feels too strict. The rest of the hair is smoothed and gathered while chunky face-framing tendrils fall around the cheekbones. I cut them out of the front section before slicking the rest, so the product doesn’t stiffen them. Leave them straight for a modern feel or give them a soft bend. Either way, keep them chunky; thin wisps look accidental.
9. Slick Back Bun With Flowers
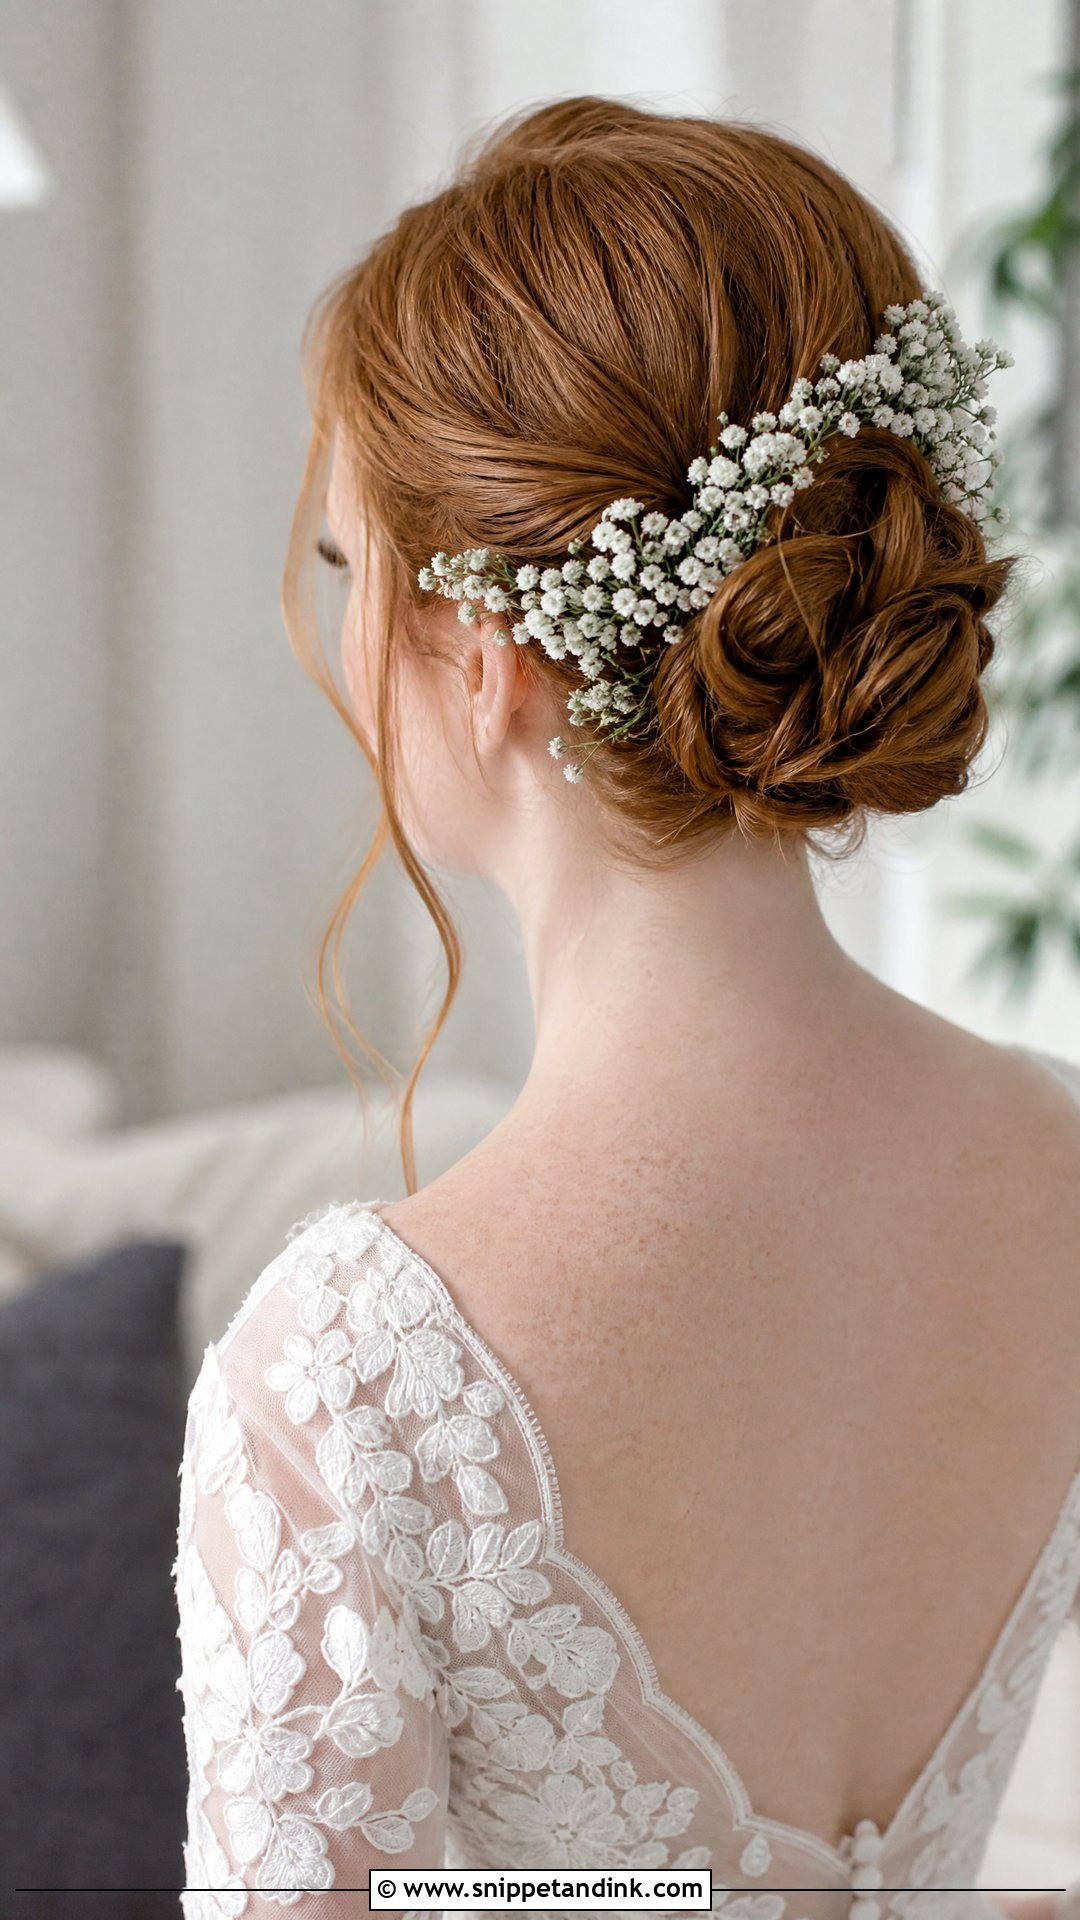
Flowers bring color and softness to a strict shape. Baby’s breath circled around the base, or one larger bloom at the side, stands out sharply against glossy hair. Real flowers dry out fast without water, so ask your florist for blooms that cope with warmth, and have them delivered with the bouquet so they are fresh. I pin them in last, after all spraying is done. Faux flowers are the safer option for a hot outdoor wedding in spring or summer.
10. Slick Back Bun With Pearls
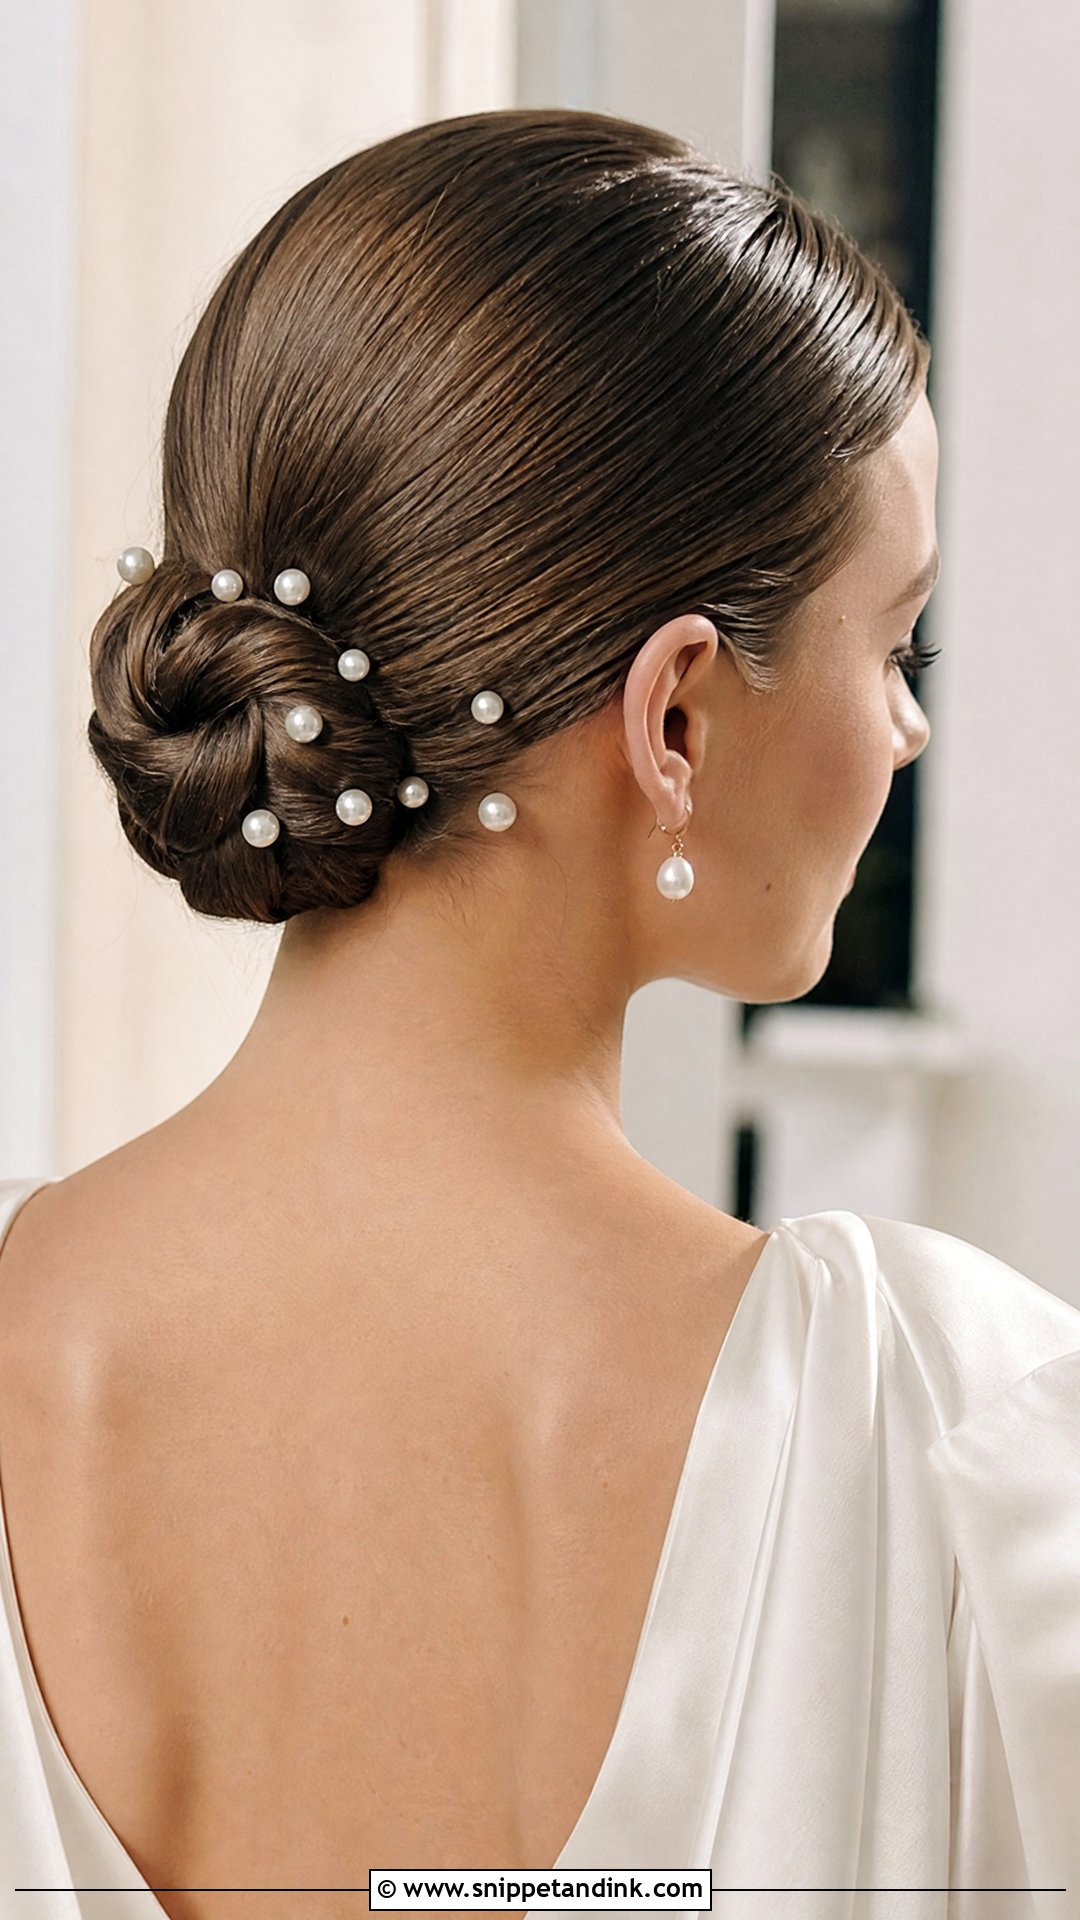
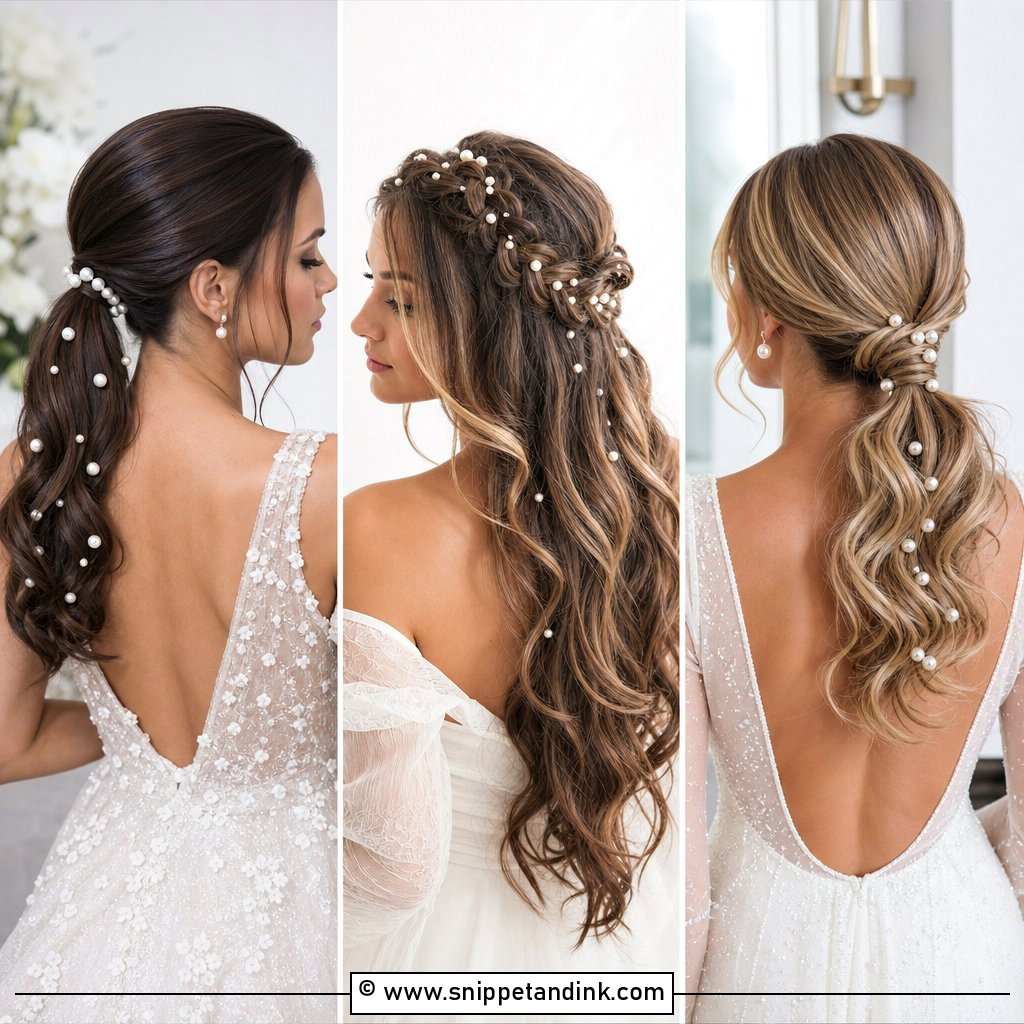
Pearl pins dotted through a sleek bun add a vintage feel and catch the light softly against the smooth hair. I scatter them at random for a relaxed look or set them in a neat row for symmetry. Pearl-headed pins can slip in a glossy bun, so I tuck each one under a bobby pin for security. A short tulle veil or pearl drop earrings go well alongside. It suits classic and modern brides and gives just enough shine without sparkle.
11. Slick Back Bun With Side Part
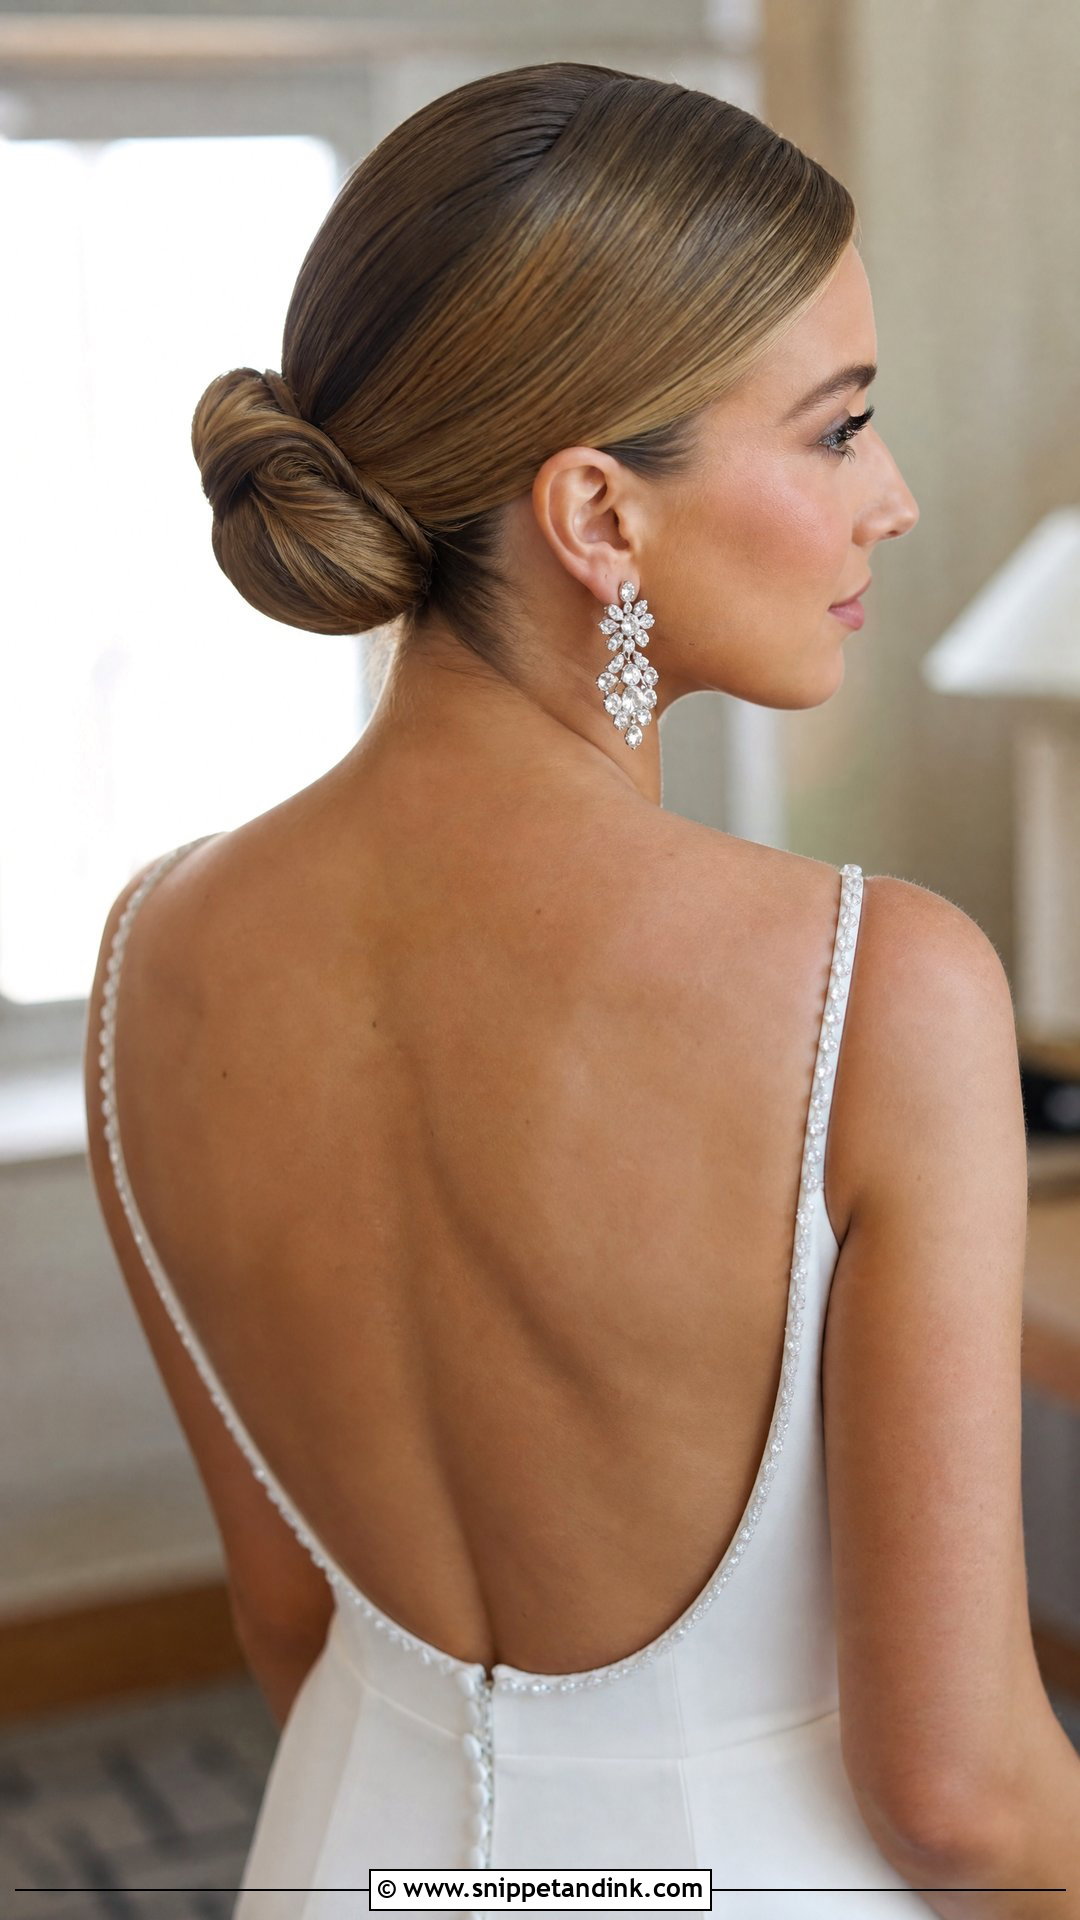
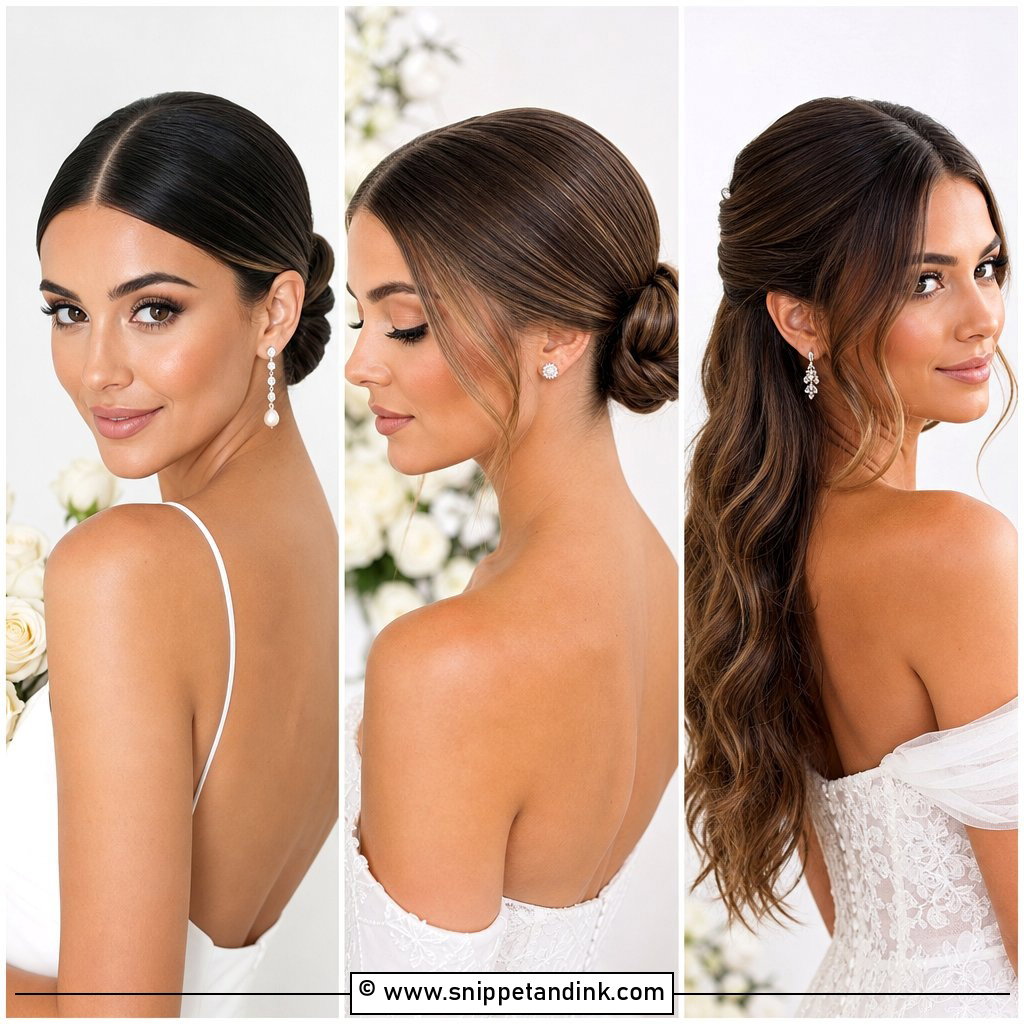
A deep side part gives the slick bun a little old Hollywood. The hair sweeps from one side, creating an asymmetric line that pulls focus to the eyes and cheekbones. It reads slightly boyish and editorial, and it flatters most face shapes. The weakest point is the heavy side, which tends to loosen around the temple. I set it with clips while the product dries, then pin behind the ear before forming the bun.
12. Slick Back Bun With Center Part
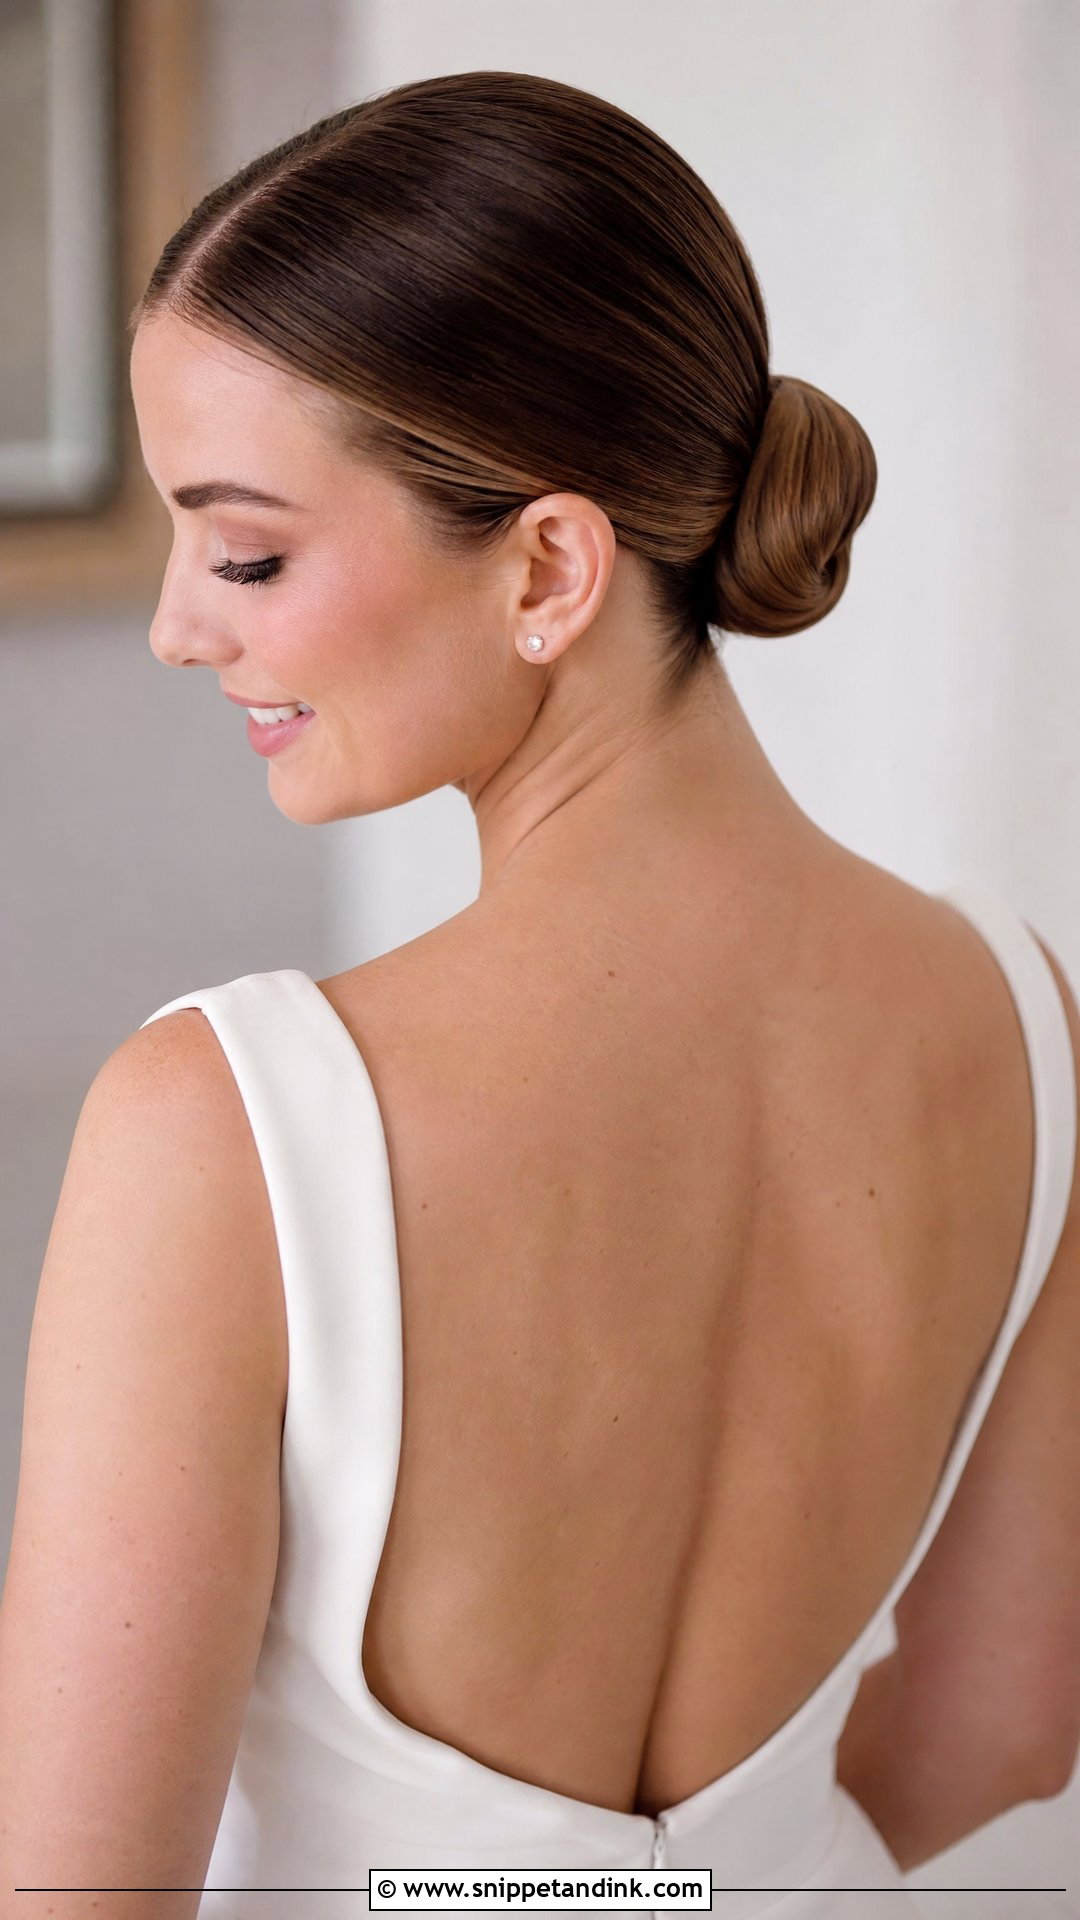
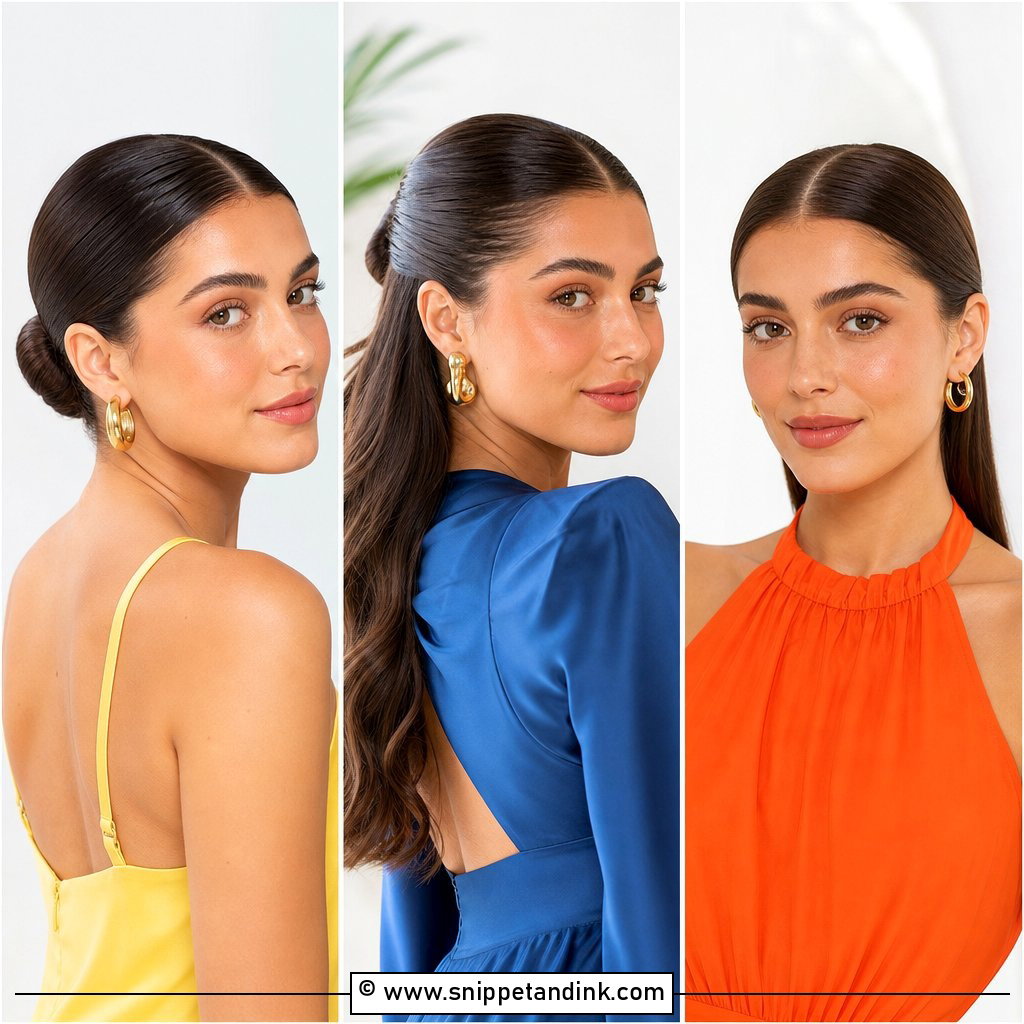
Is a center part softer than a side part? Usually, yes. The middle line reads calm and balanced, framing both sides of the face evenly. The hair sweeps back into a neat, low coil, which keeps it gentle rather than severe. Simple studs and a delicate veil suit it. I check your part at the trial, since a face that looks uneven to you in the mirror often looks fine in a center part on camera, and vice versa.
13. Slick Back Bun With Hair Accessories
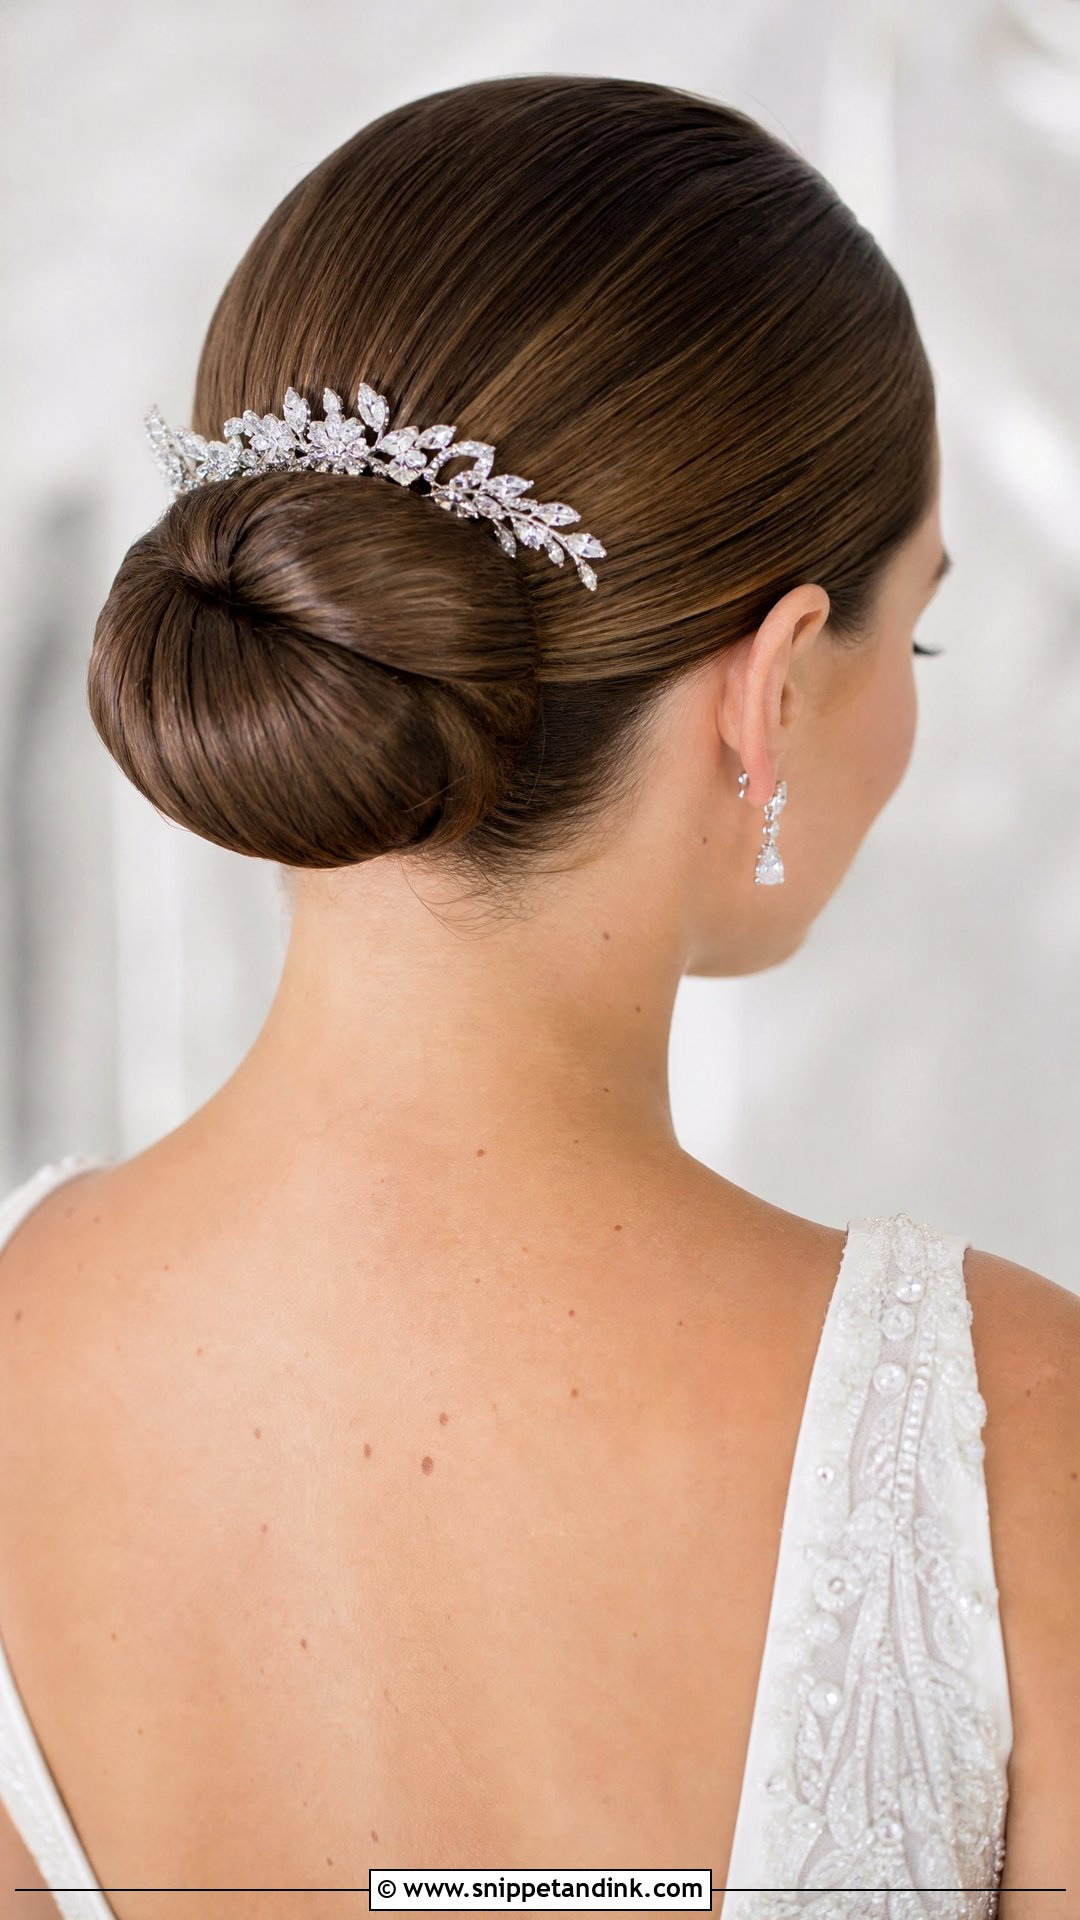
A smooth bun makes any accessory the focus: a comb, clips, a small crown or jeweled pins. A sparkling clip at the crown pairs nicely with a simple veil fixed toward the back. If you are wearing an heirloom piece, bring it to the trial so I can check its weight and how it attaches; older combs often have short teeth that need a small braid underneath to grip. Choose embellishments that match your dress and jewelry metal.
14. Twisted Slick Back Bun
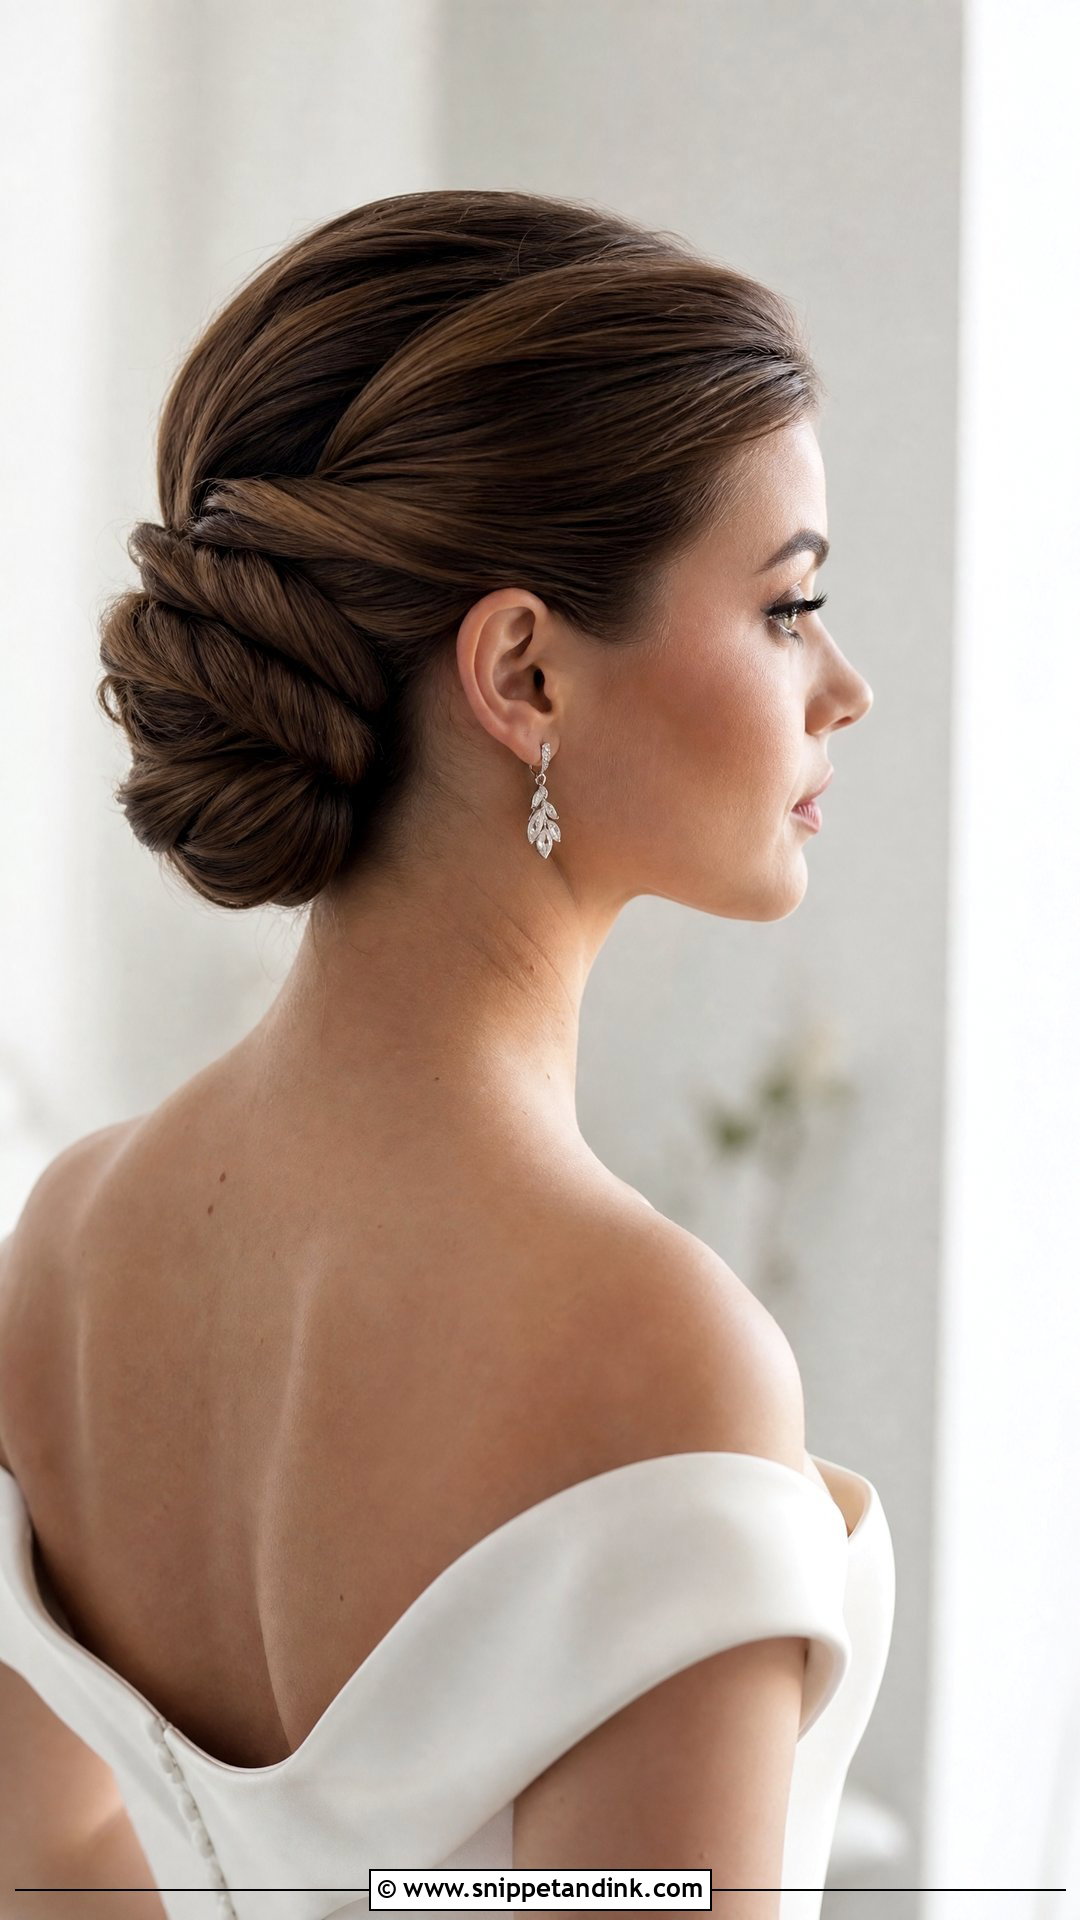
Twisting smooth sections before they meet the knot creates a rope-like texture along the sides. A twisted slick back bun looks intricate without the frizz that braids sometimes bring. Twist both sides toward the back for symmetry, or one side only for an asymmetric line. The twists also give pins and veils something firm to grip. Medium-thick hair shows the rope effect best; very fine hair needs texture spray first.
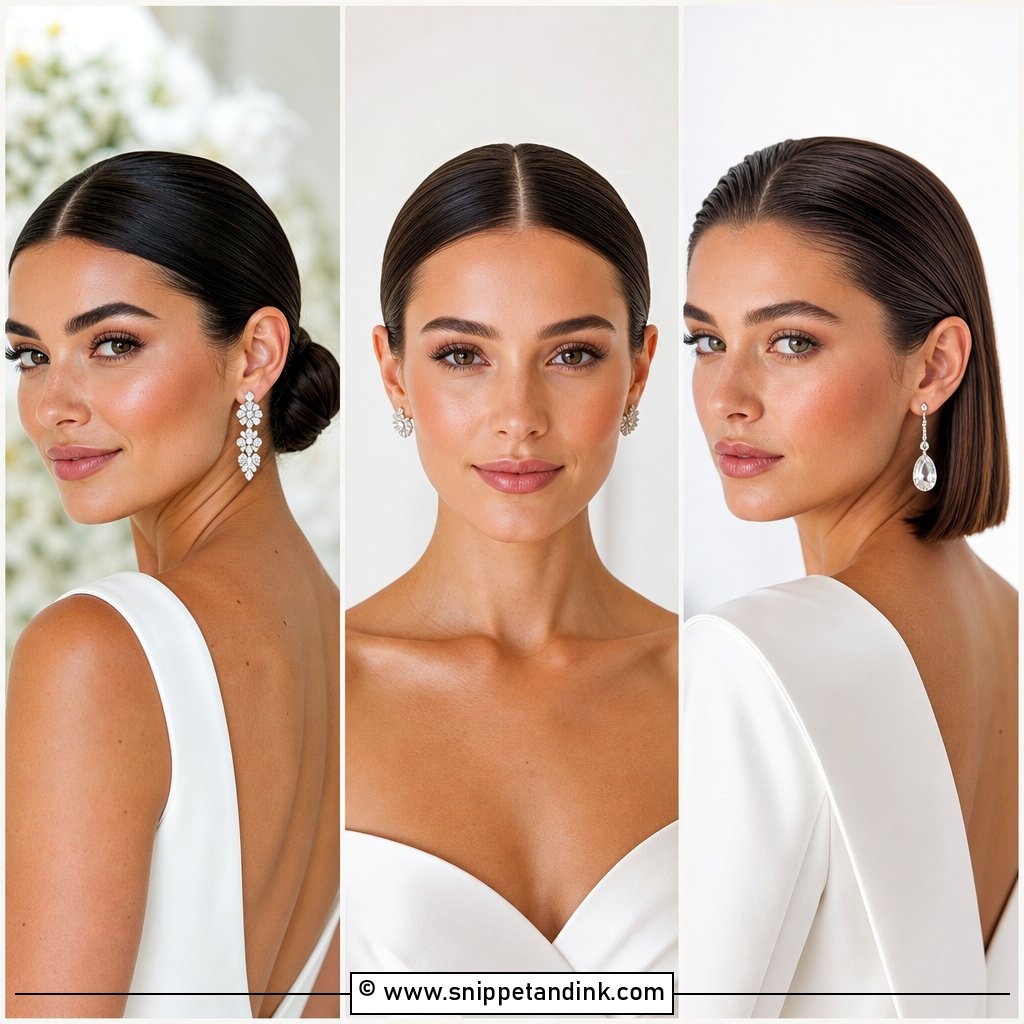
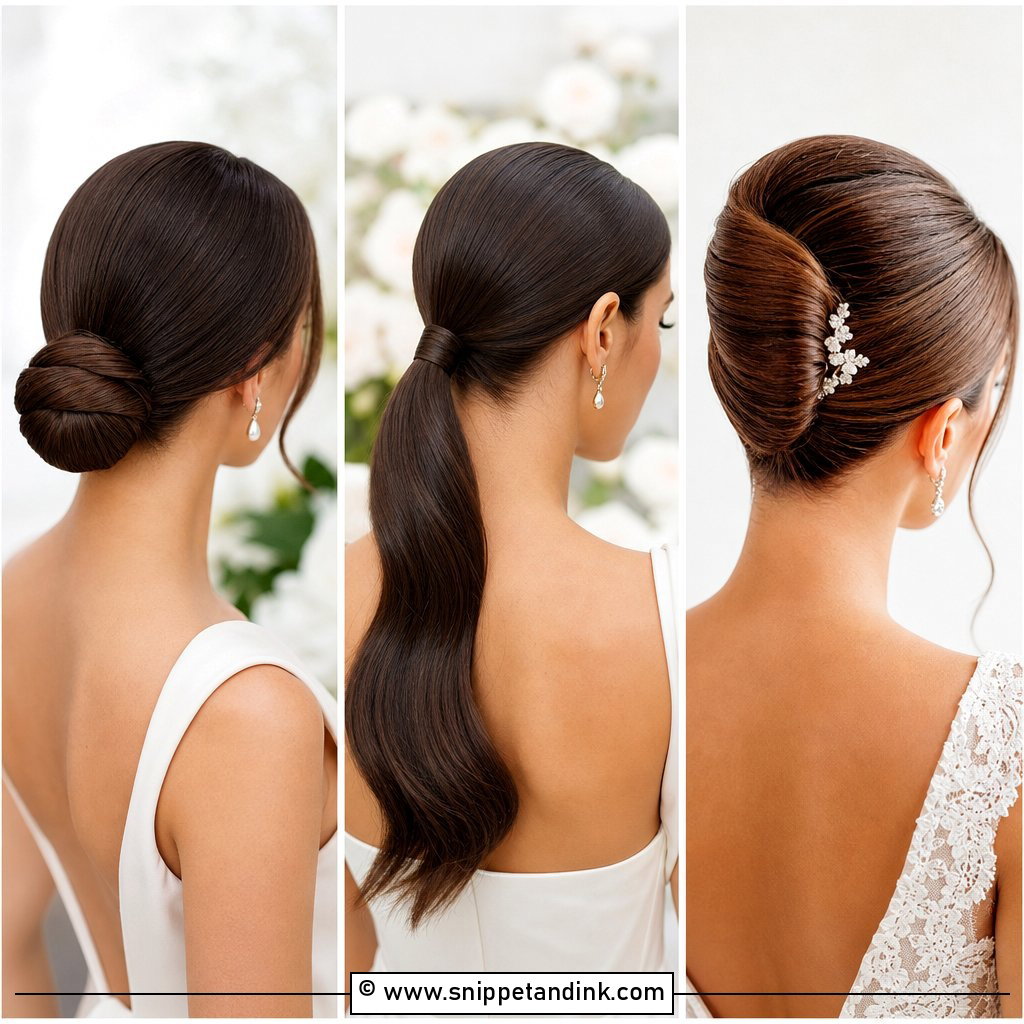
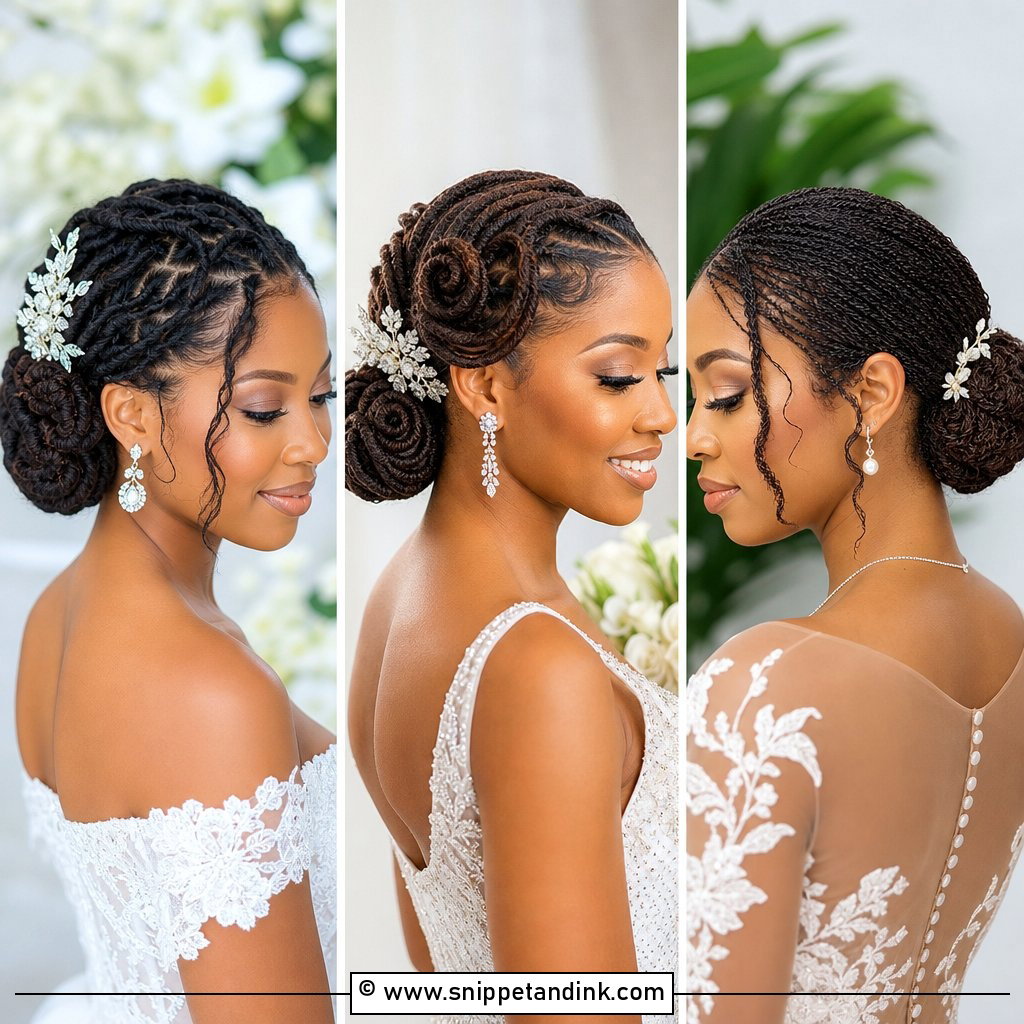
15. Voluminous Slick Back Bun
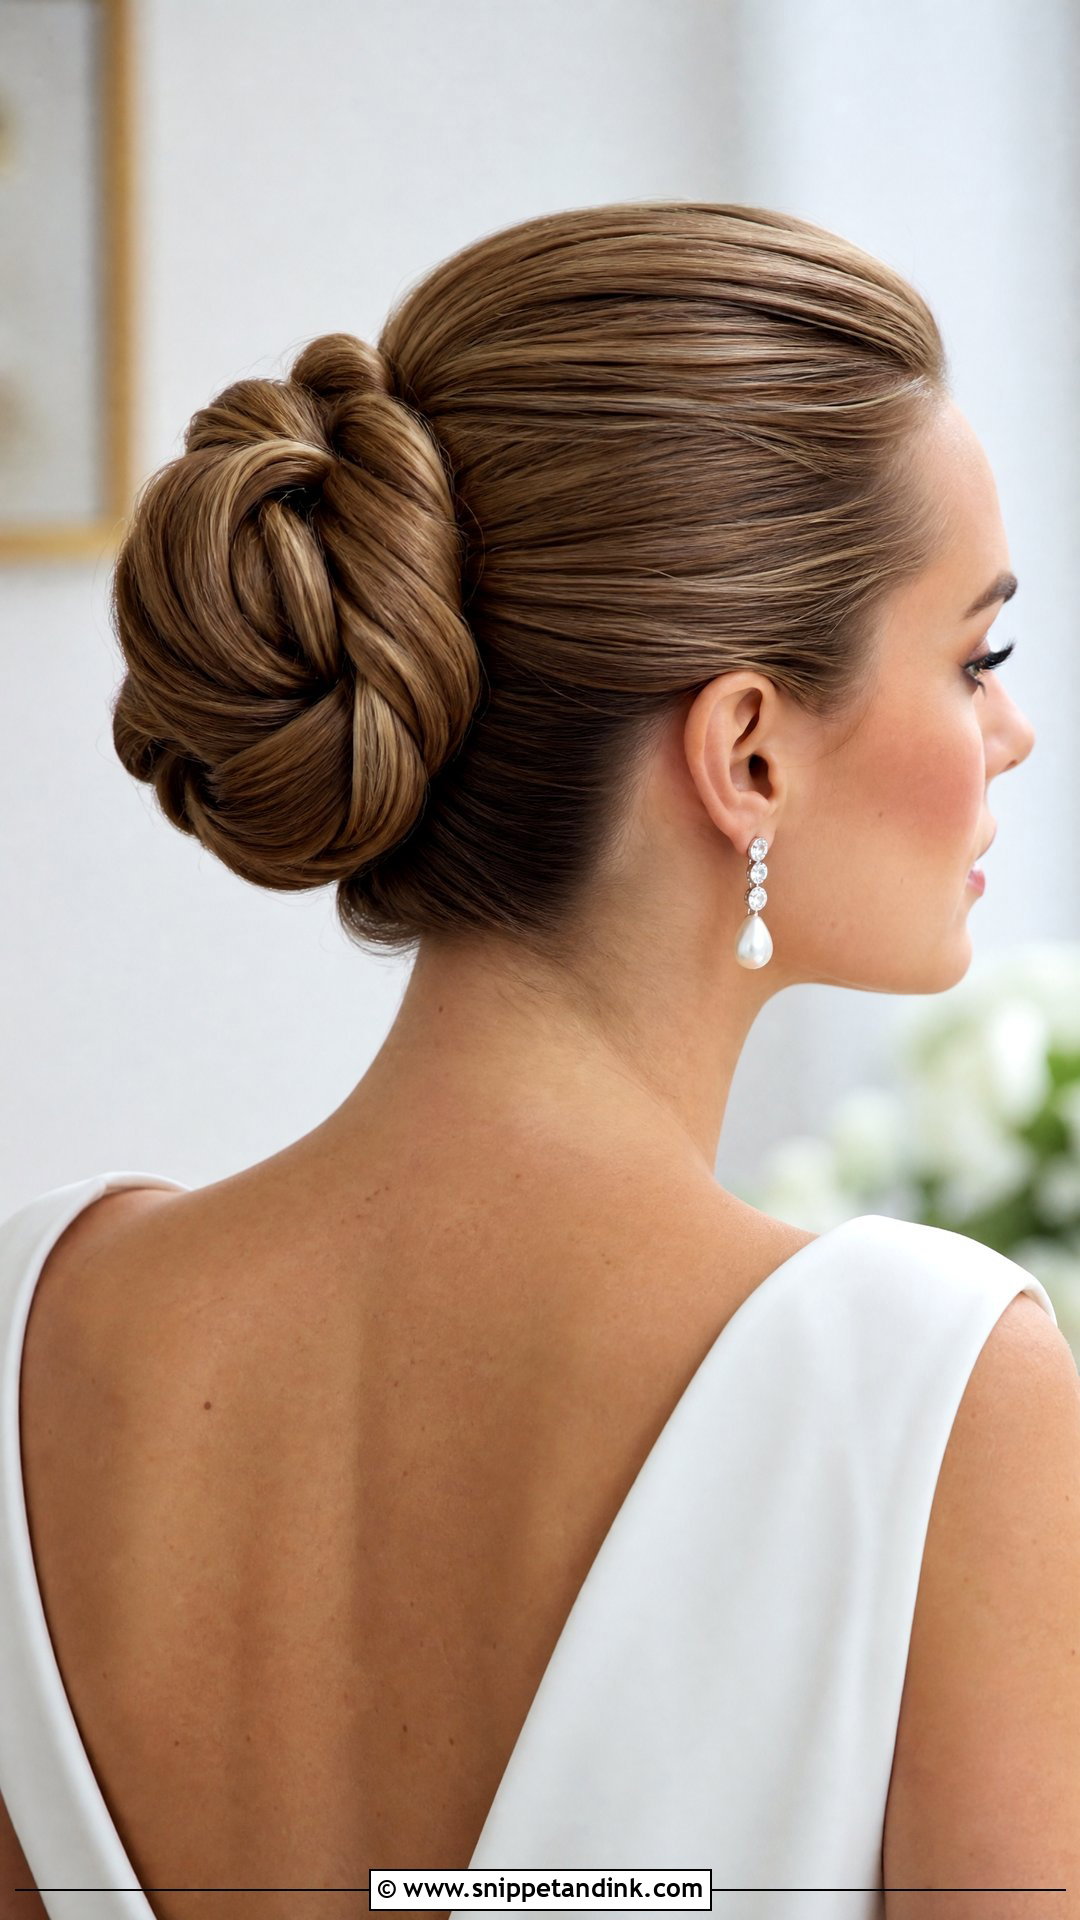
A big bun needs a lot of hair or a little help. The sides stay sleek while the coil is built into a large, rounded shape. Long, thick hair can do it naturally; for everyone else, I add a padded donut or clip-in extensions matched to your color. Choose human hair extensions if you can, since synthetic fibers shine differently under flash. Minimal gowns and statement jewelry suit the drama. Large buns are heavier, so I anchor them with more pins than usual.
16. Slick Back Bun With Wet Look Finish
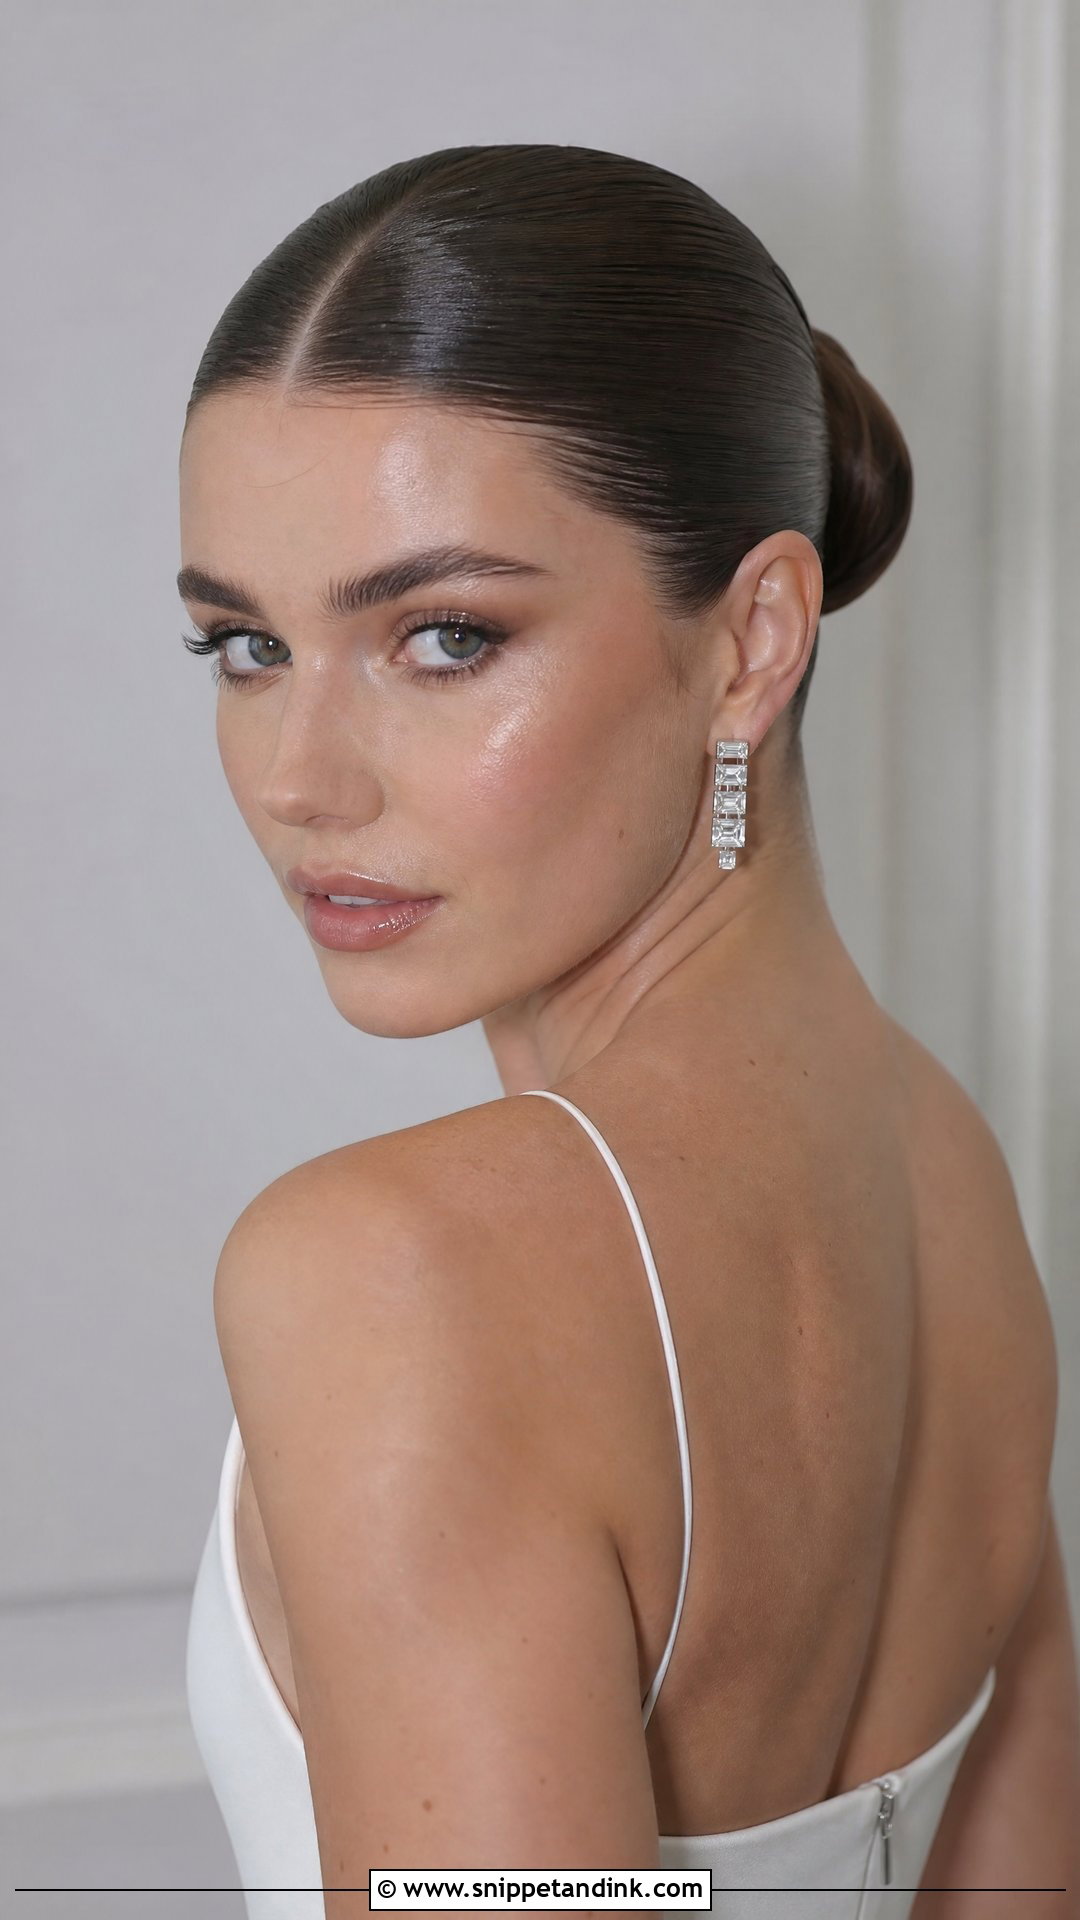
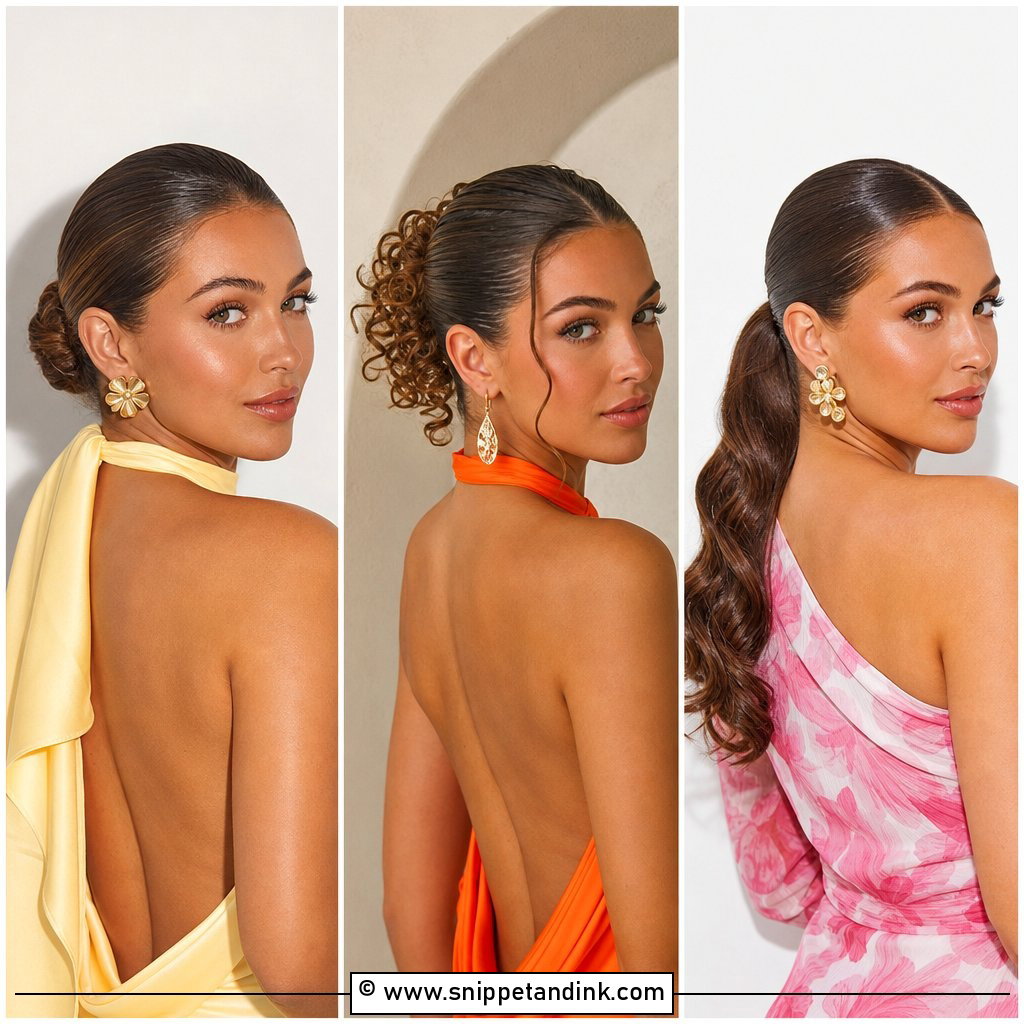
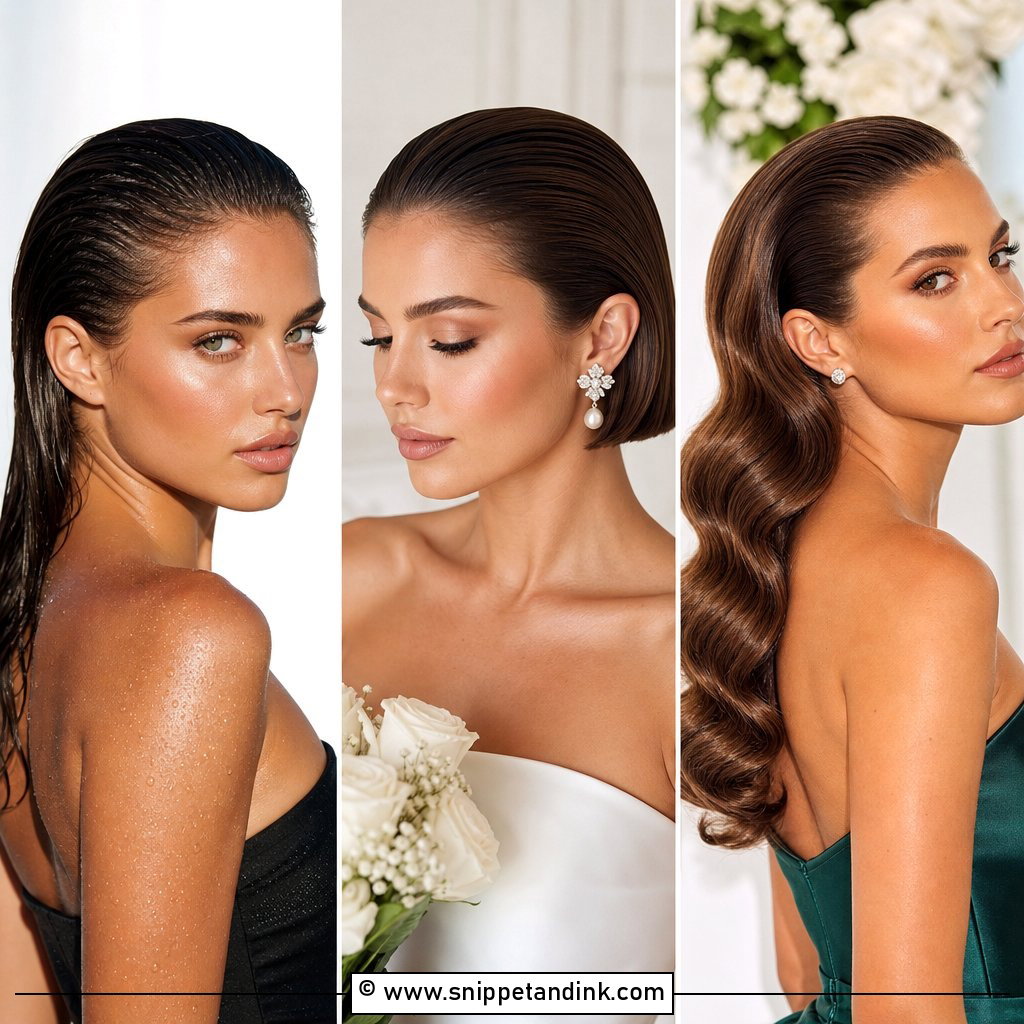
The wet-look slick back bun coats every strand in shine, so the hair looks freshly damp. Strong gel holds the sculpted surface all day. It works for city weddings and contemporary venues with a sleek dress and statement earrings. What brides don’t expect: very high shine can look greasy in flash photos, so I always test it at the trial with a few flash shots. Dark hair shows the gloss more strongly than blonde.
17. Slick Back Bun With Soft Tendrils
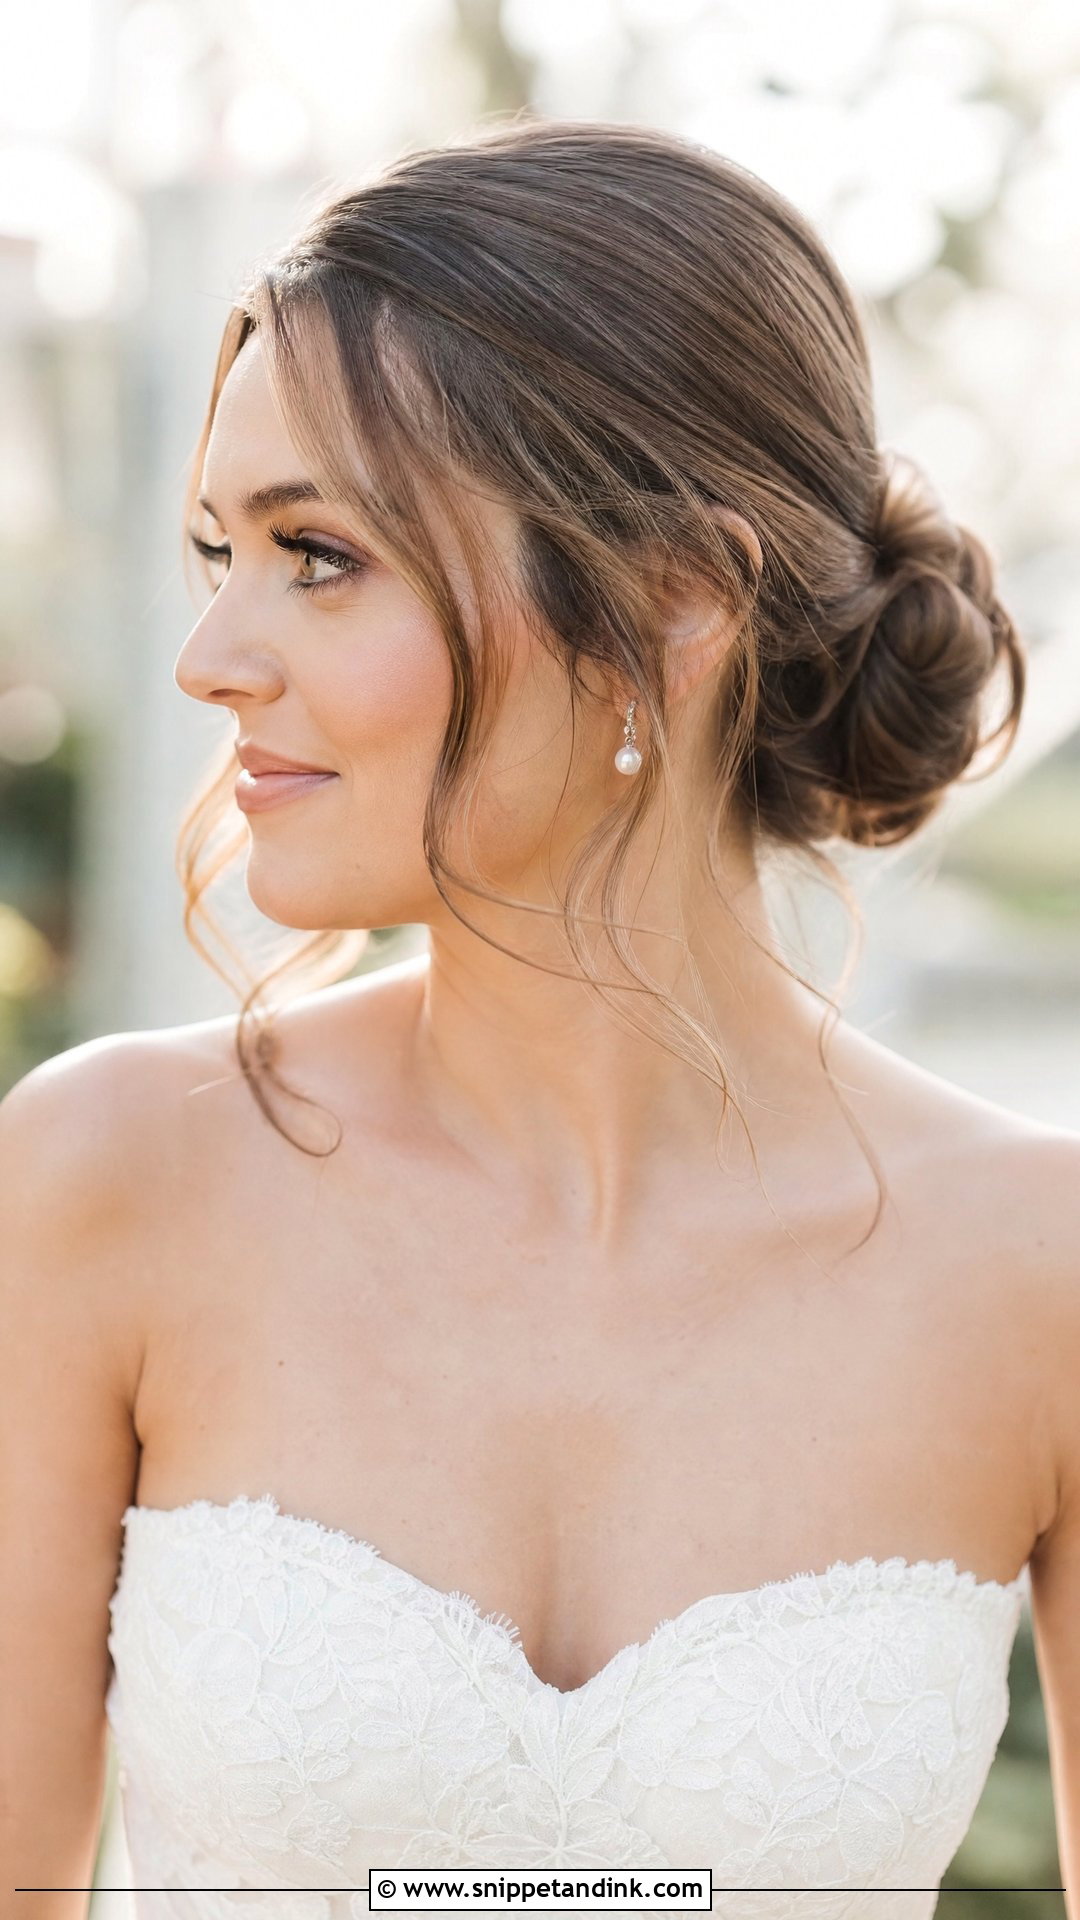
This variation lets delicate strands fall at the temples and nape, curled or waved, while the bun stays neat. Outdoor weddings suit it, though humidity is hard on tendrils. They relax within a couple of hours, so I curl them tightly at first and expect them to loosen into a softer wave by the speeches. Keep a small curling iron or spray in the bridal room for a quick refresh. The tendrils soften most face shapes.
18. Geometric Slick Back Bun
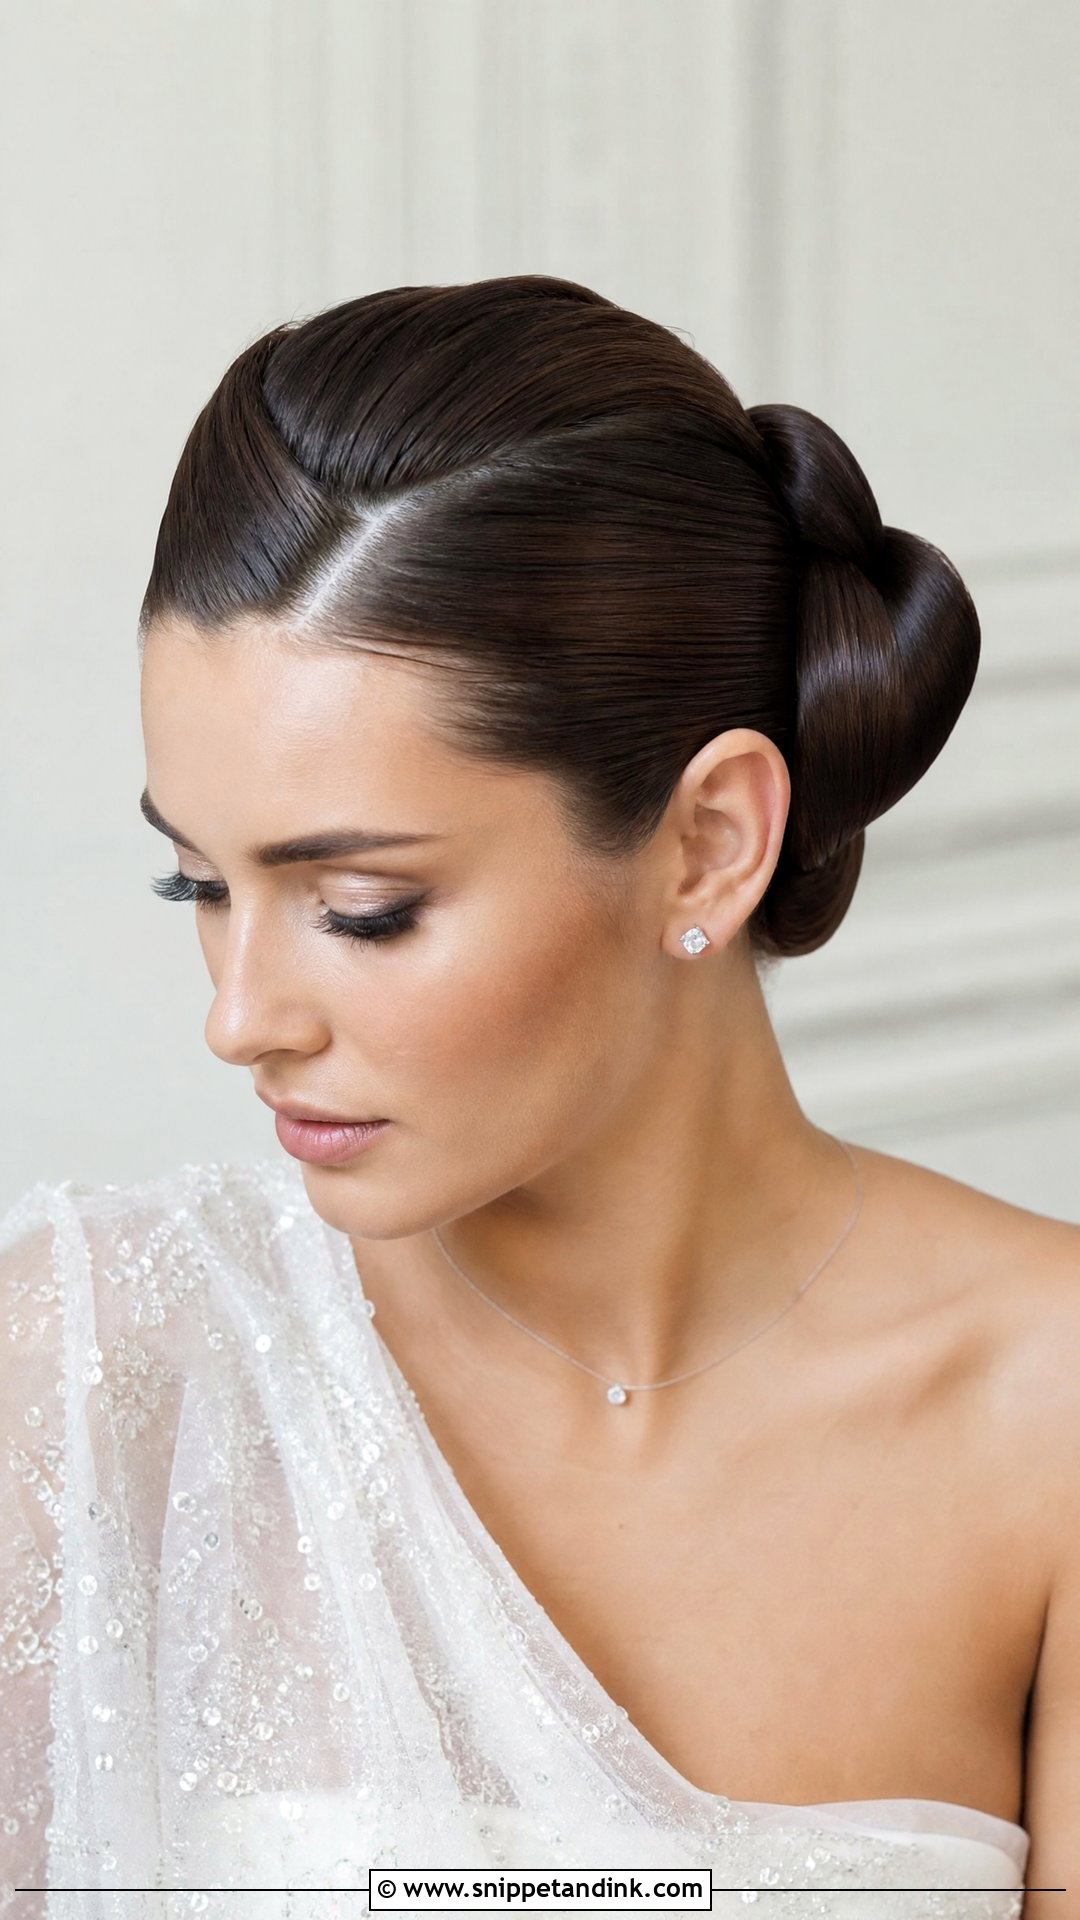
The geometric bun is the most technical style on this list. Strong gel and careful sectioning create crisp, defined angles and a sculptural shape, often with sharp lines at the sides. I map the sections with a tail comb before applying gel, because once it starts setting there is no adjusting. Sparkly modern gowns and minimal jewelry let the shape stand out. This one needs a stylist with editorial experience; ask to see their own photos of similar work.
19. Slick Back Bun With Half Braid
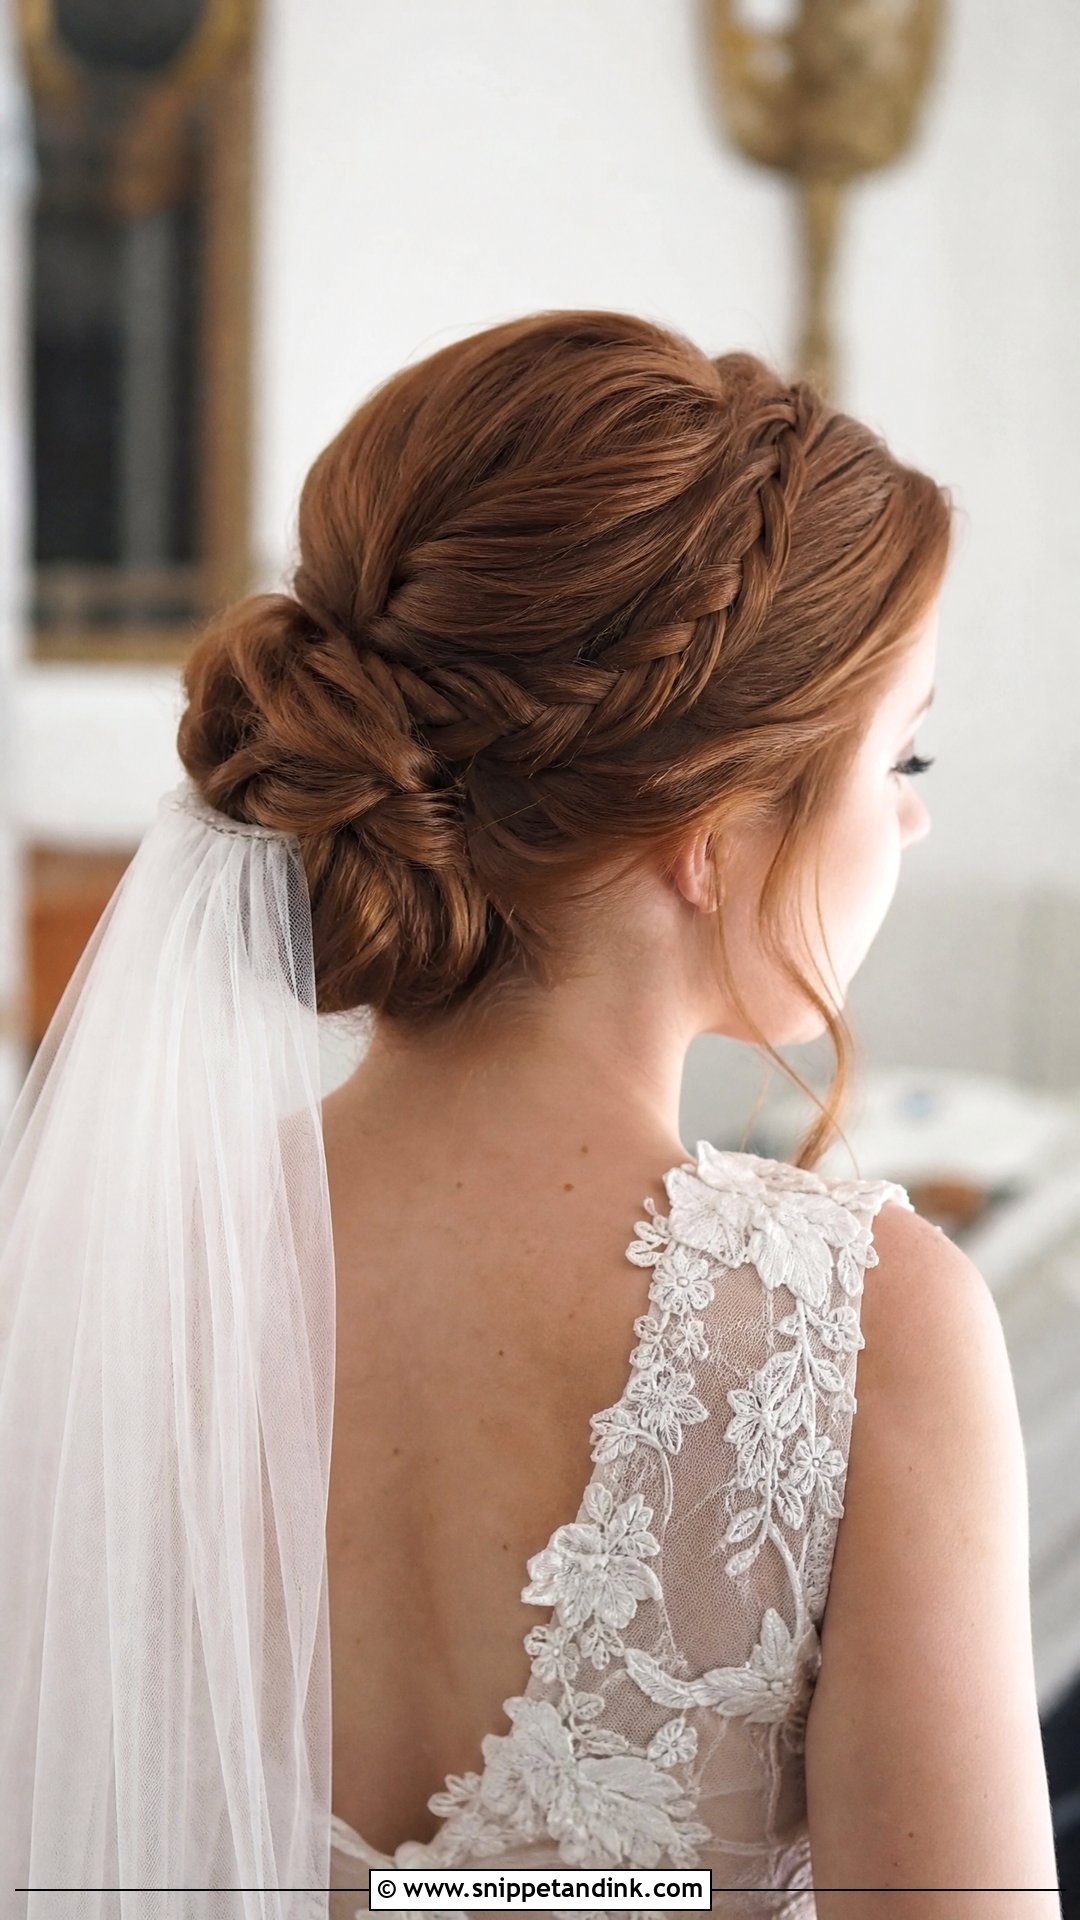
A half braid runs from the smooth front sections into the coiled base, adding texture and a vintage feel. It pairs well with a draped lace veil or decorative side clips, and the braid gives both a secure anchor. Center placement looks symmetrical; swept to one side, it looks softer and more romantic. I keep the braid fairly tight so it doesn’t break the slick surface at the front.
20. Slick Back Bun With Statement Earrings
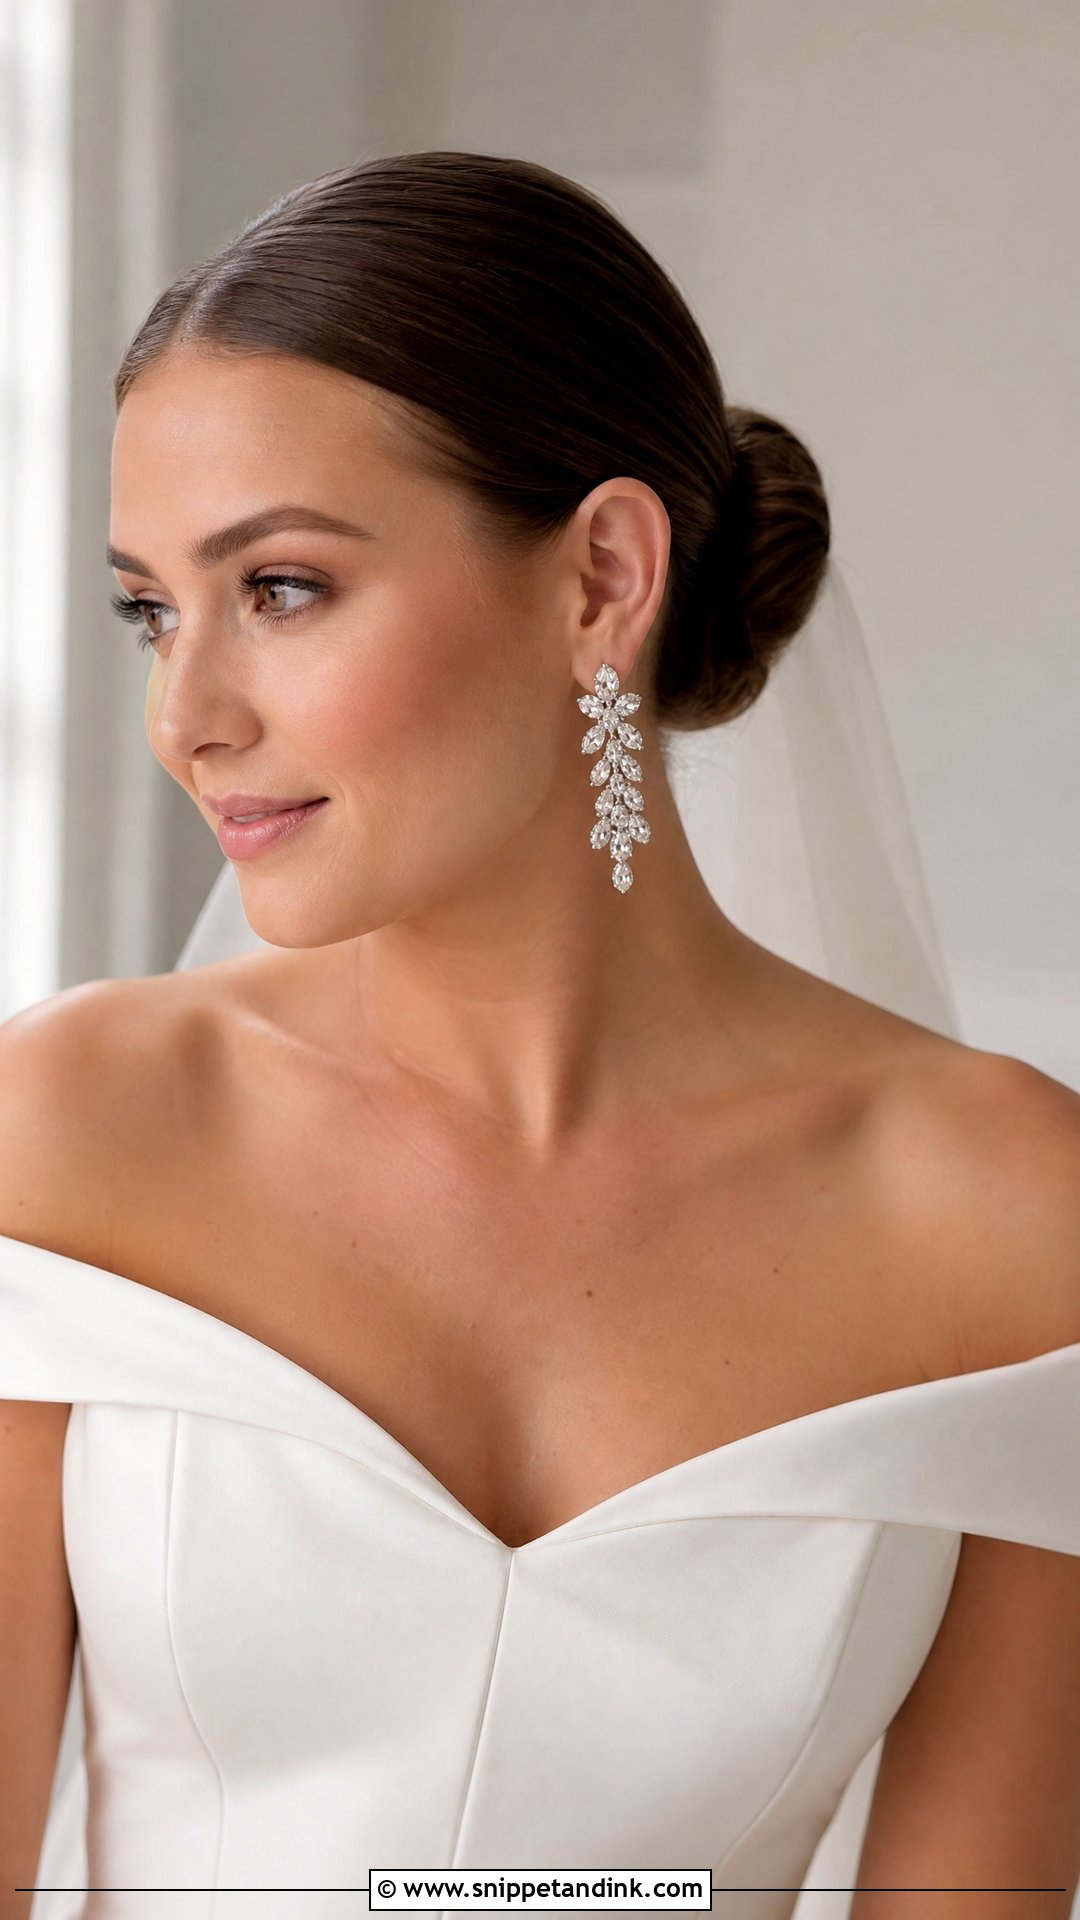
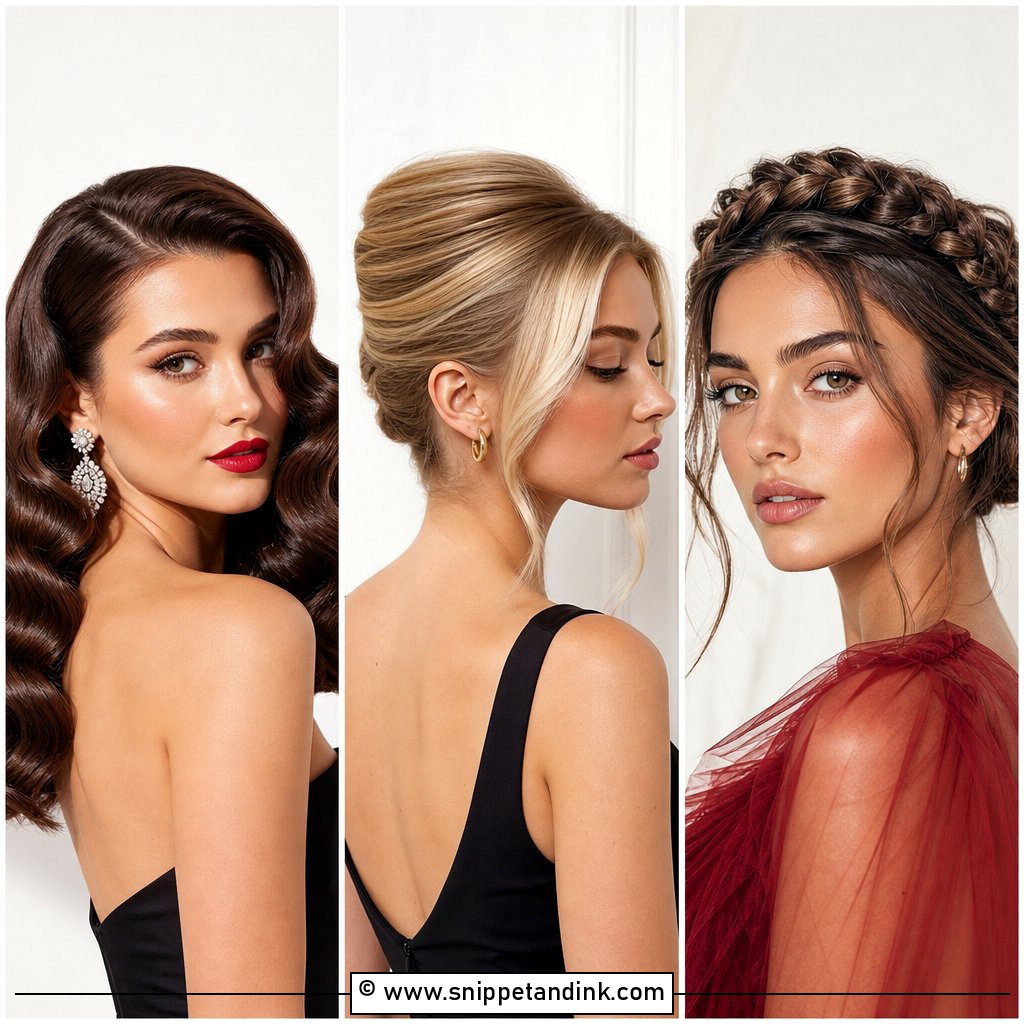
Sometimes the hair’s job is to step back. A clean slick bun pulls everything away from the face and leaves the earrings in full view. Chandelier drops, sparkly studs or sculptural hoops all read clearly against smooth hair. Heavy earrings can pull on the lobes over a long day, so if you choose big ones, try them on for a few hours first, and consider clip-on backs or lobe supports. Pick the earrings before the trial so the bun can be placed to suit them.
The Back of Your Head Is What Guests Watch During the Vows
During the ceremony most of the room sees you from behind, so the back of the bun matters as much as the front. Hairpins that show, a gap at the nape or short hairs escaping under the coil are all far more visible than they feel.
What I check with a hand mirror
- The nape: short hairs at the neckline are smoothed up with a little gel or wax so they don’t drop out by the reception.
- Pin ends: every bobby pin points inward and is buried under the surface.
- The veil seam: the comb sits flat and the tulle falls evenly on both sides.
- Symmetry from directly behind, which is the angle most ceremony photos are taken from.
Ask your stylist to take a photo of the back once your hair is finished. It takes seconds and catches anything a mirror misses.
Then sit down in it. A bun that looks right standing can press against a high-backed chair at dinner or the headrest in the car, and a low one sometimes catches on a collar or the top of a zipper. If it bumps anything, I move it a finger’s width higher before the final pins go in.
Twenty Knots, and the Right One Fits Your Frame
A slick back bun looks simple because the work is hidden: the size of the coil, the placement and the anchors underneath. Low chignons, voluminous knots, pearls, flowers or statement earrings can each change the result. Bring your veil and accessories to your trial, look at the bun from every side, and wear it for a few hours. The version that still feels comfortable at the end of the trial is the one to book.
You'll Like These Ideas:


Leave a Reply