
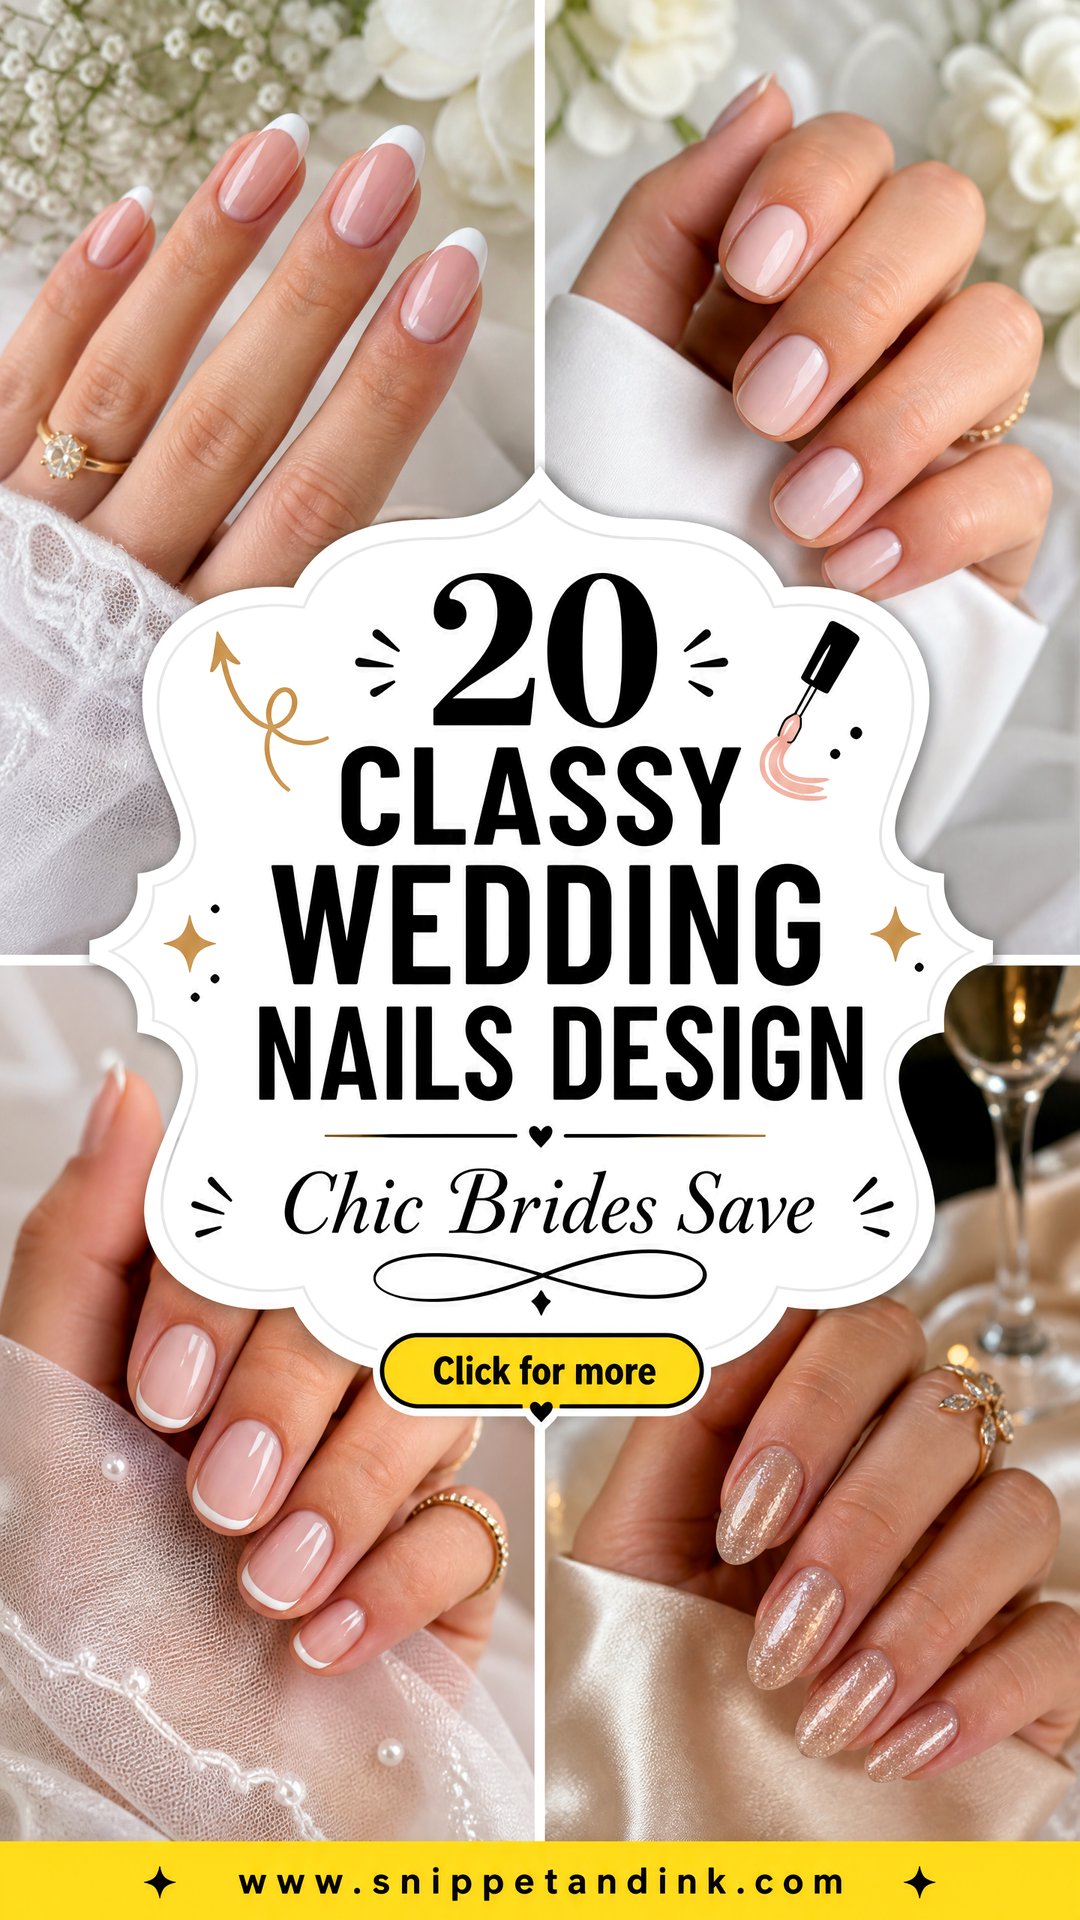
Bridal nails get more close-up attention than almost anything else you’ll wear. Every ring photo, every bouquet shot and every hand on a shoulder puts them in the frame, so a classy set is less about the design and more about clean execution: smooth cuticles, even color and a shape that suits your hands. Milky polish, modern French tips, pearl chrome, sheer pink and small floral details are popular for good reason; they flatter most skin tones and most lengths. These wedding nail designs are the ones I paint most for brides, with notes on what each one needs from your natural nails and where it can go wrong.
Three Months to Stronger Natural Nails
Most of the designs below look best on healthy nails with a bit of length. Nails grow slowly, so if yours are bitten, peeling or weak after years of gel, start well before the wedding. Here’s the routine I give brides.
- Stop peeling off gel or polish. Peeling takes layers of the nail plate with it, which is where most thin, bendy nails come from.
- Rub cuticle oil into the nail and skin every night. It keeps the nail flexible, so it bends instead of splitting.
- File in one direction with a fine file, never a sawing motion, which frays the edge.
- Wear gloves for cleaning and washing up. Hot water and detergent dry nails out quickly.
- If they’re very weak, ask about a builder gel overlay, refilled every few weeks, so the natural nail grows out protected underneath.
If they won’t grow in time, soft gel extensions are an honest option. They’re applied over the natural nail, look natural when shaped well, and can be removed afterward without filing your own nails down to nothing.
1. Milky White Wedding Nails
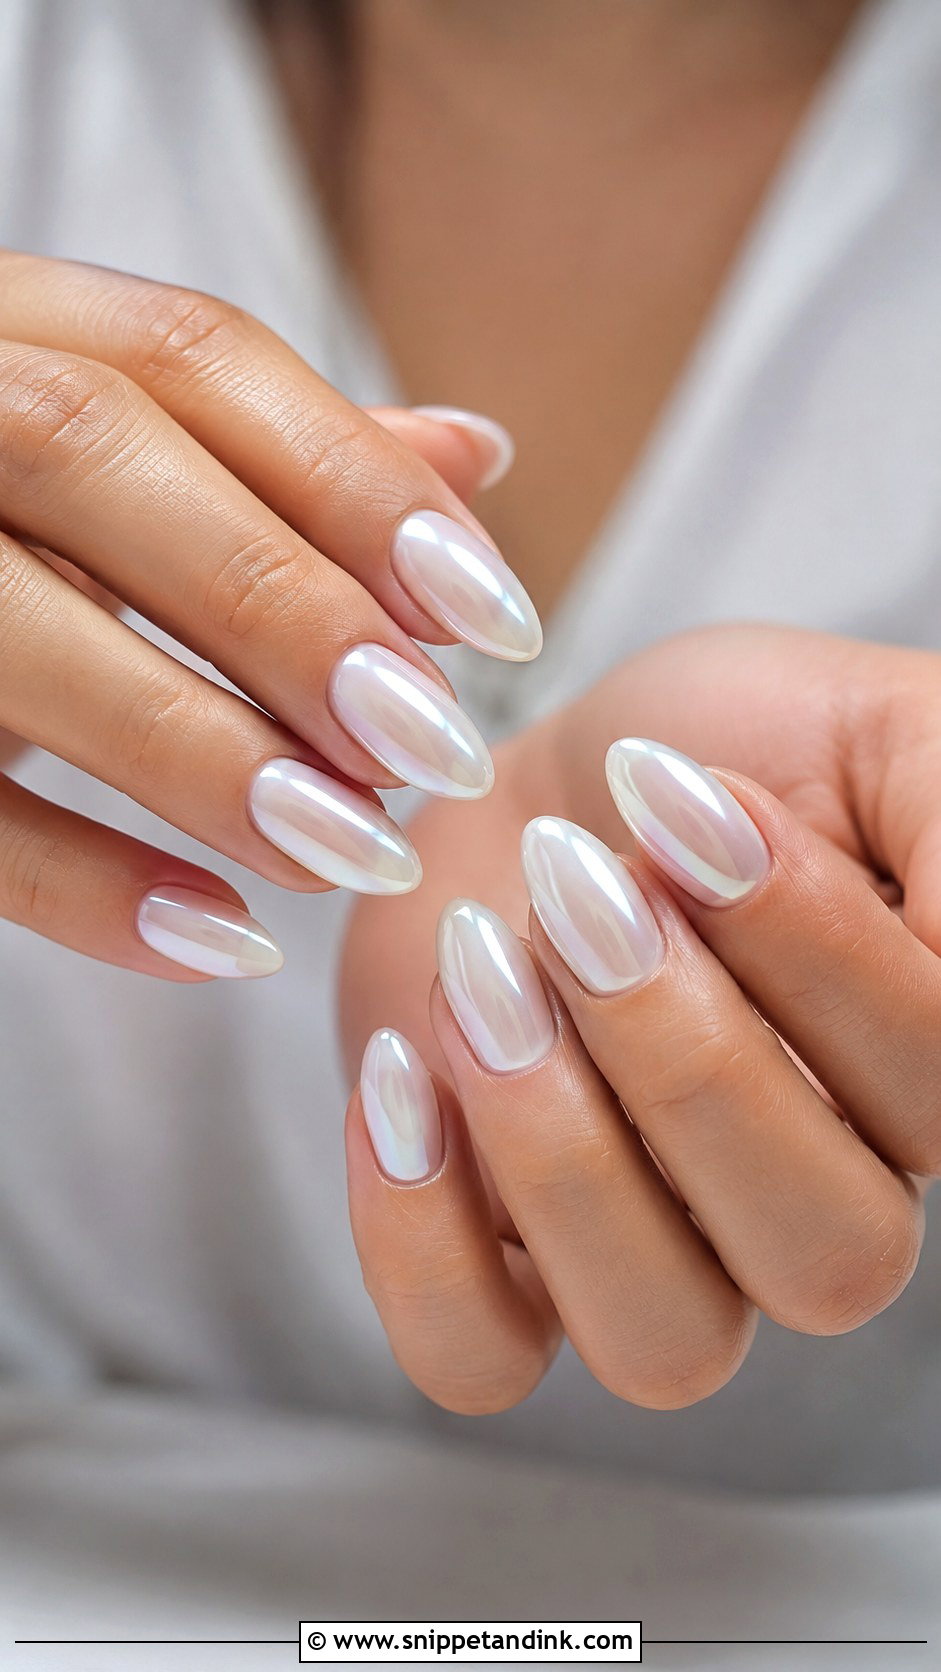
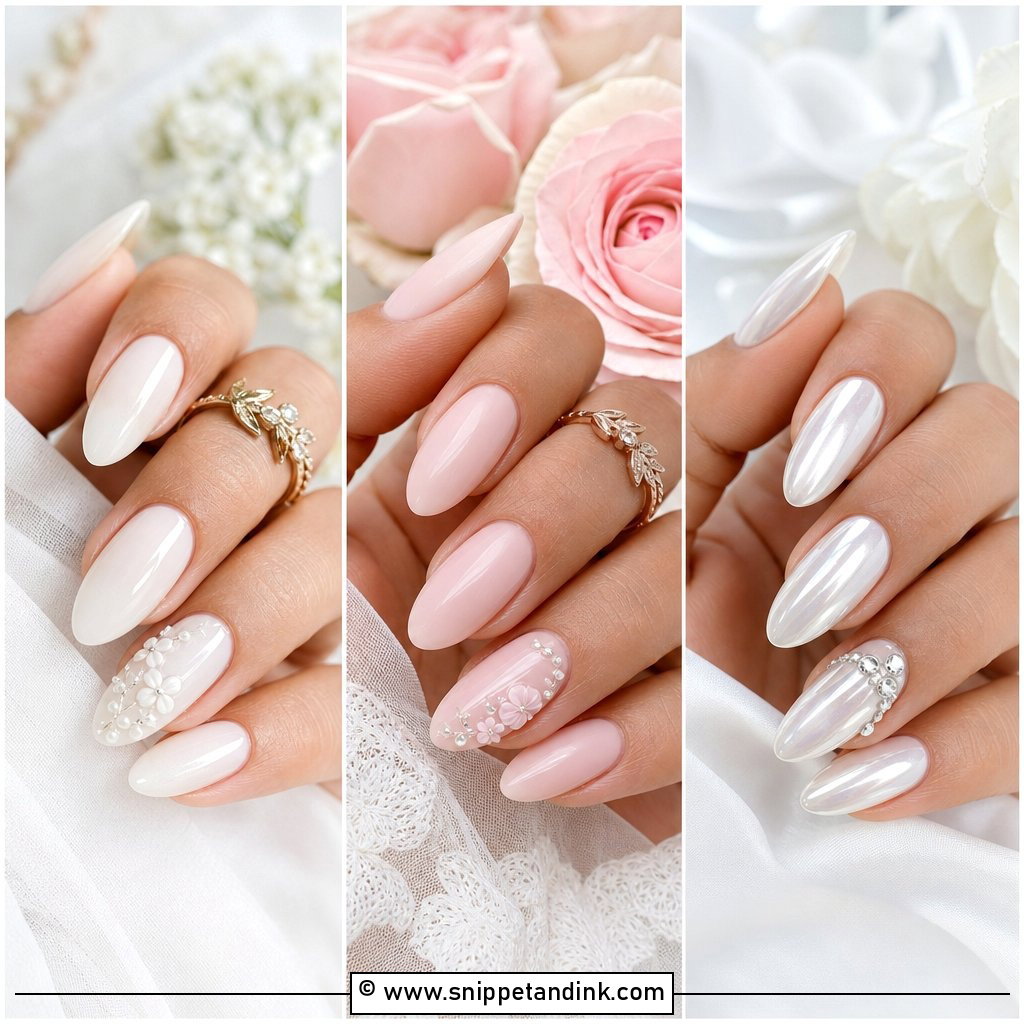
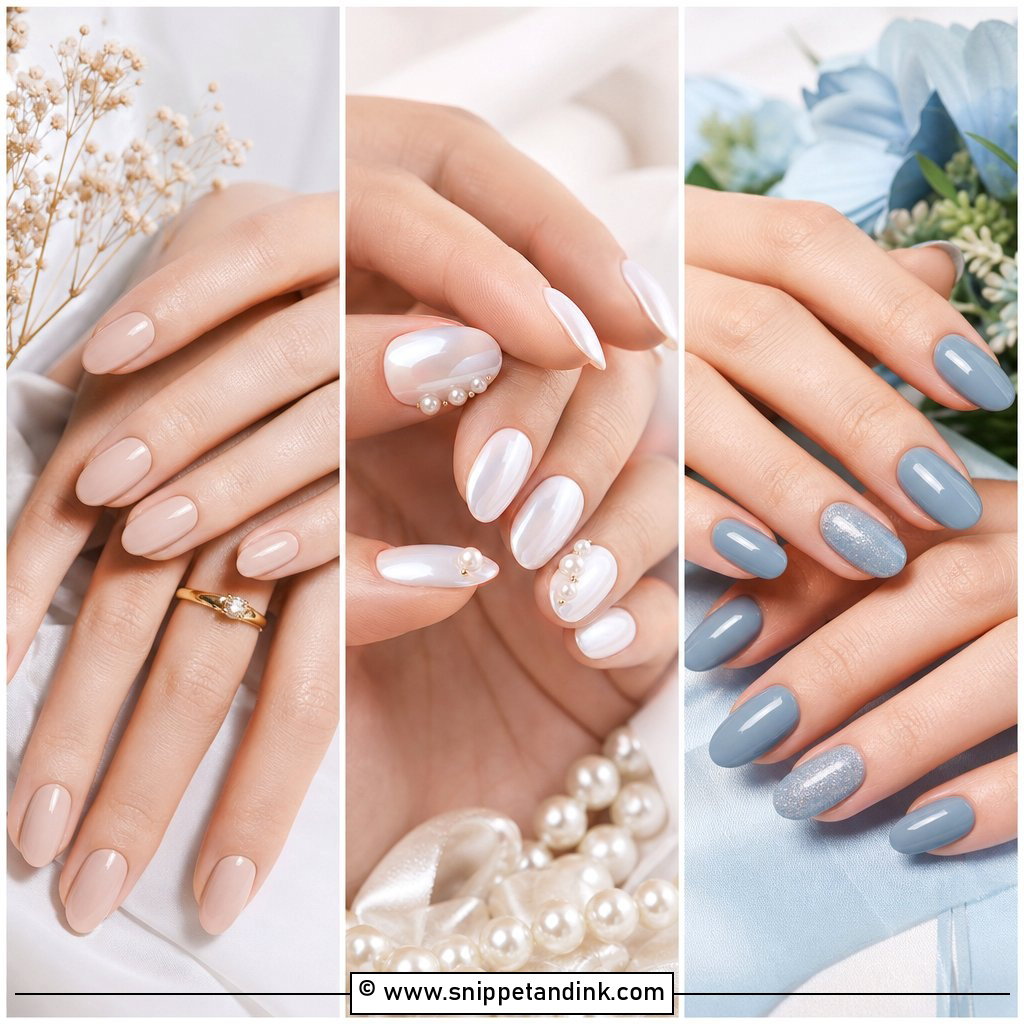
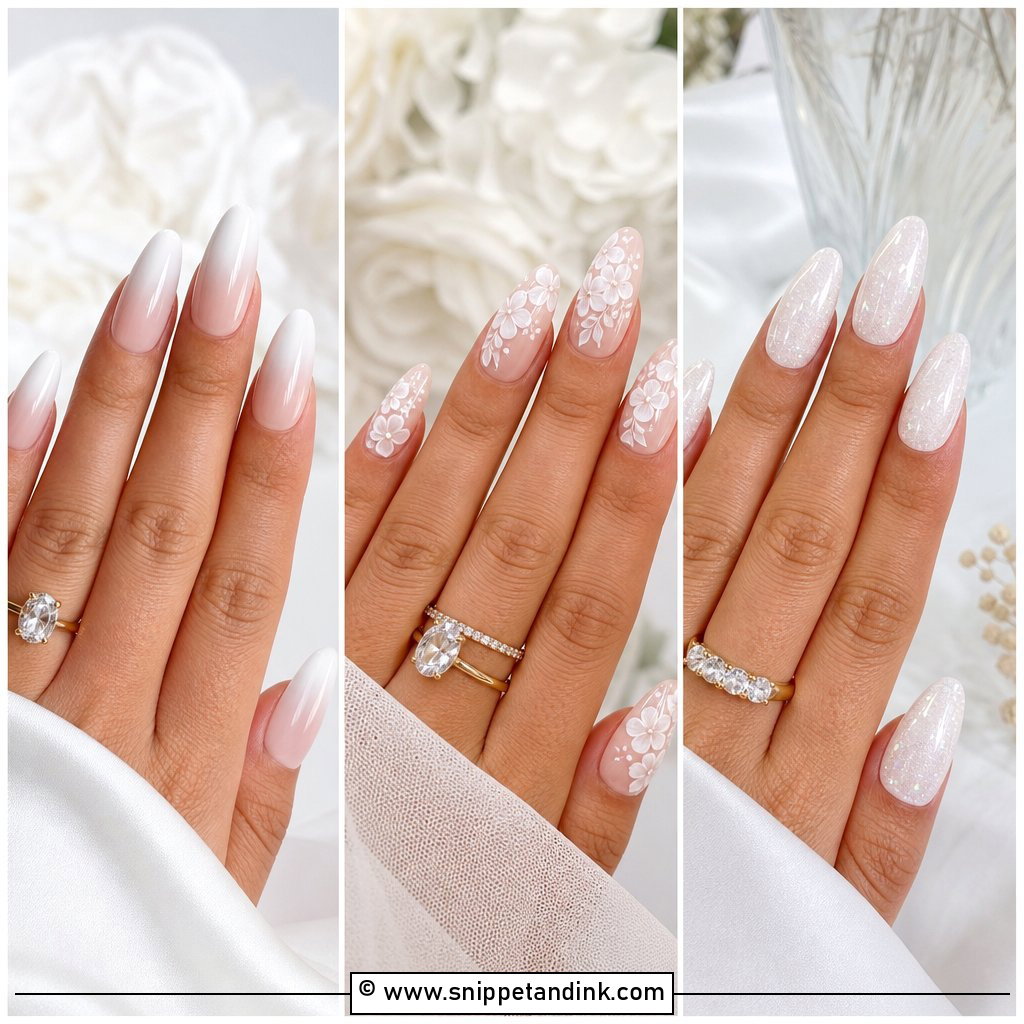
Milky white is a sheer, creamy white that lets a little of the natural nail show through, so it looks airy where opaque white looks like correction fluid. The catch is that it streaks if it’s rushed. I apply it in two or three very thin coats and cure each one, rather than one thick layer. It suits short oval, almond and medium square nails and lengthens the fingers. On thin or peeling nails I put a soft builder gel underneath first, which gives a smoother surface and more strength for the week. It sits quietly beside lace, satin and pearl jewelry.
2. Classic French Tip Wedding Nails
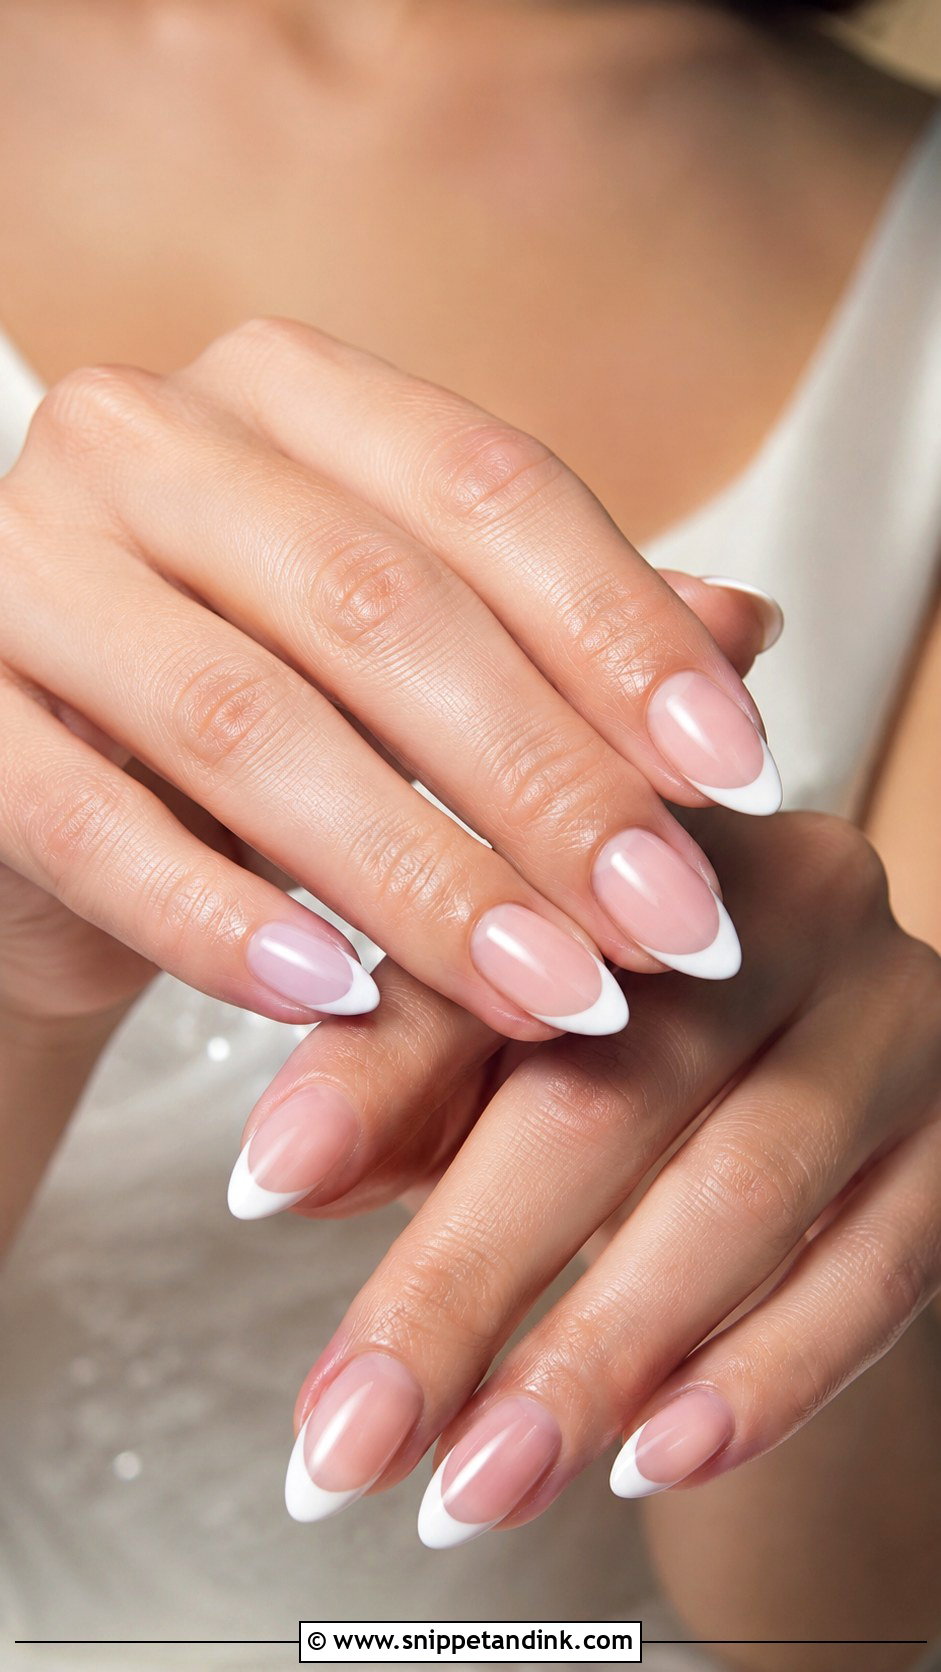
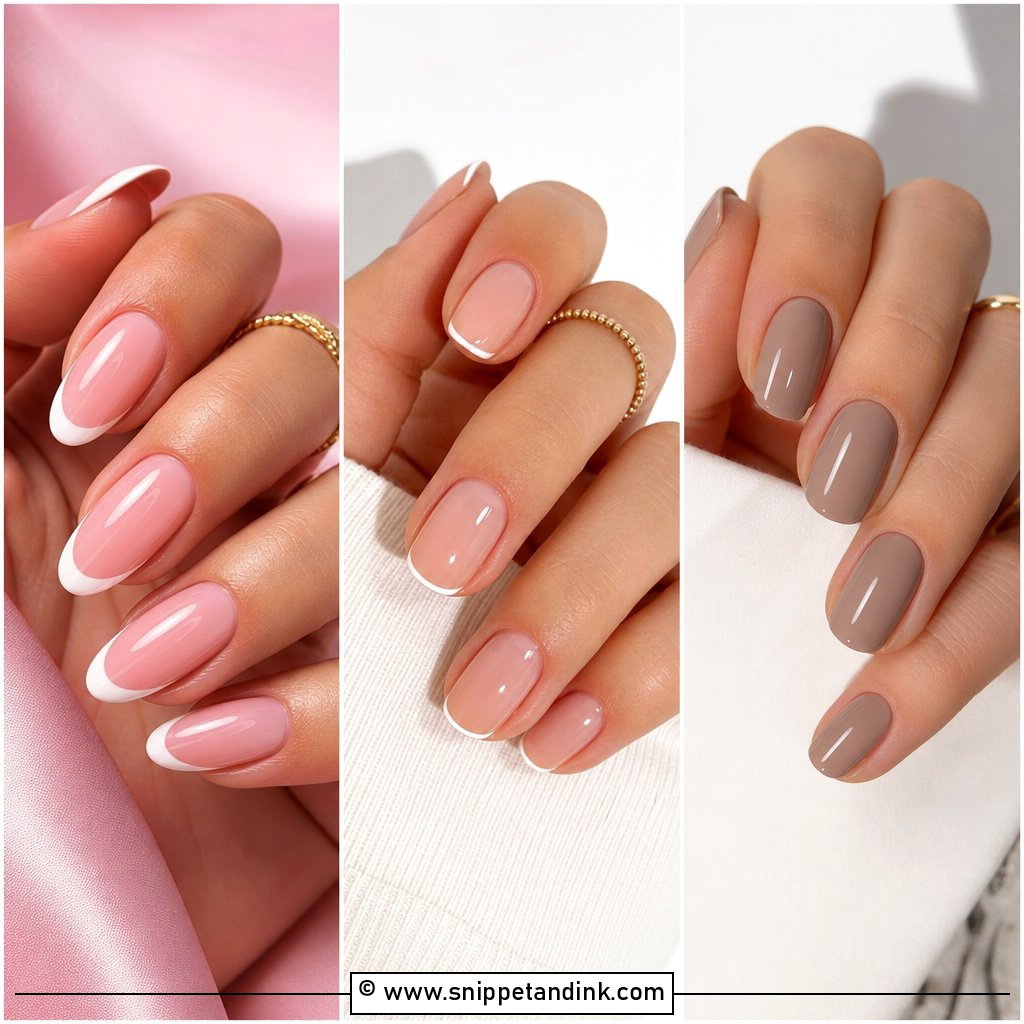
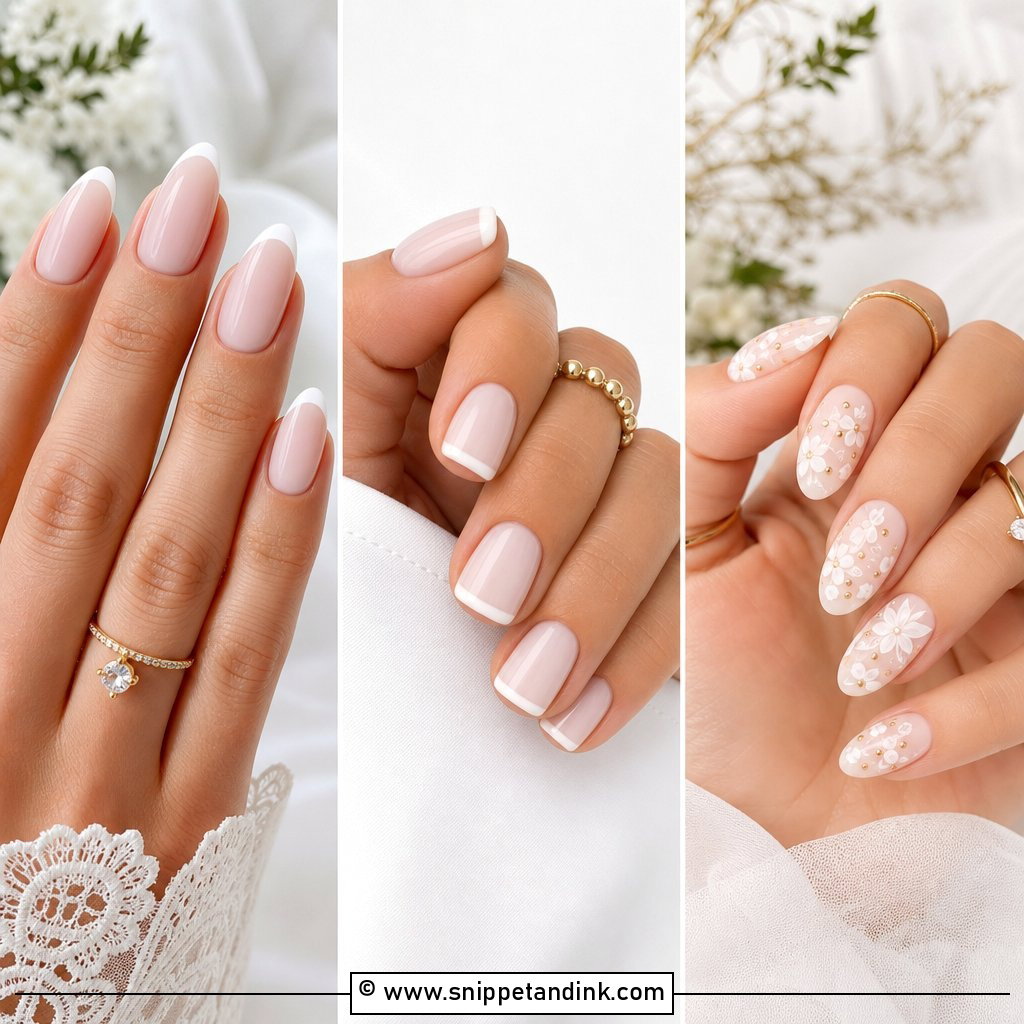
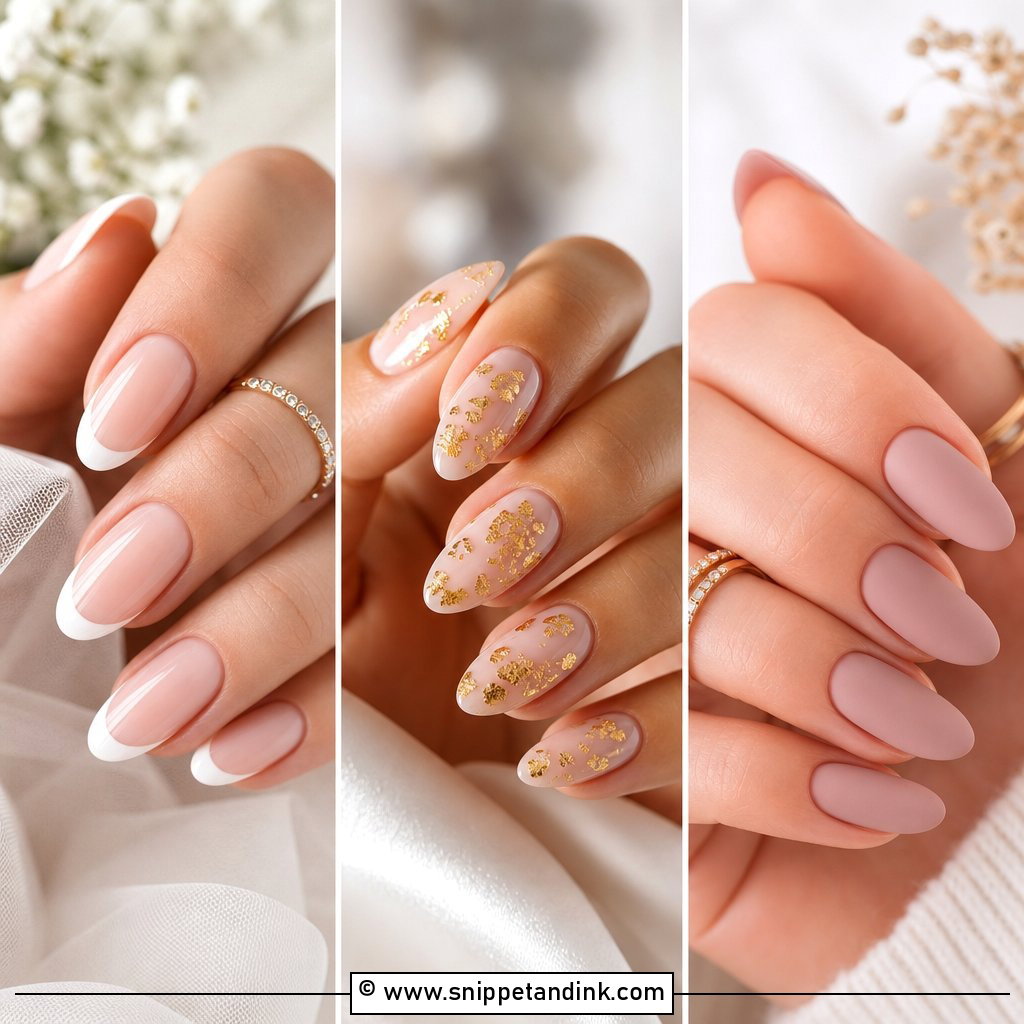
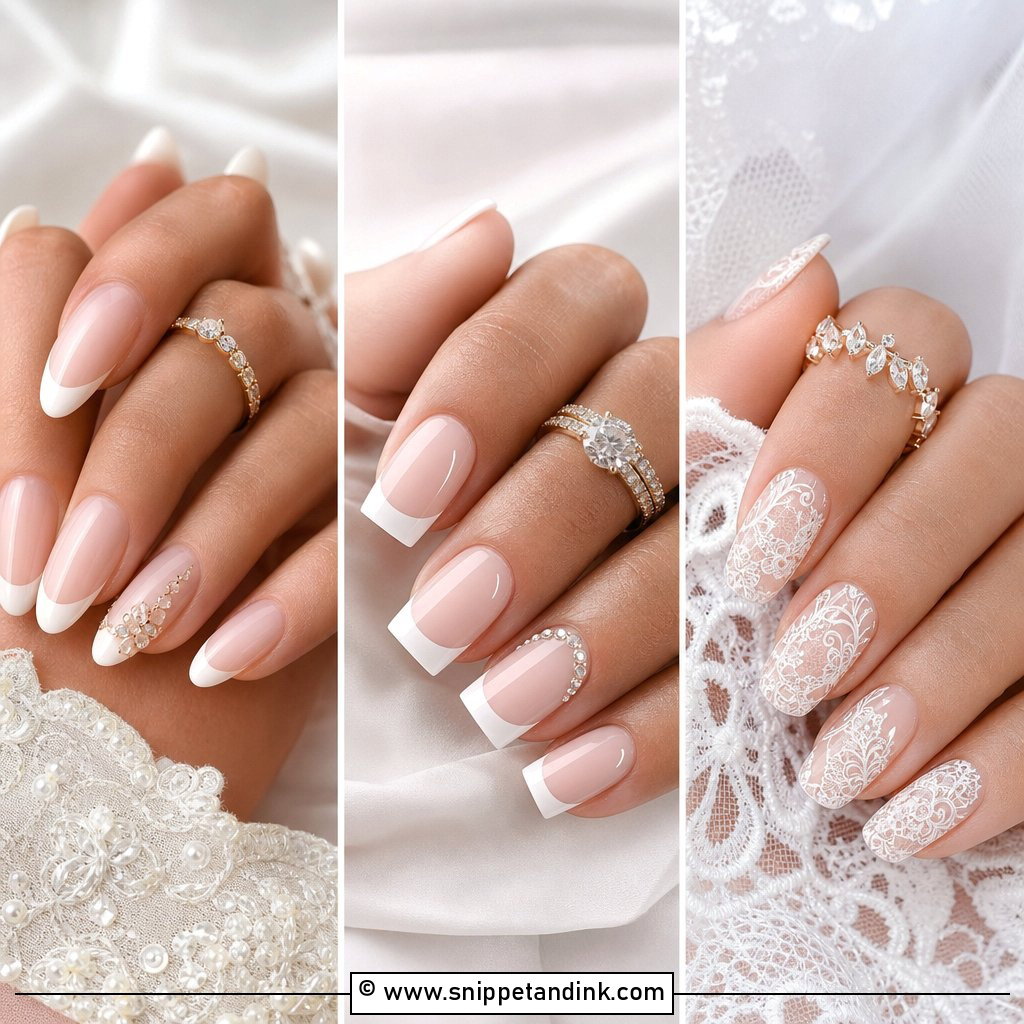
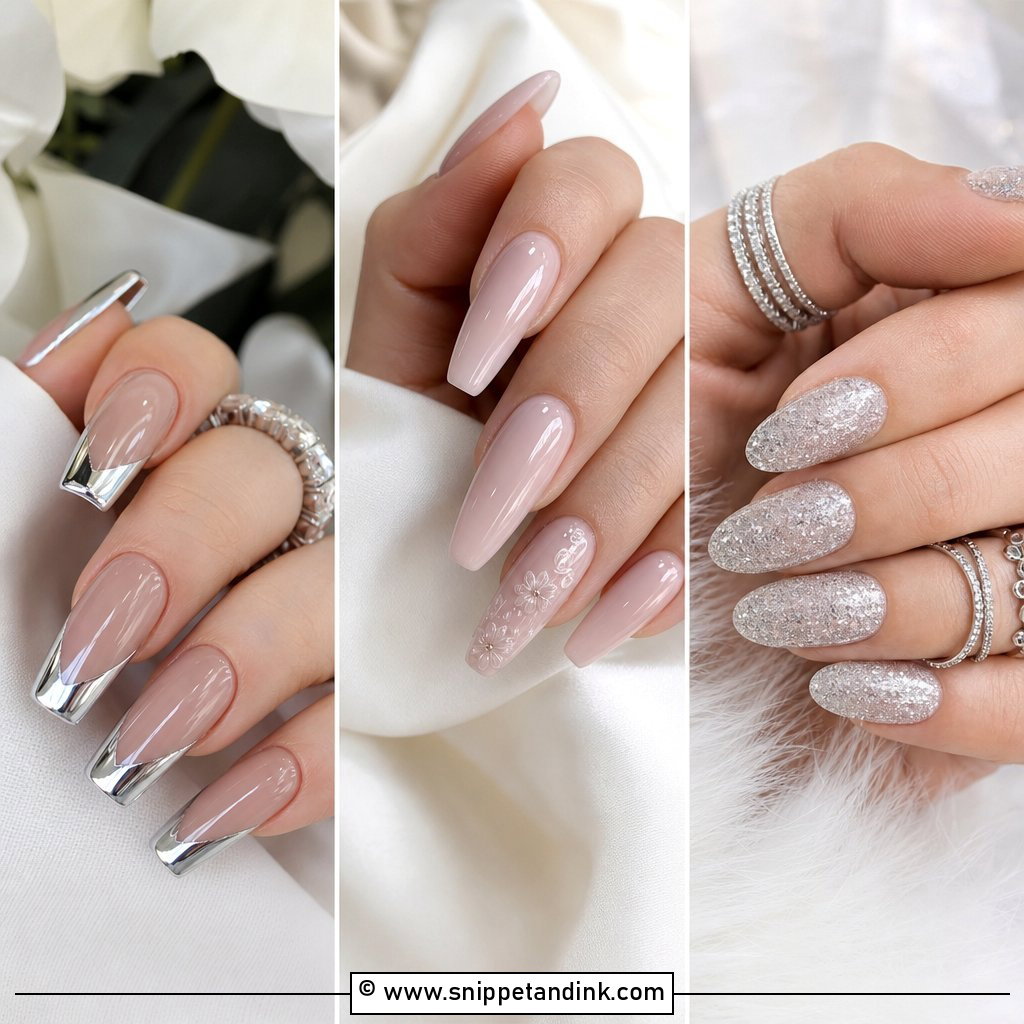
A French manicure never looks out of place, but the version brides ask for now is thinner and softer than the thick white tip of the past. I paint the tip slim, follow the natural curve of the smile line, and choose a sheer pink or nude base matched to the nail bed rather than a stock pink. Almond, oval and square shapes all carry it, as the white edge adds definition to each. If you want a set that won’t date when you open your album in twenty years, this is it.
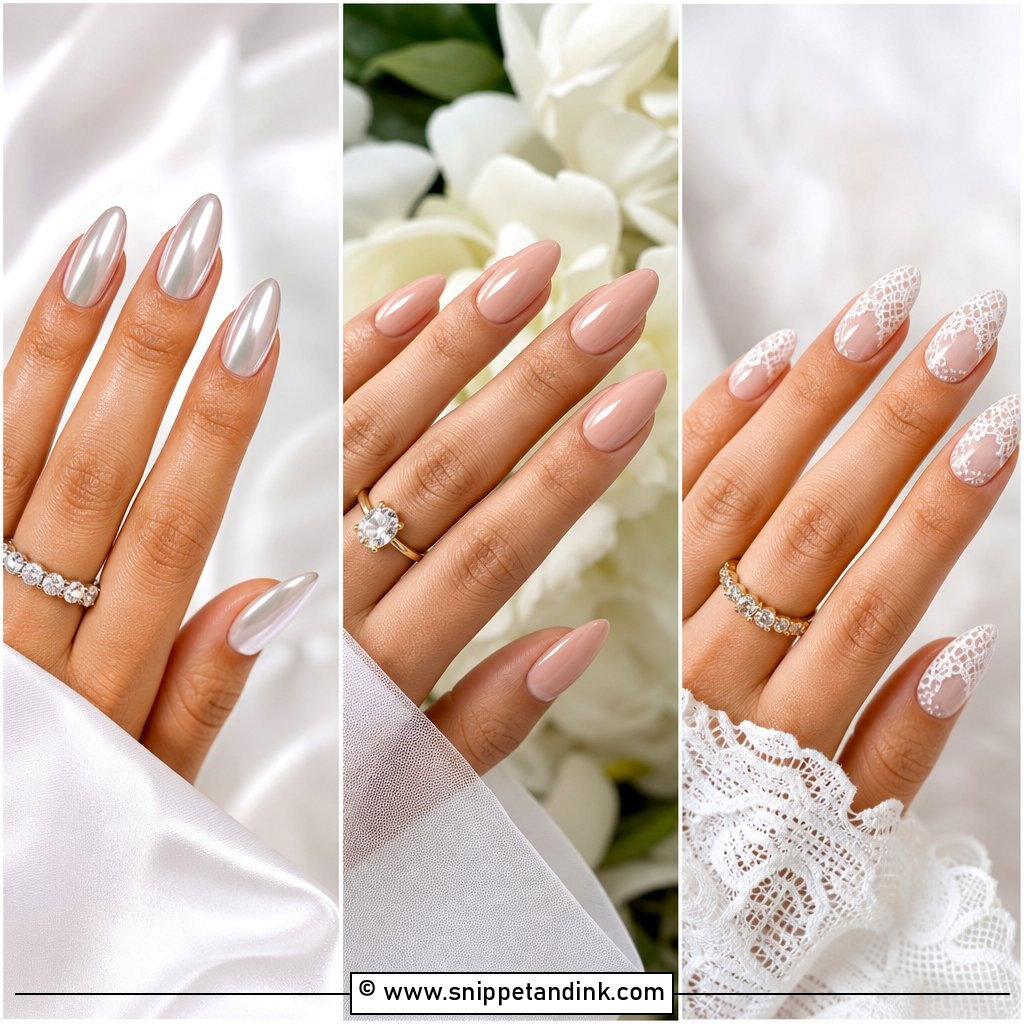
3. Pearl Chrome Wedding Nails
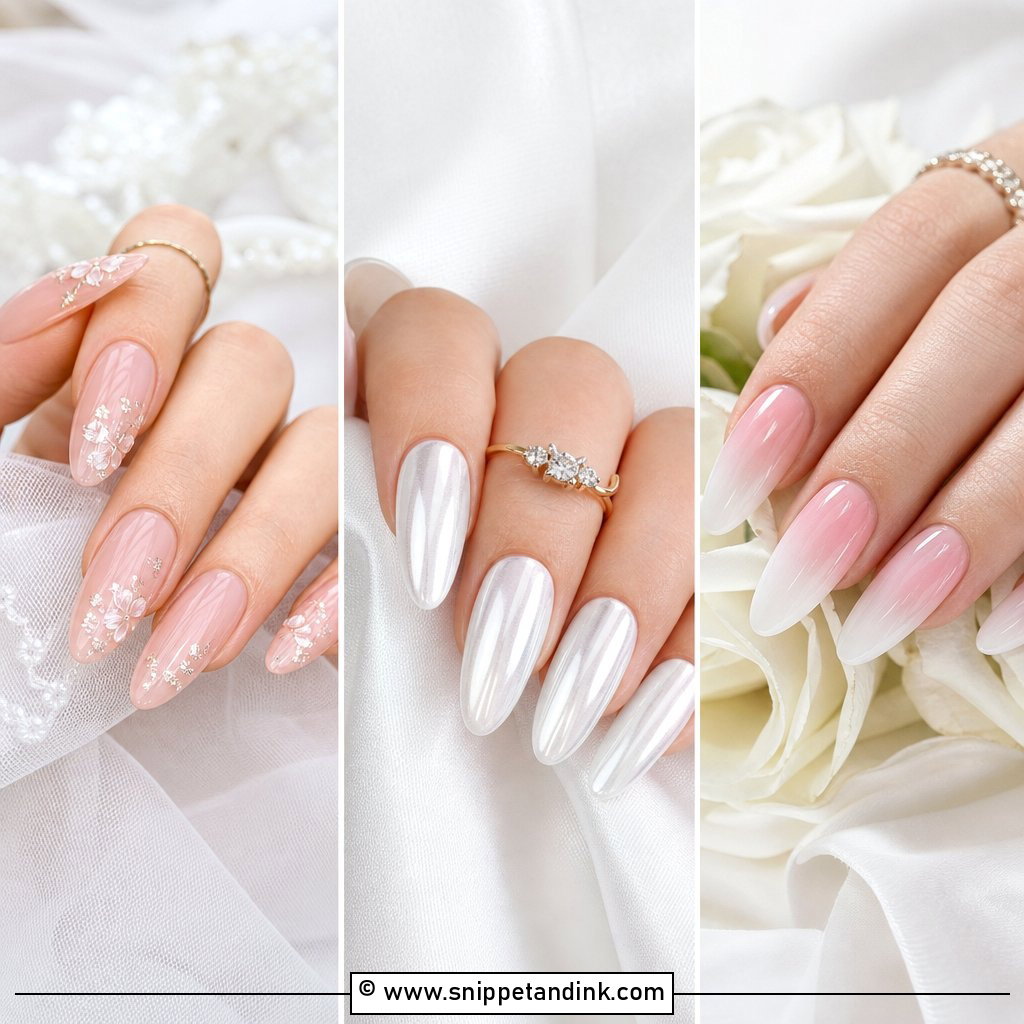
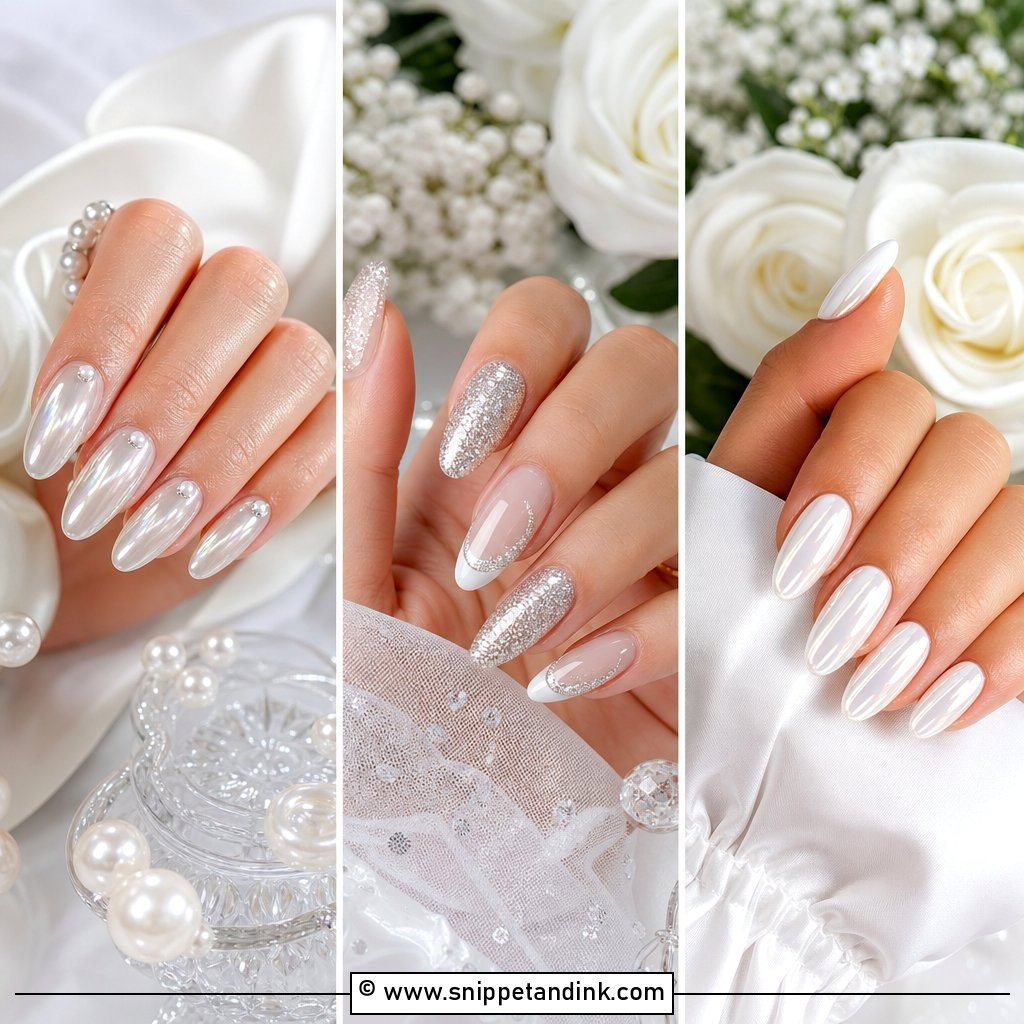
Pearl chrome is a fine powder buffed over a sheer pink, nude or milky base, and the amount I rub in decides the result. A light pass gives a soft glazed glow; more passes push it toward metallic, which isn’t what most brides want. The base underneath must be smooth, because chrome shows every bump. It looks lovely under daylight, flash and reception lighting alike, and on almond or oval nails the curve shows off the sheen. Keep it translucent for a bridal finish.
4. Sheer Pink Wedding Nails
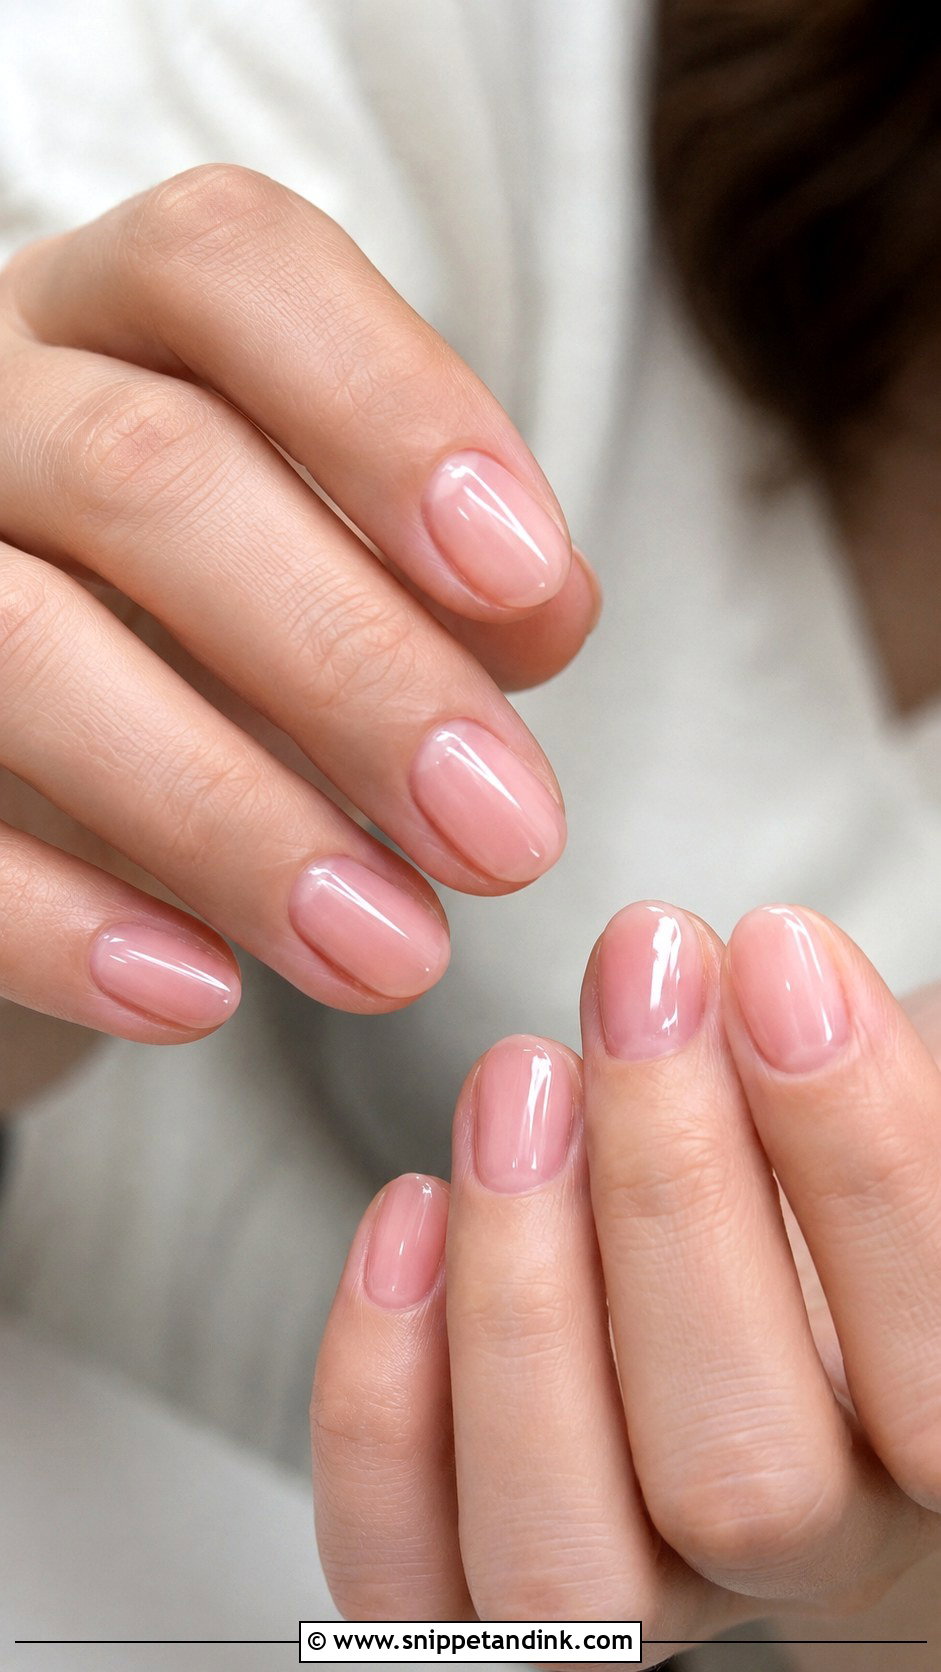
Sheer pink evens out the color of the nail bed while still looking like your own nails, only healthier. Pink can be shifted warmer, cooler, lighter or deeper, so it suits nearly every skin tone once the shade is tuned. I’d pick it for a bride with a detailed gown, statement earrings or an embroidered veil, because it stays in the background. A strengthening base helps it last the wedding week, and a glossy top coat keeps it fresh. Nails with white spots or ridges show through very sheer pinks, so one extra coat may be needed.
5. Nude Almond Wedding Nails
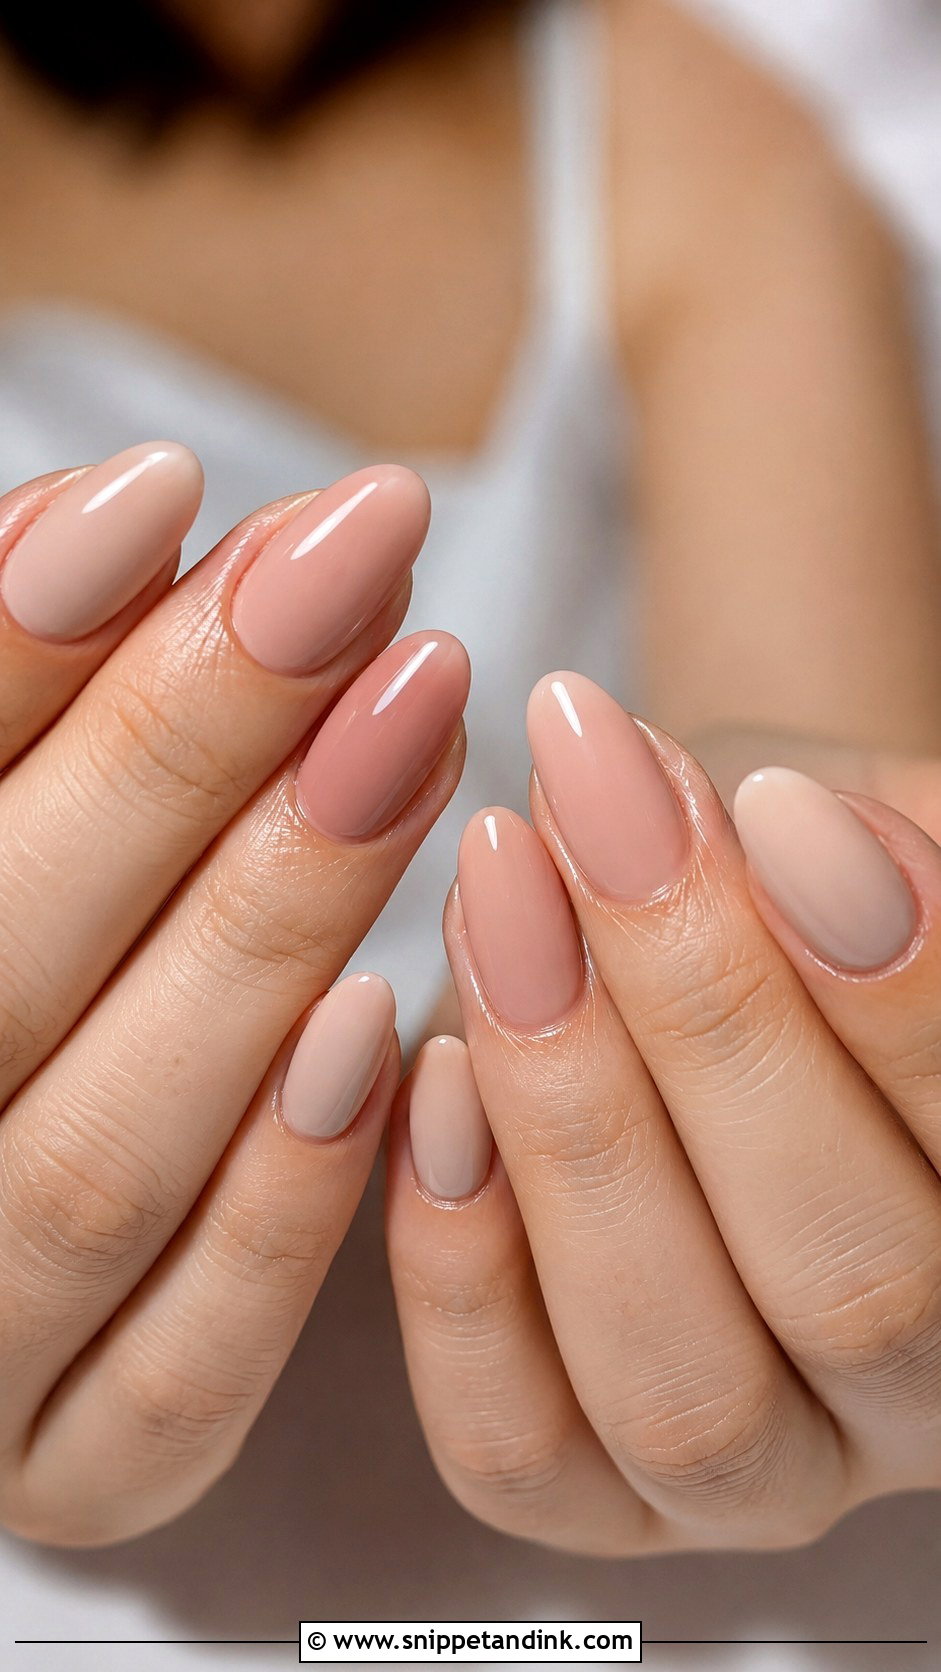
Almond tapers softly at the tip, lengthening the fingers without the sharpness of a stiletto. The nude is the hard choice. One that leans gray or orange against your skin looks dull in photos, so I test soft beige, blush nude, honey nude and warm pink nude side by side on the client’s hand before deciding. It suits a bride who wants nothing to pull attention from the ring. A high-shine top coat gives the smooth, expensive finish. Almond needs a little natural length to taper well, which is worth planning for a few weeks ahead.
6. White Ombre Wedding Nails
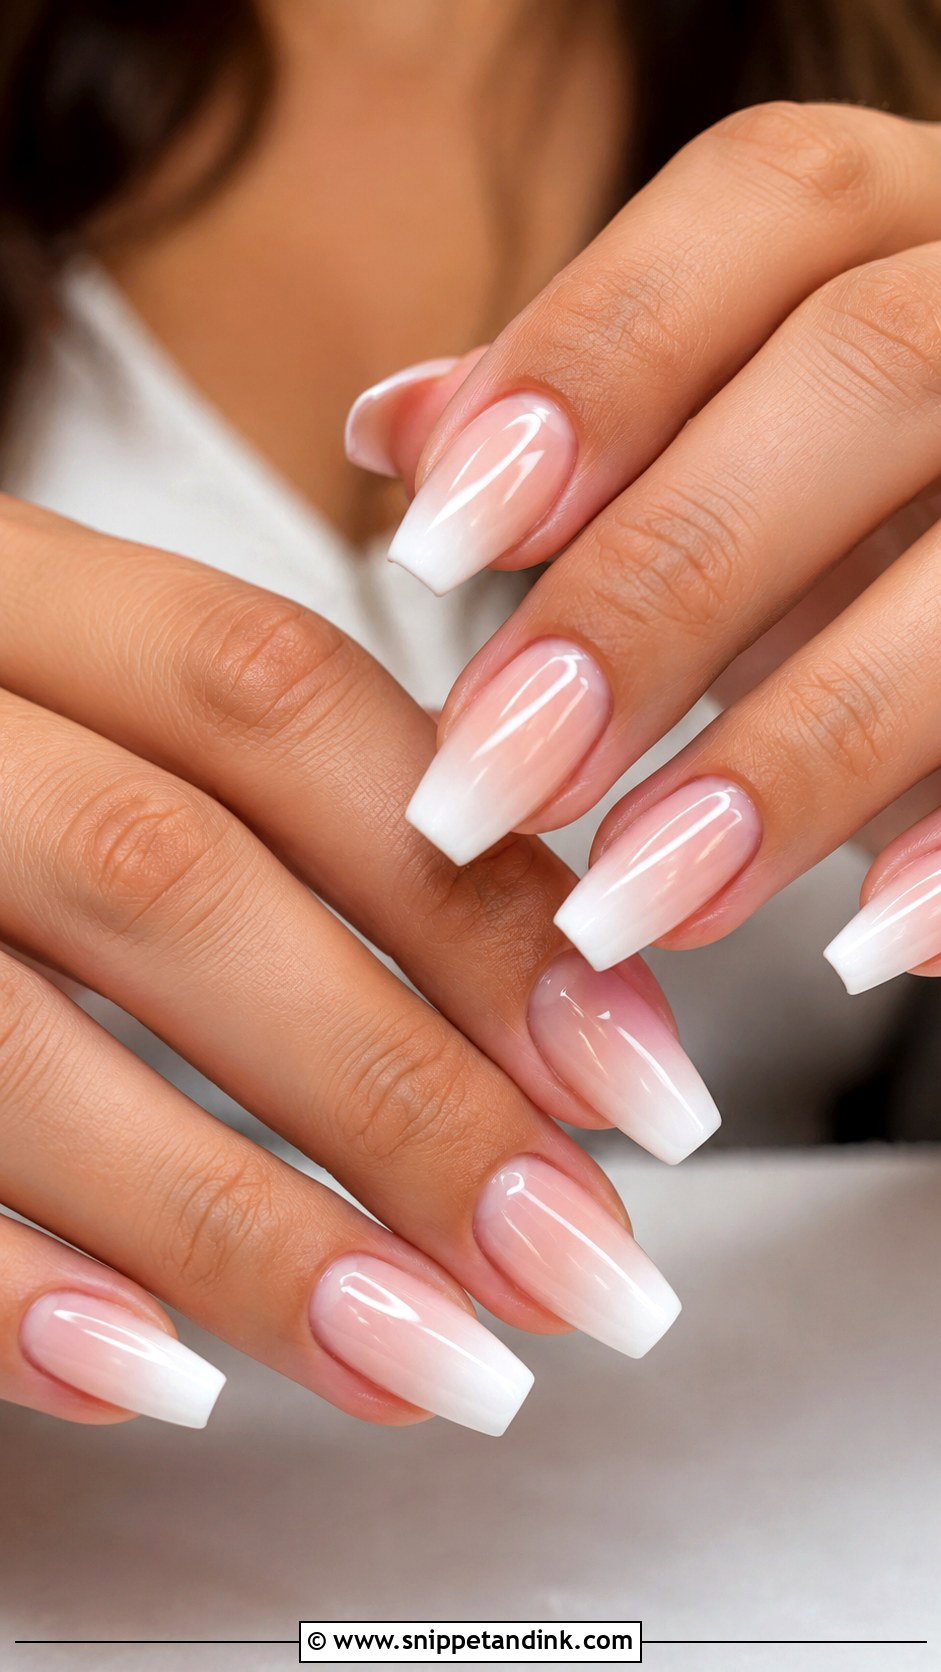
White ombre wedding nails fade from a pink or nude base into a white tip, a look often called baby boomer nails. I build the fade with a sponge or a soft brush in thin layers, because the most common mistake is too much white at the tip, which turns the gradient into a blurry French. With no hard line, it’s more forgiving of slight growth than a classic French. Almond, coffin, oval and square shapes all work. It’s a classic look with a slightly more modern feel.
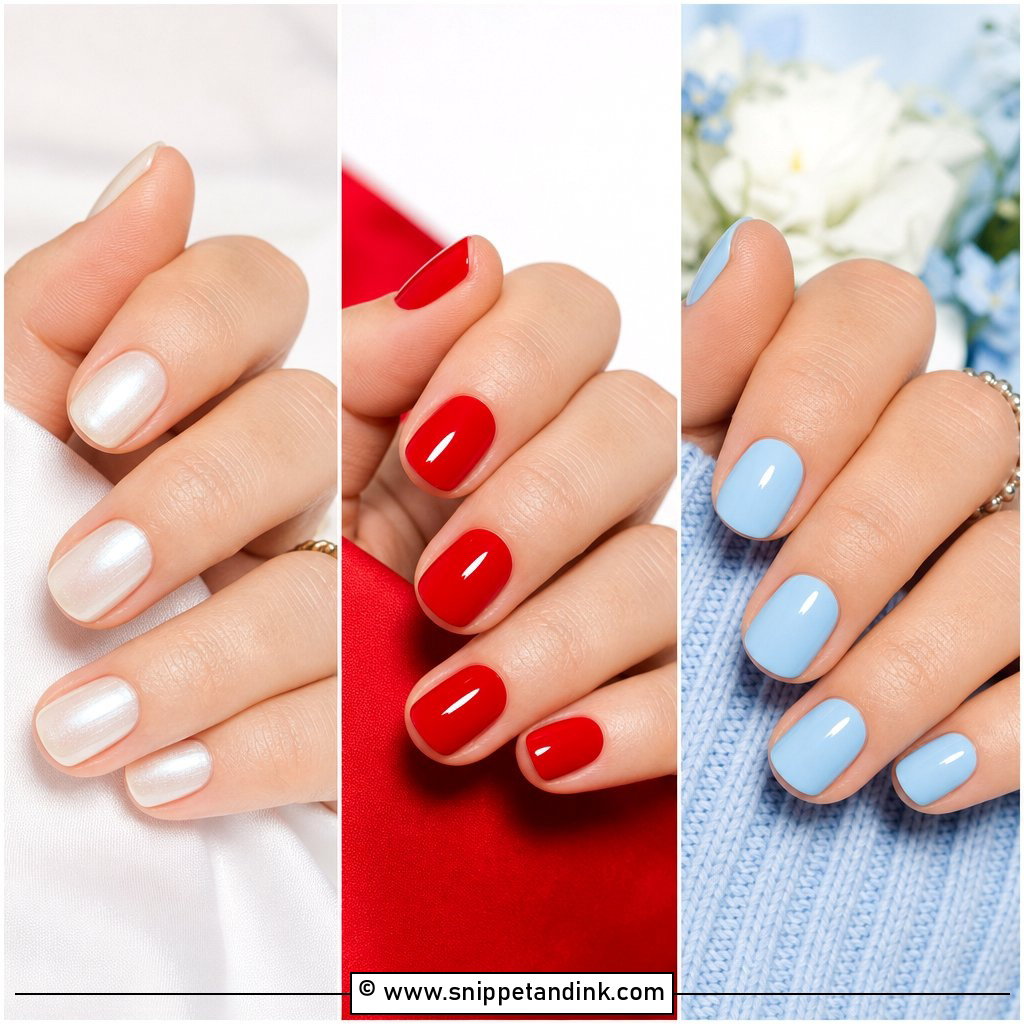
7. Short Wedding Nails
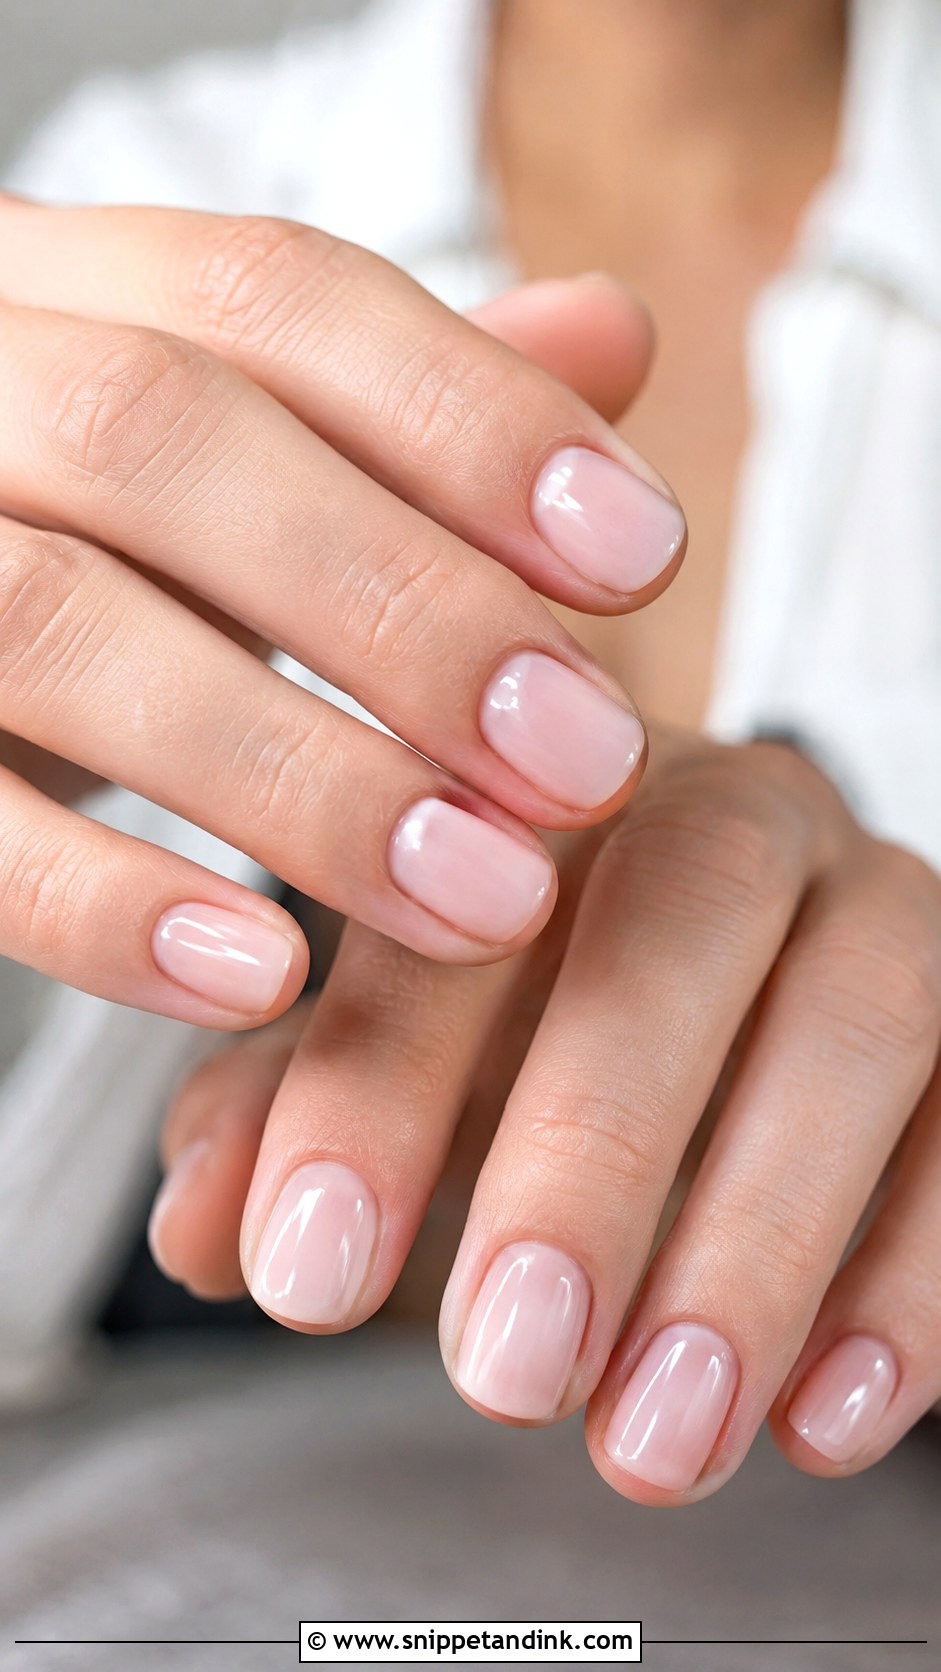
Short bridal nails are what I recommend to anyone who works with their hands, types all day or simply hates length. A short oval or squoval looks neat and stays comfortable. Milky white, sheer pink, pale nude or blush beige keep it polished. A micro French or a single tiny pearl adds detail if you want it. On short nails, there’s no length to distract from the cuticles, so the prep work is what people actually see: clean cuticles, smooth edges and a glossy top coat.
8. Micro French Wedding Nails
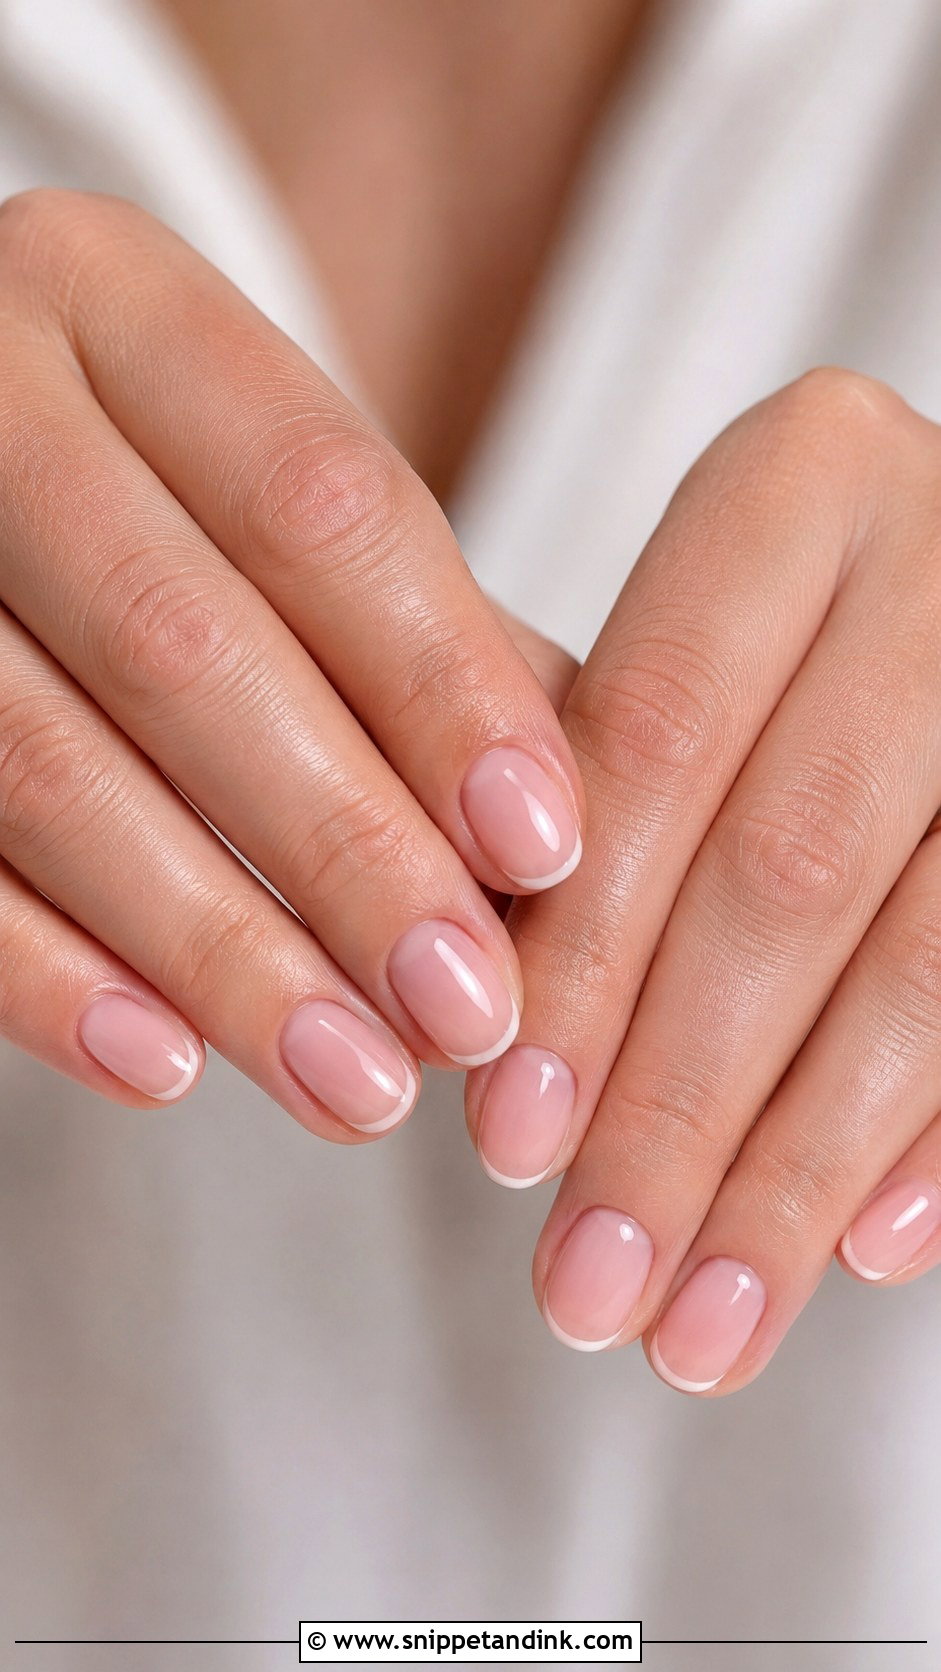
A micro French uses an ultra-thin white line right at the edge of the nail. On short and medium nails it’s especially flattering, because a thick tip would swallow a small nail bed. The base is usually sheer pink, nude or milky beige. It reads very clean in close-up ring photos and works with almost every dress. I usually suggest an off-white tip rather than bright white; it looks softer next to an ivory gown.
9. Blush Pink Wedding Nails
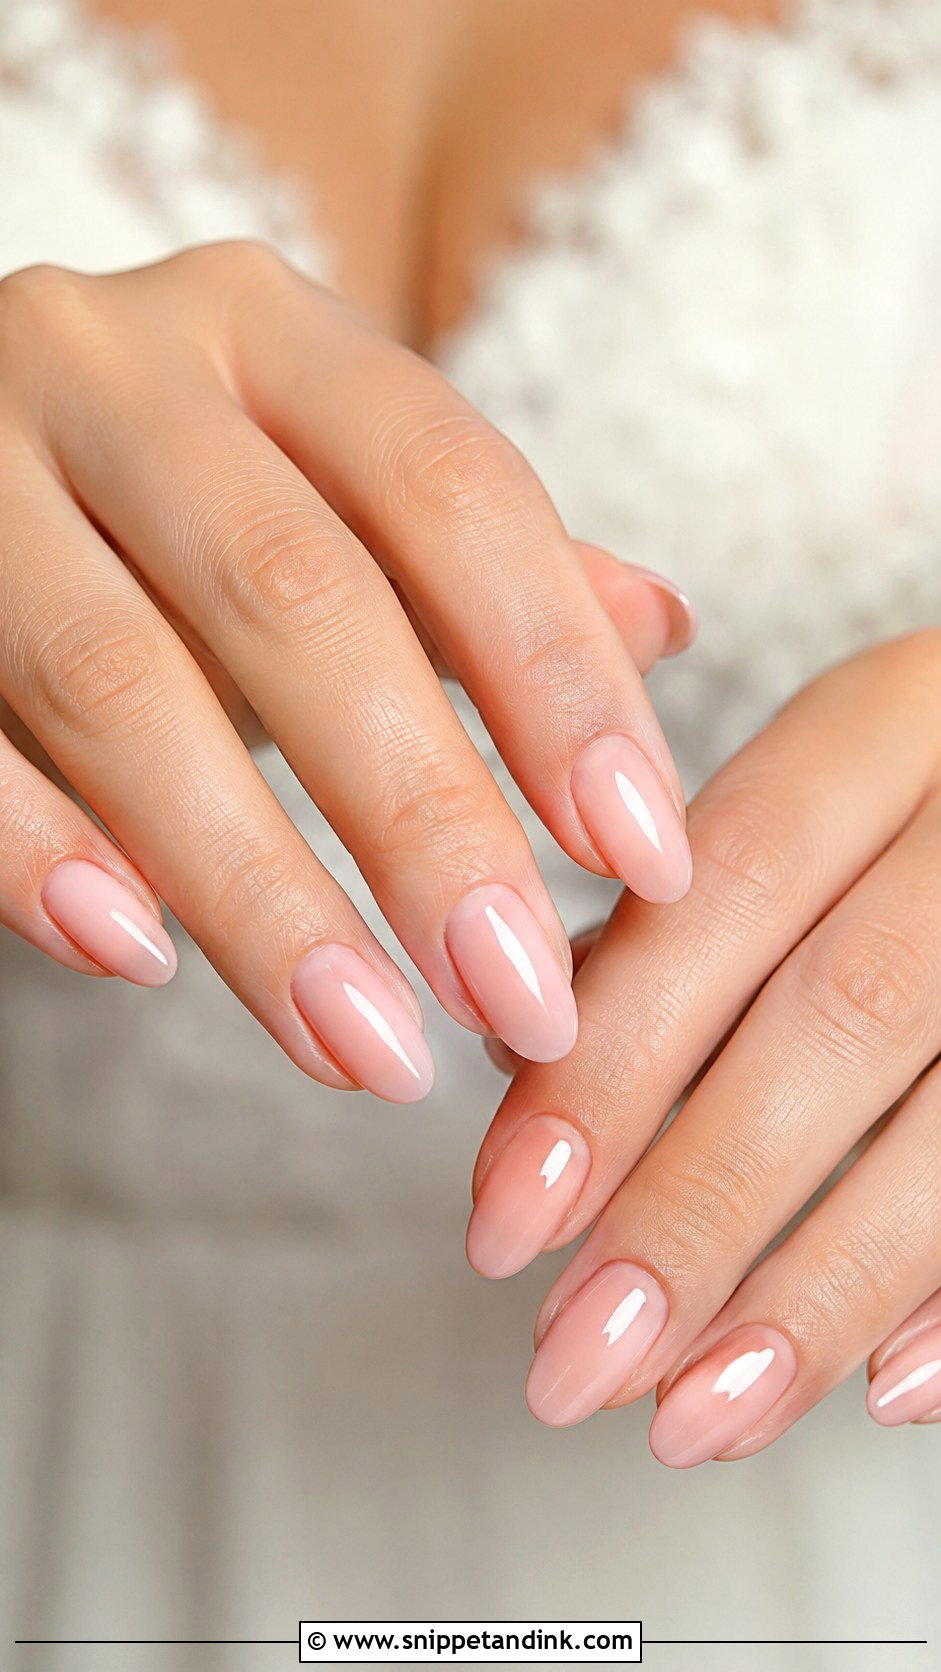
Blush pink can be creamy or jelly-like depending on how sheer you want it. Jelly finishes are translucent and glossy, which gives a fresh, slightly glassy look; cream finishes are more opaque and even. It suits spring and summer, but works year-round. Oval, almond and square shapes all carry it. You can add a shimmer top coat or one tiny crystal near the cuticle, though the color holds up perfectly well on its own.
10. Pearl Accent Wedding Nails
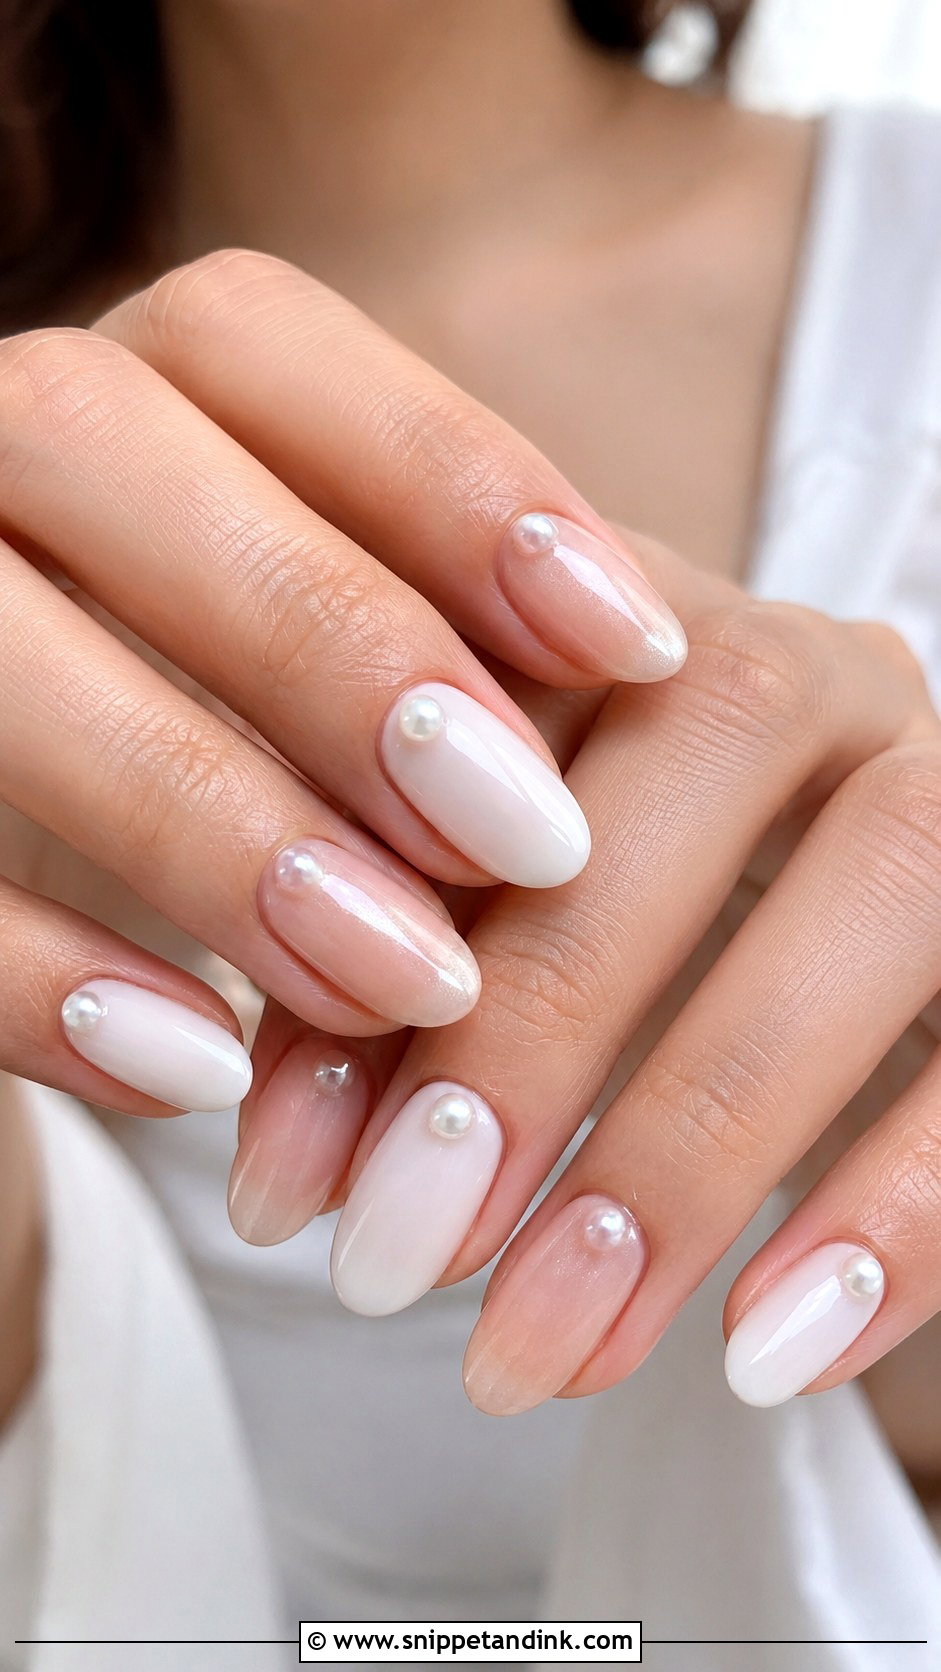
Pearl accent wedding nails start from a milky white, sheer pink, nude or soft French base, with tiny pearls placed near the cuticle, along one side or on one or two accent nails. Small pearls are the key; larger ones snag on lace and hair and are the first thing to pop off. I set them in a thick gel and seal top coat around each edge. It suits pearl earrings, pearl buttons or a dress with subtle beading, and it’s the easiest step into nail art for a bride who usually keeps things plain.
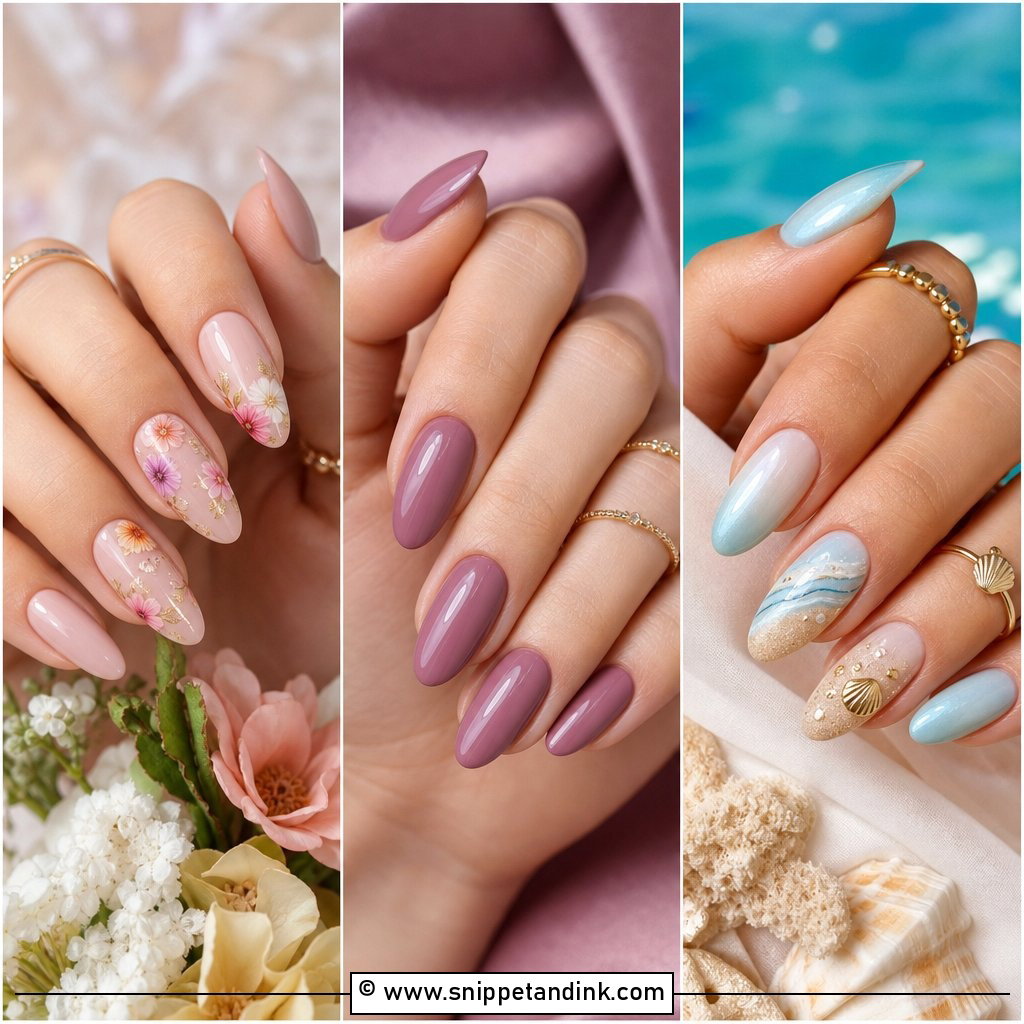
11. Floral Wedding Nails
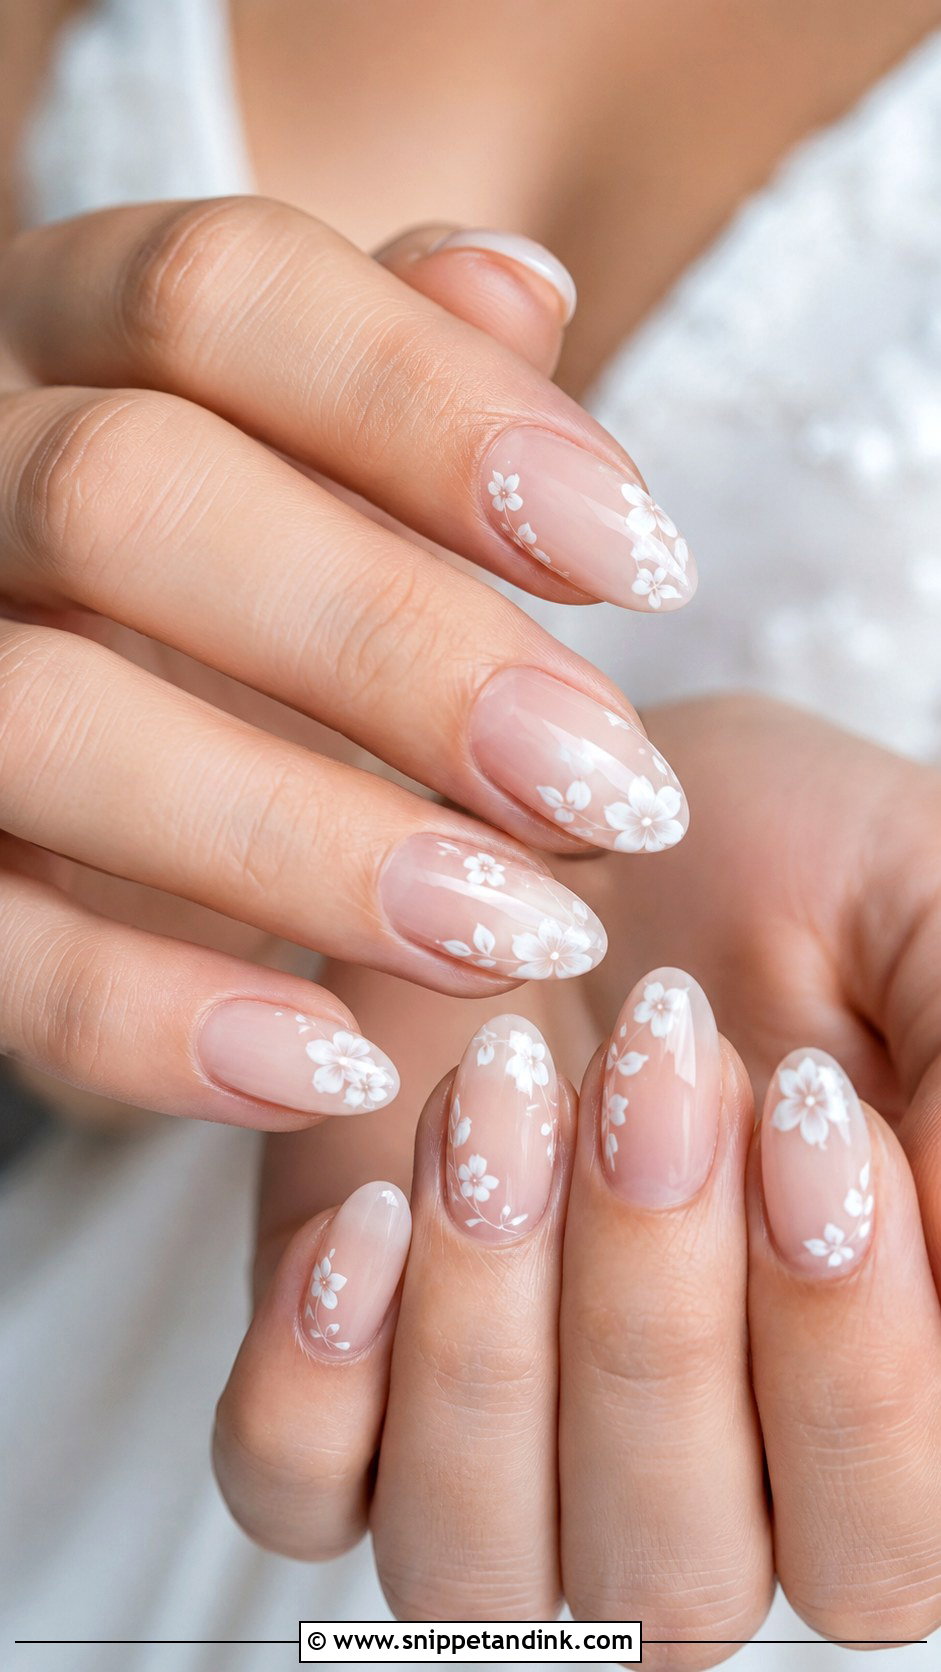
For floral art, I paint tiny white flowers on a sheer nude, pink or milky base, on just a few nails, using a fine liner brush and spacing them so the base shows around each one. Crowded flowers look busy in photos. It suits garden weddings, outdoor ceremonies and gowns with lace or floral embroidery. Almond and oval nails give the flowers room, though even short nails can carry one small bloom near the cuticle. A glossy top coat seals the art flat so it doesn’t catch.
12. Lace Wedding Nails
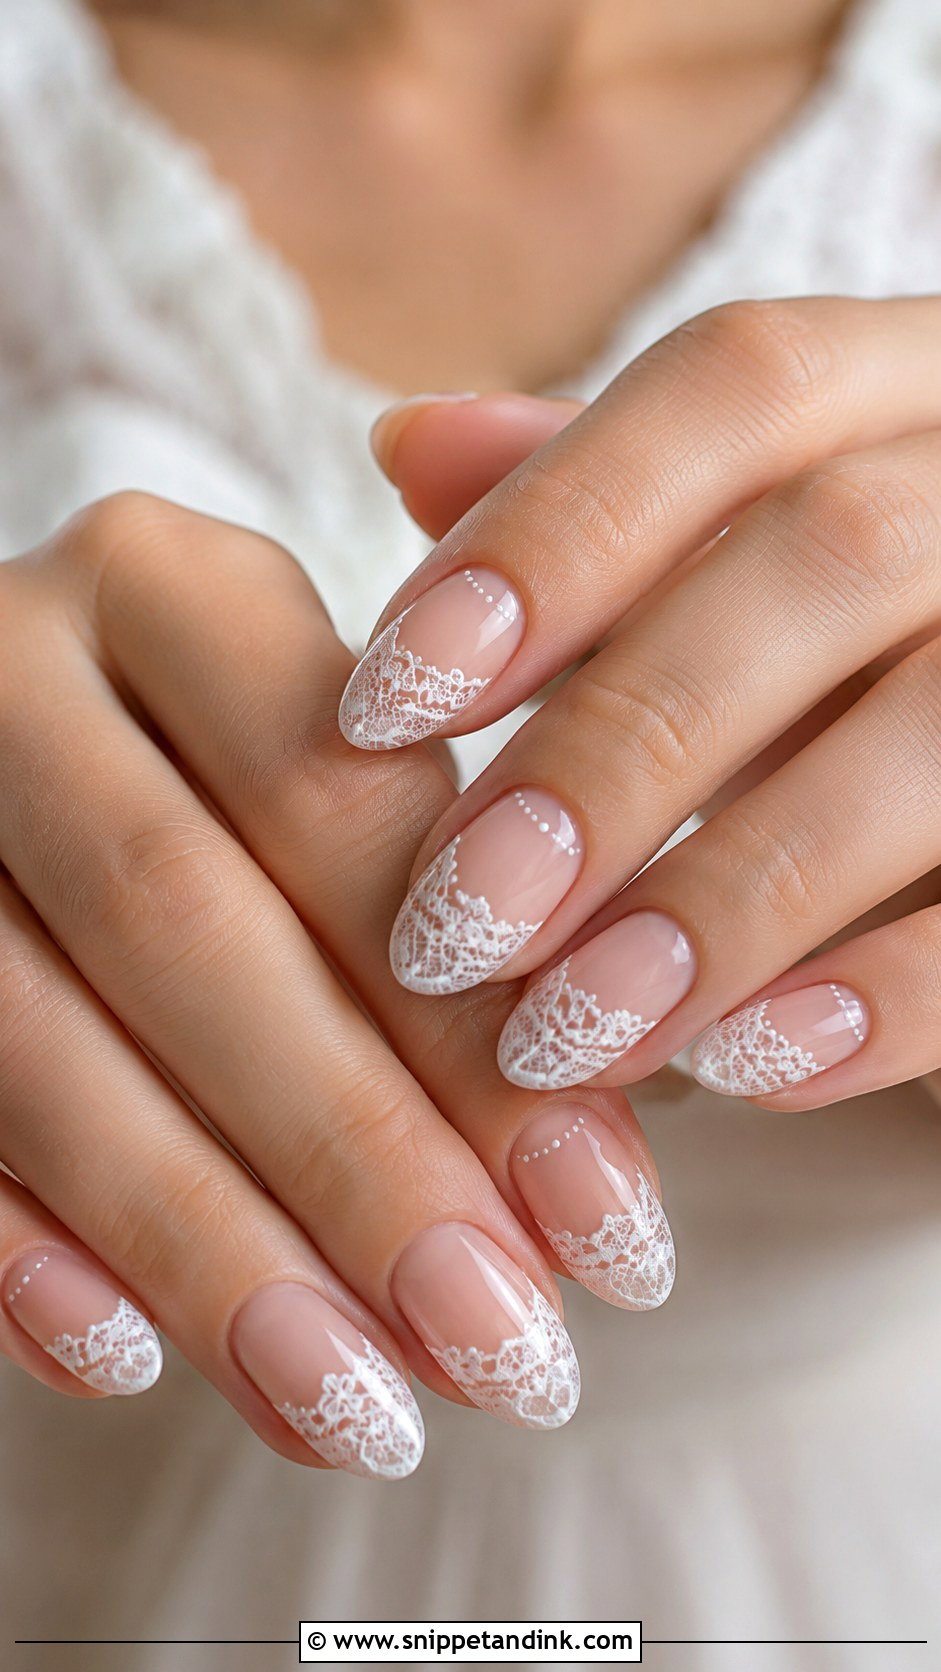
Lace nails echo the texture of a gown. The base is usually sheer pink, nude or milky white, then I paint fine lace-inspired lines, dots and curves over one or two accent nails. If your dress has lace, bring a close-up photo of it; I’ll pull a small motif from the fabric. That said, keep the nail art minimal next to a heavily laced gown, or the two compete. Almond and oval shapes suit it best. The lines need to stay light, or the effect turns crowded.
13. Champagne Shimmer Wedding Nails
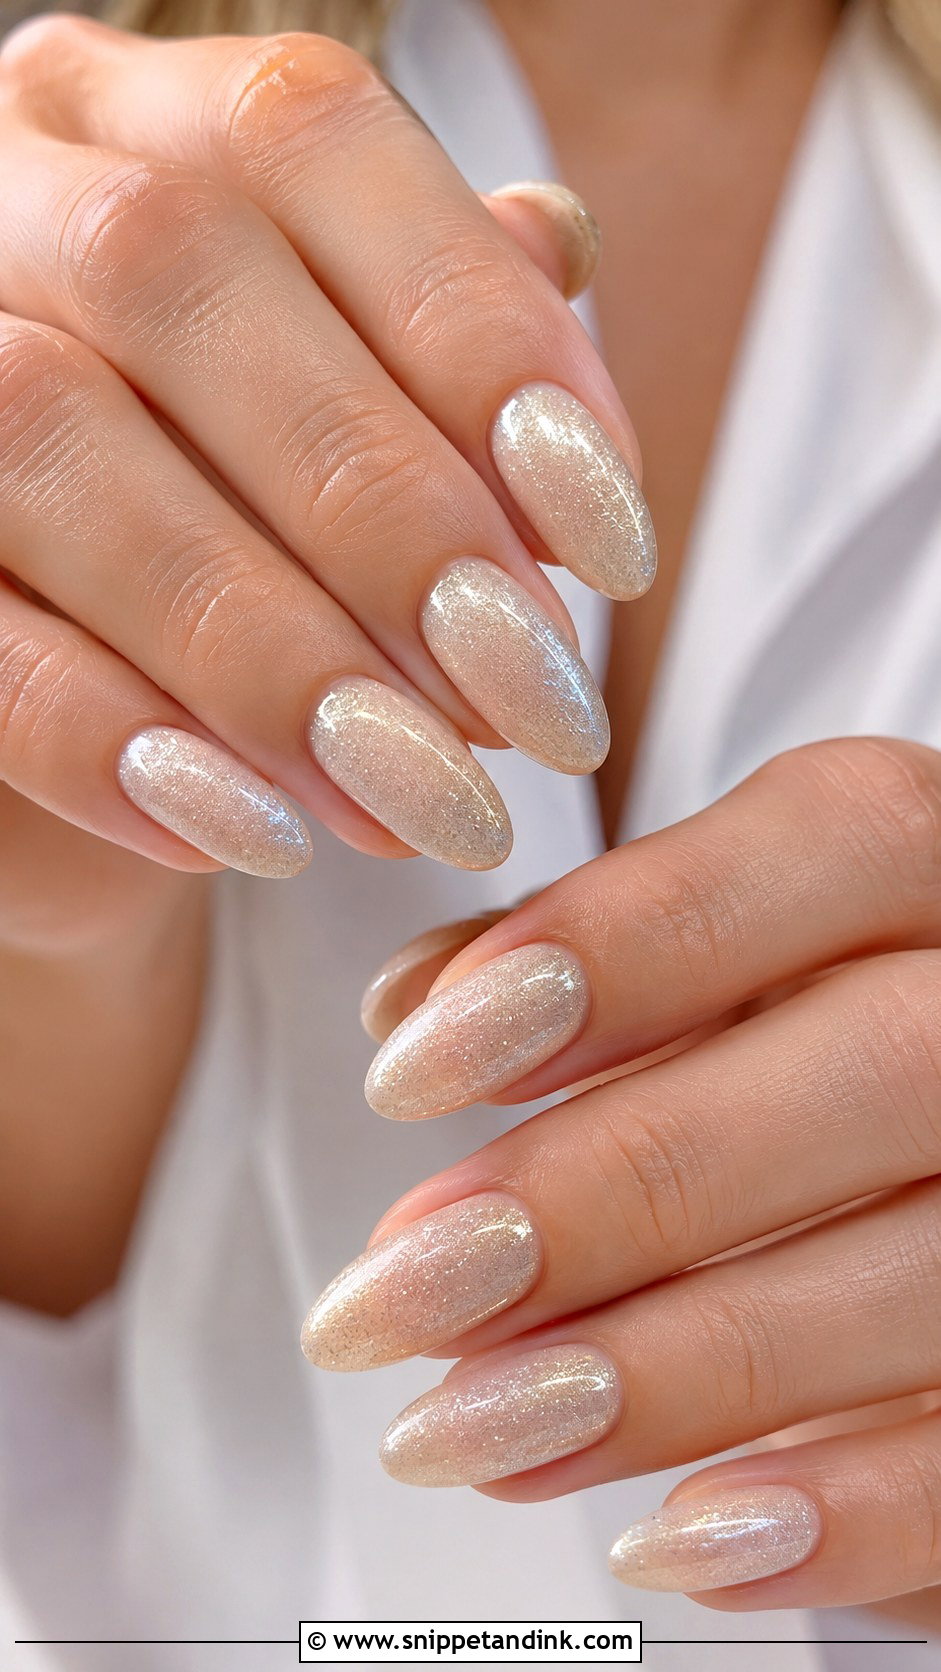
Champagne shimmer sits between pale gold, beige and nude, and it gives a warm glow rather than sparkle. A finely milled shimmer works far better than glitter here. It suits almond, oval and short square nails, and it’s flattering on warm skin tones with gold jewelry. Pair it with ivory, cream or champagne dresses. I keep it sheer, two thin coats, so it reads polished rather than metallic, and finish with a glossy top coat.
14. Rose Gold Wedding Nails
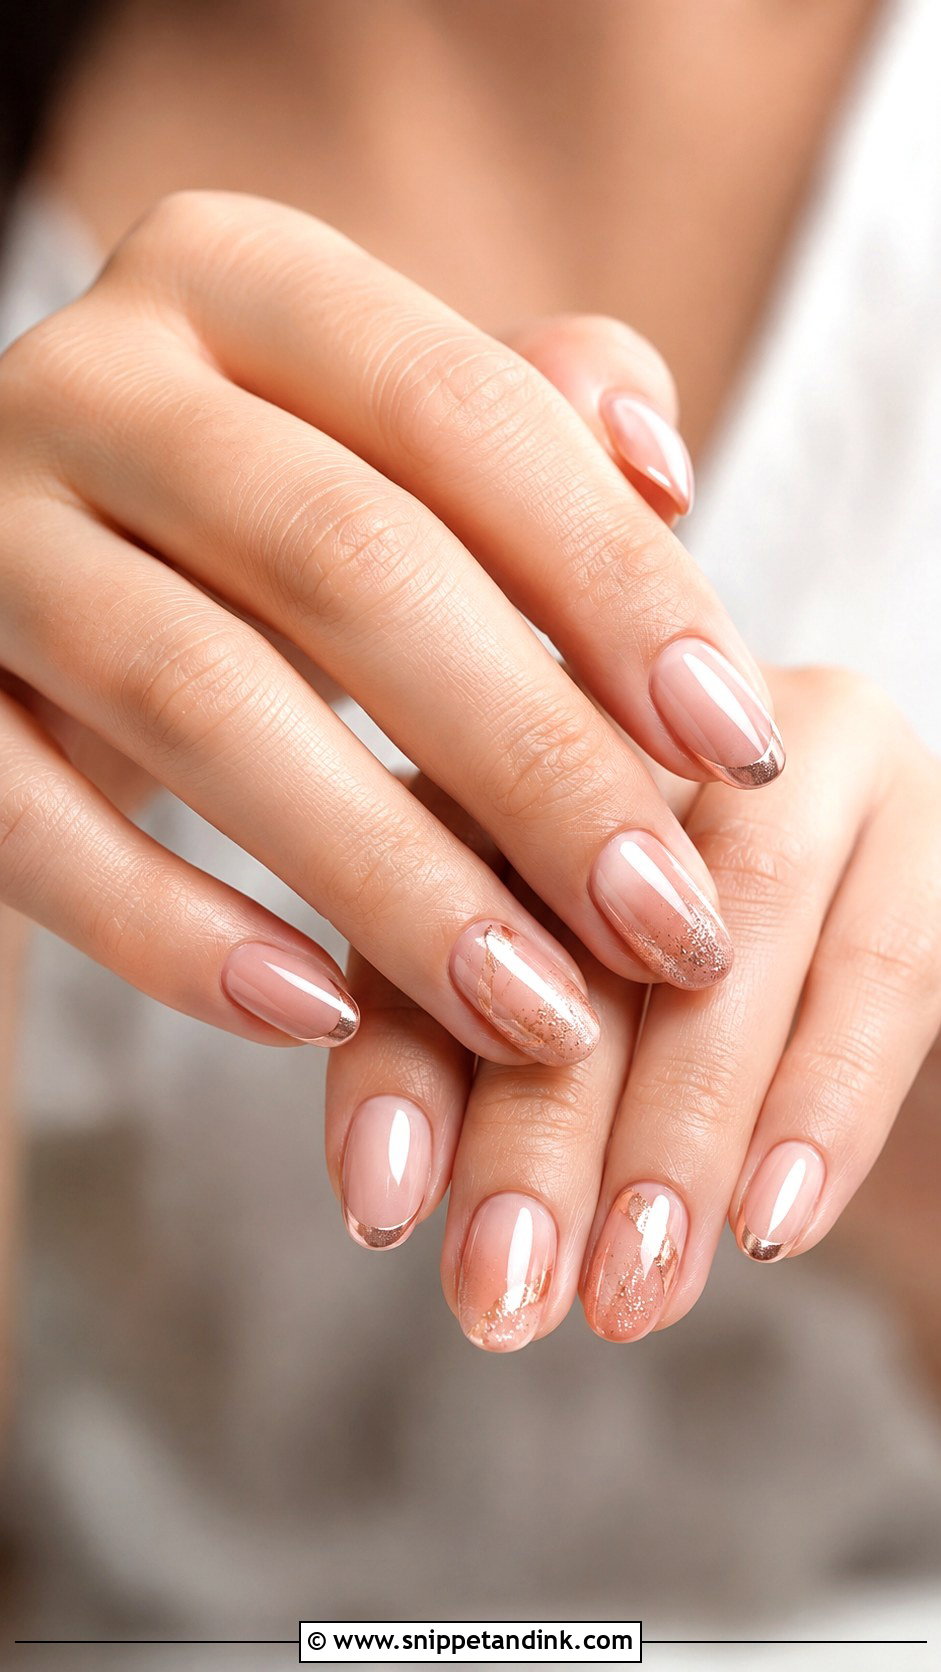
Rose gold wedding nails look bridal when rose gold is a fine shimmer, a chrome wash or a thin French tip, rather than a full heavy foil. I pair it with a sheer pink, nude or milky base to keep it light. It flatters blush dresses, warm-toned makeup and gold or rose gold jewelry. Almond and oval nails soften the metallic. If your engagement ring is white gold or platinum, I’d lean toward pearl chrome instead, so the metals don’t clash in ring photos.
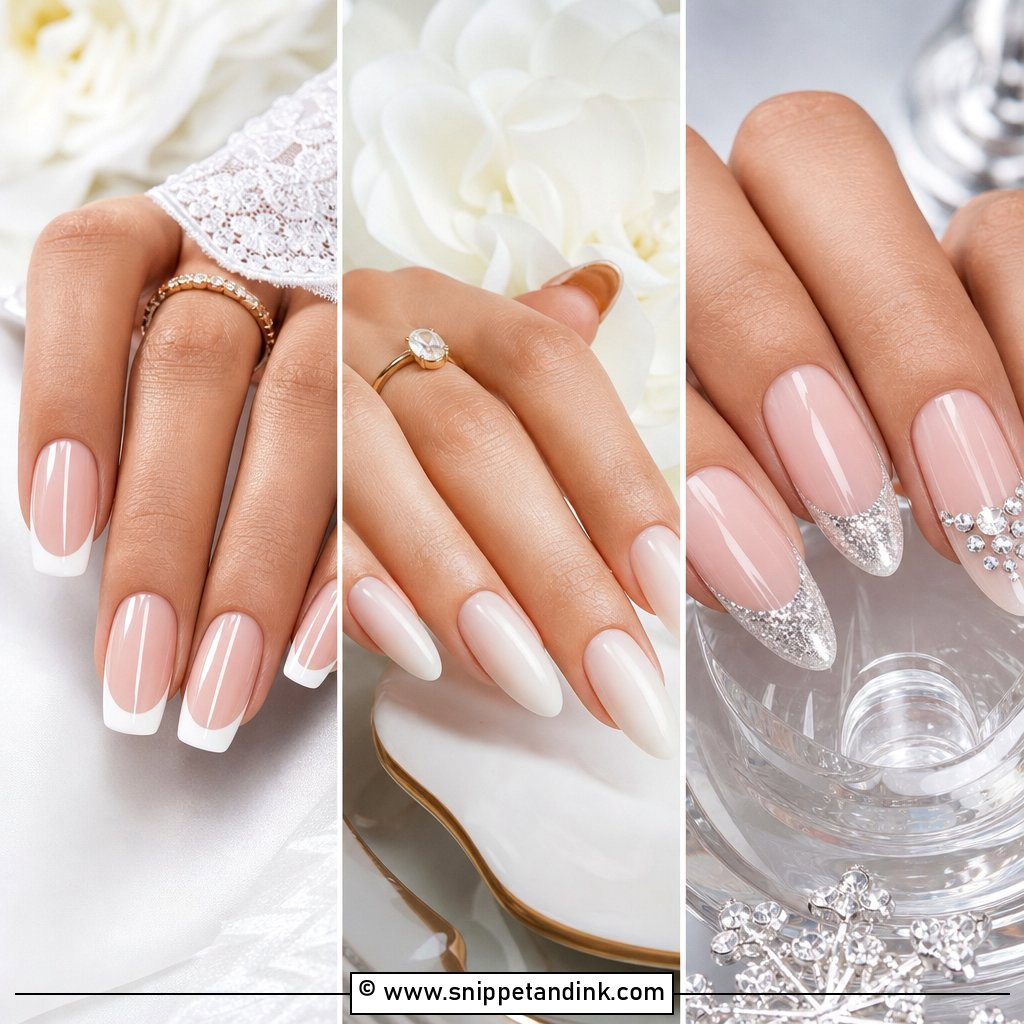
15. Ivory Wedding Nails
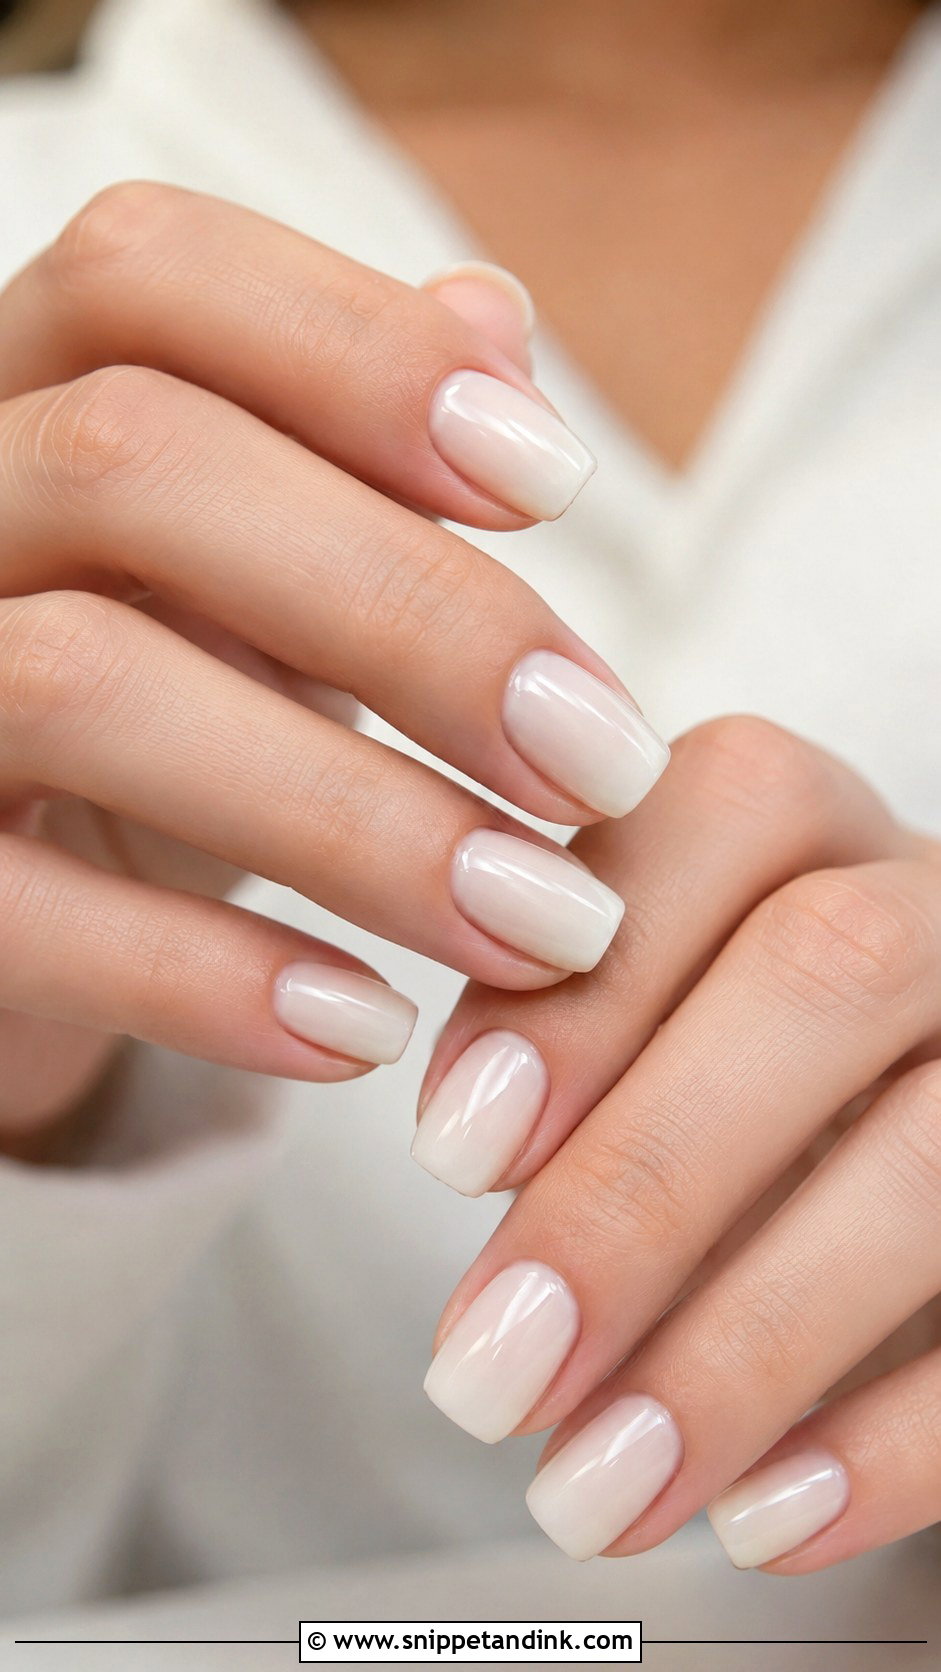
Ivory is warmer and softer than bright white, so it’s a natural match for ivory, cream and off-white gowns. Stark white next to an ivory dress can make the dress look yellow in photos, which is a good reason to choose this. I apply it as a creamy semi-sheer finish. It suits short square, rounded and medium almond nails. Keep it plain with a glossy top coat, or add a subtle pearl sheen for dimension.
16. Square Wedding Nails
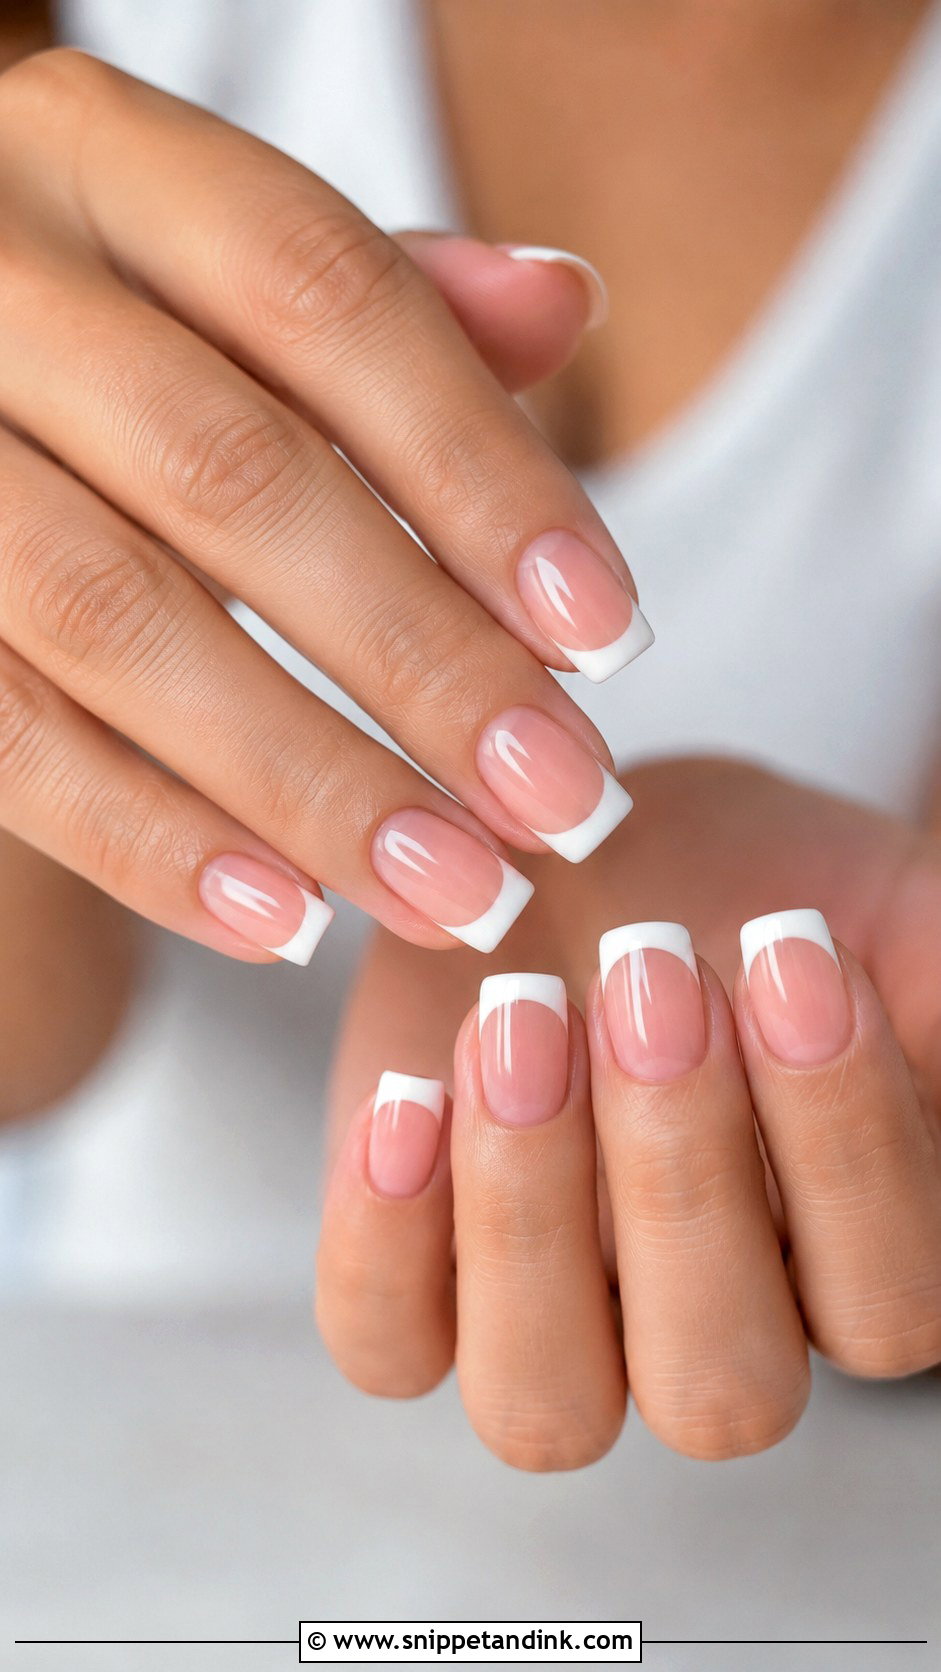
Square nails look neat and structured. For a bridal set I keep them short to medium, since very long squares look dated and break at the corners. Sheer pink, milky white, nude beige or a fine French tip all suit the shape. If you knit, garden or wear a lot of fine fabric, softening the corners into a squoval stops them catching. A glossy finish keeps the edges crisp in photos.
17. Almond Wedding Nails
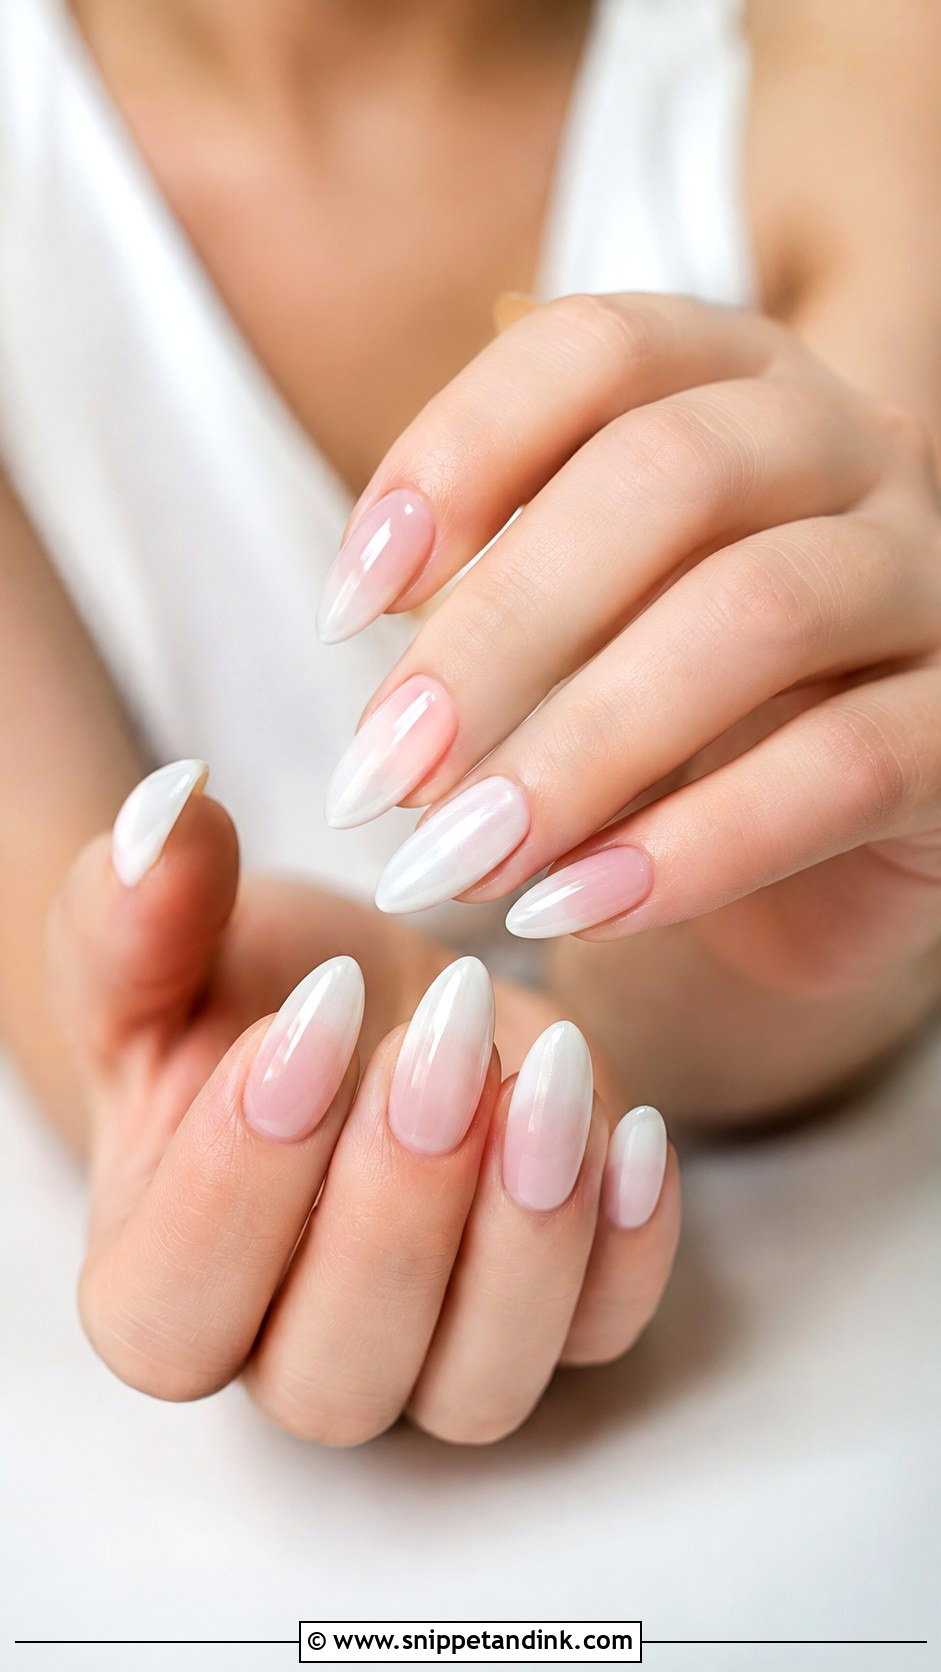
Almond is the shape I recommend most for brides, because the tapered tip and rounded sides make hands look slender in every photo of you holding flowers. It works with almost every classy wedding nail design: milky white, pearl chrome, French tips, blush pink and nude. Medium length gives room for detail while staying practical. If your natural nails are thin, the narrow tip snaps more easily, so I’d add a builder gel overlay a few weeks before.
18. Glitter Ombre Wedding Nails
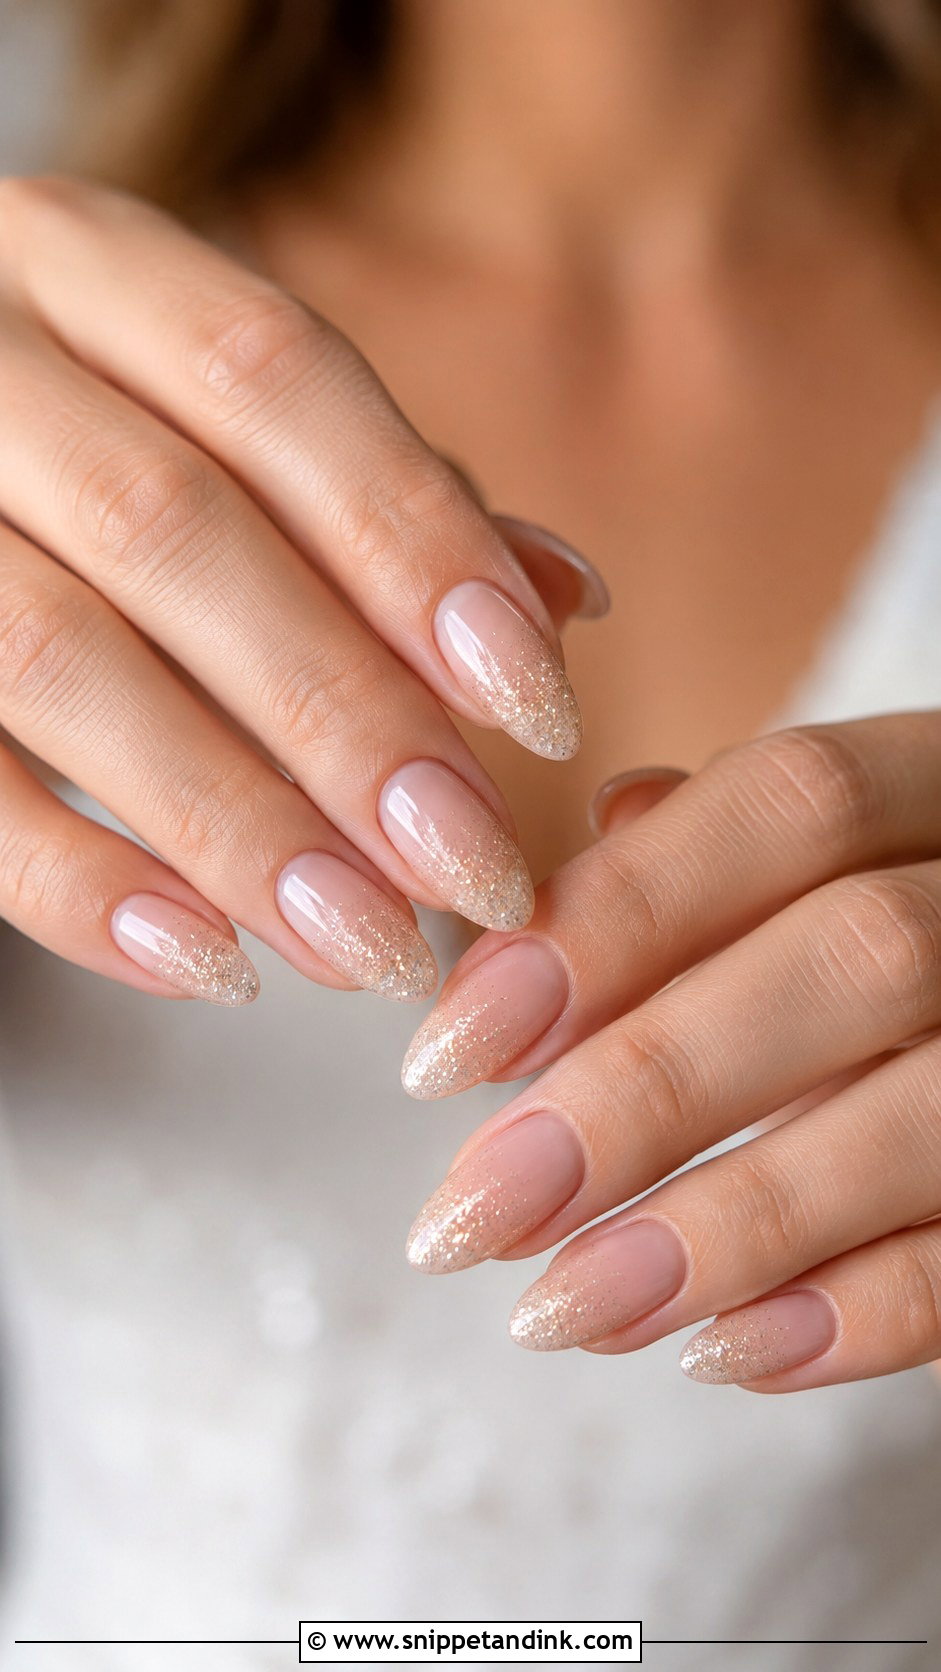
Glitter ombre wedding nails fade fine glitter from the tip or cuticle into a sheer nude, pink or milky base, so the sparkle stays controlled. I sponge it on in thin layers and seal it with a thick top coat, because glitter left near the surface feels rough. Silver, pearl, champagne or rose gold glitter looks most bridal. Skip large pieces. Almond, oval and coffin shapes suit it. Plan extra time when you have it removed, since glitter gel soaks off slowly.
19. Marble Wedding Nails
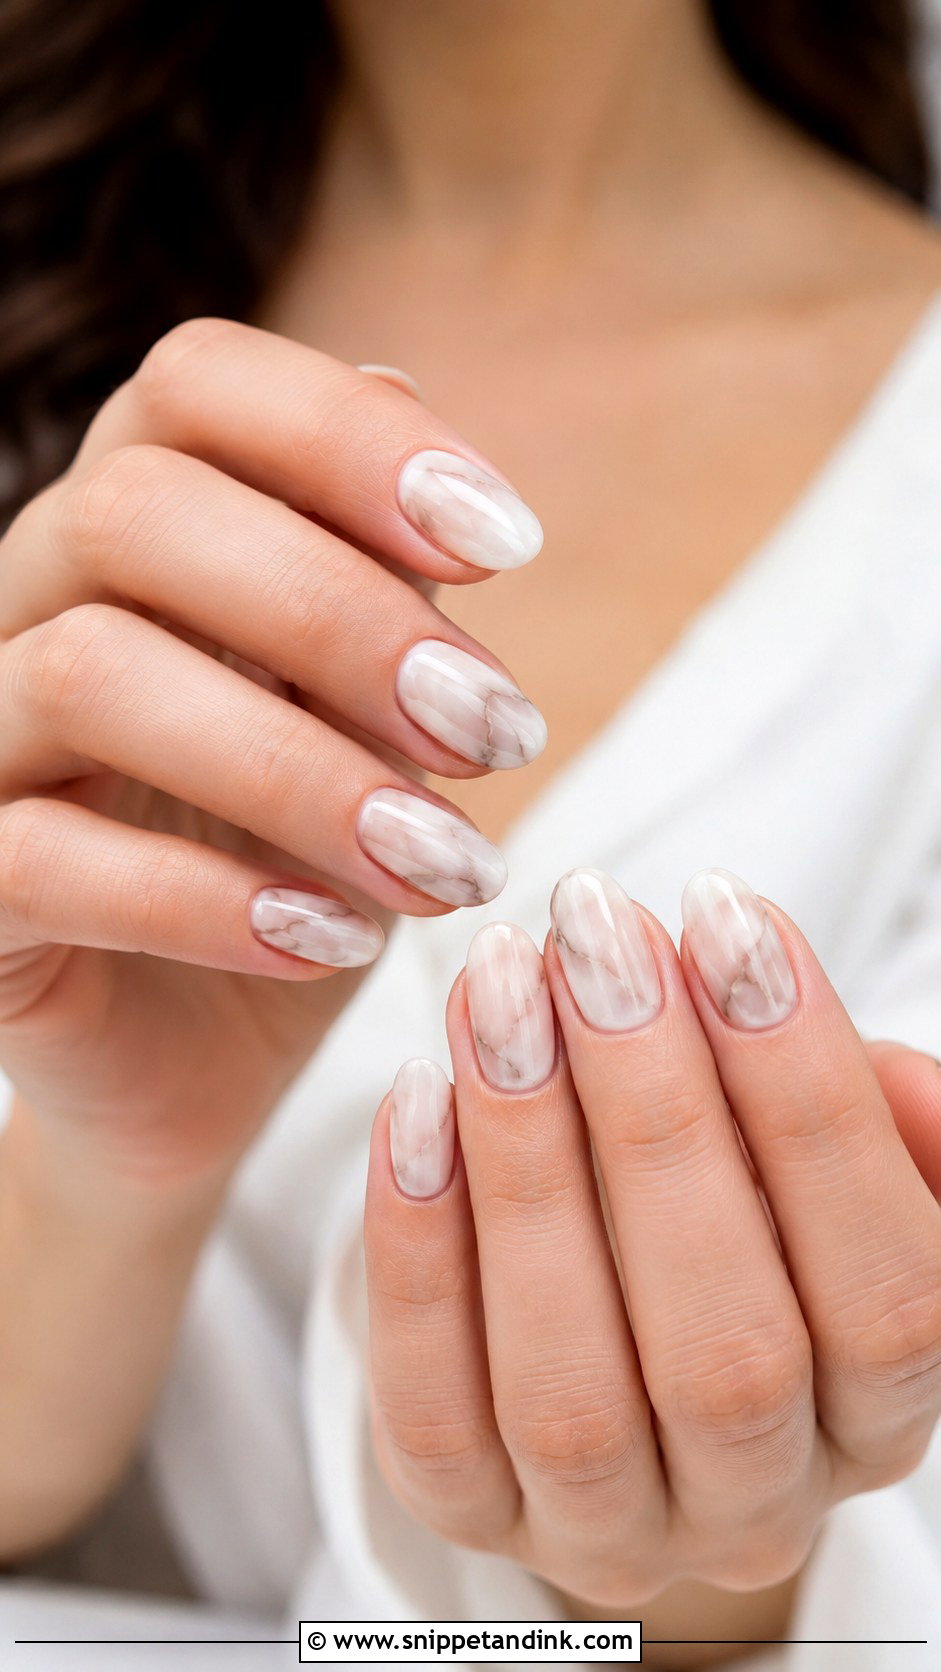
Marble veining has to be fine to look bridal. I lay a milky white or sheer nude base, then drag very fine gray, beige or pearl-white lines through the wet gel so they soften at the edges like real stone. You can wear it as a full soft set or on a few accent nails beside plain nude or white. Each nail comes out different, which is part of its charm. It suits a bride who wants more than a plain manicure but still wants a formal finish.
20. Barely There Wedding Nails
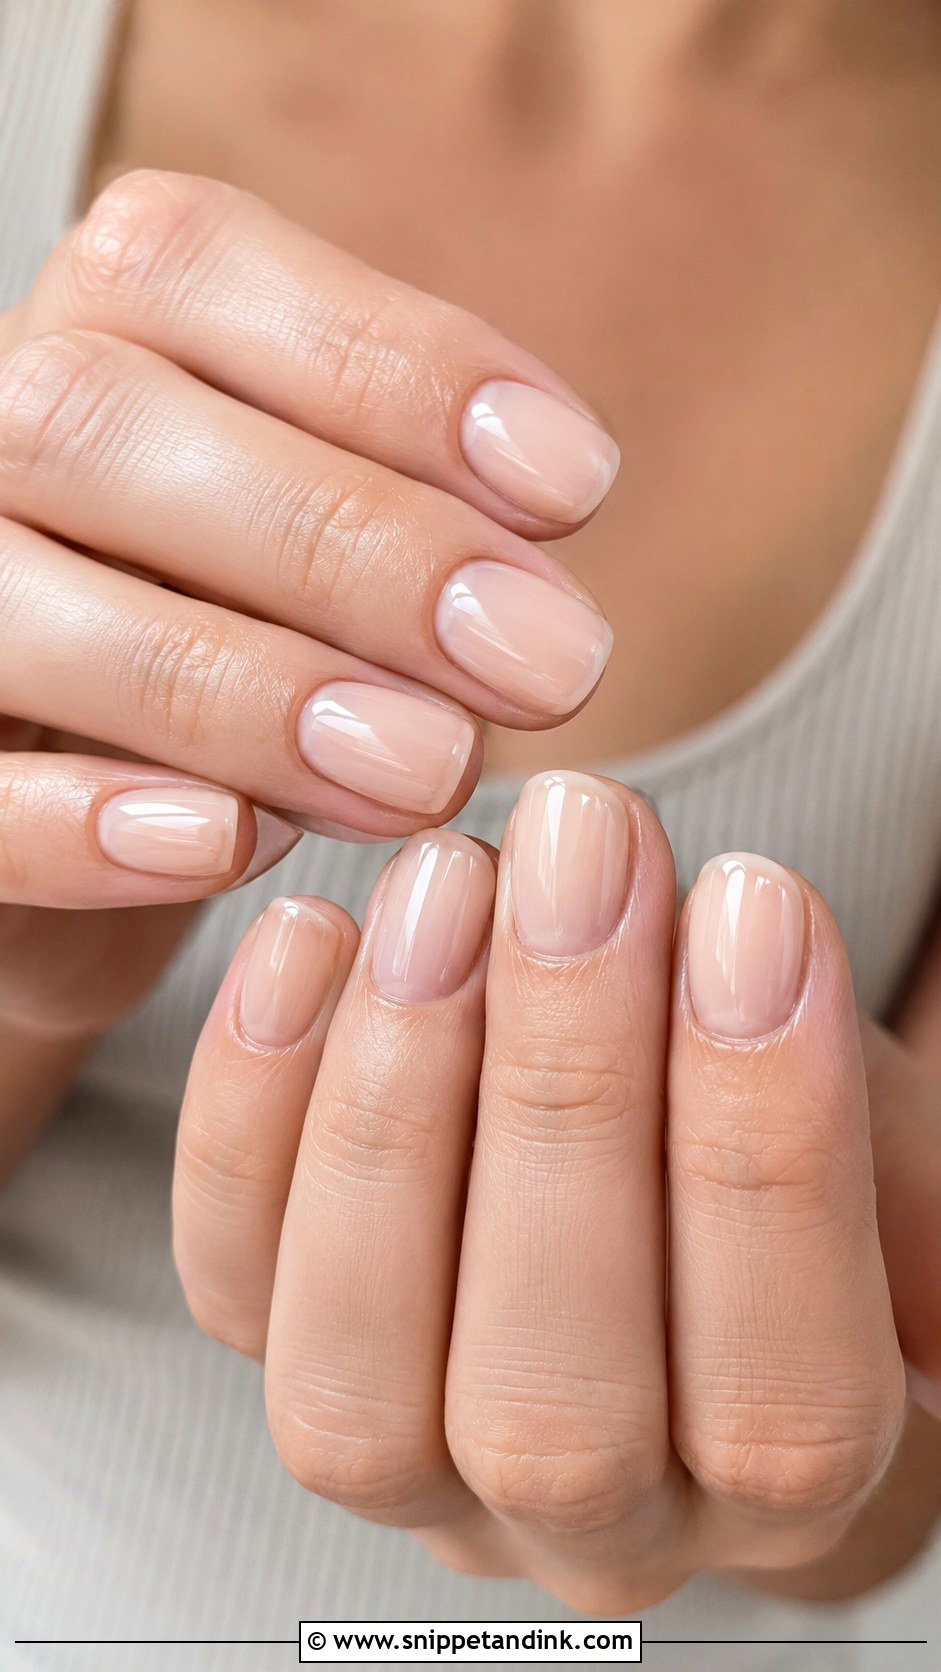
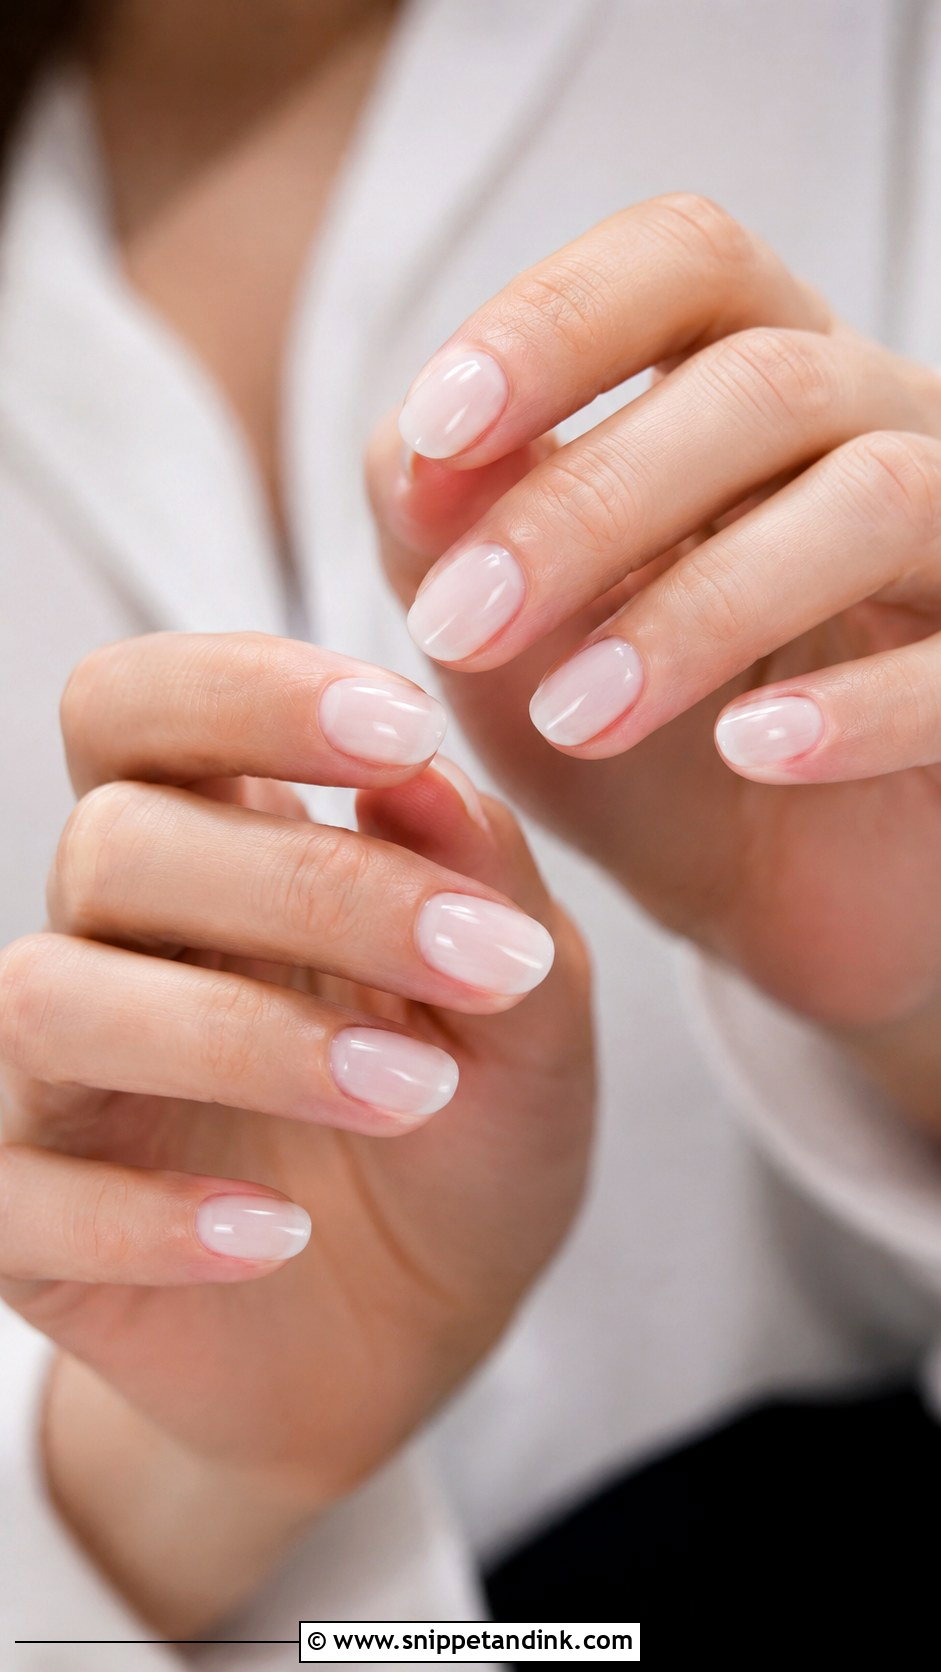
Barely there nails make your own nails look perfected rather than painted. A sheer nude, clear pink or soft beige tint smooths the color, and the shape stays simple: short oval, rounded square or soft almond. With so little product, cuticle care is the whole job; I spend more time on prep than on polish for this one. A strengthening base helps prevent chips, and a glossy top coat gives a healthy shine. It’s the set I’d suggest to a bride who never wears polish and doesn’t want to feel it on the day.
Soak-Off Gel, Builder or Plain Polish for the Wedding Week?
The product underneath matters as much as the design, because a bridal manicure has to look fresh on the wedding day and still be intact on the honeymoon.
- Soak-off gel: the usual bridal choice. It cures hard, stays glossy for around two weeks and handles most designs here. Book it one to three days before the wedding.
- Builder gel: thicker, adds real strength and suits thin or weak nails and almond shapes. Good if you want the set to last through travel.
- Regular polish: fine for very sheer looks, but it can chip within a few days. Do it the day before and pack the bottle.
- Chrome, foil and glitter need a gel base. They don’t sit reliably on regular polish.
If a nail breaks on the morning
Don’t panic and don’t pull at it. A tiny drop of nail glue and a small piece of silk or a tea-bag patch holds a crack, then a coat of matching polish on top hides it. If it’s broken below the tip, file all ten nails slightly shorter so they look even. Matching length matters more in photos than the exact length you planned.
Hold the Shade Against Your Ring Before You Commit
French tips, milky white, pearl chrome, blush pink and floral art can all look classy; the difference is in the finish and in how well the set suits you. Short nails look as elegant as almond or square when they’re clean. Before the wedding, look at your chosen shade in daylight, against a swatch of the dress and next to your ring. Ring photos are close-ups, so a shade that looks fine across the room can look slightly off beside the metal. That one check saves most surprises.
You'll Like These Ideas:


Leave a Reply