
Acrylic is my go-to for brides whose natural nails peel, bite or break, because it lets me build every finger to the same length and curve. That evenness is what close-up ring shots really show. The set below runs from quiet milky whites and French tips to pearls, lace, chrome and sculpted flowers, with notes on how each one wears over a long day, which shapes suit it, and where I’d hold back. Look at your dress, your ring and how you actually use your hands before you pick, because the best camera-ready bridal manicure is the one you forget you’re wearing.
Acrylic Timing Across the Wedding Month
Acrylics grow out with your natural nail, and the gap at the cuticle shows in close-ups. Timing your appointments is what keeps that gap invisible in the ring shots.
- Three to four weeks before: a trial set. Wear it for a full week to test length, shape and how it feels doing up buttons and typing.
- One to three days before: the final set or fill. Any later and there’s no time to fix a lifted edge; much earlier and regrowth shows.
- The day before: no new art. Use that day for a touch-up only if something has chipped.
Skip hand cream and cuticle oil on the morning of the appointment. Oils left on the nail plate are the most common reason acrylic lifts early, and a set that lifts in week one will not last to the wedding. Hot baths, cleaning without gloves and long swims in the days before also weaken the bond.
If you’ve never worn acrylic, tell your nail artist. First-time wearers often find the first few days clumsy, and a slightly shorter length during the trial week helps you adjust.
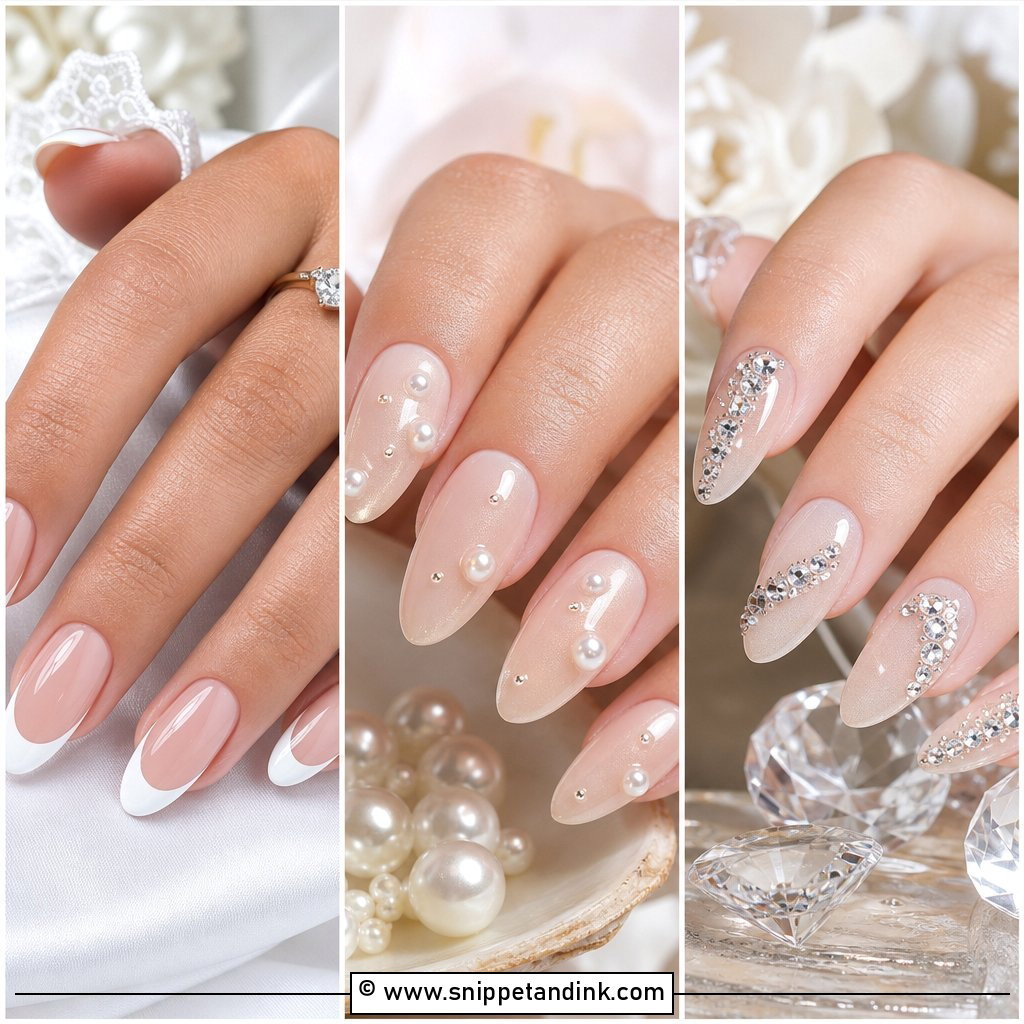
1. Classic French Acrylic Wedding Nails
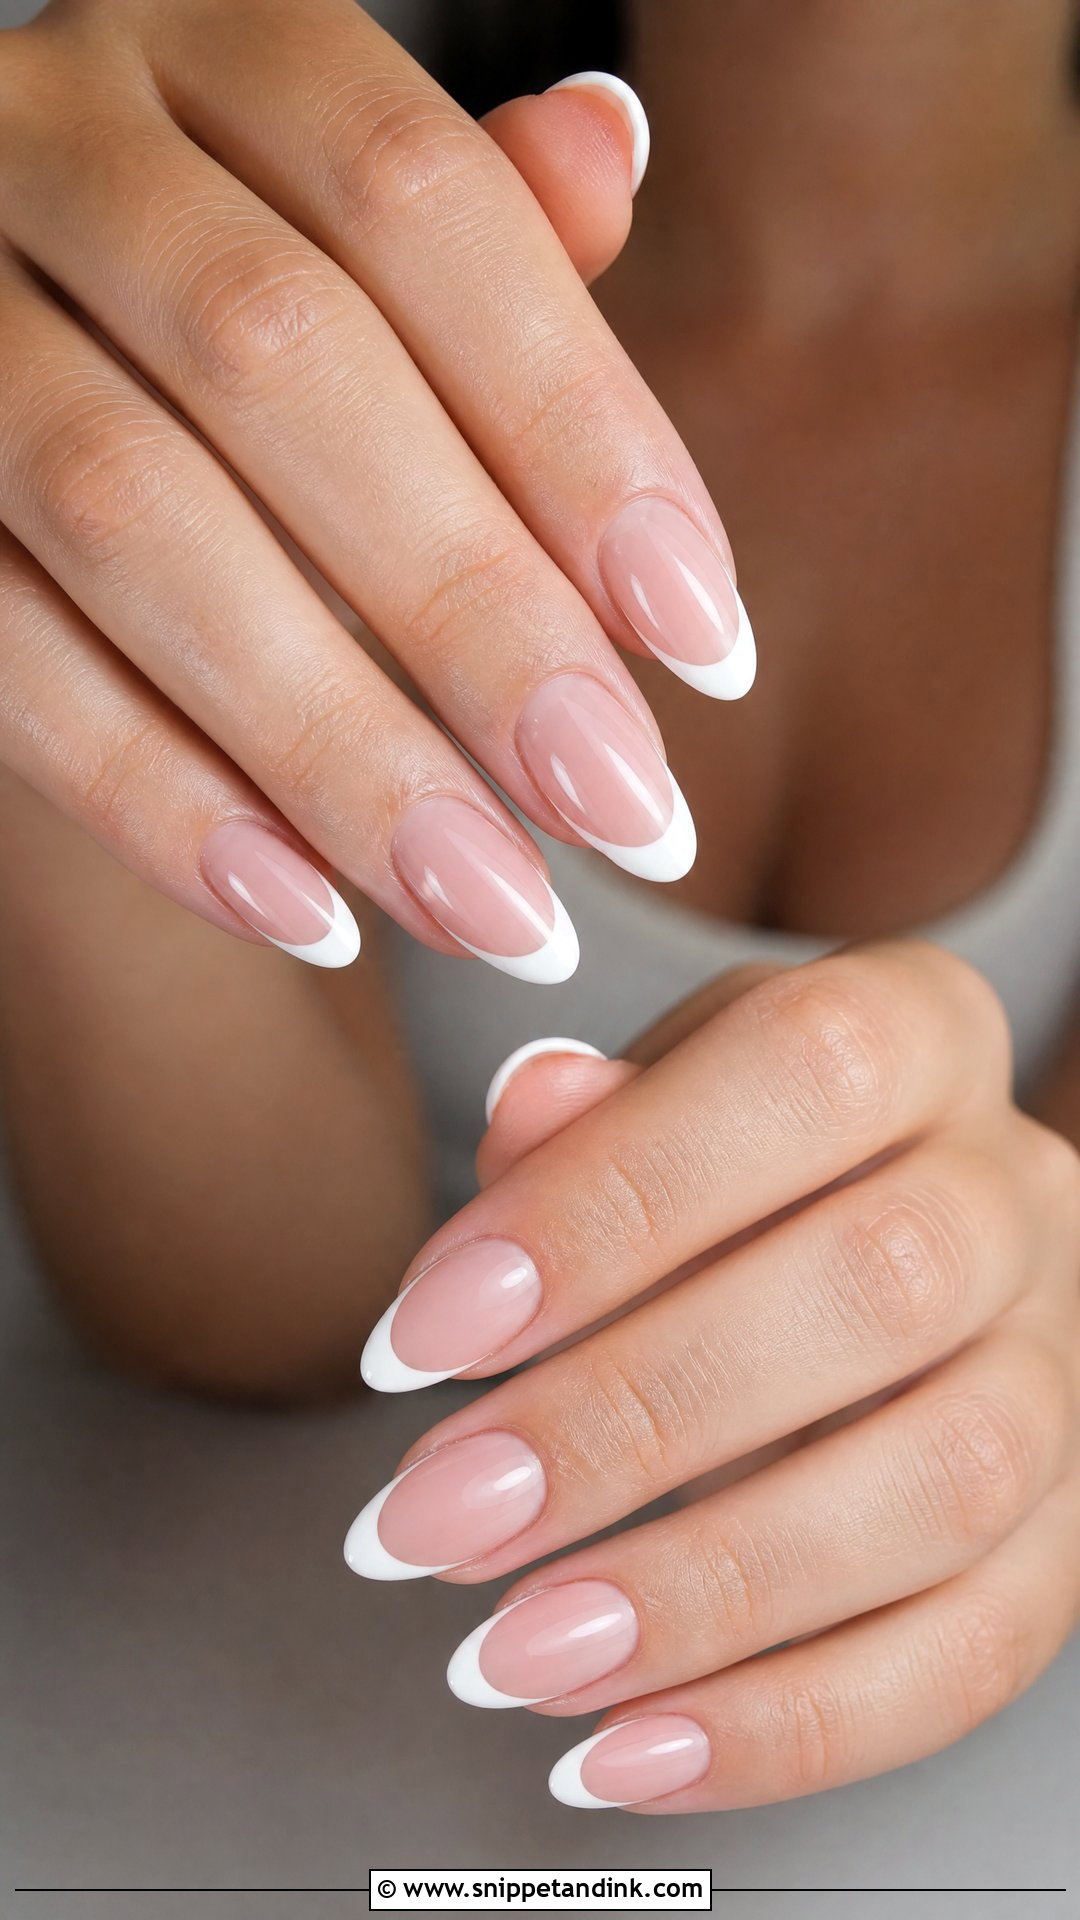
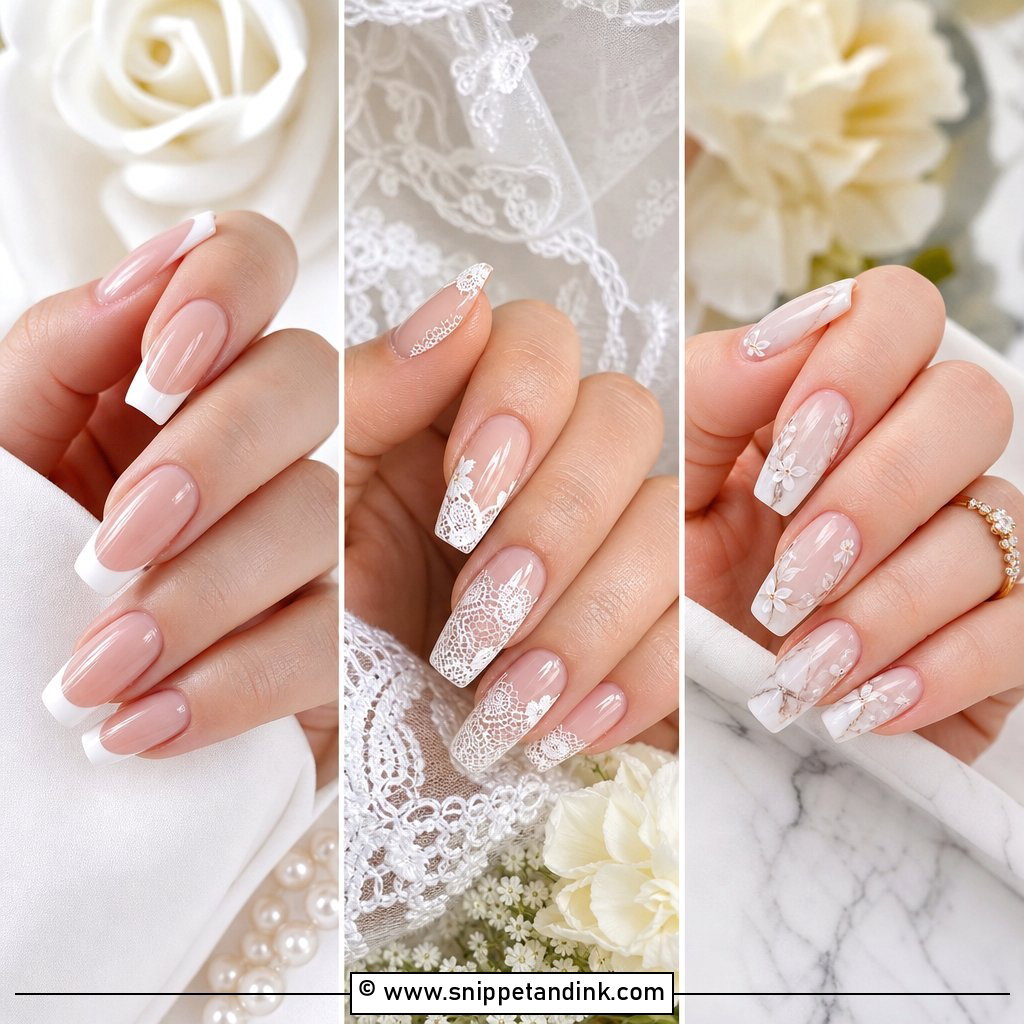
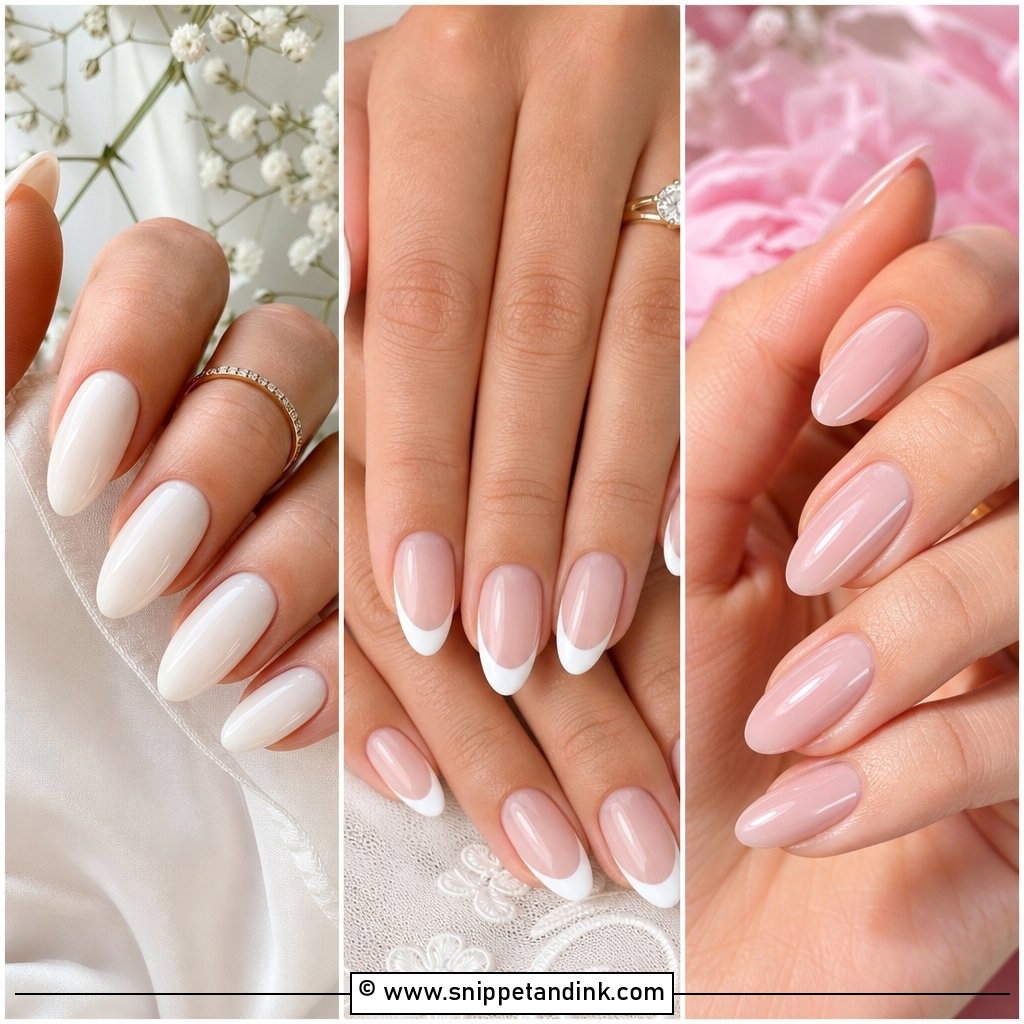
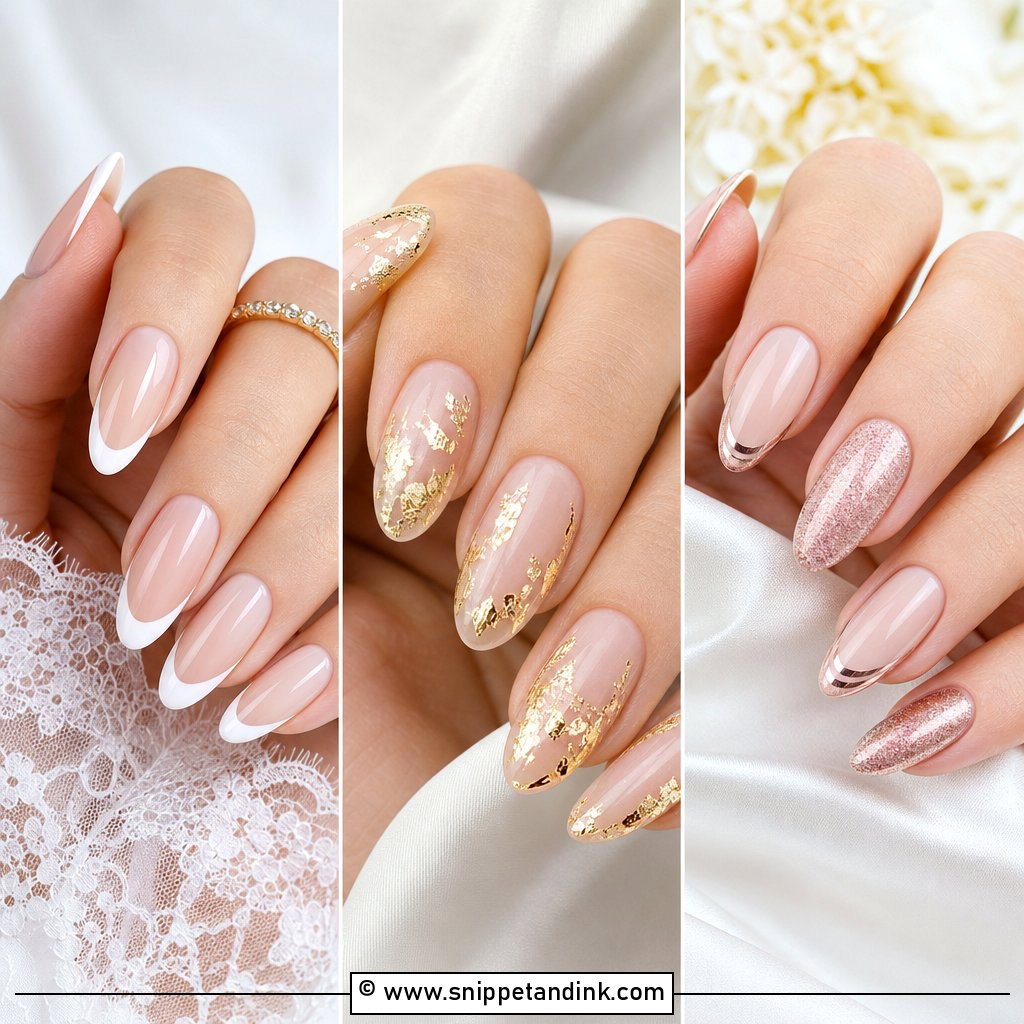
A French set is the safest bridal choice I know, and acrylic makes it better because I can sculpt a crisp, even free edge rather than relying on painted white. Thin smile lines read modern; thick ones look early-2000s. The line itself is where things go wrong: if it’s not symmetrical across both hands, the ring photo shows it immediately, so I check each pair of fingers against each other before topcoat. Almond, oval and square all suit it.
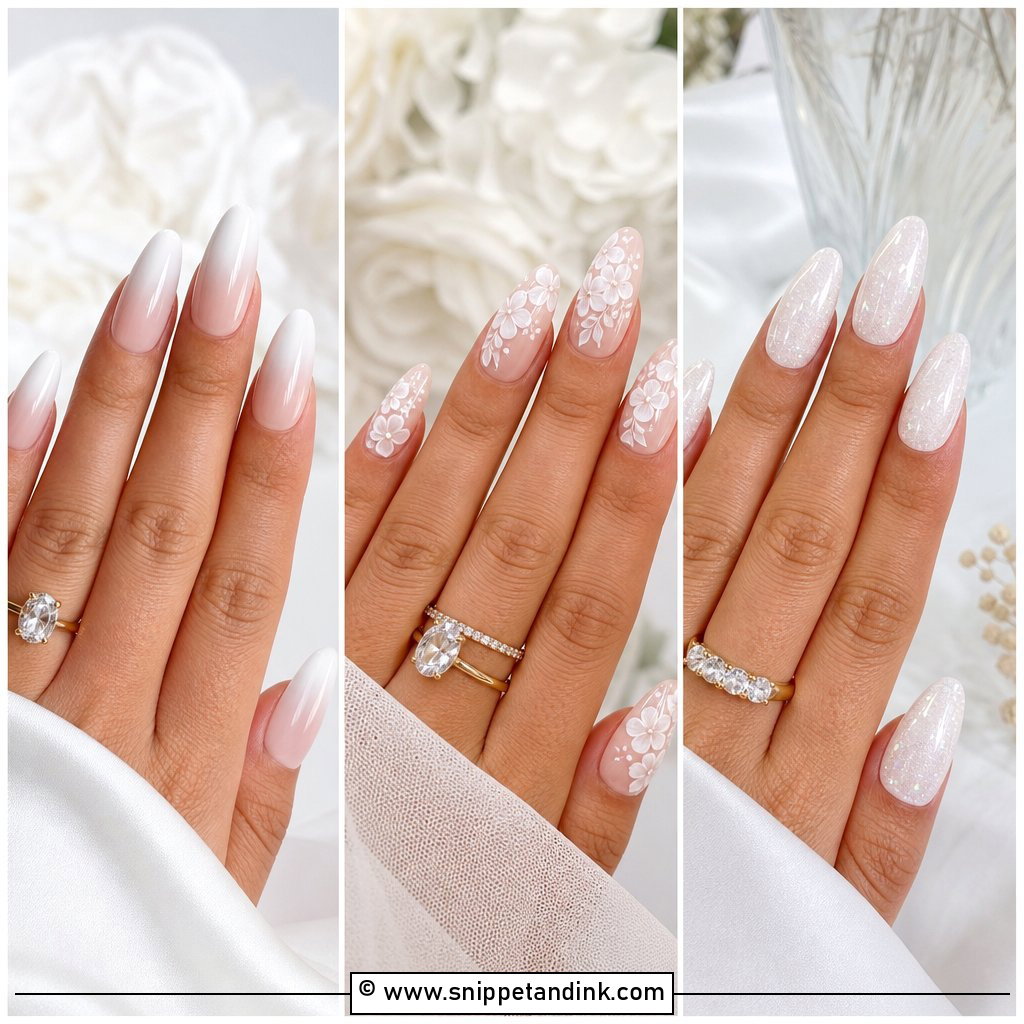
2. Milky White Acrylic Wedding Nails
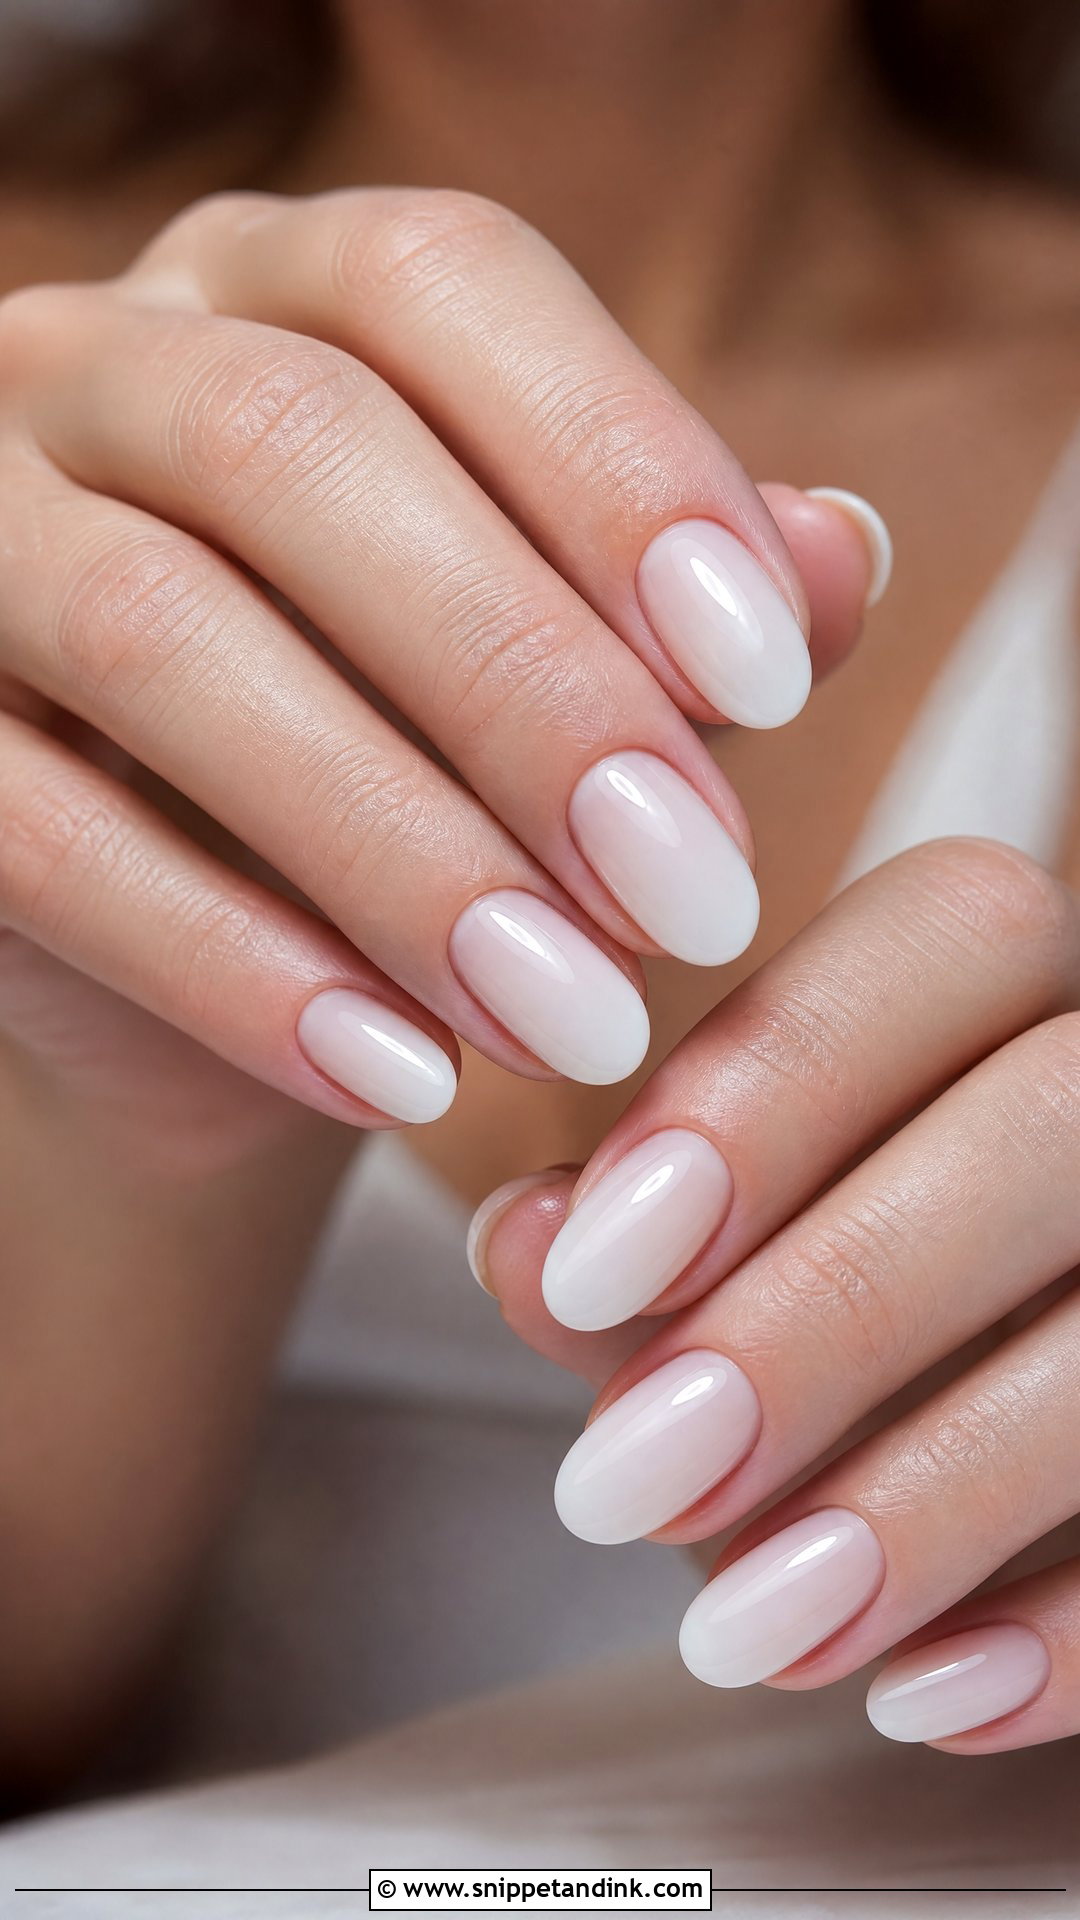
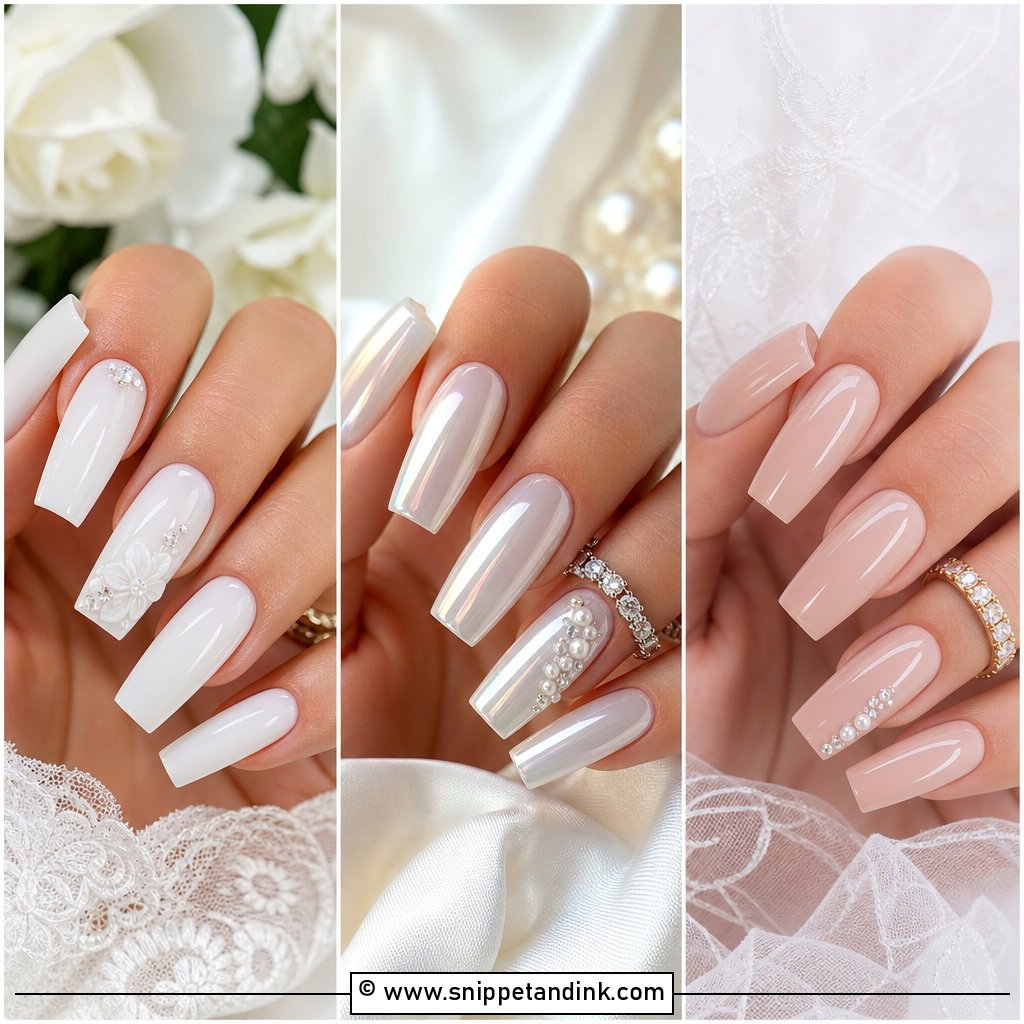
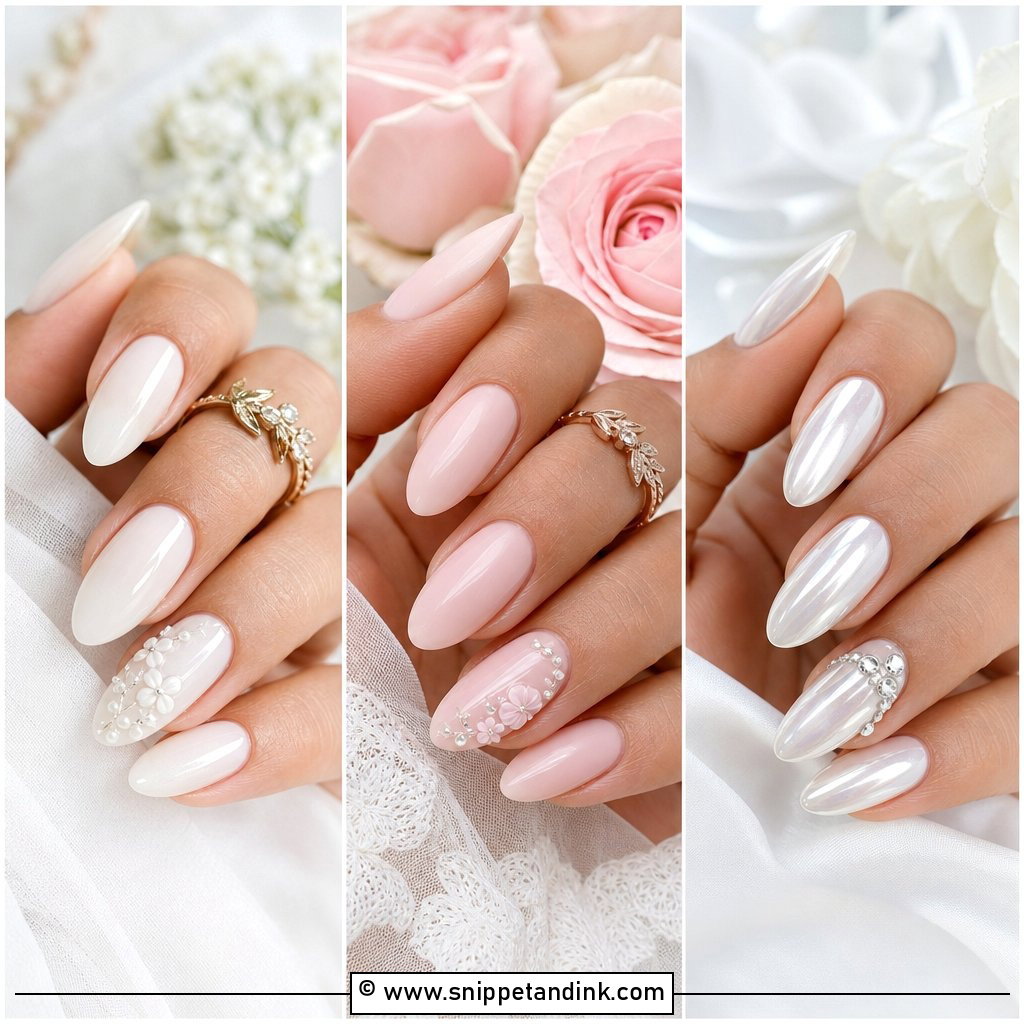
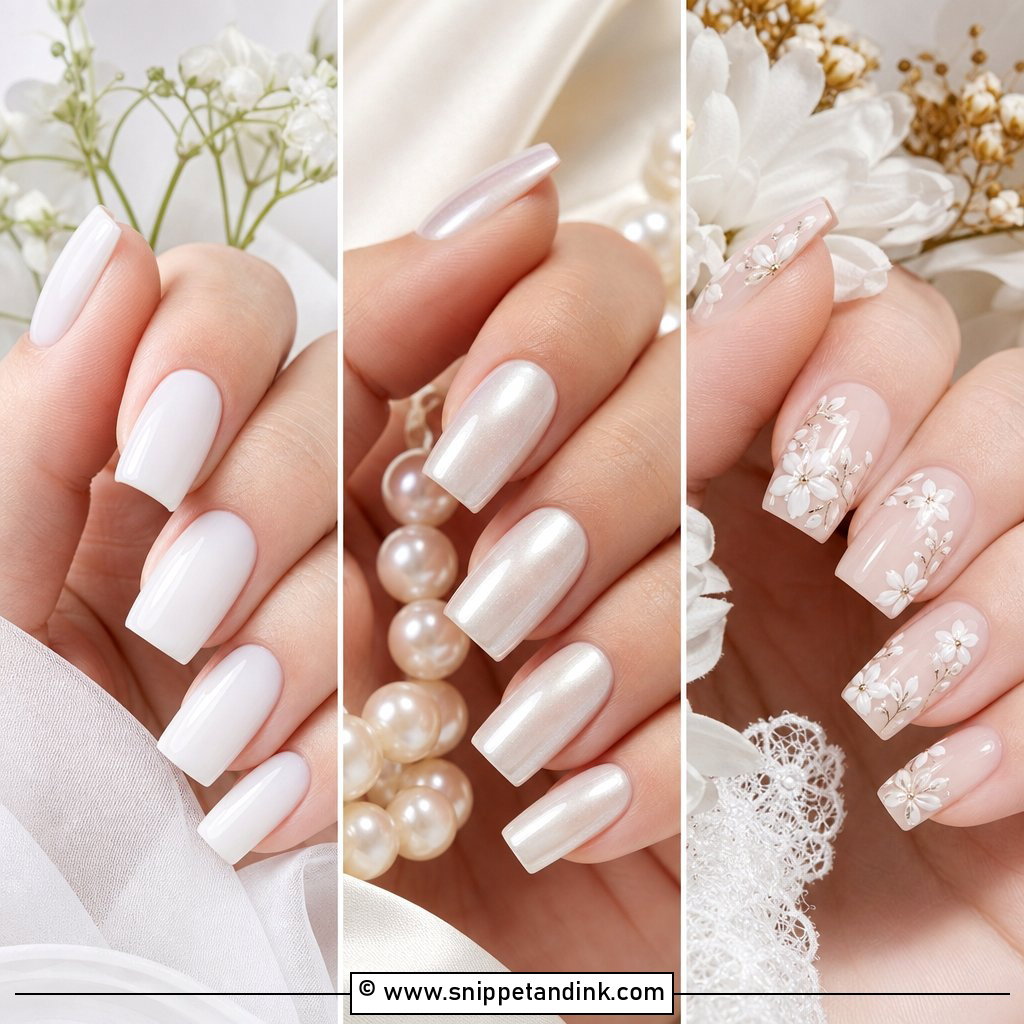
Milky white sits halfway between sheer and solid, and it’s harder to apply than it looks. Too thin and it streaks; too thick and the nail looks like correction fluid. I usually build it in two or three thin coats over the acrylic so the free edge stays faintly translucent. It flatters most skin tones and goes with satin, chiffon or simple lace gowns. A pearly topcoat catches a little extra light, but a plain high-gloss finish is more forgiving under flash.
3. Pearl French Acrylic Wedding Nails
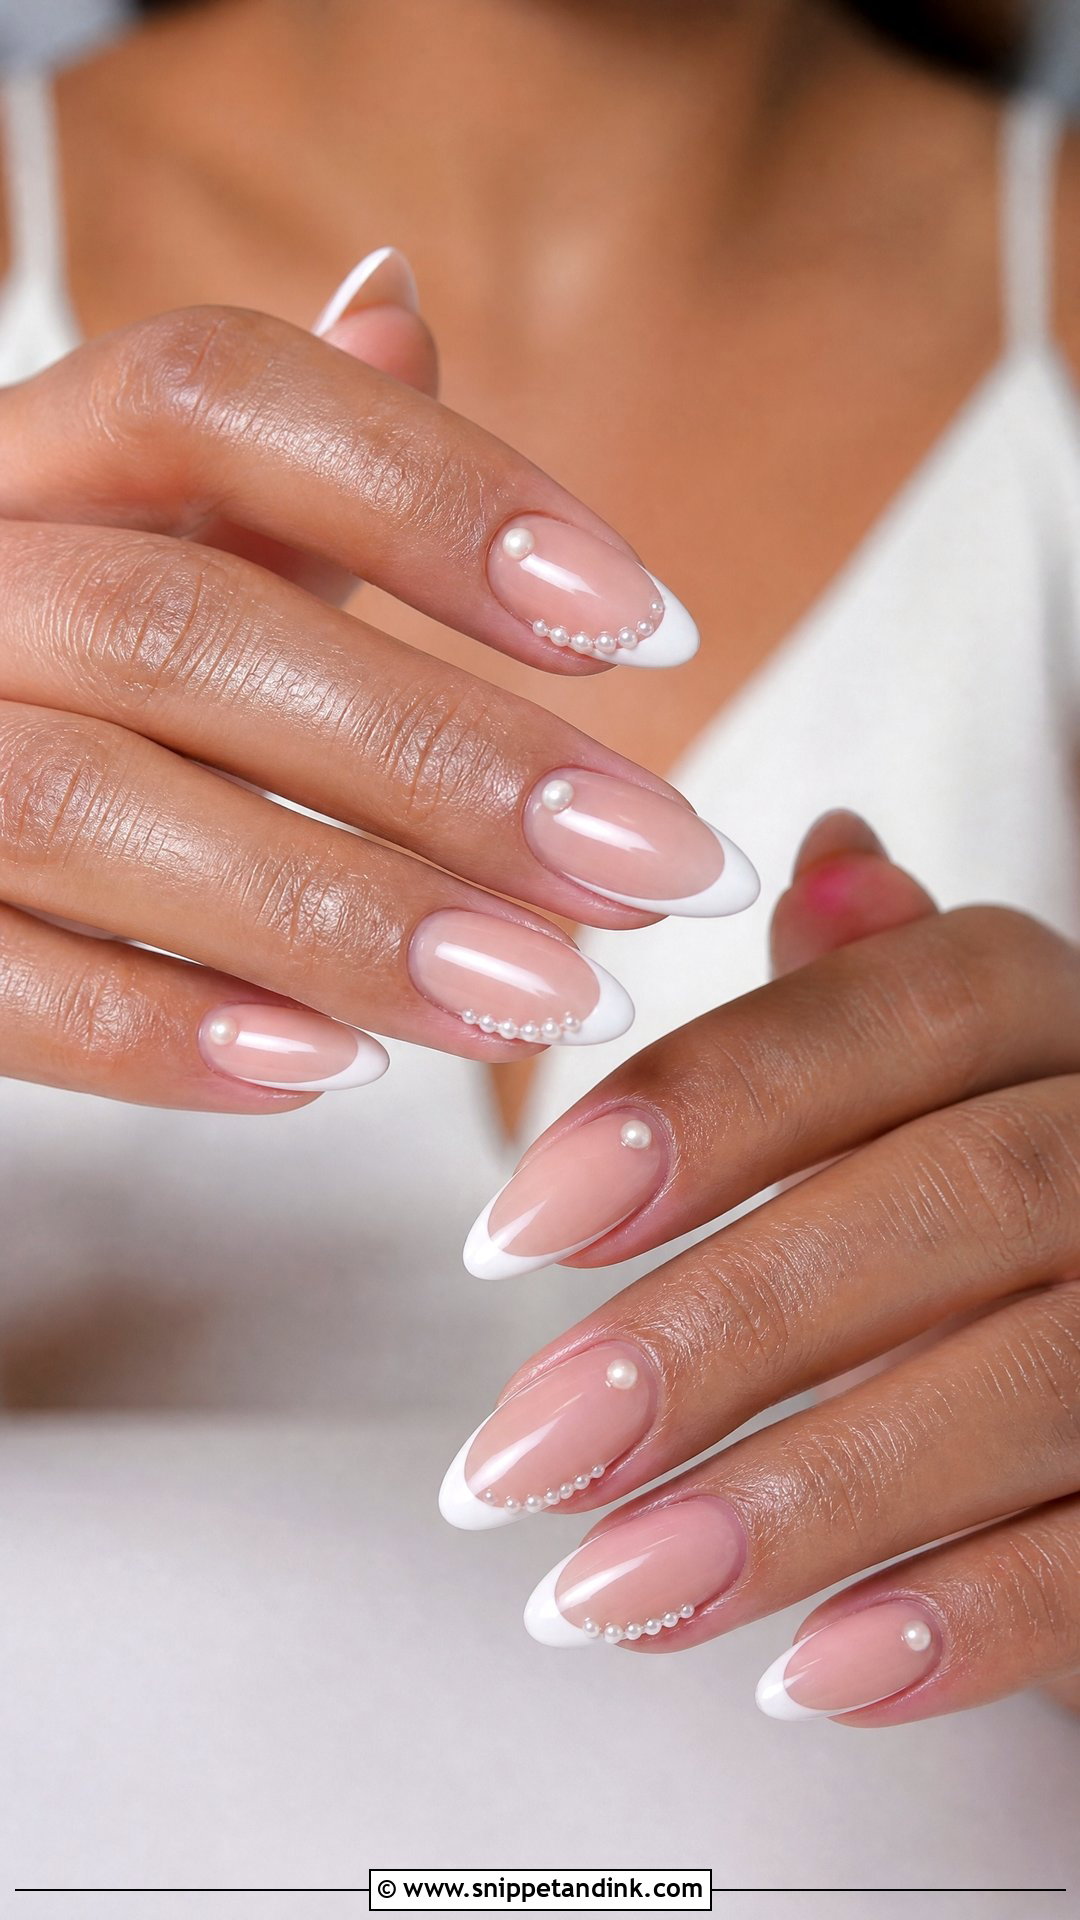
Pearls have weight, so placement matters more than quantity. I set them into a small bead of gel near the cuticle or along the smile line, then seal around them, never over the top, which would dull the shine. Two or three accent nails is usually right; more starts to feel heavy and catches on veil tulle. If your veil or earrings are pearl, this ties everything together nicely.
4. Chrome French Acrylic Wedding Nails
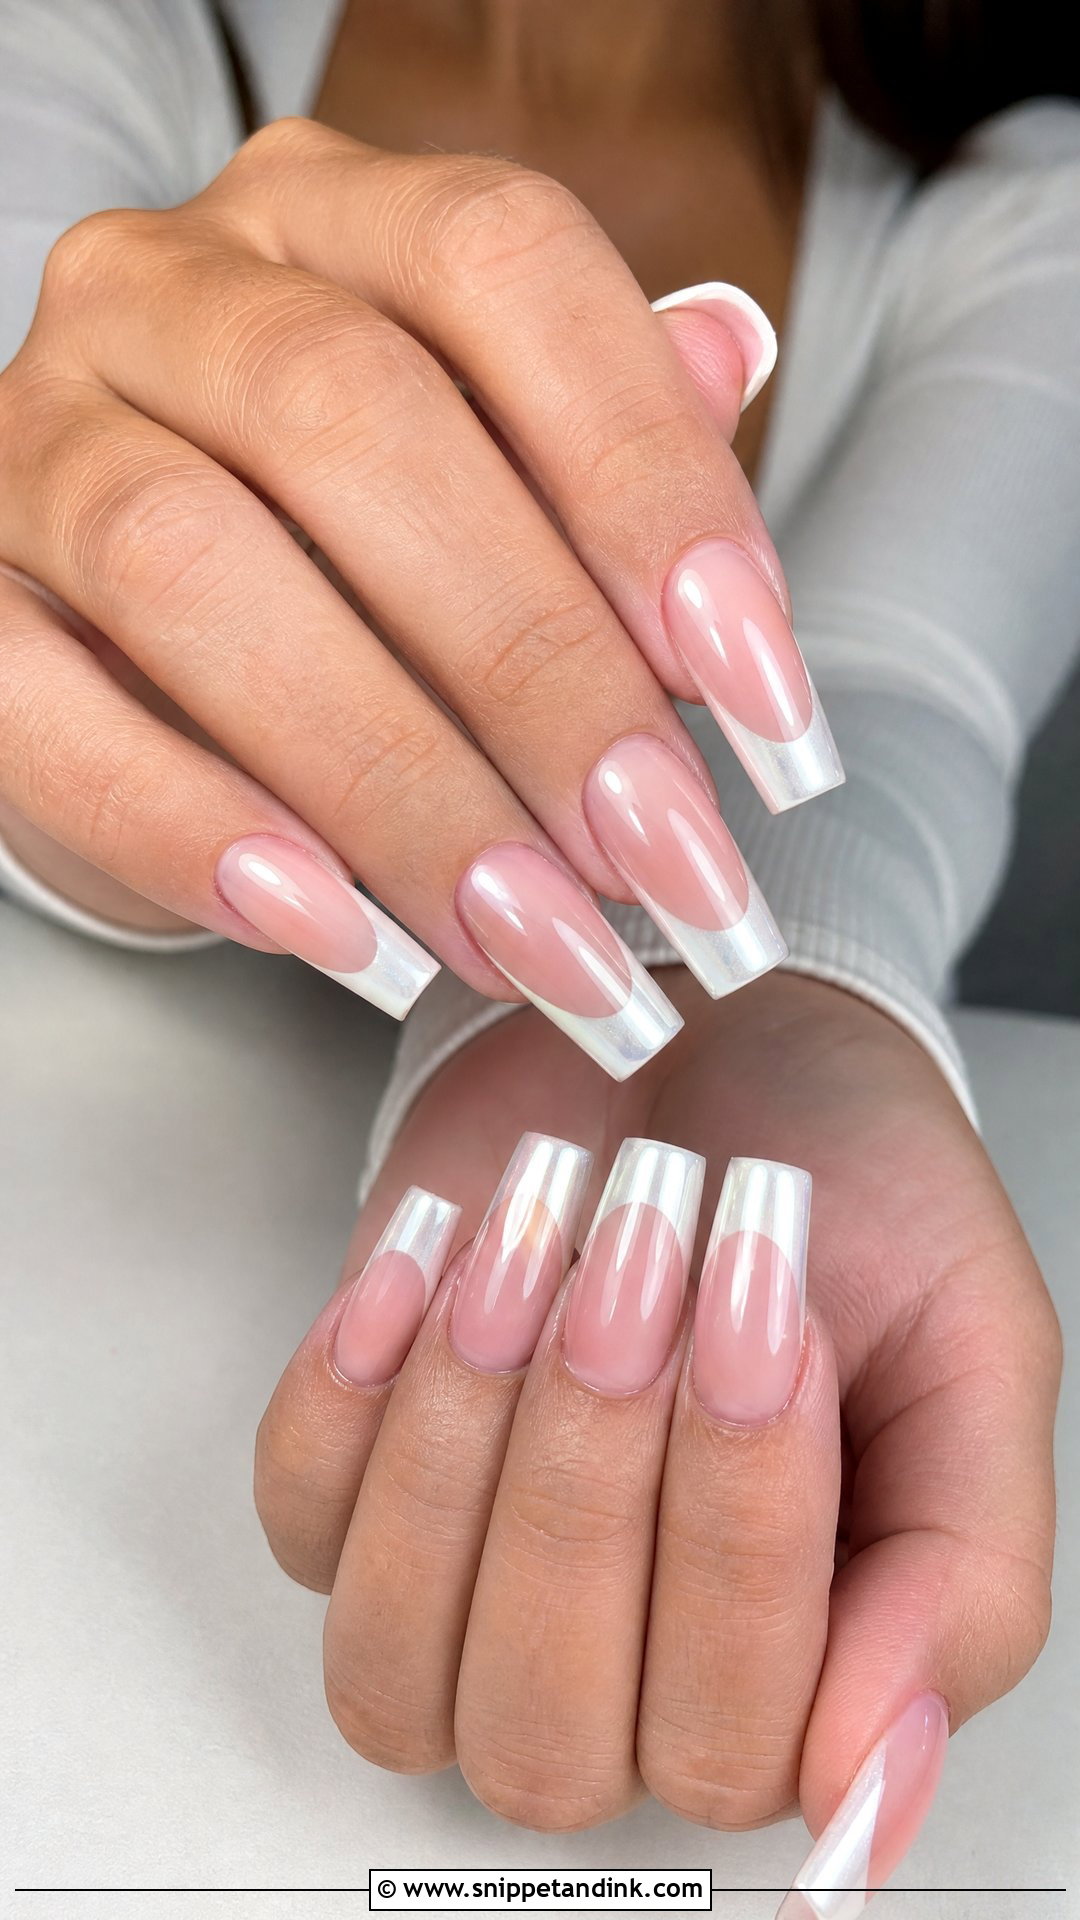
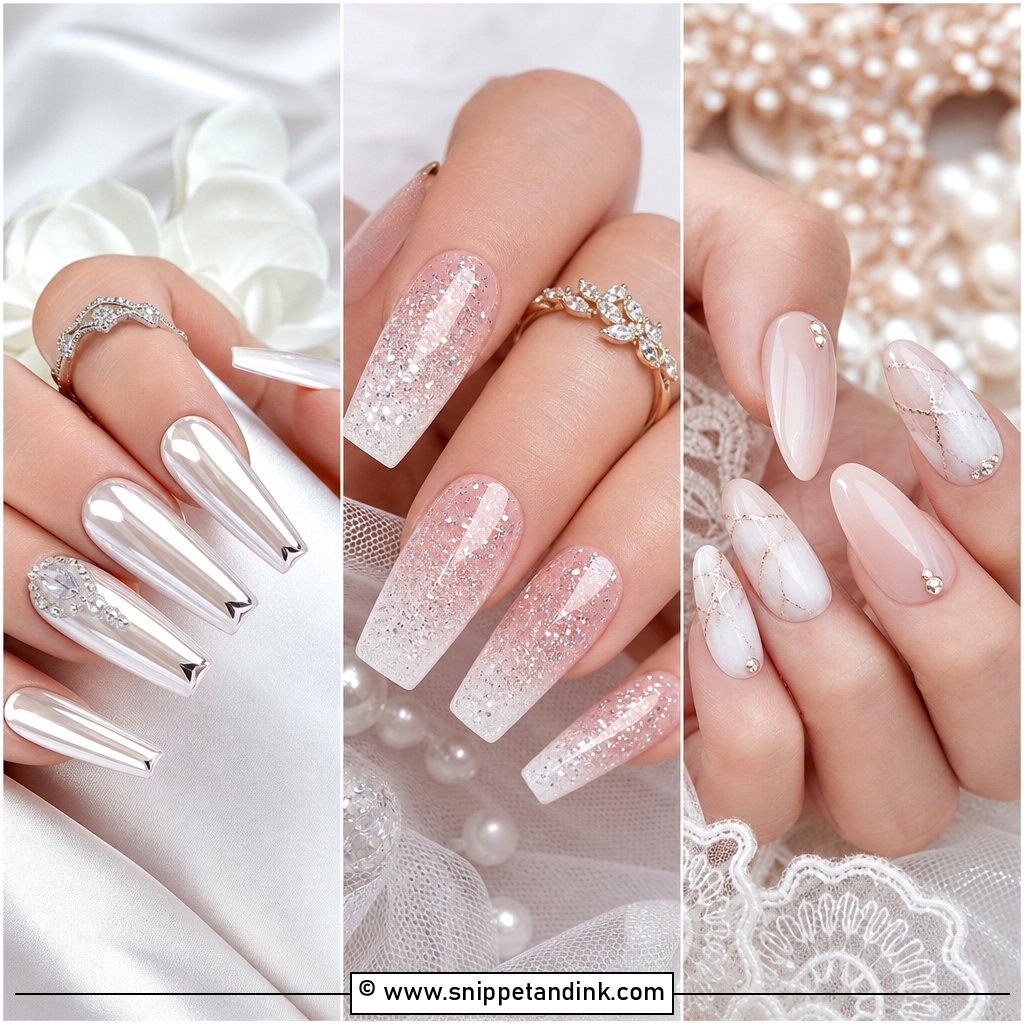
With chrome French tips, the white edge is replaced by a pearl or silver chrome powder buffed over gel. It looks more modern than a flat white tip and catches light gently in close-ups. The tricky part is the edge: chrome powder needs a sealed tip or it wears off at the free edge within a few days. I cap it carefully and re-seal before the wedding. Almond and coffin give the chrome more surface to show, and it suits sleek gowns and minimal jewellery.
5. Nude Acrylic Wedding Nails
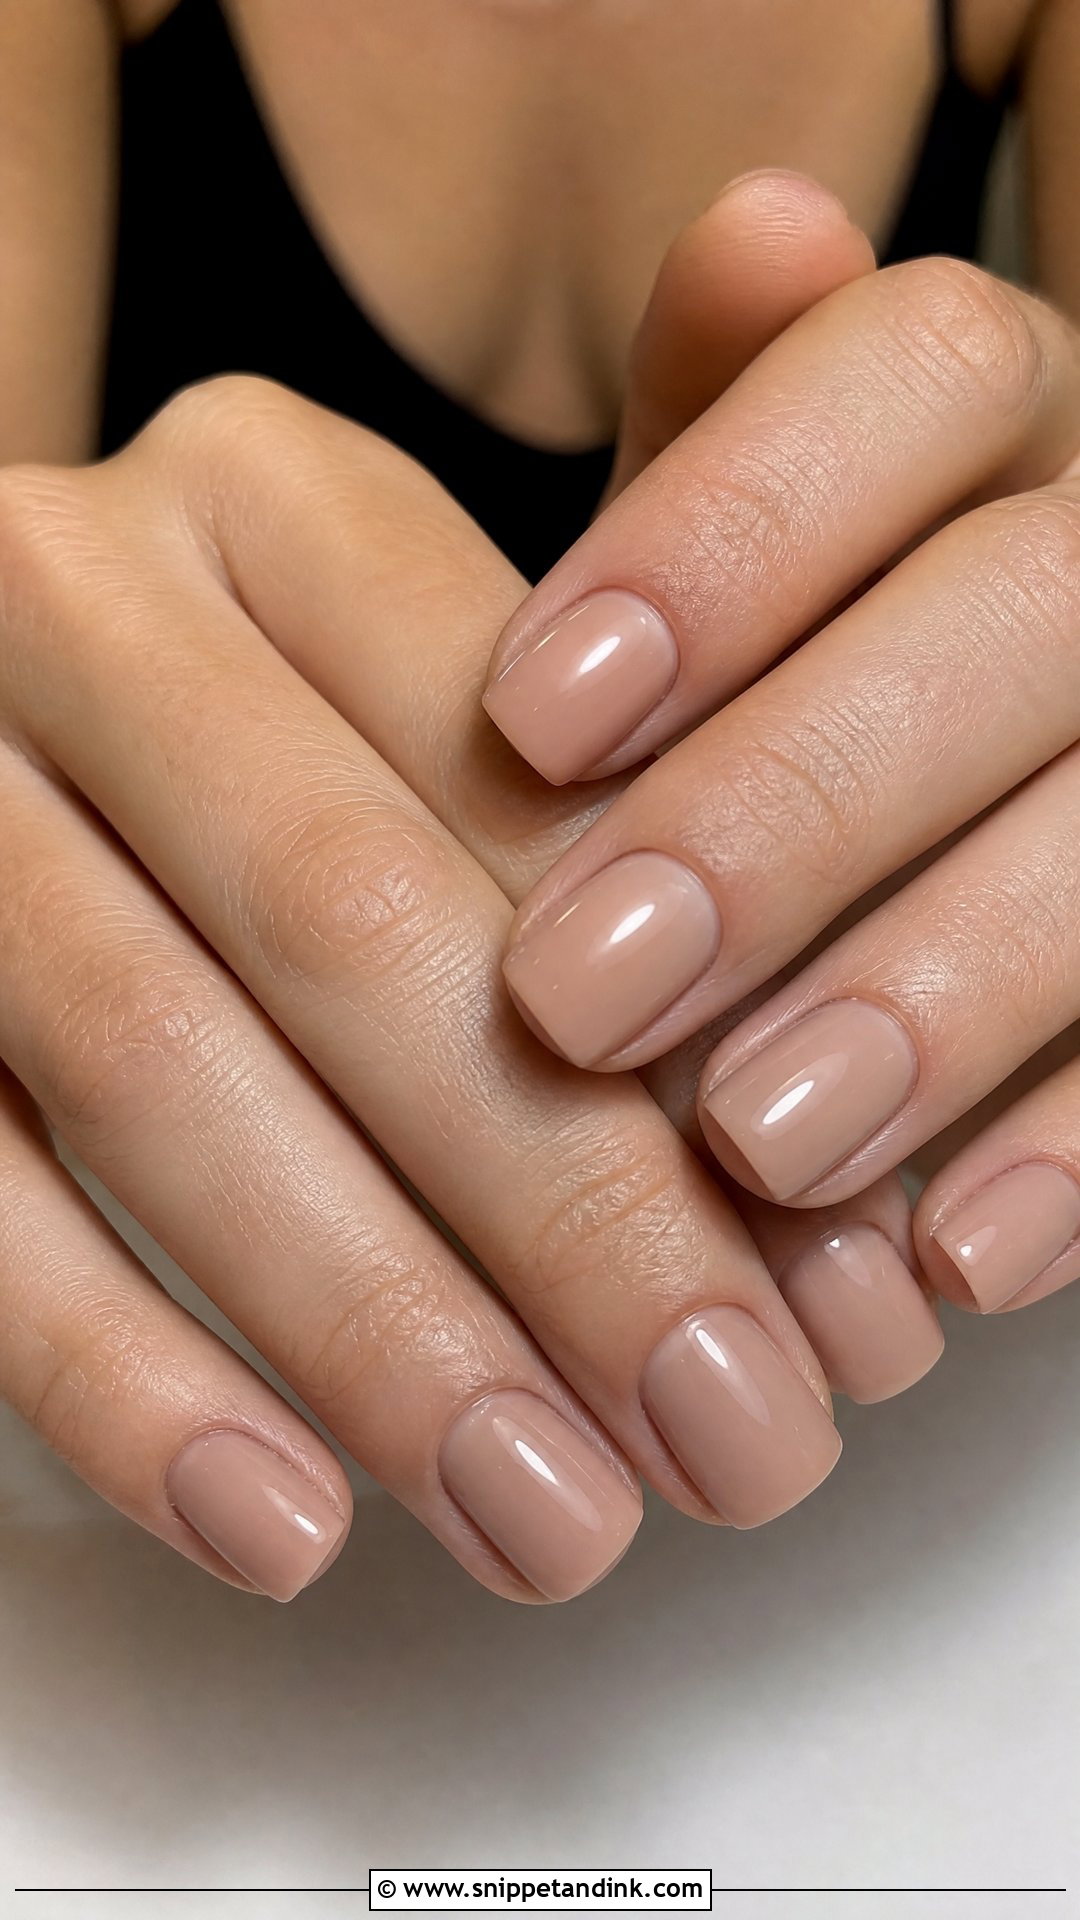
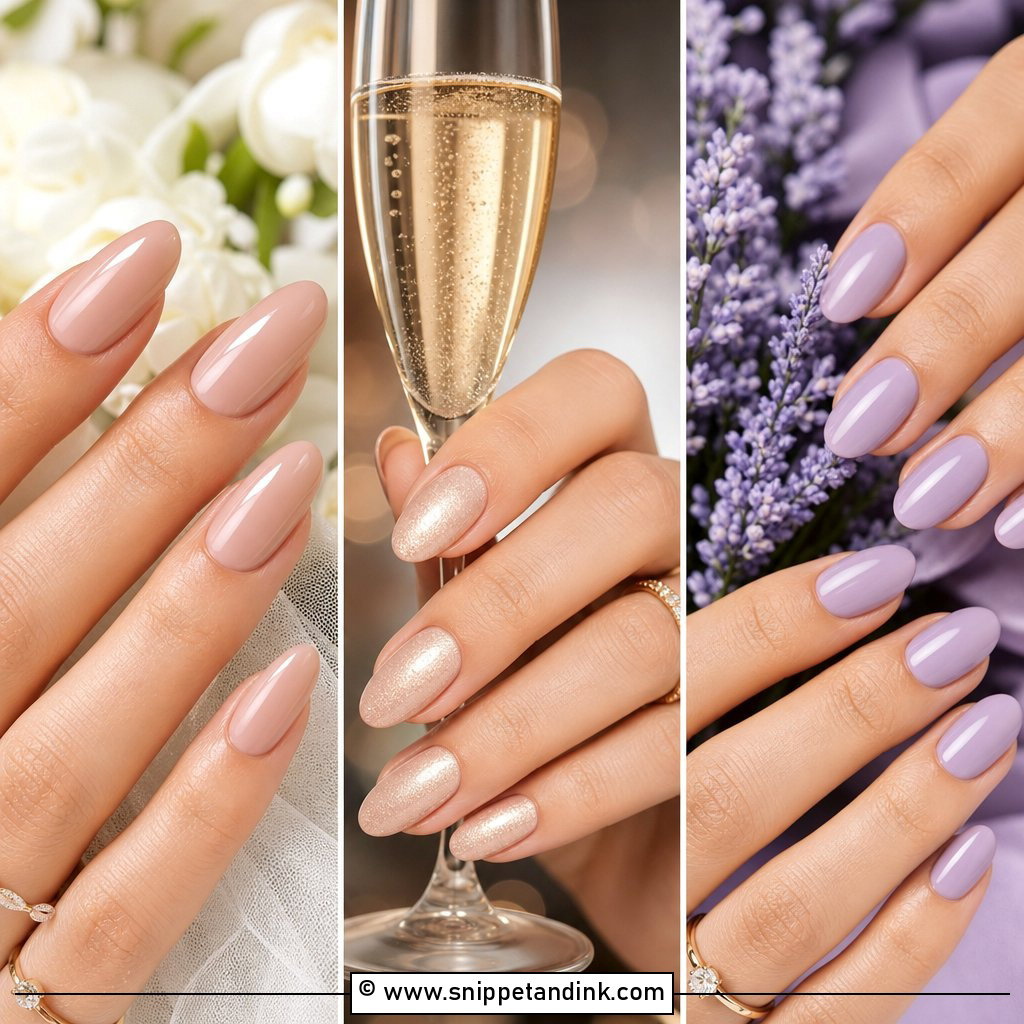
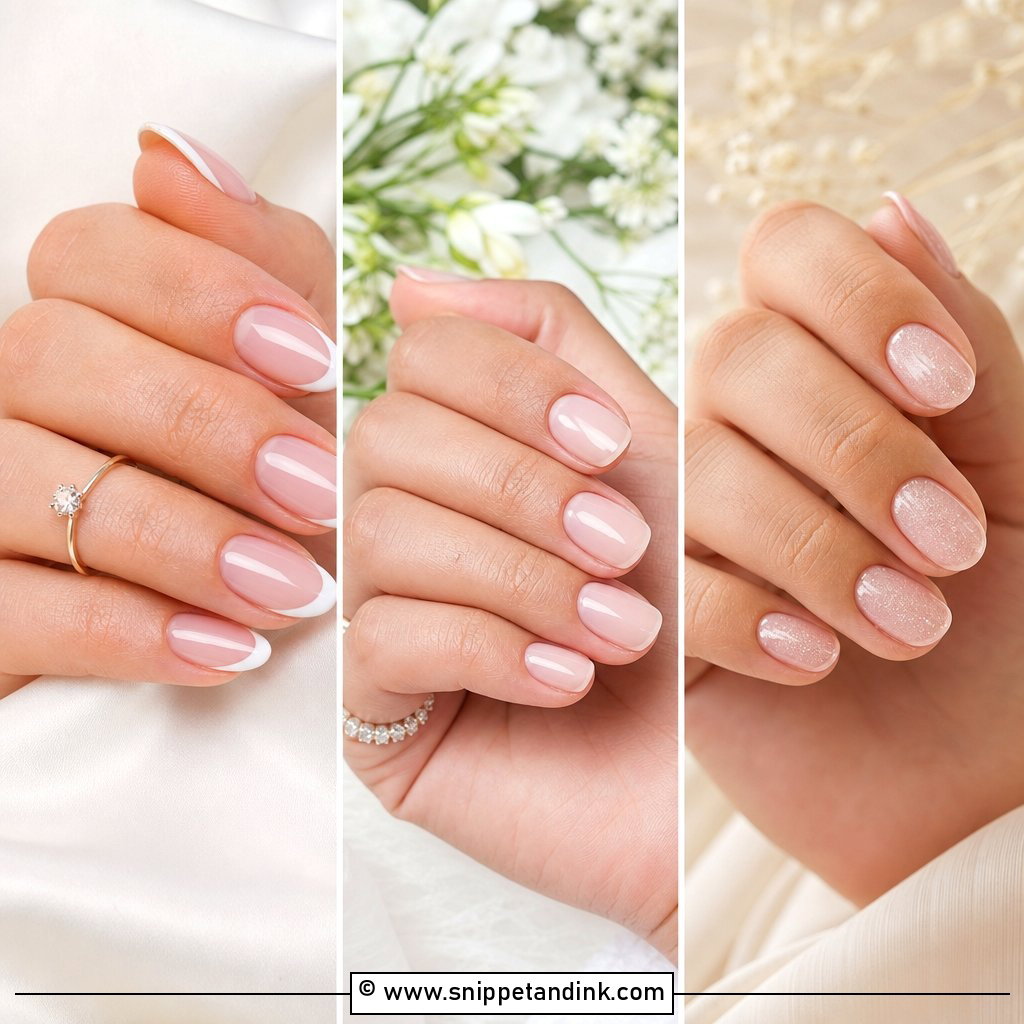
Nude only works when the shade matches your skin closely. Too pink and it looks like a mismatch; too beige and your fingers look washed out. I always swatch two or three shades on the actual nail rather than choosing from a bottle. Because acrylic gives a smooth, even surface, a plain nude can look polished and expensive. It’s the quietest option here and lets your ring take the attention in hand shots.
6. Blush Pink Acrylic Wedding Nails
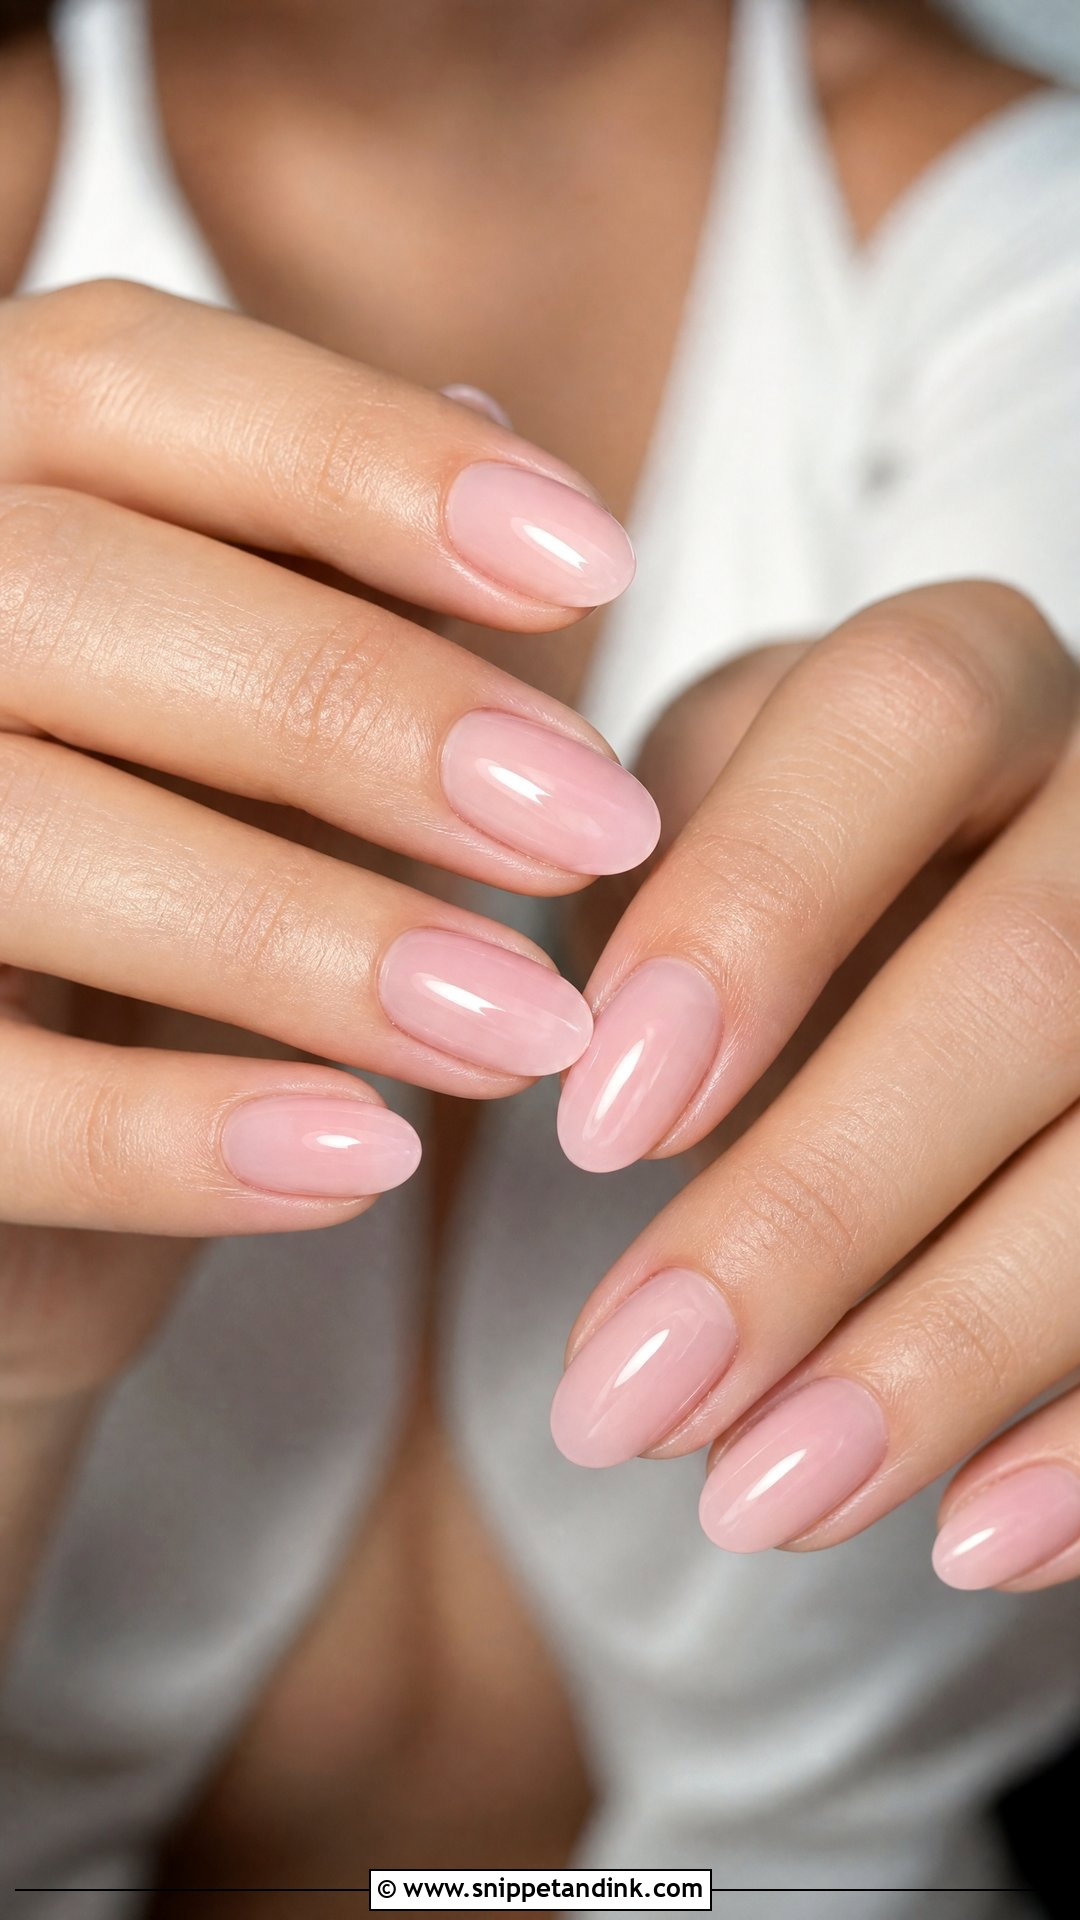
Blush pink adds warmth without becoming a colour statement. On very fair skin a cool blush can read slightly lilac in photos, so I lean warmer for most clients. It works alone, with micro French tips, or with a fine shimmer topcoat. Almond and oval shapes suit it, and it sits nicely beside rose gold rings and warm ivory gowns.
7. Ombre French Acrylic Wedding Nails
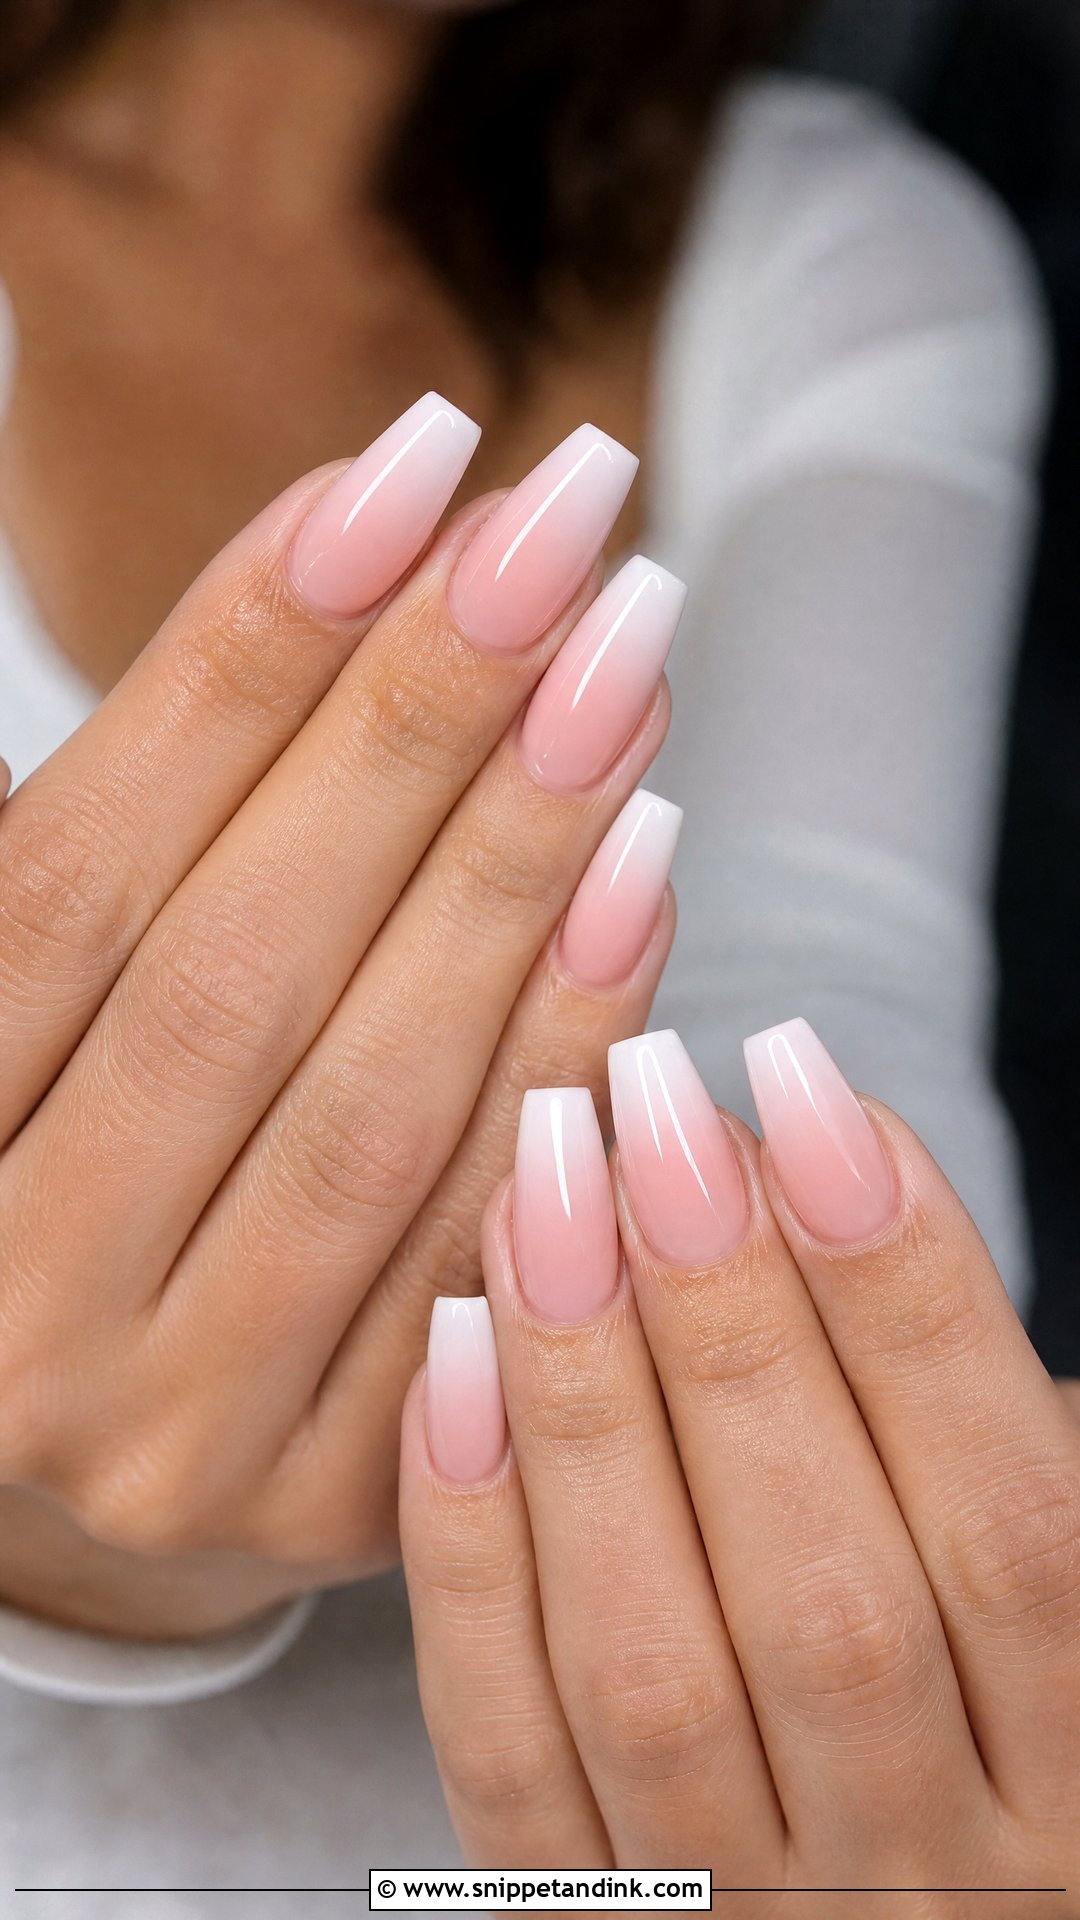
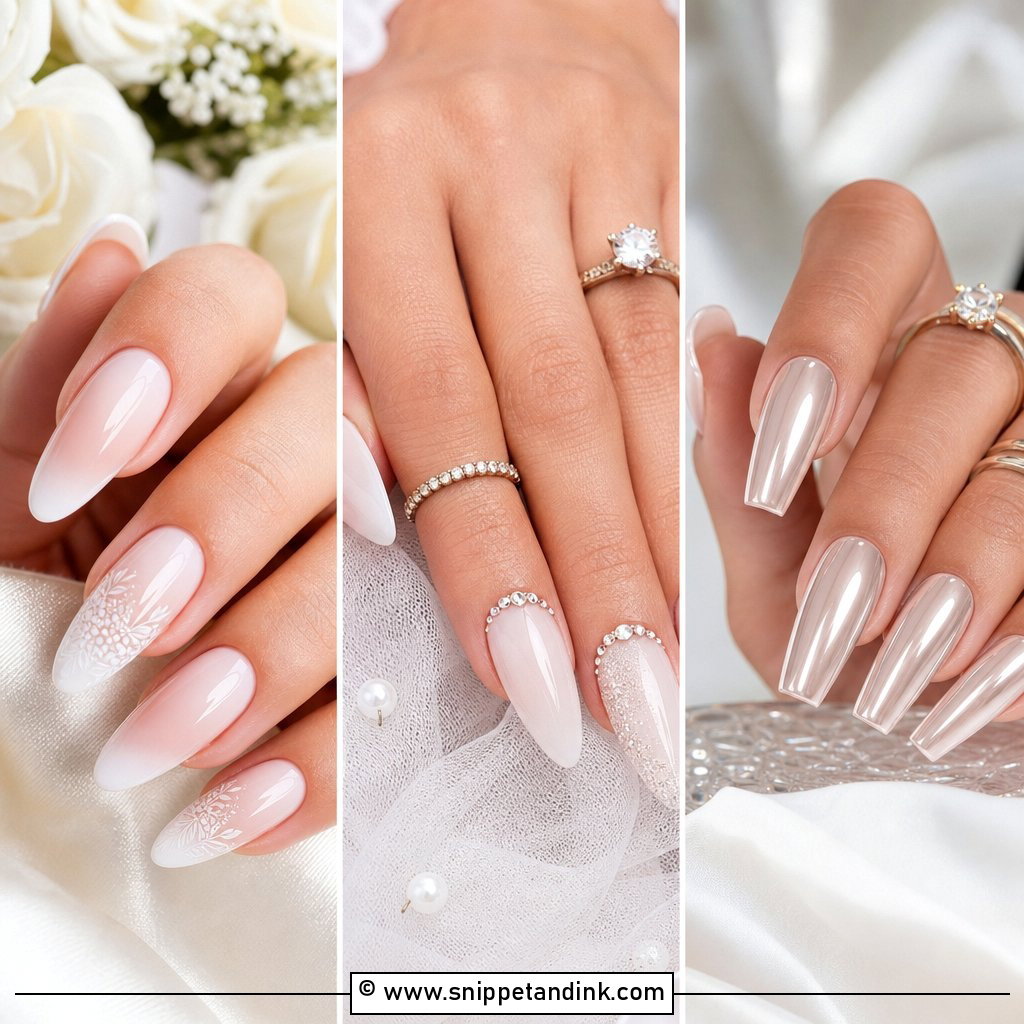
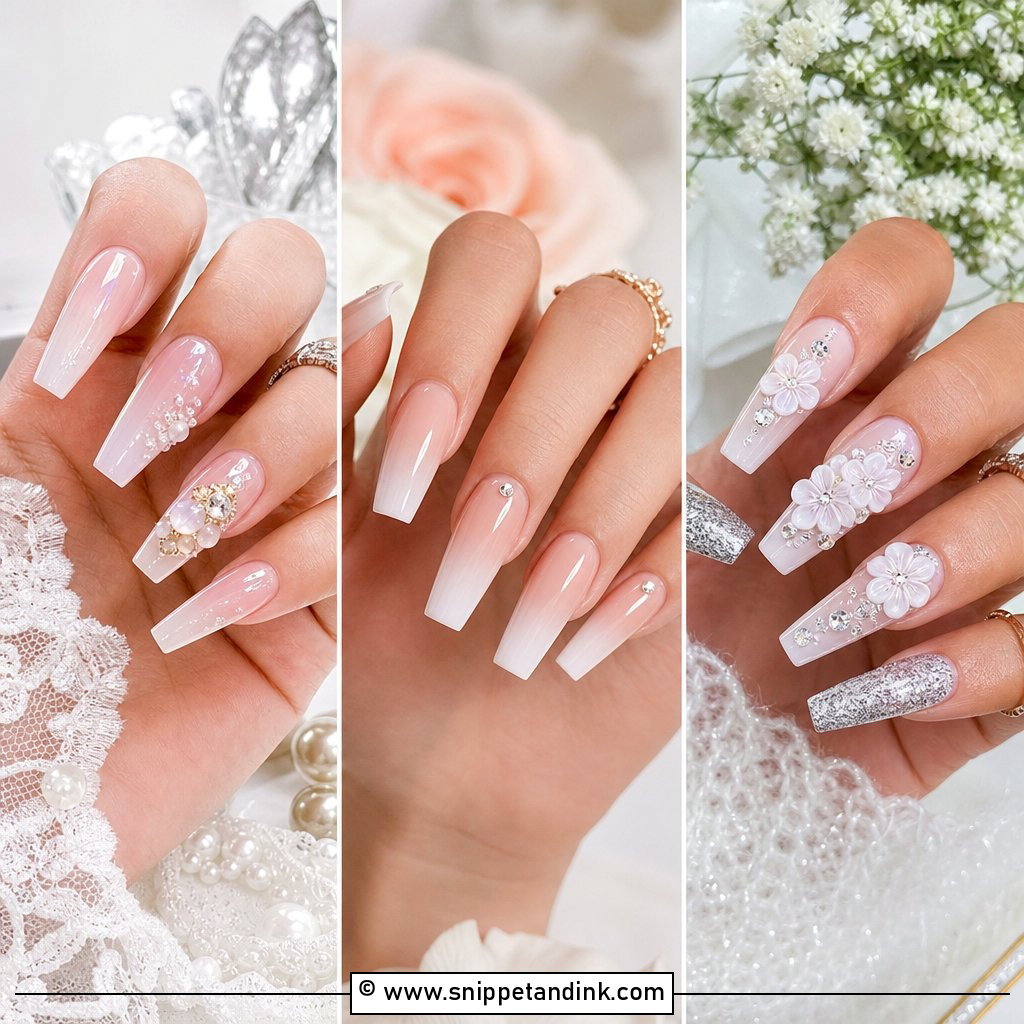
An ombre French blends the pink base into a white tip rather than drawing a line. I do it with a sponge or an airbrush over the cured acrylic, layering the white up from the tip in light passes. Rushing produces a blotchy band halfway up the nail. It’s softer in photos than a hard French and hides any small asymmetry in the free edges, which is why I suggest it for brides whose nails grow at different rates.
8. White Lace Acrylic Wedding Nails
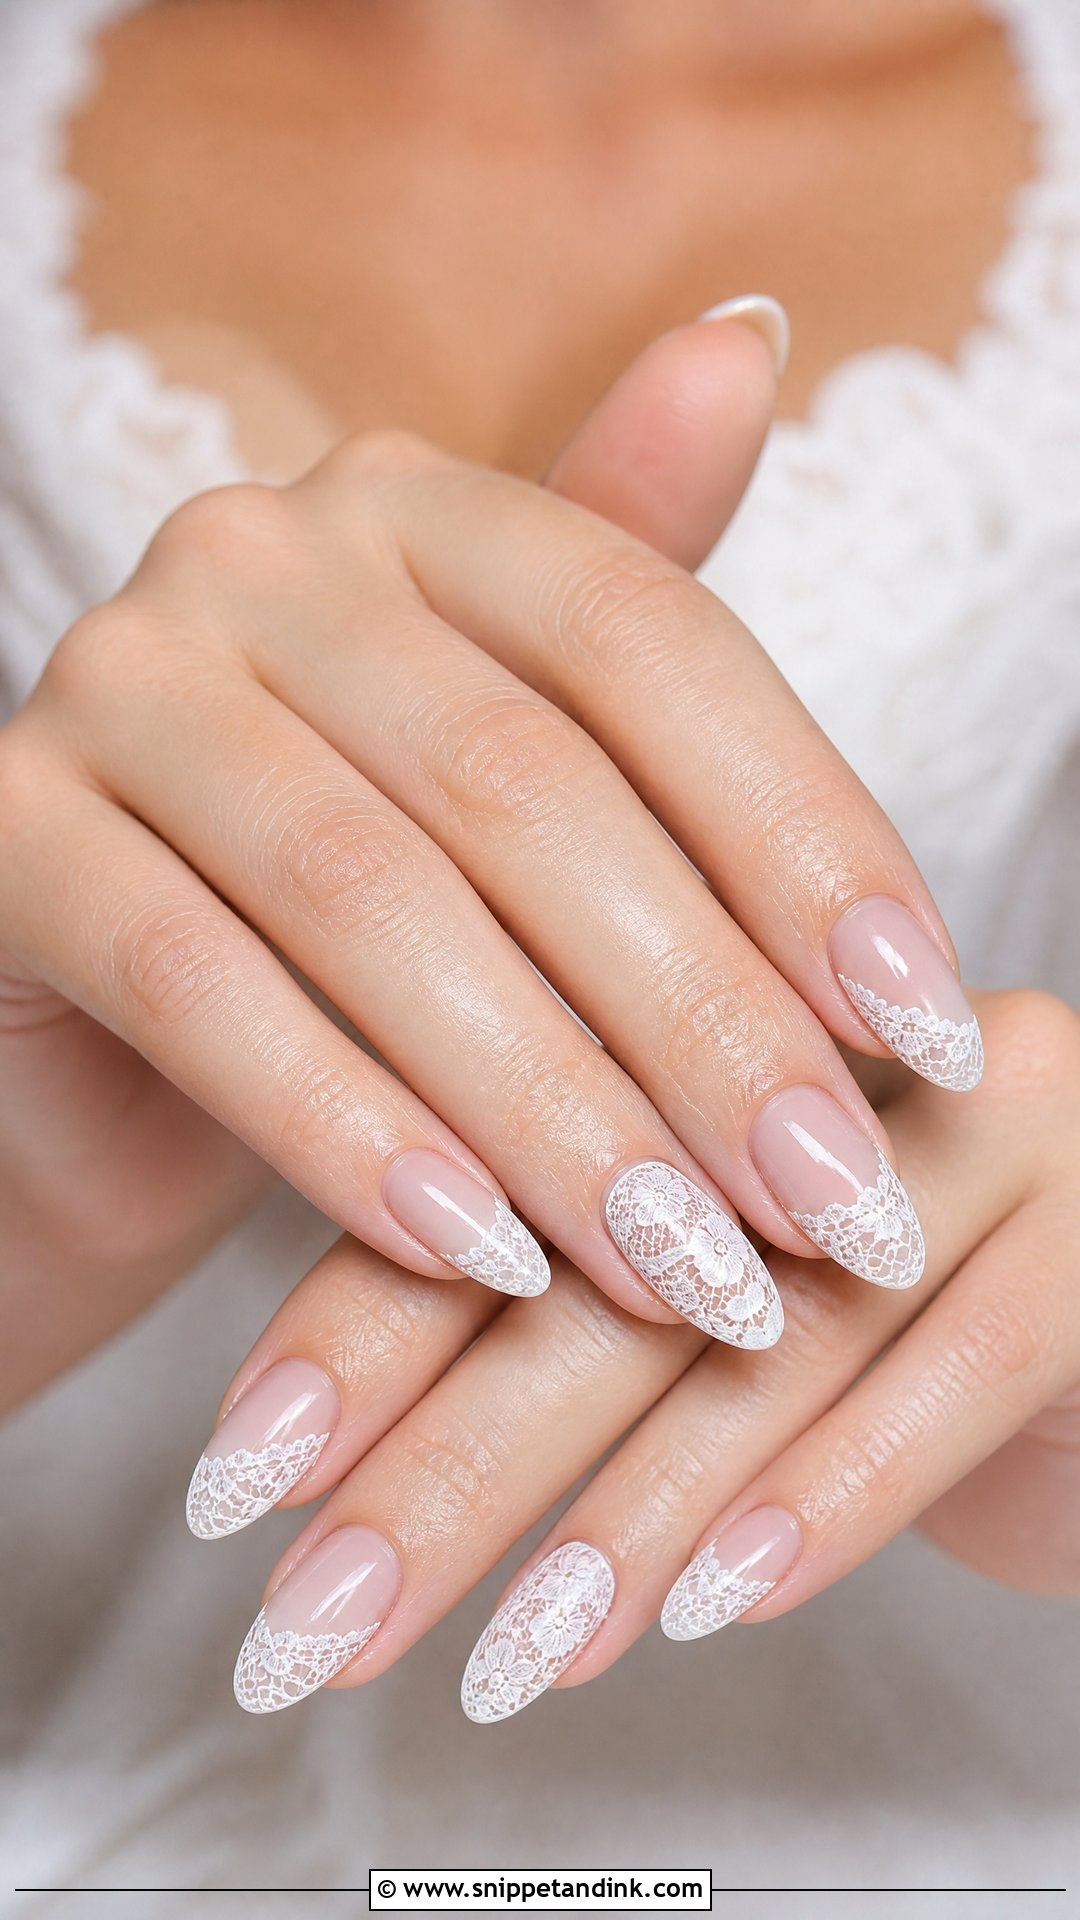
Lace art is either hand-painted with a very fine liner brush or stamped from a plate. Hand-painted lace looks more delicate but takes much longer, so build that into your appointment time. I usually keep the lace to two accent nails per hand and match the pattern loosely to the gown’s lace rather than copying it exactly. Almond and coffin give enough surface to show the detail.
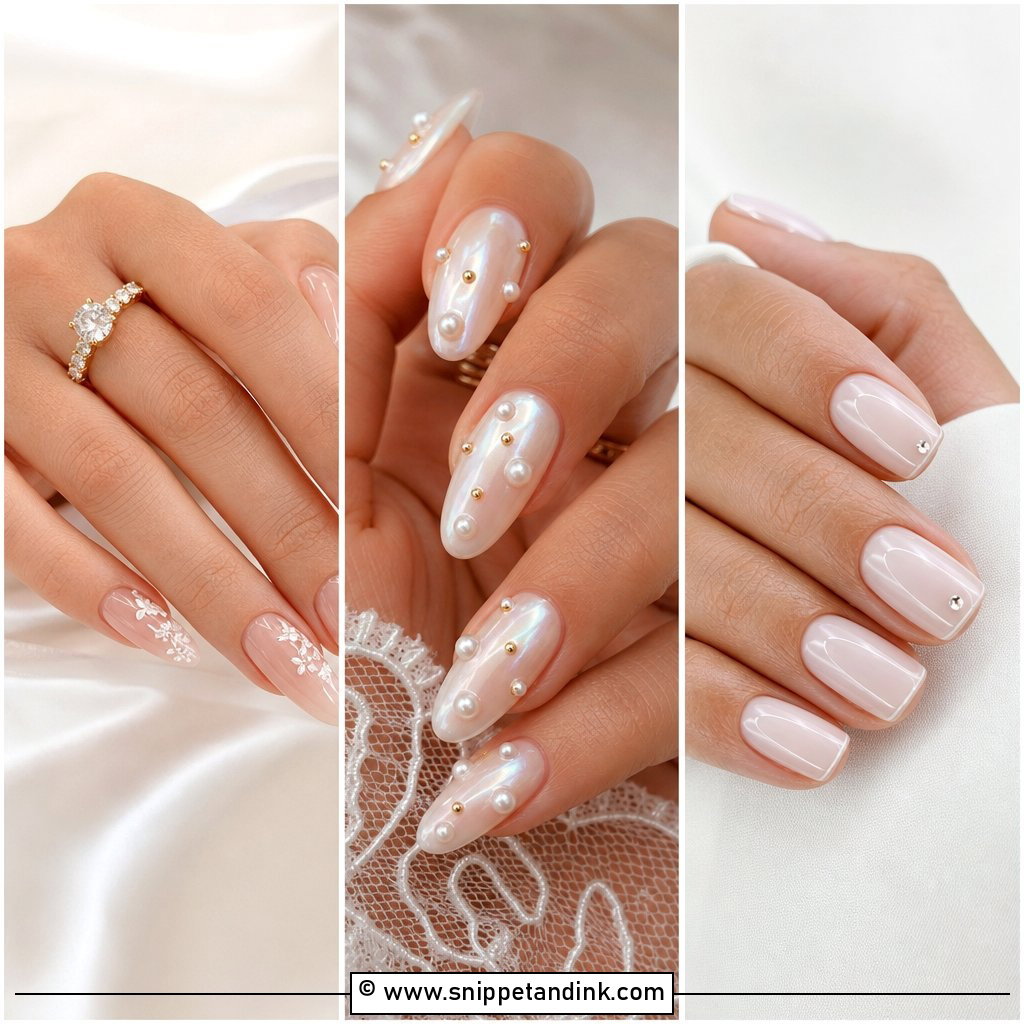
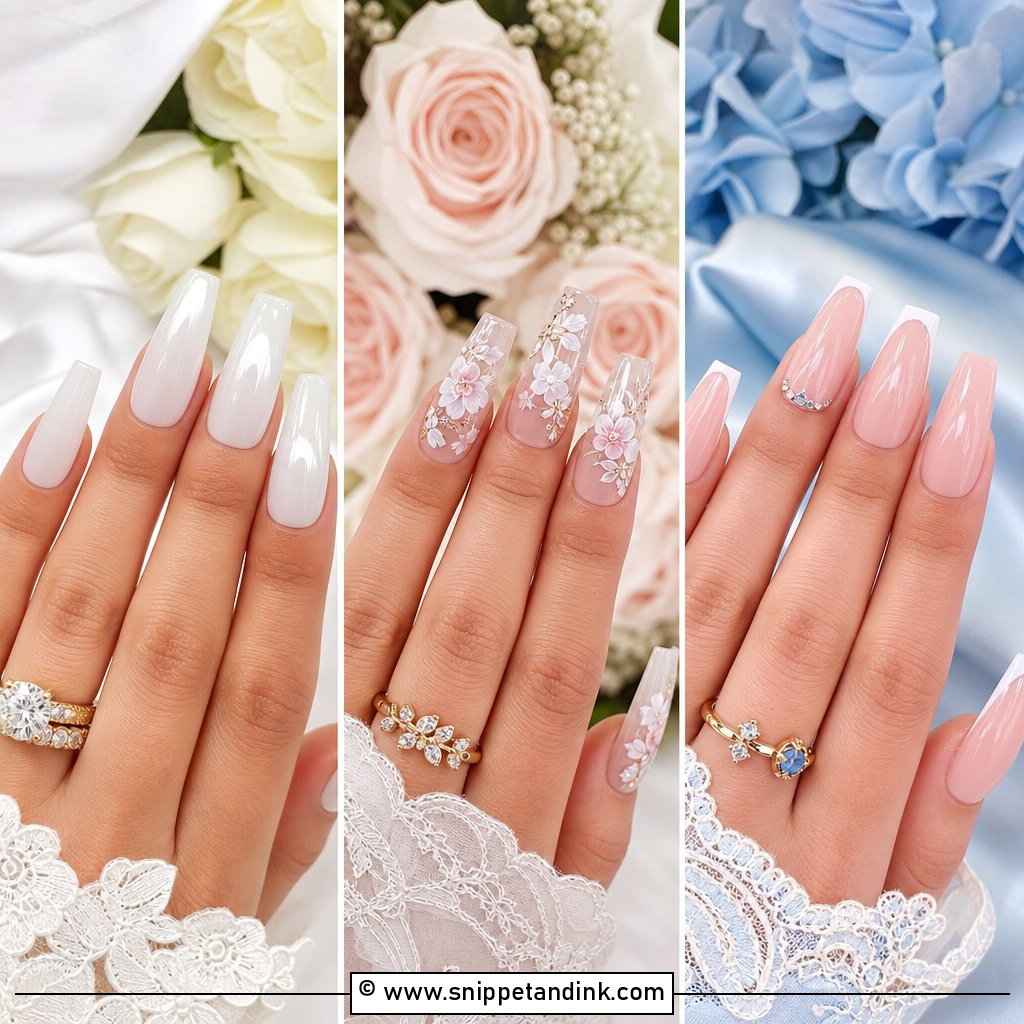
9. Floral Acrylic Wedding Nails
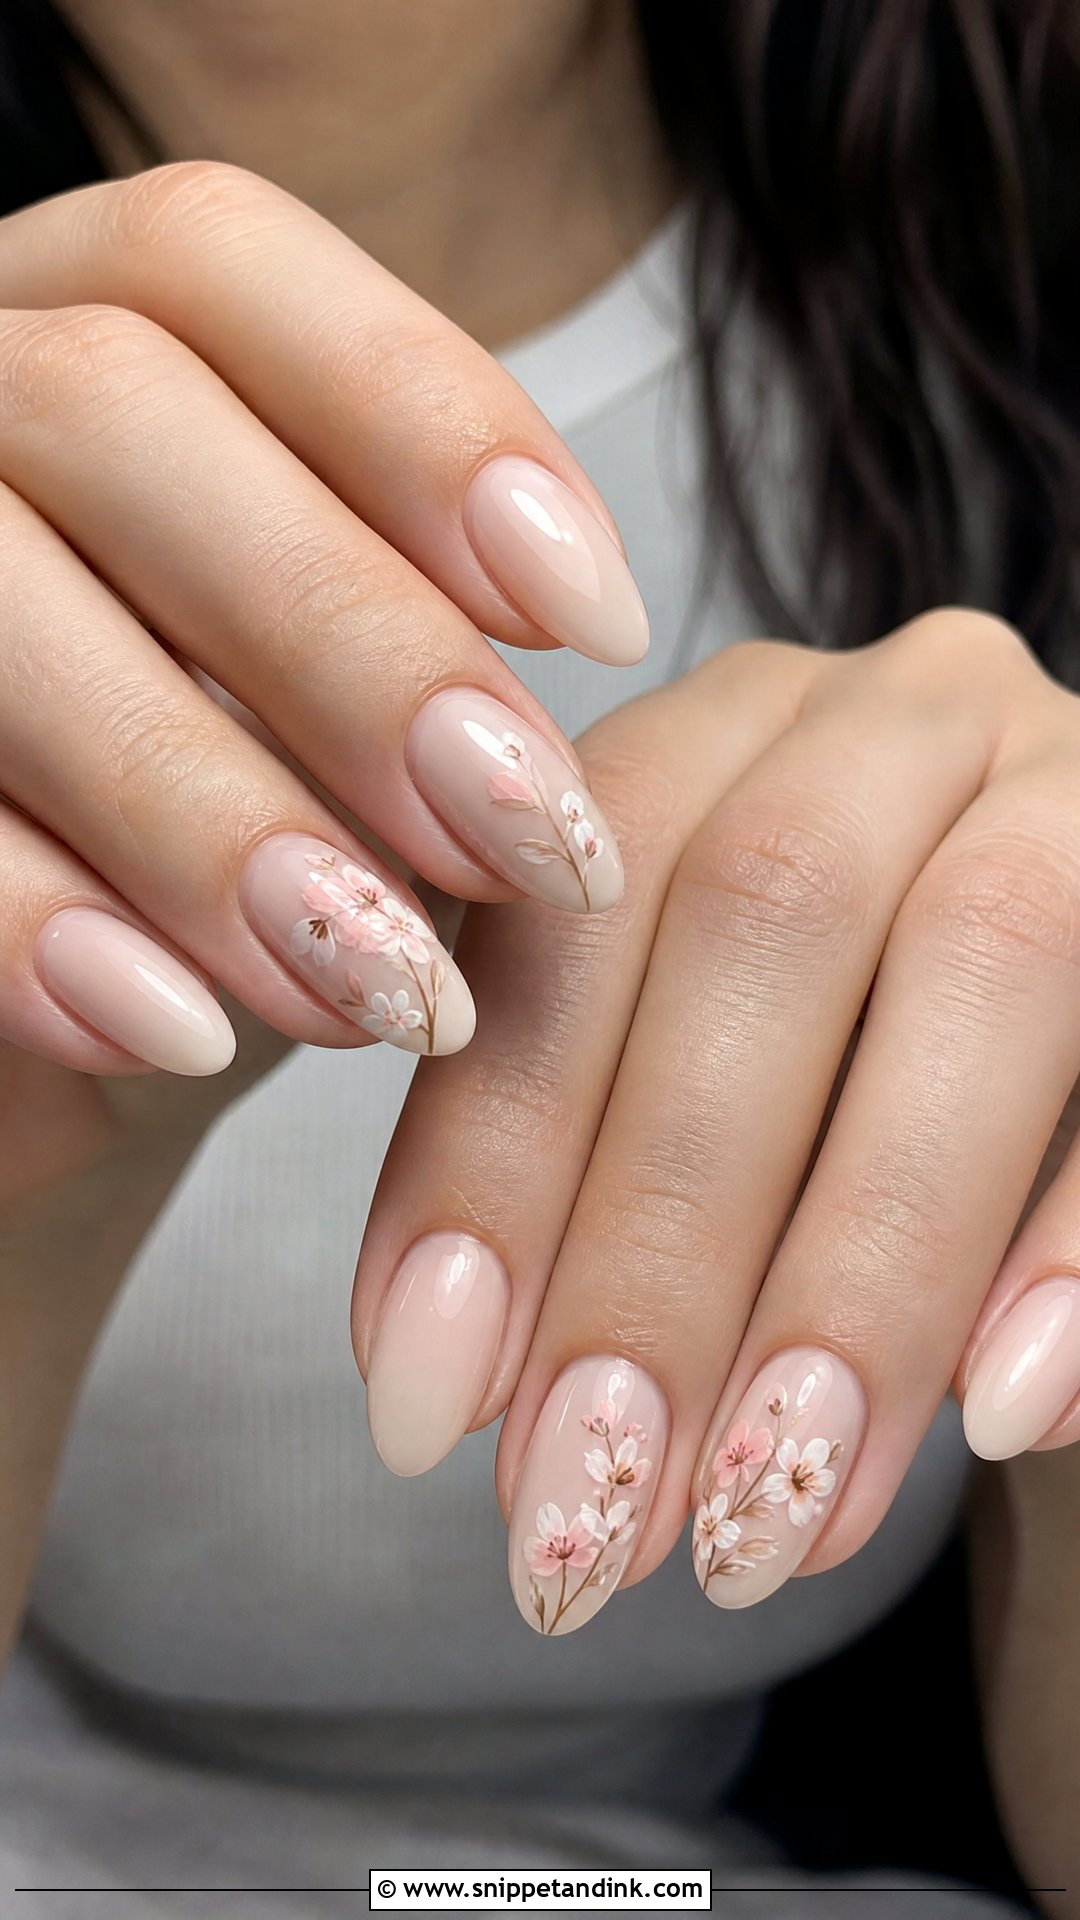
Painted flowers suit spring and outdoor weddings, but the scale must stay small. Large petals on a short nail look childish rather than bridal. I keep florals to two or three accent nails, place them off-centre and leave the rest of the set plain over a sheer nude or milky base. Acrylic length gives me room for clean stems and petal shapes.
10. 3D Flower Acrylic Wedding Nails
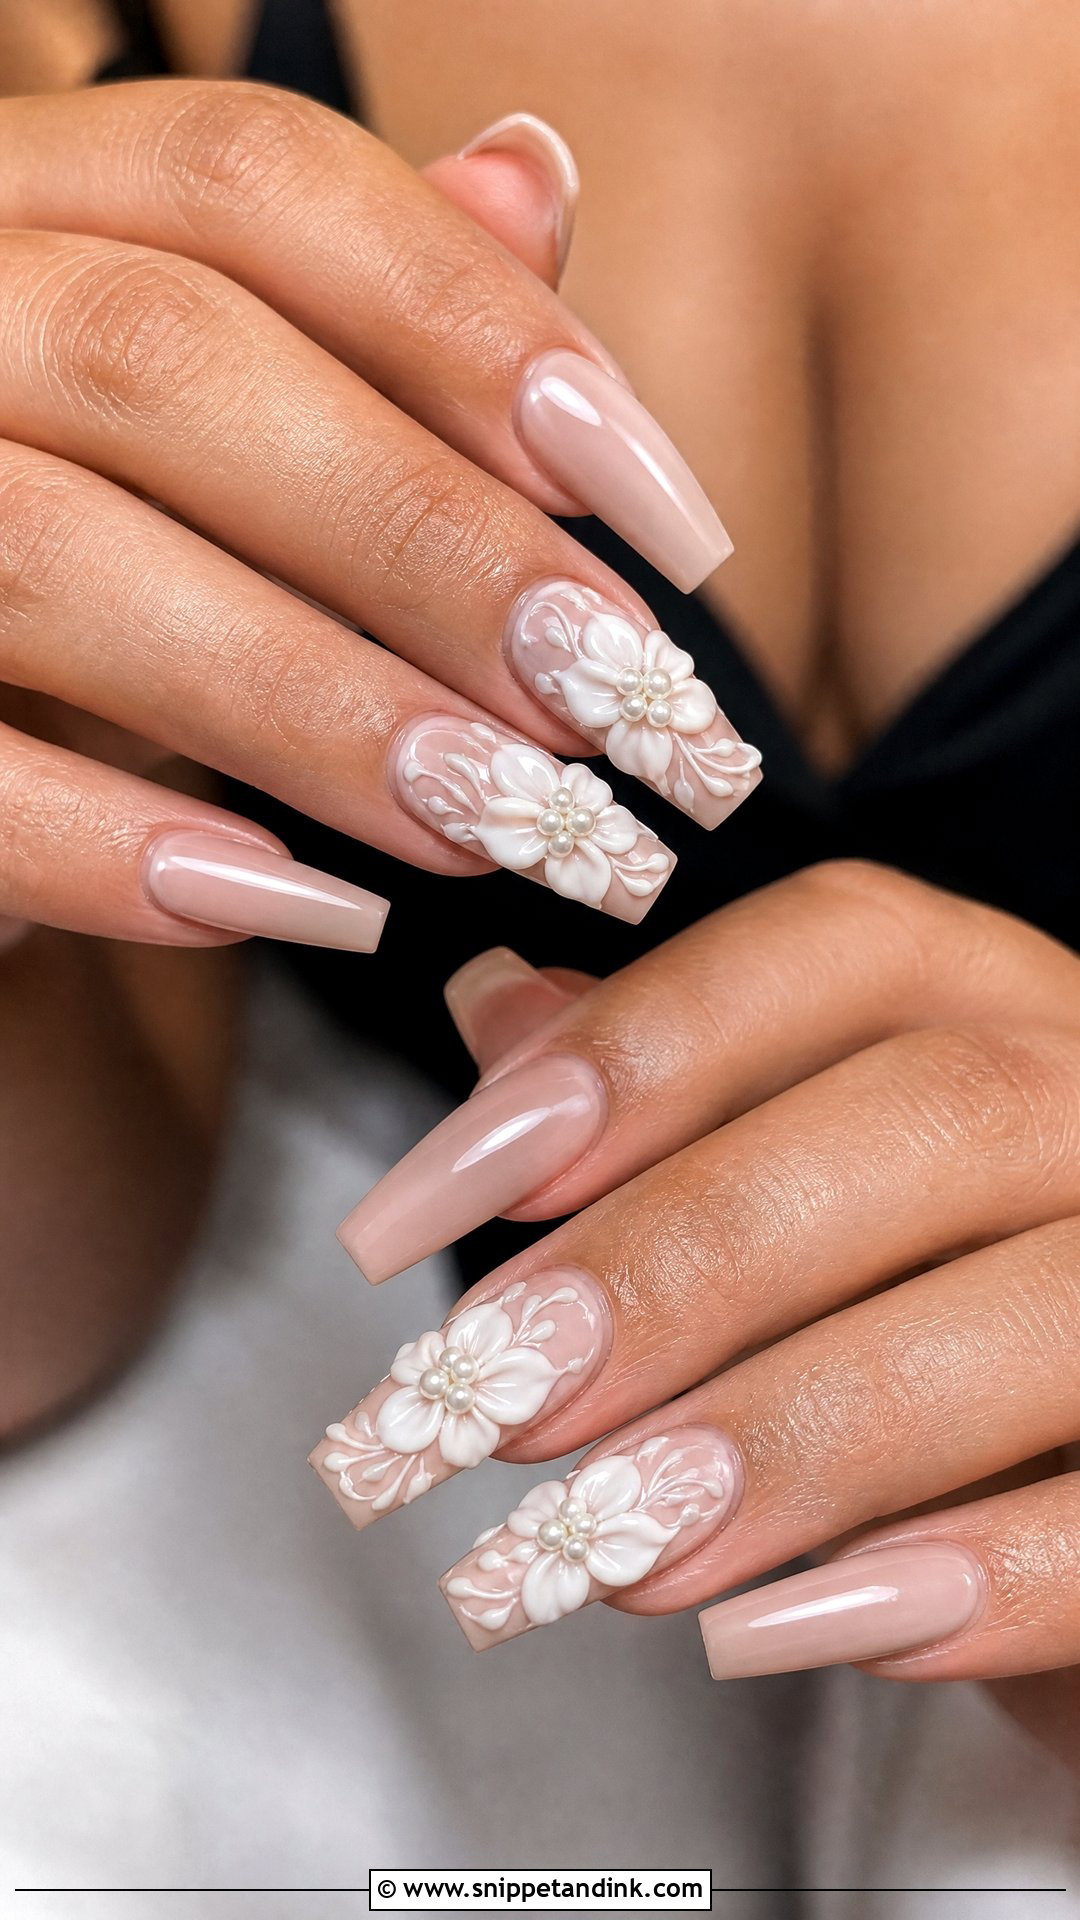
Sculpted 3D flowers are built from small beads of acrylic shaped with a brush, then sealed. They look special, but they’re raised, so they snag on lace, tulle and hair. I’d only put them on one or two accent nails, usually ring fingers, and keep them low-profile. Ivory or blush petals look softer than bright white. They suit floral appliqué gowns, but if you’re wearing a long cathedral veil, I’d think twice.
11. Pearl Chrome Acrylic Wedding Nails
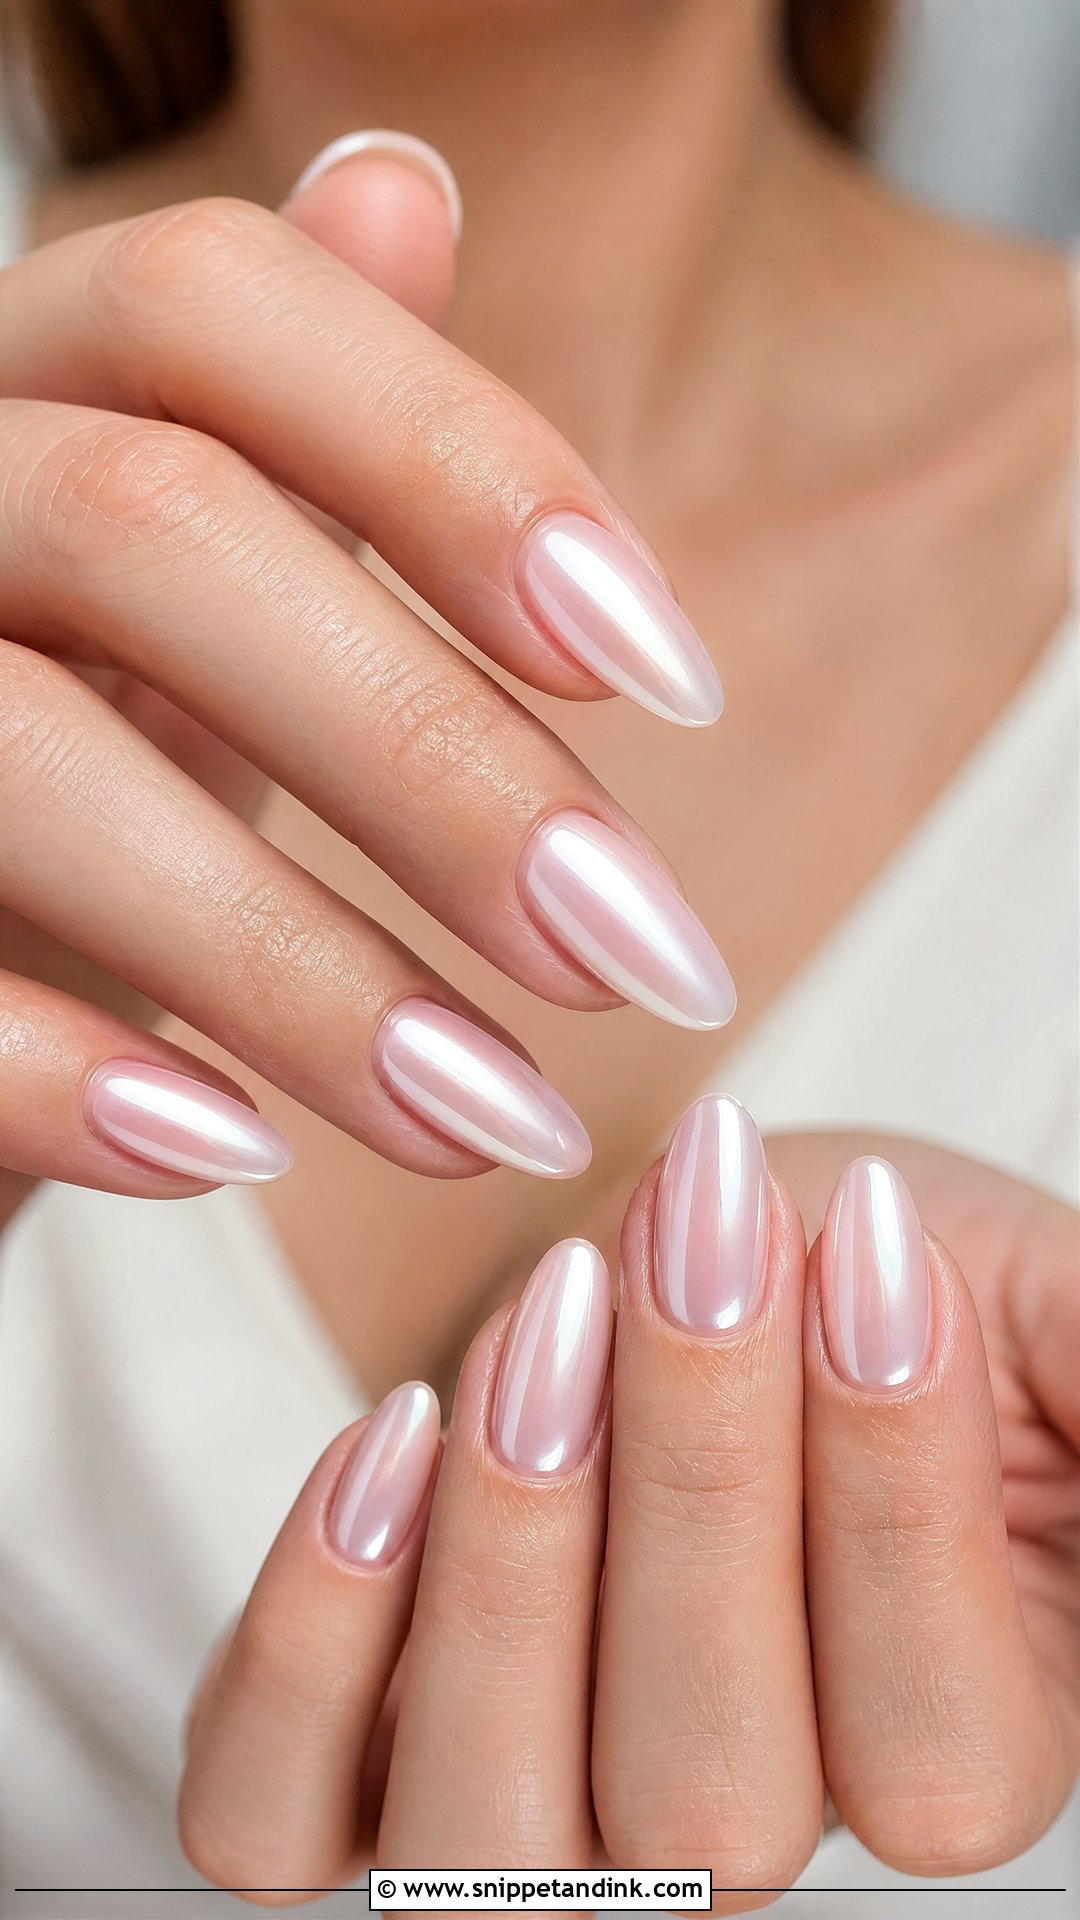
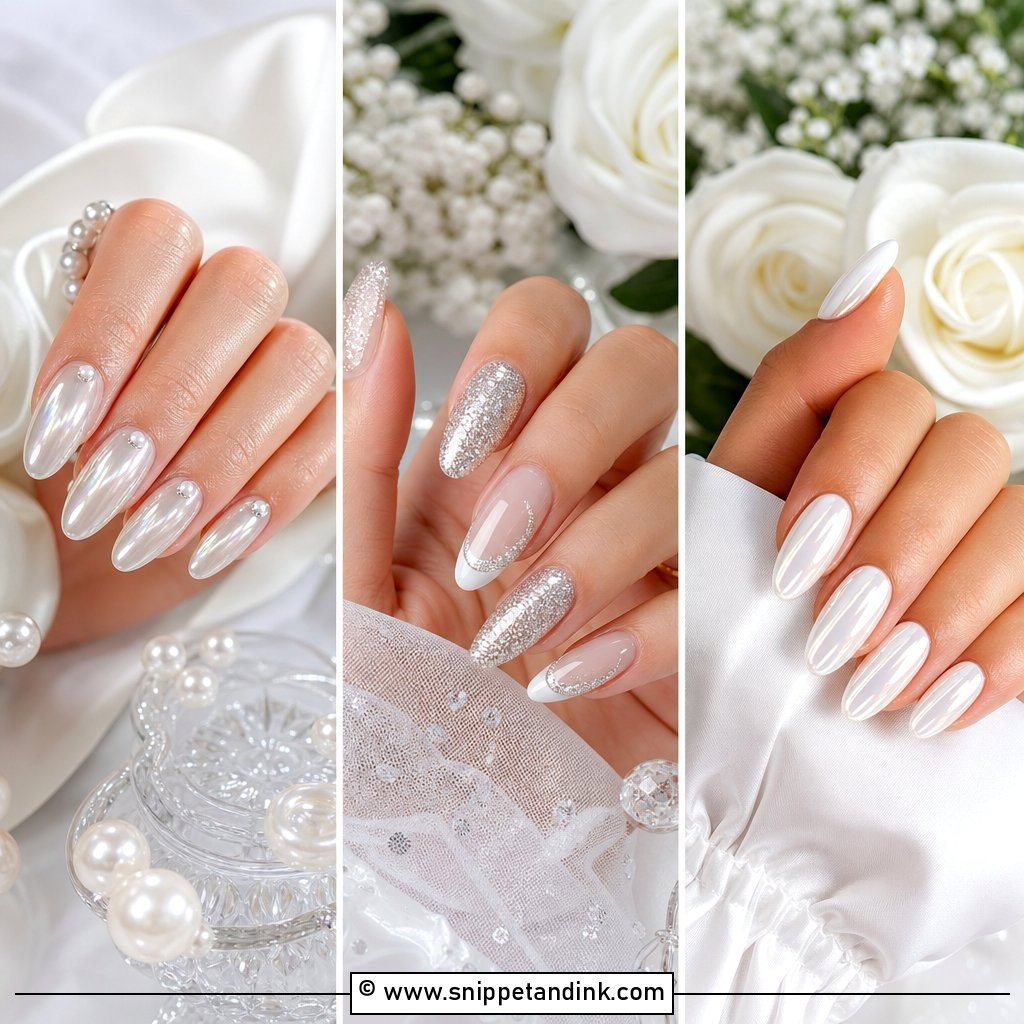
Pearl chrome gives a soft glazed sheen that suits natural light and doesn’t flare under flash like mirror chrome. I rub the powder over a no-wipe gel topcoat and seal it twice. The acrylic underneath has to be completely smooth, because chrome exaggerates every ridge. It works at any length, though almond and oval shapes show the sheen best.
12. Short Square Acrylic Wedding Nails
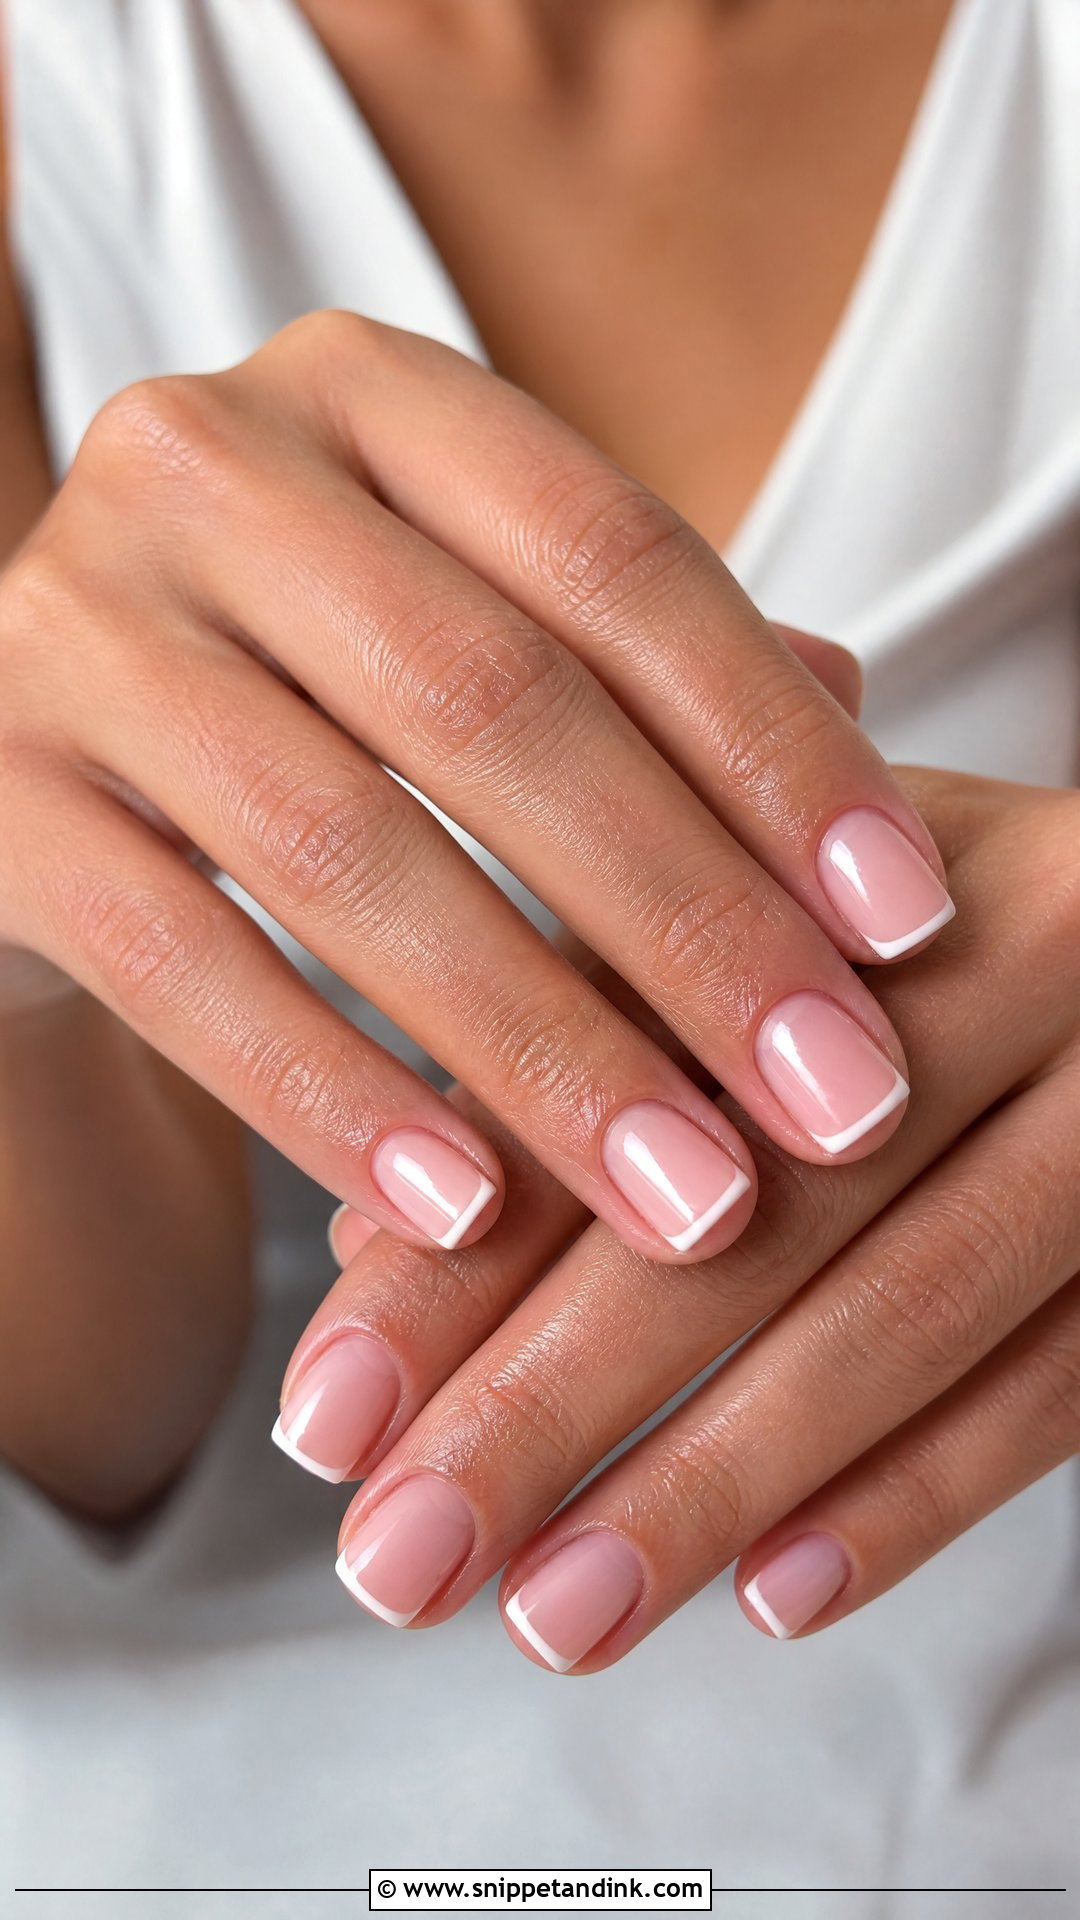
If you’re not used to long nails, start here. Short square acrylics give you strength and a neat shape without changing how you type, do up buttons or put in contact lenses. I’d soften the corners slightly, because sharp square corners snag tights and lace. They take milky white, sheer pink, micro French or tiny pearls equally well, and they look natural beside minimal gowns.
13. Almond Acrylic Wedding Nails
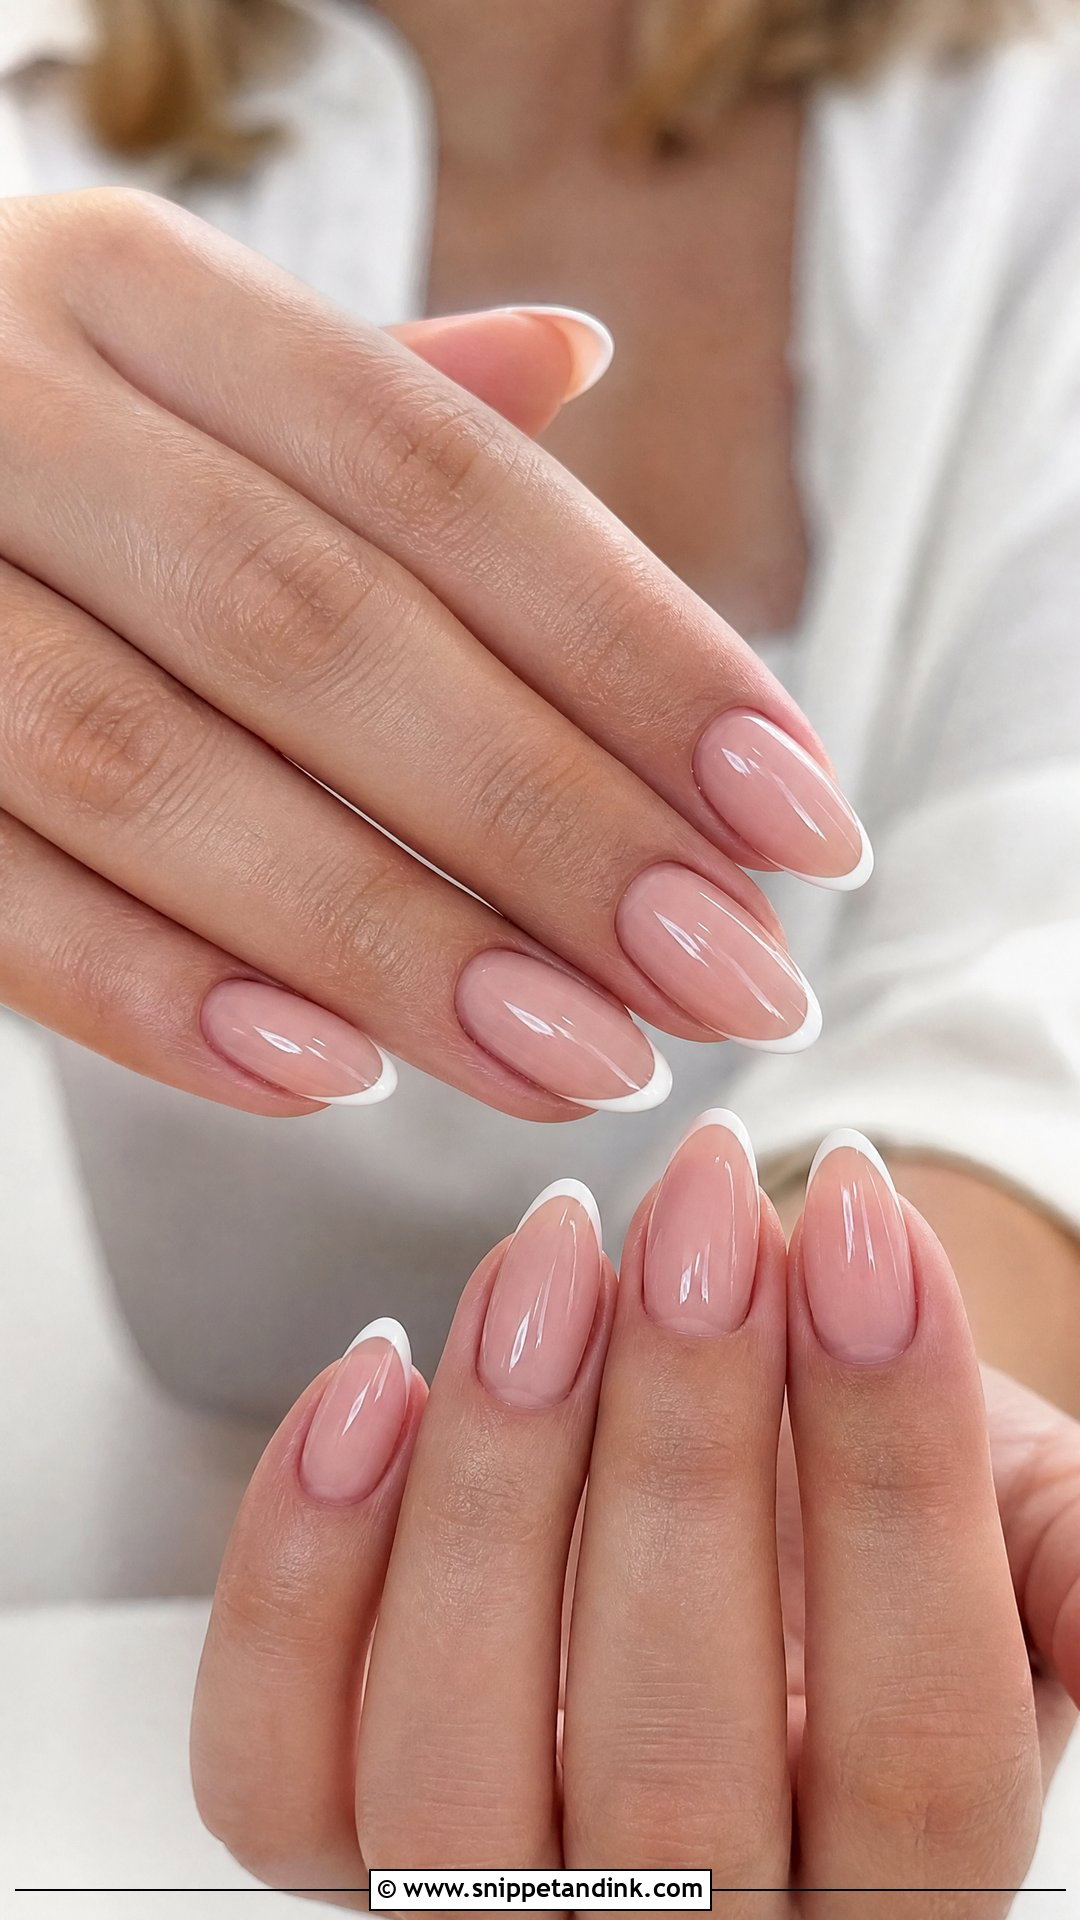
Almond acrylic wedding nails make fingers look longer in close-ups, which is why so many brides ask for them. The shape is strong as long as I leave enough width at the sidewalls; a very narrow almond is fragile and can snap at the stress point. Almost every design on this list works on almond. Medium length is the best balance between elegance and practicality.
14. Coffin Acrylic Wedding Nails
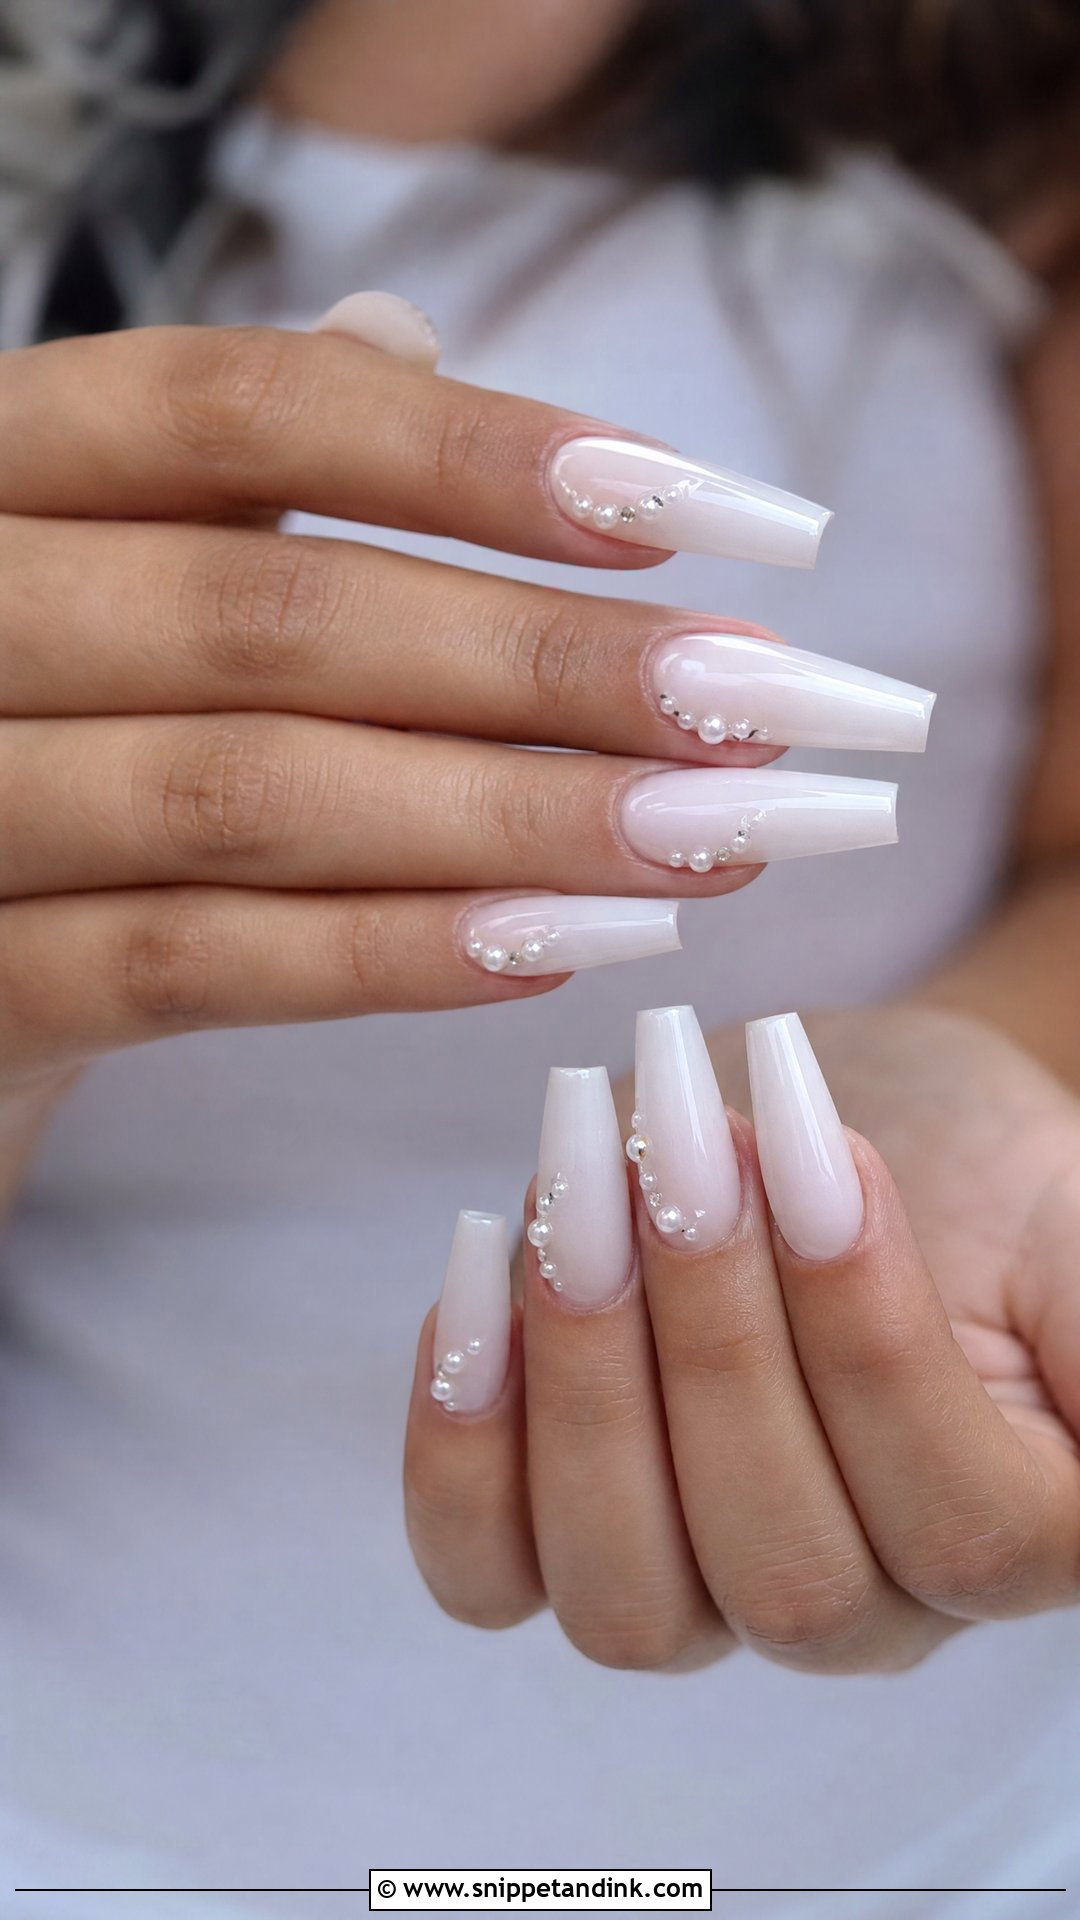
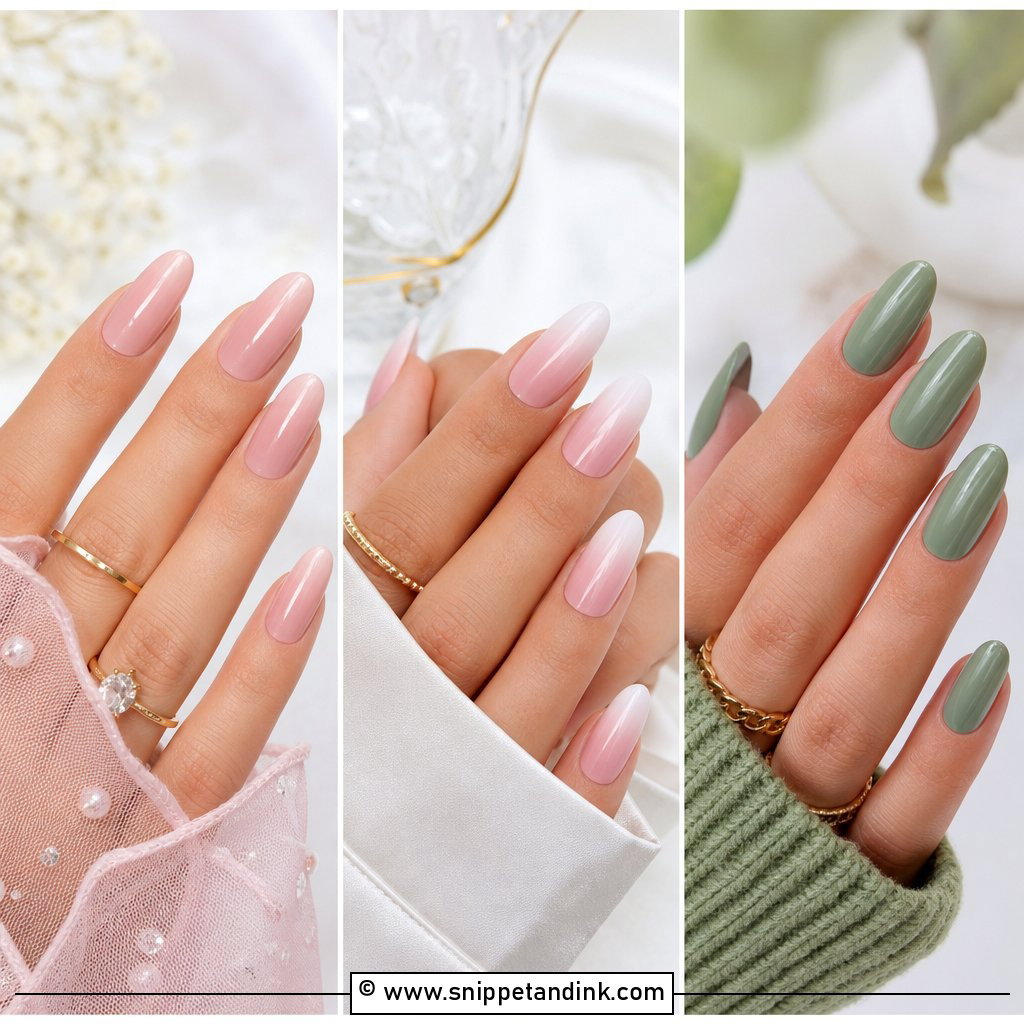
Coffin gives the most room for art, but it’s also the shape that gets in the way most. I recommend medium length for a wedding: long coffins catch zips, hairpins and the bustle hooks on your dress. To keep it bridal, stick to soft colors like milky white, blush, ivory or nude, and use the flat tip for a French edge or ombre fade.
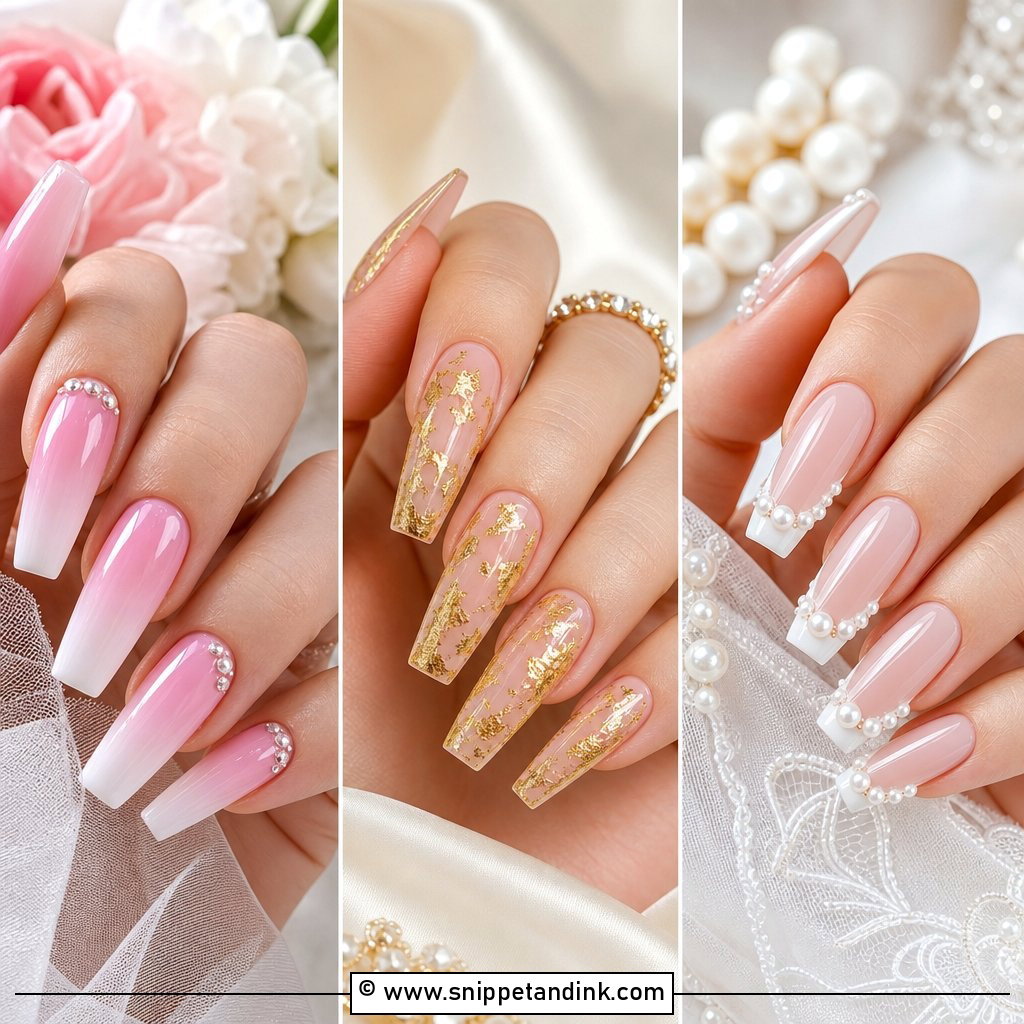
15. Oval Acrylic Wedding Nails
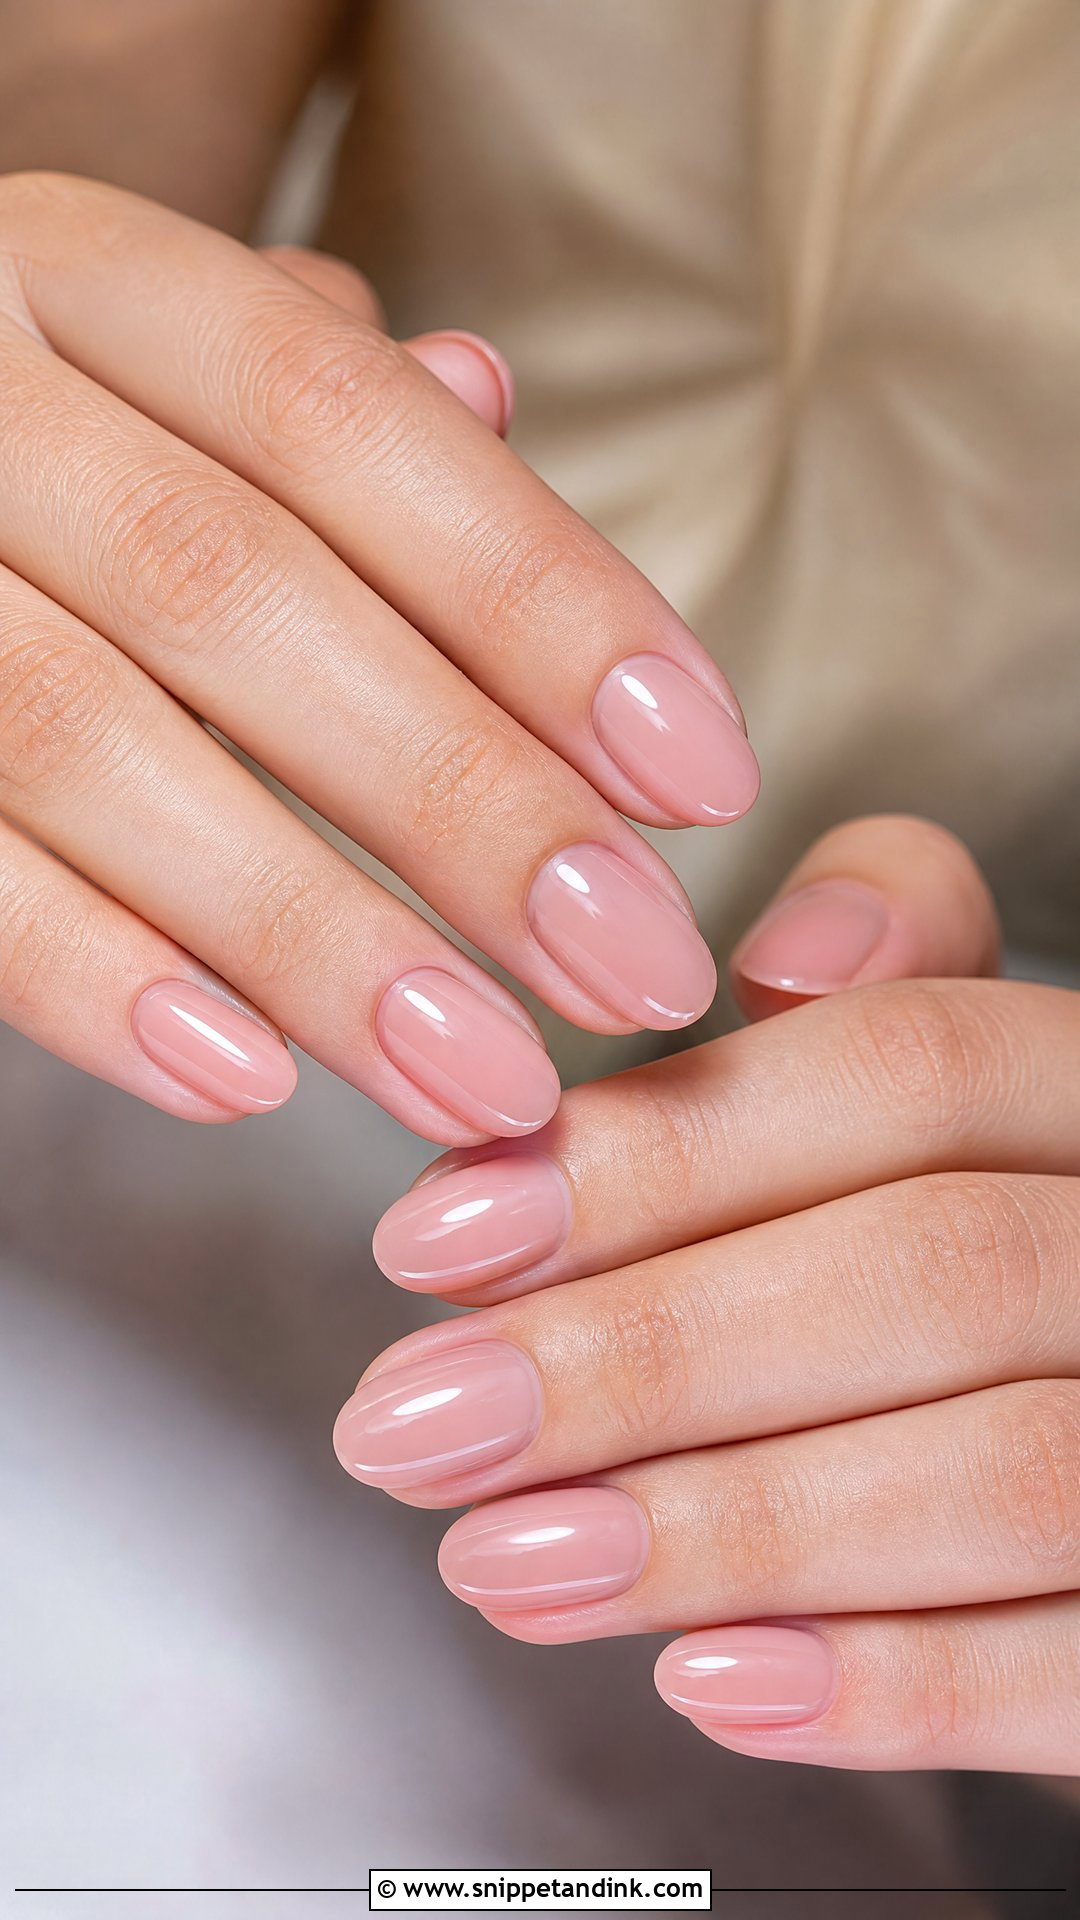
Oval is the most comfortable shape for a long day because there are no corners to catch. It suits short to long sets and works with sheer pink, milky white, pearl chrome or a delicate French. If you’ve never worn acrylics before, oval at a modest length is the shape I’d steer you toward first.
16. Glitter Ombre Acrylic Wedding Nails
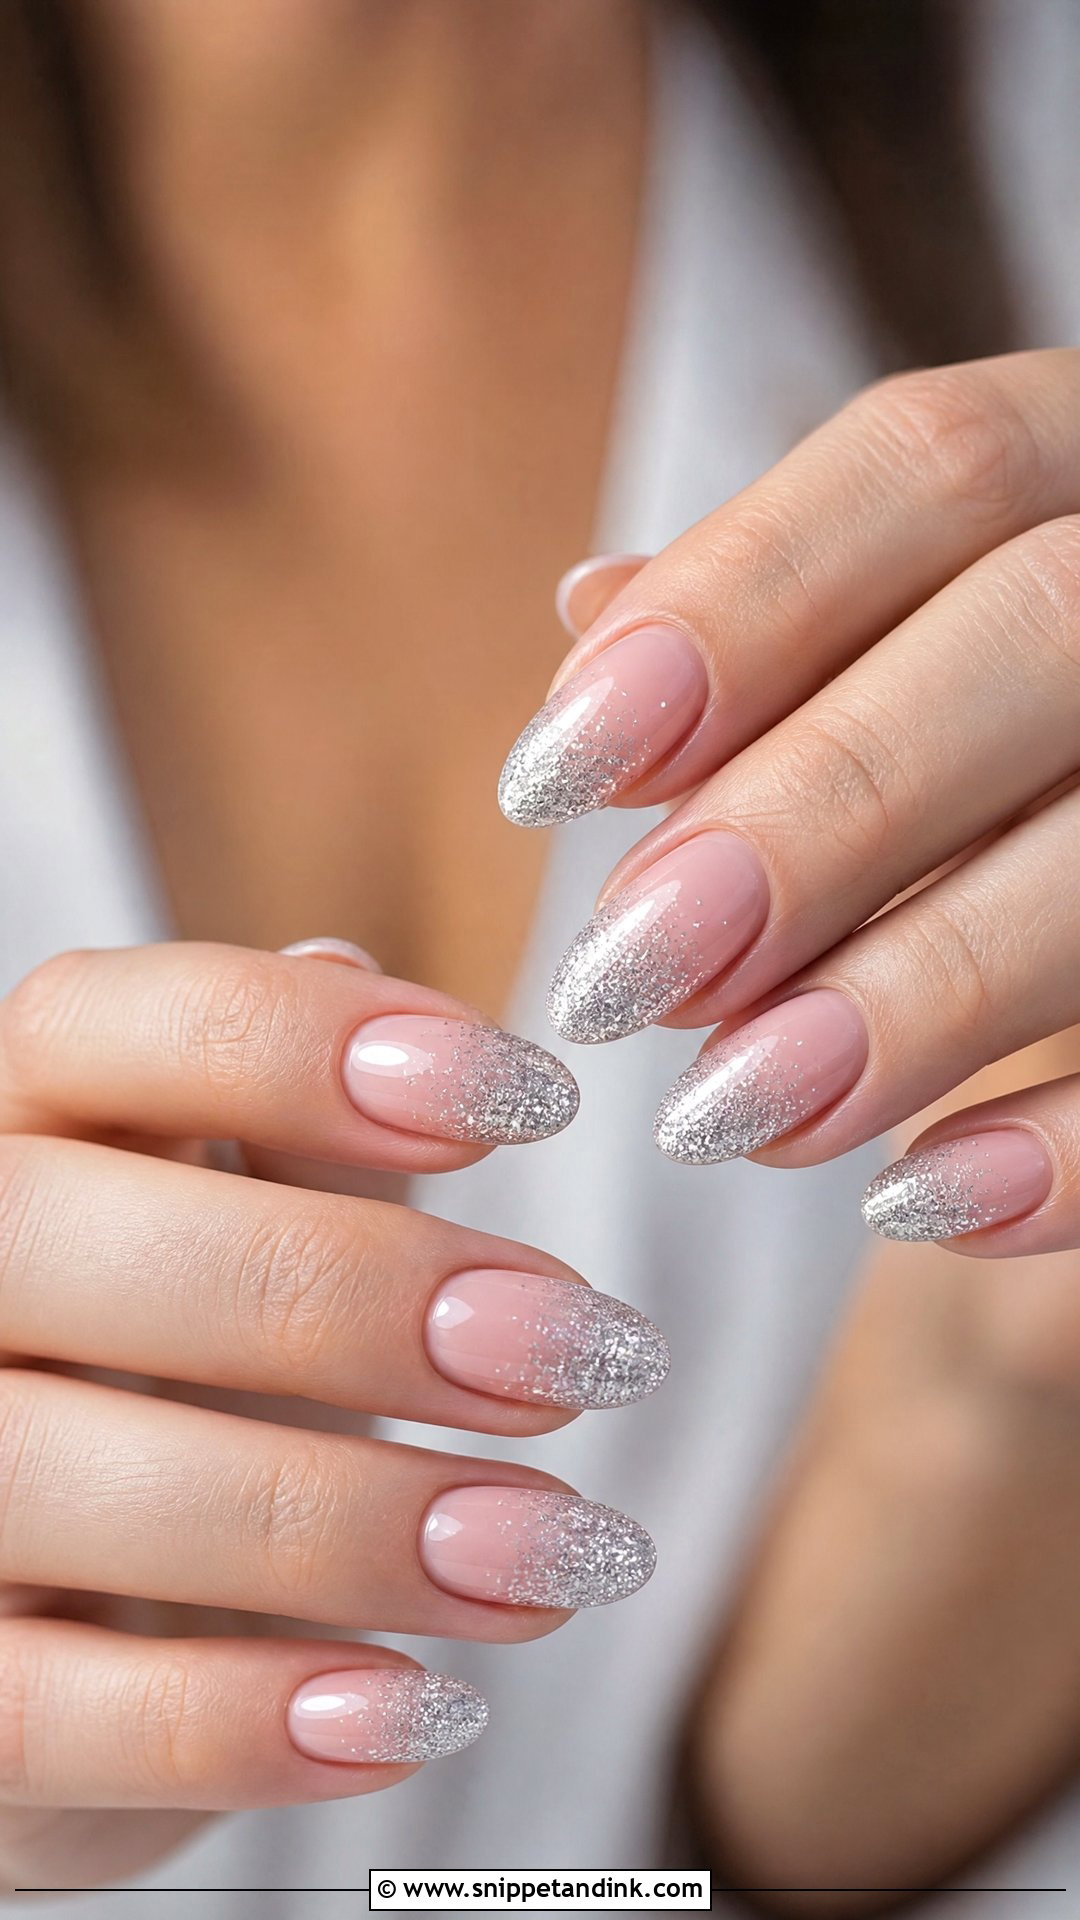
Glitter ombre acrylic wedding nails let you have sparkle without it looking heavy. I encapsulate fine glitter inside the acrylic, fading it from the tip or cuticle into the base, so the surface stays smooth and doesn’t snag. Champagne and silver are the most bridal tones; chunky glitter reads party rather than wedding. Keep the particles fine.
17. Rose Gold Acrylic Wedding Nails
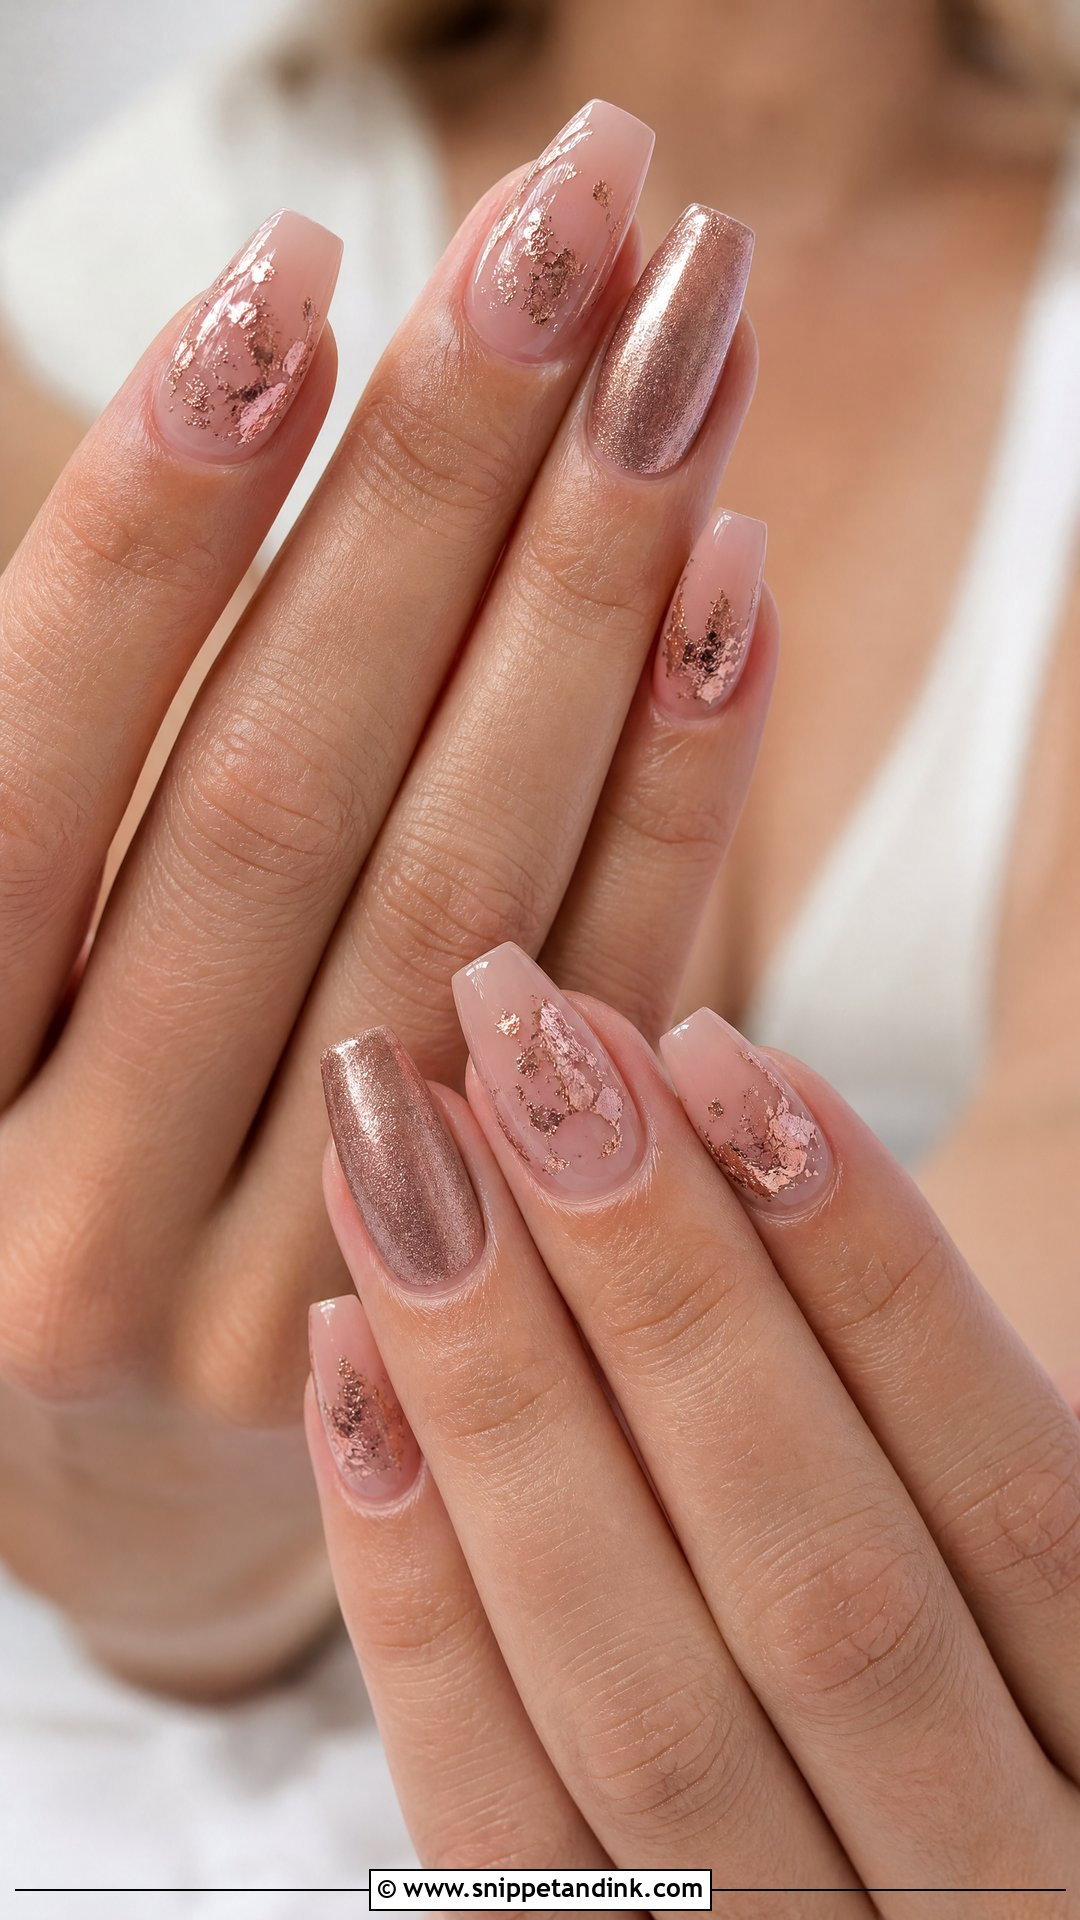
Rose gold suits warm skin tones best and pairs naturally with rose gold rings and pink-toned bouquets. On cooler skin I’d suggest keeping it to a fine line or a single accent finger. Foil and chrome both work, but foil wrinkles if the base isn’t perfectly smooth, so I apply it over a tacky gel layer and press it down flat. One accent nail per hand looks deliberate rather than overdone.
18. Silver Glitter Acrylic Wedding Nails
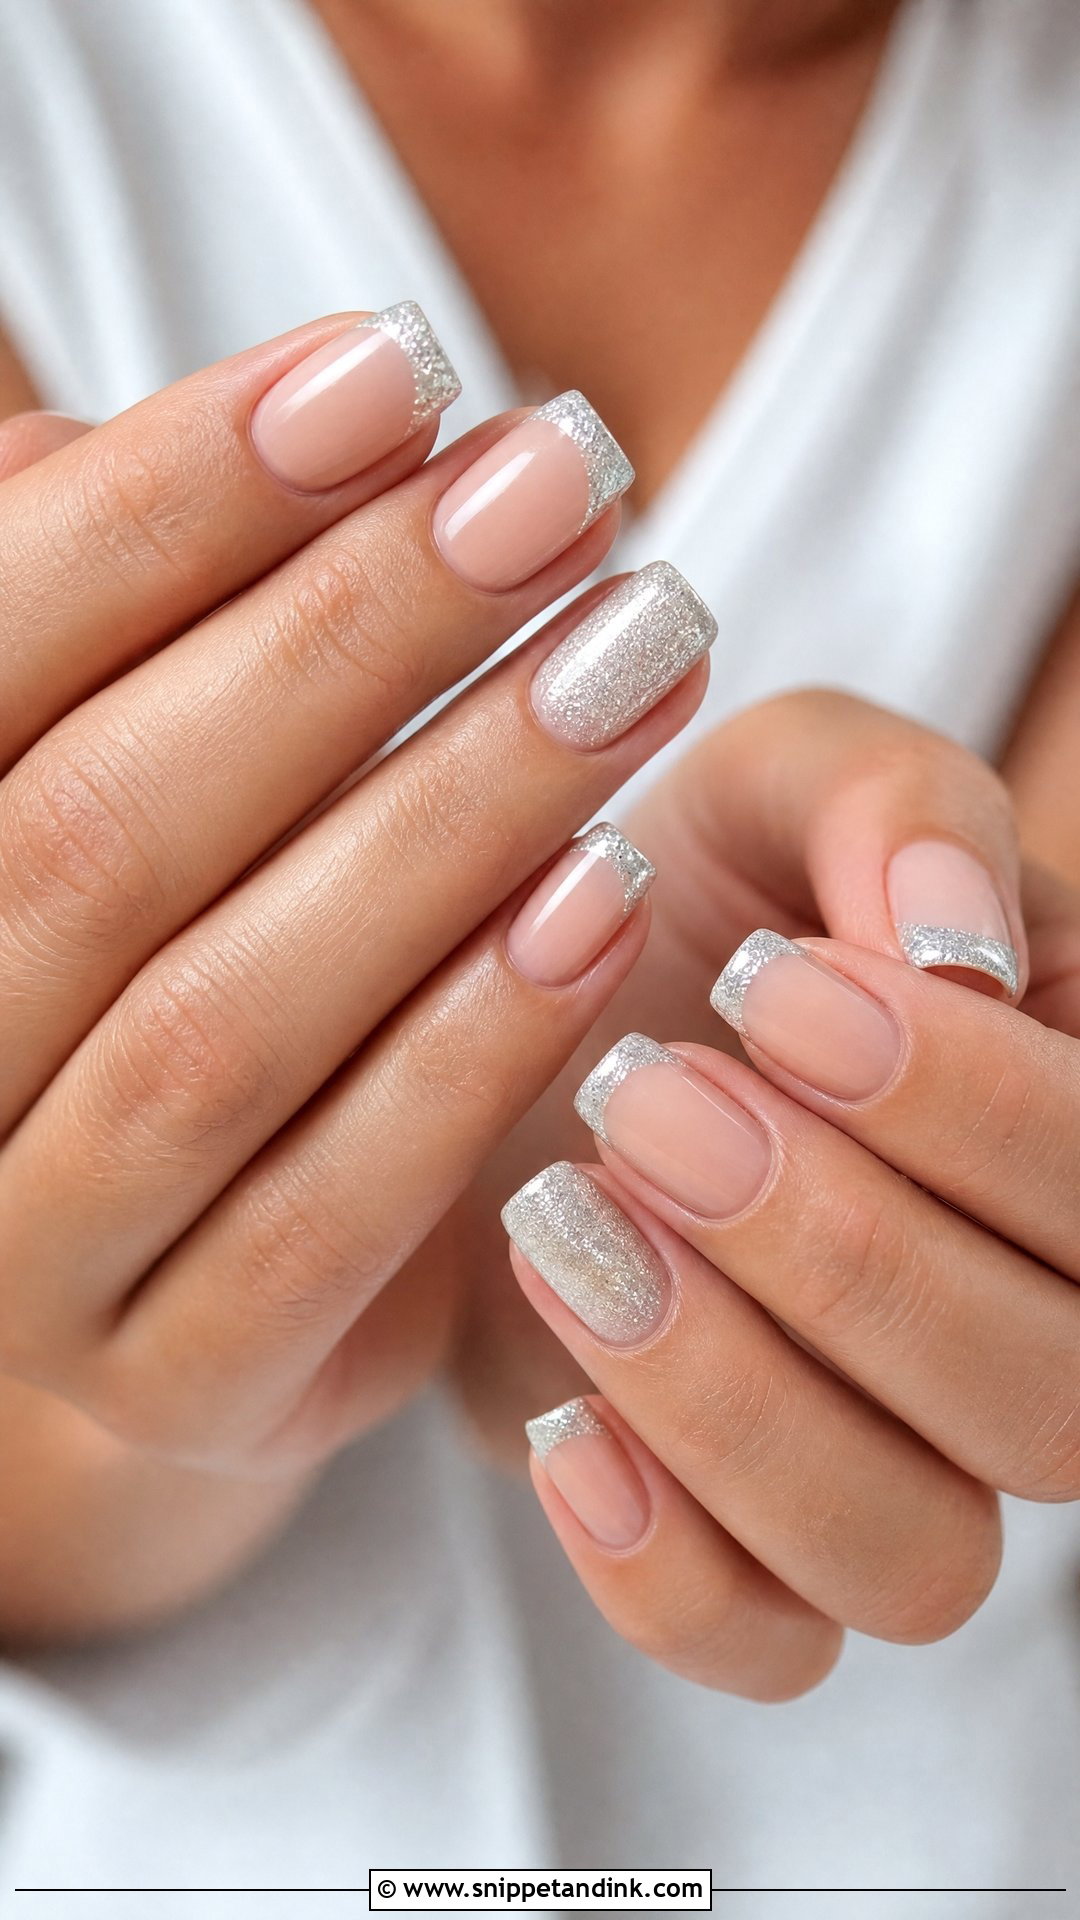
Silver glitter goes with platinum or white gold rings, crystal hairpieces and cool-toned makeup. I use fine silver shimmer rather than chunky flakes, which can look thick even under topcoat. A glitter French tip or a soft fade from the free edge both keep it bridal. It’s a good alternative if you want sparkle but don’t want stones that might catch.
19. Rhinestone Acrylic Wedding Nails
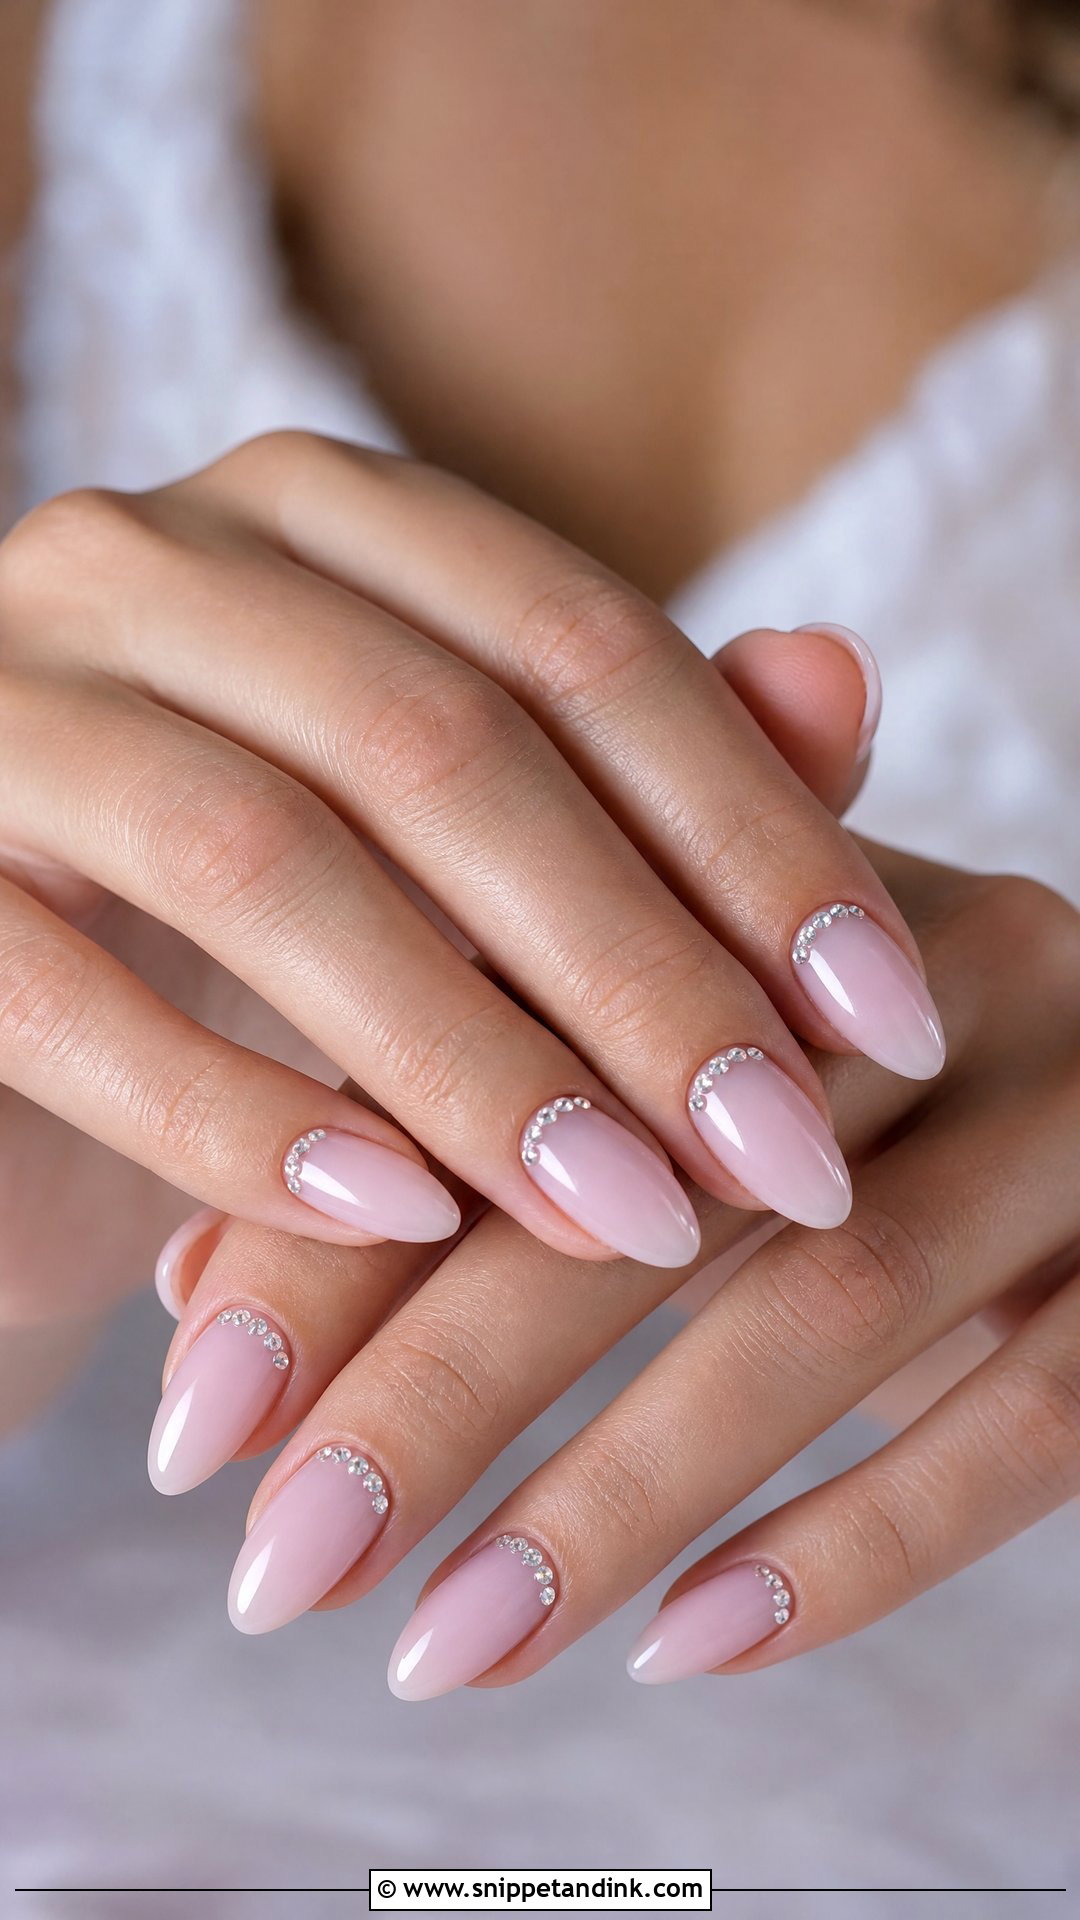
Rhinestones are where restraint pays off. A tiny crystal at the cuticle of each ring finger, or a small curved line, catches light in detail photos without crowding the set. I set them in a dedicated gel adhesive and seal around the edges so they don’t pop off during the day. Large stones snag lace and hair, so if you’re wearing a lace sleeve or long veil, keep them small and flat.
20. Ivory Acrylic Wedding Nails
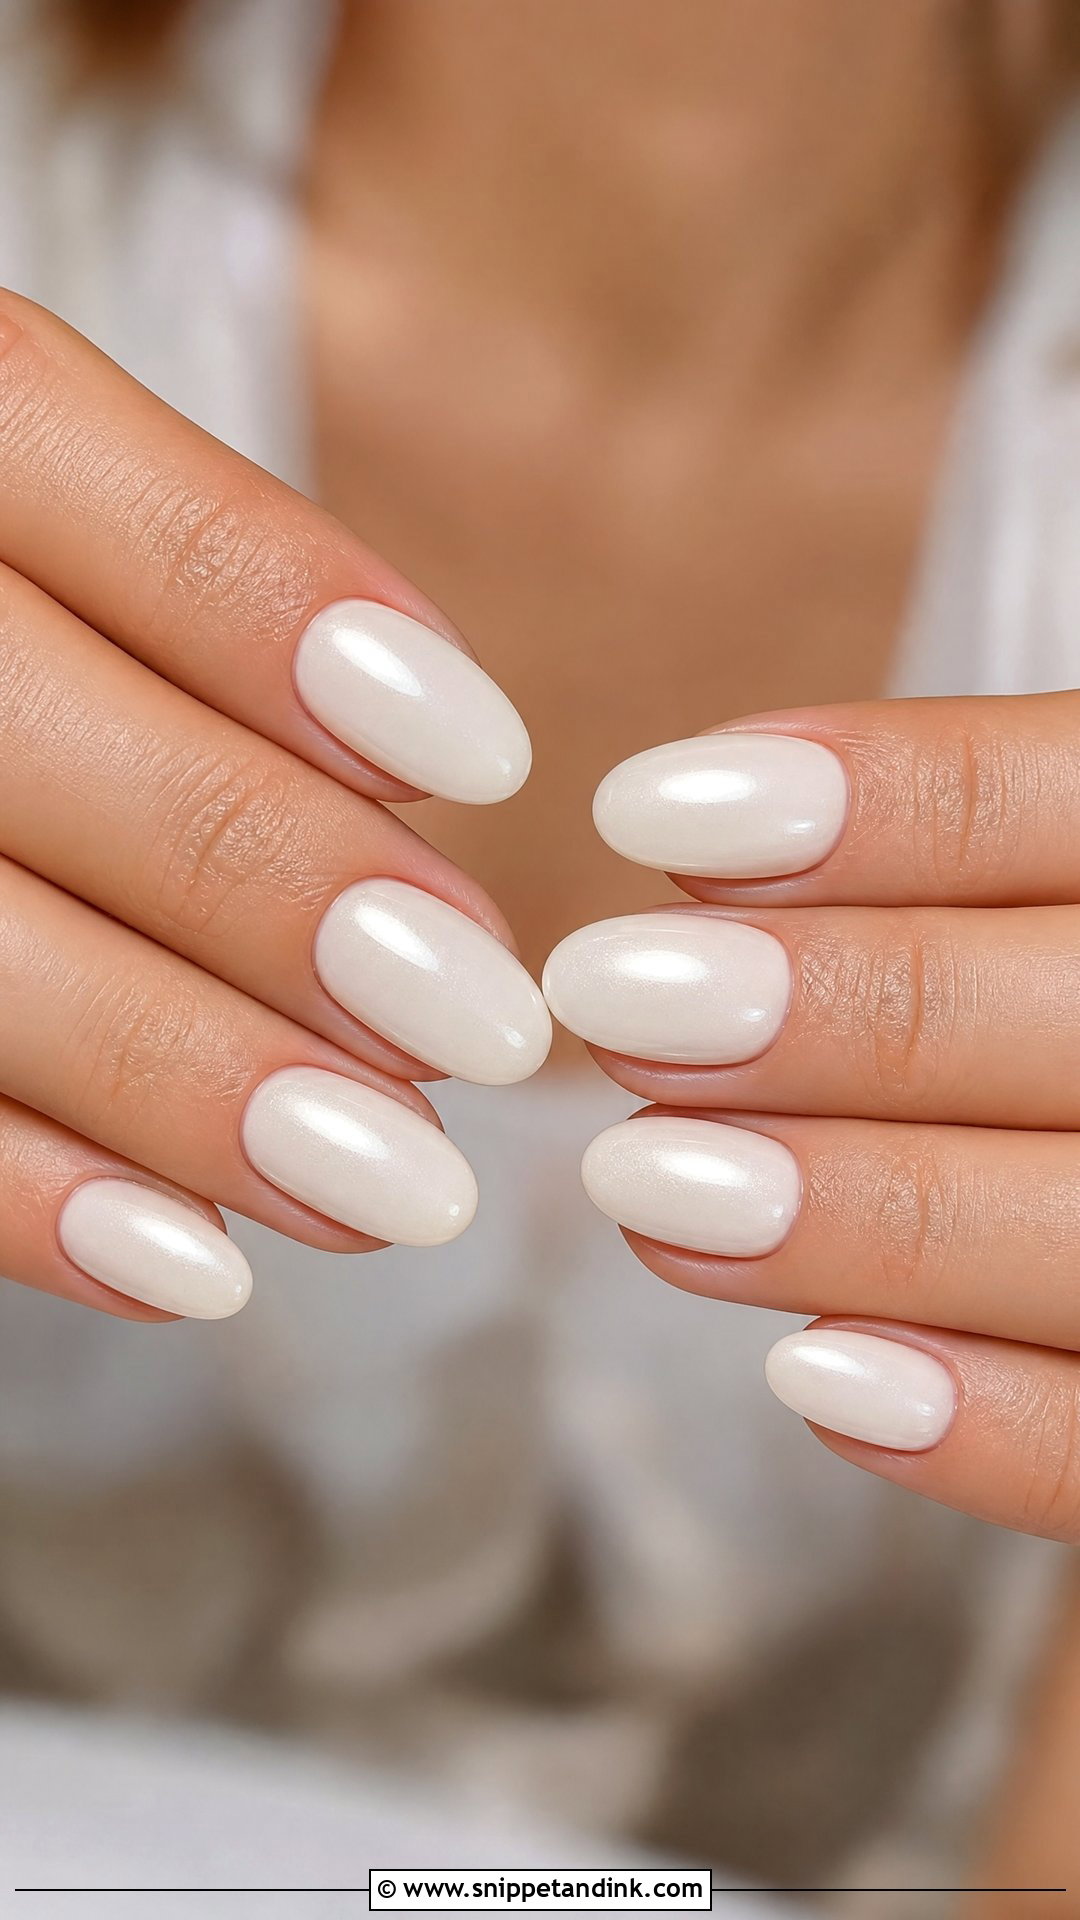
Ivory is my usual suggestion when the dress is ivory, cream or champagne. Bright white next to an ivory gown can make the dress look slightly yellow in photos. Pale shades show every bump, so I file and buff the acrylic surface especially carefully before colour. Pearl chrome or a little lace work on ivory looks soft and coordinated.
21. Marble Acrylic Wedding Nails
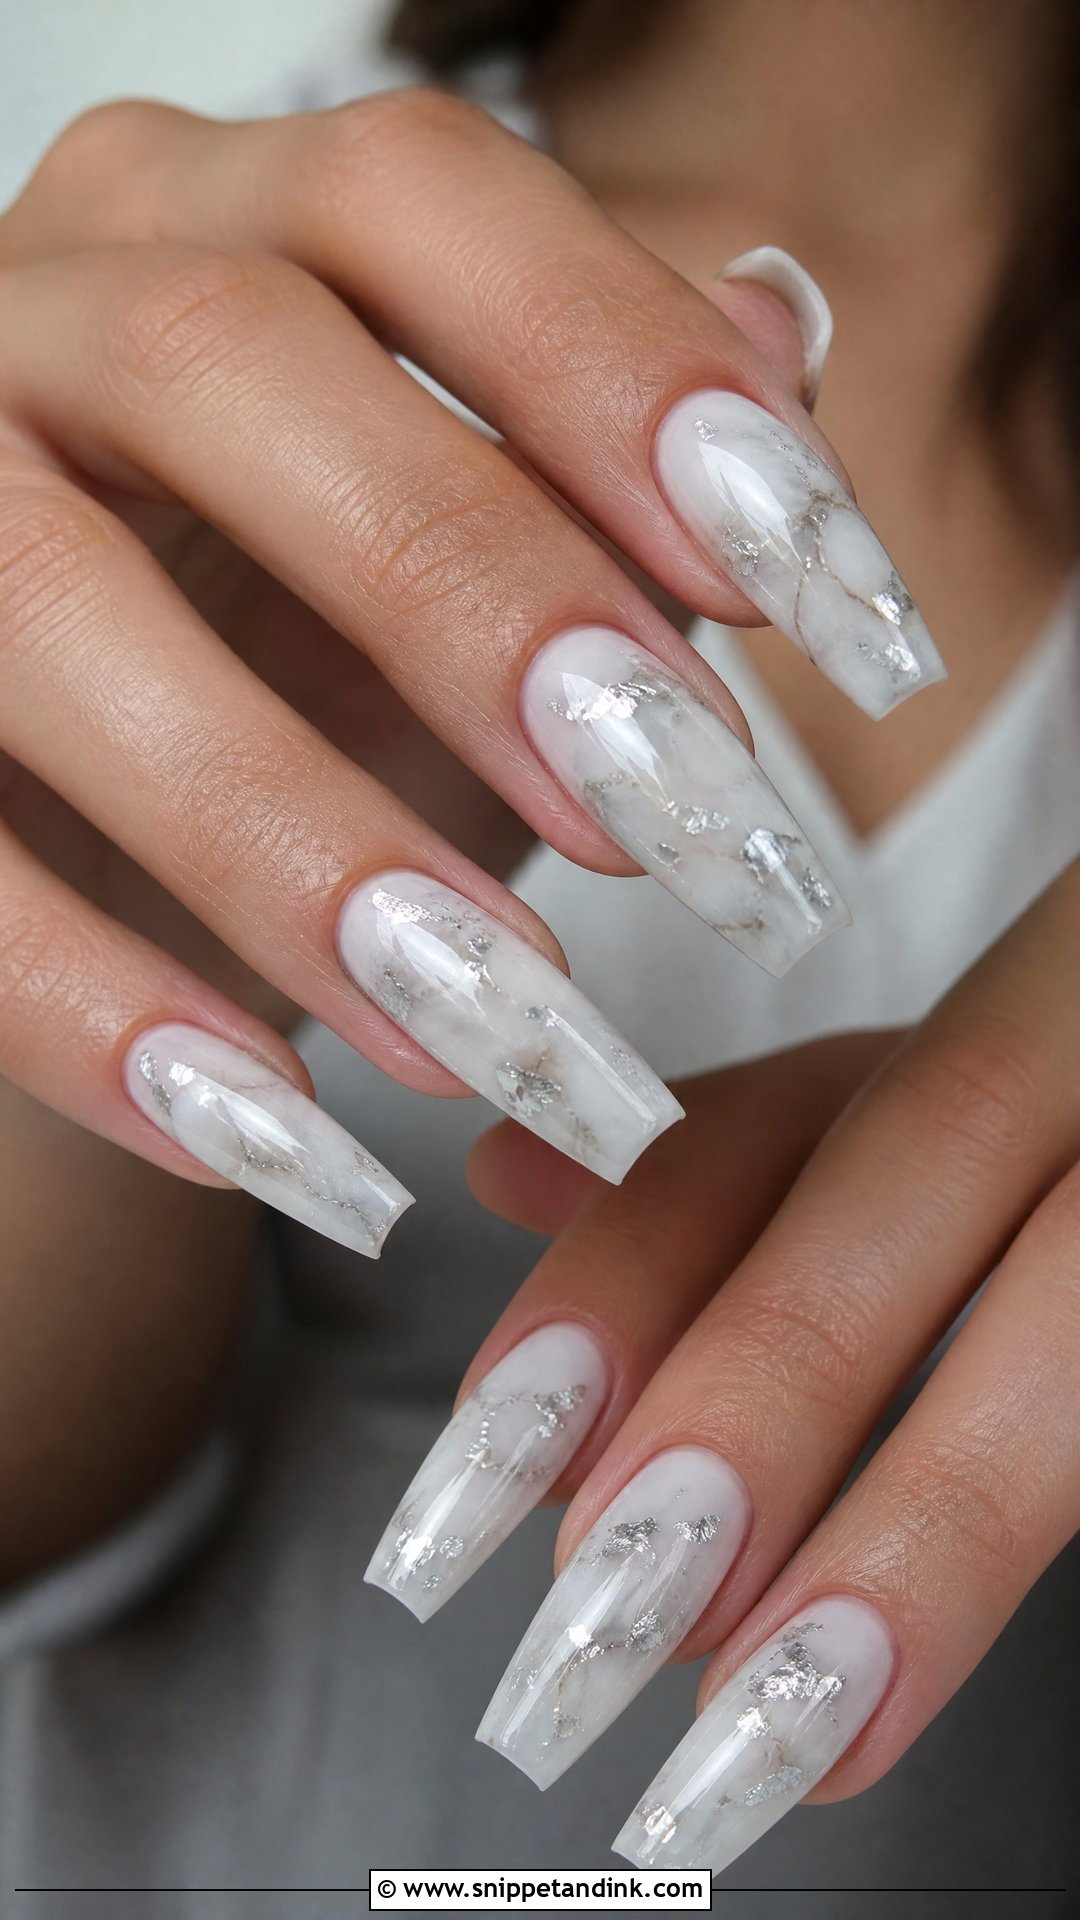
Marble needs a light hand. I work white, blush or pale grey veins into wet gel over a milky or nude base and let them spread slightly before curing. Too many veins and it looks busy. A little gold or silver foil can sit along one vein, but keep it sparse. It’s a nice option if a French set feels too plain, and it suits modern gowns and minimal accessories.
22. Baby Boomer Acrylic Wedding Nails
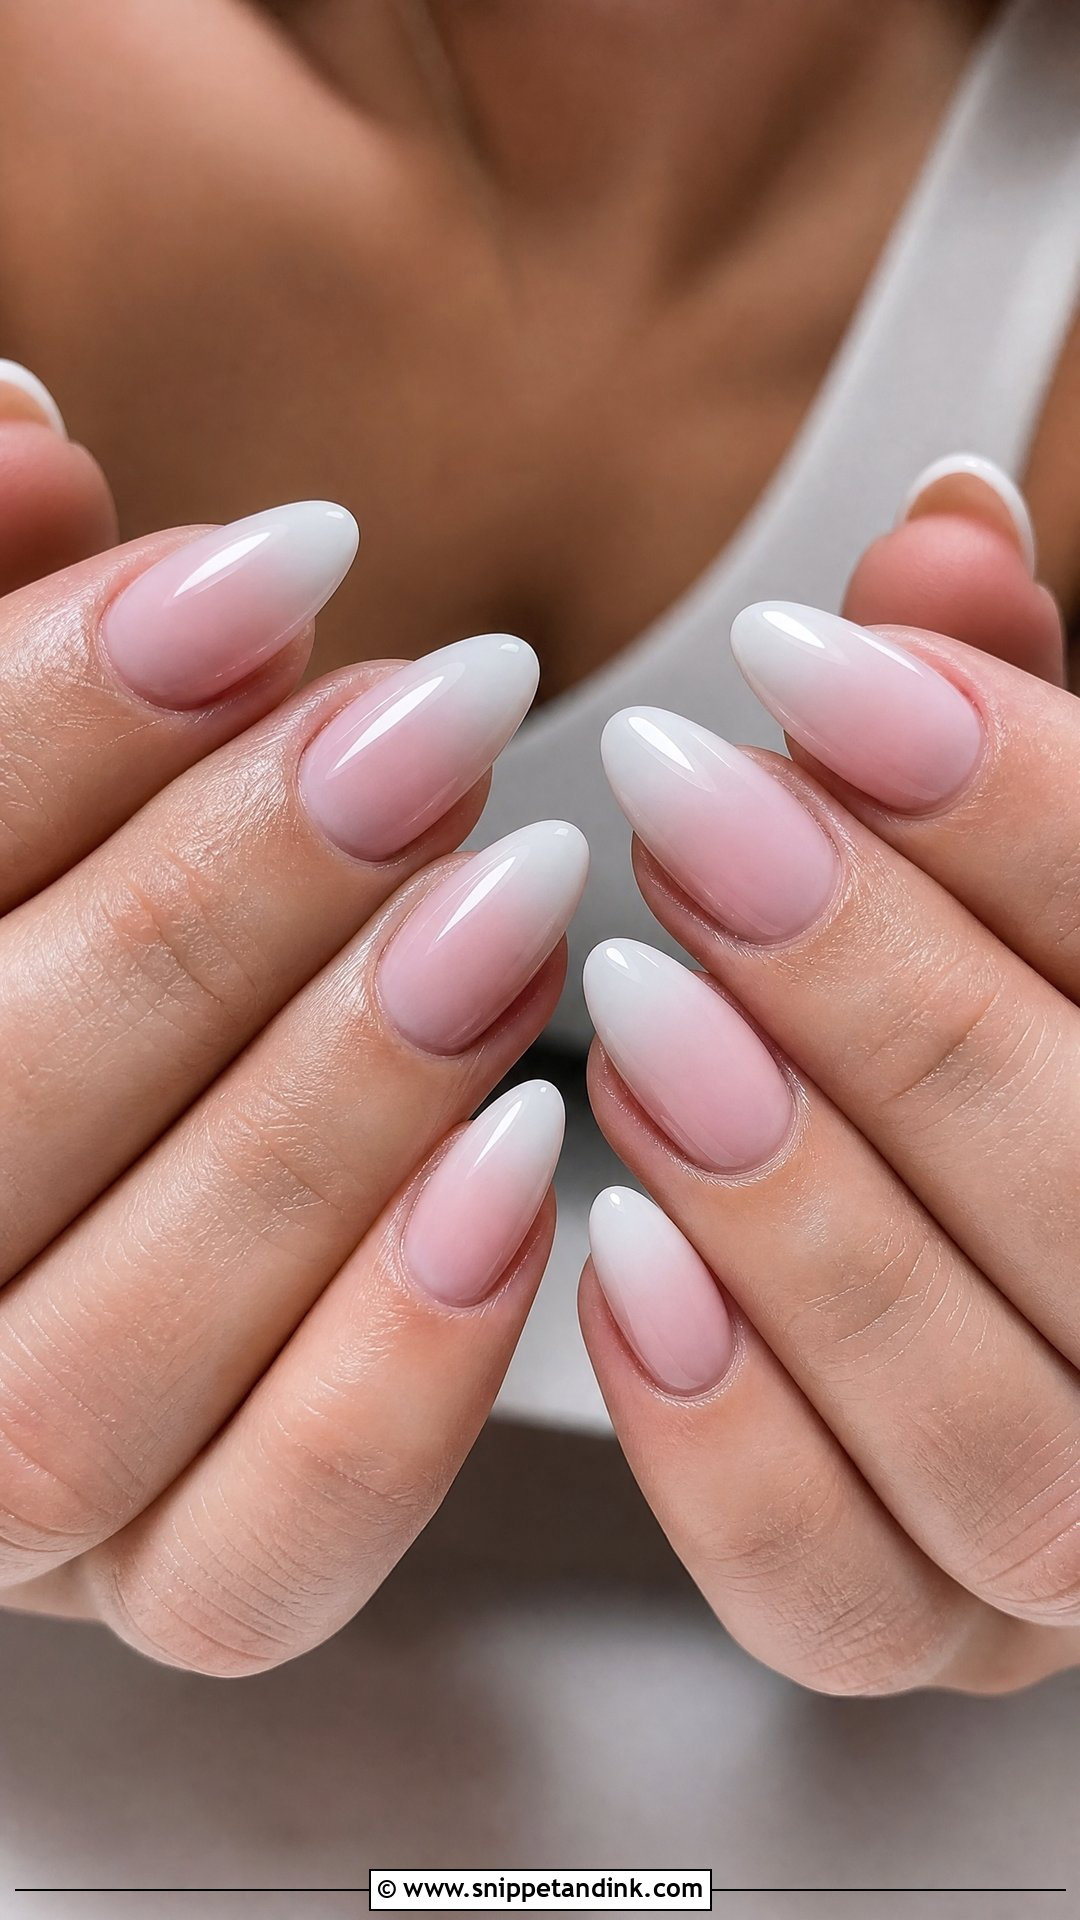
Baby boomer is a pink-and-white ombre built into the acrylic itself. With acrylic I can blend pink and white powders directly as I sculpt, which gives a softer fade than painting on top. There’s no smile line, so the result looks softer than a French and grows out more gracefully. It’s flattering at any length and suits almond, oval, coffin or square.
23. Matte Nude Acrylic Wedding Nails
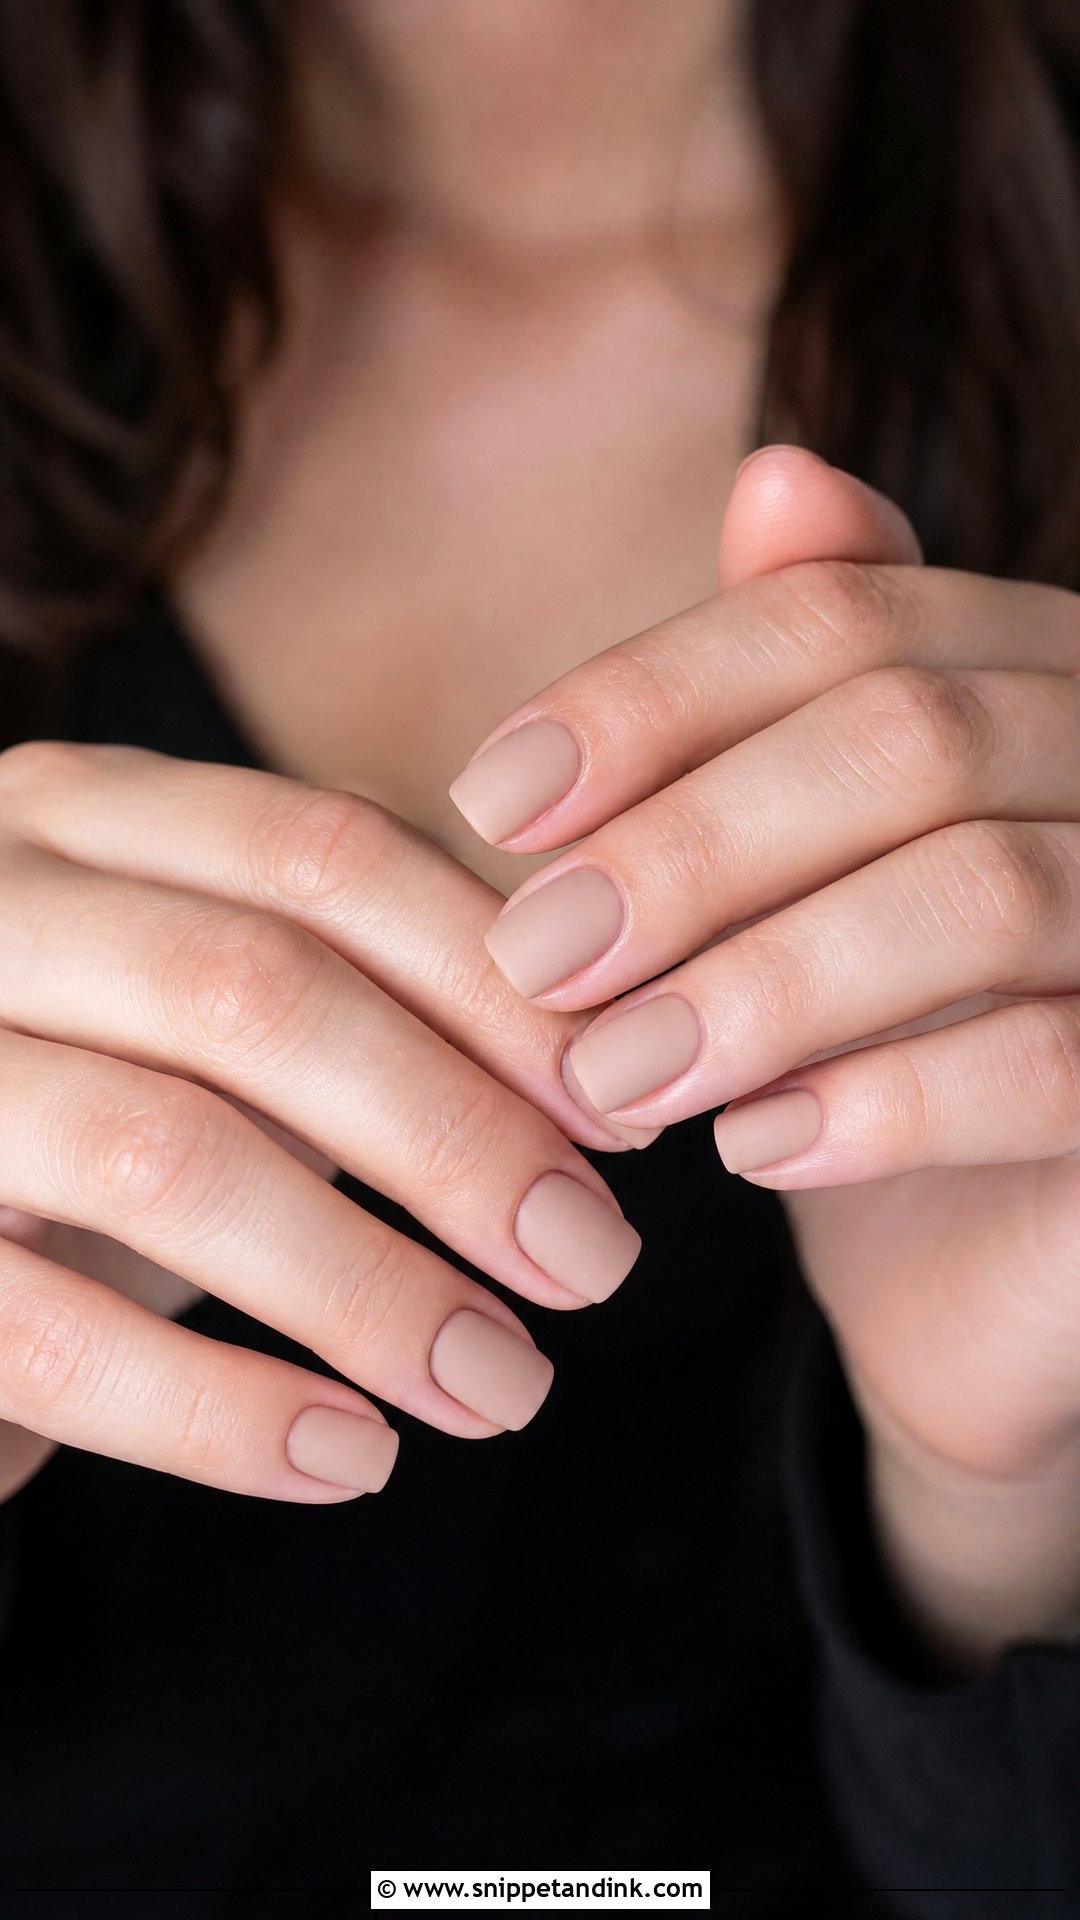
Matte nude looks chic but has a practical downside: matte topcoat picks up stains from fake tan, foundation and even dark denim. I tell brides to do any self-tan before their nail appointment. The surface needs to be perfectly smooth, because matte shows texture. A single glossy French tip or a tiny pearl against matte gives a nice contrast.
24. White Tip Acrylic Wedding Nails
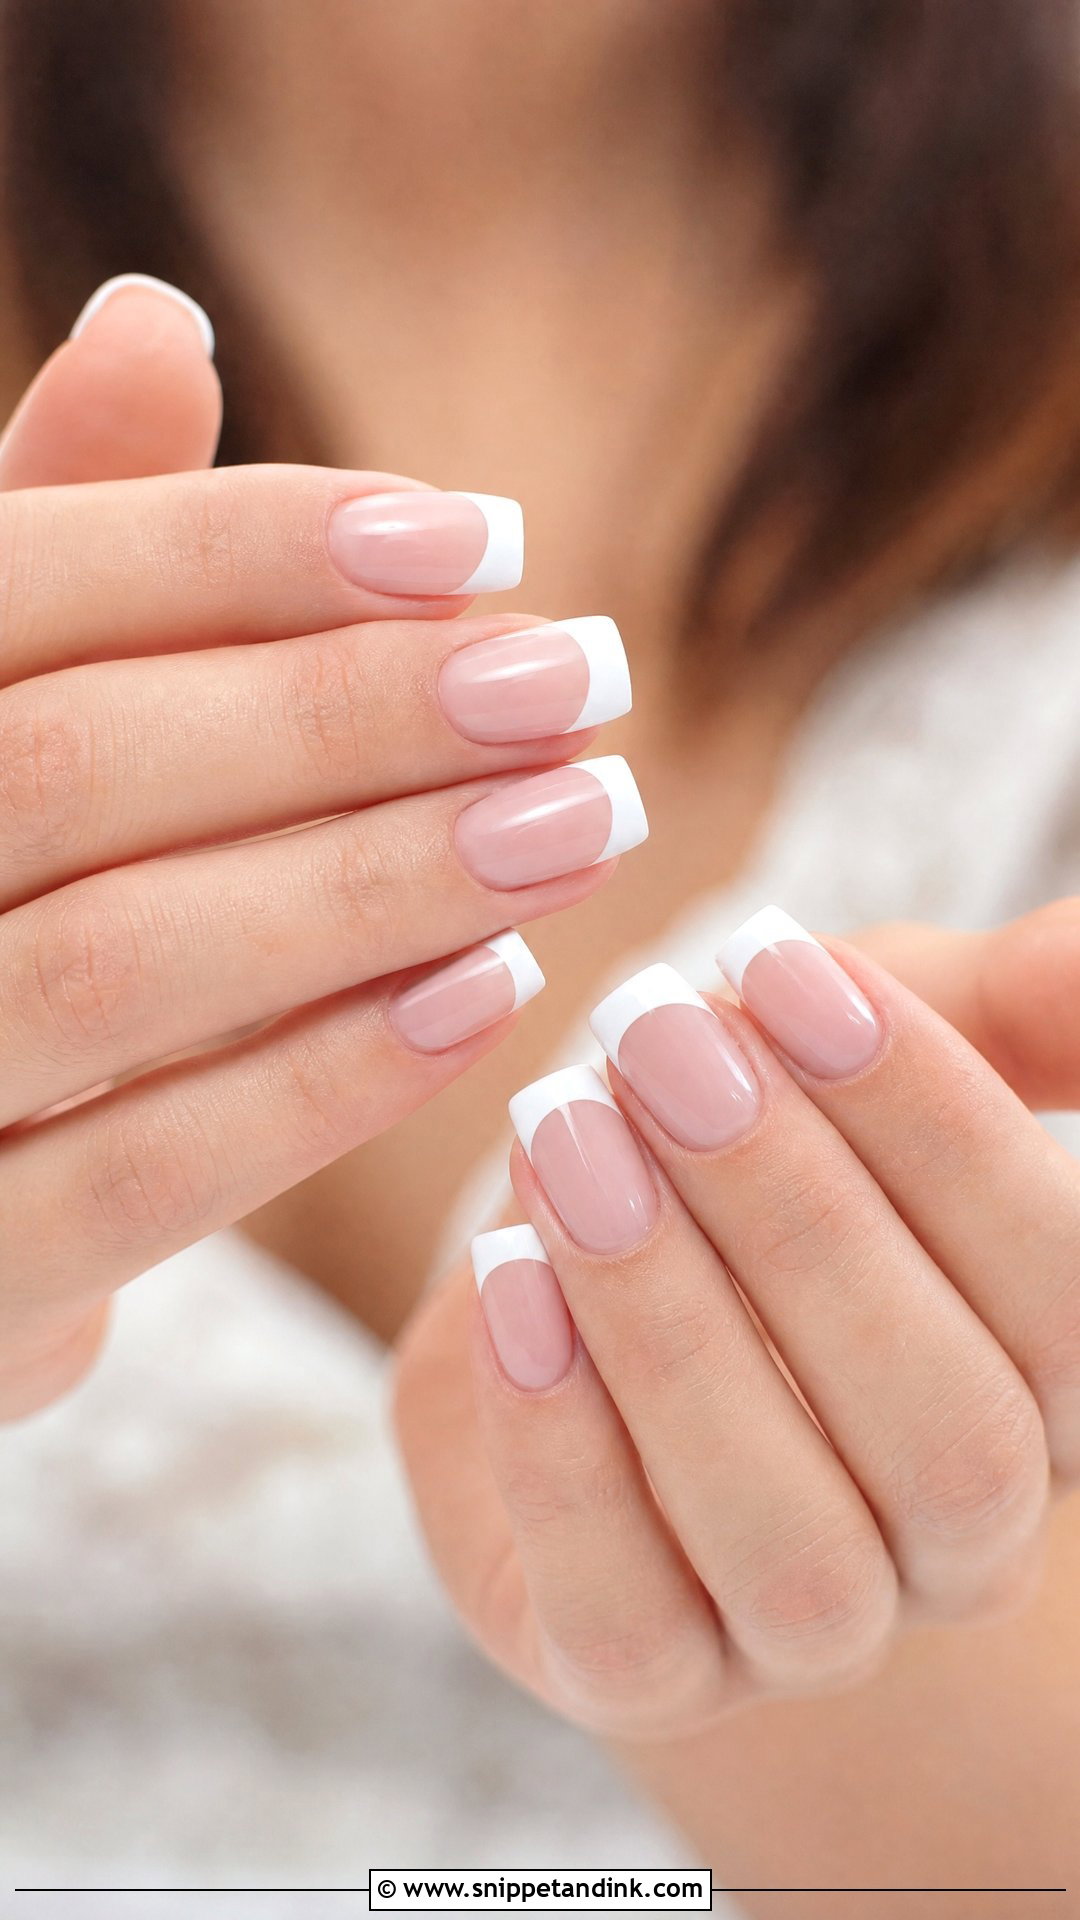
White tips can be thin, deep, straight, V-shaped or curved, so I match the tip line to the nail shape: a curved tip on almond, a straight one on square. A milky base with slightly diffused tips looks softer for a wedding. Acrylic gives a consistent free-edge length on every finger, which is what makes white tips look crisp.
25. Minimal Acrylic Wedding Nails
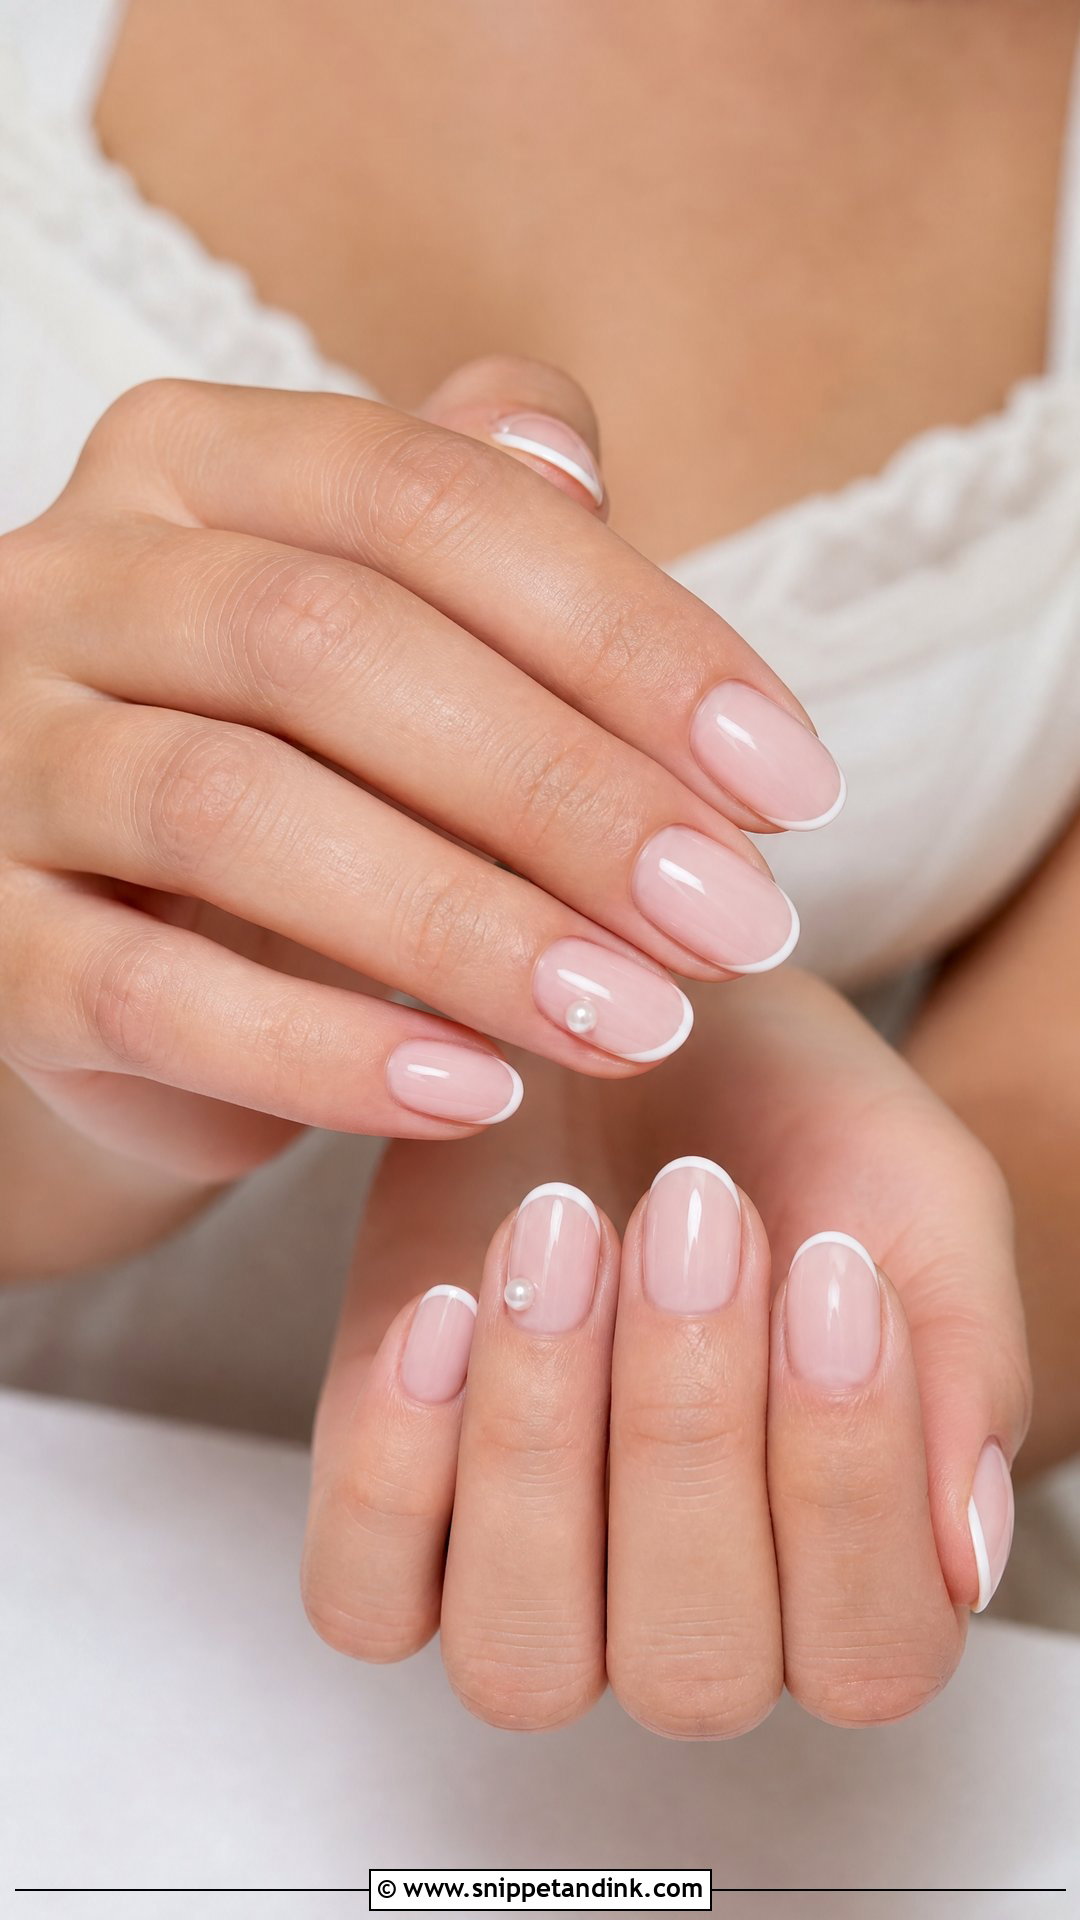
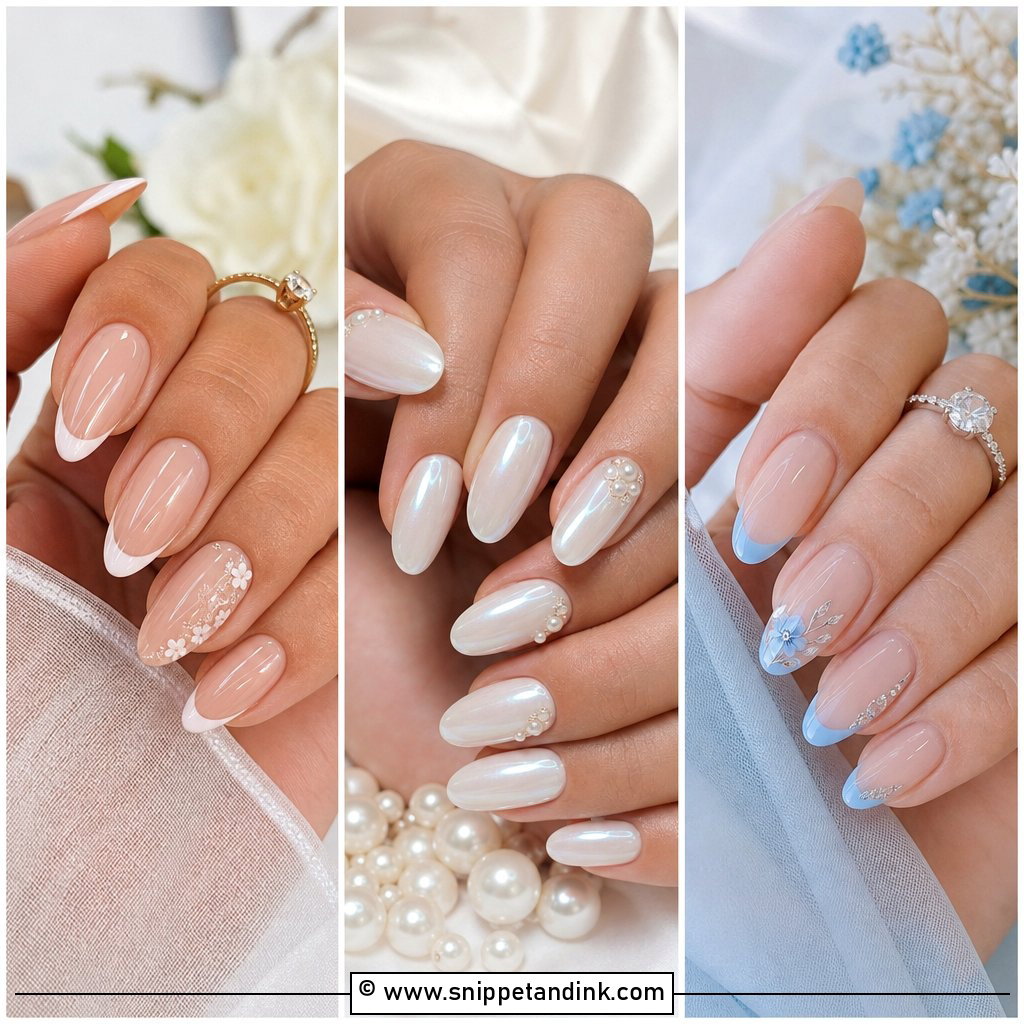
A minimal set uses a sheer base and almost no art: maybe a micro French, a thin line or one tiny pearl. It’s the design I see brides least likely to regret, because it doesn’t date in photos. Short square, oval and almond suit it best. The finish depends entirely on the shape and surface being flawless, so this is the set where a nail artist who is strong on structure earns her fee.
Lifting, Chips and a Cracked Nail on the Day
Put a small kit in your maid of honour’s bag: nail glue, a fine buffer, a mini bottle of your exact topcoat and a few cotton buds dipped in remover. That covers almost everything I’d be called to fix in person.
Most acrylic problems on a wedding day are small and fixable if you bring the right things.
A lifted edge
Lifting usually starts at the cuticle or sidewall, often from oils on the nail plate during application. Don’t pick at it. A drop of nail glue pressed under the edge holds it until after the reception.
A crack or break
Pack nail glue, a fine file and a matching polish. A crack can be sealed with glue and buffed smooth. If a whole tip snaps, file the others slightly shorter rather than wearing one odd nail in ring photos.
Taking Acrylics Off After the Honeymoon
Never pry acrylics off. It strips layers of your natural nail with them. A salon soak-off with acetone takes around twenty to thirty minutes and keeps the nail plate intact. Afterwards your nails may feel thin and bendy for a few weeks, so keep them short and use cuticle oil daily while they grow back. If you want to keep wearing enhancements, ask for an infill rather than a fresh set, which avoids filing the natural nail again.
Matching Your Acrylic Set to the Dress and the Ring
Start from what you’ll be photographed with: your ring, your dress colour and your bouquet. French tips, baby boomer nails and ivory sets suit a traditional look. Milky white, pearl chrome and blush feel fresher. Lace, pearls, stones and glitter work best as accents on a couple of nails. Then decide length based on what your hands do every day, not only the photos, and book a trial set a few weeks before so you know how it feels.
You'll Like These Ideas:


Leave a Reply