
Short-haired brides often arrive at their trial apologising for their hair. There’s no need. A bob or a pixie gives me less length to wrap, but it also gives me less weight pulling the style down over a ten-hour day, and short updos tend to hold remarkably well once they’re pinned properly. Many of the looks here take ten or fifteen minutes with good pins and the right accessory. They’re written mainly for brides, though most work for guests too, and each one notes what length and texture it suits. Read them with your veil, your neckline and your hairline in mind, because those three decide more than the photo you fall for.
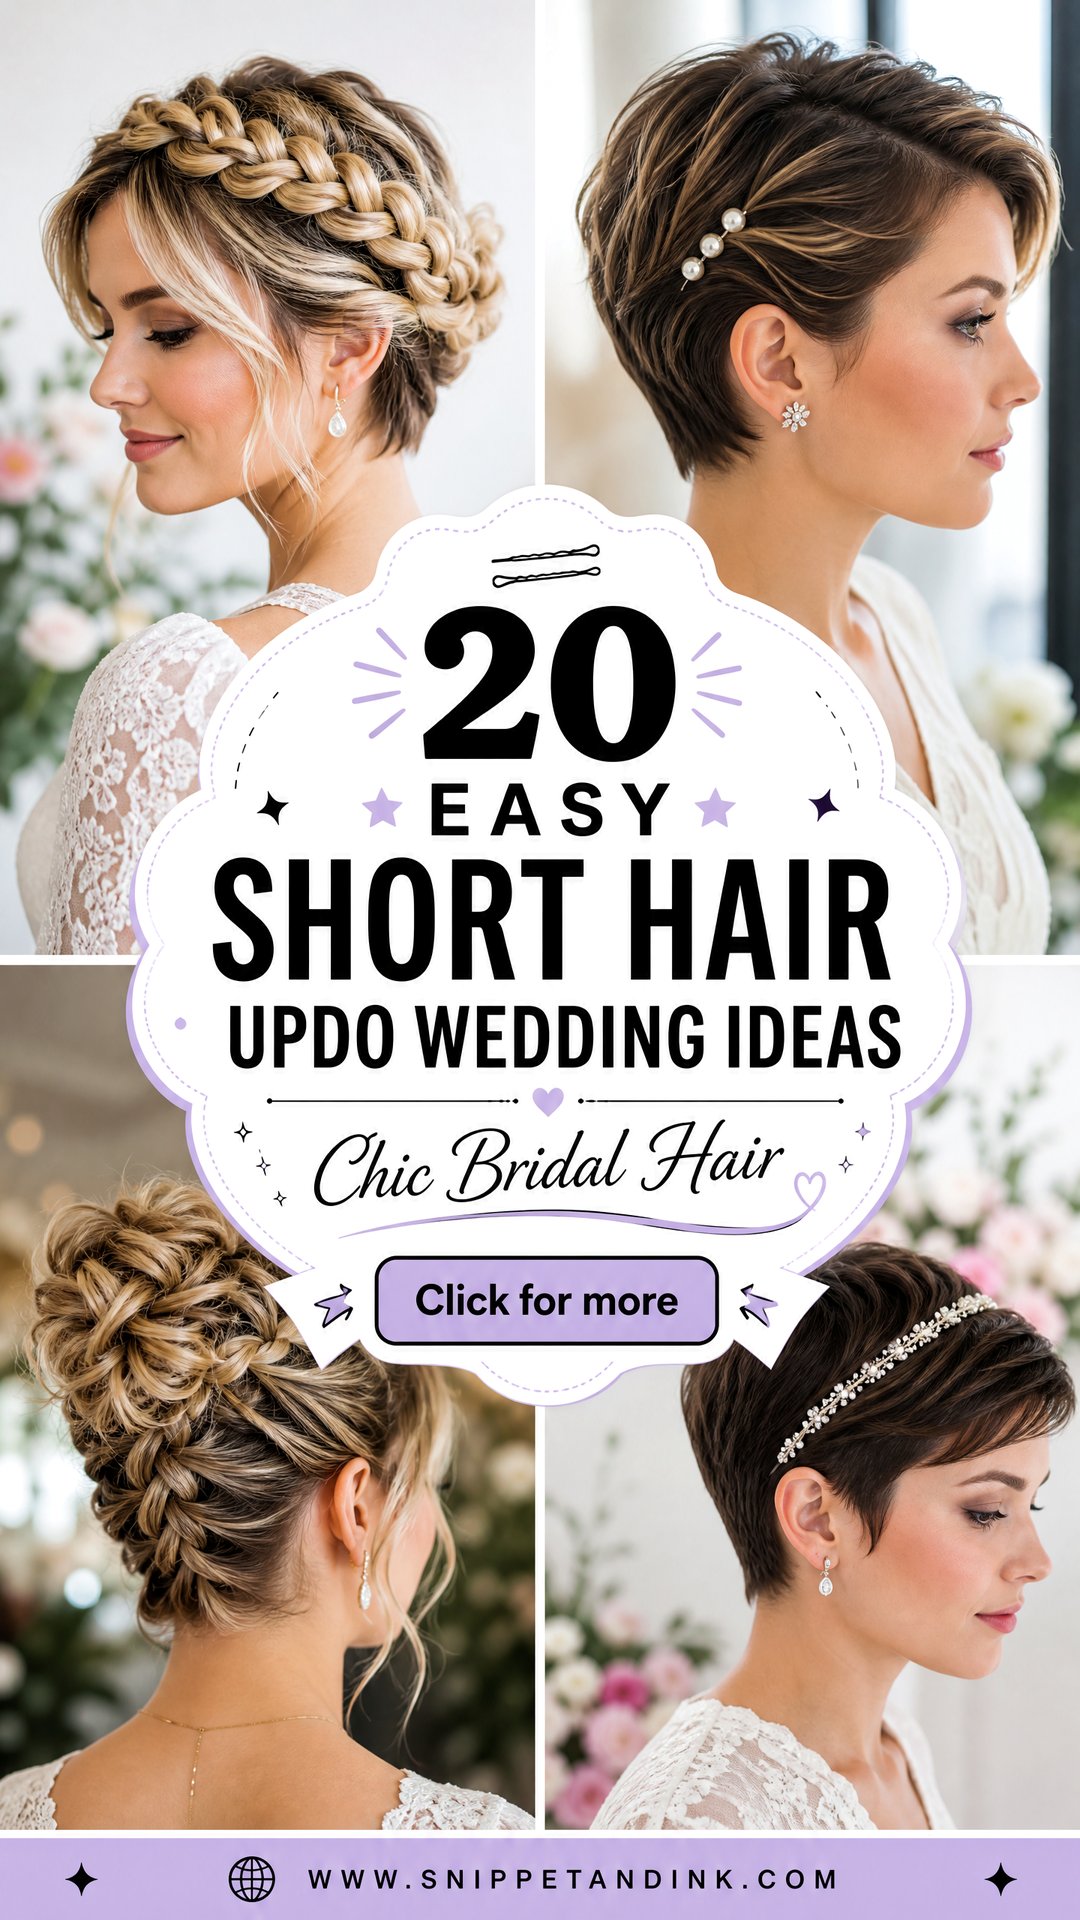
Your Last Haircut Should Be Three Weeks Out, Not Three Days
A freshly cut bob has crisp, blunt ends, and blunt ends are hard to tuck into an updo; they stick out of every twist. Two to three weeks of growth softens them and adds a little length that makes pinning easier.
- Final cut: two to three weeks before the wedding. For a pixie, a light tidy of the nape and sides about a week before is fine.
- Colour: one to two weeks before, so the tone settles and any irritation on the scalp calms down.
- Trial: after the final cut if possible, so the stylist works with the length you’ll actually have.
If you’re growing out a cut for the wedding, tell your stylist early. A few extra centimetres can open up several of the styles below.
1. Low Messy Bun for Short Hair
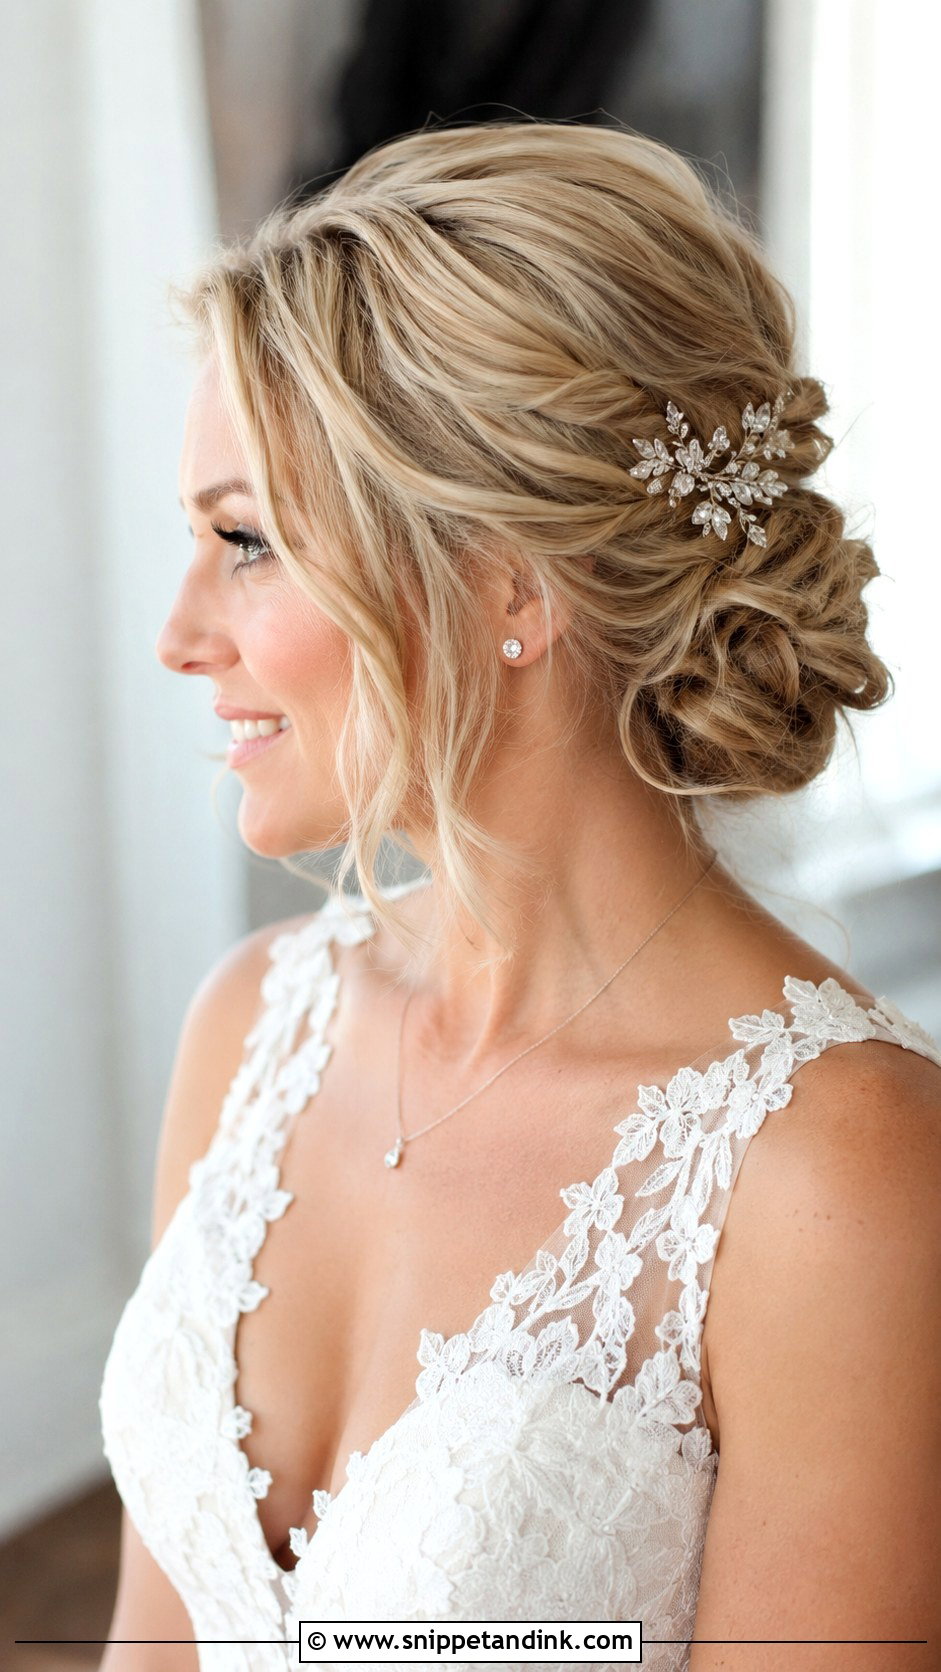
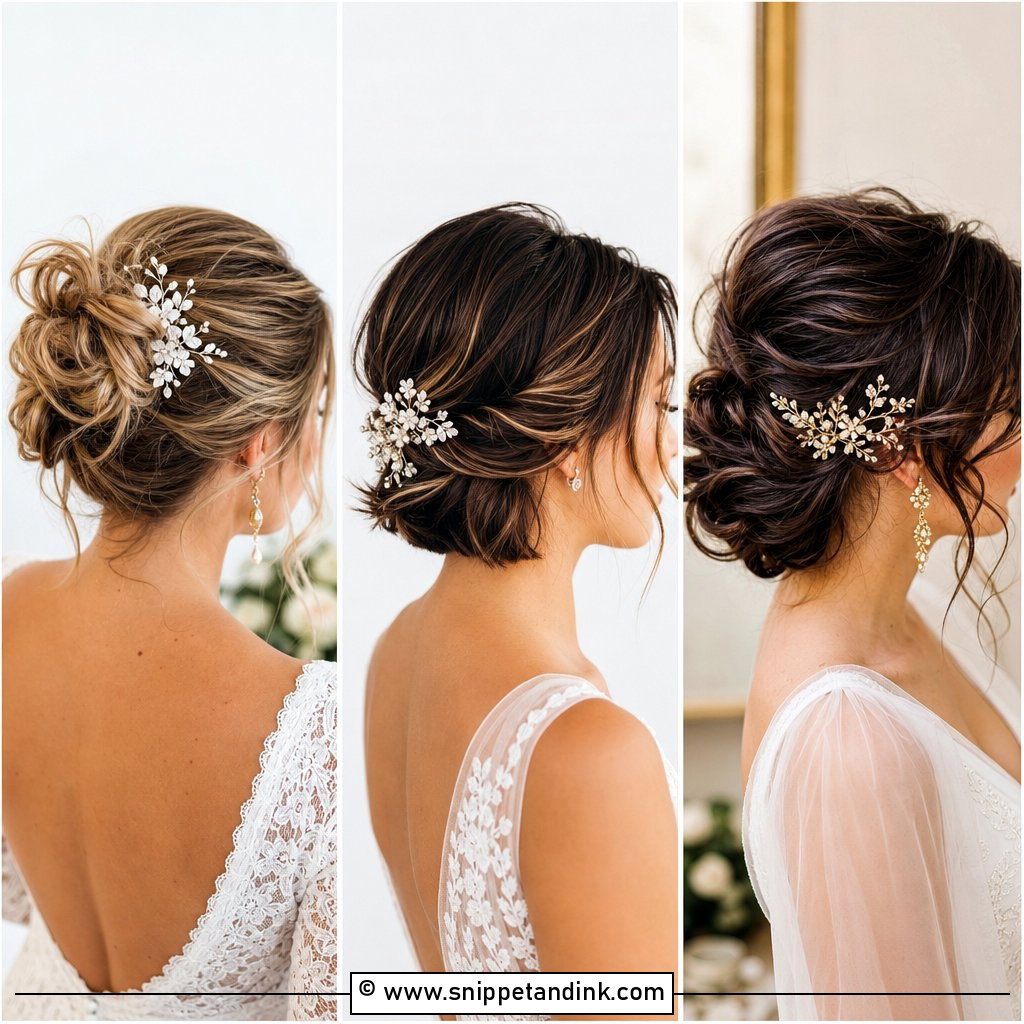
A low messy bun is the most forgiving bridal style I do on short hair, which is why it’s first. I twist the hair toward the back in small sections and pin each one into the next, so the bun is really a cluster of twists rather than a single wrap. A few tendrils are left loose around the ears. The undone texture hides the short ends that inevitably poke out. A sparkly comb or fresh flowers finish it. It suits garden and outdoor ceremonies, and it’s a low-stress choice for a bride who doesn’t want to worry about her hair all day. Very fine hair needs texture spray first, or the twists flatten by the reception.
2. Side Bun With Loose Tendrils
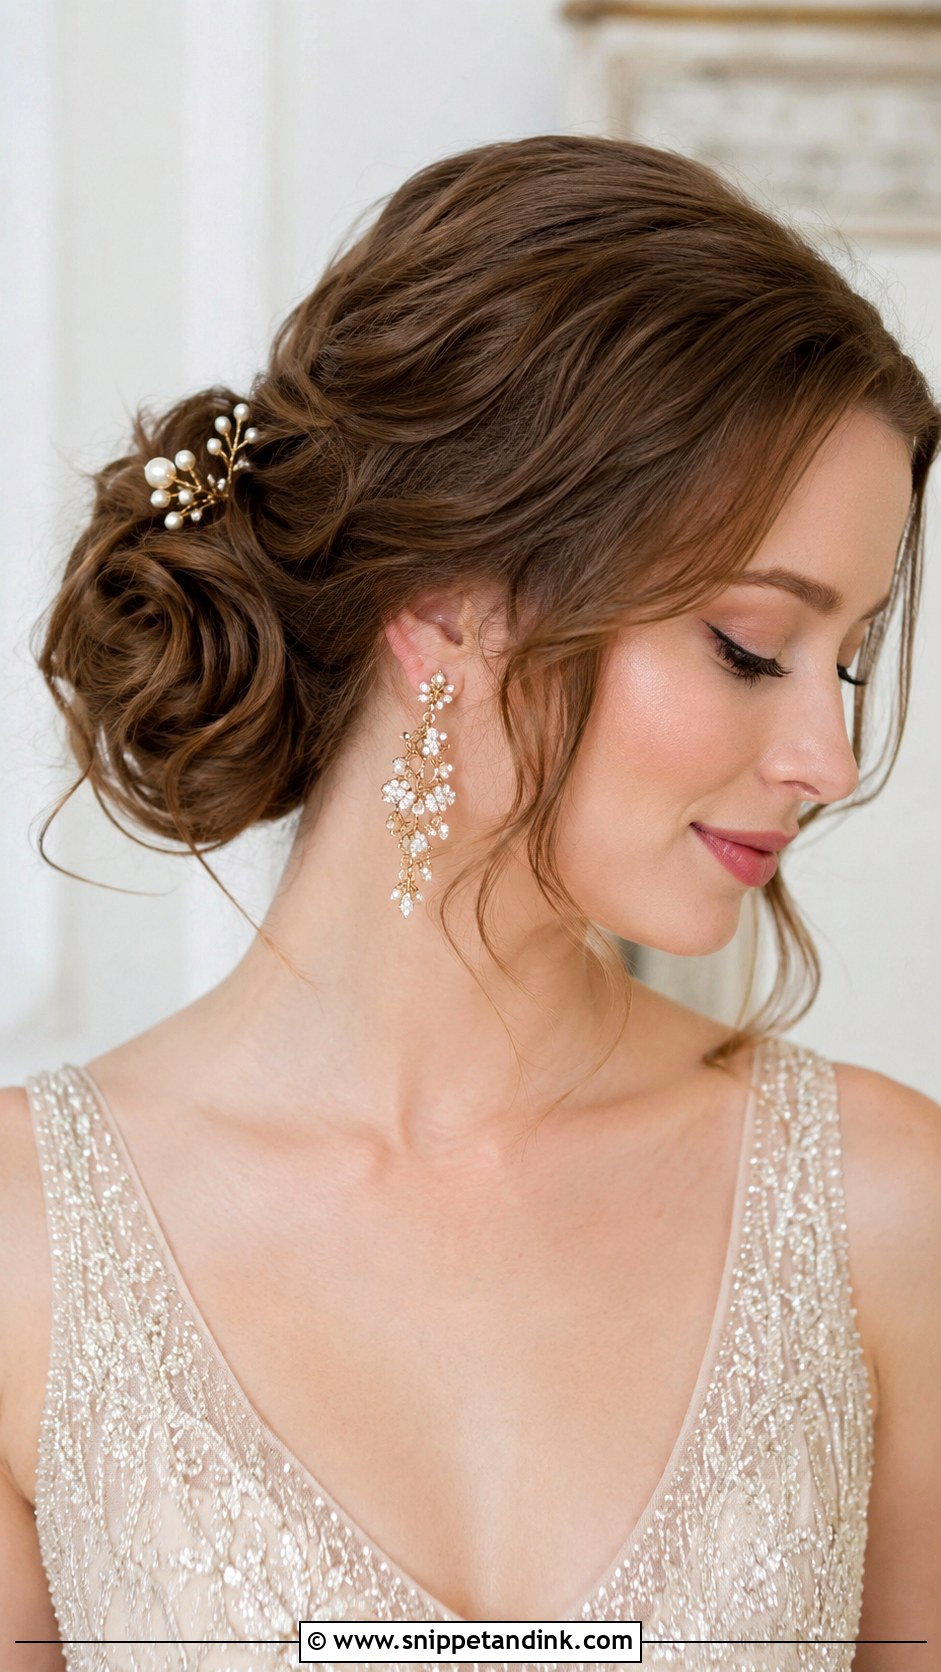
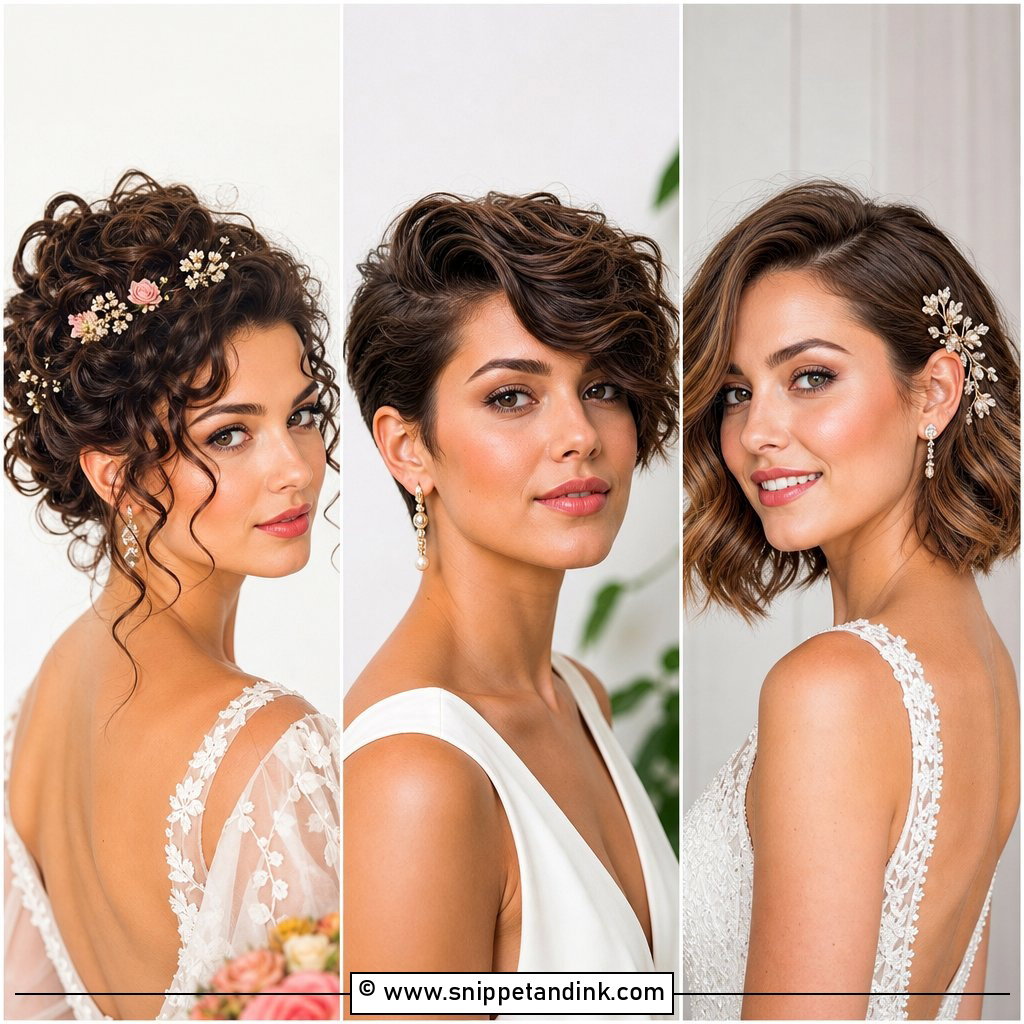
A side bun softens a strong jaw and gives a short cut some asymmetry. I gather the waves at the nape, slightly off-centre, and pin them into a soft bun, then pull out a few pieces near the cheeks. A statement earring or a small vintage hairpiece on the bare side balances it. On short hair the far side usually won’t reach the bun, so I pin it flat behind the ear first with two crossed pins and build the bun over that anchor. Wavy and straight hair both suit it. If your veil attaches at the back, the side bun leaves room above it, which is a useful bonus.
3. Half-Up Half-Down Short Hairstyle
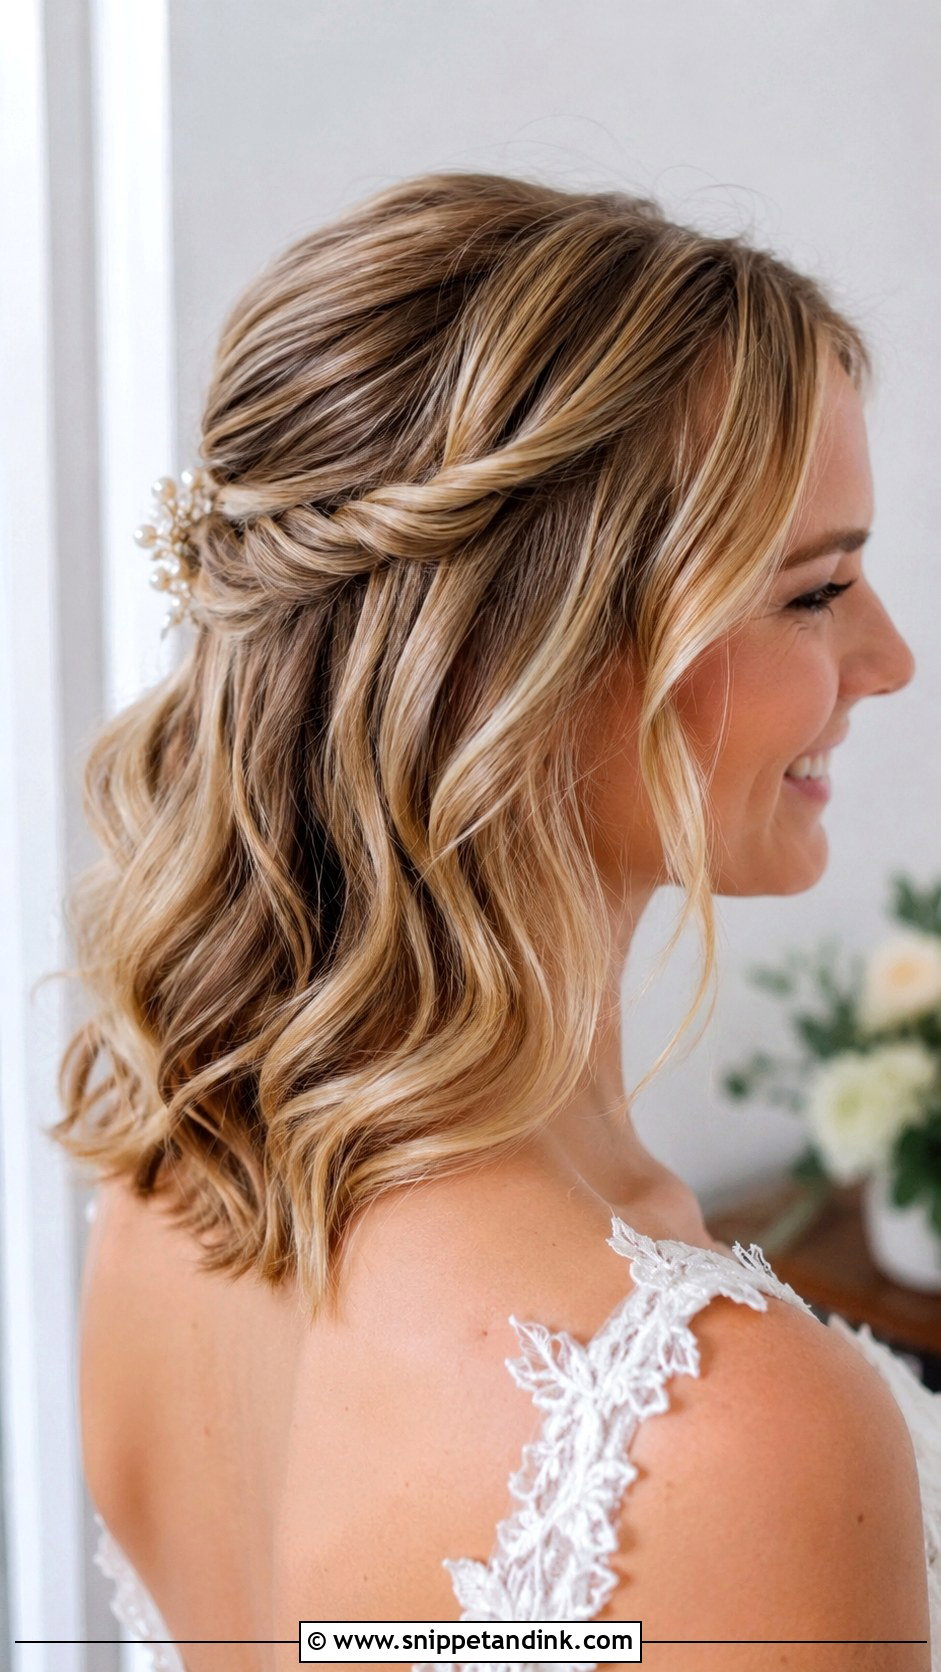
A half-up style keeps your face clear for the vows while leaving length around the neck, and it’s a frequent choice for brides whose bob is too short for a full updo. I twist two small sections from each side, bring them to the back and secure them with a decorative clip or crossed pins. The rest falls in soft curls; a small barrel iron gives short hair real bounce. The weak point is the joining spot, which can droop by the evening, so I hide a clear elastic under the clip. It works in nearly any setting, and it suits a veil worn just below the twist.
4. Twisted Chignon Updo
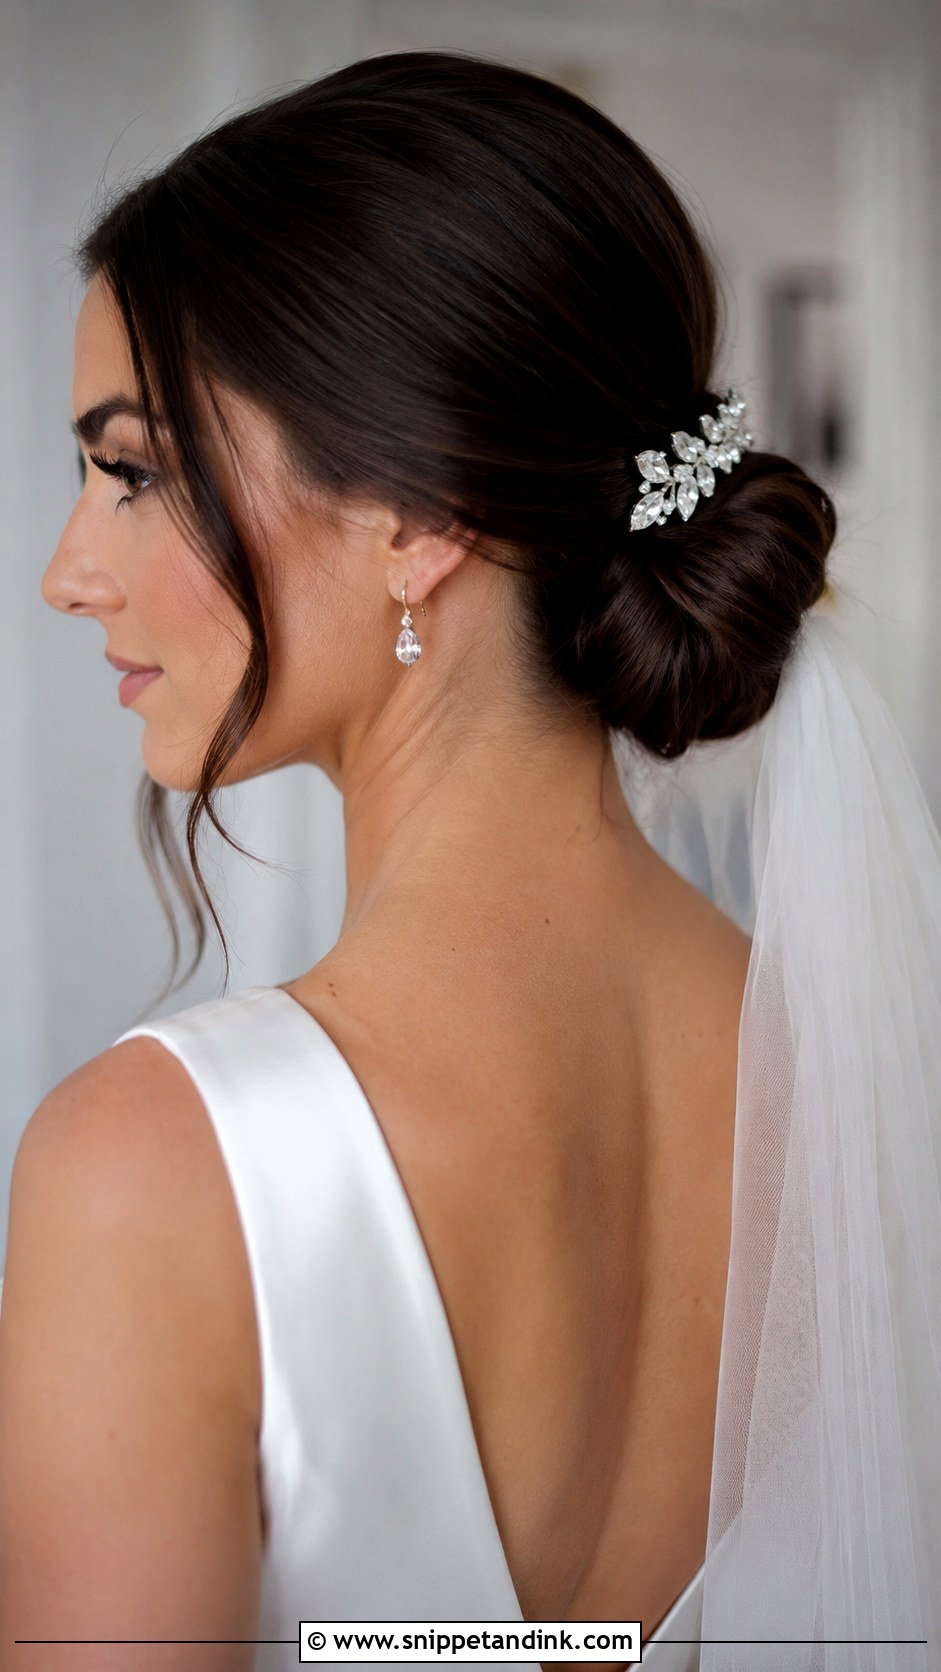
A chignon is the most classic bridal updo I know, and it adapts well to short hair if I build it from twists. I twist sections toward the back, tuck the ends under and secure everything into a low, smooth knot. A little teasing underneath gives it fullness. A few short pieces stay loose at the front. It suits formal weddings and ballroom receptions, and a jewelled pin in the twist catches the light. Under a veil it’s one of the best options because the comb has a solid knot to slide into. Short-haired brides with thin hair may need a small padding inside to give it shape.
5. Dutch Braid Updo
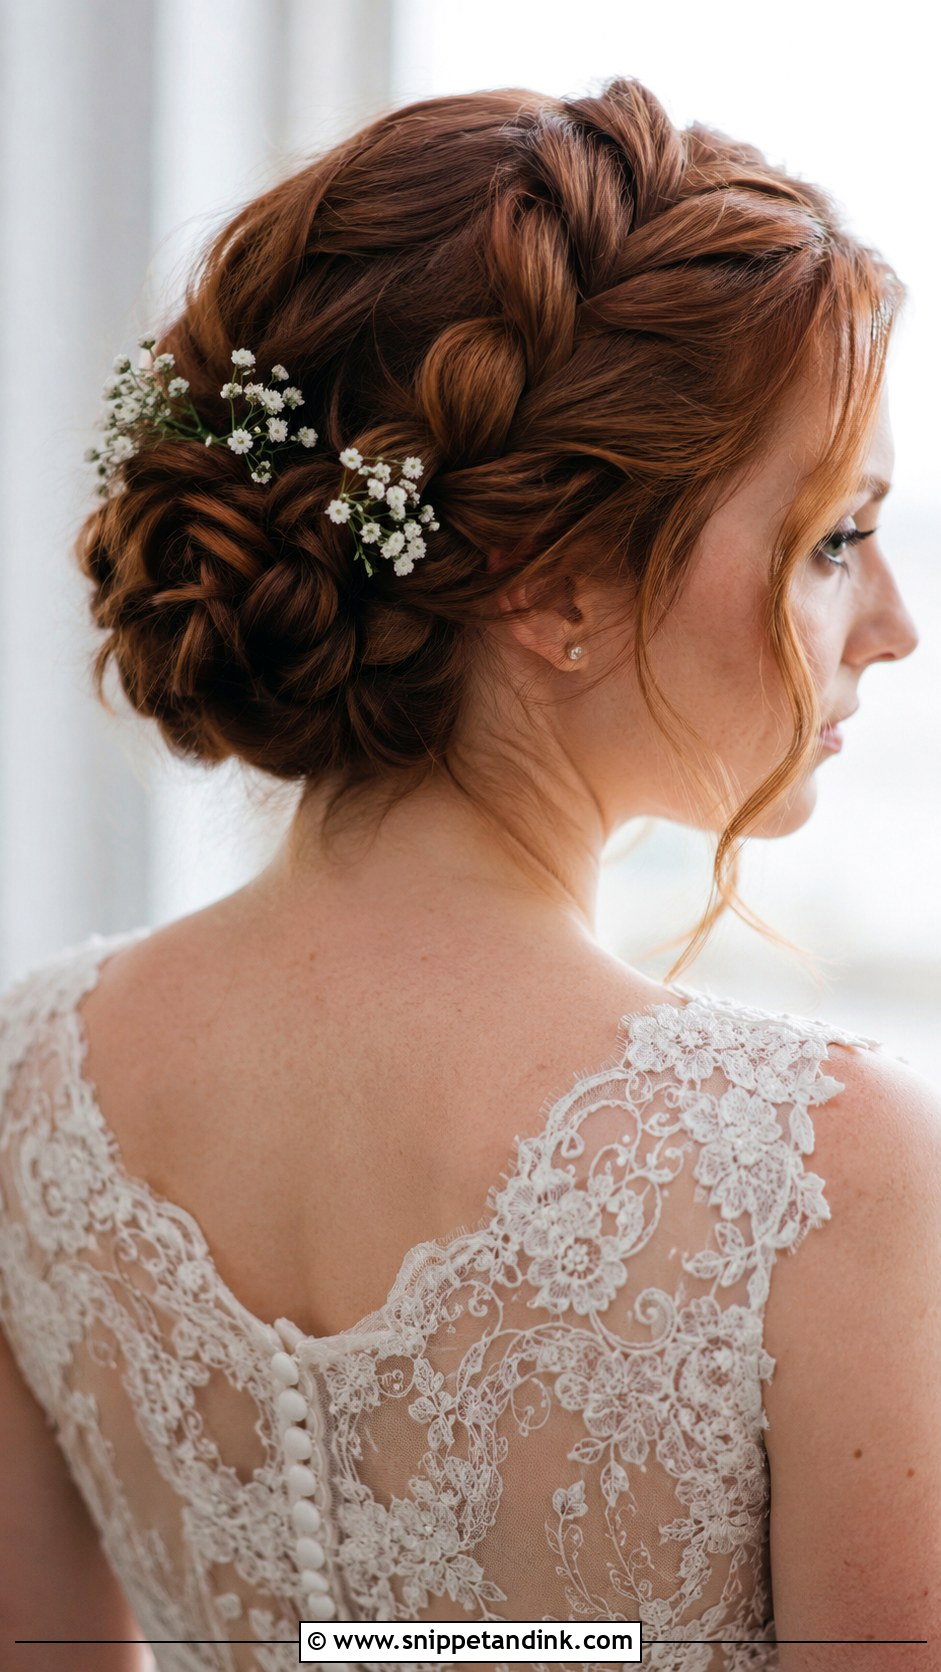
A Dutch braid stands up off the head because each strand crosses under rather than over, and that raised shape reads well in photos even on short hair. I start at the hairline, braid backward, then wrap the braid around the back and pin the ends into a small tucked bun. Use smaller sections than you would on long hair, and a little texturising spray first, or short pieces escape. Pull the edges gently to widen it. Baby’s breath tucked into the weave gives a garden feel. It suits bohemian and outdoor ceremonies. Doing it on yourself is hard; this is one to leave to your stylist.
6. Tousled Side Bun With Headpiece
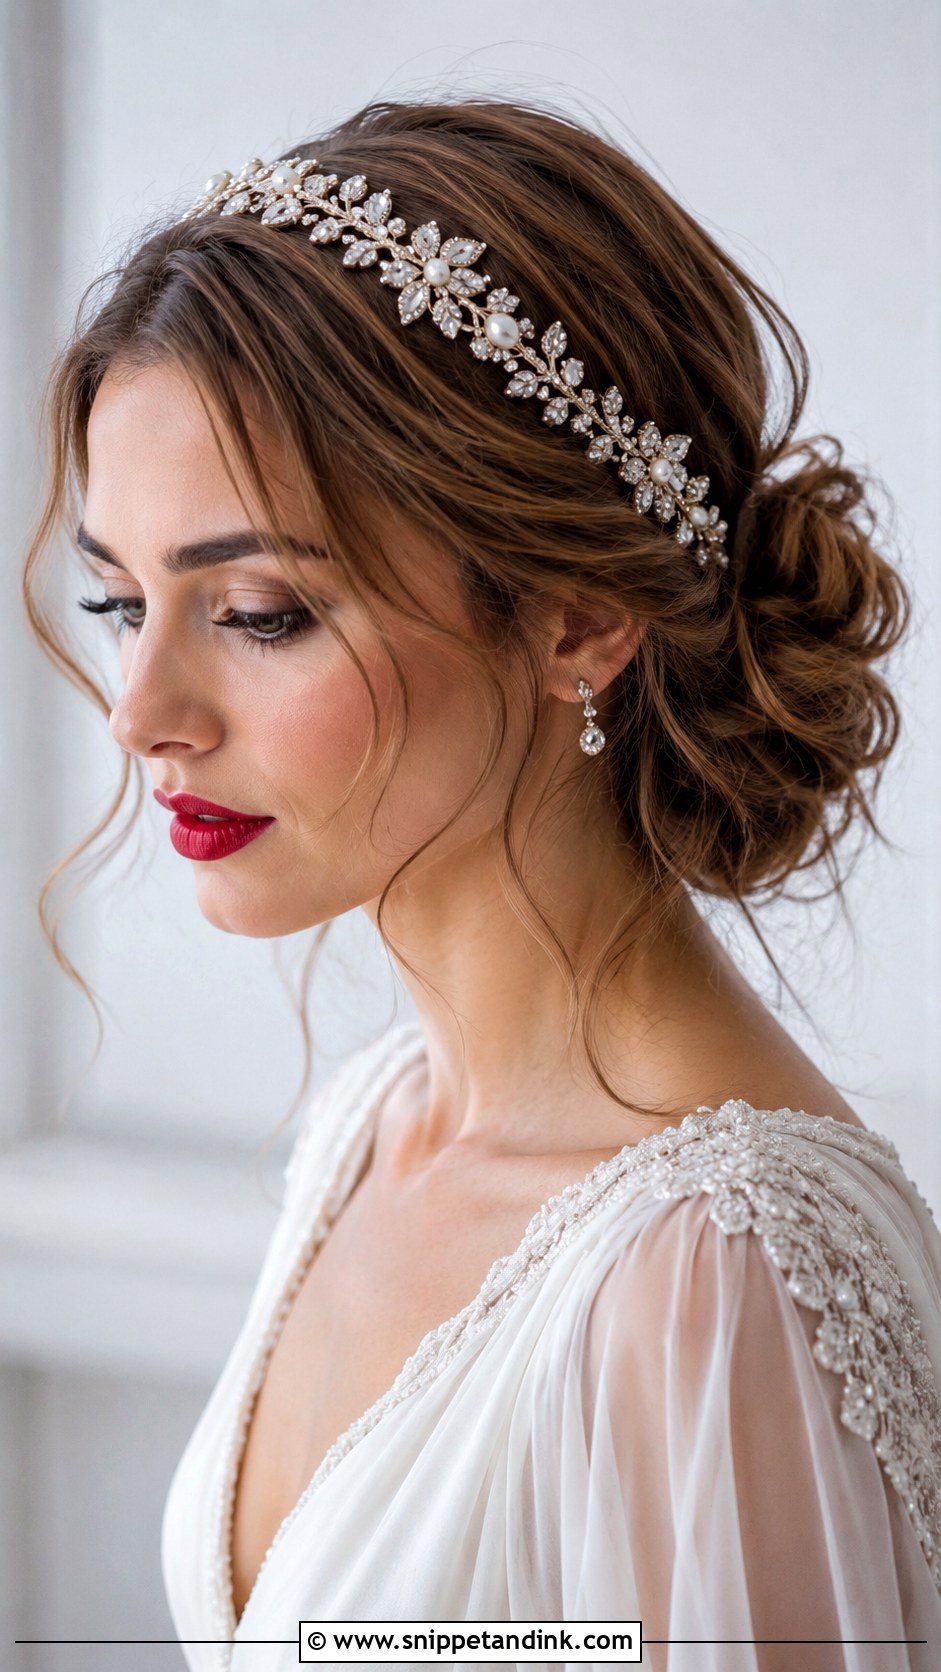
A loose, tousled bun placed just behind one ear has a vintage feel, especially with a jewelled clip or a vintage-style headpiece beside it. I sweep the hair over, pin it into a soft bun and pull a few wavy strands loose to frame the face. Bold red lips and statement earrings suit it. The off-centre placement is flattering on most face shapes. Be aware that a side bun means a veil has to go above or behind it, not through it, so plan the veil placement at your trial.
7. Braided Halo Crown
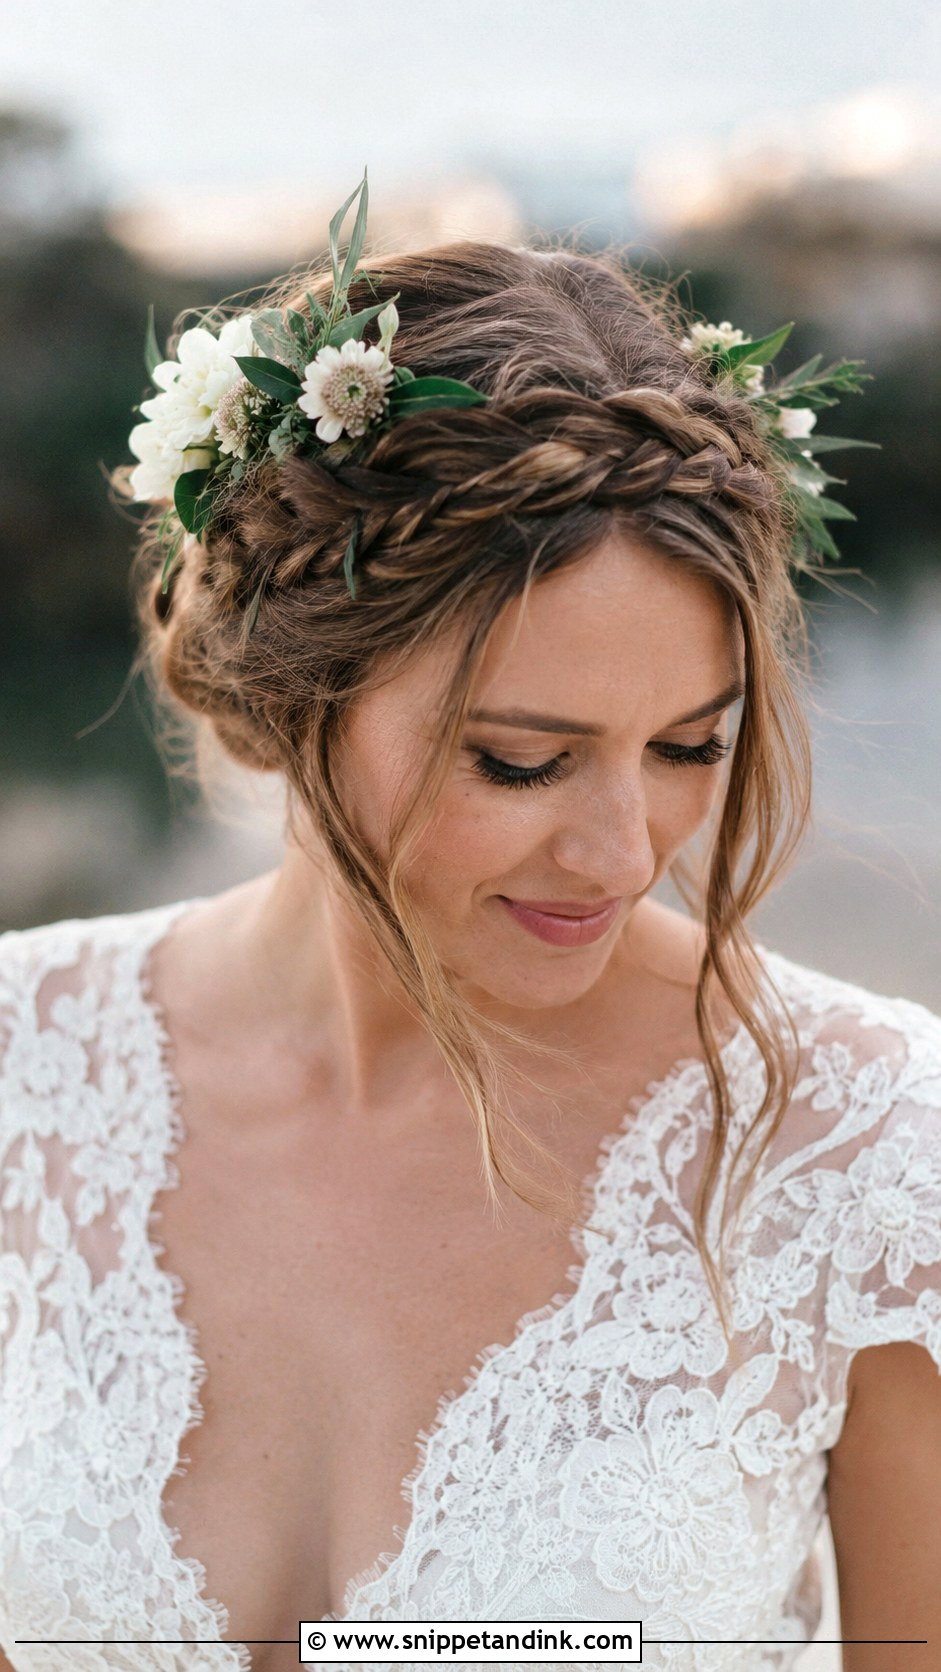
A braided halo is the most regal of the short styles. I make two braids, one on each side, then wrap them up and over the crown and pin them where they meet. Short hair needs smaller braids and more pins, and if the braids won’t reach each other, I pin them at the back under a small section of hair, which hides the gap. Fresh flowers or greenery tucked in give an outdoor feel. It keeps hair completely off the face, which is welcome at a summer wedding. Boho and rustic brides tend to love it. It’s not ideal with a cathedral veil, since the comb has little to grip.
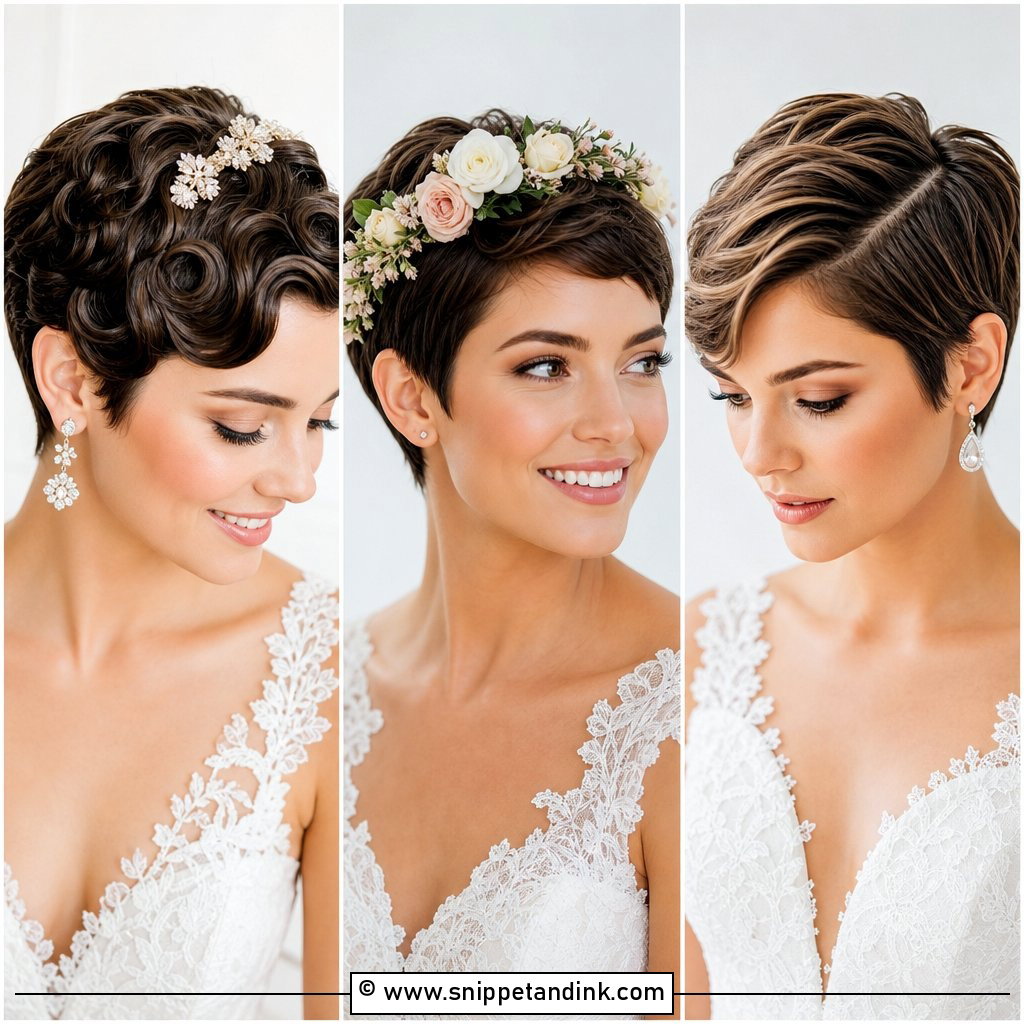
8. Pinned Back Pixie Cut
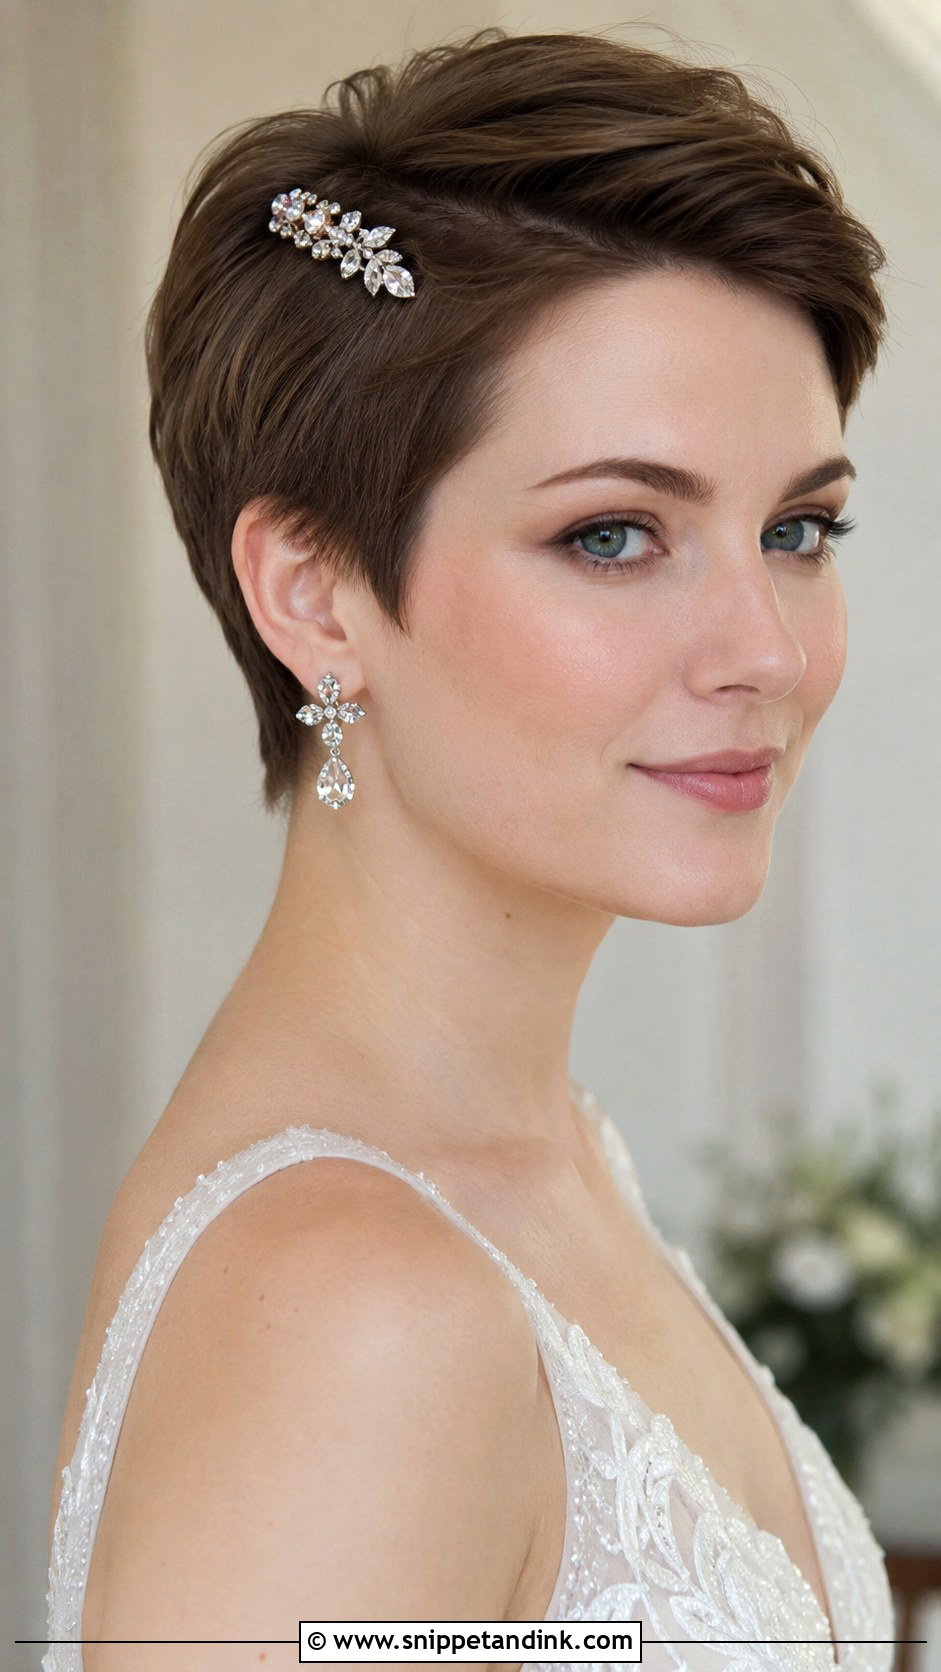
A pixie can absolutely go bridal. I sweep the longer top pieces to one side and pin them back near the ear with a sparkly clip, then use a little texture paste and a light shine spray for polish. A small jewelled hairpiece adds glamour. It shows off the face and bold earrings, and it barely moves all day. The detail I check first is the growth: if your pixie is between cuts, the sides and nape may need a tidy-up about two weeks before the wedding. A pinned-back pixie is one of the easiest bridal styles there is.
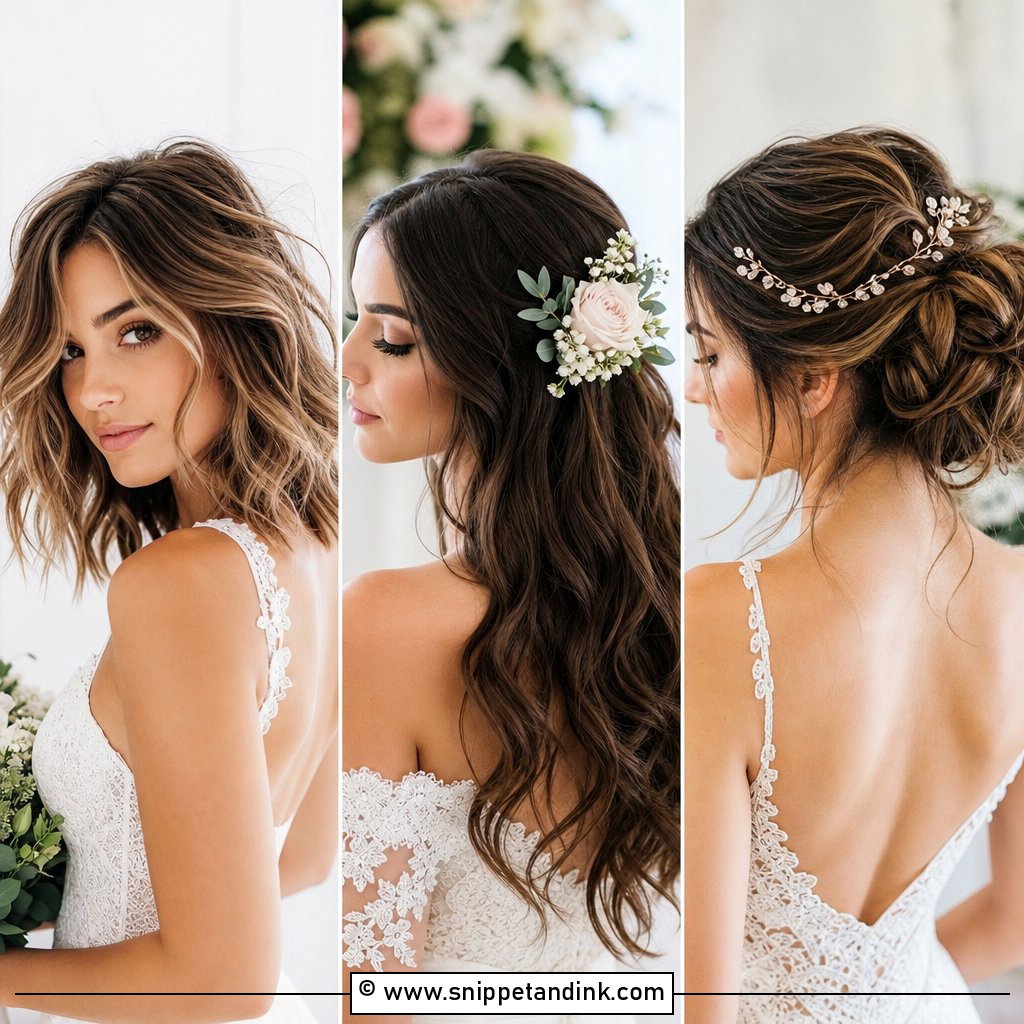
9. Curly Bob Updo
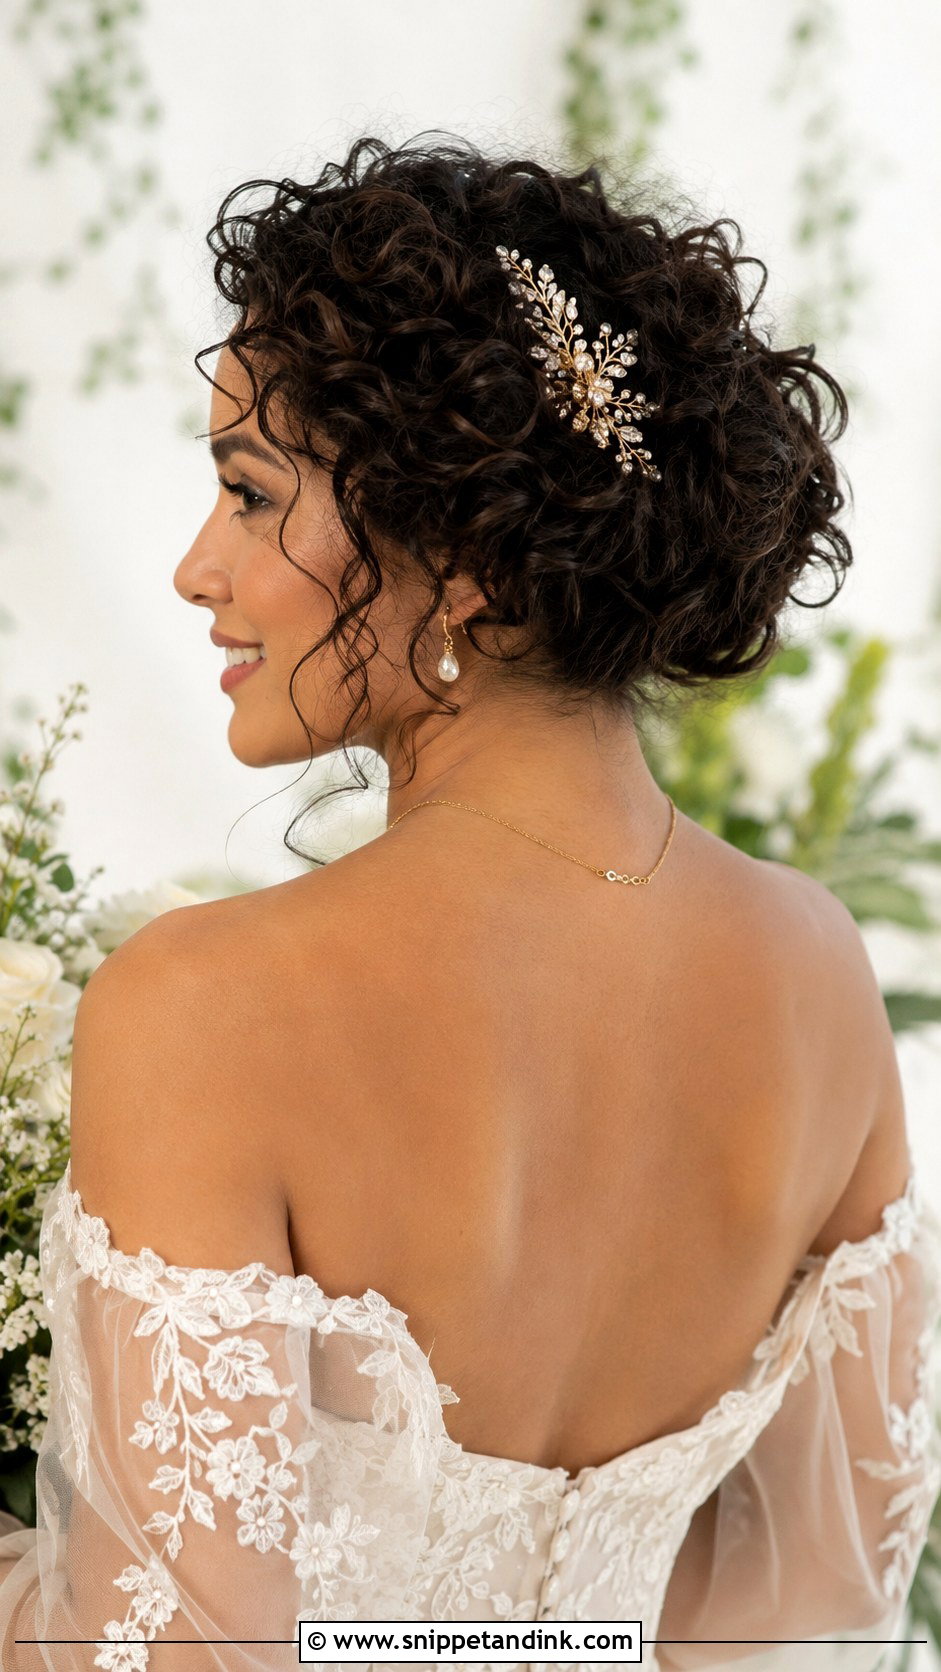
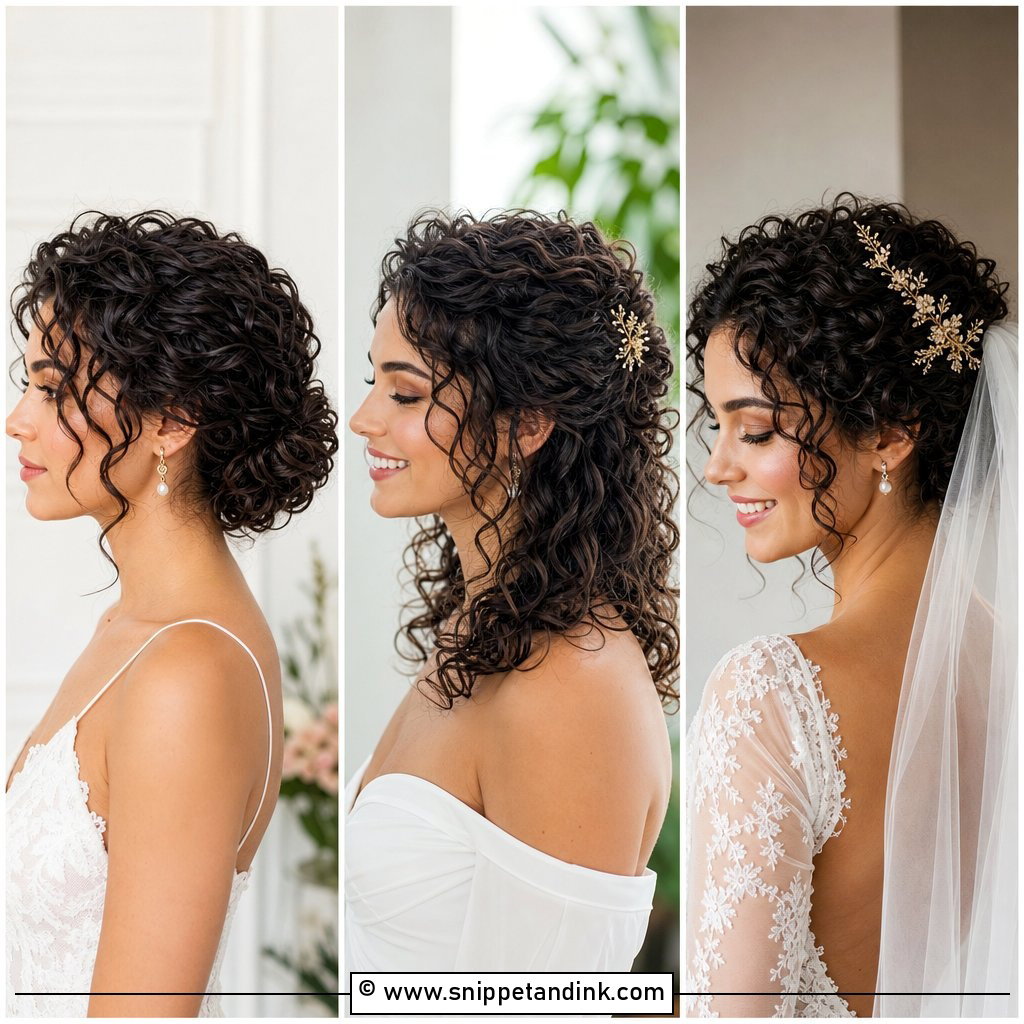
A curly bob is the easiest short hair to put up, because curls grip each other and hide every pin. I gather the curls toward the back and pin sections into a loose, rounded shape, letting a few spirals escape around the face. The natural texture does most of the work. Don’t brush curls dry; it turns them to frizz. A decorative comb or fresh blooms finish it. This works for formal and casual weddings alike. If your curls shrink a lot, do the trial on the same wash day schedule you’ll use for the wedding, so you see the real length.
10. Vintage Finger Wave Updo
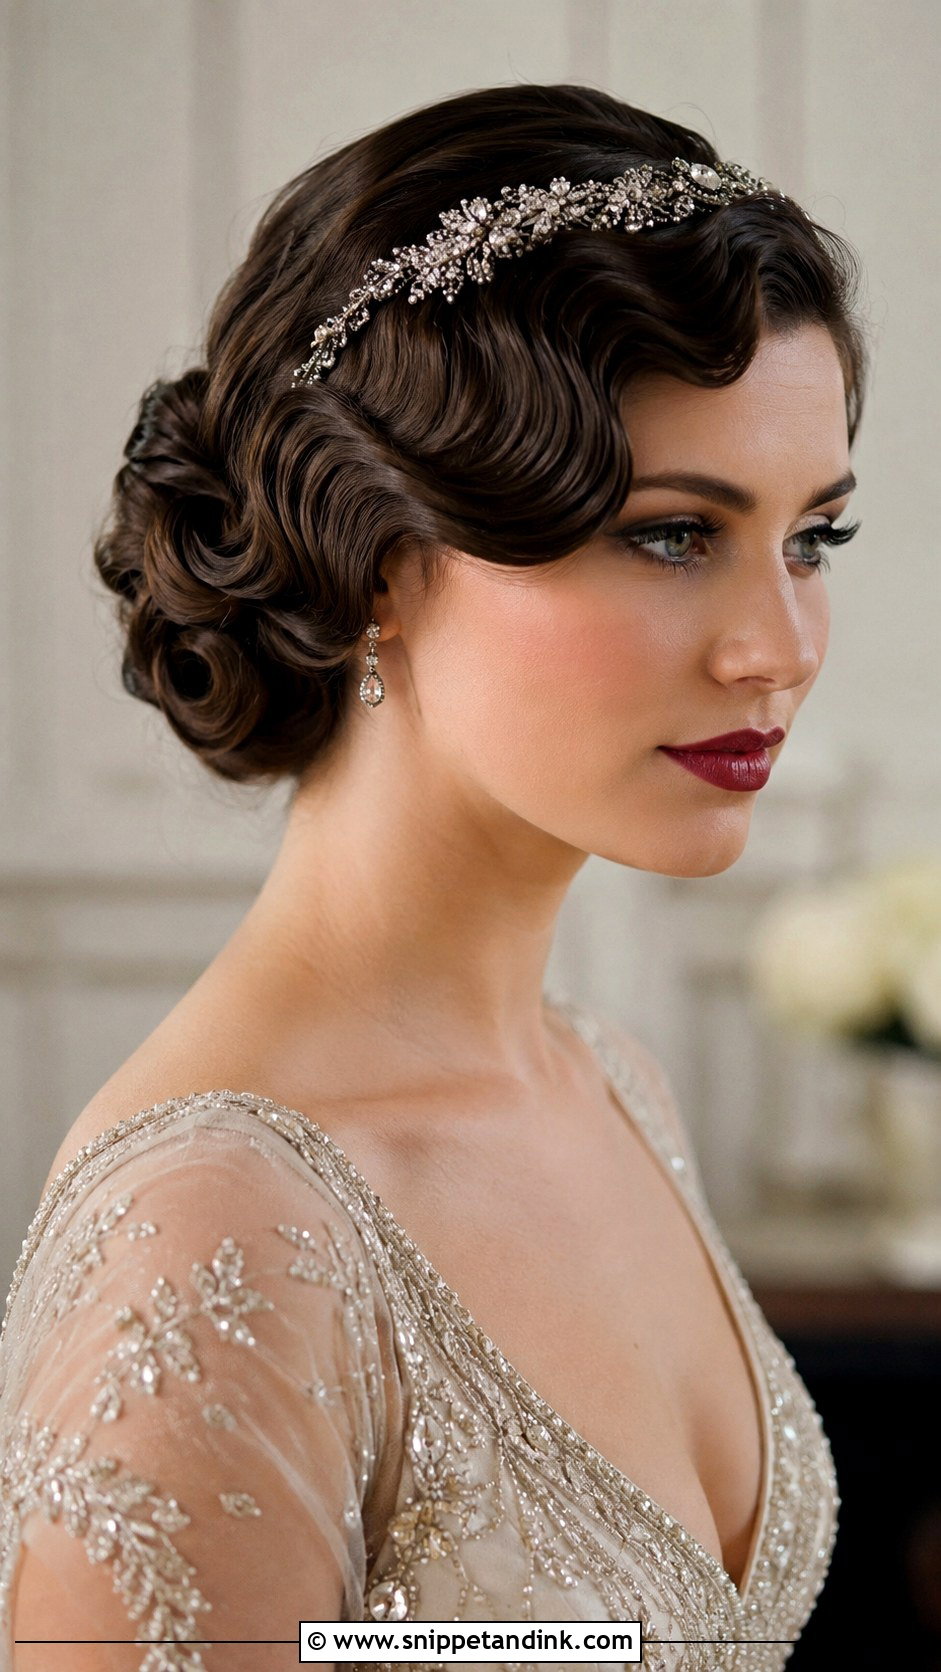
Finger waves sculpt short hair into smooth S-shaped ridges close to the head, and they’re the most technical style here. I comb setting lotion through damp hair, push each ridge into place with my fingers and a fine-tooth comb, clip it while it dries, then pin the back into a sleek tuck. It suits art deco weddings and pairs with a jewelled headband or feathered piece for full retro impact. It takes practice to get right, so book a stylist who’s done them before. Humidity is their enemy, so I’d steer an outdoor summer bride toward something softer.
11. Twisted Updo With Flowers
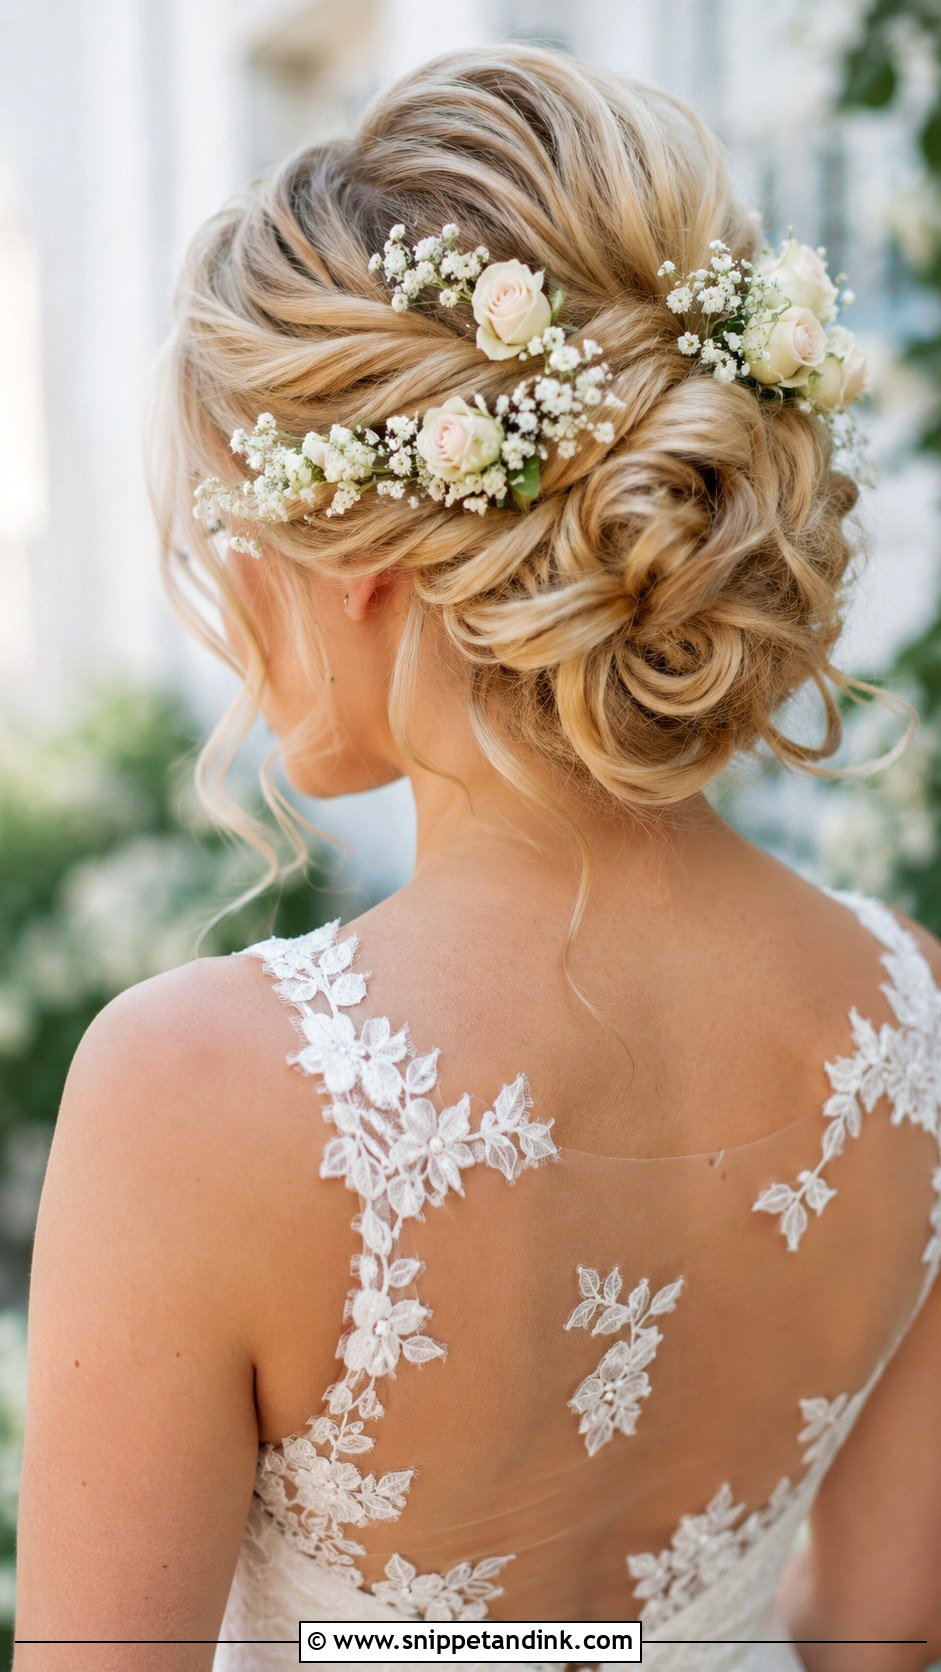
Fresh flowers turn a simple twisted updo into something personal. I twist small sections toward the back, pinning each one as I go, then tuck in small blooms like baby’s breath, spray roses or greenery between the twists. Ask your florist for a few extra stems from your bouquet; it ties the hair to the rest of the flowers. Keep the flowers small, because short hair can’t support heavy heads. A few loose strands soften the face. It suits garden weddings, spring ceremonies and boho celebrations. Pin the flowers last, after hairspray, so the petals don’t brown.
12. Sleek Low Knot
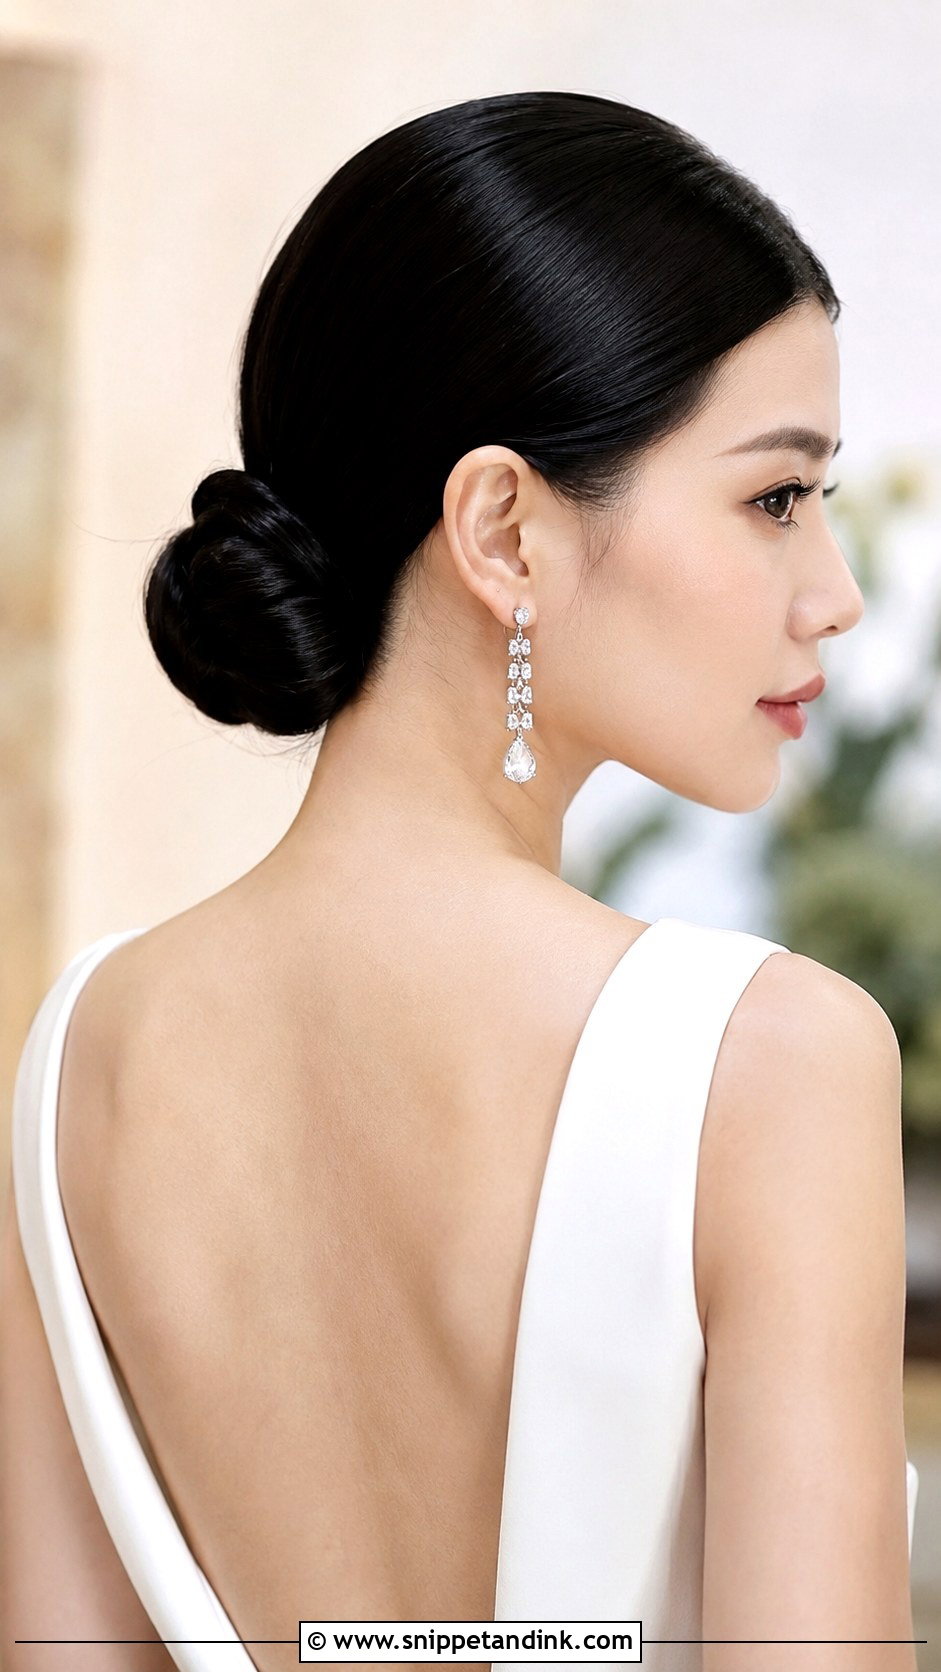
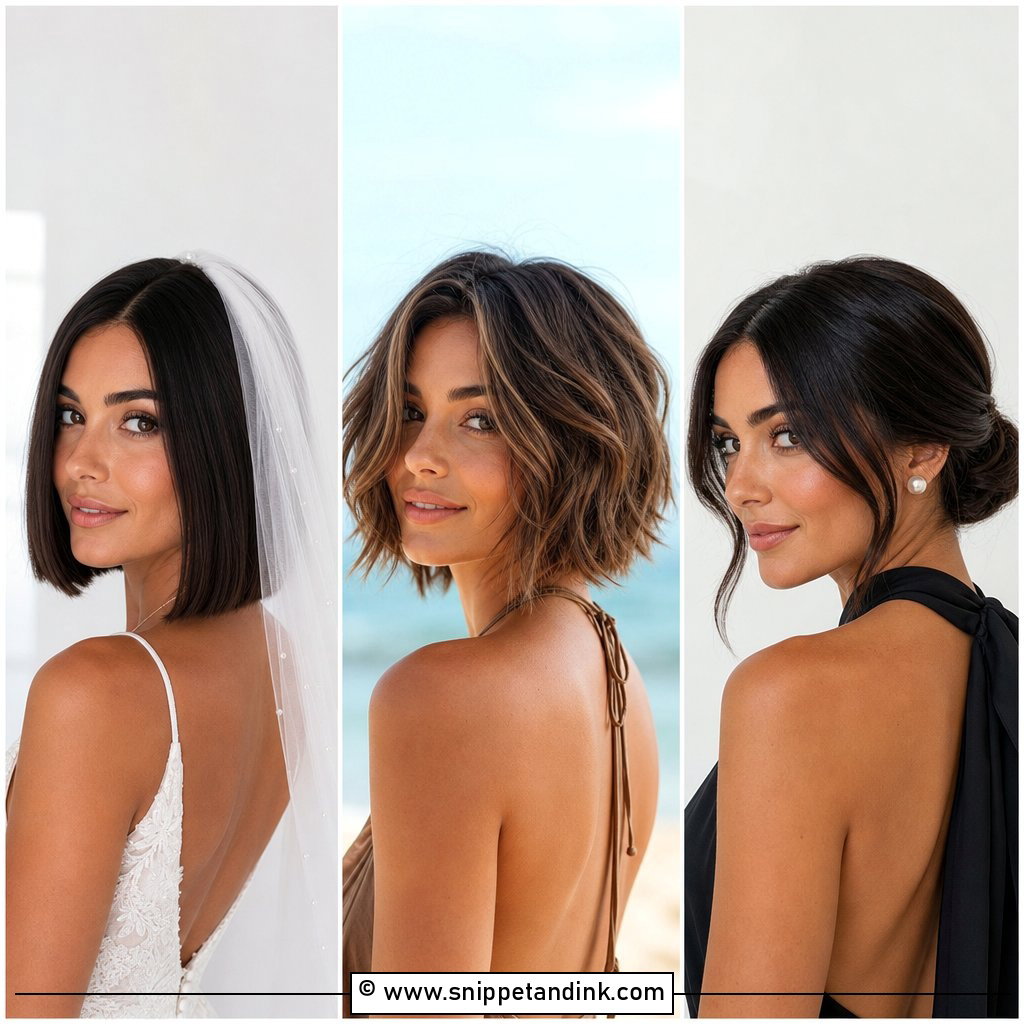
A sleek low knot is the quiet option for minimalist brides. I smooth everything back with a serum to tame flyaways, gather it at the nape and pin it into a tidy, sculpted knot with plenty of pins and a strong-hold spray. Its clean lines show the jawline and neck. It pairs with a structured gown and statement earrings. The nape is the challenge on short hair: short hairs there won’t reach the knot, so I gel them upward first. A veil comb slides neatly under the knot, which makes this a good match for a long, simple veil.
13. Upside-Down Braided Bun
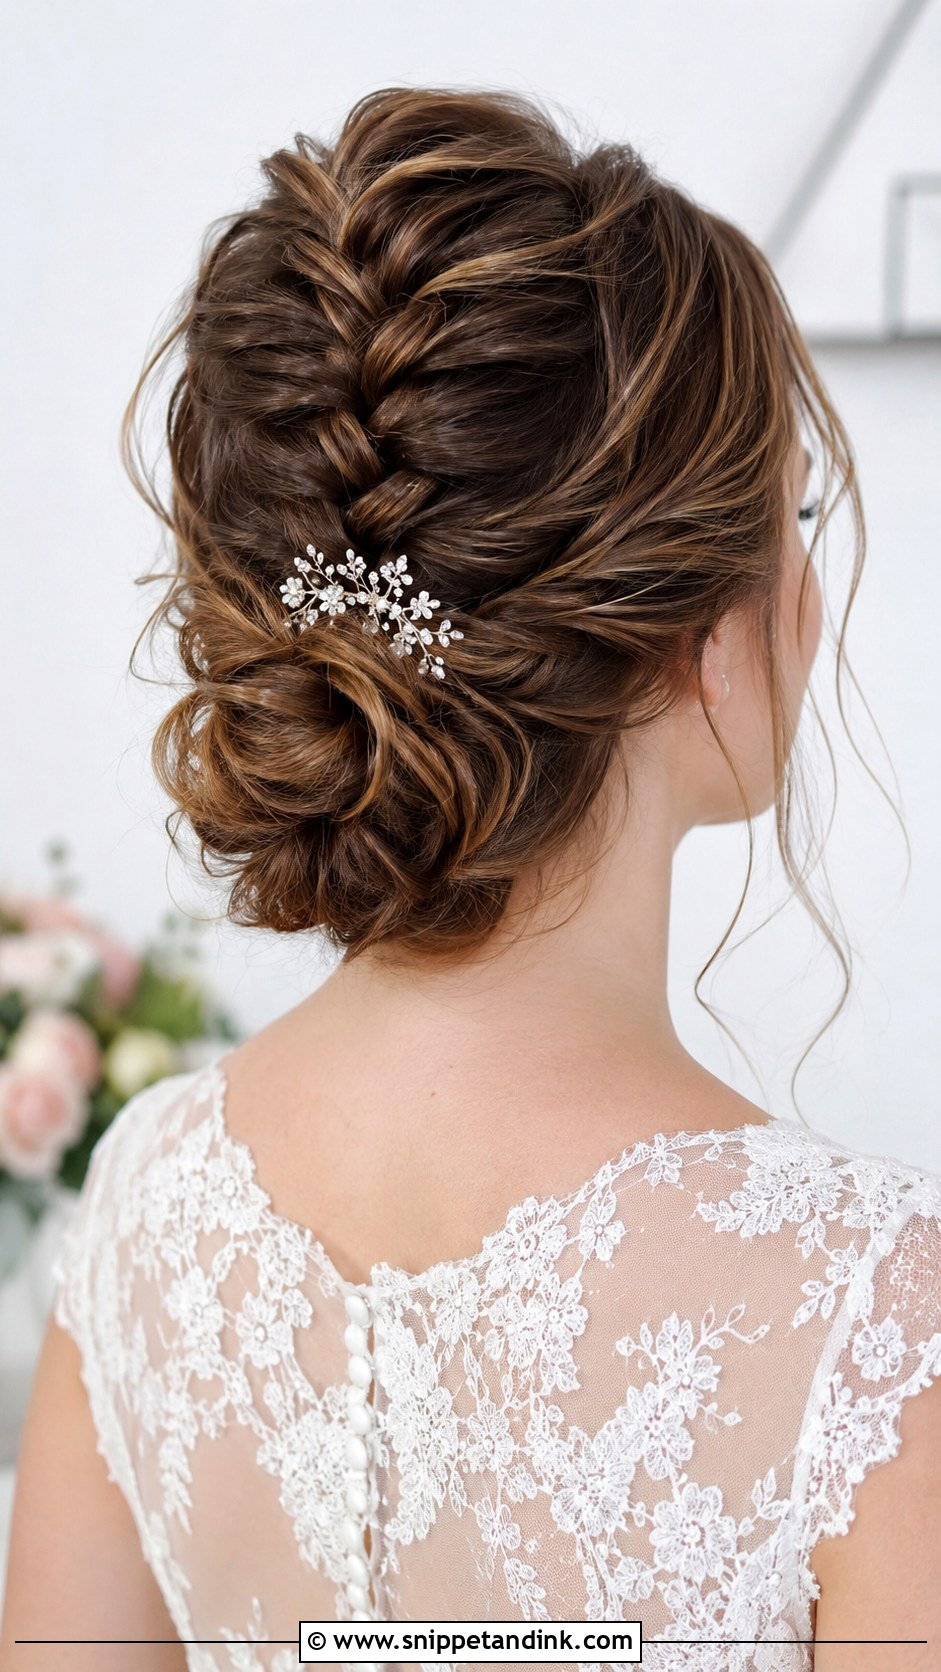
An upside-down braided bun looks intricate but takes less than ten minutes. Flip your head forward, braid from the nape upward toward the crown, then secure the ends into a small bun and pin. When you stand up, the braid leads into the bun. Short hair needs smaller braids and more pins. It’s beginner-friendly, and it solves the short nape hair problem because the braid catches those pieces. A sparkly pin or a fresh flower at the bun adds charm. The risk is a crooked braid, so use a hand mirror and practise once before the wedding.
14. Faux Bob Updo
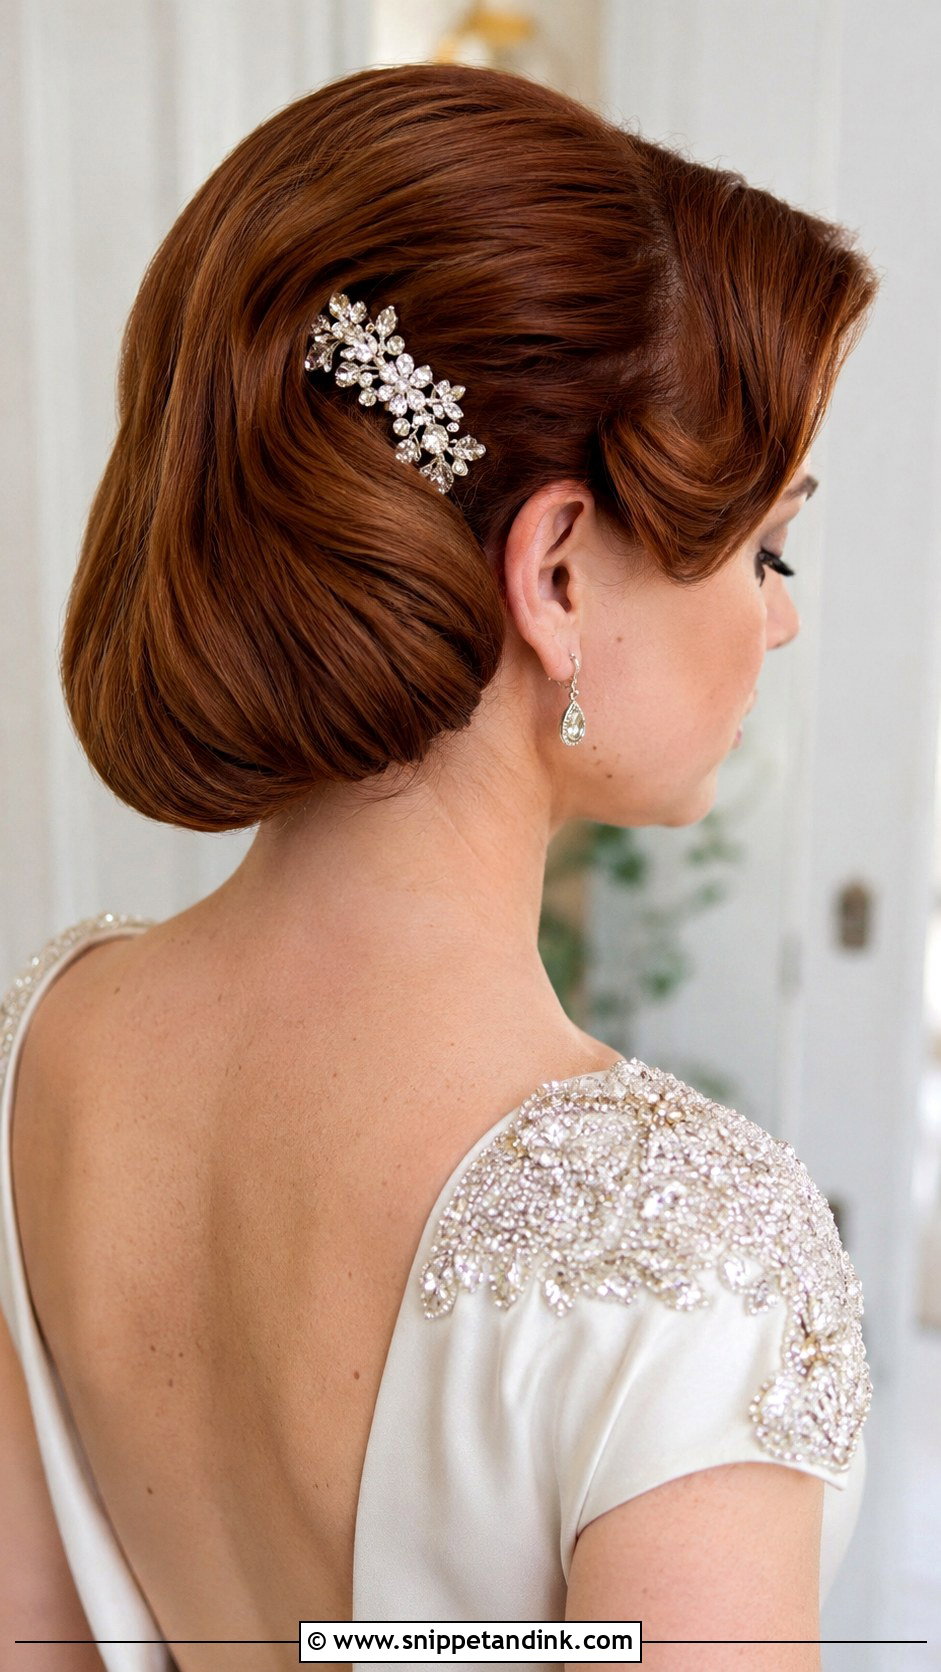
The faux bob updo rolls the ends under so they look like a sleek, rolled bob, with the pins hidden inside the roll along the nape. It’s useful for brides whose hair is between a bob and a lob and who want a structured look. A side part and a jewelled comb make it bridal. It flatters most face shapes and feels vintage. If your hair is very blunt, curl the ends under first, or they’ll stick out sideways once rolled. It works across many wedding themes.
15. Messy French Twist
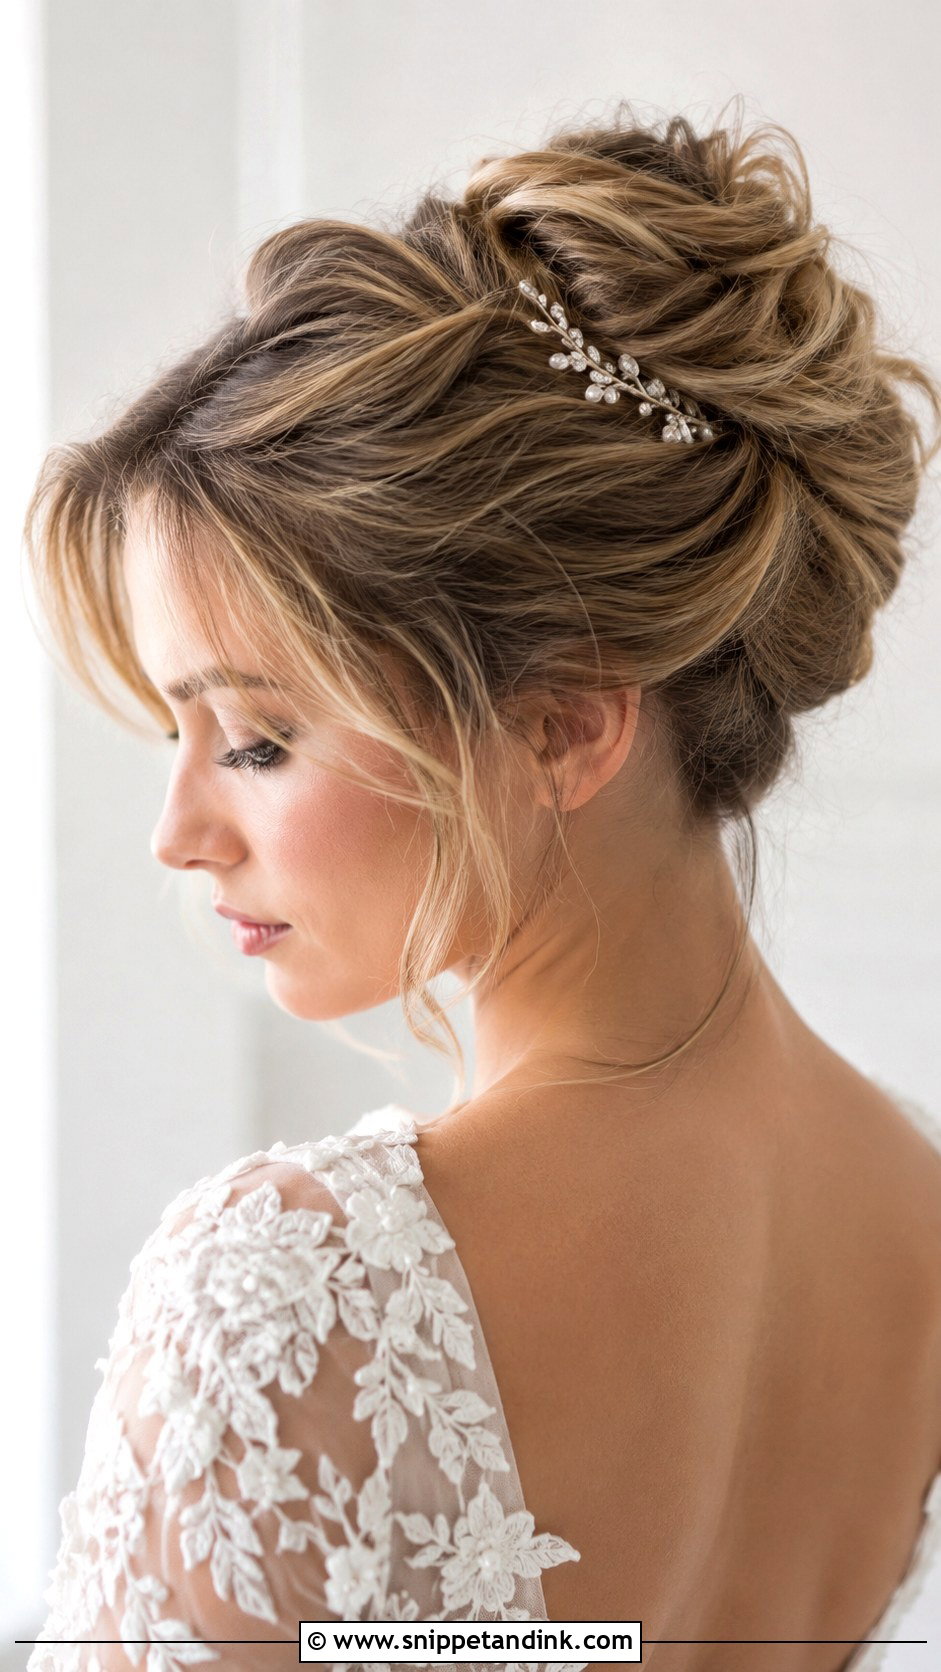
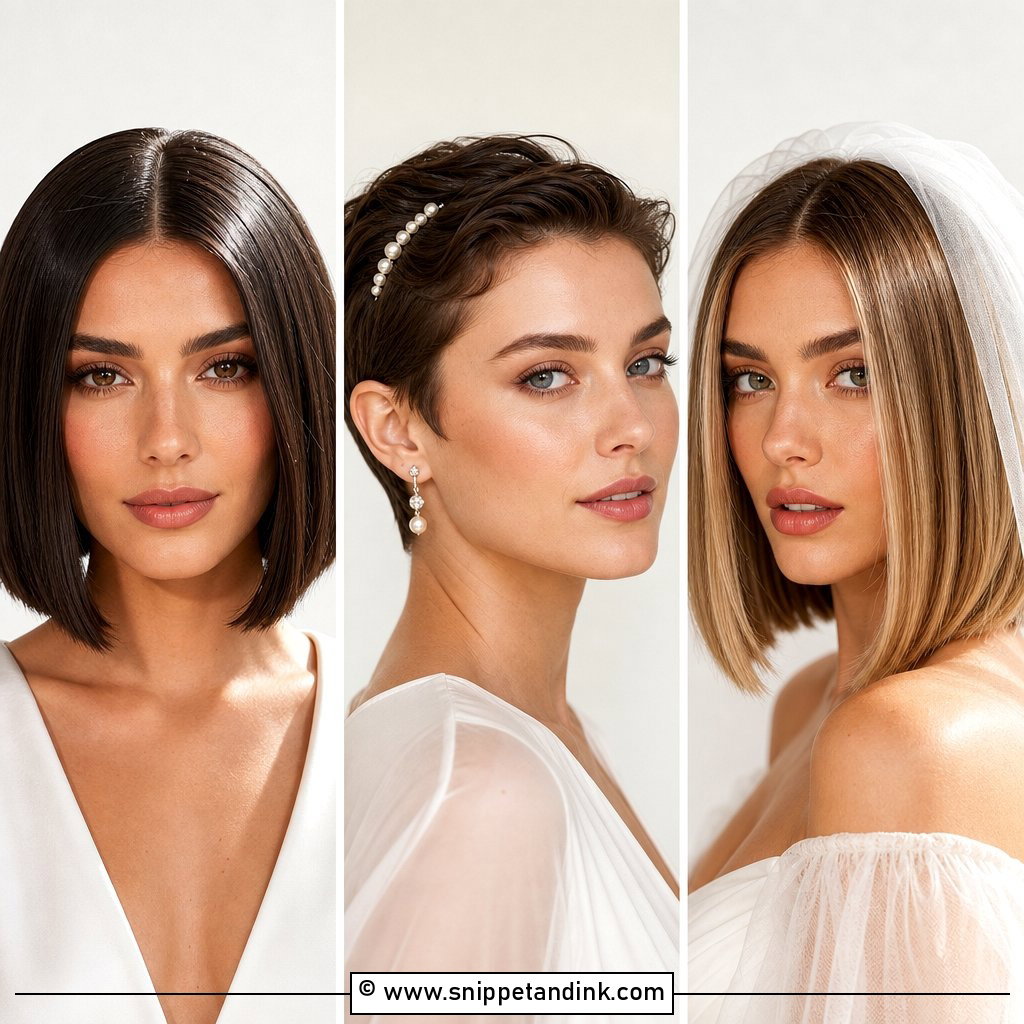
A messy French twist gives height without the stiffness of a formal roll. I gather the hair to one side, twist it upward with the texture left loose, and pin along the seam with pins sliding into the roll. A few pieces fall free around the face. It suits short to medium hair, and it gives a short-haired bride some height without padding. A decorative pin or small floral accent adds interest. Hair above the jawline usually can’t twist at all, so this is one for collarbone-length bobs.
16. Bridal Bob With Side Sweep
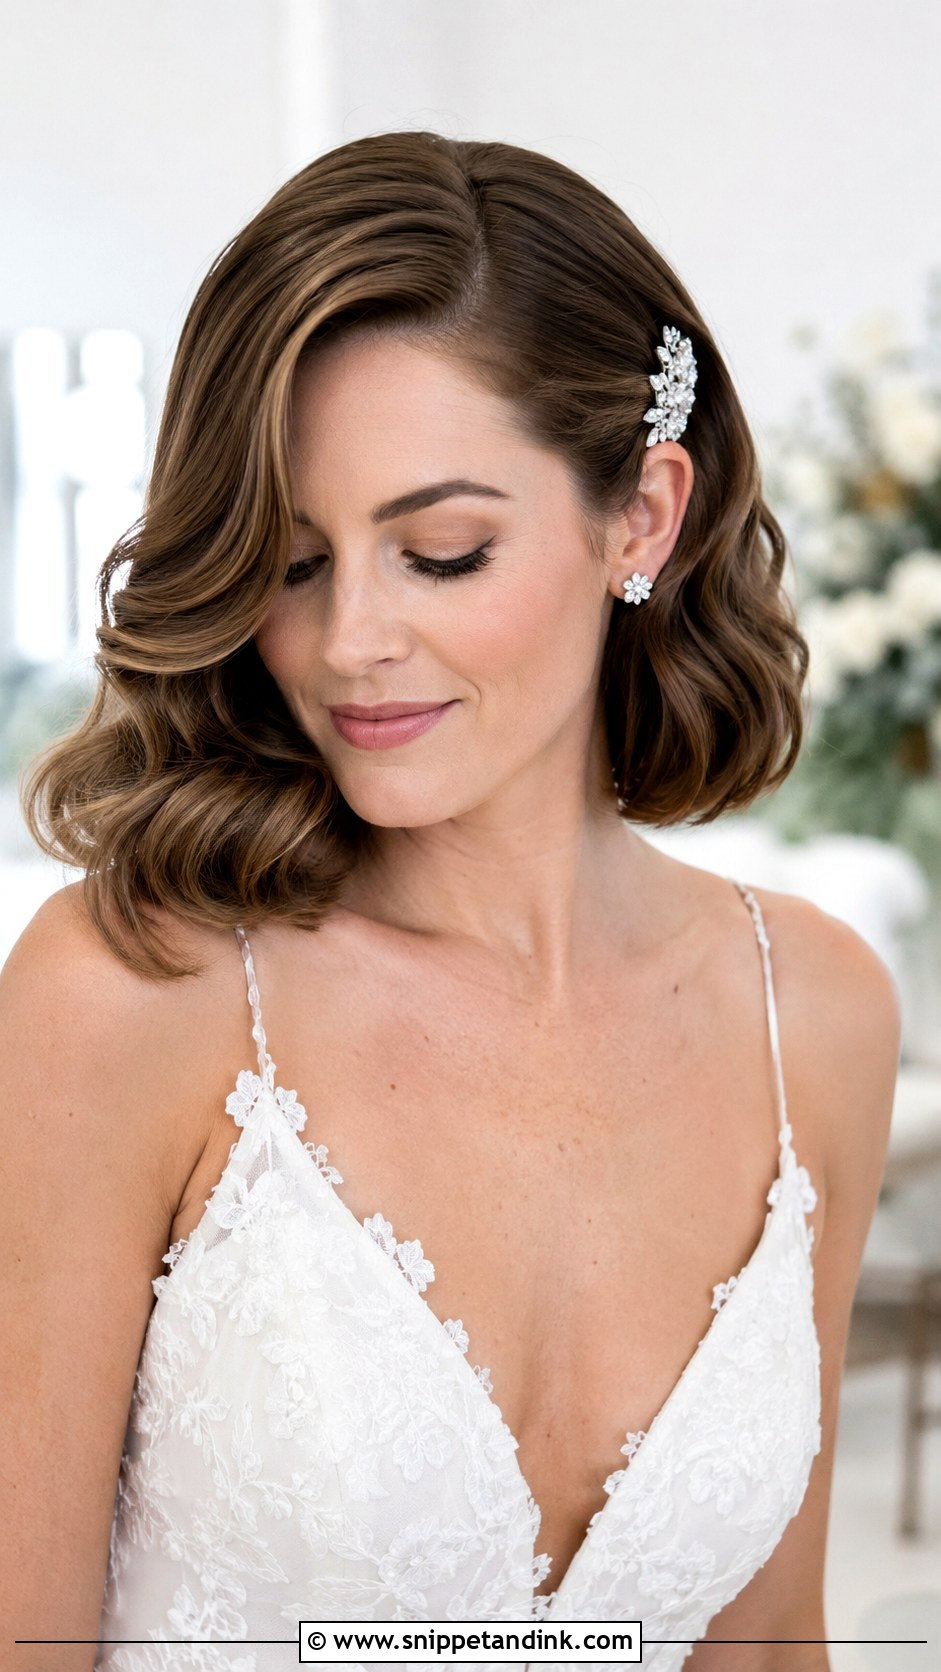
A side-swept bob is the simplest bridal styling there is. I set a deep side part, sweep the longer section across the forehead and pin it behind one ear. Soft waves give movement. A decorative clip or jewelled barrette holds the swept section and adds sparkle. It keeps hair out of your face while showing the shape of your bob. The swept piece can fall forward during the day, so I hide a bobby pin under the clip first. It’s flattering and very easy to keep tidy.
17. Twisted Crown Half Updo
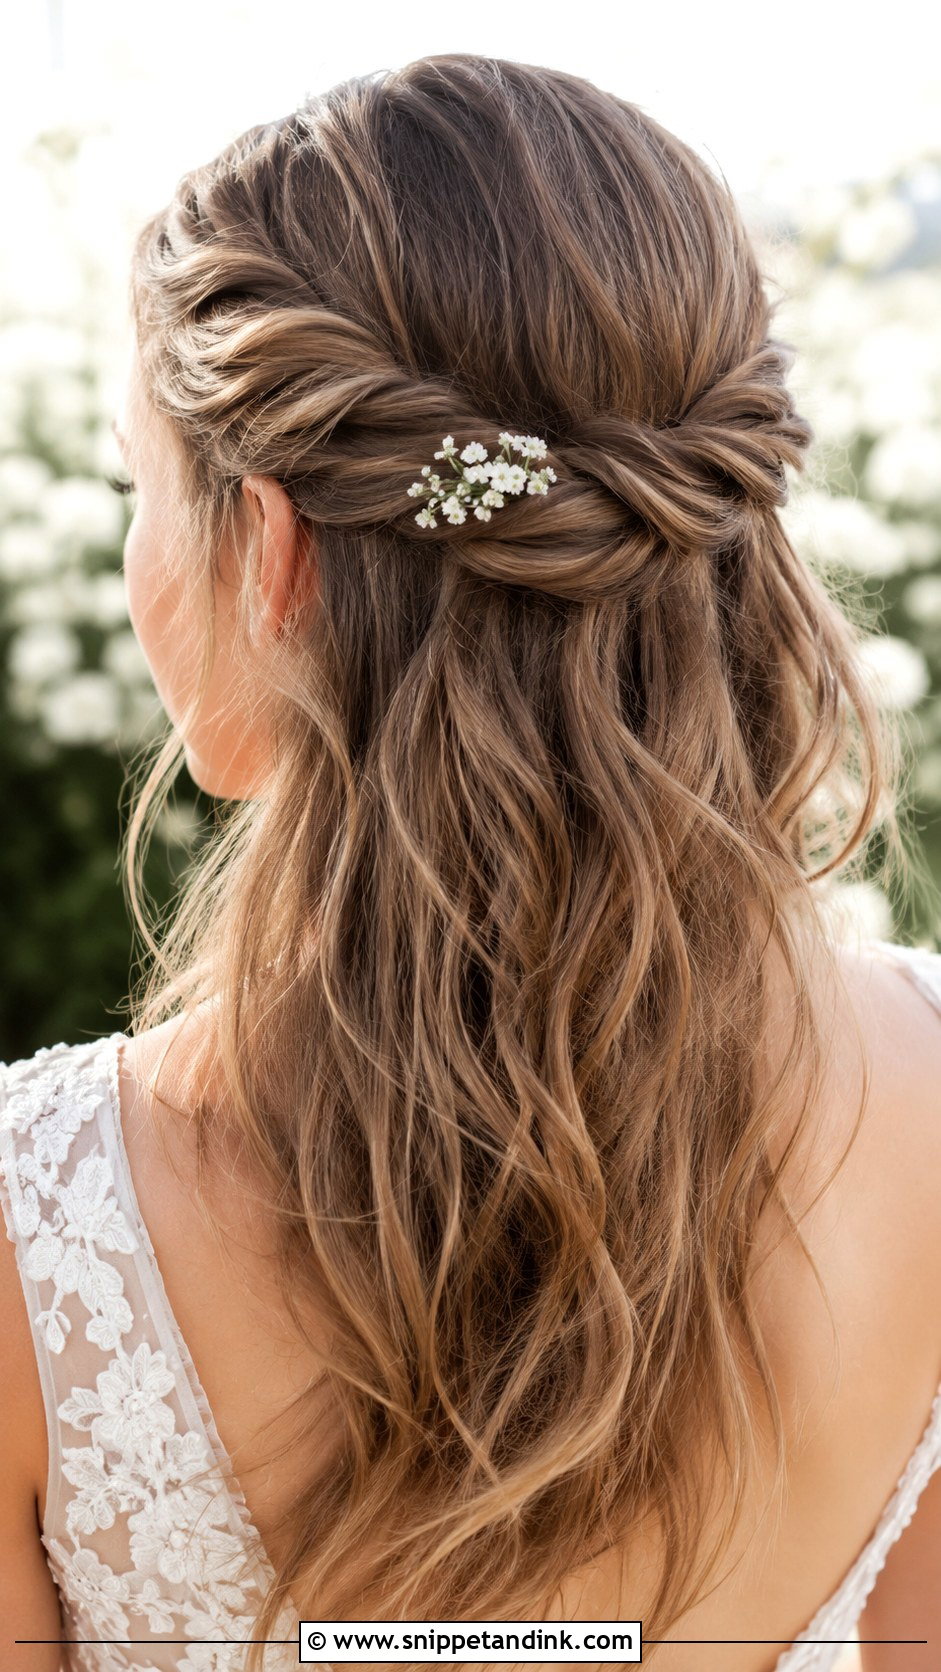
A twisted crown half updo has the softness of a braid with less work. I take a section from each side, twist it and bring both to the back where they meet, then secure them with pins. The rest falls freely. The twists add texture and keep hair off the face. It suits boho and garden weddings and works on nearly every hair type. Tiny flowers or a delicate pin finish it. On very short hair, the twists may not meet, in which case I pin each one separately and hide the gap with a decorative clip.
18. Sleek Pinned Pixie With Headband
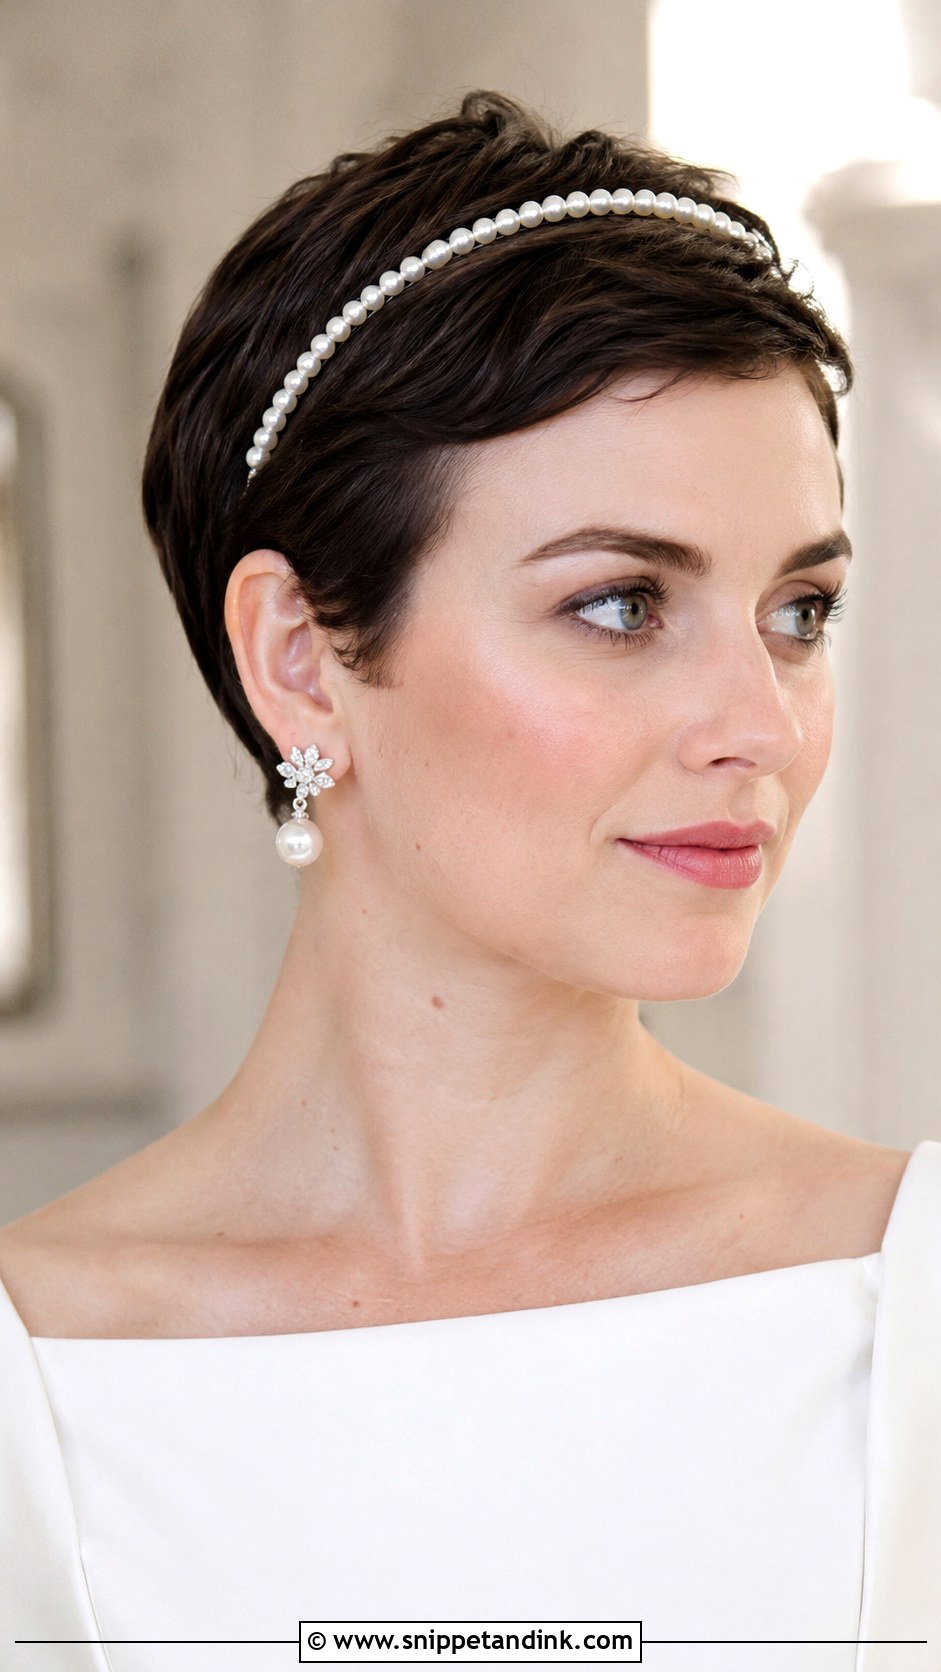
A jeweled headband turns a short pixie into a properly bridal look with almost no styling. I smooth the pixie back with a little pomade for shine and slide a sparkly or pearl headband across the top. The headband does all the decoration. Statement earrings finish it. The practical problem is grip: on a short, silky cut a headband slides backward, so I pin a bobby pin behind each ear through the band’s ends. It suits modern brides who like clean, minimal styling.
19. Rolled Updo With Decorative Pins
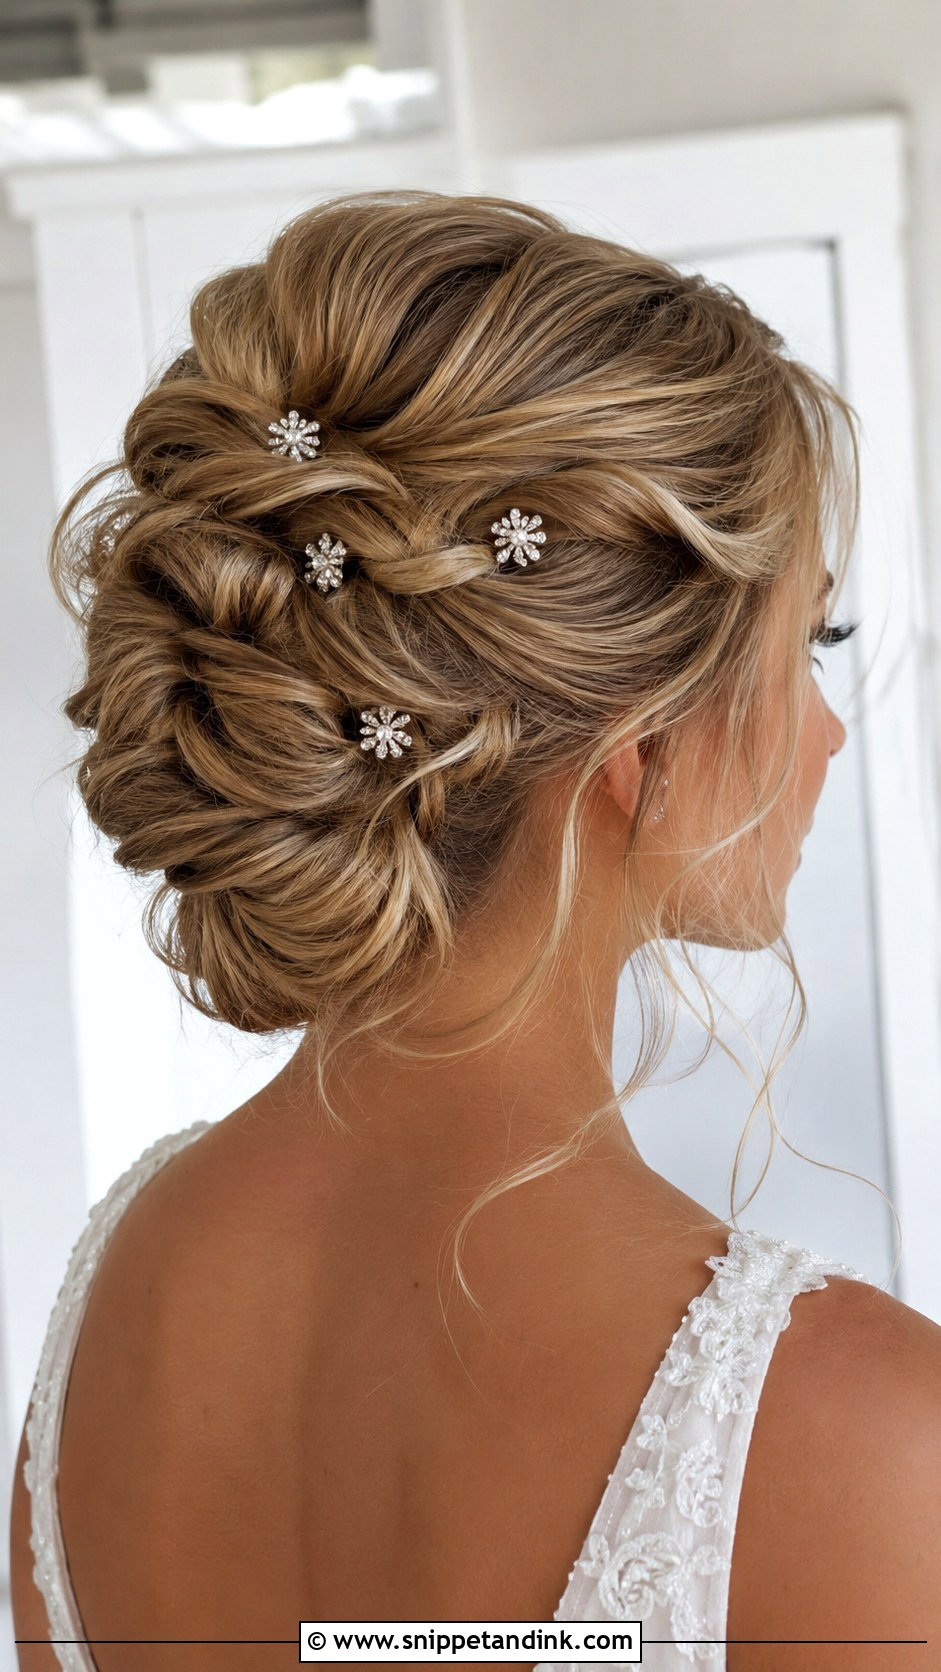
Decorative pins hold the hair and decorate it at the same time. I roll small sections under and toward the back, securing each roll with an embellished pin, and arrange the rolls in a soft, rounded shape at the nape or crown. The visible pins become part of the design. A few wispy pieces soften it. It suits brides who want their accessories to shine. Decorative pins usually grip worse than plain bobby pins, so I set a plain pin under each one first and let the pretty one sit over it.
20. Loose Curls With Side Pin
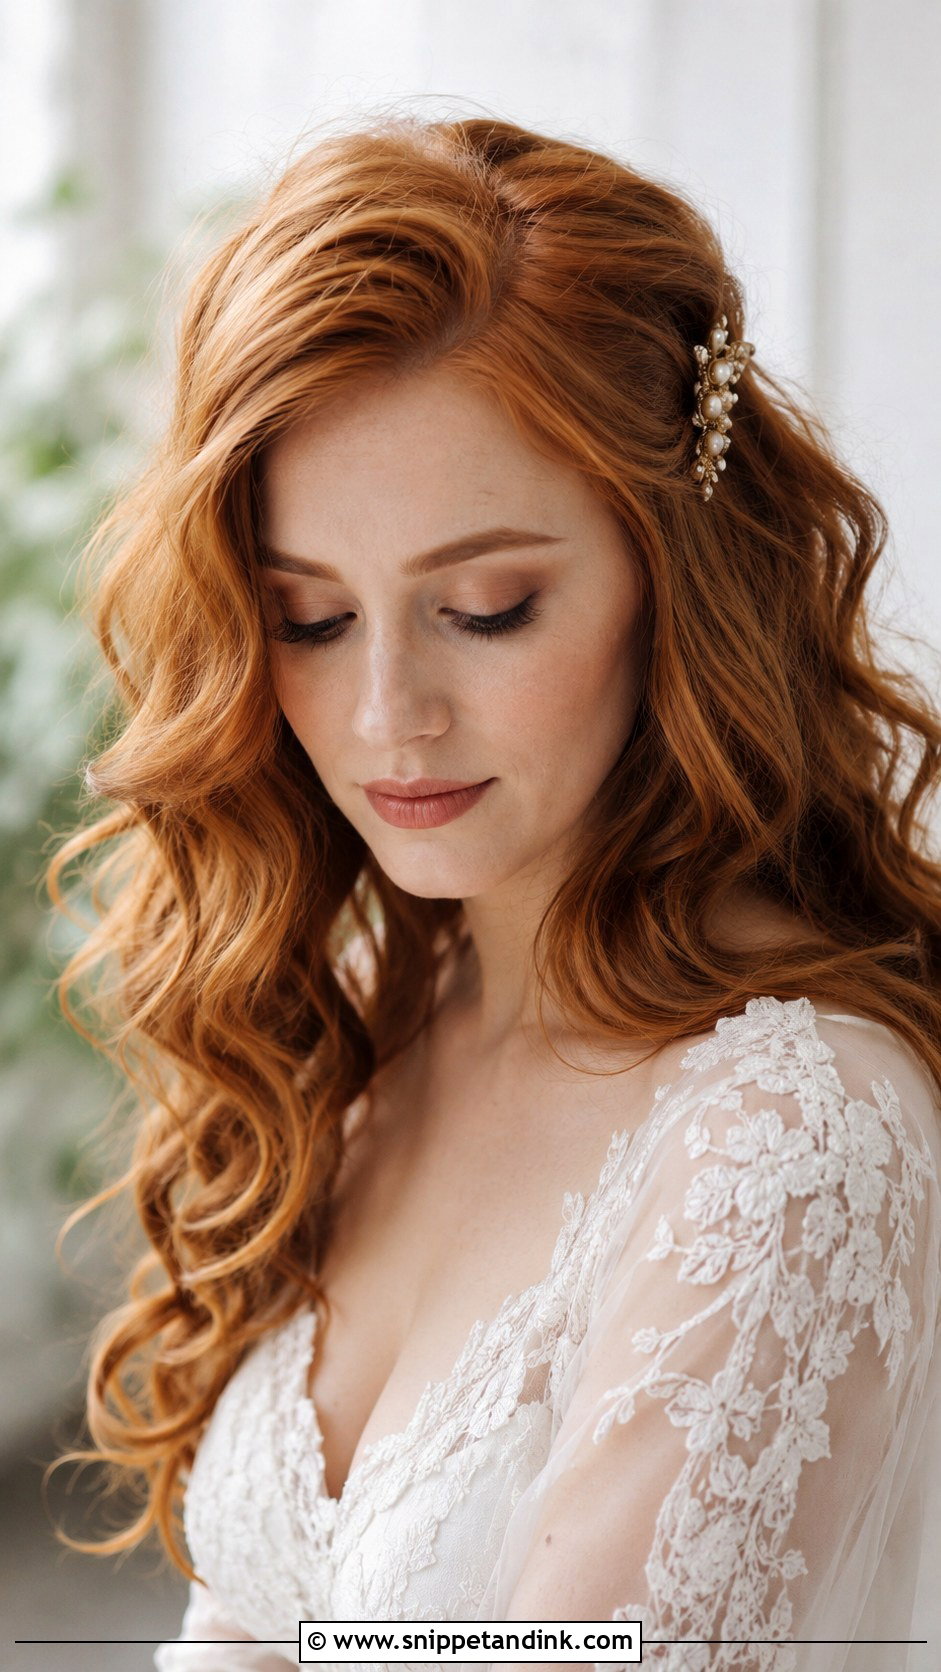
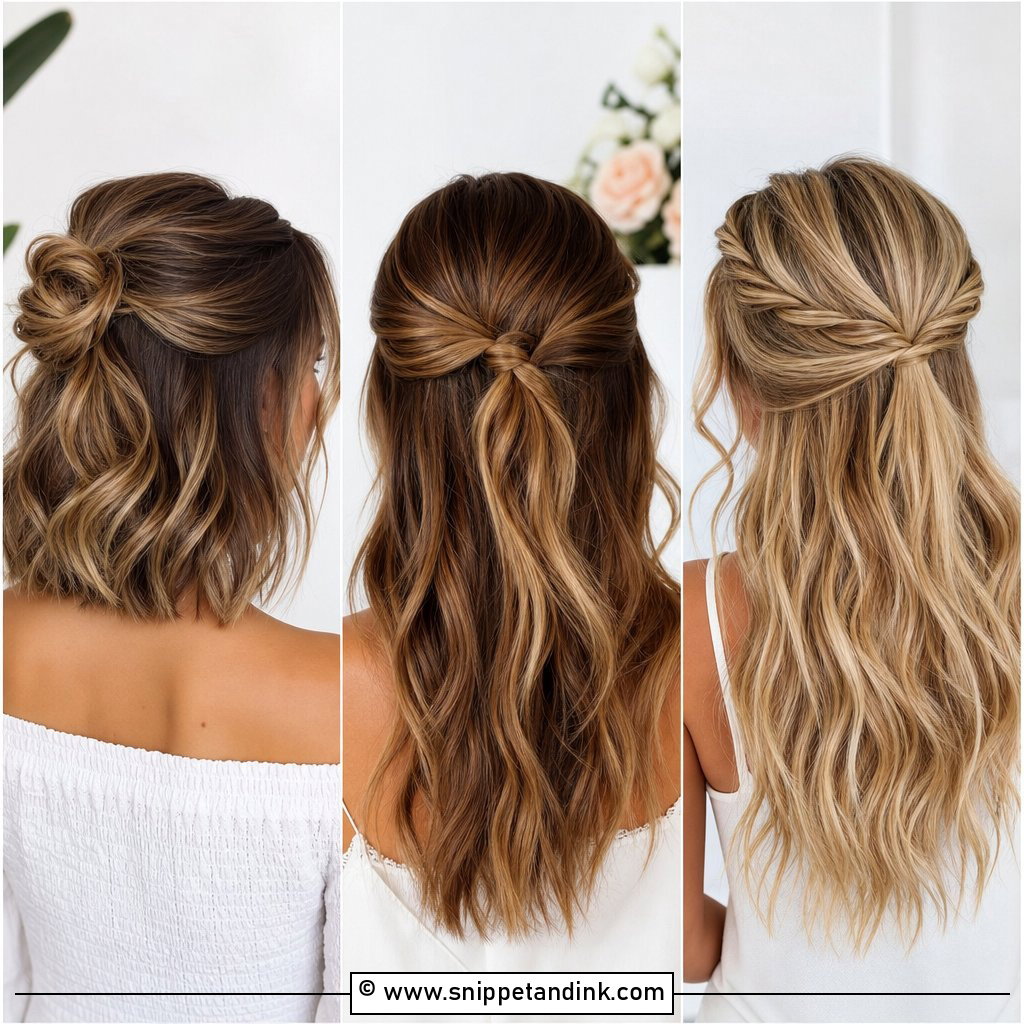
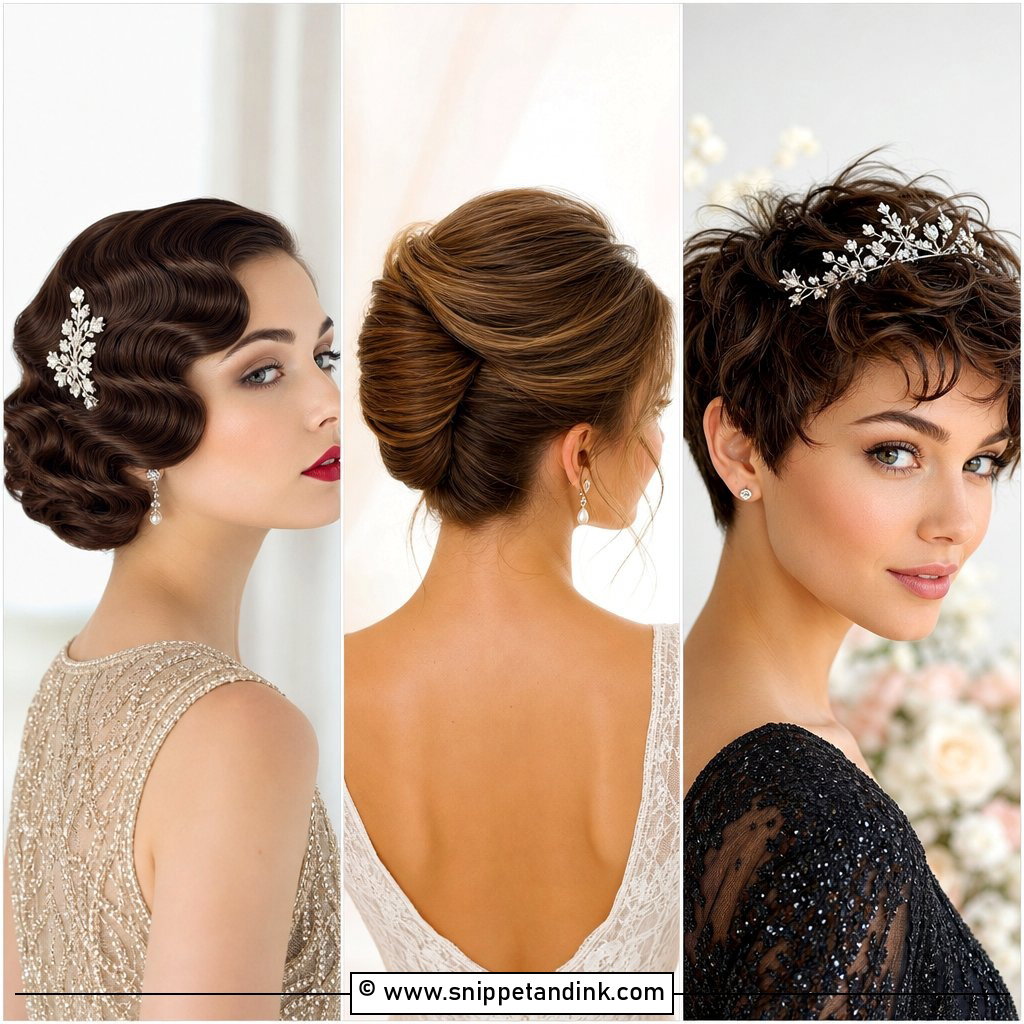
Loose curls with one side pinned are as close to wearing it down as this list gets. I curl the hair into loose waves, then pin one side back behind the ear with a decorative clip. It keeps hair off the face while showing the curls. It suits garden, beach and casual weddings. A sparkly pin or small flower finishes it. Short curls drop faster than long ones in humidity, so I set them with a light hairspray and keep a small travel spray in the bridal bag.
A Veil Comb Needs Something to Bite Into
On long hair, a veil comb slides into a bun and stays put. Short hair often has no bun, so I build an anchor first: two bobby pins crossed in an X, or a small row of pins under where the comb will sit. The comb slides under those pins, and they take the weight.
Keep the veil light. A single-tier tulle veil is far kinder to a short updo than a heavy lace one, which can drag the whole style backward. Place the comb under the updo rather than on top of it if you plan to remove the veil for the reception; it comes out without disturbing the style.
Borrowed Length From Two or Three Wefts
If you love a fuller updo and your bob isn’t quite long enough, a couple of clip-in wefts can help. I clip them in at the back of the head, underneath your own hair, to add bulk to a bun or chignon. Match the colour carefully, ideally in daylight, and bring them to your trial so your stylist can cut and blend them. Two or three wefts are usually enough; more than that and the updo starts to feel heavy on the scalp by the evening.
Your Cut Is Ready for an Updo Already
Short hair gives you more bridal options than you might expect, from side buns to finger waves and flower-adorned twists. Most of these looks come together quickly with simple pins and a good accessory. The details that make the difference are the timing of your last cut, how the veil will attach, and whether you need a little borrowed length for fullness. Book a trial, bring your veil and headpiece to it, and let your stylist test the pins. On the day, you’ll know exactly what to expect.
You'll Like These Ideas:


Leave a Reply