
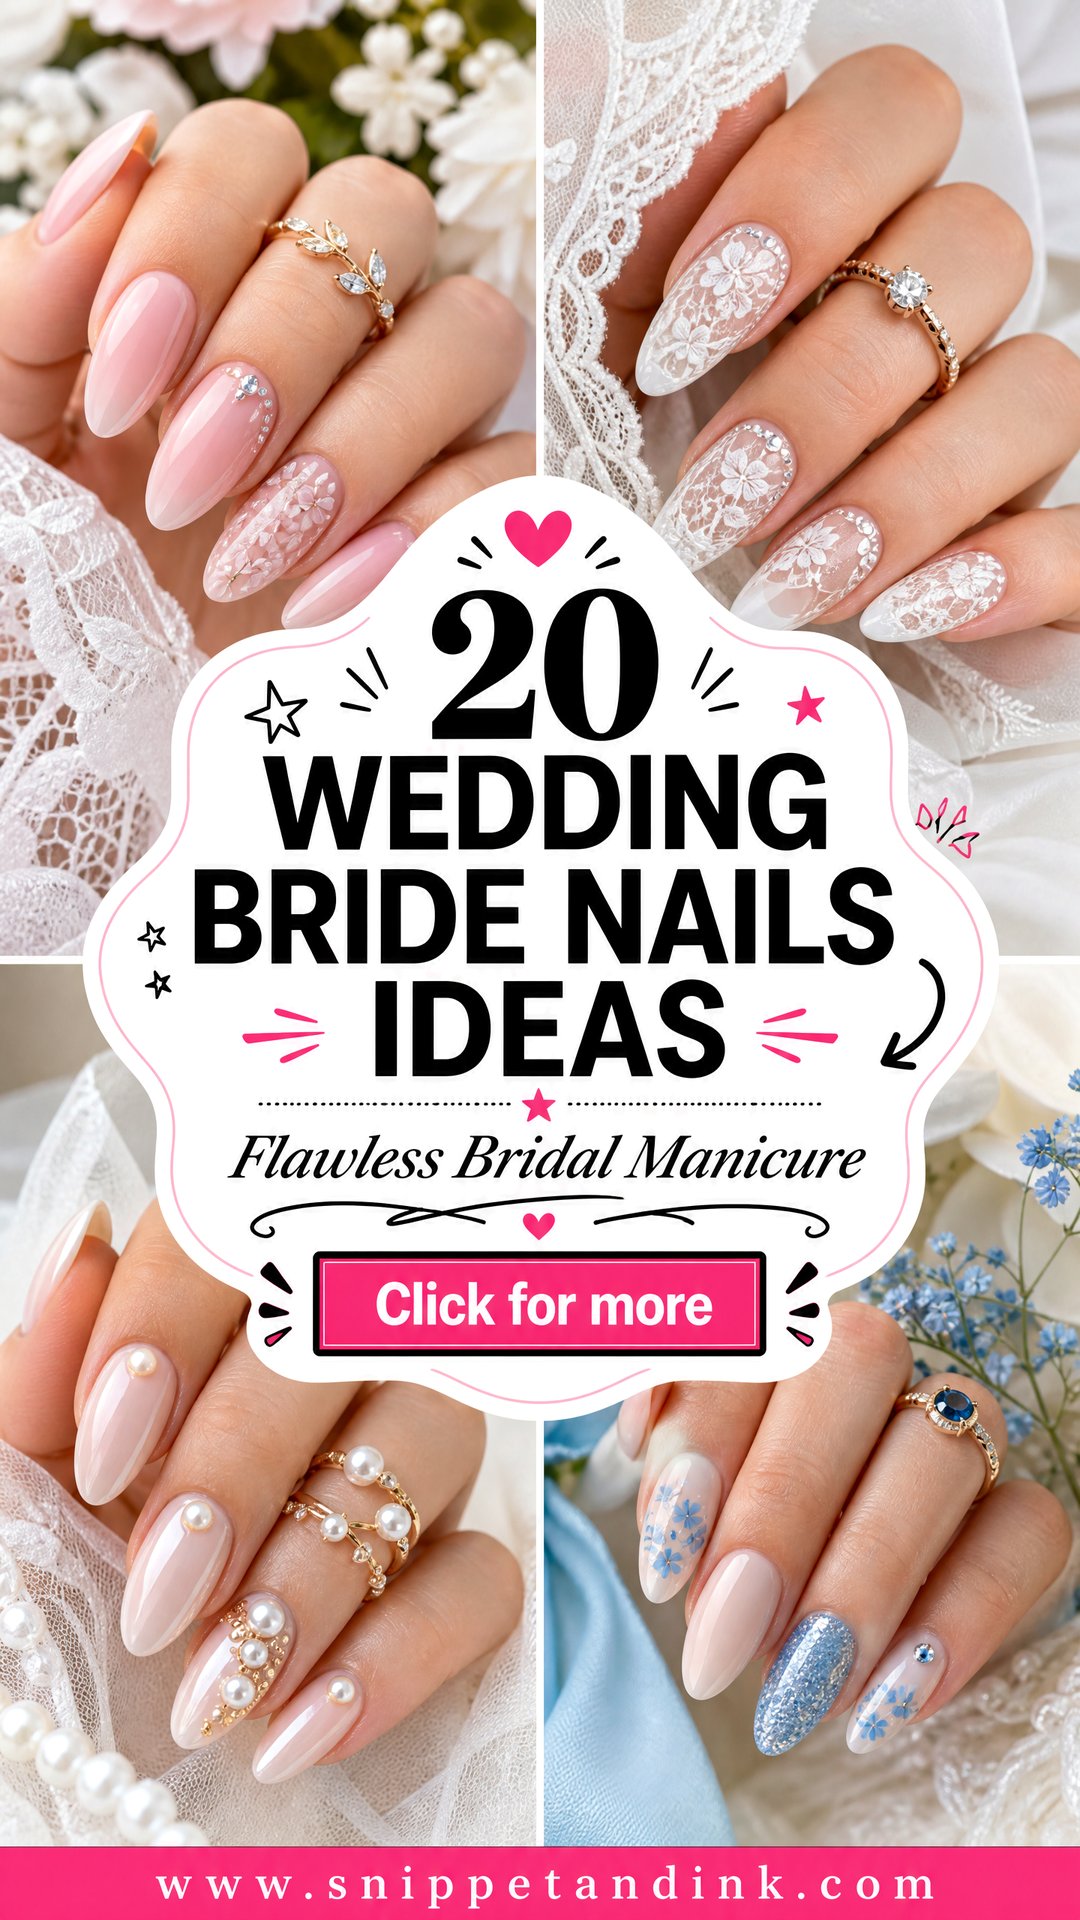
Your hands get photographed more on your wedding day than on any other day of your life: the ring shot, the bouquet, hands on a partner’s shoulder, the cake knife. A bridal manicure has to look good at macro-lens distance, survive twelve hours of hugging and holding, and sit quietly next to the ring and dress. Brides right now mostly ask me for milky whites, sheer pinks, pearl chrome, fine French tips and lace or tiny 3D details, with sparkle and color for the ones who want them. Below are twenty sets, with what each one asks of your natural nails and where it can go wrong.
The Week of the Wedding Is Too Late for a New Shape
Most problems I see with bridal nails come from timing, not design. If you want a set that looks freshly done but feels like your own hands, plan it in stages.
- Six to eight weeks before: start daily cuticle oil, and stop cutting or biting. Natural nails that are hydrated hold gel longer and lift less.
- A few weeks before: book a trial, and if you’re going longer with extensions or builder gel, get the length on now. You need time to learn to type, fasten jewelry and put in contacts with it.
- One to three days before: the final set. Close enough that there’s no visible regrowth at the cuticle, far enough that any slight lift or rough edge can be fixed.
- Never the day before for a new design: if you hate it, there’s no time to change it.
If your natural nails are thin or peeling, a structured gel manicure gives them strength for the day. Tell your nail artist if you’re also having a spray tan or a hand massage at a spa that week; oils can affect how well gel bonds. Book the final appointment after any spa treatment, never before, and bring the ring if you have it so we can check the shade beside the metal.
1. Milky White Bride Nails
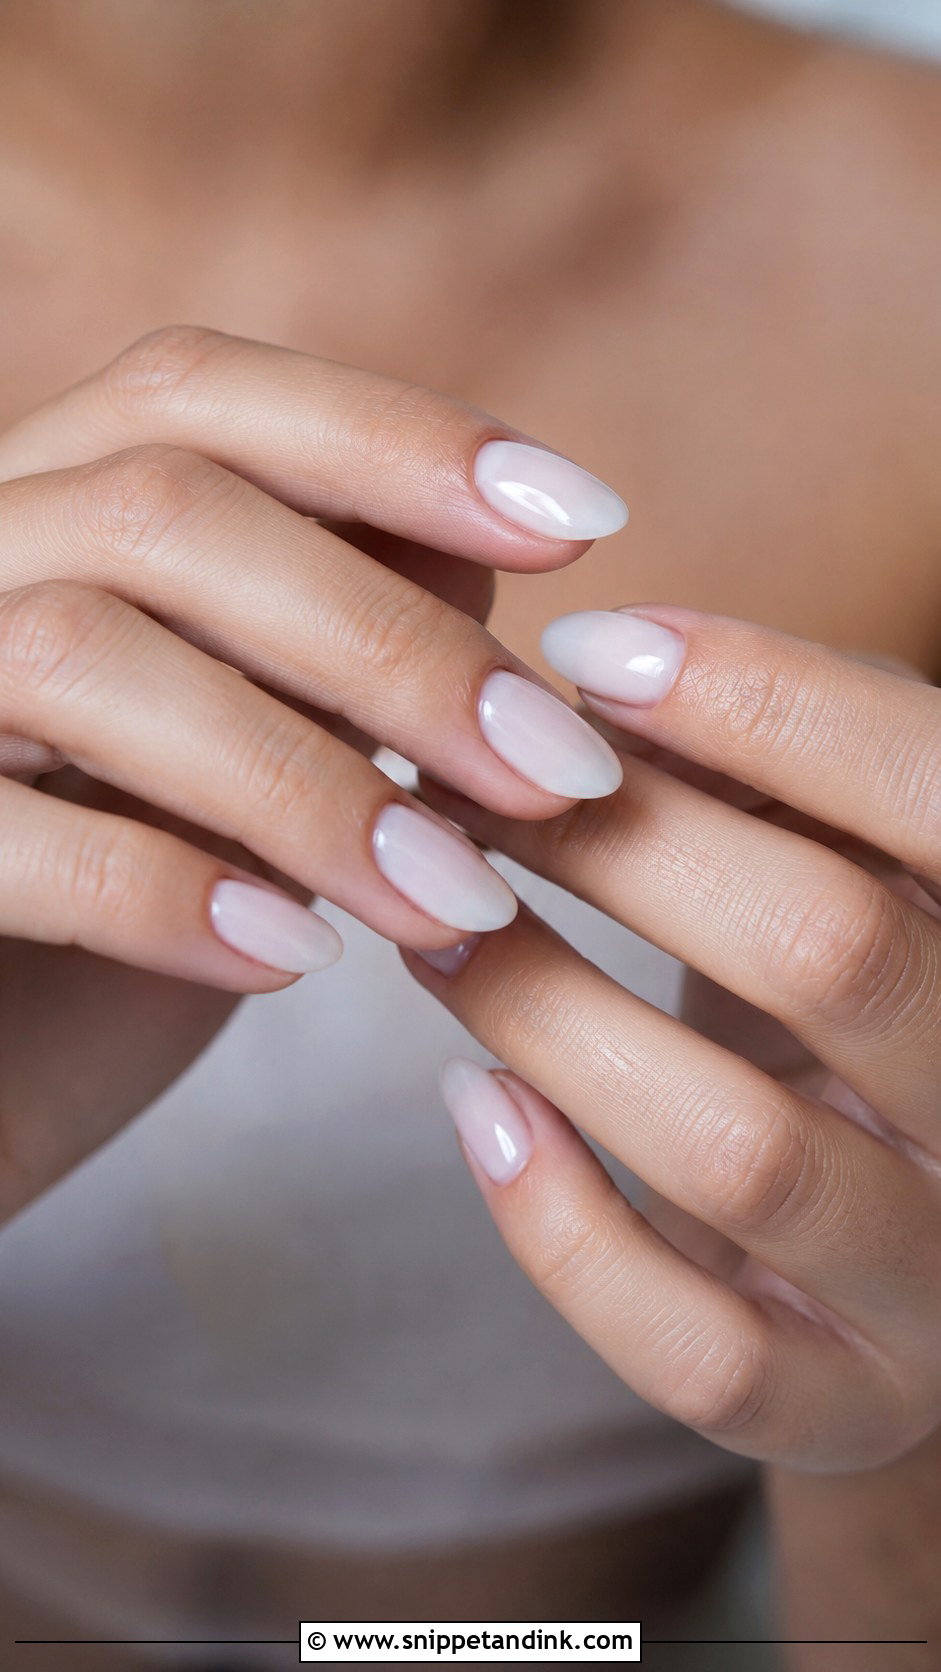
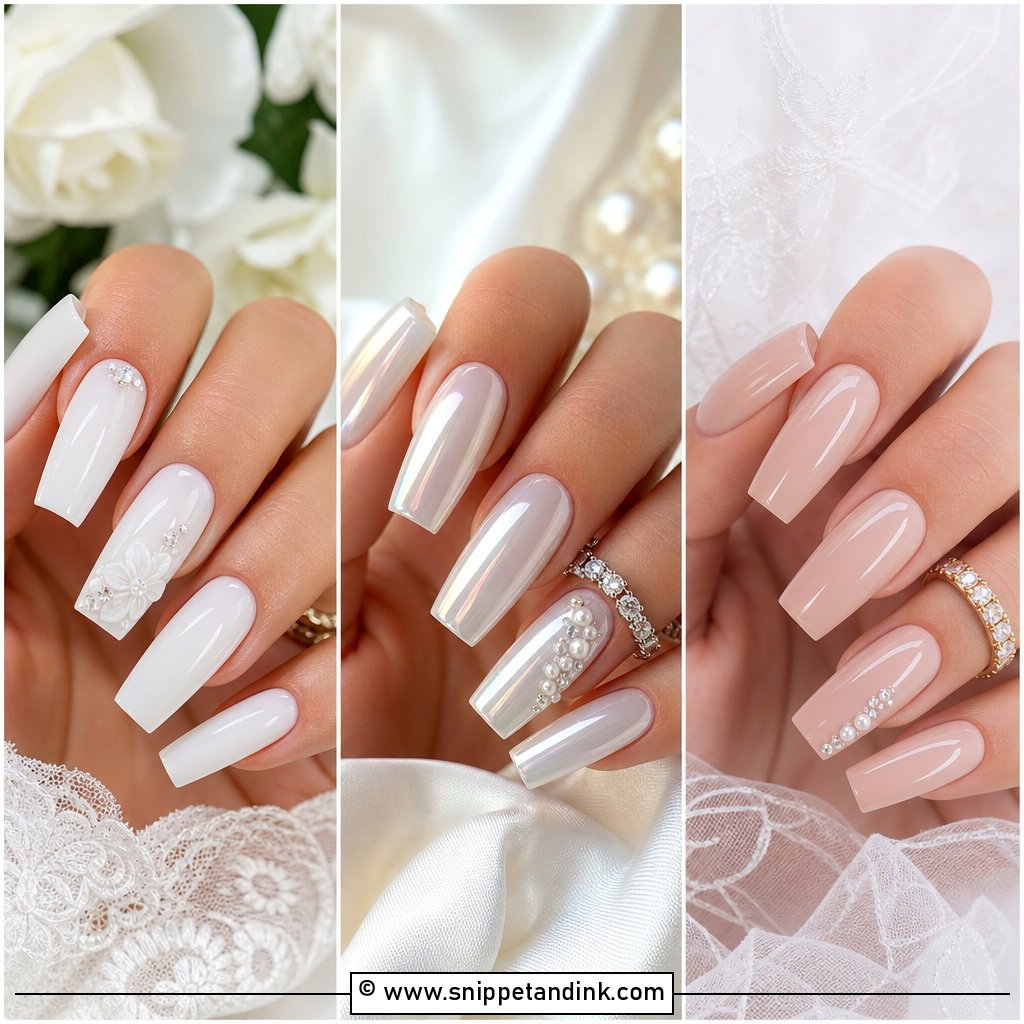
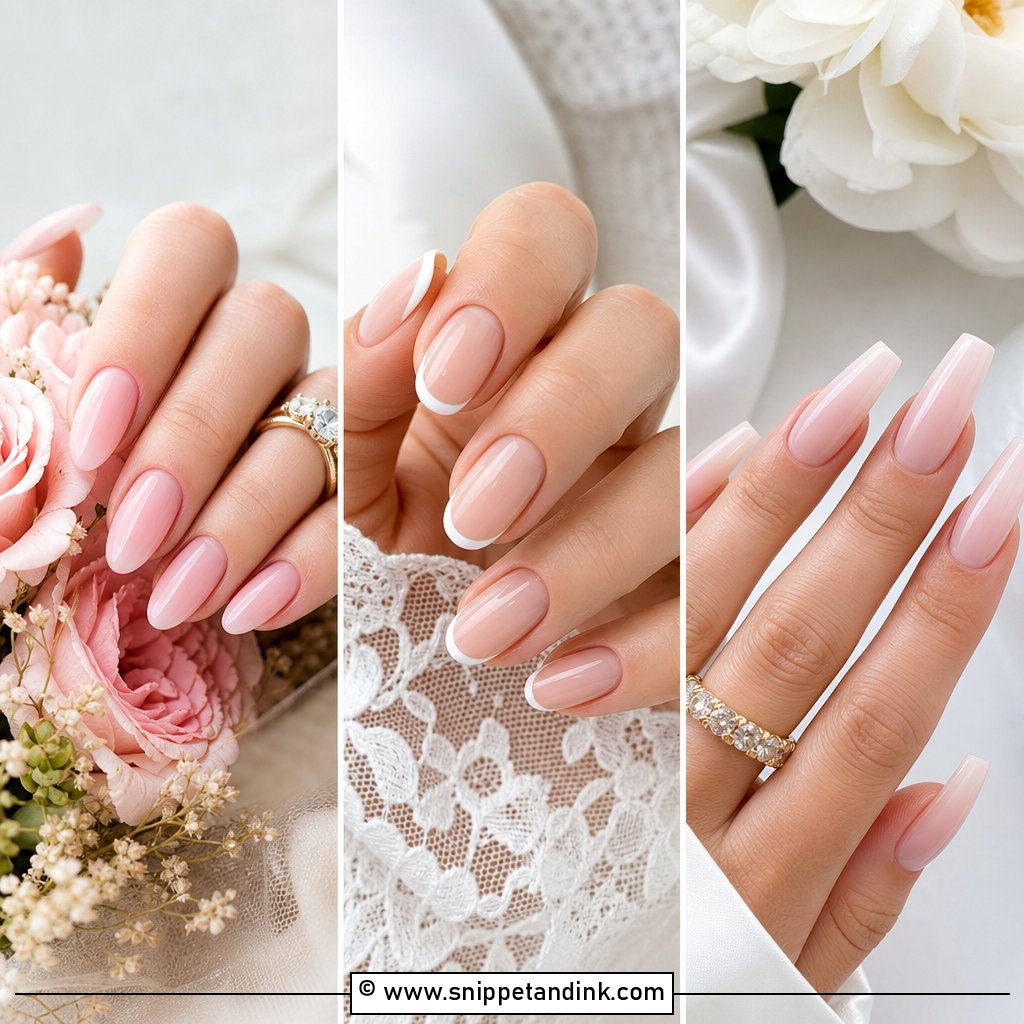
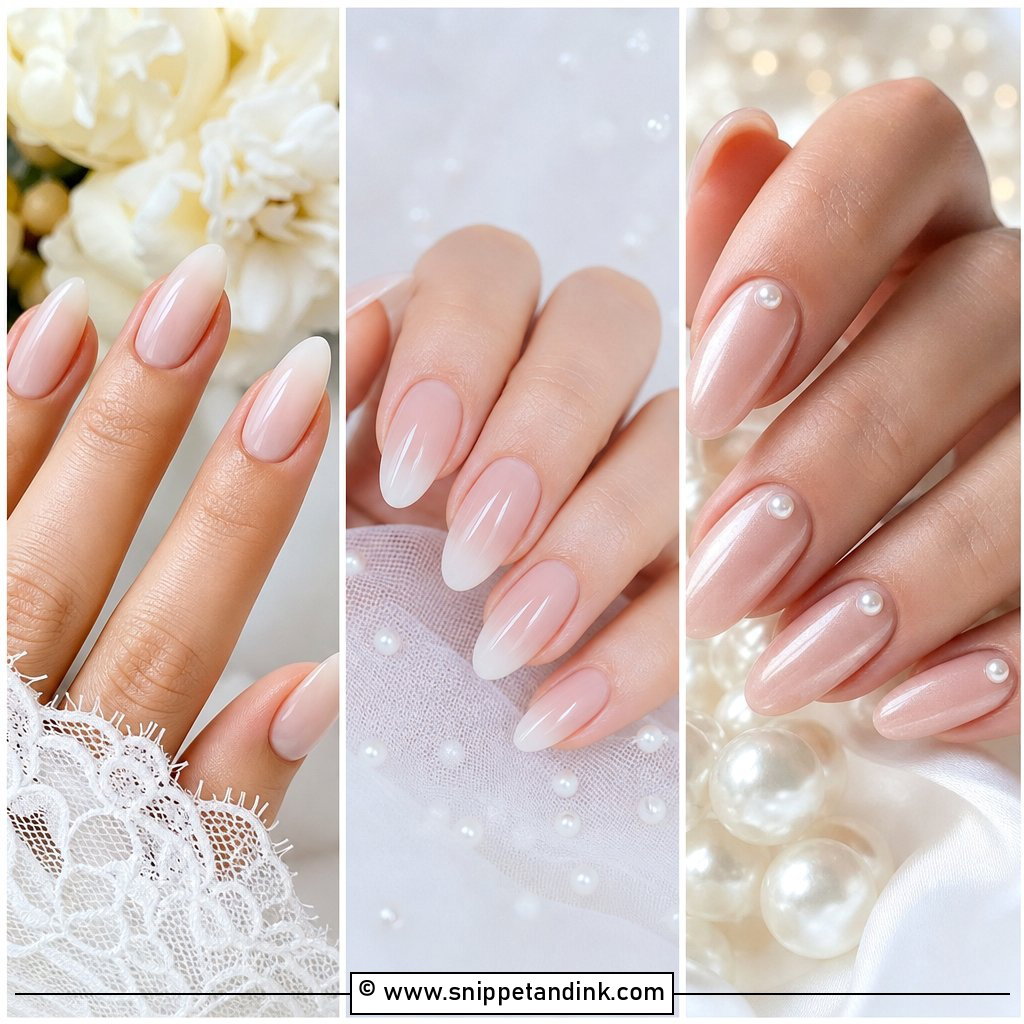
Milky white bride nails are the set I recommend most when a bride isn’t sure. The cloudy, semi-sheer finish looks clean next to any dress. The skill is in the layering: I build two or three thin coats of a sheer white rather than one thick one, because a heavy coat goes chalky and shows every brush stroke. It suits short ovals, medium almonds and longer coffins alike, and a high-gloss top coat stops it from looking flat. Pearls, satin, crepe and minimal gowns all sit naturally with it.
2. Classic French Tip Bride Nails
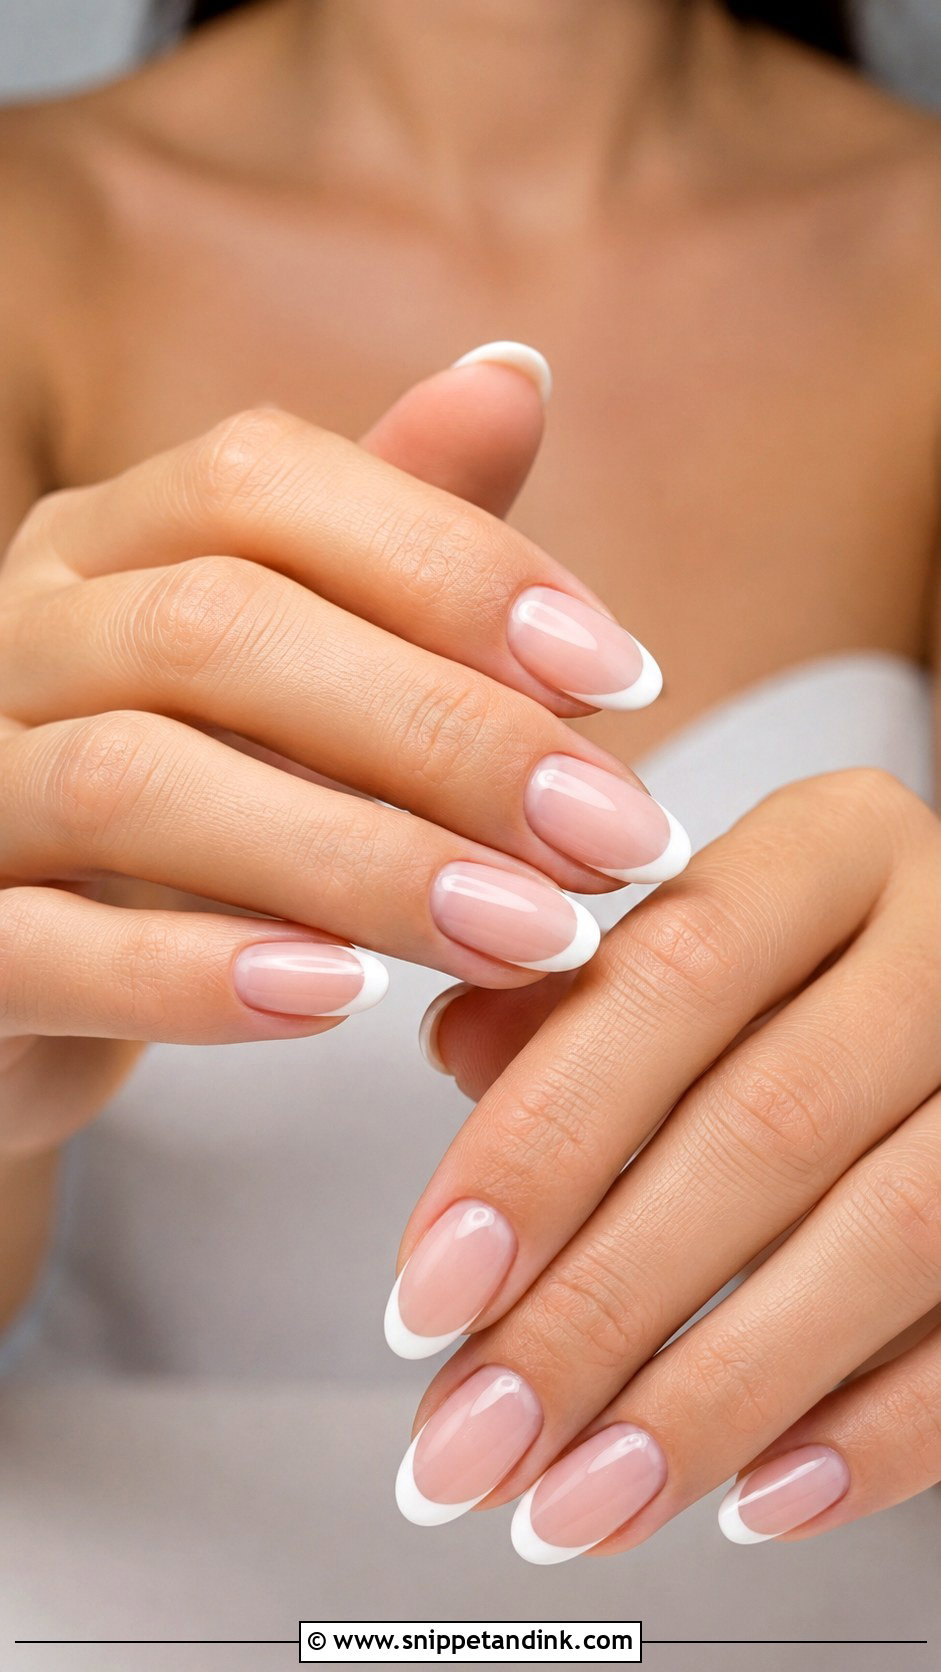
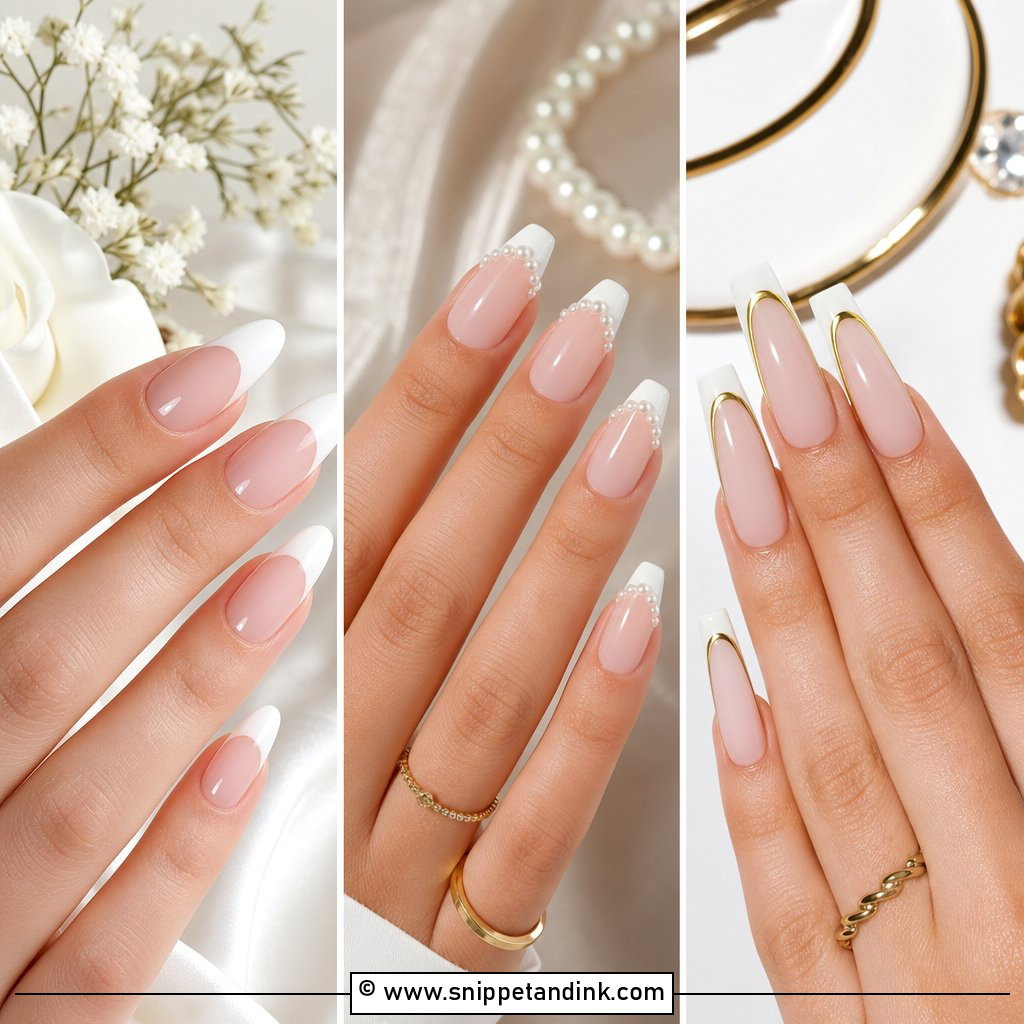
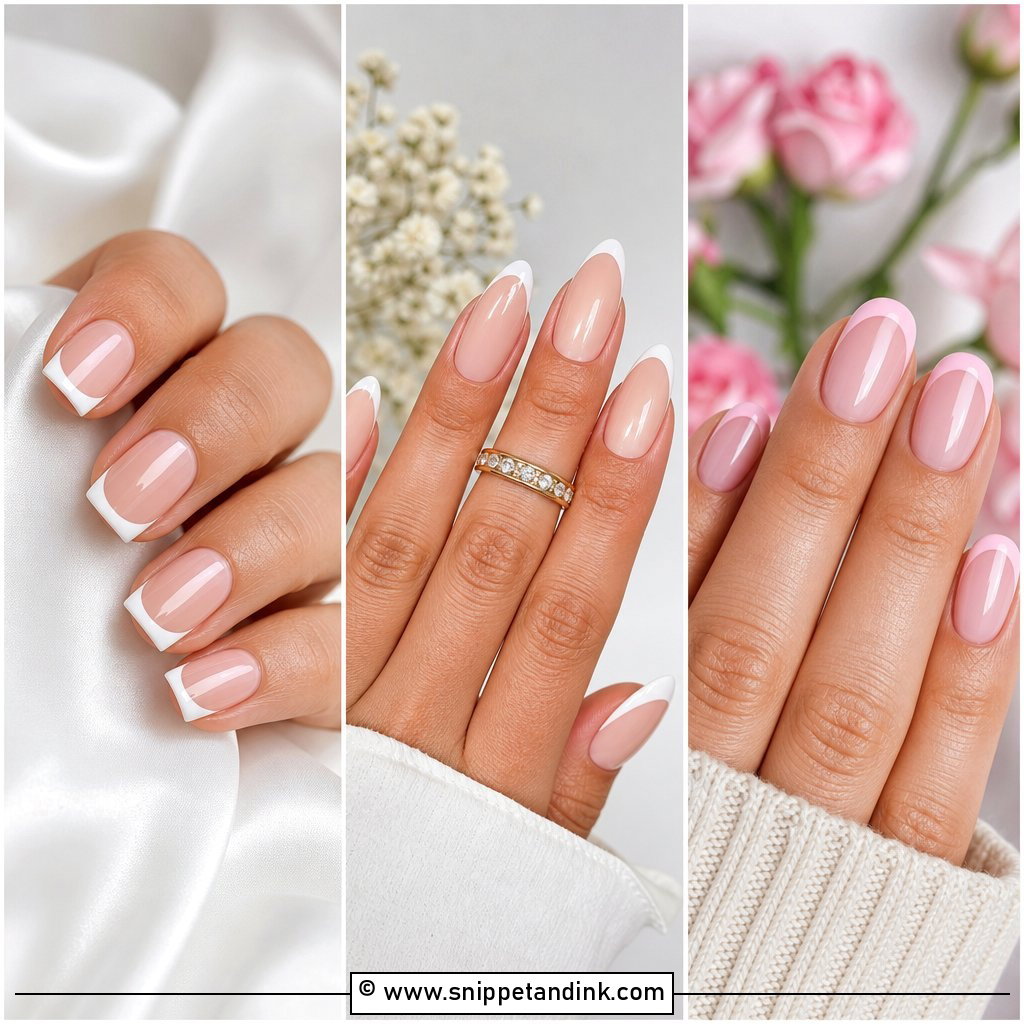
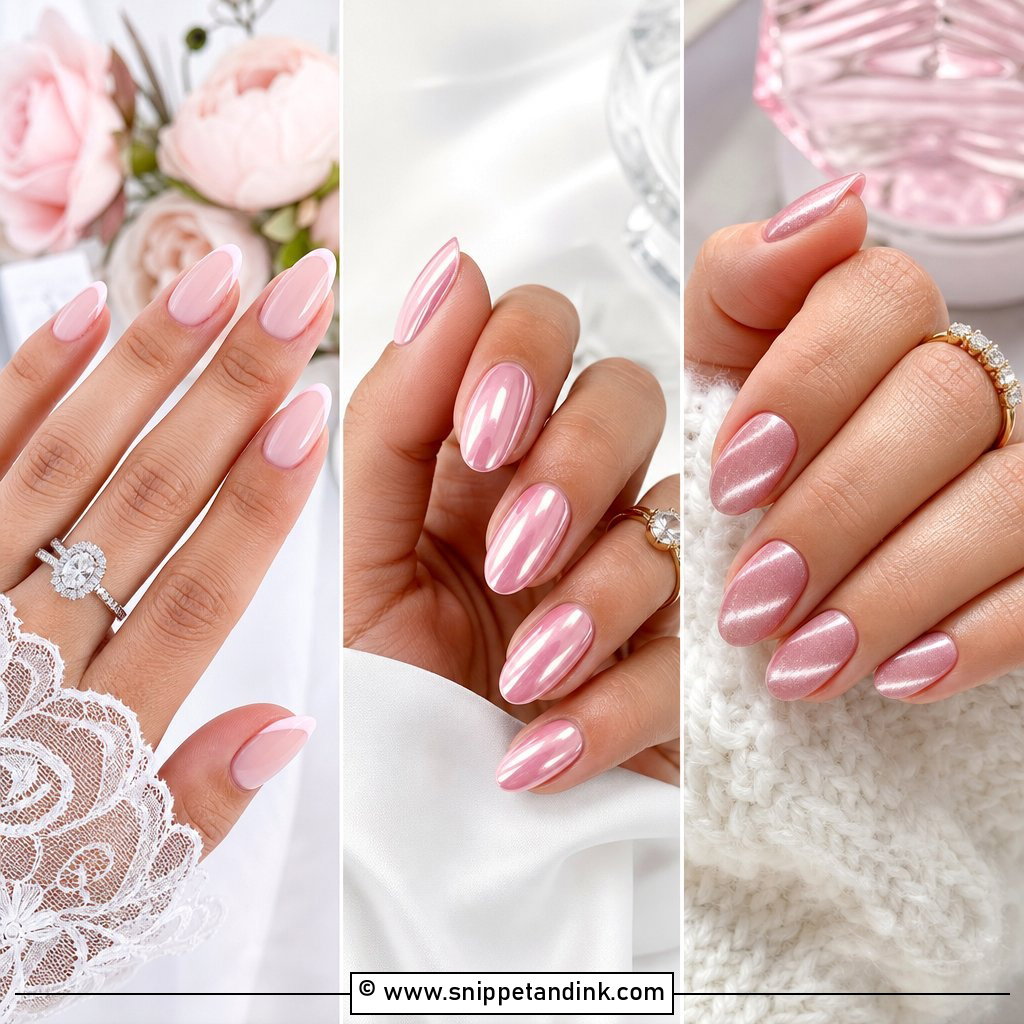
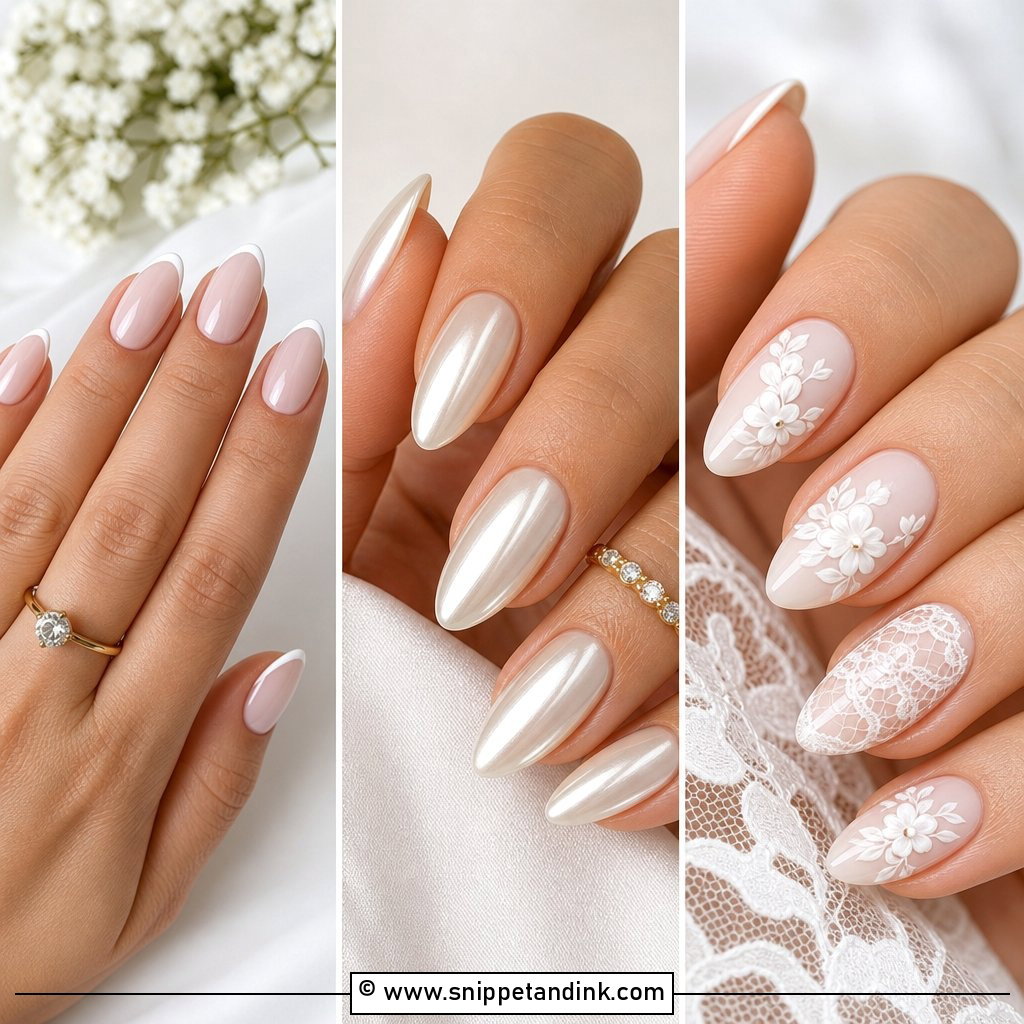
A classic French holds up because it’s neat and doesn’t date. Sheer pink or nude base, crisp white tip. I keep the smile line thin to medium; a thick white tip makes nails look shorter and heavier in close-ups. Almond and oval soften it, square makes it more traditional. It goes with lace sleeves and strapless satin equally, and it still looks right on the honeymoon. On very short nails, a micro French with a fine line is more flattering than a full tip.
3. Pearl Chrome Bride Nails
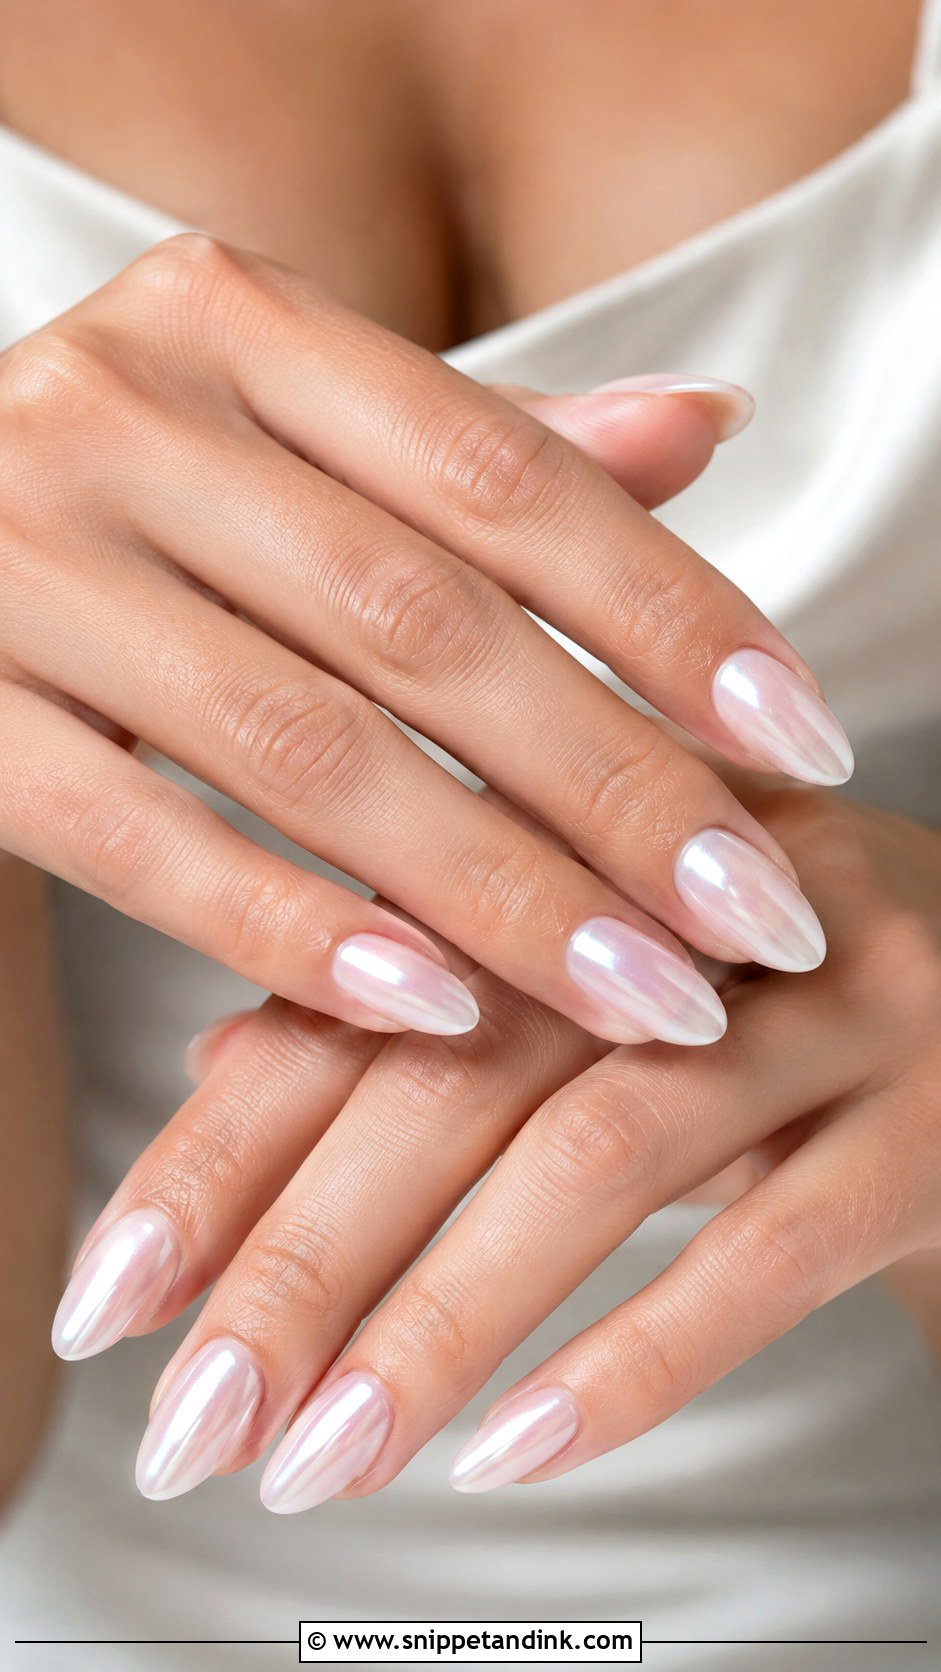
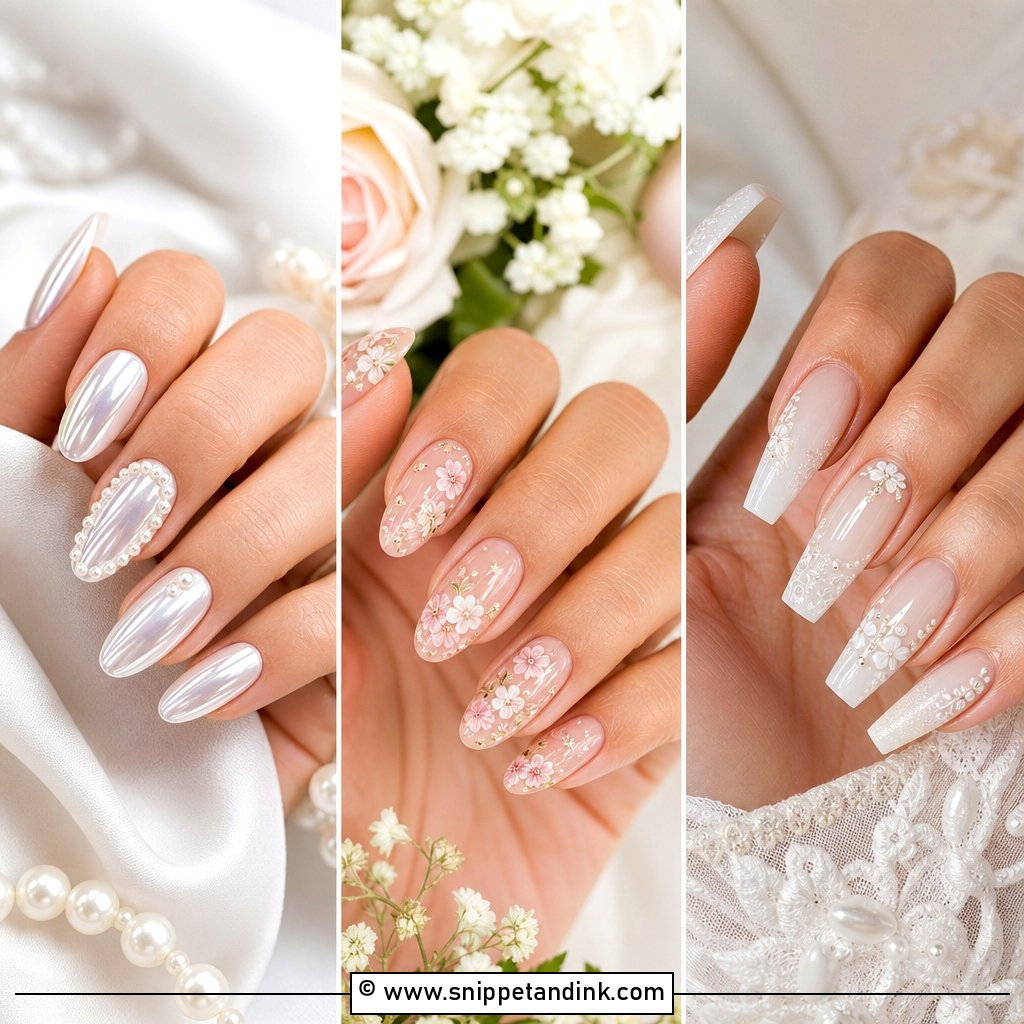
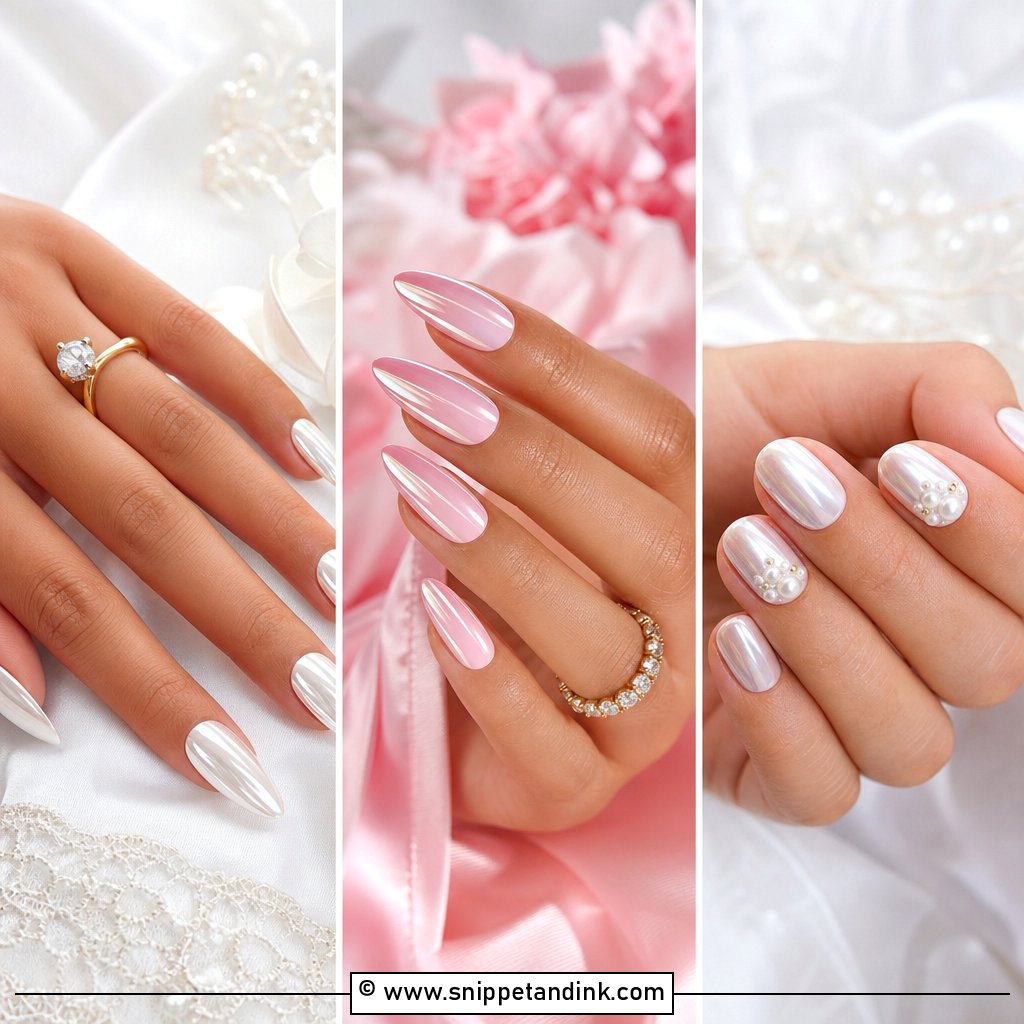
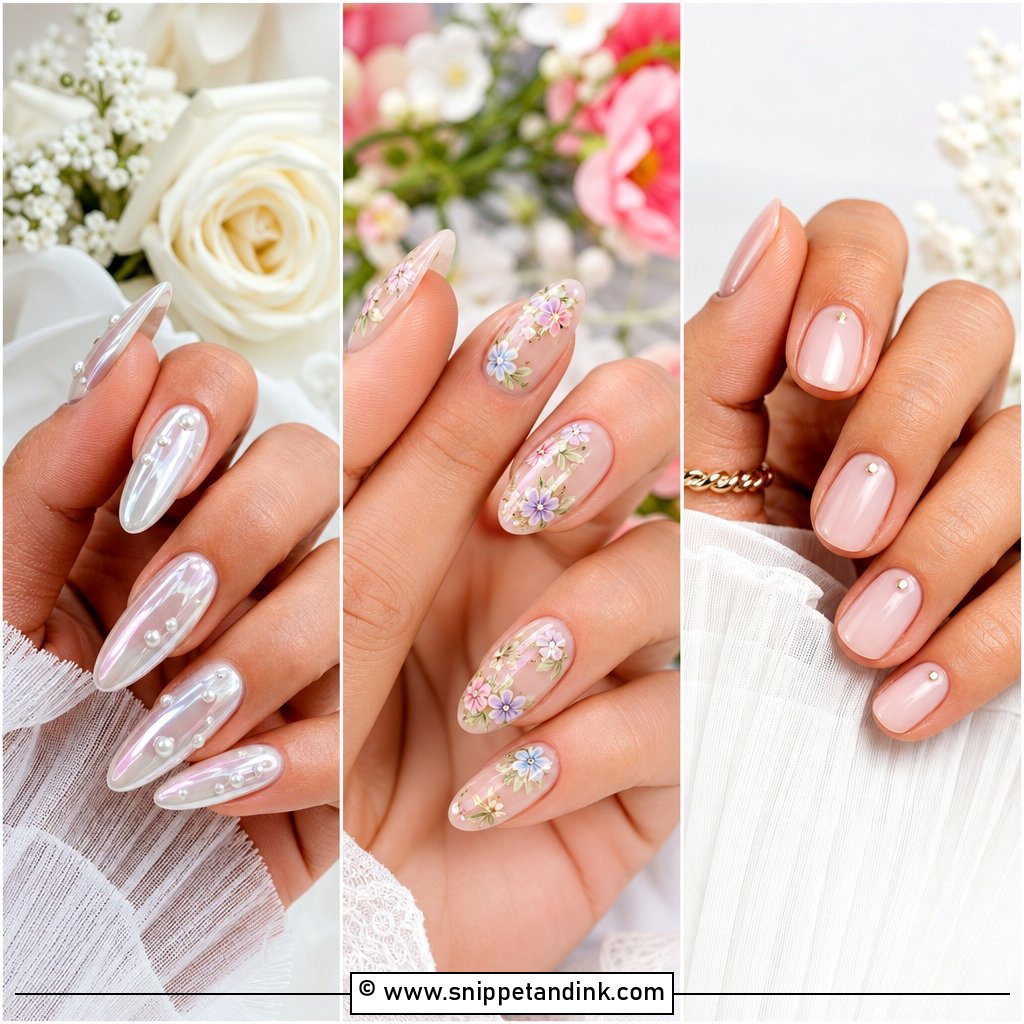
Pearl chrome is glow without glitter. I start with a milky white, sheer nude or pale pink base, rub a soft pearl powder over a no-wipe top coat, then seal it. The effect shifts as your hand moves, which is why it reads so well in ring shots. Curved shapes like almond, oval and squoval show the reflection best; flat square tips can look streaky under the powder. Ask for opalescent chrome, not mirror chrome, if you want it subtle.
4. Soft Pink Bride Nails
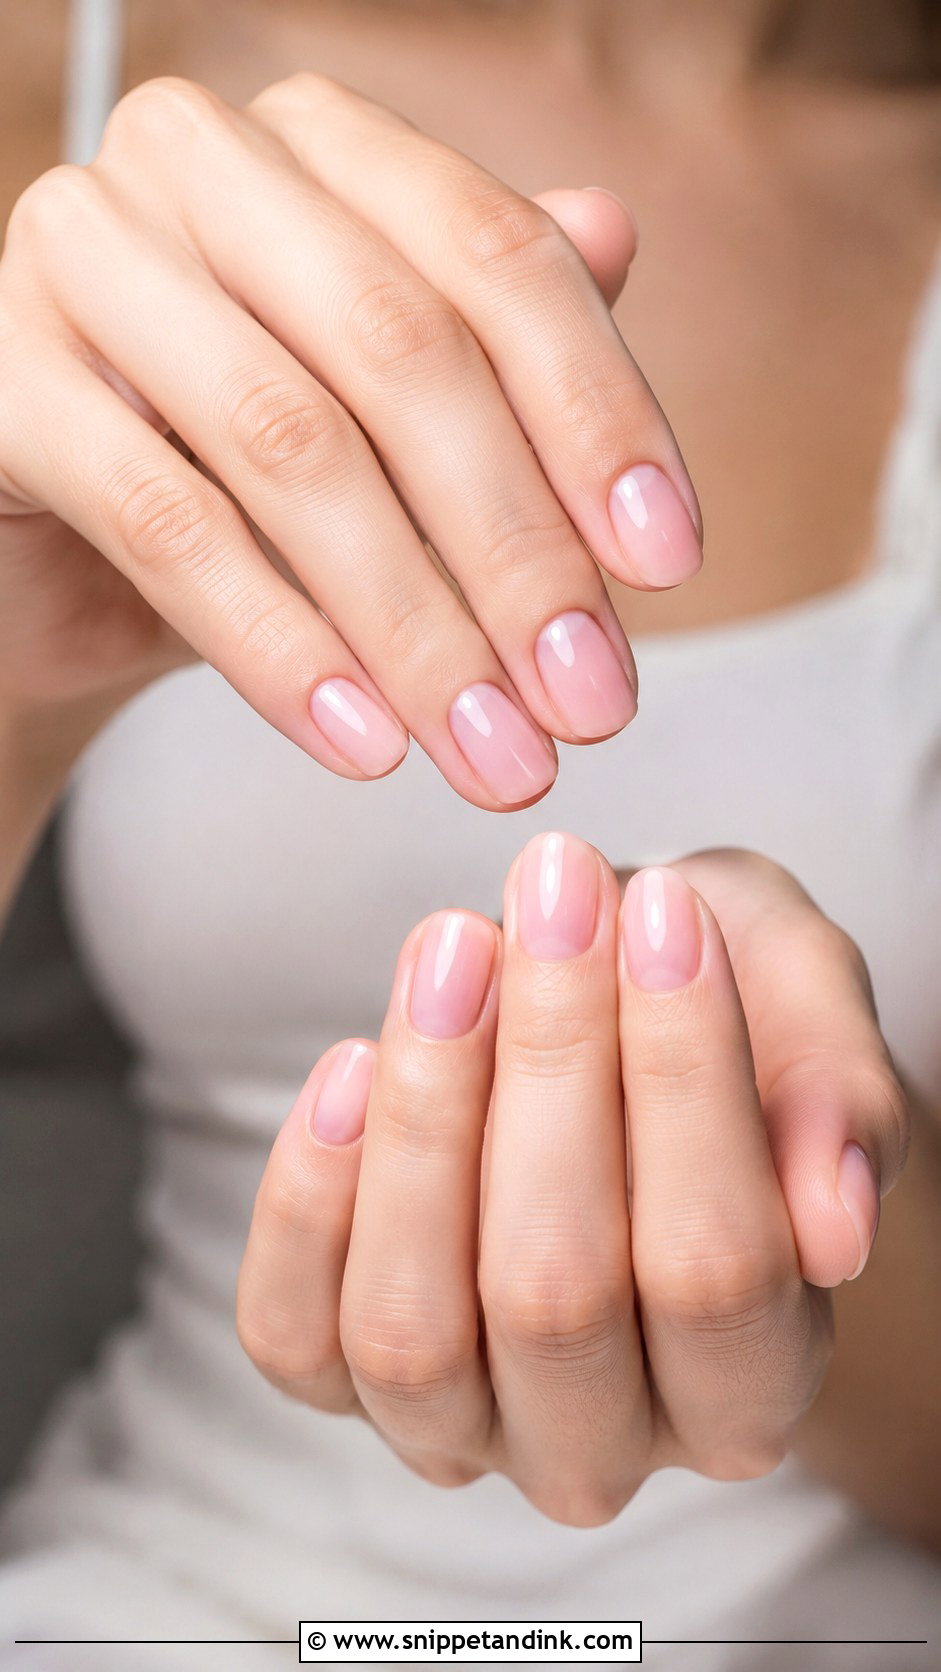
Soft pink suits more skin tones than people expect, provided the pink matches your nail bed. I hold a few swatch sticks against your fingers and pick the one that disappears into the natural pink of the nail; sheer baby pink, creamy blush or a neutral pink can all work. A glossy finish keeps it fresh, and a shimmer top coat dresses it up for the ceremony. It looks good with rose gold and blush flowers. Keep the shape simple: short oval, medium almond or soft square.
5. Nude Bride Nails
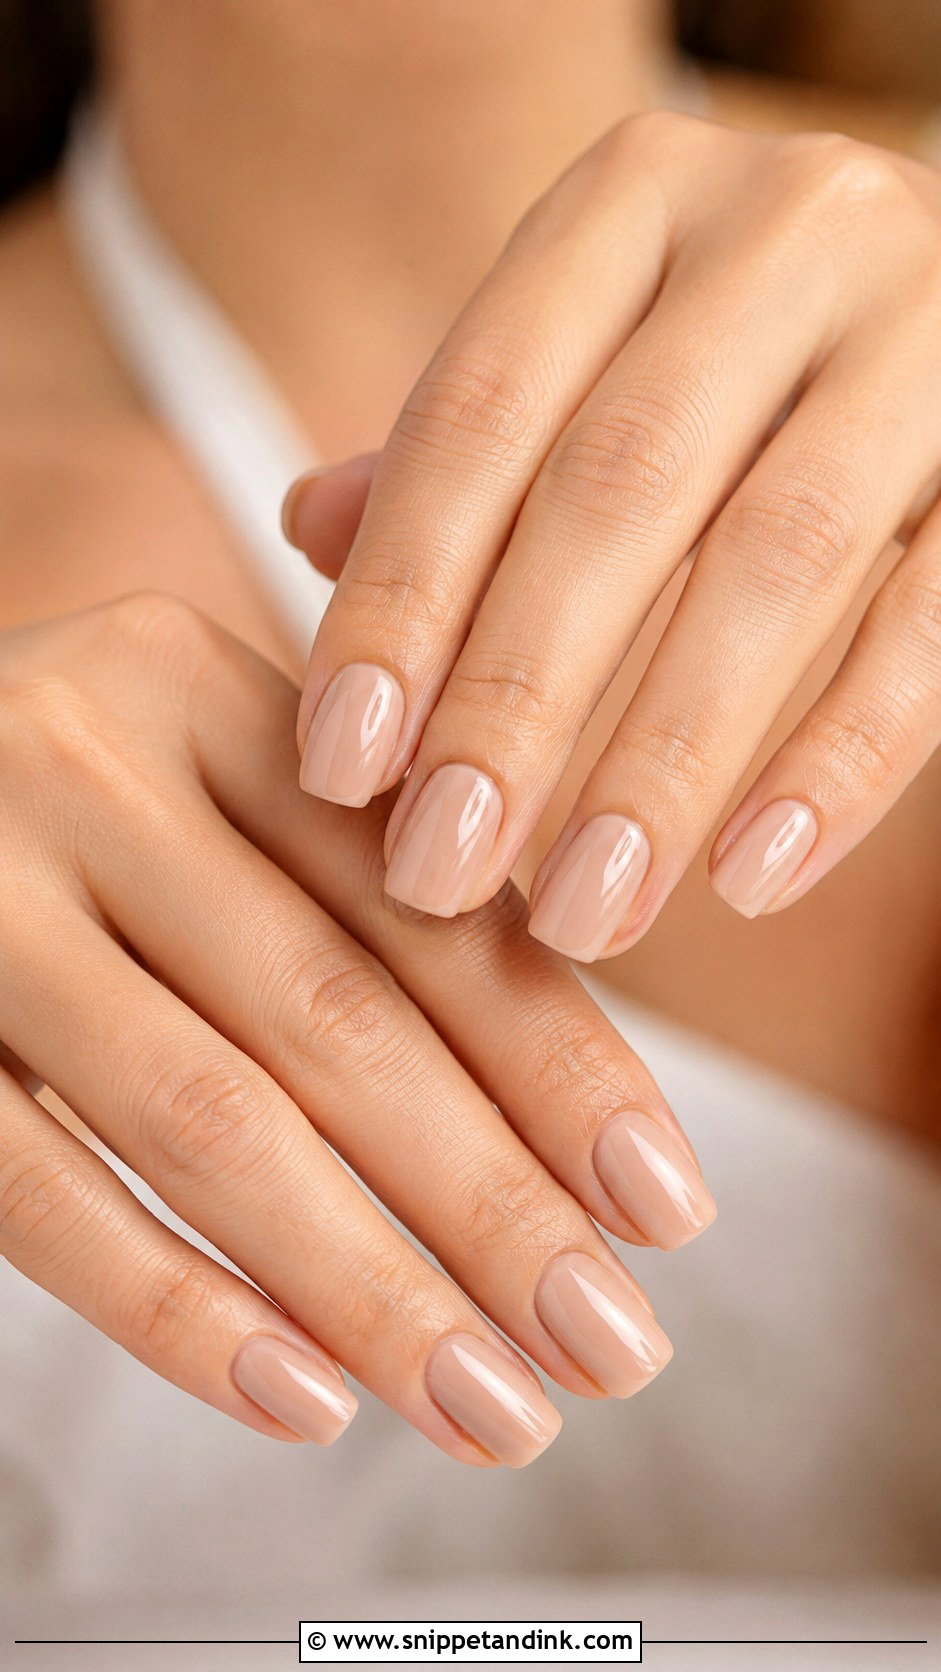
The hardest part of a nude manicure is finding the right nude. Too pale and your hands look grey; too close to your skin and the nails vanish. Fair skin usually suits pink beige or sheer peach, medium skin warm beige, caramel or rosy tan, and deep skin cocoa, mocha or a rich neutral brown, which looks far more polished there than a pale beige. Gloss makes it intentional. It’s the right call if your gown, veil or jewelry already has plenty of detail; add a tiny pearl or micro French only if you want one.
6. Baby Boomer Bride Nails
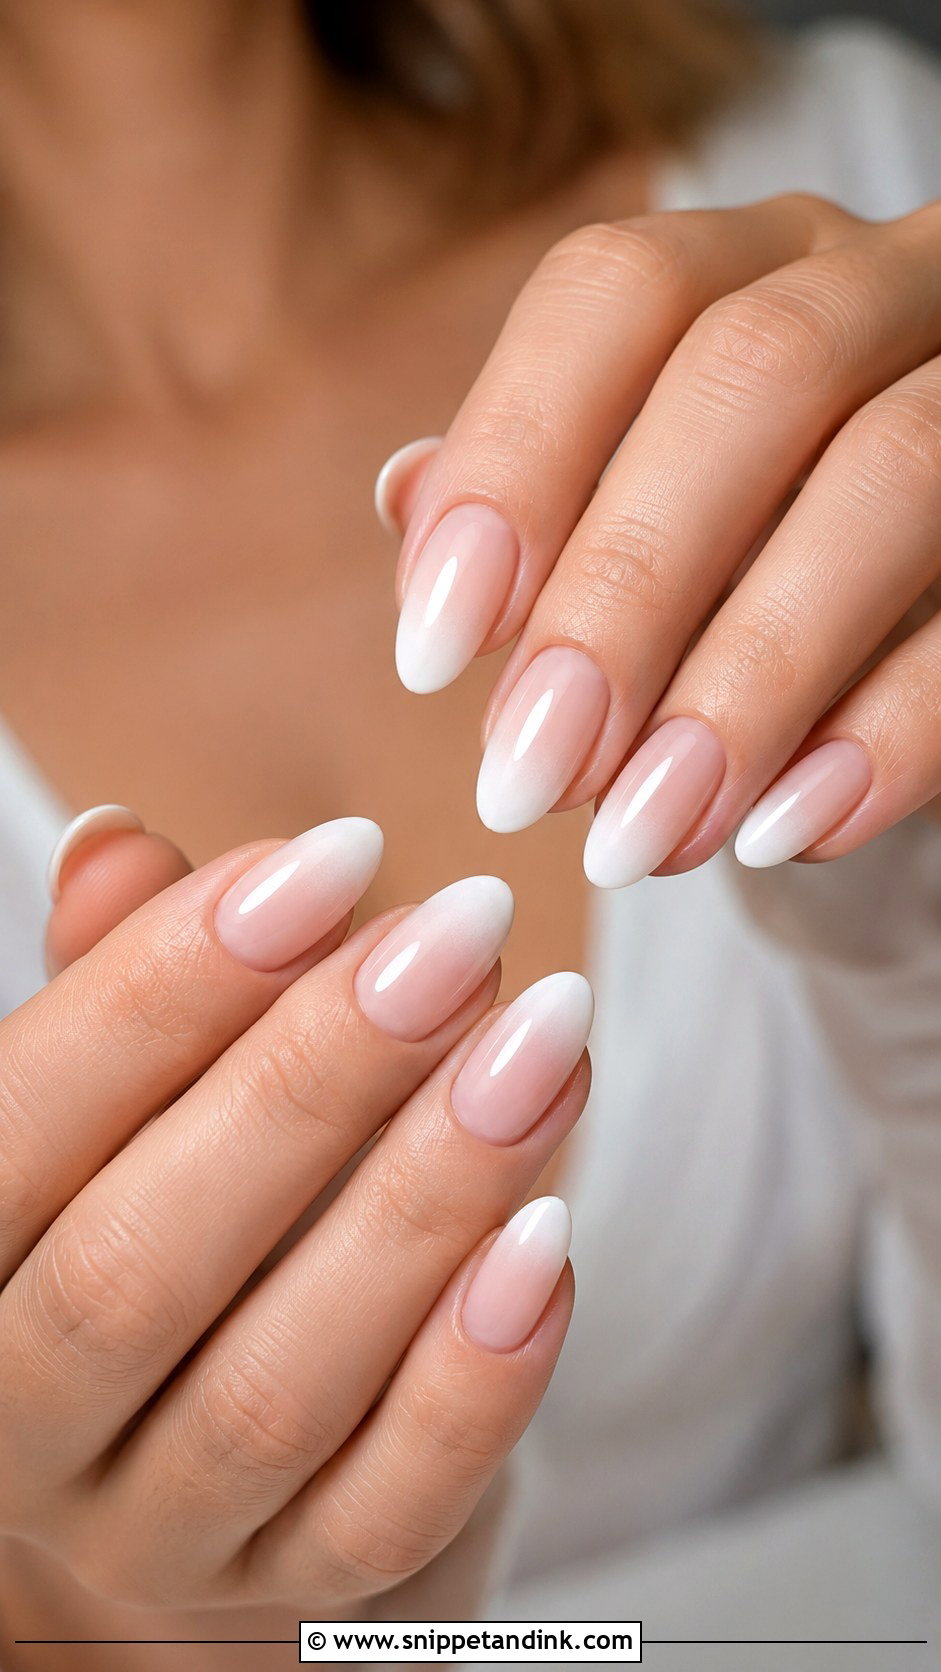
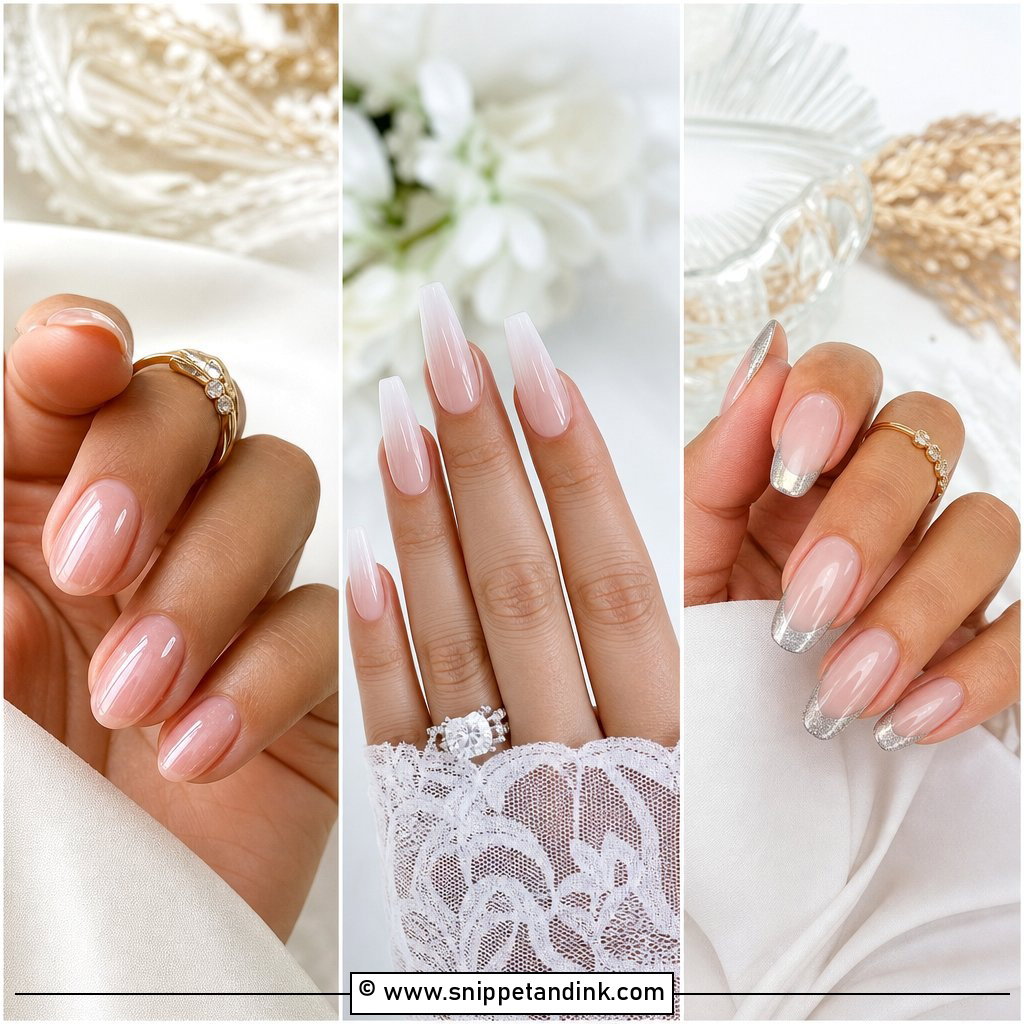
Baby boomer bride nails fade from nude or pink at the cuticle to white at the tip, with no line between them. I blend it with a sponge or a gel blending technique, and the white has to stay sheer through the middle; a heavy white fade looks like a strip of correction fluid in photos. Longer nails show the gradient best, though short nails can wear a compact version. Almond, coffin, oval and square all work. It’s the softer choice if a French feels too graphic.
7. White Lace Bride Nails
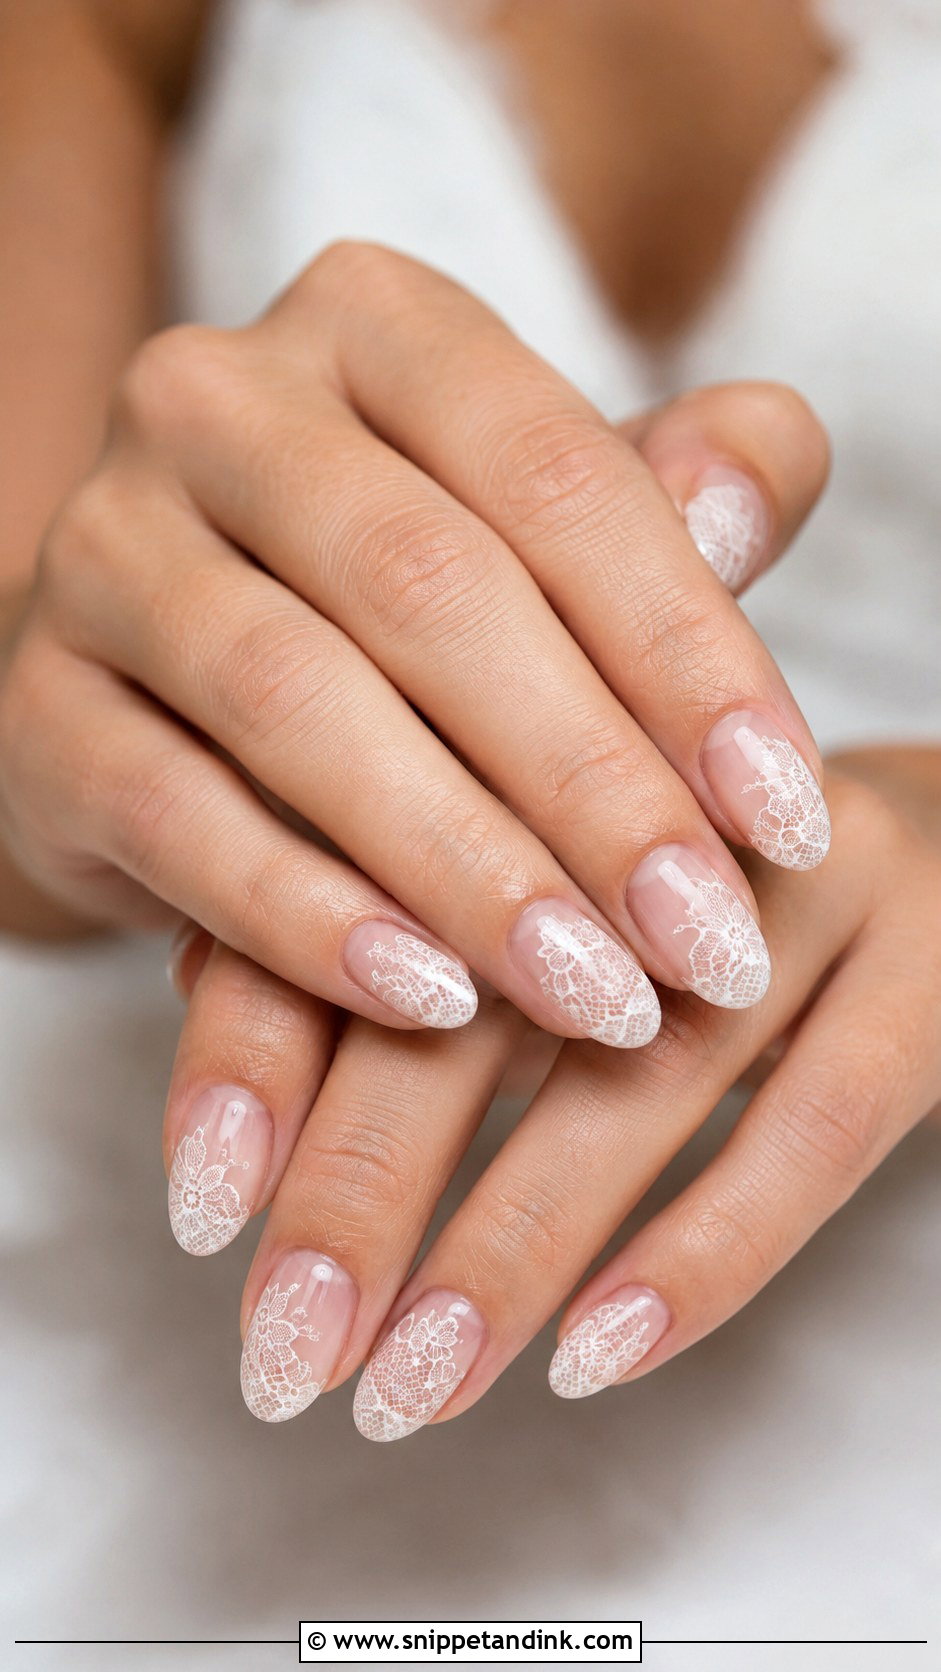
Lace nails are fine-line work, either hand-painted with a liner brush or stamped, over a sheer nude, blush or milky base. Bring a photo of your dress lace; I can echo its pattern, and that’s what makes this set feel personal. Keep it to one or two lace nails per hand, or do the full set if the pattern is very light. Thick lines look like crochet rather than lace, so ask for the finest brush your artist has. Almond and oval suit it, and square looks more traditional.
8. Floral Bride Nails
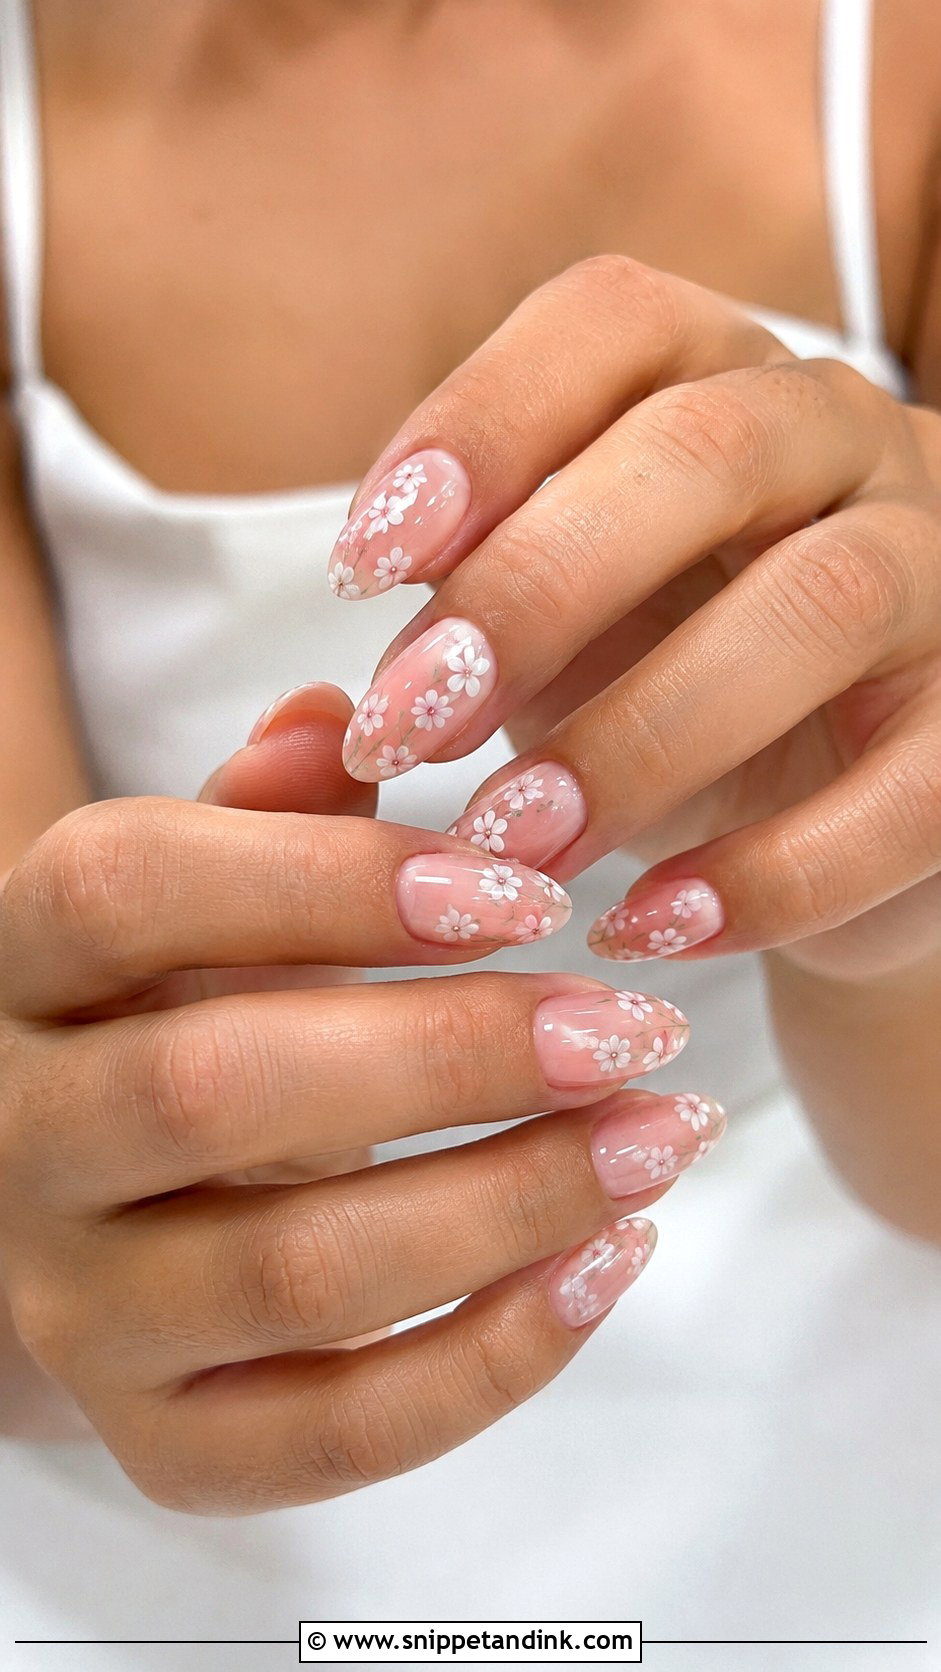
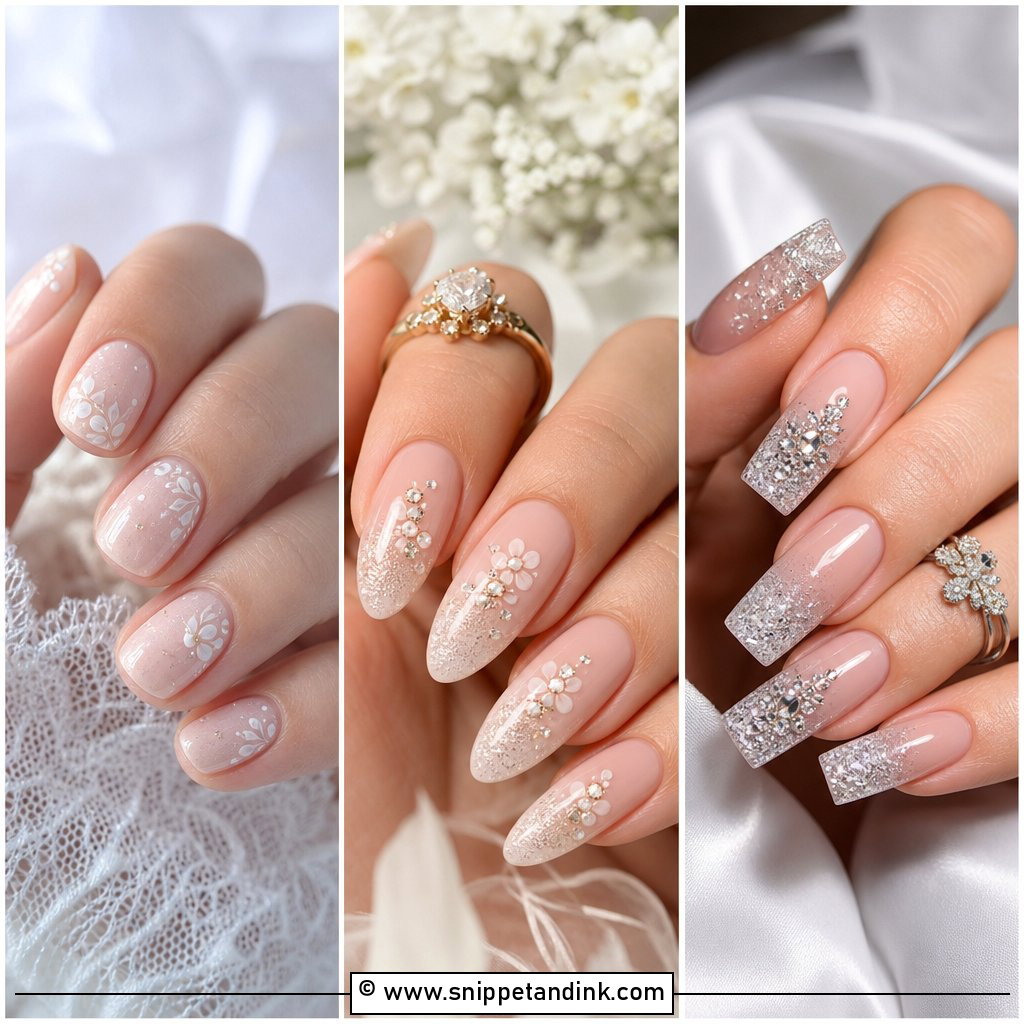
Flower nail art is the most forgiving in hand-painting, but the most crowded if overdone. I paint tiny white flowers, blush petals or botanical sprigs over a sheer nude base, spaced out so there’s bare nail between them, and sometimes add gold dots or pearl centers. Dried flowers sealed into gel are another option, though they add thickness. Almond and oval shapes suit the curves of the artwork. Spring, garden and outdoor ceremonies, floral veils and appliqué dresses suit it best.
9. Pearl Accent Bride Nails
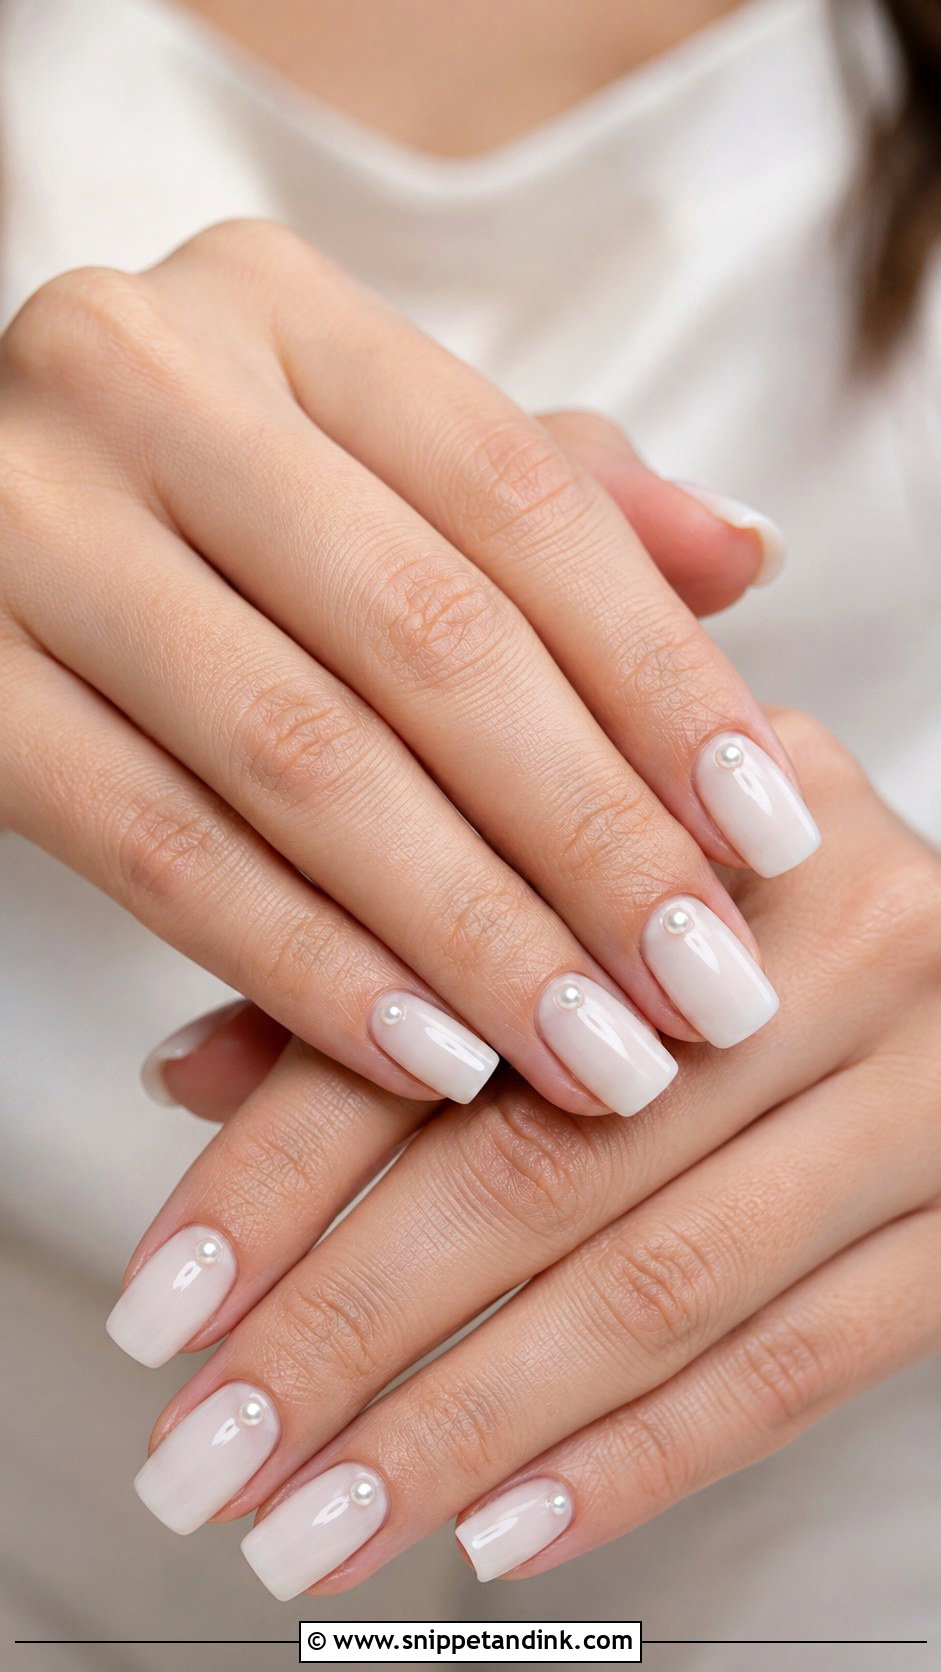
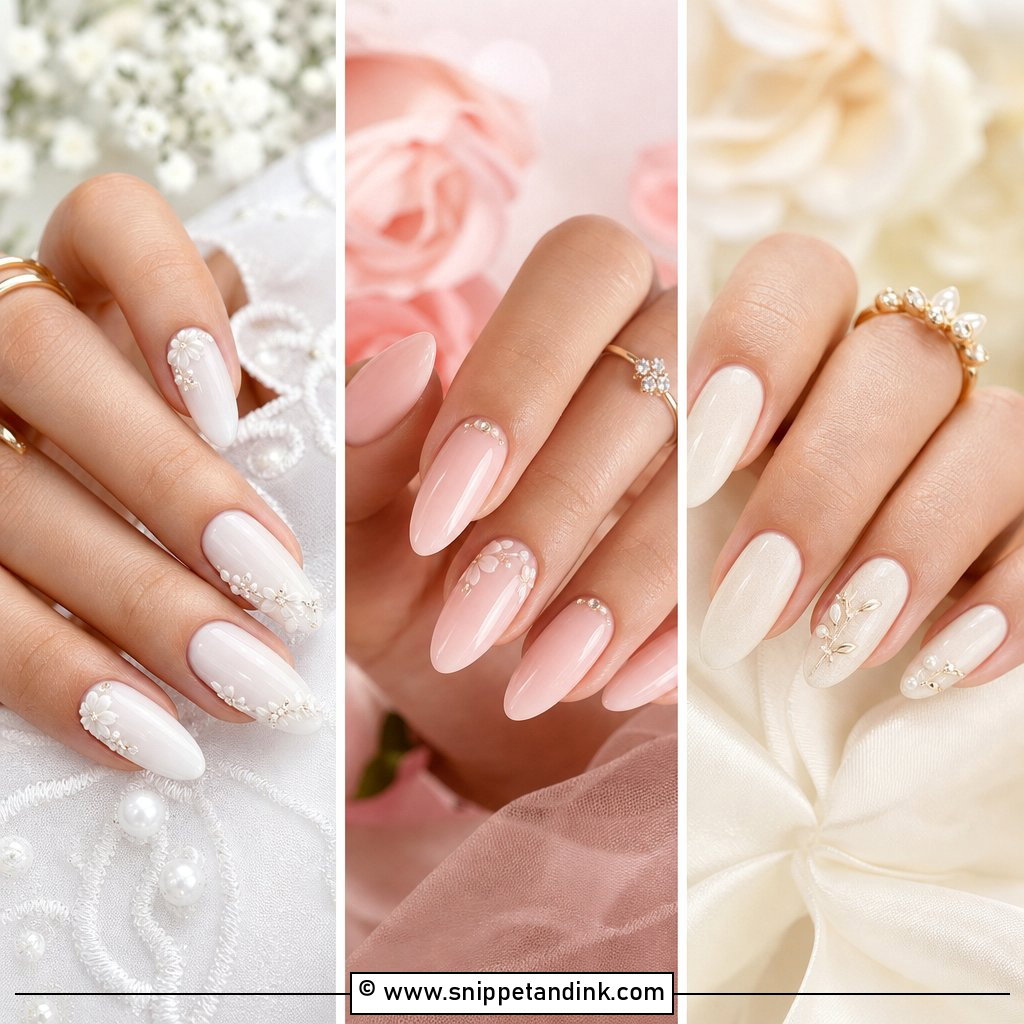
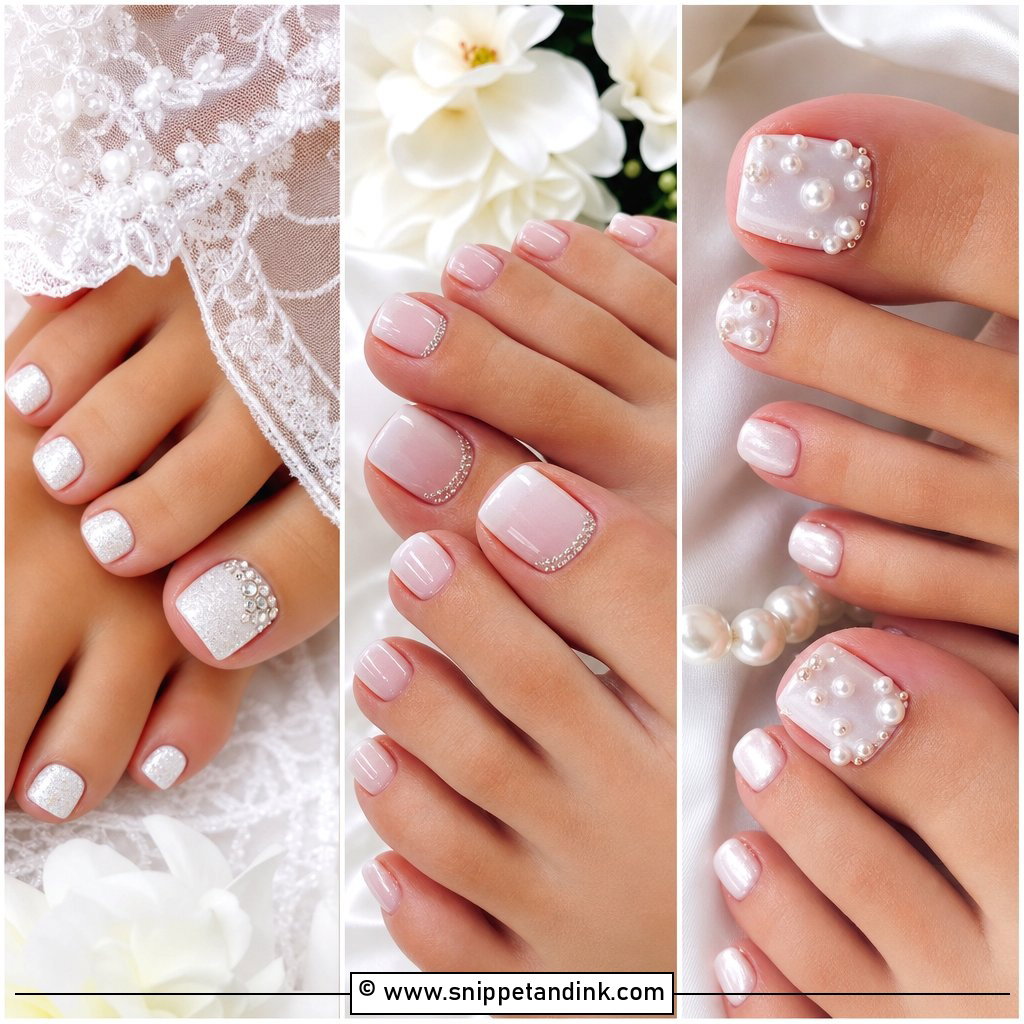
Pearls are the 3D detail I’m asked for most, and the one that needs the most care. The base can be milky white, sheer pink, nude or a soft French; tiny pearls go near the cuticle, along the tips or across one or two nails. Use low-profile, flat-backed pearls, set into builder gel and sealed around the edges, or they catch on veil tulle and hair. Small and balanced looks bridal; big pearls look heavy. Pearl earrings and satin gowns pair naturally with it.
10. Glazed Donut Bride Nails
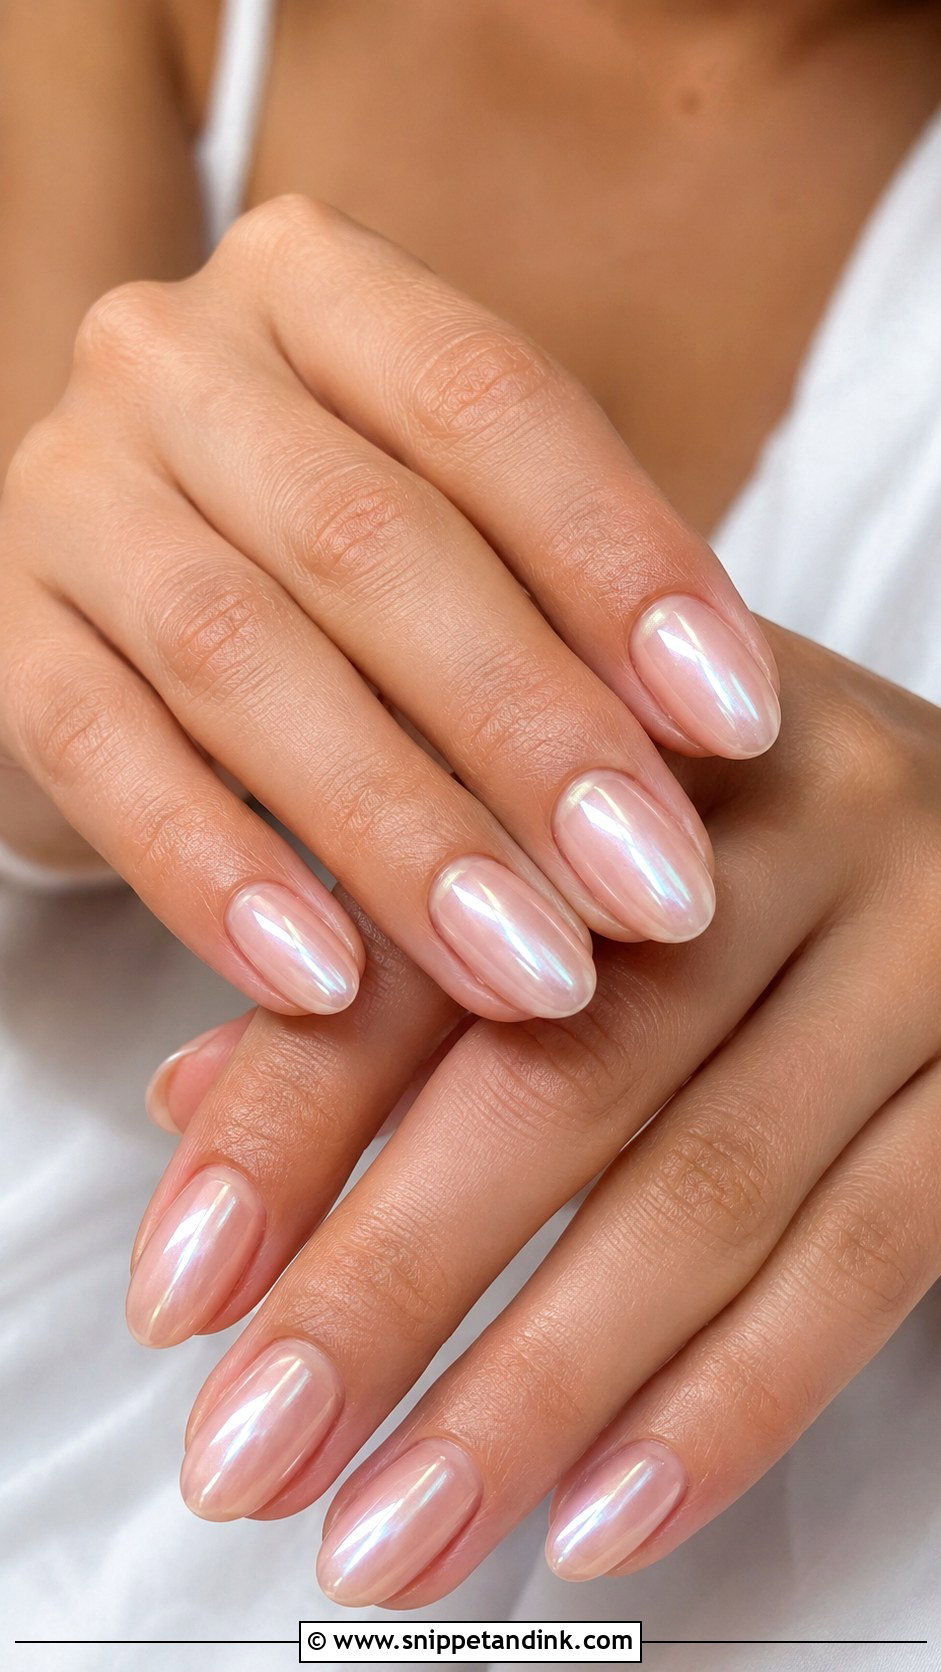
Glazed donut bride nails look like the nail has been dipped in a thin sugar glaze. A sheer nude, pale pink or milky base, then a very fine white chrome rubbed lightly over the top coat. It should glow, not shine like metal, so I use less powder than you’d think. Almond, oval and short squoval all work. Keep the base close to your natural nail tone; the closer it is, the less dated the photos will look in ten years.
11. Silver Glitter Bride Nails
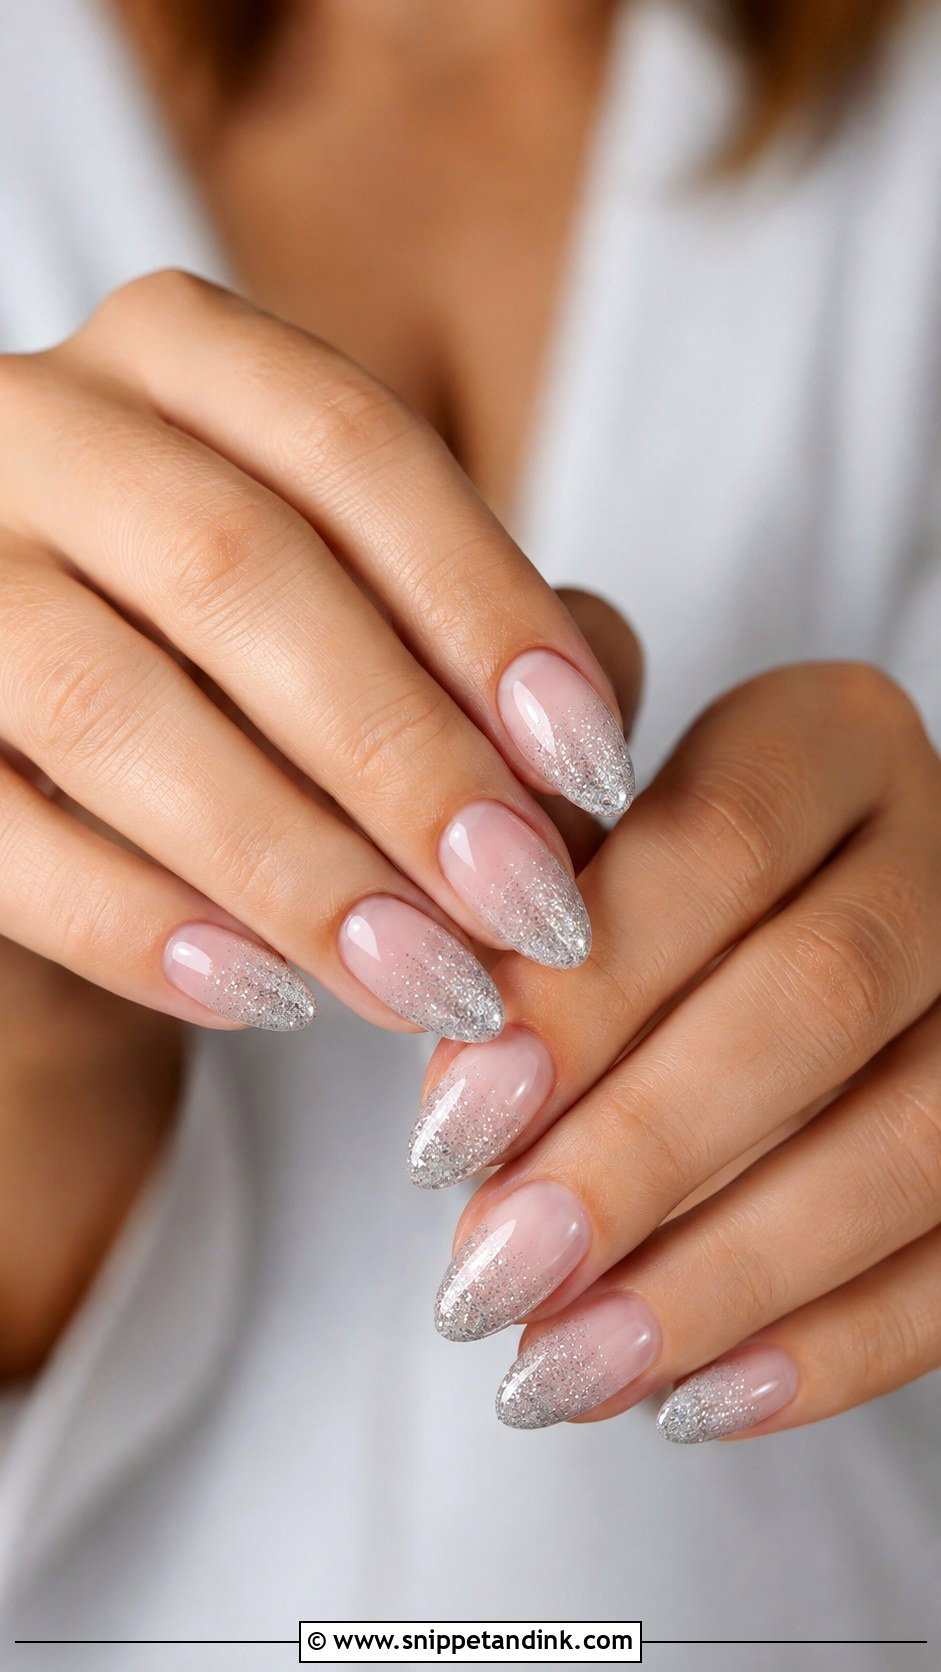
Silver glitter works when it’s fine and placed with thought. I use a fine glitter over a sheer nude, pale pink or milky base, either faded up from the tips, as a light shimmer overlay, or on one or two accent nails. Chunky glitter catches the flash in odd spots and looks gritty in macro shots. It sits well with white gold, platinum, crystal details and beaded gowns, and it really comes alive under evening reception lights. Fair warning: glitter gel is the slowest set to remove afterwards.
12. Gold Foil Bride Nails
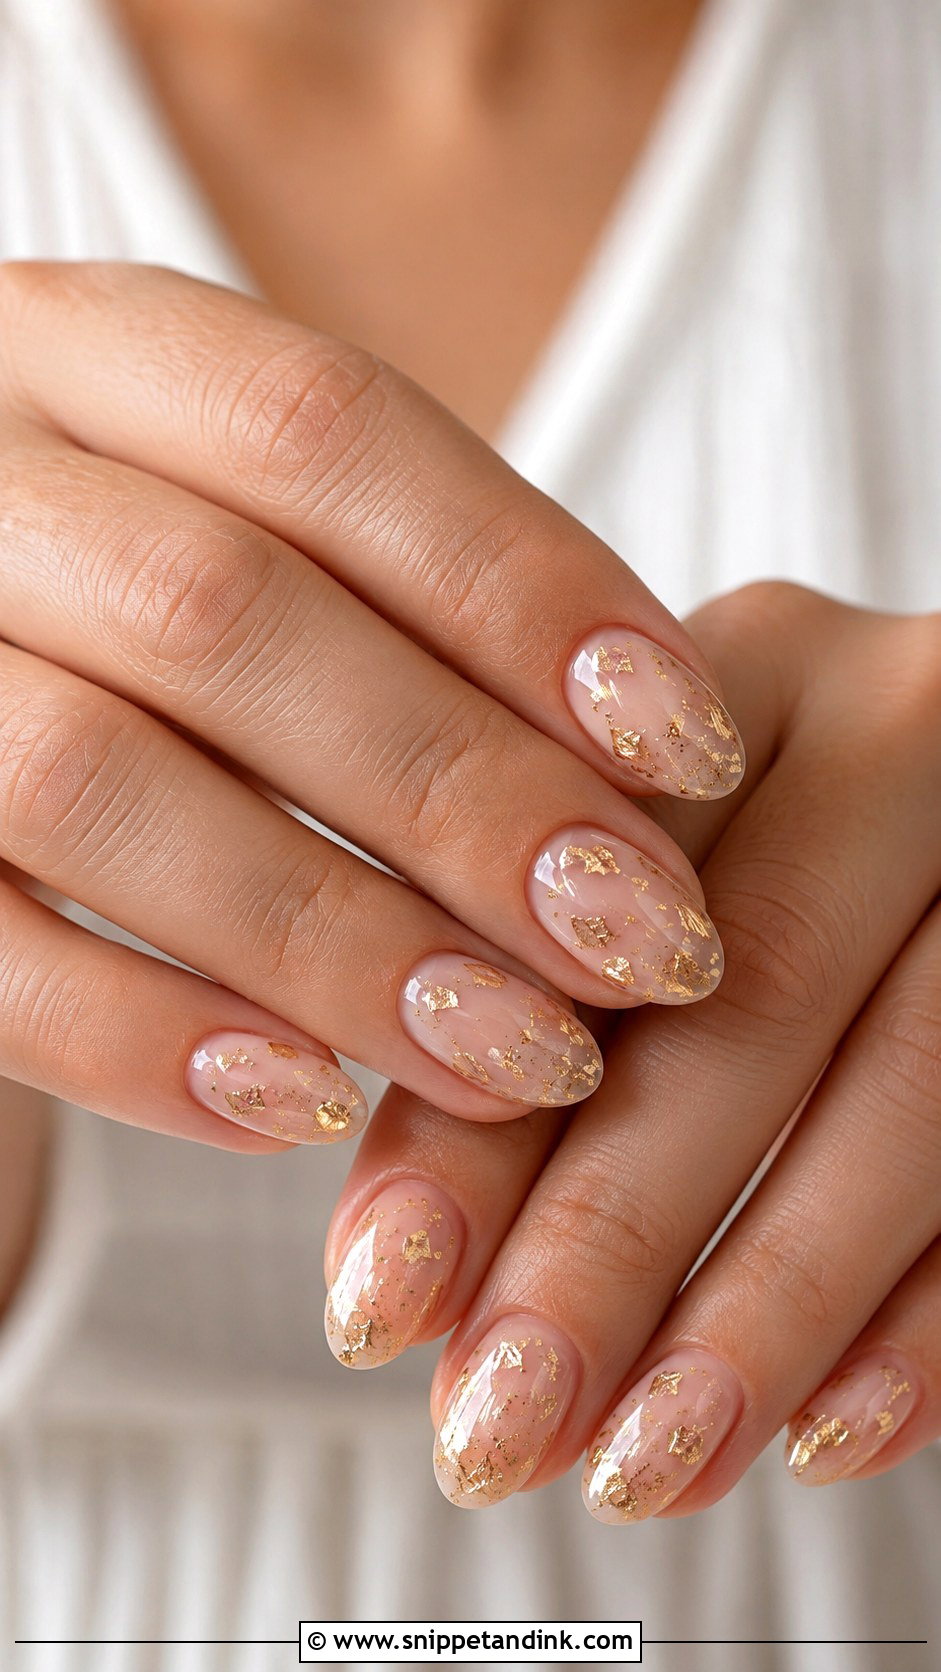
Gold foil adds warmth in small flecks. On a nude, blush, ivory or sheer pink base, I press thin pieces of foil near the cuticle, float them in a milky base or use them to edge a French tip. The foil has to sit under a full top coat, or the edges lift and snag within a day. Gold jewelry, champagne dresses, warm makeup and autumn weddings suit it. Keep the foil scattered rather than solid. Almond and oval make it romantic, short square makes it modern.
13. Blush Ombre Bride Nails
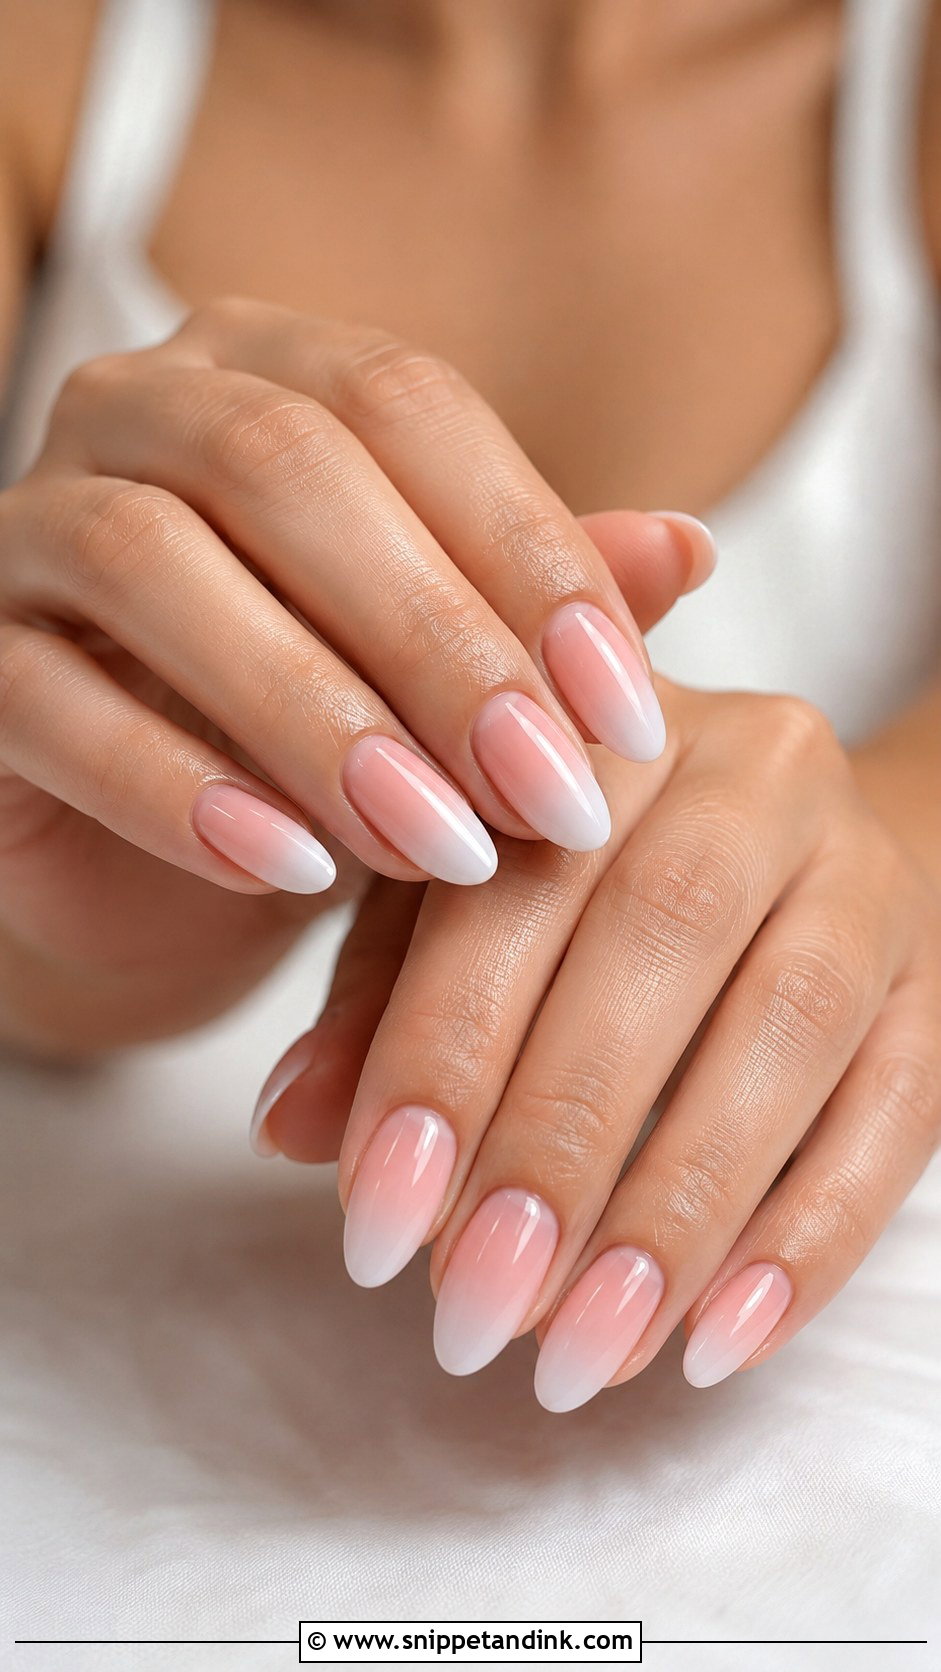
Blush ombre runs sheer pink, peach or rosy nude into a lighter tip, a little warmer than baby boomer nails. Its quiet advantage is grow-out: because the base matches your natural nail, the gap at the cuticle barely shows after a week or two, which is useful if your set has to carry you through a honeymoon. A glossy top coat or a fine shimmer layer adds glow. It sits well with blush flowers and tulle, and almond or oval show the soft blend best.
14. Short Bride Nails
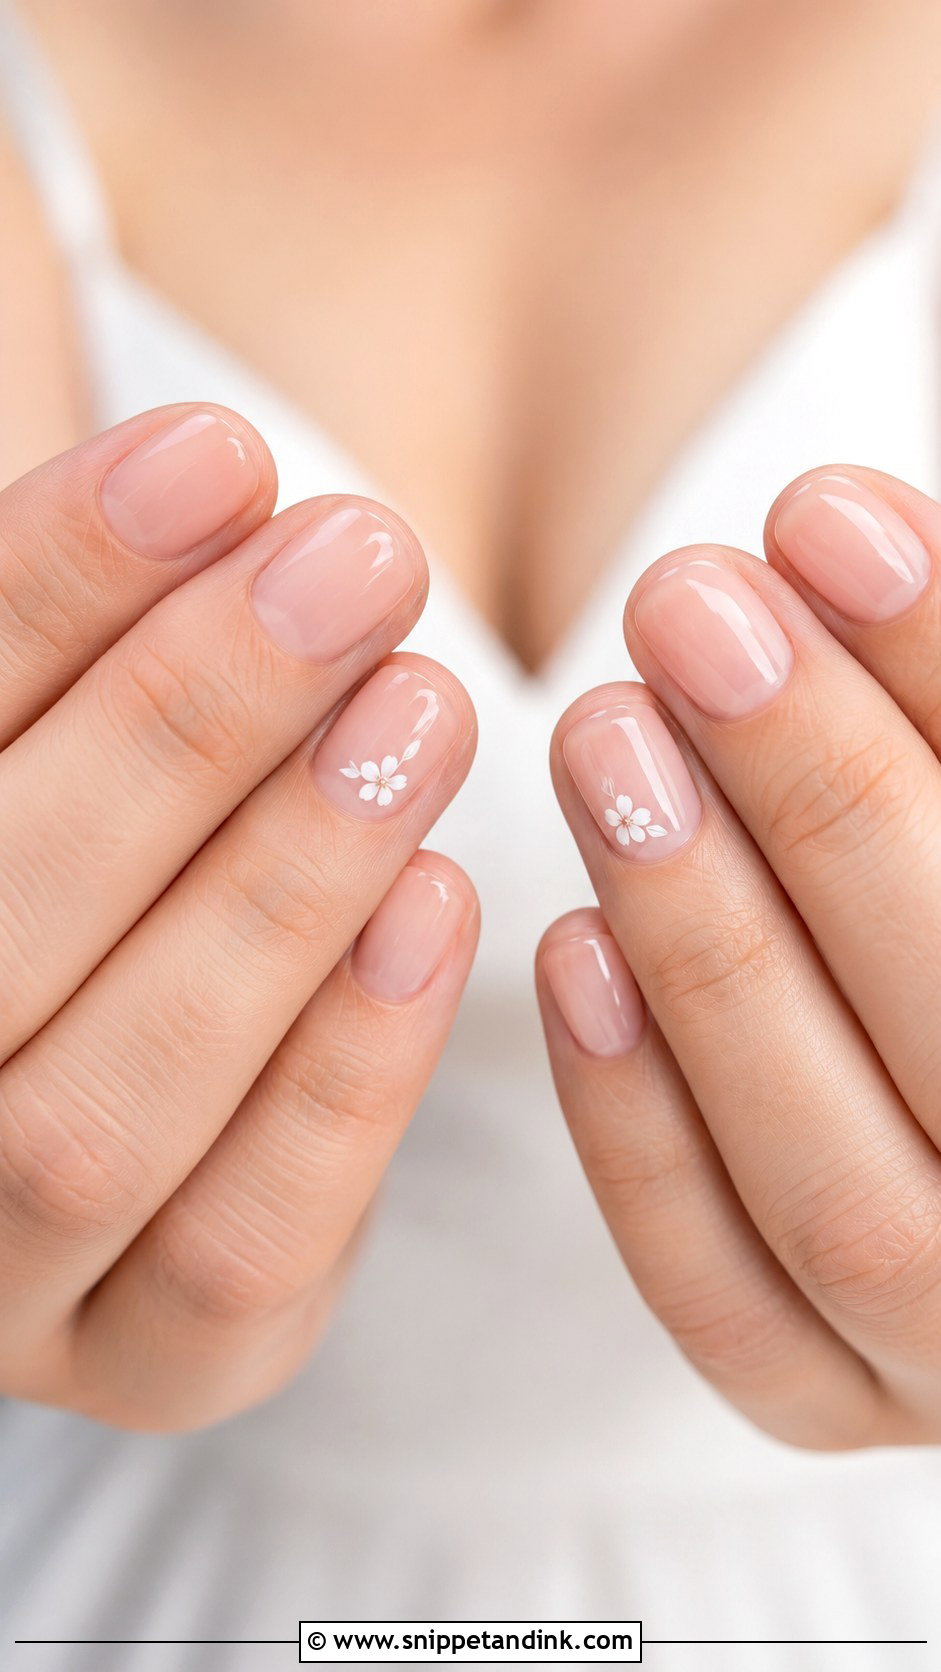
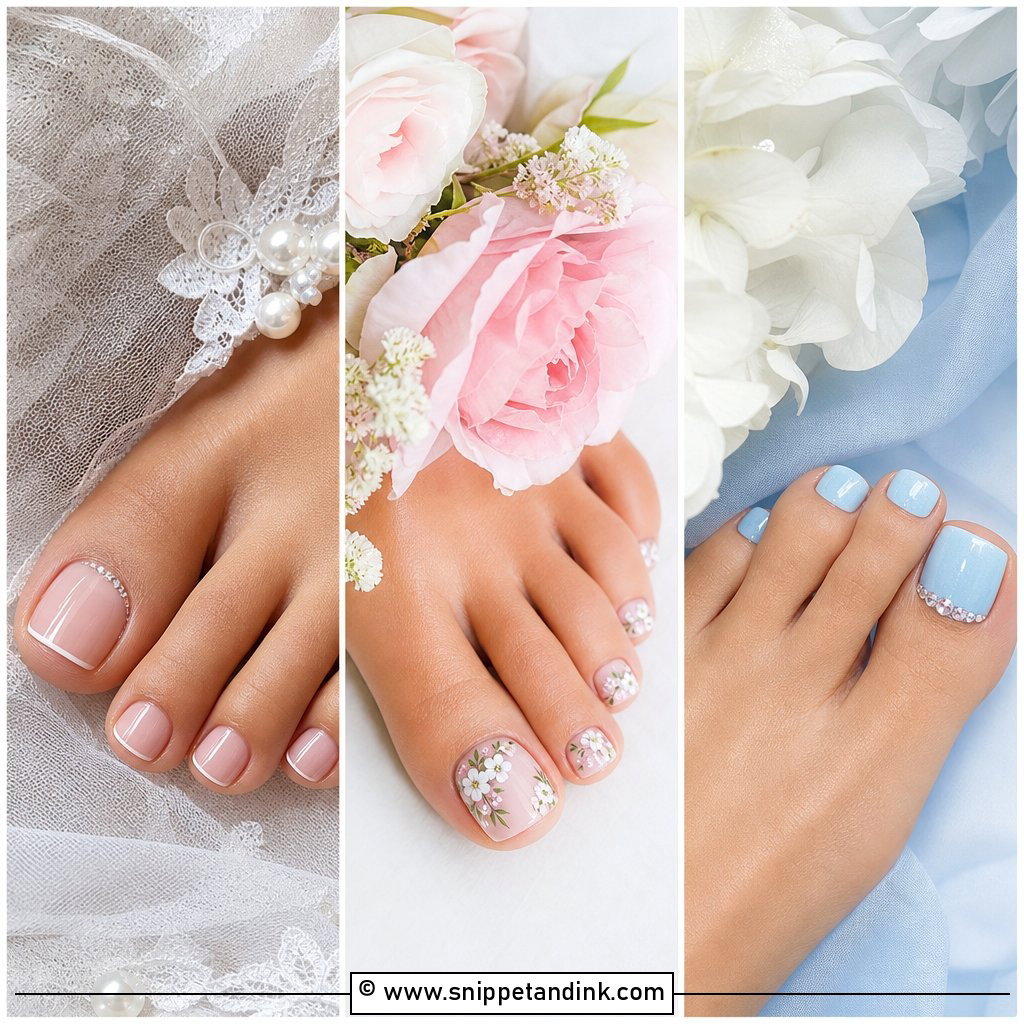
Short bride nails look every bit as finished as long ones when the shape is even and the cuticles are clean. A short oval or squoval in sheer pink, milky white, nude or a micro French is comfortable and doesn’t catch on lace, hair or veils. Short nails also put the ring in the spotlight, since the eye isn’t pulled to the tips. Add pearl chrome, a single tiny flower or a shimmer top coat for detail. If you bite or break your nails, short is the safest plan.
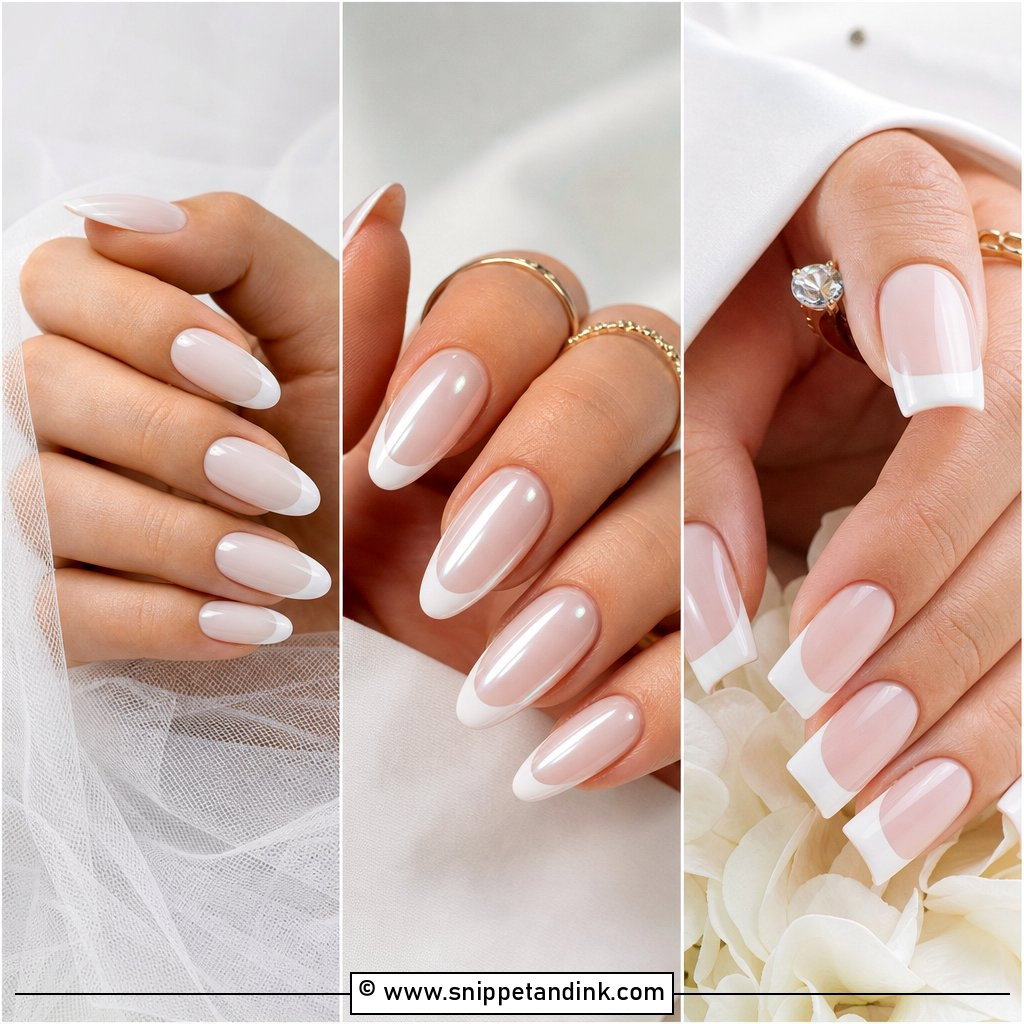
15. Almond Bride Nails
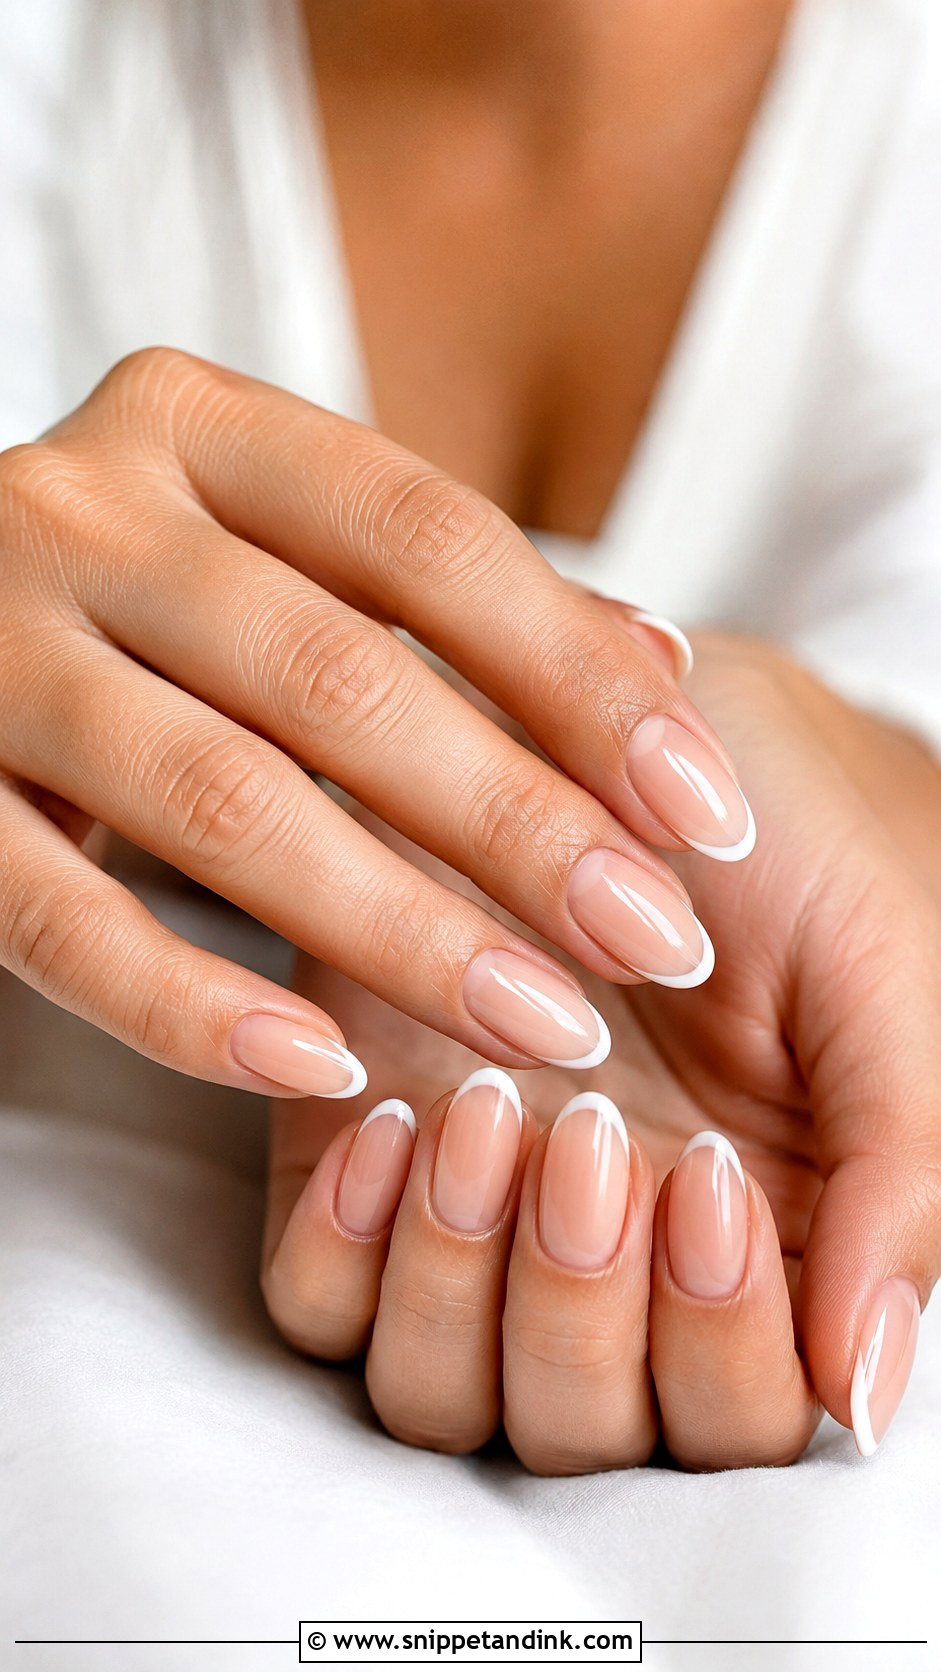
Almond is the shape that flatters the most hands, because the tapered tip makes fingers look longer. It takes almost every design on this list, French, milky white, pearl chrome, lace, ombre. Medium length gives room for detail without getting in the way. Almond does need some free edge to taper well; on very short natural nails it becomes a rounded oval, which is fine. A sheer nude gloss or a fine line of shimmer along the tip is enough.
16. Square Bride Nails
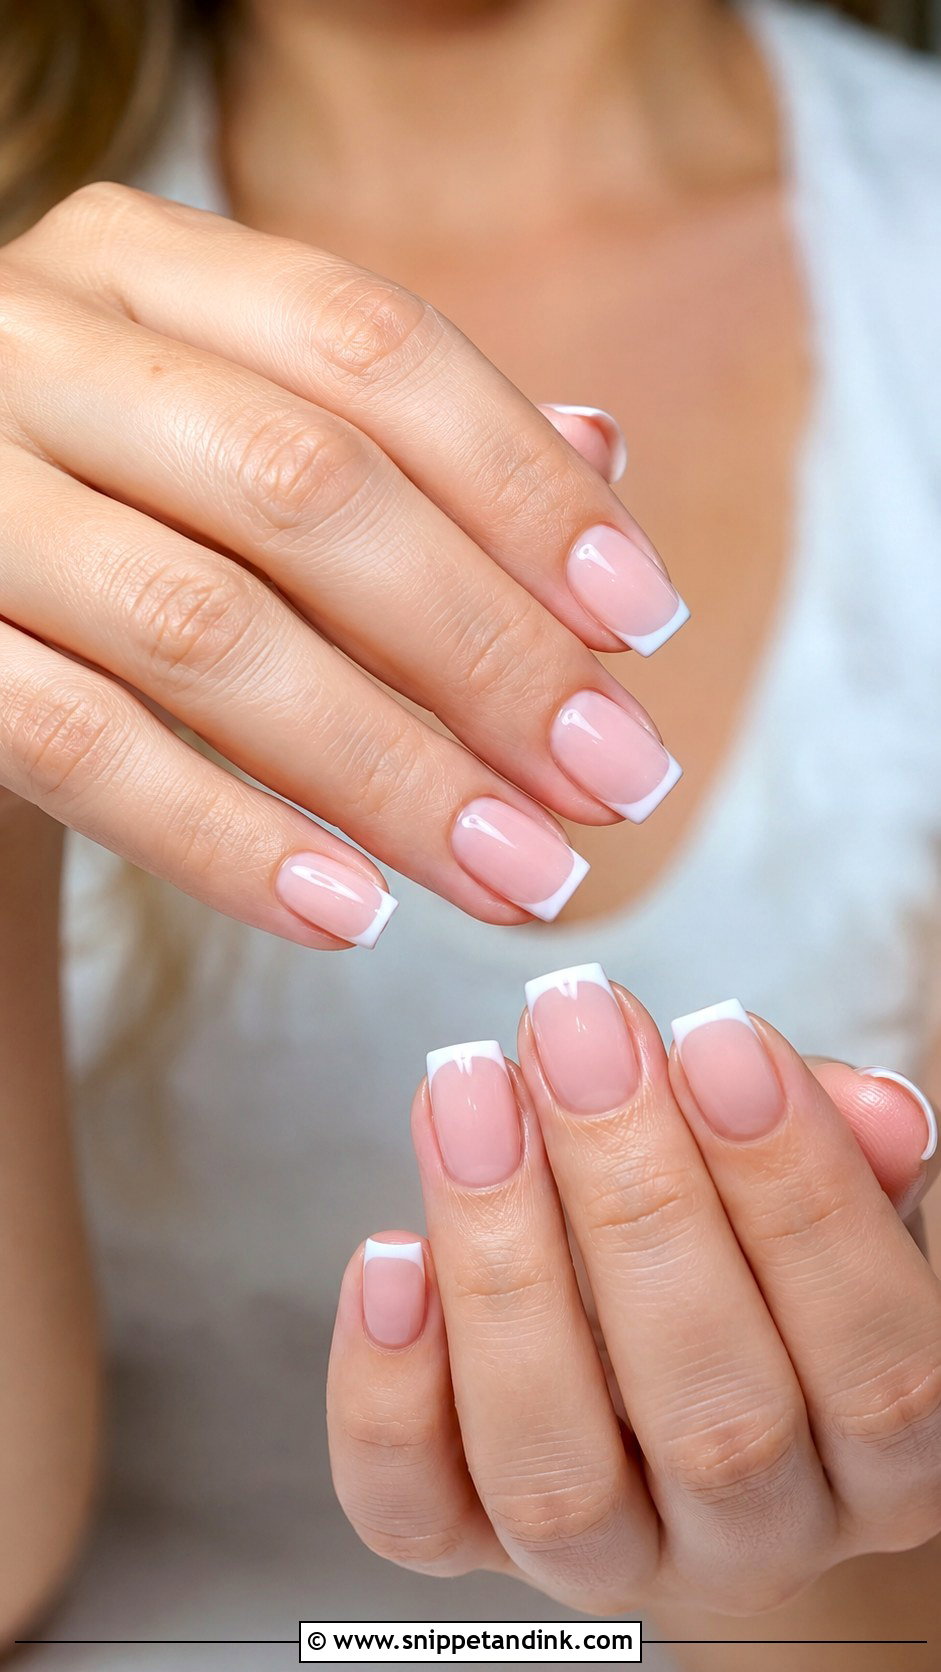
Square nails look neat and structured, and they’re the strongest shape because the full width of the tip supports the edge. I soften the corners slightly, a squoval, so they don’t snag fabric or look heavy in photos. Short and medium lengths are the most practical. French tips, nude, milky white and soft pink all suit the straight edge, and simple satin gowns and sleek updos match its clean line. A thin chrome French or one tiny pearl at the cuticle is plenty of detail.
17. Coffin Bride Nails
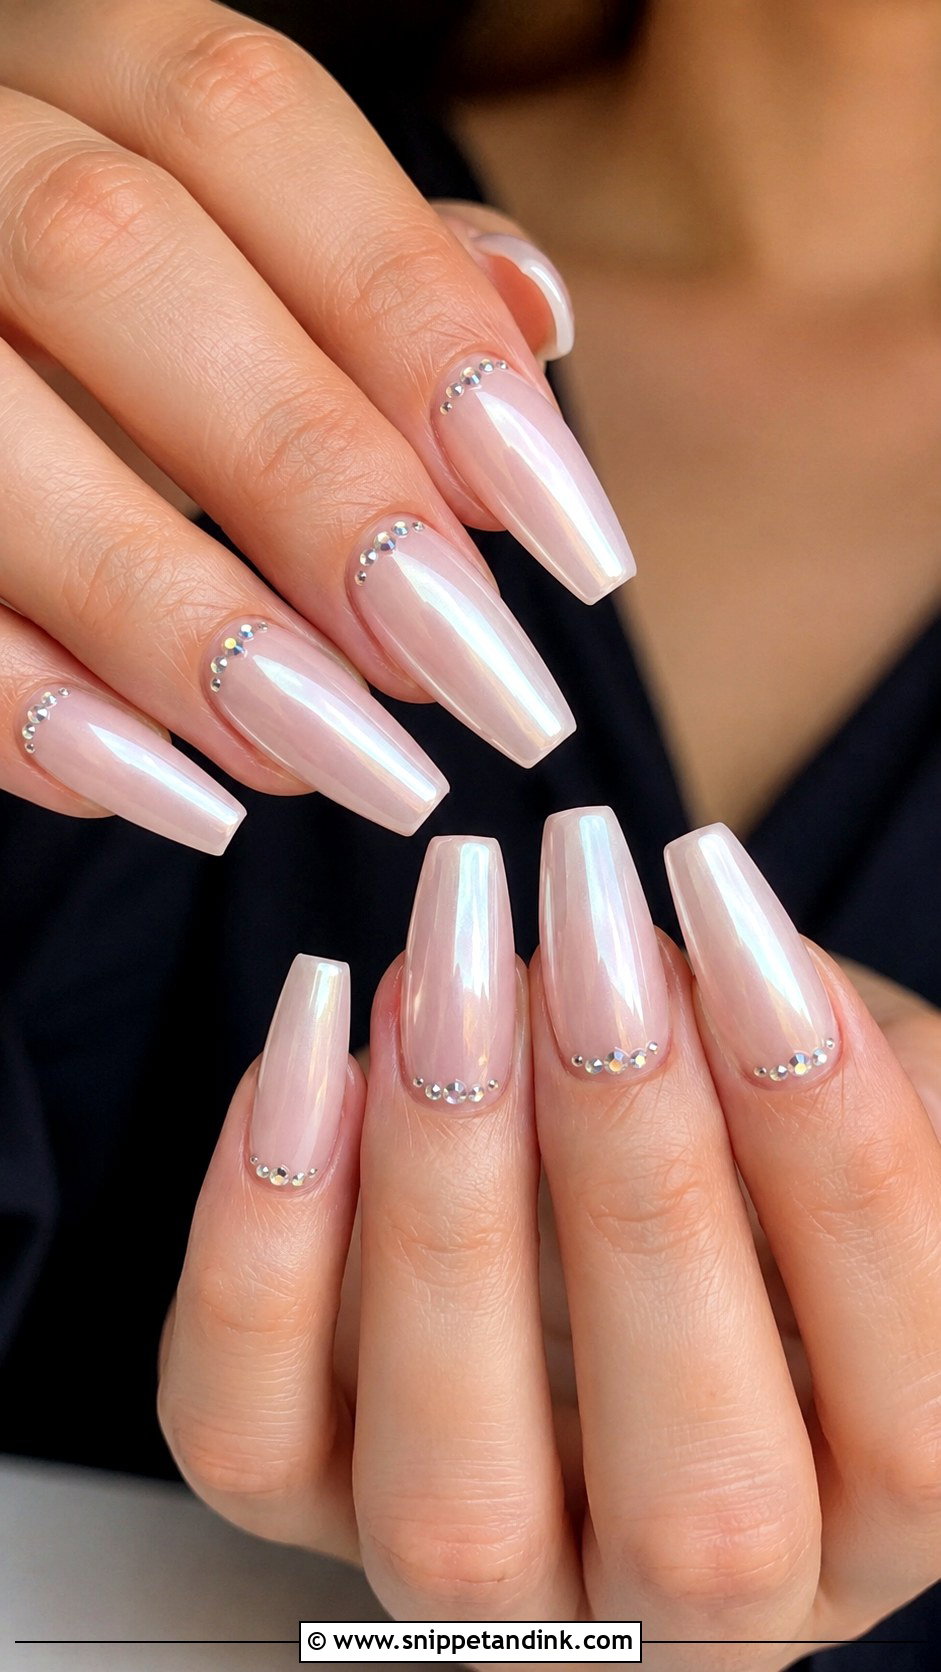
Coffin gives more length and drama, with a tapered, flat-ended tip that has room for designs like ombre, pearl chrome, lace, glitter fades or French tips. Soft colors keep it bridal: milky white, blush, nude, ivory, sheer beige. I’d keep the length medium; extra-long coffins make it hard to fasten buttons, hold a bouquet stem or pick up a ring. It suits glamorous and modern weddings. Choose one main detail, chrome, pearls or glitter, rather than layering them all.
18. Something Blue Bride Nails
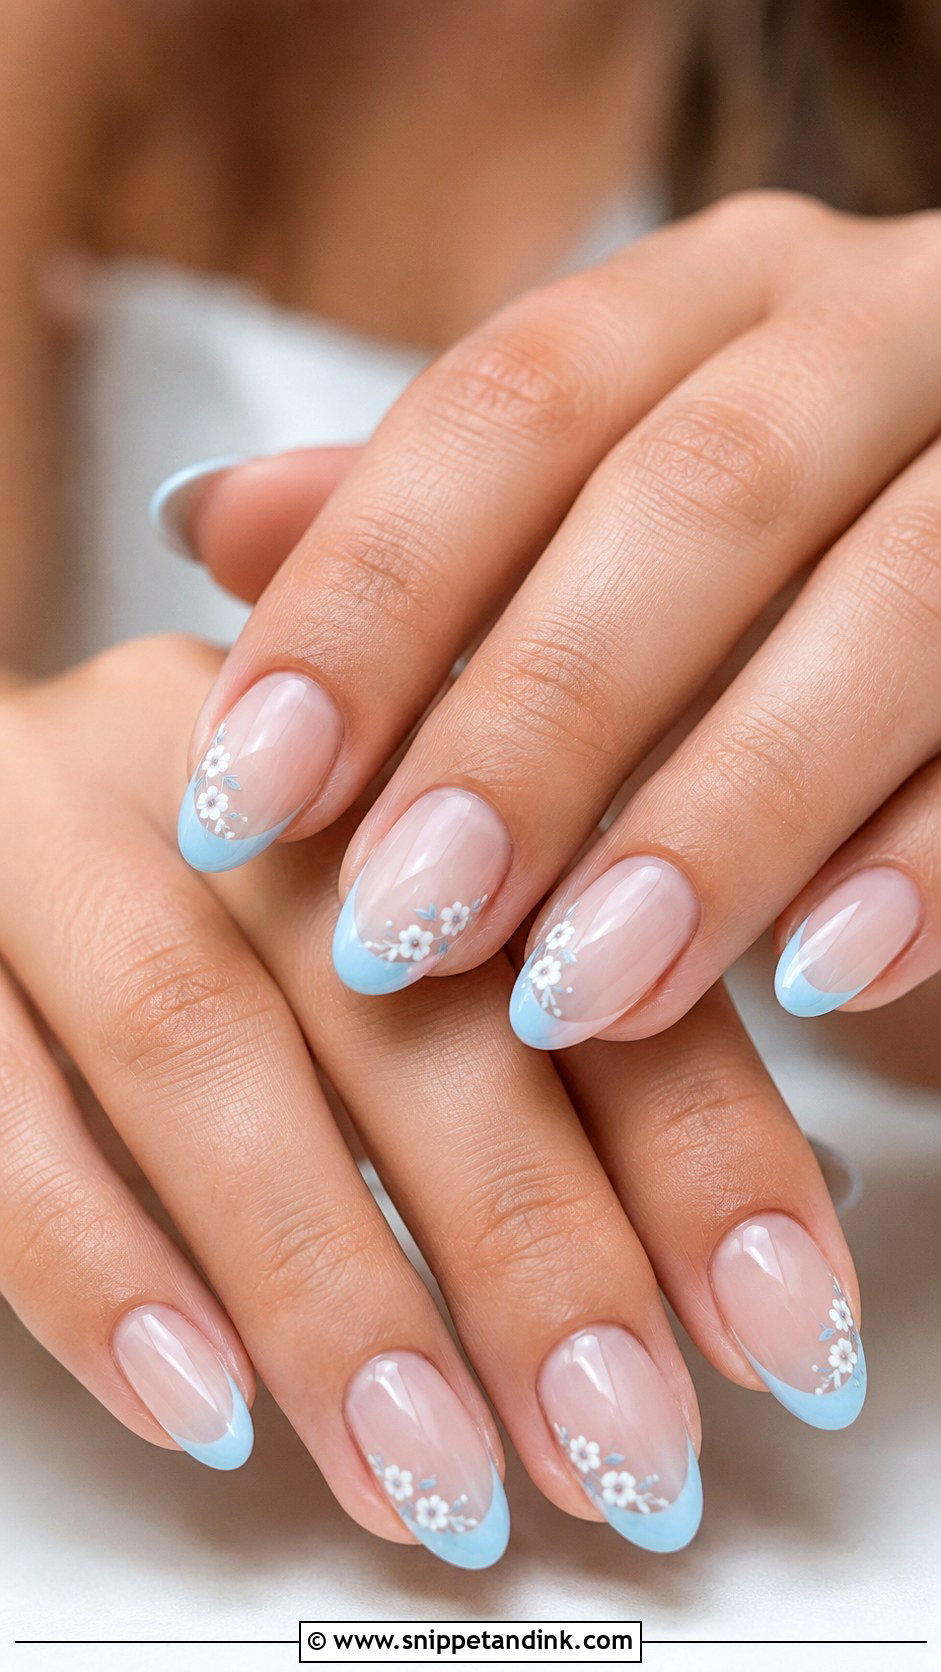
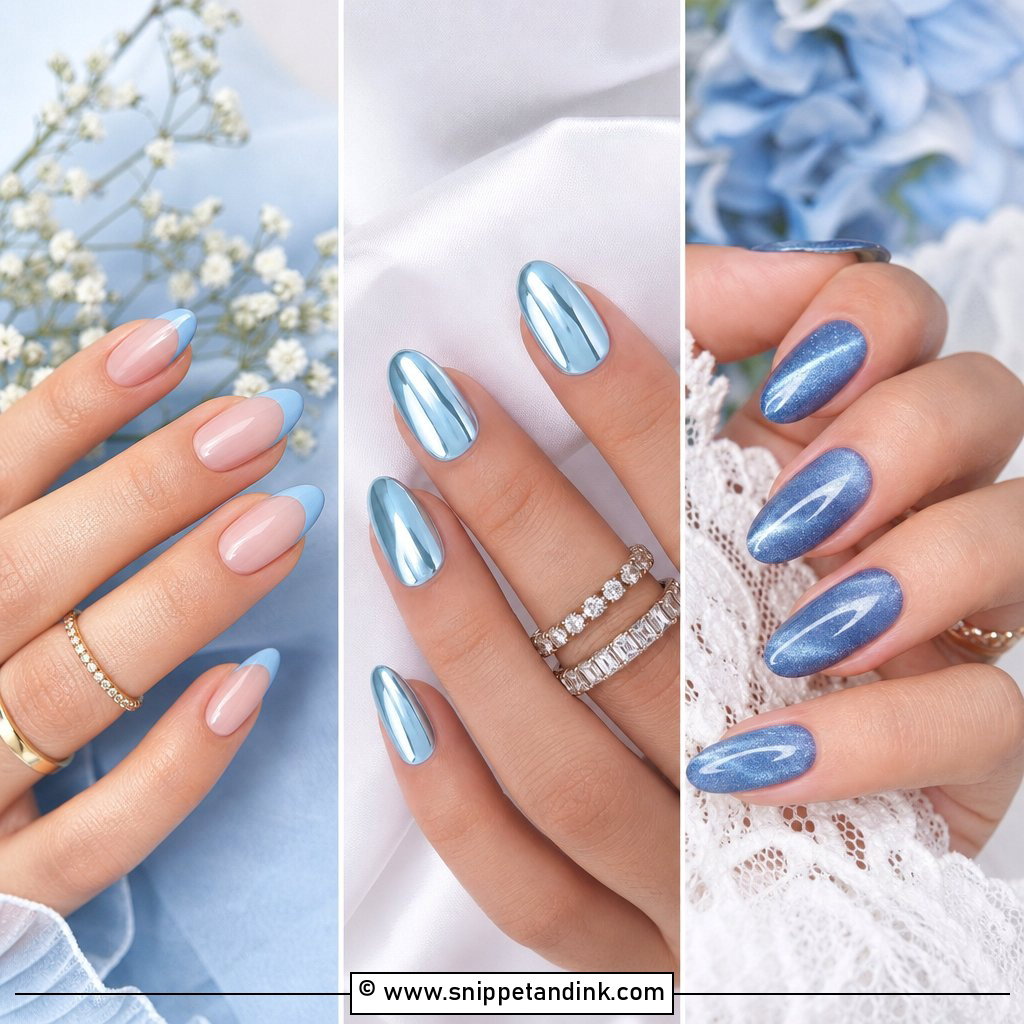
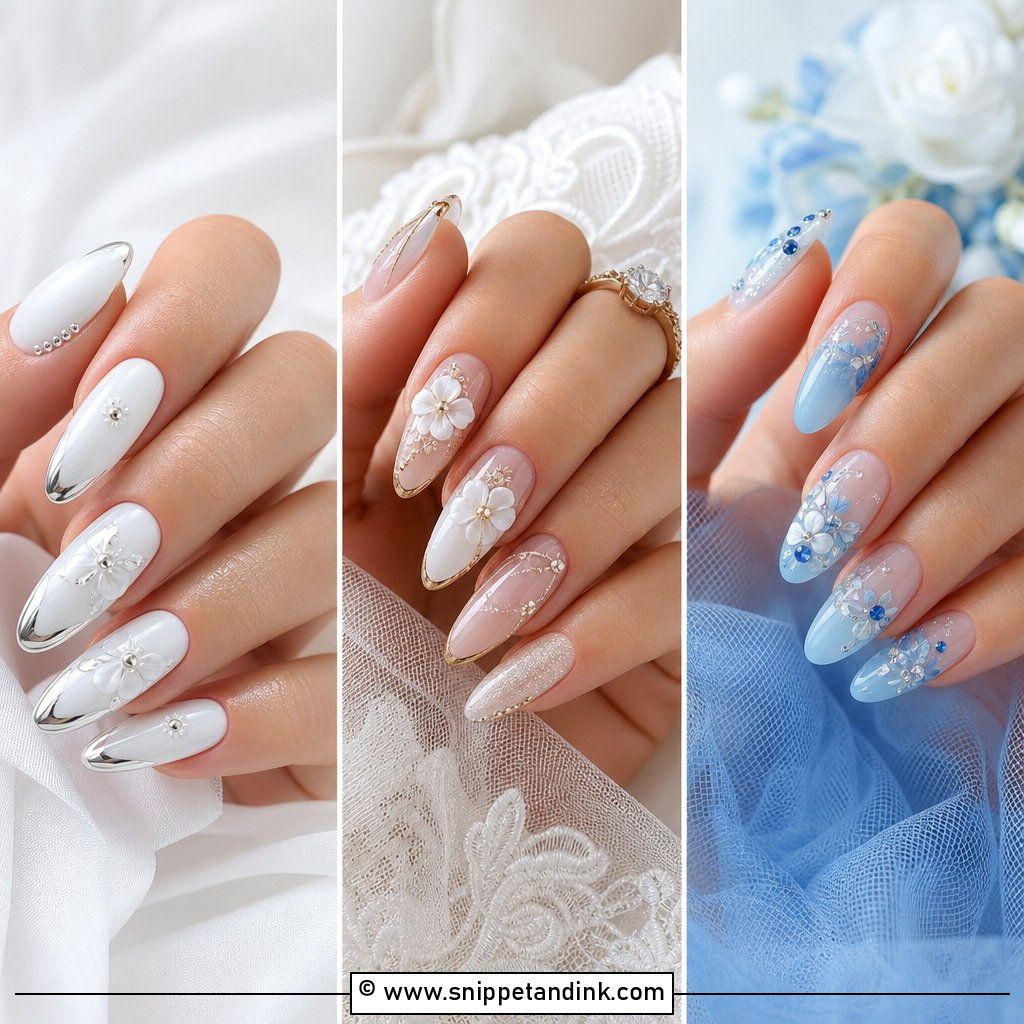
Something blue is easy to carry on the nails without anyone noticing unless you show them. Pale blue French tips, a tiny blue flower, a soft blue shimmer or one hidden blue accent, over a sheer nude or milky base. For the most discreet version, put a small blue dot near the cuticle of the ring finger or pinky. Silver or pearl accents suit the cool tone. Spring, beach and coastal weddings carry it naturally.
19. Minimal Bride Nails
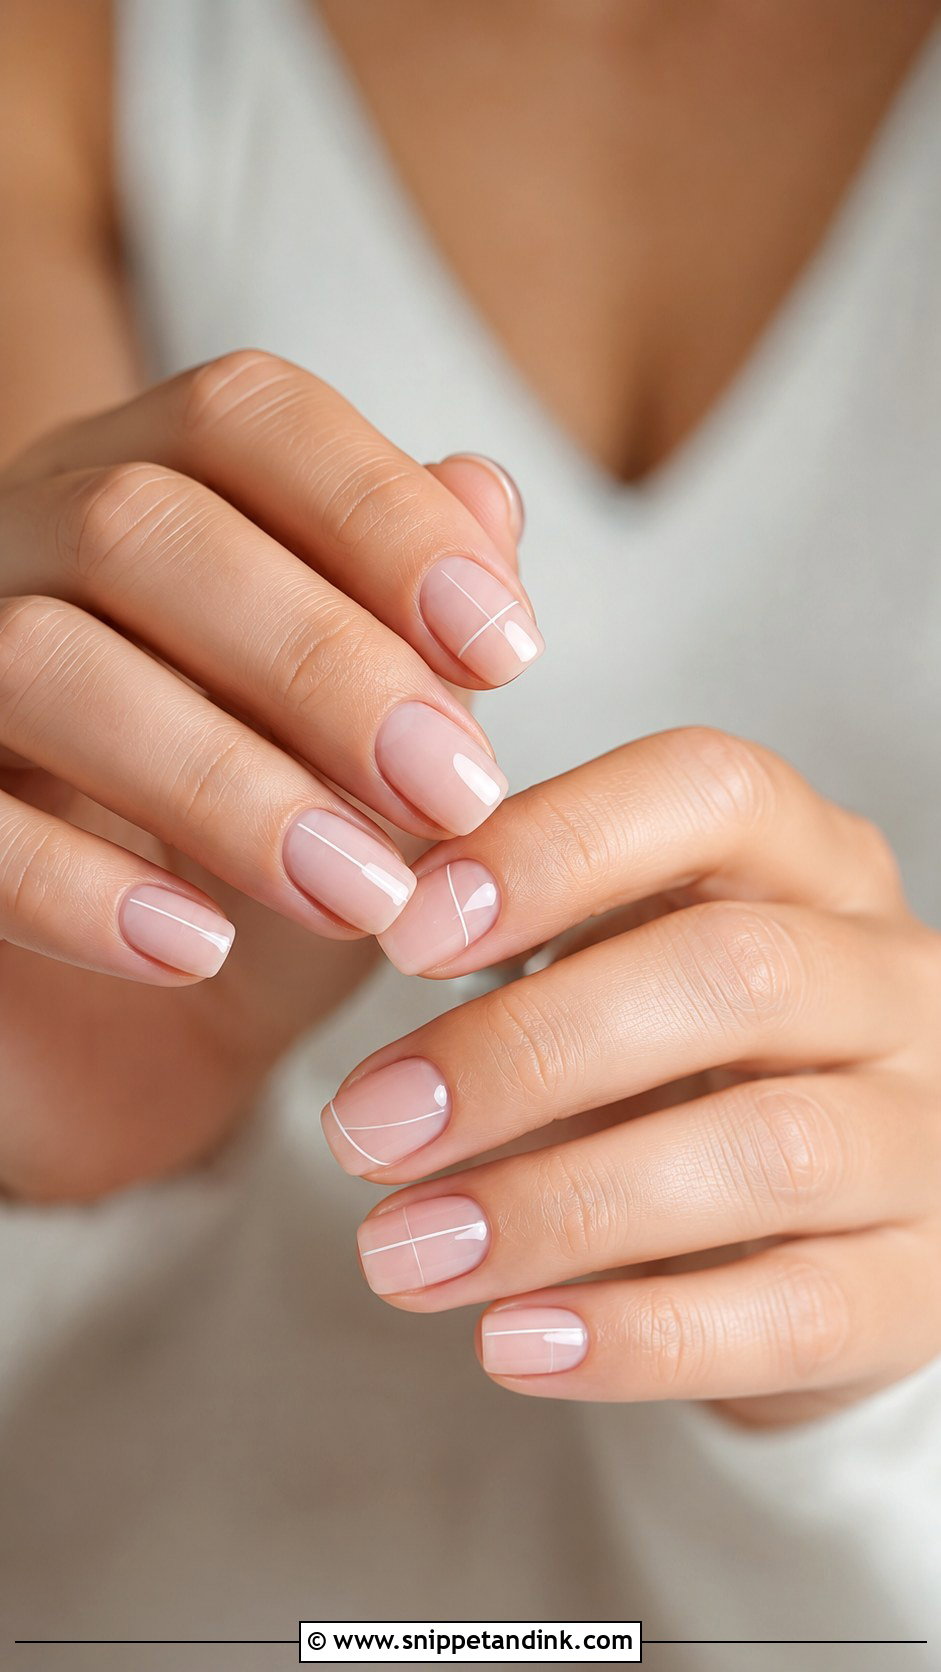
Minimal nails are all prep. Shaped evenly, cuticles pushed back and tidied, a sheer base that flatters your nail bed, and one detail: a micro French, a single pearl, a thin white line or a soft chrome sheen. Because there’s no art to look at, every uneven edge shows, so I spend most of the appointment on shape and cuticles. Short oval, squoval and medium almond are the best match. Modern gowns, courthouse and destination weddings suit it, and it’s ideal if you never usually wear nail art.
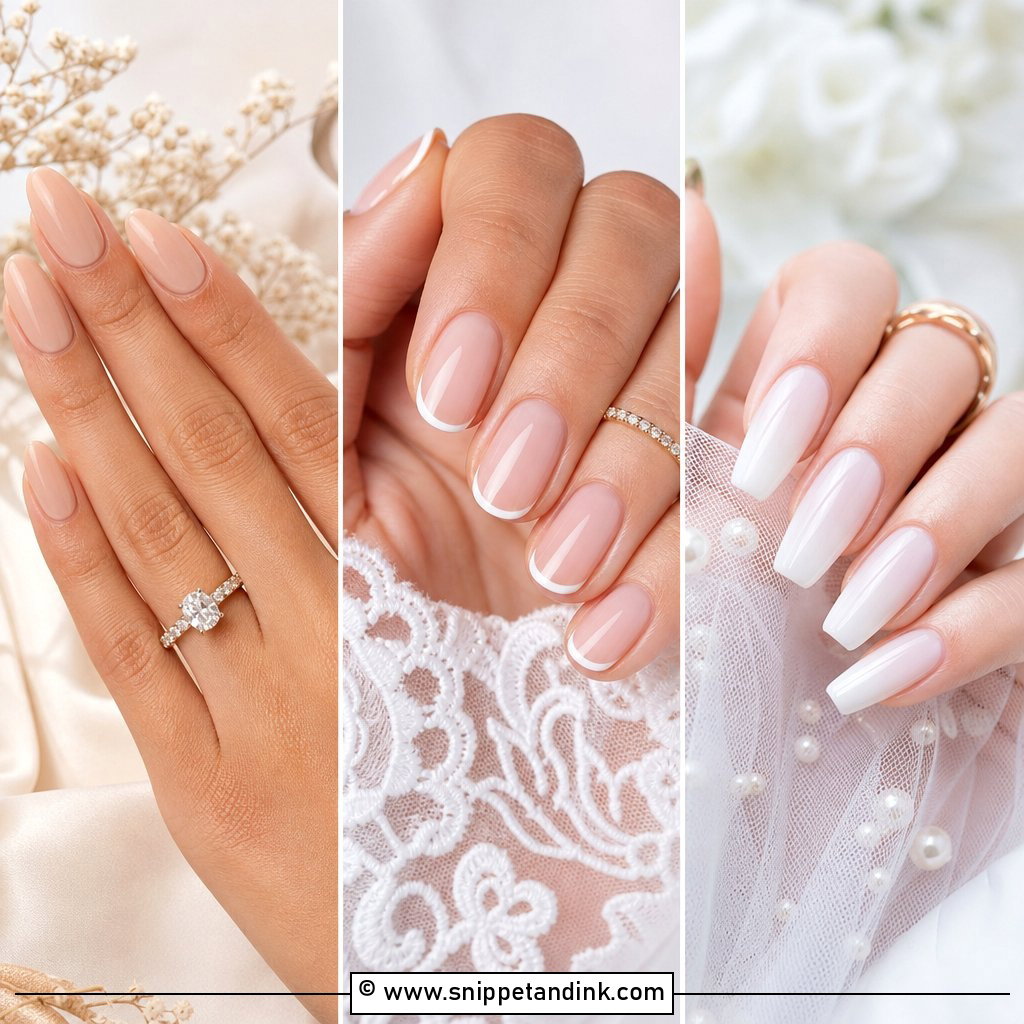
20. Rhinestone Bride Nails
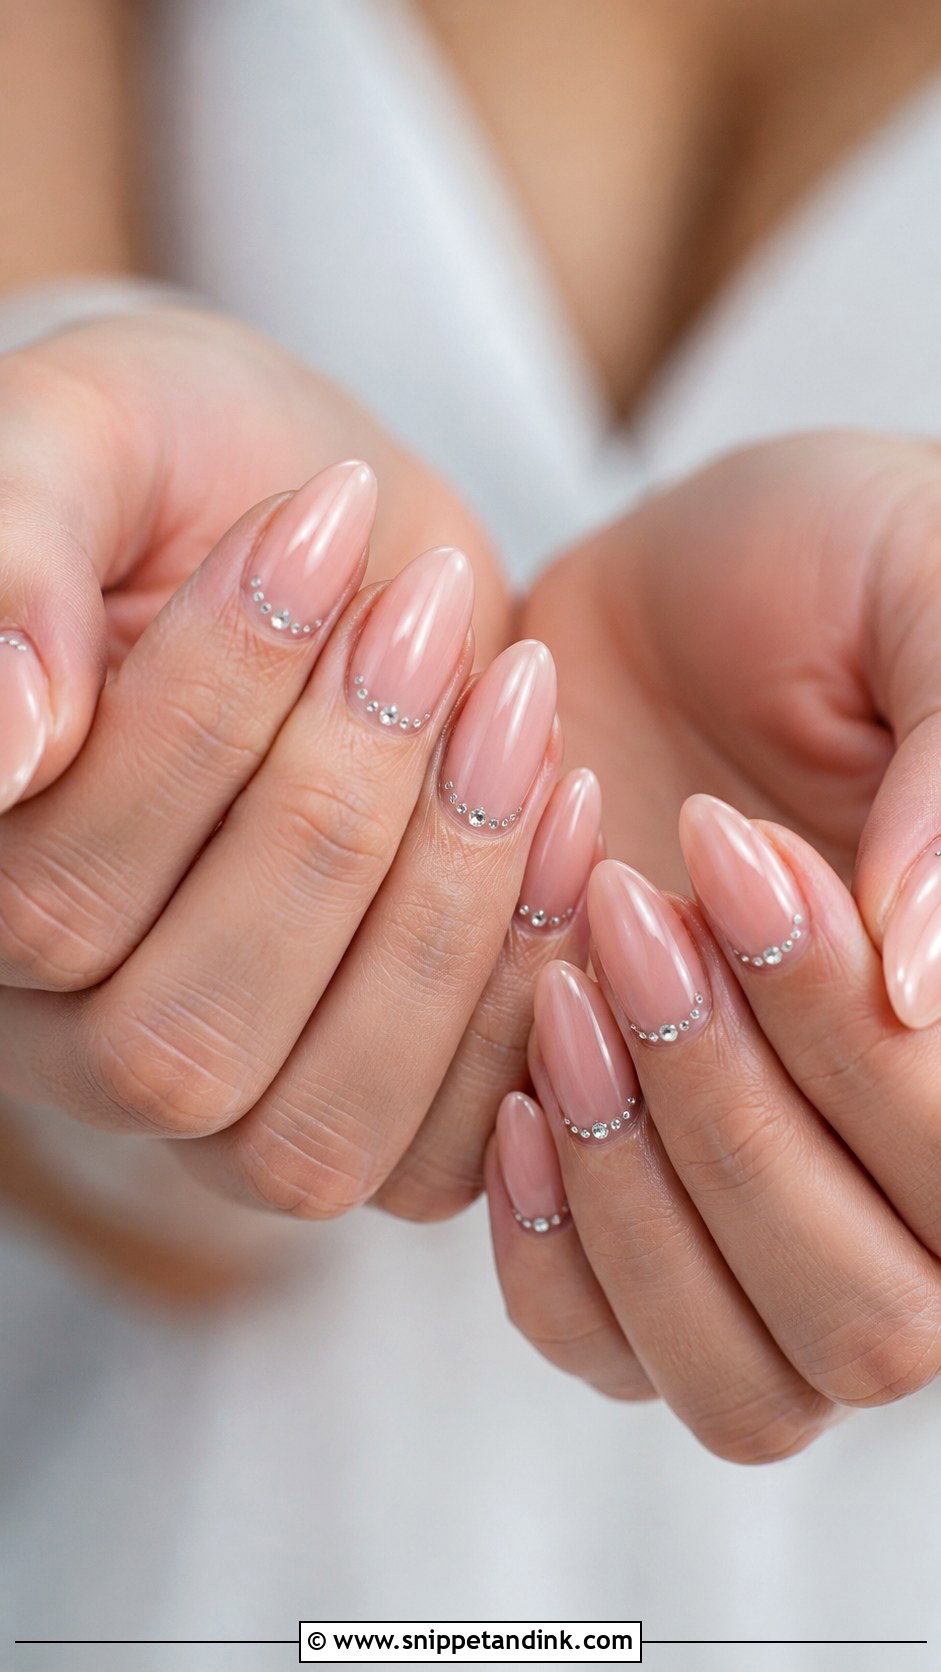
Rhinestone bride nails work when the stones are tiny and placed with restraint. A sheer nude, soft pink, milky white or French base, with small clear stones near the cuticle or across one accent nail. I set each stone into gel and seal around it so it can’t catch hair or lace. If your dress already sparkles, use fewer stones. Almond, oval and coffin give room for detail. They’re the best match for crystal hairpieces and evening receptions.
A Broken Nail at 10am and Other Day-Of Fixes
Even a well-done set can have a bad morning. Getting dressed, fastening jewelry and opening champagne are when nails usually chip or crack. A small kit solves most of it.
- A fine nail file to smooth a snag before it catches your veil or lace.
- A small bottle of nail glue for a cracked tip or a pearl that has come loose.
- Cuticle oil, applied right before the ring shots. Cameras show dry cuticles clearly, and oil makes them look healthy in seconds.
- A clear top coat or a bottle of the exact shade if you’re wearing regular polish rather than gel.
If a nail breaks completely, file it short and smooth rather than gluing a jagged edge. One shorter nail is hardly noticed in photos; a rough edge catches on everything.
Your Ring, Your Dress, Then the Polish
Start with your ring and your dress. A large or detailed ring usually looks better beside a quiet nail; a simple band leaves room for chrome, lace or a little sparkle. Then think about how you use your hands: if you’ll be holding a heavy bouquet, wearing lace sleeves or managing a long veil, stones and length get in the way. Book a trial a few weeks before to test the shape and shade, and you’ll know exactly what to ask for at the final appointment.
You'll Like These Ideas:


Leave a Reply