
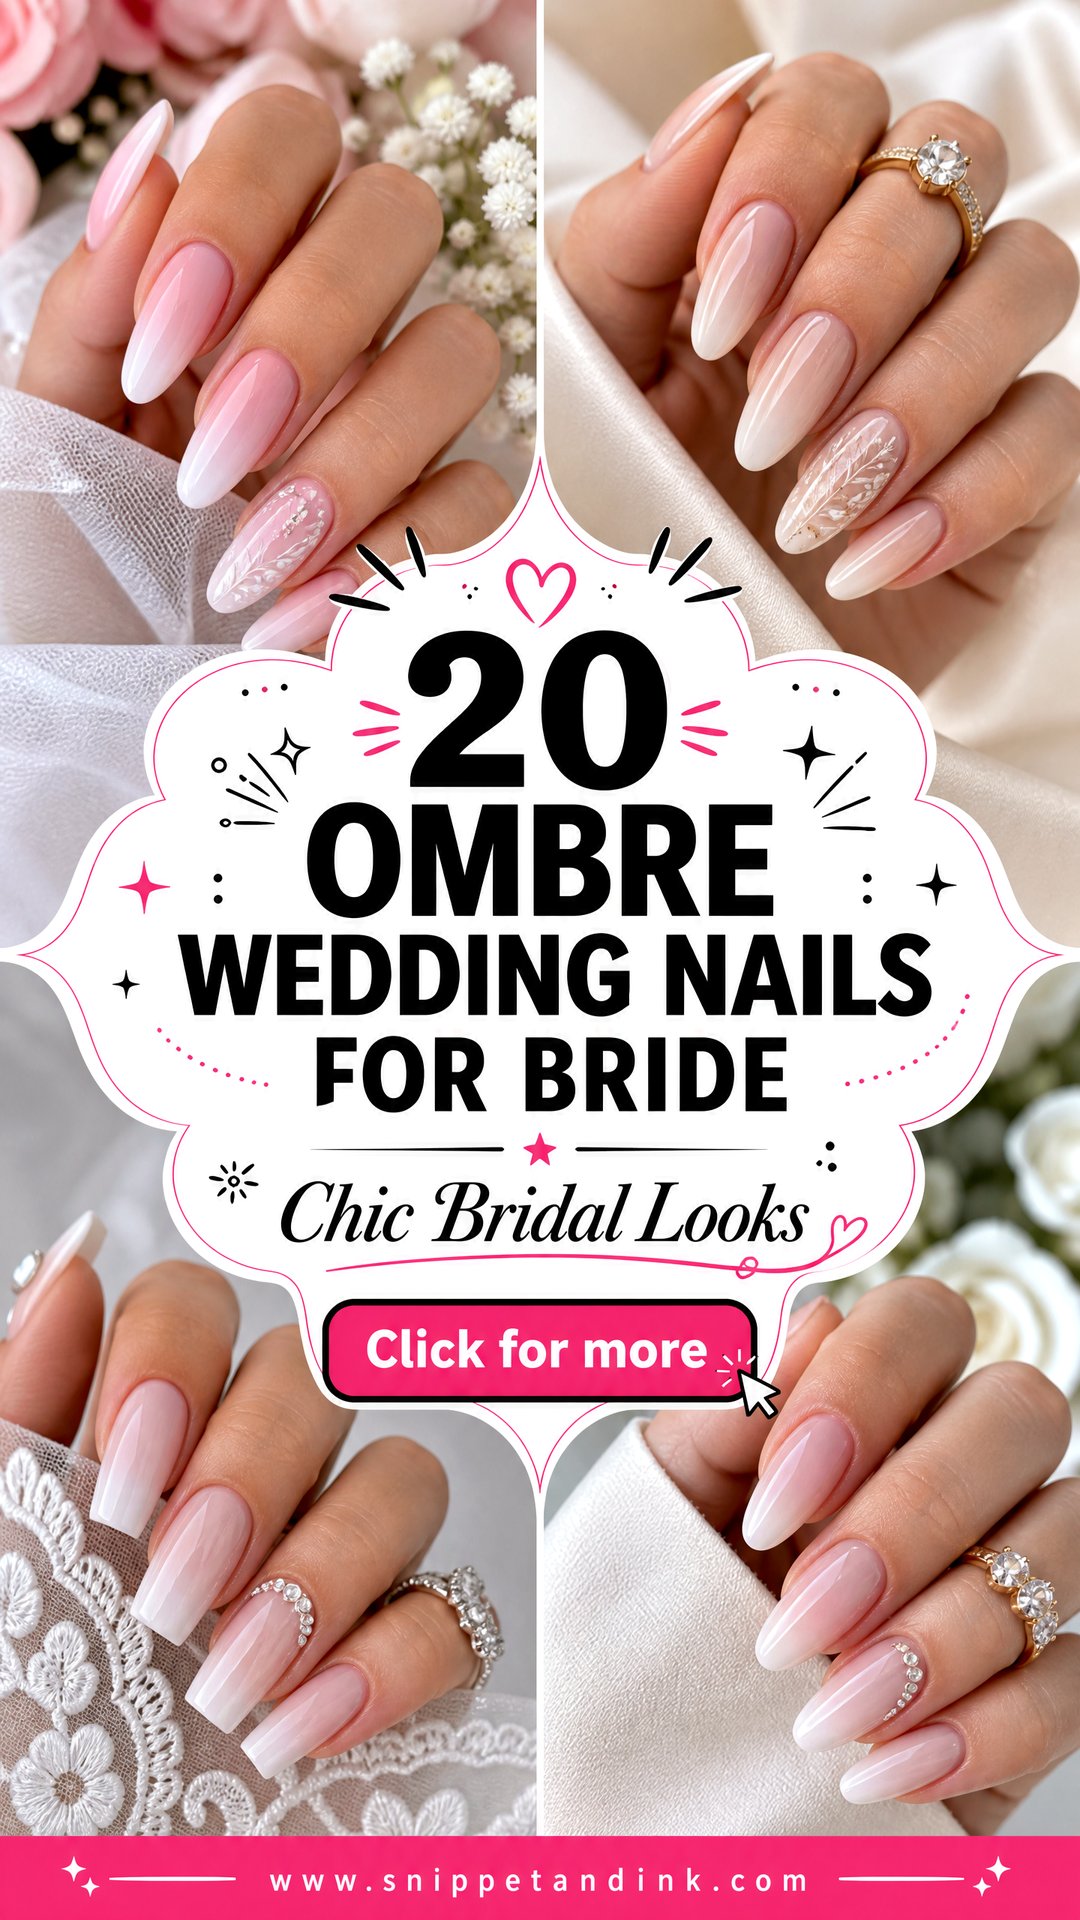
A bridal manicure has to survive two very different tests: the ring shot, taken inches from your fingers, and ten hours of hugging, signing and eating. A gradient handles both, which is why I paint so many. This year the requests I hear most are milky pinks, sheer whites, glazed chrome and small pearl details on natural shapes like almond, oval and short square. The fade itself fits a classic gown or a beach ceremony equally well. Here are twenty ombre wedding nail looks I’d stand behind, each with the detail I’d check before painting it on a bride.
Weak, Peeling or Bitten Nails? Start About Three Months Out
Fingernails grow slowly, roughly three millimeters a month, so anything you want to fix needs a head start. The good news is that a gradient looks best on a short, healthy nail, and short and healthy is achievable in a few months.
- If you bite or pick, book a structured gel overlay, often called builder gel. It’s hard to bite through and protects the free edge while it grows.
- Keep nails short and evenly filed while they recover. Long, weak nails split and set you back weeks.
- File in one direction with a glass or fine-grit file; sawing back and forth frays the edge and starts peeling.
- Oil your cuticles every night and wear gloves for washing up and cleaning, since detergents dry the nail plate.
- Never peel off old gel. Have it soaked or filed off, or you lose layers of nail each time.
If your nails still aren’t where you’d like them a few weeks before the wedding, that’s fine. I can sculpt a short extension or apply a soft gel tip and paint the fade over it, and nobody will know.
1. Pink And White Ombre Wedding Nails
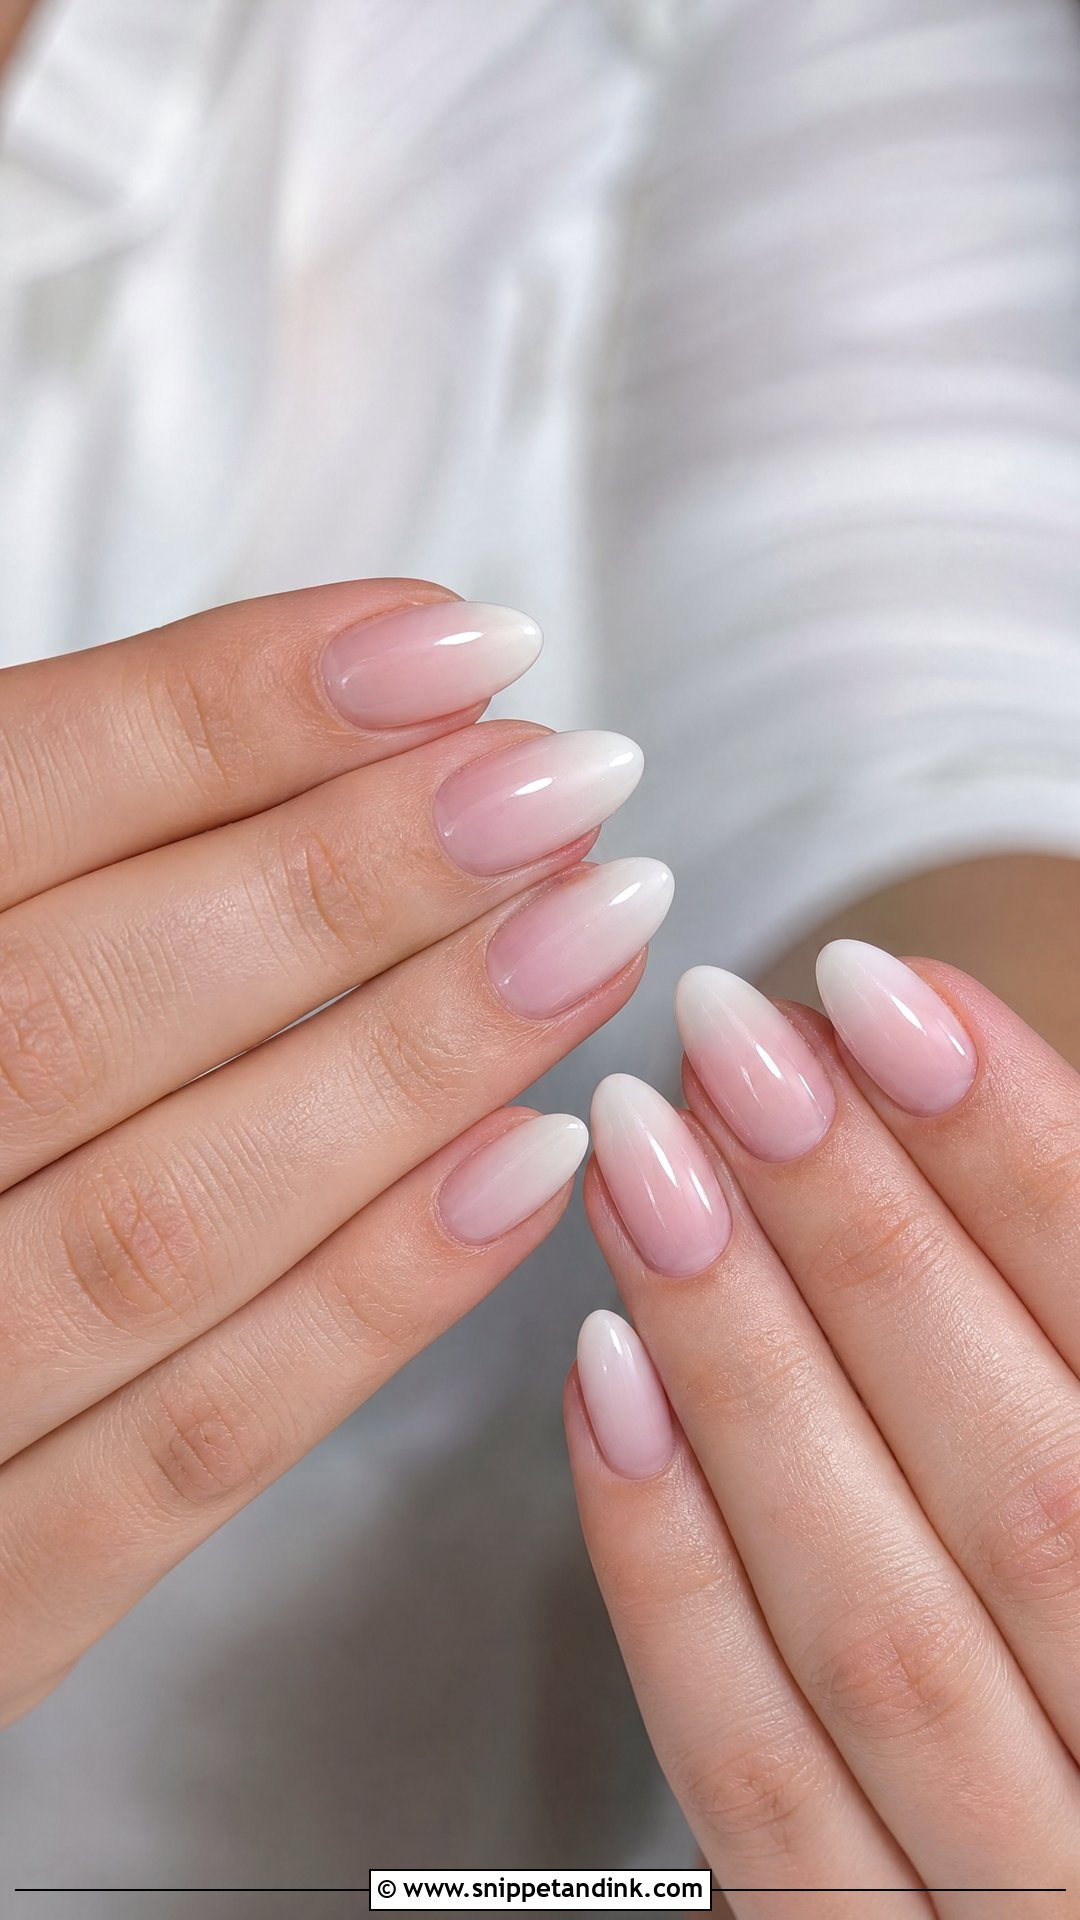
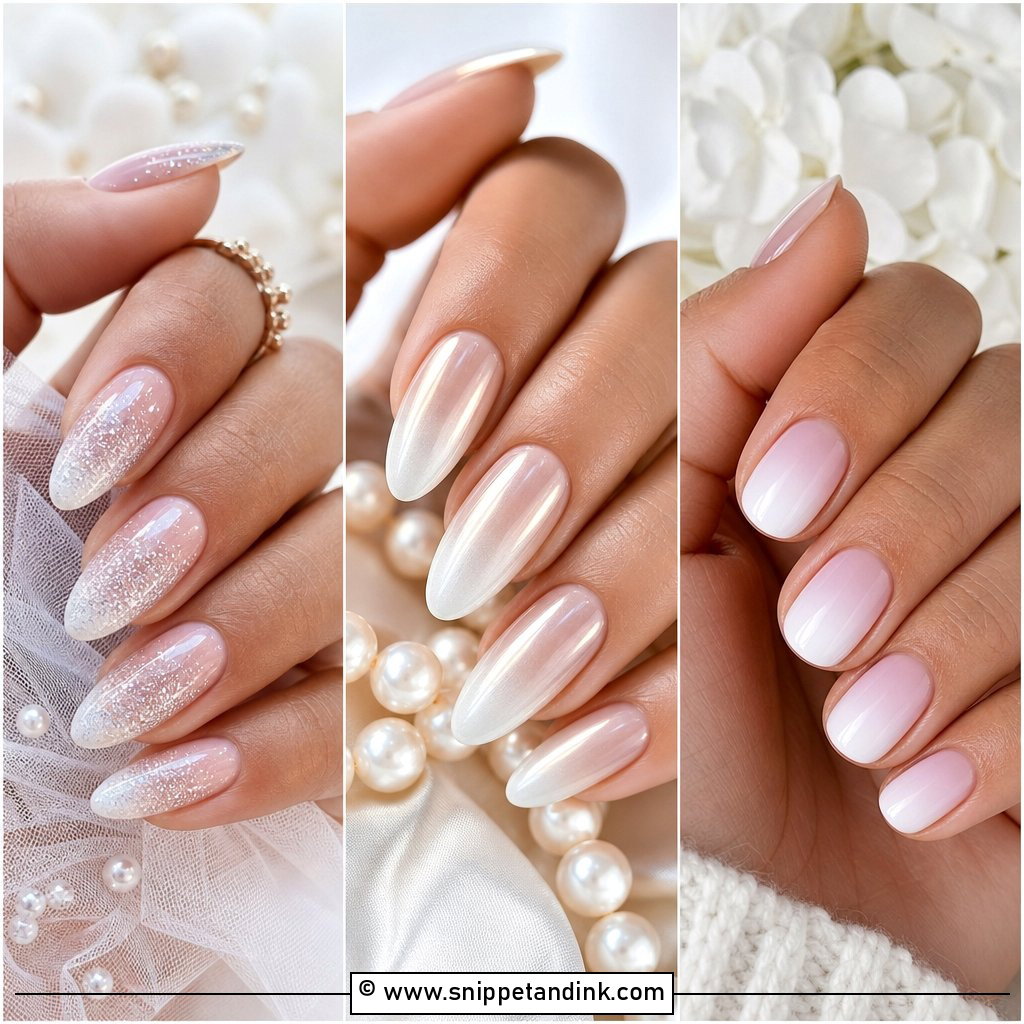
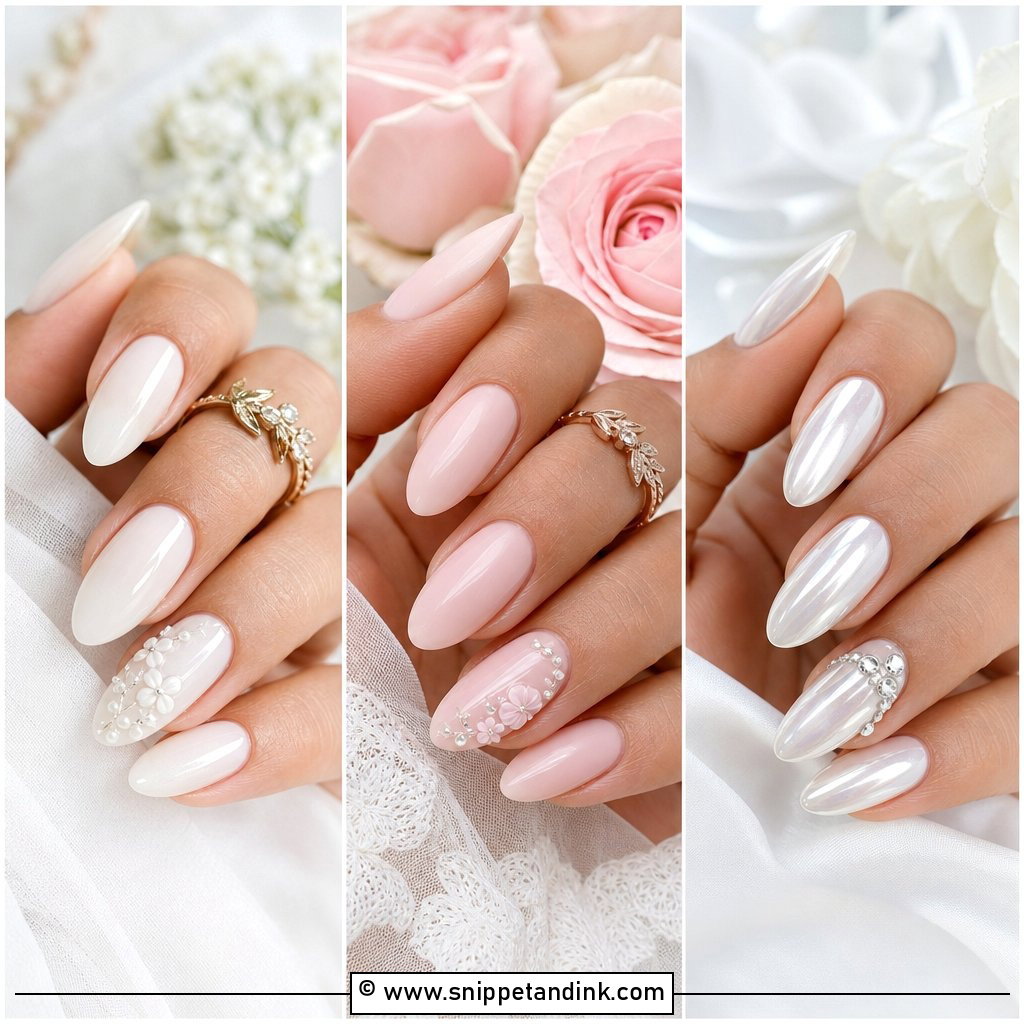
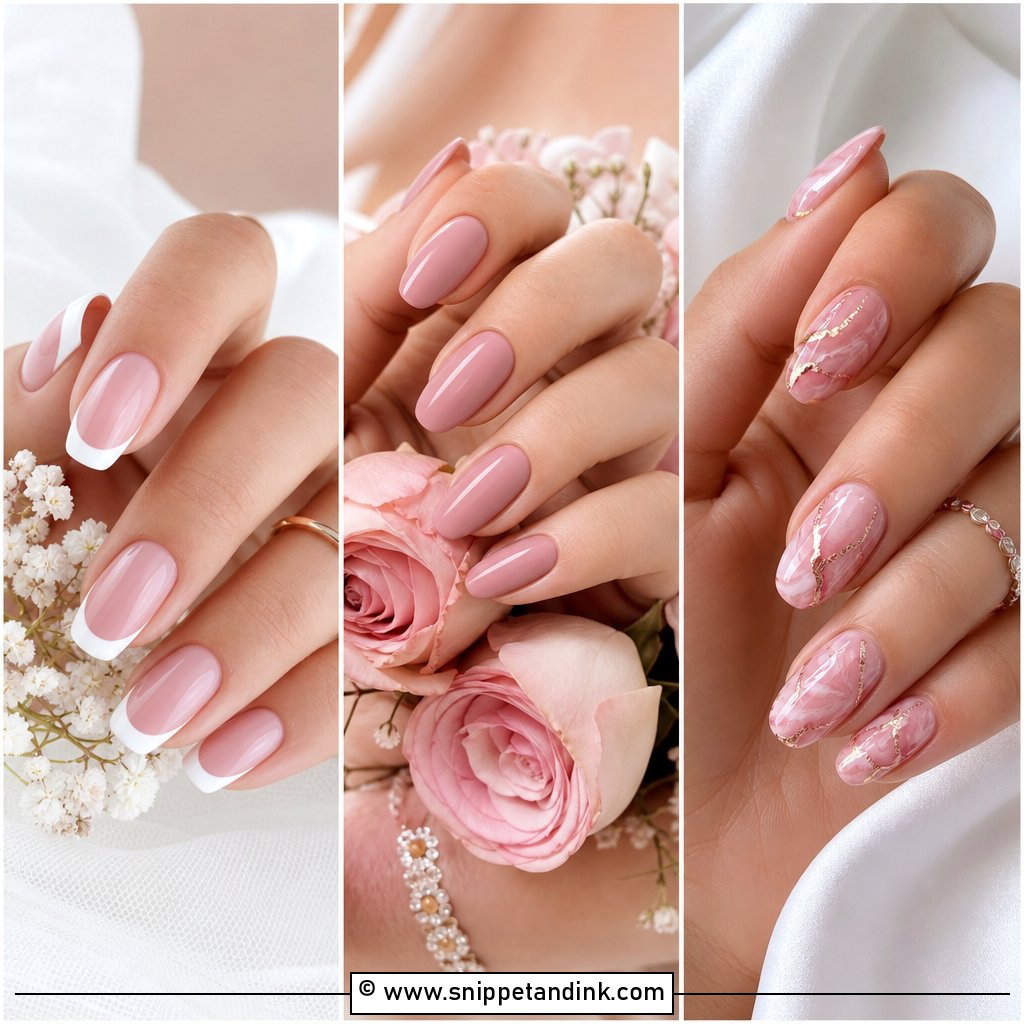
There’s a reason this is the first set most brides show me. A soft pink base blends into creamy white tips, and on almond, oval, coffin or square nails the gradient lengthens the fingers without any visible line. It sits quietly beside bouquets, rings and lace sleeves. Compared with a traditional French manicure, it’s more forgiving: a crooked smile line is obvious, a slightly uneven fade isn’t. I ask for a sheer blush base and diffuse the white with a dry brush so the blend looks airy.
2. Milky White Ombre Wedding Nails
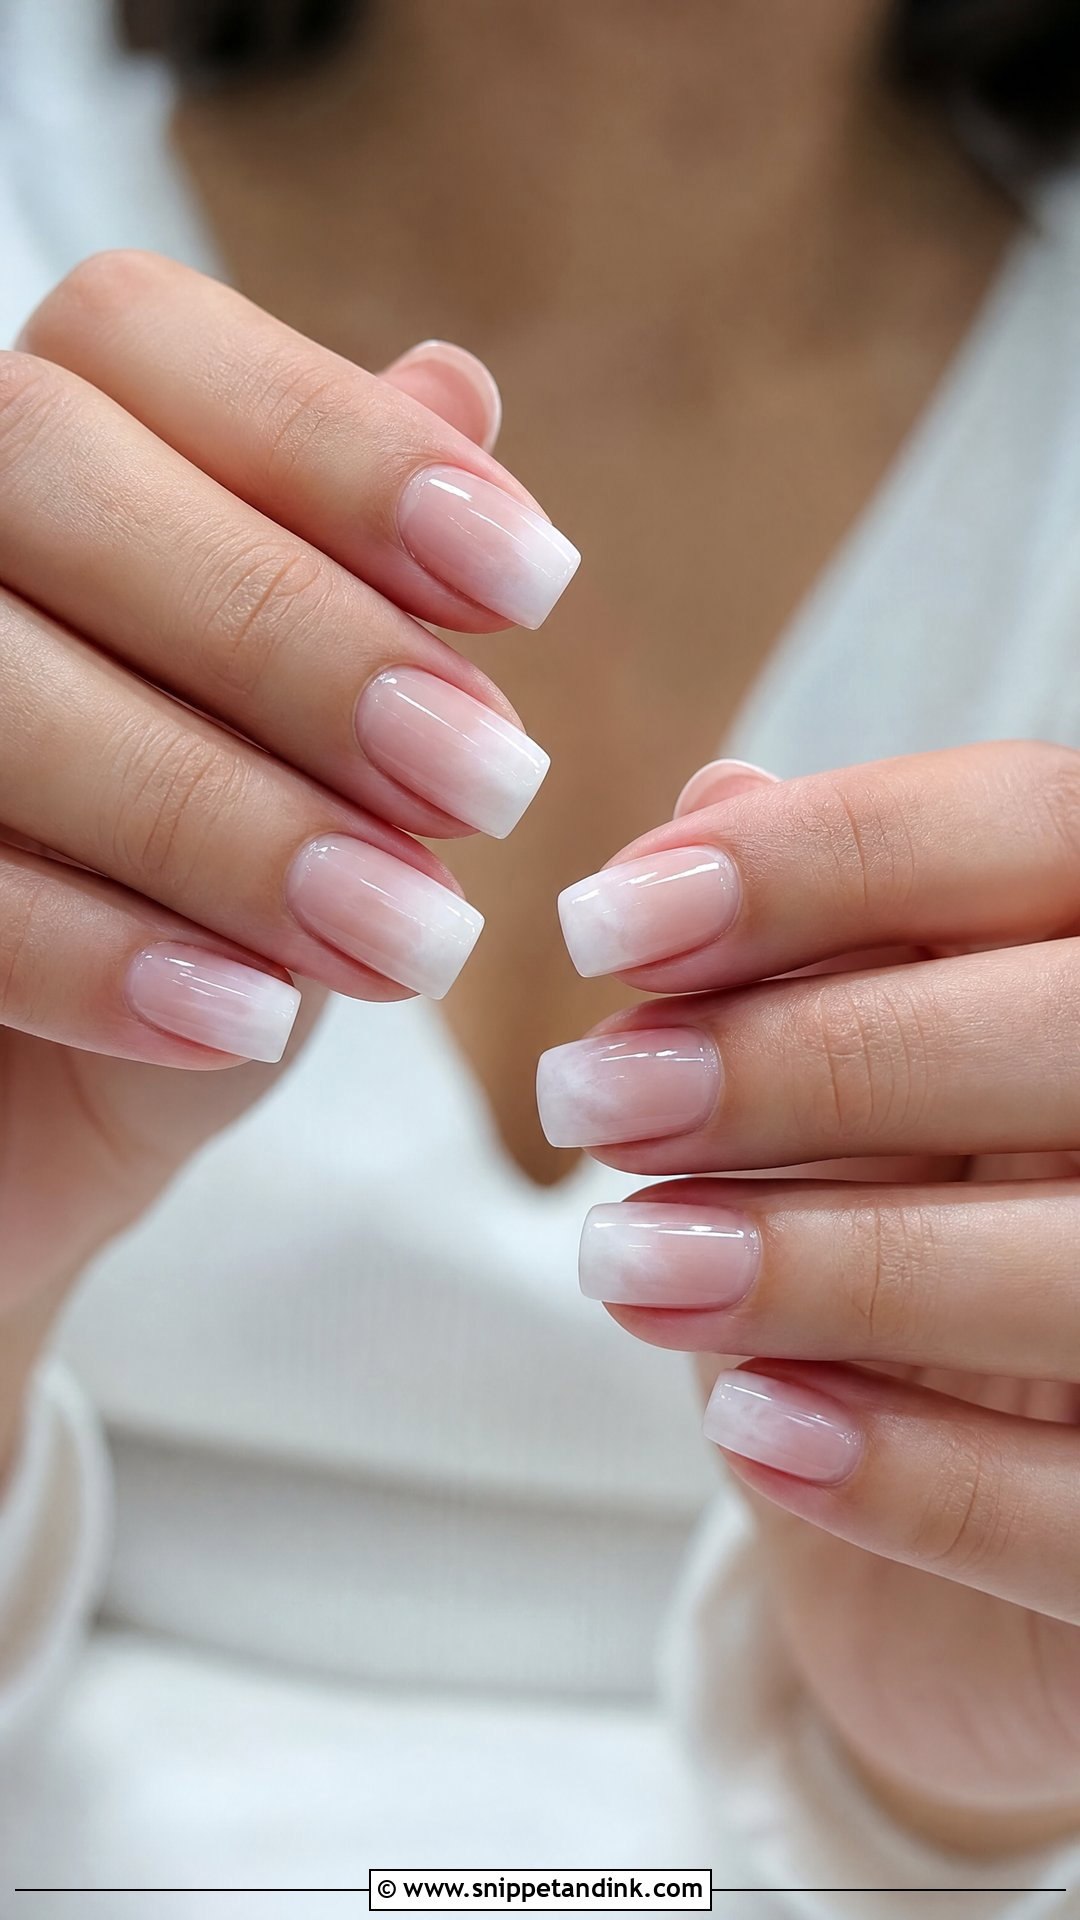
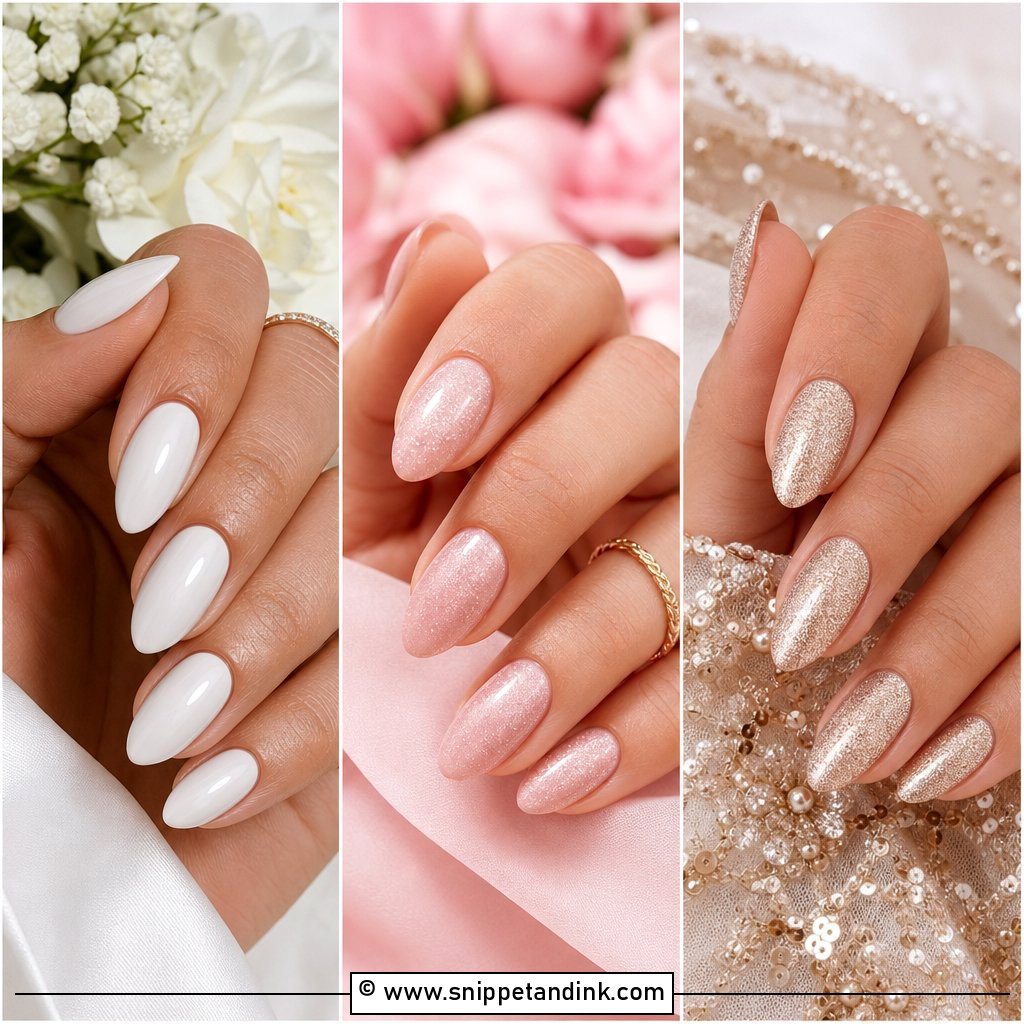
Rather than one bright white tip, I build thin milky layers that melt into a sheer nude or pink base, so the nail looks veiled rather than painted. Translucency is the whole point; I stop adding coats while I can still faintly see the natural nail. It reads clean in daylight and holds up in evening photos too. A medium almond or soft square keeps it refined, and gloss, not art, finishes it.
3. French Ombre Wedding Nails
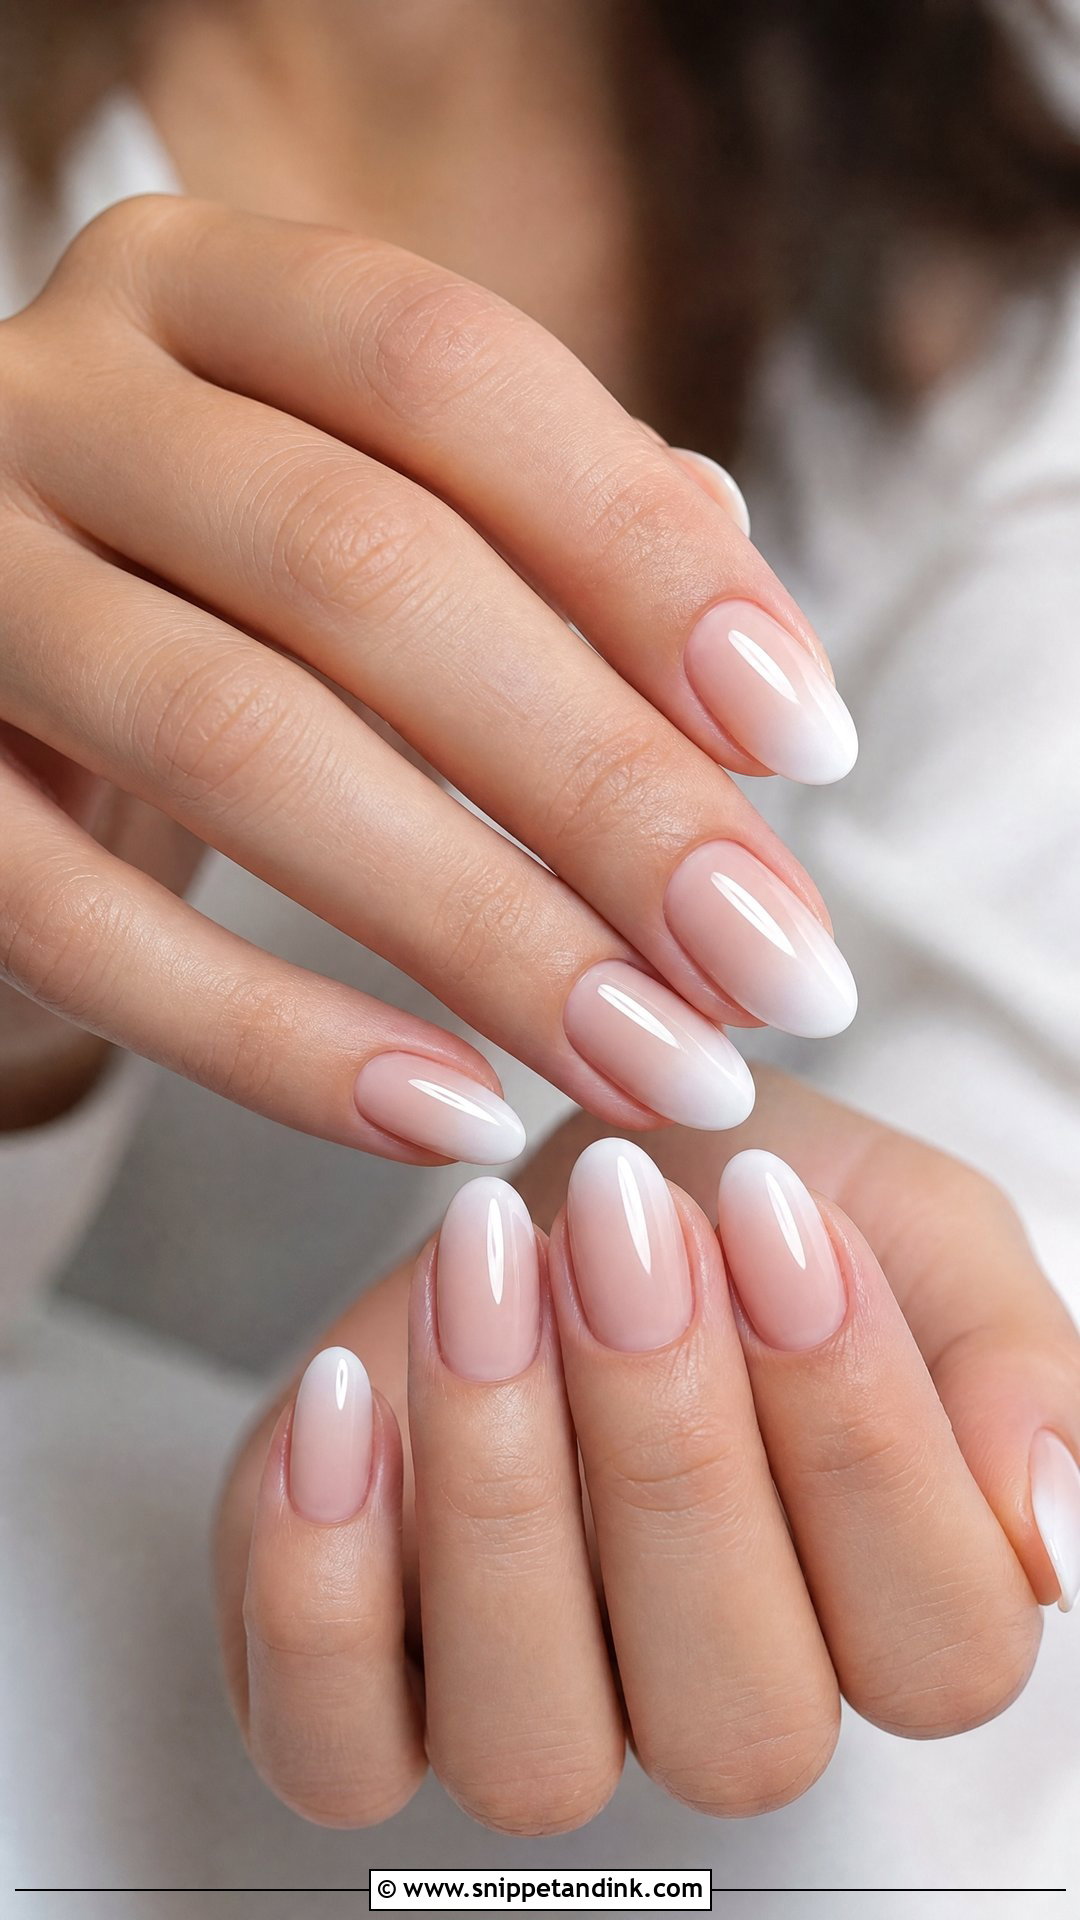
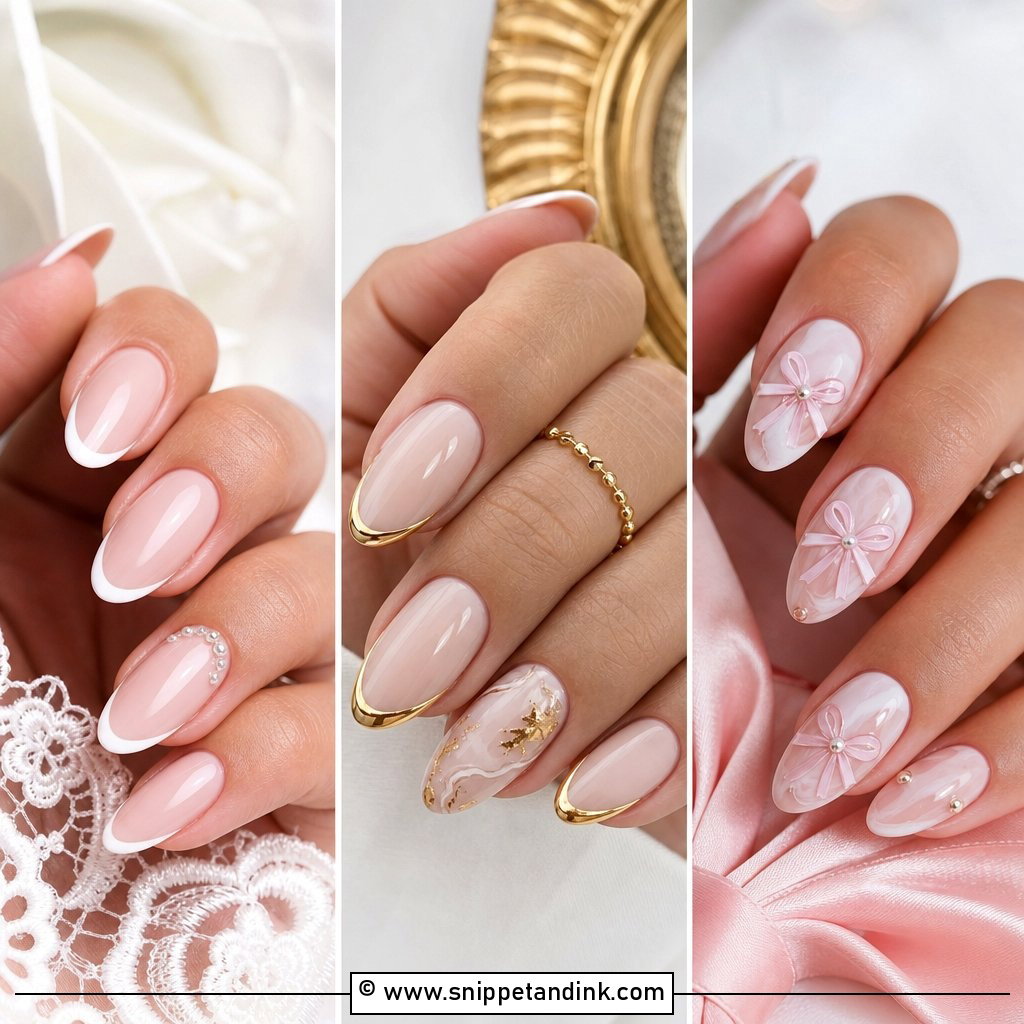
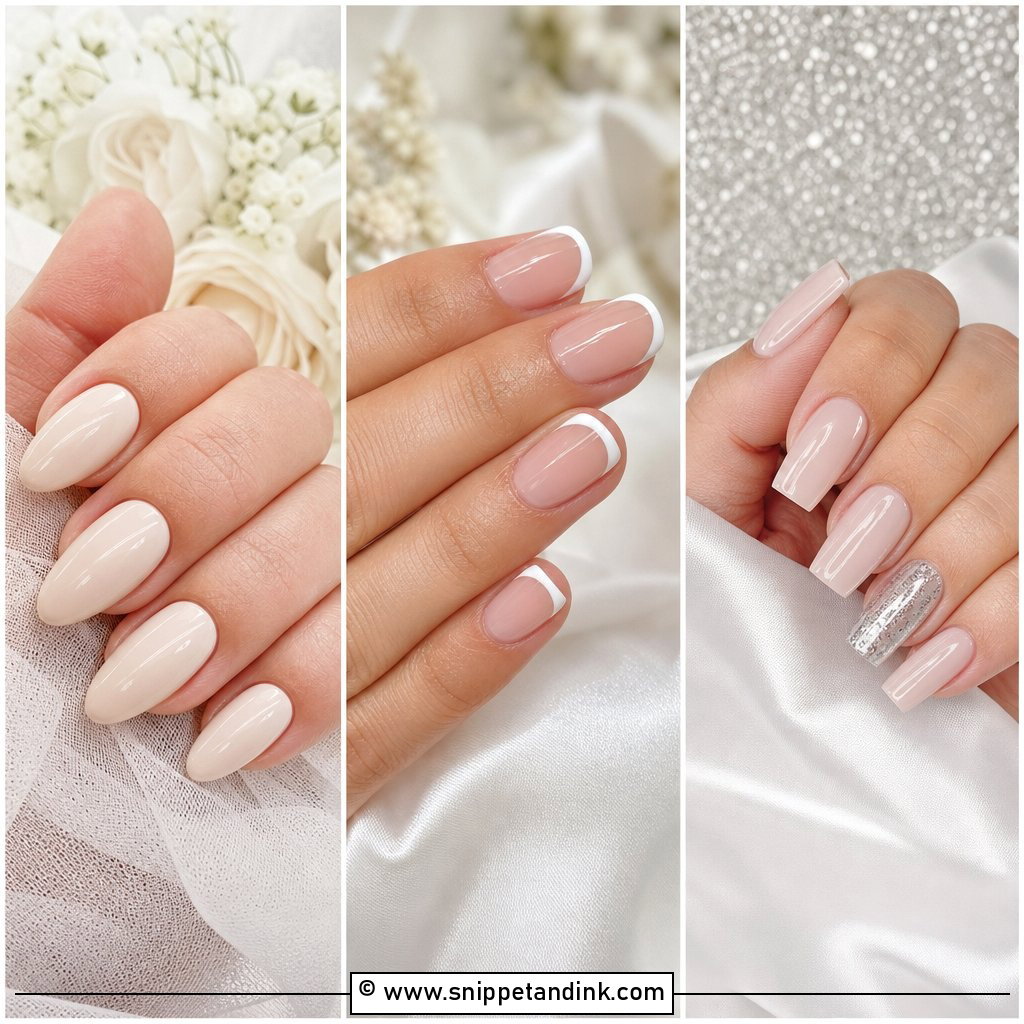
Imagine a French manicure with the edge softened away. The white fades gently into a nude or pale pink base, which makes the set look natural and grows out without a harsh band. It suits classic dresses with clean satin, pearls or lace, and it works from short square to long almond. If you’re torn between ideas and the wedding is close, this is the one I’d fall back on. It flatters nearly every hand.
4. Baby Boomer Ombre Wedding Nails
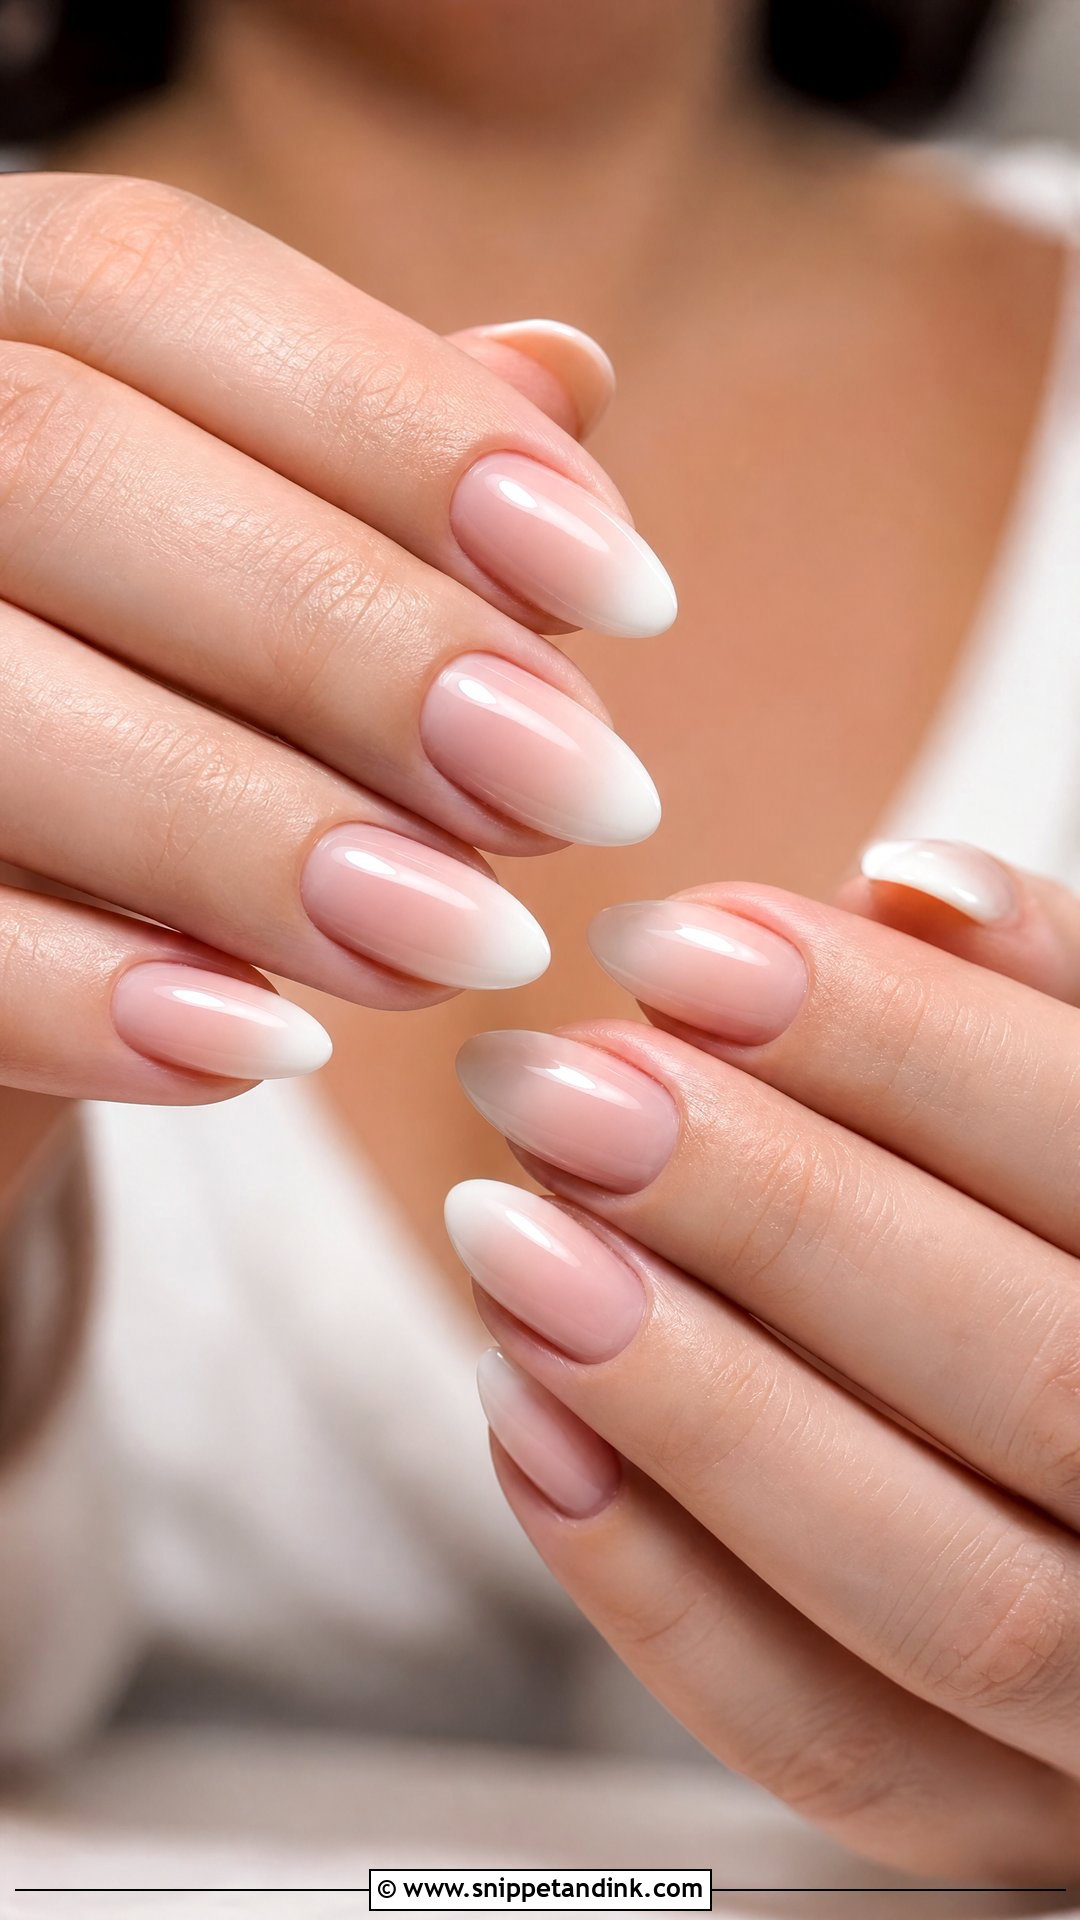
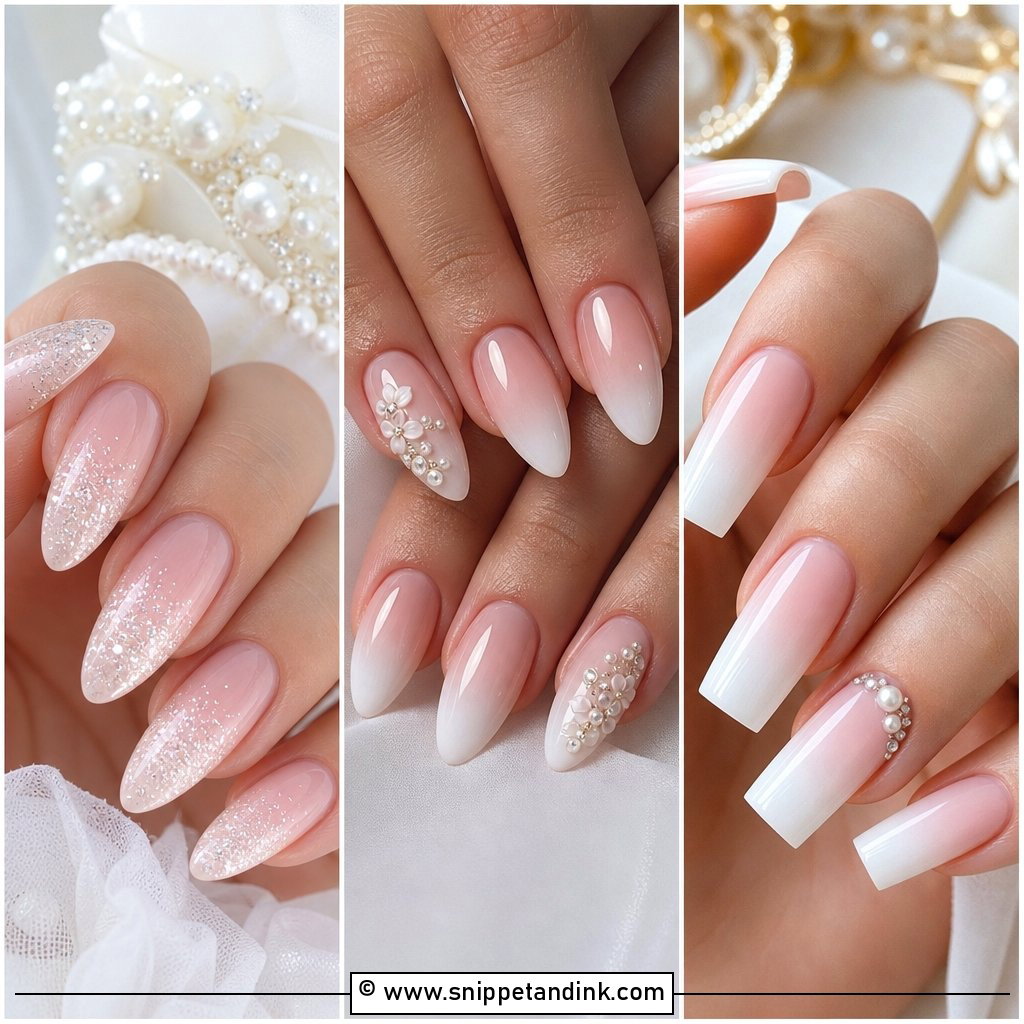
Baby boomer is the salon name for a pink-to-white gradient; it started as an acrylic technique with pink and white powders blended on the nail. The pink brightens the nail bed and the white adds a clean finish, so it suits almost any gown or veil. The base is where I tailor it: a cooler pink for fair skin, a peachy nude for warm skin, a beige-pink for deeper skin tones. If you have very short nail beds, acrylic or hard gel lets me extend the pink to make the bed look longer, which polish alone can’t do.
5. Nude Ombre Wedding Nails
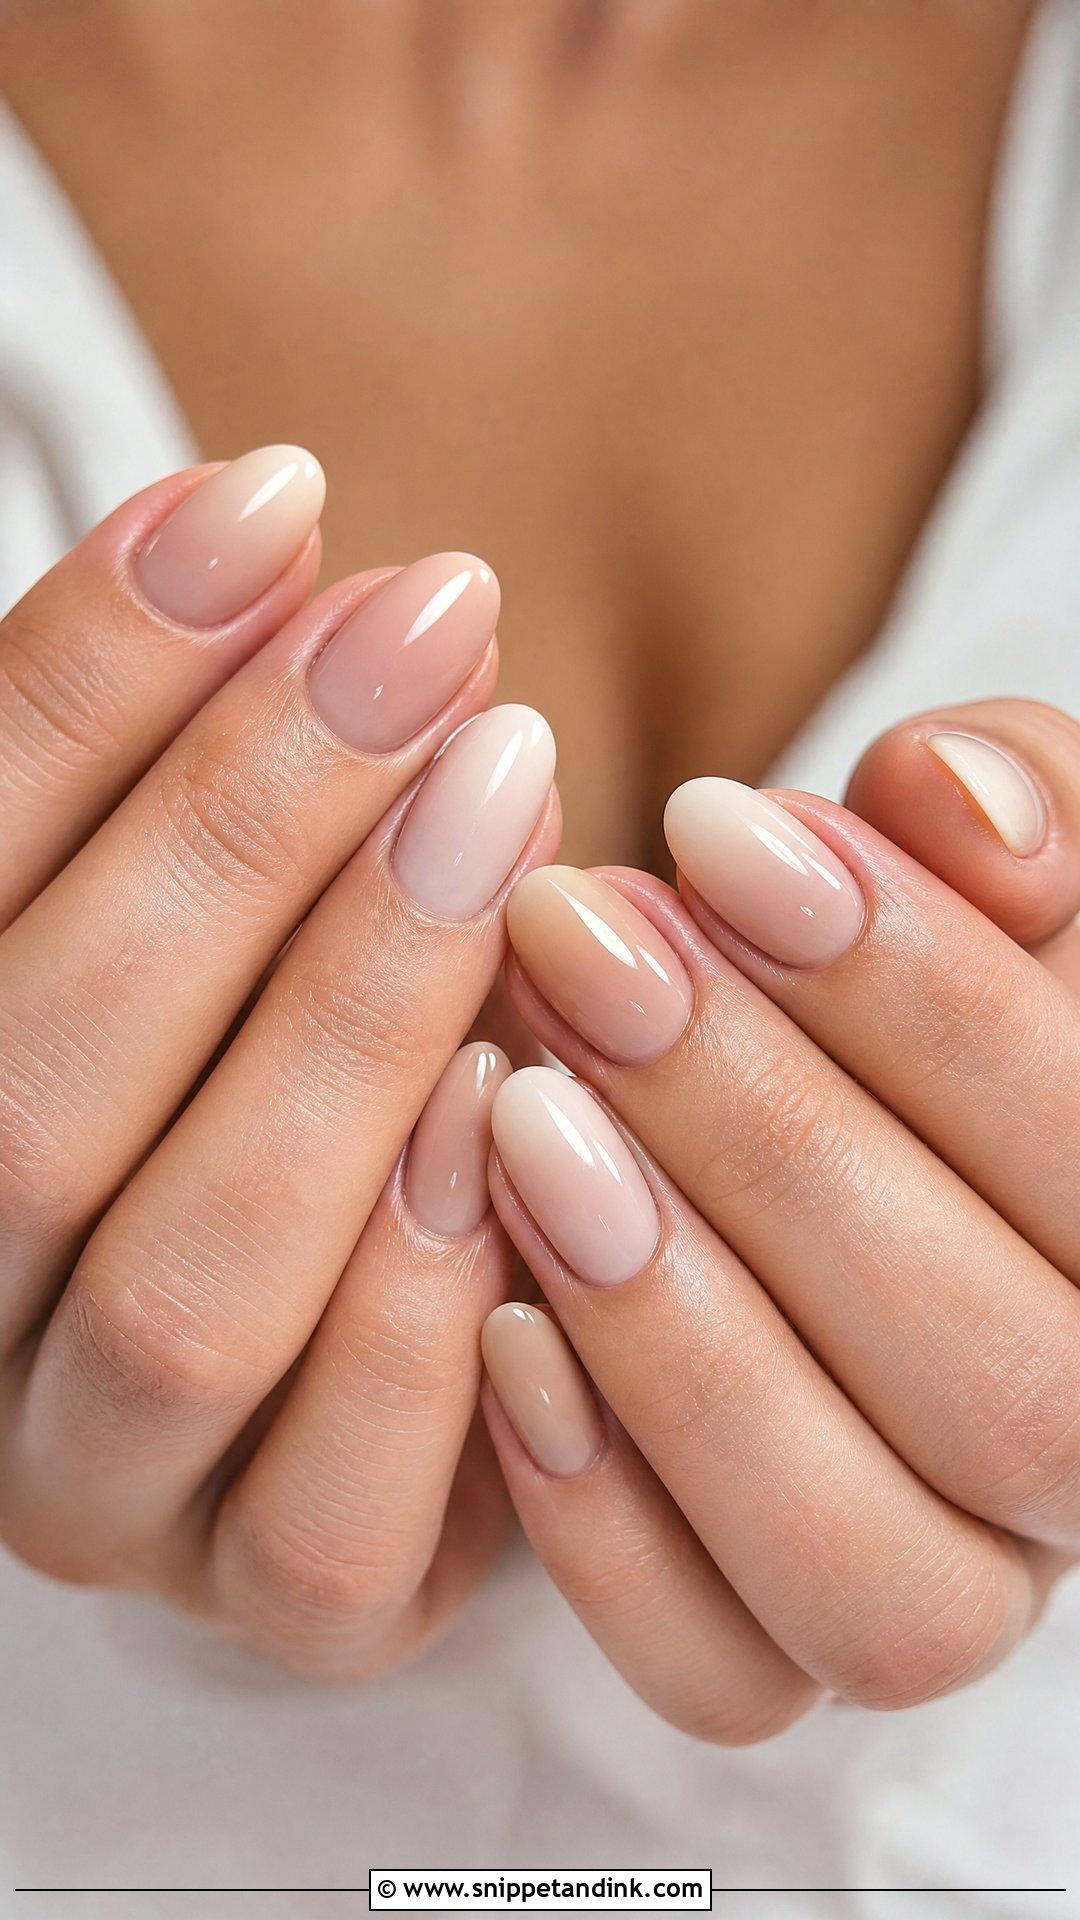
Quiet luxury on the hands comes down to the right nude. The gradient moves from beige, taupe or a soft pink nude into pale cream or a sheer white tip, and it looks expensive without any art. A rosy nude flatters fair skin, caramel warms deeper complexions, and a neutral beige suits olive undertones. Swatch before you commit. A nude that’s one shade off makes fingers look grey, and that shows most in exactly the close-up photos you care about.
6. Pearl Ombre Wedding Nails
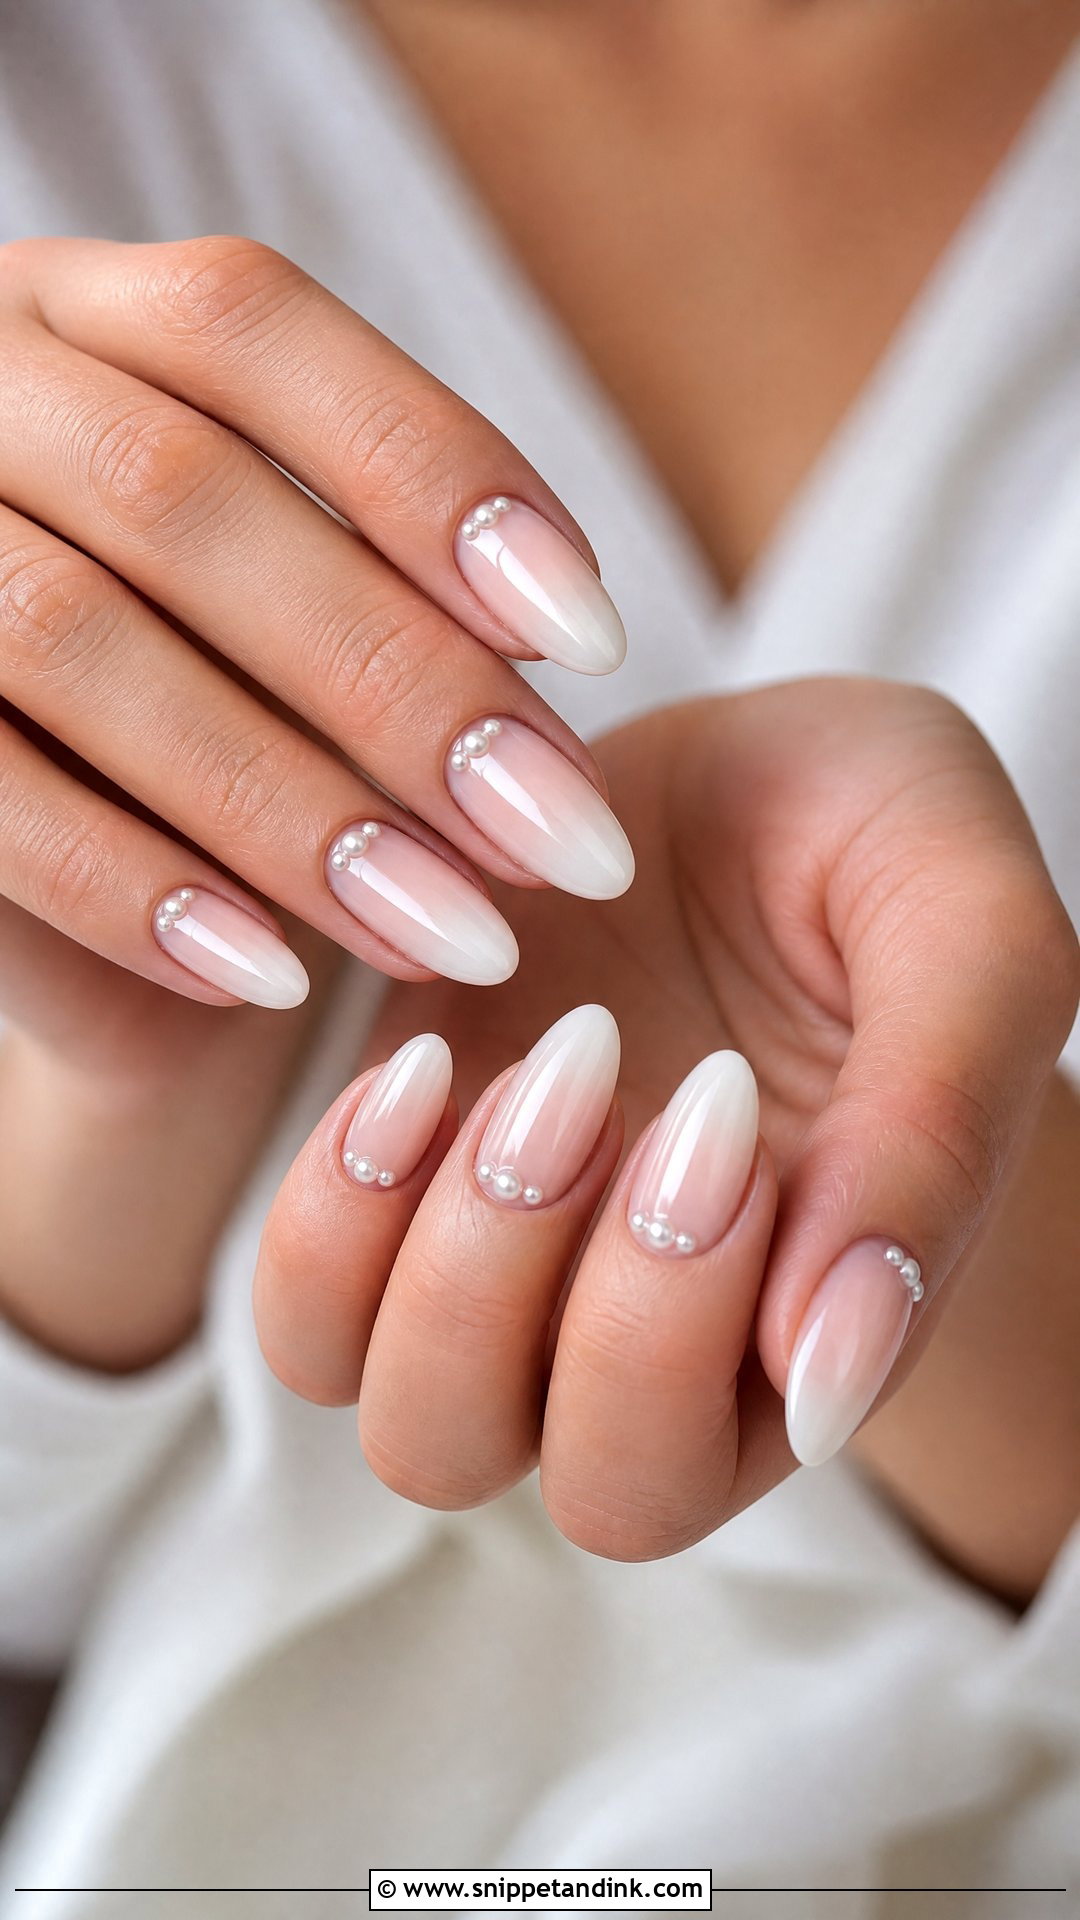
Tiny flat-back pearls near the cuticle, along one side, or on just a few nails give texture over a pink, nude or milky fade. I set them into gel and cap around the edges so nothing catches on tulle or hair. Oversized pearls are the mistake; they snag, they look like costume pieces, and they lift faster. Small pearls tie in with pearl earrings or a beaded veil without repeating them too literally. A glossy or pearly top coat finishes it.
7. Chrome Ombre Wedding Nails
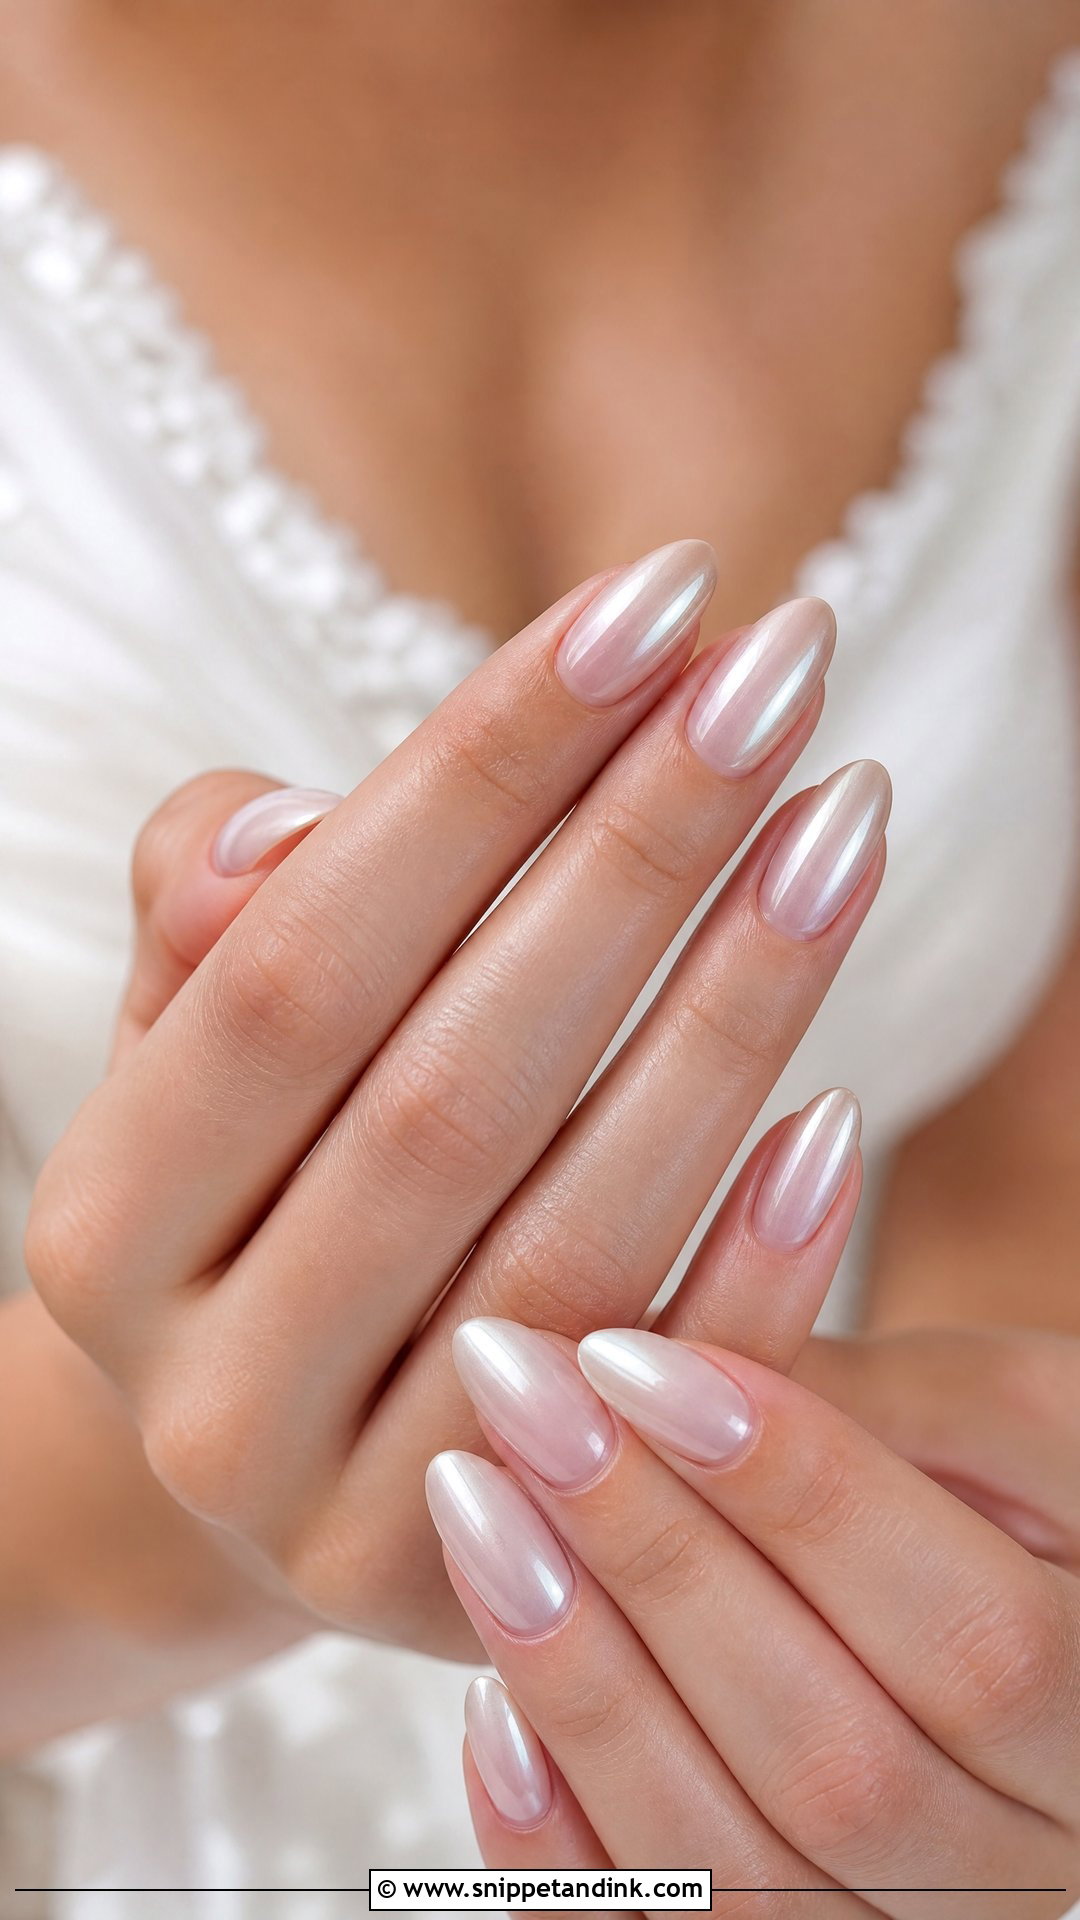
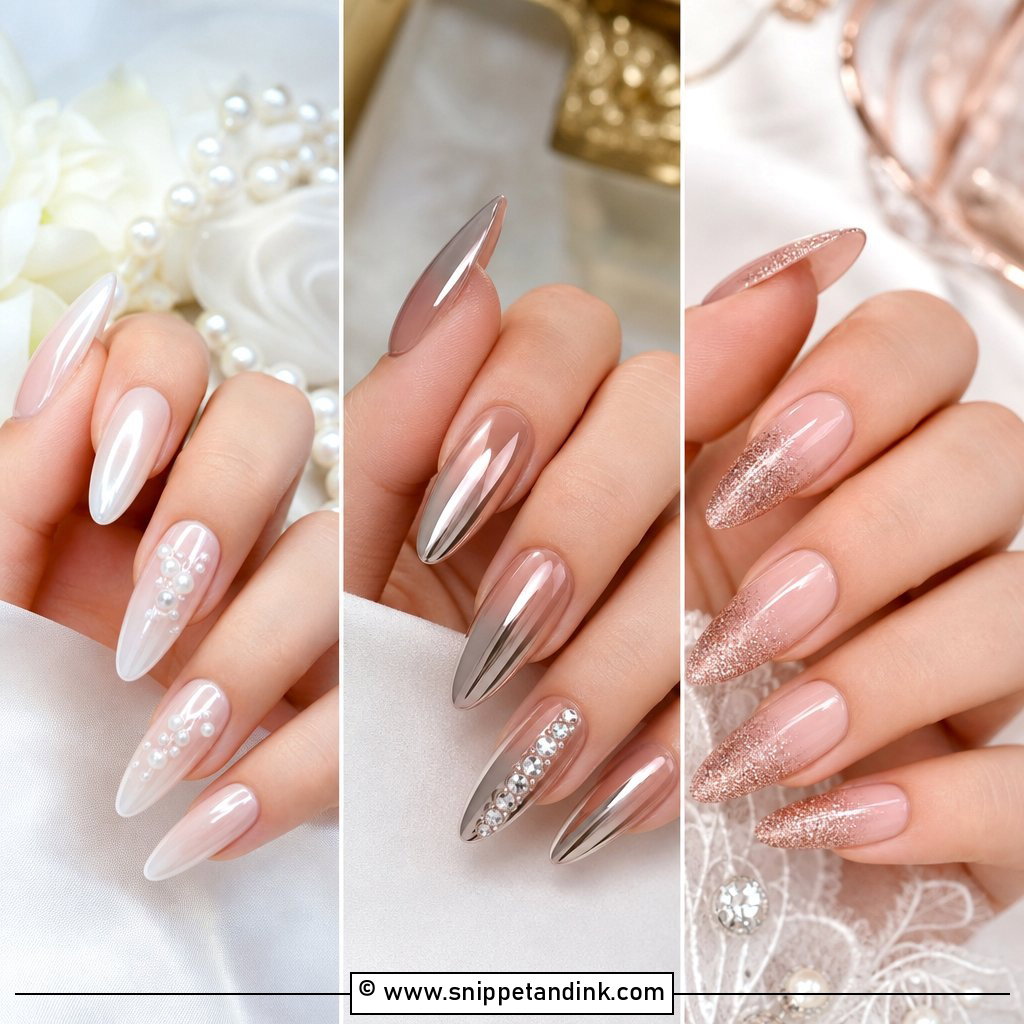
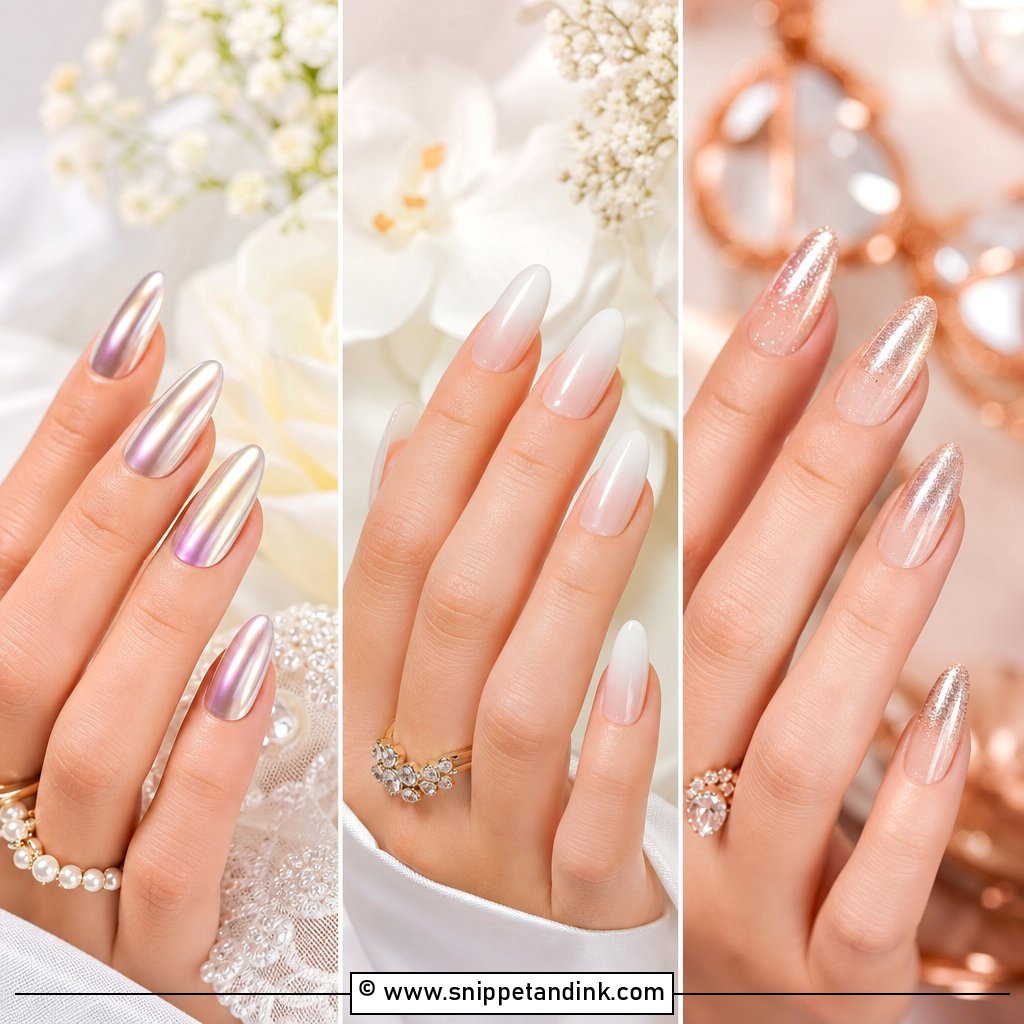
A sheer pink or nude fade finished with fine pearl chrome powder gives a glazed, reflective look that glows instead of flashing. I buff the powder on lightly; pressed on hard, it turns metallic and hides the gradient. It’s especially good on almond or oval nails, where the curve carries the shine. White chrome reads classic, champagne chrome warm, pink chrome romantic. Seal the free edge well, since chrome wears first at the tips.
8. Glitter Ombre Wedding Nails
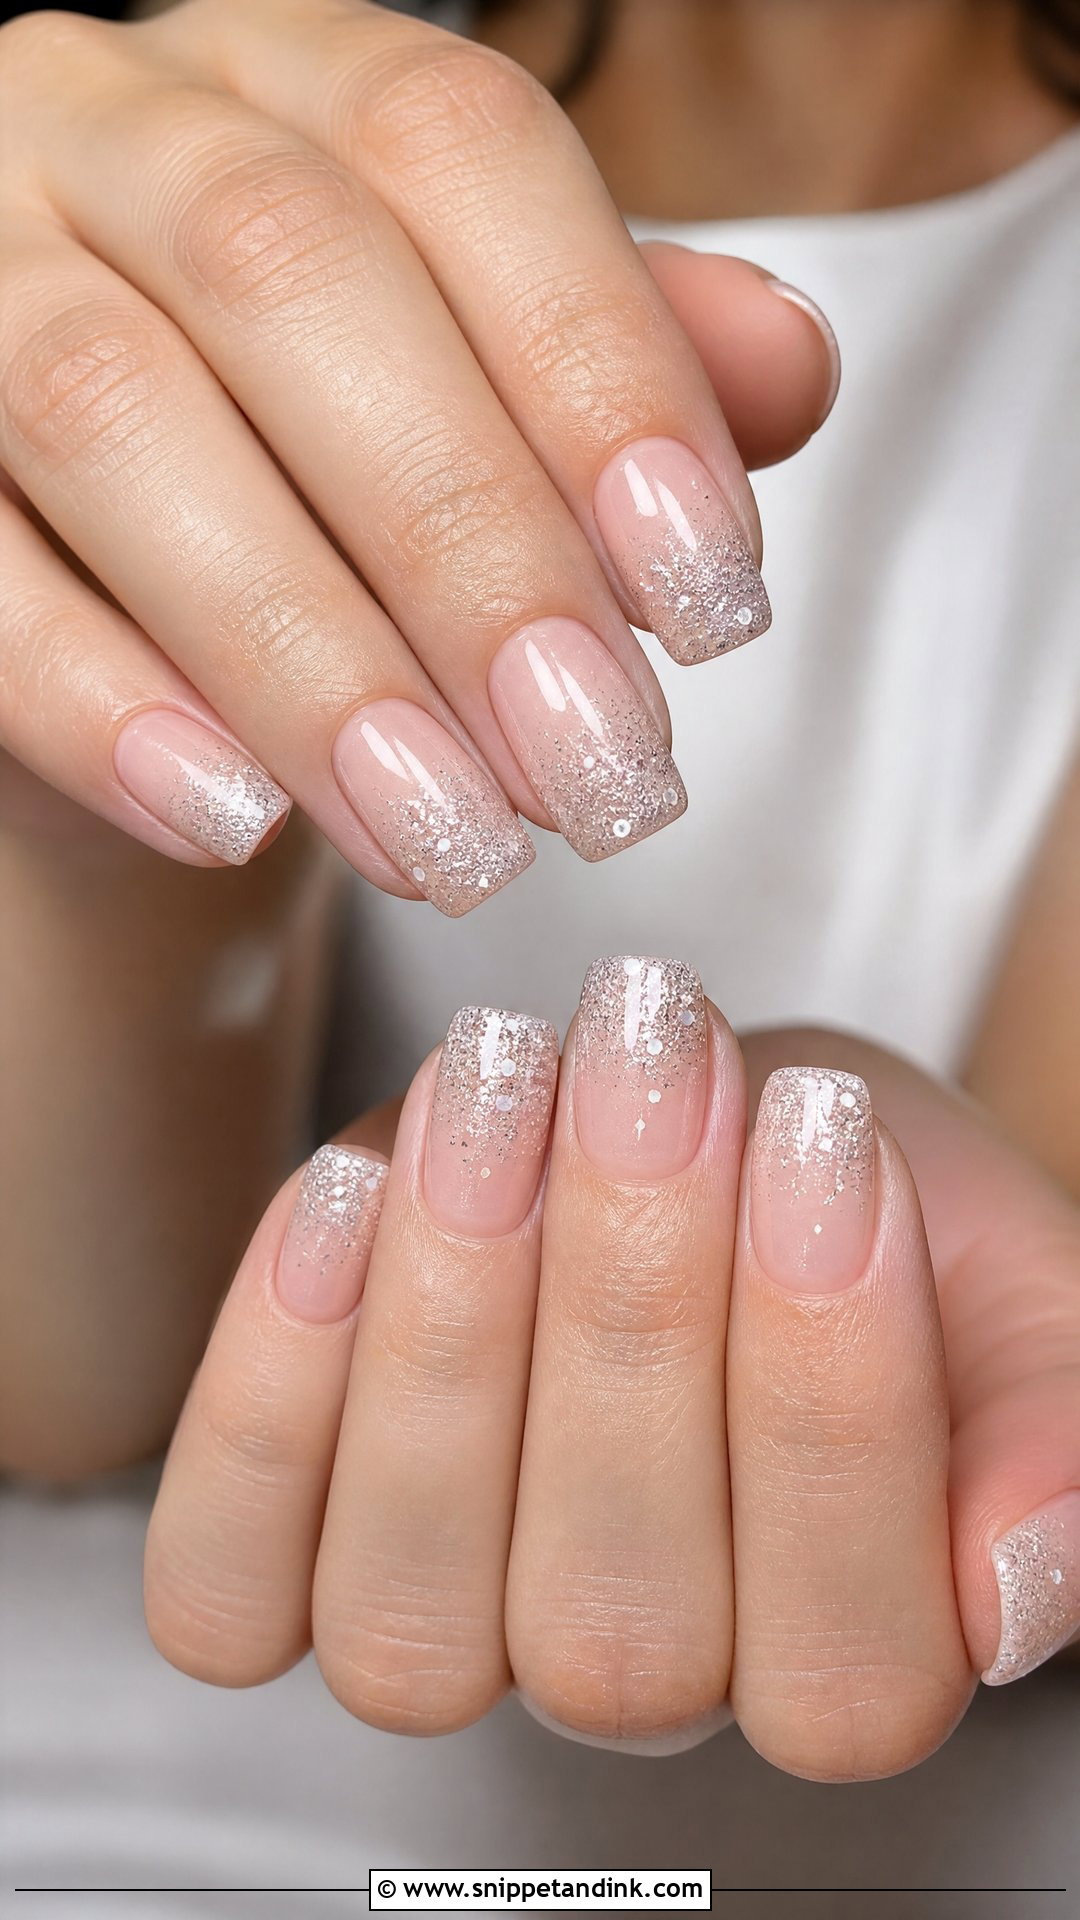
Over a sheer nude, pink or milky base, I fade fine glitter from the tips or the cuticle area so the sparkle thins out across the nail. Silver feels icy, champagne warm, rose gold romantic. Fine glitter catches light at evening receptions; chunky glitter adds texture you can see in close-ups. Full glitter on every nail or just two accents both work. Plan a proper soak-off afterwards, since glitter takes longest to remove.
9. Blush Ombre Wedding Nails
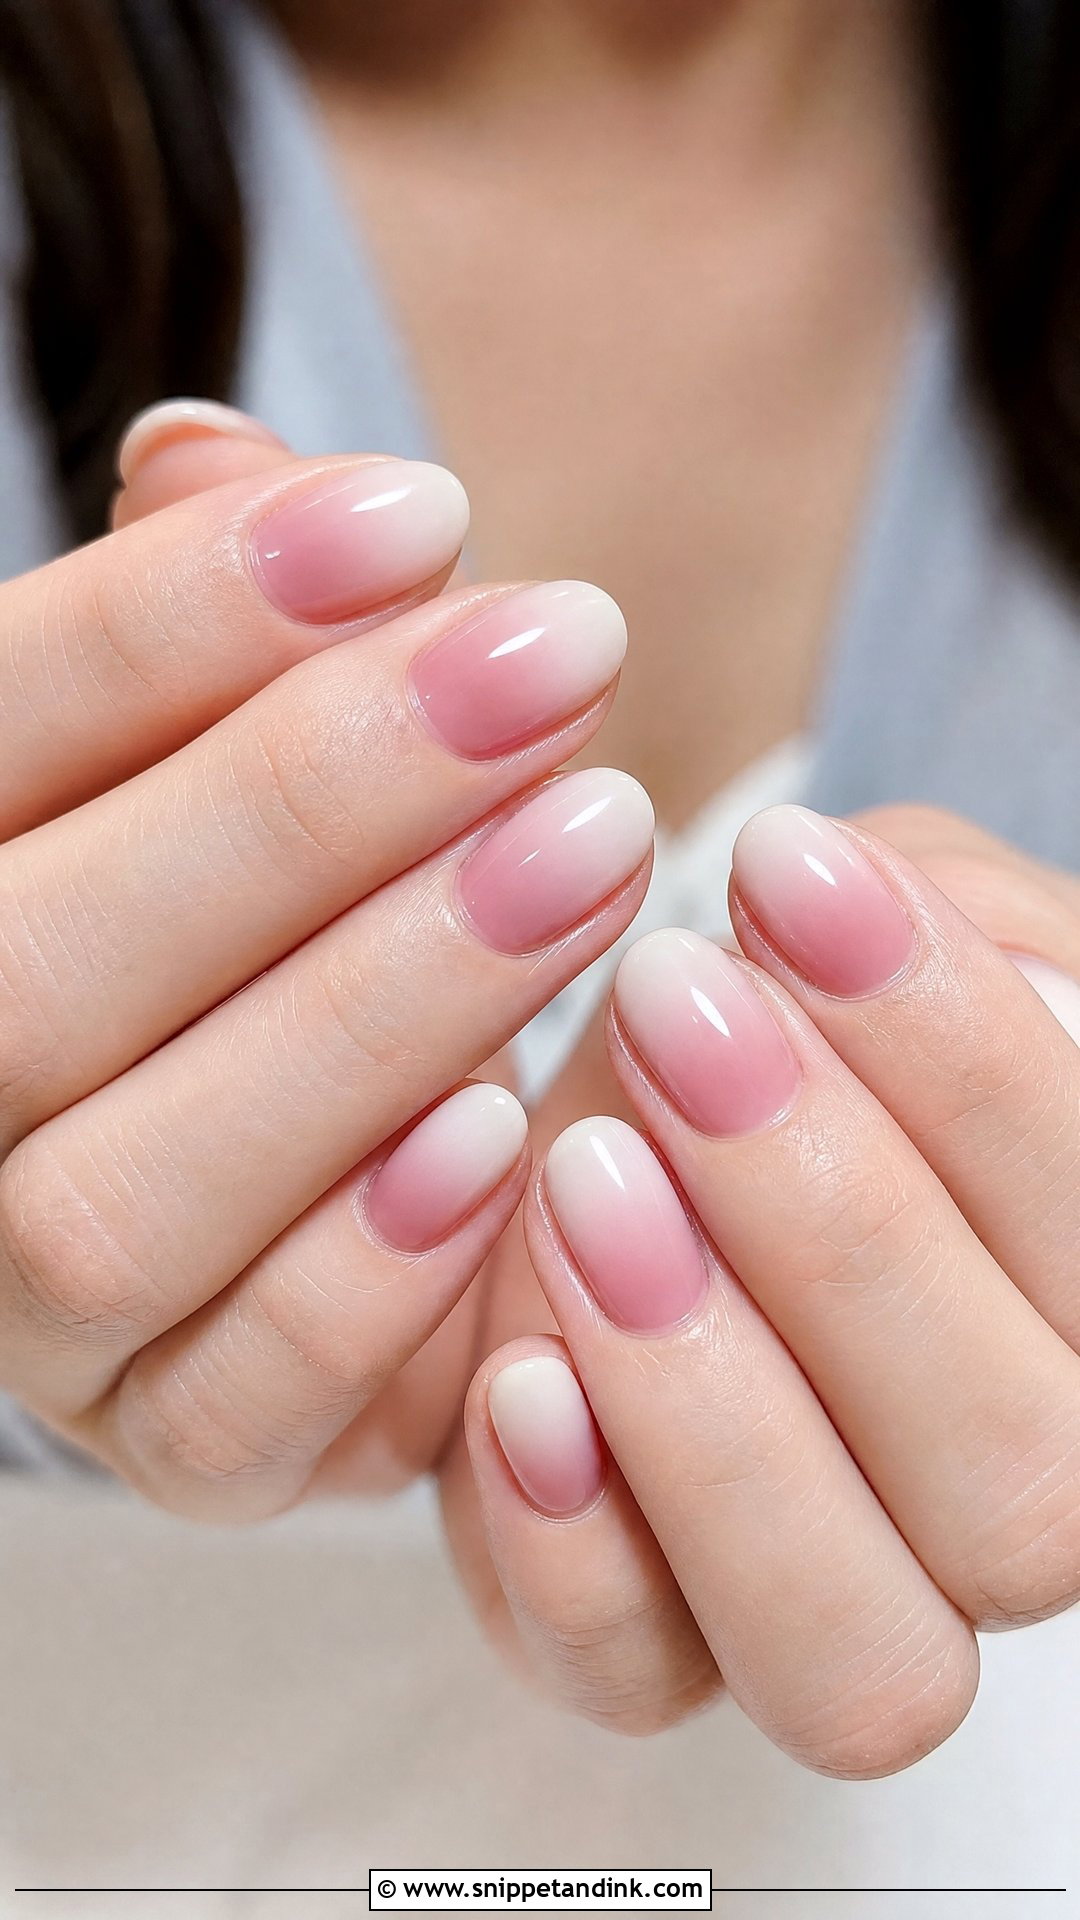
Blush gives more warmth than a white fade while staying clean. A soft rosy pink blends into sheer nude or creamy white for a healthy glow, and it pairs naturally with ivory or champagne gowns and pink bouquets. It’s kind to short nails too, since the gradient makes them look neat and longer. The one thing I steer away from is opaque bubblegum pink, which looks heavy; a sheer blush base gives a far more refined finish.
10. Almond Ombre Wedding Nails
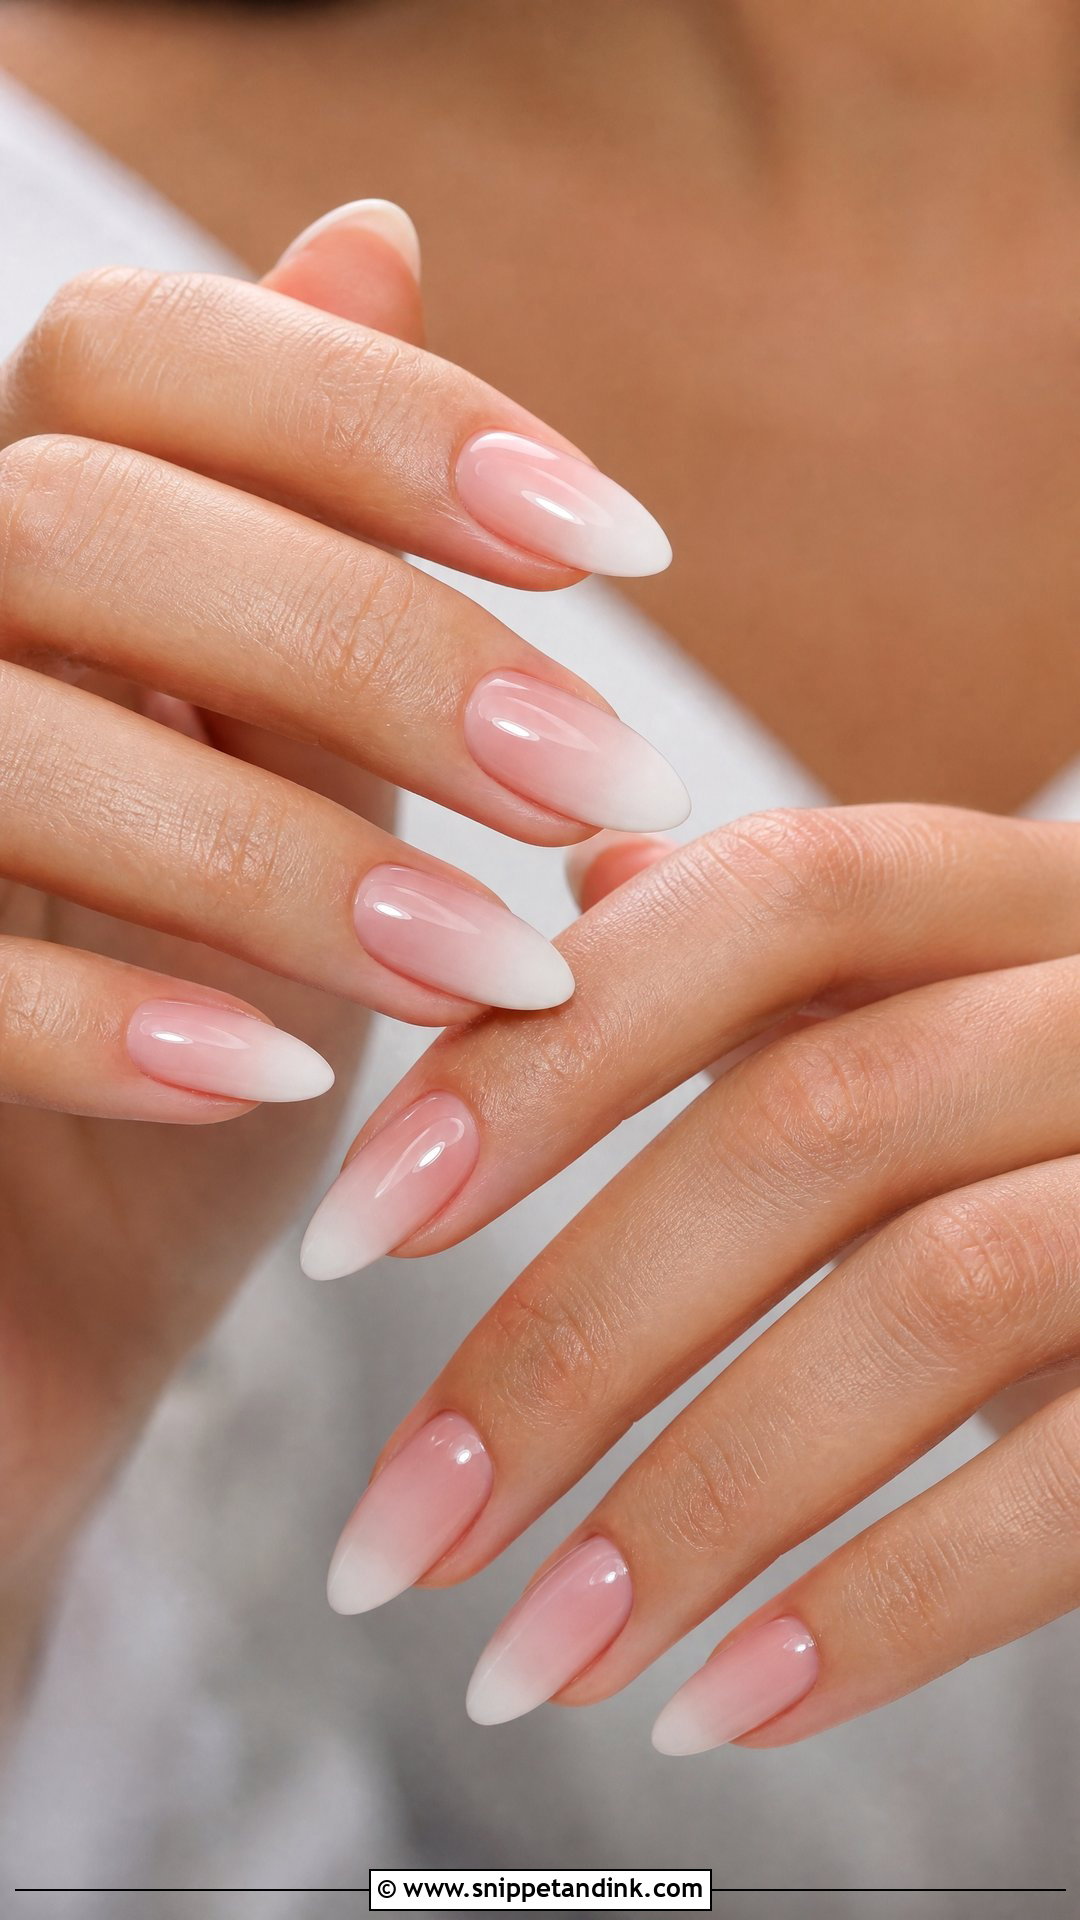
Almond tapers to a rounded tip, so a gradient flows along it gracefully in pink, nude, white or pearl tones. At medium length it’s practical for a full day and still elegant in ring photos. Pink to white is the classic choice; a sheer chrome top or a few tiny pearls make it more current. When I file almonds, the risk is a too-sharp point that breaks on a zip or clasp, so I keep the tip slightly blunted.
11. Short Ombre Wedding Nails
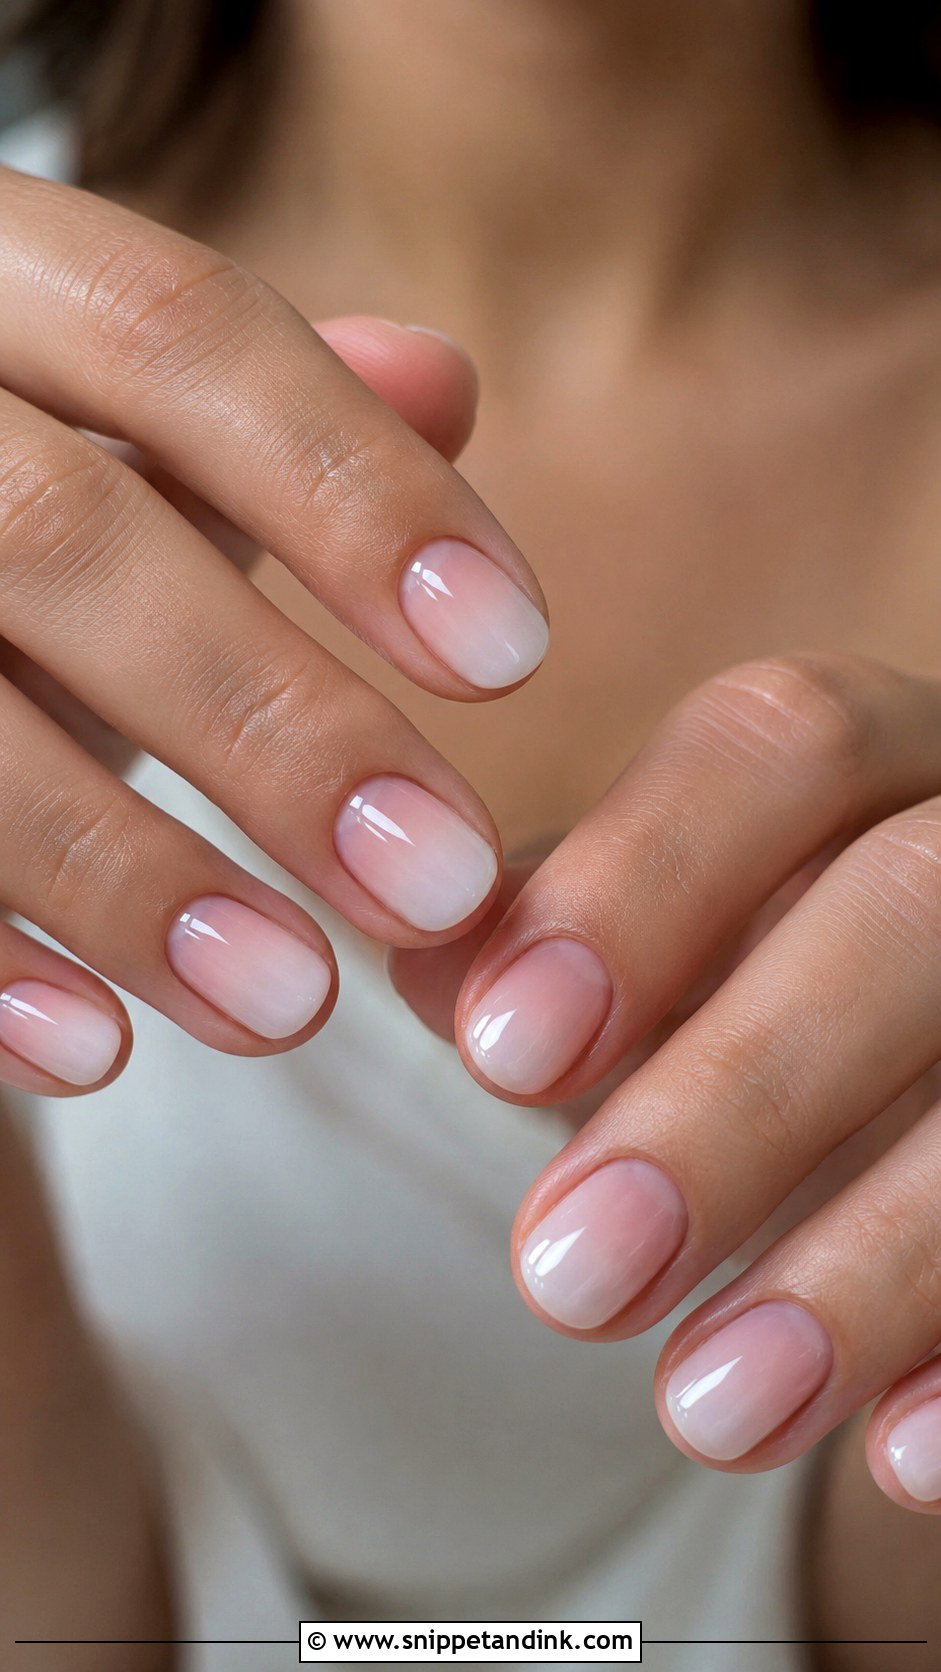
You don’t need length for an elegant bridal set. A short square or short oval with a soft pink-to-white fade looks neat and fresh, and it’s the easiest thing to wear if you’ve never had extensions. The light tips give a lifted look that makes short nails seem slightly longer. I keep the blend delicate and the finish high gloss, so the manicure looks deliberate rather than like you simply didn’t book one.
12. Square Ombre Wedding Nails
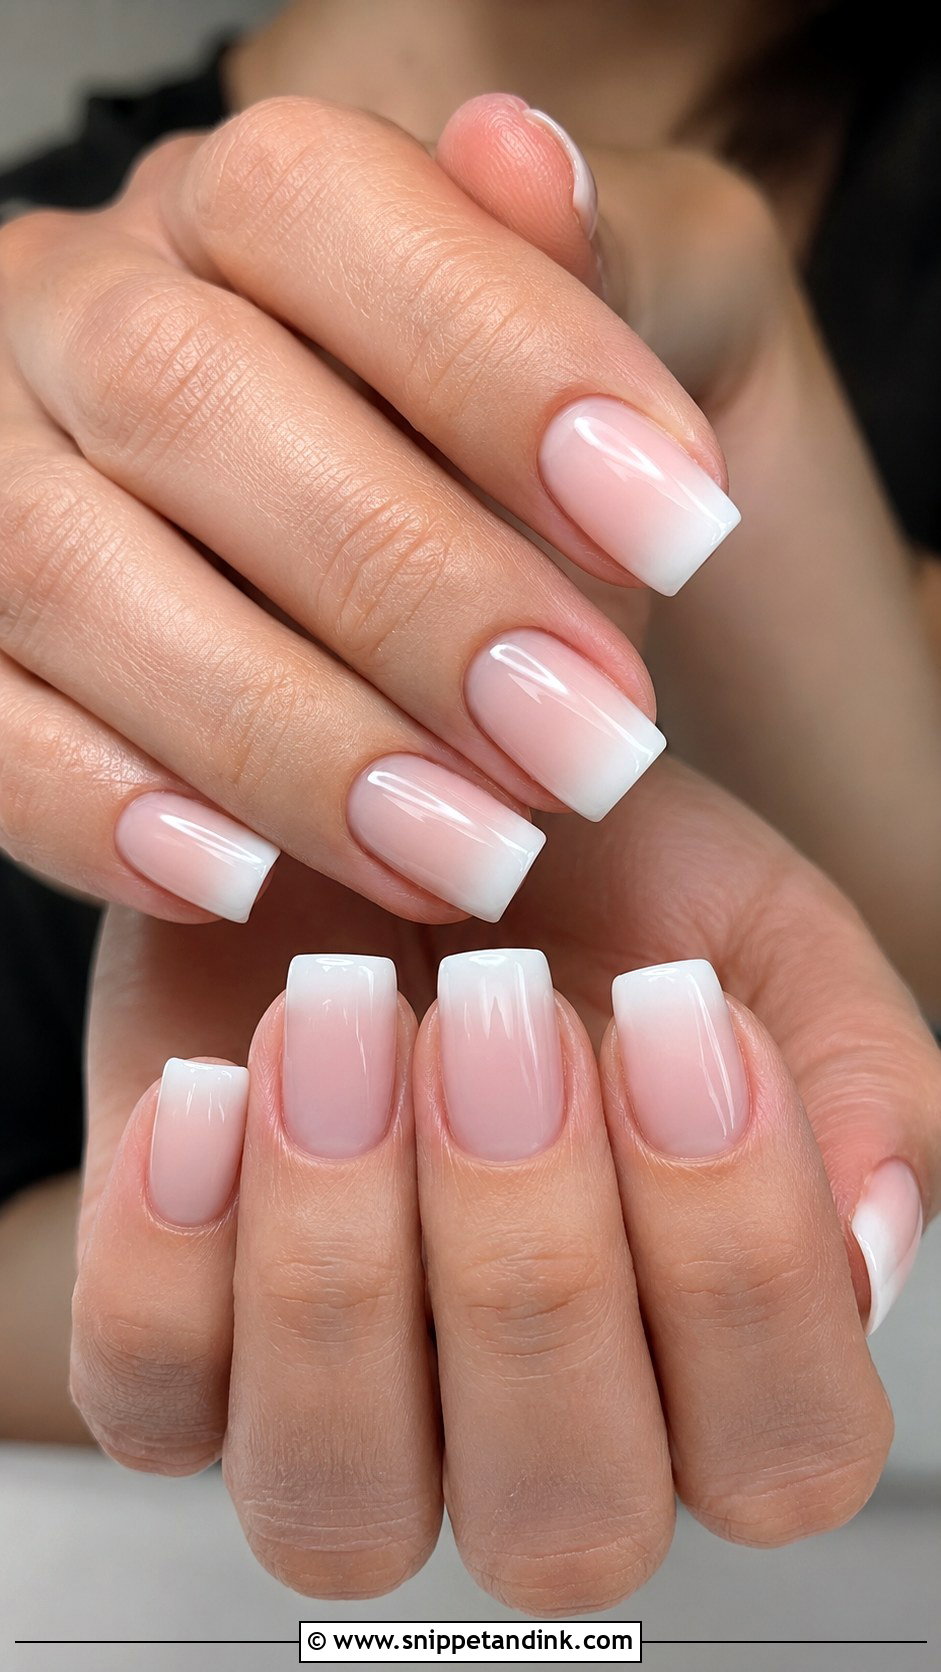
Square gives a straight, structured tip, softened here by the gradient. Most brides do better with a soft square, corners slightly rounded, because sharp corners chip and snag on lace. Pink and white looks especially neat on this shape, and nude-to-cream works too. For a little detail, a subtle shimmer top coat or one tiny crystal near the cuticle on a couple of nails is plenty.
13. Coffin Ombre Wedding Nails
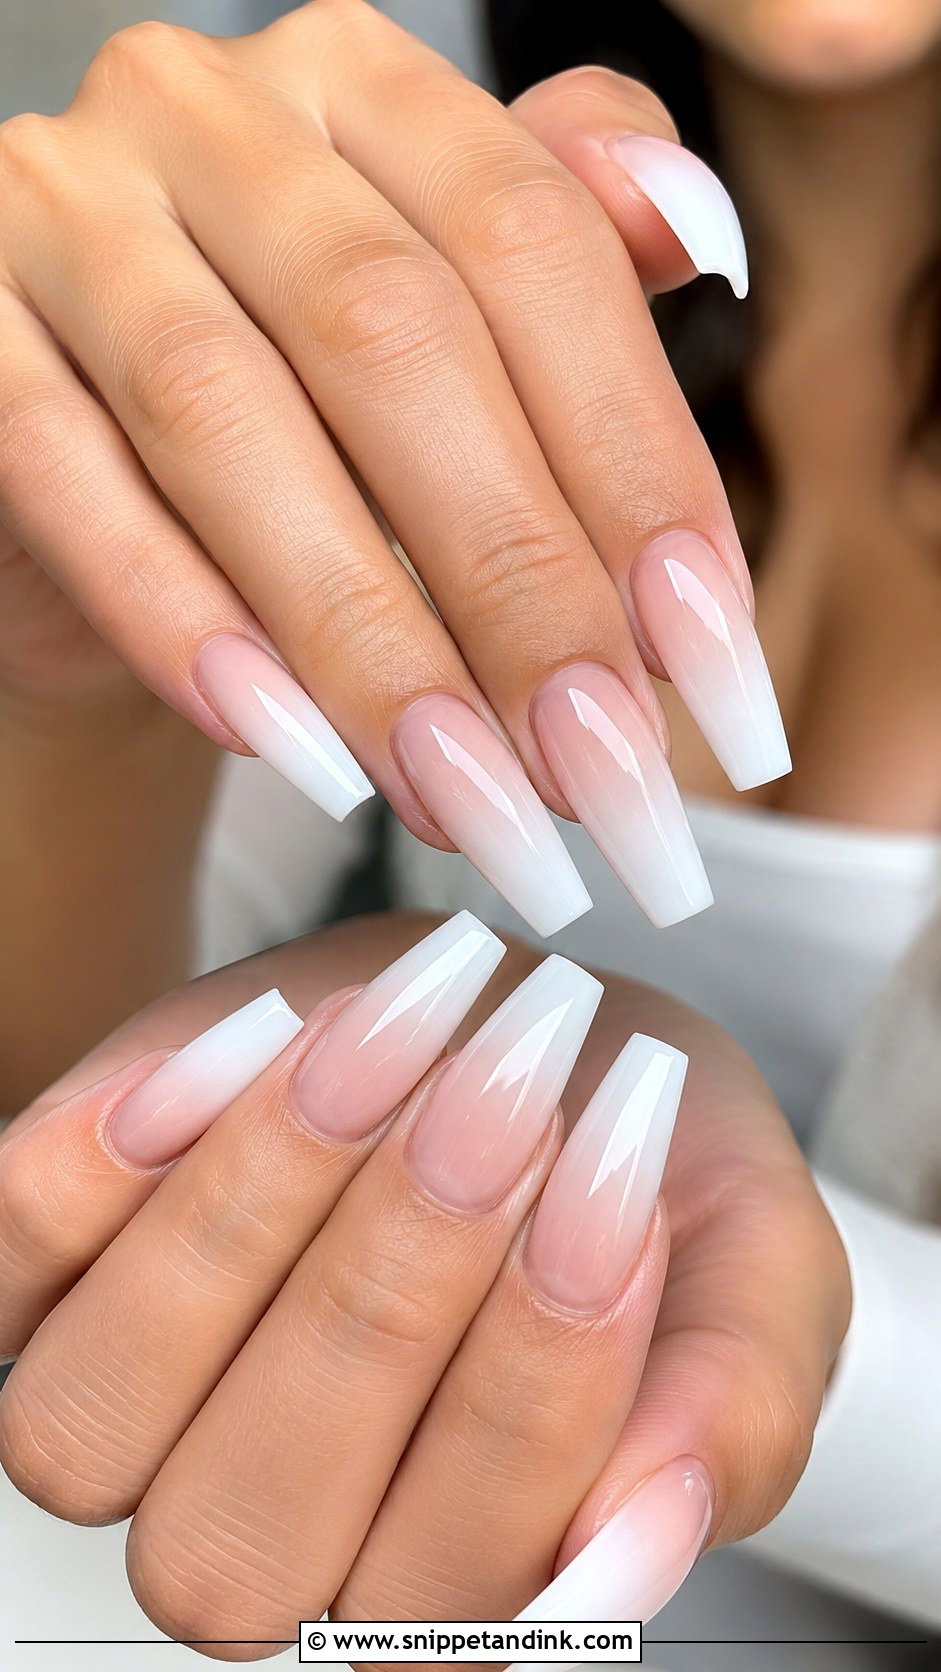
Coffin is a bold shape, so the fade has to stay smooth and delicate to balance it. Nude to white is the most bridal version; blush, pearl or champagne add warmth. I’d only suggest it to brides who already wear longer nails, since learning to button a bustle and pin earrings with new length on the morning isn’t fun. Skip heavy gems. The shape and gradient are enough, finished with gloss.
14. Oval Ombre Wedding Nails
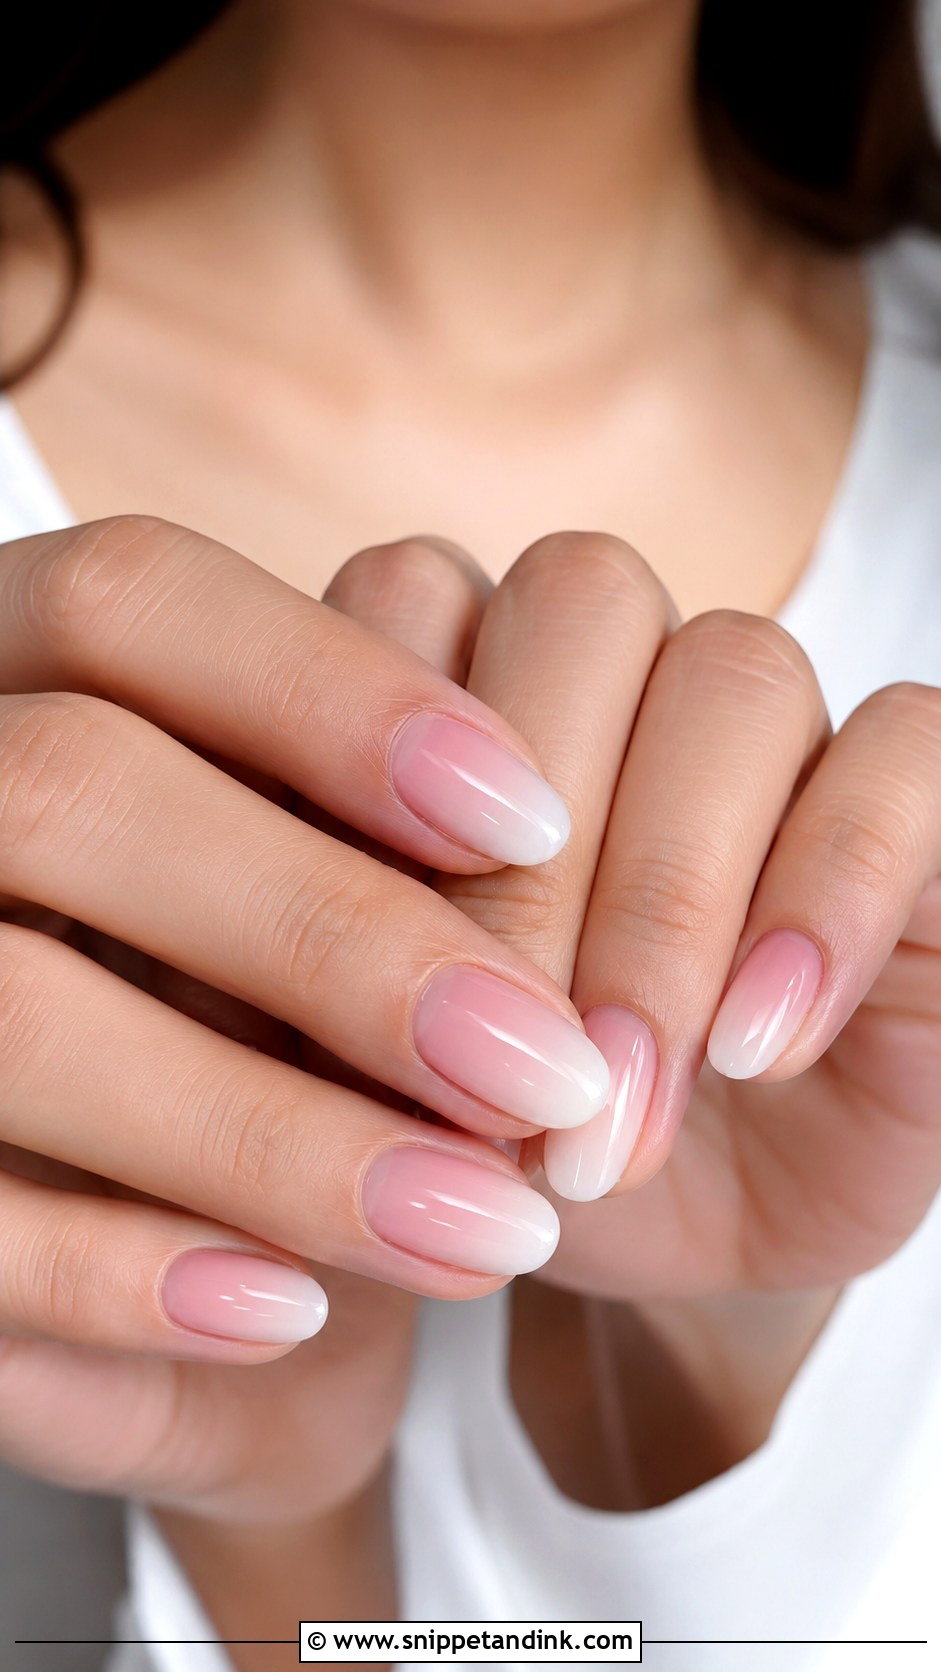
Rounded edges follow the natural curve of the fingertip. Oval ombre wedding nails look soft and natural, and a sheer pink base fading into milky white looks smooth from every angle. They suit traditional ceremonies, garden or beach weddings and a simple courthouse look alike. If your nail beds are short, an oval tip visually extends them better than square does. Sheer color and gloss keep it timeless.
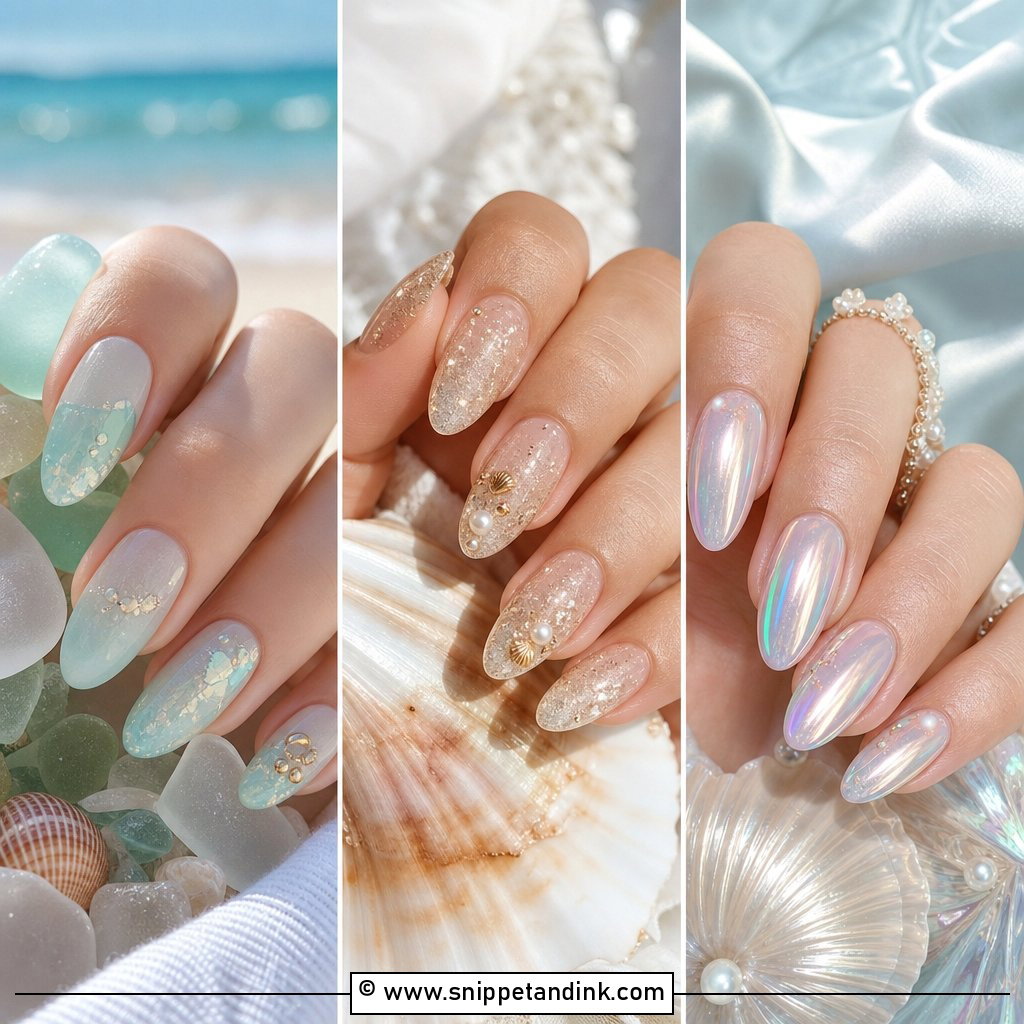
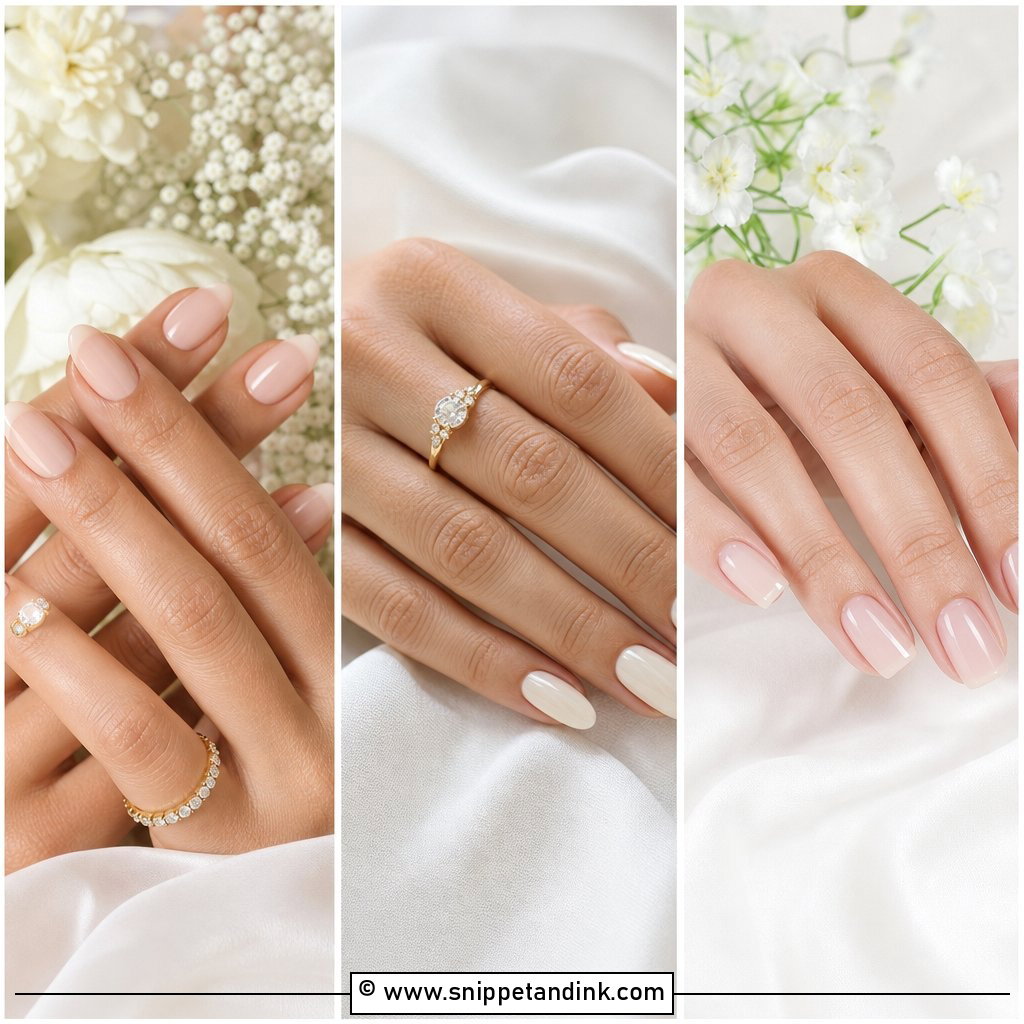
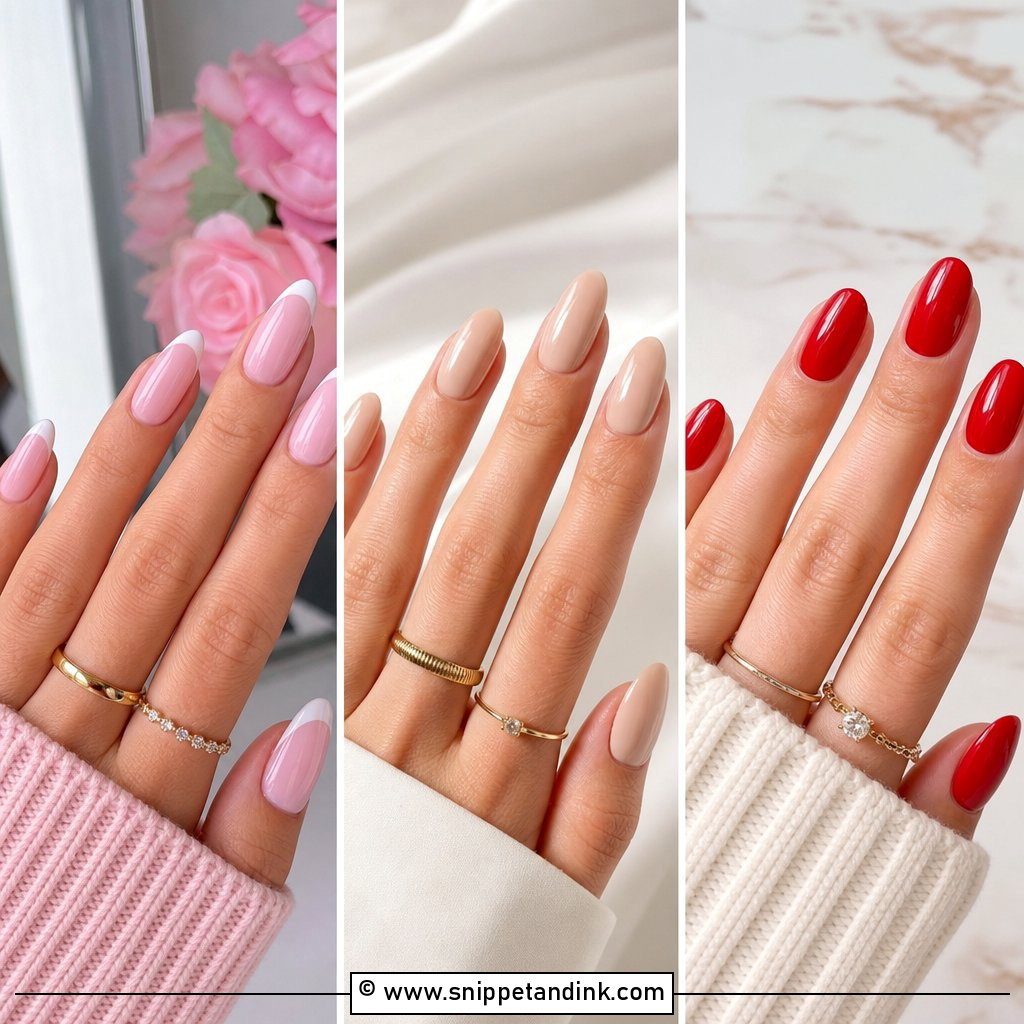
15. Matte Ombre Wedding Nails
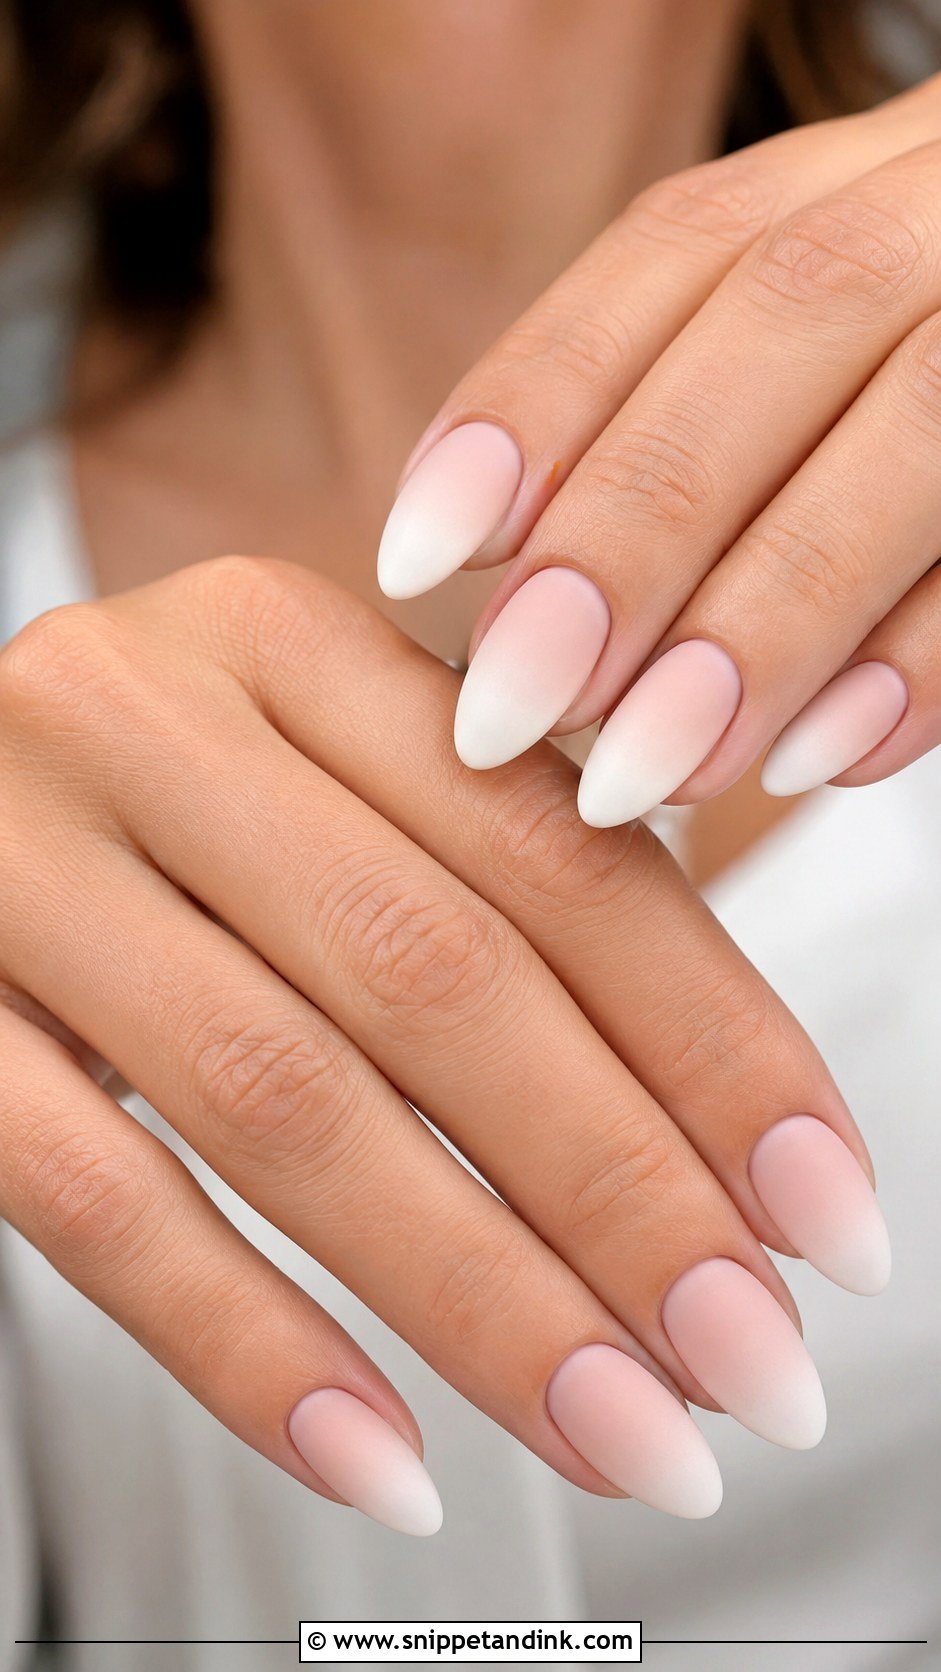
Matte changes the mood completely: pink and white, nude and cream, or blush and ivory under a velvet top coat feels modern and understated. It pairs well with minimalist and structured dresses. Matte is unforgiving, though. It shows every ridge, so the nail prep and blend have to be very clean, and hand cream or self-tanner can leave shiny patches. I usually add one glossy accent nail or a tiny pearl for contrast.
16. Champagne Ombre Wedding Nails
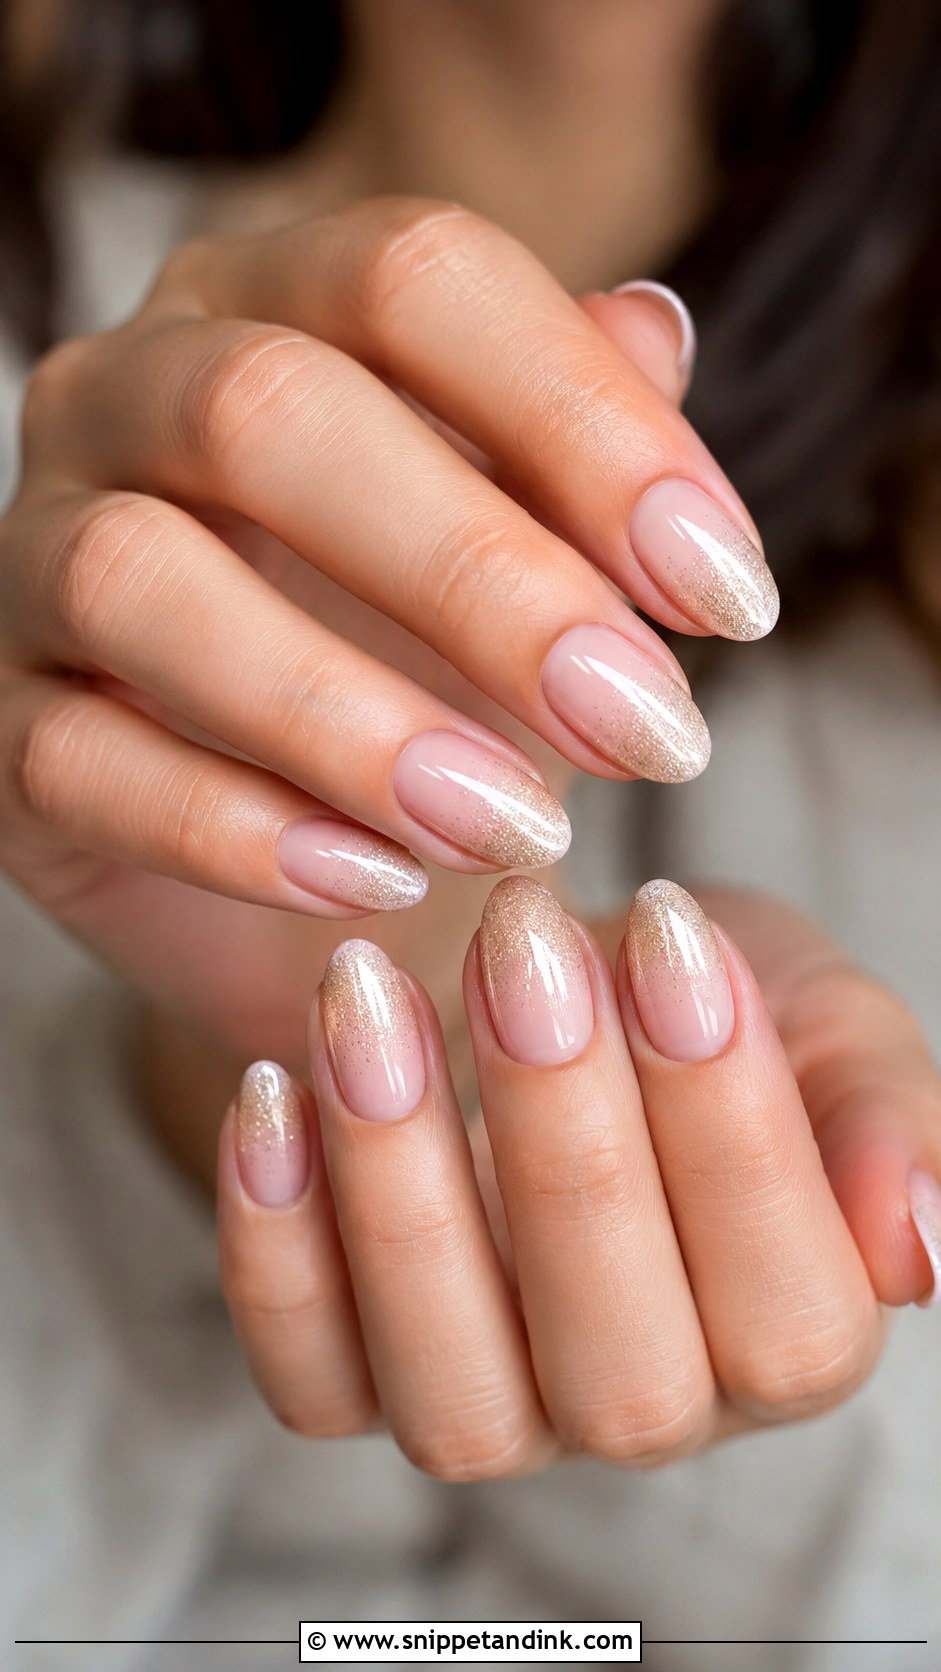
Champagne shimmer at the tips over a nude, beige or pale pink base adds warmth that suits ivory, cream, gold and champagne gowns. On medium and deep skin tones it picks up the natural warmth of the hands especially well. Under candlelight at an evening reception it glows nicely. Fine shimmer, never bold glitter, keeps it bridal.
17. Rose Gold Ombre Wedding Nails
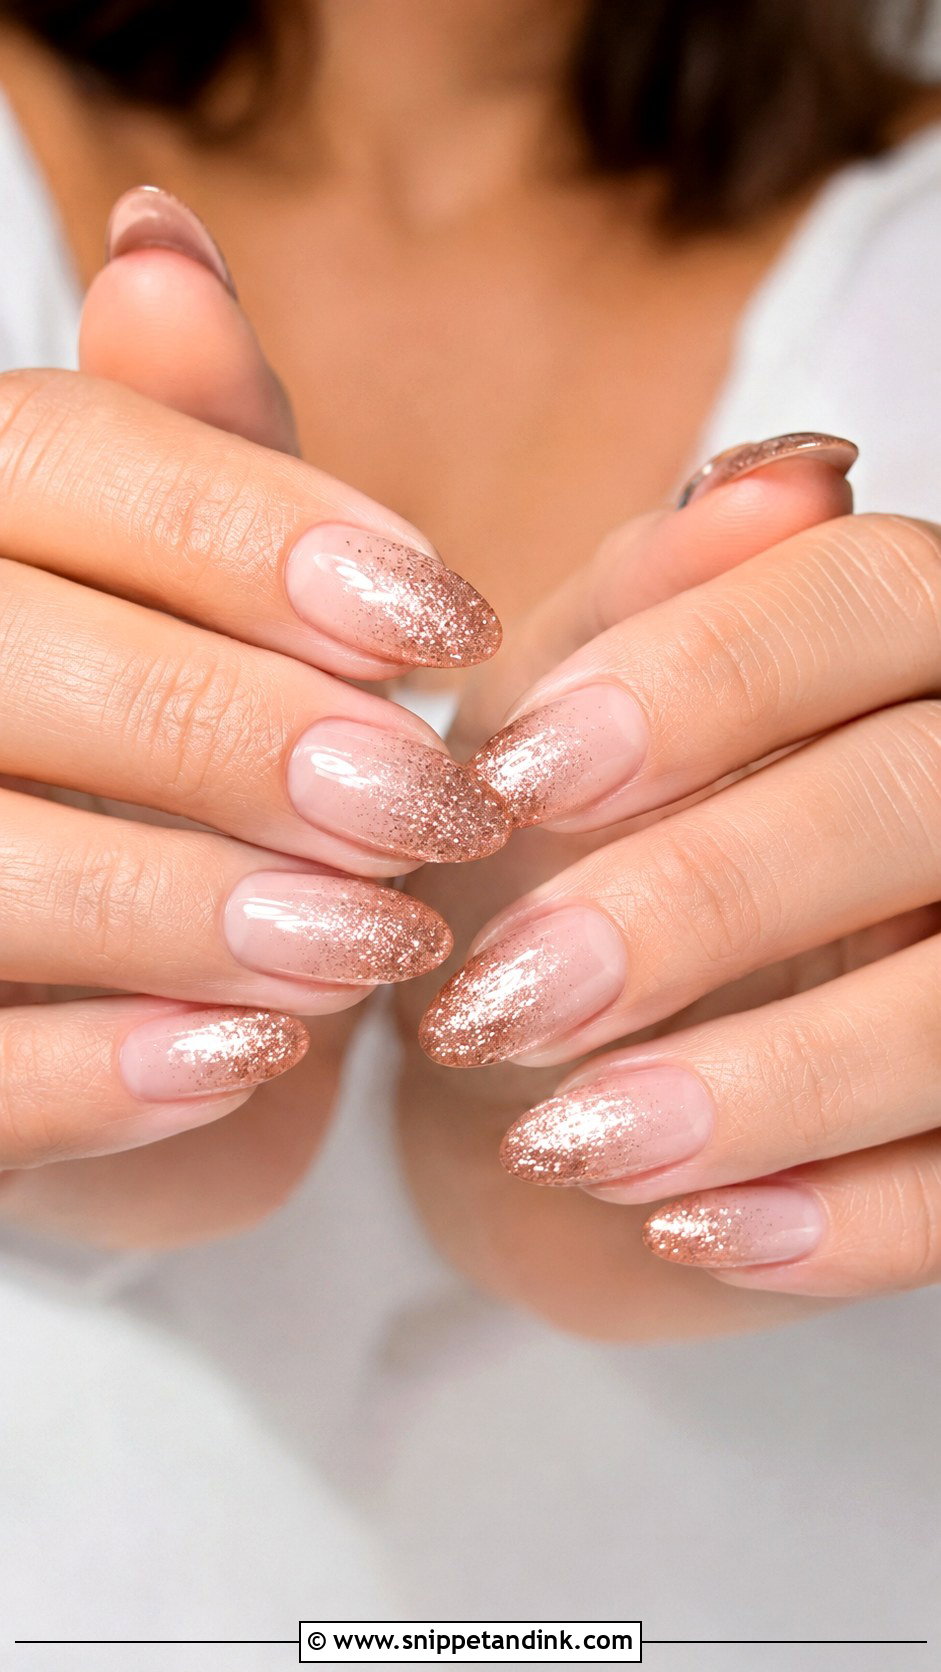
Rose gold shimmer fading from a sheer nude or blush base gives a soft metallic glow without flash. It’s a natural pairing with rose gold jewelry, warm makeup, blush bouquets and satin. For a delicate version I keep the shimmer concentrated near the tips; for something more current, a very light chrome over the whole set. Balance is the rule I follow: the nails should glow, not compete with your dress or ring.
18. Floral Ombre Wedding Nails
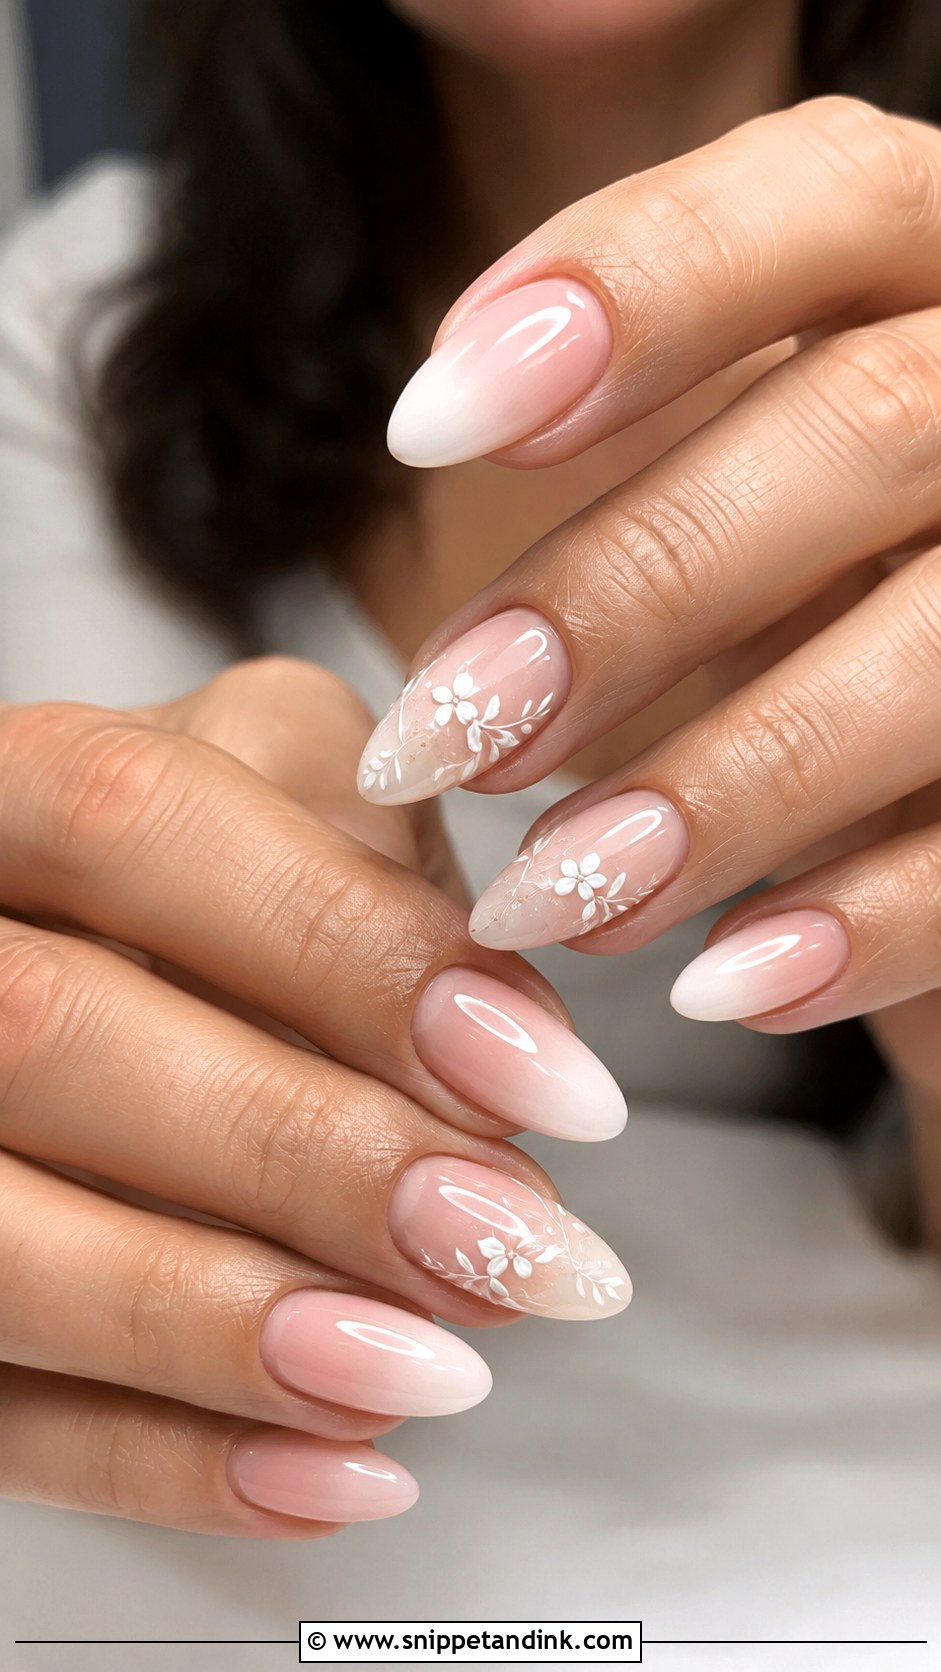
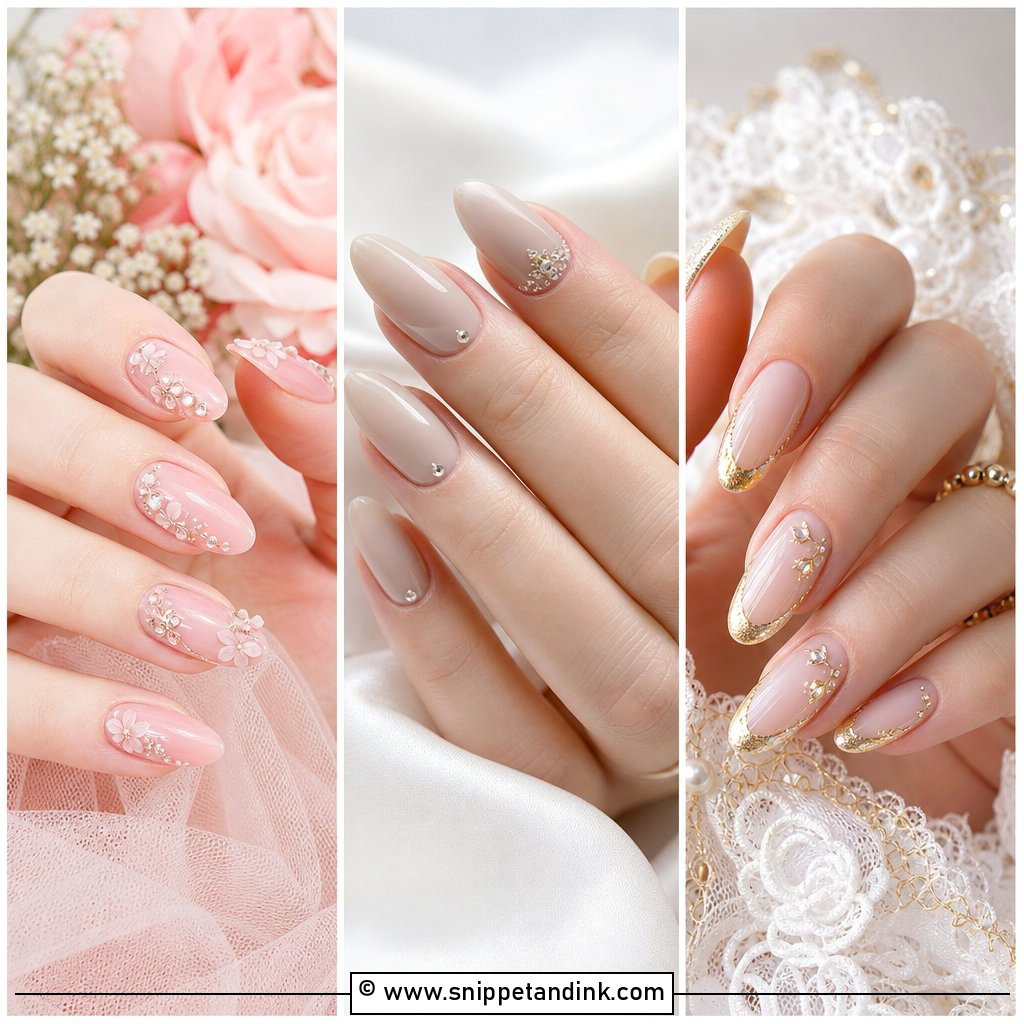
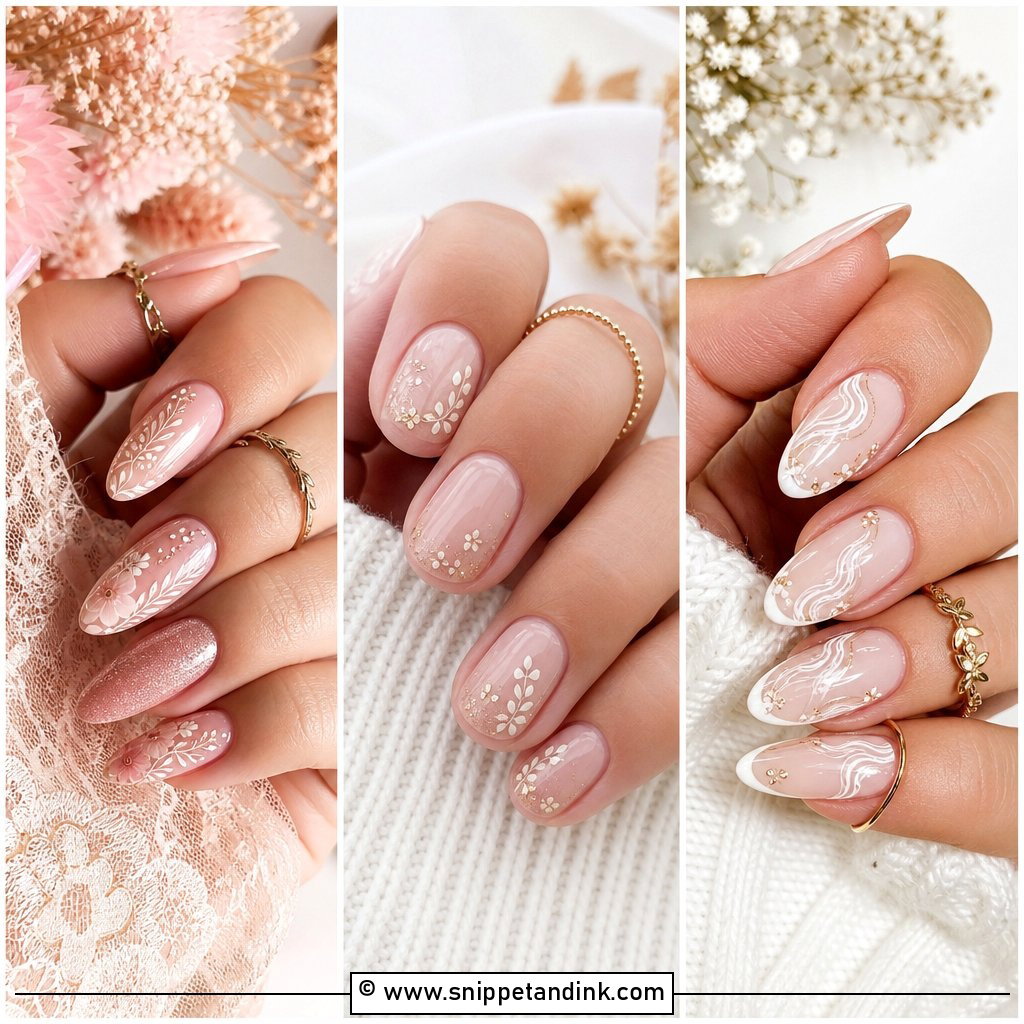
A few flowers on a gradient can mirror floral embroidery or lace. Floral ombre wedding nails start from pink and white, nude and ivory, or milky blush, then add tiny white flowers, pressed floral art or fine painted petals. I limit the art to a few nails; flowers on every finger stop reading as bridal. Fine-line petals with small centers photograph better than large blooms. A glossy seal protects the art and smooths the fade.
19. Rhinestone Ombre Wedding Nails
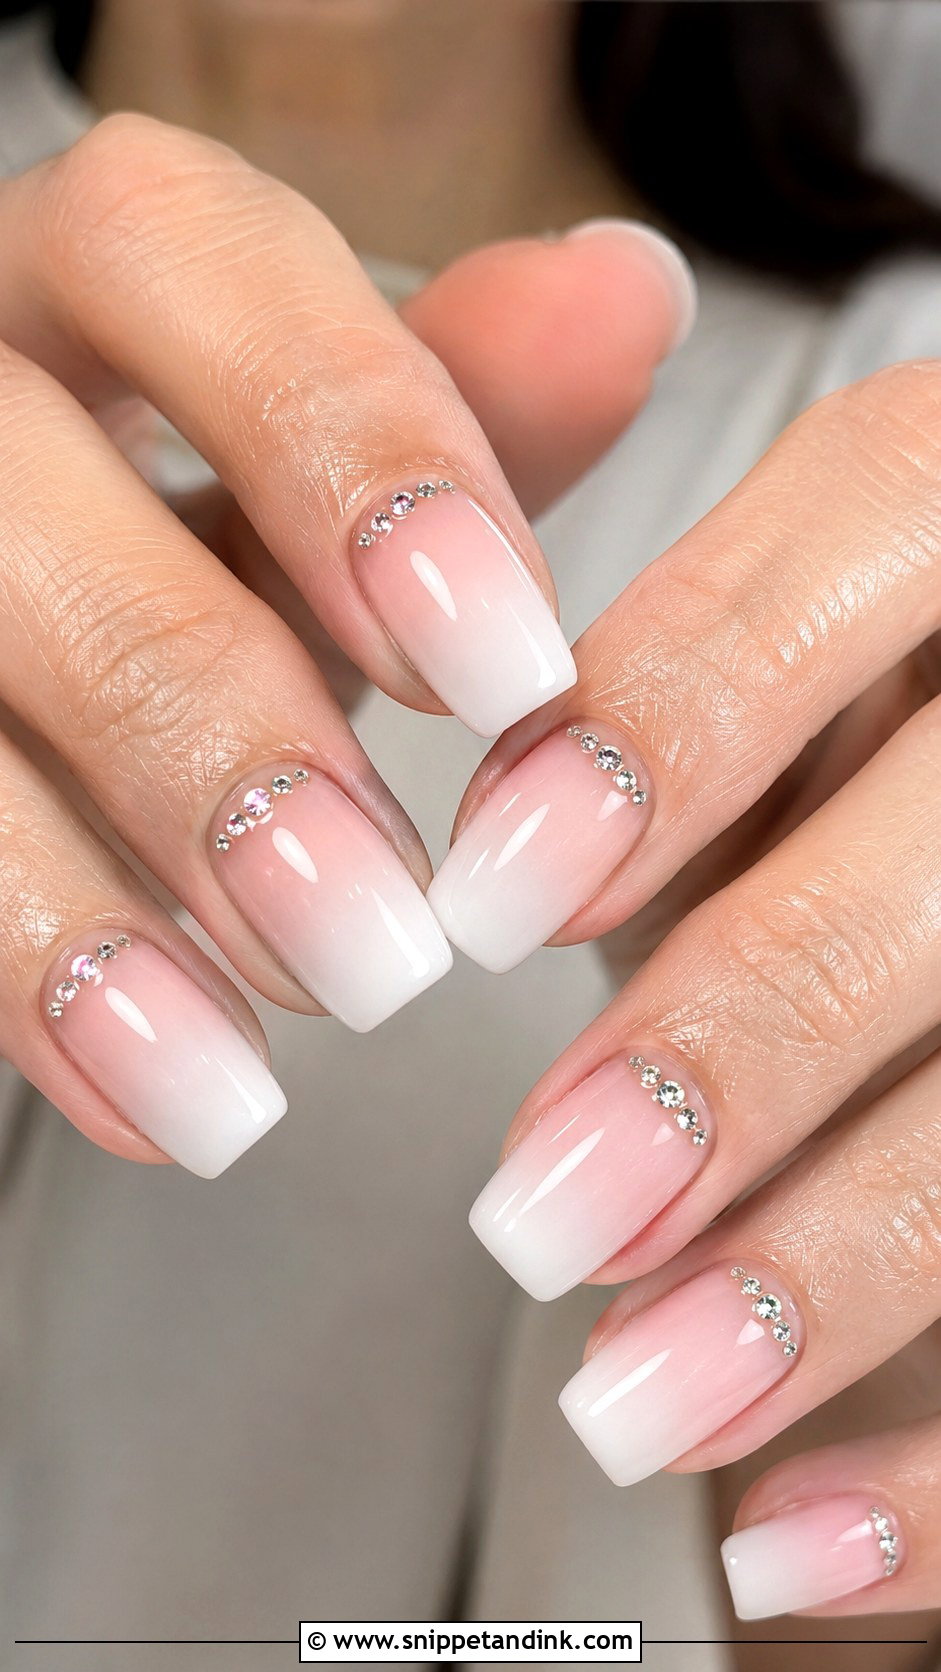
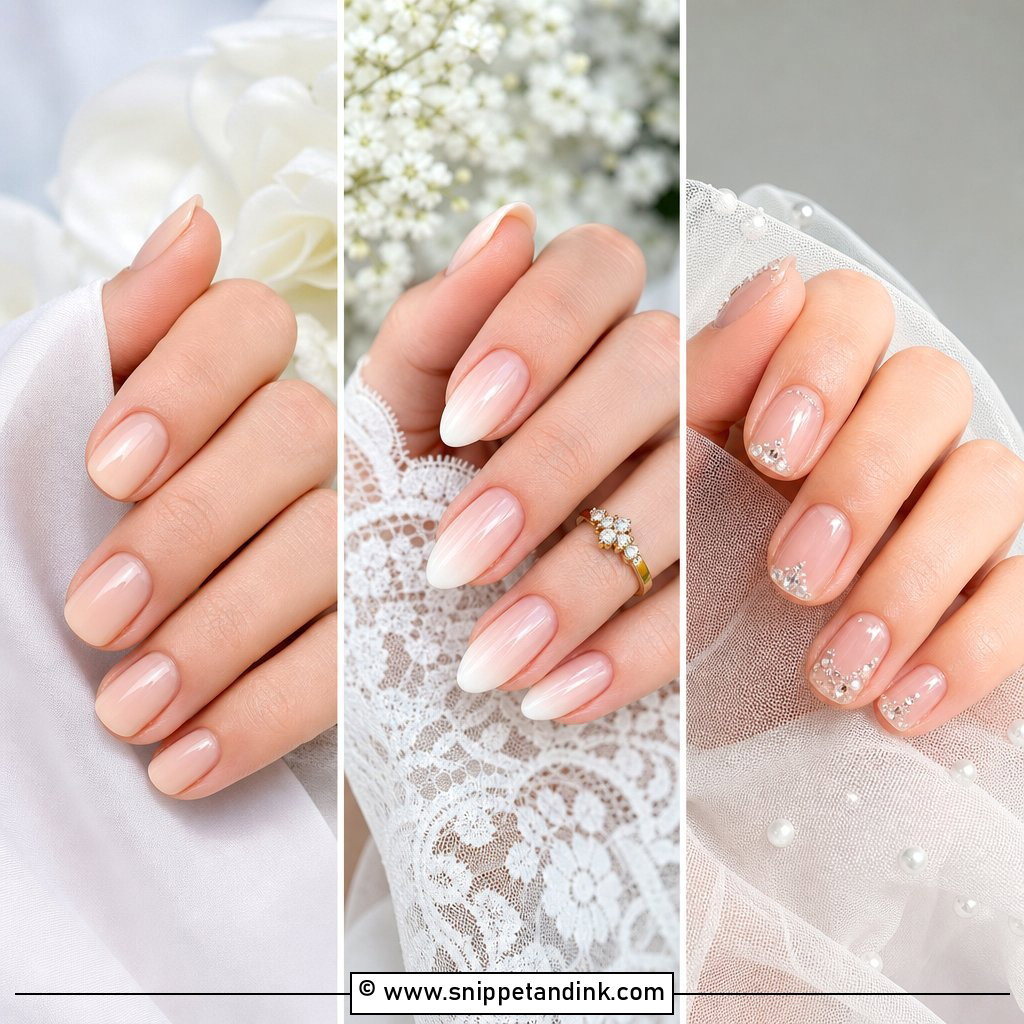
Crystals look bridal when the placement is simple. Over a pink-to-white or nude-to-cream fade, tiny rhinestones near the cuticle catch light without the commitment of full glitter. One or two accent nails, or a single small crystal on each nail, keeps it balanced. Clear crystals feel classic; pearl-toned gems feel softer. I always set stones in gel rather than glue alone, because glue-only stones are the ones I find missing by the speeches.
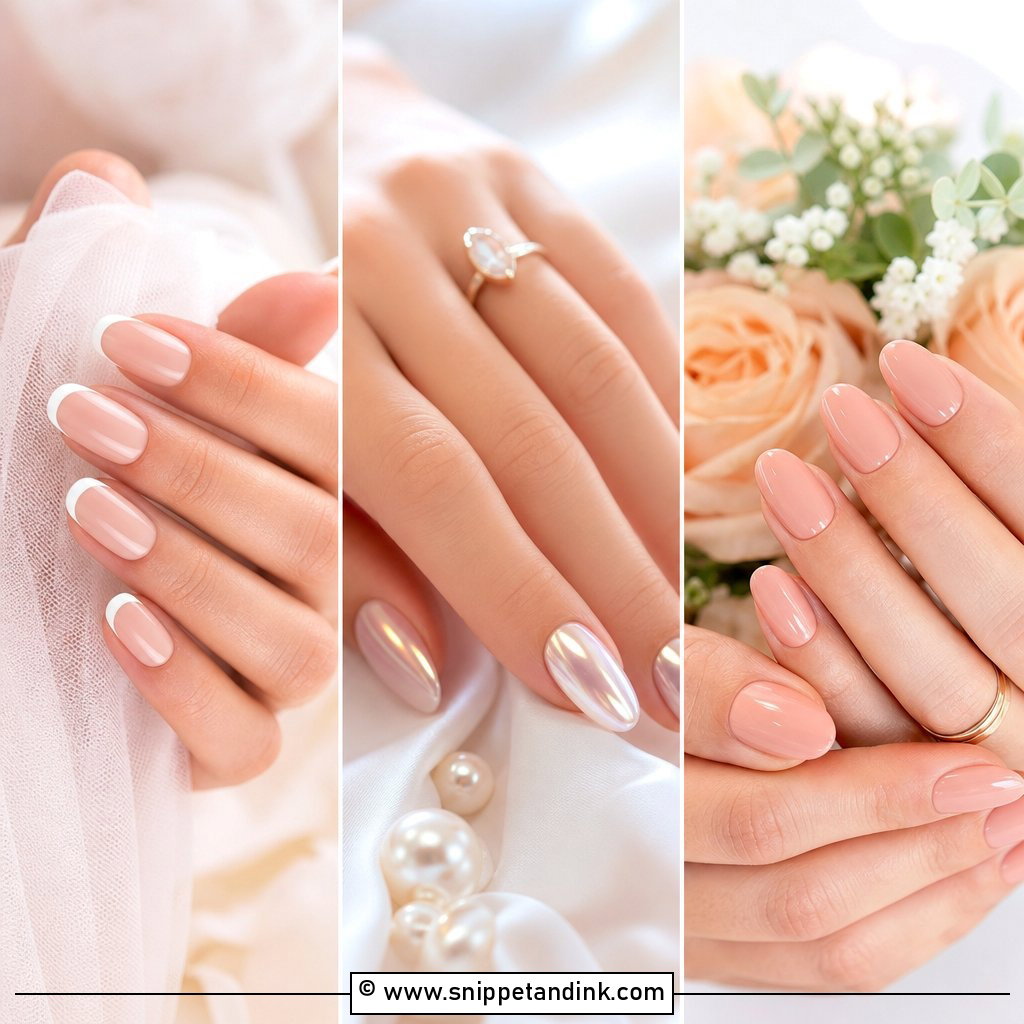
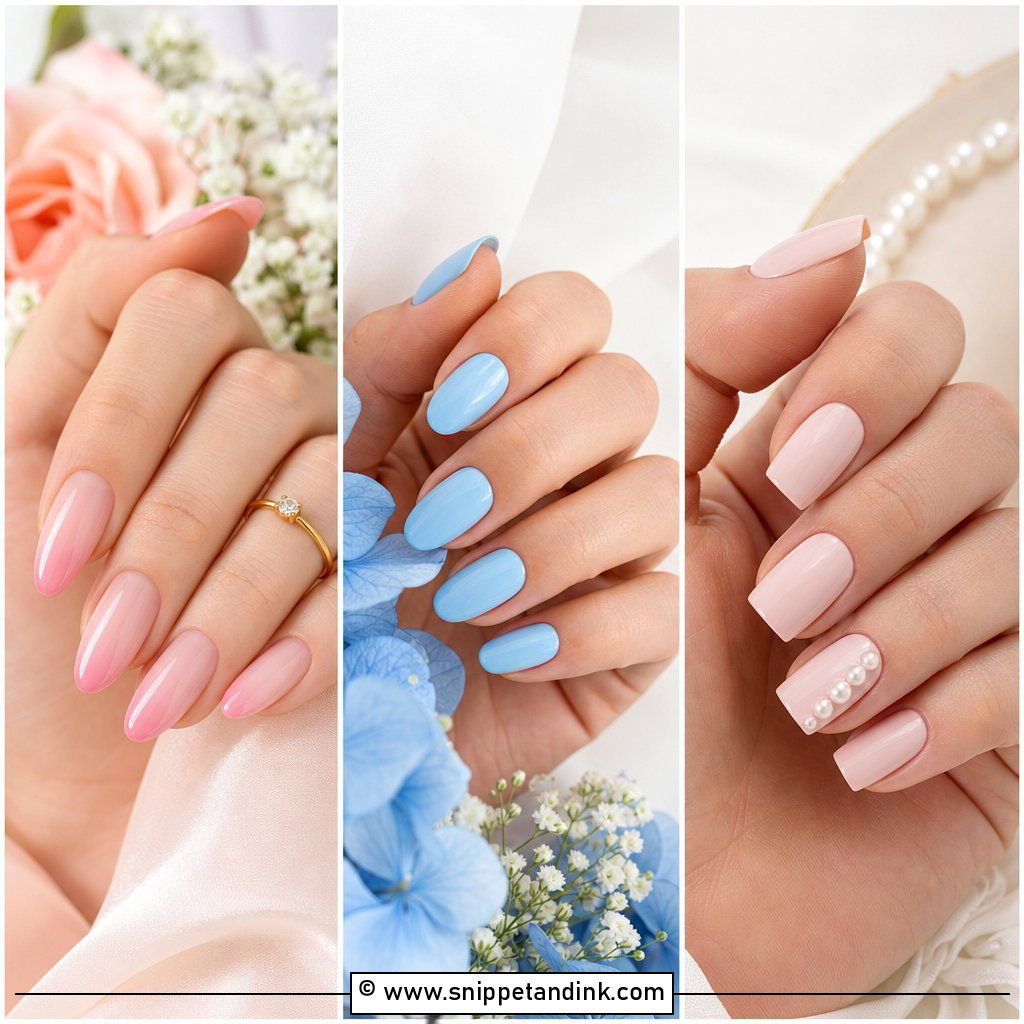
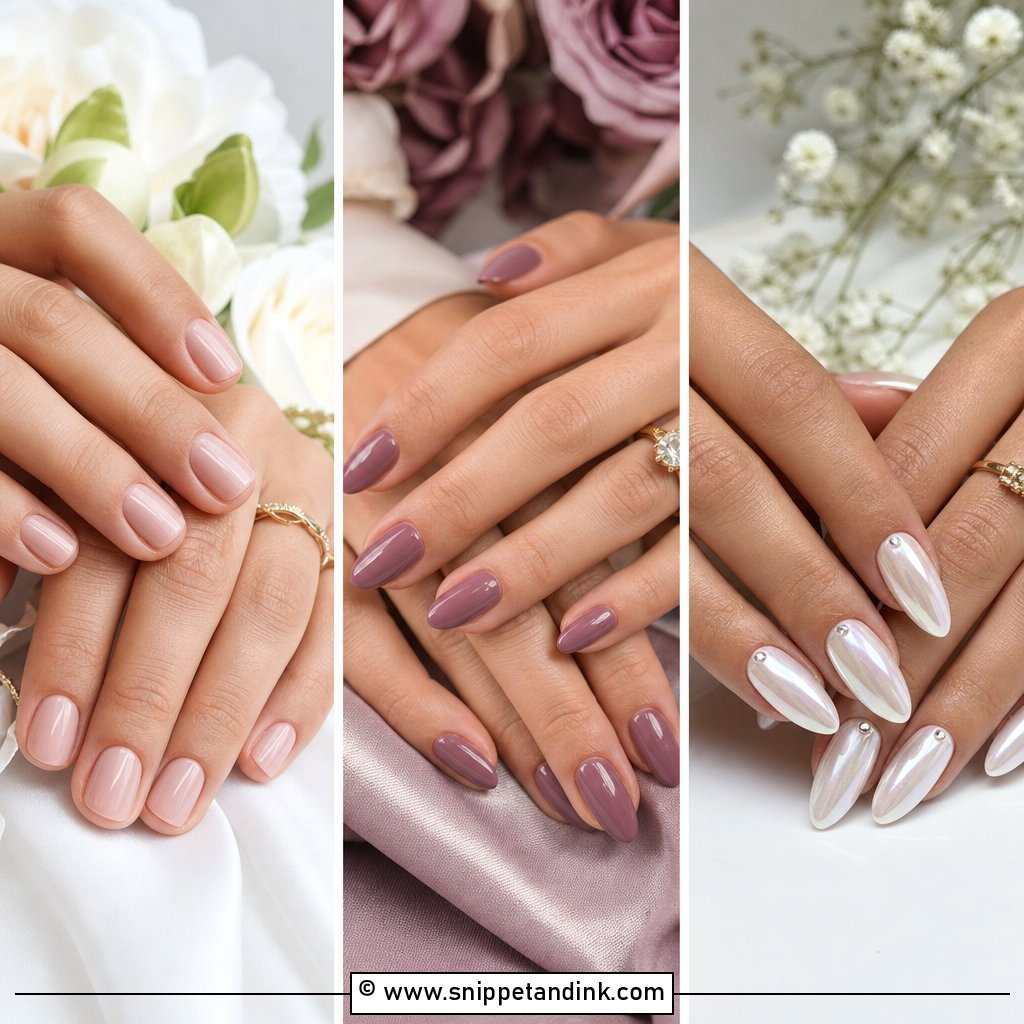
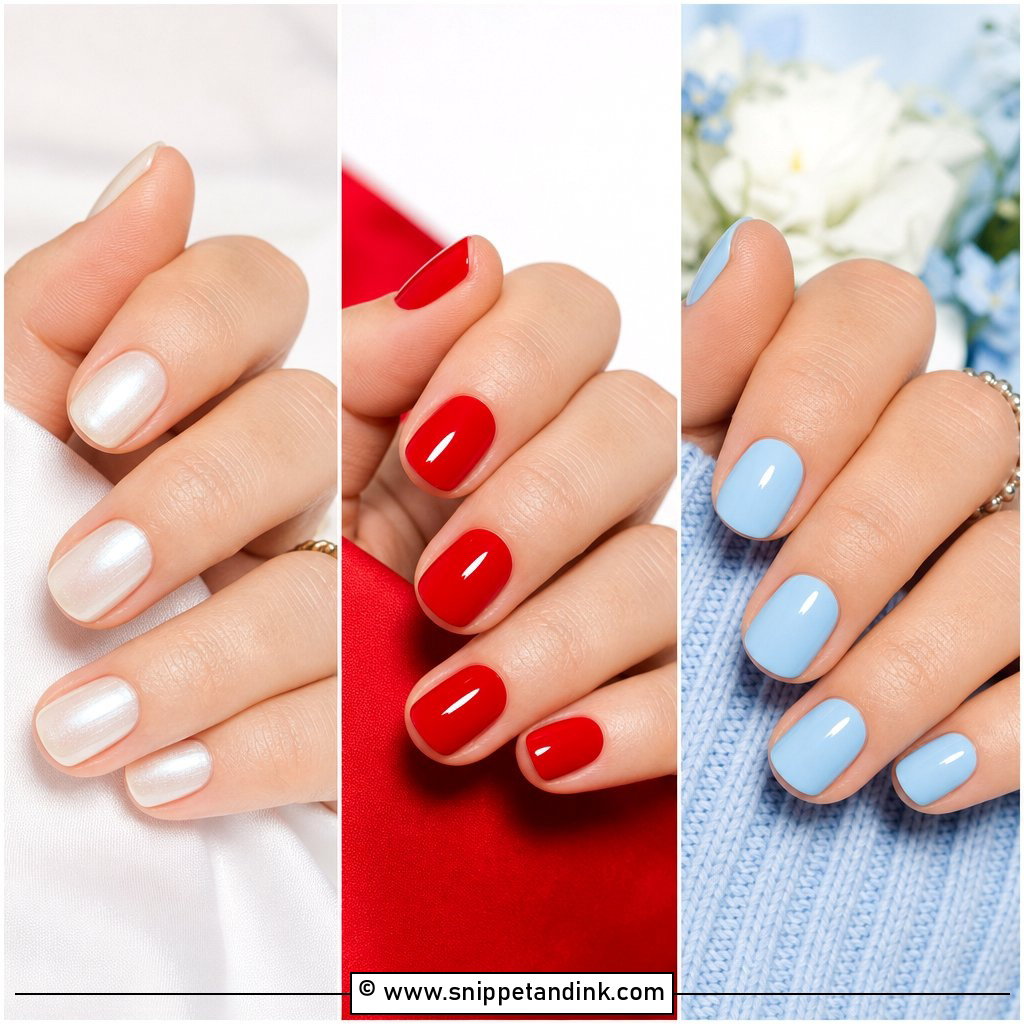
20. Lace Ombre Wedding Nails
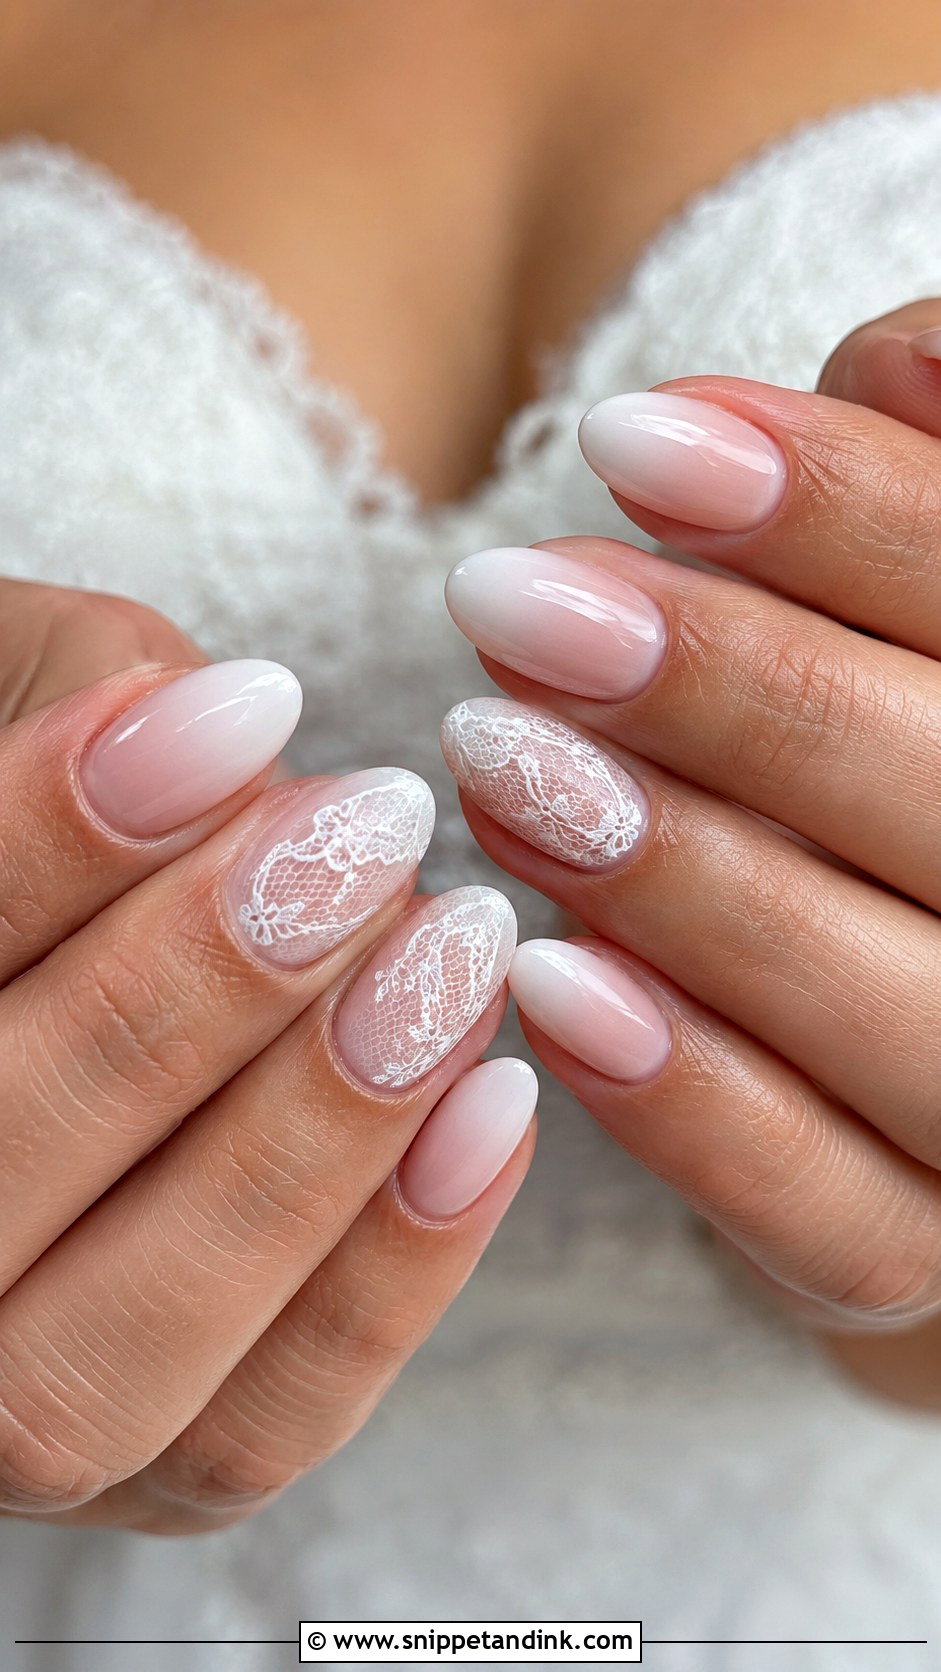
Lace gowns, lace-edged veils and embroidered sleeves all suit a little lace art on the nails. I paint fine lace by hand with a liner brush, stamp it from a plate, or draw thin white gel lines, and keep it to one or two accent nails with the rest as smooth ombre. Pink and white is the classic base; nude and ivory give a softer, vintage-leaning finish. Bring a close photo of your lace and I’ll pull one motif from it rather than copying the whole pattern.
Your Trial Kit: Ring, Fabric Swatch and a Few Honest Photos
A nail trial is only useful if I can see what your nails will sit beside. These are the things I ask brides to carry along:
- Your engagement ring and, if you have it, the wedding band. Nail length should look in proportion to the stone, and a warm metal changes which nude looks right.
- A swatch or close photo of the dress fabric, so I can match ivory to ivory rather than guessing from memory.
- Two or three reference photos, plus one of a set you dislike. Filters and editing shift nail colors, so I treat photos as a direction, not a shade match.
Wear the trial set for a week if you can. Notice where it chips first, whether the length annoys you at the keyboard, and how the color looks in your bathroom mirror at night. Those small notes change the final set more than any photo.
For the ring shot itself, relax your fingers and let them curve slightly. Pressing them flat makes knuckles look larger and pushes long nails into the skin of the other hand.
Two Things Every Good Ombre Set Gets Right
Every set here comes back to two things: a base that suits your skin and a fade blended so finely you can’t find the join. Classic pink and white, milky nude, pearl chrome, champagne shimmer or a few painted flowers can all sit on top of that. When in doubt, French ombre or baby boomer is the safe pick; chrome, pearl or champagne add glow. Let your dress, jewelry, venue and nail length make the final call, and wear the trial set for a few days before you decide.
You'll Like These Ideas:


Leave a Reply