
A sleek bun looks simple, and that’s exactly why it’s unforgiving. There’s no curl to hide a bump at the crown and no loose piece to distract from a crooked part. Done well, though, it’s one of the most reliable styles I put on a bride. Slick back bun wedding hair keeps everything out of the face, leaves the neckline and earrings fully on show, and barely changes between the first look and the last song. The real choices are where the bun sits, how the part is placed, and how much shine you want, and each of those changes the feel more than you’d expect.
How Tight Is Too Tight for a Sleek Bun?
Every slick bun is built on a ponytail, and that ponytail is where comfort is won or lost. A sleek surface does not require a tight elastic. Most of the smoothness comes from brushing technique and product, not tension, yet brides often ask me to pull harder because they’ve seen tight buns online.
Here’s what I check during a trial. After ten minutes, can you raise your eyebrows without feeling a pull at the hairline? Can you turn your head fully to each side? Is there a sore spot where the elastic sits? If any of those feel off, the base is too tight, and it will only get worse over a long day. Constant pulling also stresses the fine hairs at the temples, which is a real concern if your edges are already thin.
Two small changes help a lot. A spiral elastic or a soft hair tie grips without biting, and placing the ponytail lower puts less leverage on the front hairline. If you’re wearing a heavy veil, add a couple of crossed pins above the ponytail so the veil’s weight sits there rather than on the elastic.
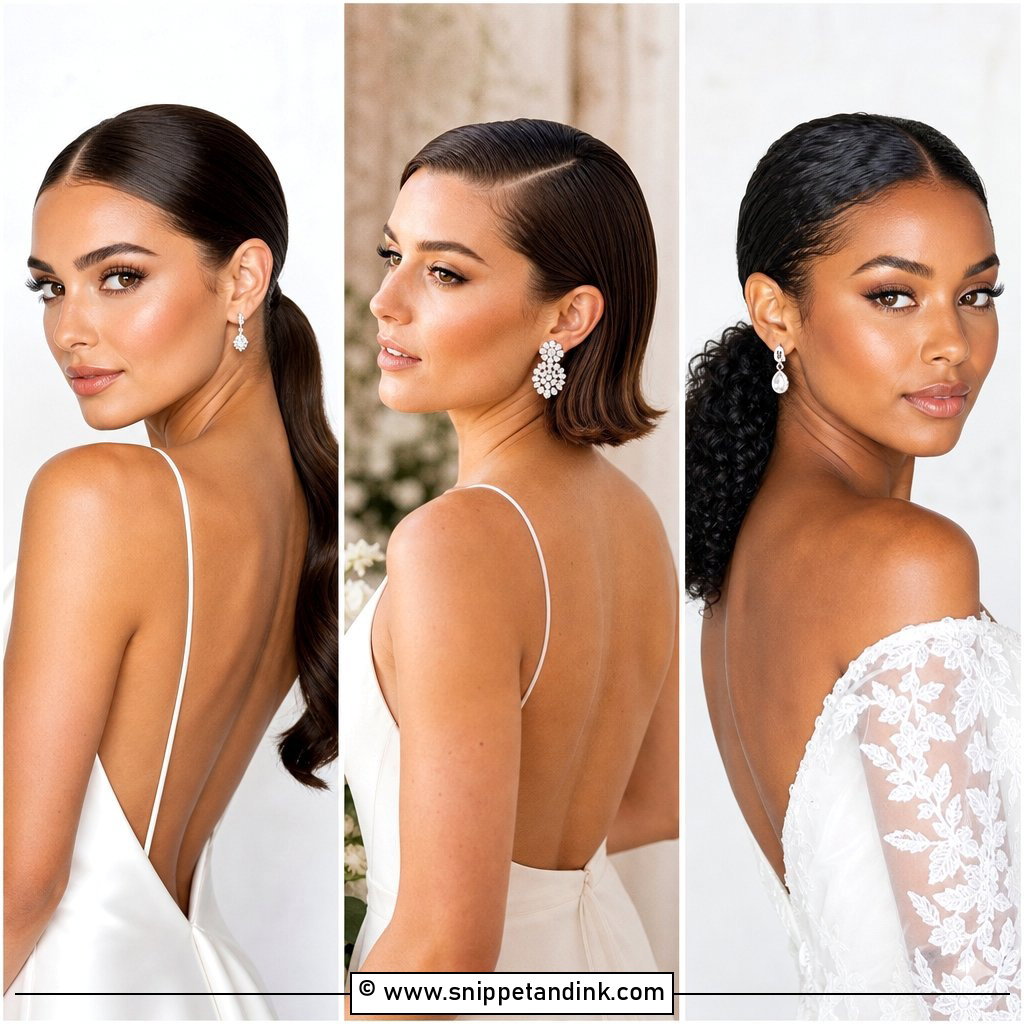
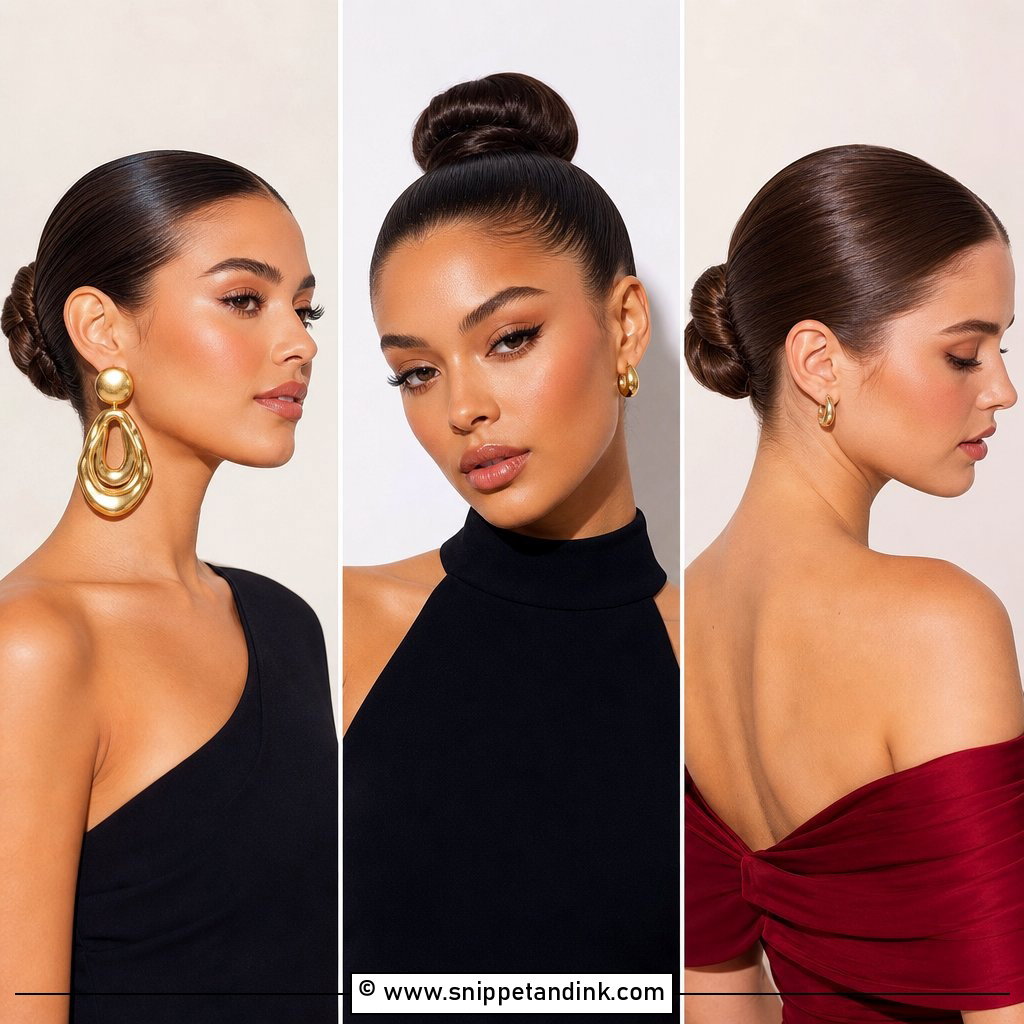
1. Wedding Hair Slick Back Low Bun
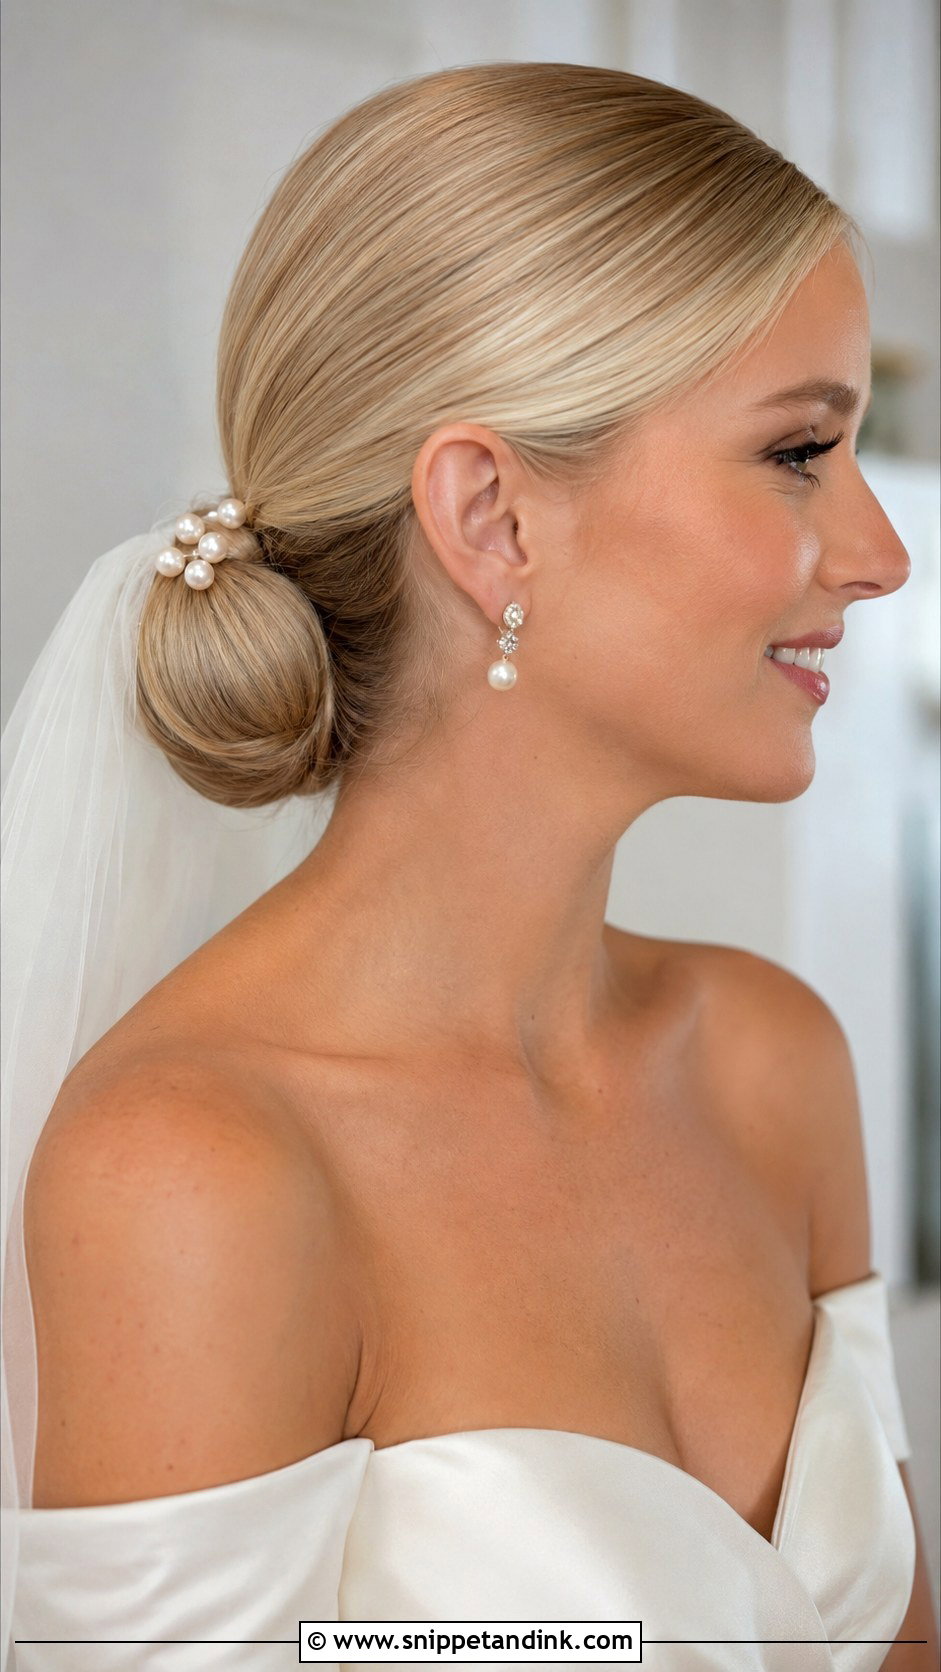
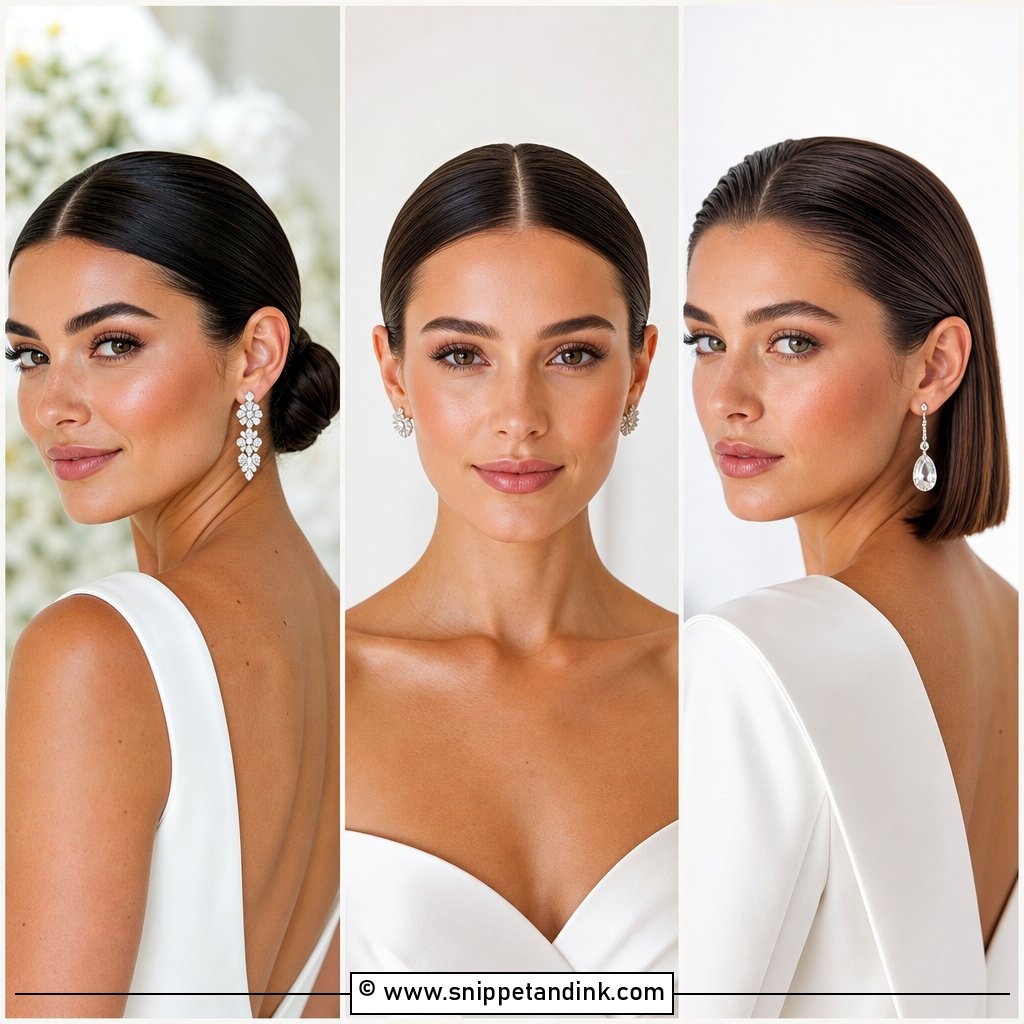
Low at the nape is where I’d start most brides. When you’re looking at a wedding hair slick back low bun, notice how it sits just above the collar line: that position stays comfortable against a chair back and leaves room for a veil comb above it. I brush the hair back with a boar bristle brush while it’s slightly damp with cream, tie it at the nape, then wrap and pin. Strapless and open-back gowns show it off best. Keep shine spray to a light mist at the end; too much and the surface starts to look wet in flash photos.
2. Wedding Hair Slick Back Middle Part Bun
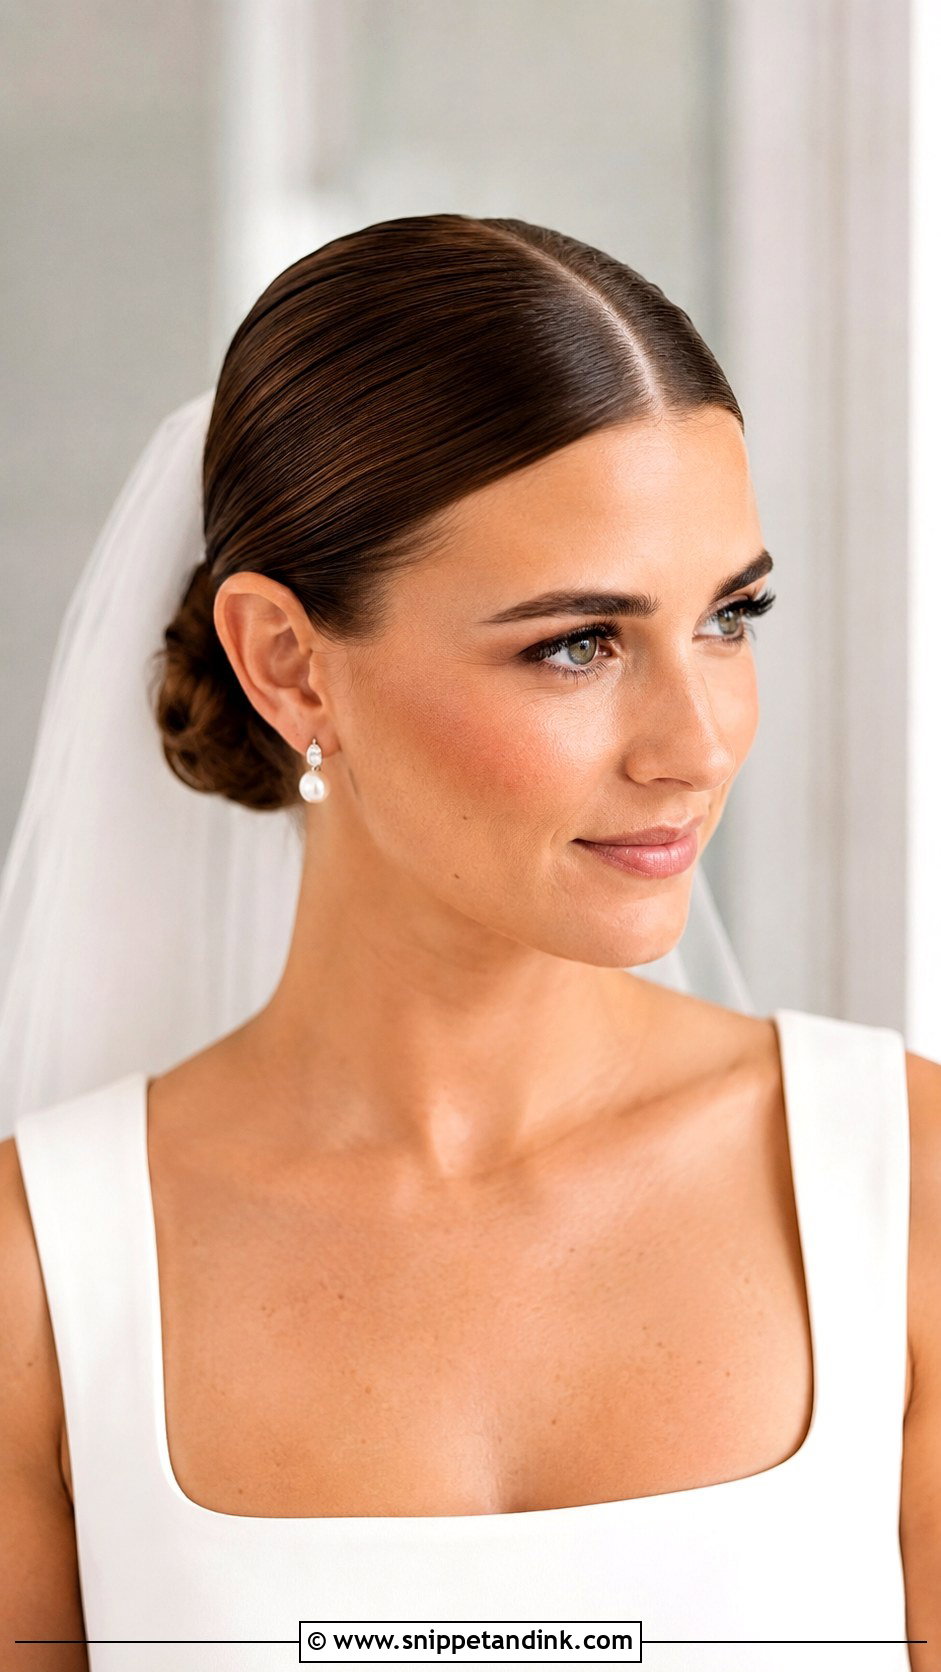
The middle part is the least forgiving version, because both sides of your face are on display and any unevenness in the part line shows. I mark it with the tail of a comb from the brow arch on each side to find true center, not where the hair naturally falls. Statement earrings really come into their own here, since nothing competes with them. I’d steer you to a rounded bun rather than a flat coil, which can look severe with a center part, and a simple veil tucked underneath keeps the line from the front clean.
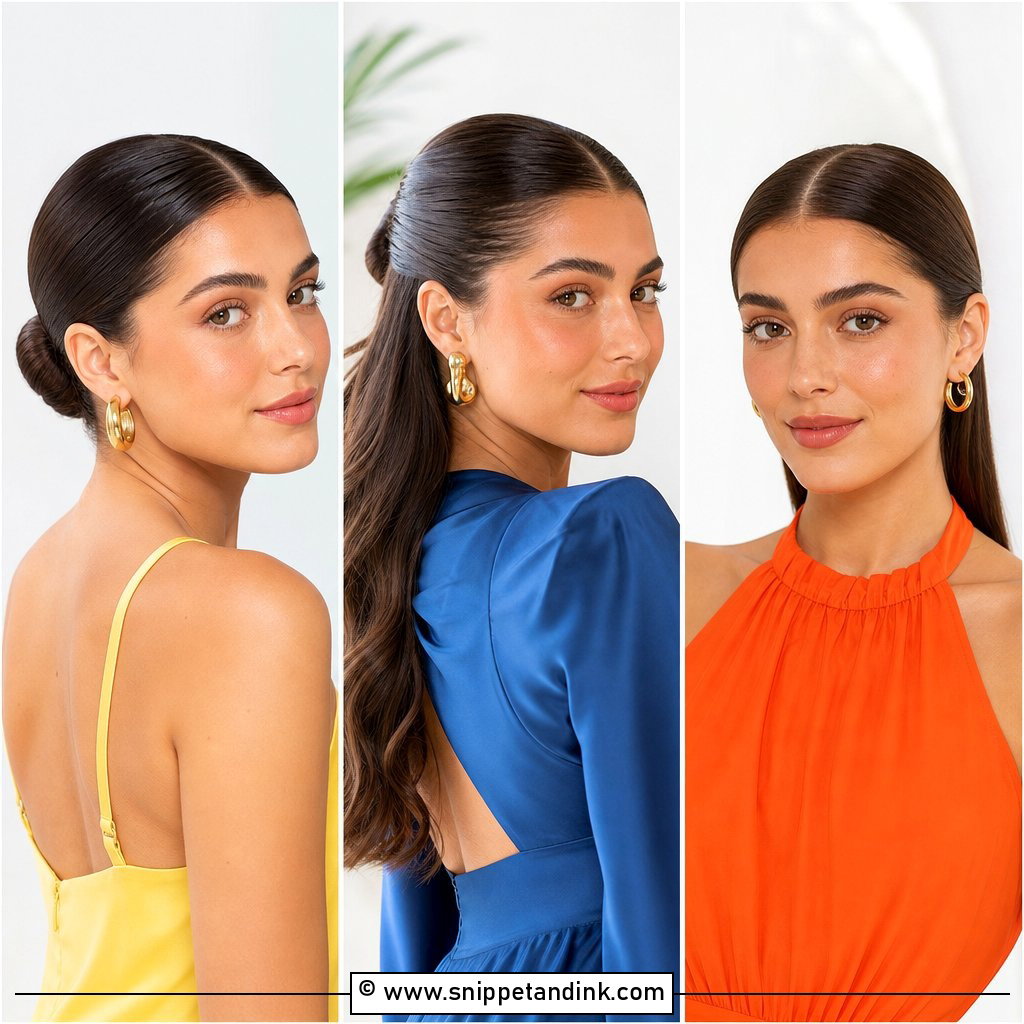
3. Wedding Hair Slick Back Side Part Bun
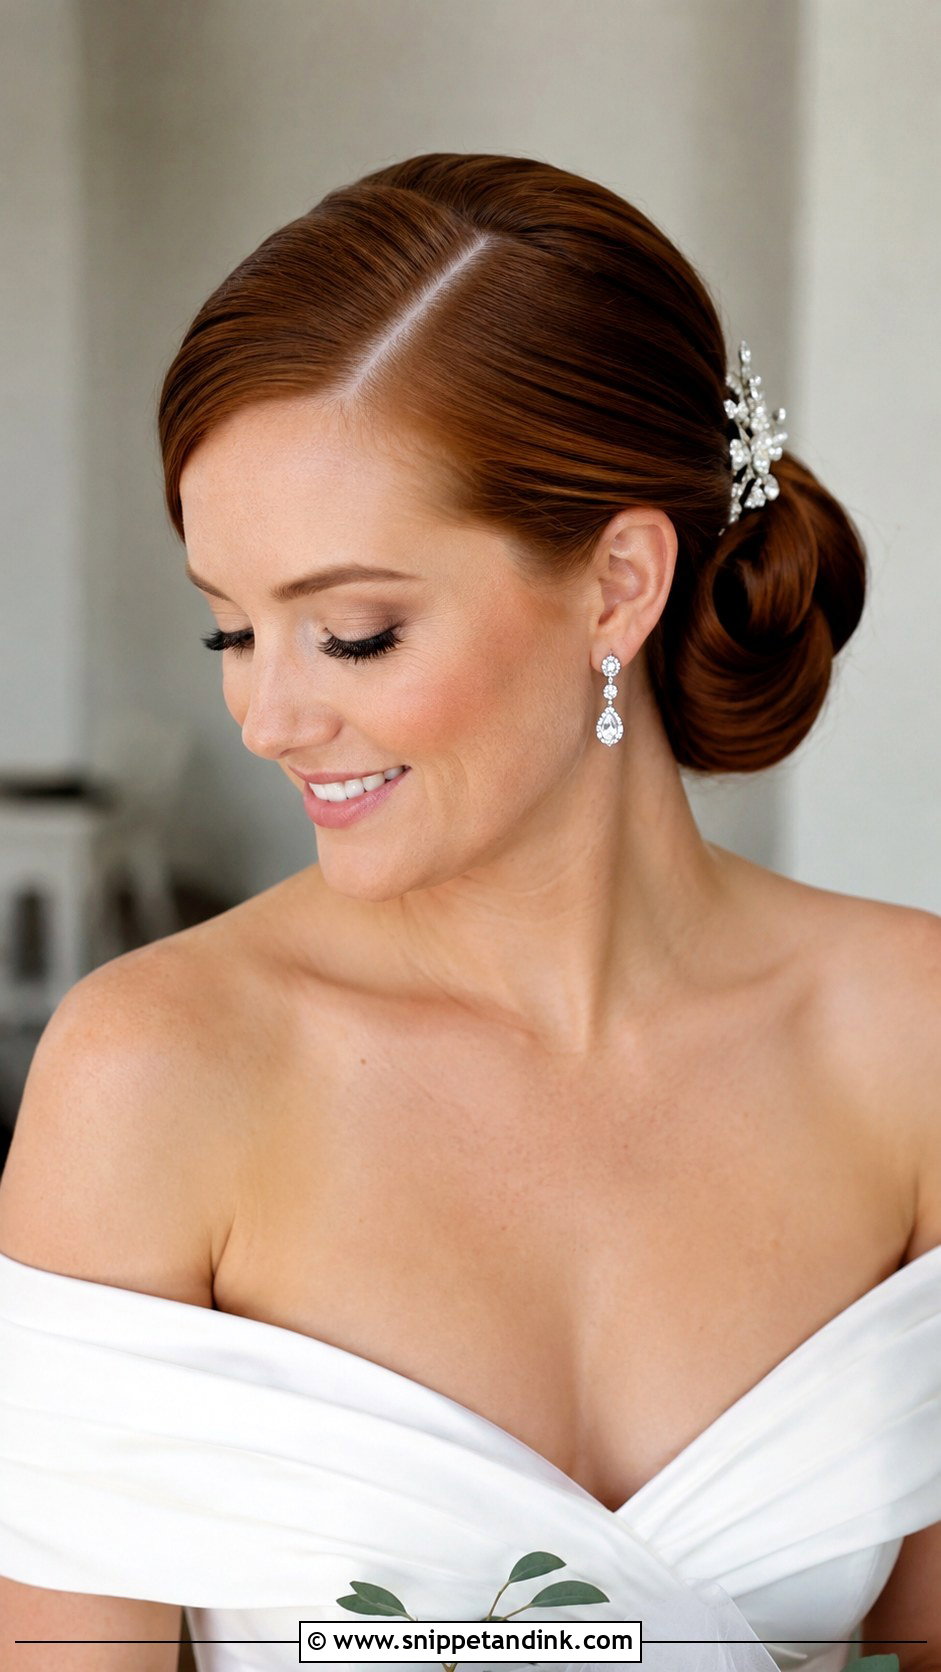
If a middle part feels too strict on you, a deep side part is the softer route. The sweep across the forehead breaks up a strong brow line or a longer face, and it gives the slick style a hint of movement. The trick is that the heavier side wants to puff up at the temple, so I smooth it down with a little gel on a toothbrush and hold it with a hidden pin behind the ear while it sets. A crystal clip or pearl comb looks right on the heavy side, just above the ear.
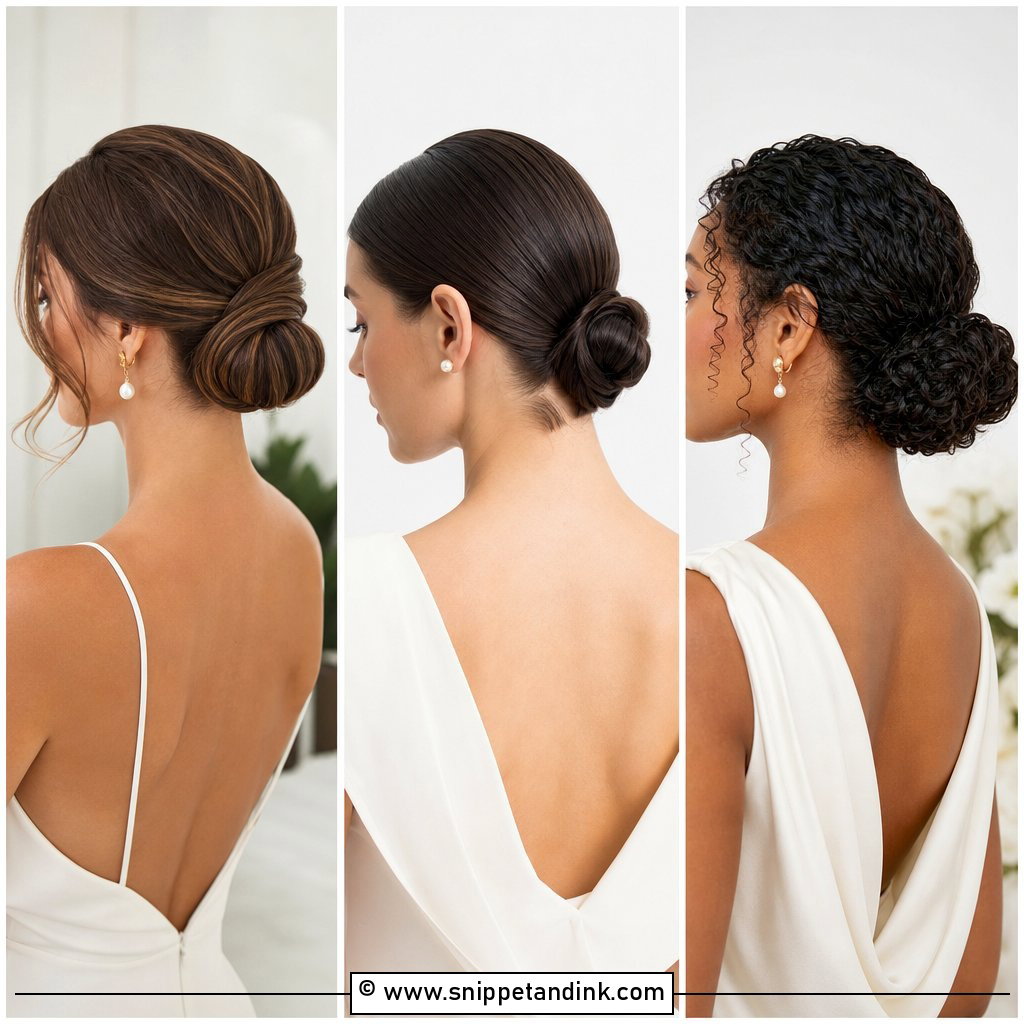
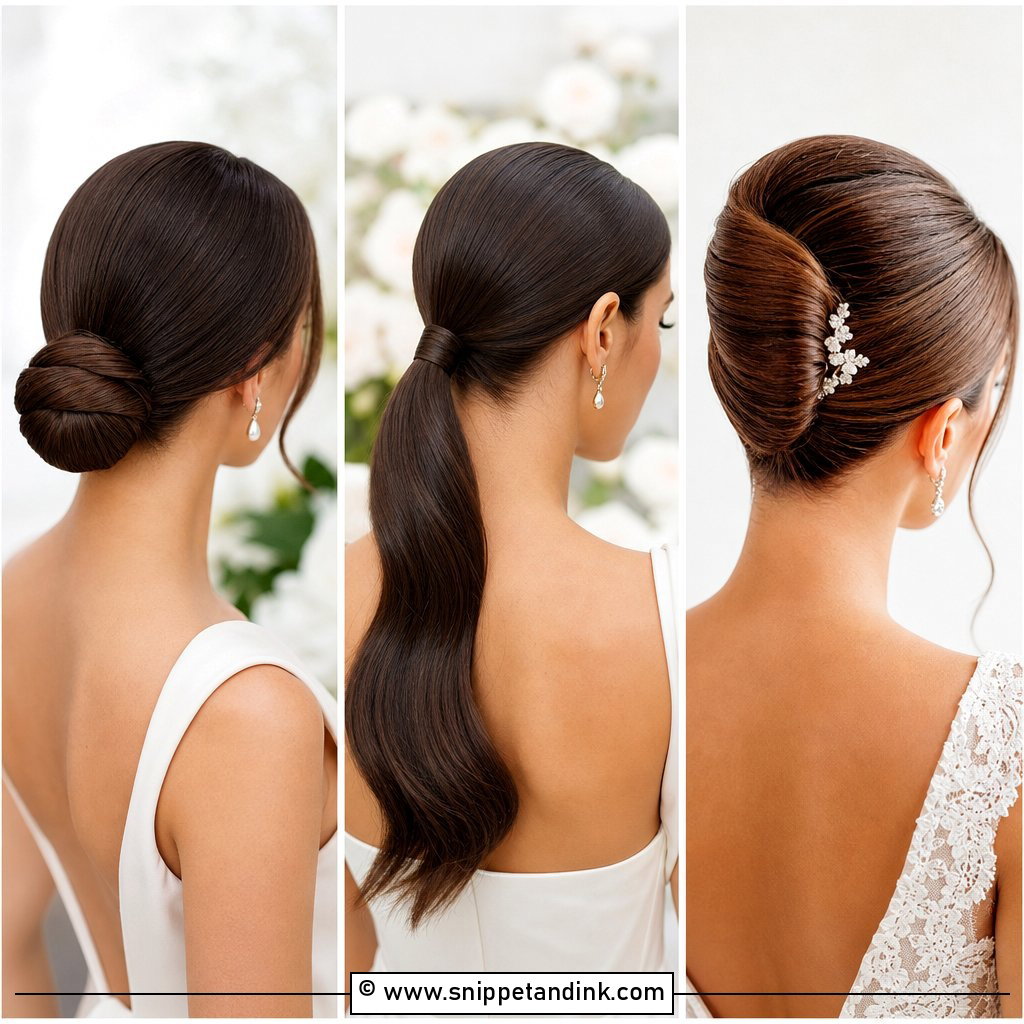
4. Wedding Hair Slick Back Chignon Bun
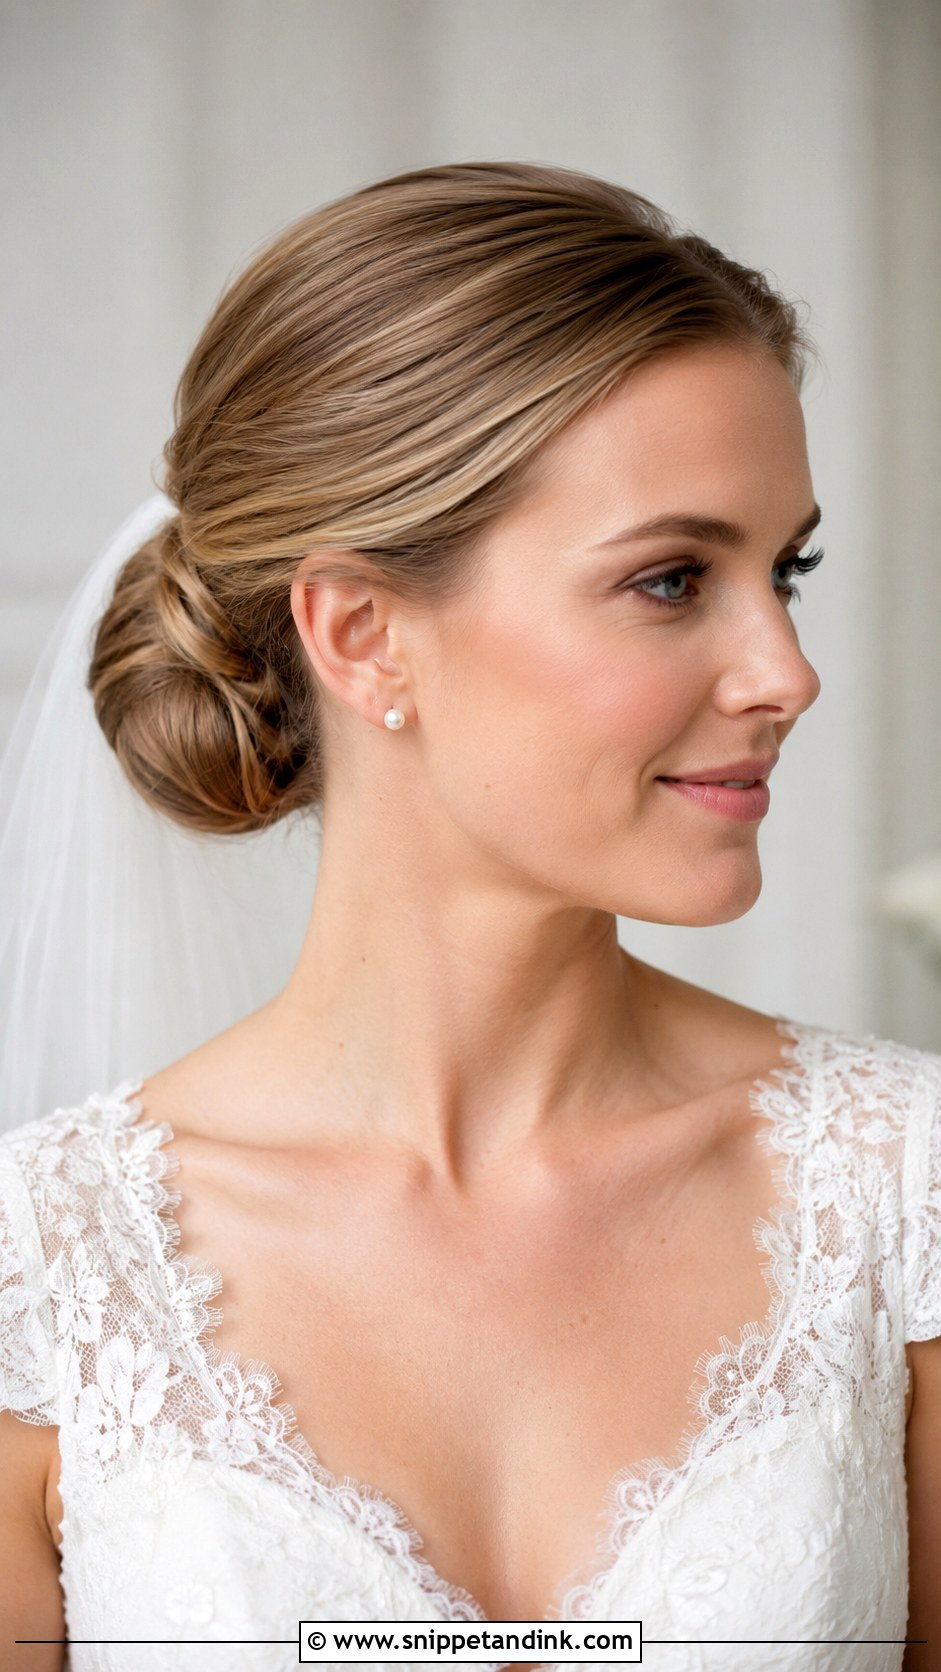
A chignon is tucked rather than wrapped. I gather the hair low, roll it in on itself and pin the roll from underneath, which is why it looks smooth from the back with no visible coil. Medium to long hair works best; on shoulder-length hair I add a small padded form inside. It suits formal weddings and lace gowns, and drop earrings show beautifully against the bare neck. Have the veil comb sit just above the roll so it doesn’t push the shape down.
5. Wedding Hair Slick Back Ballerina Bun
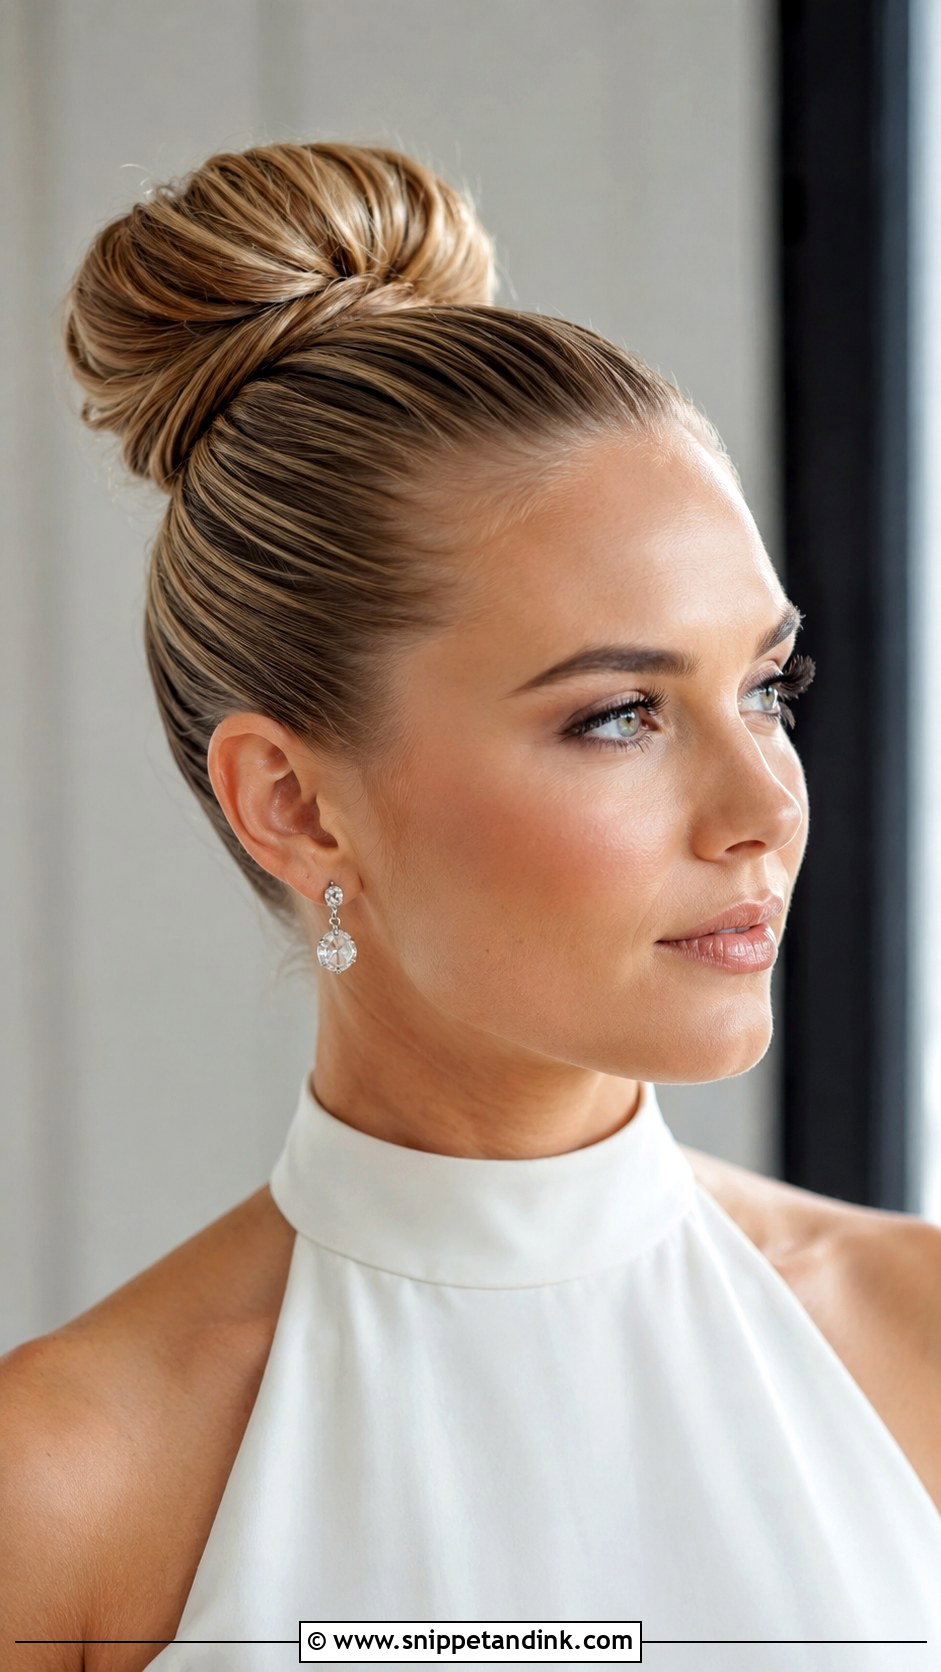
Higher than a chignon and perfectly round, the wedding hair slick back ballerina bun lengthens the neck more than any other shape in this list. The risk is the hairline. Pulling hair up and back that firmly can strain the edges, especially fine baby hairs, and a bride who has a headache by noon doesn’t enjoy her day. I keep the base ponytail snug but not tight, and I’d skip this one if you’re already prone to tension headaches. Dramatic backs and high collars suit it.
6. Wedding Hair Slick Back Twisted Bun
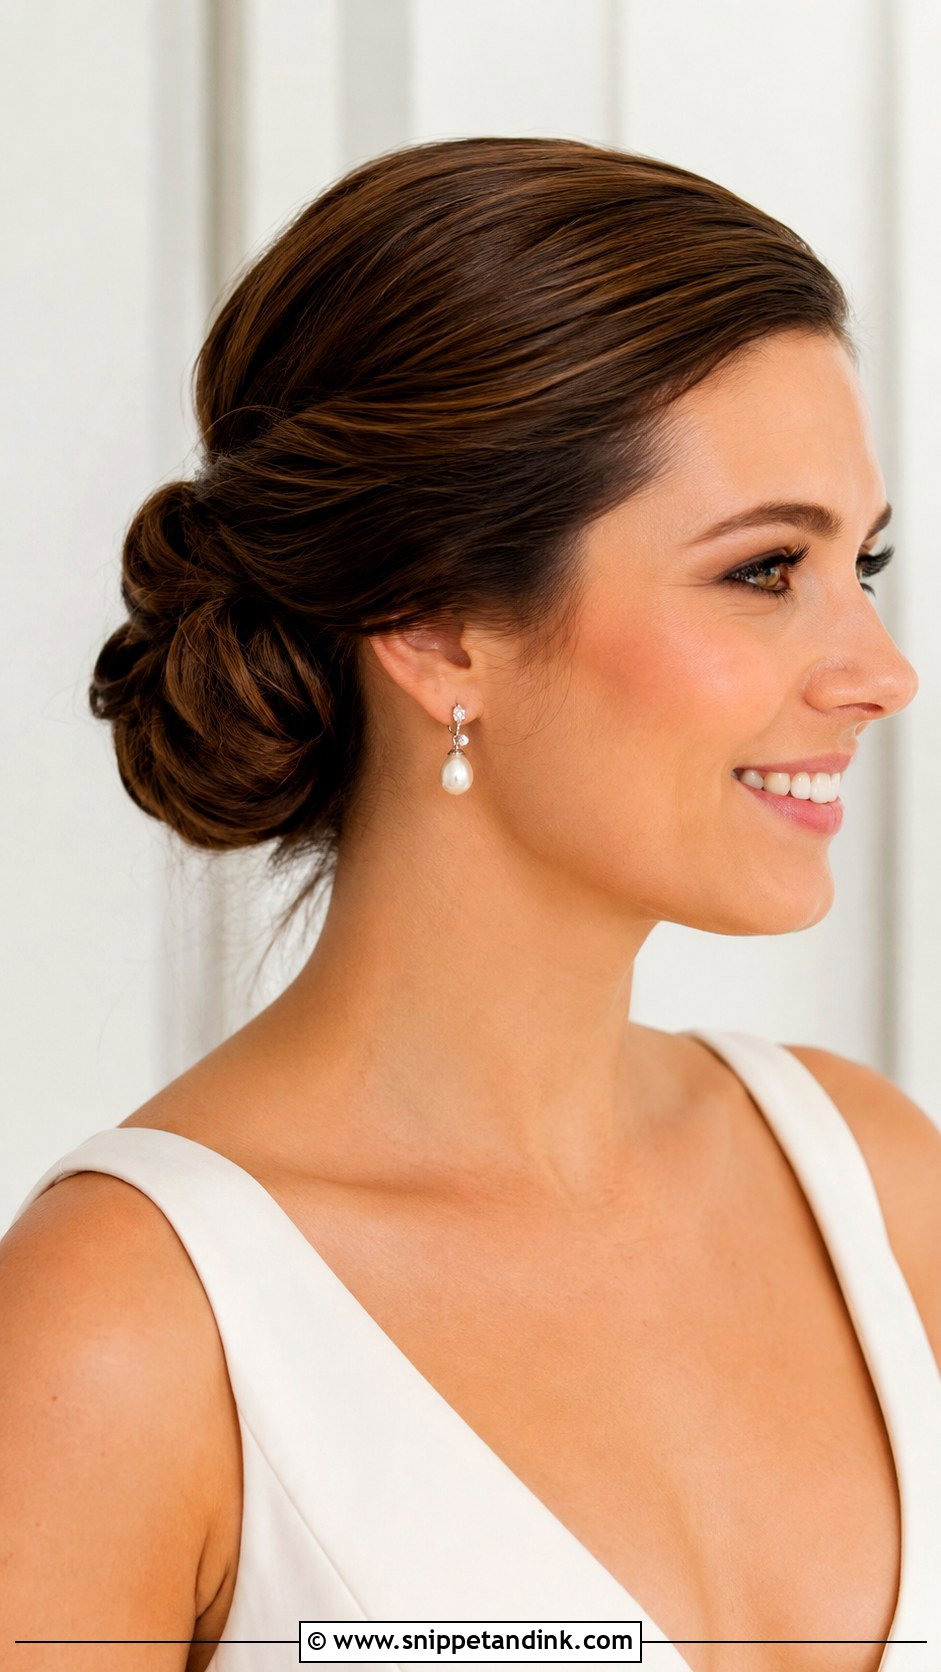
Twisting the bun instead of wrapping it gives the back some texture while the front stays sleek. I split the ponytail in two, twist each section in the same direction, then wrap them together so the strands show. It’s at its best on thick hair, where each twist reads clearly. On fine hair the twists can look stringy, so I’ll add a weft or two of extensions to the ponytail before twisting. Small pins tucked into the grooves of the twist sit nicely, but it looks just as good bare.
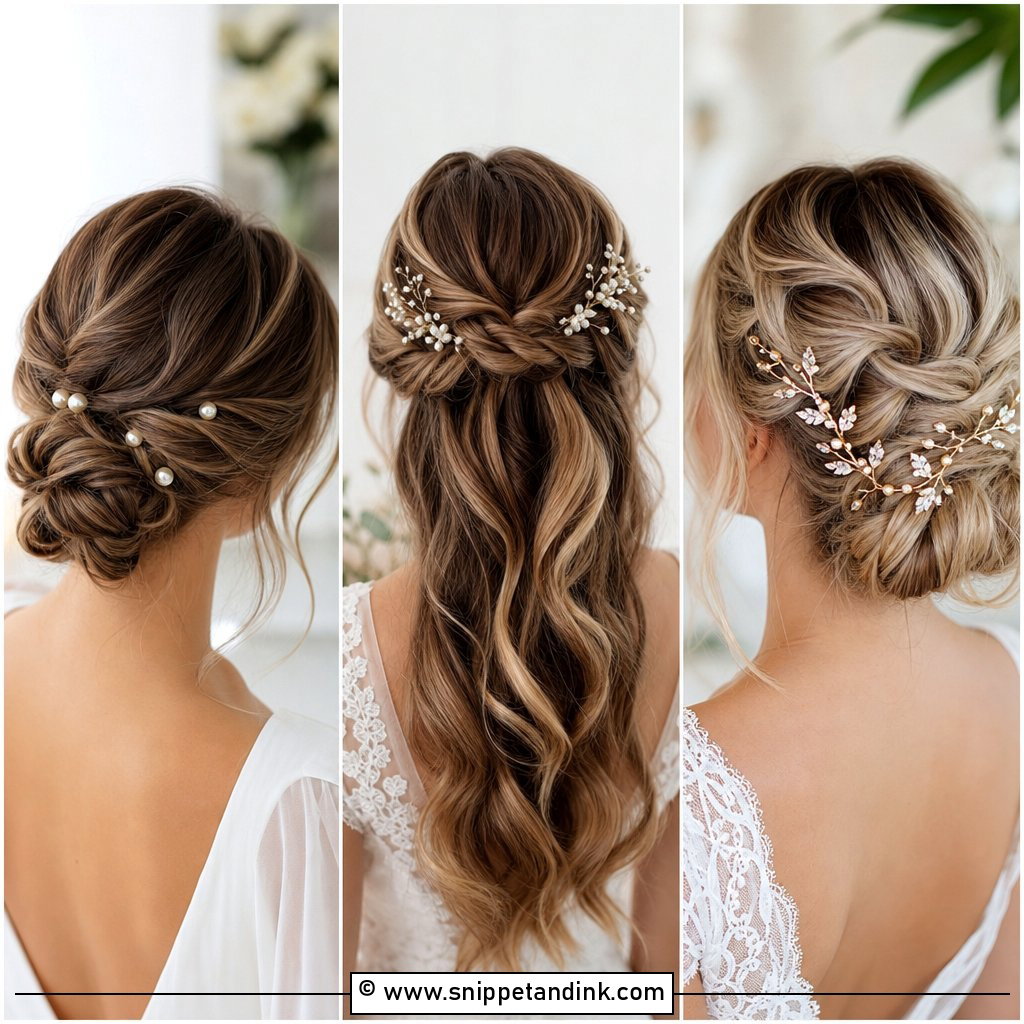
7. Wedding Hair Slick Back Braided Bun
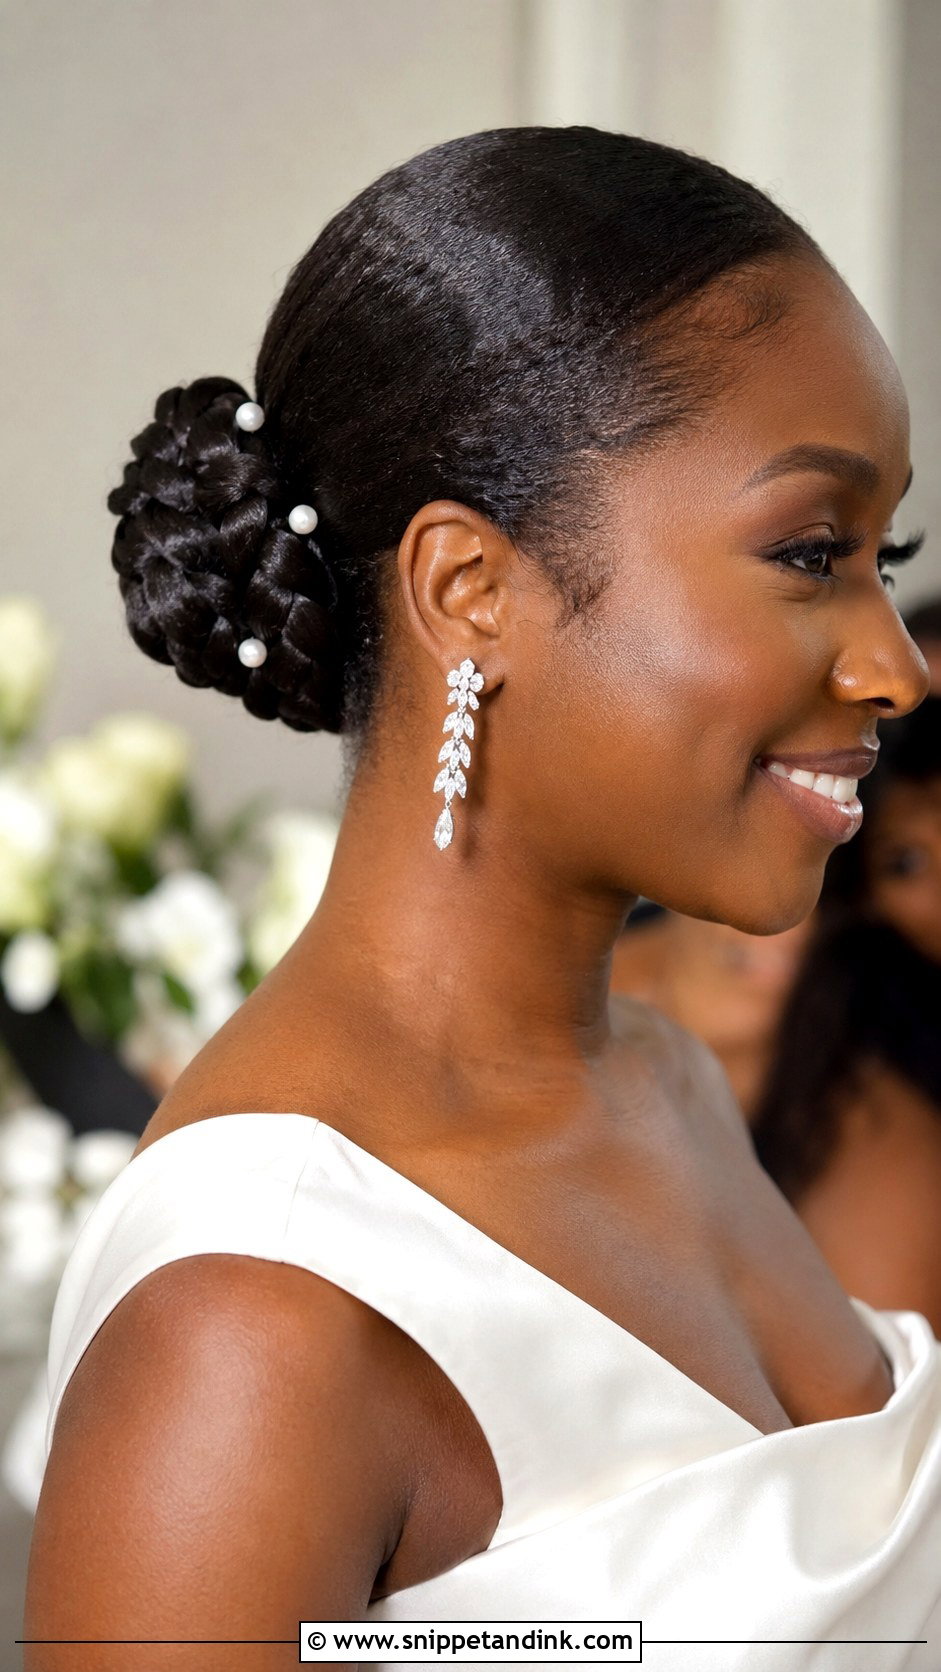
Braiding the ponytail before forming the bun is how I get extra hold on fine or slippery hair. A slick back braided bun grips its own pins, so it rarely shifts, even in humidity. Pancaking the braid slightly before coiling makes the bun look fuller on medium-density hair. Pearl pins slide easily into the gaps of the braid, and the shape sits well under a veil comb. I recommend it for long days and outdoor summer weddings.
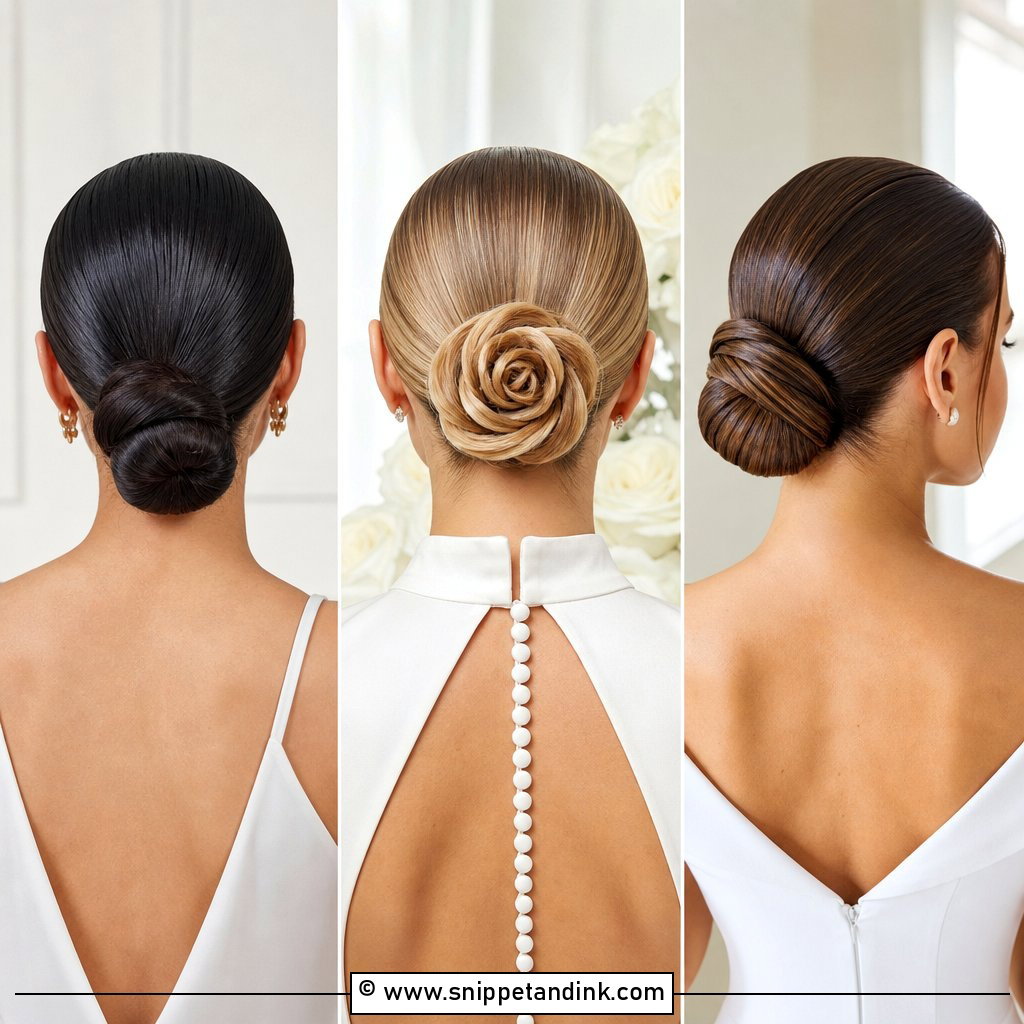
8. Wedding Hair Slick Back Donut Bun
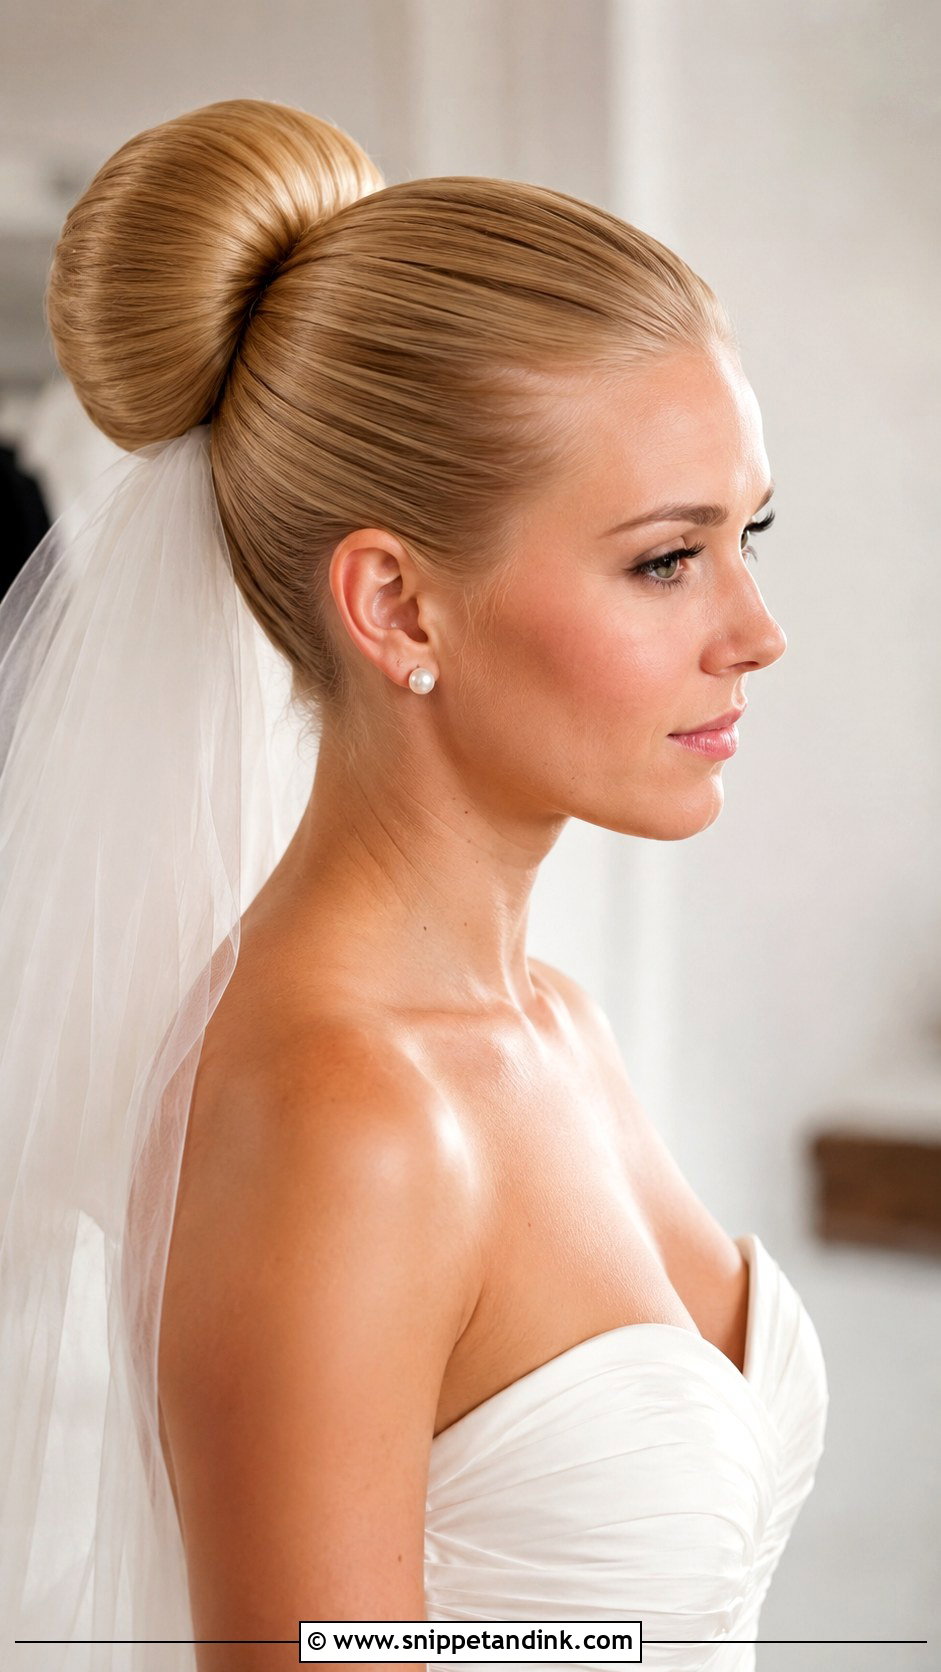
For a full, even shape on fine hair, a bun form is the honest solution. A wedding hair slick back donut bun is built by spreading the ponytail over a foam or mesh ring and tucking the ends underneath. Match the form to your hair color; a light donut peeking through dark hair is the most common problem I see in photos. It looks best low or mid-height, since a high donut on a small head can look oversized, and a long veil sits comfortably above it.
9. Wedding Hair Slick Back Knotted Bun
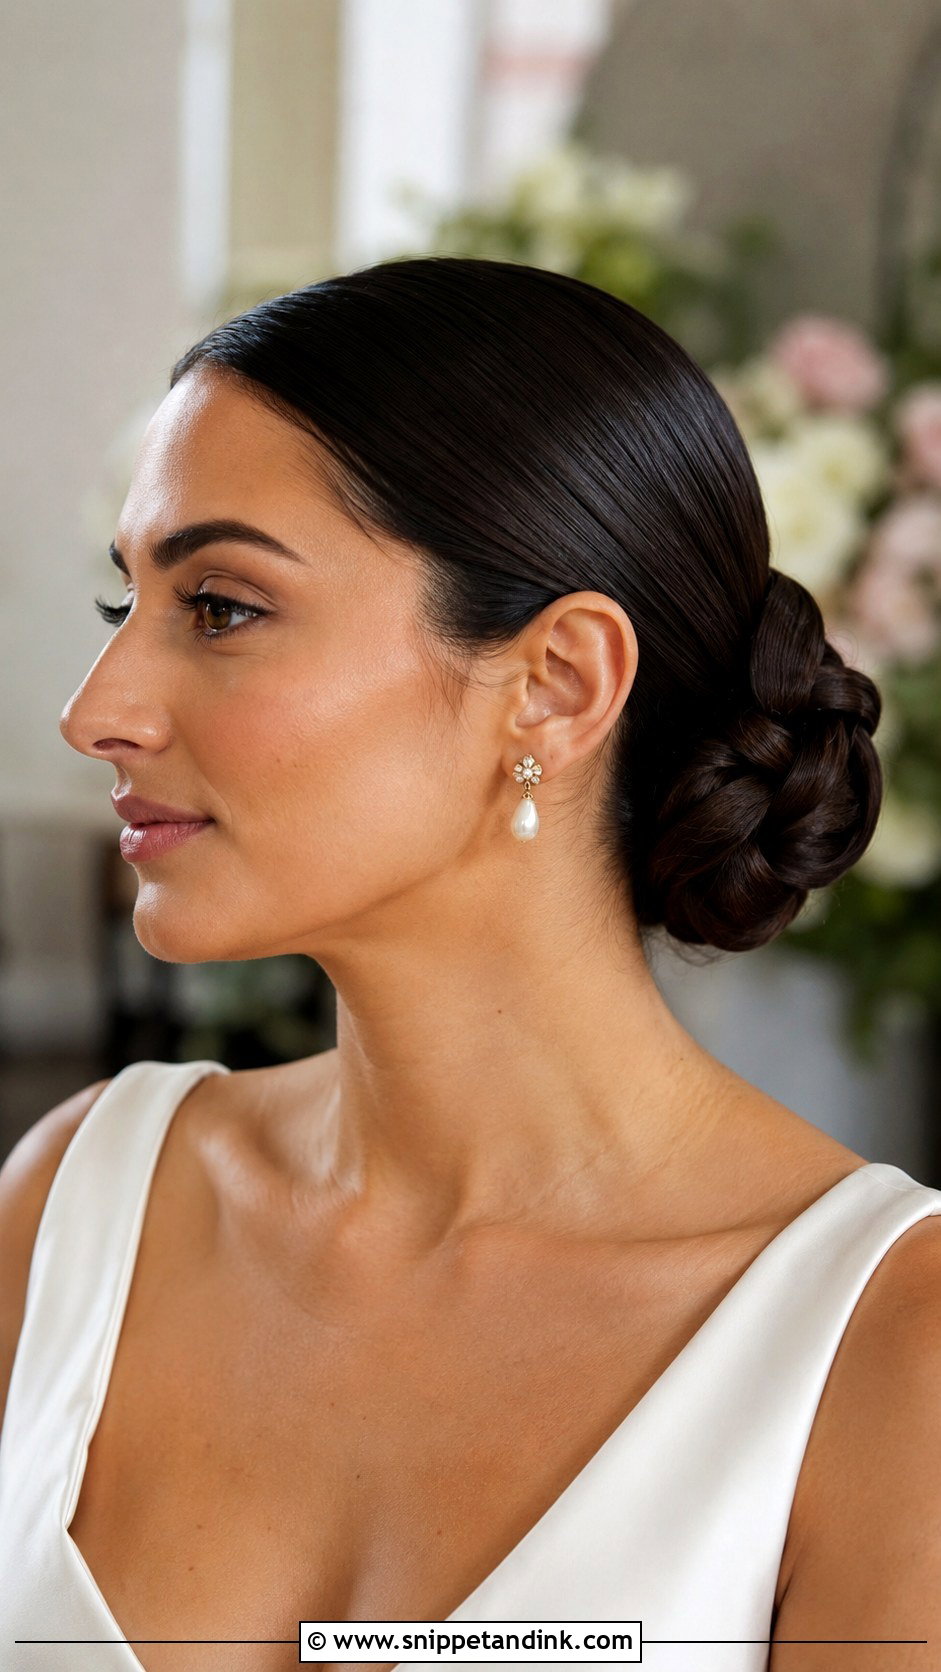
Knots give the back of a sleek style a sculpted look without braids or curls. I divide the ponytail into two or three sections, tie each in a loose knot and pin them close together so they read as one shape. Knots hold surprisingly well because the hair locks against itself, which means fewer pins. Since the detail is all at the back, I’d make sure your photographer knows to catch a profile or back shot during portraits.
10. Wedding Hair Slick Back Bun With Veil
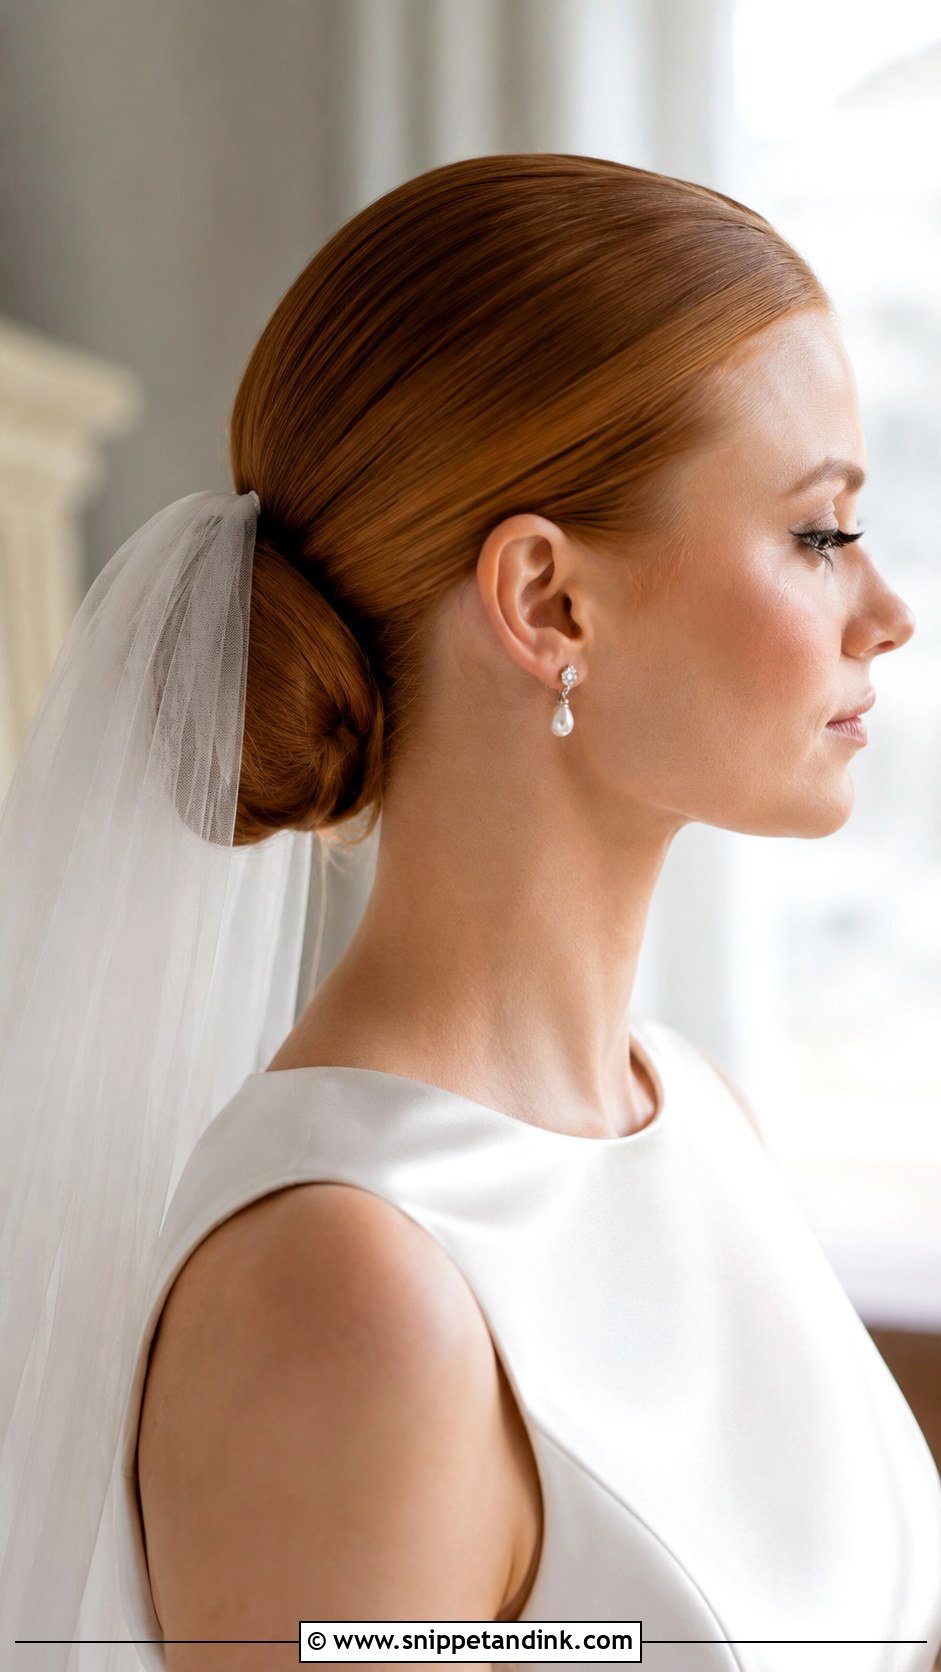
A smooth crown is the easiest base I know for a veil. The comb slides in above the bun and grips the tight hair underneath, which is why sleek styles rarely lose a veil mid-ceremony. A traditional look places the comb above the bun; a more modern one tucks it underneath so the tulle seems to come from the nape. Underneath placement suits lighter, single-layer veils best. Whichever you choose, rehearse it at the trial so you know it can be pulled out without tugging the bun loose.
11. Wedding Hair Slick Back Bun With Pearls
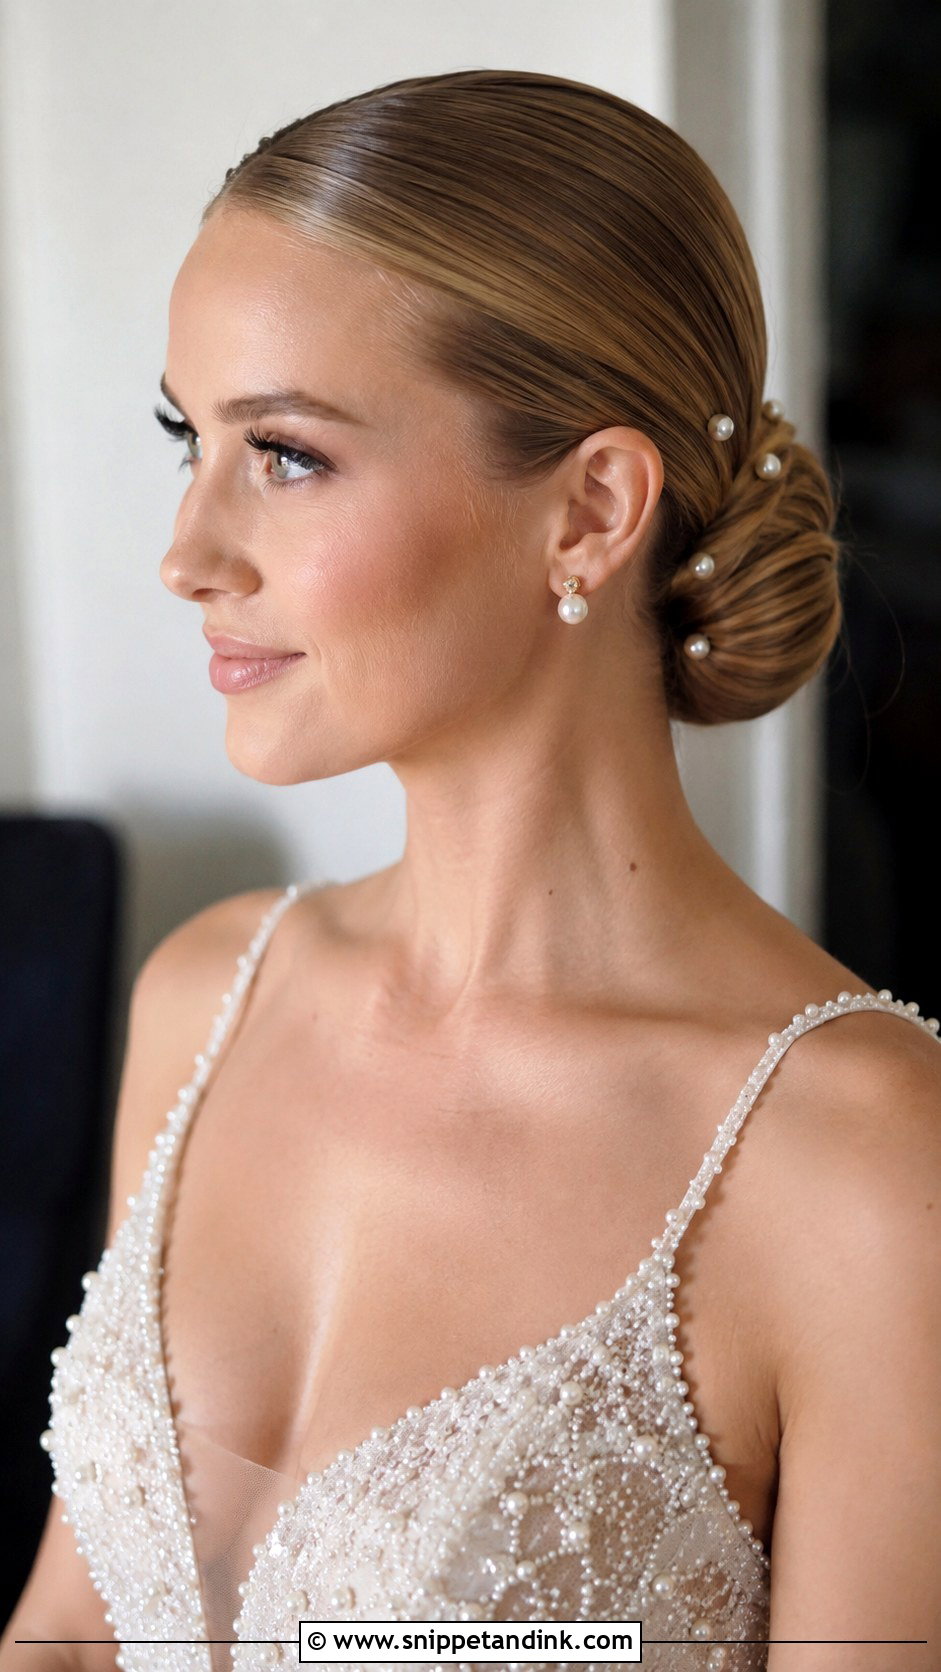
Pearls work on a sleek bun because the plain surface gives them contrast. I place small pearl pins in a loose crescent around a low bun, or along the top edge only, and stop before it looks crowded. If your gown has pearl buttons or beading, matching the pearl tone (ivory versus bright white) matters more than the number of pins. Keep the front completely clean; pearls at the hairline compete with your face.
12. Wedding Hair Slick Back Bun For Long Hair
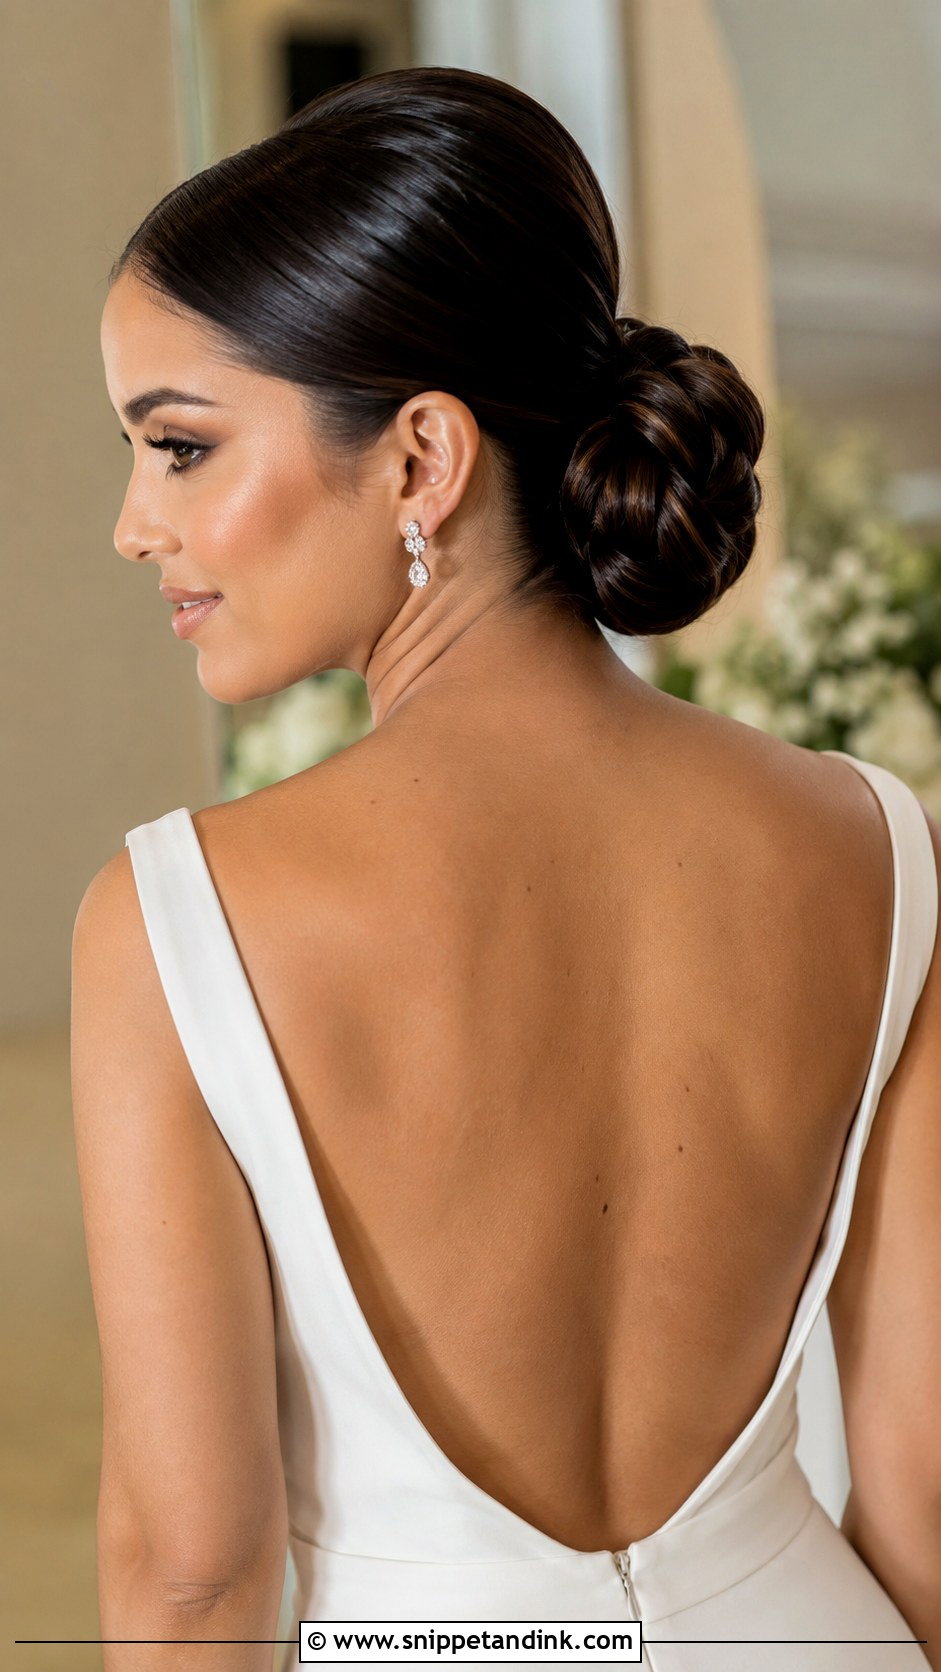
Long hair gives you volume for a rich bun, but it’s heavy, and weight drags a sleek ponytail down by the evening. I tie a firm base, then section the length into two or three parts before forming the bun so it doesn’t sit lopsided. The slicked-back front keeps all that length tidy for outdoor weddings. If your hair reaches your waist, consider a low bun; a high one with that much hair often pulls on the scalp after a few hours. A flexible spray finishes it without crunch.
13. Wedding Hair Slick Back Bun For Short Hair
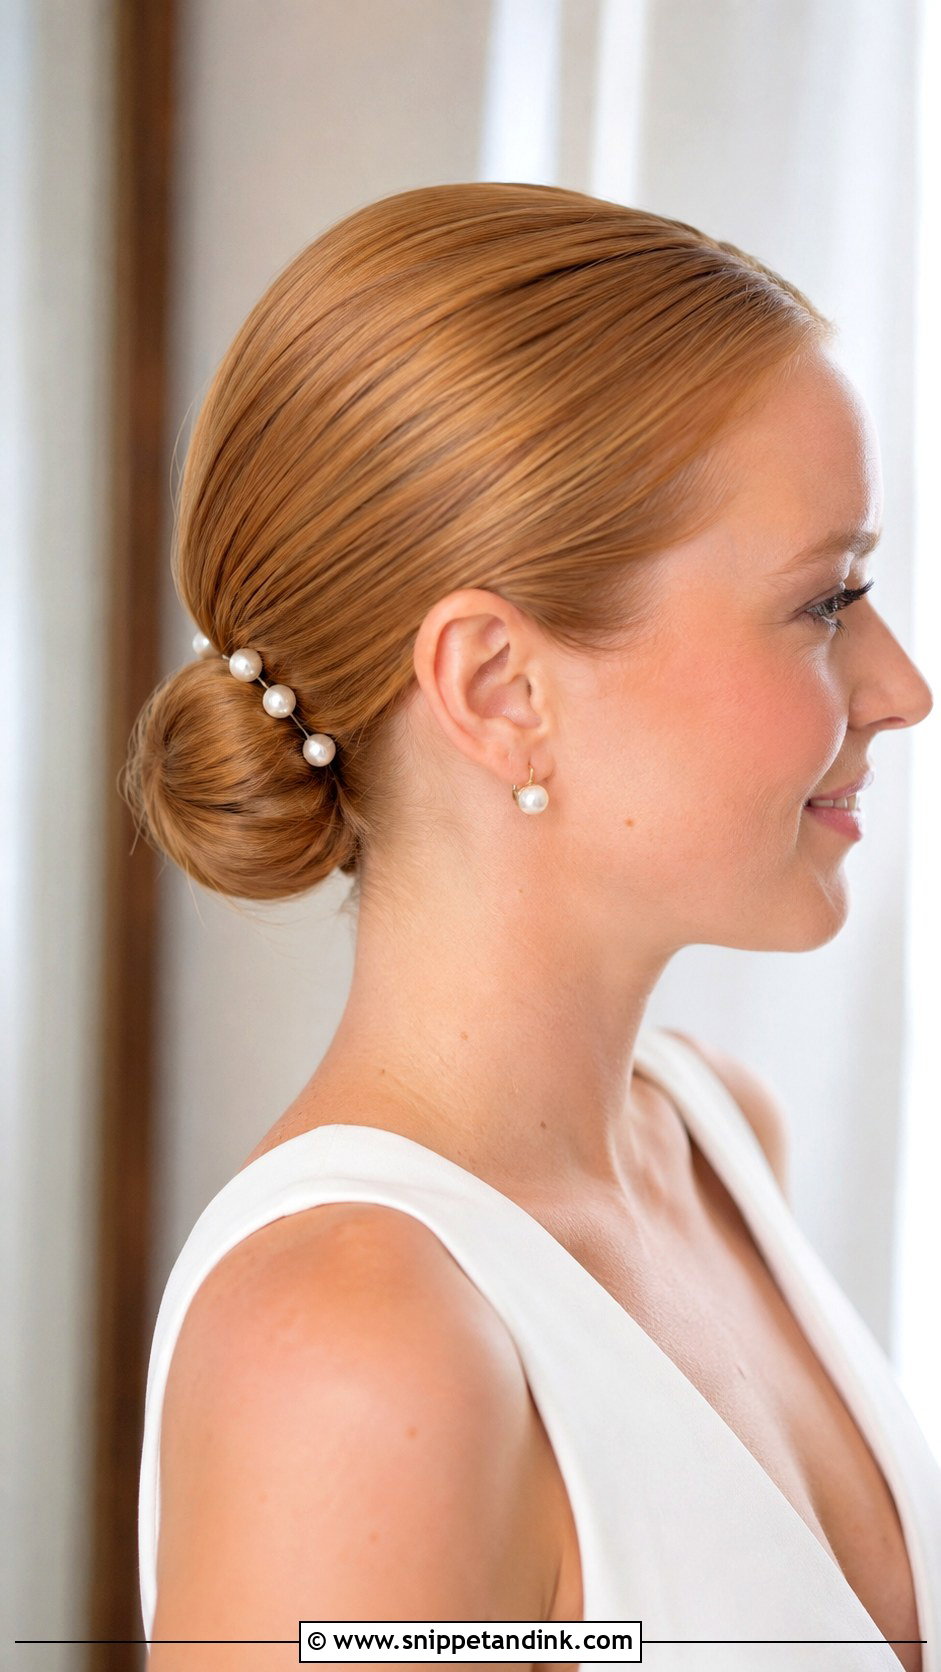
Shoulder-length hair can absolutely wear a slick bun, but expect it to be small unless you add help. I gather it at the nape with a clear elastic, then build shape with a padded form or a clip-in bun piece matched to your color. The real challenge is the short layers at the back of the neck, which tend to escape; a little gel and a few hidden pins under the bun usually catch them. Keep the size compact so it looks deliberate, and a small comb or a few pearl pins finishes it.
14. Wedding Hair Slick Back Bun For Curly Hair
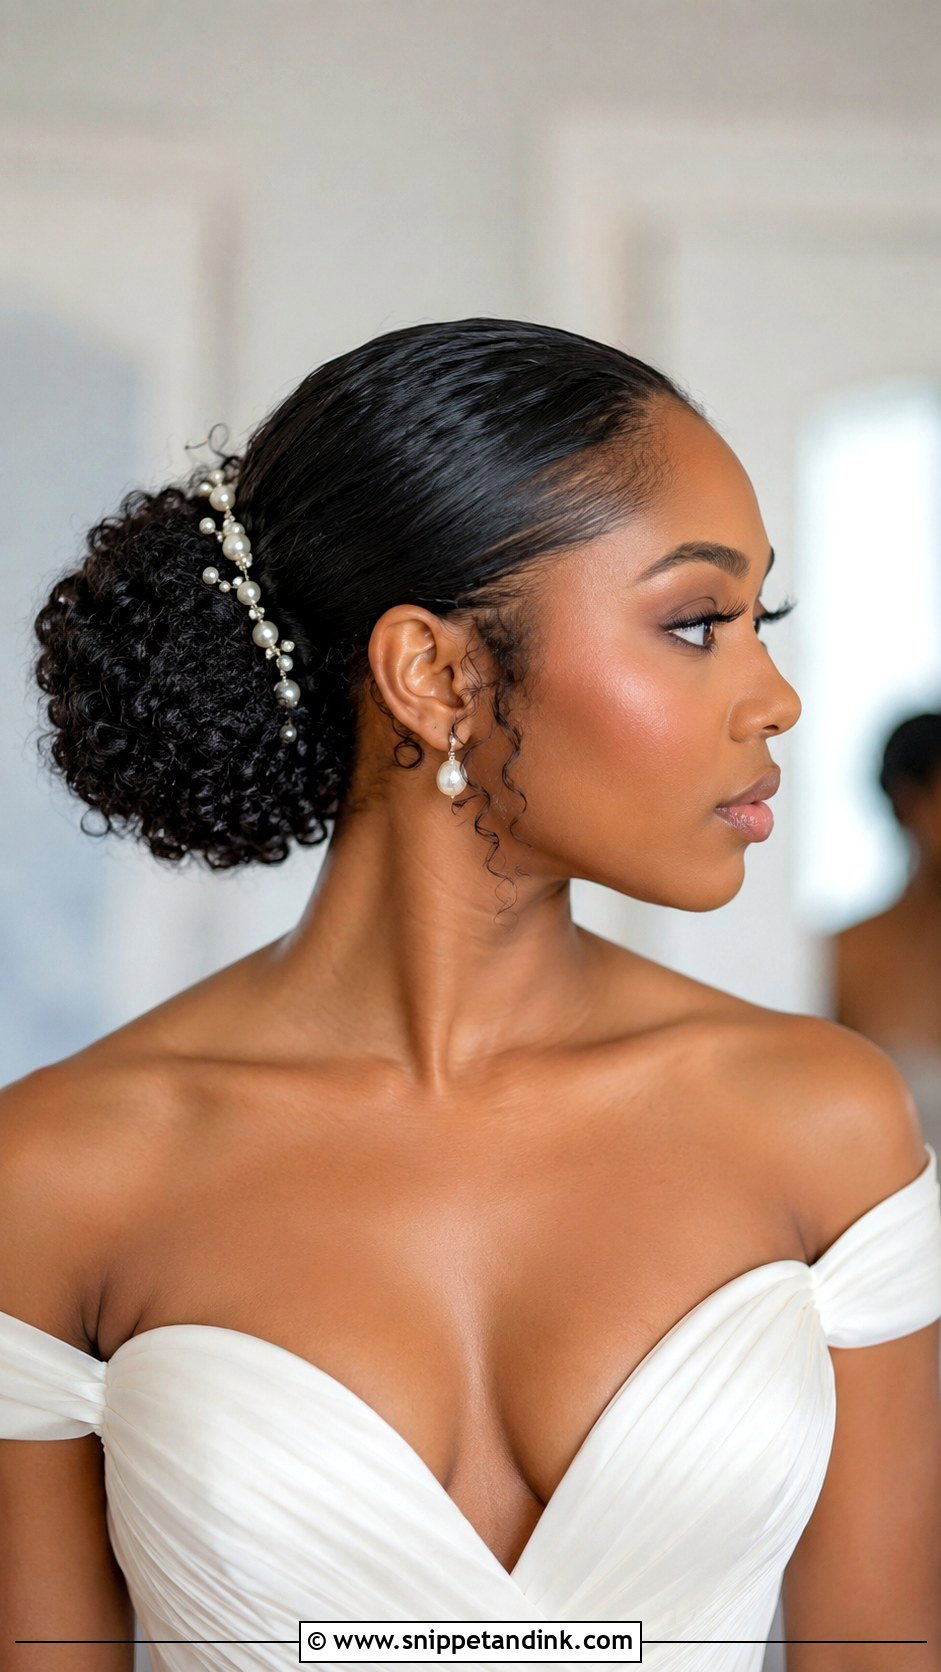
Curly hair can wear a slick bun beautifully, but I treat the front and the bun differently. The front gets a strong gel brushed back while damp and is left to set before I touch it again. The bun keeps its curl pattern, so I gather it gently and pin without brushing. Brushing dry curls into a bun leaves frizz that never goes away. Be honest with your stylist about how much tension your edges can take, and lay any baby hairs softly rather than flat and tight.
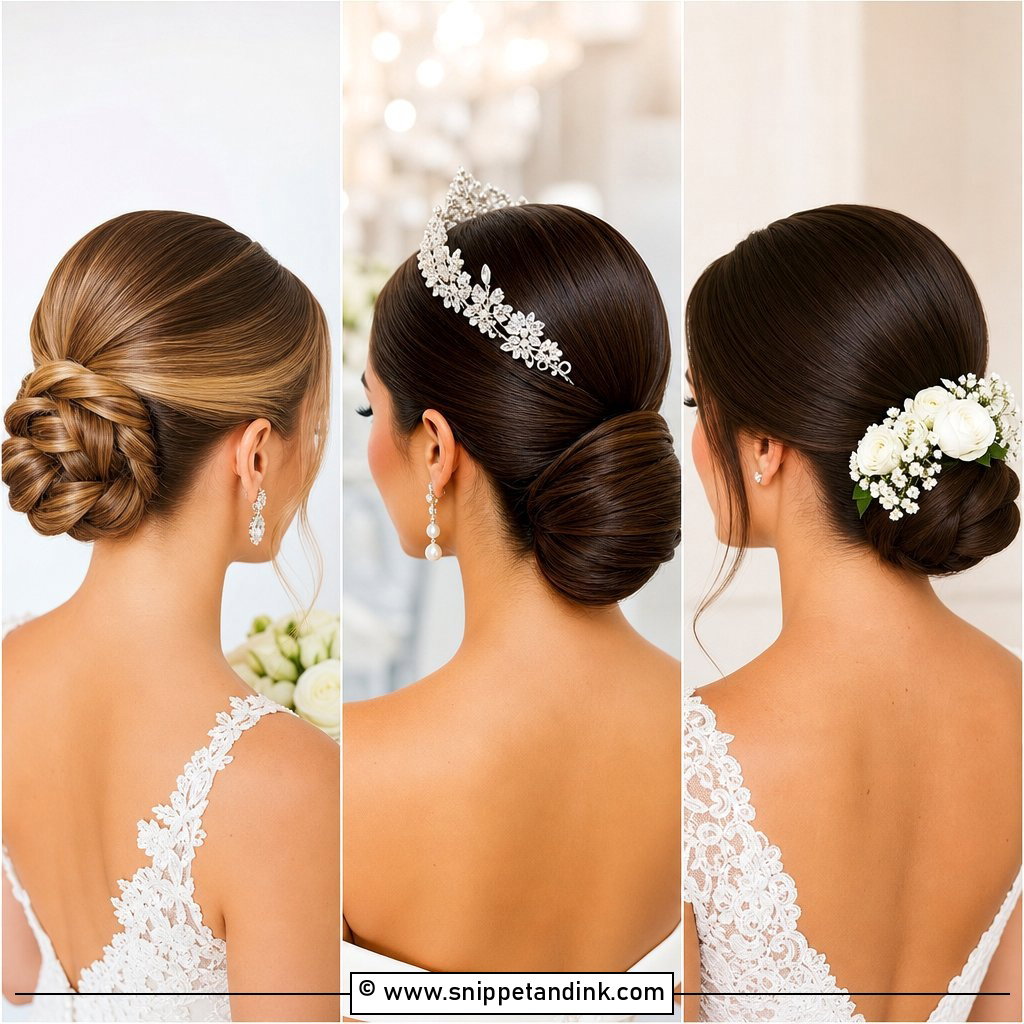
15. Wedding Hair Slick Back High Bun
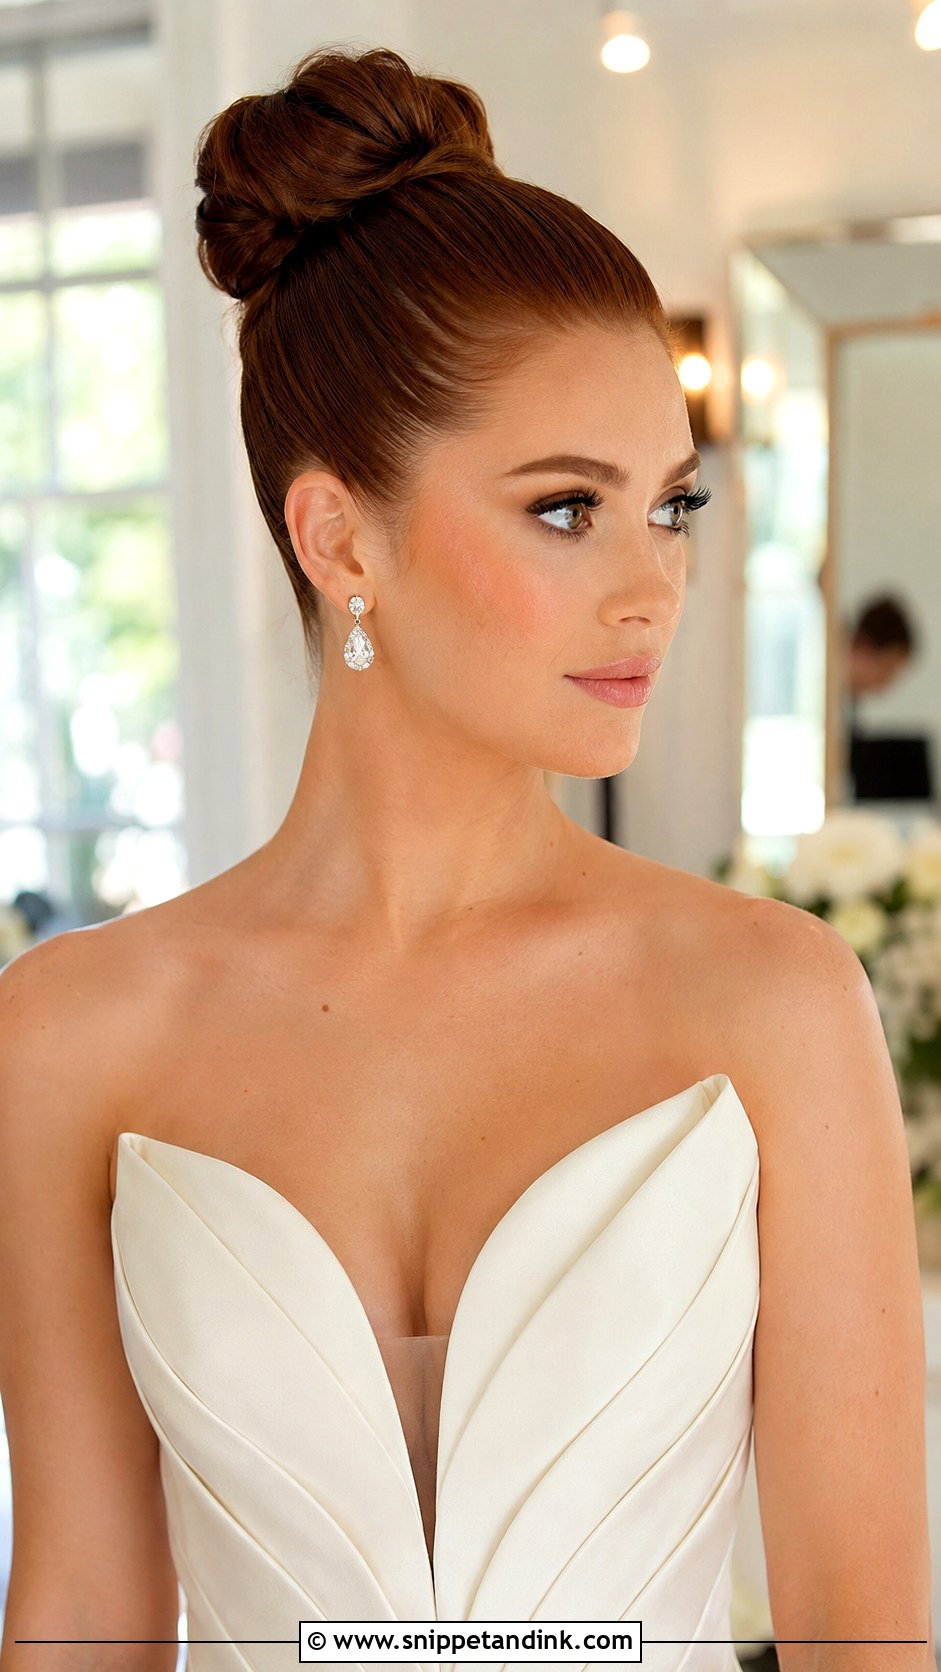
A high bun is the bold version, and it changes your proportions: it adds height, lengthens the neck and pairs best with high necks, big sleeves or a very plain gown that needs a strong line. From the front, check that the bun is visible above the crown; too small and it looks like you have short hair. I’d warn tall brides marrying a shorter partner that it adds a couple of inches. Pair it with refined earrings and keep the makeup glowy so the style doesn’t look harsh.
Gel, Cream or Wax Stick: What Makes the Surface Behave
The product decides how a sleek bun looks at hour eight, and different hair types need different ones. What I reach for:
- Fine, straight hair: a light cream on damp hair, then a wax stick only on the flyaways. Gel can make fine hair look greasy and separated.
- Thick or coarse hair: a medium-hold gel brushed through while damp, left to set before pinning.
- Curly or coily hair: a firm, alcohol-free gel for the front and edges; save the cream for the bun itself.
- Any hair in humidity: finish with a light anti-humidity spray instead of more gel.
Watch for flaking. Some gels turn white and crumbly when brushed after drying, and those flakes show clearly on dark hair in close portraits. Test your gel at home the week before: apply, let it dry for an hour, then run a comb through it. If it flakes, swap it.
Shine in Flash Photos
A glossy surface looks expensive in daylight but can turn into a white streak under a reception flash. I aim for a satin finish: smooth, with soft light along the curve of the head rather than a bright stripe. If you want more gloss for evening, add it after the ceremony portraits, not before.
Placement, Part and Shine Are the Real Decisions
Once you’ve seen all fifteen, the differences come down to three settings: how high the bun sits, where the part goes and how much gloss the surface carries. A low bun is the most comfortable, a middle part is the most exacting, a braided bun holds best and a high bun changes your whole silhouette. Bring your veil, earrings and a photo of your neckline to the trial, and wear the style for a few hours afterward. If your scalp still feels fine by dinner, you’ve found the right tension.
You'll Like These Ideas:


Leave a Reply