
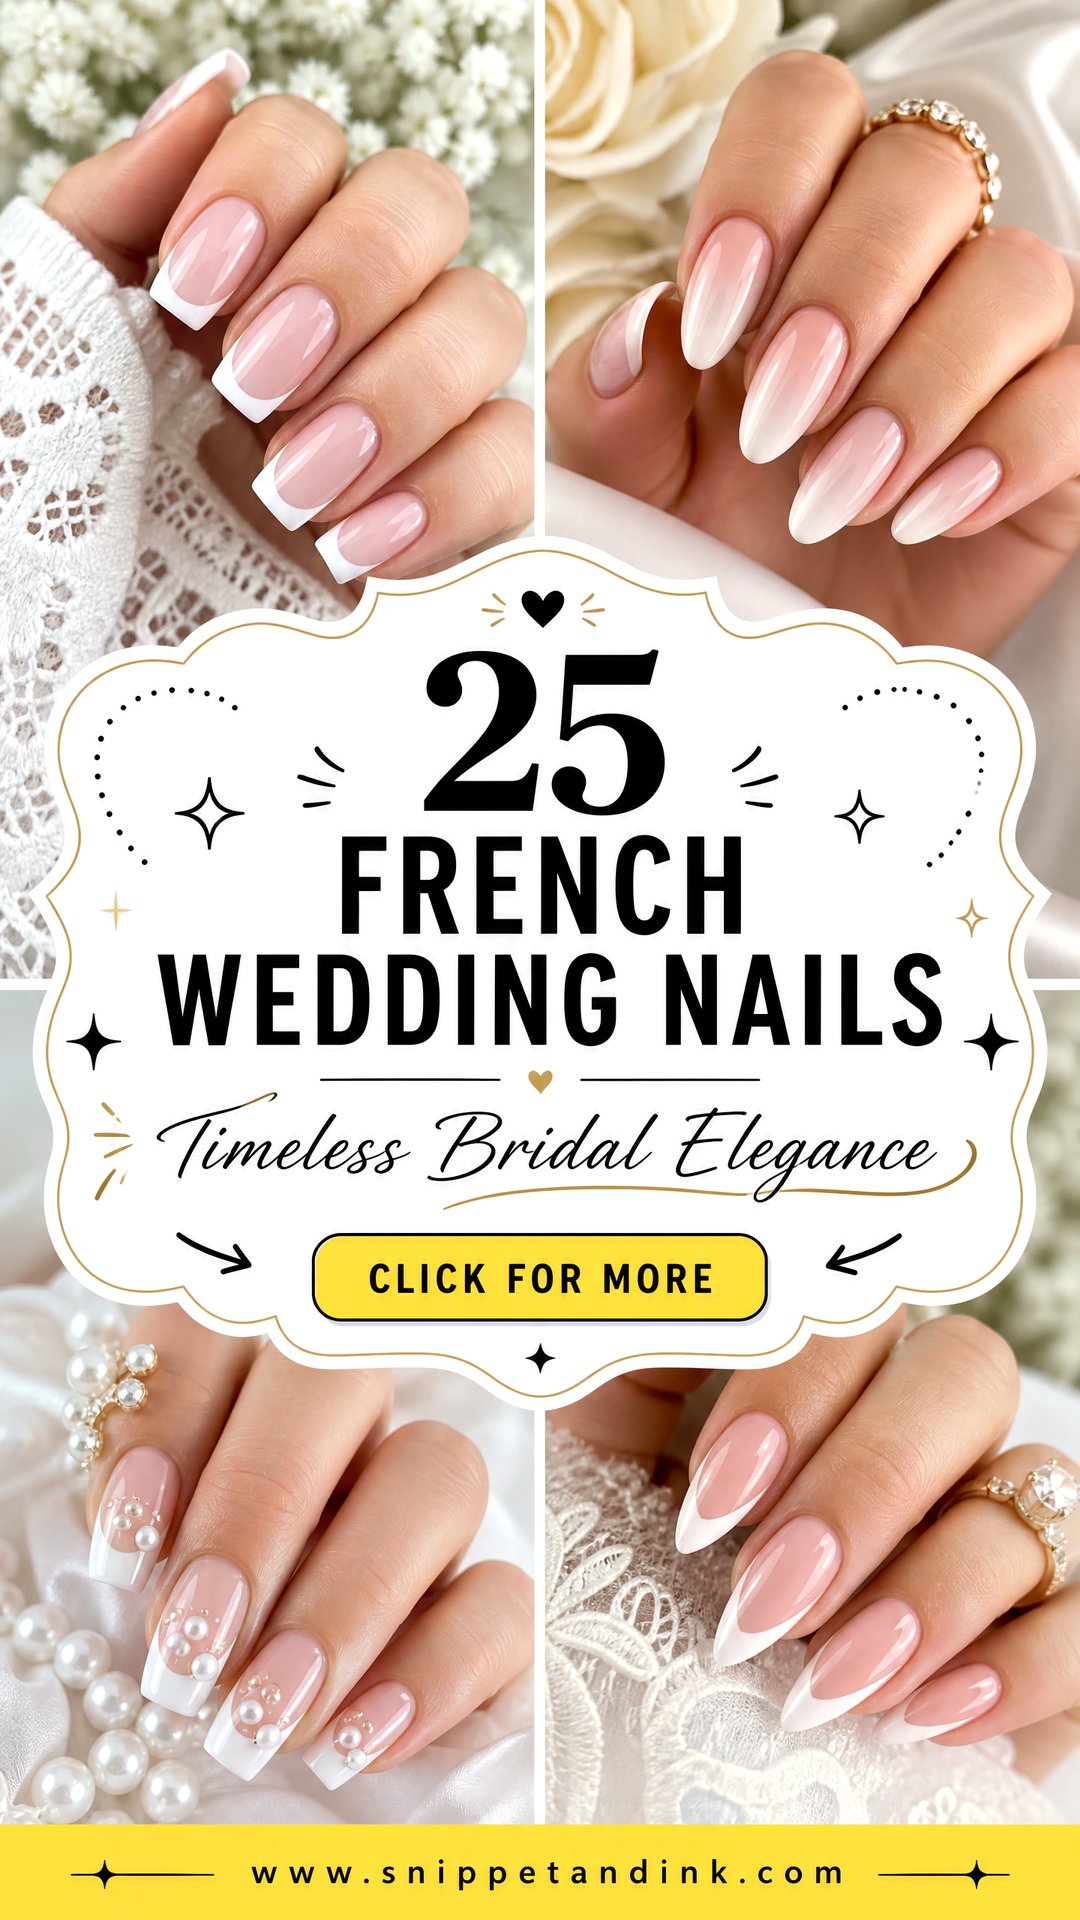
Brides ask me for a French more than anything else, and almost none of them want the thick white band from twenty years ago. They want a clean set that looks right beside the ring, survives the hugging and doesn’t argue with the dress. That leaves a lot of room: micro tips, milky bases, chrome, pearls, lace, florals and soft ombré fades, on anything from short natural nails to long coffins. A French wedding manicure is really a framework. The 25 versions below show how I adjust it, and what each one asks of your nails and your schedule.
Gel, Builder Gel or Press-Ons: Which One Carries a French Best?
The design matters less than what it’s painted on. Each option wears differently over a wedding week, and choosing the wrong one is the most common reason a French looks tired by the reception.
- Regular polish: chips at the white tip within a day or two of normal use. Only choose it if your appointment is the day before.
- Gel polish on natural nails: usually holds two to three weeks. It’s what most brides wear, and it takes a fine white line well.
- Builder gel overlay: a thicker strengthening layer that stops a weak natural nail from bending and cracking the tip. Good if your nails peel or break.
- Extensions: needed for real length or a coffin shape. They need infills and a professional removal later.
- Custom press-ons: last a few days with glue and are a good backup if your nails are damaged or you can’t get an appointment. Ask for sizing to be measured properly so the sides don’t lift.
Whatever you pick, plan removal too. Gel and extensions should be soaked off, not peeled, or the top layers of the nail come away and leave it thin for weeks.
1. Classic French Wedding Nails
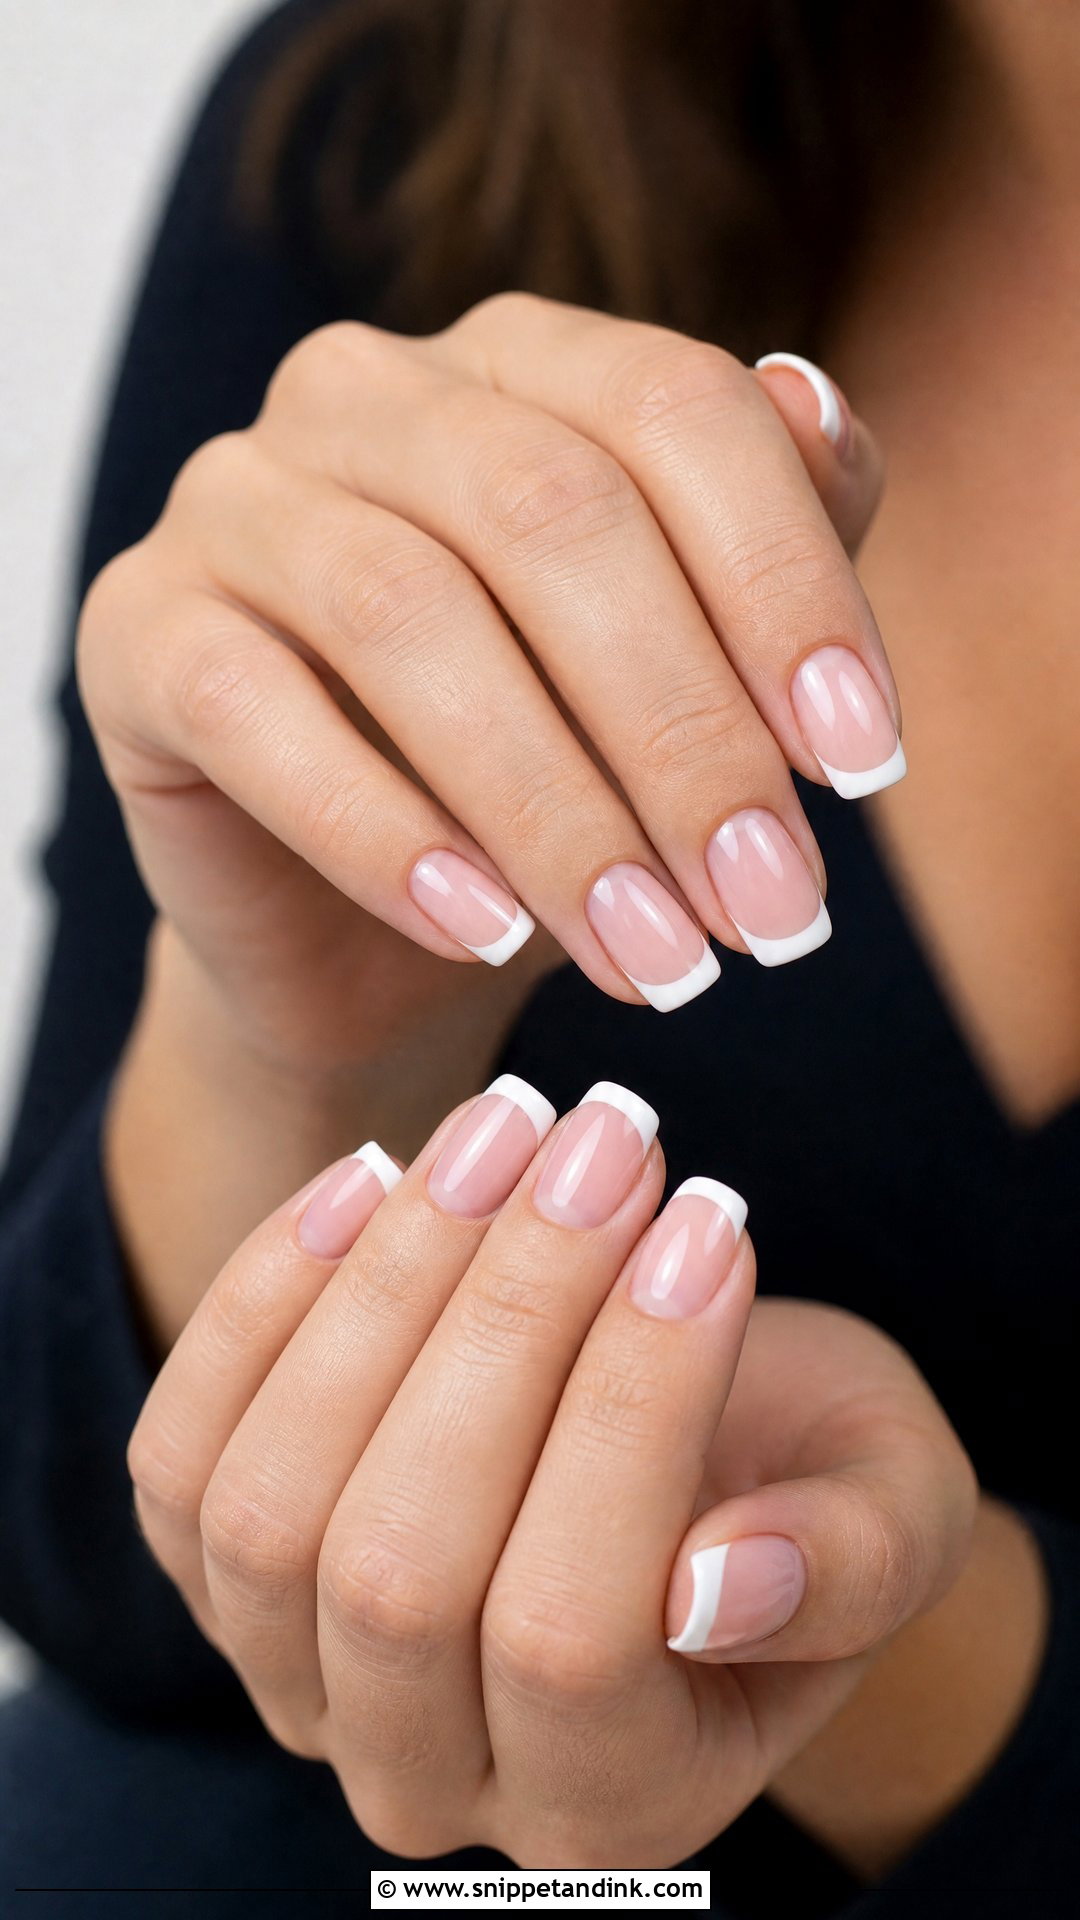
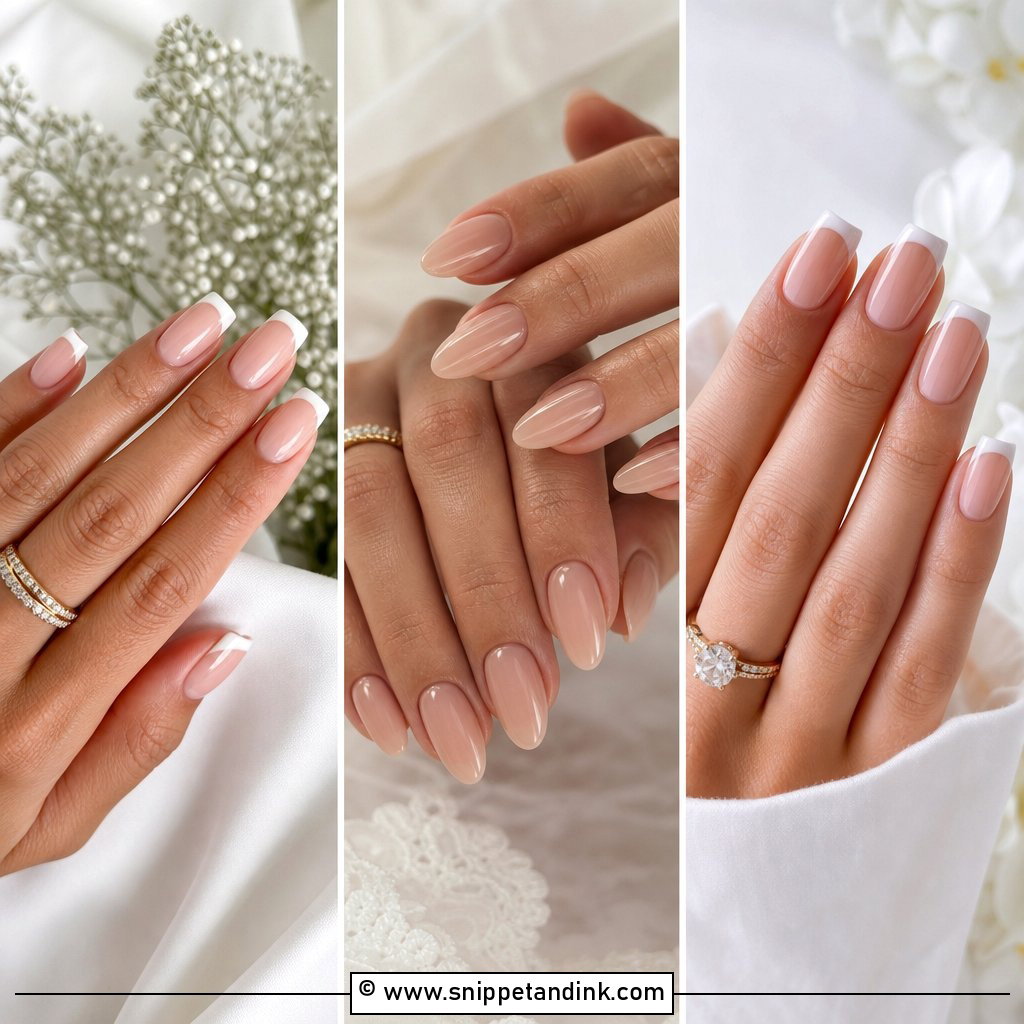
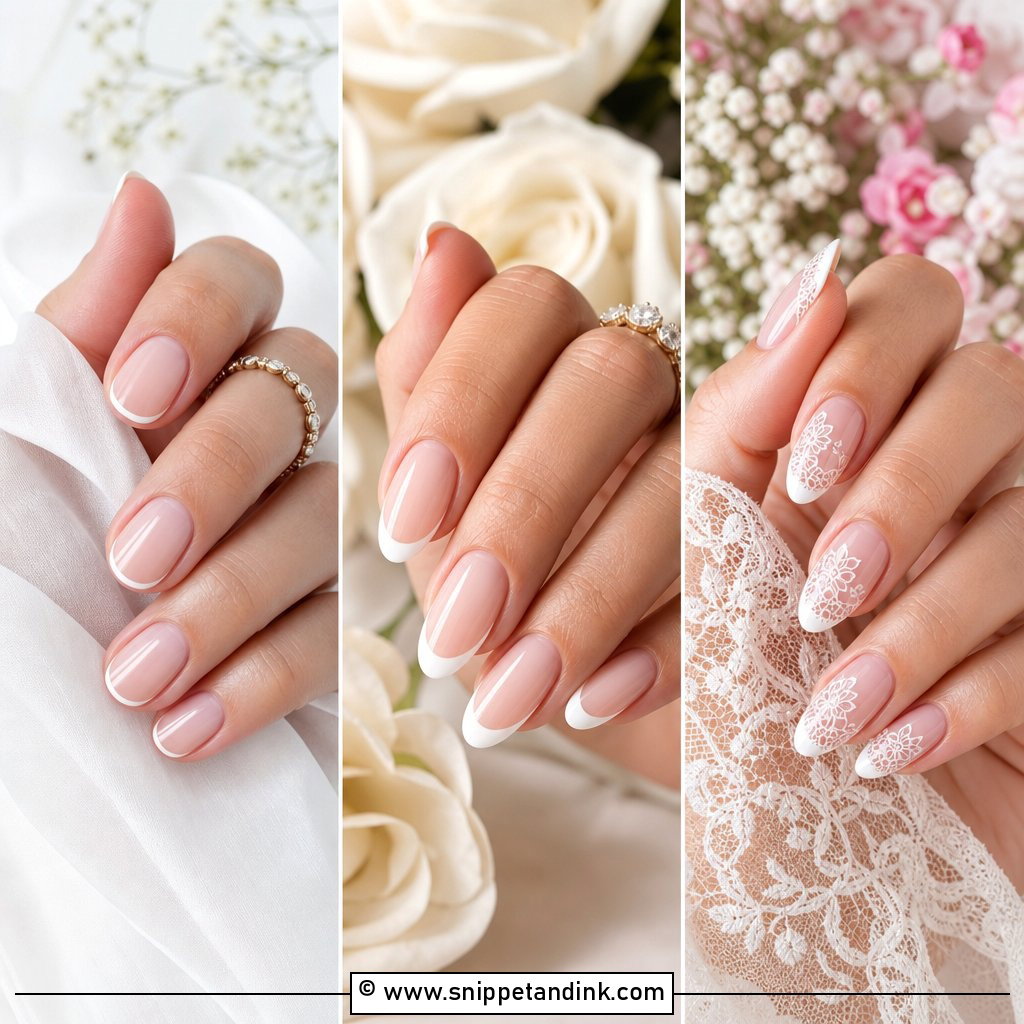
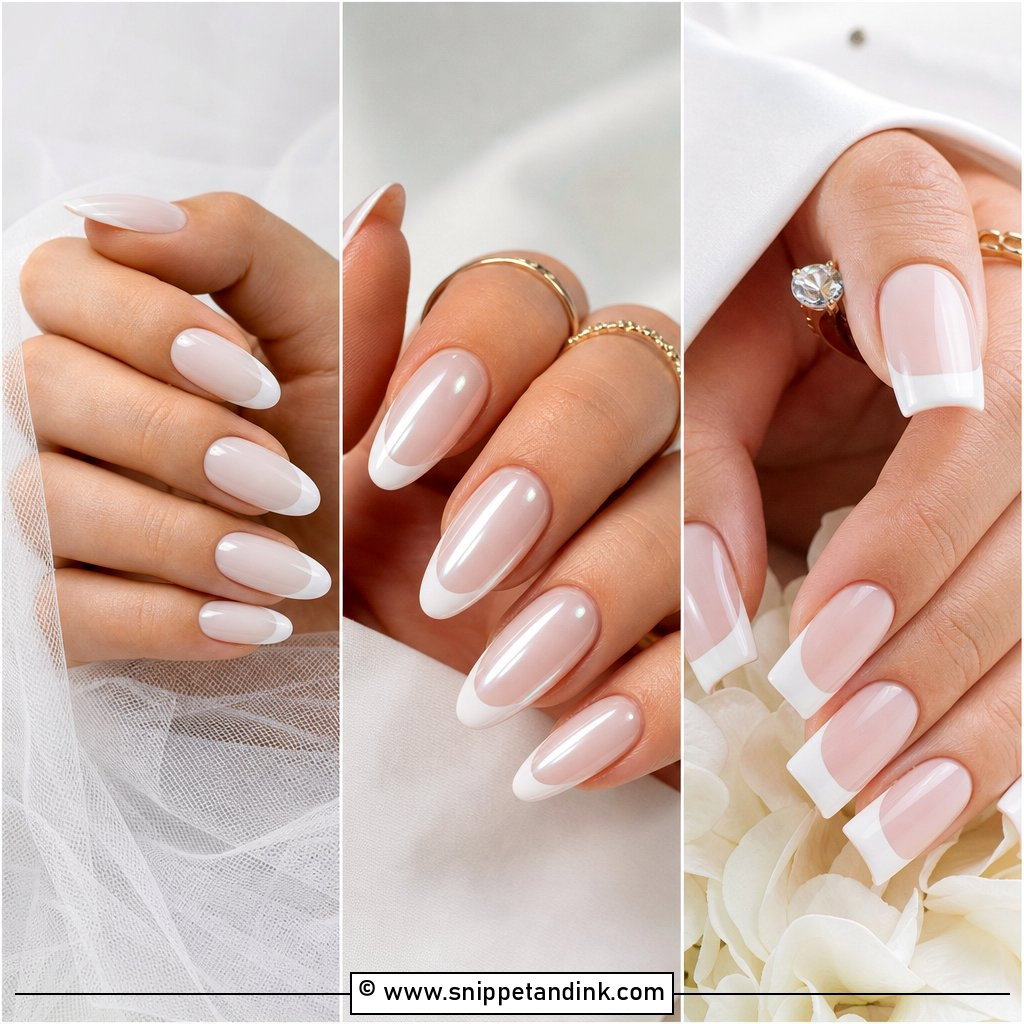
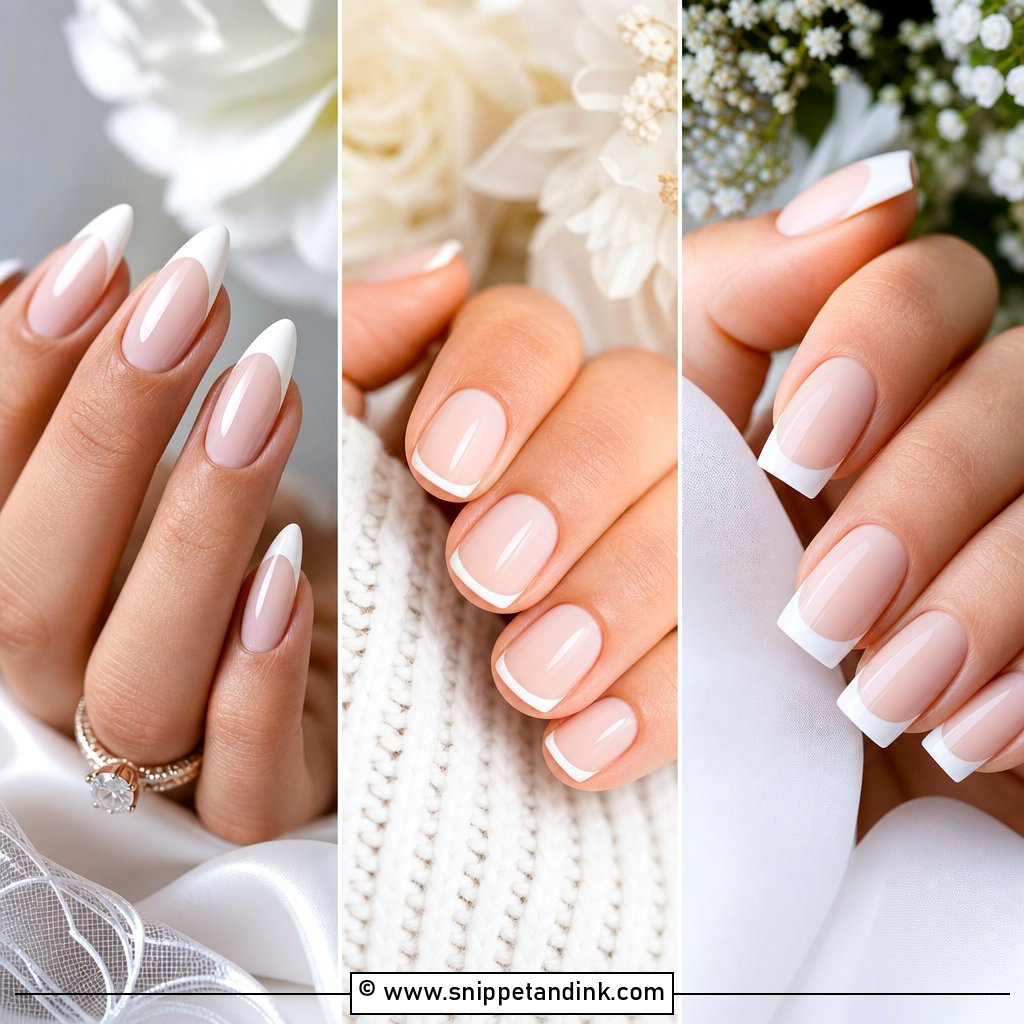
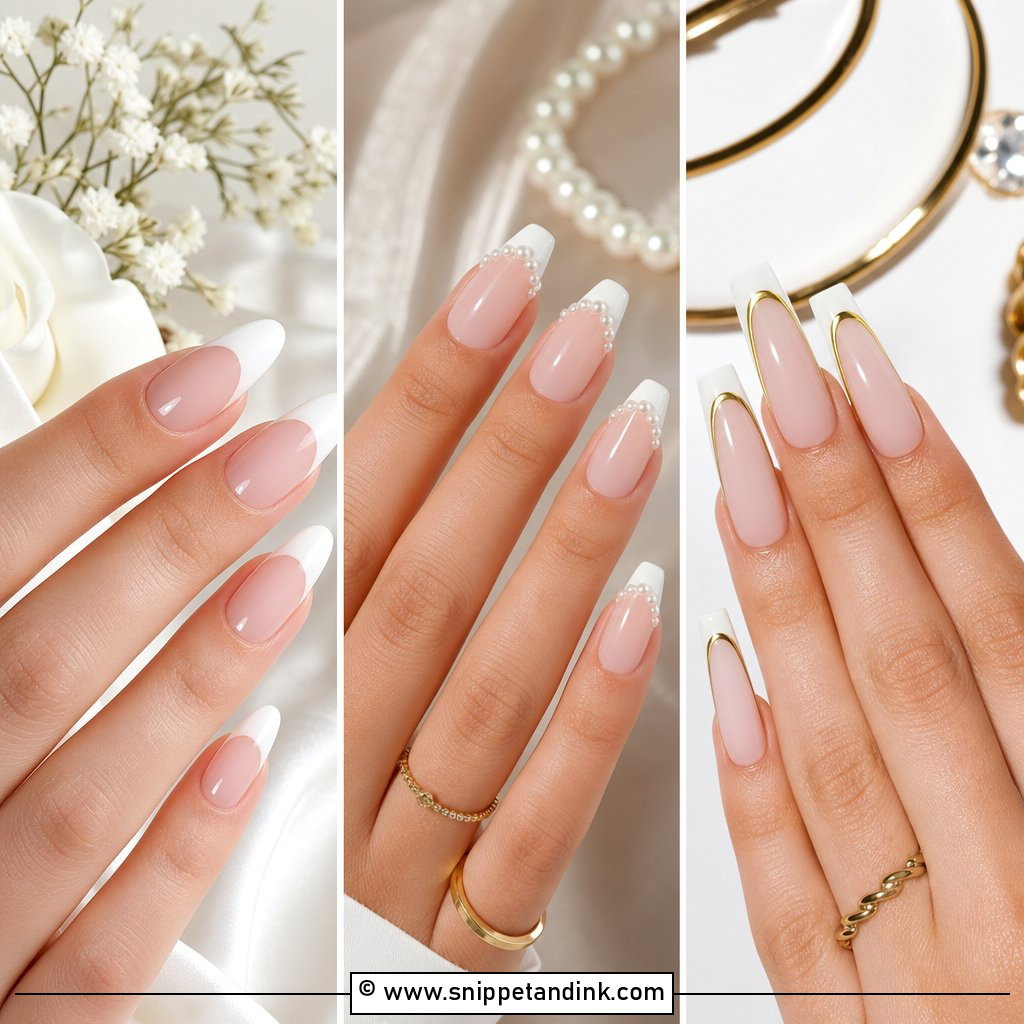
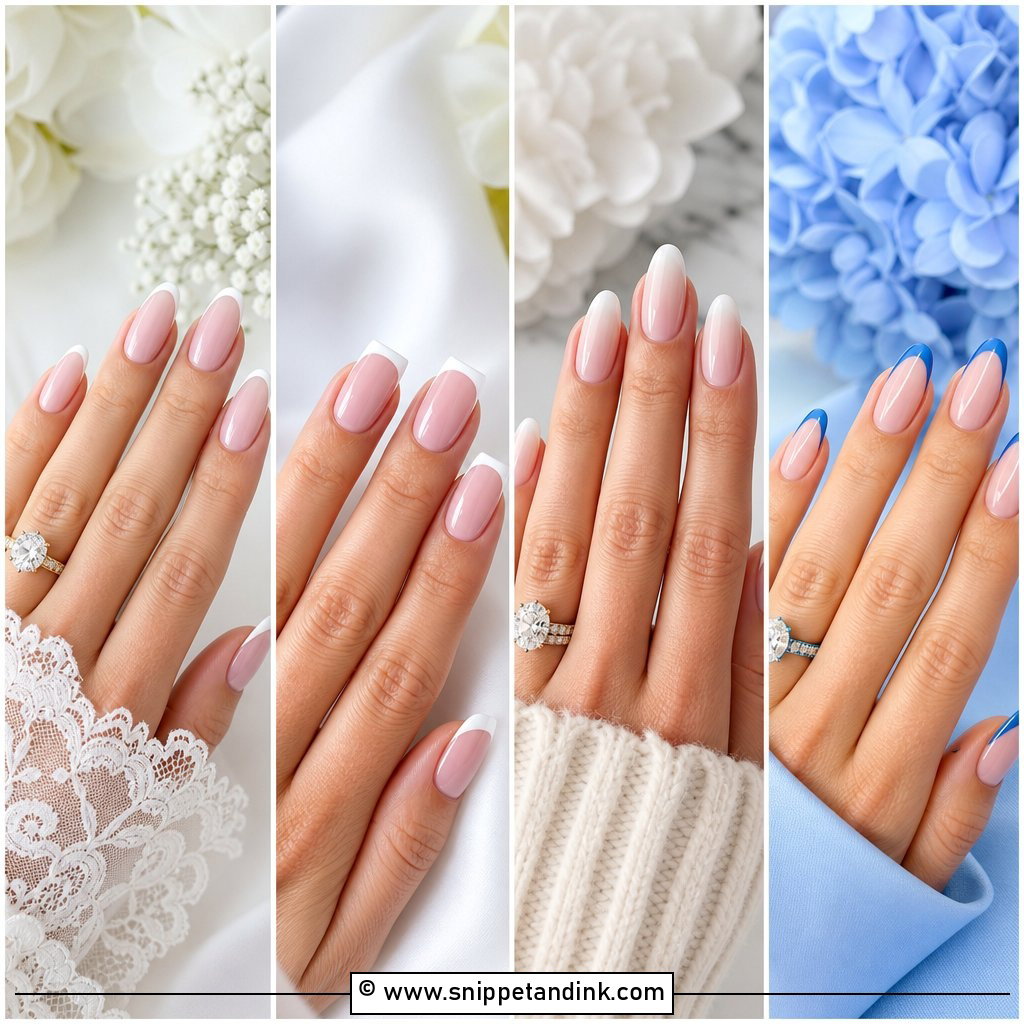
The plain version: a sheer pink or beige base, a white tip and a glossy top coat. It’s the safest option because it never dates in the album. My one adjustment is the white itself. Next to an ivory or champagne dress, a stark white tip makes the fabric look yellow, so I soften the white with a drop of cream. Rounded square, oval and almond all carry it, and the ring shot looks tidy because nothing competes with the stone.
2. Micro French Wedding Nails
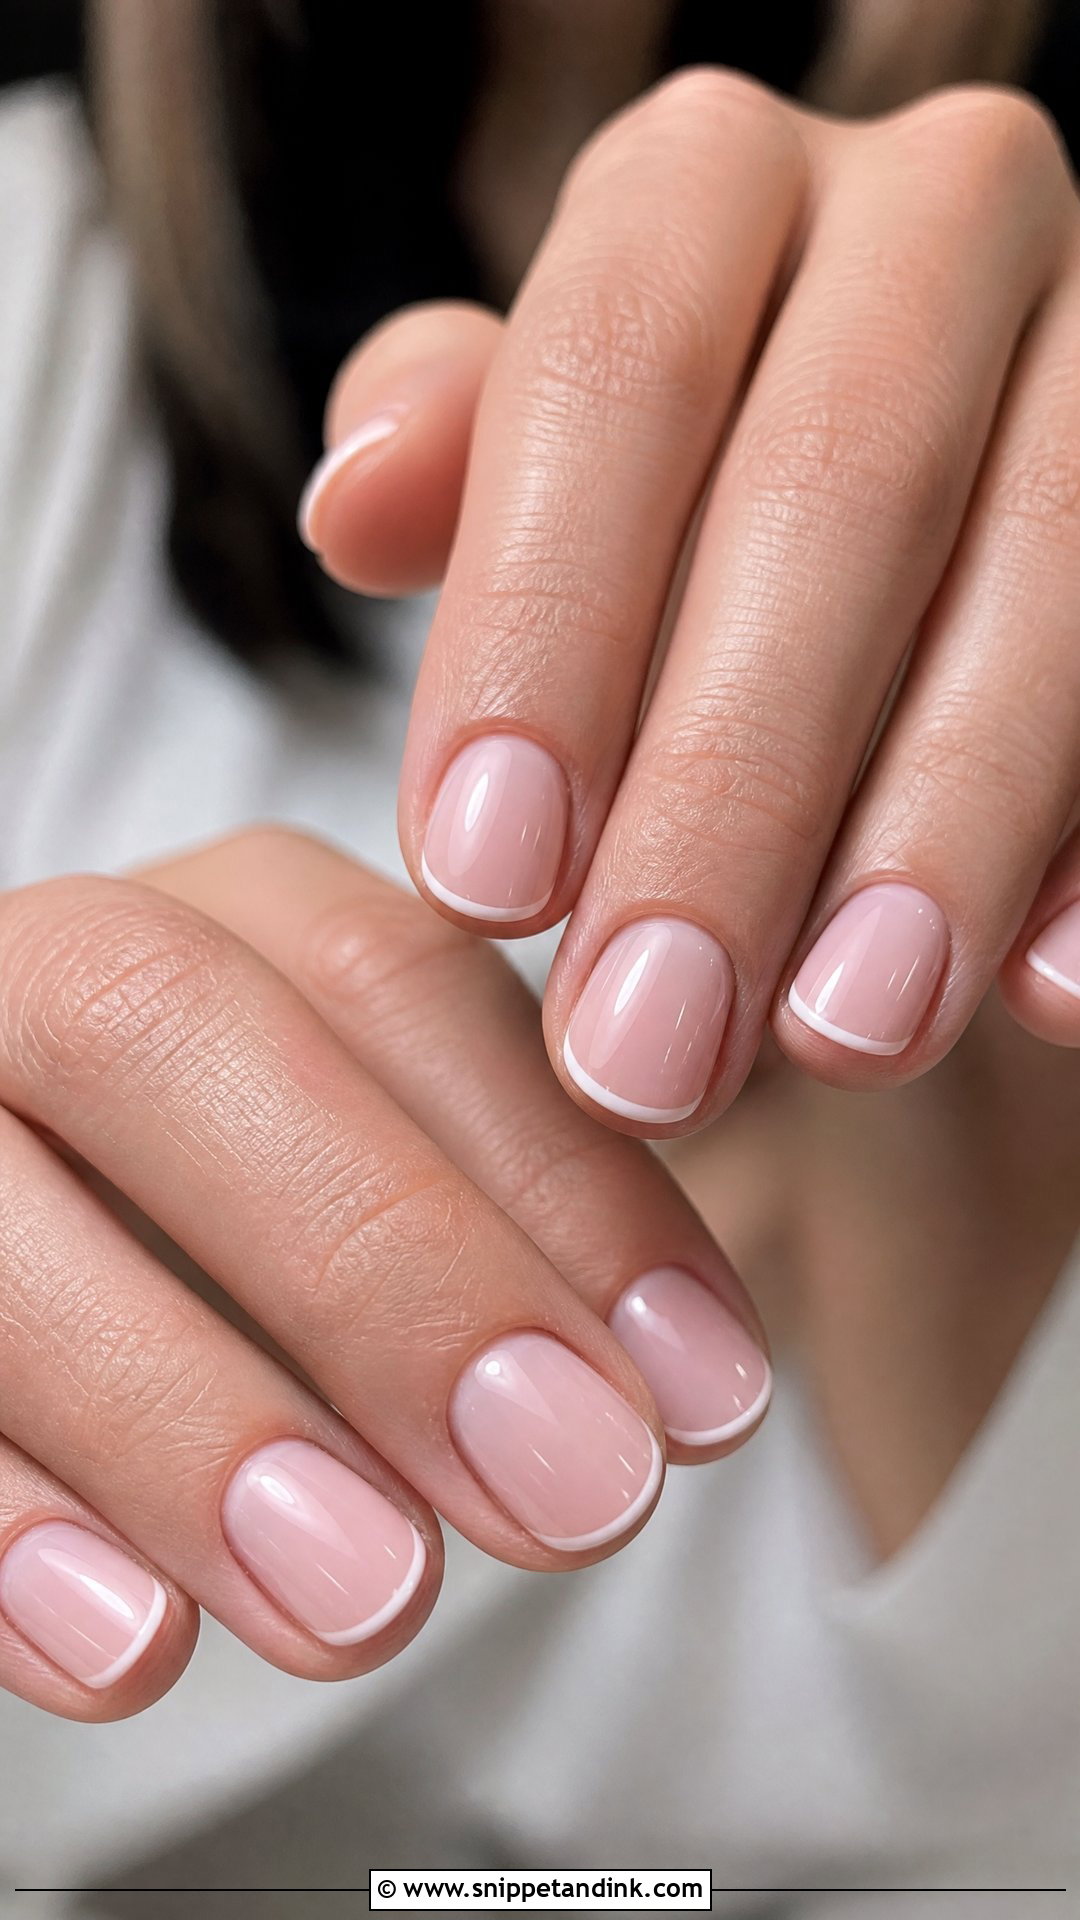
A micro French narrows the tip to a fine line along the free edge. On short nails it’s the most flattering choice I know, because the thin white leaves the pink nail bed showing and the nail reads longer. It’s also what I suggest to brides who rarely wear polish and feel self-conscious in anything bold. The difficulty is precision. A hairline drawn unevenly shows far more than an uneven wide tip, so give your nail artist time and don’t book it as a rushed lunchtime appointment.
3. Milky French Wedding Nails
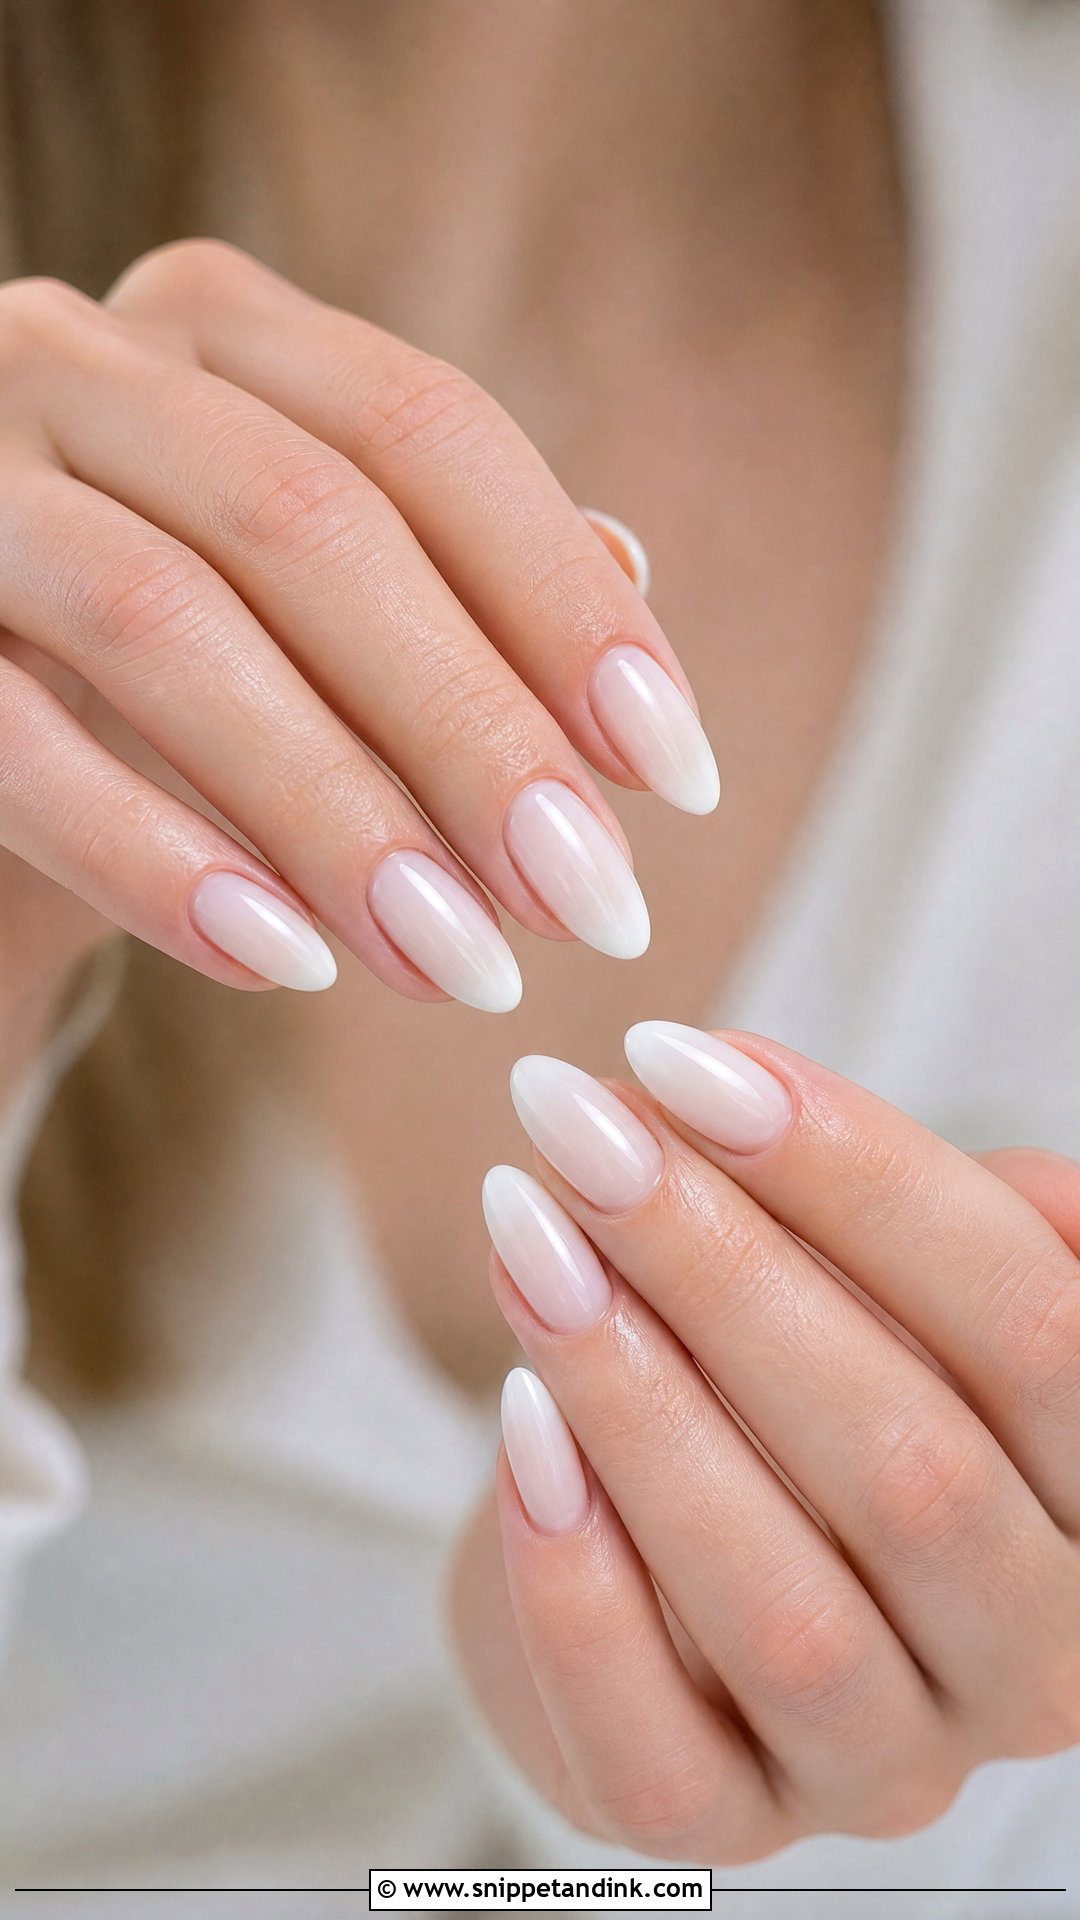
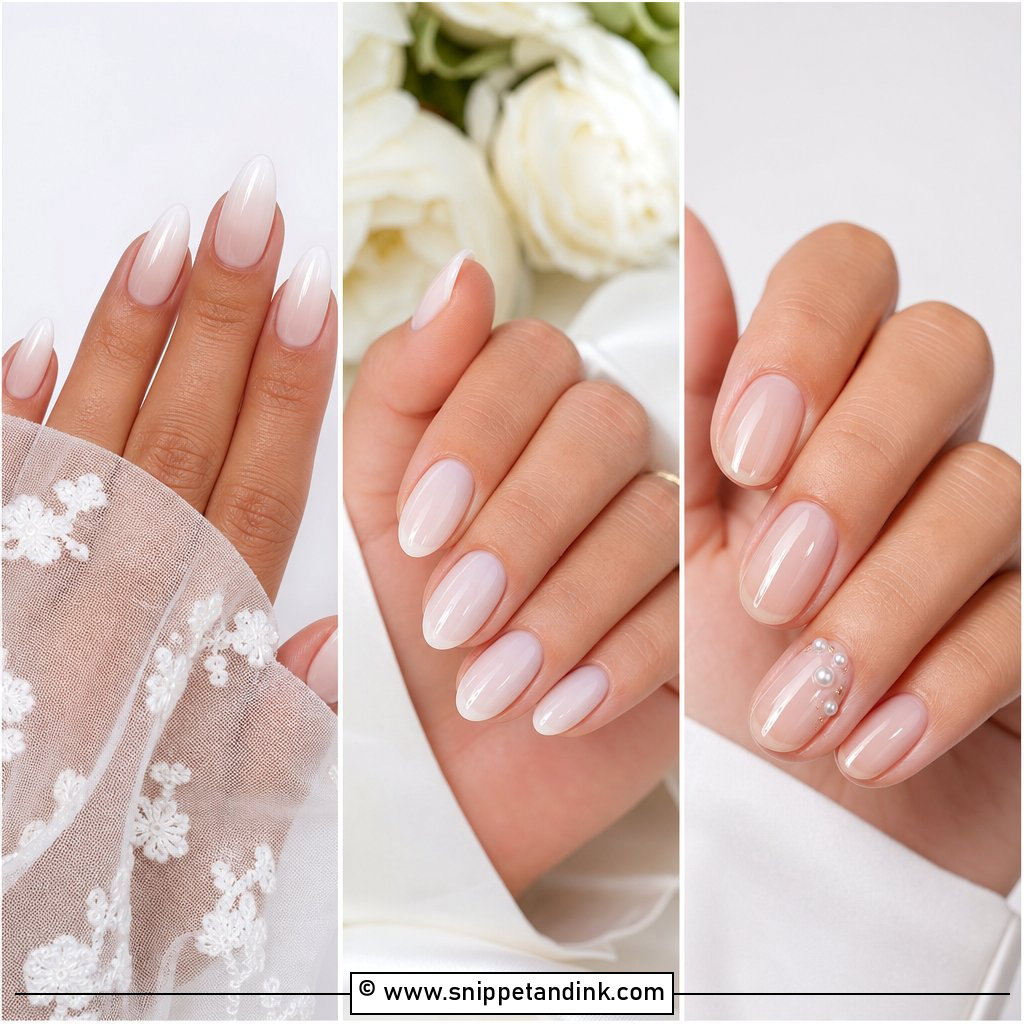
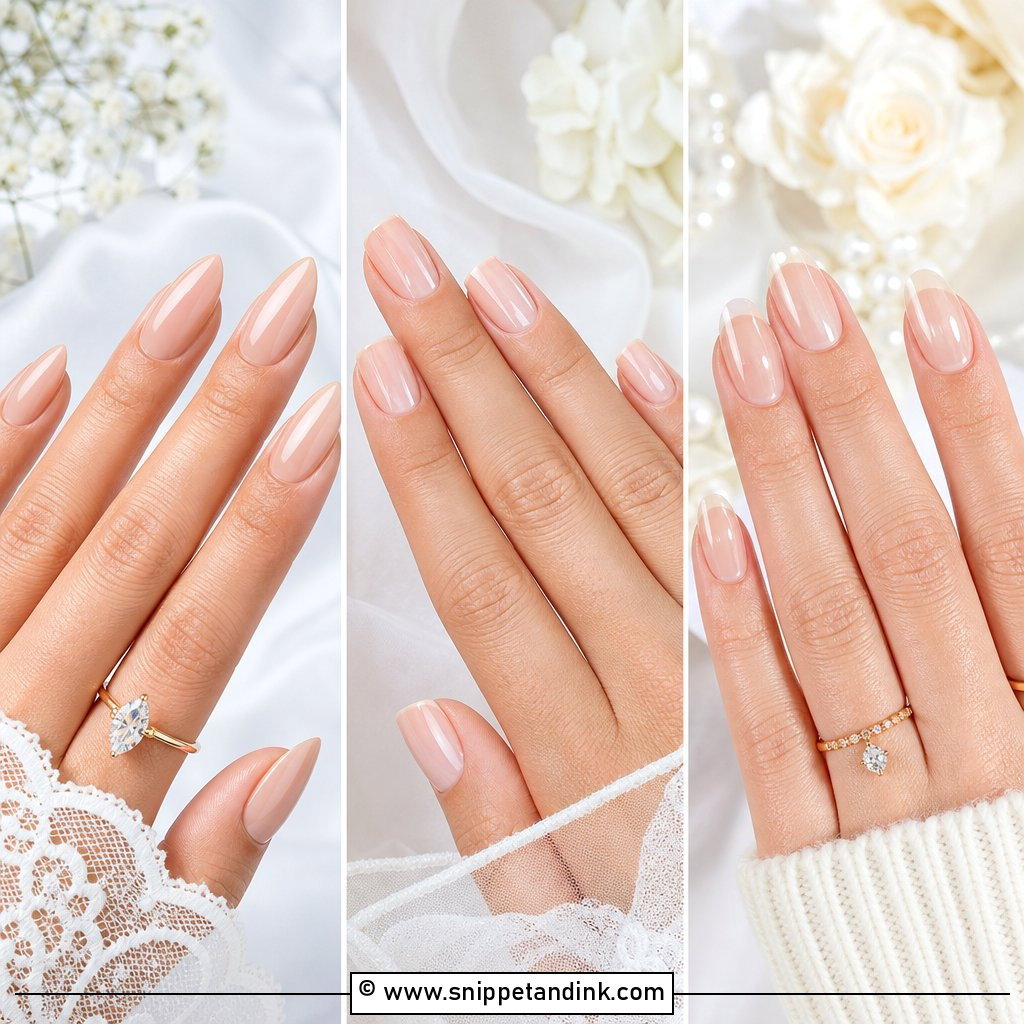
A milky French uses a translucent white or pale pink base with a blended tip, so the line looks soft rather than crisp. The cloudy base hides ridges and stains, which is useful if your natural nails aren’t perfect. Milky gels are notoriously streaky; I apply them in thin layers and cure each one rather than flooding one thick coat. Pearl jewellery, satin and soft makeup all sit easily beside it, and almond or oval shapes suit the gentle tip.
4. Ombré French Wedding Nails
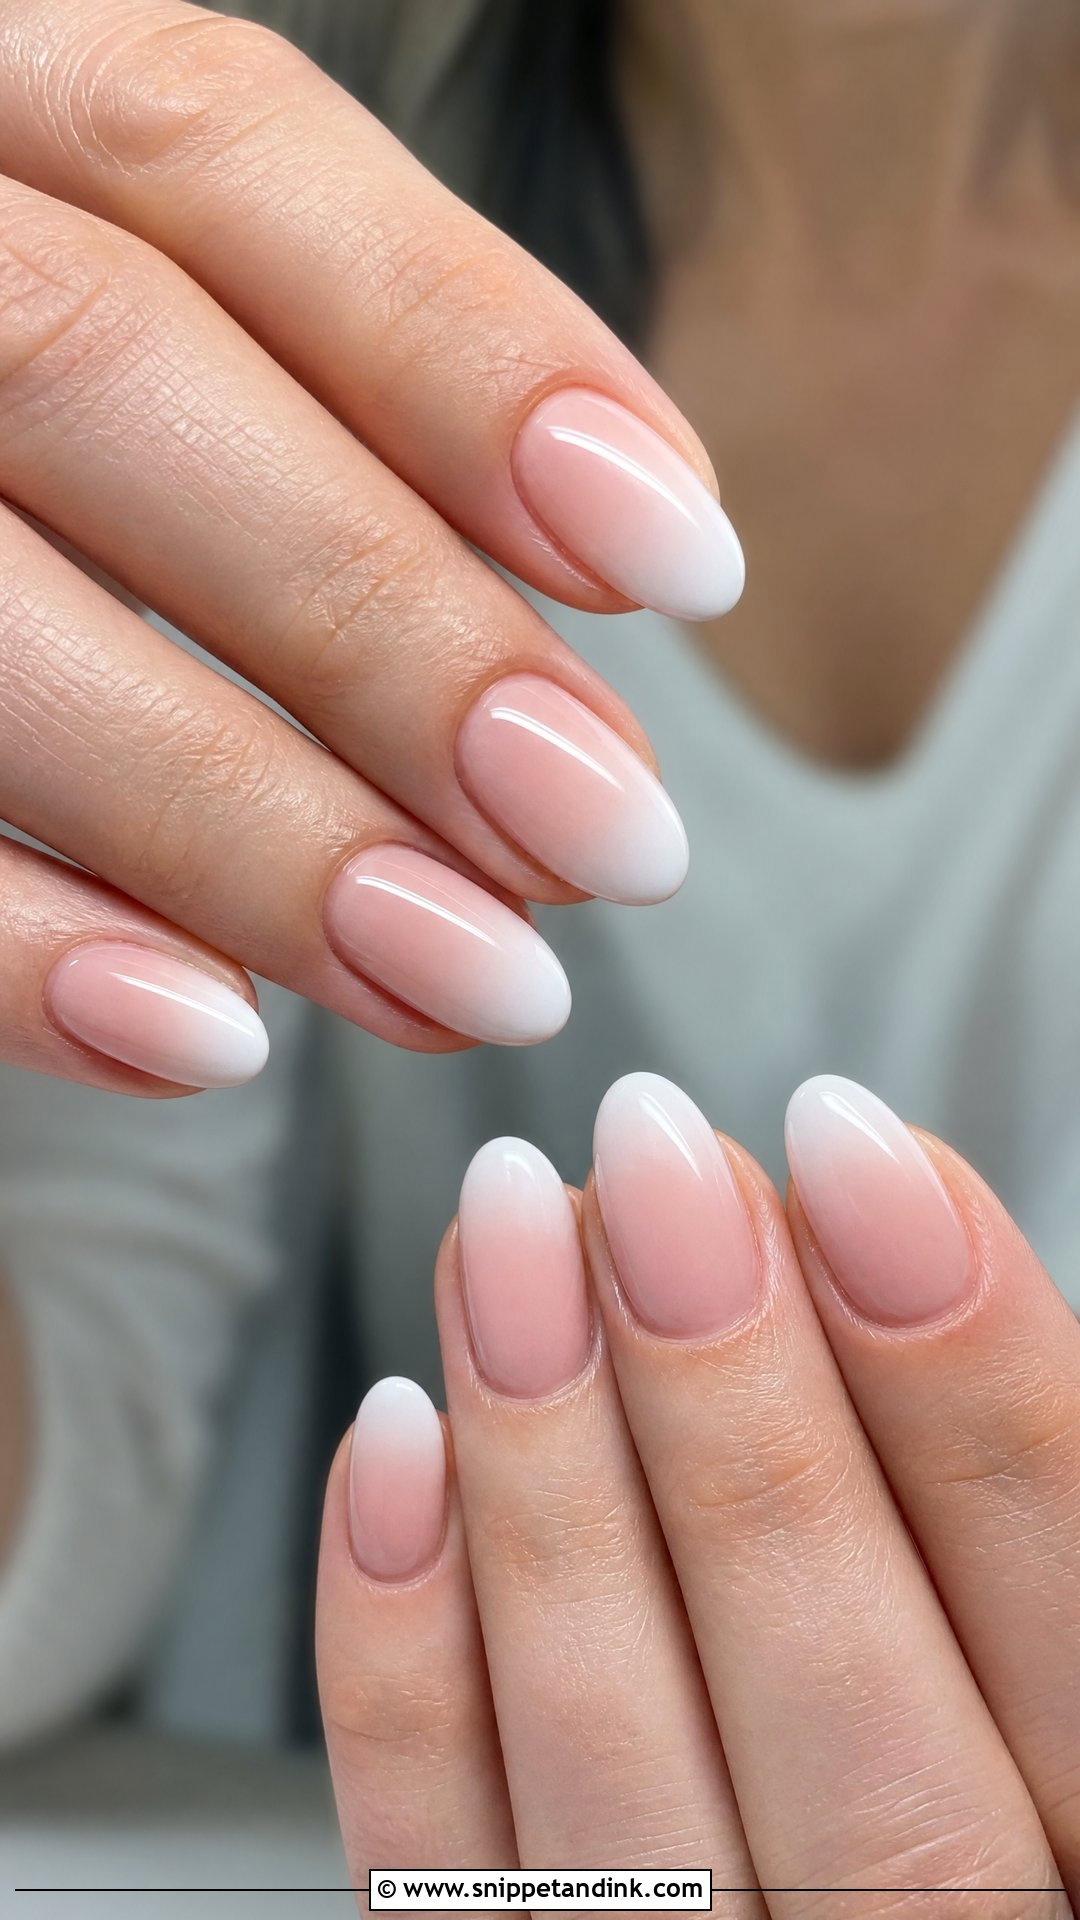
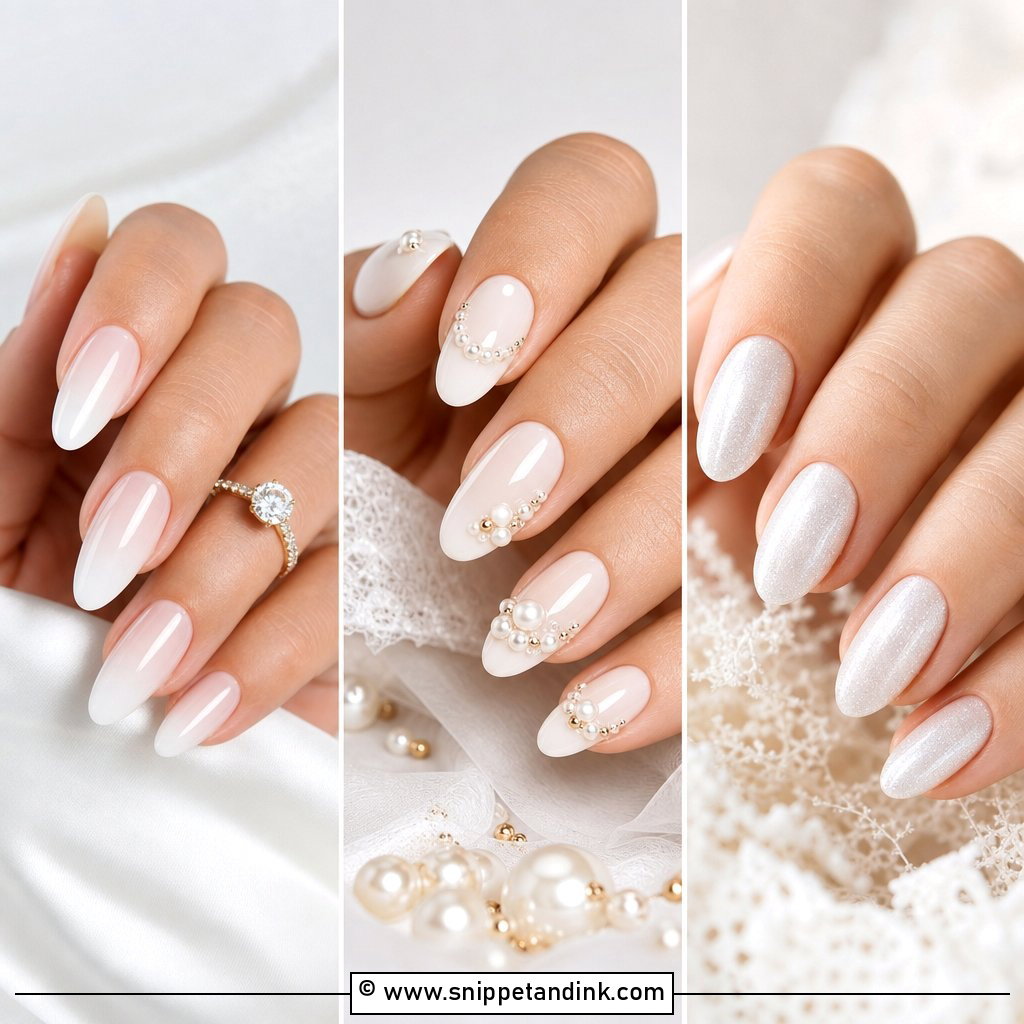
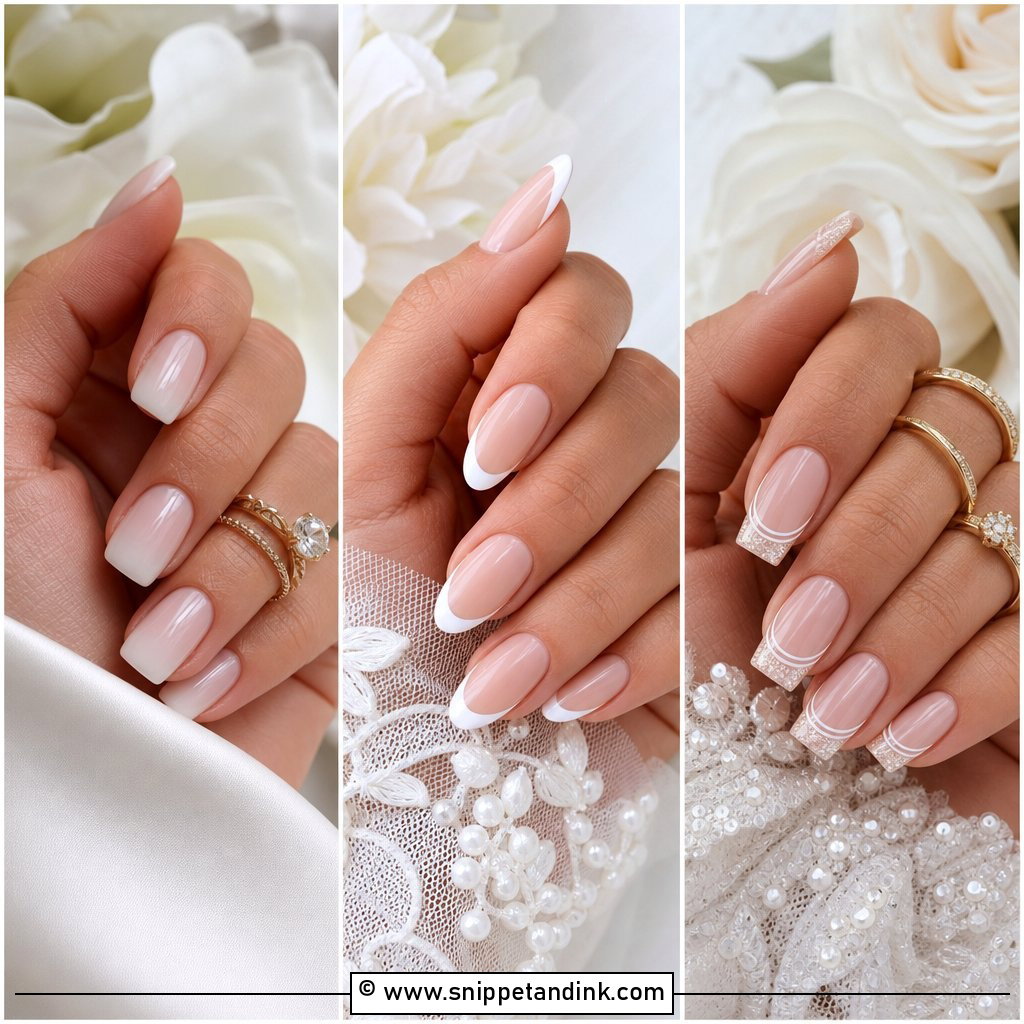
An ombré French fades from a sheer base into white with no visible line. I blend it with a sponge or a gel brush, and the fade must sit at the same height on every finger, which is harder than it looks. Its big practical advantage: it grows out far more softly than a traditional French manicure, so a few days of growth at the cuticle hardly shows. Medium almond, oval and coffin nails give the gradient room. Keep it glossy or add a fine shimmer top coat.
5. Pearl French Wedding Nails
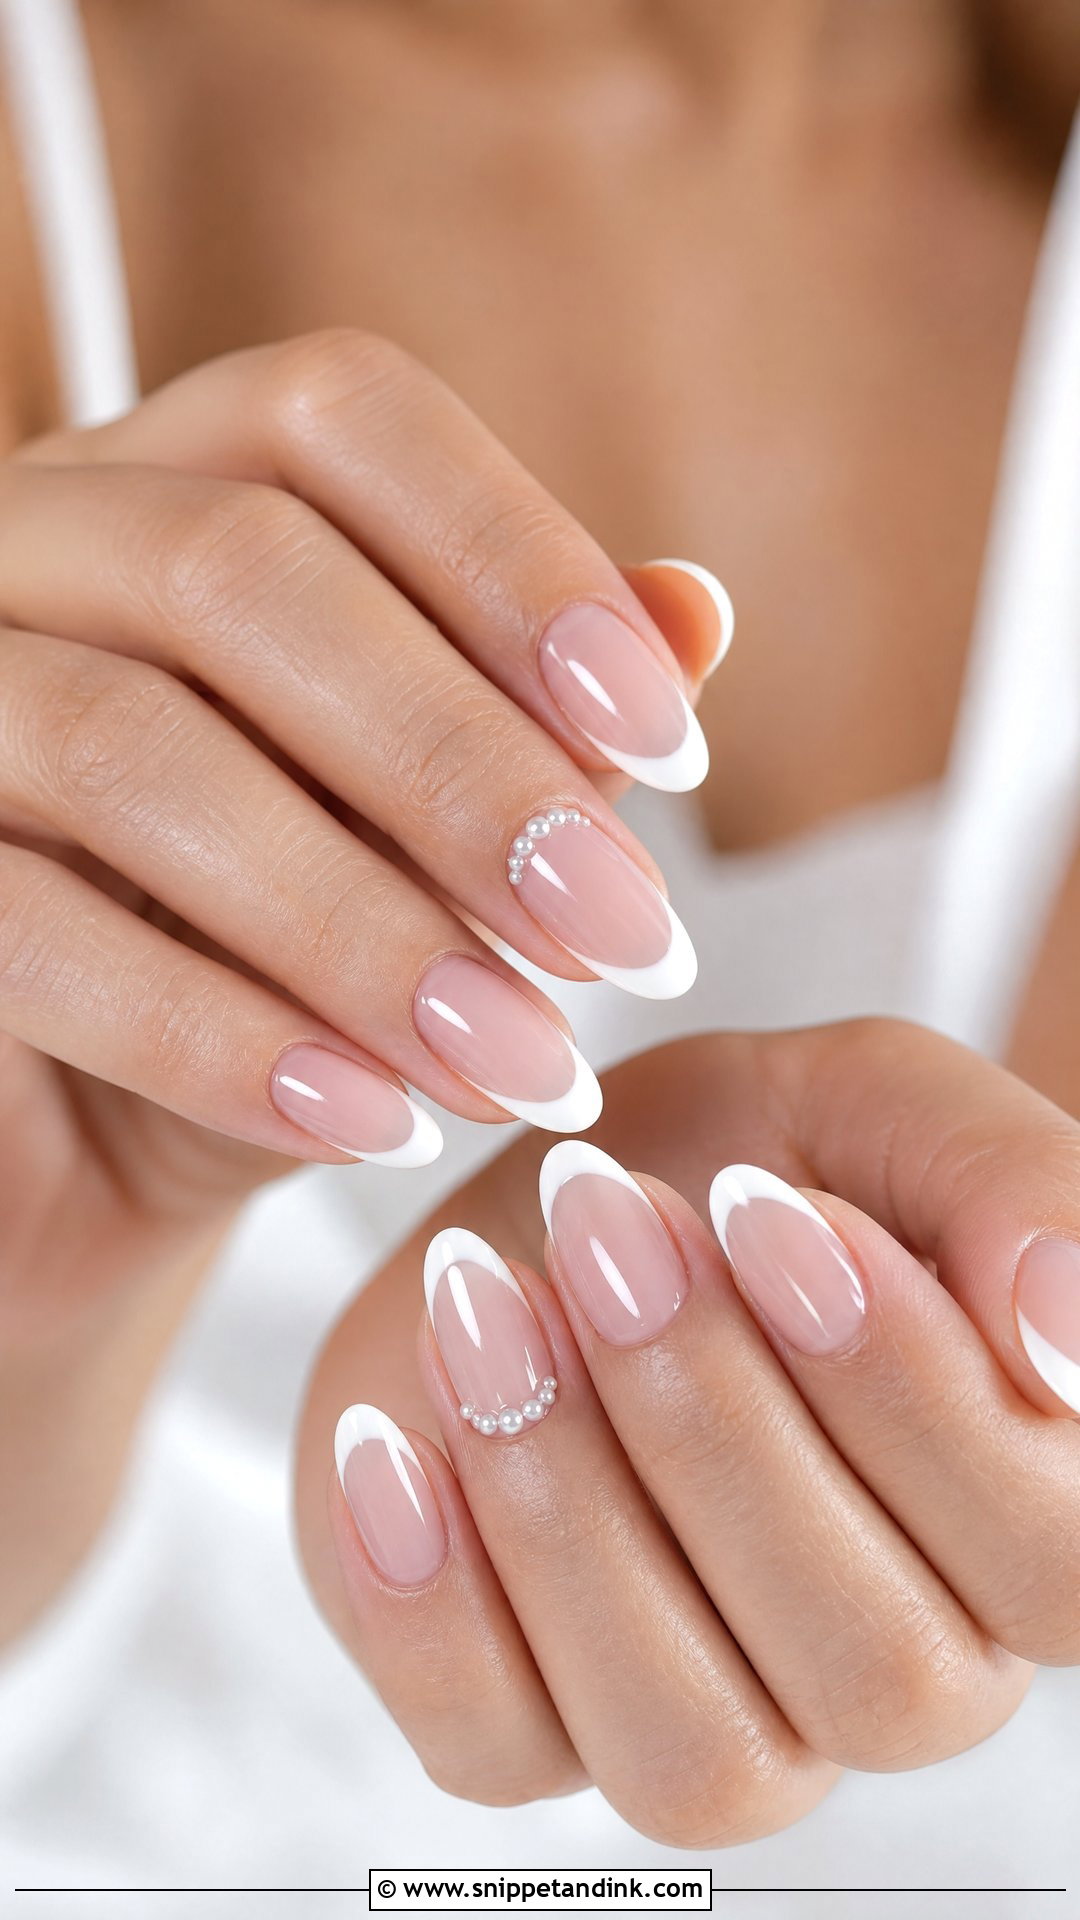
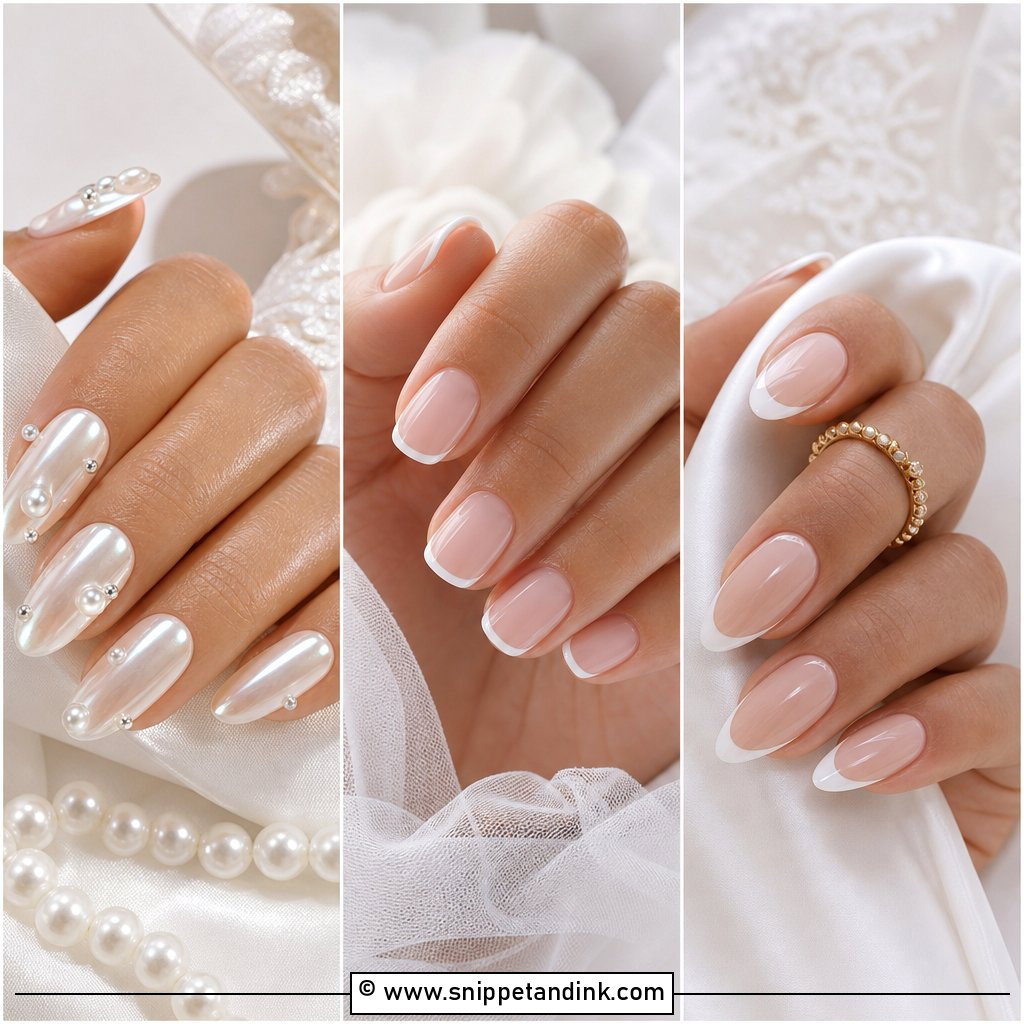
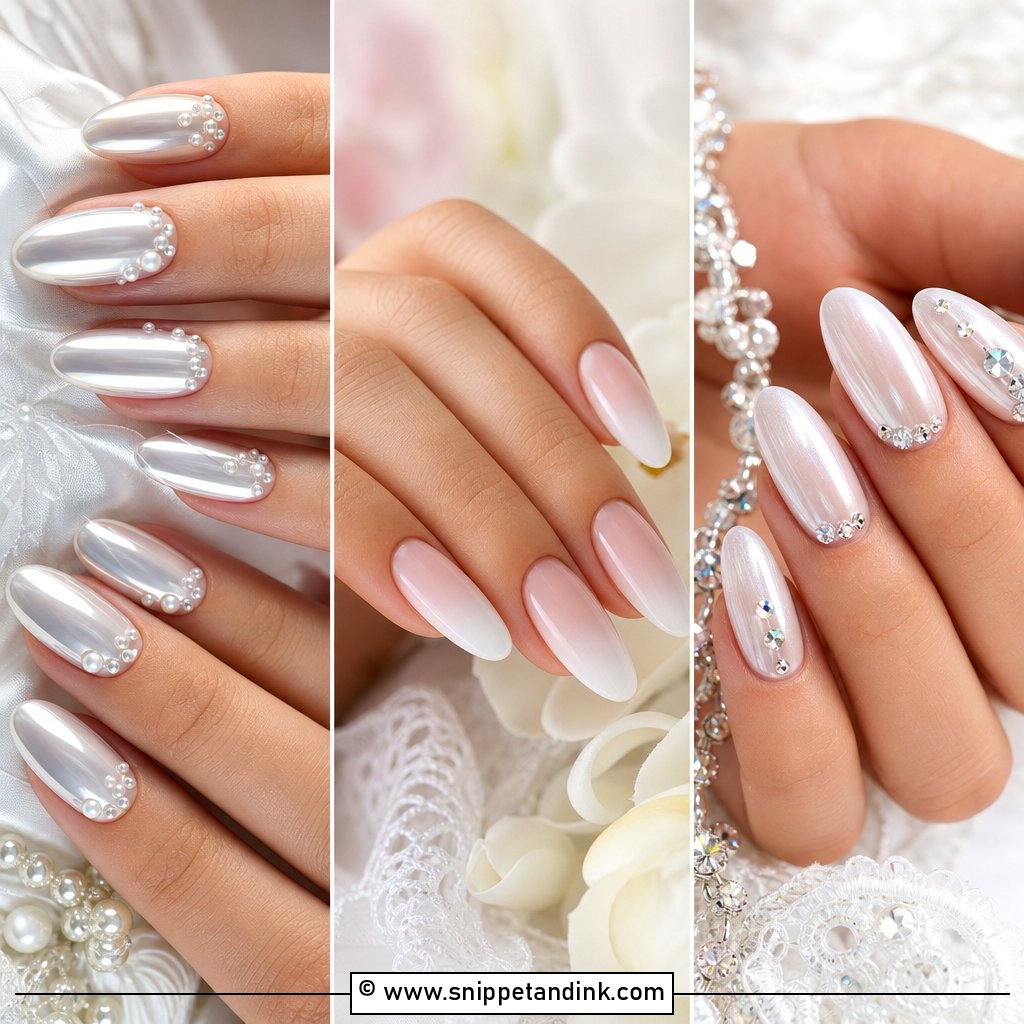
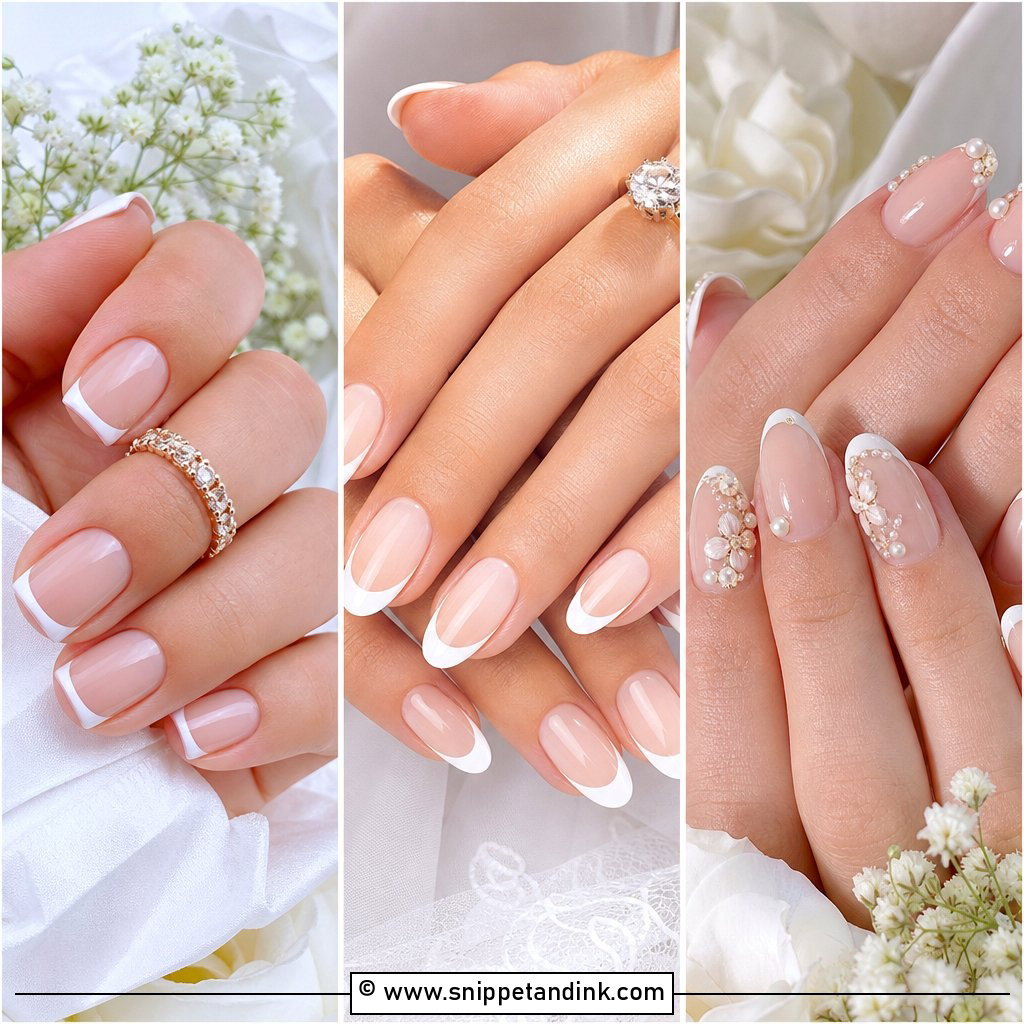
Pearls go on last, near the cuticle, along the smile line or on one or two accent nails. Real raised pearls catch on fine lace and tulle, so if your veil or sleeves are delicate, I suggest flat pearl decals sealed under gel instead. You get the look without the snag. Keep them small and spaced. Earrings, a beaded bodice or a soft updo pick the detail up naturally, and almond, oval and short square nails all suit it.
6. Chrome French Wedding Nails
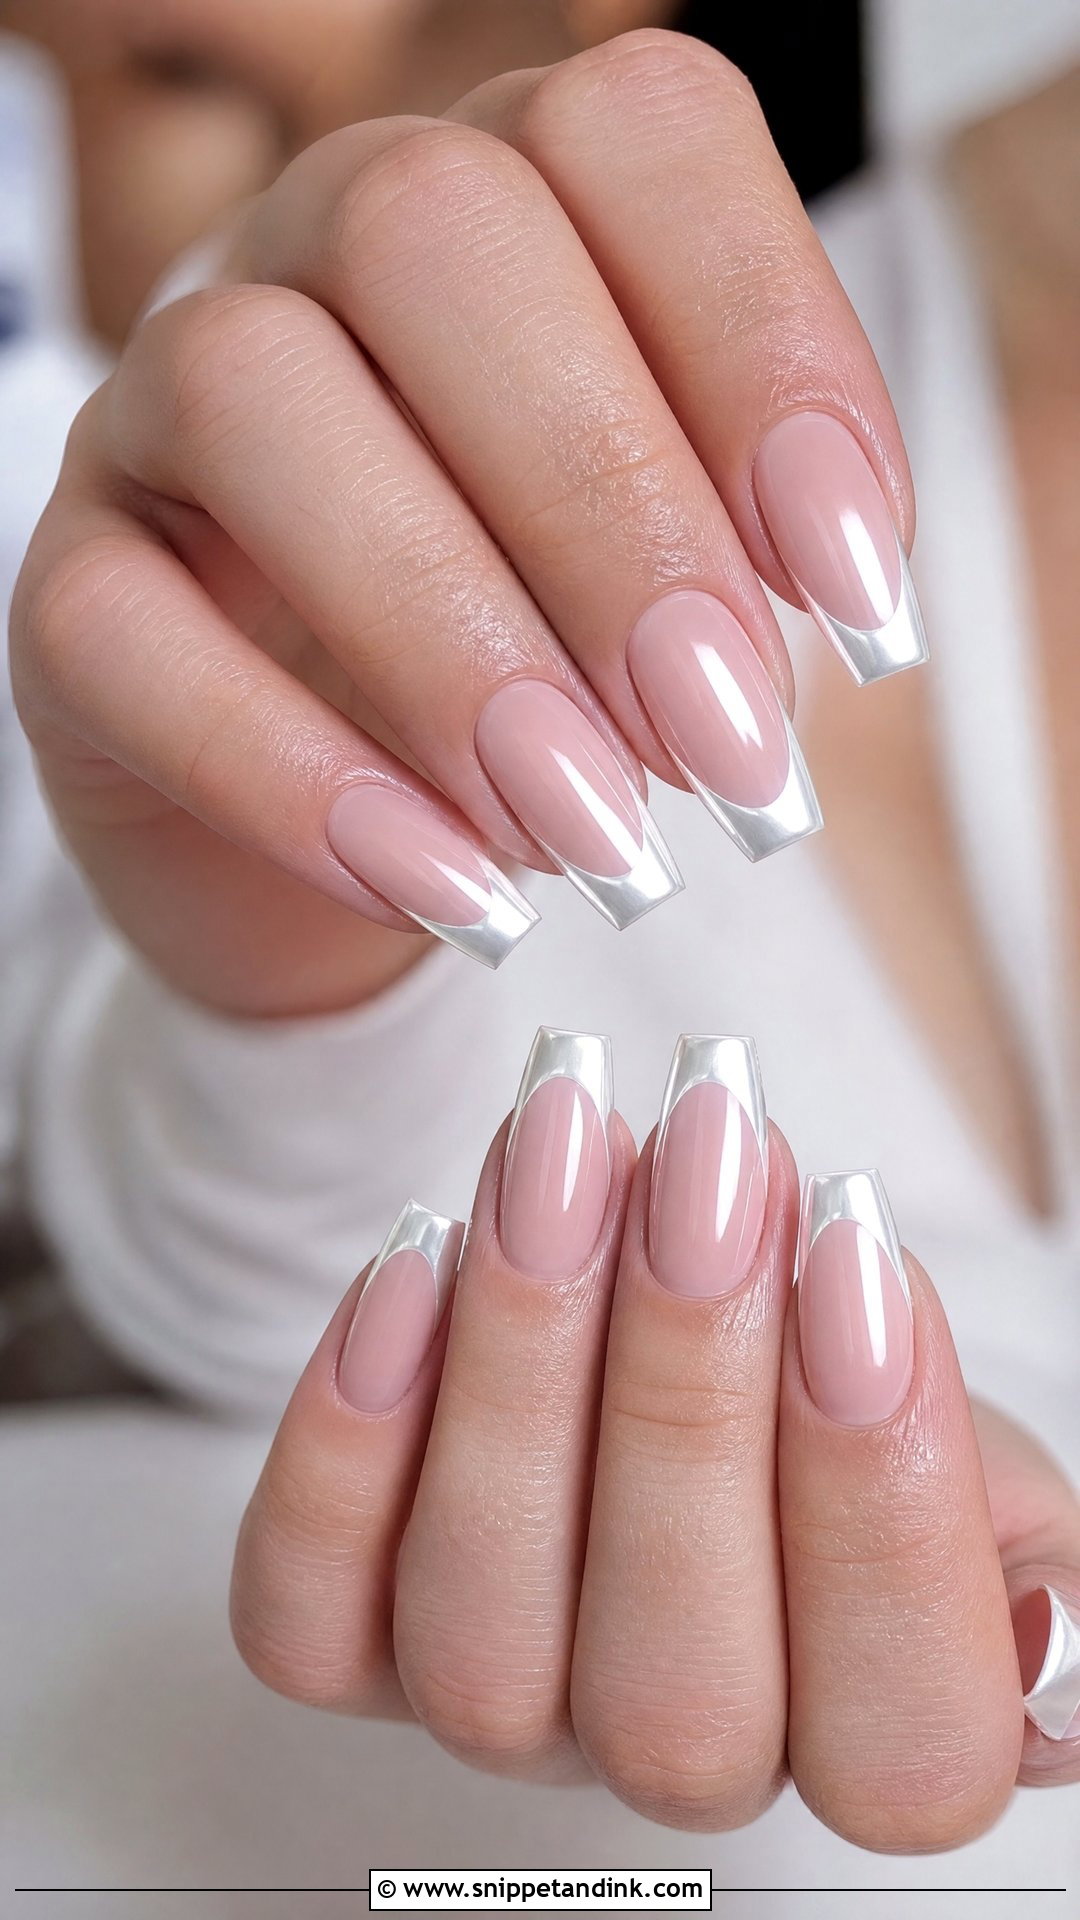
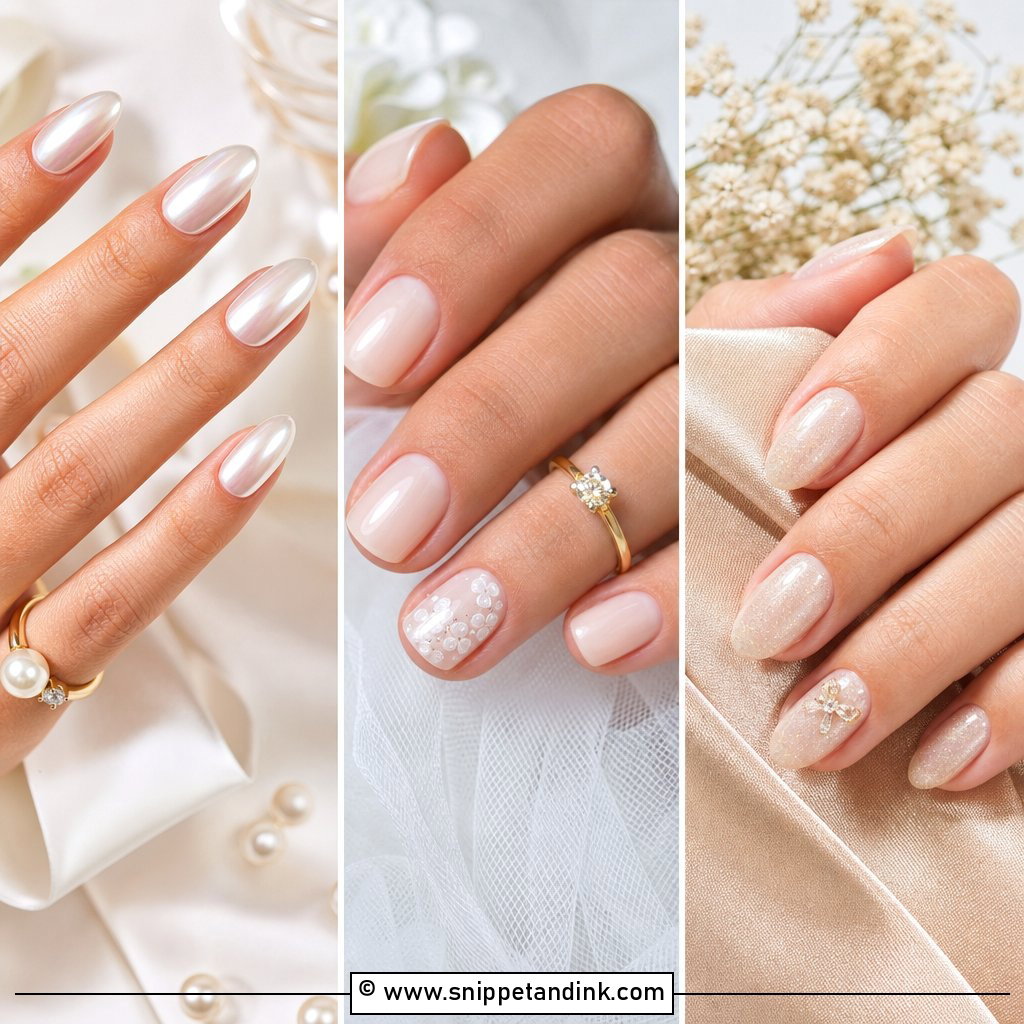
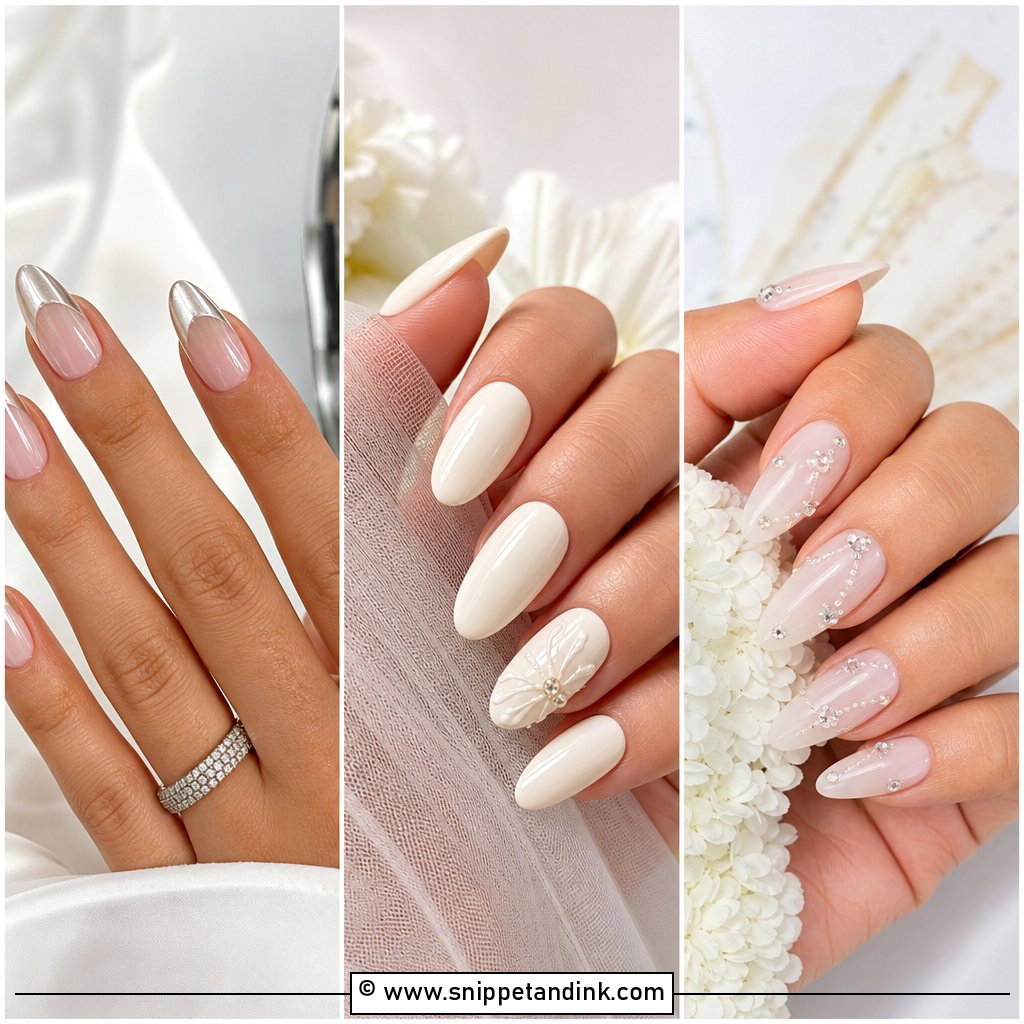
Chrome is a powder burnished onto a cured top coat. A sheer base under pearl, glazed or white chrome finish gives a smooth reflective glow, and it picks up flash and daylight well. Keep it subtle: if I press the powder hard, it goes mirror-like and stops looking bridal. Pearl chrome suits ivory gowns; champagne chrome suits warmer jewellery. Chrome can wear off the very tip first, so the free edge needs sealing carefully.
7. Glazed French Wedding Nails
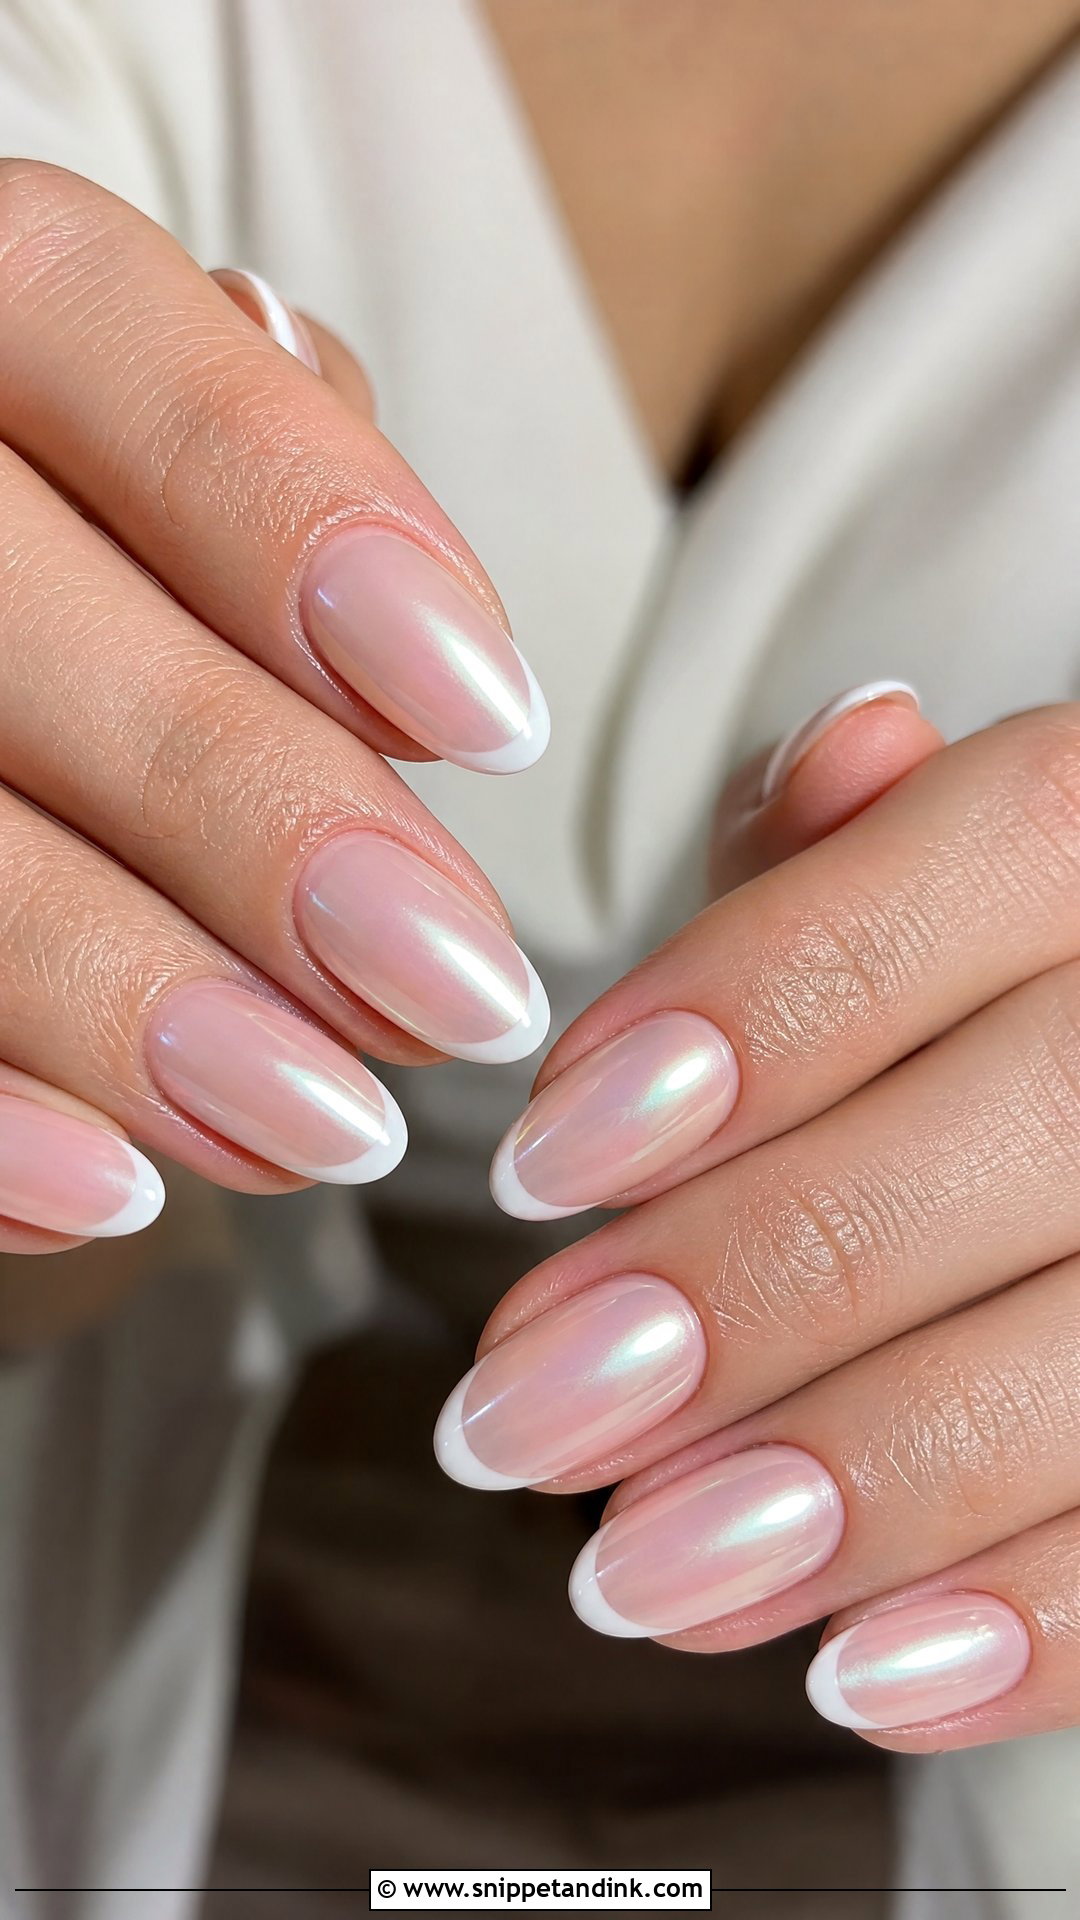
A glazed French has a thin iridescent layer, either rubbed chrome or a shimmer gel, over a neutral base and a white or off-white tip. The effect is a soft sheen that makes the nail look smoother and more dimensional without any art on it. I suggest it when a bride says plain gloss feels unfinished but nail art feels like too much. Squoval, oval and almond shapes all suit it. Keep the tip curve soft; a sharp line fights the glaze.
8. French Wedding Nails With Lace
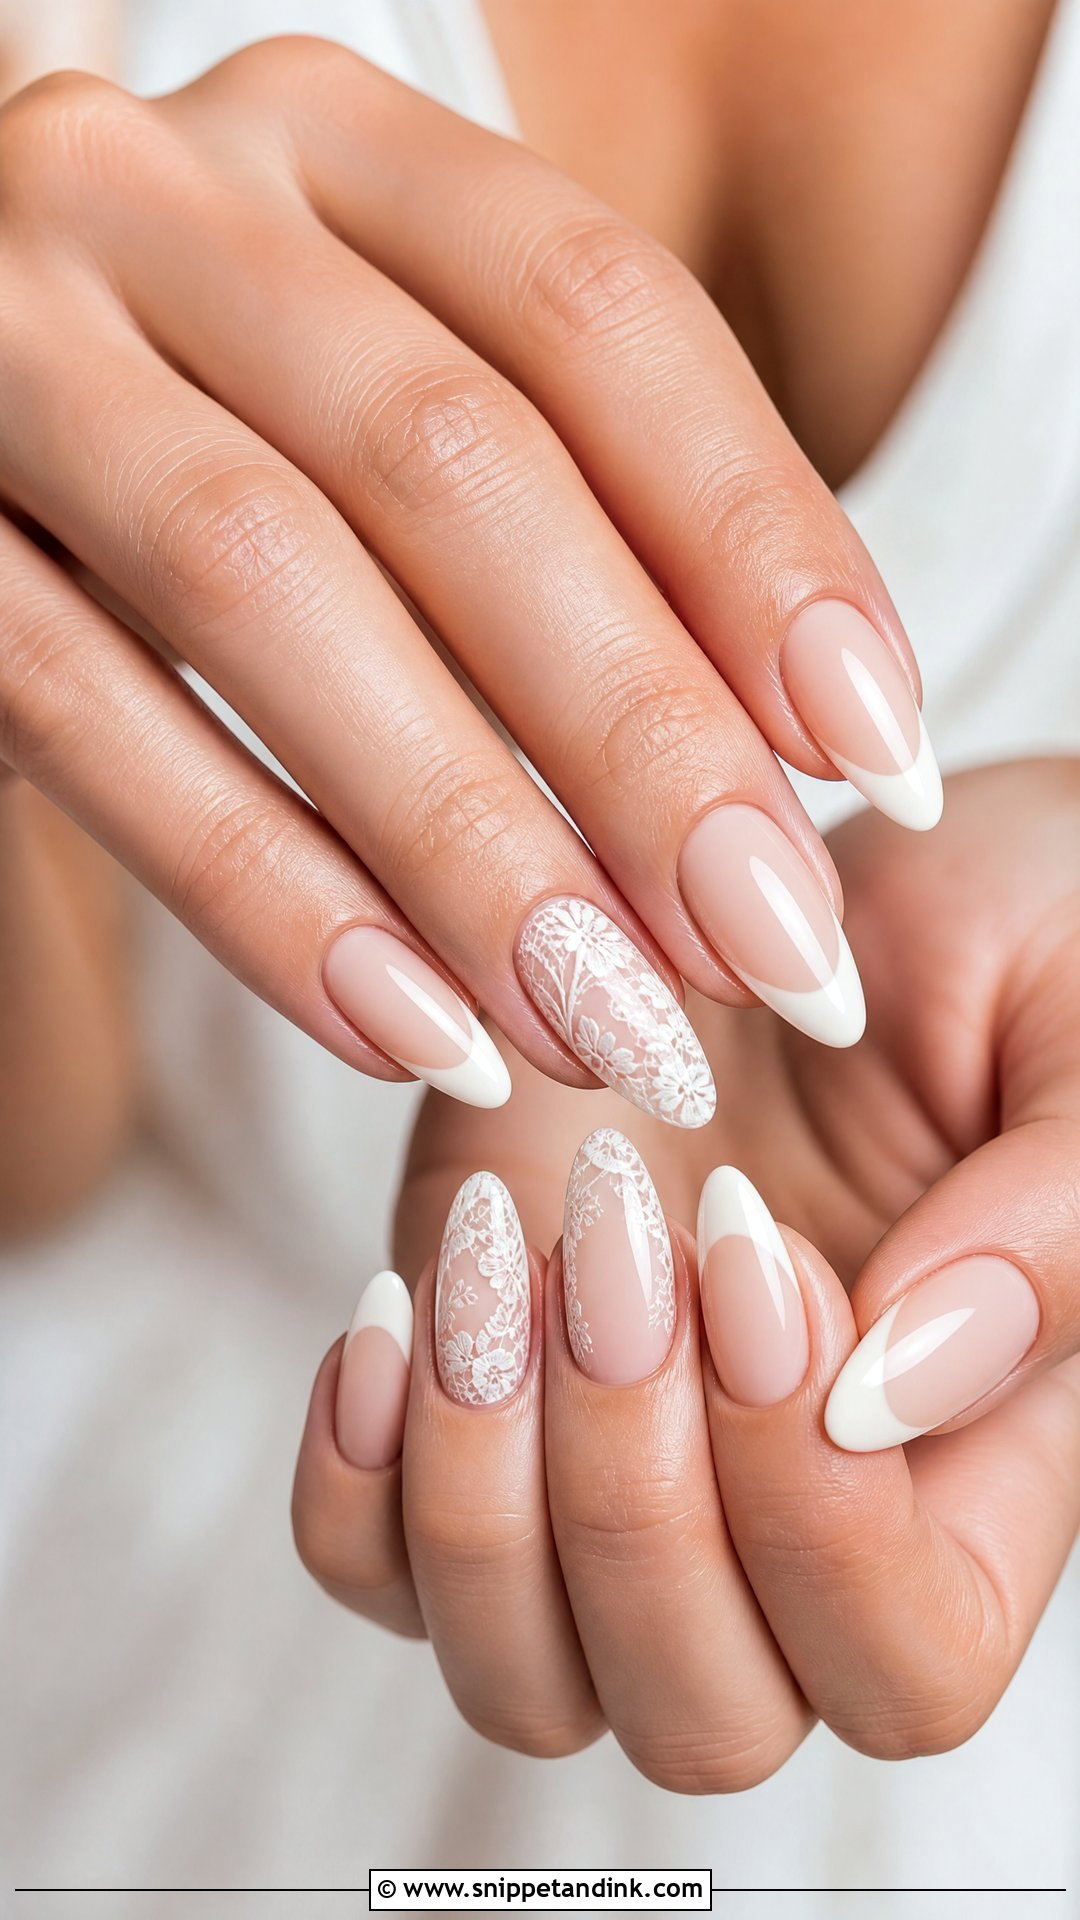
Lace art can be hand-painted with a fine liner, stamped from a plate or built with thin white gel lines. Hand-painting is the most delicate but takes the longest; stamping is crisp and repeatable but can look printed. I always want to see a close photo of your actual lace first so the pattern echoes it. Limit it to one or two nails. A full set of dense lace turns into a grey blur in photos taken from a distance.
9. French Wedding Nails With Flowers
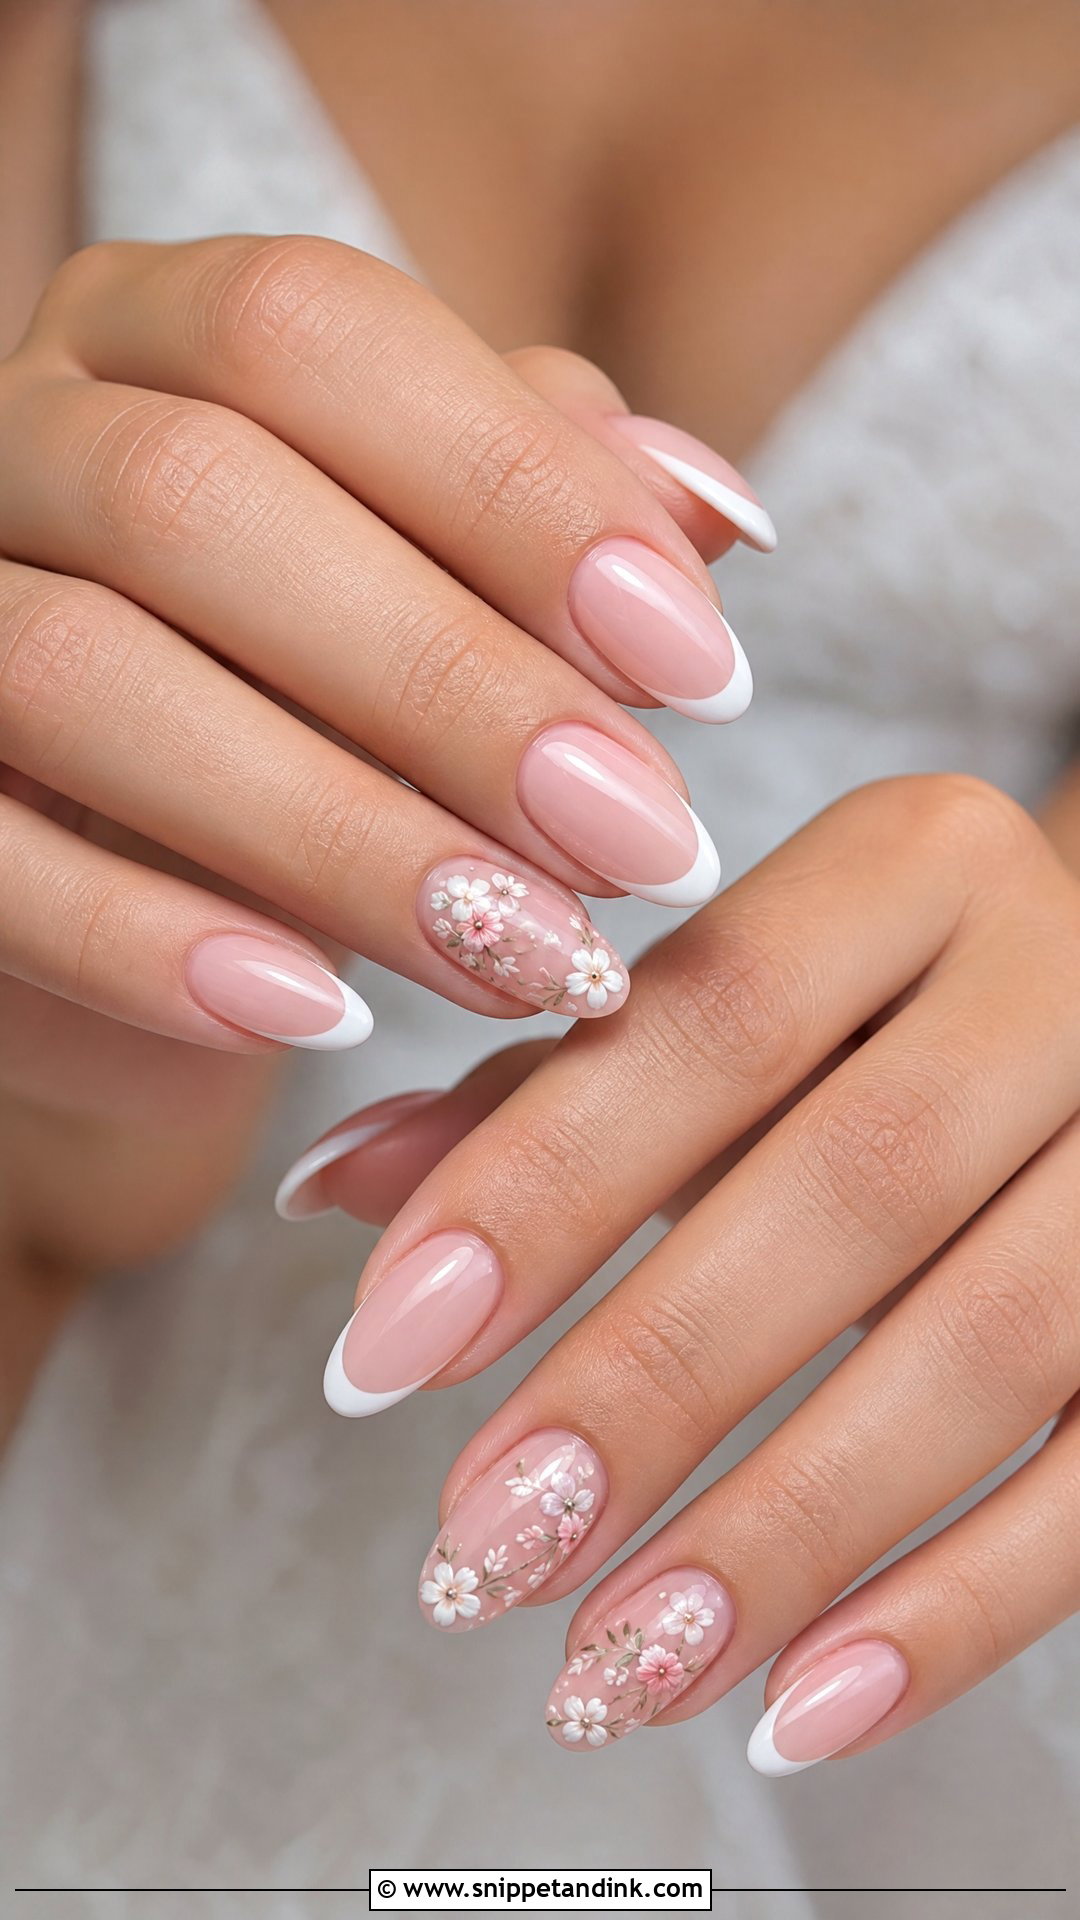
Small flowers on one or two nails suit spring, garden and beach weddings. If your bouquet has a particular bloom, I can paint a simplified version of it, a few petals and a centre rather than a botanical drawing. White, blush or pale pink reads most bridal. Short round nails can hold a single tiny flower; almond and oval give room for a small cluster. The more air around the flowers, the more refined the set looks.
10. French Wedding Nails With Glitter
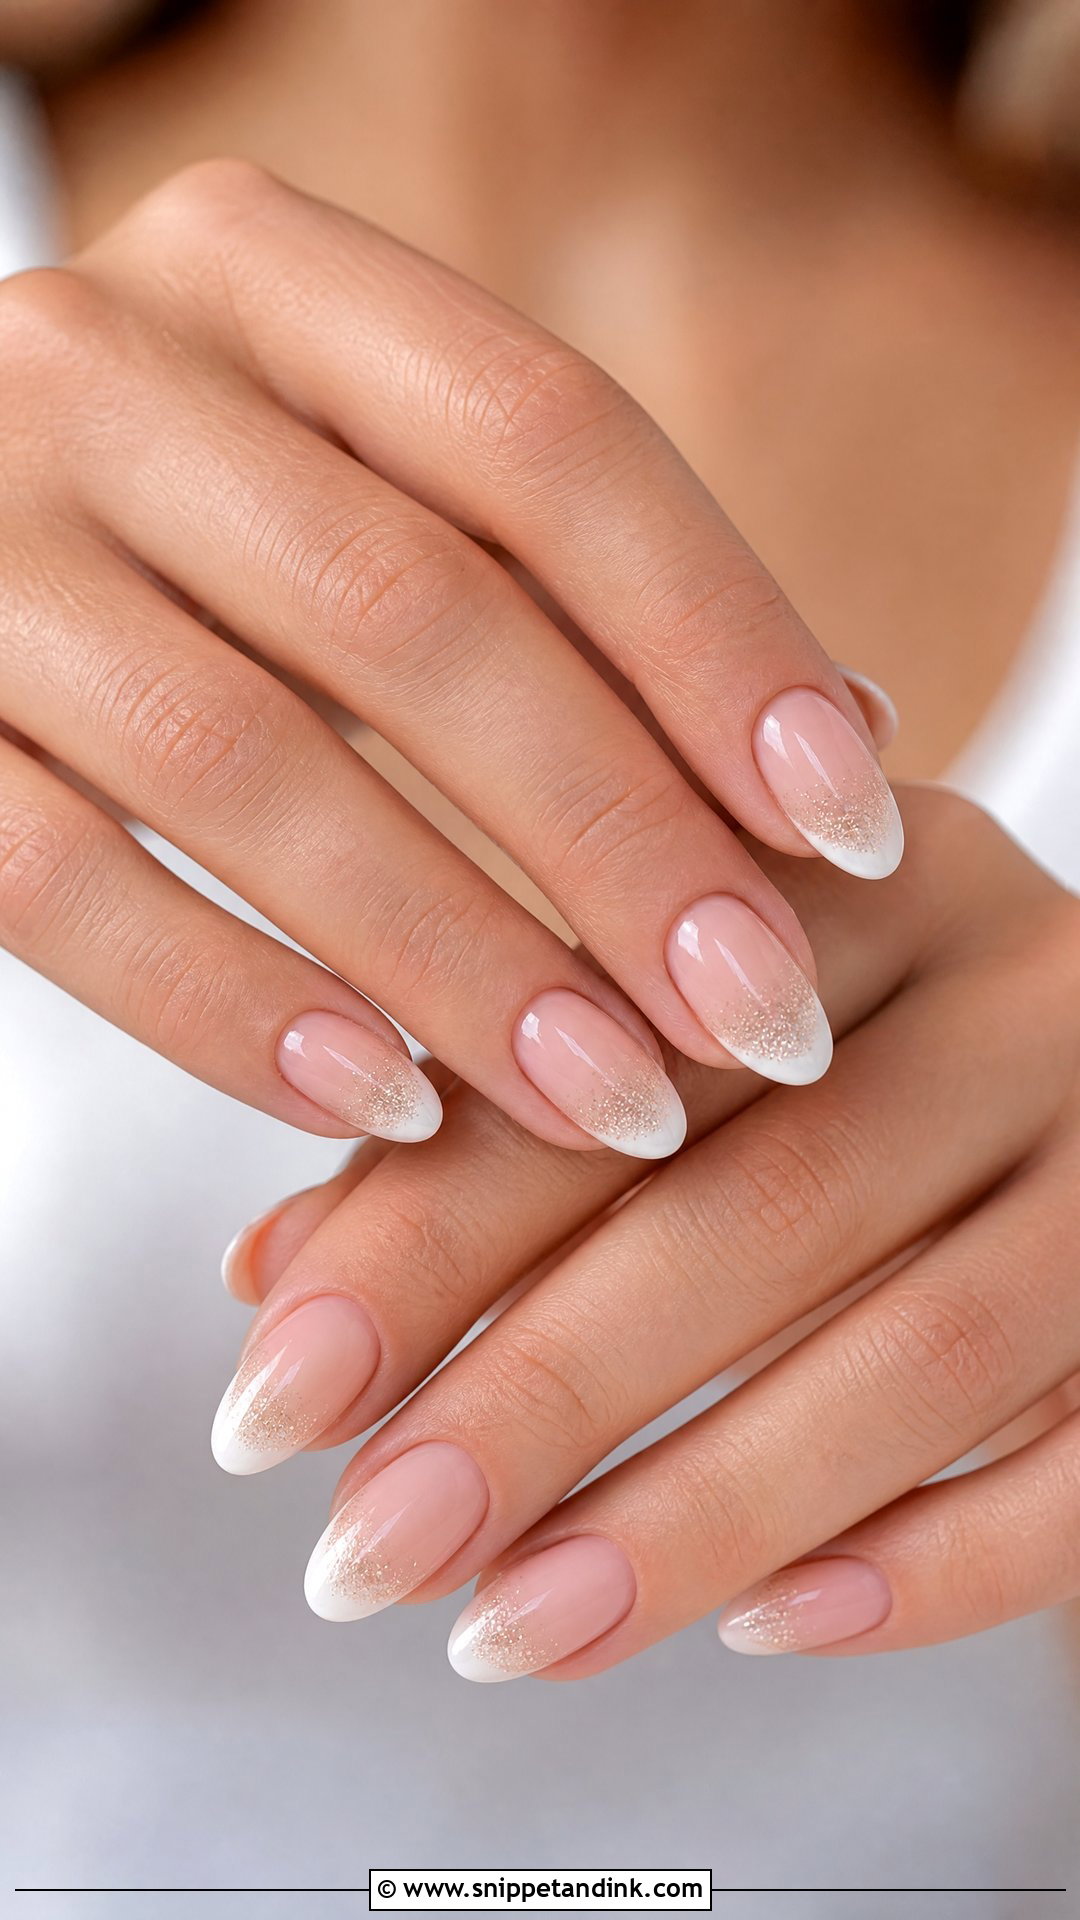
Glitter can sit along the tip, fade from it or trace the smile line. Silver looks cool and crisp, and champagne or rose gold glitter leans warmer. I use fine glitter and enough top coat to bury every particle, because exposed edges feel rough and snag stockings. One practical bonus: a glitter tip disguises small chips at the free edge better than plain white does. Keep the base sheer and the shape medium almond or oval.
11. Gold French Wedding Nails
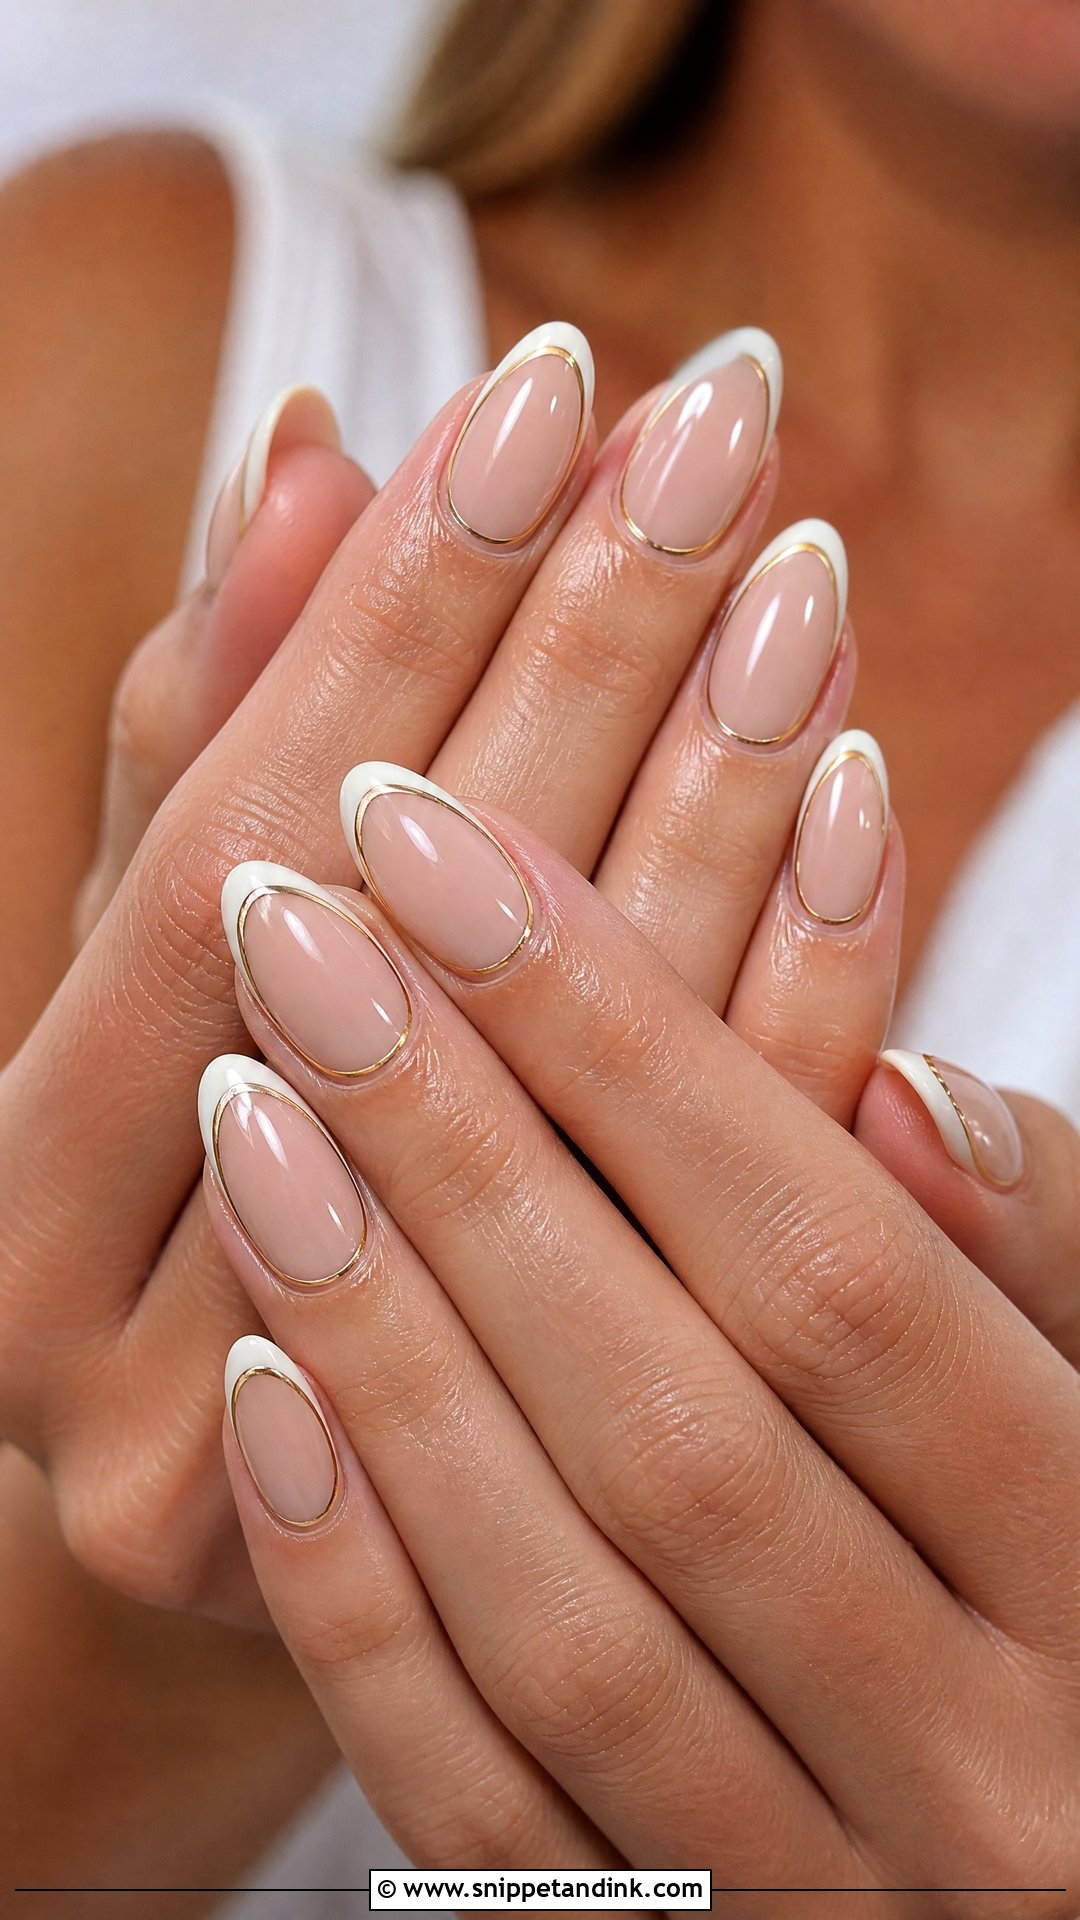
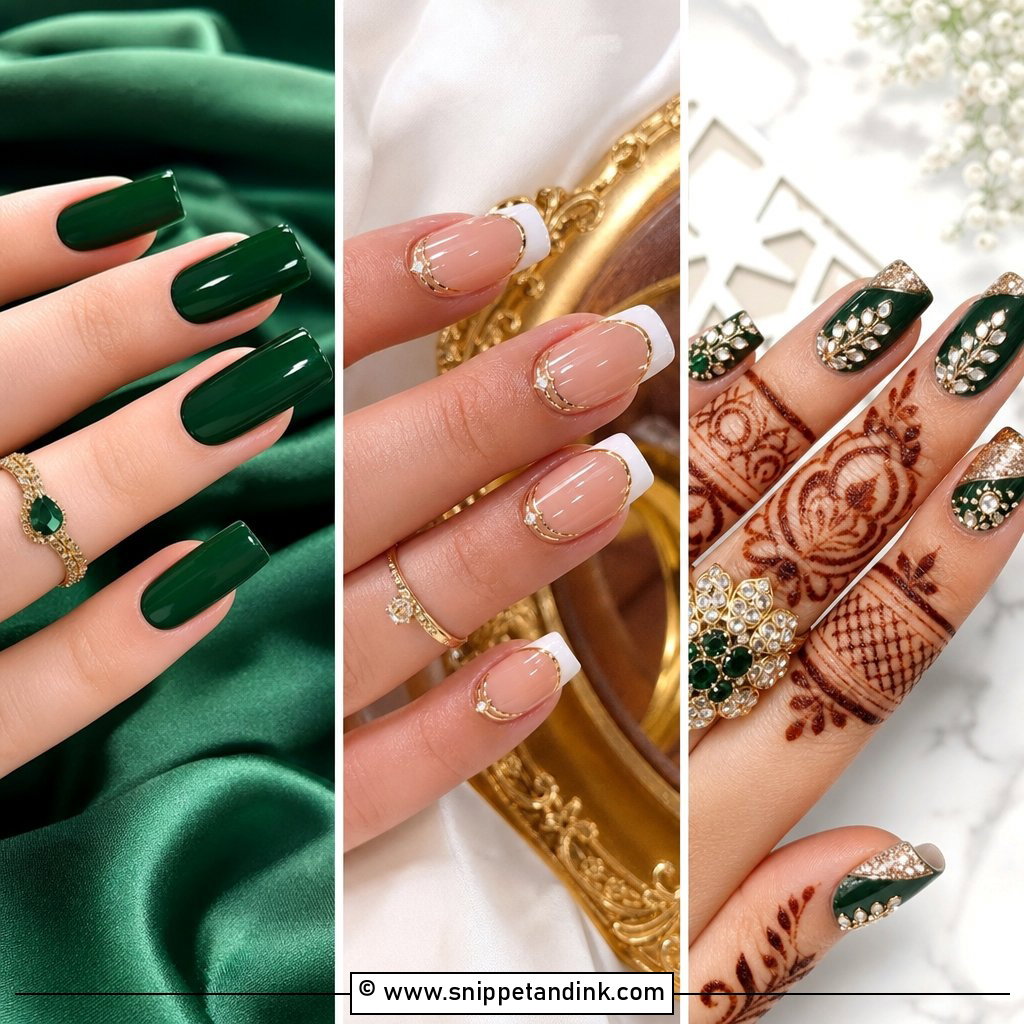
Gold works when your jewellery, shoes or hair pieces are already warm metal. It can be a thin gold tip, a gold line over white or tiny foil flakes near the edge. I find champagne gold more bridal than bright yellow gold, which can look brassy under indoor lighting. On almond and coffin nails, the gold line has room to curve gracefully; on short square nails I keep it to a hairline so it doesn’t look heavy.
12. Silver French Wedding Nails
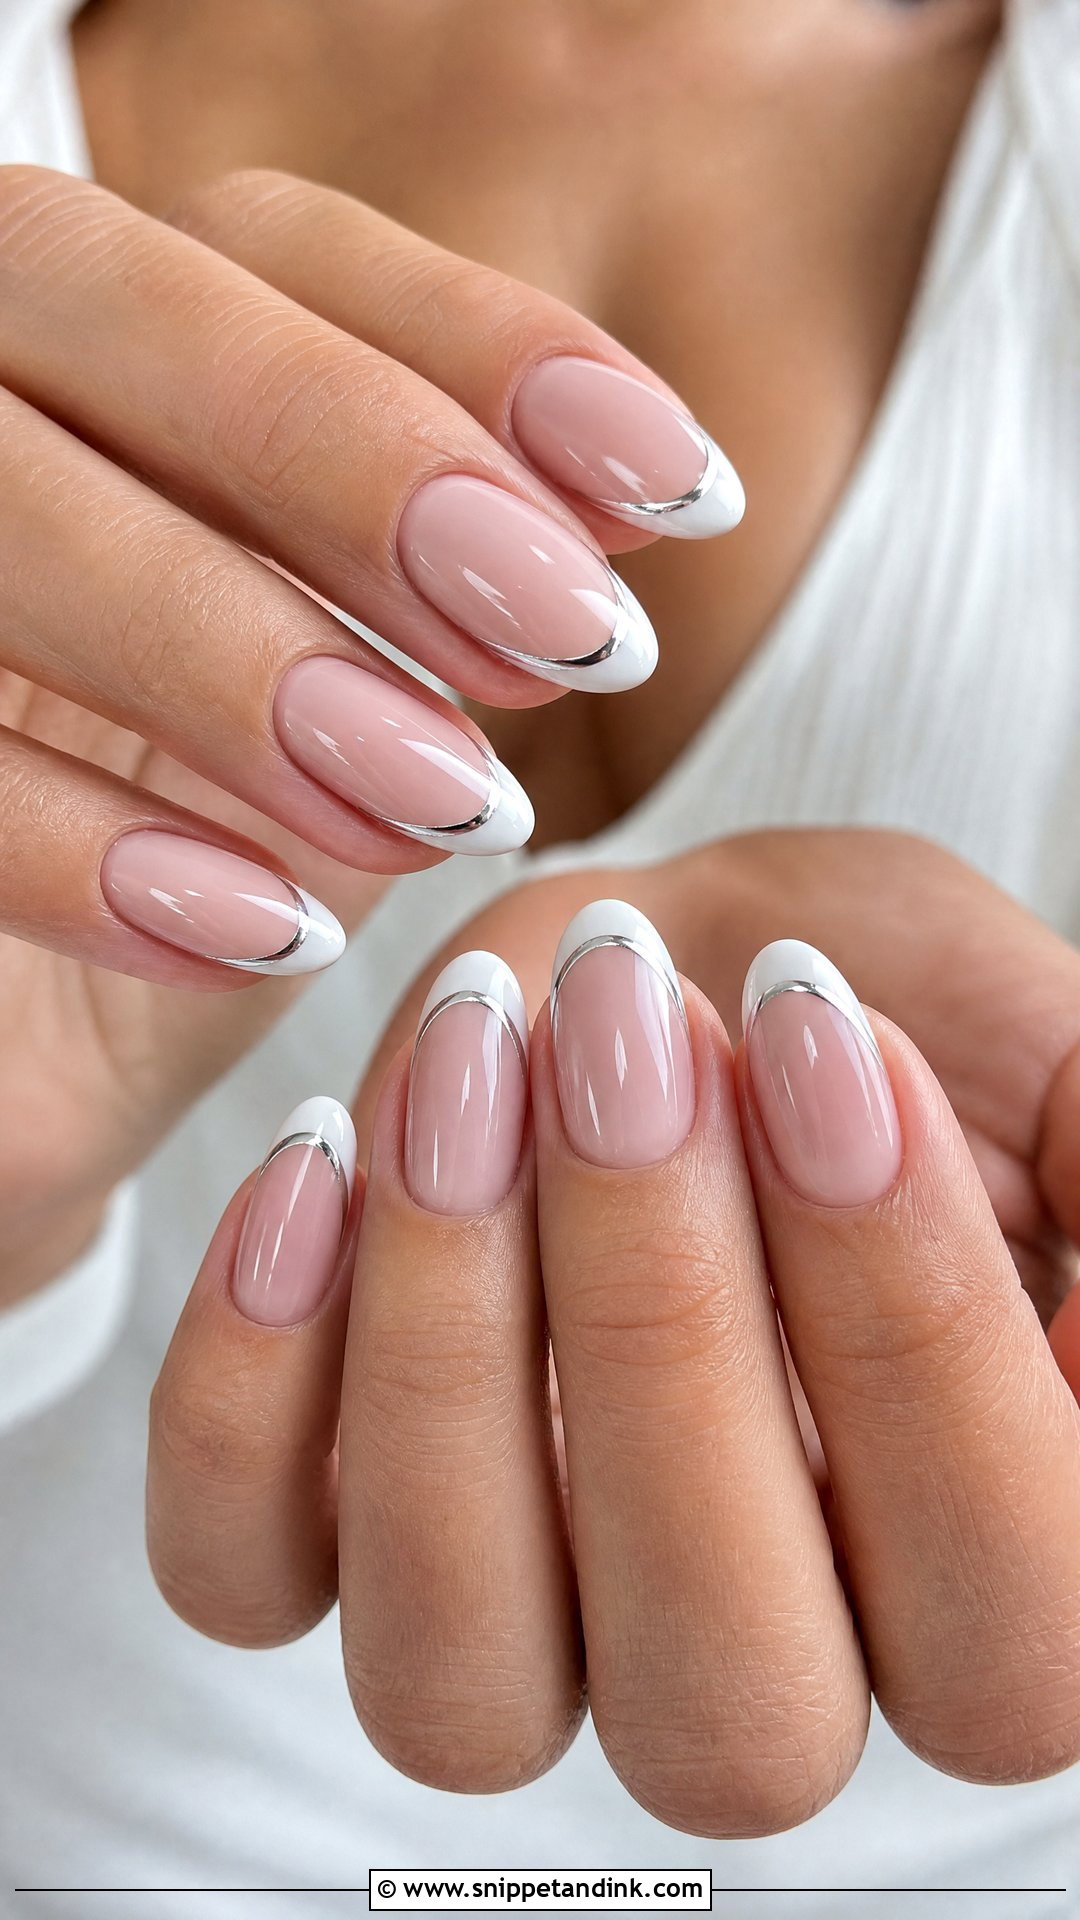
Silver is the cool version, for platinum, white gold and crystal. It can be a thin outline around a white tip, a soft silver chrome tip or a tiny glitter fade. A clear base underneath can make the set feel icy, so I usually put a blush base under silver to warm it slightly. Sleek hair and minimal styling suit it best. Oval, almond and squoval shapes all wear it well.
13. Blush French Wedding Nails
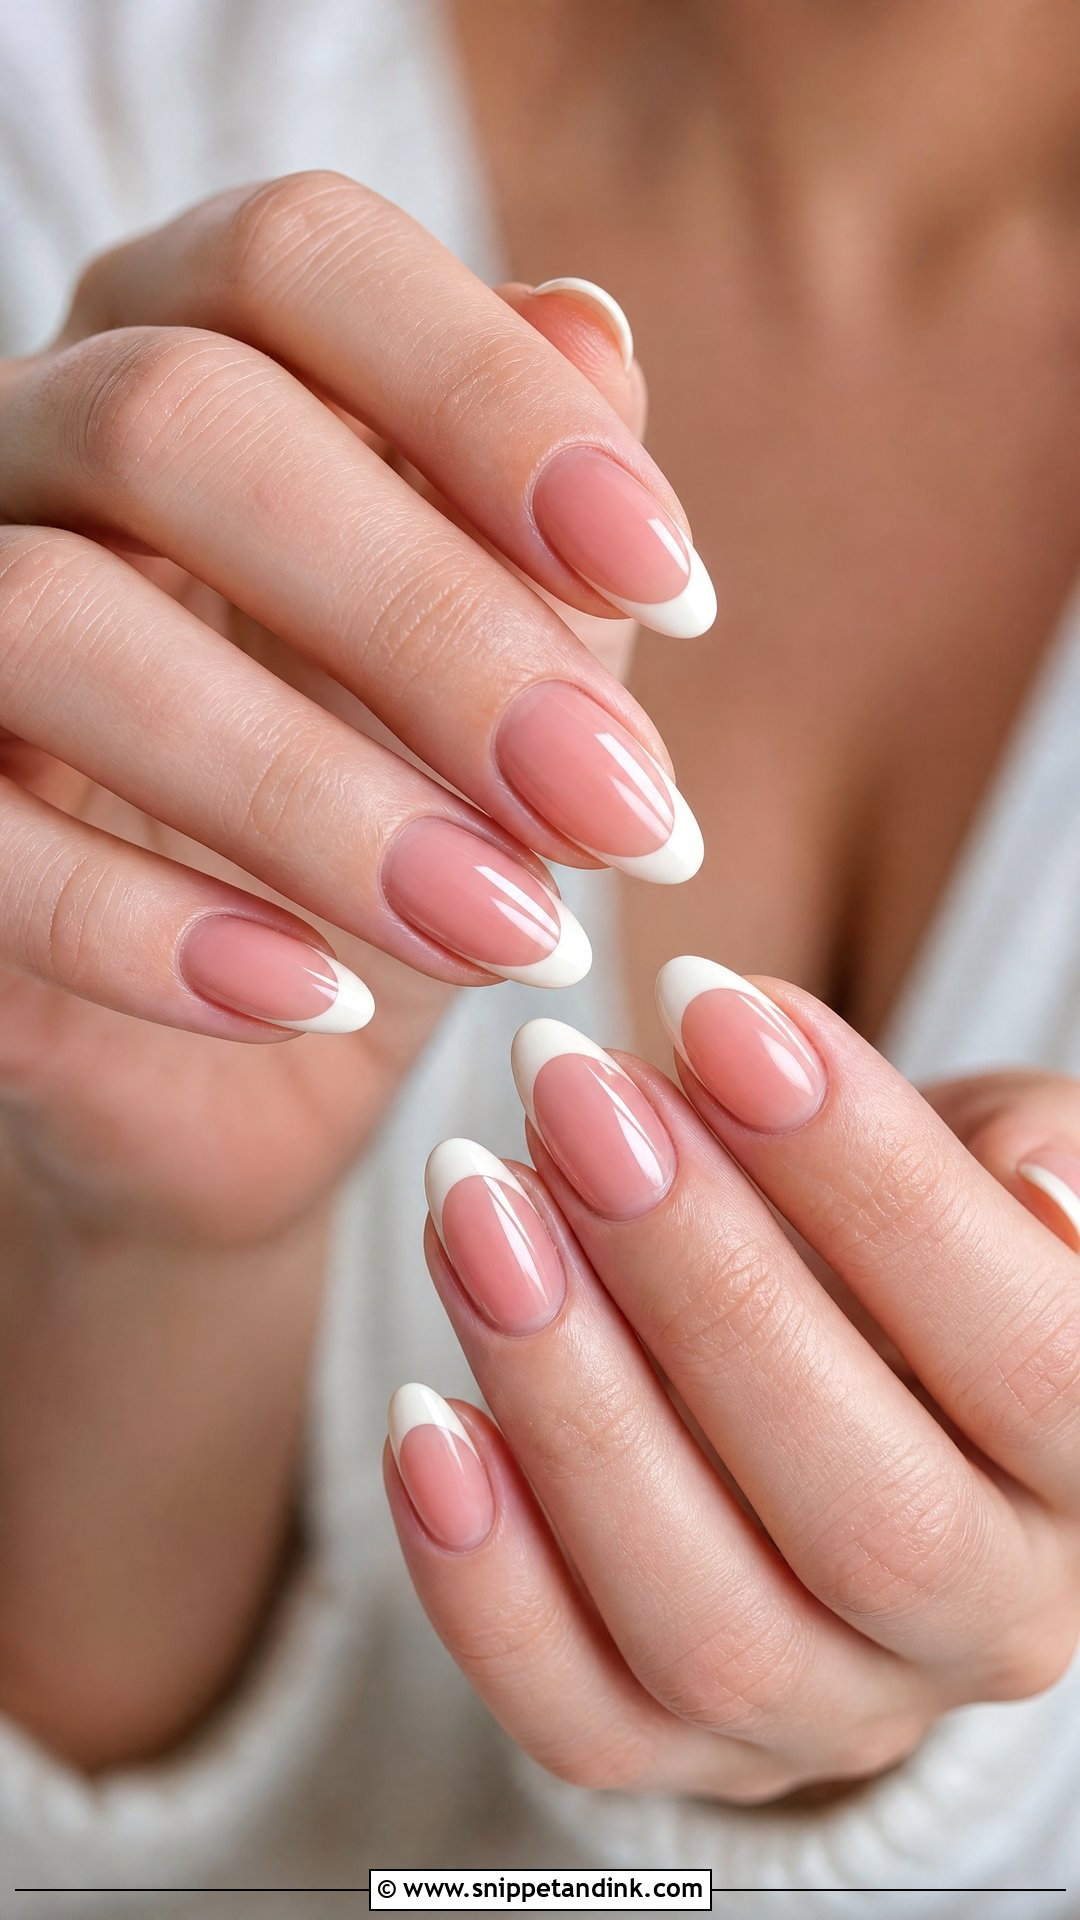
A blush base is warmer than a standard nude and makes hands look healthy in close-ups. I keep it semi-sheer so a little of the natural nail shows through; full-coverage pink looks like a colour manicure, not a French. Matching the blush to your lipstick or bouquet ties the look together. White, ivory or very pale pink tips all work over it. Almond and oval shapes keep it soft.
14. Nude French Wedding Nails
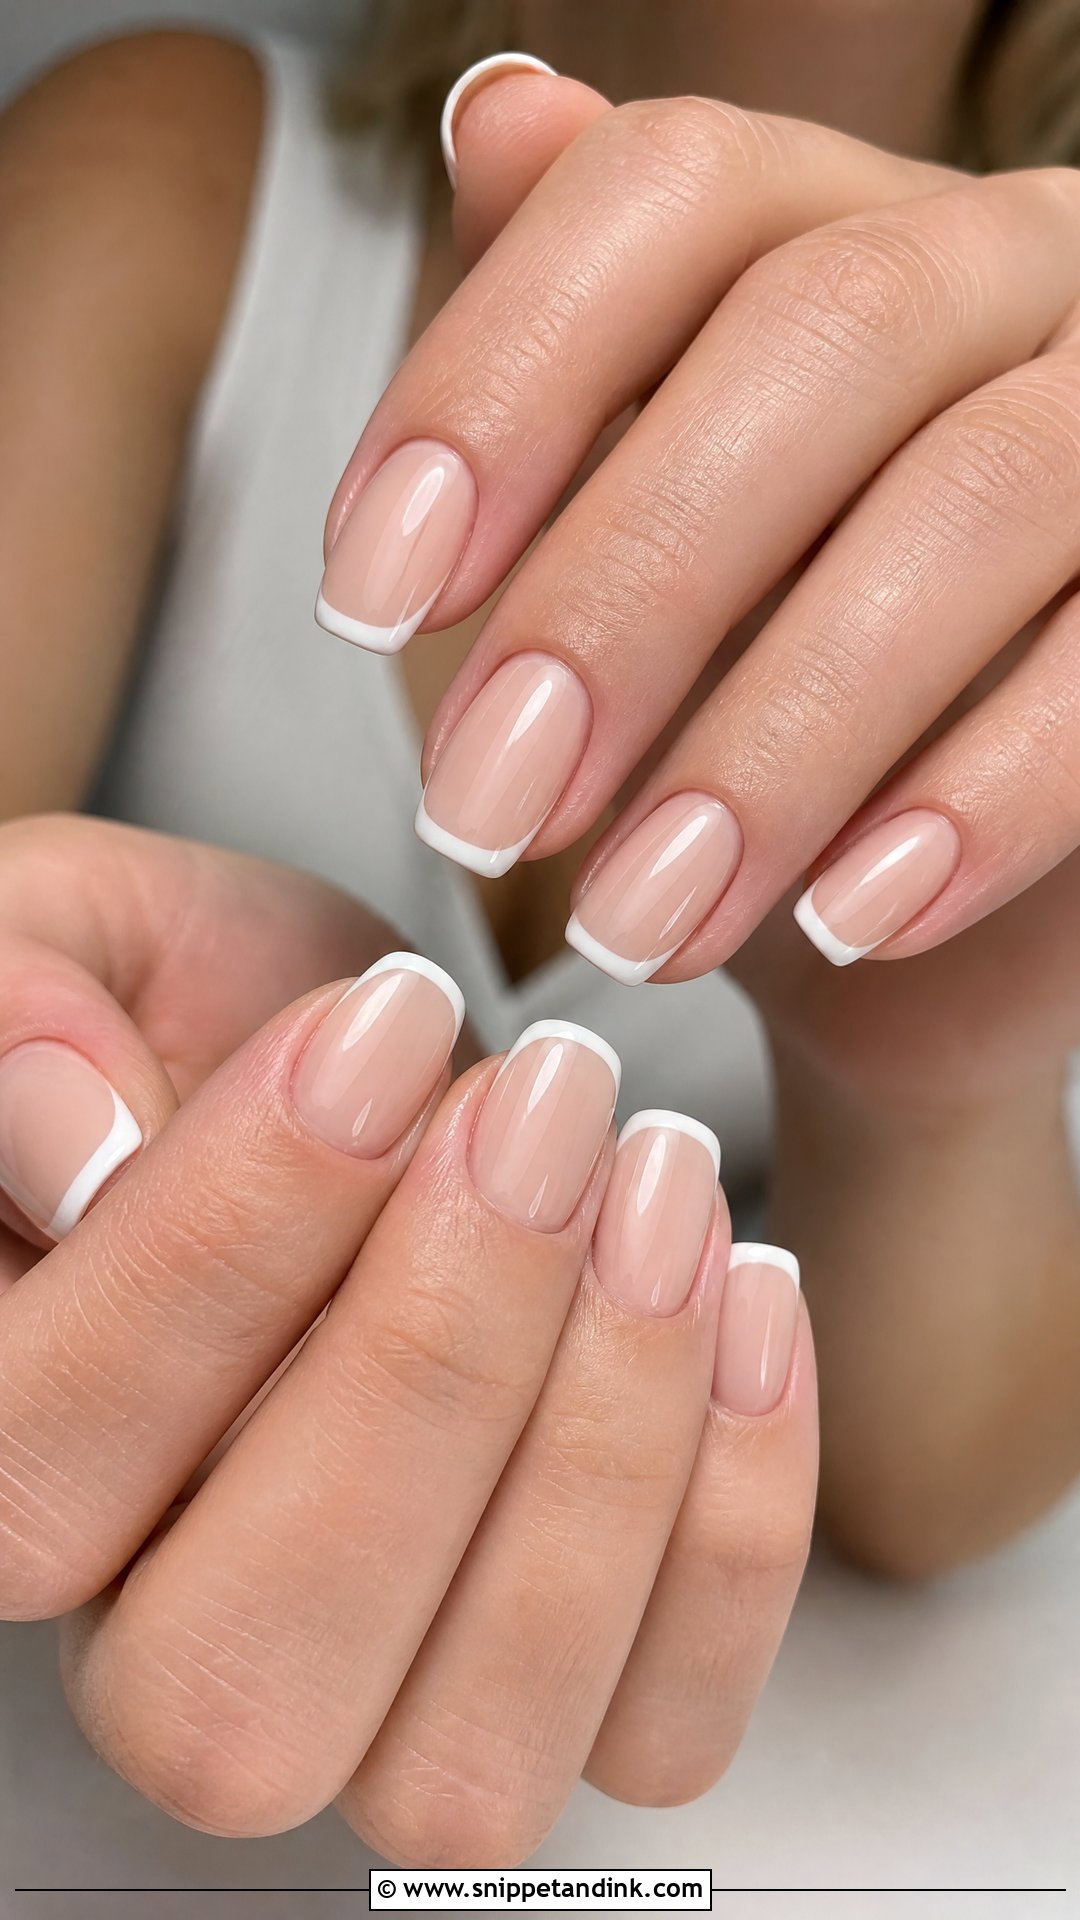
Everything here depends on shade matching. The wrong nude makes hands look grey or sallow. On fair skin I start with pale pink or beige, on medium skin a peachy nude, and on deeper skin caramel, cocoa or rosy brown. I paint one nail and check it in daylight before doing the rest. Pair the base with soft white or ivory tips. It’s also an easy match for bridesmaids, since each can have a nude suited to her own skin with the same tip.
15. Almond French Wedding Nails
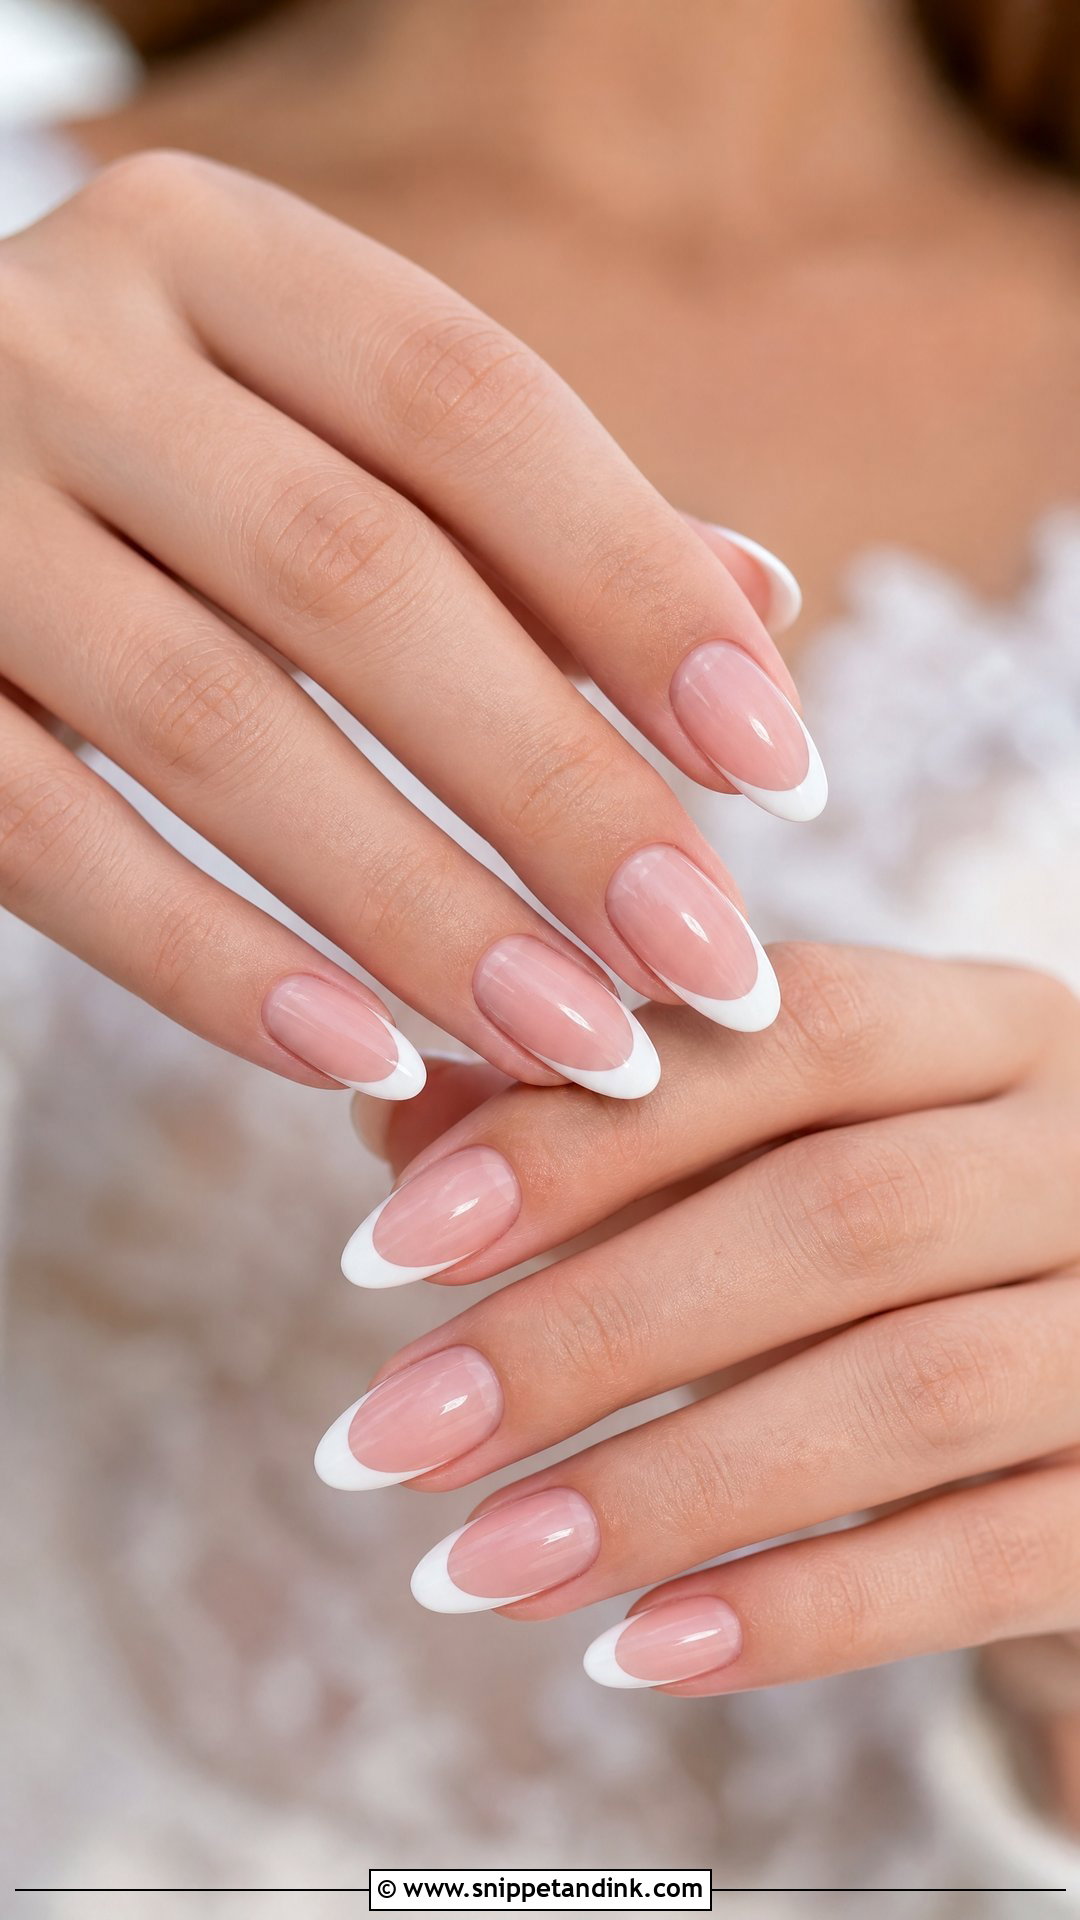
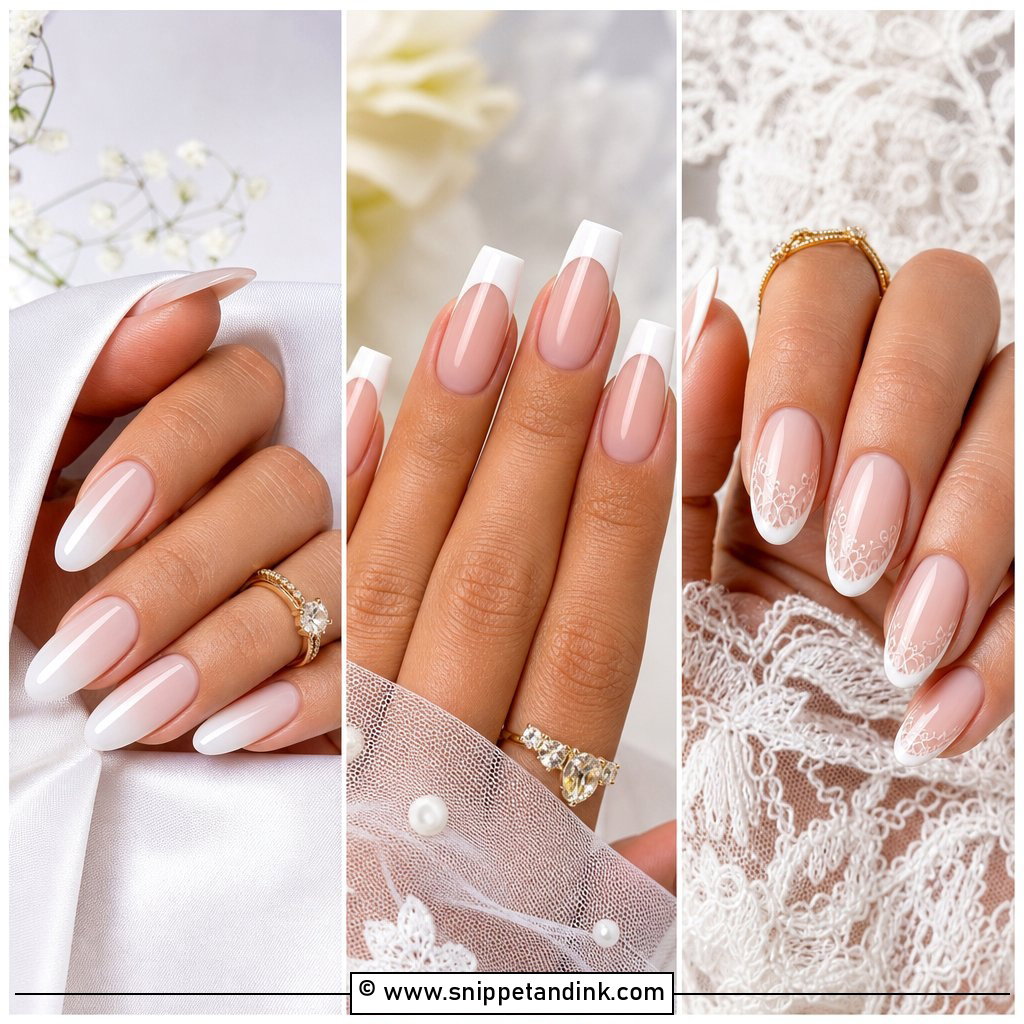
Almond lengthens fingers because the tapered sides draw the eye to the point. At medium length it looks elegant without the drama of stiletto, which is why I recommend it so often for ring photos. When I file almond, I keep the sidewalls straight past the fingertip before tapering, or the nail looks pinched and weak. Curve the white tip to follow the almond point. It holds classic white, pearl, chrome, lace or floral details equally well.
16. Short French Wedding Nails
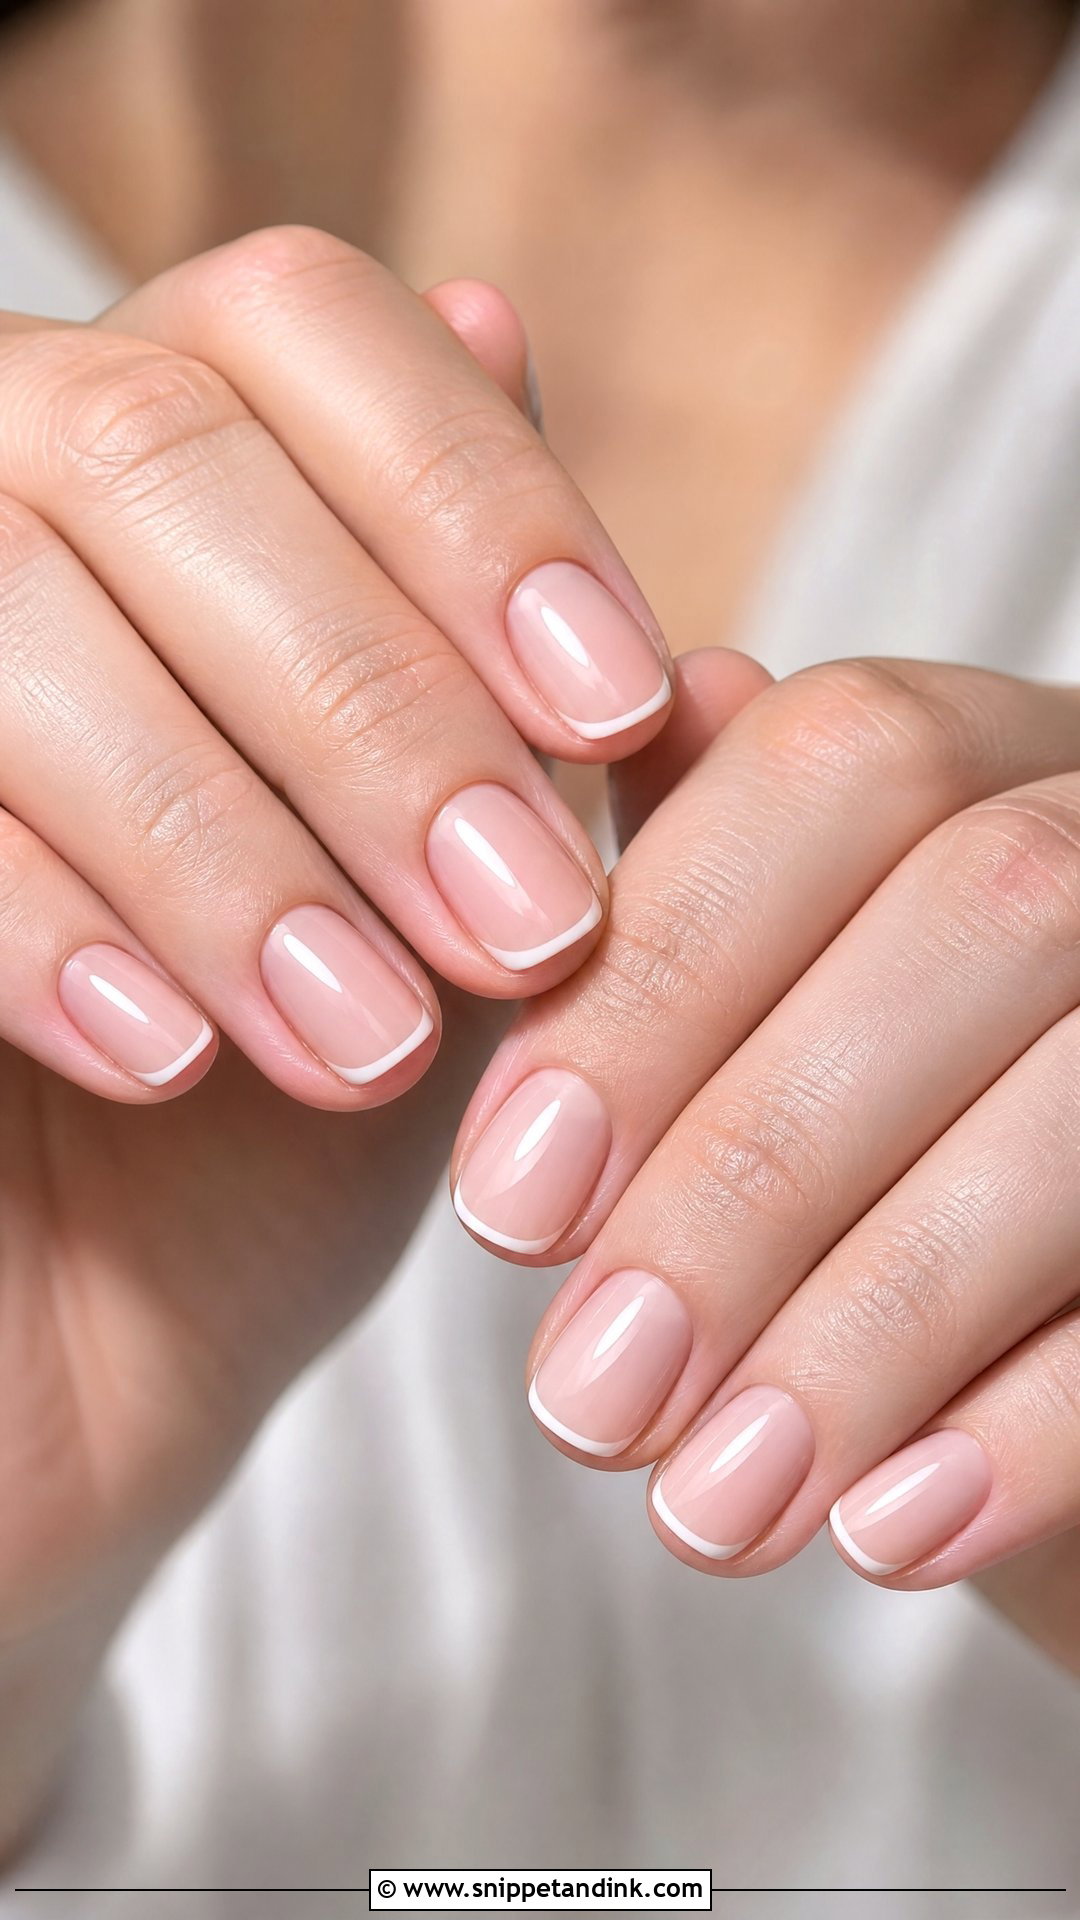
Short French nails are the ones I’d pick for a bride who works with her hands, types all day or simply hates length. Thick tips make short nails look stubby, so a micro tip is almost always better. Use a sheer pink, nude or milky base and a fine white line at the edge. Squoval, oval and rounded shapes keep the hands soft. Short nails also survive the honeymoon with the fewest breaks.
17. Square French Wedding Nails
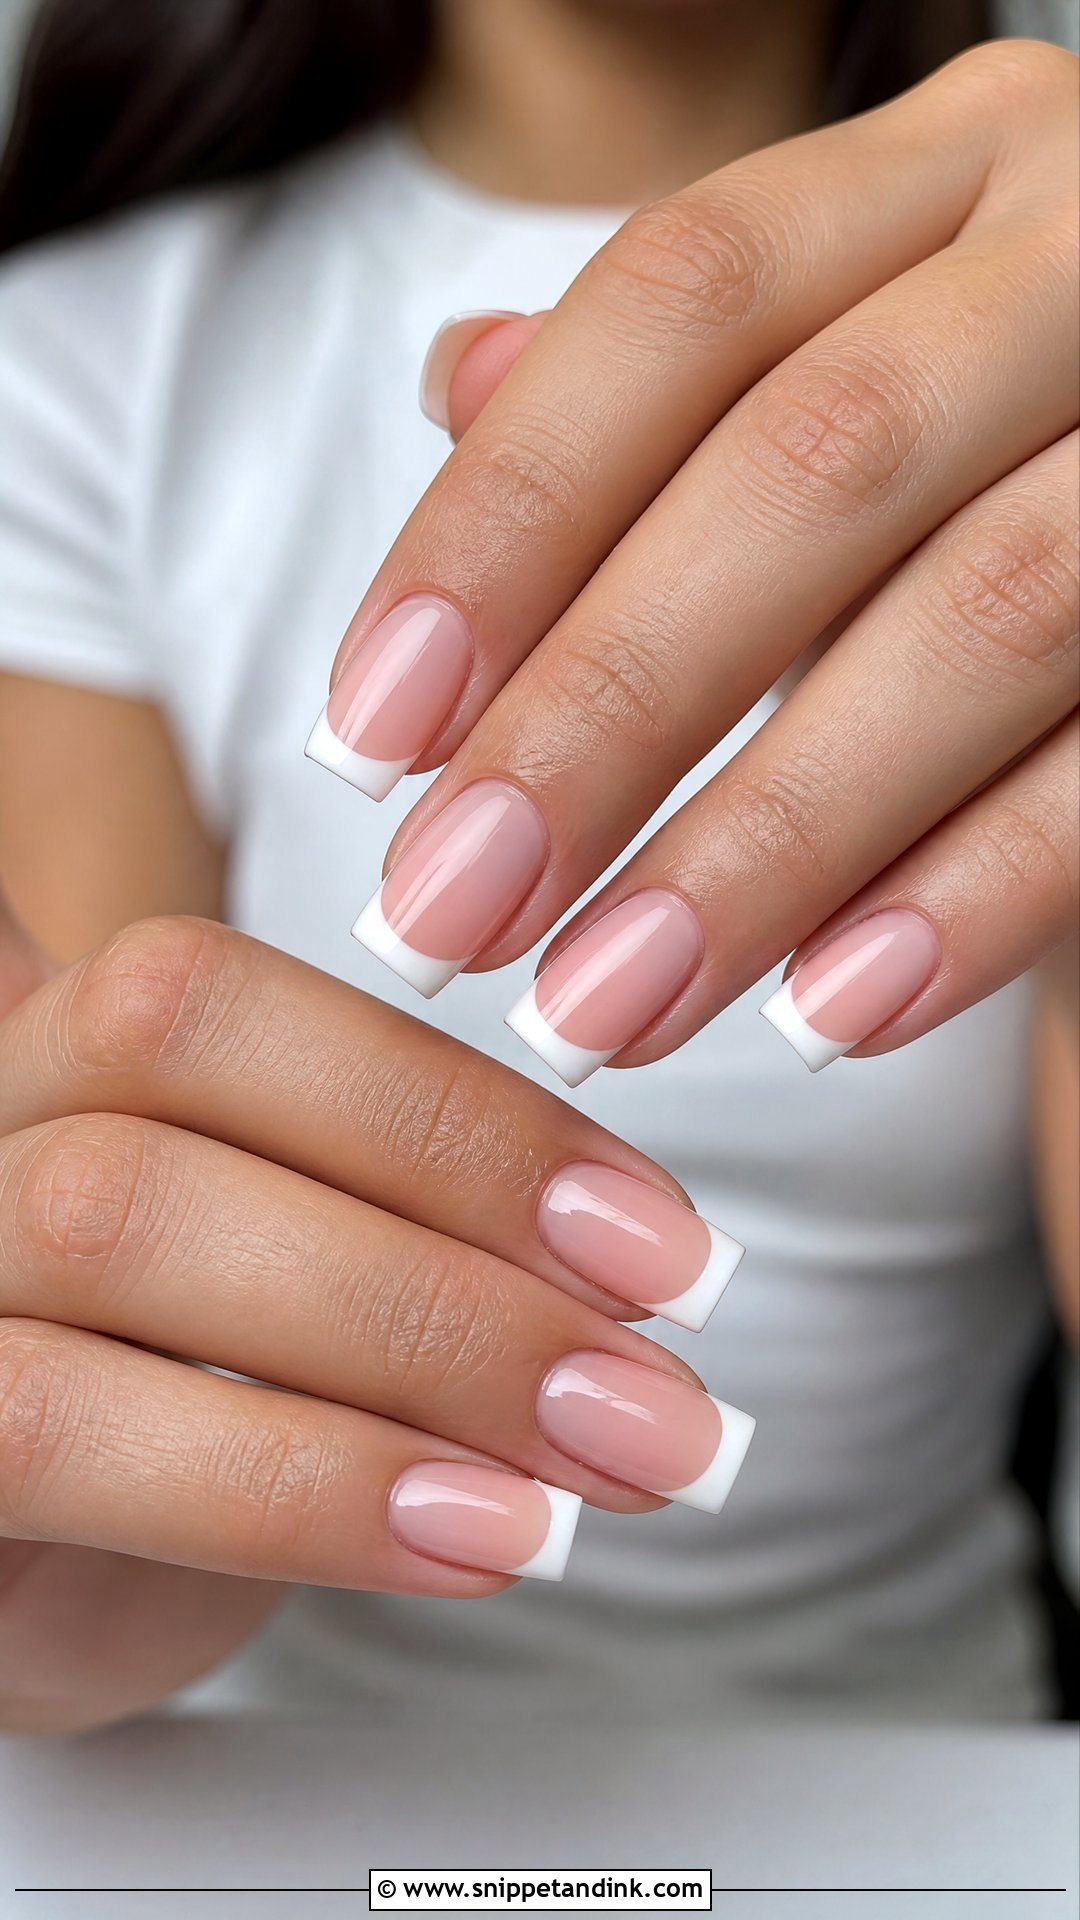
Square shows off a white tip most clearly because the edge is straight. For weddings I usually round the corners into a soft square or squoval; sharp corners snag tights and lace and chip first. A thin tip looks modern, a slightly wider one more traditional. Medium length is the sweet spot. It pairs naturally with a simple gown, sleek hair and classic makeup.
18. Coffin French Wedding Nails
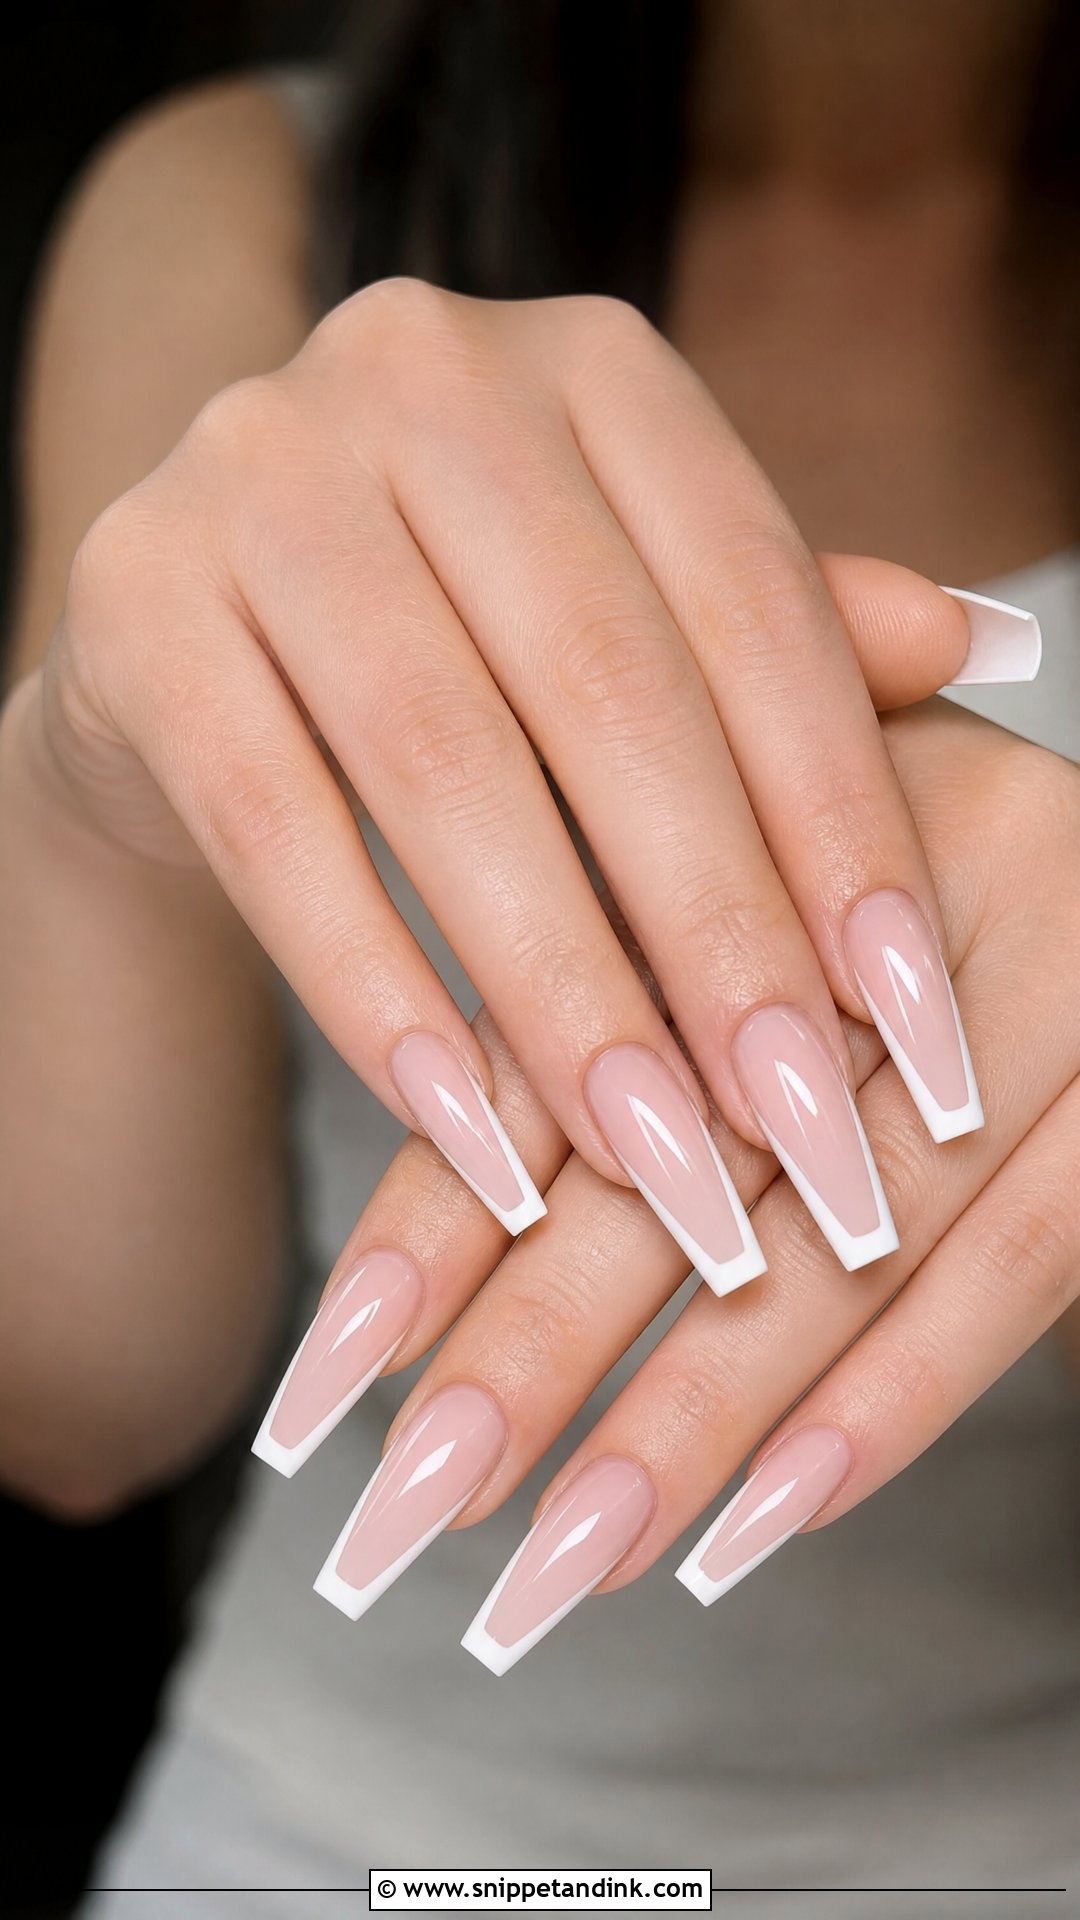
Coffin suits brides who already wear long nails and like a strong silhouette. The white tip should follow the flat coffin edge, not curve like an oval tip, or the shape looks confused. Choose a nude or pink base with white, milky or chrome tips. If your dress is heavily embellished, keep the nails plain; beaded bodice plus decorated coffins is too much. I’d advise against going extra-long for the first time on your wedding day, because unfamiliar length makes buttons, jewellery clasps and phones awkward.
19. Oval French Wedding Nails
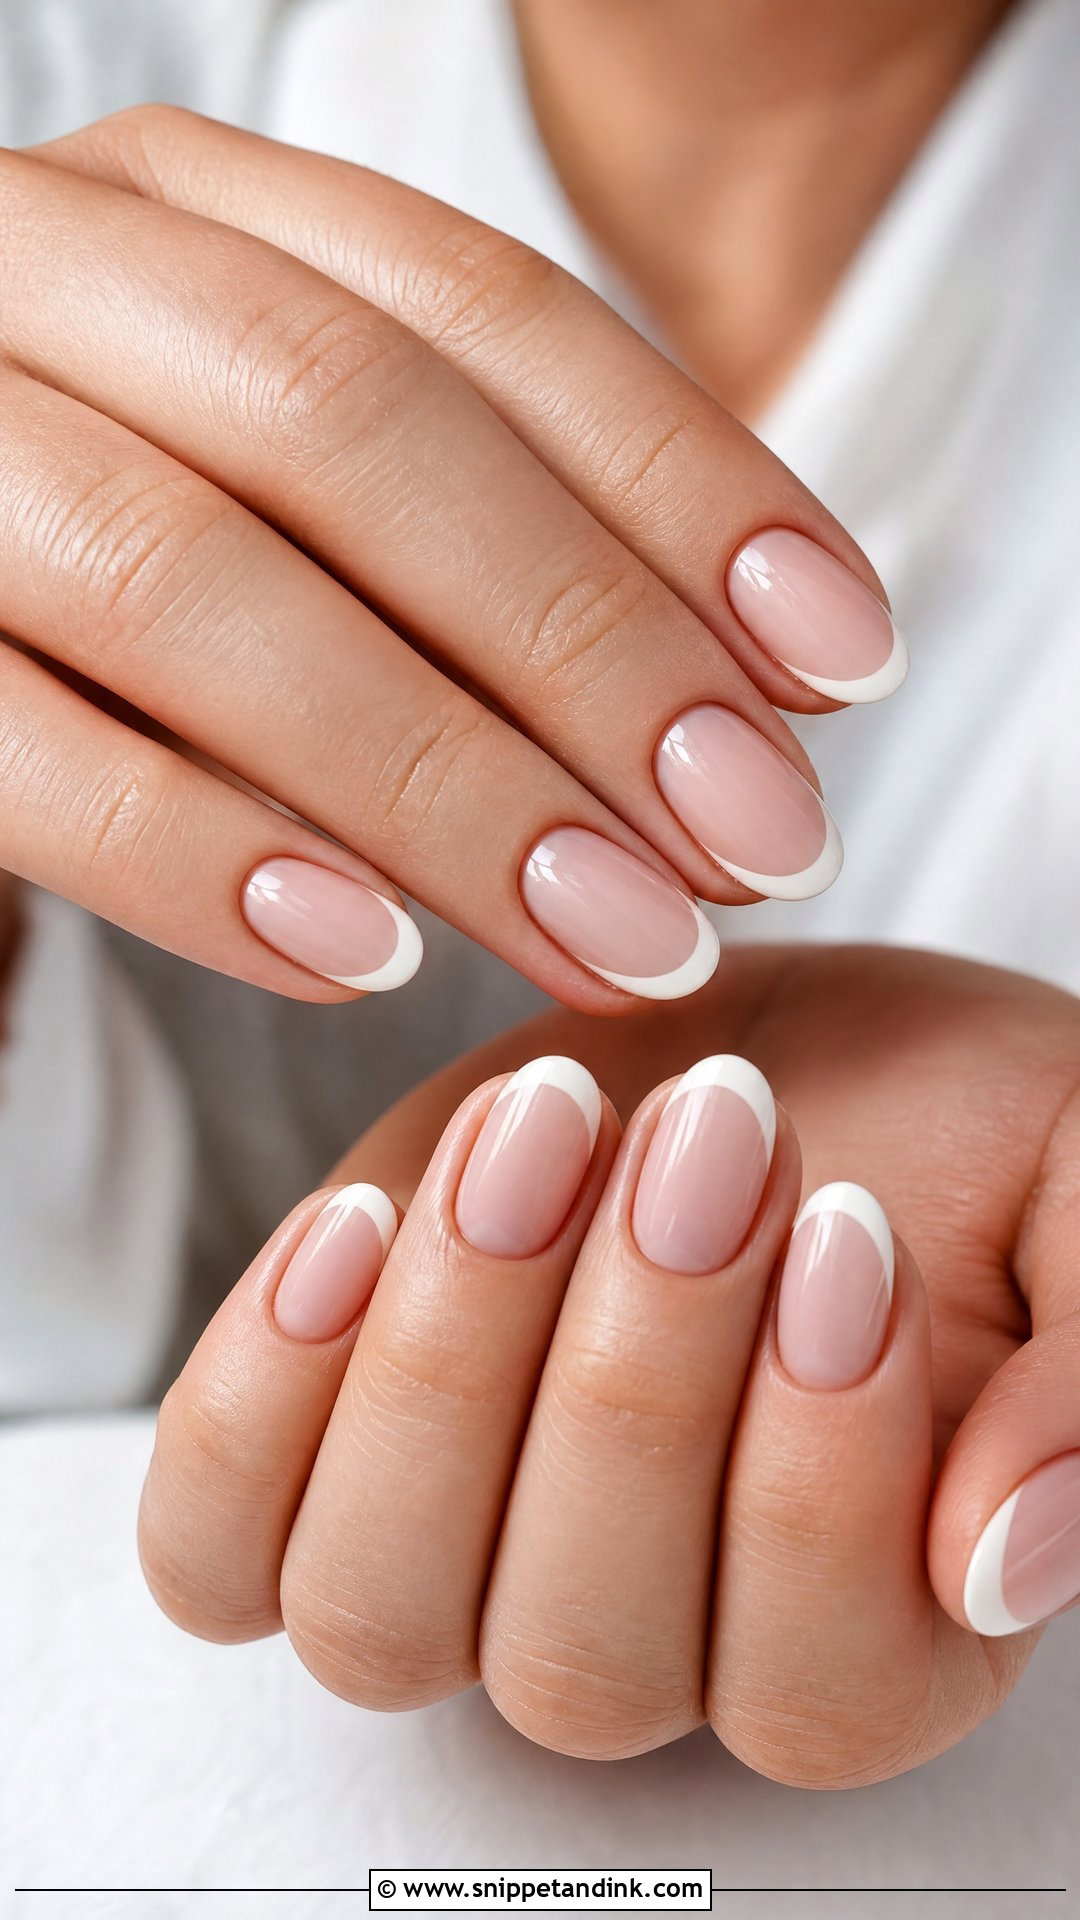
Oval mirrors the fingertip, so it lengthens without any point or drama. It’s what I suggest when a bride can’t decide, because it works at short, medium and long lengths. A sheer pink base with ivory tips is traditional; a milky base updates it. Finish with gloss, or with a soft pearl chrome if you want a glow in photos.
20. White French Wedding Nails
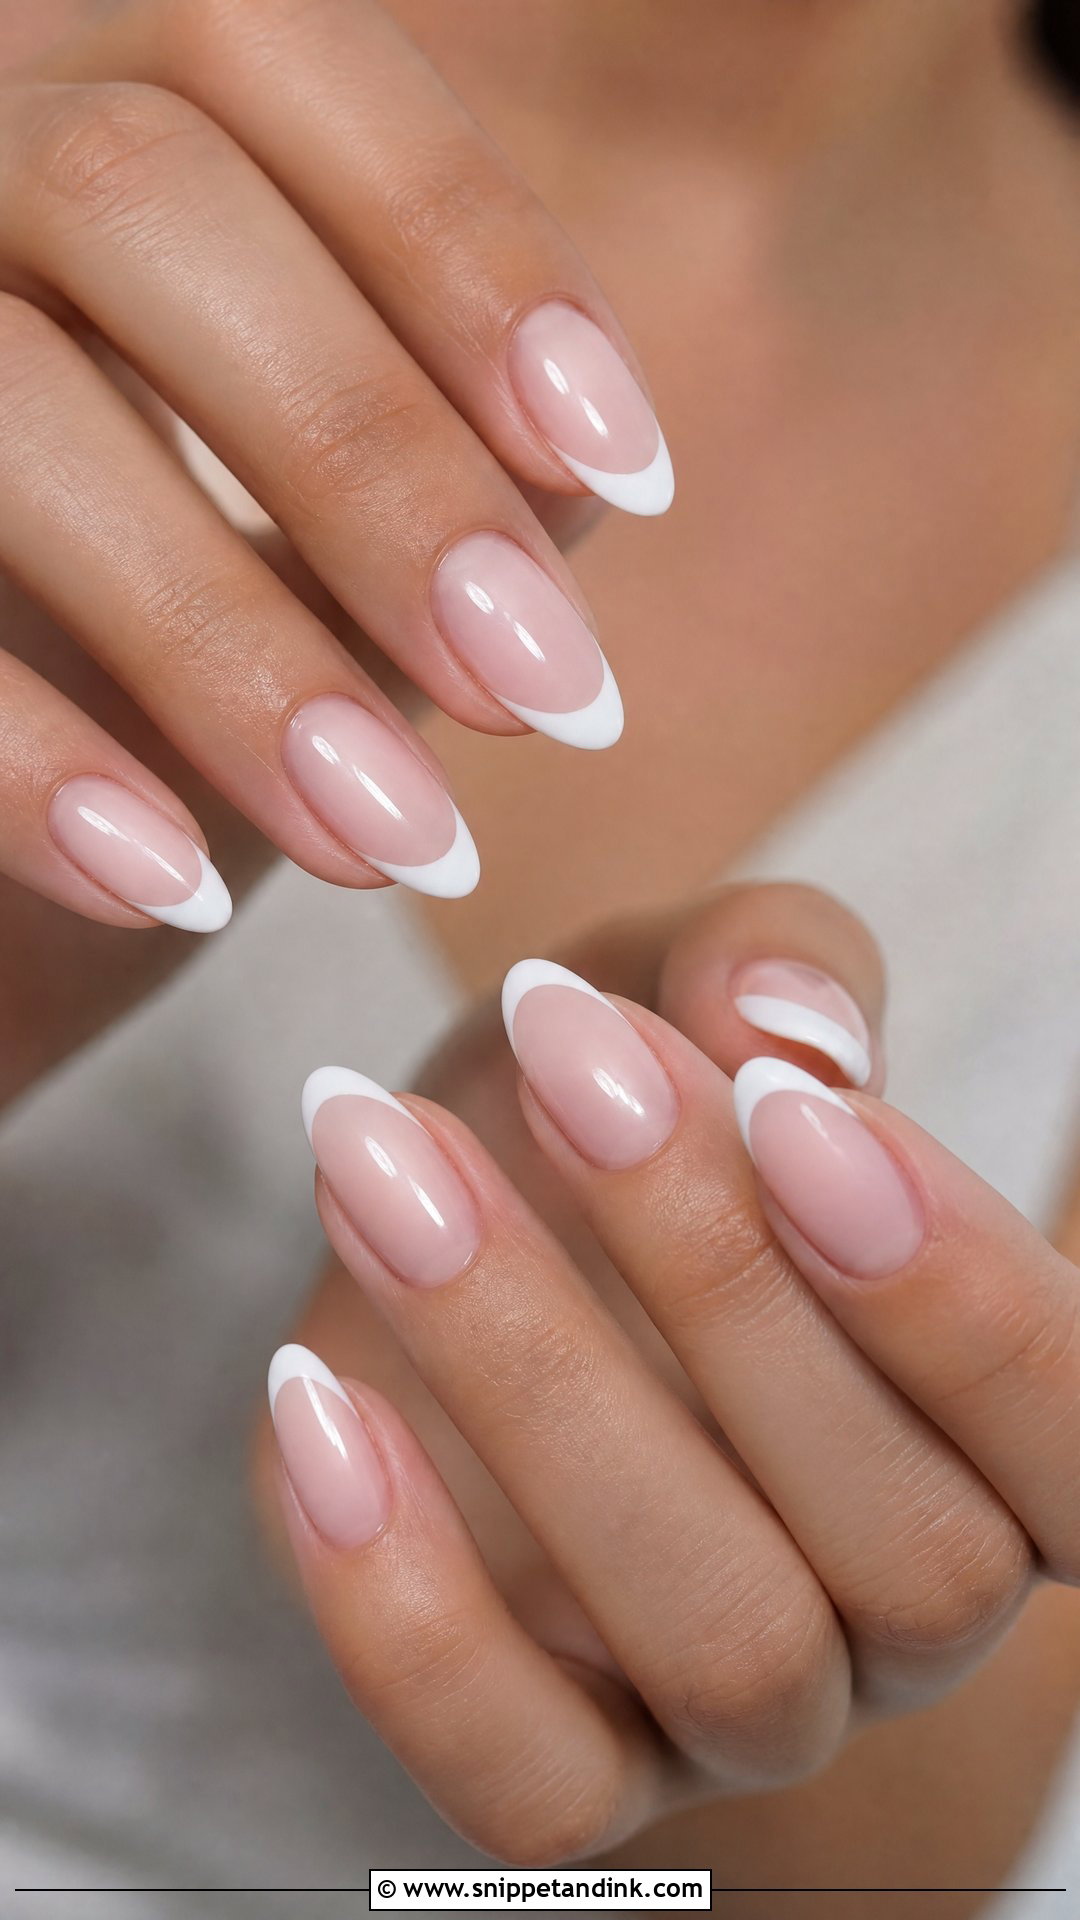
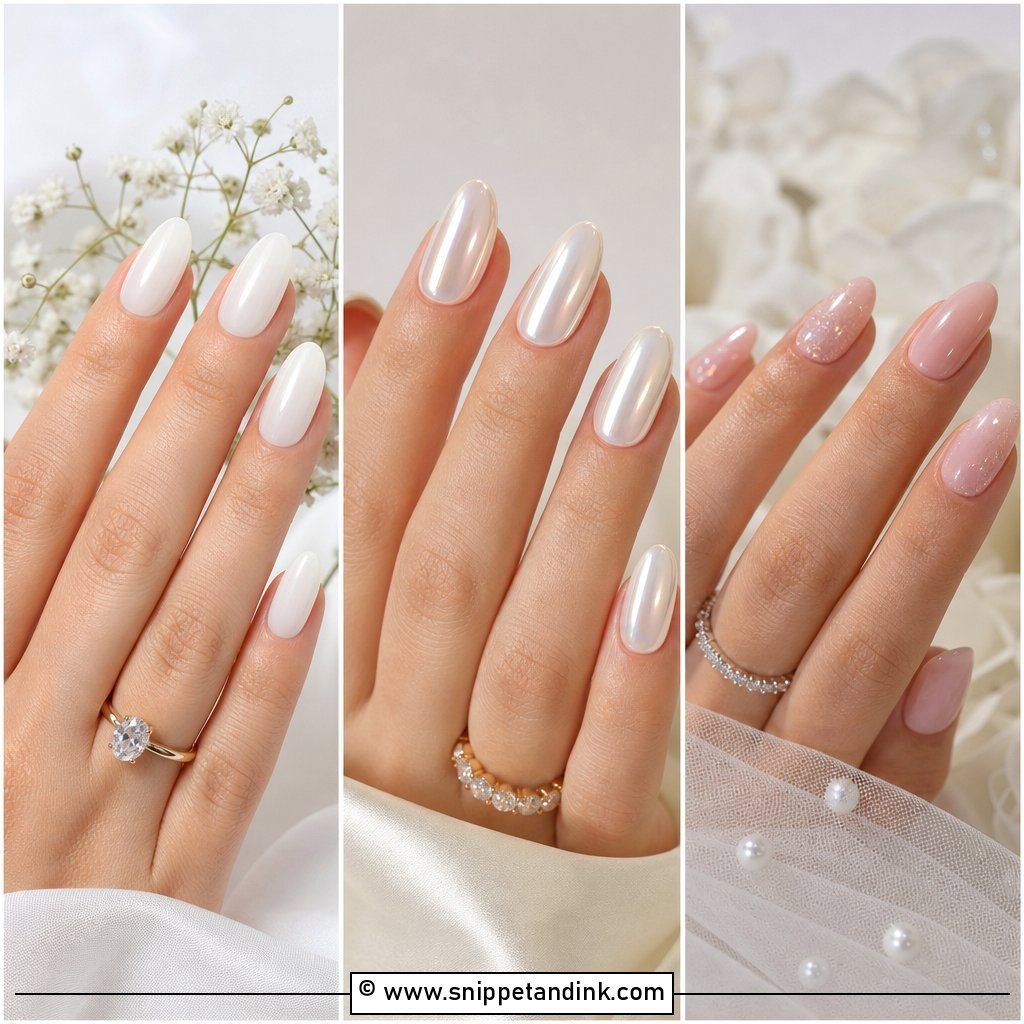
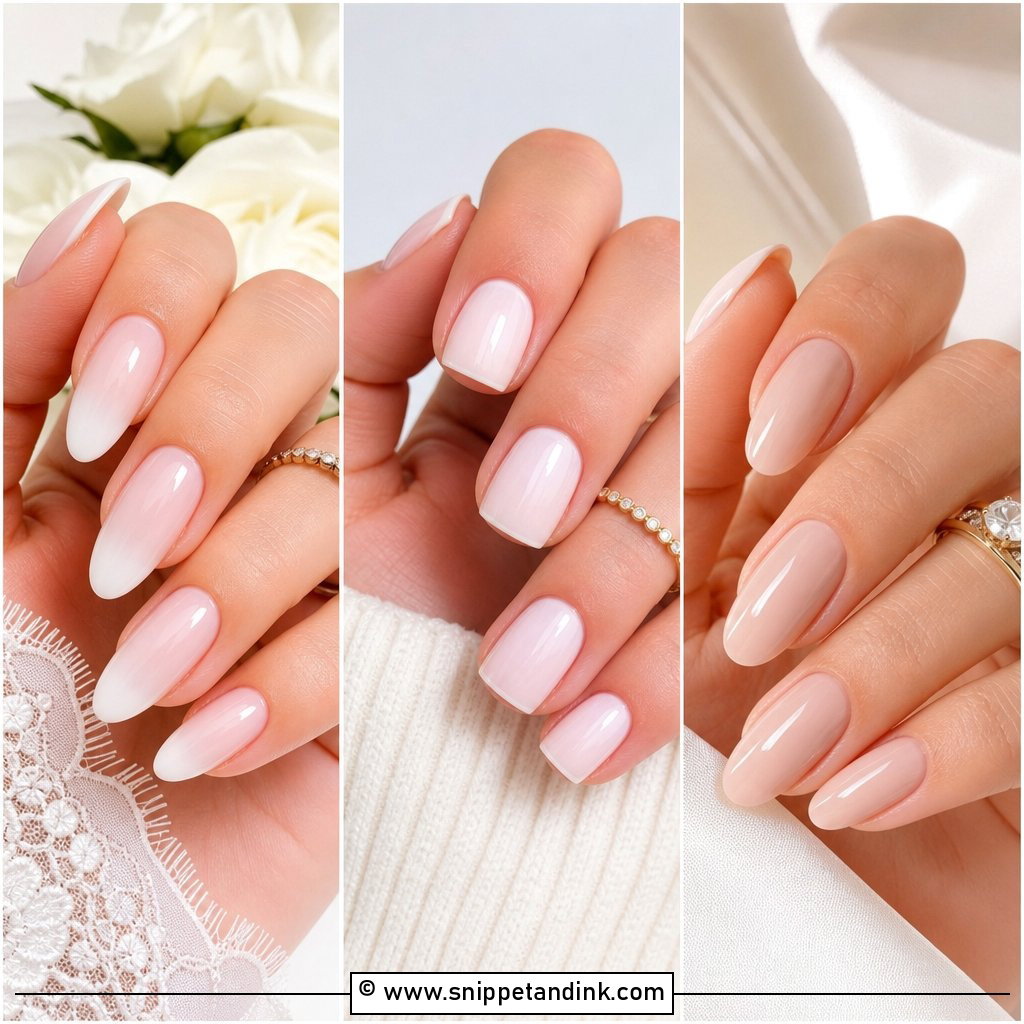
The traditional white tip still works if you choose the right white. Bright white gives a crisp classic look; a soft white or ivory pairs better with most bridal fabrics, which are rarely pure white. A sheer pink or nude base underneath keeps the set from looking flat. To modernise it, I make the tip thinner and the smile line softer, or float a milky overlay on top. It wears well on every shape from short square to long almond.
21. Ivory French Wedding Nails
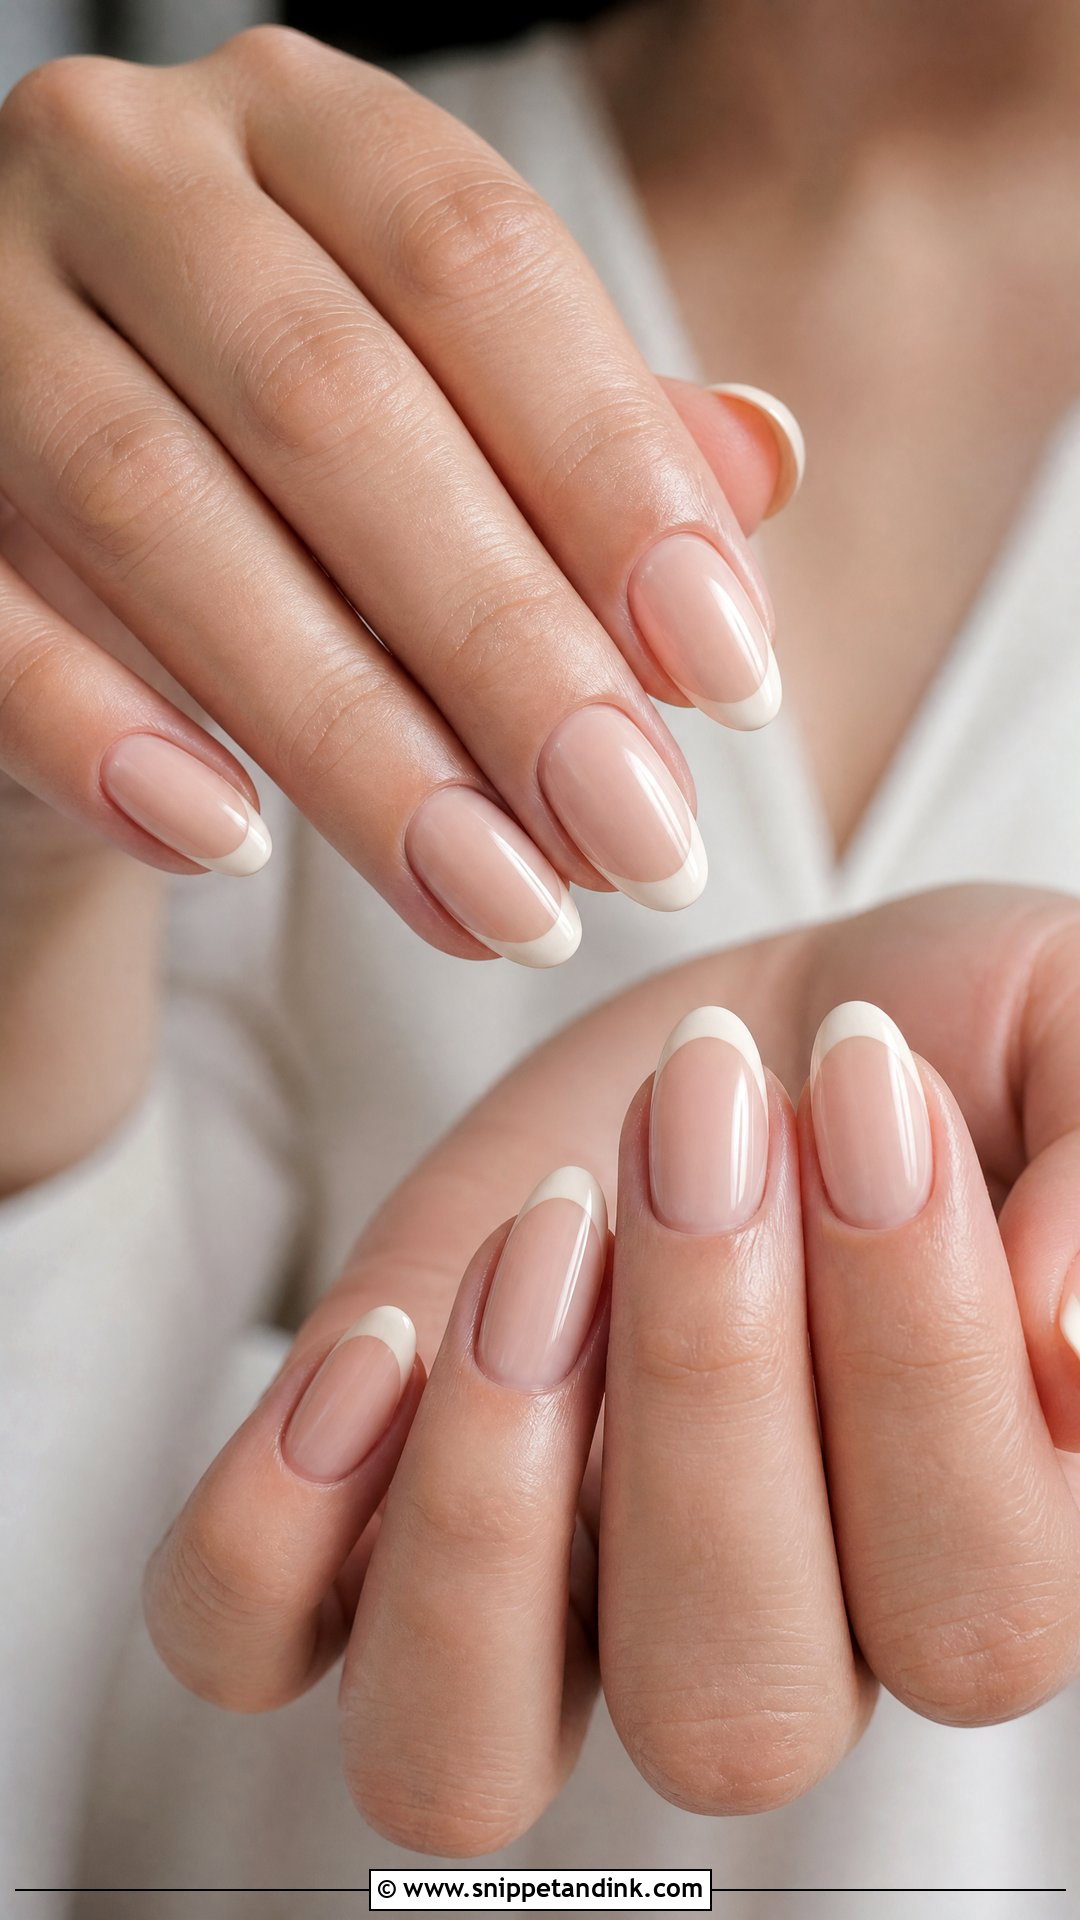
Ivory tips are softer than bright white and blend with ivory, cream, champagne and warm white dresses. They create a more natural bridal finish because the contrast with the skin is gentler. I pair ivory with a sheer nude, blush or milky base. It’s my go-to for brides who find bright white tips look harsh on their hands, and it sits well with gold and pearls. Almond, oval and squoval all suit it.
22. Double French Wedding Nails
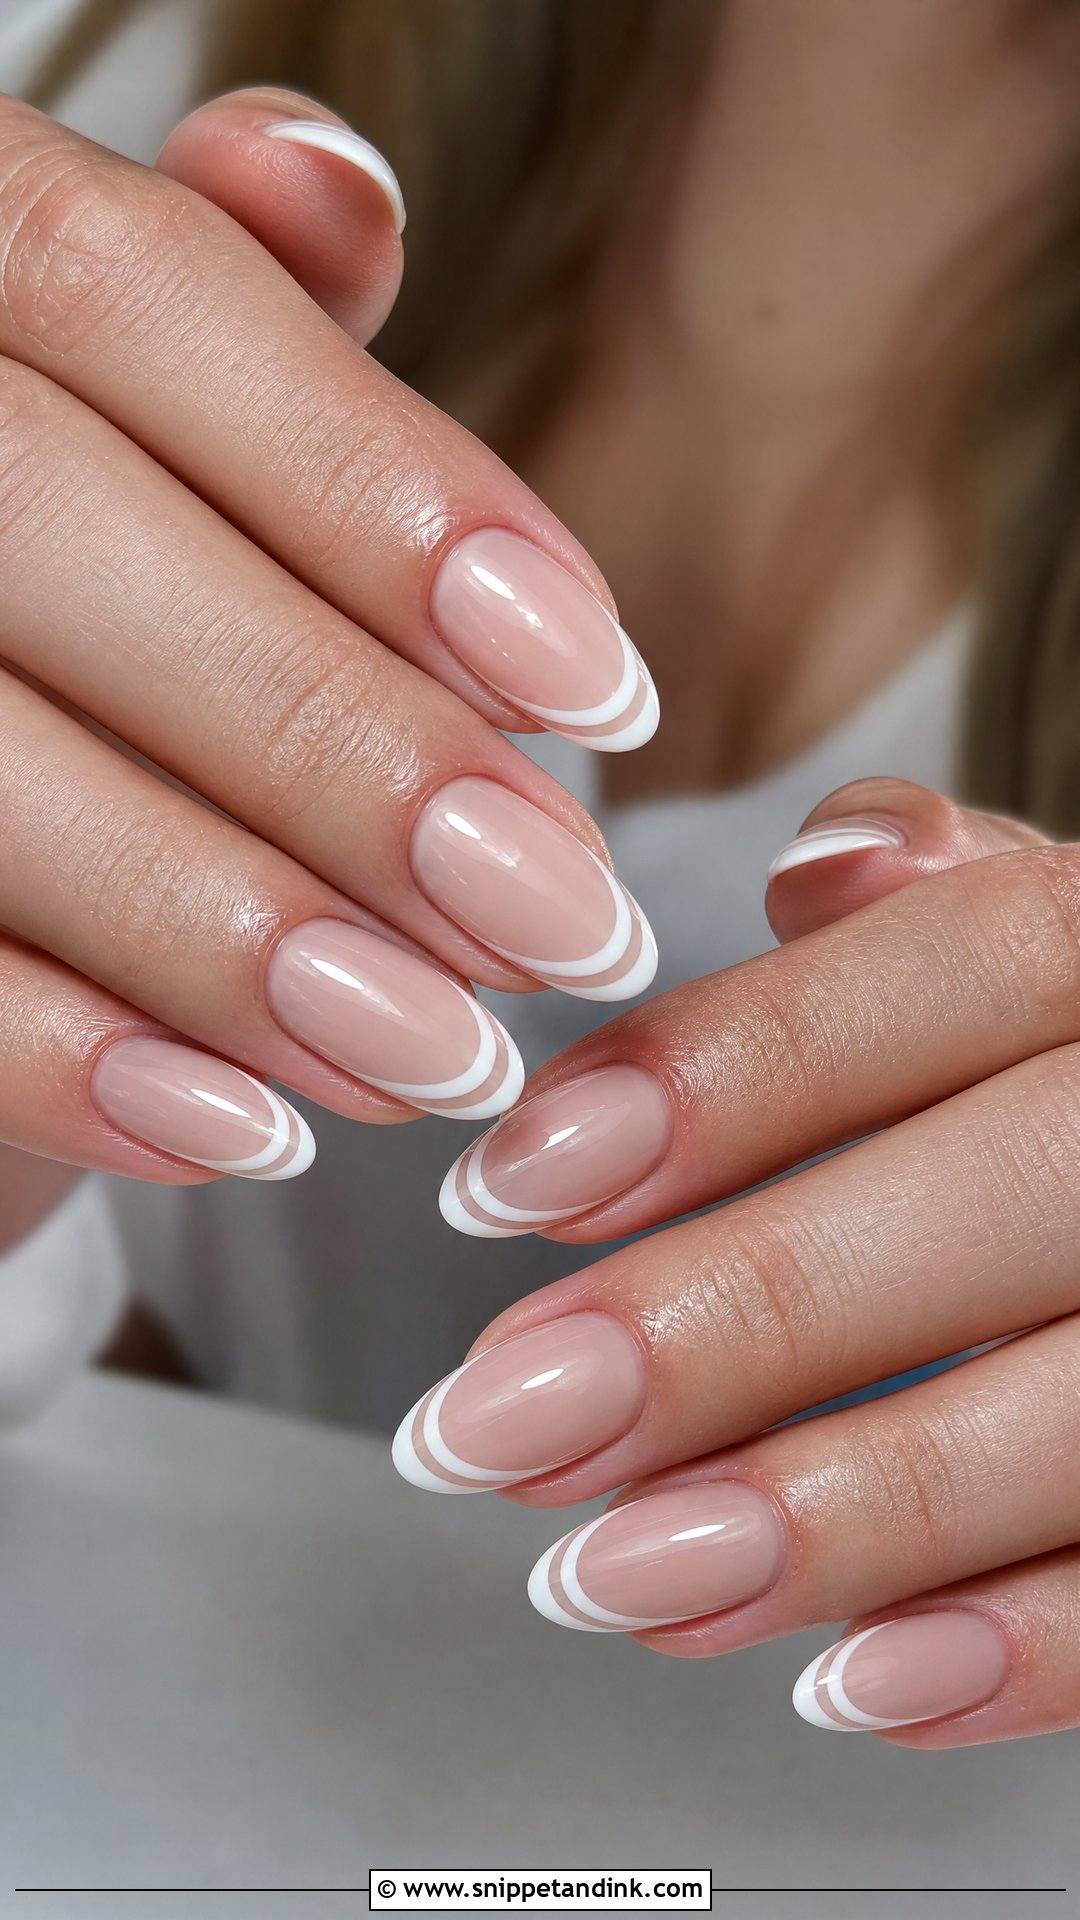
A double French adds a second thin line just under or above the main tip, in white, silver, gold, pearl or blush. The spacing between the lines has to be even across all ten nails, so I use a striping brush and work slowly. A sheer base keeps both lines visible. Almond, oval and square nails show the parallel lines clearly. Keep them thin and the set stays wedding-appropriate.
23. Reverse French Wedding Nails
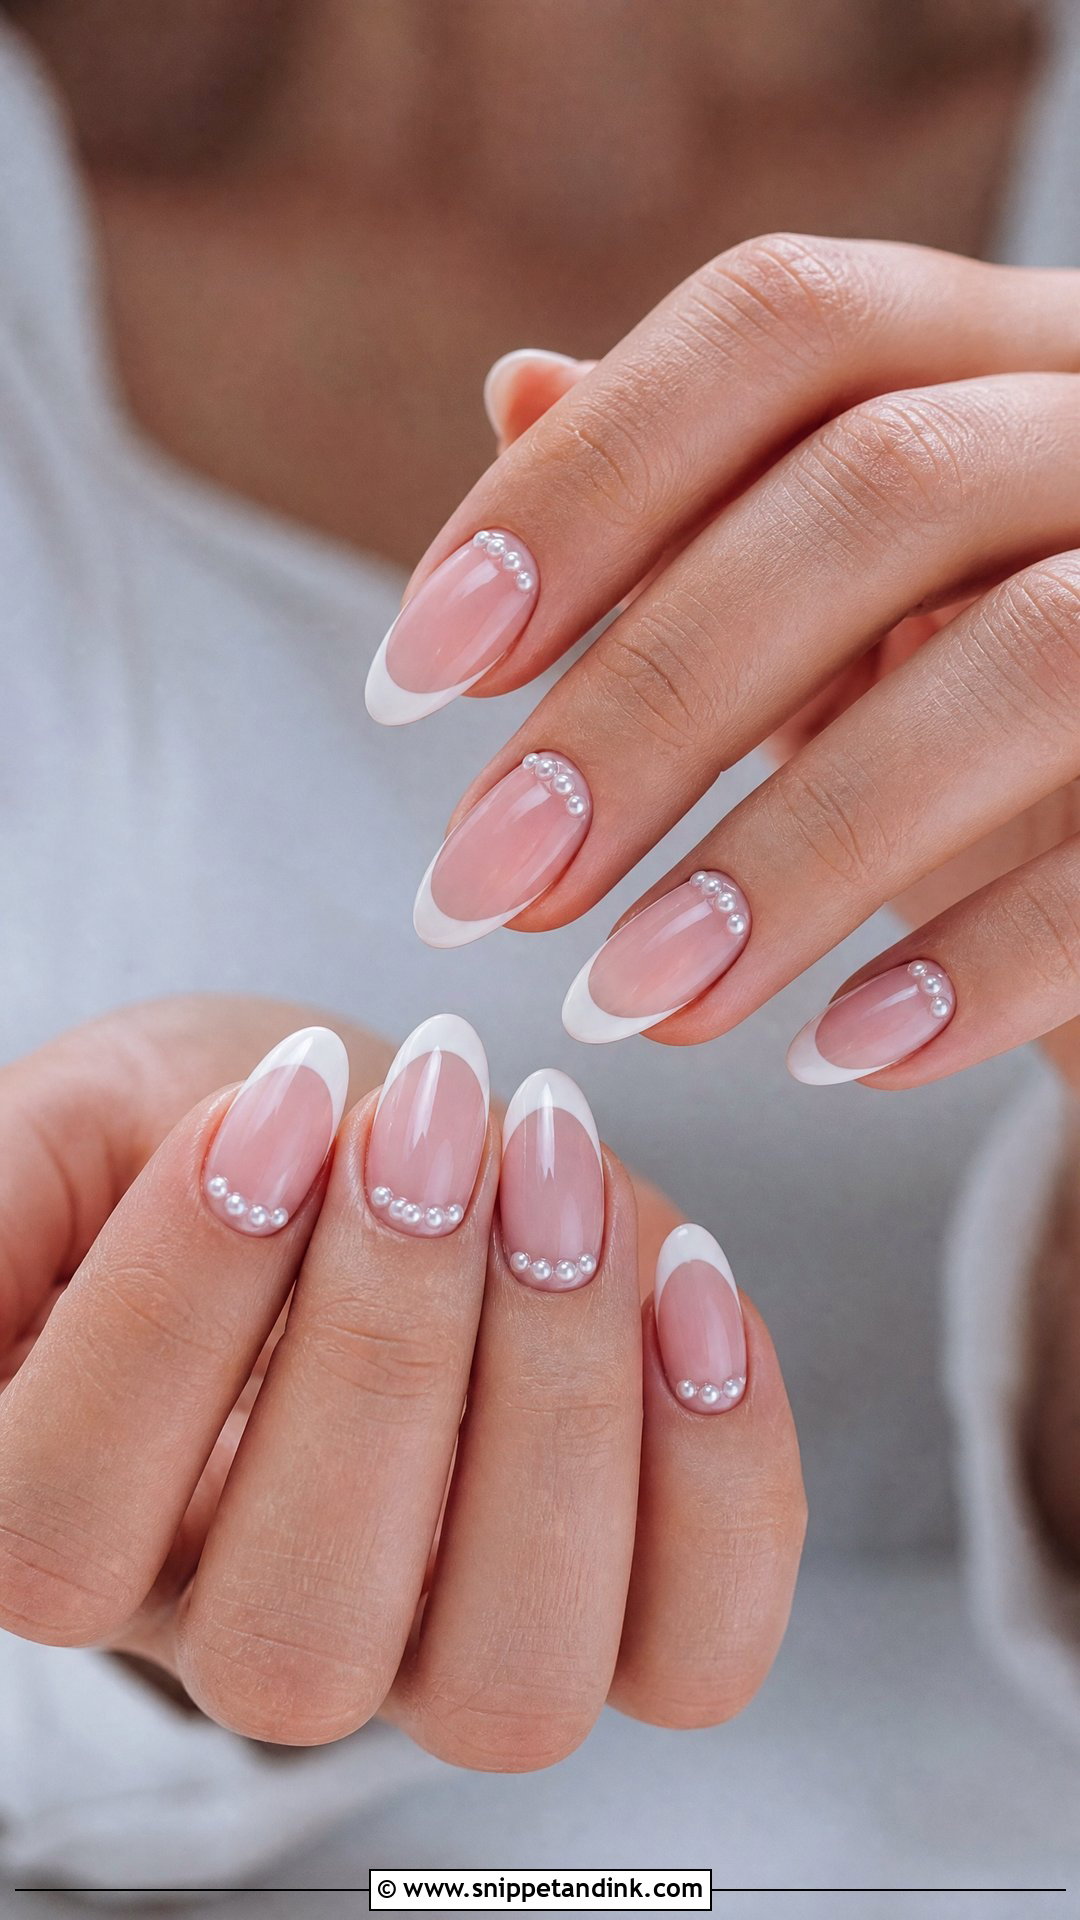
A reverse French places a fine crescent at the cuticle, often combined with a white tip. It looks artistic and still bridal if the lines are thin. The honest drawback: a cuticle detail shows grow-out quickly, because a gap opens between the crescent and the skin within a week. Book this one as close to the wedding as you can. Almond and oval nails echo the rounded crescent best, and soft colours keep it from turning graphic.
24. Cat Eye French Wedding Nails
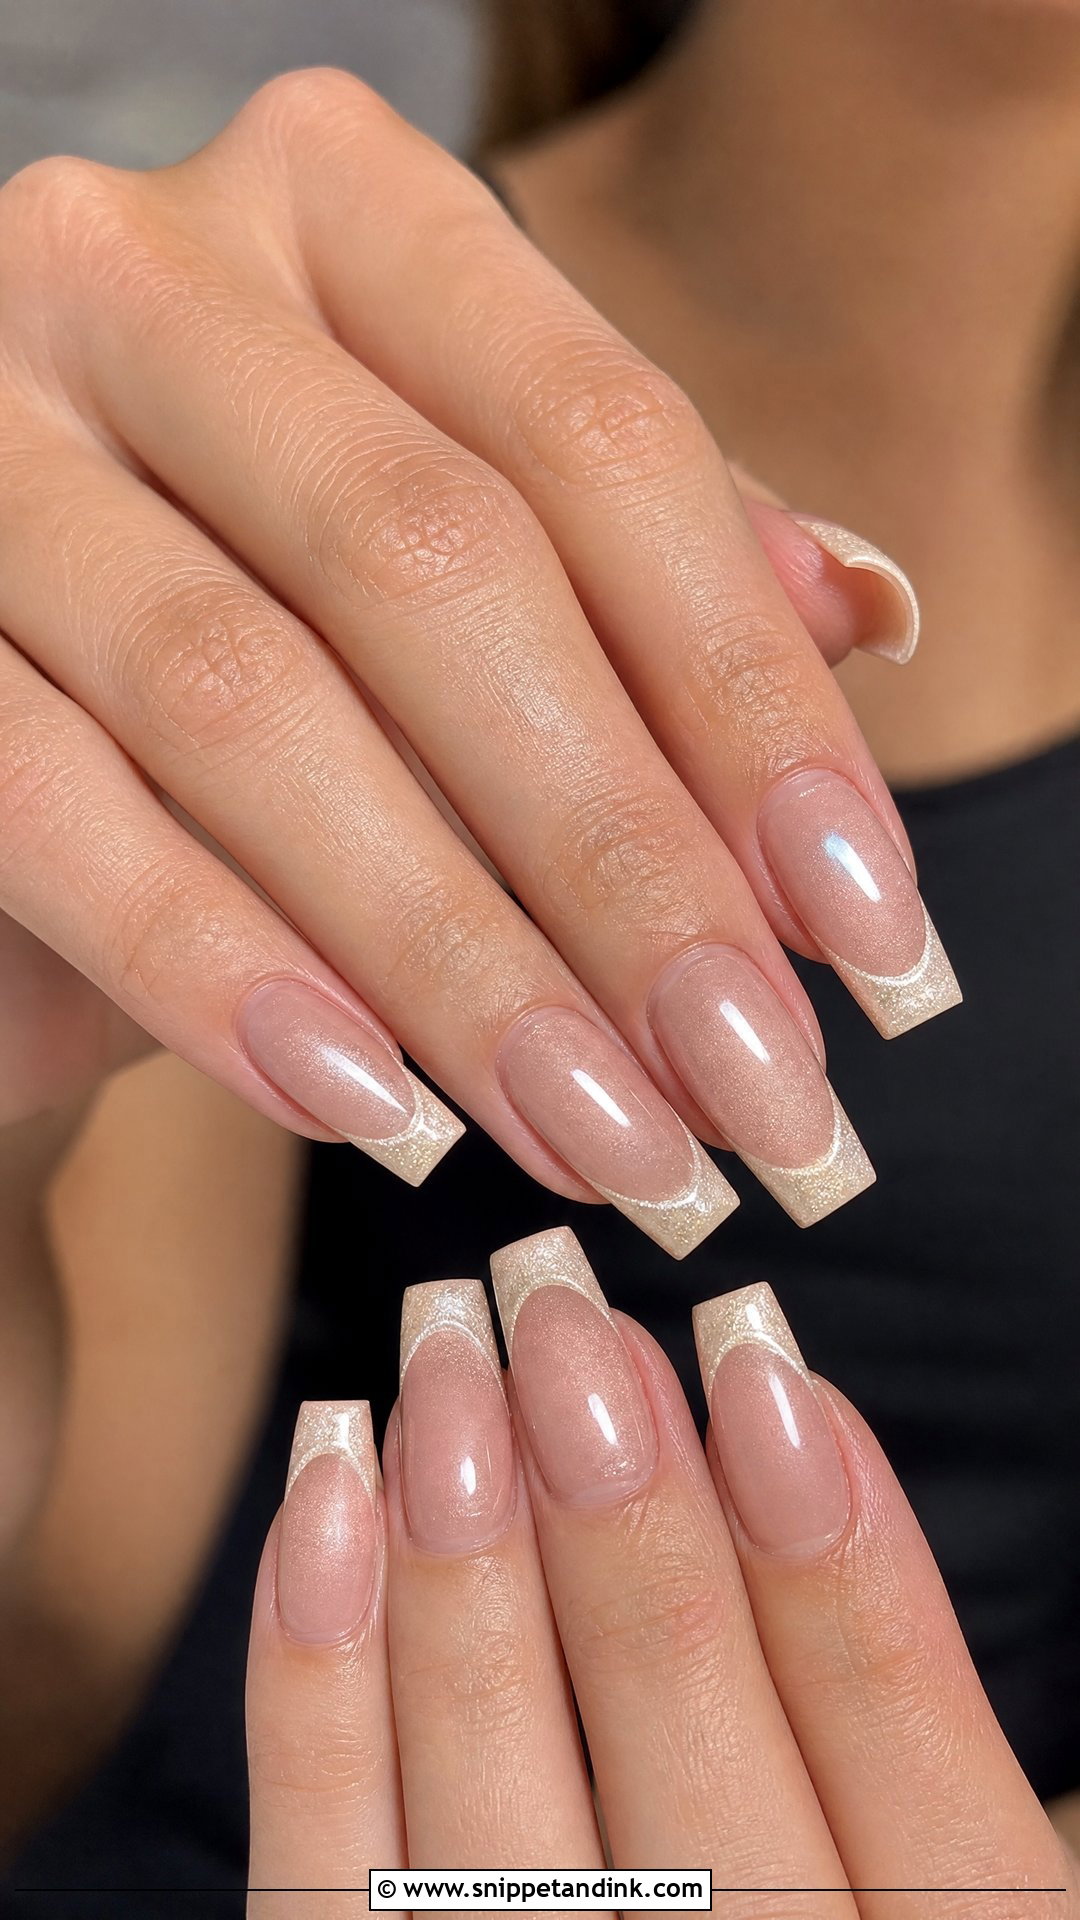
Cat eye gel contains fine magnetic particles. Before curing, I hold a magnet over the nail to pull the shimmer into a soft line or glow, which then shifts as your hand moves. For a French, I focus the shimmer at the tip or blur it over the whole nail under a white edge. Pearl, champagne, blush and soft silver magnetics suit weddings best. Almond and coffin show off the effect, and short oval nails can wear a gentler version.
25. Minimal French Wedding Nails
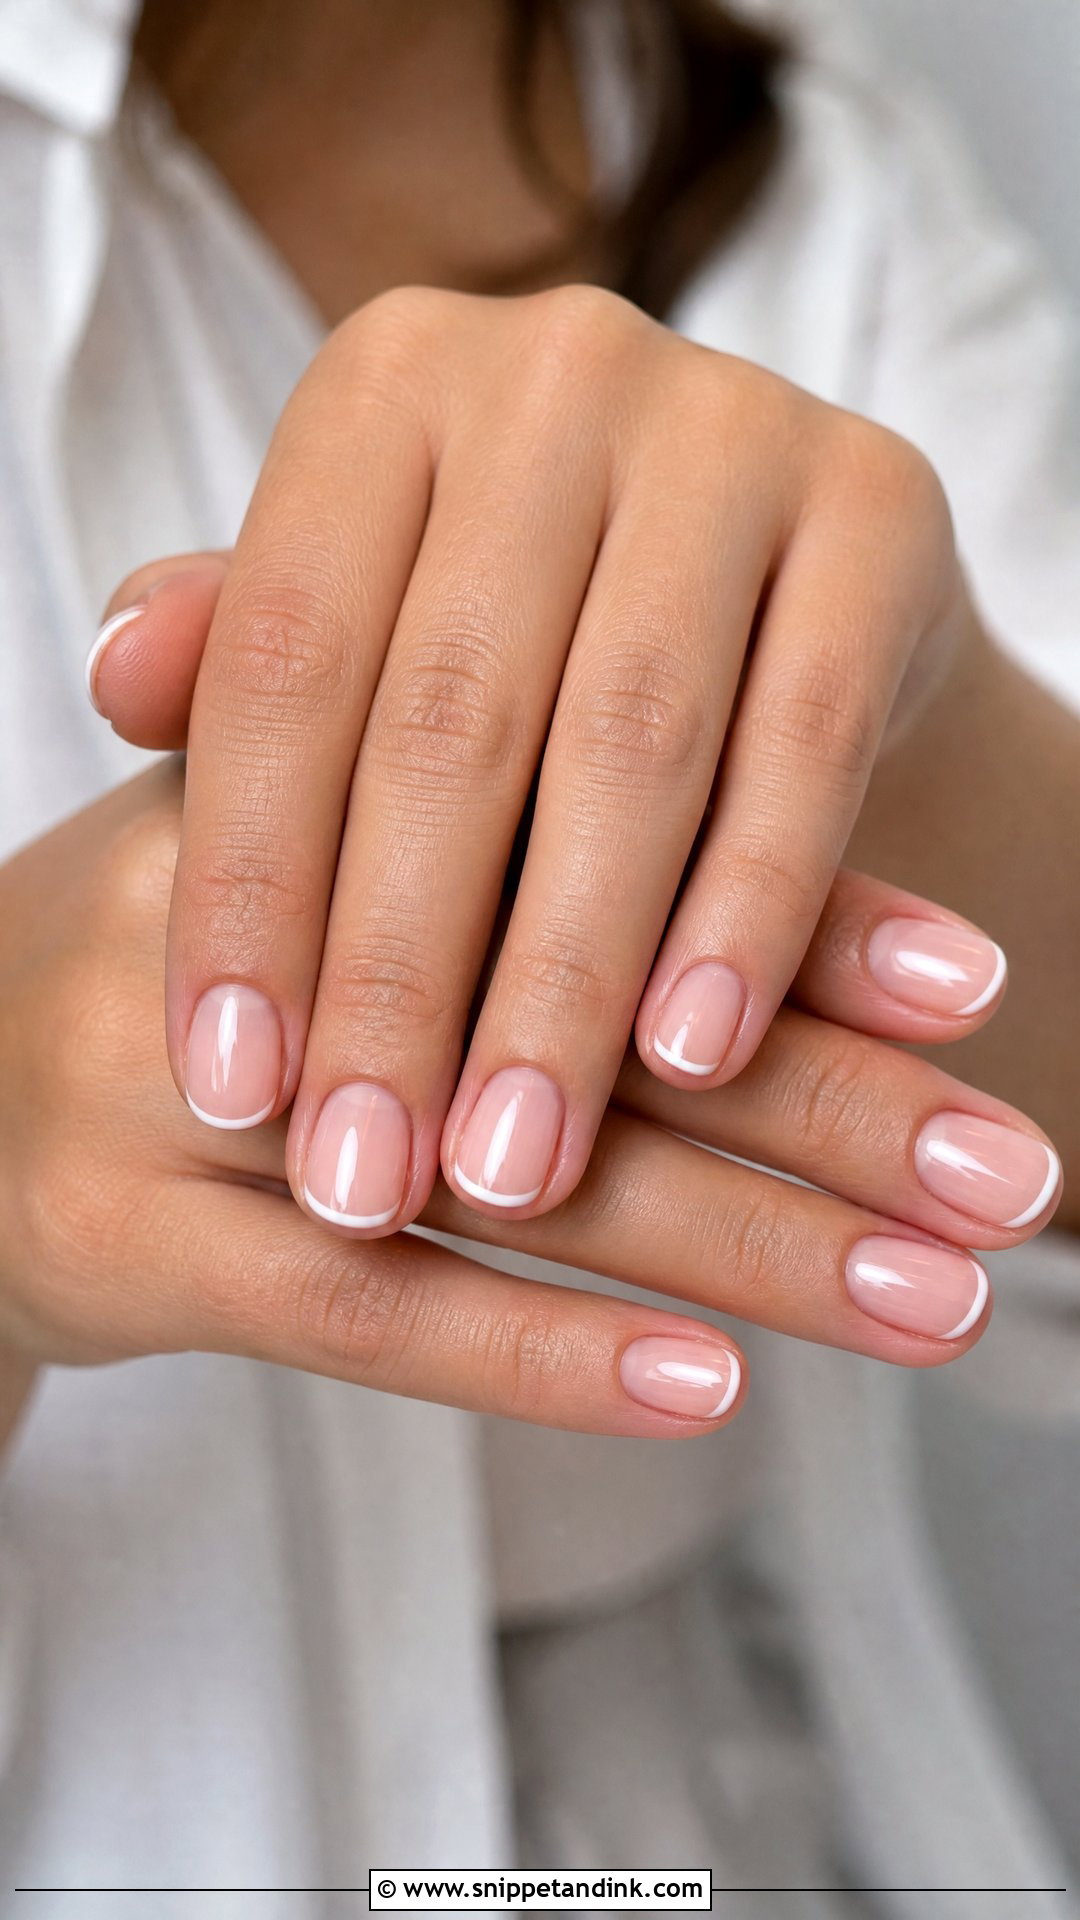
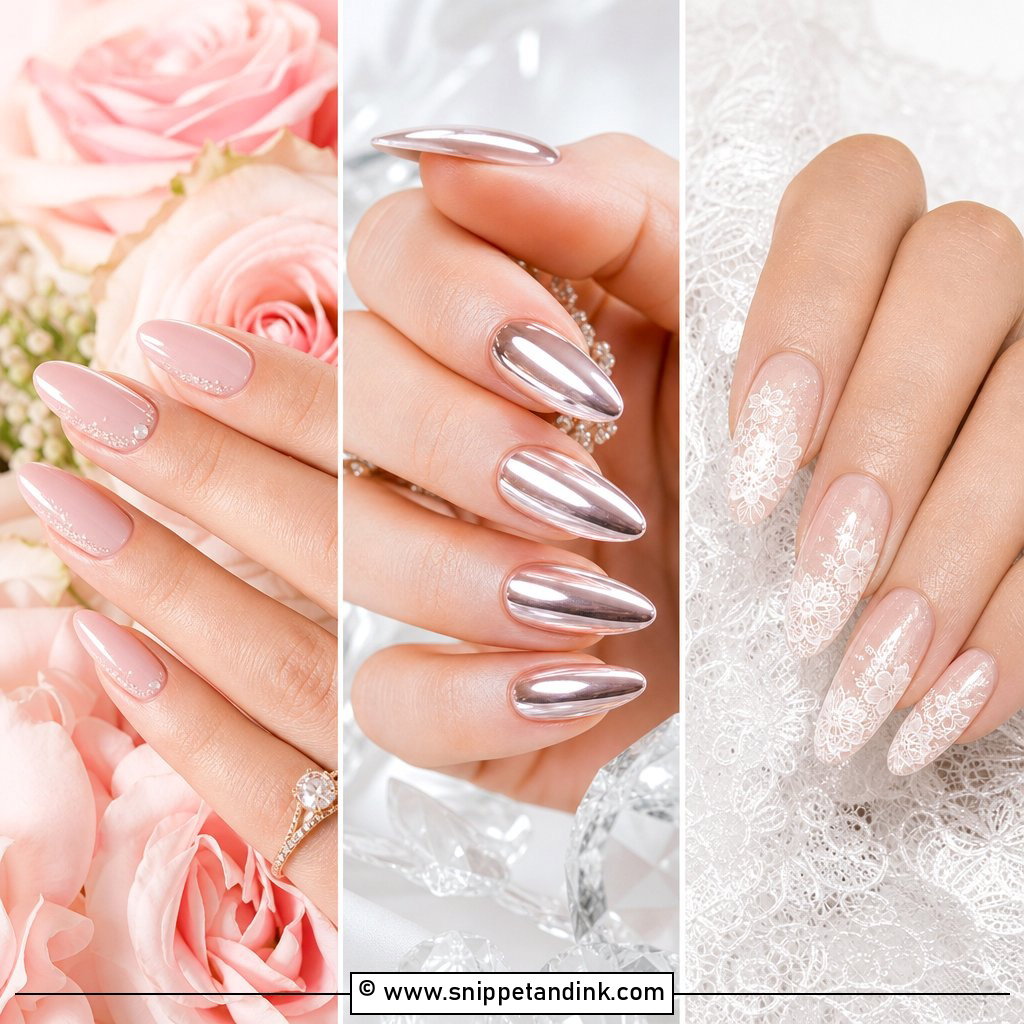
Minimal means a barely-there sheer base, very thin white or ivory tips and high gloss, with no gems or patterns. With nothing to hide behind, the prep shows: shaping, smooth cuticles and a precise tip line are everything. It’s my first suggestion when the dress, veil or jewellery already carries a lot of detail. It works from a registry office to a formal ballroom, and short oval, squoval and almond shapes keep it refined.
Your Hands Will Be Photographed More Than Your Shoes
Ring shots, hand-holding during the vows and the cake cutting are all close-ups. A French puts attention on the edge of the nail and the skin around it, so the cuticles count as much as the polish.
Three to four weeks out
Start using cuticle oil every night. It softens dry skin and helps flexible nails resist splitting. Stop biting or picking now, because torn cuticles take a couple of weeks to settle down.
The appointment
Book gel one to three days before the wedding. Ask your nail artist to push back the cuticles gently rather than cut deep, since freshly cut skin can look red and raw in macro photos. If you plan a spray tan, do it first and the nails after.
On the day
Use hand cream in the morning, then wipe the nails clean with a tissue so they don’t look greasy under flash. Keep a nail file in your bag. A snagged edge filed smooth in thirty seconds is better than one that catches the veil.
Bring Three Photos and Your Ring to the Appointment
A French set gives you a clean, polished frame for your hands with room for details that match your dress, jewellery and season. Classic white tips never fail, but micro lines, milky bases, ombré, pearls, chrome, lace, flowers and soft metals each have their place. Before the appointment, save a few reference photos, decide on a shape and wear your ring when you test the base colour in daylight. That one check prevents most of the regrets I hear about.
You'll Like These Ideas:


Leave a Reply