
A French manicure is the set I’m asked for most by brides, and it earns that place: it sits quietly beside a dress, a bouquet and a new ring without fighting any of them. The versions I paint now go well past a plain white tip. Micro lines, milky bases, pearl chrome, tiny florals, lace work, almond and square shapes all live in the same family. Short natural nails and long sculpted extensions can both carry one, and the trick is matching the tip to the nail you actually have. Below are the variations I’d put in front of a bride, with what each one needs from the nail and from the person wearing it.
Mapping the Smile Line to Your Own Nail Bed
The single detail that makes a French manicure look expensive or cheap is where the white meets the pink. Your natural free edge already has a curve. I follow it, sometimes deepening it slightly at the sides, rather than painting a fixed arc that every client gets. A smile line that sits too high leaves a strip of pink showing under the white, and one that sits too low makes a short nail look stubby.
Before your appointment, look at your nails side on. If the free edge is very short or uneven, an overlay or a soft extension gives the tip somewhere to sit. That isn’t vanity; a tip painted half onto skin looks smudged in every ring photo.
Gel polish, builder gel or press-ons
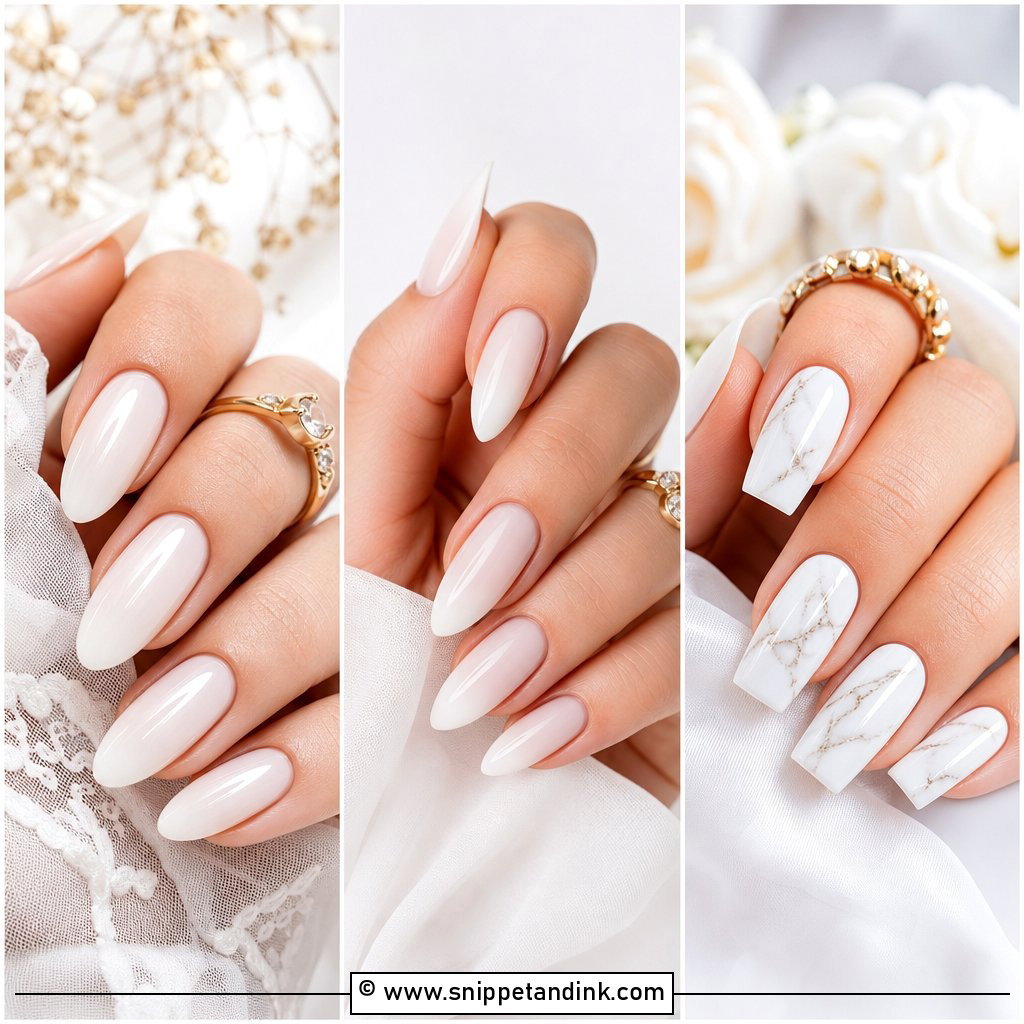
- Gel polish on natural nails: thinnest result, best for short sets, needs healthy nails that don’t bend.
- Builder gel overlay: adds strength and a smooth apex, so the tip doesn’t flex and crack mid-week.
- Soft gel extensions: length and shape in one appointment, removed by soaking rather than drilling.
- Press-ons: fine as a backup, but the white is printed, so the smile line can’t be adjusted to your nail.
Tell your tech what your hands will be doing that week. Lifting boxes for a DIY reception, gardening or long shifts at a keyboard all change what I’d build.
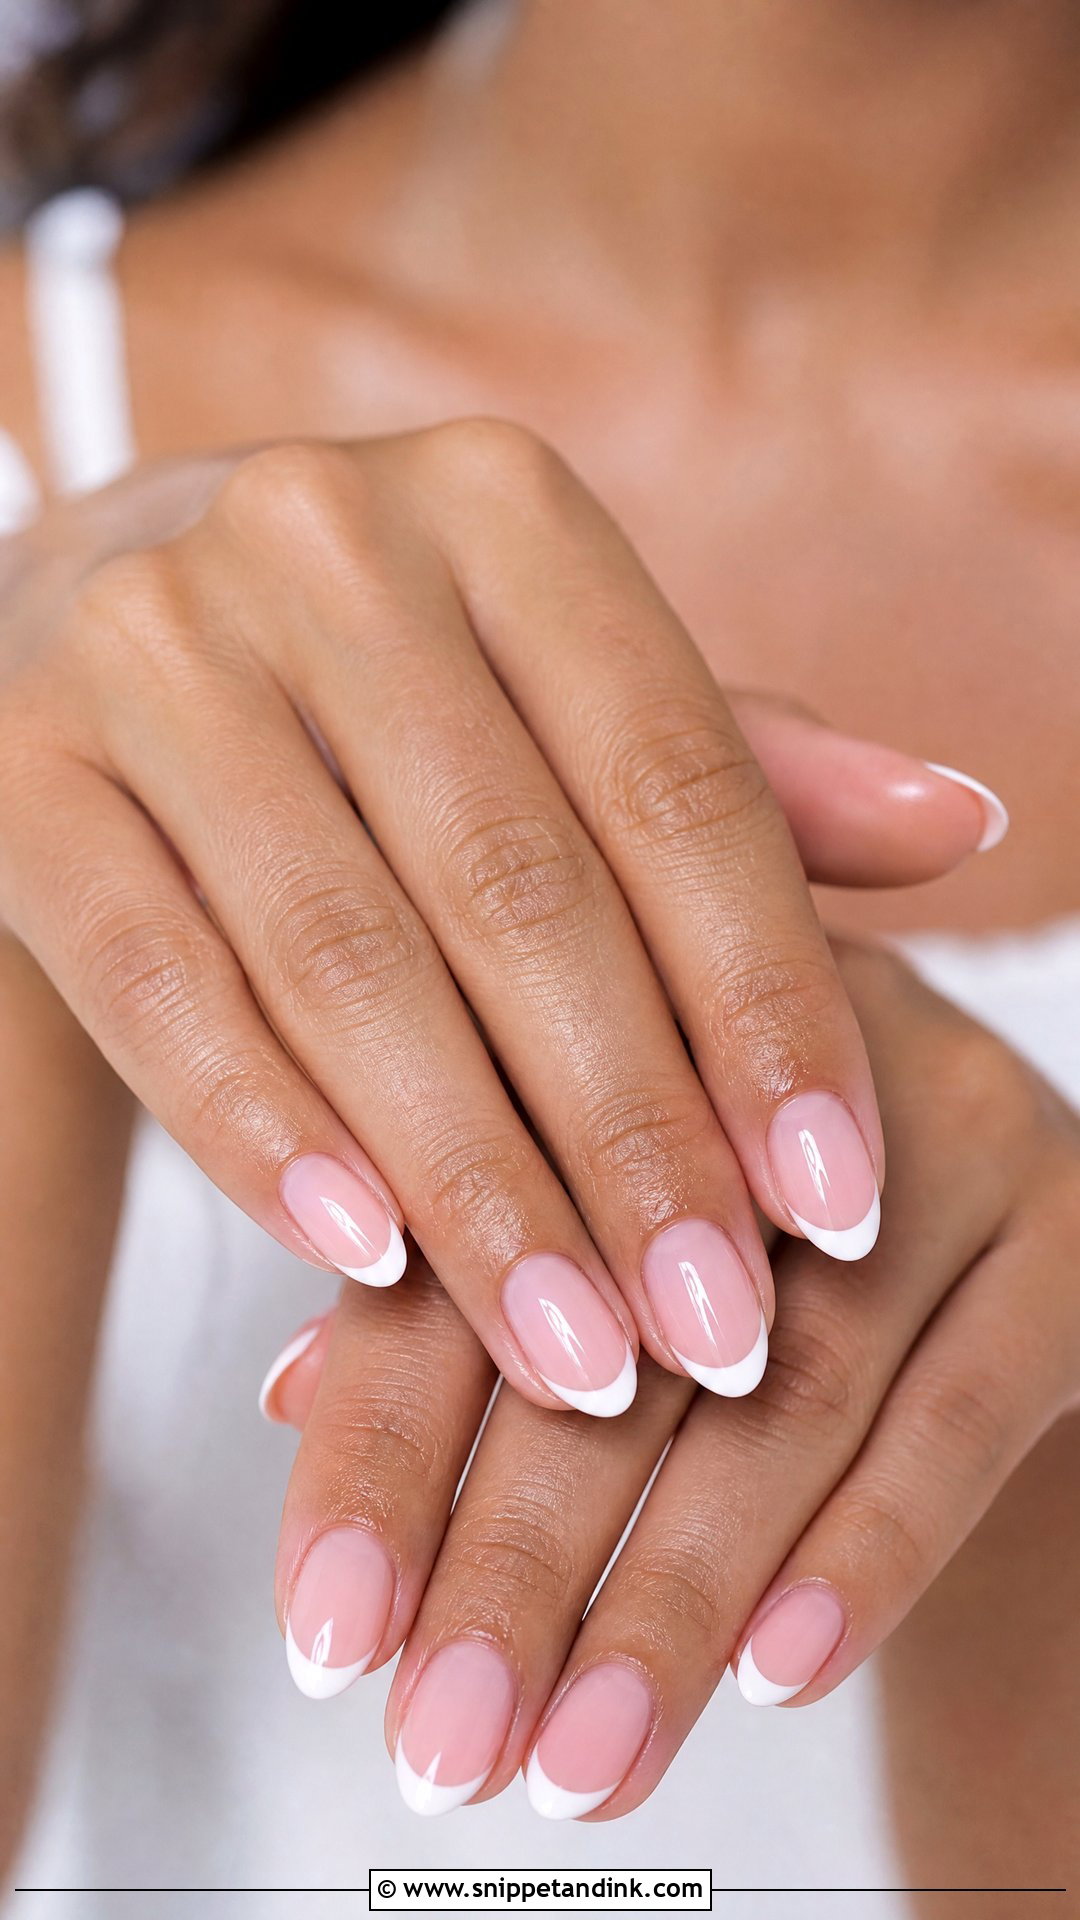
1. Classic Bridal French Manicure
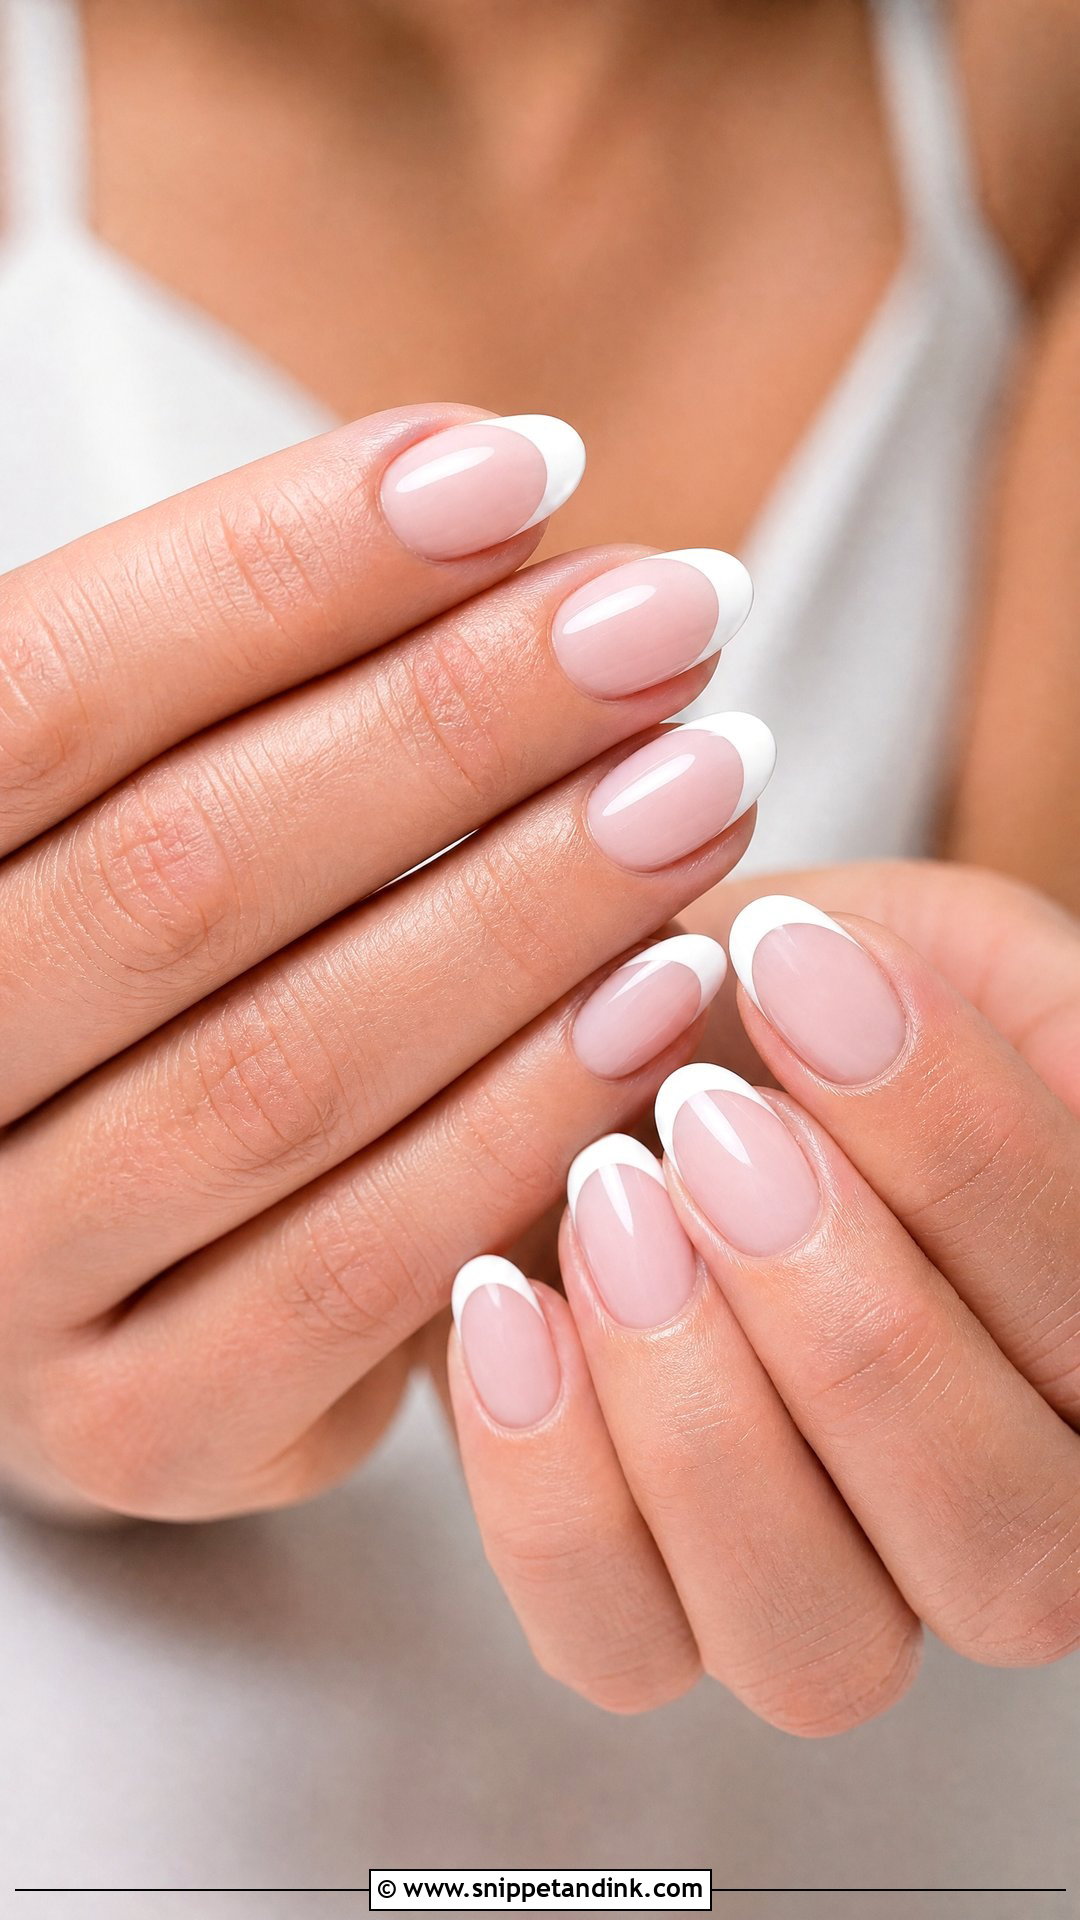
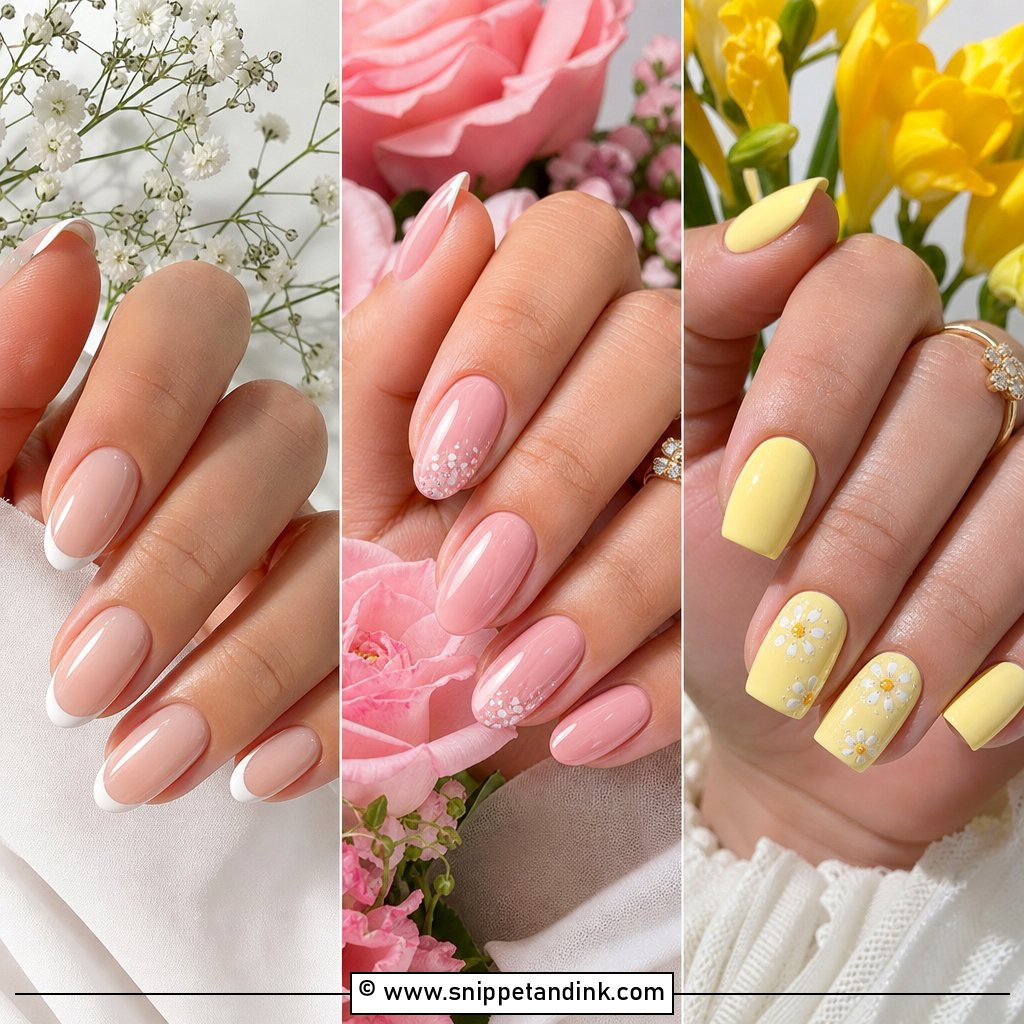
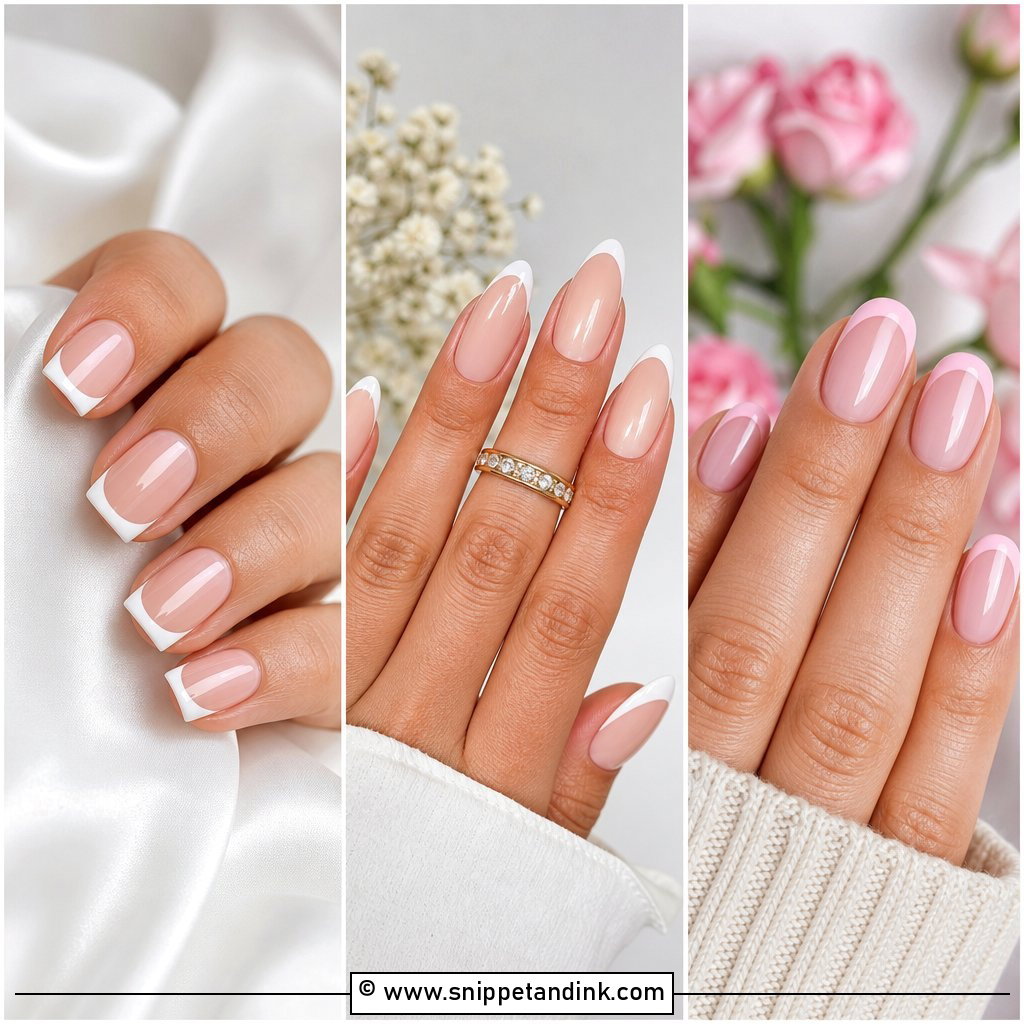
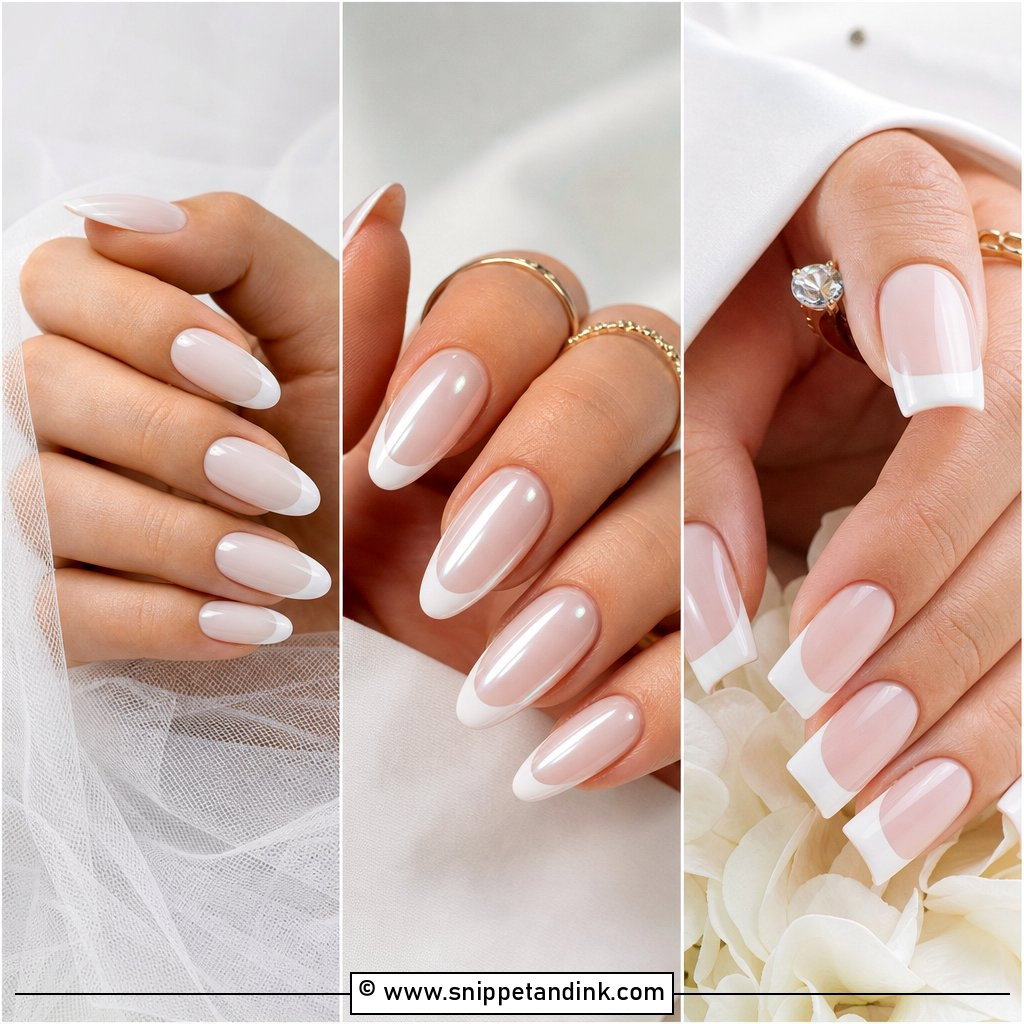
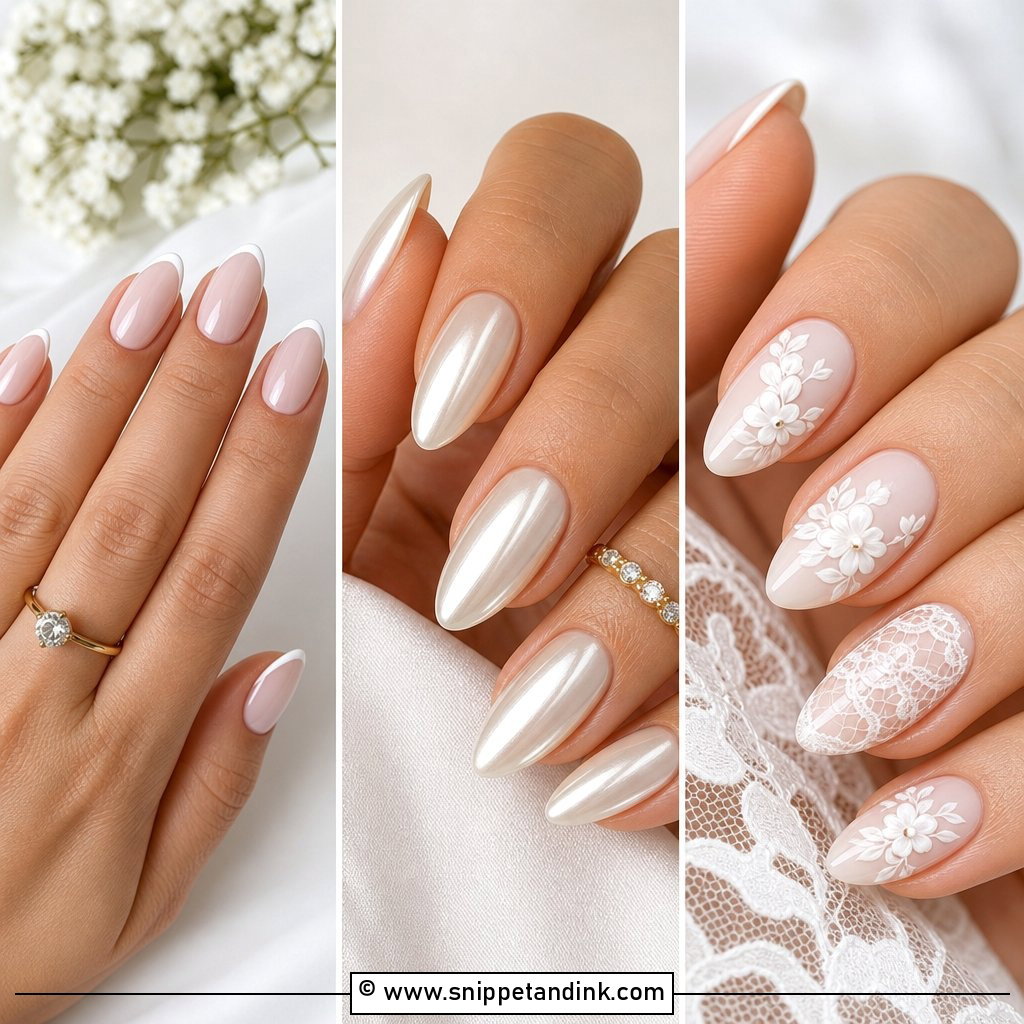
Most of my brides start here, and for good reason: it is one of the most reliable wedding nail choices because it reads clean from every angle a camera finds. A sheer pink or nude base, crisp white tips and a glossy top coat. Oval, almond, square and squoval all take it. The detail I fuss over is the smile line: a soft, slightly deep curve that follows your own free edge looks current, while a thick, flat band of white looks dated in close-ups. Ask your tech to map the line to the nail, not to a sticker guide.
2. Micro French Bridal Manicure
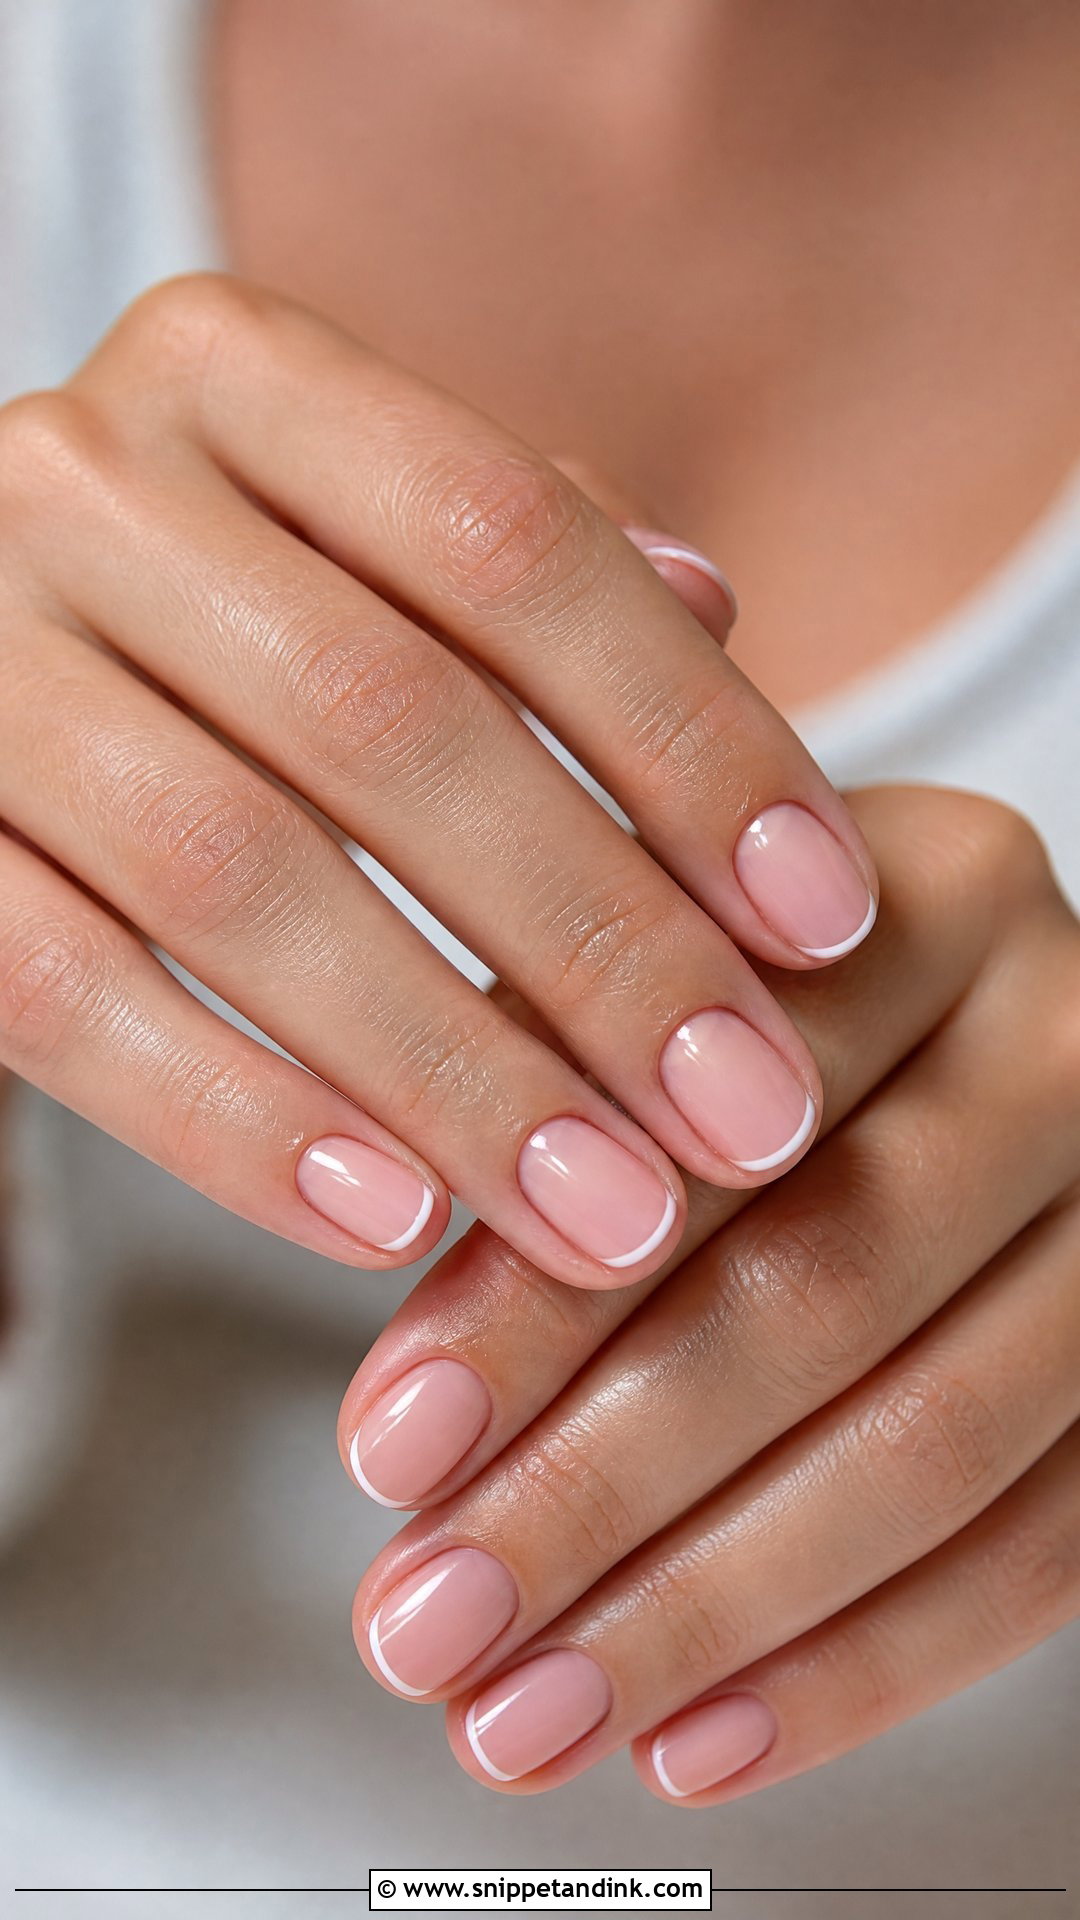
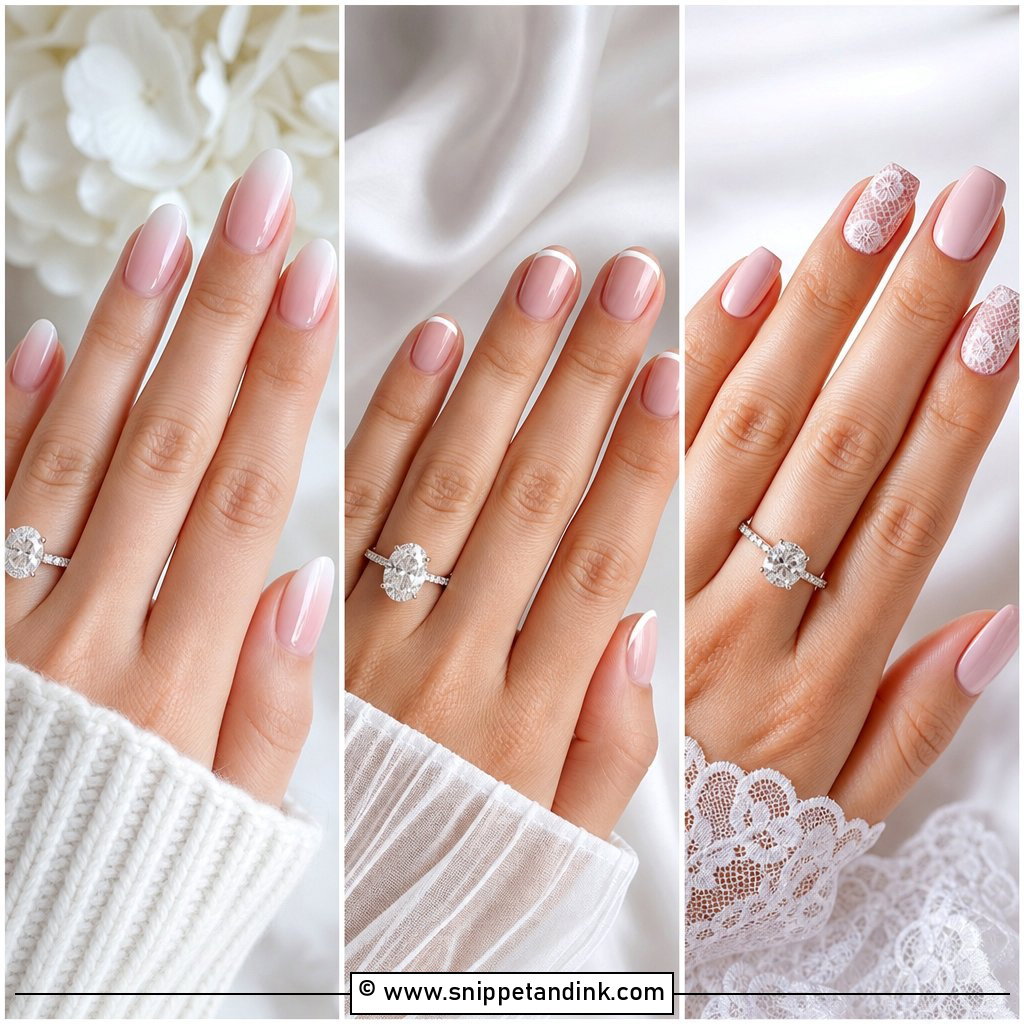
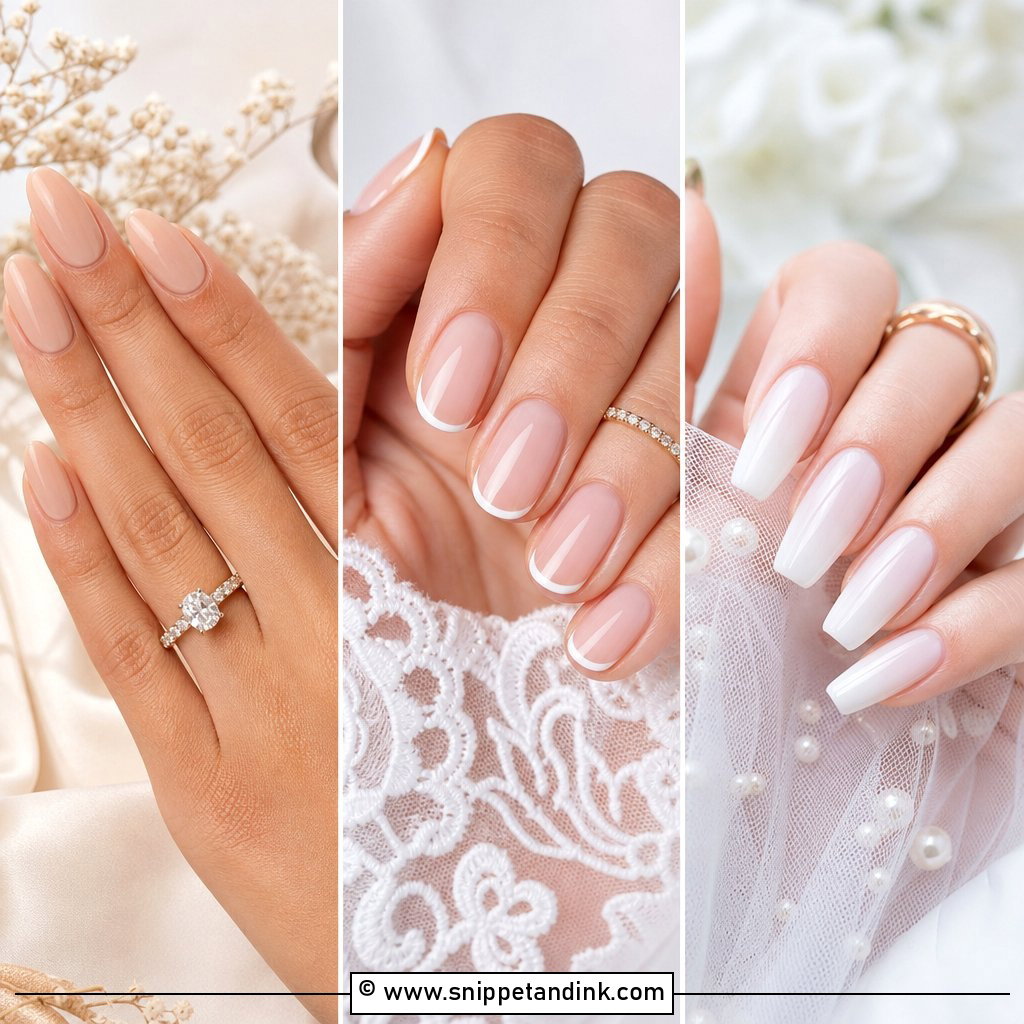
The micro version swaps the bold white band for a hairline along the very edge. On short or medium nails it is my go-to, because a thick tip on a short nail eats half the visible length. I paint it with a fine liner brush and very thin gel so the line doesn’t flood toward the cuticle before curing. Keep the base sheer pink, nude or milky; anything opaque underneath makes that skinny line disappear. A bride who doesn’t want anyone noticing “nail art” usually ends up here.
3. Milky White French Bridal Manicure
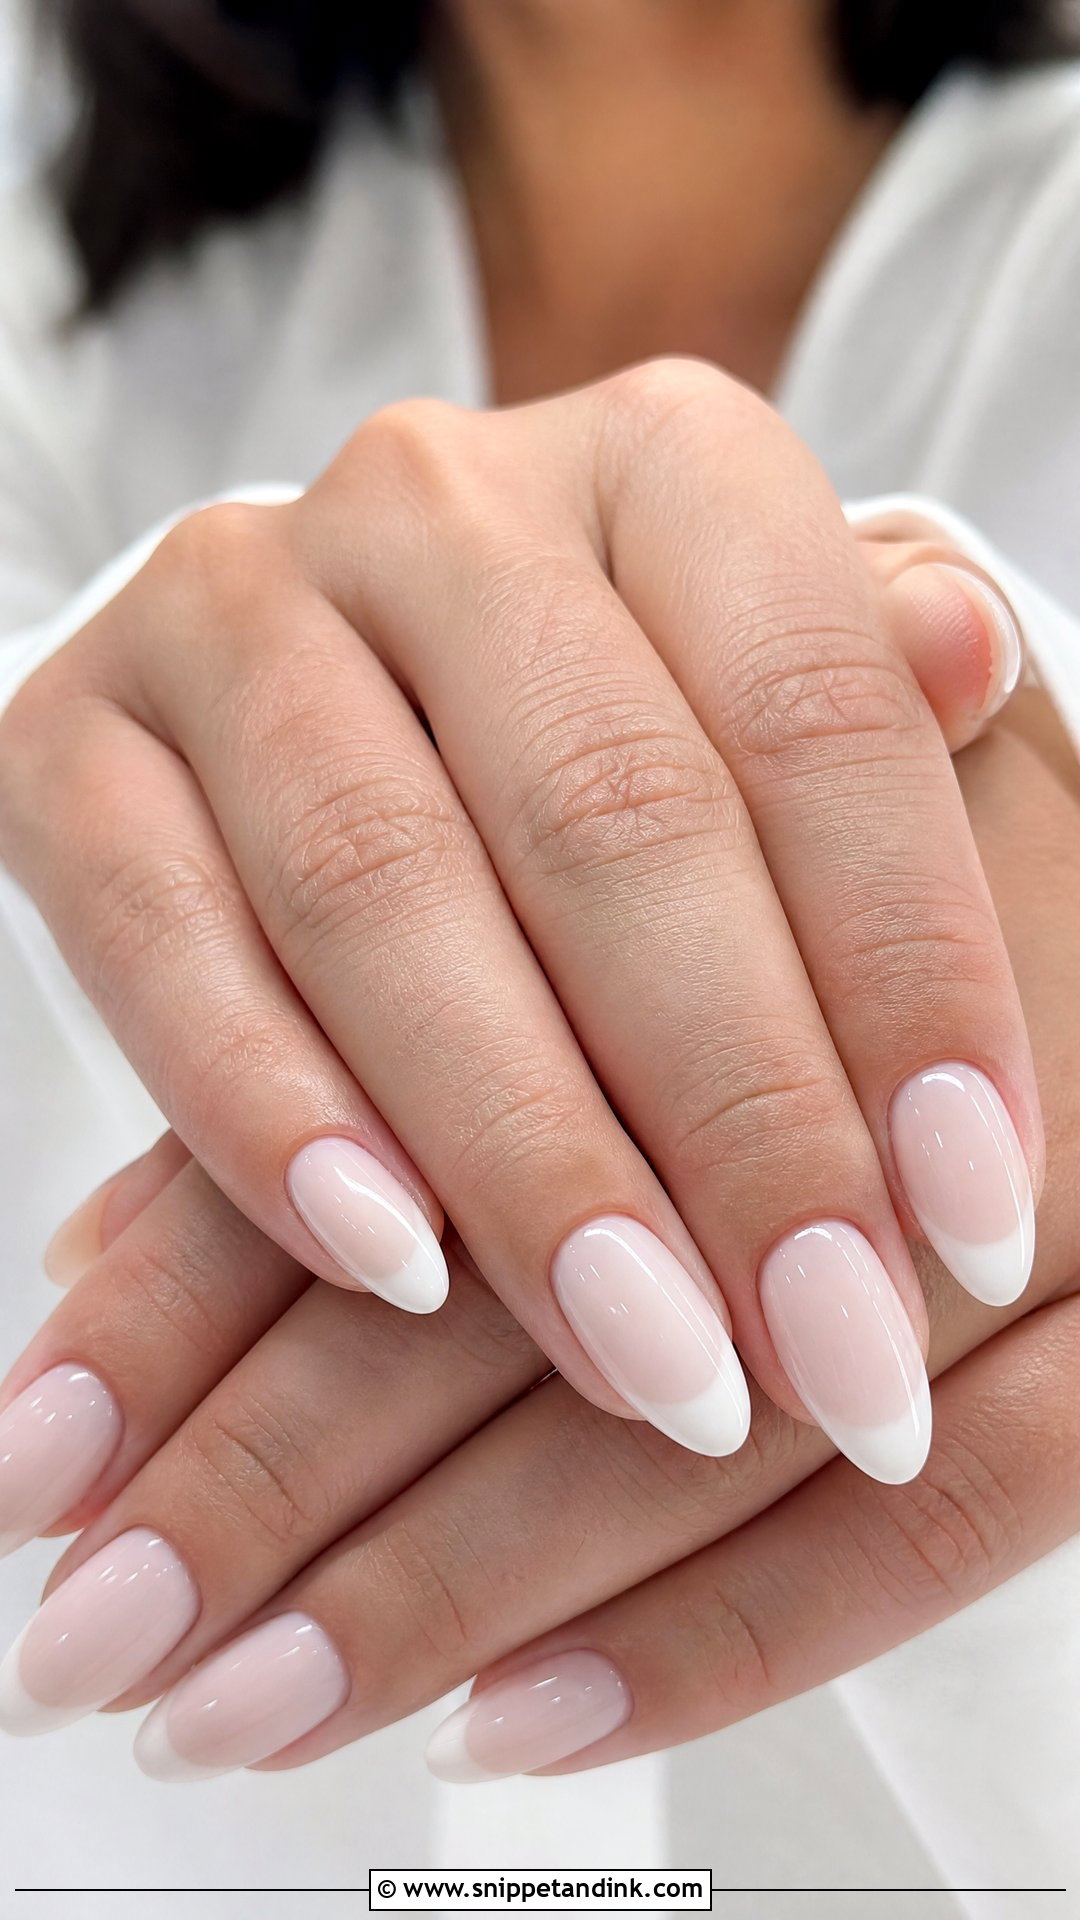
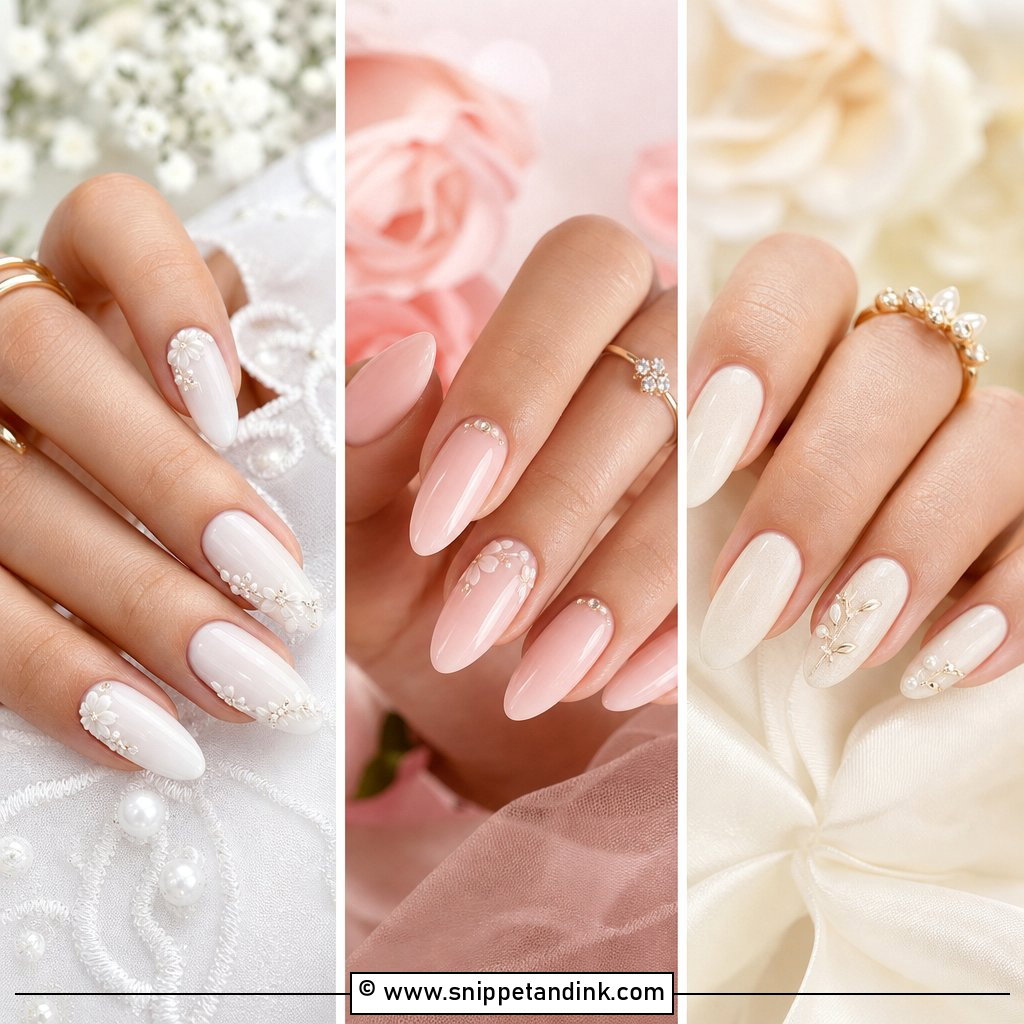
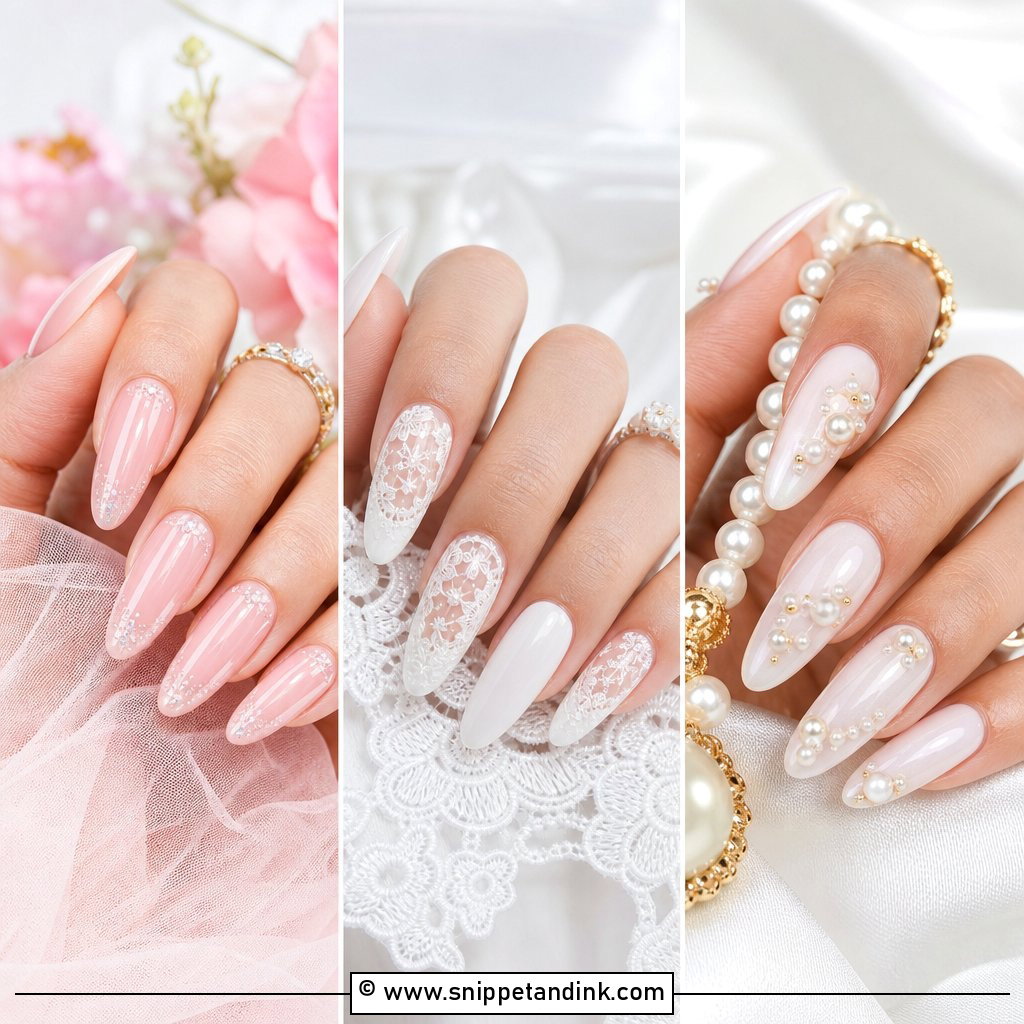
A milky base takes the edge off the contrast between pink nail bed and white tip, so the whole nail looks creamy rather than striped. I build it with a translucent white or milky pink, two thin coats rather than one thick one, because a heavy milky gel cures cloudy and patchy. It’s a natural step up for anyone who loves clean nails but finds a standard French too graphic. It sits nicely next to ivory gowns and pearls. Almond and oval suit it best; on a sharp square the softness gets a little lost.
4. Pearl Chrome French Bridal Manicure
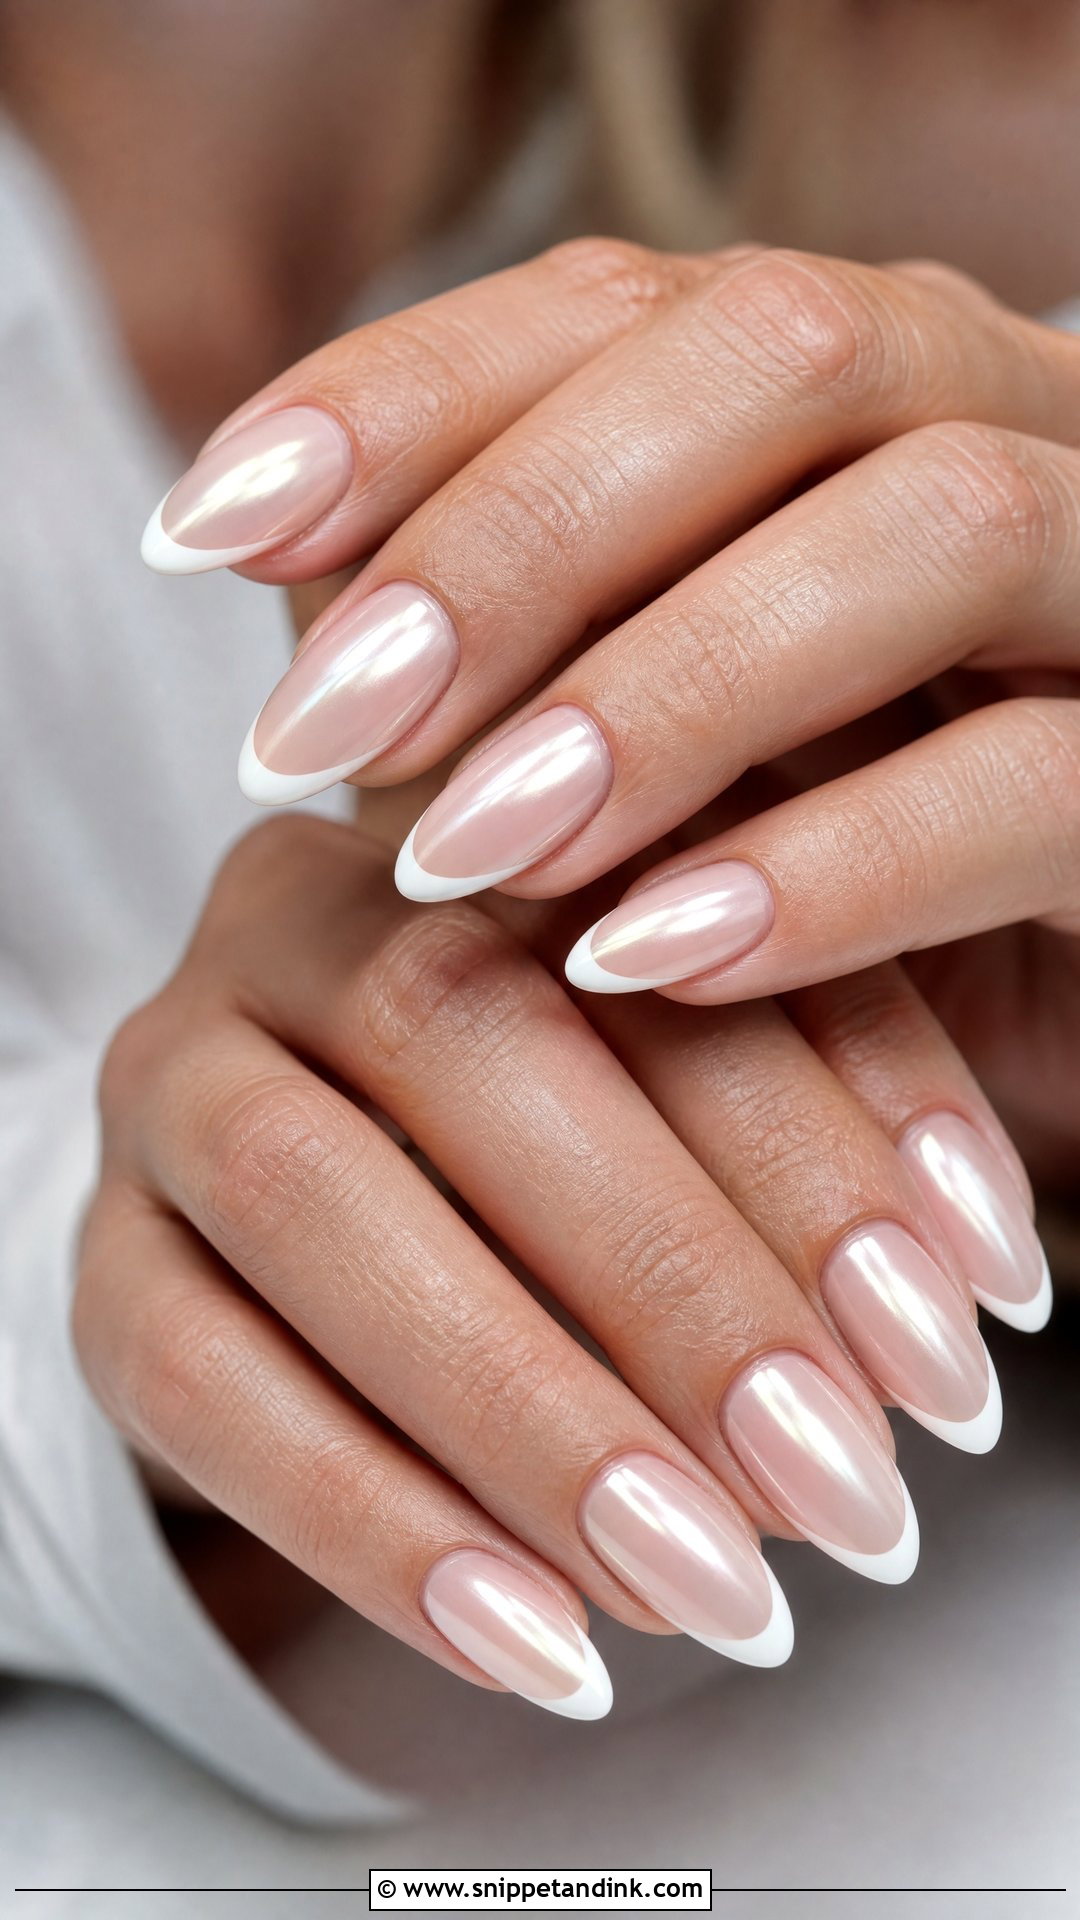
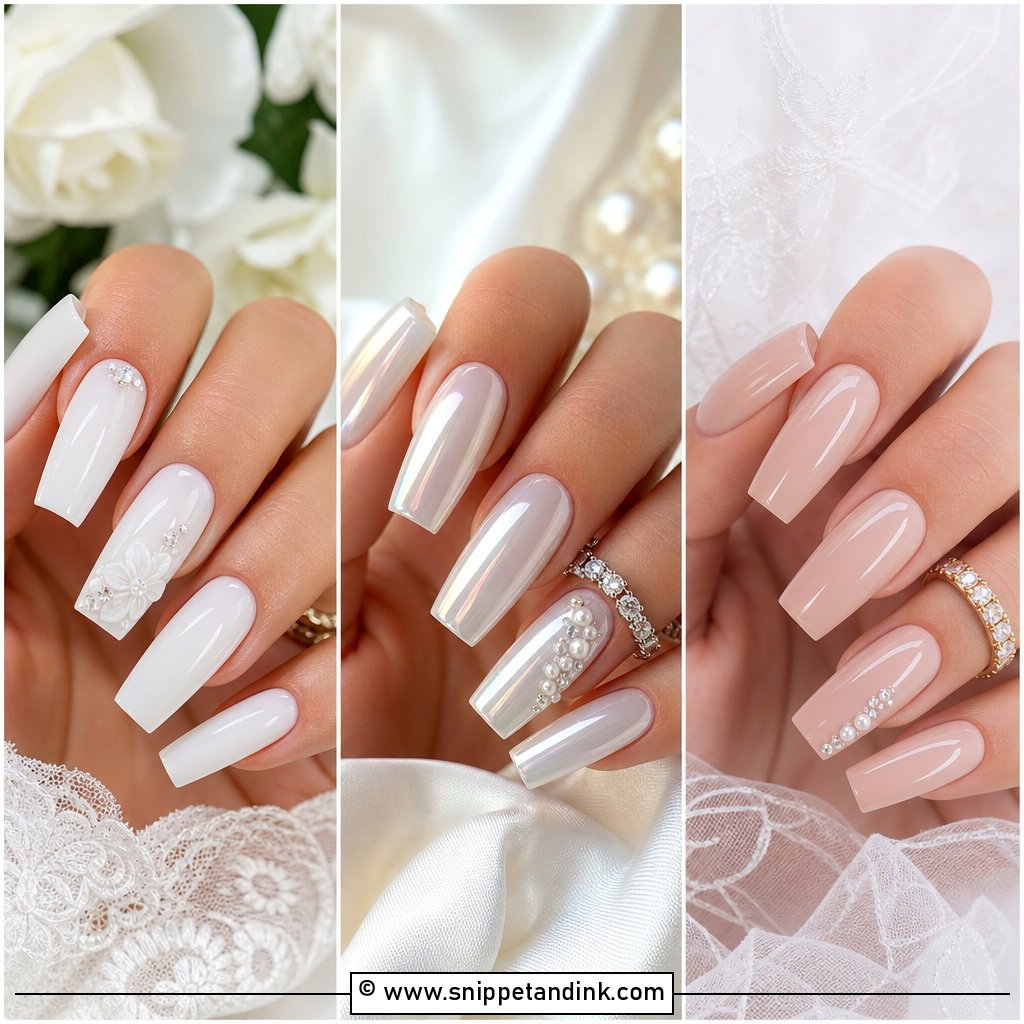
Pearl chrome is a powder rubbed over a no-wipe top coat on a sheer nude, pink or milky base, which gives the nail a glow that shifts as the hand moves. The tips can stay white under it or be blended into the chrome. I keep the powder application light: one gentle pass catches light in ring shots, while three passes start to look metallic and silver. It sits well with satin, pearl earrings and a sleek bun. Seal the free edge carefully, since chrome is the first thing to wear off at the tip if it isn’t capped.
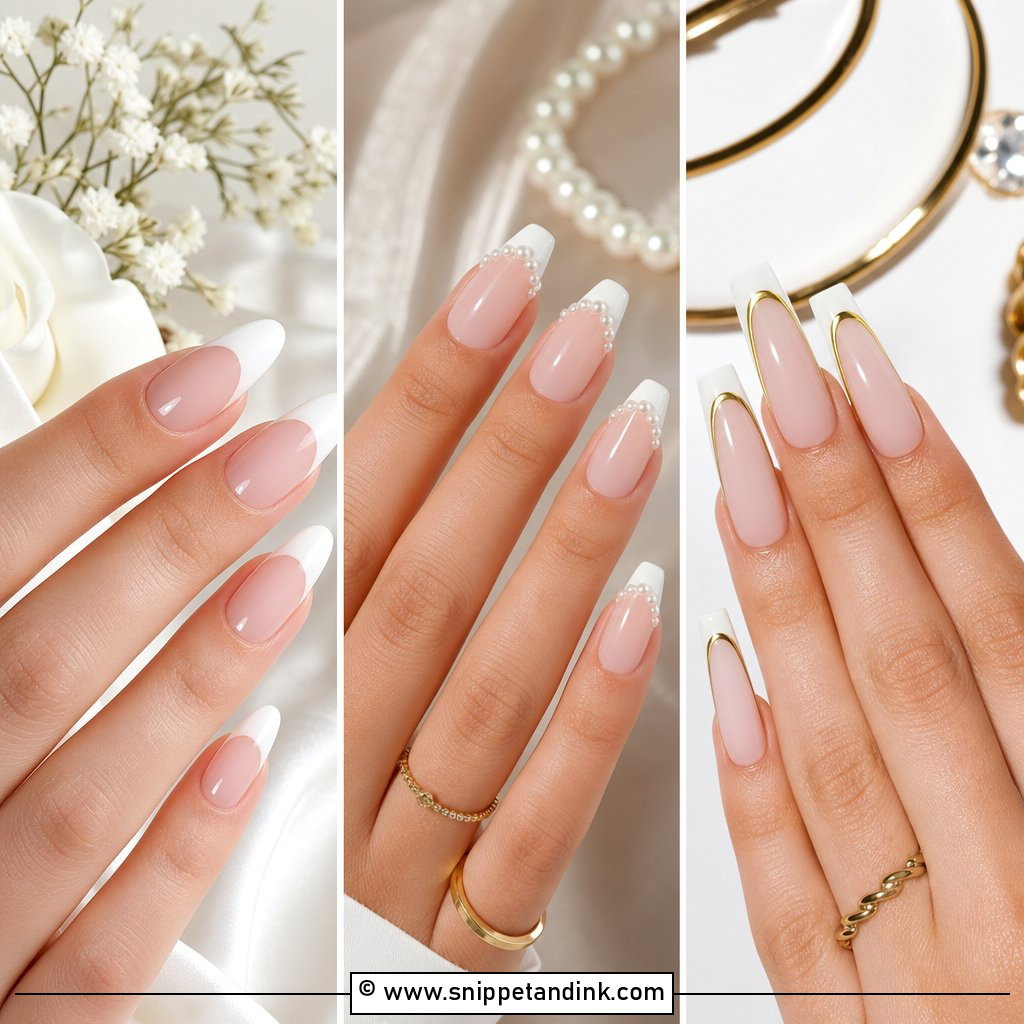
5. Almond French Bridal Manicure
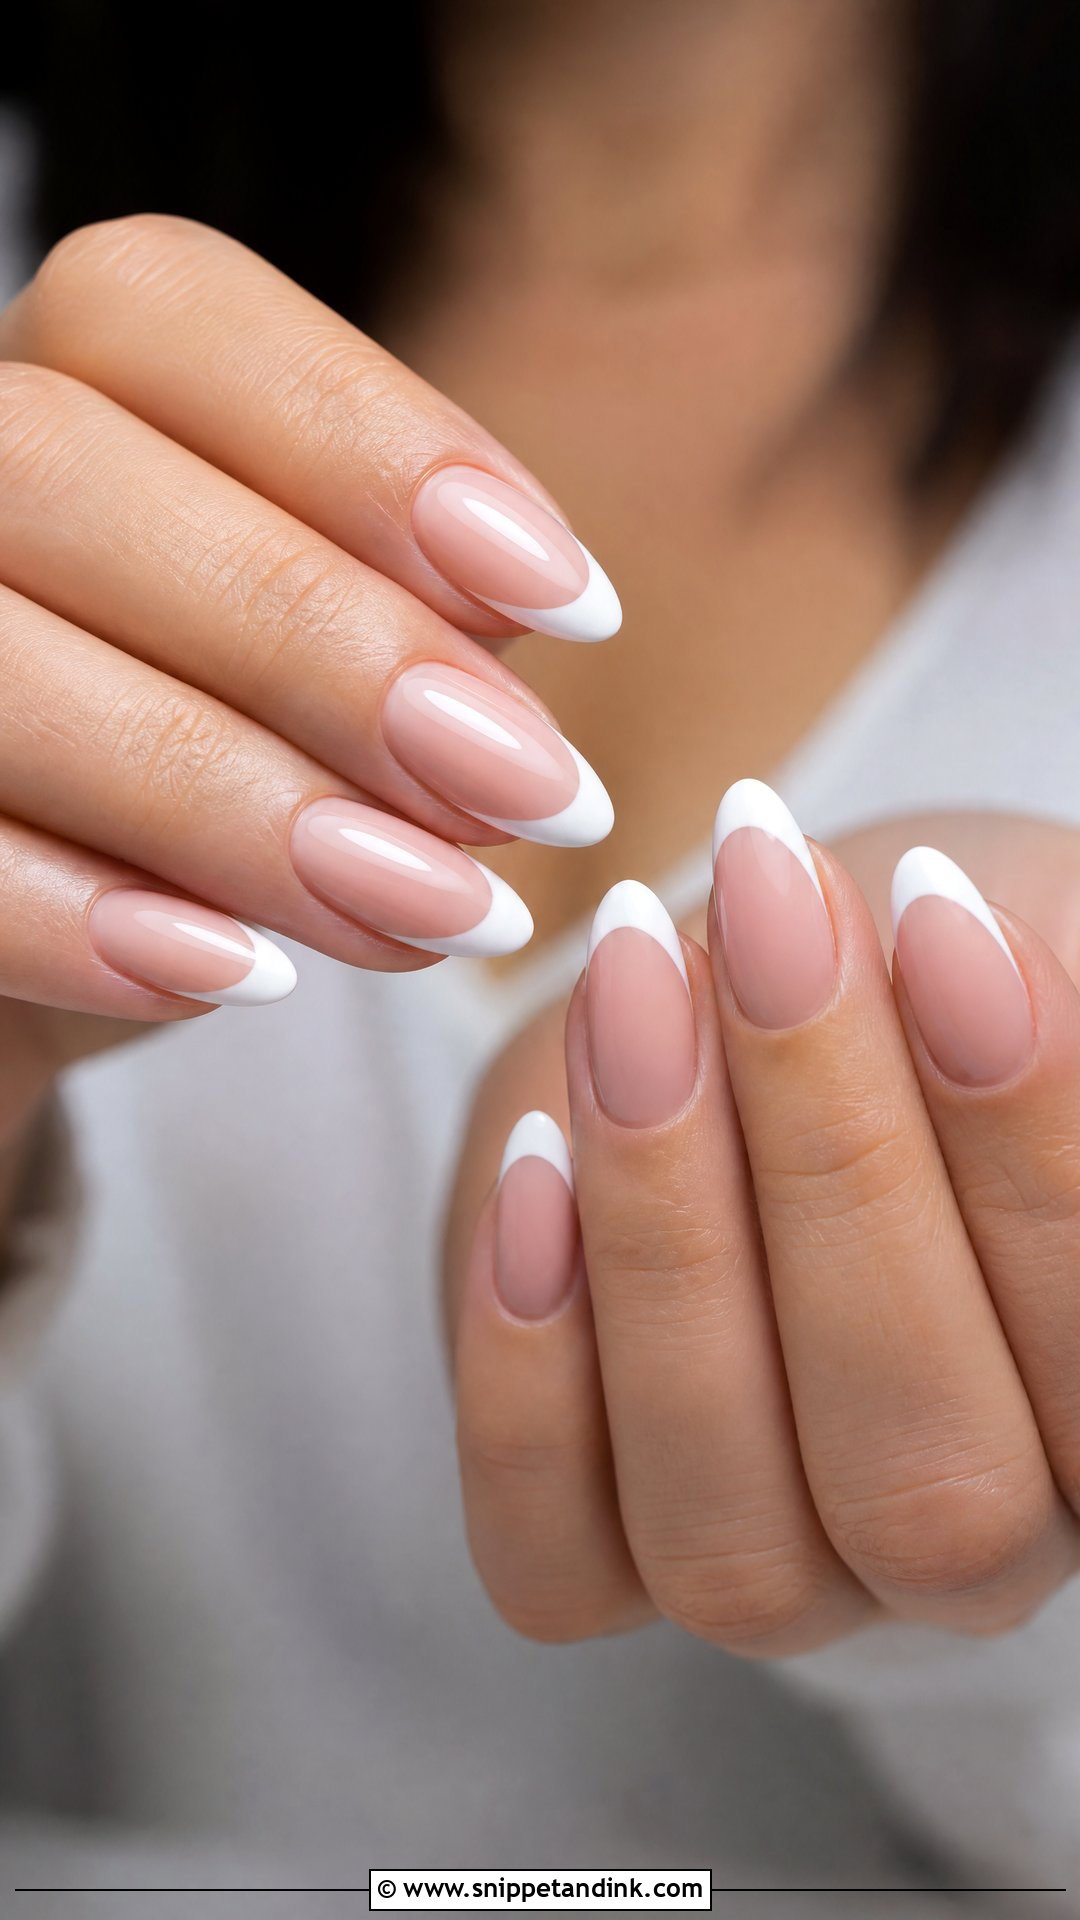
Almond is the shape I’d recommend to most brides who want length without drama. The tapered sides slim the fingers, and the curved edge gives the French tip a natural place to sit. Classic white, a micro line, a pearl tip or a soft fade all work. It needs a little length to look right, so medium nails are the sweet spot; on very short nails the point has nowhere to go and ends up looking pinched. With tulle, lace or off-the-shoulder sleeves, almond French nails pick up the softness of the dress, and they look polished in bouquet close-ups.
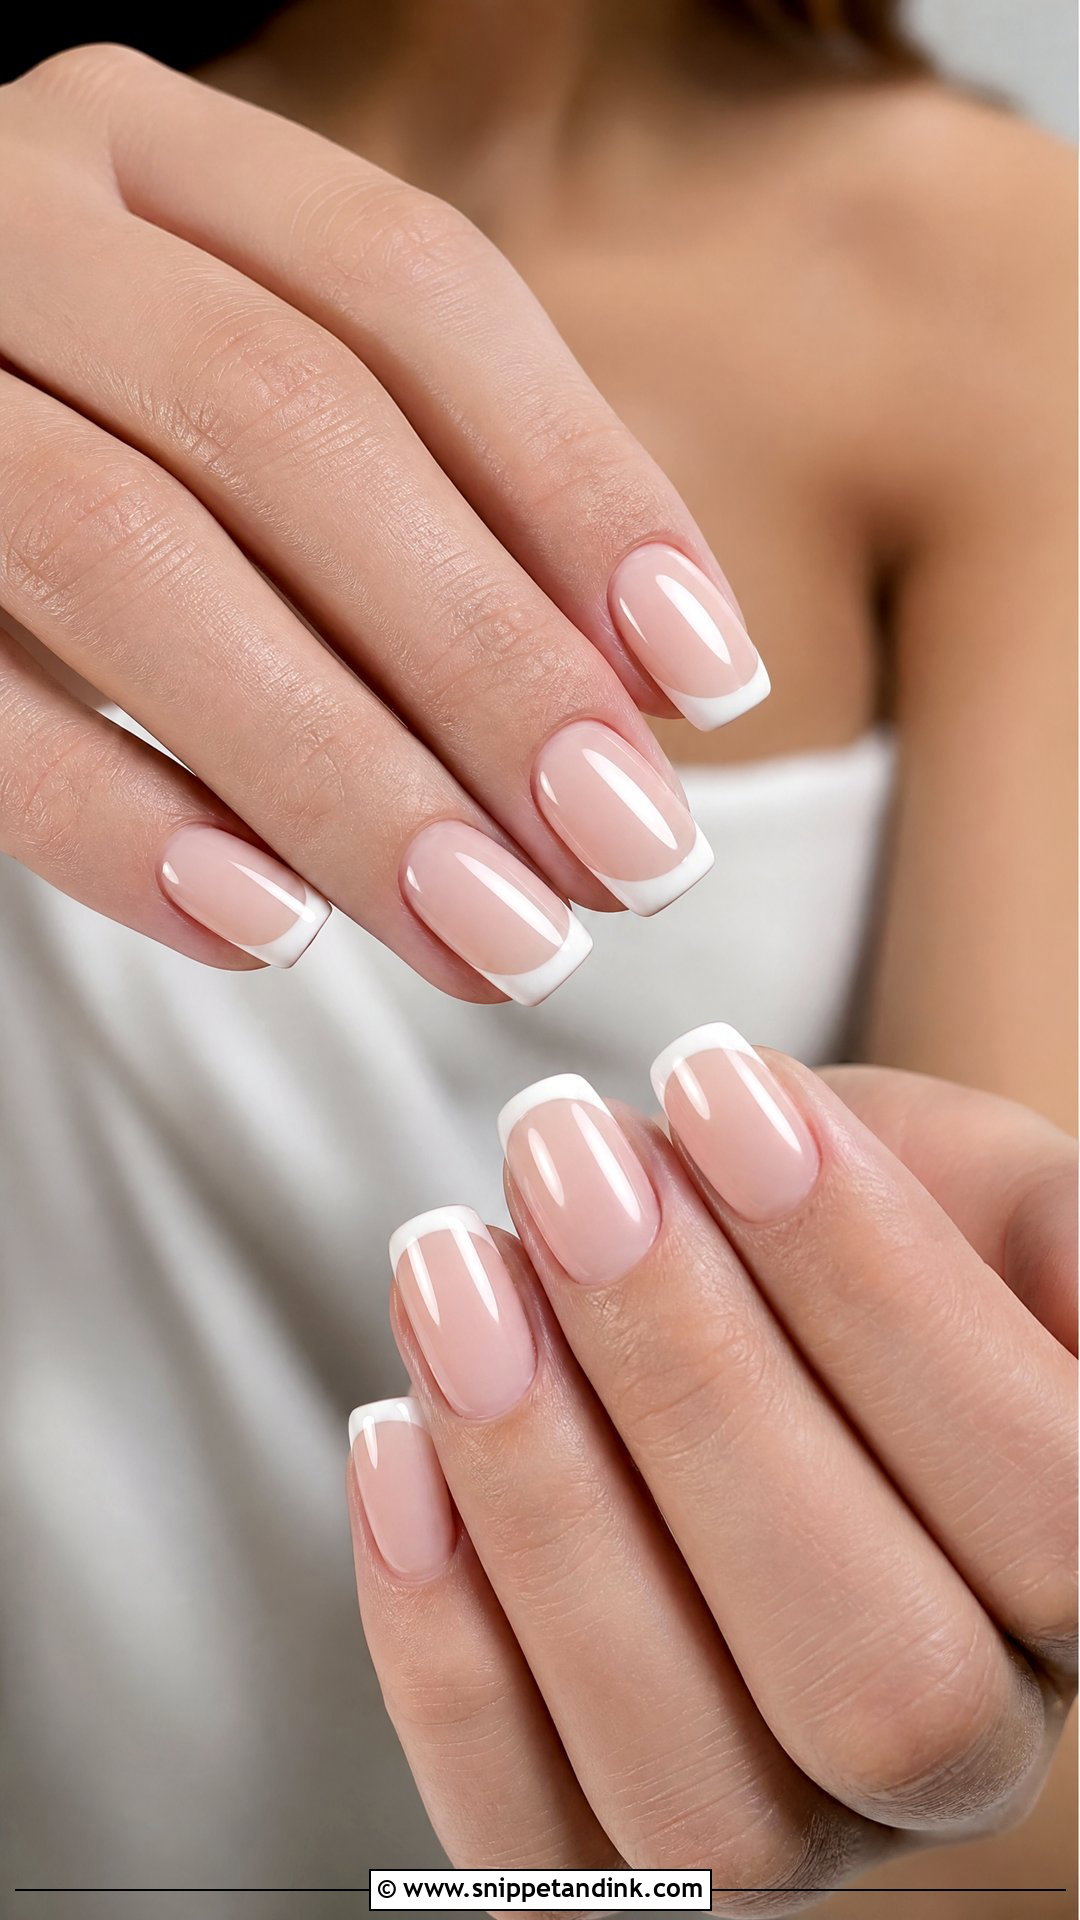
6. Square French Bridal Manicure
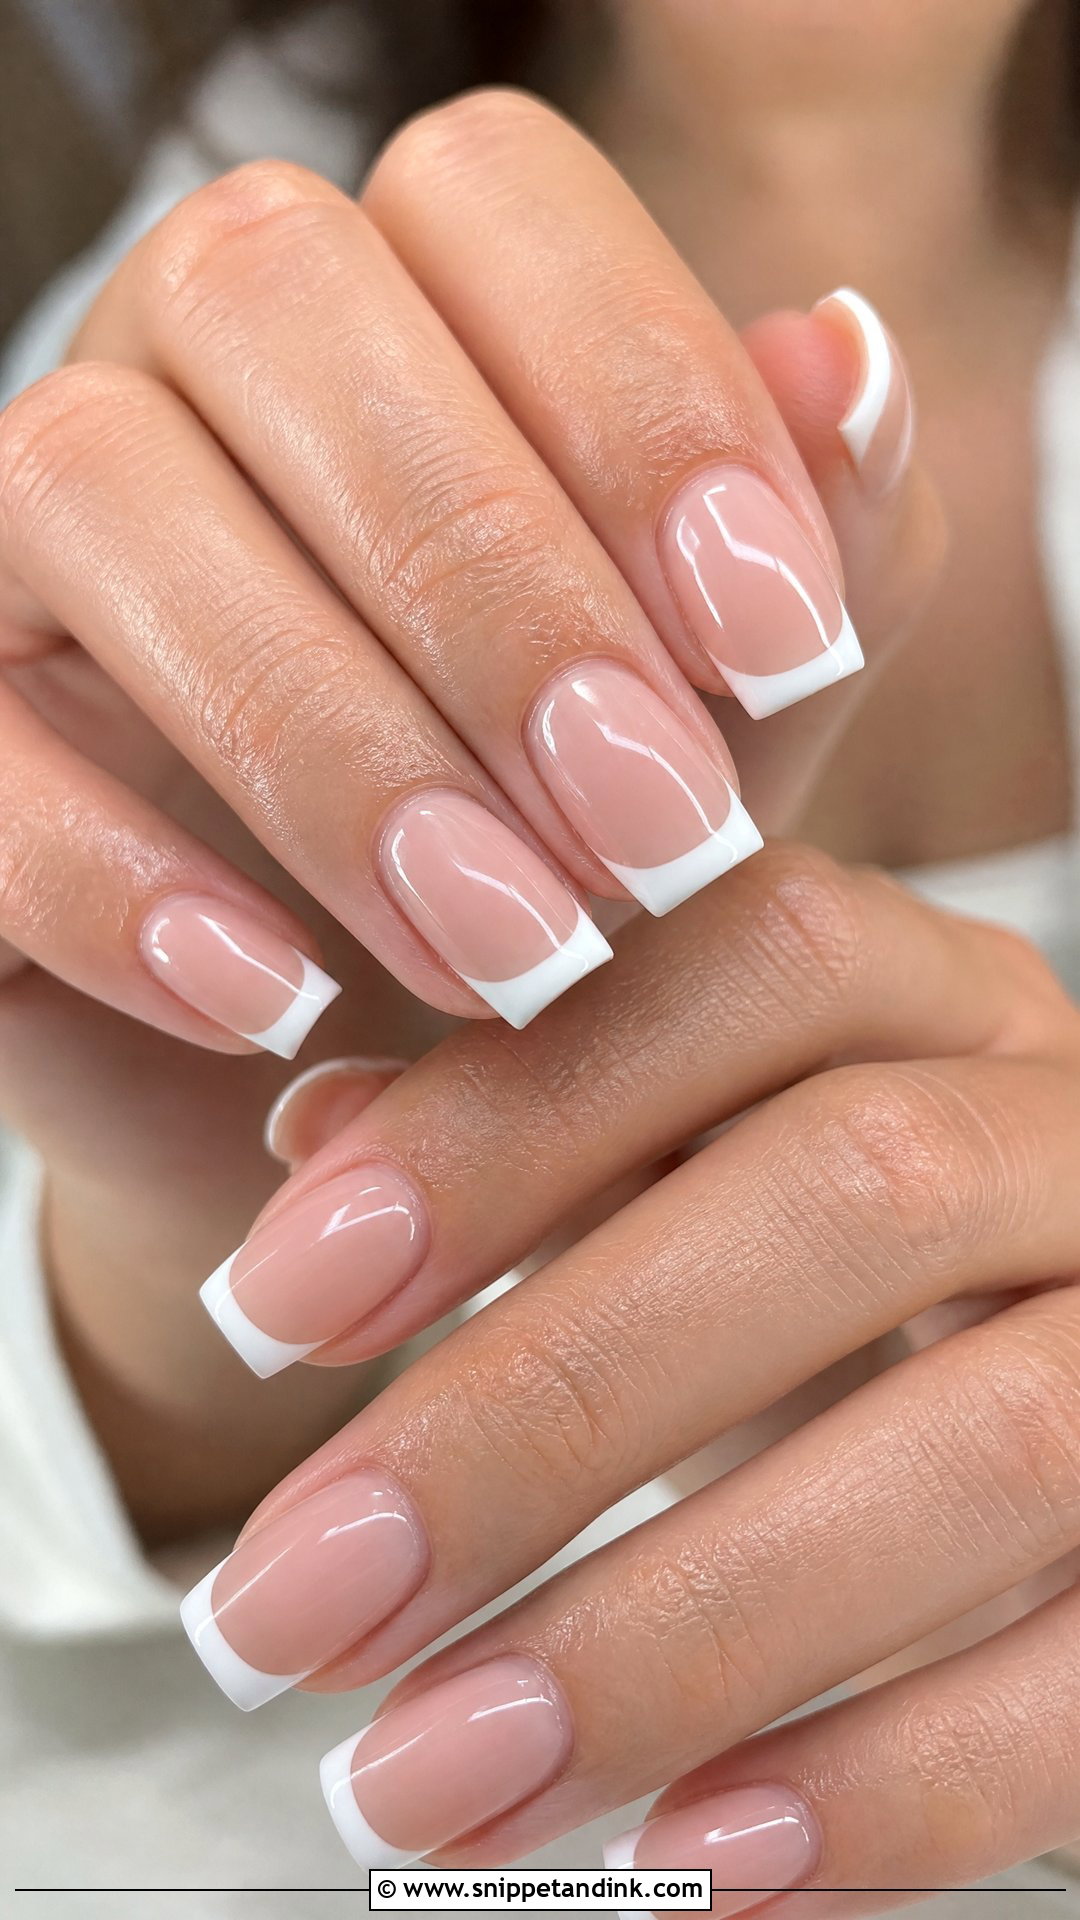
Square gives the French tip a straight, crisp finish and a sturdier edge, which I like for brides who type all day or whose nails tend to snap at the corners. The thing I watch is proportion. On shorter nails a deep white band looks heavy, so I keep the tip to roughly a fifth of the visible nail. A soft pink or nude base keeps it bridal. Sleek gowns and modern veils suit it; with a very romantic lace dress it can look a touch severe.
7. Short French Bridal Manicure
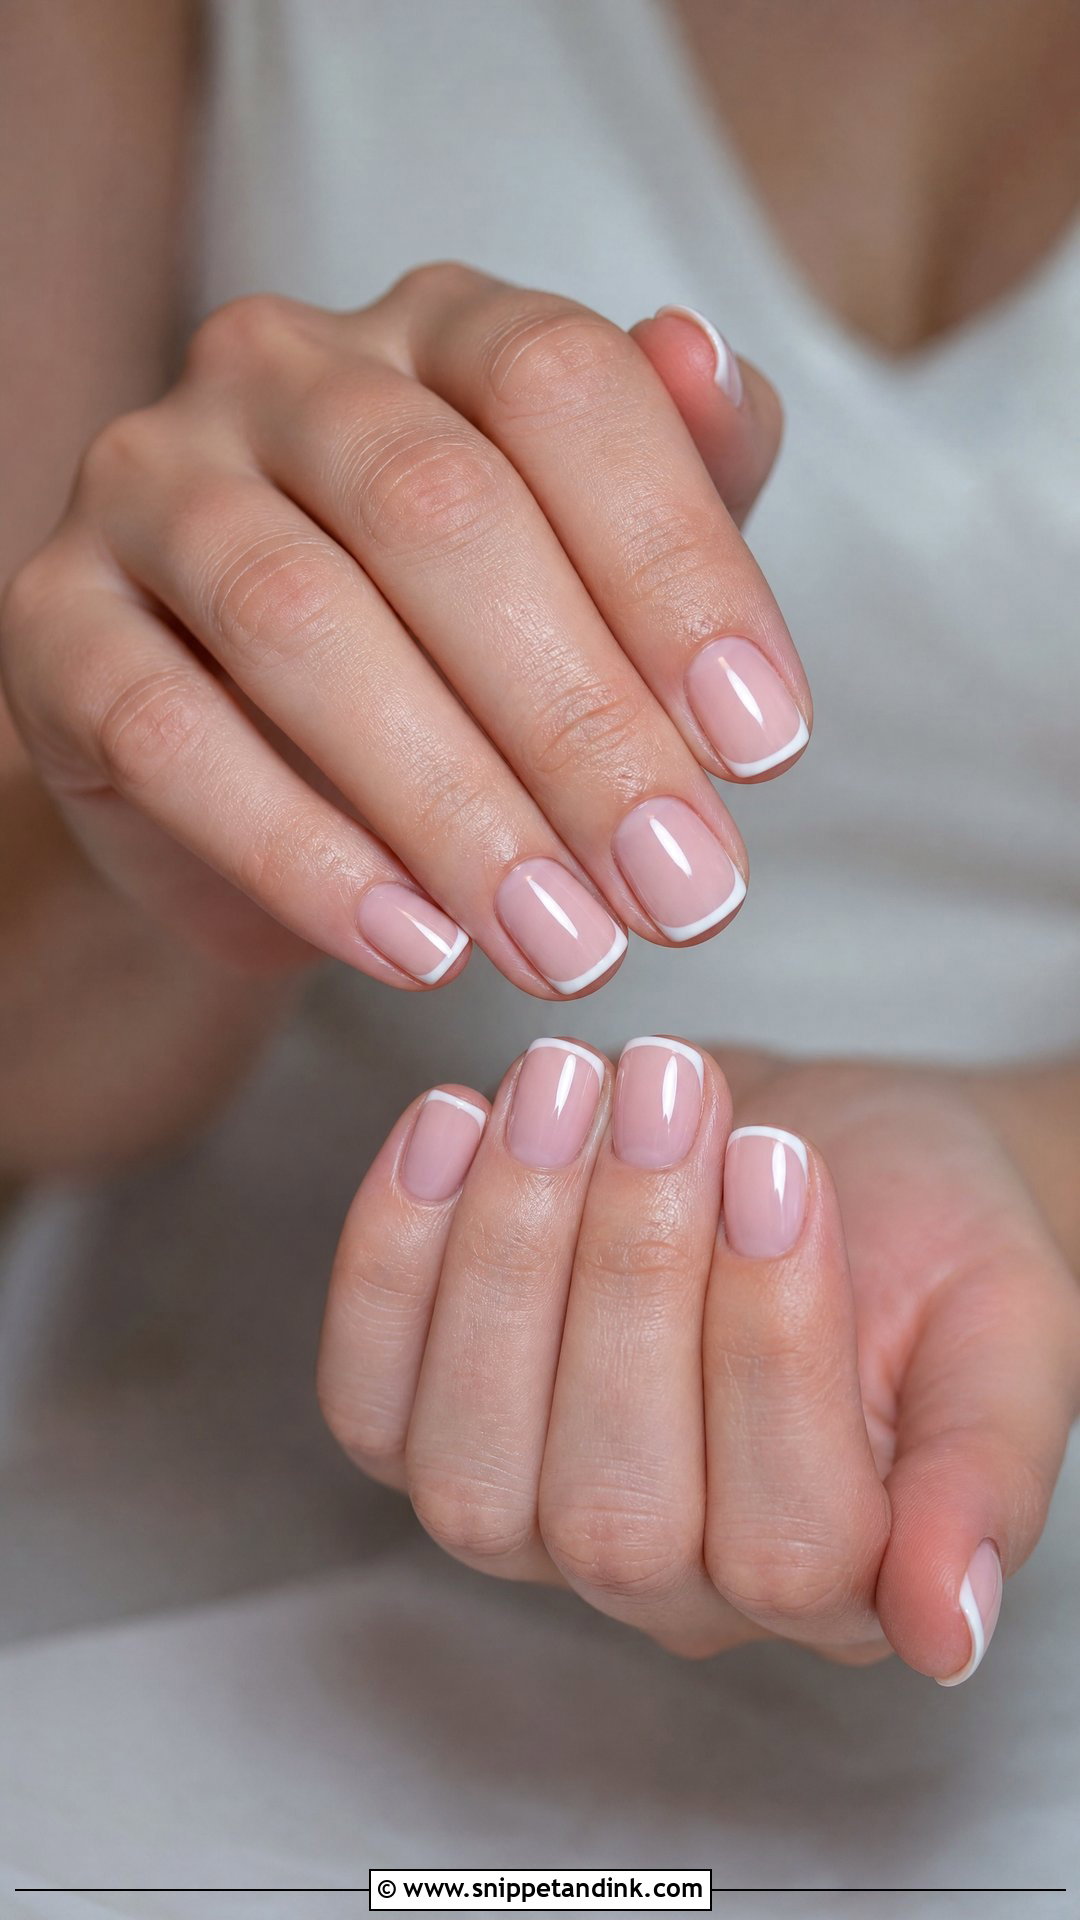
You don’t need extensions for a bridal French, and short nails often look the most polished of all. A thin tip on a sheer pink or nude base makes them look tidy. The micro line is almost always my choice here, because it keeps the visible nail bed long. Brides who work with their hands, hate the feel of length, or simply want something that looks like their own nails done well tend to be happiest with this. I finish with high-gloss top coat, or a whisper of pearl if they want a bit more glow.
8. Oval French Bridal Manicure
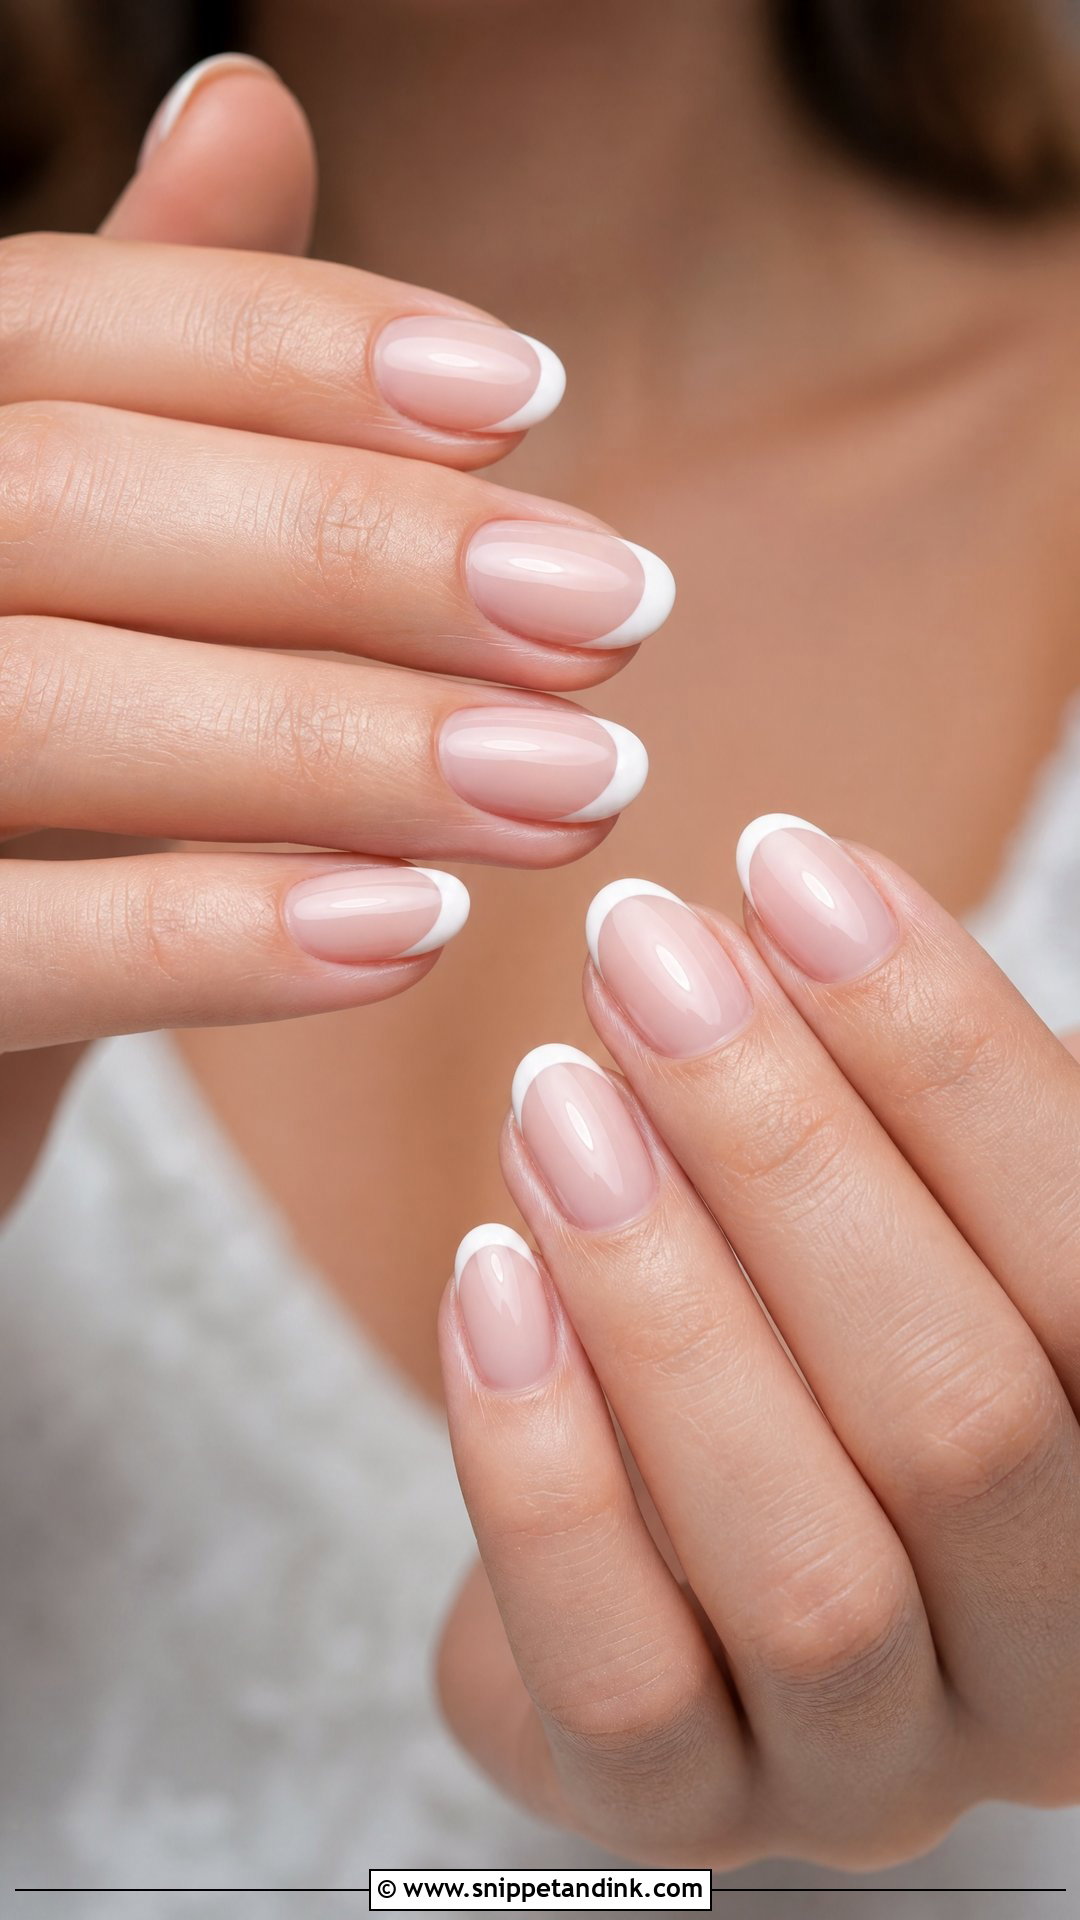
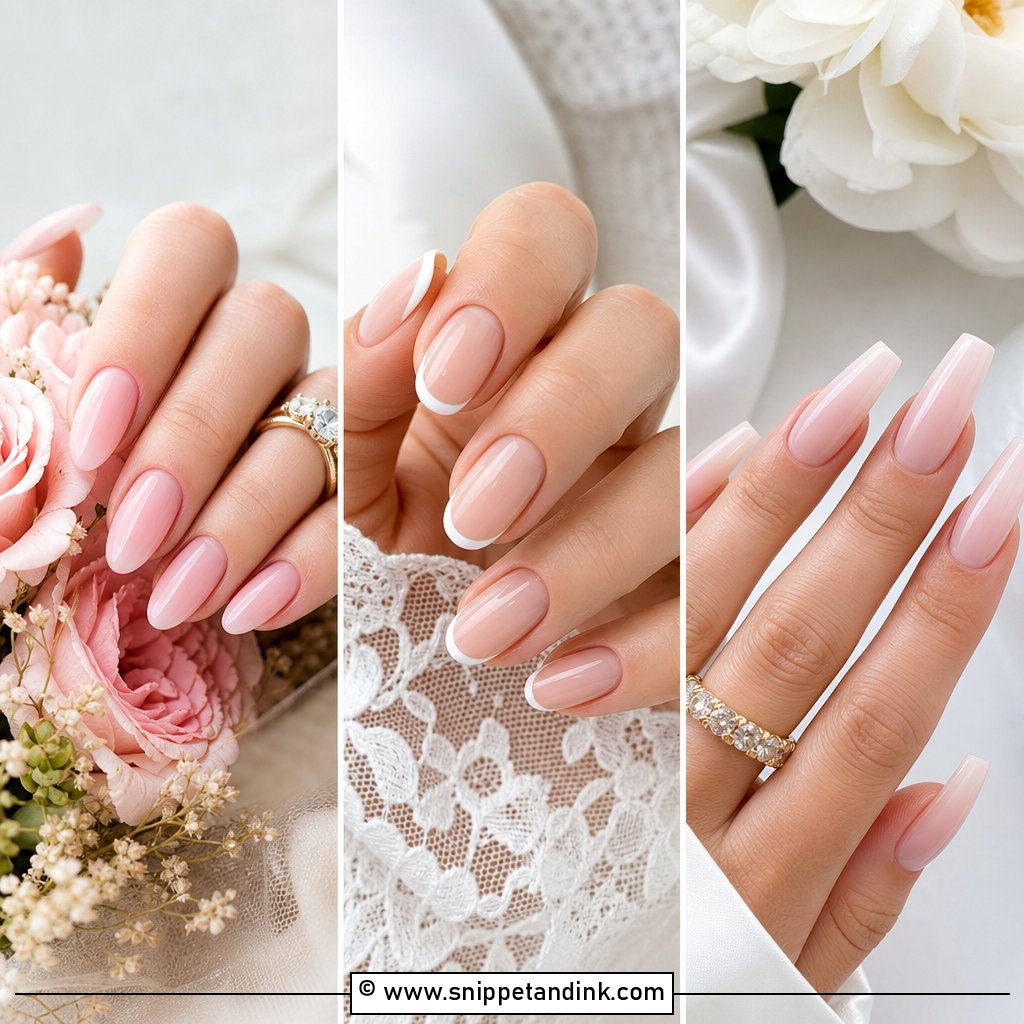
Oval is the shape I reach for when I don’t know a bride’s taste yet, because it flatters almost every hand and gives the French tip a gentle curve. A sheer blush base and a thin white tip suit it well. It works on natural nails and extensions, and it’s comfortable for a long day with no corners to catch on tights or lace. If you’re torn between trends, it’s one of the safest shapes you can wear. The one drawback: on very wide nail beds an oval can look a little bulbous, so I’ll narrow the sidewalls slightly when filing.
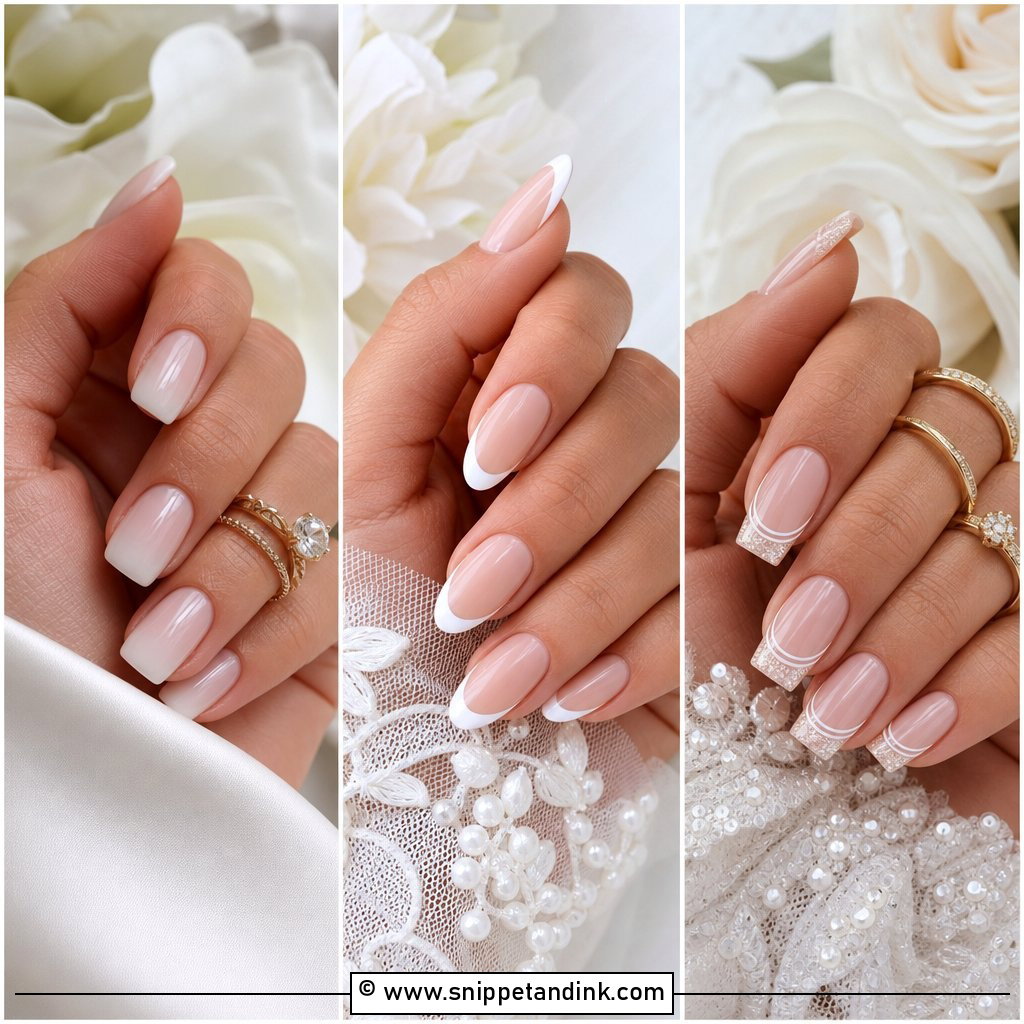
9. French Ombré Bridal Manicure
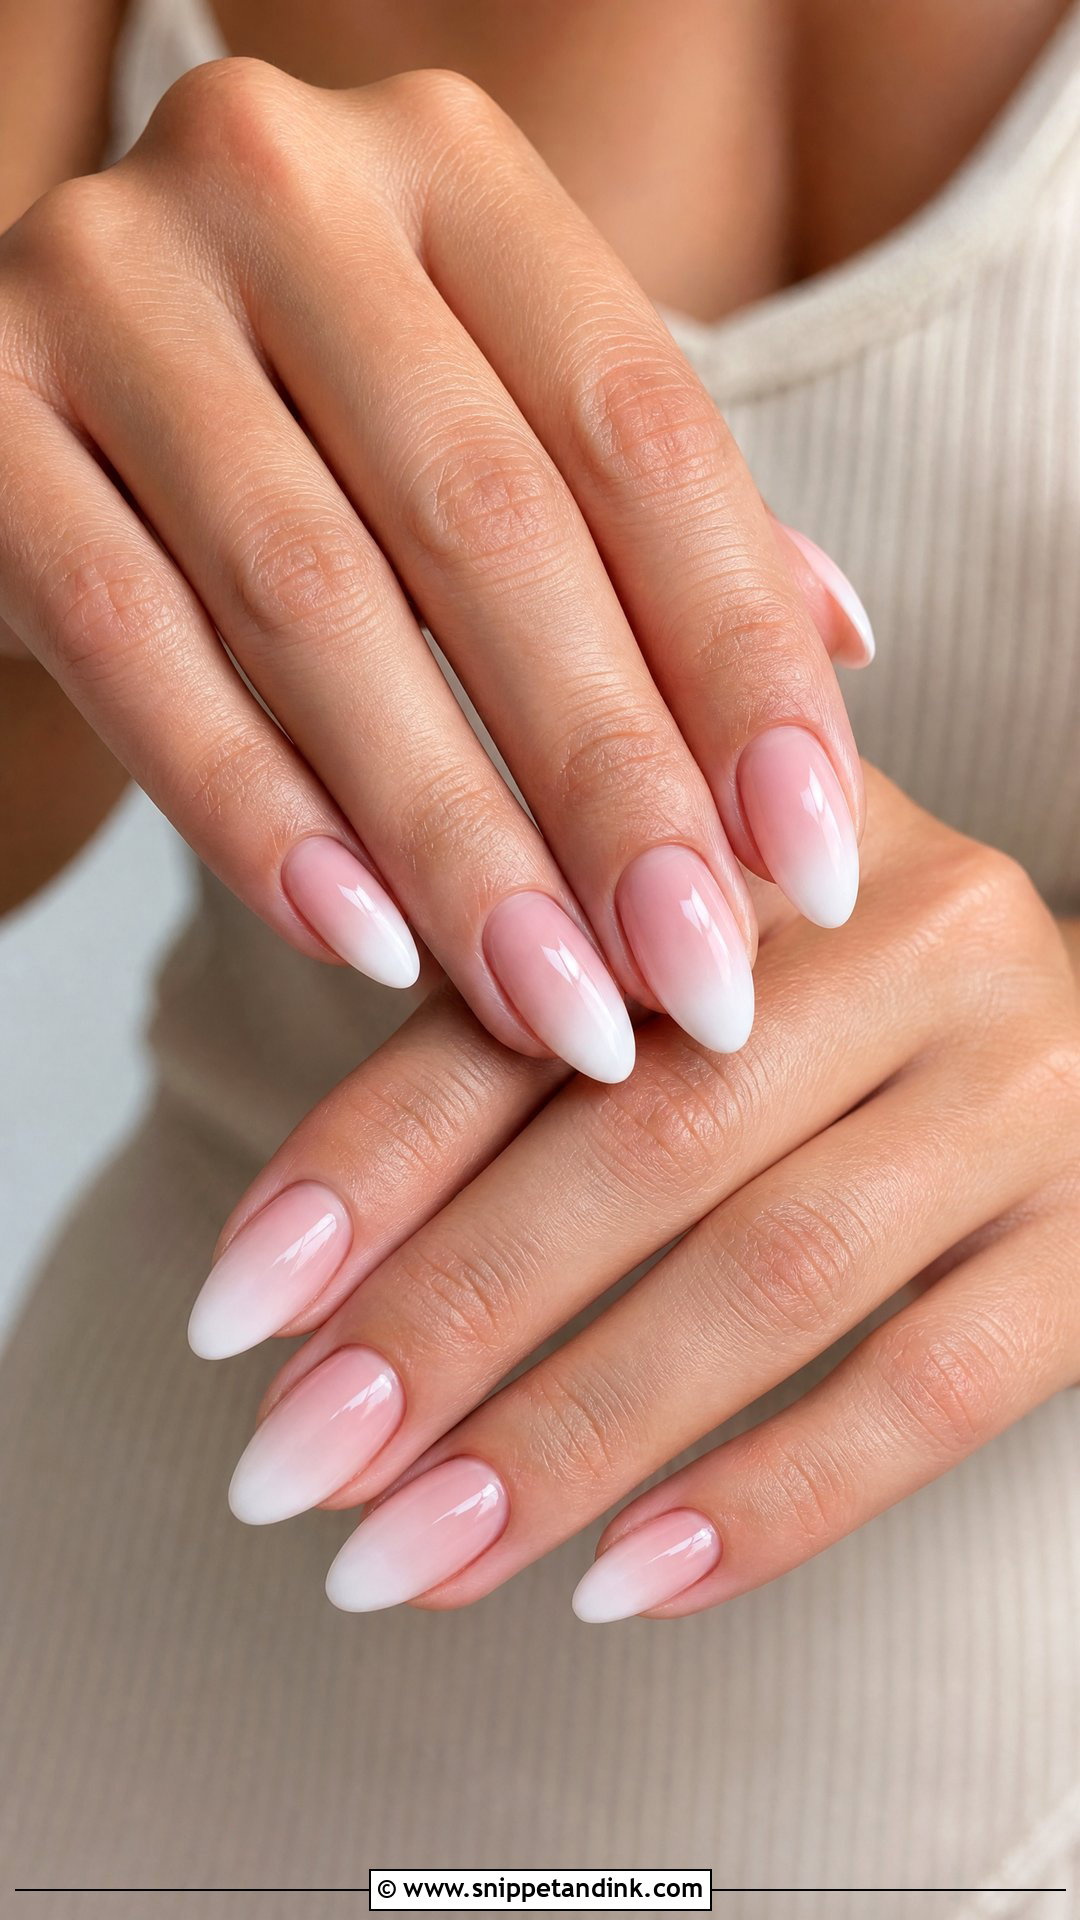
A French fade blurs the white into the base instead of drawing a smile line, sometimes called baby boomer nails. I sponge or brush the white in thin layers so the gradient is gradual; one heavy dab leaves a visible band halfway up the nail. It looks delicate in milky white, sheer pink or nude tones. The practical bonus is how it grows out. With no sharp line at the base, a few days of growth hardly shows, so it is forgiving if your appointment has to be earlier in the week.
10. Glitter French Bridal Manicure
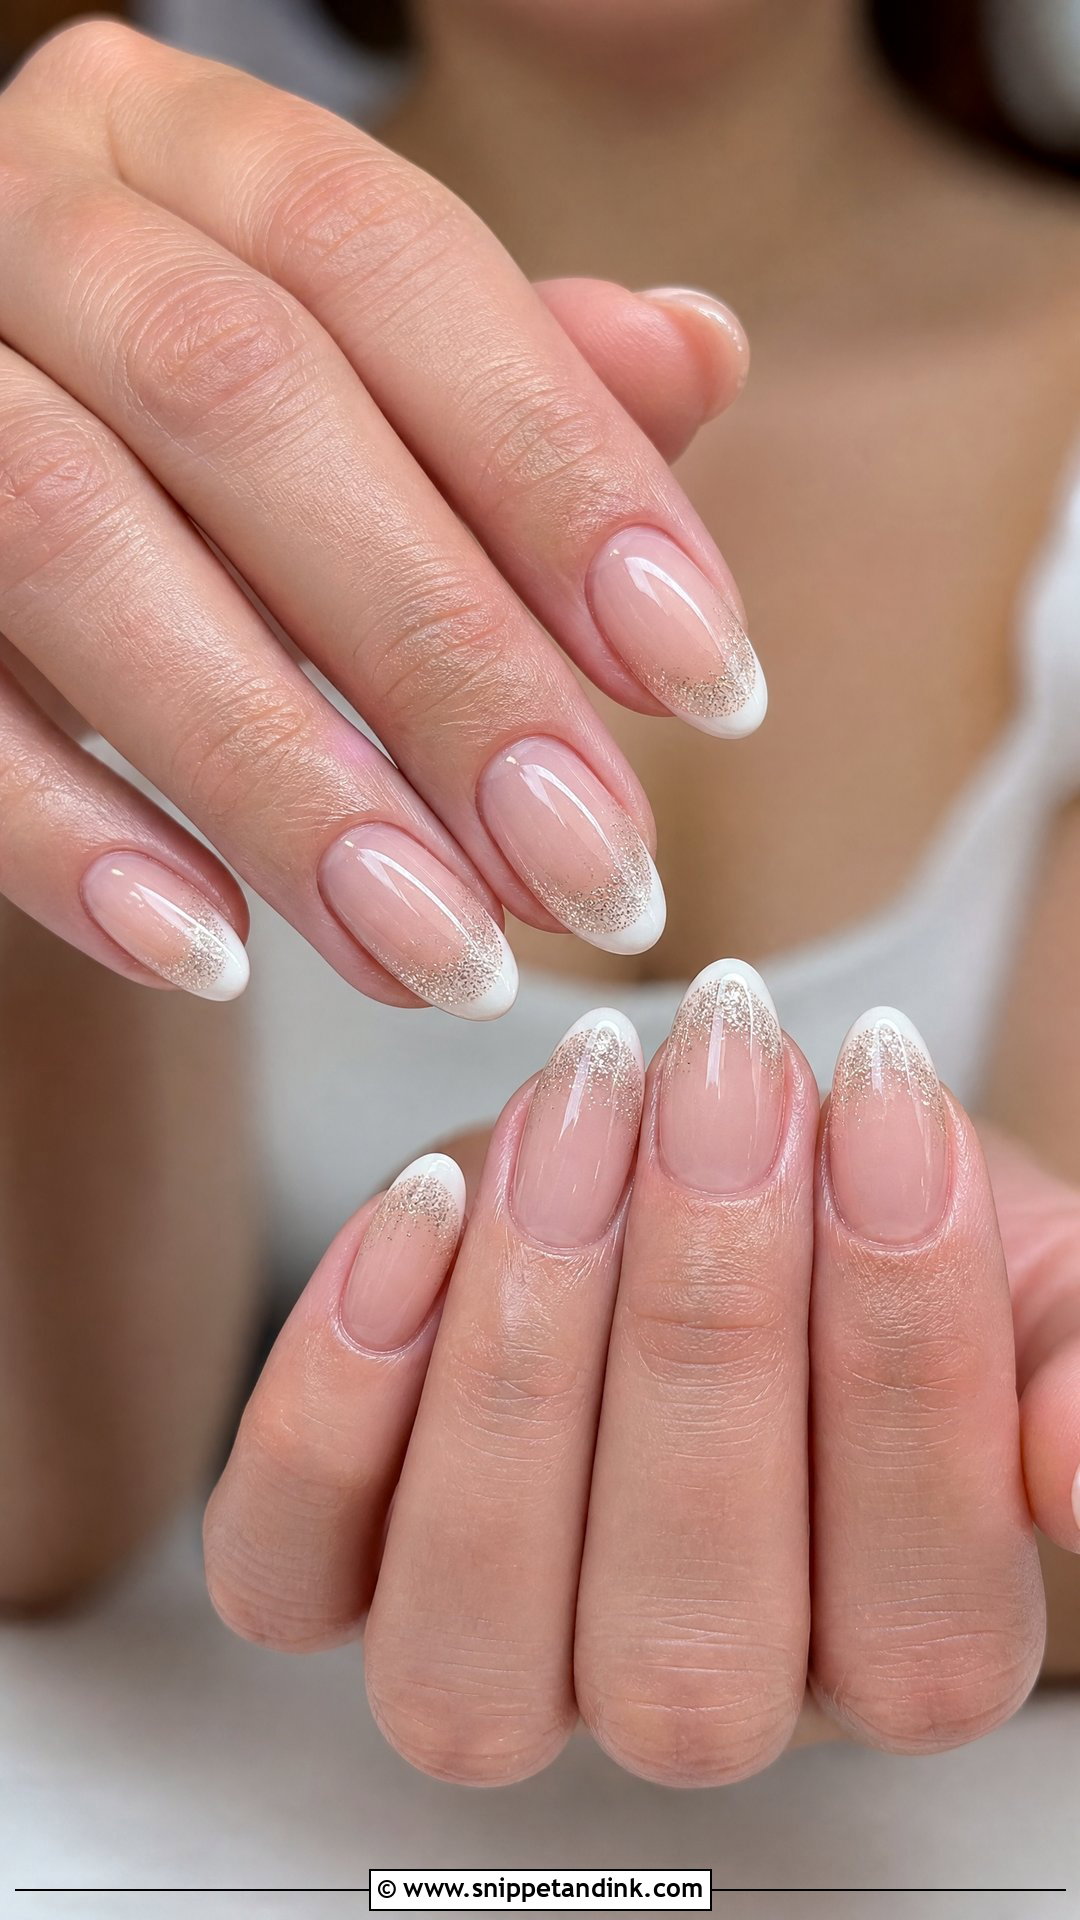
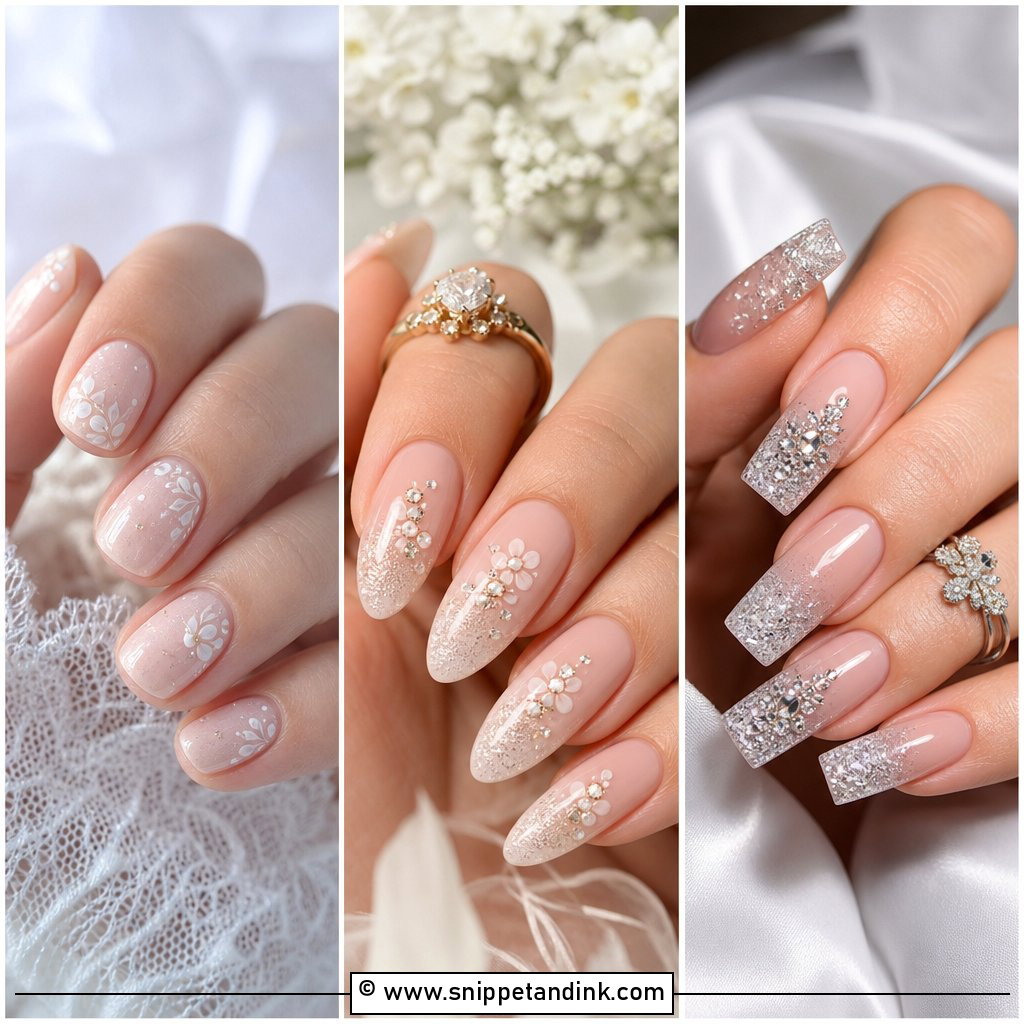
Here the sparkle stays on the tip only: fine shimmer over the white edge or in place of it, on a sheer, nude or blush base. Silver reads icy and cool; champagne is warmer and softer on warm skin. I always choose ultra-fine glitter for brides. Chunky pieces leave a bumpy surface that shows up in macro ring shots, and they need extra top coat to smooth, which thickens the tip. It suits evening receptions and gowns with a little beading.
11. Gold French Bridal Manicure
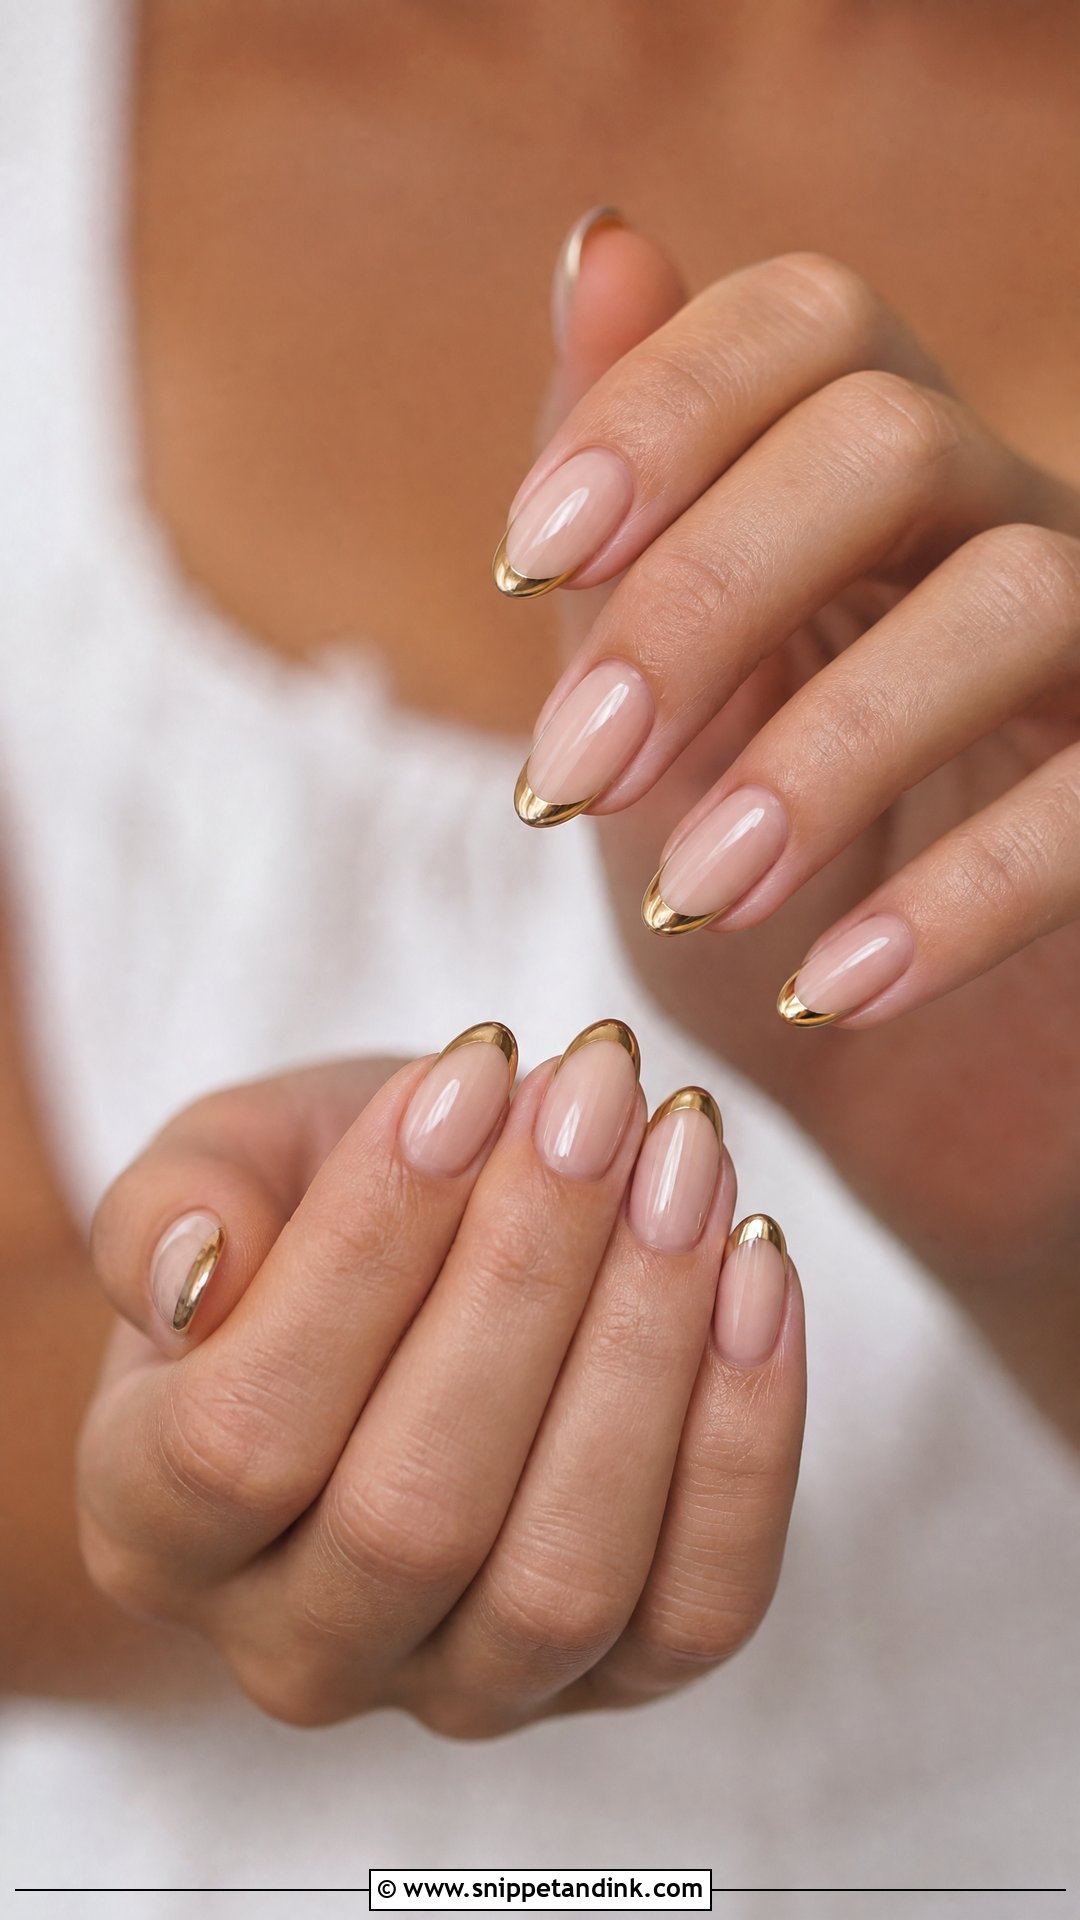
If your jewelry, shoes or hair pins are warm metal, a thin gold line over a nude base, or a gold edge sitting above a soft white tip, ties the hands into the rest of the look. Champagne, ivory and warm white gowns sit especially well with it. I paint the line with gold gel or a foil-finish liner rather than glitter, because a true metallic line looks finer and cleaner. Keep it hair-thin; a thick gold band tips the set from bridal into party nails. Almond, oval and square all carry it.
12. Silver French Bridal Manicure
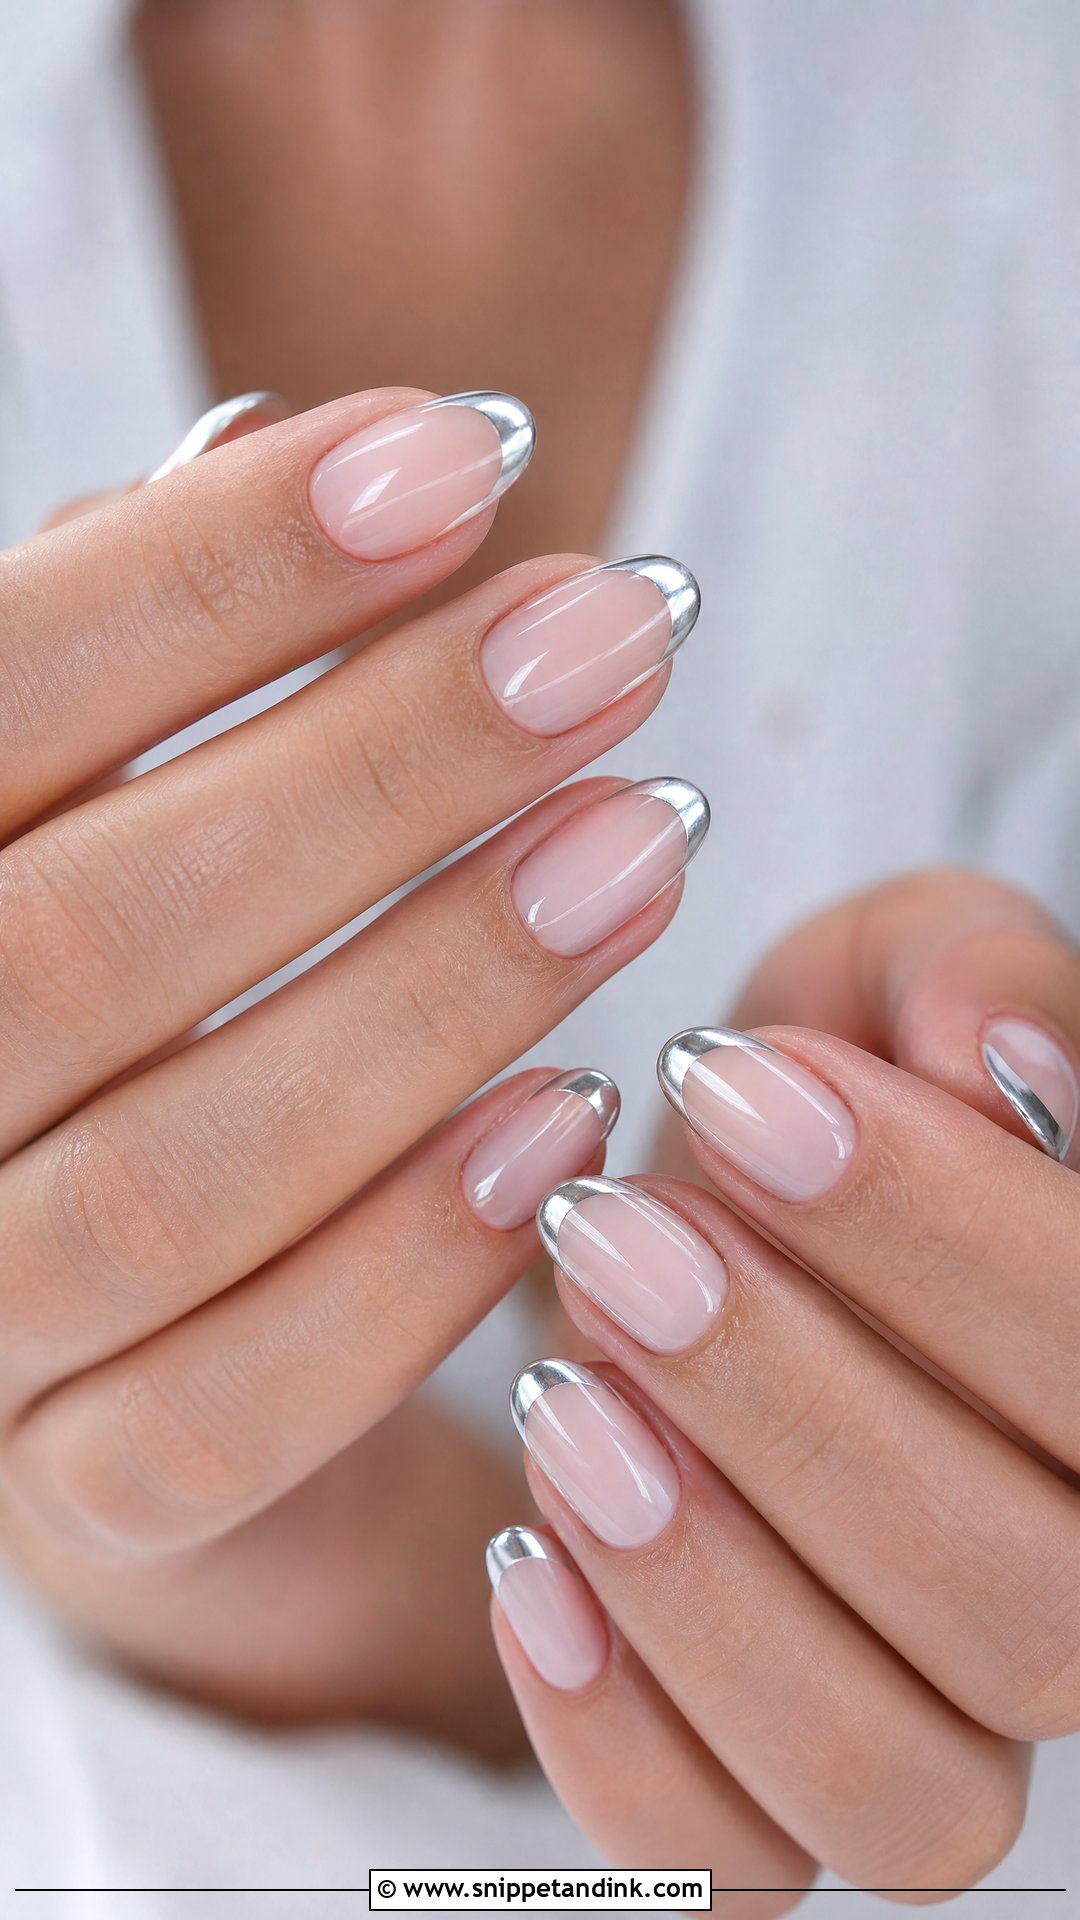
Silver suits platinum rings, white gold, crystal pins and cool-toned dresses. It can be the whole tip, an outline around a white tip, or a shimmer over a classic French. A sheer pink or cool nude base keeps it soft. I’d keep the silver very thin if your engagement ring has a large stone, otherwise the nails and the ring compete for the same spot in every close-up. For winter or city weddings it’s one of my favorite quiet metallics.
13. Blush Pink French Bridal Manicure
Blush pink under the tip warms the whole set up and keeps a pale bride from looking washed out in a white dress. The pink has to be sheer enough to look like a healthy nail bed but present enough to read on camera; I usually build it in two coats and check it against her skin in daylight before the tips go on. White or off-white tips both work. Blush can be shifted warmer or cooler, so it adapts to most skin tones. It pairs naturally with rosy makeup and soft florals.
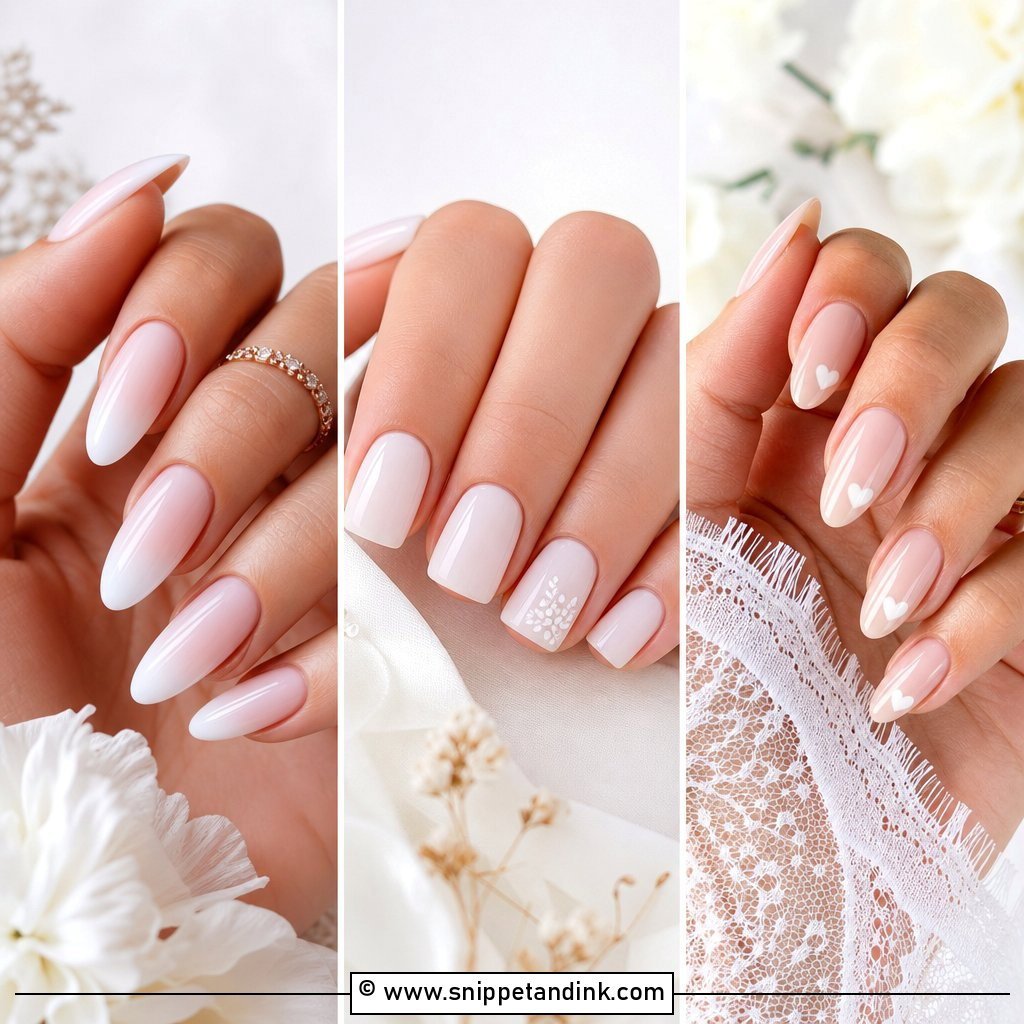
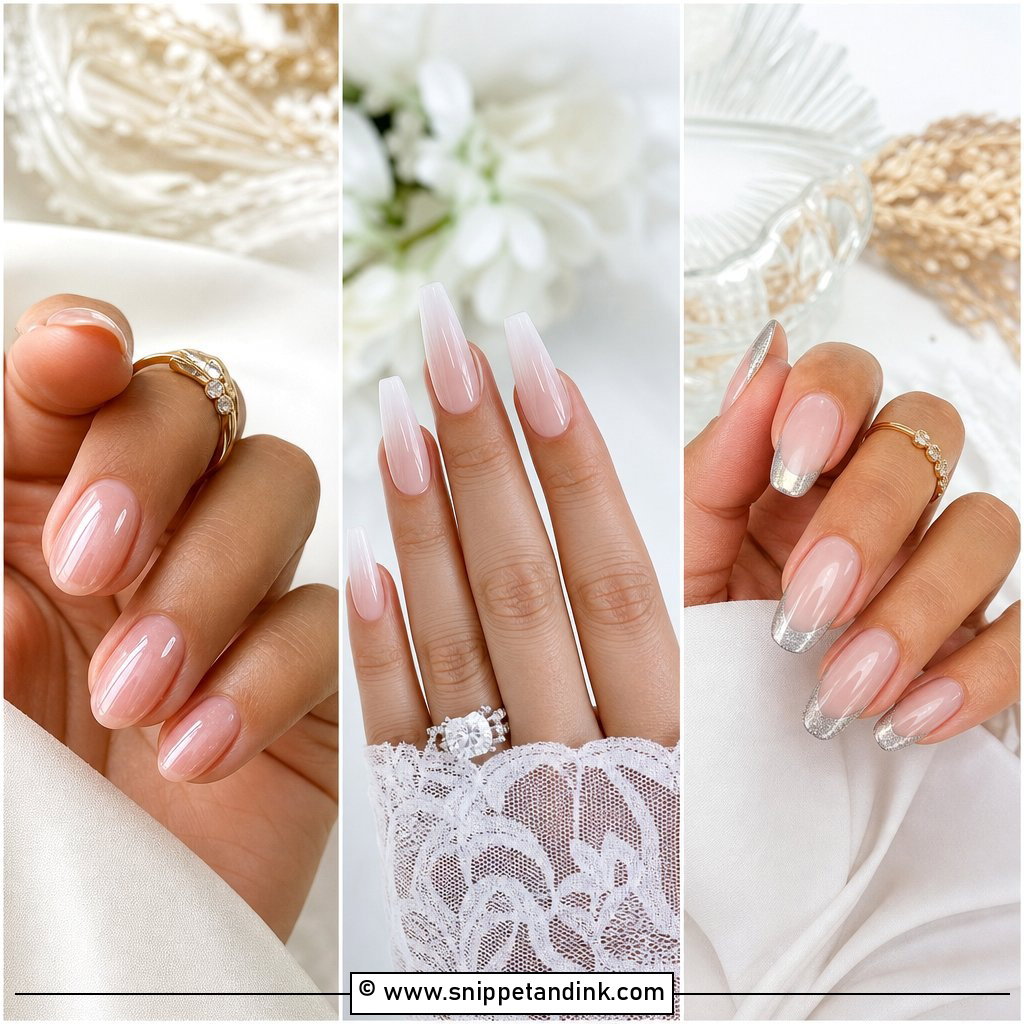
14. Nude French Bridal Manicure
The base shade matters more than the tip here, and one universal beige rarely suits anyone. Fair skin tends to look best with a pinky nude, medium skin with a peachier one, and deeper skin often glows with caramel, mocha, or rosy brown bases. I swatch two or three on the finger itself, not on a stick, because the nail bed changes how a sheer color reads. Get the base right and the white tip looks like a natural extension of your hand rather than something sitting on top of it.
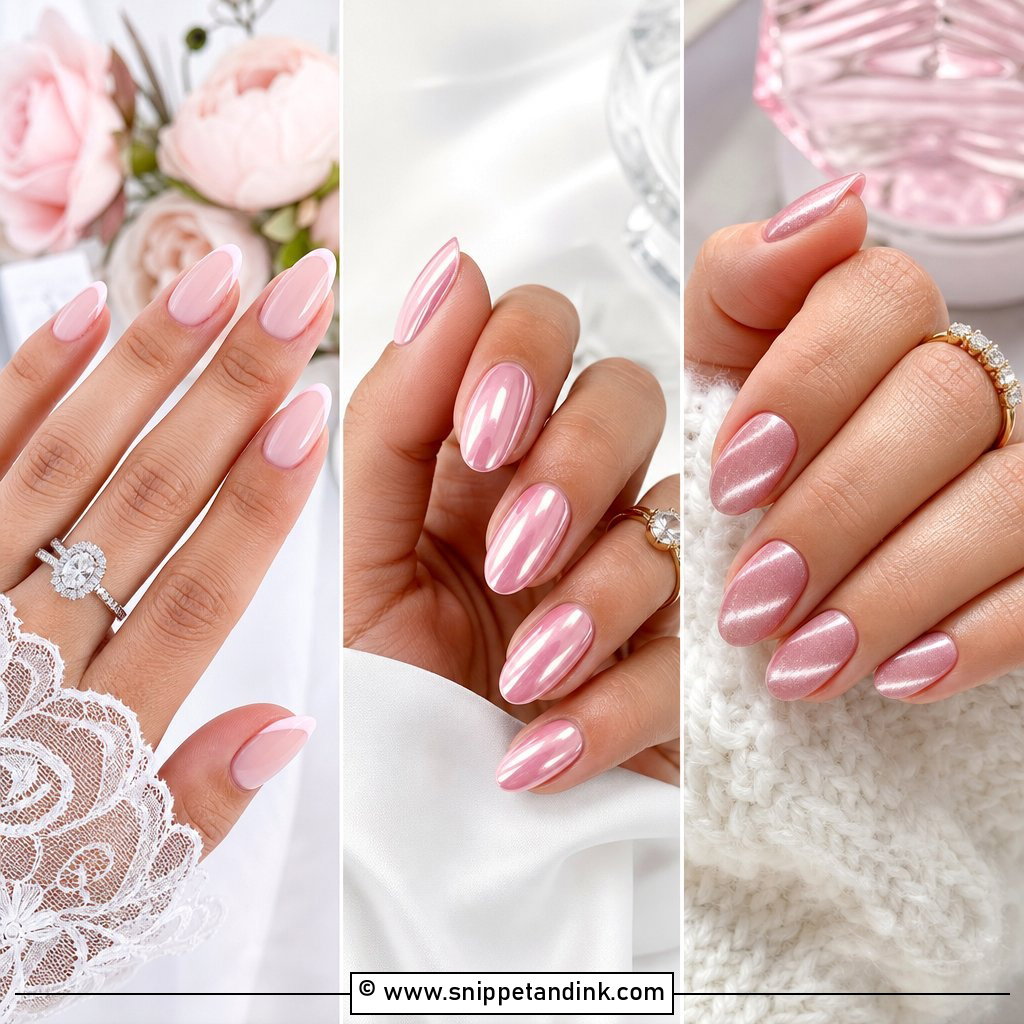
15. White On White French Bridal Manicure
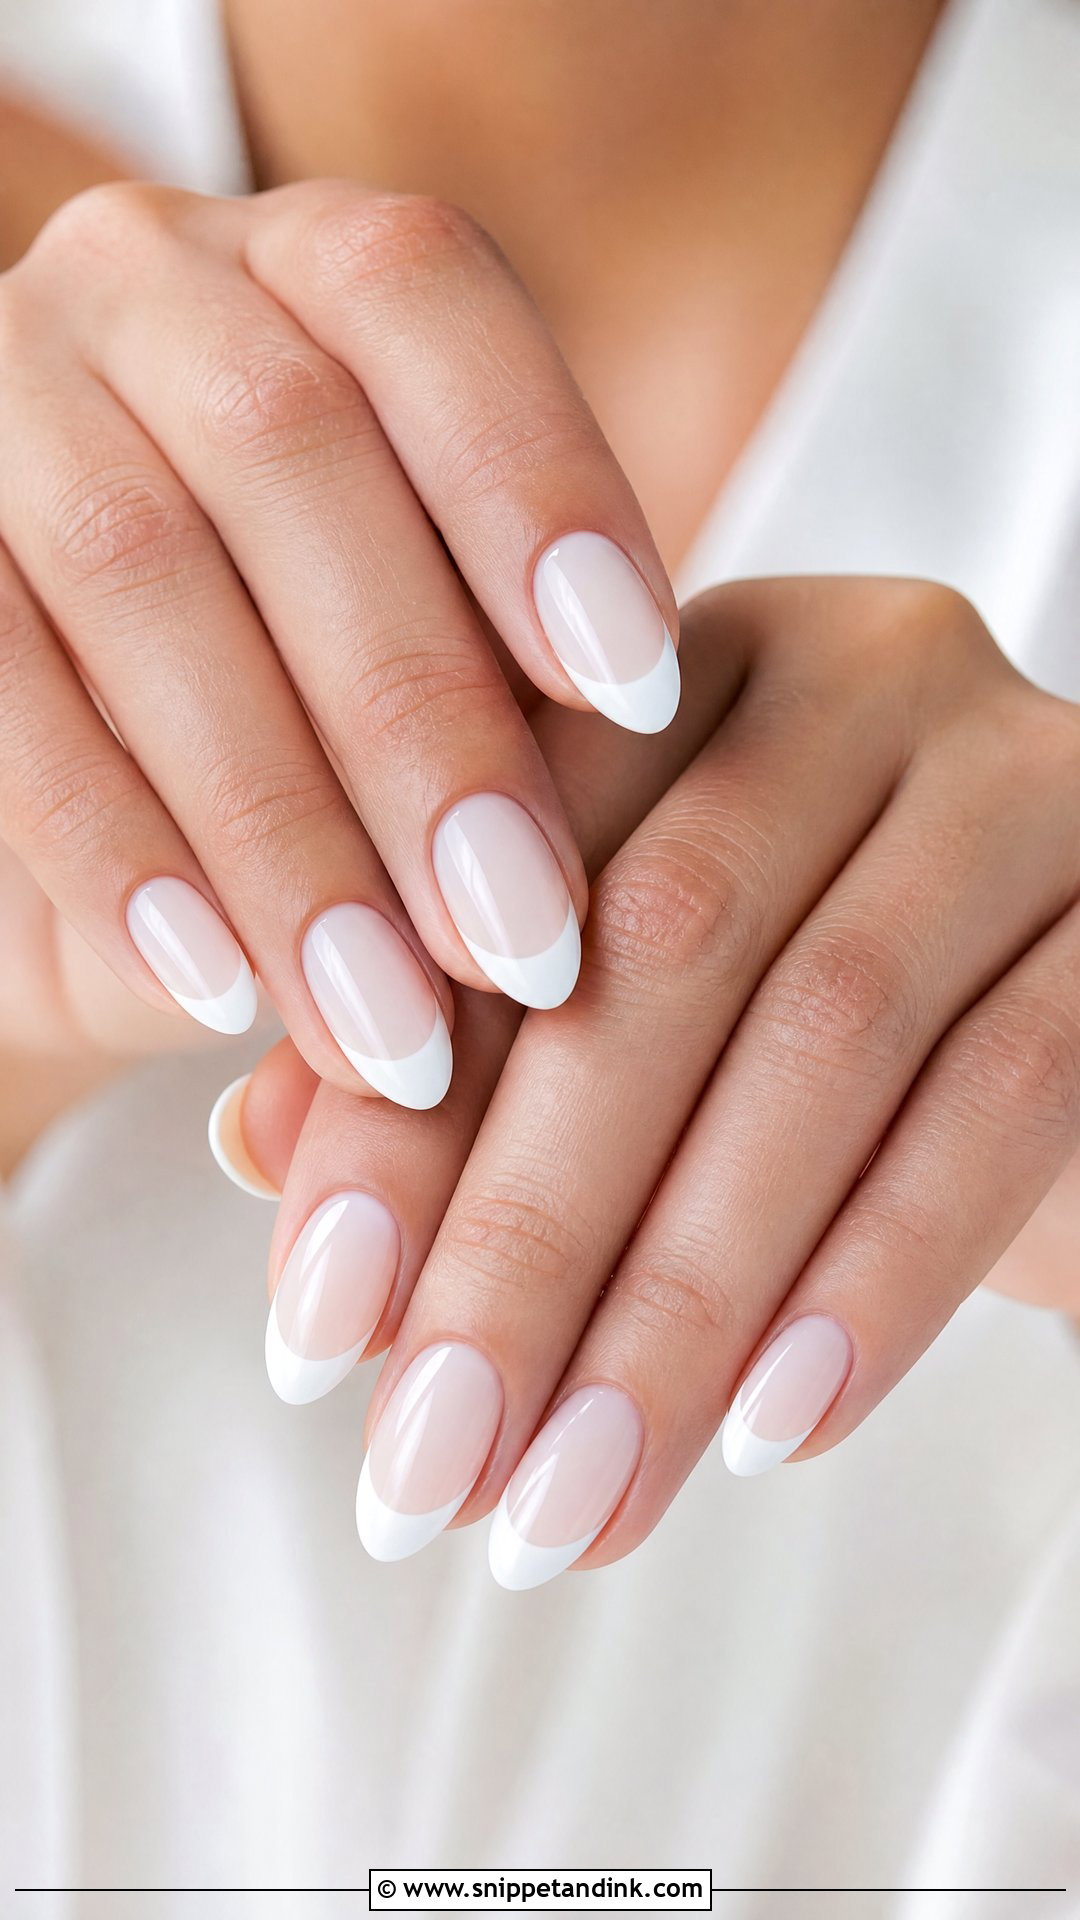
This one layers a sheer milky white base with a brighter white tip, so the design is tonal rather than graphic. It suits brides who love white nails but want the structure of a French. The risk is chalkiness: an opaque white base looks like correction fluid, especially under flash. I keep the base translucent and the top coat glossy so light travels through the layers. Pearl veils and clean, minimal makeup sit well beside it.
16. Lace French Bridal Manicure
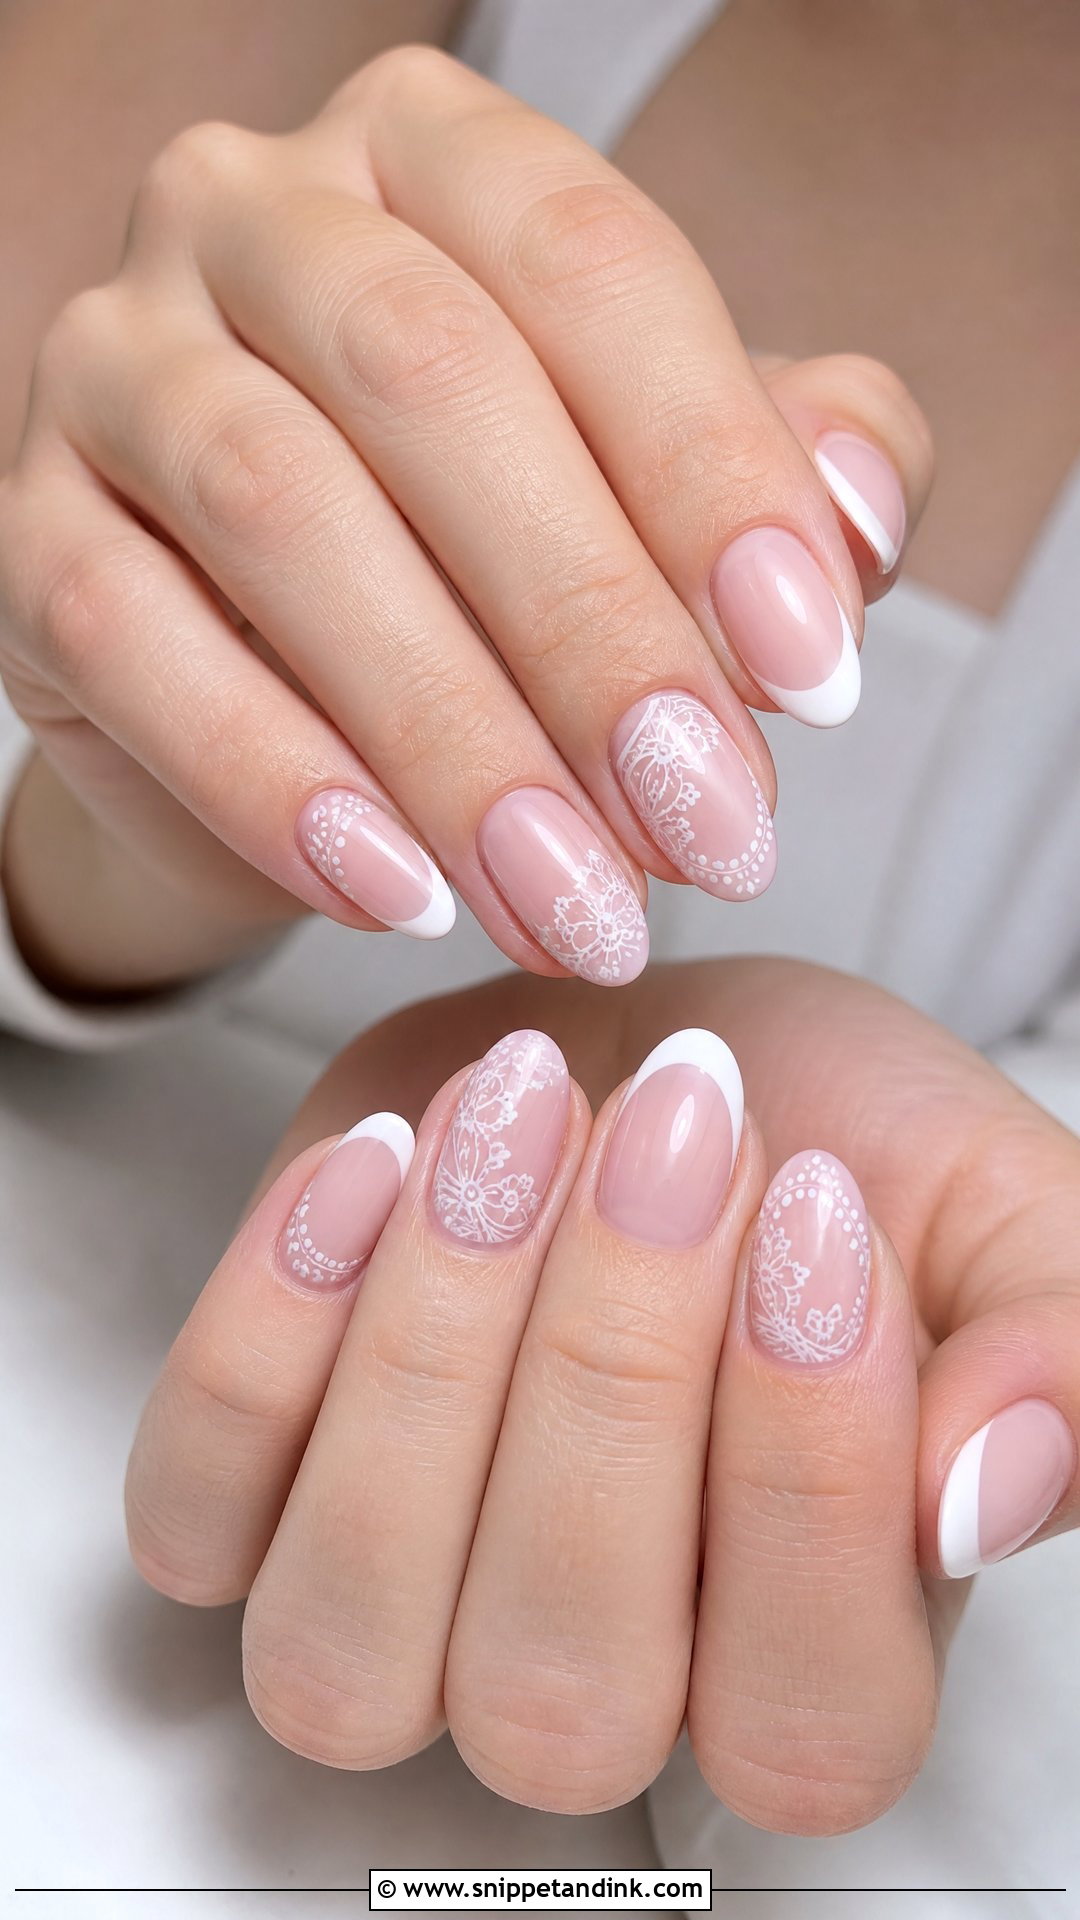
Lace work means fine lines, tiny dots and soft floral patterns over a white tip, usually on one or two accent nails. It’s a natural echo of lace sleeves or appliqué on a gown. Restraint is everything. I paint lace with a striping brush and very thin white gel, and I stop as soon as the pattern reads, because over-detailing turns it into a busy blur at arm’s length. Oval and almond suit it. If you can, bring a photo of your actual dress lace so the motif can borrow from it.
17. Floral French Bridal Manicure
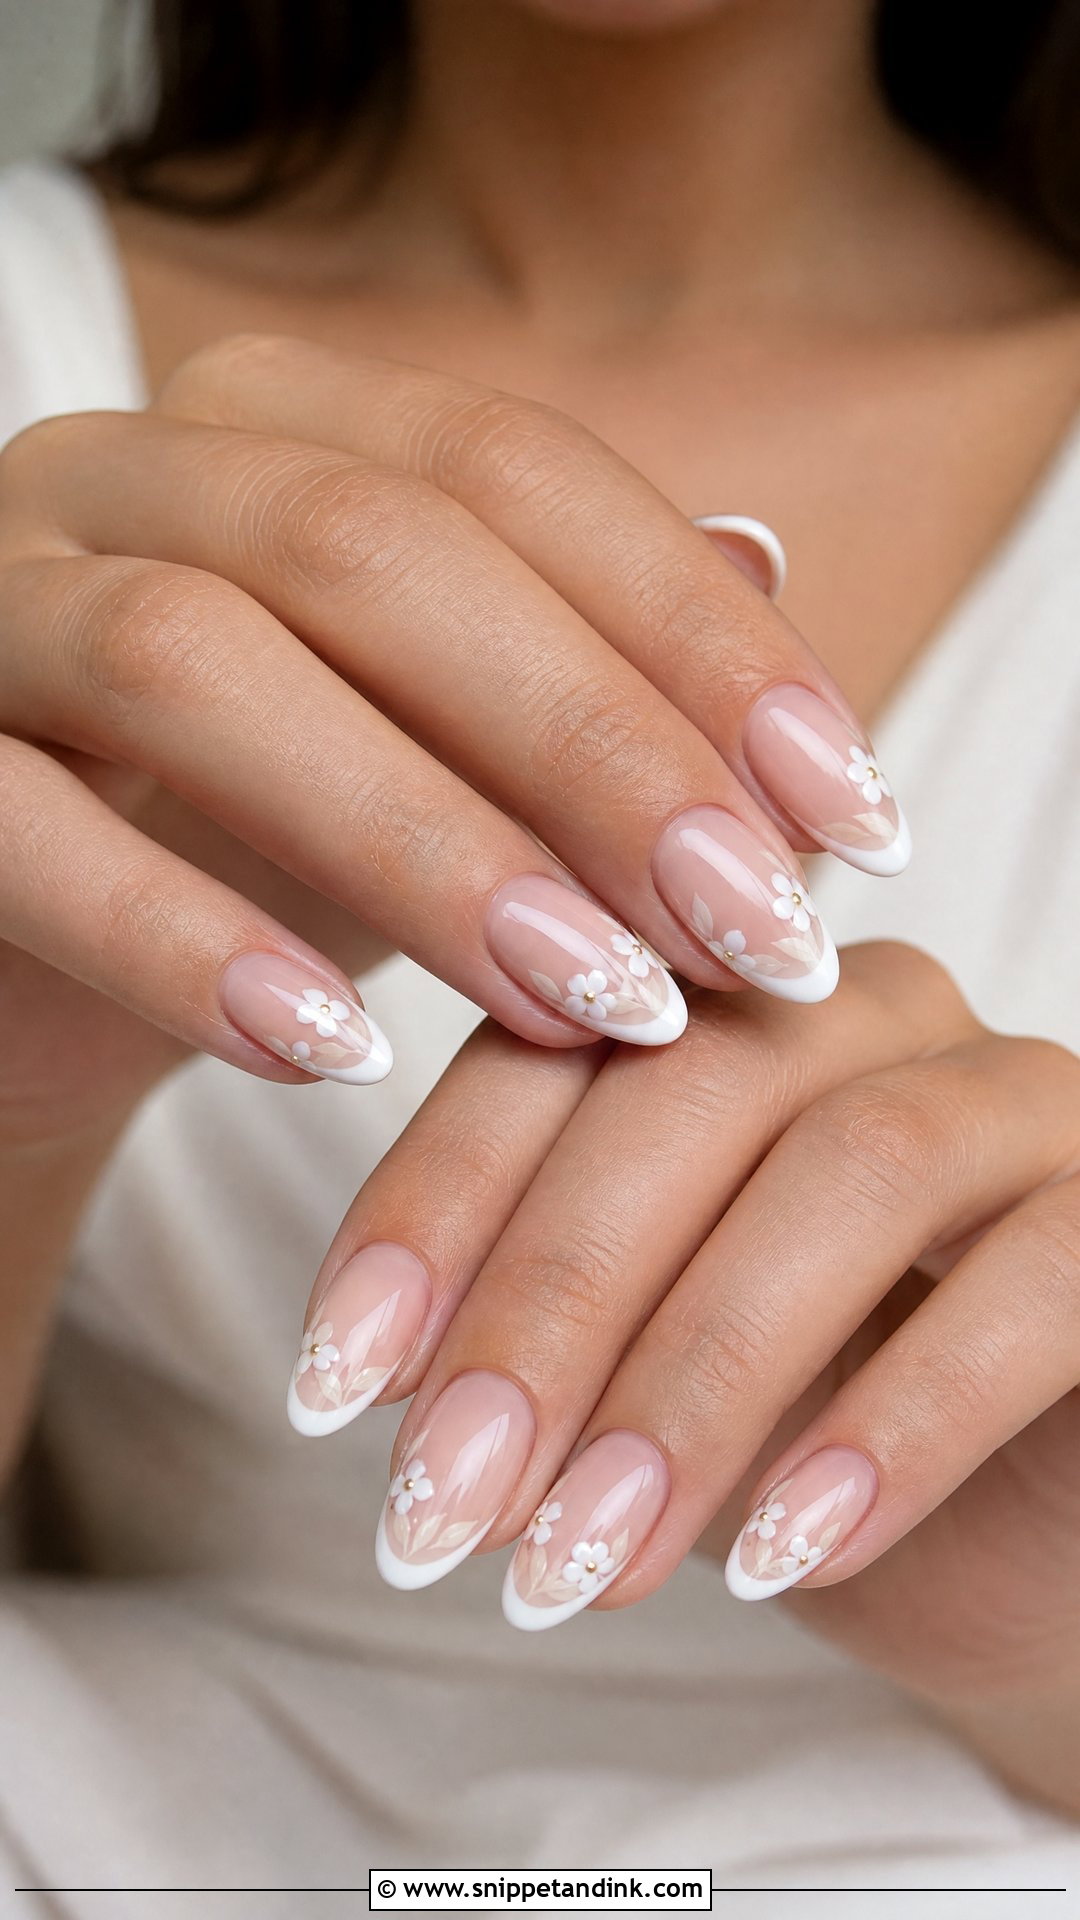
Tiny painted flowers on a sheer base with white tips bring in a garden feel. They can sit near the cuticle, along the tip or on an accent nail. White blooms stay classic; pale pink or soft blue can pick up the bouquet. I paint each flower with three or four dots dragged inward and leave plenty of bare nail around them, since the airy spacing is what keeps it elegant. For spring or outdoor ceremonies it’s a natural fit. Seal it with gloss so the petals don’t catch light unevenly.
18. Pearl French Bridal Manicure
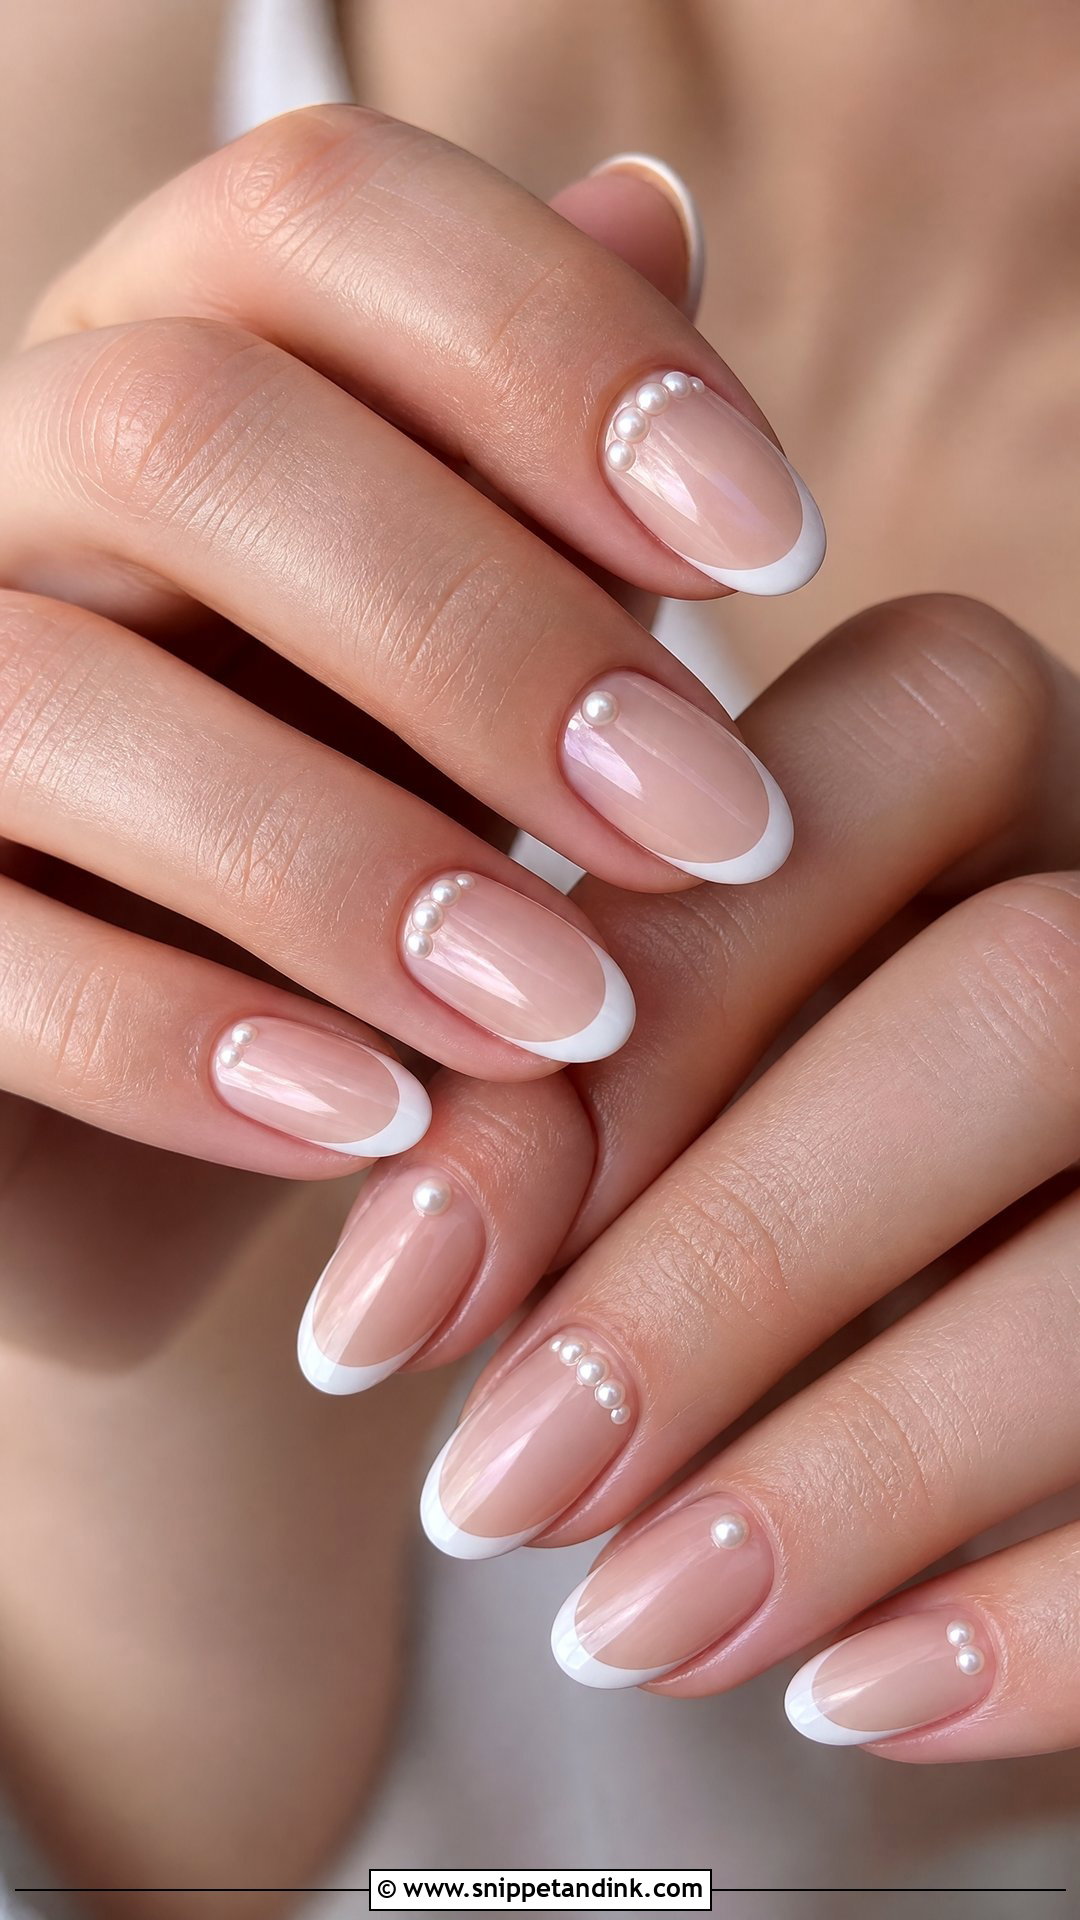
Small pearls along the smile line, near the cuticle or on one accent nail make a French set feel very wedding-specific. I only use flat-back pearls for brides and set them in builder gel, not glue, so they sit low and stay put. Raised or domed pearls snag on tulle, lace and hair, which you notice the first time you pull a veil off. A sheer pink, nude or milky base keeps the rest calm. It works best when you’re already wearing pearls somewhere else.
19. Double French Bridal Manicure
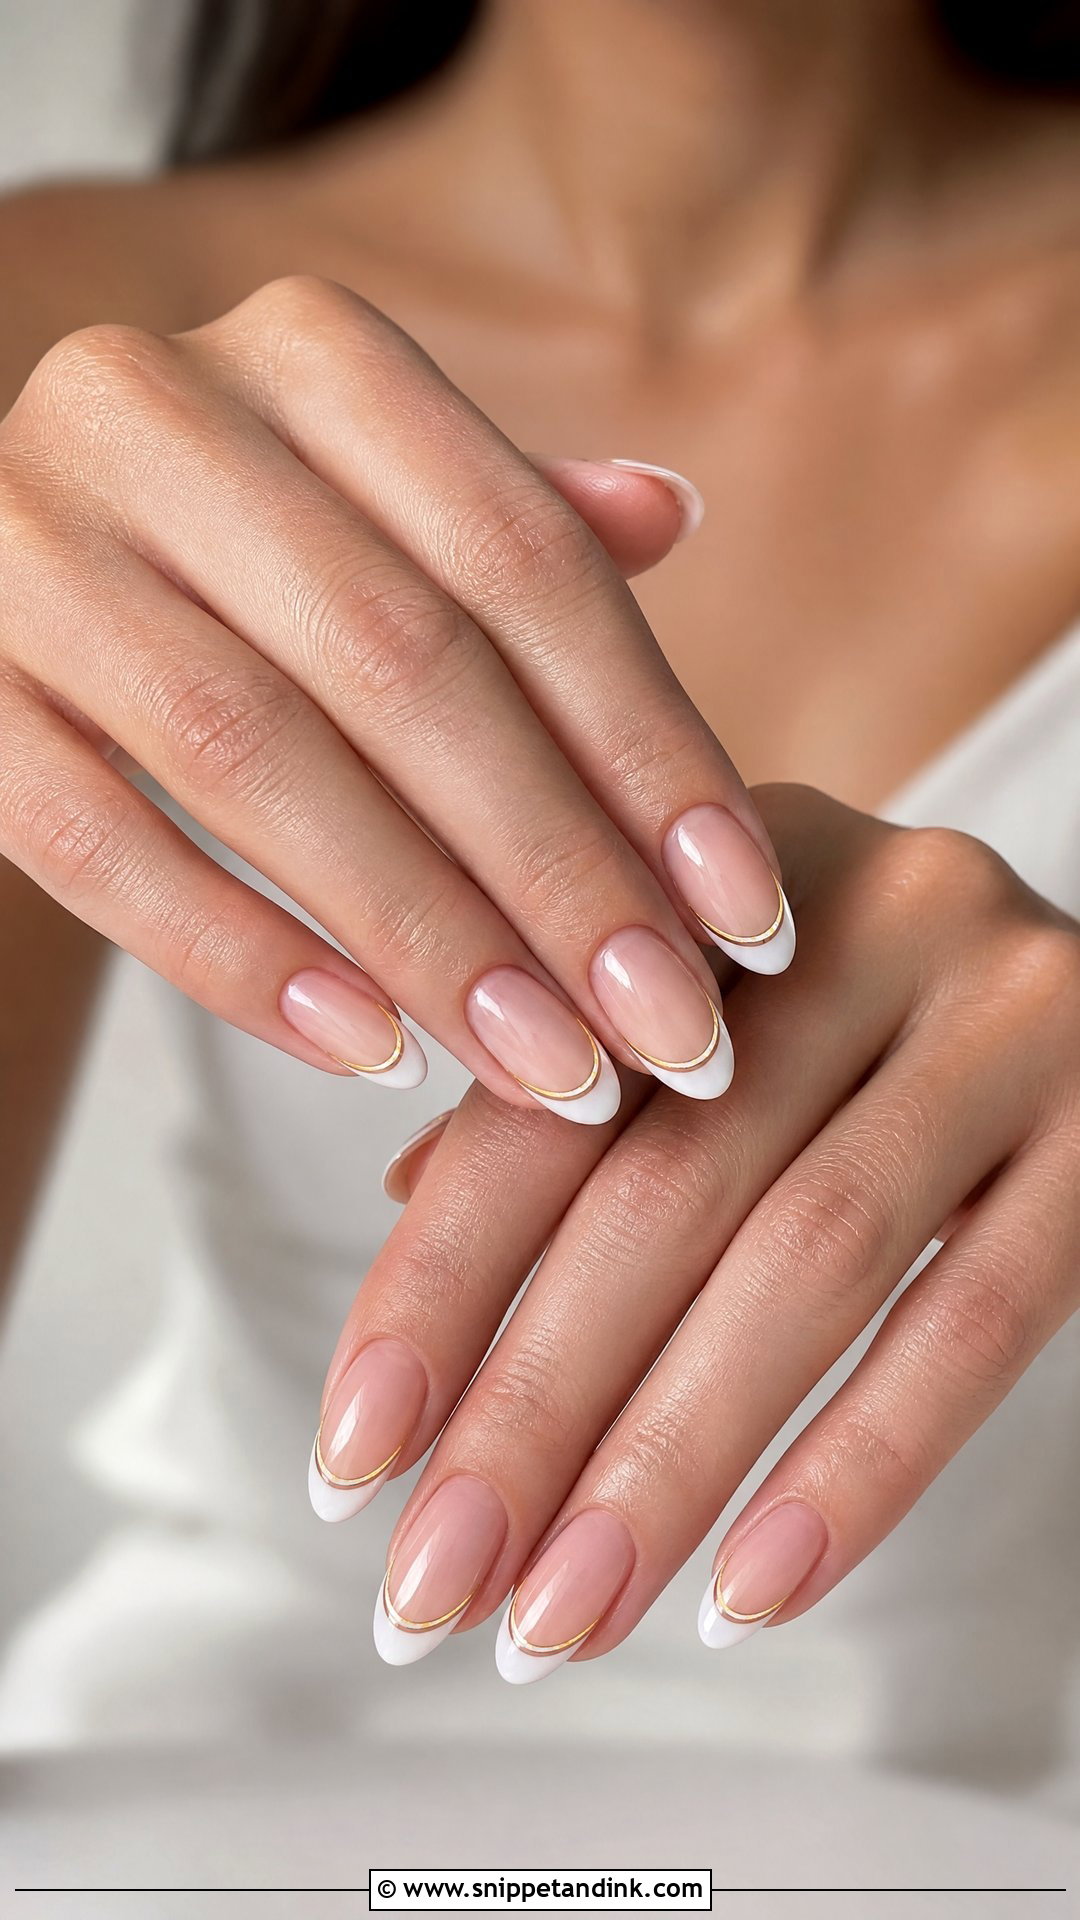
A double French bridal manicure adds a second fine stripe below the tip, usually white plus gold, silver or pearl. It gives depth without flowers, glitter or heavy art. Both lines have to be thin and evenly spaced, and that’s harder than it looks: if the gap wanders from nail to nail, the eye catches it immediately. I mark the spacing on all ten before committing. Almond, oval and square all carry it, and it looks sharp with simple jewelry and a sleek dress.
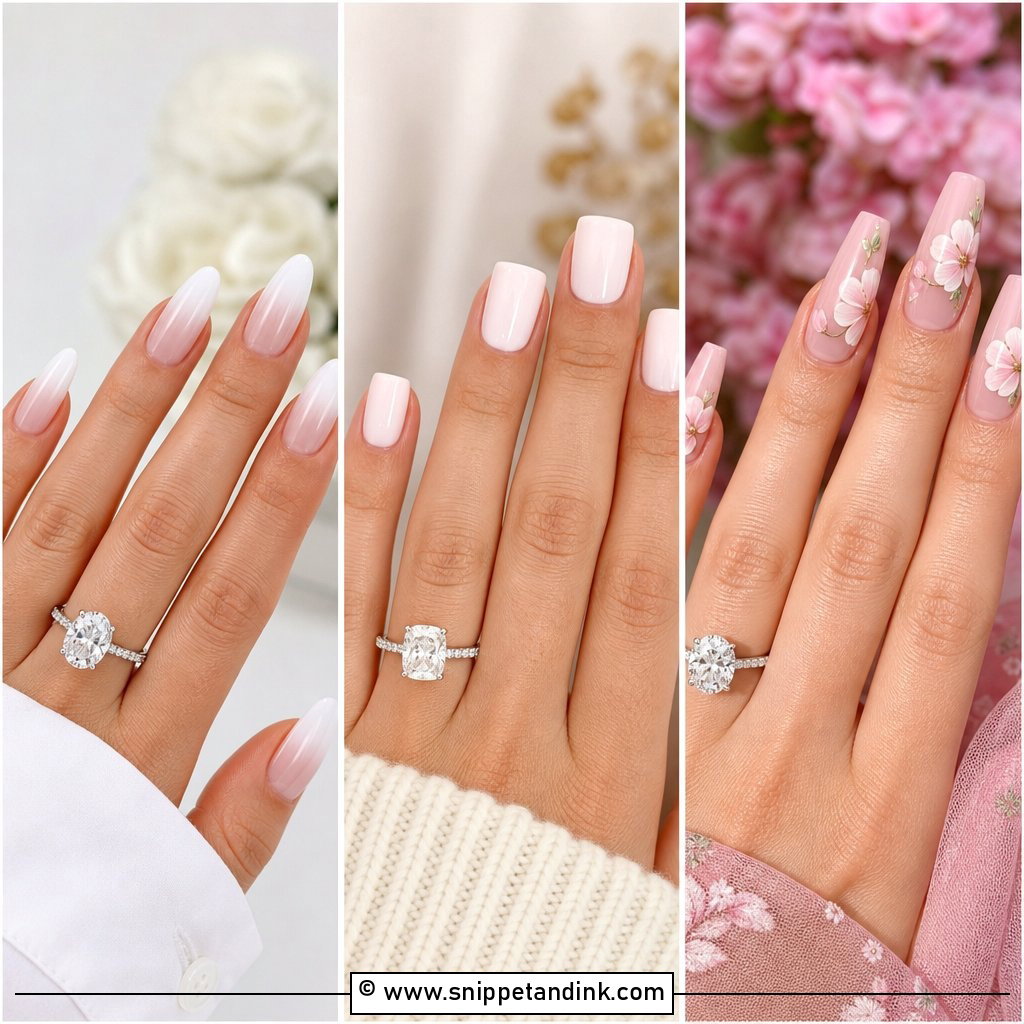
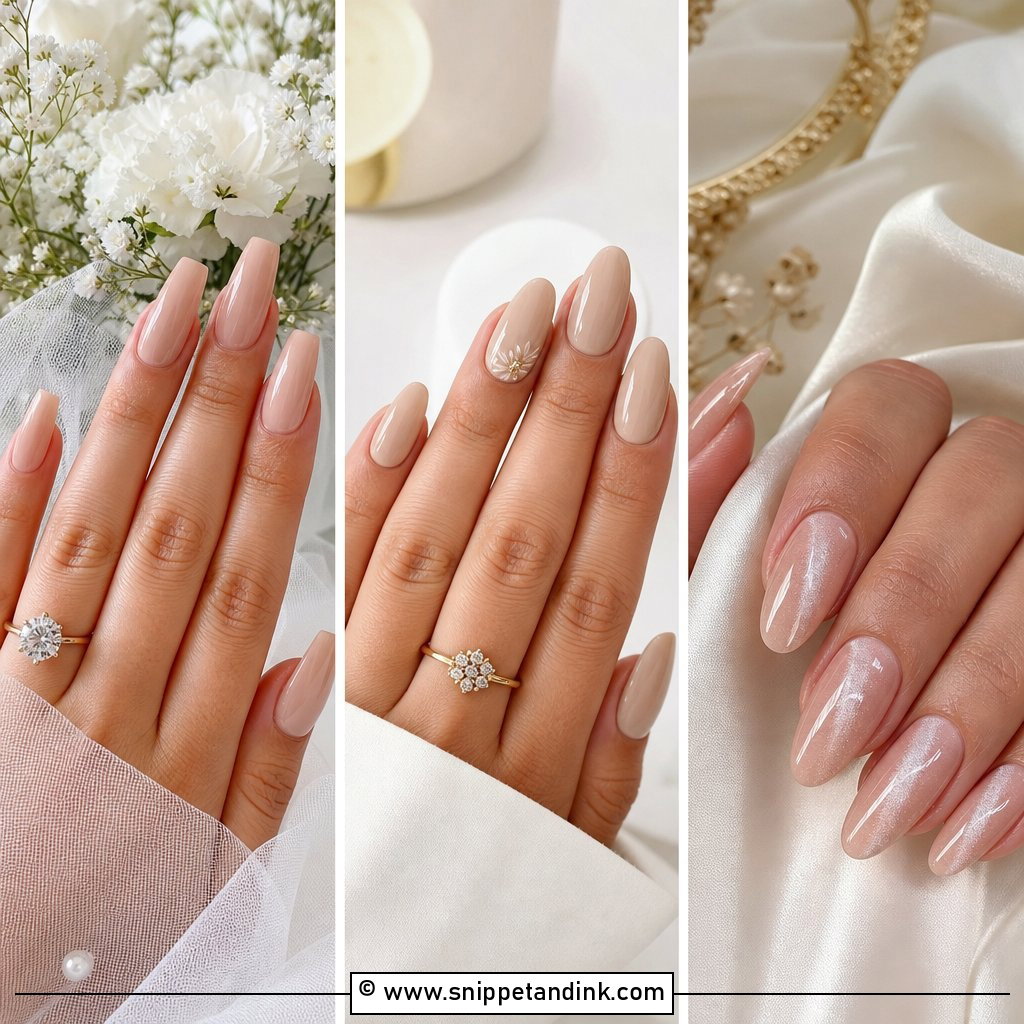
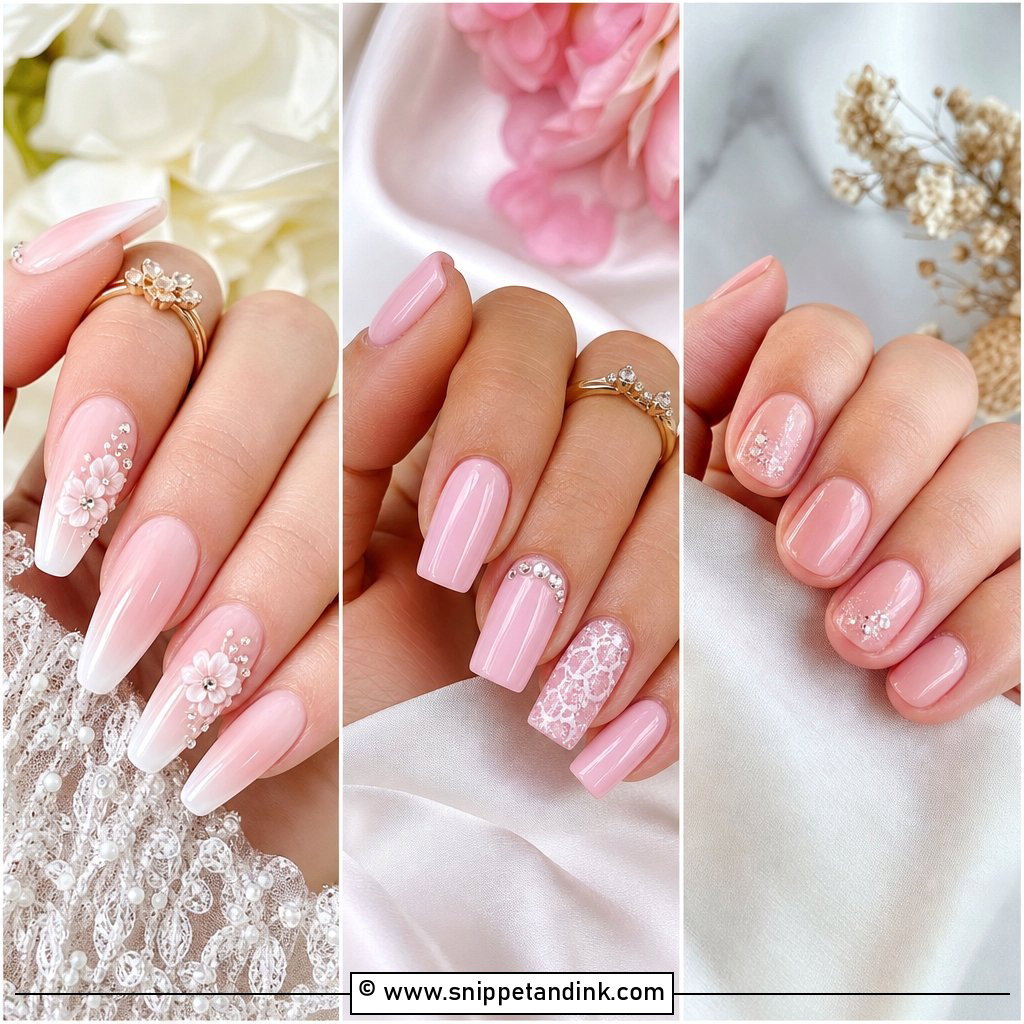
20. Side French Bridal Manicure
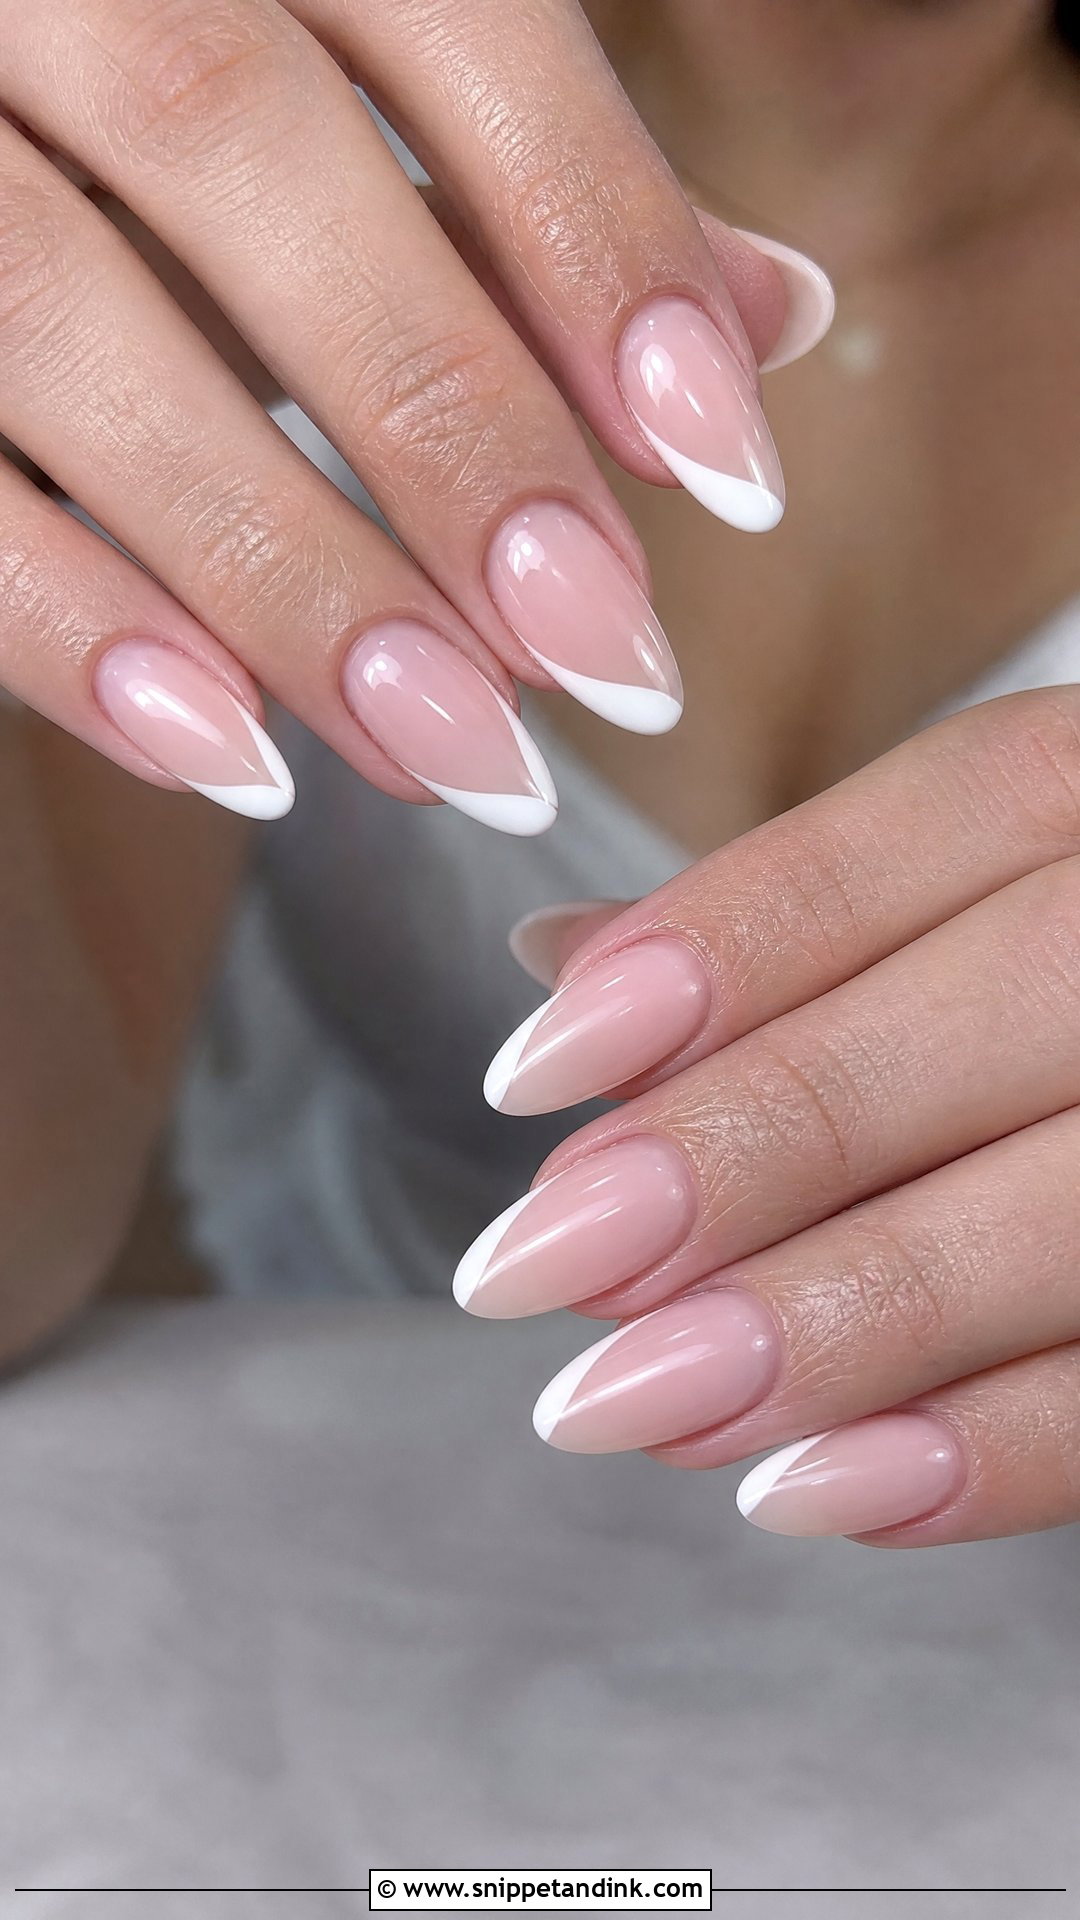
The tip sweeps diagonally across one side of the nail instead of curving across the end, which adds movement and makes fingers look longer. It’s a good choice if you want something slightly unexpected. I angle all the lines in the same direction on each hand, mirrored between hands, so the set looks deliberate rather than random. White, ivory, champagne or pearl keep it bridal on a sheer nude or pink base. Almond and oval suit it, since the angled line follows the curve.
21. V French Bridal Manicure
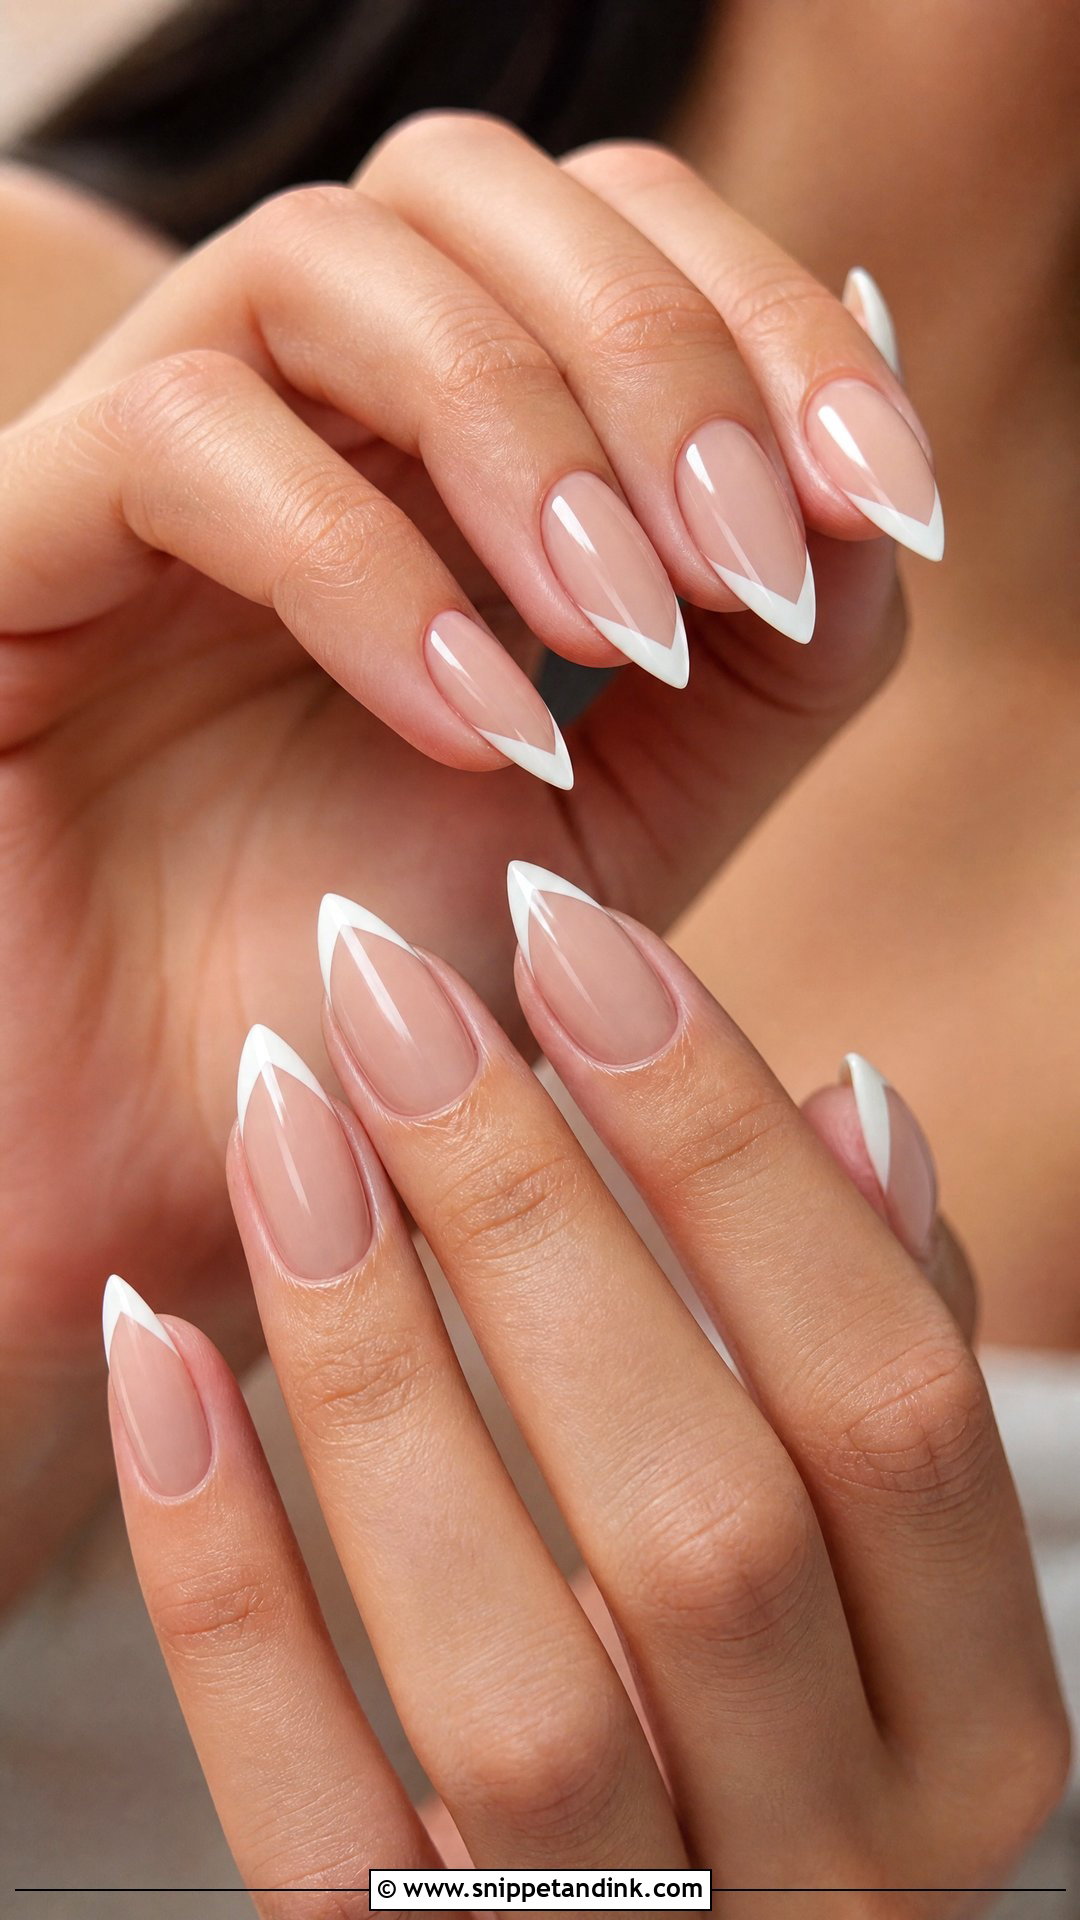
A V-shaped tip points toward the center of the free edge, a more modern take on the classic curve. It flatters almond, coffin and tapered square shapes and visually lengthens the fingers. Keep the V white, ivory or a soft shimmer, with a sheer natural base. Depth changes the mood: a shallow V is quiet, a deep one is dramatic. For a classic bride I go shallow. Getting both arms of the V symmetrical is fiddly, so this is not one to attempt at home the night before.
22. Coffin French Bridal Manicure
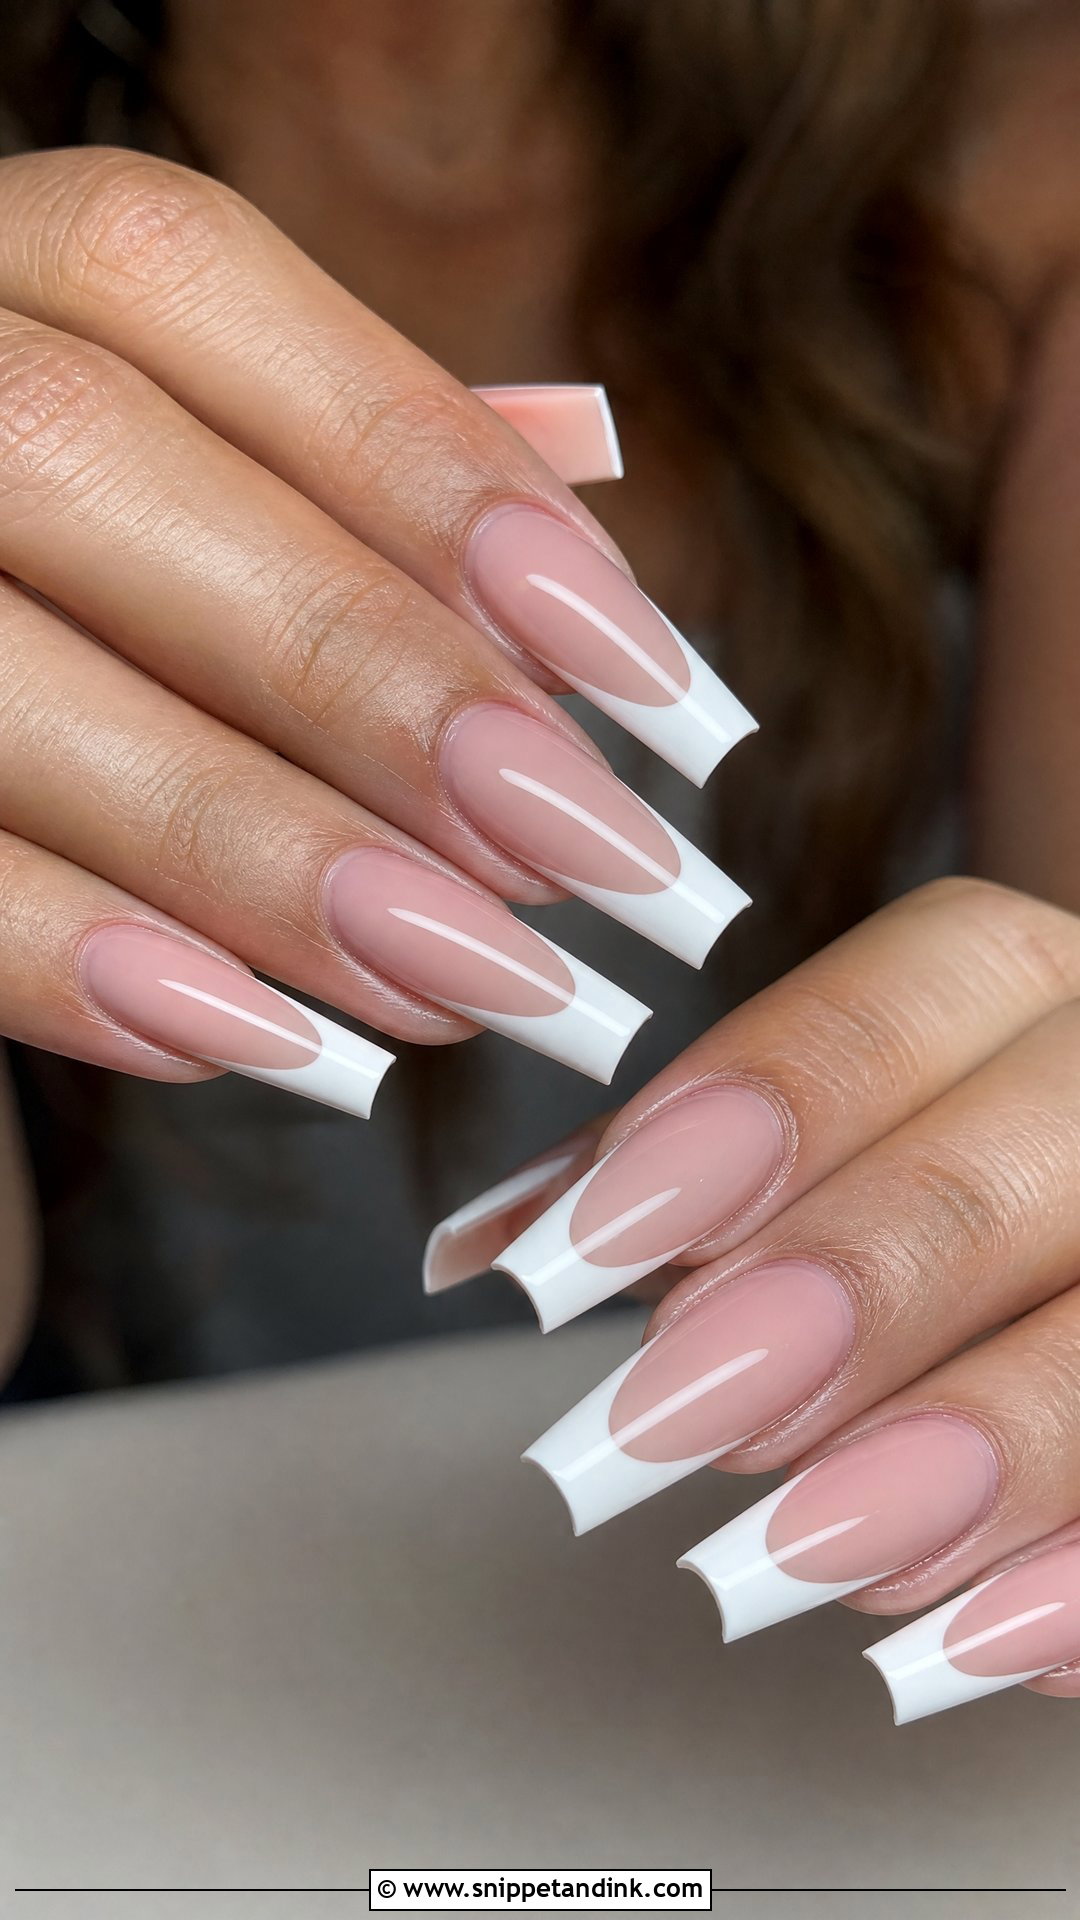
Coffin has tapered sides and a flat end, which makes the French edge bold and defined. It needs length to look right, so it’s for brides who already wear longer nails and are used to typing and buttoning with them. Sheer pink, nude, milky white or ivory keep it bridal. A thin tip looks refined; a deep tip is more of a statement. Pearl chrome, fine glitter or a double line can be added, but pick one. I’d warn anyone new to length that the corners of a coffin catch on fine fabrics.
23. Matte French Bridal Manicure
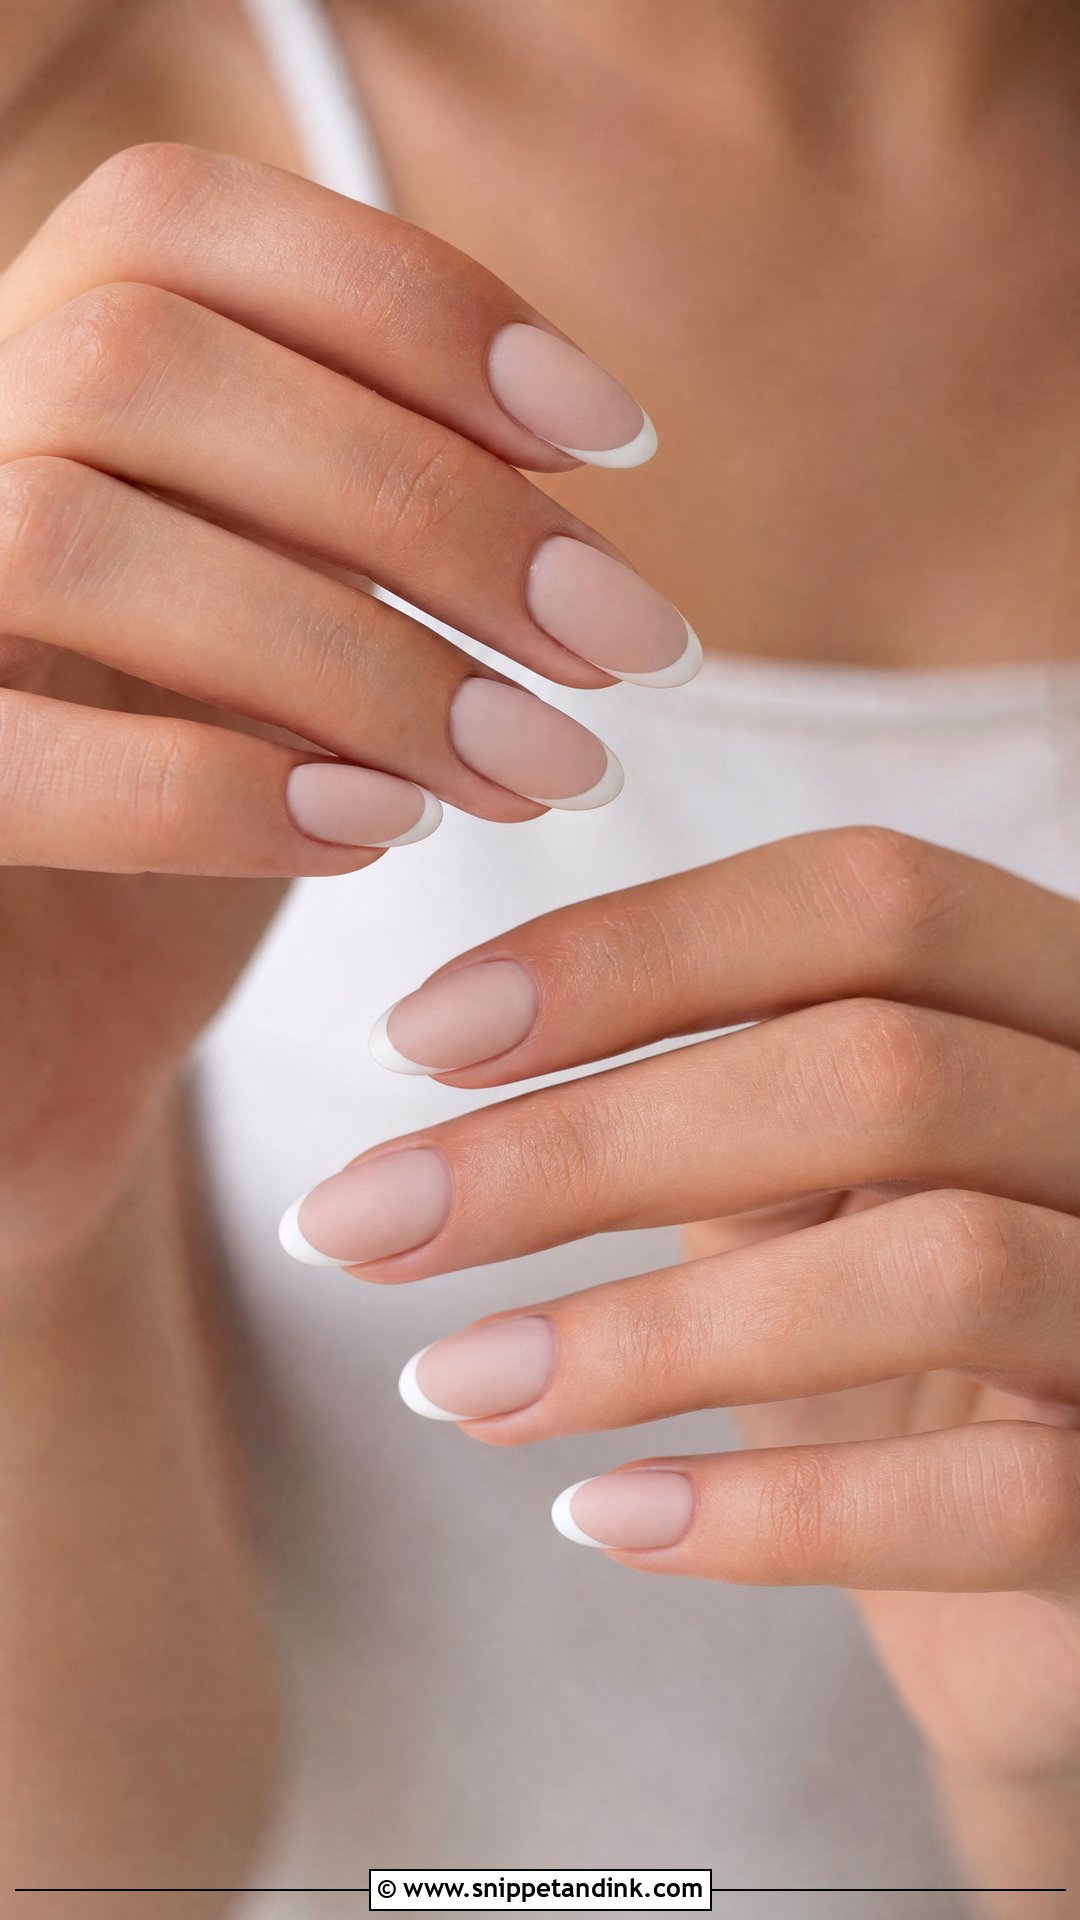
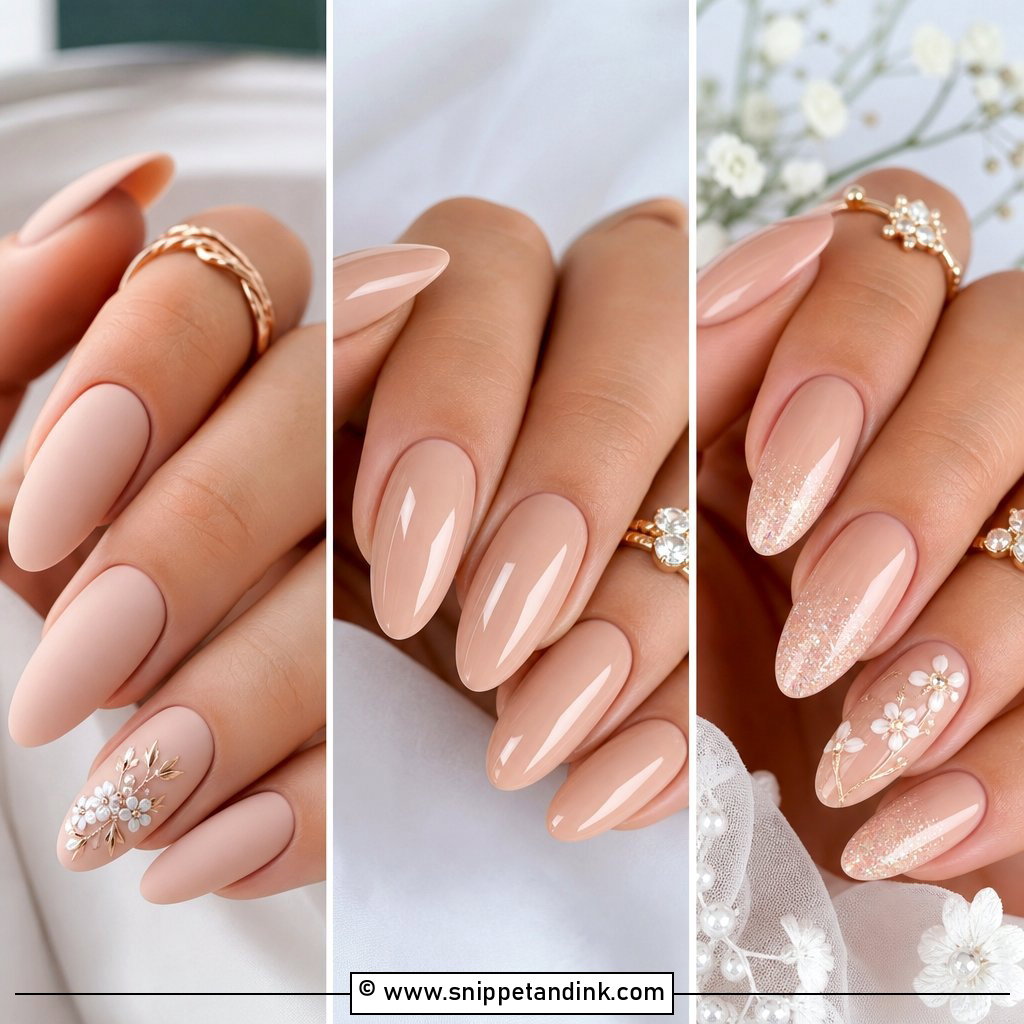
A matte top coat gives the French design a velvety, muted finish. It looks best on a nude, blush or milky base with a clean white tip, beside minimalist gowns and crepe. The honest catch: matte shows hand cream, oils and marks far more than gloss, and it can look slightly dull in flash photos. I use a durable matte gel top coat rather than a polish one, and I tell brides to keep cuticle oil for the evening rather than the morning, so it doesn’t sit on the surface for the portraits.
24. Rhinestone French Bridal Manicure
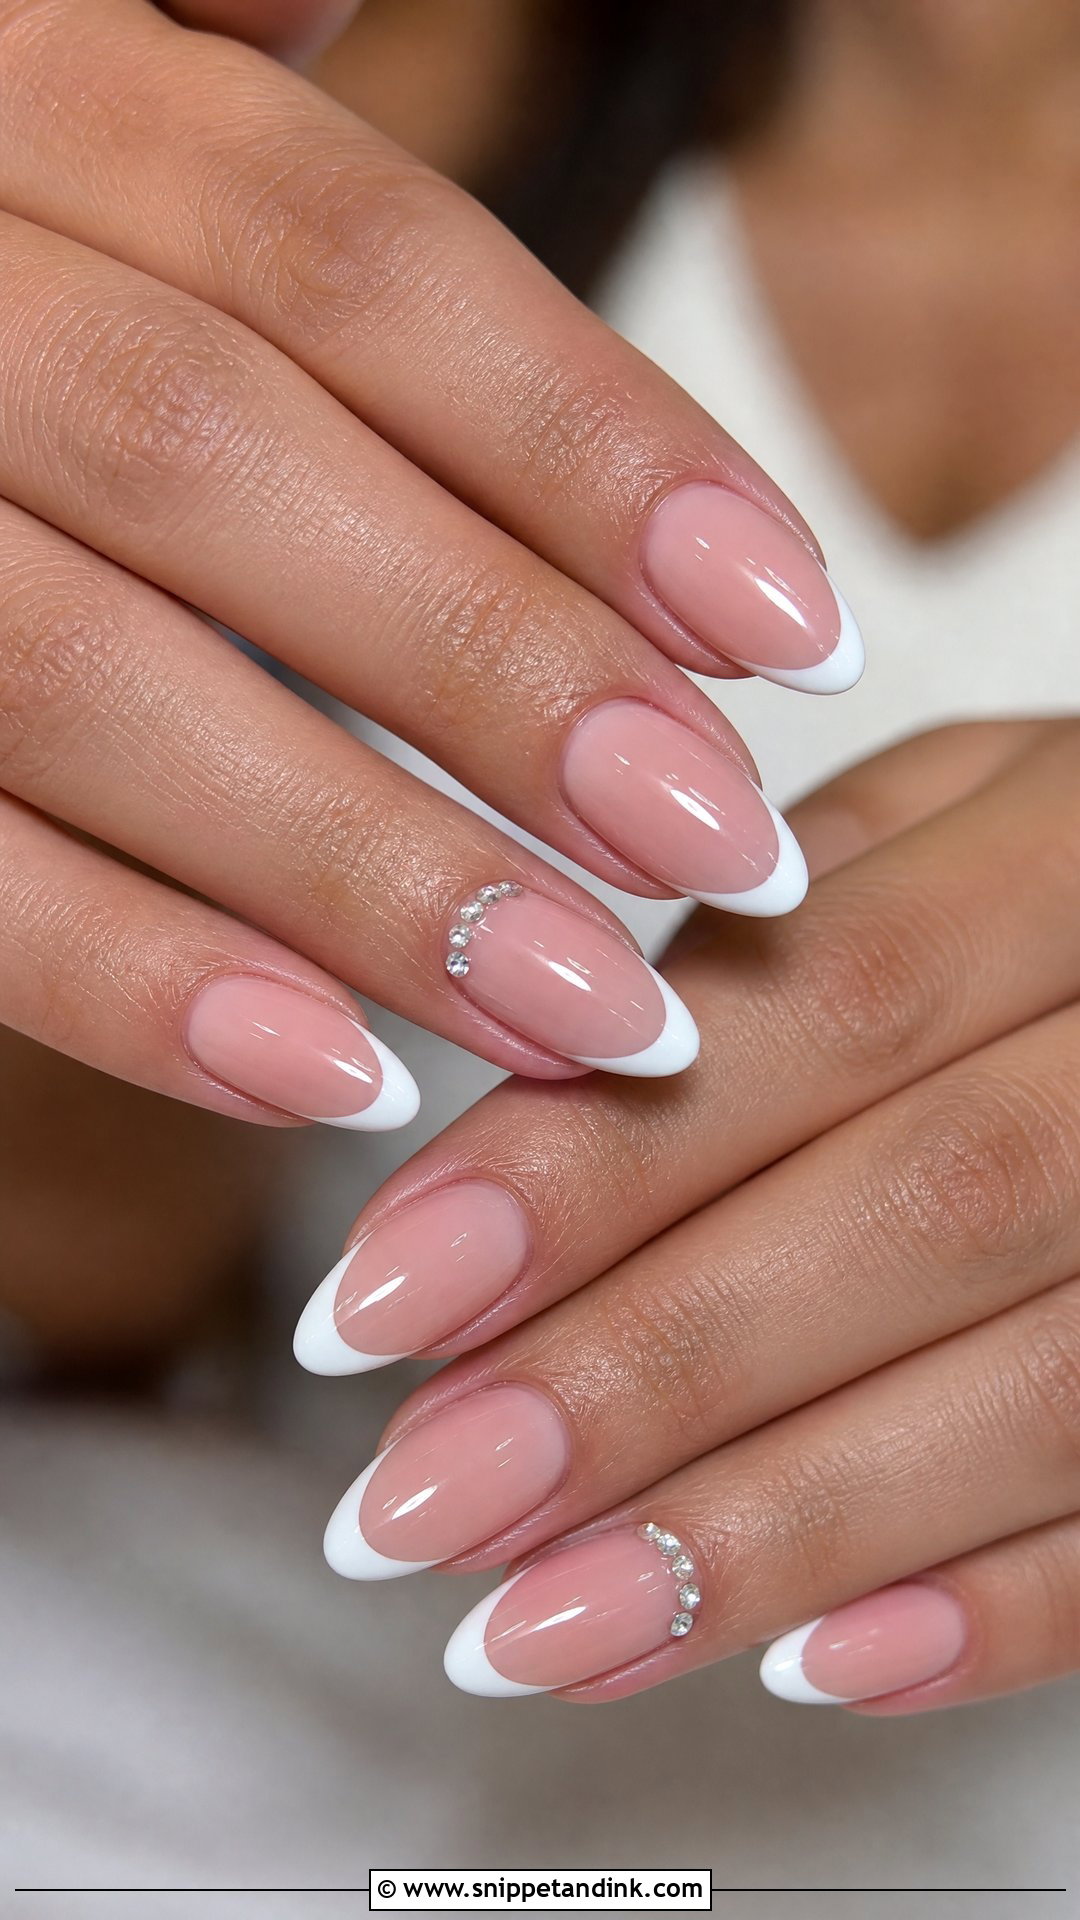
Tiny clear stones near the cuticle, on an accent nail or at the center of the smile line add a small amount of sparkle. The tip has to stay thin so the stones read as a detail. It suits crystal earrings, embellished heels and beaded gowns. I use flat-back stones and set them in builder gel with top coat around, not over, the facets; covering the facets kills the sparkle. A few well-placed stones catch light in photos without making the set feel heavy.
25. Blue French Bridal Manicure
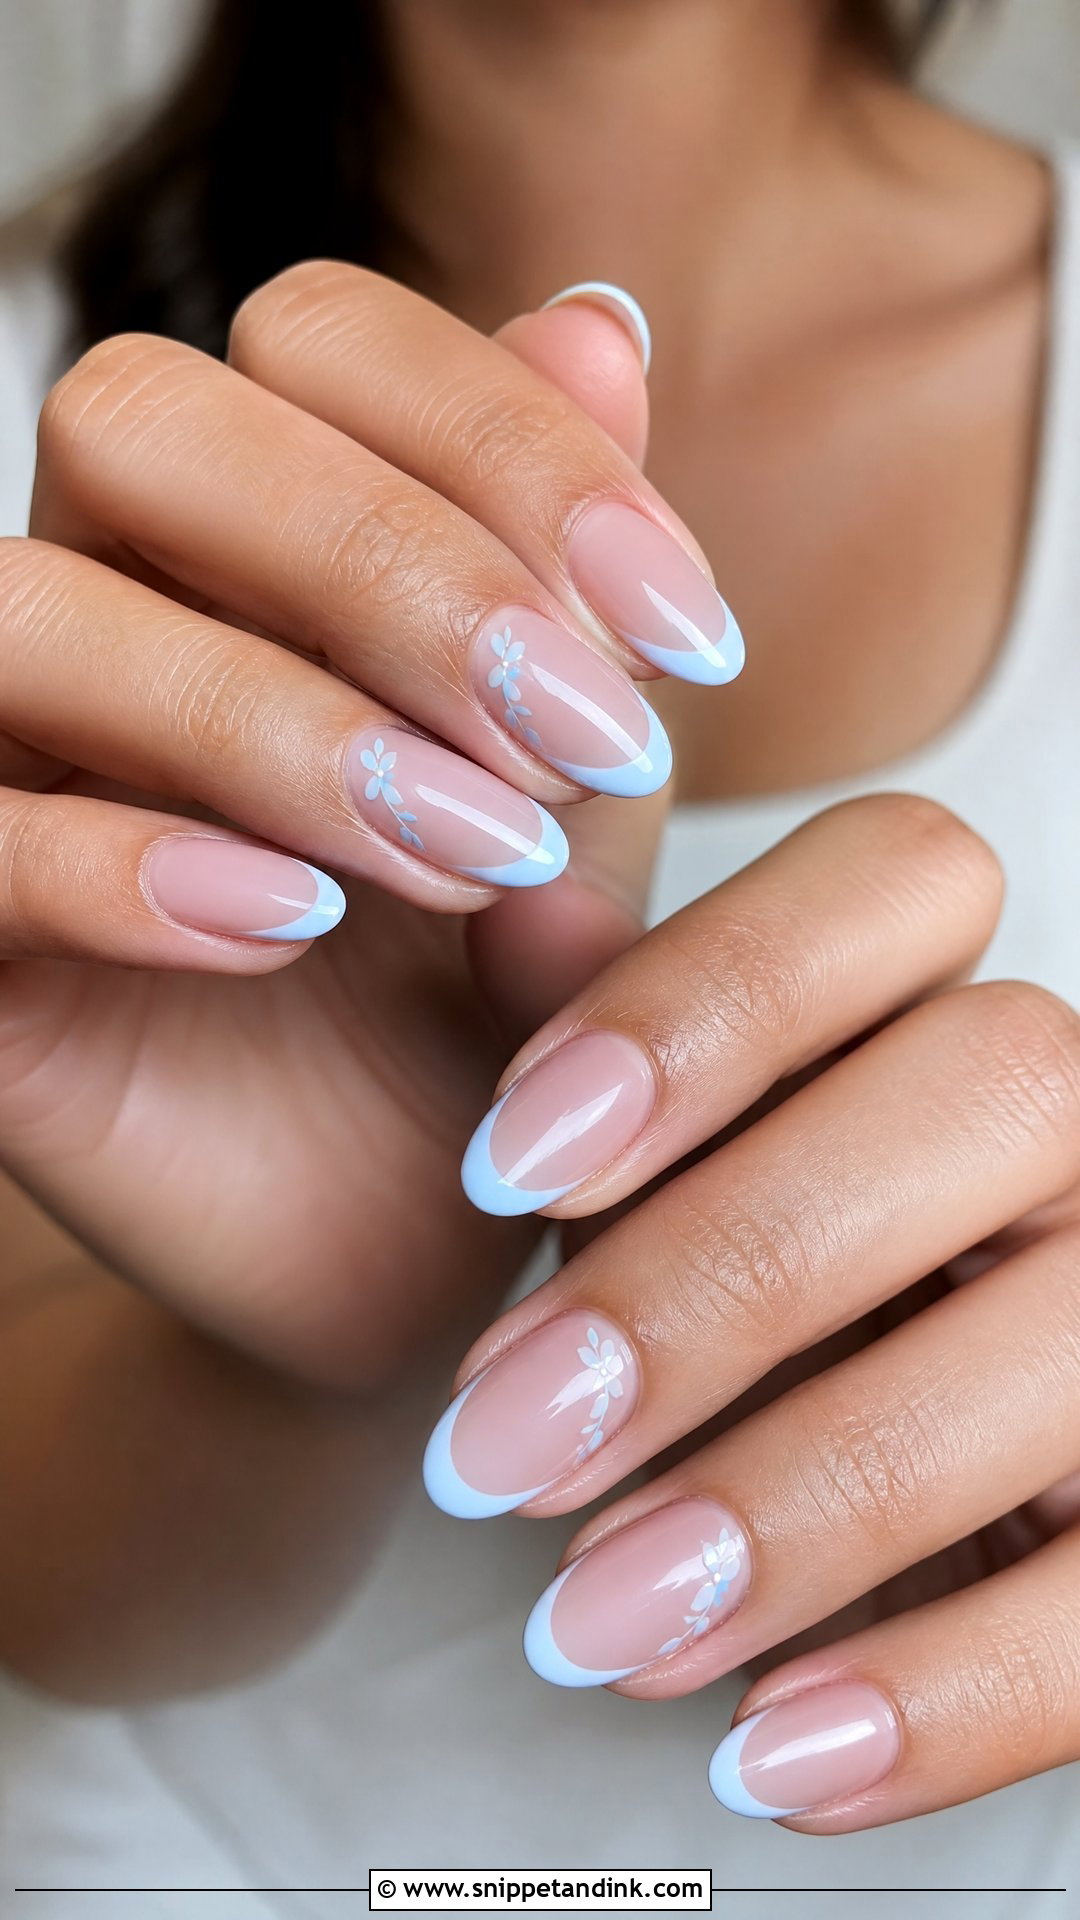
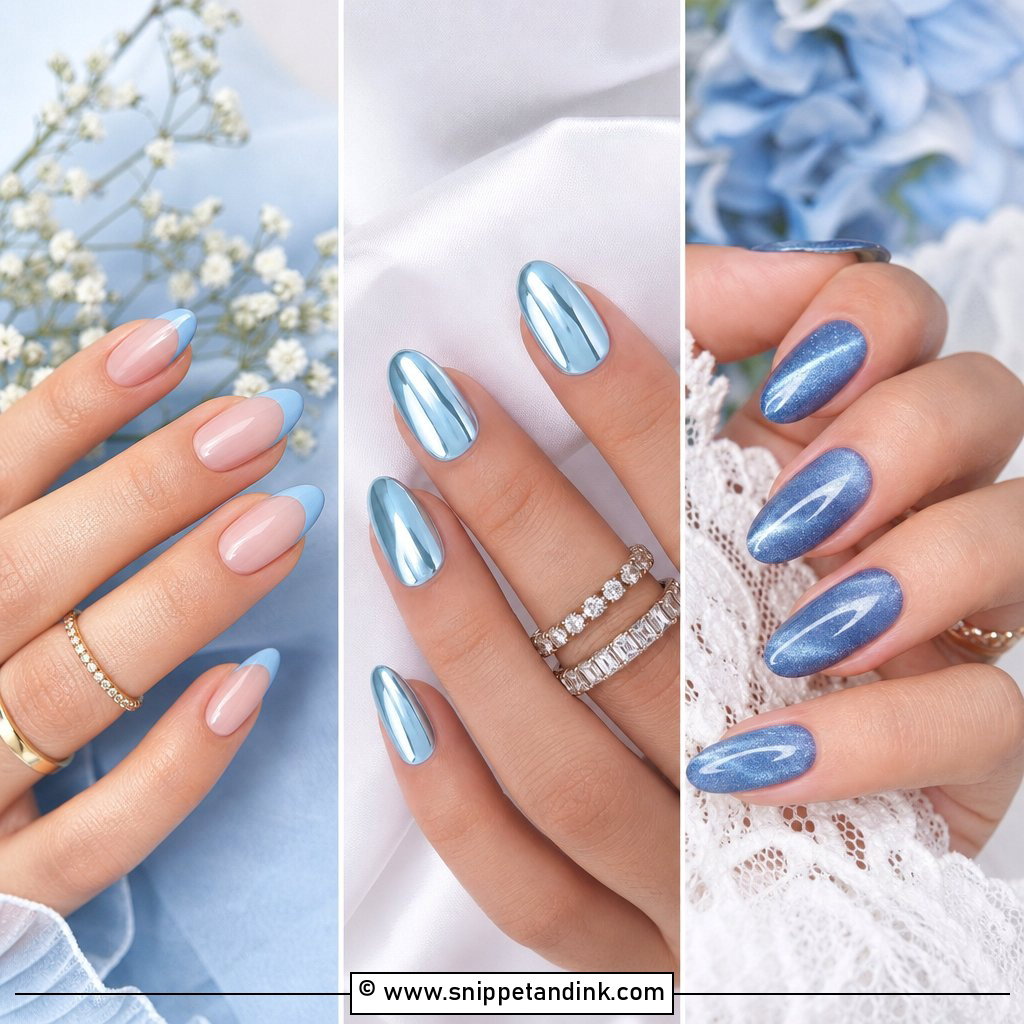
Blue tips are a quiet way to carry “something blue” on you all day. The base stays sheer pink, nude or milky, with the tip in pale blue, powder blue or icy blue. It feels fresh, and it suits coastal weddings or spring ceremonies. Muted blues read best on camera; a bright blue looks almost turquoise under warm reception lighting. If you’d rather keep it classic, put blue on one accent nail or as a thin line tucked under a white tip.
Why White Tips Show Every Mistake in Close-Ups
White is the least forgiving color I paint. A tiny chip in nude polish disappears; a chip in a white tip is the first thing a macro lens finds. A few things trip brides up in the last week.
- Self-tanner and spray tan stain white tips yellow or orange. Tan first, nails after, or wear gloves for the application.
- Hair dye, turmeric in haldi ceremonies and strong curry can tint gel. Ask for gloves at the salon and scrub carefully.
- Very bright white can look slightly blue under flash. A soft white or off-white photographs warmer.
- Uneven smile lines are invisible across a room but obvious on a ring shot. Ask to see all ten side by side before the top coat.
The Week of the Wedding, Day by Day
I like to see a bride two or three days before the wedding. That leaves time to fix a lifted corner, and the gel has fully settled, but there’s almost no regrowth at the cuticle in the photos. A full trial four to six weeks out tells us whether the shape and shade work and how your nails hold up.
After the appointment, use cuticle oil every night and wear rubber gloves for washing up. On the morning itself, a quick swipe of alcohol-free hand cream is enough; heavy oil sits on the surface and shines oddly in photos. If a tip does chip on the day, a thin dab of white polish and a clear top coat will hide it from a normal distance. Keep both in your getting-ready bag.
A Sheer Base and a Thin Tip Rarely Let You Down
French nails keep their place because they suit every length and almost every dress. The right version for you comes down to your nail shape, your jewelry, your venue and how much detail you want in close-ups. If you’re unsure, start with a sheer base, a thin tip and one small accent, and build from there at your trial. That trial matters more than the photo you bring: it tells you how the set feels after a few days of real life, and whether the shade still suits you in daylight.
You'll Like These Ideas:


Leave a Reply