
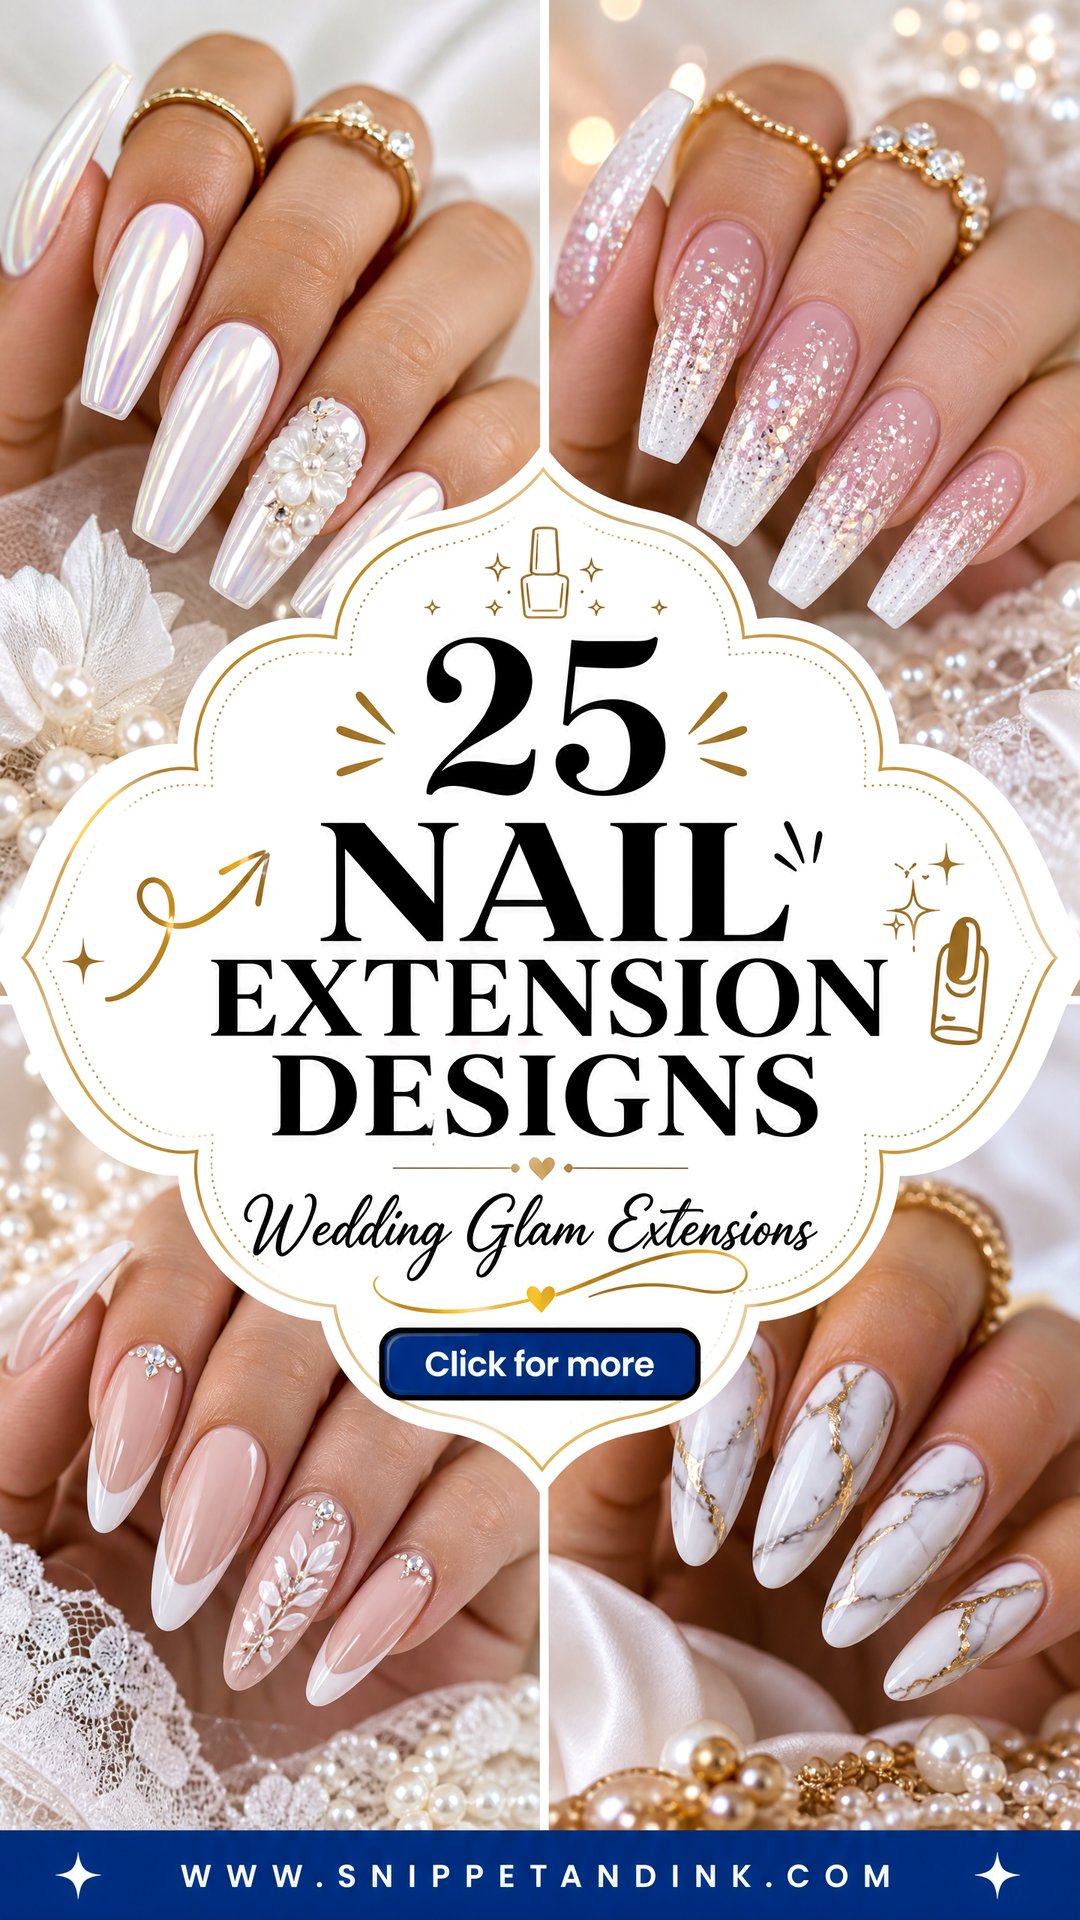
Length changes everything about a bridal manicure: what shapes are possible, how the ring sits in close-ups, and how much you can do with your hands on the morning itself. The 25 nail extension designs below are the sets I build most for brides, from soft French tips and pearl chrome to lace and small sculpted flowers. I’ve added what each design needs from the extension underneath, because a set that looks right in a photo but feels top-heavy or lifts by the reception is a set that failed.
Acrylic, Hard Gel or Soft Gel Tips Under a Wedding Set
Every design below can be built on several extension systems, and the system matters more to how the set feels on the day than the design does.
Soft gel tips
Full-cover tips glued down with gel and cured. They’re quick, light and soak off fairly cleanly, so I like them for first-time wearers and bridesmaids. They’re less strong at long lengths and can pop off if the prep was rushed.
Hard gel or builder gel
Sculpted on a form or over a tip. Flexible enough not to shatter, strong enough for medium-to-long almond or coffin, and the clearest option for sheer and milky finishes. Removal is usually by filing rather than soaking, so ask your nail artist to do it.
Acrylic
The hardest and most rigid. It holds long, dramatic shapes and 3D art well. The trade-off is weight and a stronger smell during application, and removal takes a long acetone soak.
If your natural nails are thin or you’ve never worn extensions, I’d start with soft gel or builder. Save acrylic for long coffins or heavy sculpted art.
1. French Tip Wedding Nail Extensions
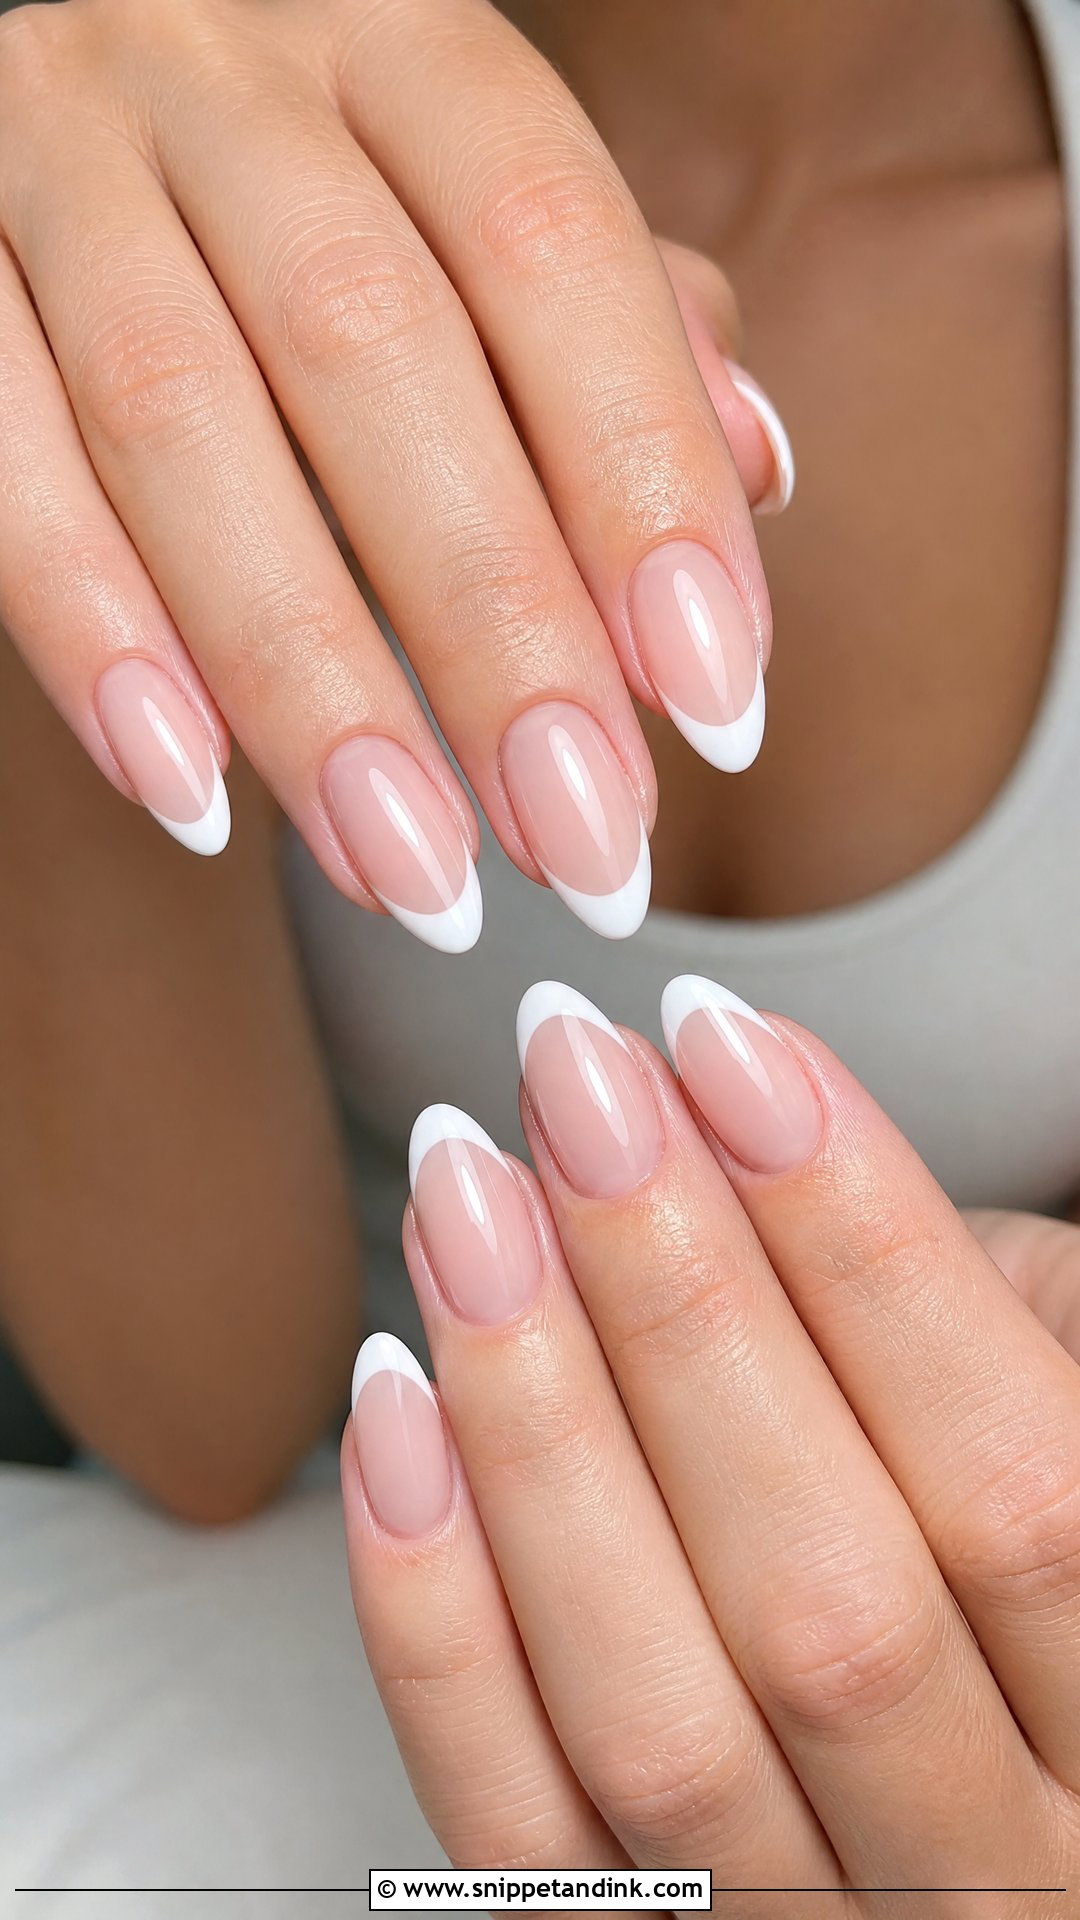
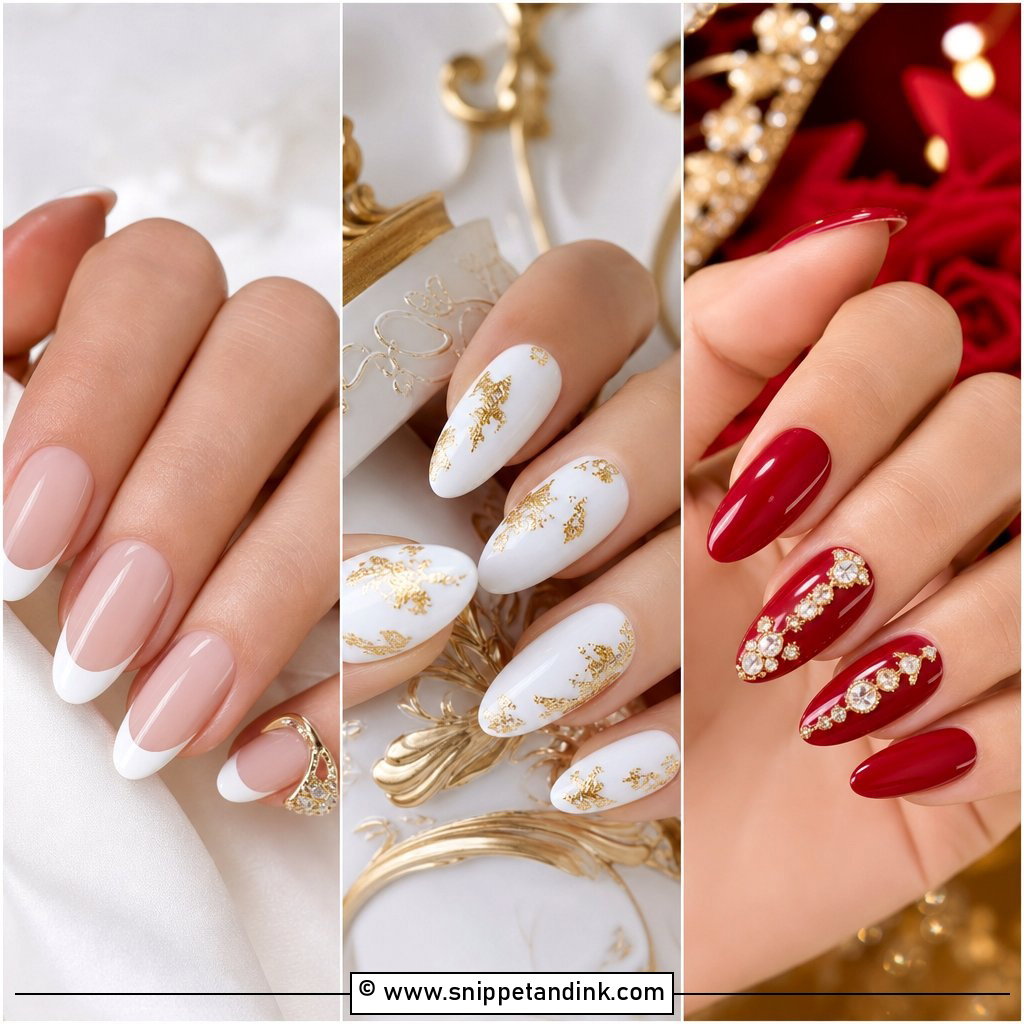
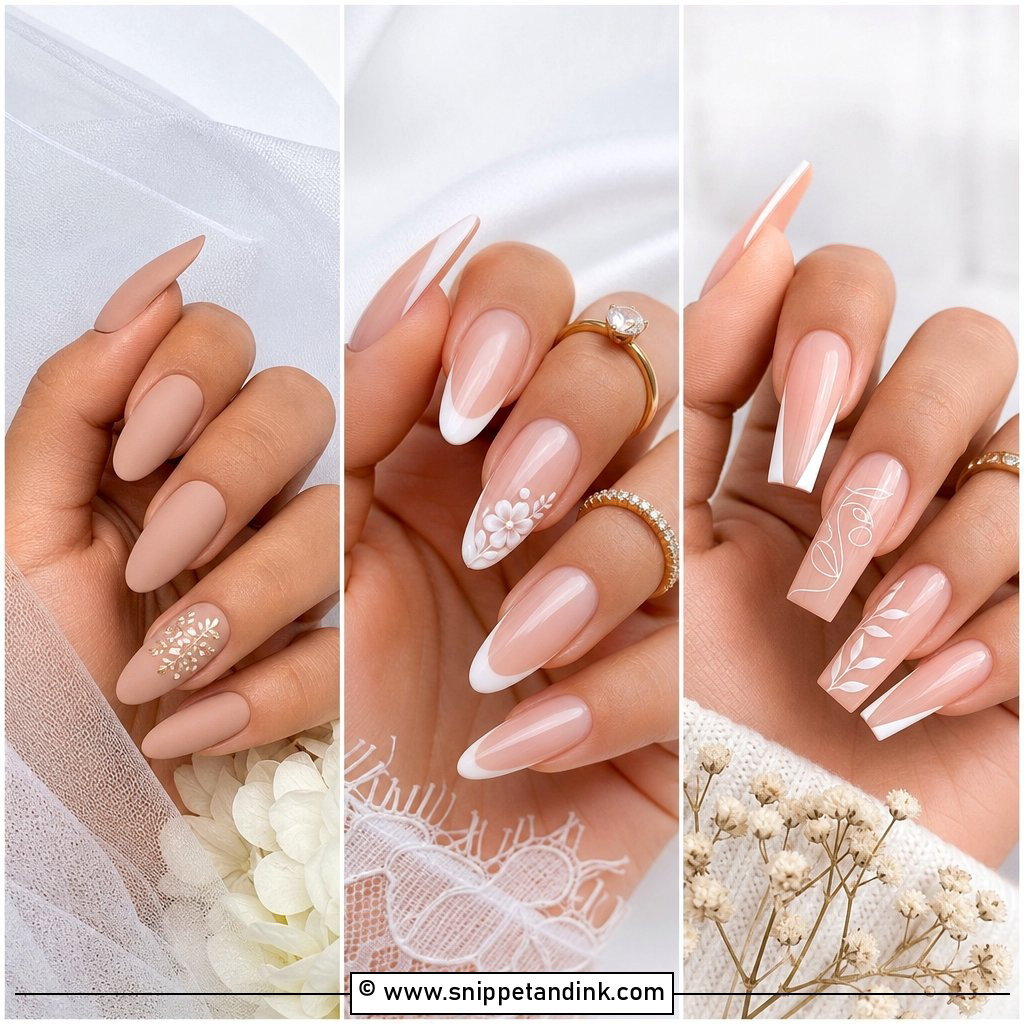
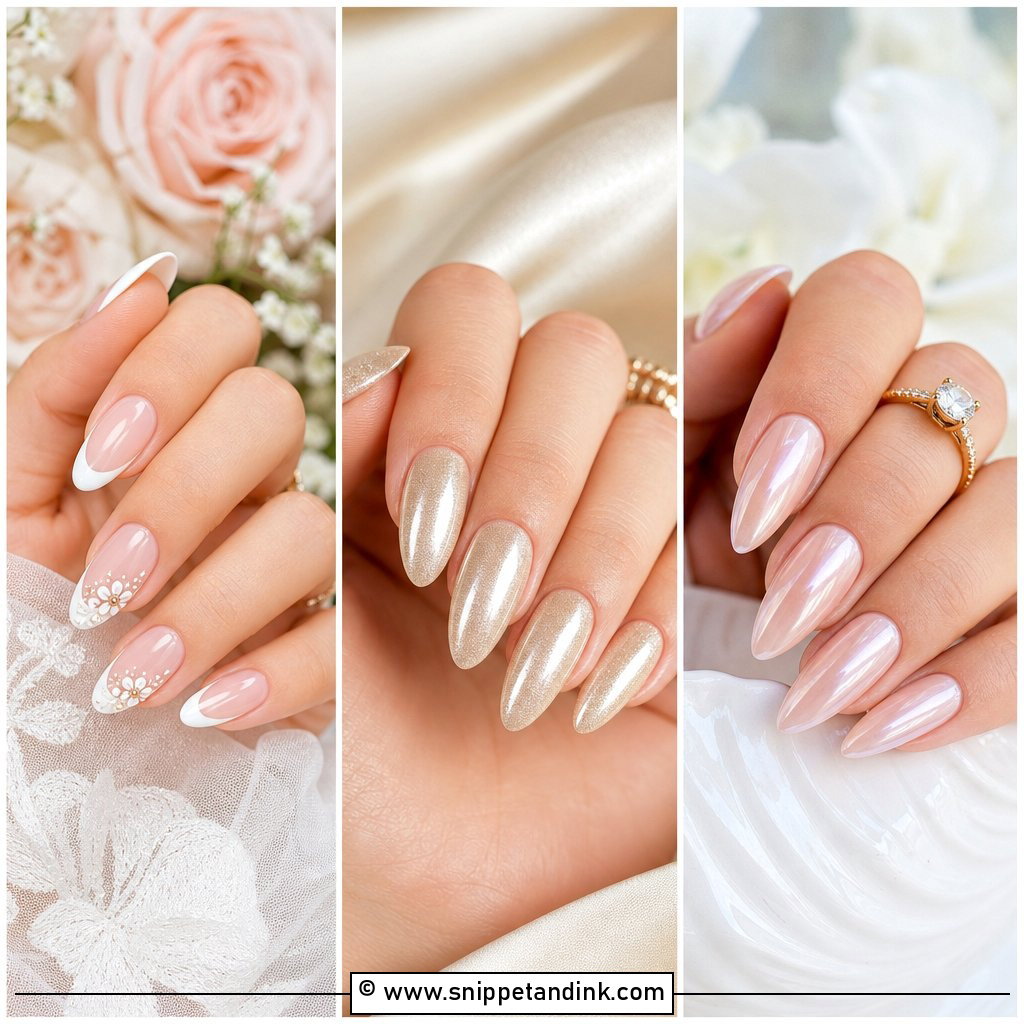
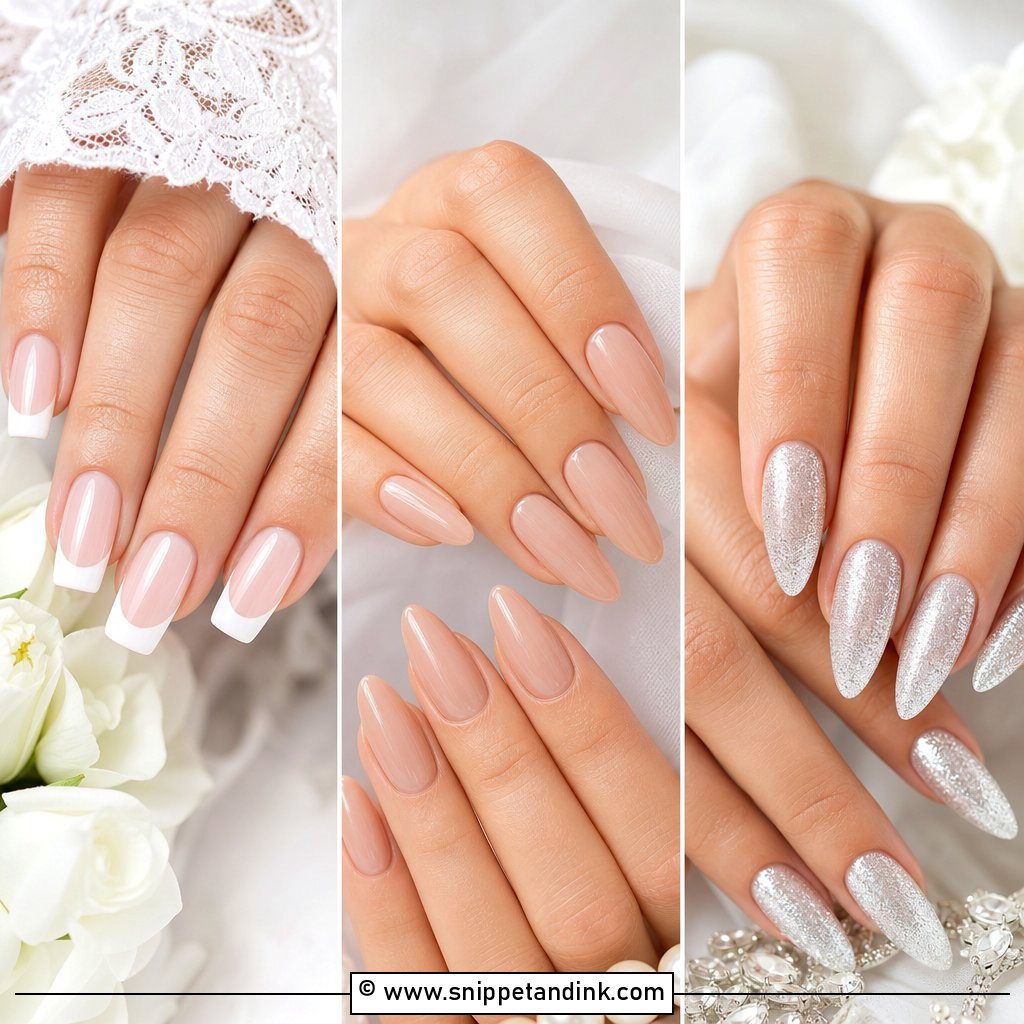
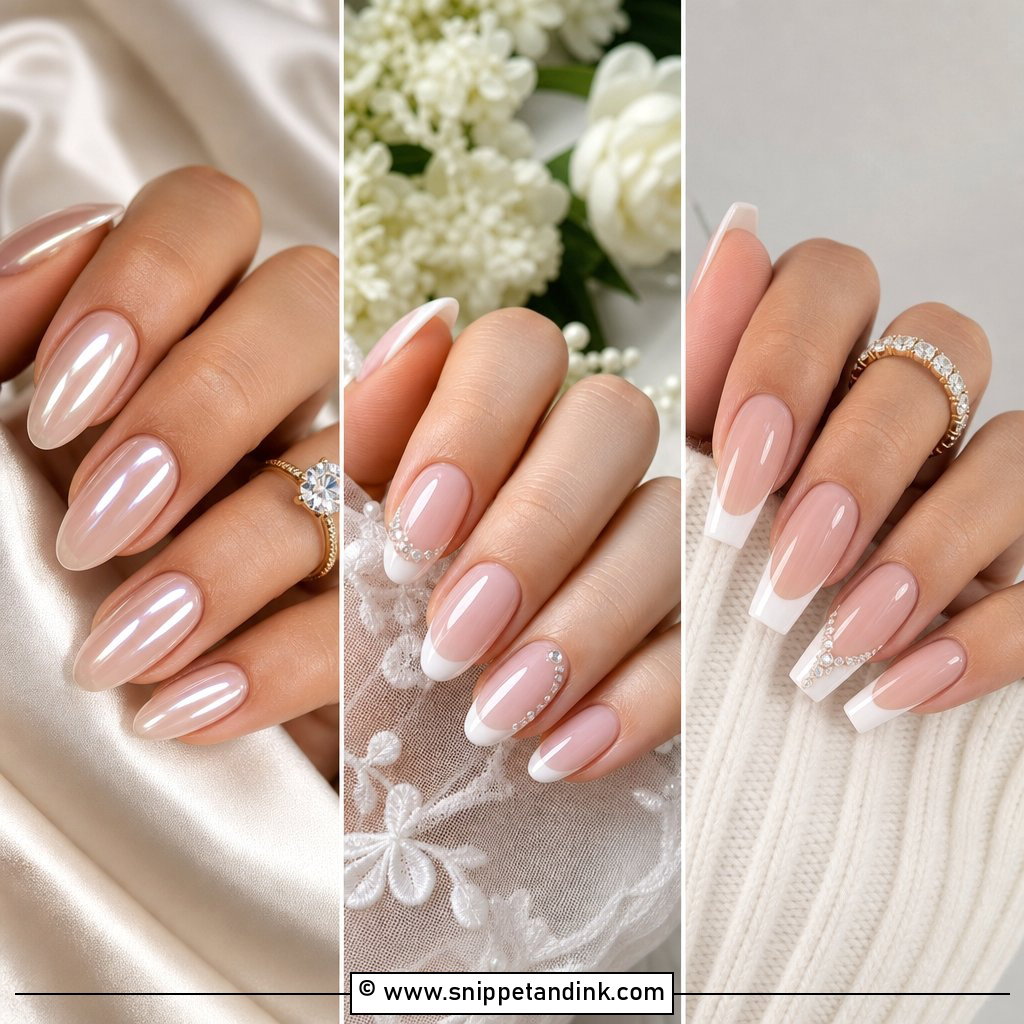
On an extension I can place the French smile line exactly where it flatters, rather than where your natural free edge happens to start. That’s the real advantage over a natural-nail French. I usually set the line a little higher on the nail than people expect, which makes the pink part look longer and the fingers slimmer. Keep the white thin. It’s the design that ages best through a honeymoon, because regrowth at the cuticle is barely visible under a sheer pink base.
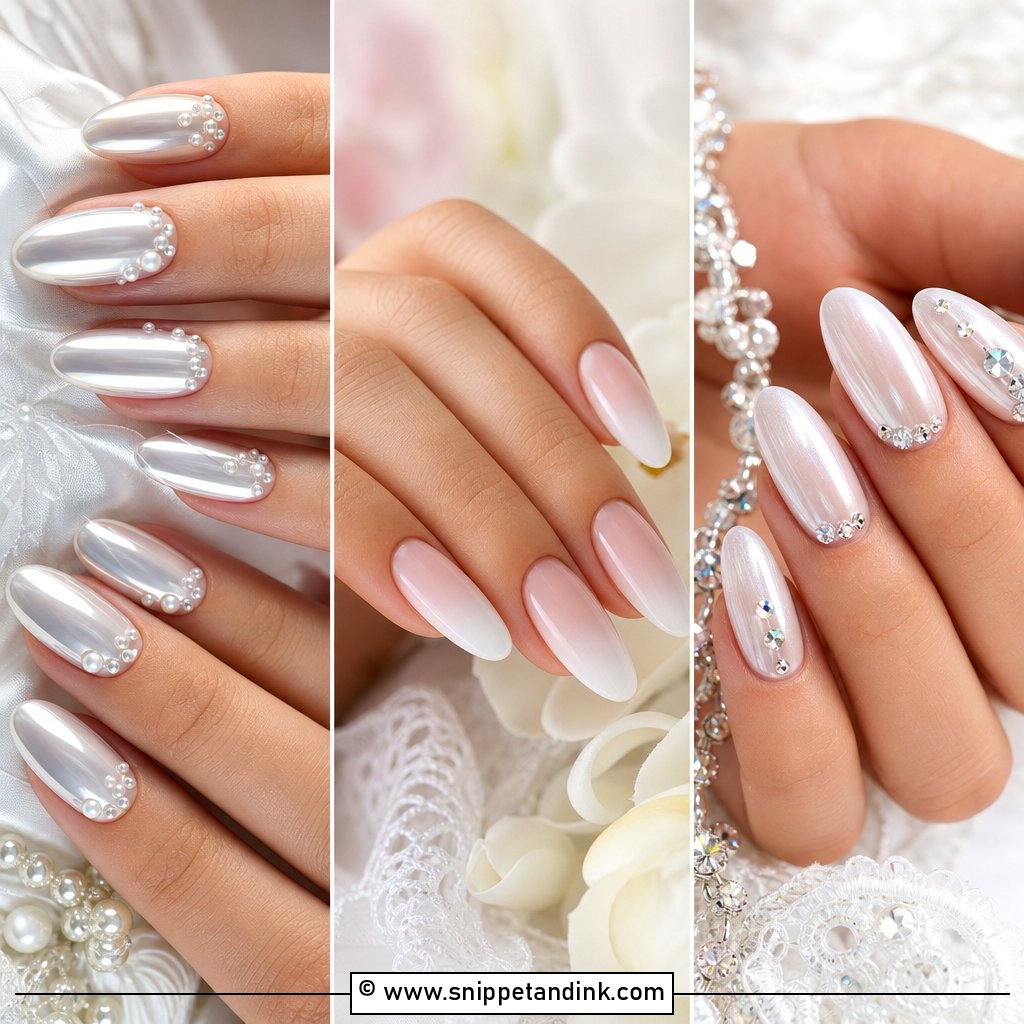
2. Milky White Wedding Nail Extensions
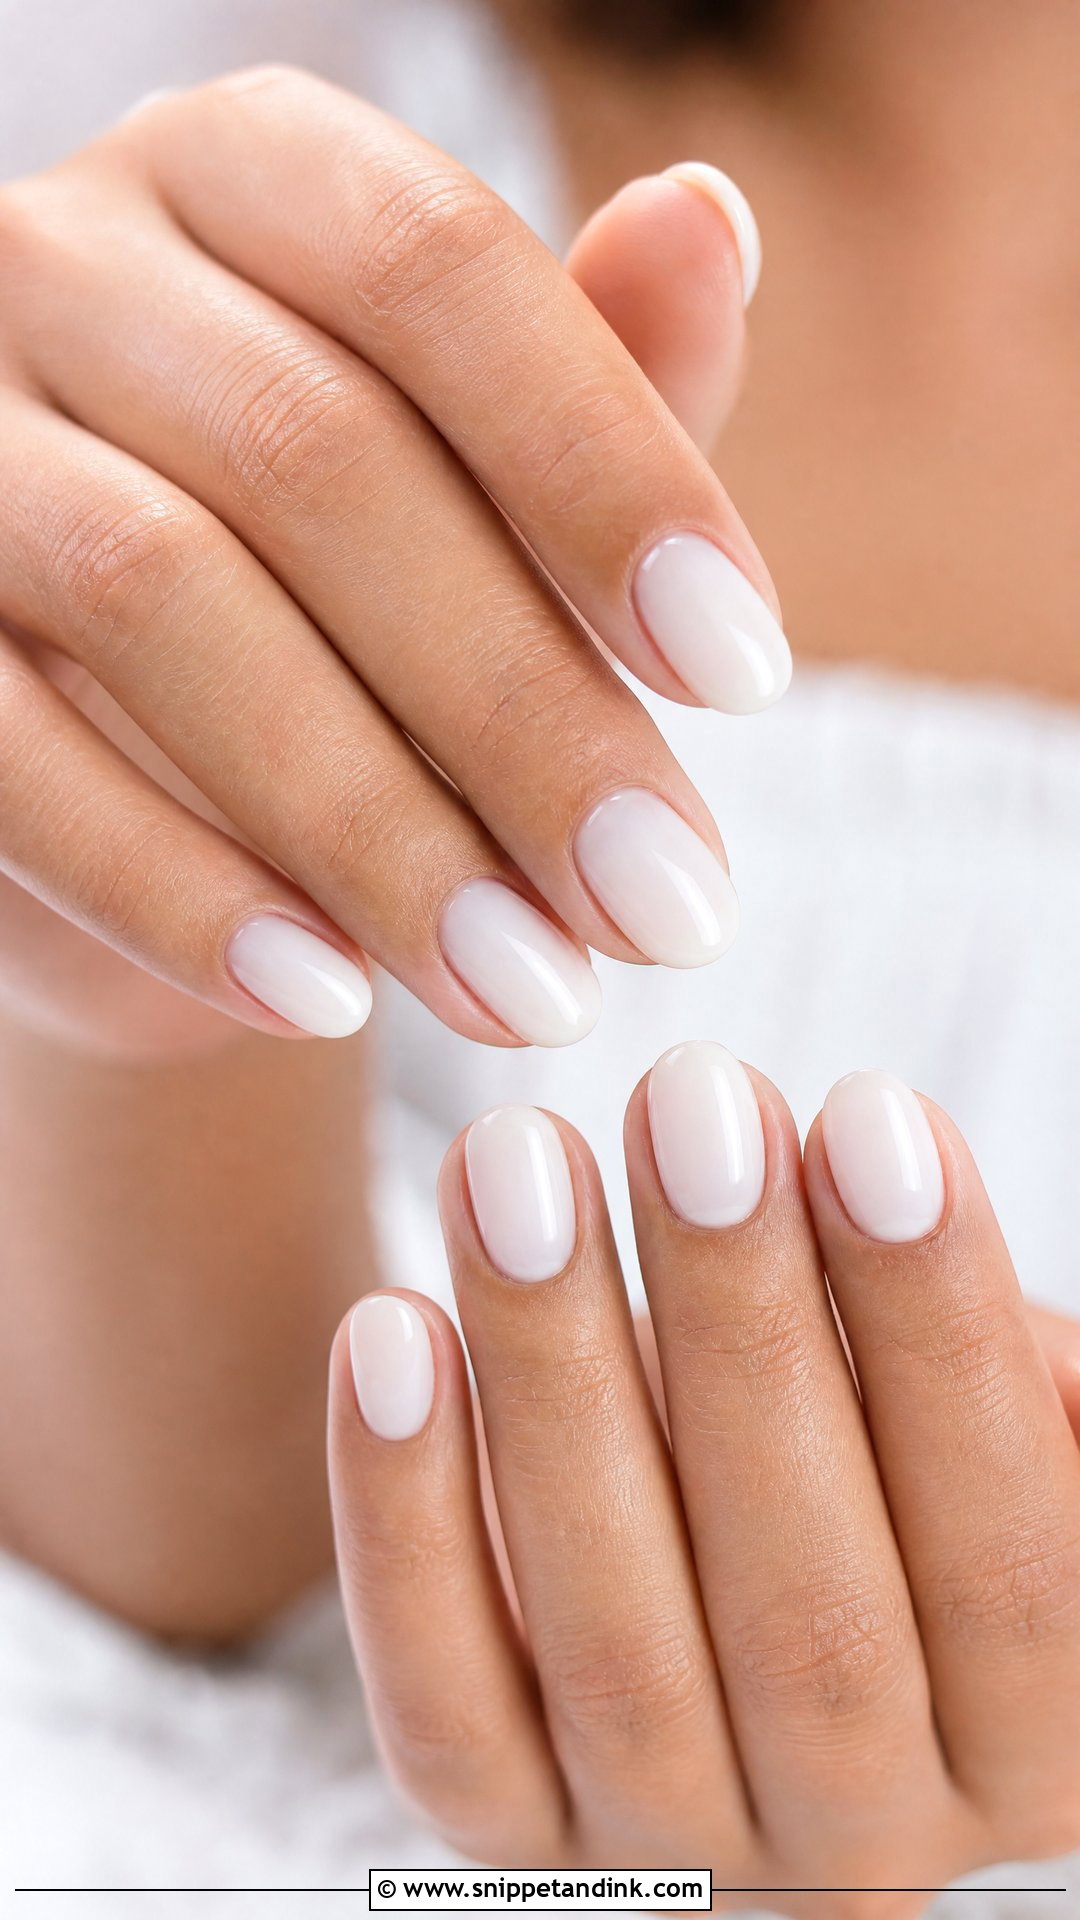
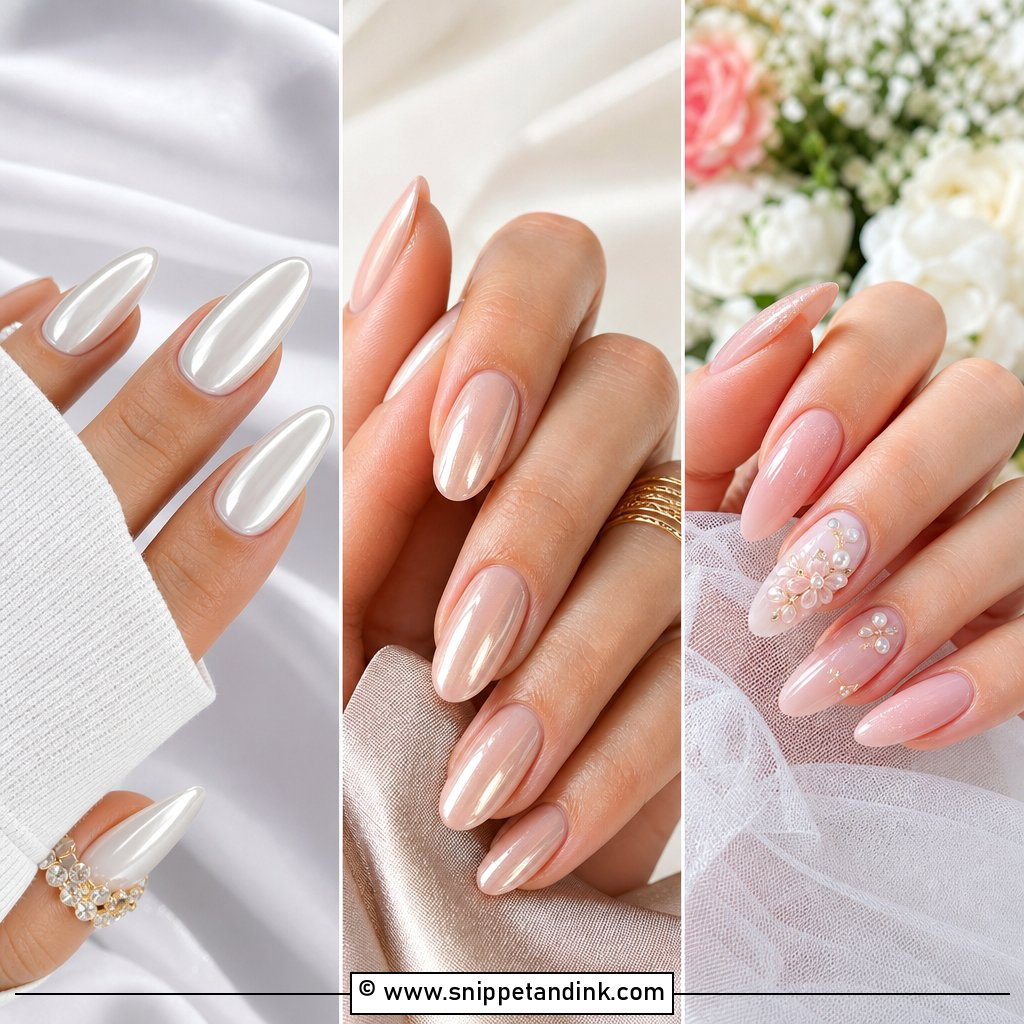
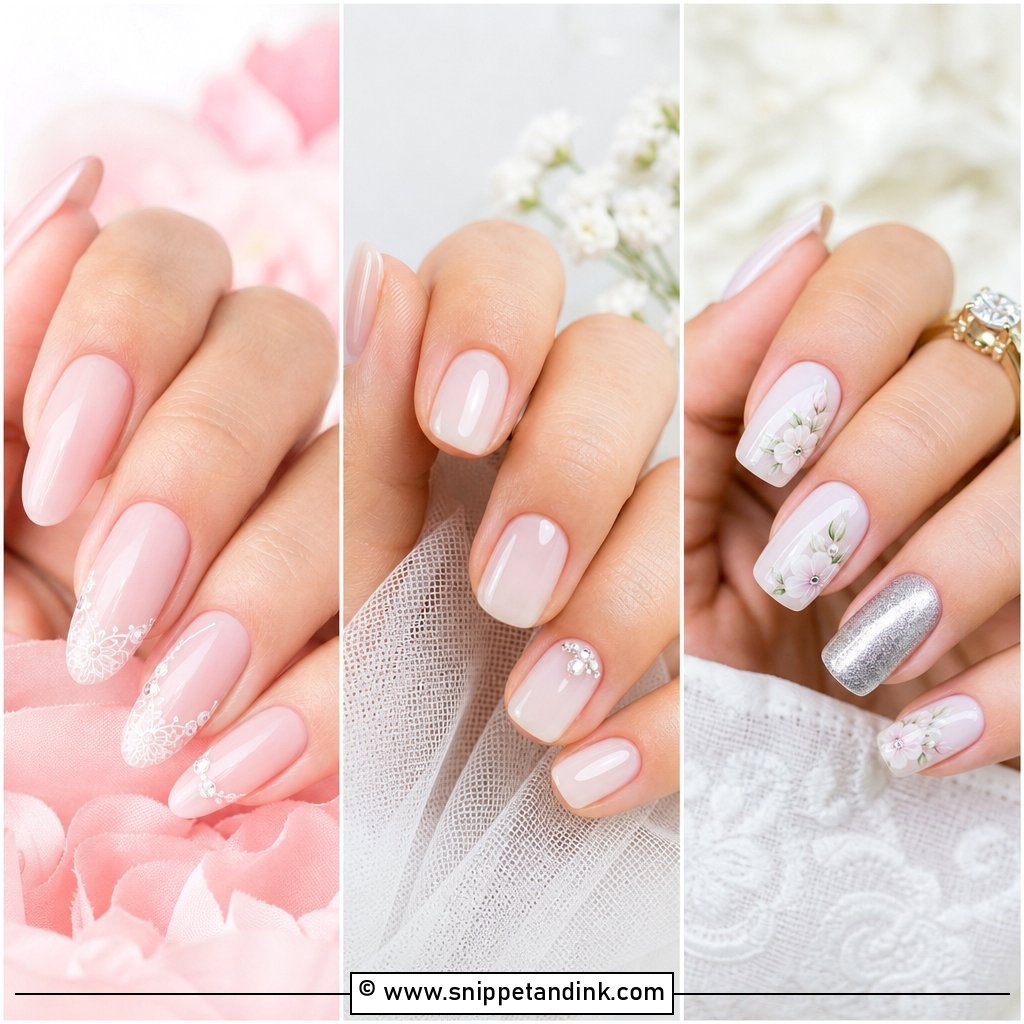
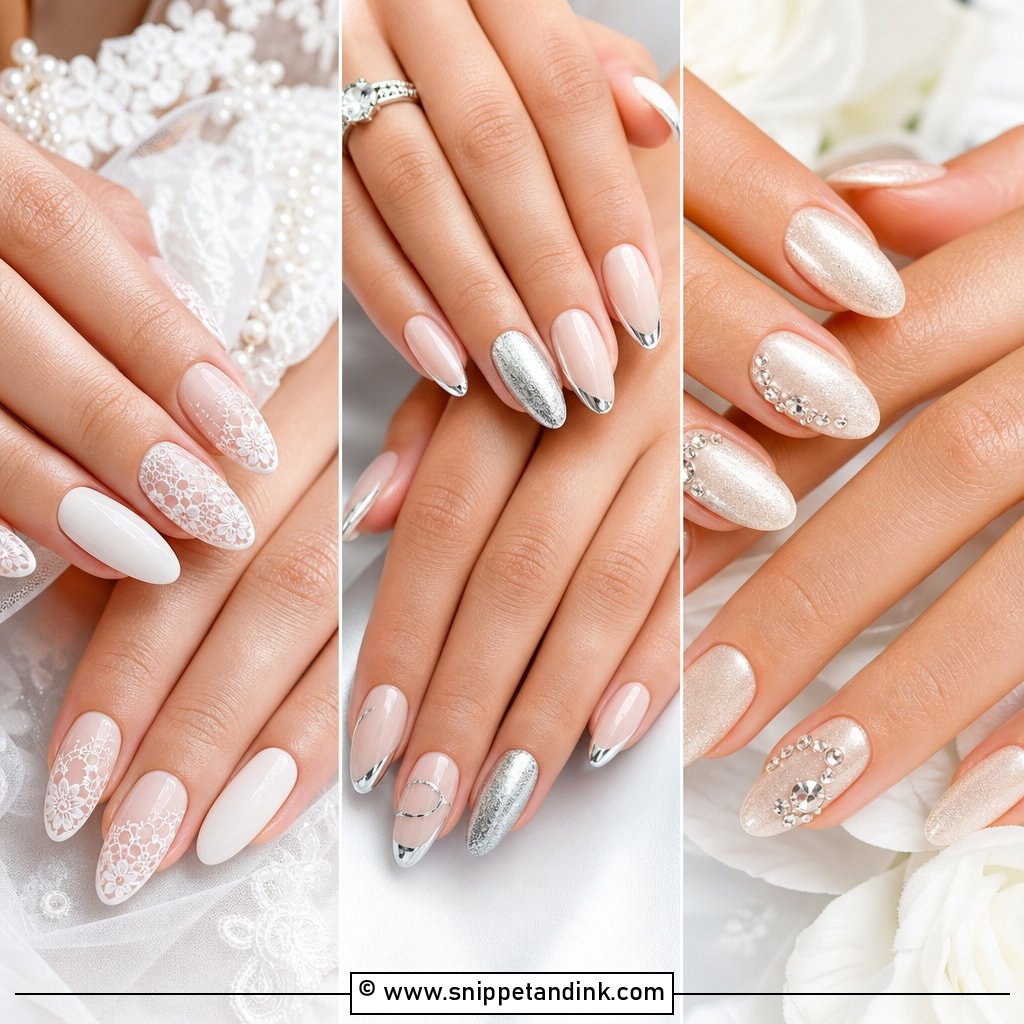
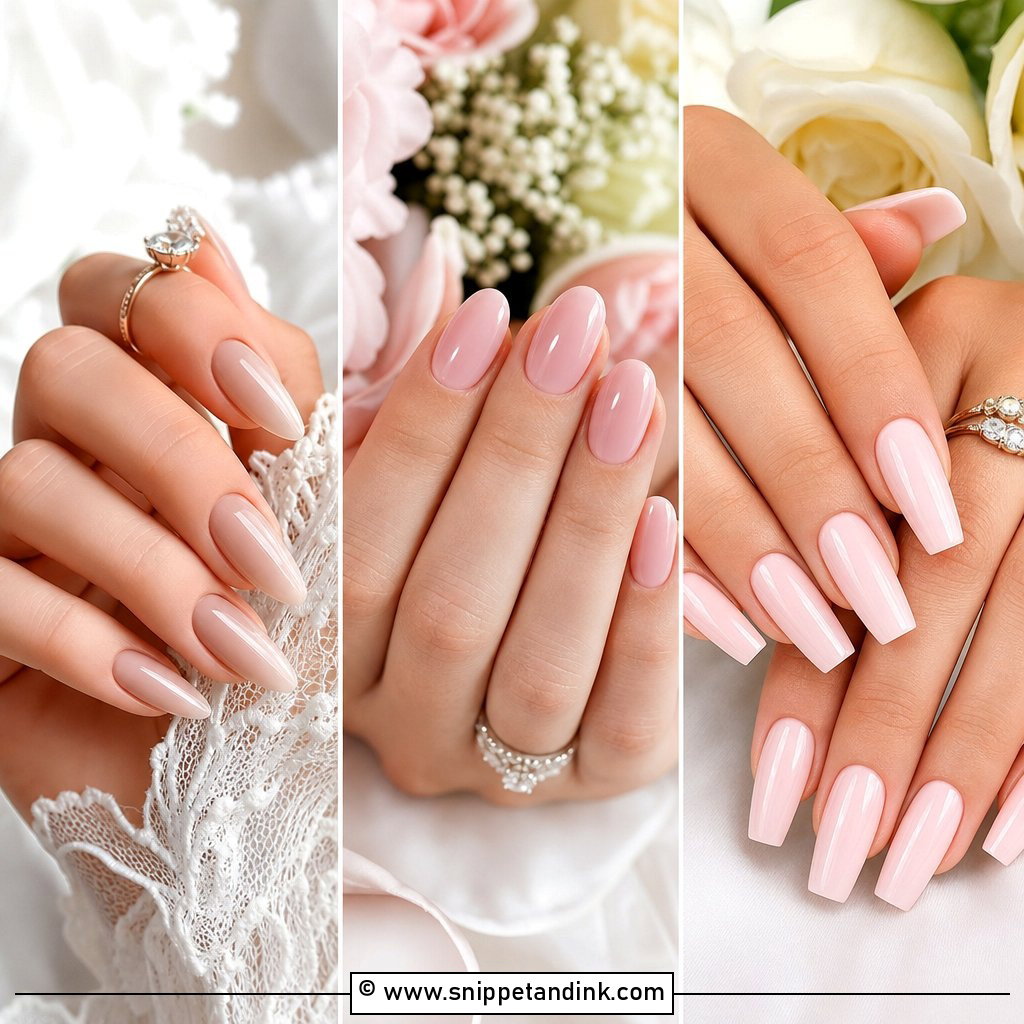
Milky white over an extension has one catch: the join between your natural nail and the tip can show through a sheer colour. I blend that join flat with builder gel before any milky layer goes on, otherwise you see a faint line halfway down every nail in ring shots. Done properly, it looks like healthy porcelain nails. Short-to-medium oval or almond suits it, and it sits next to silver, gold or pearl jewellery equally well.
3. Pearl Chrome Wedding Nail Extensions
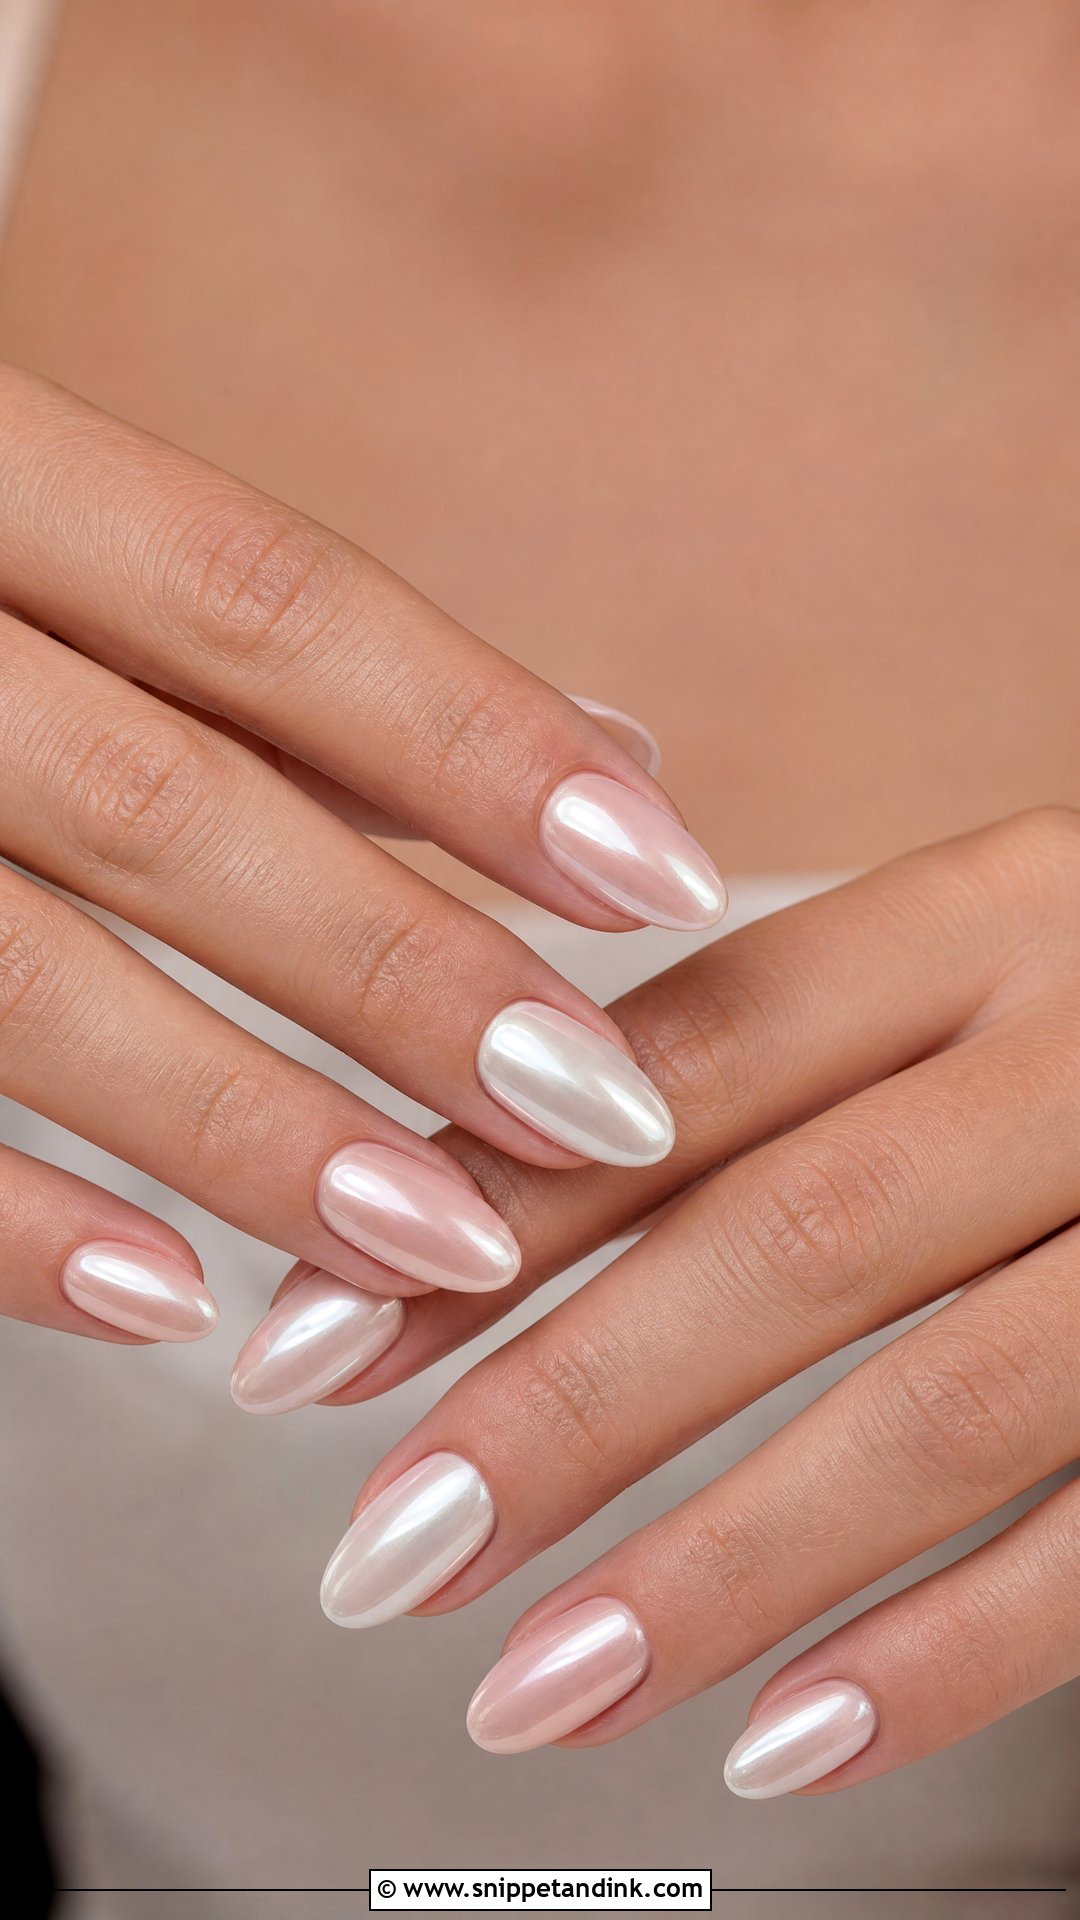
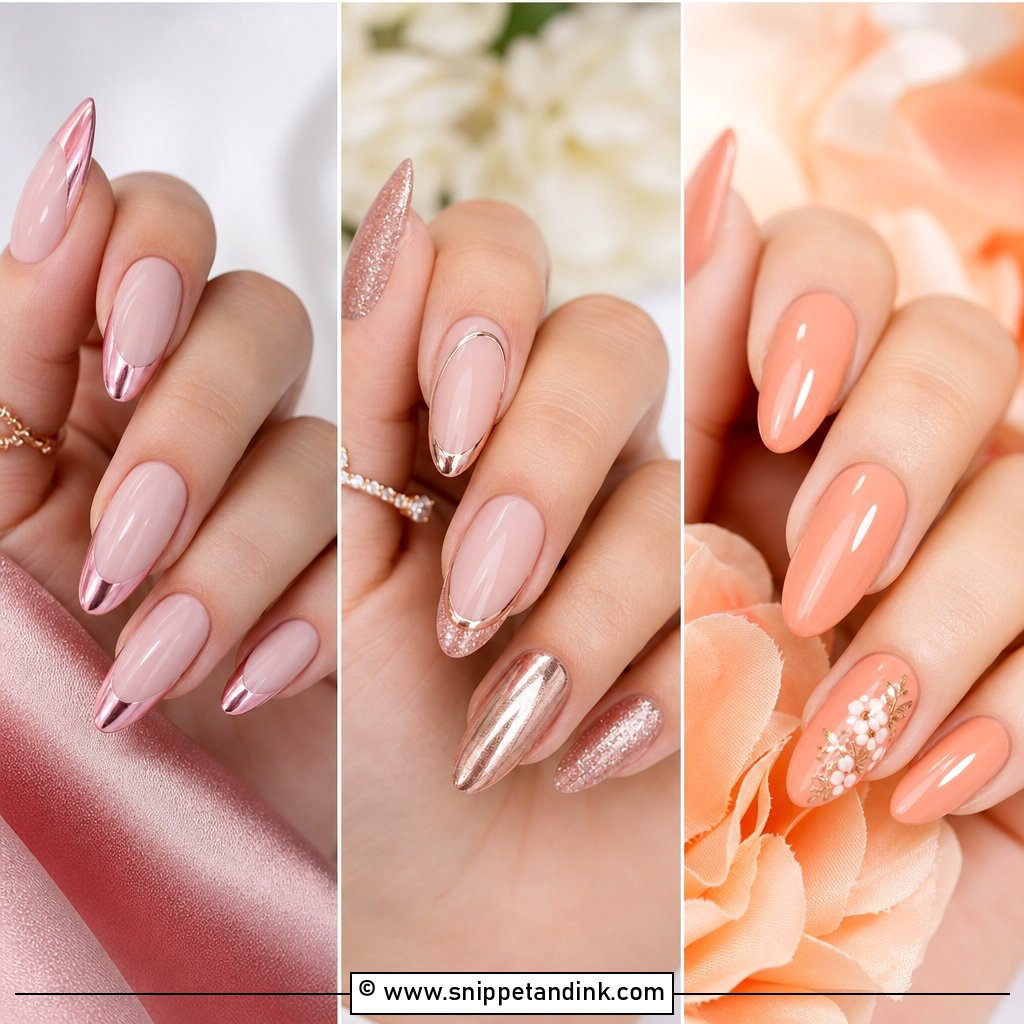
Chrome powder exaggerates every bump and dip, so on extensions I spend extra time filing the surface smooth before the base colour. A pearl powder buffed over nude, pink or milky white then gives that soft, reflective sheen. Longer almond and coffin sets show it off, but it reads refined on short oval too. Seal the free edge properly; chrome is the first finish to wear grey at the tip.
4. Nude Ombre Wedding Nail Extensions
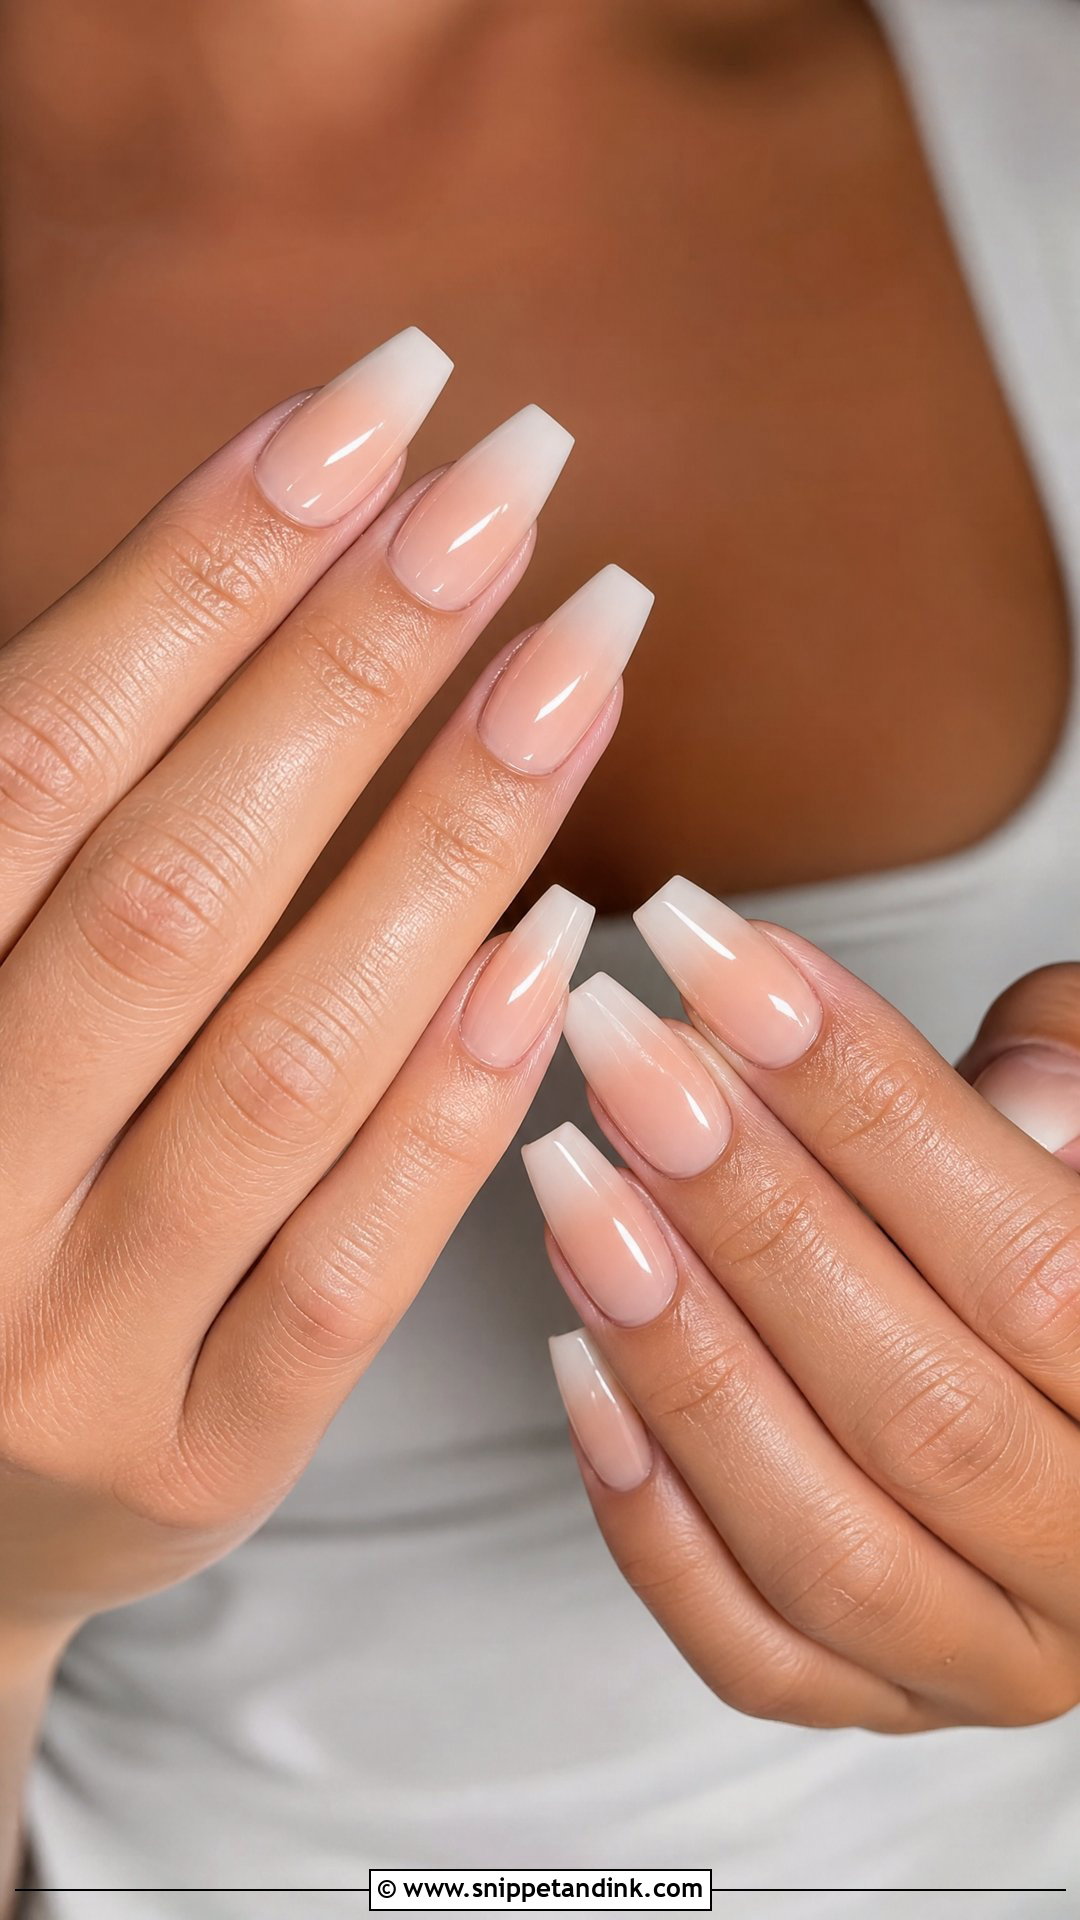
A nude ombre extension hides the regrowth line and the extension join better than almost any other design, which is why I suggest it to brides having their set done earlier in the week. The base shade matters most. I test beige, pink nude, caramel and peach against your skin and pick the one that disappears; the white or blush fade then looks like it grows out of your own nail.
5. Baby Boomer Wedding Nail Extensions
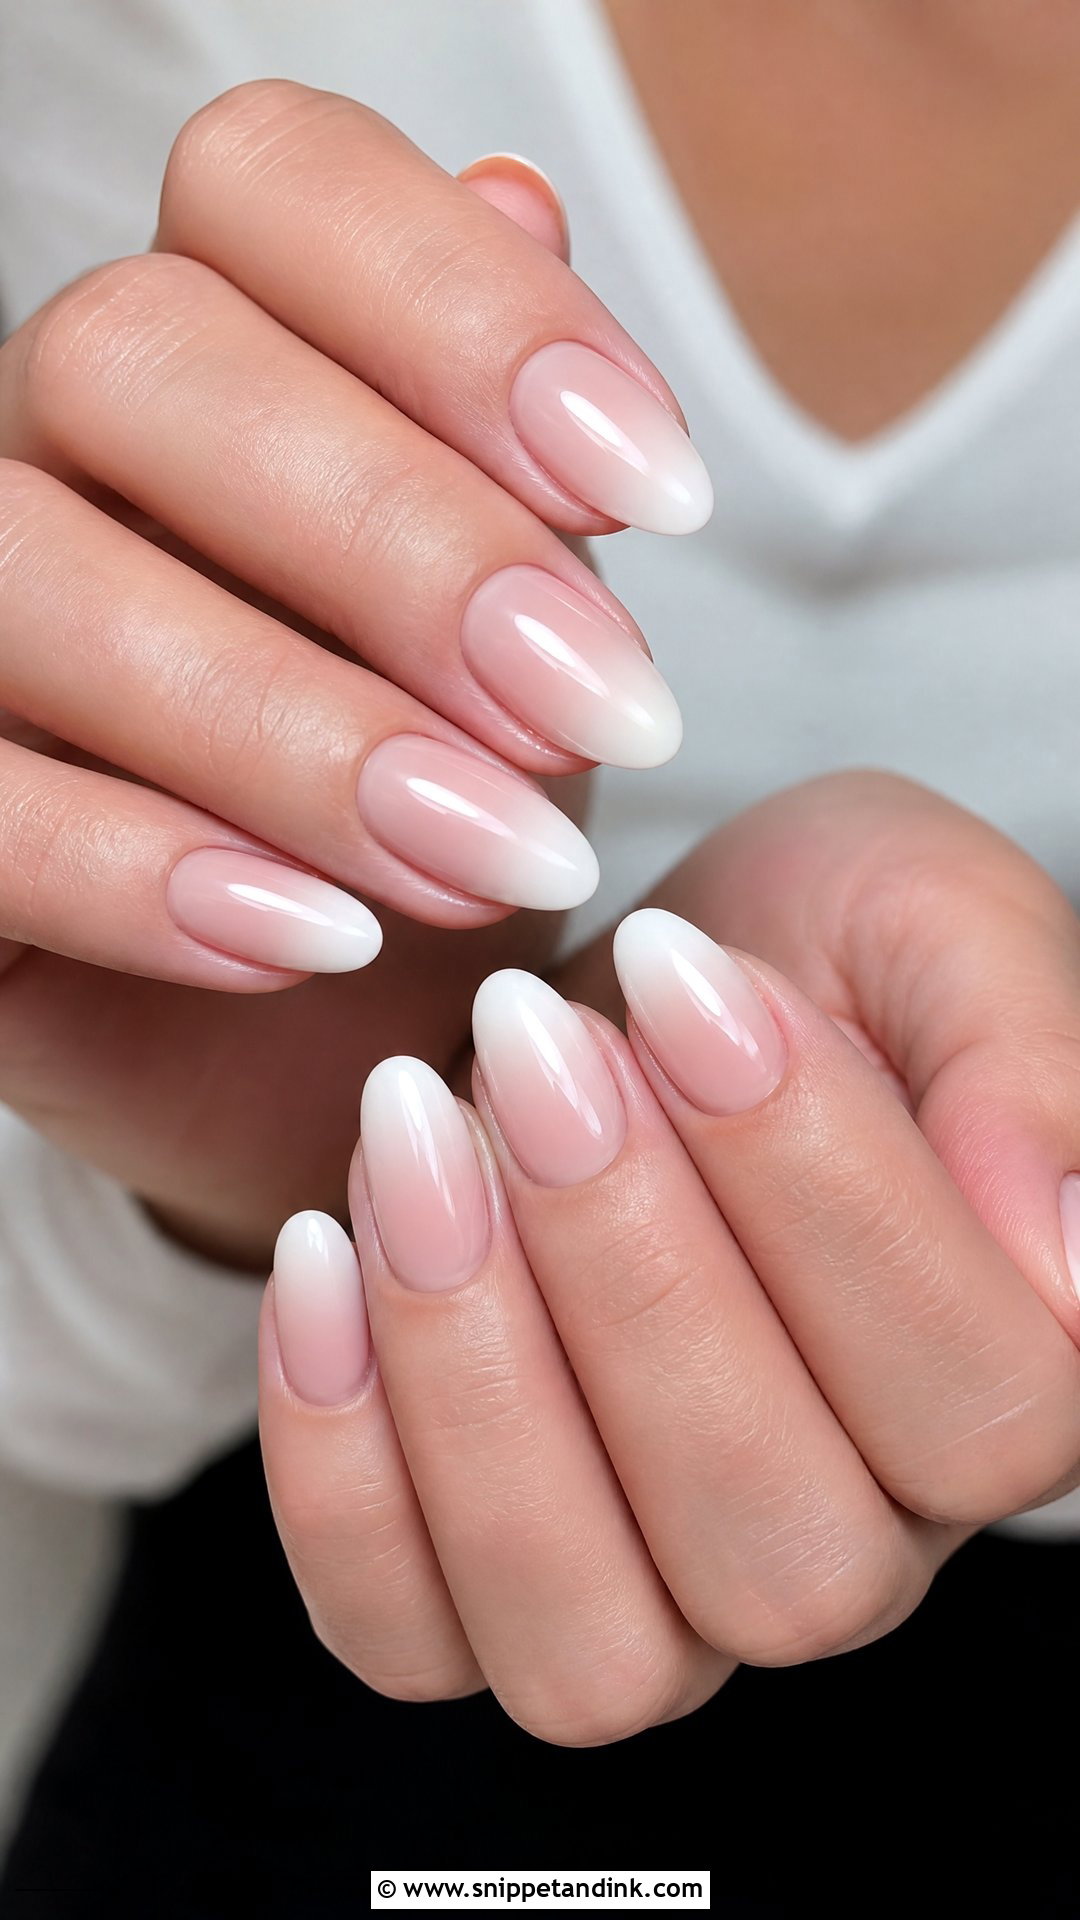
The pink-to-white fade on a baby boomer set is built inside the extension, often with a cover pink and a white builder gel blended by brush, so it stays smooth without a painted line on top. That’s what gives the soft, airbrushed look. Medium or long almond and coffin show the gradient best. Baby boomer nails are also forgiving in photos since there’s no hard edge to look uneven. I cap them with a thin builder layer for strength and a glossy top coat.
6. White Chrome Wedding Nail Extensions
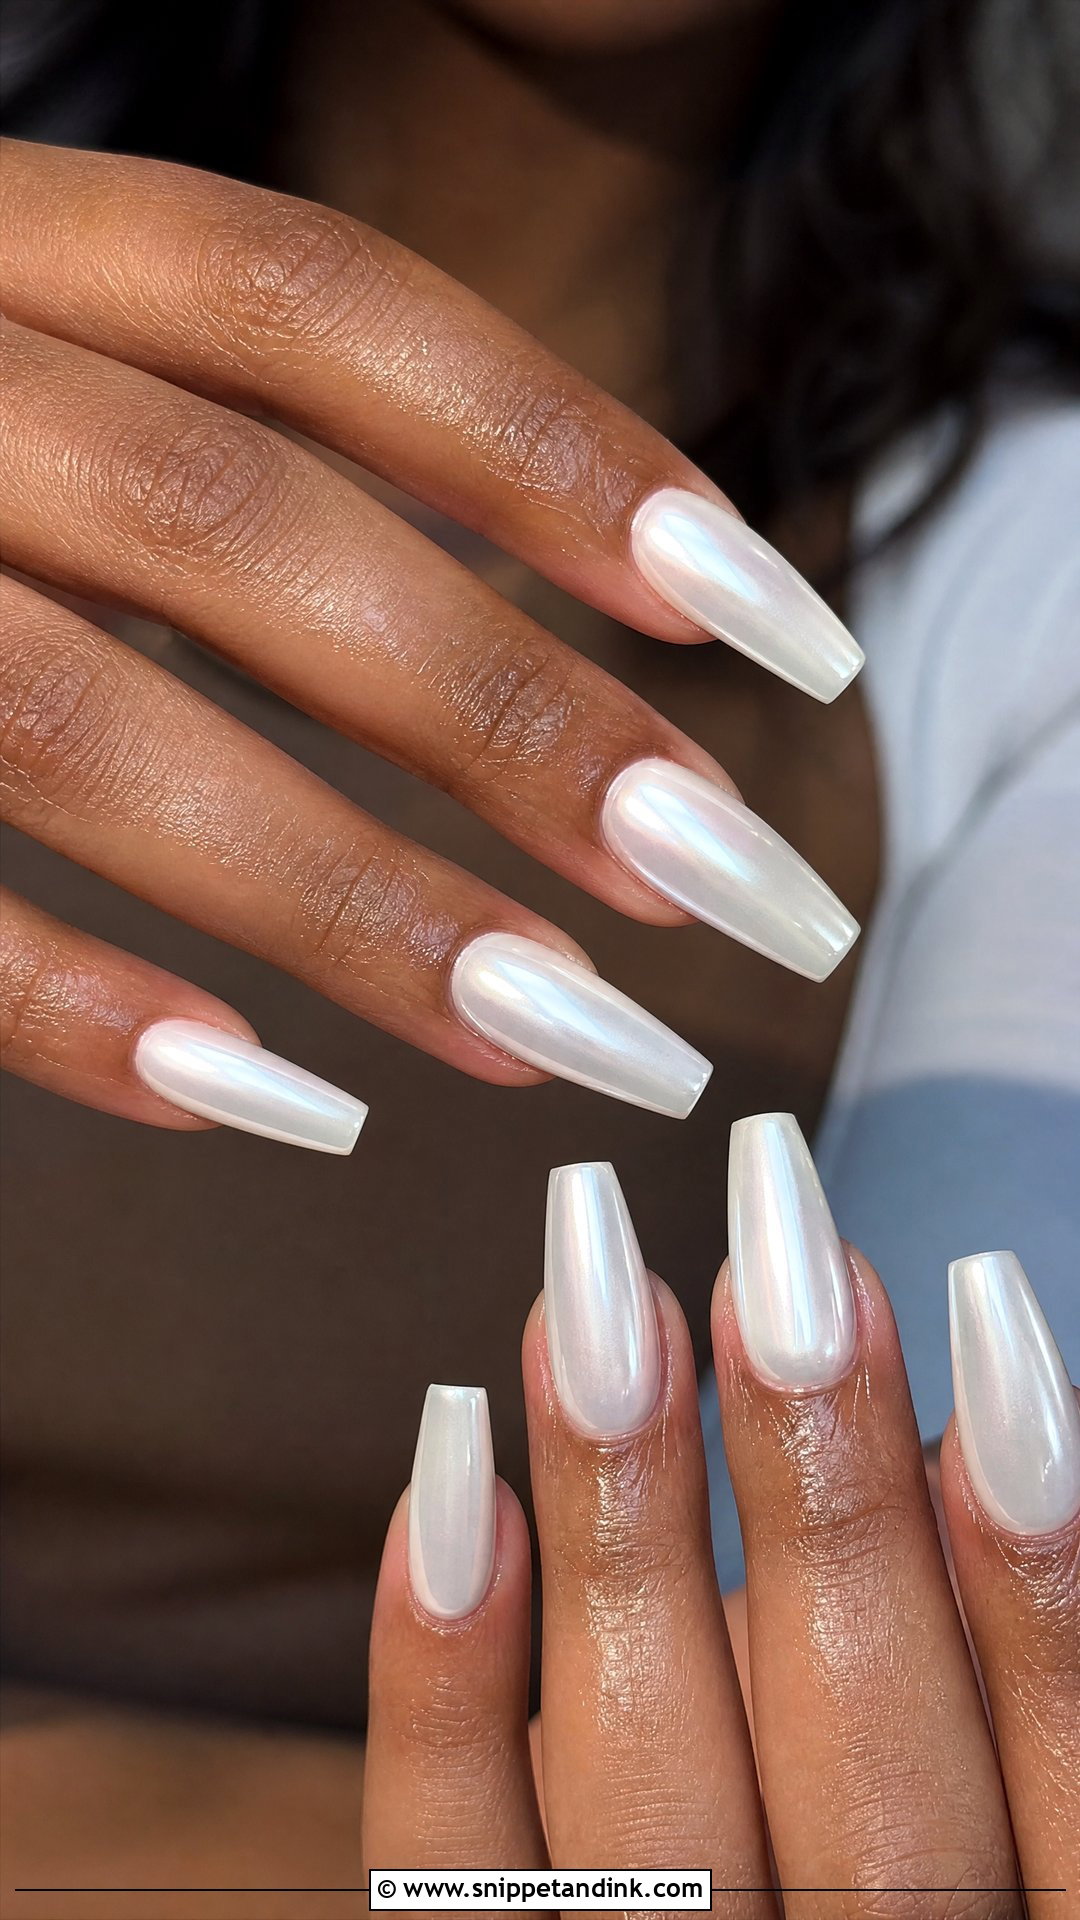
White chrome on a long extension is striking and very modern. I keep the base an ivory or soft white rather than optic white, because pure white chrome can look clinical next to a warm-toned gown. Almond, stiletto and coffin carry it best. The shape has to be symmetrical; reflective finishes make any lopsided filing obvious. Minimal jewellery keeps the set from competing with itself.
7. Blush Pink Wedding Nail Extensions
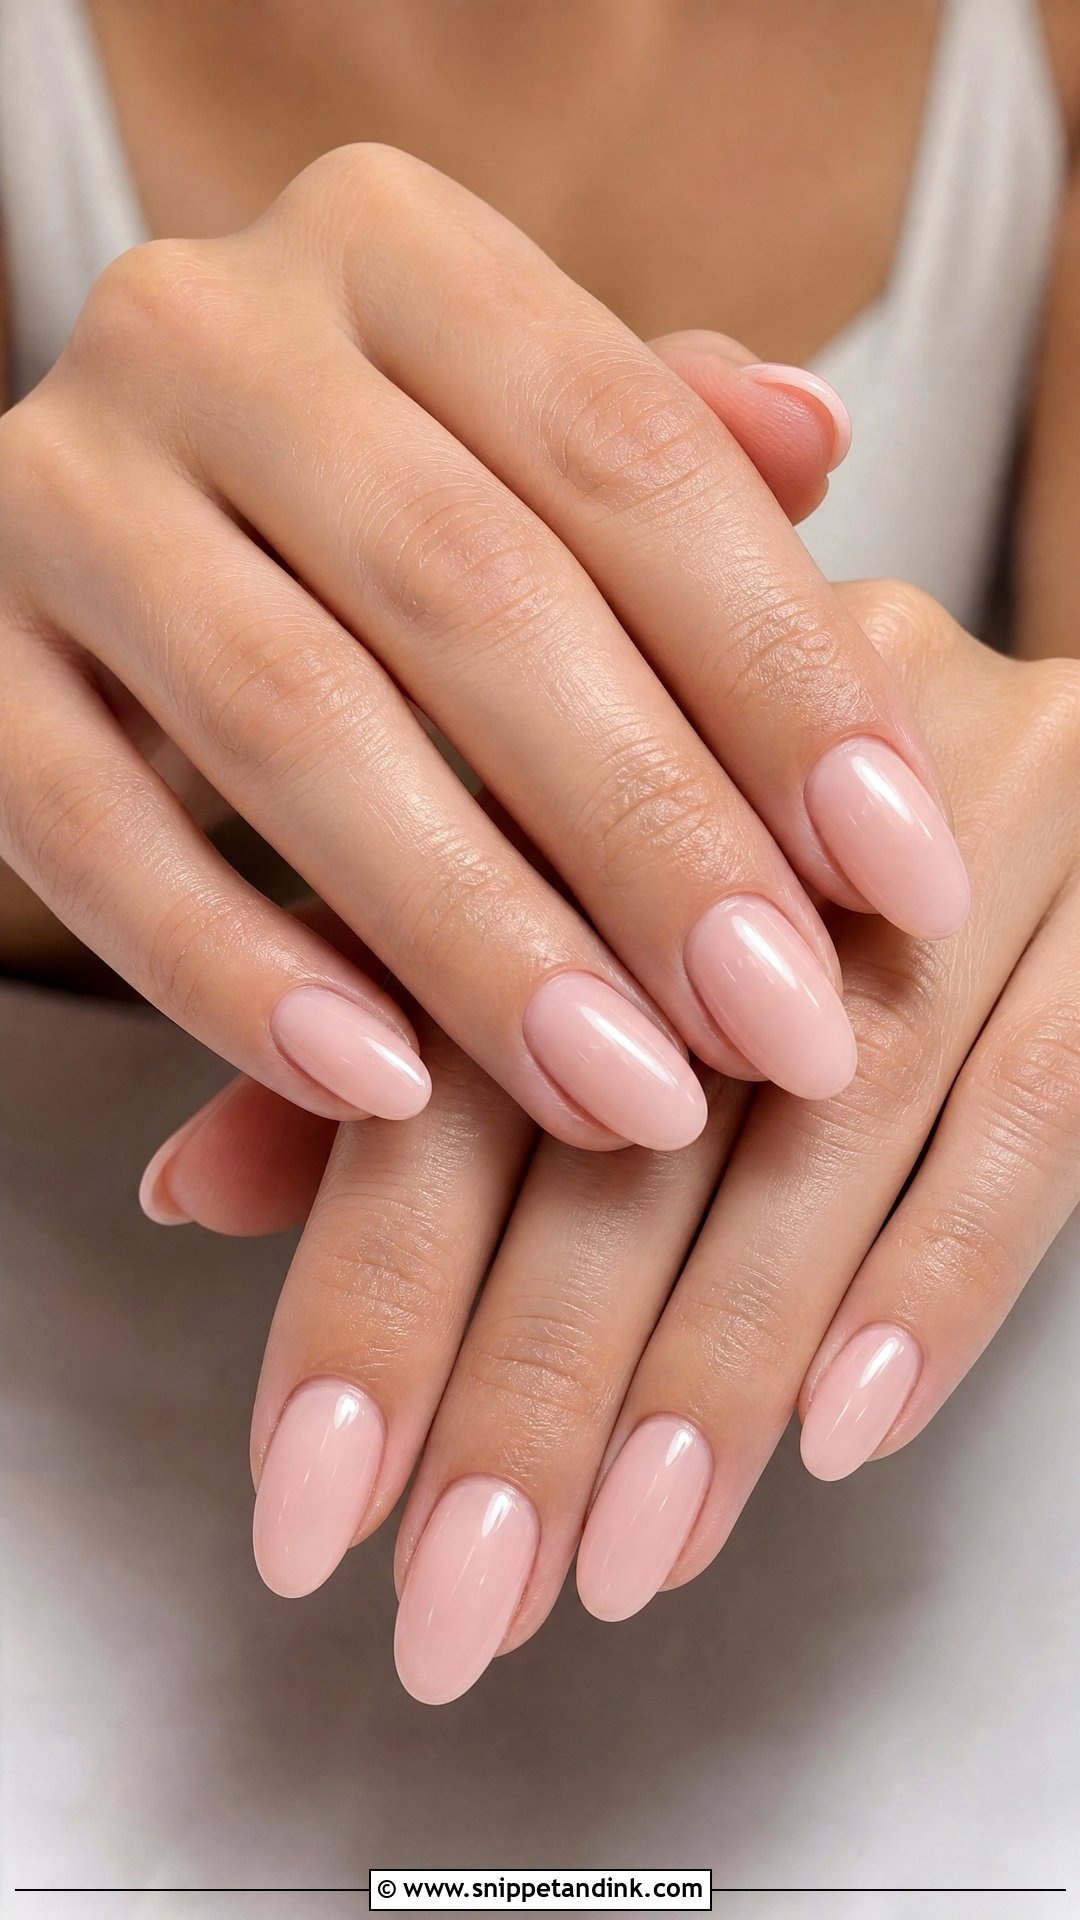
Sheer blush is the most natural-looking extension finish, and also the one that tells me straight away if the extension was poorly applied, since you can see through it to the nail plate. I like it on oval, almond and squoval at short-to-medium length. A few tiny pearls dress it up. It’s also the set I’d recommend for bridesmaids getting extensions for the first time: little to go wrong and easy to remove.
8. Lace Wedding Nail Extensions
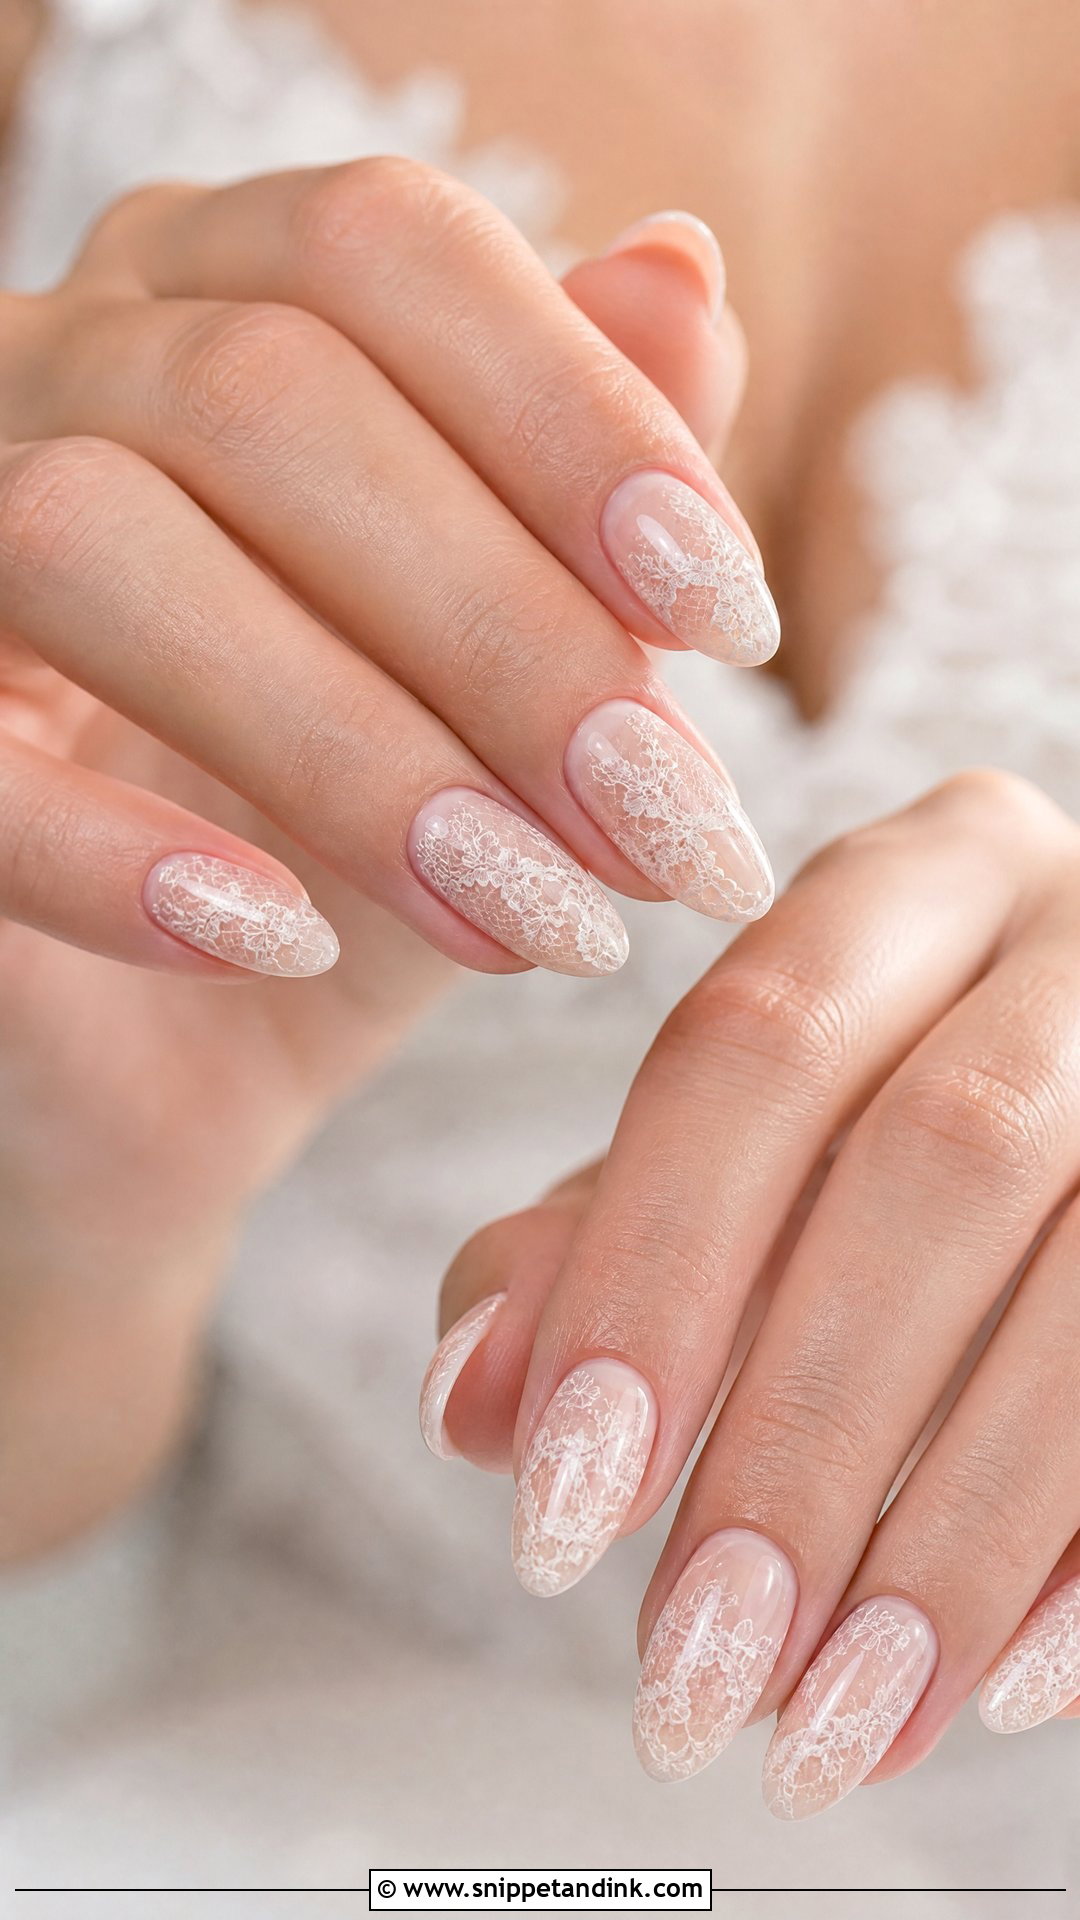
Extensions give lace art the room it needs. On an almond or coffin I can draw a fuller motif in thinned white gel over a nude or sheer white base, curing in sections so the fine lines stay crisp. Bring a close photo of your actual lace. I’d still keep it to two or three nails per hand; a full ten looks heavy, especially at length.
9. 3D Floral Wedding Nail Extensions
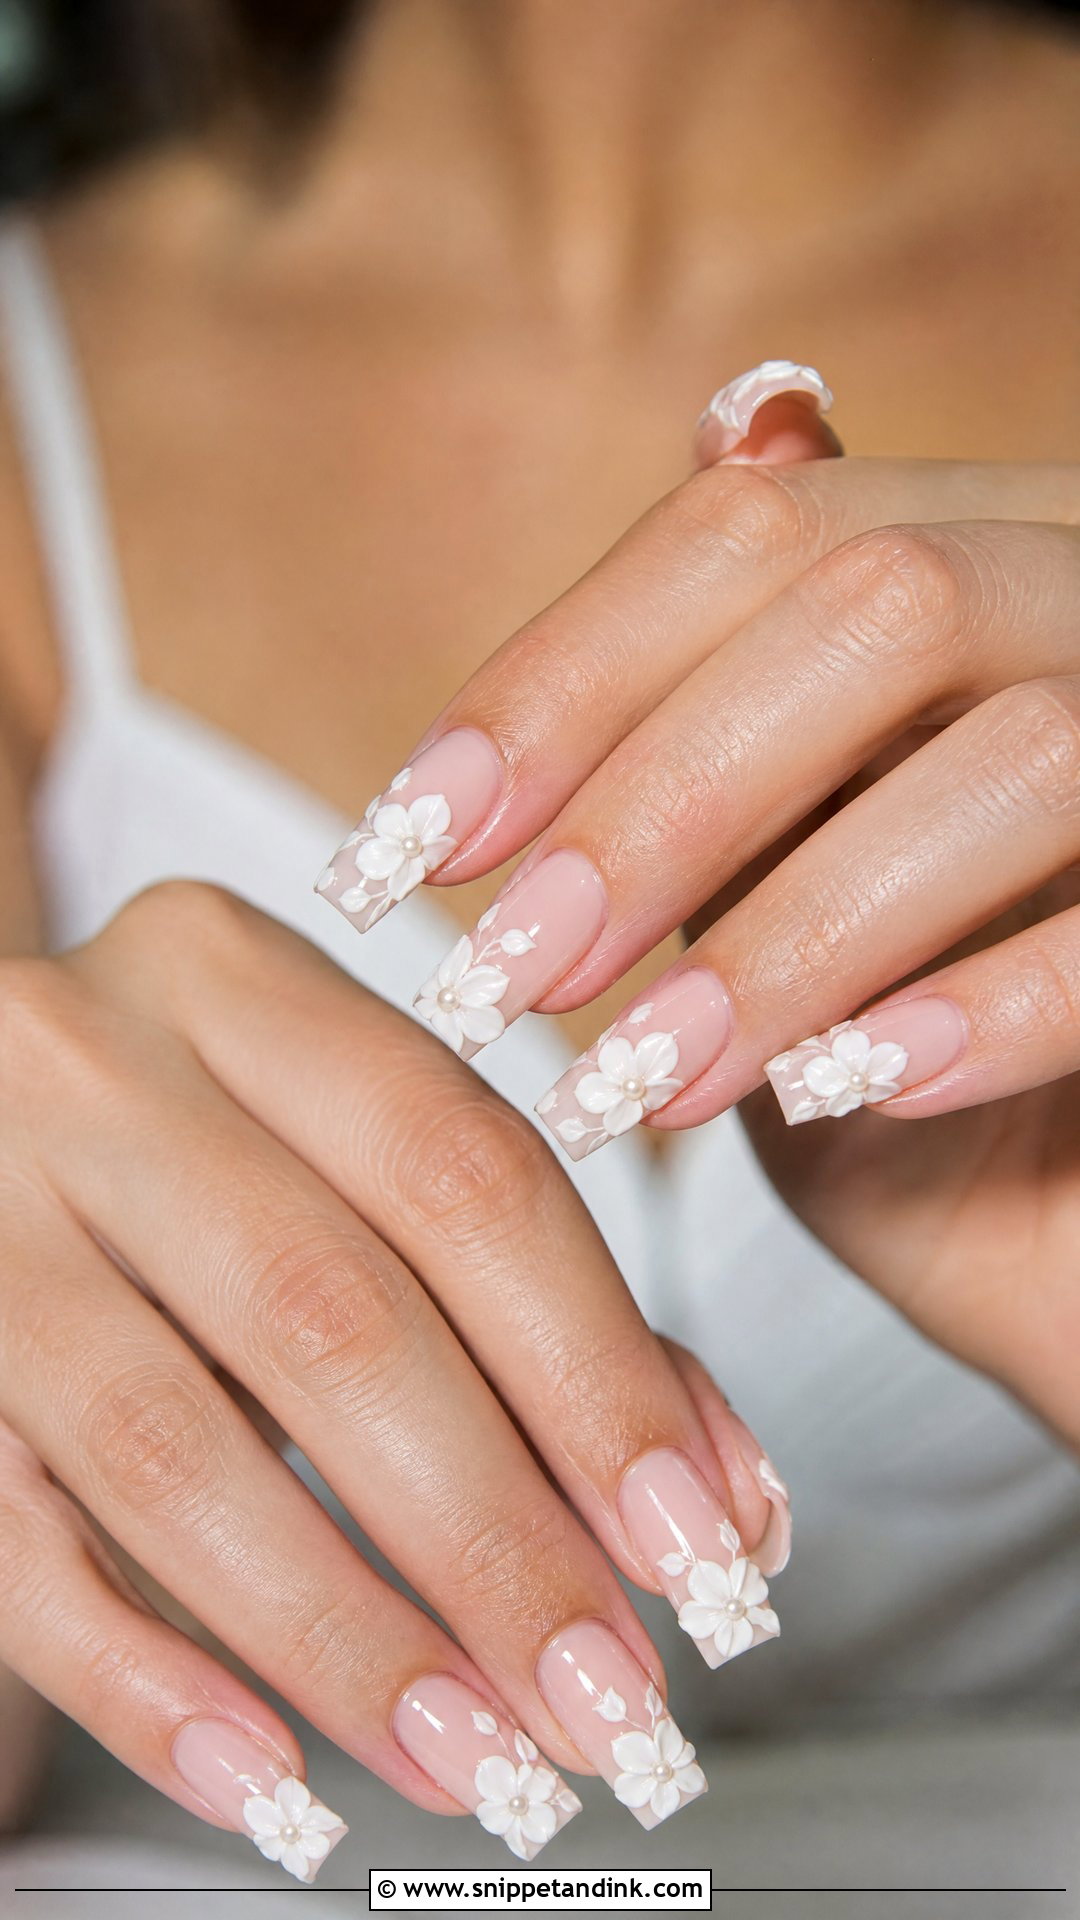
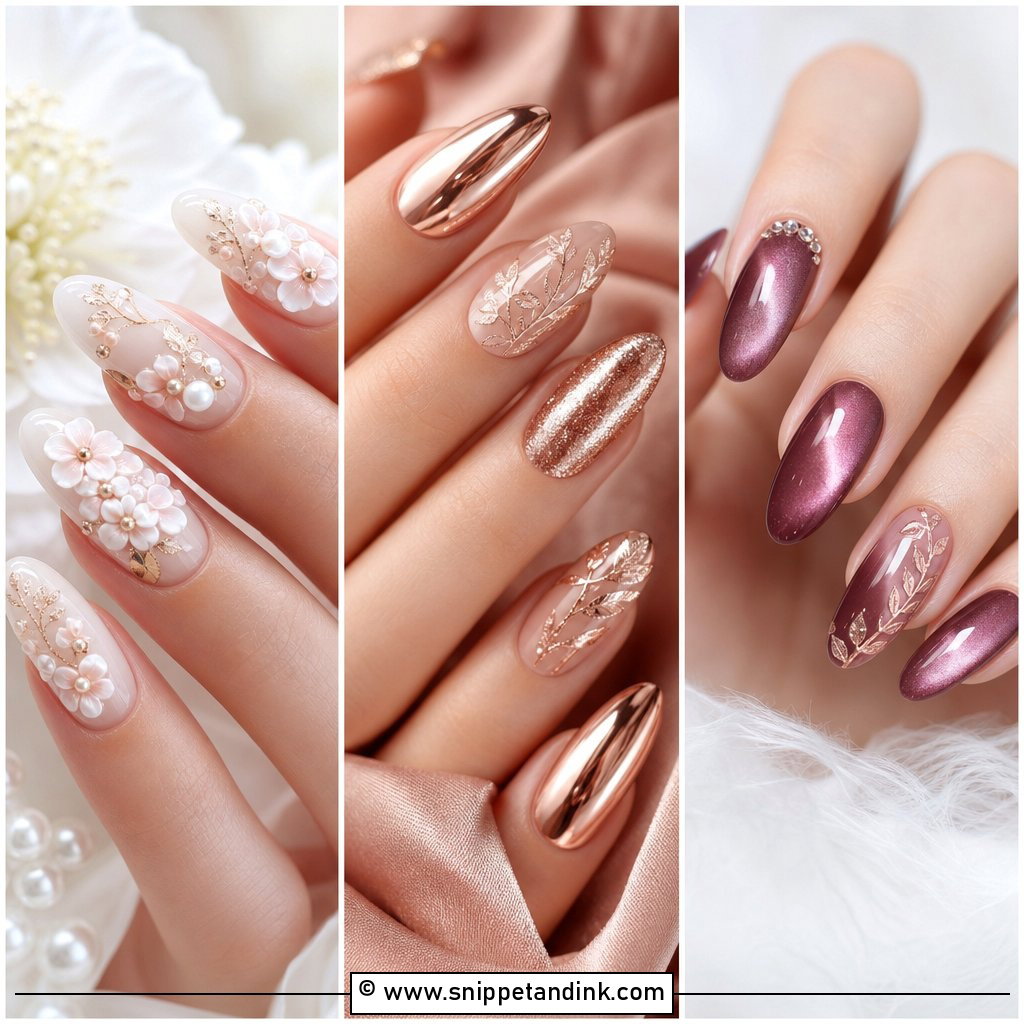
Sculpted flowers add weight and height, and on extensions that weight sits further from your finger, so they catch more easily. I build the petals from a thick sculpting gel on medium-to-long almond or coffin nails and keep them small and low. White petals read classic, pink ones warmer, and a tiny pearl or crystal centre finishes them. One or two flowered nails per hand is my limit for a bride who’ll be lifting a skirt all day.
10. Pearl Accent Wedding Nail Extensions
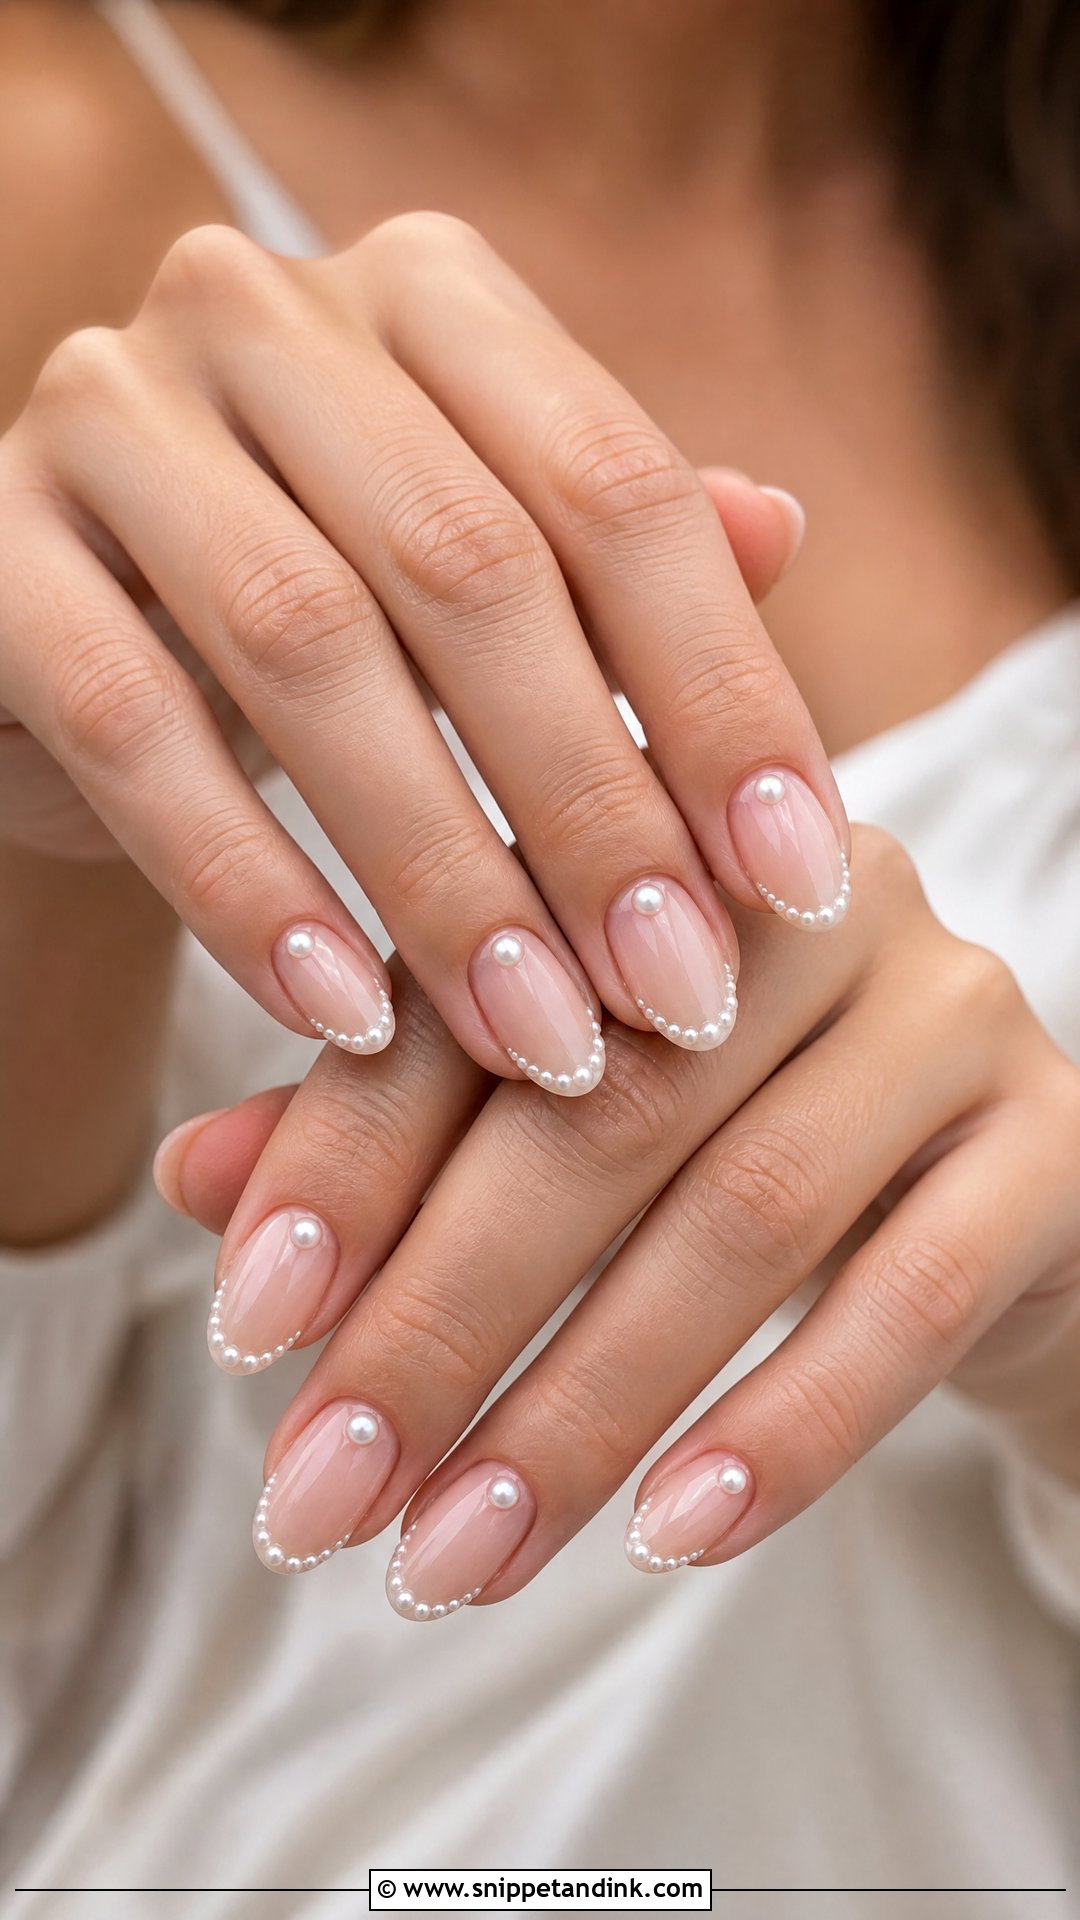
Small pearls on an extension sit best near the cuticle or along the French line, where the nail is strongest. I set them in builder gel so the top coat runs up their sides and nothing snags. Almond and oval suit them because the curve echoes the round bead. Space them out. Three pearls on one accent nail looks like jewellery; a pearl on every nail looks like a costume.
11. Glitter Ombre Wedding Nail Extensions
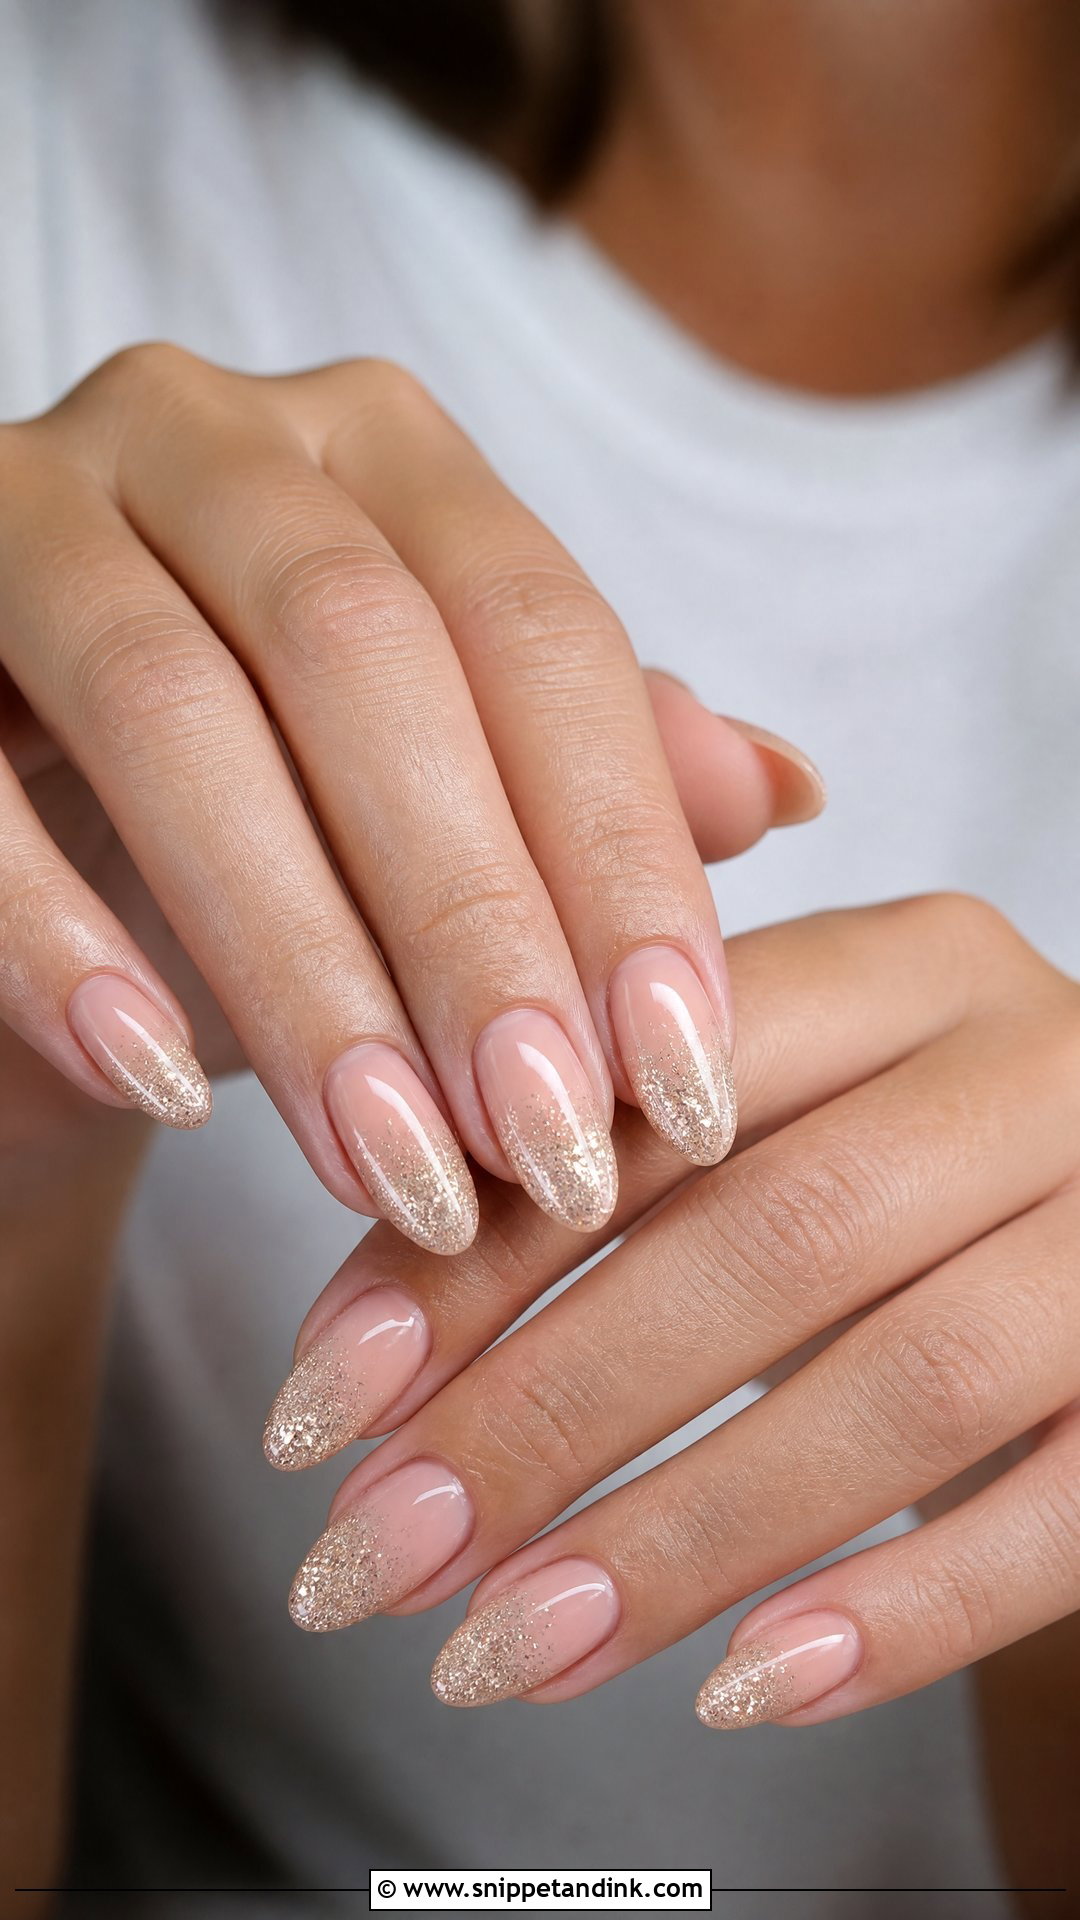
Glitter fades work well on extensions because there’s enough length for a long, gradual blend. I use a fine silver, champagne or rose gold glitter and fade it from the tip down into sheer nude, then bury it under a thick clear layer so it feels smooth. Match the glitter to your metal: silver for platinum or white gold, champagne for yellow gold, rose gold for blush details. Chunky glitter is the one to skip; it looks gritty in macro shots.
12. Gold Foil Wedding Nail Extensions
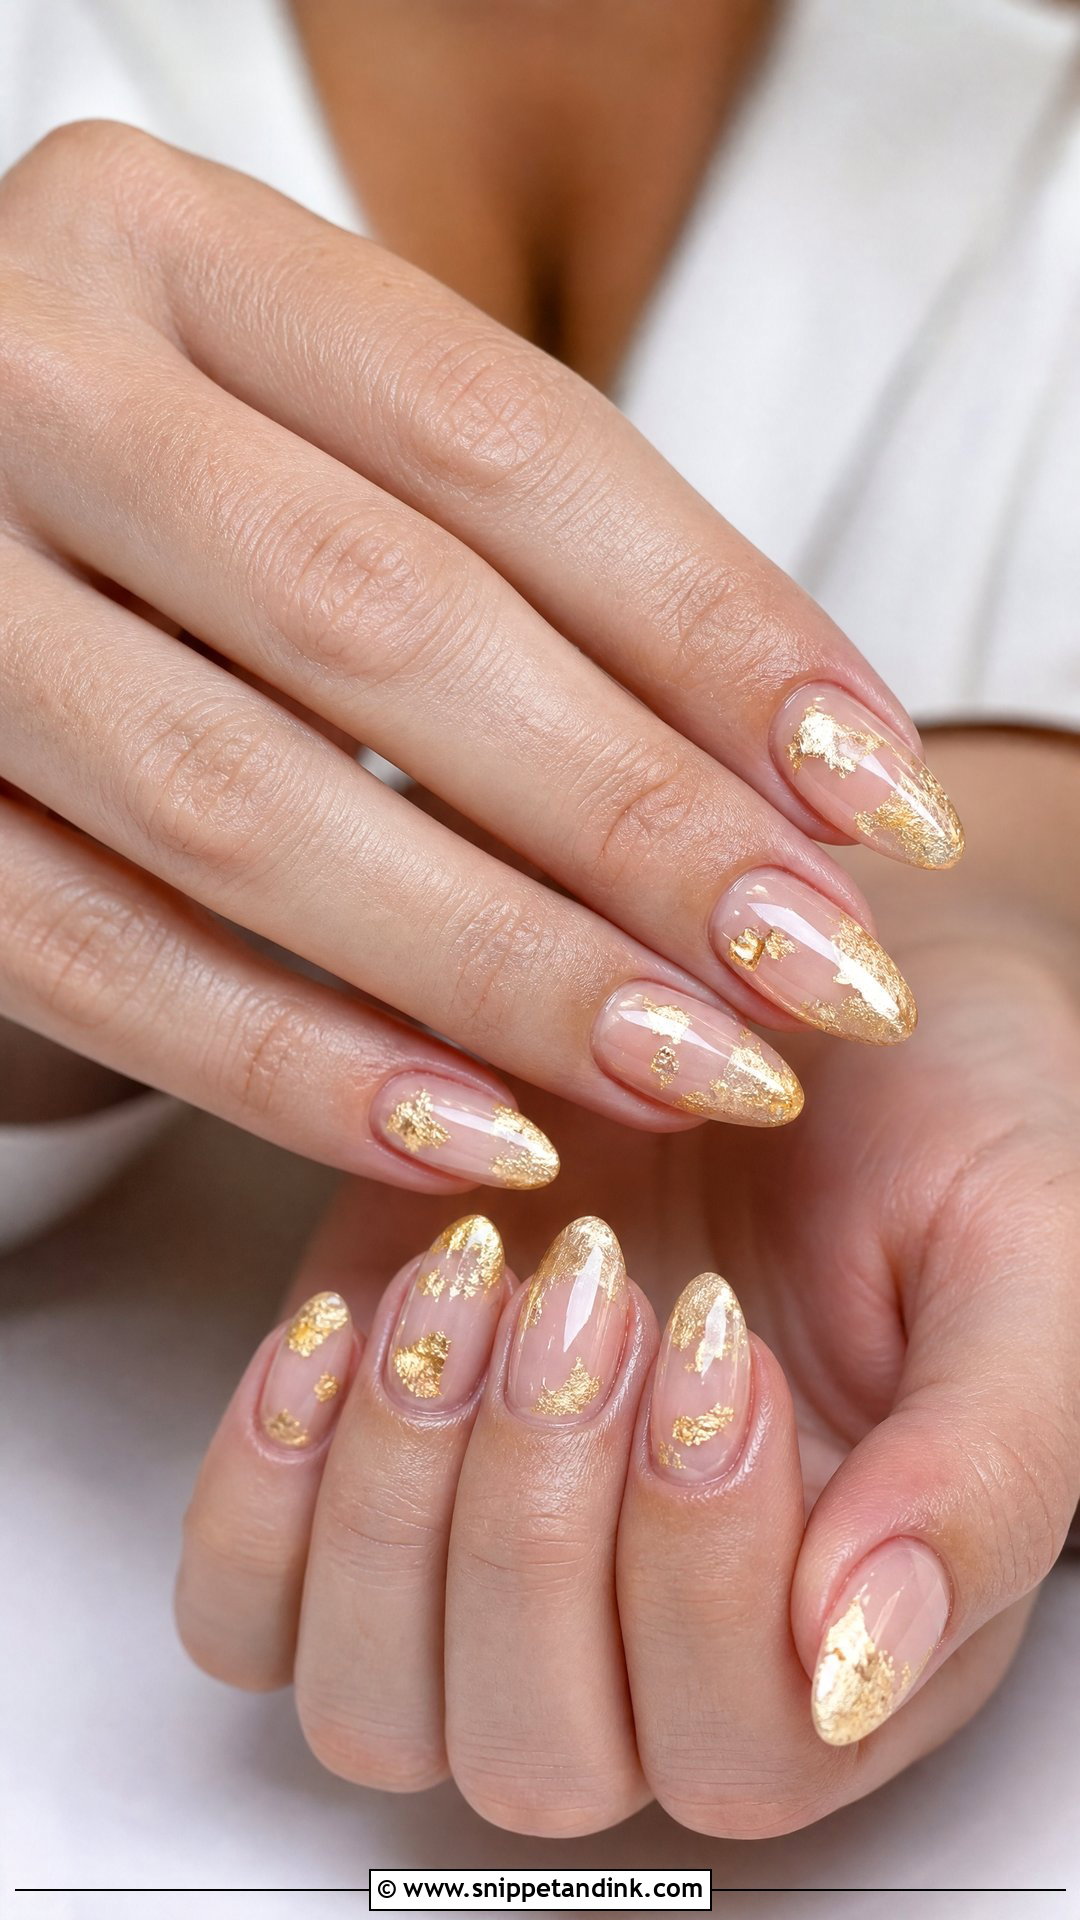
Foil should look scattered, not plastered. On Gold foil wedding nail extensions I tear transfer foil into tiny flakes and press them onto a tacky gel layer near the tips, cuticles or sidewalls, then seal them under two coats so the edges don’t lift. A nude, blush, milky or clear base all work. Gold rings, champagne dresses and warm makeup tie it together; almond and oval keep it soft, coffin makes it more fashion-led.
13. Silver Glitter Wedding Nail Extensions
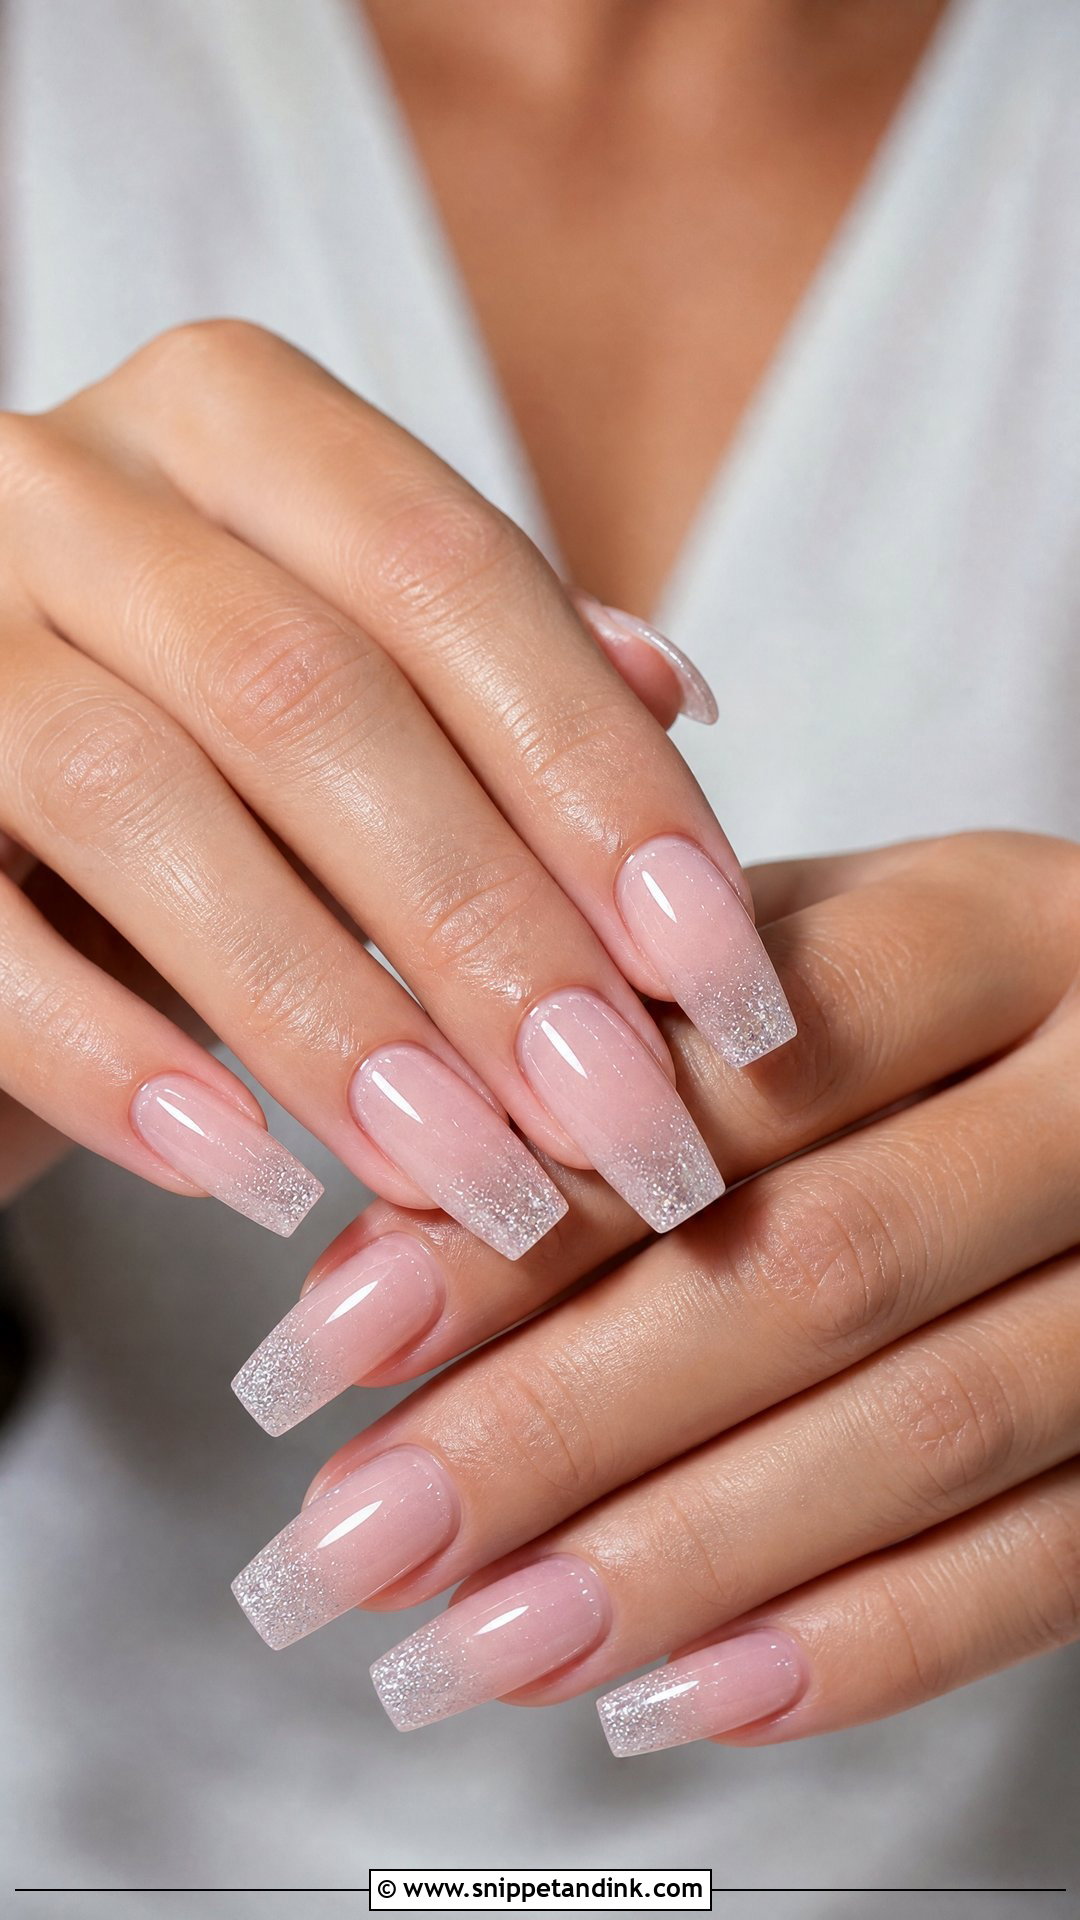
Silver glitter is the brightest set here. The version I’d actually put on a bride uses fine glitter on the tips, one accent nail or a soft fade over pale pink, so the overall colour of the nails doesn’t change. Under bright reception lighting it sparkles without looking busy. Crystal accessories, diamonds and white gowns pick it up. Fine particles only; anything larger reads as a party manicure.
14. Soft Pink French Wedding Nail Extensions
Swapping the classic nude-and-stark-white combination for a blush base with off-white or baby pink tips softens the whole set. I like it with pink flowers, rosy makeup and tulle. On an extension I can choose between a thin modern line and a deeper classic smile line; the deeper line suits square, the thin one suits almond.
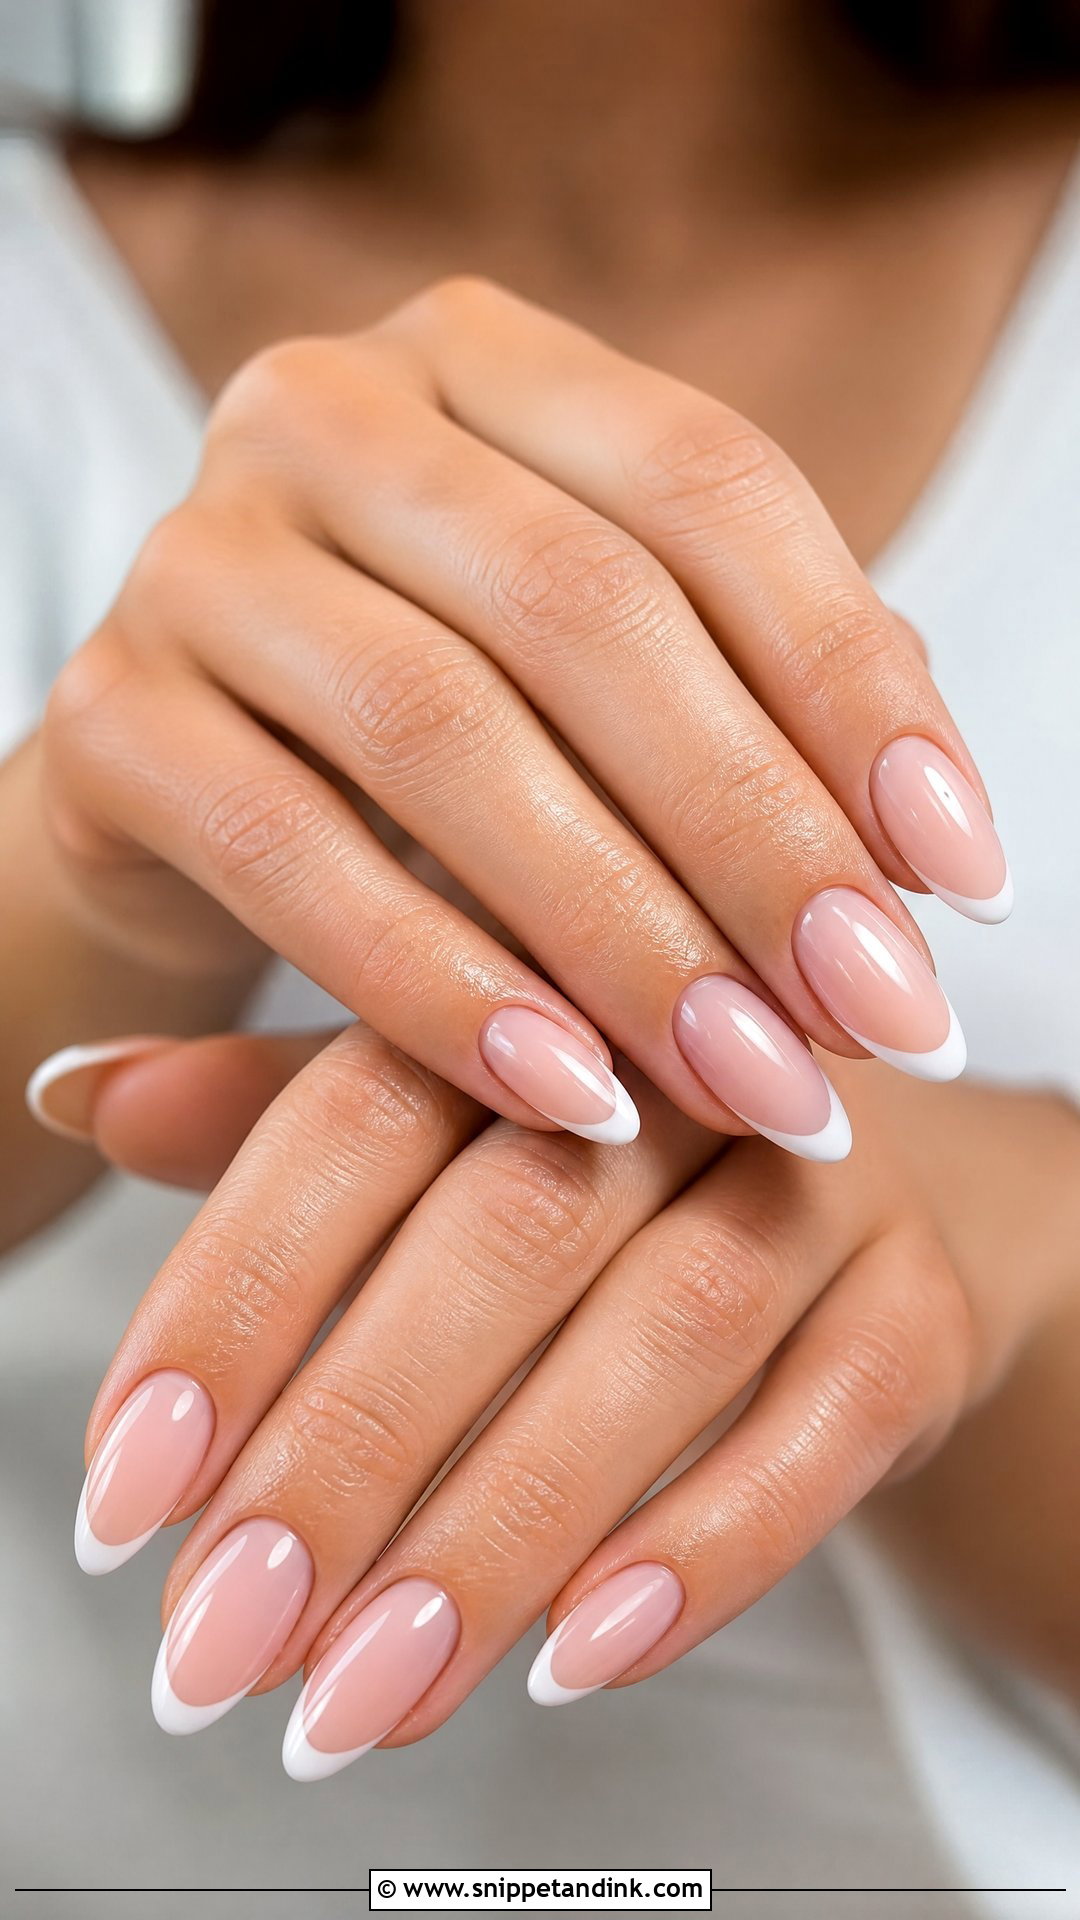
15. Micro French Wedding Nail Extensions
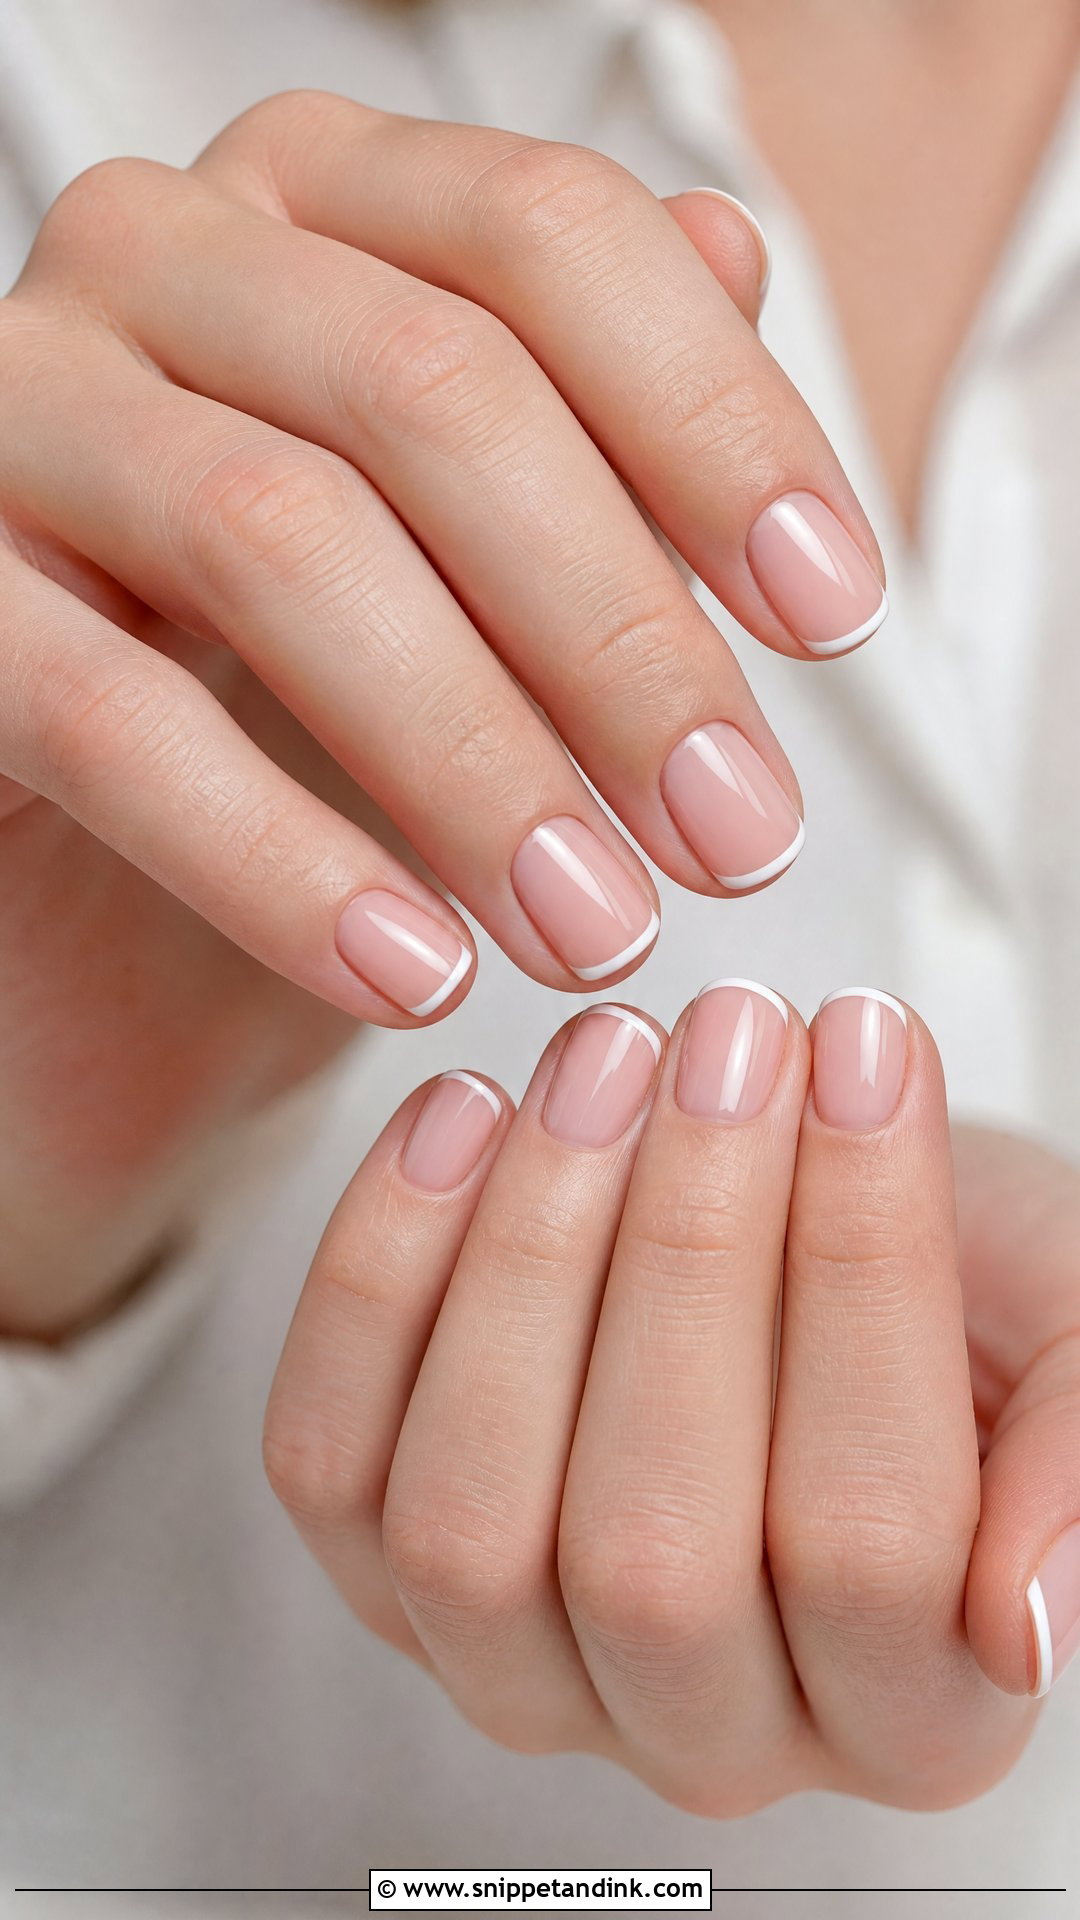
The fine line on a micro French gives definition without taking over the nail. On extensions I make sure all ten tips are filed to the same length first, since the thin white line exposes any difference. Micro French nails are also the design brides tell me they keep wearing long after the wedding, because it doesn’t look bridal out of context. Off-white is gentler than bright white. Oval, almond and squoval suit it, with simple gowns and sleek hair.
16. Almond Wedding Nail Extensions
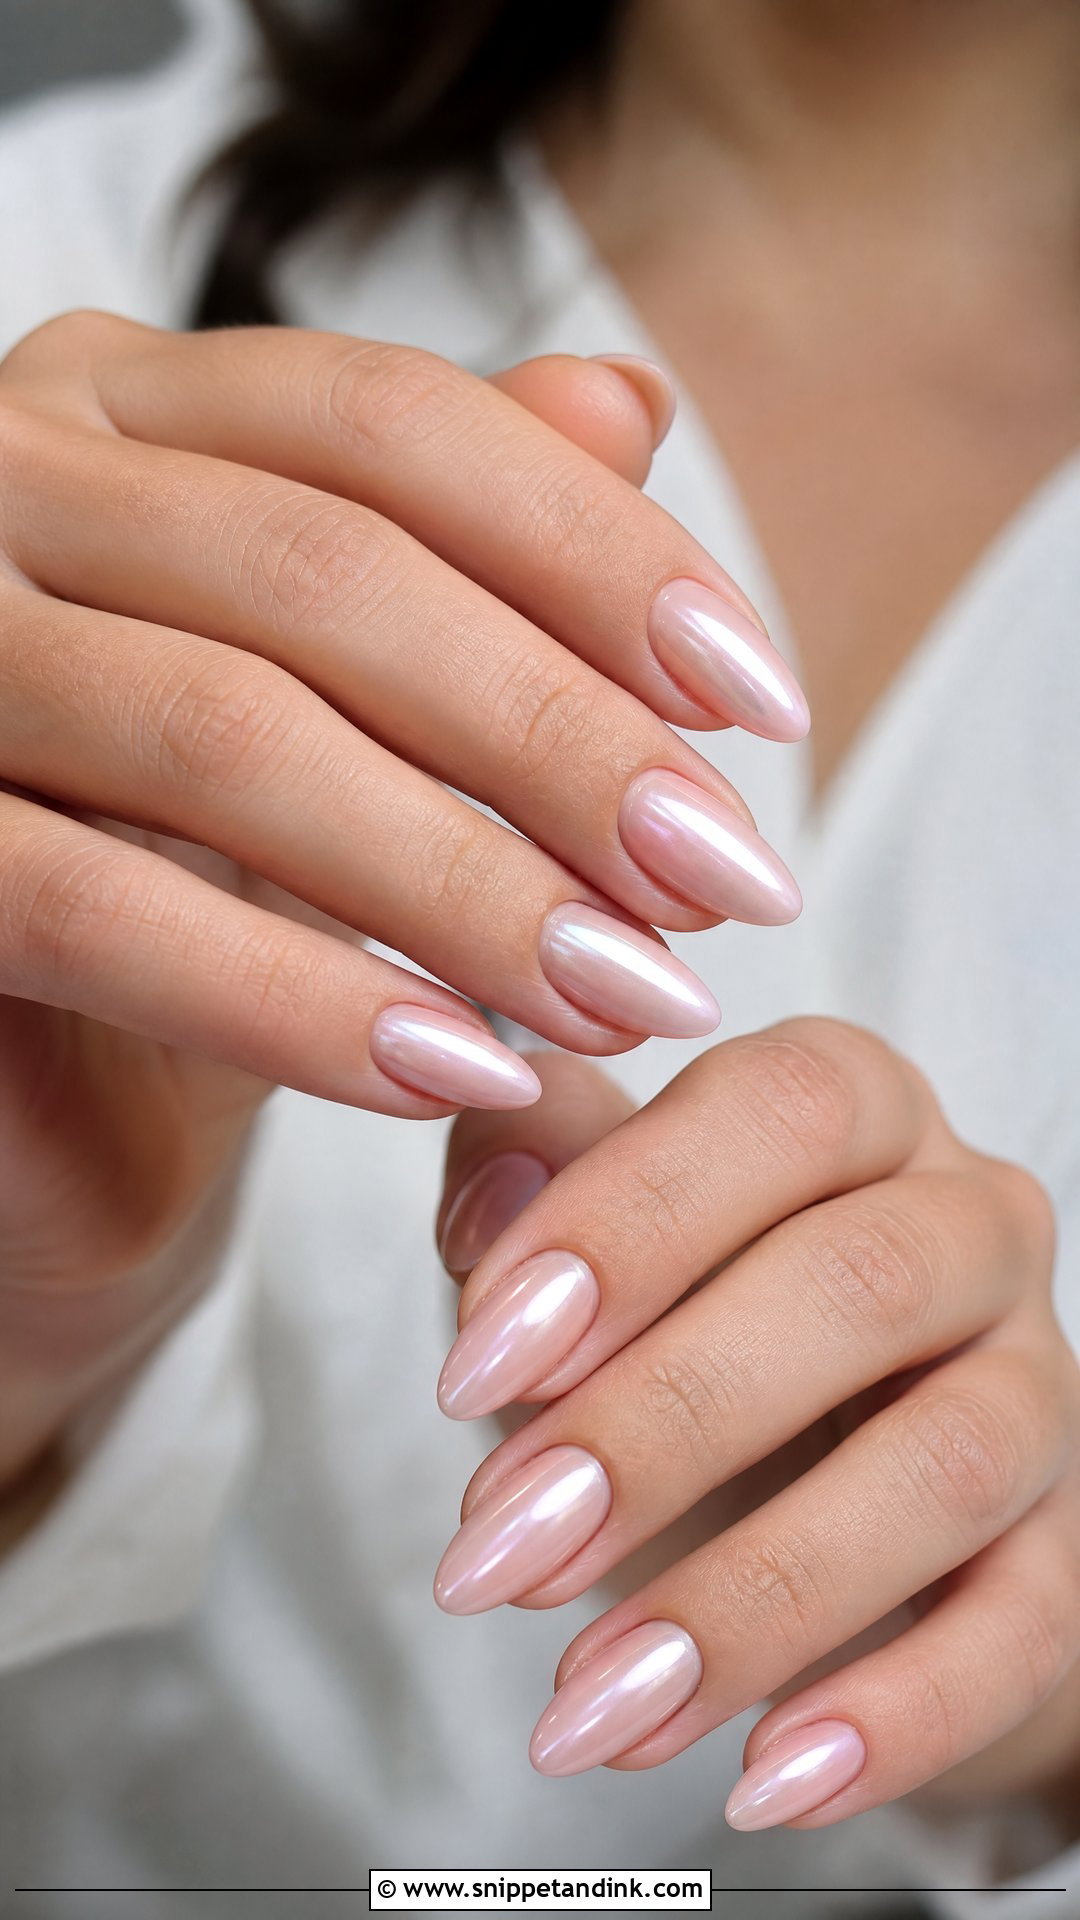
Almond is the extension shape I build most often for brides. The tapered sides make fingers look longer and the rounded tip doesn’t feel sharp when you’re doing up buttons or hugging. Medium length is the sweet spot: long almonds look graceful but carry more leverage, so they’re likelier to crack near the sidewall. Nearly every design in this list sits well on almond, so pick one and don’t crowd it.
17. Coffin Wedding Nail Extensions
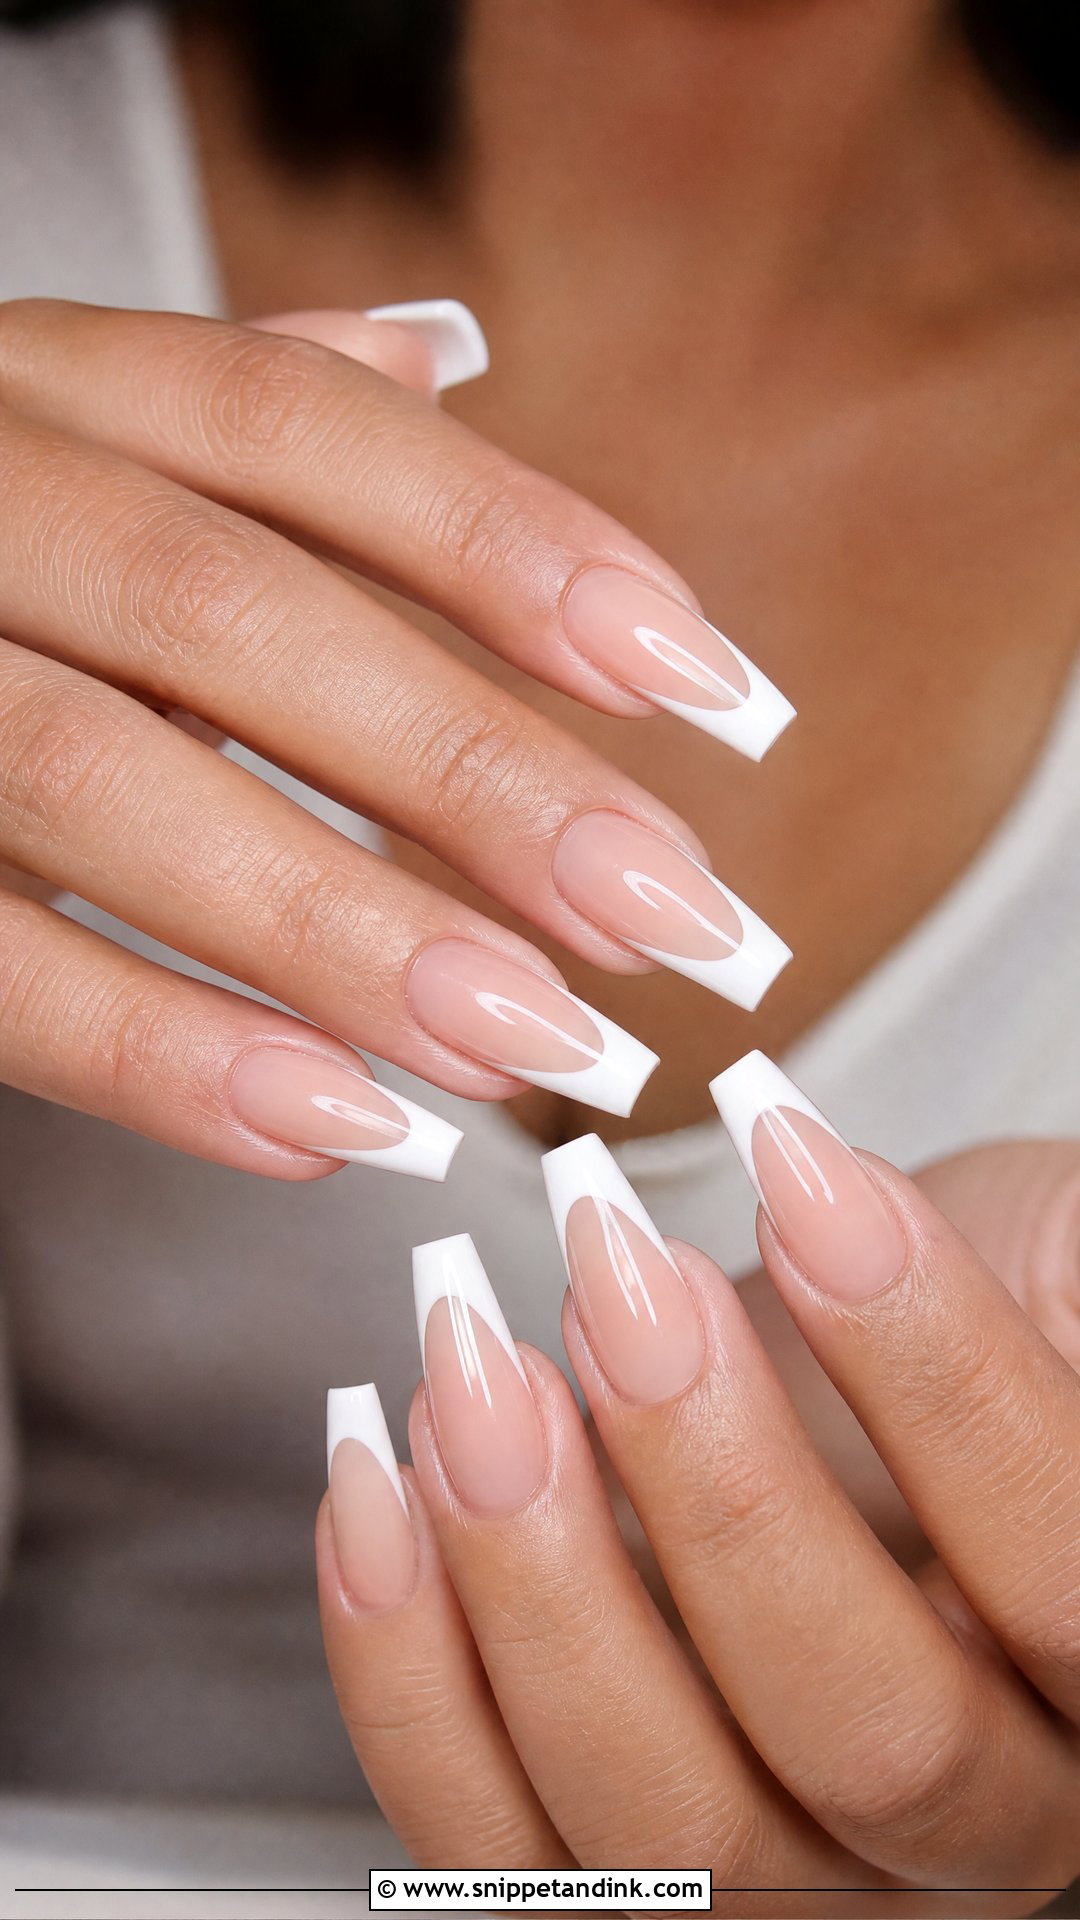
Coffin has a flat, wide tip, and that tip is where all the impact lands when you knock your hand. For weddings I’d keep coffins medium rather than long; they’re easier to live with and less likely to snap on a car door or champagne flute. French tips, ombre and chrome all suit the shape, and nude, white, blush or champagne soften it. Keep any art small and well spaced.
18. Short Wedding Nail Extensions
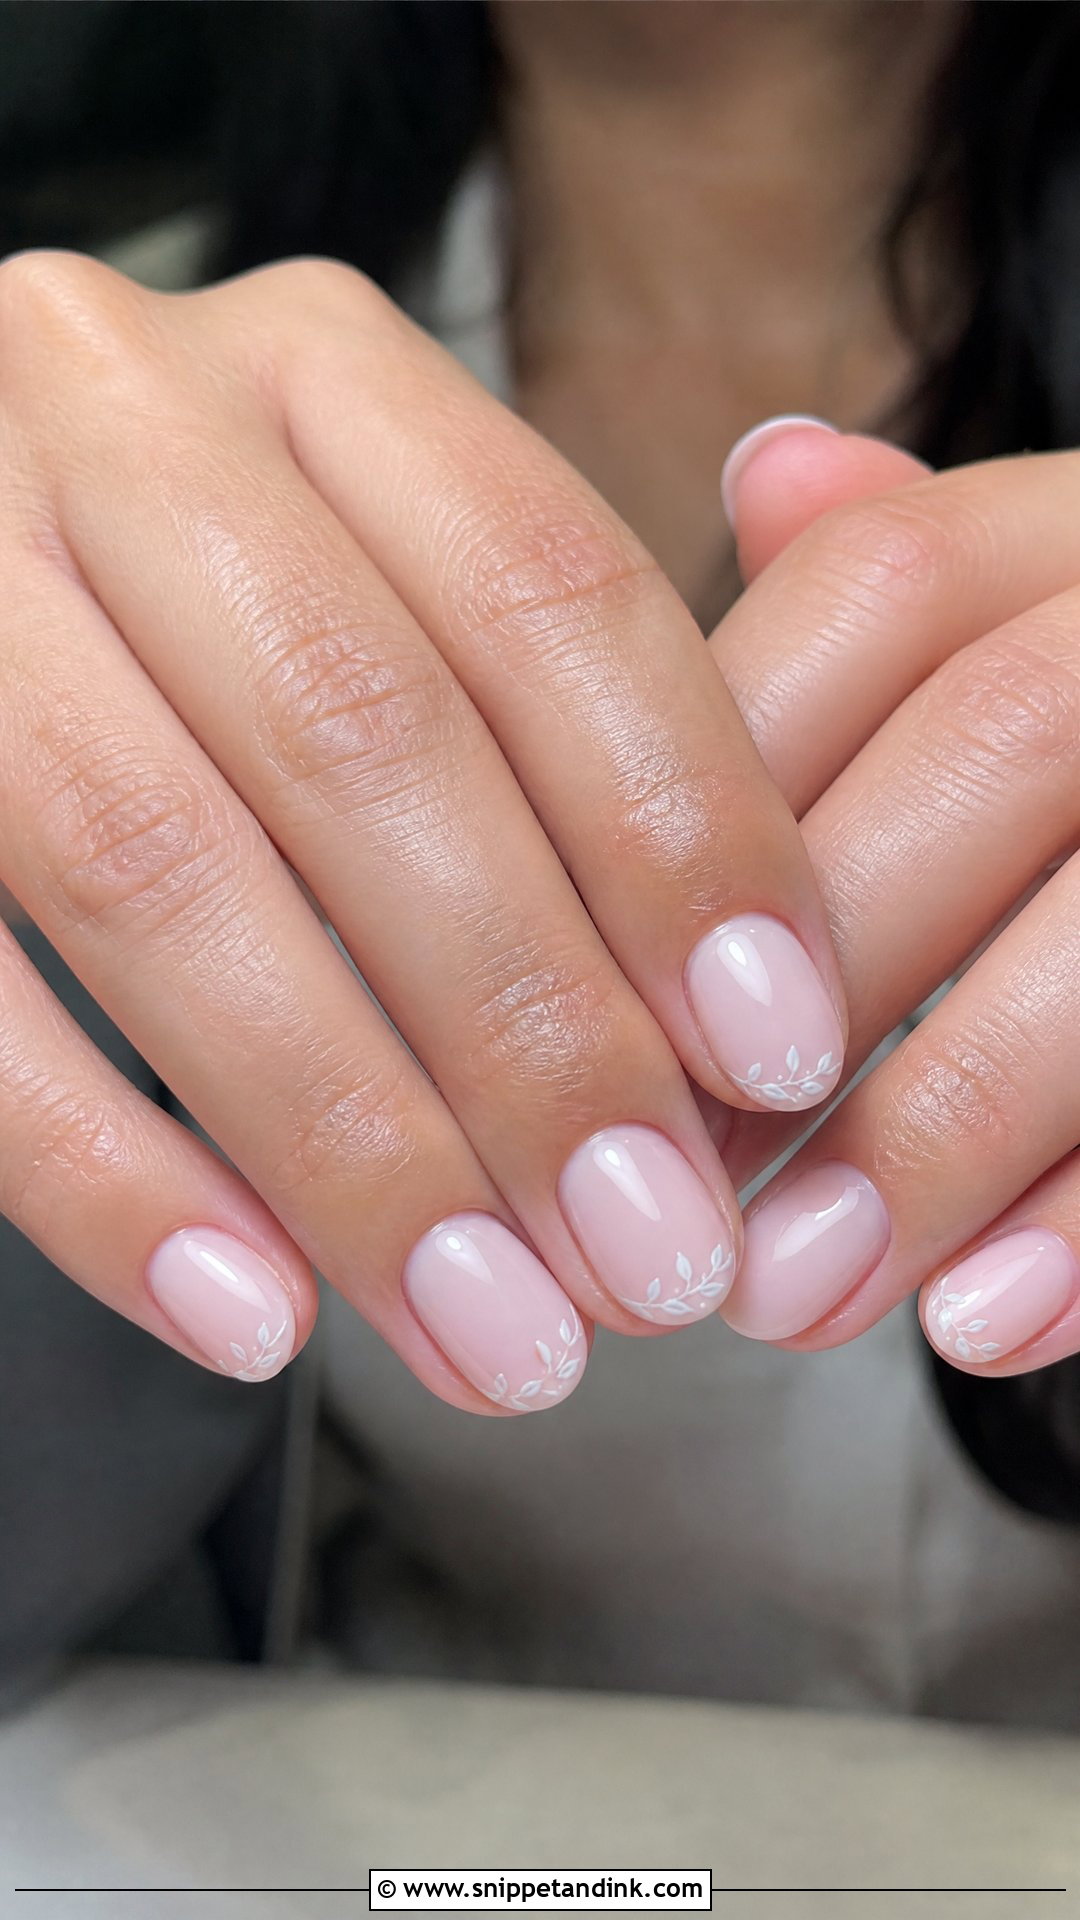
Short extensions are more about strength than length. If your own nails bend or peel, a short builder or soft gel extension gives you an even shape that won’t break the day before. Oval, squoval and soft almond suit it, with milky white, micro French or blush pink. Small nails crowd quickly, so I’d keep art to one accent nail or a tiny detail by the cuticle. This is the set I recommend most to brides who never wear long nails.
19. Square Wedding Nail Extensions
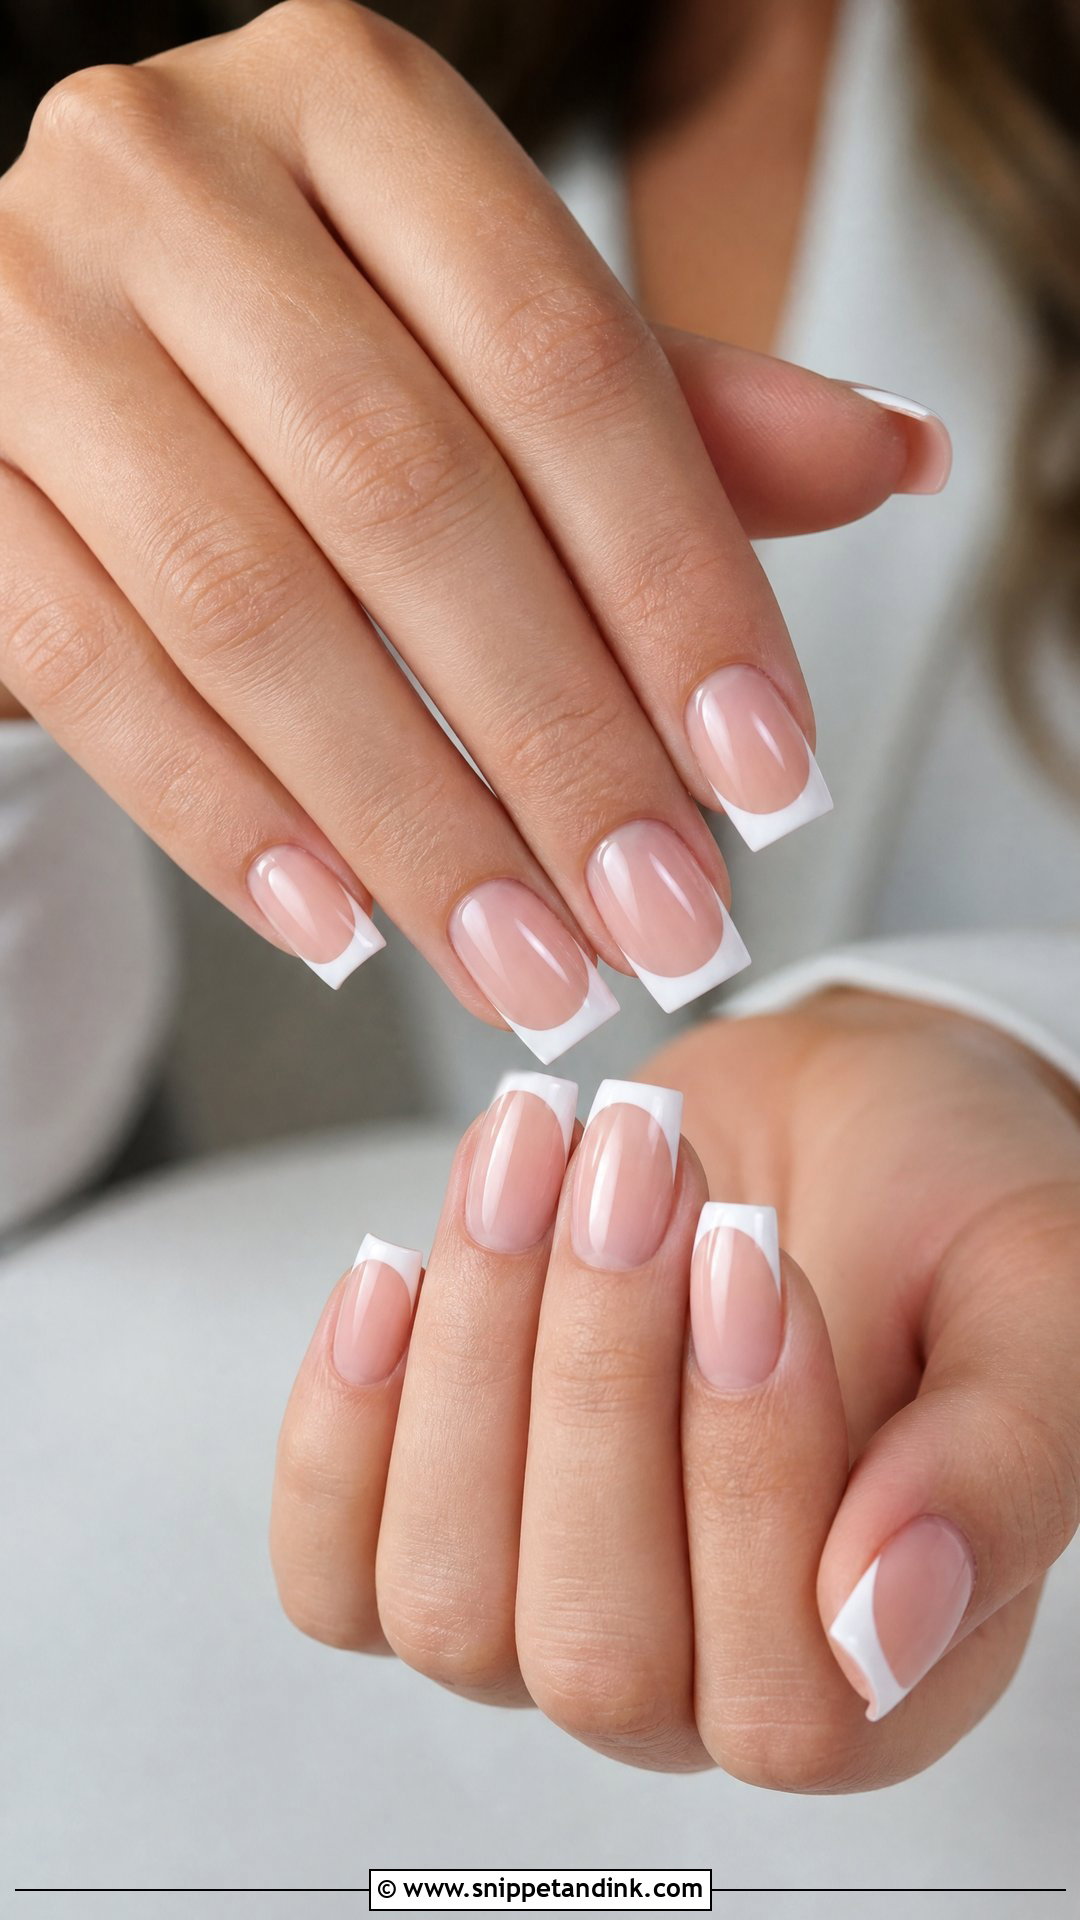
A straight edge makes a French tip crisp, which is why square stays popular for bridal sets. I nearly always soften the corners on a wedding extension, though. Sharp corners hook on lace and knit, and a slightly rounded square photographs the same. Keep it short to medium. Nude bases, white tips and milky finishes all sit well, with a fine glitter accent if you want light.
20. Oval Wedding Nail Extensions
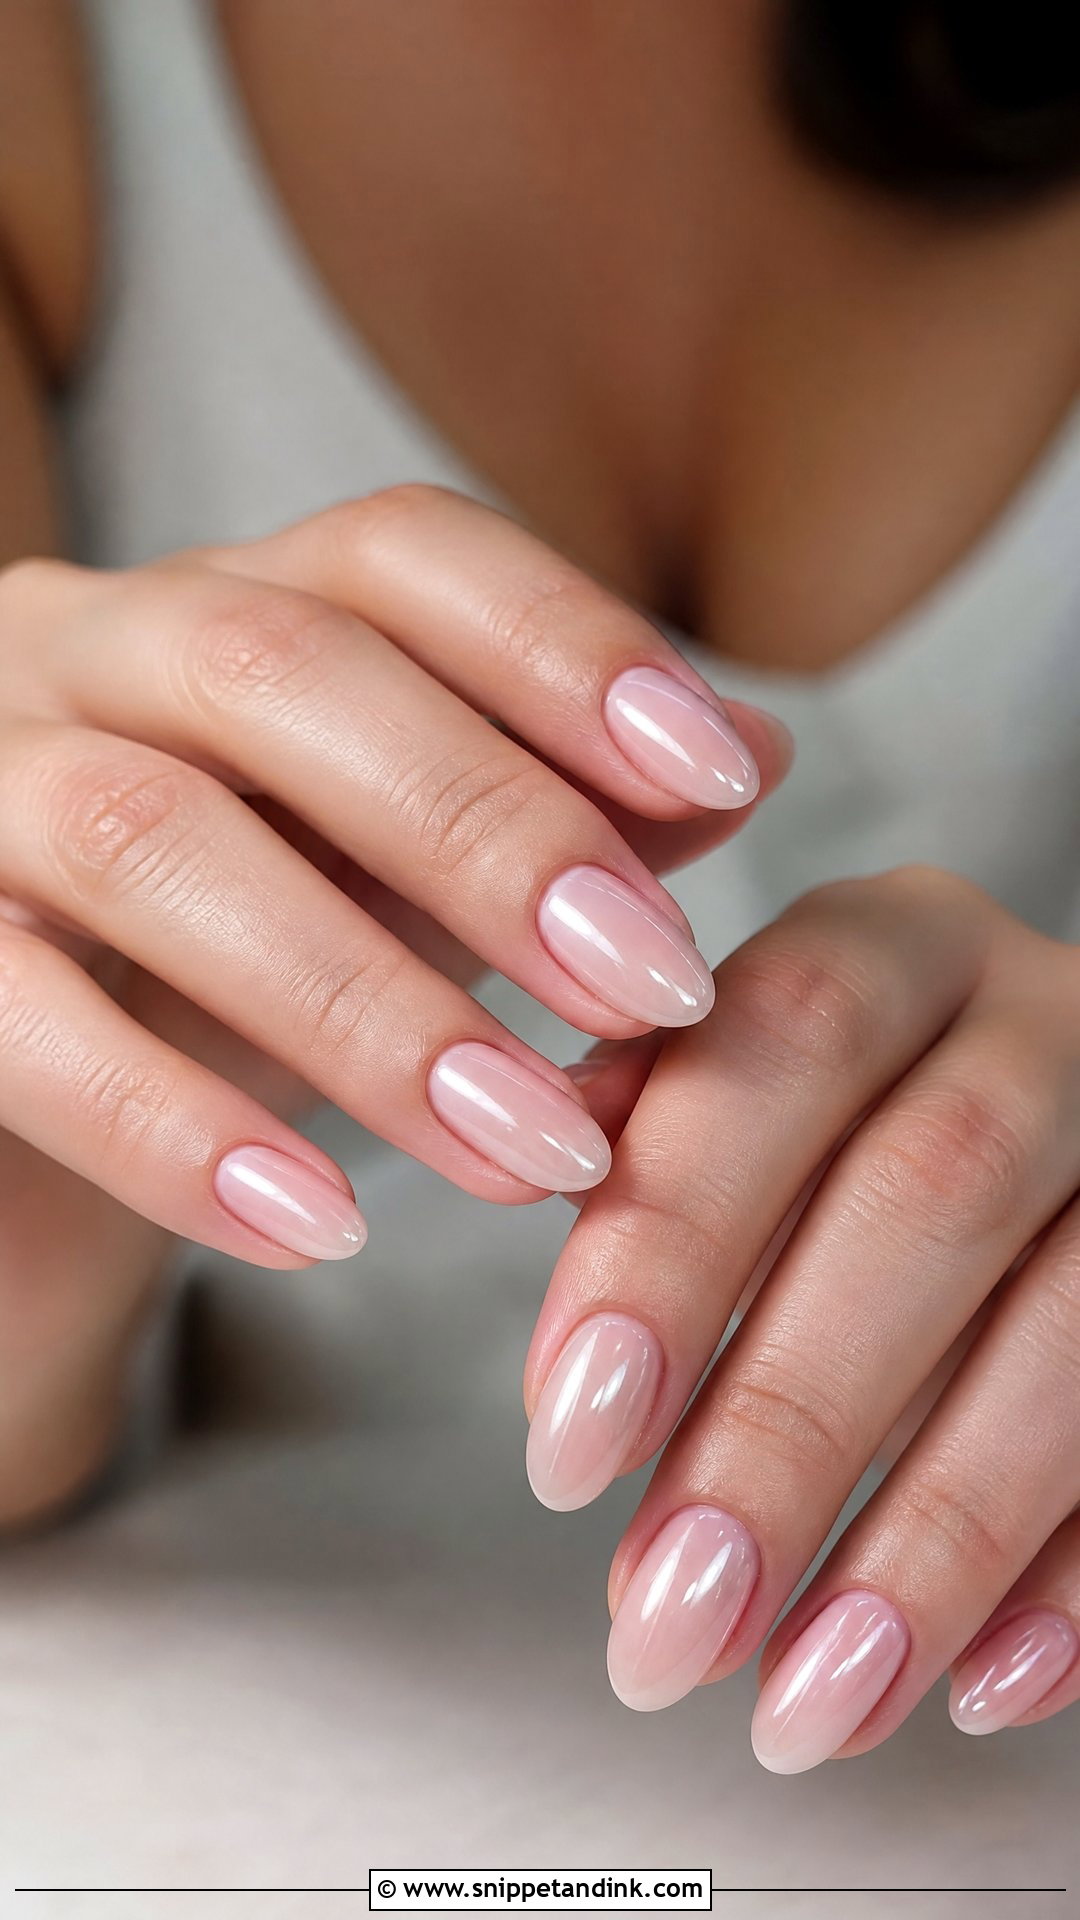
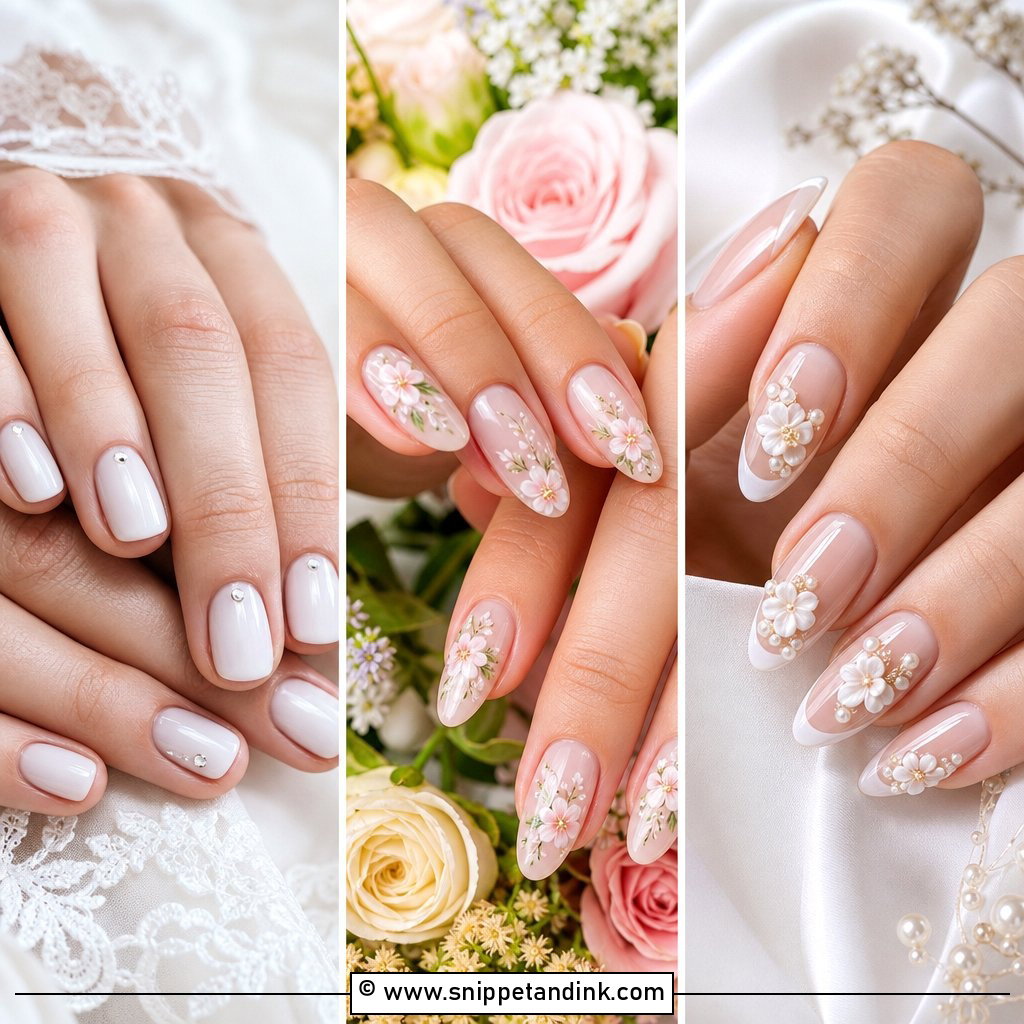
Oval is the shape that looks least like an extension, which is exactly why some brides want it. Rounded tips are also the most practical shape for dressing, holding a bouquet and wearing rings, since there are no corners to catch. Milky white, blush, pearl chrome and classic French all suit it at short-to-medium length. For romantic, classic or minimal weddings, it rarely goes wrong.
21. Marble Wedding Nail Extensions
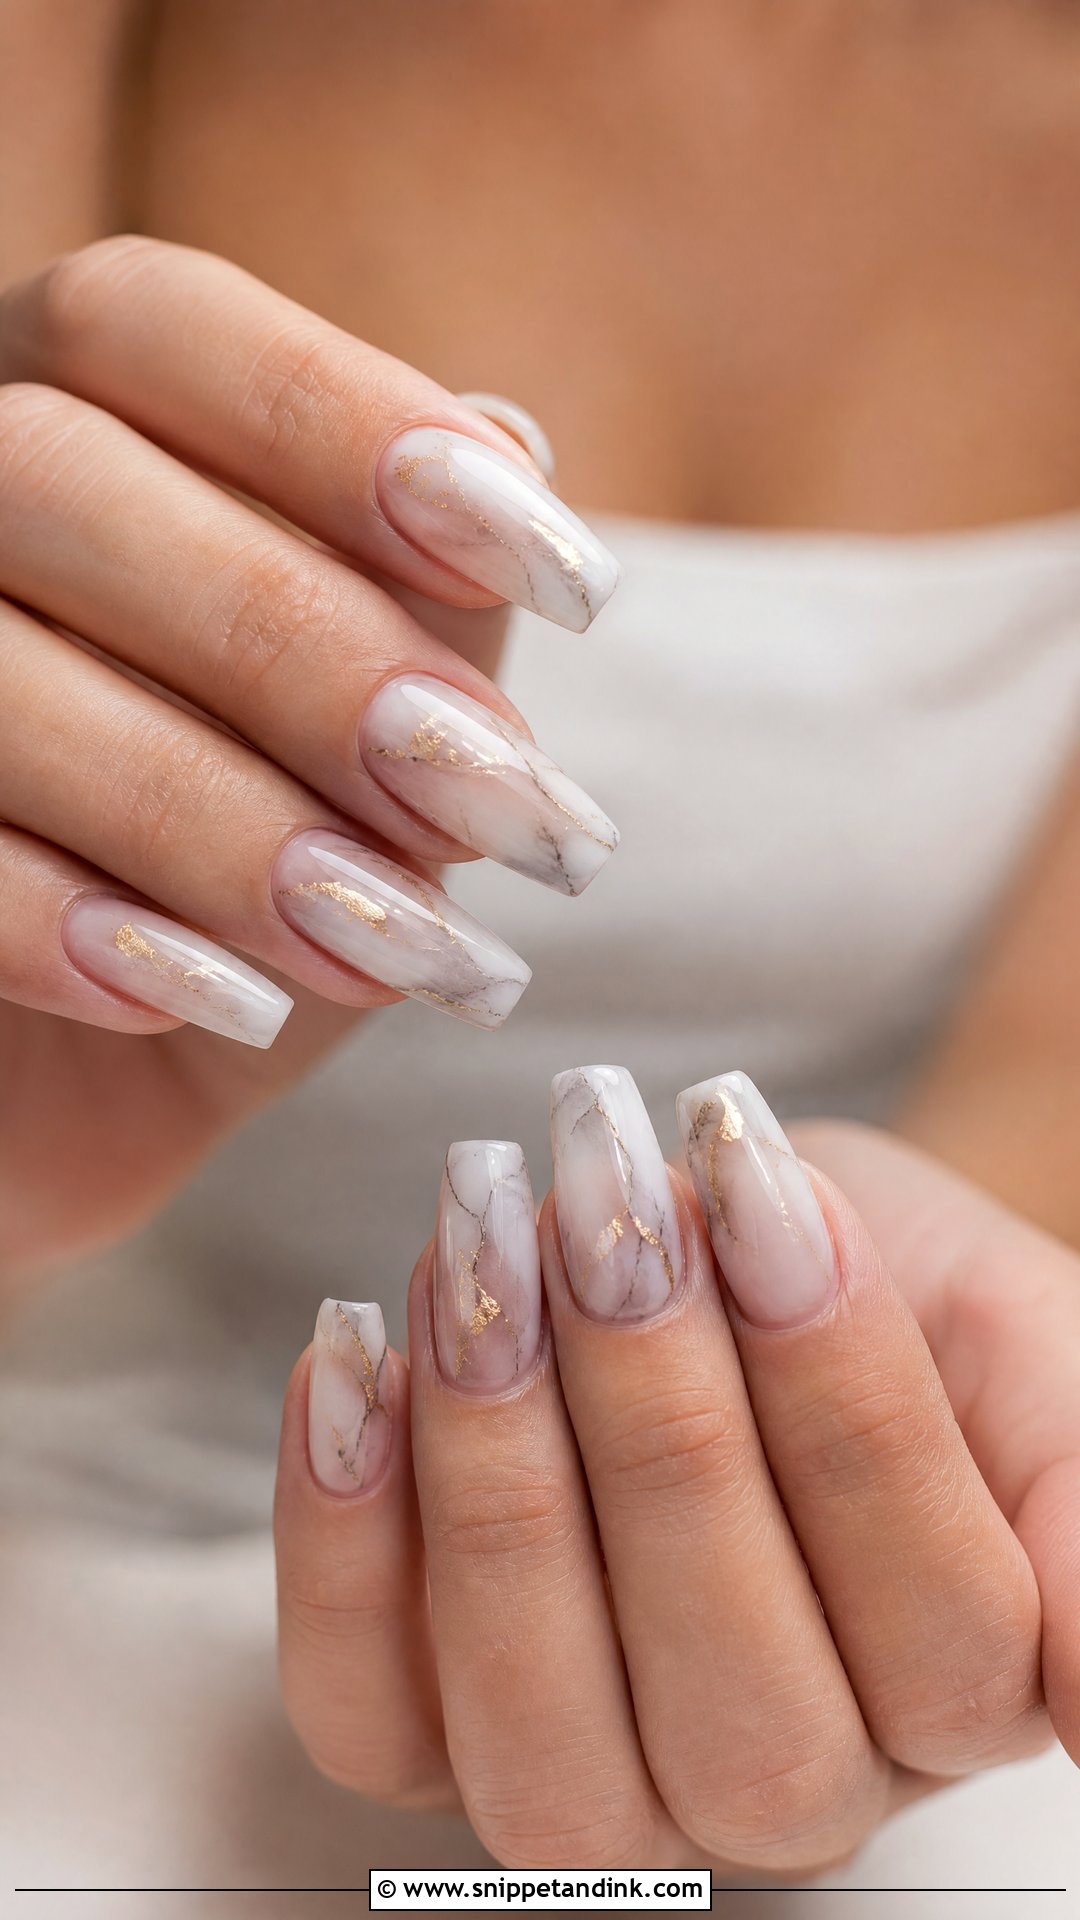
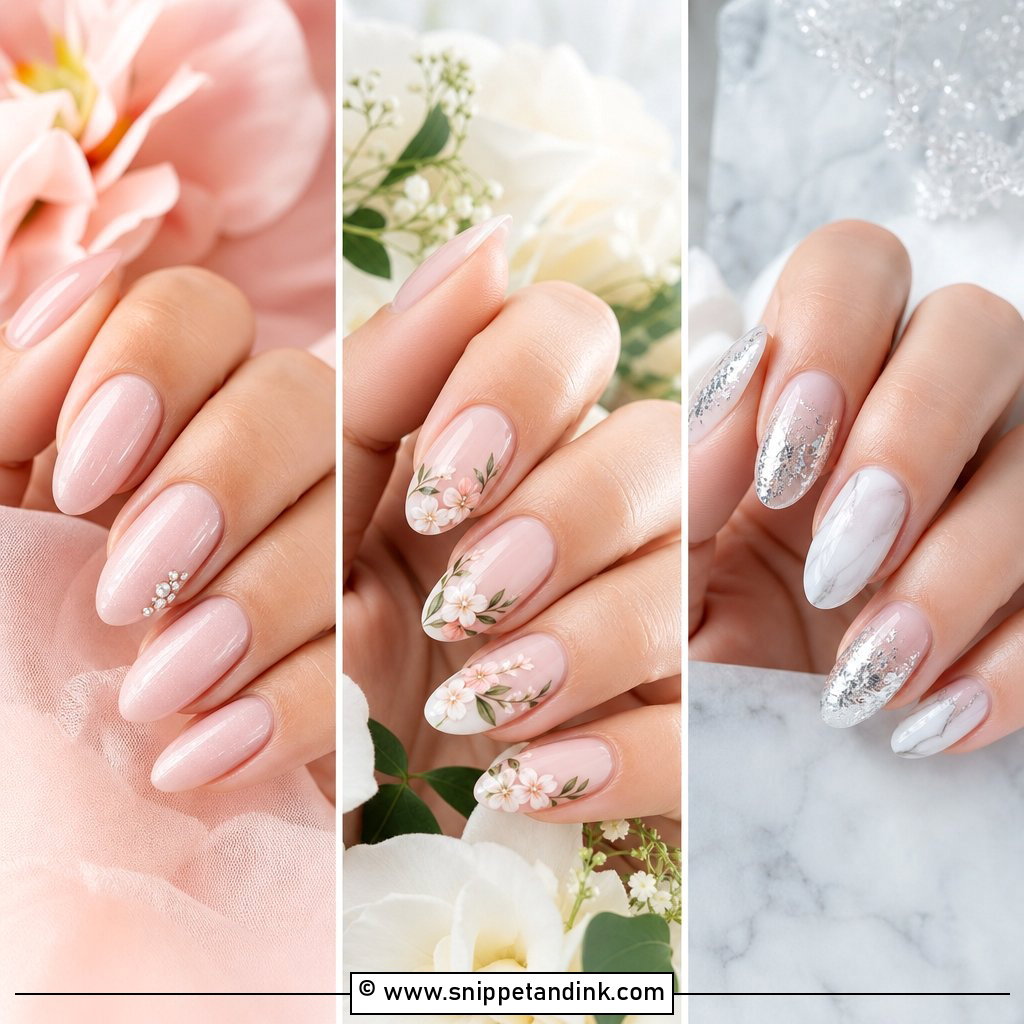
Marble on extensions has more room to move, so the veining can look like real stone rather than a smudge. I drop thinned white or grey gel into a wet base and pull it with a fine brush, which means every nail is slightly different. Keep the palette pale: white, nude, grey or blush, perhaps with a light fleck of foil. On almond or coffin, one or two marble accents per hand next to a plain nude base reads more bridal than a full set.
22. Rhinestone Wedding Nail Extensions
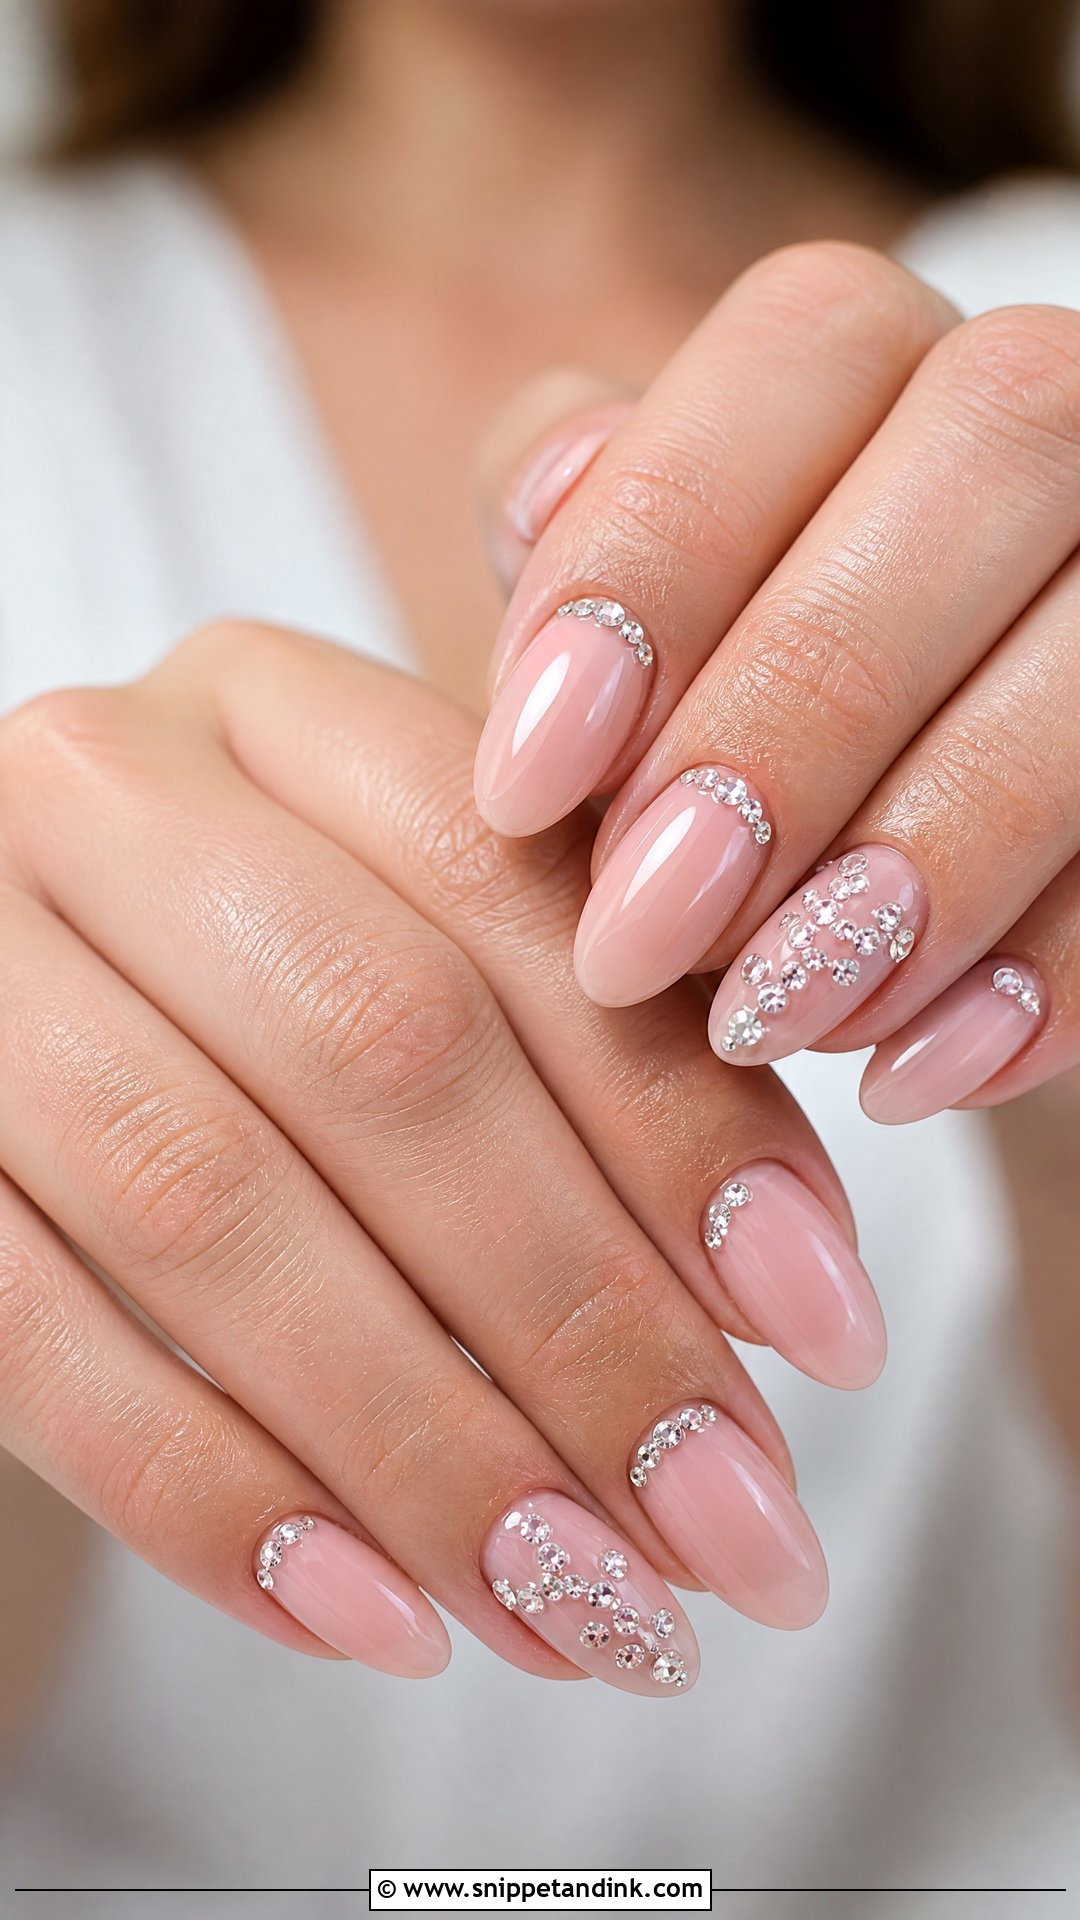
Small clear crystals look elegant; big faceted ones look like party nails and fall off. On Rhinestone wedding nail extensions I place them near the cuticle, along a French line or on one accent nail, set into builder gel and sealed around the edge so they last through dancing. Almond, coffin and oval all carry them. Crystal hair pins and beaded gowns are where they make the most sense.
23. Cat Eye Wedding Nail Extensions
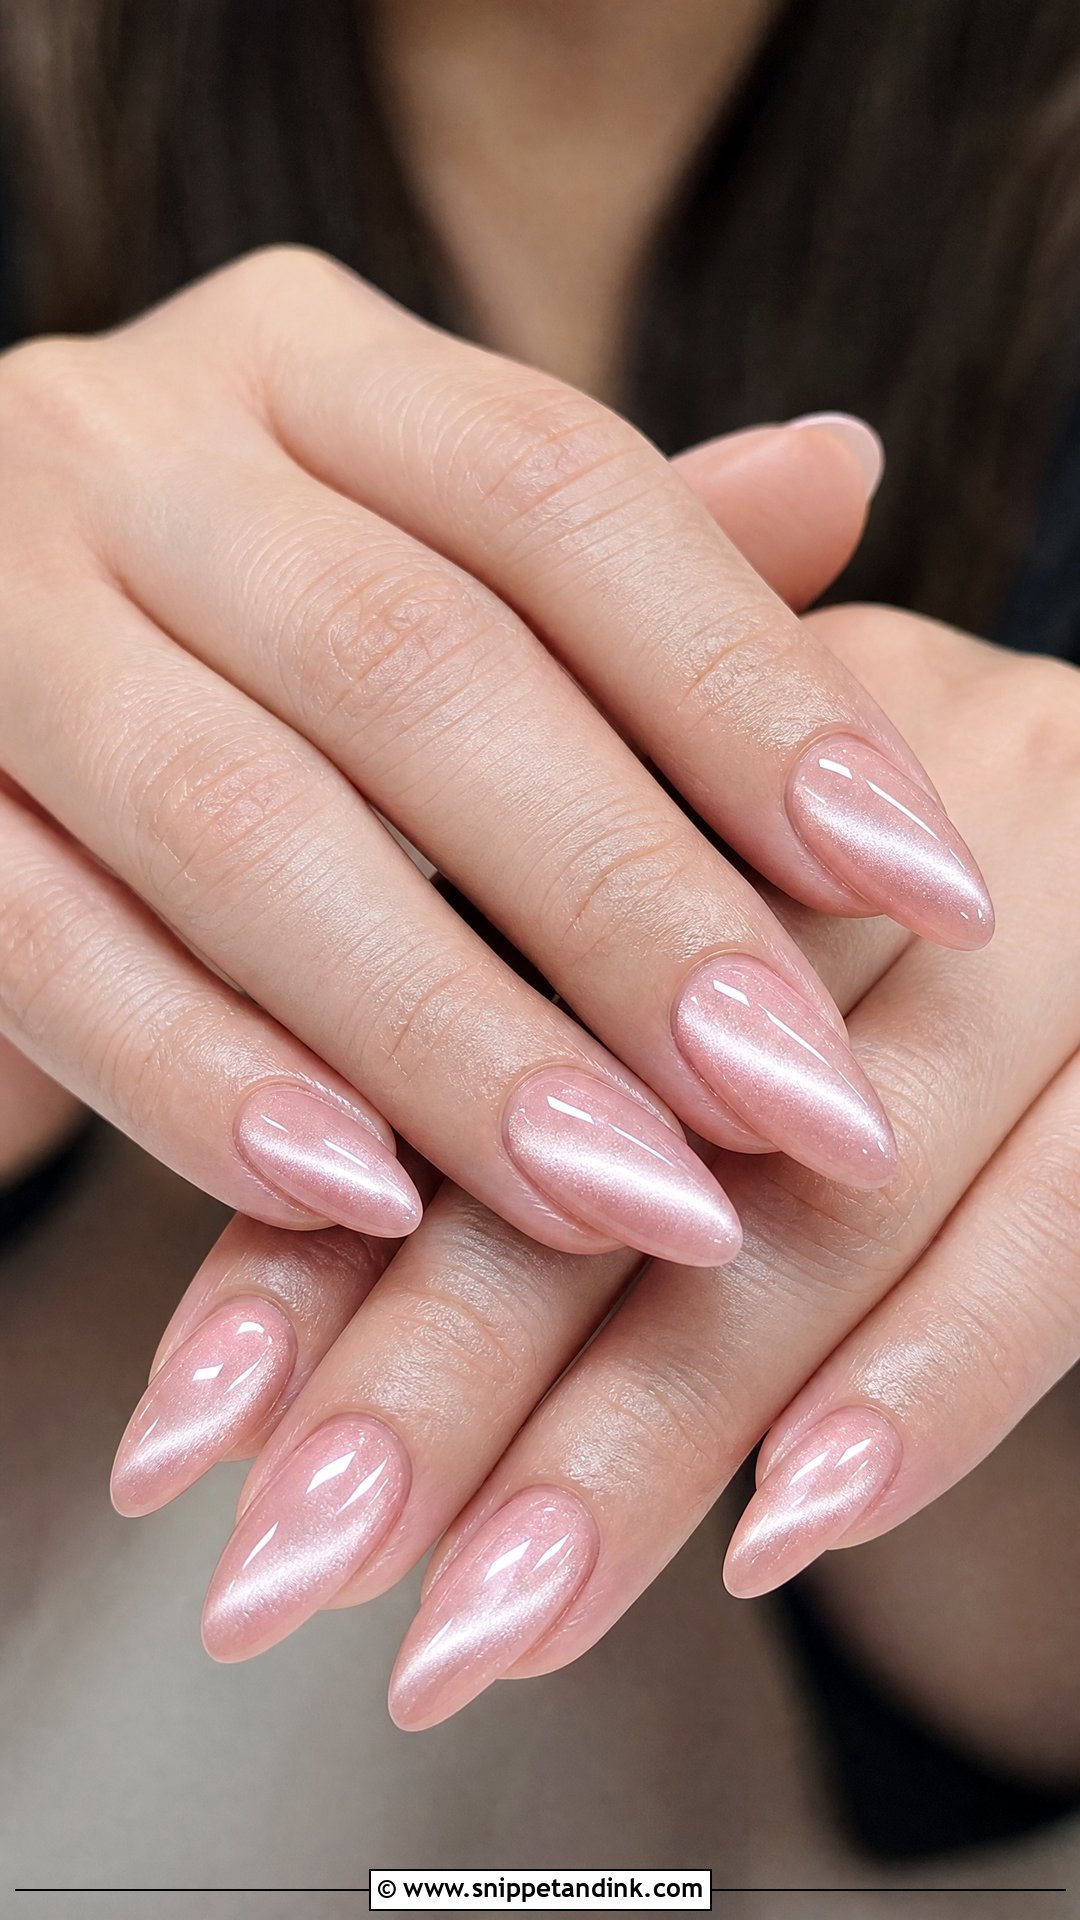
Cat eye gel contains iron particles that I pull into a line with a magnet before curing, which is why the shimmer moves when your hand does. Cat eye wedding nail extensions look bridal in sheer pink, champagne, pearl or milky white, not in the dark shades you see on social media. A softly diffused line is gentler than a sharp centred one. Evening receptions suit it best, when candlelight catches it as you move.
24. Sheer Nude Wedding Nail Extensions
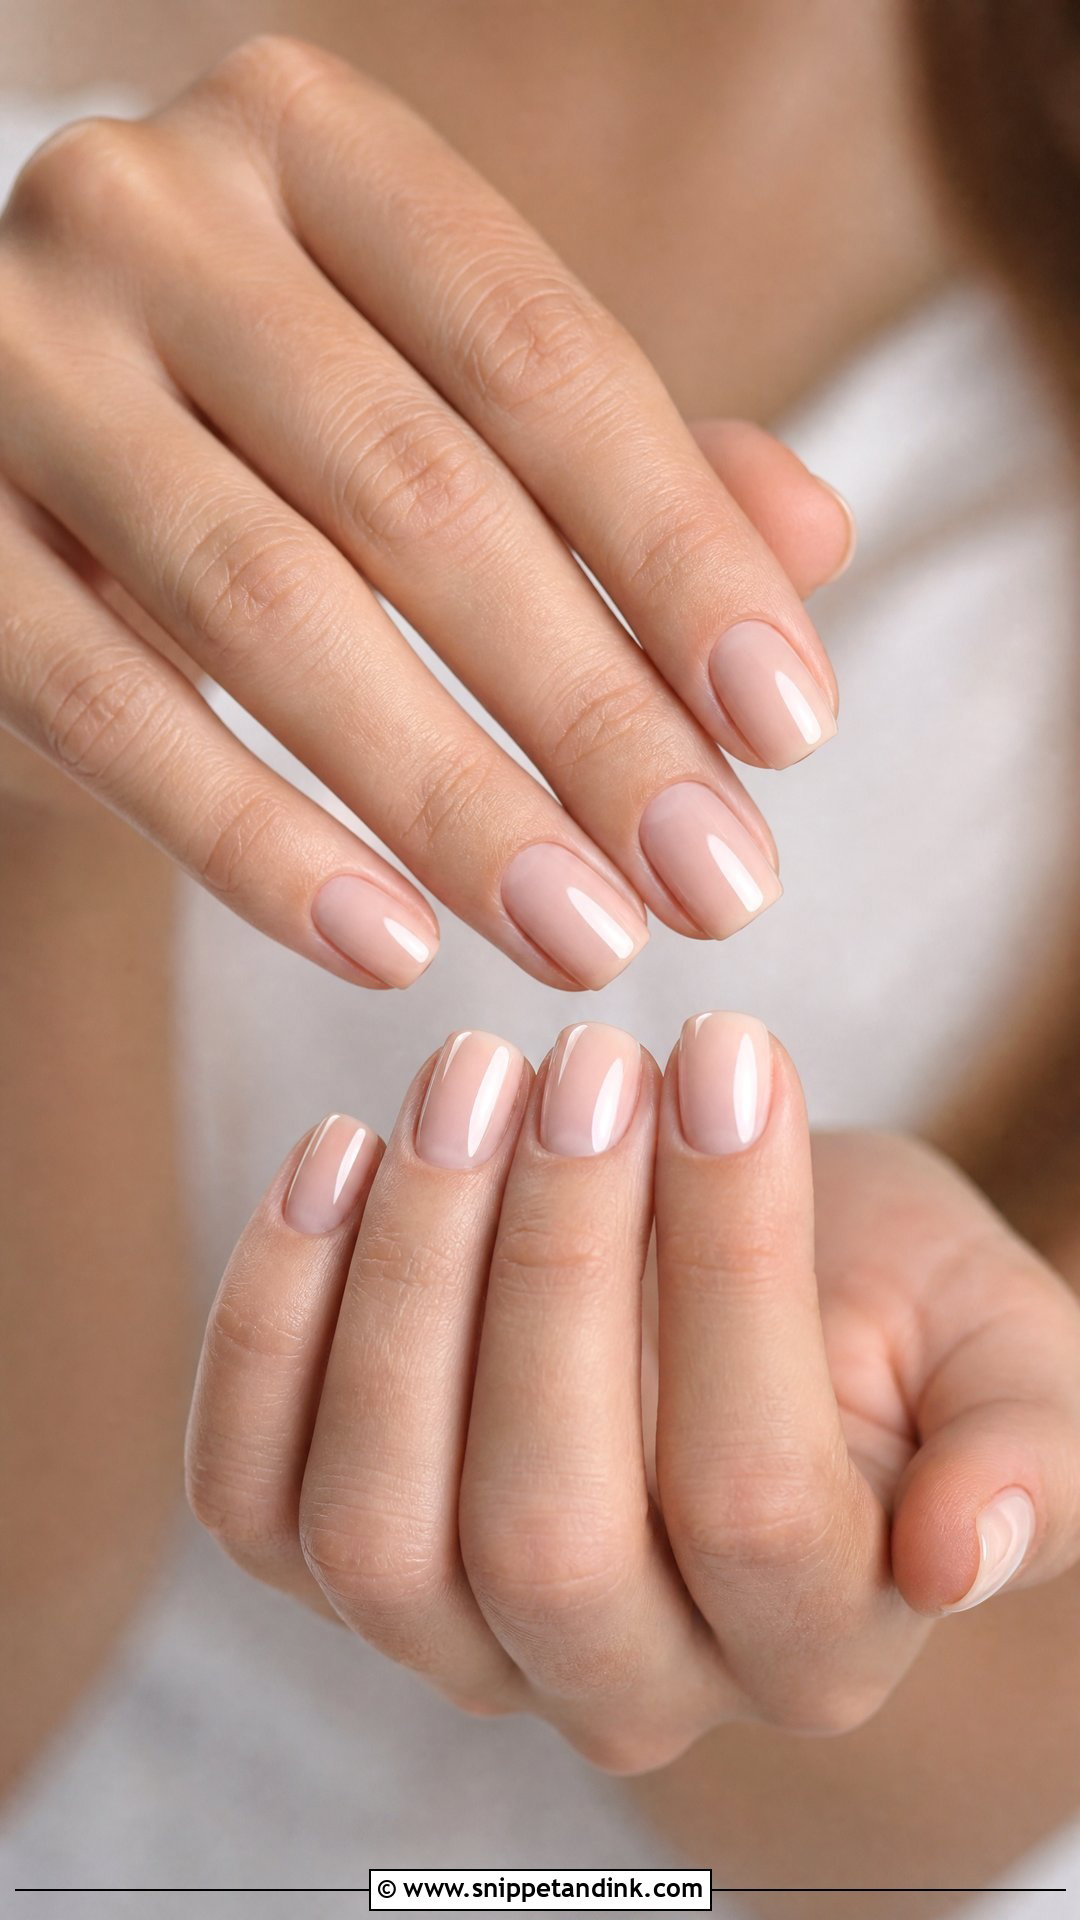
Sheer nude on an extension is the hardest set to fake. Because you can see through it, the extension join and any air bubbles in the product show. I build the structure in a clear or cover nude and then add the sheer shade on top so the whole nail reads as one piece. Short oval, almond and squoval look most polished. It goes with any dress, which is why it’s a safe pick if you’re still undecided a week out.
25. White Floral Wedding Nail Extensions
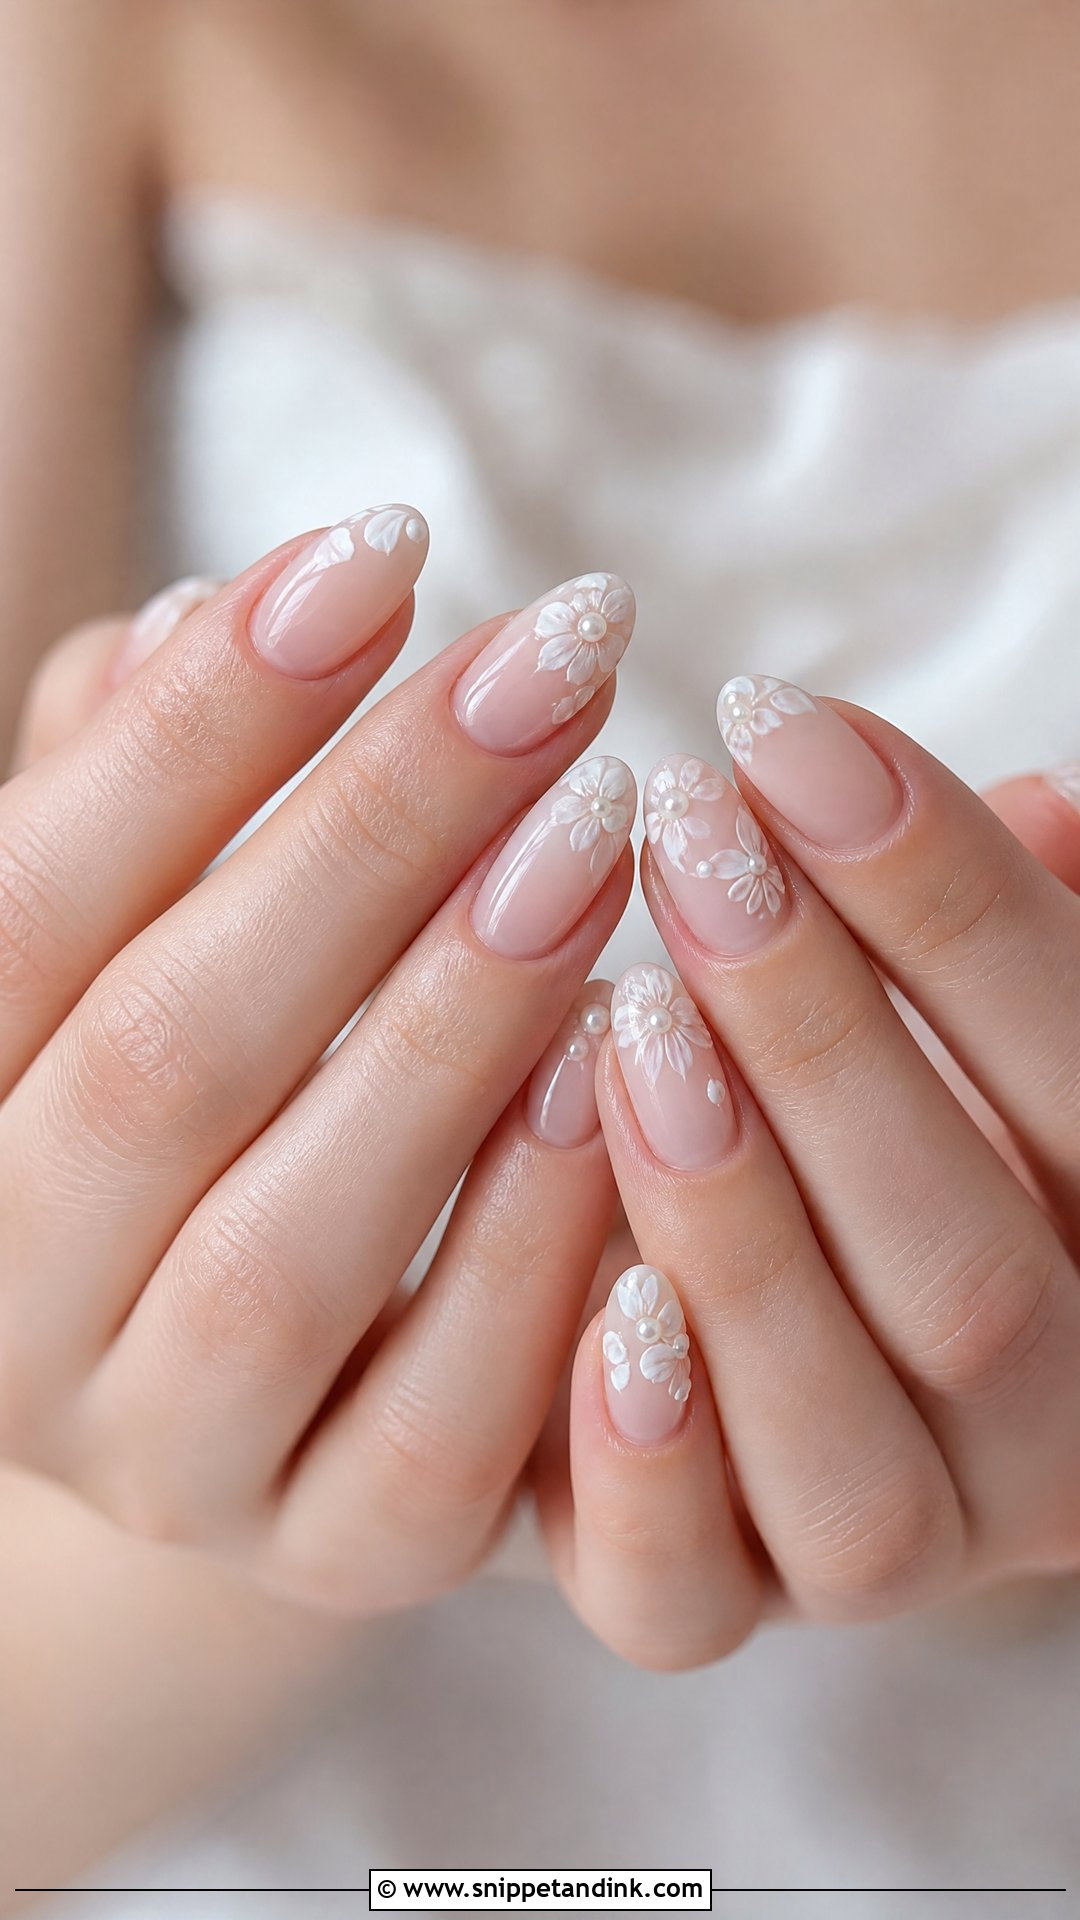
Fine white florals are painted, not sculpted, so they sit flat and won’t snag. I use a liner brush and a thinned white gel over sheer nude, blush or milky white, scattering tiny flowers or grouping them on a few accent nails. Almond and oval look softest; coffin takes it in a more modern direction. Thin petals keep it airy. A tiny pearl centre or a light chrome layer adds shine if you want it, and floral lace gowns are the obvious match.
Practising With Length the Week Before
Brides who’ve never worn extensions are often surprised by the small things. A few days of practice turns them into habits, and the morning goes more smoothly.
- Put earrings in and out with the pads of your fingers, holding the back with your other hand flat.
- If you wear contact lenses, practise inserting them; it takes a slightly different angle with length.
- Ask whoever is doing your dress to handle the zip and bustle buttons. Small loop buttons and long nails are a slow combination.
- Type with the flat of your finger rather than the tip. It’s quieter and kinder to the free edge.
- Hold your bouquet stems low in your palm, not pinched between your nail tips.
Taking Extensions Off Once the Honeymoon Is Over
Most damage blamed on extensions happens at removal. Prying or peeling a set off strips layers of your natural nail with it, and you’ll feel it as soft, bendy nails for weeks.
Book a proper removal. Soft gel and acrylic soak off in acetone after the top layer is filed back; builder gel is filed down carefully, leaving a thin layer if you want to keep strength while your nails grow out. Afterwards, keep nails short and oil them daily until the damaged length has grown past the free edge, which usually takes a few months.
Length You Can Still Live With at the Reception
The design that works is the one that suits your dress and jewellery and still feels like your own hands after twelve hours. If you’re wearing extensions for the first time, book a trial set three or four weeks ahead and wear it through a normal week, then decide on length. French, milky white, pearl chrome, nude ombre and blush are the safest starting points; lace, florals, stones, foil and cat eye are best kept to accents.
You'll Like These Ideas:


Leave a Reply