
Your son’s wedding puts you in more photographs than almost any other day of your life, starting with the family portraits before the ceremony and ending somewhere on the dance floor. A good mother of the groom hairstyle has to hold up for all of it, still look like you, and sit comfortably with your dress, your glasses if you wear them, and whatever your hair’s texture is doing these days. Below are 30 styles I’d happily put on a client in your seat, from low chignons to short crops, with notes on who each one suits and where it tends to struggle.
Grey Strands, Thinner Crowns and Reading Glasses
Most mothers of the groom I style are dealing with at least one of three things: grey coming through, hair that has thinned at the crown or temples, or glasses they need for reading the order of service. None of these rules a style out, but each one changes how I build it.
Grey and silver hair
Grey hair is often coarser and drier than the colour it replaced, and it holds curl differently, sometimes better, sometimes not at all. I use a smoothing cream before heat and a shine product at the end. If you colour, book the root touch-up about a week before so the tone has settled and no regrowth shows along the parting in close-ups.
Thinning at the crown or temples
Scraped-back styles show scalp under flash. I lean toward soft partings, textured buns and half up shapes with a teased crown. A root powder matched to your colour can fill a wide parting for the photos and brushes out at night.
Glasses
Bring them to the trial. The arms sit over the ears, so tucked-behind-the-ear styles and side buns placed right at the ear can push the frame up. I pin around the arms, not under them, and check in the mirror with the glasses on before any spray goes near the hair.
1. Elegant Low Chignon
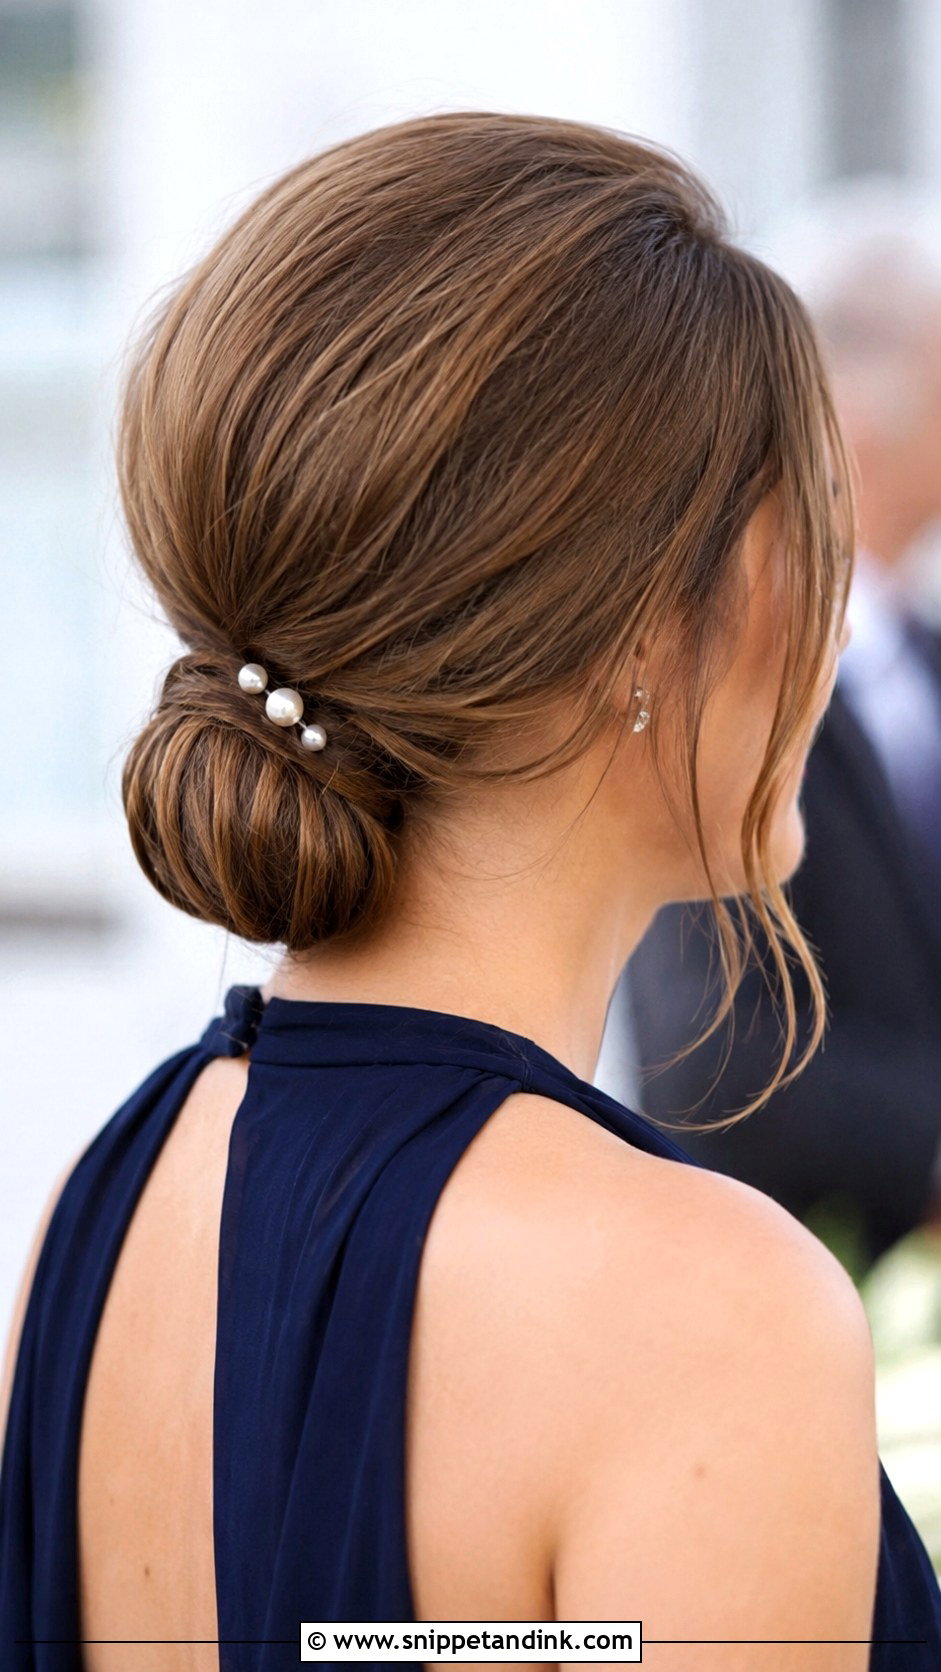
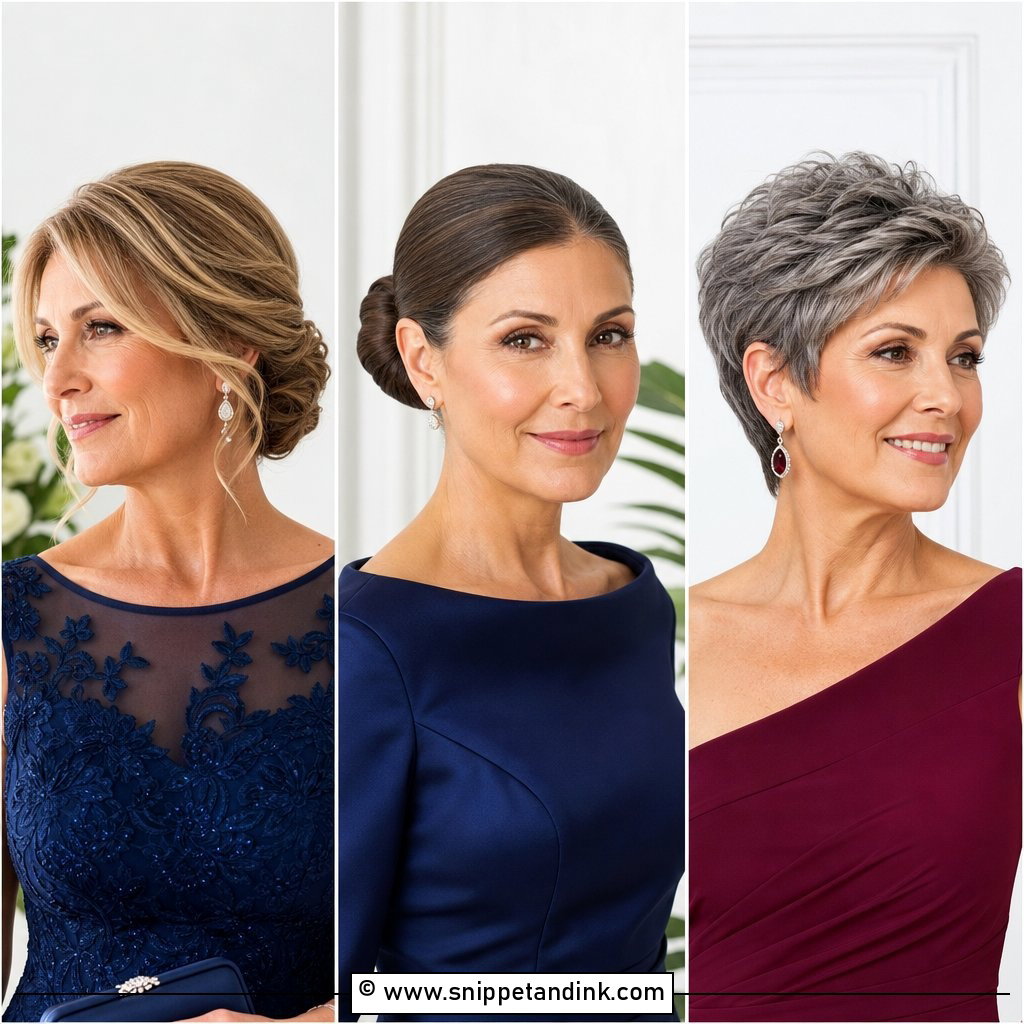
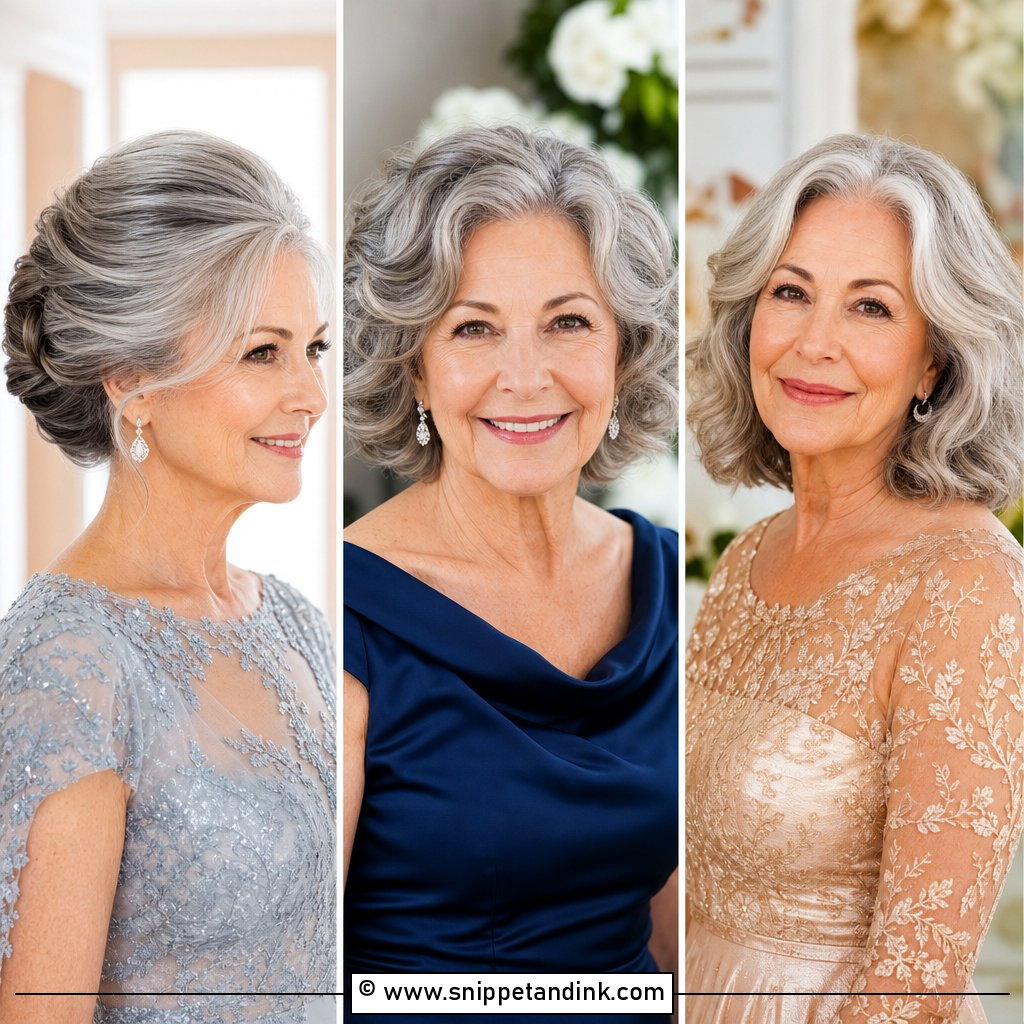
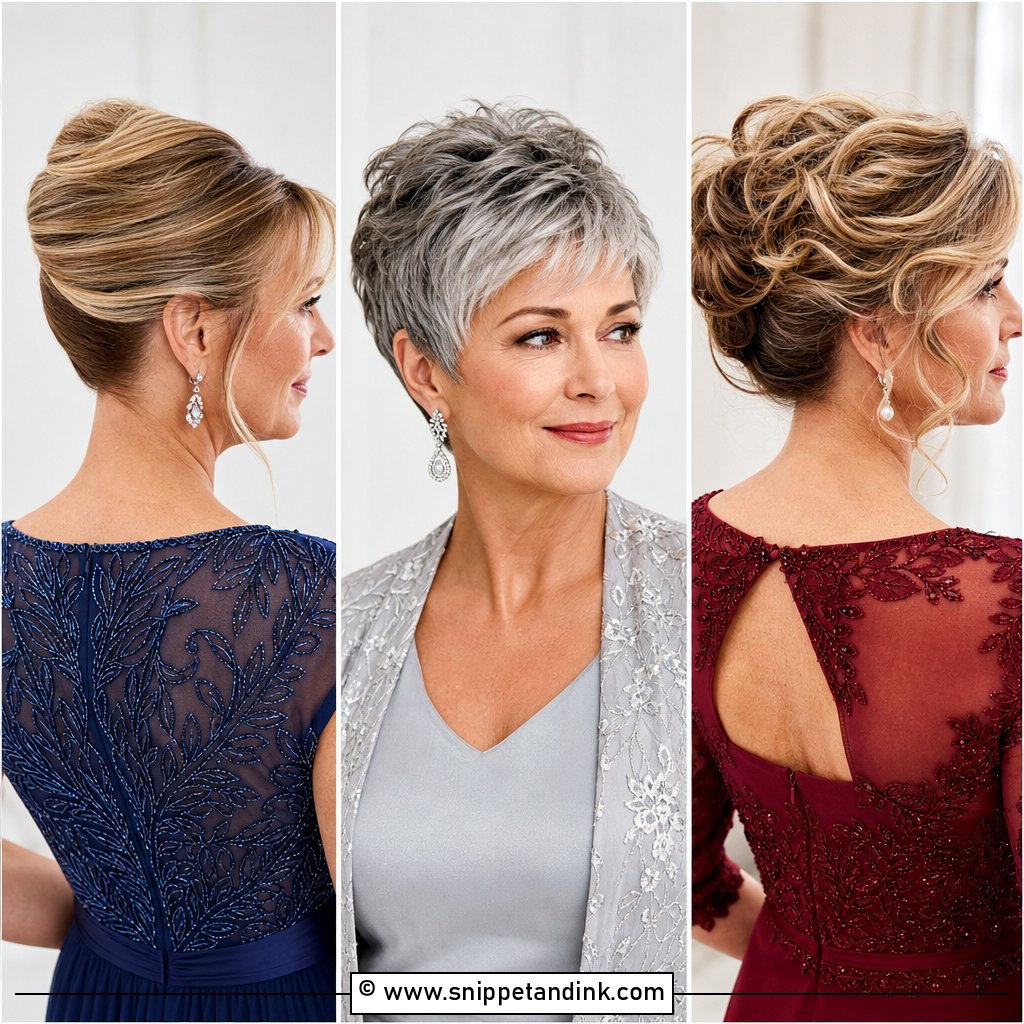
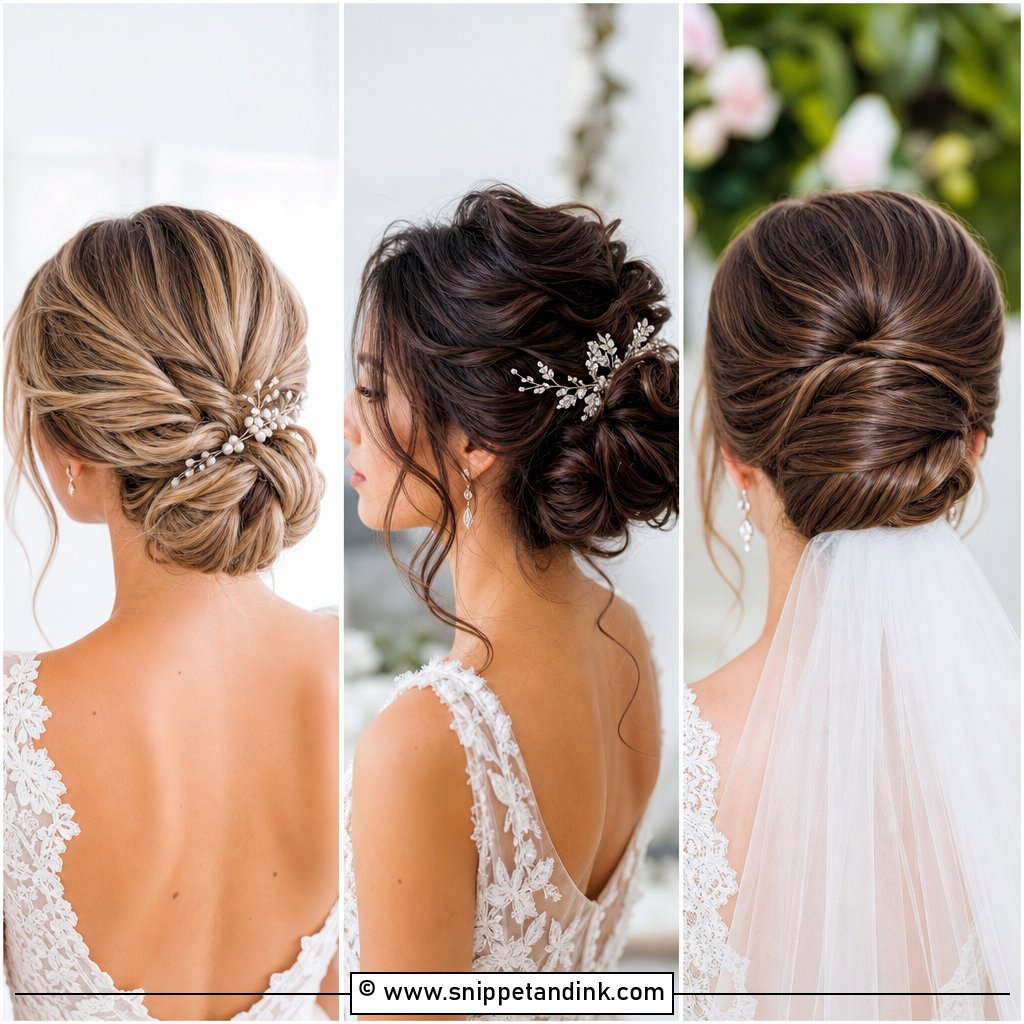
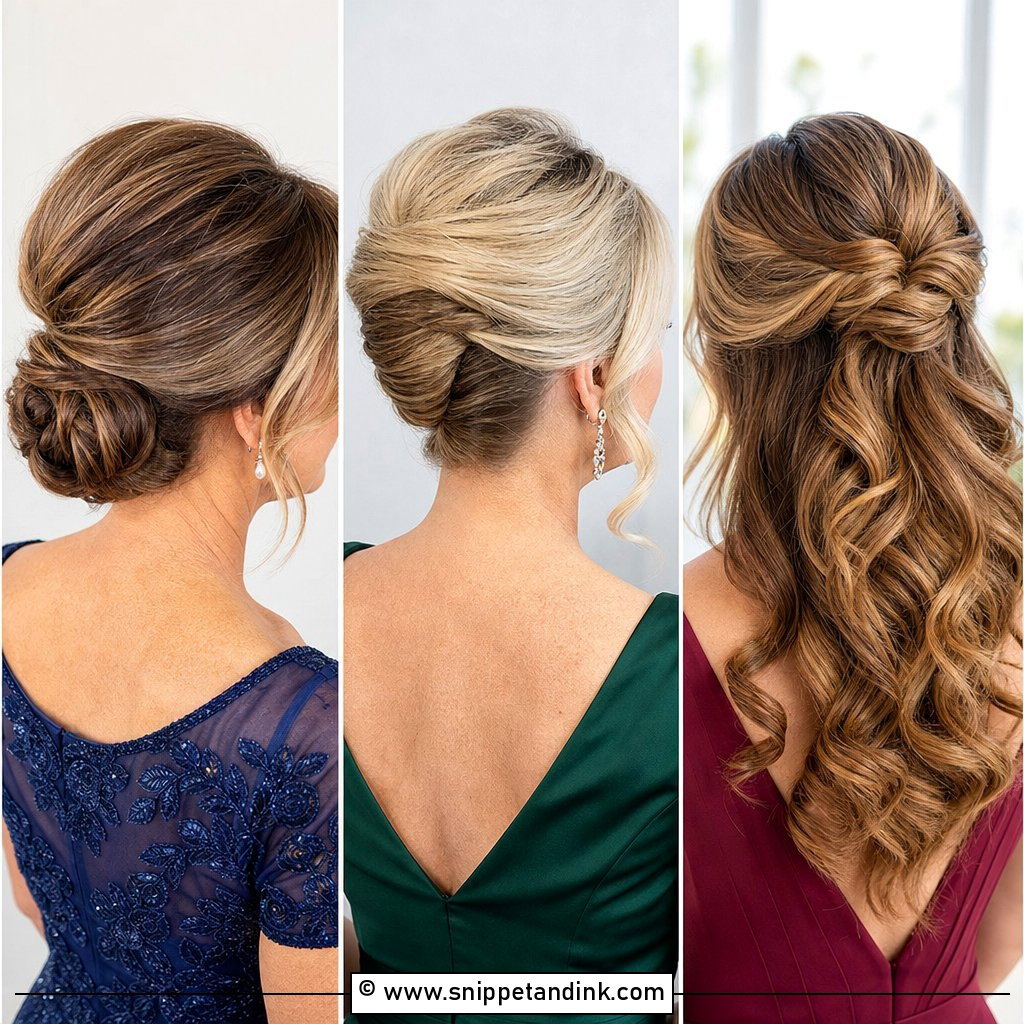
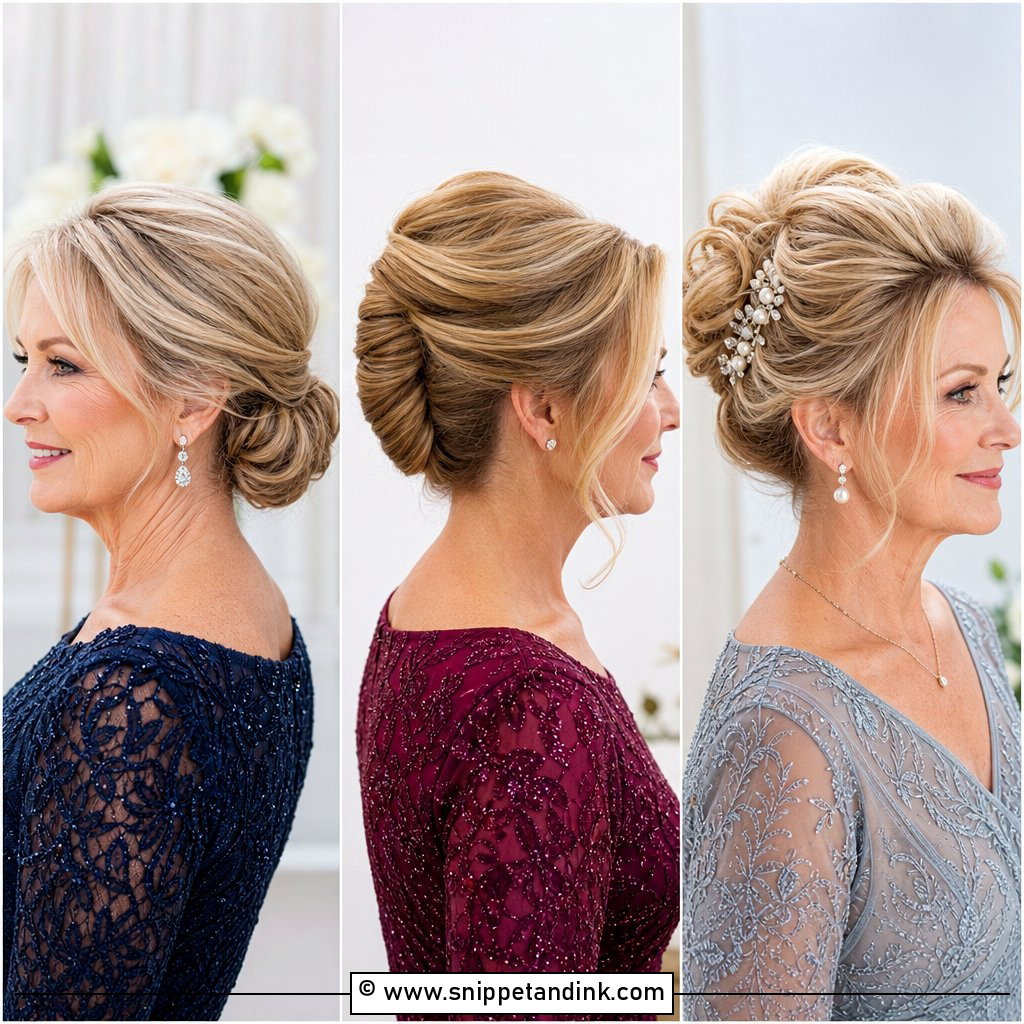
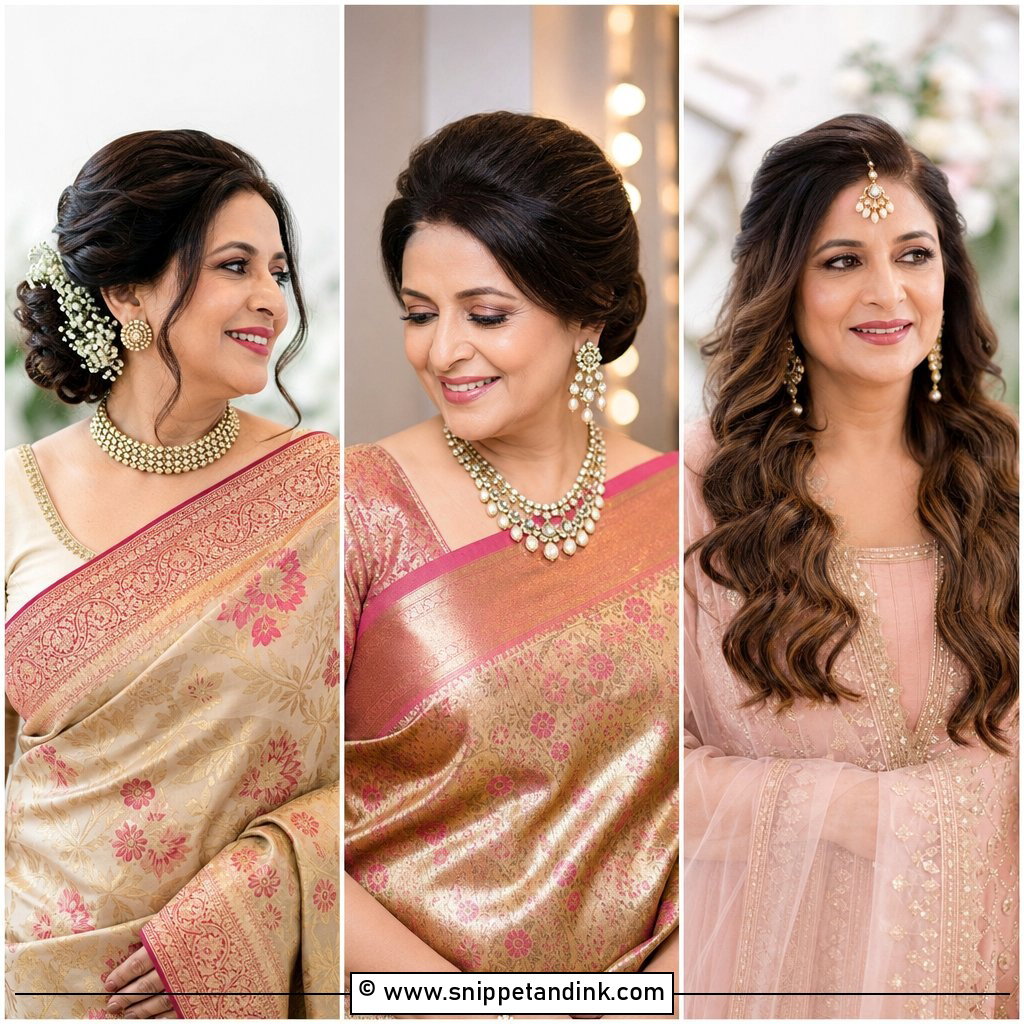
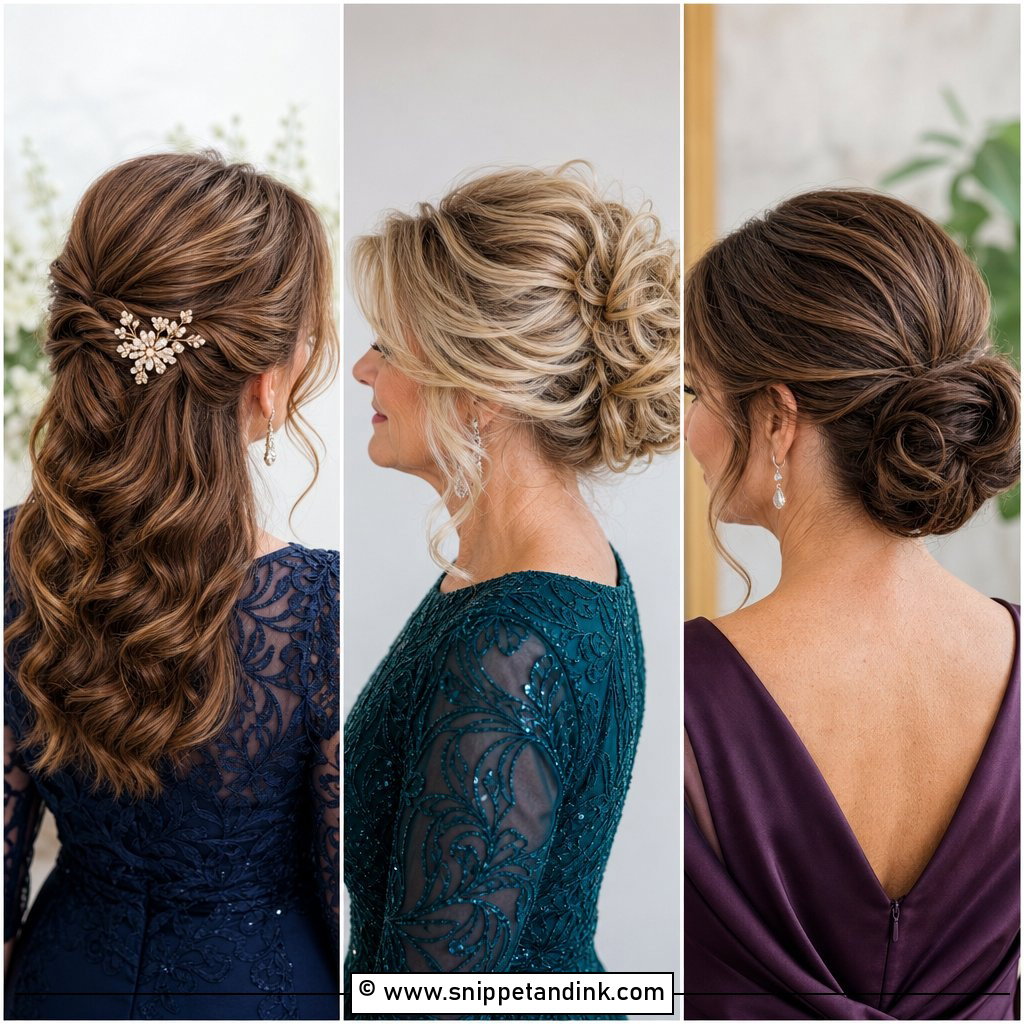
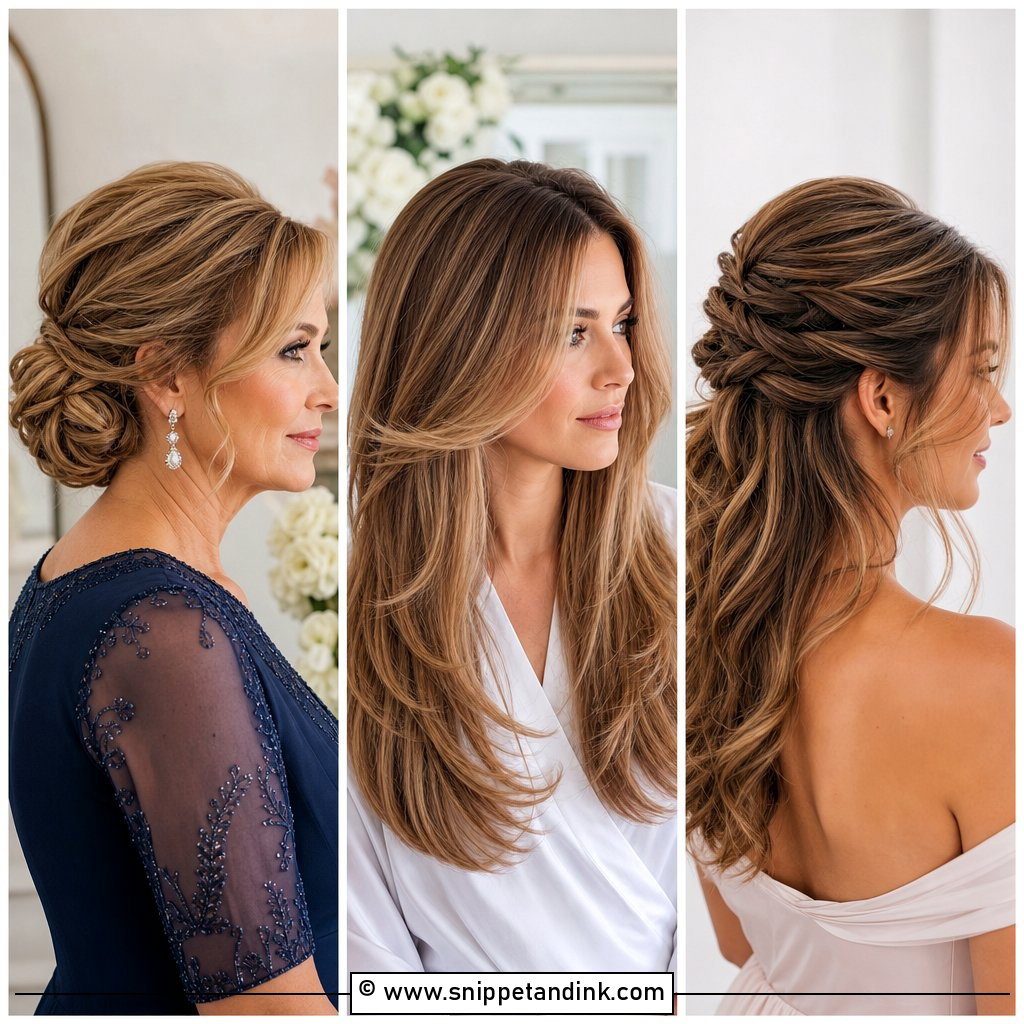
The low chignon is the style I reach for most often with mothers of the groom, mainly because it sits below the crown, so it never fights a fascinator, a hat or the back of a dinner chair. I build it on a small secured ponytail, then wrap and pin the length around it, which keeps the weight anchored instead of hanging off a few grips. Fine hair needs light backcombing at the base or the bun looks small; very thick hair may need two sections wrapped separately. I pull two thin pieces out at the temples after the pins are in, not before, so they don’t get caught in the wrap. Pearl pins sit best along the outer edge, where the camera actually sees them.
2. Soft Waves With Side Sweep
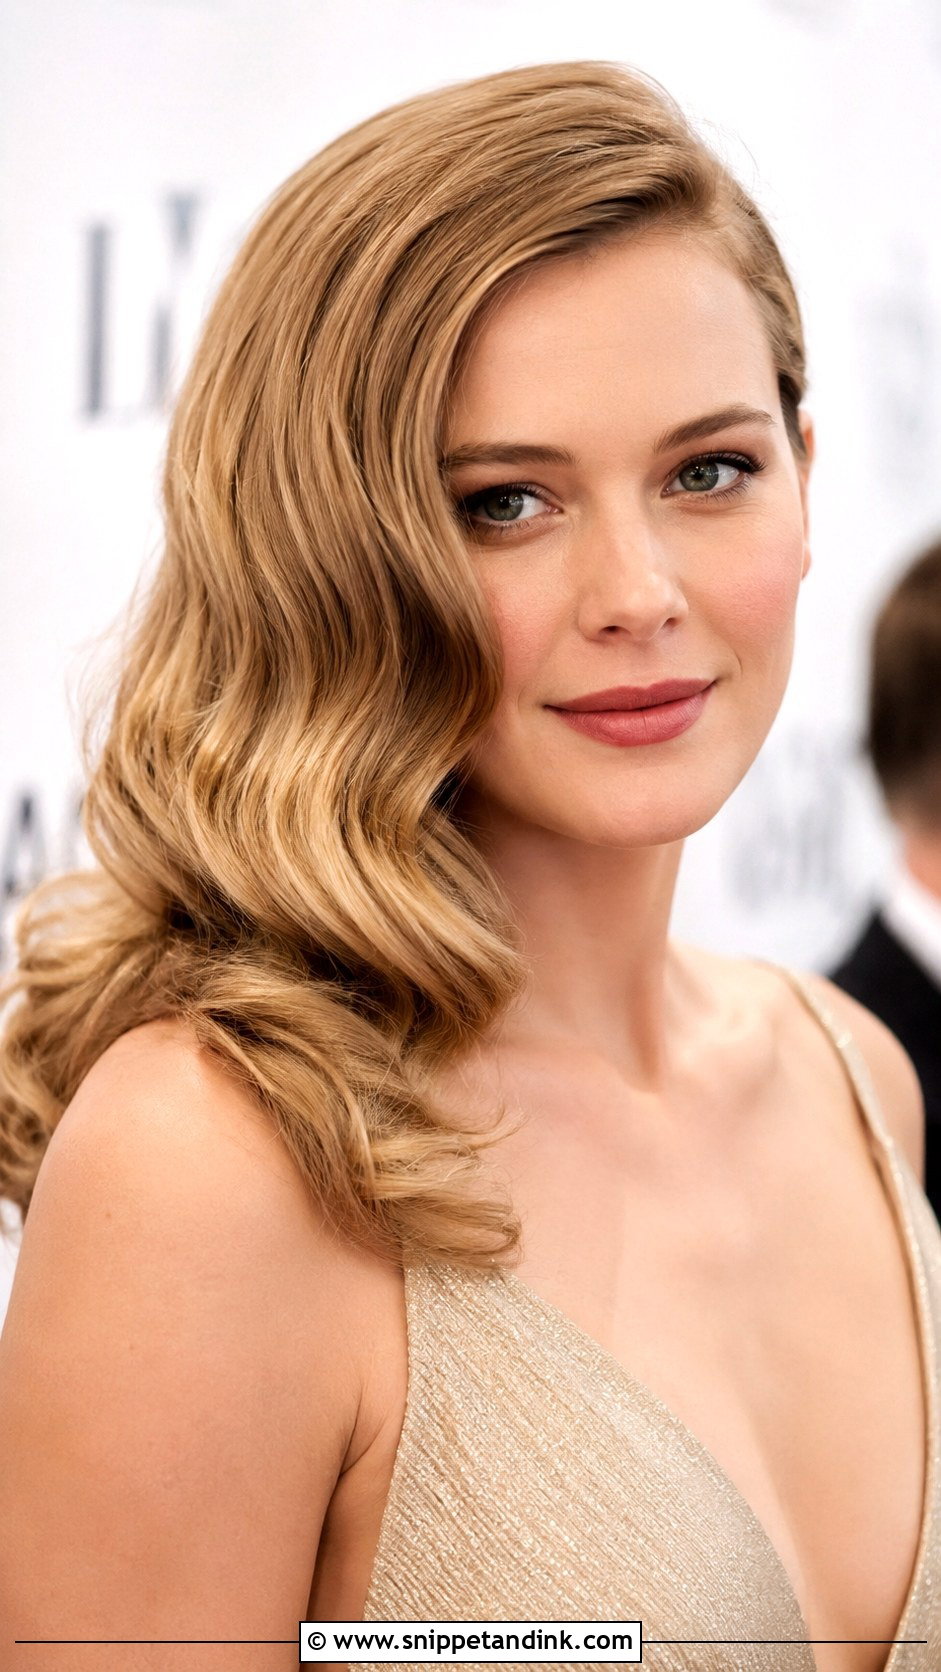
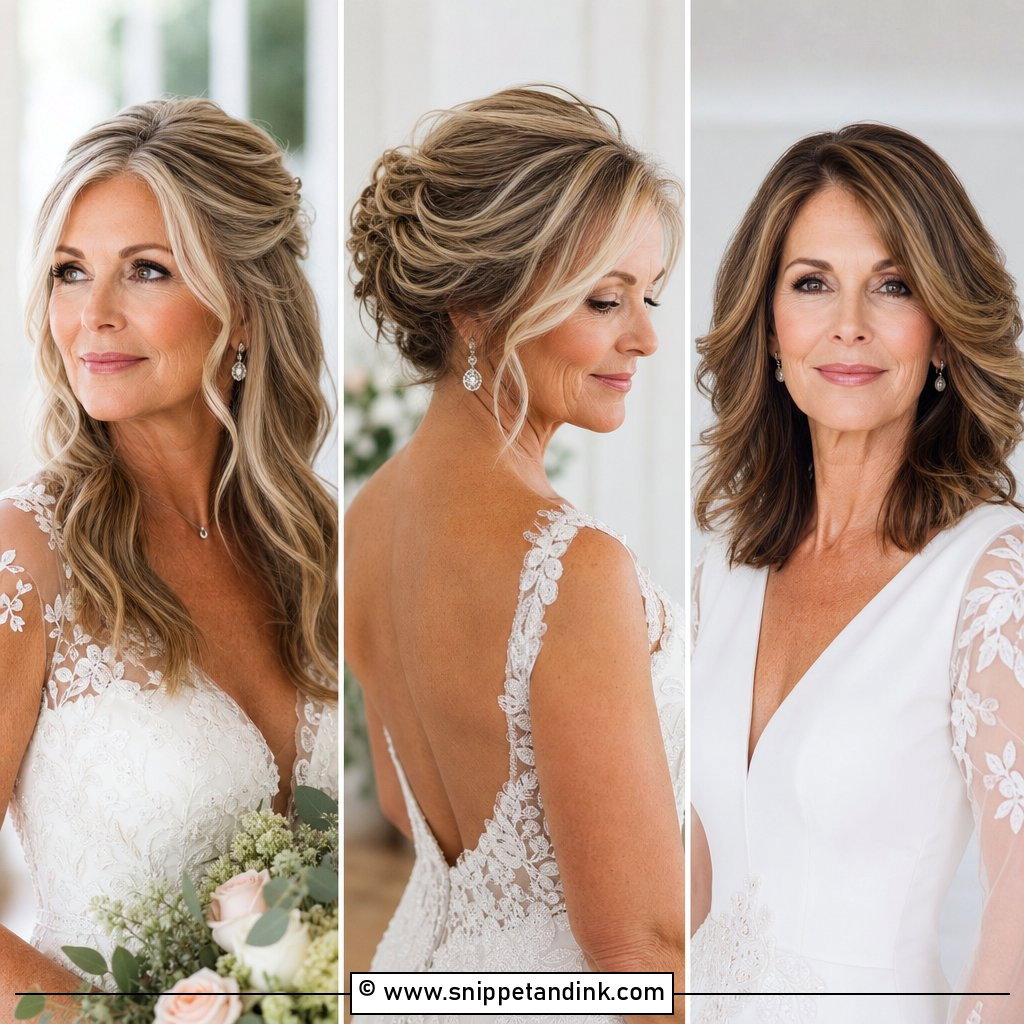
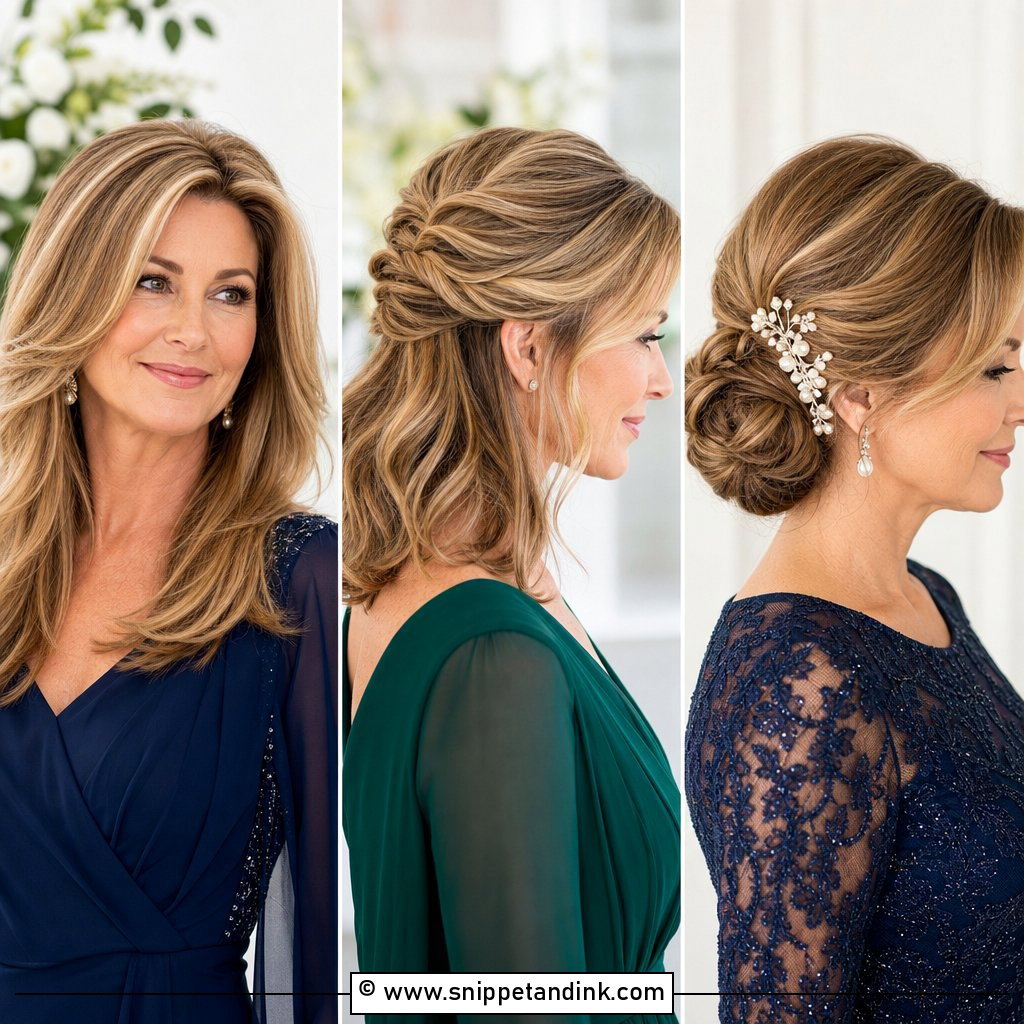
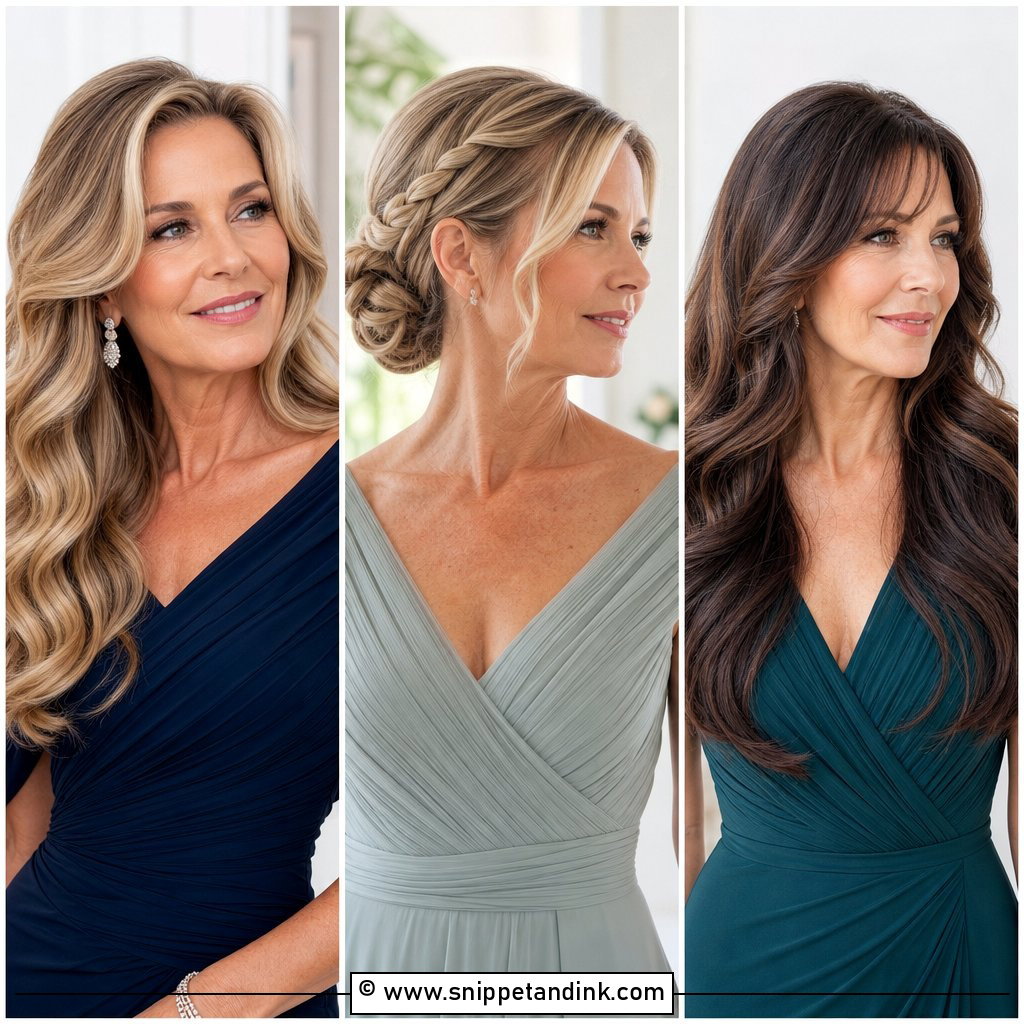
Sweeping waves to one side looks simpler than an updo and is less forgiving. The weight of hair lying over one shoulder pulls curl loose faster, so I curl with a 1.25 inch iron, pin each curl to cool, and anchor the sweep behind the ear with two crossed grips hidden under the top layer. Straight, slippery hair needs a texture spray before any heat, or the side part creeps back to the middle by the speeches. Serum goes on last: one drop warmed in the palms, smoothed over the lengths and never near the roots.
3. Messy Updo With Tendrils
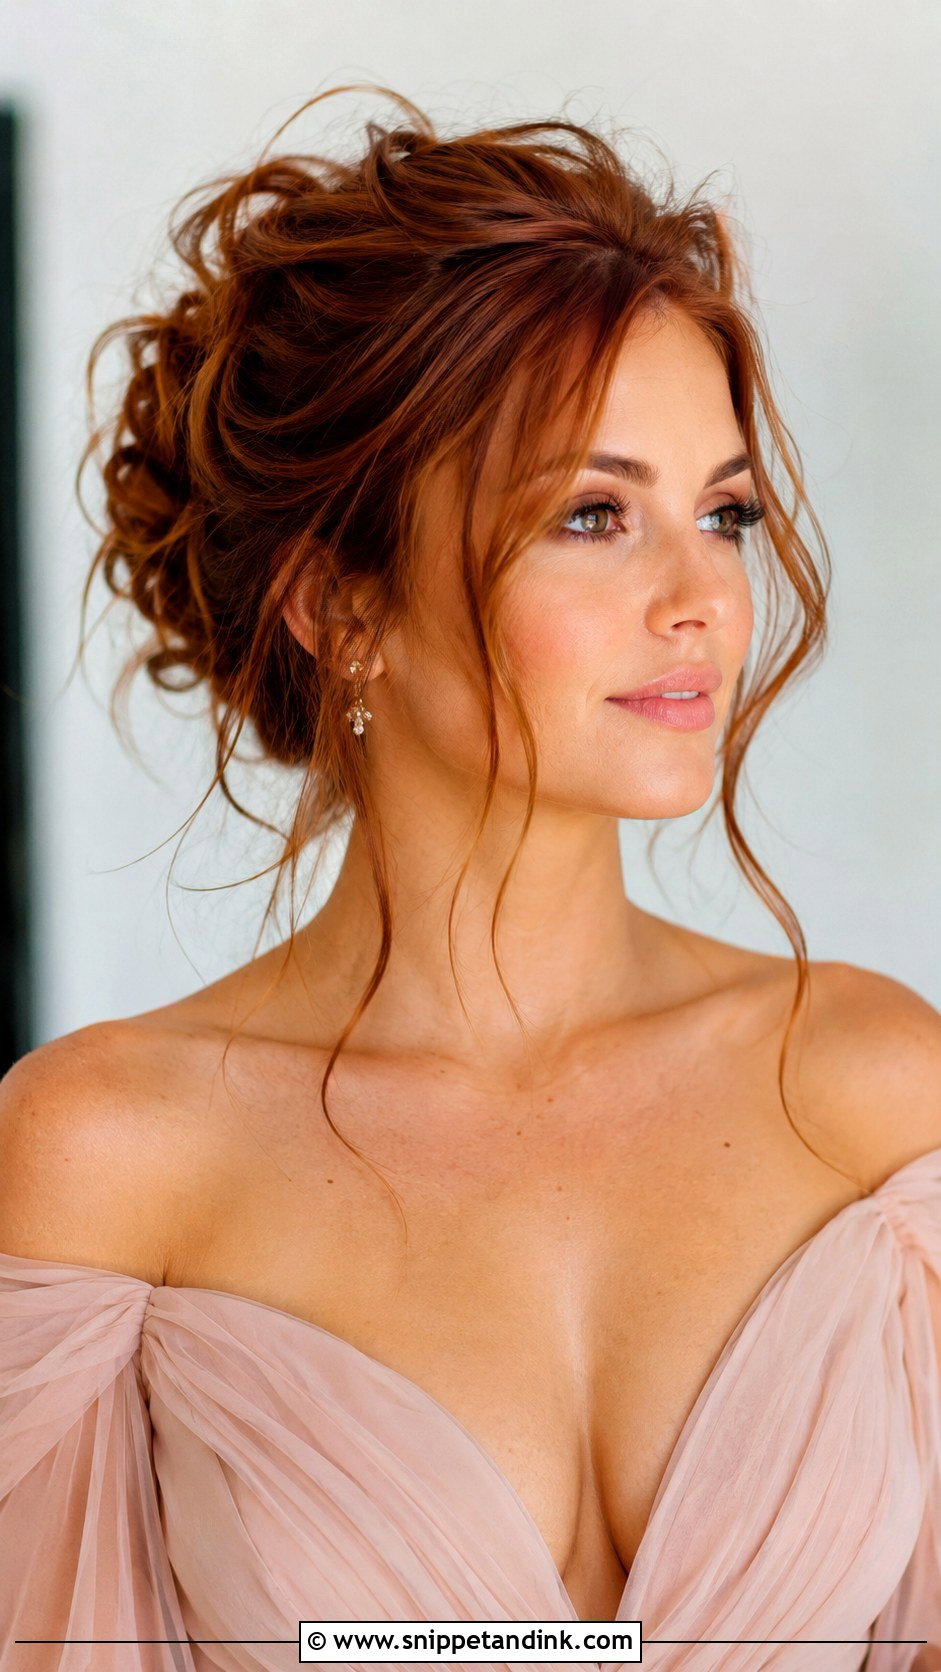
An undone updo takes more planning than a sleek one, because every loose piece has to look chosen. I curl the whole head first, pin it up in sections and pull texture out with my fingertips rather than a comb. The tendrils are where it goes wrong. On fine or very straight hair they drop flat within a couple of hours, so I curl them separately with a small wand and set them before you get dressed. It reads relaxed, which suits a garden or barn far better than a black tie ballroom, and shorter layers tend to poke out of the pins, so medium to long hair is safest.
4. Classic Half-Up Half-Down
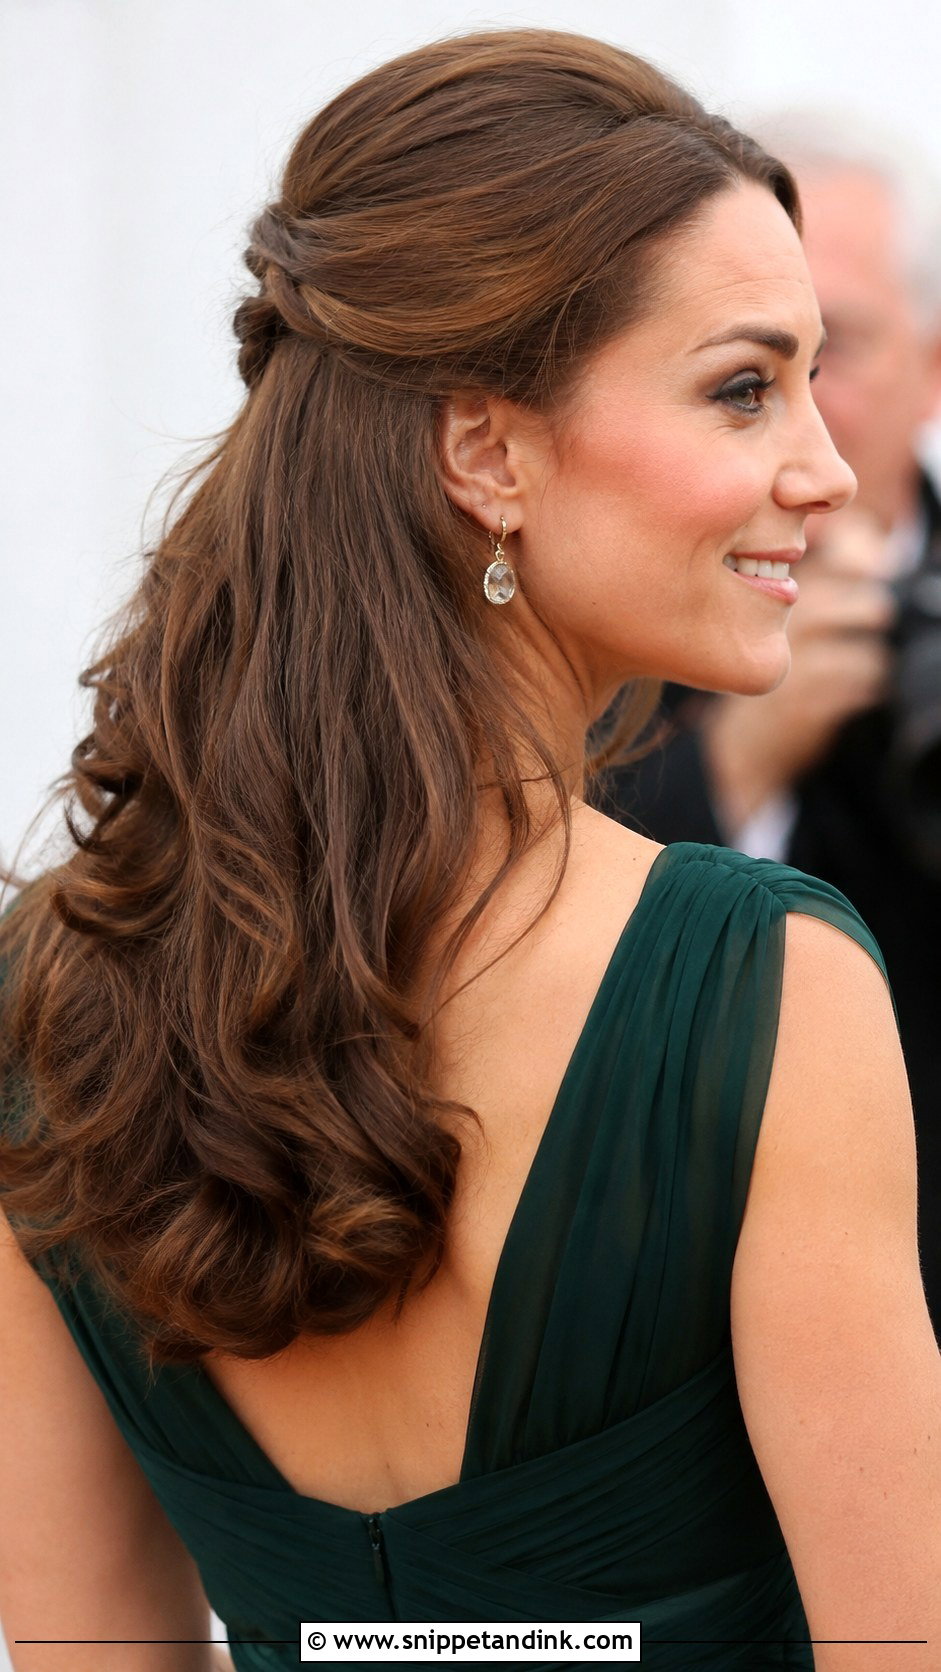
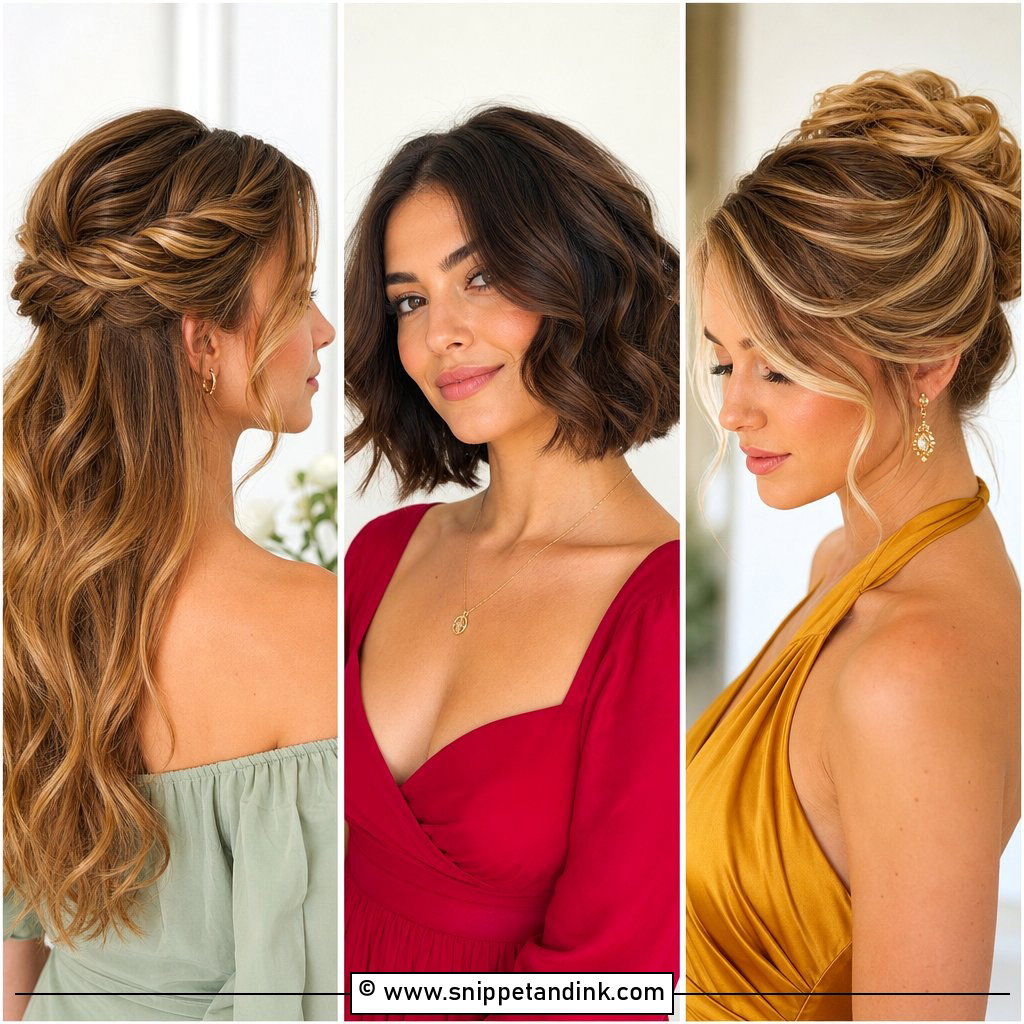
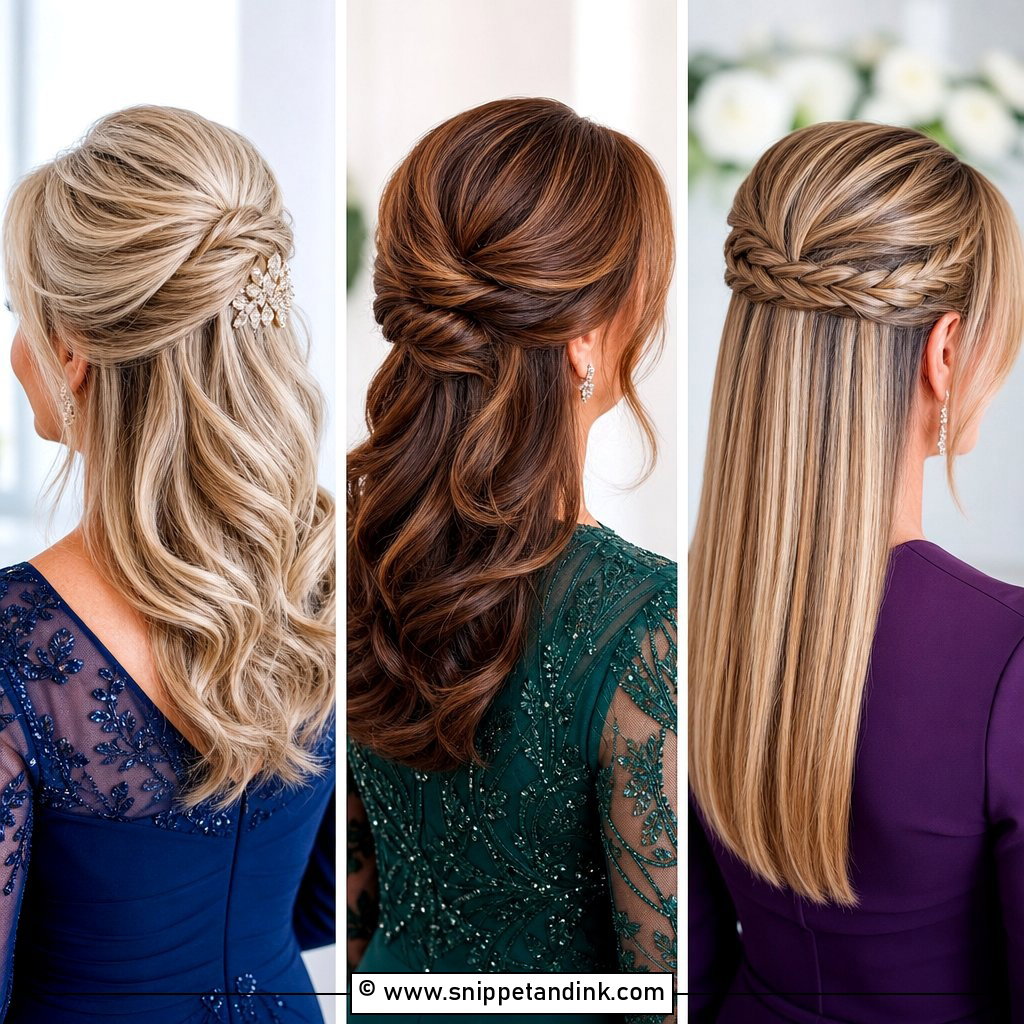
Half up styles suit mothers who want their length on show but can’t bear hair across their face while they’re talking to guests. I gather the top section at the crown into a small twist or knot, and the rest falls in soft waves. Curly hair is the easiest texture for this, because the curl hides every pin. On fine hair I tease the crown section lightly before securing it; otherwise the back looks flat the first time you lean against a pew. A pearl clip over the join covers the grips and gives the photographer something to focus on.
5. Textured Bun With Twists
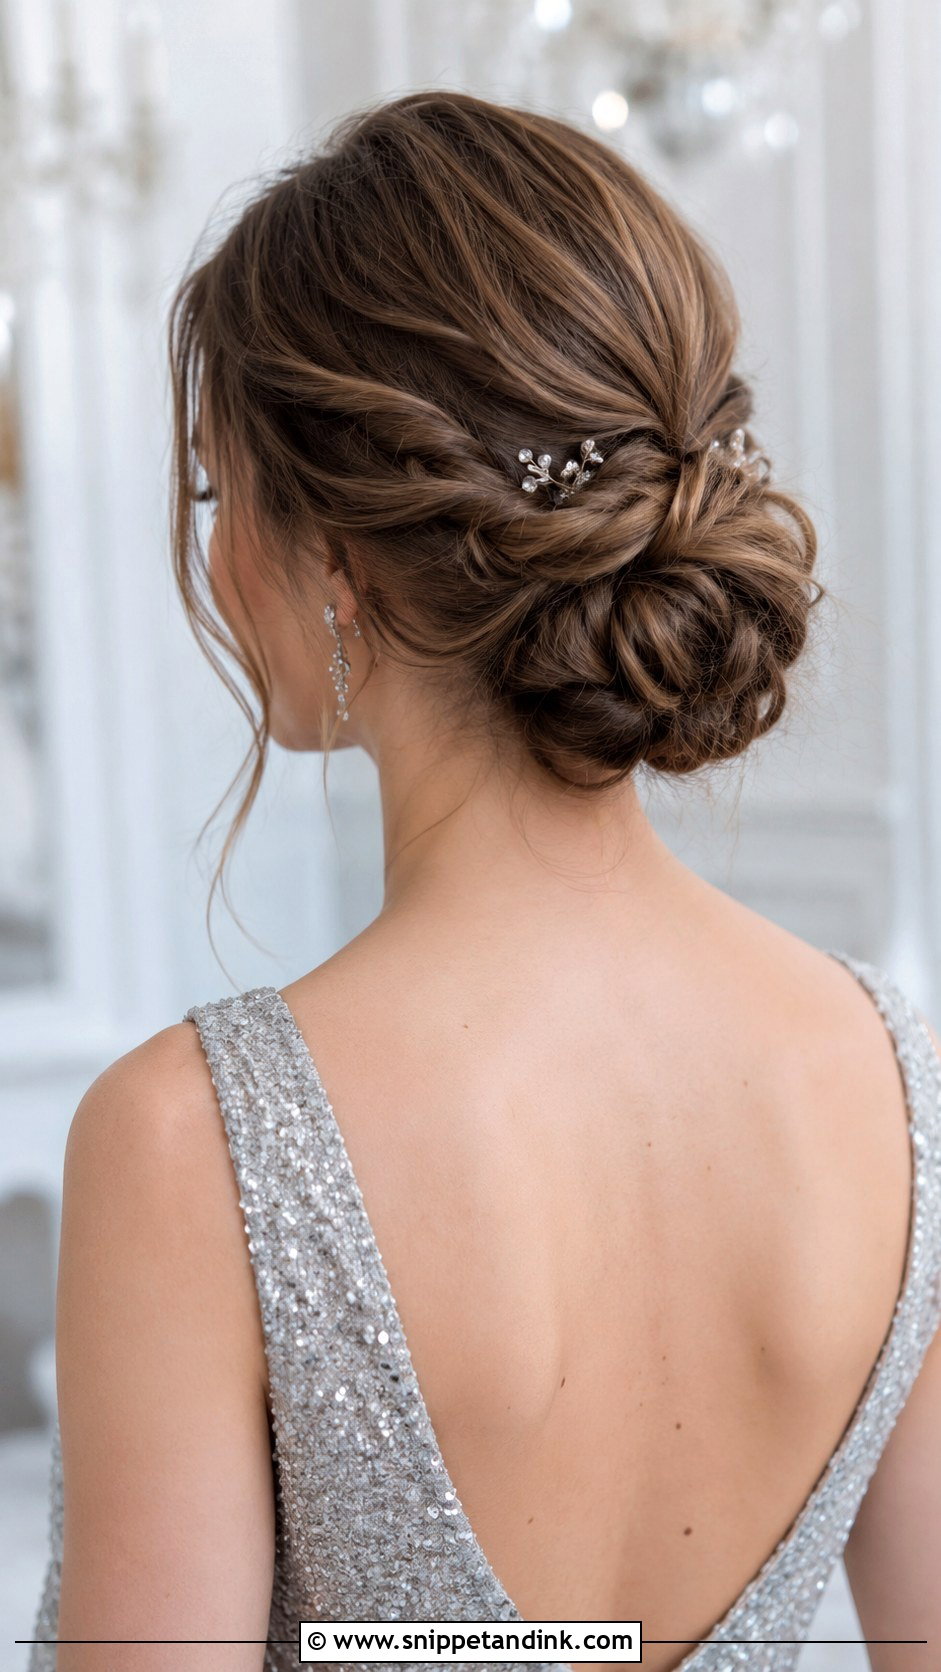
Twisting each section before it goes into the bun gives fine hair far more apparent density than a plain knot. The trick is pancaking: I tug gently at the edges of every twist to widen it, and that’s where the fuller look comes from. The trade-off is time in the chair, so warn your stylist when you book. Wear it at the nape for a softer feel, or a little higher if your dress has a high neckline that would crush it at the back.
6. Sleek Pixie Cut
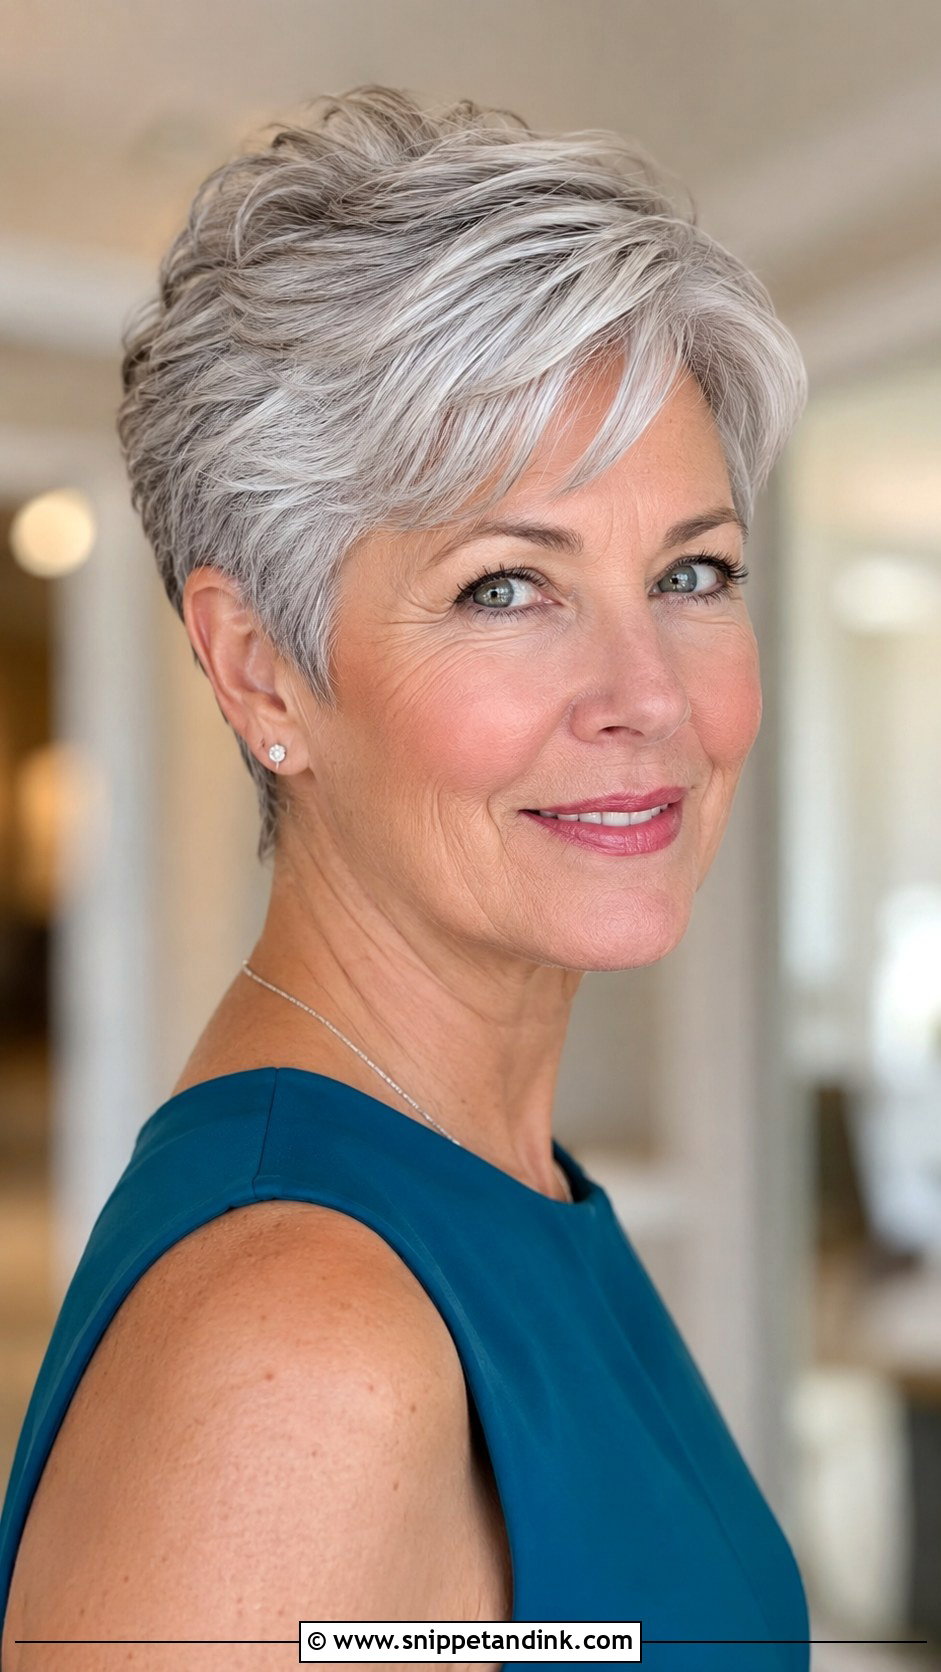
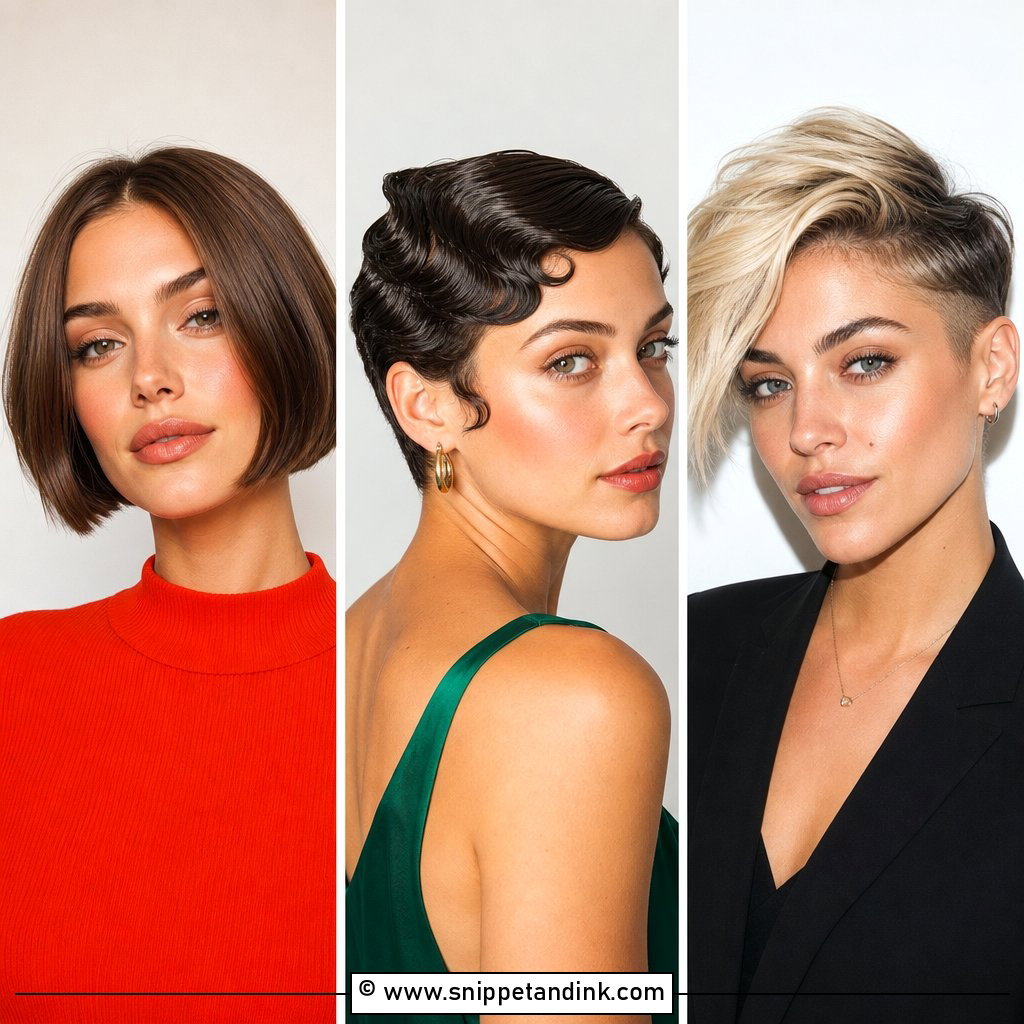
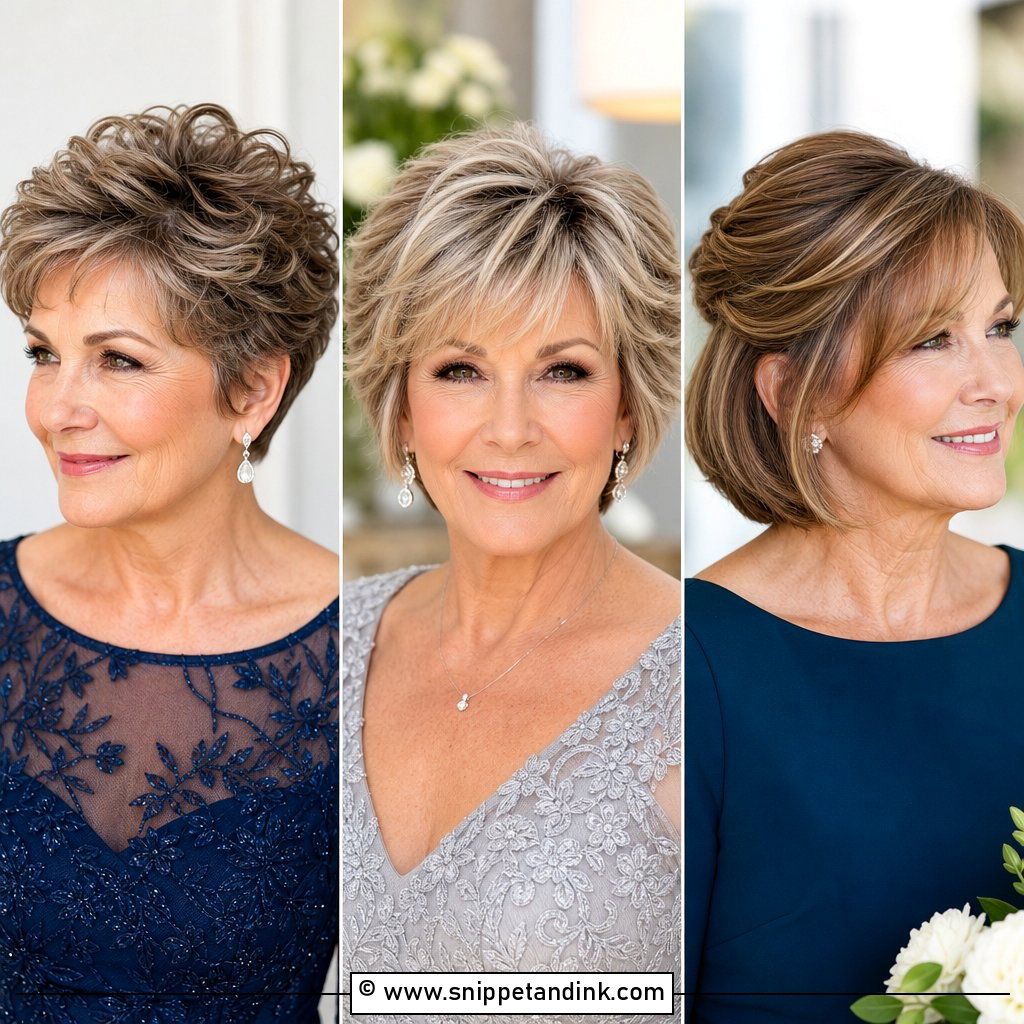
Short hair is the least stressful thing to wear at a wedding, because nothing drops and nothing needs repinning. With a sleek pixie the work happens beforehand. Get the cut refreshed about a week ahead, not the day before, so the edges have softened. On the morning I work a small amount of paste through dry hair, then brush the fringe back or across depending on your glasses, since a heavy sweep over one lens fights the frame. It’s a cut plenty of women over 50 already wear with real confidence; cutting one for the first time just before the wedding is a gamble I’d avoid.
7. Loose Curly Half Updo
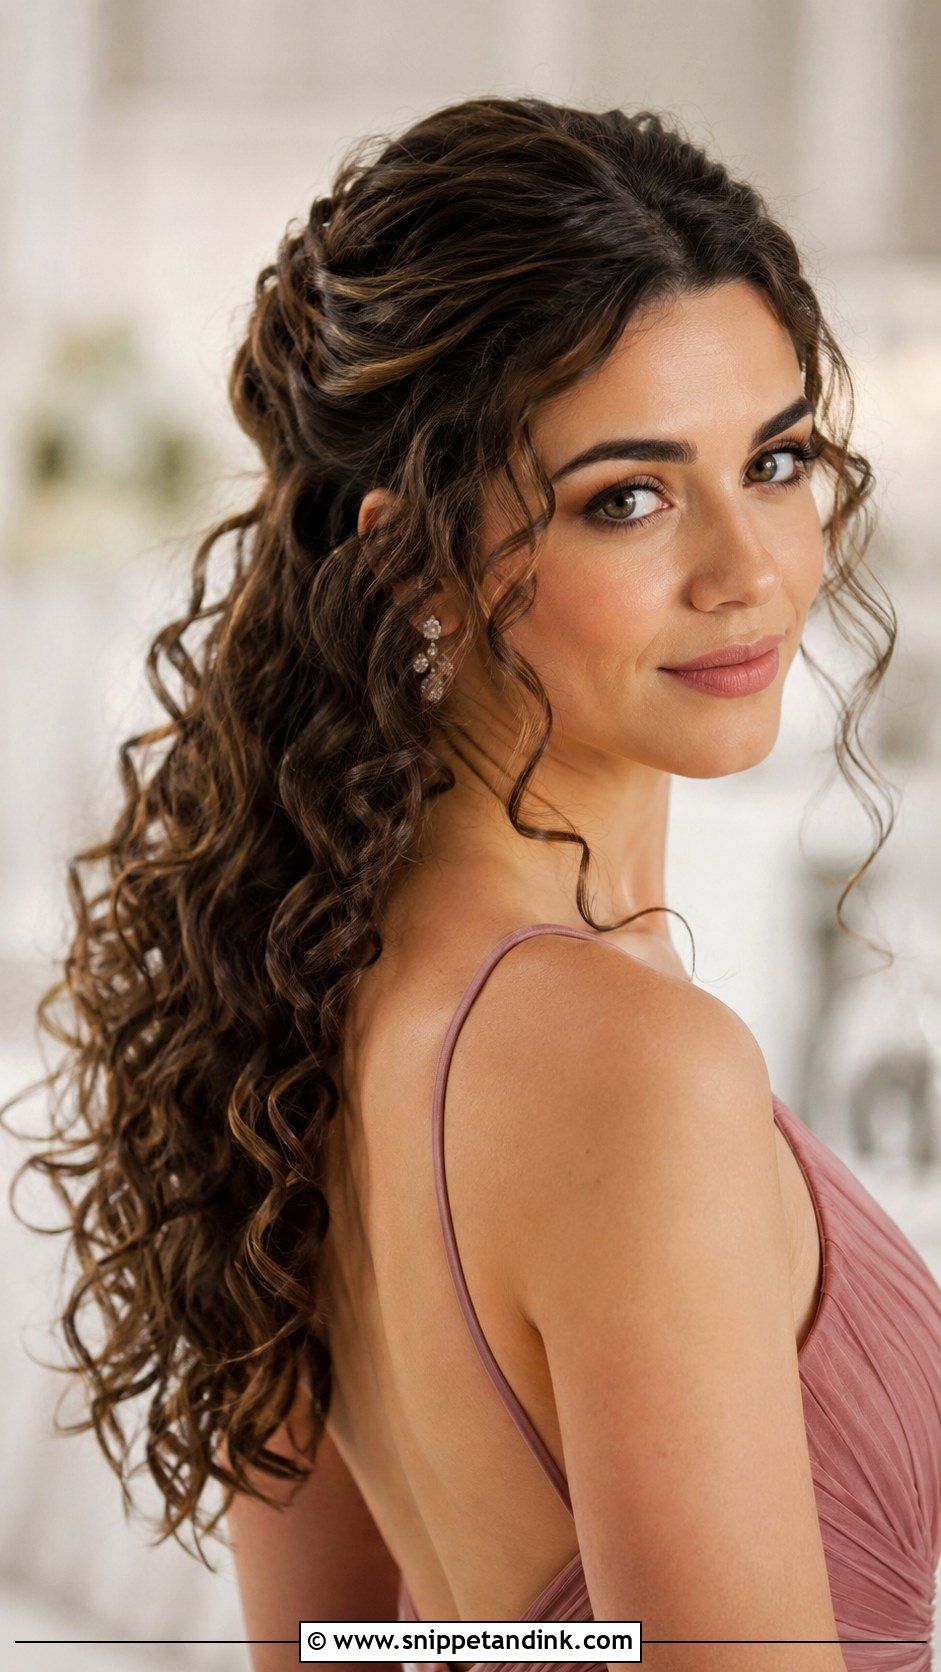
This one needs proper curl, not quick waves. I set medium to long hair with a 1 inch iron, leave the curls pinned while makeup happens, then break them up with my fingers before pulling the top section back. Defined ringlets last longer; looser waves look softer but drop sooner, especially in humid weather. A flexible spray lets the curls move without going crunchy. If your hair is heavy and has never held a curl in its life, insist on a trial, because a half updo exposes fallen curl far more than a full updo does.
8. Polished Wavy Bob
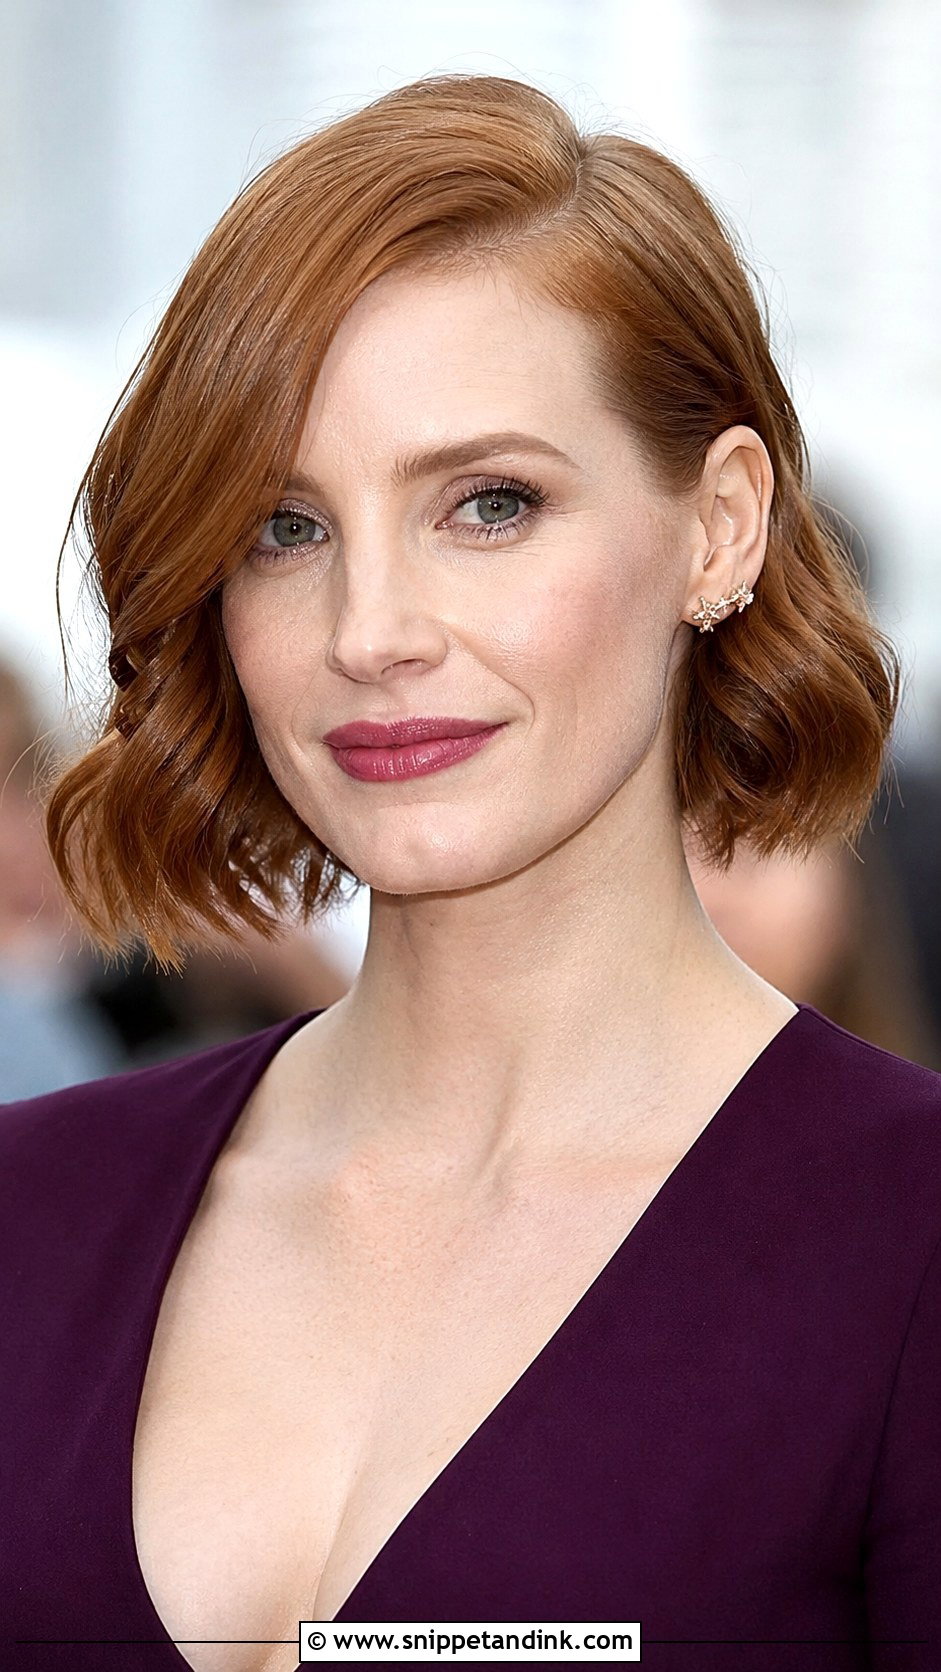
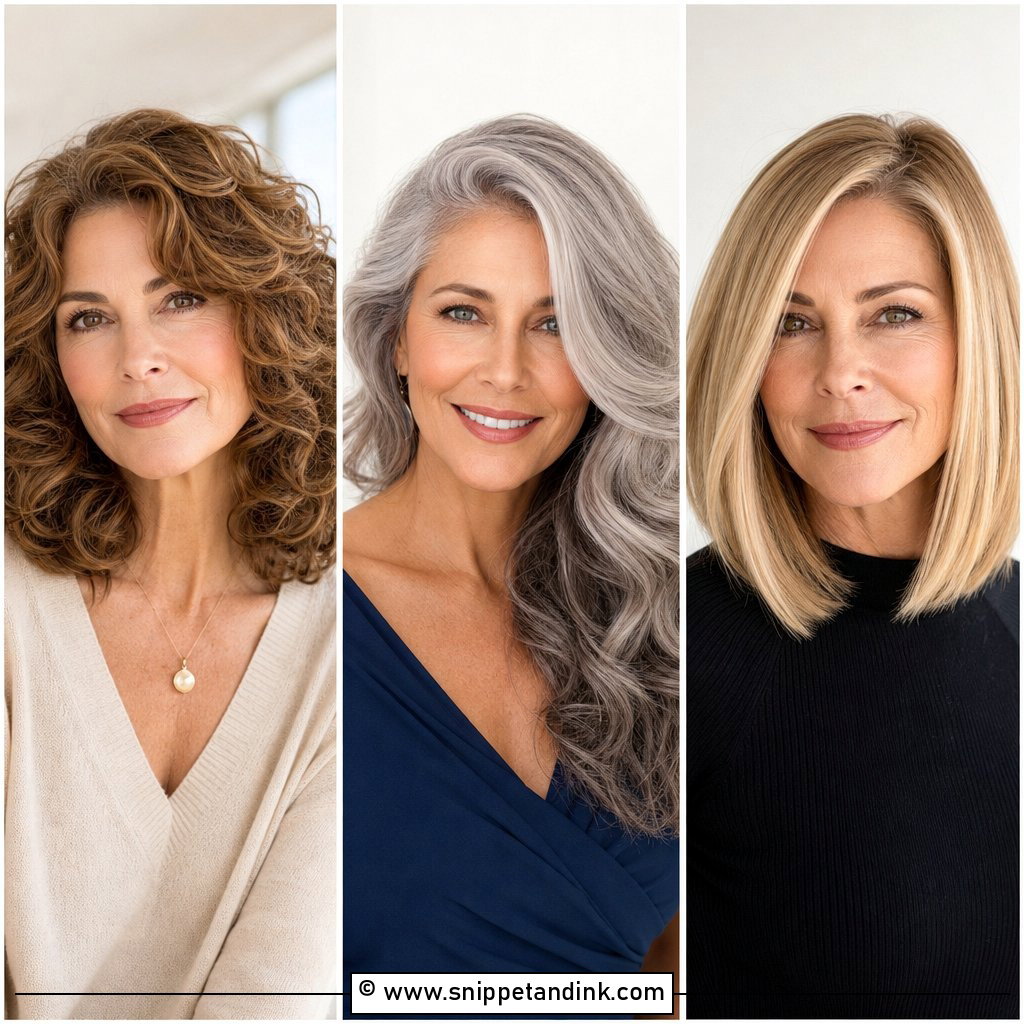
A wavy bob is the answer for hair too short to pin but long enough to style. I bend the waves with a flat iron rather than a curling iron, which gives a flatter, more current shape at chin length. Tucking one side behind the ear shows your earrings and stops you pushing your hair back all evening. Bobs show the quality of the cut more than any other style, so book the trim about two weeks out and finish with a light shine spray held well back from the head.
9. Braided Updo
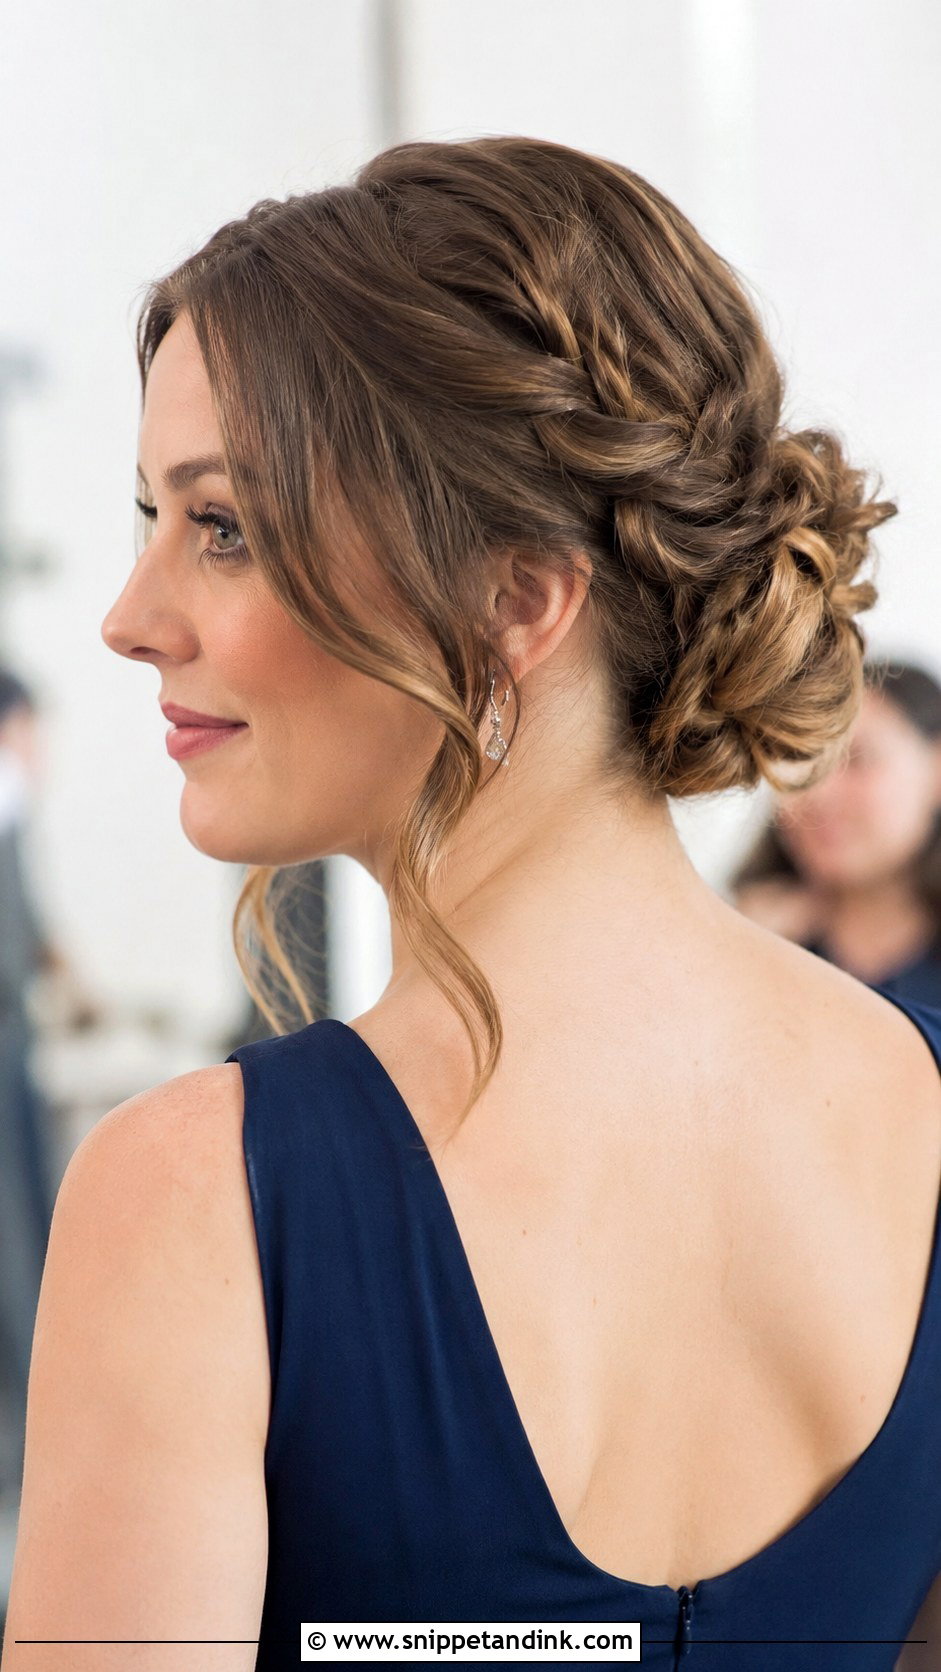
Braids in an updo do two jobs at once: they add detail, and they give pins something to grip, which smooth hair never does. Medium length is the easiest, because the braids aren’t so long they need folding twice. I loosen each plait after it’s done to widen it, and that makes fine hair look much thicker. Tight braids read structured and suit a formal dress. One warning: if your scalp is sensitive, say so at the trial, as braids pulled close to the head can ache by the evening.
10. Smooth Sleek Bun
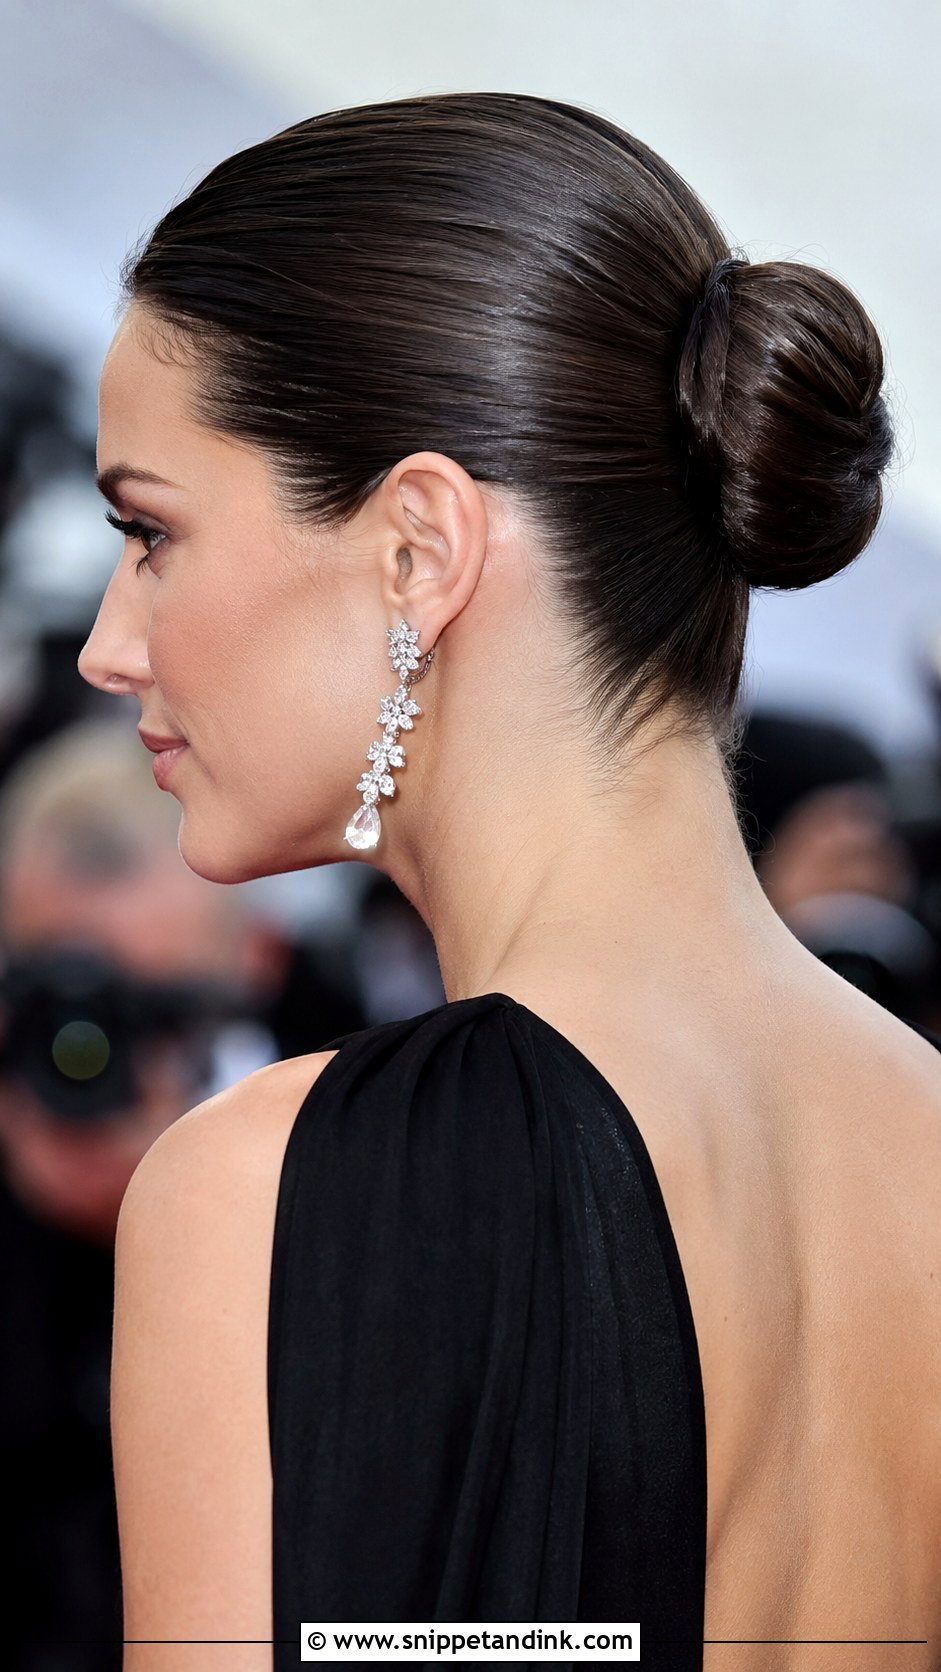
A sleek bun looks simple and is the hardest style to hide a mistake in. Every bump shows, so I blow-dry the hair completely smooth first, brush it back with a boar bristle brush and a little gel, then secure the ponytail before twisting. If your hairline has thinned at the temples, as it does for many women after menopause, scraping it back can show more scalp than you’d like, and a soft side part is kinder. Shorter hair can still get there with a clip-in bun. It looks best with strong earrings and a formal gown.
11. Voluminous Blowout
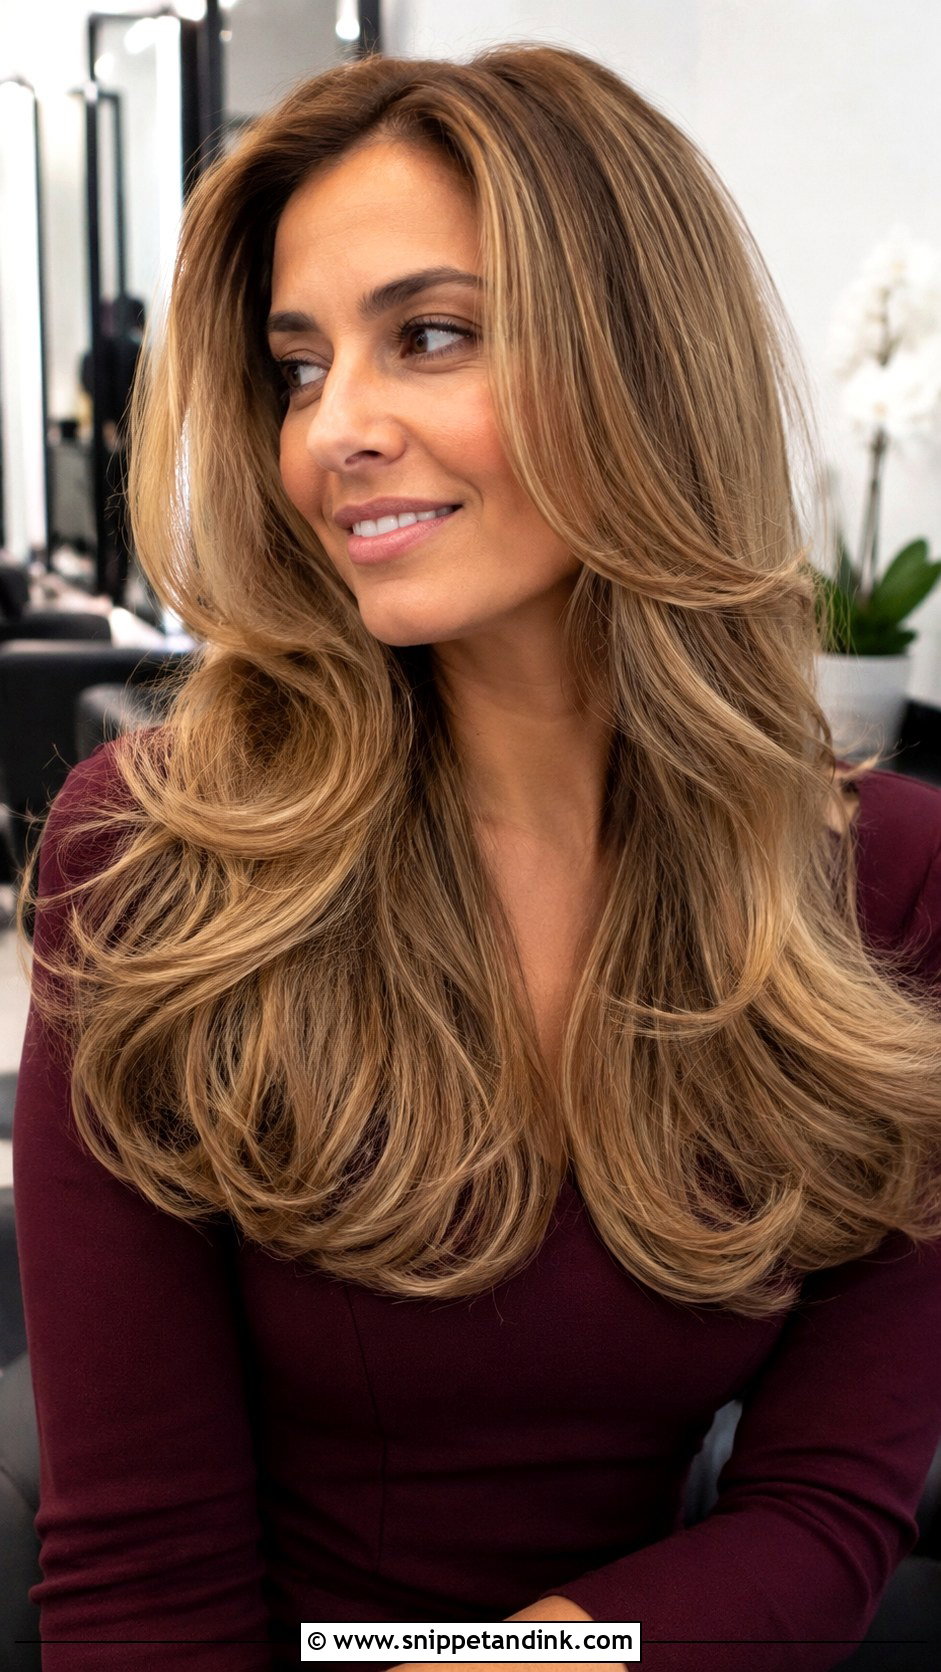
A good blowout is about the drying, not the products. I rough-dry to about 80 percent, then section and dry each part over a round brush, lifting at the root so the volume is built in rather than sprayed on. Brushing it back from the face keeps it tidy for close-up portraits. Medium and thick hair hold it well. Very fine hair can lose its lift by the reception, so I set the crown in Velcro rollers while you get dressed, then a light mist of spray from arm’s length.
12. Grey Pixie With Bangs
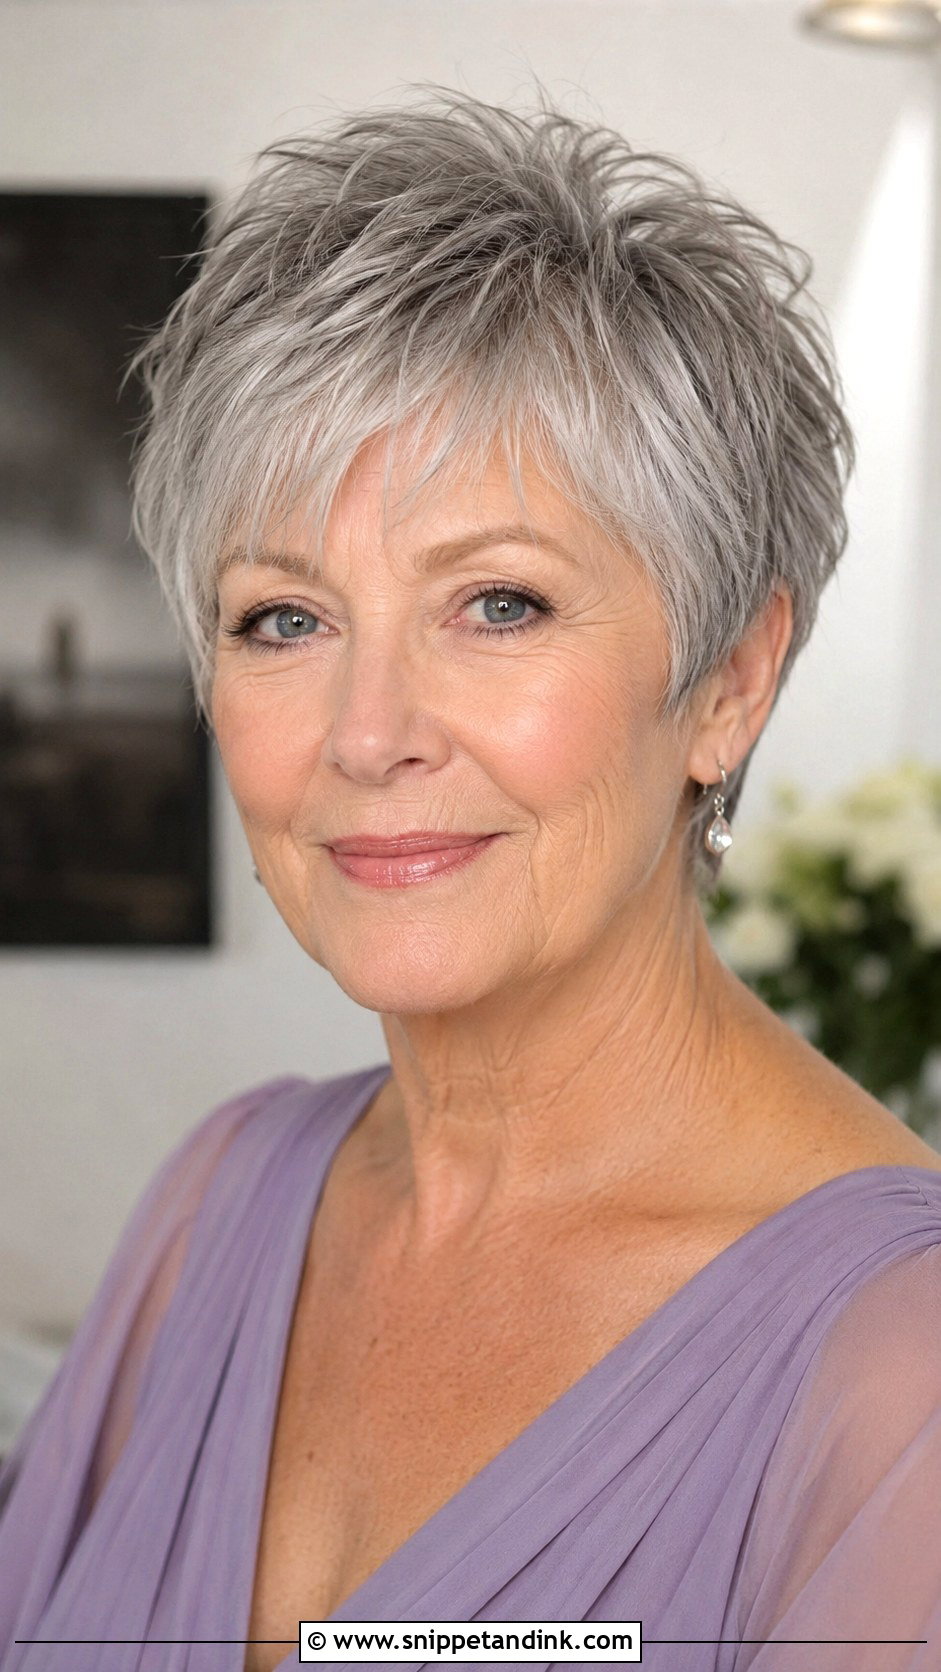
Grey hair can look flat in photographs when it’s dry, because the strands reflect light unevenly. A purple shampoo a few days before takes out any yellow, and a gloss treatment adds the shine silver often lacks. On the day, a little wax defines the pixie and the bangs sit loosely across the forehead rather than straight down. Go easy on heavy products: build-up shows more on light hair than on dark. Natural silver with a sharp cut looks deliberate and modern, which is exactly the point.
13. Romantic Side Bun
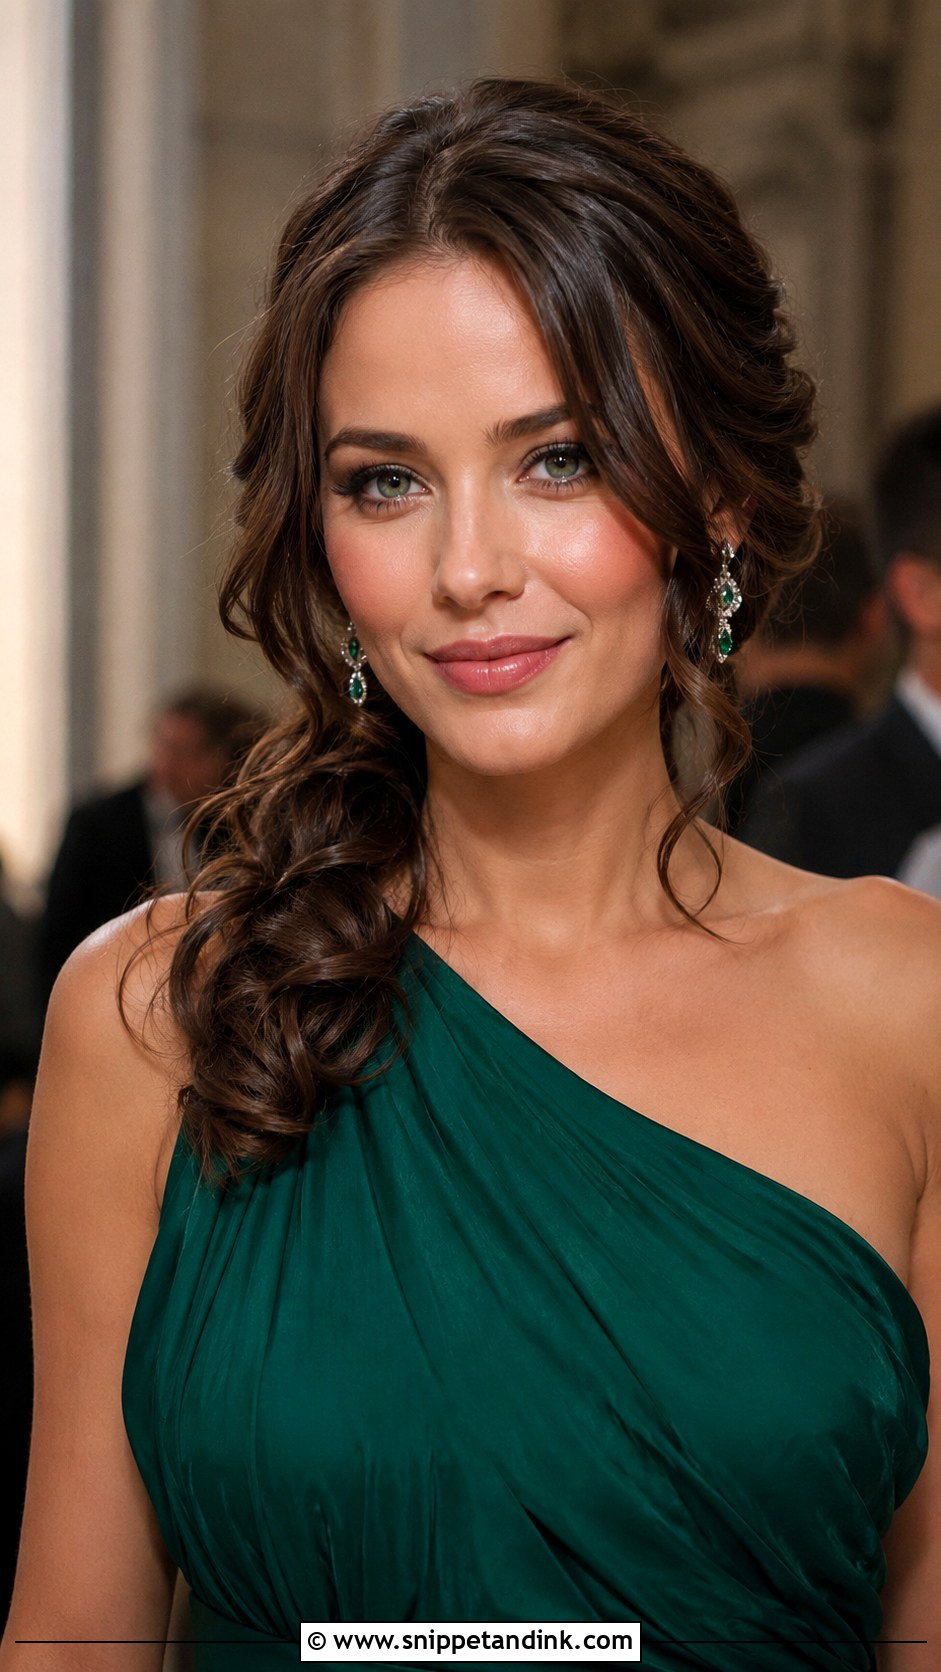
I place a side bun just behind the ear rather than down on the shoulder, so it isn’t crushed every time you hug someone, and you’ll hug a lot of people. Before I pin it, I ask which side you’ll stand on next to your son in the family portraits, so the camera catches the bun and not the plain side. Loose waves around the face soften it. An asymmetric neckline looks good with the bun on the bare side. You need medium to long hair; shorter lengths won’t wrap.
14. Curtain Bangs With Waves
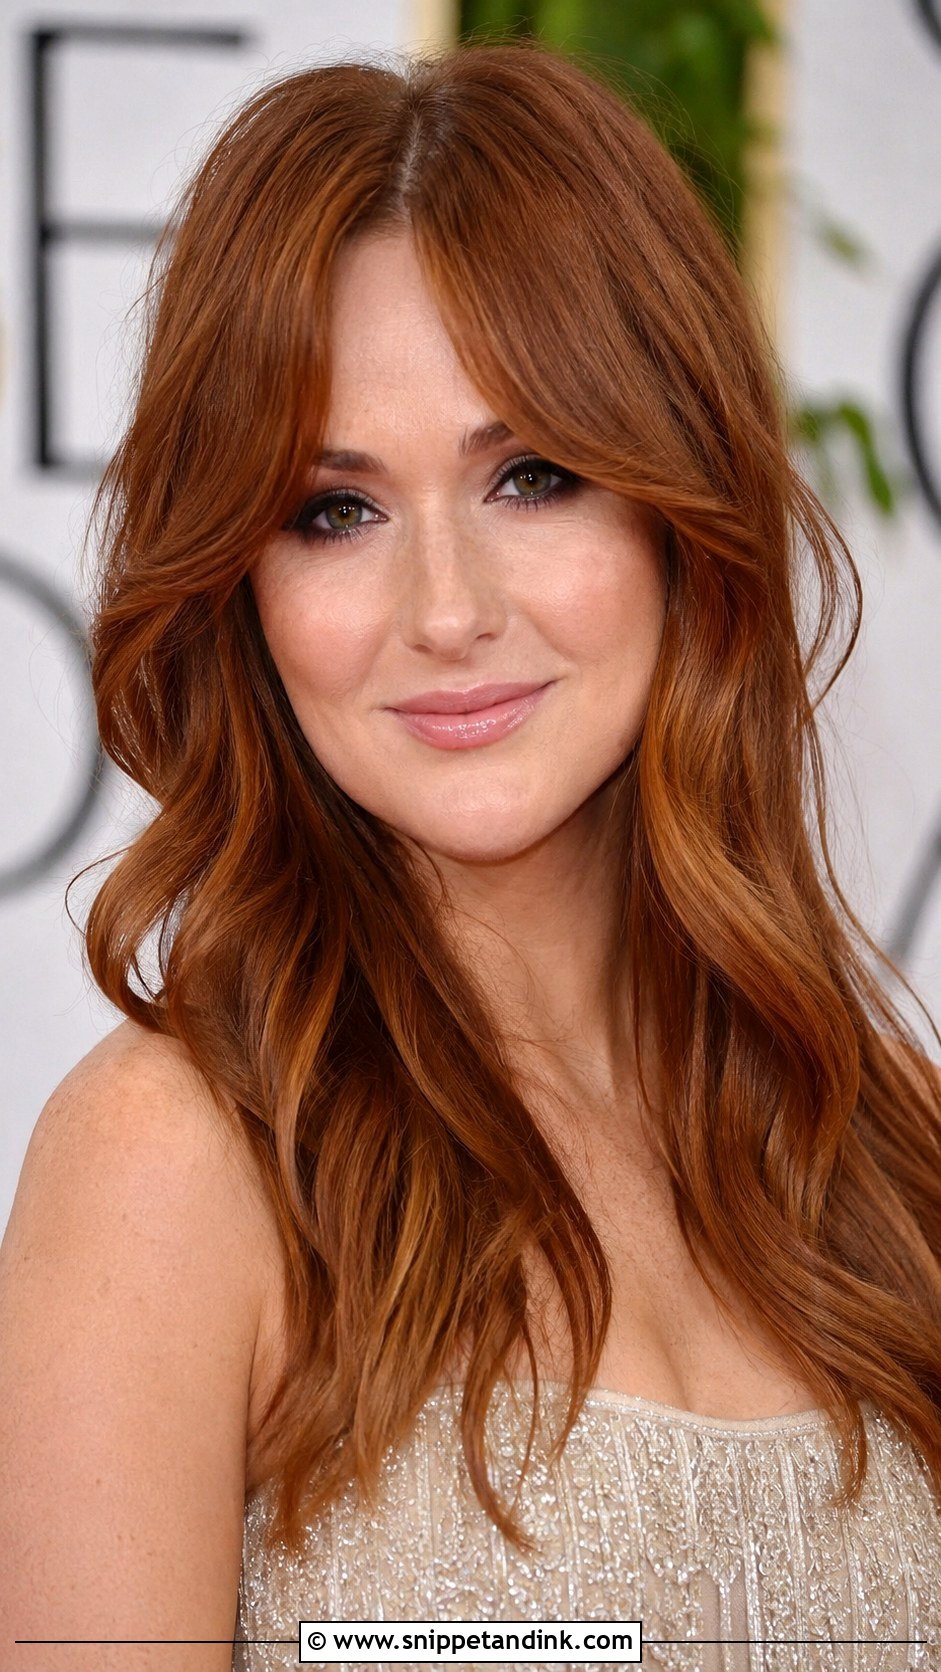
Curtain bangs are a cut, so this look starts at the salon. If you already have them, I blow-dry them over a round brush, directing each side away from the face, then wave the lengths. If you don’t, don’t cut them just for the wedding; they take a couple of weeks to learn where to fall. Glasses wearers should check the length at the trial, since bangs resting on the frame look heavy. A texture spray through the lengths stops the waves going flat by dinner.
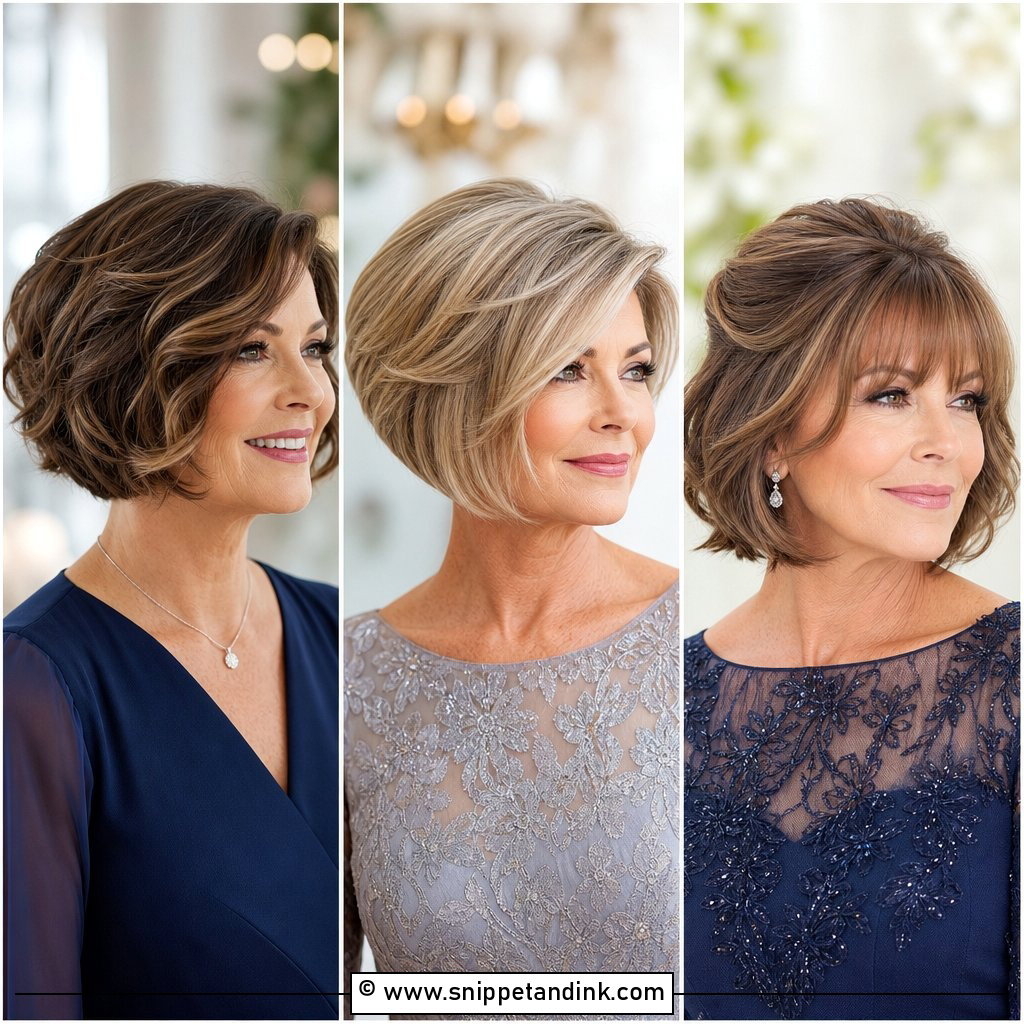
15. French Twist
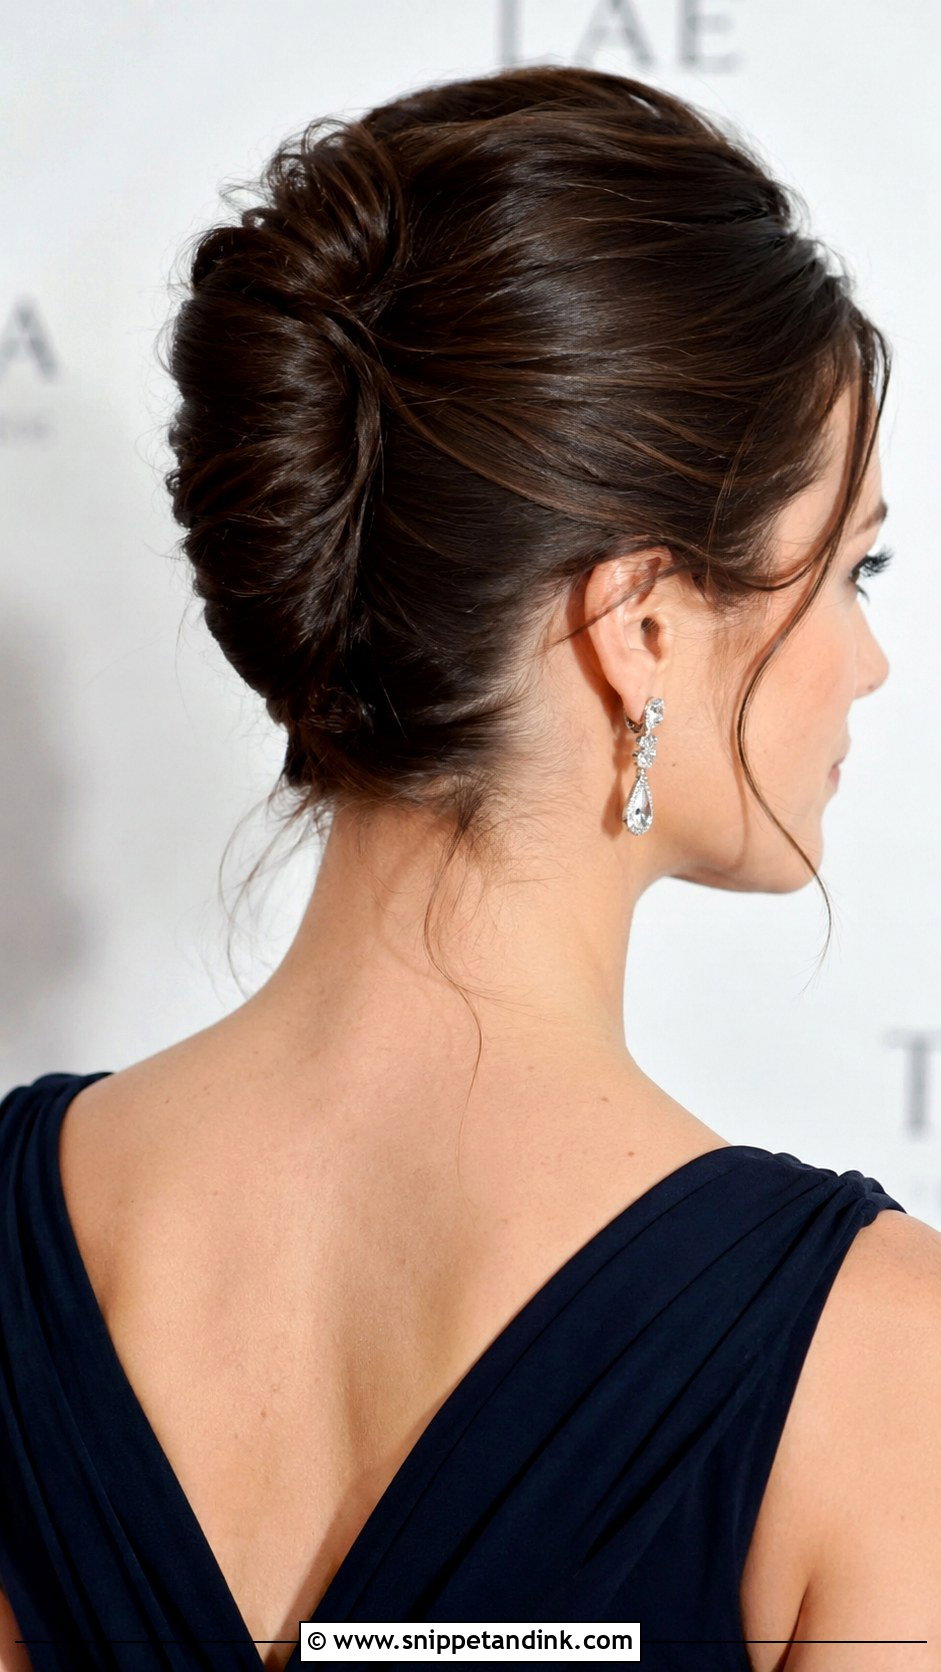
The French twist is a vertical roll, and it lives or dies on its base. I backcomb lightly, then cross-pin a column of grips down the centre of the back of the head before twisting the hair over it, so the roll has something to hold on to. Medium to long hair works, but heavily layered hair tends to poke out along the seam. It’s very formal and suits a ballroom far more than a beach. If a fully smooth twist feels severe on you, I’d leave a few soft pieces out at the front.
16. Layered Shoulder-Length Cut
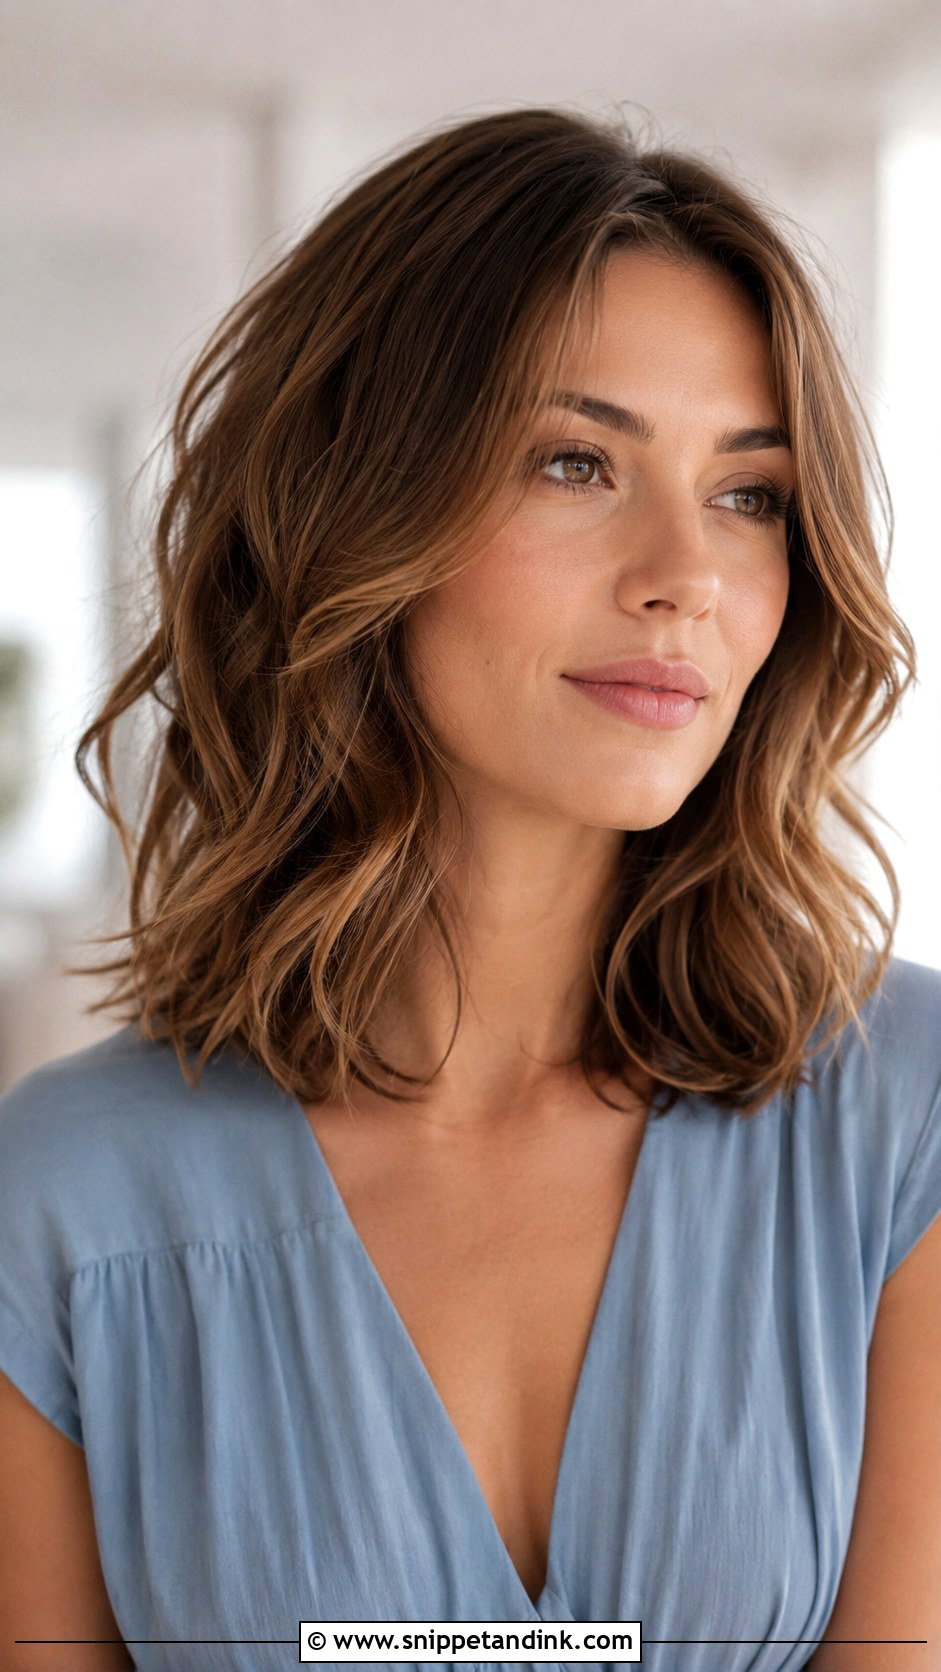
Layered hair at shoulder length is one of the easiest to work with, because it can go down or half up. I wave it with a curling iron, alternating the direction of each section so the layers don’t clump together. If you’d prefer a smooth blowout, ask for the ends turned under slightly; at this length, ends flicking out against the shoulders are what spoils the look by evening. A little serum on the ends helps. Have the layers refreshed two to three weeks before.
17. Pearl-Accented Updo
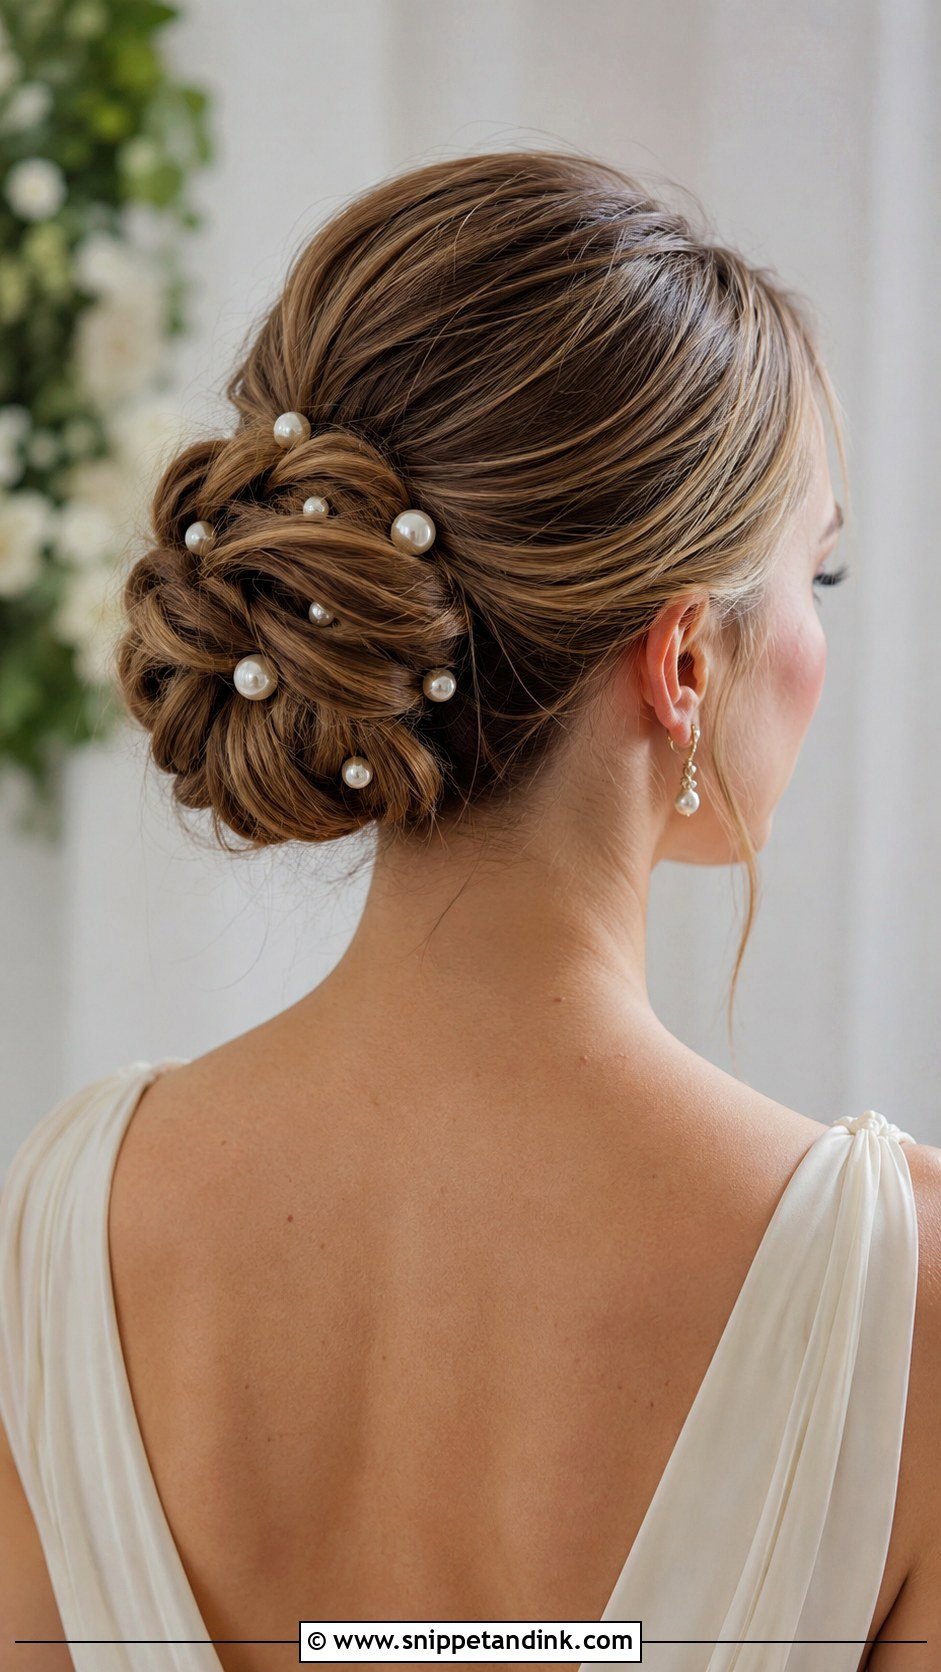
Pearl pins slide straight out of fine hair, so I secure each one by threading it through a crossed grip first. Small pins scattered through a chignon, bun or twist look the quietest; a cluster of three or five near one side gives more presence in photos. If your dress has pearl beading, match the shade, because bright white pearls next to ivory ones look mismatched up close. Done that way, it’s a small, personal finish that suits almost any updo in this list.
18. Soft Curls With Volume
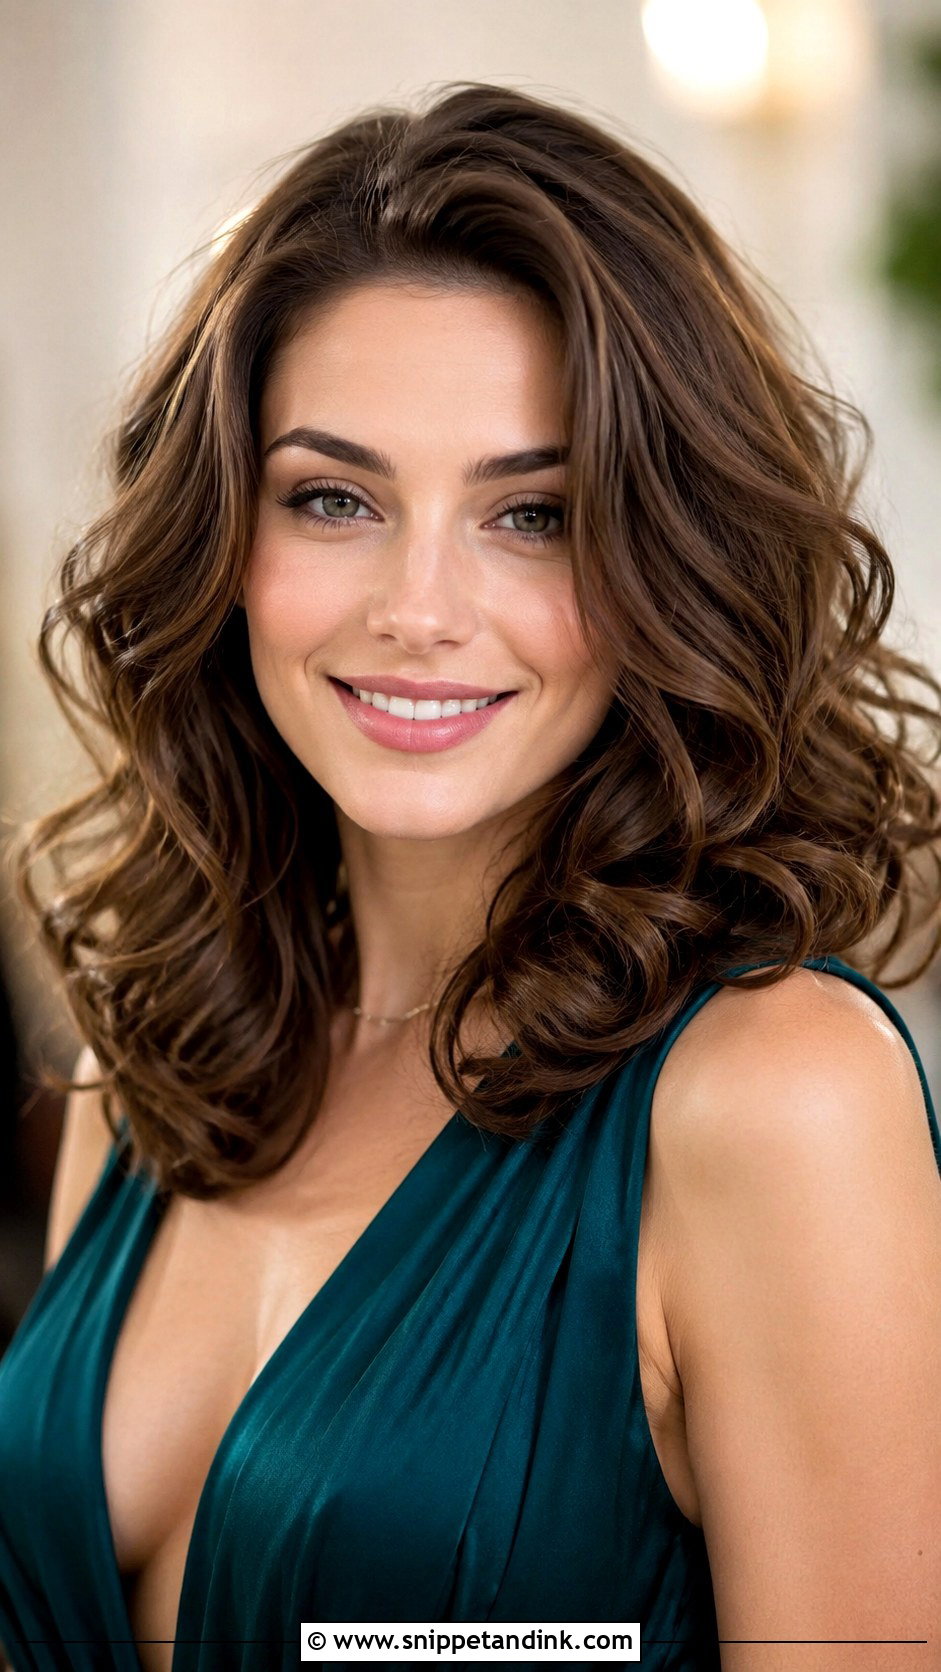
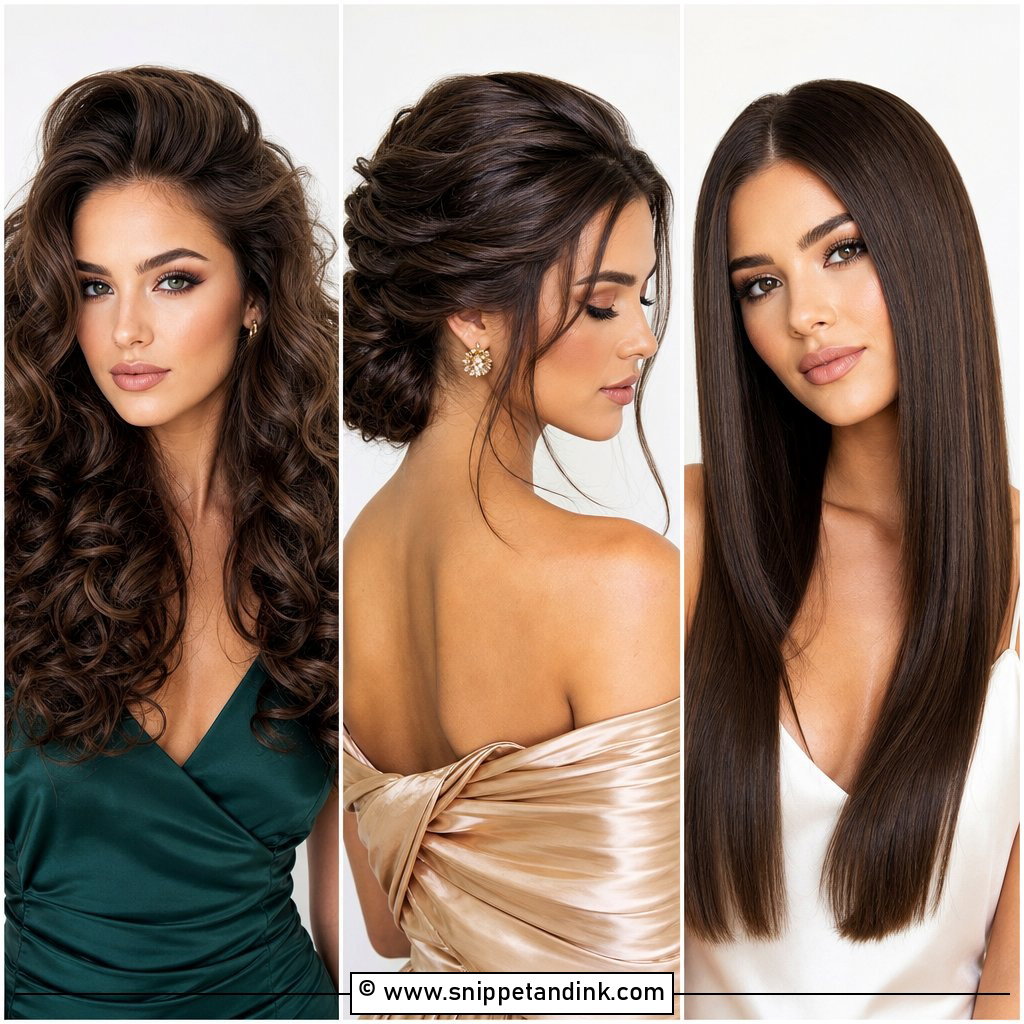
Big curls worn down are the style most likely to drop before the dancing starts, so I don’t take shortcuts with them. I use a large barrel wand, around 1.5 inches, on hair prepped with mousse at the roots, and let each curl cool fully before touching it. Very long, heavy hair pulls curl out under its own weight; medium to long hair in good condition holds best. A few sprays of flexible hold keeps the movement. Expect softer waves by evening, not the tight curls you left the chair with.
19. Sleek Straight Hair
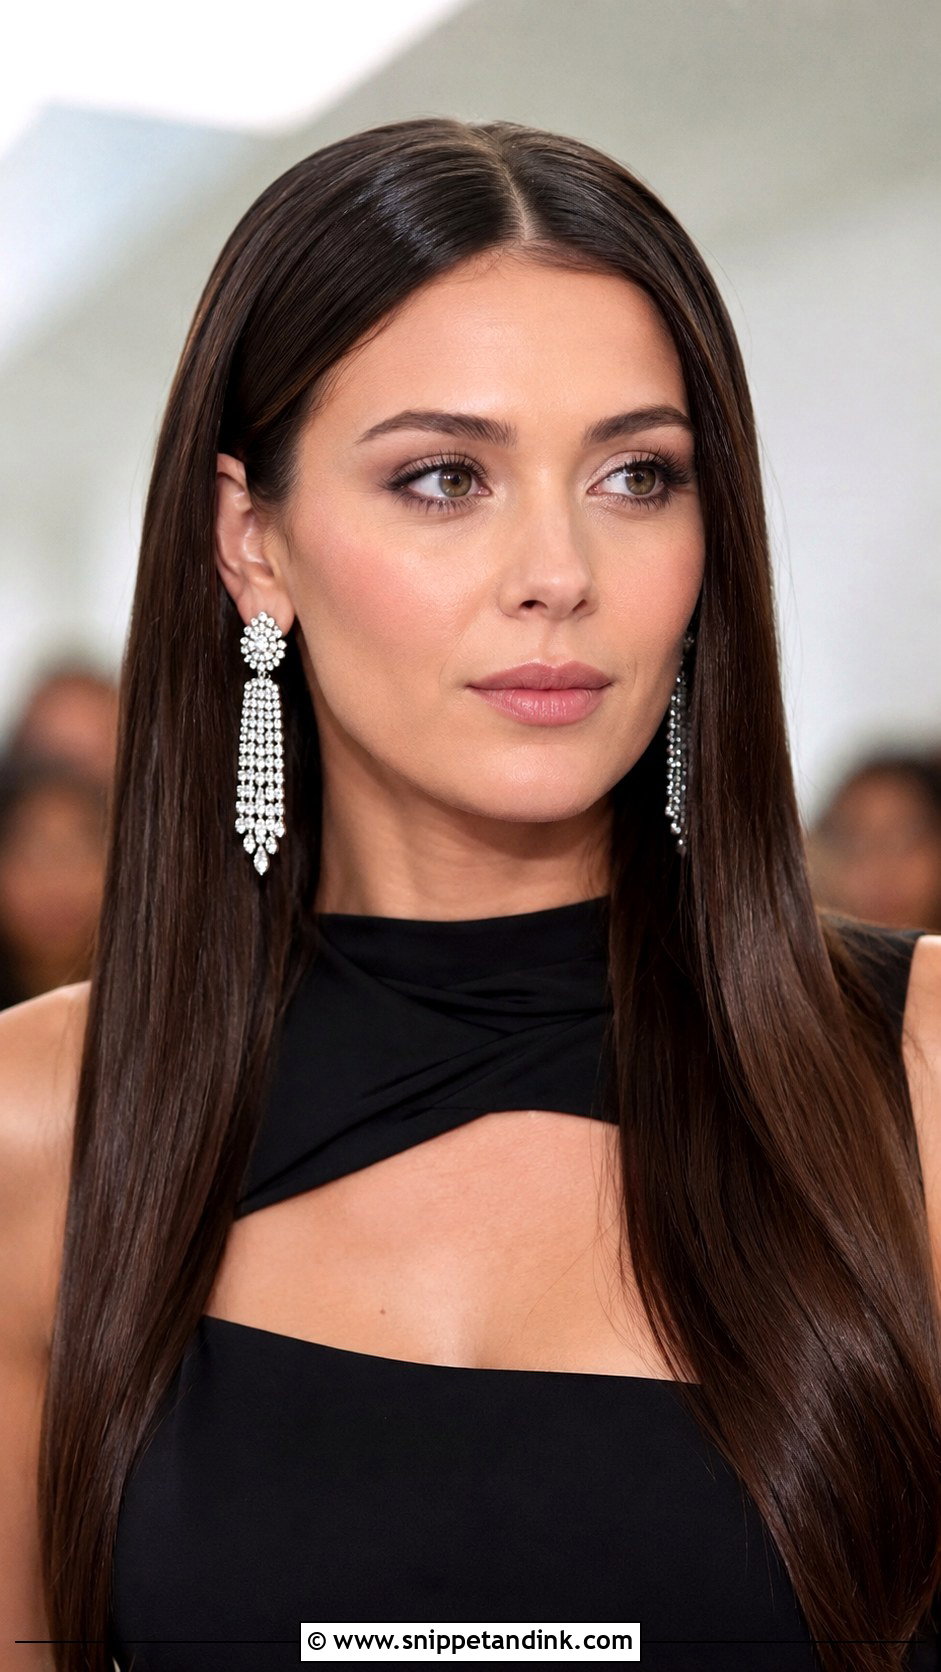
Straight, glossy hair looks simple, but it shows condition more than anything else. Split ends and dryness are obvious on straight hair and hidden by curls, so a trim and a deep mask the week before matter. I flat-iron in thin sections at a moderate heat, then finish with a drop of serum. Centre or side parting depends on your face and your frames. On a humid day straight hair can frizz fast, so keep an anti-humidity spray in your bag.
20. Twisted Crown Updo
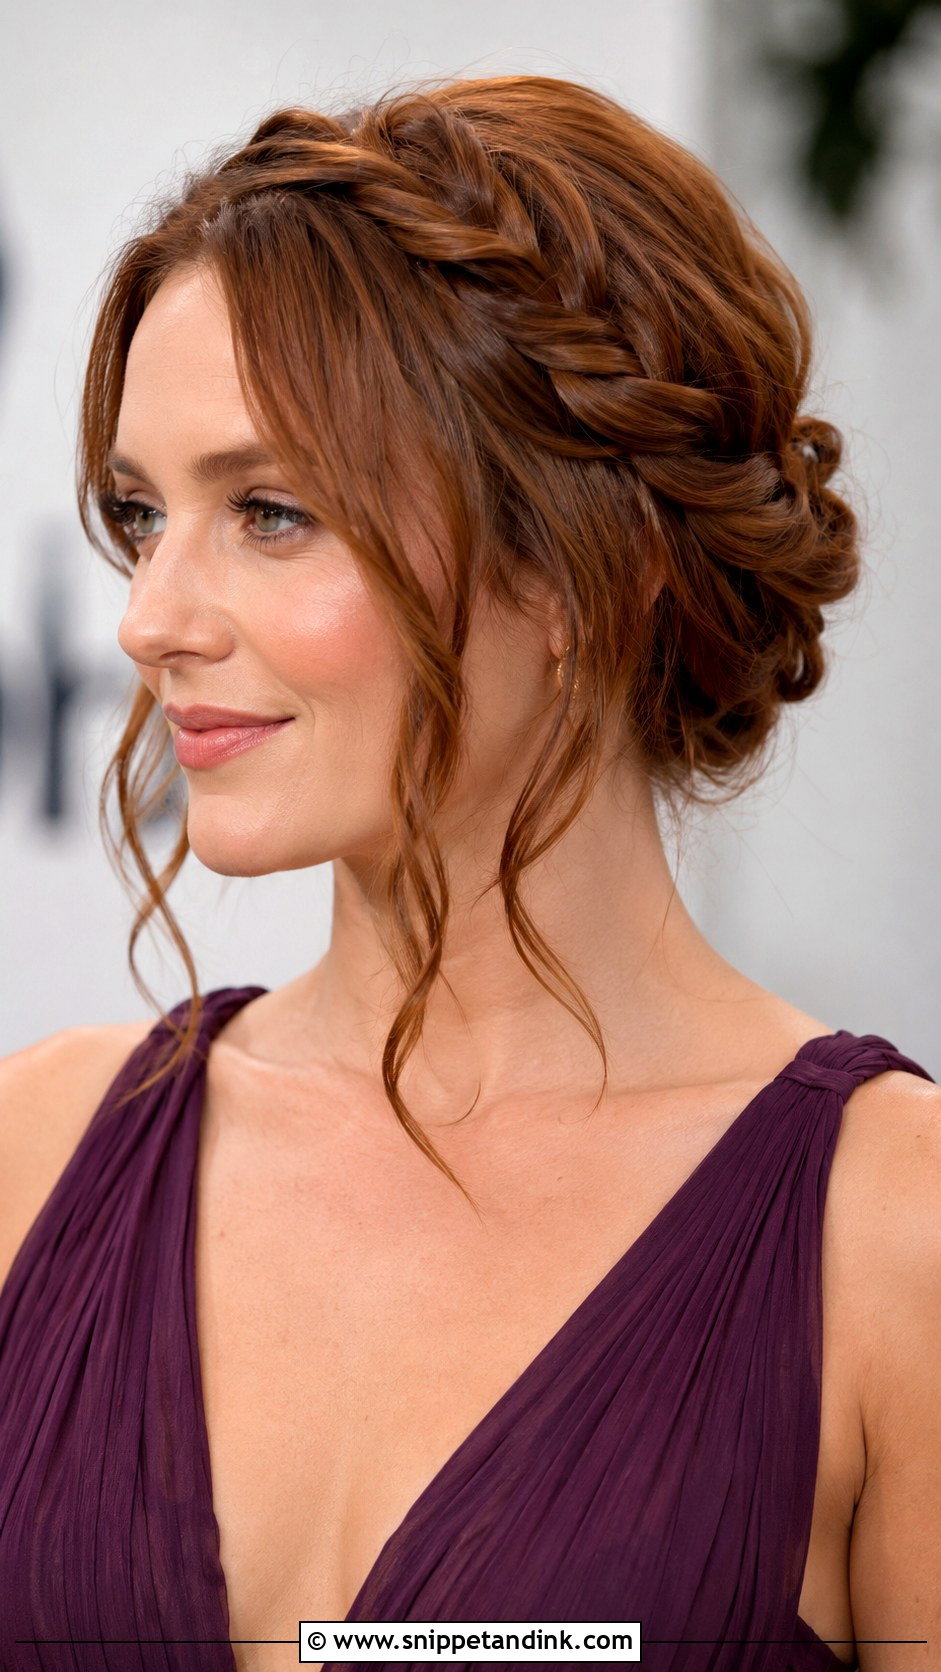
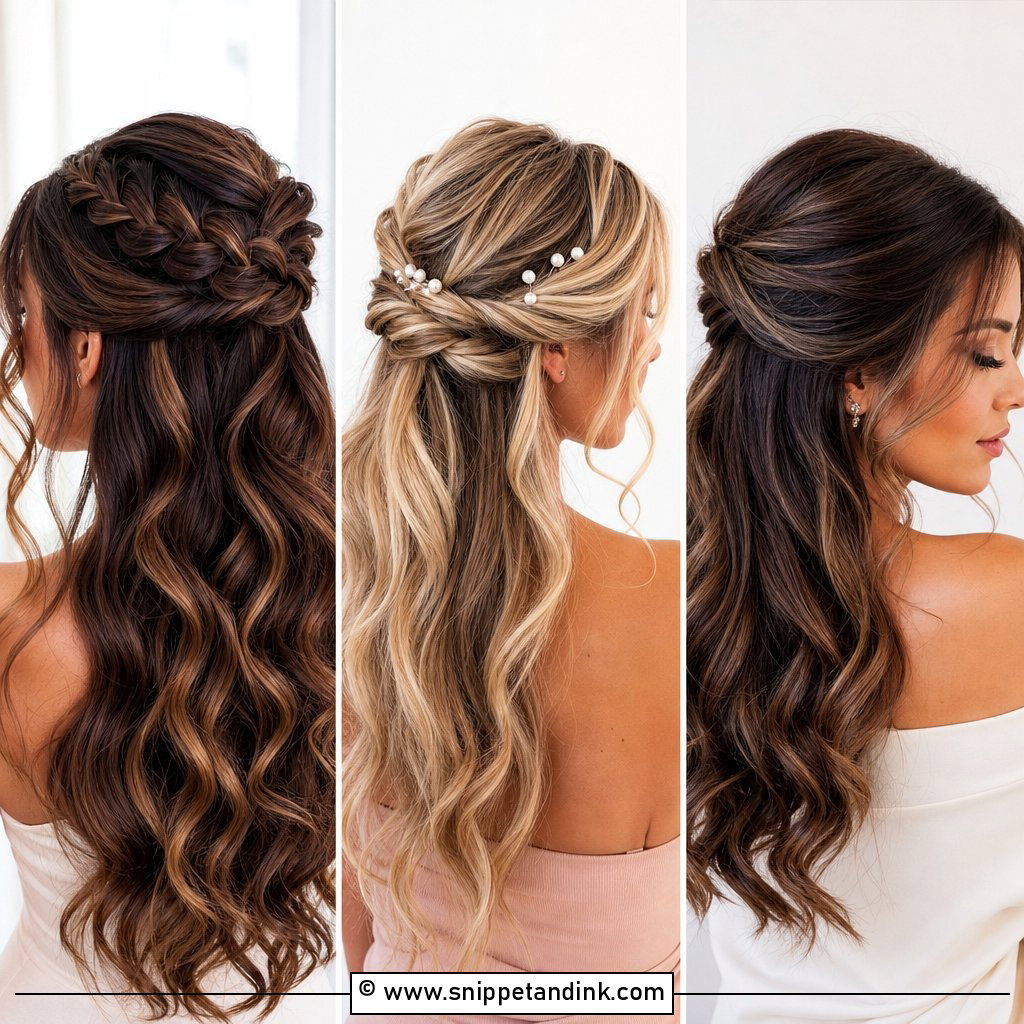
Small rope twists wrap round the back of the head from ear to ear here, and they hide pins very well. It’s a comfortable style because the weight is spread evenly rather than sitting in one knot. Medium to long hair is needed. I’d skip it if you plan to wear a hat or fascinator, since the crown is exactly where a headpiece needs to grip. Leave a couple of soft pieces at the front if you like a softer frame.
21. Short Bob With Soft Bangs
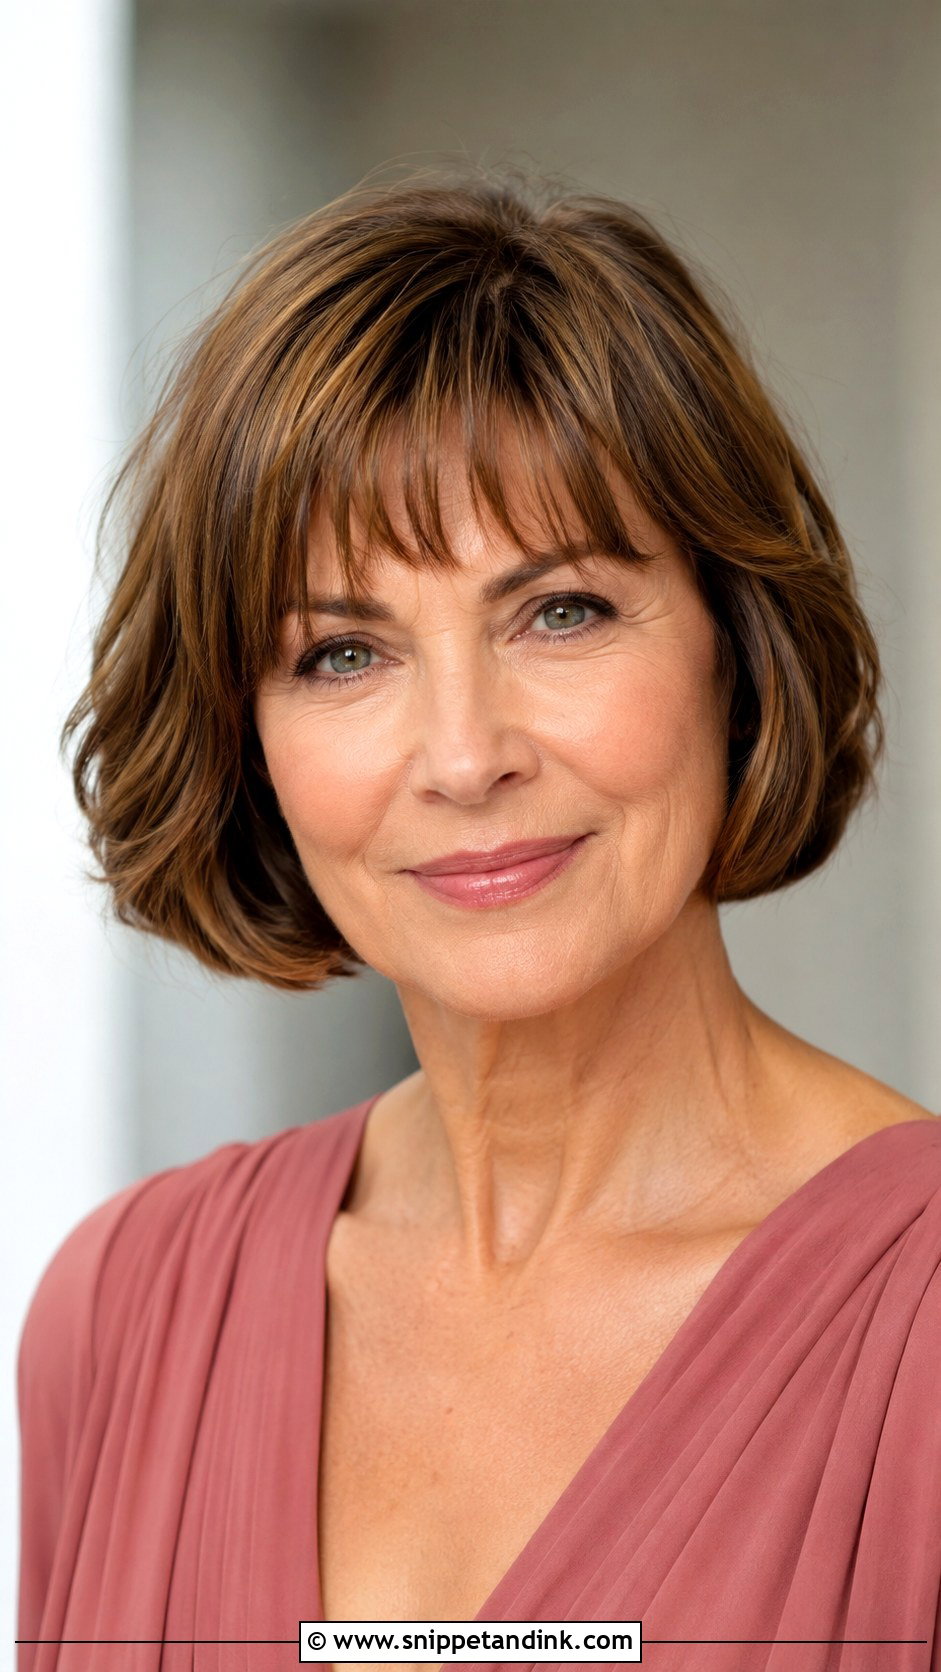
Very little happens on the day with this one, which is its charm. Have the bob refreshed about two weeks ahead so the bangs aren’t too blunt in photos. I smooth it with a round brush and add a slight bend at the ends, or wave it softly if you want more texture. Bangs and reading glasses can clash, so try them on together in the mirror. A little texture spray adds grip and keeps it from looking too flat. Plenty of women over 50 and 60 wear this cut every day, and it rarely needs fixing through the evening.
22. Low Twisted Ponytail
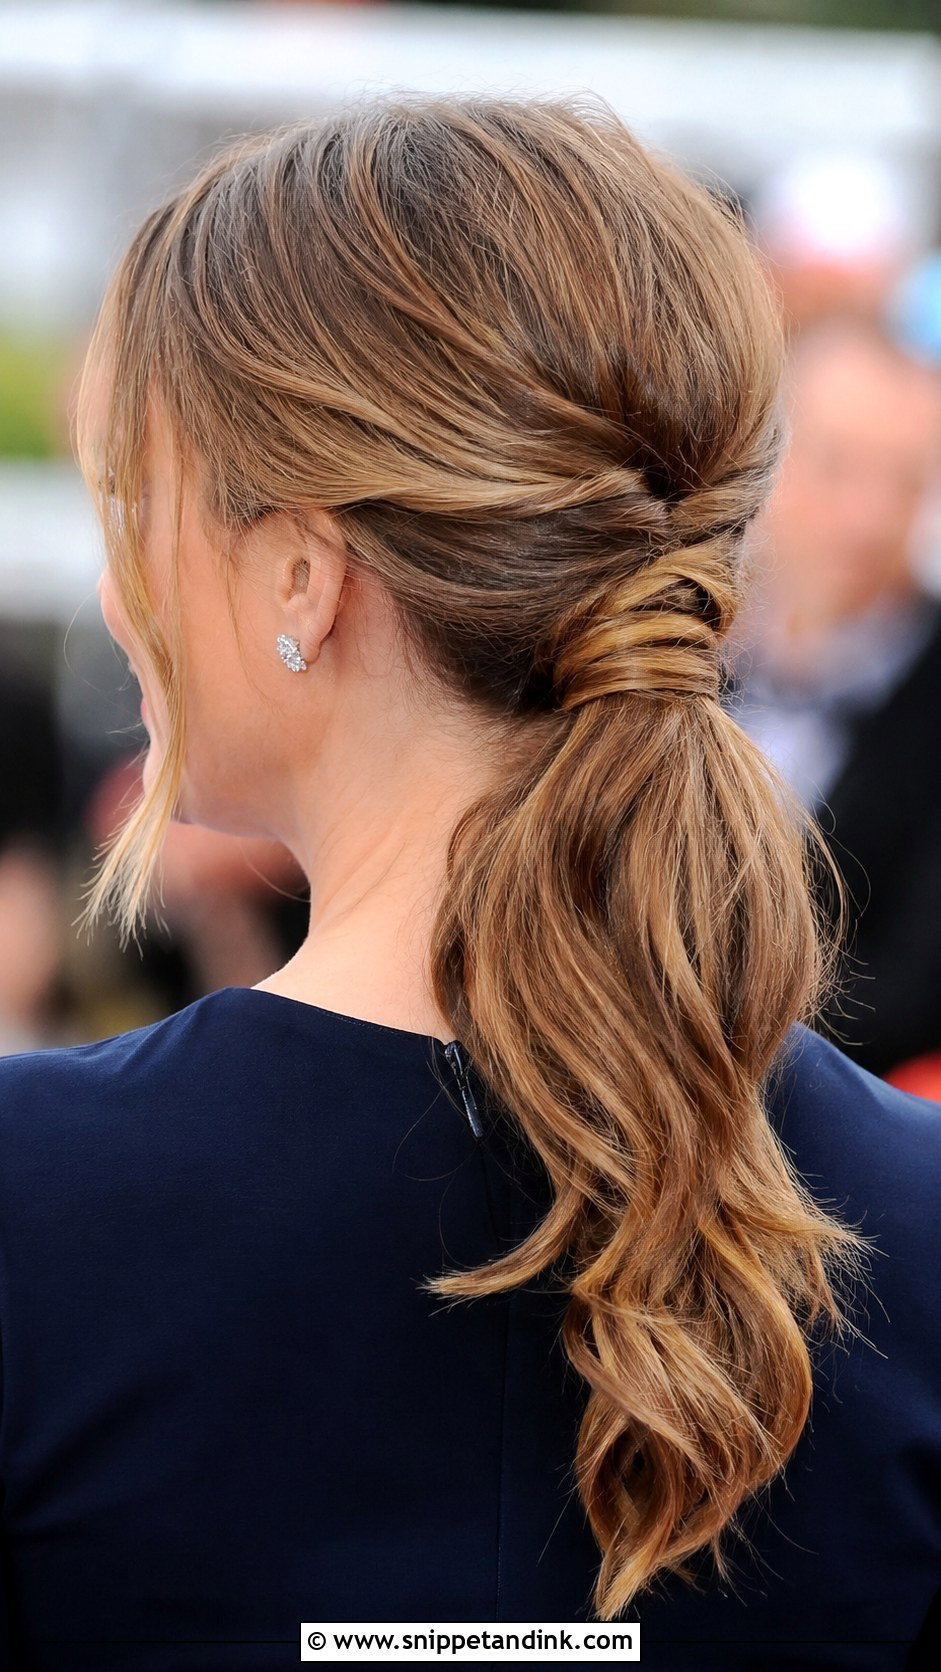
Twisting a low ponytail is the easiest way to keep long hair tidy while still showing the length. I split the hair into two sections, twist them around each other before tying, then wrap a strand around the elastic and pin it underneath so no band shows. Medium to long hair works. Because nothing sits on the back of the head, it’s comfortable through a long dinner in a high-backed chair. Leave a few face-framing pieces out if your face shape suits them.
23. Vintage Finger Waves
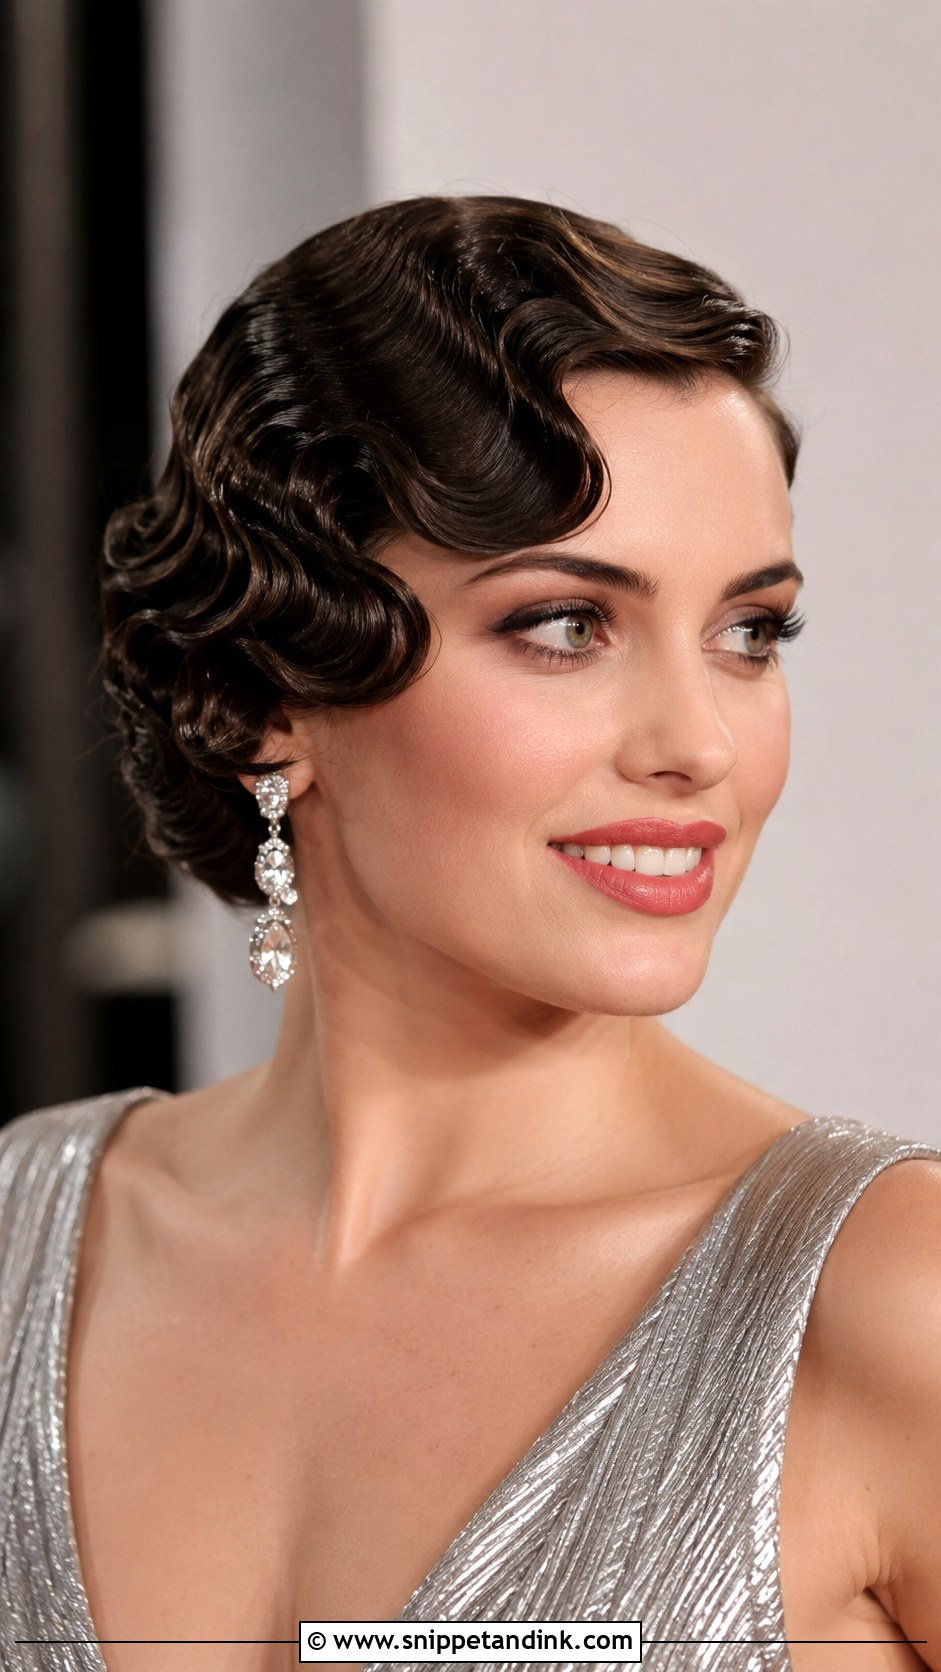
Finger waves are set, not curled. On short to medium hair I apply setting lotion to damp hair, comb in the S-shapes with my fingers and a fine comb, clip each ridge and let it dry with a diffuser. It takes time and skill, and not every stylist does them well, so ask to see finger waves they’ve actually done. The finish is shiny and sharply defined. Pair it with statement earrings and a classic gown if you love retro glamour; it does look out of place at a casual outdoor wedding.
24. Half-Up Bump With Waves
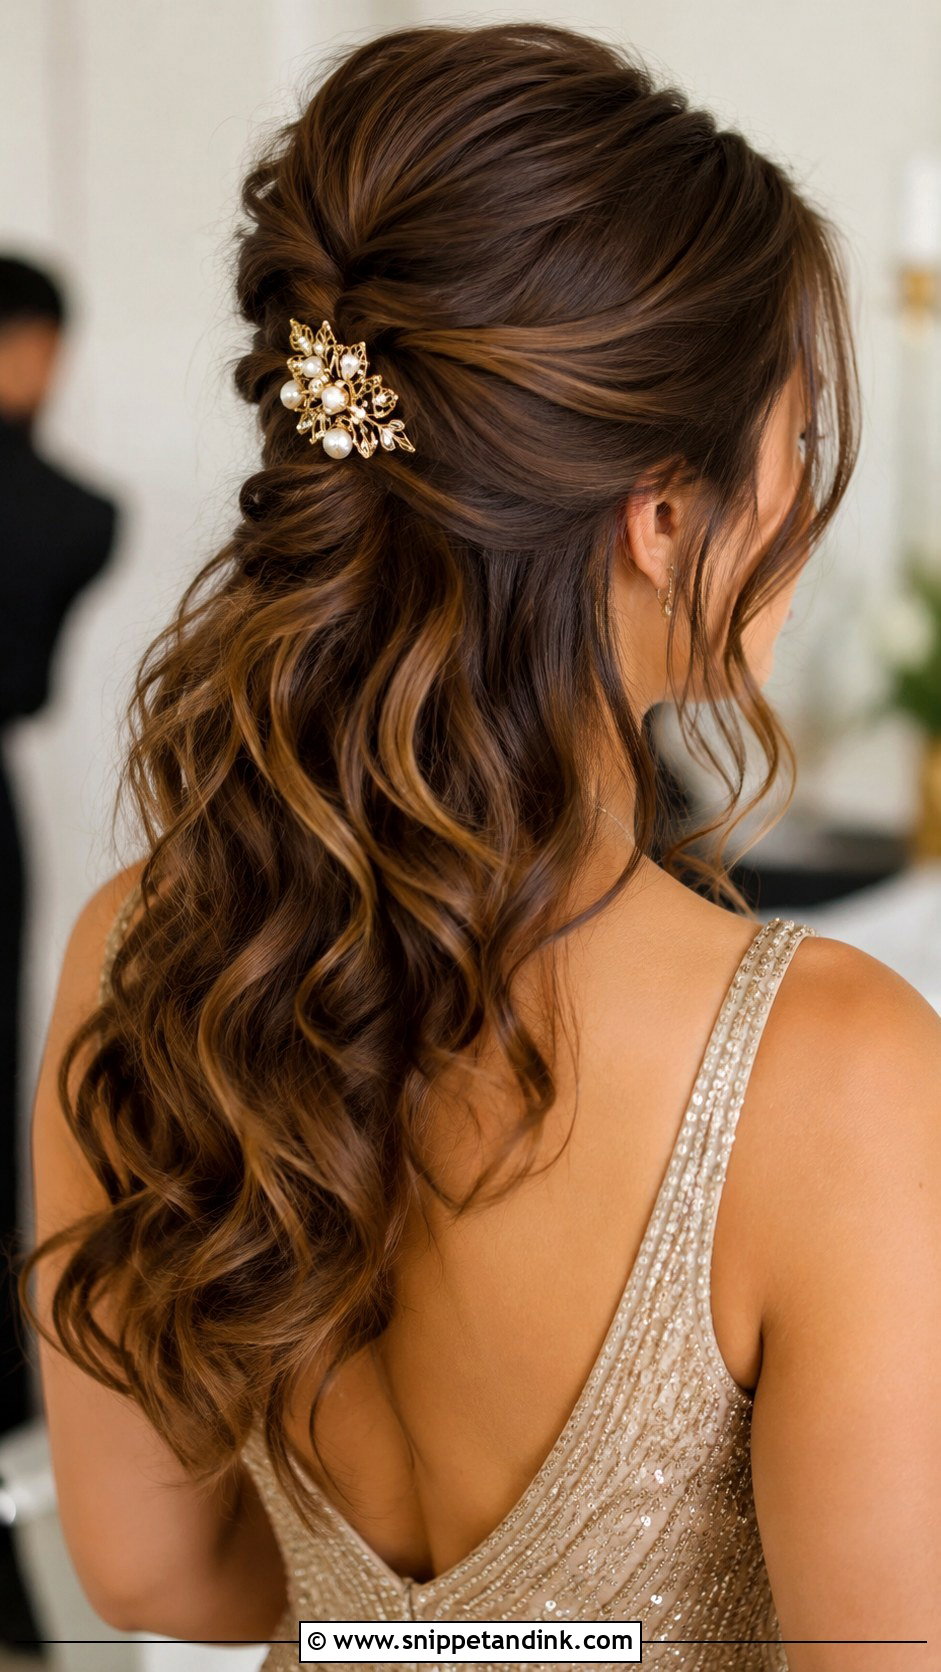
The bump adds height at the crown, which lengthens a round face more than any other half up shape. I backcomb a section at the crown, smooth the top layer over it, and pin it at the back. Fine hair may need a small padded insert for the bump to hold through the day. Below it, soft waves keep the bottom romantic. A decorative clip covers the pins. Medium to long hair is needed for the waves to have room.
25. Side-Swept Updo
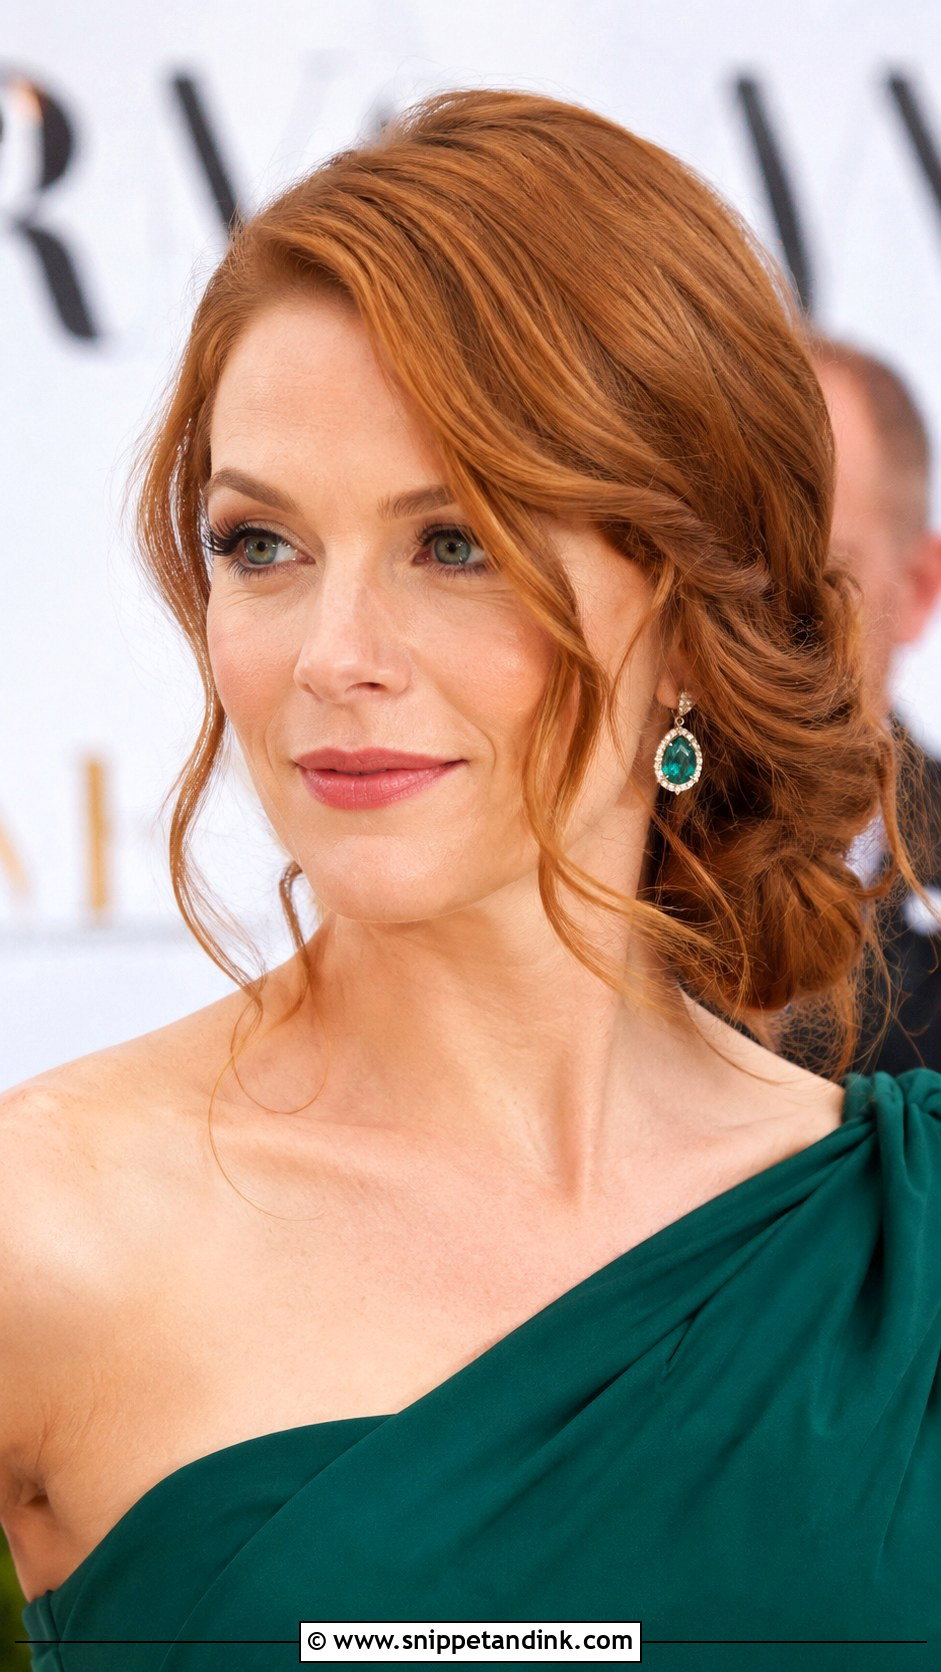
Gathering an updo to one side shows off earrings and an asymmetric neckline. I pin the base low behind one ear, then build the shape with curled sections pinned on top. Because the weight sits low, it’s comfortable for all-day wear. Soft tendrils around the face keep it from looking stiff. Medium to long hair is needed, and the bun should go on the side of your best profile.
26. Textured Crop
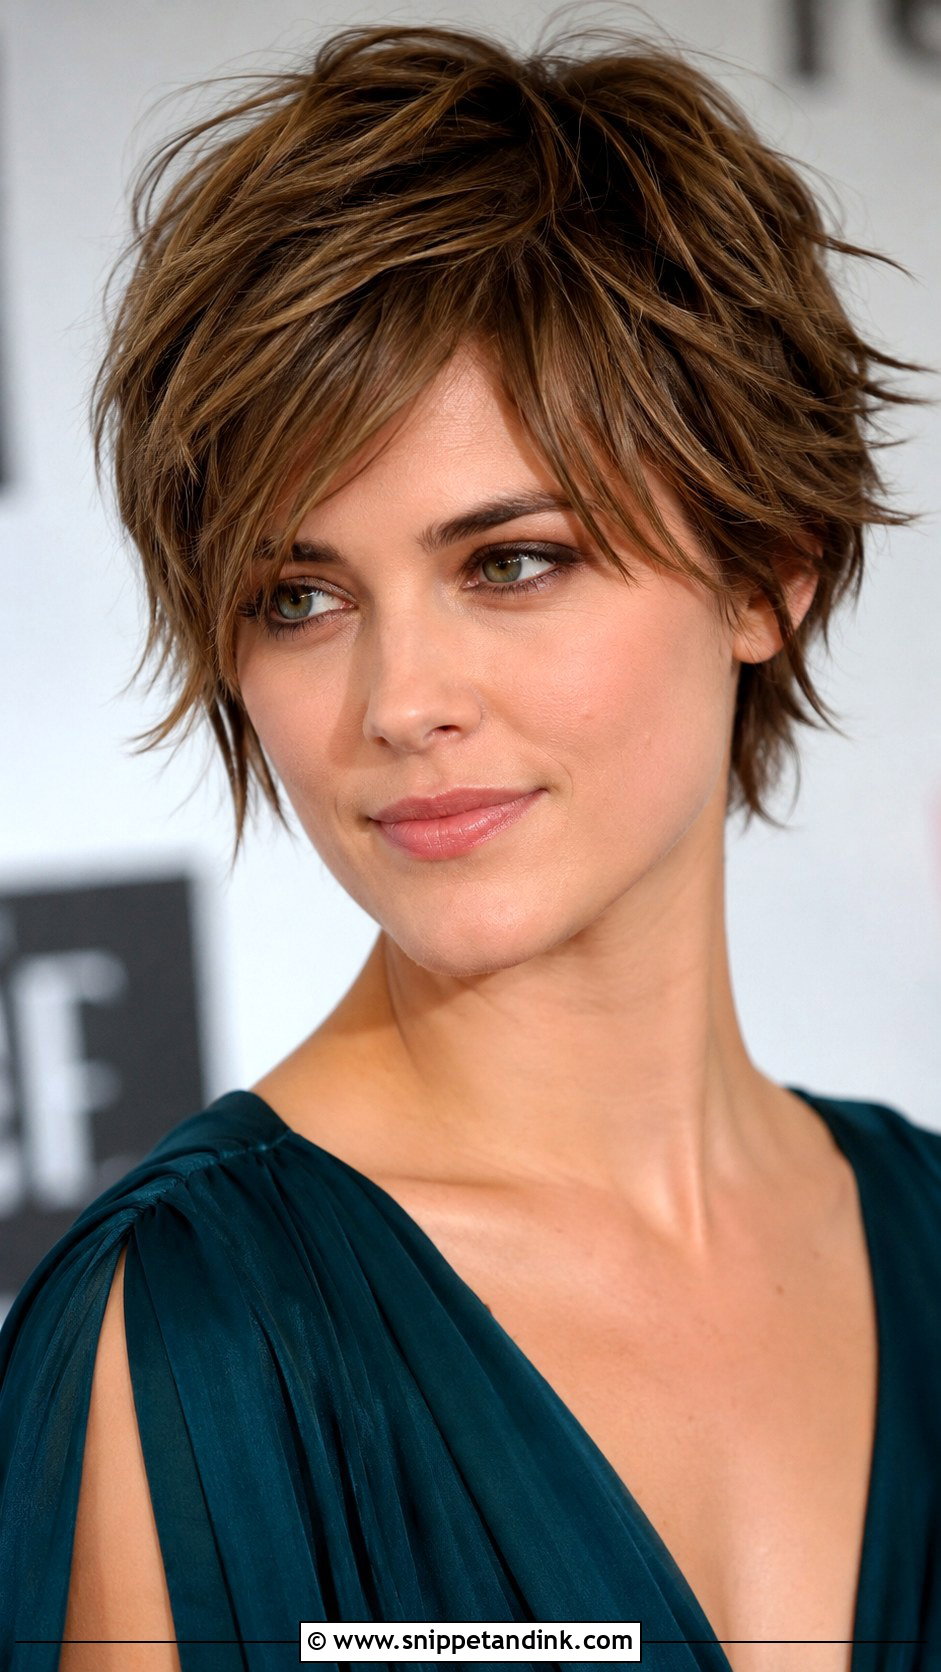
A textured crop is for women who already love a short cut and don’t want to fuss on the day. I work a pea-sized amount of wax through dry hair, then pinch the ends to separate the pieces. Refresh the cut about a week before so the edges settle. Nothing drops or slides, so you’re free to enjoy the celebration. It suits someone who’s confident in short hair, and it pulls attention to the eyes and cheekbones.
27. Loose Braided Crown
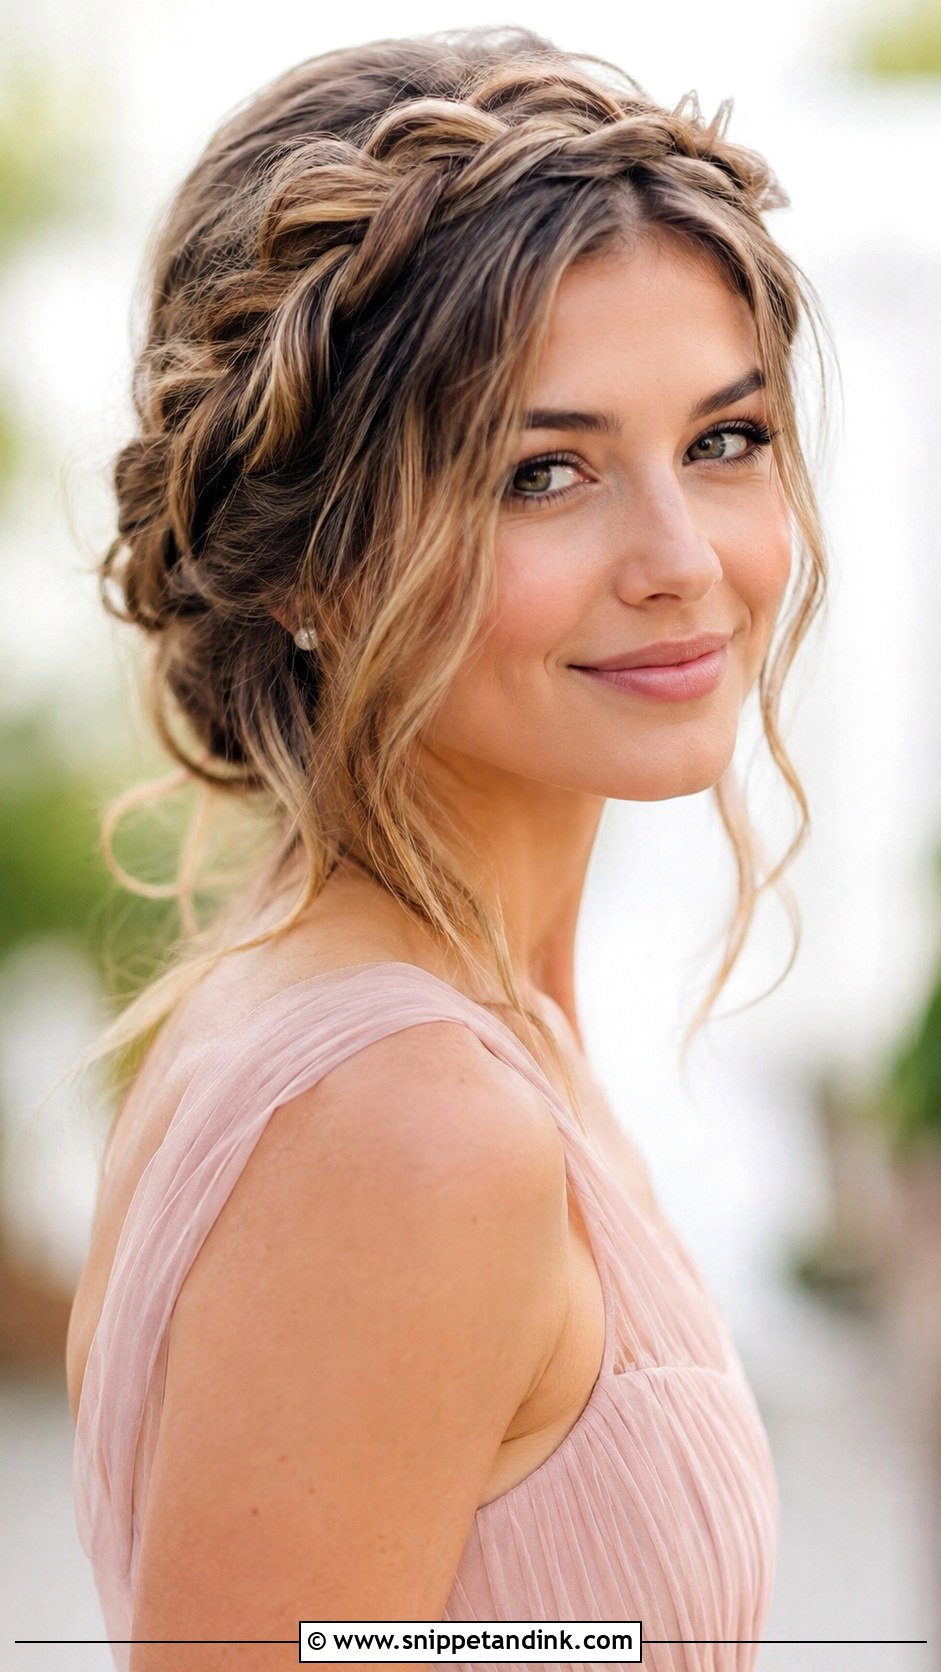
A braided crown sits on top of the head, so it needs length: shoulder-length hair often won’t reach all the way round, and I’ll add a clip-in braid to close the circle. I plait two braids from behind the ears, cross them over the top and pin them, then pancake them for width. Leaving soft pieces at the face keeps it from looking schoolgirl. It reads boho, so it fits garden and outdoor weddings better than formal ones.
28. Glamorous Hollywood Waves
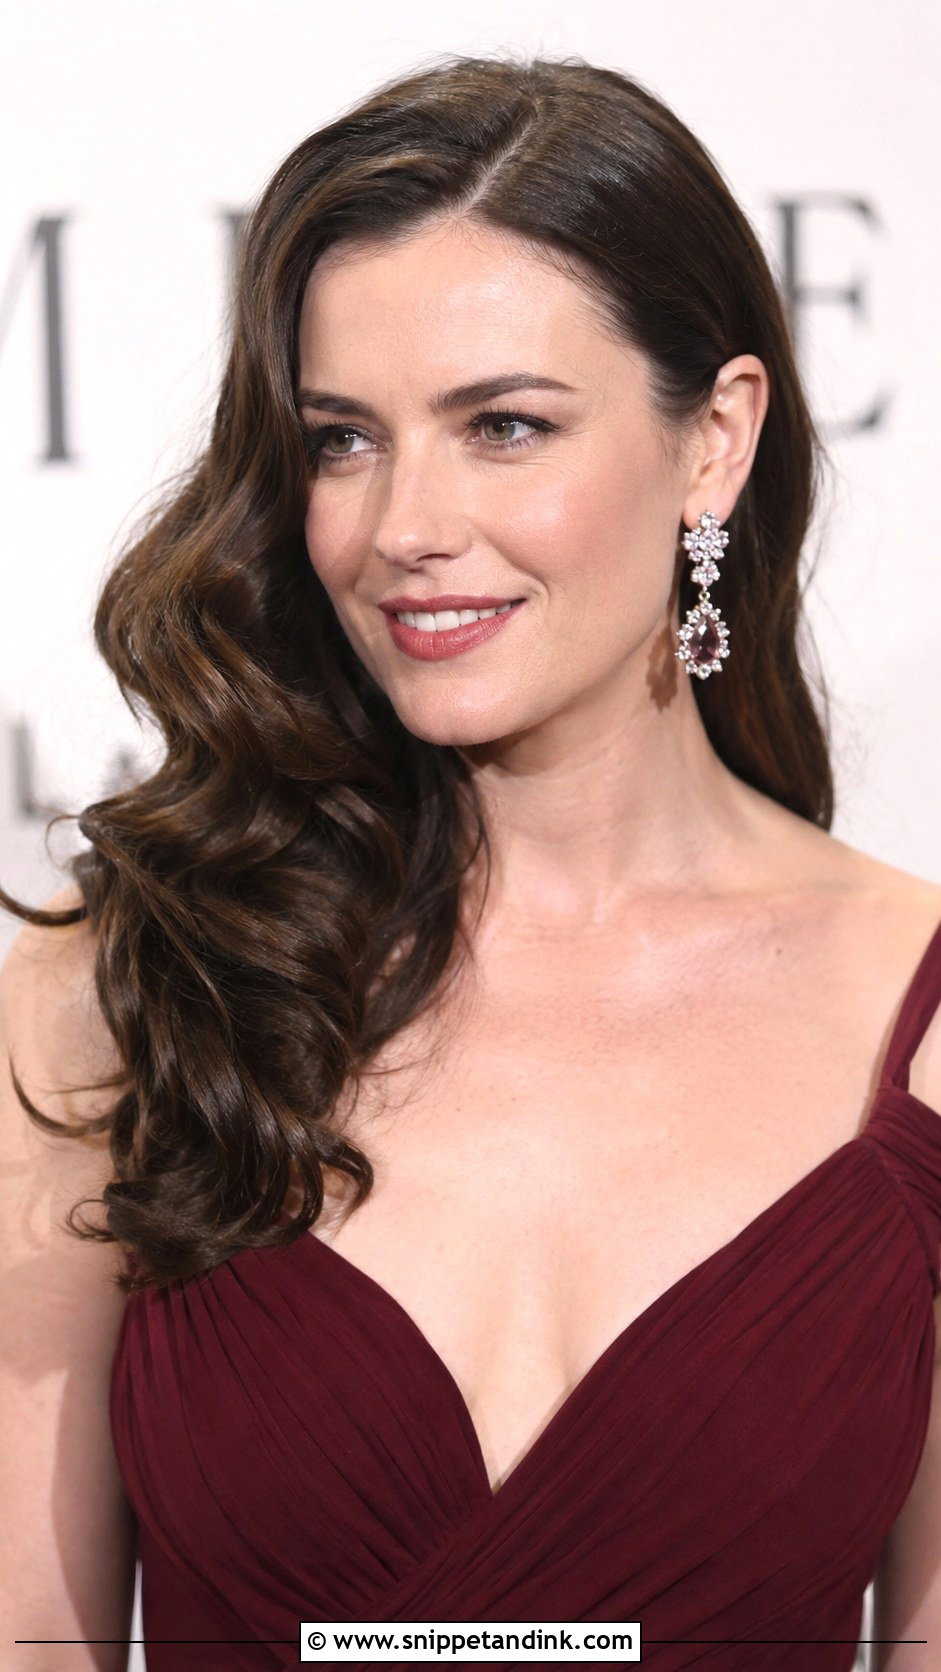
Old Hollywood waves are curled, then brushed out into one continuous wave, which surprises people who expect separate ringlets. I curl every section in the same direction with a 1 inch iron, pin each to cool, then brush through with a boar bristle brush and clip the crests while spray sets. A deep side part is essential. Medium to long hair with a smooth finish works best. With statement earrings and a sleek gown, it’s the most glamorous style on this list.
29. Wispy Layered Bob
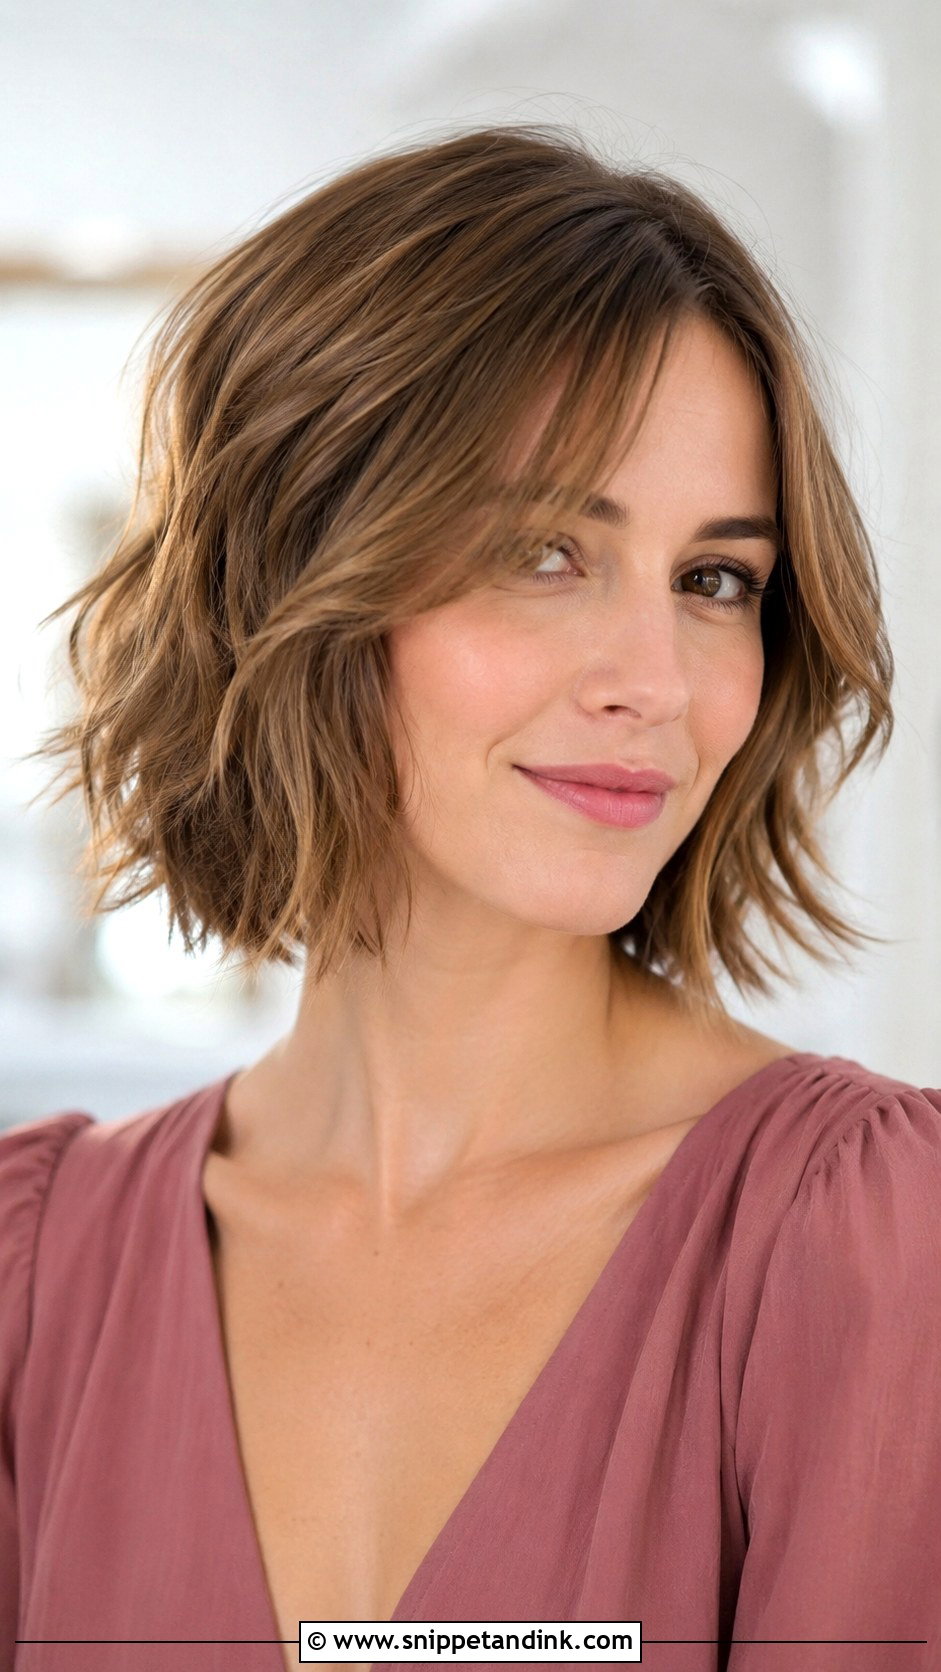
A wispy layered bob relies on texture more than heat. I give it a light bend with a flat iron, then spray texture through the mid-lengths and scrunch. The wispy ends frame the face and soften the jawline. If you’d rather a cleaner shape, a smooth blowout works too. It stays manageable all day because it has no shape to lose.
30. Classic Updo With Volume
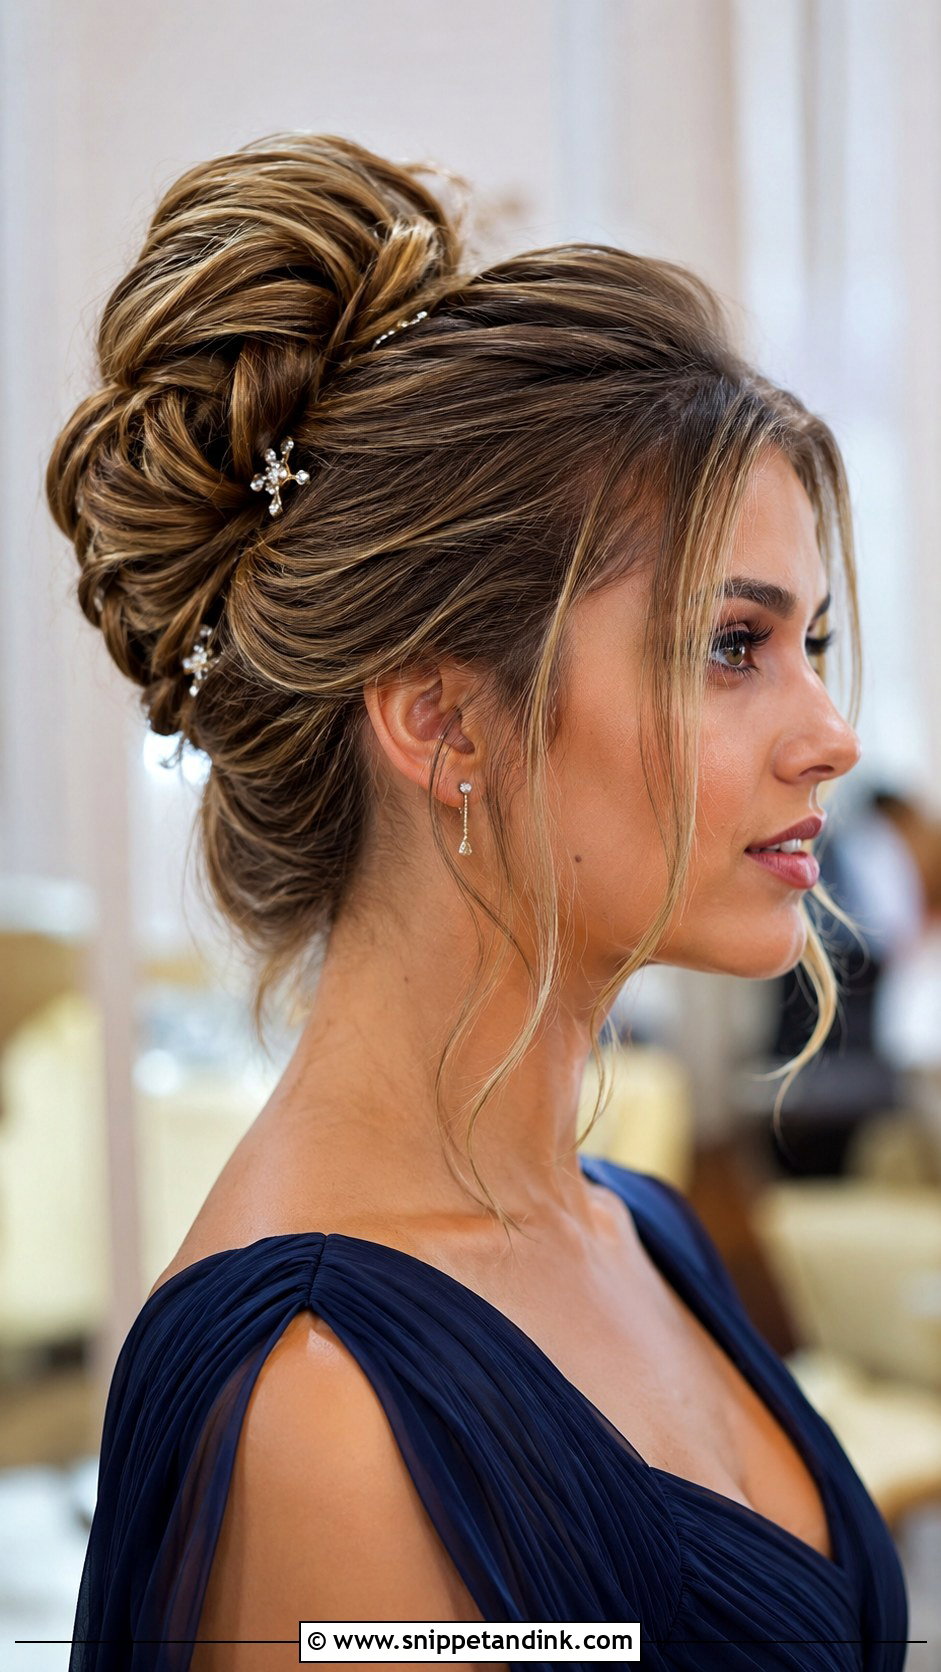
Volume in an updo comes from the set, not the spray. I put the hair in hot rollers first, backcomb at the crown, then gather it up into a shape with height. It suits formal weddings and adds length to round or square faces. Medium to long hair is needed. Decorative pins add sparkle. Before you leave the chair, ask to see the back in a hand mirror, since that’s what guests behind you at the ceremony will see for half an hour.
The Groom’s Side Often Gets Ready Somewhere Else
The bride’s hair team is usually booked around the bridal suite, and the groom’s mother isn’t always included. Ask early if you’re on their schedule. If not, book your own stylist as soon as the date is fixed, because good wedding stylists fill weekends months ahead.
Work backwards from the first photo you’re in, not from the ceremony. Groom’s family portraits are often taken before the bride arrives, so you may need to be finished an hour earlier than you think.
- Wash the night before if your hair is fine and slippery; second-day hair grips pins better.
- Wear a button-front top in the chair so nothing goes over your head afterwards.
- Bring your headpiece, earrings and a photo of the dress neckline.
- Ask for four or five spare grips in a small bag for touch-ups after the hugging starts.
Fascinators and Hats Need a Base Built Underneath
A fascinator on a headband or comb needs something to grip. I place a small hidden section of crossed grips where it will sit, then slide the comb in against them. Hats are harder: a brimmed hat flattens volume at the crown, so choose a low style such as a chignon or low ponytail, and try the hat at the trial. If you plan to take it off at the reception, ask your stylist to leave the crown soft enough to fluff back up.
Go Into the Trial With the Neckline Already Decided
The right mother of the groom hairstyle is the one you forget you’re wearing by the second hour. Pick two or three styles from this list that suit your length and texture, book a trial with the dress neckline and earrings already decided, and keep the trial style in for the rest of the afternoon to see how it holds. If anything aches, slides or annoys you by dinnertime, that is when to change it, not on the morning itself. Then you can relax and watch your son get married.
You'll Like These Ideas:


Leave a Reply