
Hair after fifty behaves differently from the hair in most wedding inspiration photos. It may be finer, greyer, drier or shorter than it used to be, and a good style for your son’s wedding works with that instead of hiding it. I’ve put together 25 looks I’d genuinely recommend to a mother of the groom, from short cuts that only need a careful blow-dry to updos that hold through a long dinner. For each one I’ve noted what kind of hair it needs and what tends to go wrong, so you can bring a realistic shortlist to your hairdresser.
Not Part of the Bride’s Hair Booking? Plan Your Own Morning
The bride’s stylist usually works in the bridal suite with the bride, her mother and the bridesmaids. The groom’s mother is often getting ready somewhere else, and many find out late that they’re not on the list. Ask the couple early. If there’s room on the bride’s schedule, great; if not, book your own appointment.
If you’re booking separately, here’s how I’d plan it:
- Book a salon you know, or a stylist recommended by the couple, at least two to three months ahead for a spring or summer Saturday.
- Ask for a trial, or at least a practice blow-dry, a few weeks before the date.
- Schedule the appointment so you finish about an hour and a half before you need to leave. That allows for travel, dressing and photographs with the groom.
- Wear a button-front shirt to the appointment so you don’t pull anything over your head.
- Bring a scarf for the car if you’re driving with the windows down or travelling to an outdoor venue.
Styles worn down, such as bobs, lobs and blowouts, hold for many hours if the root is set properly. An updo is more secure if you’re travelling a long distance or the venue is windy.
1. Classic Low Chignon for Mother of the Groom
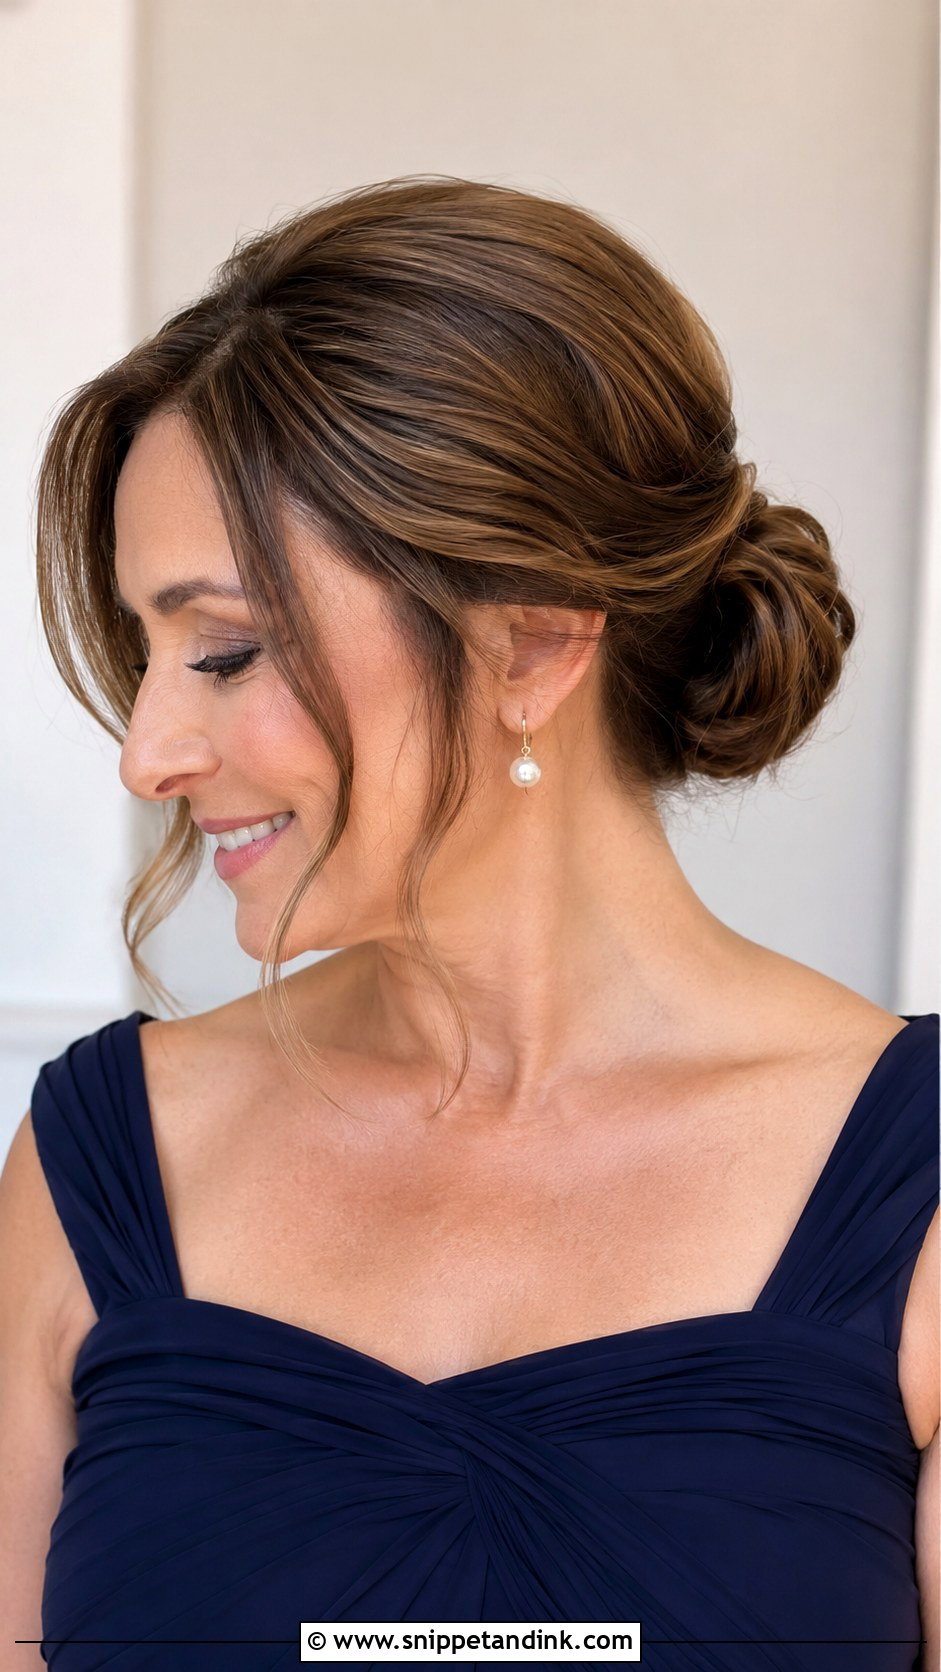
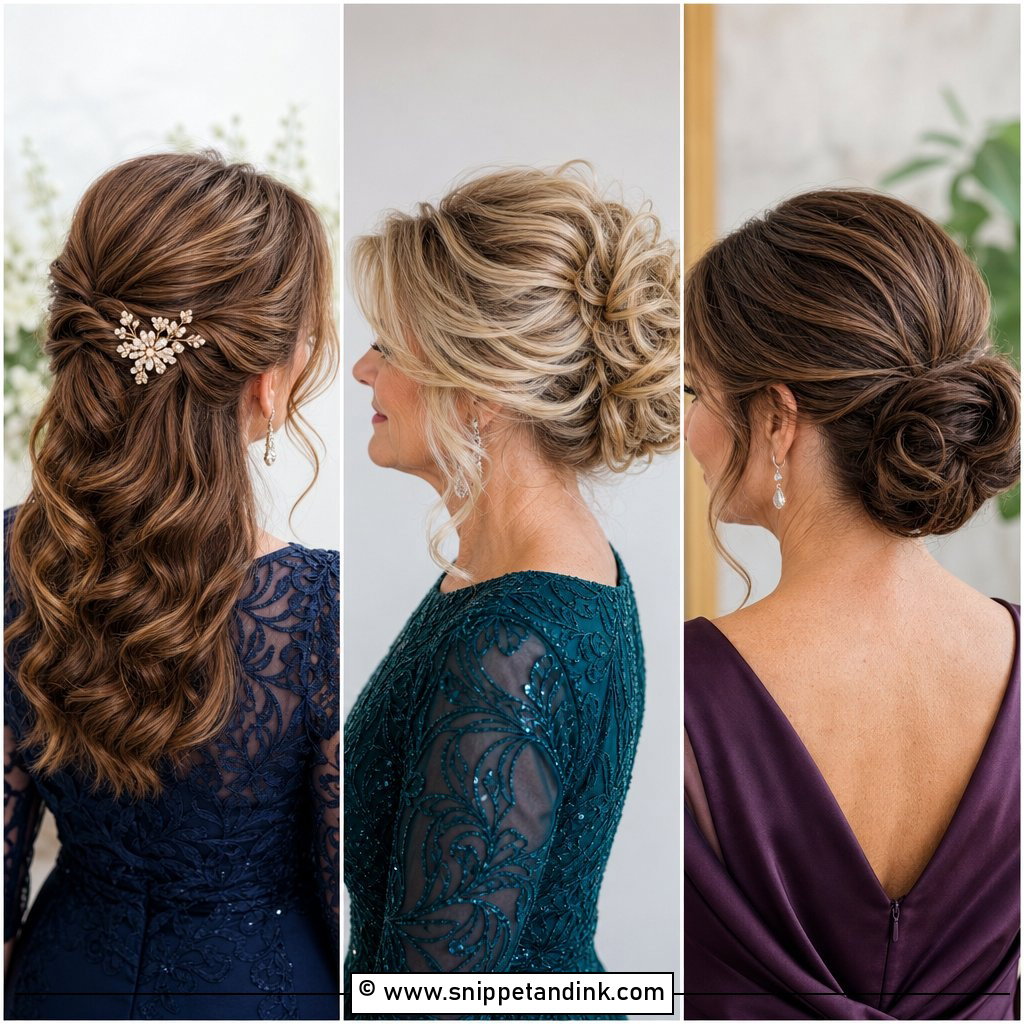
A chignon set at the nape is the most dependable formal style I know for this age group. It needs hair roughly past the shoulders, it sits below any thinning at the crown, and it leaves the neck clear for a necklace. I build it over a small, secure ponytail so the roll has a firm anchor, which is why it survives a long receiving line. Grey hair rolls just as neatly as coloured hair; it just needs a little more product to grip.
2. Soft Waves for Medium Length Hair
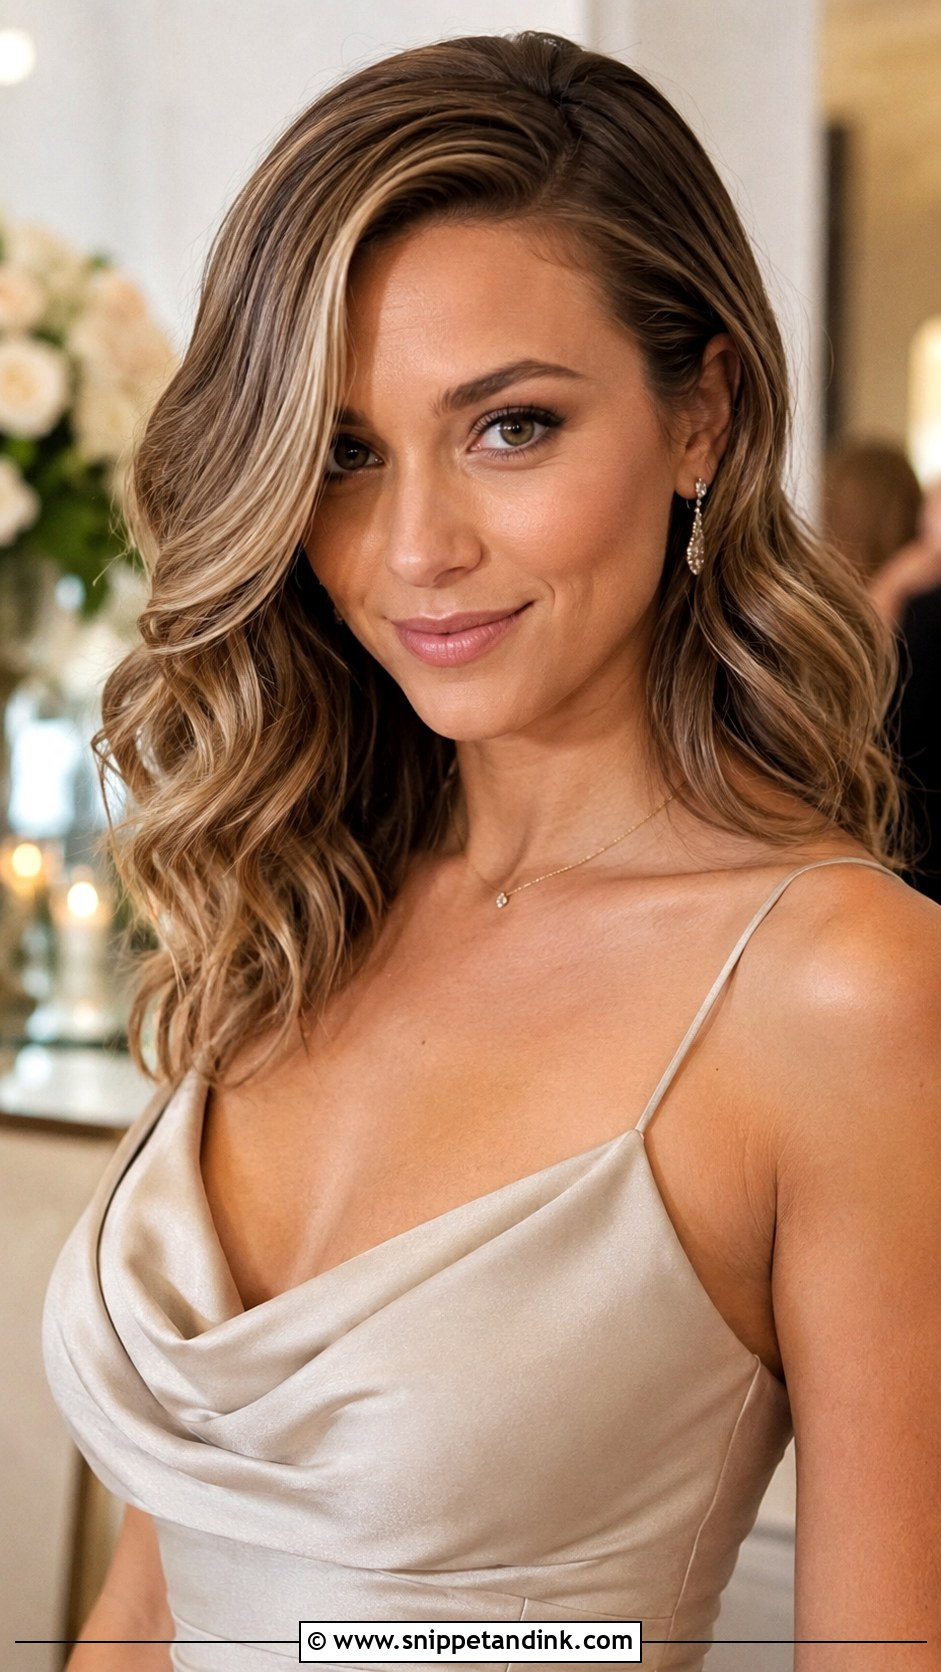
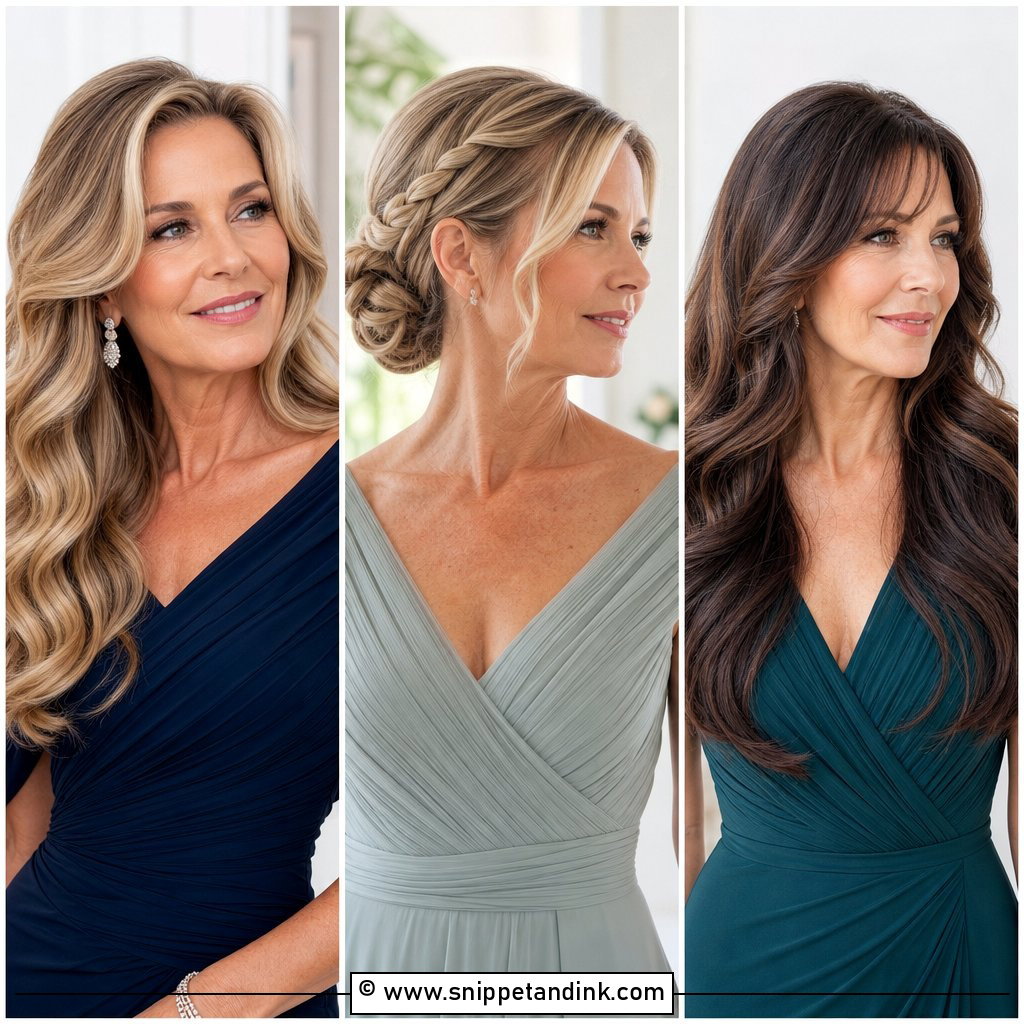
Waves add volume where fine hair needs it most, around the face. I use a large barrel and curl away from the face, then brush the waves out once they’ve cooled so they look soft rather than ringlet-like. A deep side part gives instant lift at the root. The catch is humidity: fine waves can drop within a few hours, so a setting spray before curling matters more than hairspray afterwards.
3. Elegant French Twist Updo
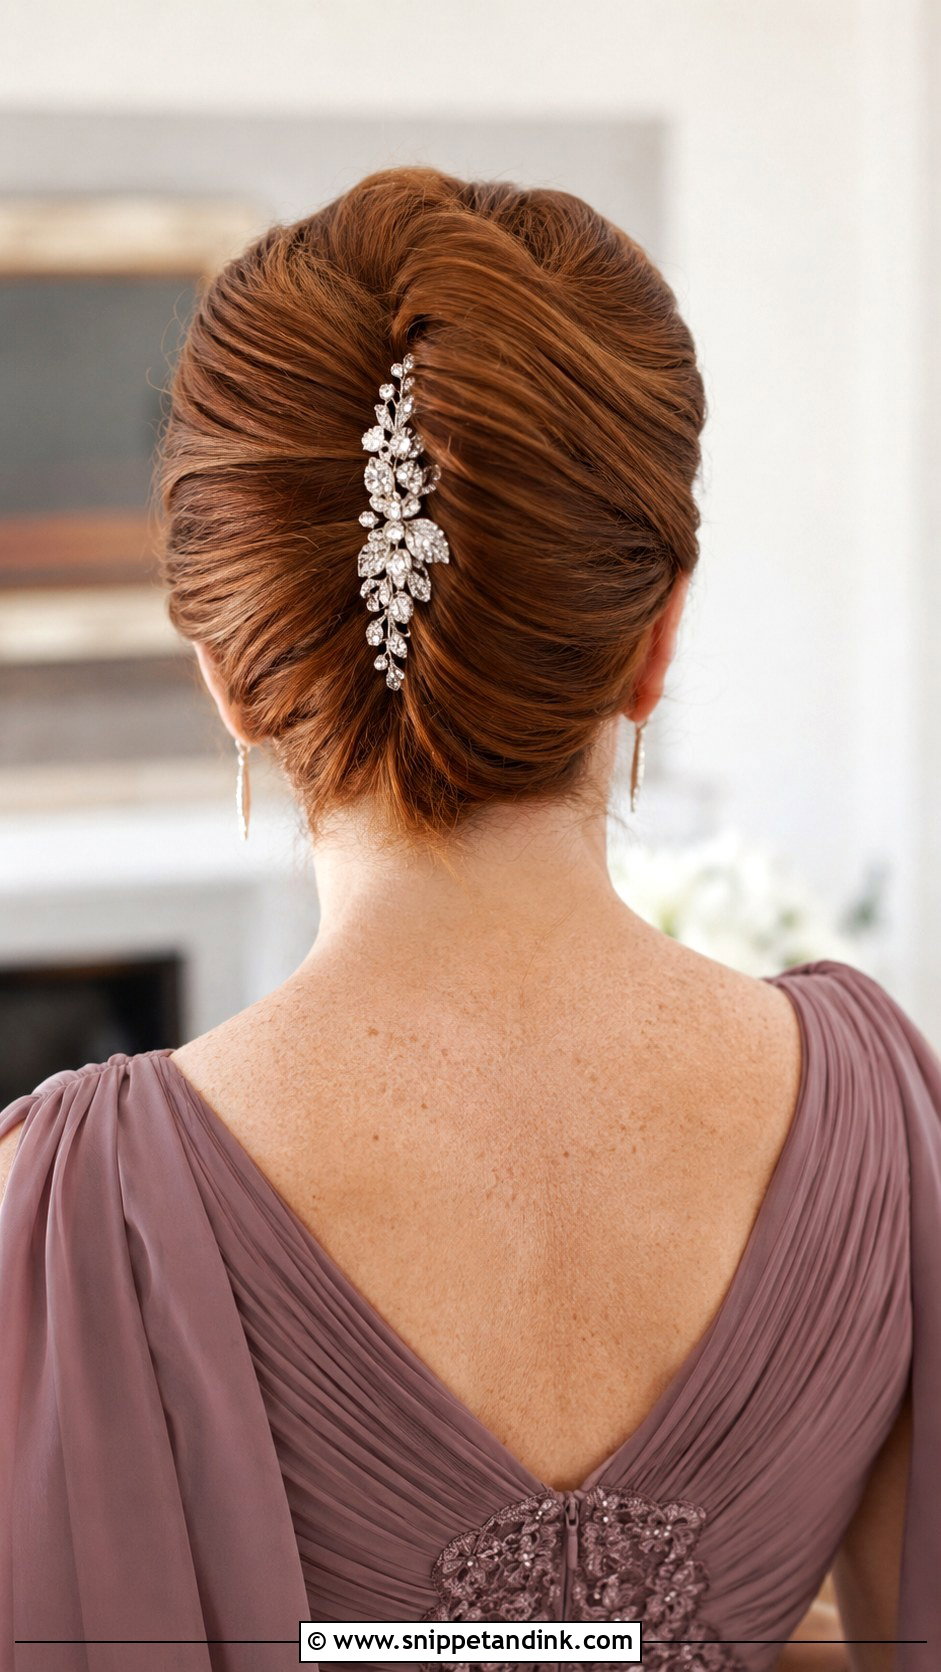
Thick hair is the best match for a French twist, because the roll needs bulk to look full. The hair is gathered to one side, twisted upward and pinned along the seam with crossed bobby pins. Fine hair can still wear it with backcombing inside the twist, but the result is slimmer. A jewelled comb along the seam works well and hides the pins. It opens the neckline completely, so plan your earrings and neckline around it.
4. Half Up Half Down with Curls
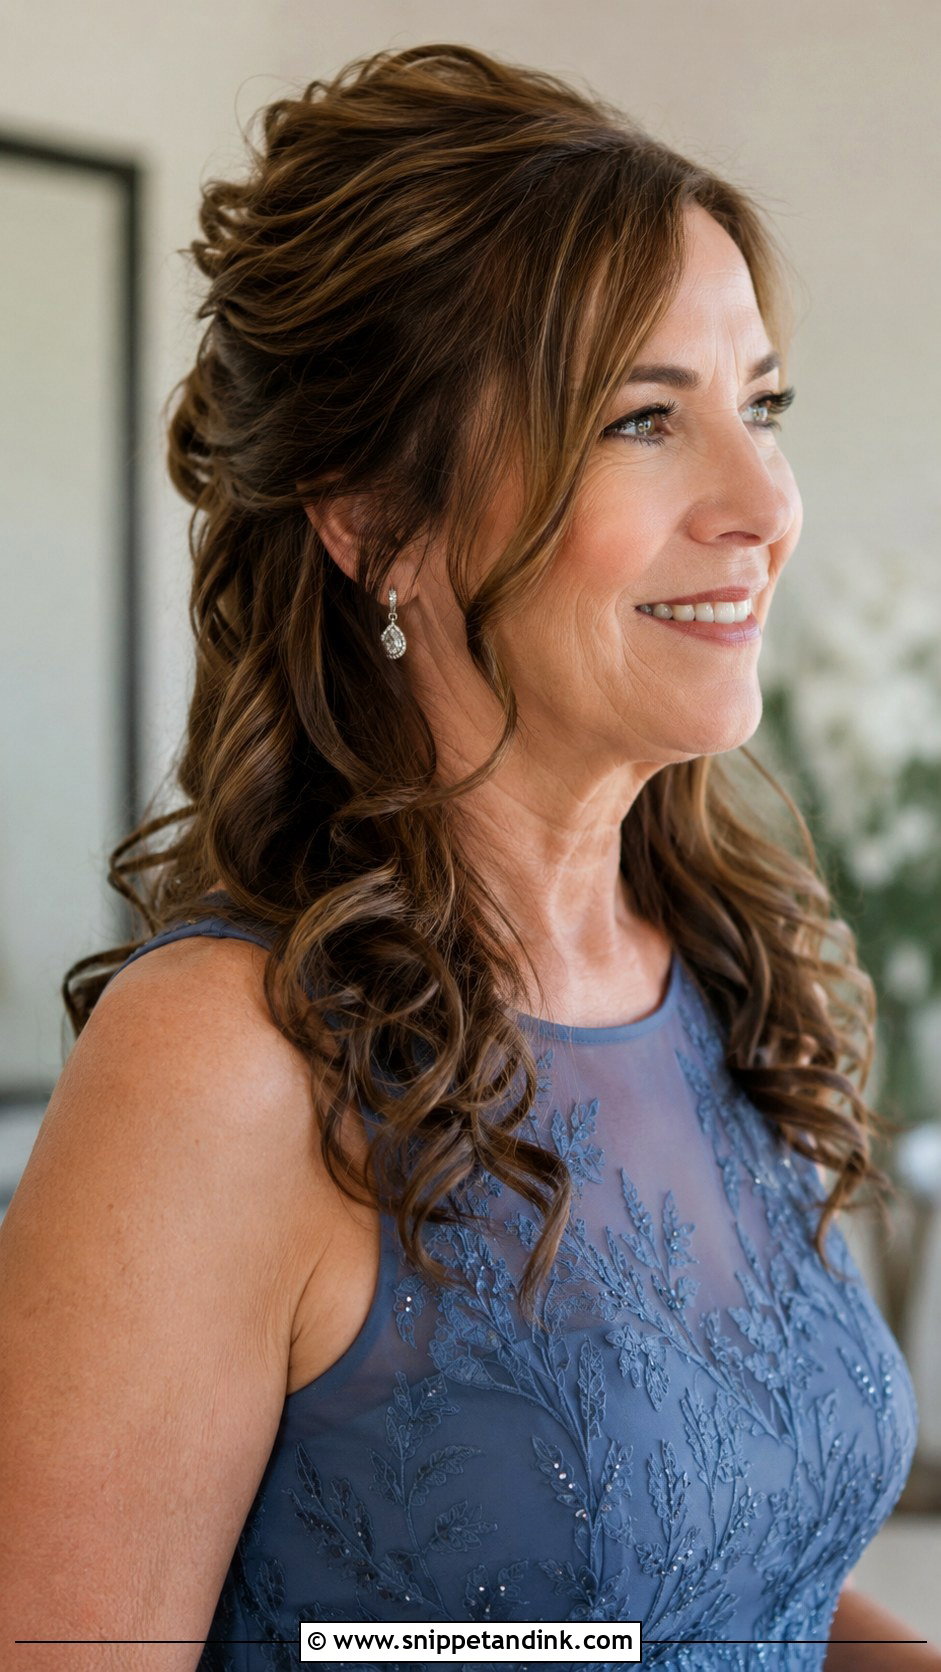
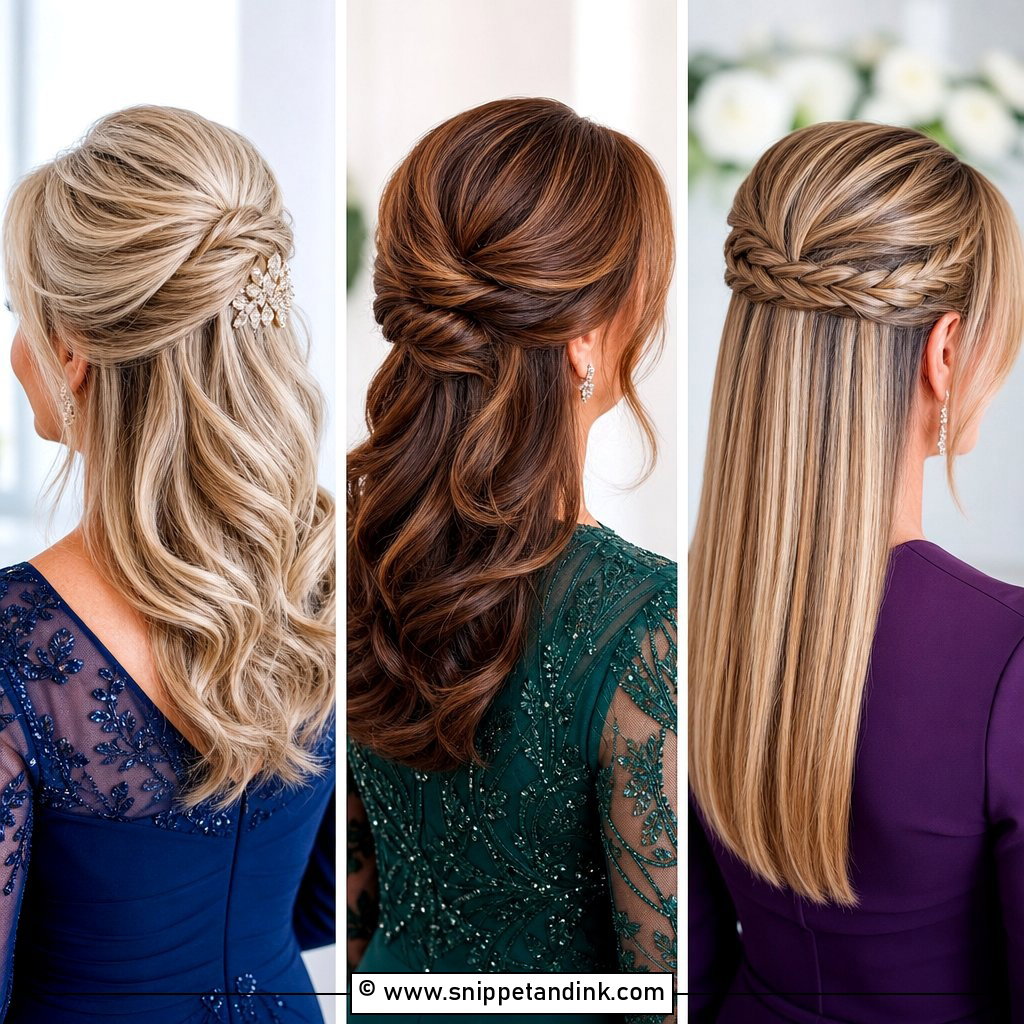
Half-up suits mothers who feel more like themselves with hair down. The top and sides are pinned back, which keeps hair off the face during the ceremony and the long photo session, and the length stays loose in soft curls. The lower section is the part that suffers most over a long day, because it brushes against the dress and a wrap. I’d set the curls with a firmer hold than you’d usually choose.
5. Sleek Bob for Short Hair
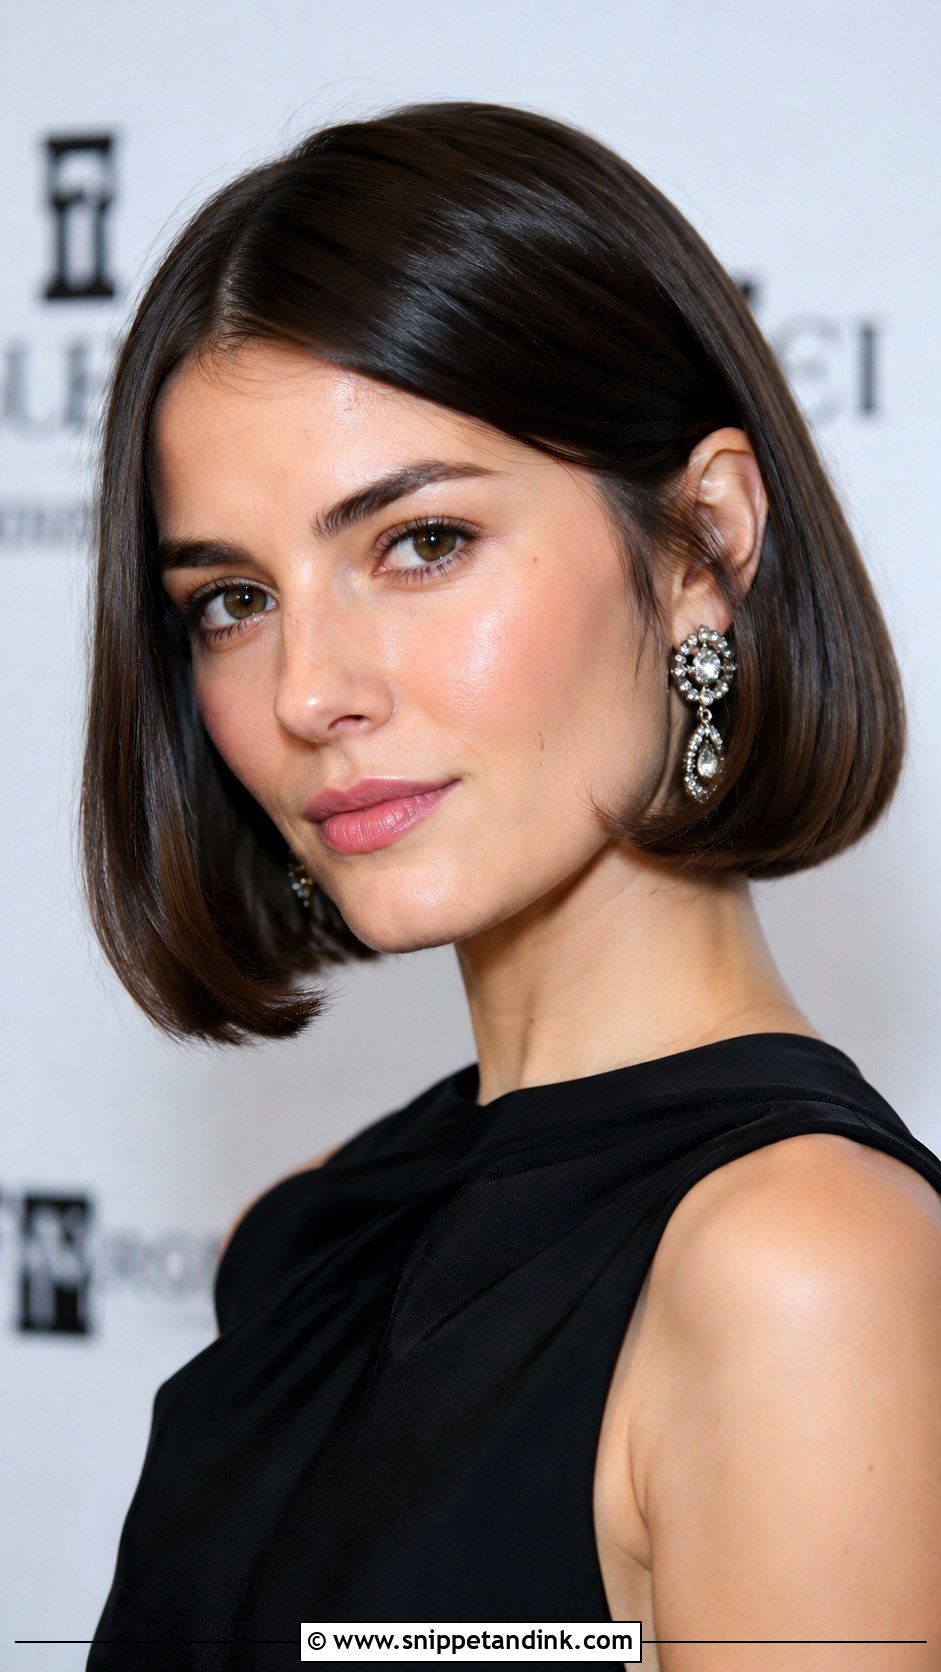
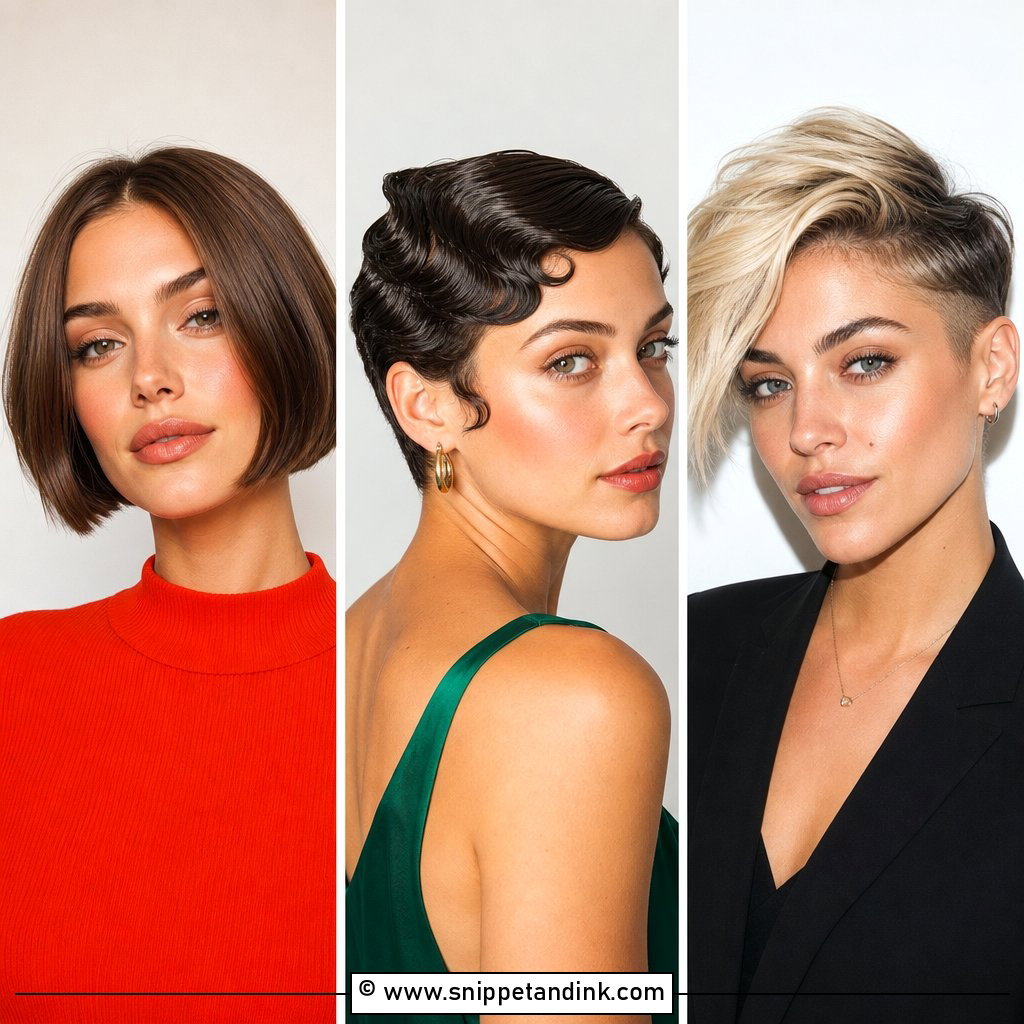
A smooth bob is mostly done at the haircut, not on the morning. If the line is sharp, styling only takes a round brush, a flat iron and a little serum. I bend the ends slightly under so they don’t flick outward against a collar. Book the cut for about one to two weeks before the wedding; a freshly cut bob can look a little severe in photos.
6. Textured Chignon for Fine Hair
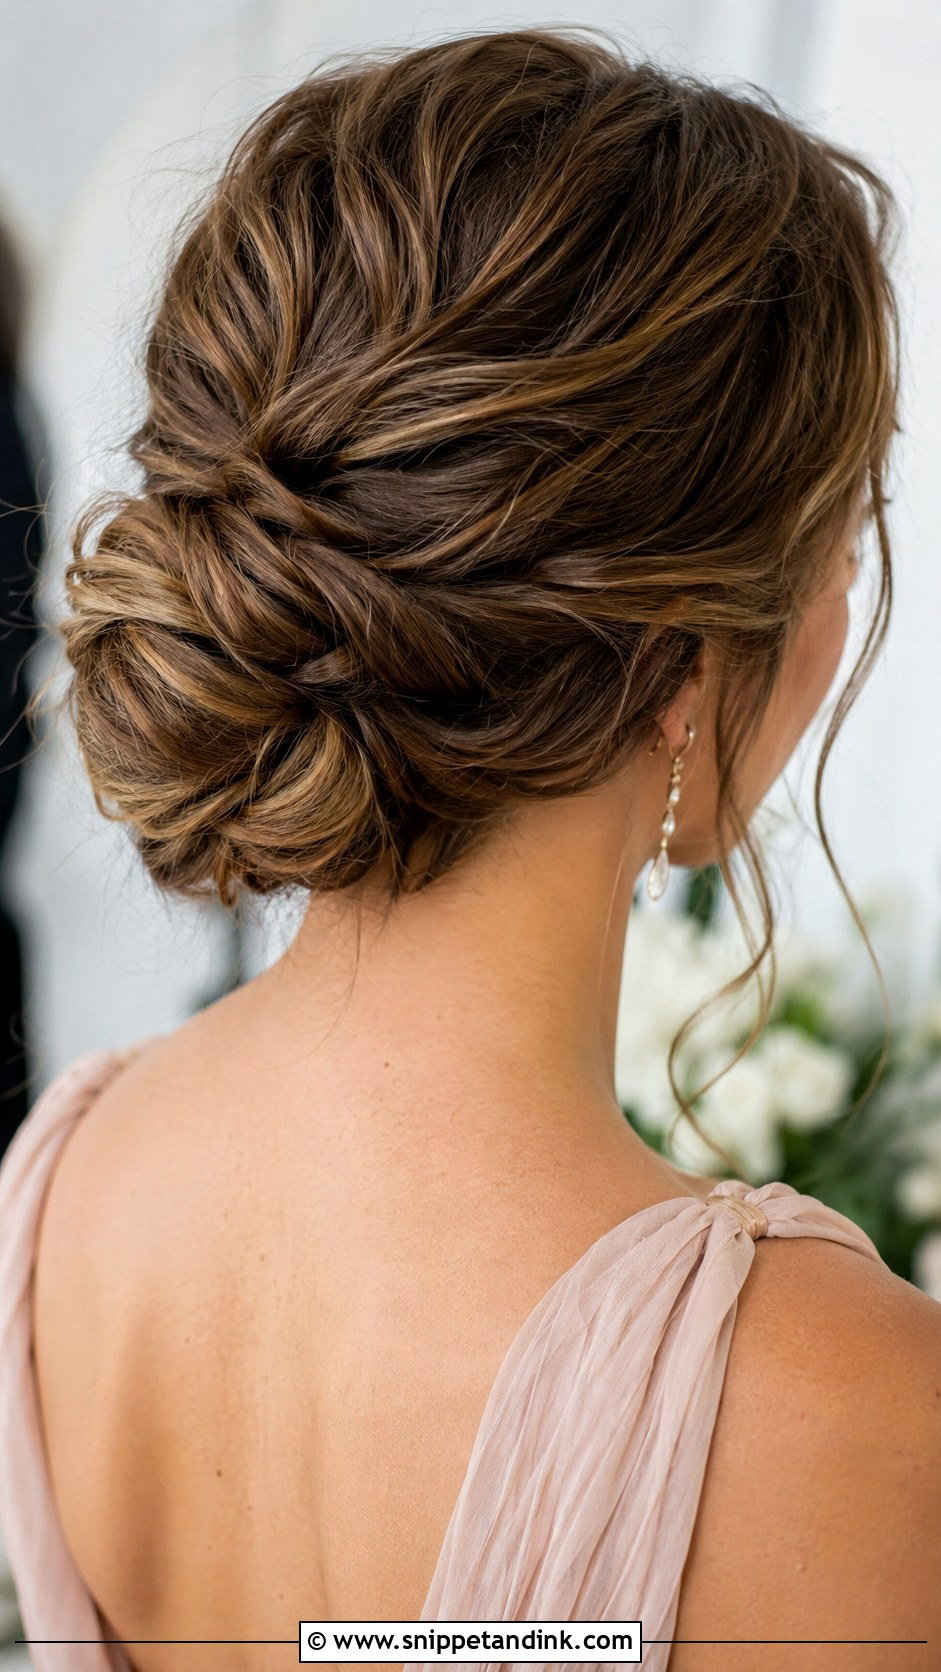
Fine or thinning hair looks fuller in a chignon that isn’t smooth. I prep with a texturizing spray, tease the crown lightly at the root and pin loose twists rather than a tight bun, so each section looks bigger than it is. Gentle tension along the hairline is the rule. If you pull fine hair tight, the scalp shows through, and that is very visible in close-up photography.
7. Silver Gray Waves with Natural Shine
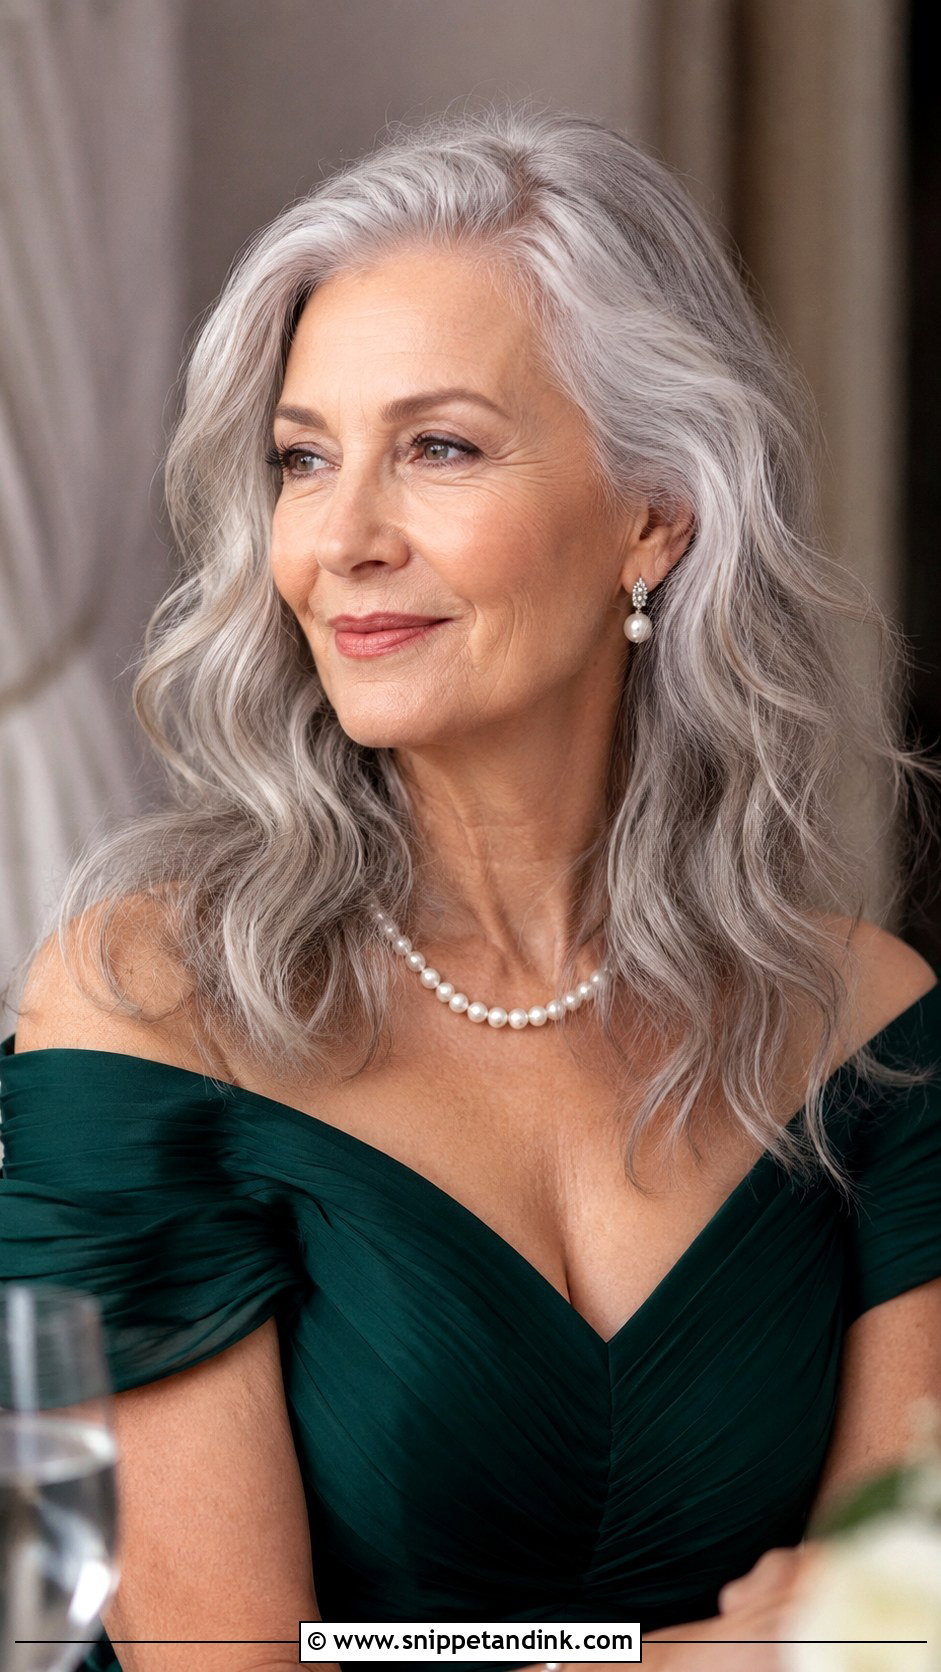
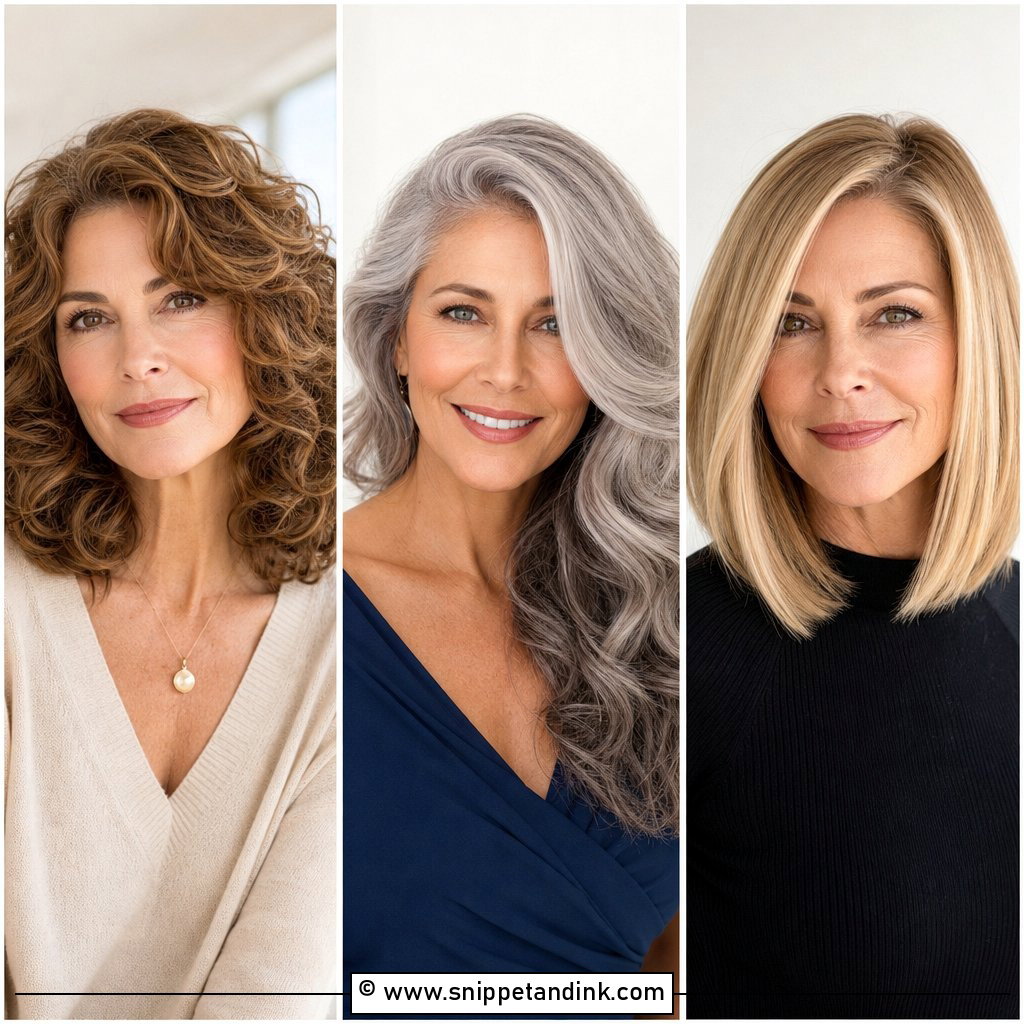
Silver hair can look very polished when it is shiny and soft. Grey strands often feel coarser and reflect less light, so I’d suggest a gloss treatment at the salon a week or two before, then a purple shampoo the week of to keep any yellow tones down. On the day, loose waves set with a light shine spray show off the colour well. Avoid heavy oil-based serums; they can make silver look flat instead of bright.
8. Voluminous Blowout for Short Hair
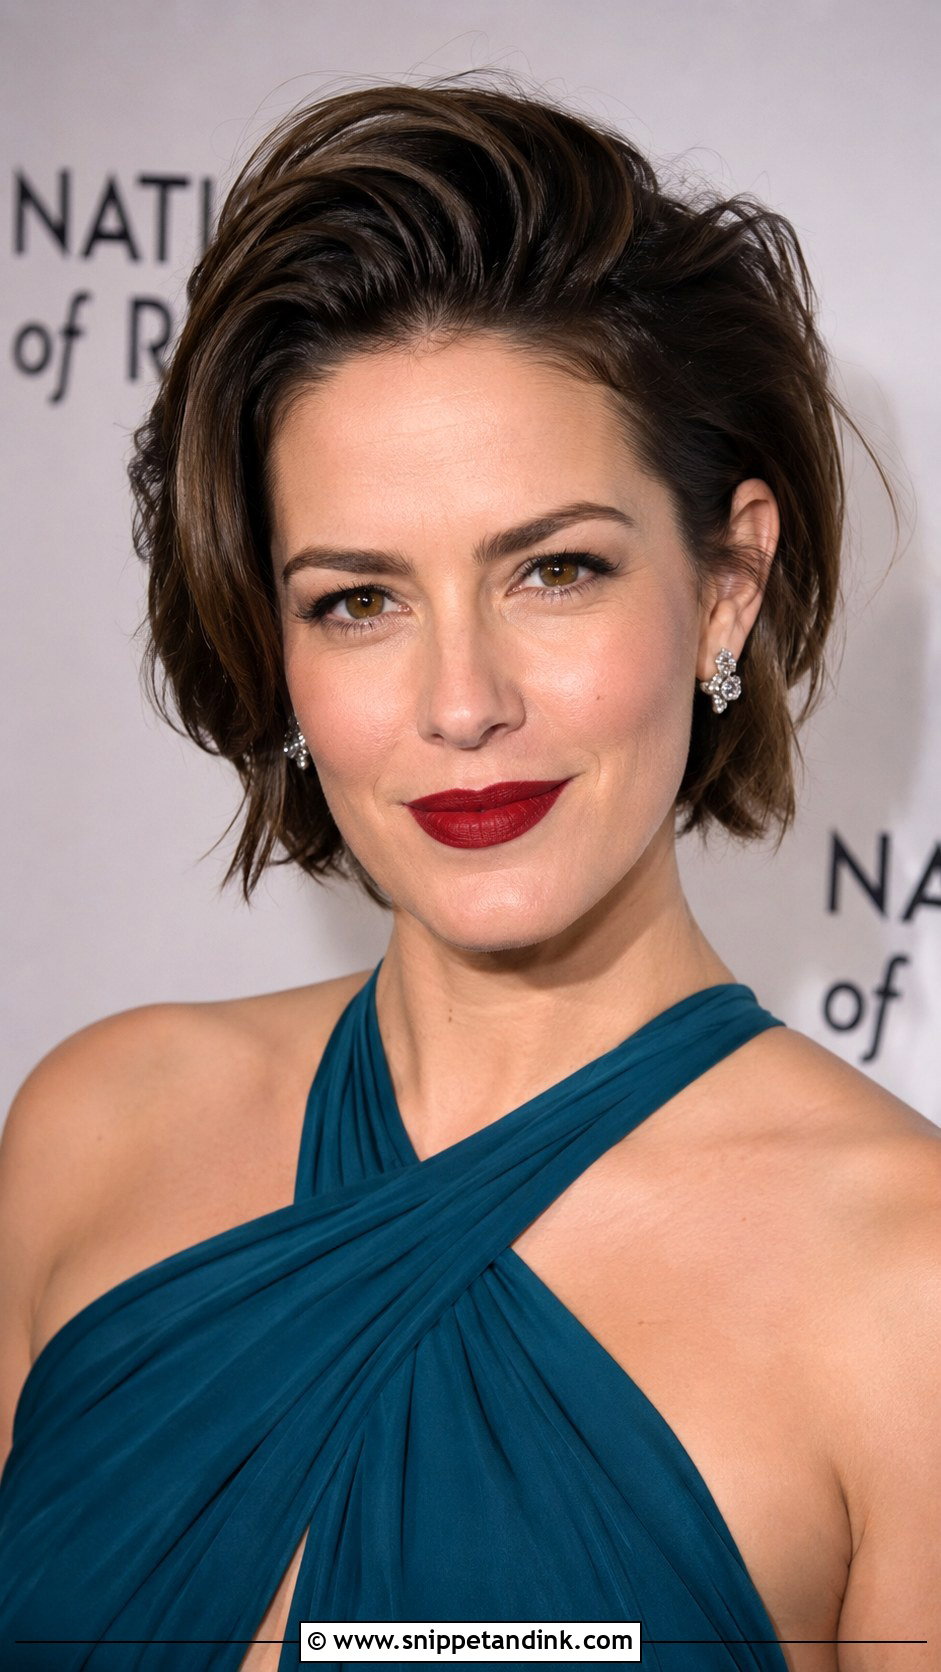
A voluminous blowout is the simplest way to give short hair height. I dry at the root with a round brush, lifting each section straight up, and set it with a cool shot before moving on. The cool air is what makes the lift hold. Brushing it back away from the face keeps it out of your eyes during the speeches. Fine short hair holds this better than you might think; very thick hair can puff out and may need a little smoothing cream.
9. Low Bun with Side Braid Detail
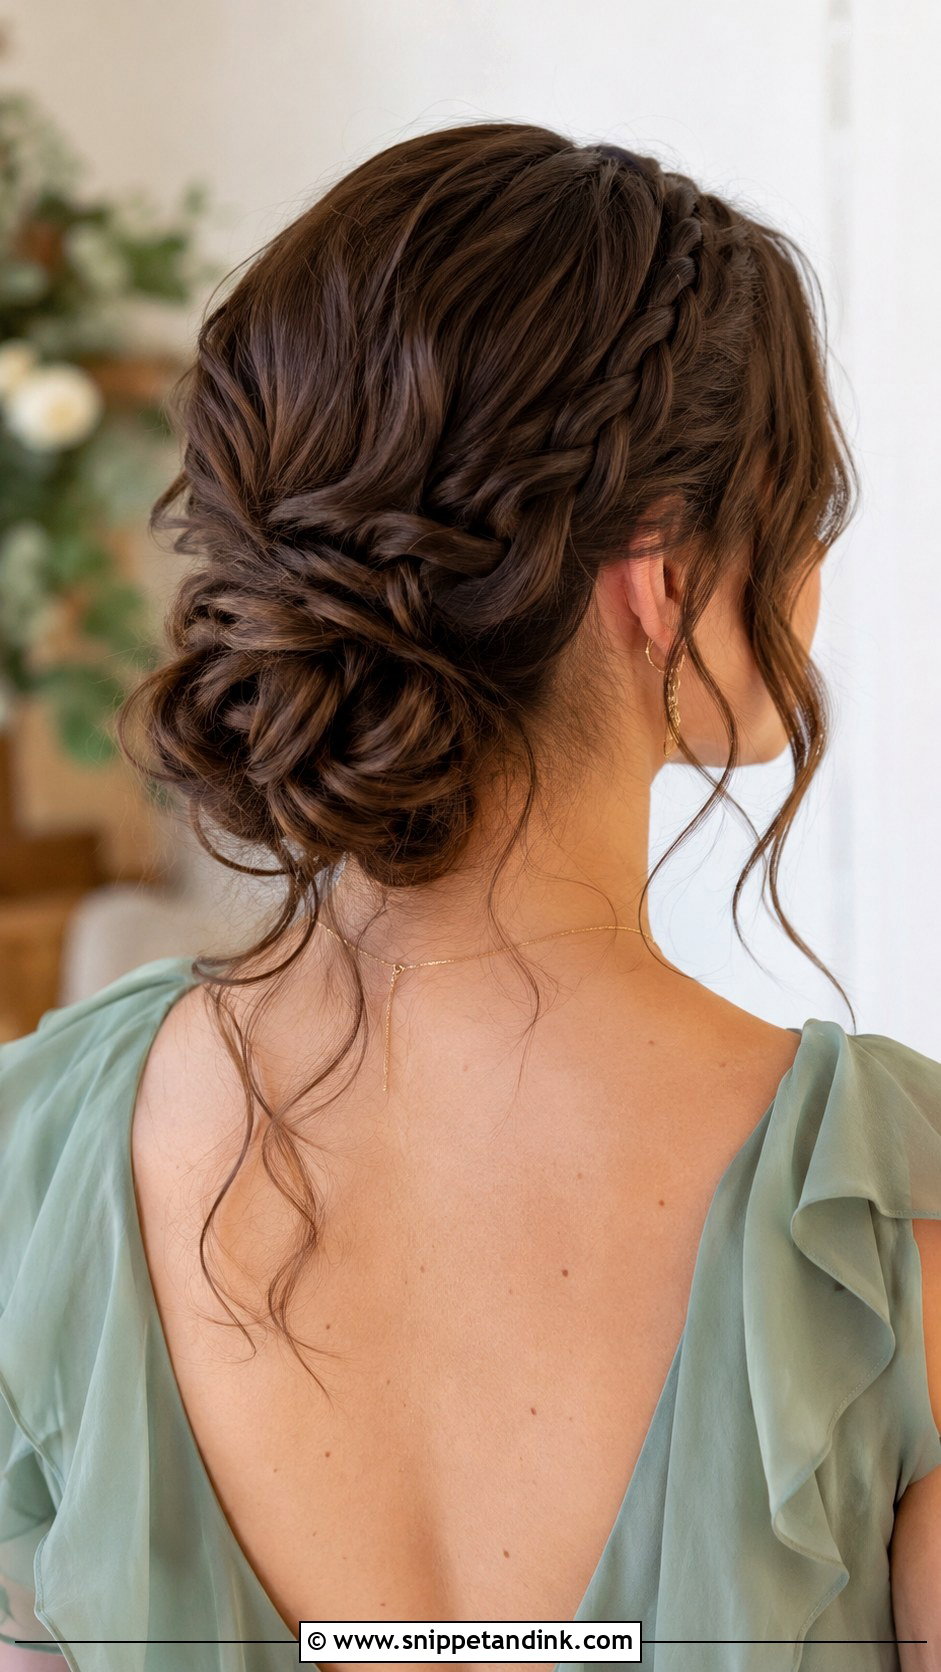
This is a low bun with a single braid running along one side, which gives a little detail without looking youthful or fussy. I usually braid from the temple back toward the bun, keeping the braid soft and not too tight. It’s useful for mothers with shorter layers at the front, because the braid catches those pieces and keeps them from falling forward. It fits a rustic venue as easily as a formal hotel.
10. Classic Pixie Cut with Volume
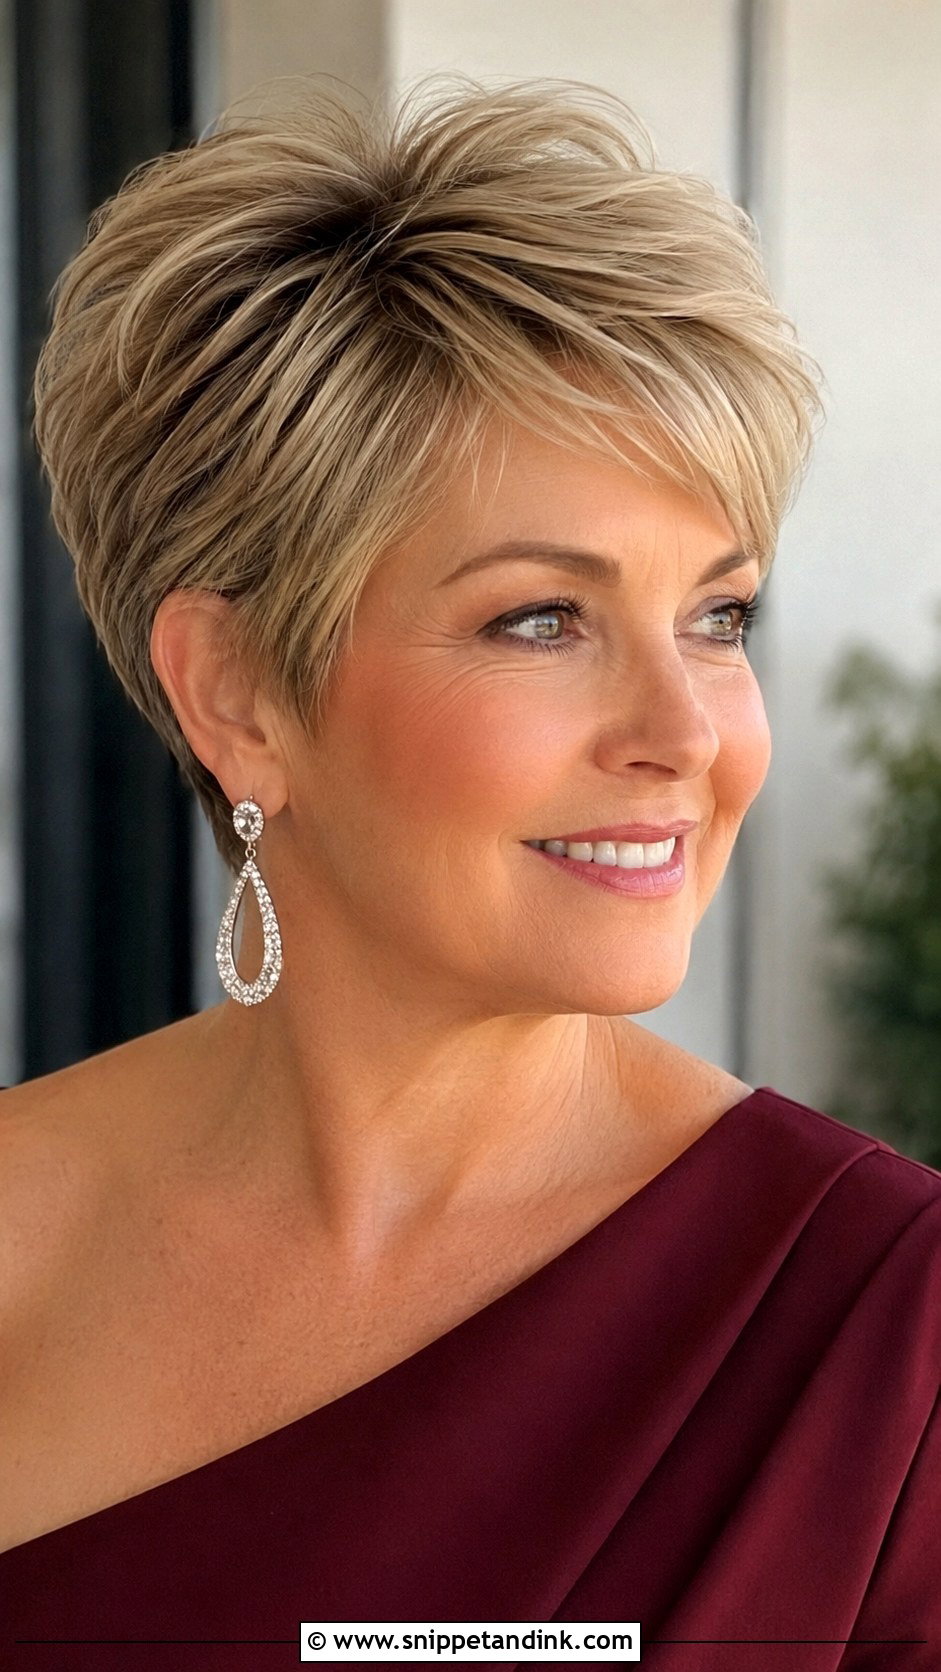
A pixie cut needs very little on the day, which is part of the appeal. A small amount of styling cream or light pomade worked through dry hair lifts the top and defines the edges. I keep the sides neat and the crown textured, so the shape reads as deliberate rather than flat. Book the trim about ten days out so the edges have softened slightly. It suits mothers who like a clean, defined look and who want to see their earrings.
11. Romantic Updo with Loose Tendrils
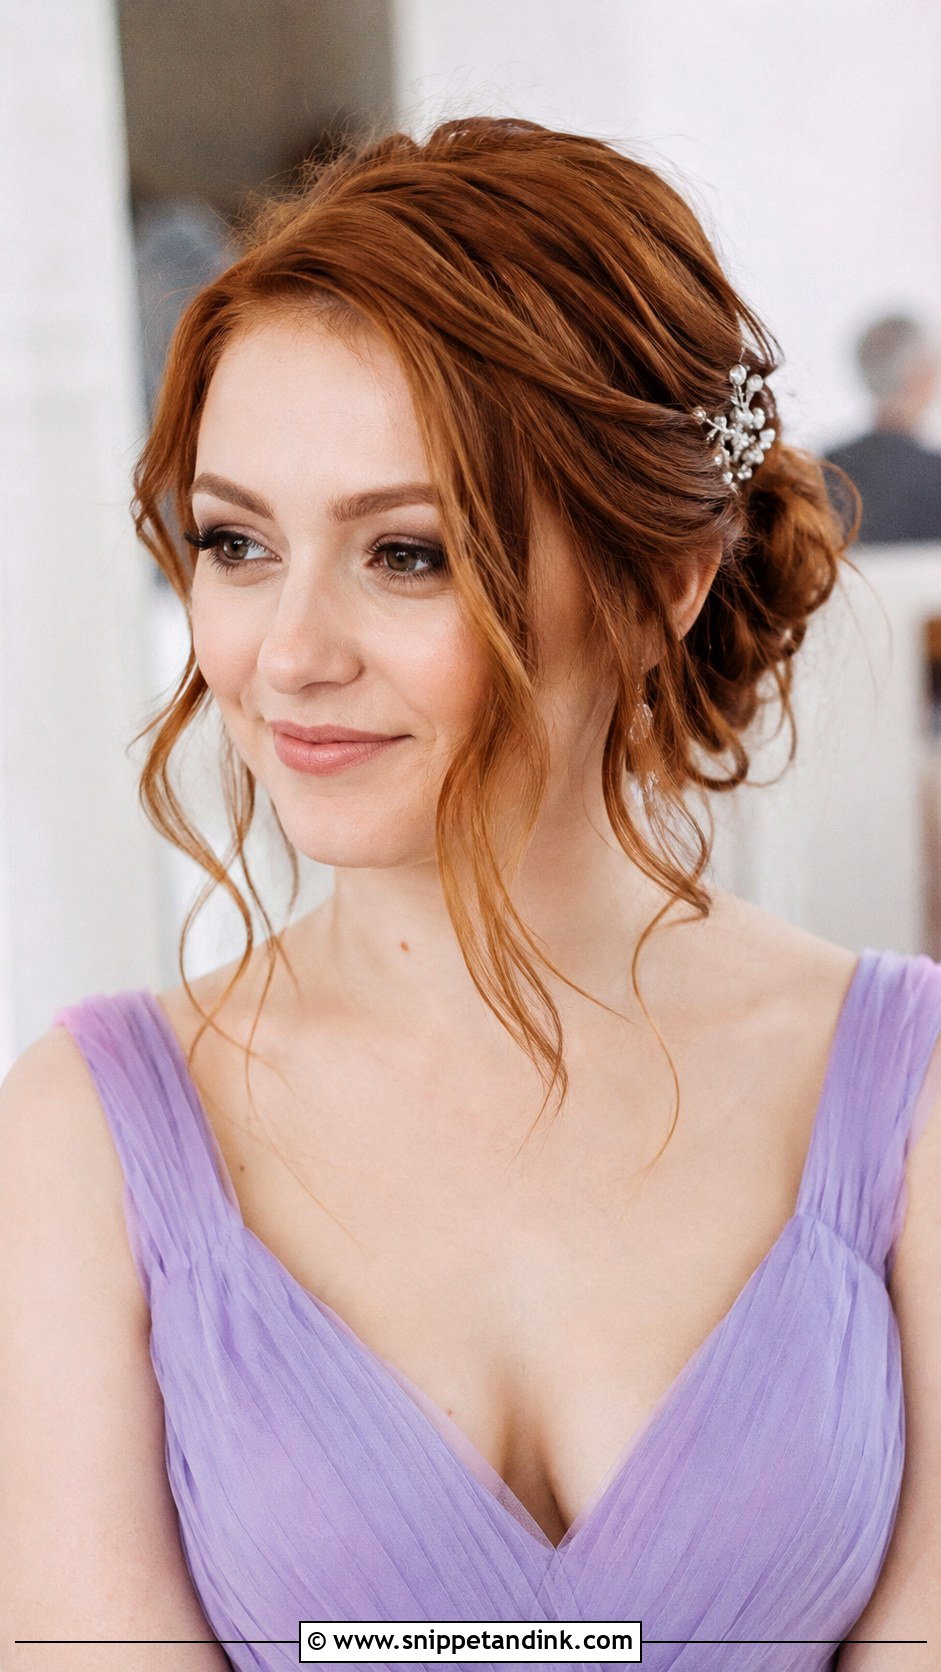
The loose tendrils are what make this updo look soft rather than strict. I build the bun or twist first and pin it firmly, then pull a few strands free near the temples and nape. Two or three tendrils per side is plenty. They should be curled with a smaller iron than the rest, because pieces around the face are touched constantly and are the first to fall flat.
12. Side Swept Curls for Long Hair
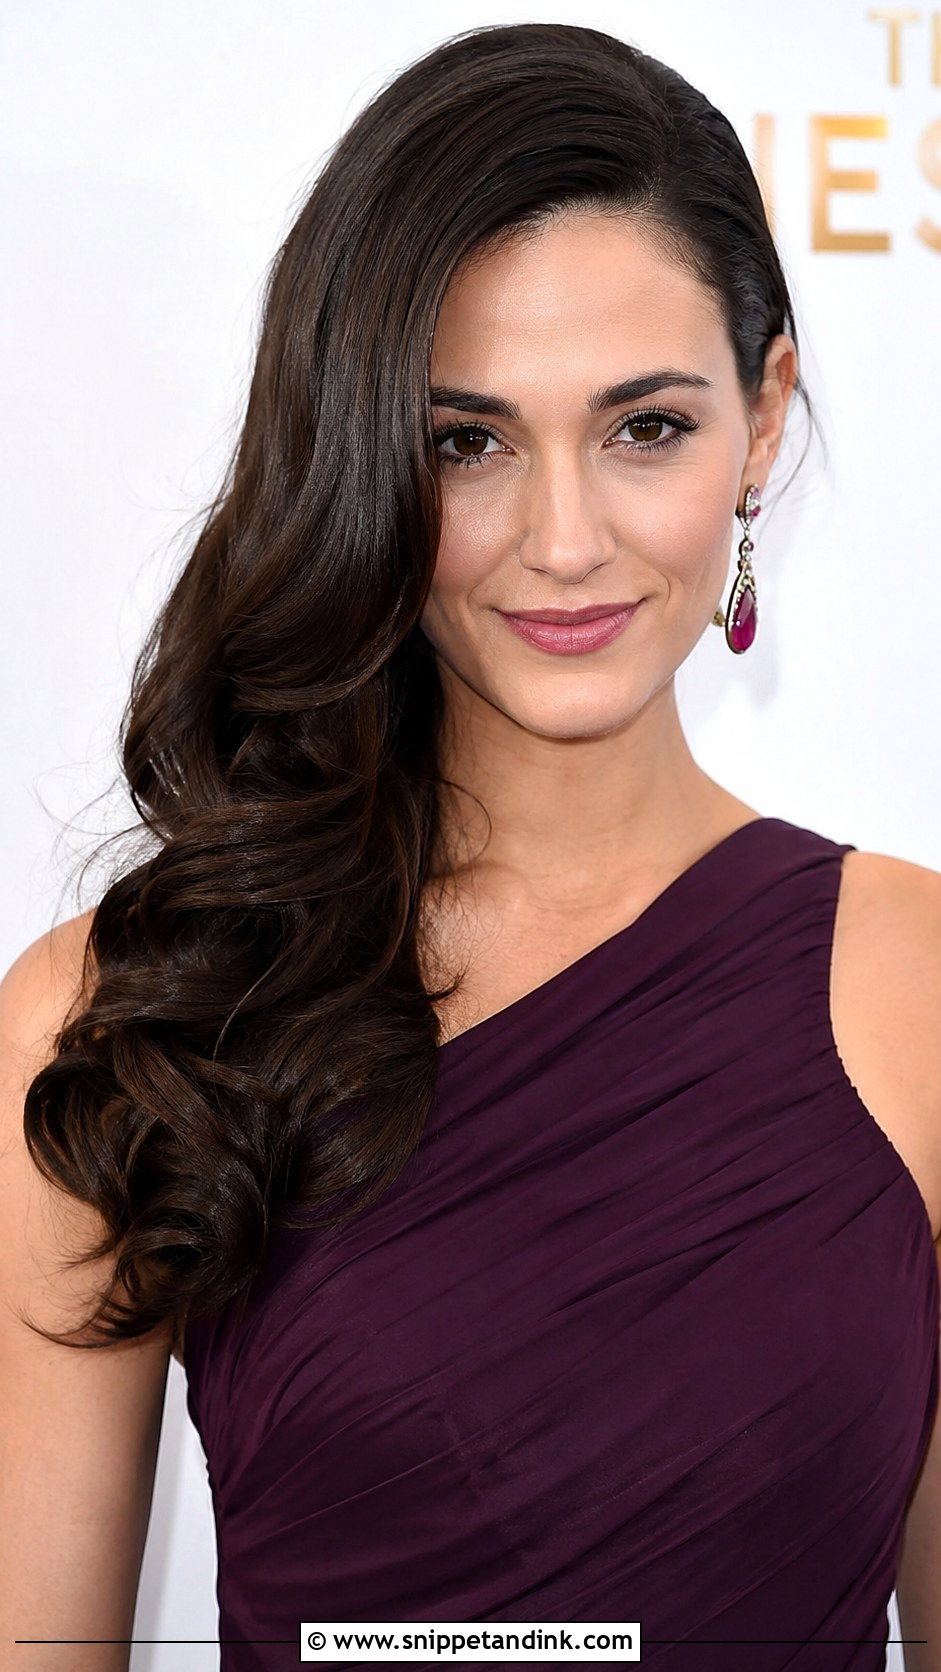
Side-swept curls need long, fairly thick hair to look full when pushed to one shoulder. I pin the curls in place with hidden crossed bobby pins behind the ear, otherwise the hair slowly migrates back to the centre. It pairs well with a single drop earring on the open side. Think about whether you’ll be wearing a wrap or a corsage; both tend to crush the curls on the swept side, so the opposite shoulder is usually the better choice.
13. Layered Lob for Medium Hair
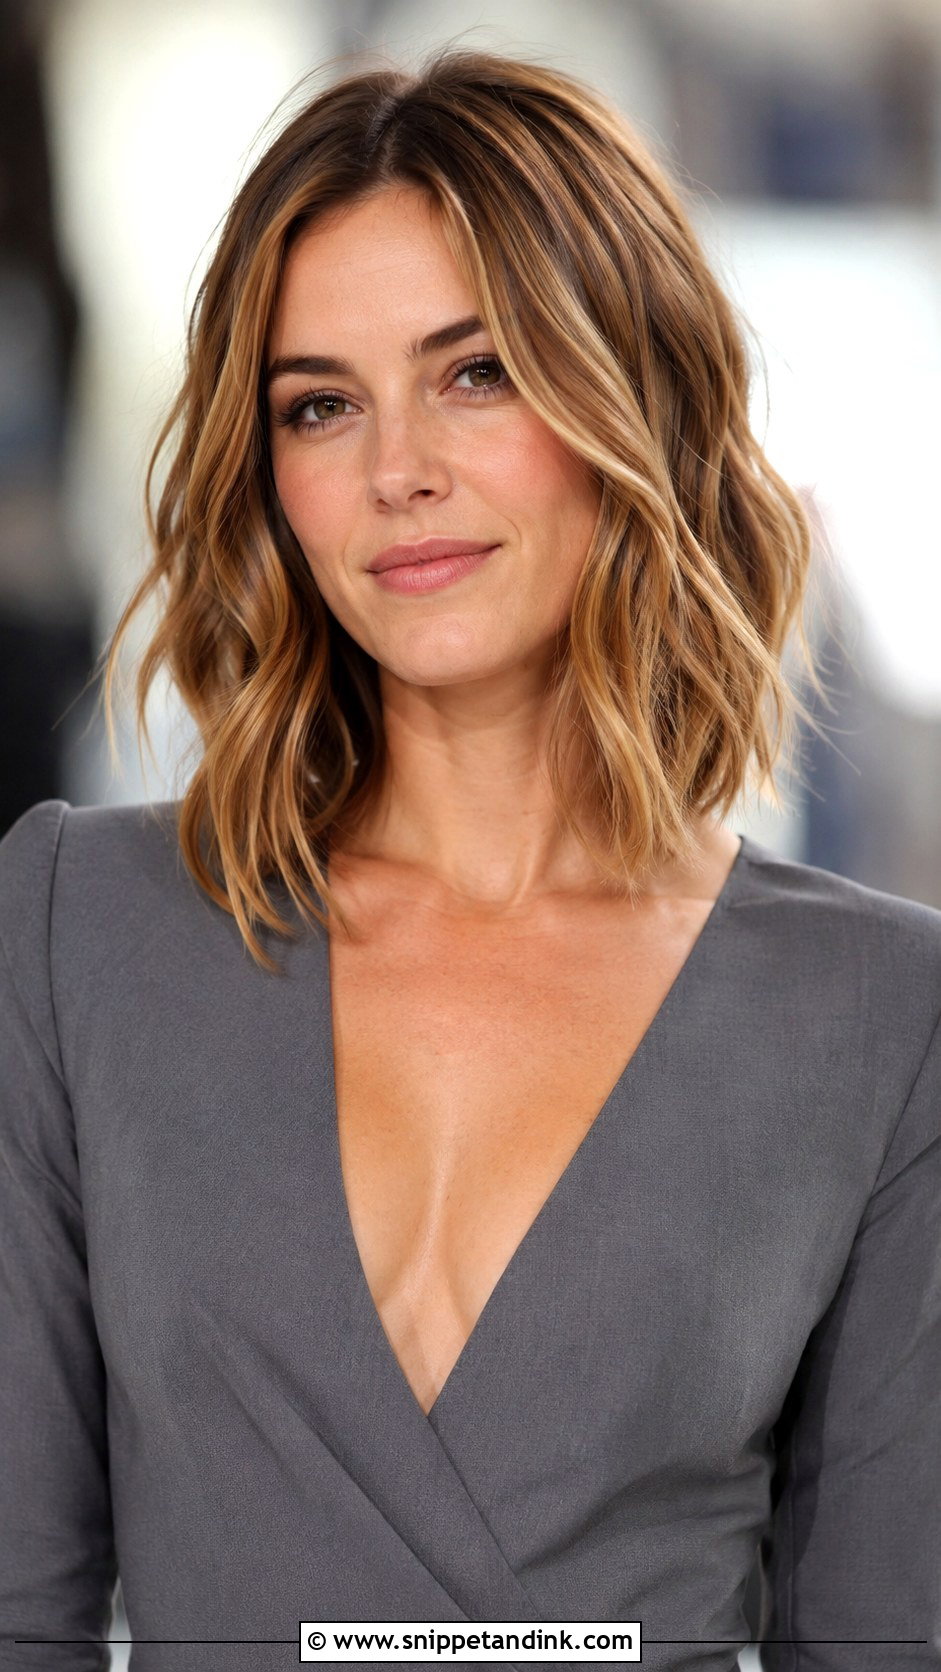
A long bob, or lob, is the length many women over 50 settle into, and it is very easy to dress up. Soft layers keep it from looking heavy at the ends. For the wedding, I usually do loose waves with a flat iron rather than a curling wand, which gives a more modern bend. If you’re considering this cut, have it done at least six weeks before the wedding so you’ve had time to learn how it falls.
14. Bouffant Updo for Added Height
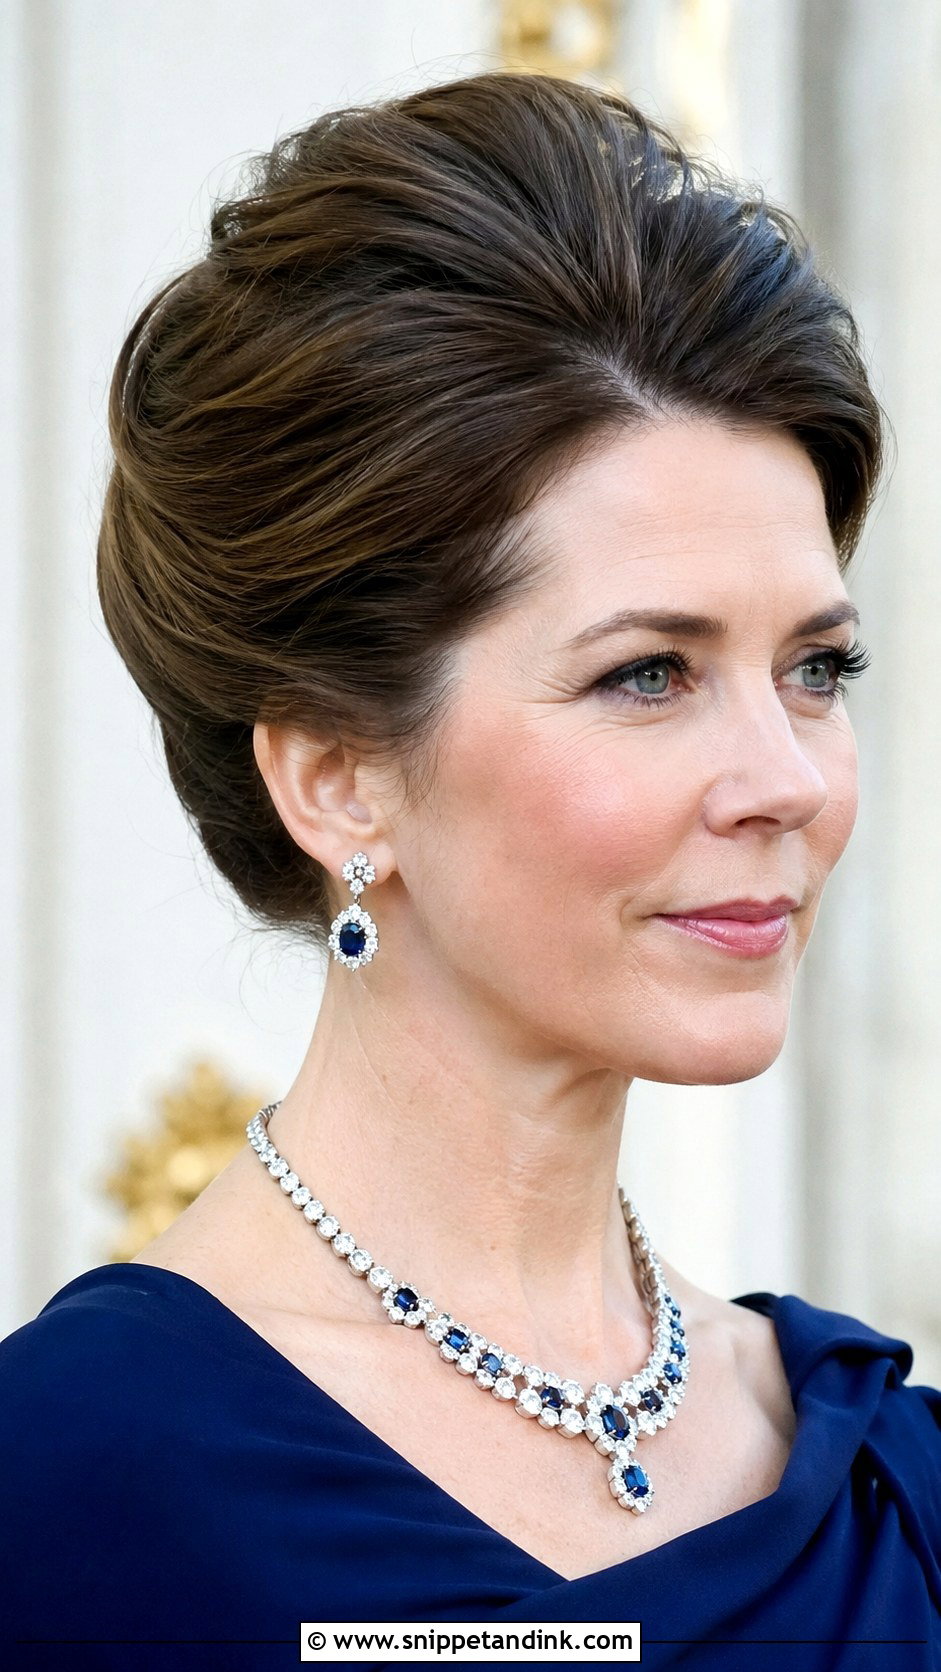
Teasing the crown is the oldest trick for fine hair, and it still works if it’s done carefully. I backcomb small sections close to the root, then smooth only the top layer with a soft brush so the teasing doesn’t show. The lift should be gentle. Too high and it starts to look dated, which is the main reason some mothers are wary of this style. With the right balance, it adds height and shape without looking stiff.
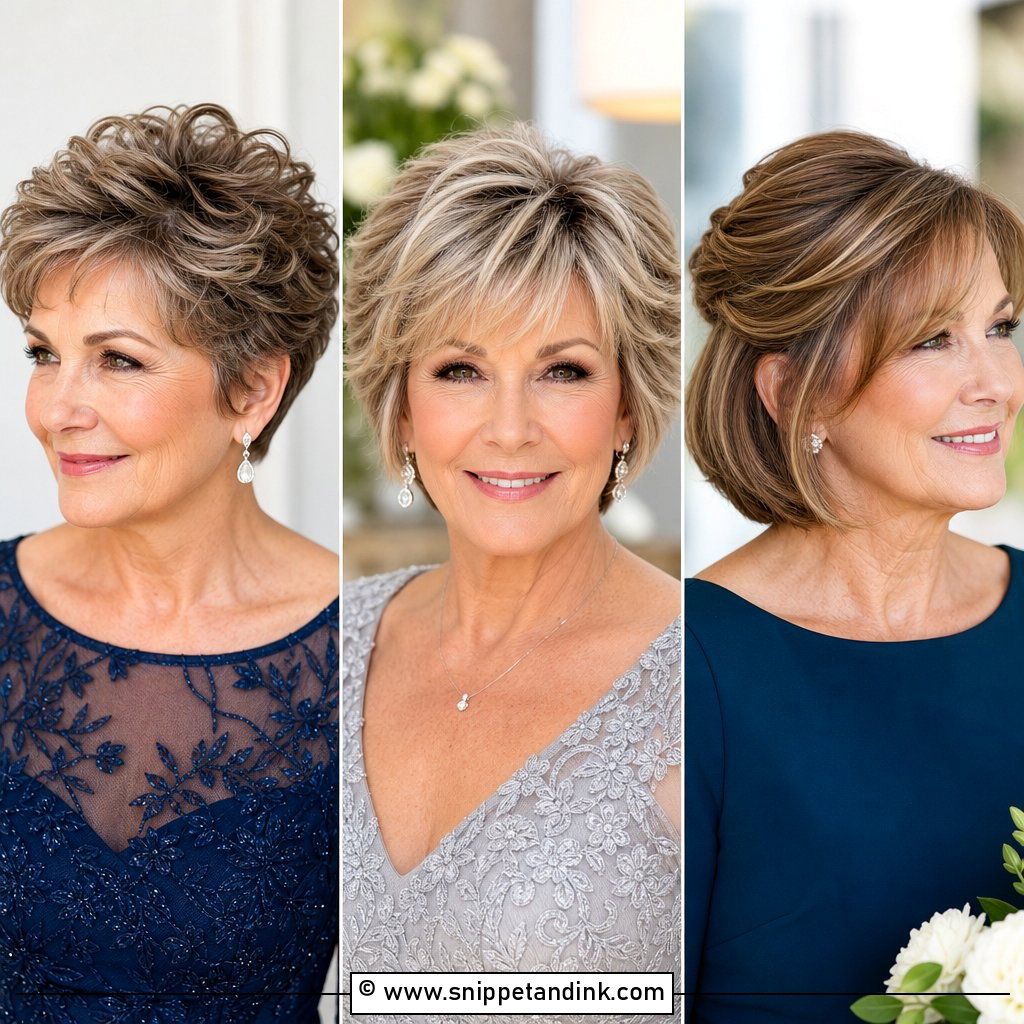
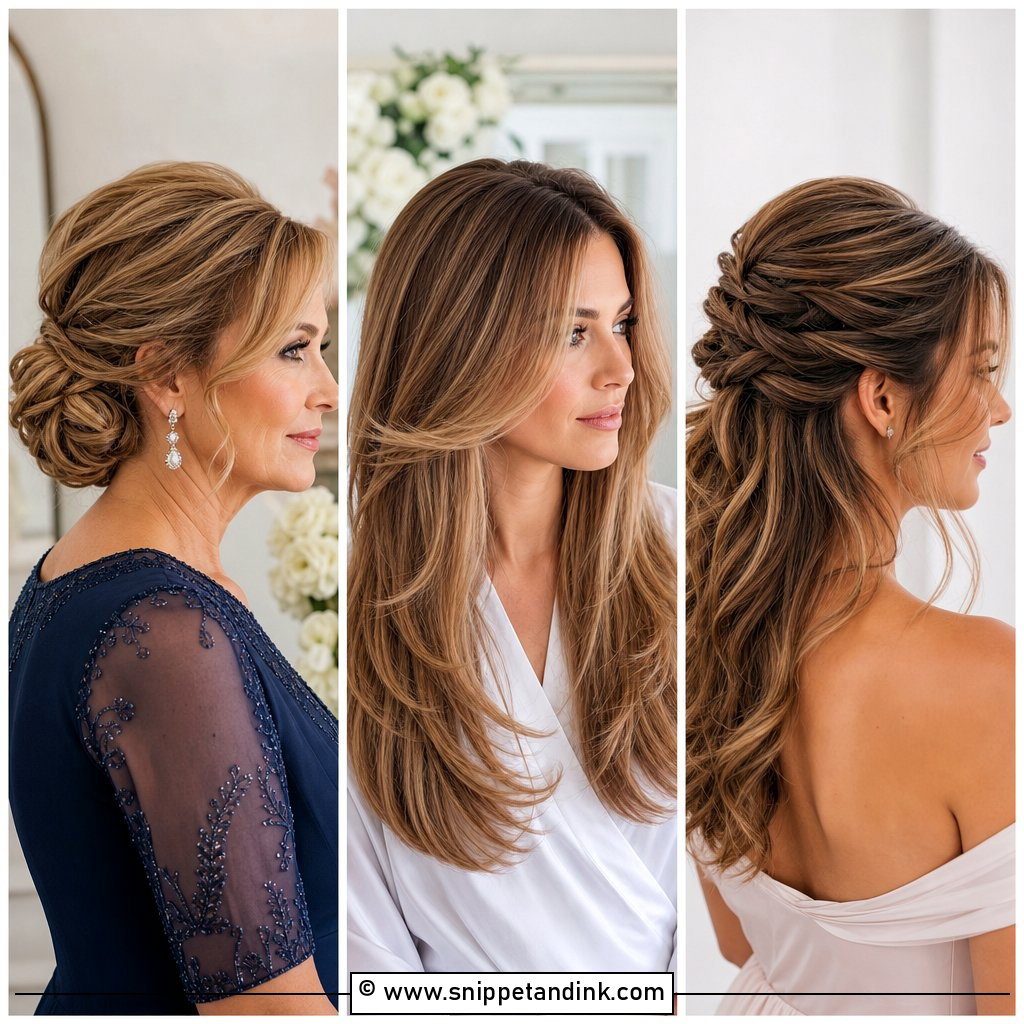
15. Soft Curls with Decorative Hairpin
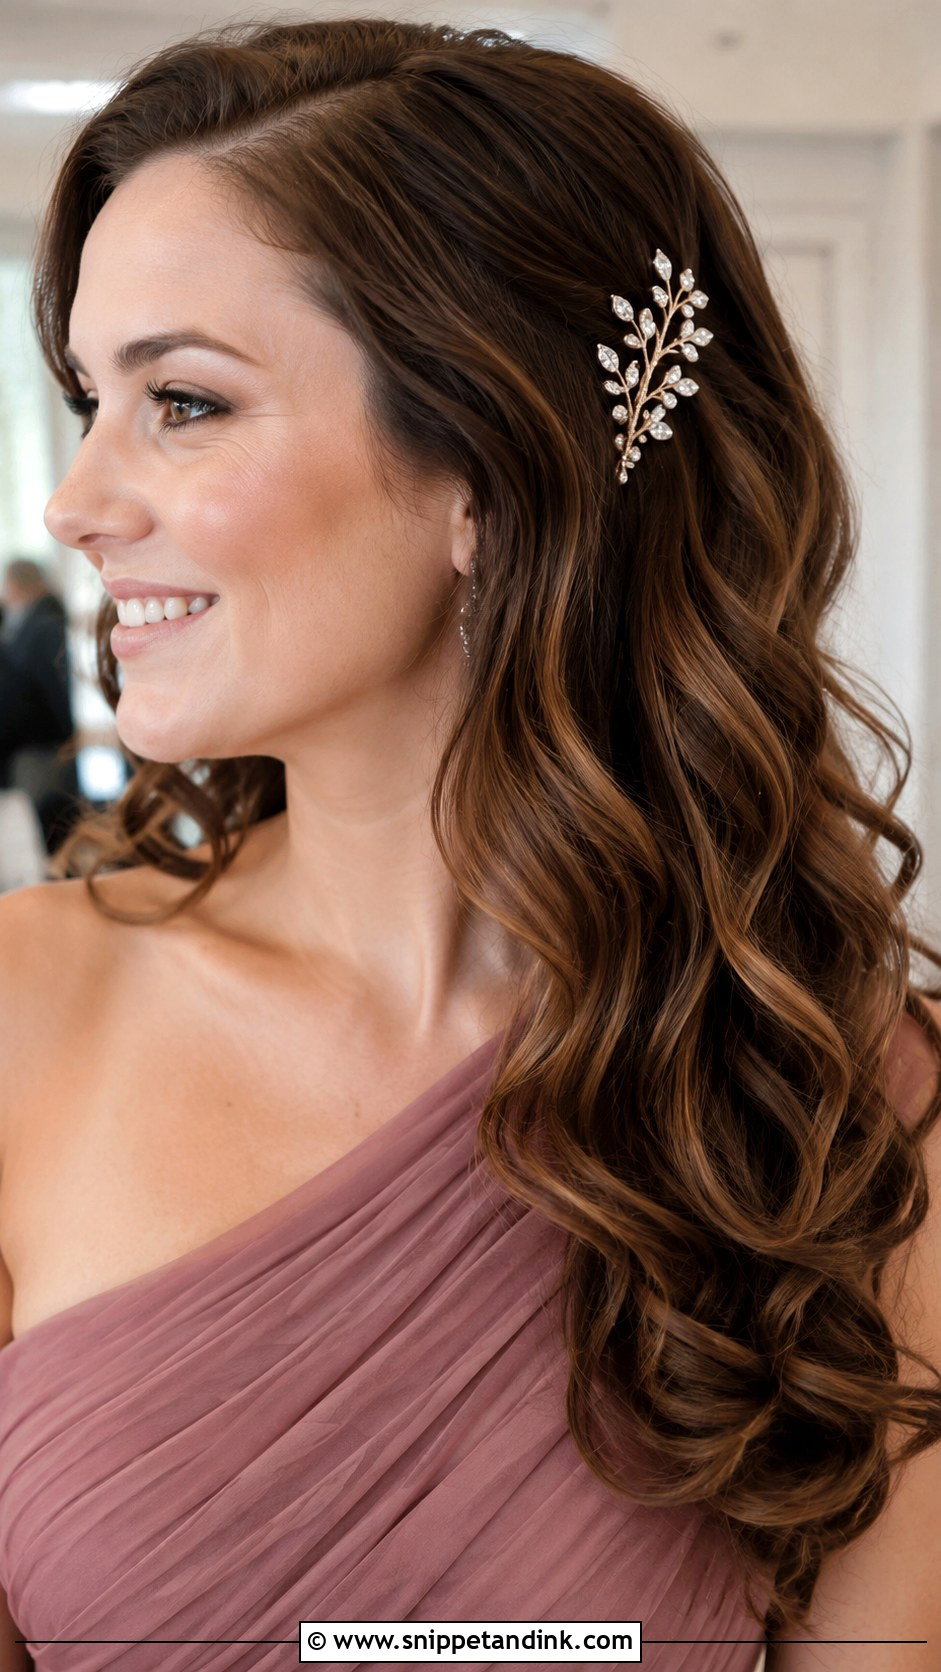
The hairpin is the focus here, so pick it first and then decide where the curls should fall. A jewelled pin generally sits best just behind the ear or above the temple, where it frames the face. Heavier pins need a hidden pair of crossed bobby pins underneath, otherwise they slide down soft curls by mid-afternoon. Choose metals that match your jewellery so the whole look feels intentional.
16. Sleek Straight Hair with Center Part
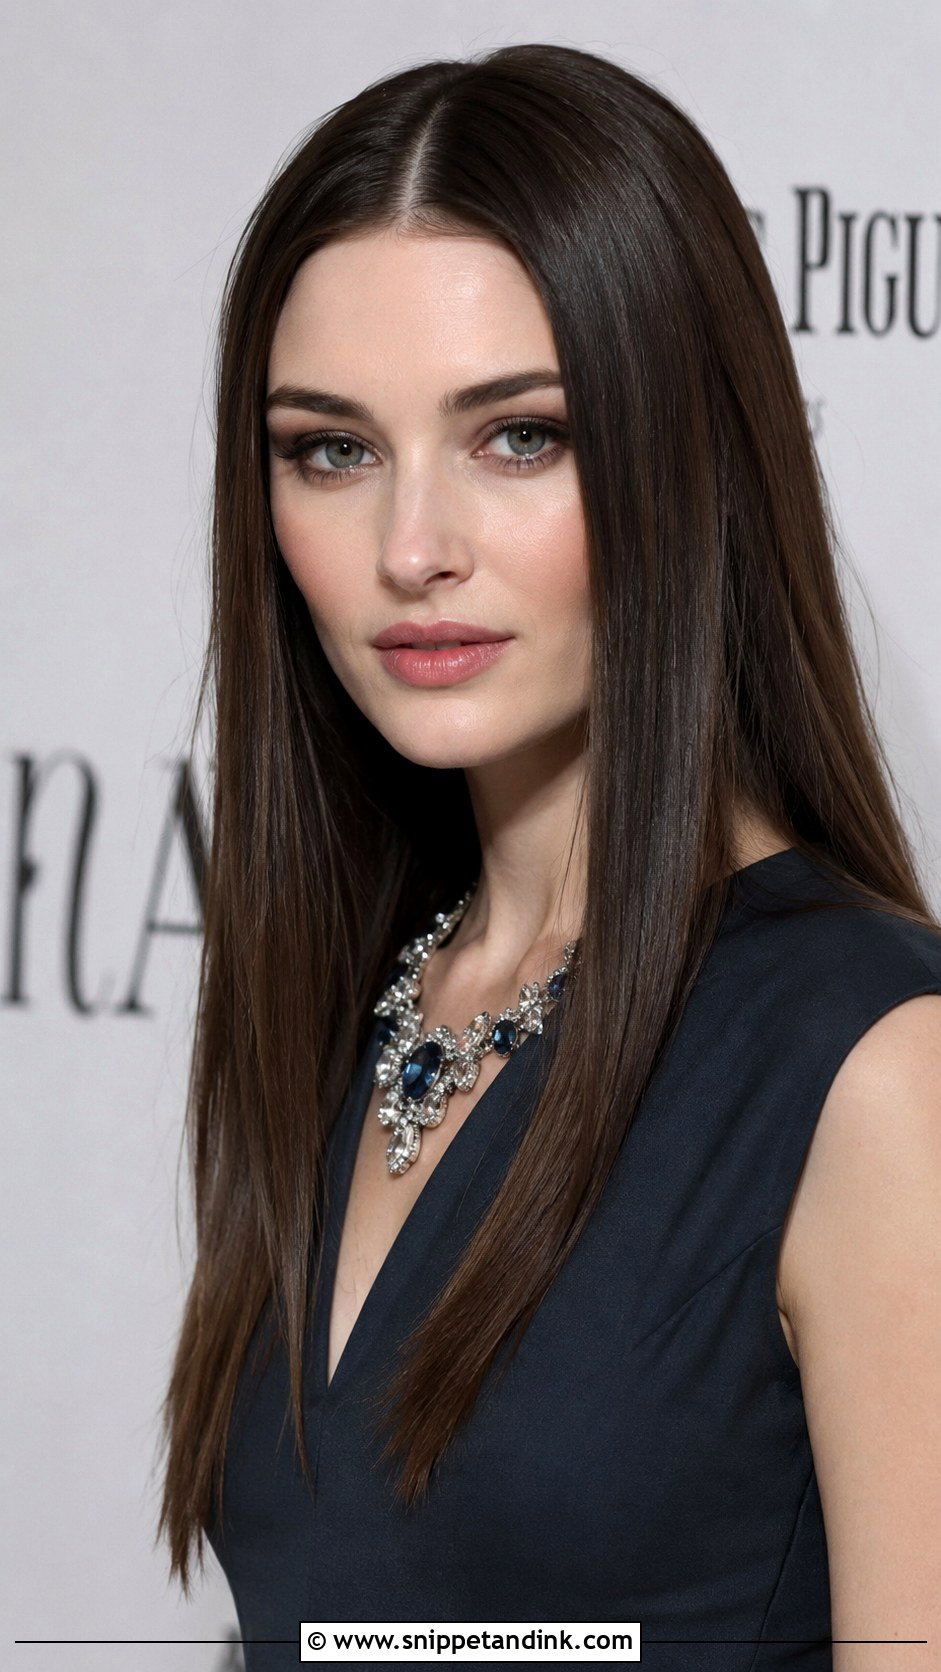
Straight hair with a centre part is minimal, but it does show every bit of frizz and every uneven end. I’d book a trim a couple of weeks before and use a smoothing serum sparingly, then a flat iron on low heat with a heat protectant. A centre part only works if you’re comfortable with a symmetrical look; on a face that prefers some softness, a slight off-centre part can be kinder. It pairs best with structured dresses.
17. Curly Bob for Natural Texture
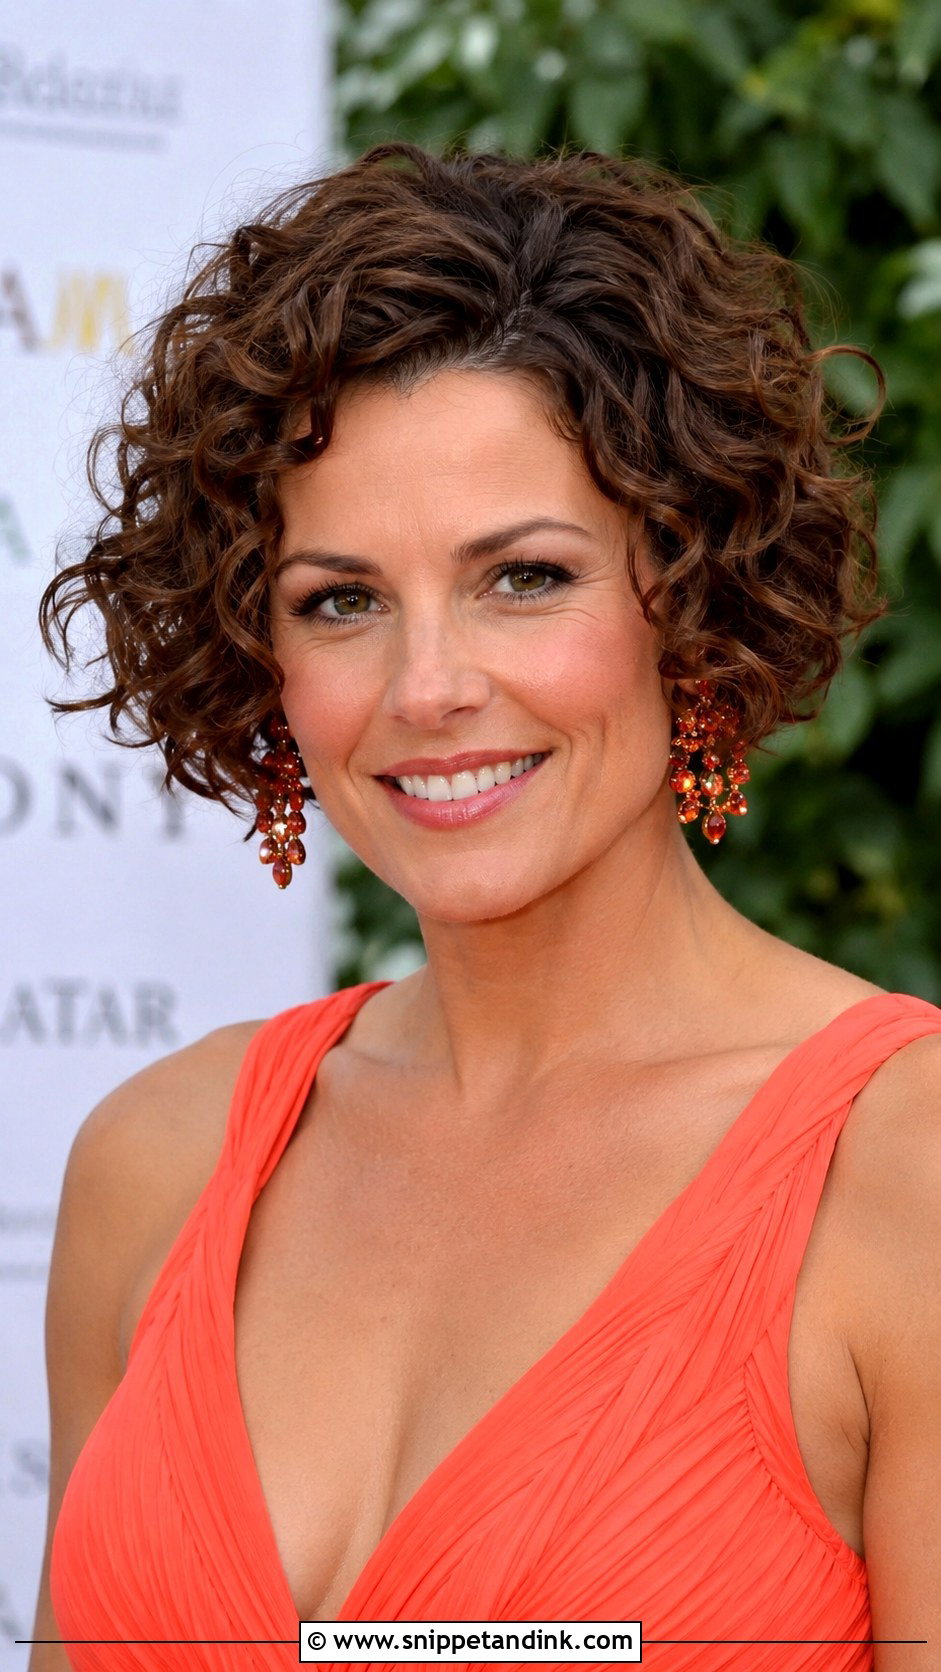
Natural curls in a bob look full and lively, and they need very little on the day. I’d skip brushing completely. Instead, wet the hair, apply a curl-defining cream and let it dry undisturbed, ideally with a diffuser. Grey curls can be drier and frizz more easily, so a deep conditioner the day before helps. Get the bob shaped by someone who cuts curls dry, since curly hair shrinks unevenly.
18. Twisted Updo for Thick Hair
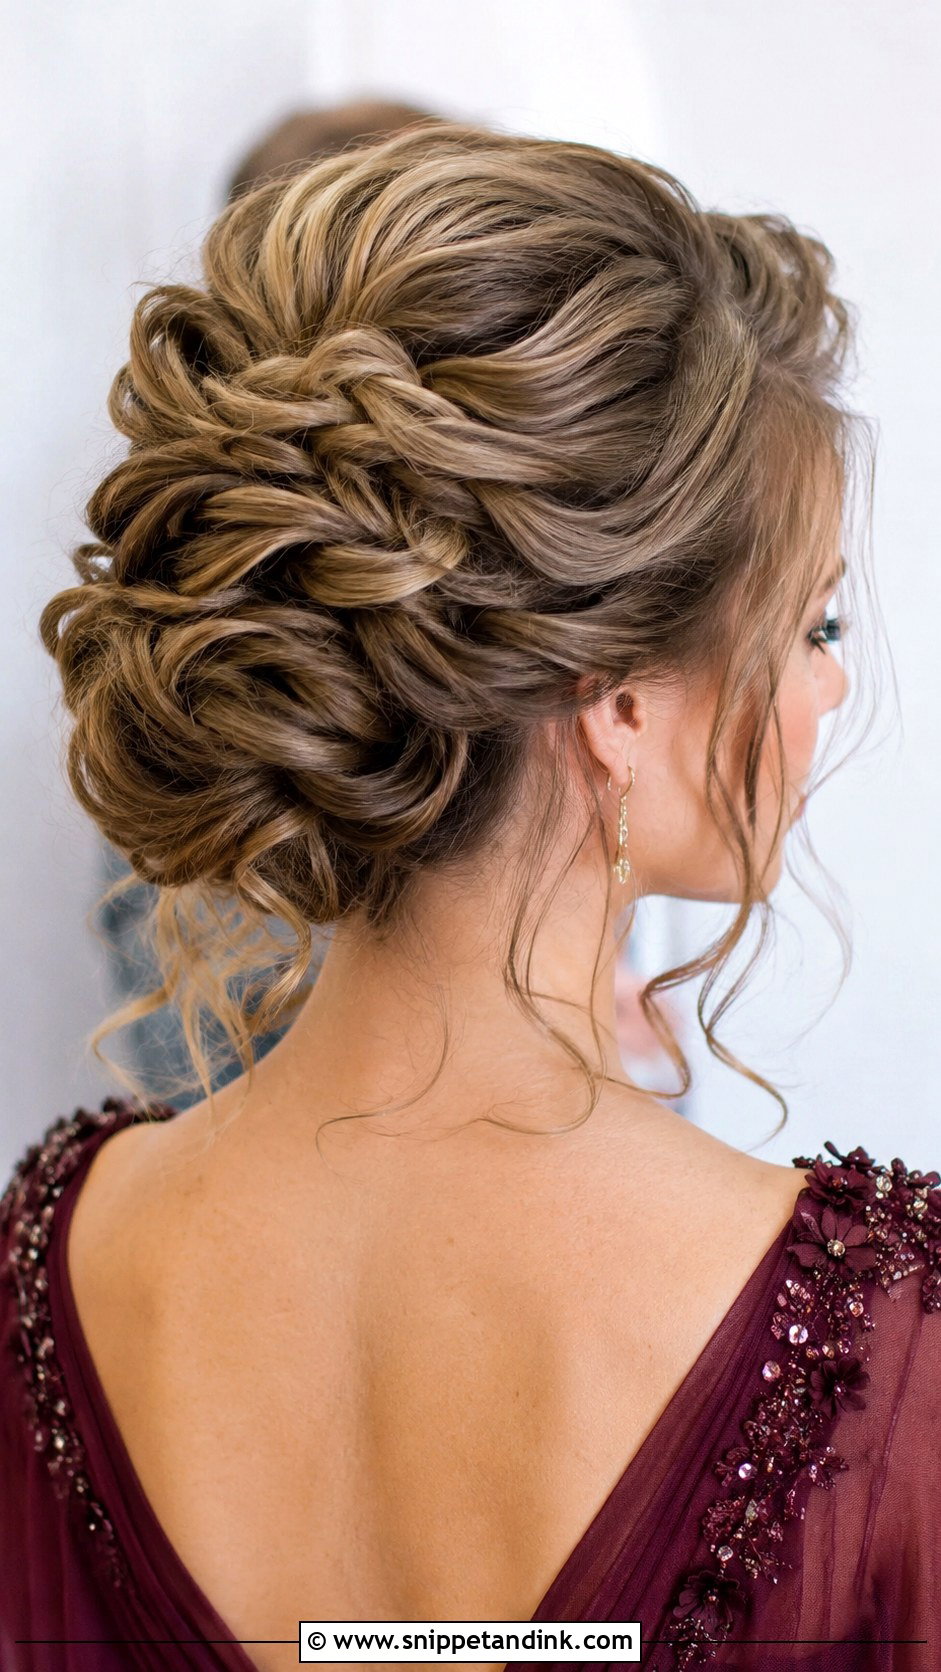
Thick hair is heavy, and that’s the real challenge with an updo. I split it into several twisted sections and pin each one separately, spreading the weight across the head instead of hanging it from one anchor point. That’s what prevents a headache by mid-evening. It also means the twists don’t sag under their own weight, which is common when thick hair is gathered into a single bun.
19. Shoulder Length Layers with Waves
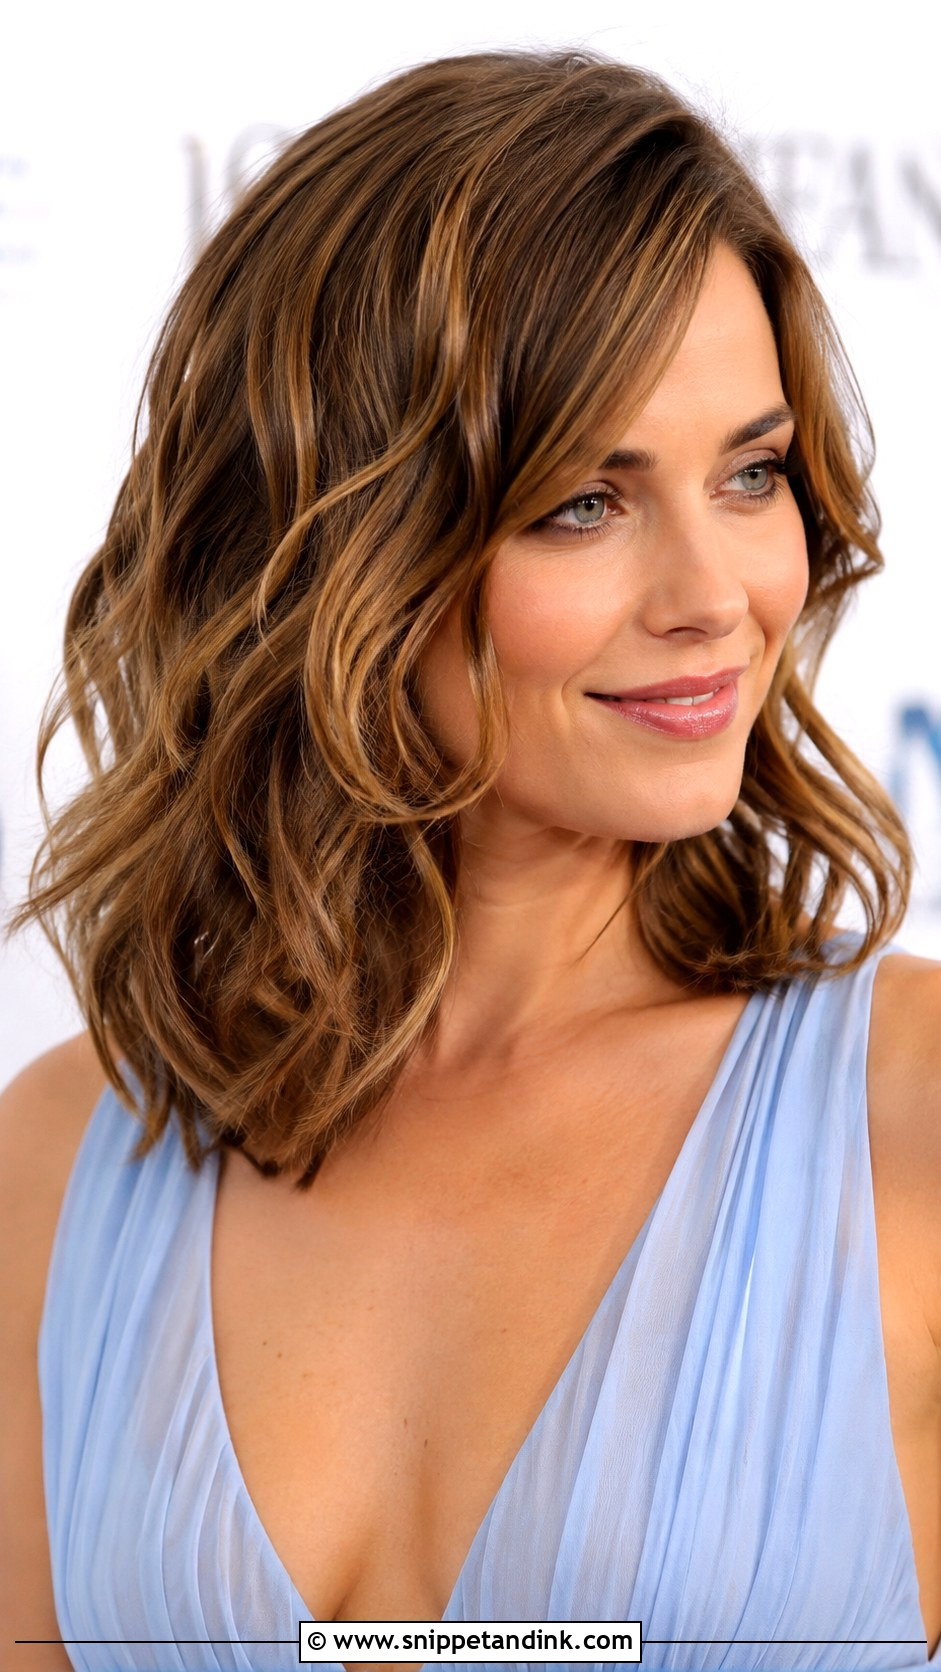
Shoulder-length hair with layers is easy to style and flattering, and loose waves are the simplest way to dress it up. I curl with a wand, leave the ends straight so it doesn’t look overdone, and finish with a texturizing spray for separation. The ends that brush the shoulders tend to flick outward against a jacket, so I curl those slightly under.
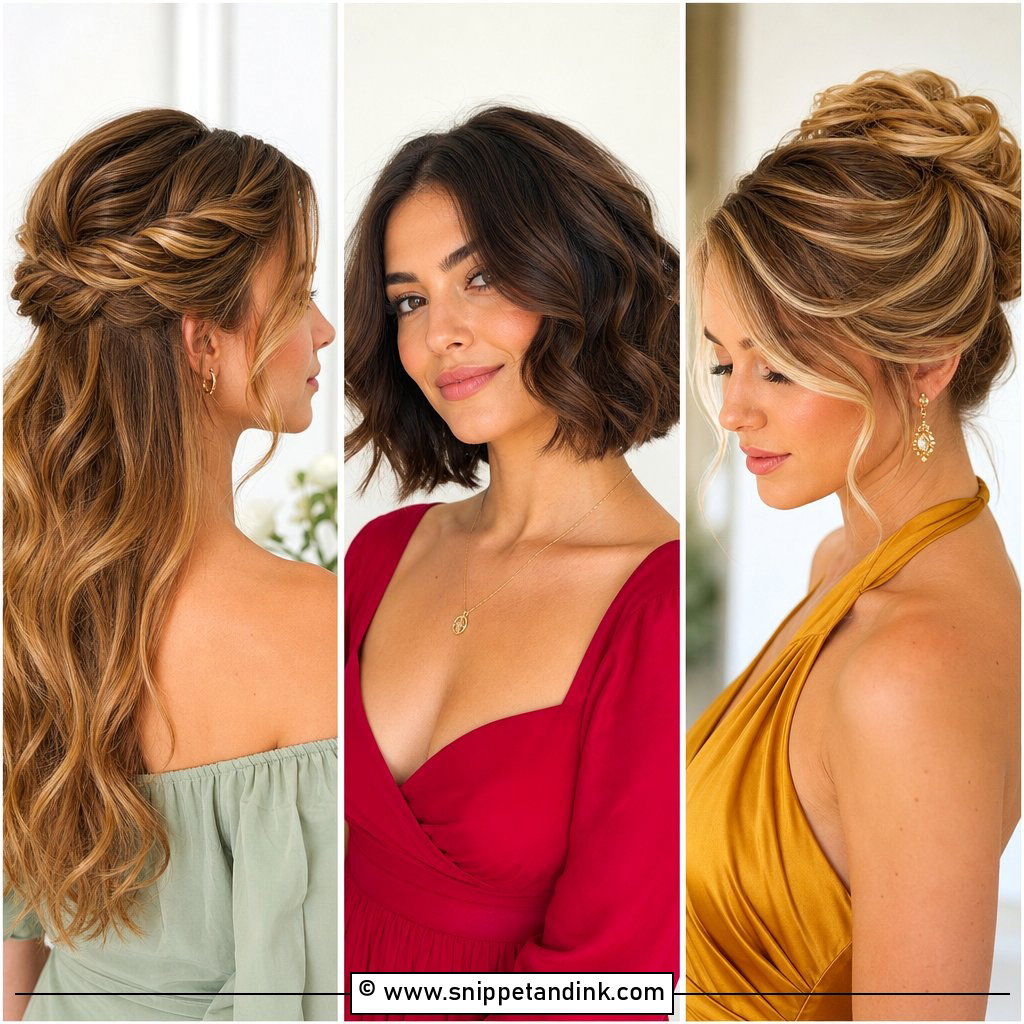
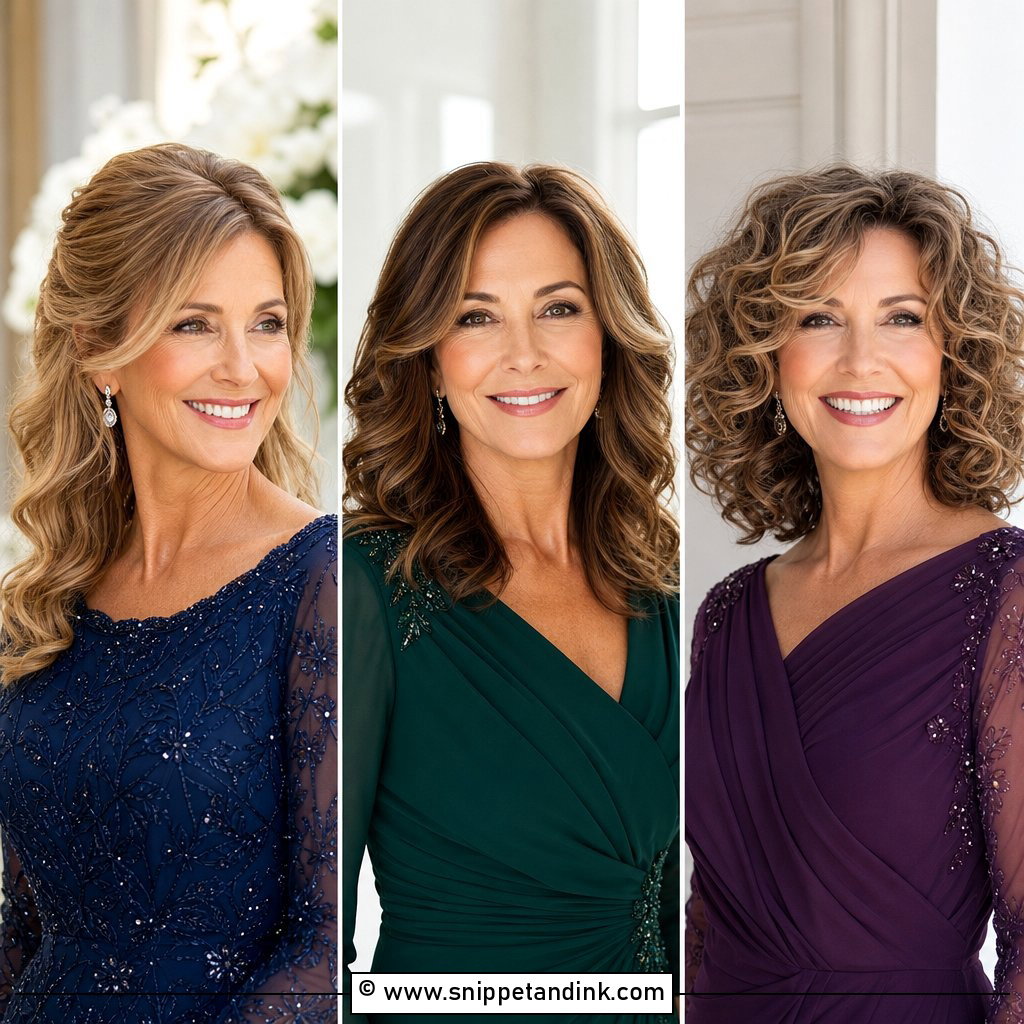
20. Vintage Finger Waves for Short Hair
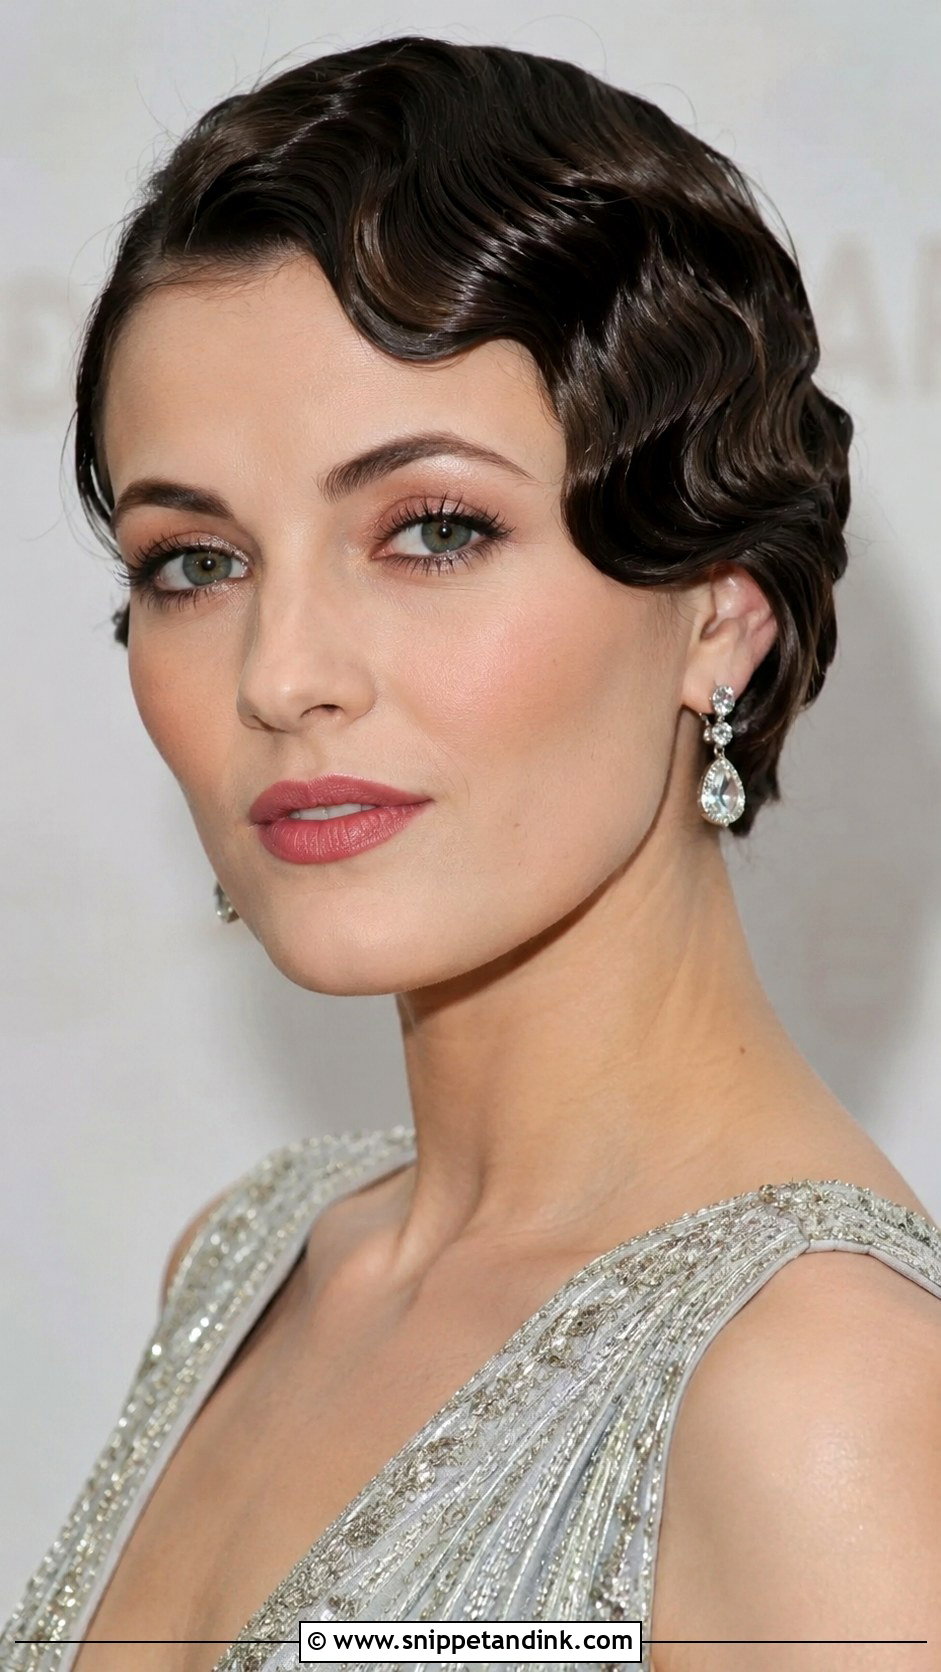
Short hair takes vintage finger waves better than long hair does. They are set with gel while wet and pressed into an S shape with the fingers and a fine comb, then left to dry completely. The result is very glossy and close to the head. It needs a stylist who has done them before, so ask to see examples. The style is quite dramatic and suits a formal or themed wedding more than a relaxed outdoor one.
21. Low Ponytail with Volume
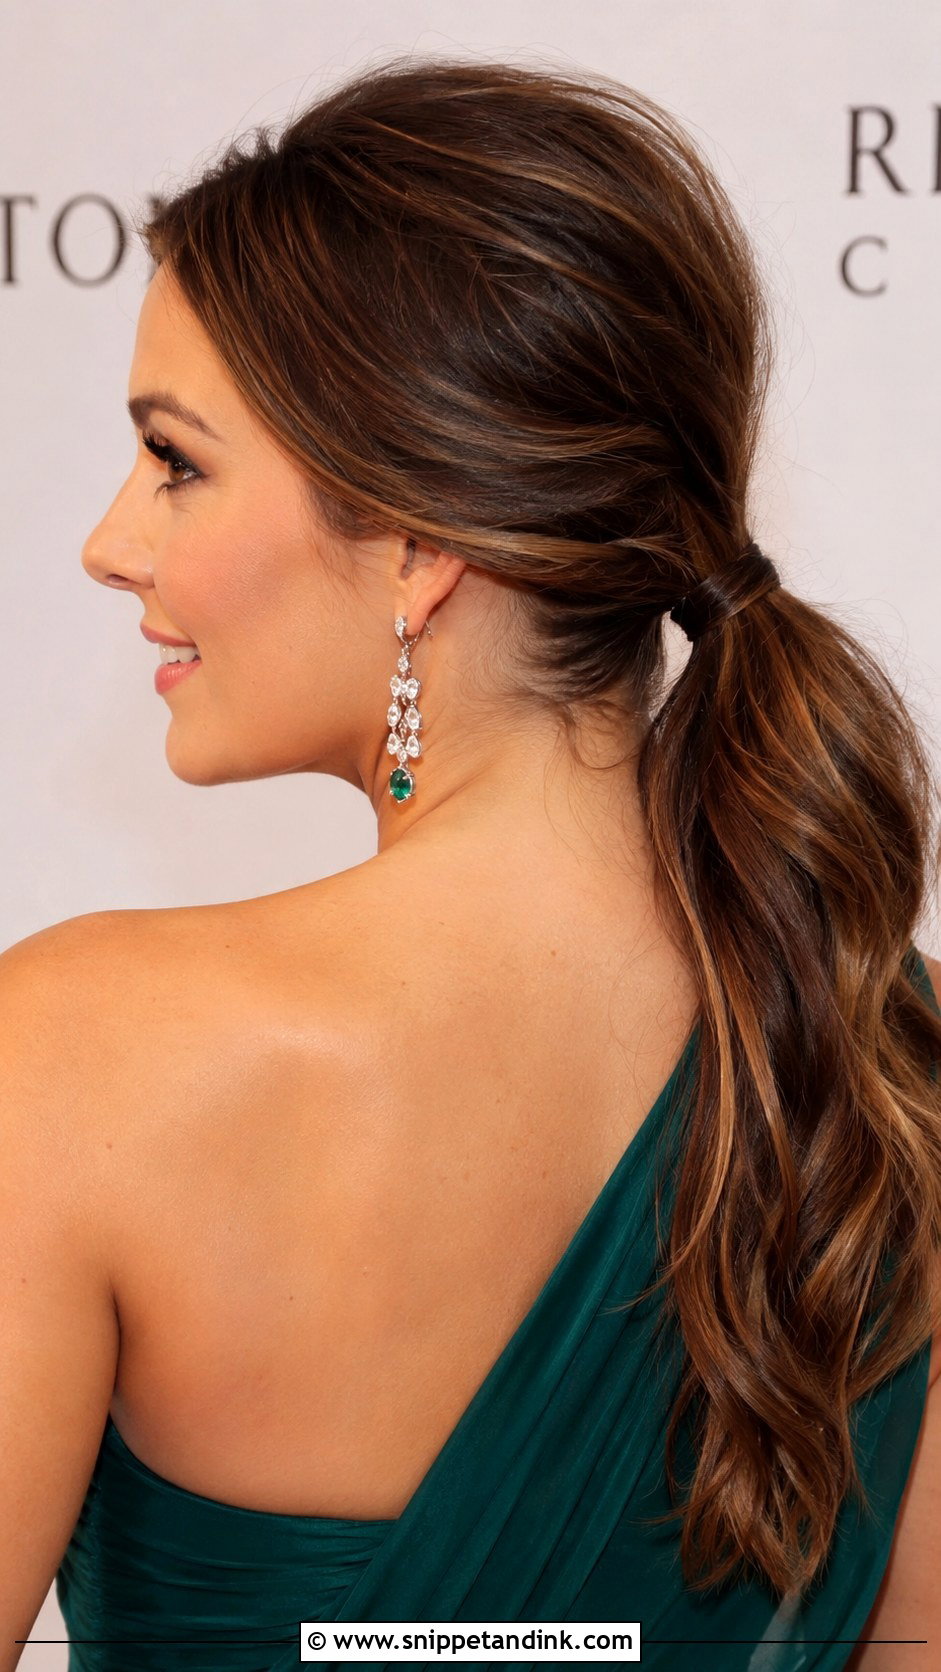
A low ponytail is easy to wear and very comfortable, especially for mothers who dislike pins. I tease the crown first for some lift, secure the ponytail at the nape and wrap a strand of hair around the elastic. That small step makes it look finished. The length can be smooth or softly waved. It is a sensible option for the mother of the groom who doesn’t want a full updo but wants her hair off her shoulders.
22. Wispy Bangs with Soft Bob
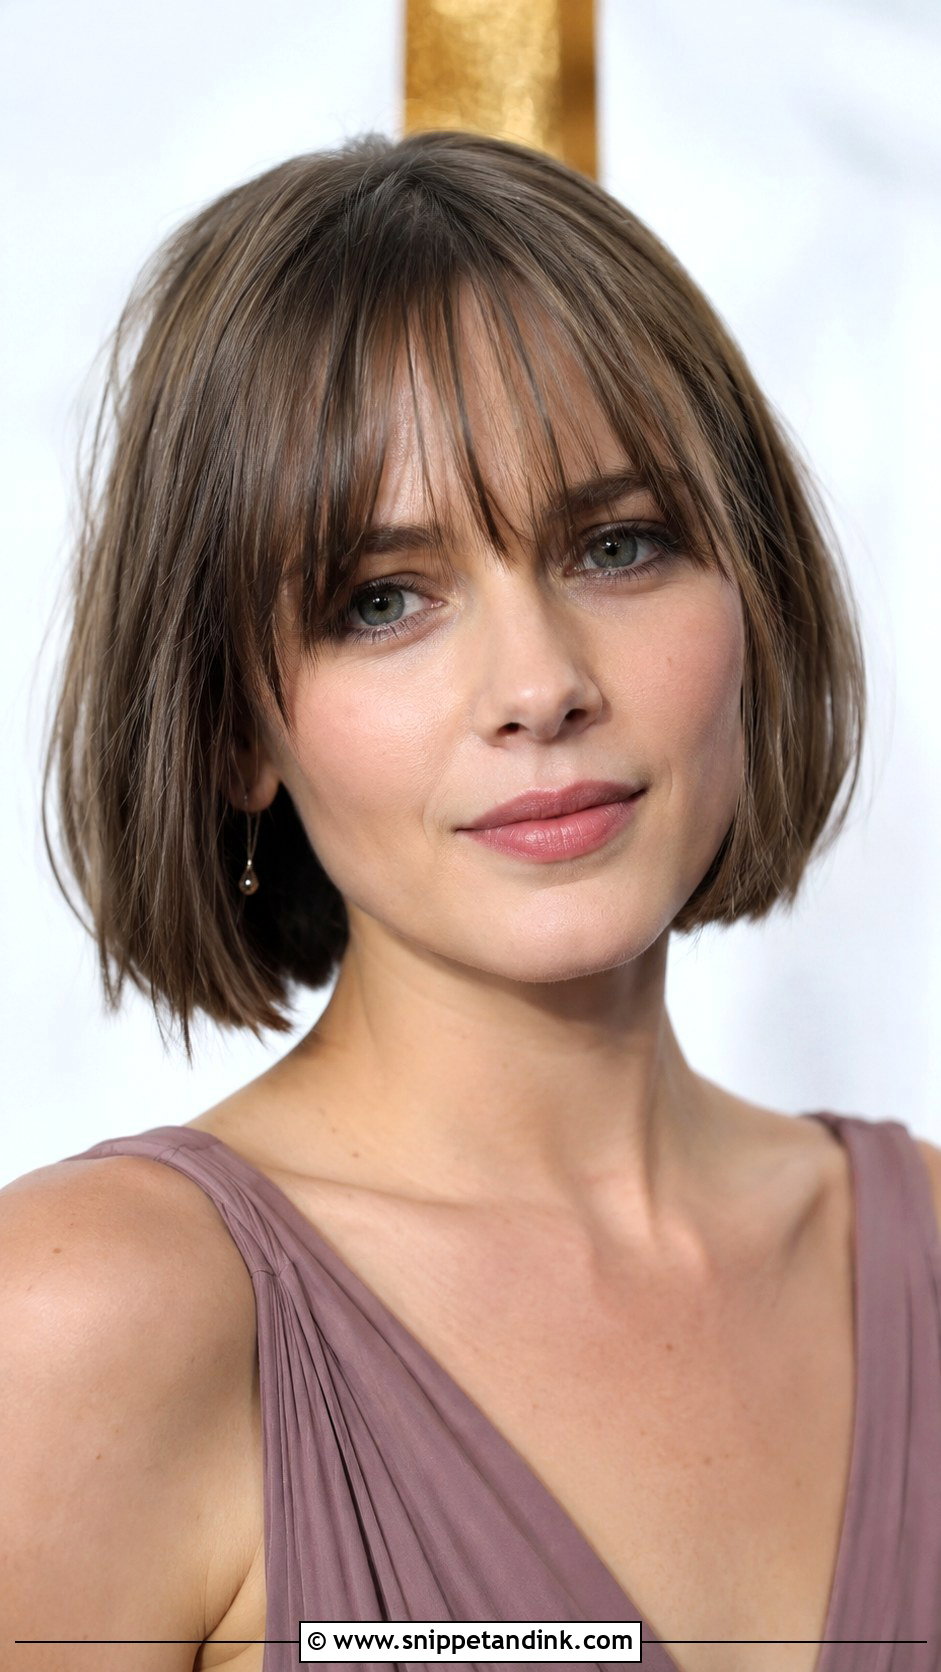
Wispy bangs soften the forehead and draw attention to the eyes. They should be cut lightly with a texturizing technique, not blunt, so they sit softly rather than heavily. I’d steer you away from a brand-new fringe in the month before the wedding; if you’d like to try one, do it at least two months ahead. On the day, blow-dry the fringe in the direction it naturally falls, and smooth it with your fingers rather than a brush.
23. Braided Crown Updo
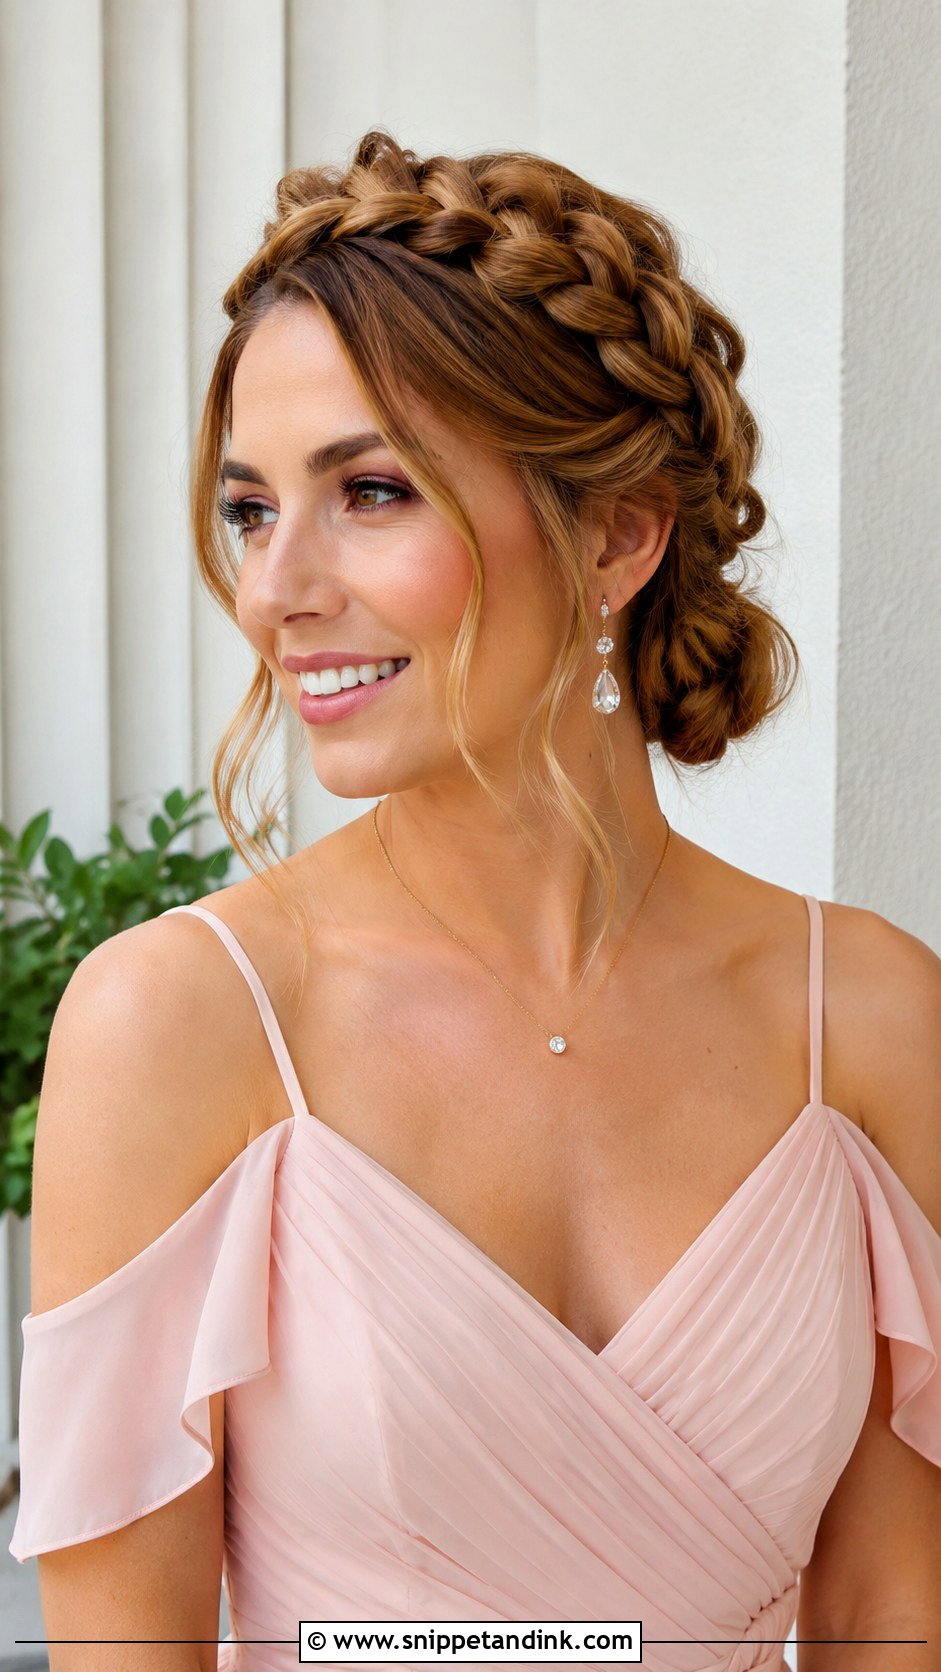
A braided crown keeps every strand off the face and neck, which is why I suggest it for summer and outdoor weddings. It needs medium to long hair to wrap around the head. On finer hair, I braid two sections and pin them across the top rather than trying to make one braid circle the head. Leaving a few soft pieces loose prevents it from looking too severe on a mature face.
24. Glossy Blunt Bob for Sophistication
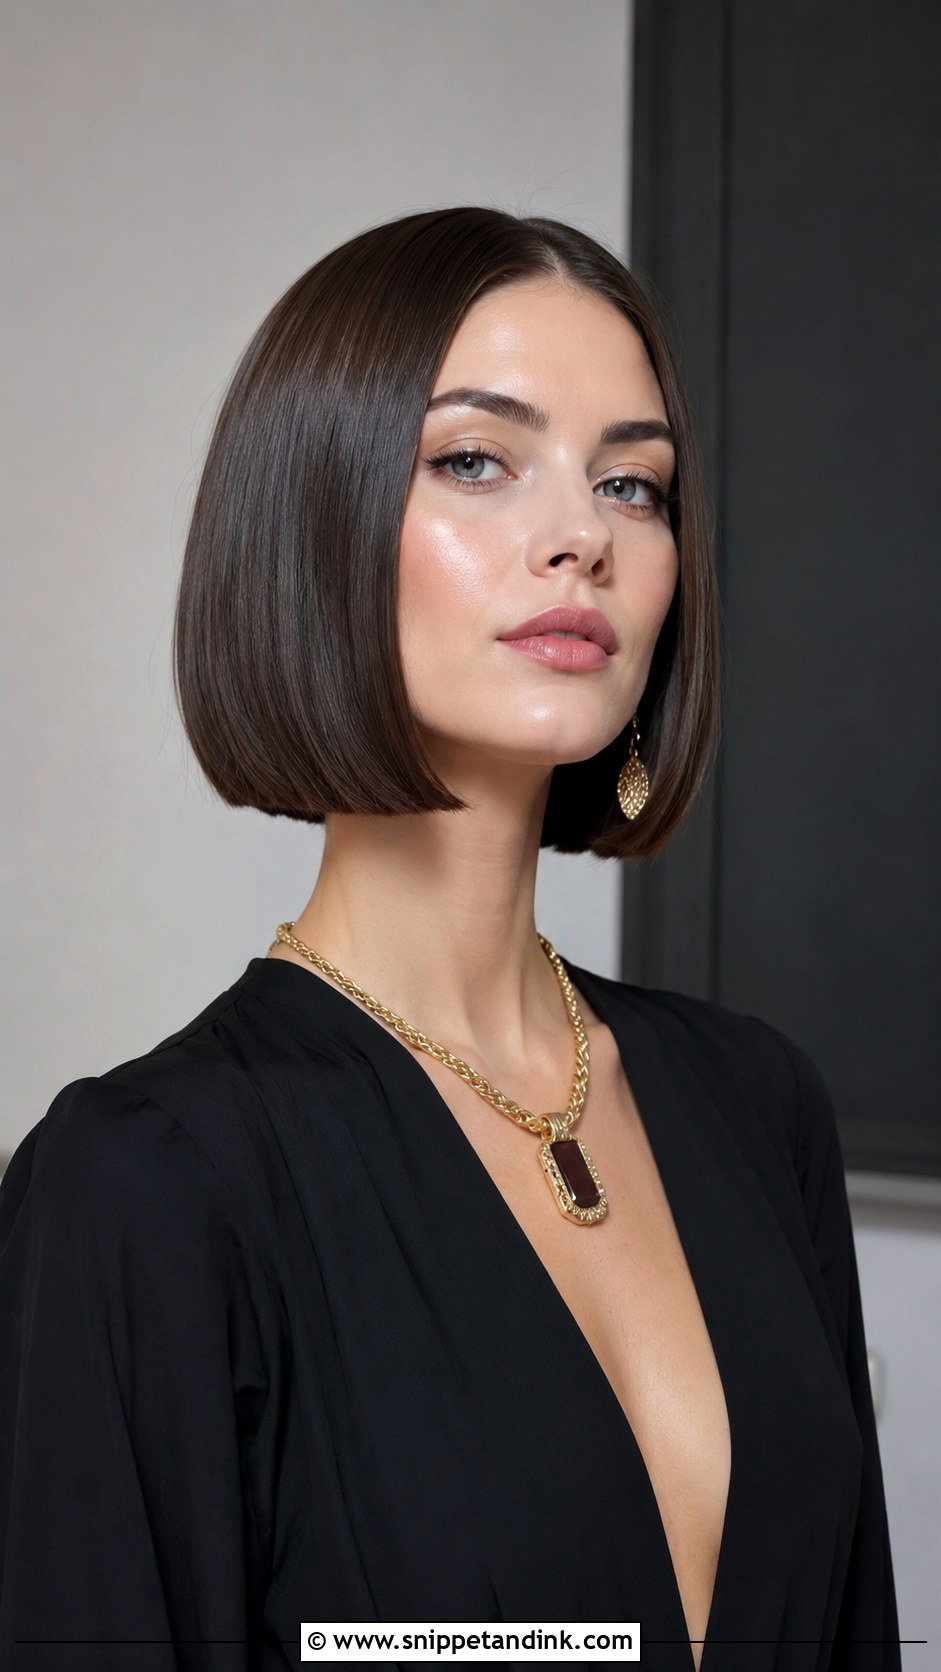
A blunt bob is all about the line, so the cut has to be precise. One length, no layers, sitting at the chin or jaw. I style it smooth with a round brush and add a tiny amount of shine serum on the ends. It frames the face sharply and suits mothers who wear structured dresses and bold jewellery. It’s less forgiving on very curly or very coarse hair, which may need smoothing first.
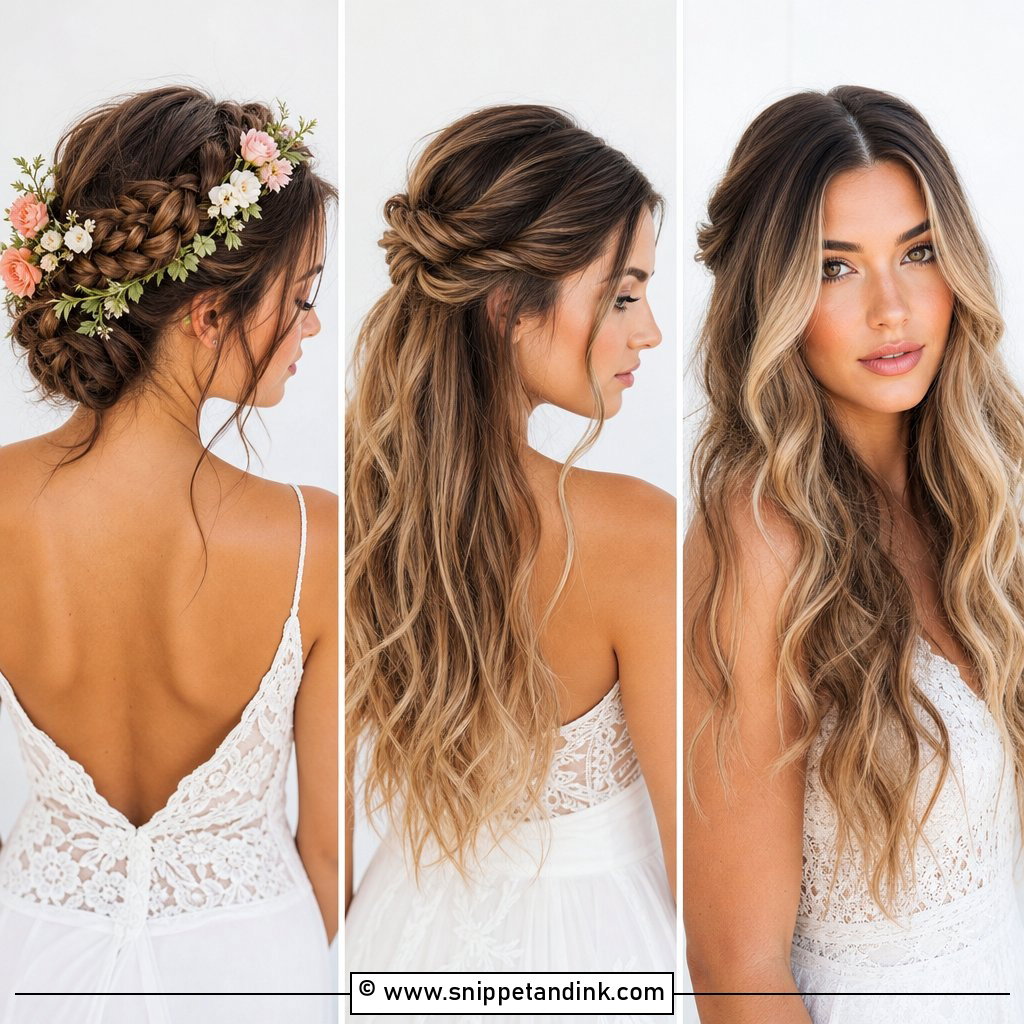
25. Loose Bun with Face Framing Pieces
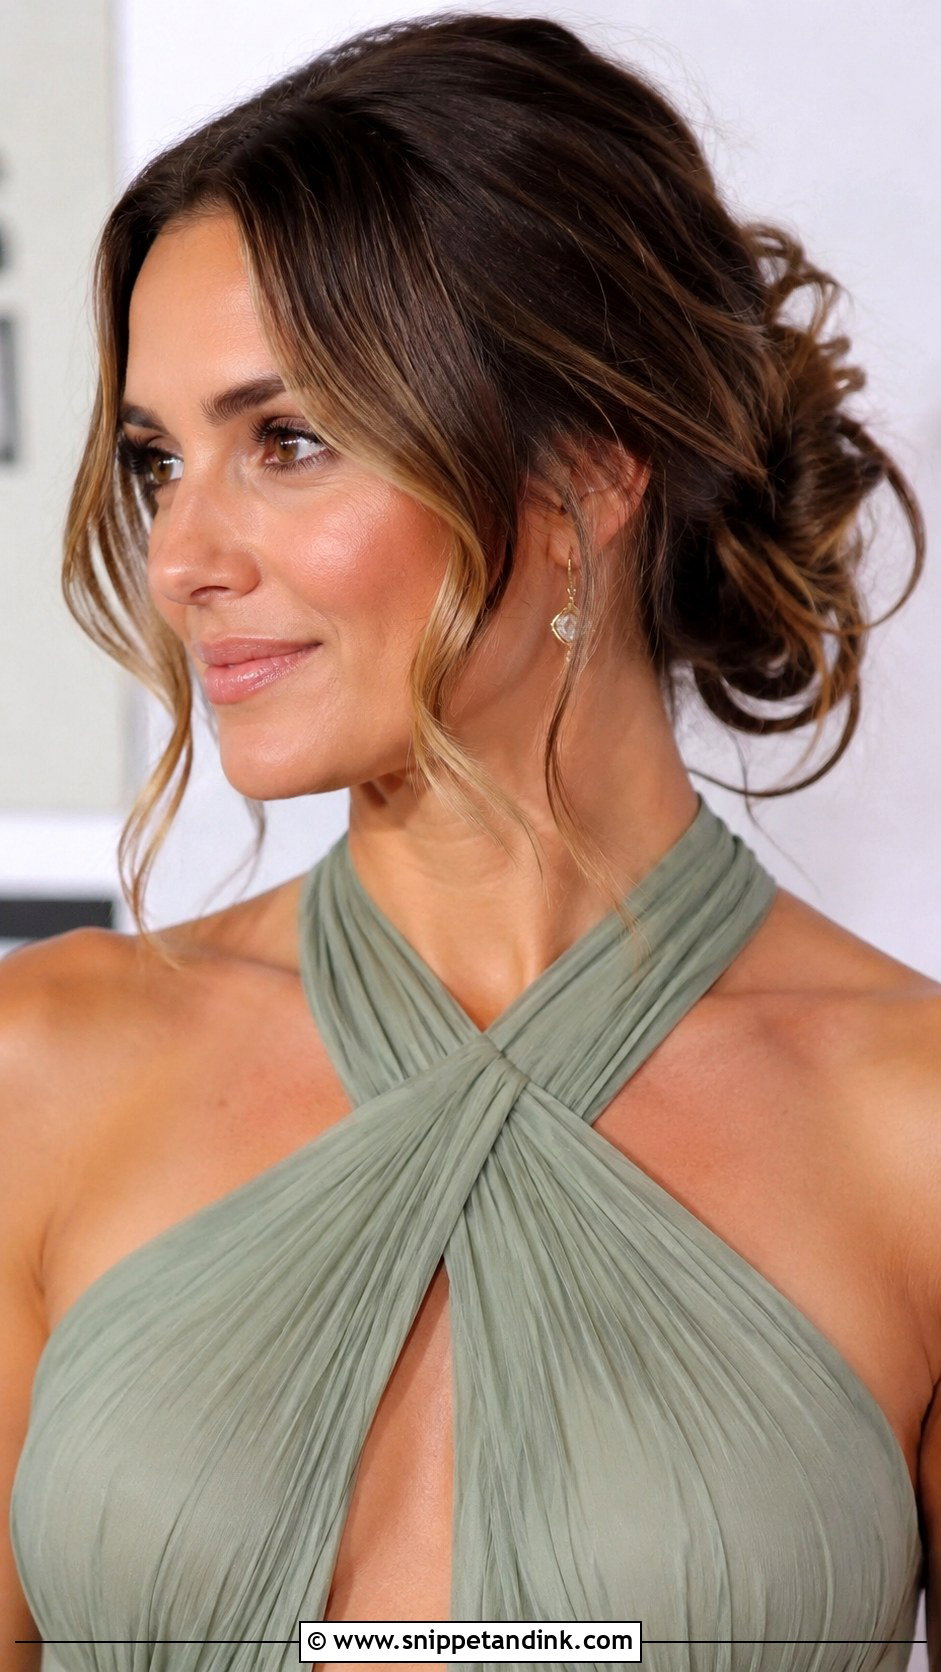
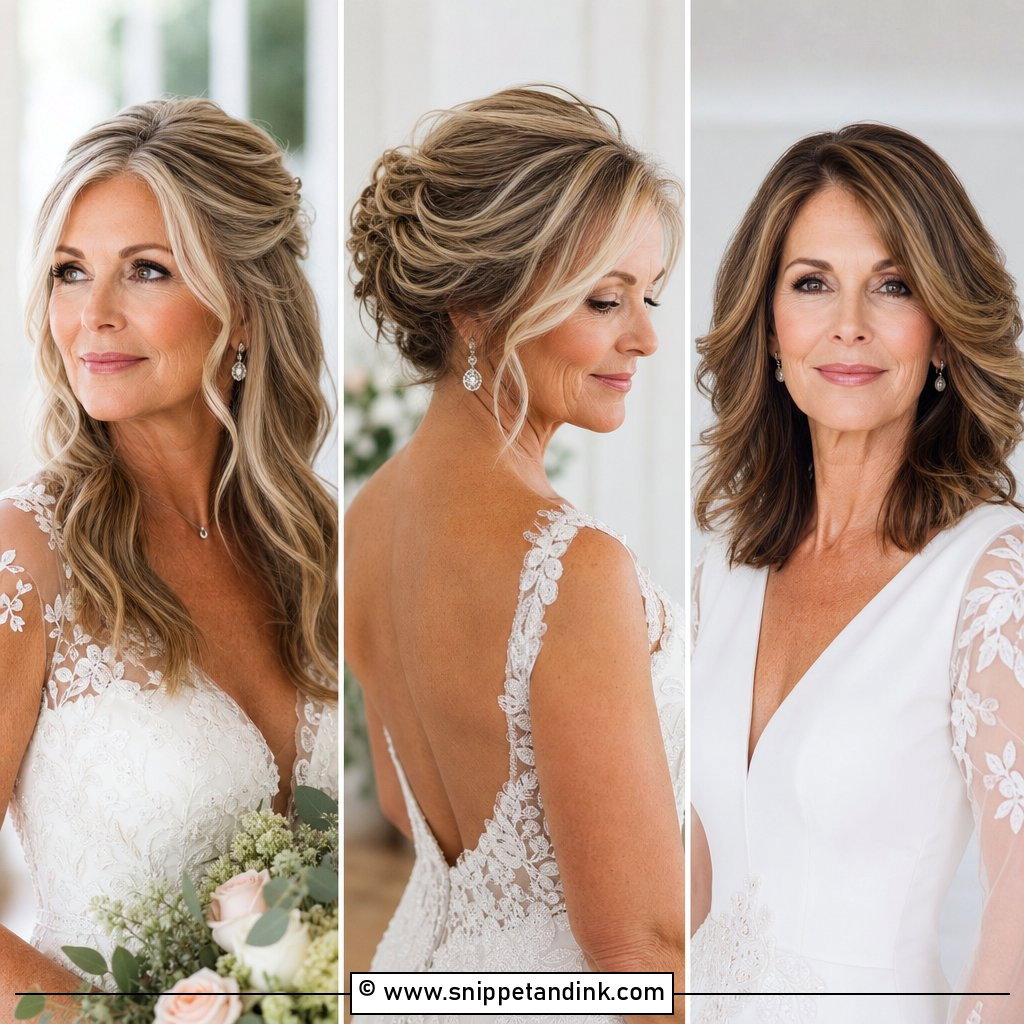
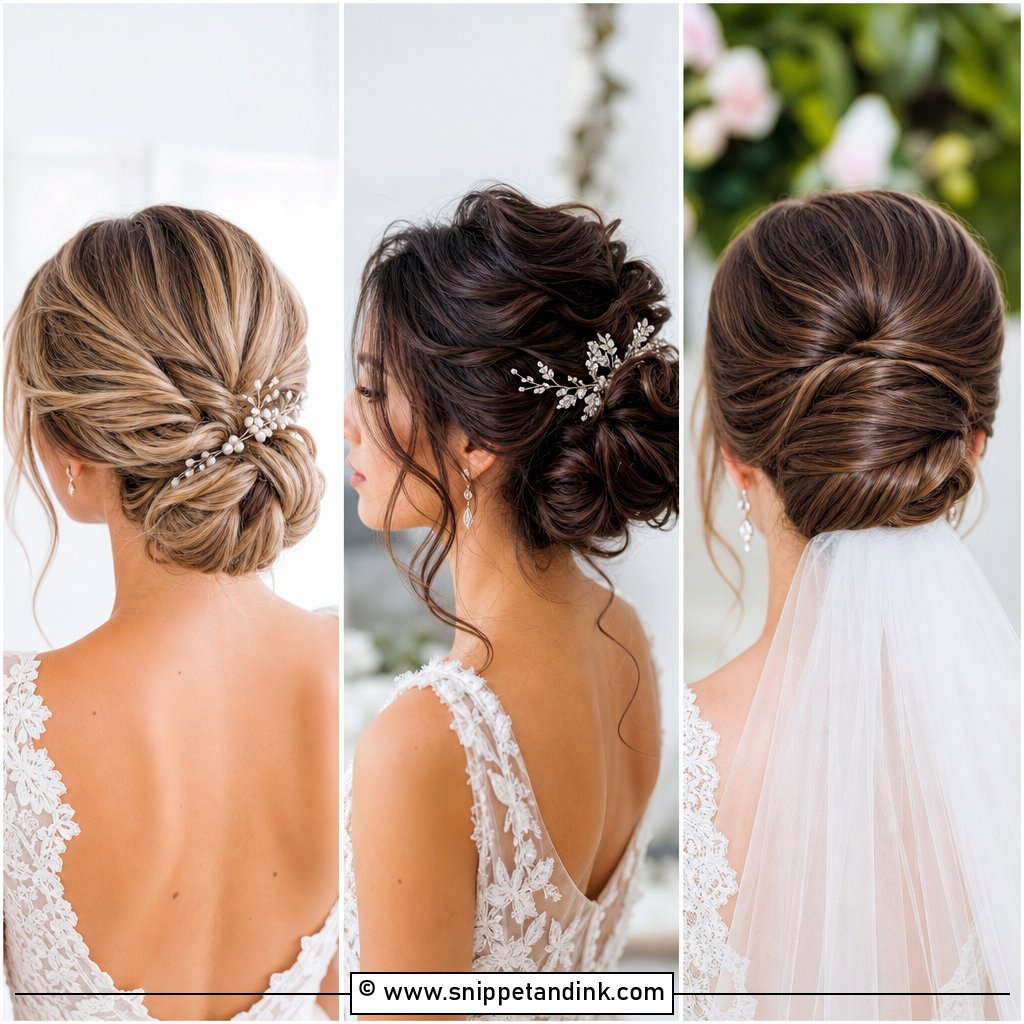
This is the style I suggest when someone wants an updo that doesn’t feel like one. I gather the hair loosely at the back, pin the bun in a few spots so it can move slightly, then leave out pieces around the face. The texture should look soft, not messy. It’s comfortable, easy to touch up and works for nearly every venue.
How Far Ahead Should a Cut or Colour Be Done?
Timing is where many mothers get caught. A haircut a day or two before a wedding often looks too fresh, and colour done the week of can still be settling.
Cuts
A trim of an existing shape, such as a bob, pixie or lob, is best one to two weeks before. A new cut or a big change is better done six to eight weeks before, with a follow-up trim later. That gives you time to get used to it and to adjust the shape if it doesn’t suit.
Colour and grey coverage
Root touch-ups are best about a week before, so the colour softens slightly and any redness on the scalp settles. If you’re thinking of going grey, start the transition well before the wedding season, or wait until after, since the in-between stage is hard to style neatly. Gloss and toner treatments for silver hair are best one to two weeks before.
Wash your hair the day before, not the morning of. Second-day hair holds pins and curls much better, and that applies to almost every style above.
Comfort Lasts Longer Than Any Hairspray
The look that suits you best is the one your hair can hold, in your real length and texture, for a full day. Bring a few photos to your stylist, wear your dress neckline to the trial and ask honestly whether a style will last. Grey hair, a short cut or fine strands are not obstacles, just details to plan around. With the right style, you can forget about your hair and enjoy your son’s wedding.
You'll Like These Ideas:


Leave a Reply