
Brides tend to send me photos of the back of a bun, yet almost every picture taken of you on the day is face-on: the vows, the portraits, the walk down the aisle. From that angle you barely see the bun at all. What you see is the part, the hairline, the pieces near your cheeks and how the shape balances your veil or earrings. A clean middle part reads one way; soft curls or a side part read another. I’ve grouped these wedding bun front view ideas around exactly that angle, with notes on what each one asks of your hair and your face.
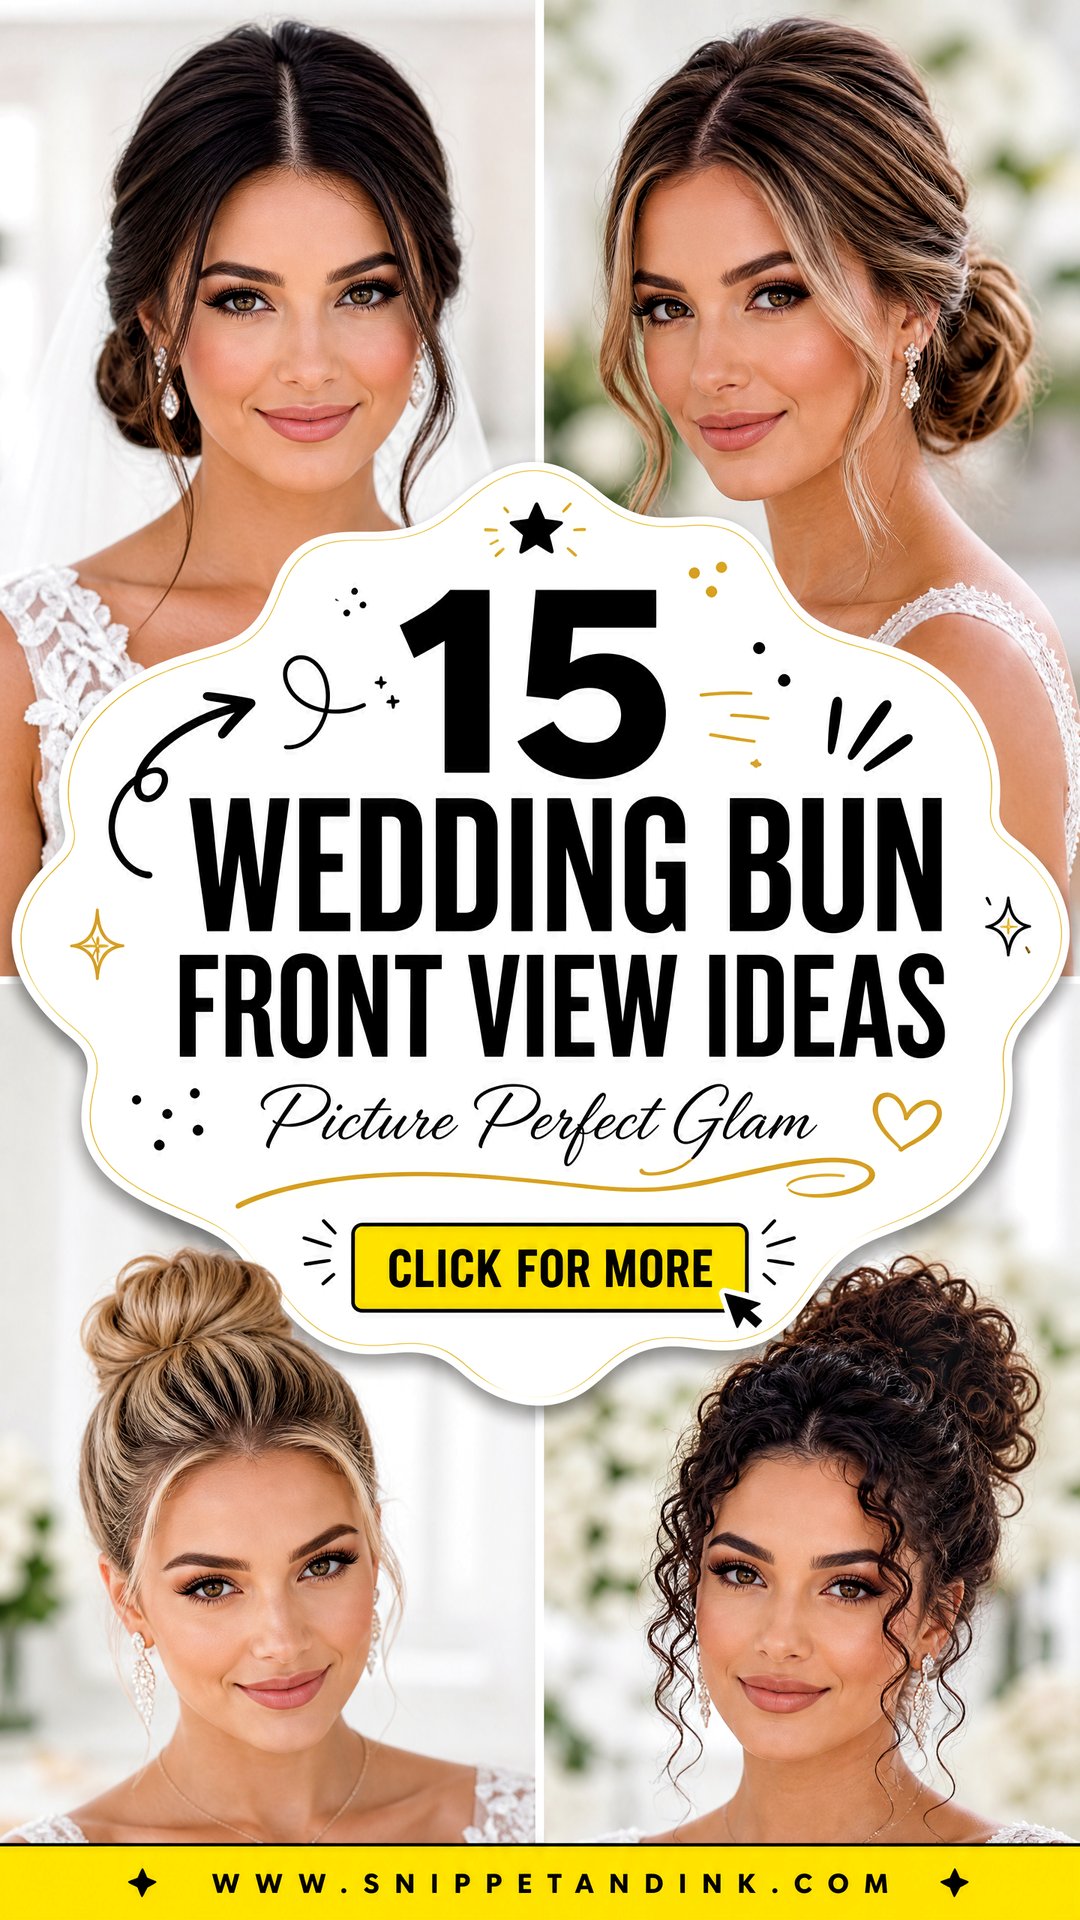
Pulling Hair Back Shows Your Hairline, Ears and Brows
Loose hair hides a lot. Once it goes into a bun, the front of your head is on display, and the details people never notice day to day suddenly frame every photo. I look at these before I suggest any of the styles below.
Hairline gaps and baby hairs
Thinner patches at the temples show clearly when hair is pulled back tight. A softer front, a side part or a couple of face-framing pieces cover them better than any product. Fine baby hairs can be smoothed with a toothbrush and a little gel, or left fluffy if that’s how you wear them; just decide at the trial, not on the morning.
Cowlicks and growth direction
A cowlick at the front decides where a part can sit. I can usually redirect it with heat while the roots are damp, but if the hair has always flicked one way, fighting it all day is a losing job. It’s easier to choose a style that follows it.
Ears and earrings
A bun puts your ears in every frame. Heavy earrings that look right with loose hair can look oversized once the ears are exposed, and clip-ons pinch more by the evening. Wear your actual earrings to the trial so I can see whether the front needs a piece of hair to soften them.
1. Low Wedding Bun With Middle Part
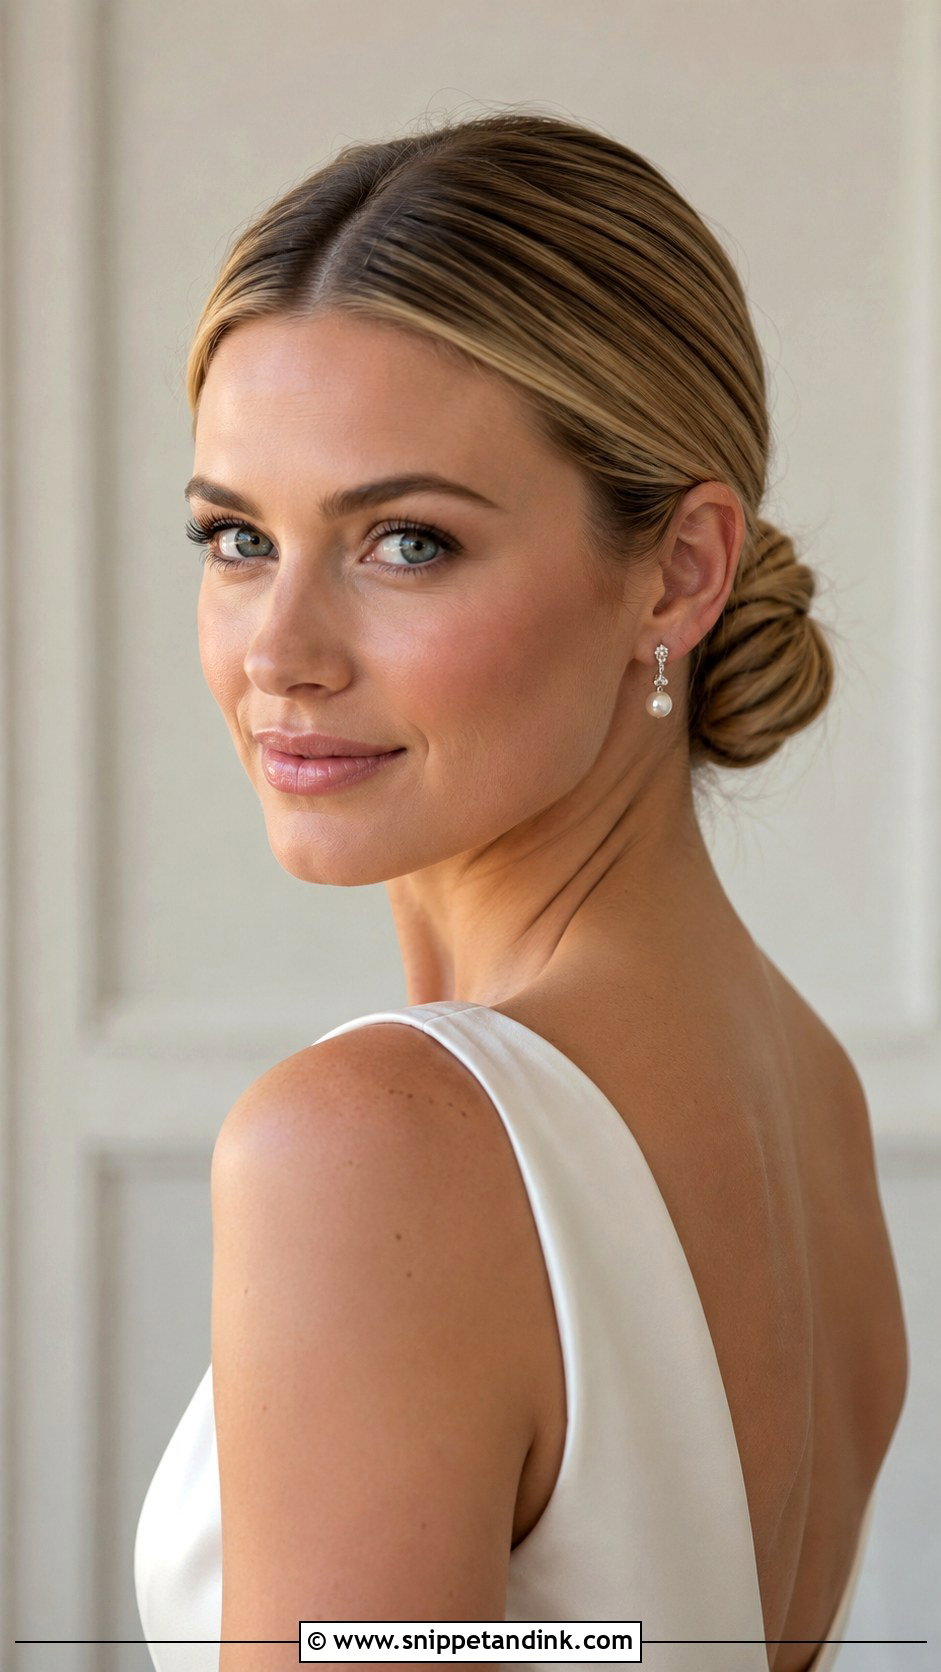
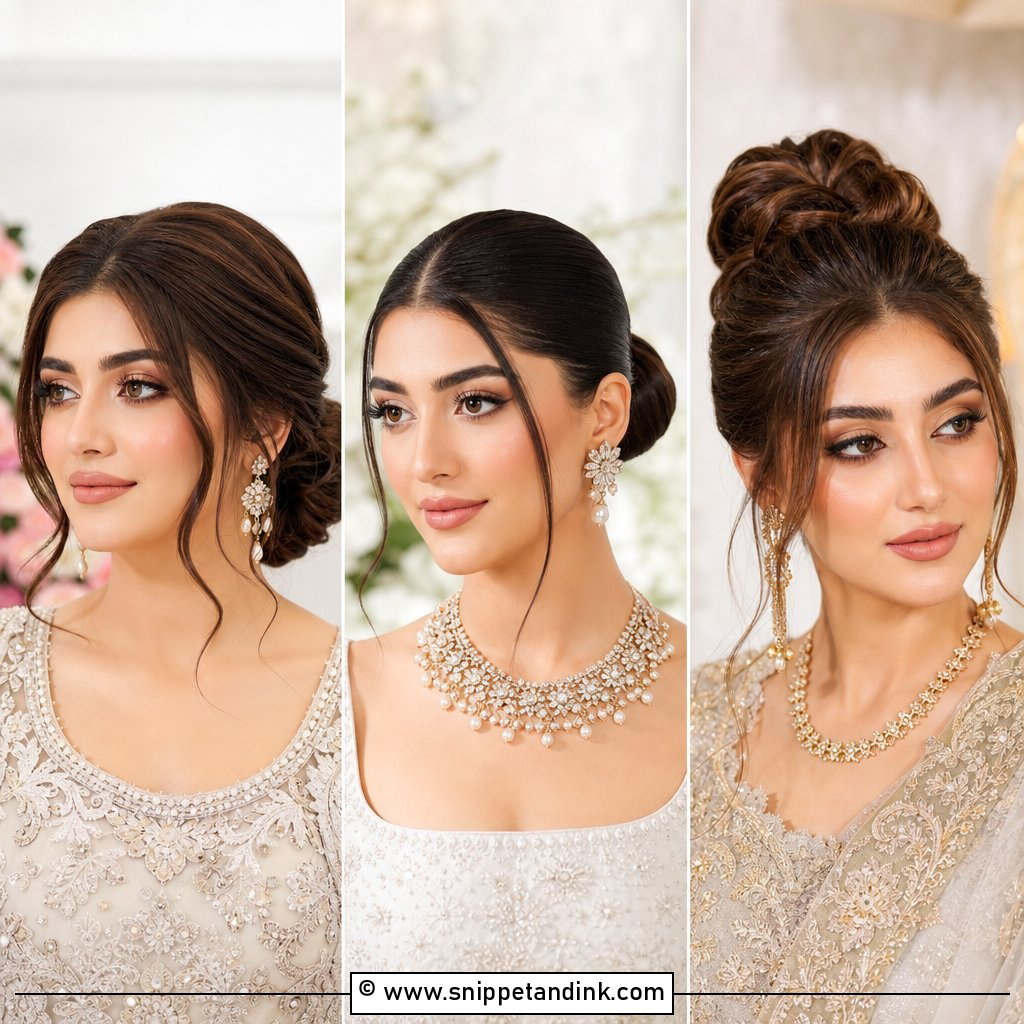
A middle part with a low bun is the most symmetrical frame you can give a face, which is why it suits a veil, pearl studs and quiet makeup. It also hides nothing. If your natural part sits slightly off-center or you have a cowlick at the front, I’ll blow-dry the roots in the new direction first, or the part will drift by the afternoon. Keep the front smooth but not flat; a little lift just behind the hairline stops it looking severe in photos. It belongs with satin, classic and minimalist gowns.
2. Low Wedding Bun With Side Part
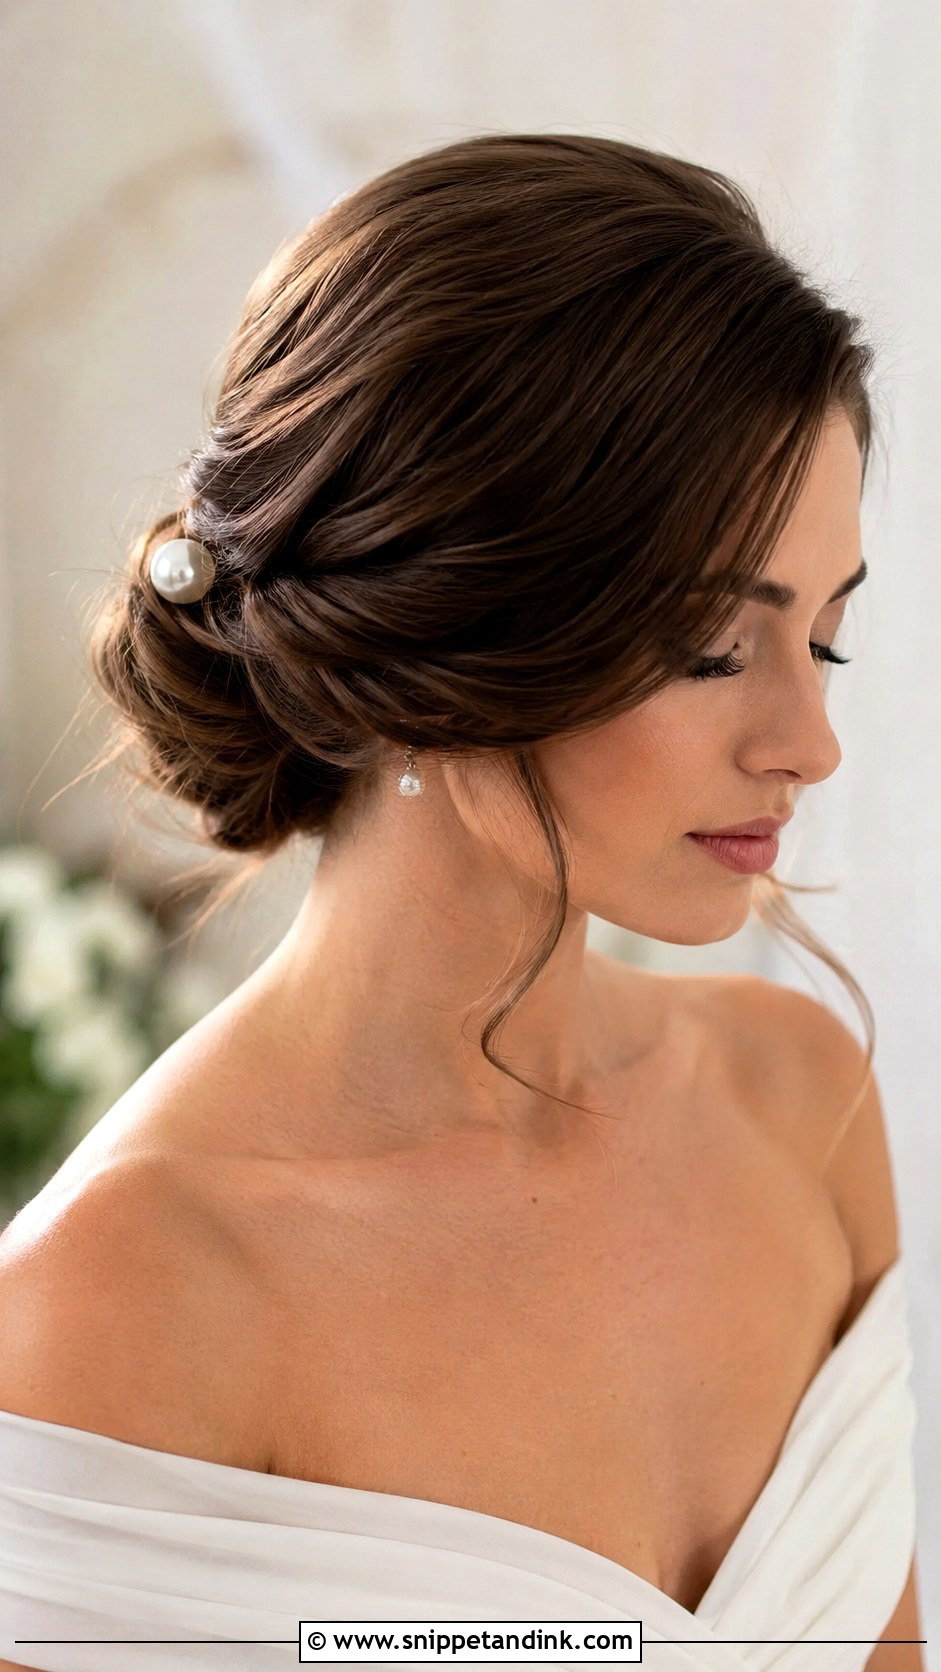
Moving the part to one side softens the whole front, and the side sweep across the forehead takes some of the attention off a strong brow or cheekbone. Whichever side you choose, the opposite ear is exposed, so that’s where a single statement earring or a comb belongs. I sweep it with gentle bends rather than tight curls, and pin the sweep behind the ear where nobody sees the grip. Before the trial, look at a few of your own selfies; most people have a side they always part on, and the hair lies flatter there.
3. Sleek Wedding Bun With Front Pieces
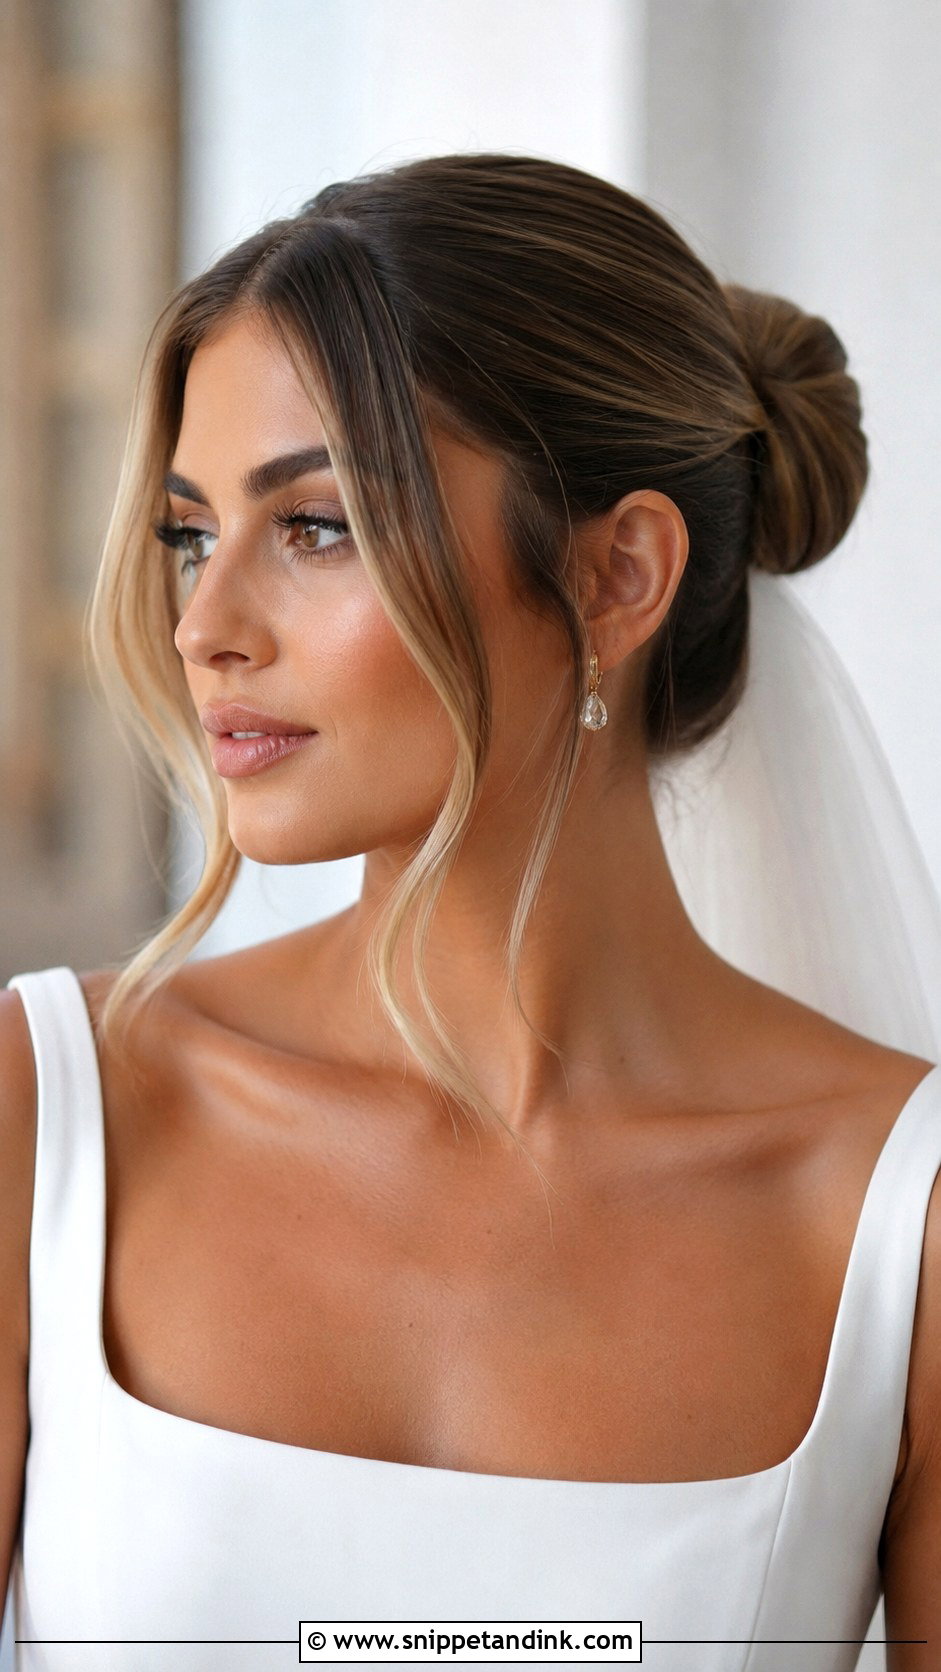
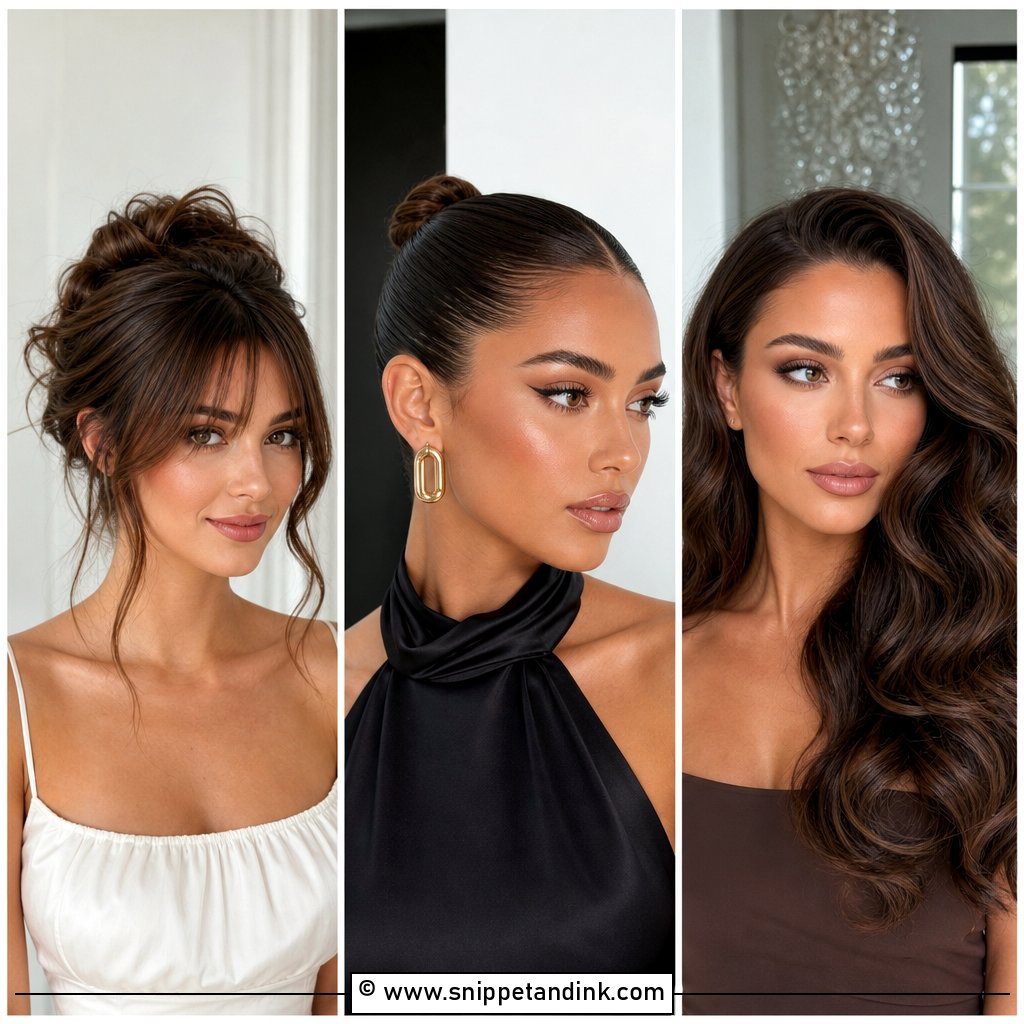
Two slim pieces left out at the front are what most brides mean when they say they want a sleek bun that isn’t harsh. The bun stays smooth and tight at the back; only the face-framing sections move. I cut those pieces from the hairline at the temple, not from the side of the head, so they fall forward without dragging the rest of the front loose. Curve them slightly, then tuck them behind the ears after the ceremony if they’re bothering you. Too many pieces and the look tips into messy.
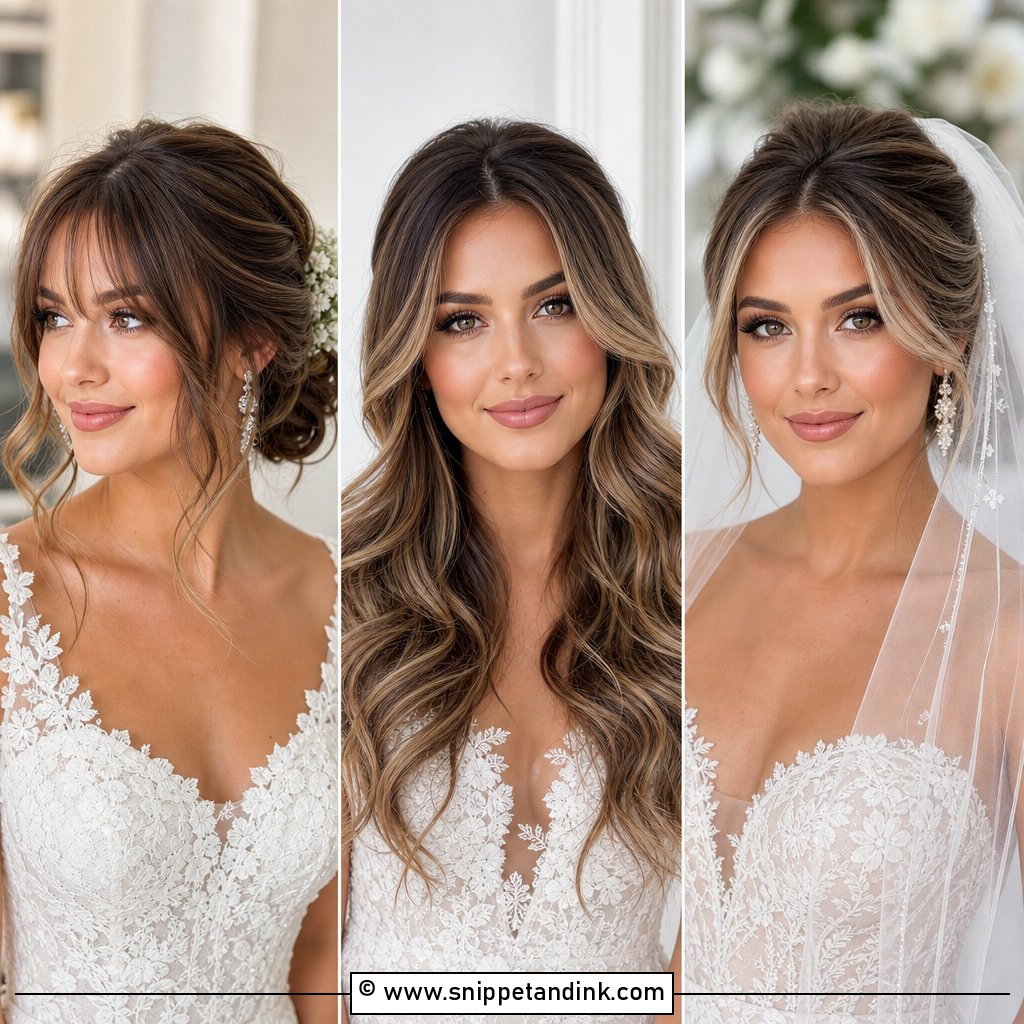
4. Soft Wedding Bun With Curtain Bangs
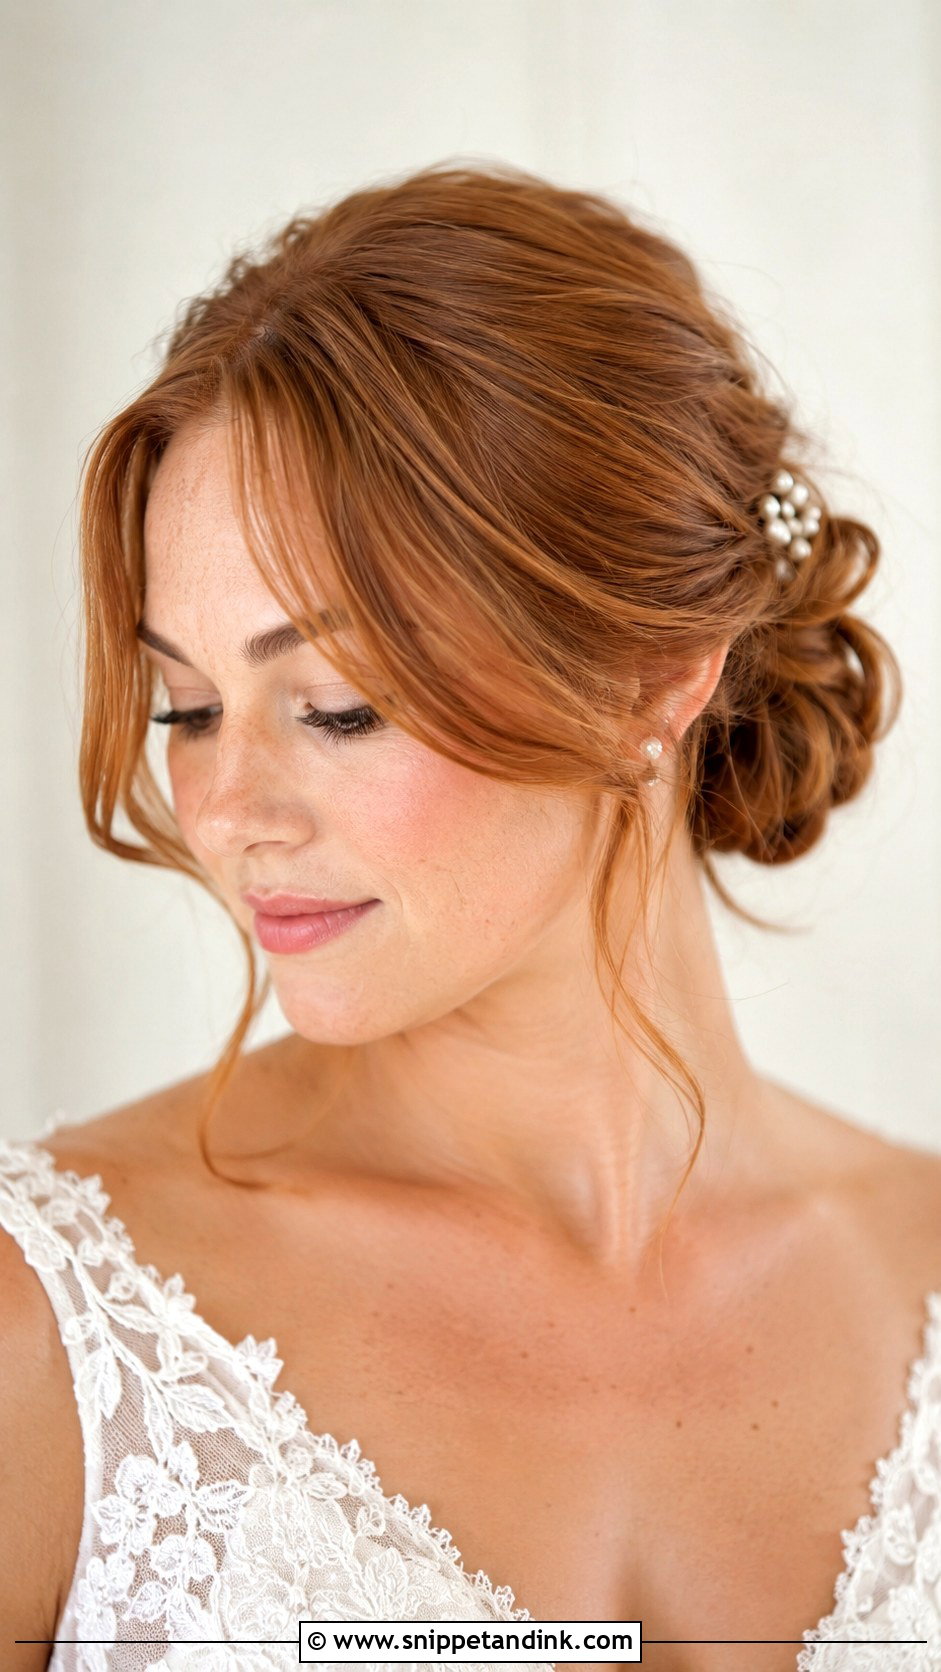
If you already wear curtain bangs, I’d almost always keep them in your bridal hair, since a bun without them can look like someone else’s face to you. The parted fringe opens the face and skims the cheekbones, loosening how formal the bun reads. The bun behind can be low and textured or softly twisted to suit the dress. What matters is the fringe itself: I set it with a round brush and a light-hold product, because heavy spray clumps short fringe pieces into strings by the first dance. Pearl clips and floral pins sit well beside it.
5. Textured Low Wedding Bun
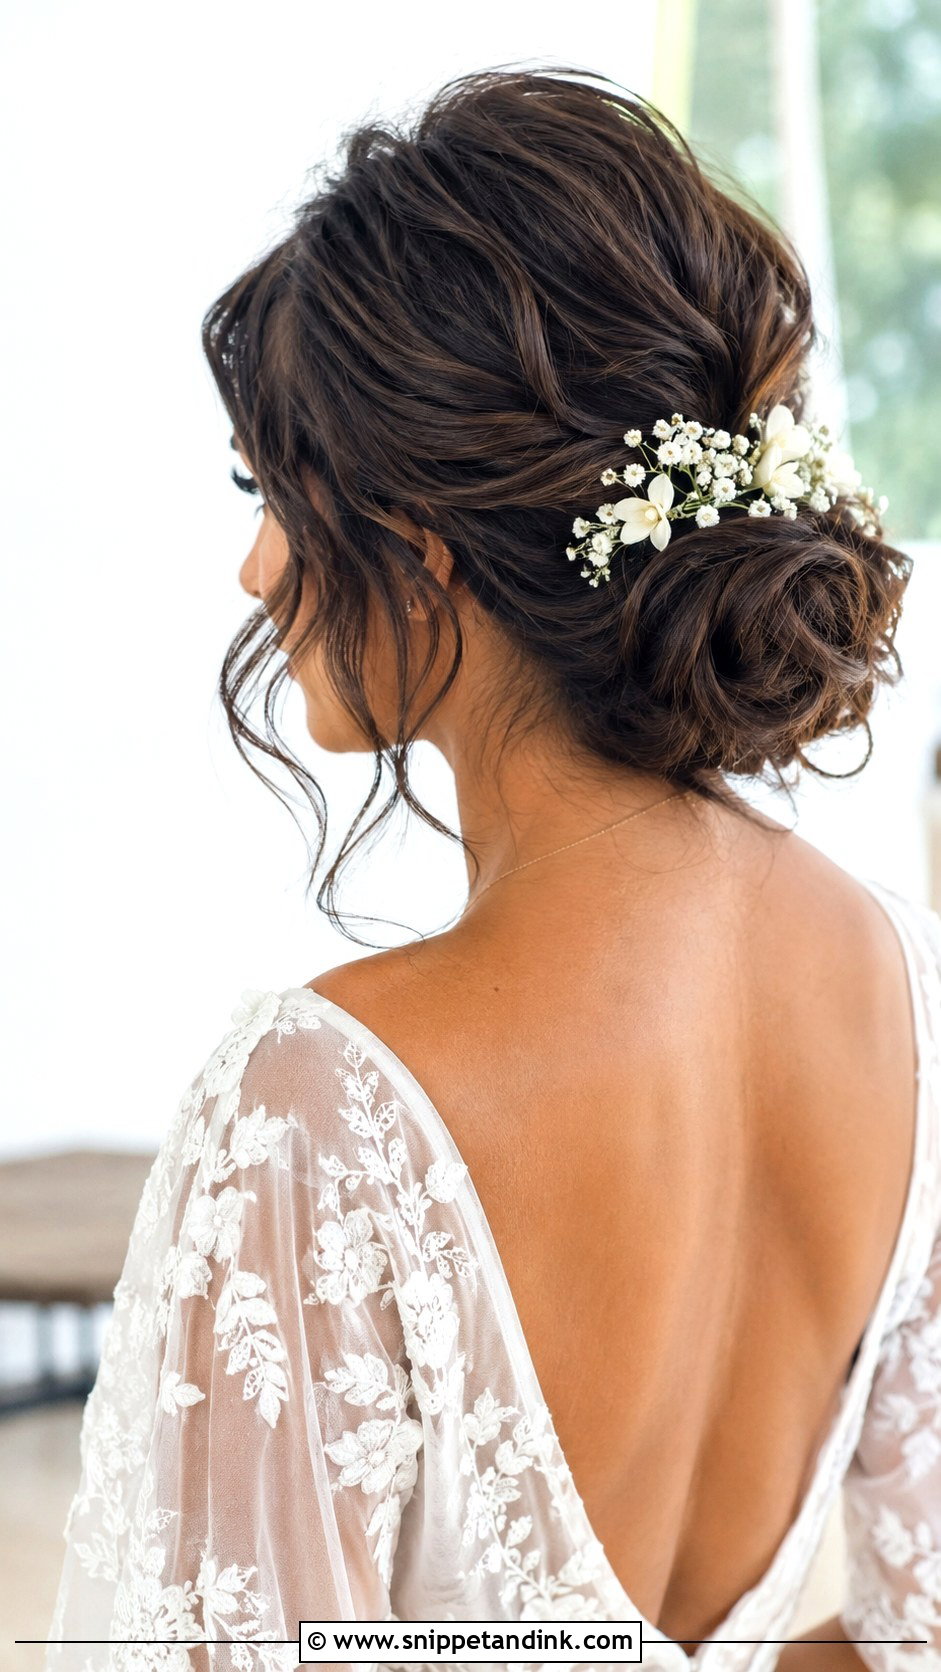
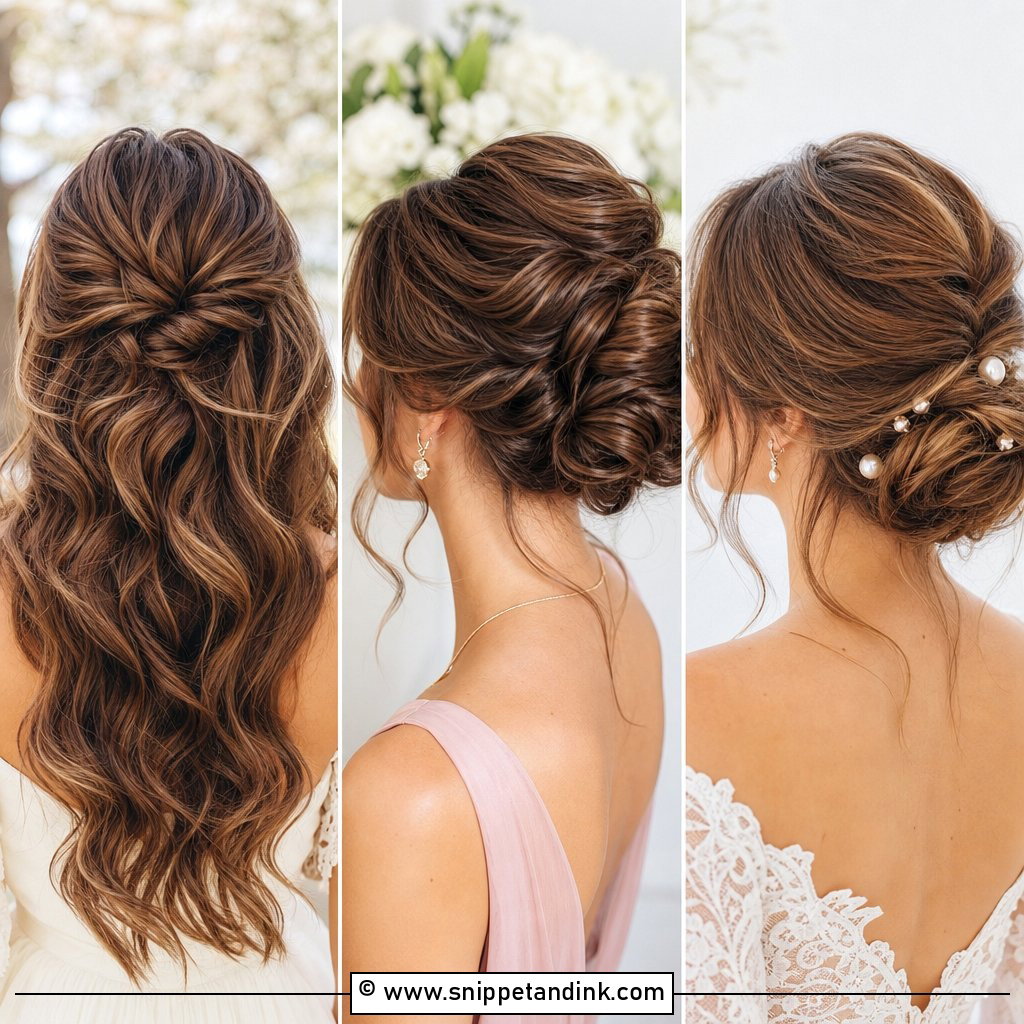
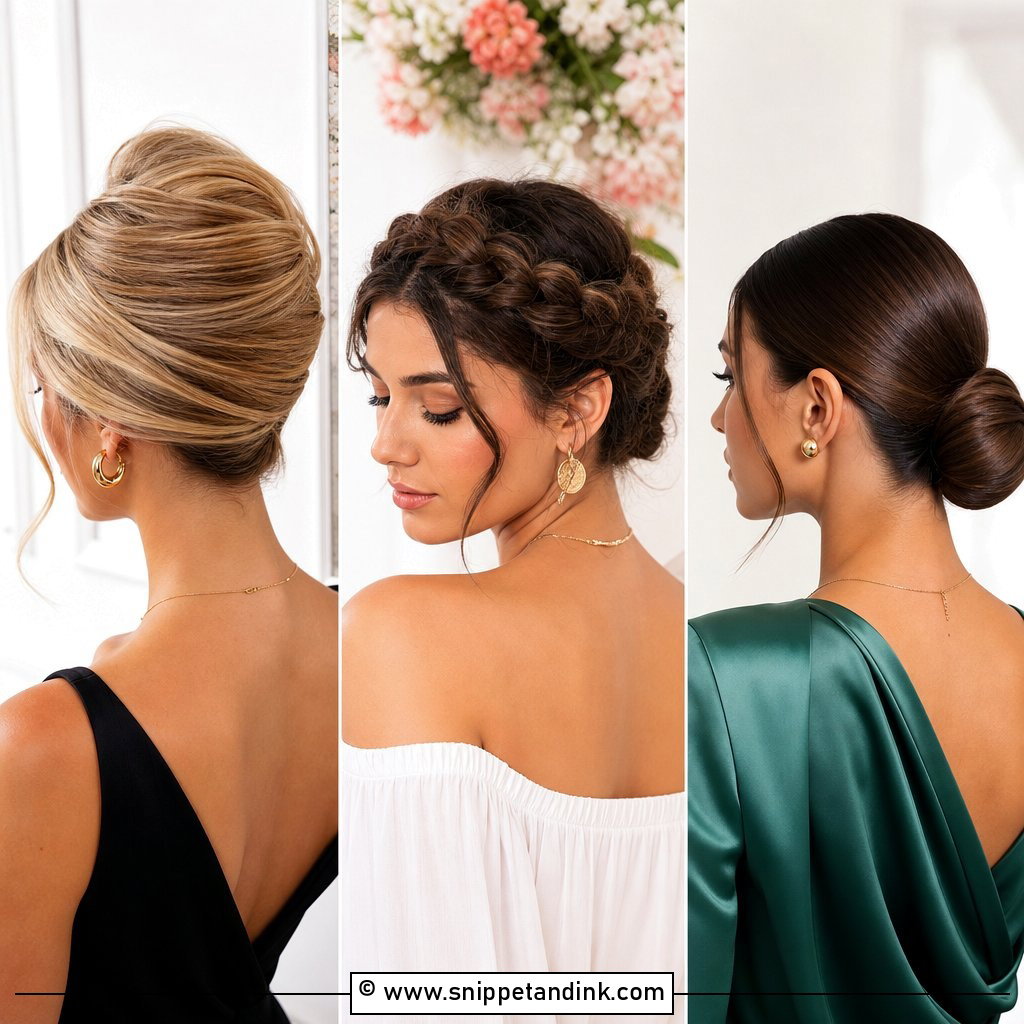
Texture in a low bun means gentle bends, loose shaping and a lifted crown in place of a glossy finish, so from the front you see softness at the roots and a few pieces near the temples. It’s my go-to for garden, beach and lace. The structure is hidden. I curl and backcomb the hair before pinning, so the bun has grip and the soft look is holding on to something solid underneath. On very fine, slippery hair, a texture spray at the roots is the difference between relaxed and collapsed by evening.
6. Messy Wedding Bun With Face Framing
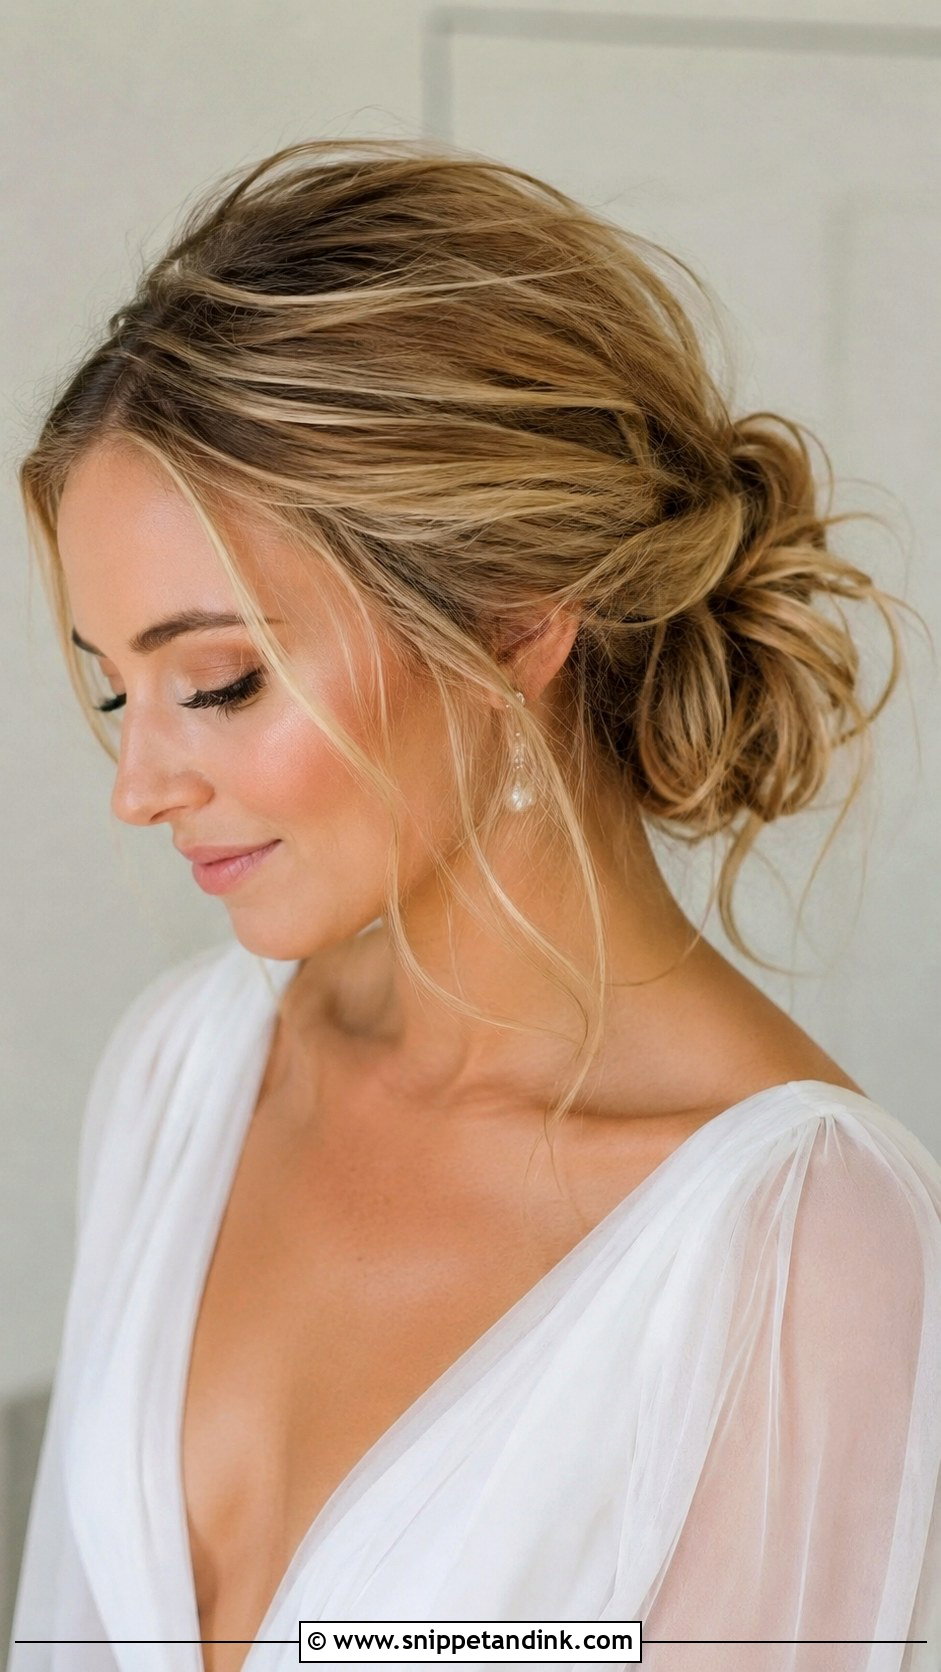
The word messy scares people for good reason. Done well, a messy bun with face framing looks unplanned, but every loose piece around the cheeks, temples and jaw has been chosen and pinned with intention. Done badly, it looks like you slept in it. I ask for soft volume at the crown and a low or mid bun, then pull pieces out one at a time while looking at you in the mirror rather than at the back of your head. Boho gowns, flowing sleeves and garden settings carry it best. If your hair is very straight and heavy, I’d think twice; the loose pieces drop flat within a couple of hours.
7. High Wedding Bun With Clean Front
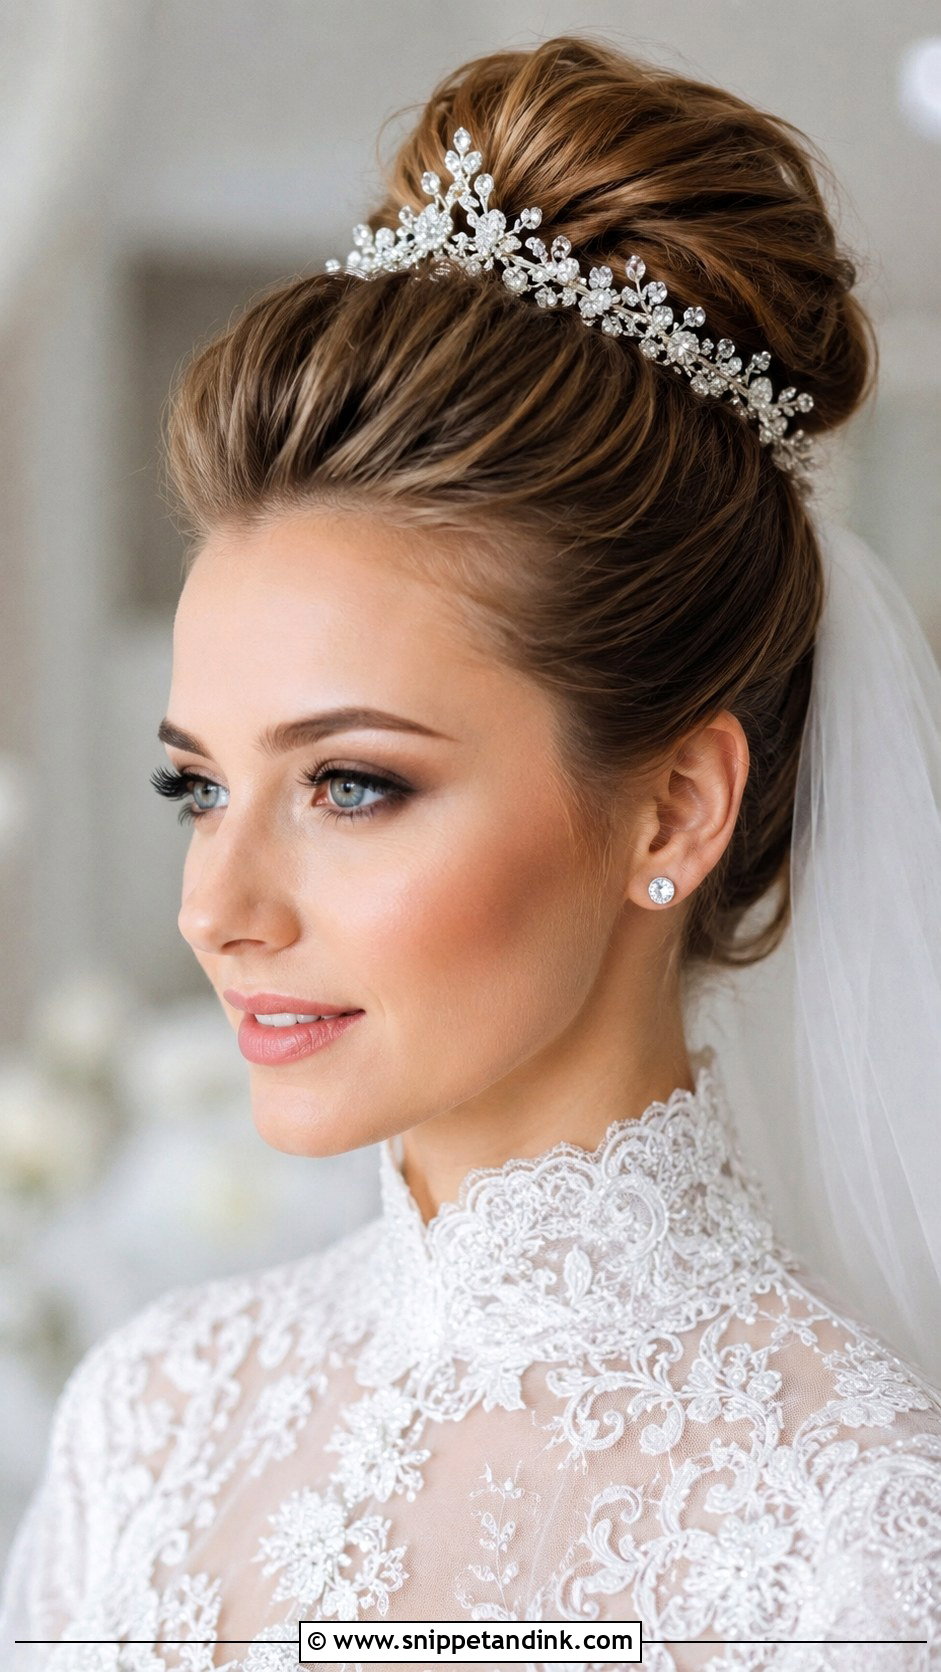
A high bun with a clean front lifts everything upward and lengthens the neck, which suits both off-the-shoulder and high-neck dresses. Keep a little height at the crown and gentle tension along the hairline, never enough to pull at the skin; a tight hairline shows in close-ups and hurts by mid-afternoon. A tiara sits well in front of it, and a veil goes underneath the bun rather than on top. It’s also the most practical choice in summer heat, since nothing touches your shoulders all day.
8. Romantic Wedding Bun With Loose Curls In Front
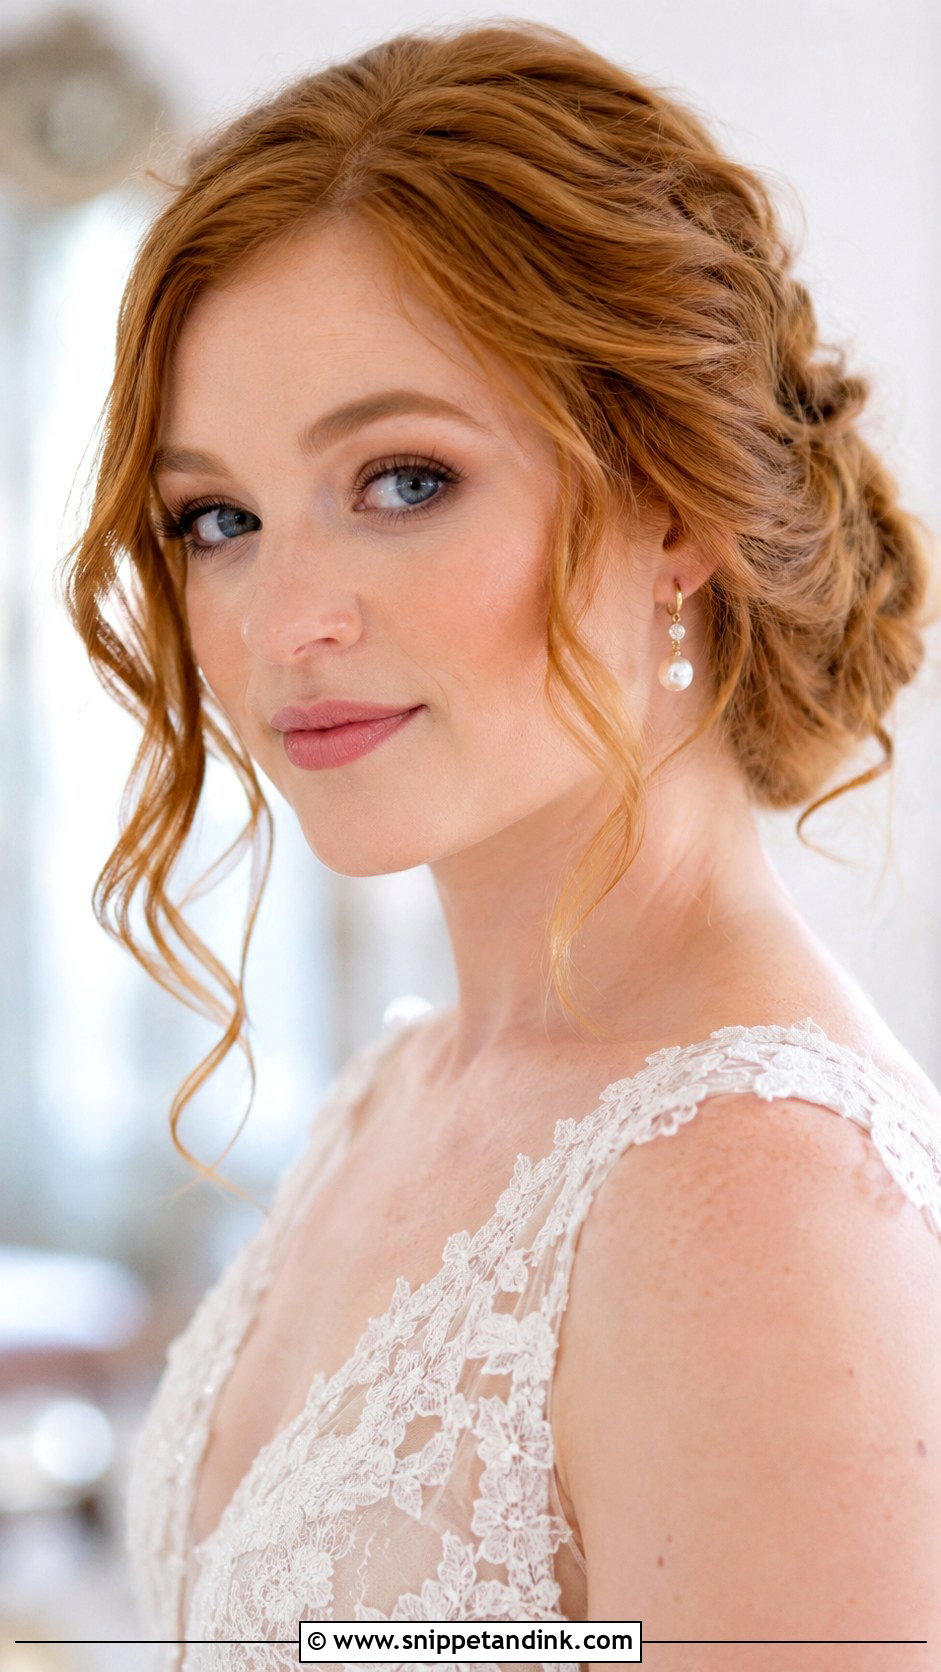
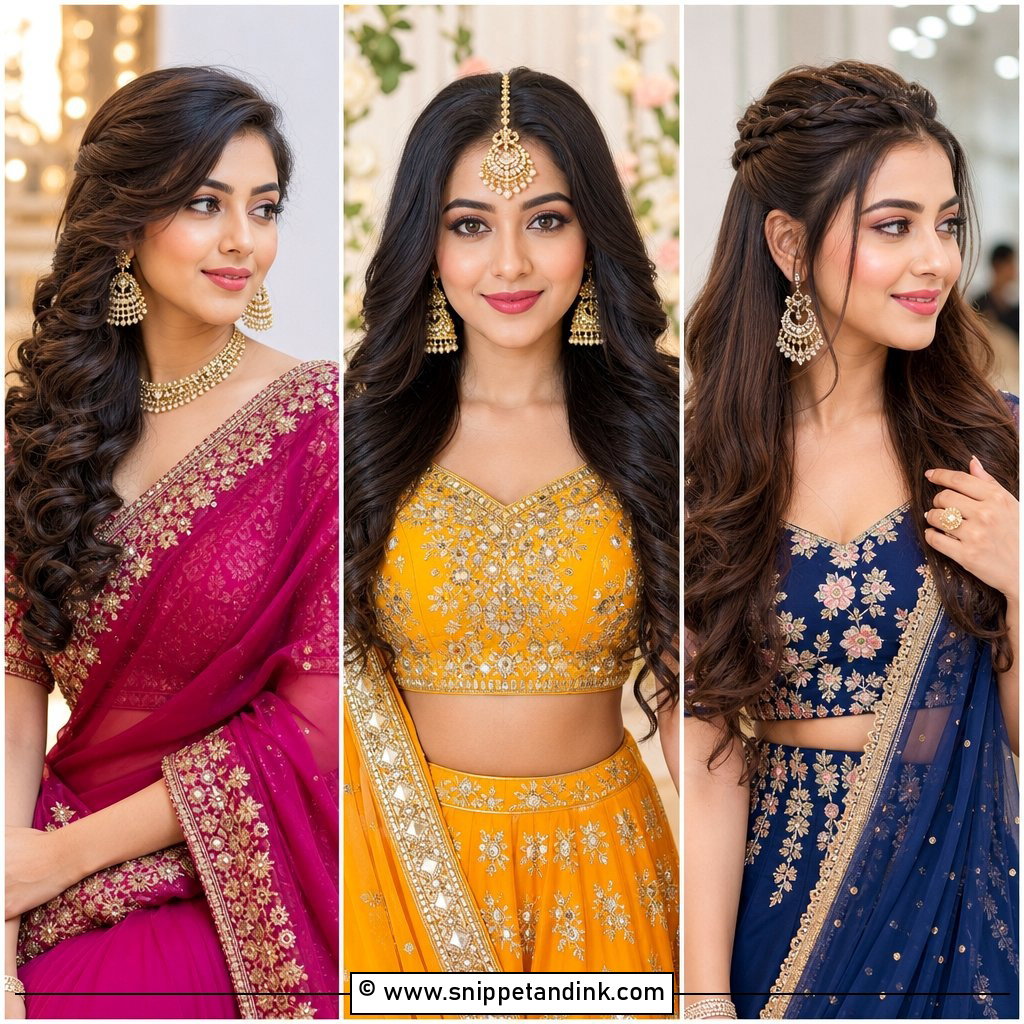
Loose curls left out at the front give visible movement while the length stays pinned up. I place them so they fall near the cheekbones or jaw rather than across the eyes, which you’ll be blinking through all ceremony otherwise. A low bun keeps the balance right with lace and a delicate veil. Hold matters here: I use a flexible product and spray from a distance, so the curls stay soft to touch instead of crunchy in every hug.
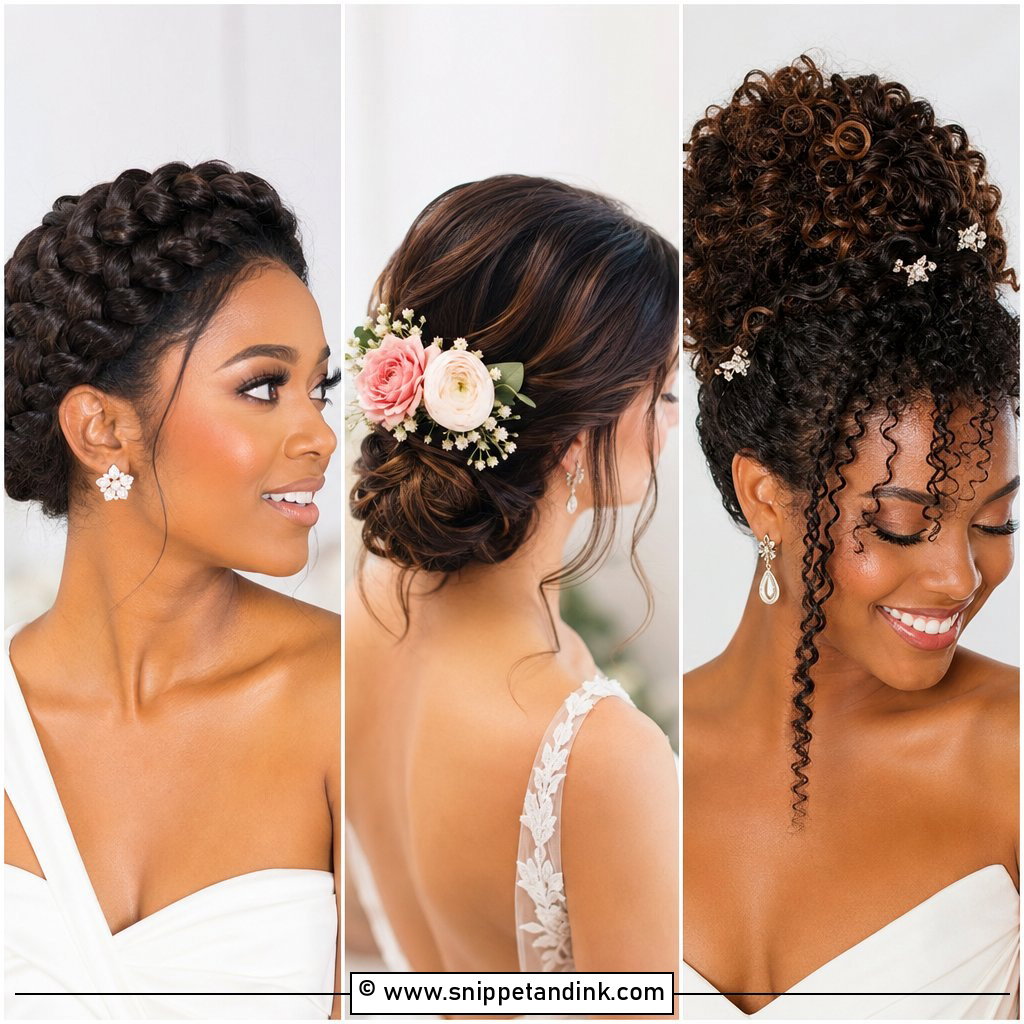
9. Braided Wedding Bun With Front Volume
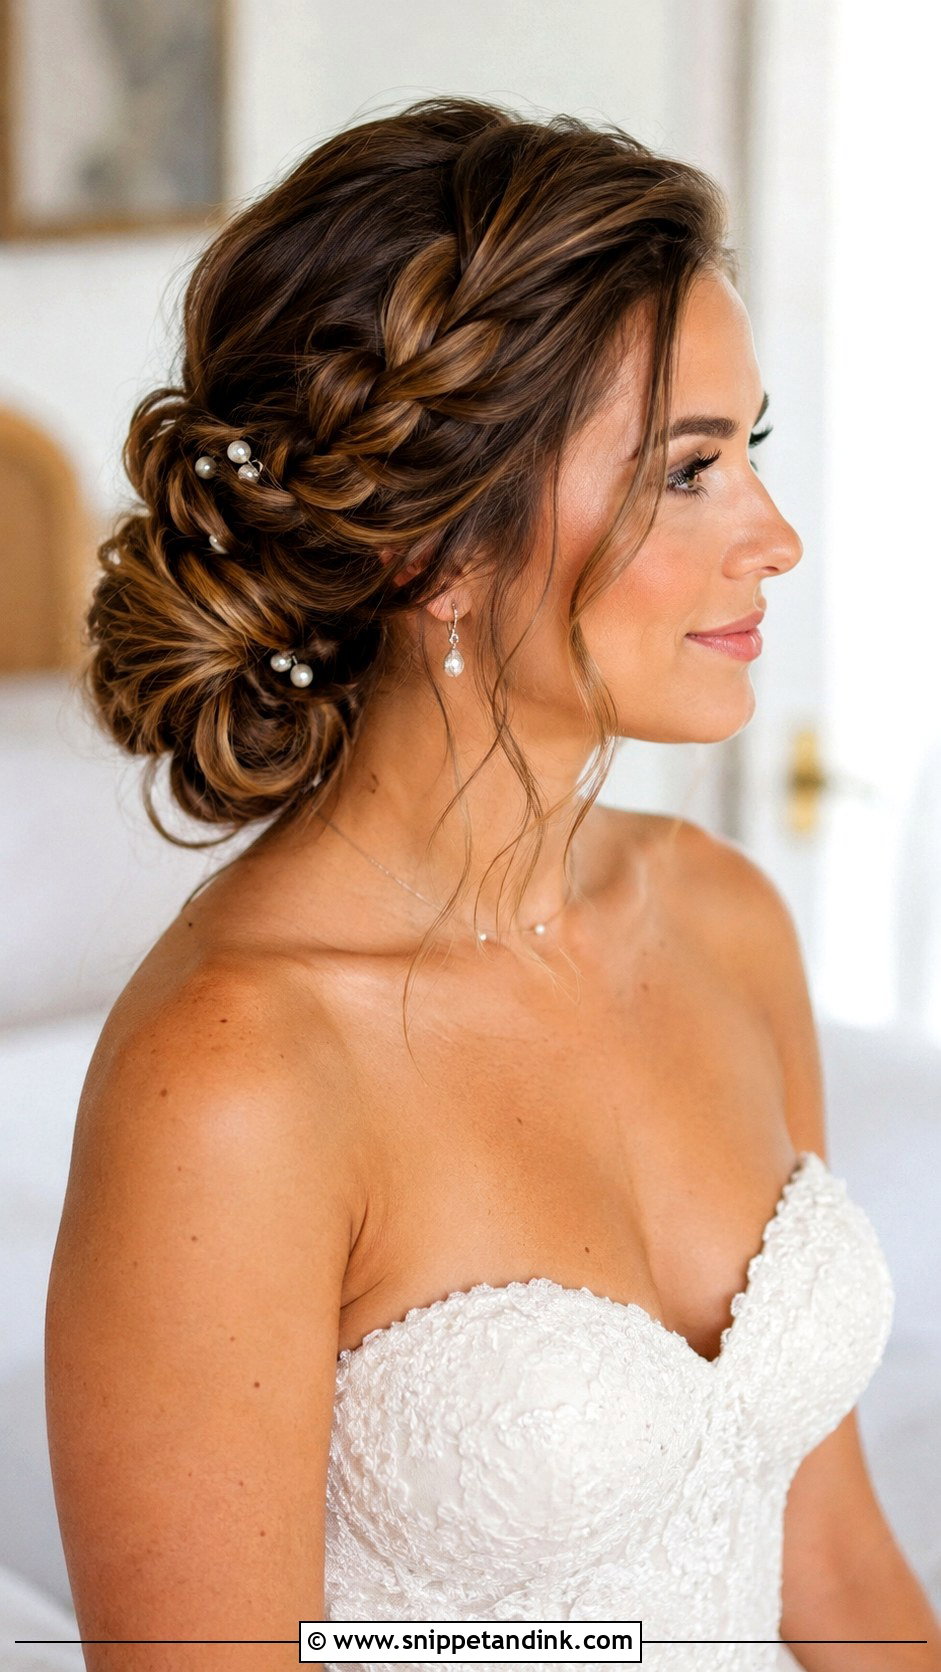
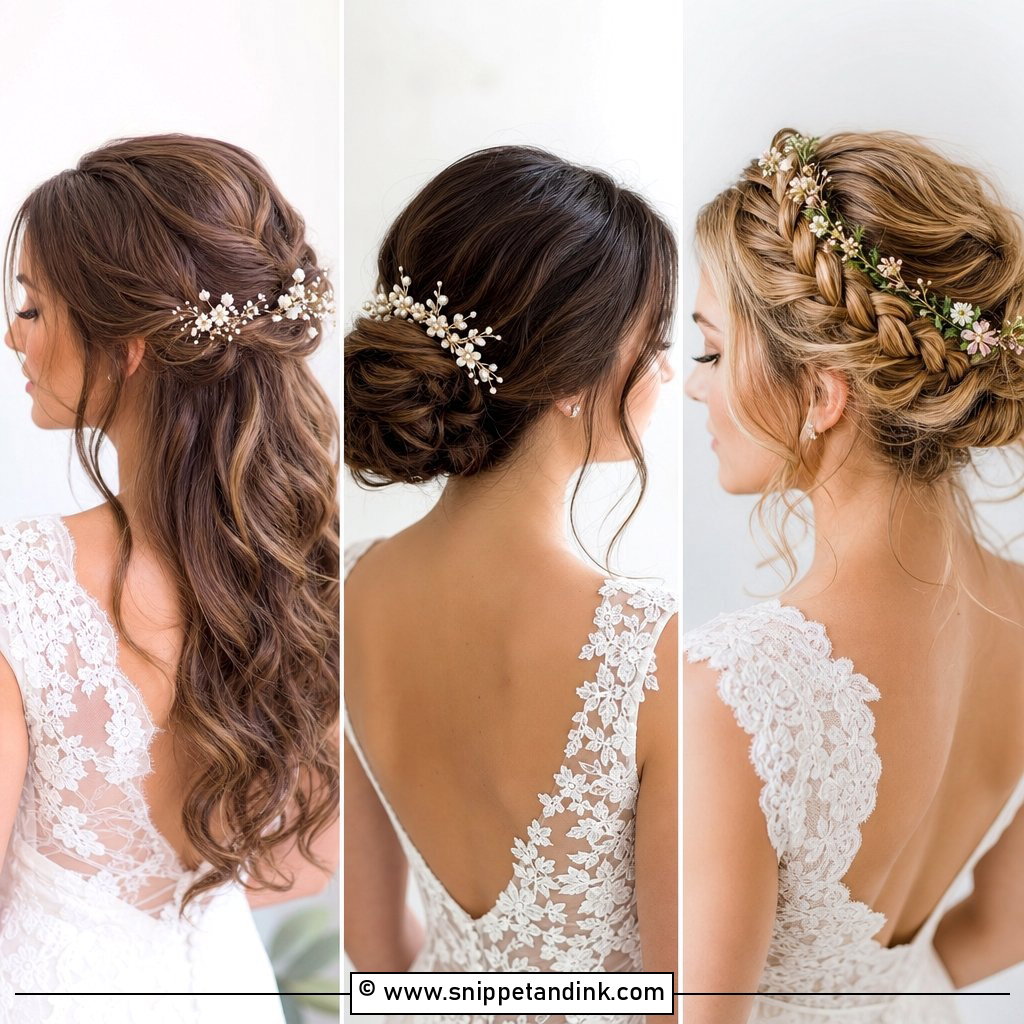
Braids add detail to a bun without cluttering the face, as long as the front keeps some lift. The braid can wrap into the bun, run along the crown or melt into a twisted shape at the nape. Medium to thick hair handles this best; with finer hair I’ll often add a clip-in weft so the braid has enough width to show. From the front, all that matters is the softness at the hairline. Small pearl pins or a few flowers tucked into the braid pick up the texture.
10. Indian Wedding Bun With Center Part
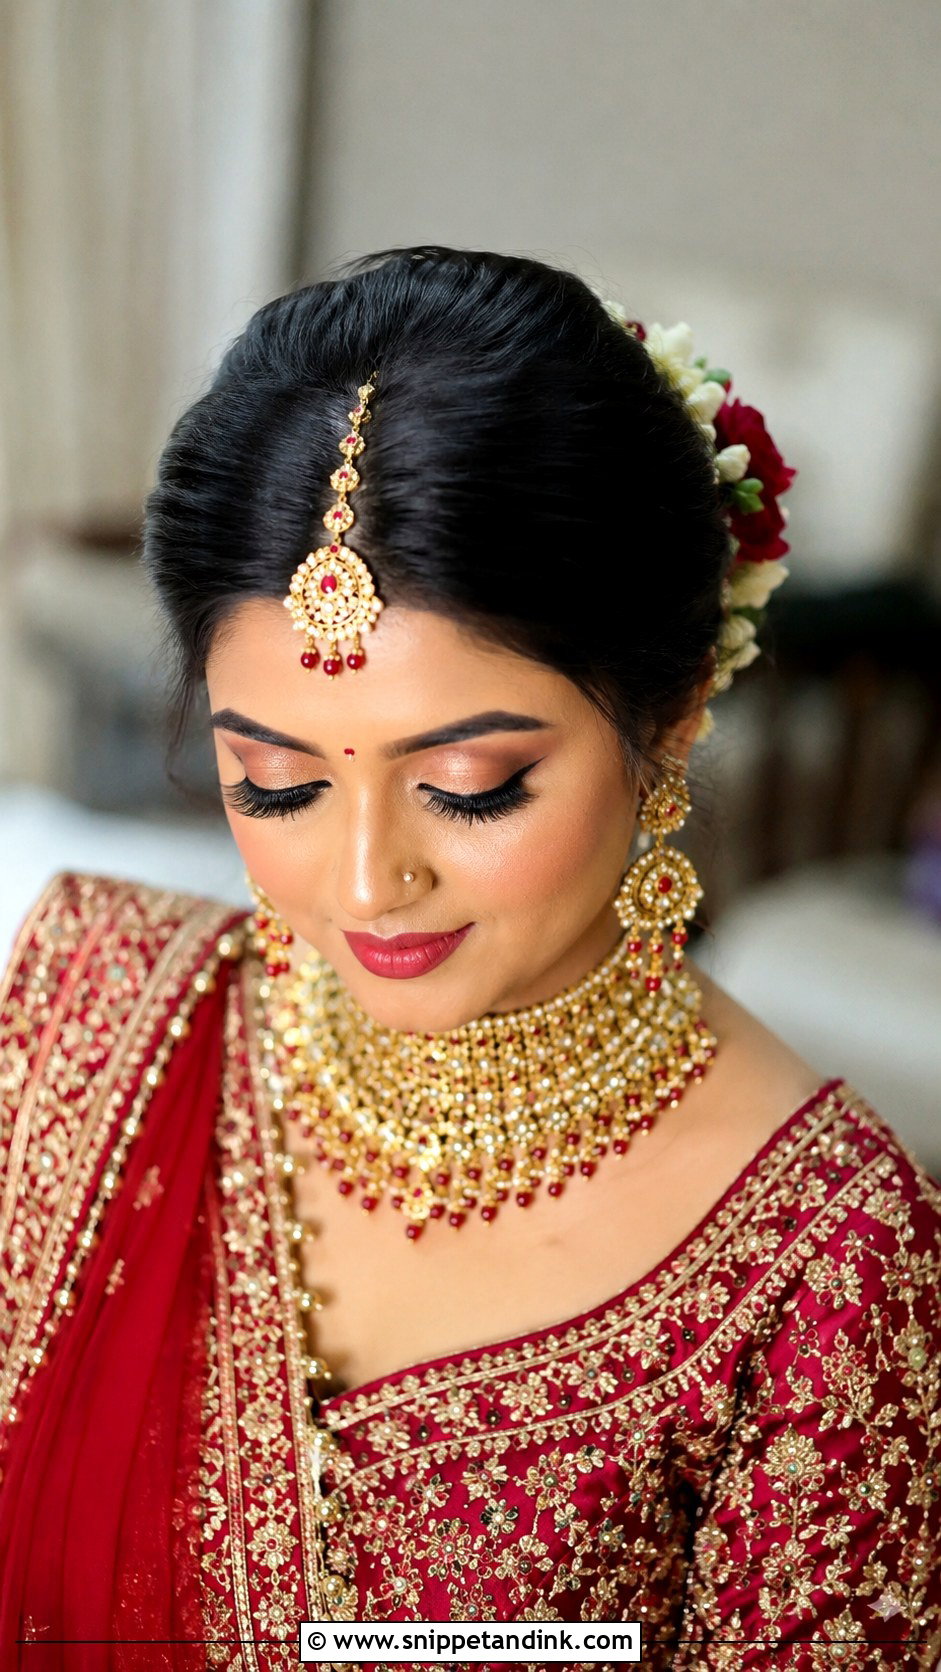
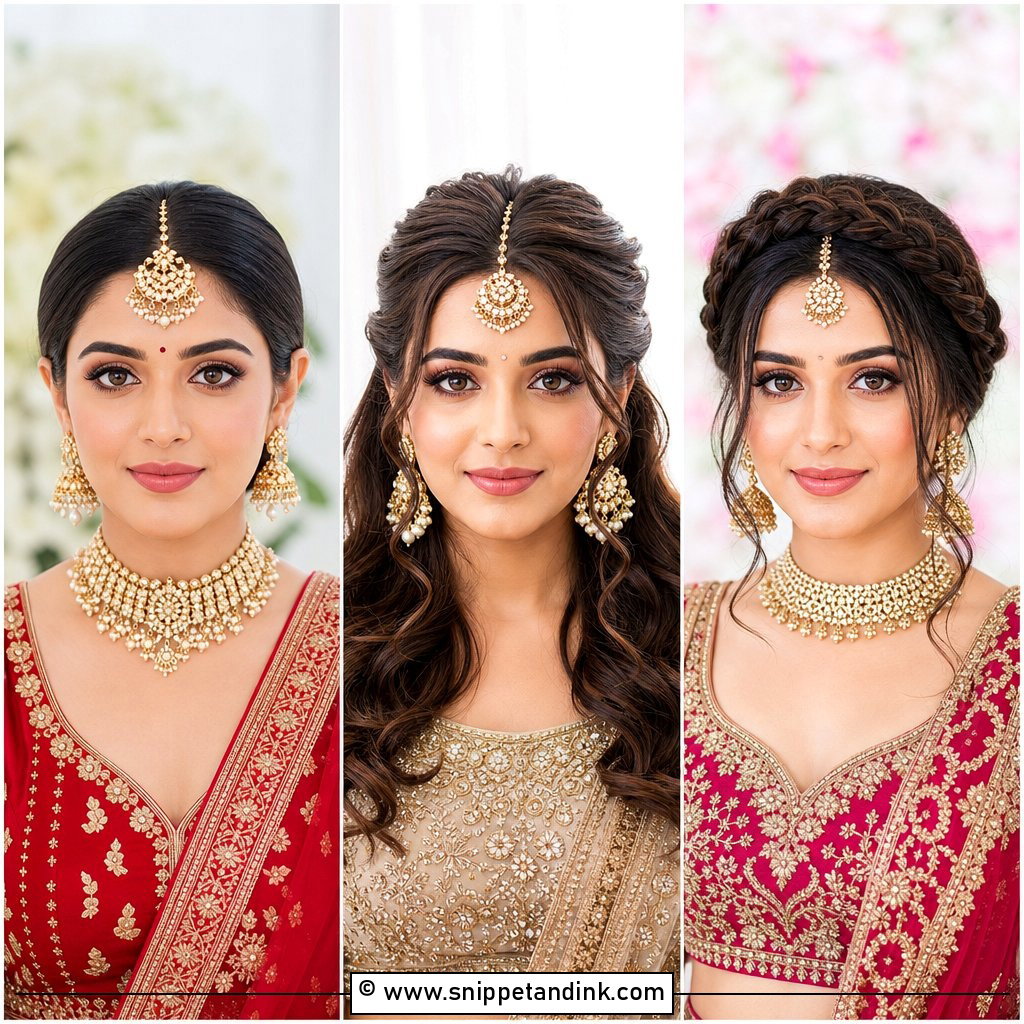
An Indian wedding bun with a center part carries more than any other style here. The part gives the maang tikka or matha patti a straight line to sit on, and the bun becomes the anchor for a heavy dupatta pinned in several places. I build the bun firm, often around a donut or padding, and secure the dupatta to the bun itself rather than to loose hair, which tears when the fabric pulls. The front can be sleek or softly waved with a lehenga or saree. Ask for a trial with the real jewelry; the weight of a tikka chain changes how the part lies.
11. Wedding Bun With Pearl Headband
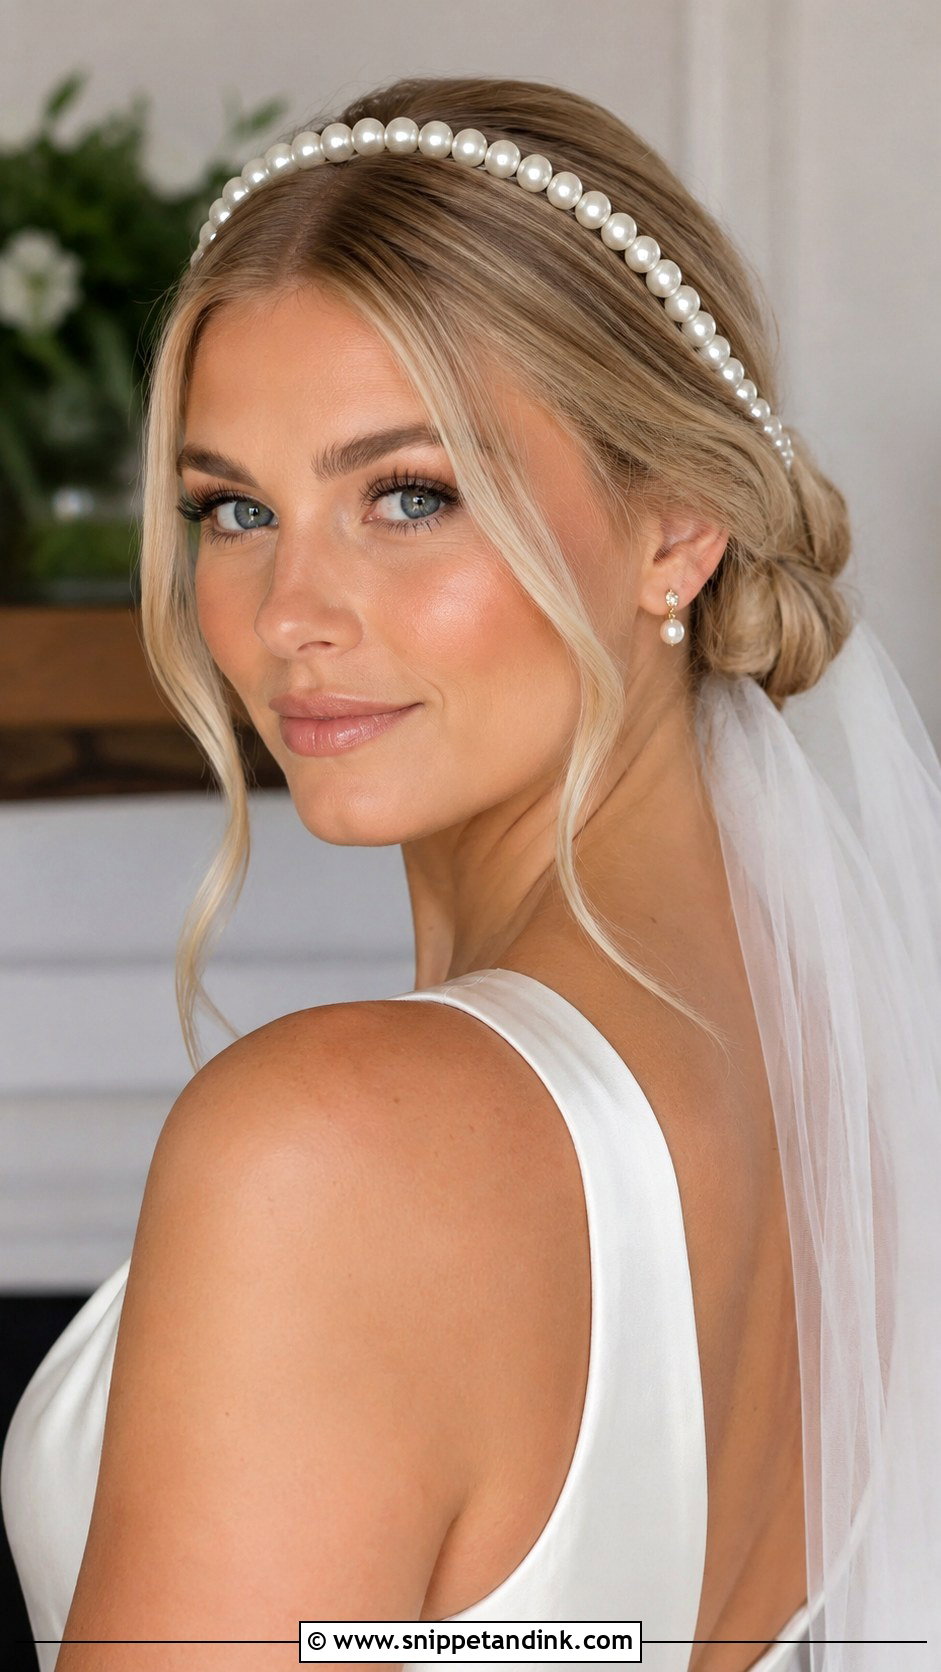
A pearl headband does the work of decorating the front, so the bun behind it can stay plain, low and sleek or loosely textured. It suits a minimal dress that needs a little detail near the face. Smooth the hairline before it goes on, otherwise the band sits on bumps and slides. Headbands also press on the skin behind the ears, so I bend the ends slightly wider before placing it. Match the pearl tone to your earrings or beading; bright white beside ivory reads as a mismatch in photos.
12. Wedding Bun With Veil Front View
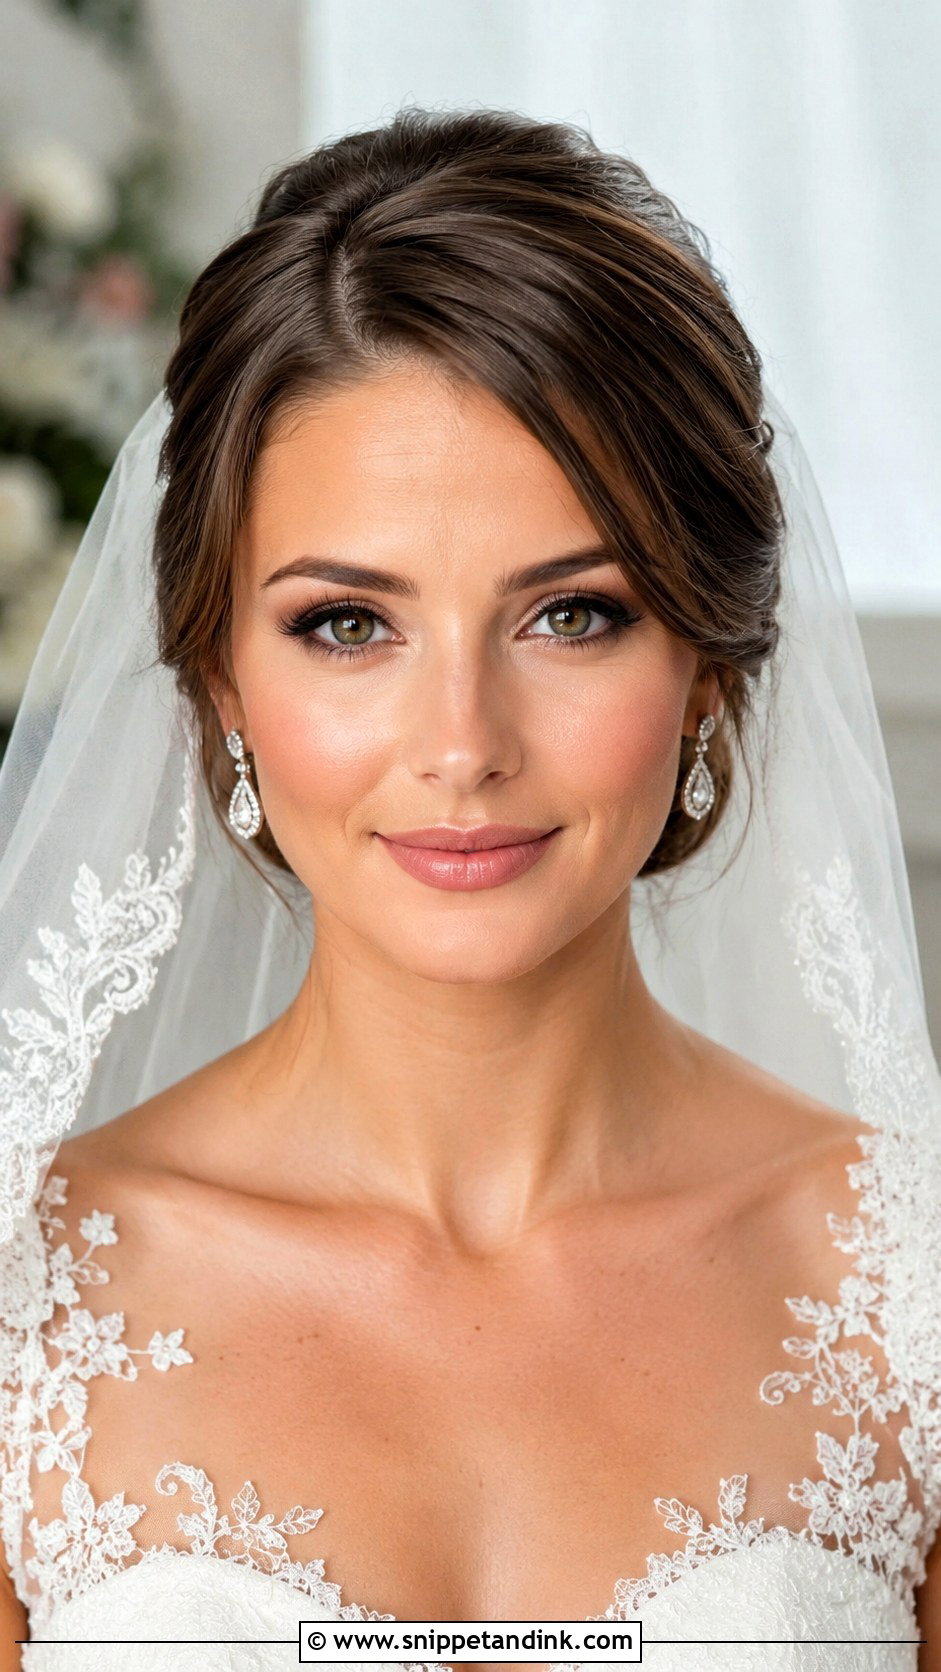
The veil changes the front view more than anything else on this list. It should frame your face, not swallow the hair shape, so I nearly always anchor it under or just above a low bun, where the comb has solid hair to grip. A middle part, side part or loose pieces can all work. If the veil is lace-edged or beaded, keep the front cleaner so the two don’t compete. At the trial, I’ll photograph you face-on with the veil in and the veil out; brides are often surprised how much it softens the front.
13. Curly Wedding Bun Front View
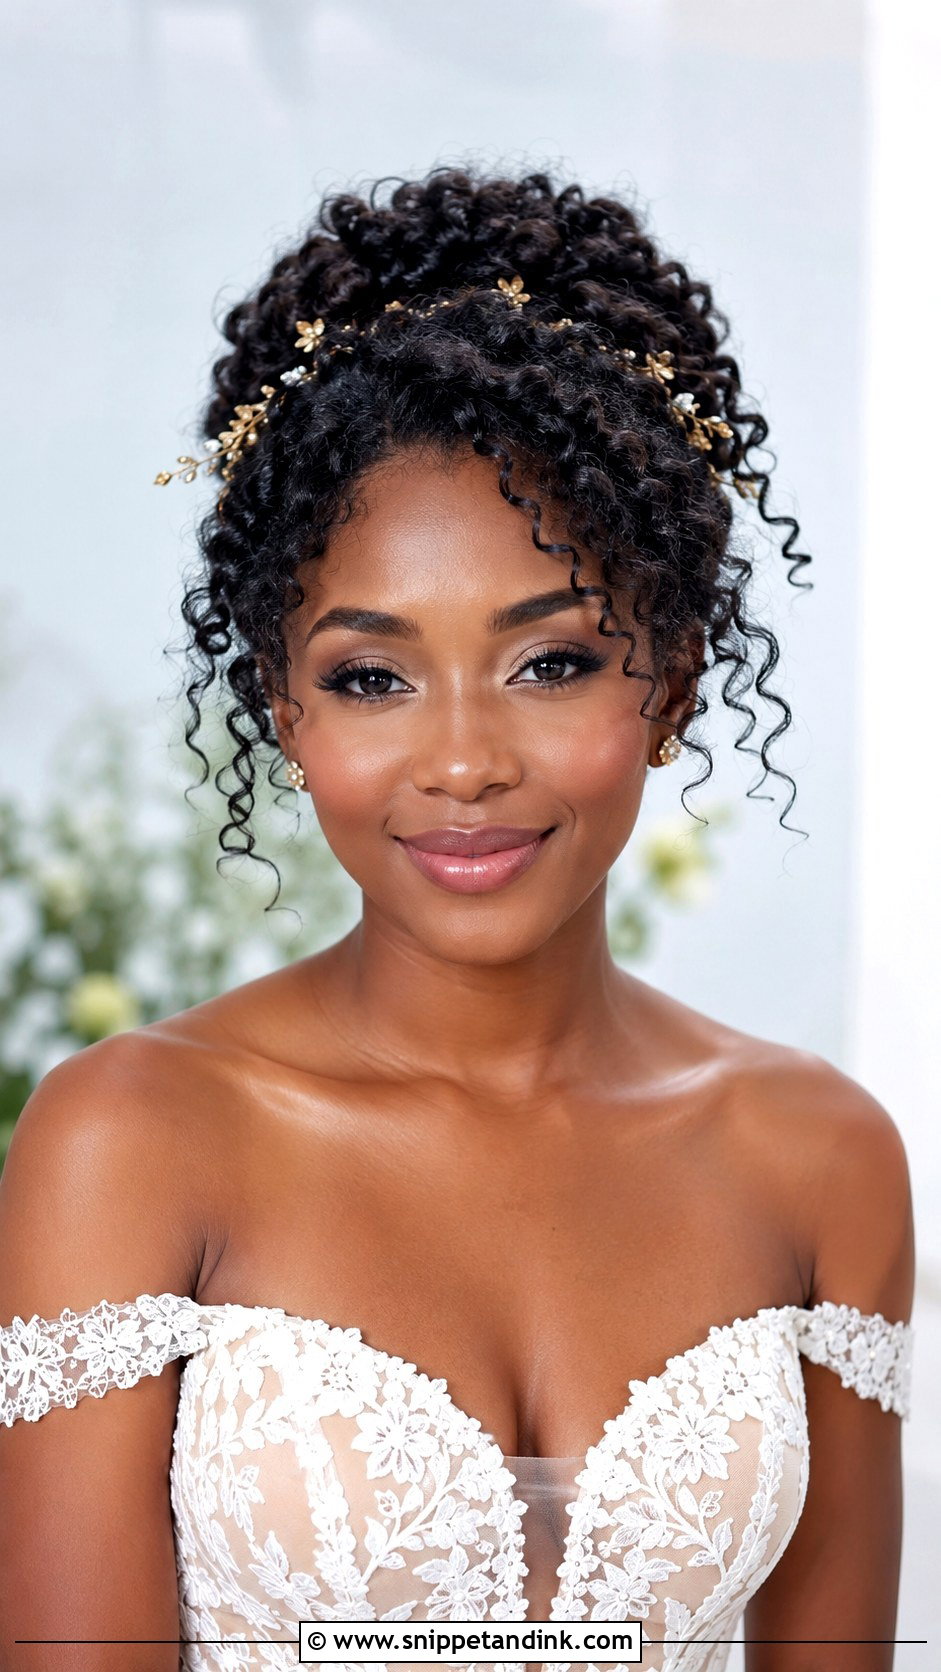
A curly bun keeps the volume and texture you already have, with the front pieces either softly defined, pinned away from the eyes or shaped into a gentle halo effect. The curl pattern has to be hydrated and set before any pin goes in; pinning dry, undefined curls is what produces a frizzy halo instead of a deliberate one. I work with your own leave-in where I can, since a new product on wedding morning is a gamble. A low or mid bun keeps the shape balanced, and a few delicate pins are plenty.
14. Short Hair Wedding Bun Front View
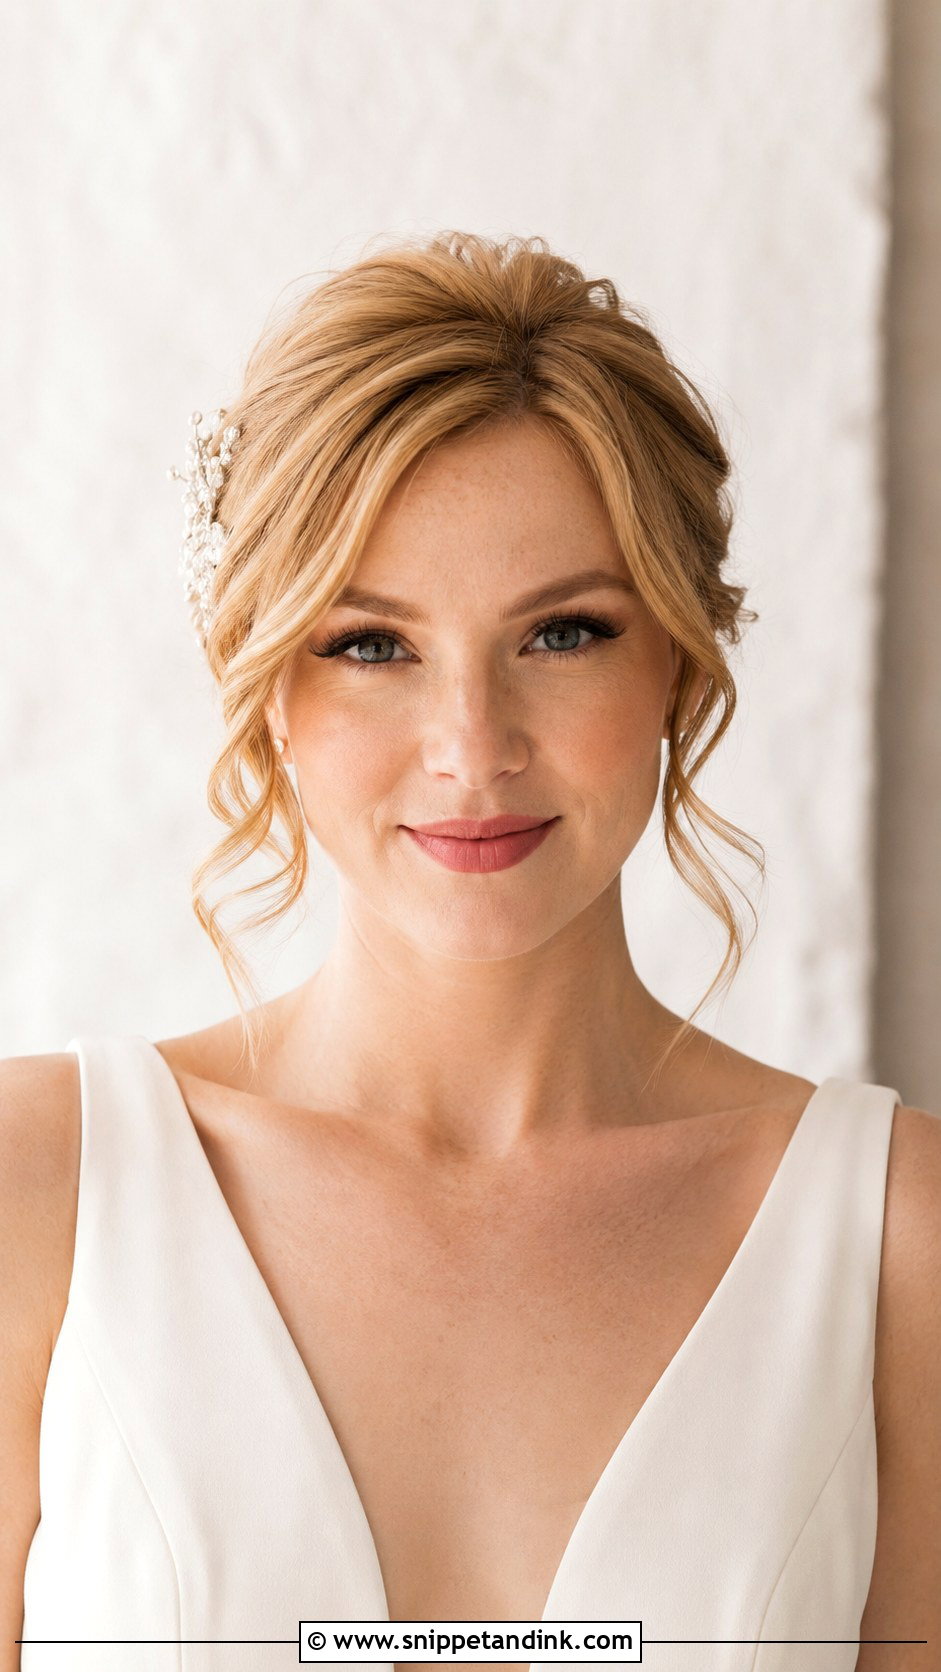
A short hair wedding bun front view is about the parting and the face-framing more than the bun, because from the front nobody can tell how small the knot is. With a bob or slightly longer cut, I make a small low bun, a tucked chignon or a pinned roll at the nape. Root lift and soft waves make shorter hair look thicker. The short layers at the back of the neck are the real challenge; they escape by evening unless I pin them up and over with small grips. Mini combs and slim headbands suit it.
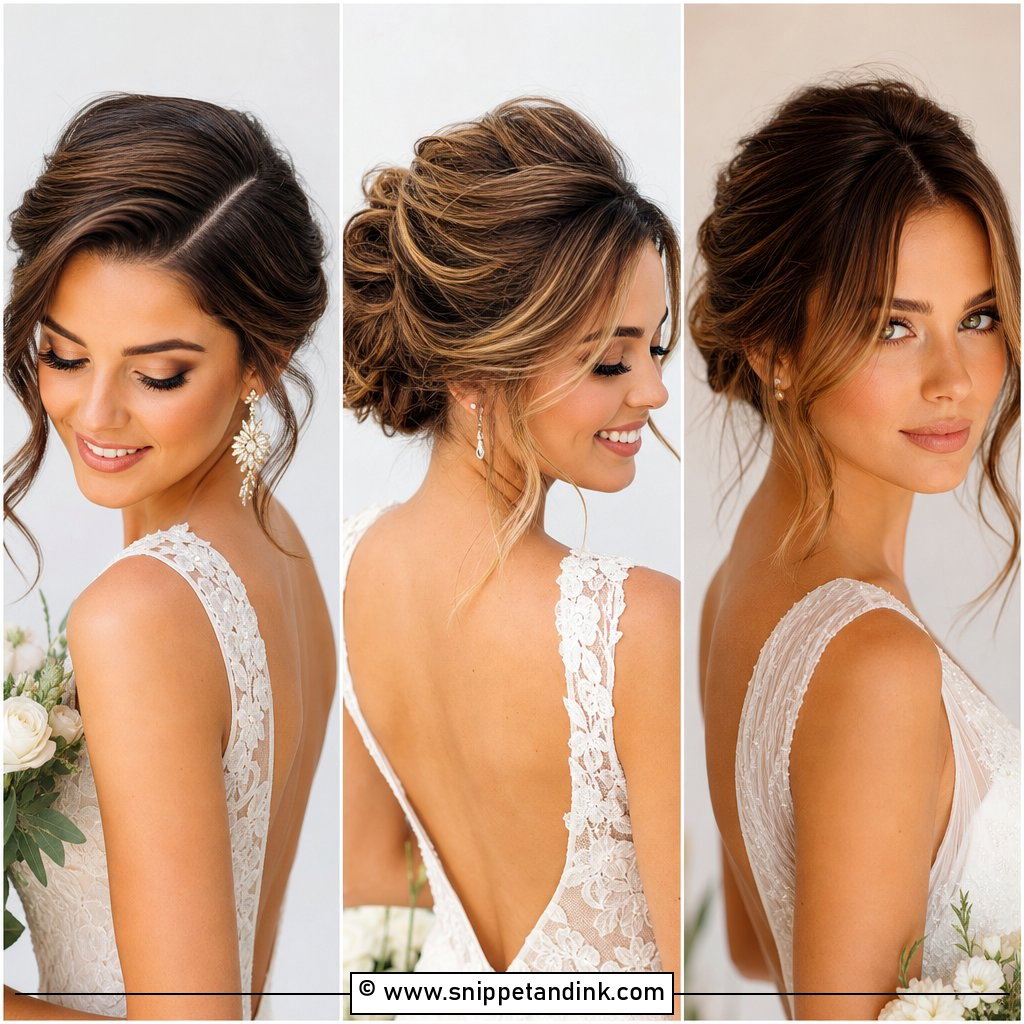
15. Simple Wedding Bun With Soft Front
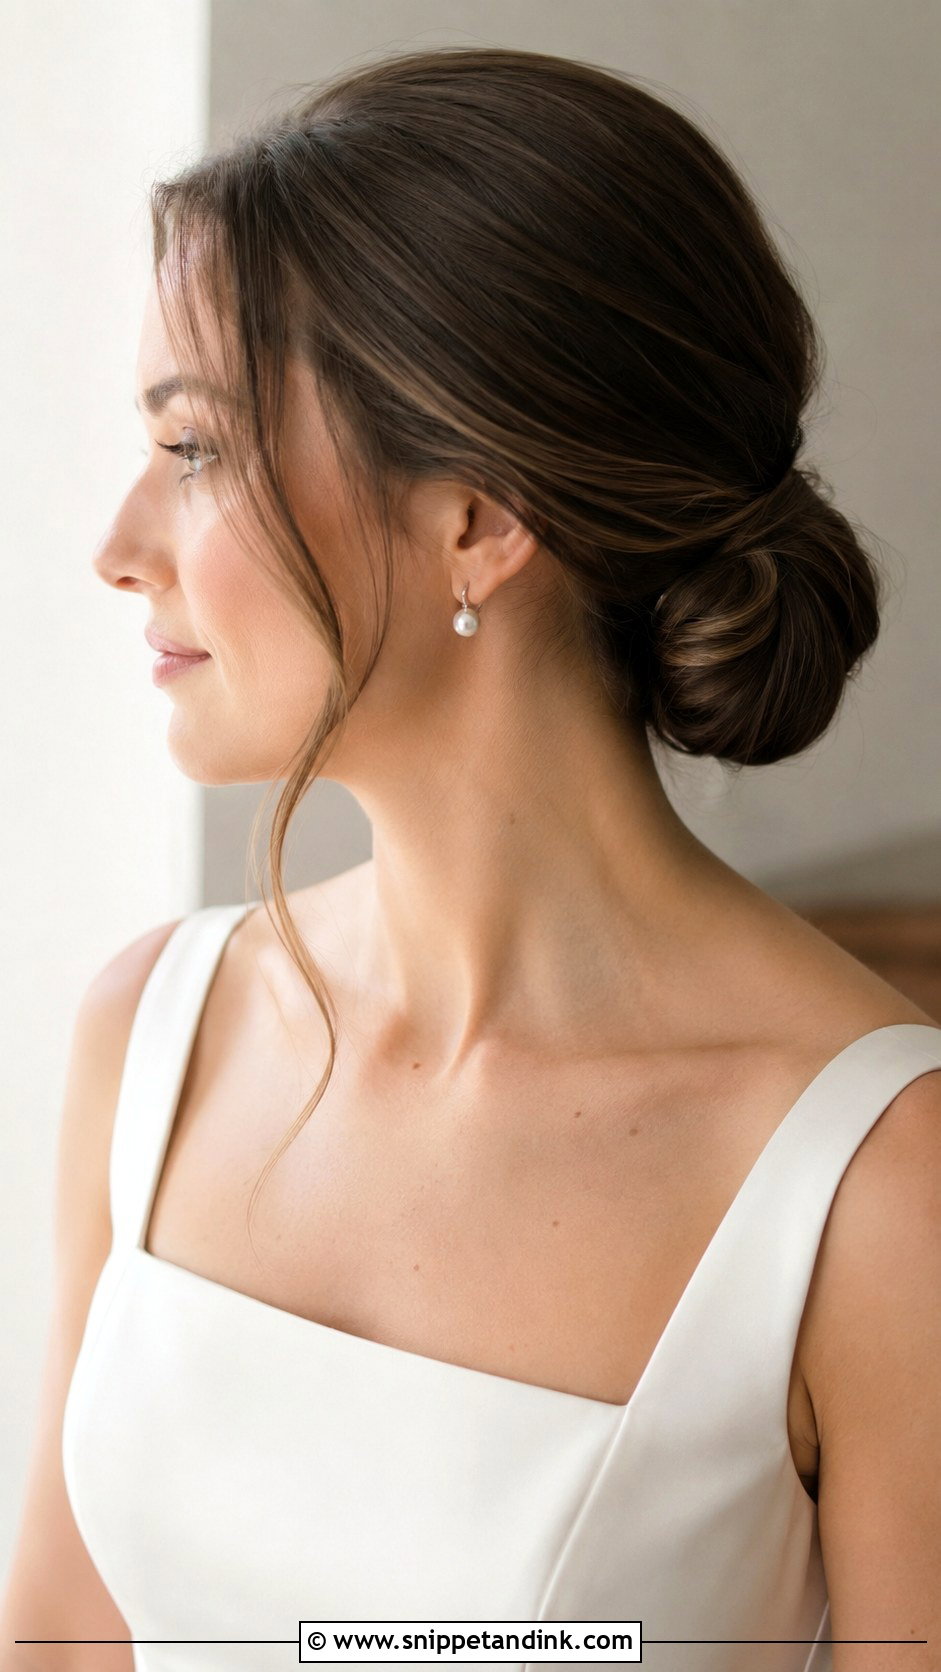
Sometimes the simplest version is right: a low or mid-height bun with a smooth front and some soft shaping around the face. It works with satin, lace or crepe and takes a veil, pearl pins or fresh flowers without argument. The one thing I’d ask for is a natural finish at the front. A stiff, overly sprayed hairline is the first thing that shows in a close-up portrait, and it’s what dates wedding photos fastest.
A Headache by Dinner Means the Bun Was Pinned Wrong
A wedding bun should feel firm, not tight. If your scalp aches at the trial after an hour, it will be far worse after twelve on the day, and you won’t enjoy your own reception. The usual causes are a hairline pulled too taut for the sleek look, a bun built too heavy on a few pins, or a veil comb pushed straight into the scalp.
- Tell me during the trial, not afterwards. I’d much rather loosen the front a fraction than have you quietly suffer.
- Heavy hair or extensions go on a padded base or donut so the weight spreads instead of hanging off a handful of grips.
- Jewelry and dupattas are pinned into the bun’s structure, never into loose surface hair.
- If something digs in on the day, ask a bridesmaid to slide that one pin out slowly in the direction it went in. Pulling it straight back drags the hair with it.
A bun that feels comfortable will also look relaxed in photos. Tension shows up in the face long before it shows up in the hair.
Send Your Stylist a Photo Taken Face-On
A bun is judged from the front far more than the back. Each part, piece and accessory above changes the mood: a middle part feels clean, a side part softer, and curls or bangs or pearls each shift it again. Weigh your neckline, jewelry, face shape, texture and venue before deciding. Then bring your stylist front-view photos, not only the back-of-head shots that fill most saved boards. That one habit gets you a bun that looks like you in the photos you’ll actually frame.
You'll Like These Ideas:


Leave a Reply