
Smoothing the sides flat is one of the oldest tricks in my kit for making a wedding style look finished. It lifts the face, puts the earrings on show and lets a neckline breathe. What surprises brides is how much the rest of the hair can change around that slick base. Pair it with a sculpted bun and it looks editorial; pair it with loose curls and it’s romantic. It works on bobs, pixies, long lengths and natural curls. Below are fifteen ways to wear it, with the product and technique notes I’d give you at a trial.
Slick Sides Are Unforgiving, and That’s Worth Knowing Up Front
A smooth, flat side shows the exact shape of your head and hairline, with nothing soft around it. For a lot of brides that’s the whole appeal. For some, it’s the reason a trial goes badly. I run through a quick honest check before anyone commits.
- Thinning at the temples or a receding hairline: slicking pulls hair away from exactly the places you might want covered. A deep side part with the fuller side swept forward is usually kinder than a center part with both sides flat.
- Strong cowlicks: they can be pressed down, but they fight back by mid-afternoon. I choose the part to work with the direction of growth.
- Fresh layers or a grown-out fringe: short pieces pop out of a slick finish first. Avoid cutting new layers in the two months before the wedding if you want this look.
- A sensitive scalp: very tight brushing and strong-hold gel can feel uncomfortable after several hours. Say so at the trial and ask for firm rather than tight.
If none of these apply, slicked sides are one of the most durable bridal styles there is. There’s very little to fall out of place, which is why they’re popular for outdoor and summer weddings.
1. Bridal Slicked Side Low Bun
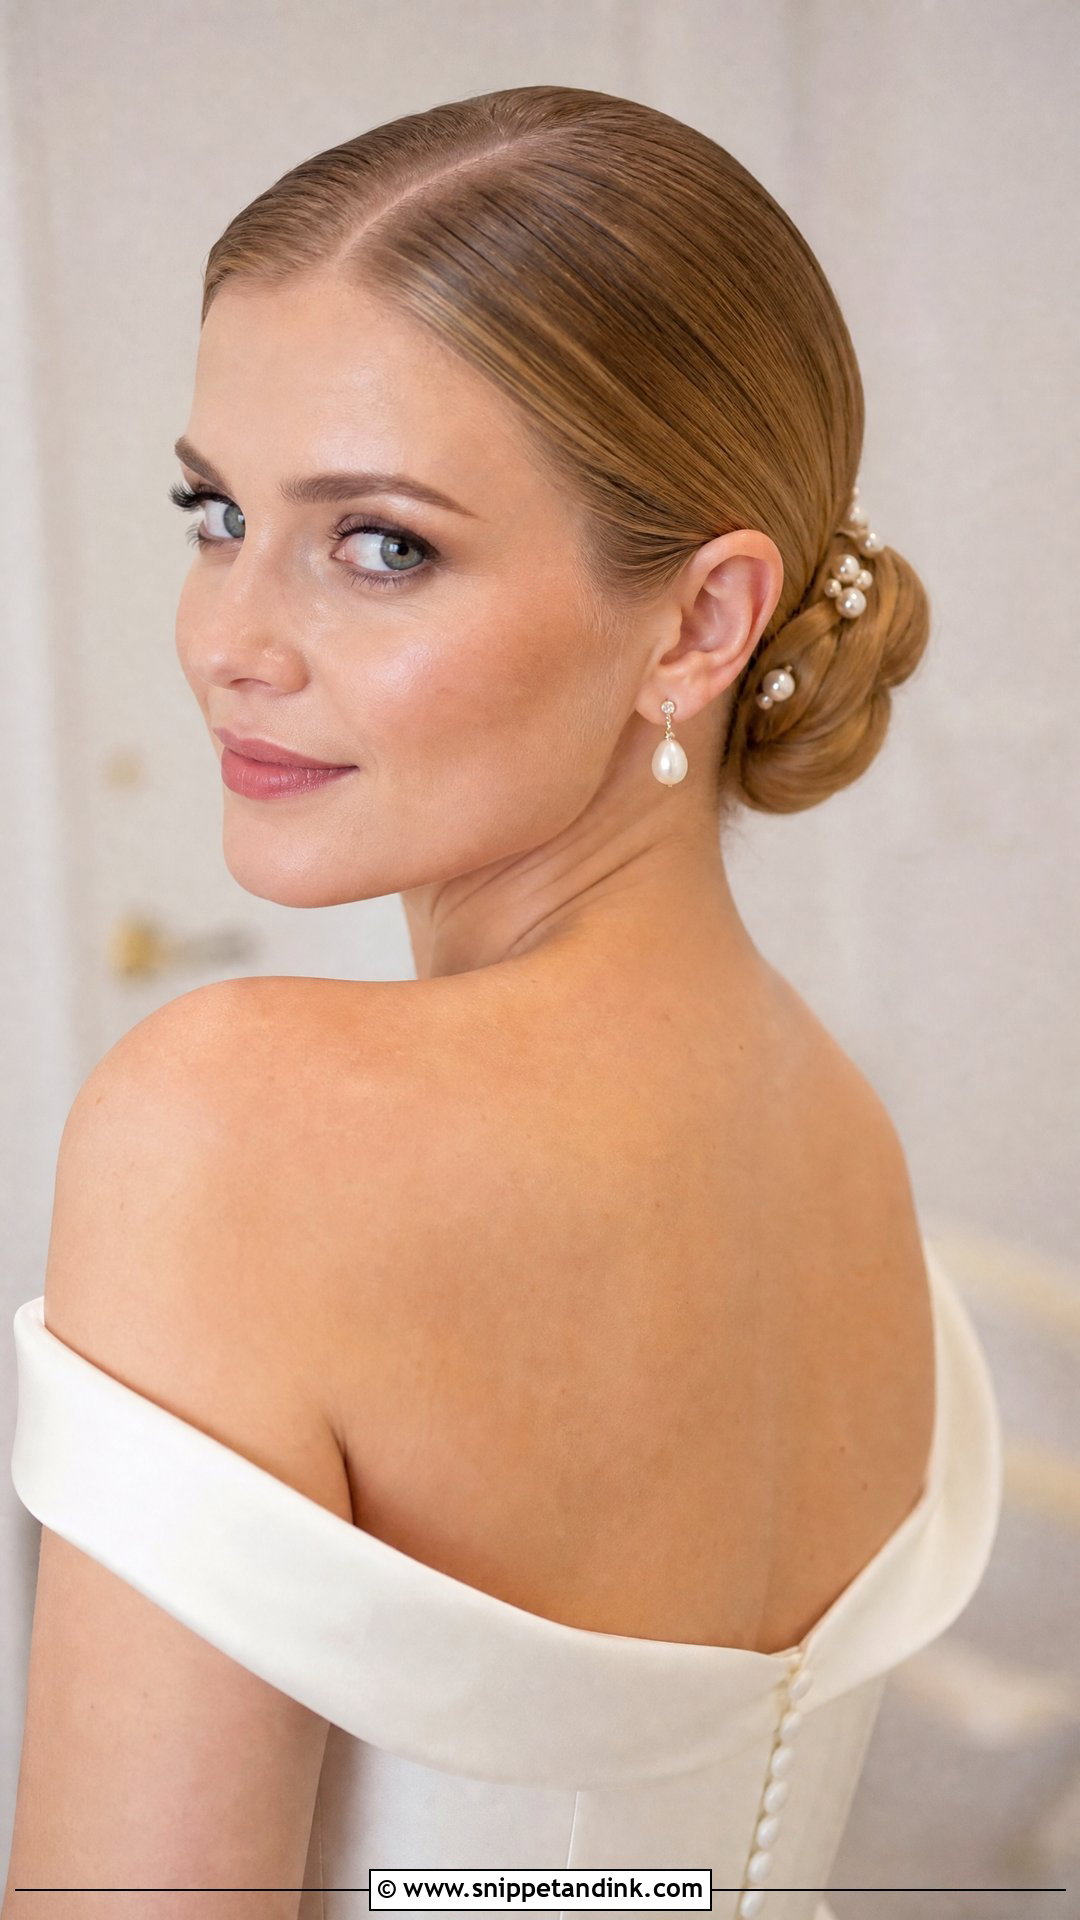
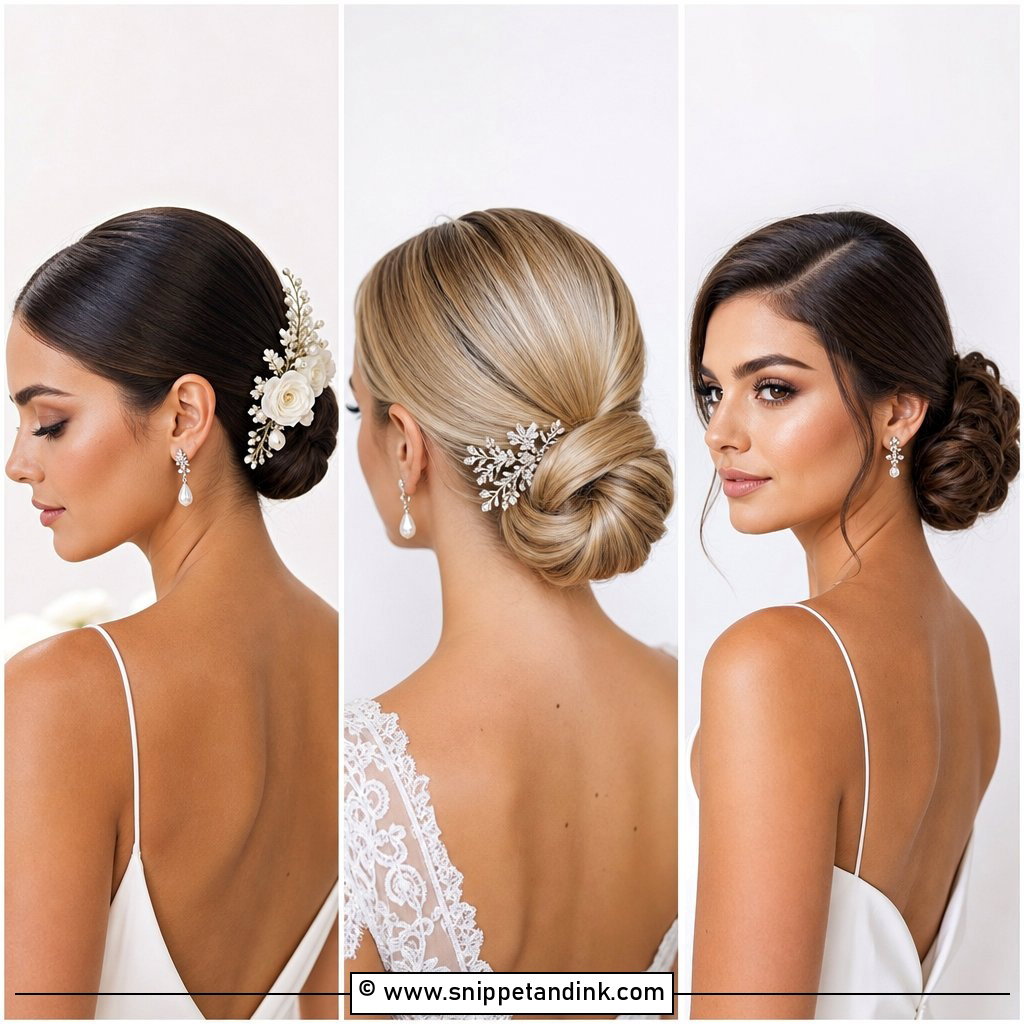
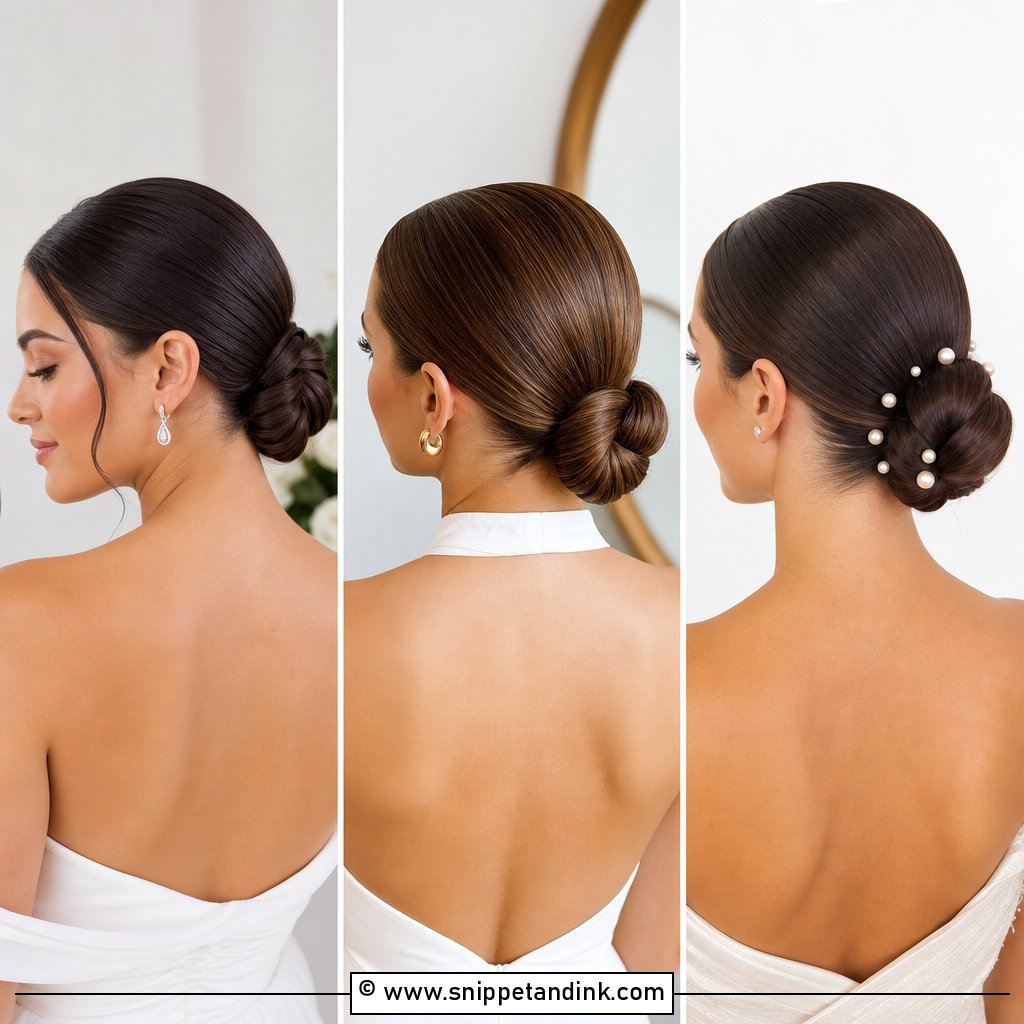
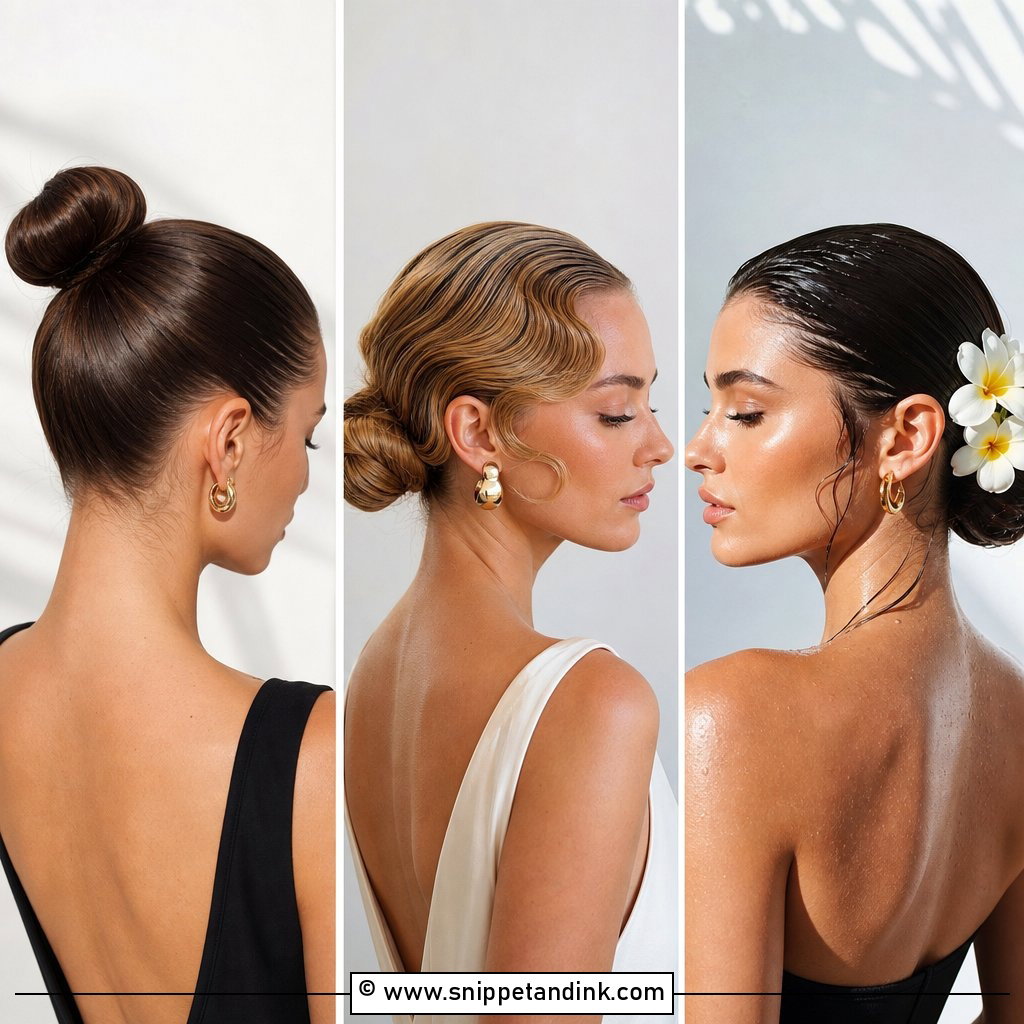
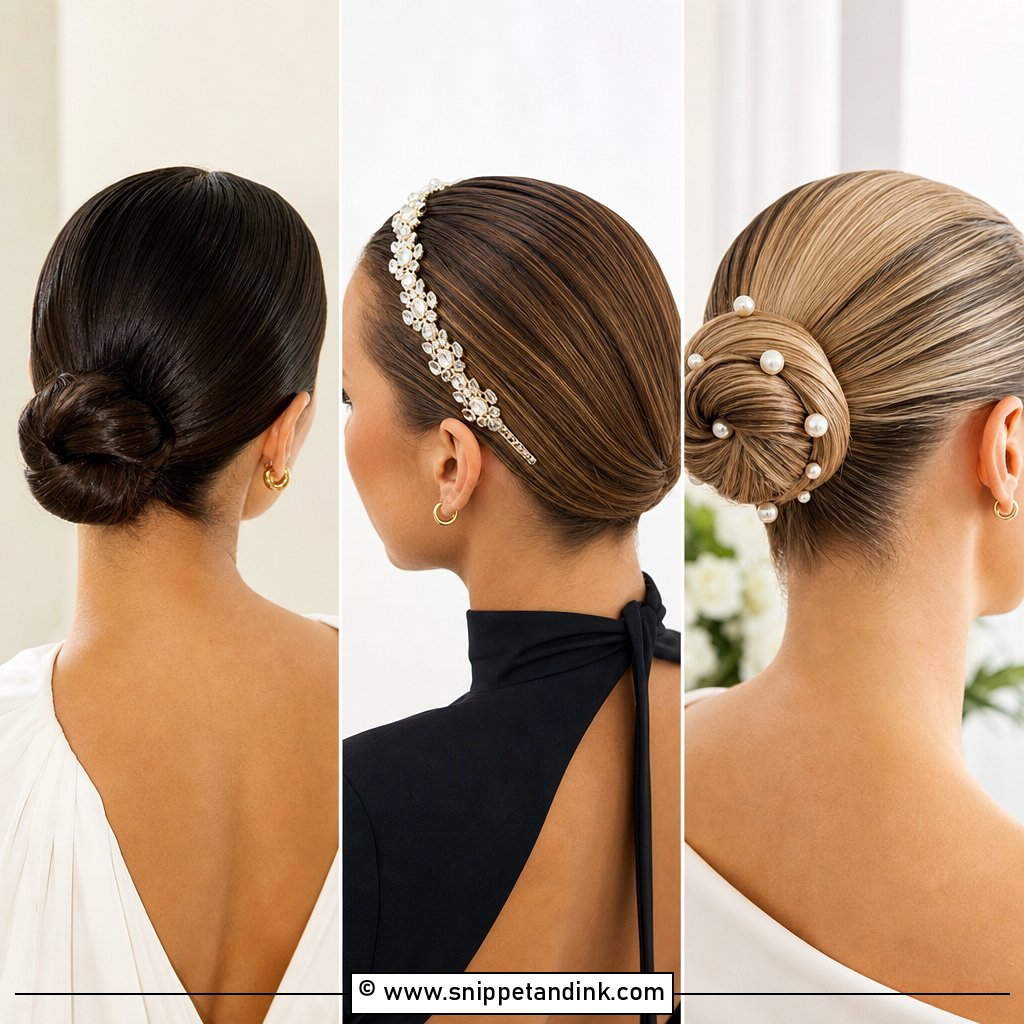
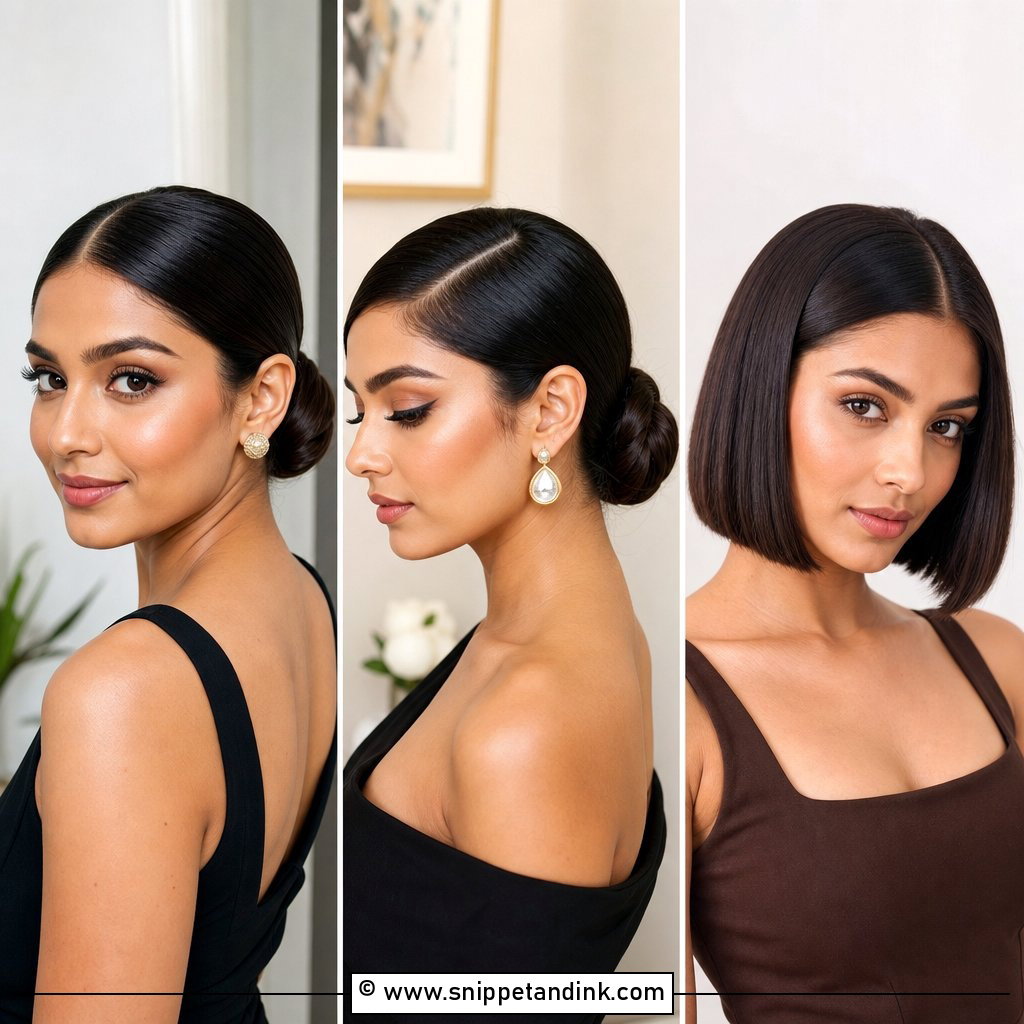
The low bun is where most slick looks start. I brush the sides close to the head with a cream and a firm gel, then gather everything into a neat knot at the nape. The veil comb slides in above it easily, and it suits both open backs and high necklines. The finish I aim for is a soft satin sheen, not grease. If you can see the comb lines in the gel, there’s too much product on the brush.
2. Bridal Slicked Side Chignon
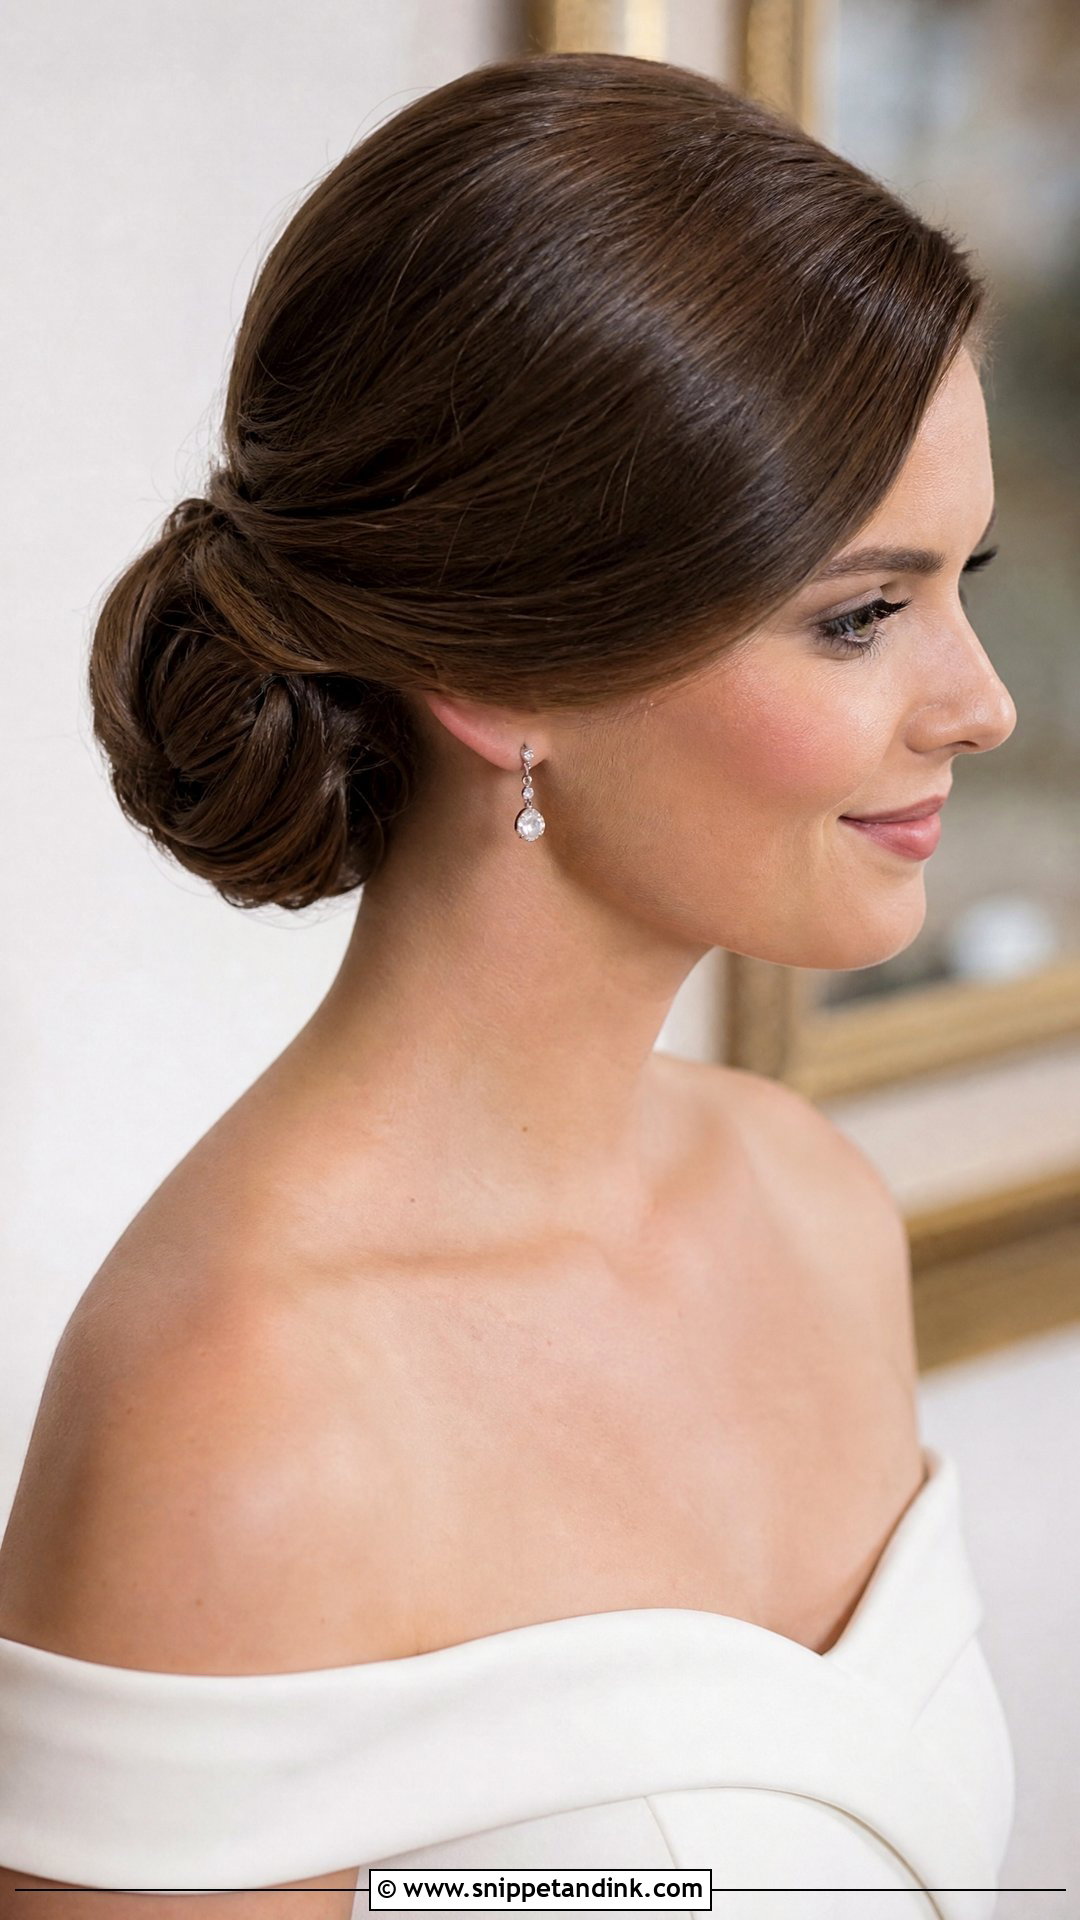
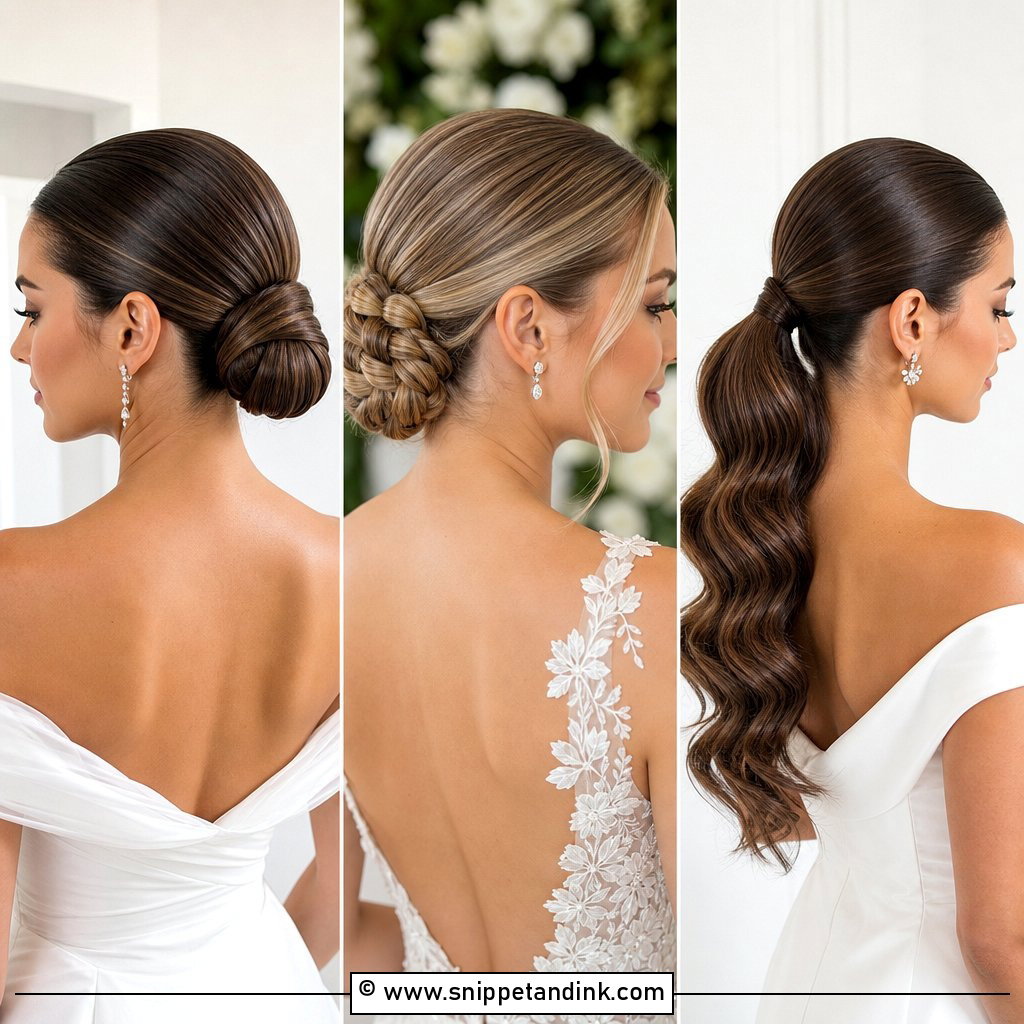
A chignon with slick sides is the version I’d suggest for a satin gown, because neither adds bulk. The part goes slightly off centre or deep to one side, and the hair is smoothed into a low twisted roll that follows the cheekbones. Flyaways have nowhere to hide here, so I finish with a wax stick along the hairline. Leave the chignon itself a little rounded; flattened tight against the head, it can look severe from the side.
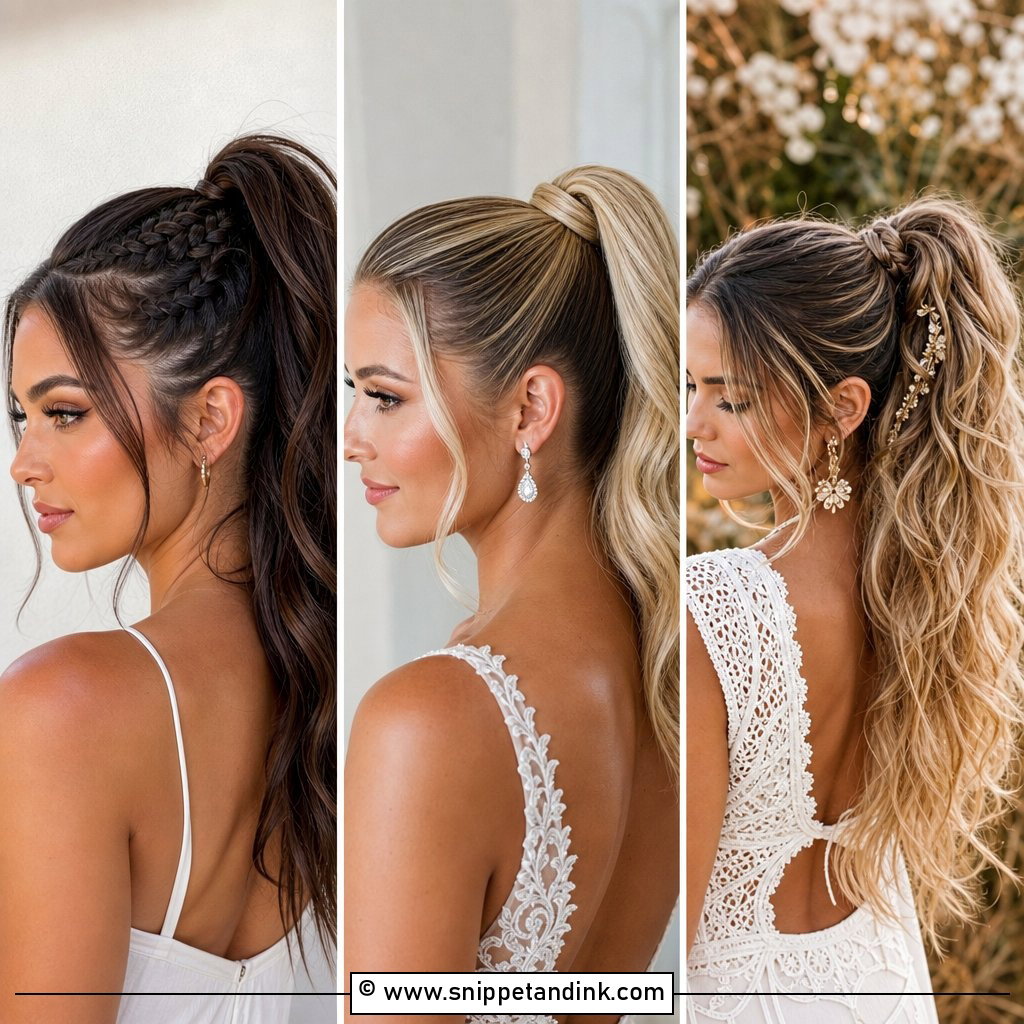
3. Bridal Slicked Side Ponytail
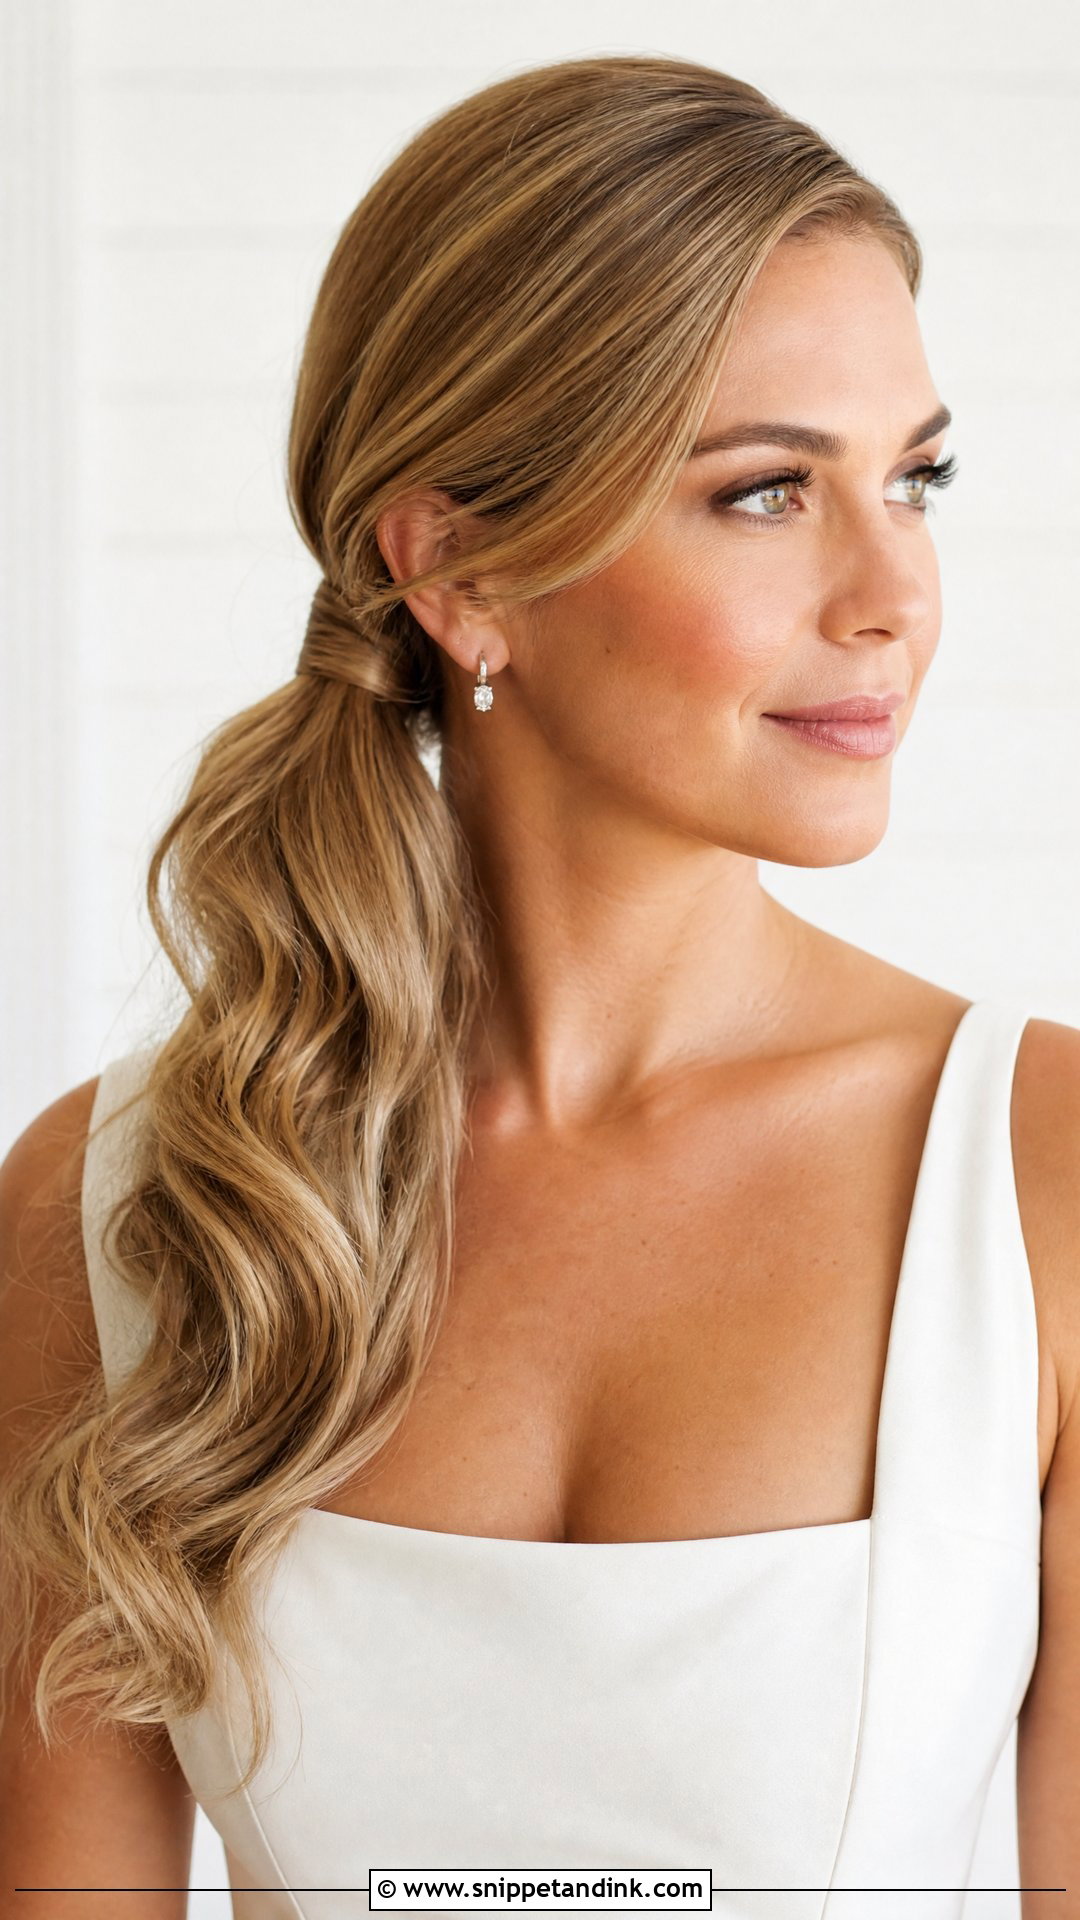
A slicked side ponytail keeps the face clear while the length swings down your back in photos. Low reads formal, mid-height reads lifted. I always hide the elastic under a wrapped strand of hair, pinned underneath, because a visible band makes it look like gym hair. Soft waves through the length offset the flat sides. If your hair is fine, a clip-in ponytail piece adds the body that makes it read bridal.
4. Bridal Slicked Side Hollywood Waves
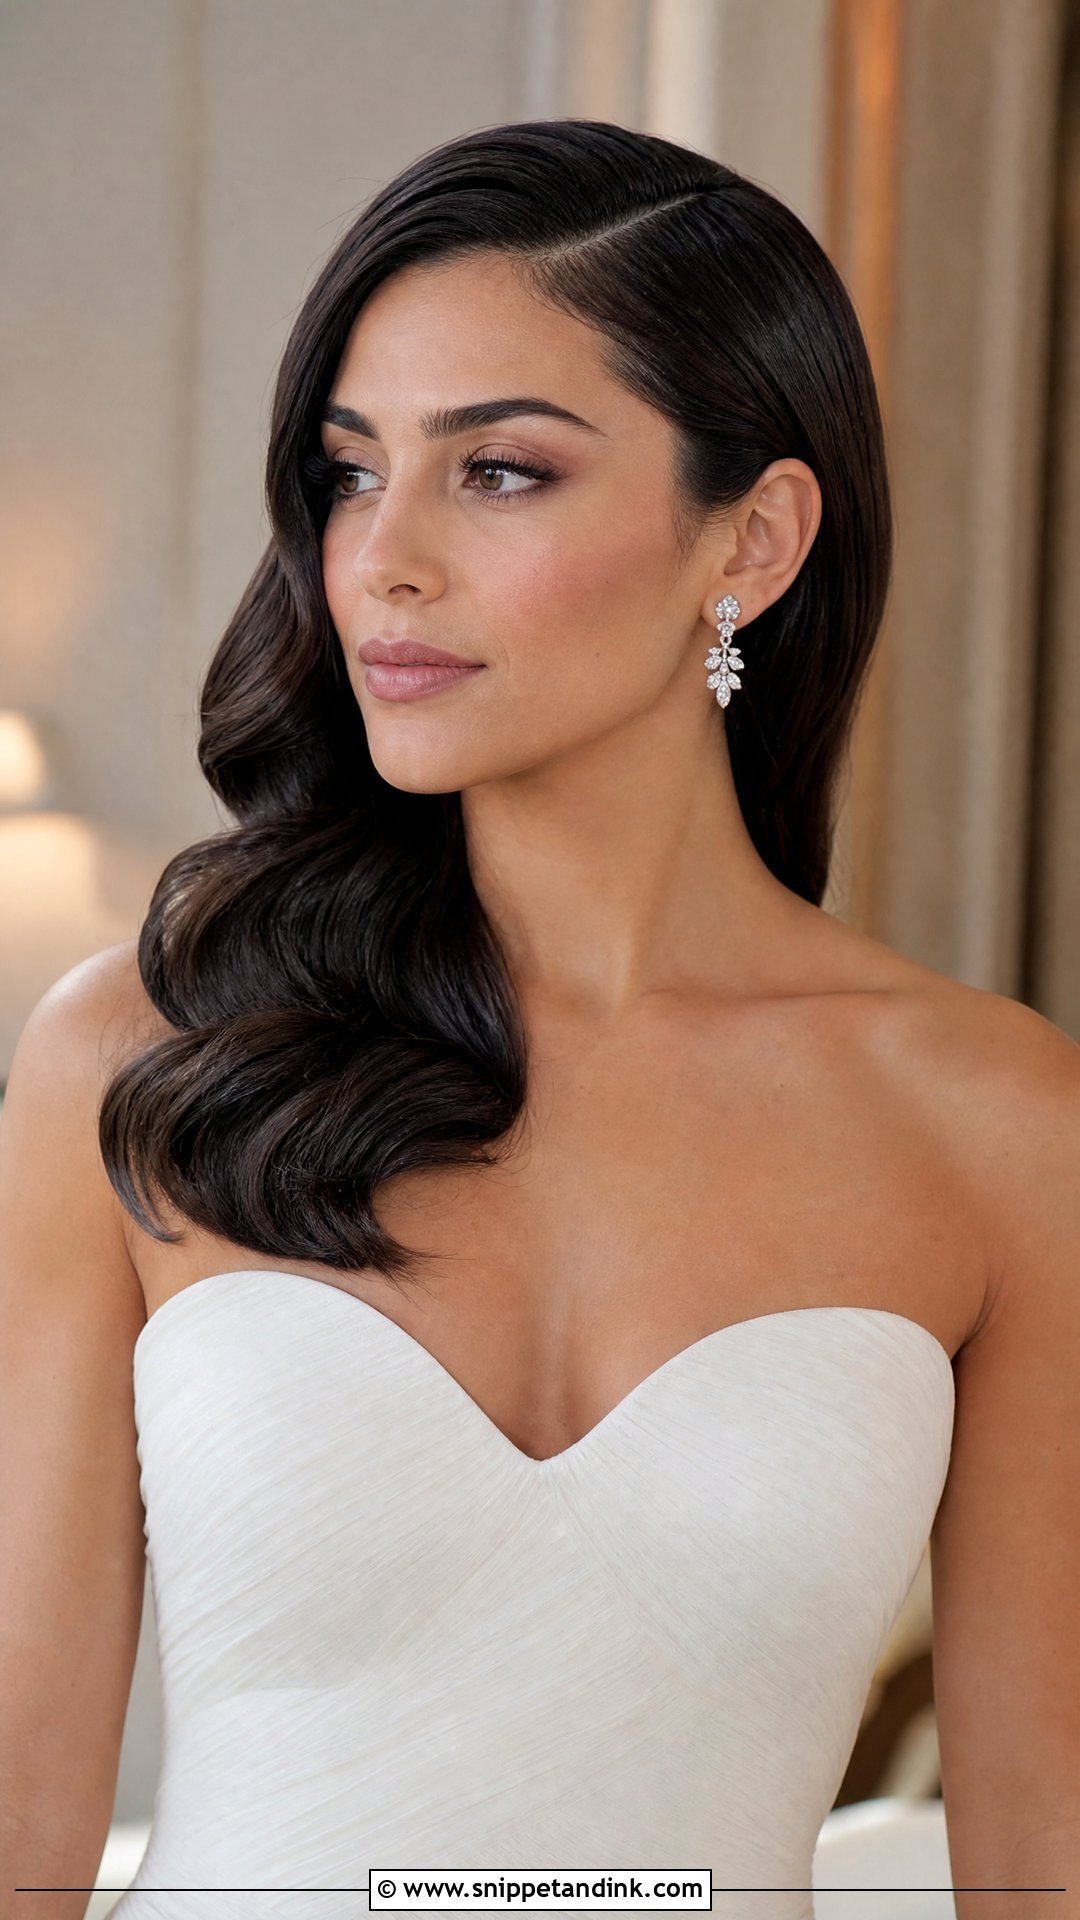
Slick one side, wave the other, and you get the classic red-carpet shape. It suits a strapless or one-shoulder dress and dramatic entrances down a long aisle. The smooth side is pinned behind the ear with crossed pins hidden under the top layer; the waved side is set in one direction and brushed into a single ripple. The two sides should look like one style, so I check the balance in a mirror from the front and in profile.
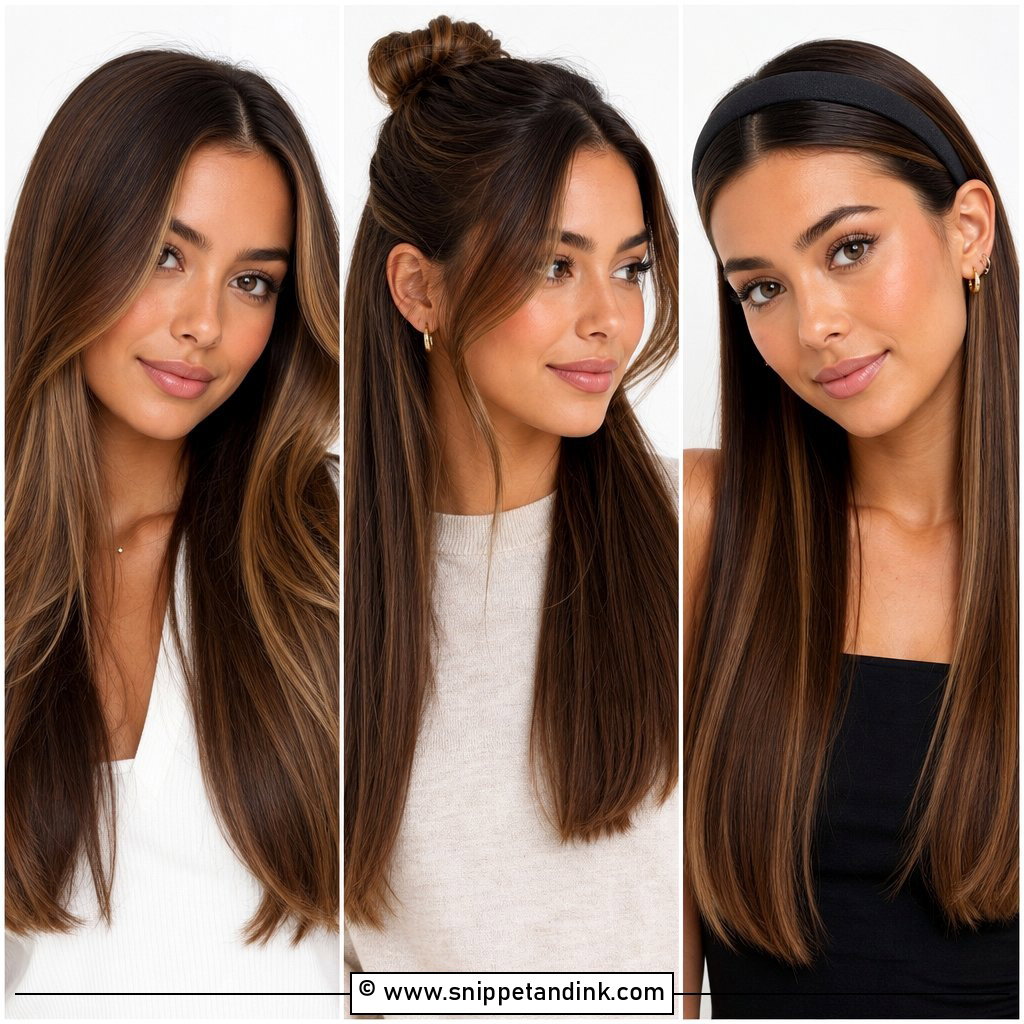
5. Bridal Slicked Side Half Up Hair
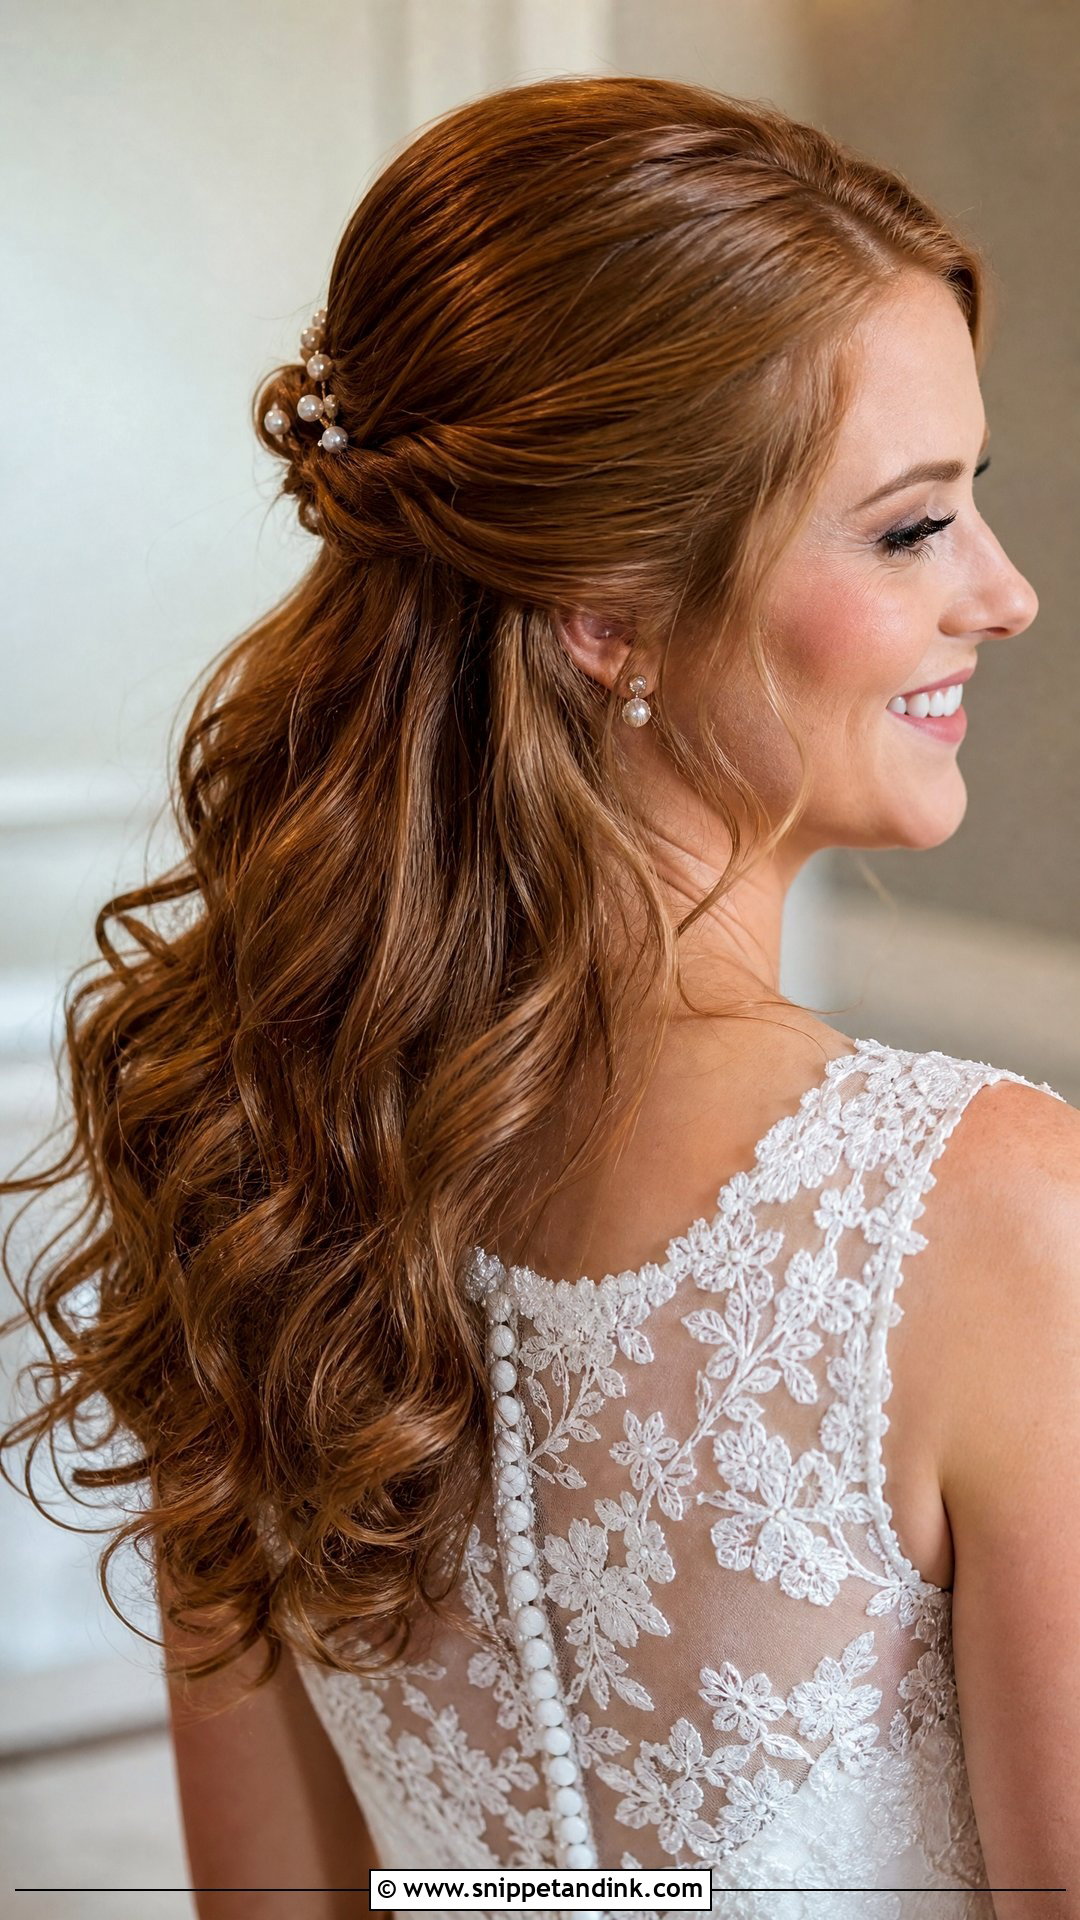
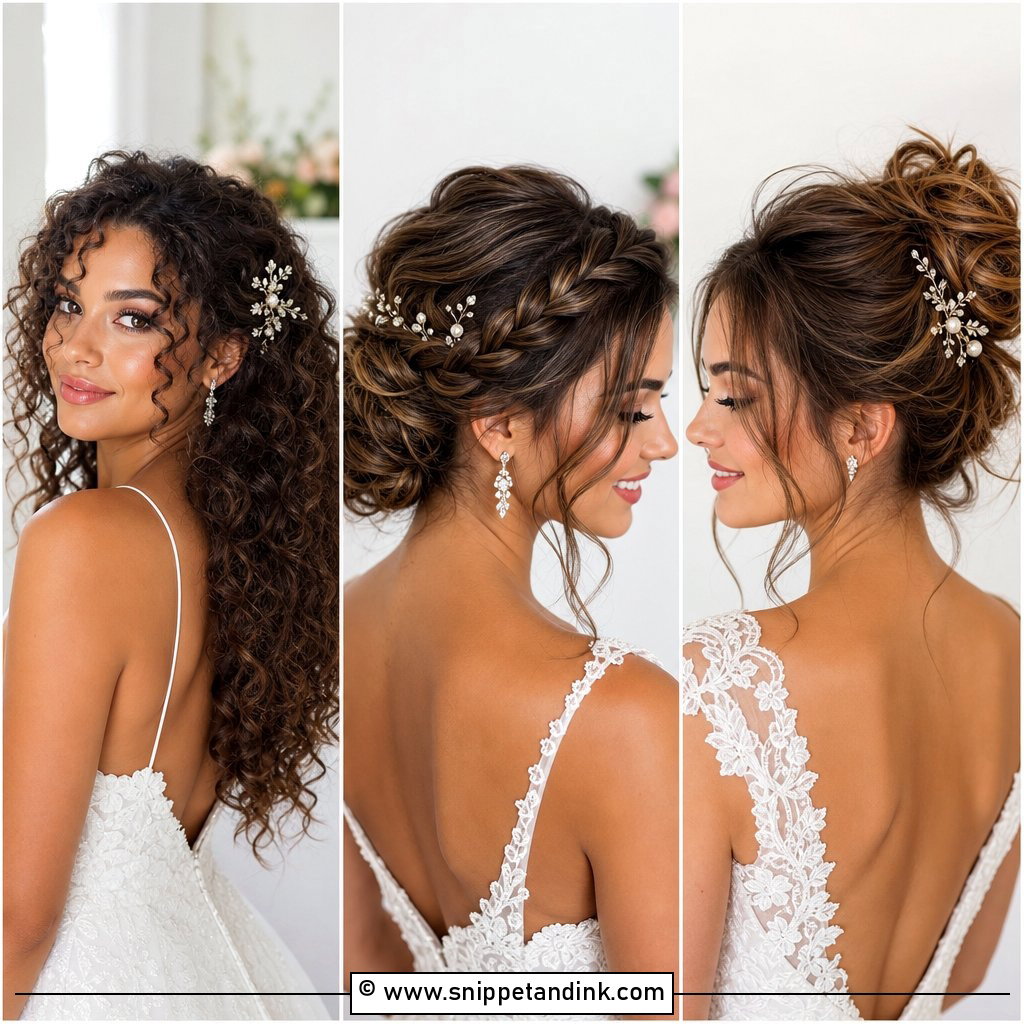
Smoothing back just the sides and leaving the rest loose gives control around the face without a full updo. The front sections are pinned into a small twist or hidden pin base at the back, and the lengths fall in curls or waves. A light breeze won’t get the front, which matters at outdoor ceremonies. If you never wear updos and feel unlike yourself in one, this is the slick look I’d start with. A few pearl or crystal pins at the join finish it.
6. Bridal Slicked Side Curly Bun
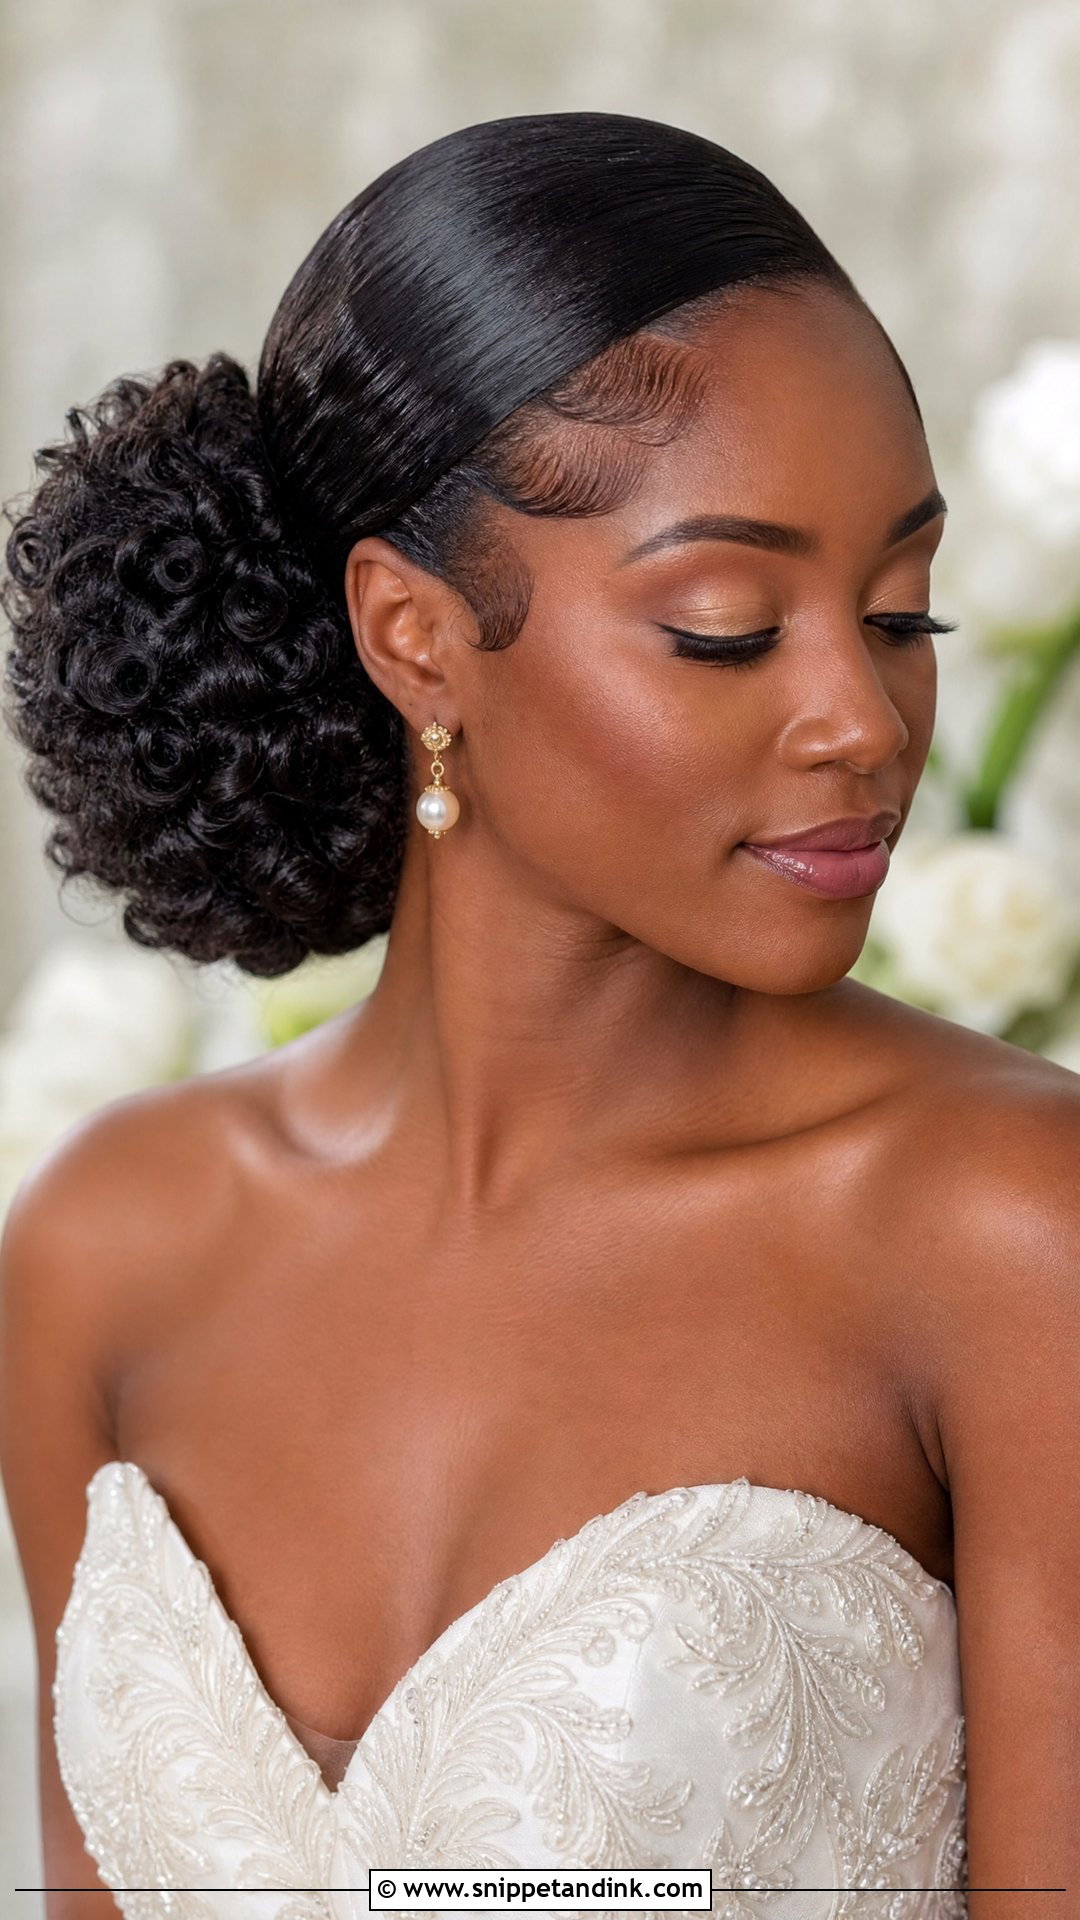
Slick sides and a full curly bun are a natural pairing for curly and coily hair: the polish sits at the front, and the volume lives at the back. I use moisture first, a leave-in and then a strong gel, because brushing gel through dry curls leaves the sides frizzy and dull. The bun can sit low or higher for lift. Pull a few curls loose around the bun so it reads full rather than a tight ball.
7. Bridal Slicked Side Short Hair
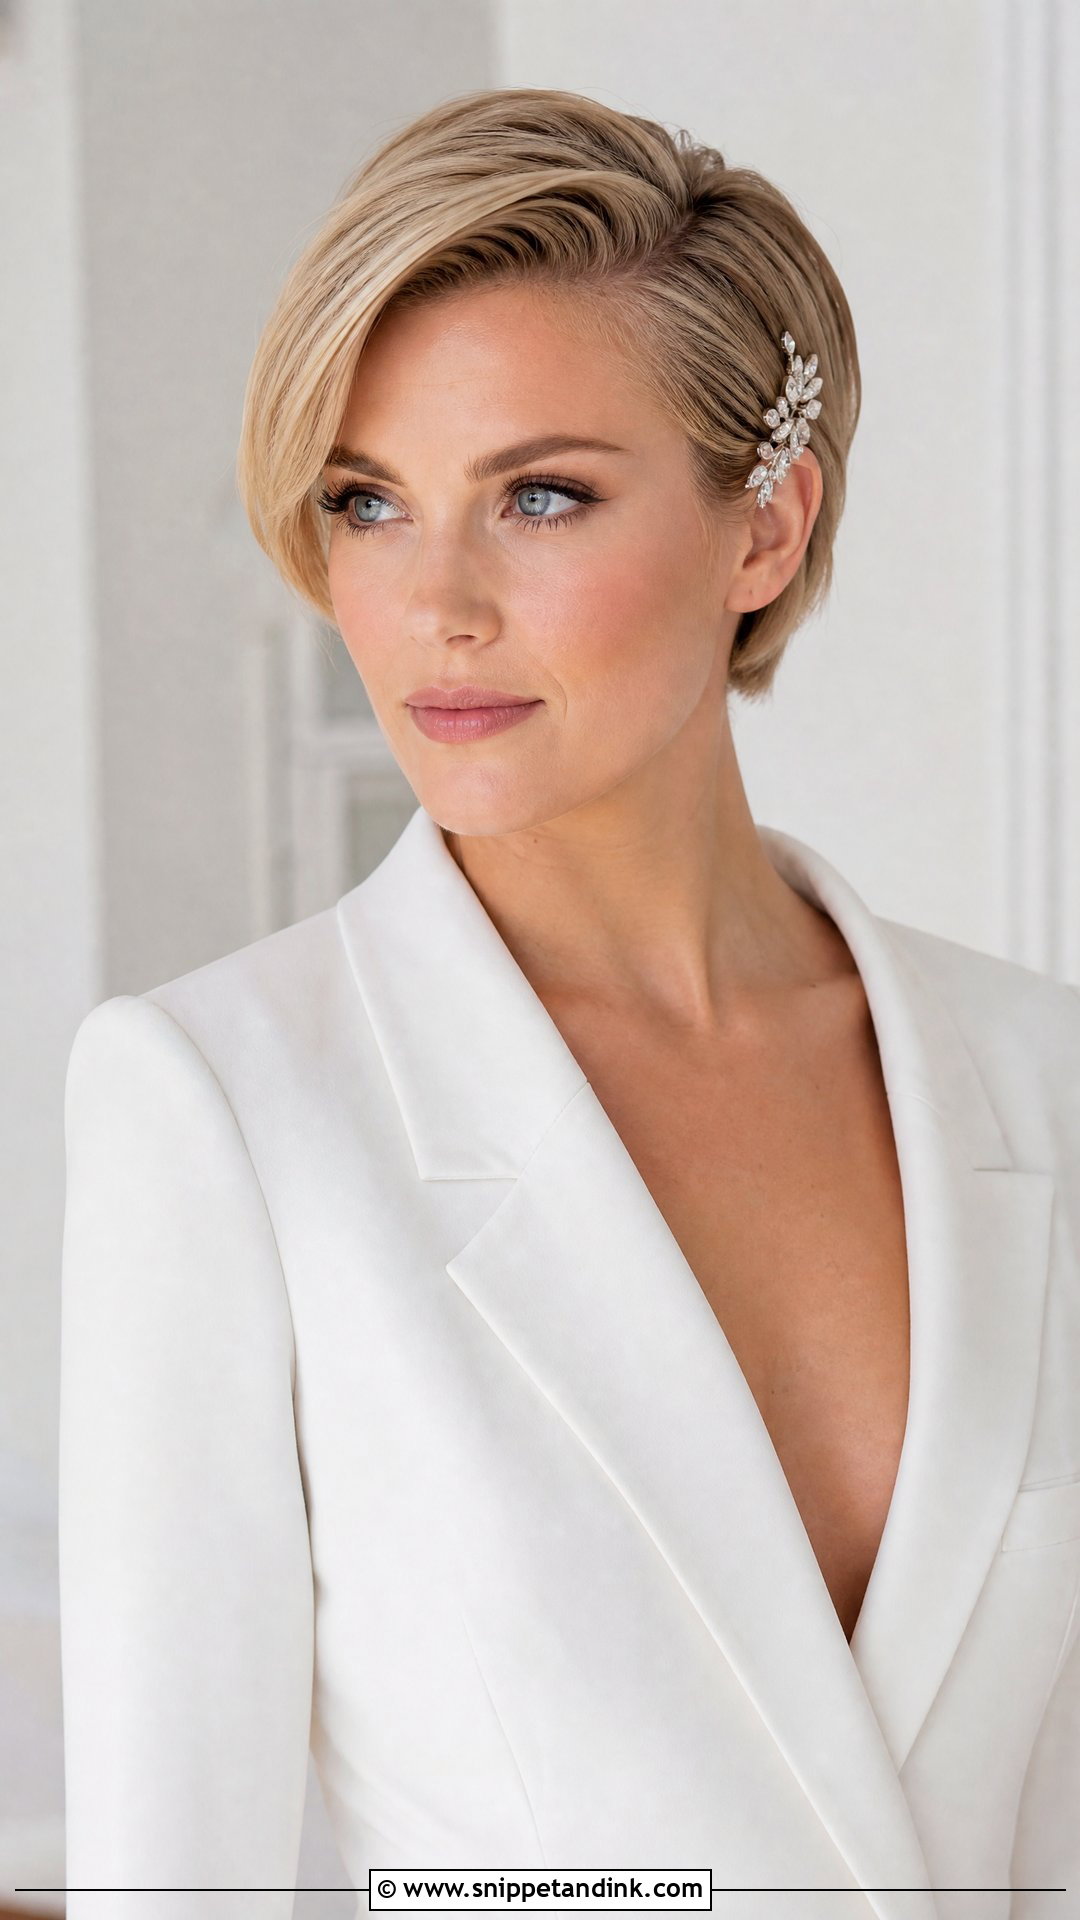
Short hair can carry a formal wedding look as well as any updo. A pixie, bixie, or bob parted deeply and slicked on one side, with lift on the other, looks sharp and deliberate. I use a pomade rather than gel on short cuts, because it can be reshaped with the fingers through the day. A small jewelled clip on the flat side adds a bridal detail without fighting the cut. Book your trim a week or so ahead so the edges have softened.
8. Bridal Slicked Side Bob
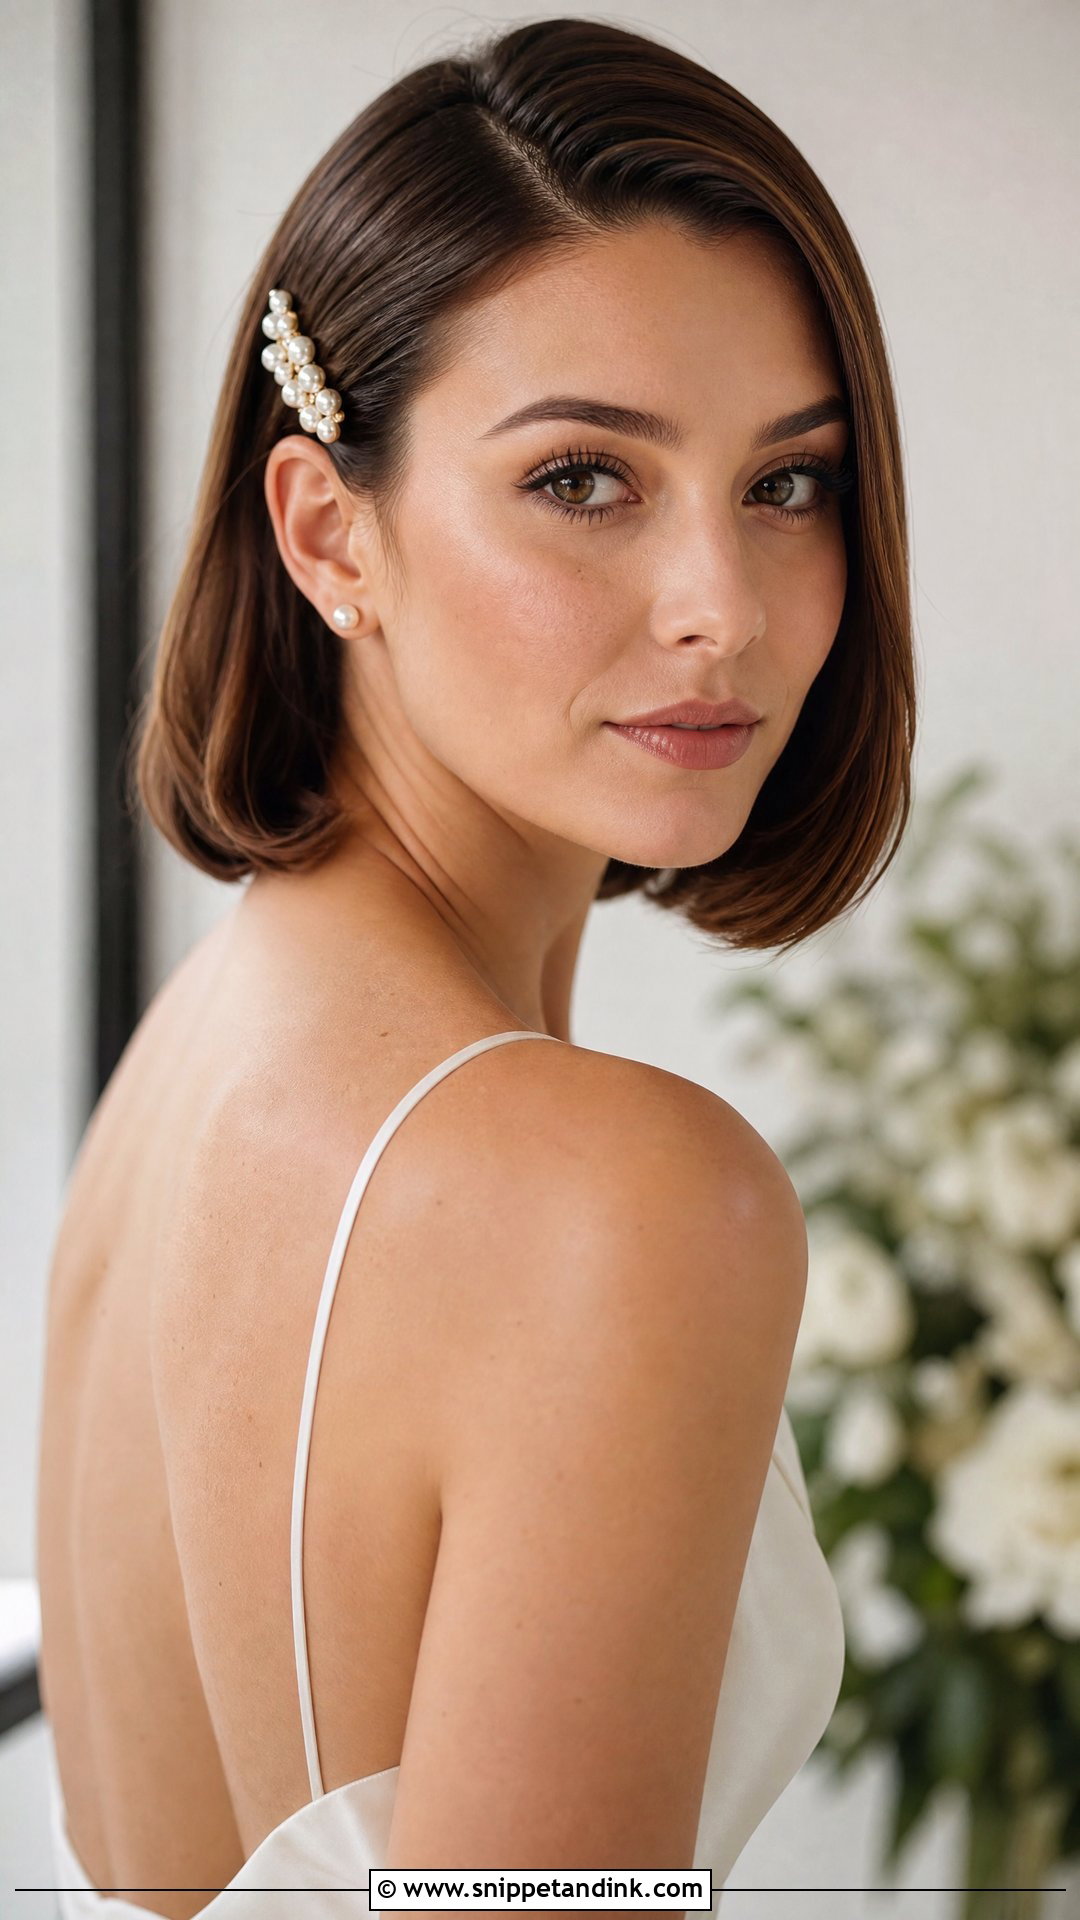
A bob with one side tucked behind the ear and smoothed flat is clean and modern. The rest can be straight, bent at the ends or curled under. It suits minimalist gowns, courthouse ceremonies and city weddings, and it sits naturally with a birdcage veil or a pearl barrette. Glossy ends make or break it; I finish with a flat iron on the last few centimetres so they don’t flick out by evening.
9. Bridal Slicked Side Braid
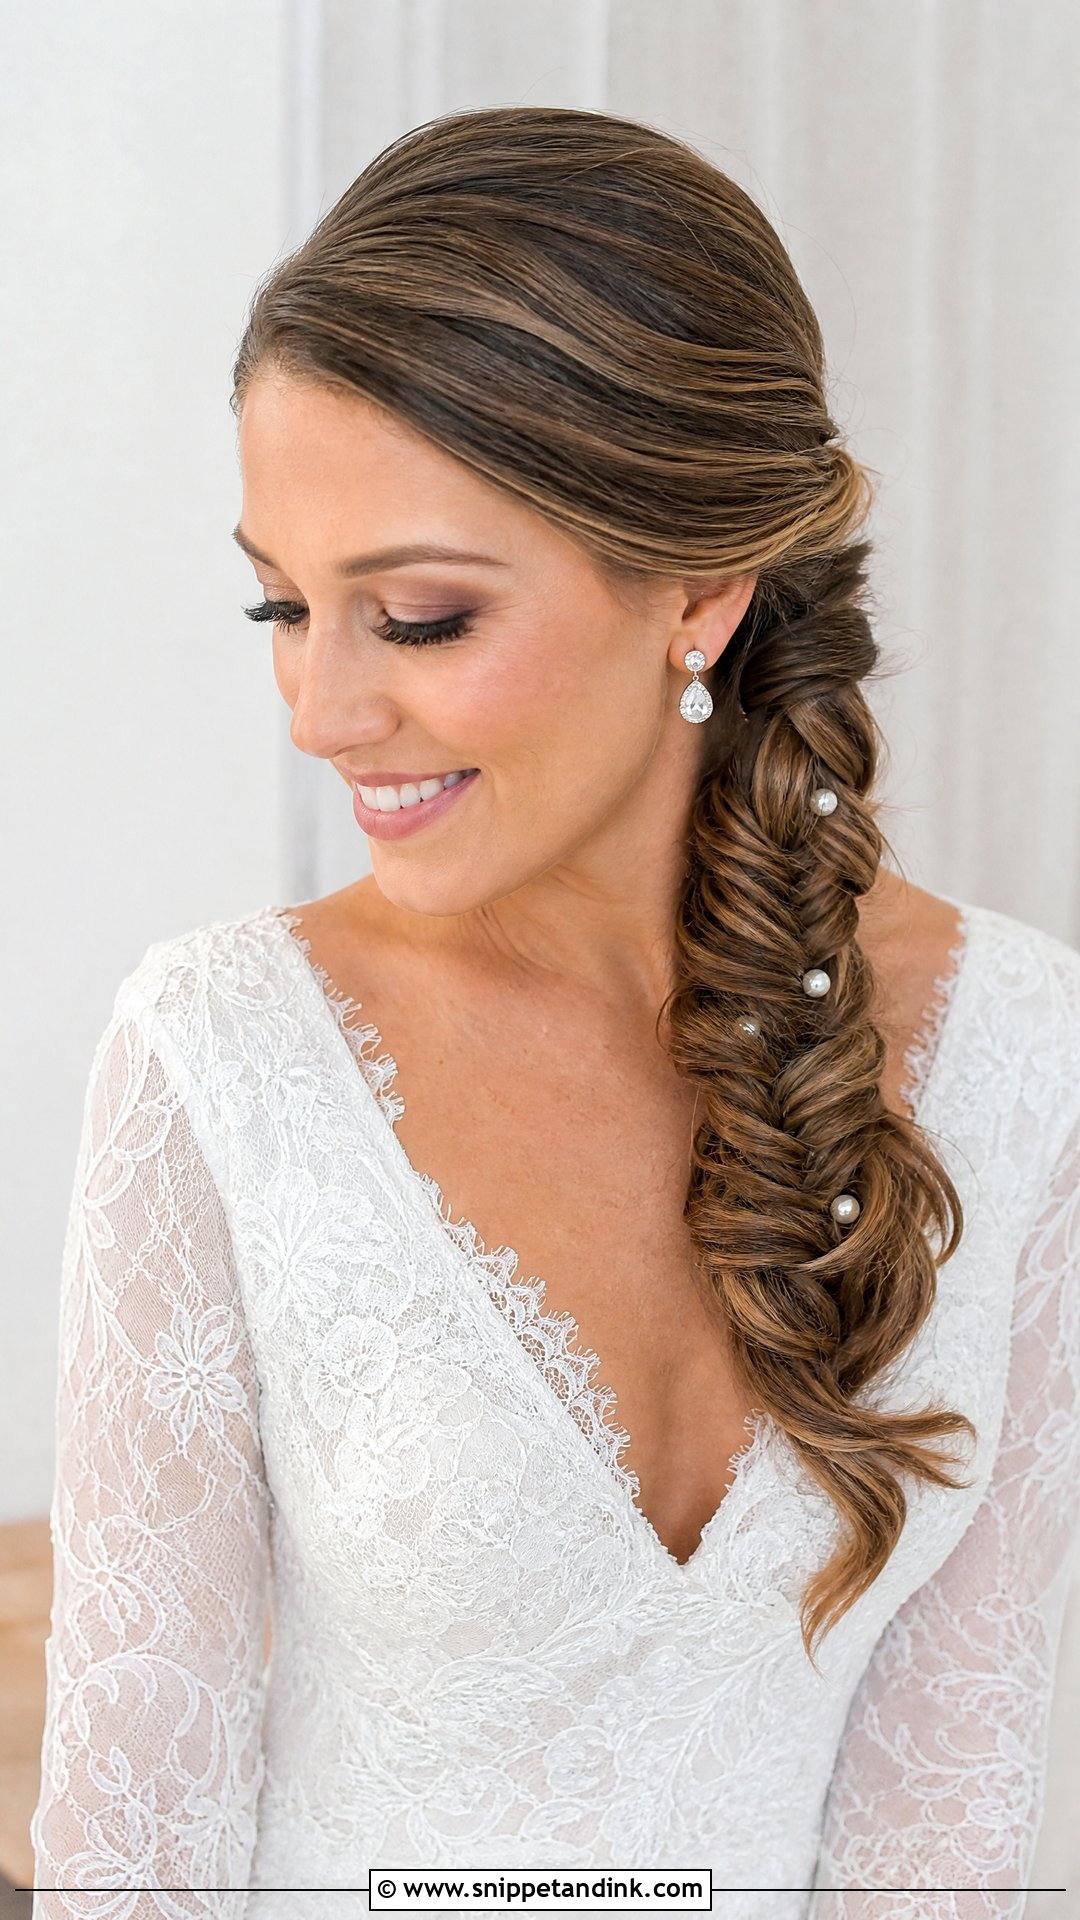
A bridal slicked side braid keeps the face open while the length and texture show over one shoulder. A loose fishtail feels relaxed; a smooth three-strand braid looks classic. Lace gowns and garden venues suit it. I gently pull the braid apart after securing it, but only the braid; the slick sides stay untouched, so the contrast between them is what holds the eye. Smaller pins along the braid hold up better than one big clip.
10. Bridal Slicked Side High Bun
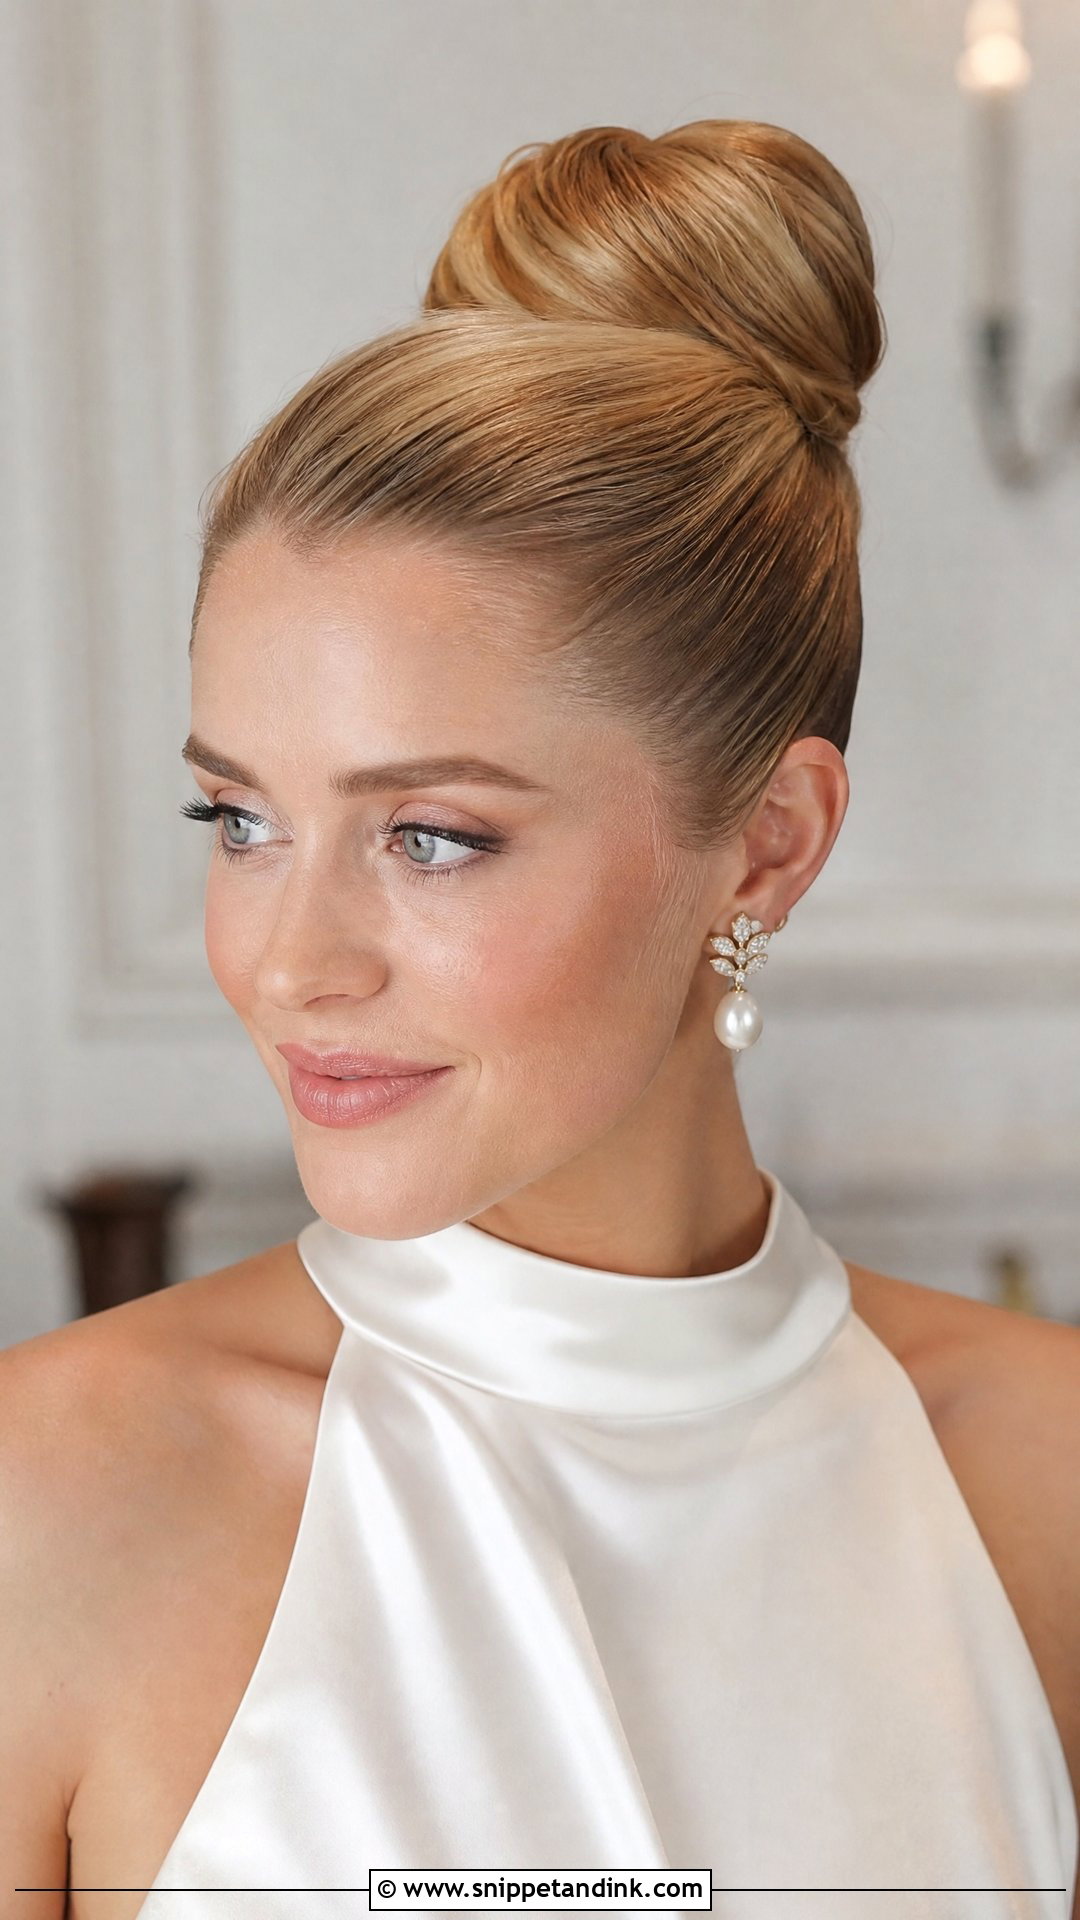
A high bun with slick sides lengthens the neck and keeps everything off it, which is a relief on hot days. The veil has to sit beneath the bun, so I place the comb before I finish the shape. It pairs well with high-neck gowns and statement earrings. I’d be careful if you get tension headaches: the sides are brushed tight toward the crown, and that pull is felt for hours. Ask for firm rather than tight at the trial.
11. Bridal Slicked Side Wet Look Hair
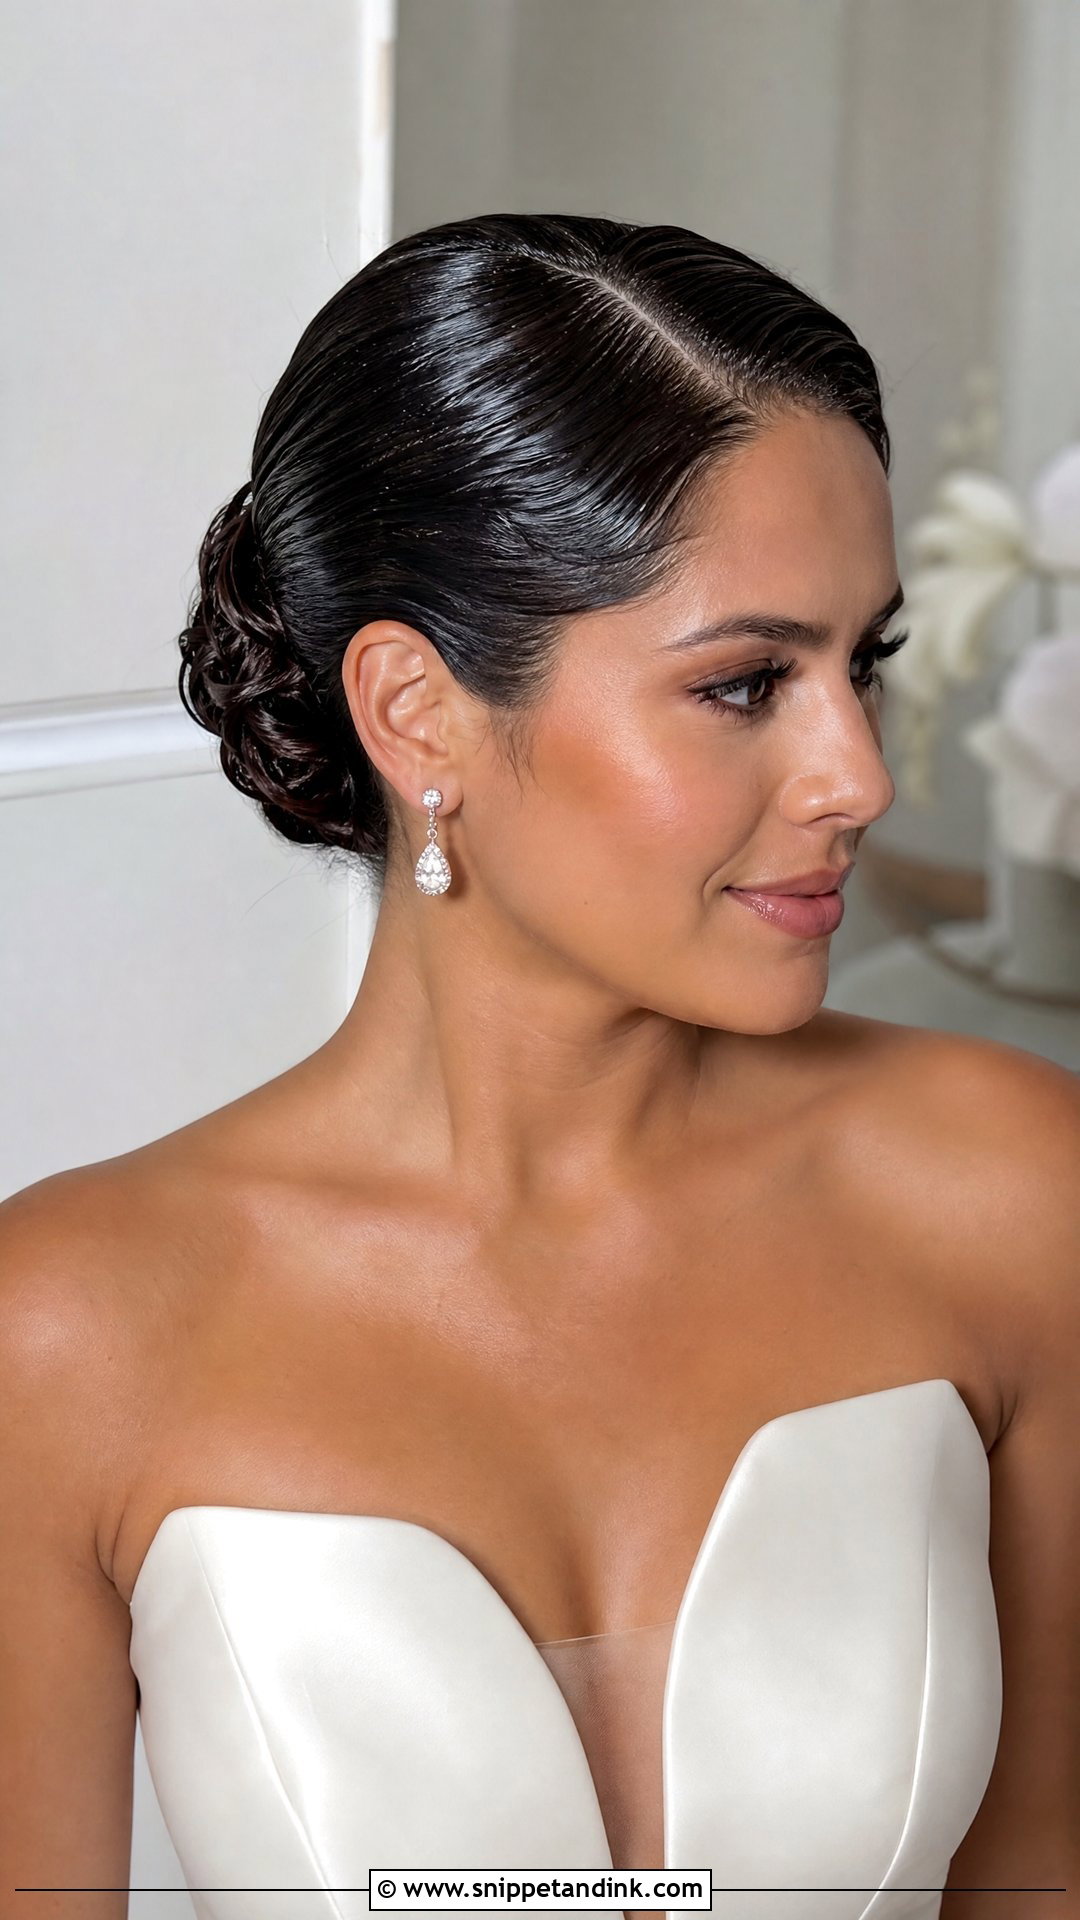
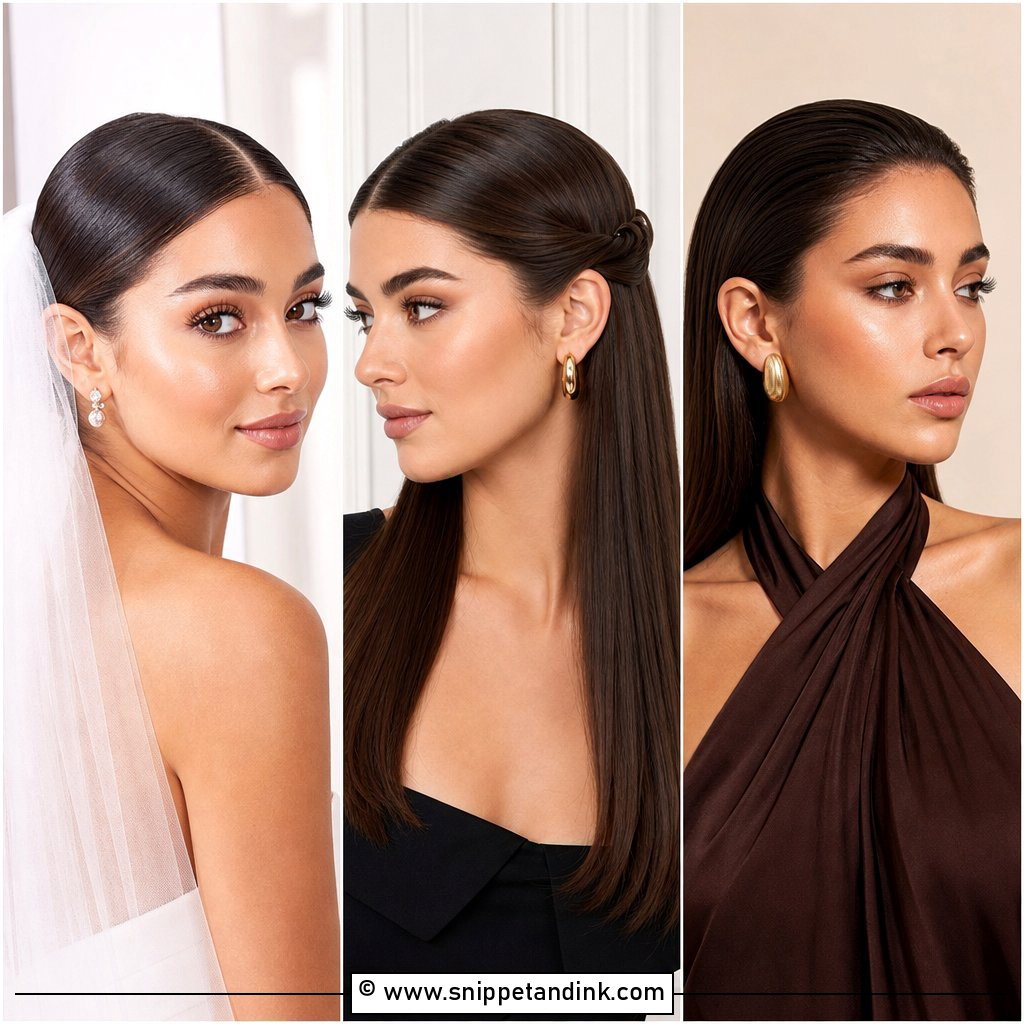
The boldest version is wet look hair: a deep side part, sleek sides and lengths shaped into waves, a bun or left down, all with a high-gloss finish. The shine is the whole design, so product choice matters more than anything else. Too much gel goes stiff and flakes; I layer a cream underneath and a gloss on top. Evening weddings and modern gowns suit it, and the makeup should stay clean so the hair is the statement.
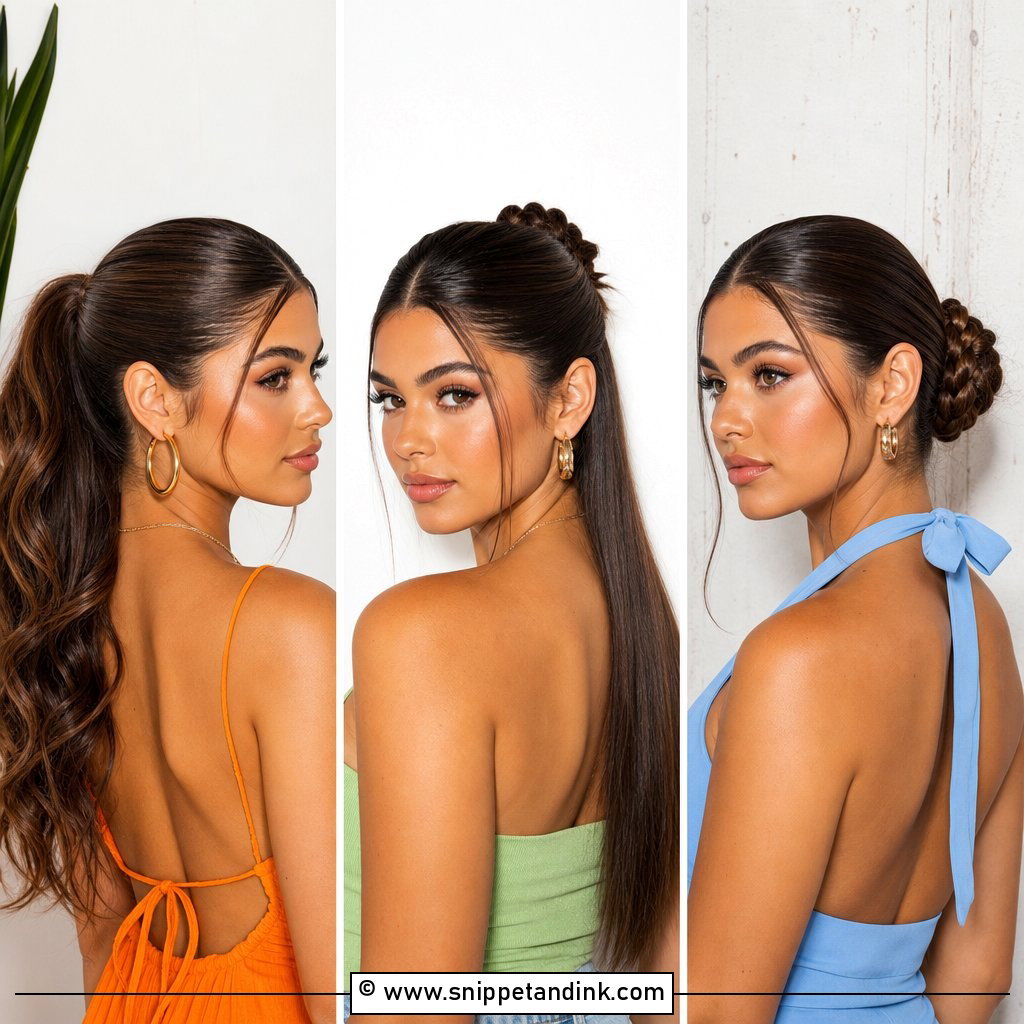
12. Bridal Slicked Side Low Ponytail
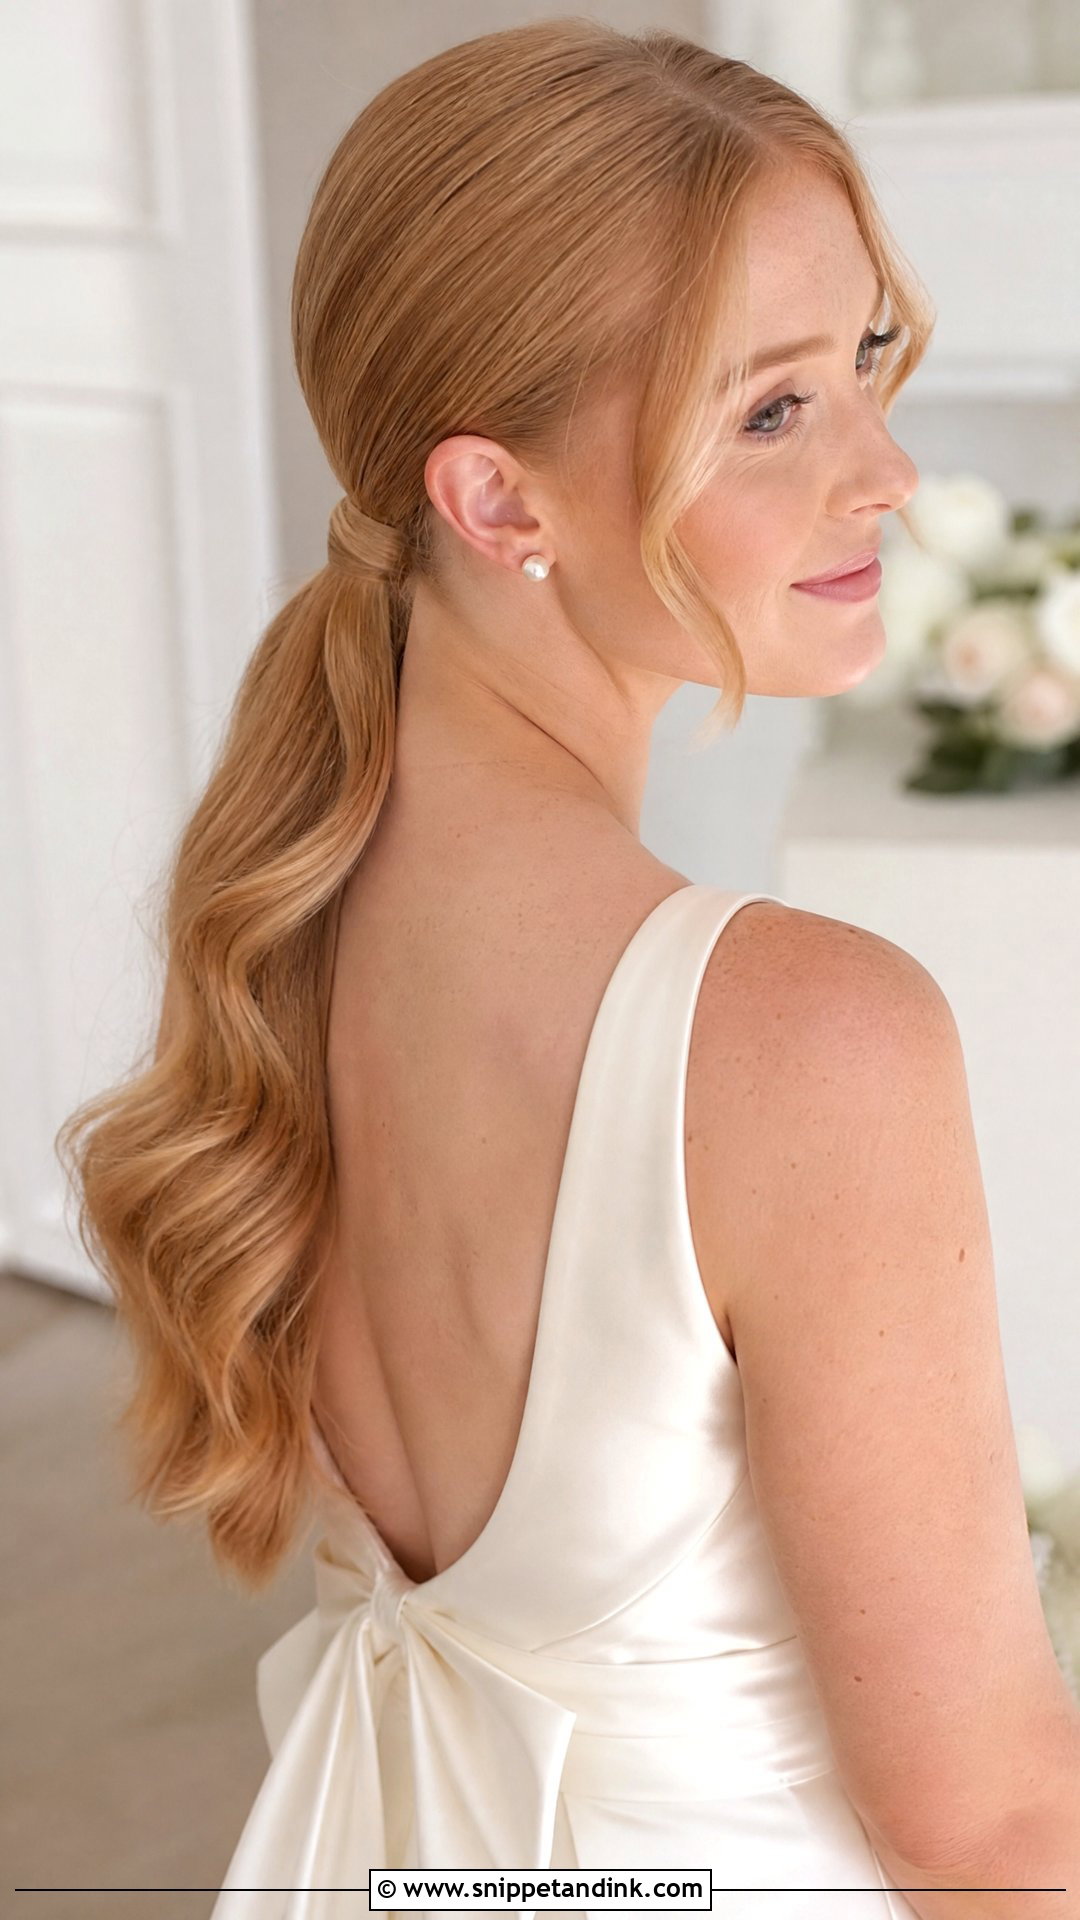
A low ponytail with slicked sides leaves the shoulders, back and neckline uncovered. That’s why I suggest it for detailed backs, capes and statement necklaces. Straight and glossy reads modern, curled ends feel softer. It also lasts well, because there’s very little to fall. A ribbon or pearl wrap at the base is a quiet bridal touch. Check how the ponytail sits against a cape or a high back; it can get pushed sideways every time you move.
13. Bridal Slicked Side Bun With Veil
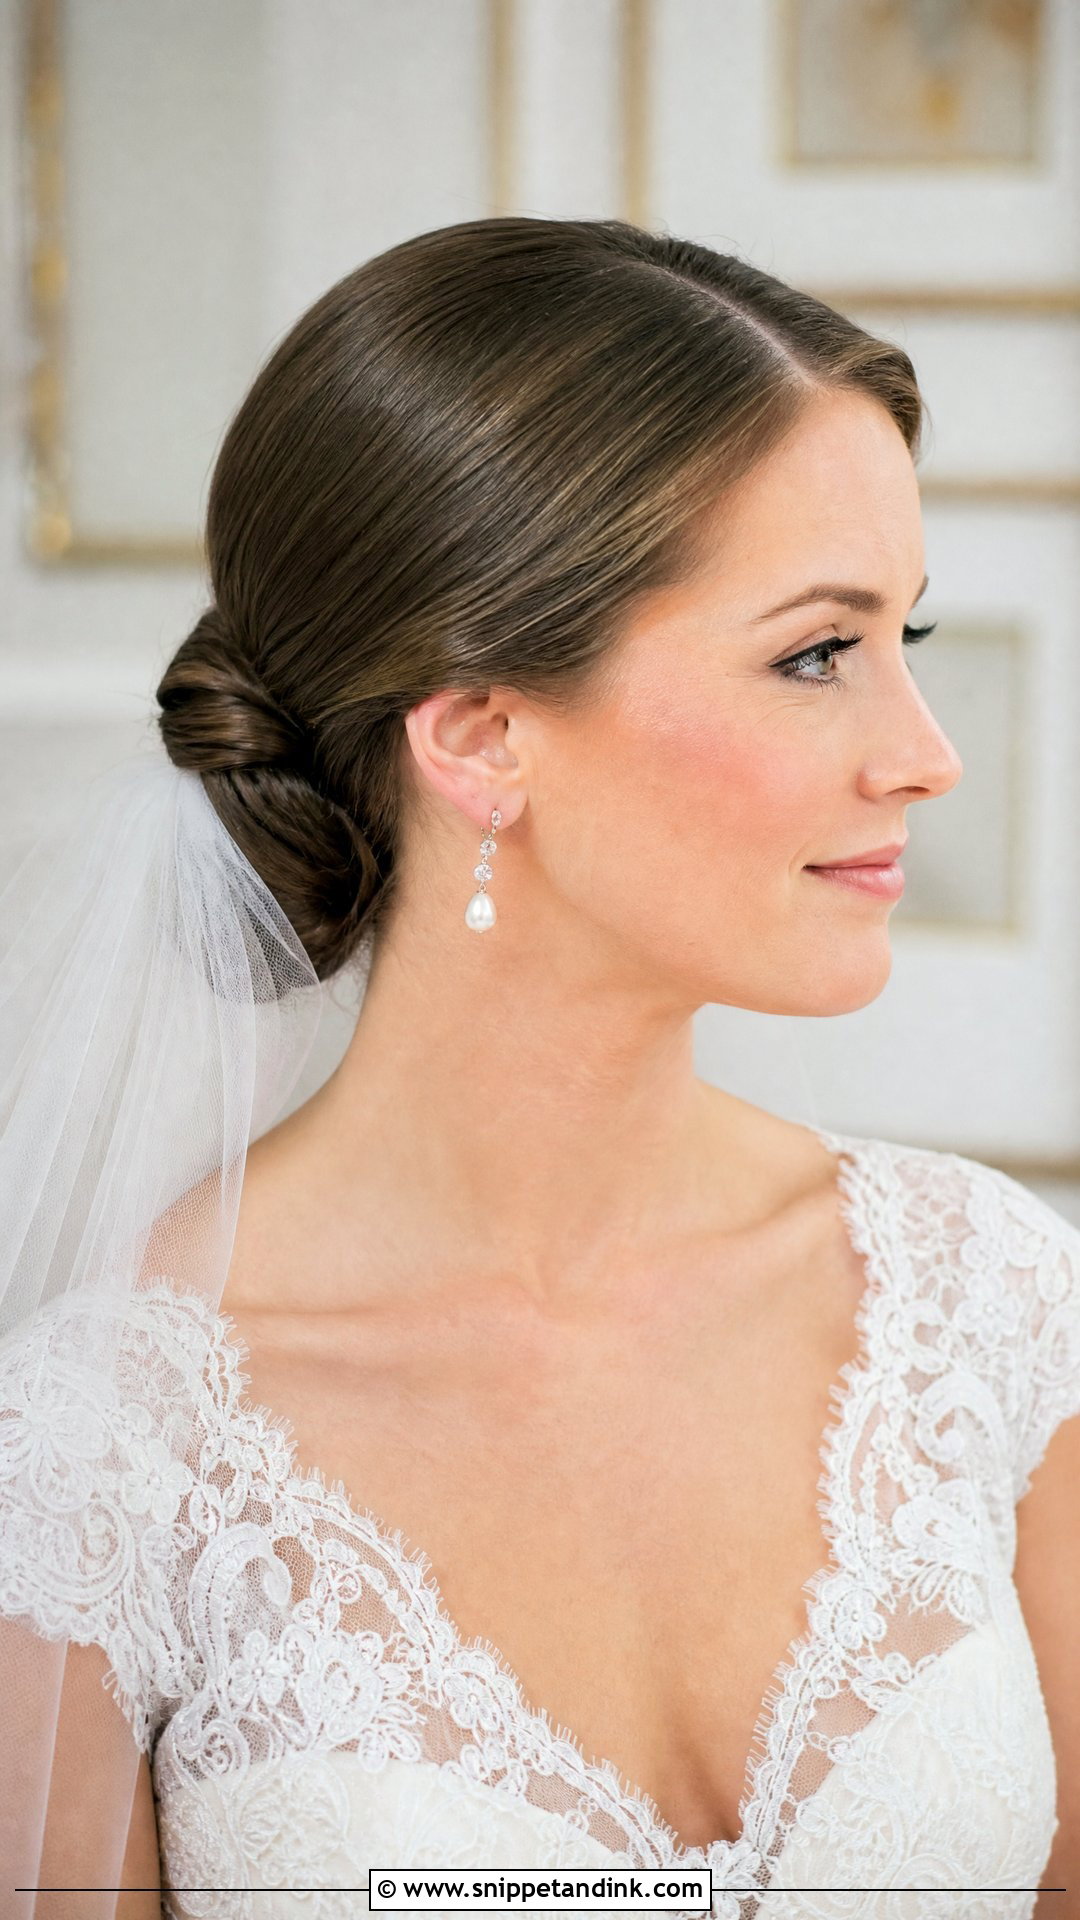
A slick bun is the steadiest base I know for a veil. The smooth sides give a clean frame, and the bun gives the comb something solid to grip. Veil above the bun reads traditional; tucked under it looks more modern. Cathedral, fingertip and simple tulle lengths all work. I always test the actual veil at the trial, because a heavy cathedral length can drag a bun backward and loosen the slick at the temples.
14. Bridal Slicked Side Waves
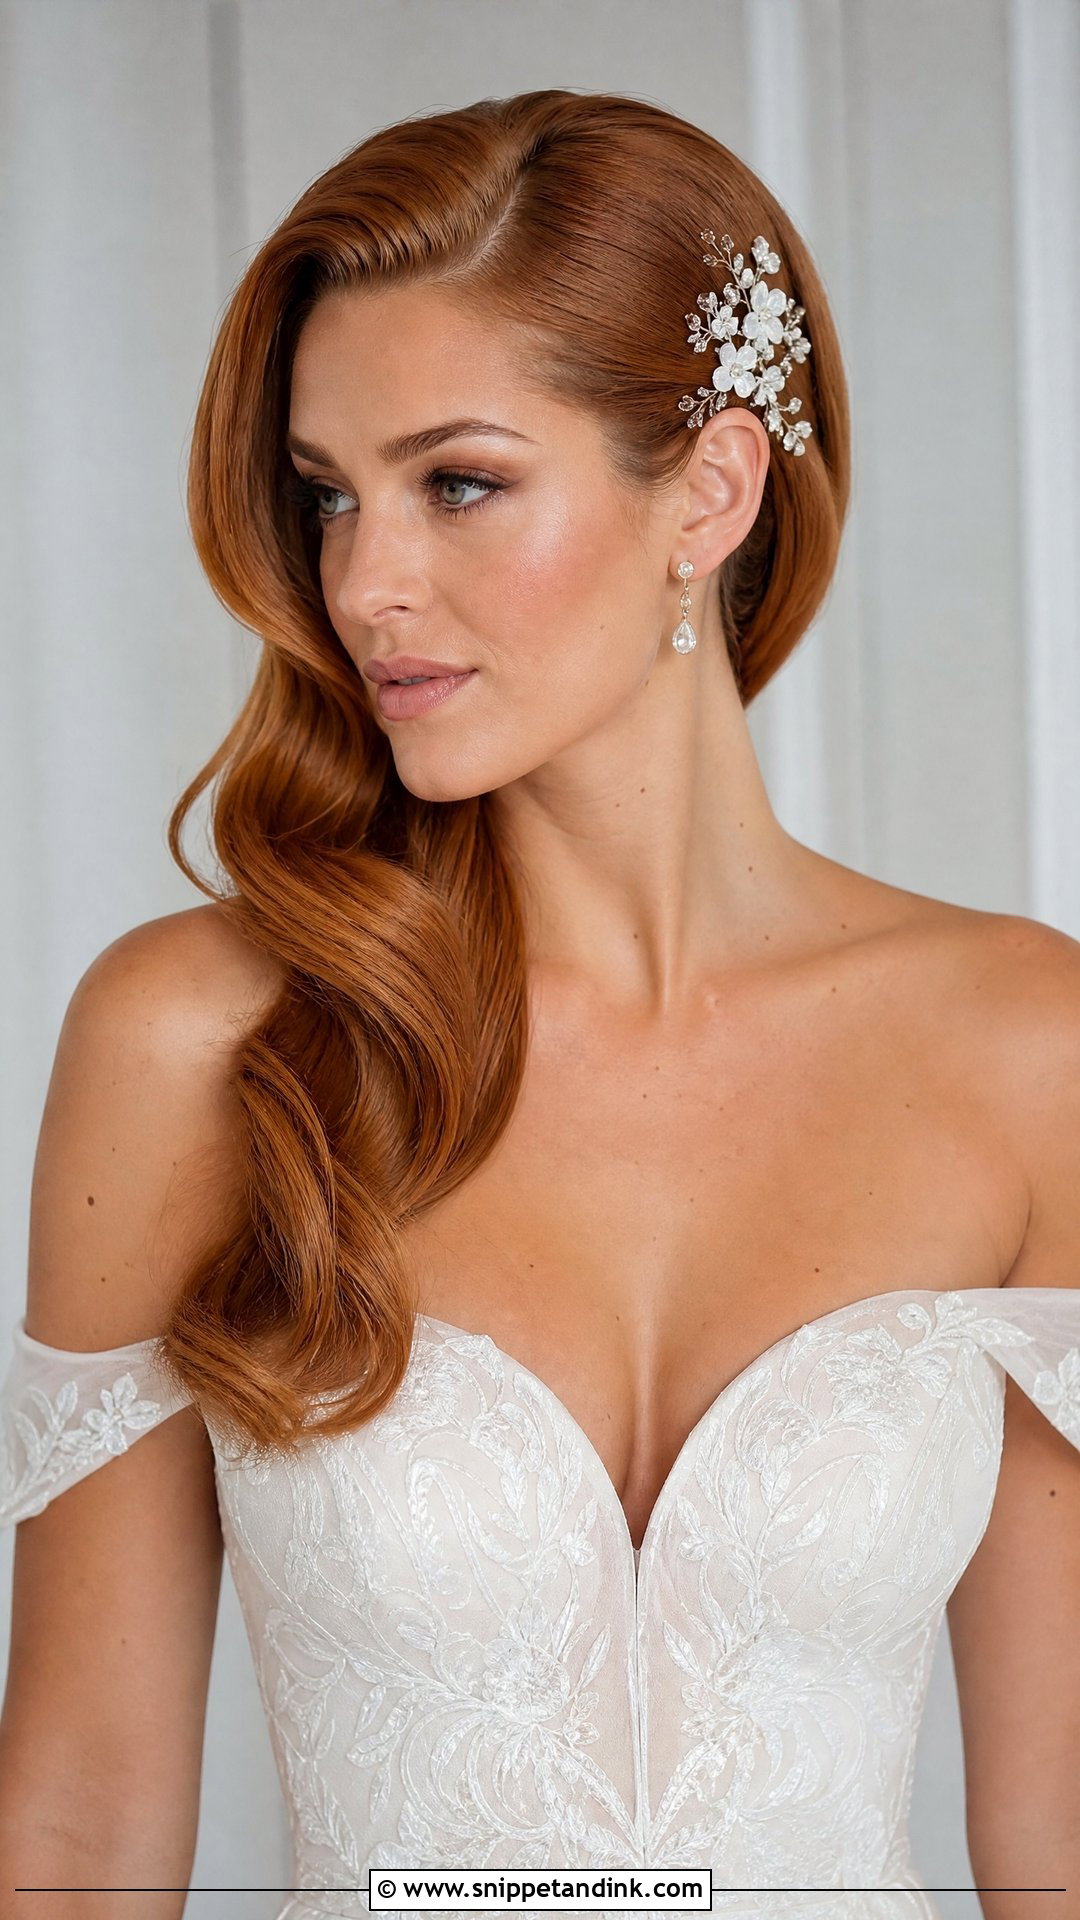
Slick roots with soft, loose waves are the most relaxed take on this look, looser than Hollywood waves and suited to beach, garden and semi-formal celebrations. A deep side part is flattering; tucking one side behind the ear opens the face. That tucked side is also the natural place for a comb or floral pin. I curl in larger sections and brush them out, so the waves read loose against the sleek roots.
15. Bridal Slicked Side Updo
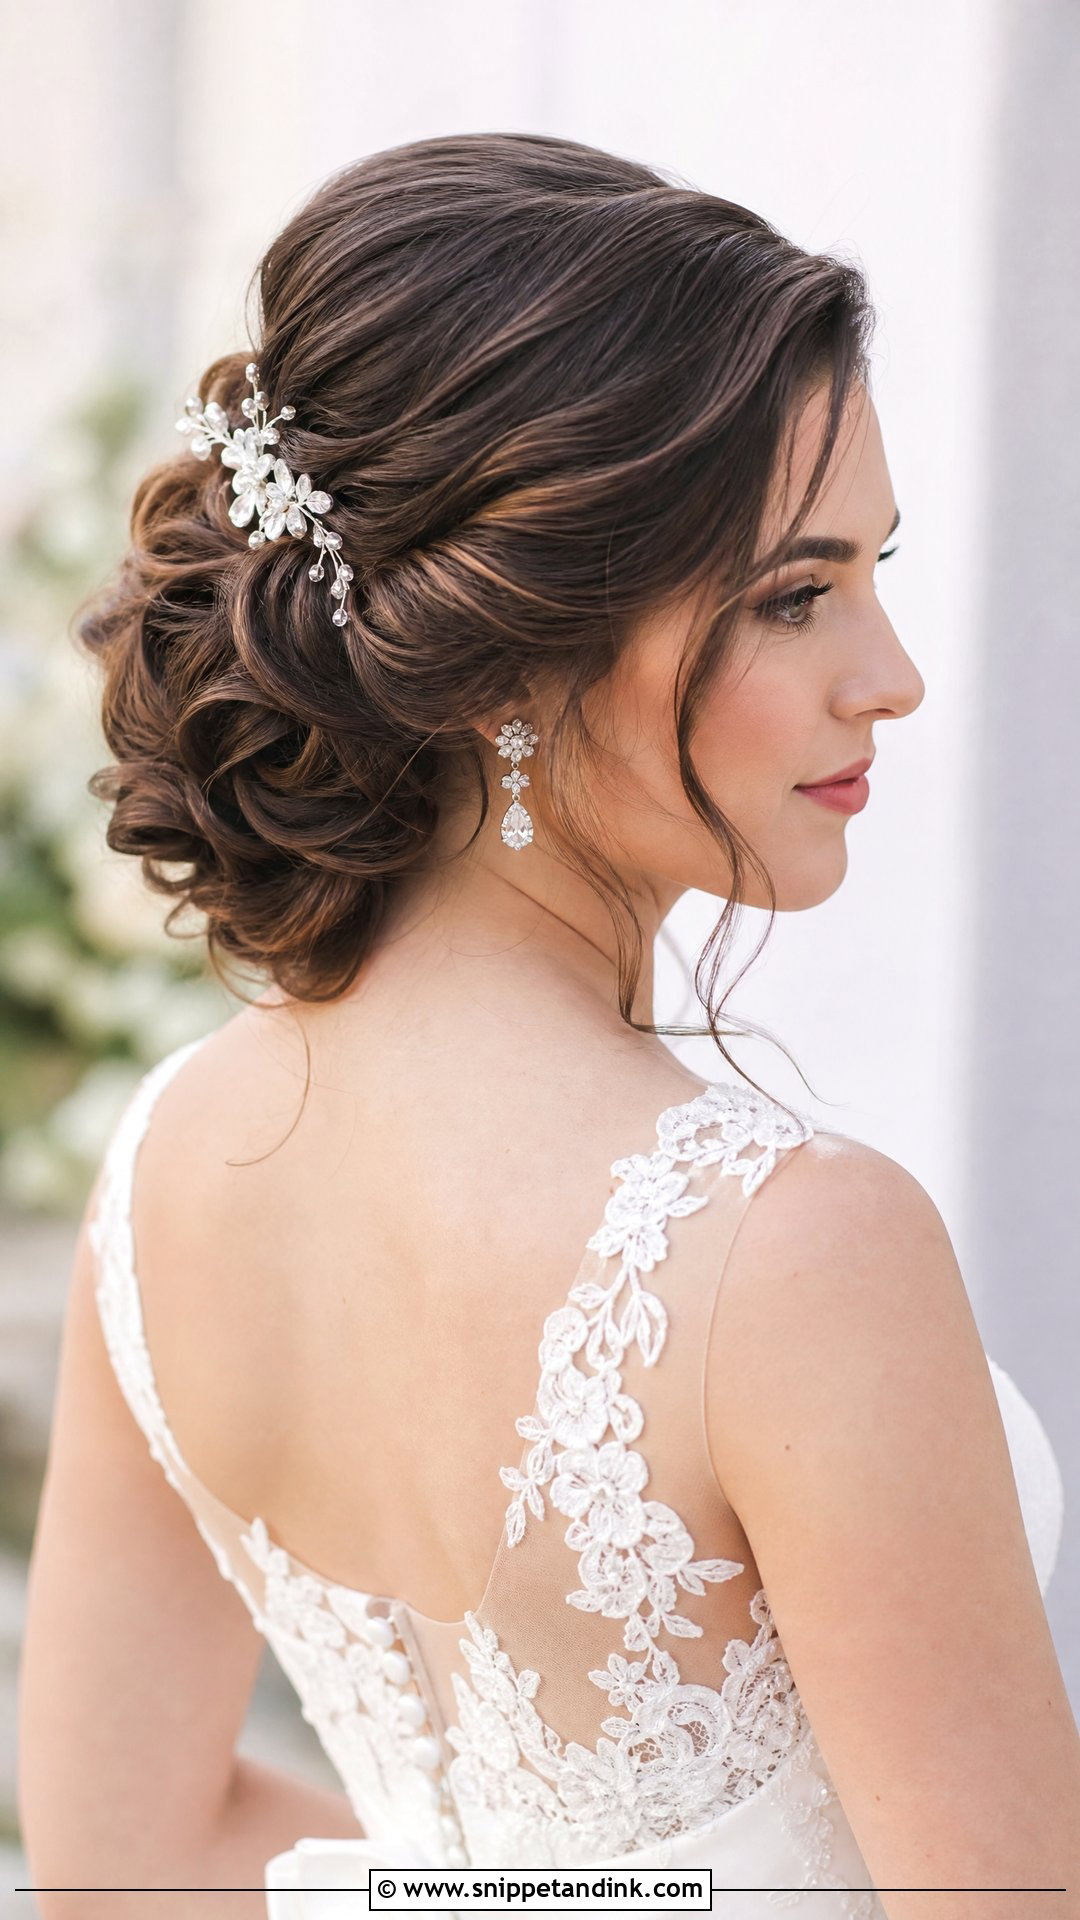
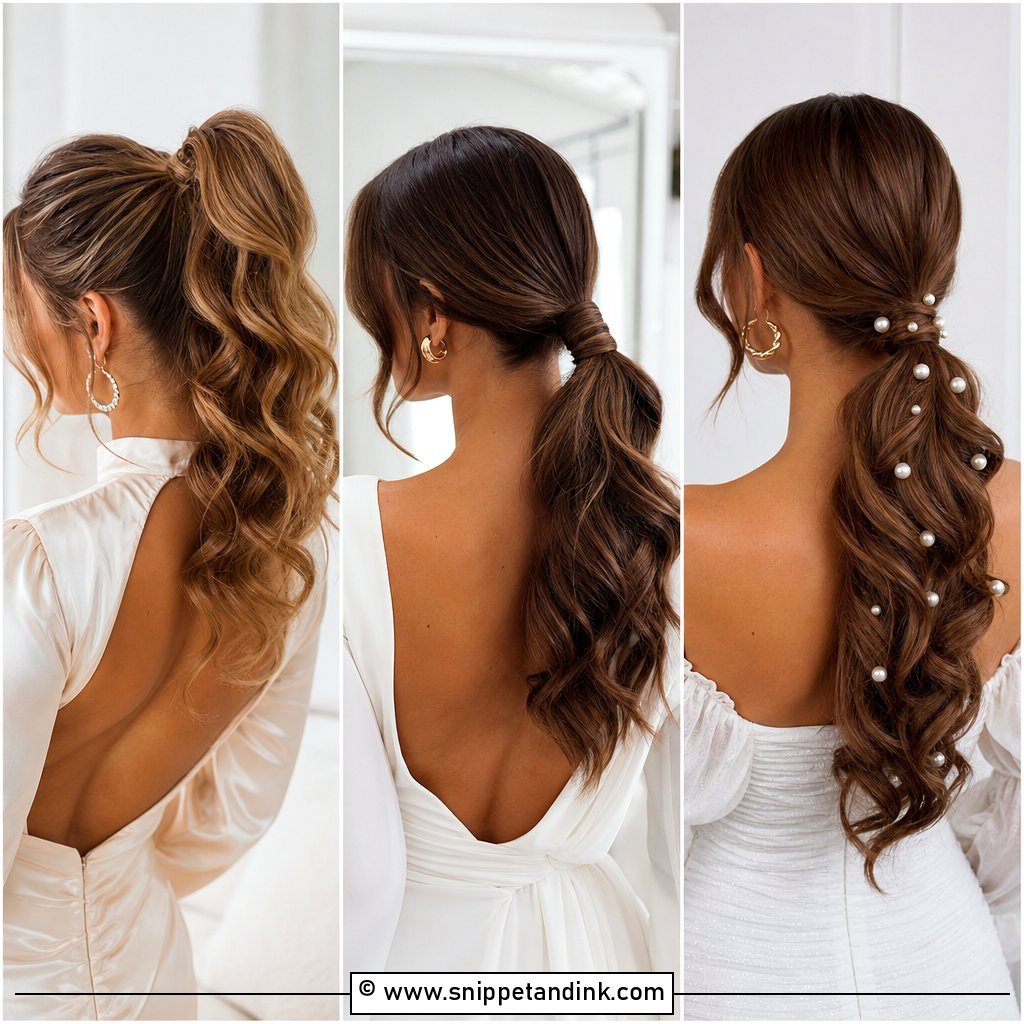
A slicked-side updo pins the hair into a low or mid-height updo made of twists, loops or soft volume. It’s secure, pairs easily with veils and accessories, and works with satin and lace alike. The skill is keeping the front clean while giving the back dimension. I sometimes leave one or two soft pieces near the ear; it stops the updo feeling strict without undoing the polish of the sides.
Gel, Pomade or Wax Stick? The Product Sets the Finish
Two slick styles can look nothing alike in photos because of what went on the hair. I talk product with every bride rather than leaving it to chance.
Matching product to the look
- Strong gel gives the firmest hold and the wet-look shine. It suits coily and curly hair and humid venues, but cheaper gels can dry to a white flake that shows on dark hair in close-ups.
- Cream pomade leaves a softer, satin sheen and stays flexible. It’s the usual choice for a polished low bun that should look glossy rather than wet.
- A wax stick is for flyaways and baby hairs once the shape is done. It won’t hold a full slick by itself, but it’s brilliant for touch-ups.
How it reads on camera
Shine that looks fresh in the mirror can look greasy under a direct flash at the reception. I take a couple of flash photos on a phone during the trial and we check them together. If the sides glare, a lighter hand with the shine spray usually fixes it.
Getting it out again
Heavy gel rarely comes out with one shampoo. Working a little conditioner or hair oil through the dry, set hair before you wet it loosens the hold, and then a clarifying wash finishes the job without hours of scrubbing on your first morning as a married person.
Decide on the Shine Level Before Anything Else
Slicked sides make a wedding style look clean and deliberate, whether the rest is a low bun, a glossy ponytail, soft waves, a short bob or a full curly updo. They also put the makeup, jewelry, veil and neckline on show. At your trial, talk through shine level, part placement, your texture and the accessories you plan to wear, and look at flash photos before you sign off. If it feels secure and still looks like you, you’ve got it.
You'll Like These Ideas:


Leave a Reply