
Slicked back wedding hairstyles come up at almost every consultation I do now. The attraction is obvious: the face is open, earrings and necklines show, and the hair stays put. What brides don’t always expect is how much range there is. A low bun and a set of glossy Hollywood waves are both slicked back, and they feel nothing alike. Below are fifteen I’d recommend, with honest notes on hair type, hold and the small details that make them look finished.
Your Trial Bag for a Slicked Back Style
Slicked back looks show so much that a trial without the right things in hand tells you very little. This is what I ask brides to bring.
I’d also ask you to take photos at the trial in daylight by a window and with a phone flash. Shine that looks right under salon lighting can turn patchy or oily in flash, and that is far easier to adjust on the trial day than on the wedding morning.
- Clean hair, washed the night before and dried smooth. Second-day hair hides how a sleek finish really looks.
- A top with a similar neckline to your dress, so we can see how the shape sits on your neck and shoulders.
- The veil, or one of similar weight, and any comb, pins or earrings you’re planning to wear.
- Photos of the style from the back and side, not only the front. Most inspiration shots show only one angle.
- Any scalp sensitivity or past reactions to hair products. Gels and sprays vary a lot.
Afterwards, wear the style for the rest of the day. If it’s aching after four hours, tell your stylist; it can be built looser at the base without looking any different.
1. Slicked Back Low Bun Wedding Hairstyle
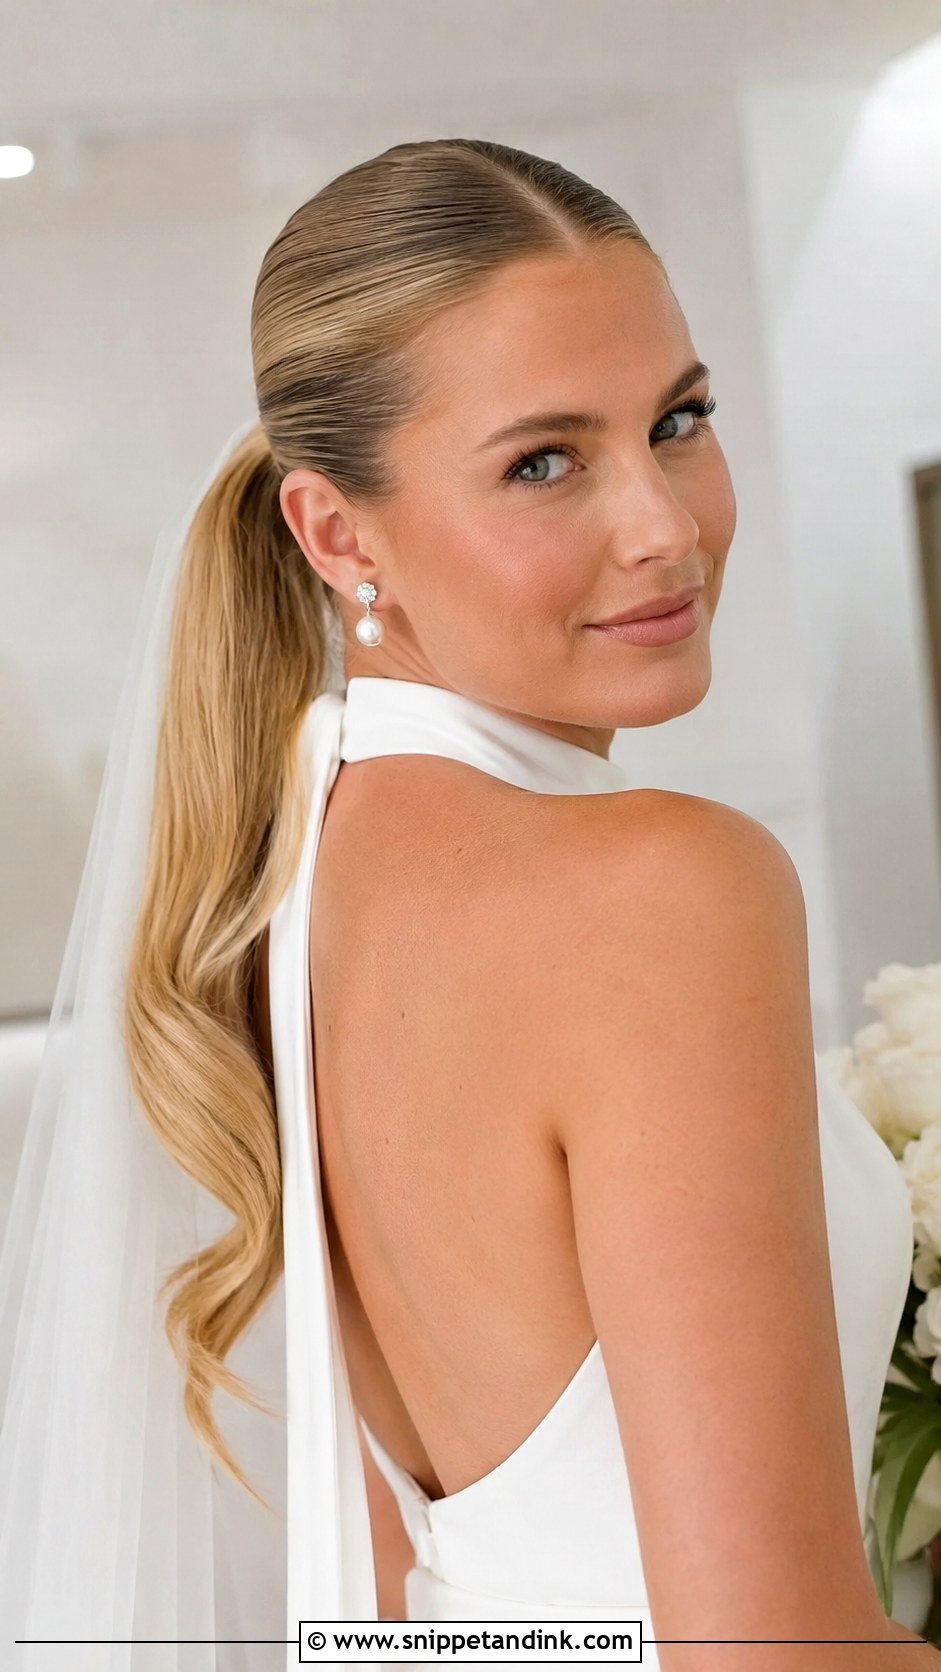
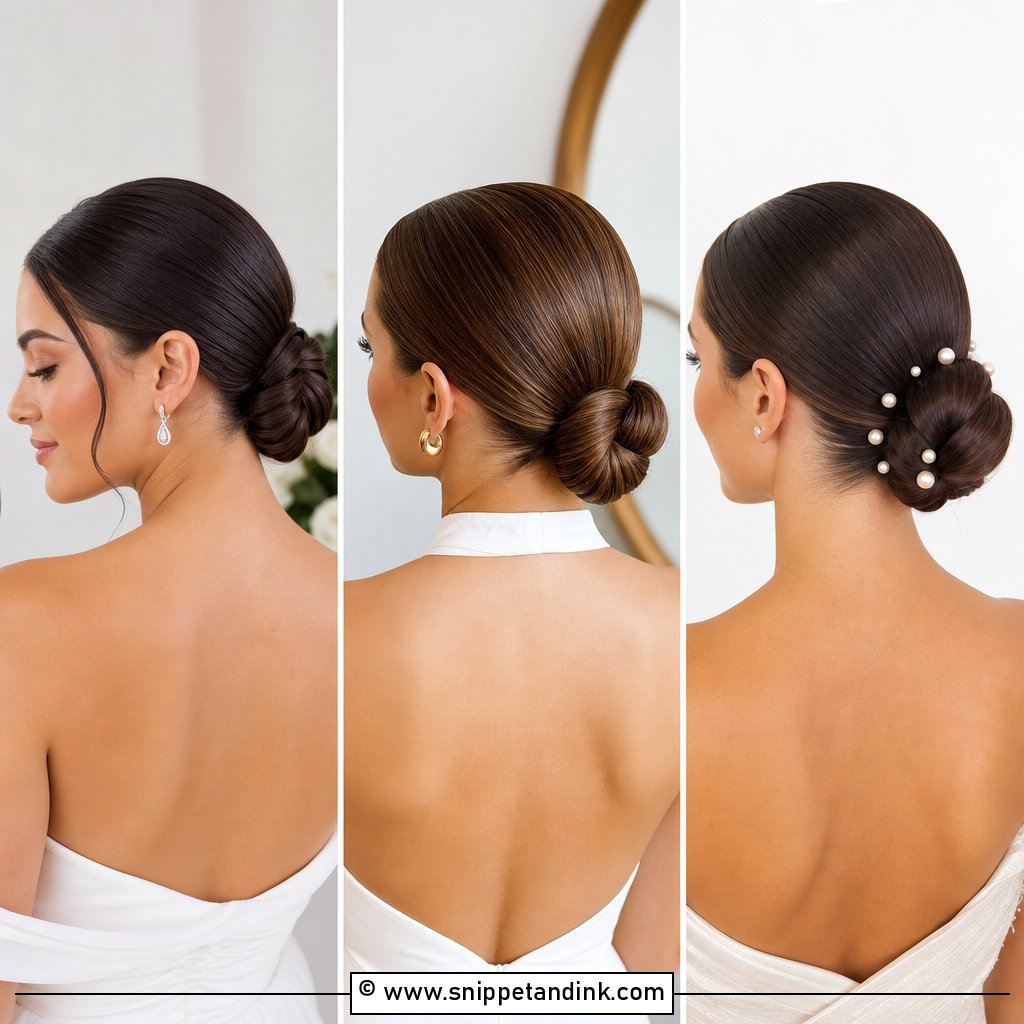
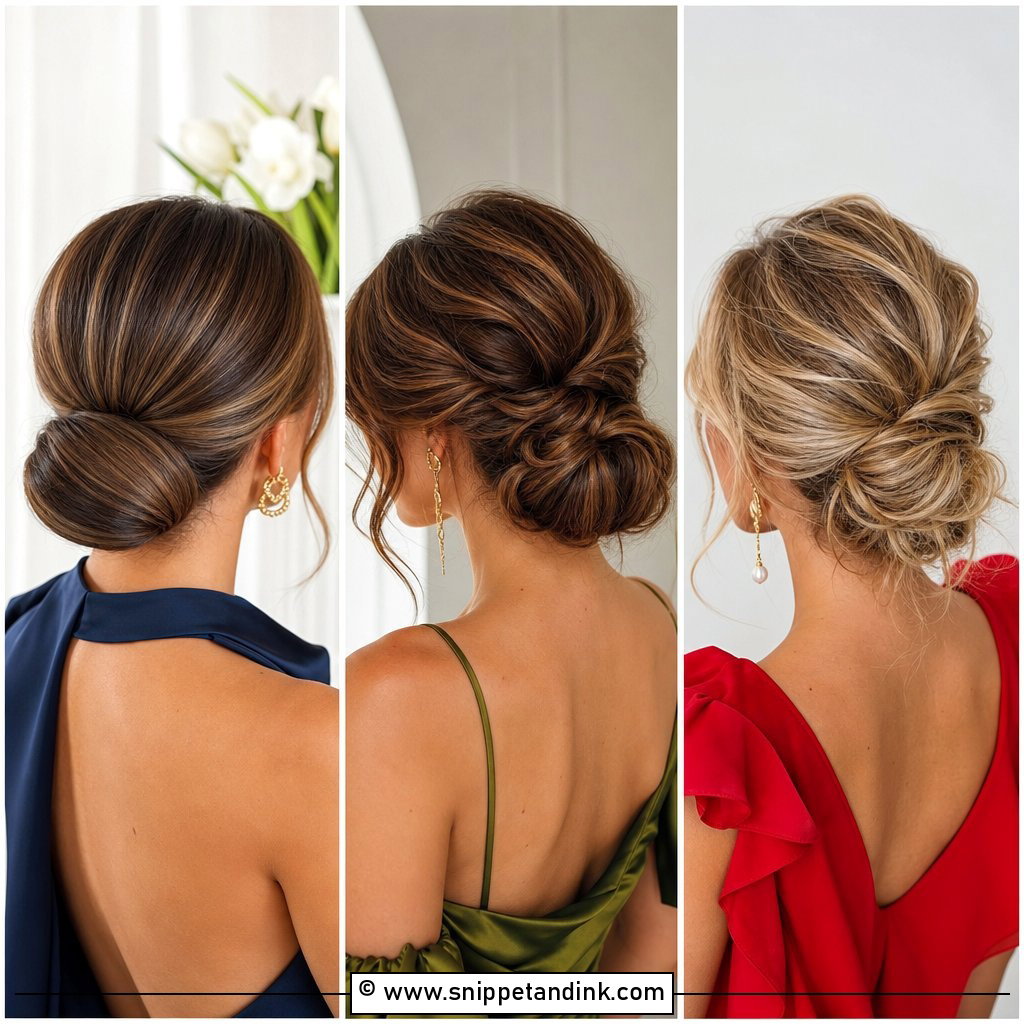
A slicked back low bun is where I’d start any bride who is unsure. Gathered at the nape, it leaves the neckline clear and gives a veil an easy anchor above or below. Satin, square necks and halters all pair well. My aim is a glossy hold that moves slightly when touched rather than a set shell. A center part reads modern; no part, with everything brushed straight back, looks softer and a little like a dancer’s bun.
2. Slicked Back Chignon Wedding Hairstyle
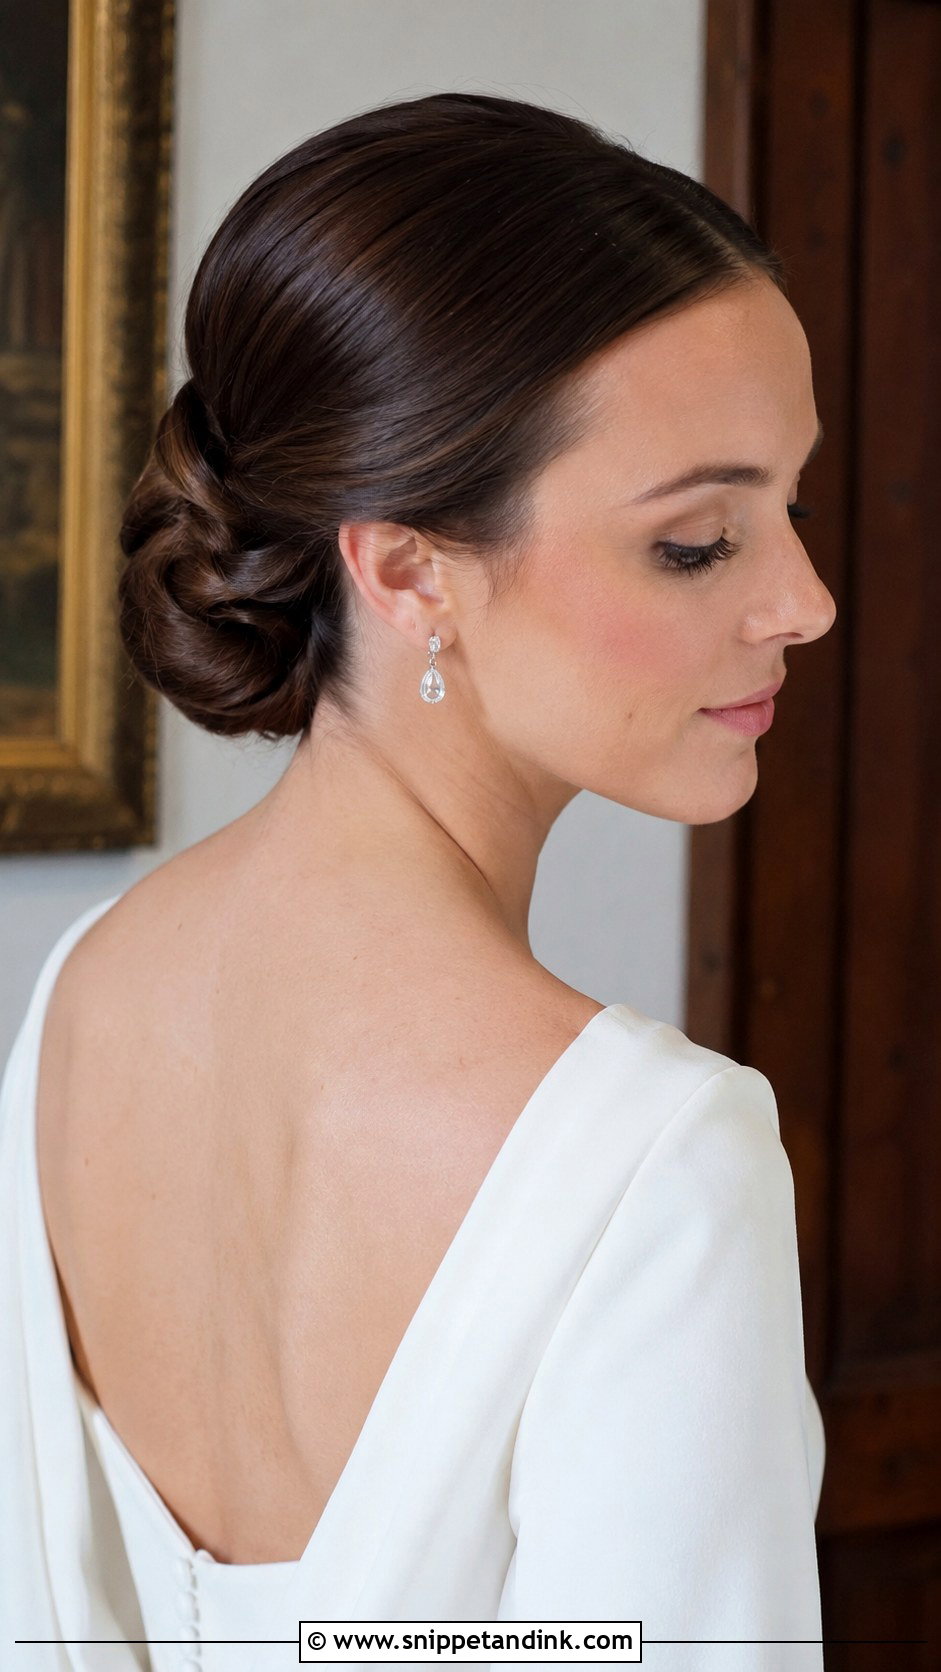
With a slicked back chignon, the lengths are twisted, tucked or folded rather than coiled, so there’s more depth when you see it from the side. It’s a step up in detail from a plain bun without being fussy. I fold the hair over a hidden anchor ponytail and pin through the fold so it stays flat against the head. Pearl pins, a long veil or nothing at all all suit it. A firm but flexible spray stops the fold from opening during the reception.
3. Slicked Back Middle Part Bun Wedding Hairstyle
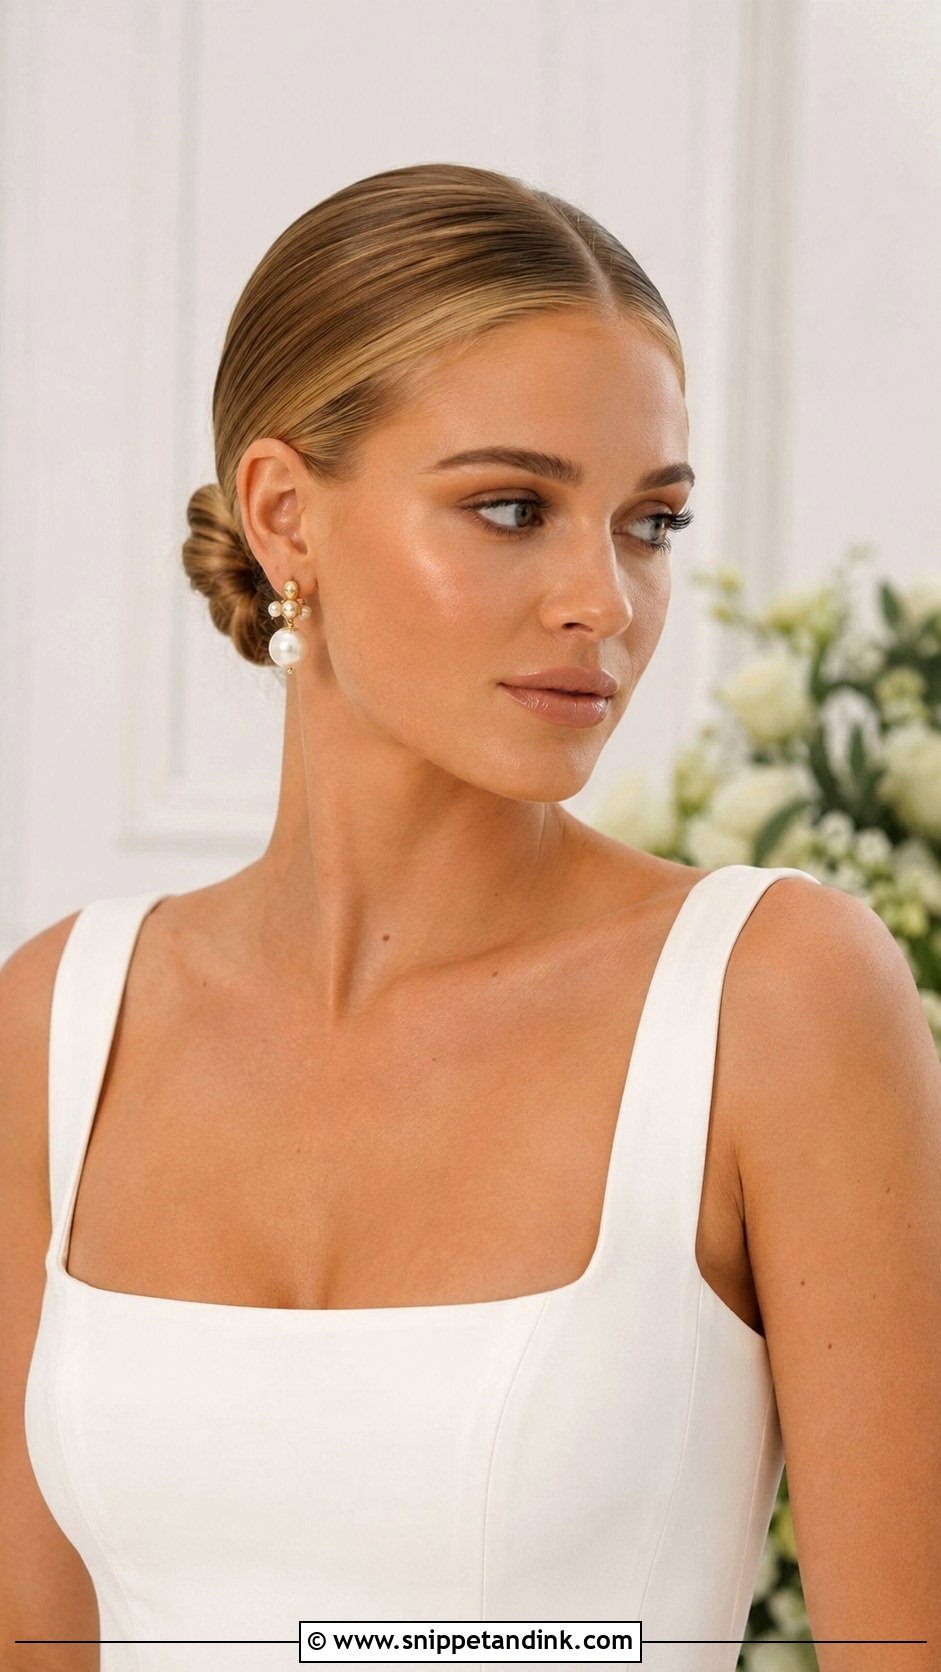
Center parts look symmetrical in photos, which is why makeup artists love pairing this one with soft glam and statement earrings. The bun can sit low, mid-level or a bit higher; your veil usually decides. My main adjustment is at the crown. Slicked completely flat, a center-part style can make the head look small and the face wider. A touch of lift near the part, set before the sides are brushed back, fixes that.
4. Slicked Back Side Part Bun Wedding Hairstyle
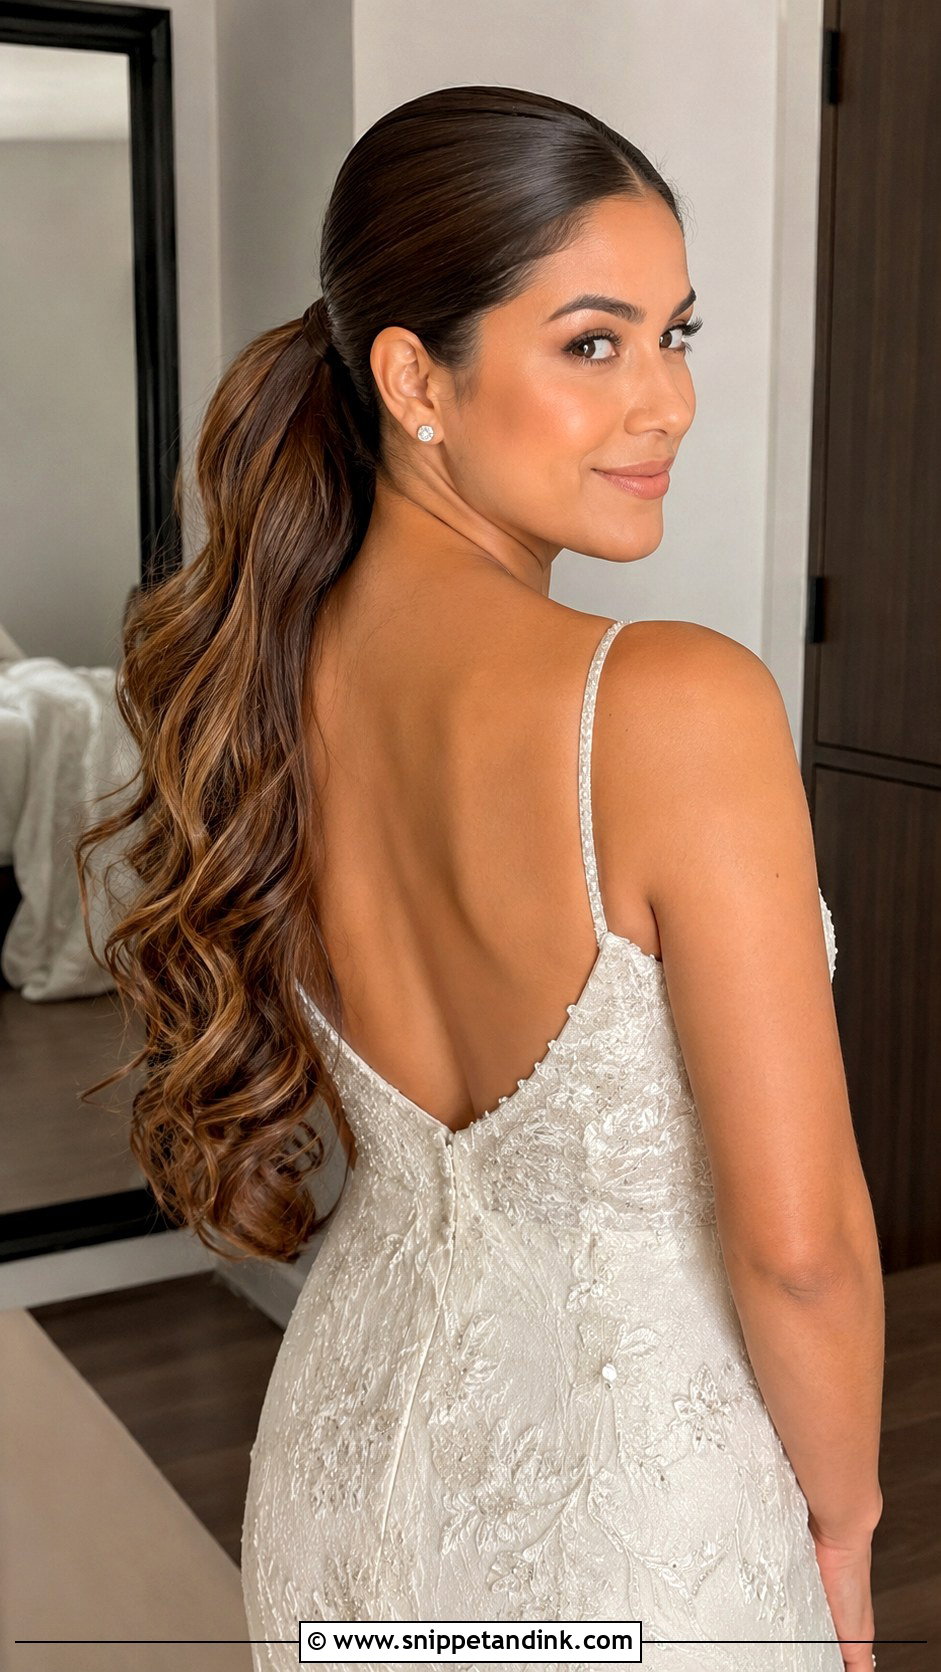
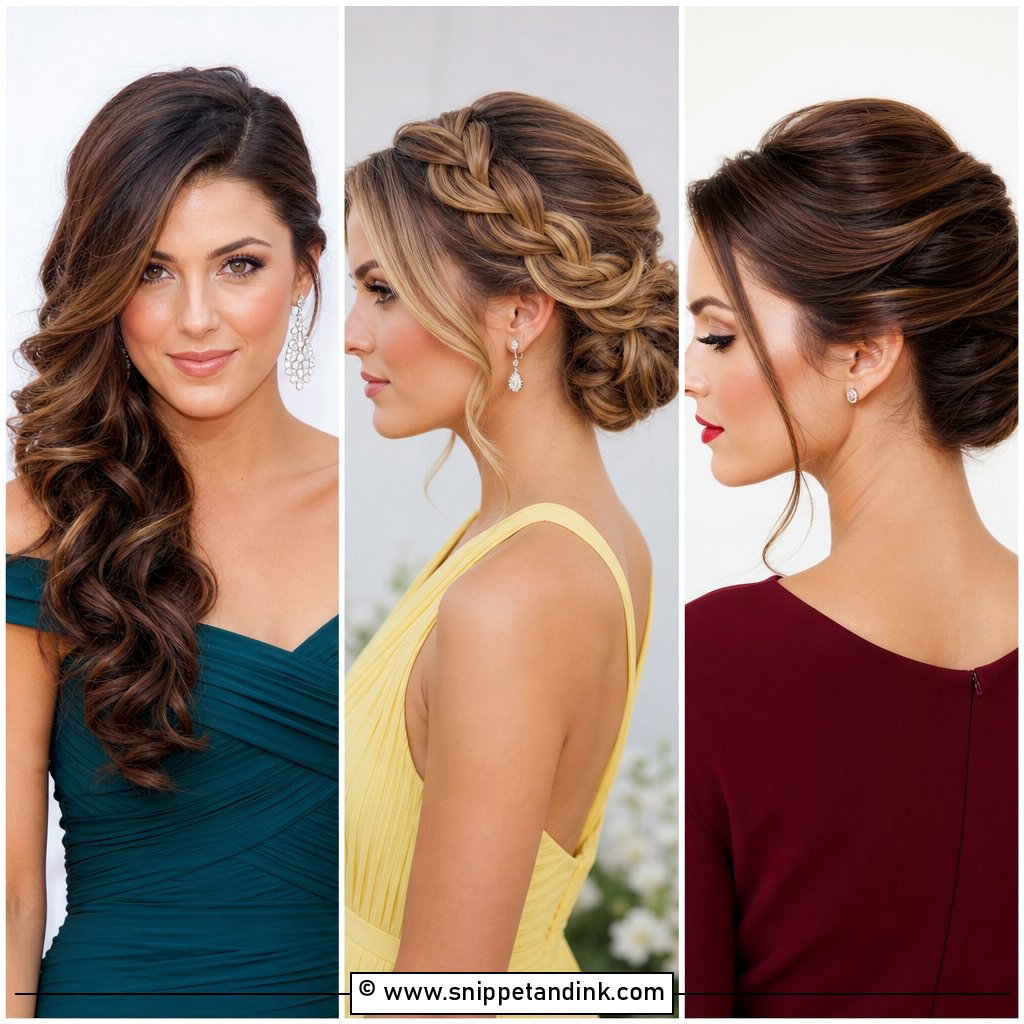
Moving the part deep to one side changes the face shape you see: the diagonal adds movement and takes the hardness off a straight-back finish. I’d suggest it to brides who feel a center part is too stark. The bun can be compact, twisted or fuller depending on density. Drop earrings on the open side and a veil tucked behind the bun keep it balanced. A dab of shine cream along the part line gives the glassy effect without spraying the whole head.
5. Slicked Back High Bun Wedding Hairstyle
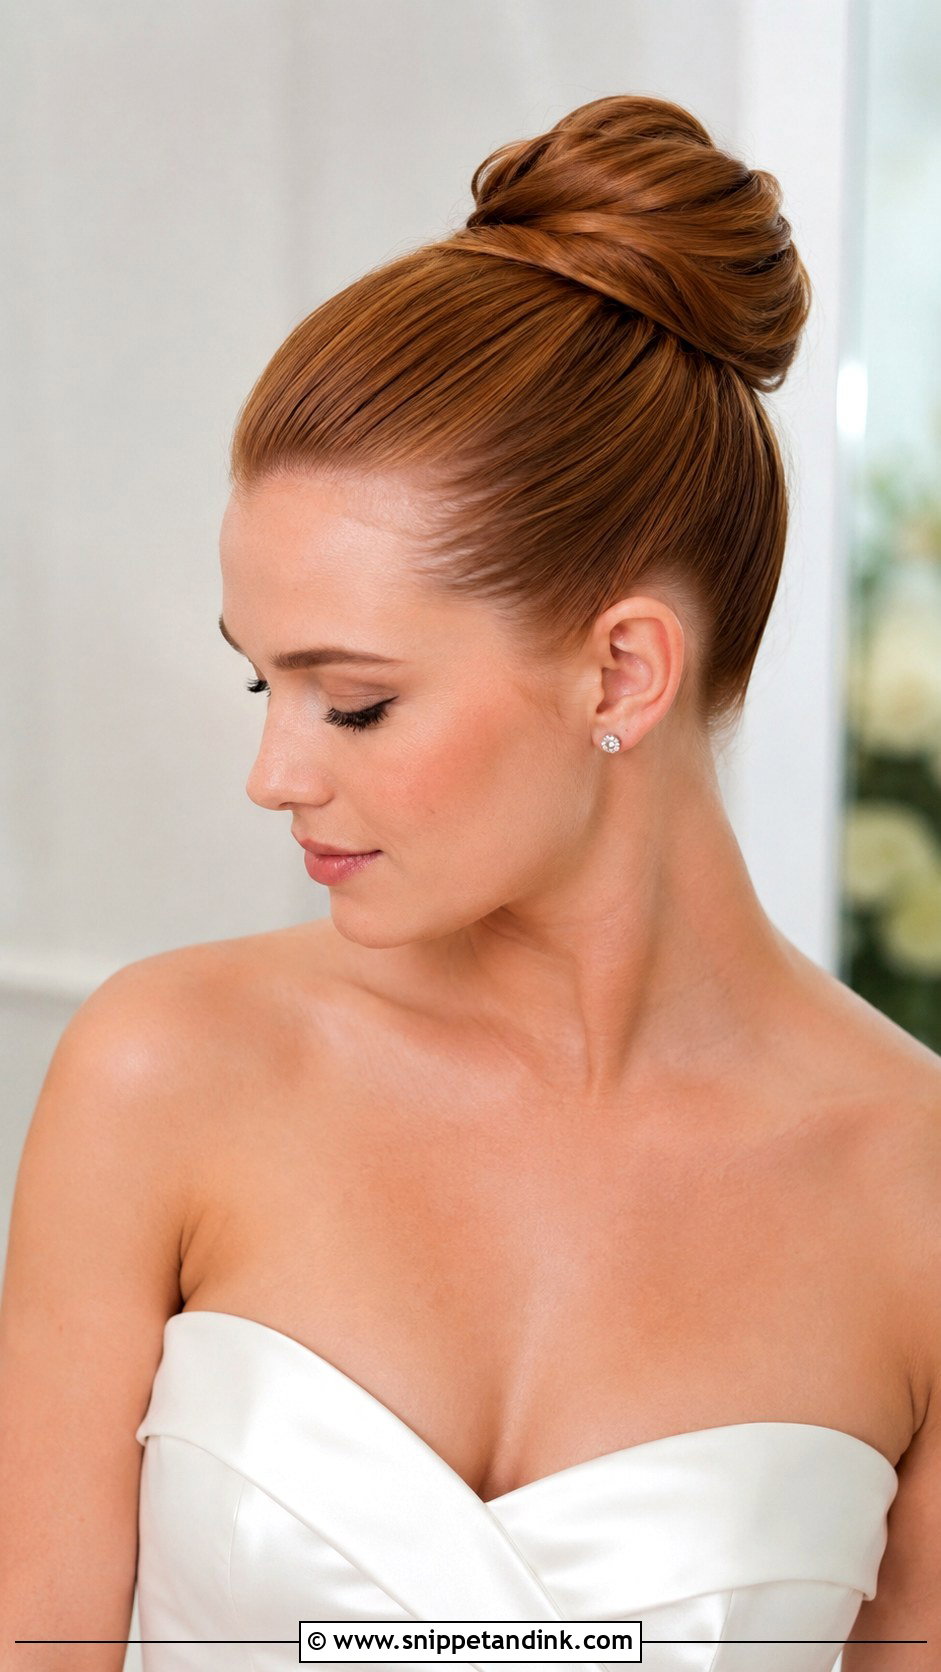
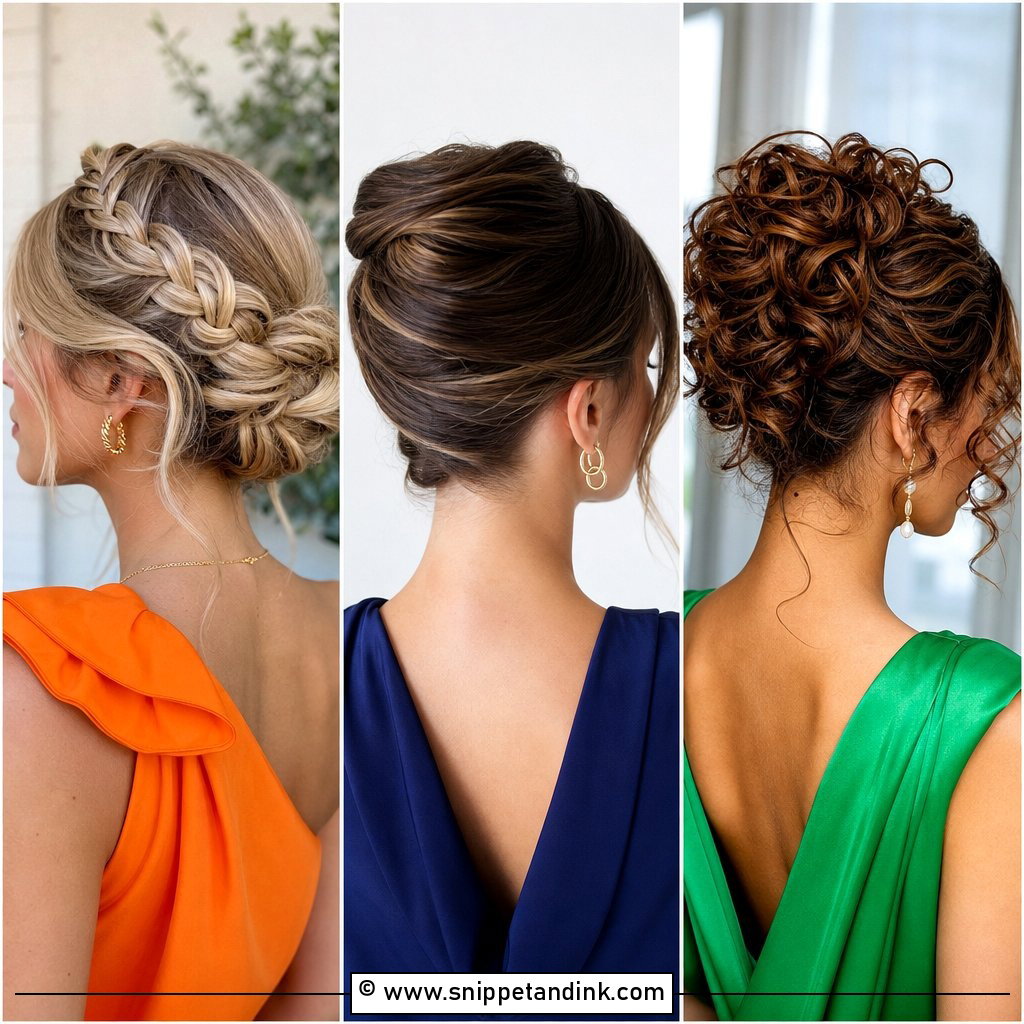
Height at the crown lengthens the neck and lifts the face, so it pairs naturally with strapless gowns, open backs and dramatic veils. Tight and sleek gives a fashion-led bun; fuller looks more classic. Thick hair makes a full bun on its own, while fine hair needs a donut or extensions. I’d mention one practical point. A high bun can clash with a cathedral veil comb, which often sits better lower. If you’re set on both, bring the veil to the trial.
6. Slicked Back Braided Bun Wedding Hairstyle
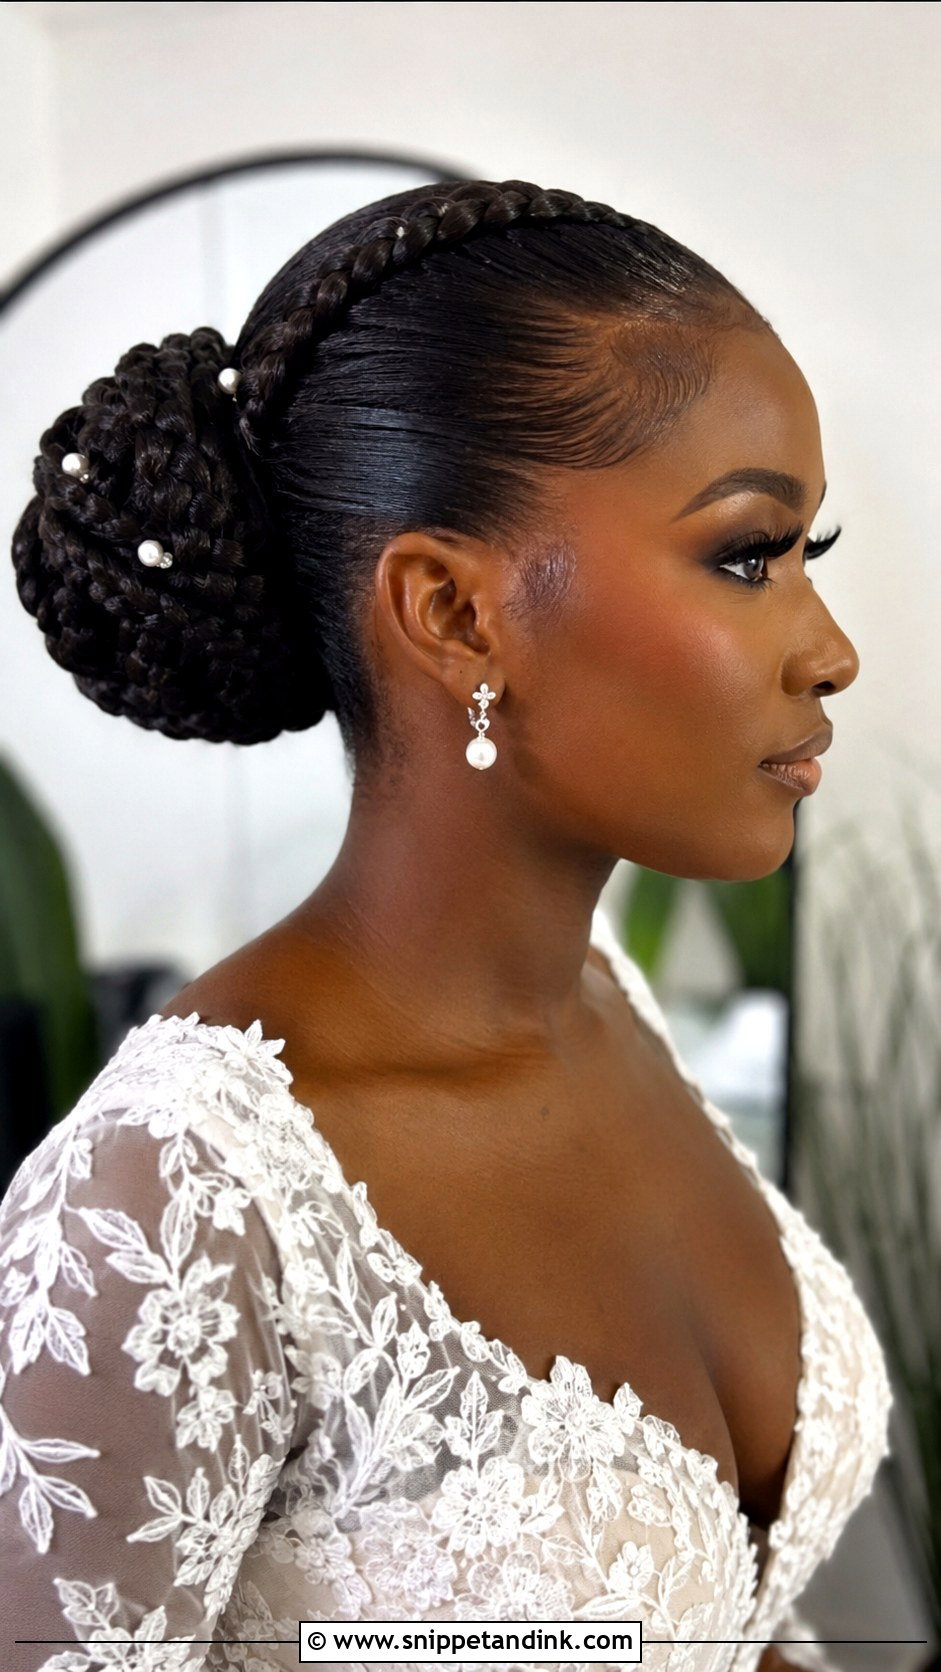
Braids give the bun its detail and its strength. The front stays smooth, and the bun is built from one or more braids wrapped into shape, so the back has plenty to see as you walk down the aisle. It copes well with dancing, wind and humidity because a braid holds its form if pins loosen. Neat braids look formal; pulling them a little loose before wrapping softens the bun. Small pearls or a few flowers suit a simple dress.
7. Slicked Back Ponytail Wedding Hairstyle
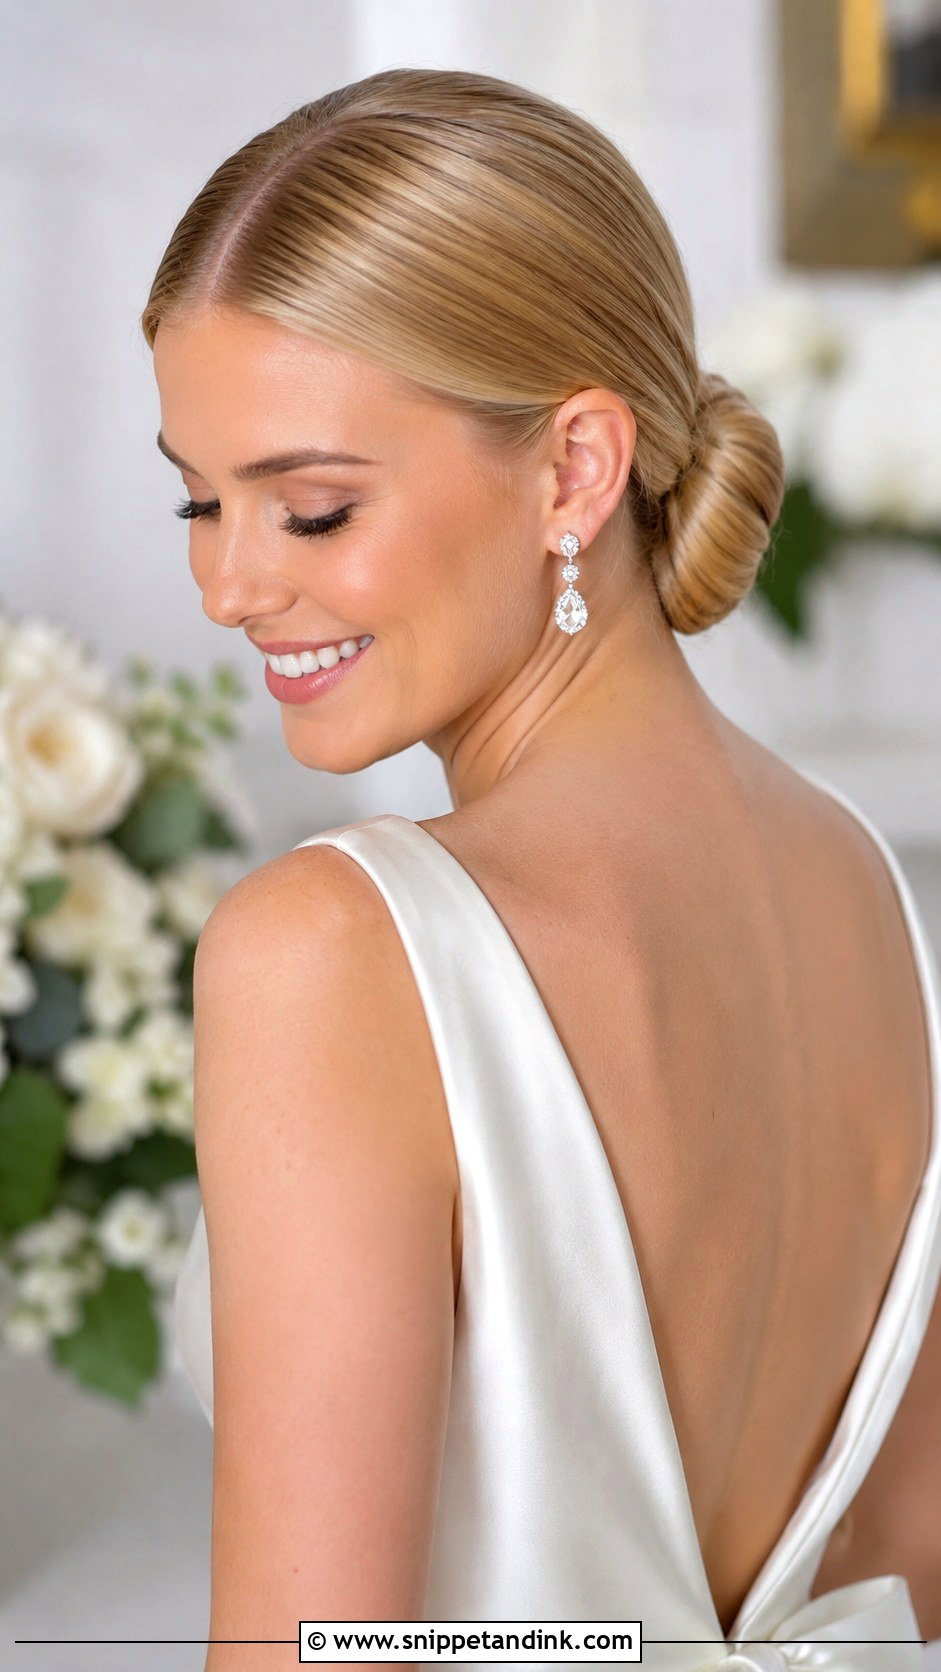
If buns don’t feel like you, a ponytail gives the same open face with length and swing. Height changes the mood a lot: low is quiet and elegant, mid or high has lift and energy. Ends can be straight, curled or waved. The one step I never skip is wrapping a section of hair around the elastic and pinning it underneath. It’s small, but a bare elastic is the first thing people notice in close-ups.
8. Slicked Back Wavy Ponytail Wedding Hairstyle
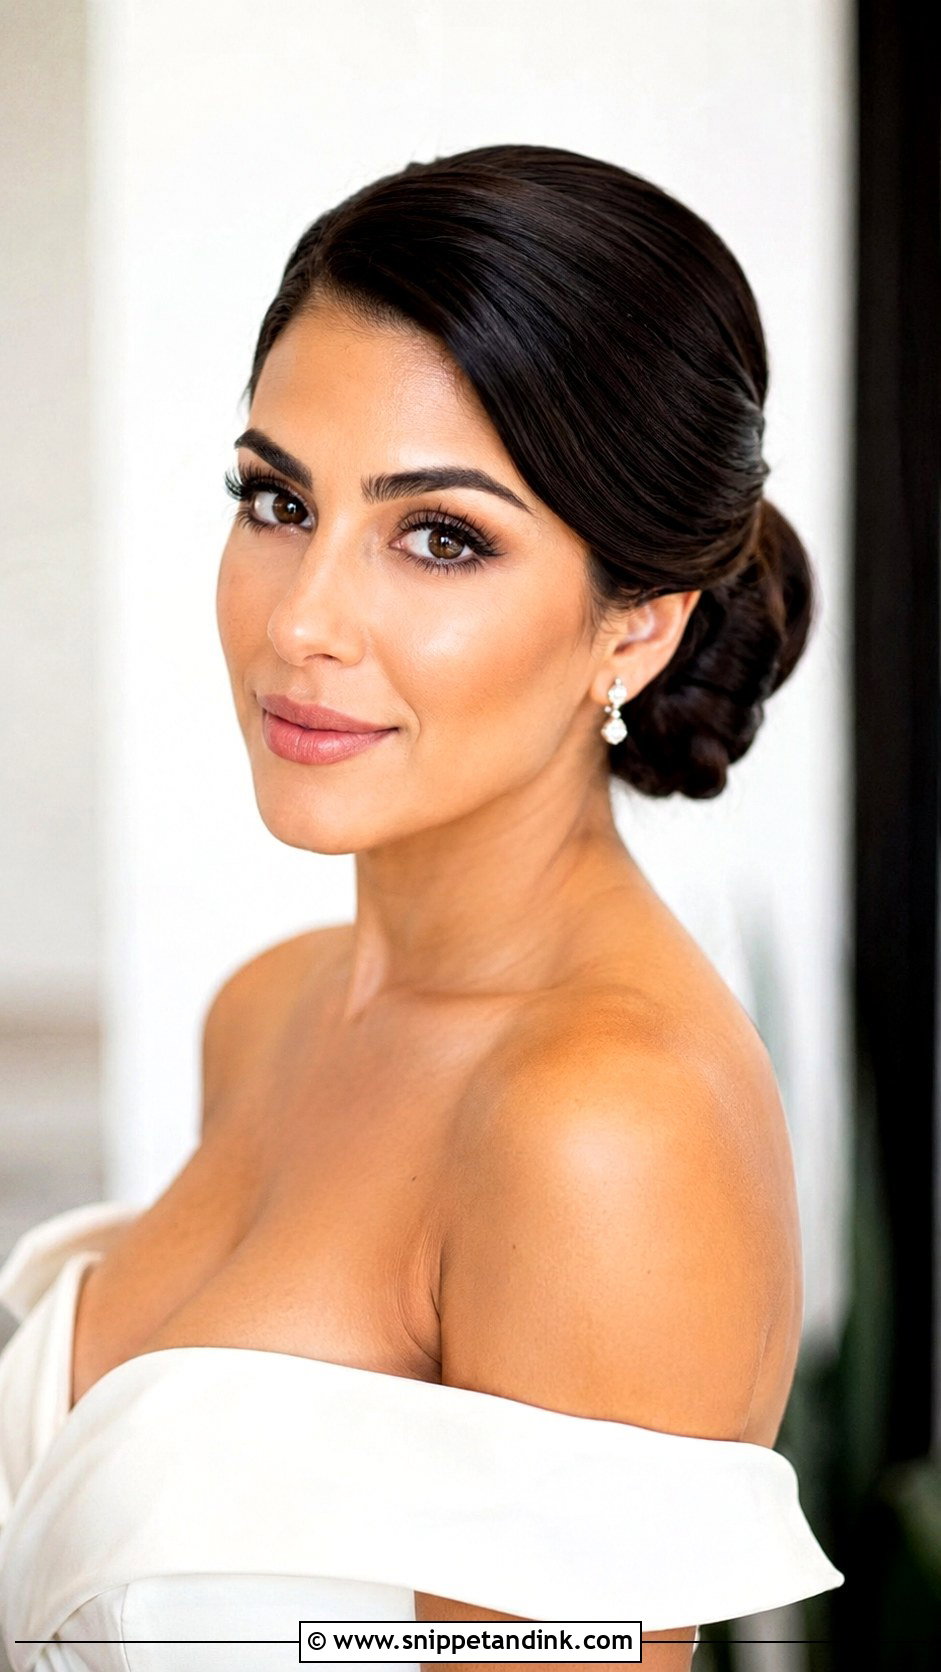
A slicked back wavy ponytail keeps a clean front for formal photos and puts all the softness behind you. That suits brides who want glamour without curls catching on lip gloss during the ceremony. Low is elegant; higher gives more bounce. I set the waves firmly, let them cool completely, and then brush them out lightly so they look full rather than stringy. Expect them to relax through the day, so start tighter than the final look.
9. Slicked Back Hollywood Waves Wedding Hairstyle
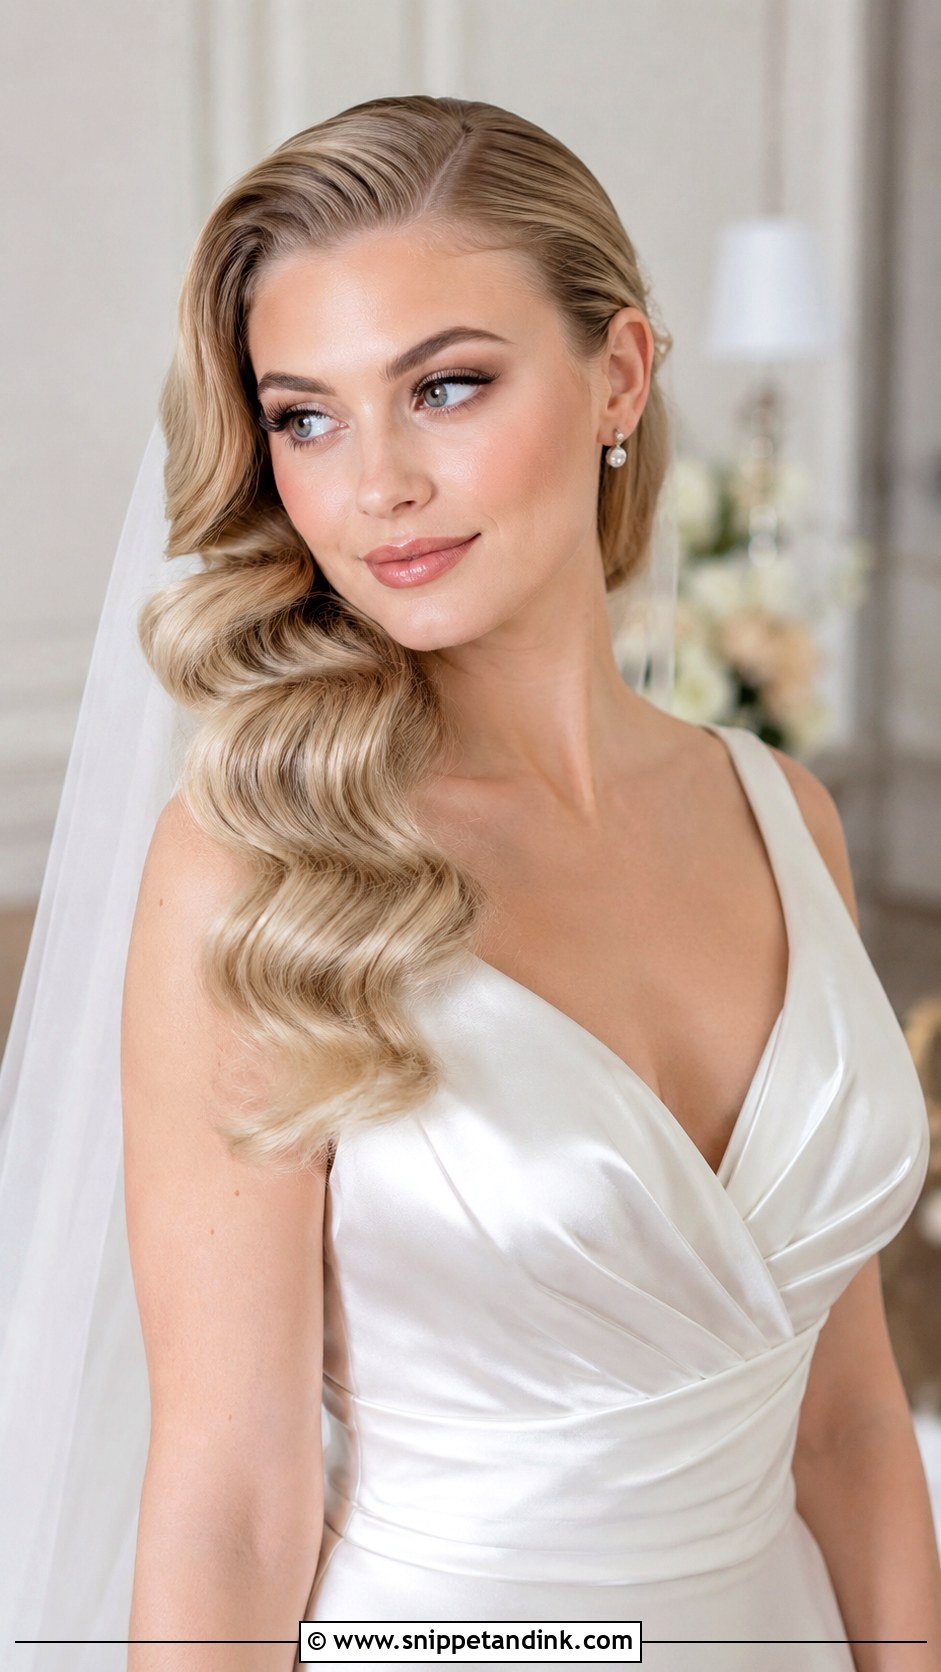
A slicked back Hollywood waves style smooths the top and sides close to the head and lets the lengths fall in uniform sculpted waves. It’s the most glamorous hair-down option here, made for fitted gowns, side slits and vintage makeup. The waves need to look glossy and connected, not beachy, so I brush the curls together and pin them while they set. A deep side part adds drama, a center part looks cleaner. This style is the most humidity-sensitive one on the list; on a muggy day I’d steer you toward a ponytail instead.
10. Slicked Back Half Up Wedding Hairstyle
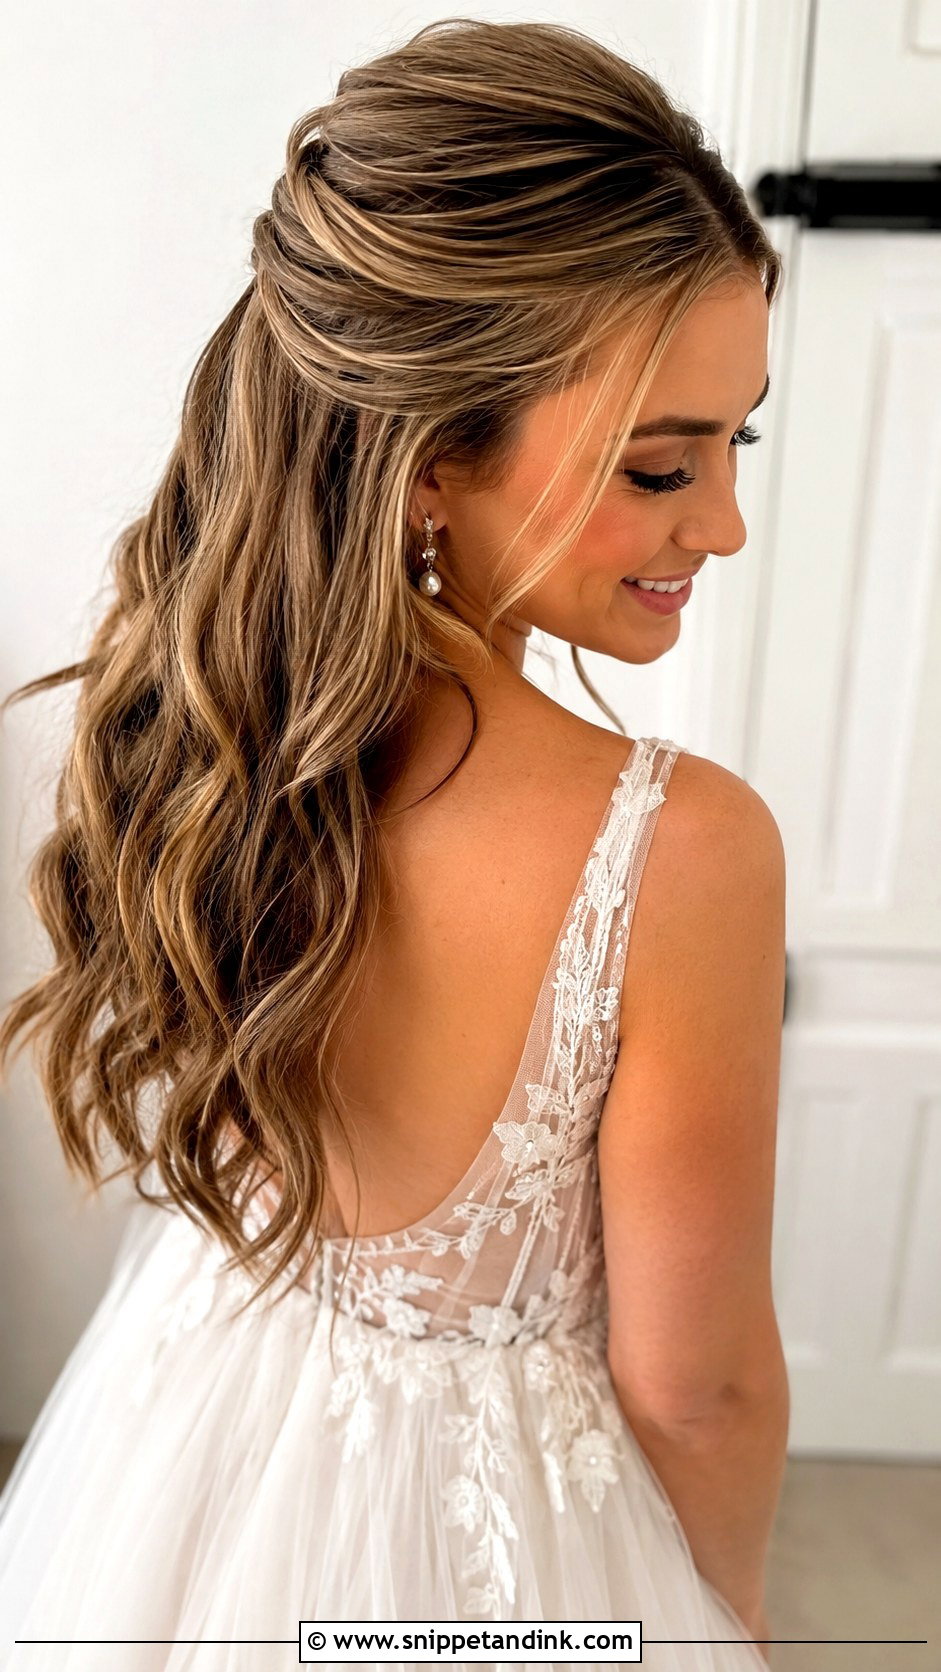
Half up keeps the front controlled in wind while the length still shows, which makes it practical outdoors. I smooth the top section back and secure it, then style the rest in waves, curls or straight. A veil, bow, pearl clip or slim comb can all sit over the join. I’d add volume to the ends rather than leaving them flat; the contrast between sleek roots and fuller lengths is the whole point of the look.
11. Slicked Back Straight Hair Wedding Hairstyle
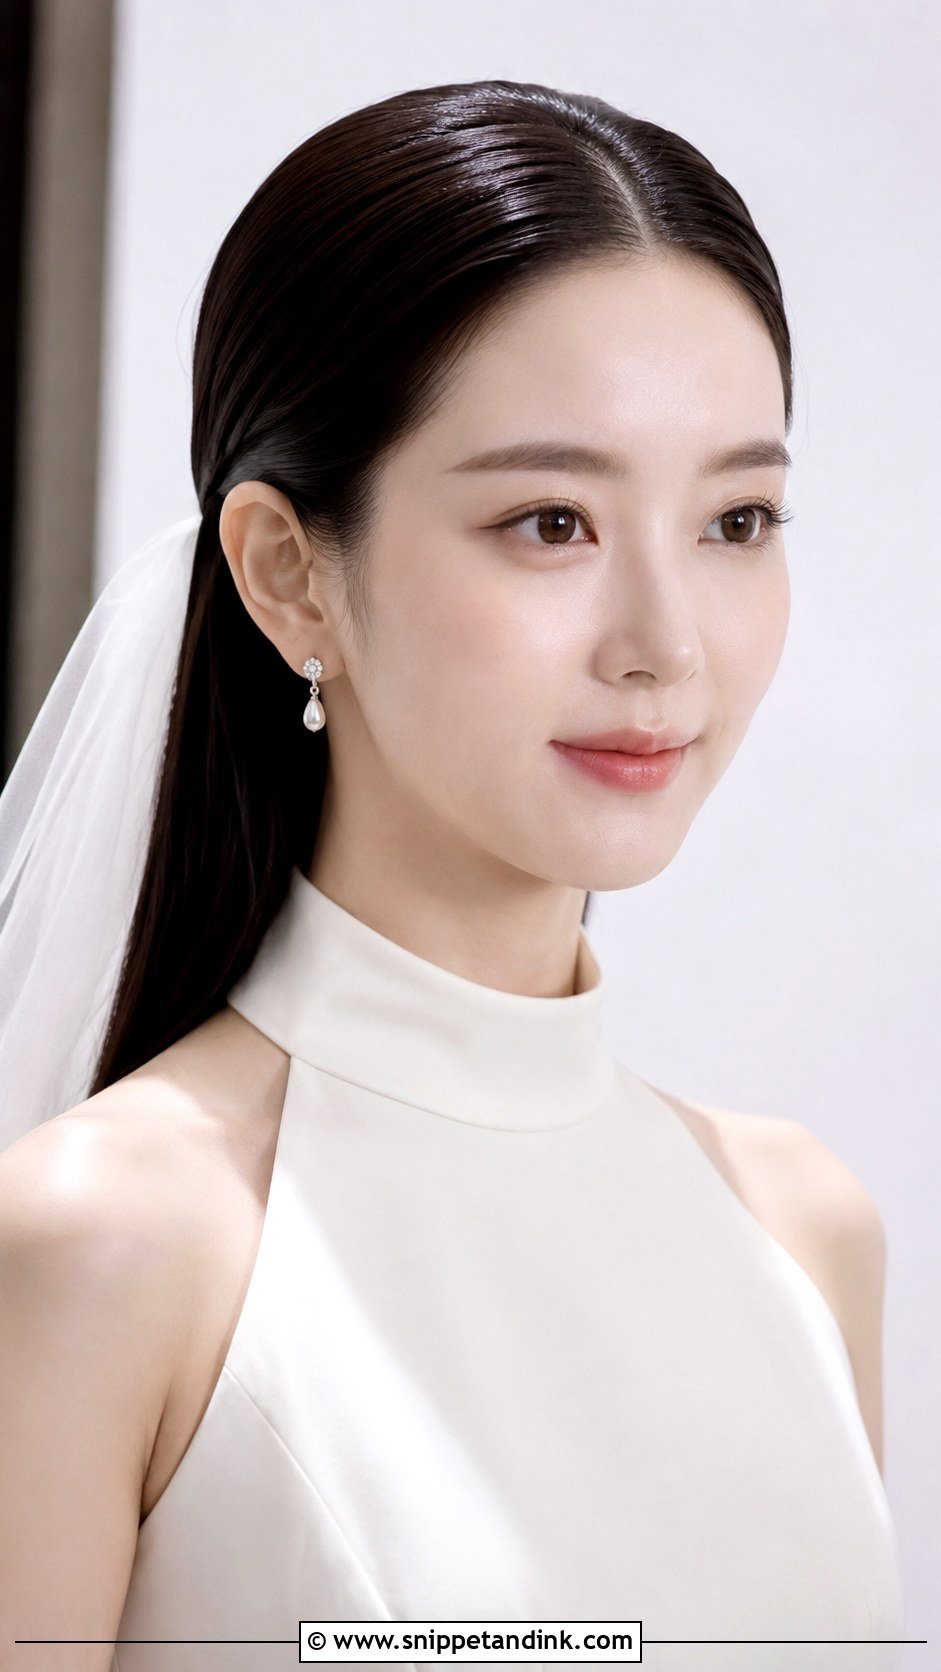
Brushed back and worn straight, the hair has a strong simple silhouette, no updo required. It’s best on naturally straight hair; forcing curly hair straight for a long day in mixed weather is asking for frizz by the speeches. The ends are on full view, so a trim a couple of weeks ahead is worth it. Tuck the hair behind the ears to show earrings, and either place a veil at the crown or go without.
12. Slicked Back Curly Bun Wedding Hairstyle
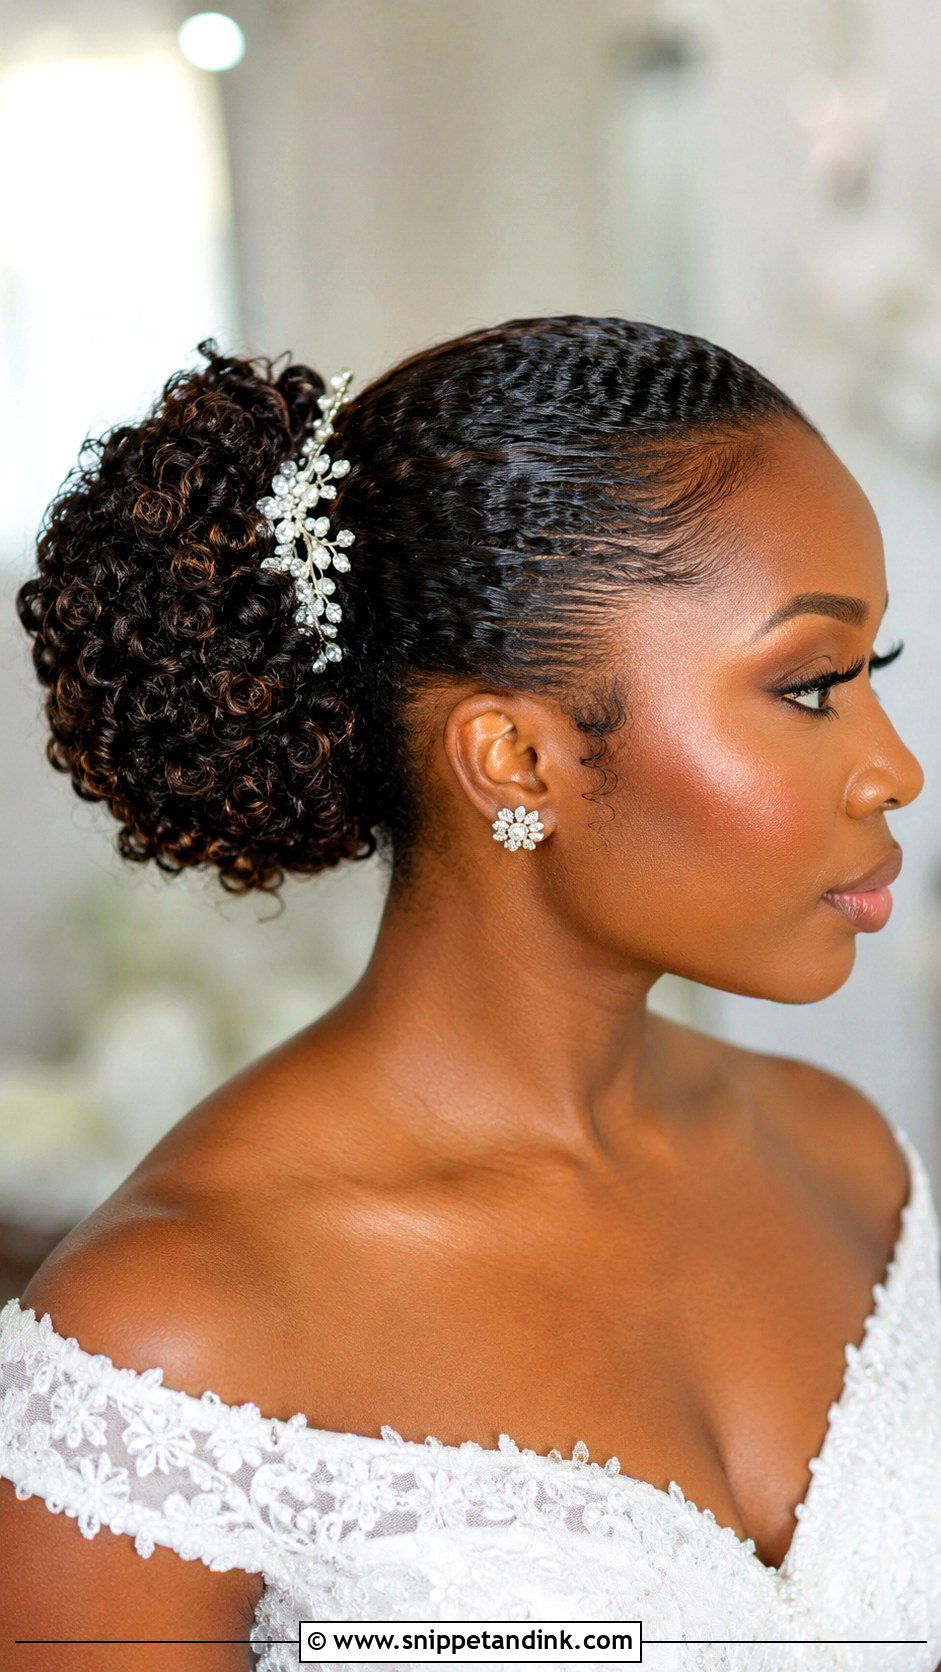
A slicked back curly bun smooths the roots and keeps the curls in the bun as they naturally fall, so the texture stays visible. I use a curl-friendly gel or cream on the slicked sections and test it for flaking at the trial, because some gels leave white specks on dark hair. The bun can sit low or higher and more sculpted. Pins should sit inside the curls, not on top of them.
13. Slicked Back Low Ponytail Wedding Hairstyle
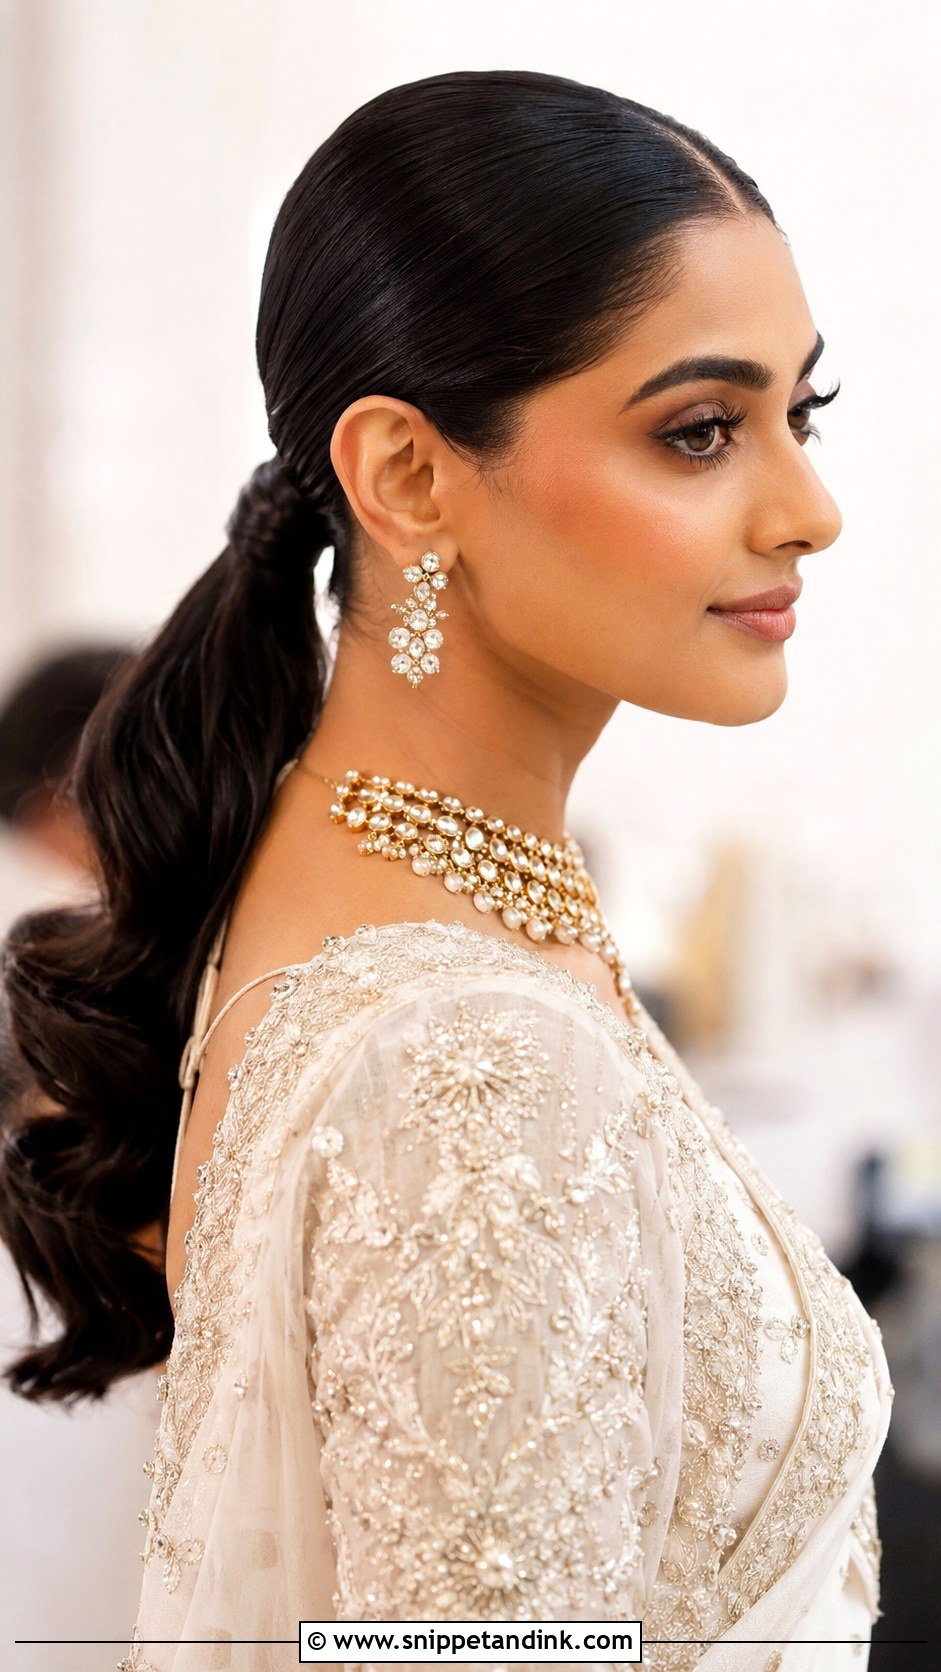
Low ponytails are gentle to wear and easy to adapt. The placement is softer than a high ponytail, while the slicked crown keeps it formal enough for a ceremony. Open backs, high necks and dramatic sleeves all suit it because it doesn’t compete with the dress. Straight, waved or curled ends; center part or side. I finish with a wrapped base and a mist of shine, then check it from the side, since a flat crown shows most in profile.
14. Slicked Back Bun With Veil Wedding Hairstyle
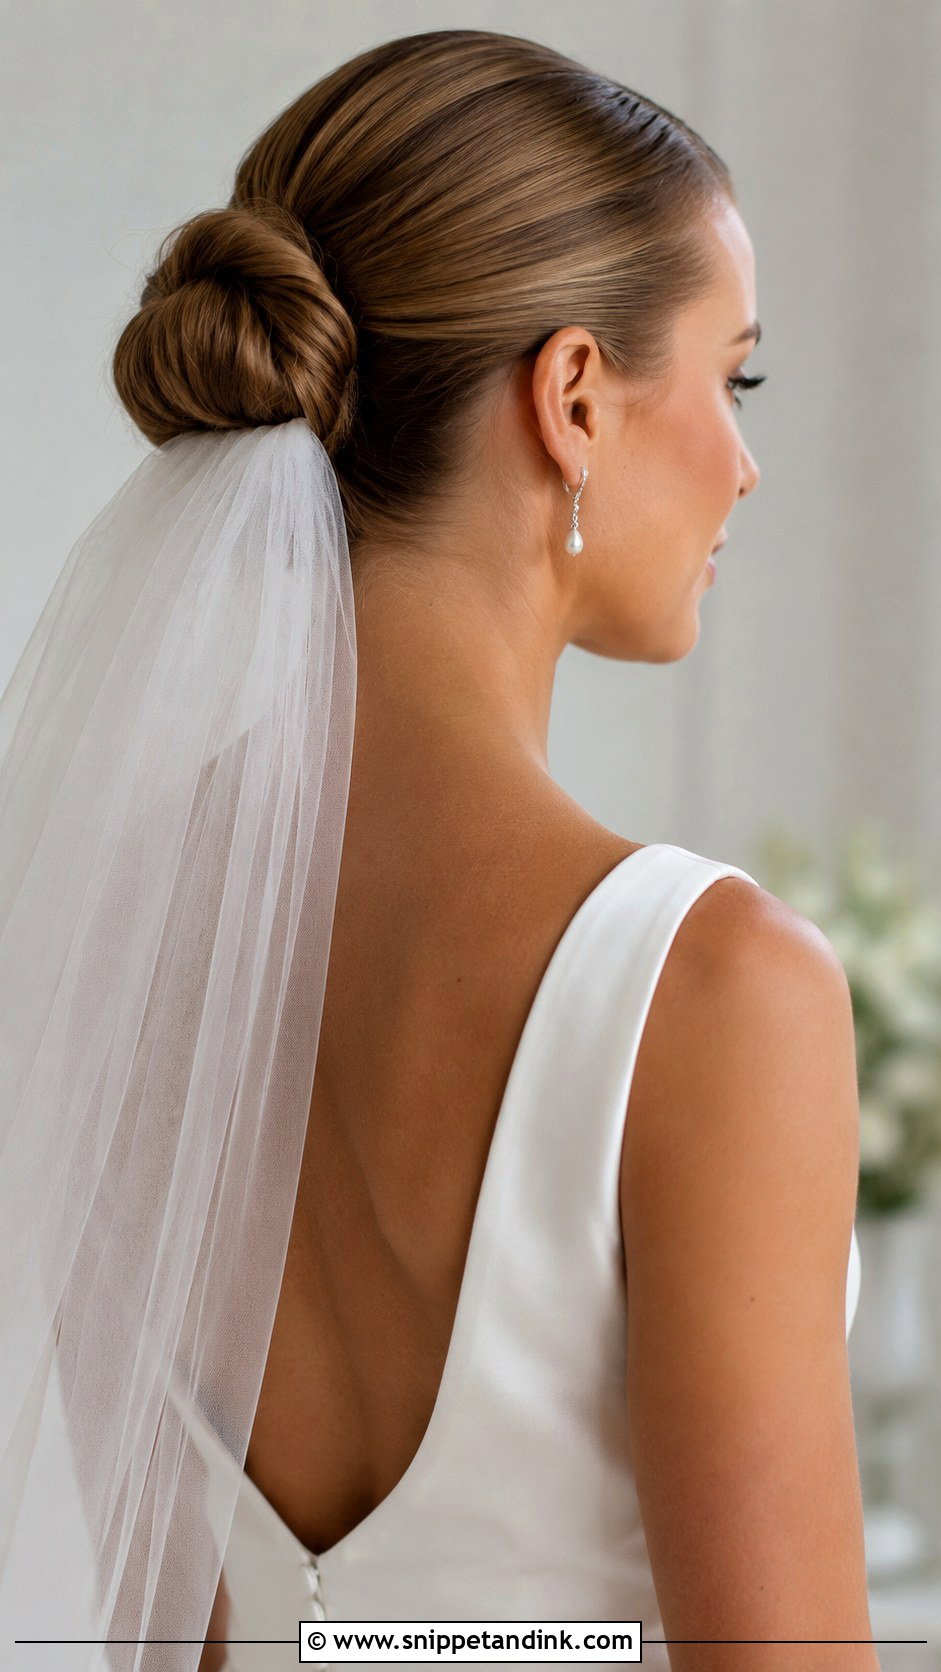
The bun gives a veil a firm base, which helps through walking, hugging and photos. Above the bun is traditional; below it looks cleaner. Good placement means few visible pins: the comb grips the bun itself, and one or two pins secure it. I check the bun from behind to make sure it’s centered, since a slightly off-center bun tips the veil to one side. A glossy finish keeps it looking polished under the tulle.
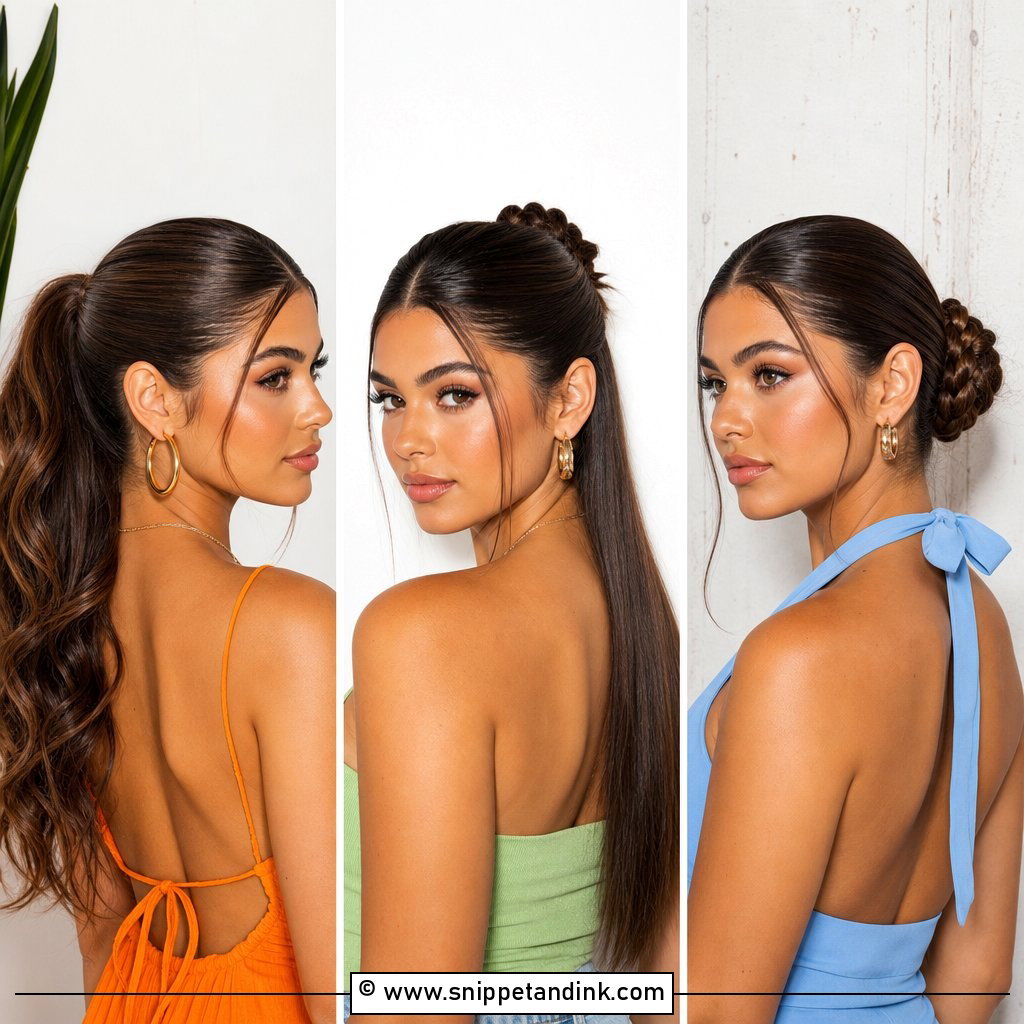
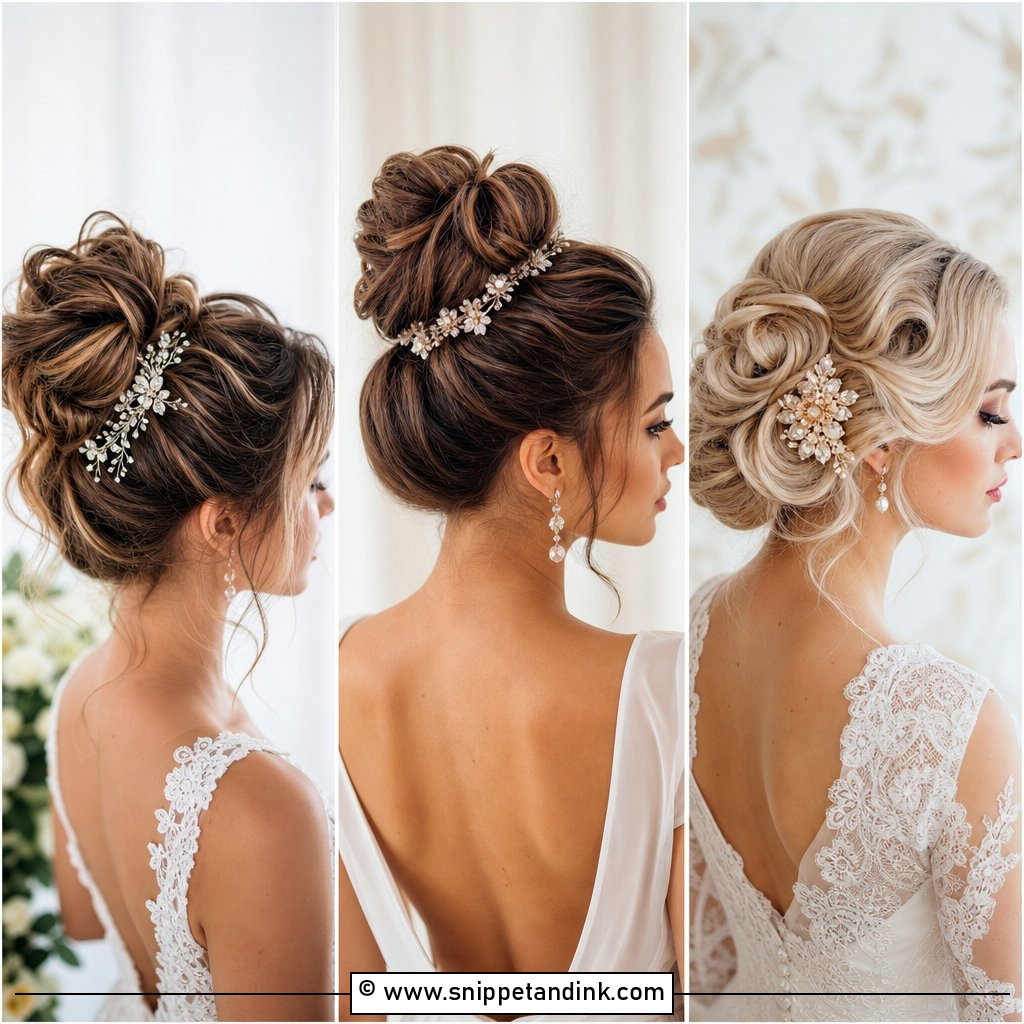
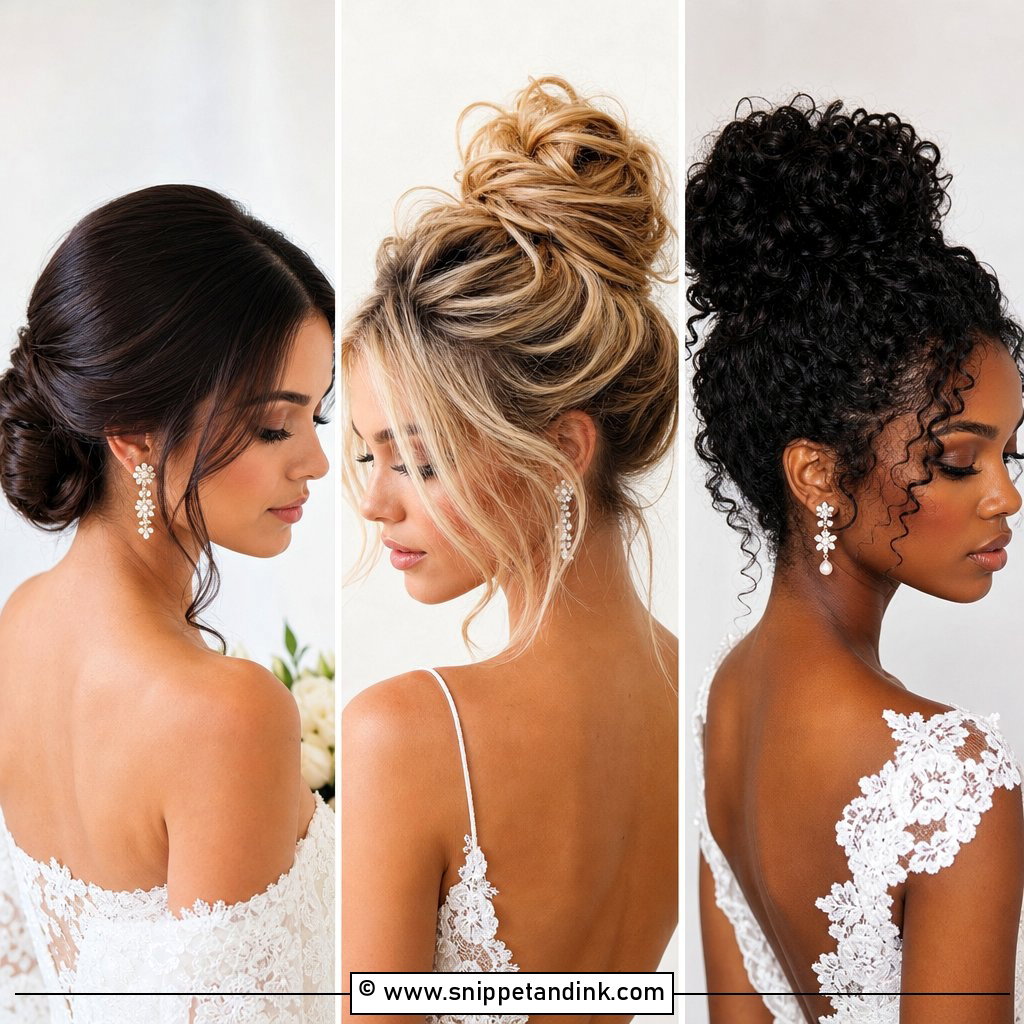
15. Slicked Back Wedding Hairstyle With Pearl Pins
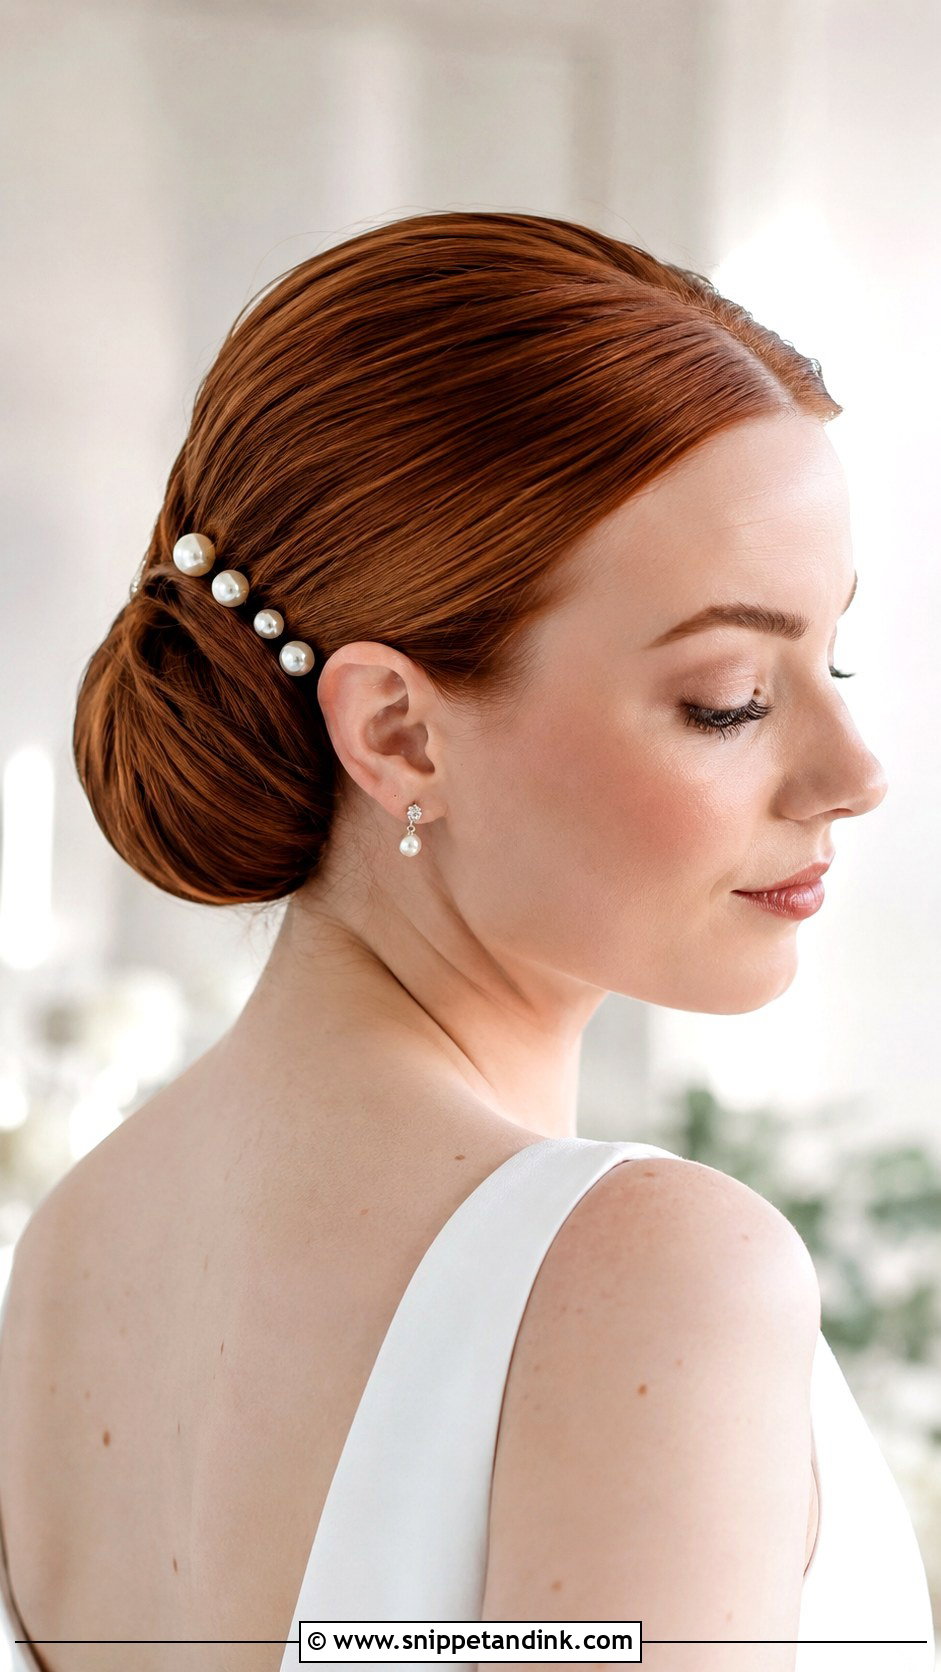
Pearl pins add detail without breaking the clean outline, and they suit buns, chignons, low ponytails and half-up styles equally. On a simple dress they’re often all the decoration the hair needs. I’d place three to five along one side of the bun or near the chignon fold rather than scattering them over the whole head. Fewer pins look more expensive. Each one goes into the inner layer of hair so it doesn’t pull a ridge in the sleek surface.
Wind, Rain and Heat on a Sleek Finish
These styles hold up to weather better than loose curls, but each one has its own weak spot.
Wind
Buns and braided buns are the safest. Ponytails swing into your face on a gusty clifftop or beach, so I’d keep one low and pin the ends if the forecast is bad.
Rain and humidity
Moisture first shows as fuzz along the hairline and in the waves. Hollywood waves and straight hair suffer most. A strong anti-humidity spray helps, but on a very damp day I’d switch to an updo rather than fight it.
Heat
Hot venues soften gel and make shine products look greasy. Blot the hairline before any touch-up and use a wax stick, not more spray, to lay down hair that lifts.
Whatever the forecast, I leave a few things with the maid of honor: six bobby pins in the hair color, a small wax stick, a clean spoolie and a travel anti-humidity spray. Those cover nearly every repair a slicked back style needs between the ceremony and the first dance, and none of them need a mirror bigger than a compact.
One Clean Line, Fifteen Ways to Wear It
Slicked back styles are practical as well as polished. They keep the face open, show off the dress and stay secure through a full day. For a classic look, a low bun or chignon. For movement, a wavy ponytail or Hollywood waves. For detail, braids, pearls or careful veil placement. The right one comes down to your style, texture, neckline and how much tension you’re happy wearing. Book a trial, test the hold, and take photos from the front, sides and back before you decide.
You'll Like These Ideas:


Leave a Reply