
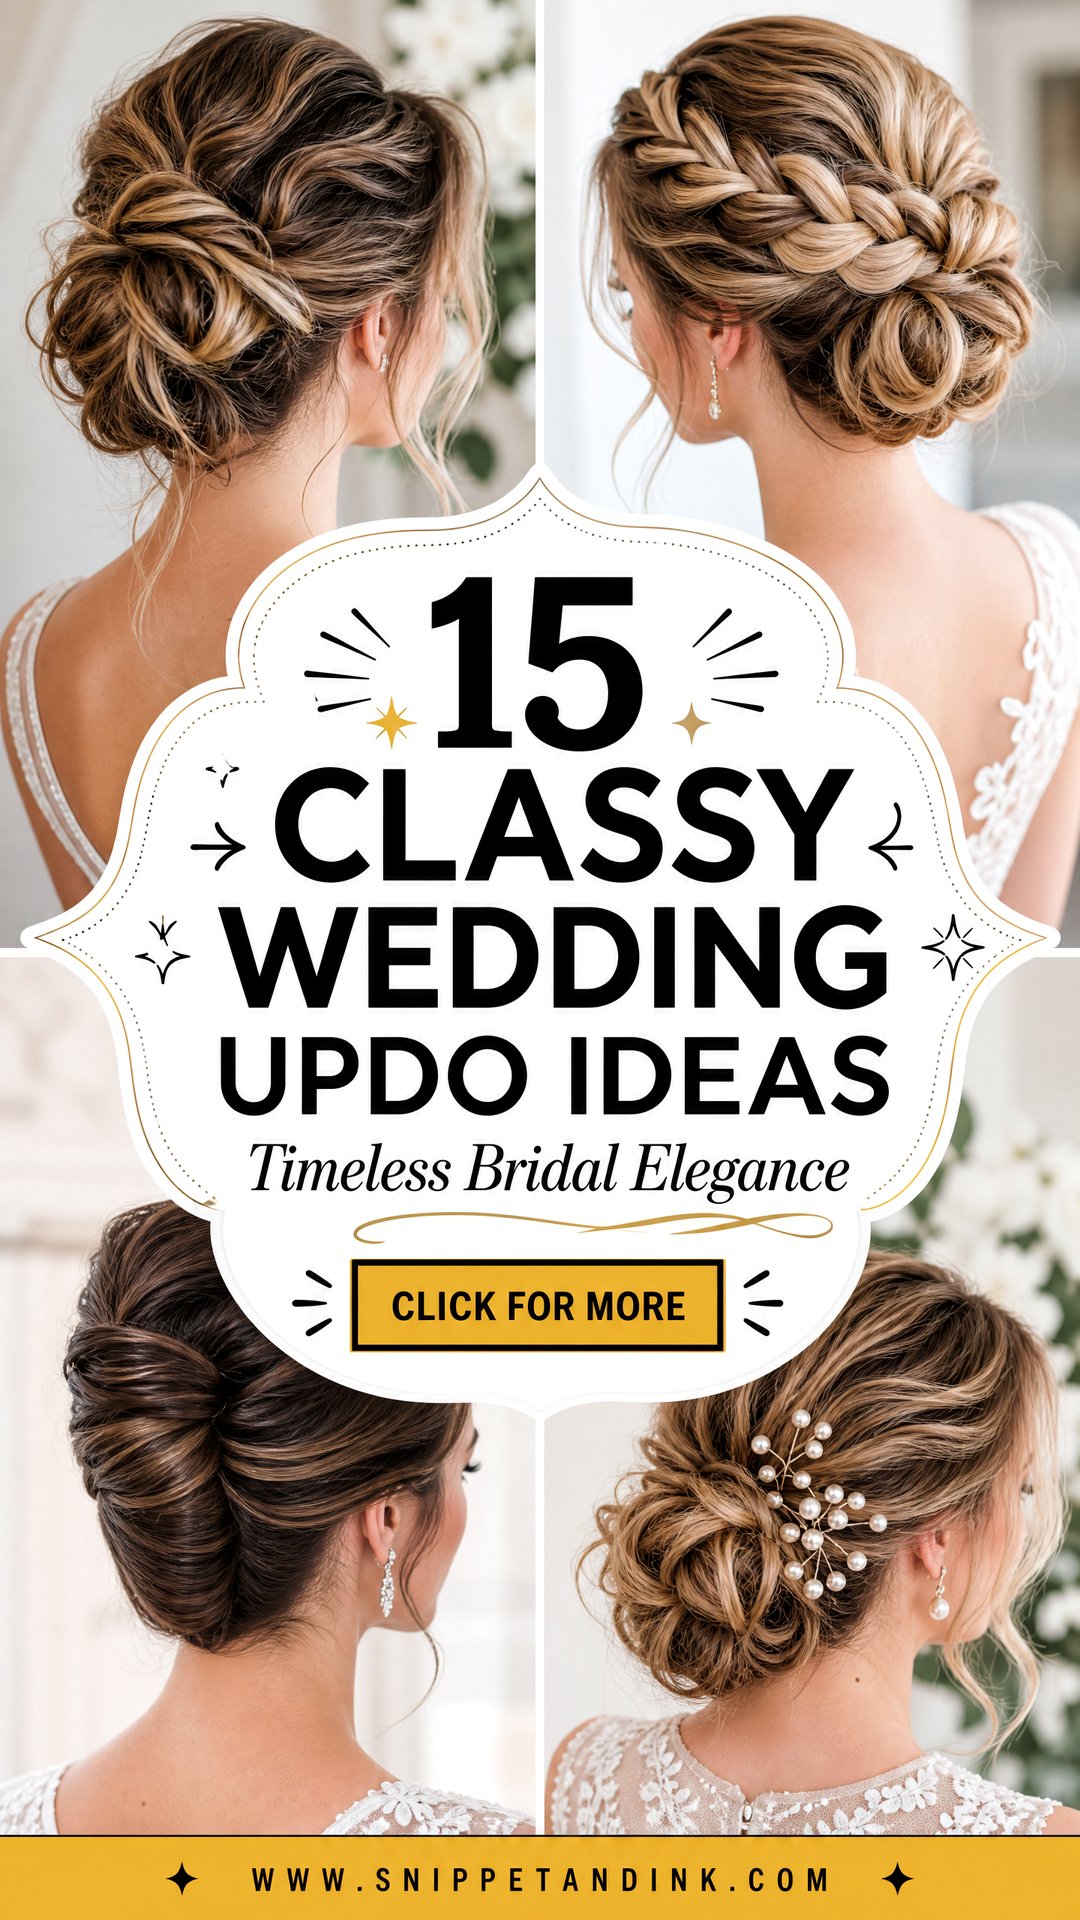
A classy wedding updo has to do three jobs at once: look tidy at the altar, keep its shape through dinner, and not start sliding once the dance floor warms up. The updos I’m asked for now are softer than the lacquered styles of ten years ago, with clean shapes, a little movement and a few pieces left out around the face. Some of you will want a smooth low bun under a veil, others a braided chignon or a vintage roll. Which one works depends less on the photo you saved and more on your neckline, your hair density and where the veil has to sit, so read each idea with those three in mind.
Your Hair Length Matters More Than the Saved Photo
Most of the updos below were photographed on long, thick hair, often with extensions you can’t see. That doesn’t rule them out for you, but it changes what’s realistic. Before you fall for a shape, gather your hair loosely at the back of your head and feel how much there is.
- Chin to shoulder length: the short-hair faux chignon, twists and face-framing low buns are your natural fit. A high bun or a full French twist usually needs clip-ins.
- Shoulder to bra-strap length: nearly everything here works. Fine hair at this length often needs small padding or teasing for a full bun.
- Long and heavy: low and sleek styles are easiest. High buns can pull and ache after a few hours, so test the weight properly.
- Heavily layered: braids and twists lock short layers in, while a perfectly smooth chignon shows every end that escapes.
If you’re adding extensions only for the day, buy them before the trial so your stylist can colour-match, cut them in and practise placement. Arriving on the morning with a brand-new set is how a clip line ends up in the back-of-head photo.
1. Low Bun Wedding Updo
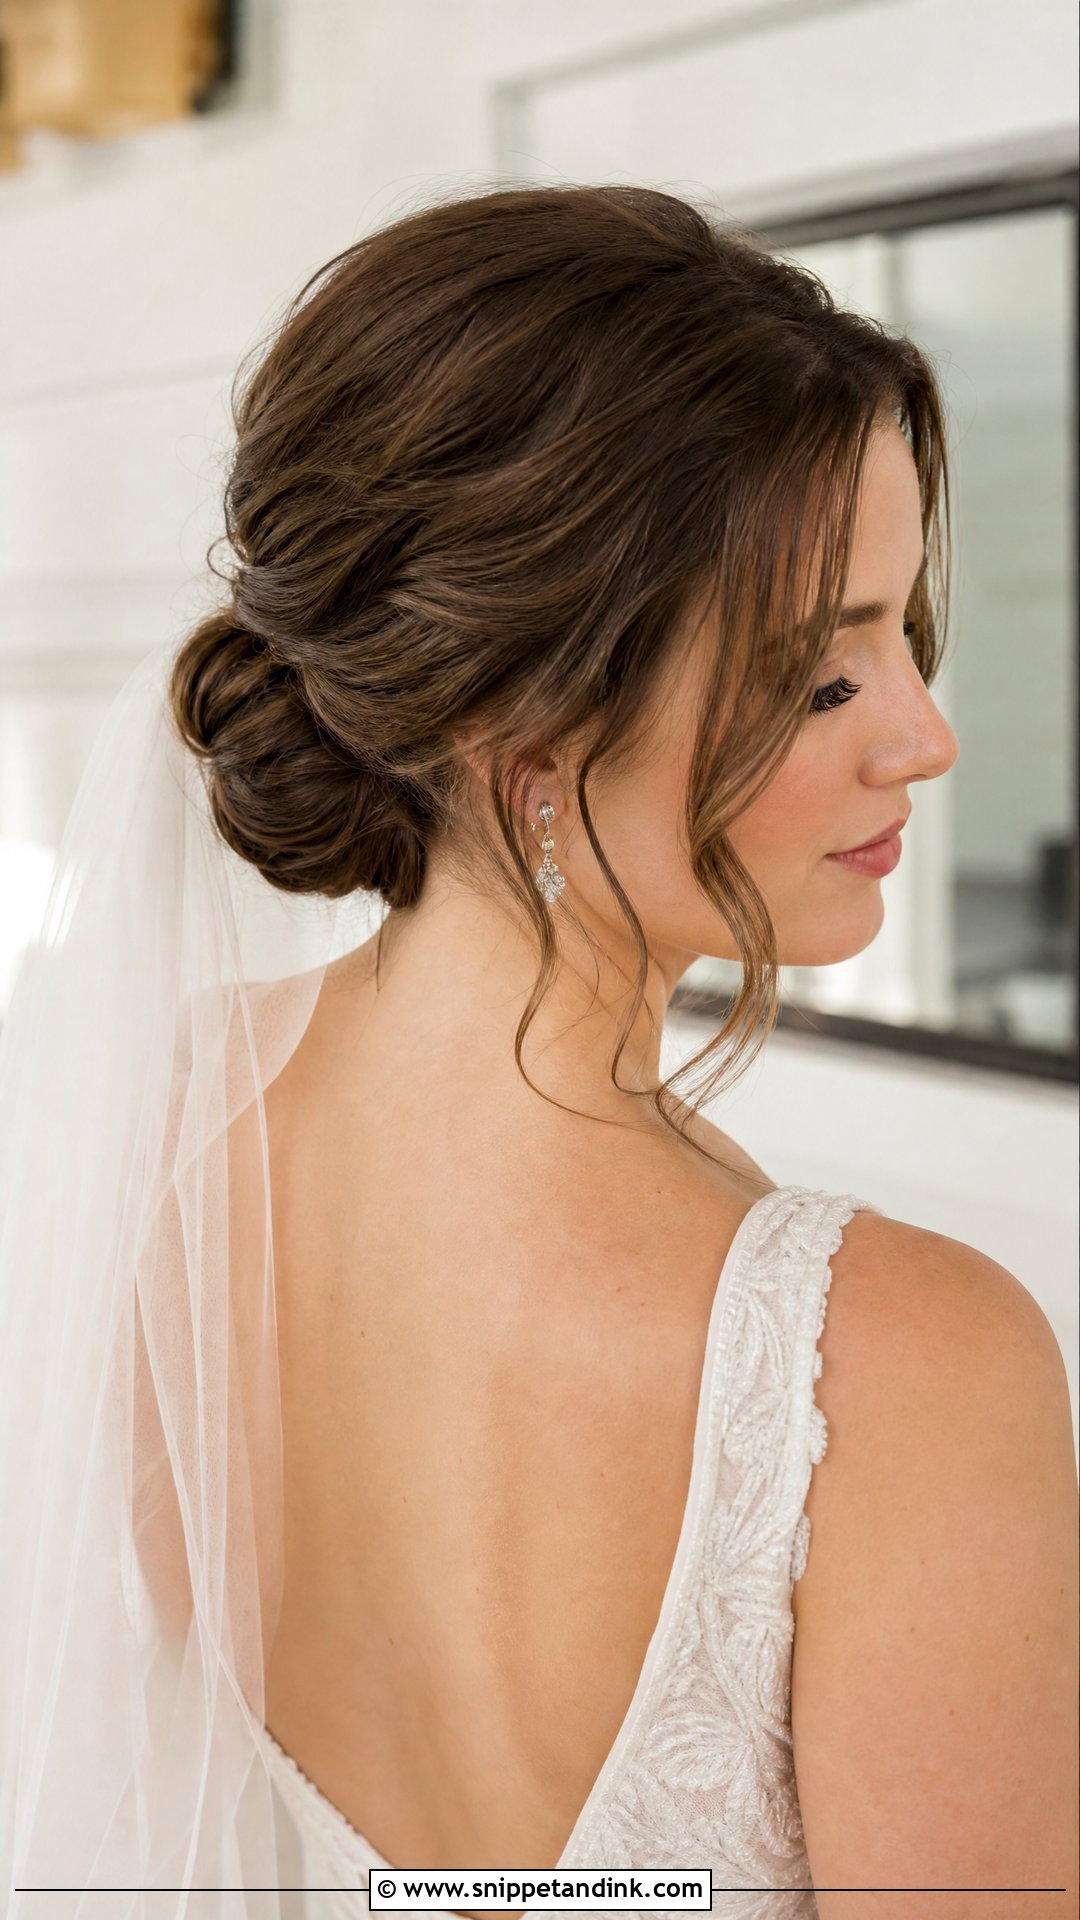
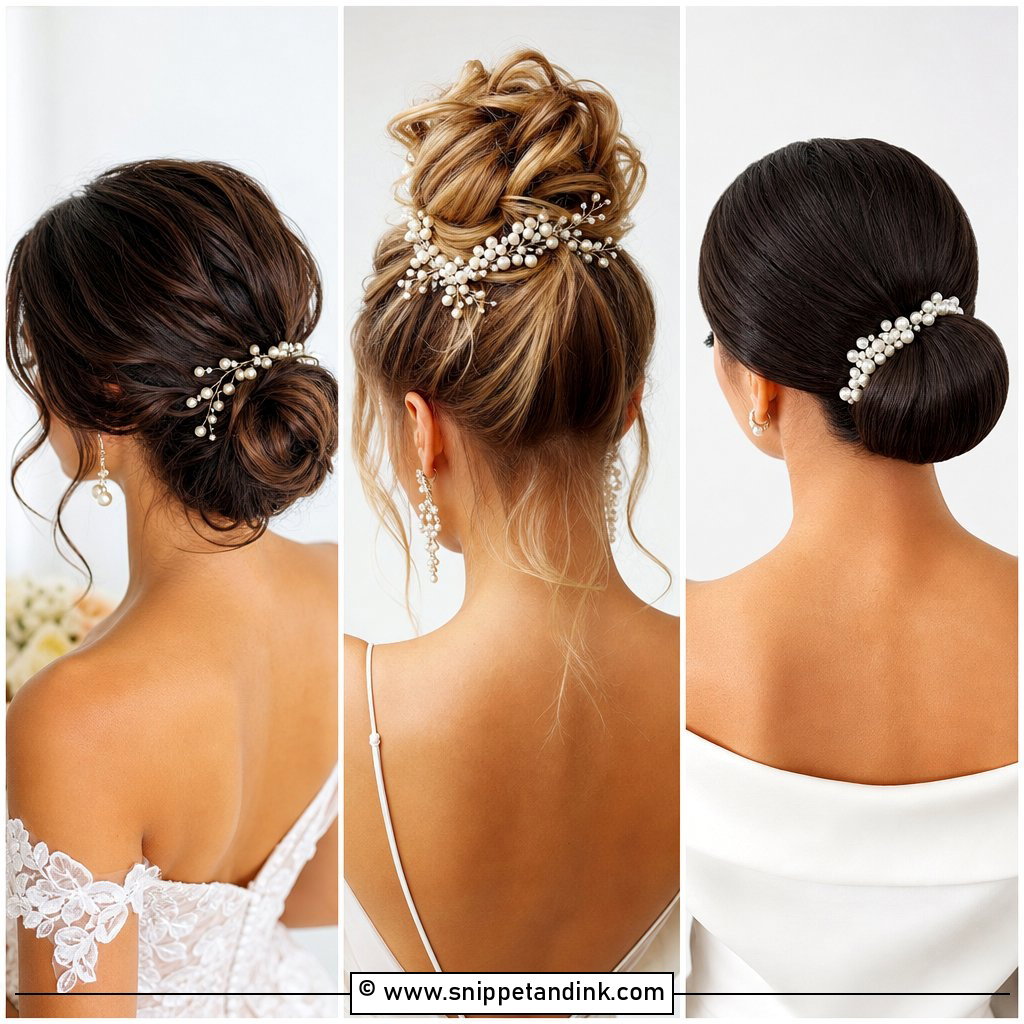
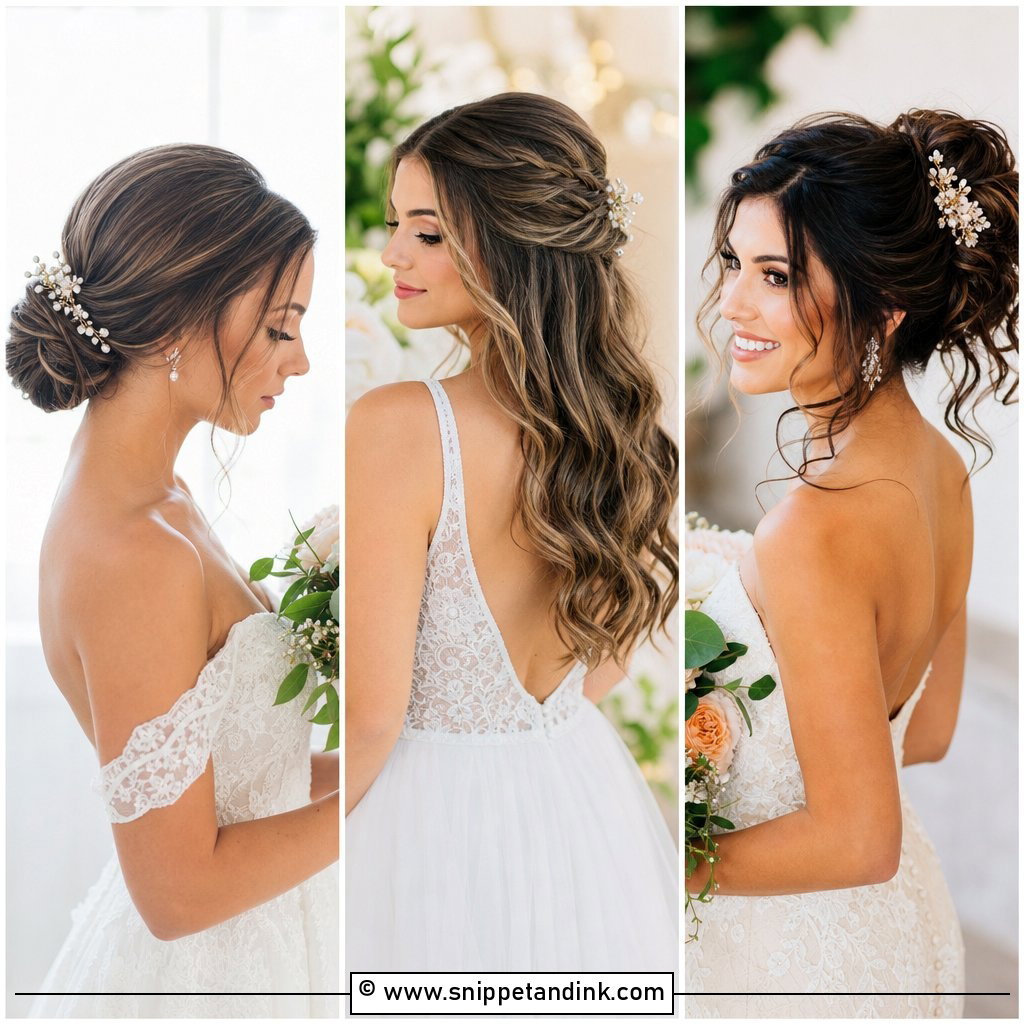
I build more low buns than any other bridal style, mostly because it sits right at the nape where a veil comb, pearl pins or a detailed dress back can all share the space without fighting. It can be brushed sleek for a structured gown or pulled apart for something softer. On medium to long hair I add a little lift at the crown first, otherwise the head looks flat from the side once the bun is in. The thing I check before pinning: can the bride turn her head fully? A bun set too low will press against a high collar every time she looks over her shoulder.
2. Sleek Chignon Wedding Updo
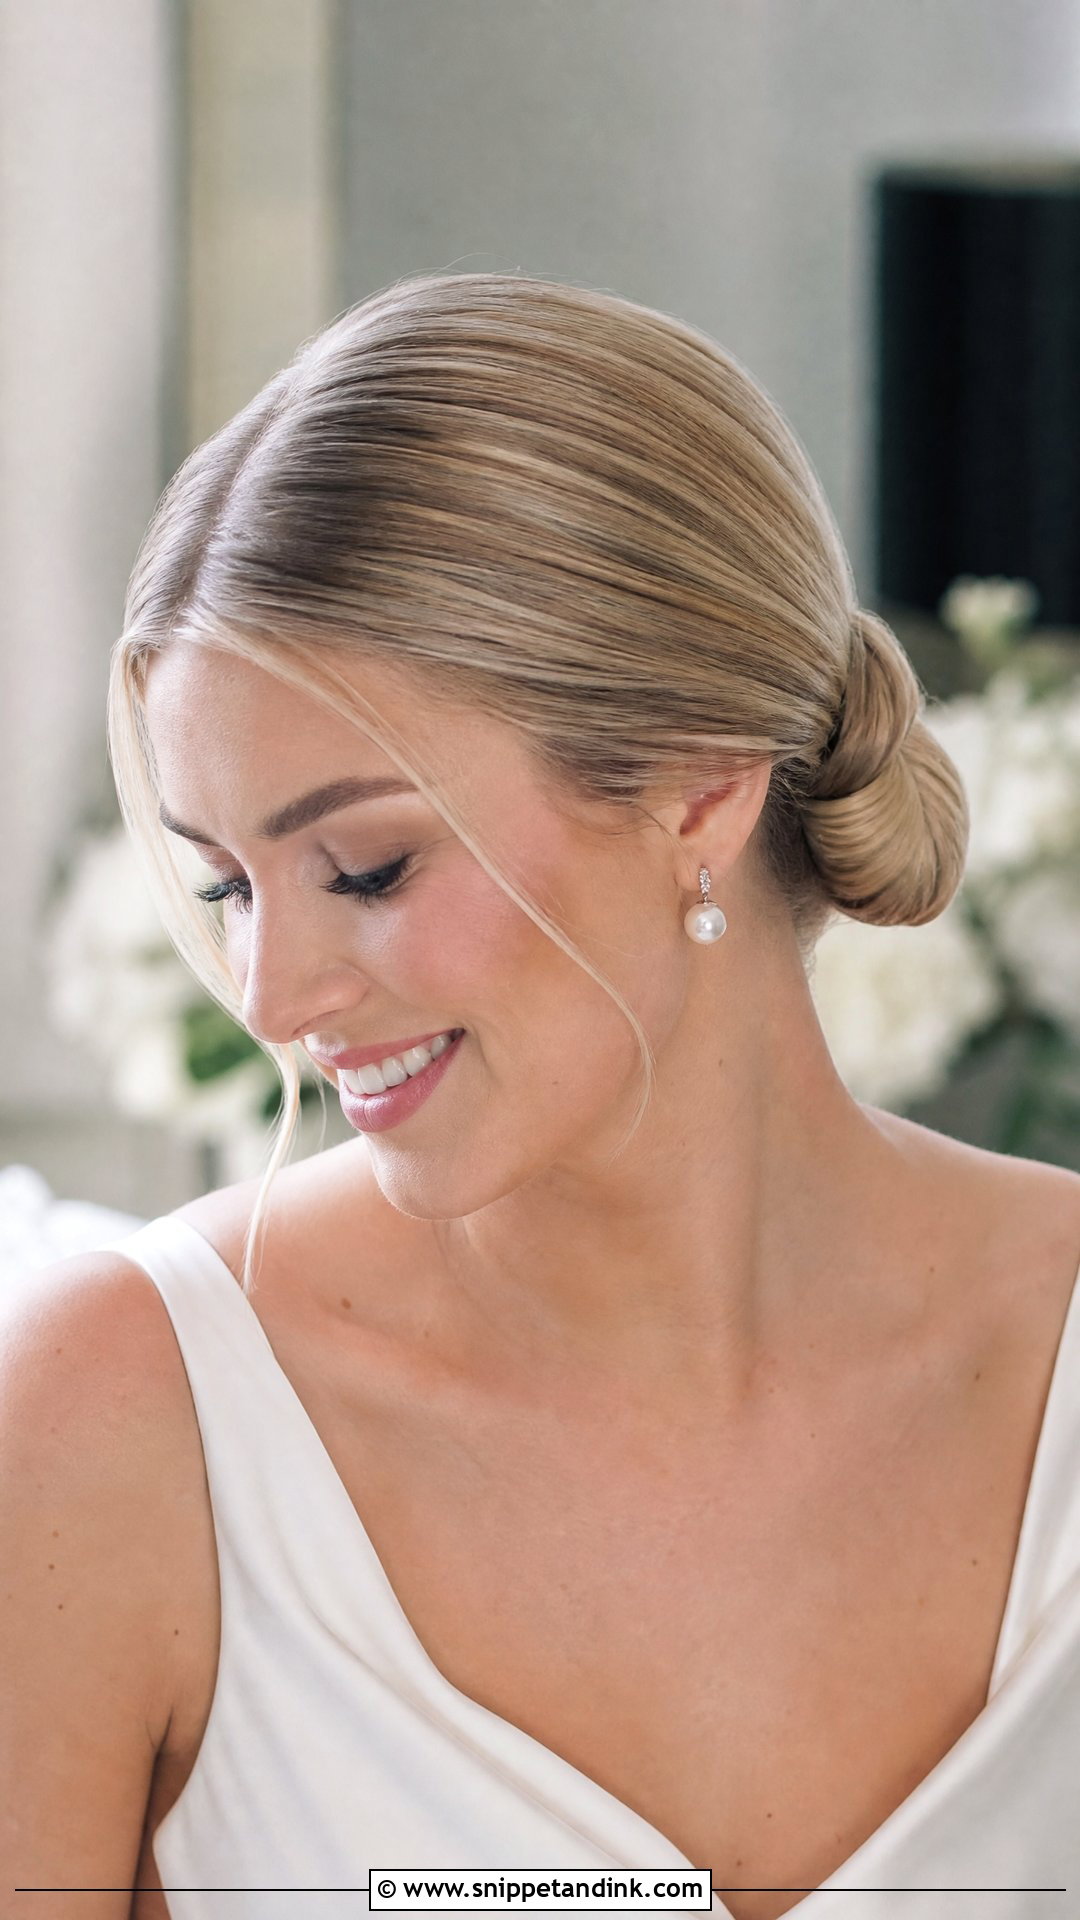
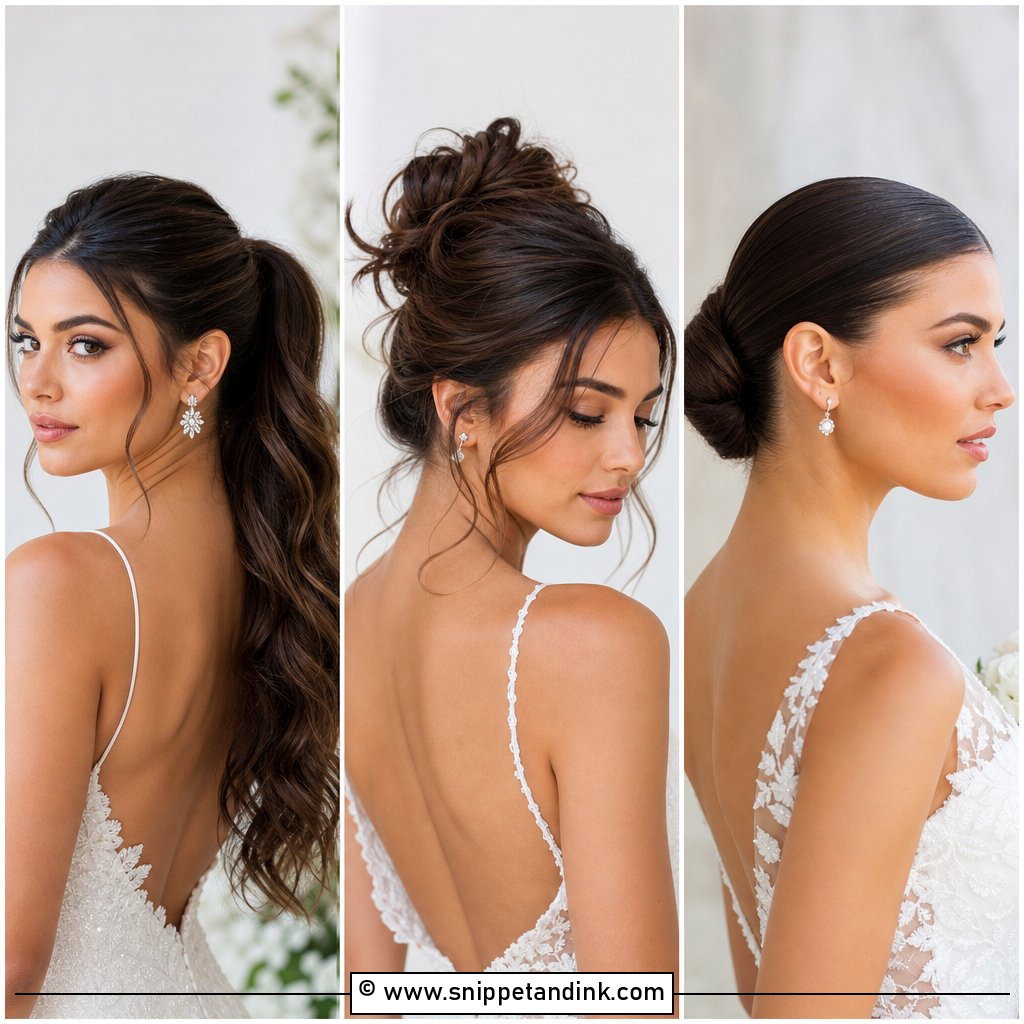
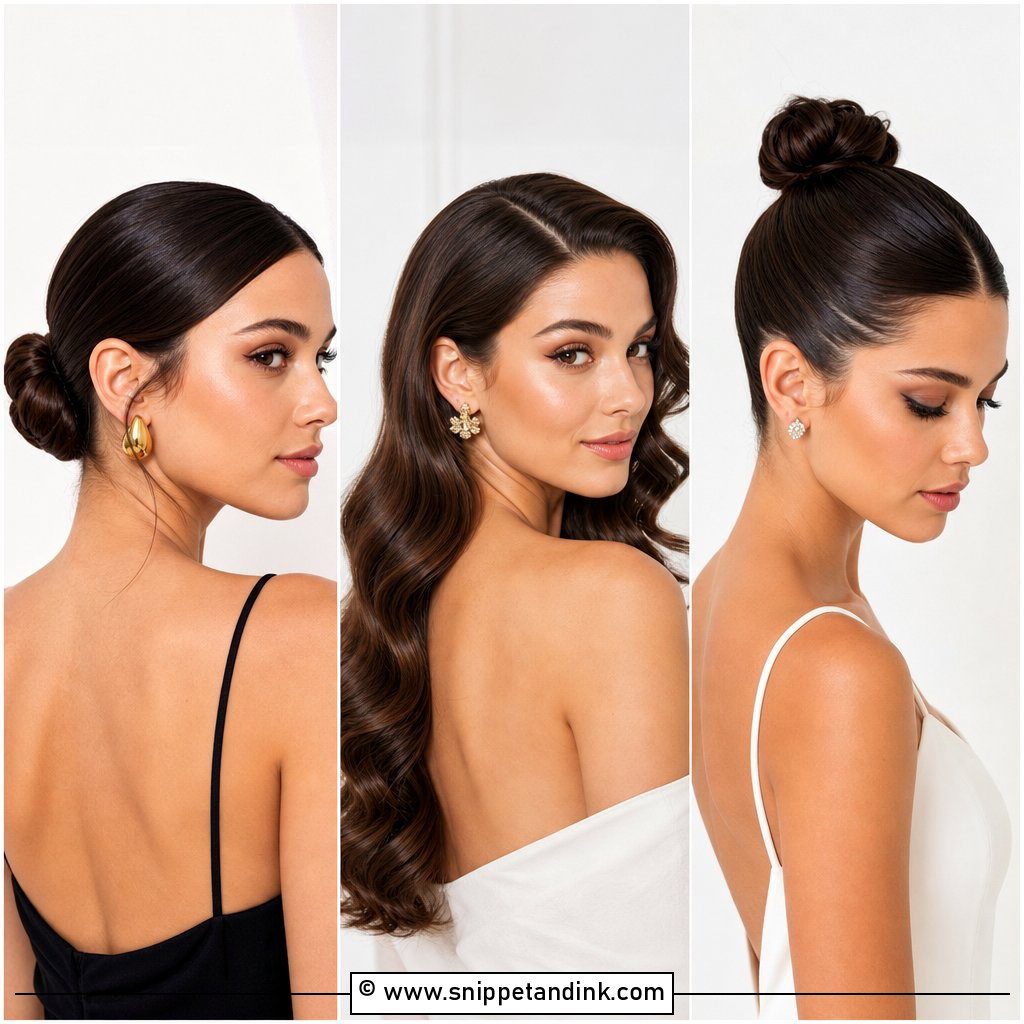
A sleek chignon is all about the brushwork. The hair is smoothed back, shaped into a low knot and finished with a shine product, so any lump or crossed section shows immediately. It pairs naturally with satin, off-the-shoulder and high-neck dresses, and it opens the face for statement earrings. The risk is that it can tip into severe. I soften it with a slightly off-centre part, a whisper of height at the crown, or two fine pieces at the temples. Very layered hair struggles here, because short ends keep popping out of a perfectly smooth surface.
3. Textured Bun Wedding Updo
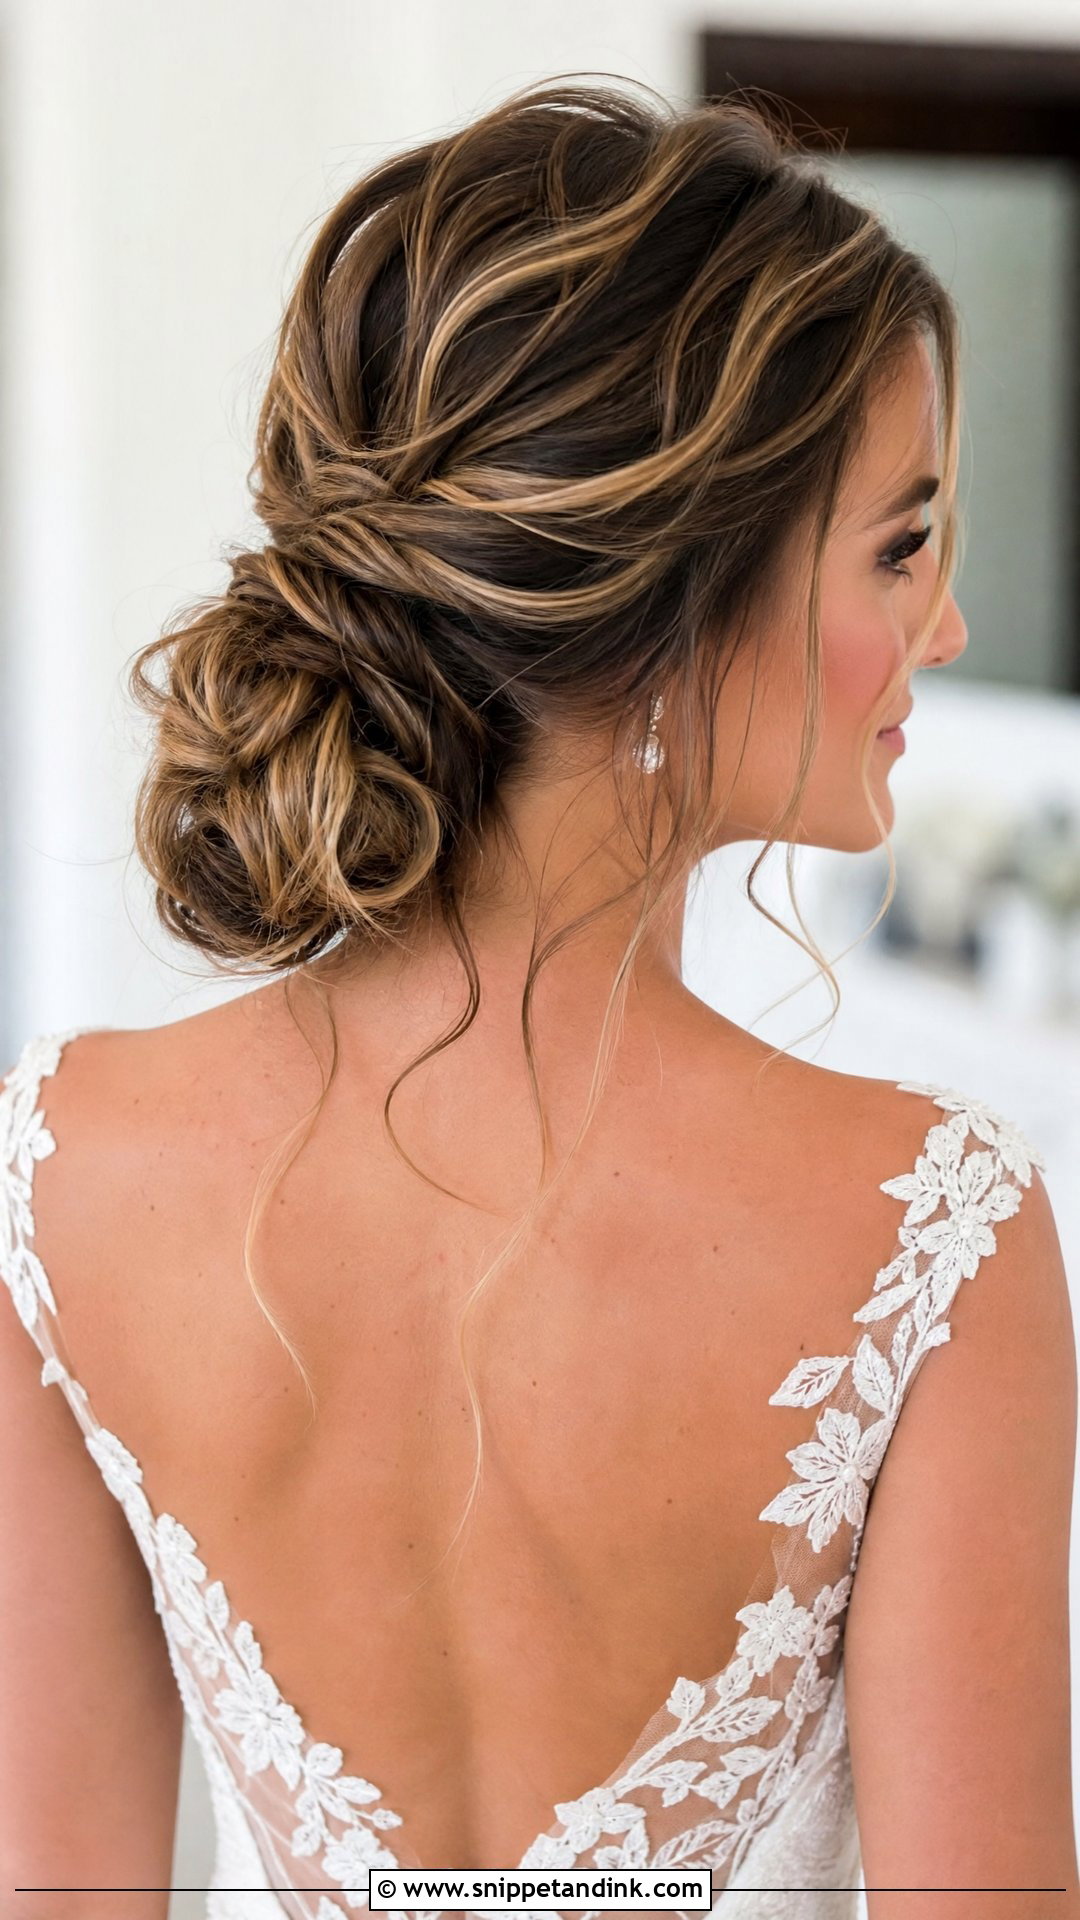
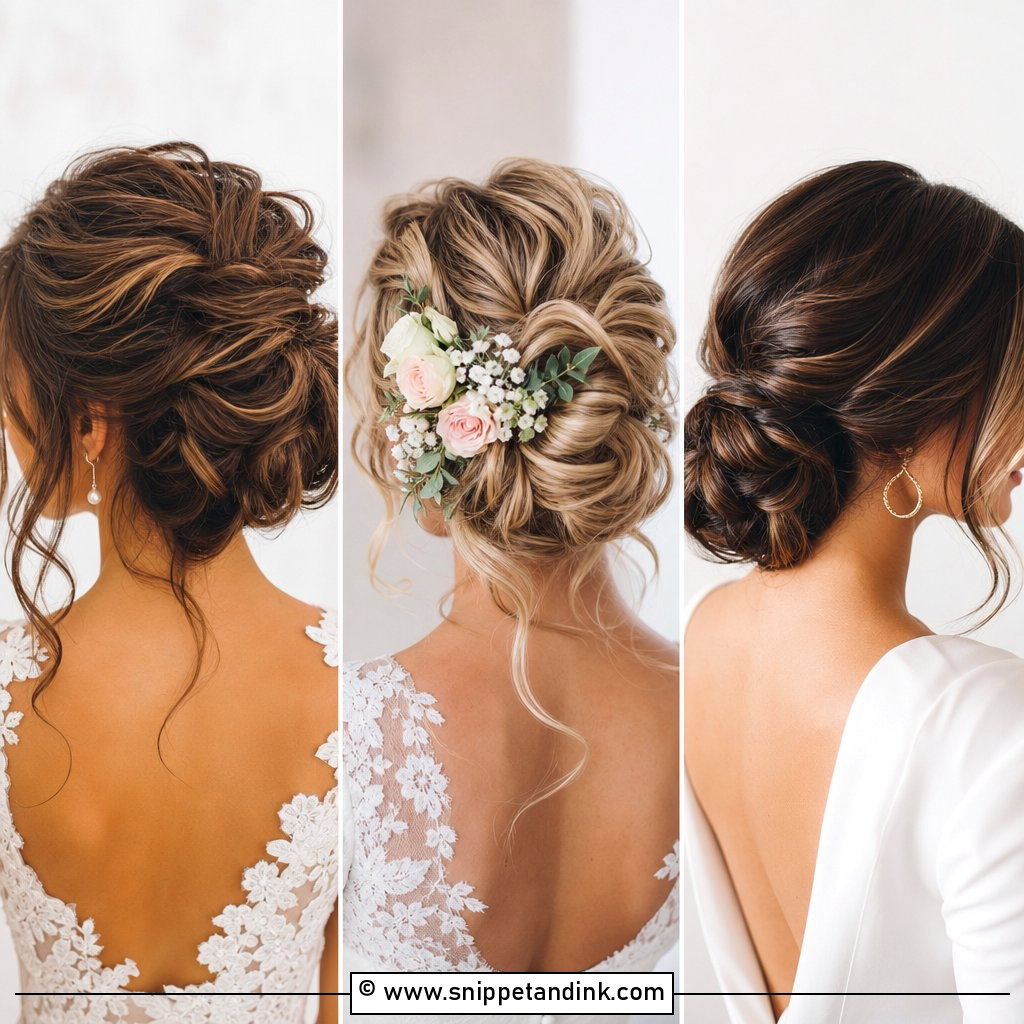
Texture is forgiving, which is why I reach for this bun on brides who are nervous about perfection. Soft bends and lifted sections make the hair look fuller, and highlights or balayage show off every ribbon of colour in the twists. On fine hair I’ll use a small padding or tease the base so the bun has real size, and a few clip-in wefts can double the volume without anyone noticing. Leave loose pieces by the cheekbones. The trick is pinning each section into the base, not just into other hair, so the shape doesn’t collapse as the texture relaxes.
4. Braided Wedding Updo
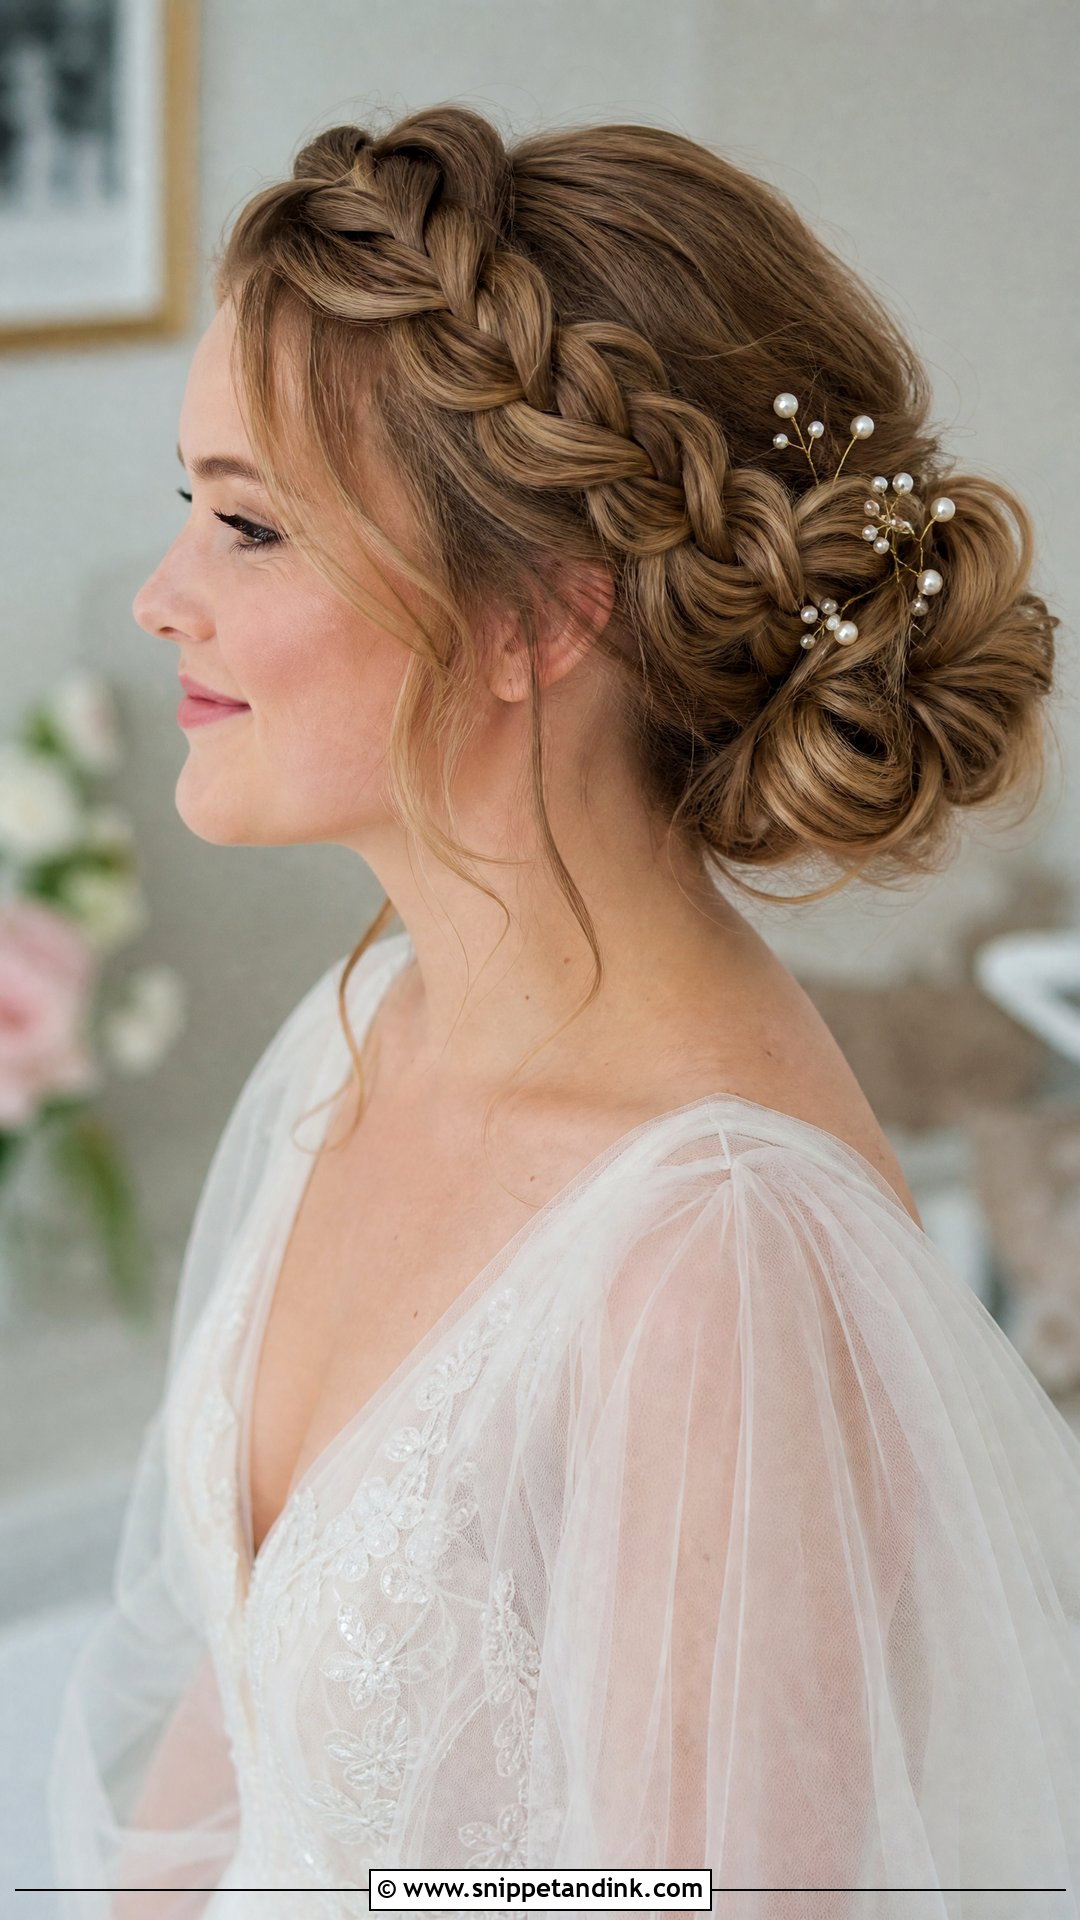
Braids do something smooth styles can’t: they physically lock layers and slippery hair in place. That makes a braided updo my go-to for outdoor ceremonies and brides whose hair drops out of a bun within an hour. The braid can wrap a low bun, cross into a chignon or run along one side. I pancake the plaits gently after braiding so they look full in photos, but I stop before they turn frizzy. Keep any decoration small, a few pearl pins or a single comb, since the braid is already the detail.
5. French Twist Wedding Updo
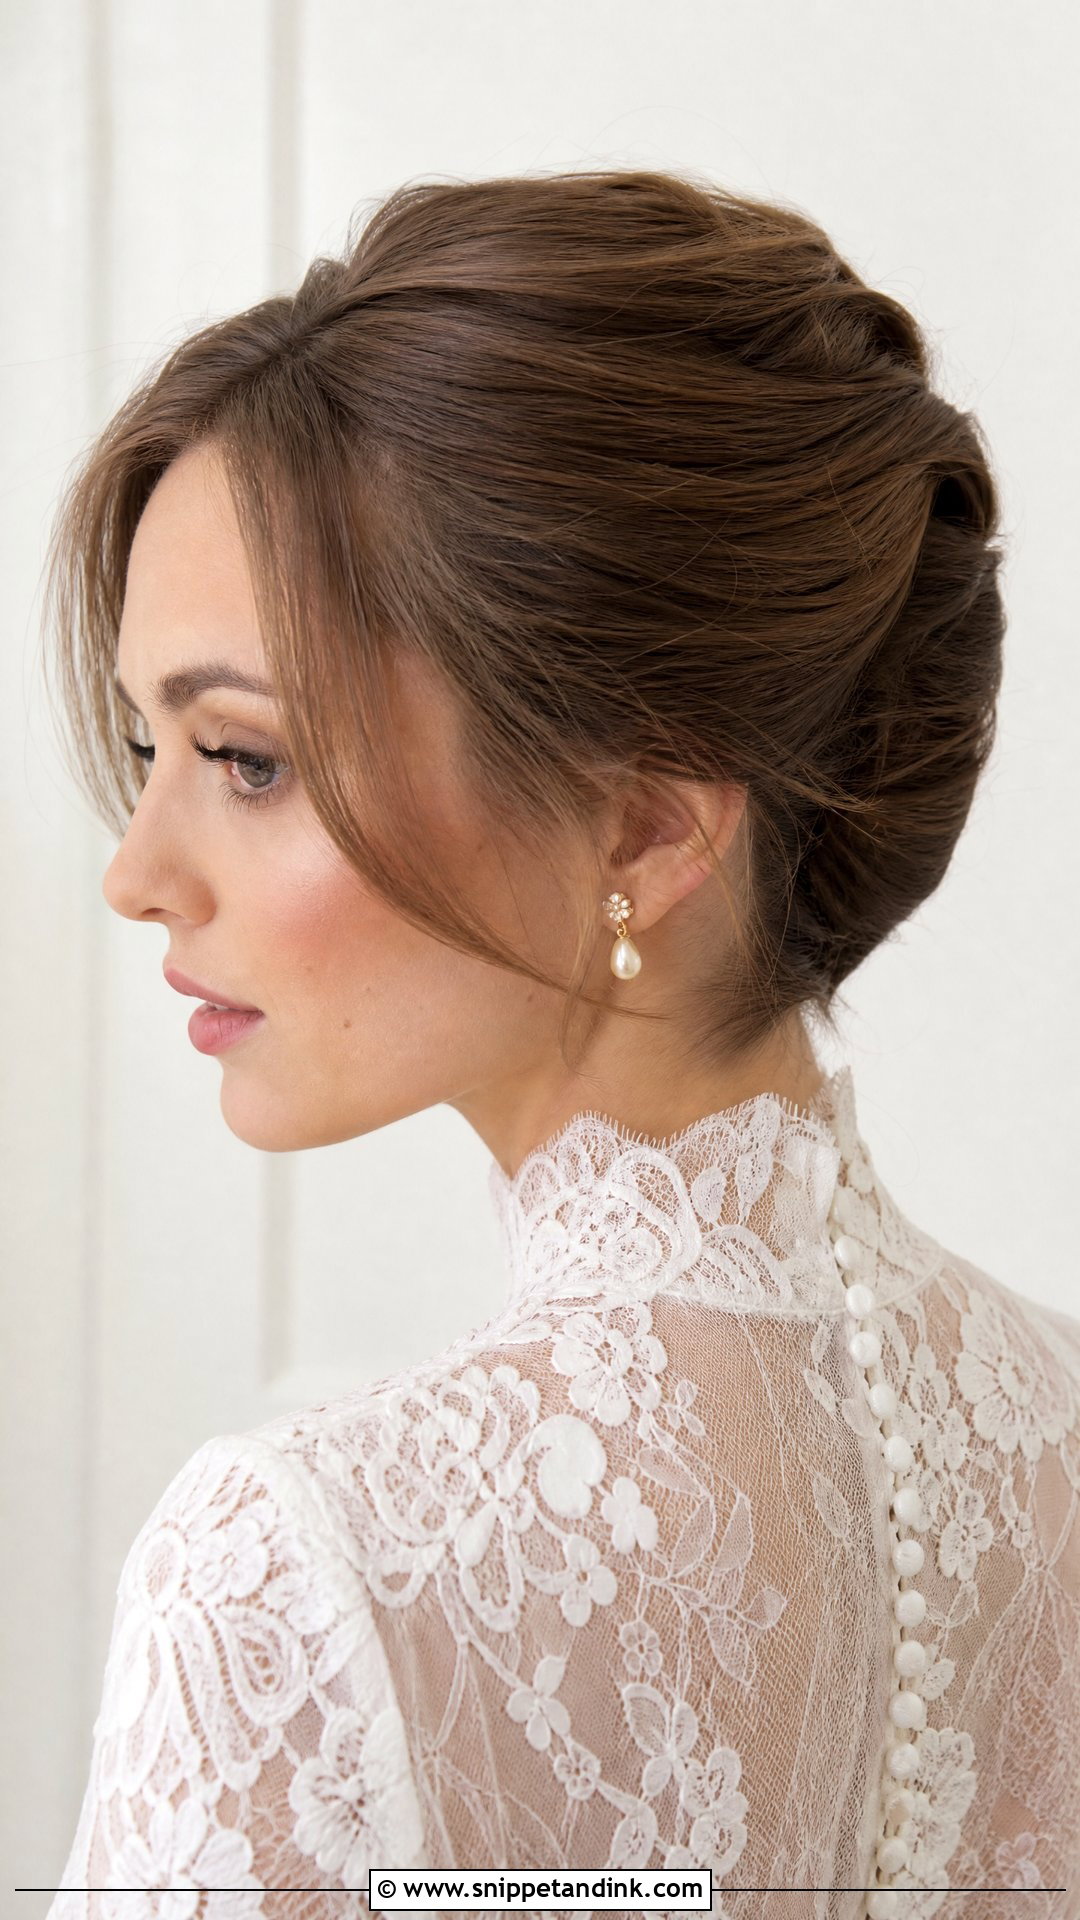
The French twist has a reputation for being stiff, mostly because of how it was done in the nineties. The modern version still sweeps the hair up into a vertical roll along the back of the head, but with soft volume and a few relaxed strands at the face. It sits well with boat necklines, lace and cathedral veils. Thick hair can make the roll heavy and wide, so I sometimes thin the inner section with teasing rather than packing it all in. Ask to see it in a hand mirror from the side at your trial, because the side profile is the whole point of this style.
6. Messy Bun Wedding Updo
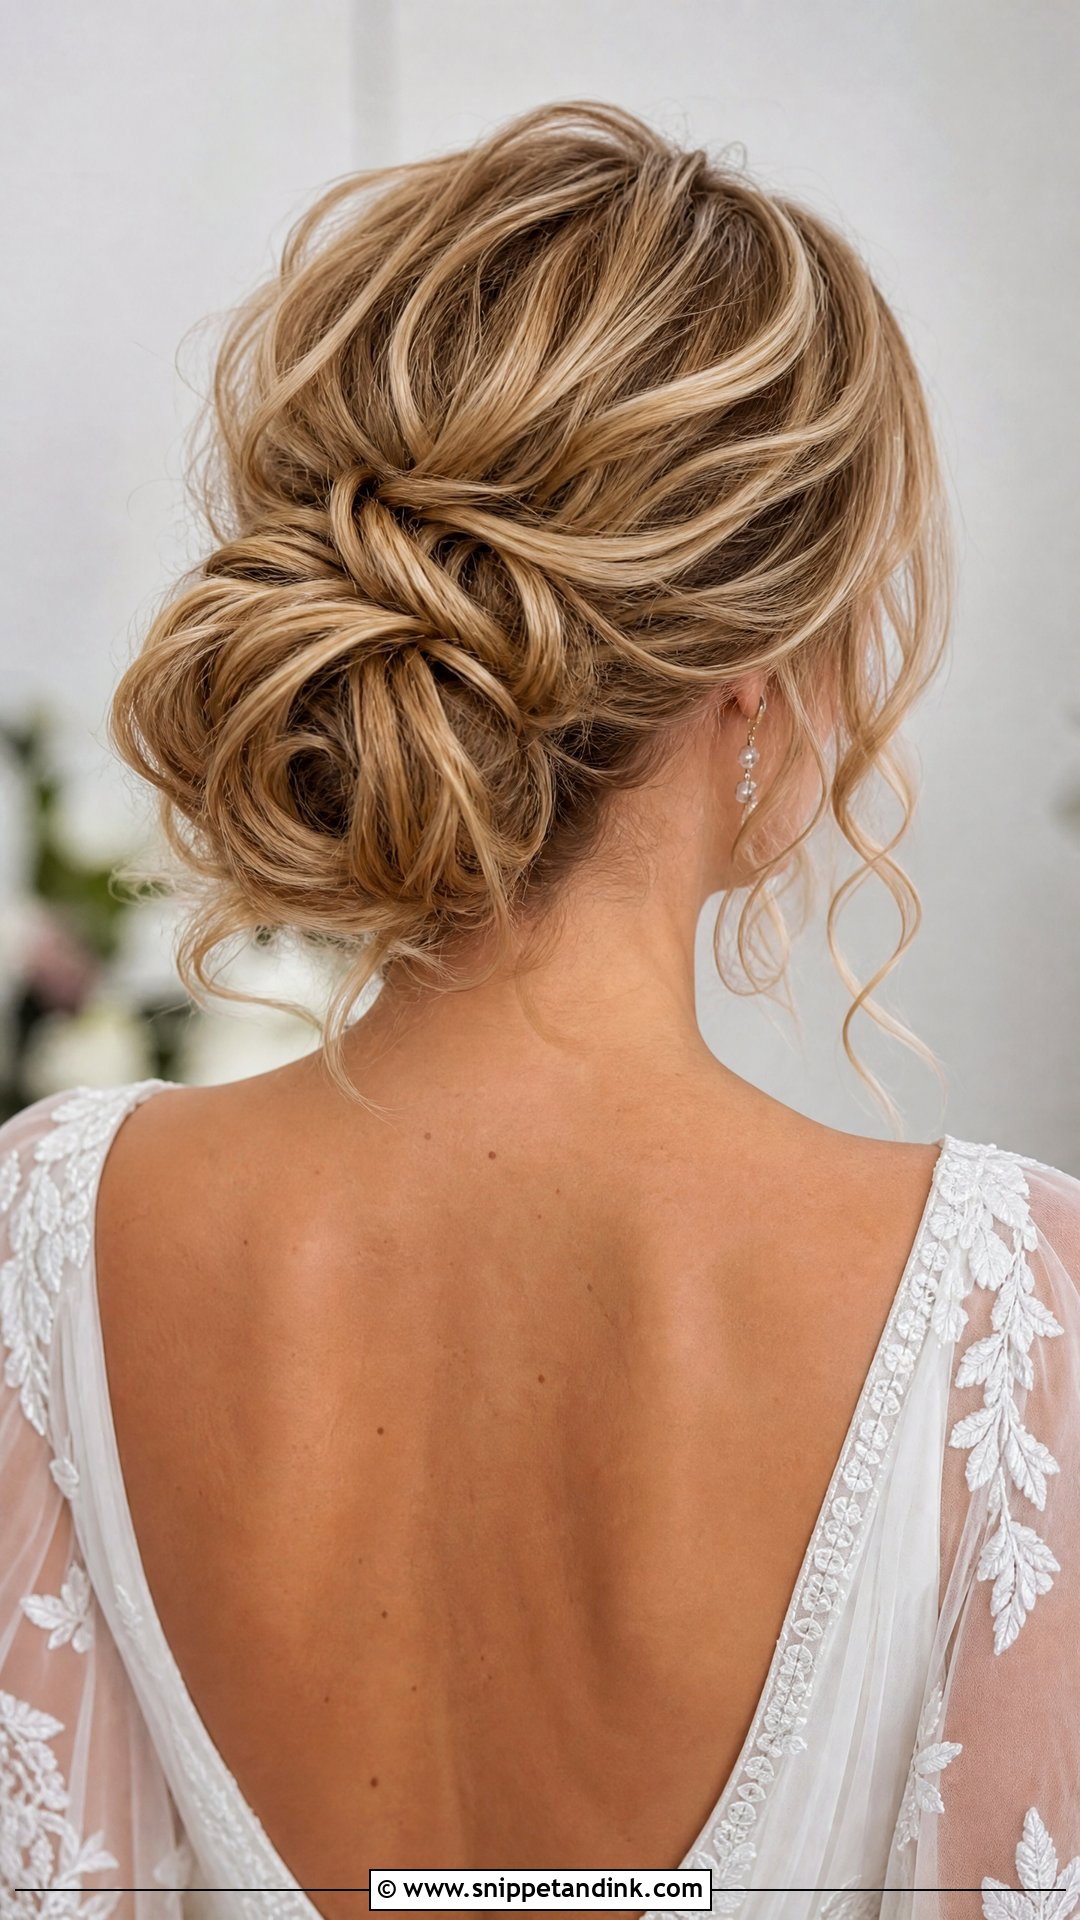
Messy is a lie in bridal hair. A messy bun that lasts all day is carefully built: a balanced base, secure pins and polished tendrils that were placed, not left behind. It suits beach venues, barns and relaxed gowns, and brides who normally wear their hair undone will feel more like themselves in it. I prep with a texture spray so the hair has grip, then pin the bun before I start pulling pieces loose. A flexible hairspray at the end lets it move in the wind without frizzing into actual mess.
7. High Bun Wedding Updo
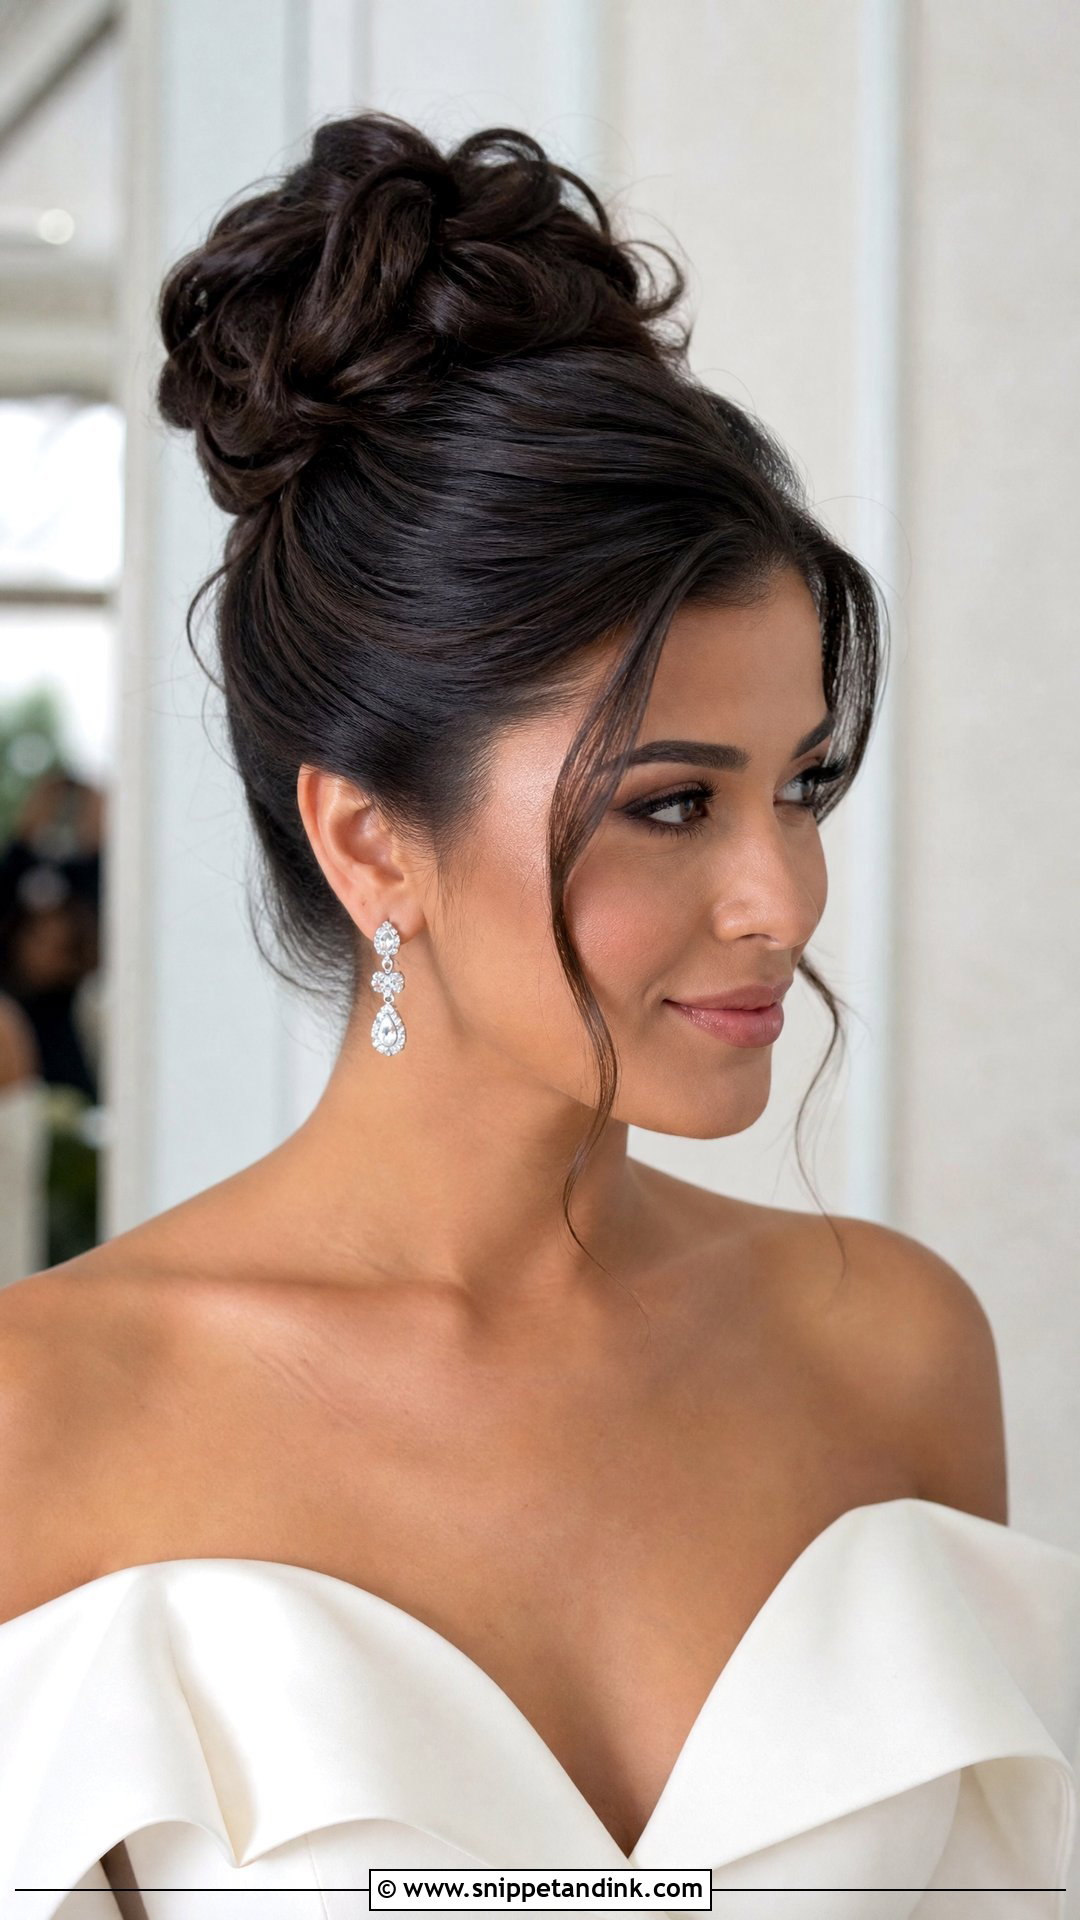
A high bun lifts the whole silhouette and shows off the neck, which is why I suggest it for halter gowns, high necks, dramatic sleeves and big earrings. It can be smooth and ballerina-inspired or textured with volume at the crown. Weight is the honest problem. Long, heavy hair pulled to the crown can start to ache after four or five hours, so wear it for a full afternoon after your trial before you commit. Fine hair usually needs padding to give the bun a proper shape.
8. Side Bun Wedding Updo
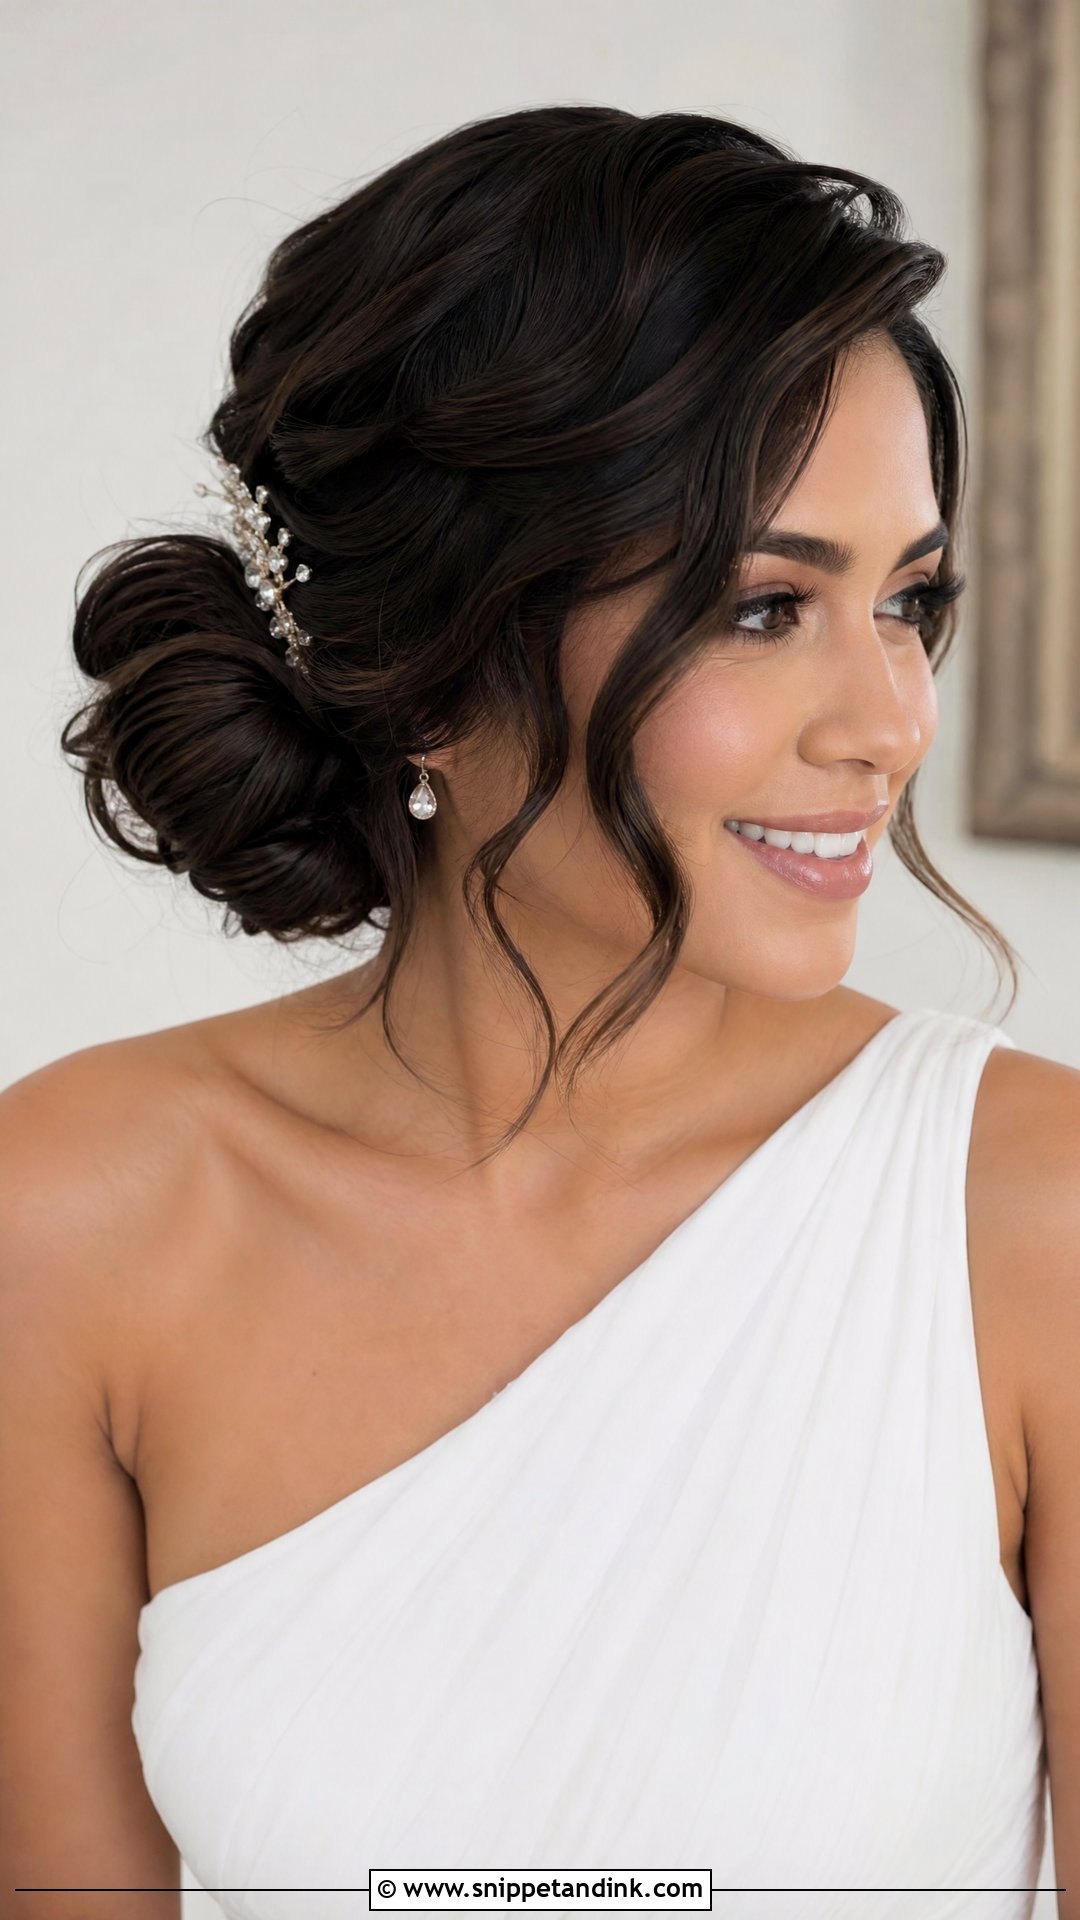
Placing the bun to one side means guests actually see your hair from the front during the ceremony, not just the back of your head. It sits low by the jawline or behind one ear and suits side parts, soft waves, lace and one-shoulder gowns. I always ask which side the groom will stand on and which way the photographer will shoot the vows, then put the bun on the side facing the camera. A small pearl comb or crystal pin just above it finishes it without crowding the face.
9. Curly Wedding Updo
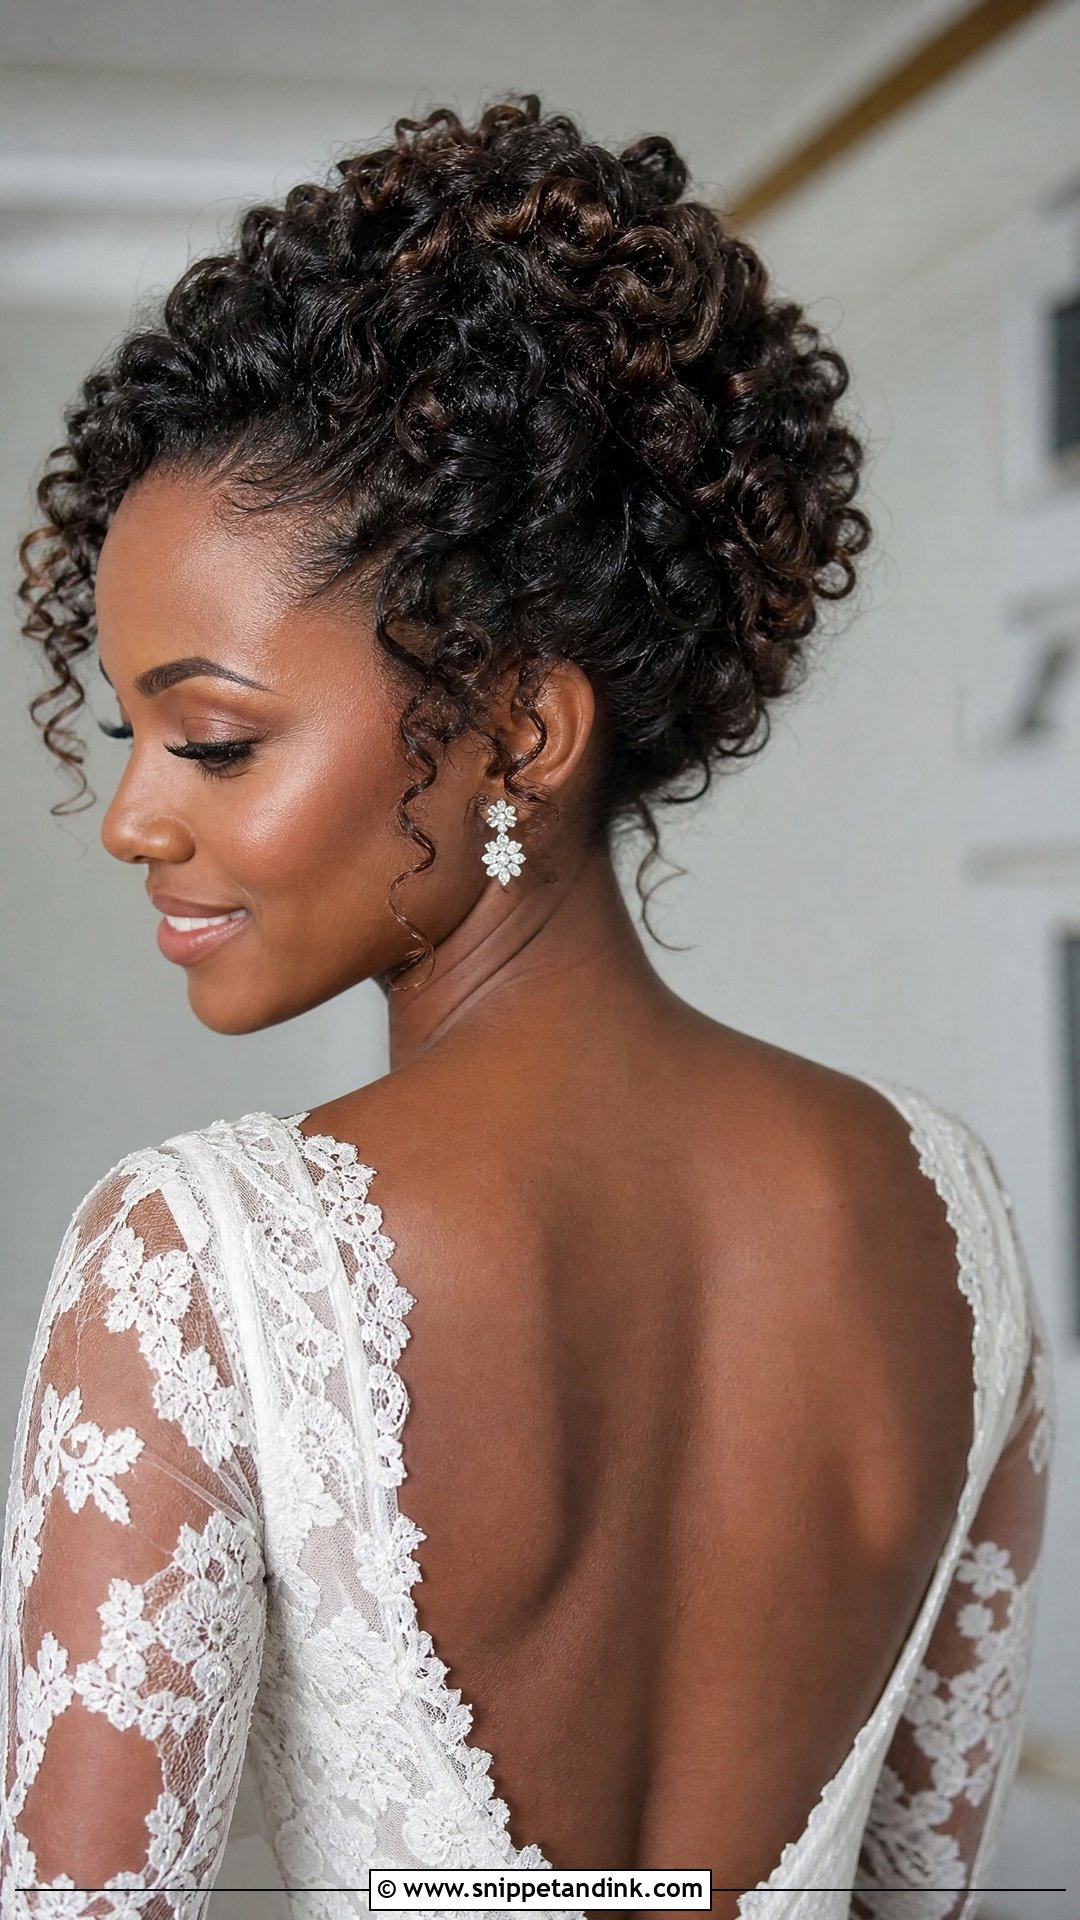
With curly and coily hair, I’d rather work with the texture than fight it into something sleek. Curls can be pinned into a soft bun, gathered at the crown or shaped low with defined pieces around the face, and the result has volume no blow-dry can match. Prep is where this updo is won. Hydrated curls clump and hold; dry curls frizz the moment the room fills up. I set each curl group where I want it rather than pinning randomly, and keep accessories few so the texture stays the focus.
10. Pearl Pin Wedding Updo
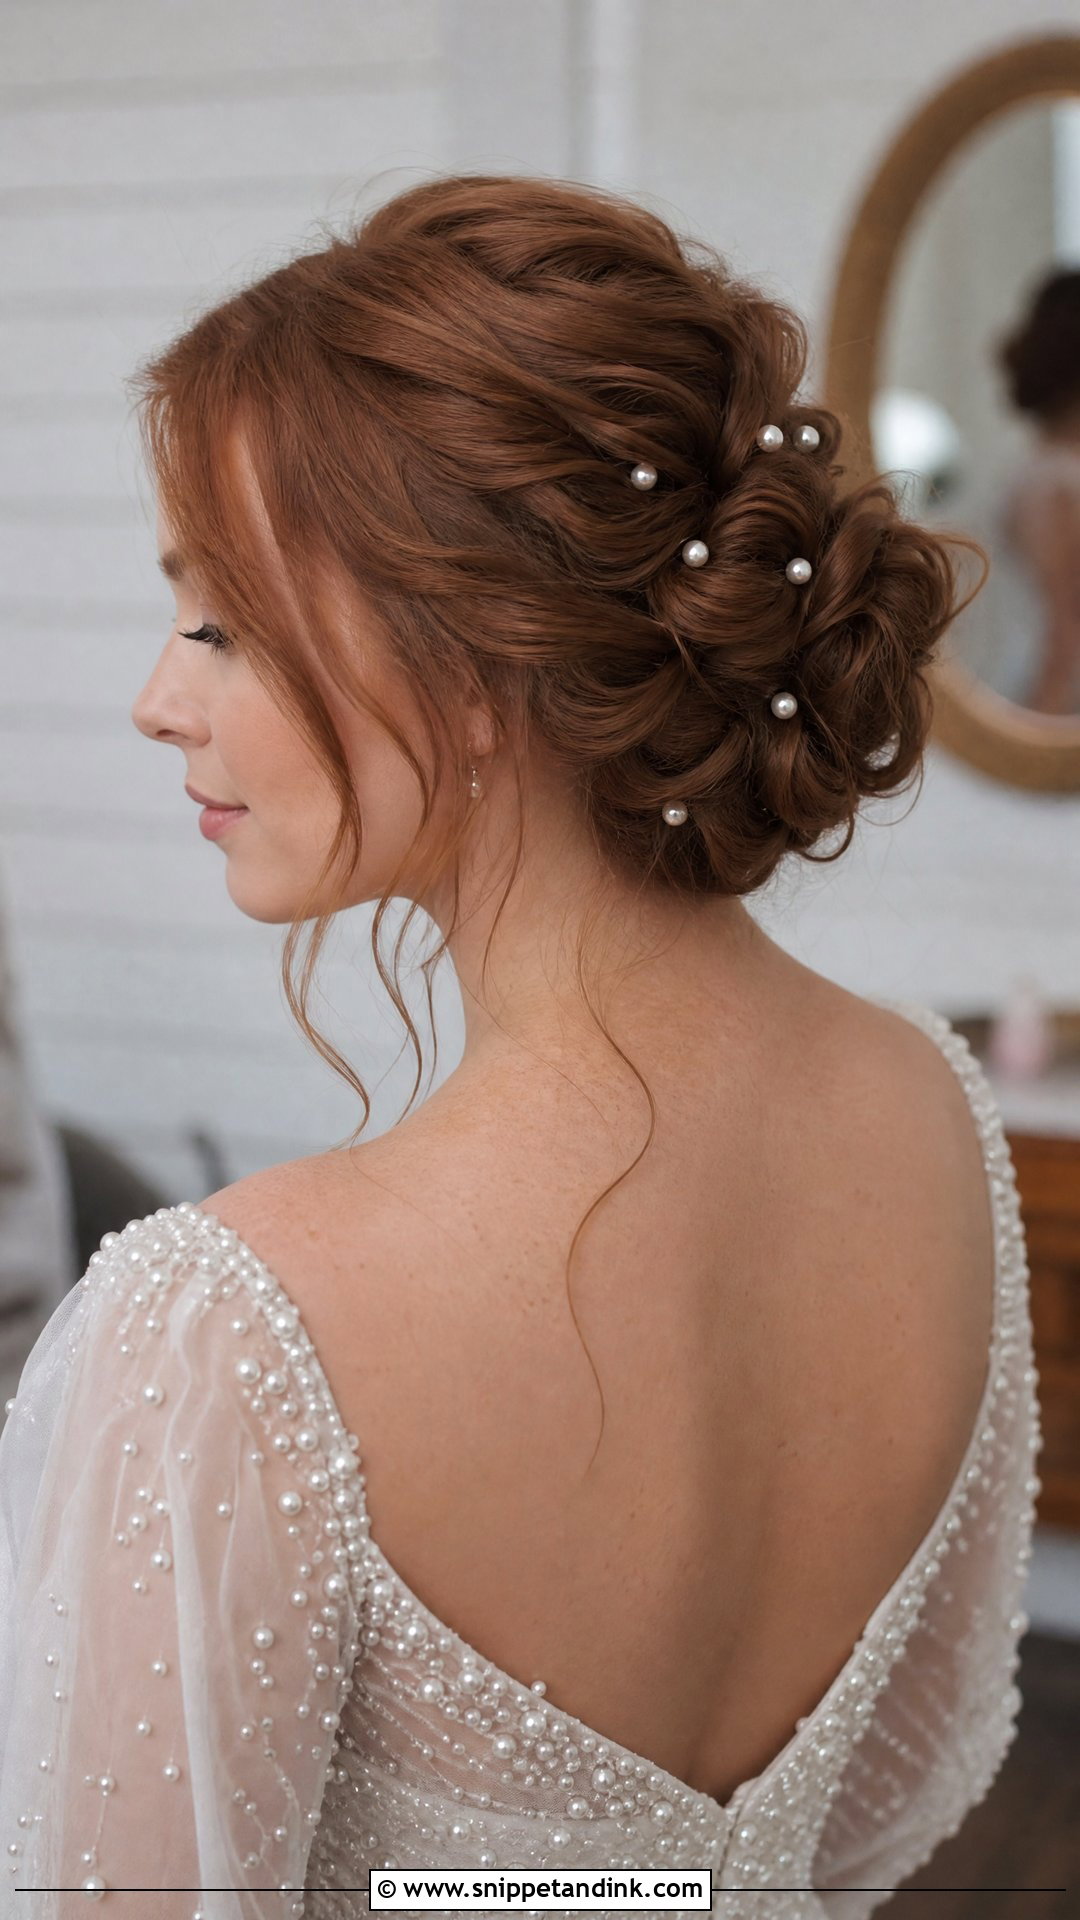
Pearl pins are the easiest way to make a plain bun look bridal without changing the hairstyle at all. Scatter them through a textured bun, line them along a twist, or cluster a few on one side. If your dress already has pearl beading, this ties the two together. Scale matters more than people think: tiny seed-pearl pins disappear in a big textured bun from more than a few feet away, while large pearls on a small chignon look heavy. I hold the pins against the finished style before committing to where they go.
11. Veil Wedding Updo
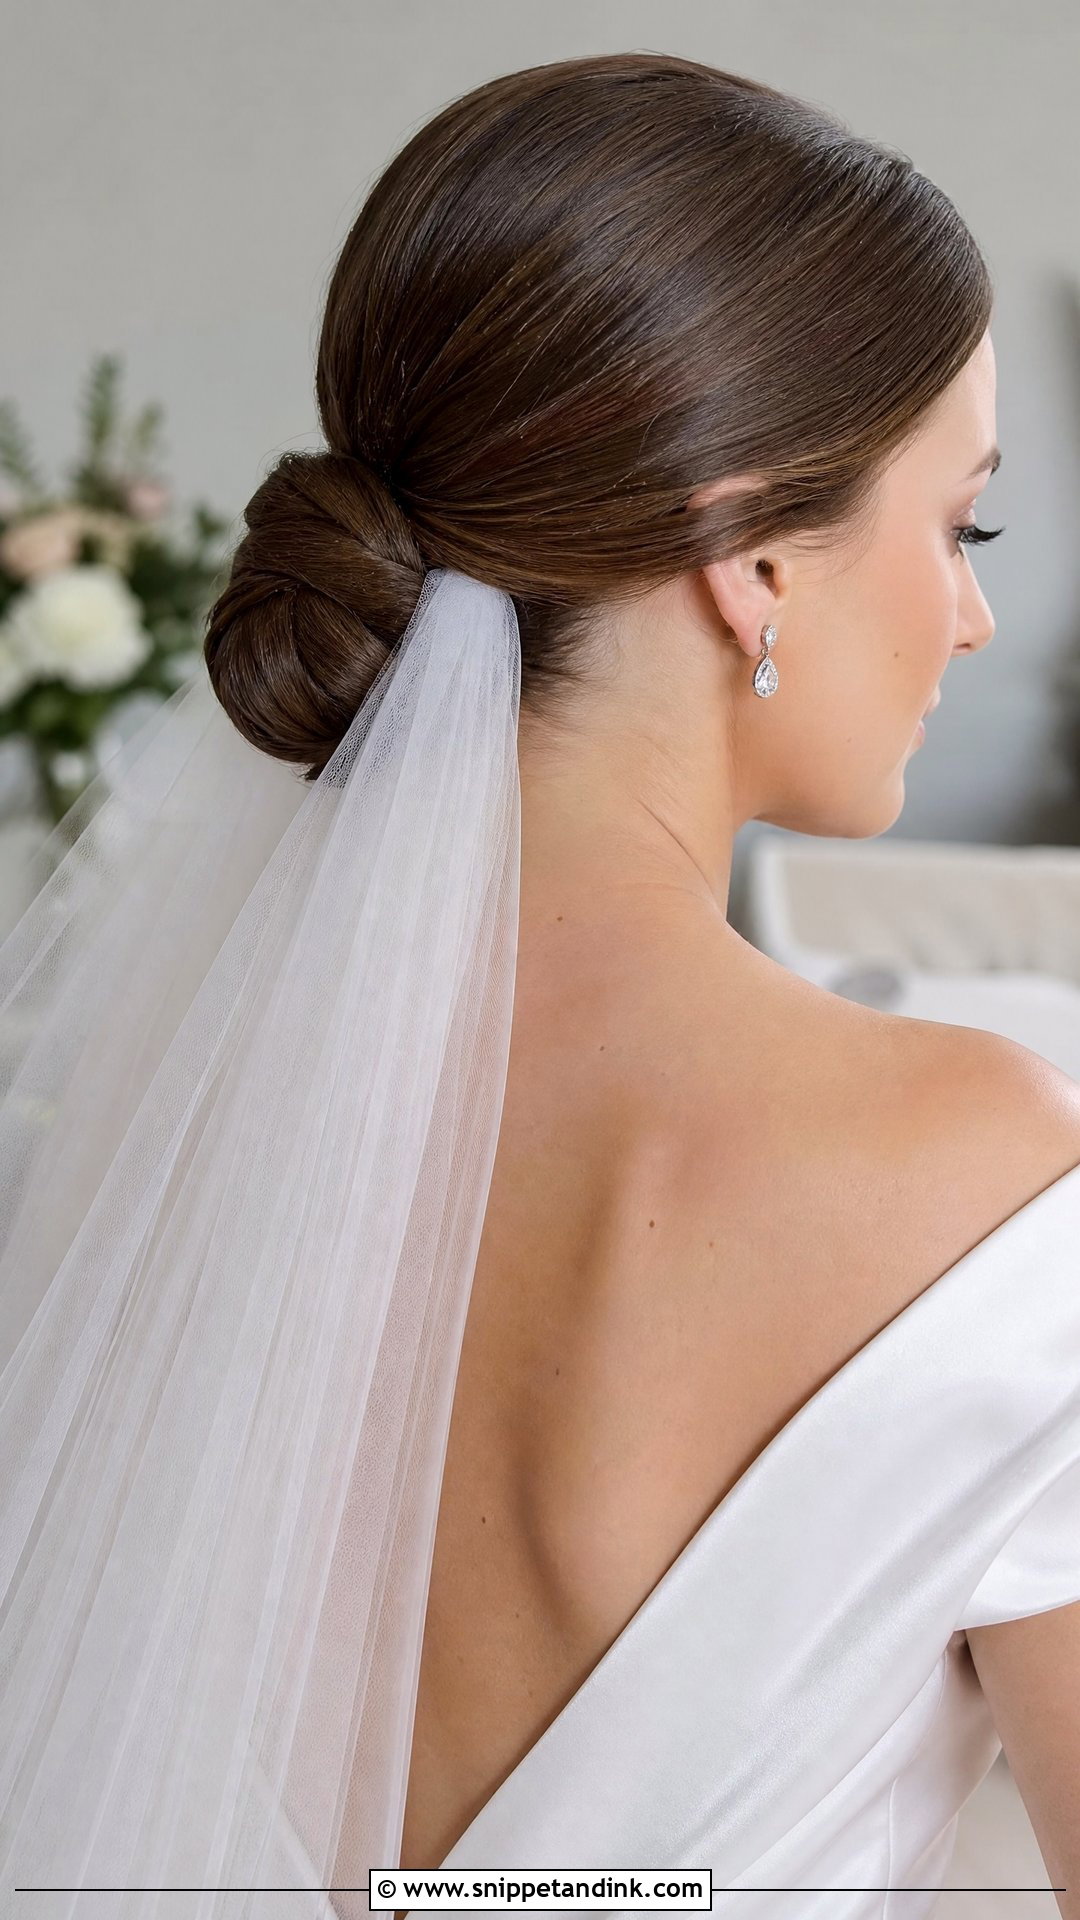
Plan the veil before the hair, not after. A low bun can carry a veil tucked above or below it, while a chignon gives a firmer base for combs and long cathedral lengths. For a heavy veil I tease and pin a small anchor exactly where the comb will slide in, otherwise the comb just drags hair loose every time someone steps on the train. Keep the updo firm enough to hold that weight but soft around the face, because once the veil comes off for the reception you want the style to still look complete on its own.
12. Face Framing Wedding Updo
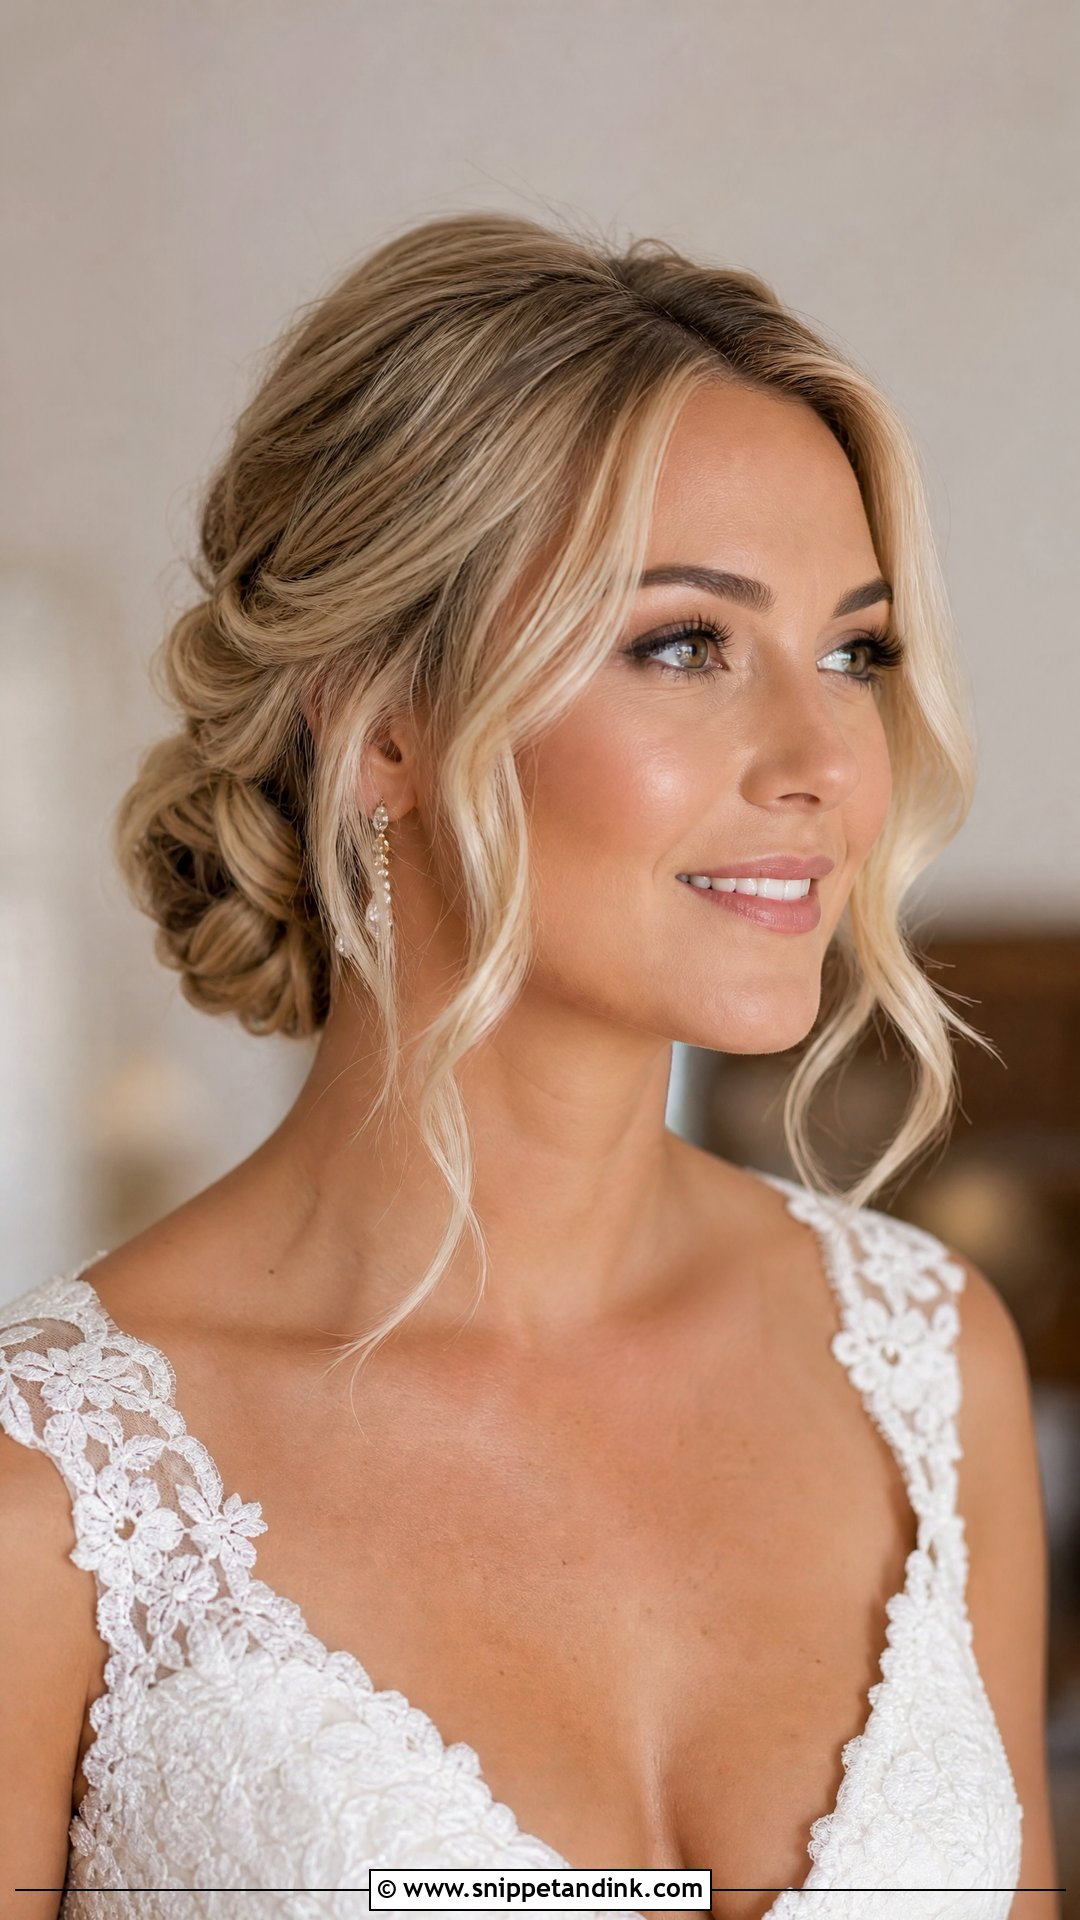
Some brides feel exposed with everything scraped back, and leaving pieces at the temples, cheekbones or jaw fixes that instantly. This works with almost any shape on the list and is a smart answer for curtain bangs or short front layers that won’t reach the bun anyway. The pieces need to be curled and set separately, then brushed out, so they look styled rather than escaped. I’d keep them out of your eyes and off your lip gloss, which sounds obvious until you’re kissing in a breeze.
13. Vintage Wedding Updo
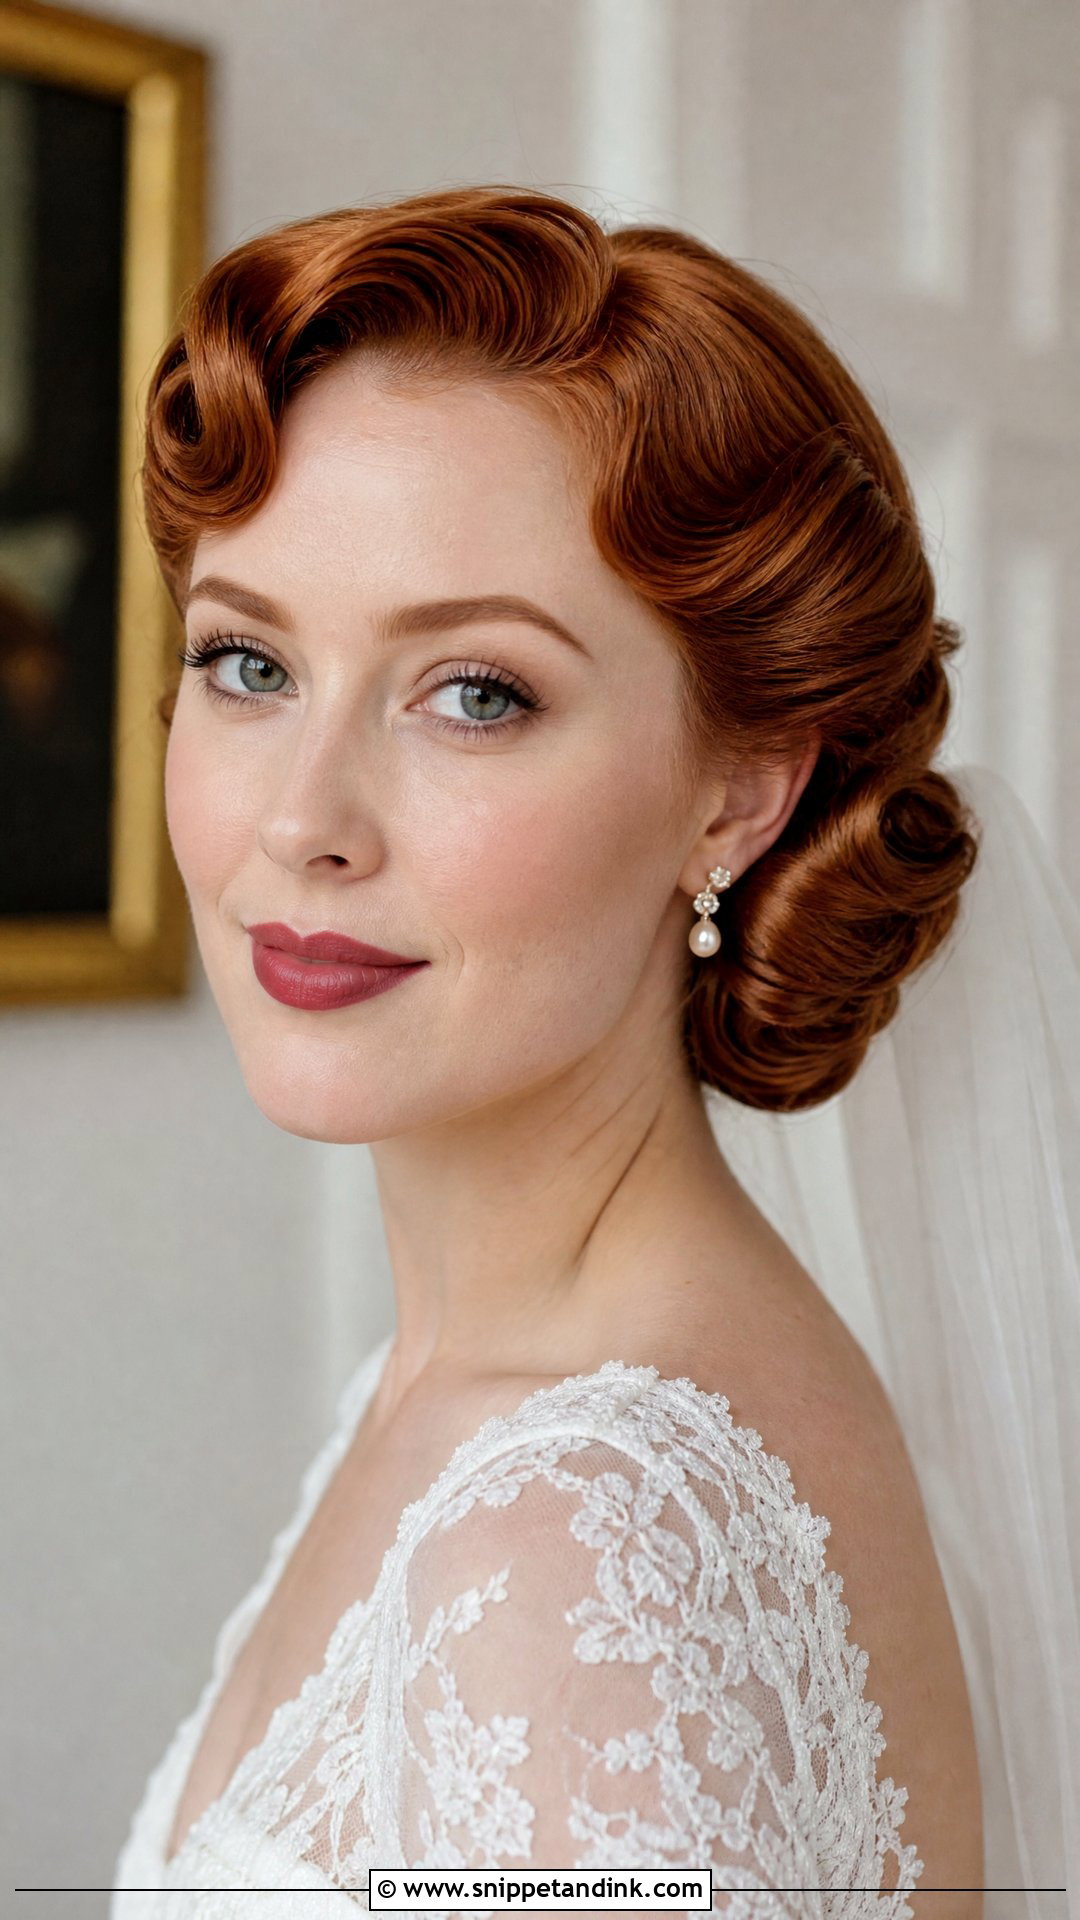
Old Hollywood is the reference here: sculpted waves at the front, a low rolled bun or a polished twist with gentle volume. It sits naturally with lace, long gloves, birdcage veils, pearl earrings and classic red-lip makeup, and it suits brides who’d rather not follow whatever is trending this year. Set waves need time; I pin-curl or roller-set and let the hair cool fully before brushing out, which adds at least half an hour. Finish with a light shine spray rather than heavy lacquer so the ridges look soft in person and sharp in black-and-white photos.
14. Twisted Wedding Updo
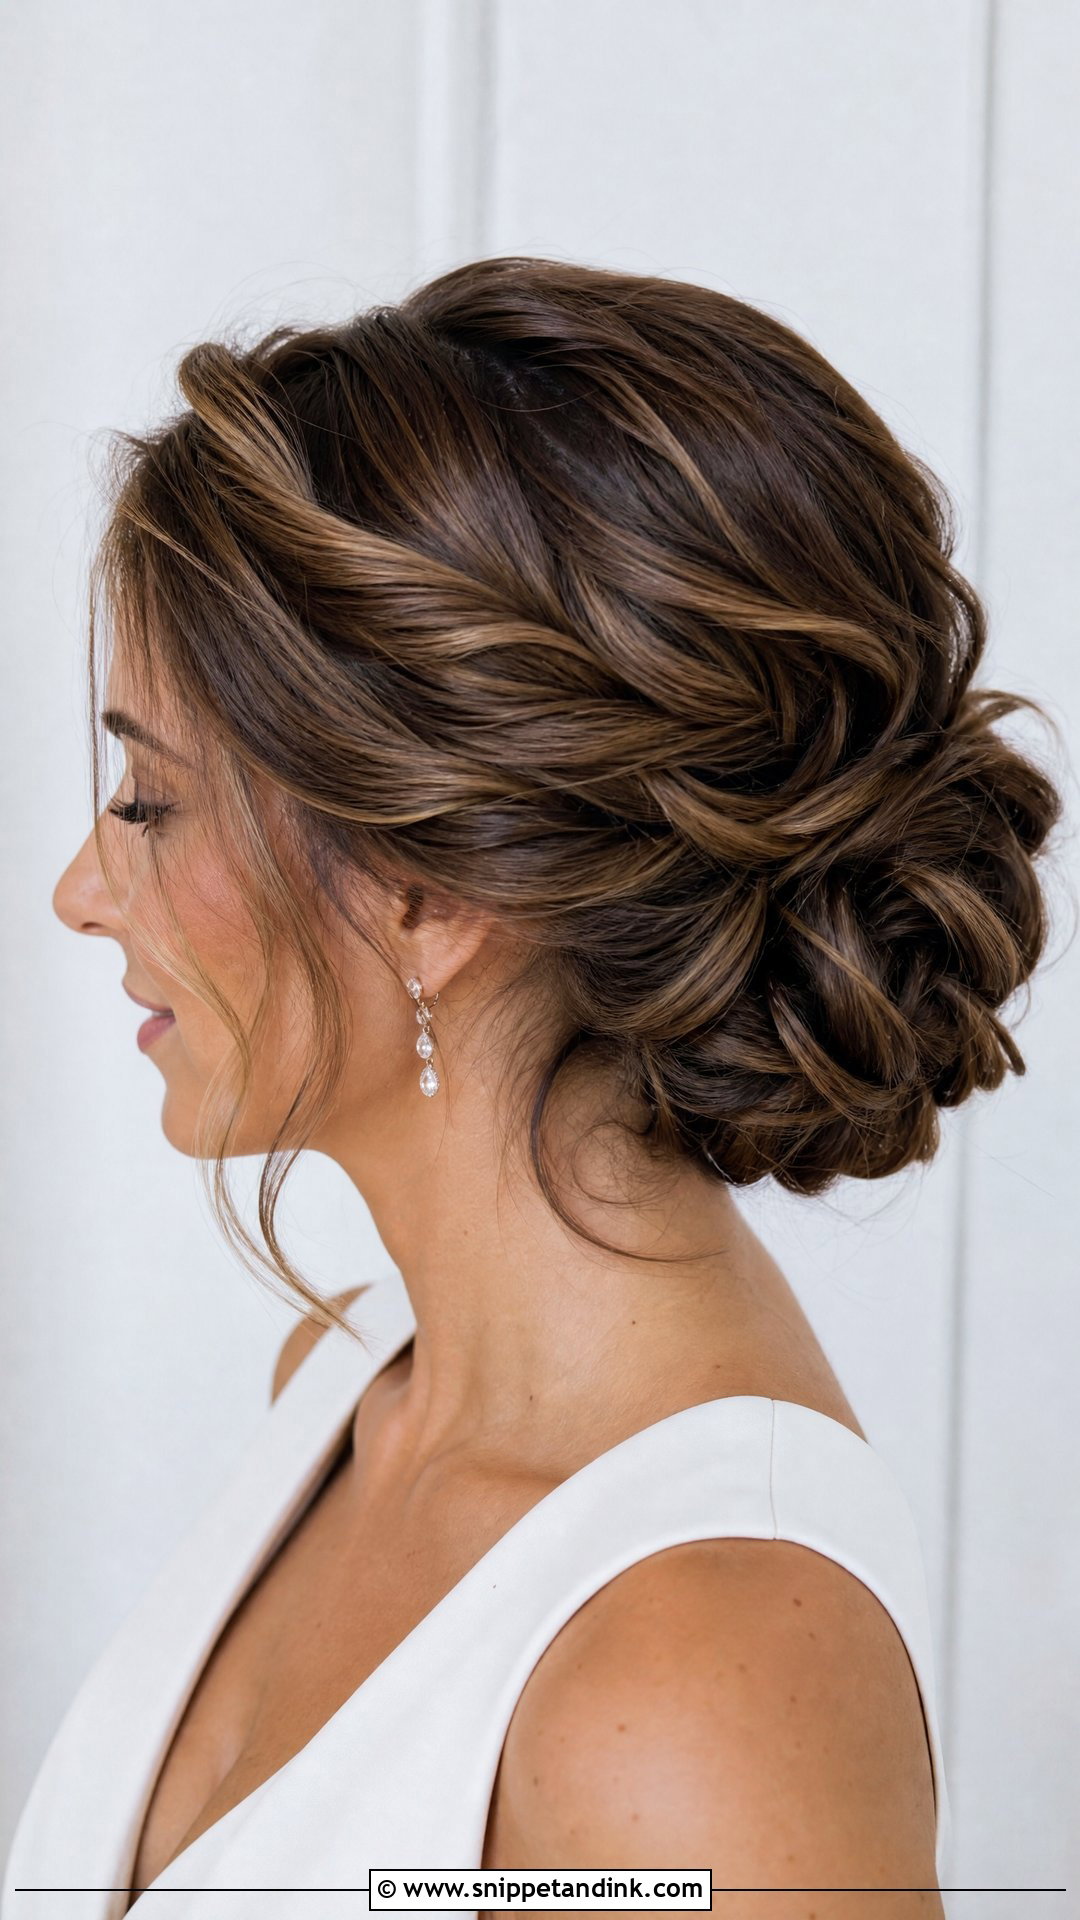
Twists give you detail with less bulk than a braid. Sections are rolled or twisted back, then pinned into a bun, knot or low gathered shape, and highlighted hair looks especially good because each twist shows off the colour change. The front can be centre-parted, swept to one side or lifted slightly at the crown. Twists unwind if they’re only pinned at the end, so I cross-pin every few inches along each one. That’s what lets them survive hugs and dancing while still looking airy.
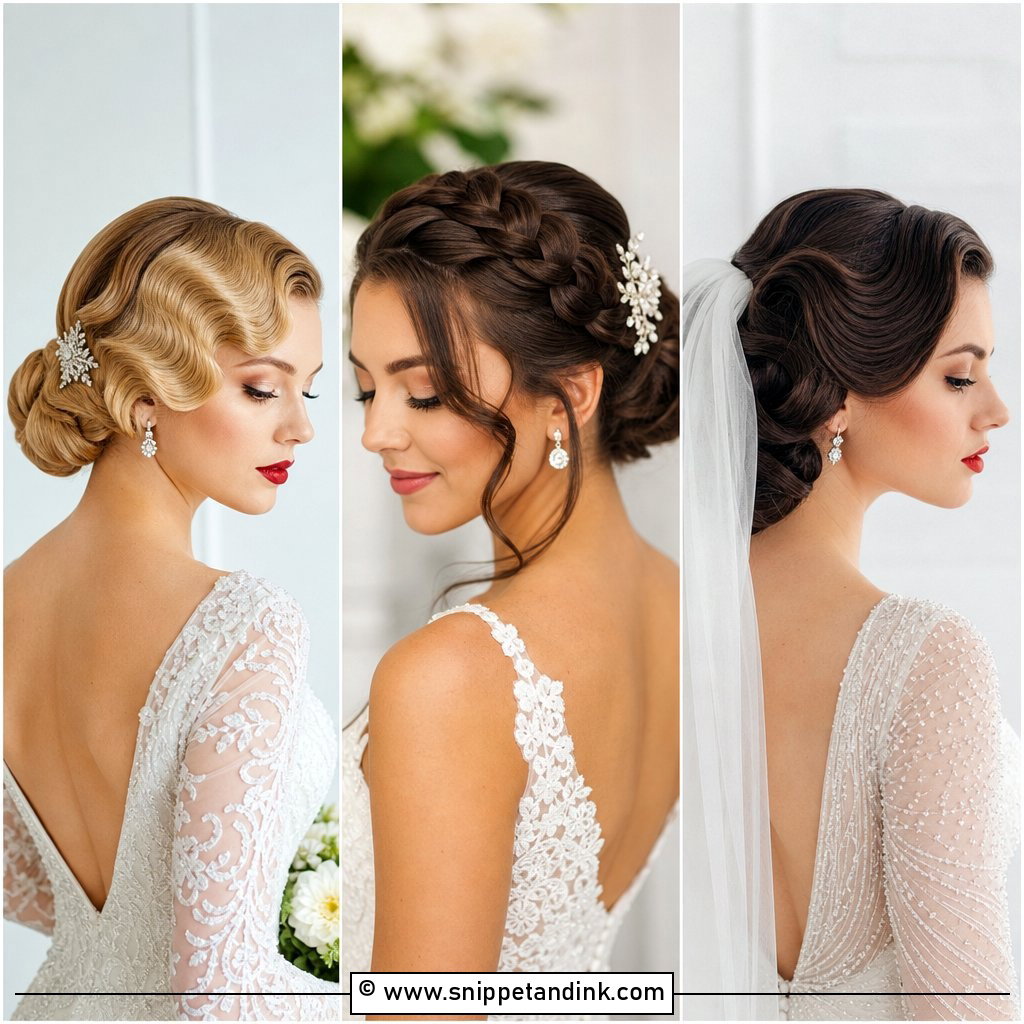
15. Short Hair Wedding Updo
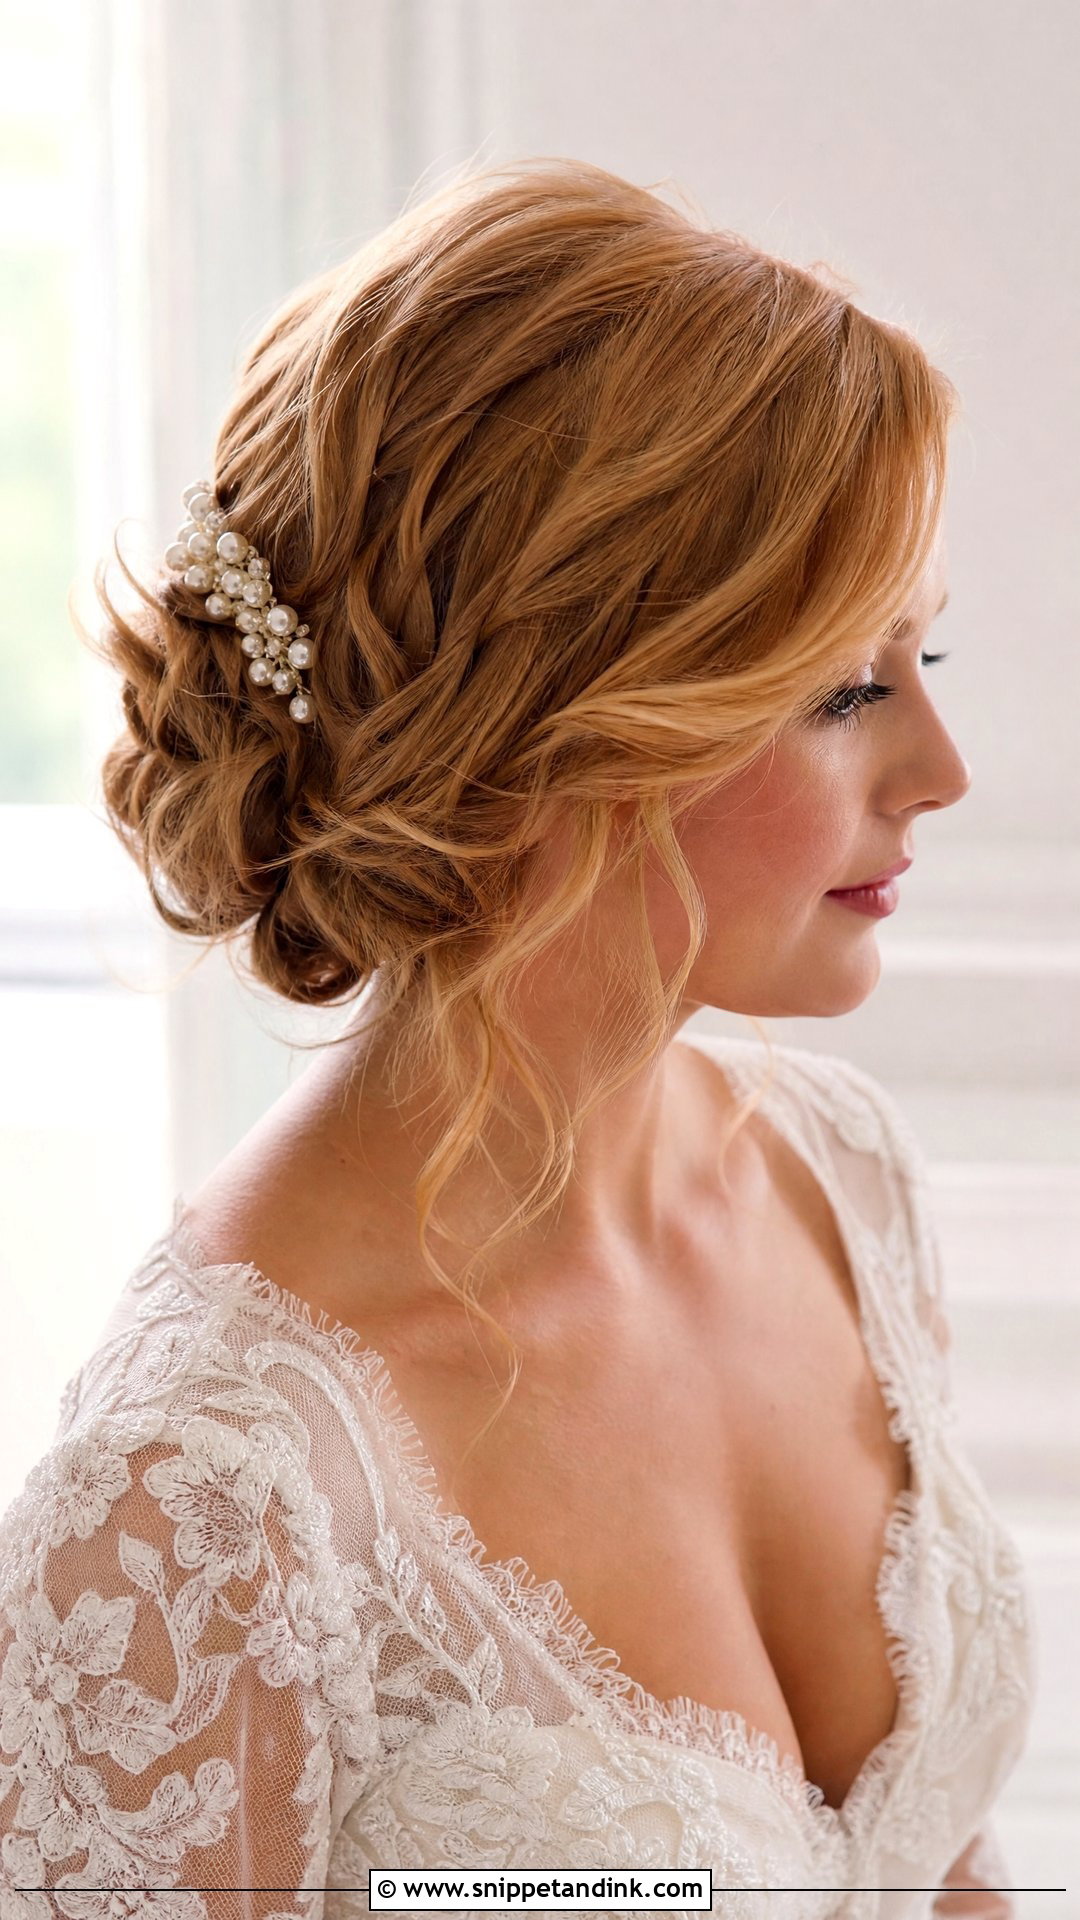
Bob and lob lengths can absolutely go up. I curl the hair first so the ends have somewhere to tuck, then twist and pin it into a faux chignon at the nape, which reads as a full updo from the front. Shorter layers can be swept back with texture and finished with pearl pins, a small comb or a light veil. Expect some short pieces at the nape to escape; I’d rather style those deliberately than fight them all day. If you want a big, high bun with short hair, you’ll need extensions, so say so before the trial.
Why Some Updos Read Classy and Others Read Prom
The difference is rarely the style itself. It’s in the finish, and you can spot it in your trial photos if you know where to look.
Signs it’s tipping the wrong way
- Tight, uniform ringlets pinned all over the bun. Brushed-out bends look far more grown-up.
- Front tendrils that are poker-straight or curled into springs. They should look like they fell out on their own.
- Too many accessories competing, such as a comb, pearl pins and a veil all crowding a small bun.
- A crunchy, wet-looking hold. You should be able to touch the hair without it crackling.
Prep that keeps it intact at midnight
Hair washed the night before usually grips pins better than squeaky-clean hair, though very fine or oily hair may still need a morning wash plus texture spray. Tell your stylist if you’ll keep the veil on through the reception, because that extra weight changes how the base is pinned. Ask her to leave a few matching bobby pins in your bag so a bridesmaid can fix a slipped piece in thirty seconds.
Budget roughly forty-five minutes to an hour and a half in the chair for the updo, longer for braids or set vintage waves. If you can, go near the end of the hair schedule so the style is at its freshest when you walk out.
Smooth Lines, Soft Edges and Pins You Never See
The classy updos are the ones where nothing looks forced. A sleek chignon belongs with a plain satin gown, a textured bun makes more sense with tulle or lace, and you only need one or two details from braids, pearls, twists and loose front pieces, never all of them. Bring your saved photos to the trial, then listen when your stylist tells you what your length and density can actually hold. Good prep and pinning you can’t see are what keep it looking the same at the last dance as it did at the first look.
You'll Like These Ideas:


Leave a Reply