
A low loose updo looks like it took ten minutes, and that’s the whole trick, because underneath it is usually the most carefully pinned style I do all day. It sits near the nape, keeps hair off your neck for the heat of the ceremony and still moves when you turn your head. Brides, bridesmaids, mothers and guests can all wear a version of it. Below are fifteen of them, with notes on how each one behaves on fine, thick, straight and curly hair, and what to watch for with veils, flowers and pearls.
The Hidden Structure Under Every Soft Updo
Brides often ask for something loose and then worry it won’t last. Both can be true, as long as the looseness is only on the surface. Here’s roughly how I build one, so you know what your stylist is doing and why it takes longer than it looks.
- Prep the hair a day ahead. Clean but not freshly washed hair holds pins and curls far better.
- Curl everything and let the curls cool in clips. This step sets the hold for the whole day.
- Make a small anchor at the nape, either a tiny ponytail or a cross of bobby pins, for the rest to pin into.
- Pin sections onto the anchor one at a time, leaving air between them.
- Pull out the front pieces last and loosen the top with fingertips, never a brush.
If your stylist skips the anchor, ask about it. Without one, a soft updo relies on pins gripping other loose hair, and that’s what slides down the neck by dinner.
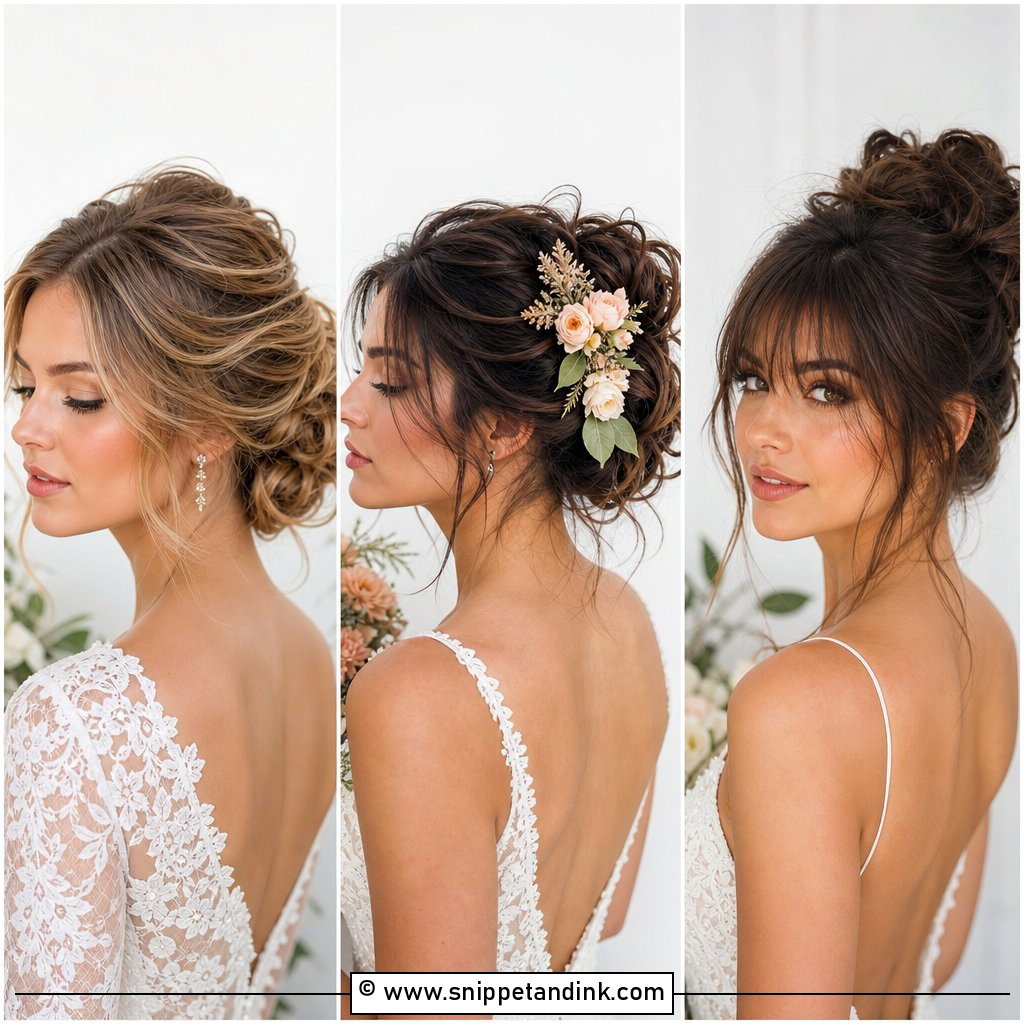
1. Low Loose Wedding Updo With Face Framing Pieces
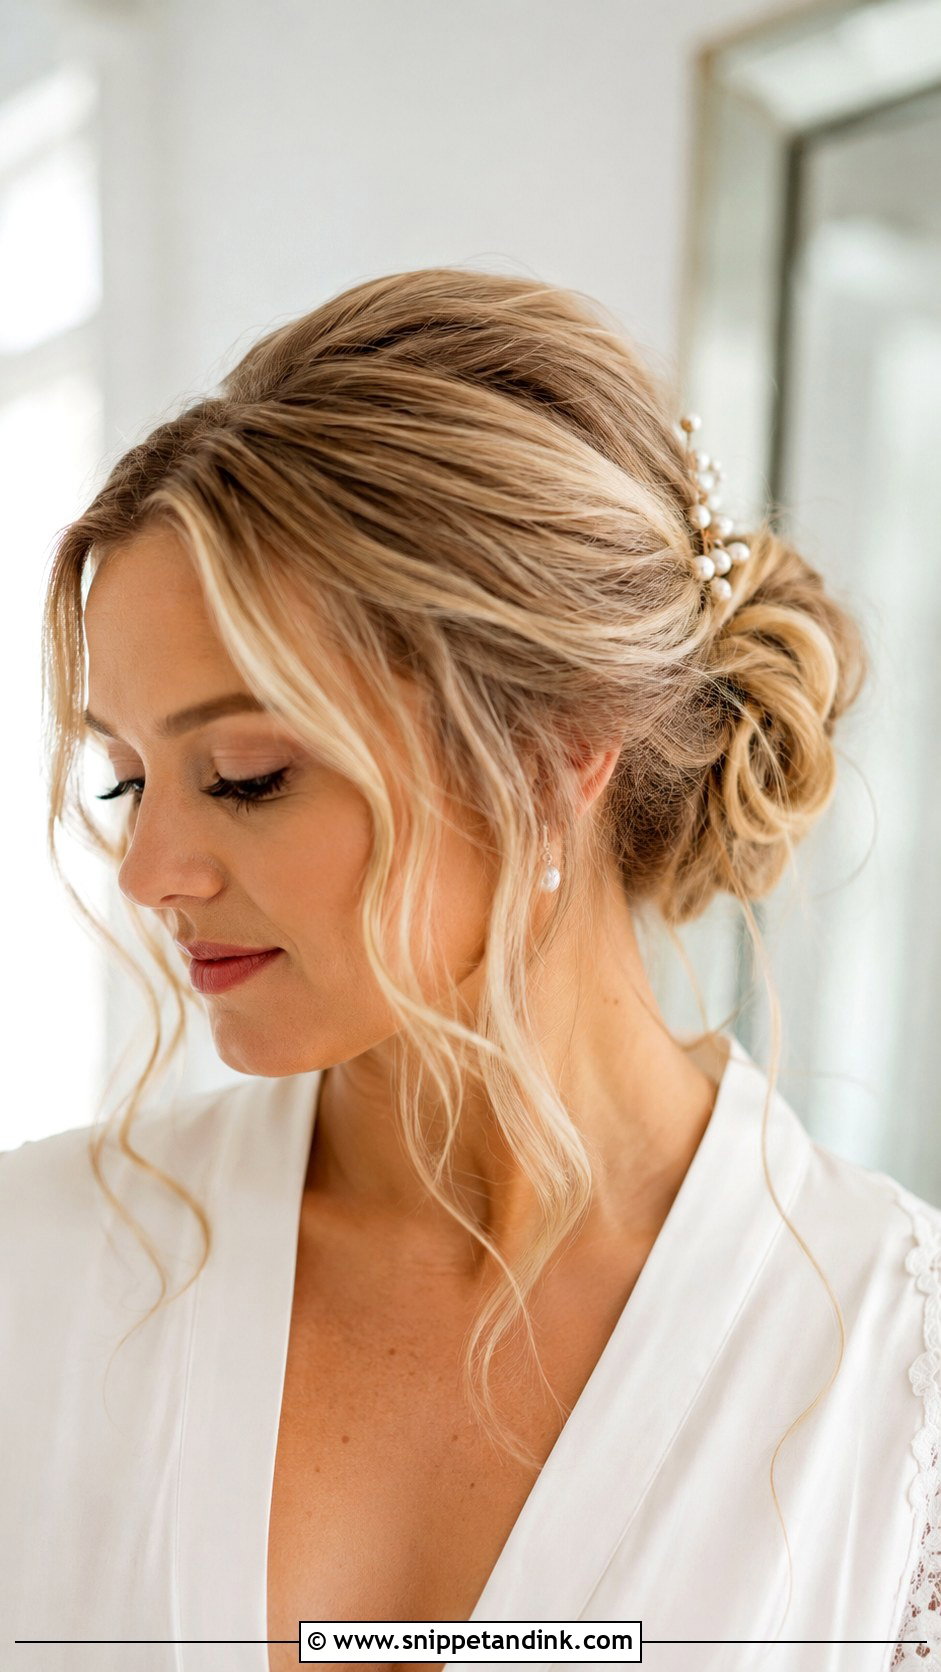
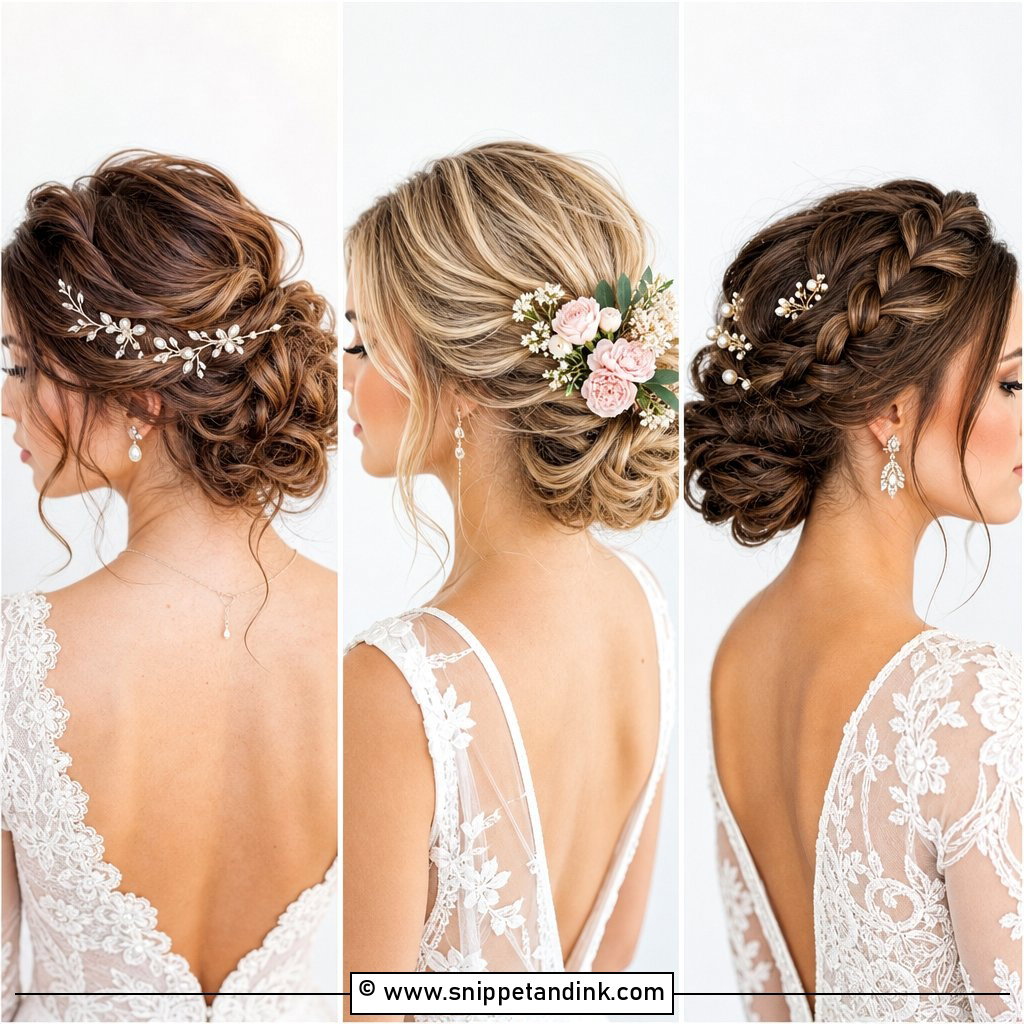
Face-framing pieces do most of the softening in this style, which is why I spend more time on them than on the bun. I cut nothing; I simply leave two thin sections at the temples and curl them away from the face so they don’t fall into your eyes during the vows. The bun sits at the nape with a few tucked twists for fullness. Keep those front pieces light. A thick section just hangs flat and sticks to lip gloss by mid-afternoon.
2. Low Loose Wedding Bun With Soft Curls
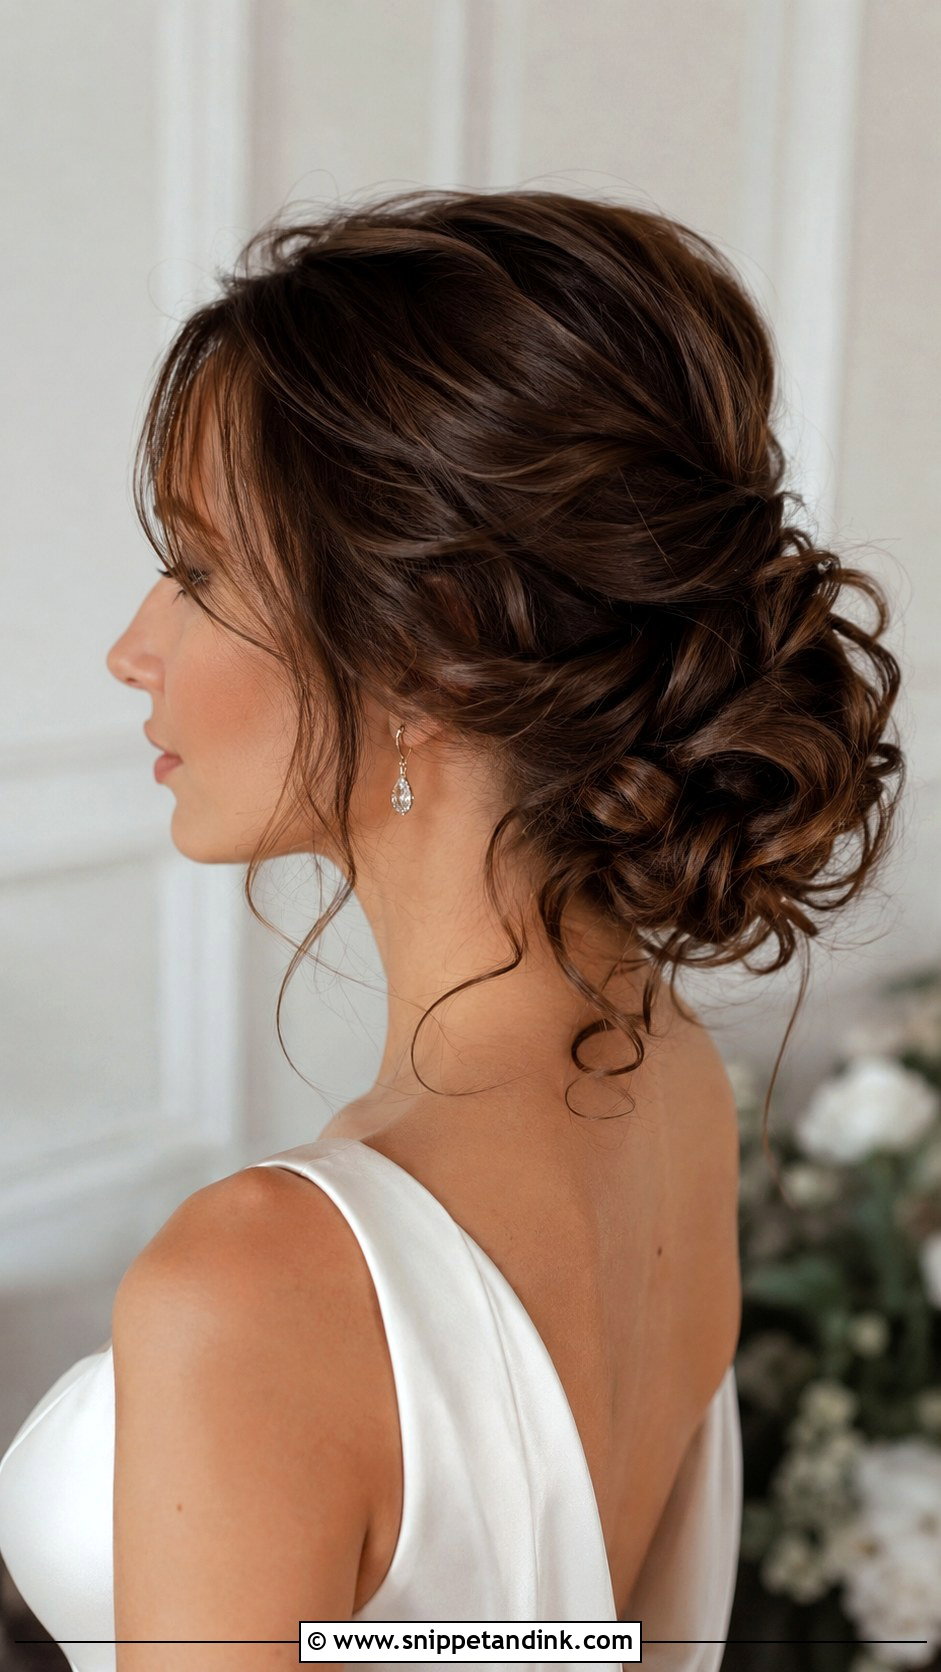
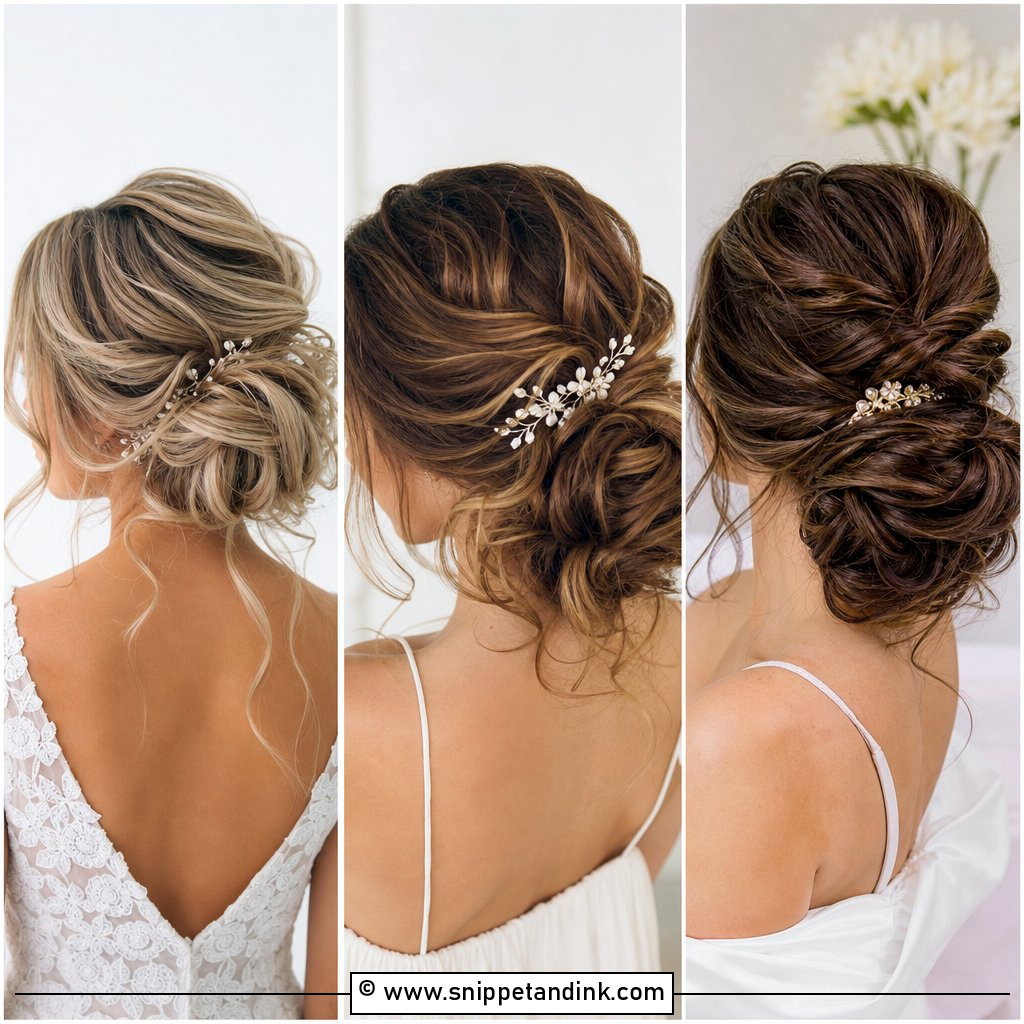
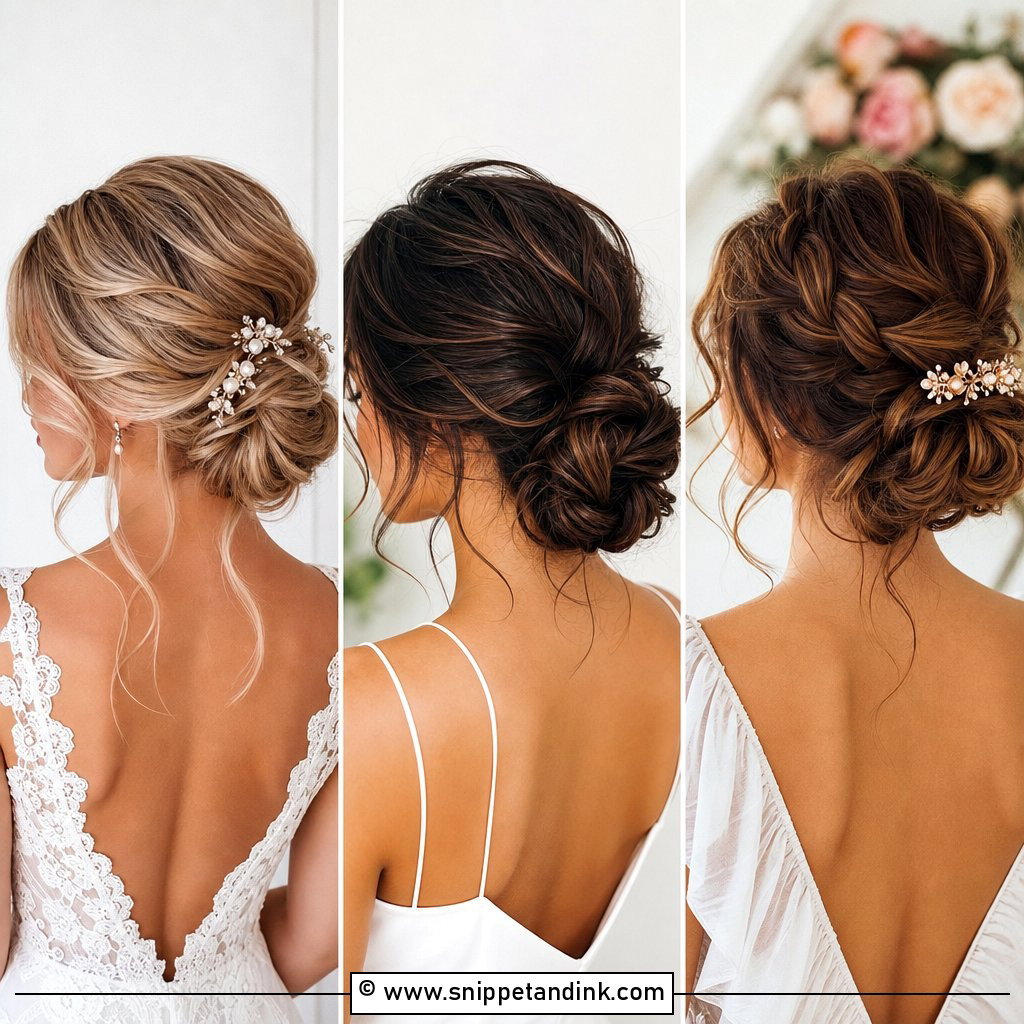
Curls come first, and they have to cool completely before I touch them. Pin a warm curl and it relaxes into a limp loop within the hour, so I let each one set in a clip while I work on the next section. Then I break them up and pin them into a rounded bun with air between the sections, which is what gives the back its depth in photos. Medium to long hair suits it best. Fine hair may need a small padding piece or a couple of extensions to fill the shape.
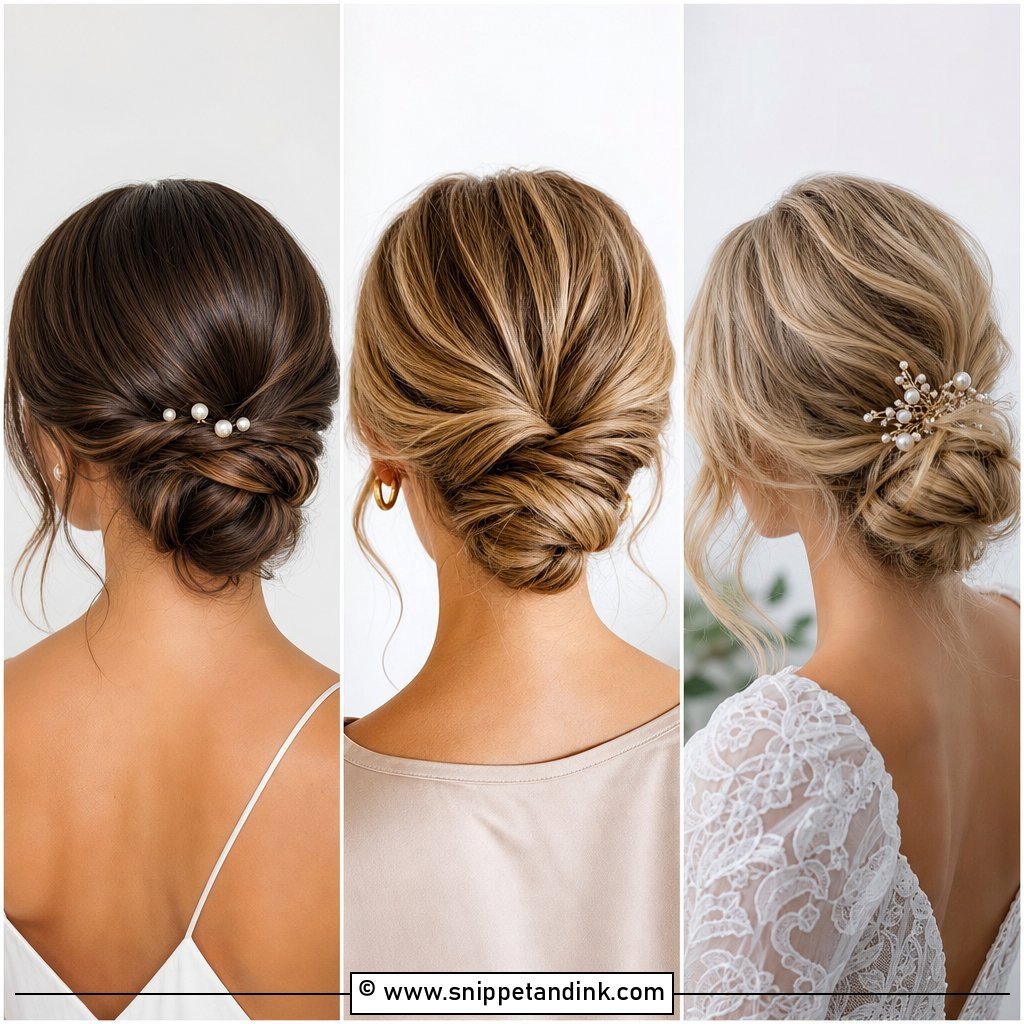
3. Low Loose Chignon Wedding Updo
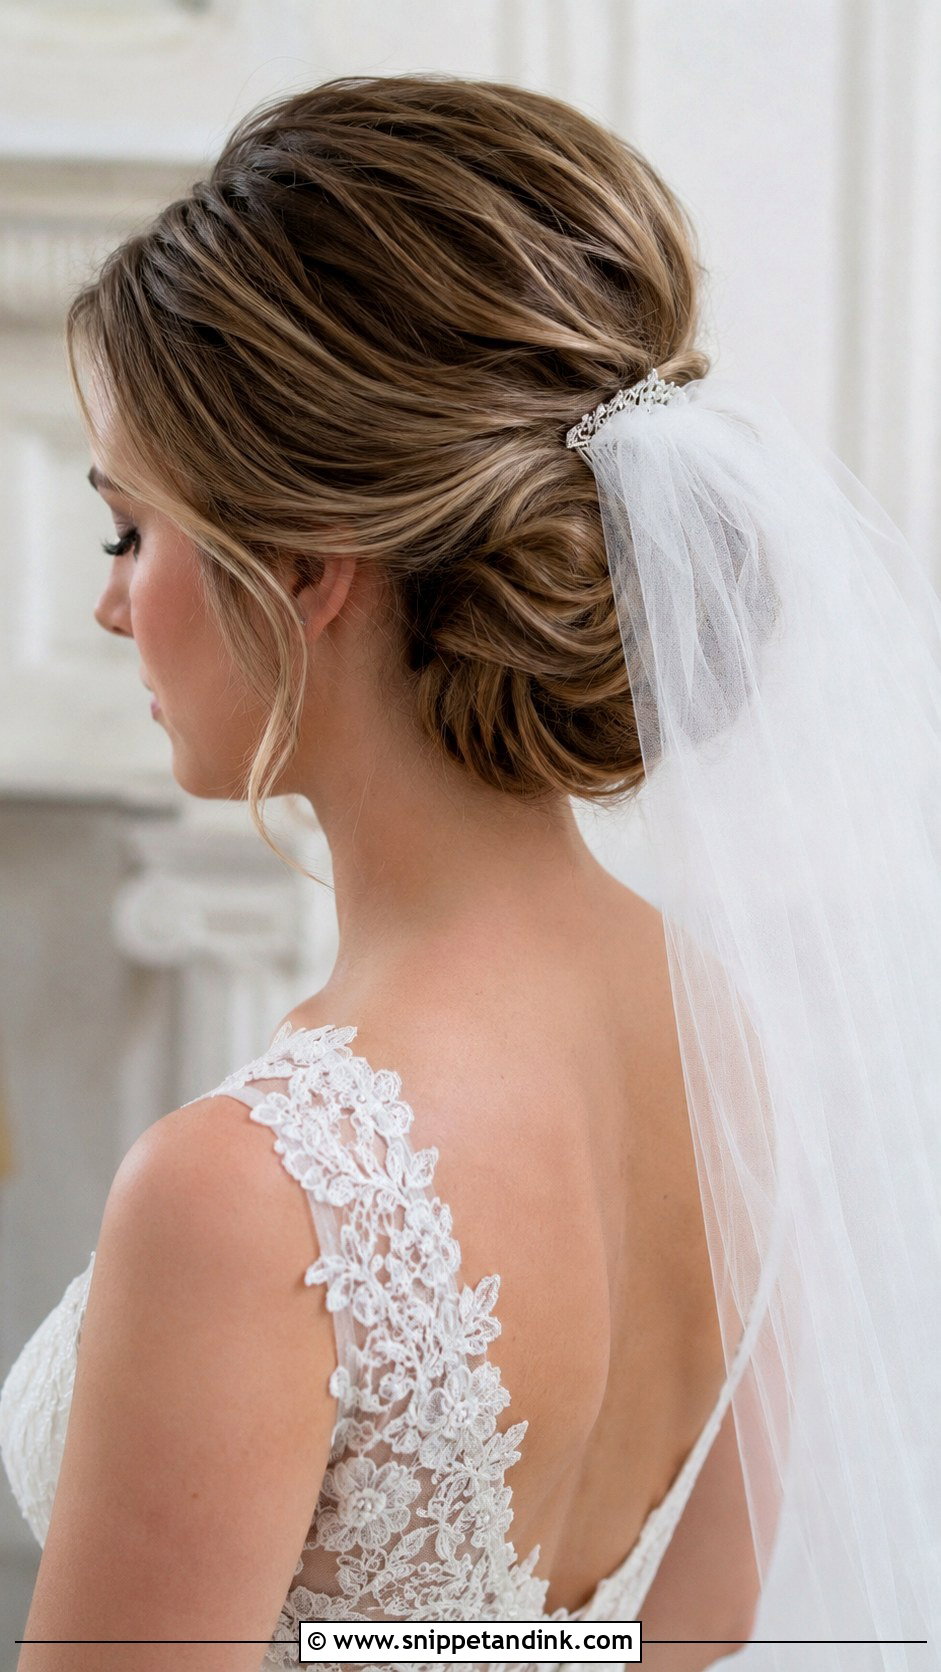
Think of this as a chignon with the tension let out. The hair gathers near the nape and is shaped into a soft roll or tucked bun, but the crown and sides are left slightly loose rather than brushed flat. Classic gowns, satin and plain veils all sit well with it. My test is simple: if you can see comb lines, it’s too tight; if the roll moves when you nod, it needs another pin. Of everything here, it’s the style least likely to date in your photos.
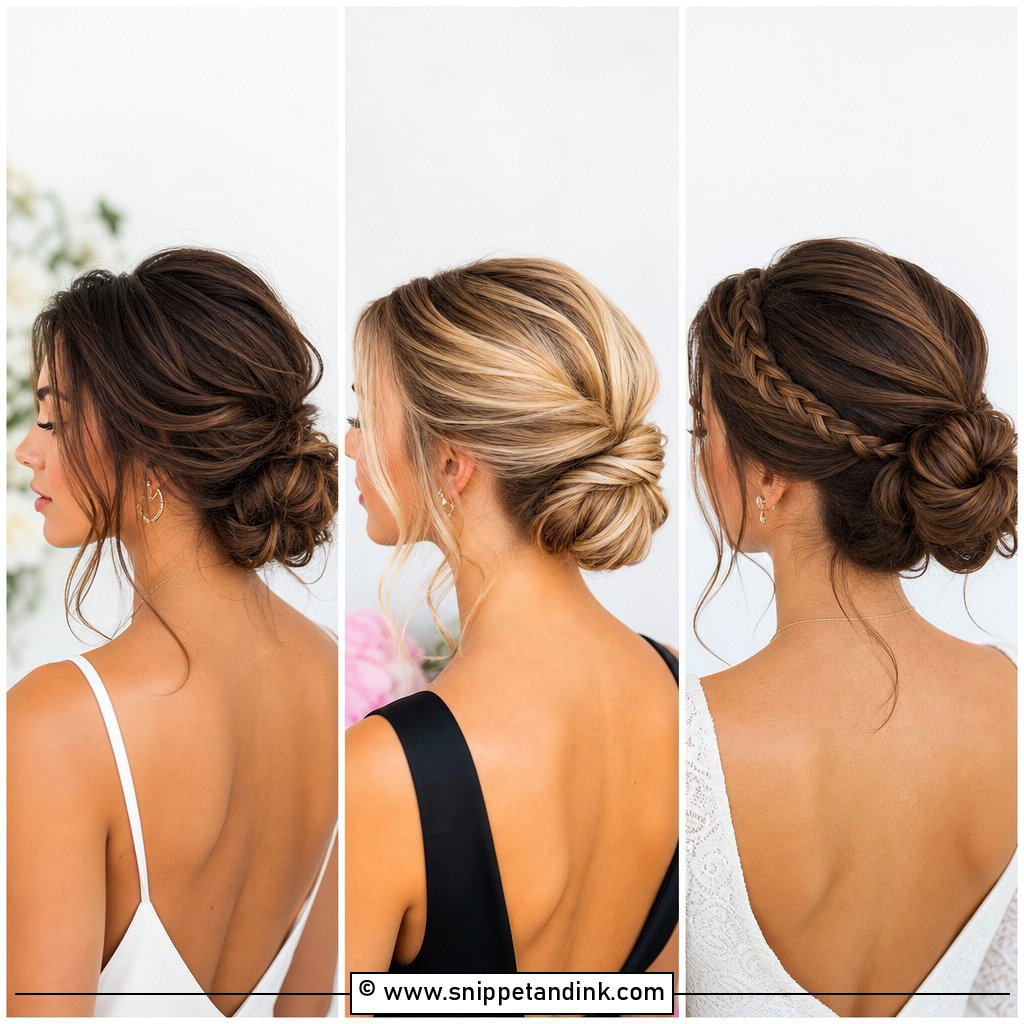
4. Low Loose Twisted Wedding Updo
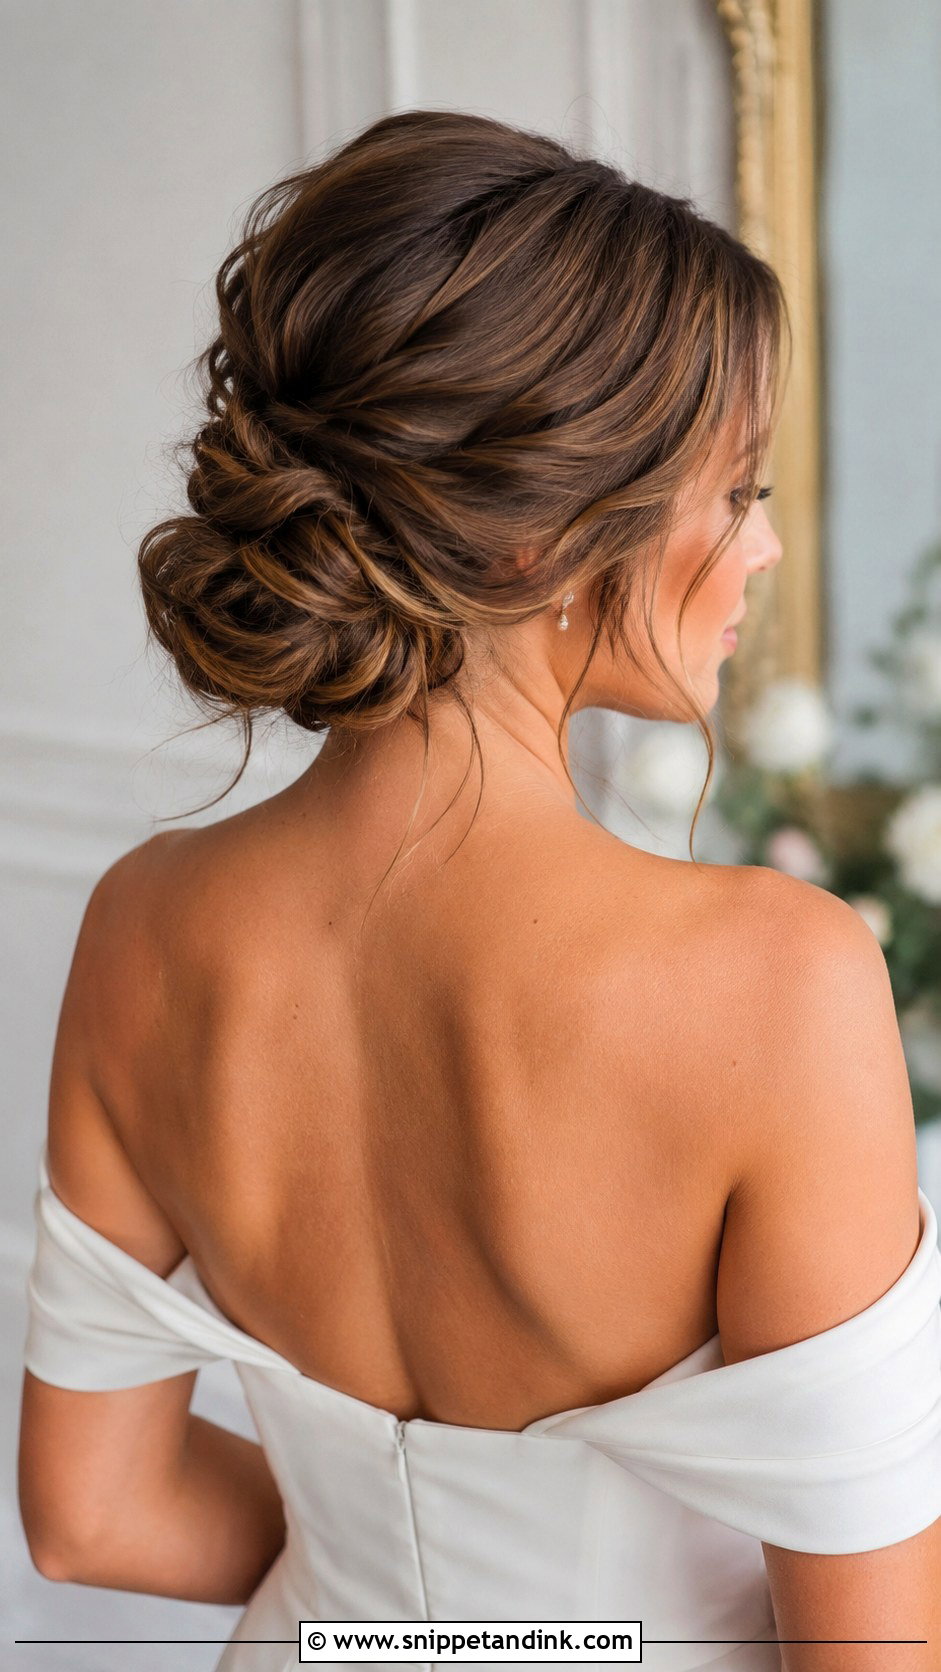
No braids needed here. Sections of hair are twisted back from the temples and pinned into a low bun or knot, which gives the sides movement without much product. I always twist away from the face, because twists that turn inwards tend to unravel as you move. Highlights and balayage show it off since each twist exposes a different tone. Finish with a flexible spray; a stiff lacquer makes the twists look crunchy up close.
5. Low Loose Braided Wedding Updo
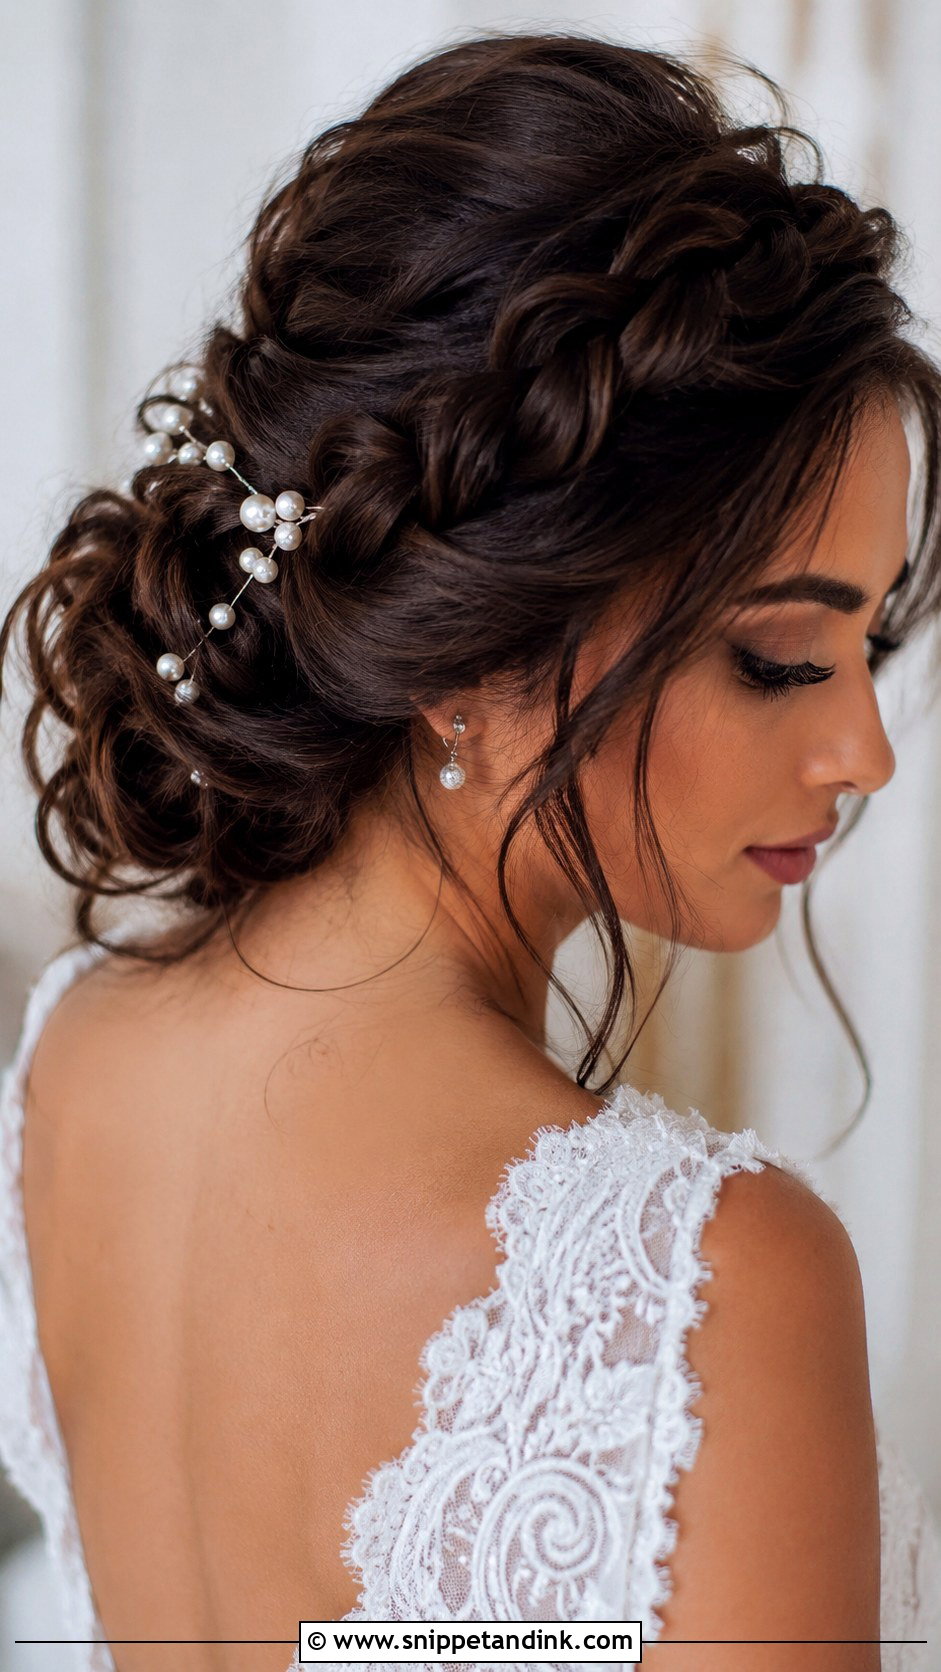
A soft braid gives a loose updo a little more grip, which is why I suggest it to brides worried that a relaxed style won’t last. The plait can run along one side, wrap into the bun or cross the back. Braid it firmly, then pull it apart so it blends in rather than sitting there like a separate rope. On thick hair, braiding is also the easiest way to shrink the volume before it goes into the bun. Small flowers or a plain comb finish it.
6. Low Loose Wedding Updo For Long Hair
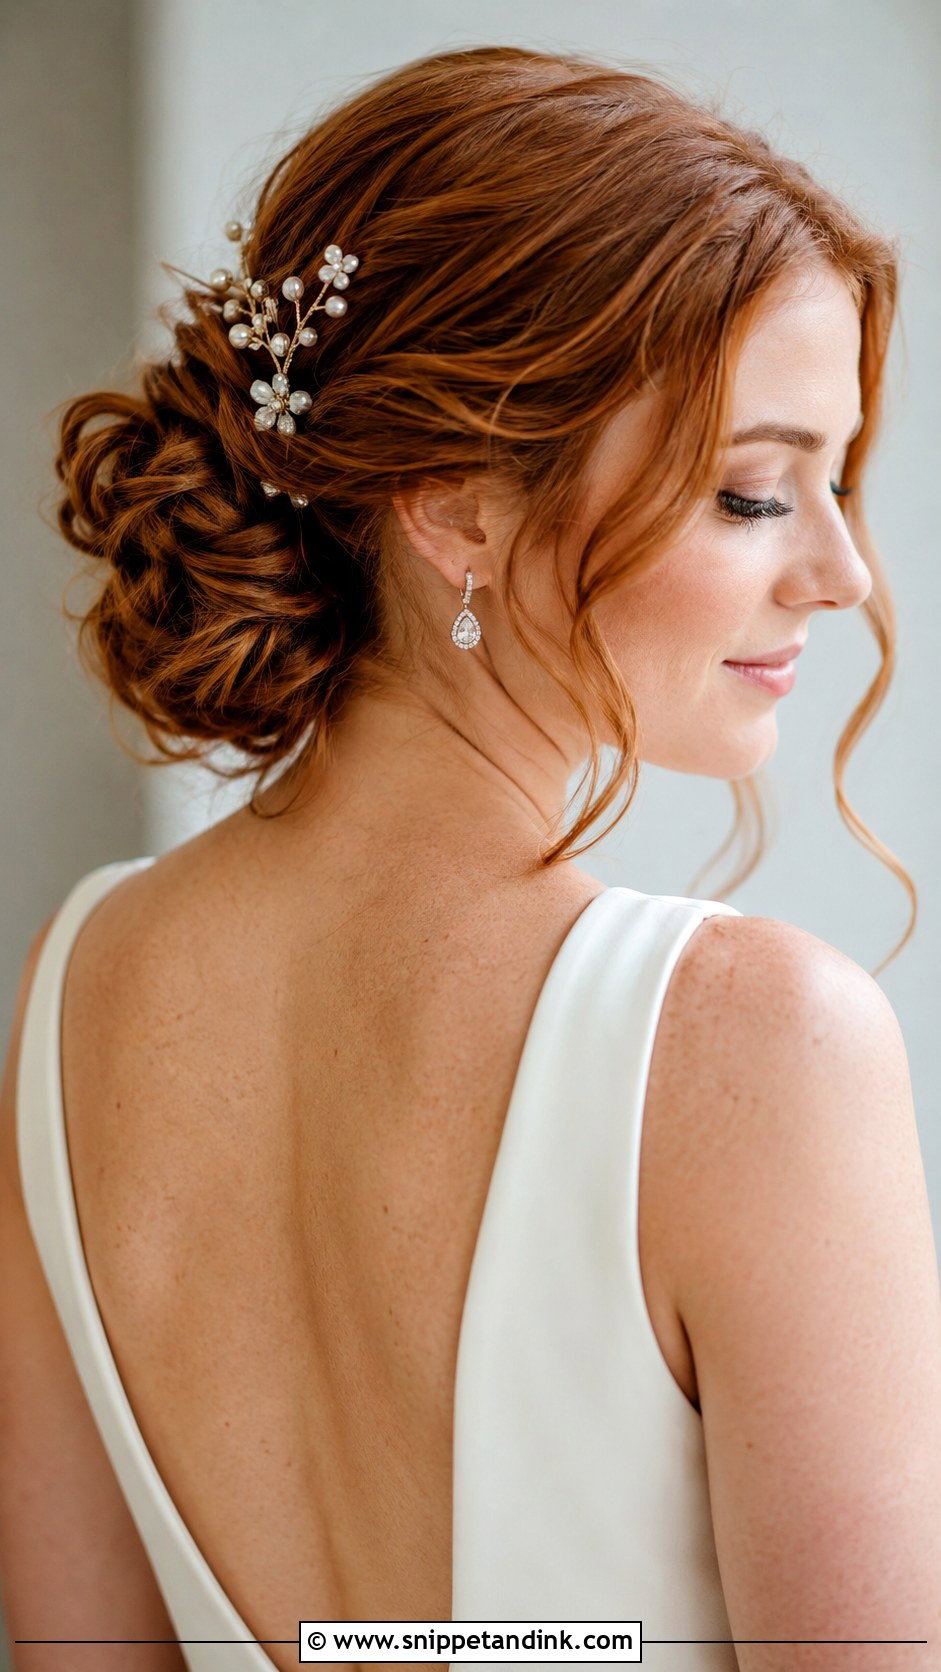
Long hair gives me room to fold, loop and twist, and that’s how you get the big romantic back view without wearing your hair down. The risk is weight. Everything pinned into one knot pulls on the scalp, and by the reception some brides are quietly pulling pins out. I split the length into two or three sections and anchor each one separately so the load spreads across the nape. Your trial is when we find out if it’s comfortable, so wear it for a few hours afterwards.
7. Low Loose Wedding Updo For Medium Hair
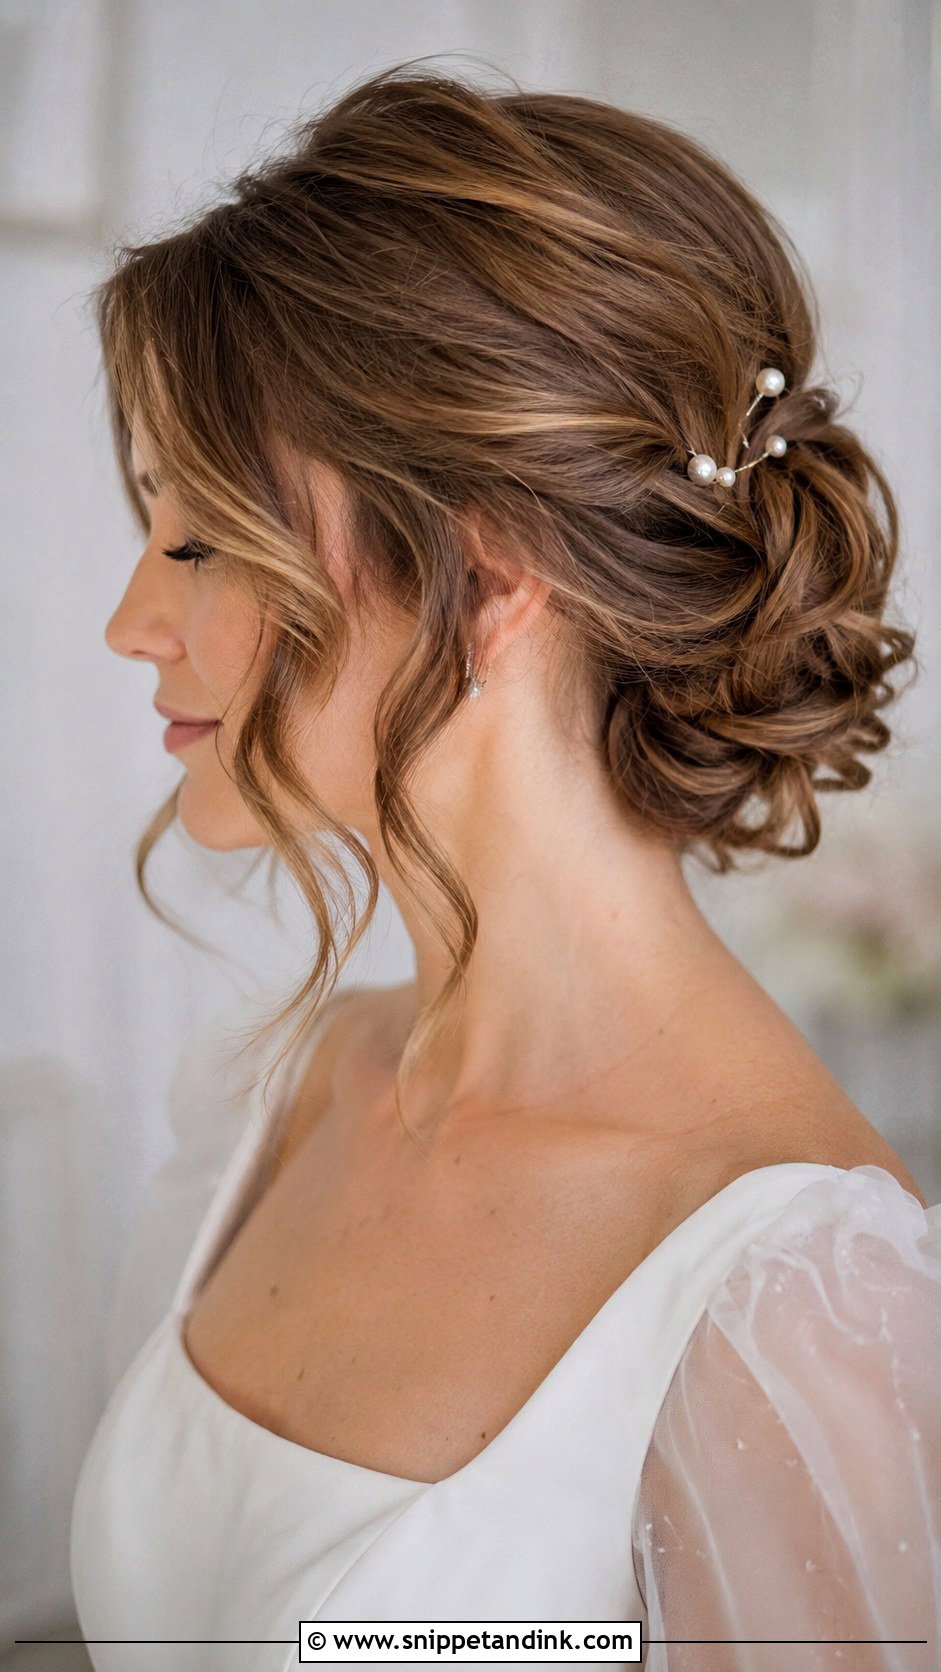
Shoulder and collarbone length is my favourite for this style, honestly. It’s long enough to tuck into a soft nape shape and short enough that there’s no heavy bun dragging on your scalp. I curl it first, then pin pieces under and across each other so the ends hide inside the shape. Shorter layers near the face may pop out, so a few extra pins and some texture spray keep them in. Small combs, pearl accents and short veils suit it.
8. Low Loose Wedding Updo For Fine Hair
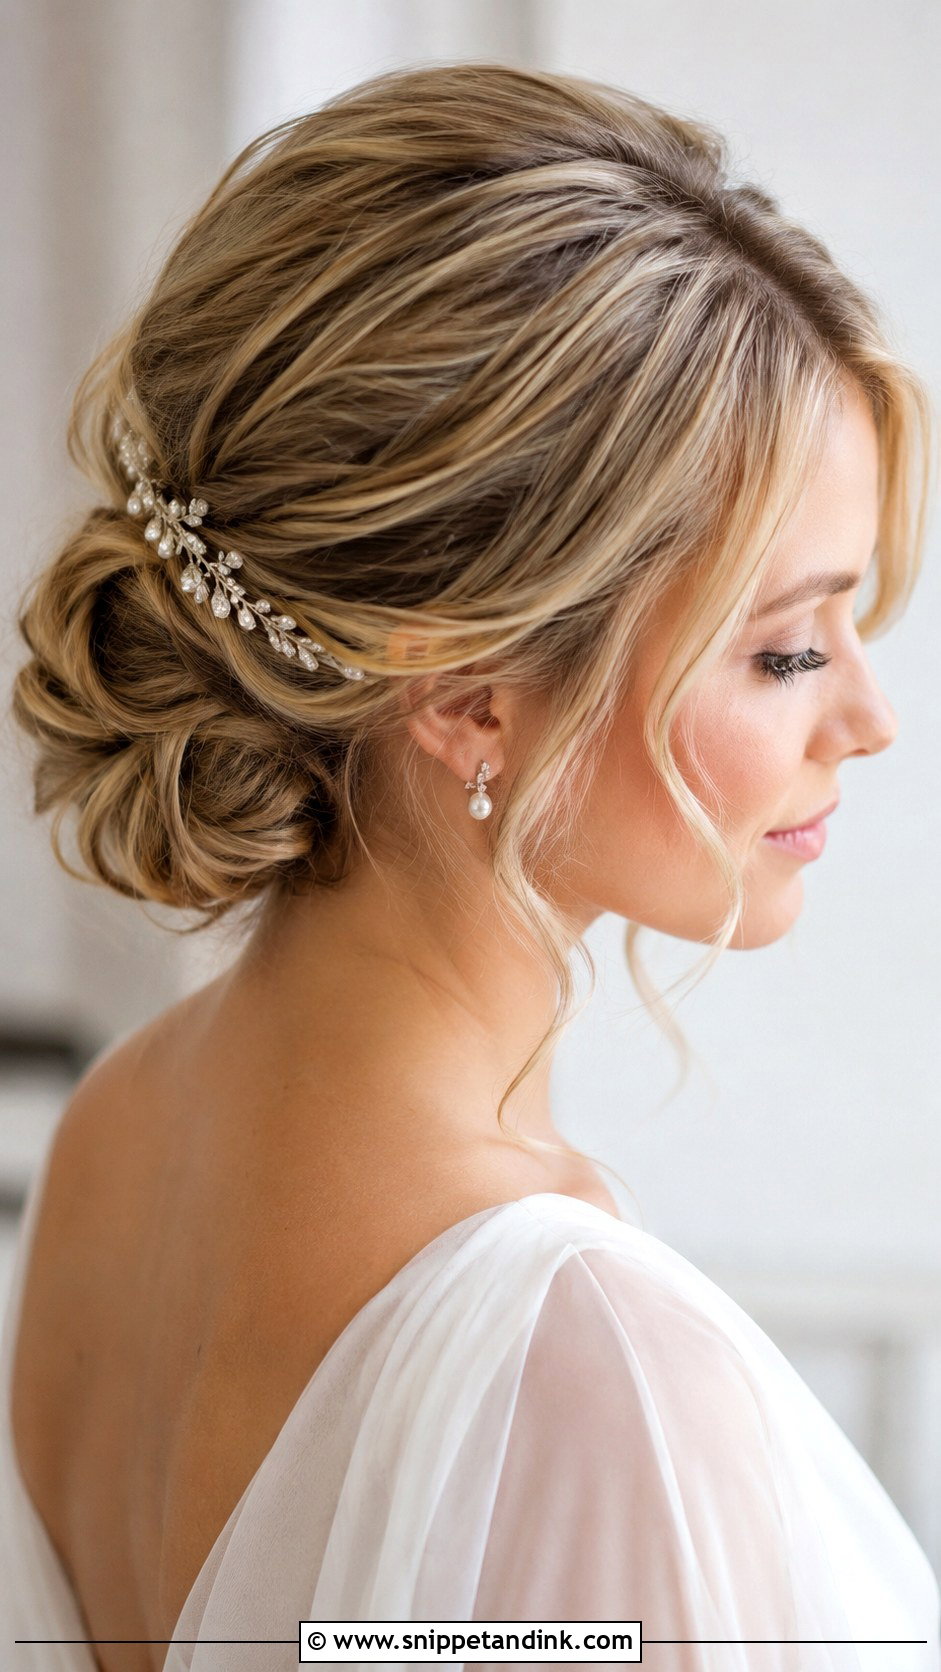
On fine hair the texture has to go in before the pins, not after. Spray volumiser at the root while the hair is damp, curl it, then backcomb lightly at the crown so the pins have something to grip. I keep the bun airy and pull it slightly wider than it wants to sit, since a tight knot on fine hair looks small from behind. Skip heavy oils and serums on the morning. A slim comb or a light veil adds detail without flattening the shape.
9. Low Loose Wedding Updo For Thick Hair
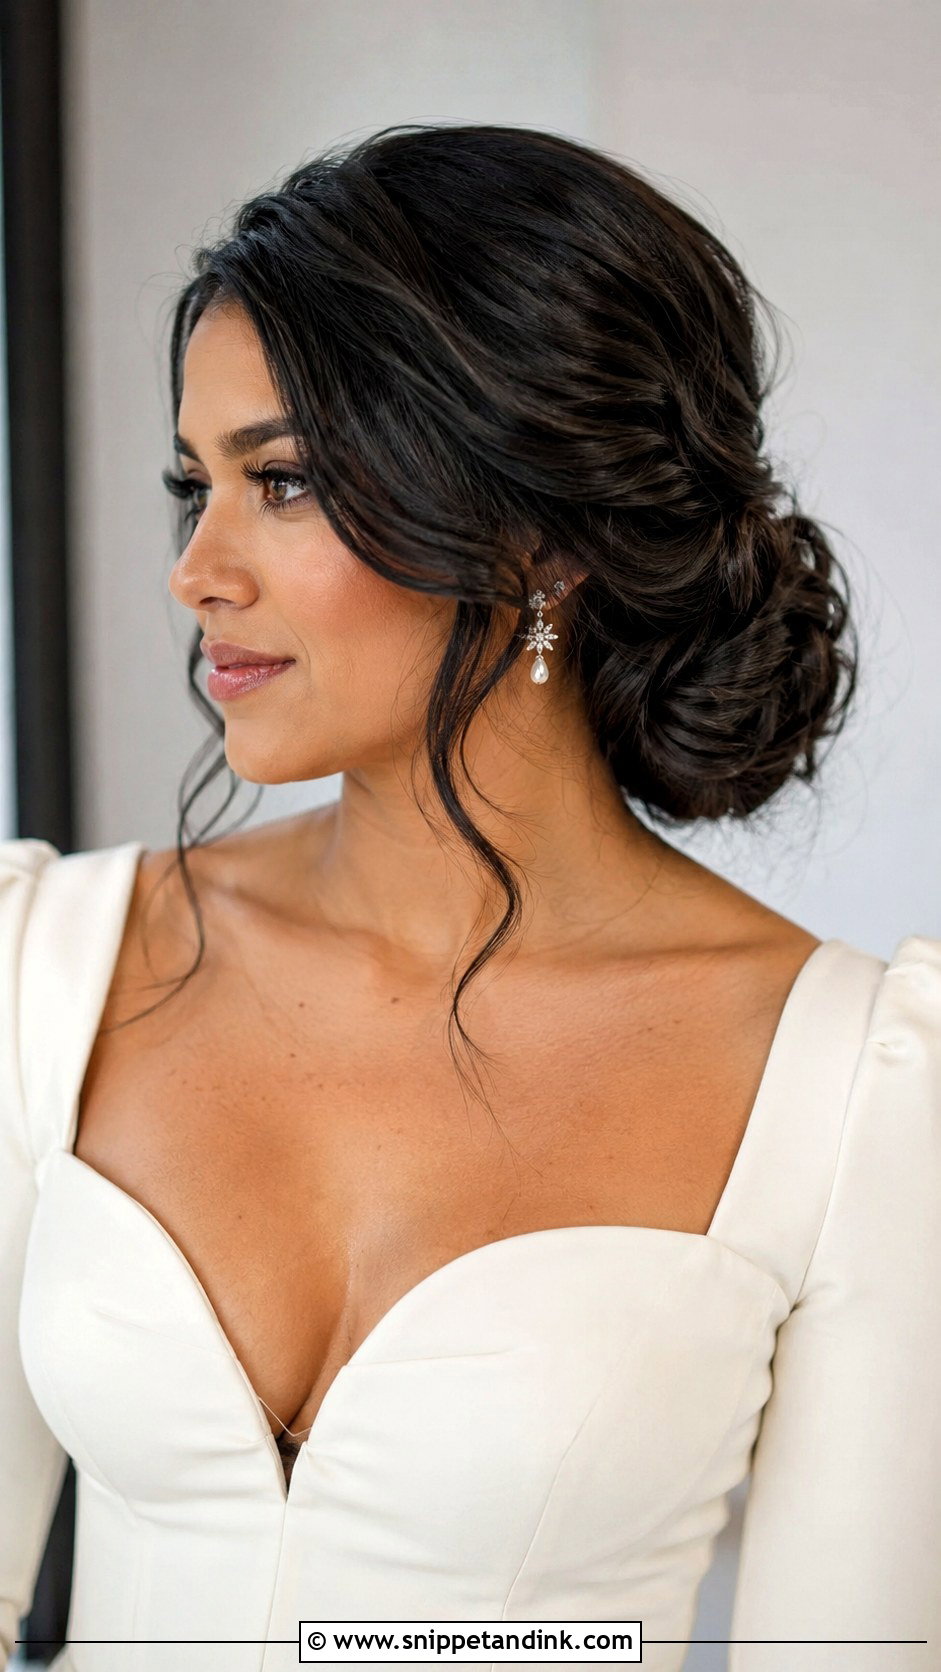
Thick hair builds volume on its own, so the job is to stop the updo turning into one bulky lump. I work in smaller sections than usual, twisting and pinning each one flat before the next goes on, which spreads the weight across the nape instead of piling it in one spot. Very dense hair often looks better in a wider, flatter shape than a round knot. Loose tendrils around the face help take the heaviness out of the front.
10. Low Loose Curly Wedding Updo
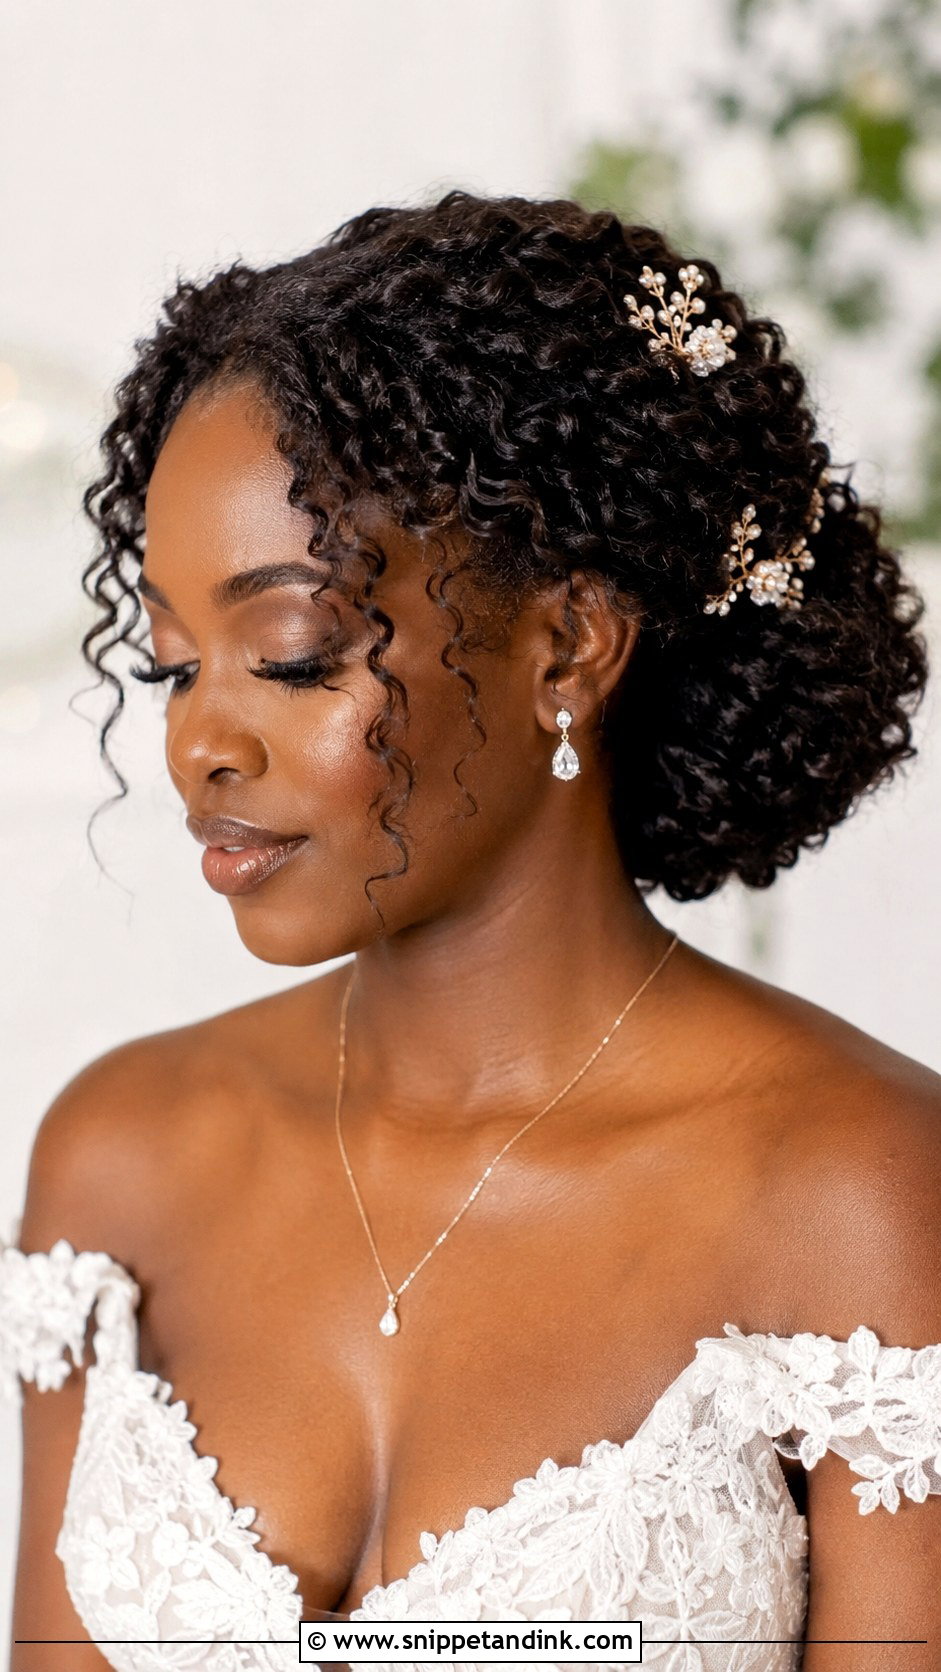
Natural curls shouldn’t be brushed out for this. I pin the hair so the curl pattern stays defined, layering coils into a rounded shape at the nape. Moisture is everything: hydrate the curls well the day before and apply curl cream before styling, or they frizz the moment they’re handled. It pairs well with curly bangs, face framing coils or a few loose pieces by the ears. If you add flowers or pins, place them between curls, never on top.
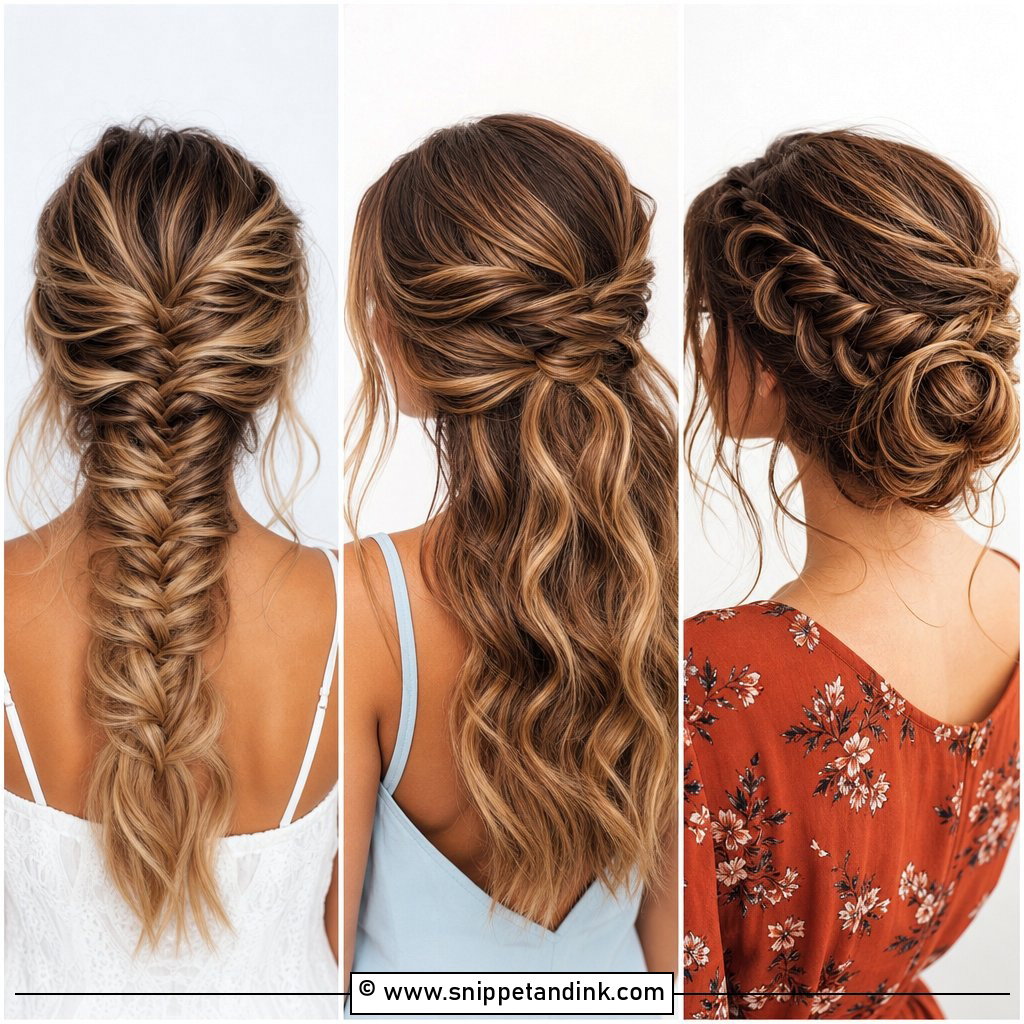
11. Low Loose Messy Wedding Updo
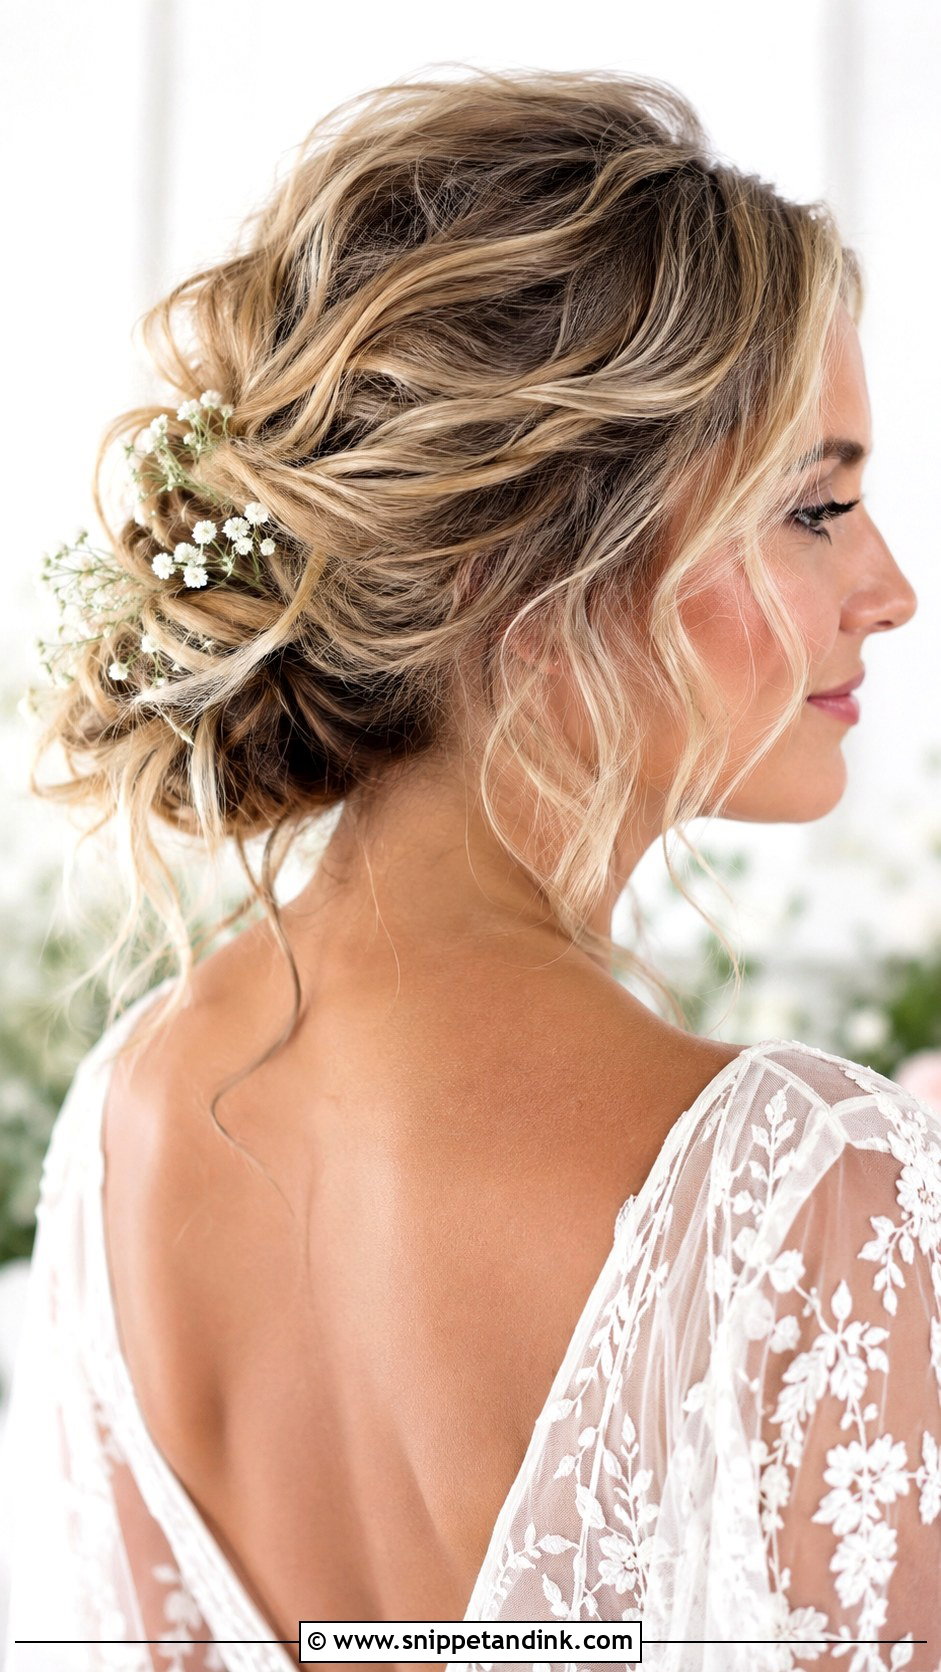
Messy has a bad reputation because it often is just messy. The version I’d put on a bride has a clear shape underneath and only the surface left soft, with curled sections pinned in different directions and a handful of strands around the face. Boho, beach and garden weddings suit it. If your veil is long, I’d go a touch tidier, as tulle catches on loose strands and pulls them free every time it moves. A thin vine or a few pearls dress it up.
12. Low Loose Wedding Updo With Pearls
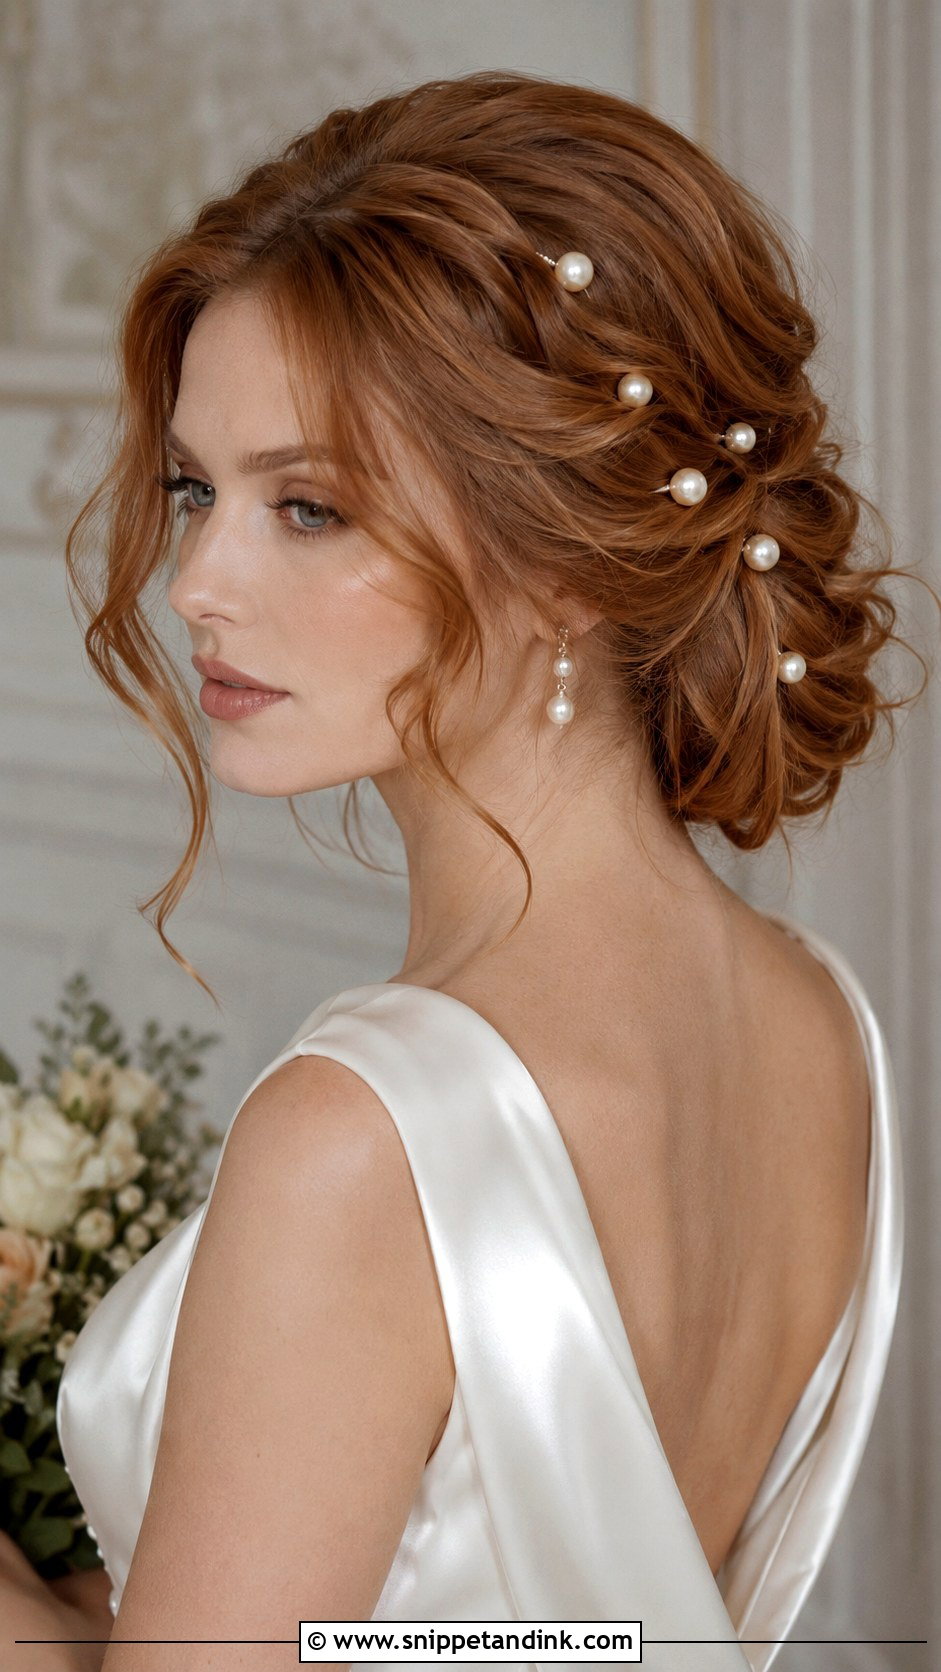
Pearls look best tucked into the folds of a soft updo, where they catch light without covering the texture. Scatter them through the bun, along twisted sections or around the nape. I keep the updo itself simple, since pearls on a complicated style just add noise. Lace and plain satin are easy partners. Match the pearl tone to your earrings or veil edging: white, ivory and cream pearls look surprisingly different side by side in daylight.
13. Low Loose Wedding Updo With Flowers
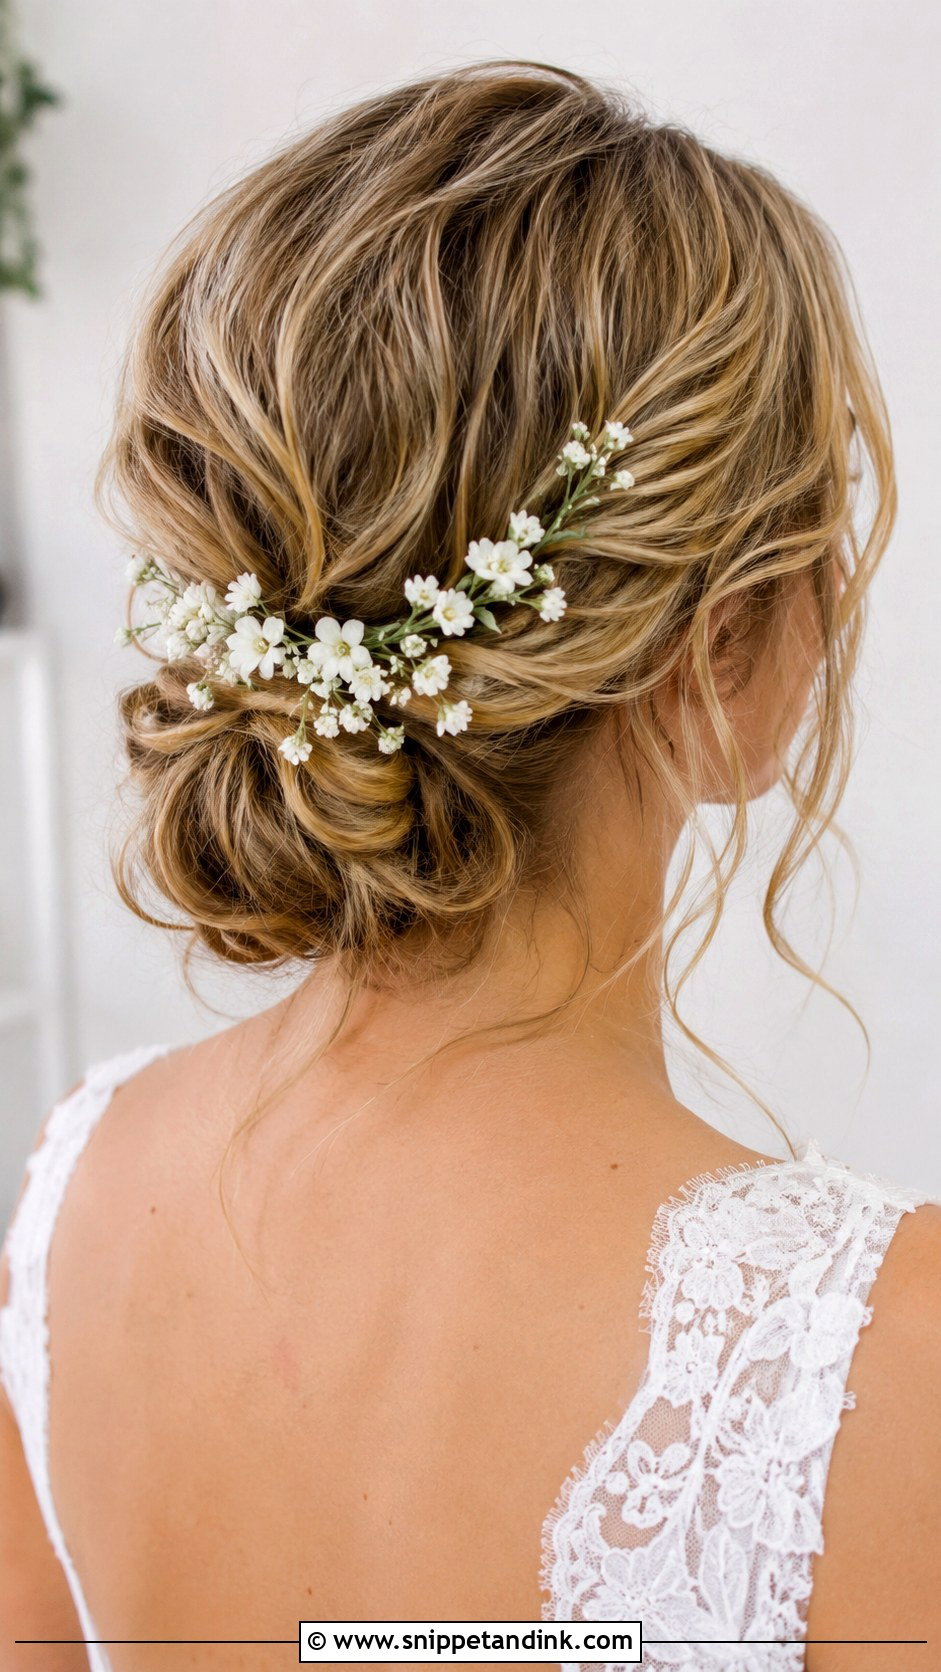
Flowers suit spring, summer and garden weddings, tucked into the bun, along one side or between the twists. Match the bloom size to your hair: tiny buds look right on fine hair, while fuller flowers suit thick or long lengths. A soft wavy bun gives stems the most places to hide. Some blooms wilt quickly once they’re off water and against a warm head, so ask your florist for sturdy, wired flowers delivered close to styling time.
14. Low Loose Wedding Updo With Veil
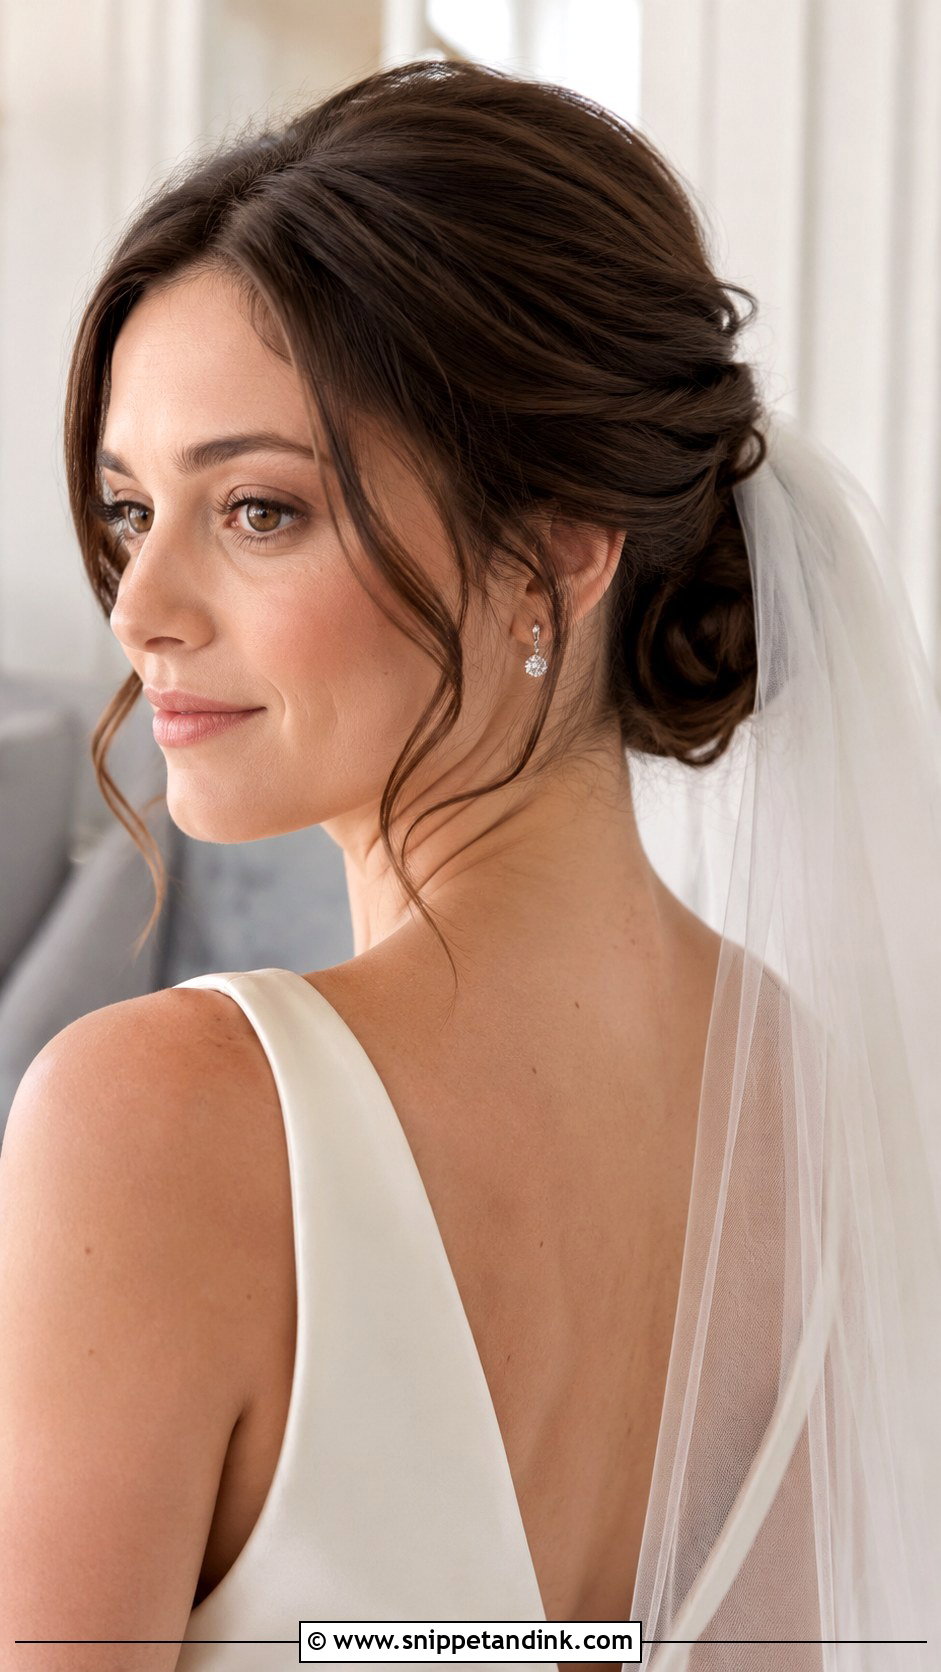
Low placement gives the veil comb a solid base, which is the practical reason so many brides pick this pairing. Set the veil above the bun for a classic outline or tuck it underneath for a softer one. Neck and shoulders stay clear for a detailed back, an off-shoulder neckline or big earrings. The bun has to be firm where the comb goes in; I build a hidden anchor of crossed pins there first. Once the veil comes off, the loose curls at the nape take over, and the style looks good from the aisle to the reception.
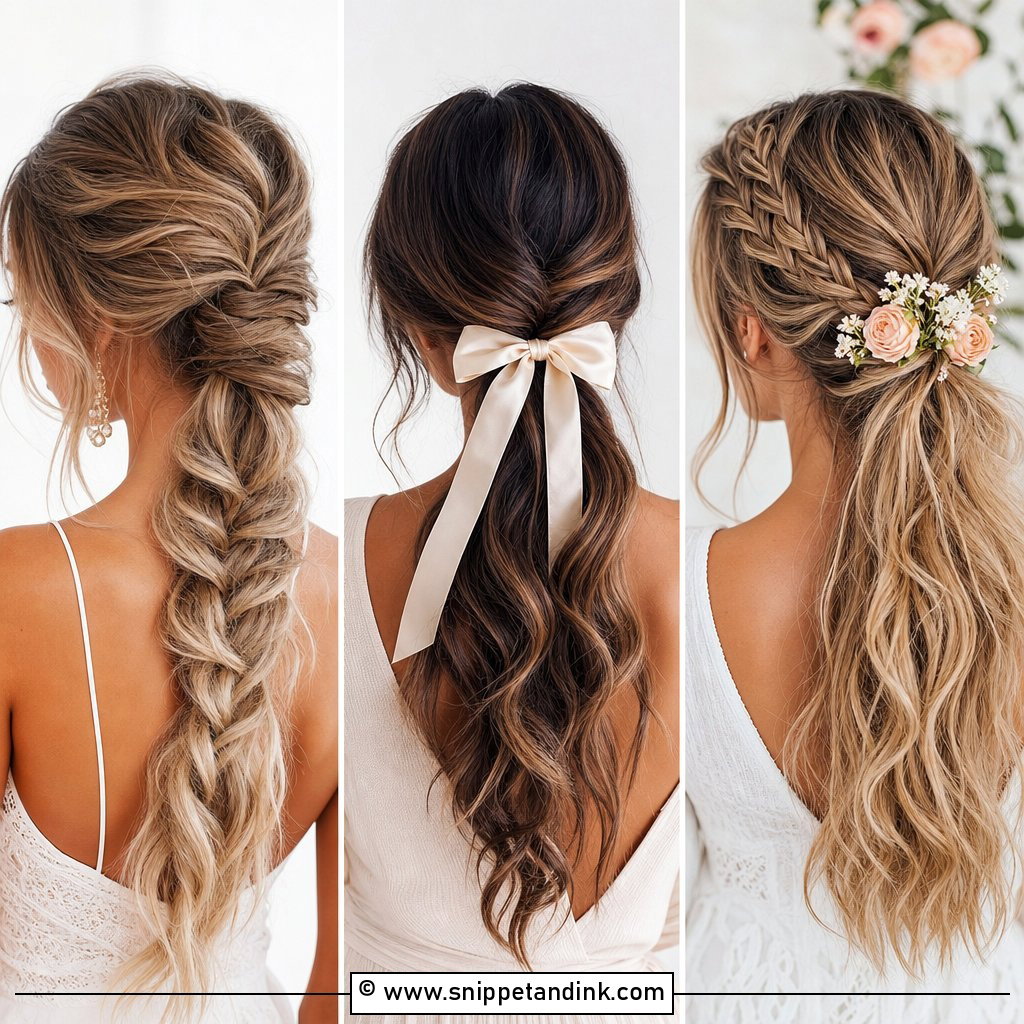
15. Low Loose Side Wedding Updo
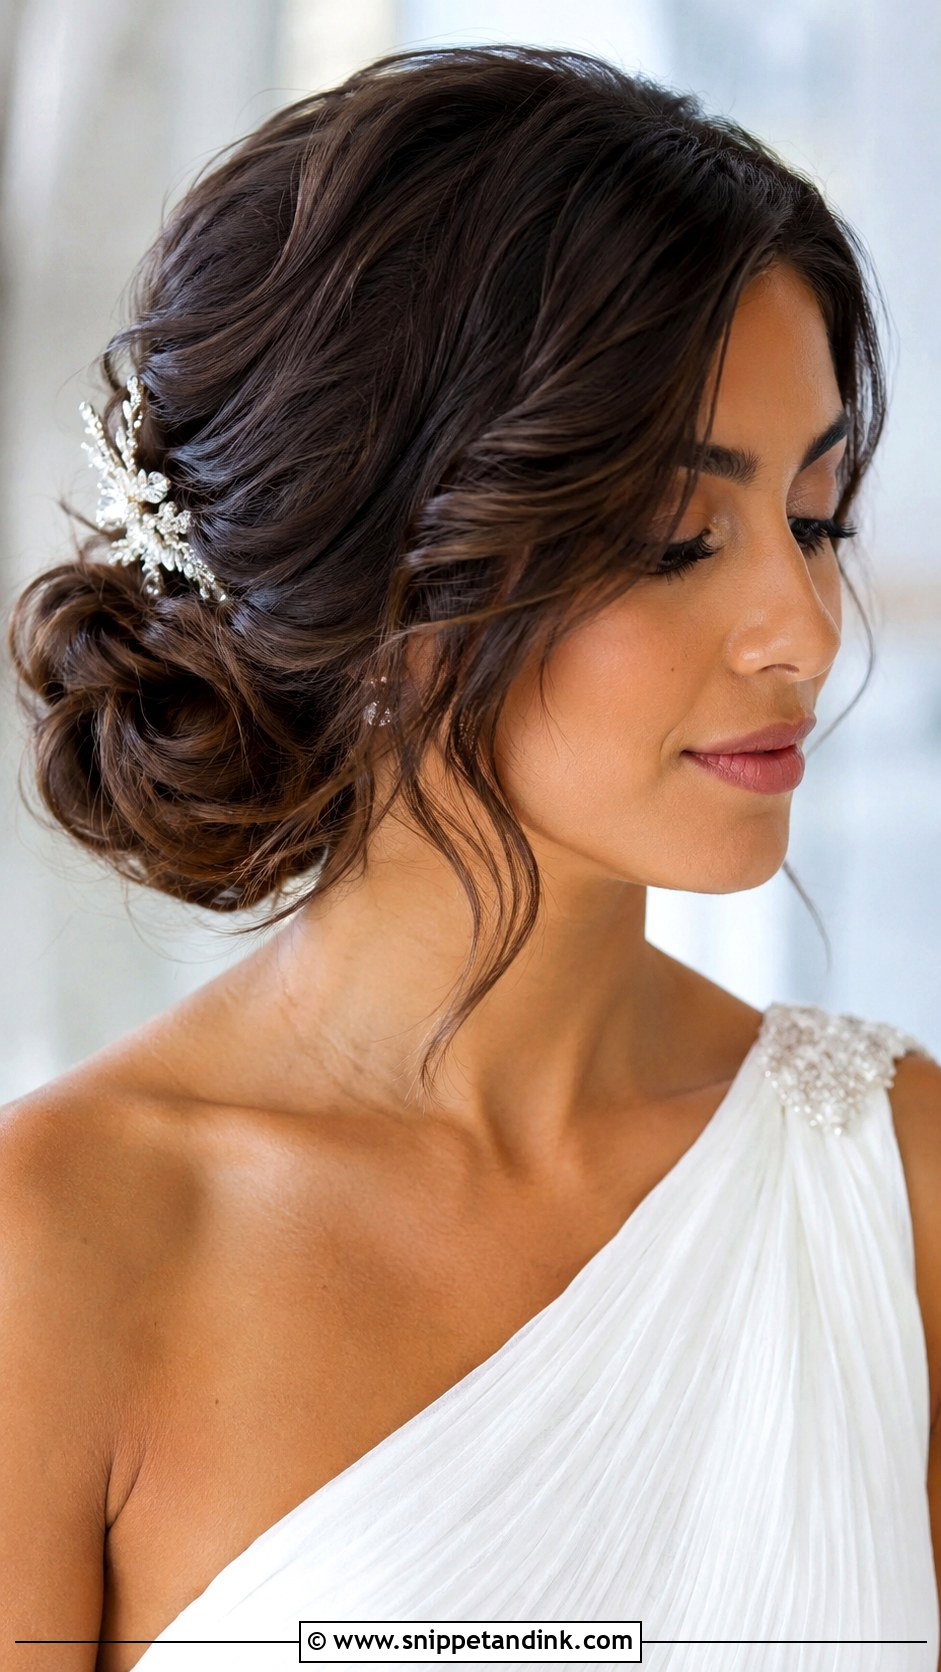
Sweeping the bun slightly off-centre changes the front view more than the back, which is why I like it for brides who will be photographed face-on most of the day. It’s a natural match for side parts, soft waves and one-shoulder or asymmetric dresses. Don’t let it drift too far round; once it sits behind the ear it starts to look lopsided. A few loose pieces at the front link the two halves. Place a comb or a small bloom on the fuller side.
Damp Air, Heat and the Pieces Around Your Face
The bun at the back rarely gives up. It’s the face-framing pieces that change first, because they’re thin, warm from your skin and touched constantly. Straight hair drops its curl in humid weather, and naturally wavy hair frizzes, so the plan differs depending on which one you have.
For straight or fine hair, ask for the front pieces to be curled a little tighter than you want them, as they’ll relax into the right shape by the ceremony. Wavy and curly hair needs the opposite: a light anti-humidity product before styling, and fewer loose pieces so there’s less to frizz.
Give your maid of honour a tiny kit for the afternoon:
- six bobby pins matched to your hair colour
- a travel-size flexible hairspray
- a mini flat iron or curling wand if the venue has a socket
- a clear elastic, in case a twist comes undone and needs rebuilding
Avoid touching the front pieces, too. Every time you tuck one behind your ear, it loses a little more curl.
Is a Loose Updo Right for the Day You’ve Planned?
A low loose updo gives you comfort and movement while staying firmly in place, and it works with veils, pearls, flowers and nearly any neckline. Base the version on your hair’s length and density first, then on how formal the day feels. Bring photos to your trial, wear your accessories at it and keep the style in for a few hours afterwards. If it still looks soft and you’ve forgotten it’s there, that’s your look.
You'll Like These Ideas:


Leave a Reply