
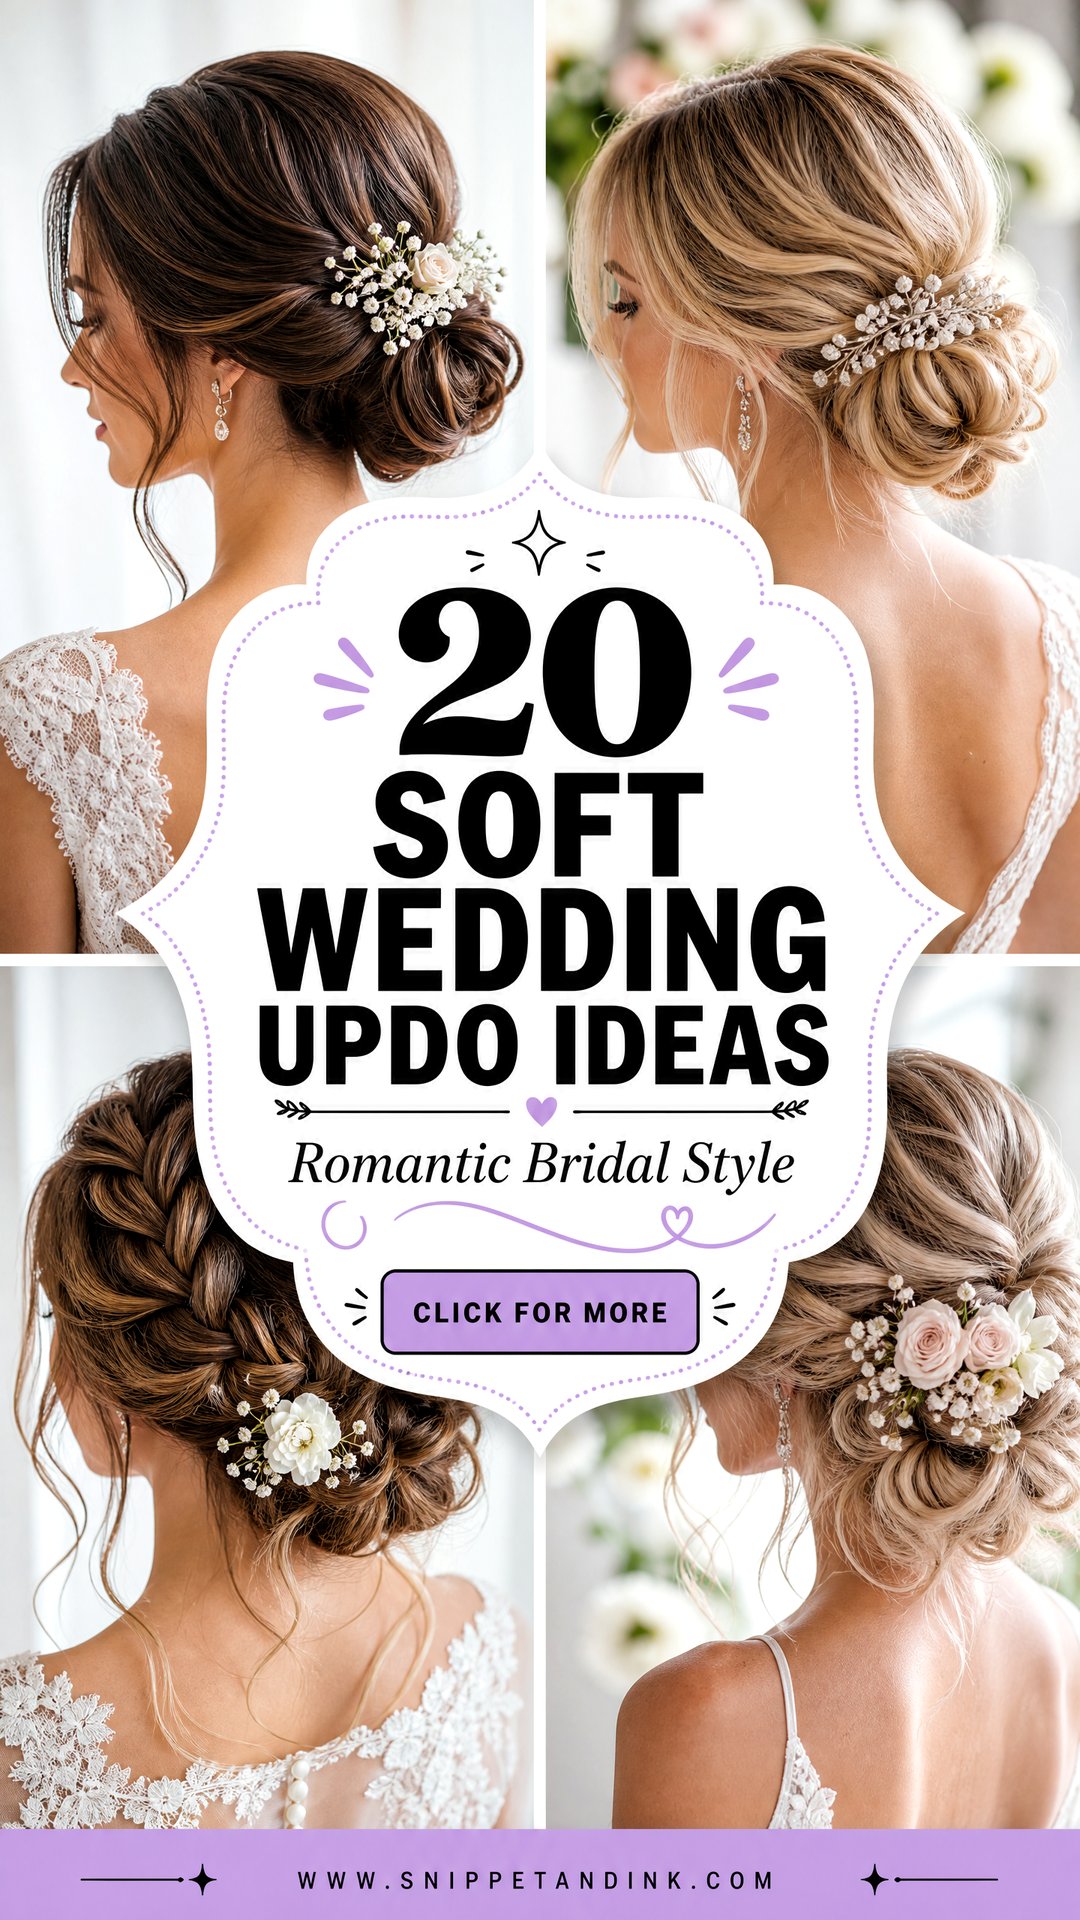
A soft updo is the style I’m asked for most, and the one most often misunderstood. It looks loose, but underneath it is built just as carefully as a sleek bun, with a pinned foundation and tendrils that are left out on purpose rather than falling out by accident. Done well, it moves when you hug people and still sits in the same place at midnight. Below are 20 versions I’d happily put on a bride, with notes on how each one is built, which hair it suits and where it tends to go wrong.
What Holds a Loose Updo Together for Twelve Hours
Every soft updo on this list relies on the same quiet structure. The part you see is loose. The part you don’t see is pinned firmly to the head, and that’s what keeps the style intact through hugs, a veil being lifted and a full evening of dancing.
- Texture first. I curl or wave the whole head, even for styles that end up smooth, because a bent strand grips pins far better than a straight one.
- An anchor at the base. That’s usually a small ponytail or two crossed bobby pins, so the bun has something solid to attach to.
- Pins set against the direction of the hair. Pushing a pin the same way the hair falls is why buns slip by evening.
- Tendrils chosen last. I pull face-framing pieces out once the shape is pinned, so I can see exactly where they’ll sit in photos.
Hair washed the night before usually holds better than hair washed that morning. Very clean hair is slippery, and a day of natural oil gives the pins something to grip. If your hair gets greasy quickly, a dry shampoo at the roots fixes that without making it soft again.
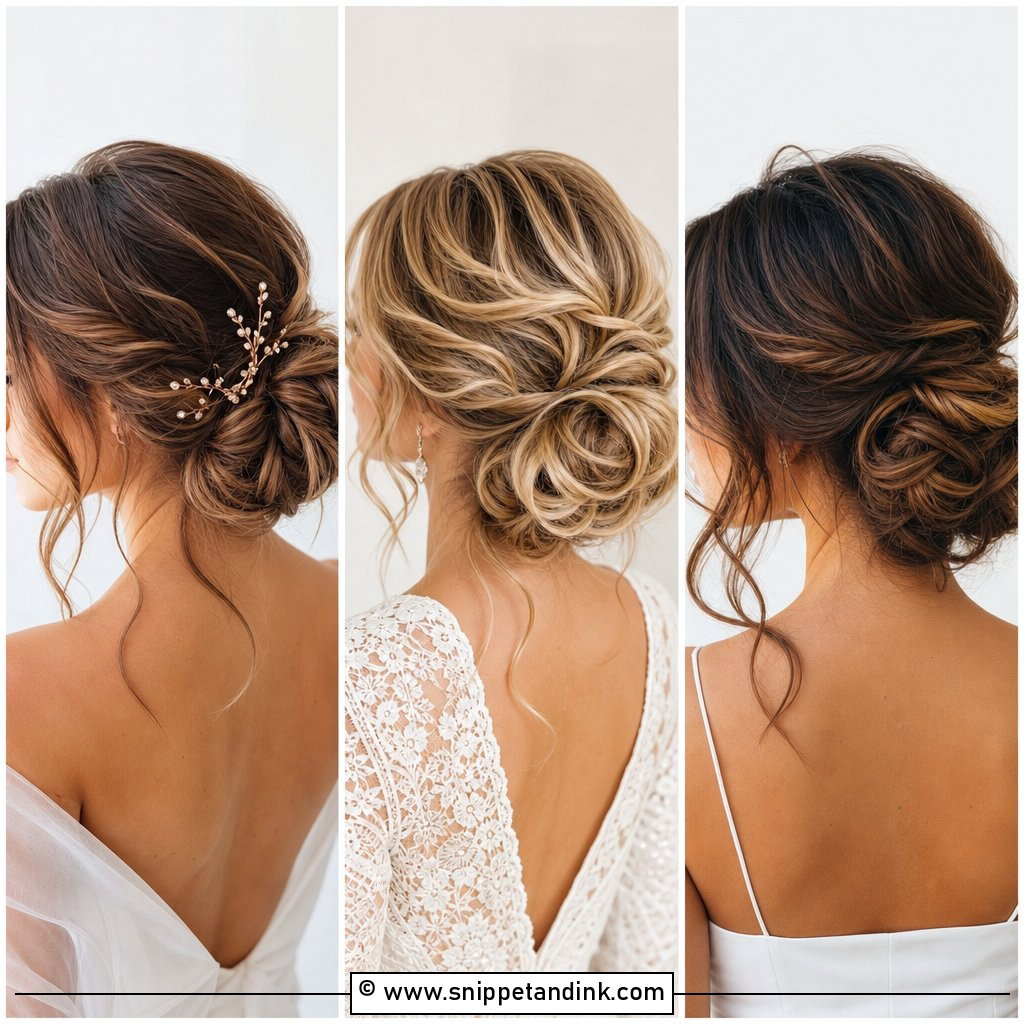
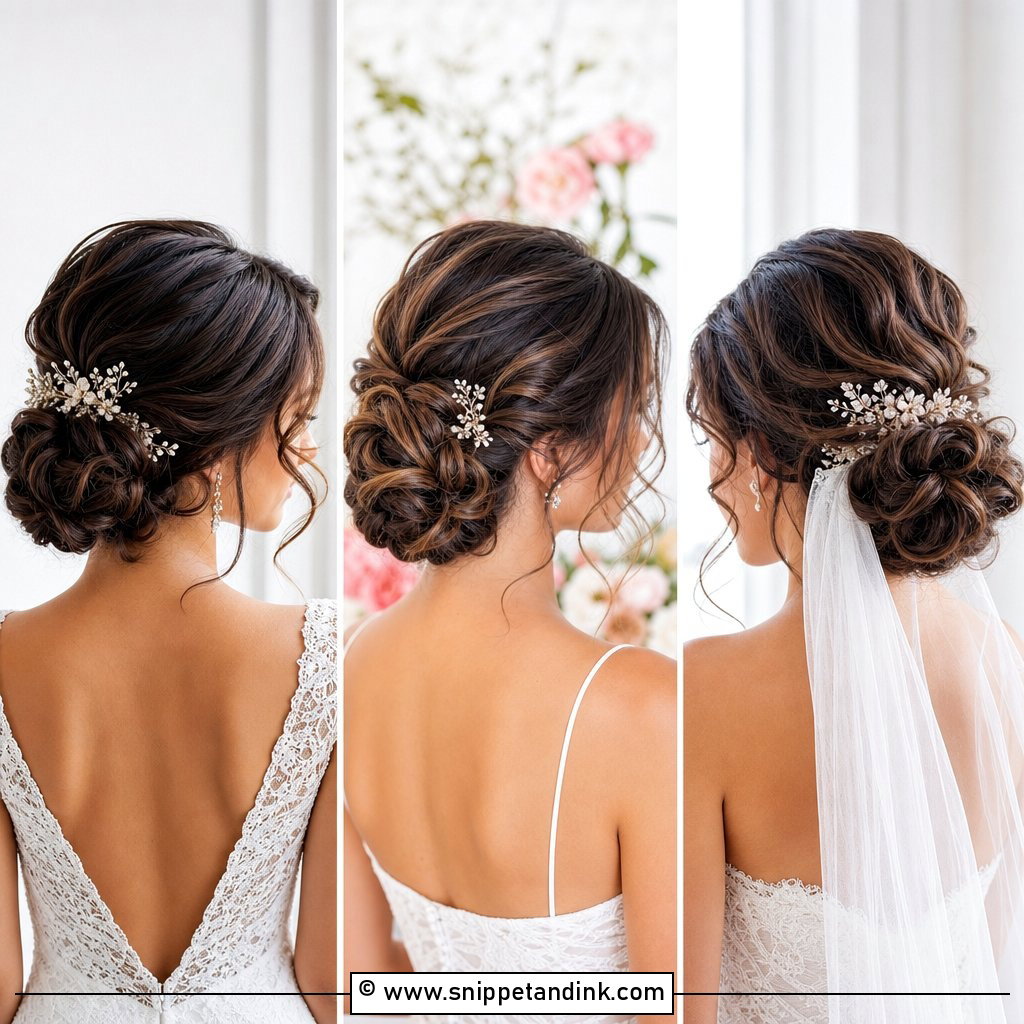
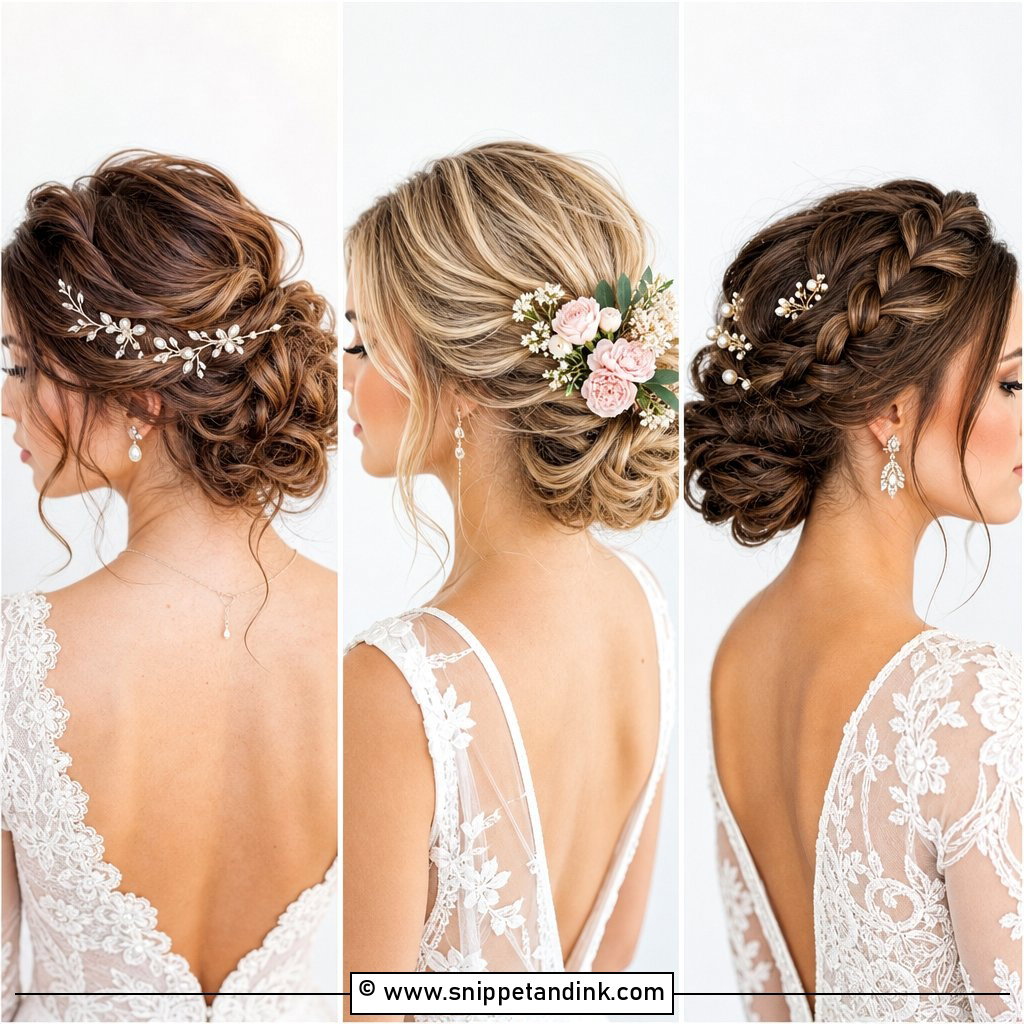
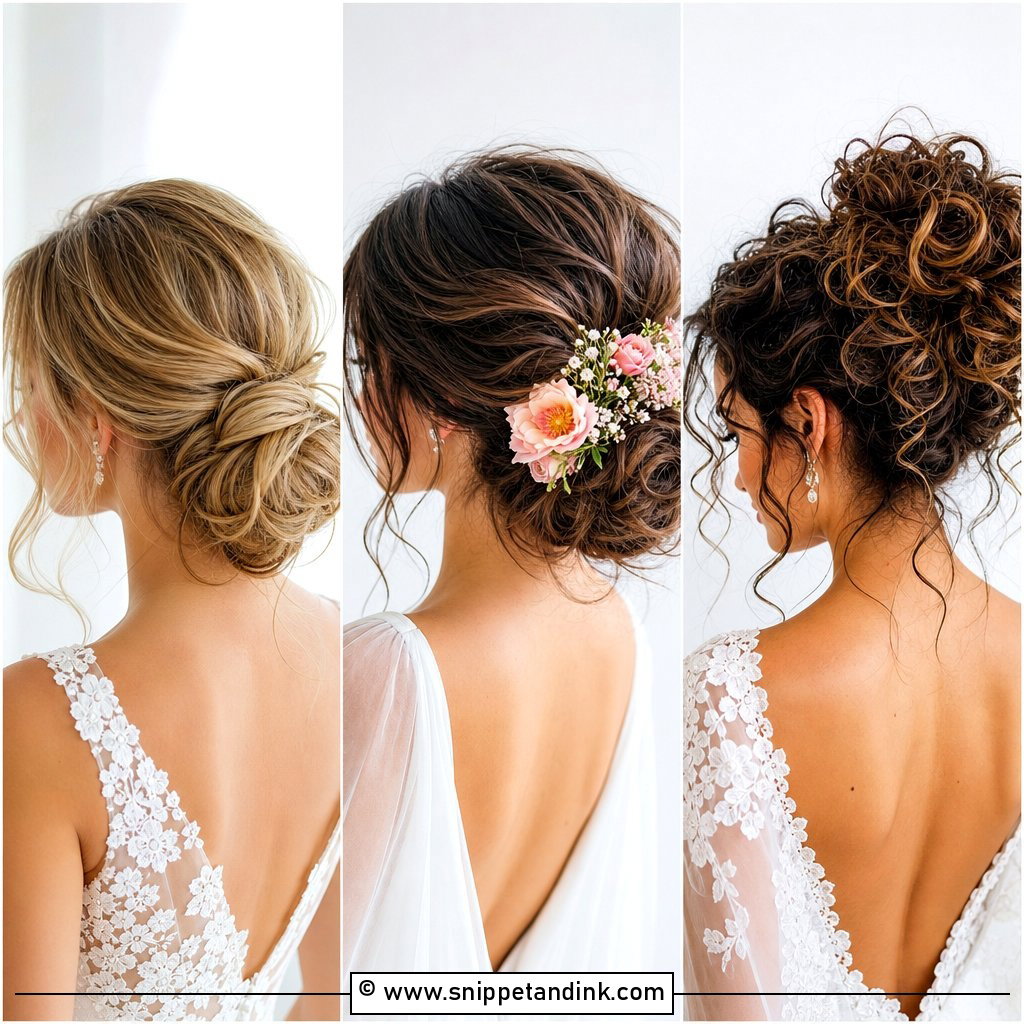
1. Soft Low Chignon Wedding Updo
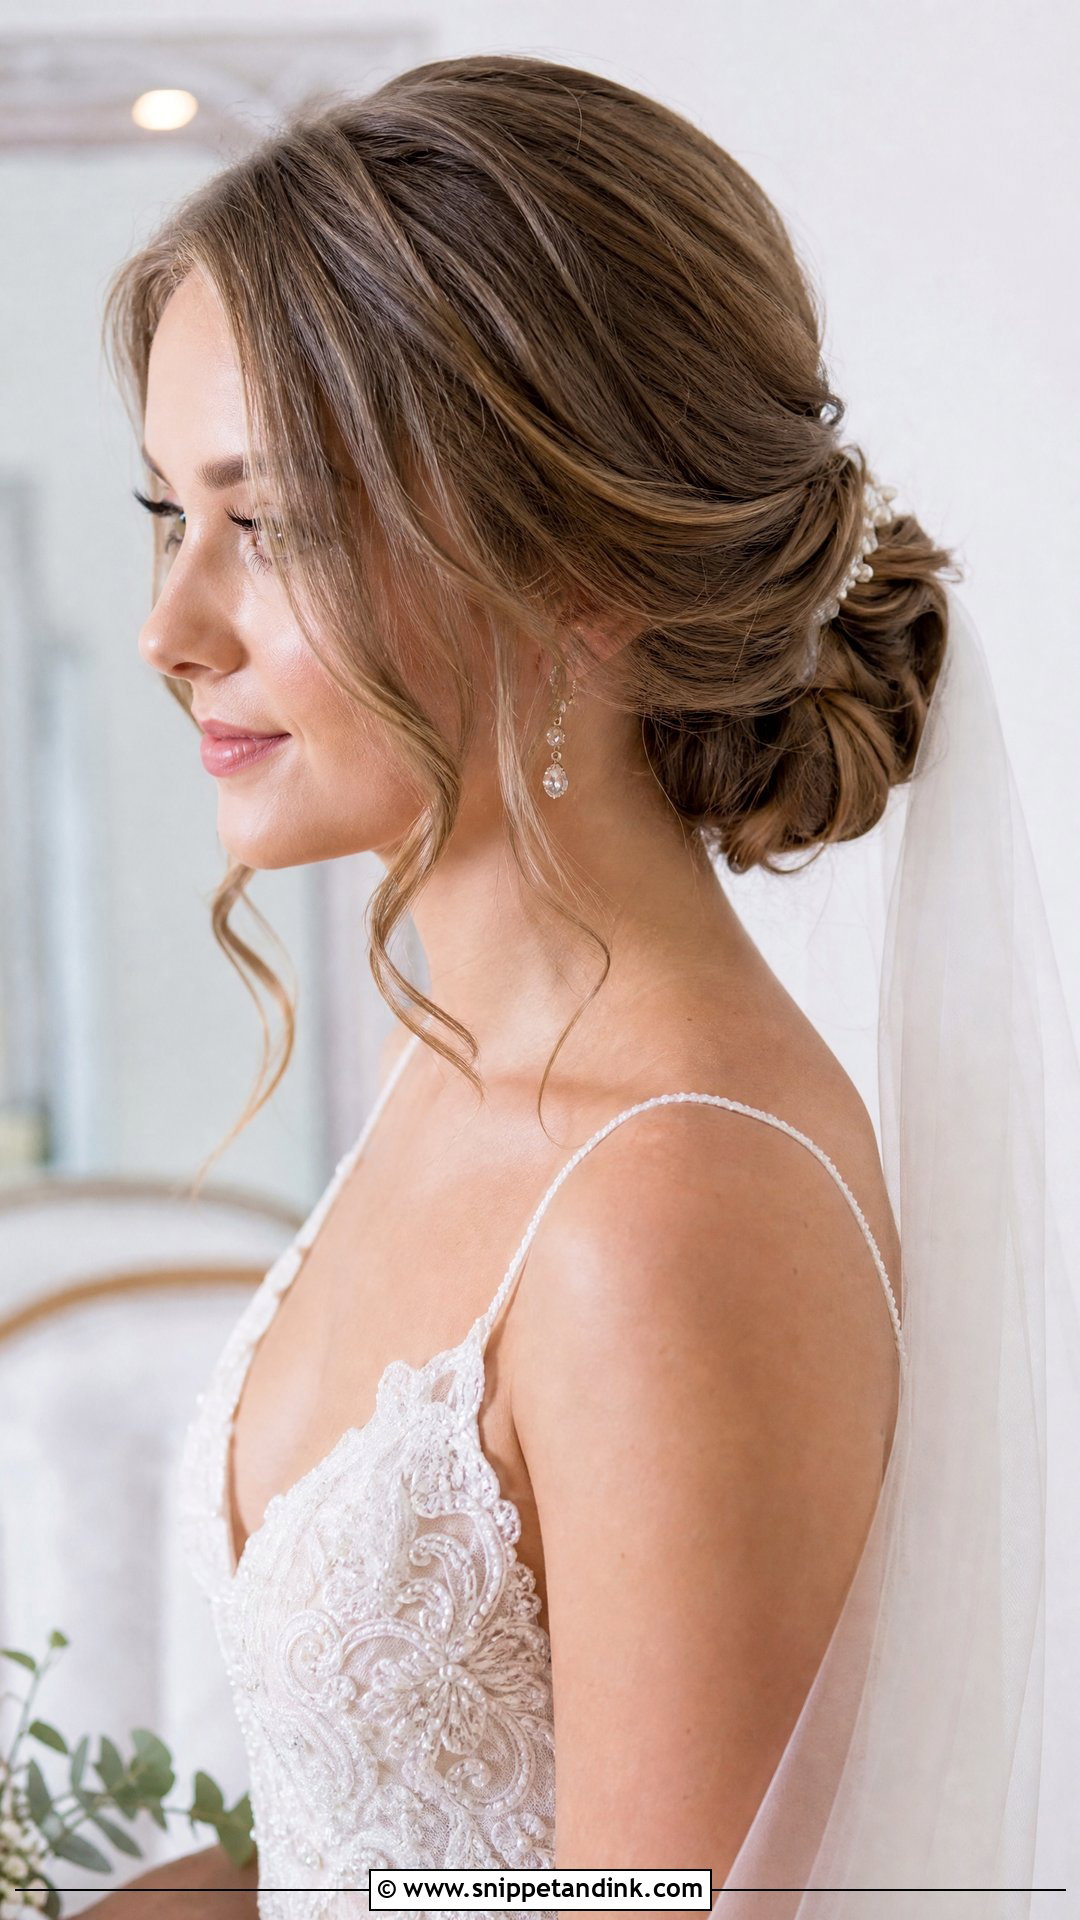
I build a soft chignon on a small anchor ponytail or a pair of criss-crossed pins at the nape, then wrap the lengths around it loosely enough to show texture. The anchor is what lets it stay relaxed without sliding. Because it sits low, a veil comb slots in just above it with no fight, and it works with almost any neckline. Pull the face-framing pieces out at the end, never at the start, or they get caught in the pinning.
2. Romantic Loose Bun With Face-Framing Curls
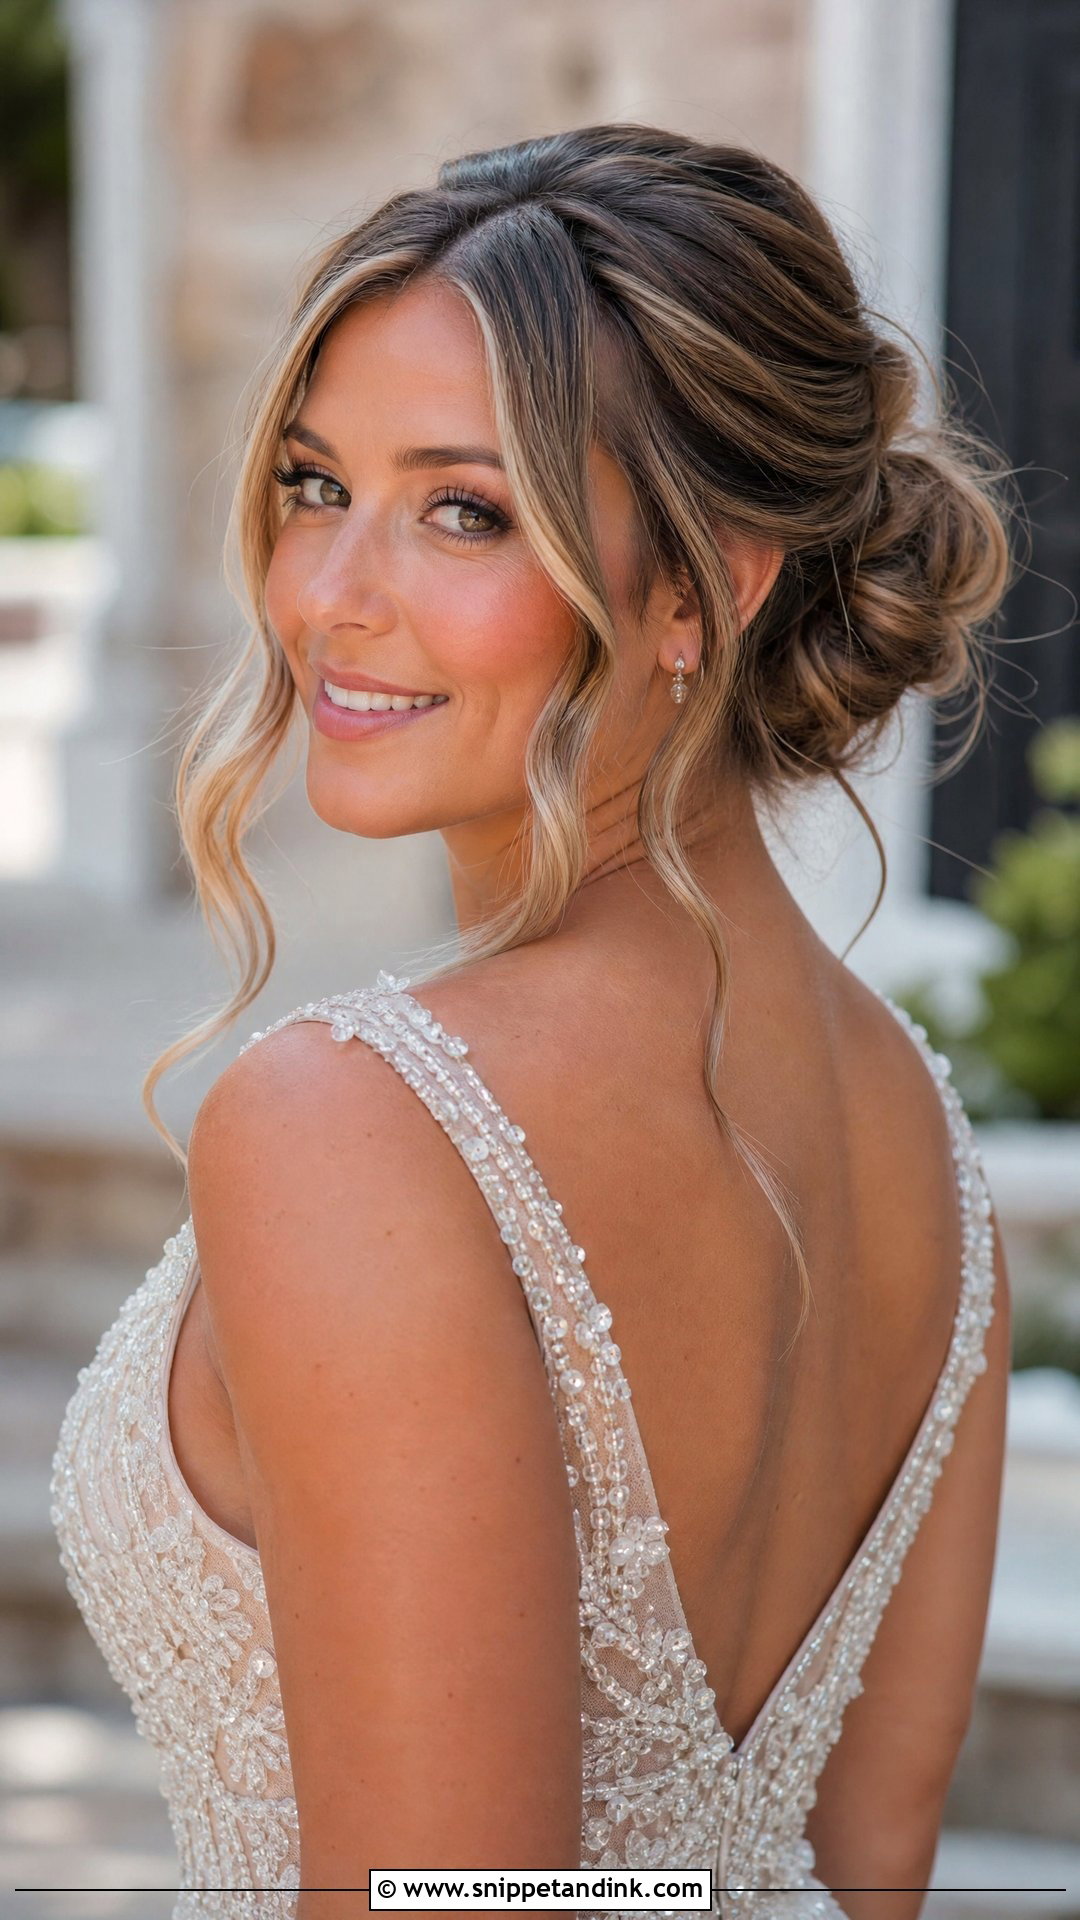
With soft curls cascading around your cheeks, the bun itself can afford to be simple. I curl the tendrils with a small barrel, let them cool fully in the curl and only then brush them through, because a hot curl set loose will drop within the hour. Set the bun at mid-height if you want the curls to read in side profile, lower if a veil is going on top. On very humid days I keep the front pieces fewer and slightly longer, since they hold shape better than a lot of short wisps.
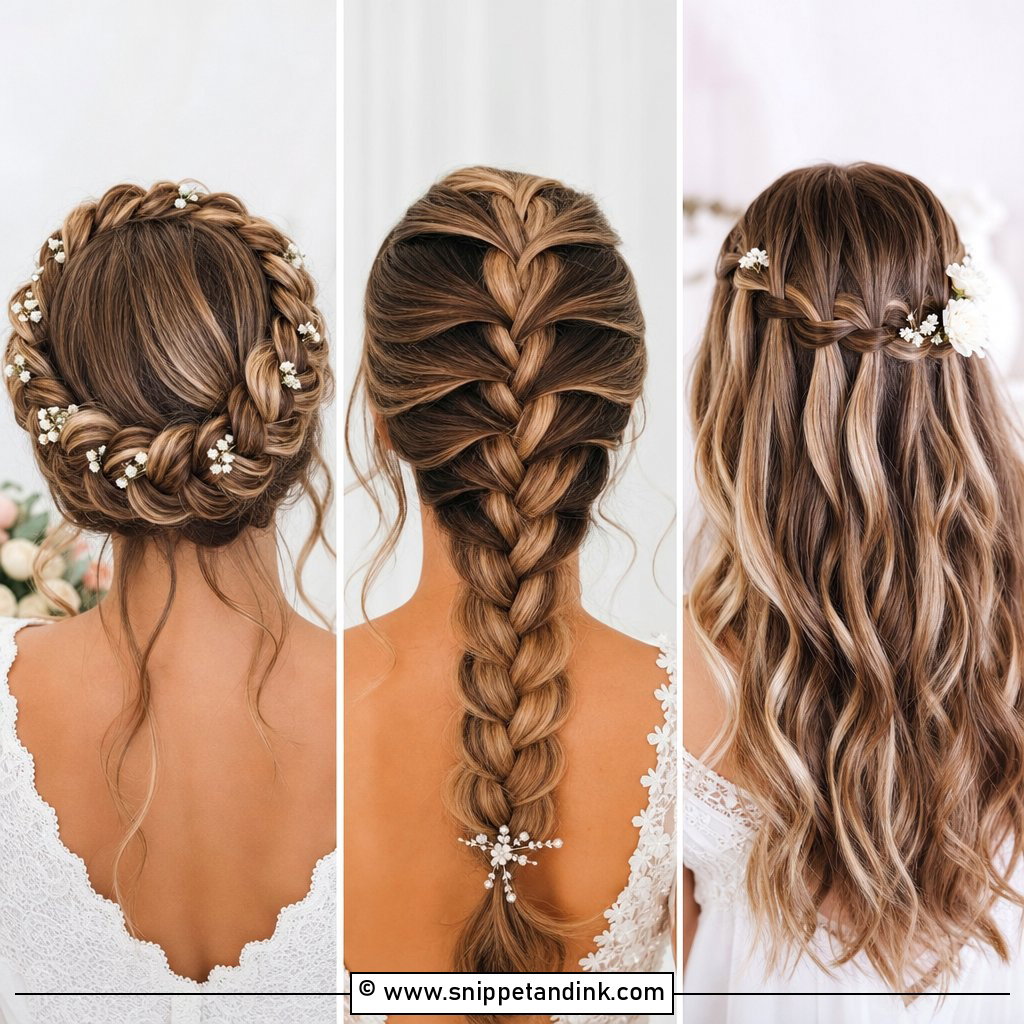
3. Braided Half Crown Into Low Bun
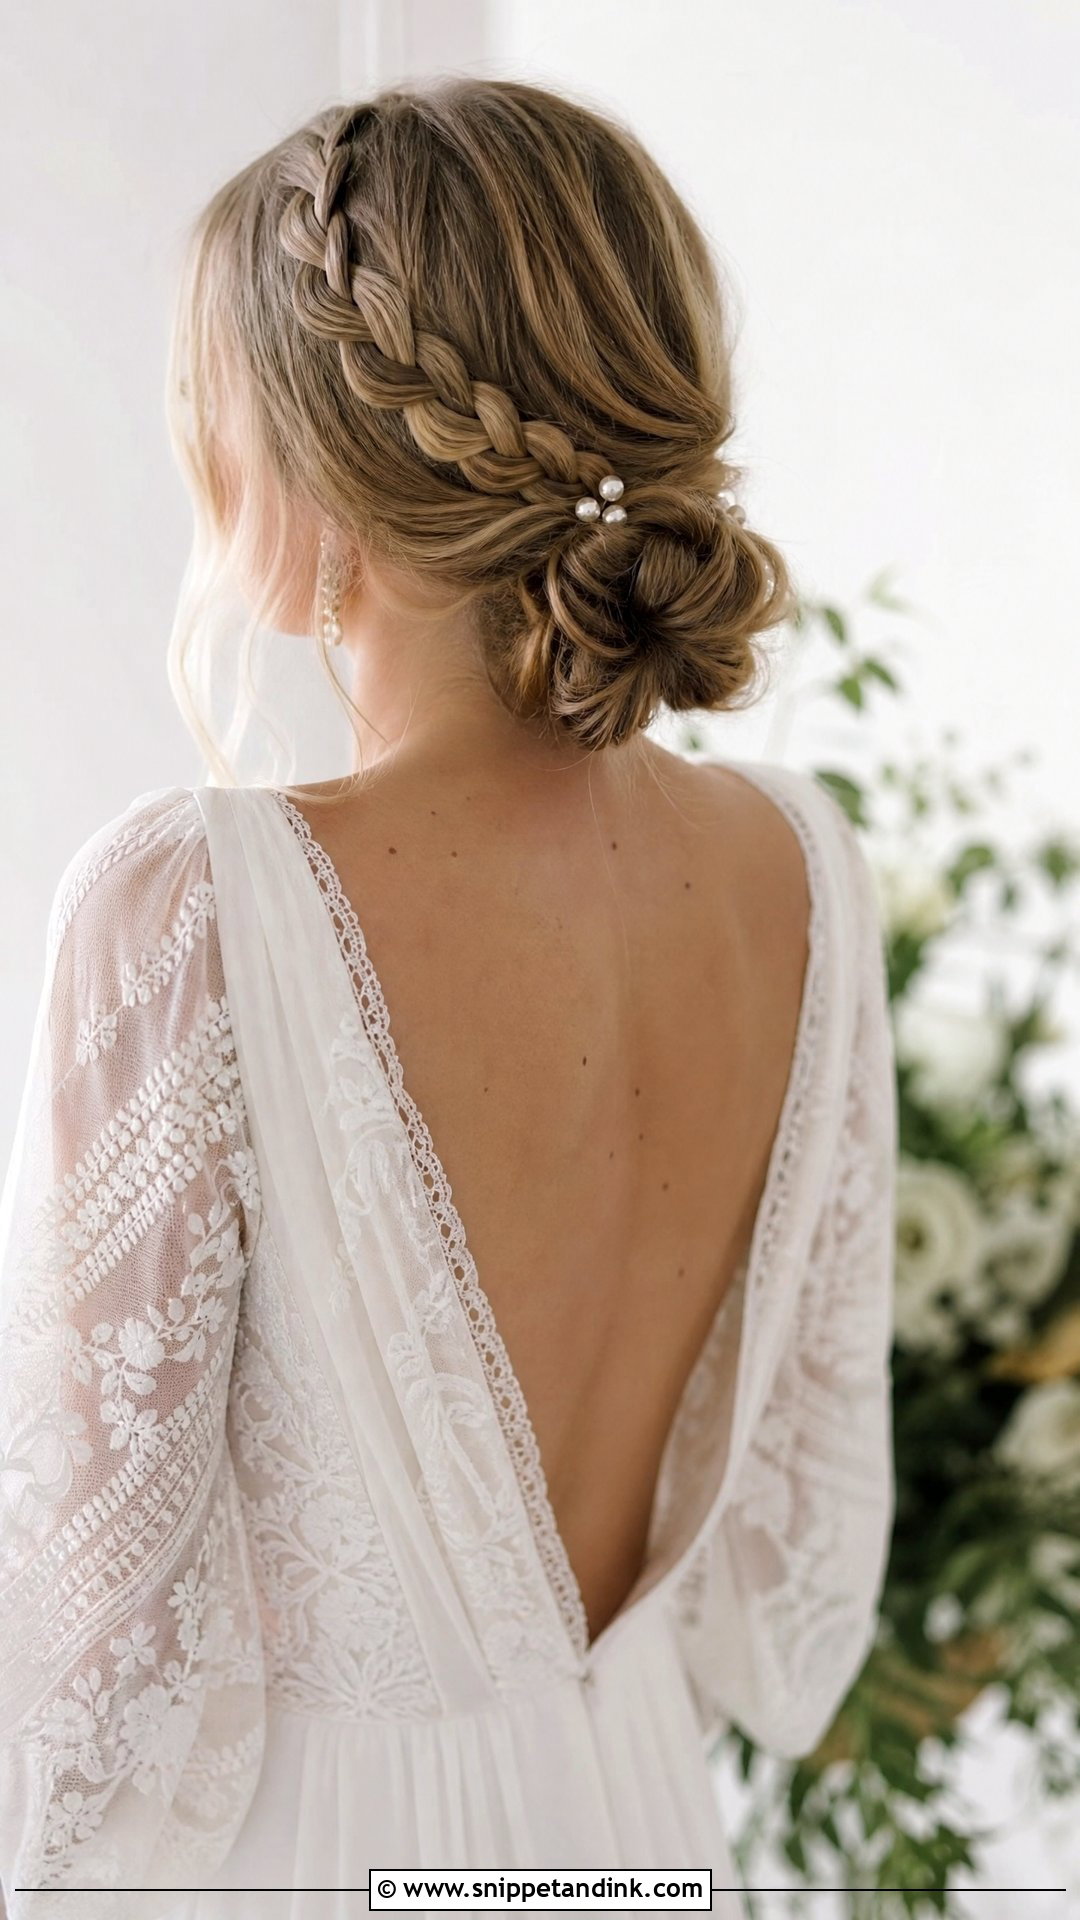
The braid in a half crown does real work: it carries the weight from the sides across the back so the low bun doesn’t have to. I pancake it gently, pulling the outer loops wider, which softens it and hides any uneven sections. It needs at least shoulder-length hair with layers that reach the back of the head, otherwise short pieces poke out of the braid by mid-afternoon. Small pearl pins or sprigs of baby’s breath sit neatly along the braid line if you want detail.
4. Textured Low Bun With Soft Volume
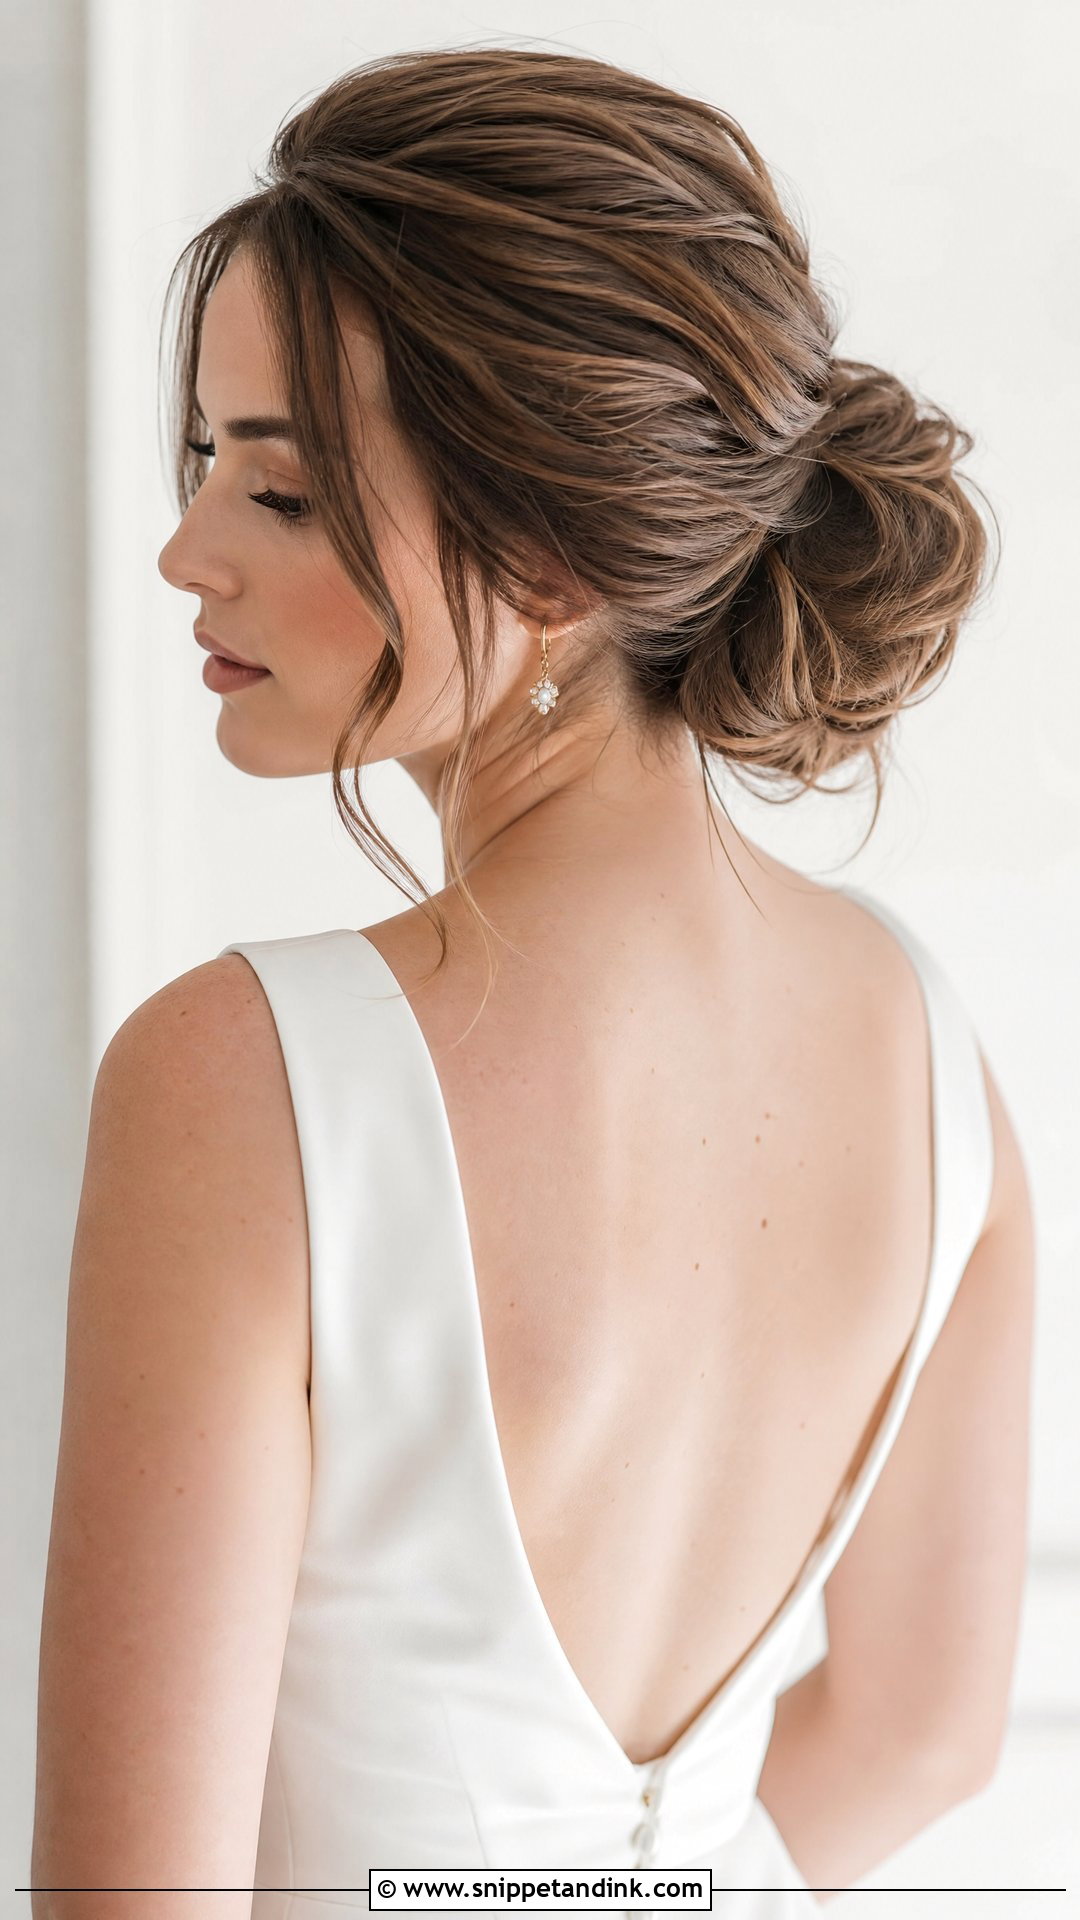
Crown volume on this one comes from backcombing at the root, then smoothing only the top layer over it, so the shape stays airy without visible teasing. The bun at the nape is gathered loosely and pinned in a few big sections rather than tucked strand by strand, which keeps that slept-in texture. The loose tendrils framing your face soften a sleek gown and suit a relaxed one just as well. Of all the styles here, it handles a long evening of dancing best, simply because a bit of movement was always part of the design.
5. Soft Chignon With Delicate Tendrils
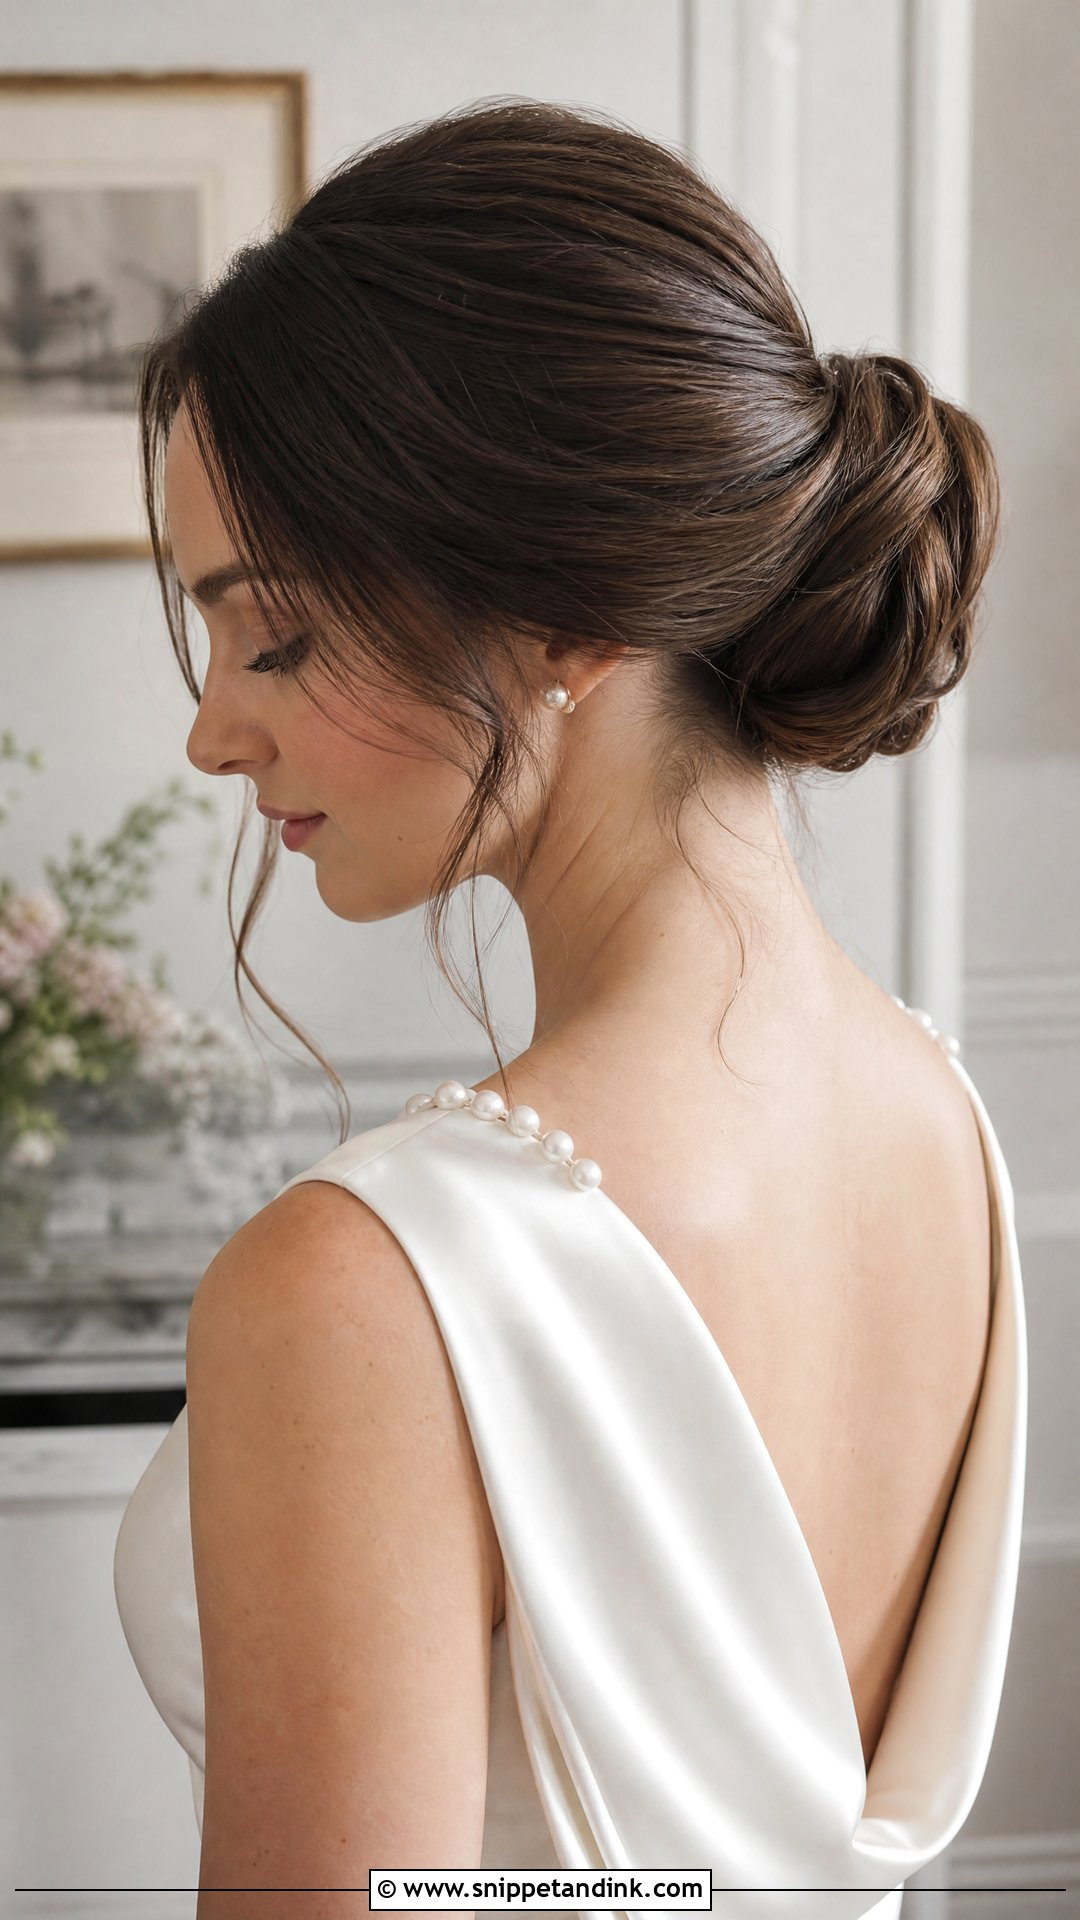
Here the bun is smooth and rounded, and only the tendrils carry the softness. That contrast is what makes it suit a formal ceremony, a cathedral veil or a tiara. I’d advise against it if your hairline is very fine at the temples, because the wisps can look sparse in close-ups; leaving out slightly thicker sections solves that. It suits straight and wavy hair well, and a light hold spray on the bun keeps the edges from fuzzing while the tendrils stay free.
6. Loose Braided Updo With Waves
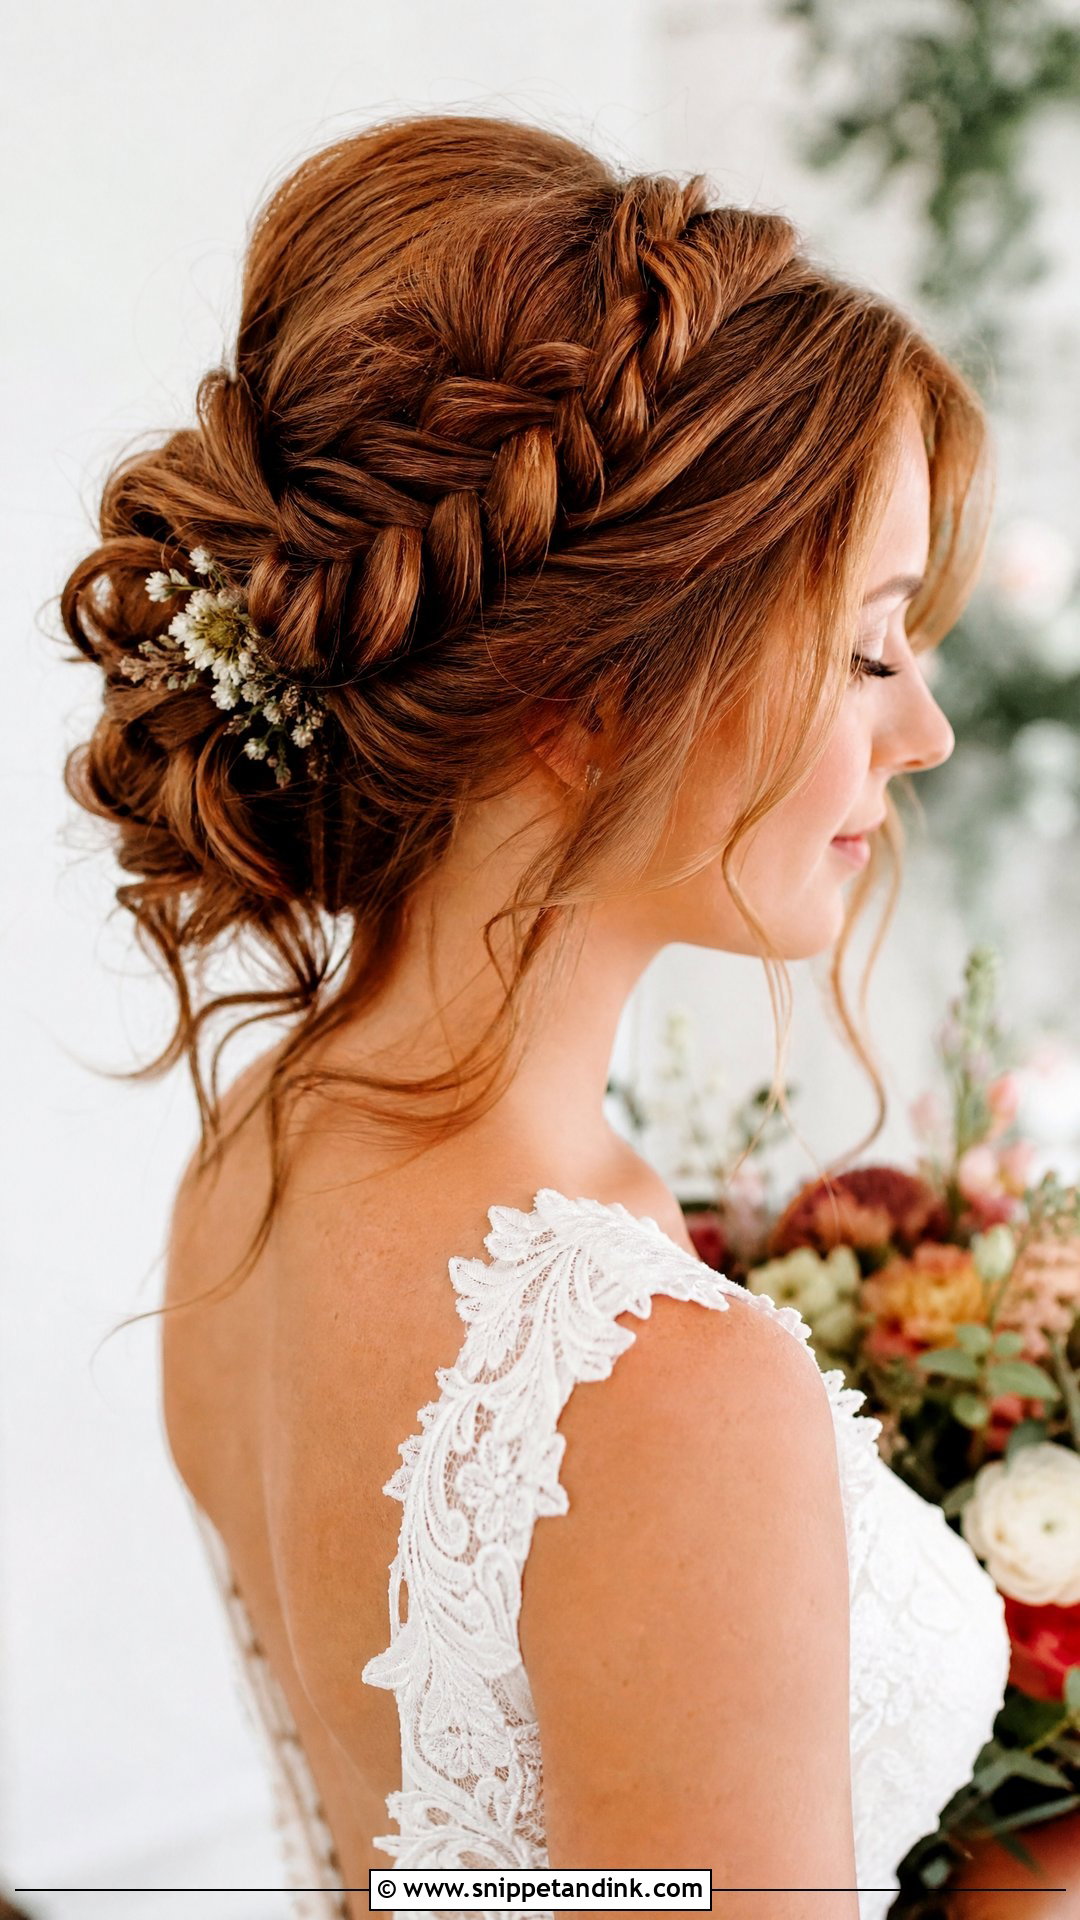
Mixing braids and waves gives the eye a lot to follow, so this one shows up well in back-view ceremony photos. I wave everything first, braid two or three loose sections, then pin the rest into a twisted shape around them. It needs length and some natural grip; freshly washed, silky hair lets the braids slip apart. If yours is like that, wash the day before and add a texture spray before any braiding starts.
7. Twisted Updo With Loose Pieces
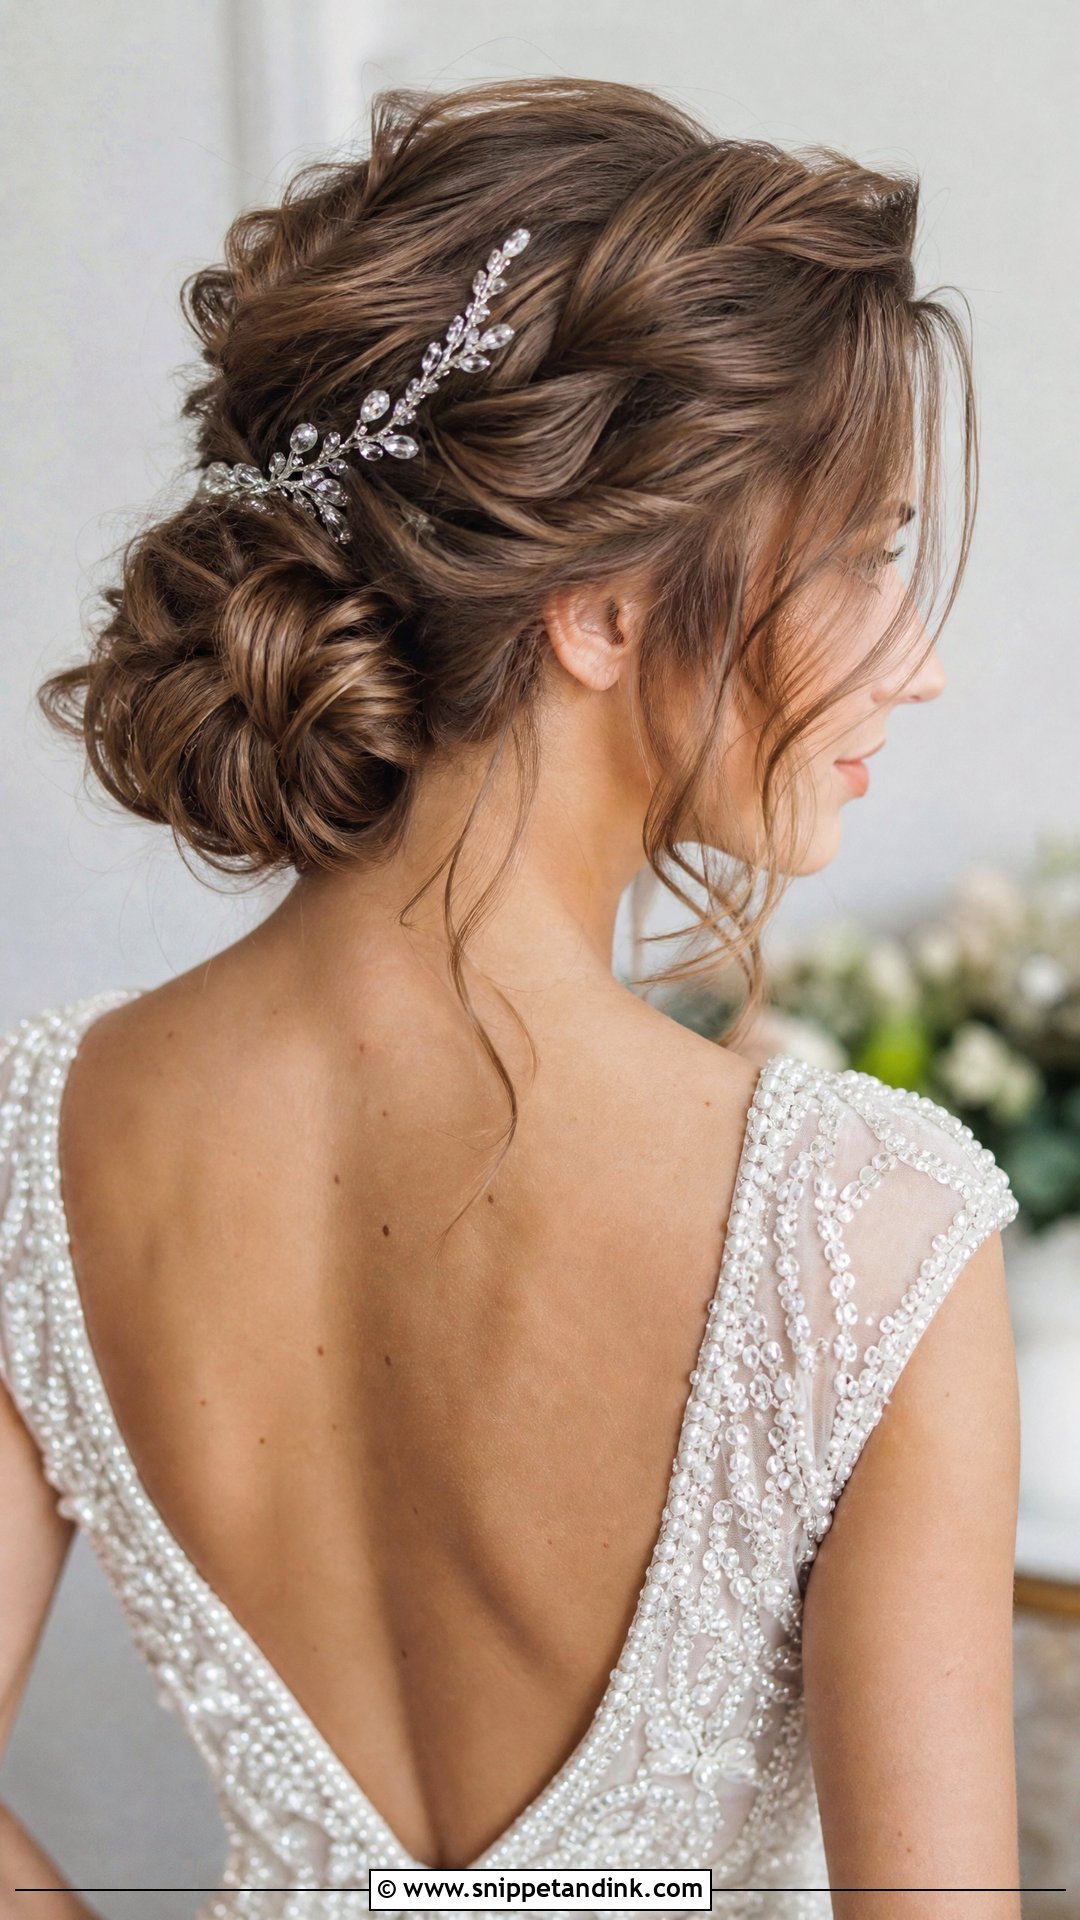
Twists give you detail without the time a braid takes. Each section is twisted, loosened slightly with the fingers and pinned against the head with the pin crossing the twist, never sliding along it, or it unwinds. The loose pieces at the face are left fairly long so they curve rather than stick out. Medium to long hair works best, and fresh flowers or a sparkly pin tuck straight into the gaps between twists.
8. Soft Updo With Airy Volume At The Crown
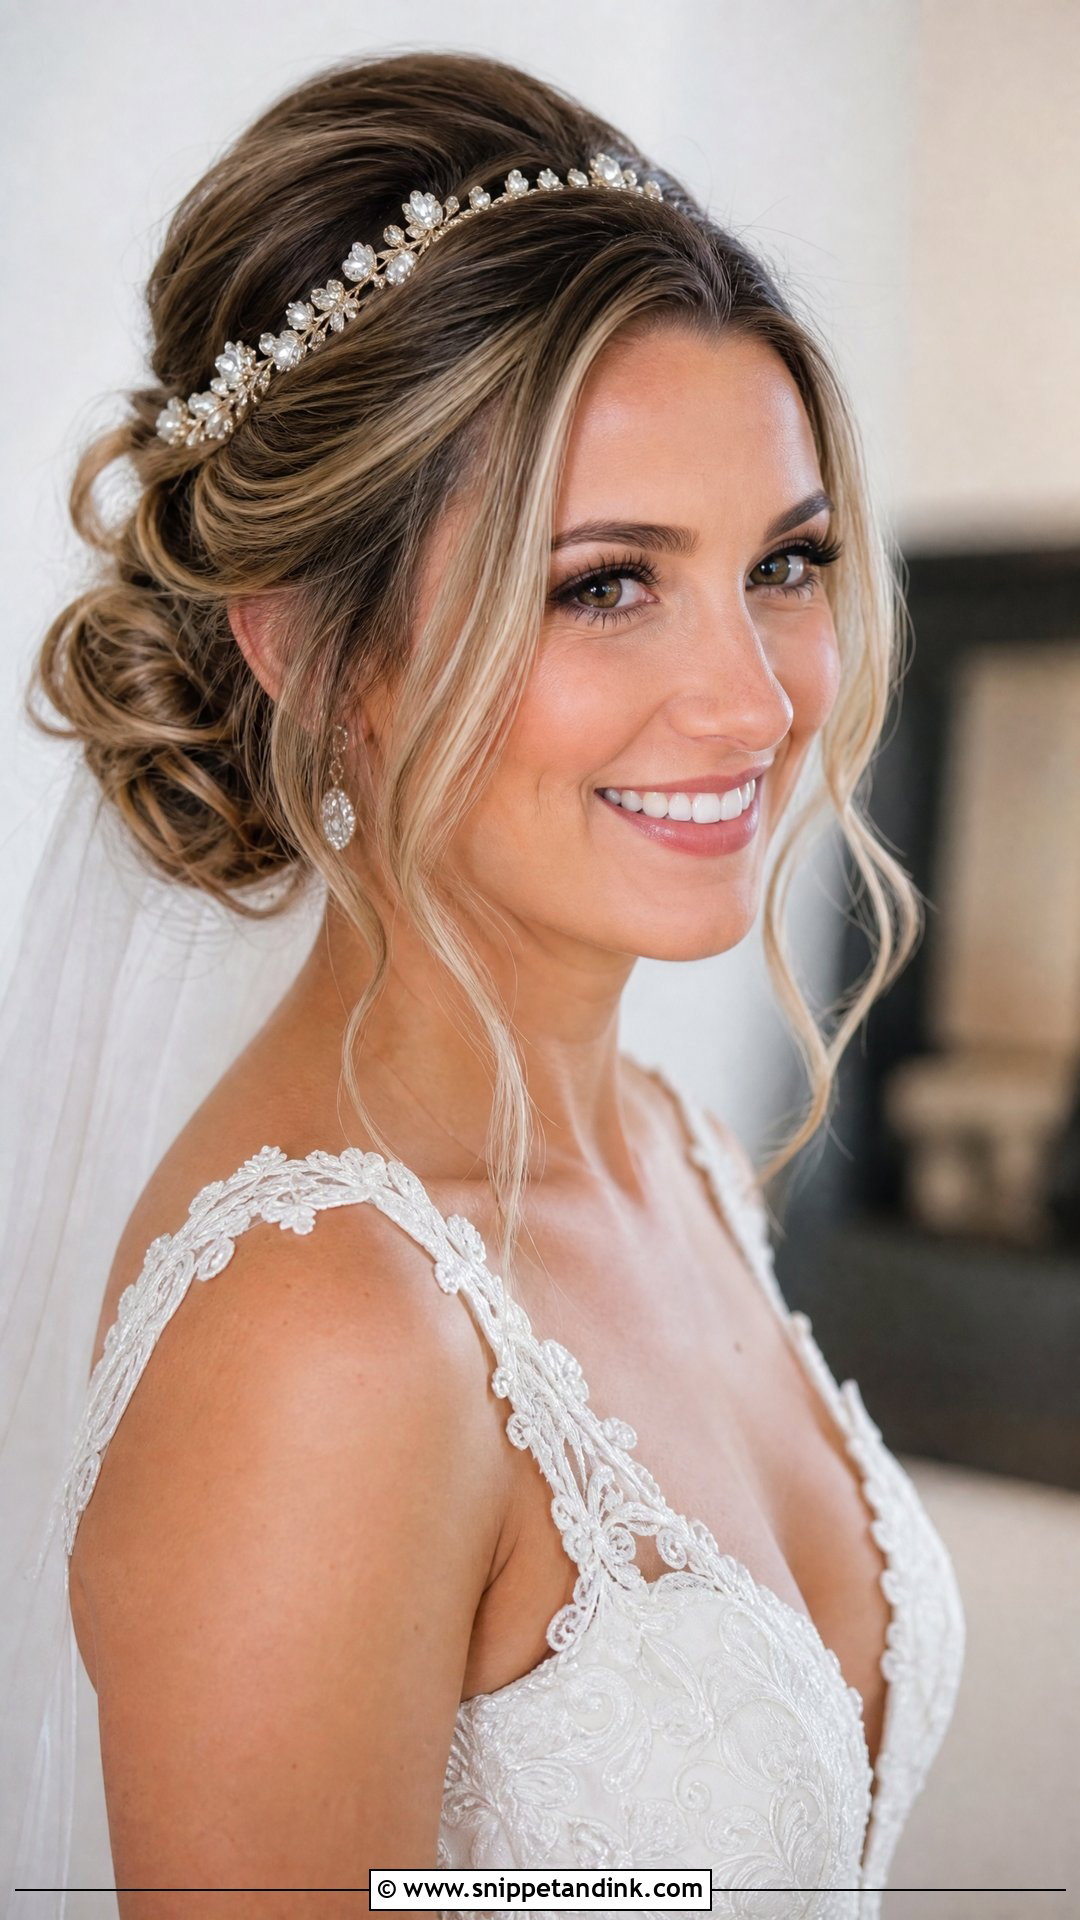
Lift at the crown changes your proportions: it lengthens a round face and balances a strong jaw. I build it with backcombing at the root and a couple of hidden pins under the smoothed top layer so the height doesn’t collapse when a veil comb goes in. The loose bun below stays soft. If you’re wearing a heavy headpiece, tell your stylist at the trial, because the volume has to be pinned to take that weight.
9. Low Knotted Bun Wedding Updo
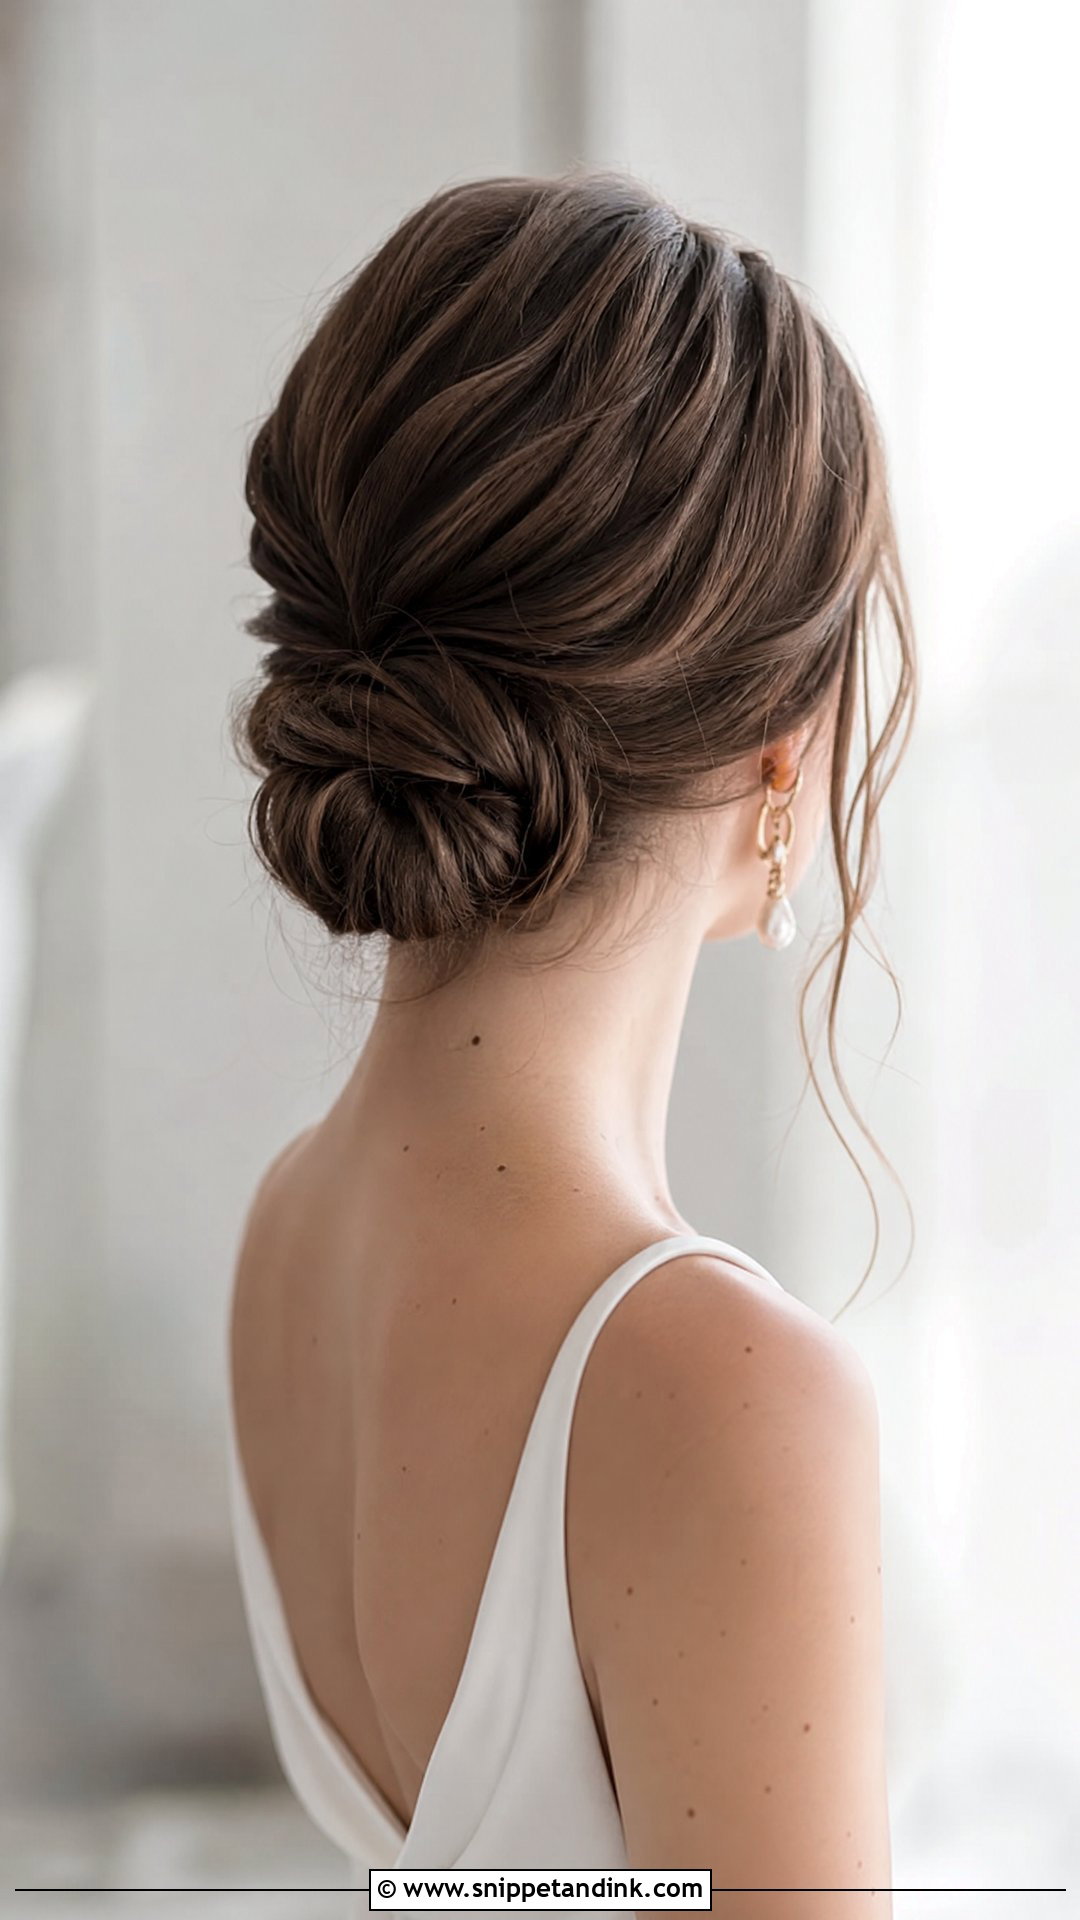
A knotted bun is literally the hair tied around itself, then secured with a few pins, so it uses less hardware than most styles here. That makes it comfortable for a long day. The knot shows best on straight or loosely wavy hair; on very curly hair the knot shape disappears into the texture. Pair it with a clean gown and minimal jewellery and let the knot be the detail, which is exactly why I’d suggest the low knotted bun to minimalist brides.
10. Romantic Updo With Soft Waves
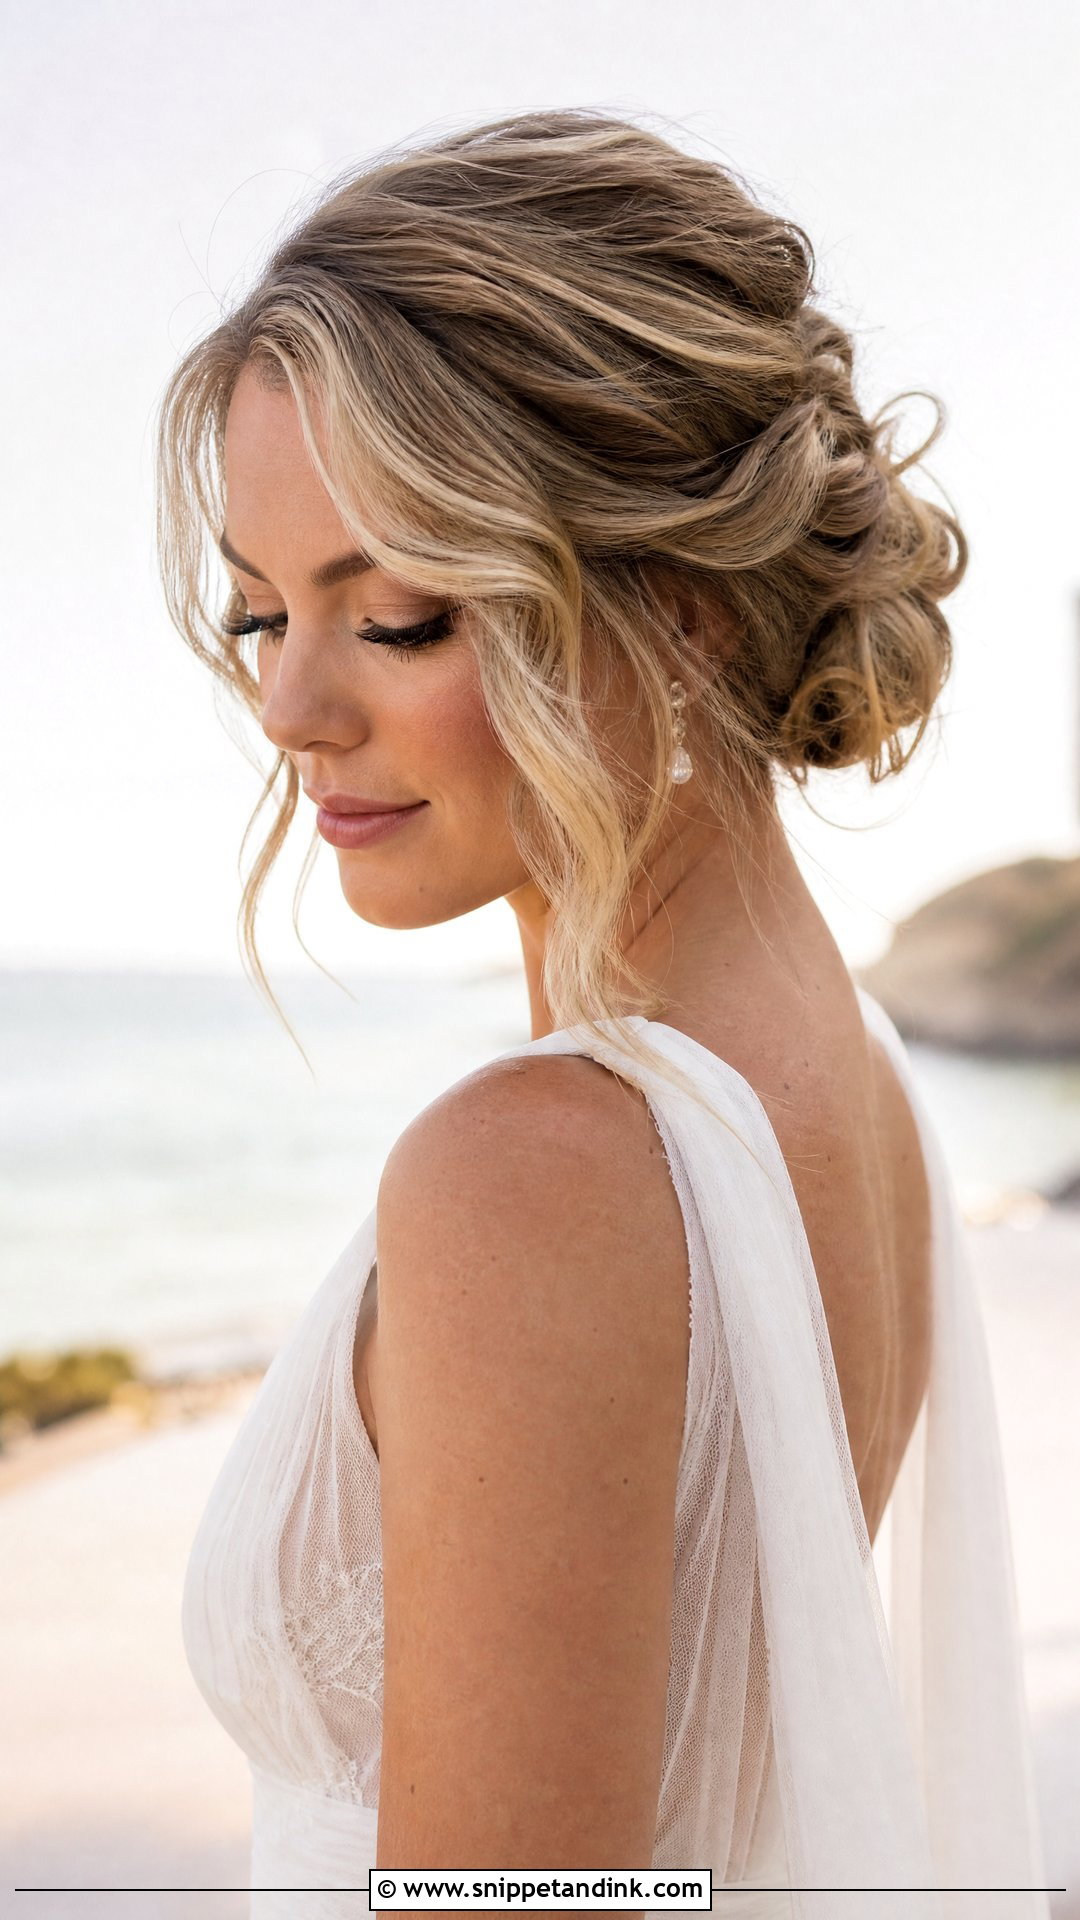
Waving the hair before it goes up gives every pinned section a bend, so the updo looks full even on medium thickness. I set the waves, brush them out and then sweep them back, which keeps the texture soft rather than ringletty. Beach and garden venues suit it, though wind will pull at the loose pieces, so I add a hidden pin or two behind each ear. Natural texture is a help here, and this wavy updo rewards it.
11. Sleek Low Bun With Soft Finish
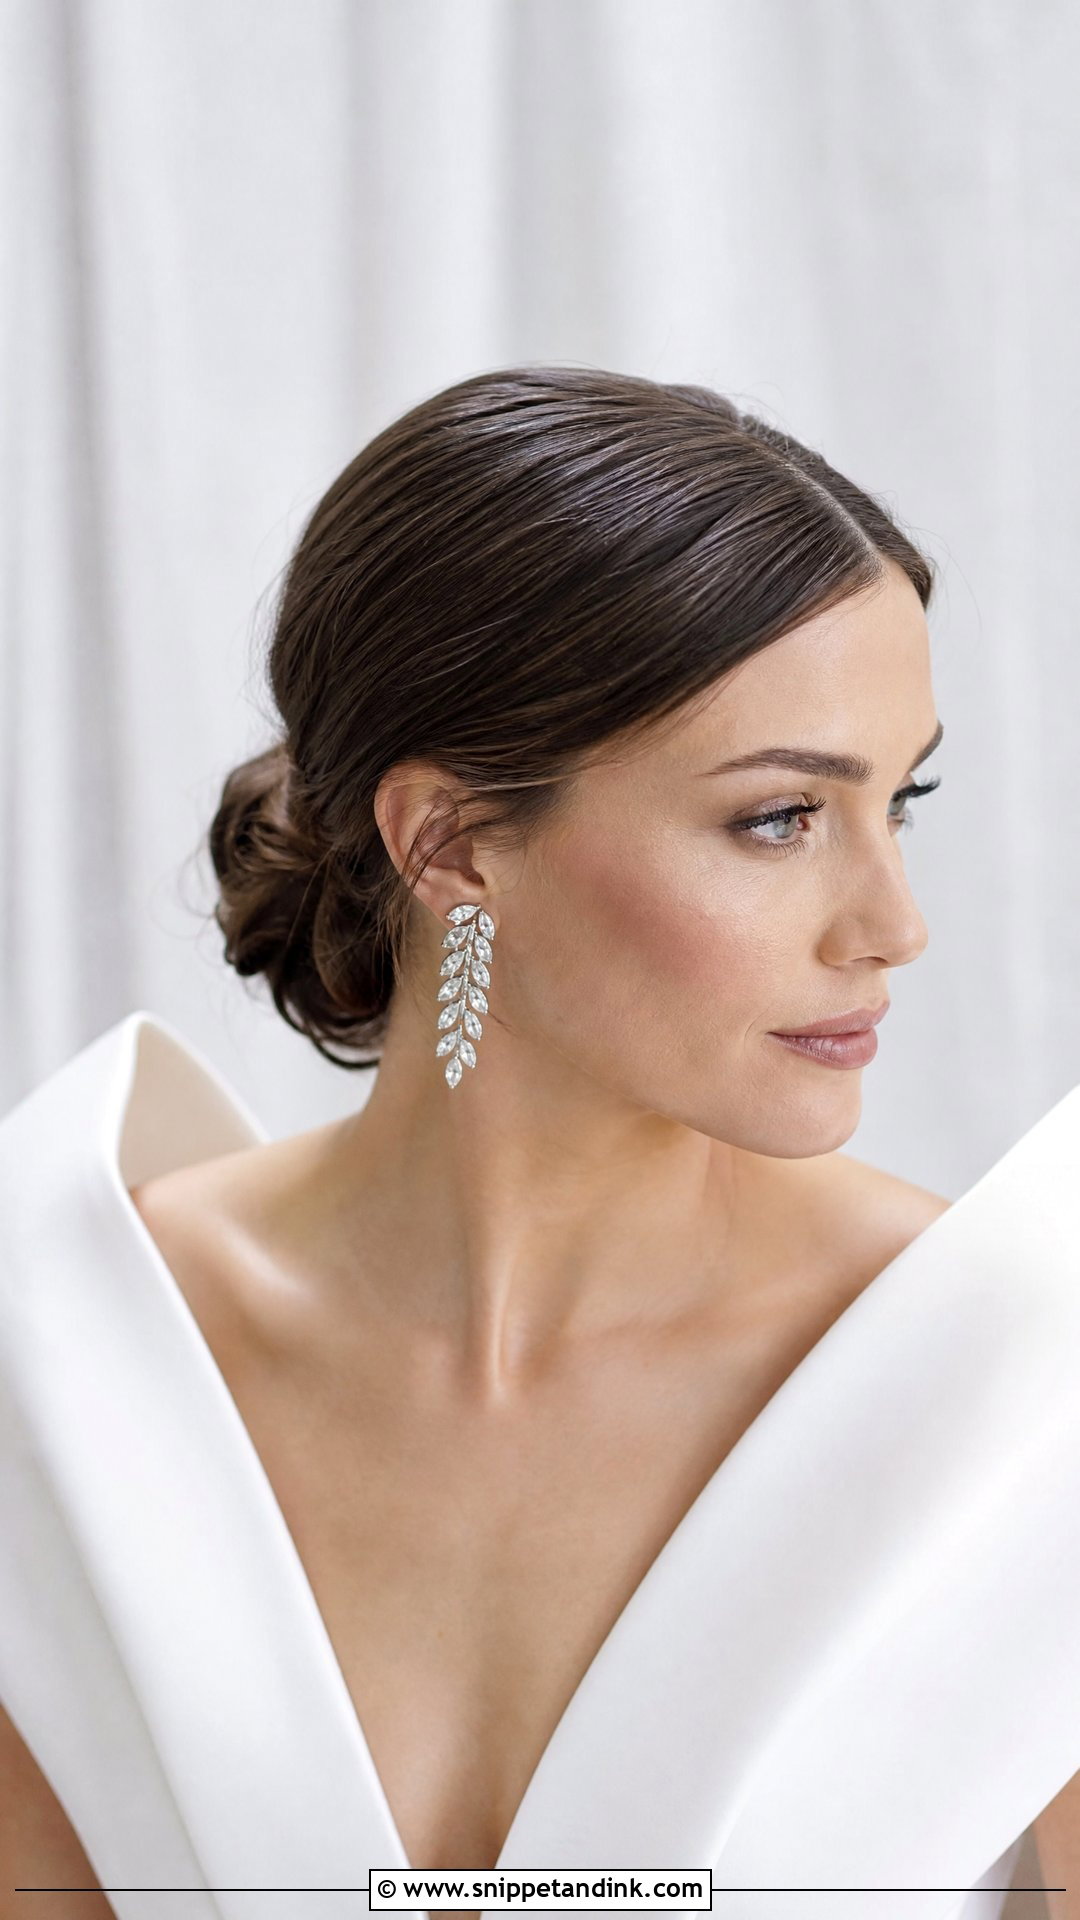
The top is smooth and the bun is slightly loose, and the trick is keeping that line between them clean. I set the part first, smooth with a light cream rather than heavy gel, then tie the ponytail and loosen the bun around it. Heavy products make the top look wet in photos. A center part reads more modern, a side part softer. It suits structured gowns and statement earrings, and it will show every frizzy flyaway, so it is a harder style to wear in high humidity.
12. Braided Bun With Loose Tendrils
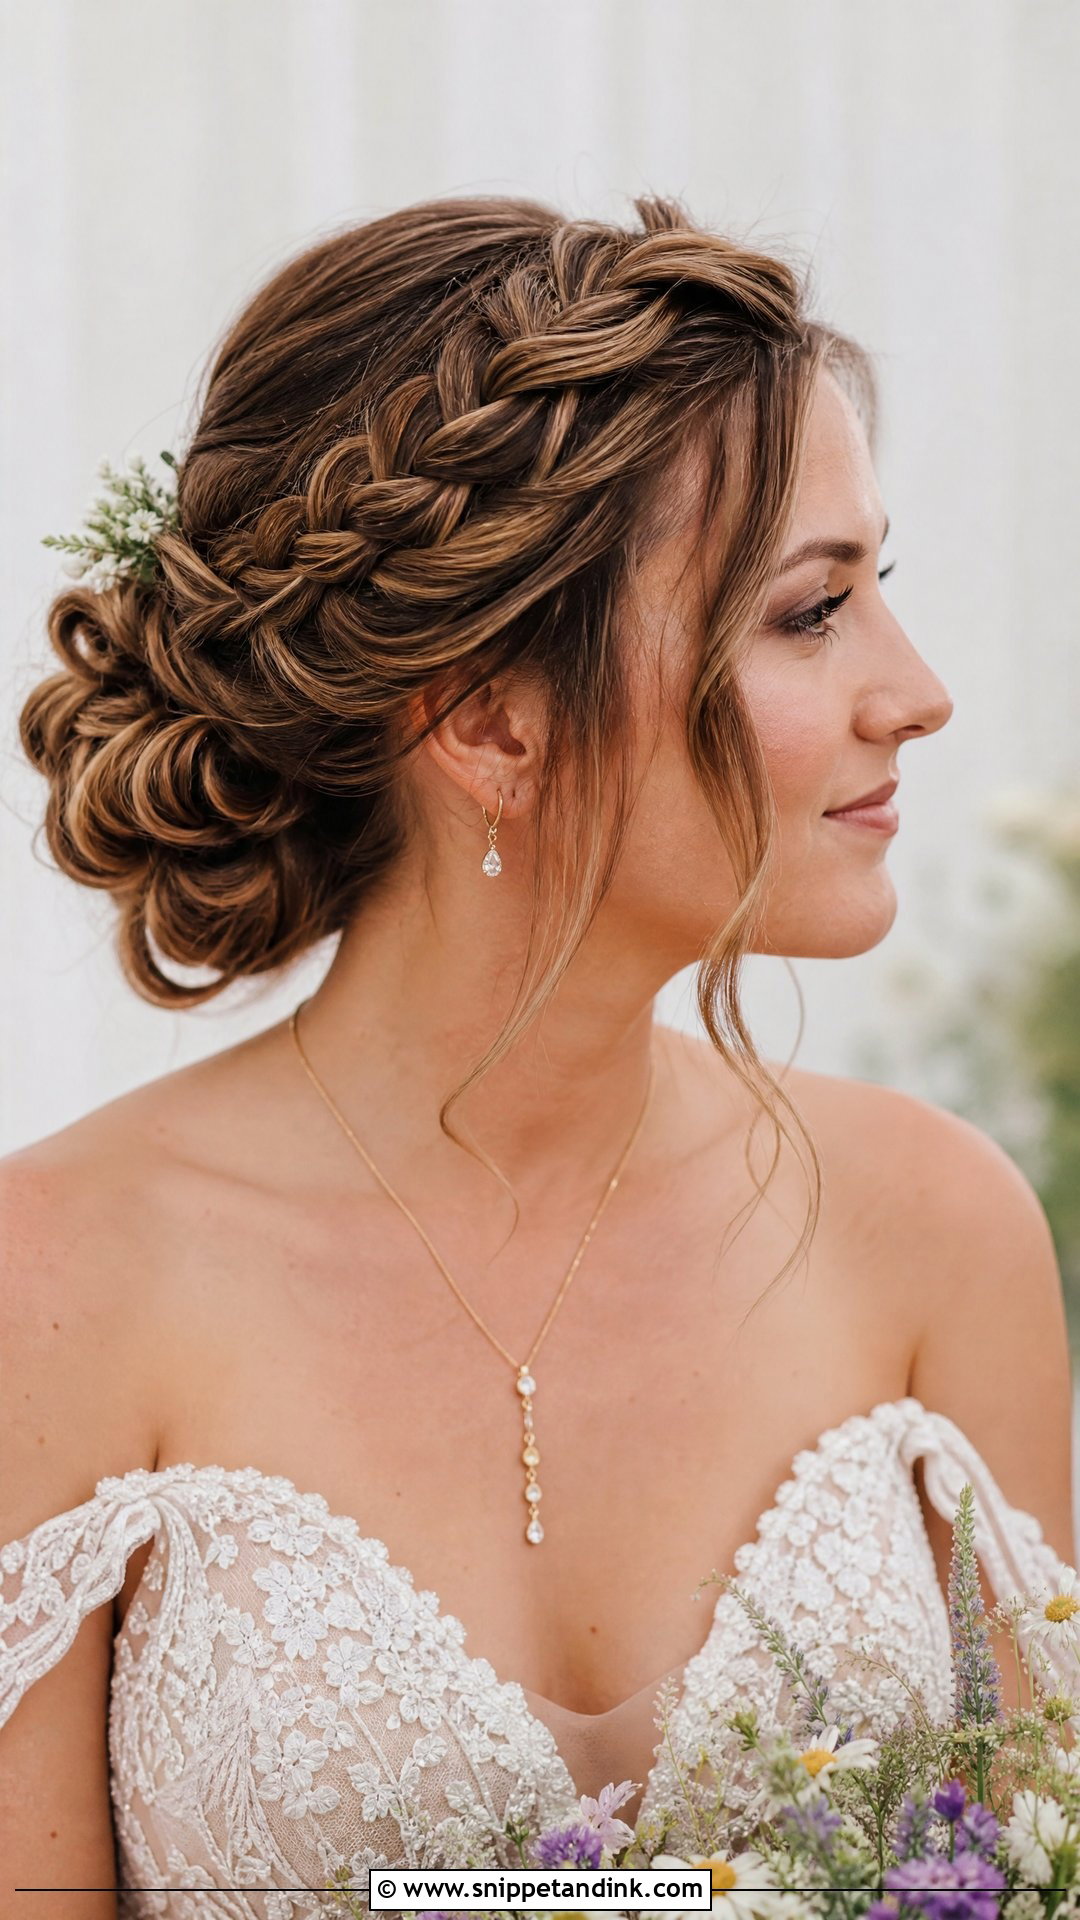
Wrapping braids into a bun gives you a lot of texture in a small space. I braid two or three sections, loosen them, then coil each around the base and pin through the braid at several points. It works on thick, long hair; on fine hair the braids look thin when coiled, and a padded bun base underneath helps. Small flowers or pearl pins set into the coil suit a rustic or bohemian wedding.
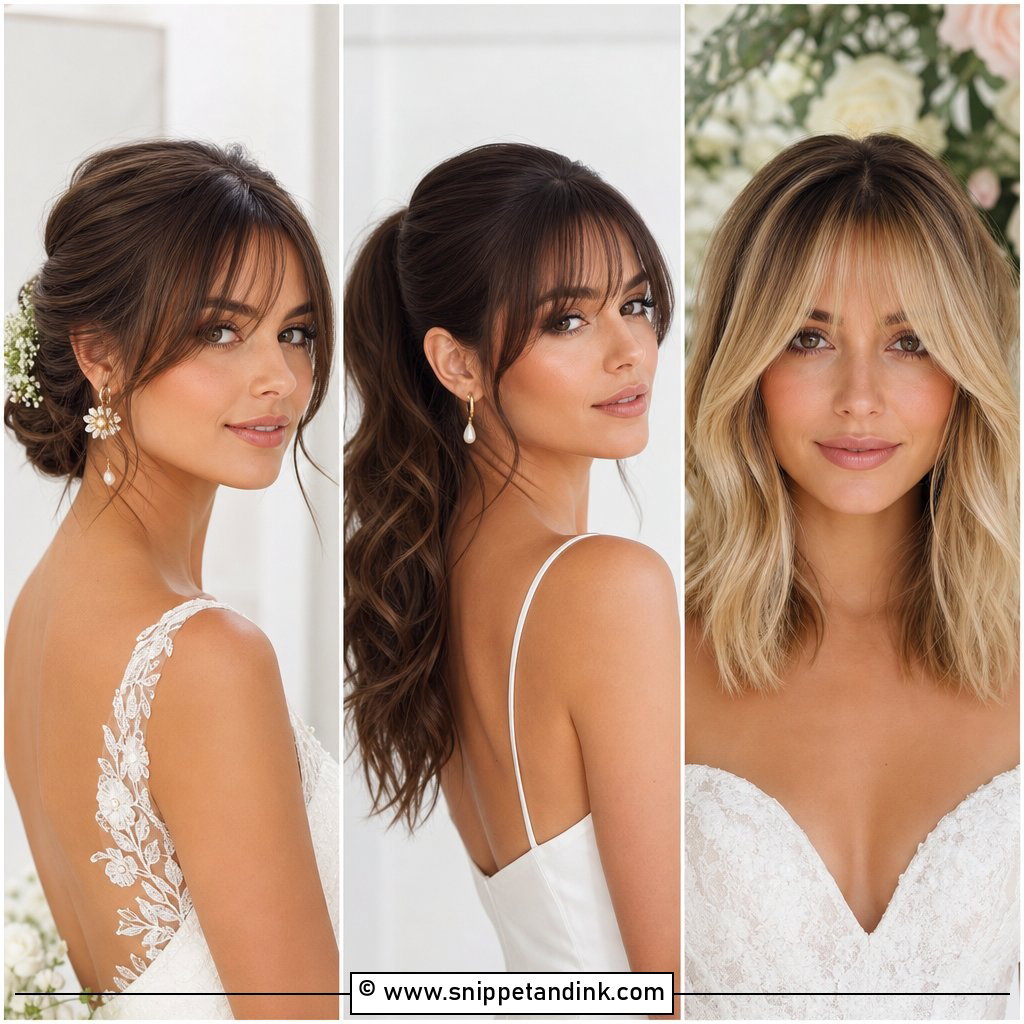
13. Soft Updo With Curtain Bangs
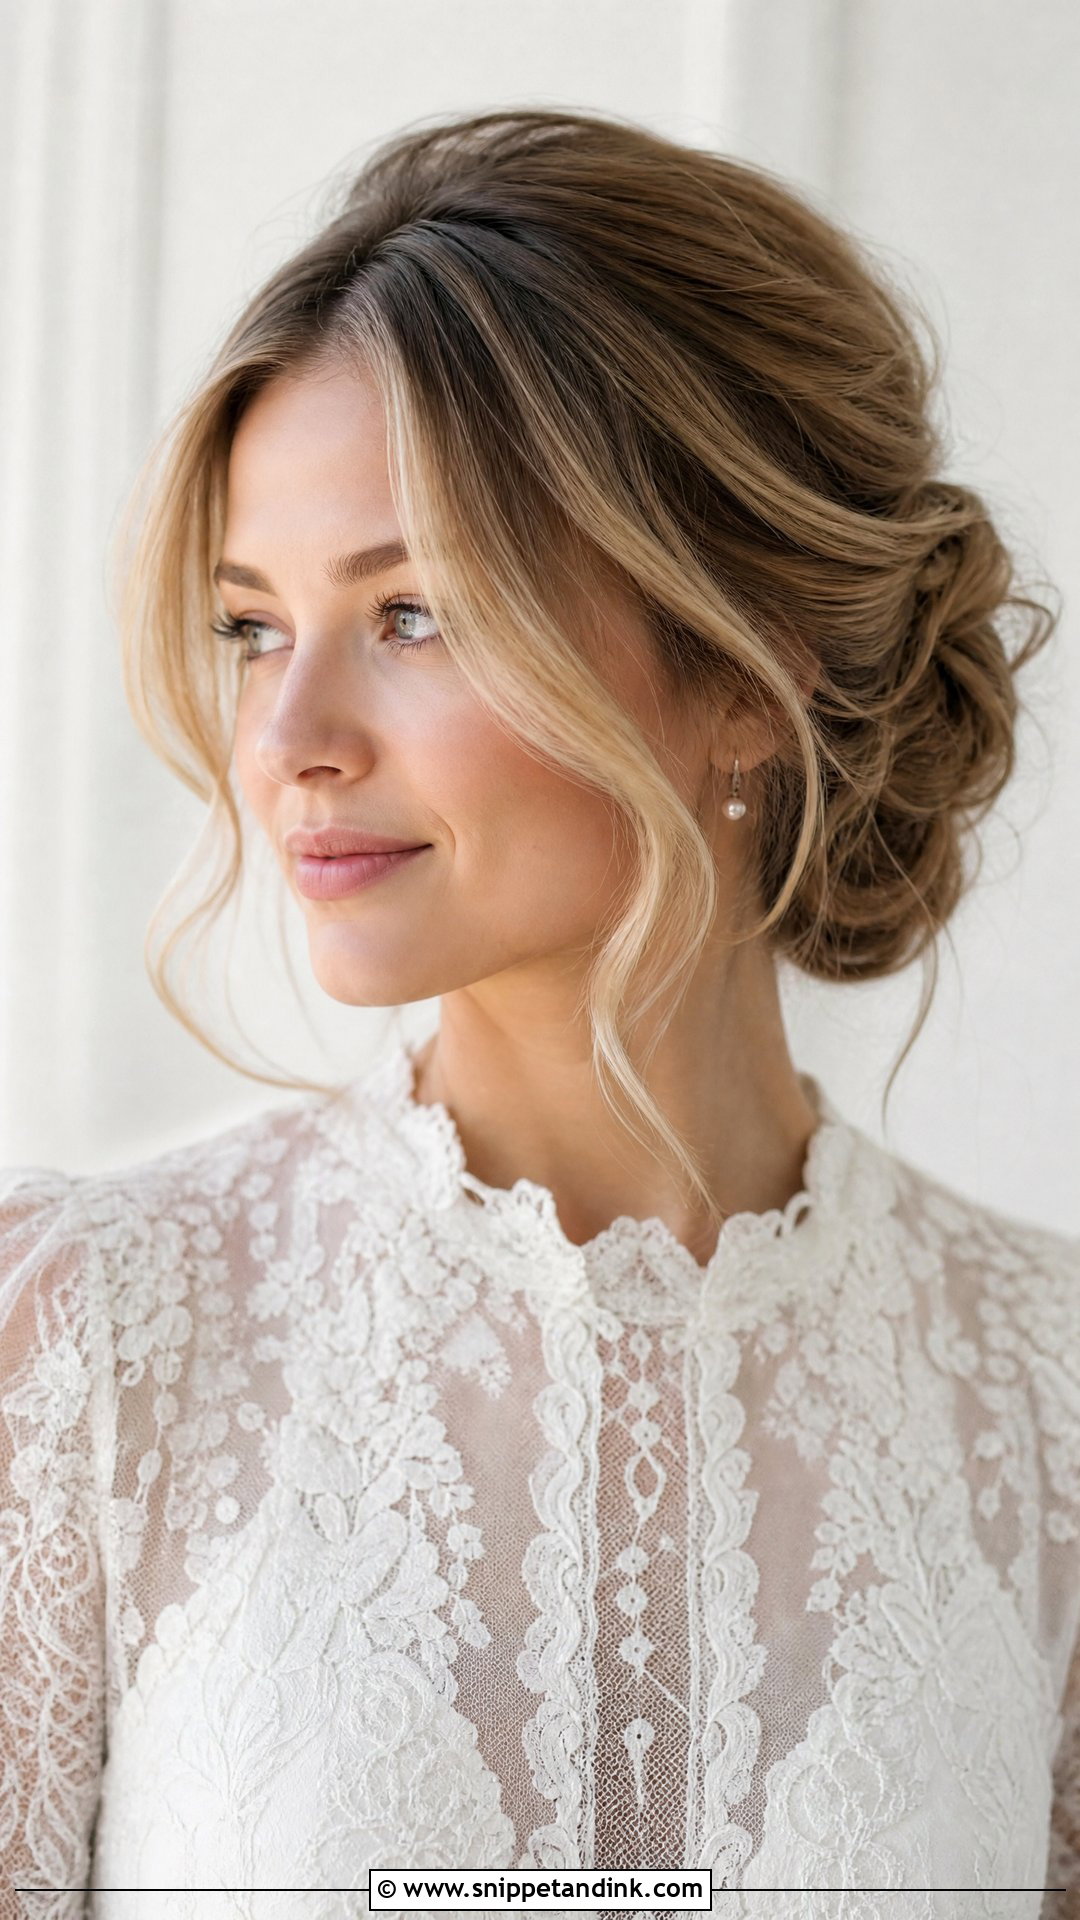
Curtain bangs need to be cut at least two weeks before the wedding so they’ve settled and aren’t sitting too short. On the day I blow-dry them with a round brush away from the face, then sweep the rest up into a loose bun. If you already have soft, parted bangs, this is the updo that keeps you looking like yourself. I’d avoid cutting new bangs for the first time just for the wedding; growing out a mistake takes months.
14. Low Twisted Chignon Updo
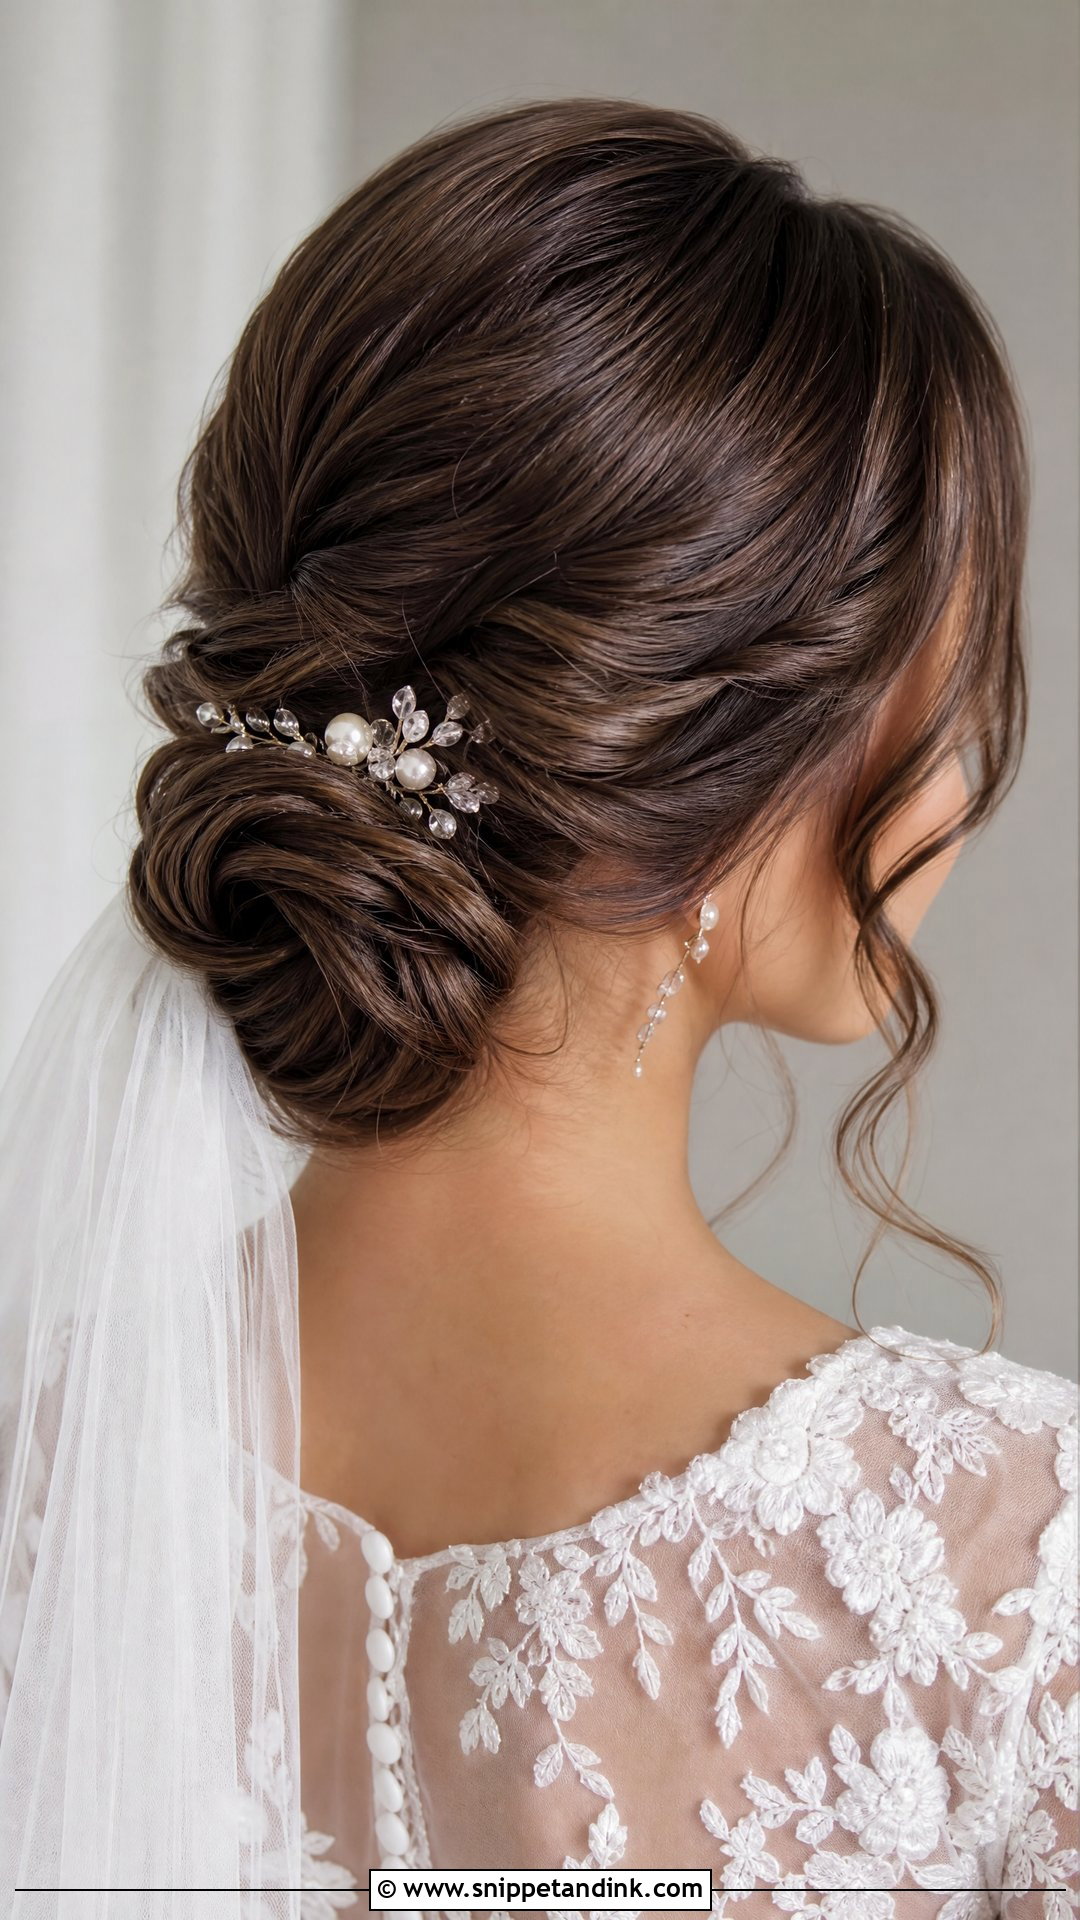
Two twisted sections rolled together into a low chignon give a shape that looks intricate from behind and simple from the front. The twisting is what holds it, so it needs fewer pins than a plain wrapped bun. It sits well under a veil or with a delicate tiara and suits a formal ceremony. On layered hair, short ends can escape the twist, so I set them with a little pomade before rolling.
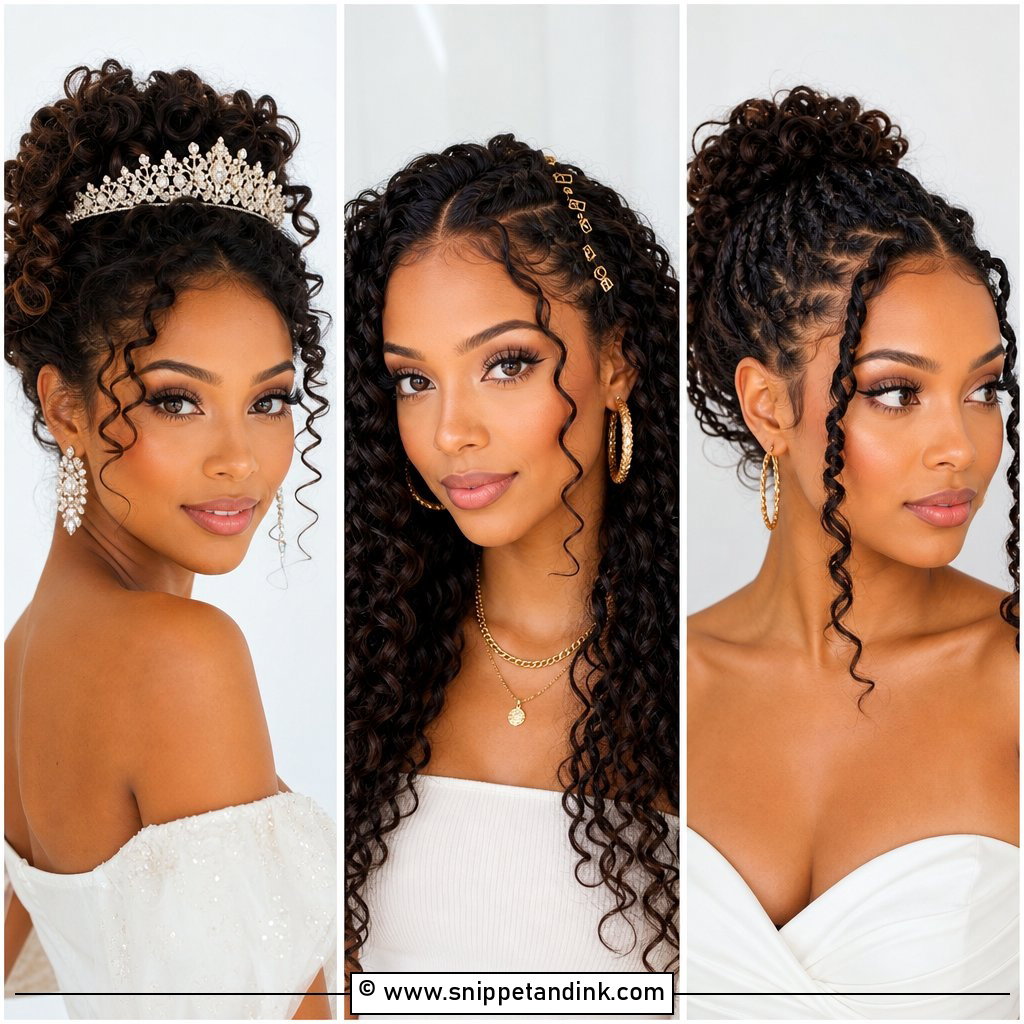
15. Messy Bun Bridal Updo
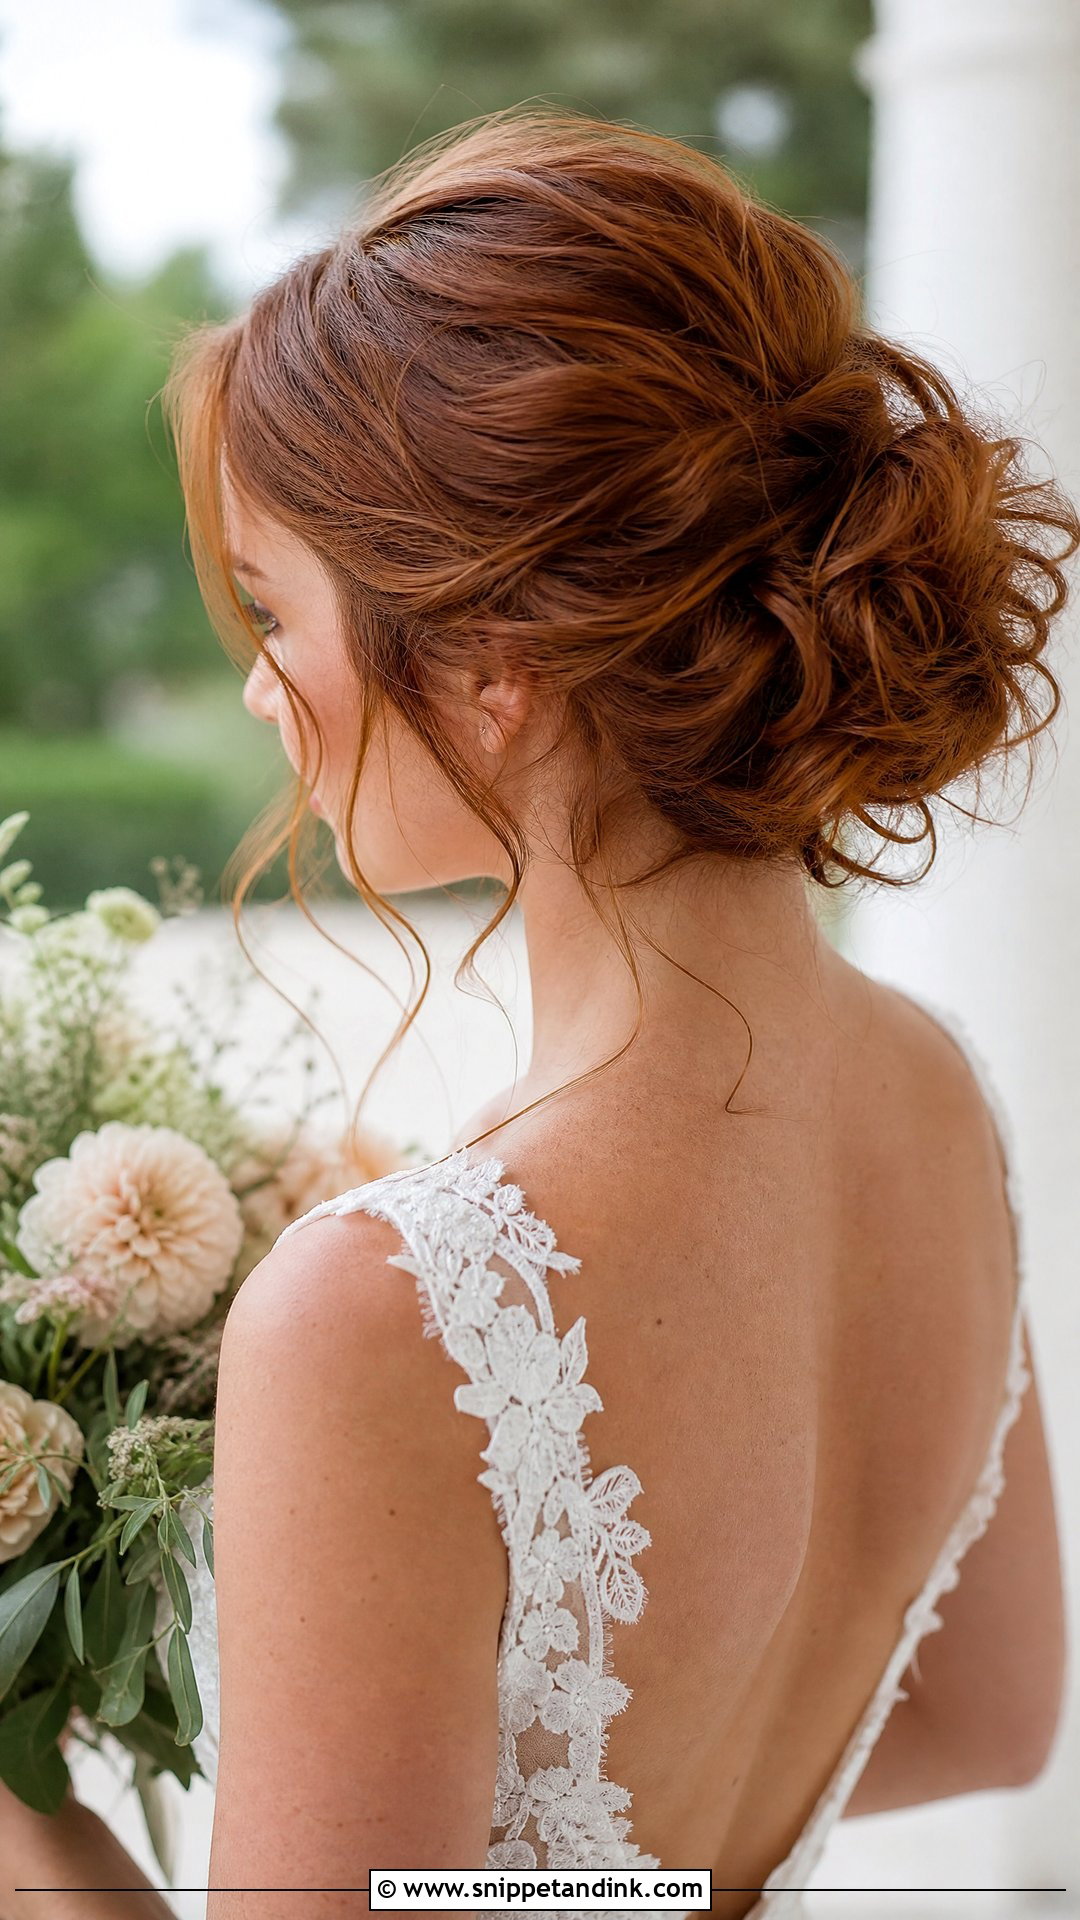
A messy bun at a wedding is anything but random. I curl the hair first, gather it loosely and pin it in big sections, then pull pieces out by hand where they look good from the camera’s angle. The word “messy” worries some brides, but the bun is still pinned to last the day. It suits a garden or beach wedding and a relaxed gown, and it’s forgiving if a few pieces move during dancing.
16. Updo With Pearl Hair Accessories
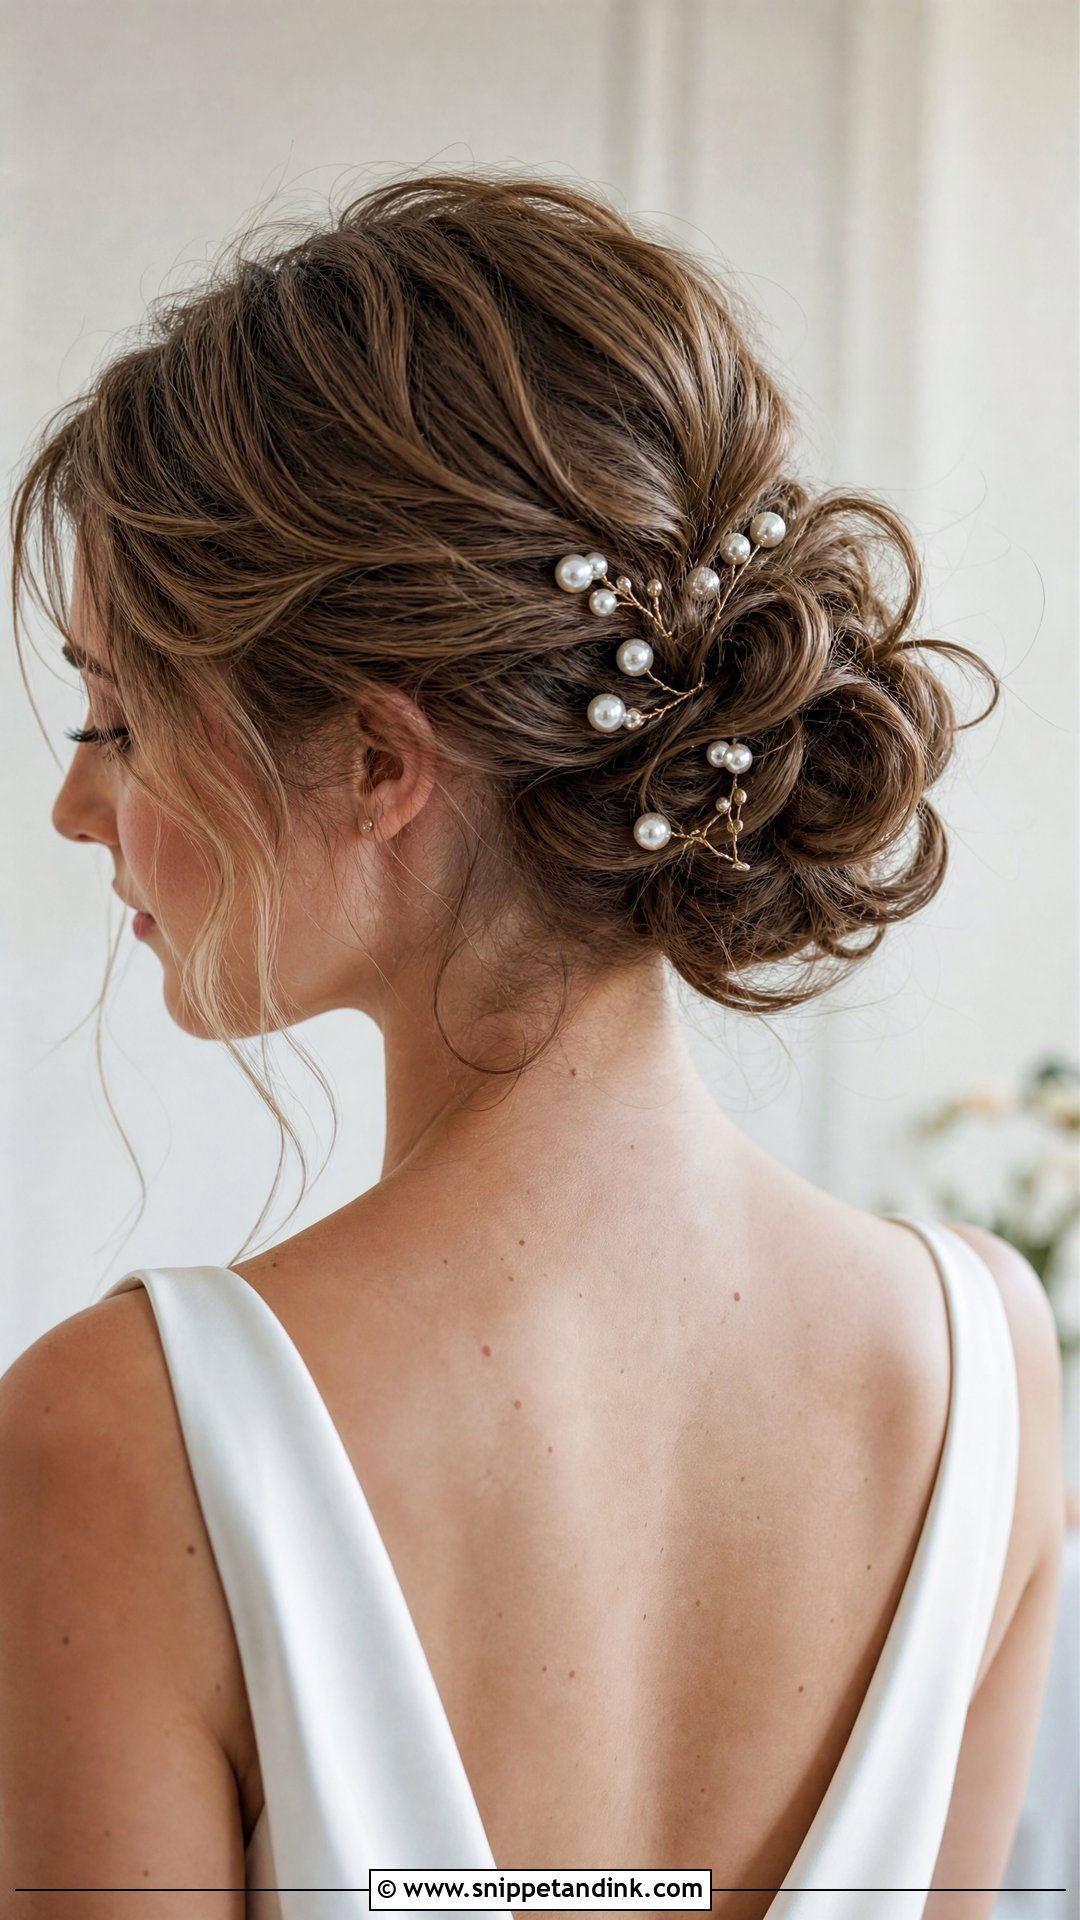
Pearl pins work because they catch light softly rather than sparkling, so they suit both classic and modern dresses. I scatter odd numbers rather than pairs and keep them mostly on one side or along a twist so they look placed. The base stays textured and loose. If your dress already has pearl detail, a few small pins echo it nicely without overloading the look; heavy pearl combs need a firm anchor underneath.
17. Soft Rolled Updo Wedding Hairstyle
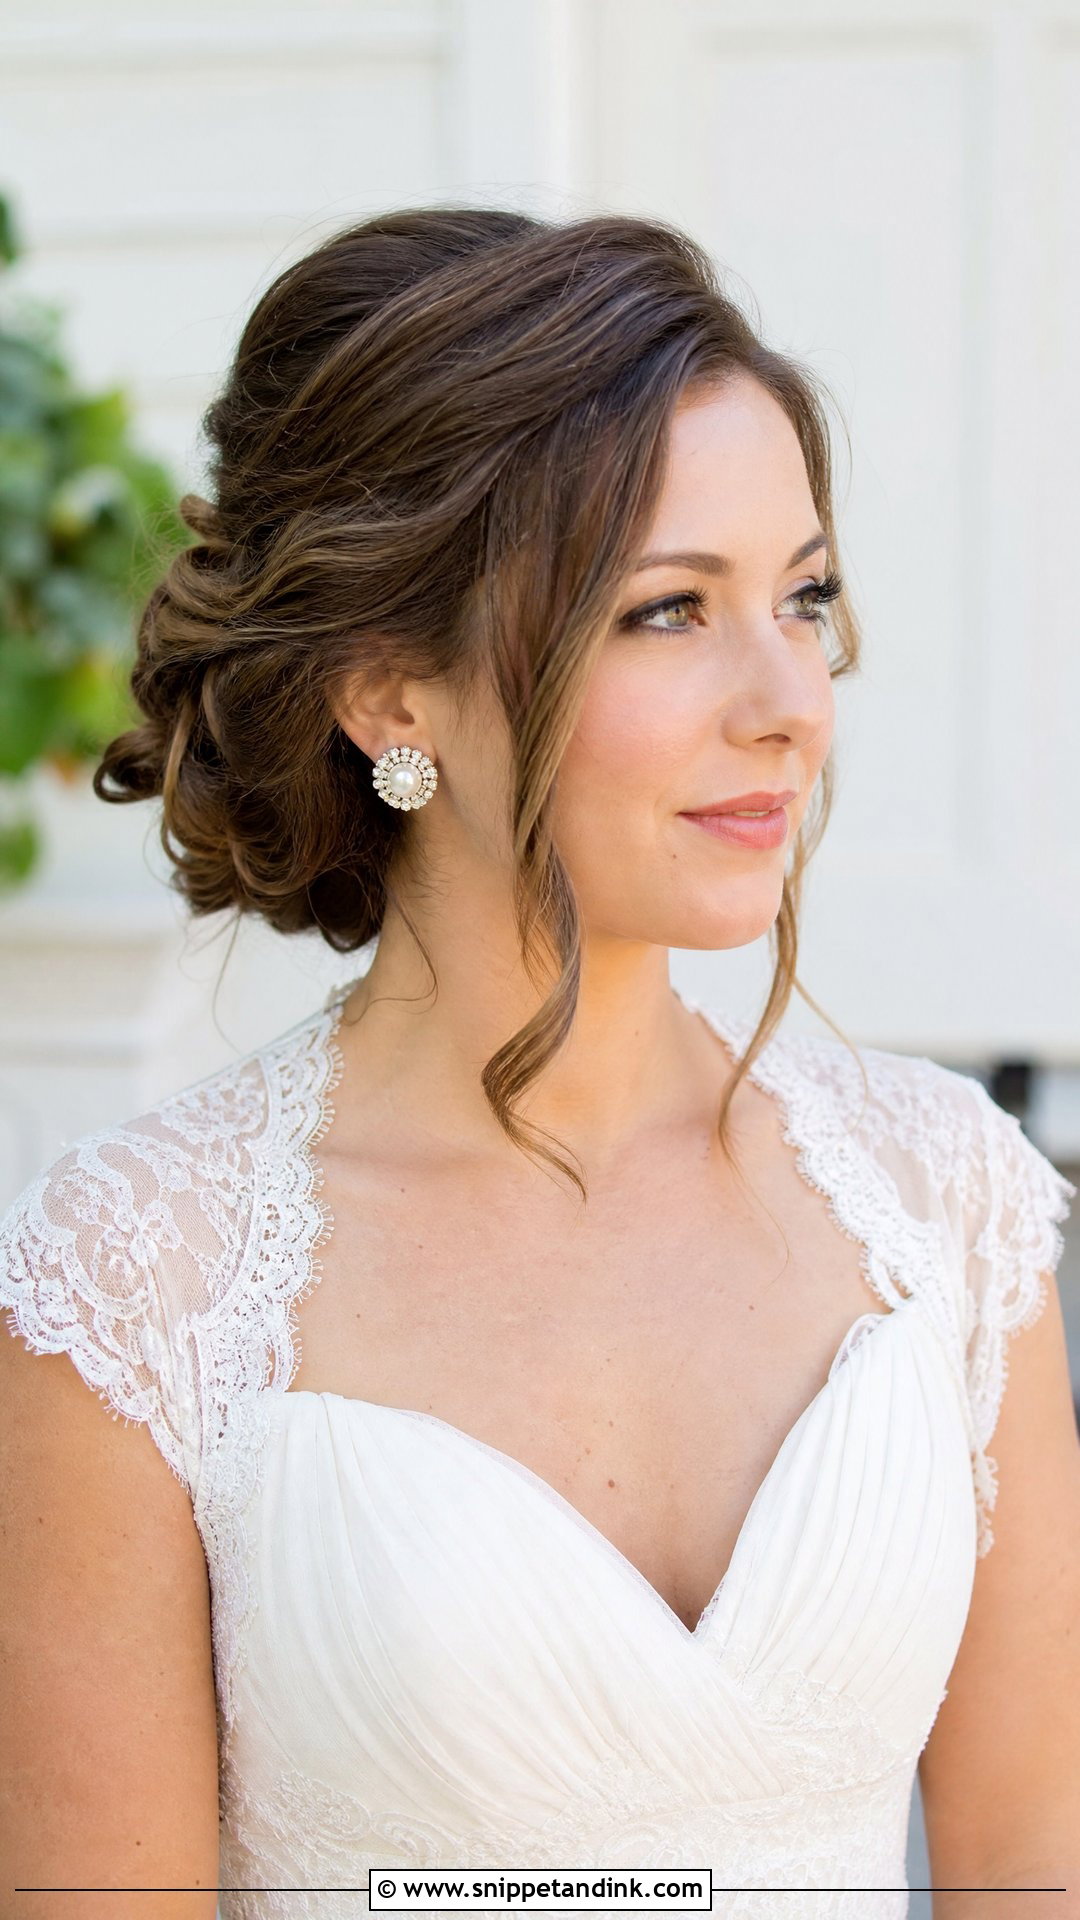
Rolling hair inward is an old technique, and it reads vintage straight away. I set the hair on large rollers first so each section has a curve to roll with, then pin the rolls against the head. It needs medium to long hair with enough length to wrap. Loose pieces at the front keep it from looking costume-like. It pairs naturally with a retro gown and a birdcage veil, and the smooth curves catch flash nicely in photographs.
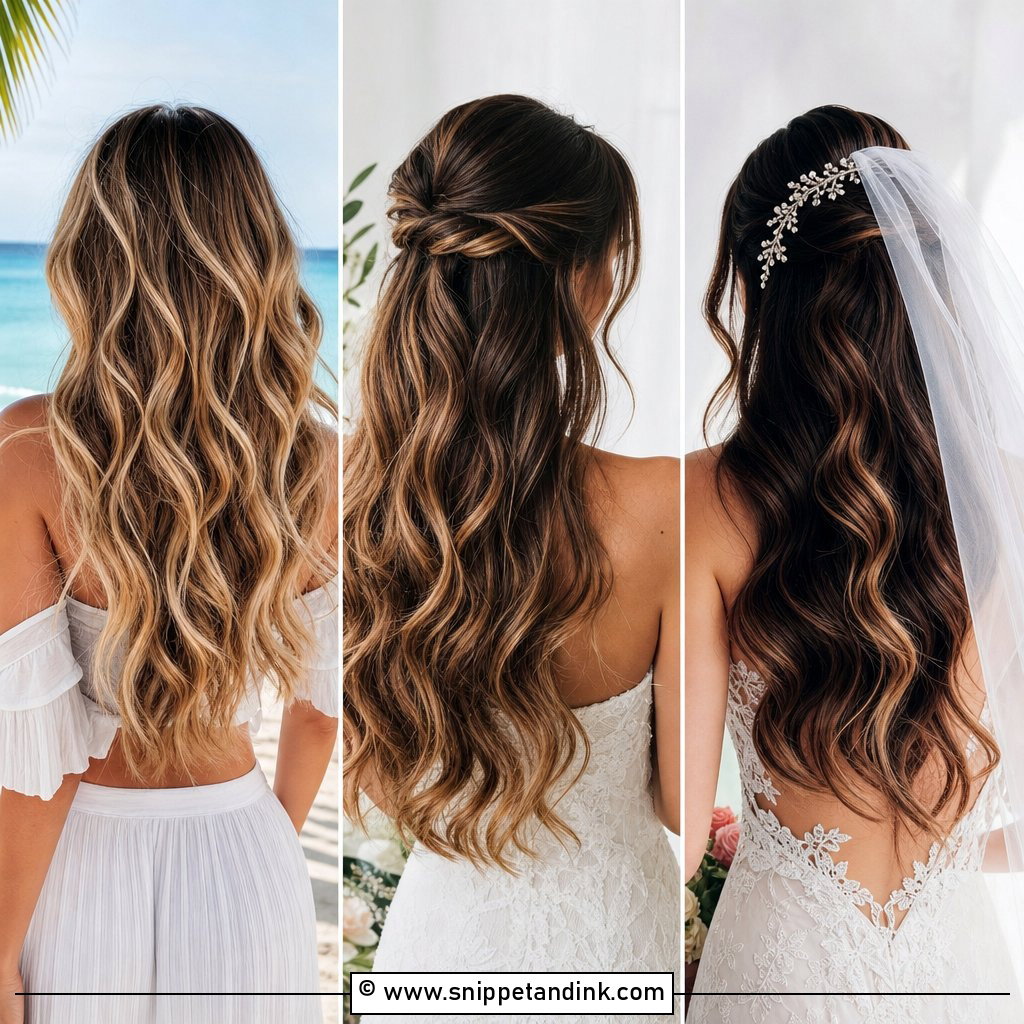
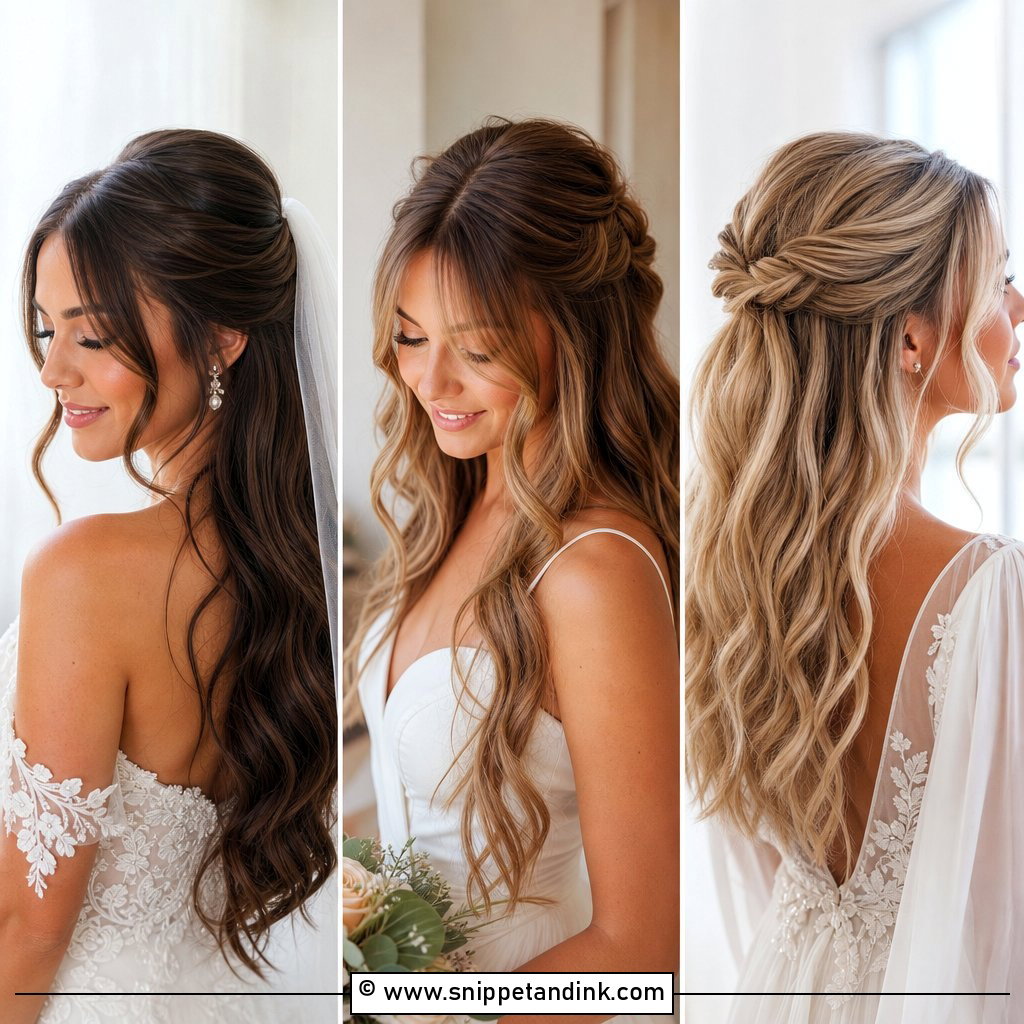
18. Half-Up Soft Updo Style
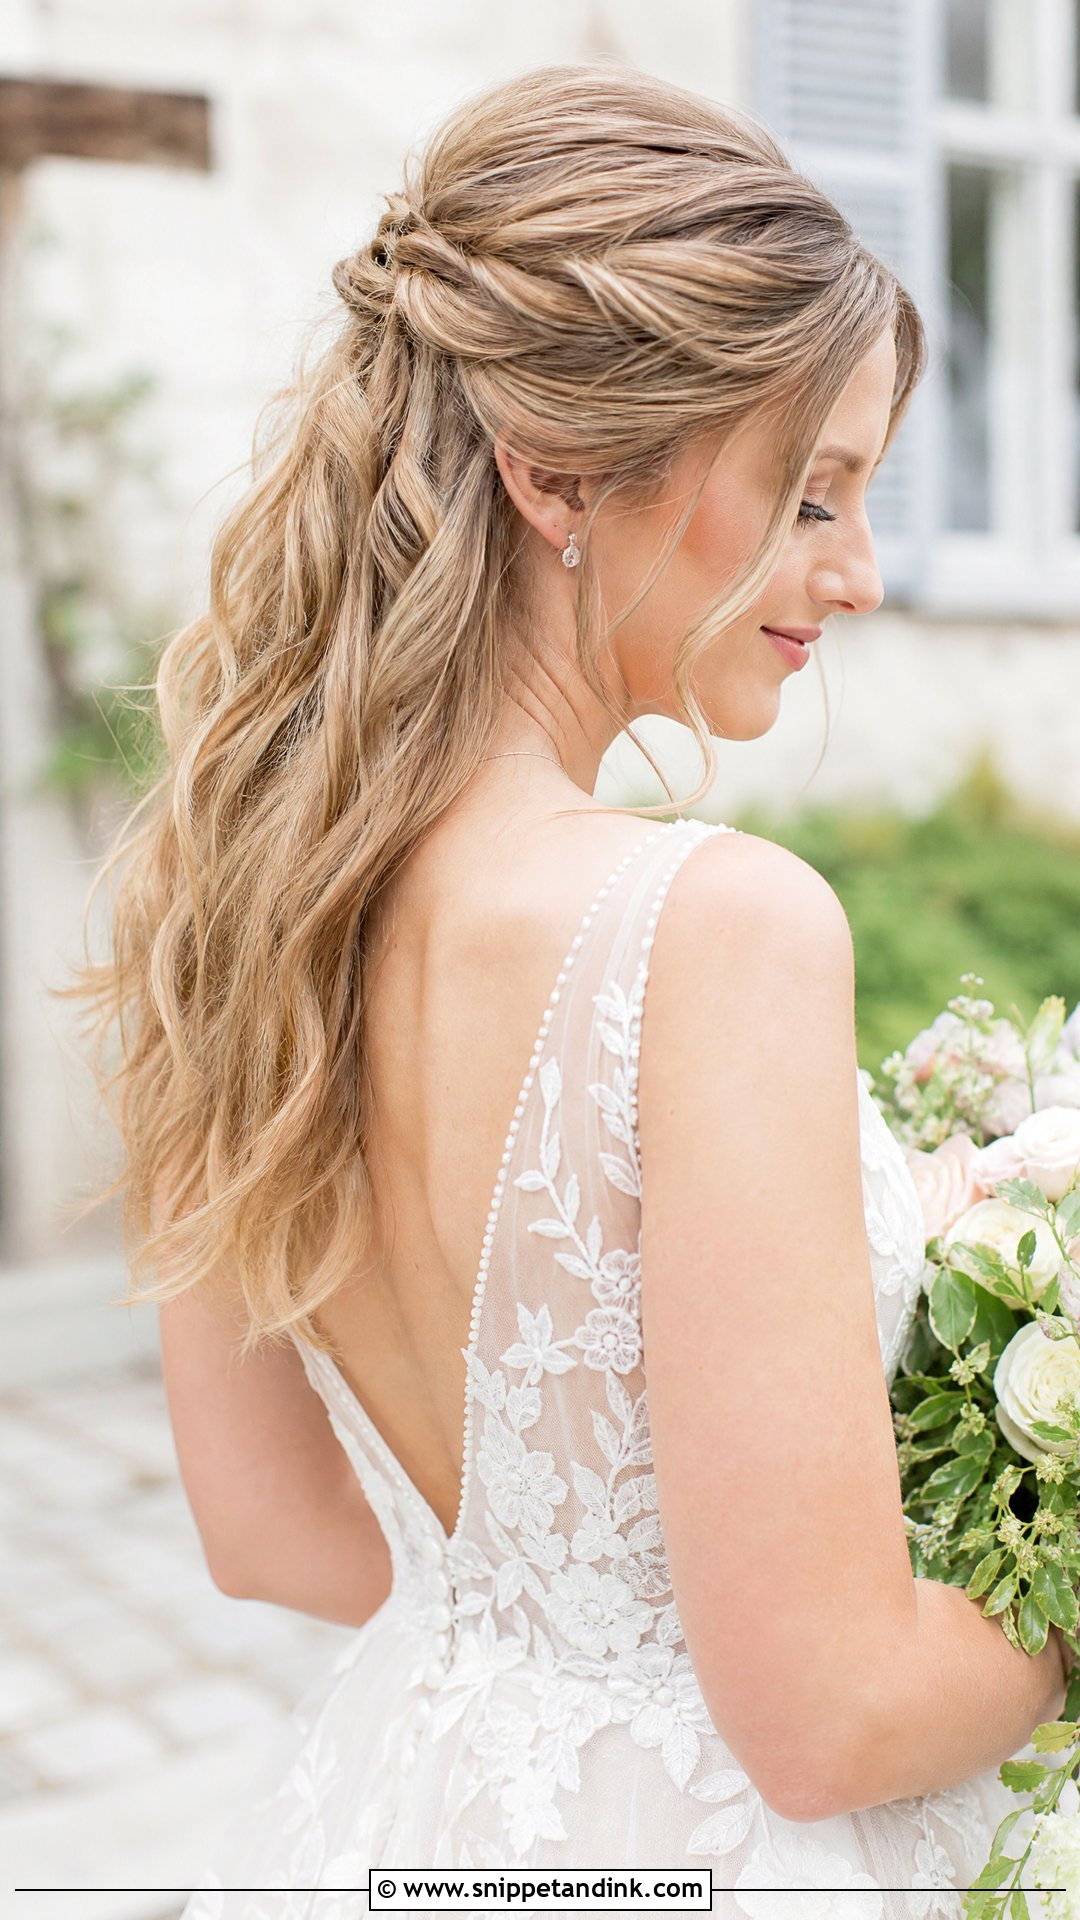
Half-up isn’t strictly an updo, and that’s the point: you keep length down your back while the top stays secured. I put the top section into a small bun or twist and curl the lengths so they hold their shape. The hair left down is what drops first in humidity, so for a beach wedding I’d set it with a stronger curl than looks right at first. It suits long or medium hair and works with flowers or small pins.
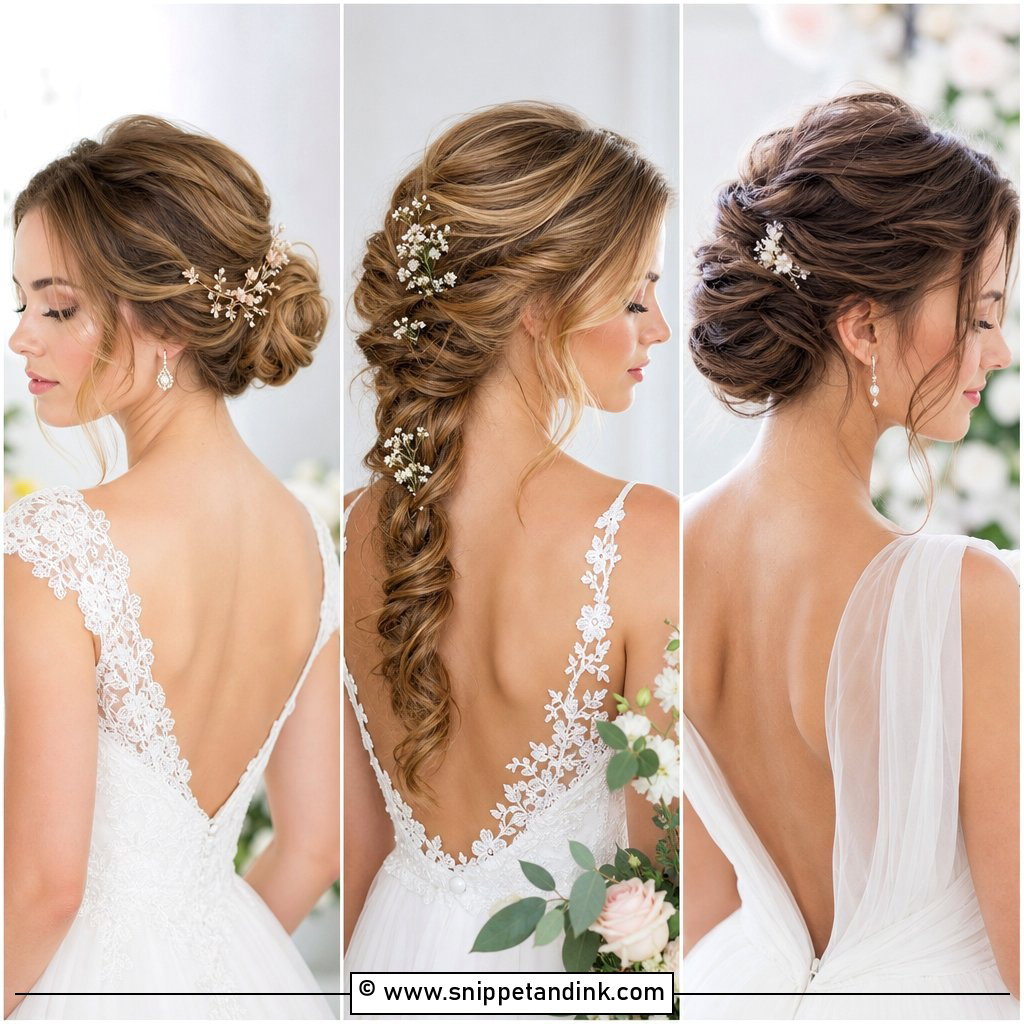
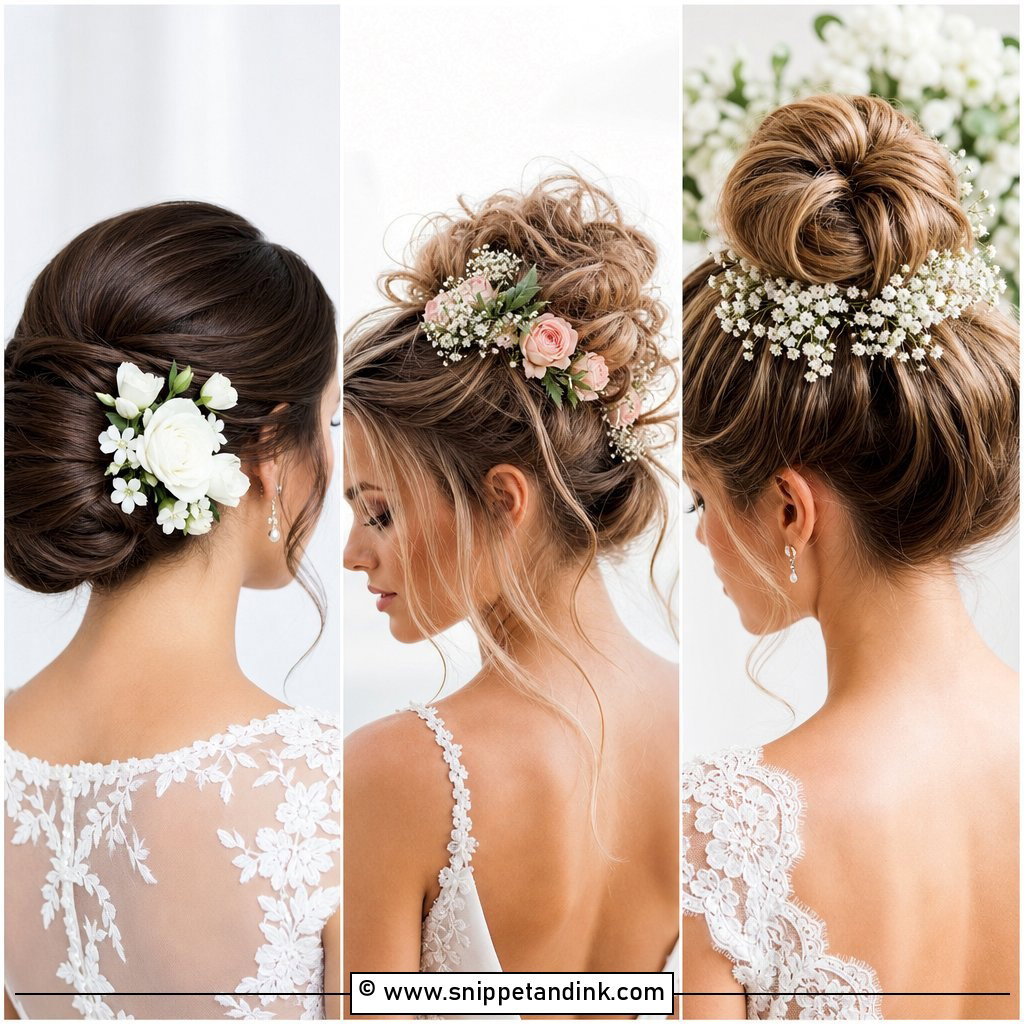
19. Soft Updo With Floral Accents
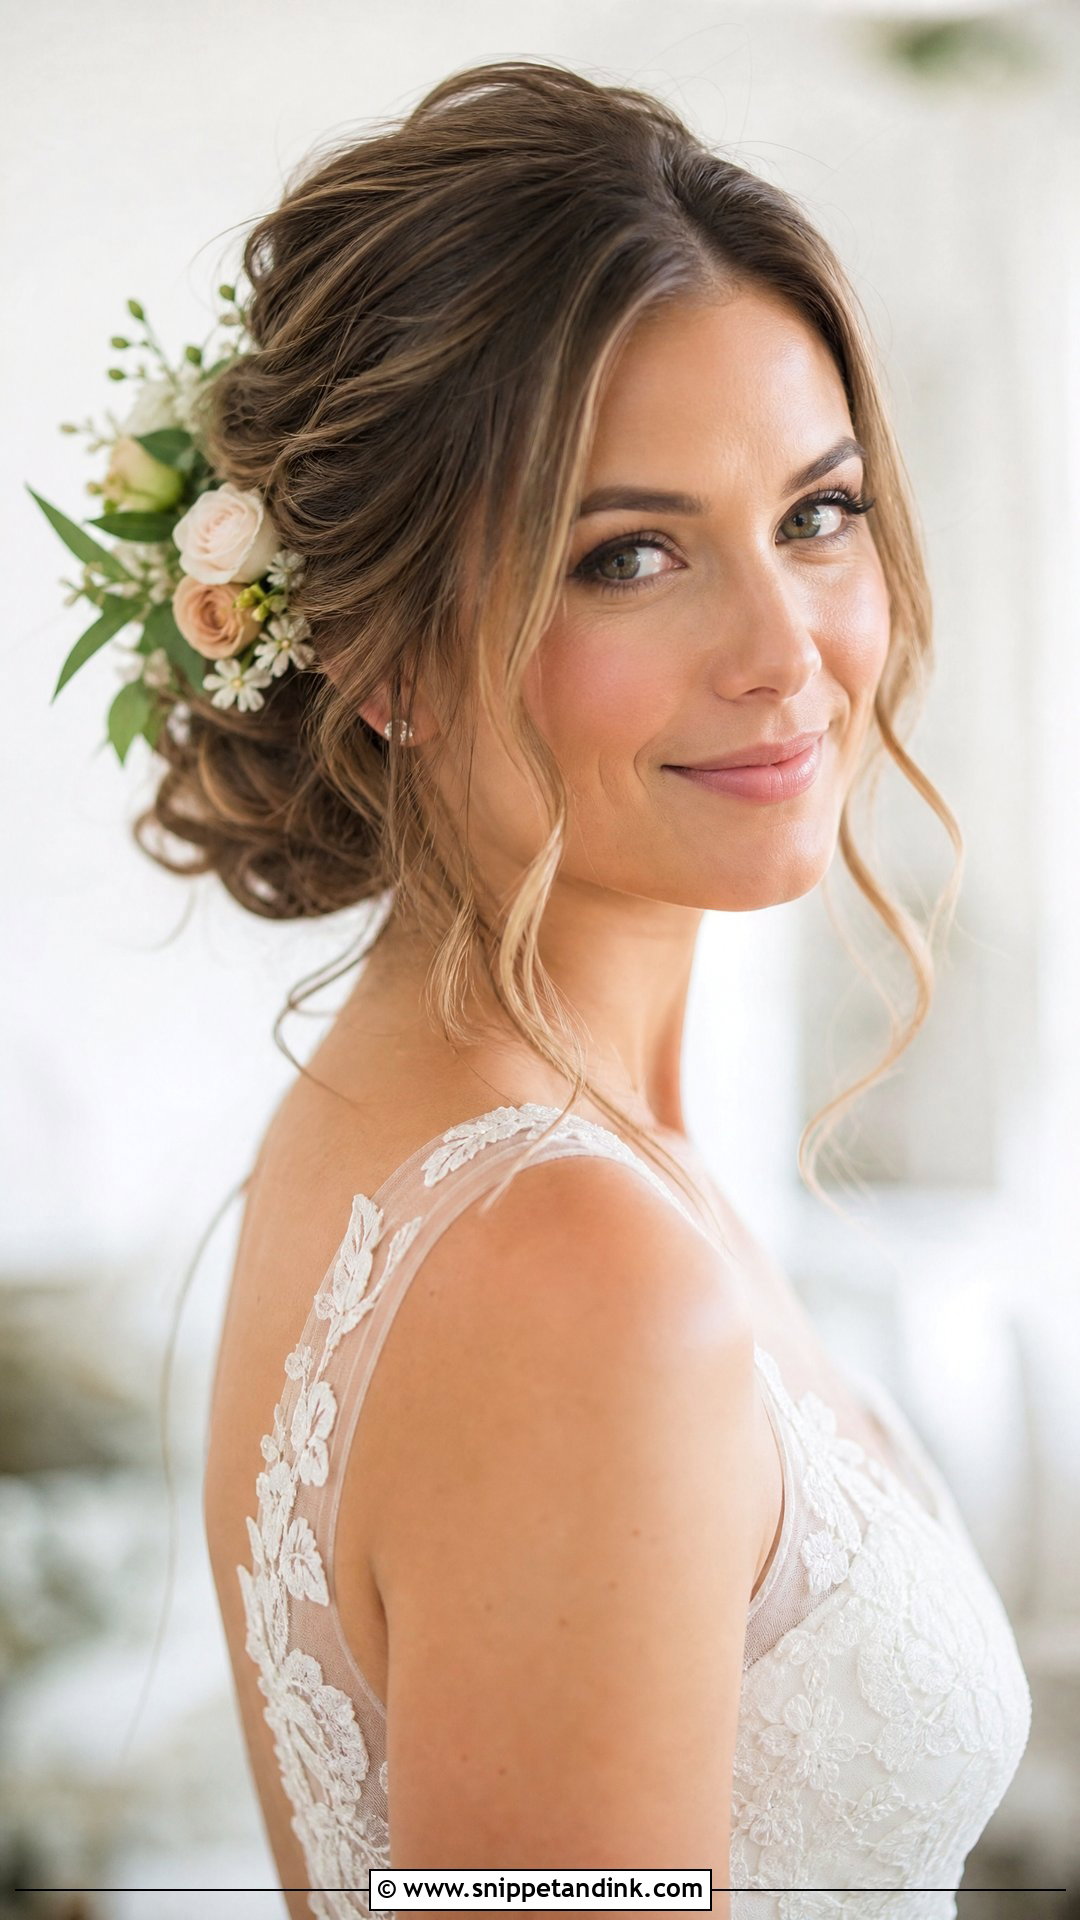
Fresh flowers in hair need to be chosen for stamina, not just color. Spray roses, wax flower, baby’s breath and small orchids hold up for hours; gardenias and peonies brown or droop quickly in heat. I ask the florist to wire and tape the stems so they pin in securely and to deliver them chilled. The updo underneath stays soft and textured, and matching the blooms to your bouquet ties the look together.
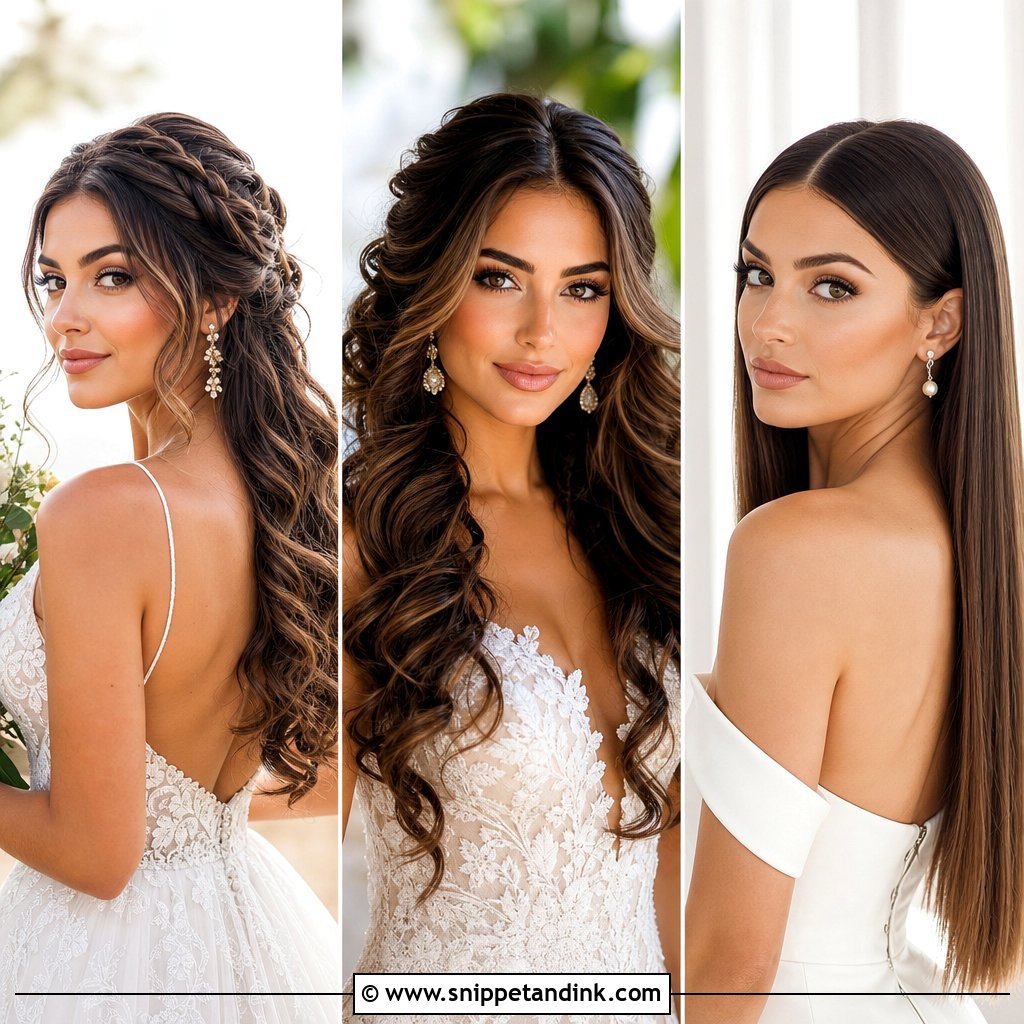
20. Side-Swept Soft Updo
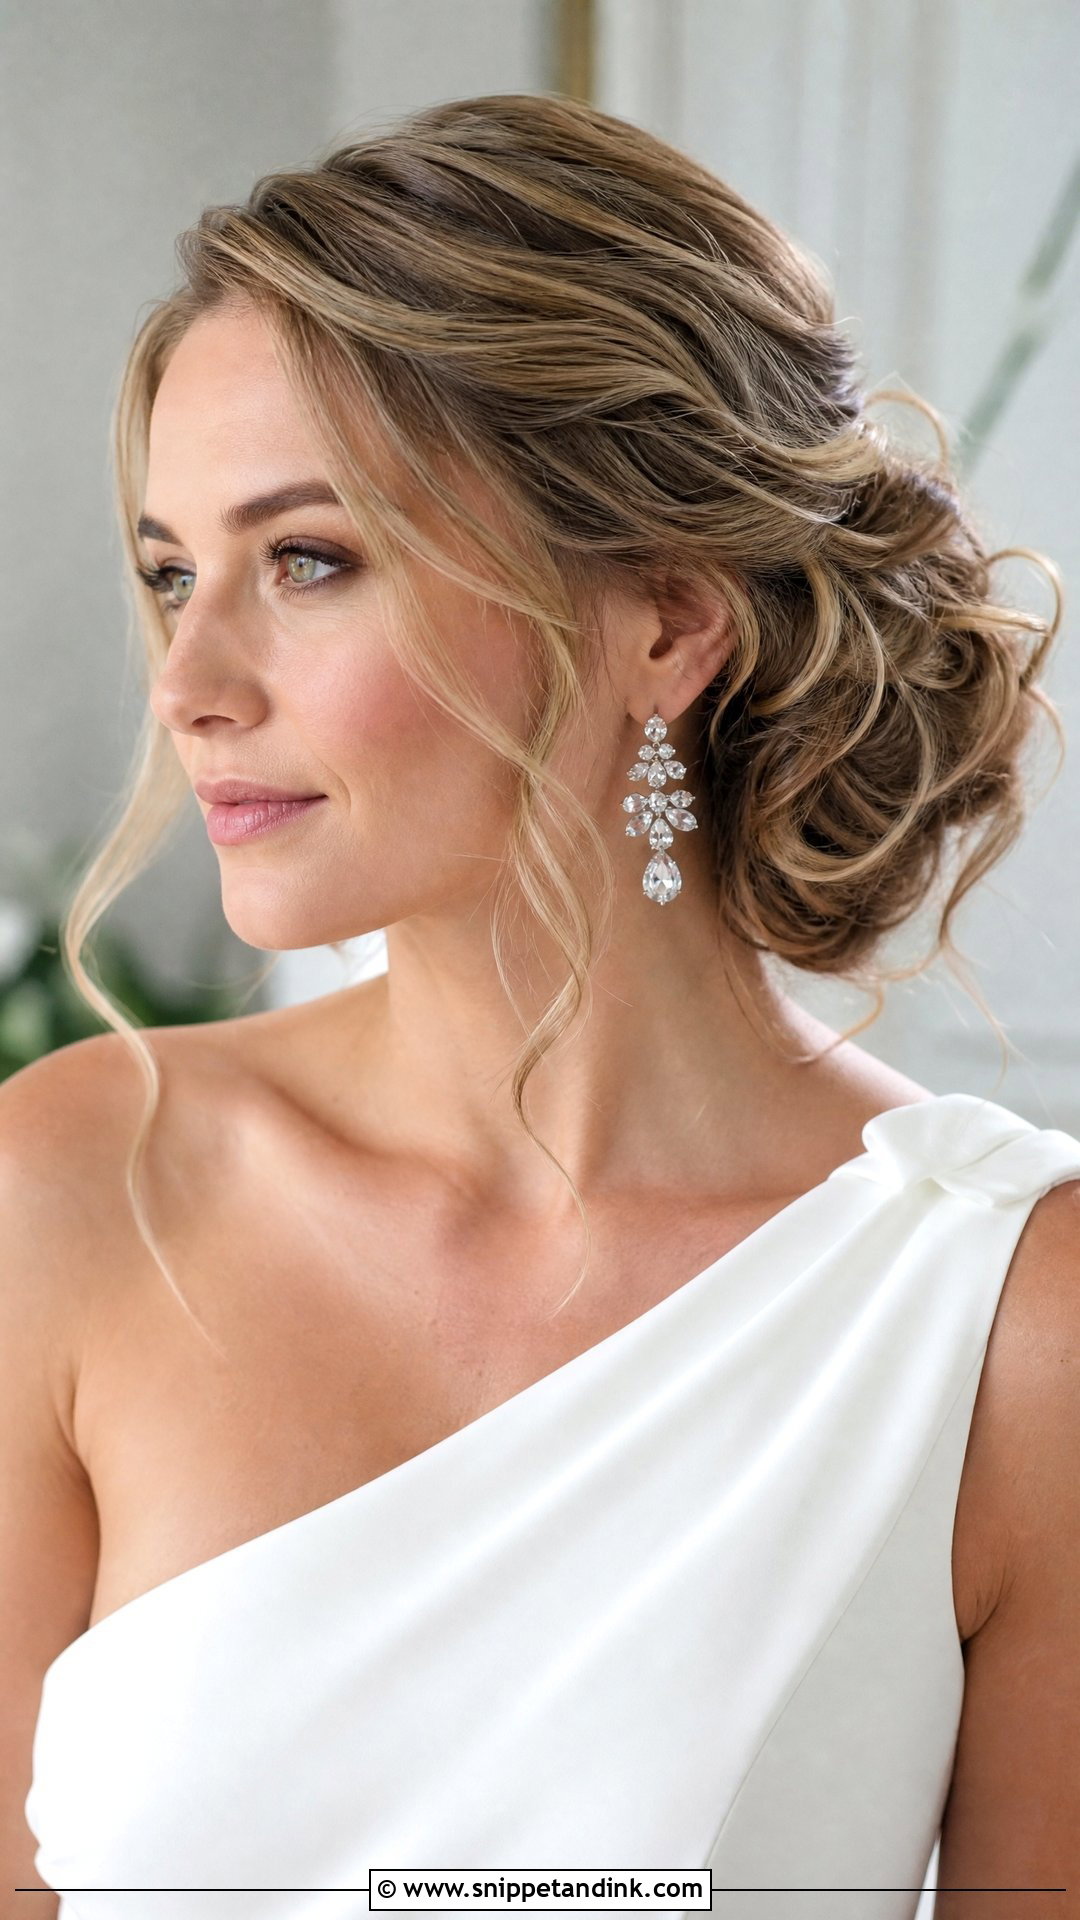
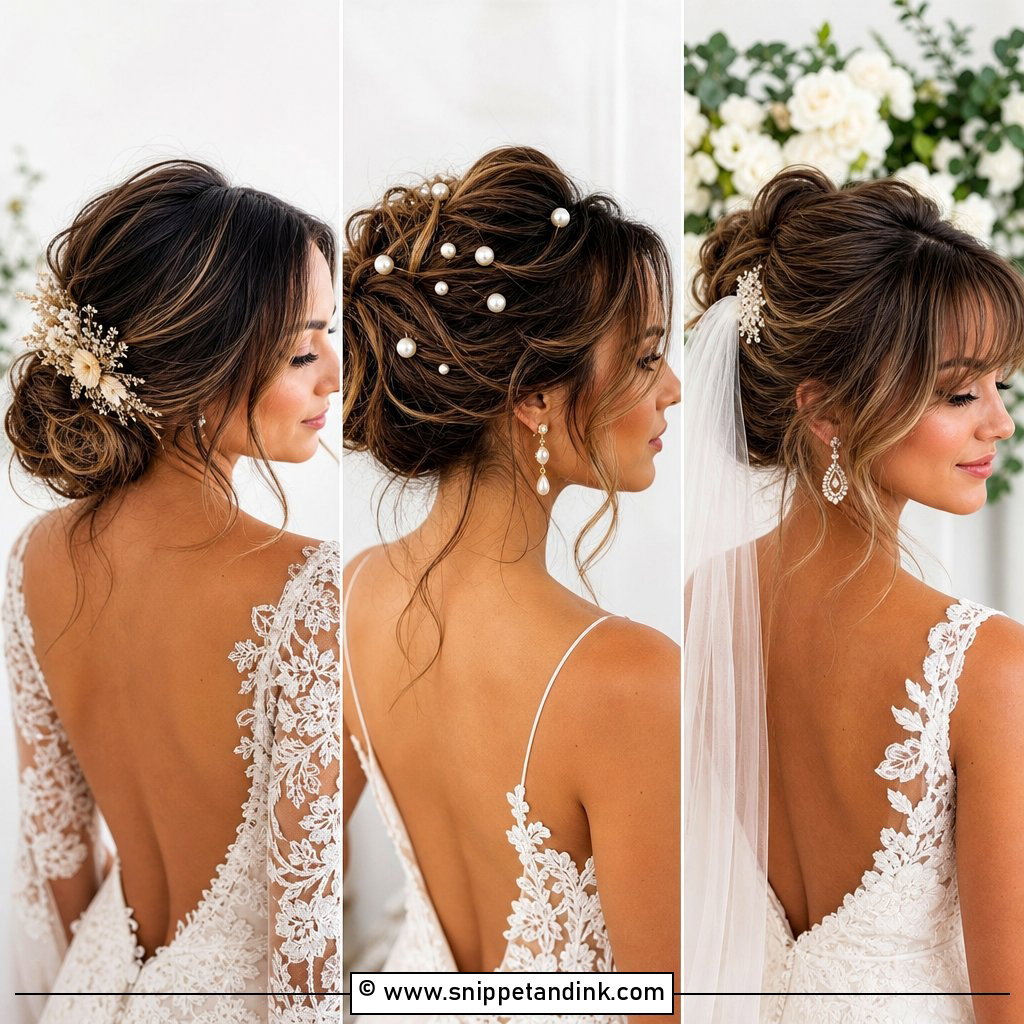
Sweeping everything to one side shows off one earring and one side of the neckline, so the dress decides which side. I pin a hidden anchor behind the ear on the far side first so the weight doesn’t drag the style back to the center. A one-shoulder gown and a single statement earring suit it well. It needs medium to long hair, and if you plan to wear a veil, the comb goes on the opposite side to the bun.
Adapting These Styles to Fine, Thick and Curly Hair
Photos of soft updos usually show thick, long hair with a little natural wave. Your own hair can wear most of these looks, but the way I build them changes.
Fine or thin hair
I add a padded bun base or a few clip-in wefts underneath so the bun has size, and I backcomb lightly at the root. Fewer tendrils, slightly thicker ones, read fuller on camera than lots of fine wisps.
Very thick or heavy hair
Weight is the issue, so I divide the hair into more sections and pin each separately rather than twisting it all into one bun. Larger U-shaped pins hold better than bobby pins here, and the style will feel lighter by the evening.
Curly and coily hair
Natural curl gives you texture with no tongs at all. I set curls with a cream, avoid brushing them out unless the look calls for it, and pin with the curl pattern rather than flattening it. Face-framing pieces can be your own curls, defined with a little gel.
Layered or shoulder-length cuts
Short layers can escape a bun, so choose twisted, braided or knotted styles that catch more lengths. A little pomade on the ends before pinning keeps them in place, and a few that escape can look intentional.
The Soft Updo That Still Looks Like You
The softest updos only look easy. What makes each one work is the foundation underneath: anchors, crossed pins, set curls and texture added before anything goes up. Pick the shape that suits your dress and neckline, then bring photos of your two favorites to your trial along with your veil or headpiece. Your stylist will tell you honestly which one your hair will hold, and that conversation is worth more than any picture.
You'll Like These Ideas:


Leave a Reply