
A loose bun is the updo I build most often, and the one with the most hidden engineering. It has to look soft and touchable from the aisle while holding a veil, surviving a car ride and staying put through dinner, which means the looseness you see sits on top of a very firm base. Brides choose it for garden weddings, beach ceremonies, ballrooms and intimate courthouse vows, and it adapts to curls, waves, twists or braids. Below are twenty versions, with what I’d change for different hair types and what each one asks of your stylist.
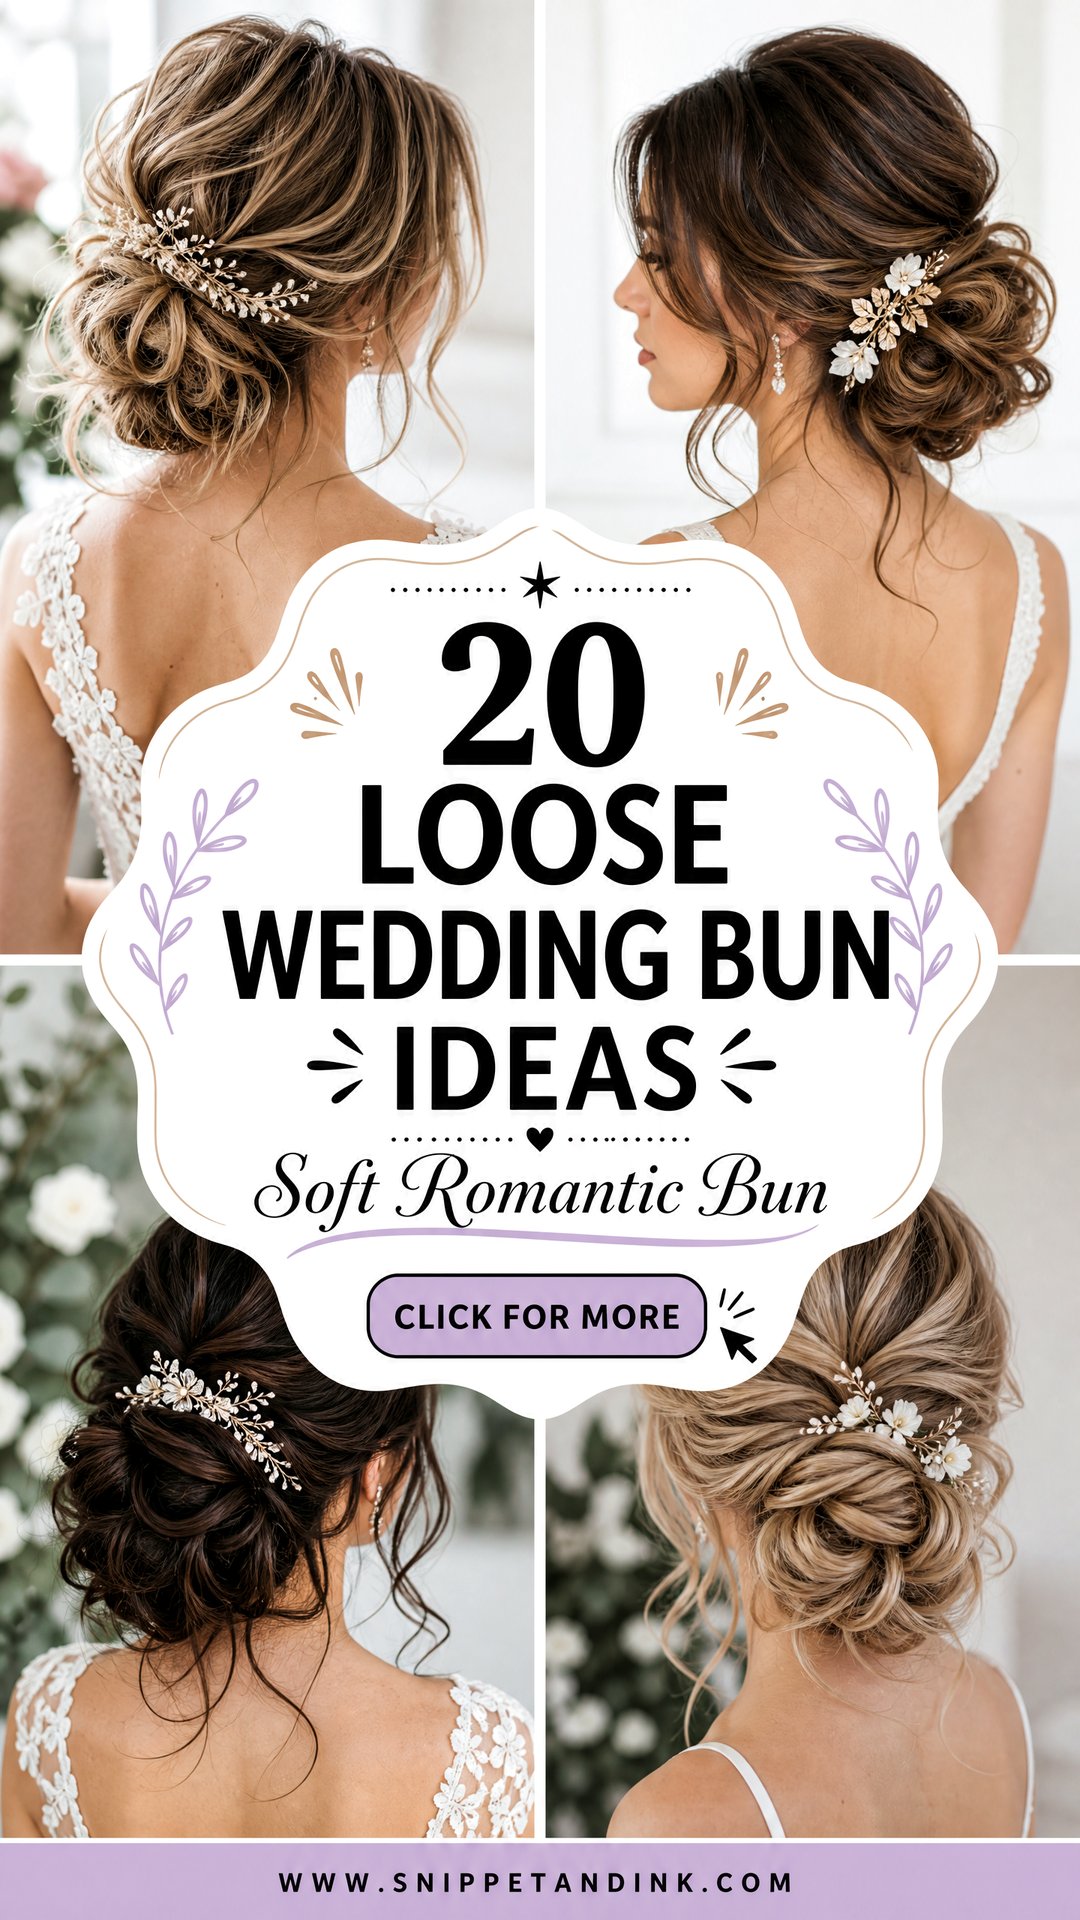
How Loose Can a Bun Be Before It Collapses?
Looser than you’d think, as long as the base is firm. Every soft bun I make starts with something invisible: a small elastic ponytail, a pair of crossed pins, or a tight twist at the nape. Everything you actually see is pinned onto that.
What collapses is a bun built from loose sections pinned only to each other. It looks perfect in the chair and starts sliding within two hours, especially once a veil adds weight. So when you show your stylist a very undone reference photo, it’s fair to ask what’s holding it up.
Pins matter more than spray
Bobby pins lock sections flat; U-pins hold shape without crushing curl. A good loose bun uses both, often thirty or more in total. Hairspray finishes the surface, but it isn’t what keeps the bun up.
1. Loose Wedding Bun With Face Framing Pieces
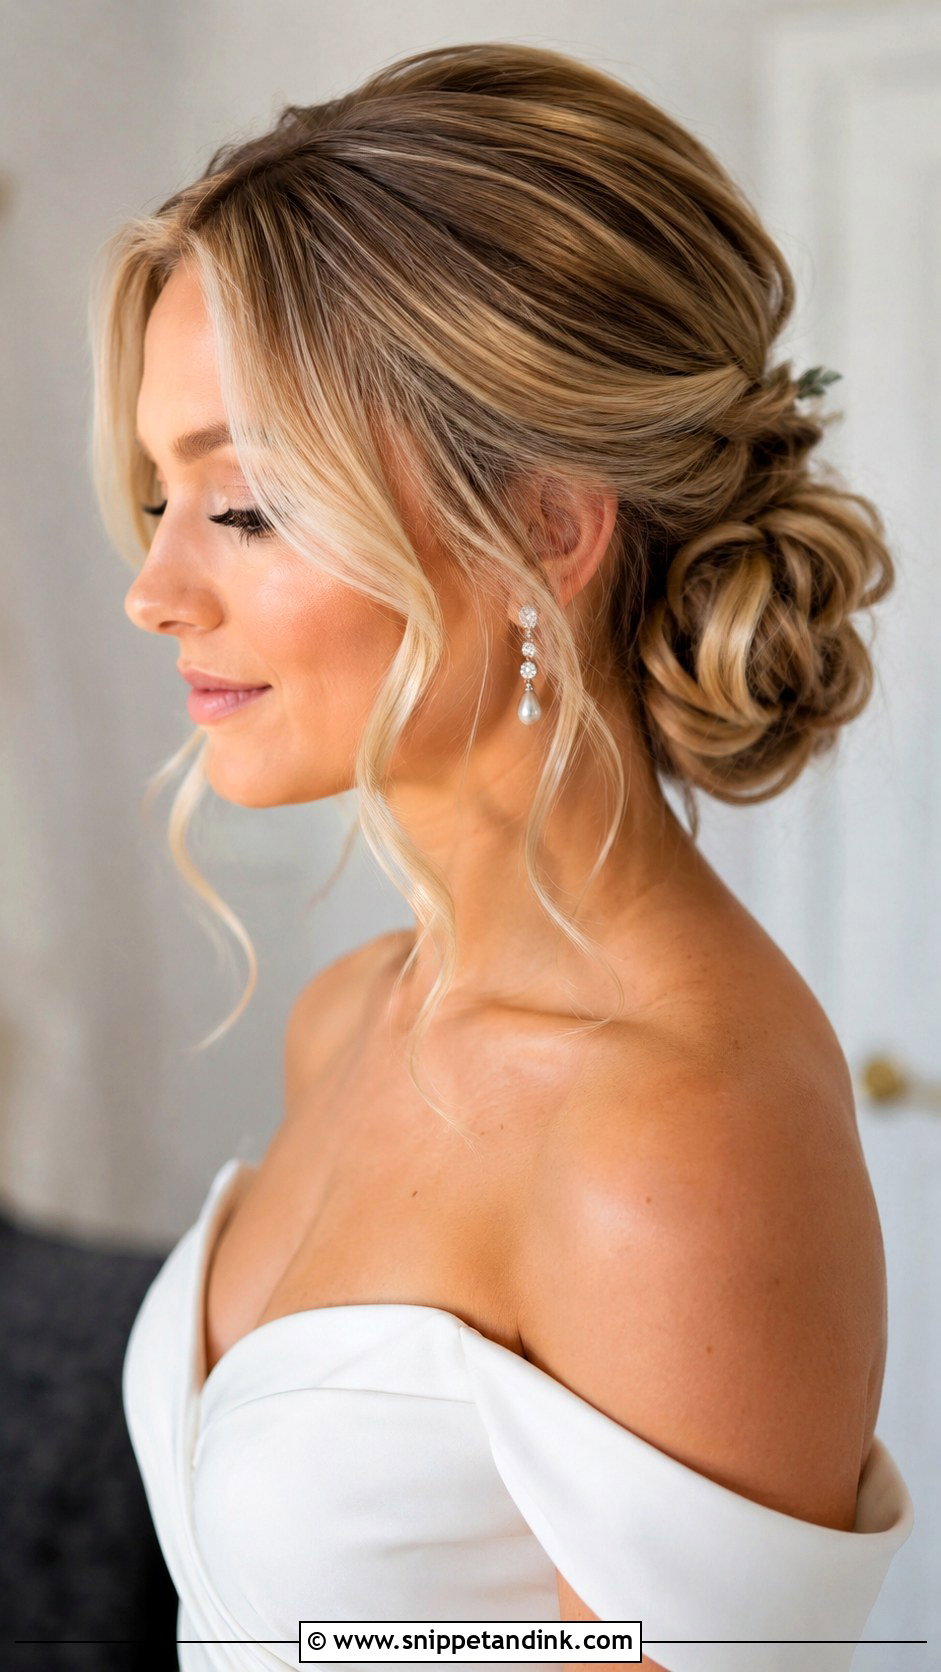
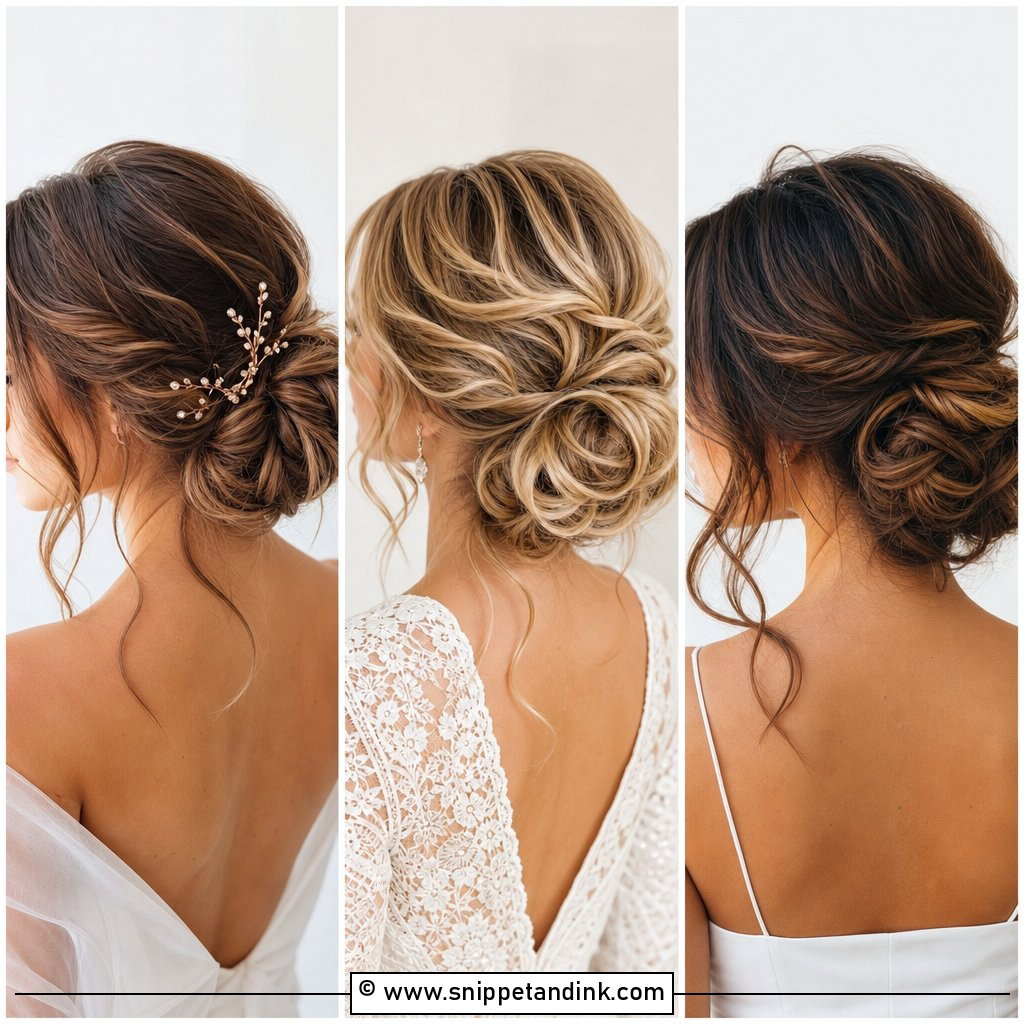
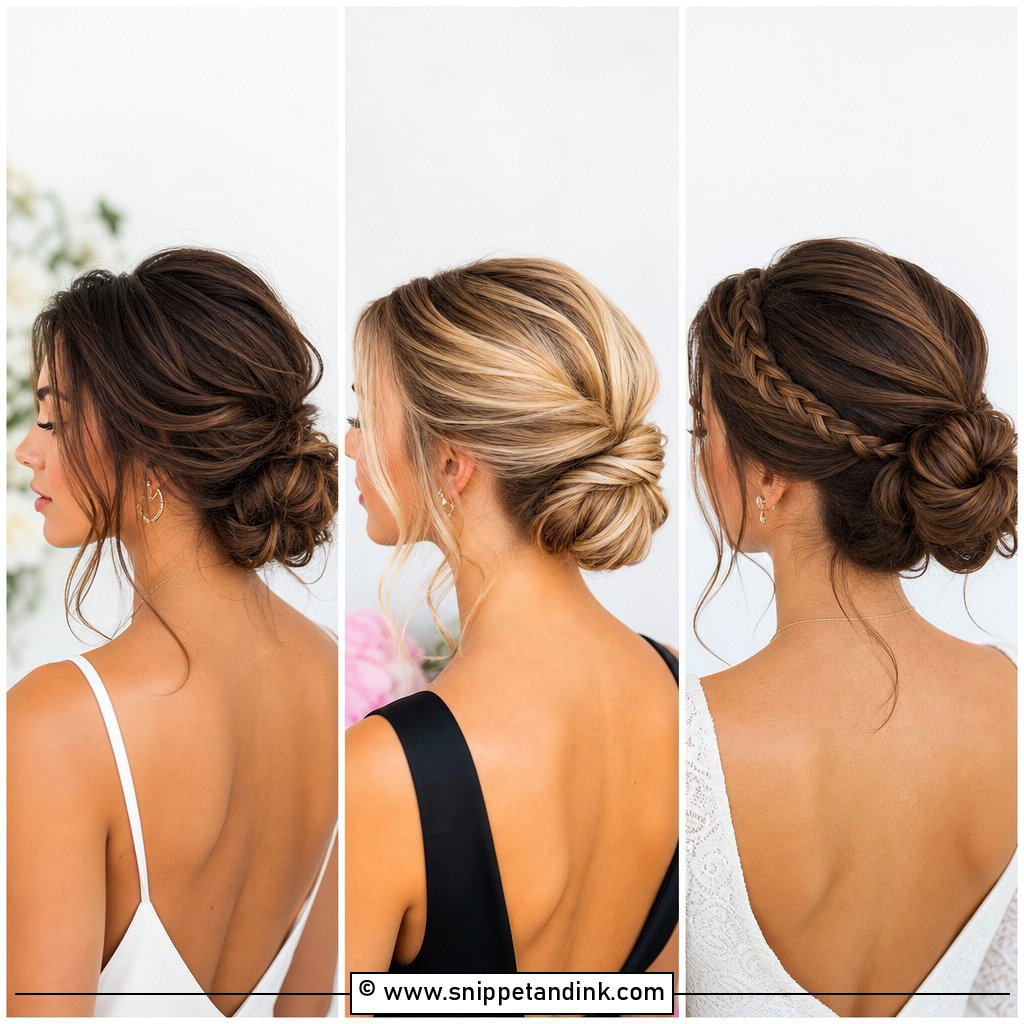
Face-framing pieces are what turn a neat bun into a soft one, and they’re the part most often done badly. I decide where they land before I start, cheekbone, jaw or collarbone, and curl them separately with a smaller iron so they hold a deliberate bend instead of hanging straight. The bun itself sits low at the nape. Strapless gowns, square necklines and lace all suit it because the neck stays clear while the face keeps movement. A light hold spray on the tendrils, not a strong one, keeps them from going crunchy when someone hugs you.
2. Low Loose Wedding Bun
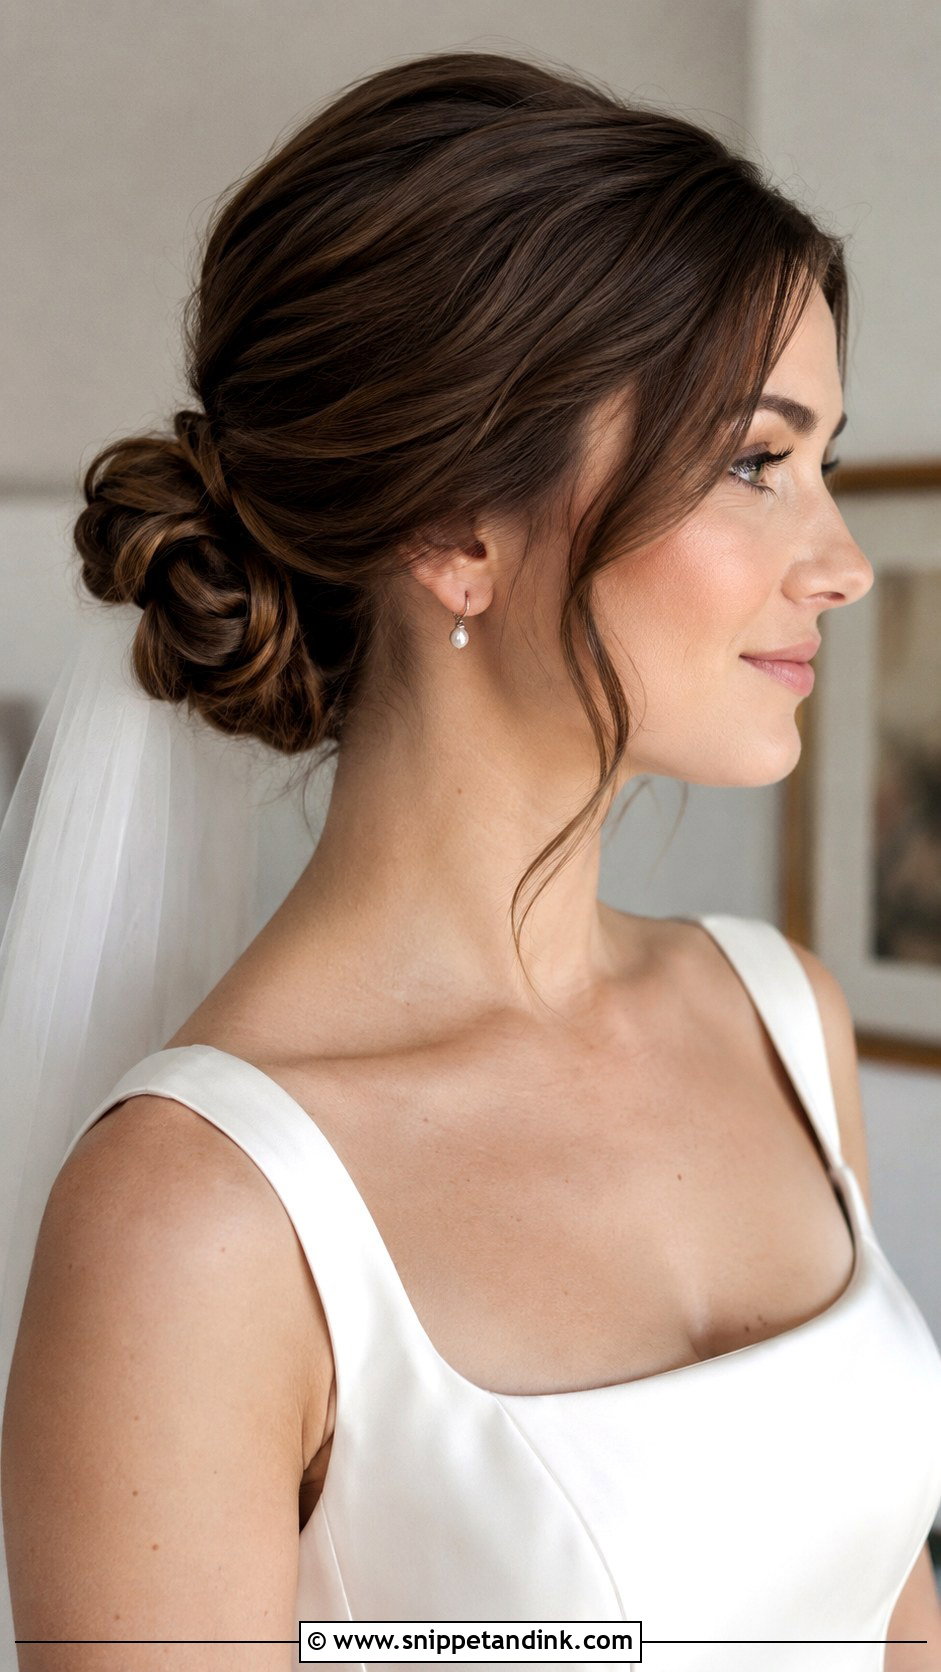
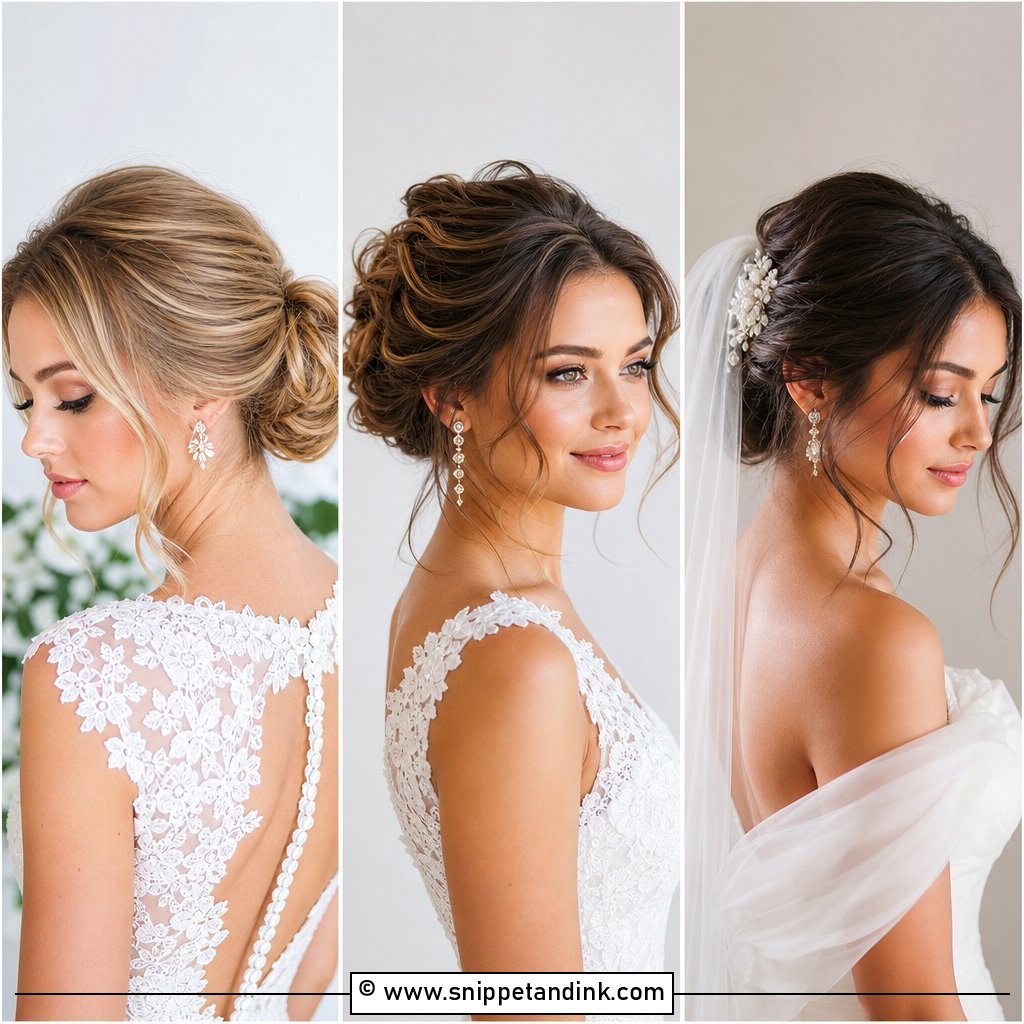
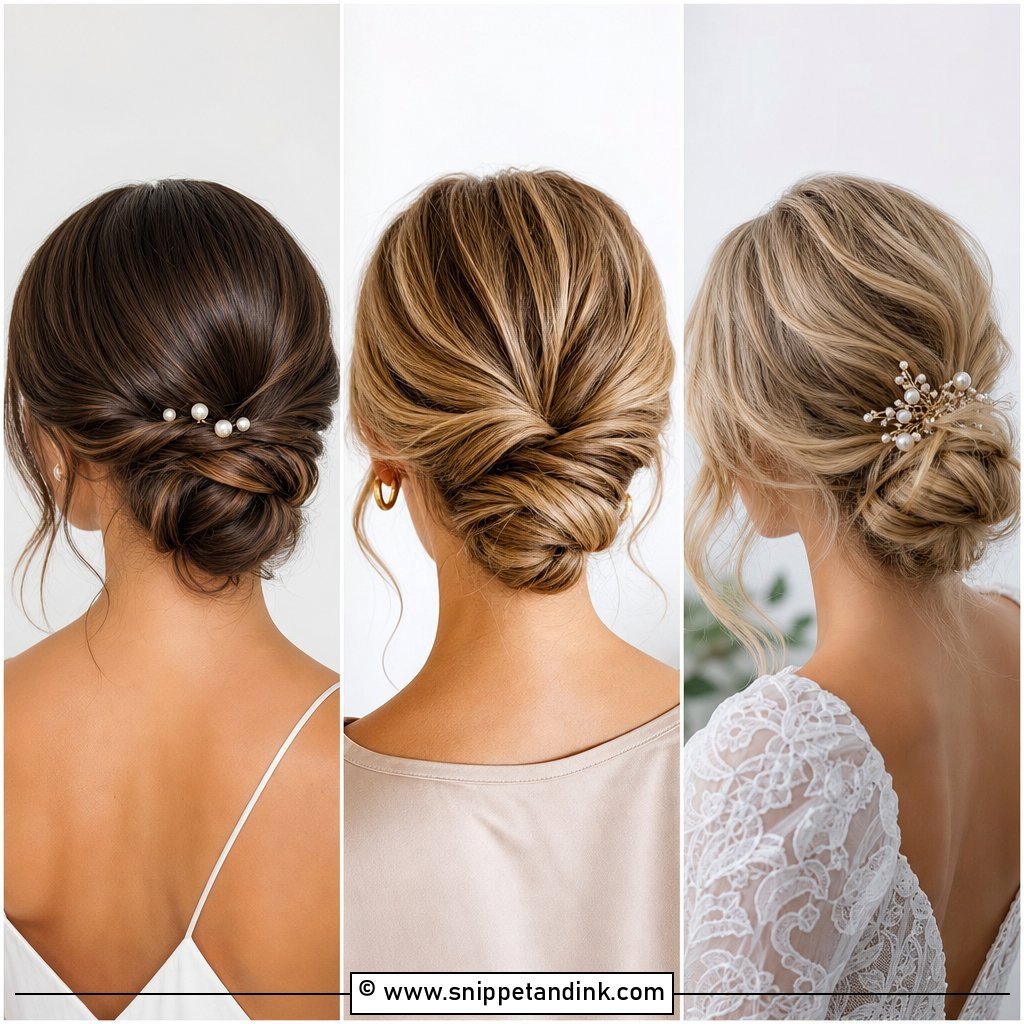
Sitting near the nape, a low loose bun is the easiest updo to pair with a veil, a pearl comb or a gown with back detail. The softness comes from relaxed volume at the crown and sections gently pulled loose around the bun after it’s pinned. I keep it level with the bottom of the earlobes as a rule of thumb; much lower and it pushes against the collar of a high-back dress. Sleek at the front or softly waved both work, depending on how formal the venue feels.
3. Messy Loose Wedding Bun
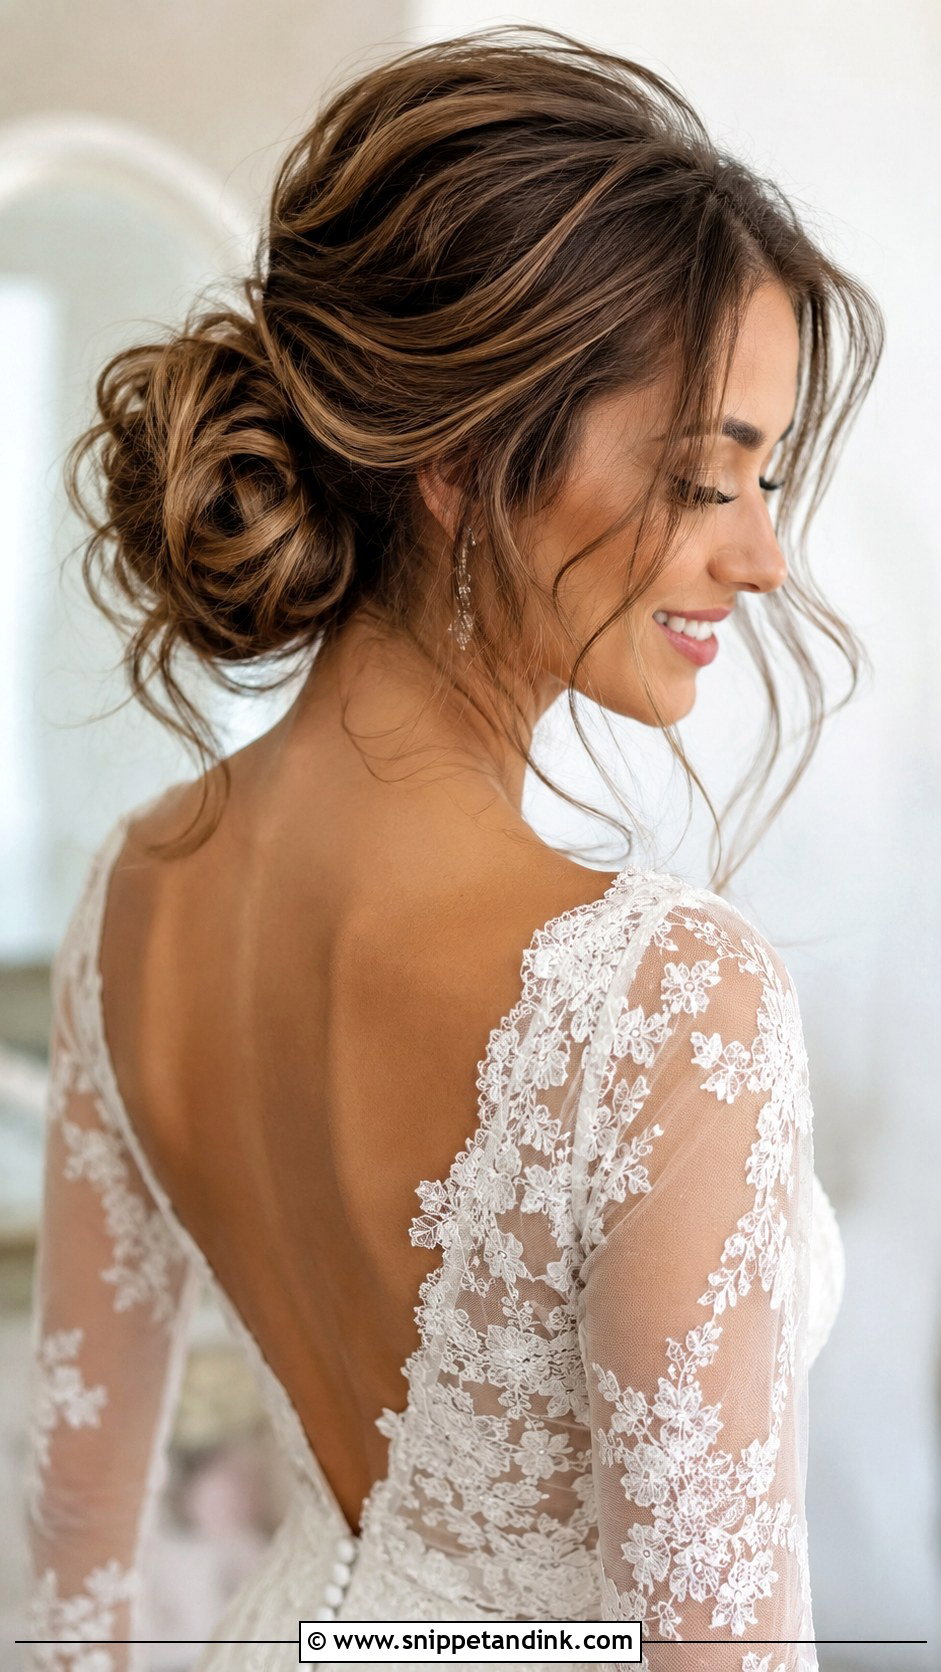
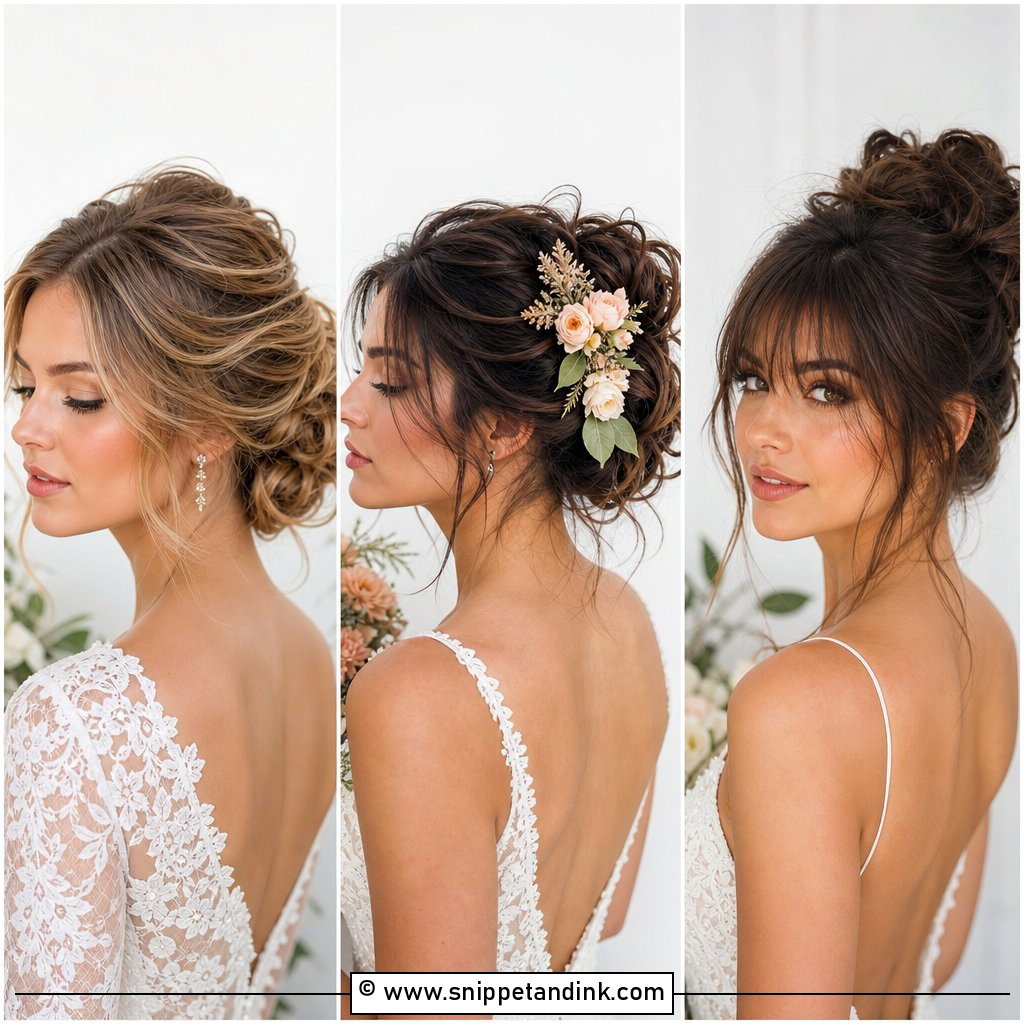
The messy bun is the hardest loose style to get right, because there’s a narrow line between airy and unfinished. Loose curls, soft twists and pinned sections build the shape, and a few pieces left out at the face keep it relaxed. It sits naturally with boho gowns, flowing sleeves and outdoor ceremonies. On fine hair I add texture spray and sometimes a small padding to fake fullness; on thick hair the job is the opposite, thinning the bun out with strategic pinning so it doesn’t sit like a heavy knot. Either way, every bit of the mess is placed on purpose.
4. Textured Loose Wedding Bun
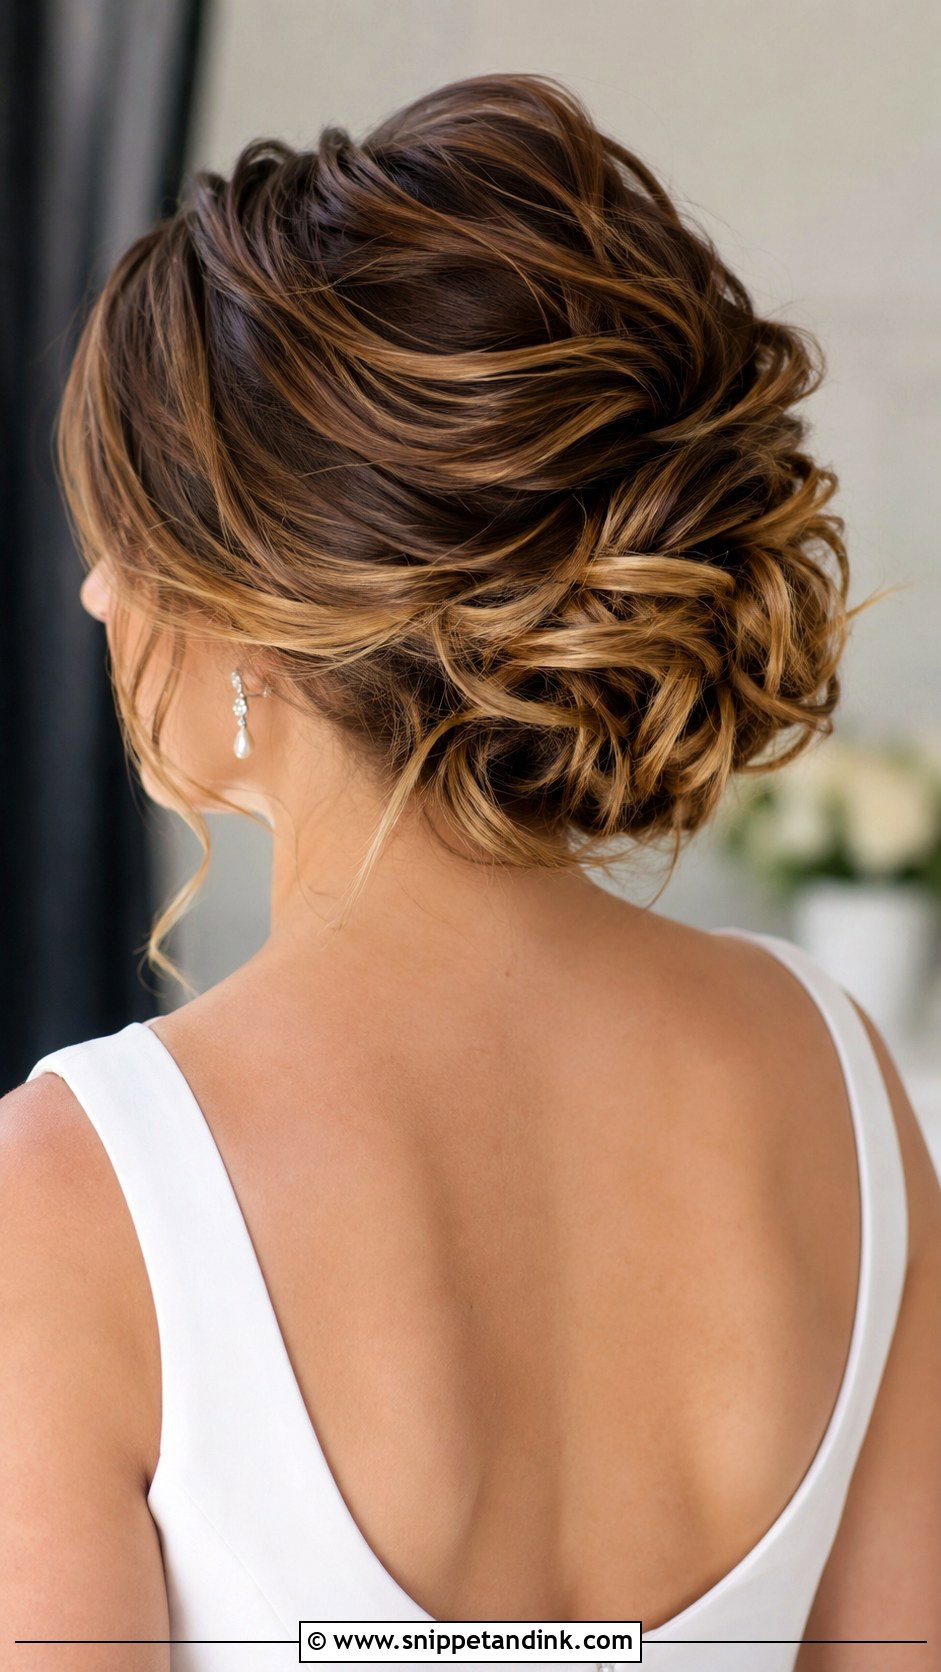
Built from overlapping curled or waved sections rather than one smooth shape, a textured bun shows detail in close-up photos without needing heavy accessories. It’s especially good on balayage, brunette, blonde, auburn and other dimensional colour, because every fold catches light differently. Medium to long hair gets the best shape; shorter lengths may need a few clip-in extensions. I keep the front soft and lifted so the style still reads from the back of the aisle, not just in portraits.
5. Loose Wedding Bun With Veil
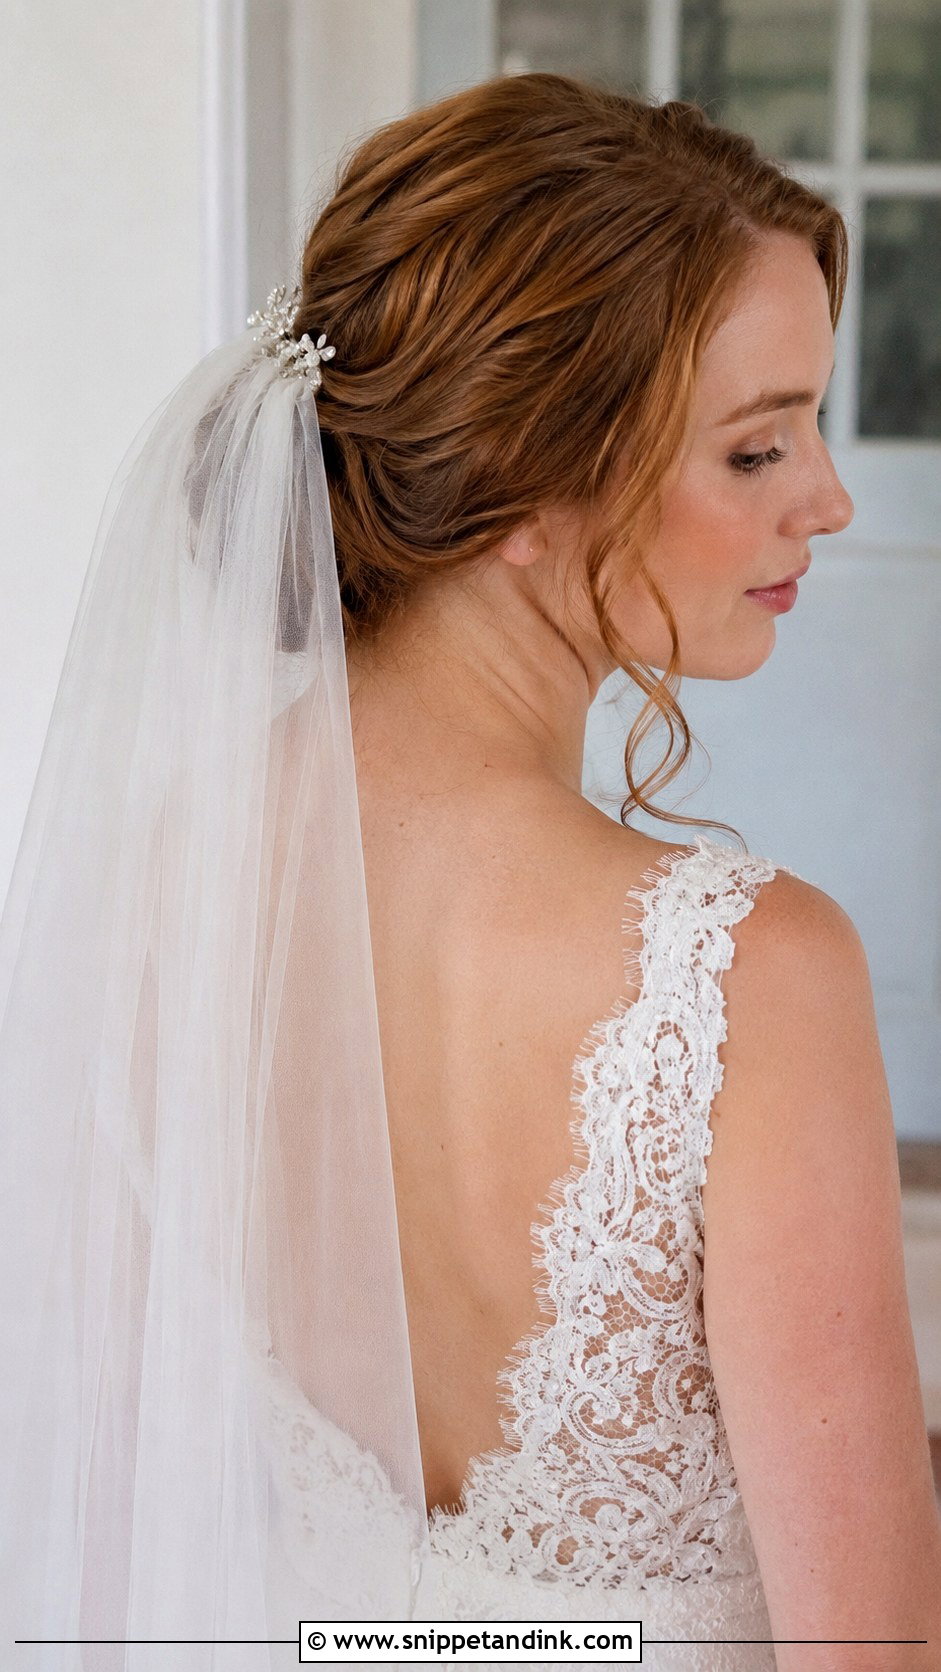
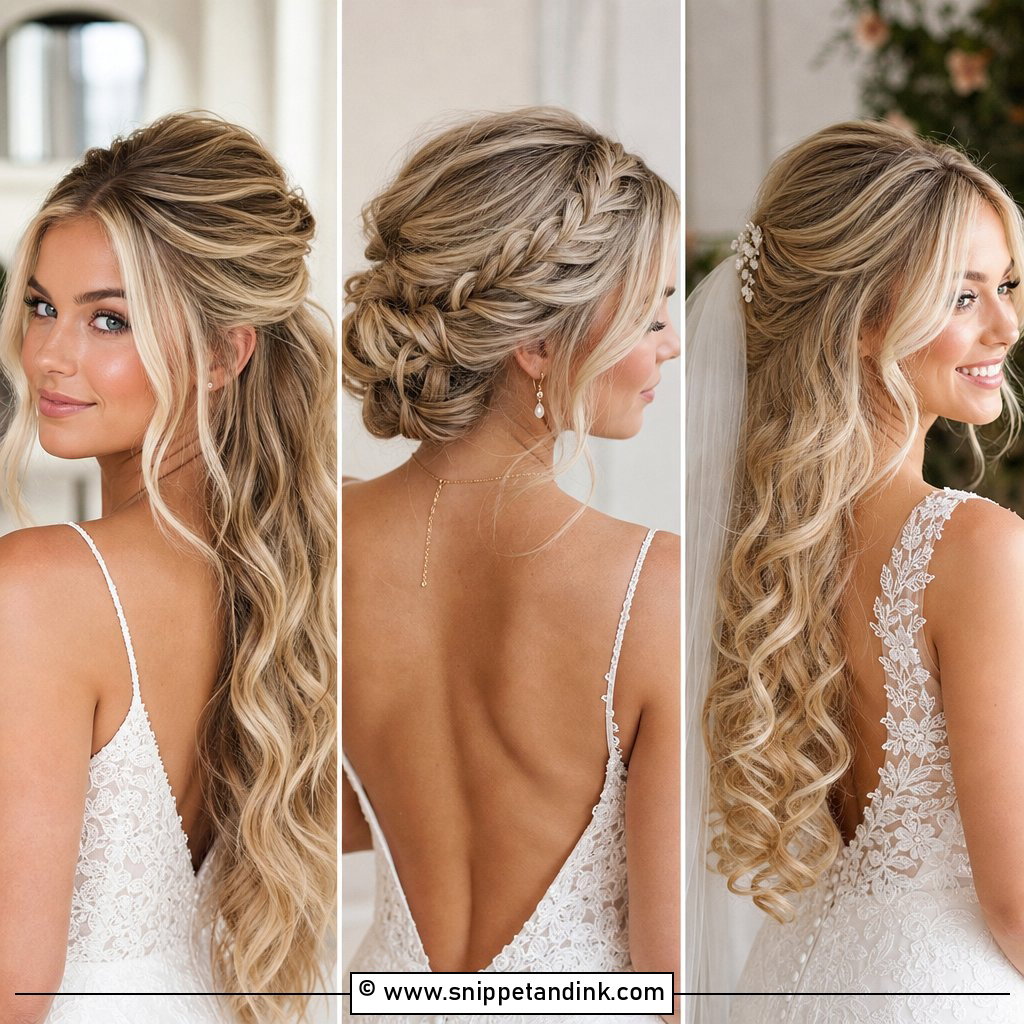
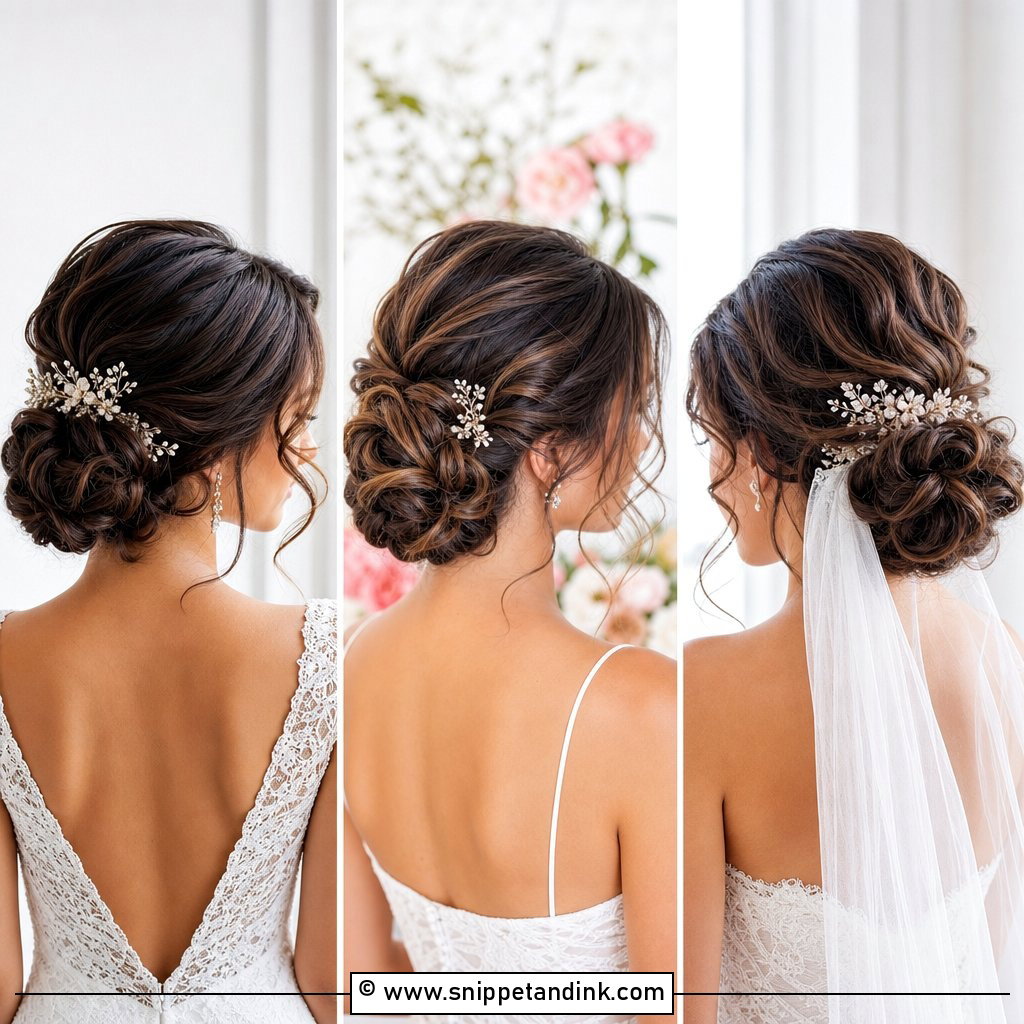
Where the veil goes changes the whole look. Above the bun gives the traditional bridal silhouette; tucked underneath, the bun’s texture stays visible from behind. Either way it works with cathedral veils, fingertip lengths, pearl-edged veils and plain tulle. The veil comb needs something solid, so I build a hidden foundation of crossed pins at the crown before the loose sections go on top. That way the veil can come out after the ceremony without pulling half the bun with it.
6. Loose Wedding Bun With Pearl Pins
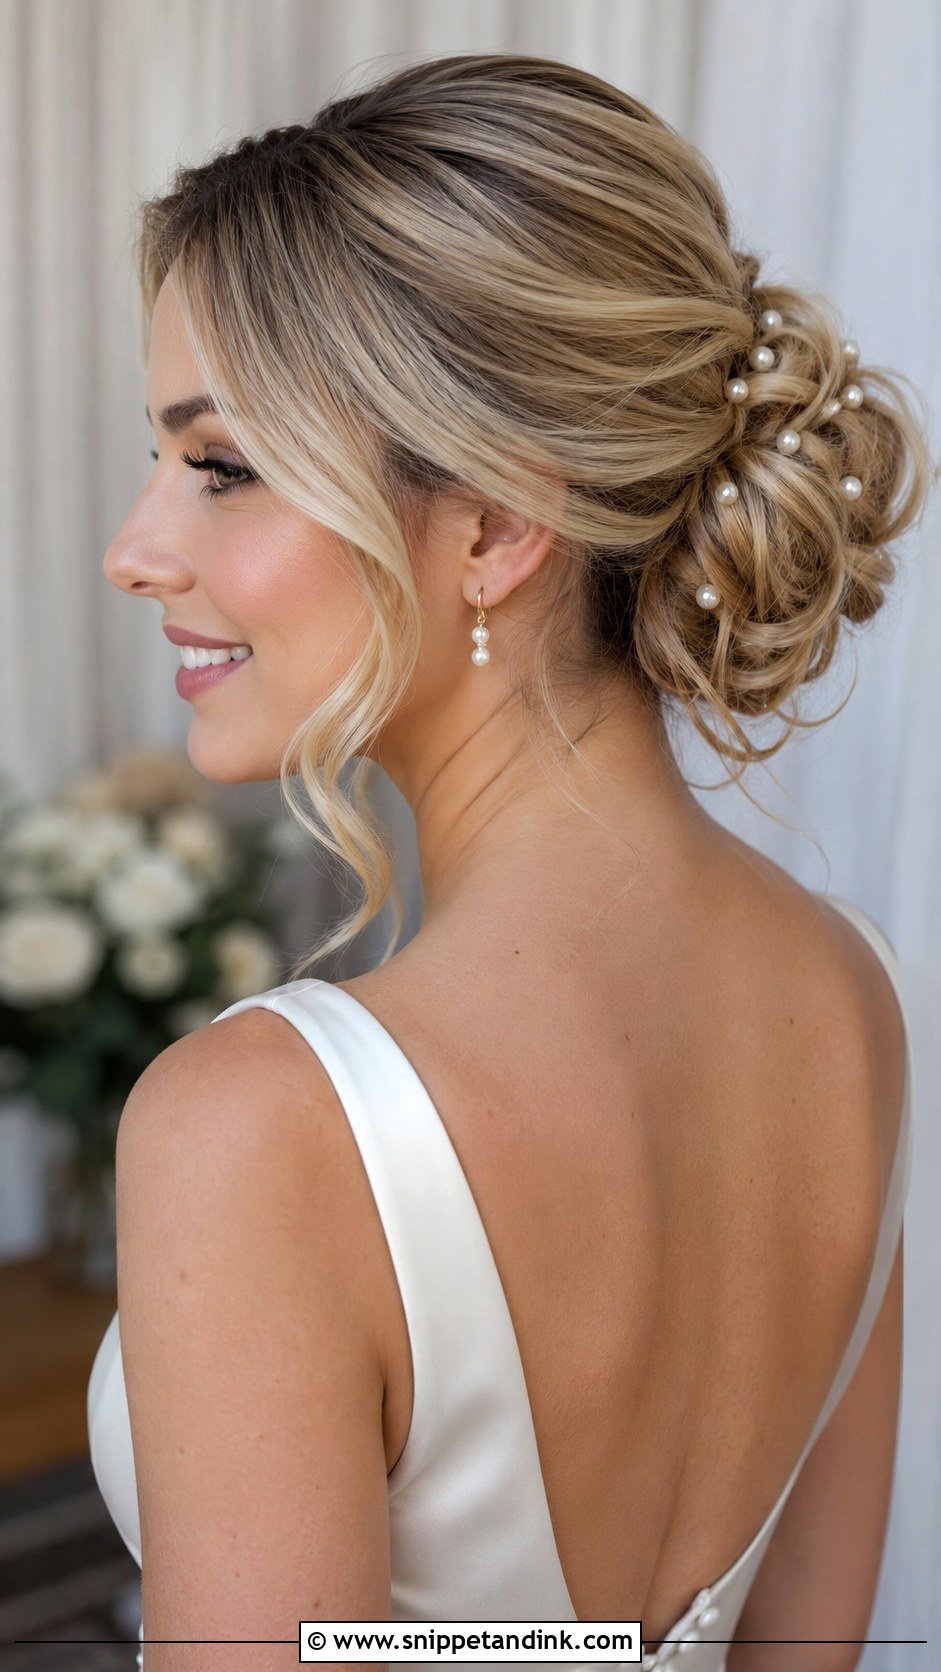
A handful of pearl pins is enough. Scattered through a textured bun or lined along one side, they add a soft asymmetric detail that suits satin, lace and pearl earrings. The common mistake is too many; past six or seven, the pins start to compete with the shape instead of decorating it. Each pin goes in at an angle into a twisted section so it grips. For brides who’d rather avoid rhinestones, pearls give light without flash.
7. Loose Wedding Bun With Flowers
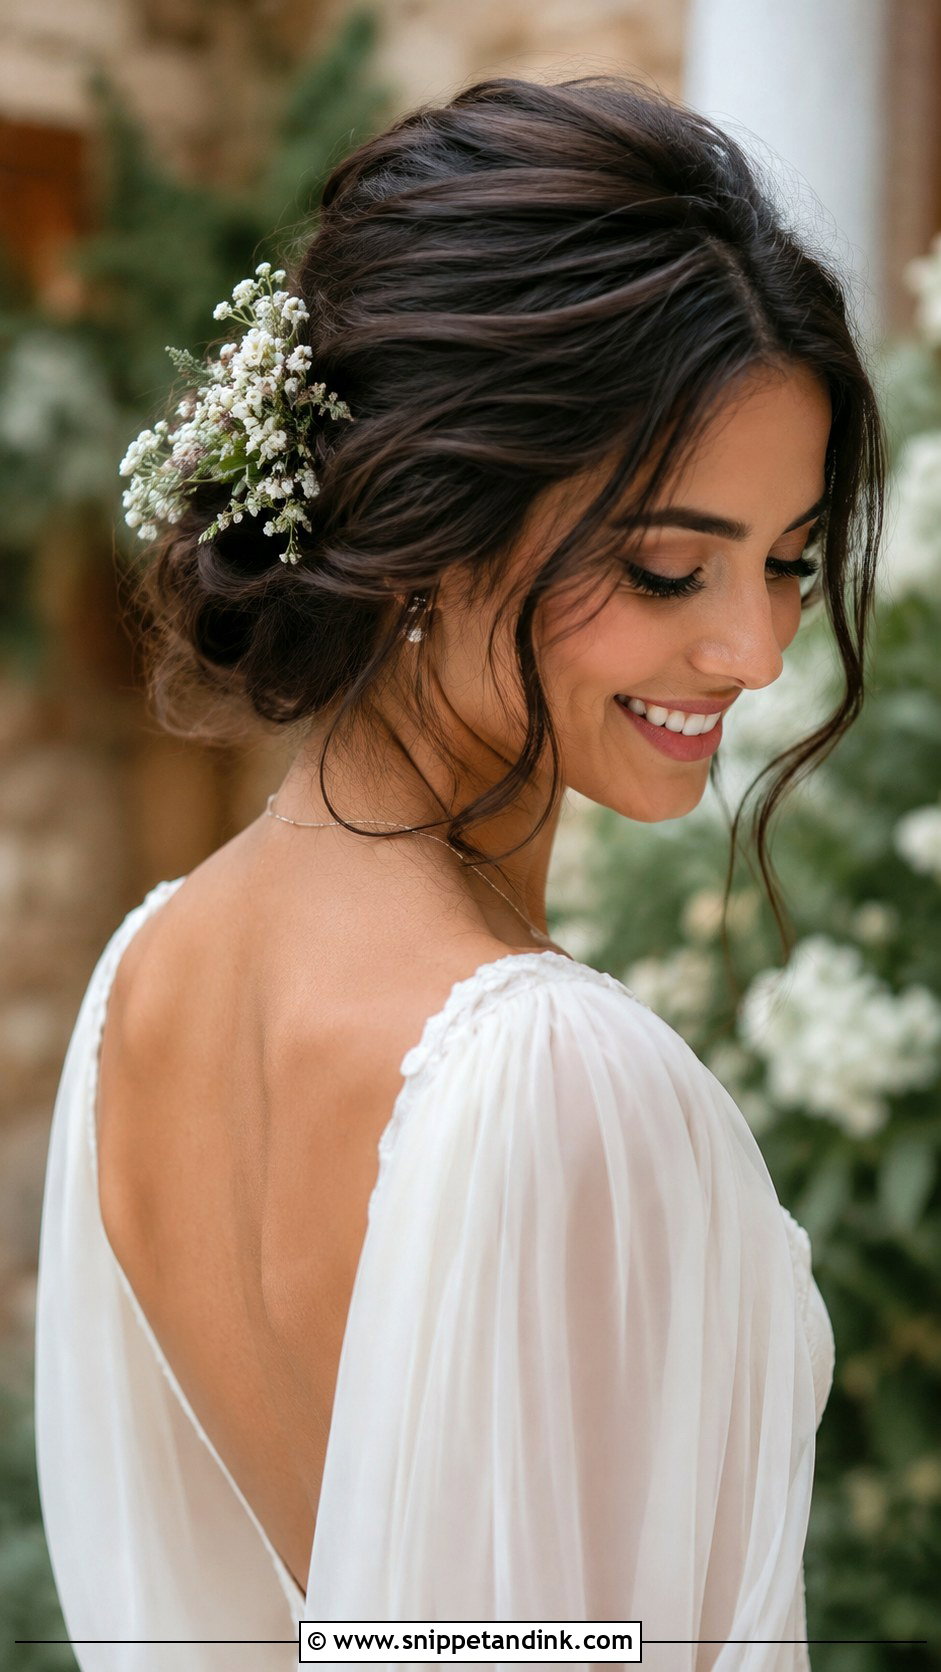
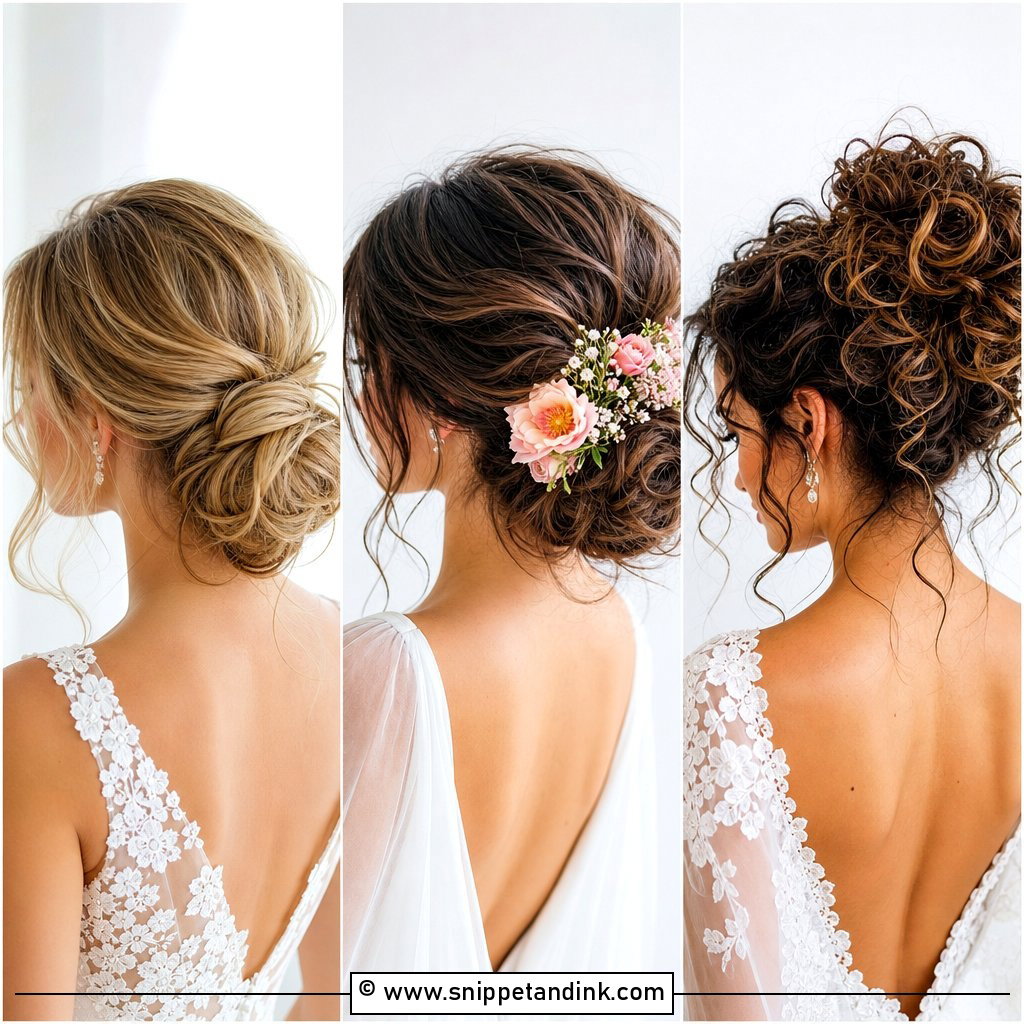
Small blooms tucked into a loose bun tie the hair to the bouquet. Stems like baby’s breath, orchids, roses or dried florals all work, and the version that ages best keeps the flowers few and deliberate so the bun still reads as hair. Ask your florist to wire and tape fresh stems so they can be pinned, and keep them chilled until I’m ready to place them. In real heat, silk or dried flowers are the safer bet. The bun needs enough texture to grip the stems, which is one more reason not to make it too smooth.
8. Loose Wedding Bun With Braid
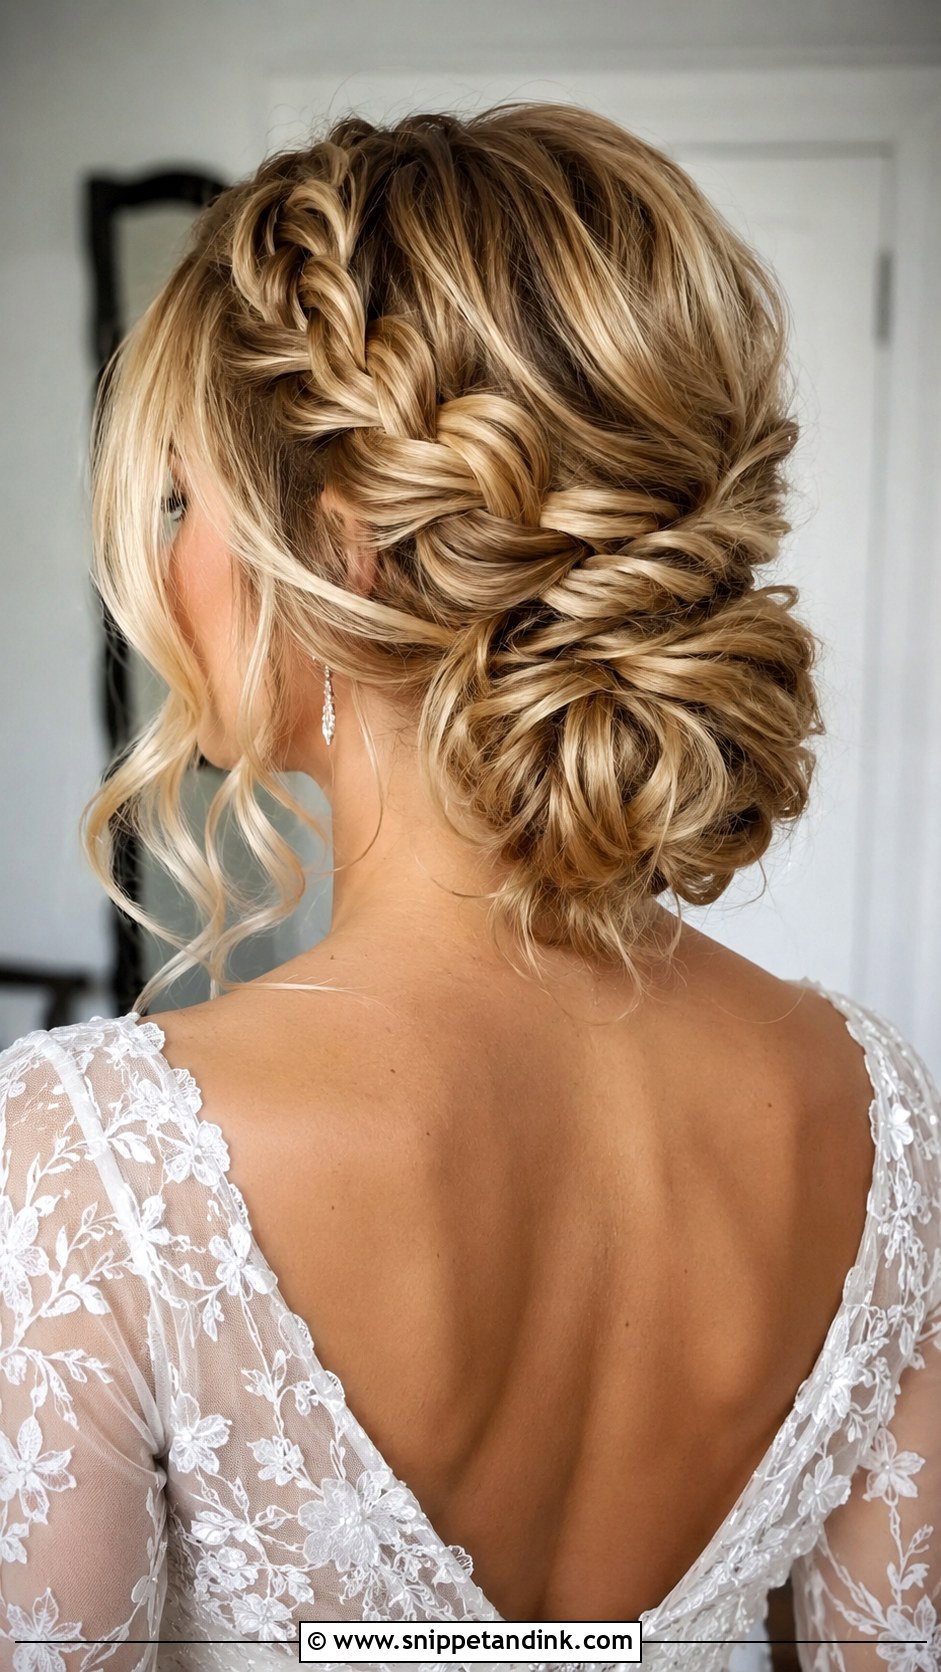
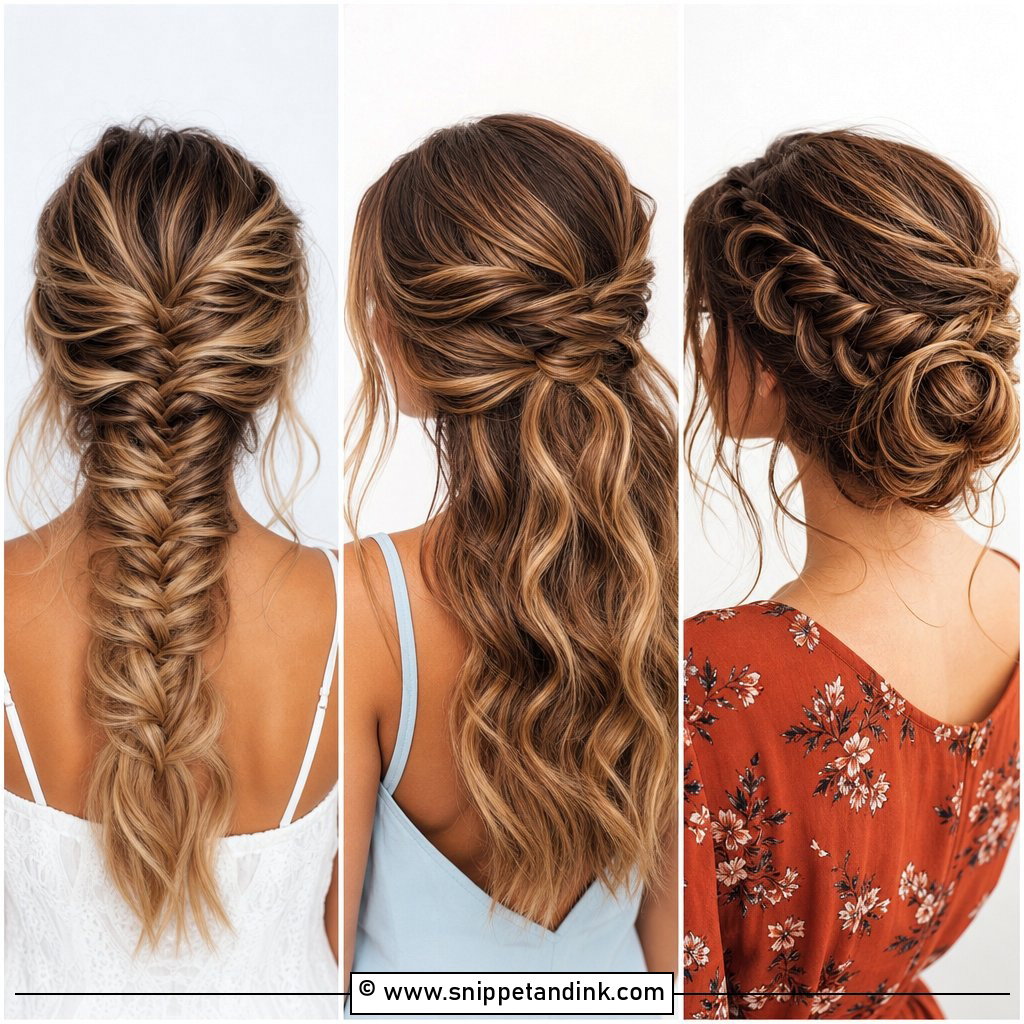
A braid gives a loose bun a focal point without making it busy. It can start at the crown, sweep along one side or wrap into the bun itself. I pancake the braid, pulling the outer loops wider, so it melts into the bun instead of sitting on it like a cord. Highlighted or dimensional hair suits this especially well, since braids show off colour variation. Boho gowns and lace sleeves are the natural pairing.
9. Side Loose Wedding Bun
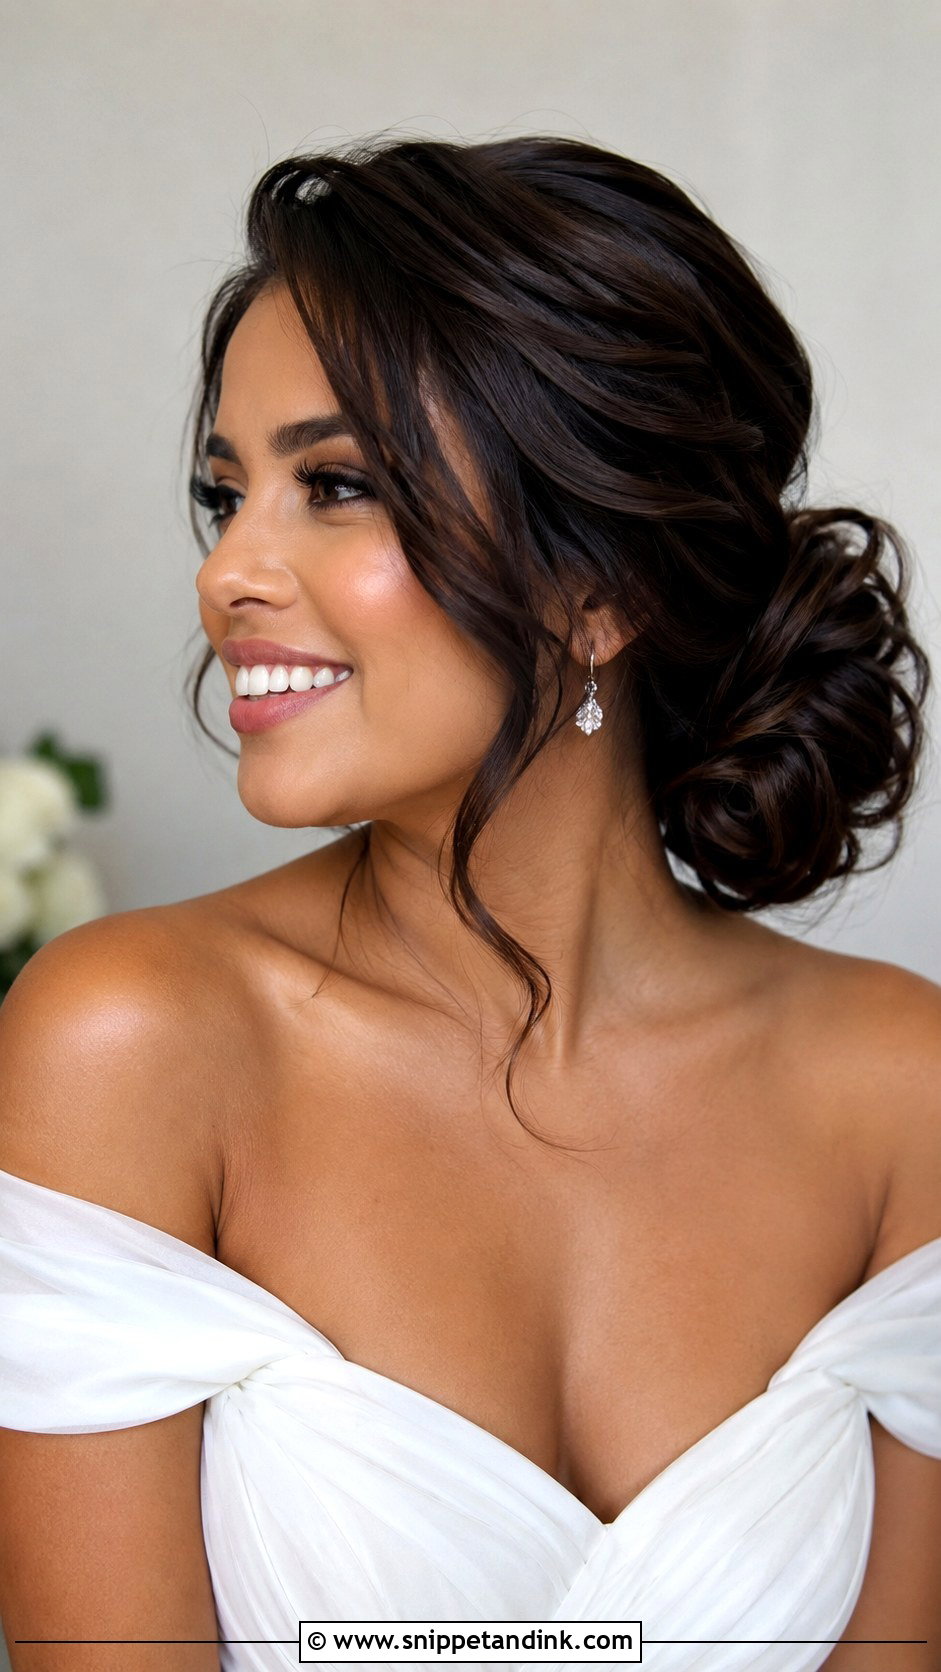
Placed low beside one side of the neck, a side bun is made for one-shoulder gowns and off-the-shoulder necklines, and it puts a statement earring on full display on the open side. Soft curls or twists sweep into it, with a few face-framing pieces left loose. Placement is everything: I usually set it just behind the ear on the side opposite the dress strap, so the two balance. Your photographer will get plenty of hair detail in front-facing portraits, which a centred low bun hides.
10. Loose Curly Wedding Bun
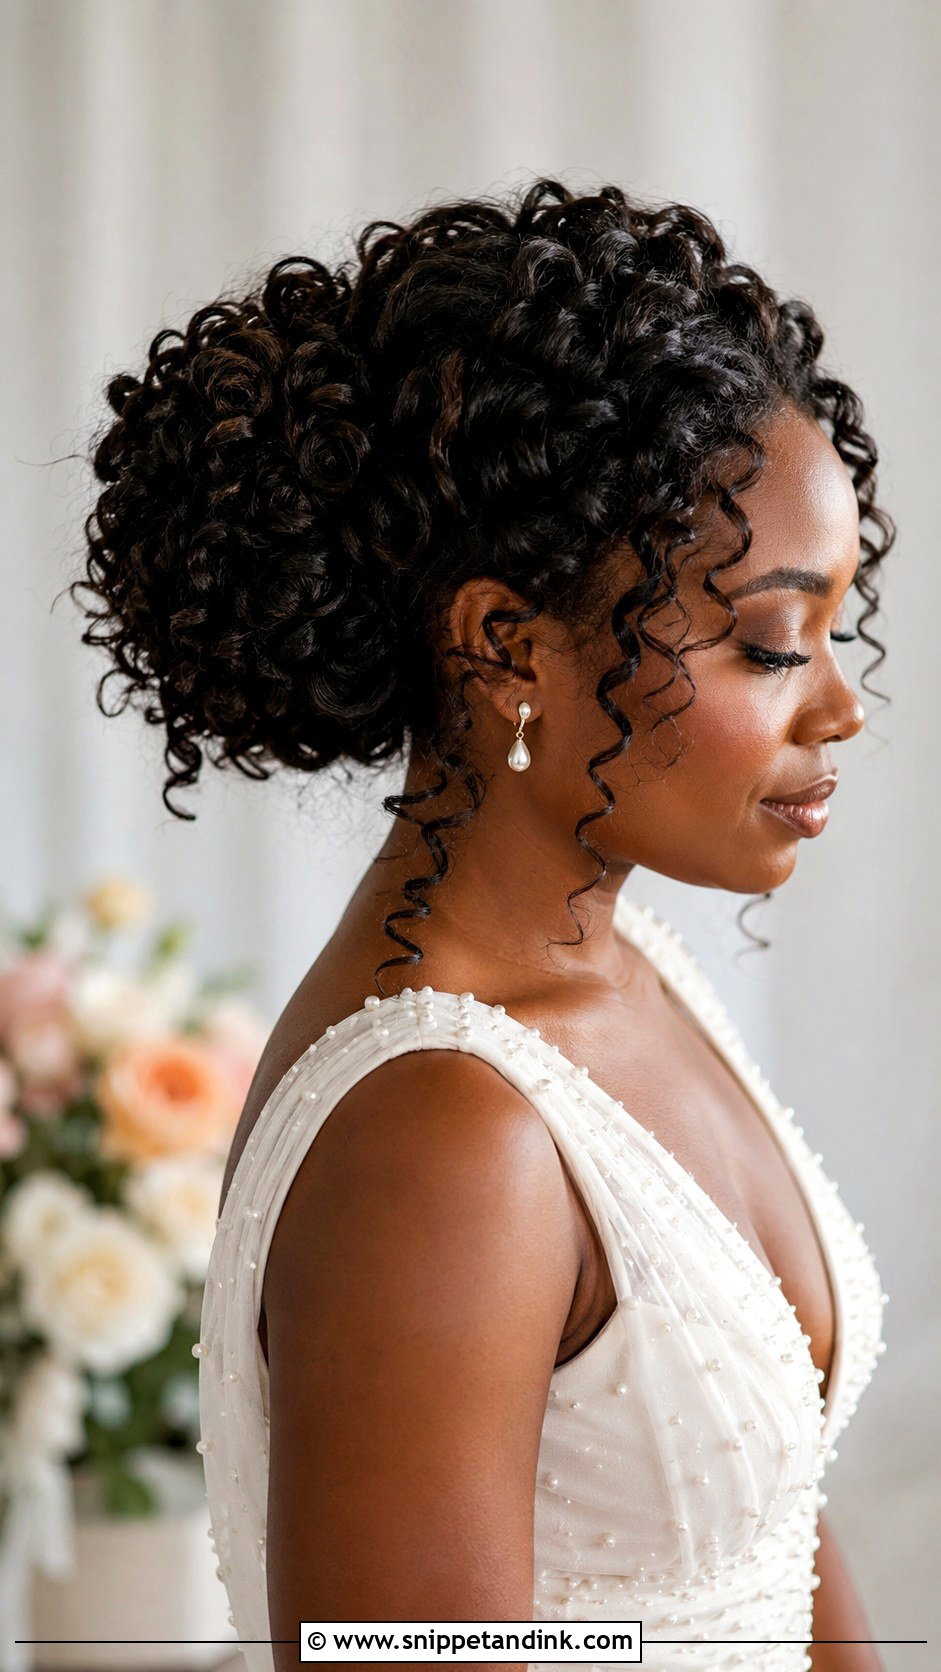
Building the bun from curls rather than smoothing them flat gives it fullness and real personality. On naturally curly hair, I focus on hydration and definition before styling, and I shape the bun around the curl pattern instead of forcing it into a sleek outline. On straight or wavy hair, the curls have to be set and fully cooled first or the bun loses its shape by lunch. It can sit low, centred or slightly to one side, and a hair vine or a few pearl pins suit it, though it honestly needs very little.
11. Loose Wedding Bun For Long Hair
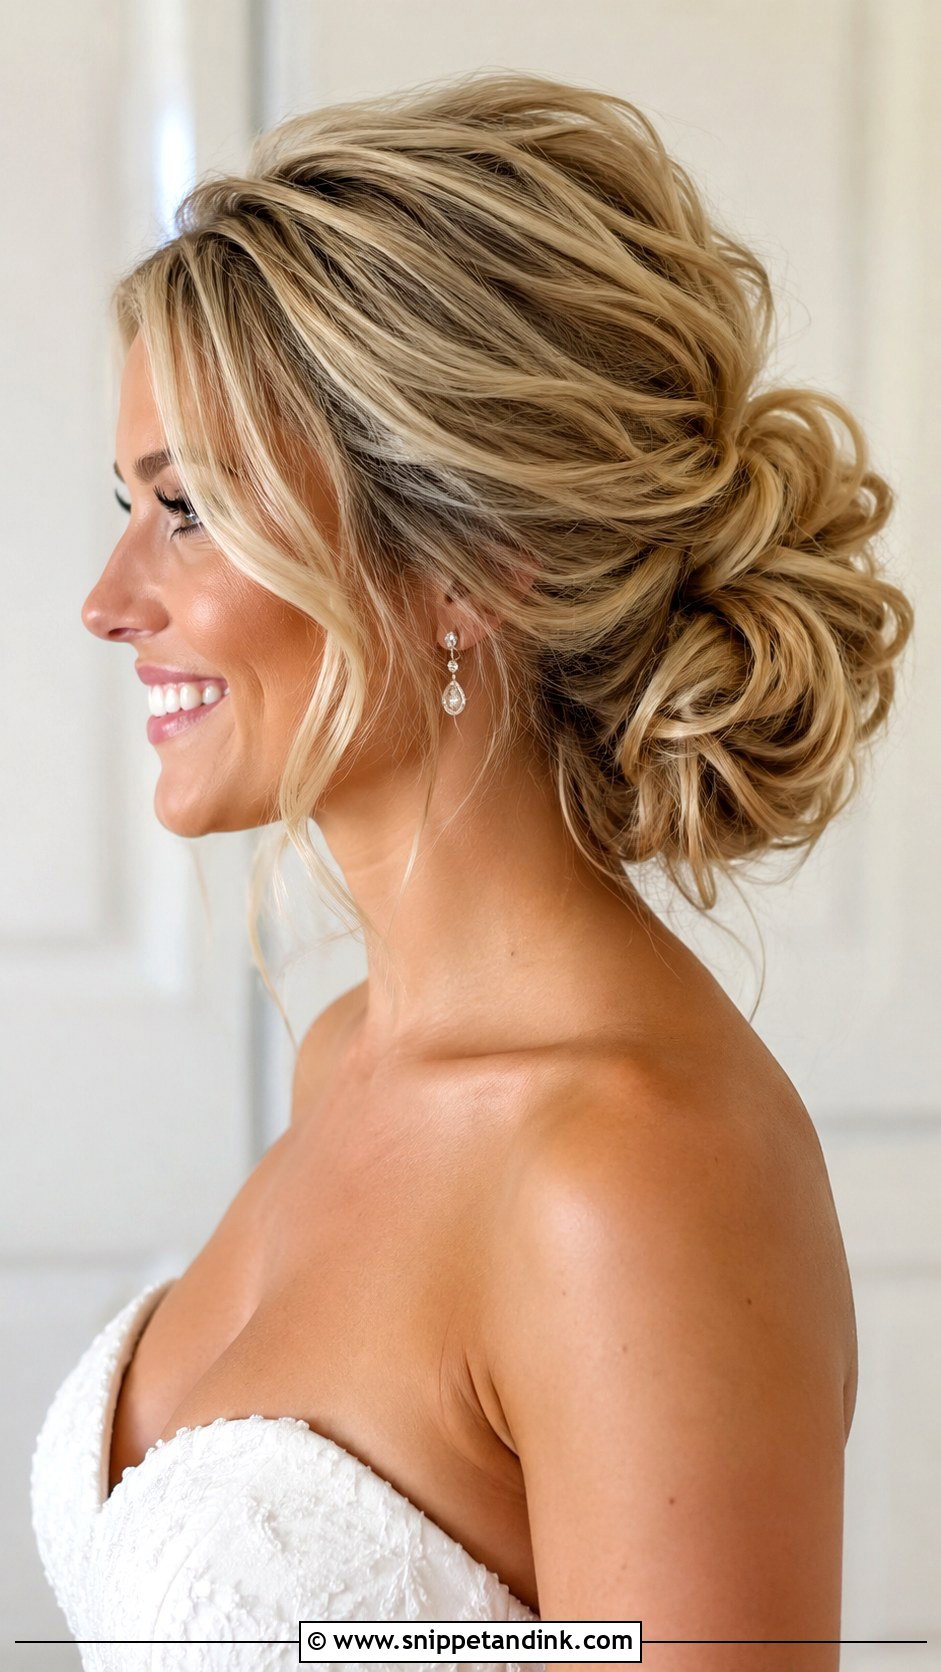
Long hair gives you plenty to work with, but weight is the enemy. The length is twisted, looped, curled and pinned into a full bun, and the stylist has to spread that hair across several anchor points so it doesn’t pull from one spot or slowly sag. If you’ve ever had a headache from a ponytail, mention it at your trial; I can split the weight differently. Long face-framing pieces suit it, and it carries a veil, a comb or flowers easily.
12. Loose Wedding Bun For Medium Hair
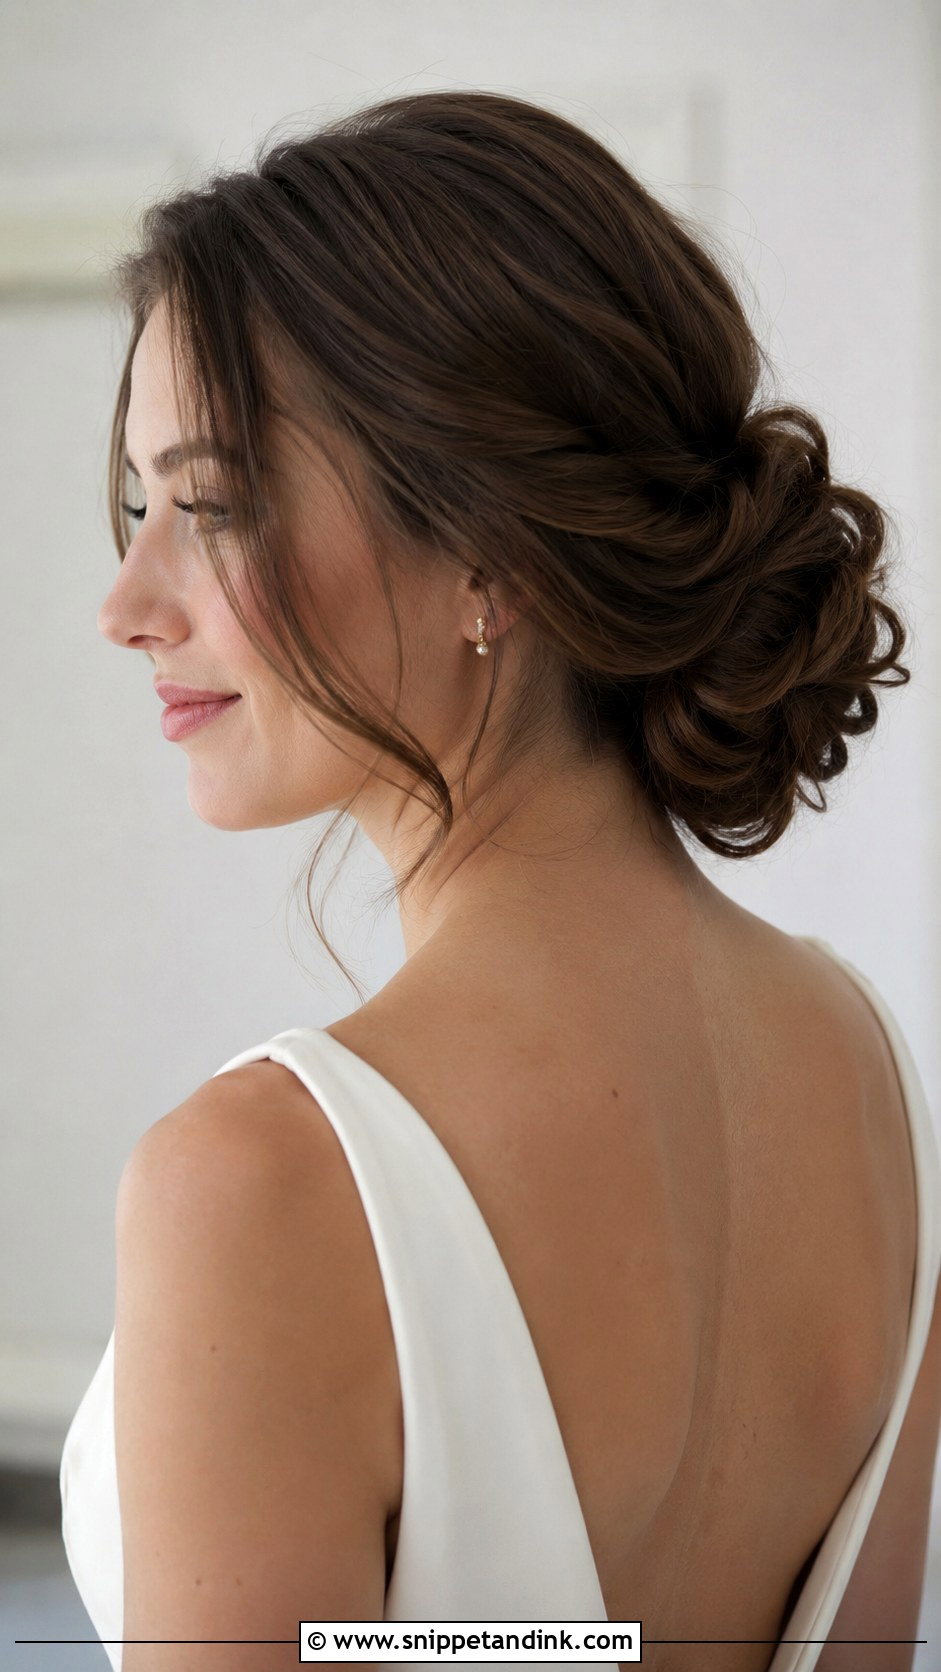
Shoulder or collarbone length hair makes a smaller bun, but it can still look full. Waves, light teasing at the base and gentle twisting create the look of more volume, and clip-in extensions can be added just for the day if you want a bigger shape. The real issue with medium hair is shorter layers escaping at the nape, so I pin those up first in a row of small twists before building the bun. Keep accessories light; a heavy comb will drag a smaller bun down.
13. Loose Wedding Bun For Thin Hair
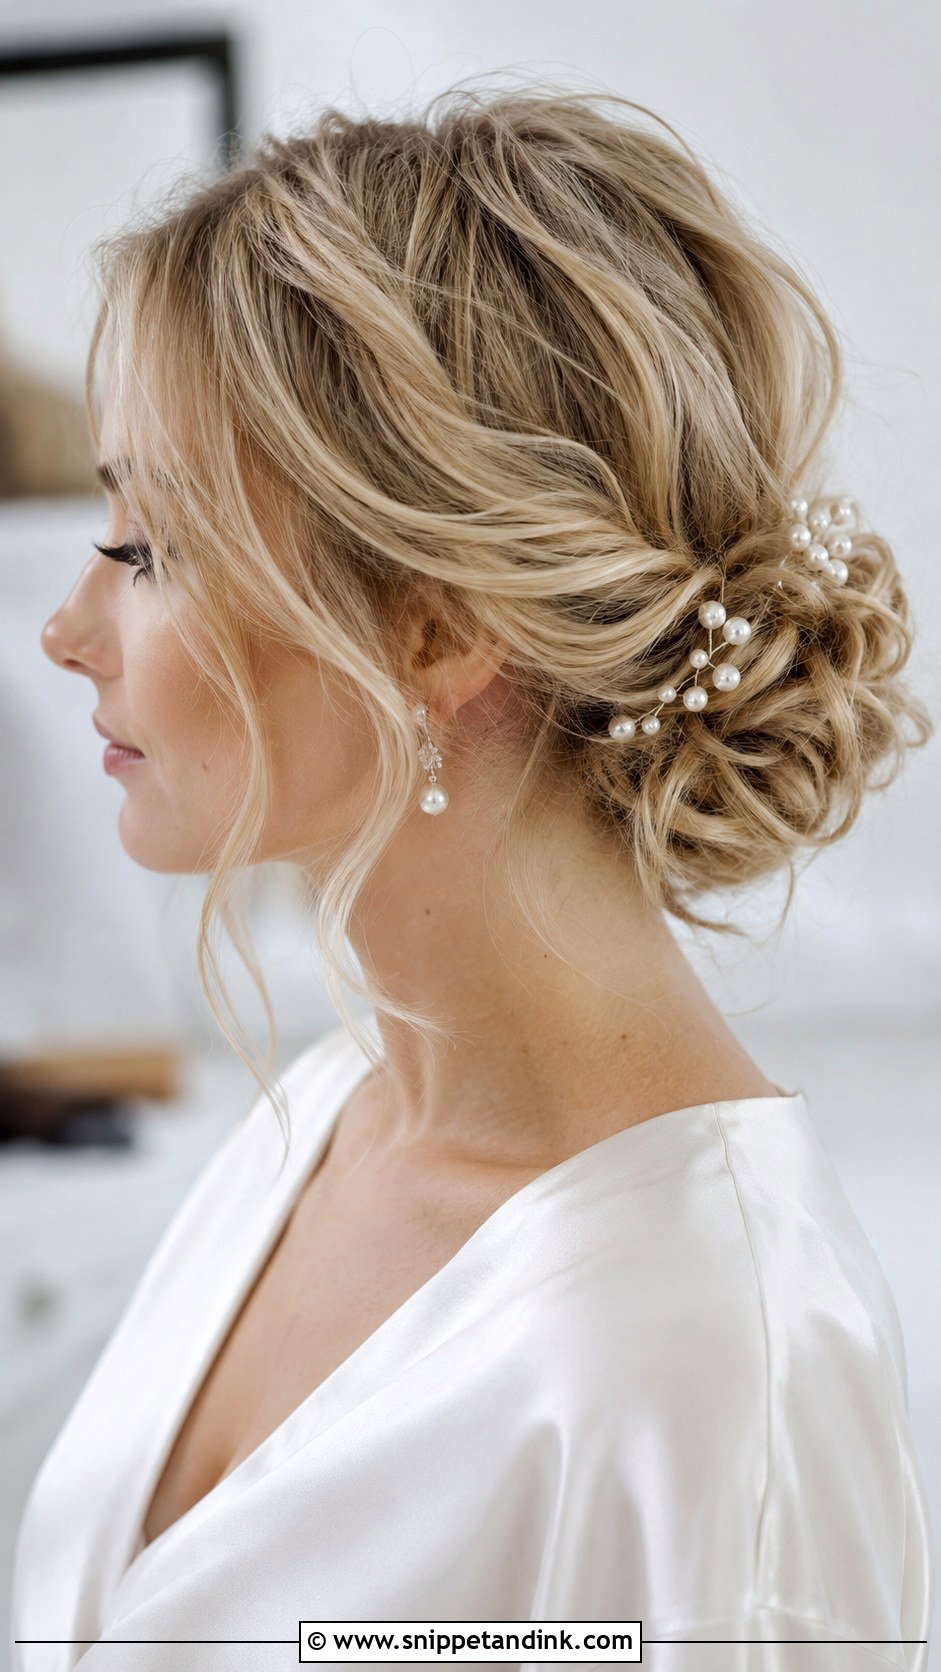
Thin hair can carry a loose bun well, and loose is usually better than tight here, because spread-out sections look fuller than a compact knot. Prep makes the difference: mousse at the roots, texture spray through the lengths and gentle waves give the hair grip and bulk. I’ll often add a small padding or a few extensions hidden inside. Heavy accessories flatten fine hair, so small pearl pins, a delicate comb or a light veil are the safest choices.
14. Loose Wedding Bun For Thick Hair
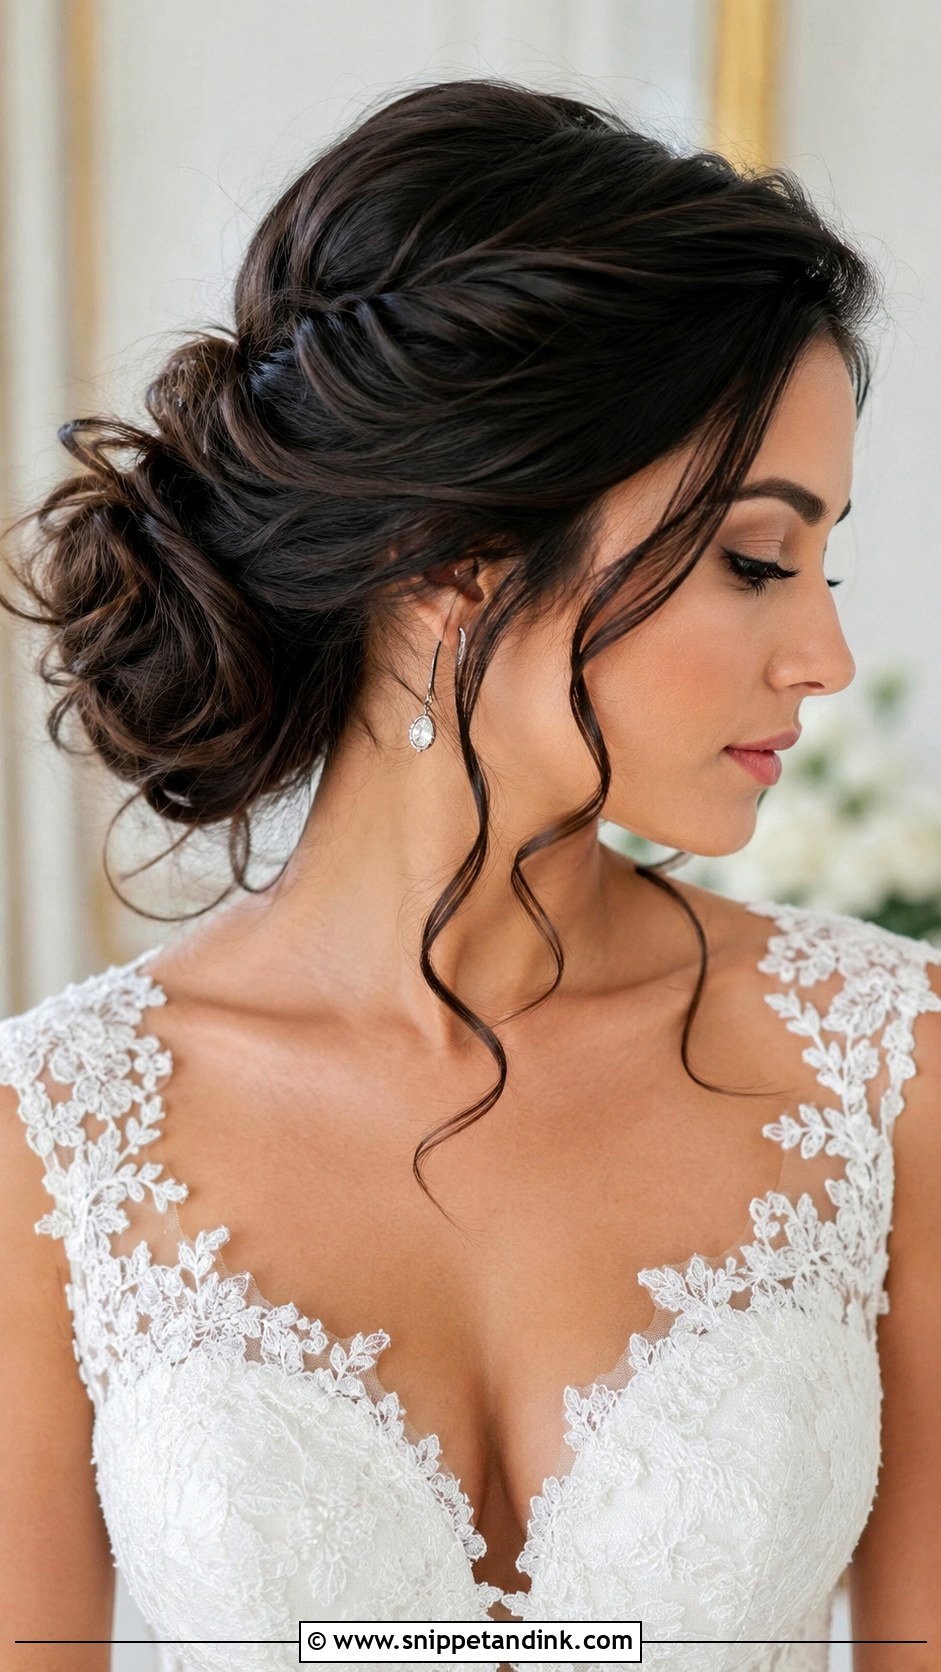
Thick hair makes a rich, full bun, but it’s the type most likely to cause discomfort by evening. Without good pinning, the weight drops and pulls at the scalp. I work in sections, twisting each one and pinning it to its own hidden anchor, so no single point carries the whole load. Face-framing pieces should stay light so they don’t compete with the bun’s volume. A proper trial is worth more for thick hair than any other type, and I’d wear it for at least four hours afterwards to see how it feels.
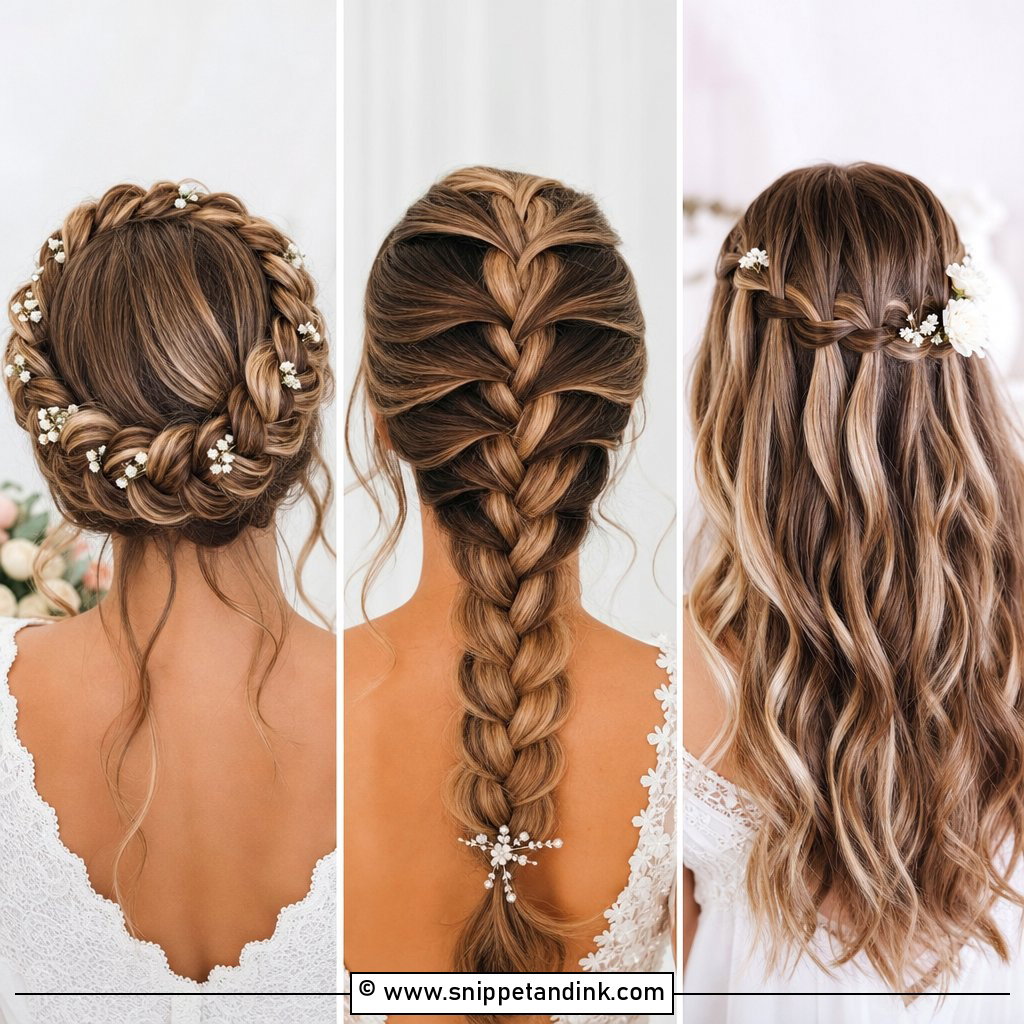
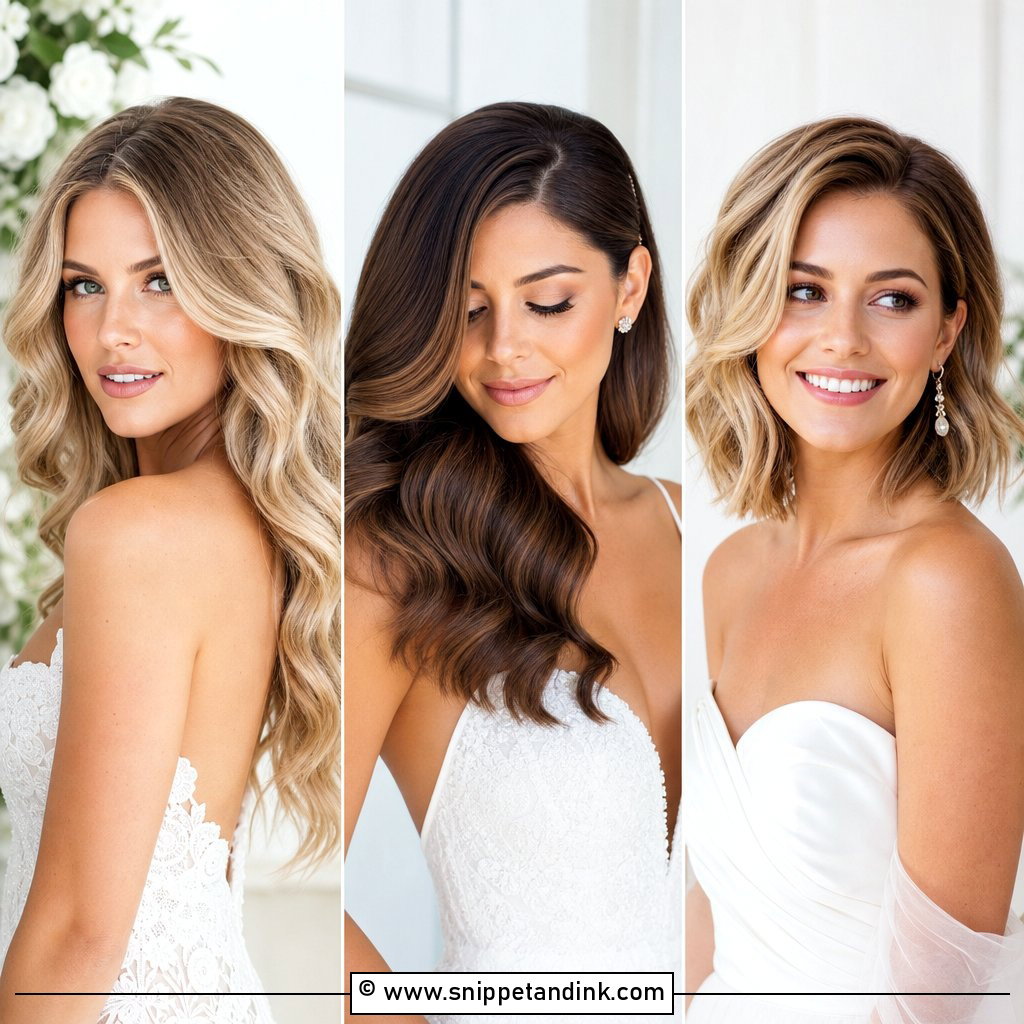
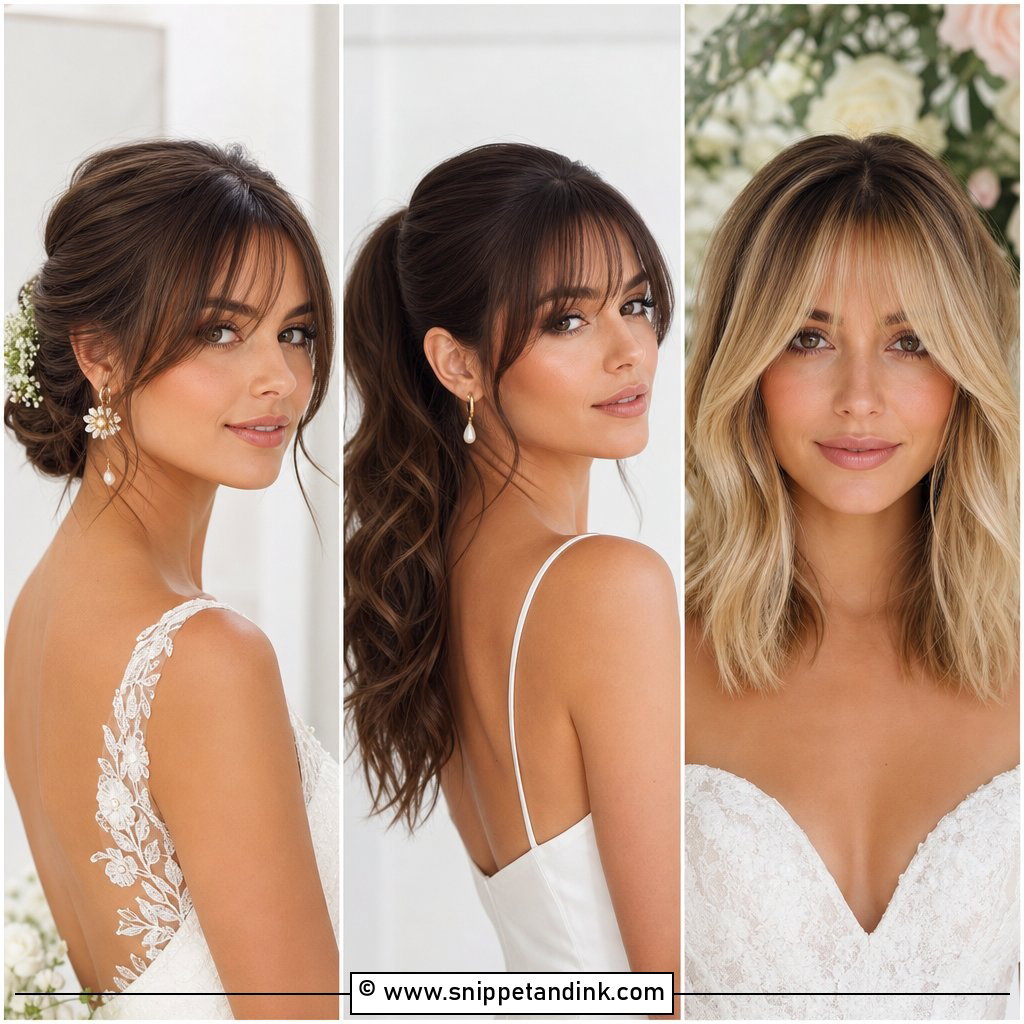
15. Loose Wedding Bun With Middle Part
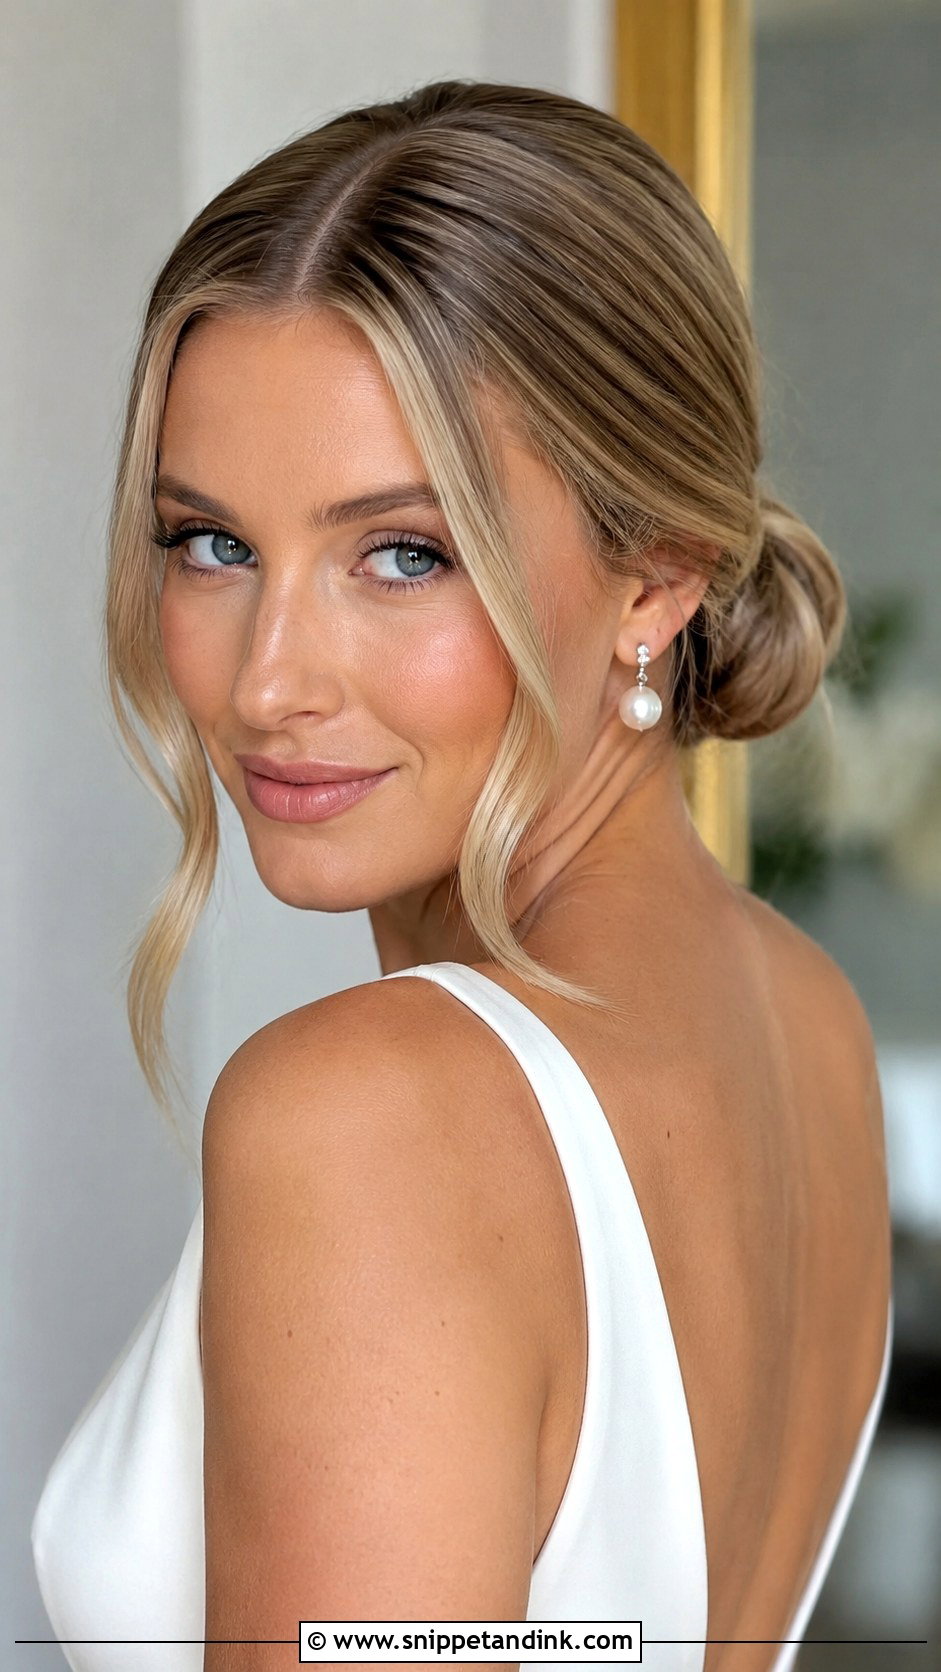
A middle part frames the face evenly and suits minimalist gowns, satin, pearl earrings and long veils. The roots can be sleek or gently waved. The tension is between a polished part and a relaxed bun, so I smooth the front first, then loosen everything behind the ears. For a softer look, two curved tendrils near the front; for a more refined finish, tuck those pieces smoothly behind the ears before pinning them into the bun. Try it at your trial if you normally part to one side, because the symmetry can feel very different.
16. Loose Wedding Bun With Side Part
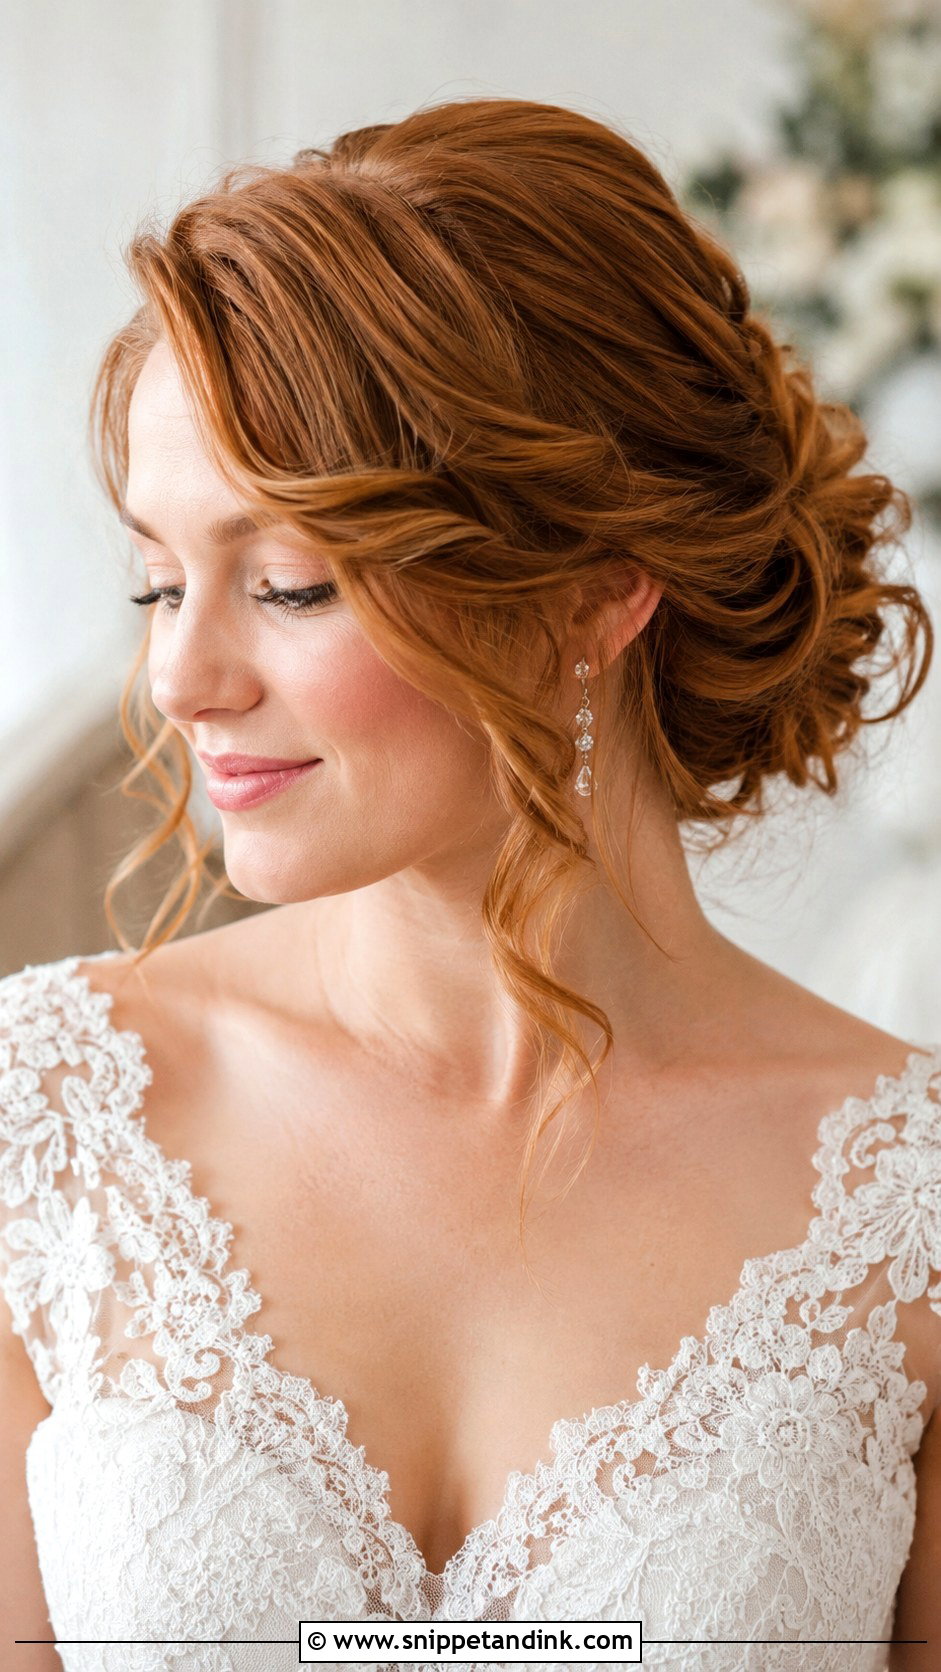
A side part lifts the crown naturally and adds a soft sweep across the forehead, which gives a centred bun a little drama without committing to a side bun. It works with low, twisted and curly buns and textured chignons. If you’re wearing a hair comb, place it on the fuller side of the part or directly opposite the bun for balance. The front should be smooth but still moveable; too much spray at the part makes it look helmet-like by evening.
17. Loose Chignon Wedding Bun
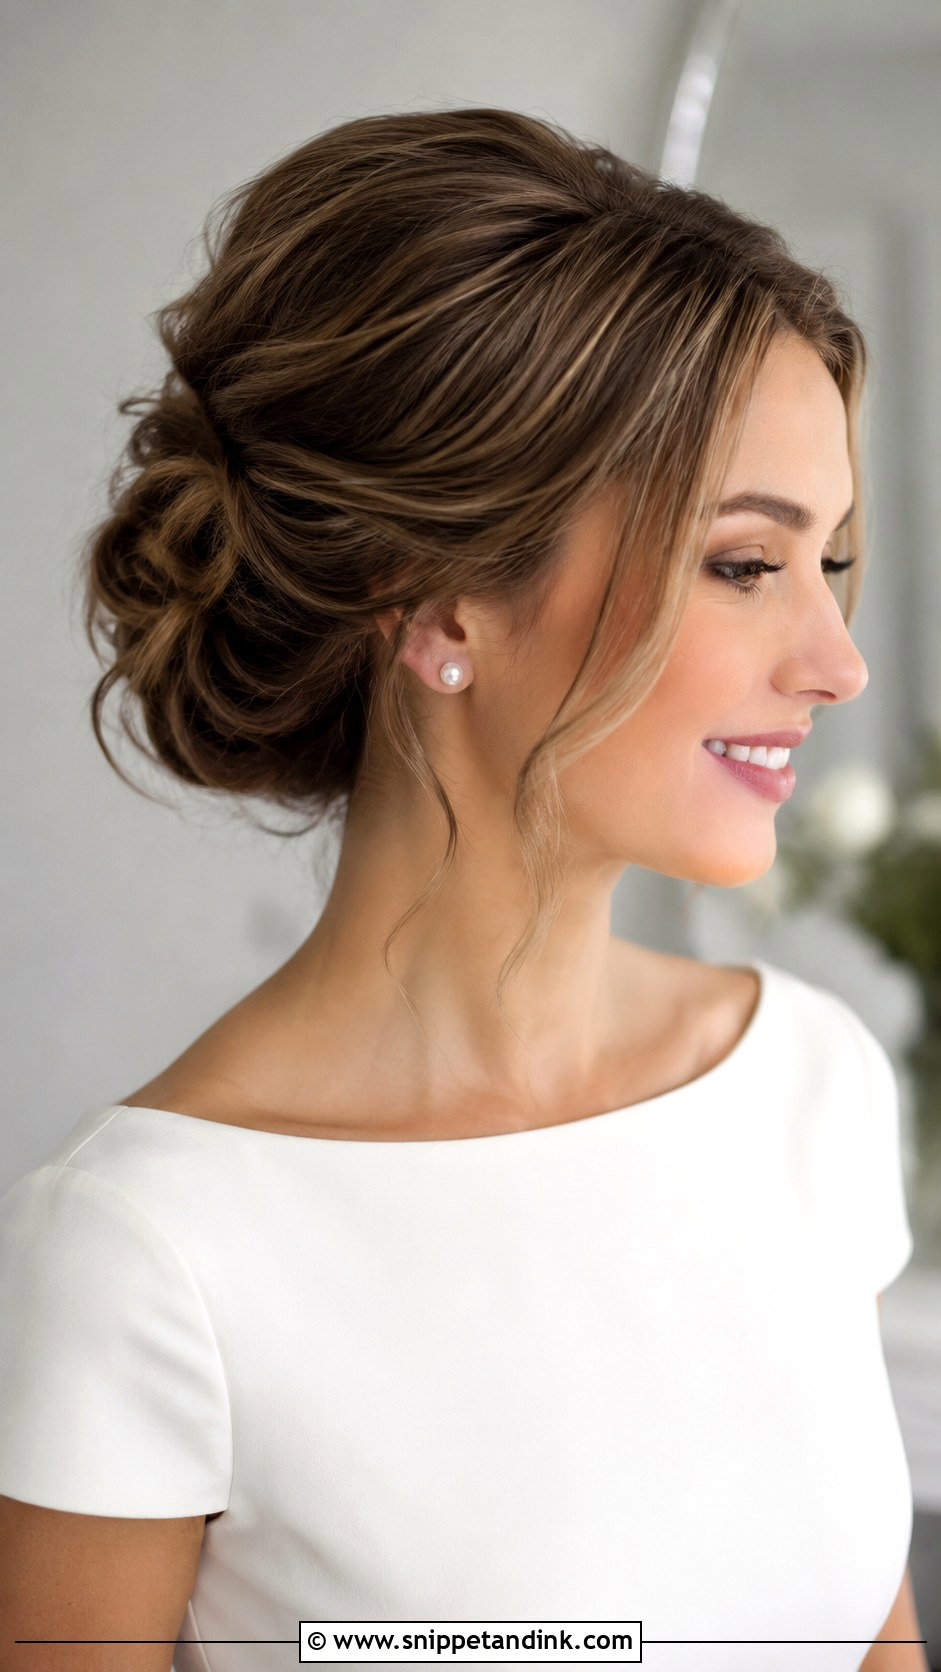
The chignon is the most refined bun here: it sits low and close to the neck, with softly folded sections rather than tousled ones. A loose finish keeps it from looking severe. It’s what I’d recommend if you want photos that won’t date, especially with a classic gown, a cathedral veil, a boat neckline or pearls. I build a little soft volume at the crown and add gentle texture through the folds. It’s also one of the most comfortable buns to sit back in, since it lies flat against the head.
18. Loose Twisted Wedding Bun
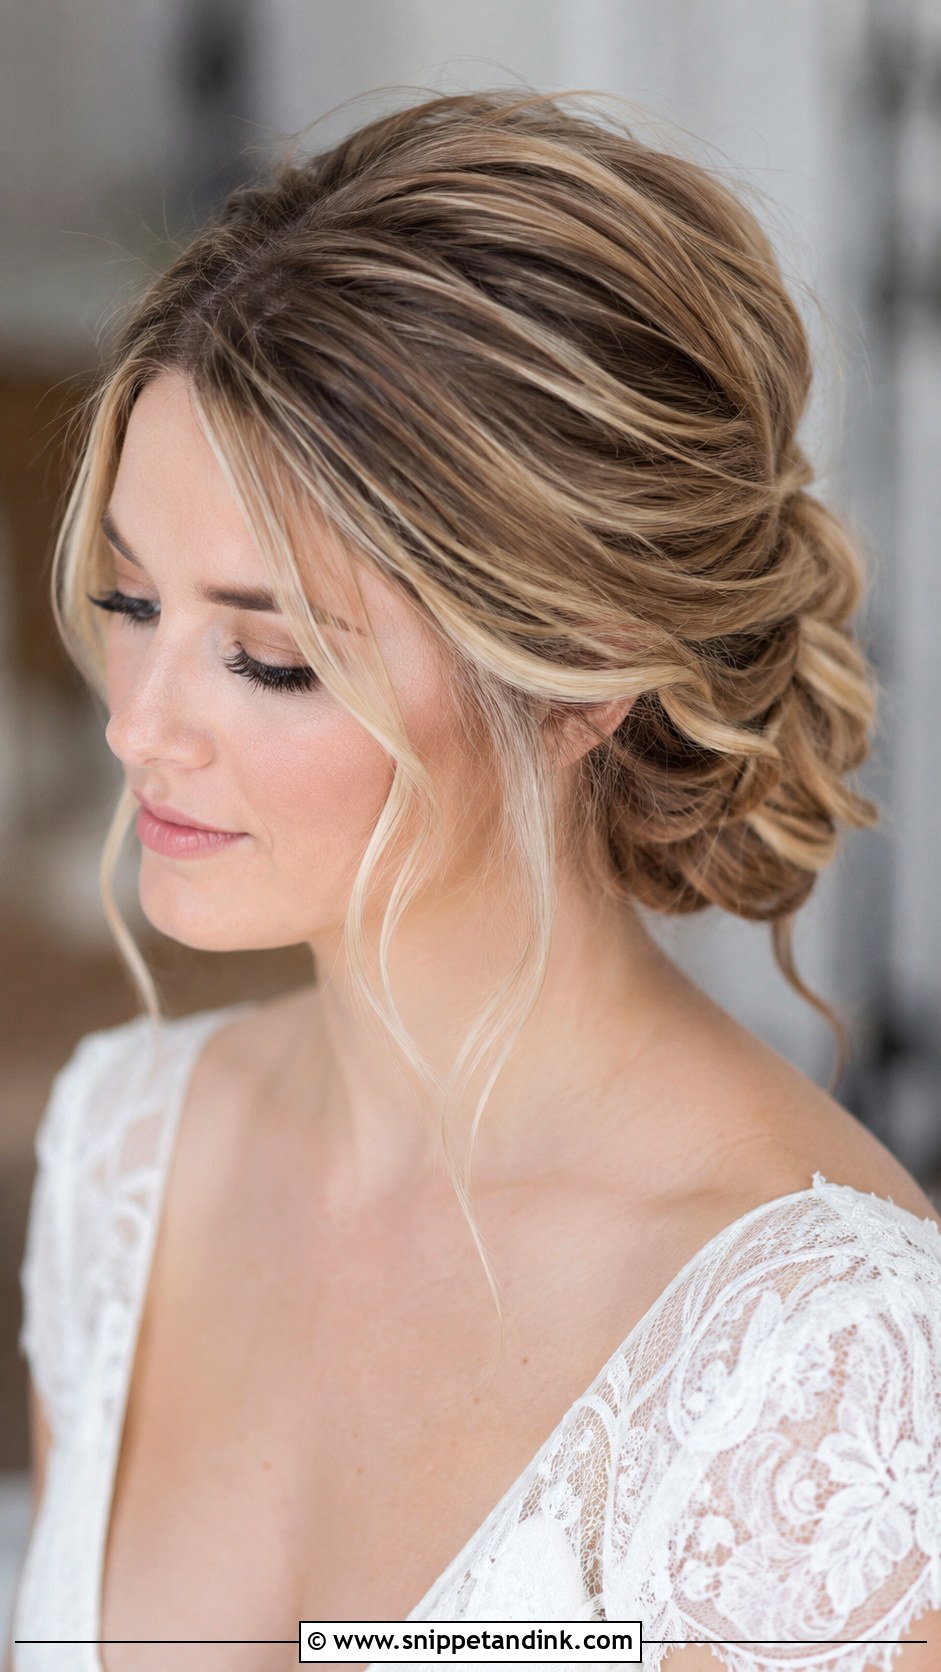
Twists instead of braids give a bun detail with a cleaner finish than a messy style. They can start at the sides, wrap around the crown or build straight into the bun. I twist each section away from the face so it tightens as you move rather than unwinding. Twists are also a practical fix for medium-length hair, since they tuck shorter layers in as you go. A light comb, pearl pins or small flowers can sit at the join.
19. Loose Wedding Bun With Hair Vine
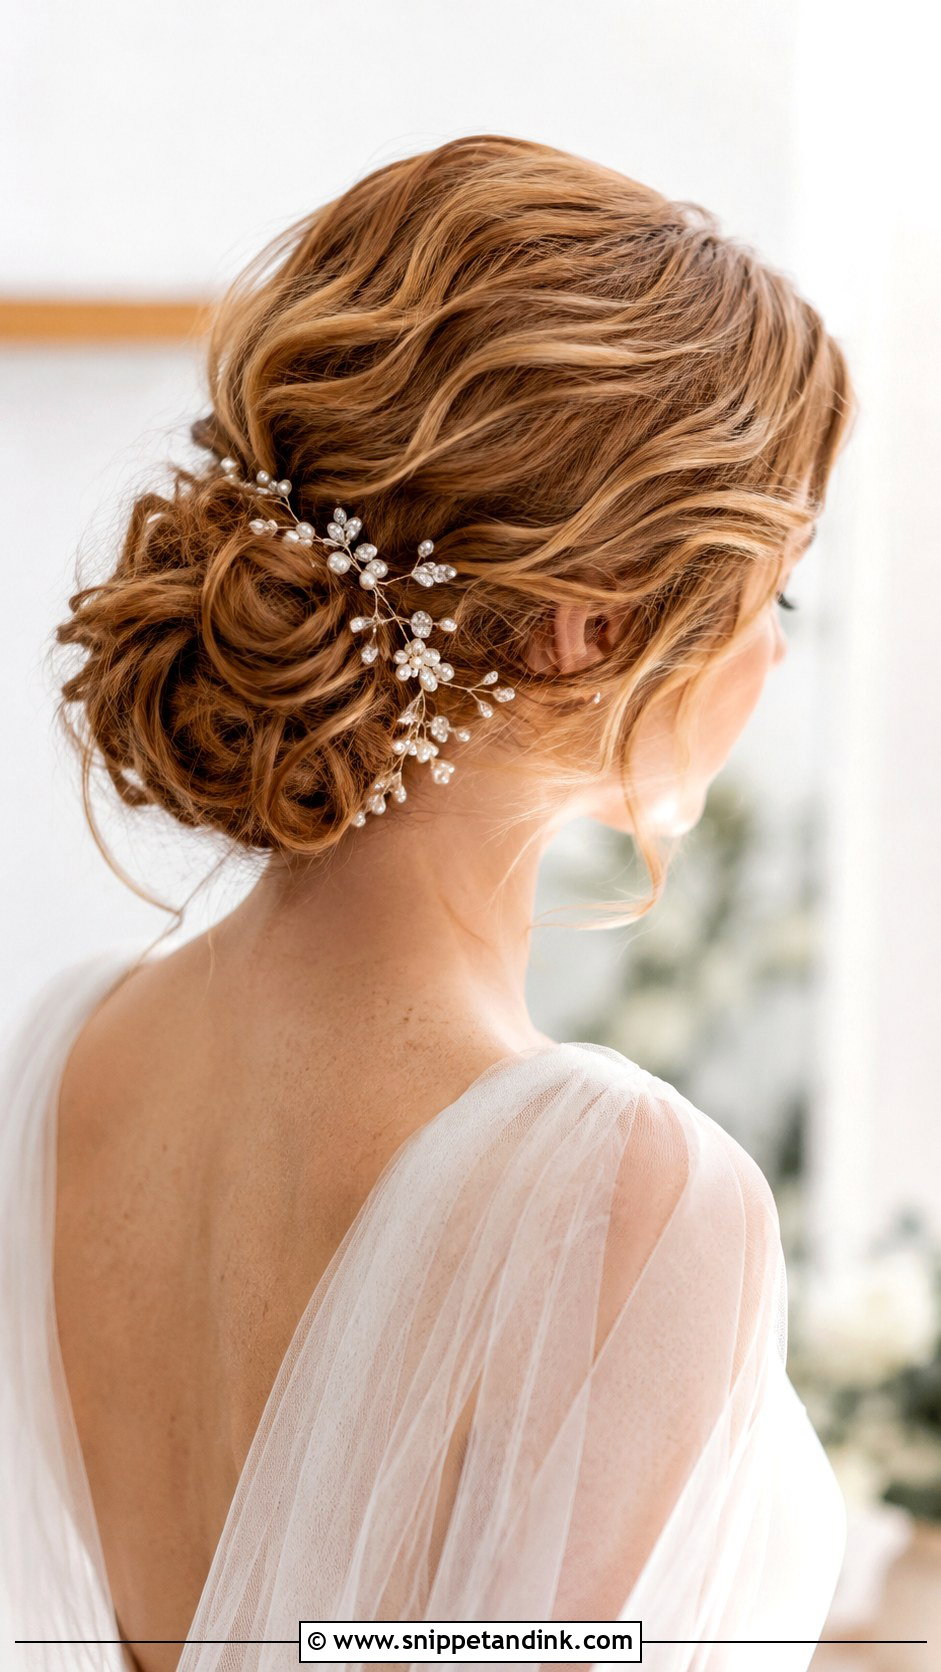
A hair vine is flexible wire, so it can follow the curves of a textured bun in a way a rigid comb can’t. Wrap it around the bun, curve it along one side, or set it just above. Pearls, crystals, florals or gold leaves can be matched to your dress and jewellery. The bun needs structure under the softness, because a vine is pinned through its own loops into the hair, and a vine on a too-loose bun shifts every time you turn. It suits outdoor ceremonies and gowns with detail at the back.
20. Loose Wedding Bun With Curtain Bangs
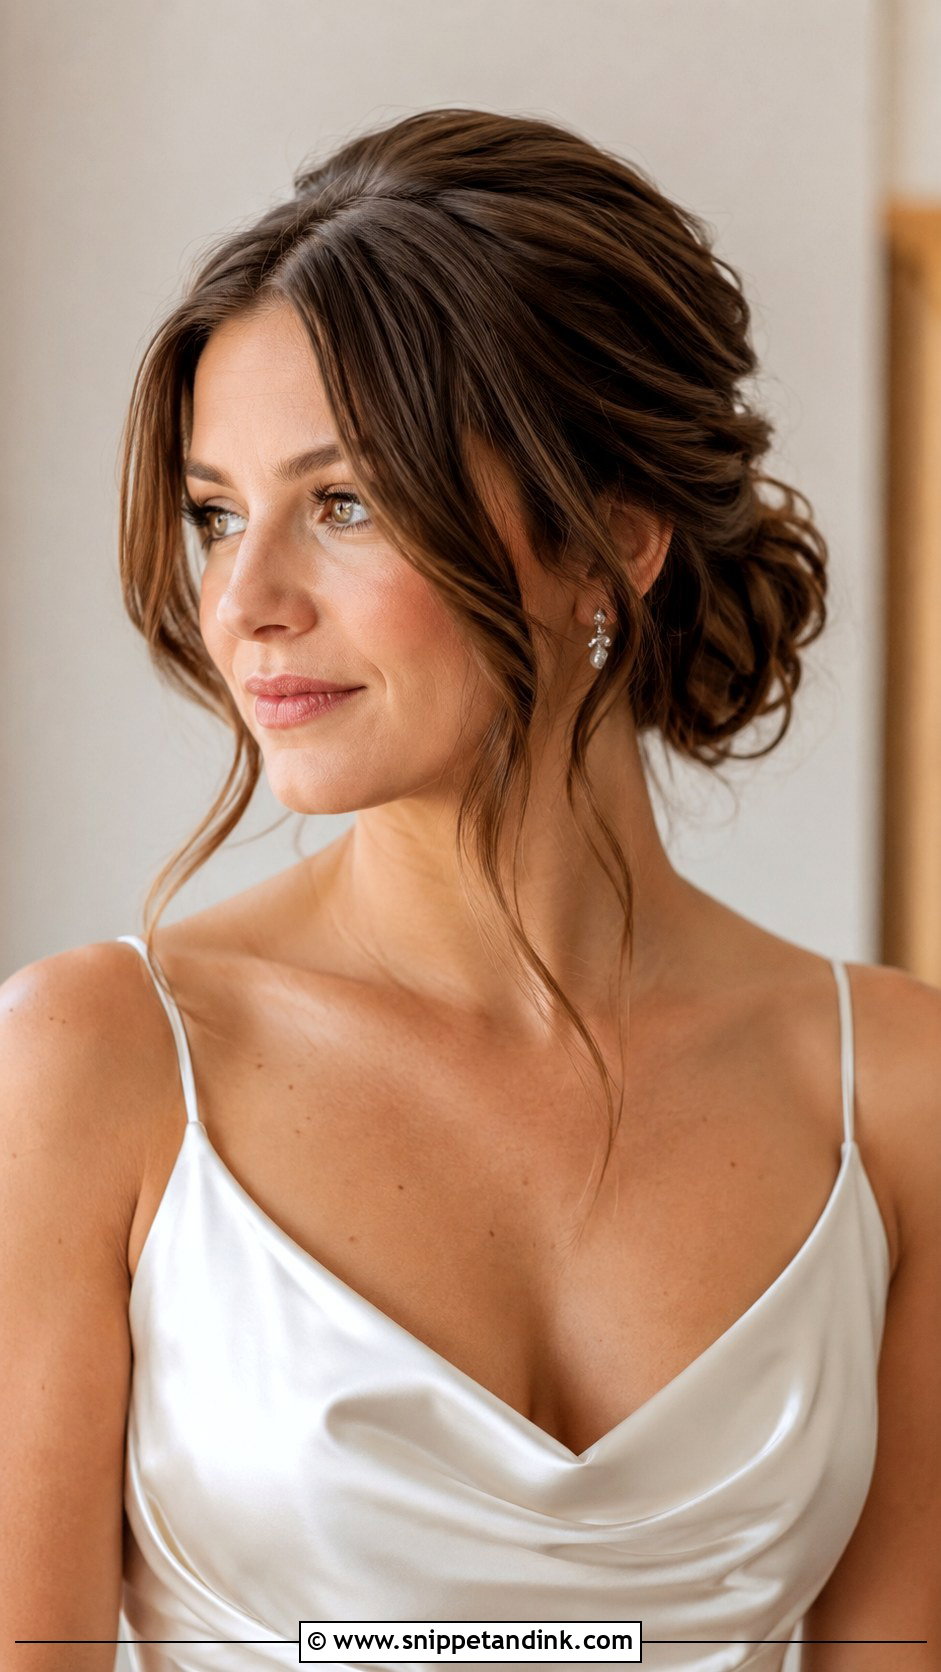
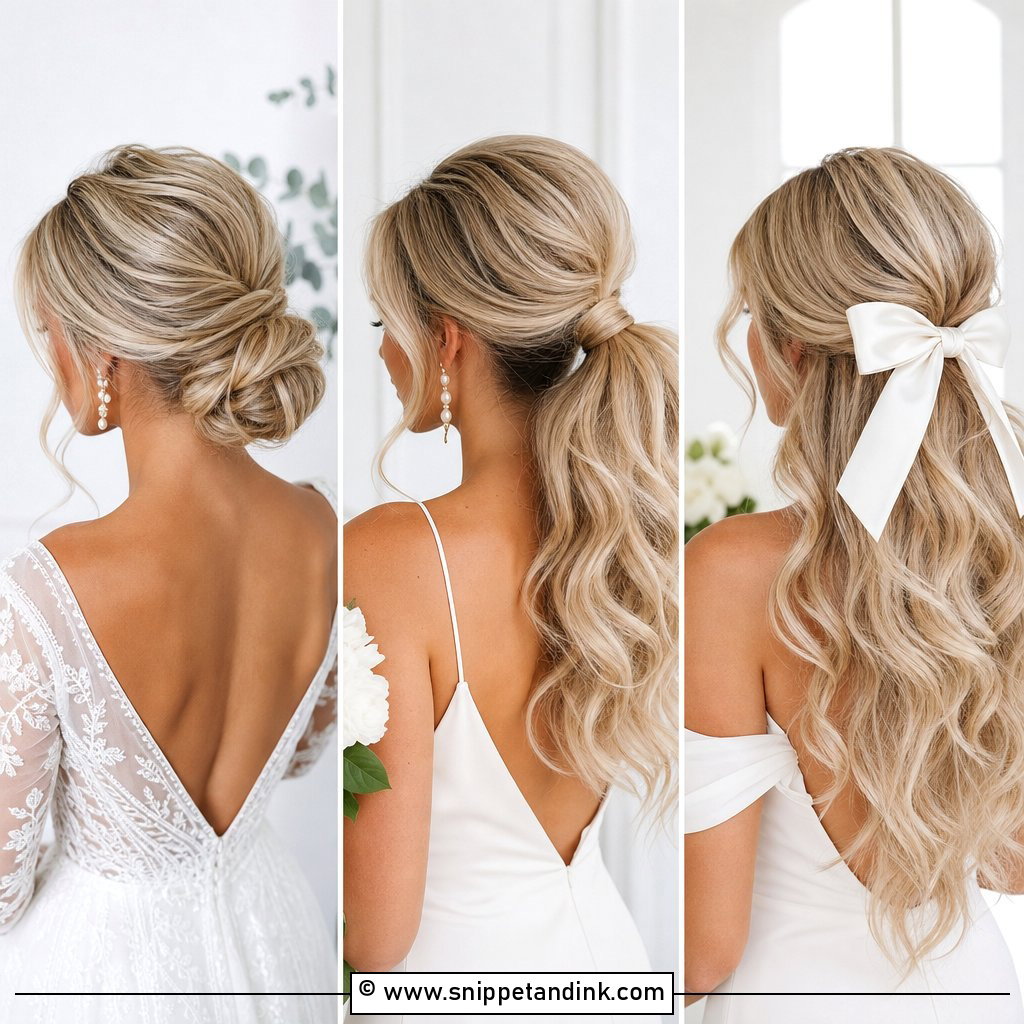
If you already wear curtain bangs, this keeps your everyday face with a bridal finish. The bangs blend into the style instead of being pinned away, and a low or mid bun balances the movement at the front. I shape them with a round brush rather than curling them, so they bend away from the cheeks. Flexible-hold products keep them moving without falling flat. Trim them about a week before, not the day before, so the edges have time to soften.
Car Seats, Chair Backs and Slow Dances
Most bun failures I see aren’t about the style at all. They come from ordinary things that happen between leaving the house and the last song.
- Sit forward in the car. A headrest presses a low bun flat in a ten-minute drive.
- At dinner, check whether your chair has a high back. A mid-height bun knocks against it every time you lean back.
- Take the veil out by holding the bun with one hand and sliding the comb out with the other, never by pulling straight up.
- On a hot day, warmth at the nape softens curl in a low bun first. A quick blast of cool air from a hand fan helps more than more spray.
Taking It Down at Midnight Without Tearing Your Hair
Nobody plans for this part, and it’s when most breakage happens. Count the pins as they come out if you can, starting from the outside of the bun and working in, and never drag a brush through until every pin is gone.
Then mist the hair with a little water or conditioner, work through the backcombed areas with your fingers first and a wide-tooth comb second, starting at the ends. Sleep on it loosely braided and wash the next day. If your hair still feels knotted, a deep conditioner left on for twenty minutes does more than any amount of combing.
Soft on the Outside, Pinned Solid Underneath
That’s really the whole secret of a loose bun. The part, the texture, where it sits and what you add to it make it read as classic, boho or modern, but the foundation underneath is the same every time. Bring reference photos to your trial and stay open to small changes for your face shape and hair. A good one feels secure without feeling tight, and it still looks soft in the last photo of the night.
You'll Like These Ideas:


Leave a Reply