
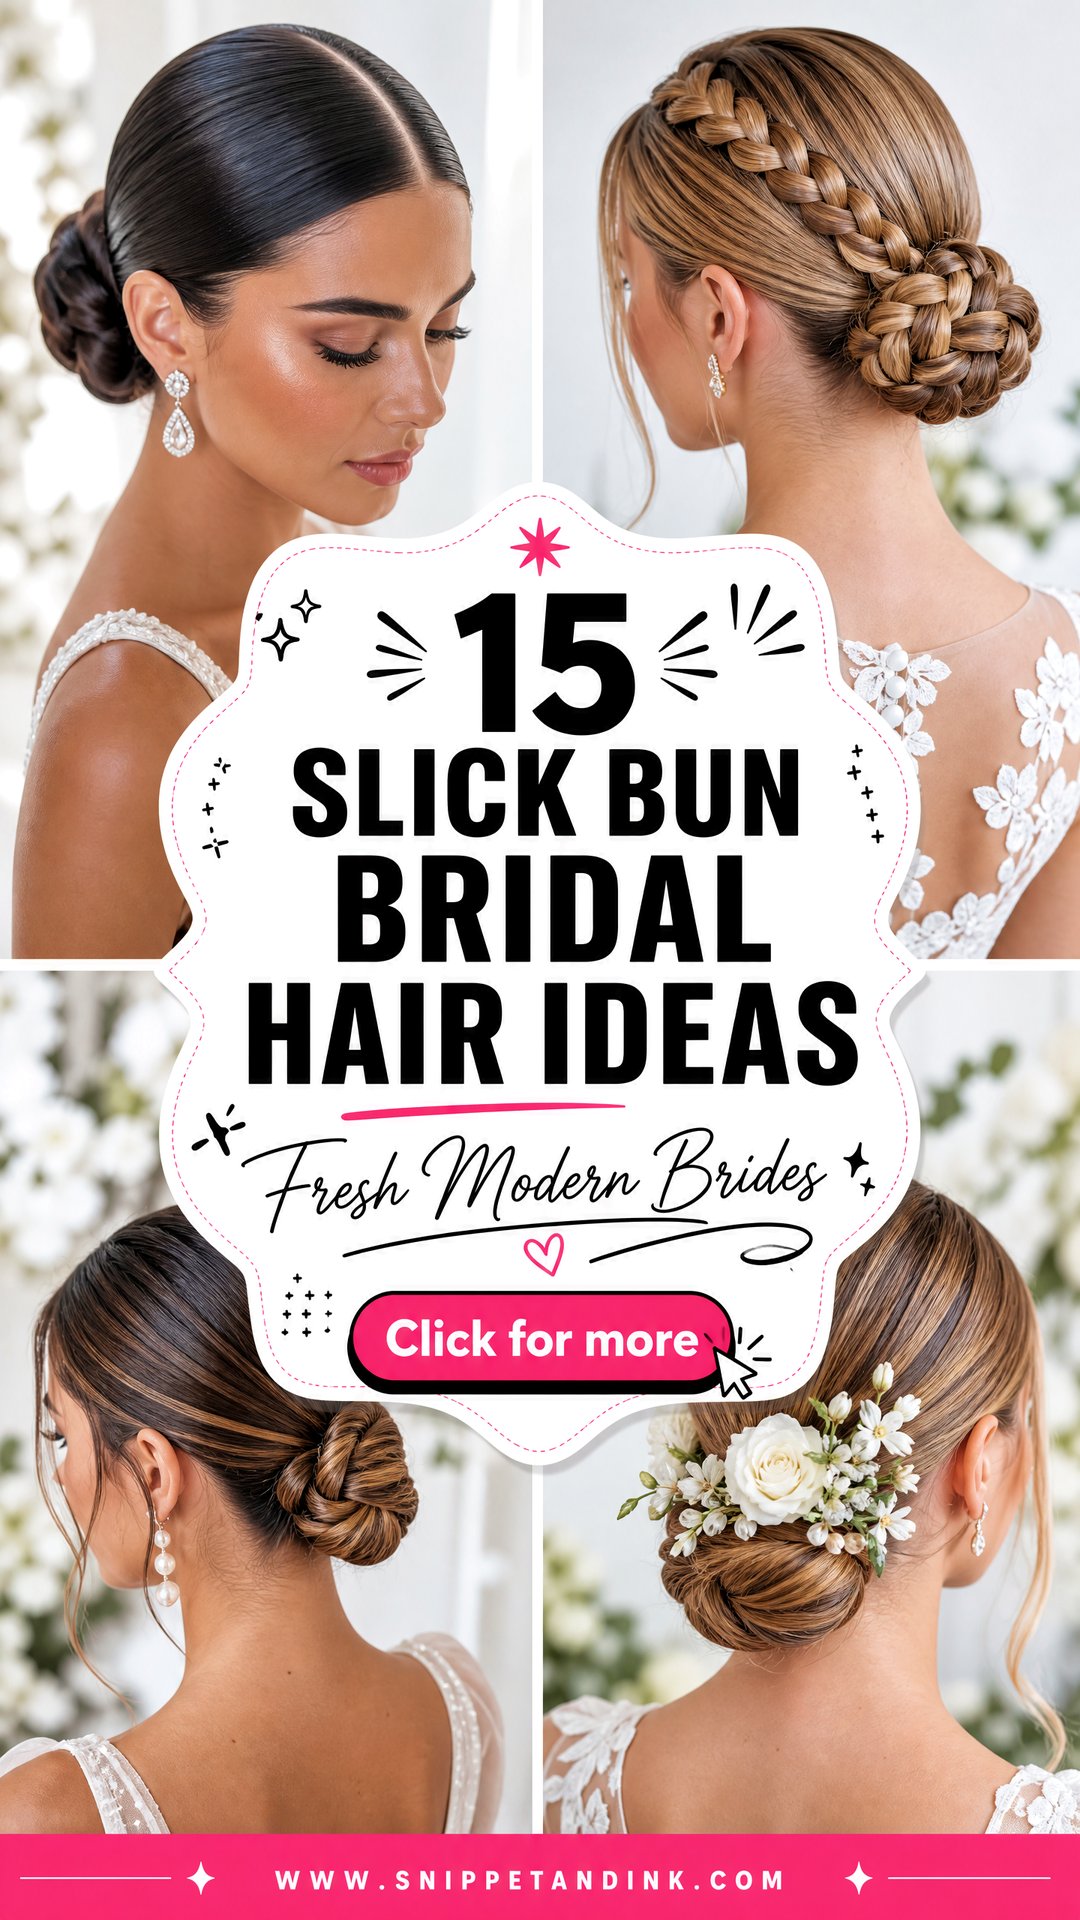
A slick bun looks like the simplest style in my kit, and it’s the one that shows every shortcut. There’s no texture to hide a bumpy section, no curl to cover a pin, so the work is all in the brushing, the product and where the bun sits. Get those right and it holds through a veil, a strapless gown and a long night of hugging. Below are fifteen versions I’d actually put on a bride, from a tight nape knot to a braided wrap, with notes on which hair suits each and where they tend to go wrong.
Prepping Hair the Week a Slick Bun Goes In
Slick styles behave differently from curled updos. A textured updo likes second-day hair, but for a sleek finish I’d rather work on hair washed the evening before or that morning, then blow-dried smooth with a paddle brush. Dirty hair separates into strands along the scalp and makes the surface look streaky.
- Skip heavy conditioning masks two or three days out. They leave the hair too slippery for pins to bite.
- Book a gloss or color refresh about a week before, not the day before. Freshly toned hair can look flat and the shine settles after a few washes.
- Have any trim done two weeks ahead so blunt ends have time to soften and tuck into the bun.
- Tell your stylist about short baby hairs or a cowlick at the trial. Those need a wax stick or a small edge brush, and that changes the plan.
If your scalp is sensitive, say so early. A tight slick bun puts steady tension on the hairline, and I can loosen the base or move the bun lower without changing how it looks from the front.
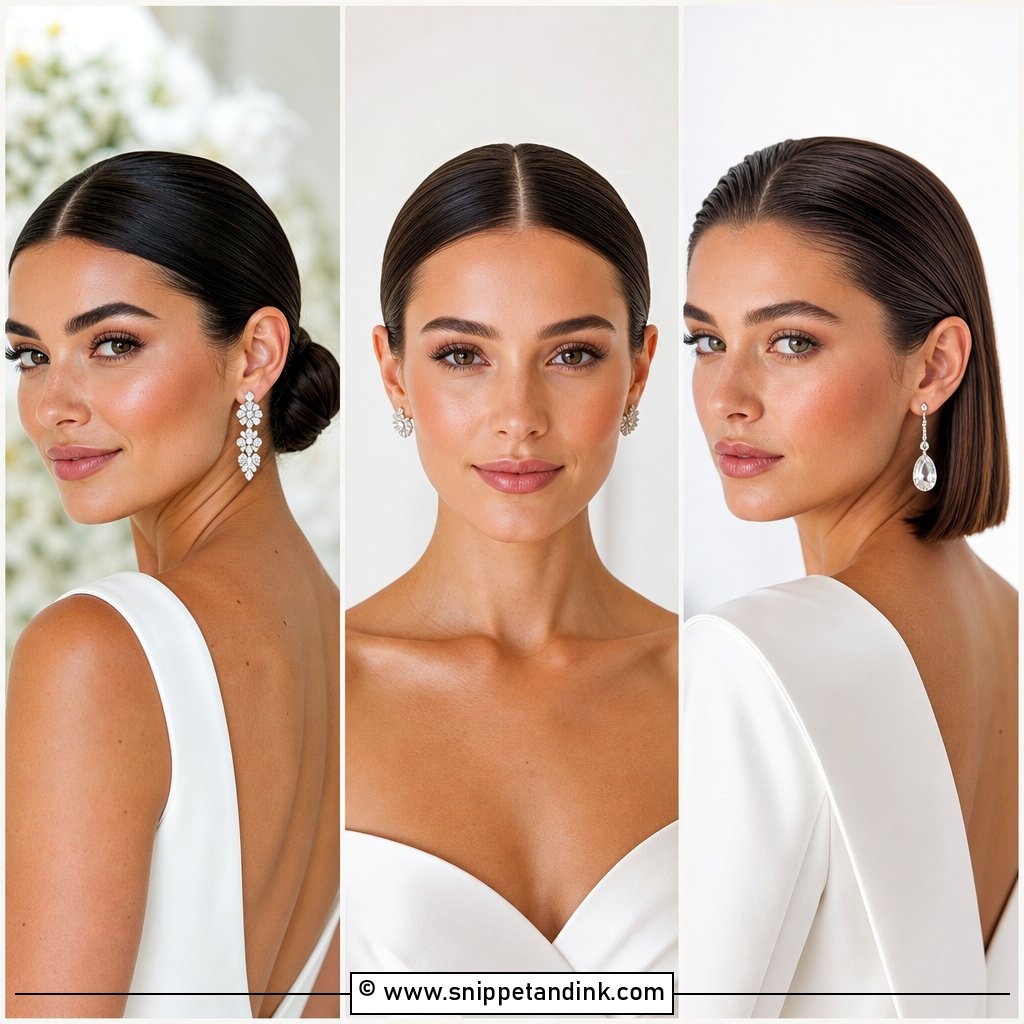
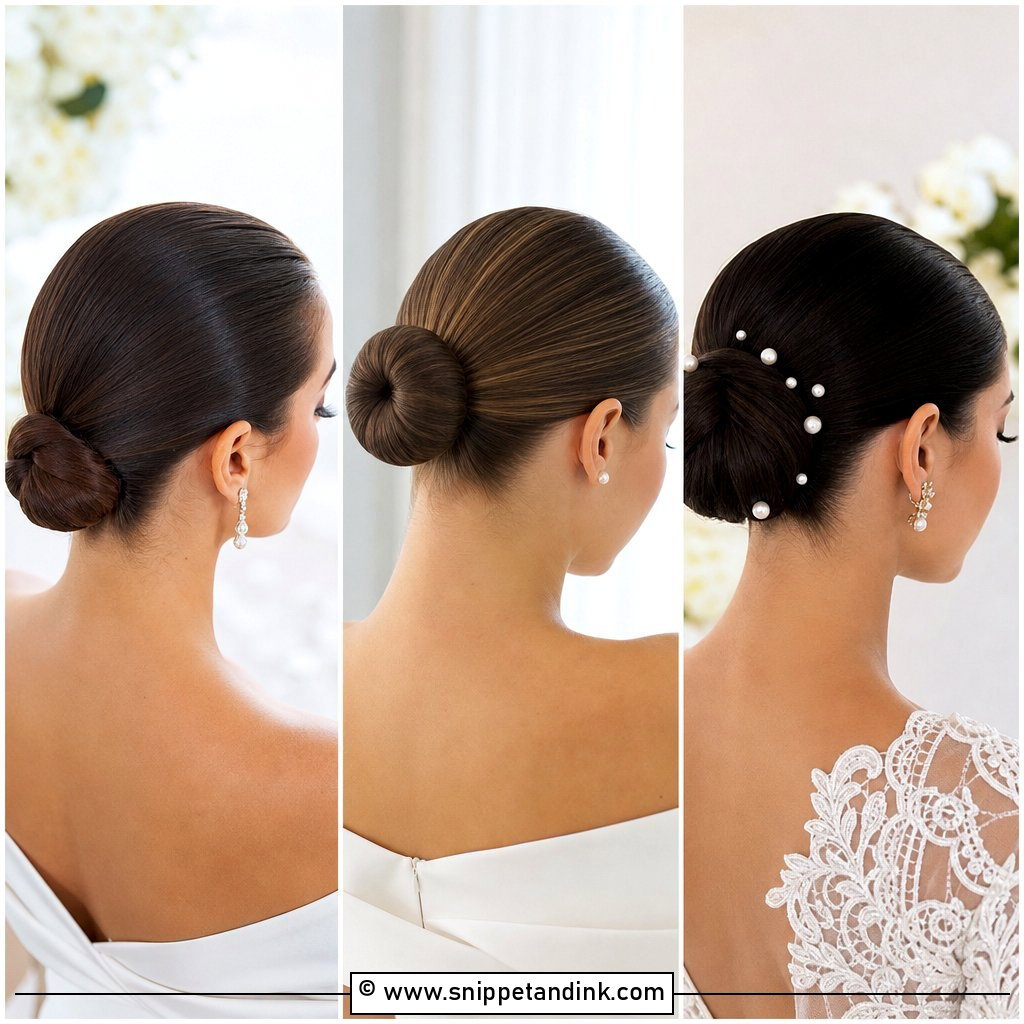
1. Slick Low Bun Bridal Hair
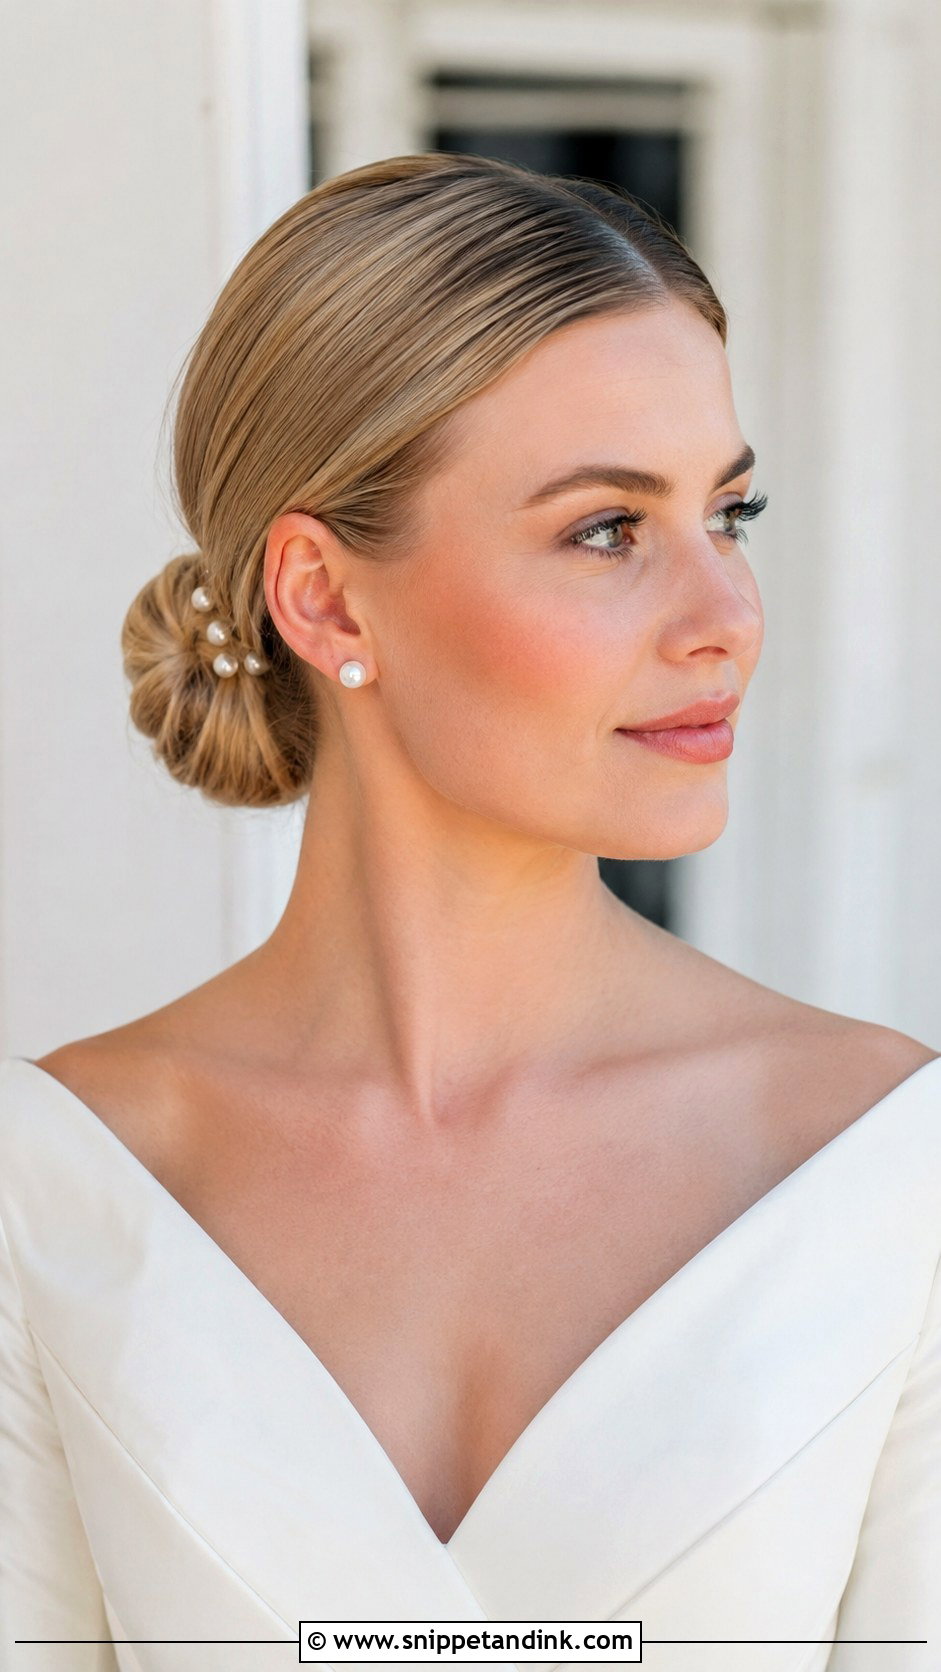
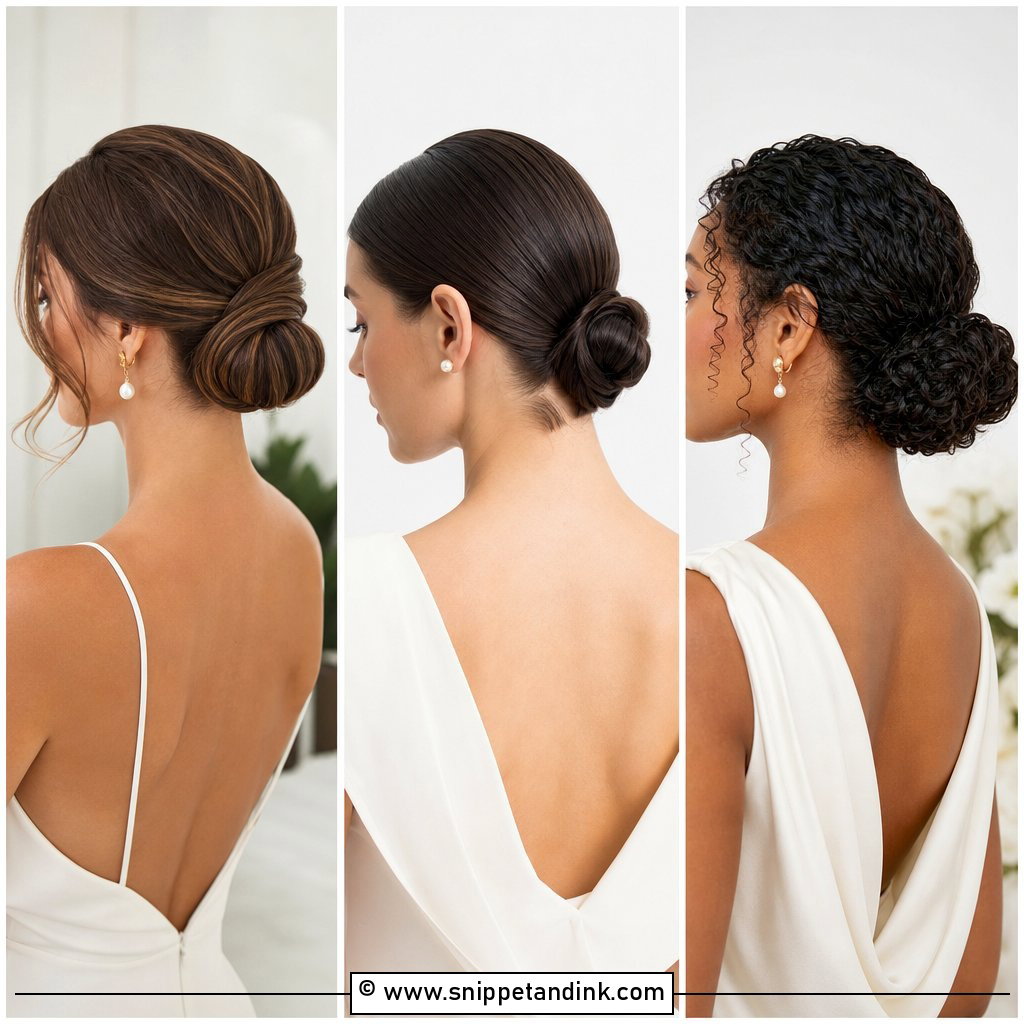
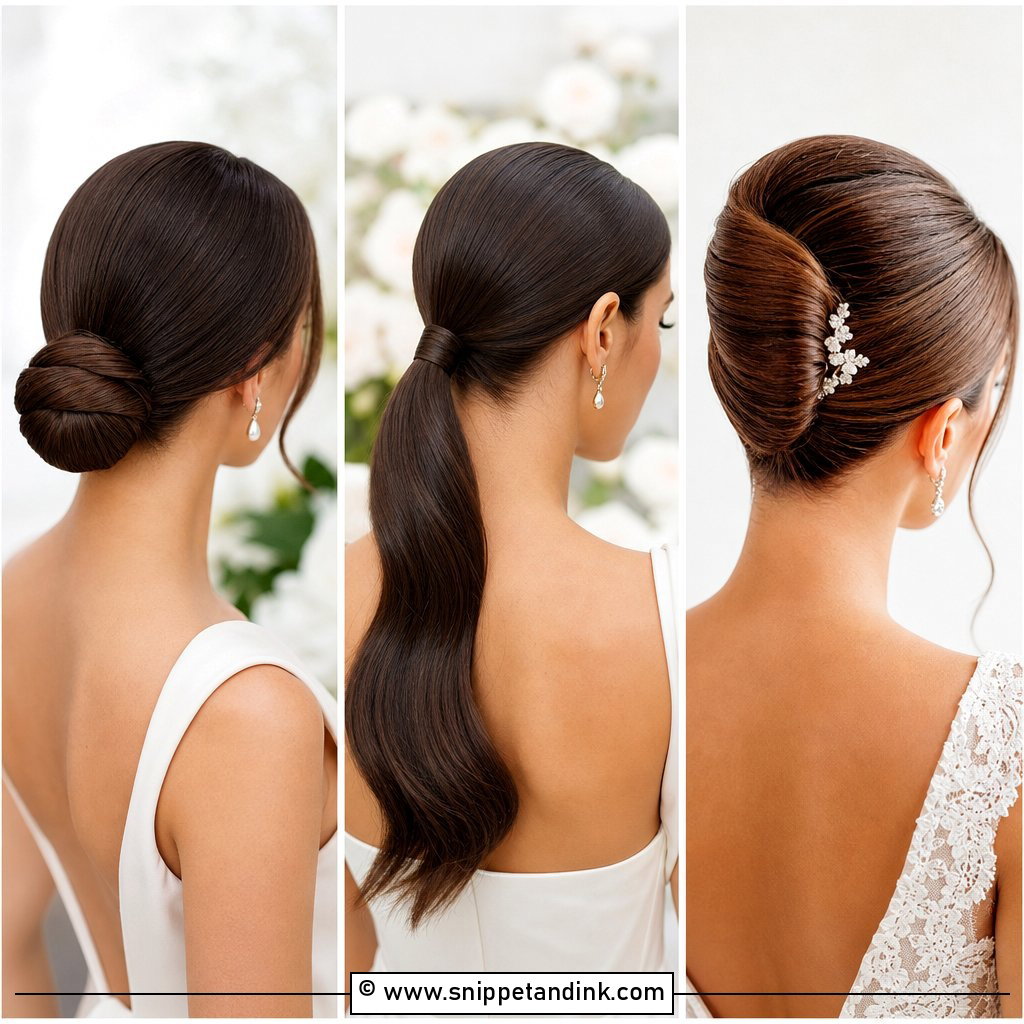
The low bun is the one I reach for most when a bride wants a veil, an open back or a detailed neckline, because nothing at the nape competes with the dress. A center part reads modern; a soft side part takes the edge off. I set it compact but never strained, since a bun pulled too tight at the nape starts to ache by the reception. On very silky hair I add a light grip product before smoothing, or the bun slides lower each hour. Pearl pins or a plain veil comb are all it needs.
2. Slick Middle Part Bun Bridal Hair
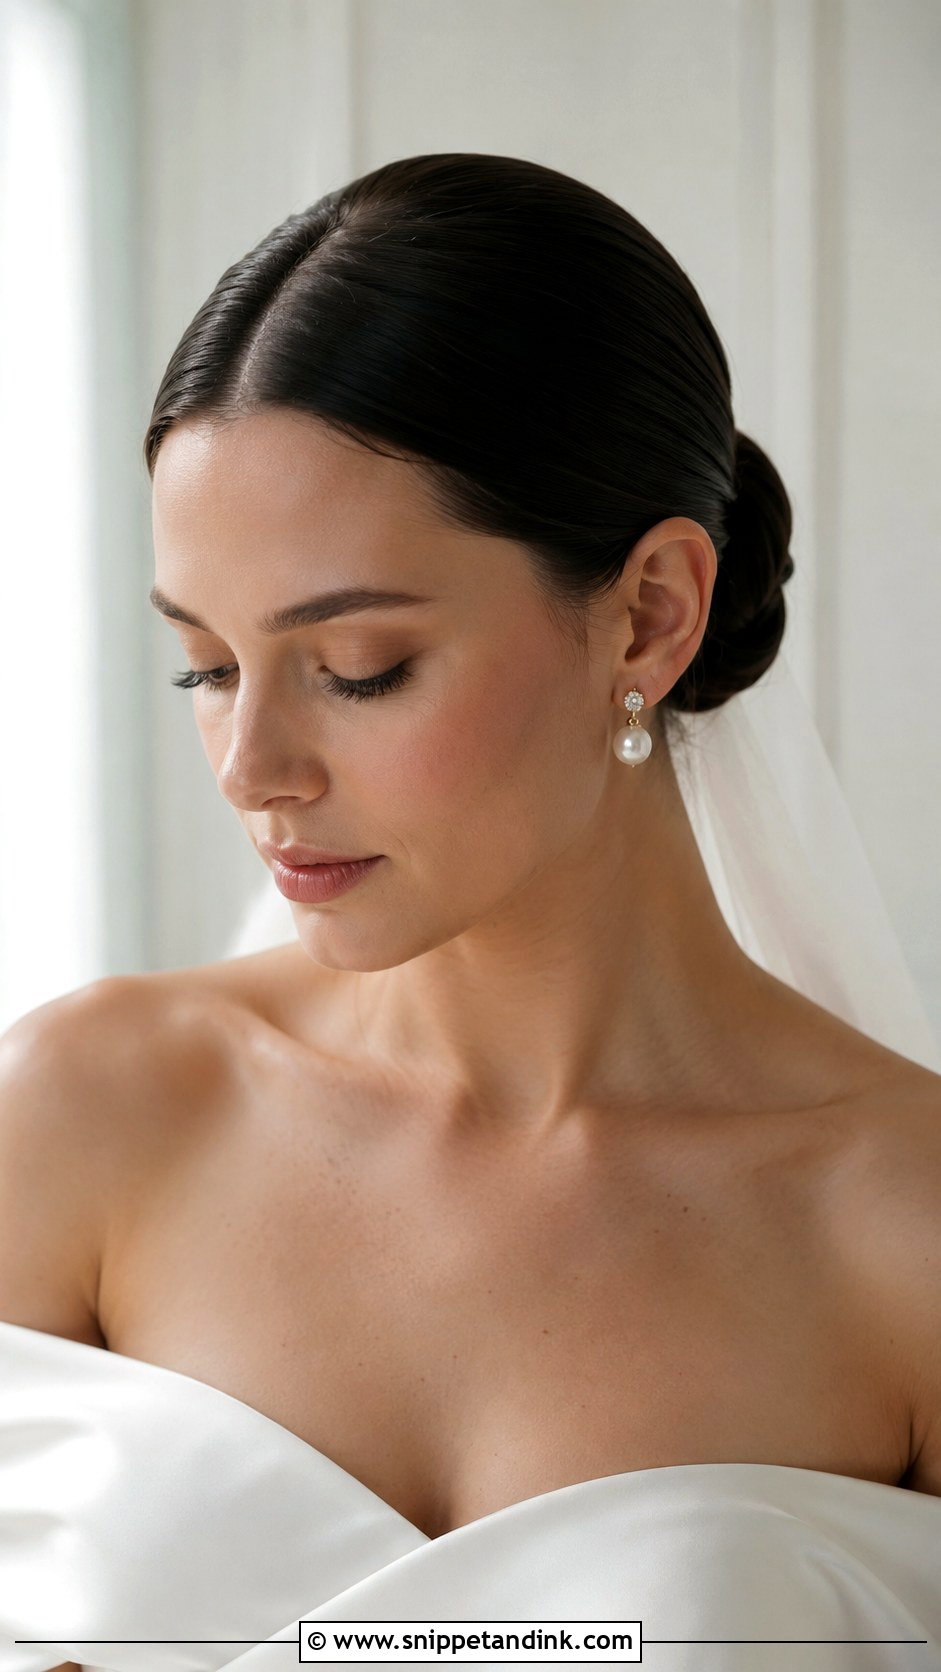
A crisp center part splits the face evenly, so this slick bun bridal hair option rewards symmetry and punishes a crooked line. I draw the part with a tail comb against the bride’s nose, not by eye, and check it in the mirror from a seated position too. Fine hair gets a texture spray first so the brush has something to hold; thick hair I smooth in four sections or it bubbles at the crown. Aim for a soft sheen. Too much oil and the camera flash turns the part into a white stripe.
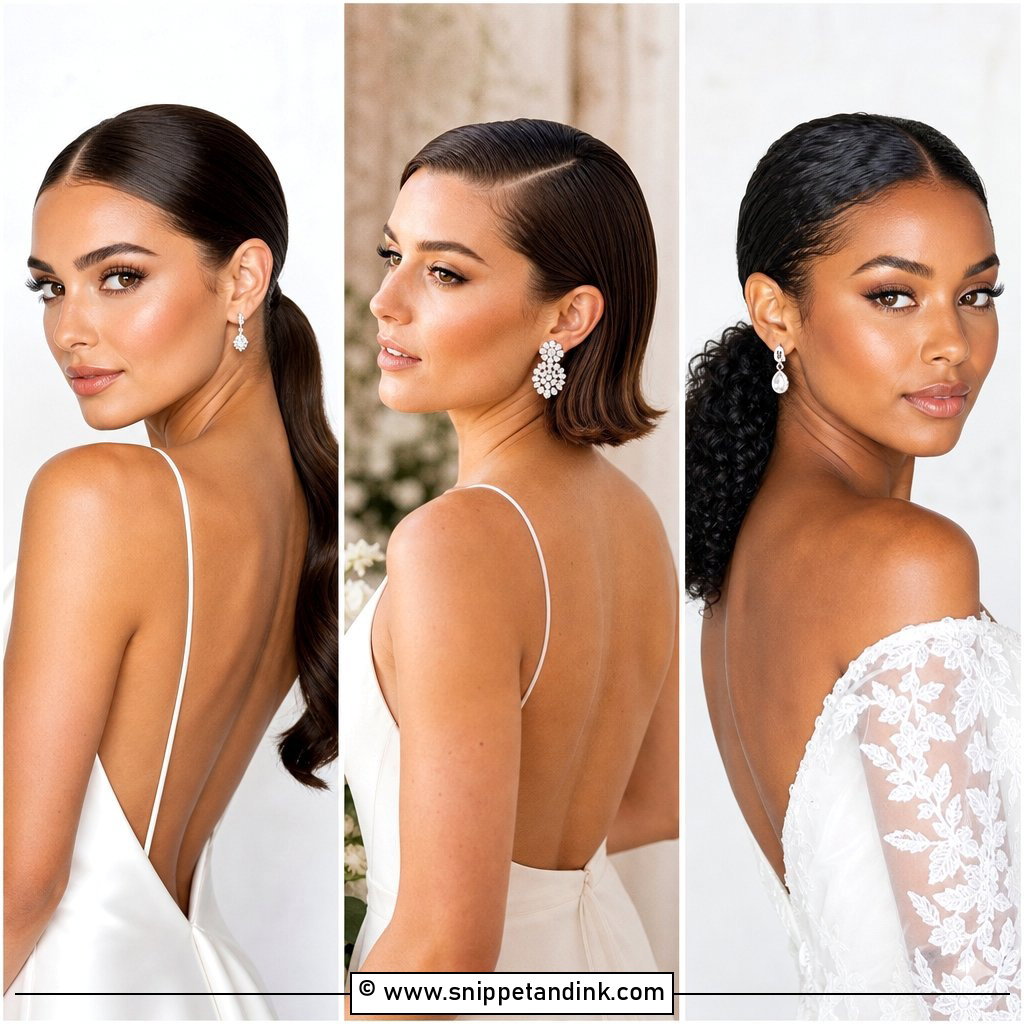
3. Slick Side Part Bun Bridal Hair
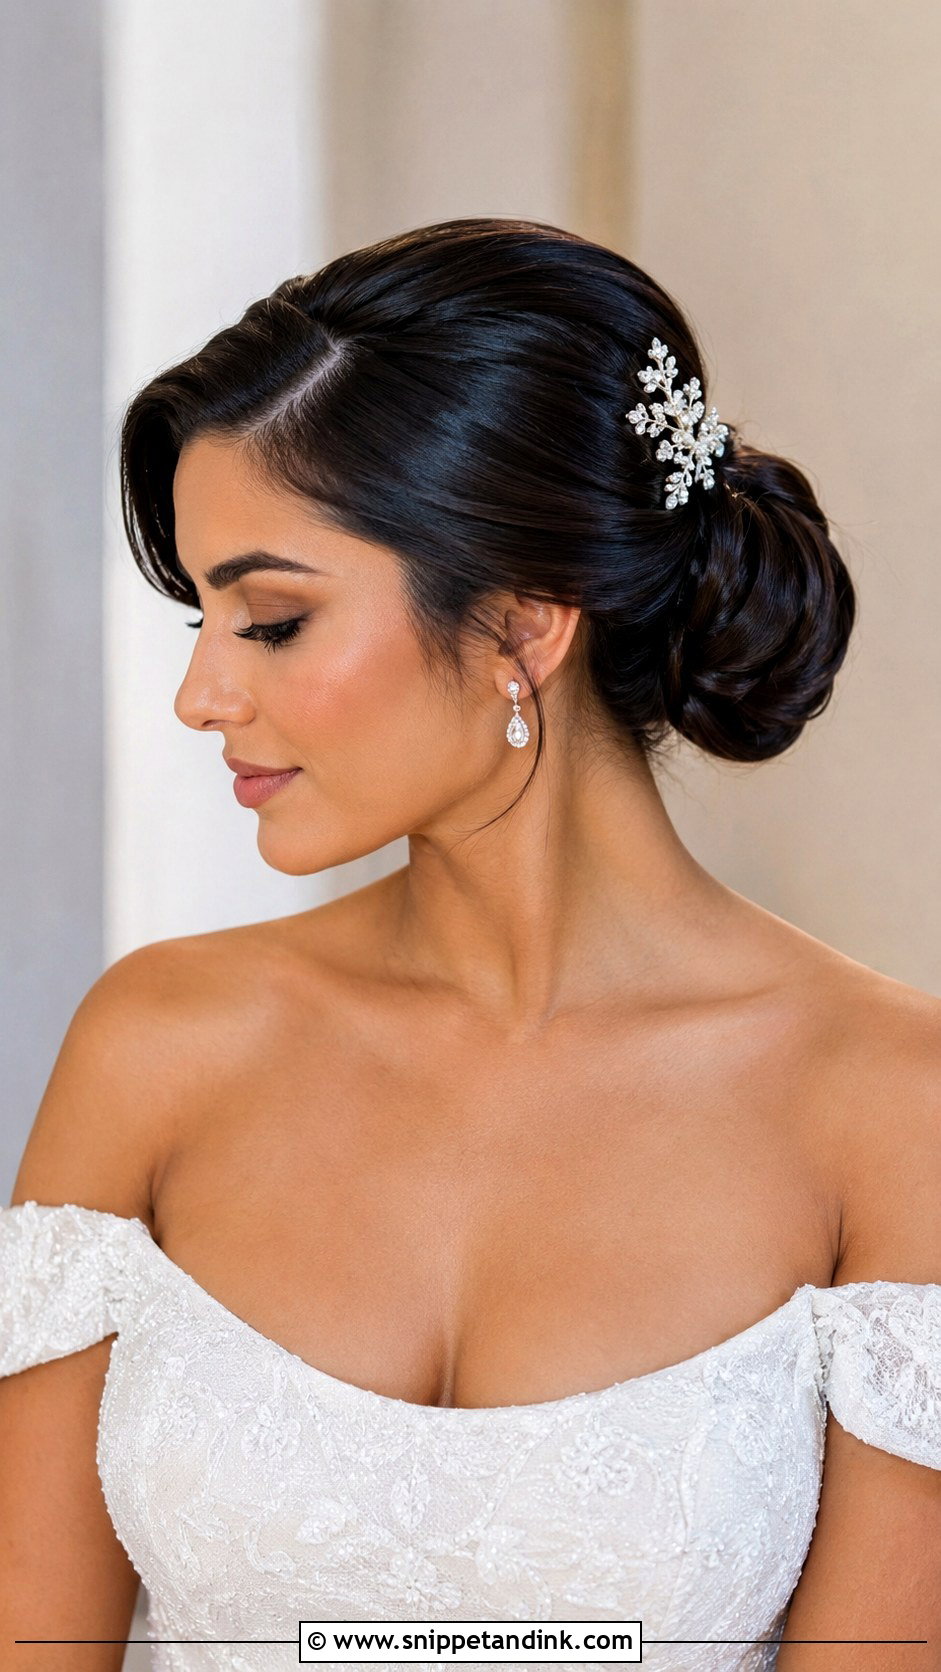
Shifting the part to one side softens the whole shape and adds a little height on the heavy side, which helps on round or square faces. It sits well with one-shoulder gowns and a single dramatic earring. A deep side part is the glamorous version, but on fine hair it can reveal the scalp along the line, so I usually keep it about an inch off center. I work a pea-sized amount of smoothing cream through with a boar bristle brush; more than that and the front goes stiff and shiny in a way that looks wet in daylight.
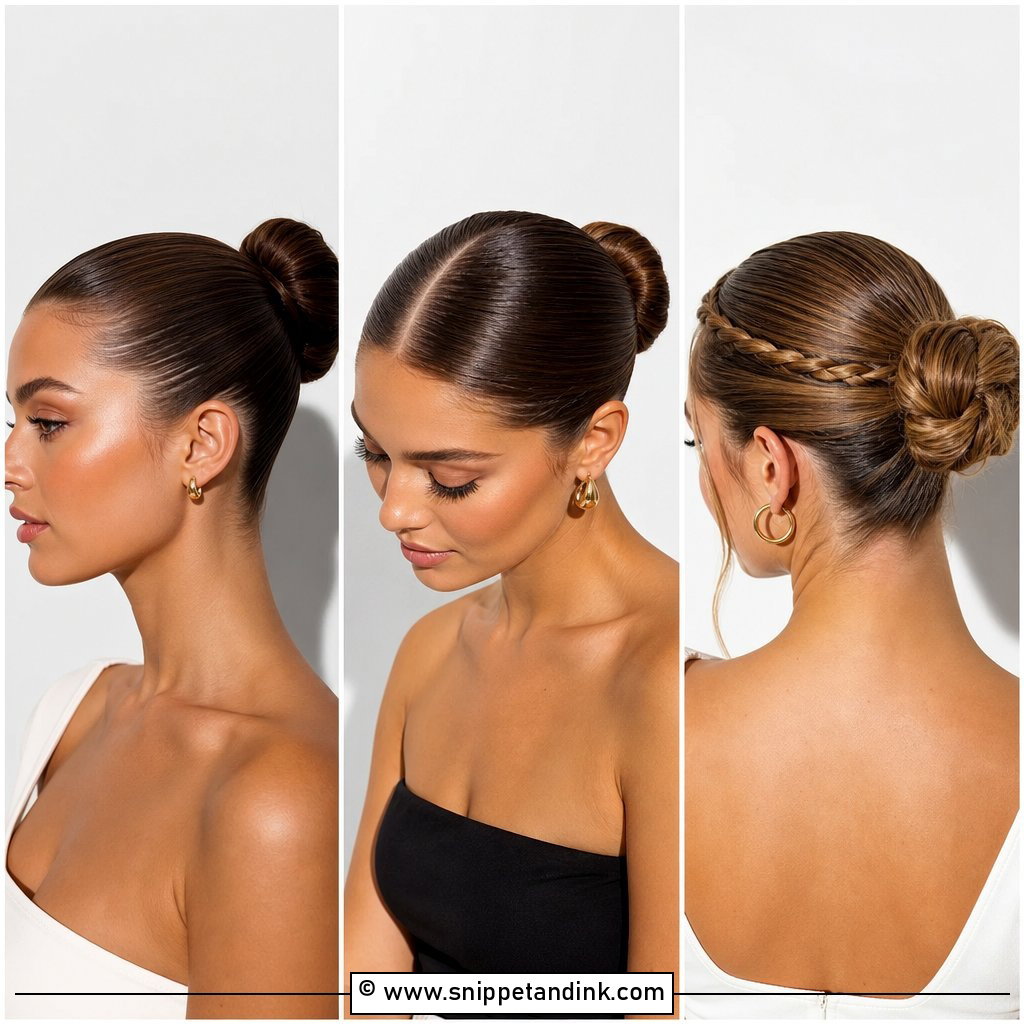
4. Slick High Bun Bridal Hair
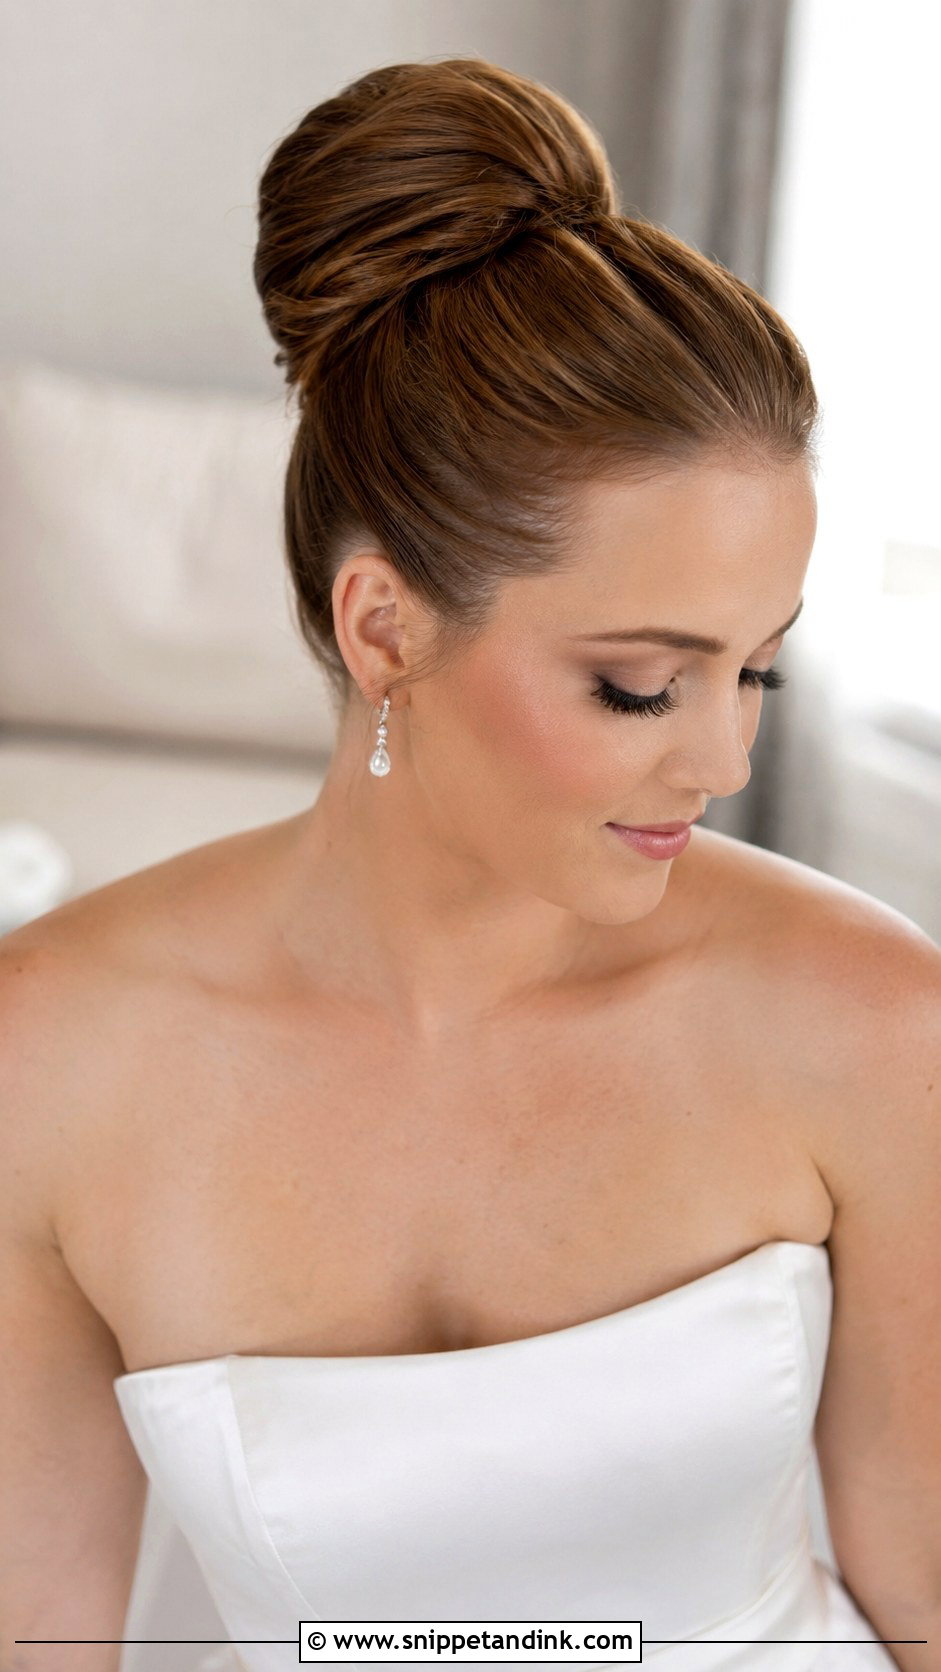
Placed at the crown, the bun lifts the face and lengthens the neck, which is why I suggest it for strapless, halter and high-fashion cuts. The catch is weight. A high bun pulls on the scalp more than a low one, so I anchor it with a hidden ponytail base and crisscrossed bobby pins rather than relying on the elastic alone. It can be rounded, twisted or wrapped into a smooth knot. Fine hair needs a donut or padding for size; thick hair I build in two sections so it doesn’t turn into a heavy lump.
5. Slick Chignon Bridal Hair
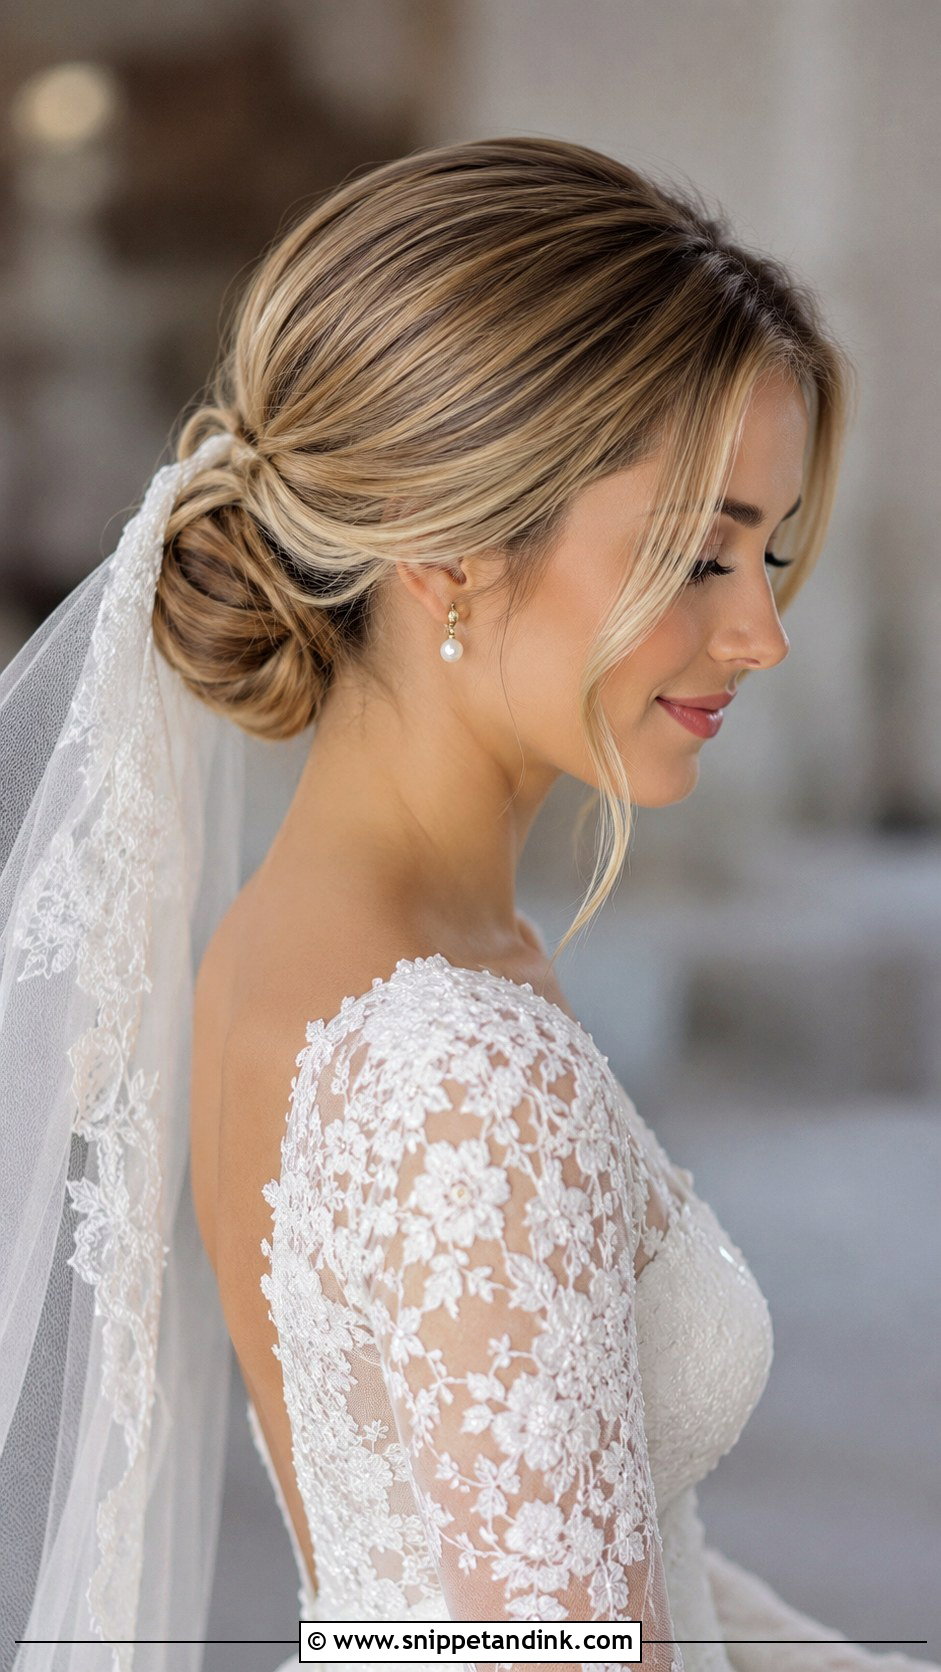
A slick chignon bridal hair style folds or rolls the lengths at the nape instead of coiling them into a round knot, so the profile is longer and flatter. That shape rests nicely under a cathedral veil and suits lace or heavy satin. I pin a chignon from the inside out, with the pins buried inside the fold, so it looks smooth from the side and from below when you bend your head for the ring exchange. It does need at least shoulder-length hair to make the fold.
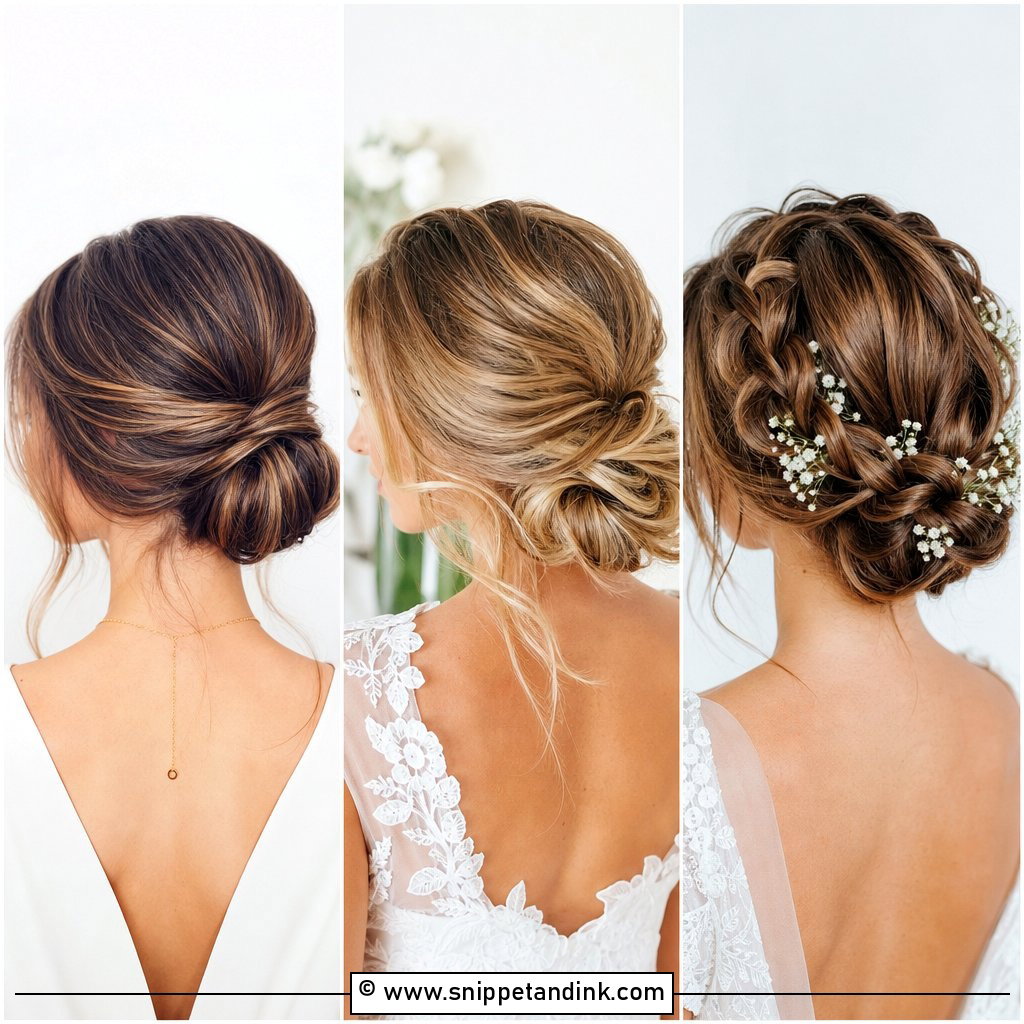
6. Slick Braided Bun Bridal Hair
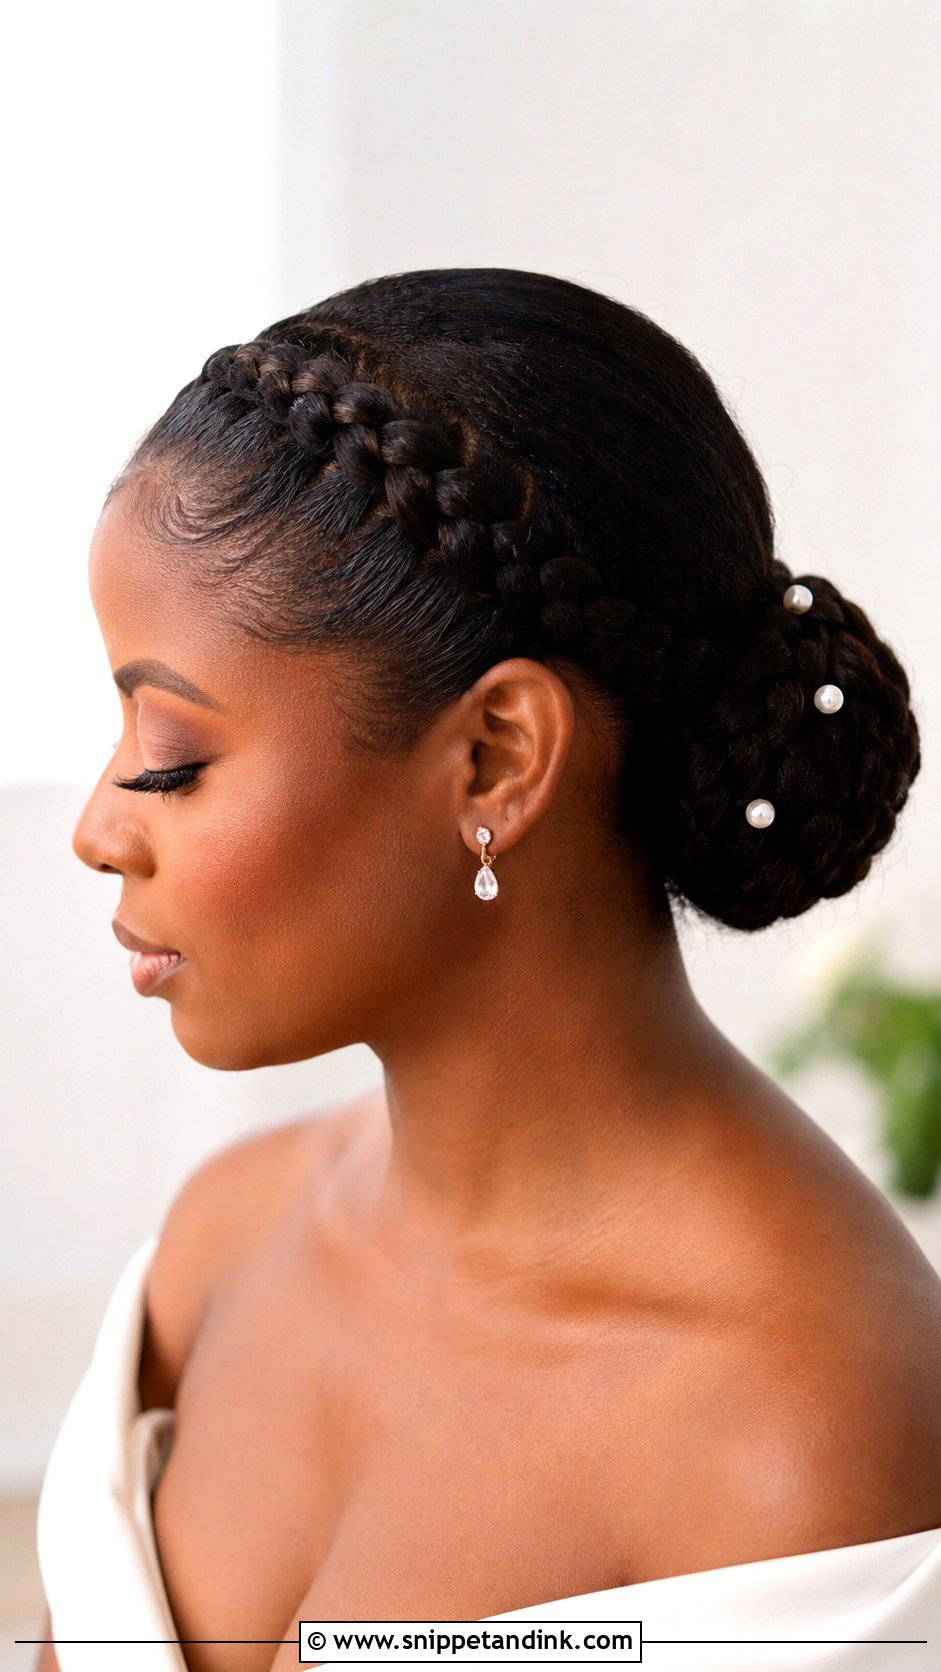
Braiding the lengths before wrapping them gives the bun a built-in grip, which is why I like this one for outdoor ceremonies and windy venues. A braid holds its shape even when a few pins loosen. The back carries all the detail, so it earns its place in those over-the-shoulder photos. A simple three-strand braid is plenty for most brides; a rope braid gives a tighter, more graphic look. I tuck the veil comb just above the braid so the plait isn’t hidden.
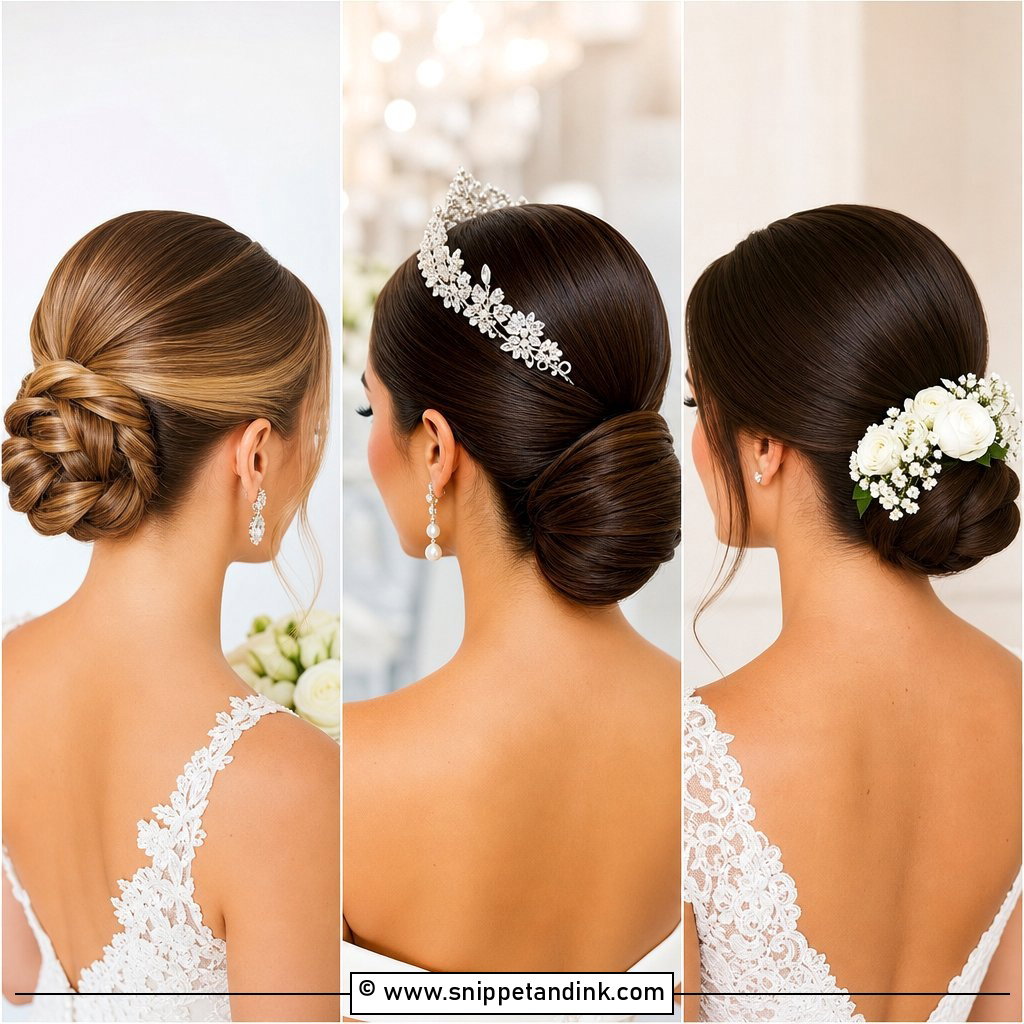
7. Slick Bun Bridal Hair With Pearls
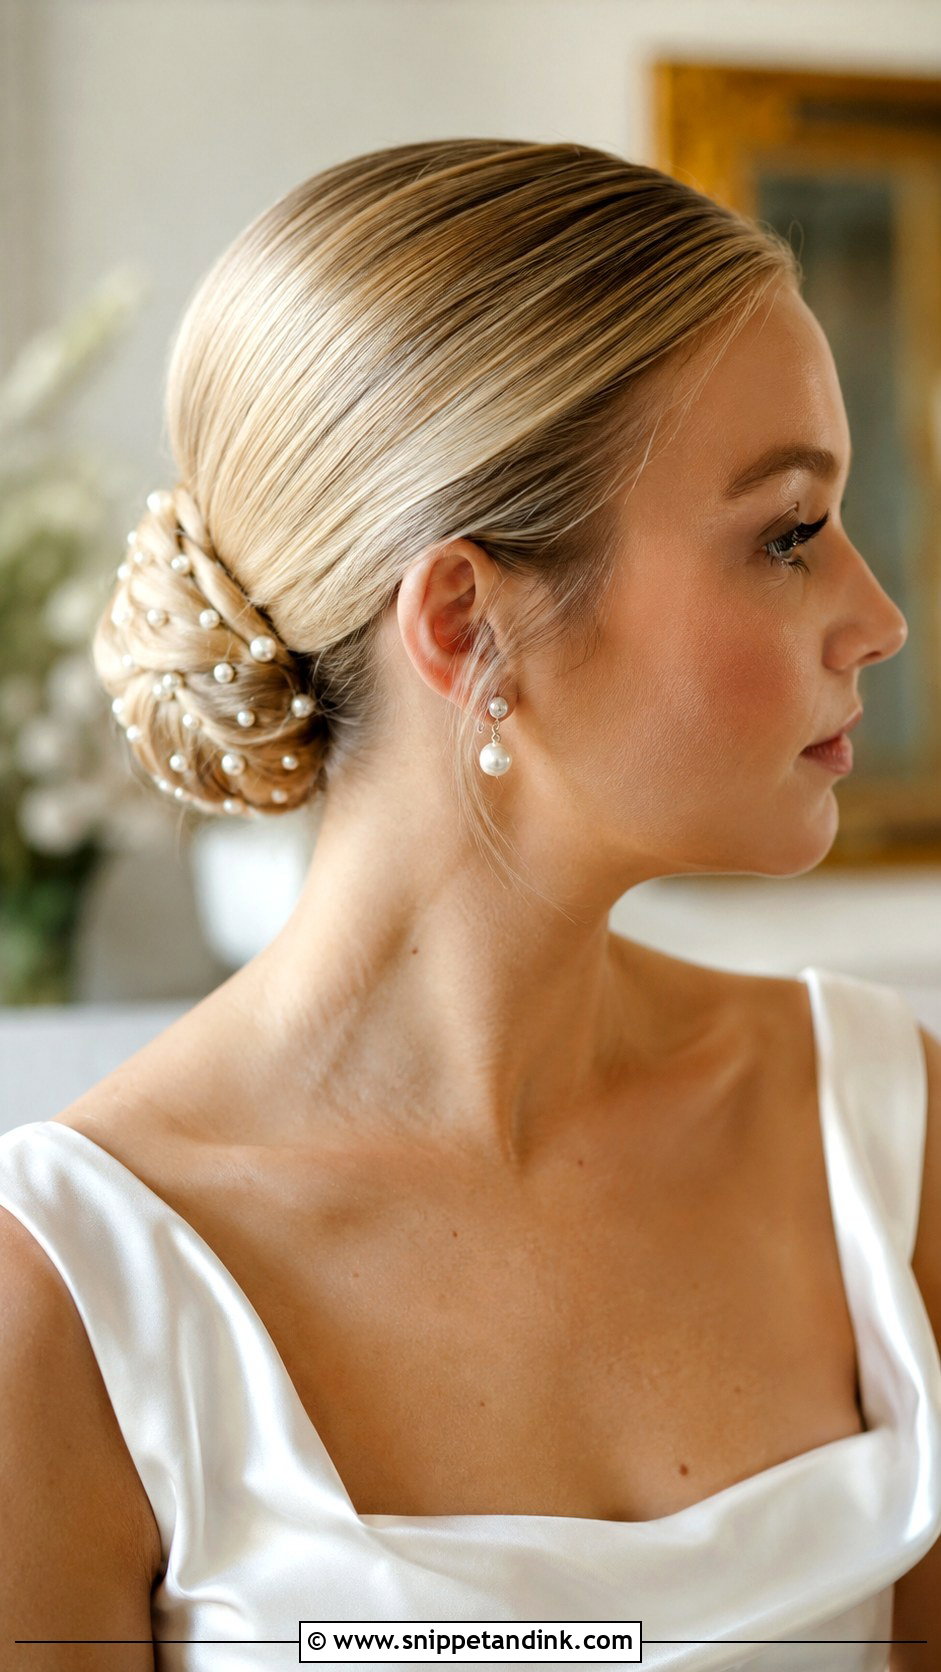
Pearls add detail without the height of a tiara. I usually place them along one side of the bun or in a small cluster where the veil comb will sit, so they still read once the veil comes off. Scattering them all over a sleek bun can look busy, so I’d use five to seven at most. Each pin goes into the bun’s inner layer, not the smooth outer surface, or it pulls a visible ridge. Keep the bun itself plain and let the pearls carry the bridal note.
8. Slick Bun Bridal Hair With Veil
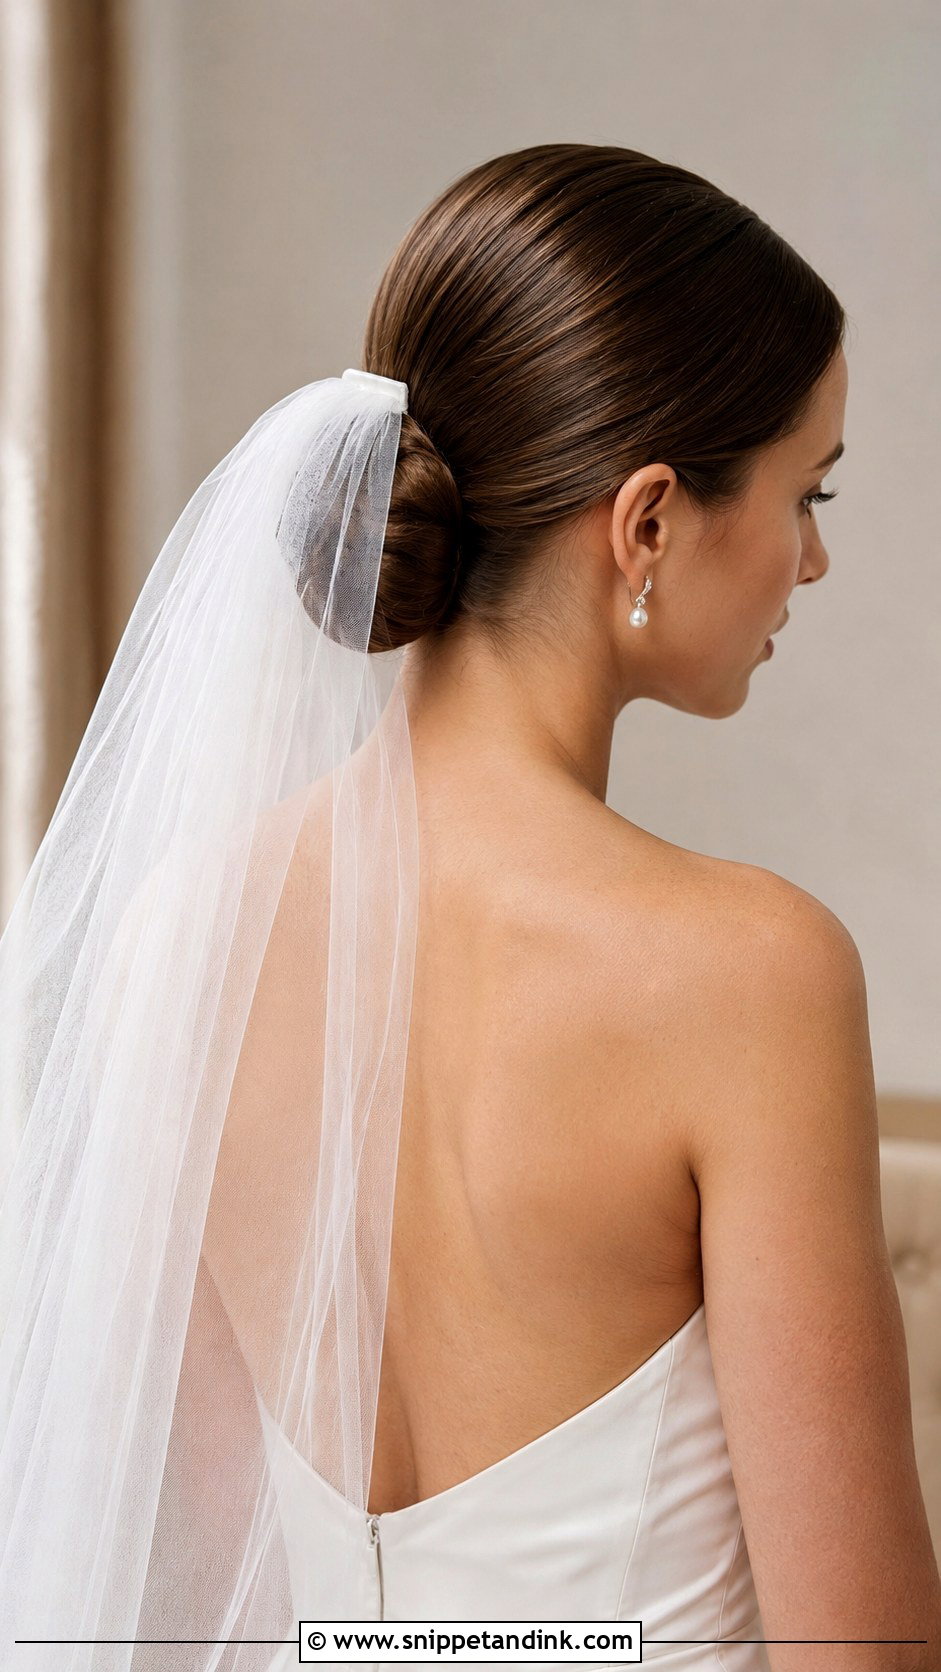
A slick base is the easiest foundation I know for a veil. The comb slides into the bun or just above it and has something solid to grip, so it never drags on the crown. Chapel and cathedral veils balance best on a low bun; a fingertip veil looks fresher on a mid-height one. I always bring the actual veil to the trial, because lace weight changes where the comb has to go. And I check how the bun looks after the veil is removed, since that’s the version in most reception photos.
9. Slick Bun Bridal Hair With Tendrils
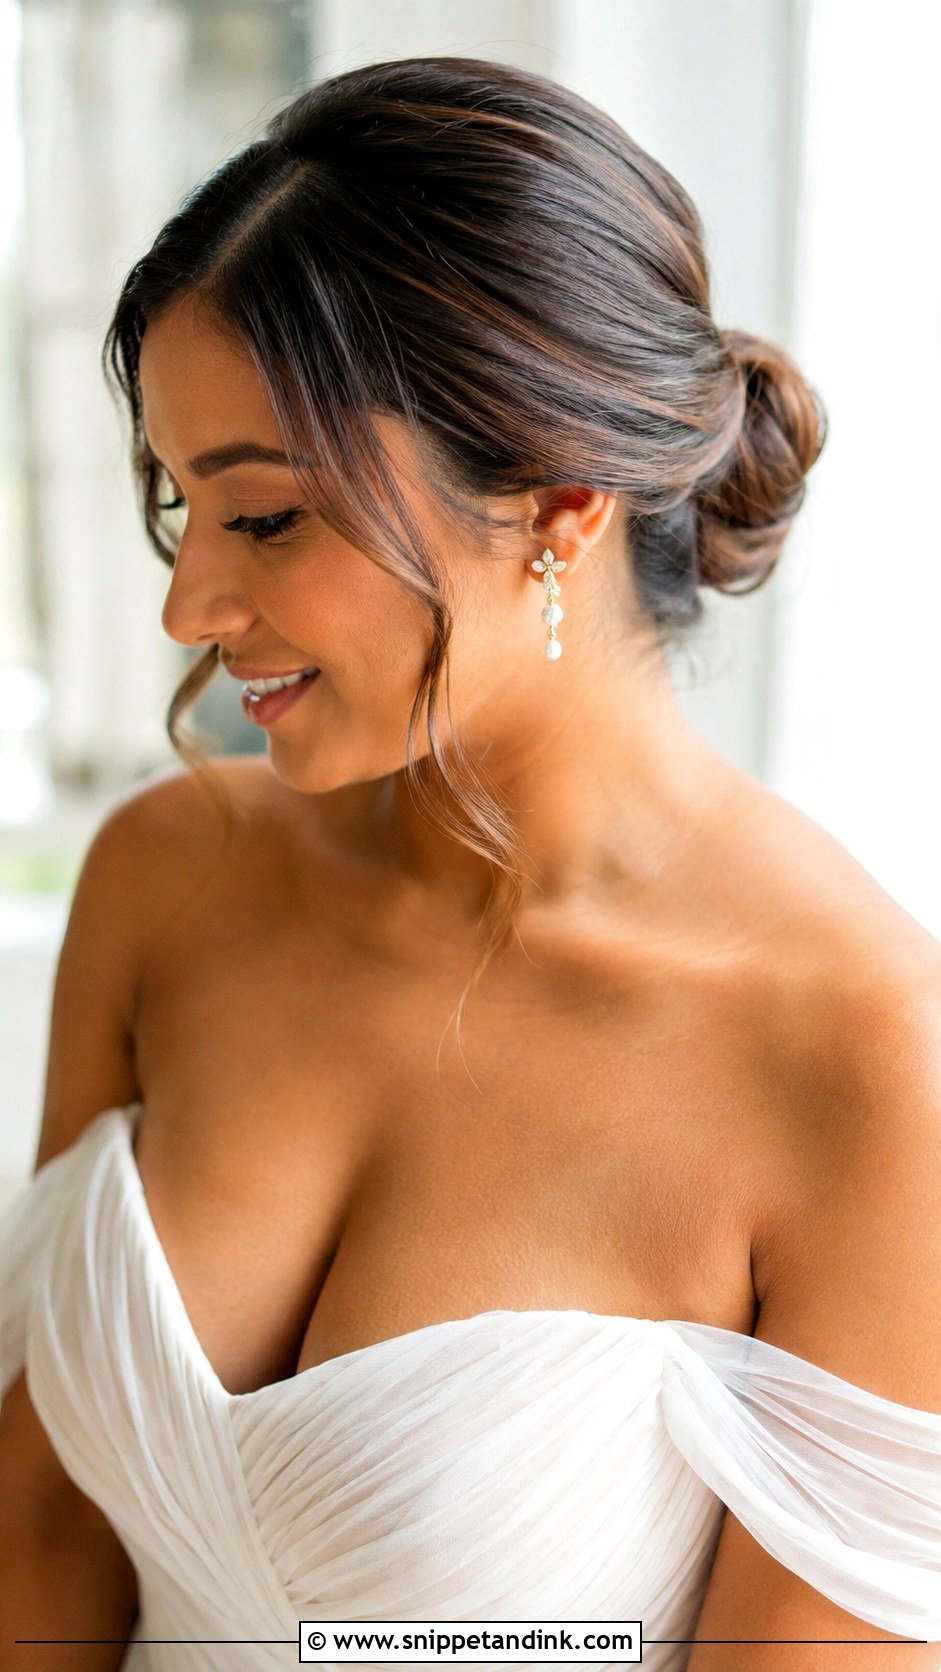
Leaving a few tendrils out takes the strictness off a slick bun, especially for brides who feel exposed with every strand pulled back. I cut them from the hairline at the temples, keep them thin, and curl them away from the face so they don’t fall into the eyes or lipstick. Thick, heavy pieces just look like hair that escaped. On round and heart-shaped faces those few strands break up the outline in a flattering way, and they give the camera some movement to catch.
10. Slick Ballerina Bun Bridal Hair
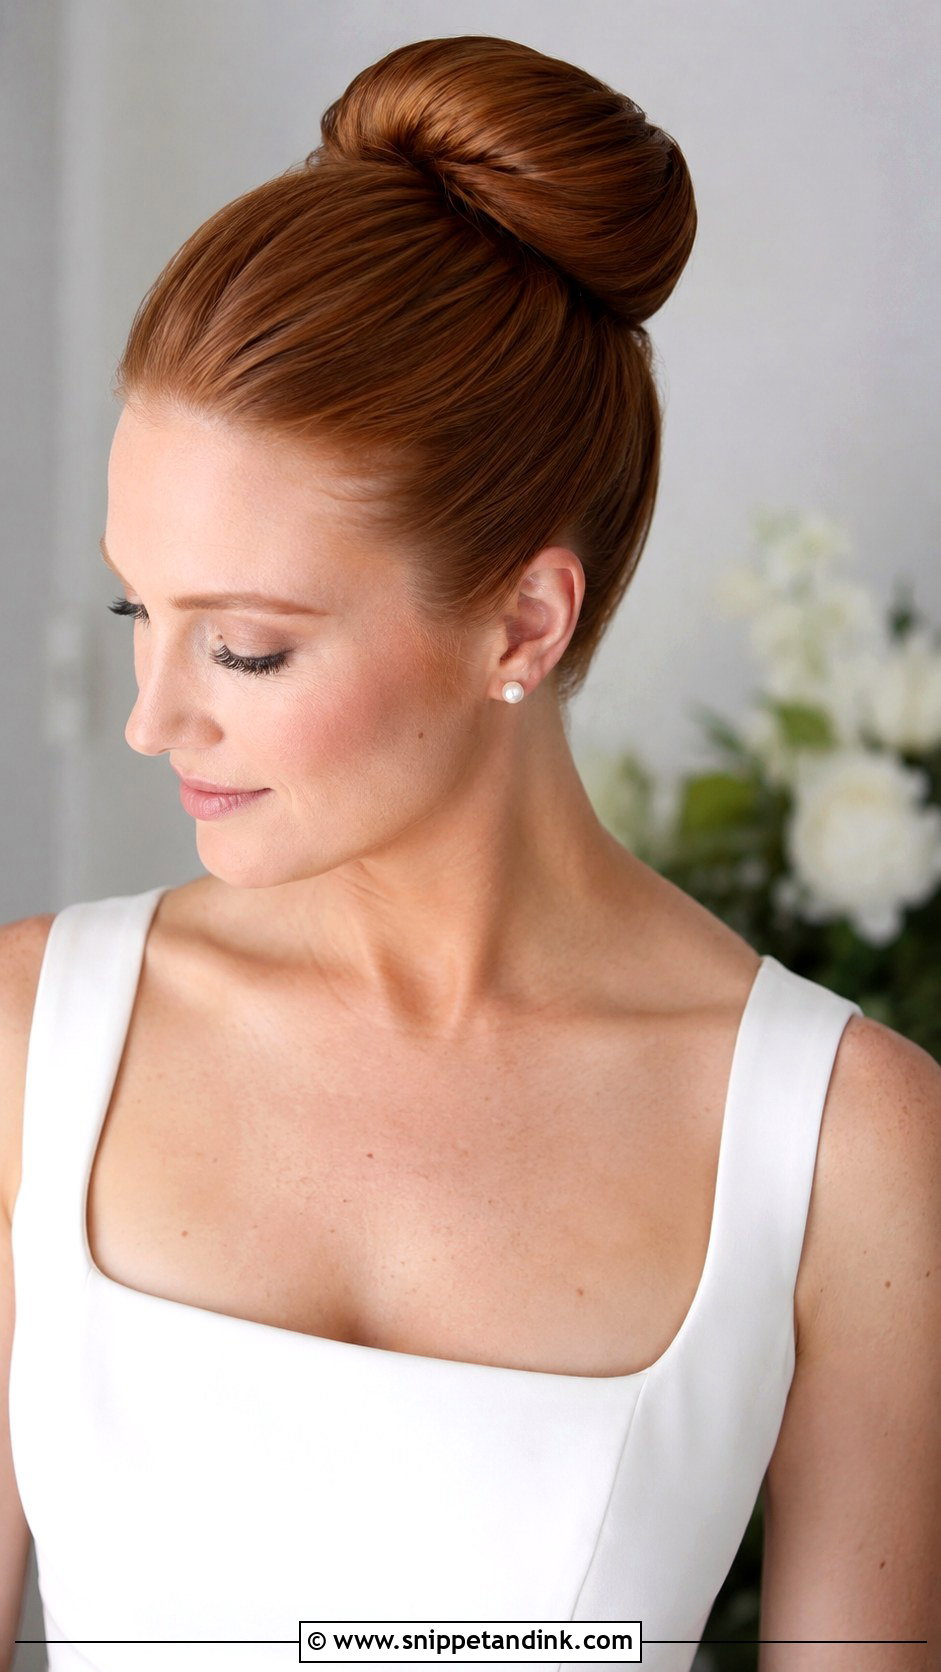
The slick ballerina bun bridal hair look is all about a perfectly round shape at the mid or high crown. That roundness is harder than it looks: one stray section makes it lopsided. I wrap the lengths around a donut sized to the hair, then cover the whole bun with a fine net in the bride’s own color, which keeps it smooth without showing in photos. It suits square necklines and plain gowns. Aim for gloss, not a wet look, and place the veil underneath the bun rather than on top.
11. Slick Knot Bun Bridal Hair
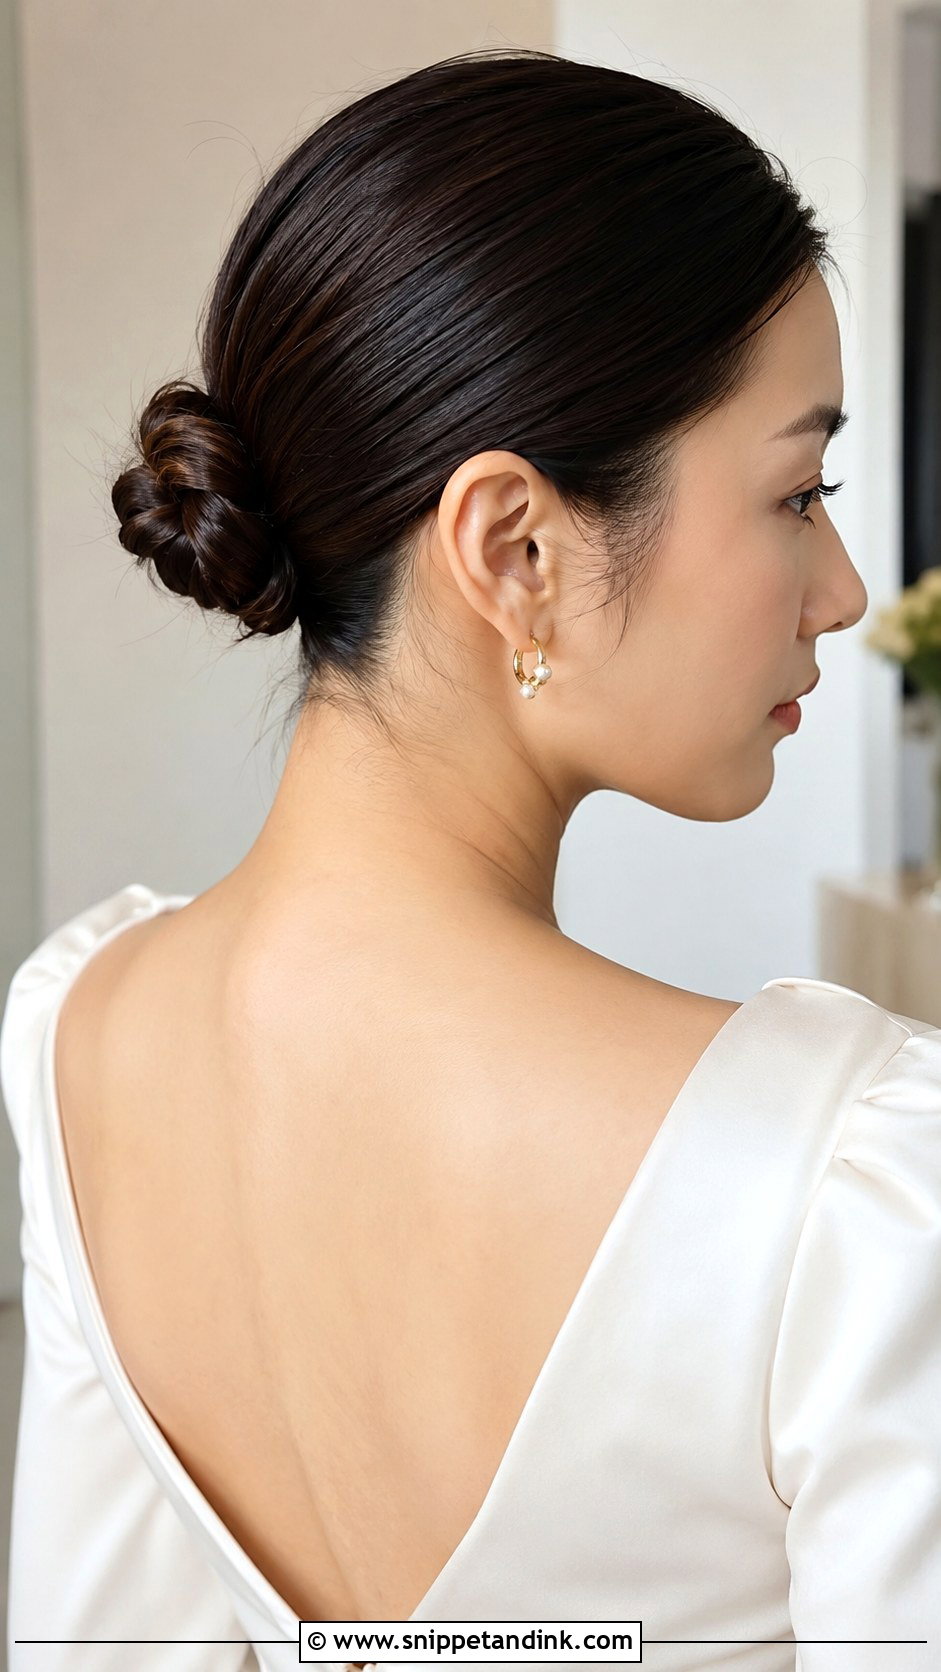
A knot is less volume than a full bun: the lengths are twisted back on themselves into a compact knot that looks sculpted rather than padded. It suits minimalist gowns with strong lines and sleek makeup. Because the shape is so spare, any pin or stray end shows, so I tuck the tail of the twist underneath and secure it with pins that match the hair. Low at the nape is quieter; a little higher gives lift. One statement accessory is enough.
12. Slick Twisted Bun Bridal Hair
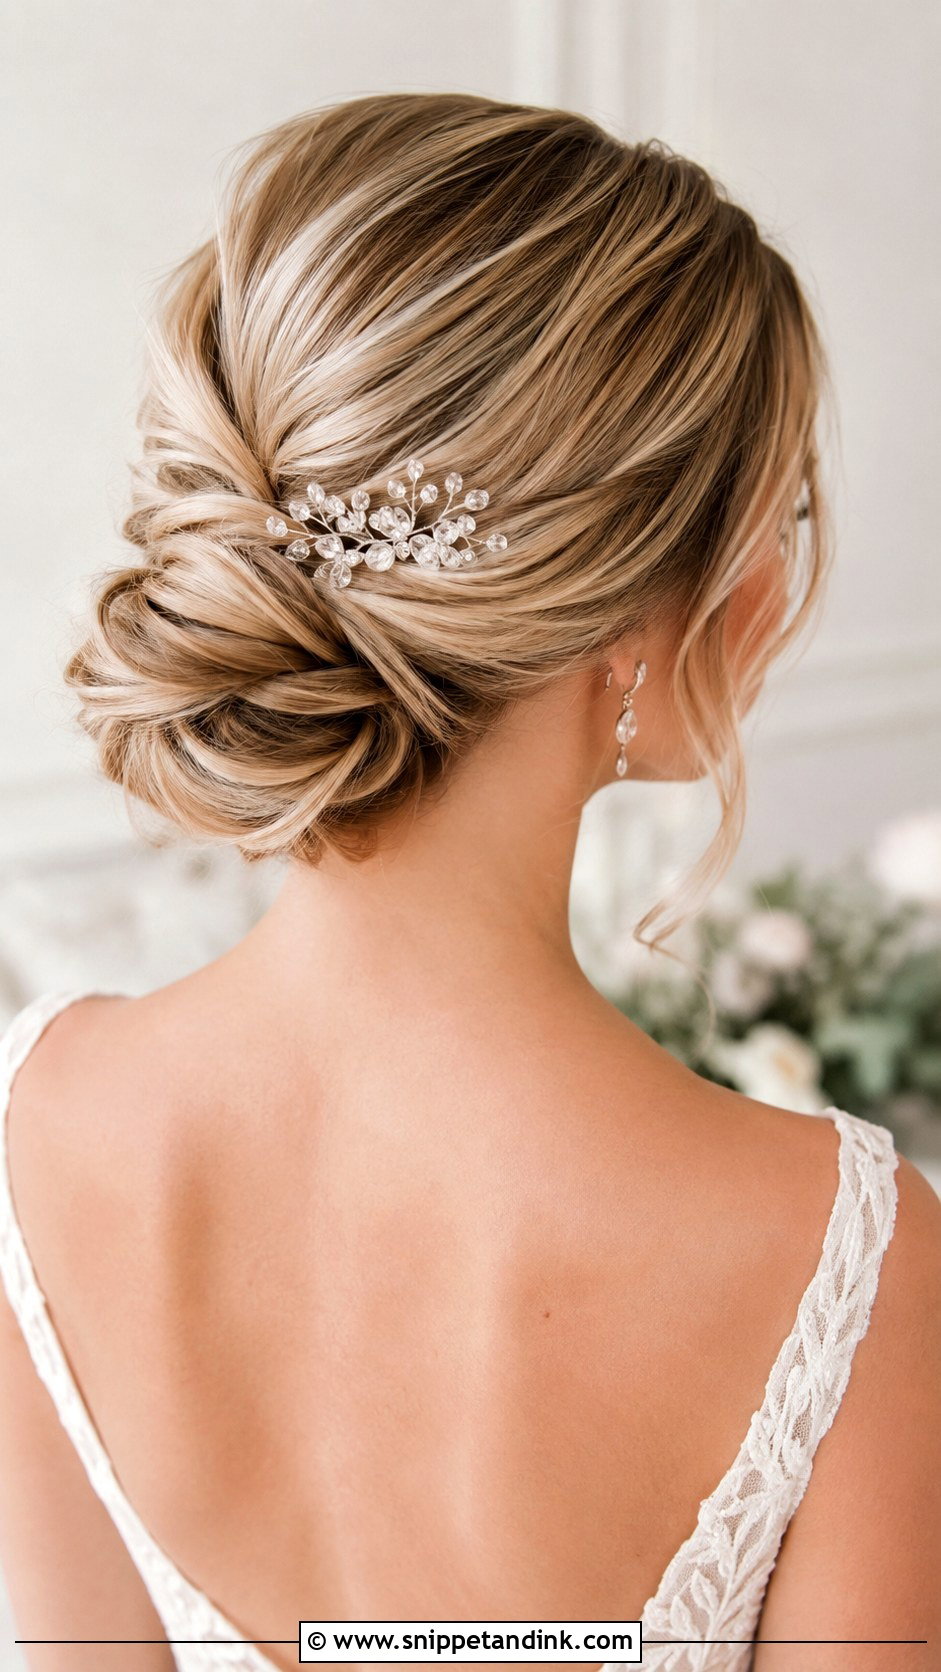
Twisting the lengths into visible folds gives the bun dimension while the front stays flat and sleek. Highlights make this one shine, literally, because each twist turns a different tone toward the light. Long hair or extensions give the best result; shoulder-length hair runs out of length before the twists look deliberate. I set each twist with a U-pin rather than a bobby pin so it holds the curve without squashing it. A slim comb or a couple of pearl pins can sit at the edge without covering the shape.
13. Slick Bun Bridal Hair With Flowers
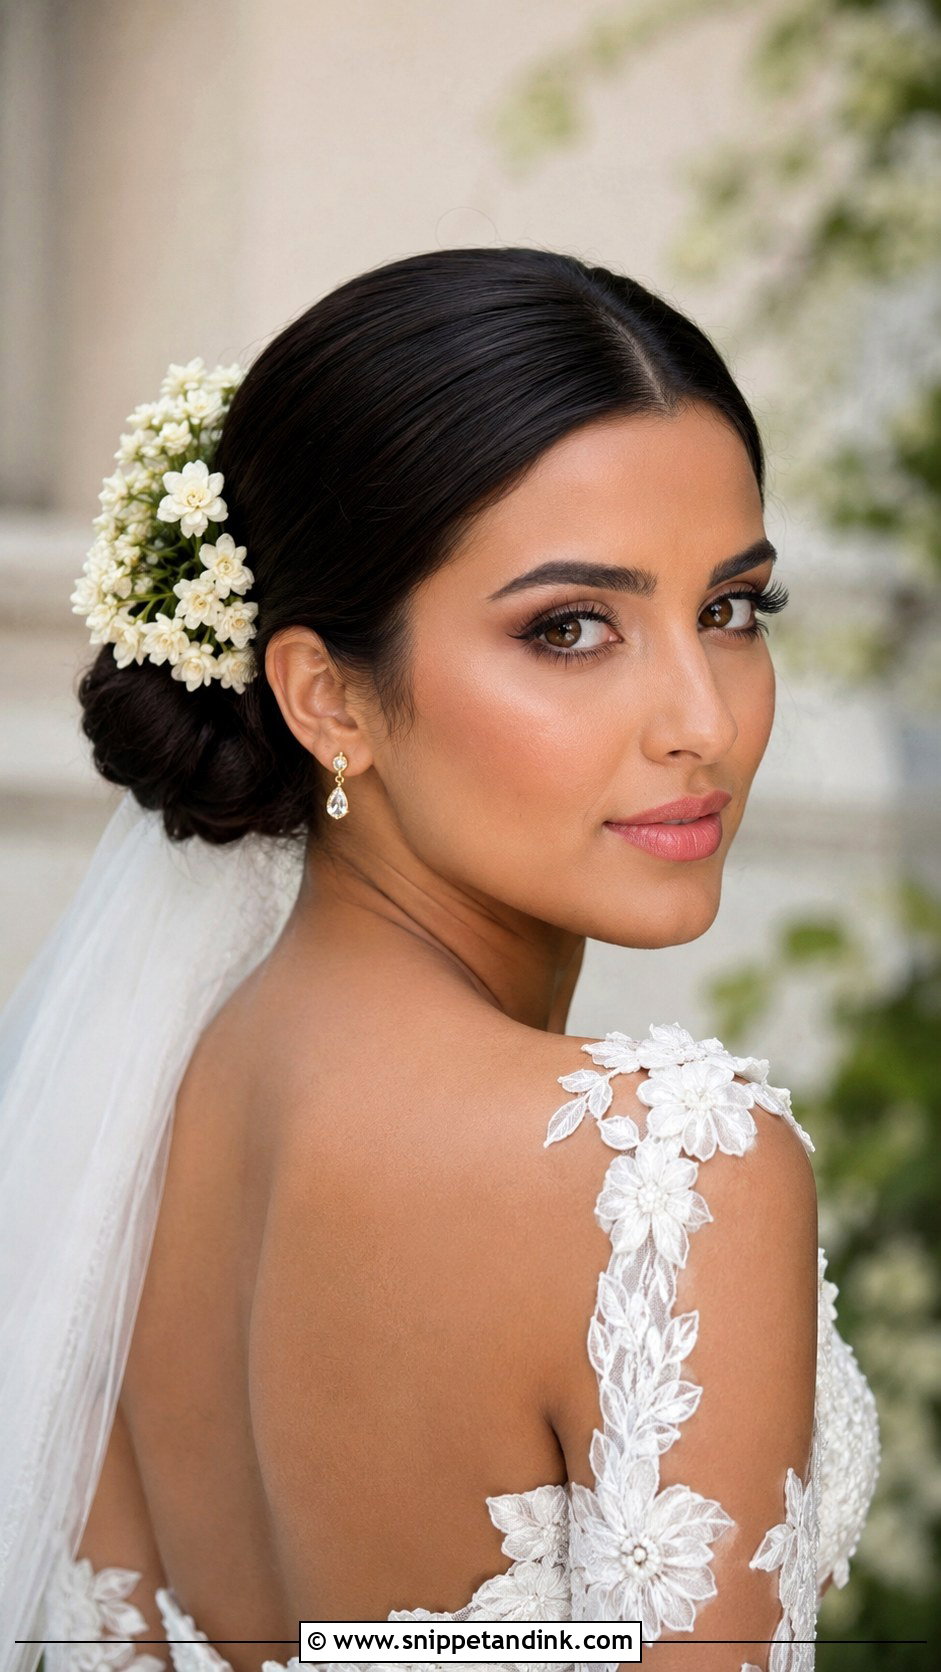
Flowers soften a slick bun more than any other accessory, and they can tie the hair to the bouquet. The trouble is wilting. Delicate blooms collapse within a couple of hours on a warm day, so I ask florists for sturdy stems like spray roses or waxflower, wired and taped, and I add them last. Place them on one side of the bun or tucked underneath it. If the ceremony is outdoors in summer, silk flowers are the honest choice.
14. Slick Low Bun Bridal Hair For Long Hair
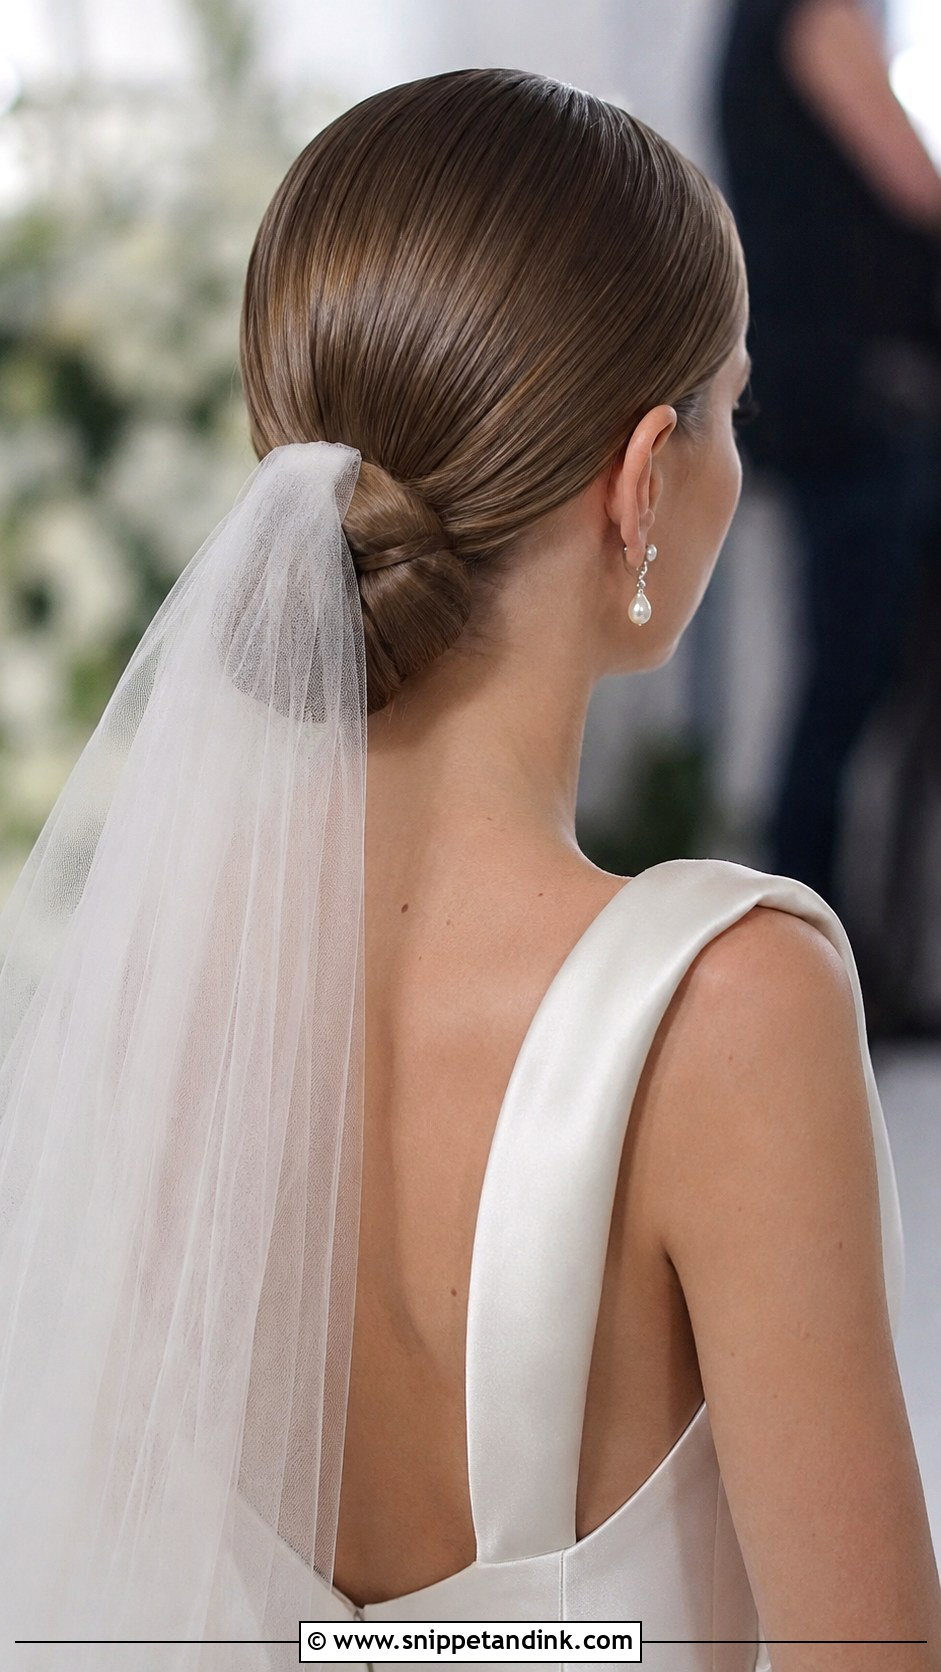
Long hair gives the low bun real fullness, and it can be wrapped, braided or folded into a heavier shape at the nape. The issue is weight: hair past the shoulder blades will drag a single-pinned bun down by evening. I section it into two or three parts, pin each one separately, then wrap them together so the load spreads across the head. It pairs well with long veils because the bun has the bulk to hold the comb. Serum, strong pins and a flexible spray keep it smooth from the first look to the last dance.
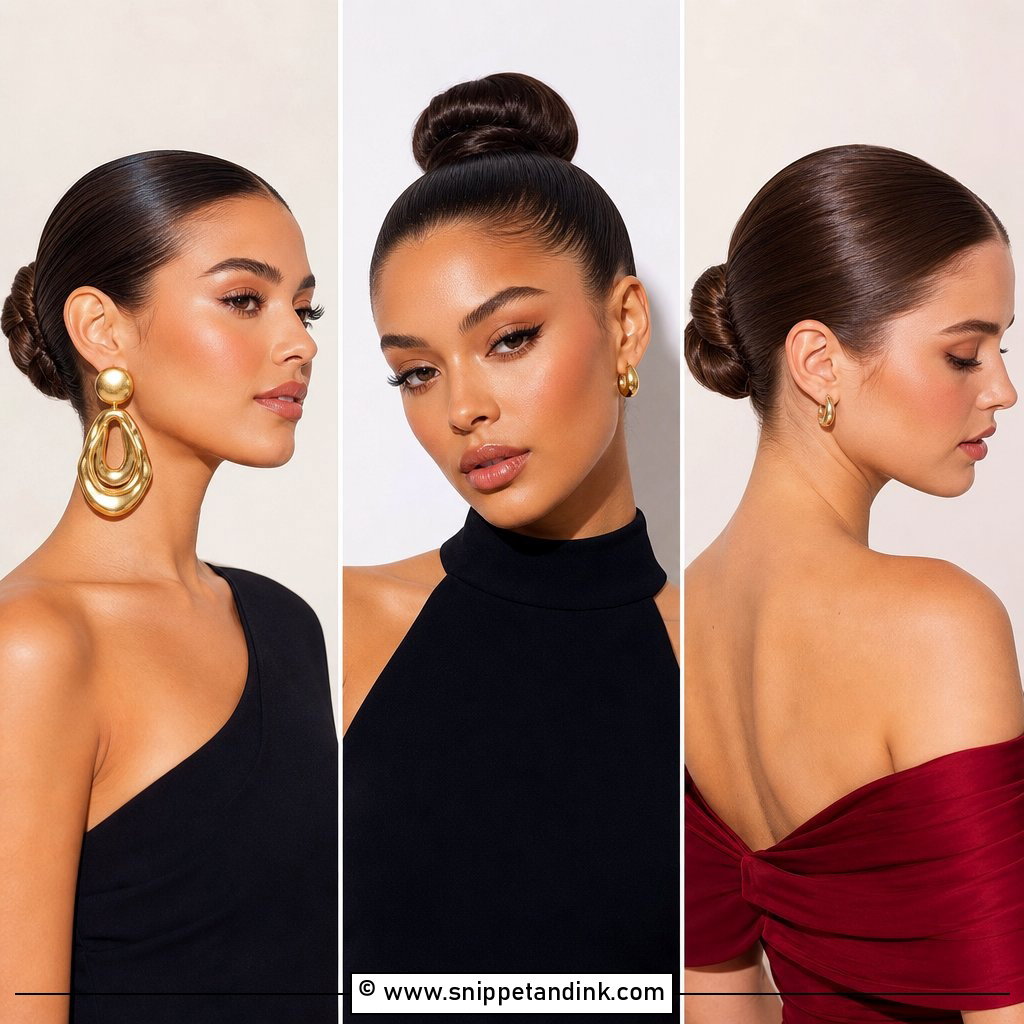
15. Slick Bun Bridal Hair For Short Hair
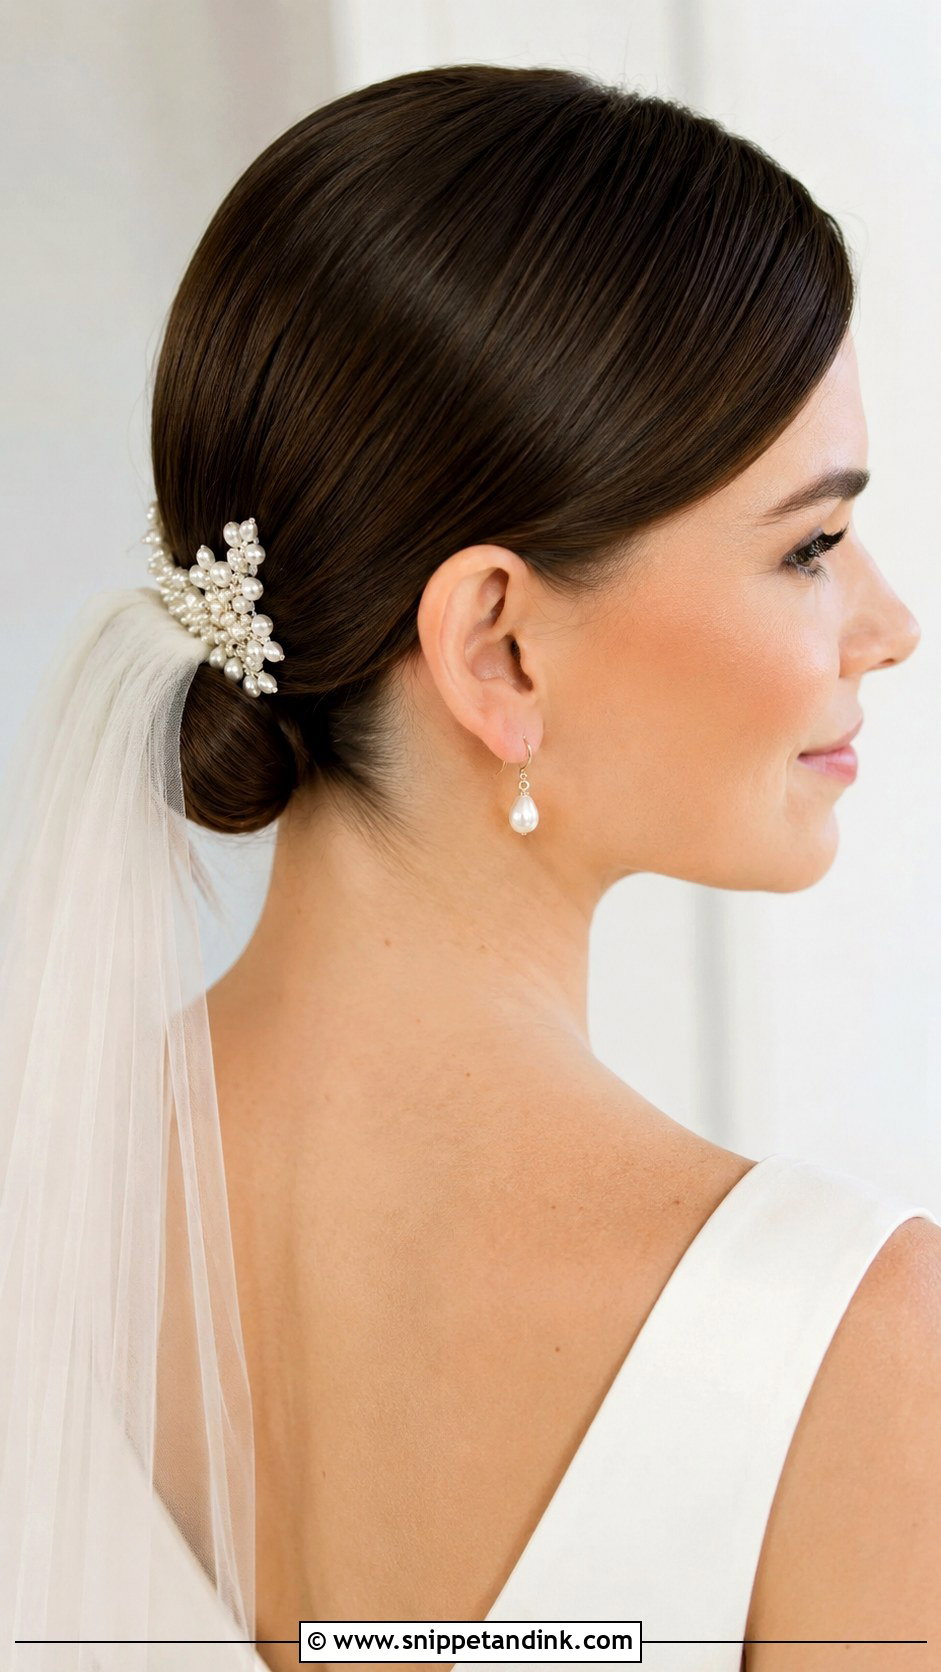
Short hair can still go into a slick bun if it reaches the nape. I smooth it back, gather what I can into a small knot and secure the shorter layers with a strong gel or wax so they don’t spring loose at the neck. For anything shorter, a clip-in bun or extensions in a matched color give the shape. I’d test this at the trial without fail, because short layers behave differently once they’re stretched back. A side part or a veil comb makes a small bun look finished.
Where a Sleek Bun Fails by Hour Eight
Slick buns rarely collapse. What happens instead is slower: the surface loses its polish. These are the problems I plan around at every trial.
Flaking gel and white residue
Some gels dry into a crust that flakes when you touch your hair or pull a dress over your head. I test the product on the bride at the trial and brush it out an hour later. If it leaves white specks, it goes, however good the hold.
Hairline sweat and popping baby hairs
Heat and dancing loosen the hair right at the edges first. A cream or wax holds better there than spray, and blotting the hairline with a tissue before a touch-up keeps the product from turning tacky.
The tension headache
If your head aches during the trial, it will ache worse after ten hours. I’d rather lower the bun or swap the elastic for pins than have a bride pulling it out before the cake is cut.
Hand a bridesmaid a small kit: a clean spoolie or toothbrush, a travel wax stick, six matching bobby pins and a mini flexible spray. That covers almost every fix a slick bun needs during the day.
A Slick Bun Only Looks Simple
Every bun in this list starts from the same three decisions: where the part goes, how high the bun sits and how much shine the finish has. Get those right for your dress, your face and your hair texture, and the accessories are the easy bit. Bring photos to the trial, but let your stylist adjust the height or tension if your hair needs it. Wear the veil, the earrings and something with the same neckline that day. A well-built slick bun holds its line from the first photo to the end of the night.
You'll Like These Ideas:


Leave a Reply