
Slick wedding hairstyles are unforgiving, and that’s exactly why I like them on brides. There’s nothing to hide behind, so the finish depends on good prep, the right product and careful brushing rather than lots of curl. Done well, a slick style controls flyaways in humidity and outdoor wind better than loose texture does, and it sits cleanly against satin, structured necklines and minimal makeup. This list goes beyond the bun: there are ponytails, a French twist, glassy straight hair, a bob and a wet look, each with what I’d watch for when I’m styling it.
Gel, Cream or Wax for a Glassy Finish
Most slick styles go wrong at the product stage, not the styling stage. Each of these does a different job, and I often use two or three on one head.
Gel for hold on coarse or curly hair
A firm gel gives the strongest grip on textured hair and keeps the hairline flat in humidity. Apply it to damp hair and brush it in before it sets, or it dries in streaks.
Cream for fine or straight hair
Fine hair collapses under heavy gel and starts to show the scalp. A smoothing cream gives control with a softer finish, and a little texture spray underneath gives the brush grip.
Wax stick for the last flyaways
Once the shape is pinned, a wax stick run over the surface lays down the short broken hairs that spray alone won’t hold. It’s the item I’d put in a bridesmaid’s bag for touch-ups.
Shine spray goes on last, from arm’s length, and lightly. Heavy silicone serums look glossy in the mirror but can read as greasy under a camera flash.
1. Sleek Low Bun Wedding Hair
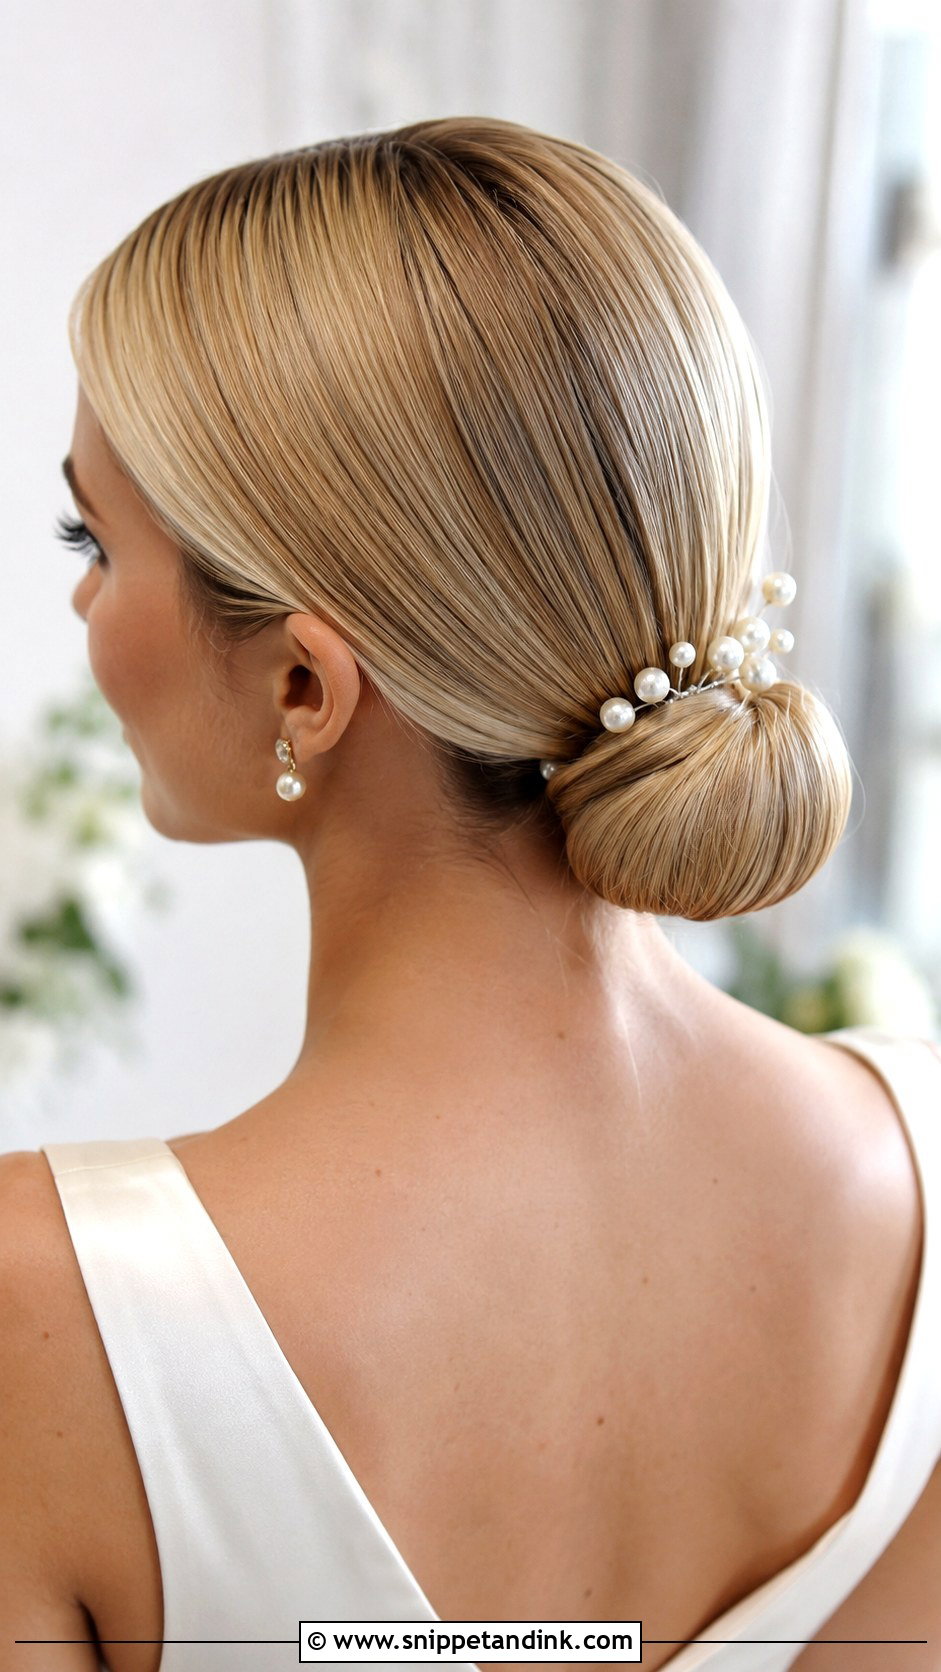
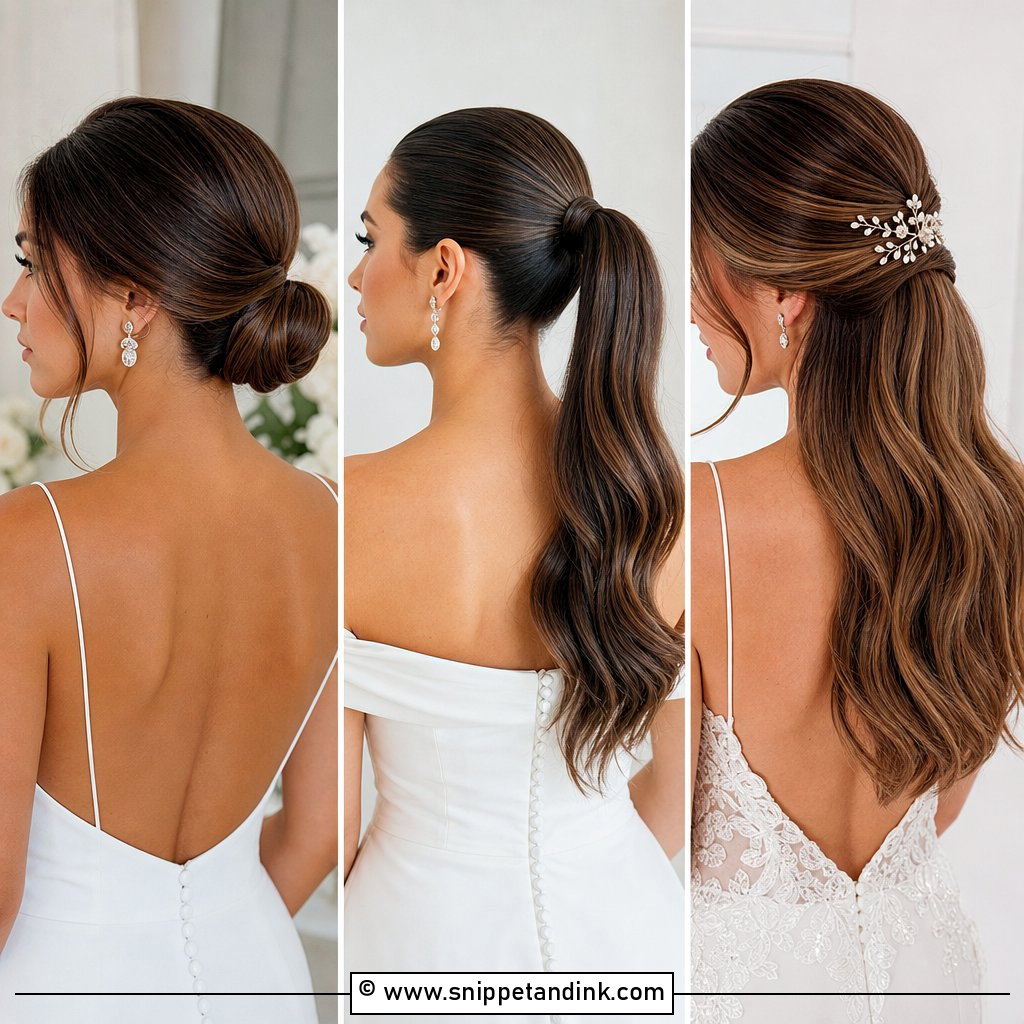
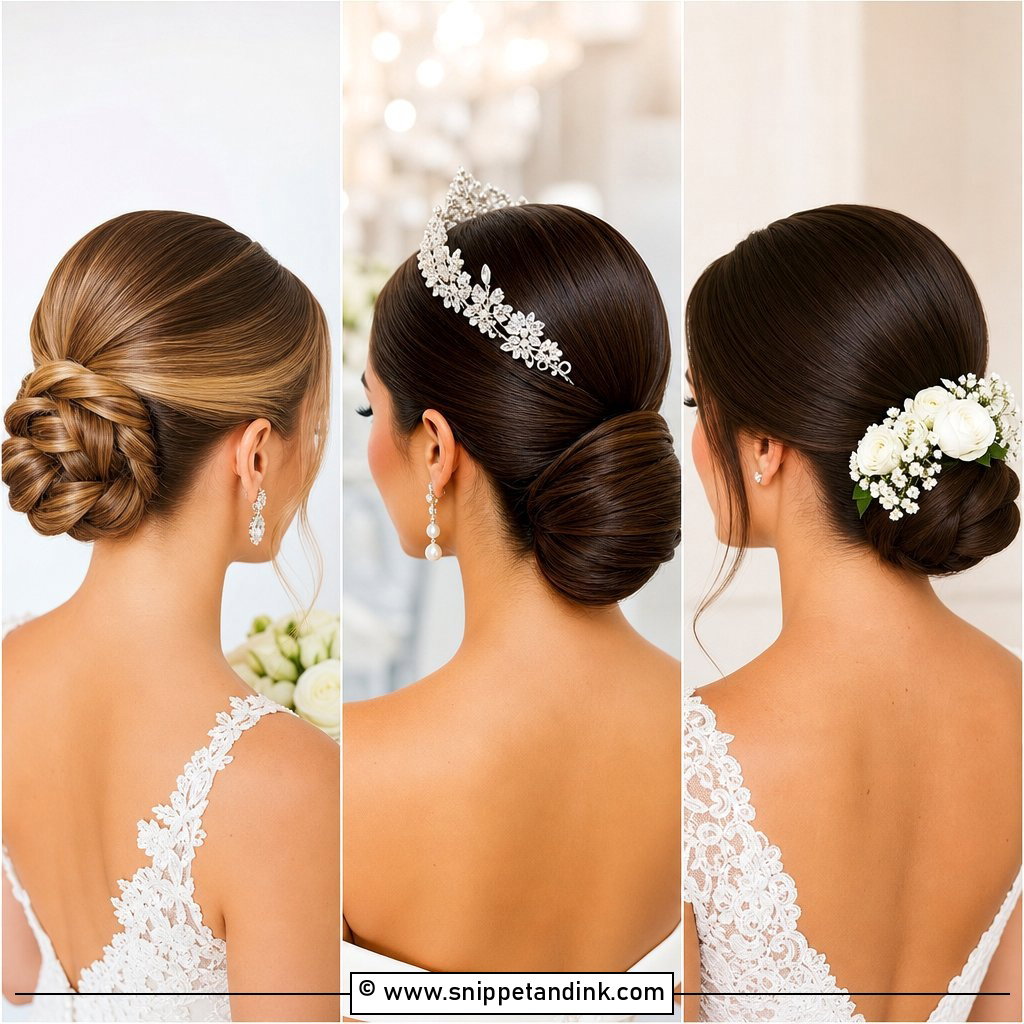
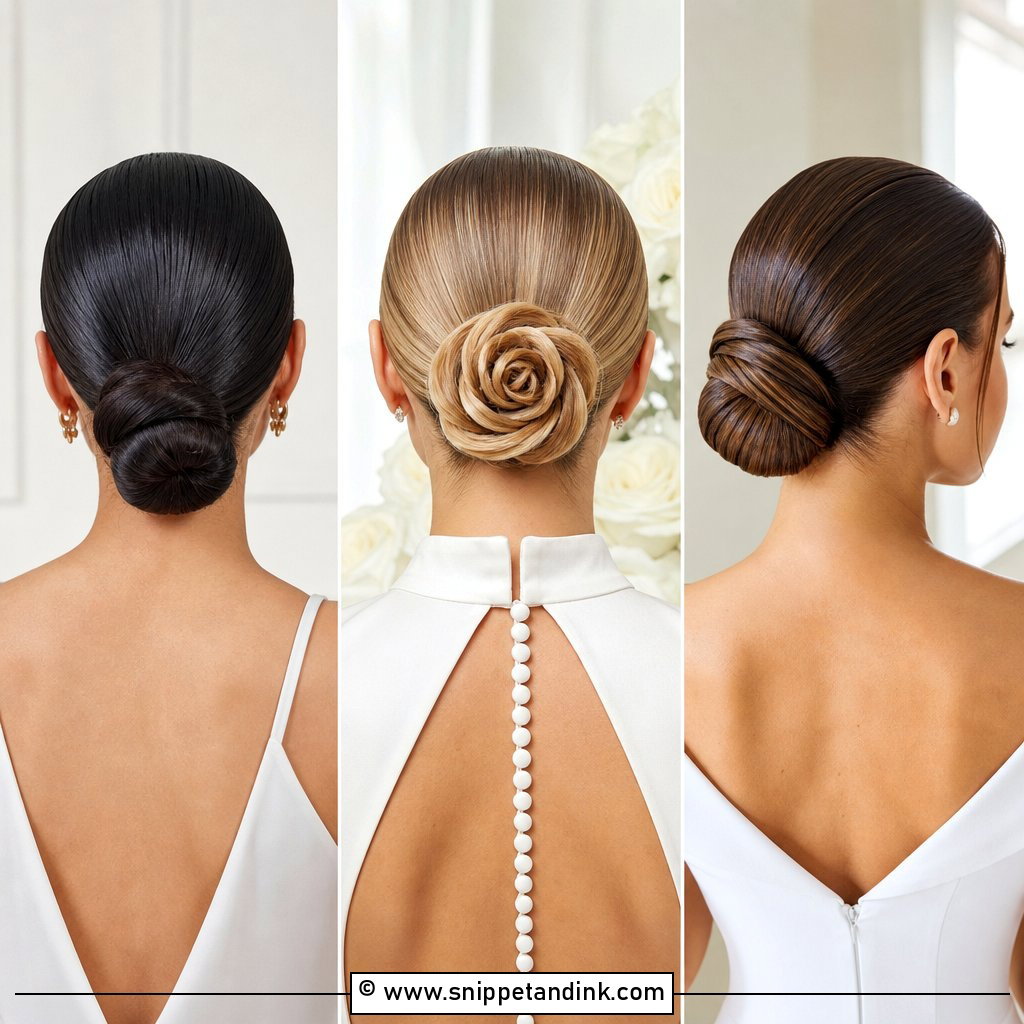
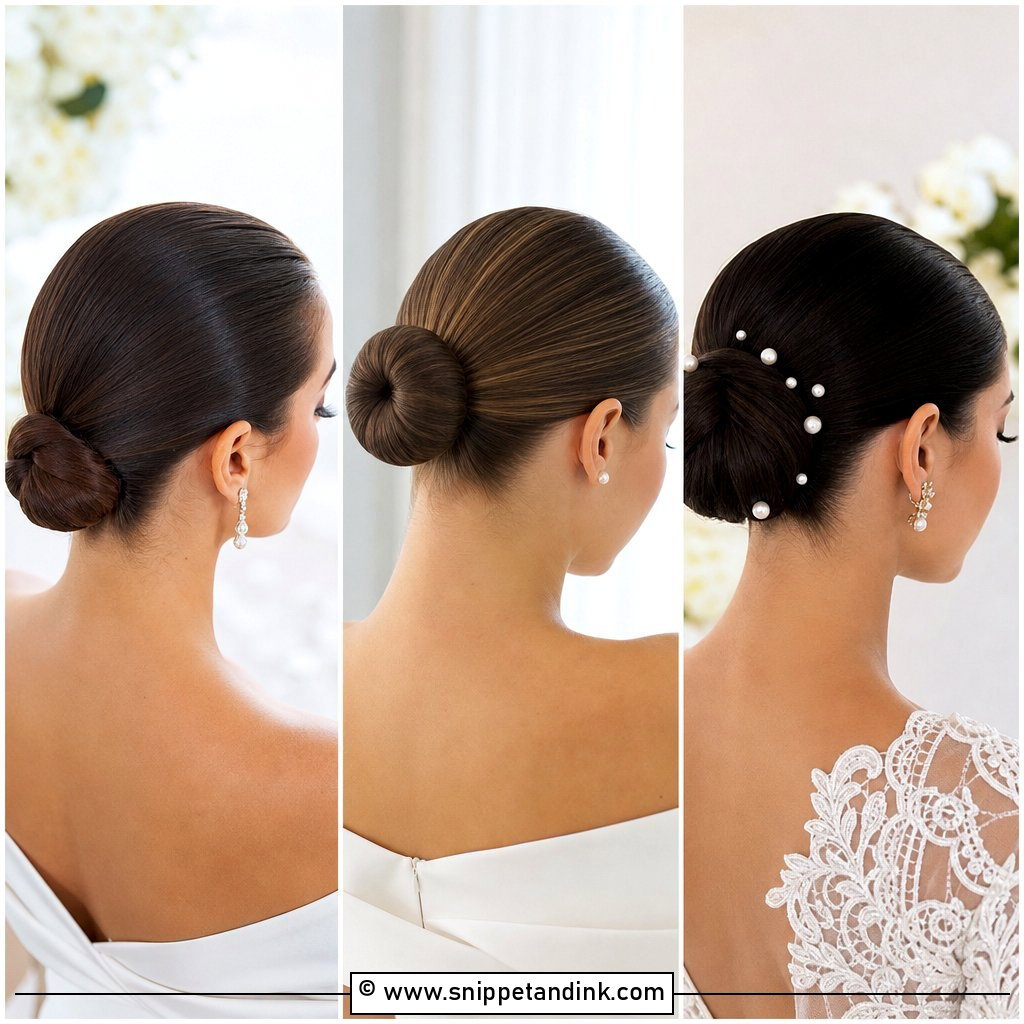
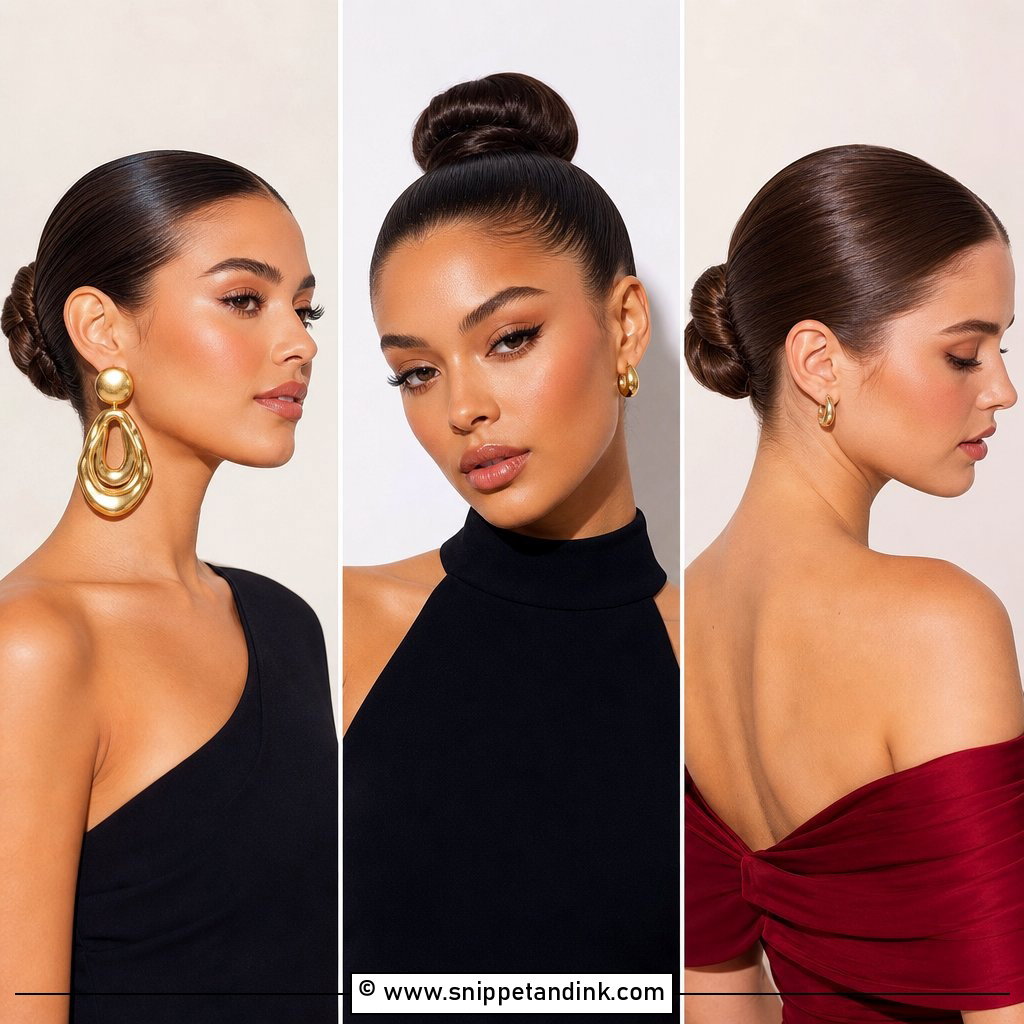
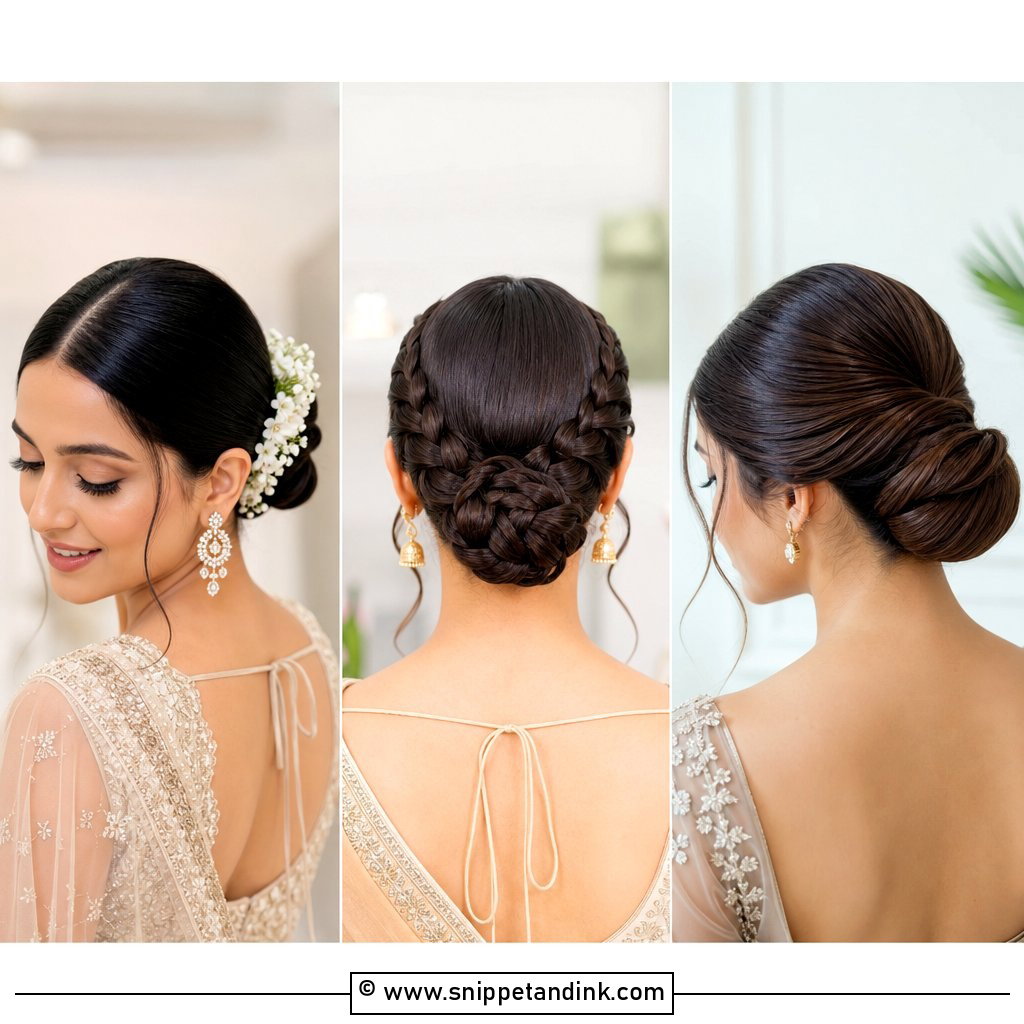
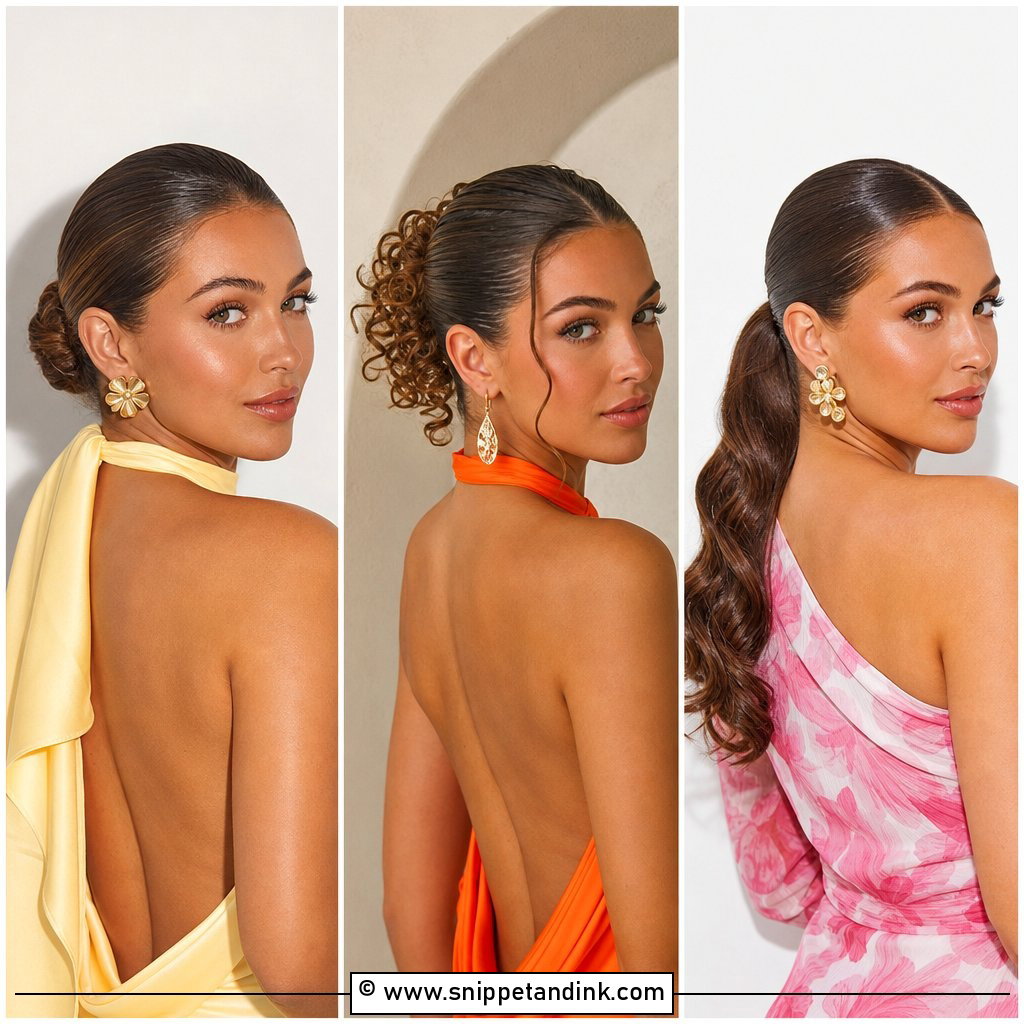
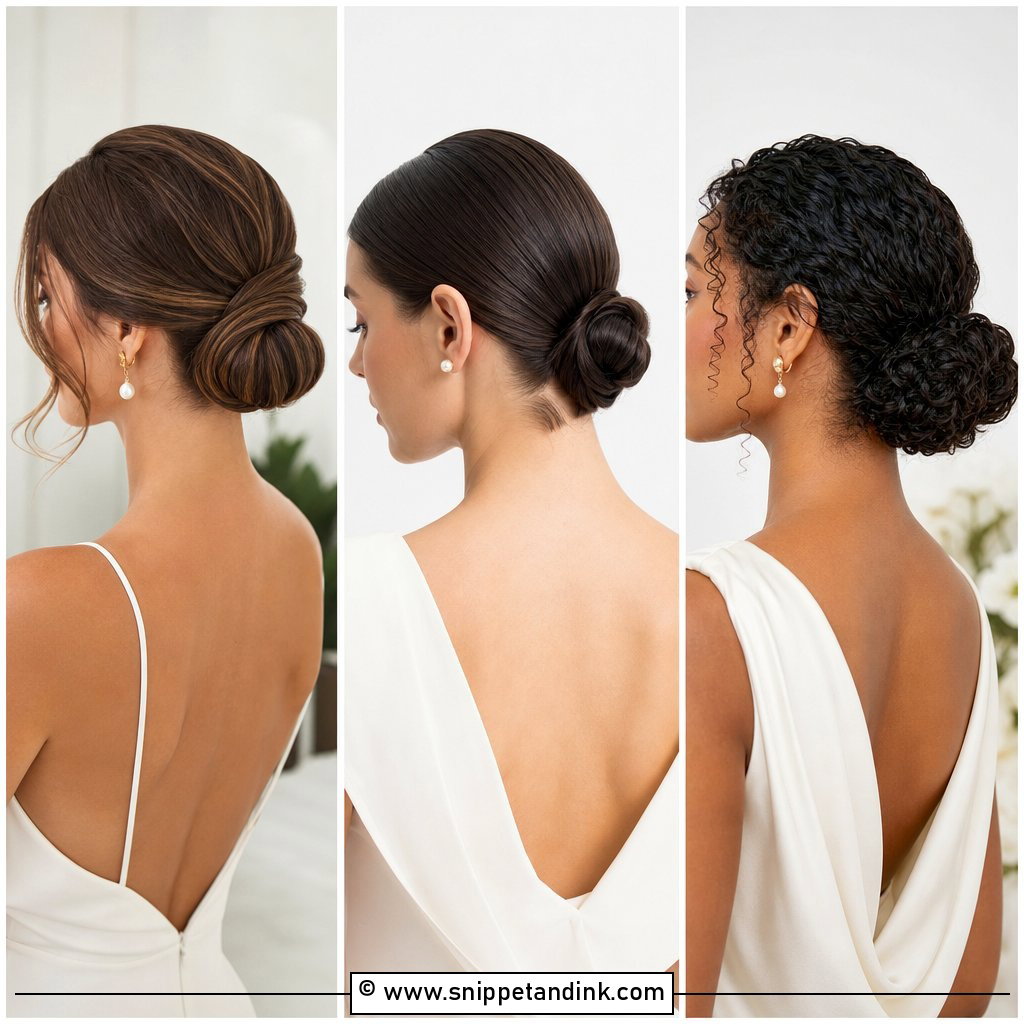
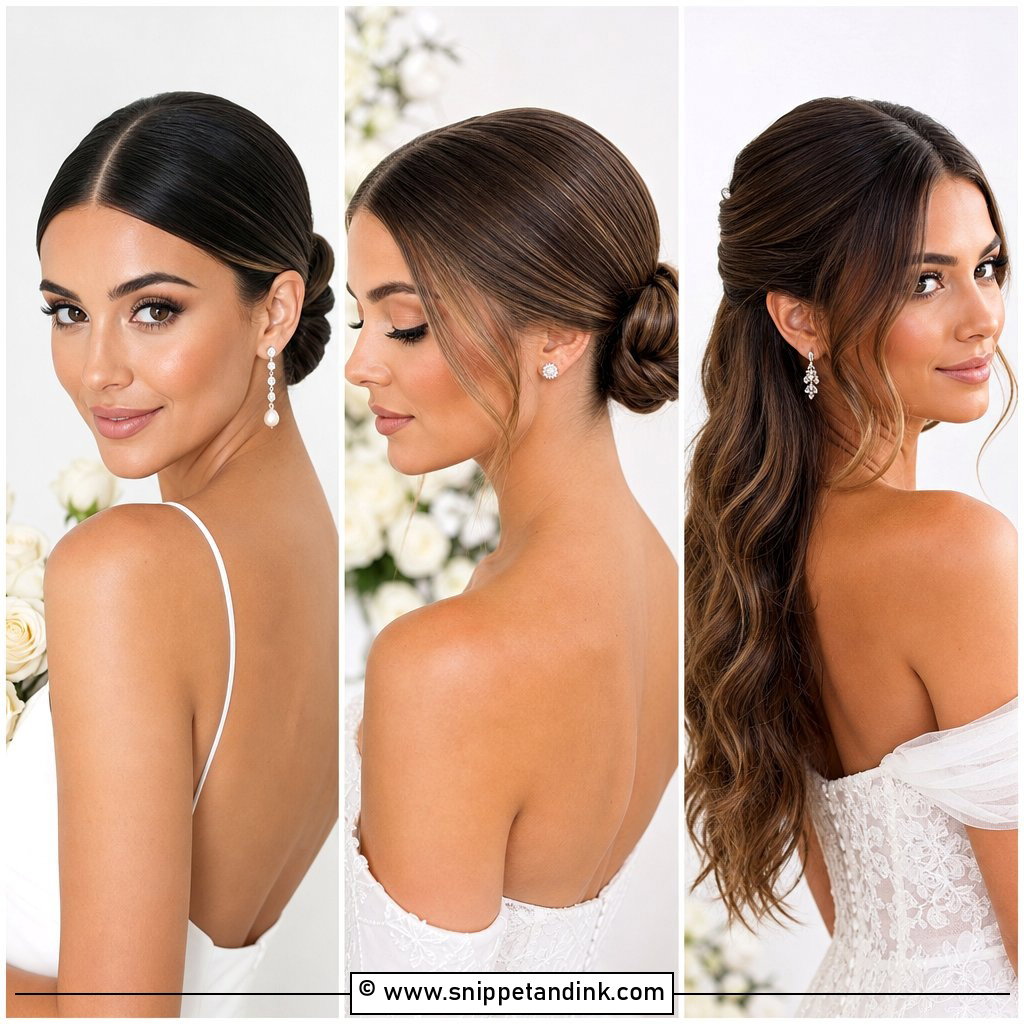
The low bun is the dependable one. I part it neatly or brush it straight back, gather the hair at the nape and wrap it into a firm shape that leaves the neckline open for earrings and a veil. Hold goes at the crown, where hair lifts first; the lengths only need a soft shine. A tight, small bun looks current. A slightly rounder one is gentler on a soft face. I’d match the size to the dress: a voluminous skirt can swallow a tiny bun from behind.
2. Slick Back Ponytail Wedding Hair
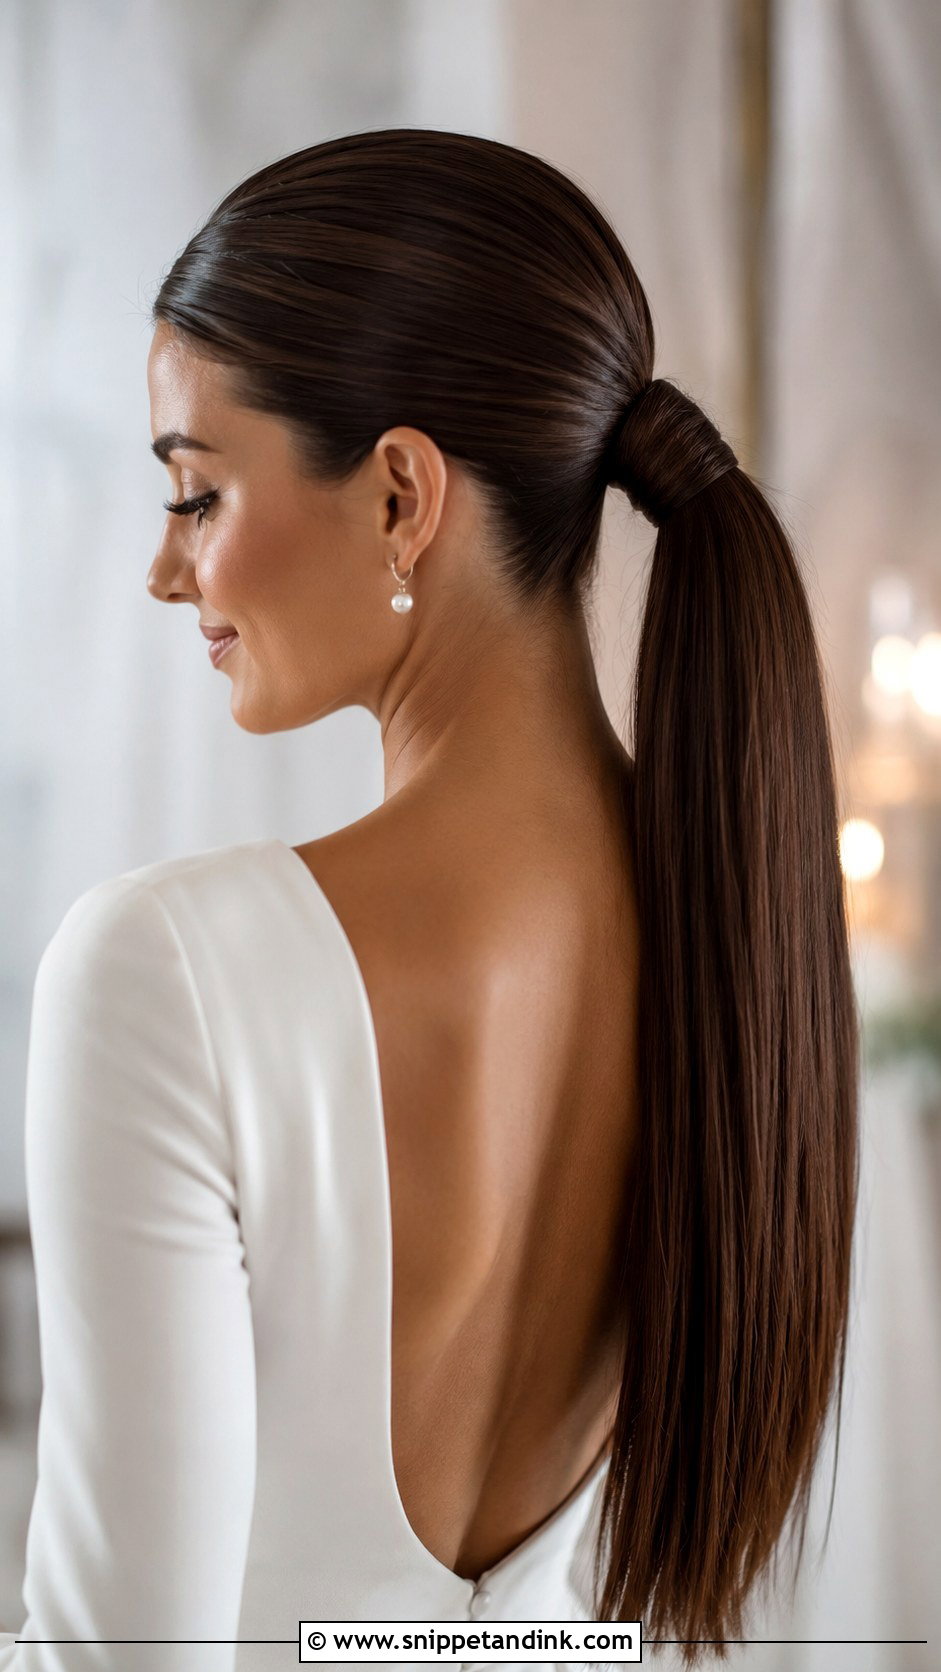
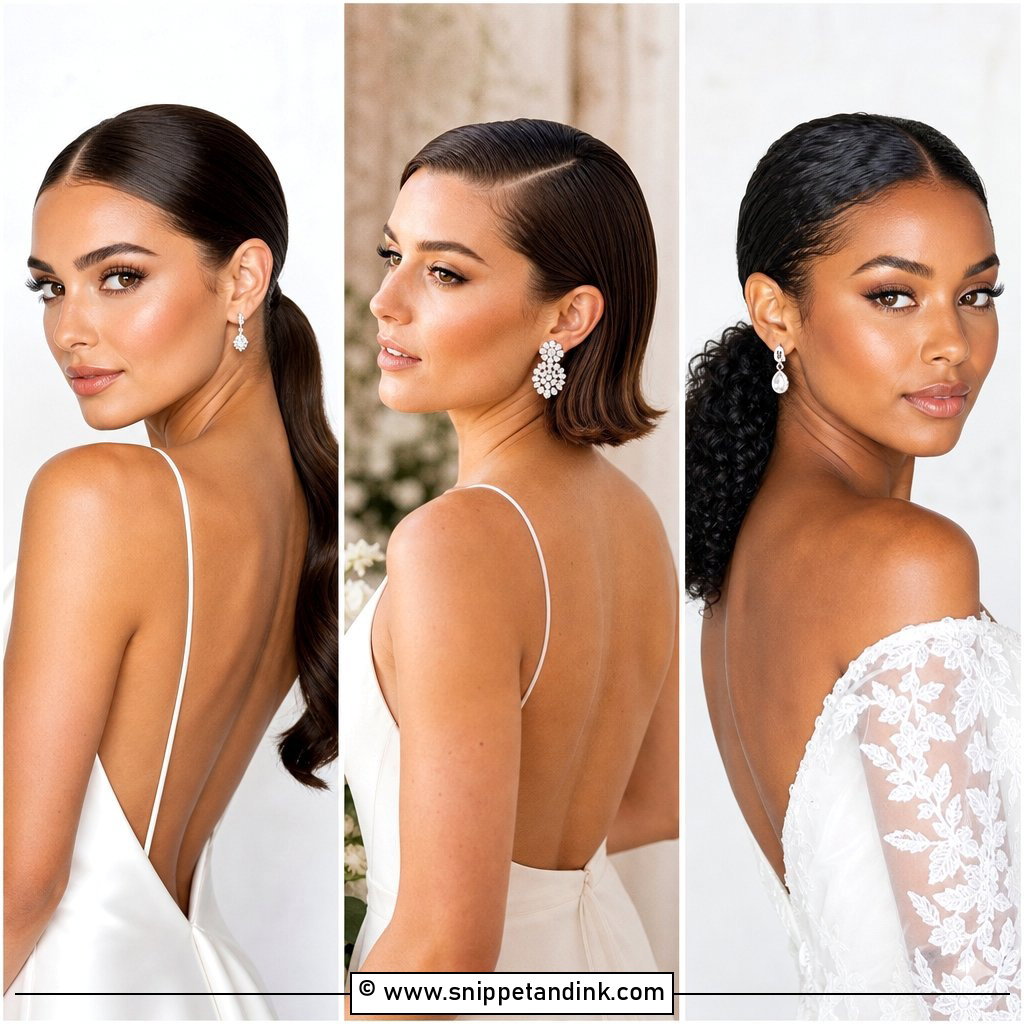
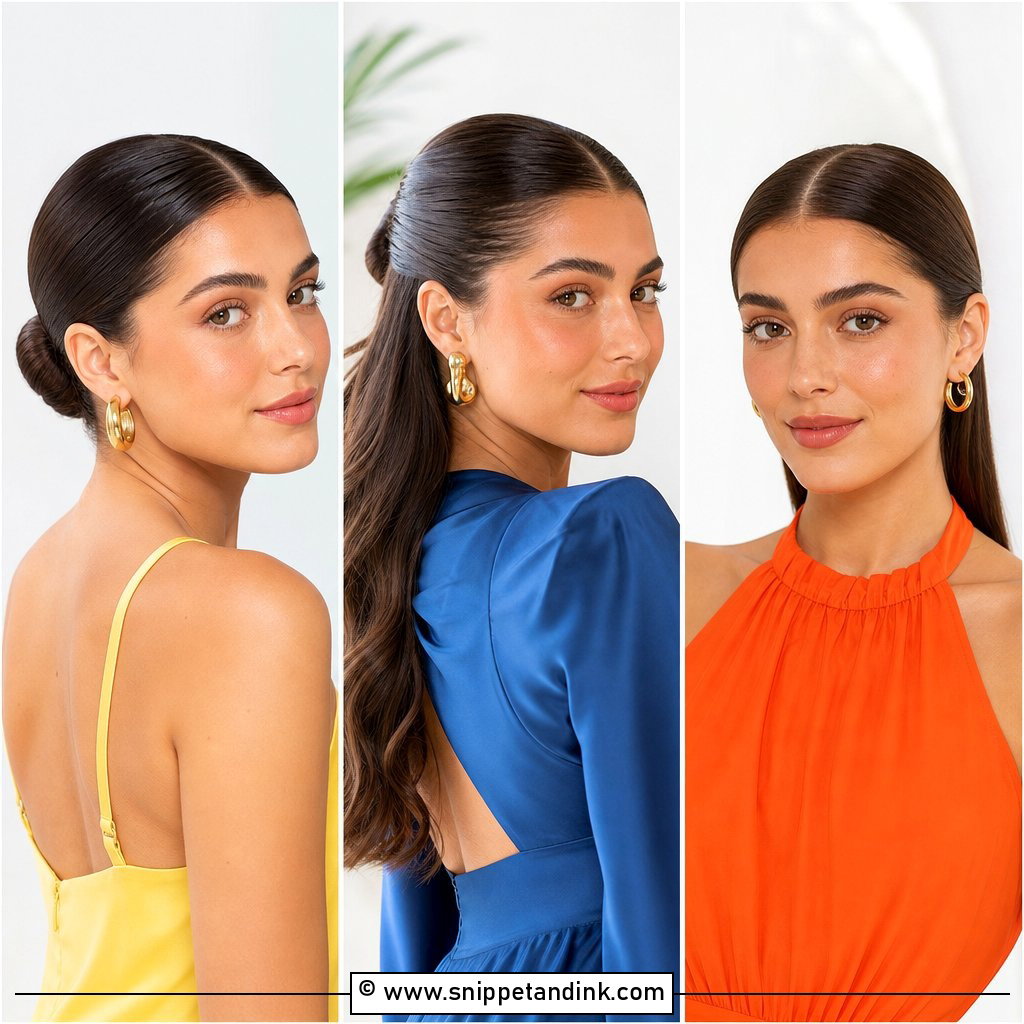
Slick back ponytail wedding hair keeps the front lifted off the face while the length hangs straight, waved or curled at the ends. It’s at its best with a dramatic back or a high neck. I always wrap a strand around the elastic and pin it underneath; a bare elastic looks unfinished up close. The trick nobody sees is two elastics, one tight at the base and one slightly lower, so the ponytail doesn’t droop as it gets heavy. It’s light to wear for hours, which brides who hate pins appreciate.
3. Sleek Middle Part Bun Wedding Hair
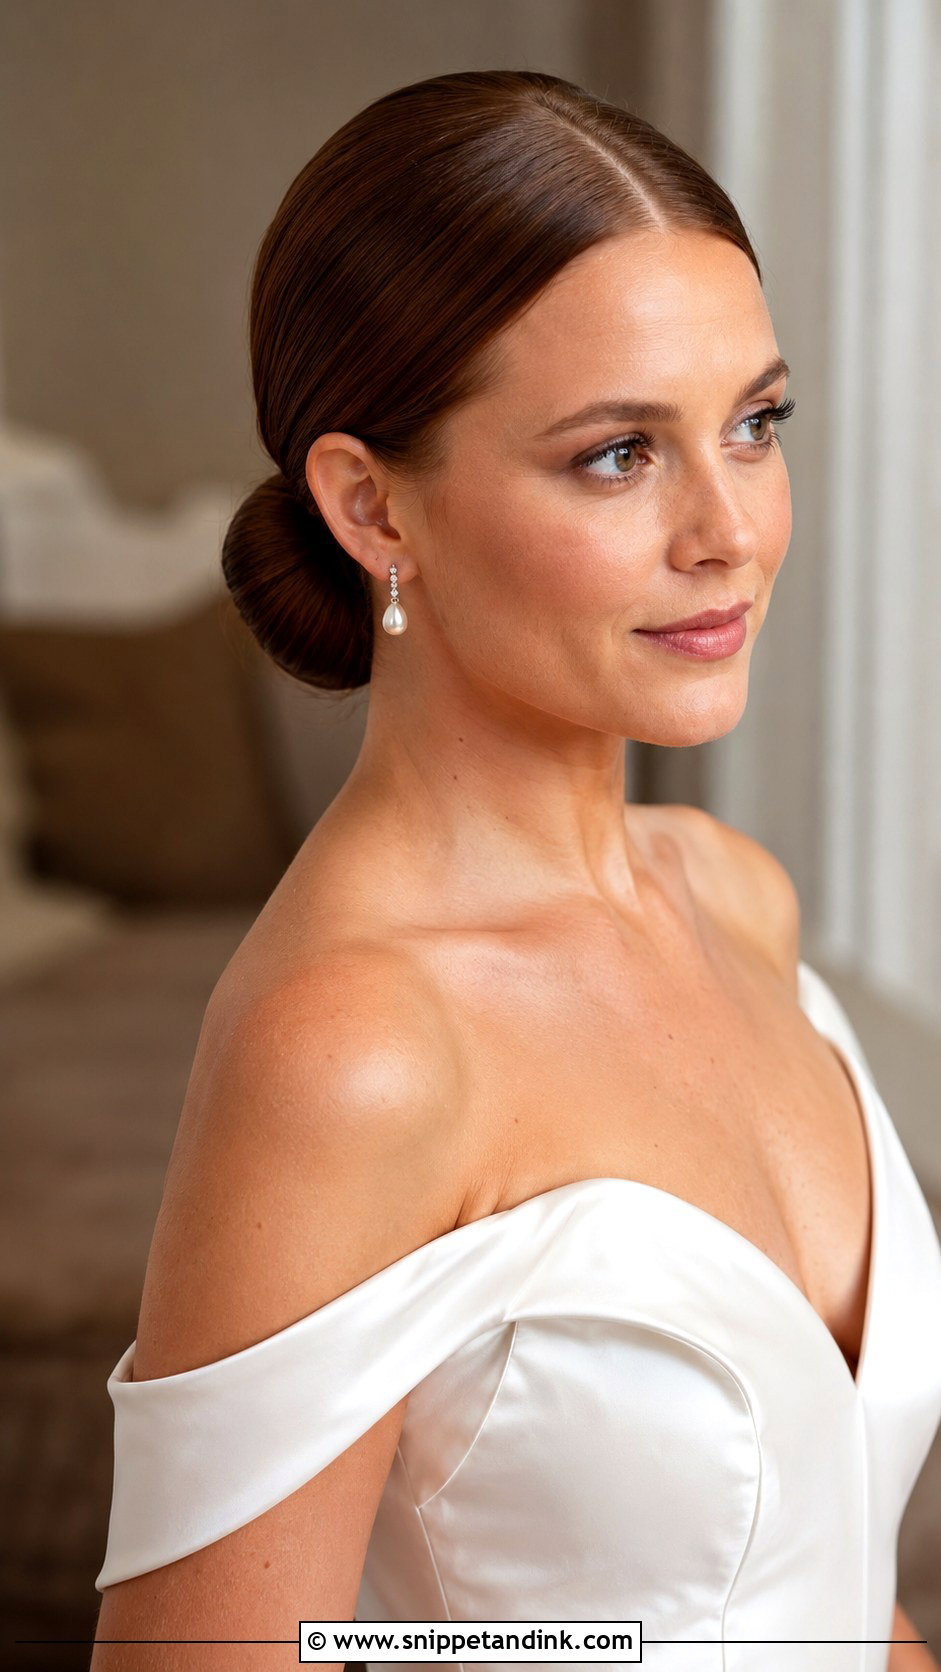
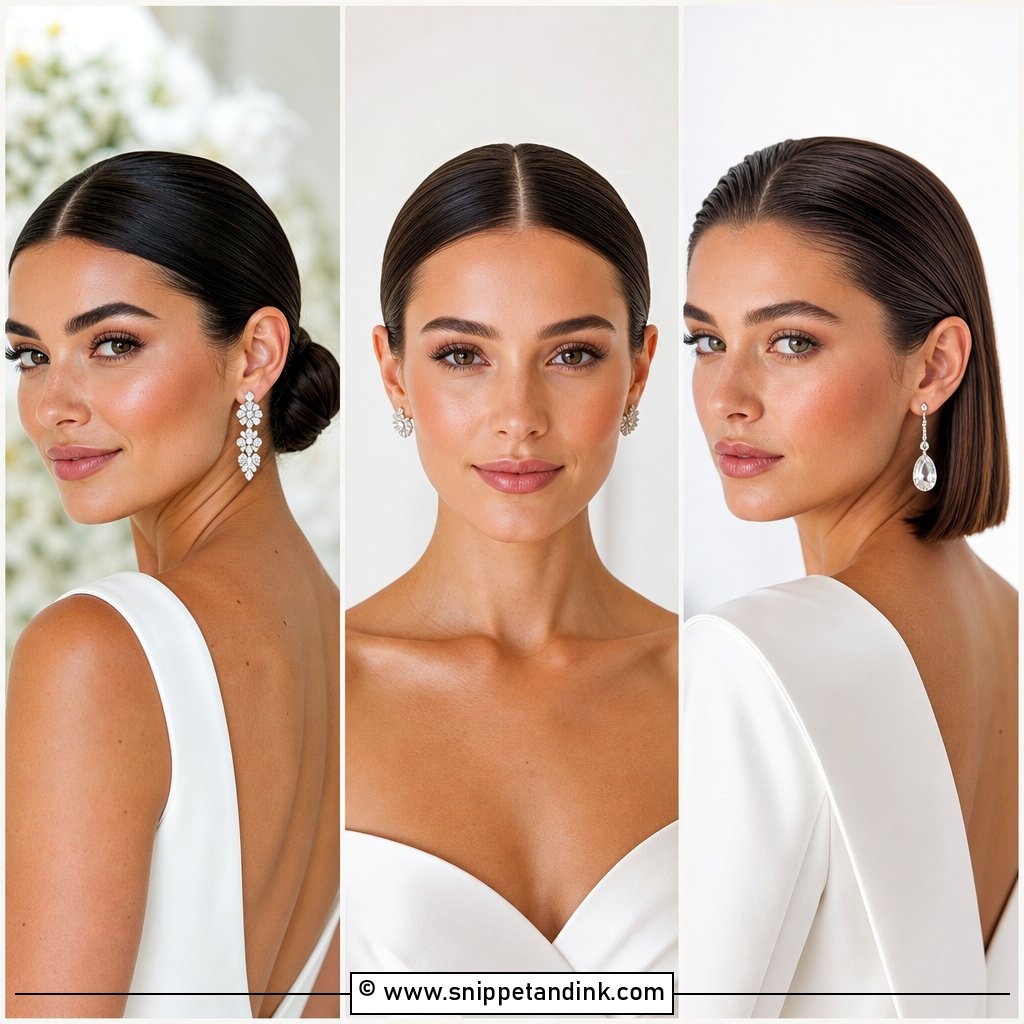
Center parts are less forgiving than they look. The part has to sit dead center from forehead to crown, and the sides have to lie equally flat or the asymmetry shows in every front-on photo. I comb the line after the first layer of product, then again before setting. Soft glam makeup and earrings near the cheekbones suit it. On fine hair I add padding or a small clip-in to the bun so it doesn’t look tiny against the strong part. Gloss is good; grease is the line not to cross.
4. Sleek High Bun Wedding Hair
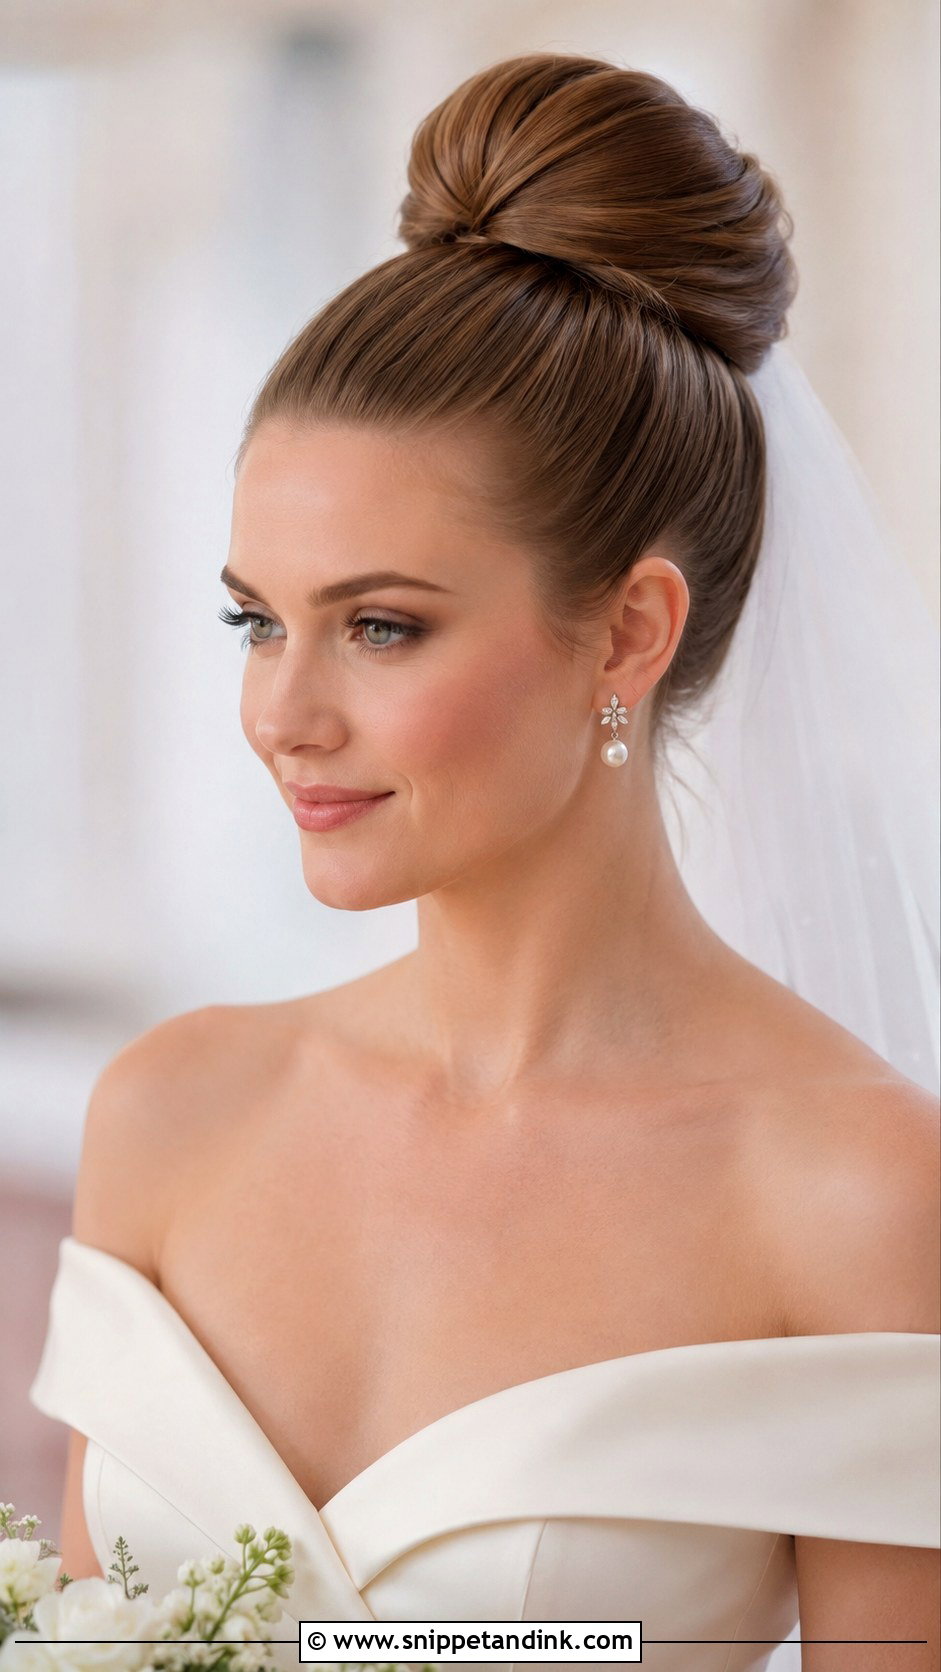
Pulling everything up to the crown lifts the face and shows off the neck and shoulders, which is why it suits strapless and square necklines. I’d be honest that a high bun is harder to wear for a long day than a low one; the weight pulls upward on the nape hairs. Strong-hold product goes on the roots, a crisscross of pins secures the base, and the surface gets only a light shine spray. If the veil goes underneath, place it before the final pins, not after.
5. Sleek Chignon Wedding Hair
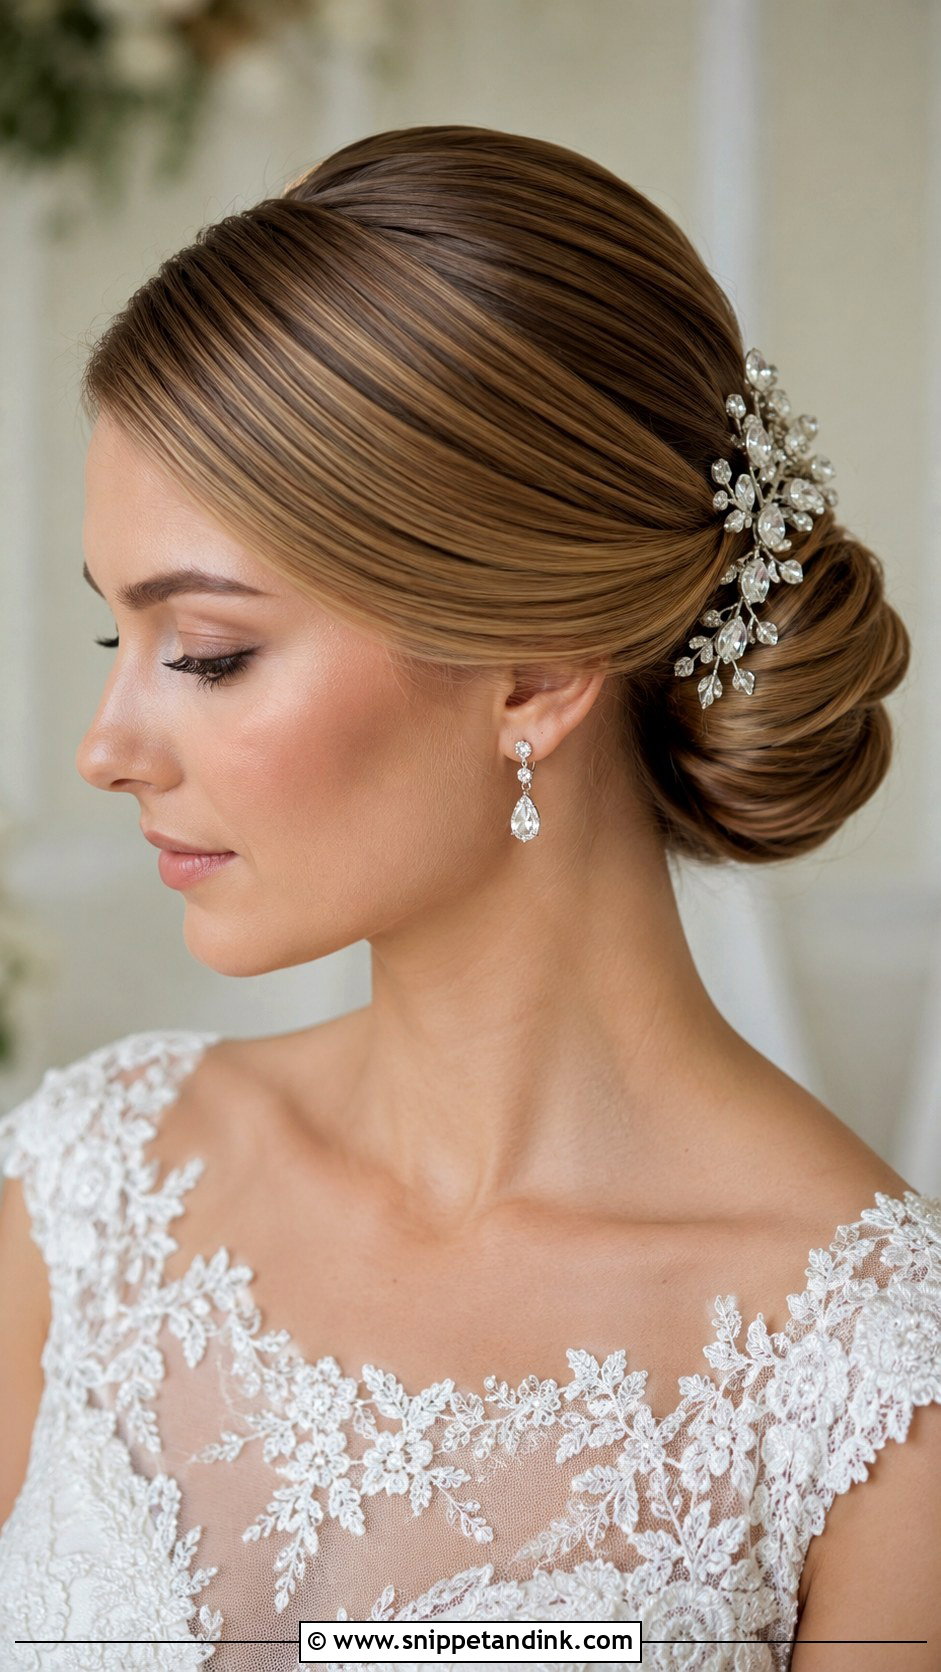
A chignon is gathered low and twisted into a flatter, more sculpted shape than a round bun, so it reads formal straight away. Black-tie receptions and classic gowns suit it best. The part is the switch that changes the mood: a side part leans old Hollywood, a center part looks more modern. I build the twist over a hidden ponytail anchor and push every pin in toward the head so none of them catch the light. A pearl comb or a simple veil is enough decoration.
6. Slicked Back Half Up Wedding Hair
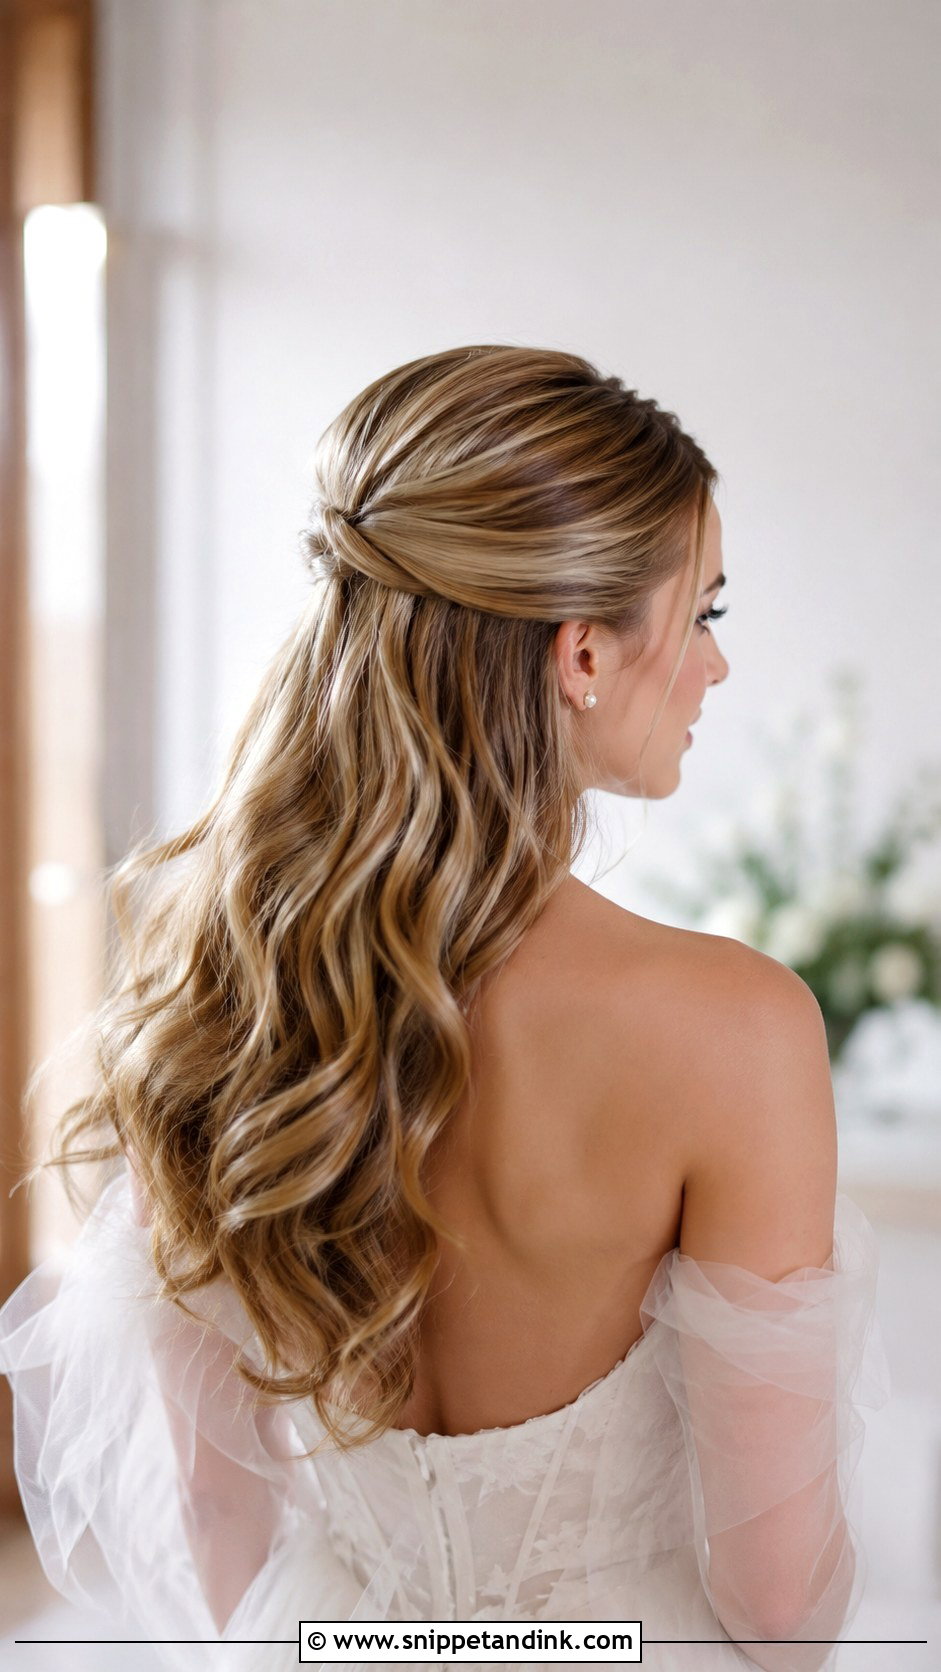
Half up gives the polish of an updo at the front while the length stays down. I smooth the top and sides back to the crown or slightly below and secure them with a pair of crossed pins over the elastic. The lengths can be left straight or curled. It does best on medium and long hair; on shorter cuts the down section can look scant. If you want more shape in portraits, ask for lift at the crown before the sides are slicked, not after.
7. Sleek Straight Wedding Hair
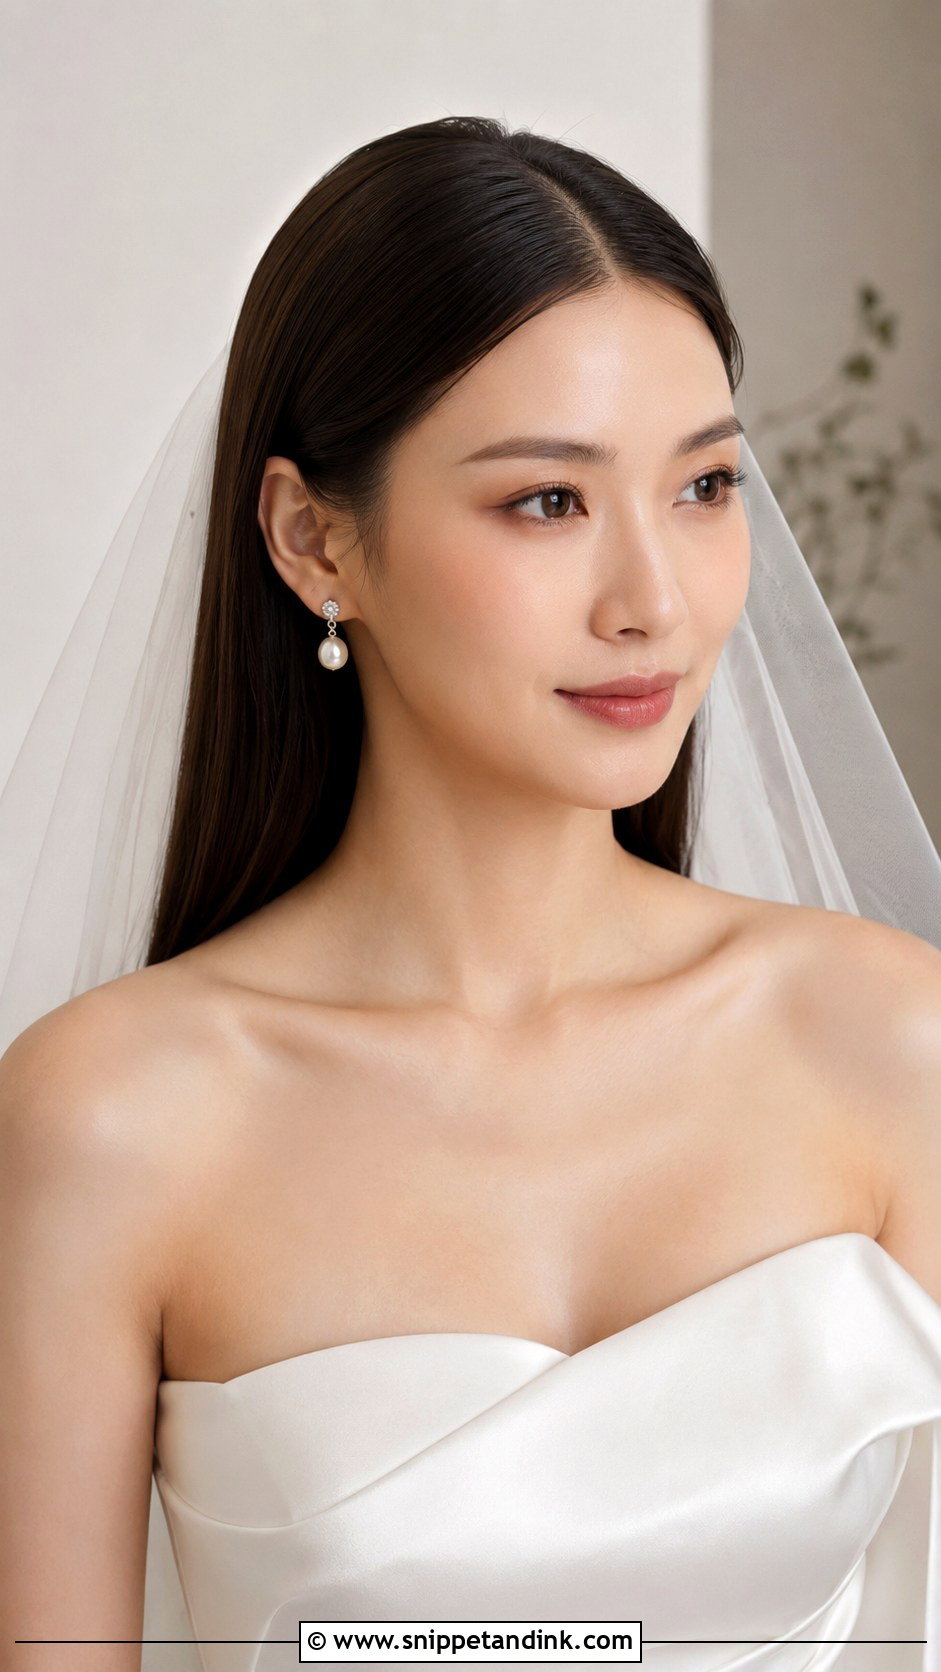
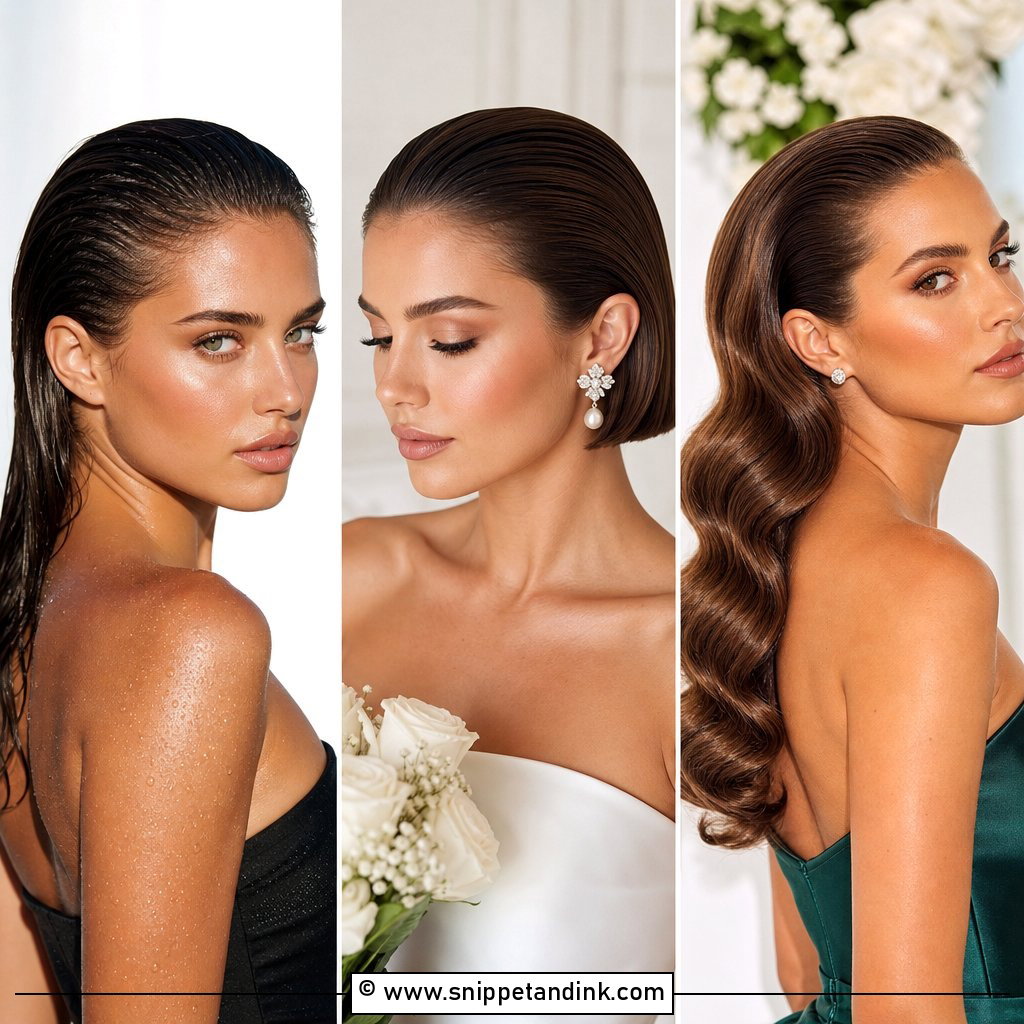
Straight hair worn down looks simple, and it’s actually the style that depends most on the condition of the hair. Split ends and frizz show immediately. I blow it out with a paddle brush first, then flat iron in thin sections with heat protection, and it can be parted down the middle, tucked behind the ears or pinned on one side. A light anti-humidity spray is the last step. It’s the right choice for a bride who doesn’t feel like herself in curls, but I’d steer away from it for a humid outdoor wedding unless your hair is naturally straight.
8. Sleek Bob Wedding Hair
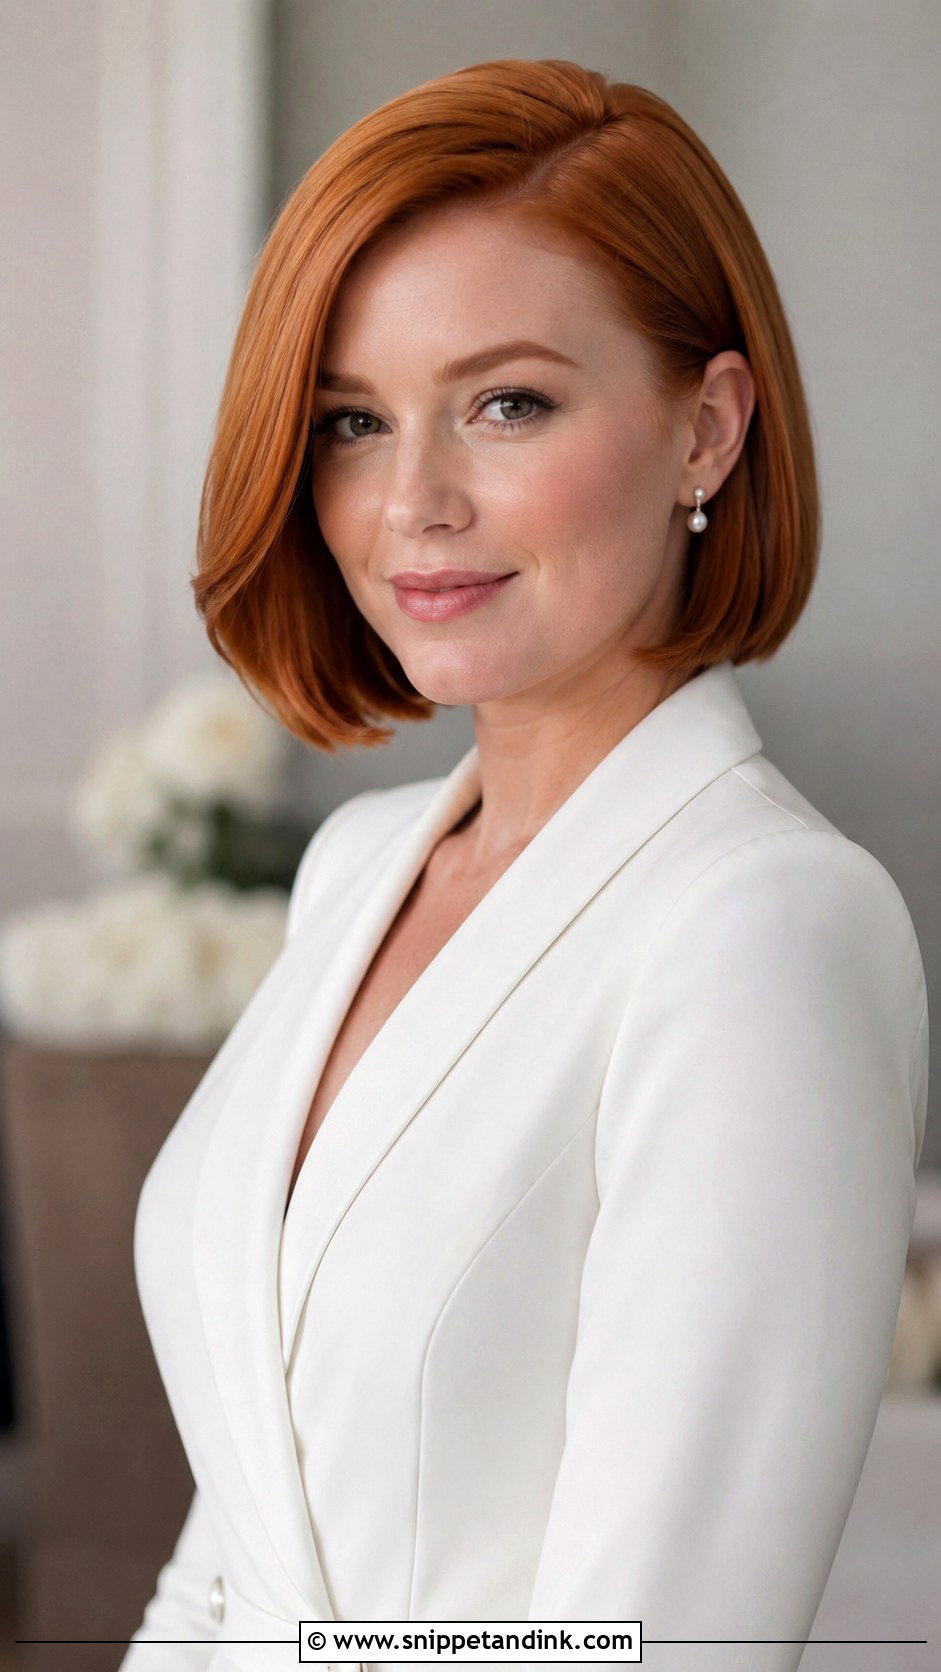
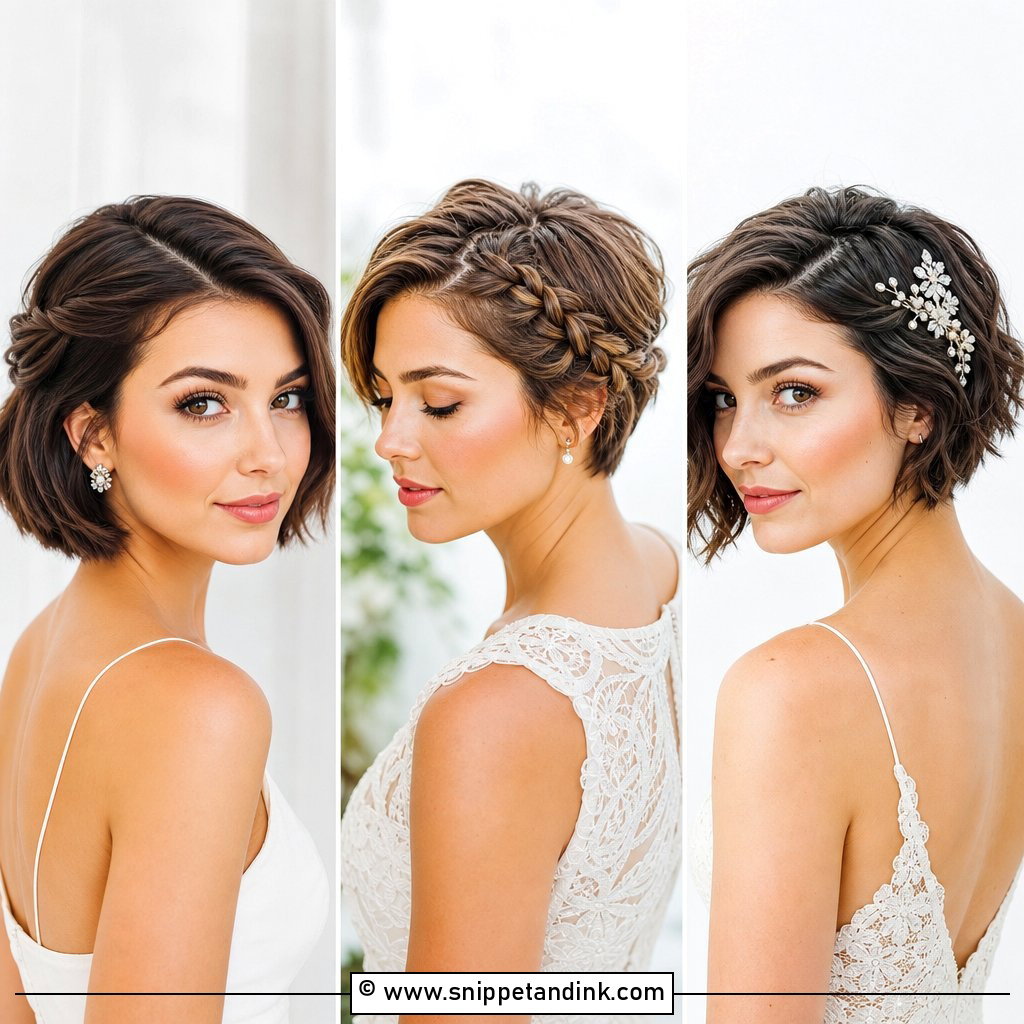
Sleek bob wedding hair lives or dies by the cut. Get it trimmed about a week before so the line is crisp but has settled. On the day I smooth the roots, bend the ends under with a flat iron and finish with a little shine. A deep side part, a center part or one side tucked behind the ear all work. Shoulder-baring gowns and pearl studs suit a bob, and a short veil can anchor just behind the crown.
9. Wet Look Wedding Hair
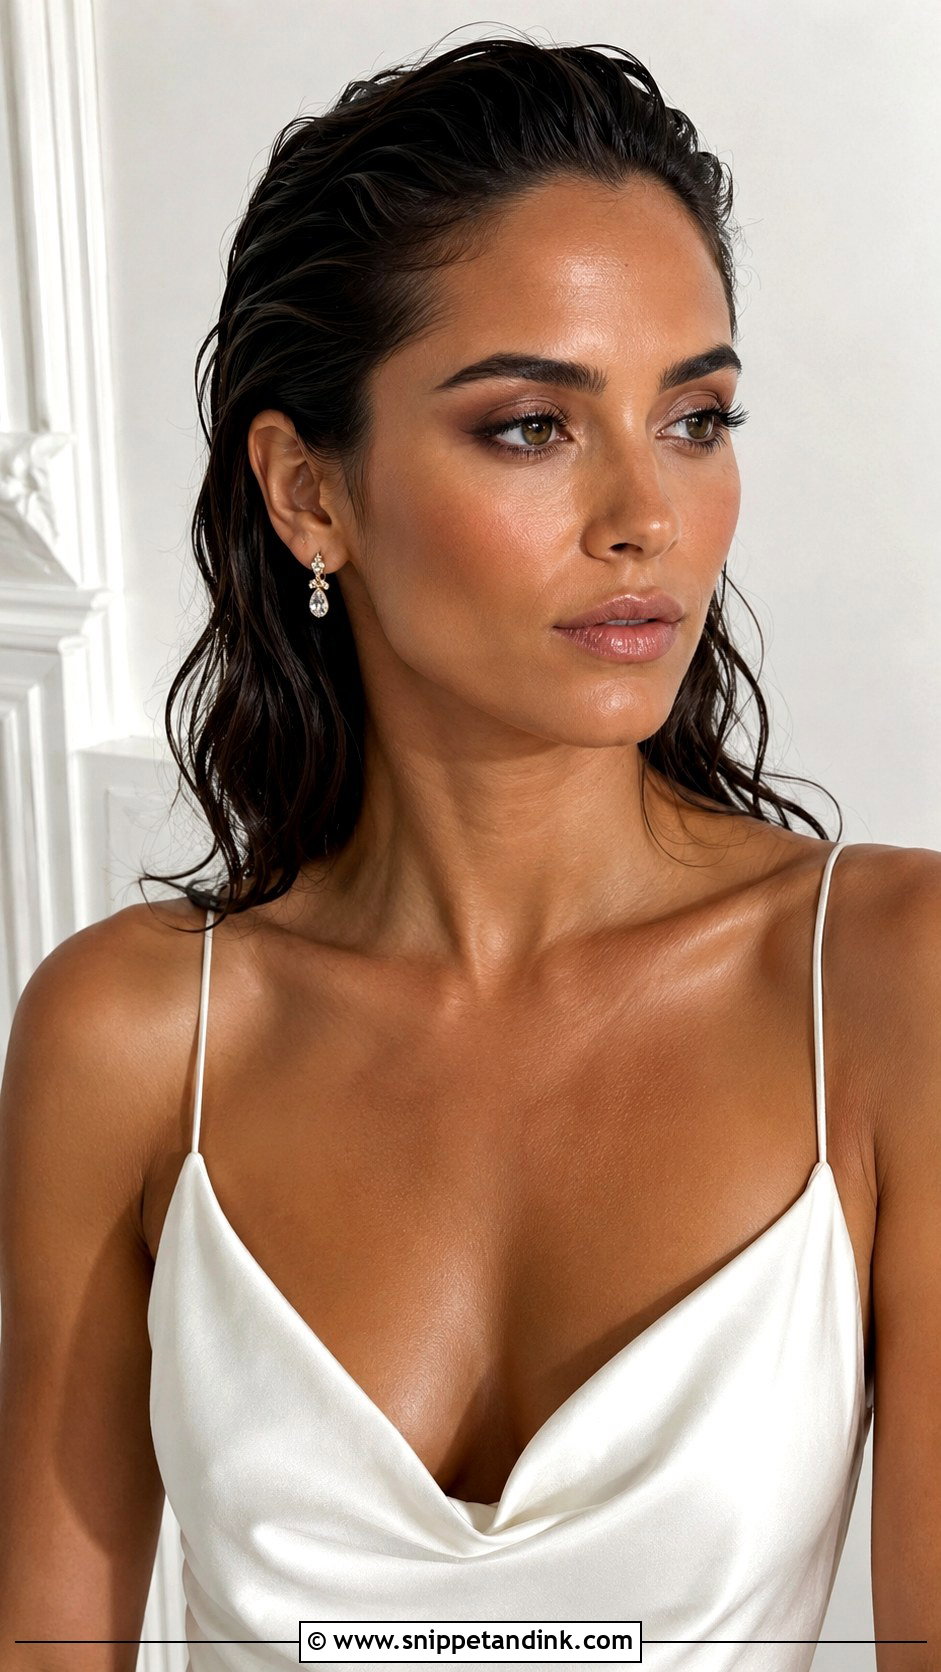
Wet look wedding hair is the most fashion-led style here. I comb a glossy gel or a gel-and-oil mix through damp hair, sculpt it close to the head and leave the lengths down, pushed back or knotted low. The hard part is balance. Too little product and it reads greasy rather than deliberate; too much and it flakes or looks crunchy by evening. I’d only recommend it with a minimal dress and accessories, since the hair is already the statement. Test it at the trial and touch it an hour later.
10. Sleek Braided Bun Wedding Hair
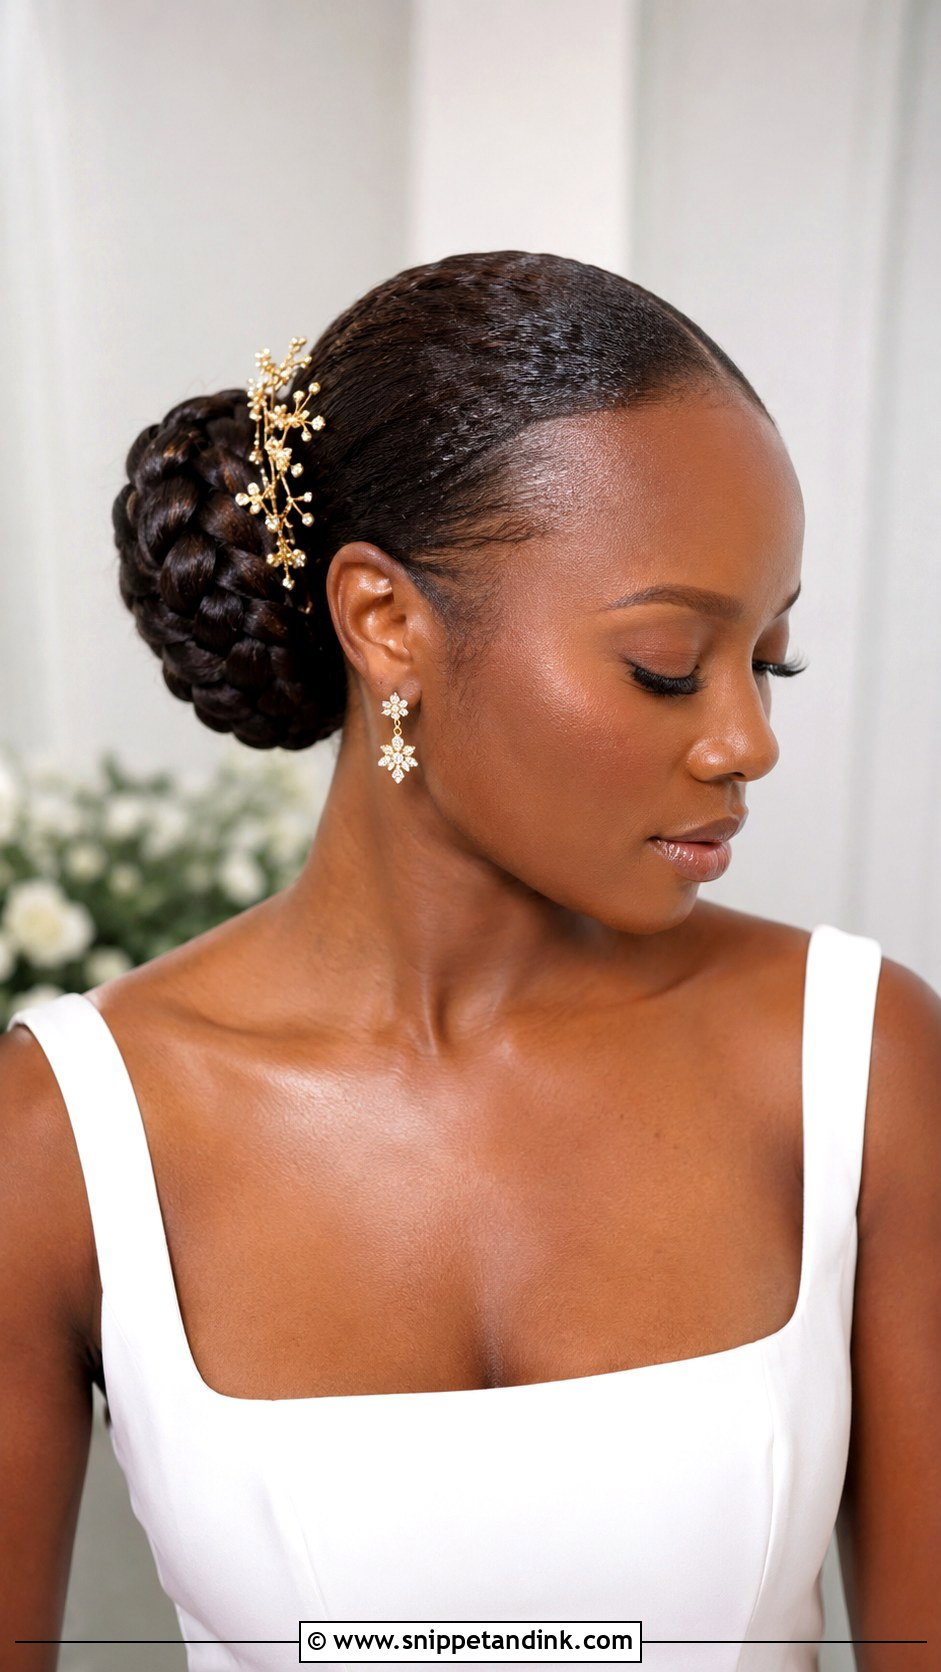
Slicking the hair back and then braiding the lengths before wrapping them into a bun gives texture at the back without breaking the clean front. It’s sturdier than a plain bun because the braid holds its own shape. A simple three-strand plait is fine for most hair; a rope braid gives a tighter twist on finer hair. Gold pins or a few pearls pick out the braid, and it suits open-back gowns where the back of the head is on view all ceremony.
11. Sleek Low Ponytail Wedding Hair
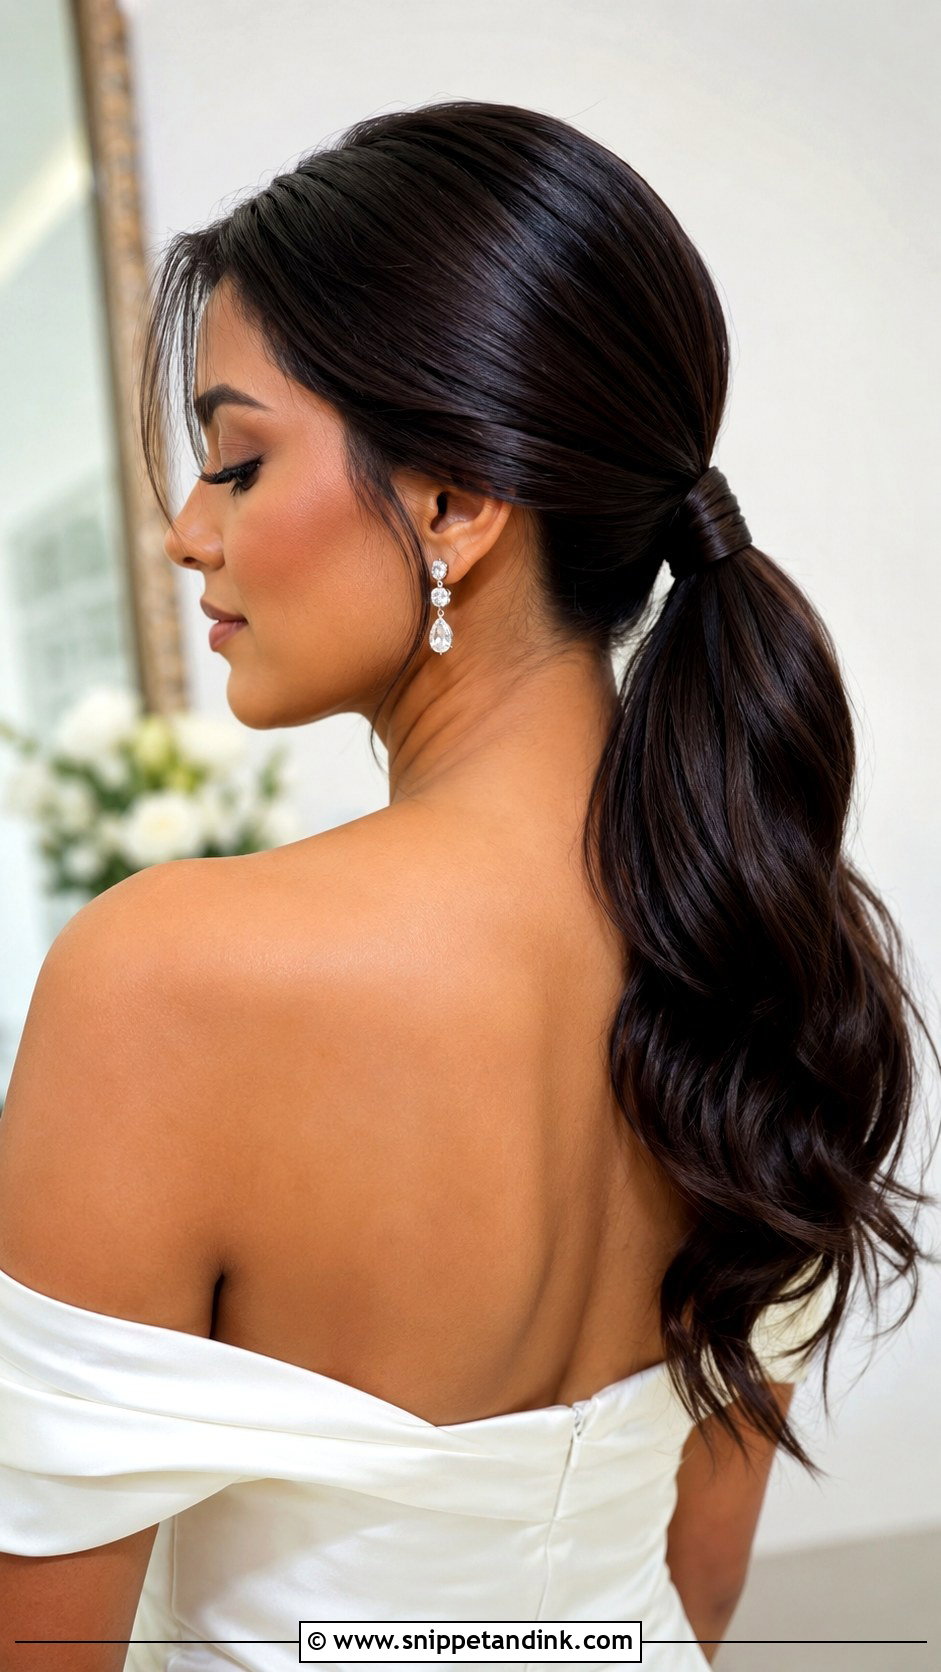
Low ponytails are comfortable to wear for hours and easy to keep tidy. The ponytail sits at the nape and can be straight or waved through the ends. I wrap a section around the base for a finished look. The detail I watch is the crown: pulled completely flat, a low ponytail can look severe from the side, so I leave a little height there before slicking the sides back. Off-the-shoulder necklines and fitted gowns frame it well.
12. Sleek French Twist Wedding Hair
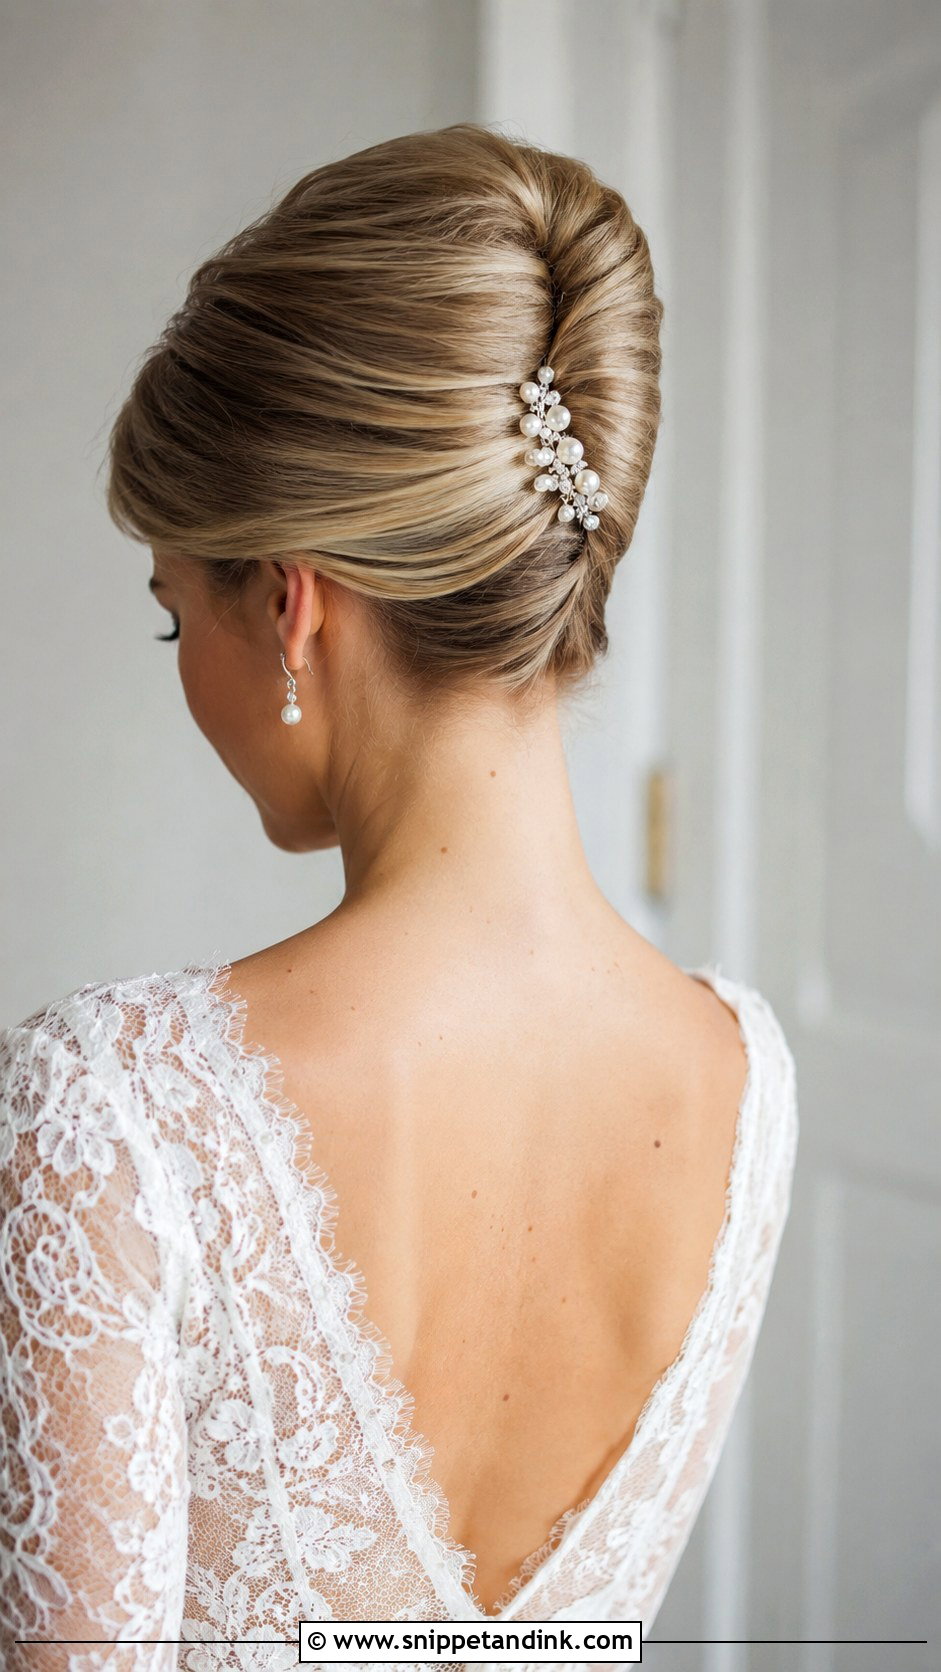
A French twist folds the hair into a vertical roll at the back of the head, so the shape is long and runs with the neck rather than sitting at the nape. Lace gowns and formal ceremonies suit it. It needs hair at least past the shoulders to fold properly; shorter hair pokes out at the top of the roll. I spray the hair with a dry texture spray before slicking so the fold has some grip, then hide the pins inside the roll. It can be tight and neat or softened slightly at the edges.
13. Sleek Side Part Waves Wedding Hair
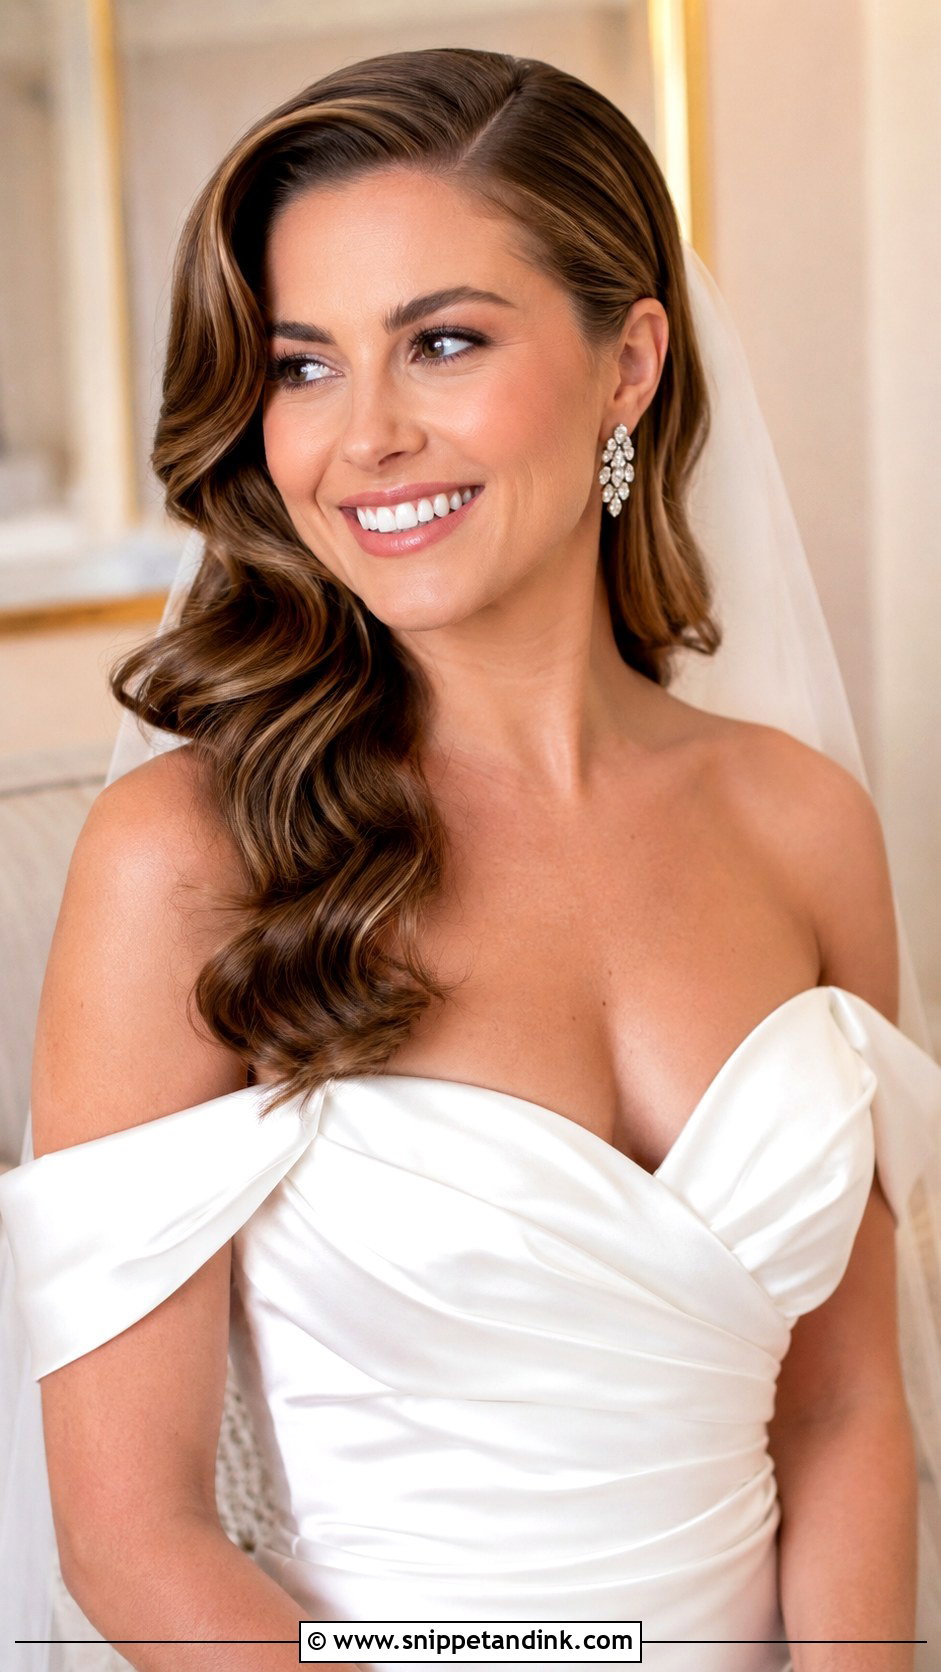
A deep side part with brushed, glossy waves is the hair-down option for a formal wedding. The waves should look smoothed into place, not beachy. I curl, let the hair cool completely, then brush the curls out and set them with clips so they form one continuous wave. Pinning one side behind the ear shows off an earring and stops the hair falling forward during the vows. Fitted gowns and classic makeup suit it.
14. Sleek Bubble Ponytail Wedding Hair
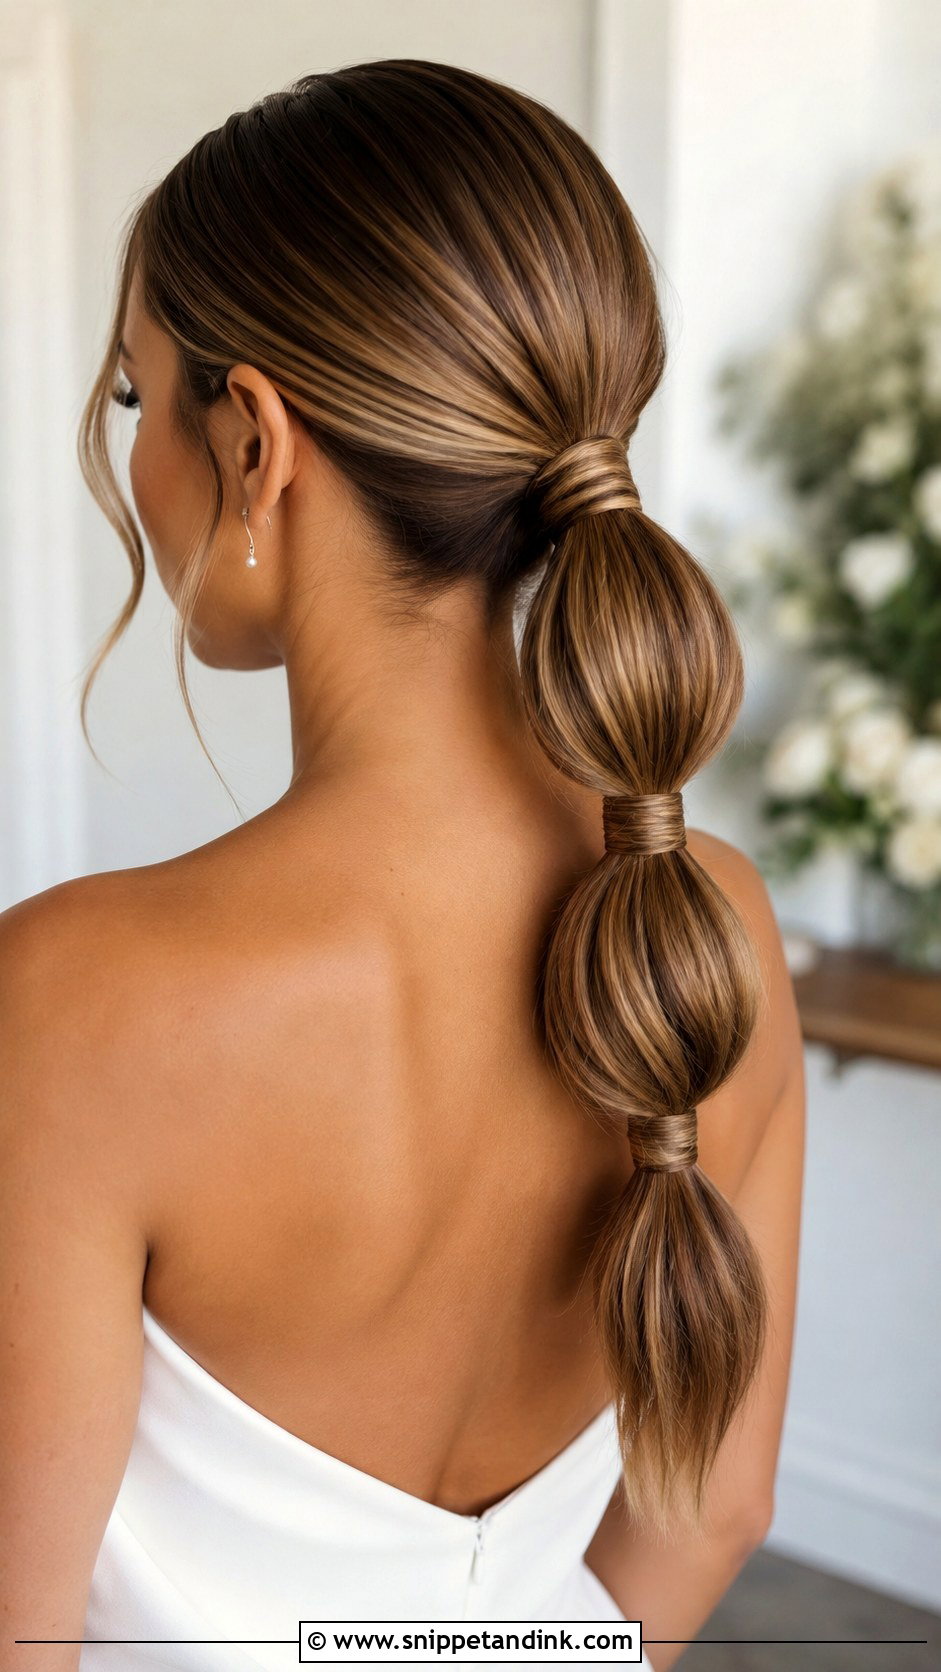
Sleek bubble ponytail wedding hair is the playful one: a slicked ponytail divided with small bands into rounded sections down the length. It needs long hair or extensions to have enough bubbles to look deliberate. I gently pull each section out to puff it, then smooth the surface with a little shine so the bubbles look full, not frayed. It’s a natural fit for a reception change or a second outfit. Clear bands or tiny pearls keep it bridal.
15. Sleek Bun With Veil Wedding Hair
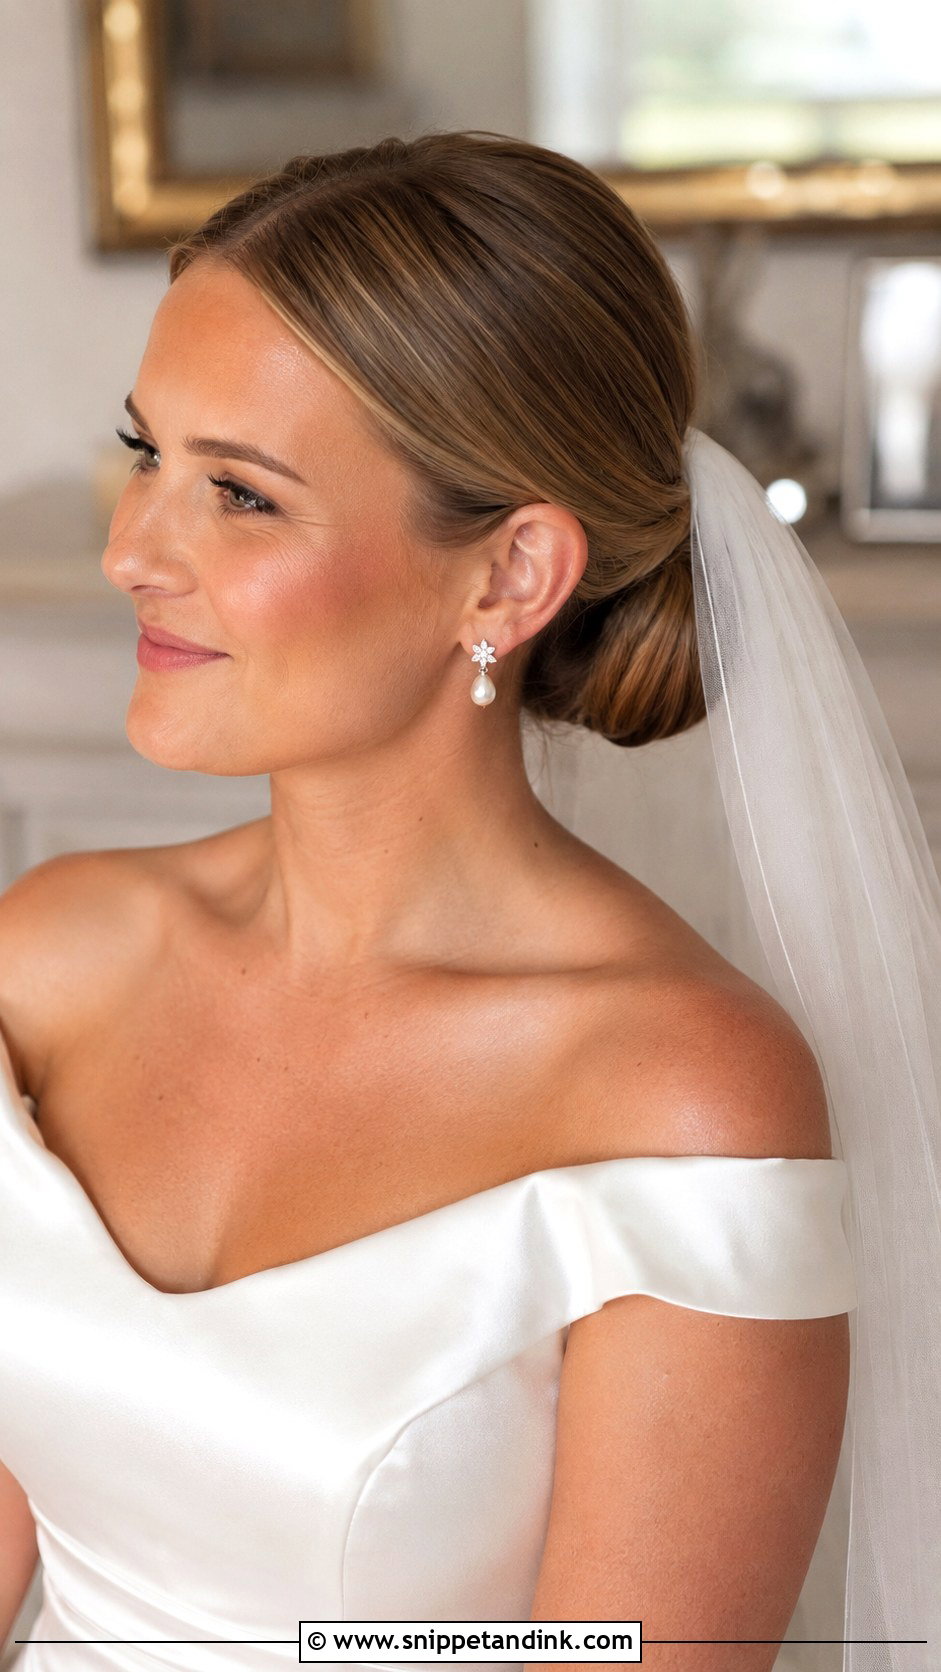
A slick bun and a veil support each other. The smooth base gives the comb something solid to grip, and the bun stops the veil sliding back. A low bun with the veil above it looks traditional; a mid-height bun with the veil tucked under looks more structured. I set the comb at the trial and mark the spot, because on the day there’s no time to try three placements. Keep the crown smooth so the veil lies flat over it.
Switching From Ceremony Hair to Party Hair
Several of these styles change easily into one another, and that’s useful if you want a different look for the reception without a full restyle. A few switches I plan for when a bride asks:
- A sleek low ponytail can become a bubble ponytail in about ten minutes with clear bands. Ask for the ponytail to be curled slightly in the morning so the bubbles hold.
- A half-up style can go fully up into a low bun if the lengths were curled or braided first. Straight lengths are harder to pin quickly.
- Removing a veil from a slick bun often leaves a small dent where the comb sat. A pass with a wax stick and two pins fixes it.
- Straight hair worn down for the ceremony can be twisted into a low knot if it starts to frizz. Have a claw clip or pins and an elastic ready.
If you want a change, tell your stylist at the trial. The morning style may need to be built slightly differently so the second look comes together quickly in a bathroom mirror.
Test the Shine Under Daylight Before the Day
Slick styles last because they give hair nowhere to go. A low bun, a glossy ponytail, a chignon, straight hair or a wet look can all be right; the choice comes down to your dress, face shape, venue and how much tension you can comfortably wear. A trial is worth it for these looks above all, since it’s where we test hold, shine, veil placement and accessories. Bring photos from the front, the side and the back so the full shape is clear. Then step outside: shine that looks good under salon lights can look oily in sunshine, and that’s easier to fix at the trial than on the morning.
You'll Like These Ideas:


Leave a Reply