
Pulling everything back off the face is the most practical thing you can do with wedding hair. Nothing blows across your lip gloss, nothing hides your earrings, and the veil gets a solid base to grip. The variations below range from a plain low bun to a sculpted shape made of folded loops, and they differ more in what they need from your hair than in how they look in a photo. I have flagged the length, density and finishing each one really requires, so you can tell which are realistic for you before you book a trial.
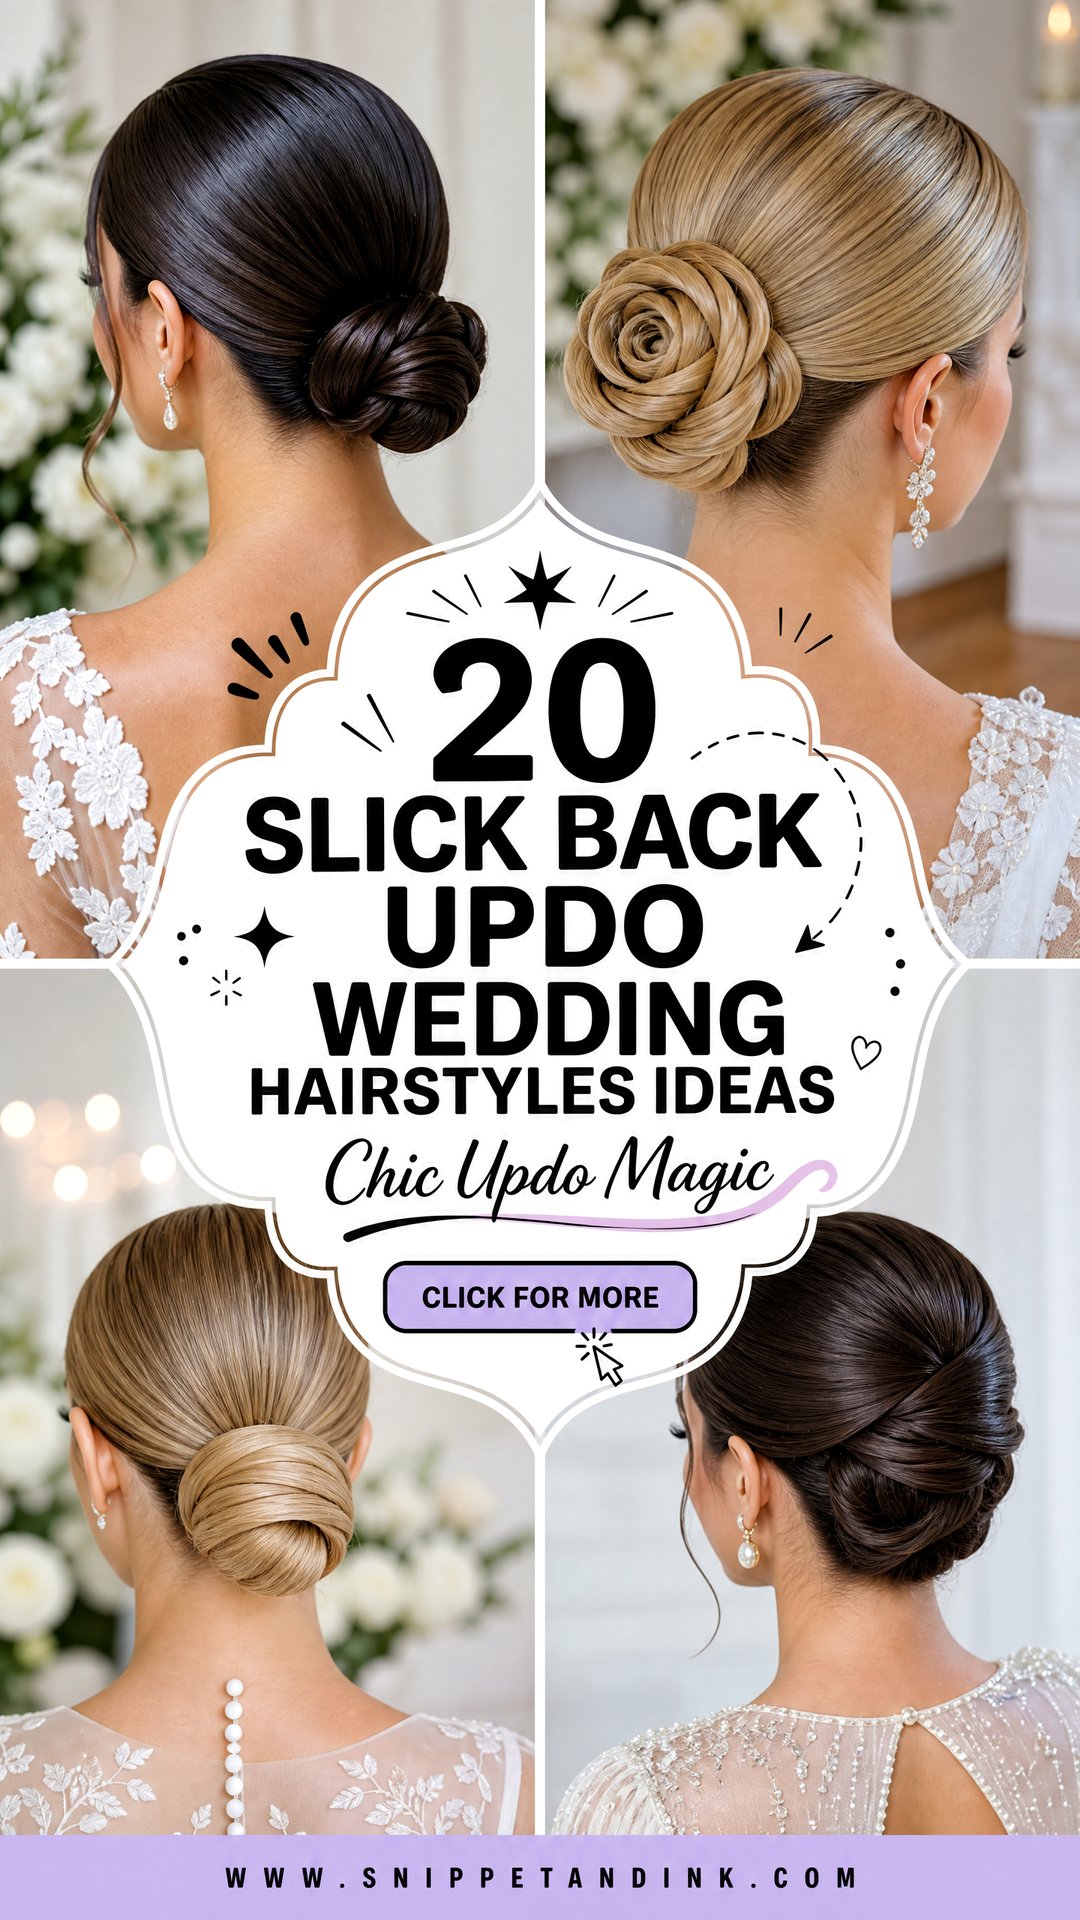
Is Your Hair Long Enough for the Updo You Saved?
Most of the inspiration photos for these styles were made with long, thick hair or with added pieces. That is fine, but it helps to know where you stand before your trial. Here is roughly what each family of styles asks for:
- Low knot and wrapped bun: hair that reaches the shoulders is usually enough, and fine hair can be padded out invisibly.
- Chignon and French twist: medium length, at or just below the shoulders, so the roll has something to fold.
- Ballerina bun and knotted bun: shoulder-blade length or longer for a full, even shape.
- Rosette and sculpted updos: medium to long hair with good density, since each fold needs its own section.
If you fall short, clip-in extensions hidden inside the bun are the simplest fix. Buy them in time to have them color-matched and trimmed, and bring them to the trial so your stylist can work out where they anchor.
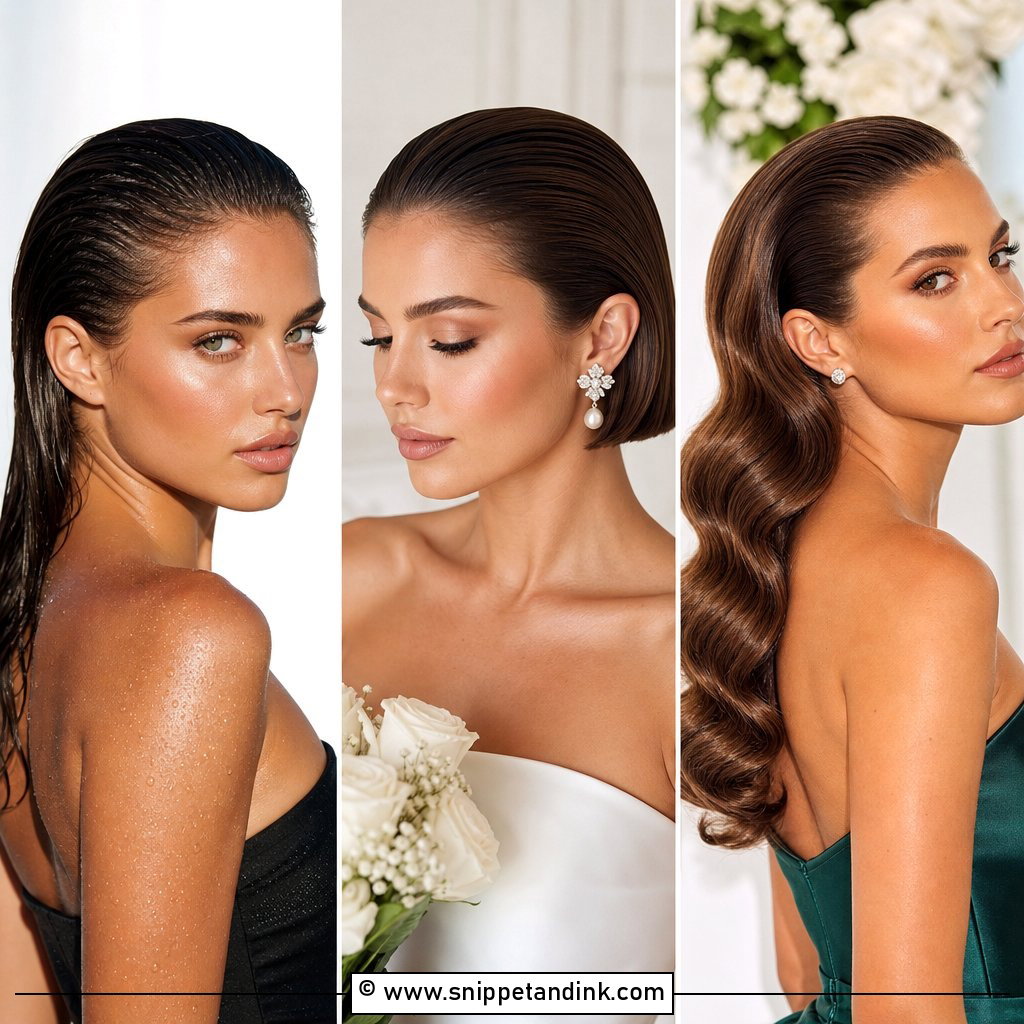
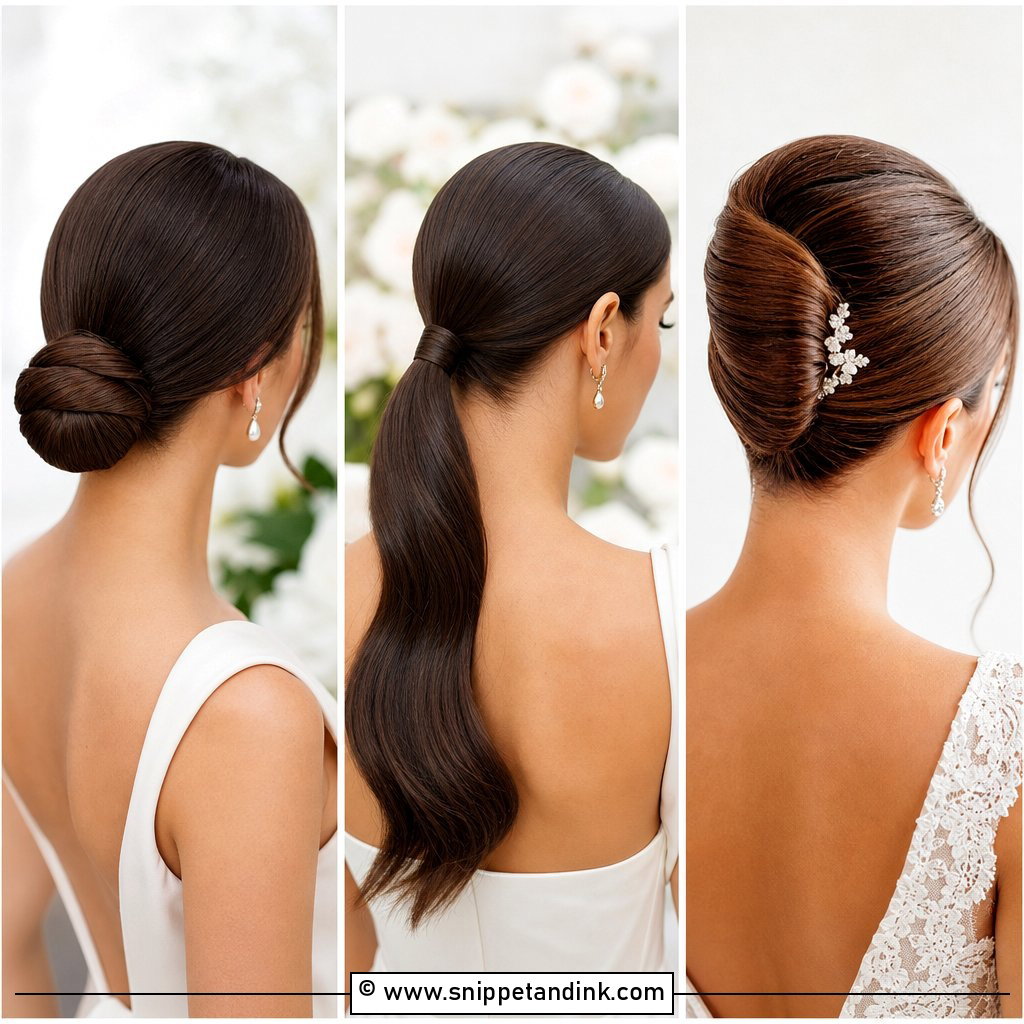
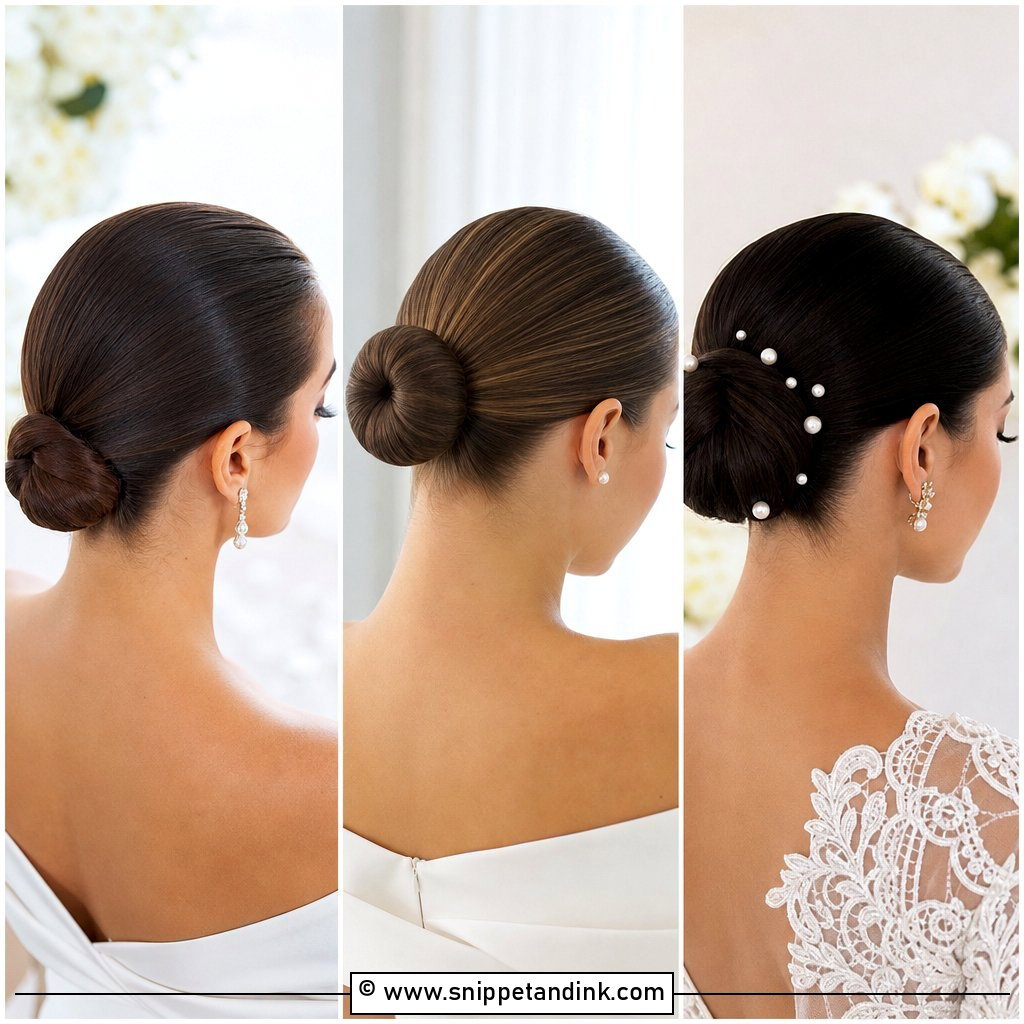
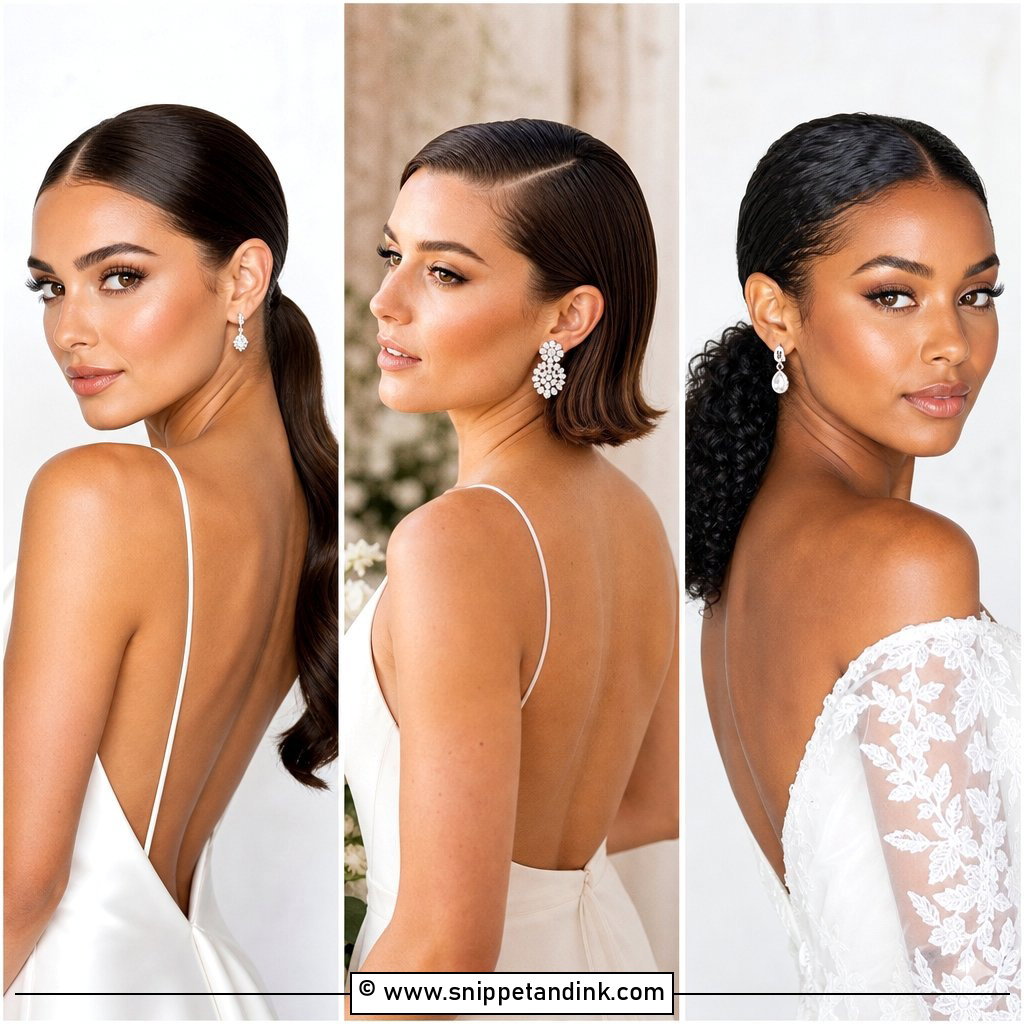
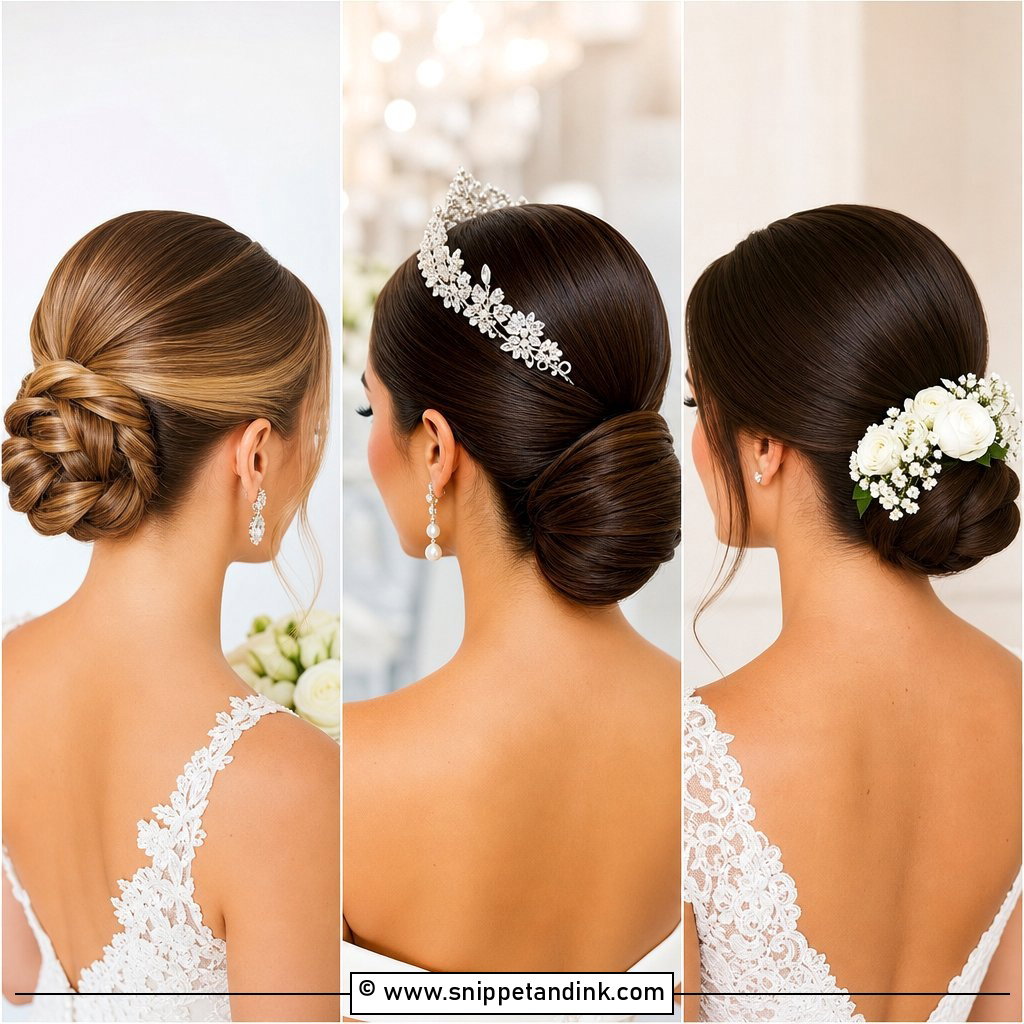
1. Slick Back Low Bun Wedding Hairstyle
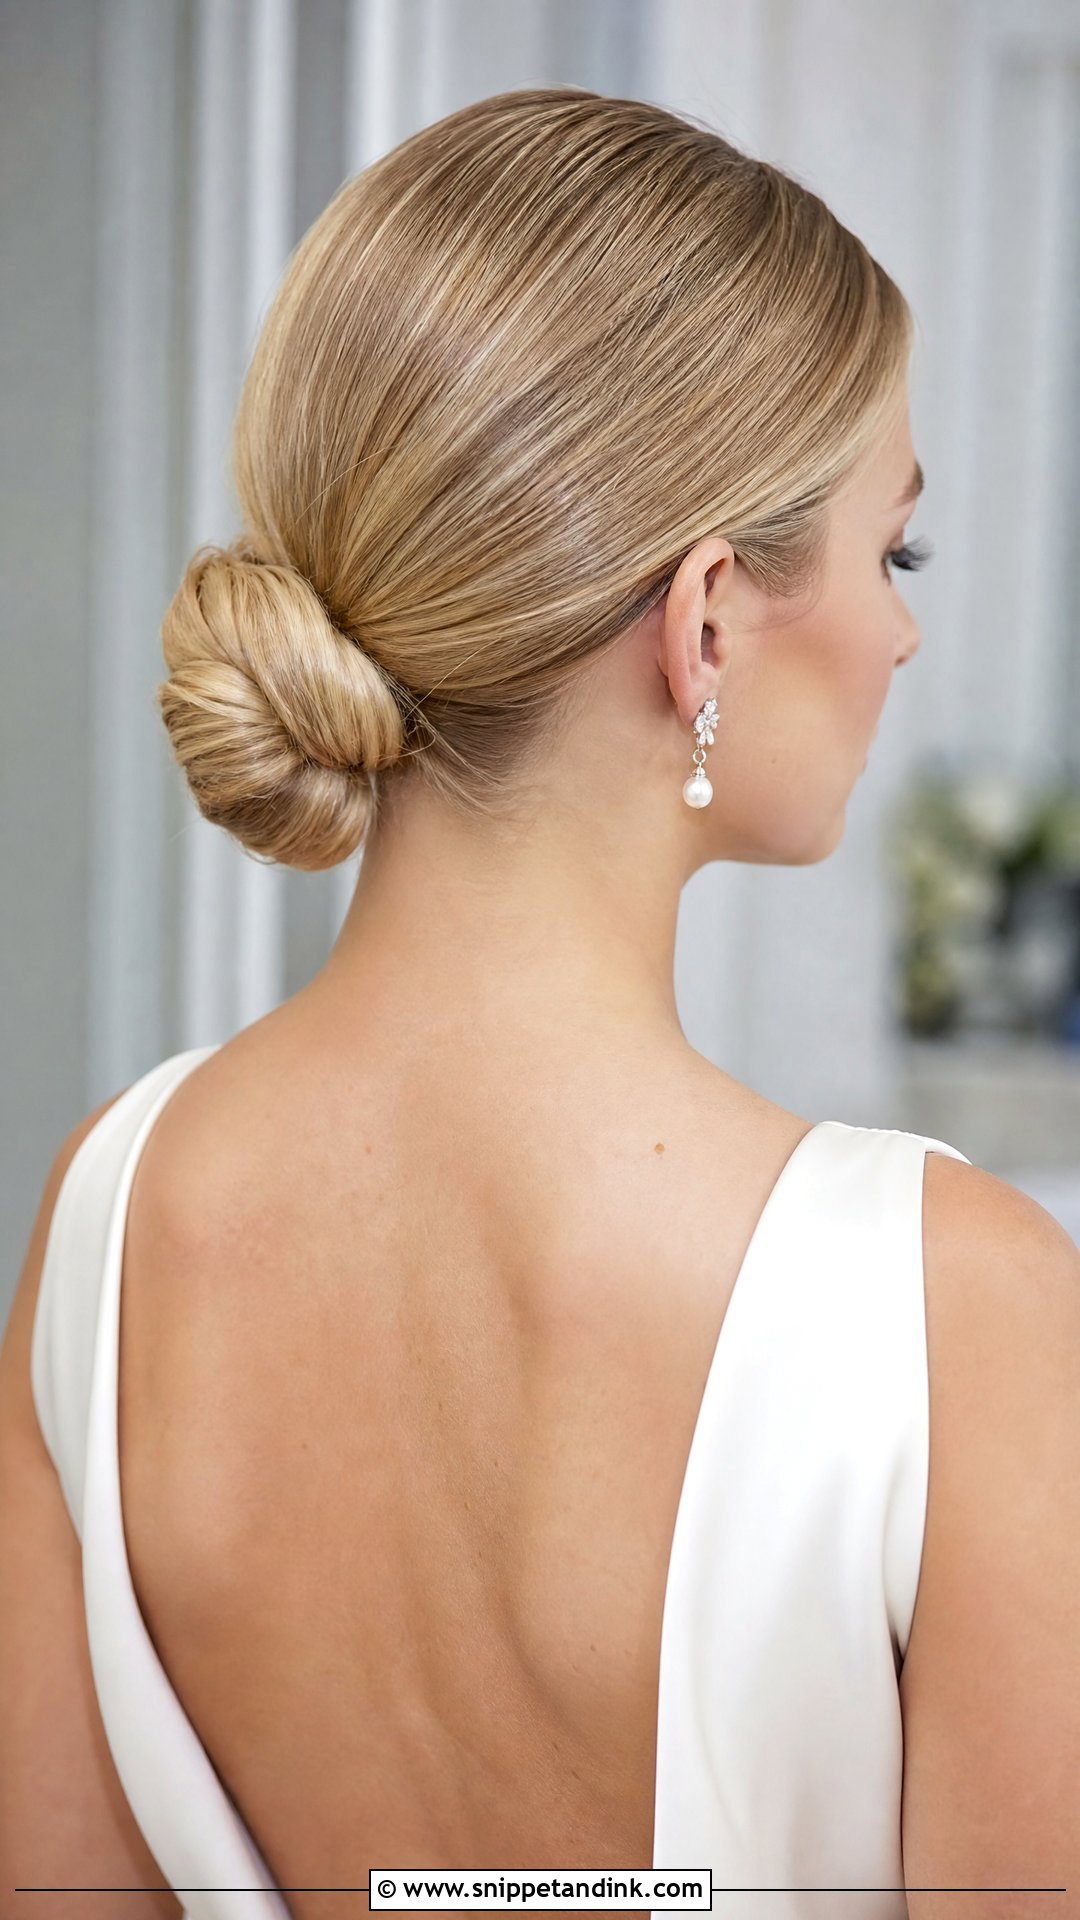
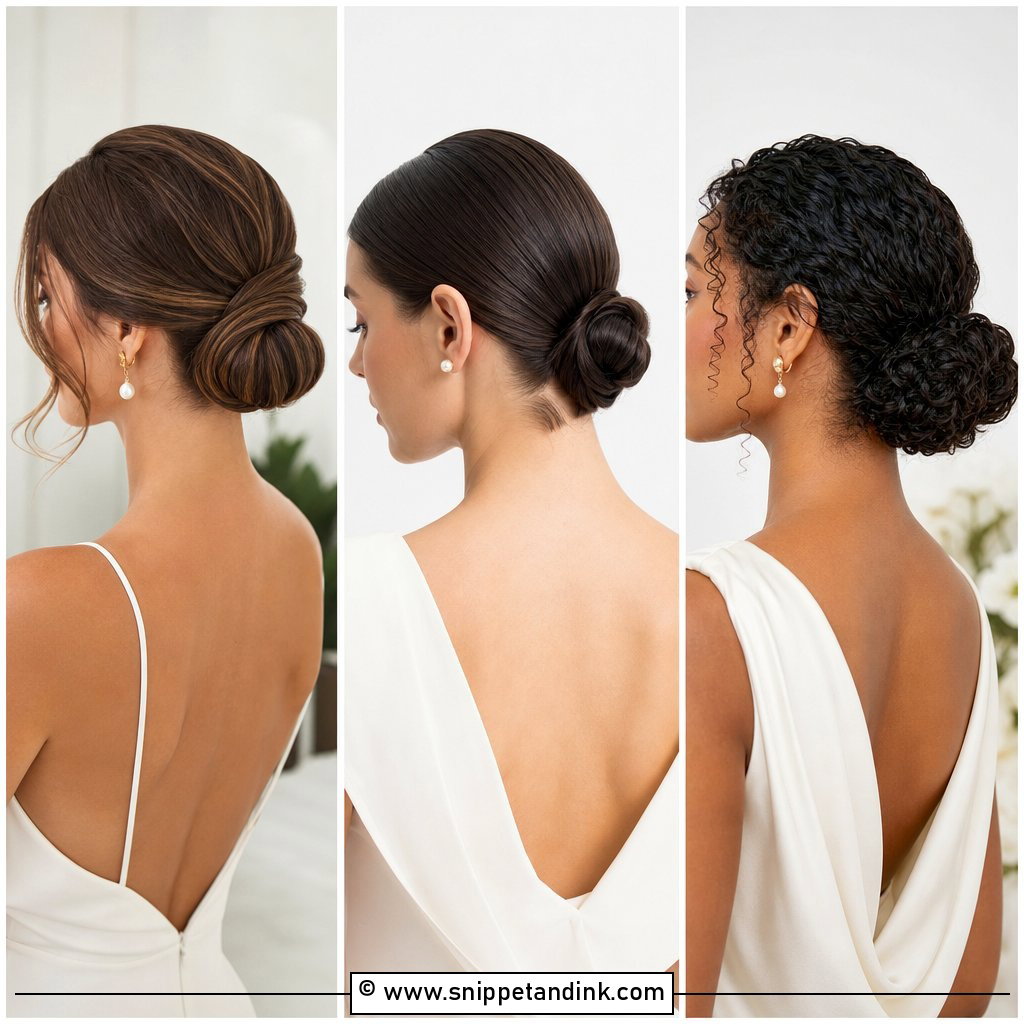
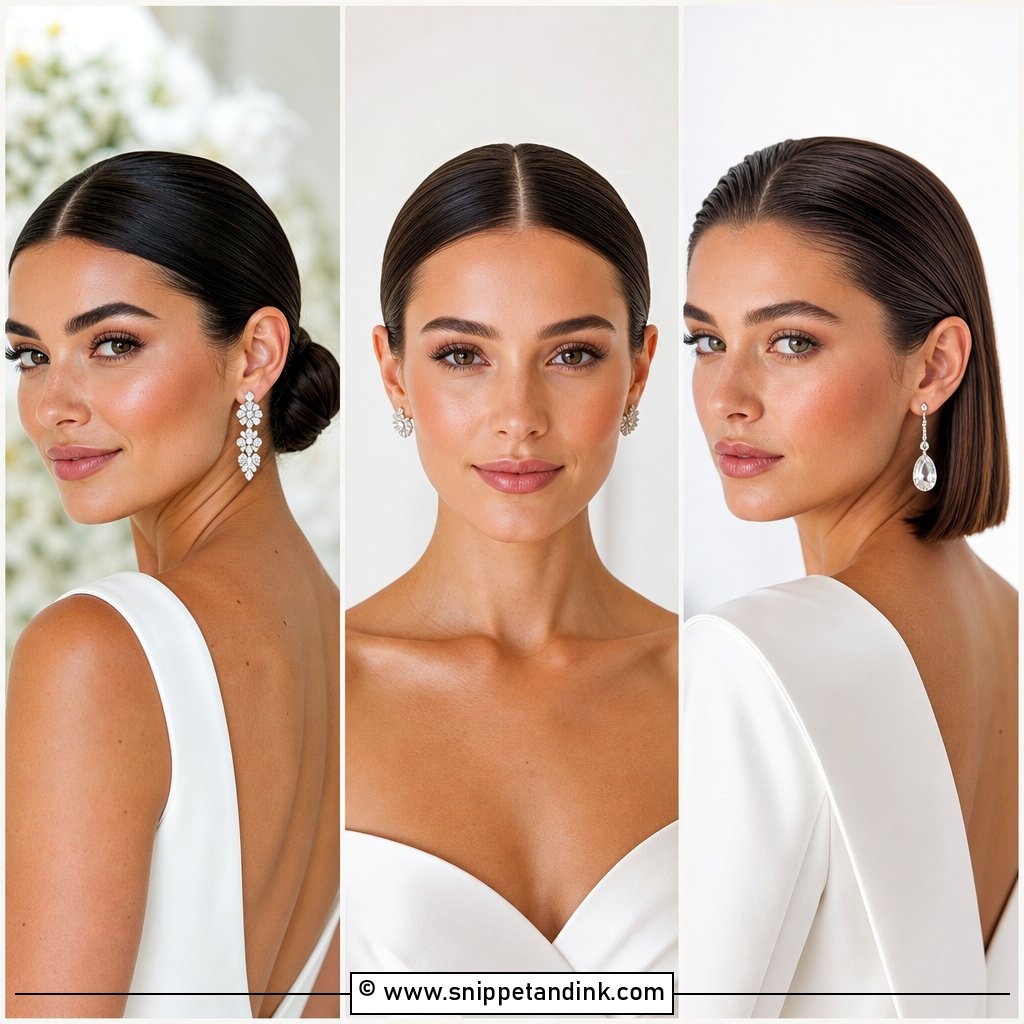
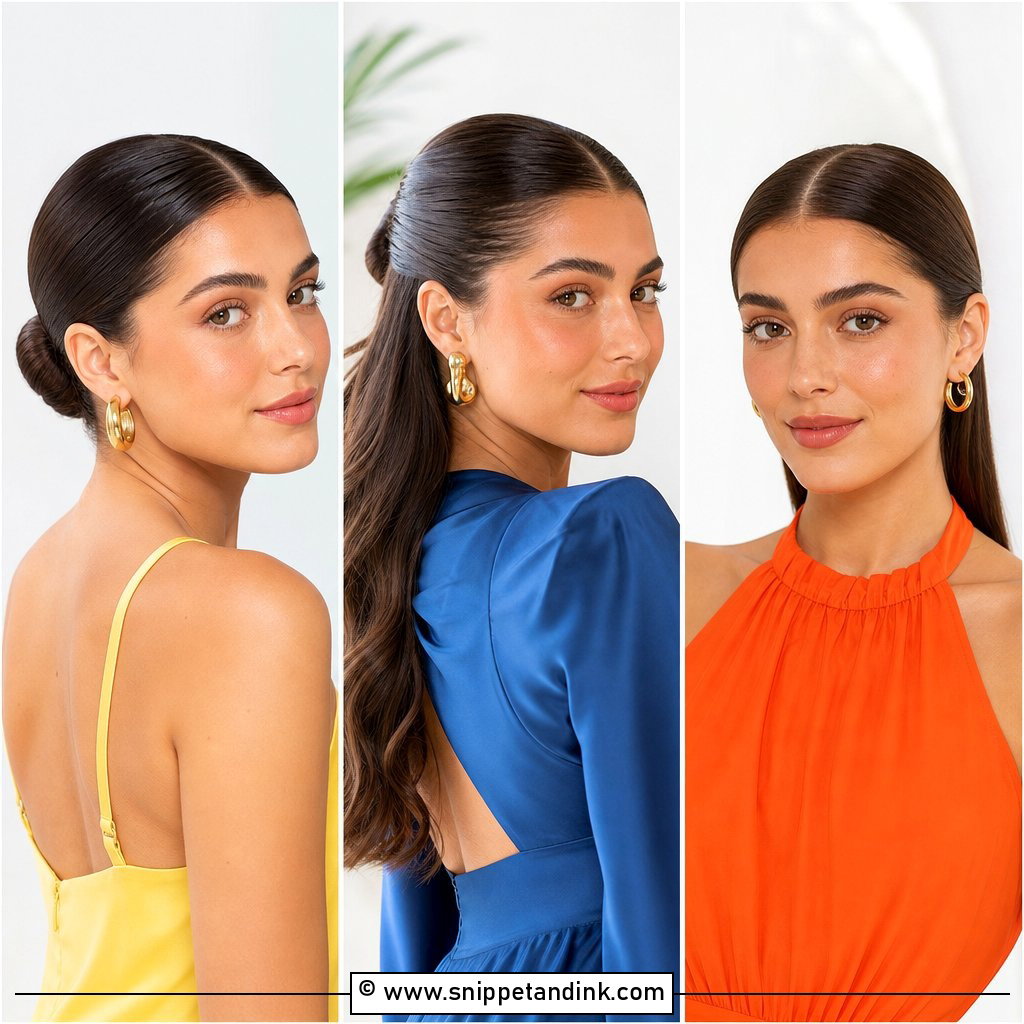
The slick back low bun is the one I trust most for outdoor weddings. Sitting close to the head at the nape, it gives wind nothing to catch, and humidity can only affect the surface. I smooth the hair back, gather it low and wrap it into a neat bun. It works with a veil, a high neck, a strapless gown and big earrings alike. Ask for a soft shine rather than a lacquered helmet: less spray on the surface and more hold underneath. A middle part reads modern; no part reads more classic.
2. Slick Back Middle Part Bun Wedding Hairstyle
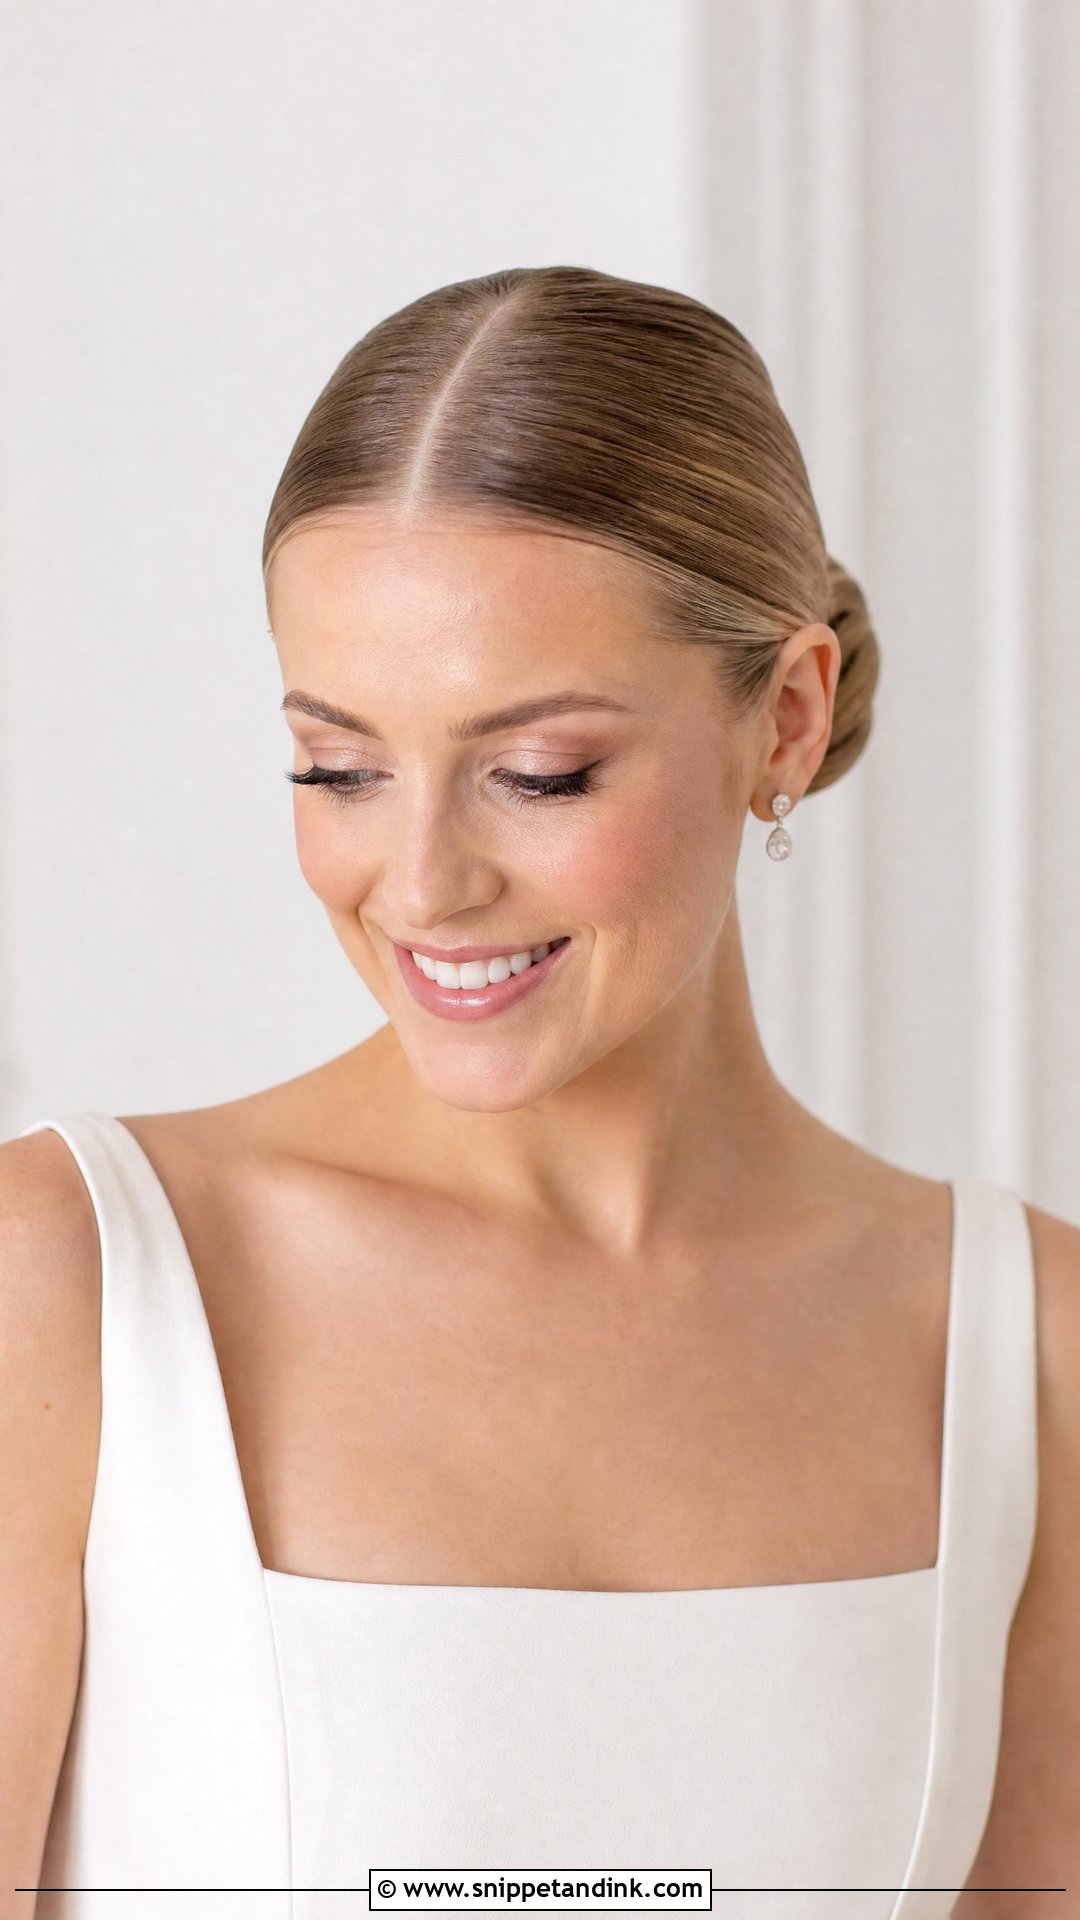
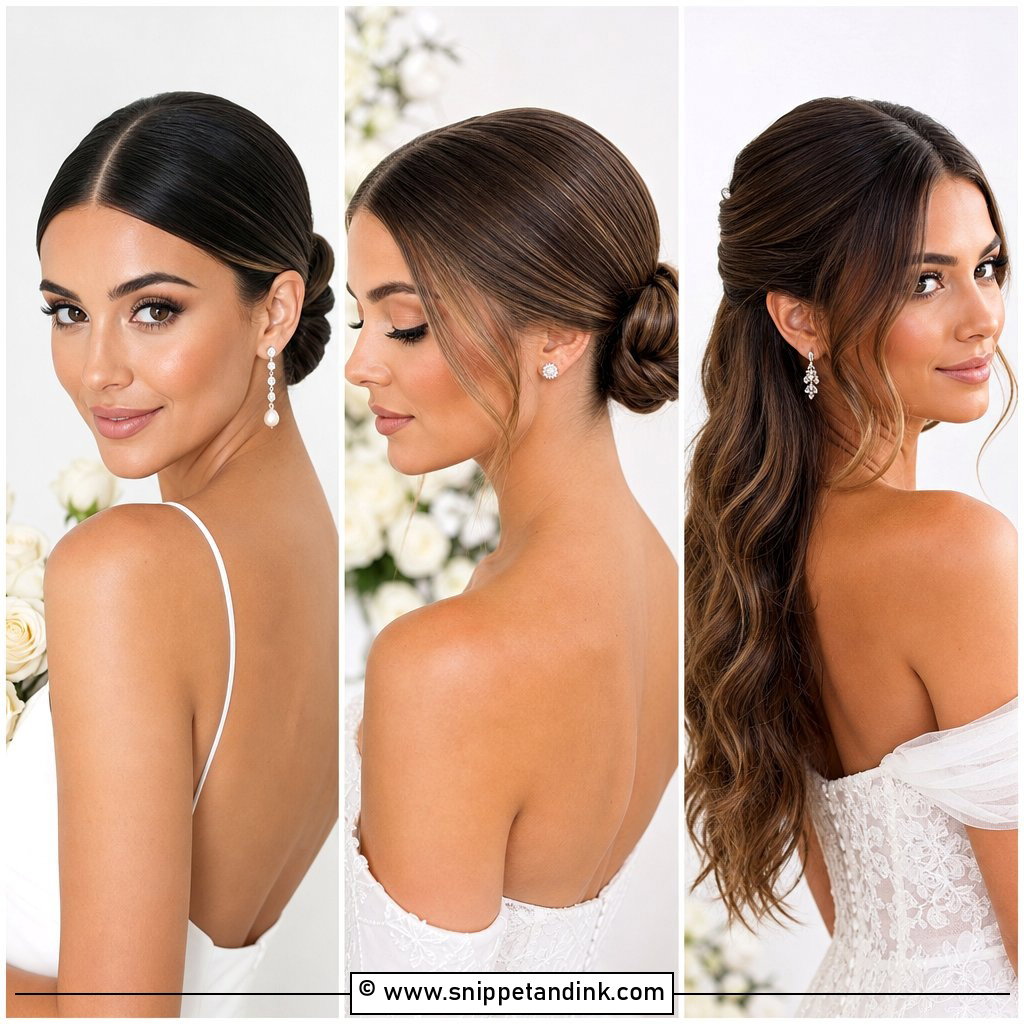
Symmetry suits cheekbones and a defined jaw. A center part with smooth sides frames the face evenly, so it looks sculpted in photos taken straight on. On straight, wavy and lightly textured hair I polish the roots with a smoothing cream or gel, depending on how much the hair wants to lift. The bun can sit low for a classic mood or a little higher for lift. Keep the part crisp; I draw it with the tail of a comb after the product goes on, because a wobbly part shows immediately. Pearl earrings and a minimal satin gown suit it.
3. Slick Back Side Part Bun Wedding Hairstyle
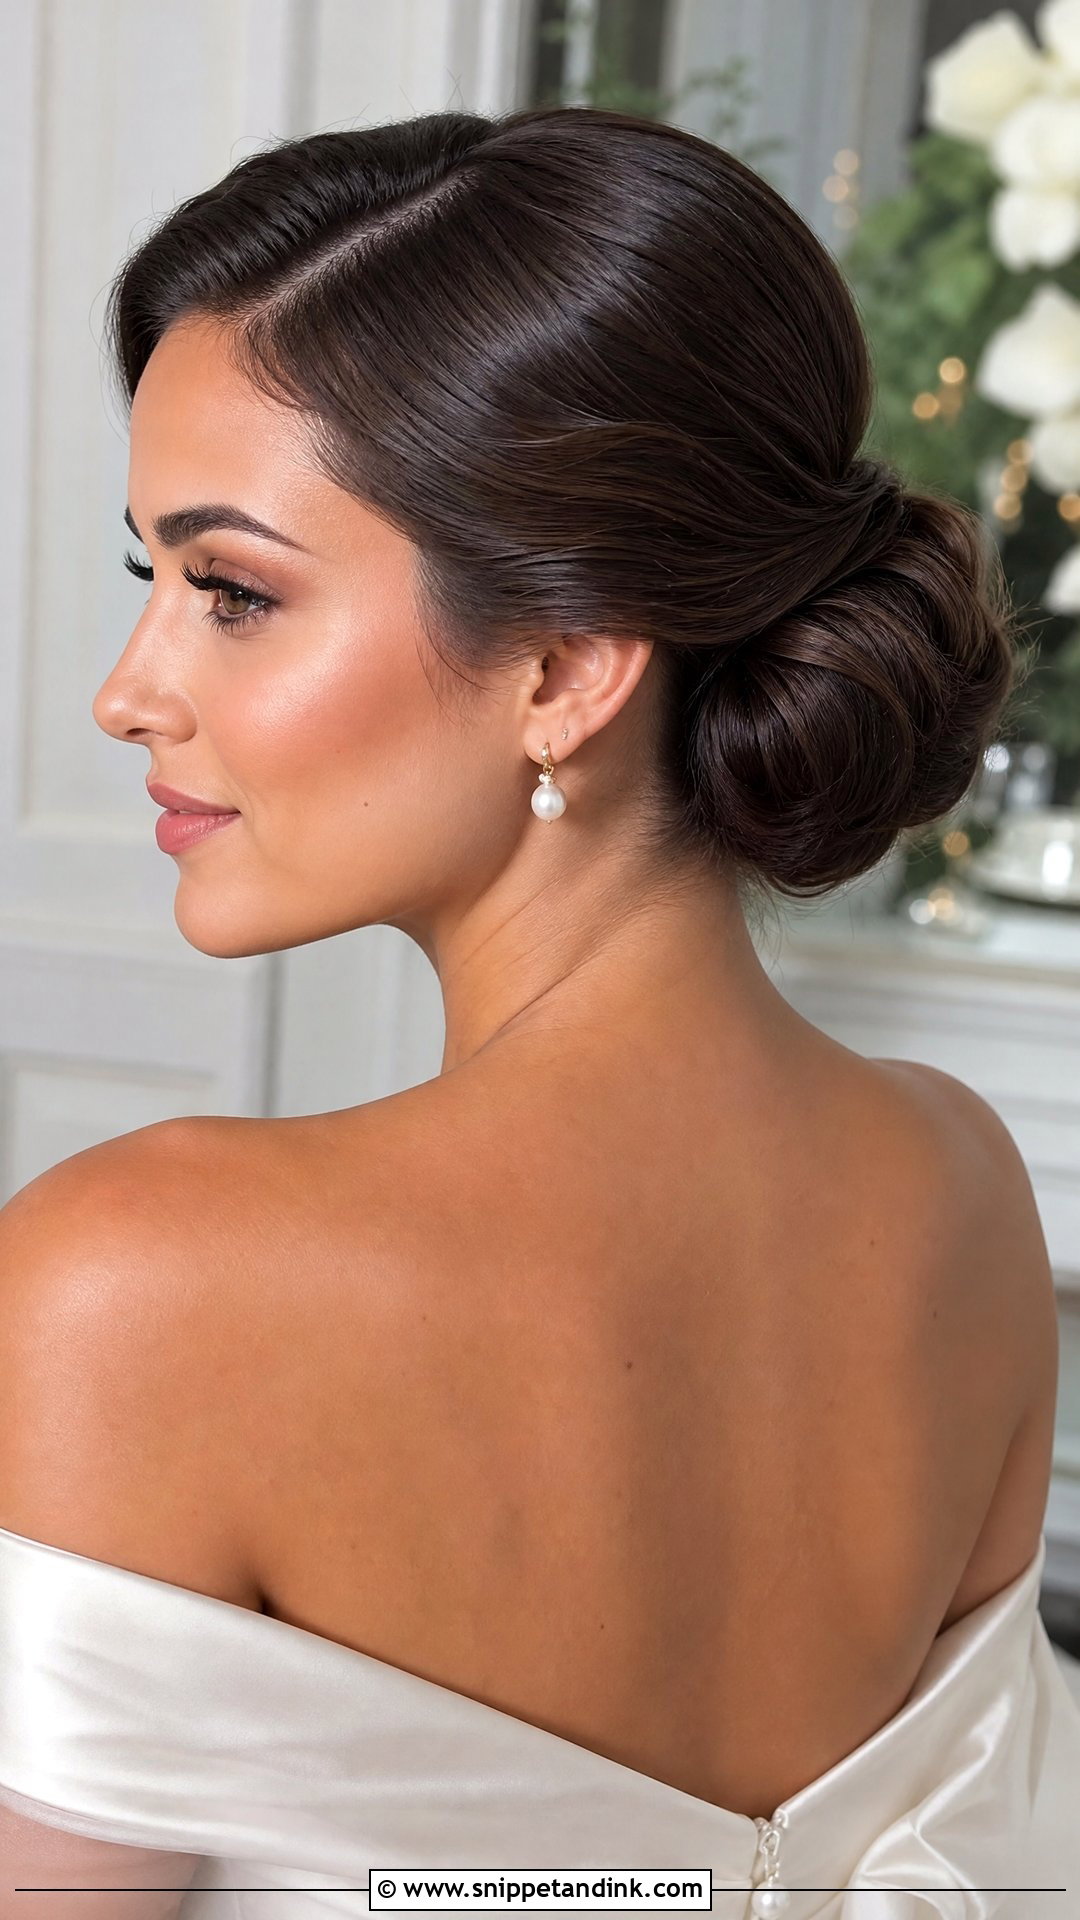
Shifting the part to one side brings a soft slant to an otherwise strict style. Deep or subtle, the part sweeps the hair into a low or mid bun. I like it for round, square and heart-shaped faces, because breaking the symmetry draws the eye diagonally. One-shoulder gowns and side-swept veils pair naturally with it, as long as the veil falls on the opposite side to the sweep so the two do not compete. Shine through the crown makes the angle read in photographs.
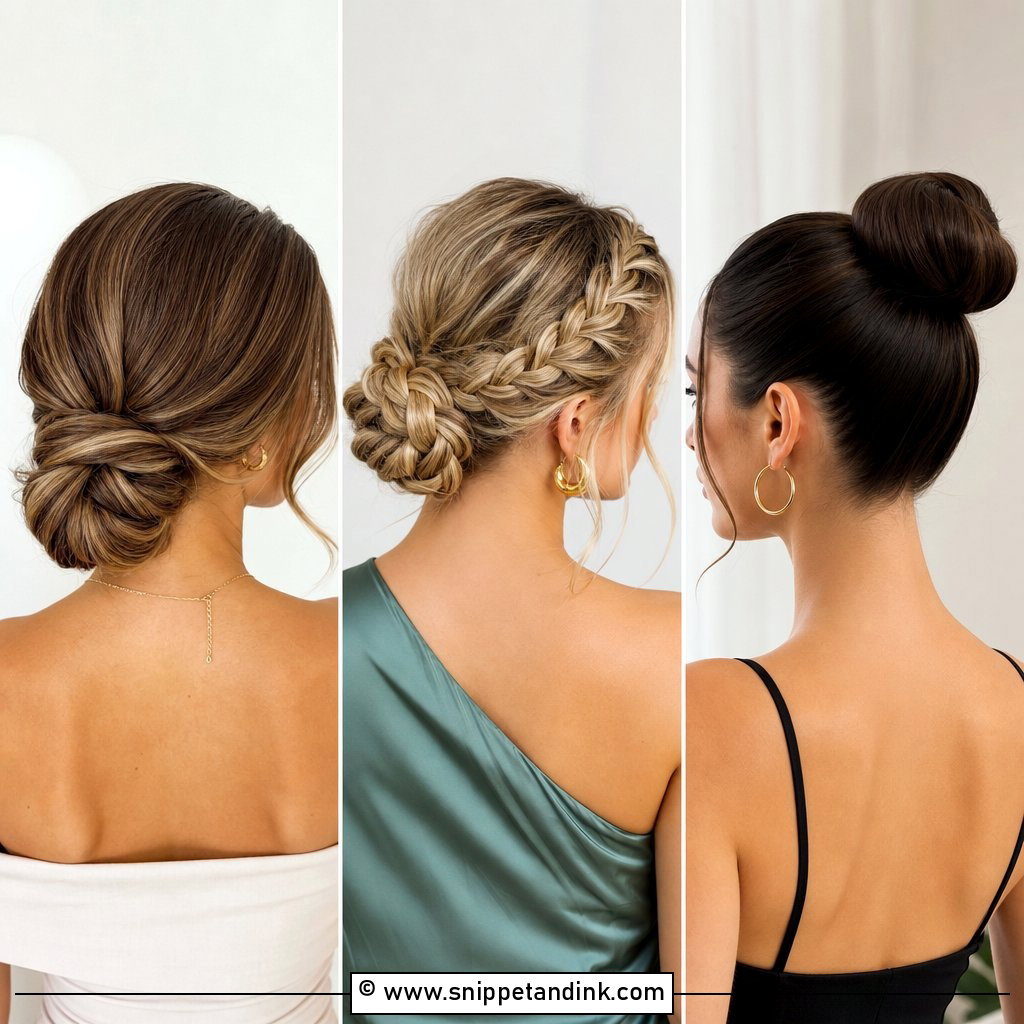
4. Slick Back High Bun Wedding Hairstyle
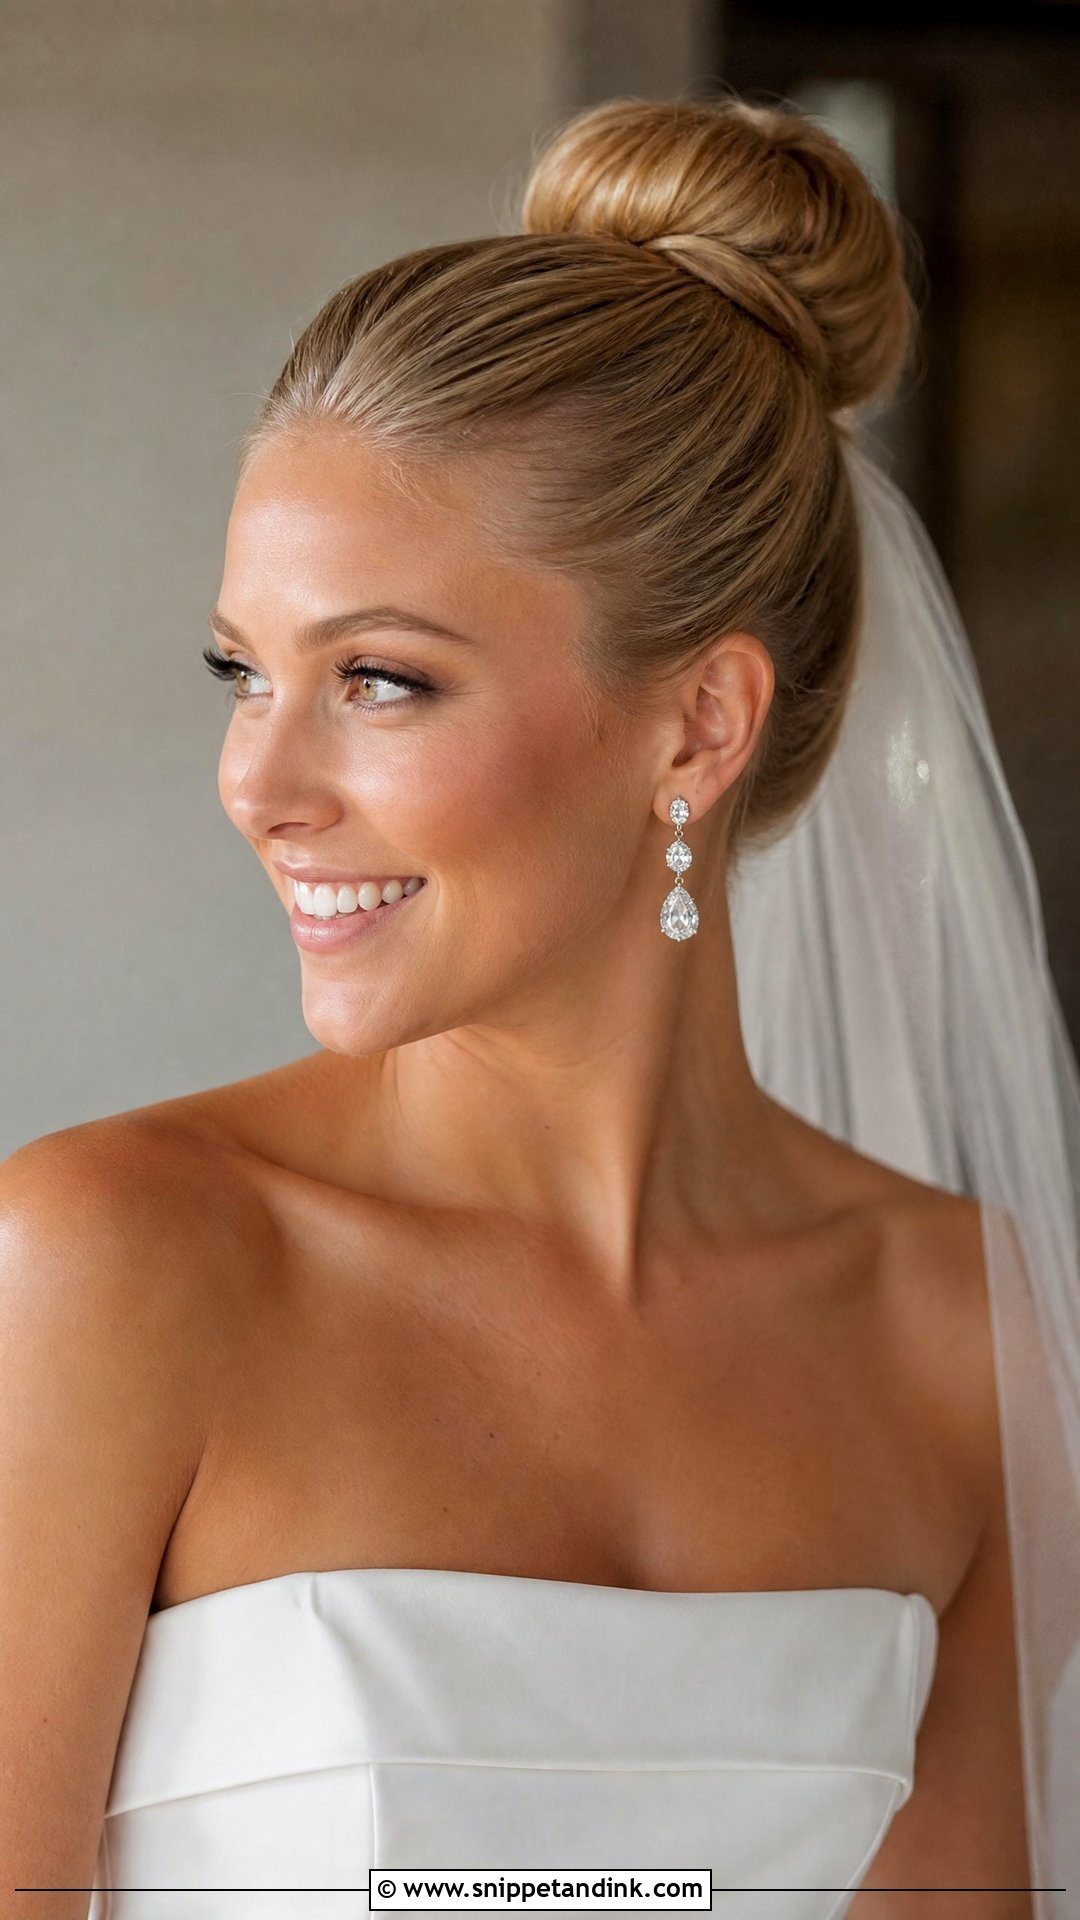
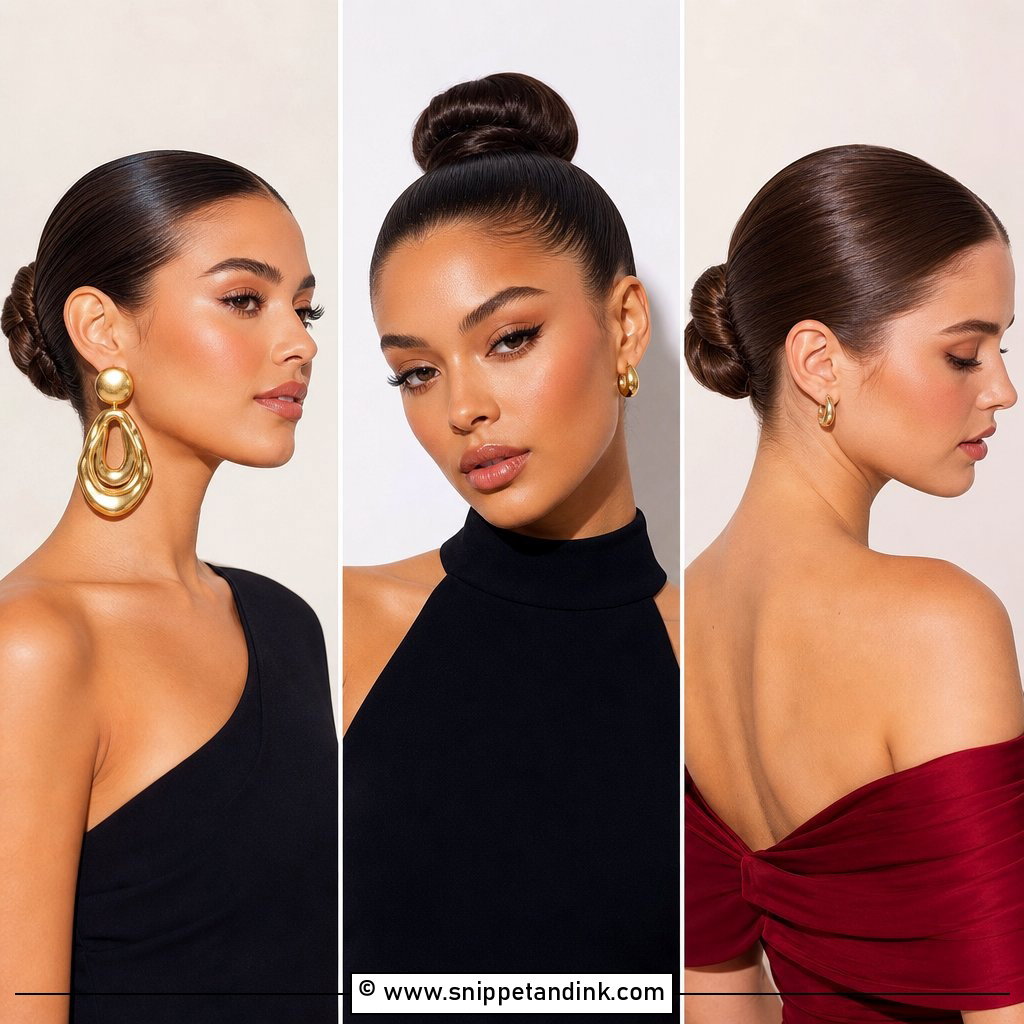
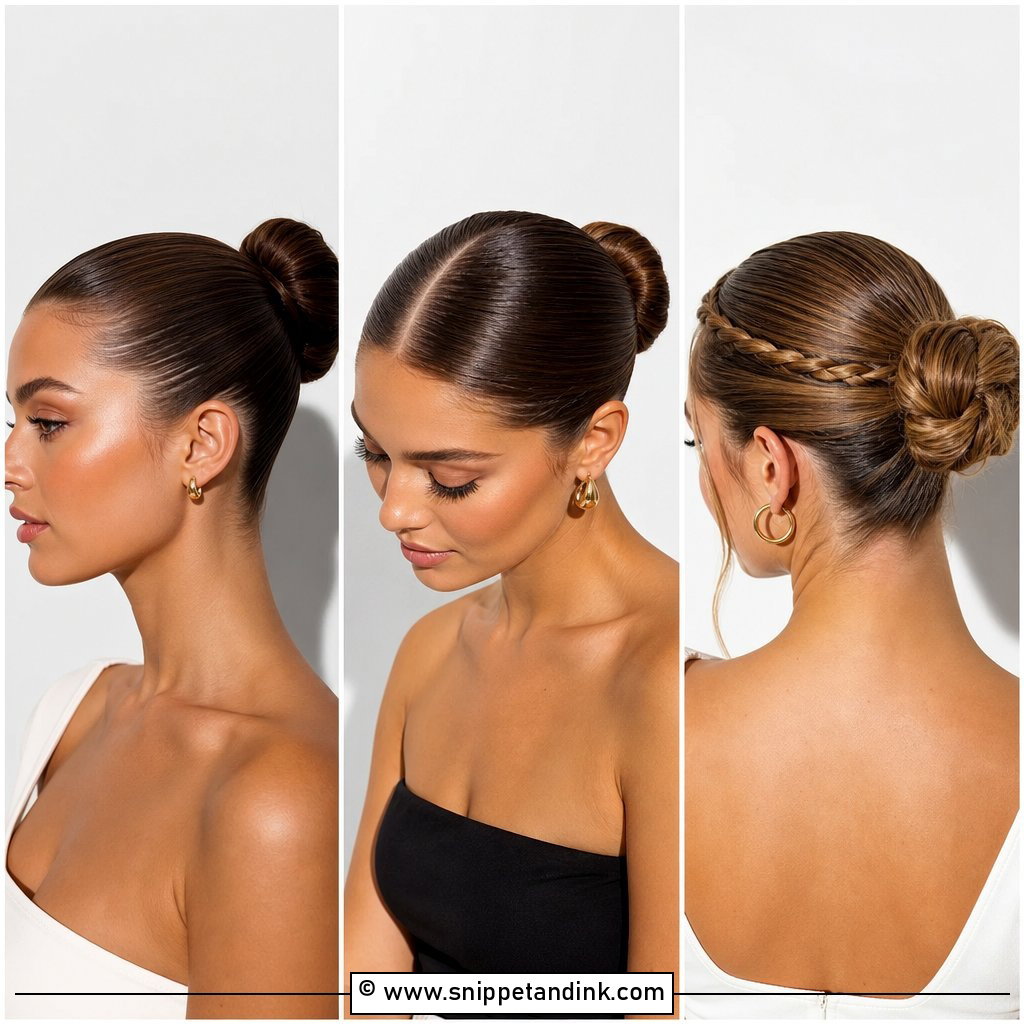
A high bun lifts the whole look and leaves the neck completely clear, which makes sense with an open neckline and dramatic earrings. Wrapped tight, it becomes a ballerina bun; built fuller, it reads more glamorous. The higher a bun sits, the more it relies on a secure base, so I use two elastics and crossed pins rather than one tight band. A veil pins underneath, or a comb can sit just behind it. Expect more scalp tension than with a low bun, so try it for a few hours at the trial.
5. Slick Back Ballerina Bun Wedding Hairstyle
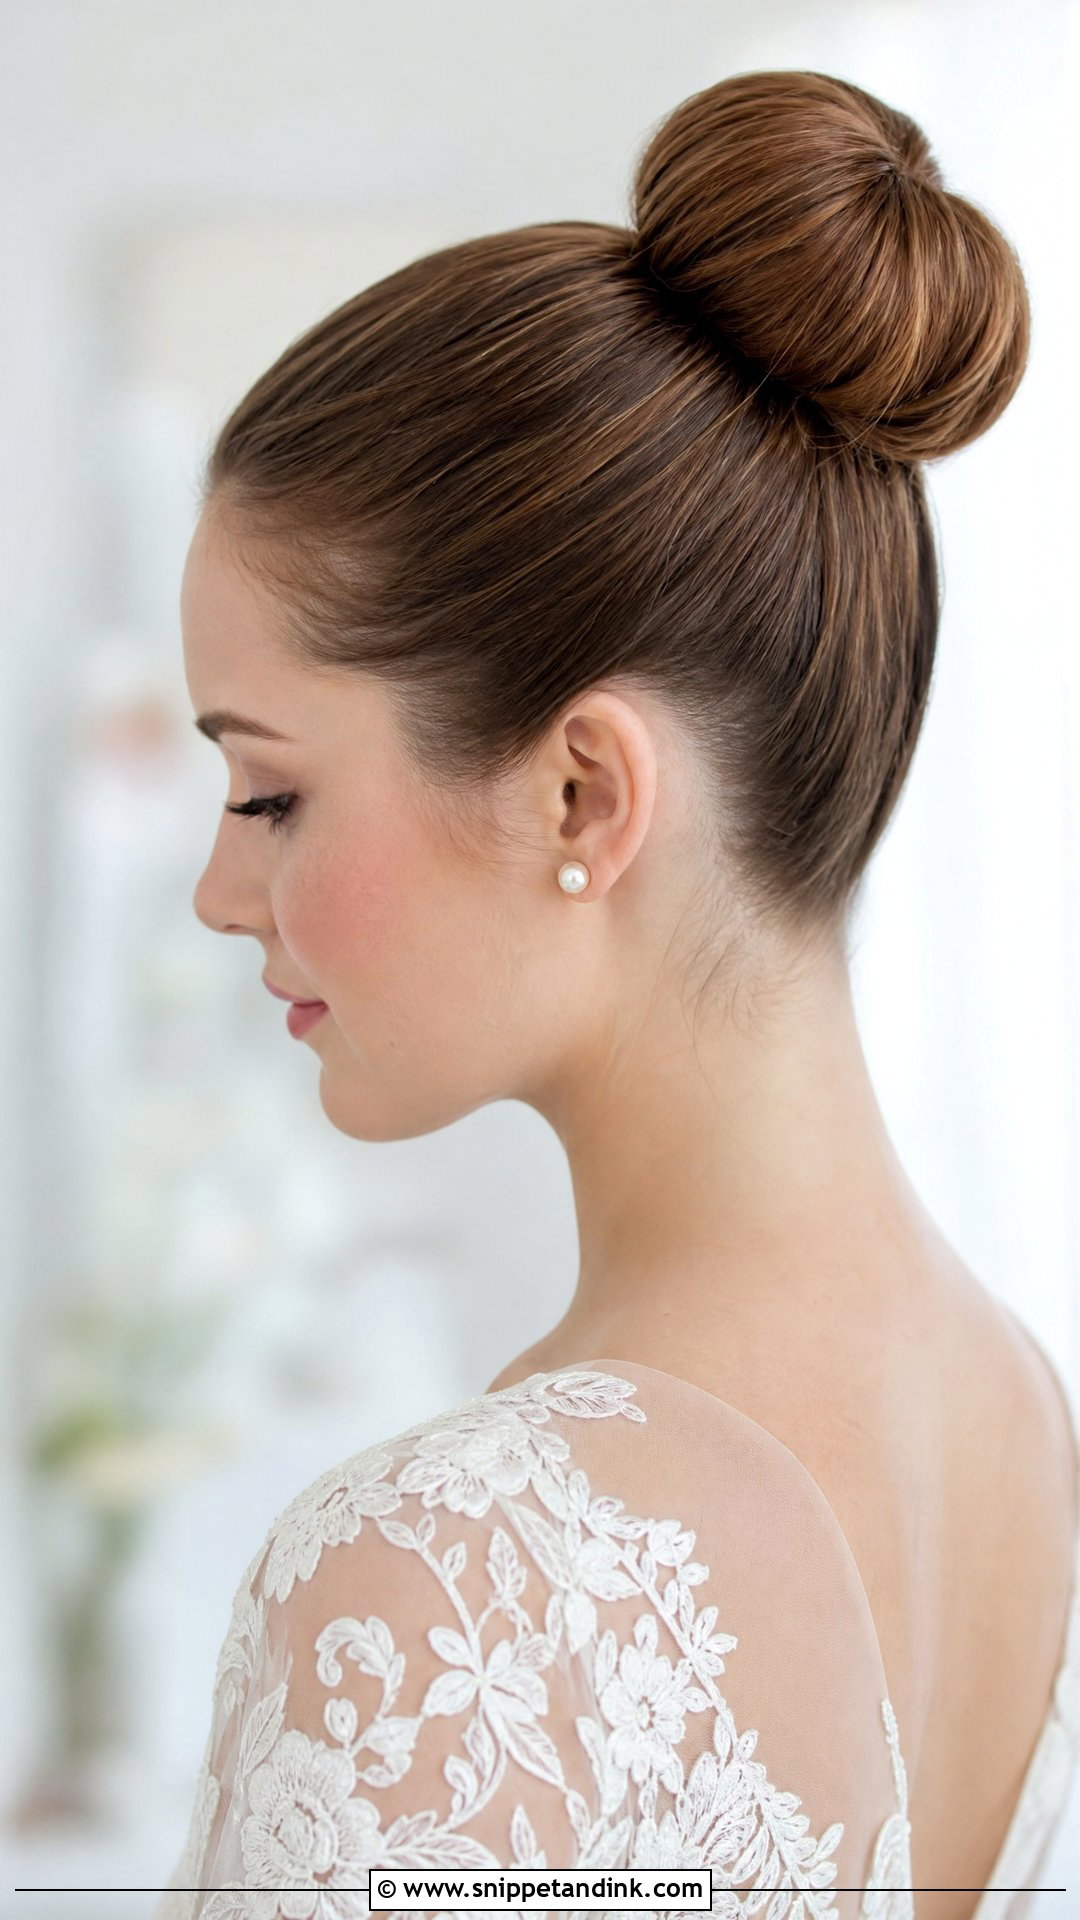
Round, even and set at the crown or upper back of the head, the slick back ballerina bun pulls focus to the neckline and back of the dress, from lace straps to a square neck or open back. It needs roughly shoulder-blade length to form a full circle without padding. I keep the bun compact so it does not look bulky from the side. Pinned properly, it barely moves all day. Tiny pearl pins are optional.
6. Slick Back Chignon Wedding Hairstyle
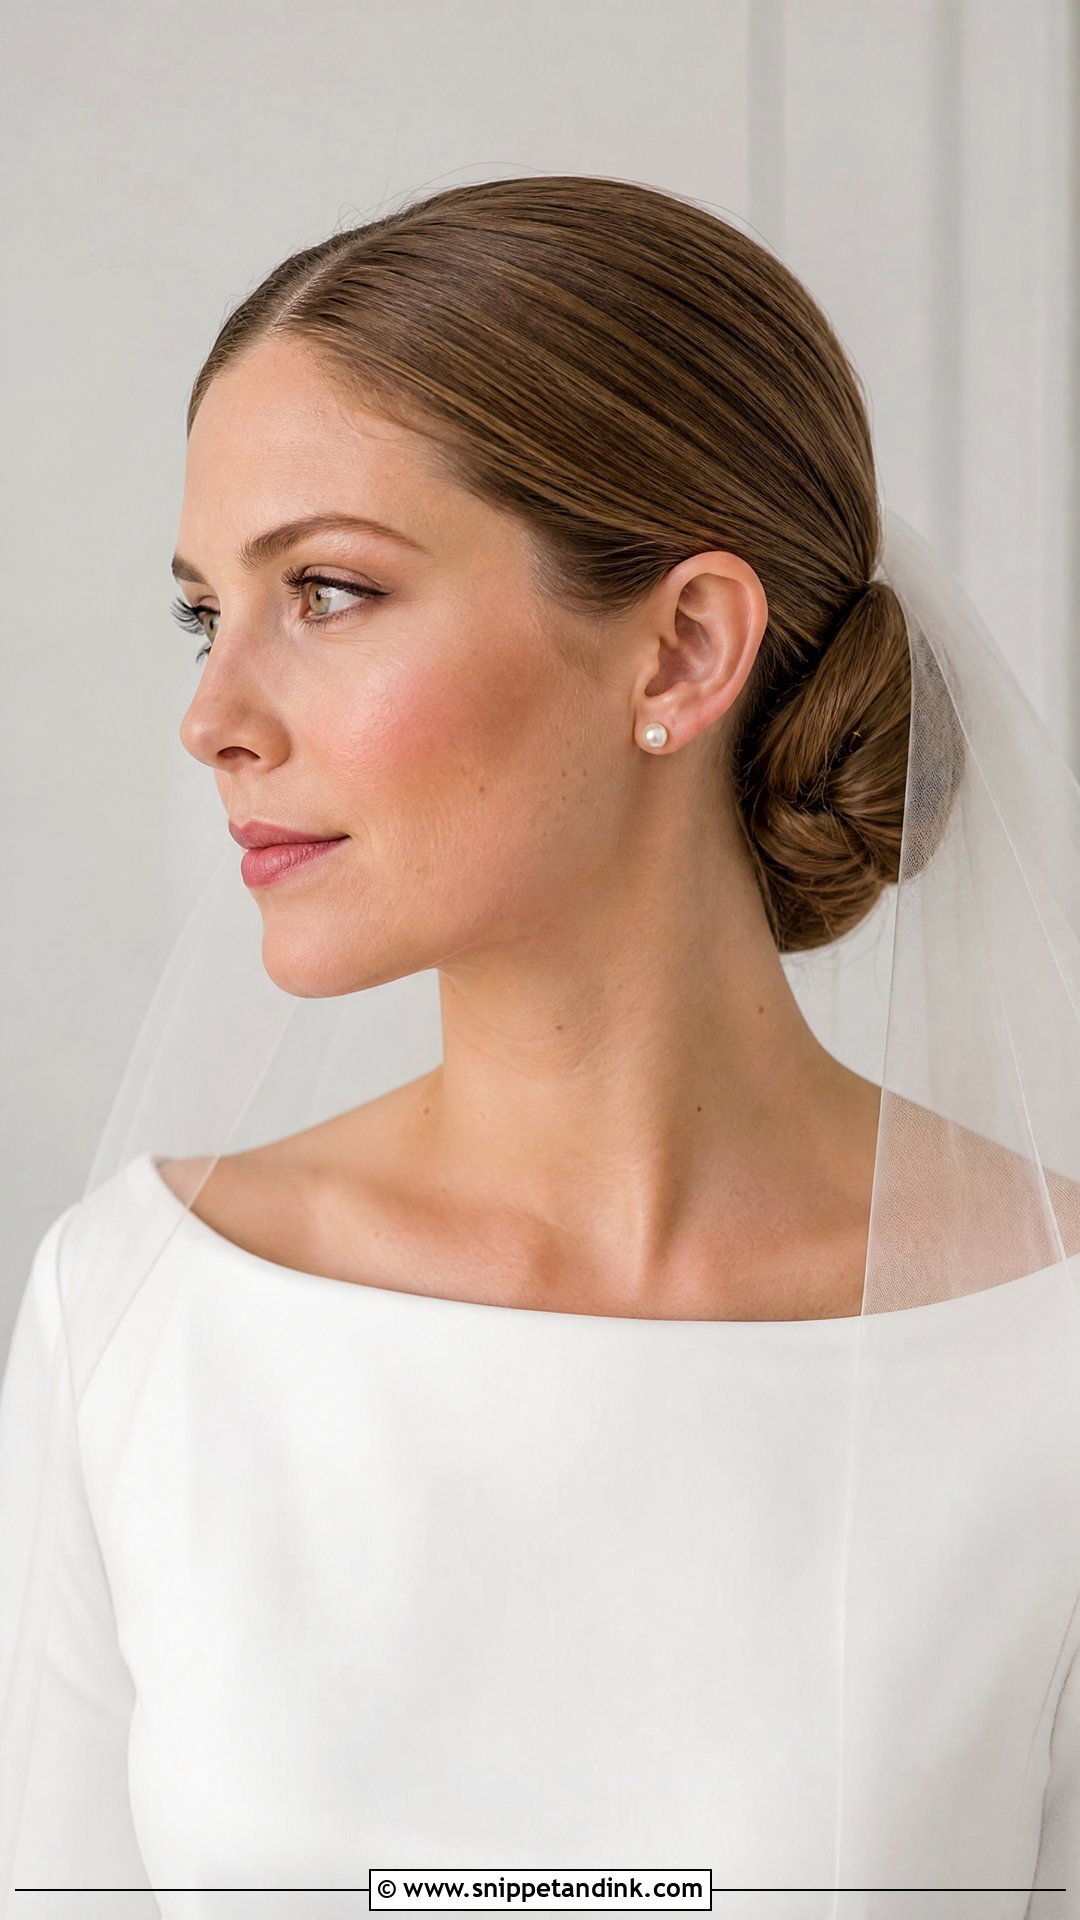
Of the classic shapes, the chignon has the most give. The hair is smoothed back and rolled or folded into a low shape at the nape, and that soft curve is what separates it from a plain bun. It sits well with a cathedral veil and delicate combs. Medium to long hair works; shorter or fine hair gets a small padding piece or extensions to fill it out. I keep the front sleek and leave just enough curve in the roll that it doesn’t look severe.
7. Slick Back Twisted Bun Wedding Hairstyle
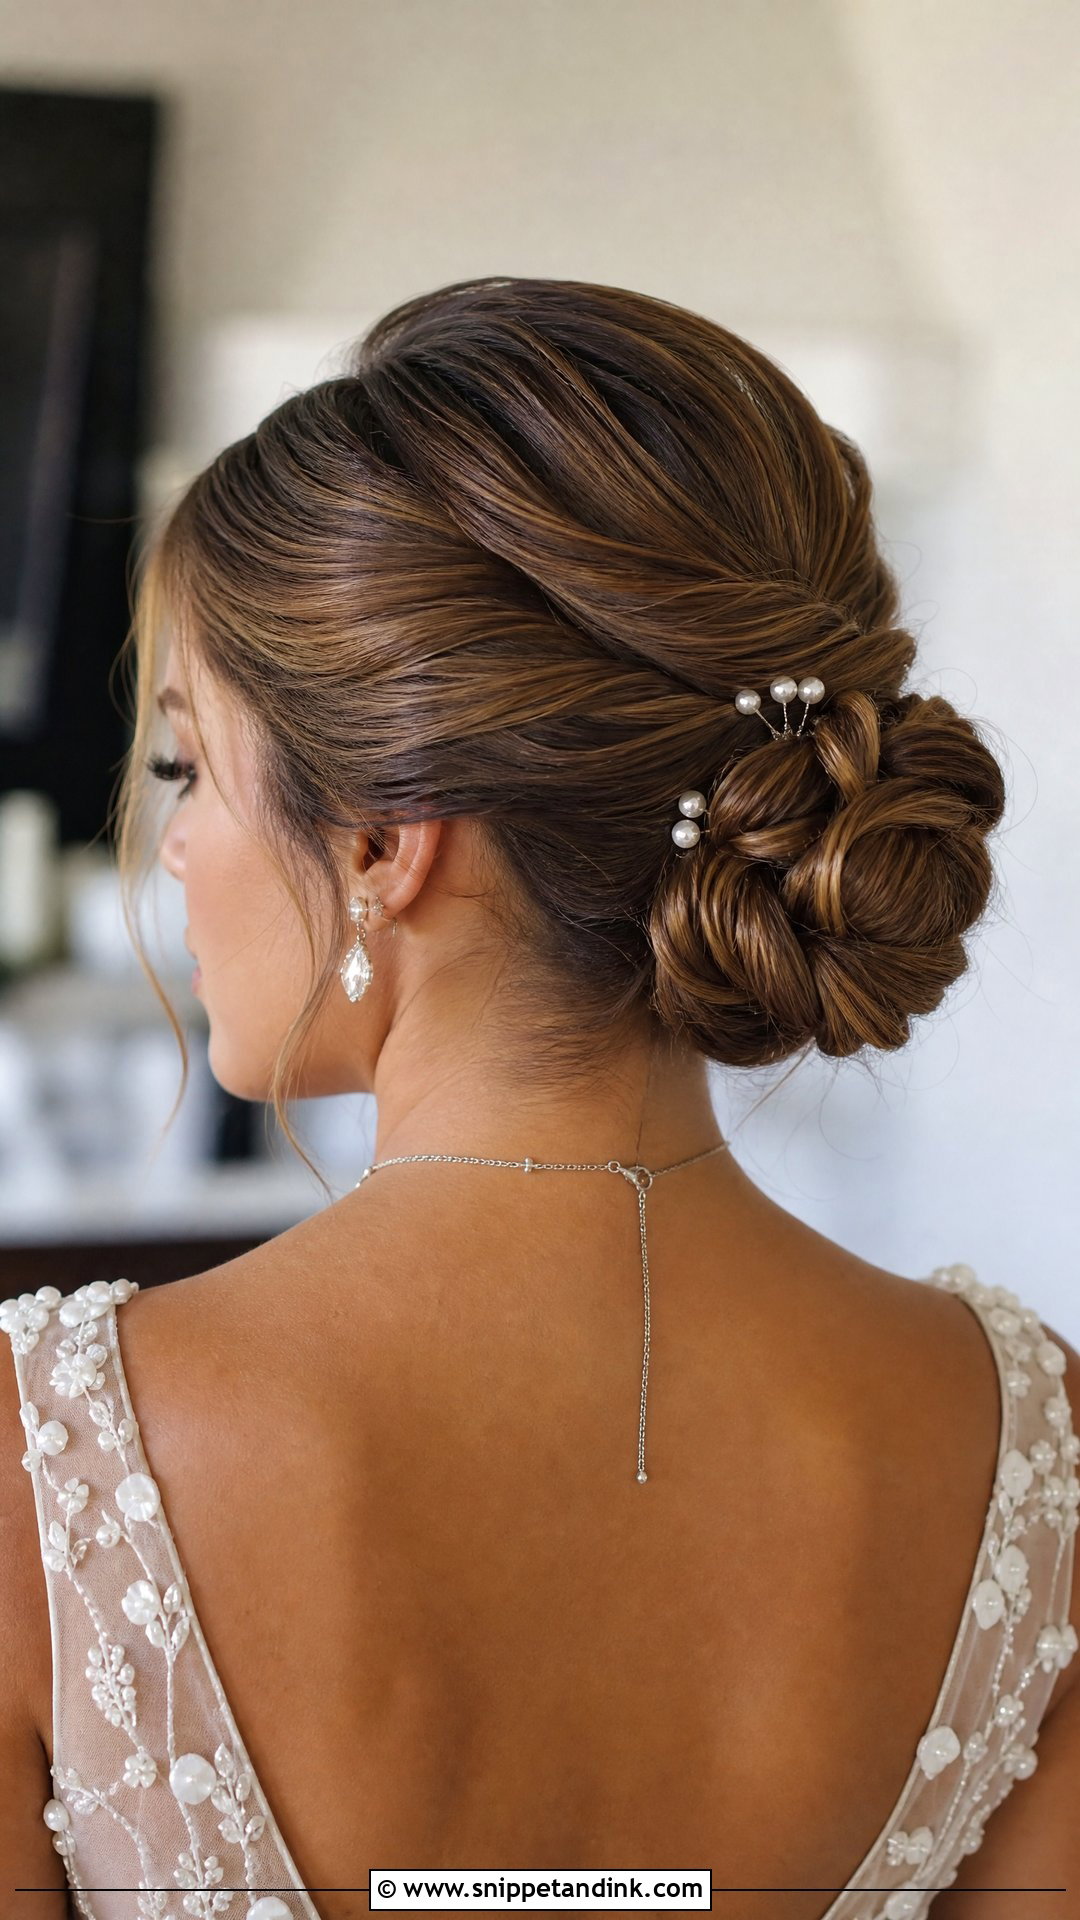
Twisting the sections before wrapping them gives the bun a ridged, rope-like surface that catches light. The front and sides stay smooth, so the detail only shows from behind. Twisted sections also hold pins better than flat ones, which makes this a sturdy style. Highlighted and multi-tonal hair shows the twists most clearly; very dark, solid color can make them flatten visually. A simple veil or a few small pins keep the focus on the shape.
8. Slick Back Knotted Bun Wedding Hairstyle
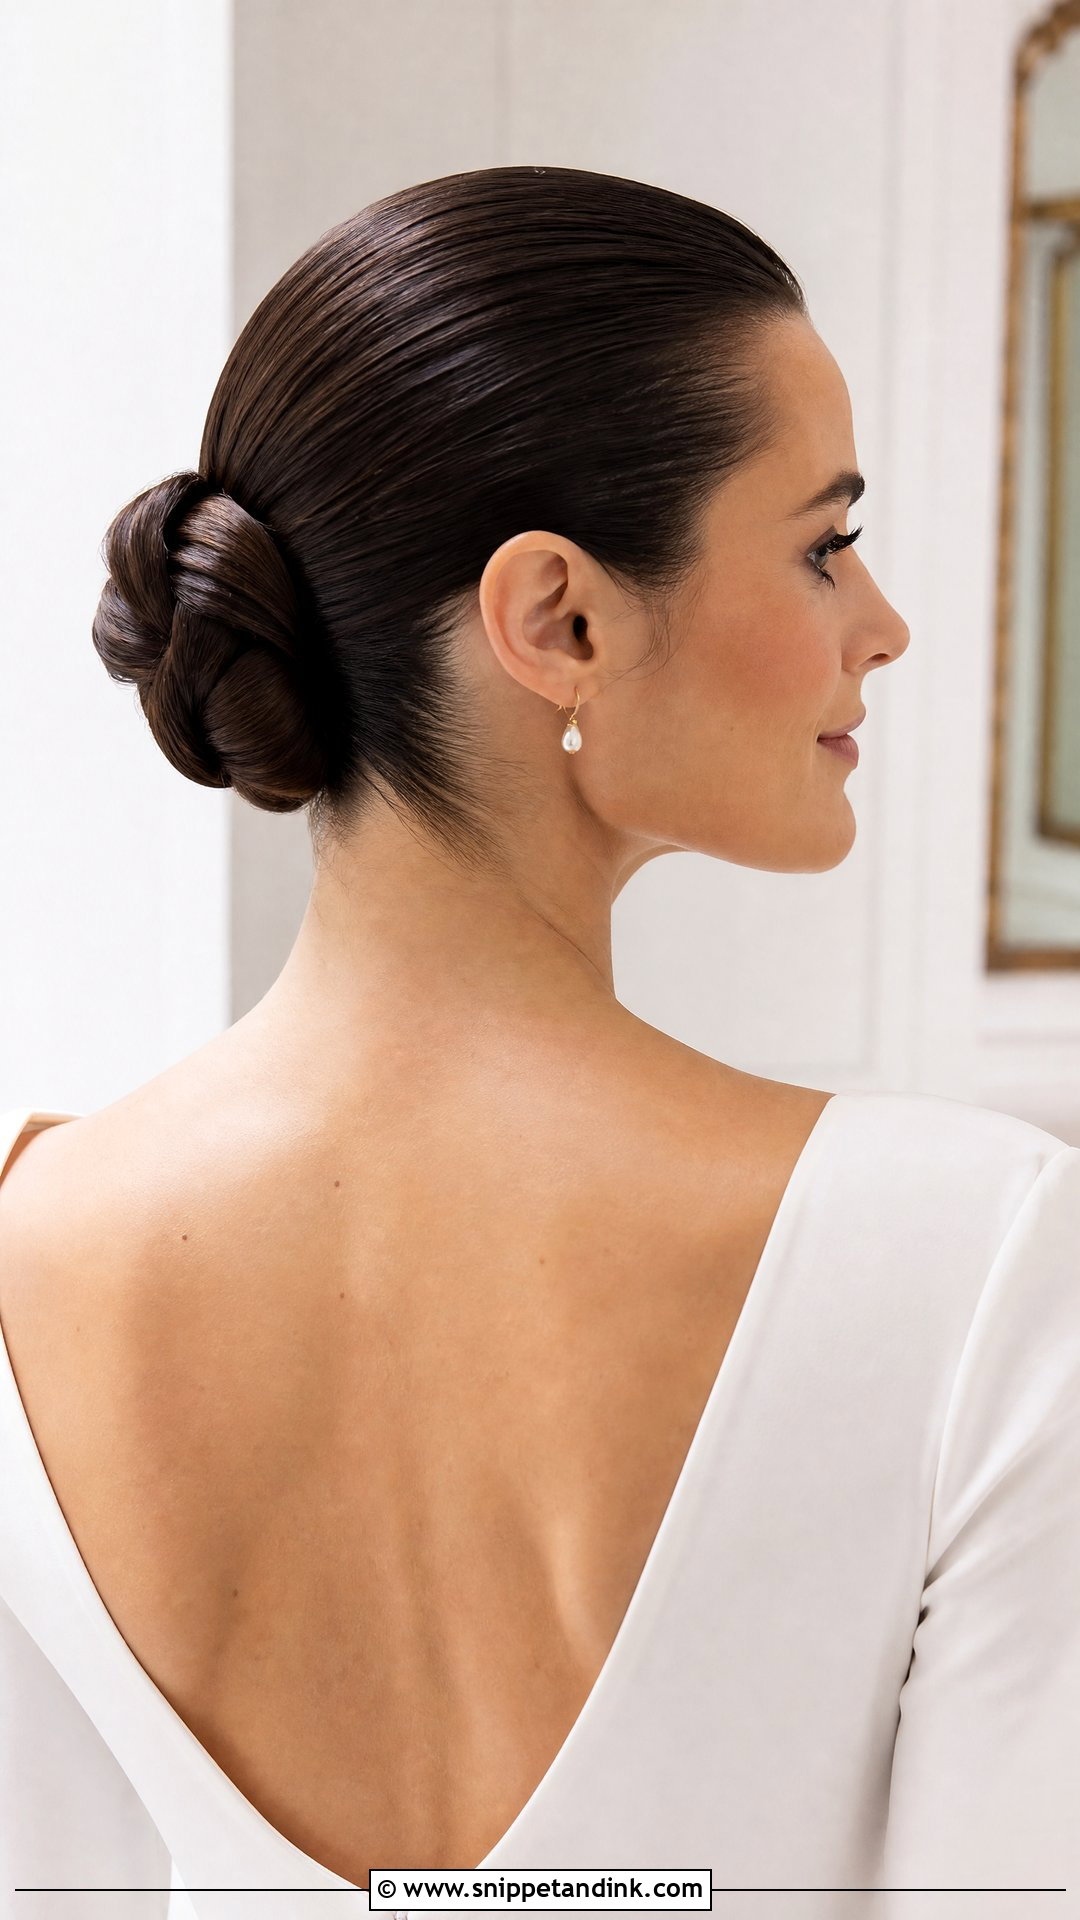
Shaped into an actual knot or looped structure rather than a smooth round bun, the slick back knotted bun has a fashion edge. The plain front keeps it bridal. It needs length past the shoulders or good density, otherwise the knot shrinks into a small lump that does not read from a distance. Square necklines, sleek gowns and minimal jewelry suit it. I pin the knot through its center as well as around the edges, which keeps the shape from slackening by evening.
9. Slick Back French Twist Wedding Hairstyle
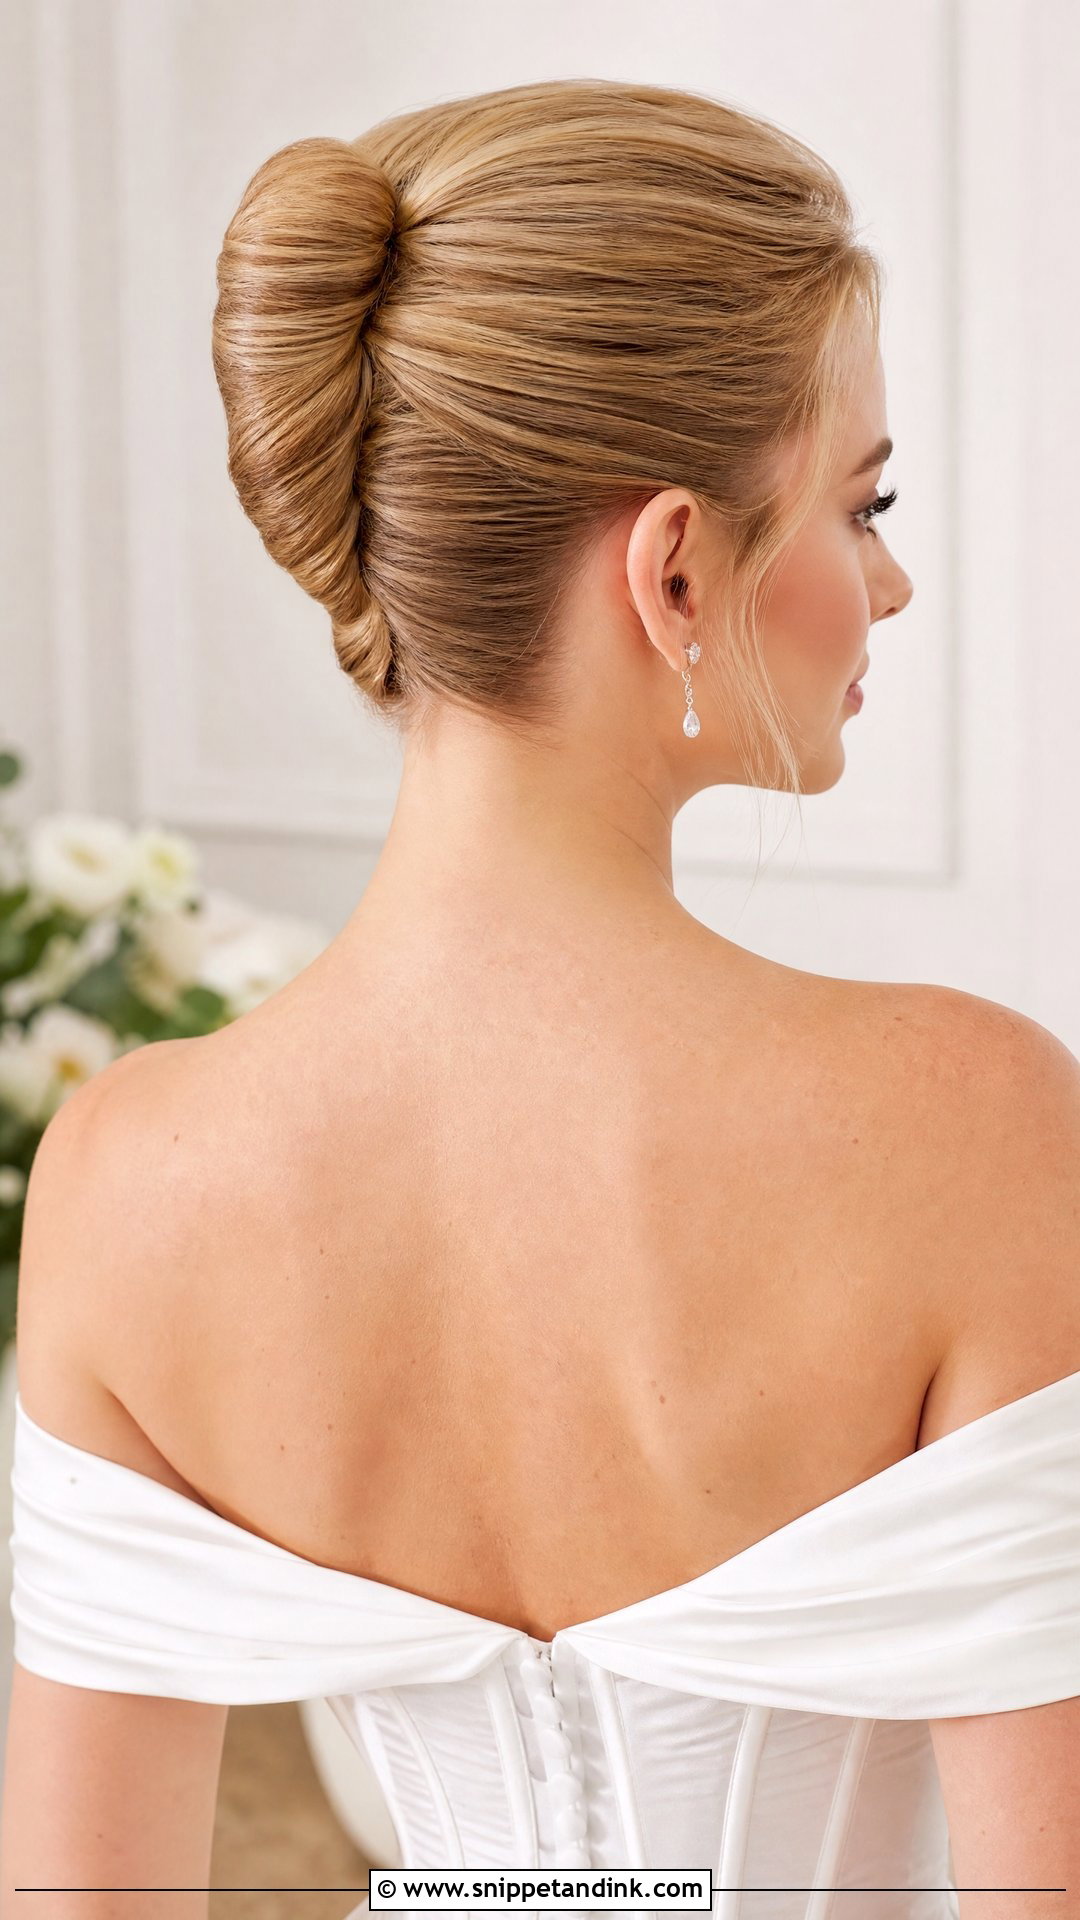
The French twist with a slicked front is a classic made a little sharper. Hair is brushed back, rolled vertically and pinned along the back of the head, so the silhouette works from the front, side and back. Boat necks, off-shoulder dresses and long veils all suit it. I can make the roll very neat or soften the fold slightly for a gentler look. The pins run inside the roll, which keeps the surface clean. Medium length is the minimum.
10. Slick Back Low Ponytail Updo Wedding Hairstyle
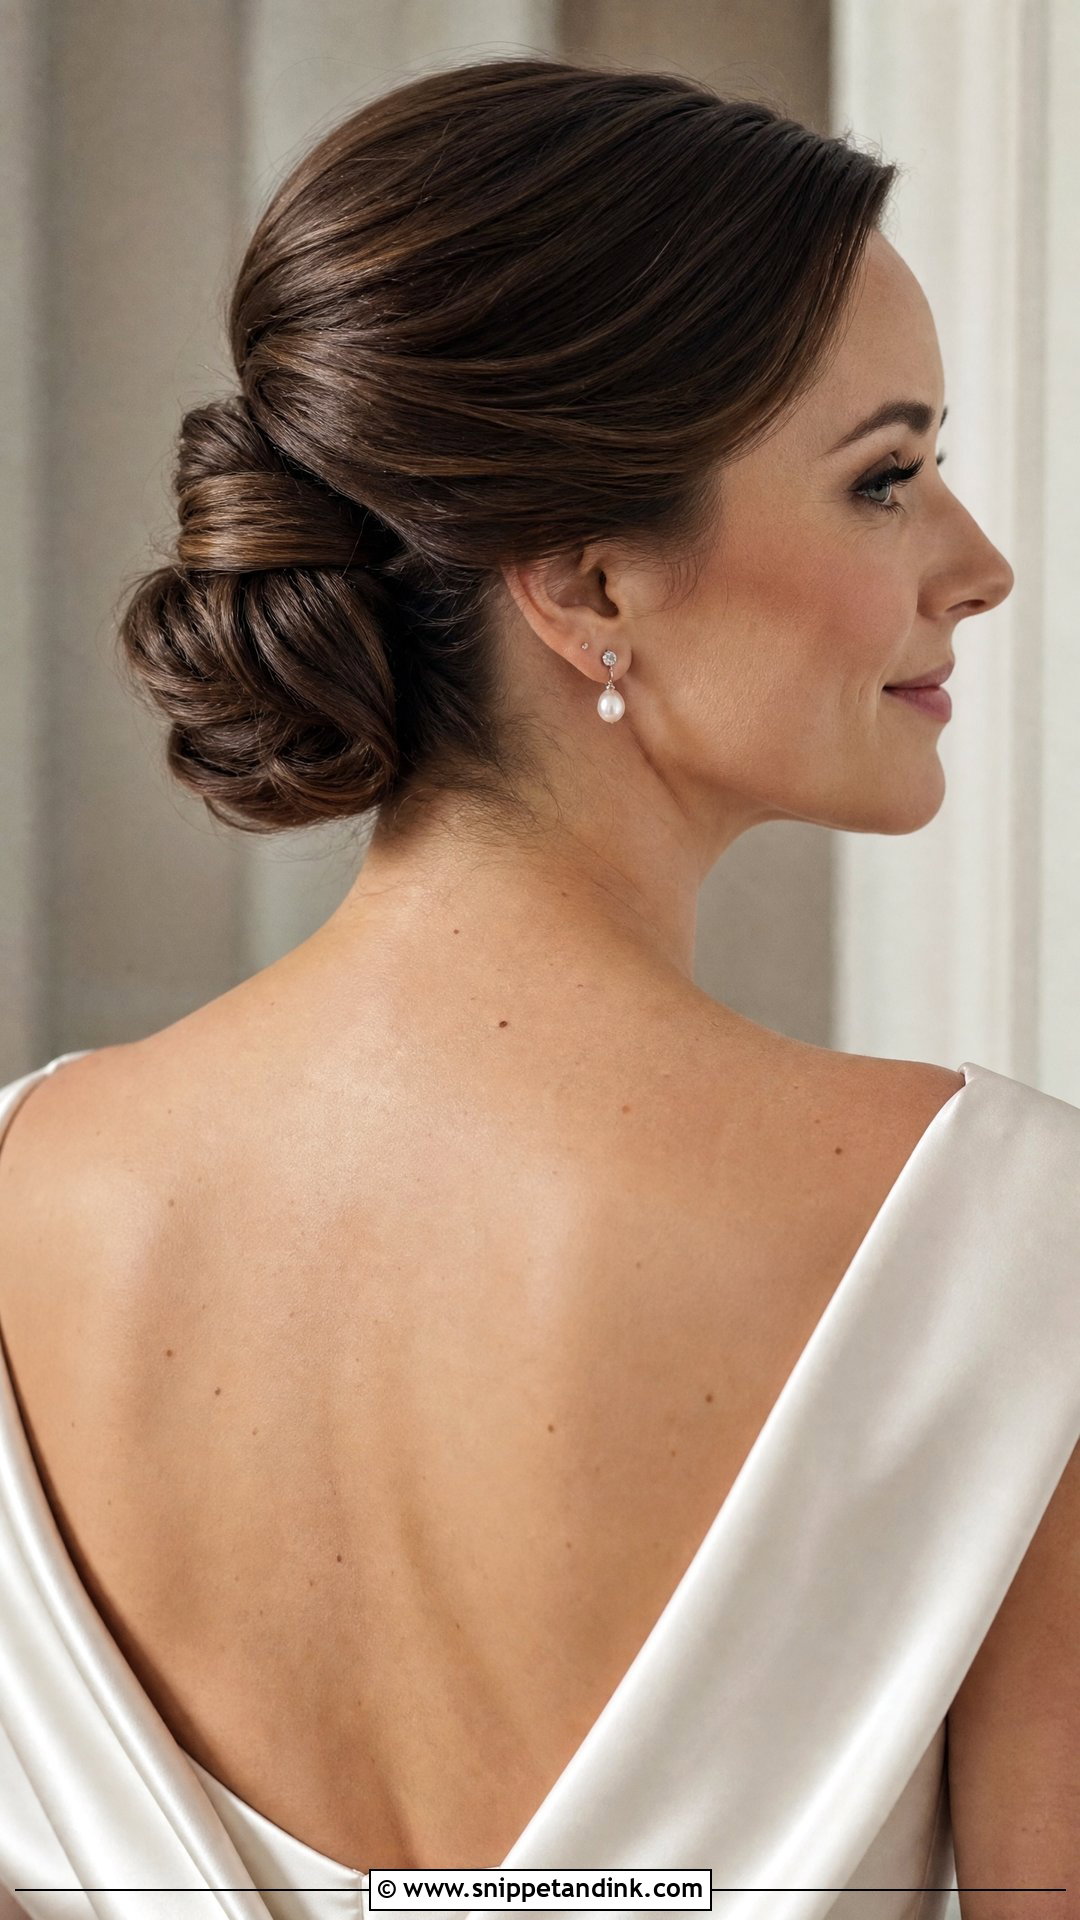
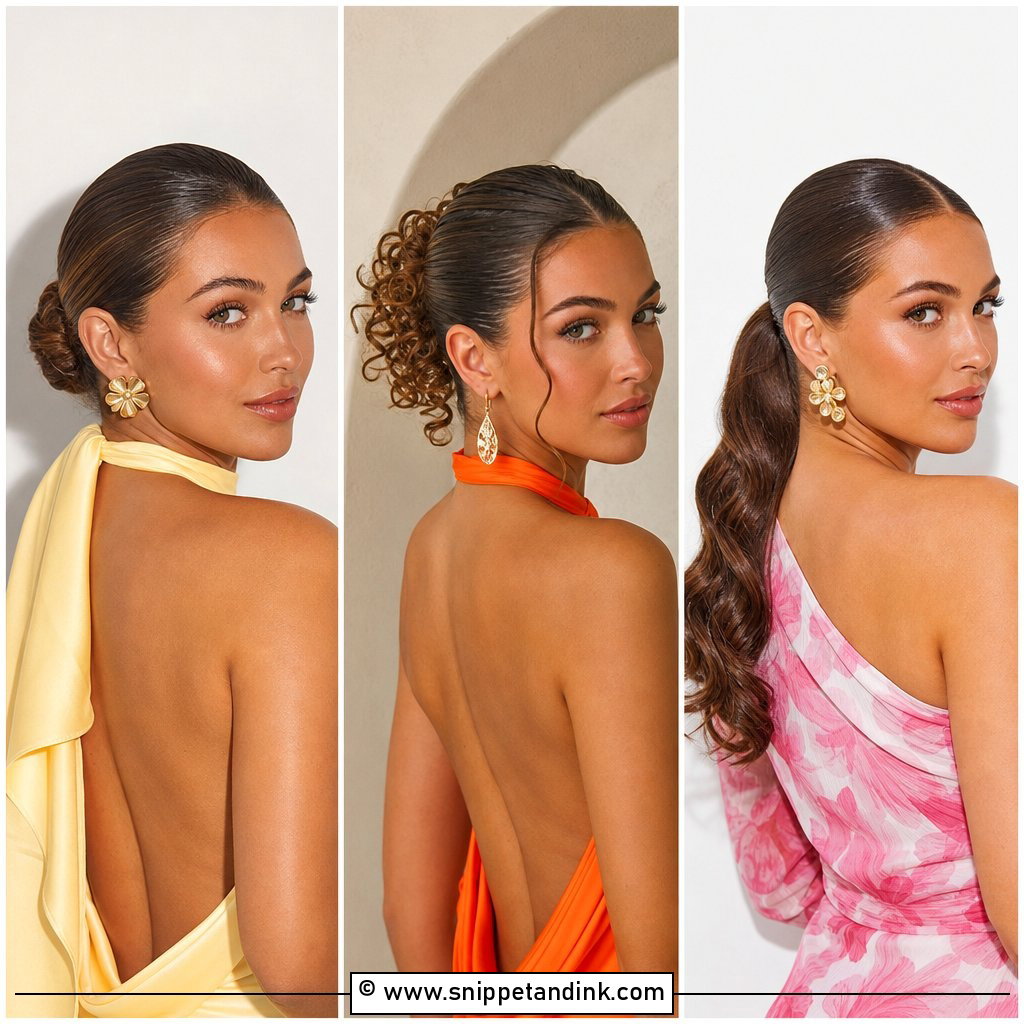
Think of this as a ponytail that has been dressed for a wedding. The hair is smoothed into a low ponytail, then the length is looped or pinned so it reads as an updo with some movement. It fits modern venues and minimal gowns. A wrapped base hides the elastic. The loop is the part that relaxes over a long day, so I secure it with pins at two points rather than one. Shine spray through the crown finishes it.
11. Slick Back Braided Bun Wedding Hairstyle
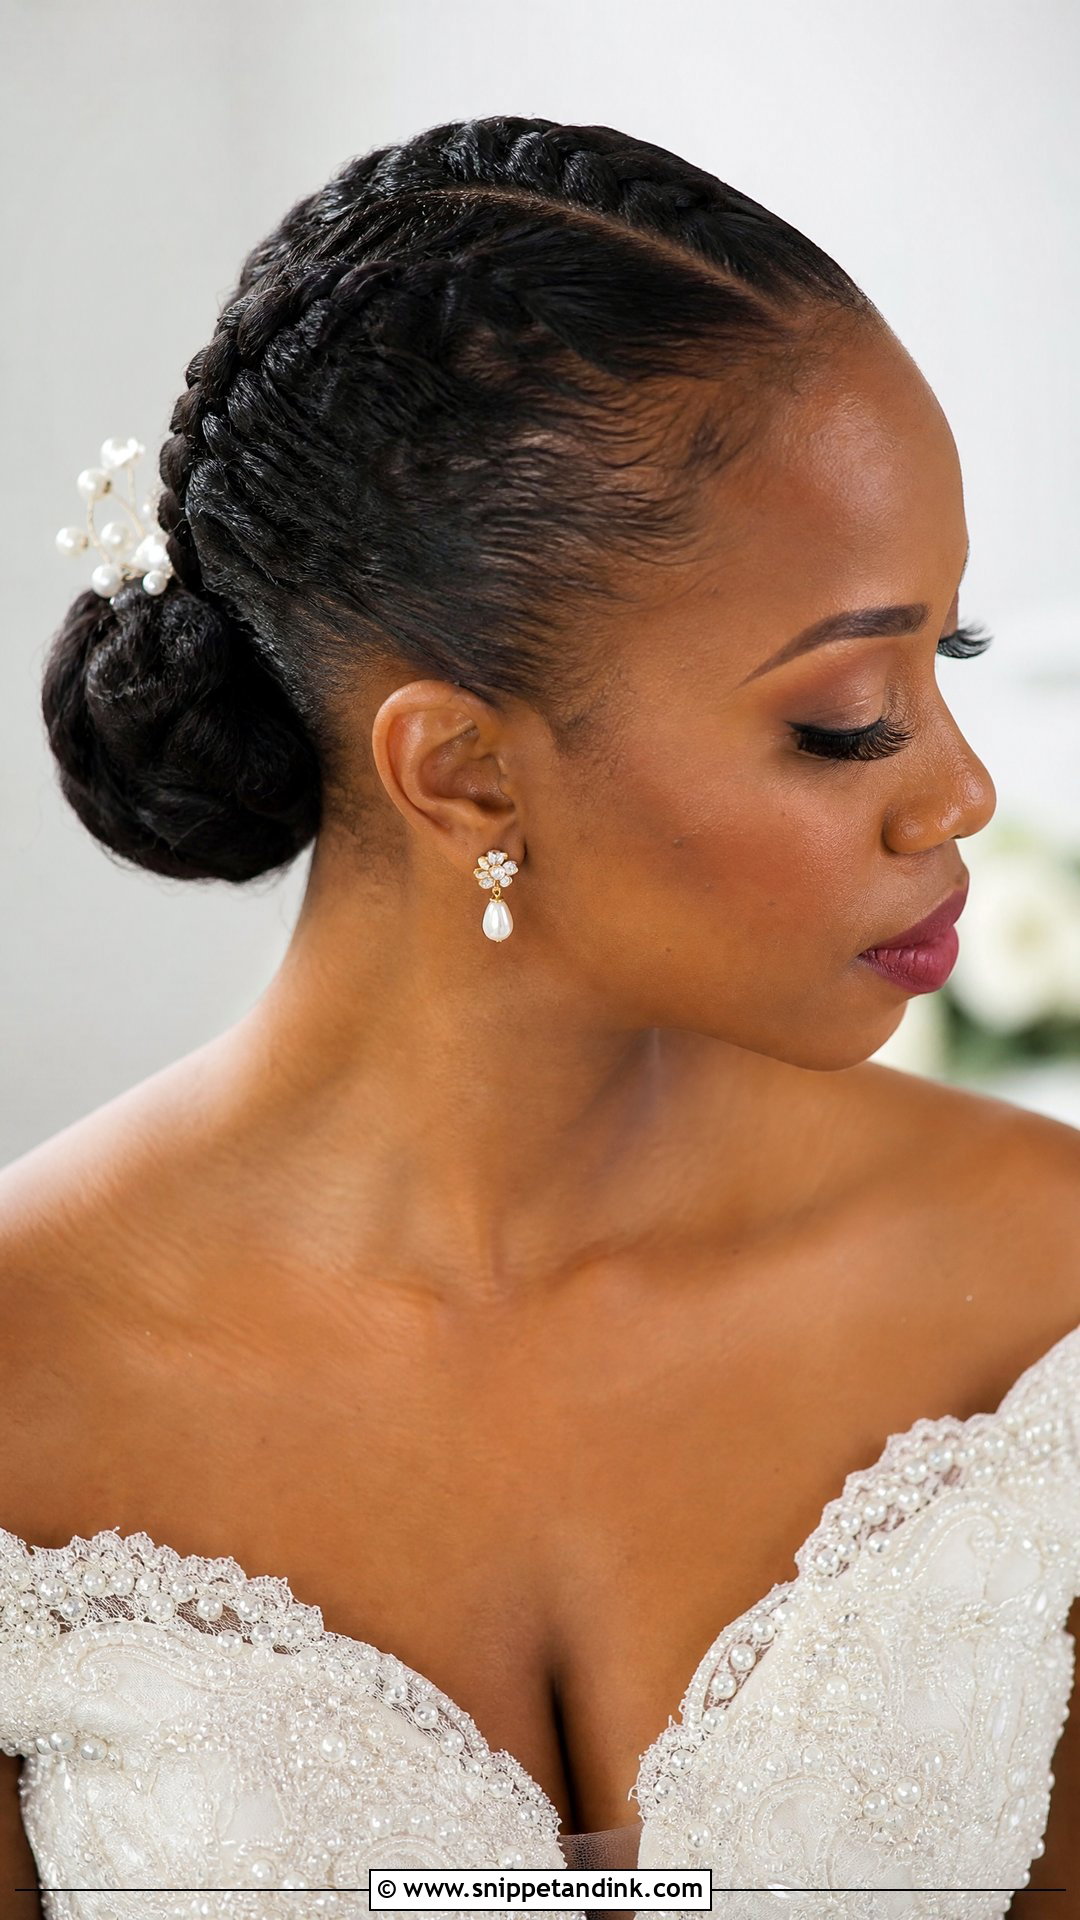
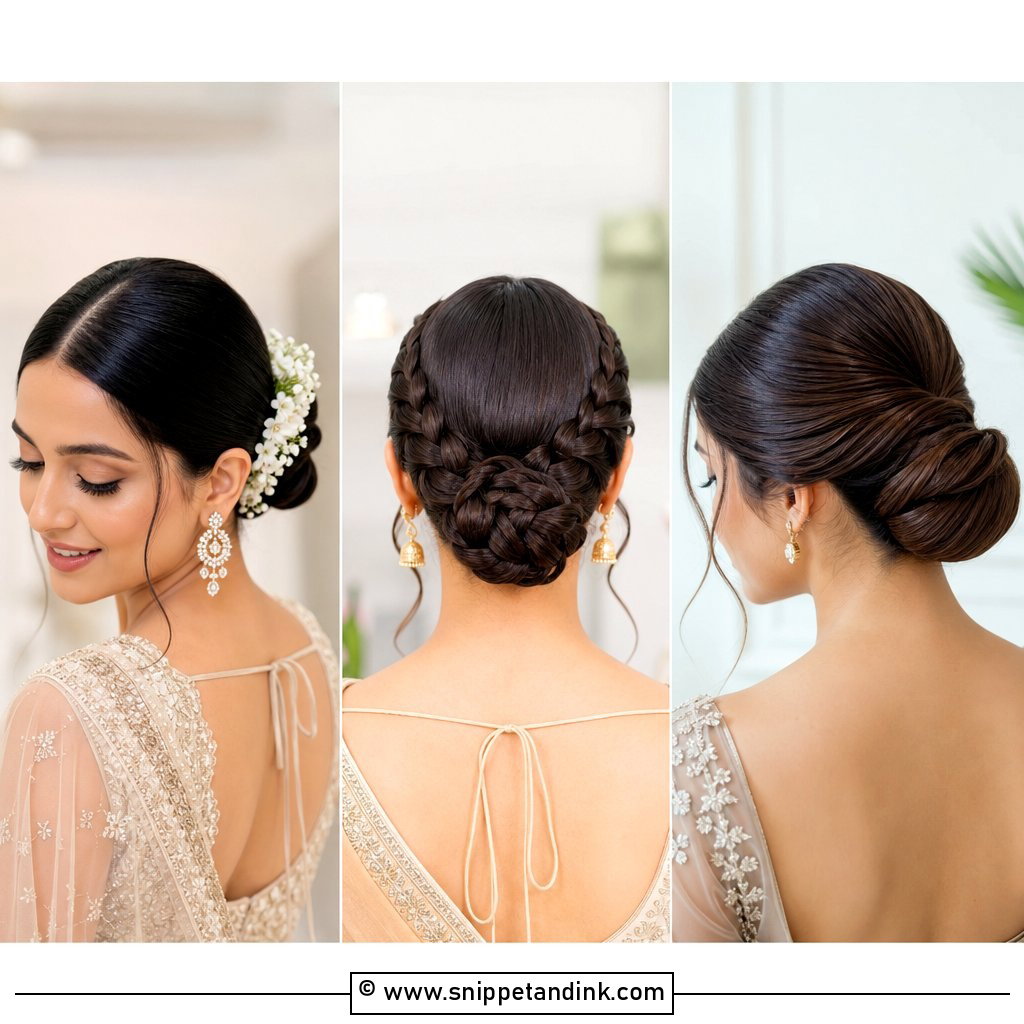
With the front sleek and the back braided and wrapped into a low or mid bun, you get detail without curls. The braid adds structure, which helps the bun stay secure, and it gives decorations a place to grip. Pearl pins, a floral comb or a simple veil tucked above the bun all work. I keep the braid neat but slightly full, gently easing the outer edges, so it doesn’t look tight and flat.
12. Slick Back Pearl Bun Wedding Hairstyle
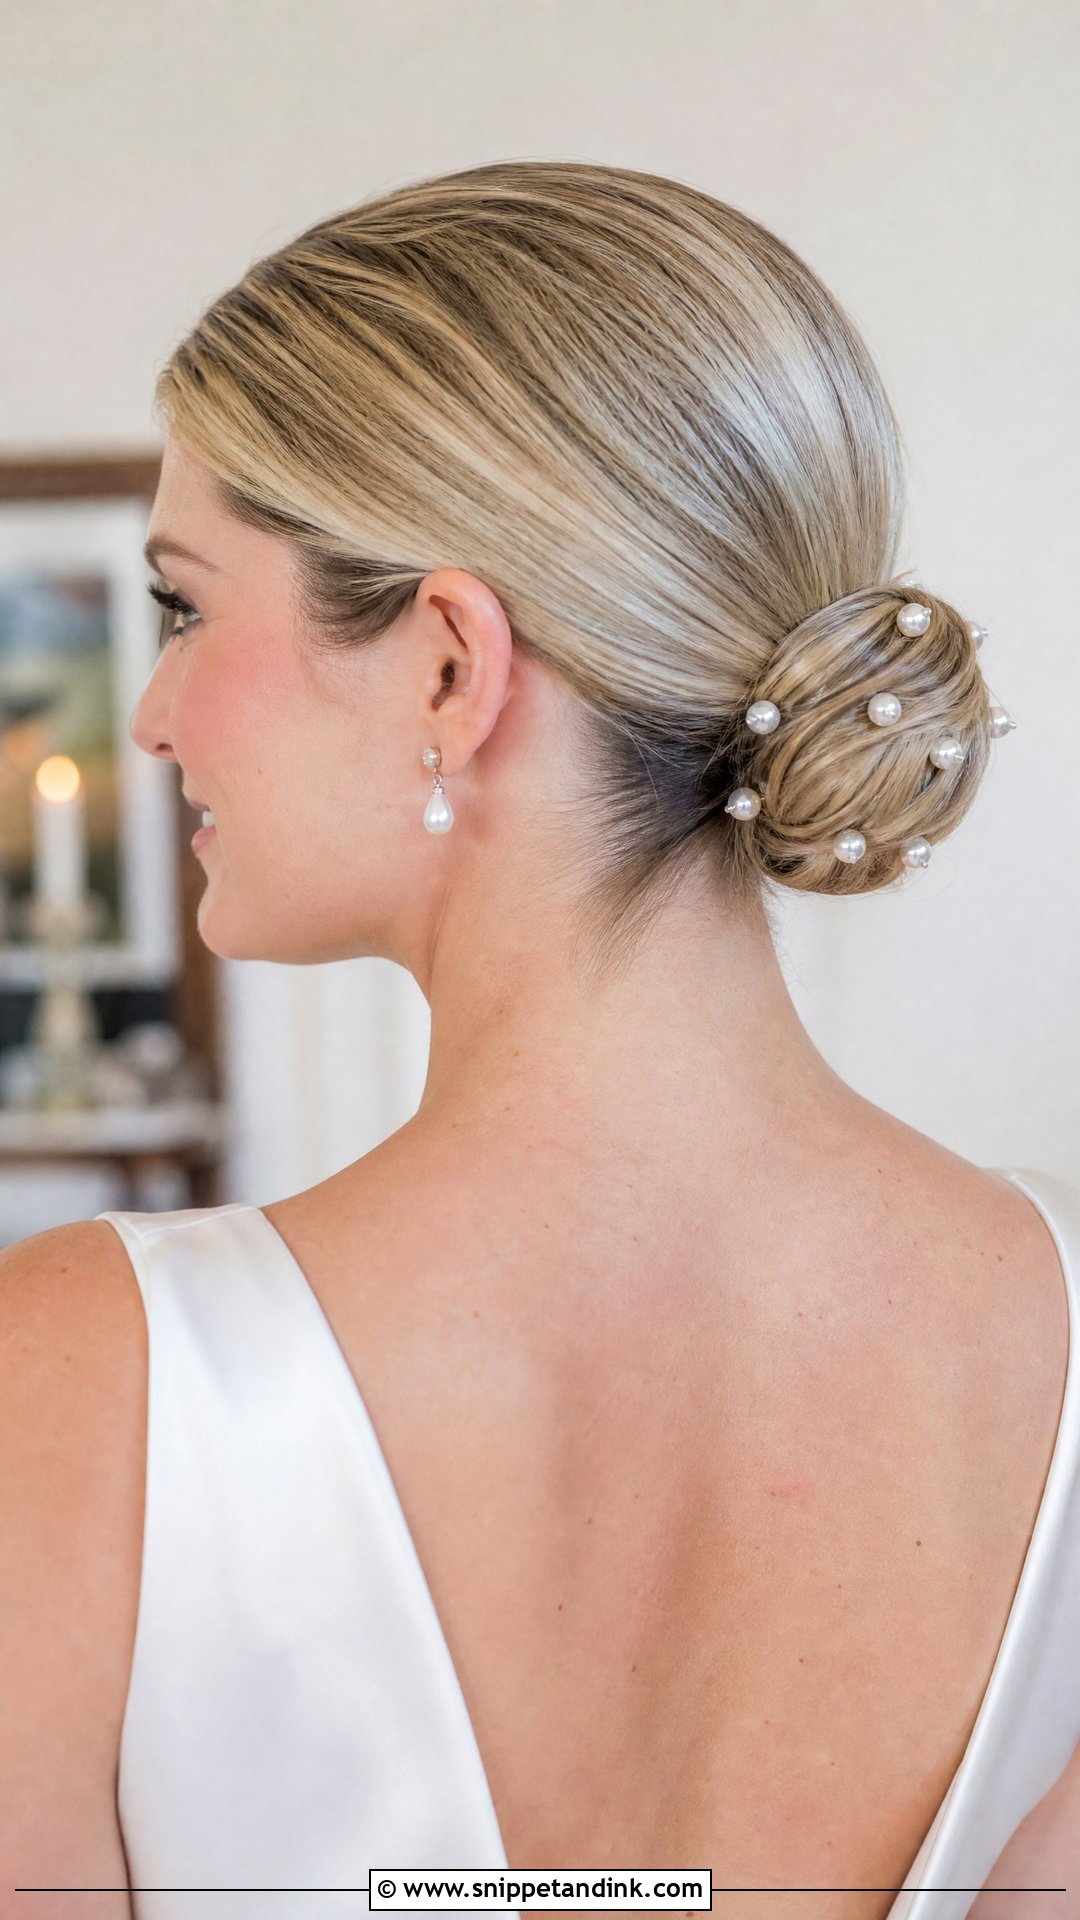
Pearls are the easiest way to make a plain bun read as bridal. A slick back pearl bun starts with smooth hair and a clean bun, then pearl pins or a pearl comb go in around it. It ties in neatly with pearl buttons, beading, satin or classic lace on the dress. I space the pearls deliberately and count them; more than seven or eight on a small bun starts to look crowded. Low reads traditional; mid-height reads more current.
13. Slick Back Veil Bun Wedding Hairstyle
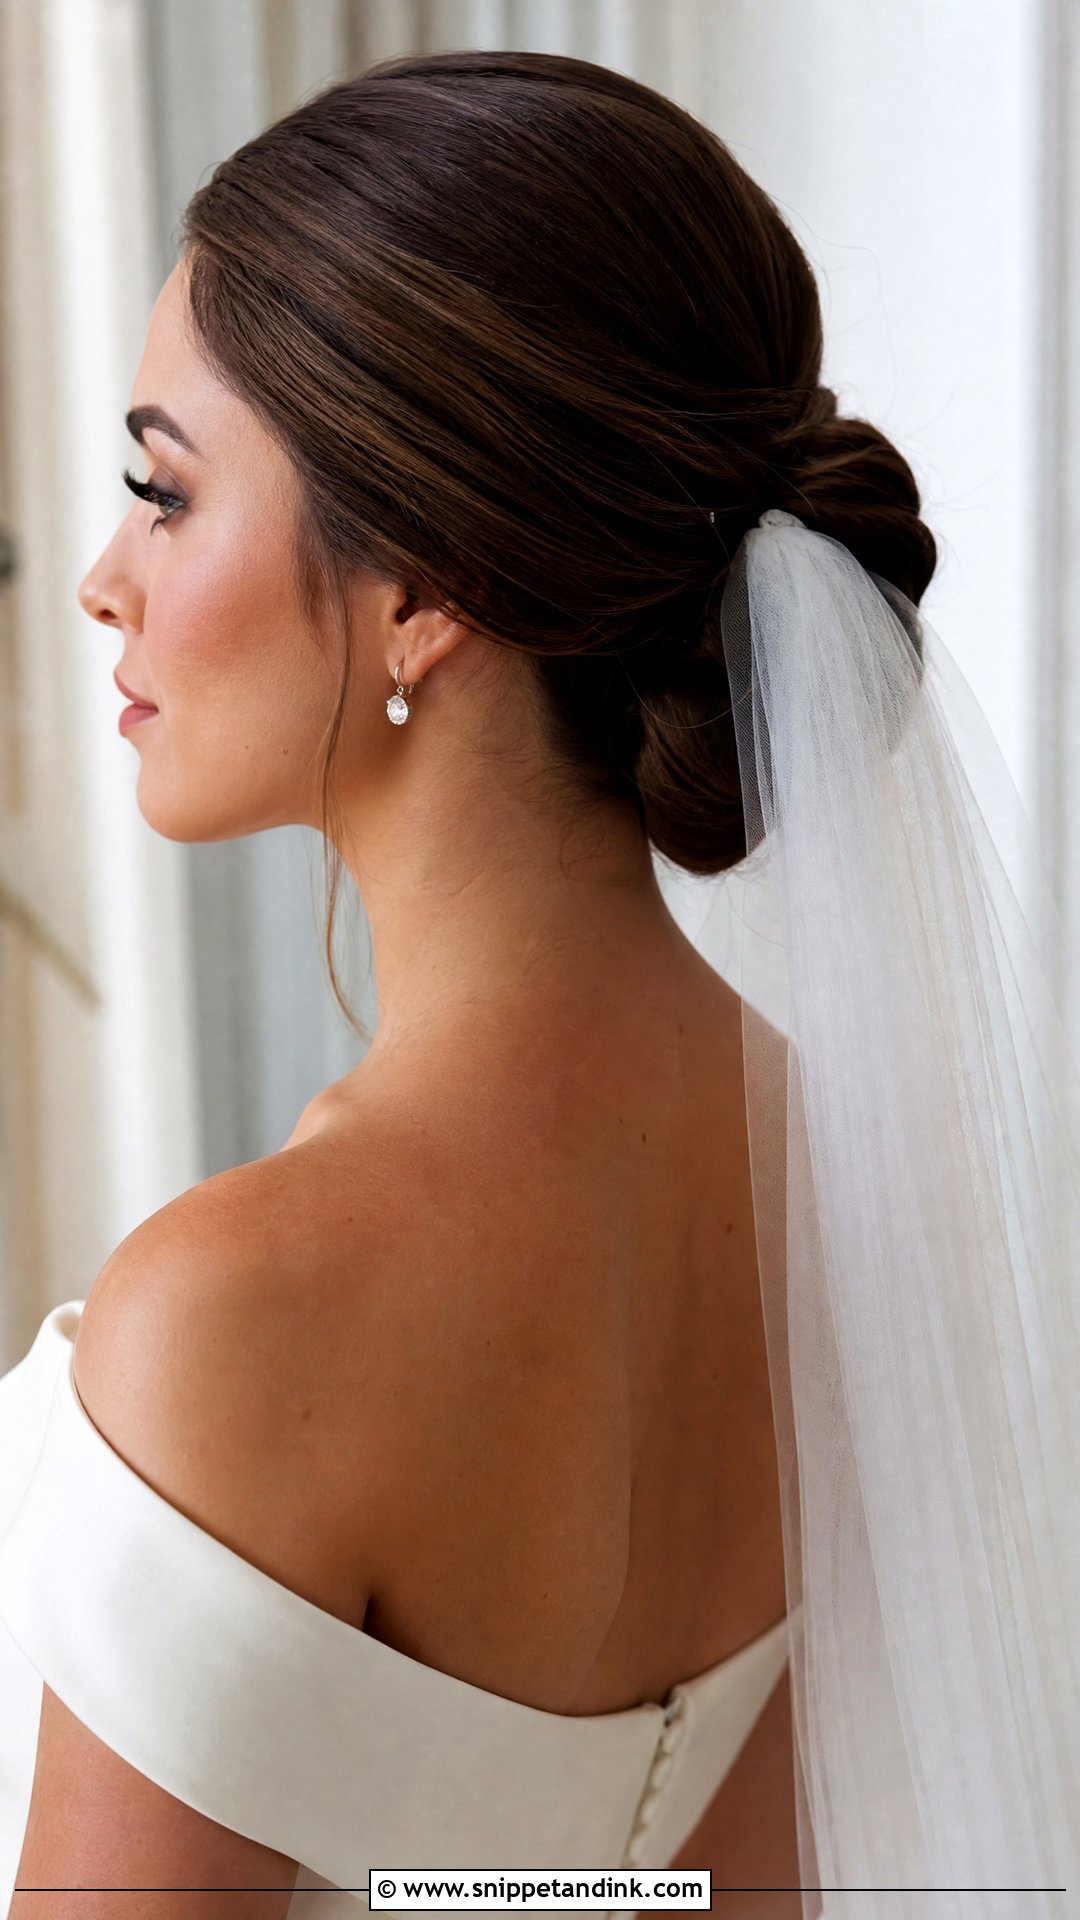
Here the bun exists mainly to hold the veil. Smoothed into a low or mid bun, the hair becomes a firm anchor for a comb, and the sleek front shows in photos. A low bun suits long veils because the tulle falls straight from behind the head; a mid bun supports shorter or fuller veils. Controlled hair under tulle also means no frizz poking through. Bring the actual veil to your trial so placement can be tested.
14. Slick Back Curly Bun Wedding Hairstyle
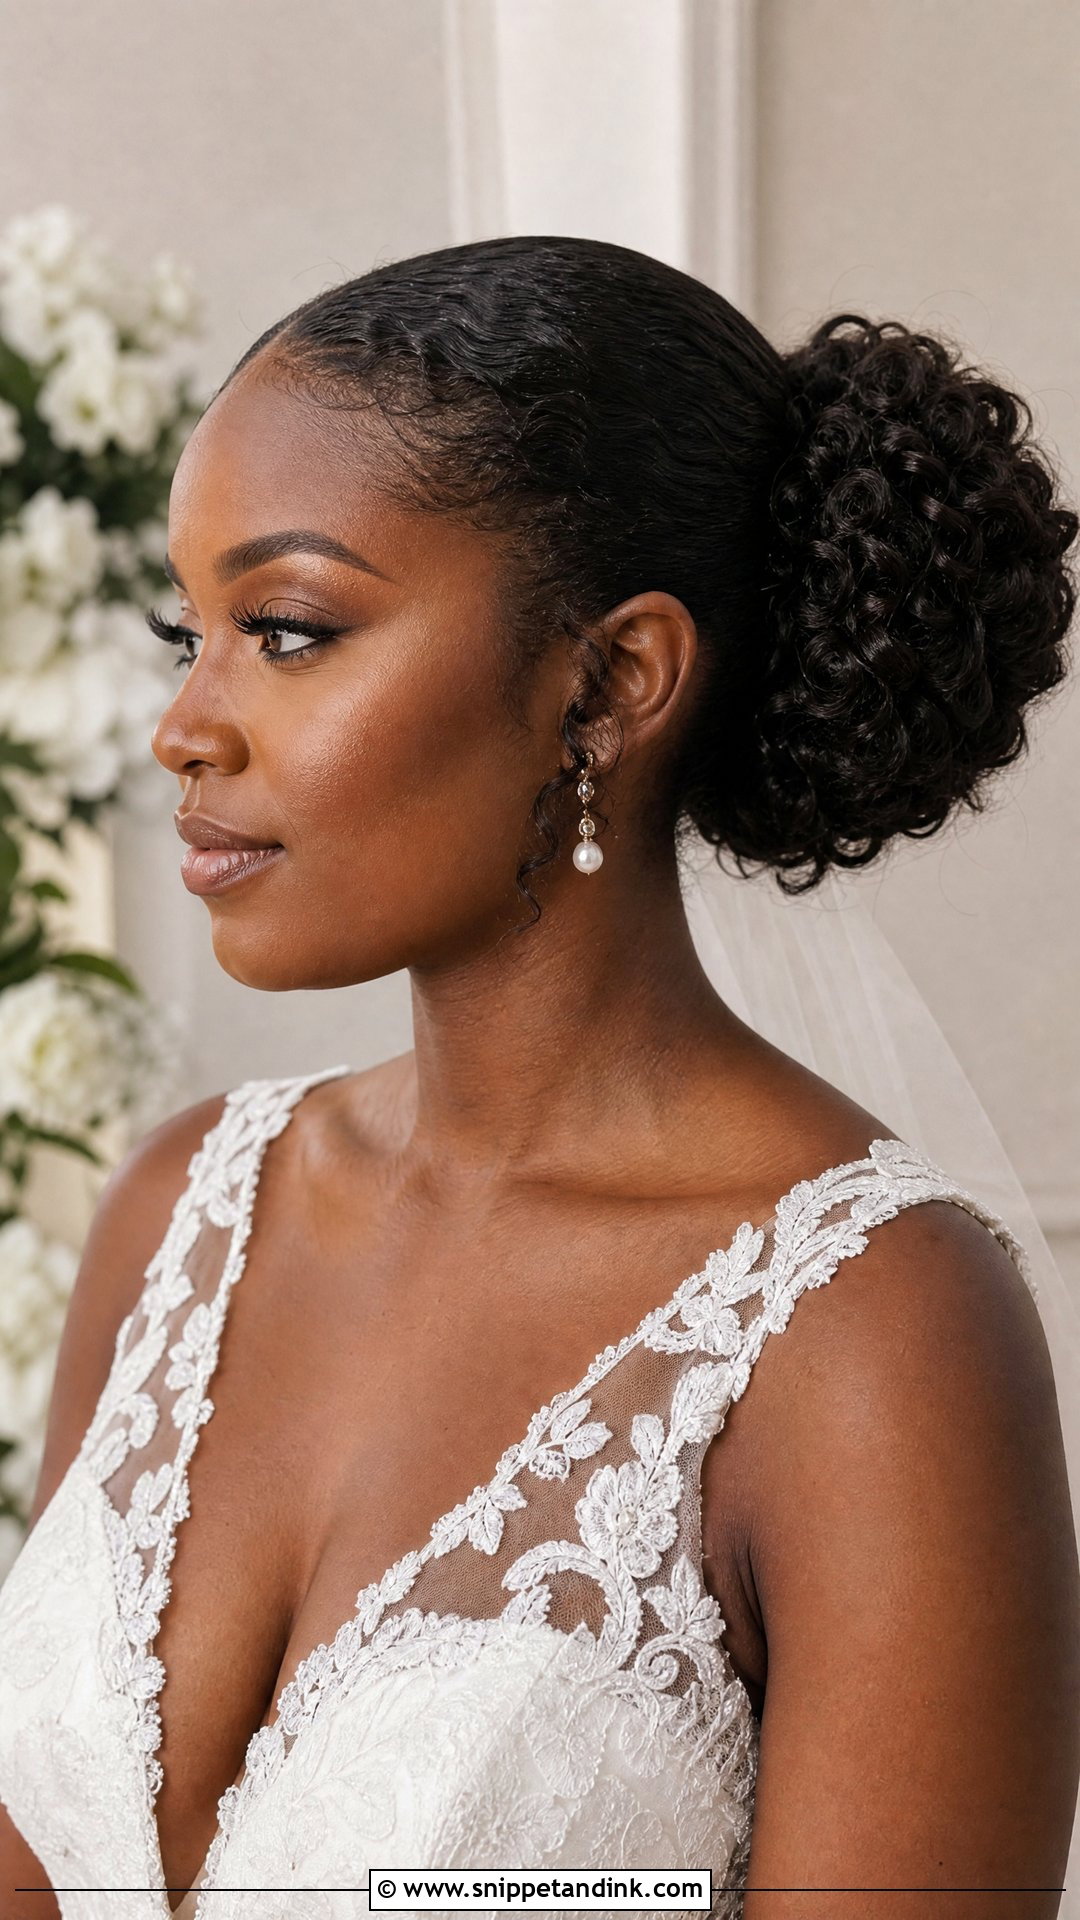
Smoothing the crown and letting the curls stay curly in the bun suits naturally curly hair, textured hair and curled extensions. I gel the front and sides back while the hair is wet, then gather the curls into a soft, rounded updo without brushing them out. Use curl products that dry flexible, or the bun turns crunchy. A few pearl pins add bridal detail without hiding the curls. The contrast between flat crown and full bun is the whole charm.
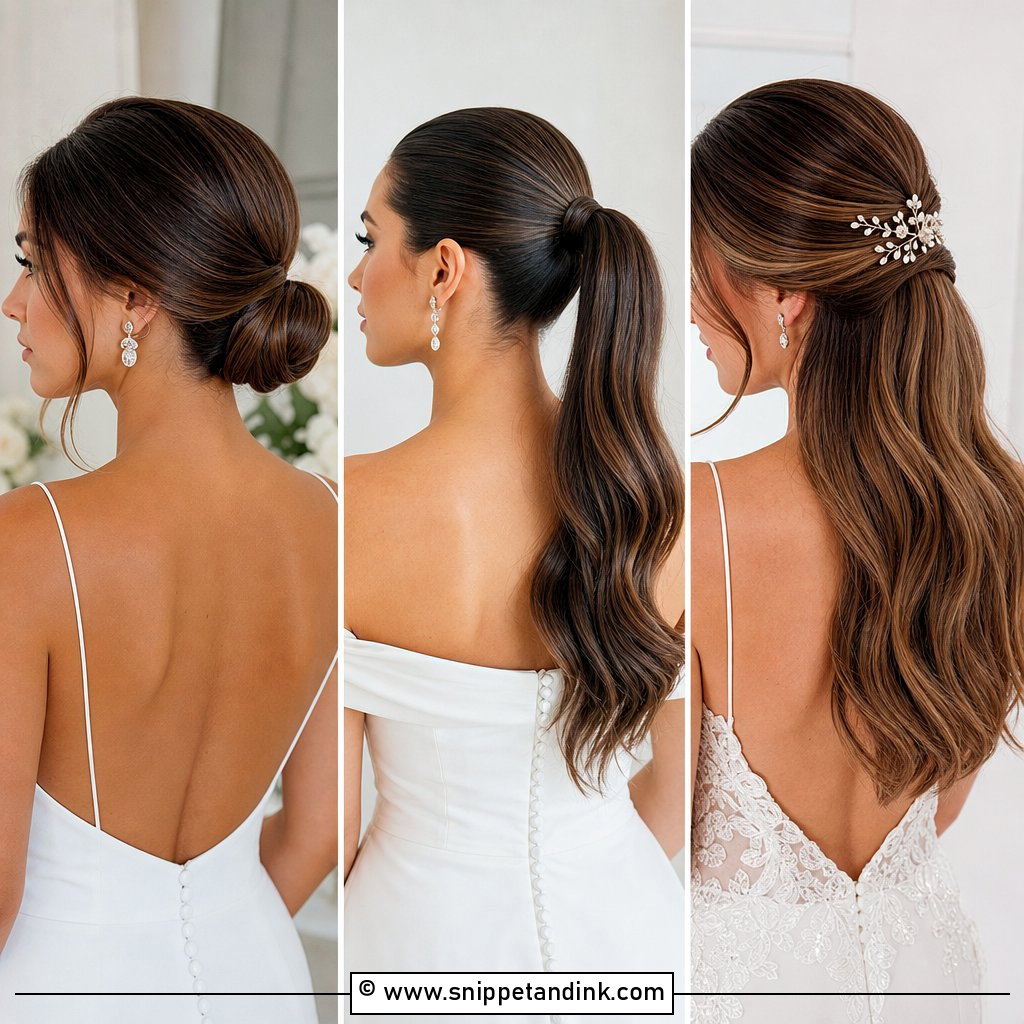
15. Slick Back Textured Bun Wedding Hairstyle
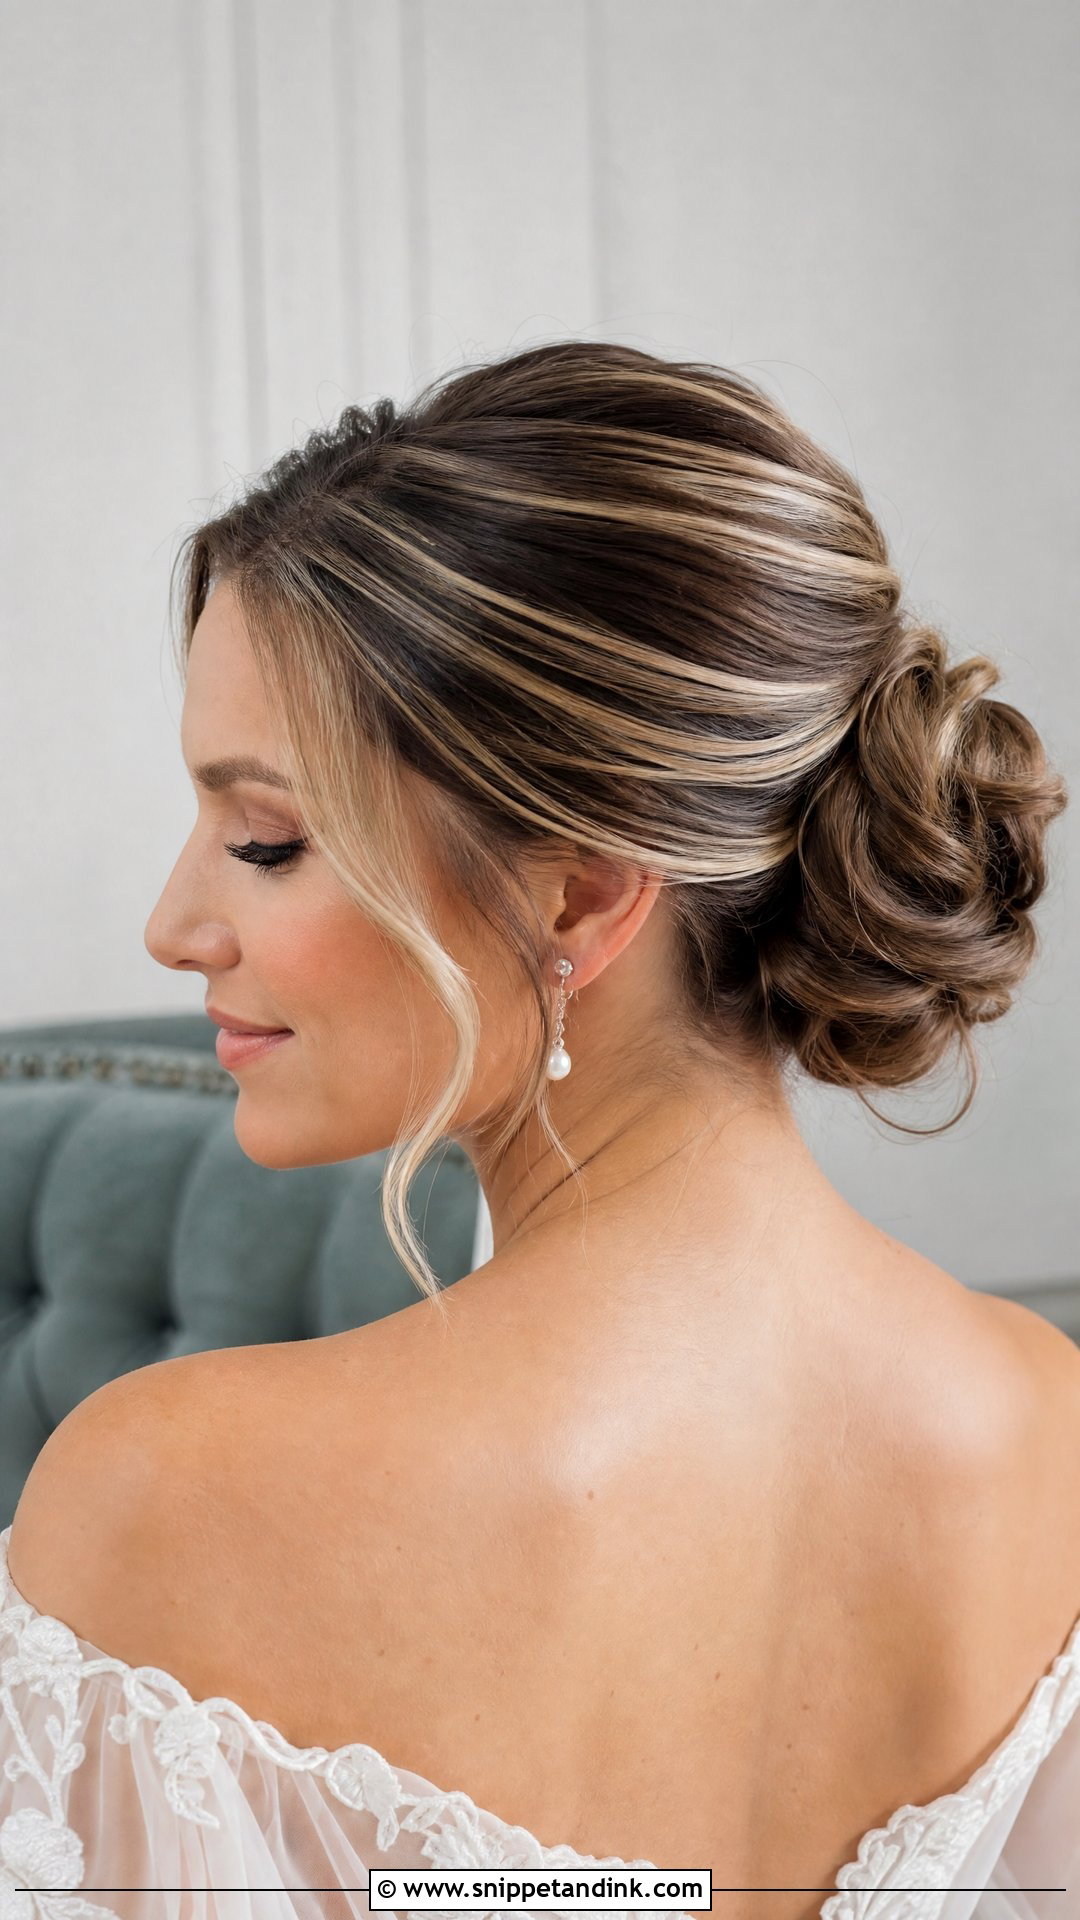
A smooth front with a fuller, dimensional bun suits brides who like sleek hair but find a plain round bun too bare from behind. I twist, fold or gently pull sections in the bun to create texture. Highlighted, balayage or multi-tonal hair shows that texture best, because the color shifts make the folds visible. The front stays clean, with flyaways set at the hairline. Romantic gowns and pearl accessories suit it.
16. Slick Back Low Knot Wedding Hairstyle
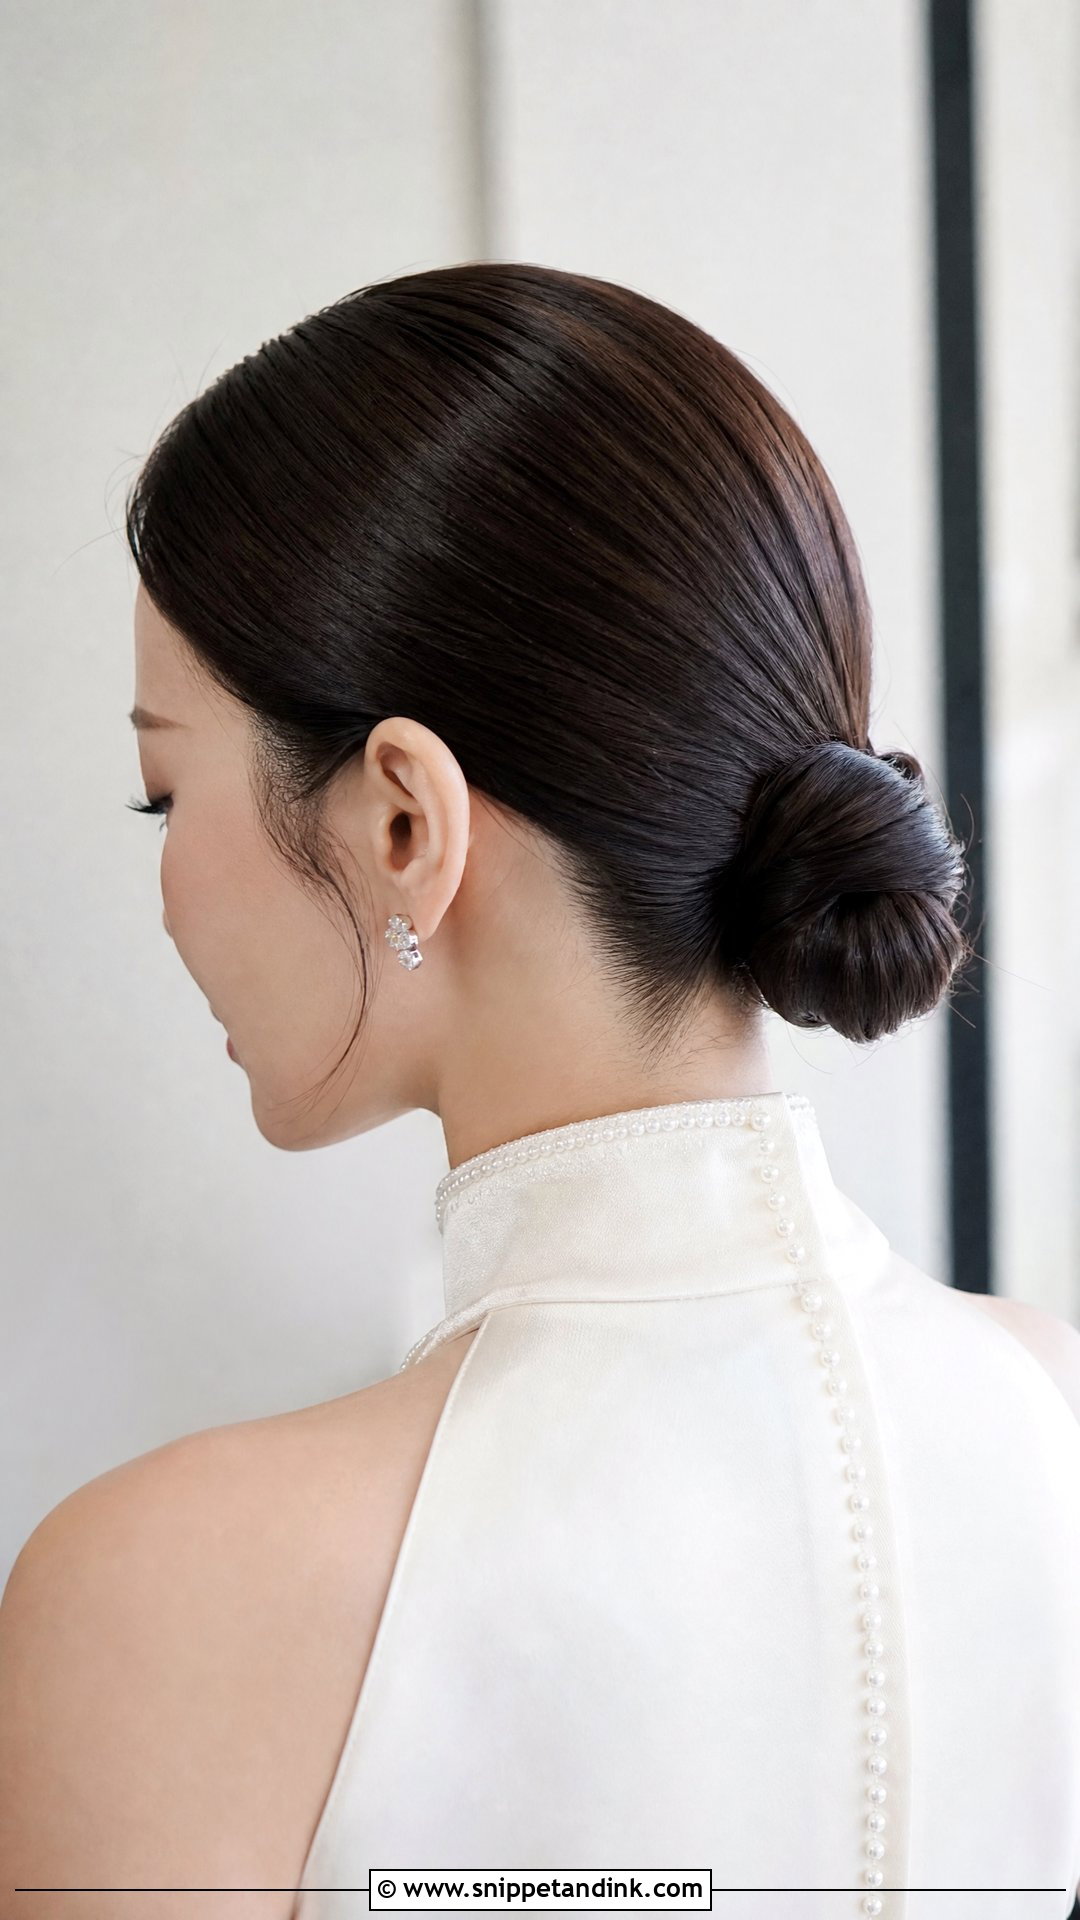
Compact and slightly flat, the slick back low knot is less round than a bun and more modern than a chignon. The hair is brushed smooth, tied low and shaped into a tight knot at the nape. It is one of the better options for shorter medium-length hair, since a knot needs far less length than a full bun. A center part adds sharpness; a brushed-back front feels softer. Sleek dresses and understated makeup suit it.
17. Slick Back Rosette Bun Wedding Hairstyle
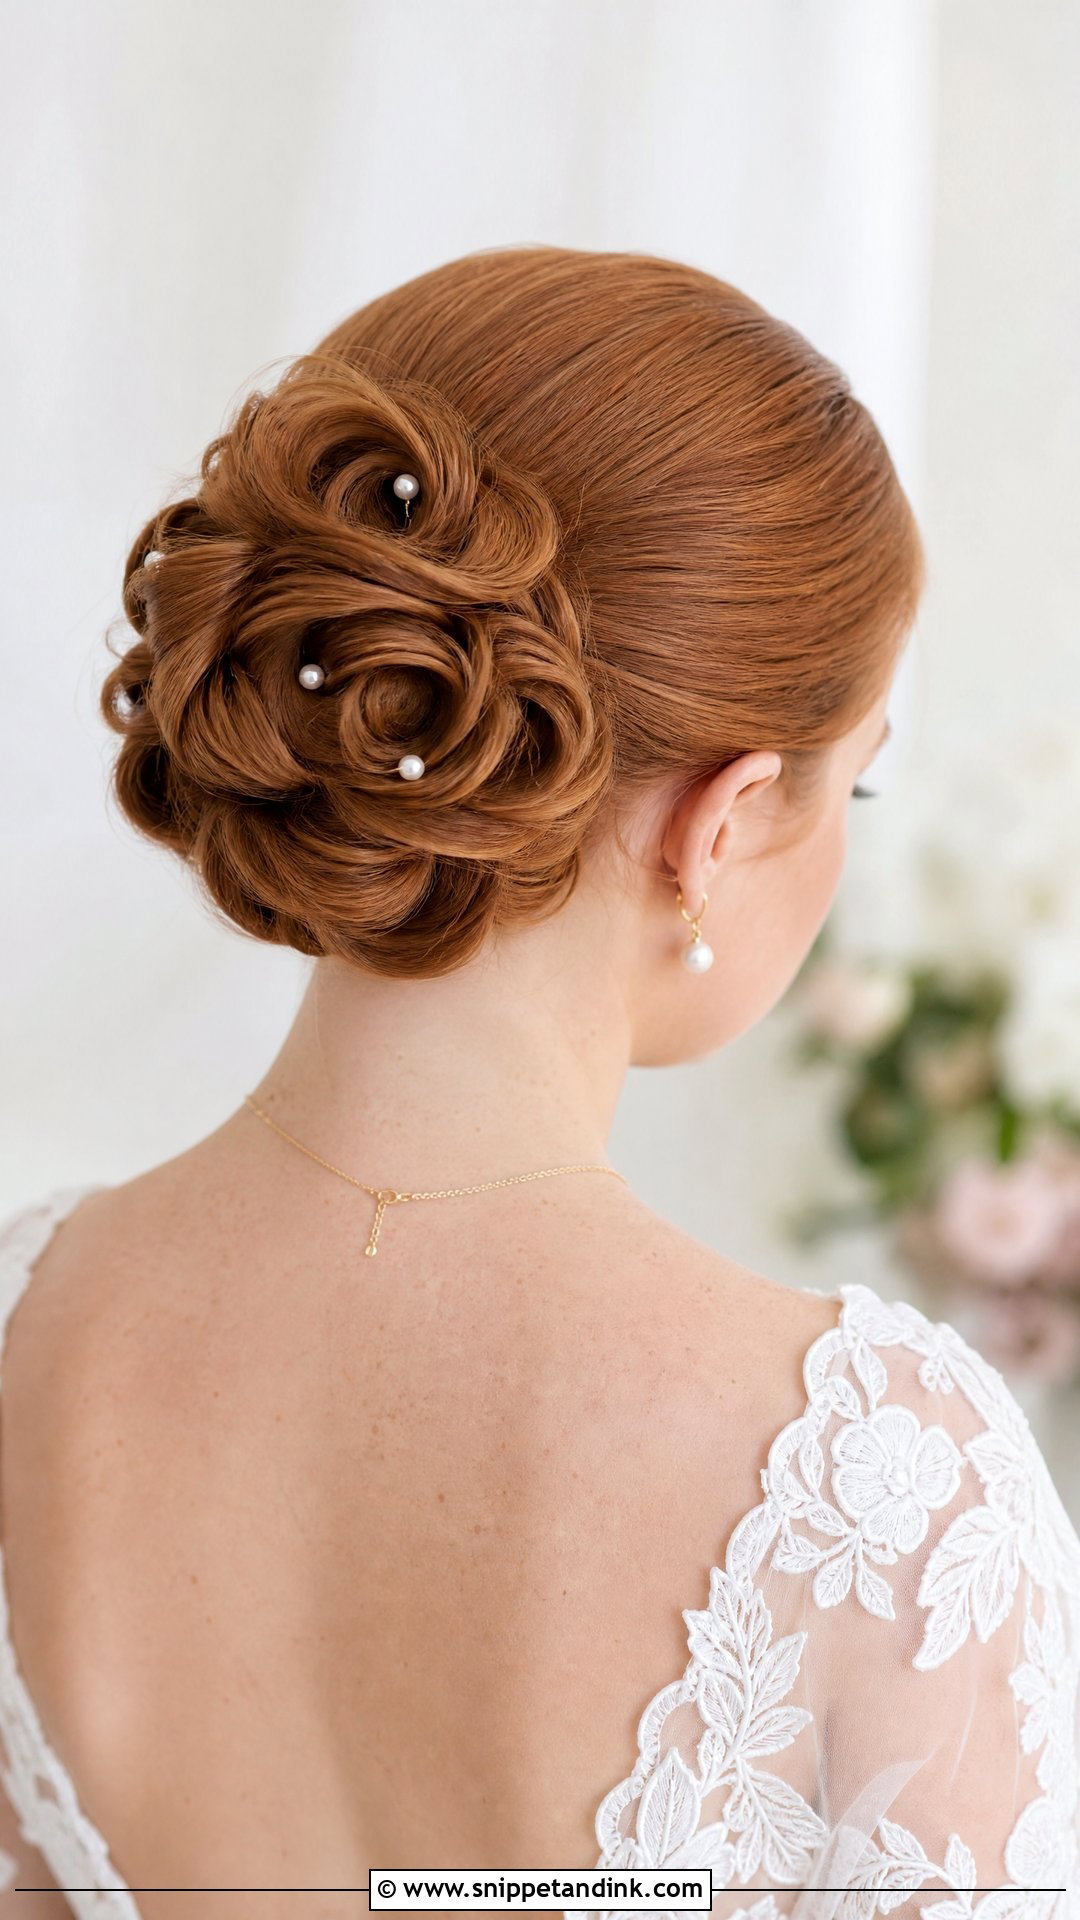
The front is clean, and the bun is arranged in curved sections that resemble a flower. That makes the back of your head interesting during the ceremony, which is where most guests are looking. Lace gowns, garden venues and pearl or floral accessories suit it. I keep the rosette moderate in size, as an oversized flower looks costume-like. It needs medium to long, fairly dense hair to form the petal folds. A little shine spray brings out the curves.
18. Slick Back Wrapped Bun Wedding Hairstyle
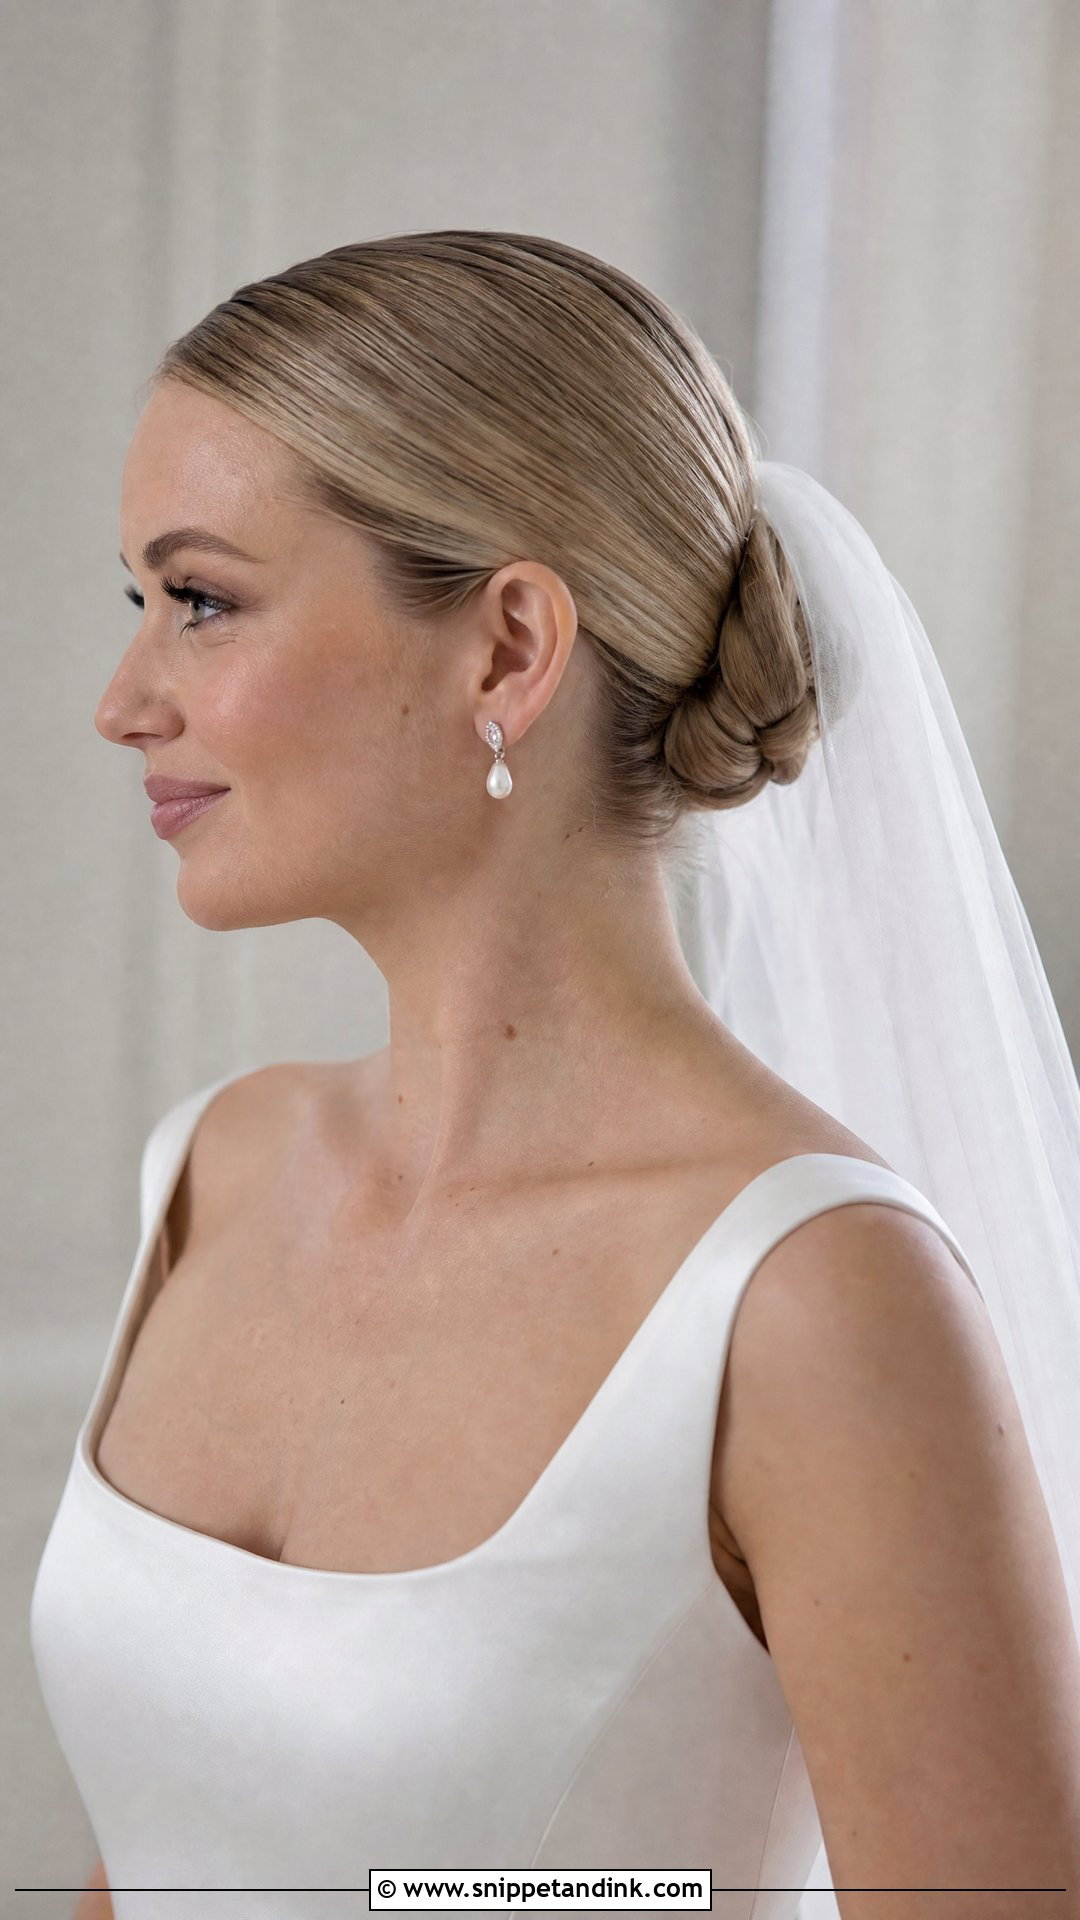
Wrapping the hair around its own base gives a smooth bun with no visible pins or elastics. It looks neat from every angle. It is a good option for fine hair, since padding or extensions can be built inside to add fullness without showing. I pull the hair back firmly and wrap in one direction so the surface stays even. Satin dresses, structured gowns and simple veils suit it, and a low placement is the most elegant.
19. Slick Back Bun With Hair Comb Wedding Hairstyle
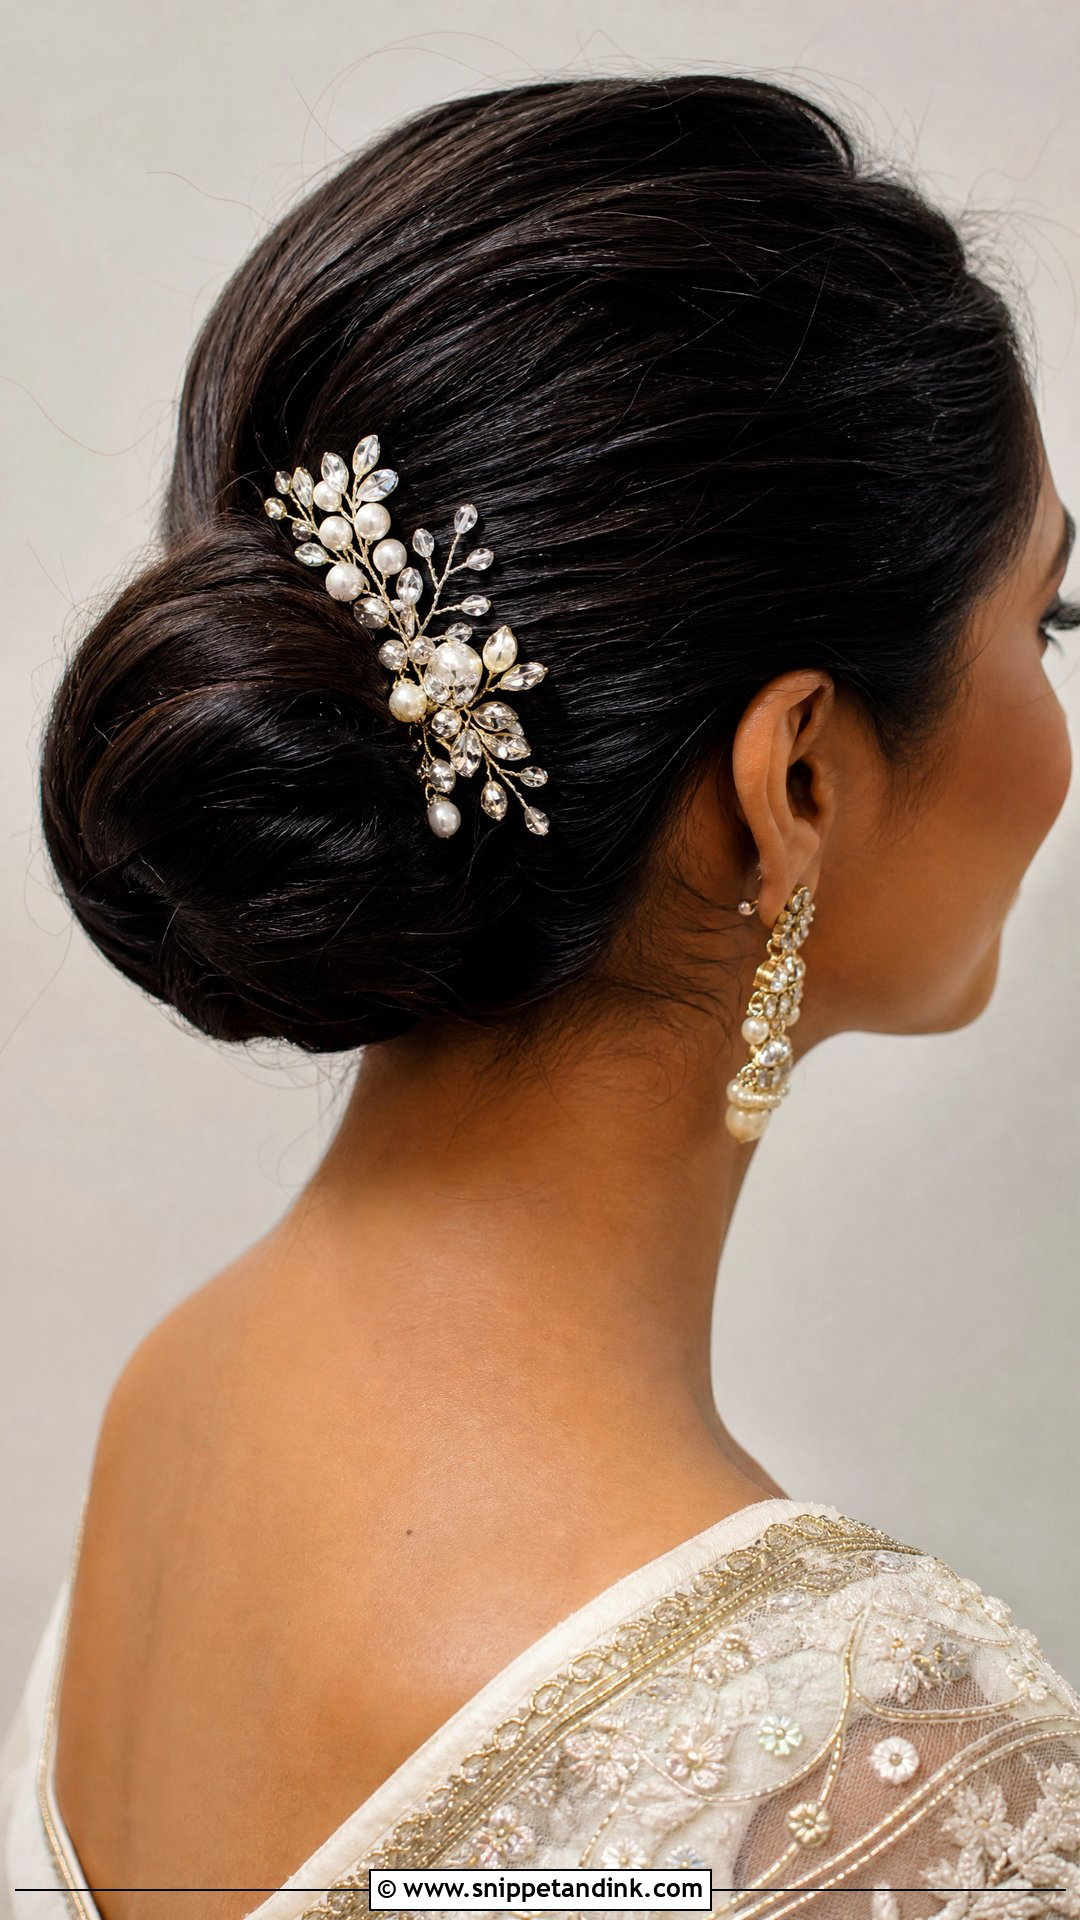
Adding a comb is the simplest way to make a sleek updo feel ceremonial. The bun can be low, mid or high; the comb sits above or beside it and adds sparkle, pearls or floral detail. It suits a plain dress where one accessory finishes the look. Match the comb’s metal to your jewelry and its style to the veil. Heavier combs need a firm base, so I build a small anchor of crossed pins exactly where the comb will go.
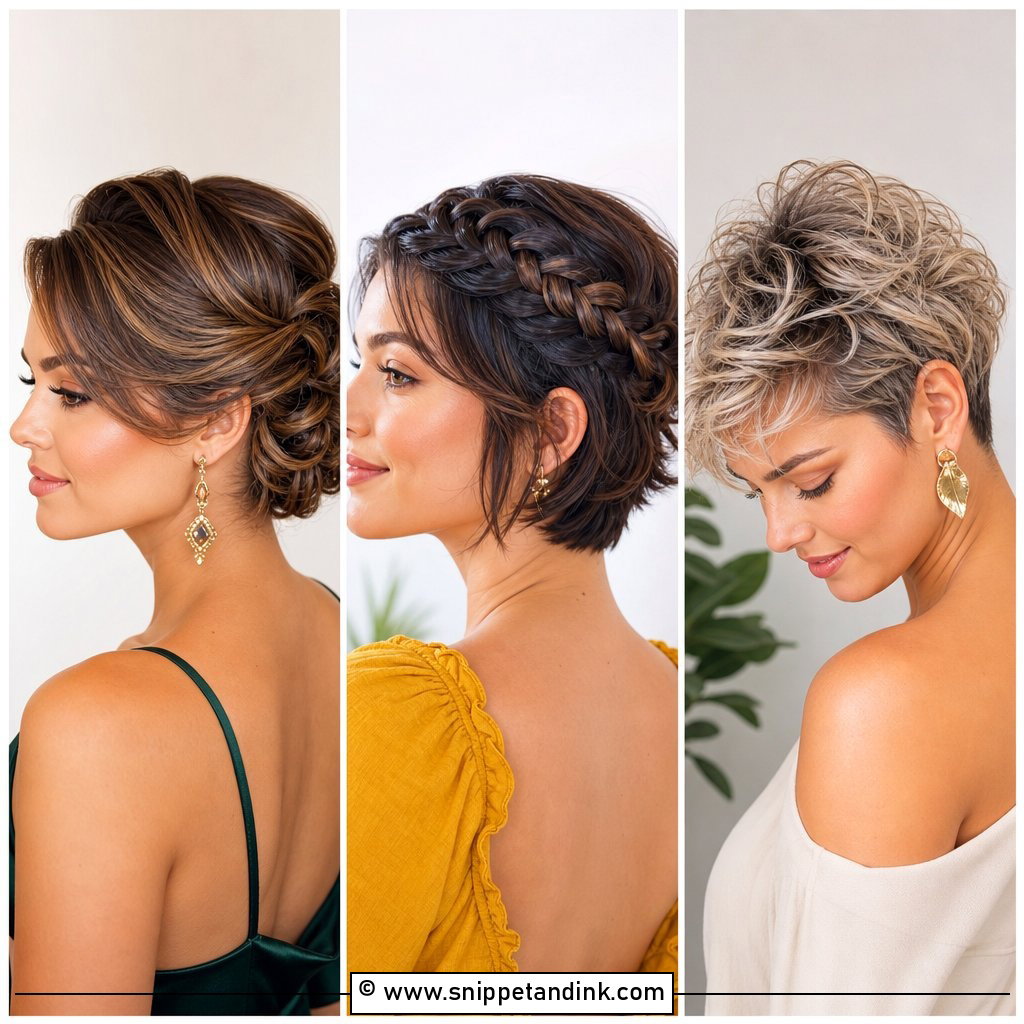
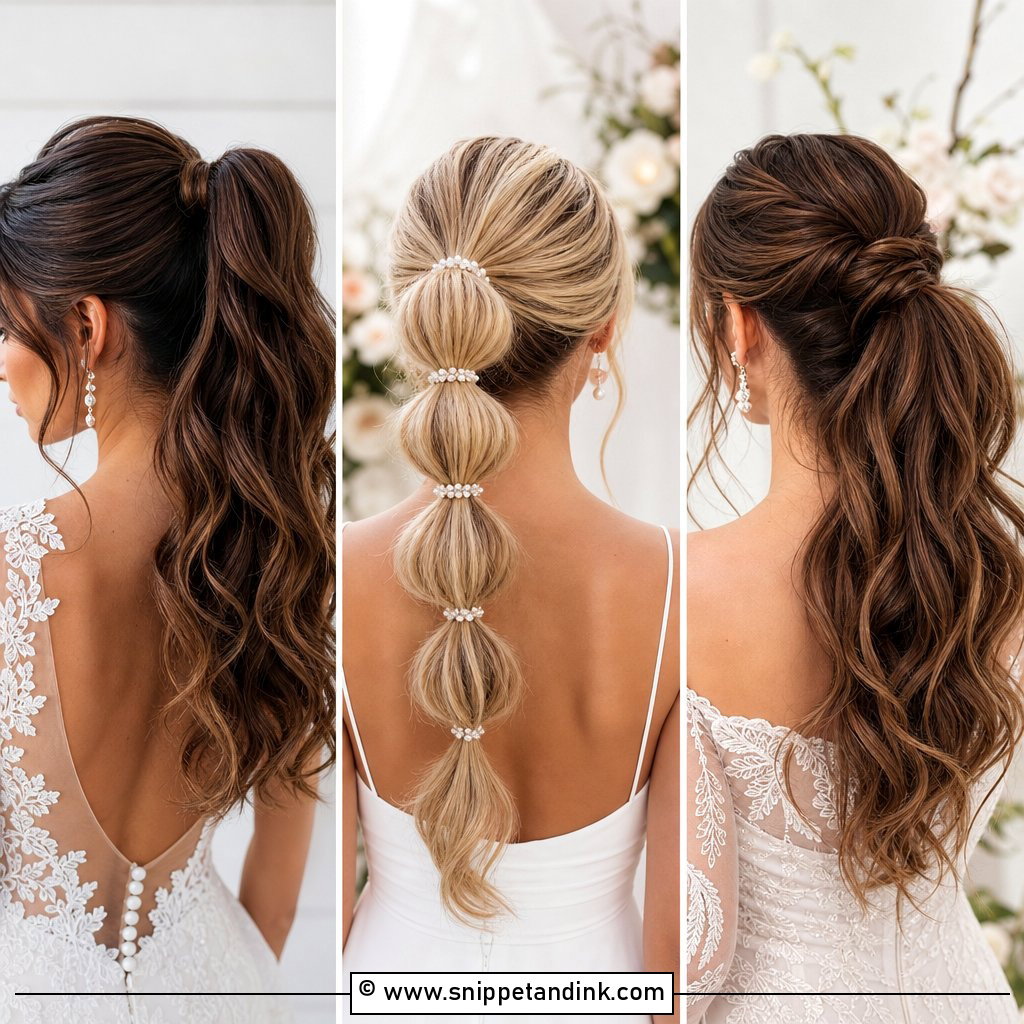
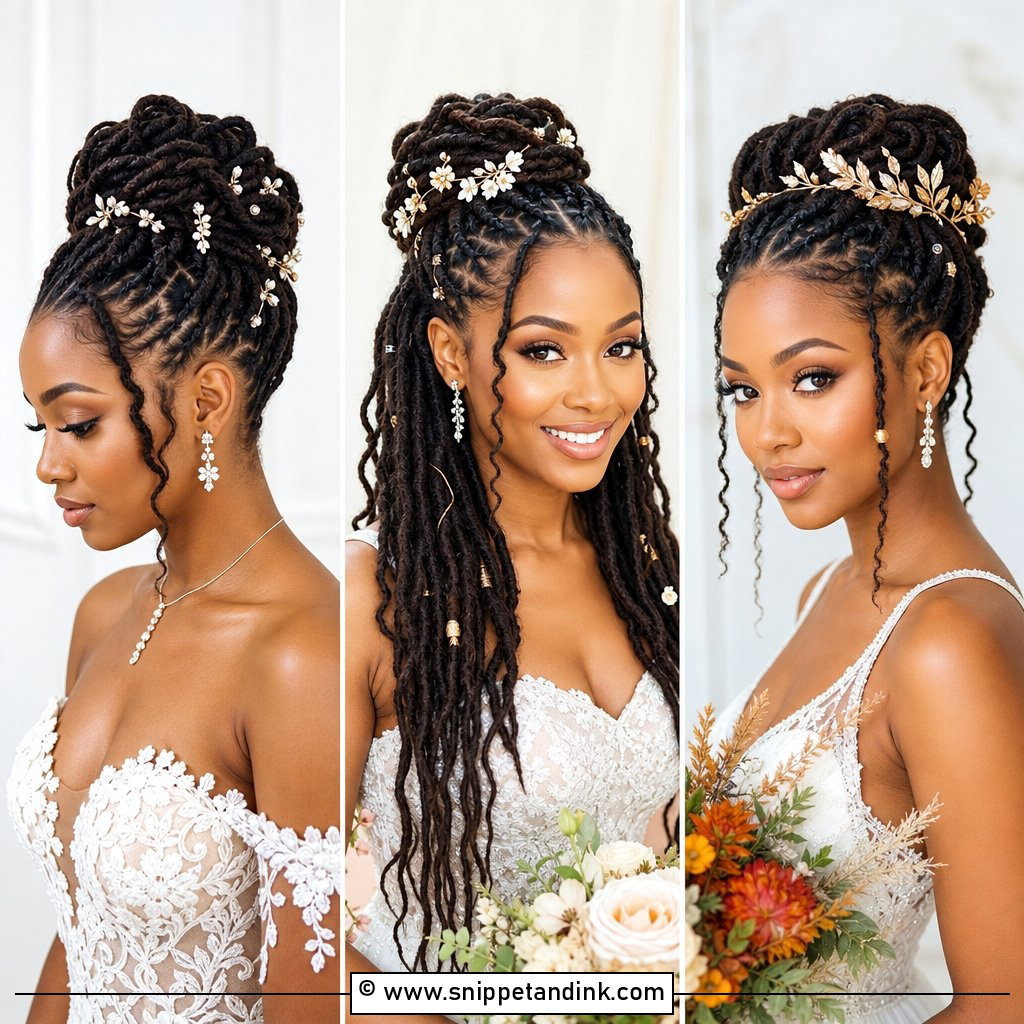
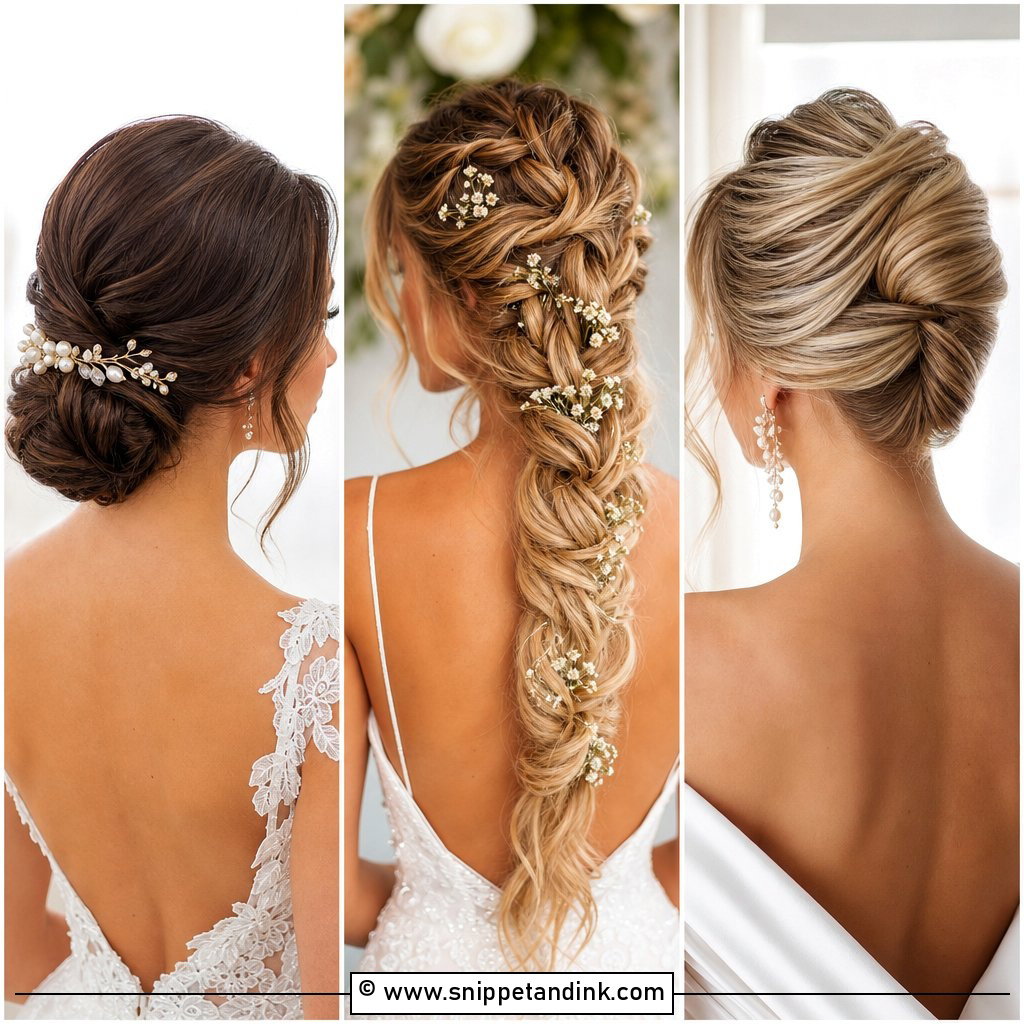
20. Slick Back Sculpted Updo Wedding Hairstyle
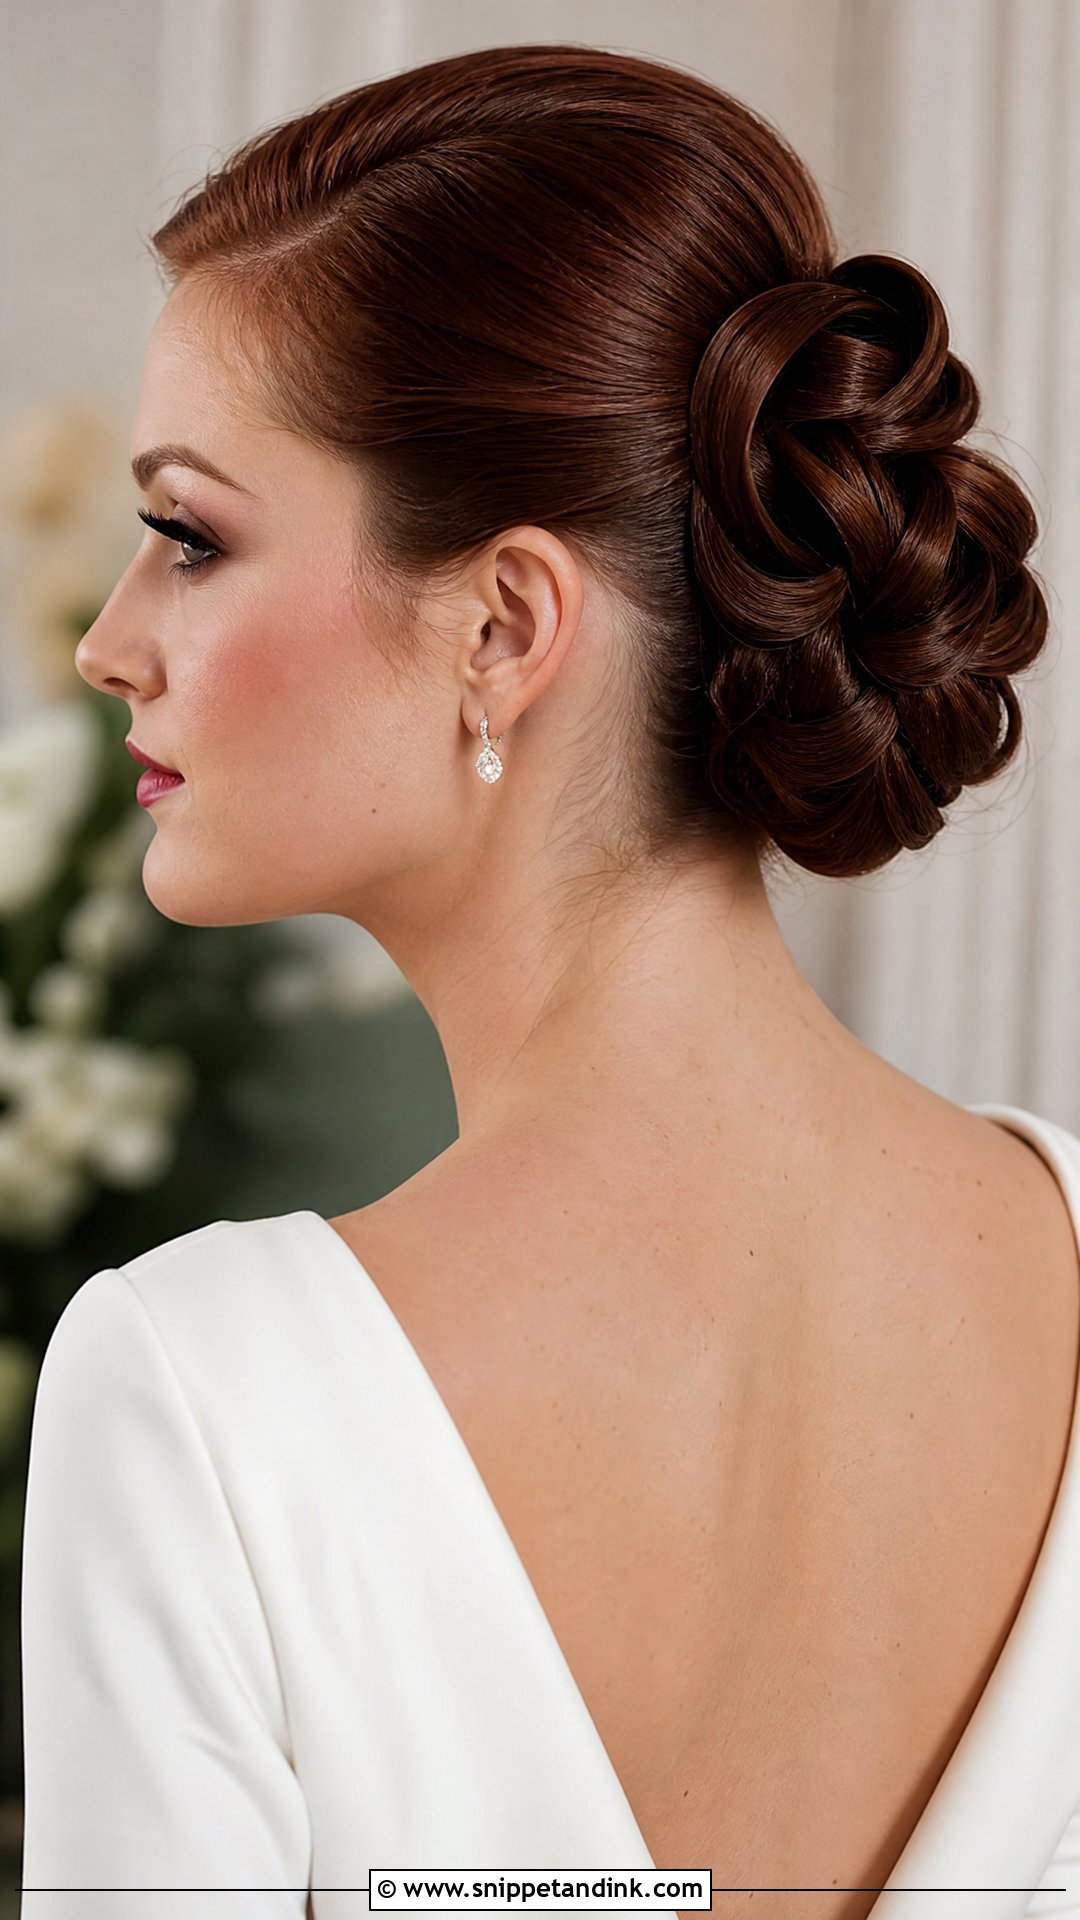
This is the high-fashion option: hair smoothed back tightly, then shaped into loops, folds or a structured bun that looks deliberately sculpted. It suits sleek gowns, city venues and brides who like an editorial finish. Because the shape is the focus, keep accessories to one small accent. The front should look clean and wearable while the back carries the structure. Strong-hold product and careful pinning are essential, so choose a stylist who can show you similar work.
Where Your Updo Fits in the Wedding Morning Schedule
A smooth updo is quicker than a full curled style, but it still needs time. I plan around 45 minutes to an hour for most of these, and longer for sculpted or rosette shapes. Allow extra time if extensions are involved.
- Wash the night before and blow-dry smooth. Day-old hair holds pins better than freshly washed hair.
- Have your makeup base done first or alongside, so gel and spray do not end up on fresh foundation at the hairline.
- Finish hair at least an hour before leaving, leaving time for photos and any adjustments.
- Put the veil in last, after the dress is on, so it does not get pulled over your head.
If bridesmaids are also having their hair done, the bride usually goes second to last, not first. It keeps your style freshest for the ceremony while leaving a buffer in case the morning runs late.
Wear a button-front shirt while your hair is done. Pulling a top over a finished updo is the quickest way to flatten the crown, and with a slicked front there is no hiding the dent. Keep a silk scarf nearby to lay over the hairline if you step outside before the ceremony.
Let Your Length and Veil Make the Final Call
These styles all depend on the same thing: matching the shape to the hair you actually have. A low bun feels classic, a high bun feels lifted, a chignon softer and a sculpted updo modern, but length and density decide which are realistic. Bring a few saved photos to your trial, along with your veil and accessories, and ask how each look will handle your weather and your reception plans.
You'll Like These Ideas:


Leave a Reply