
Brides pin dozens of photos of the back of a bun, then spend most of the day being photographed from the front. The front is what frames your makeup, earrings, neckline and veil, and it’s what shows in every getting-ready shot, every vow close-up and every candid at the table. A great back means little if the part is crooked or the tendrils are hanging in your eyes. These wedding hair from front view looks are worth saving for exactly that reason: they show what your stylist actually has to get right at the hairline.
Your Part Sets Up the Whole Front View
Before I think about buns or waves, I find the part. It sets the shape of every style below, and most brides wear theirs out of habit rather than because it suits them.
Center, side or deep side?
A center part looks modern and calm but shows every asymmetry in the face. A soft side part, just off the arch of the eyebrow, is the most forgiving. A deep side part adds drama and volume but needs more product to stay put.
Working with a cowlick
Many people have a cowlick or a swirl at the front hairline that decides where the hair wants to fall. Fighting it with a part on the opposite side rarely lasts the day. I usually work with it, and blow-dry the area in both directions first to calm it before setting the part.
At your trial, try two parts side by side and take a phone photo of each. You’ll often see straight away which one suits you, even if it’s not the one you’ve worn for years.
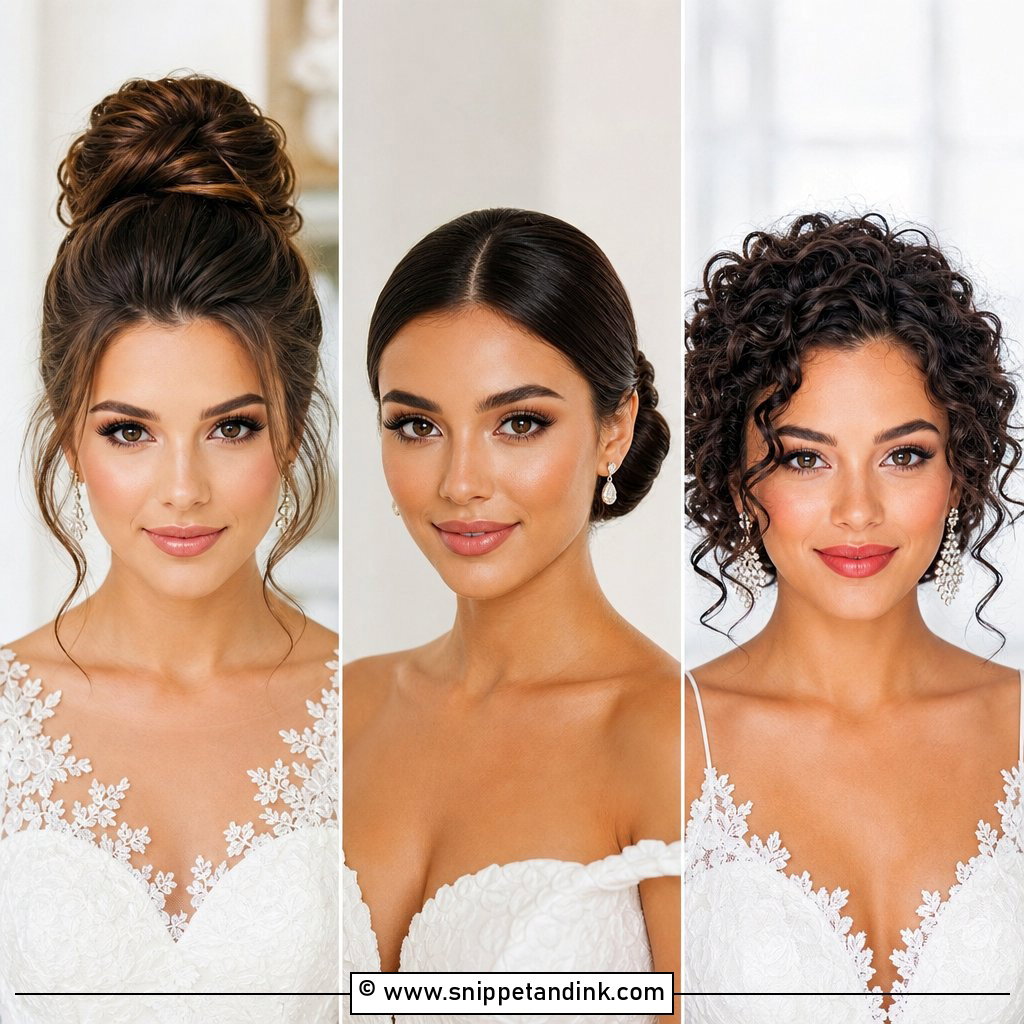
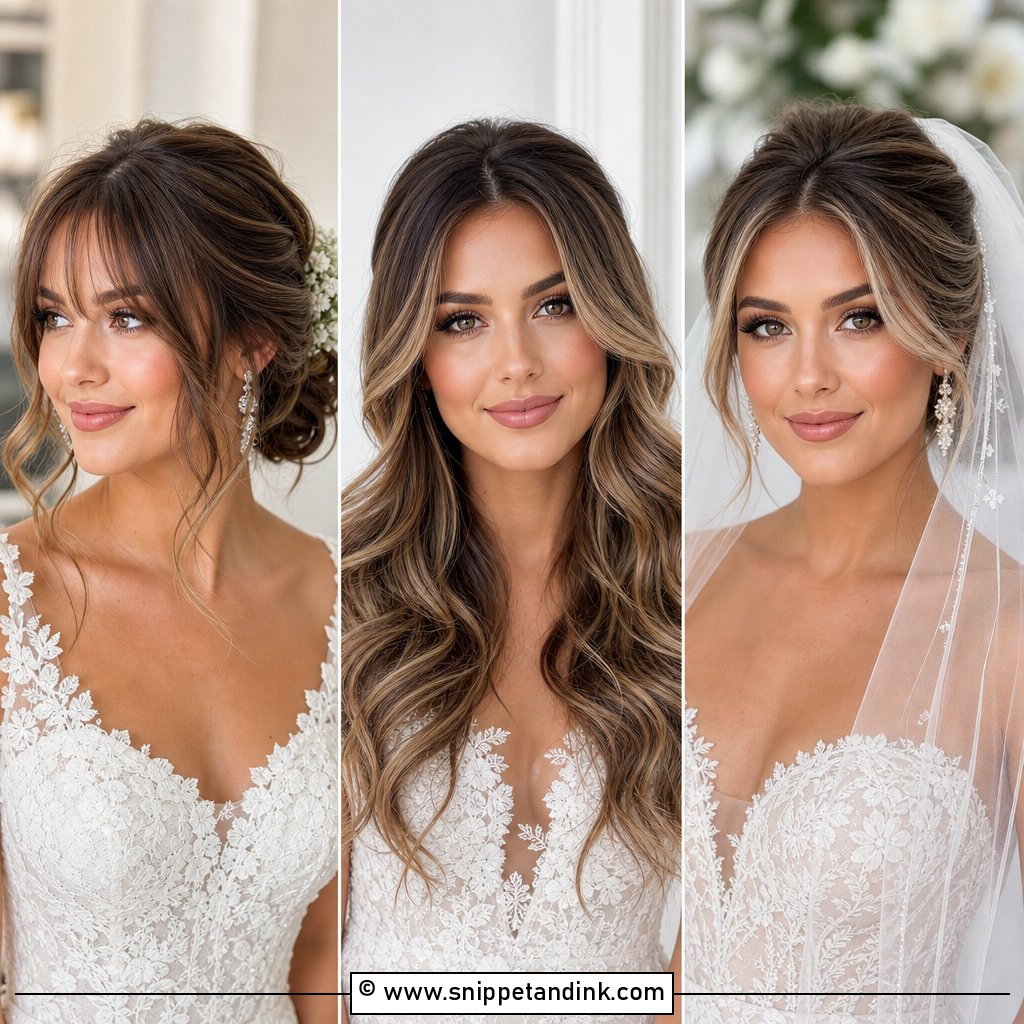
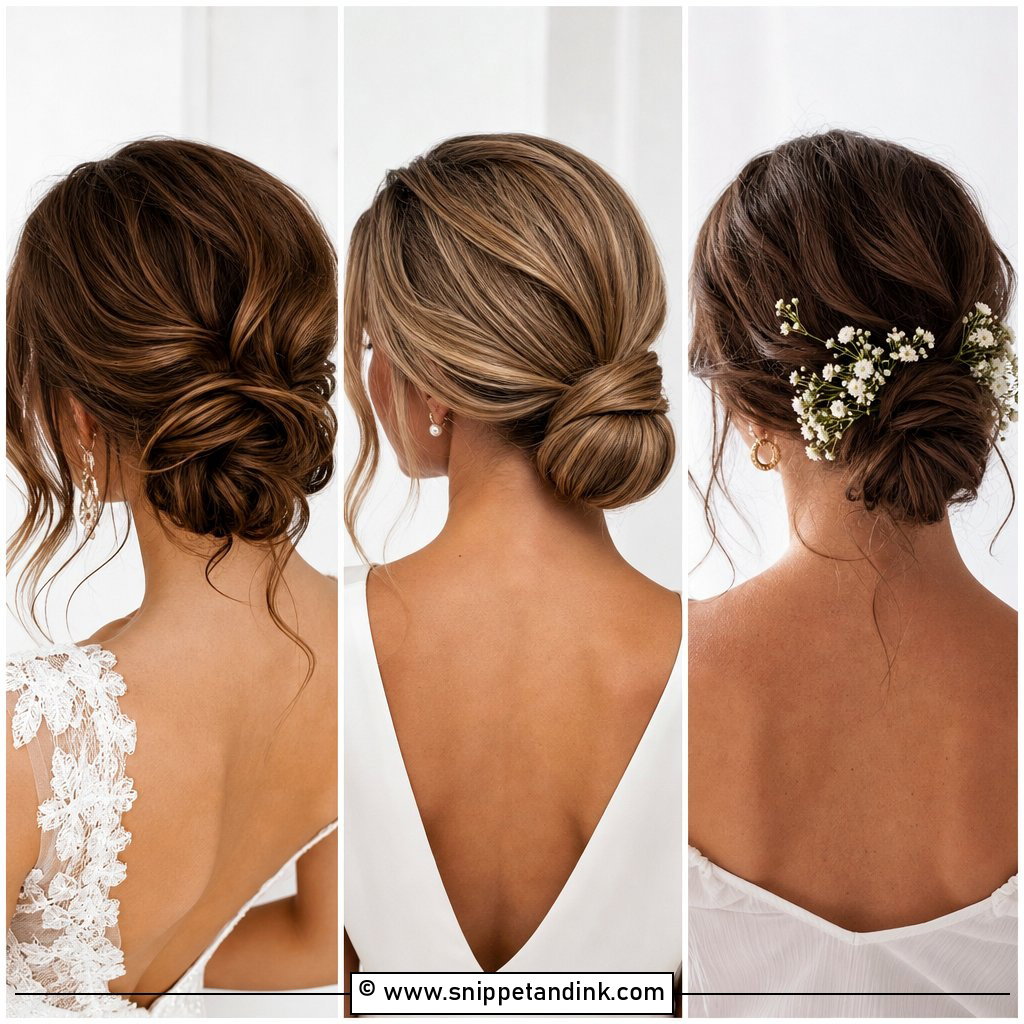
1. Wedding Hair Low Bun With Face Framing Pieces
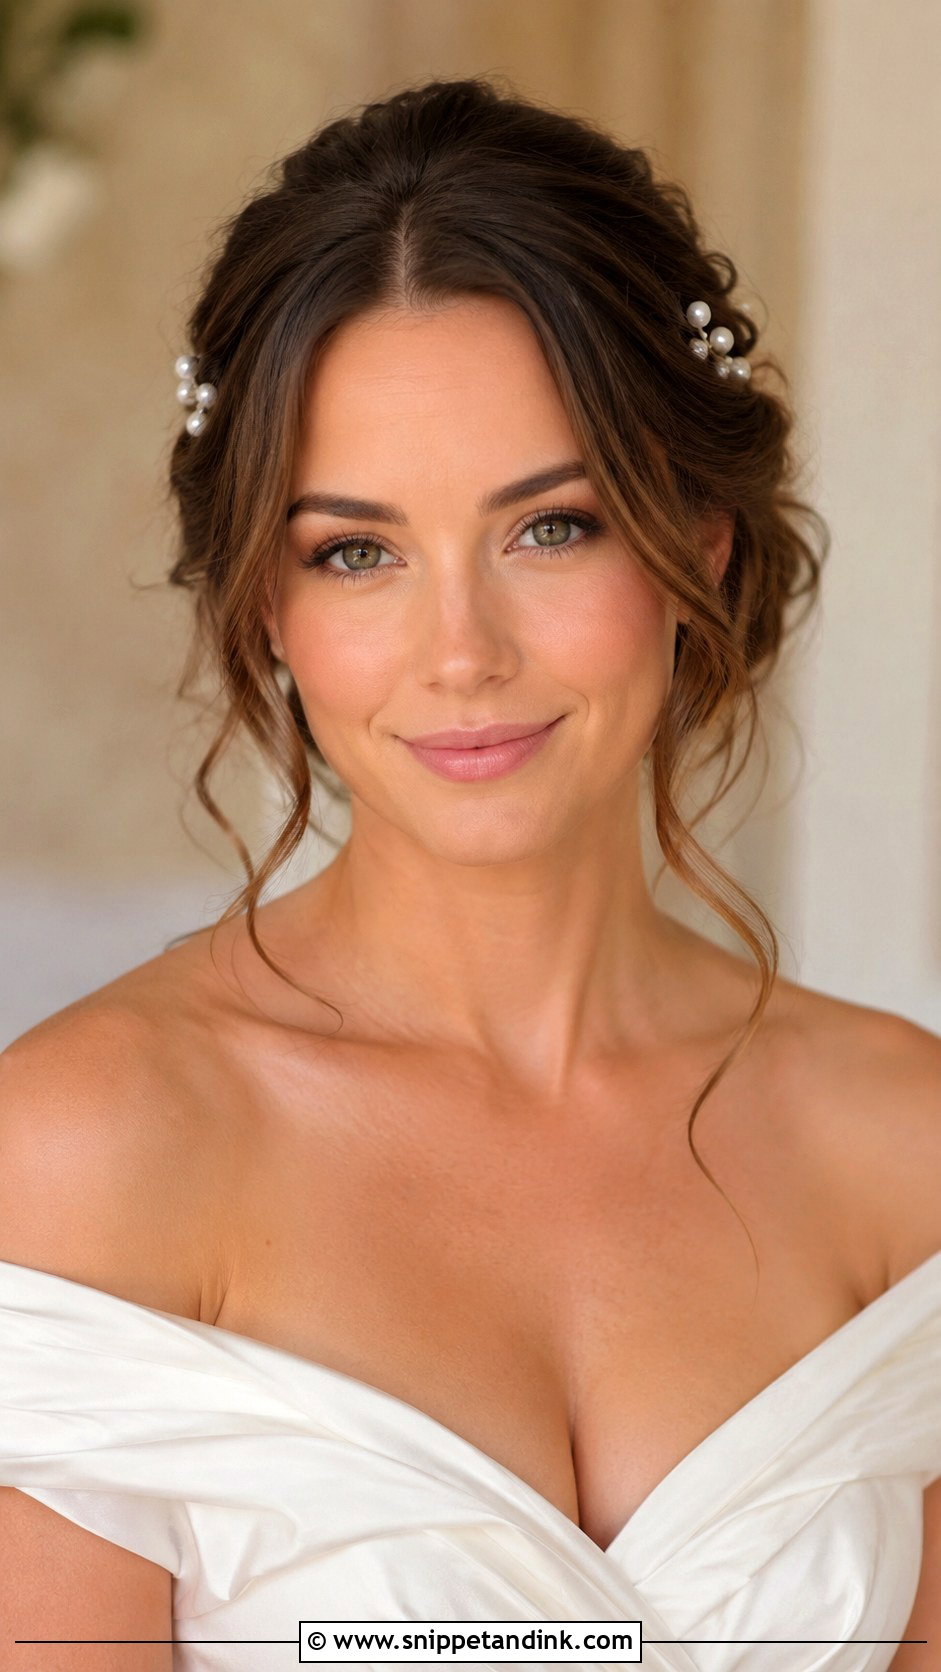
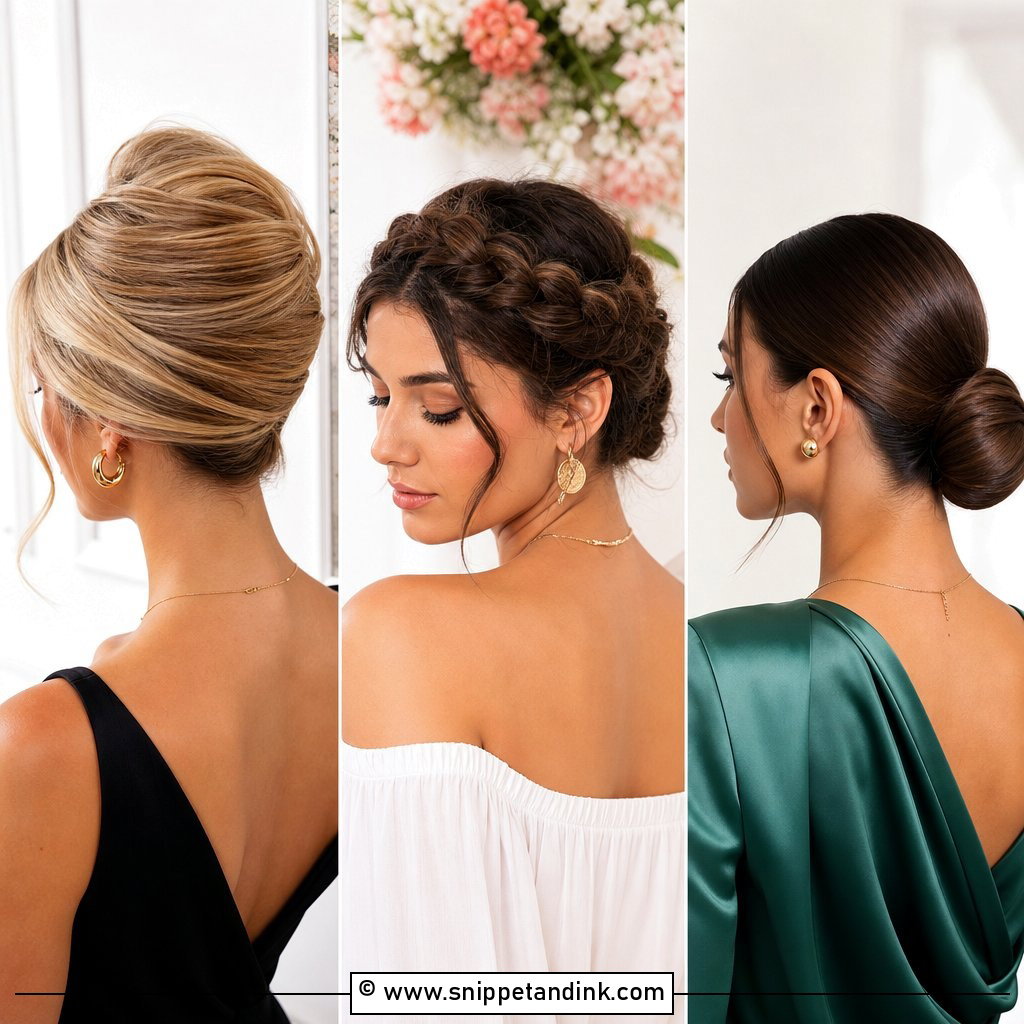
The low bun with face-framing pieces gives structure without looking strict, which is why it’s the front view I’m asked to recreate most. The bun sits at the nape, so from the front all you see is a smooth crown and the softness of the loose strands. Which pieces come out matters more than how many. I take them from in front of the ear and at the temple, never from the hairline right at the forehead, which tends to look like hair that escaped. Give them a loose bend and they’ll still look placed by evening.
2. Wedding Hair Sleek Middle Part Bun
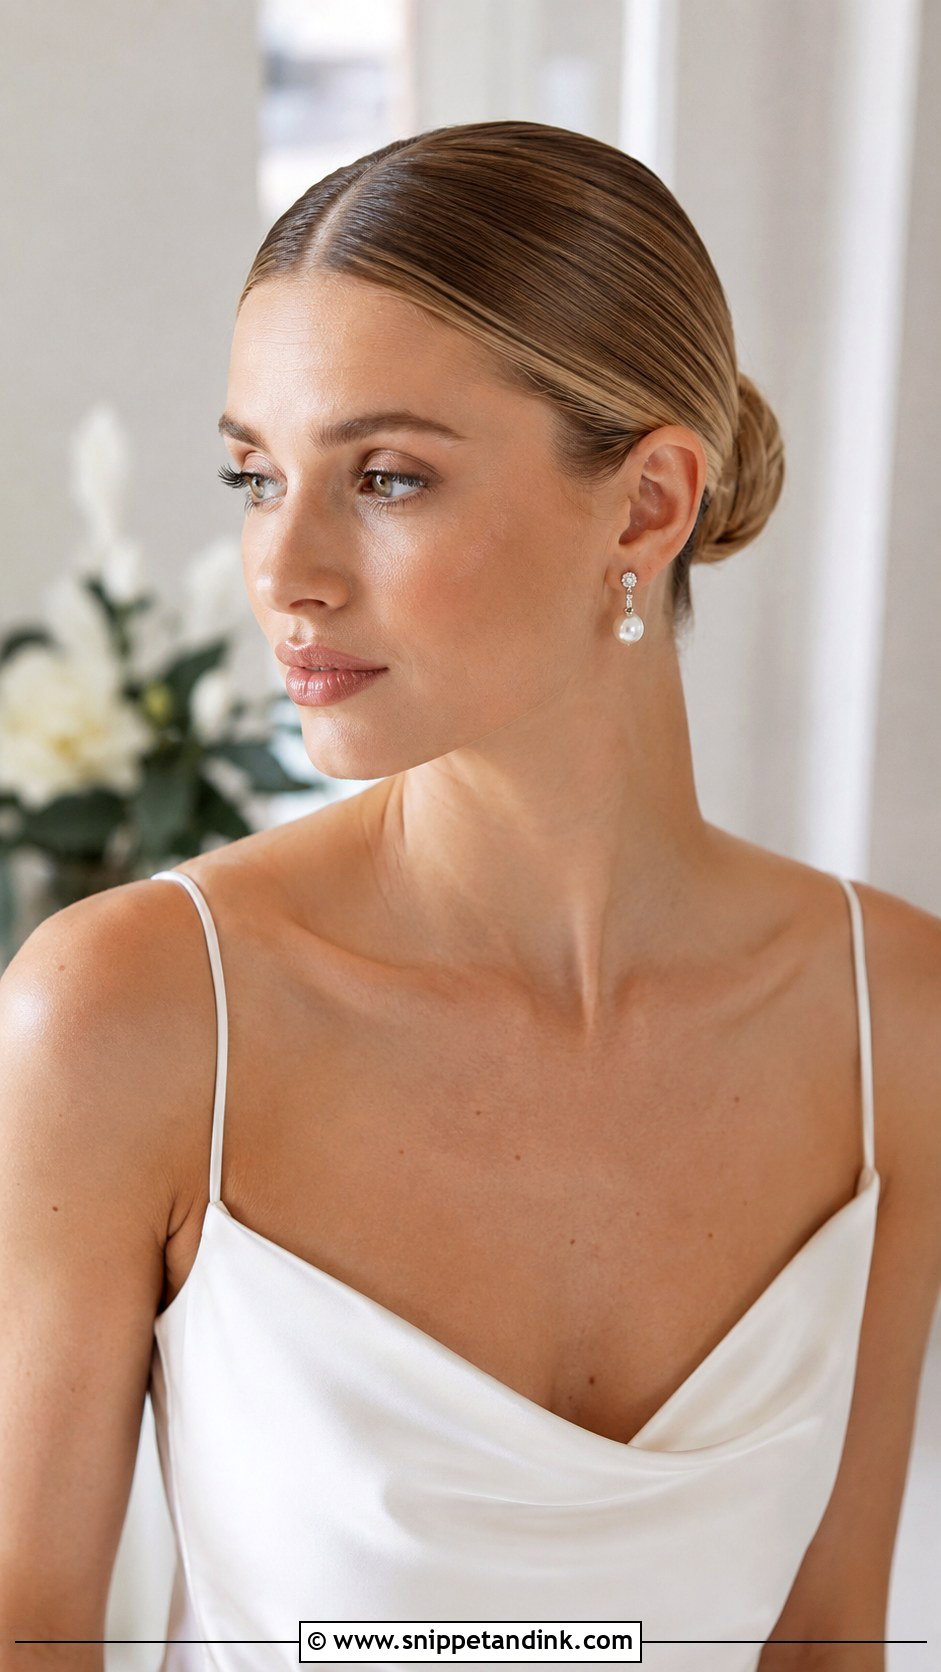
A sleek middle part bun gives a clean, modern front view, but it’s honest about your face. Perfect symmetry shows any unevenness in a hairline or brows, so I check the part with a tail comb from the bridge of the nose before anything else gets pinned. It suits simple gowns, high and square necklines and big earrings. The front needs a smoothing cream and a soft brush, then a light hold spray. Gel can look wet in flash photos.
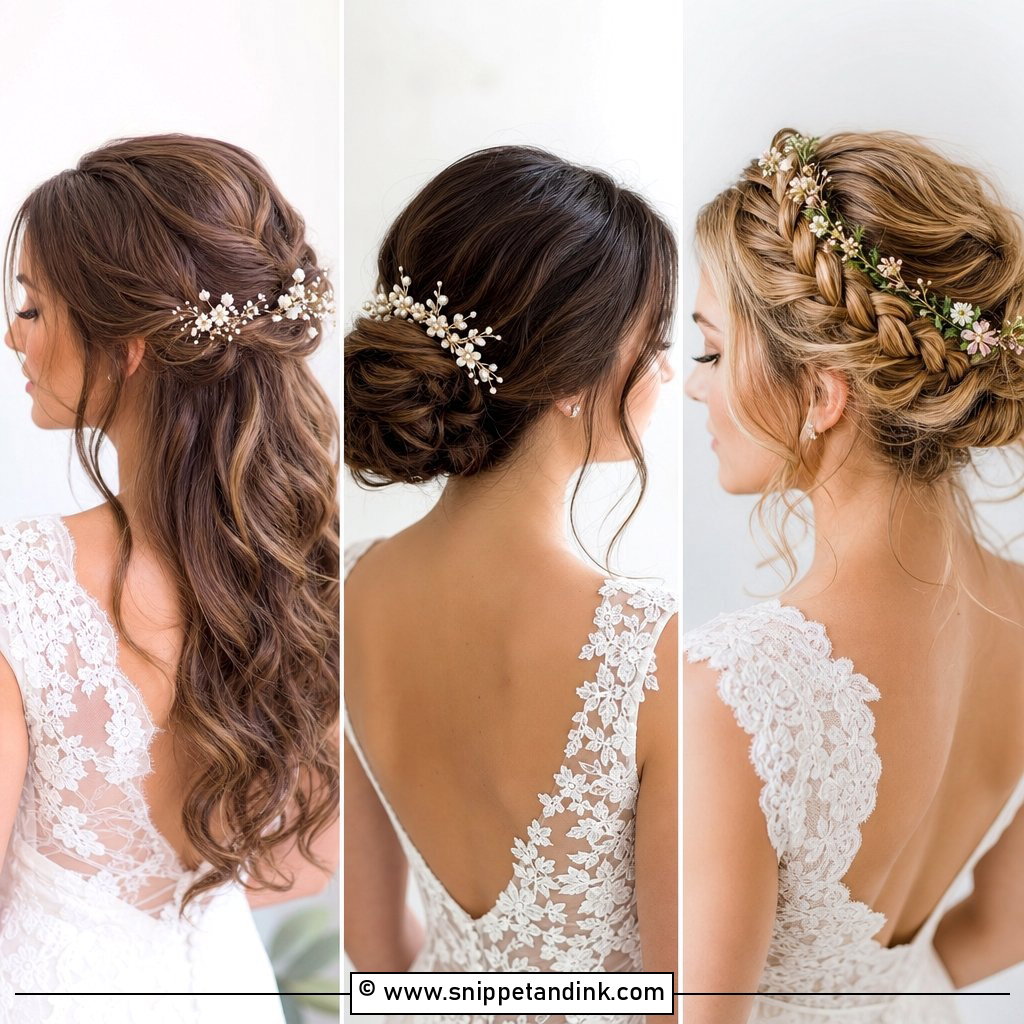
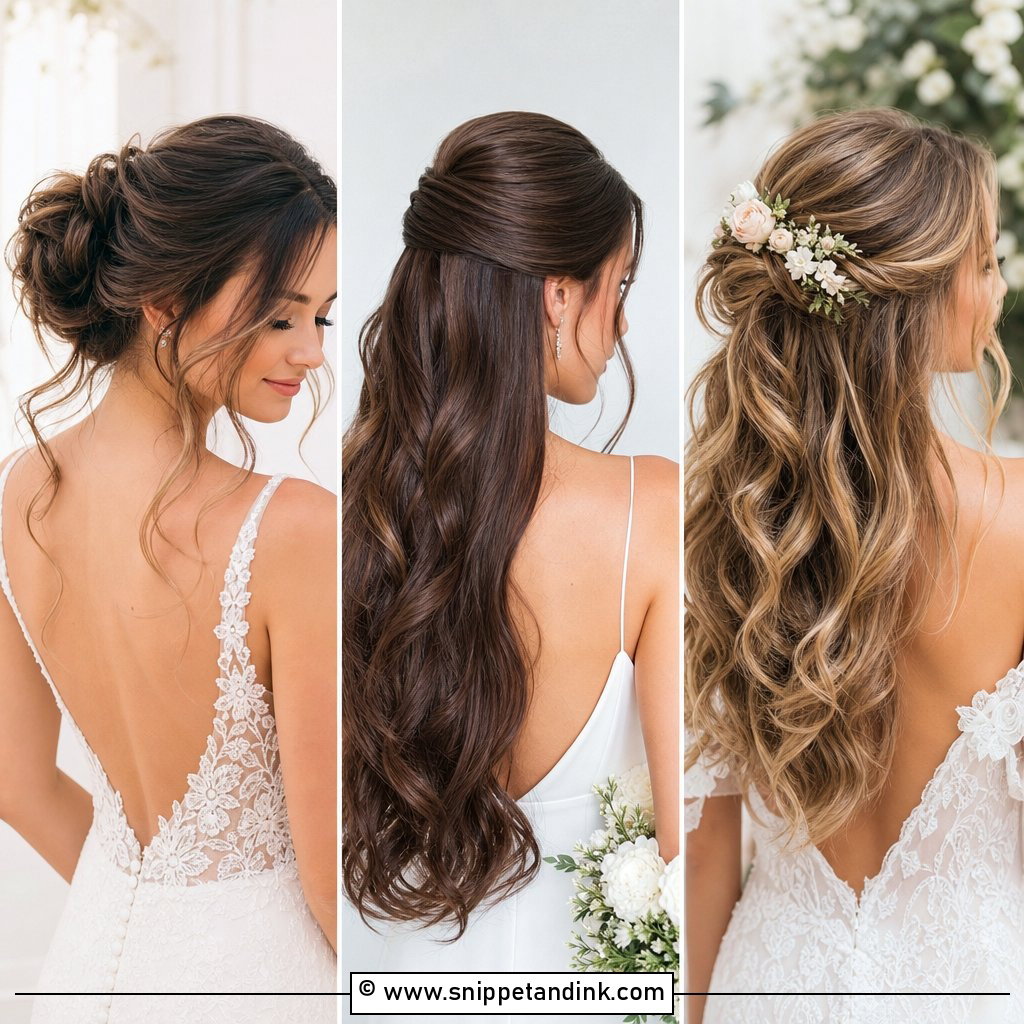
3. Wedding Hair Half Up Half Down Waves
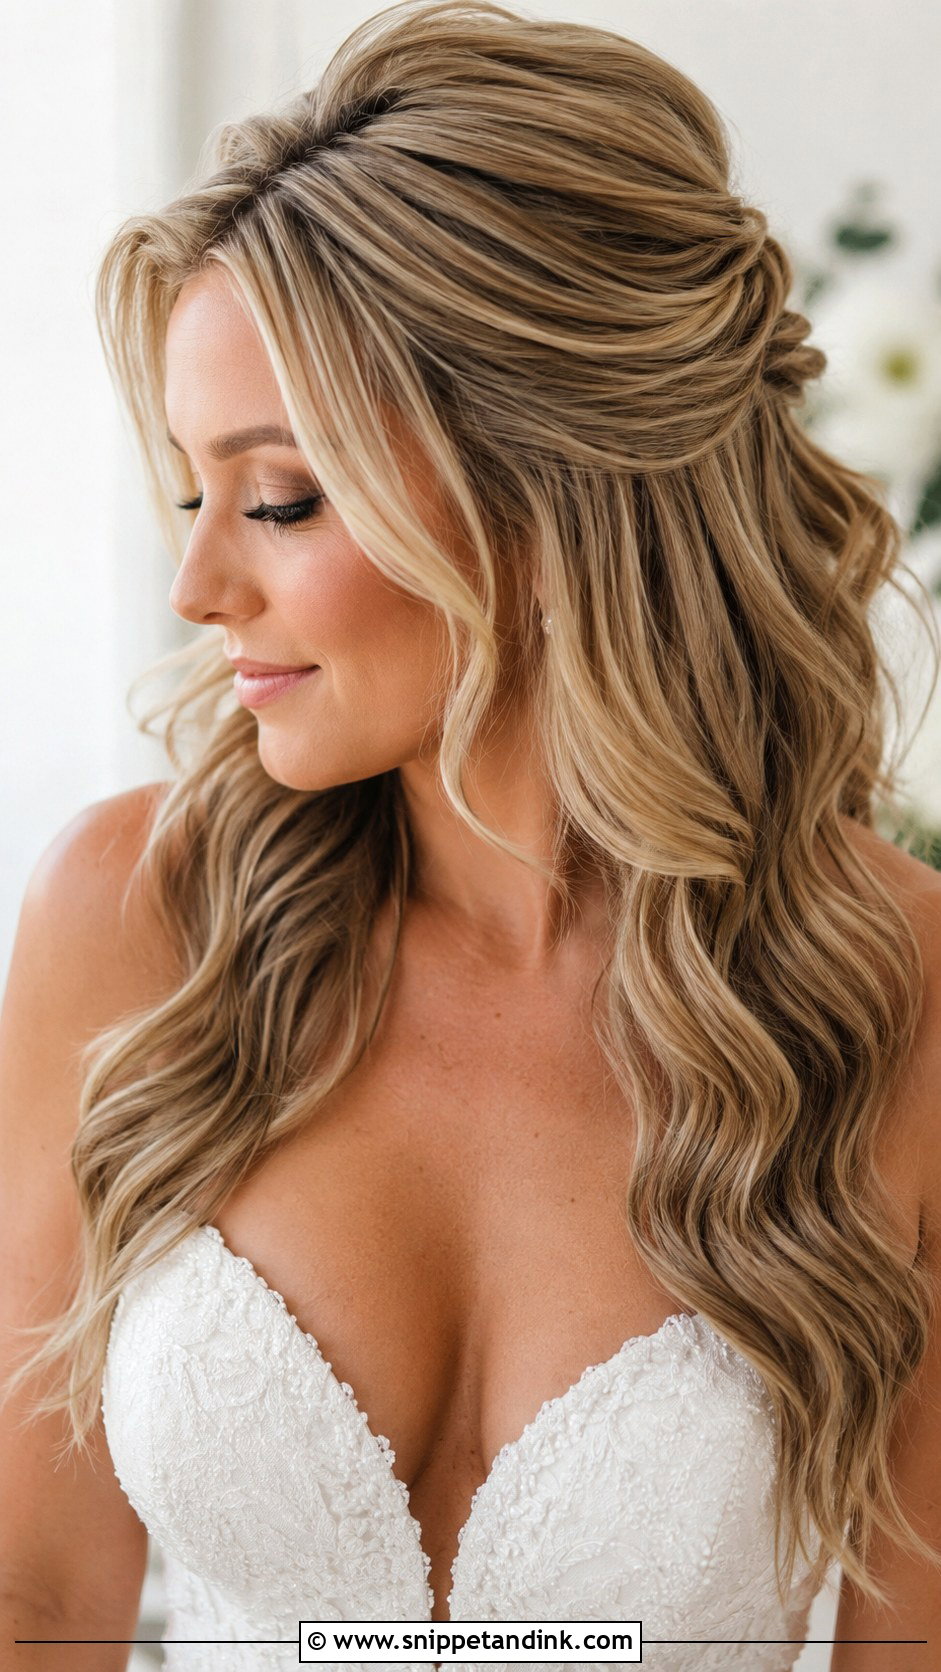
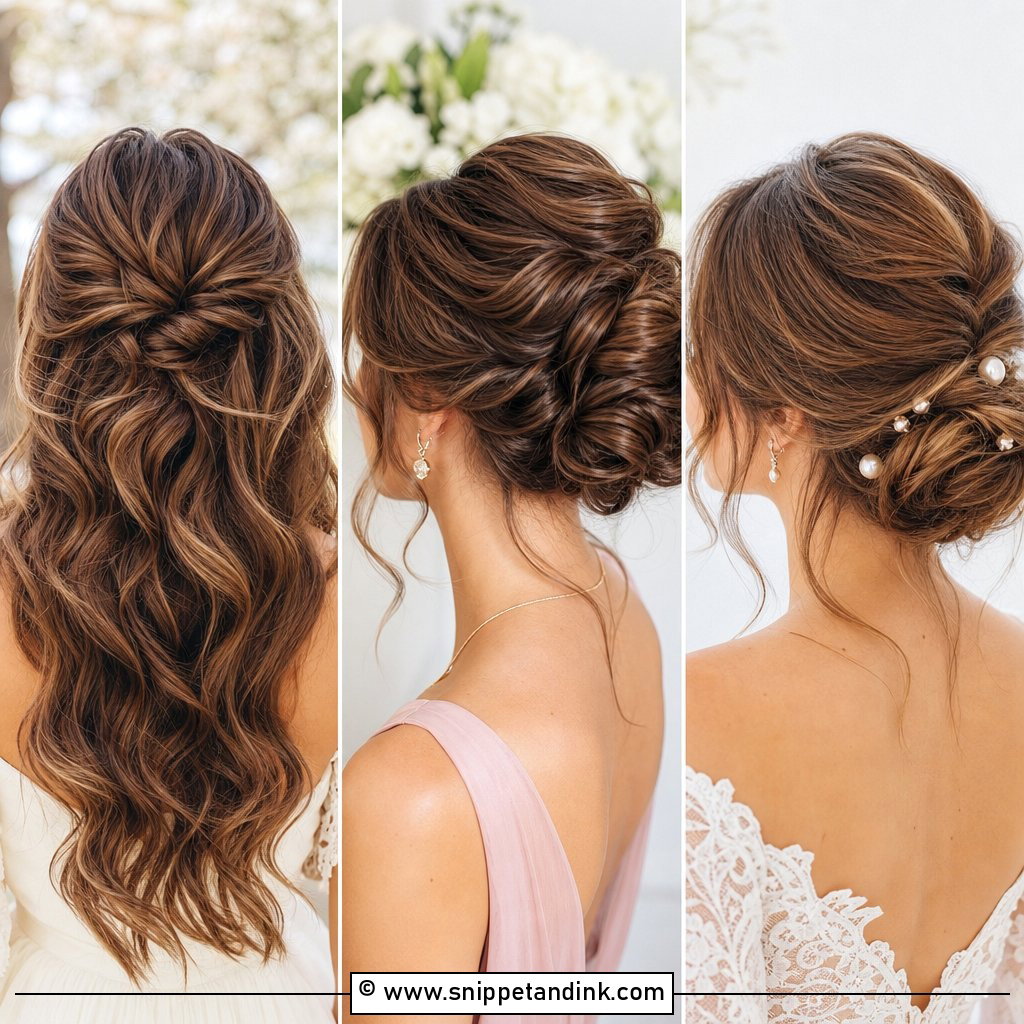
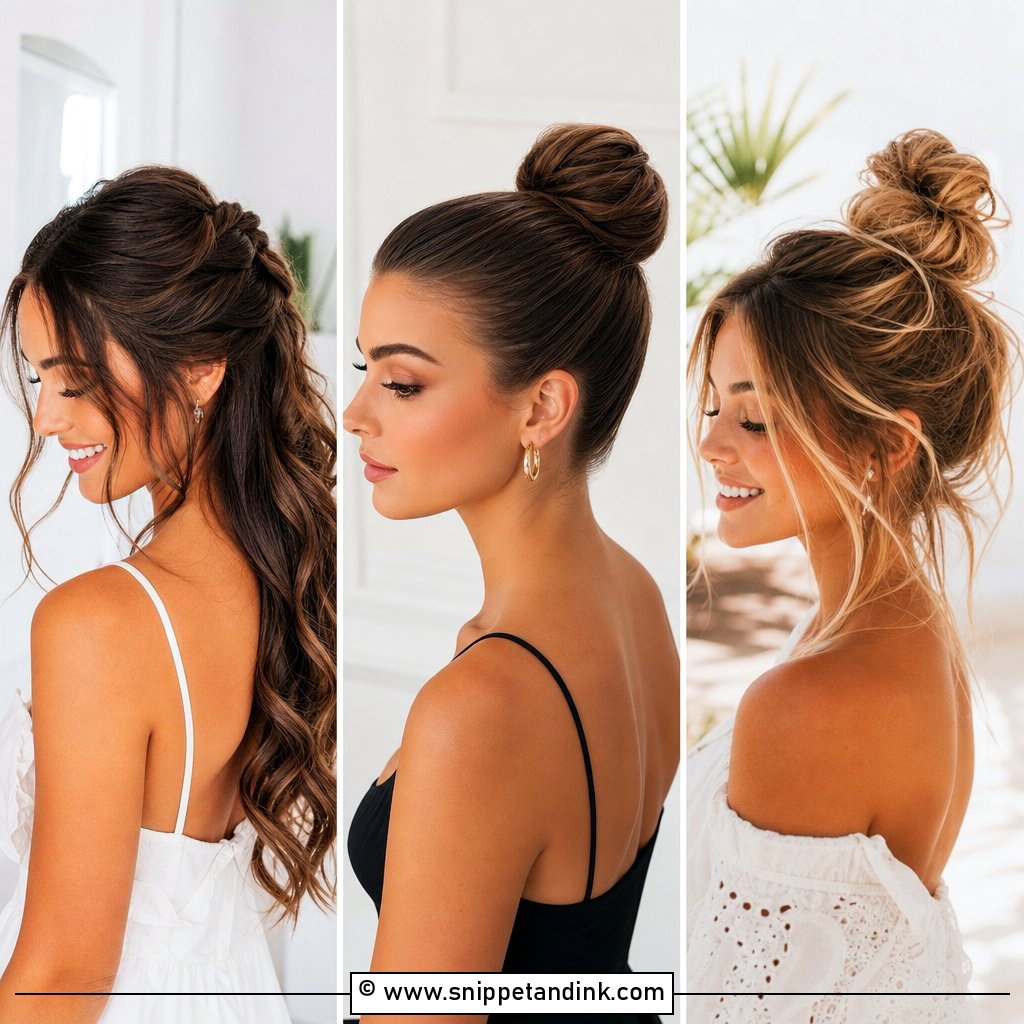
From the front, half up waves read almost like loose hair, but the hair stays away from your eyes for the vows. The top section gets pulled back and twisted or pinned while the rest falls over the shoulders. That pinned section needs a little lift at the root, or the crown looks flat in front-on shots. I curve a couple of pieces near the cheekbones so the face has a frame. It sits well with strapless and sweetheart necklines and outdoor ceremonies, where wind would otherwise blow fully loose hair across the face.
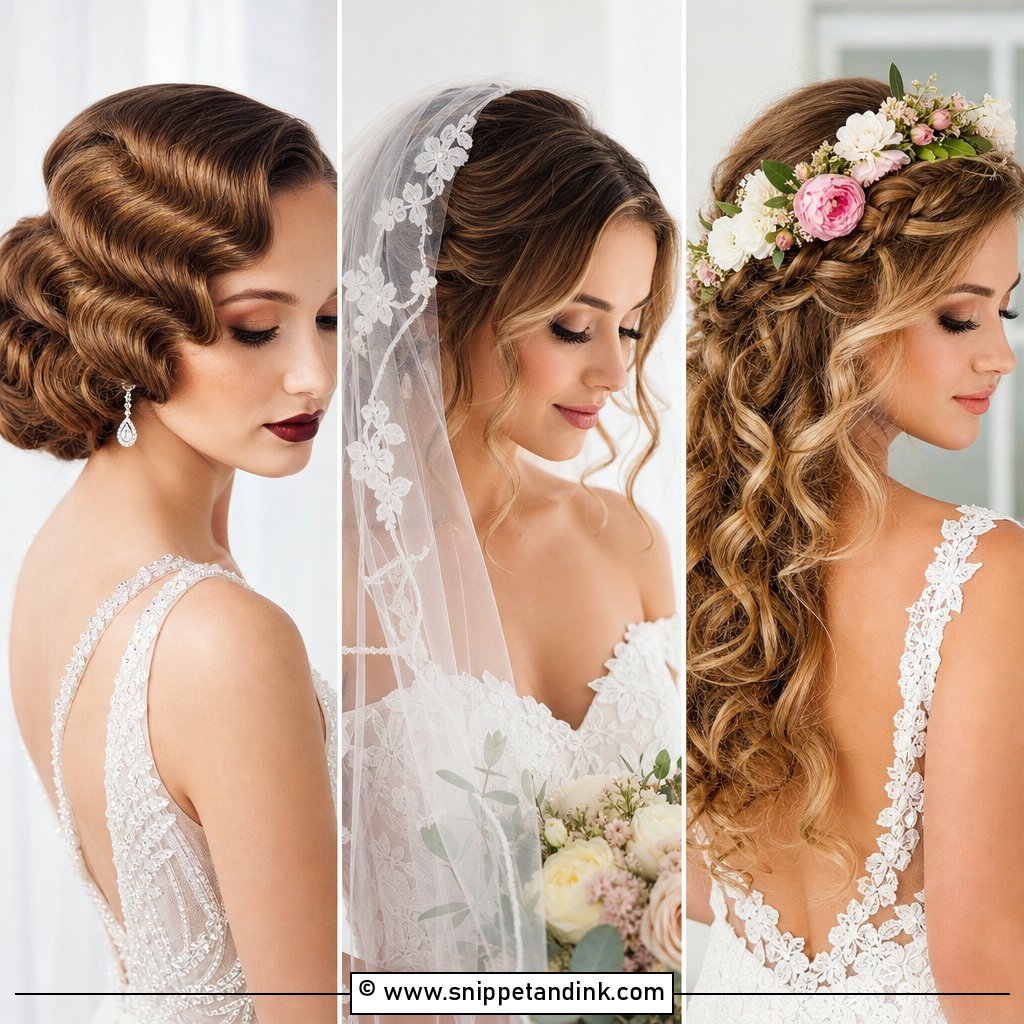
4. Wedding Hair Hollywood Waves
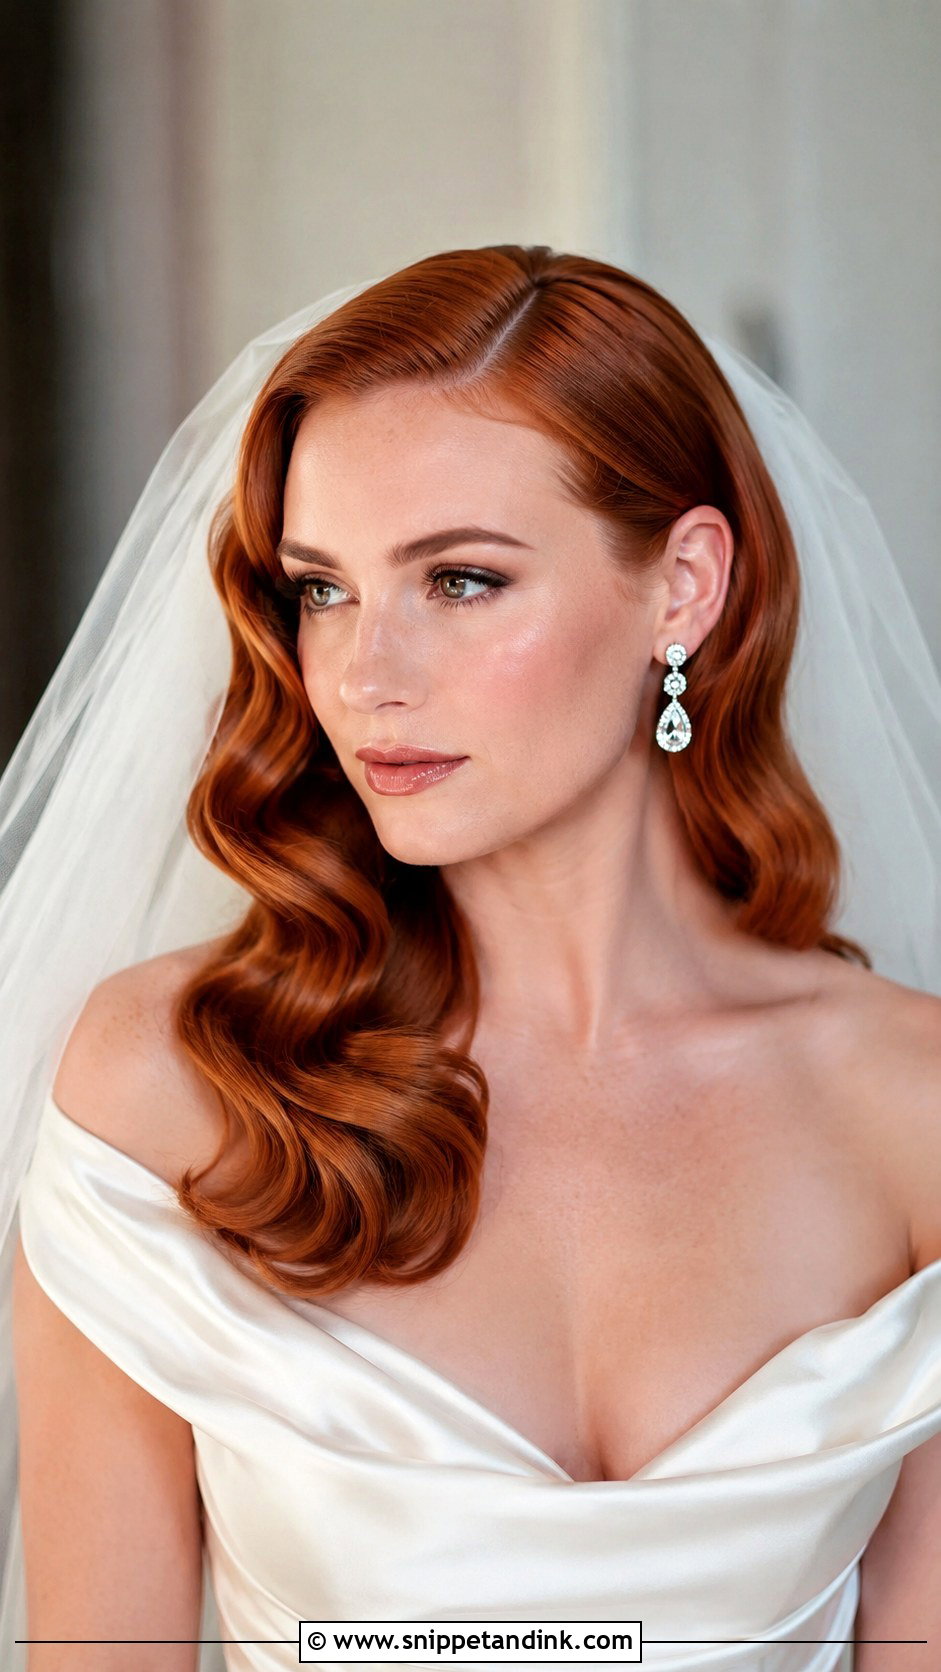
Hollywood waves create a glamorous front view because of one feature: the deep wave sweeping across the forehead on the heavy side of a side part. The waves run in one direction, so from the front you see a smooth S-shaped ripple framing one side of the face. Start the first wave near the cheekbone, not at the brow, or it falls over the eye every time you look down at your vows. Satin gowns and bold earrings suit it. Shine spray and a strong, flexible hold keep the wave line clean.
5. Wedding Hair High Bun With Soft Tendrils
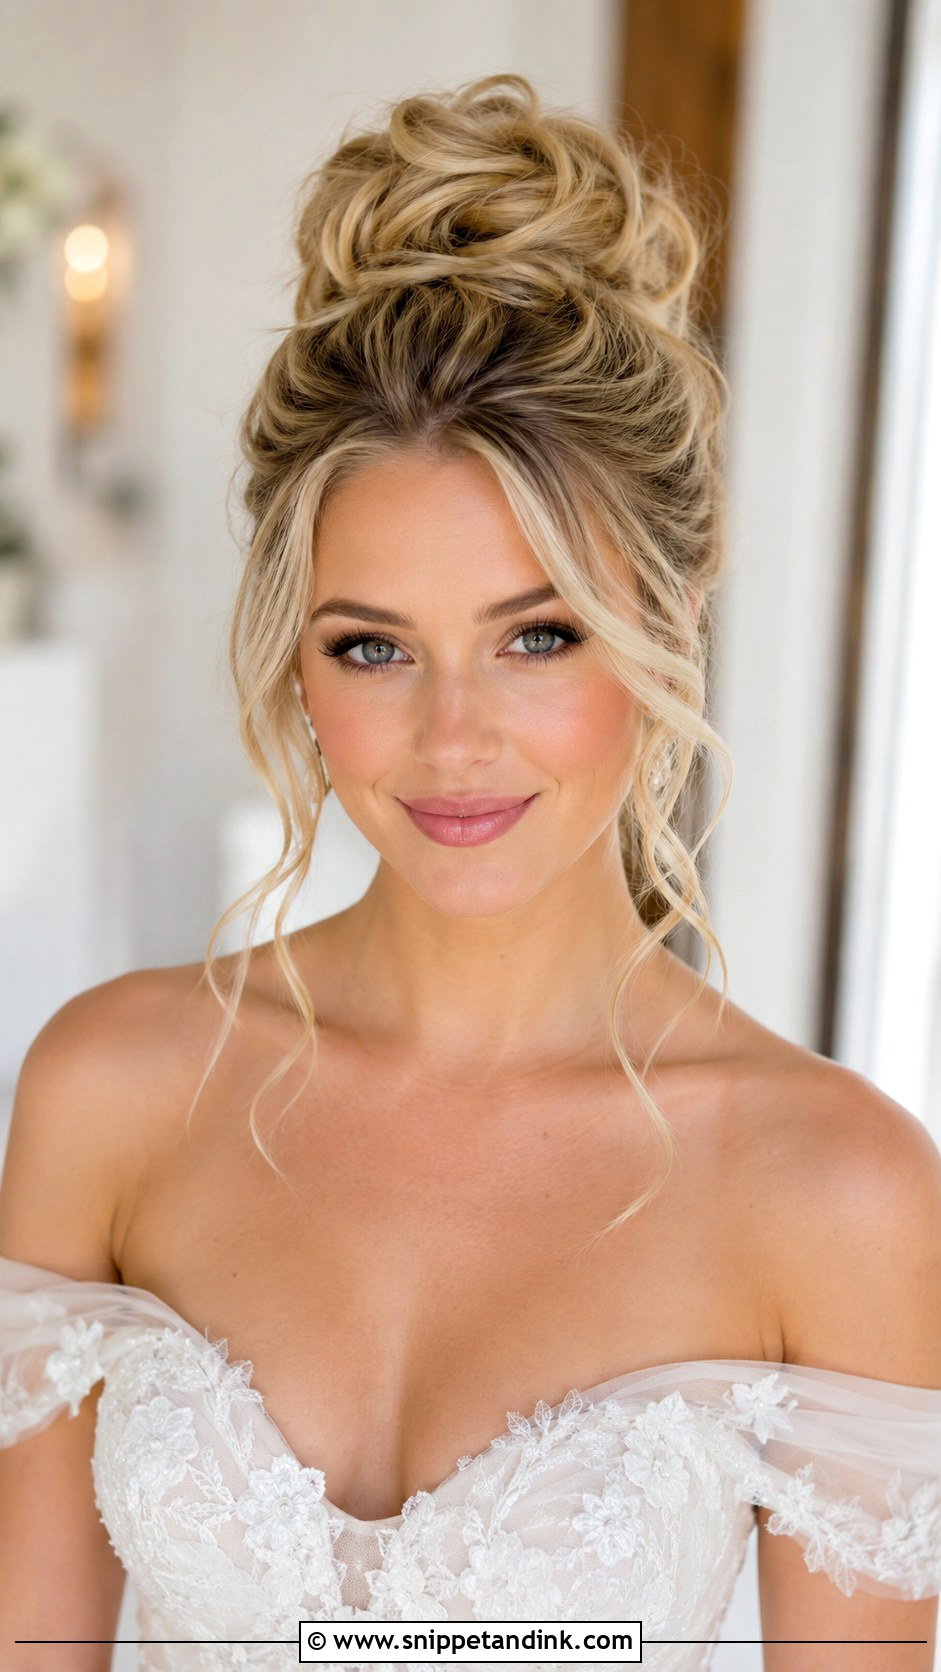
A high bun with soft tendrils puts height on the head, which lengthens the neck in front-on photos. The bun has to sit high enough to peek above the crown from the front, otherwise it simply looks like hair pulled back tight. Tendrils around the temples and jawline soften it. I keep those pieces fine and lightly curled; thick tendrils get heavy and hang straight by the reception. A veil goes beneath the bun, and off-the-shoulder gowns show the full line.
6. Wedding Hair Low Ponytail With Front Pieces
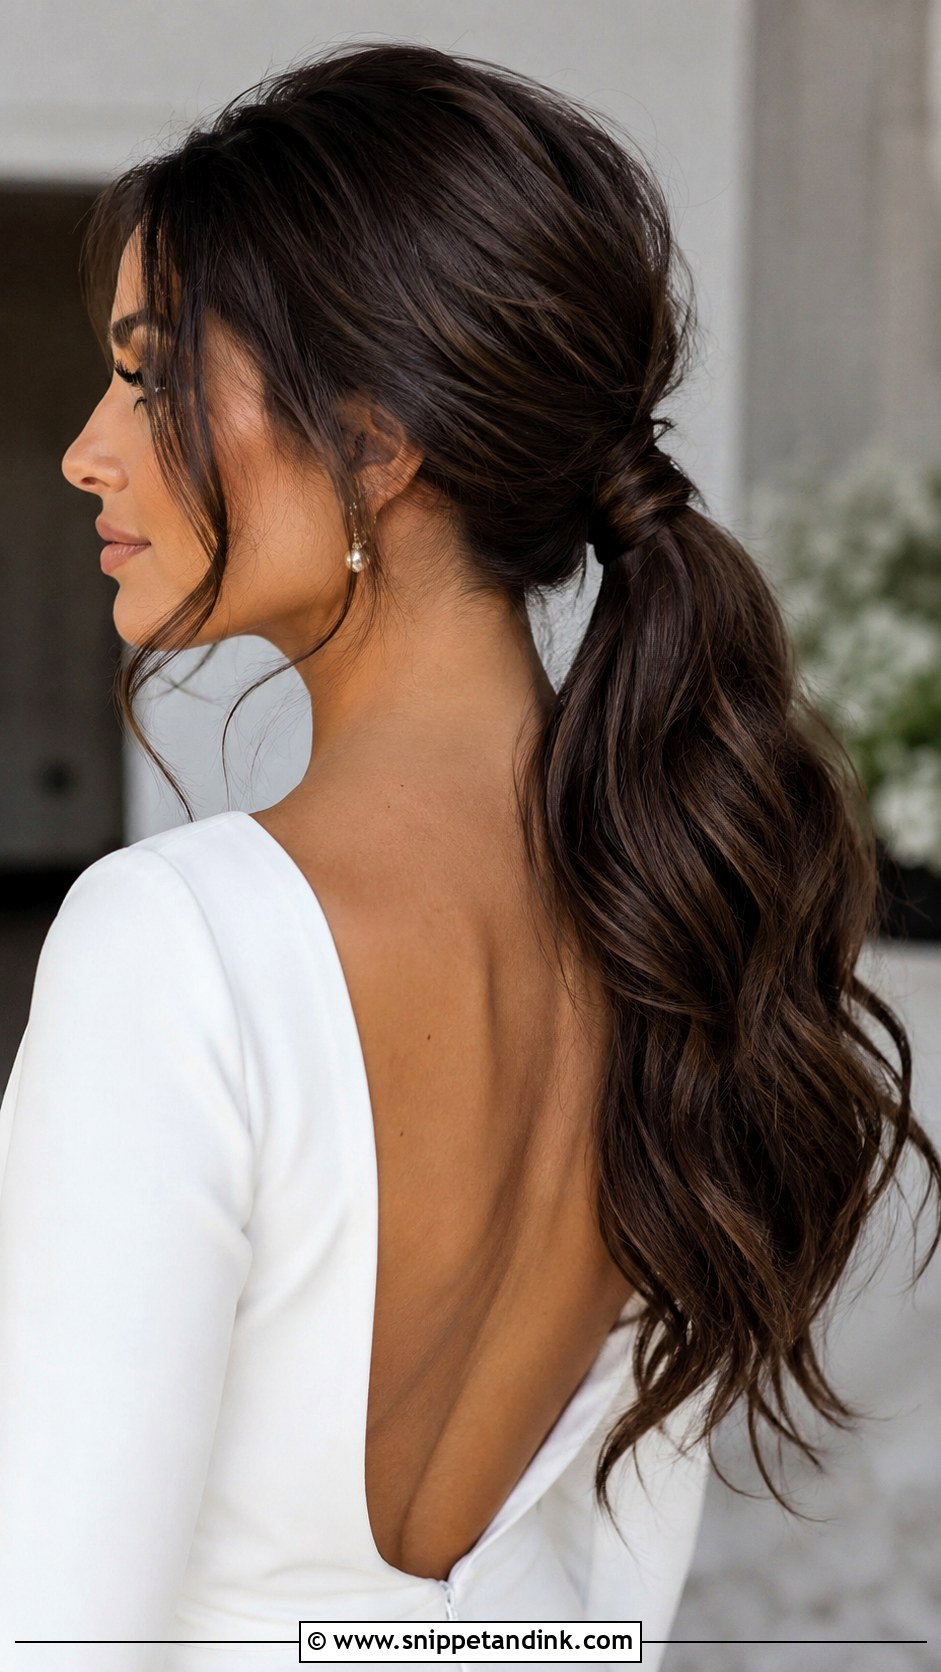
The low ponytail is the hardest-working style on this list. From the front it looks like an updo, while the length falls behind the shoulders, and it’s comfortable and secure enough for hours of dancing. The front decides whether it reads bridal or everyday. I smooth the roots, wrap a section around the elastic, and leave a few small pieces out at the temples. A middle part looks modern; slightly off-center softens it.
7. Wedding Hair Side Part Updo
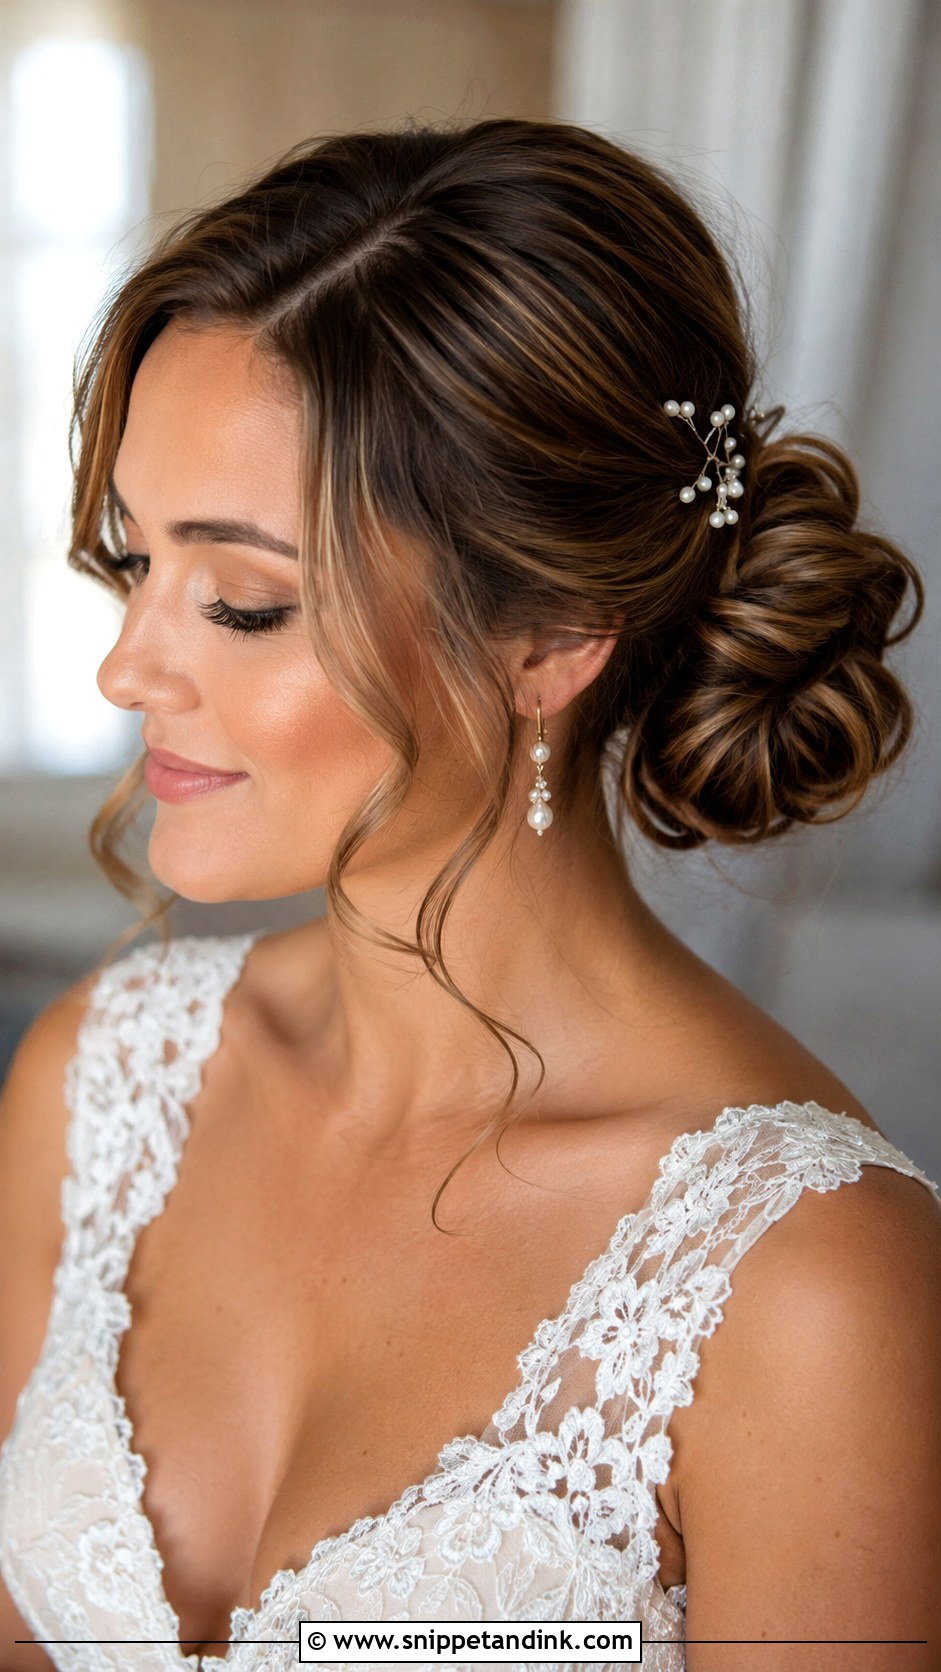
A side part updo adds movement across the forehead, which can soften strong cheekbones or an angular jaw. Behind, it can be a low bun, tucked chignon or textured twist; the work is in the front. I shape the heavier side into one gentle wave so it looks sculpted rather than flat, and I pin that wave from underneath so the pins don’t show from the front. A veil at the back and pearl pins tucked along the part line are all it needs.
8. Wedding Hair Textured Chignon
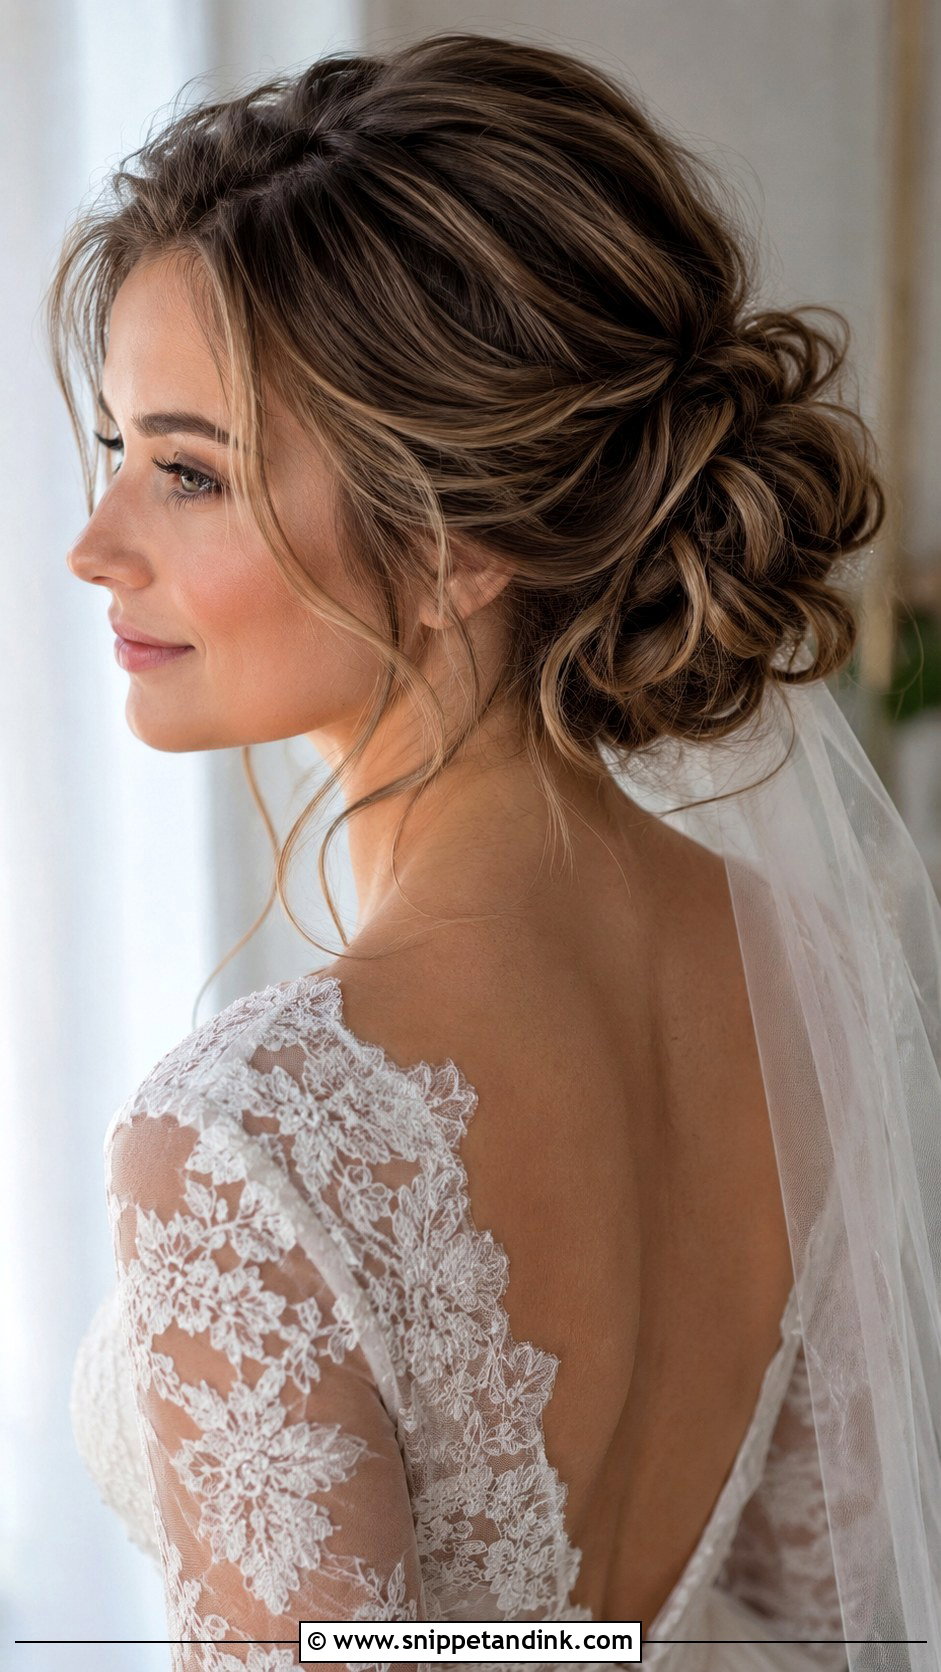
A textured chignon reads soft from the front because it has a little volume and separation rather than a slick finish. The difference between soft and messy is control at the hairline. I keep the front smooth and let the texture start a few inches back, so close-up photos read as polished while the side view looks relaxed. A loose strand, a soft middle part or brushed-back volume all work at the front. It sits well with lace gowns, garden weddings and delicate veils.
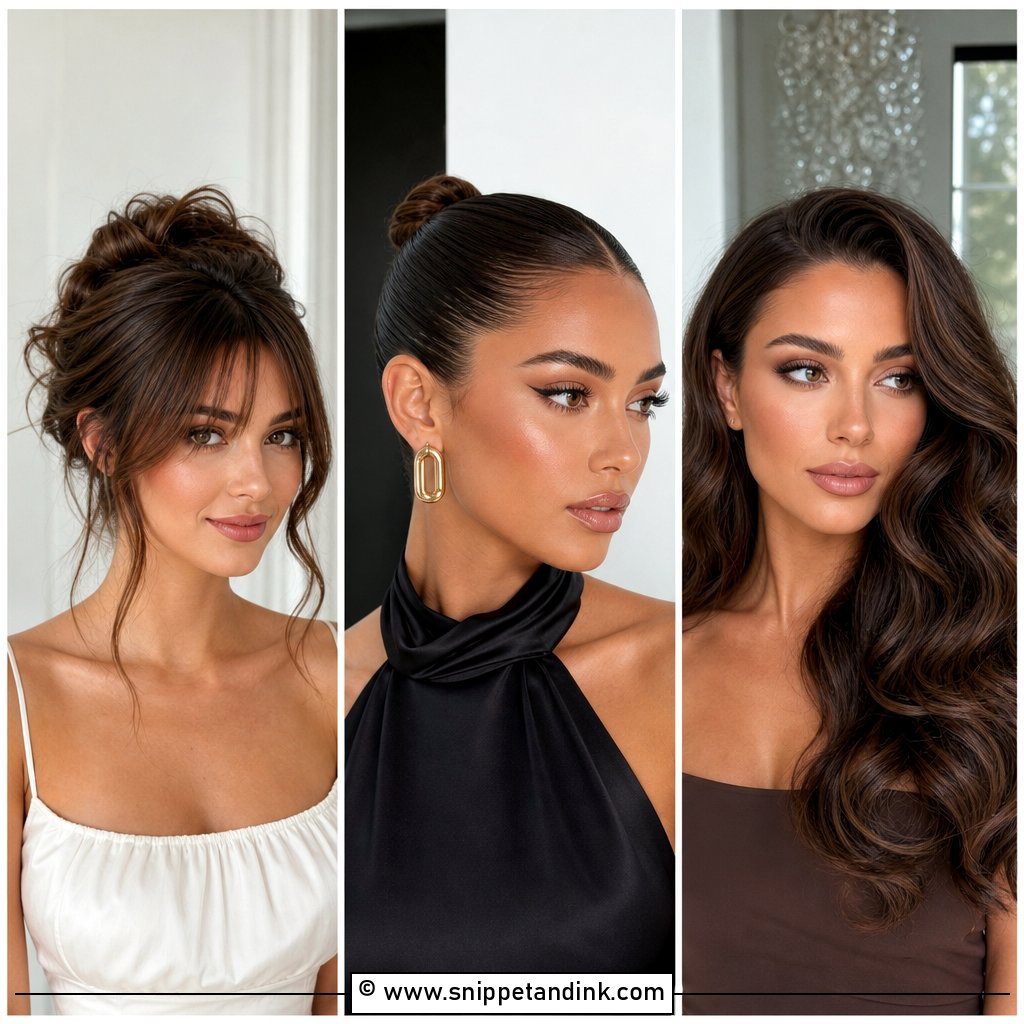
9. Wedding Hair Curtain Bangs Updo
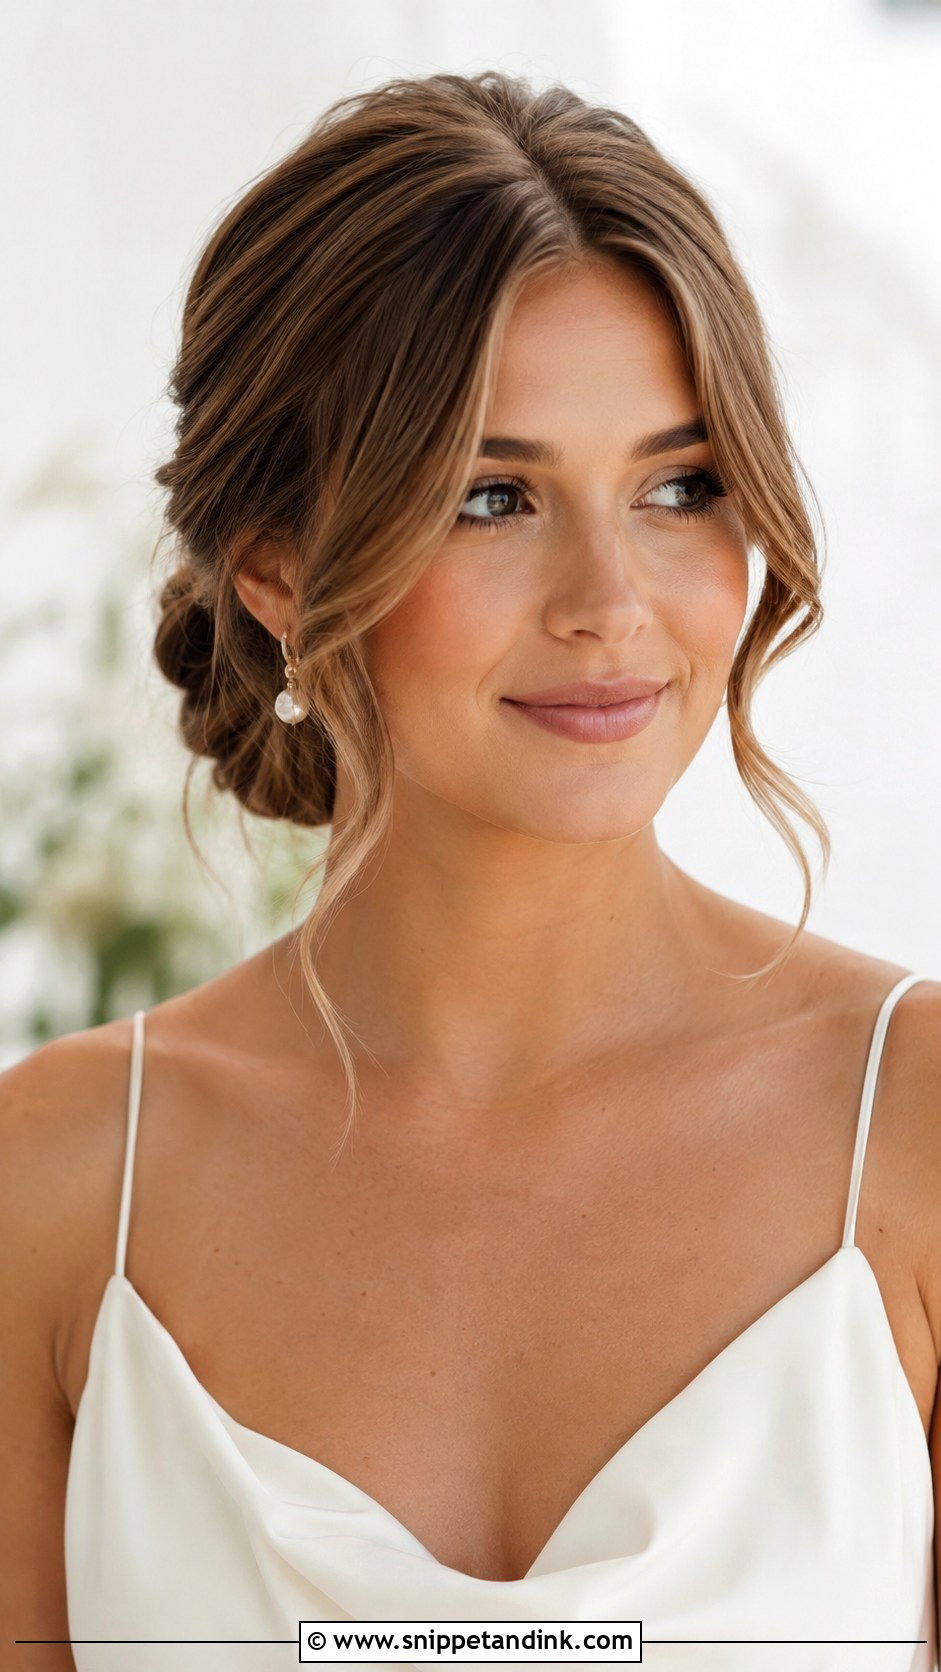
Curtain bangs with an updo frame the eyes in a way no loose tendril can. The bangs need to open away from the face. I blow-dry each side over a round brush, rolling outward, before the updo is started, so they don’t fall flat and straight over the brows. If you don’t already wear curtain bangs, don’t cut them in the last month; they need a few weeks to fall properly. Use a light hold so they stay airy.
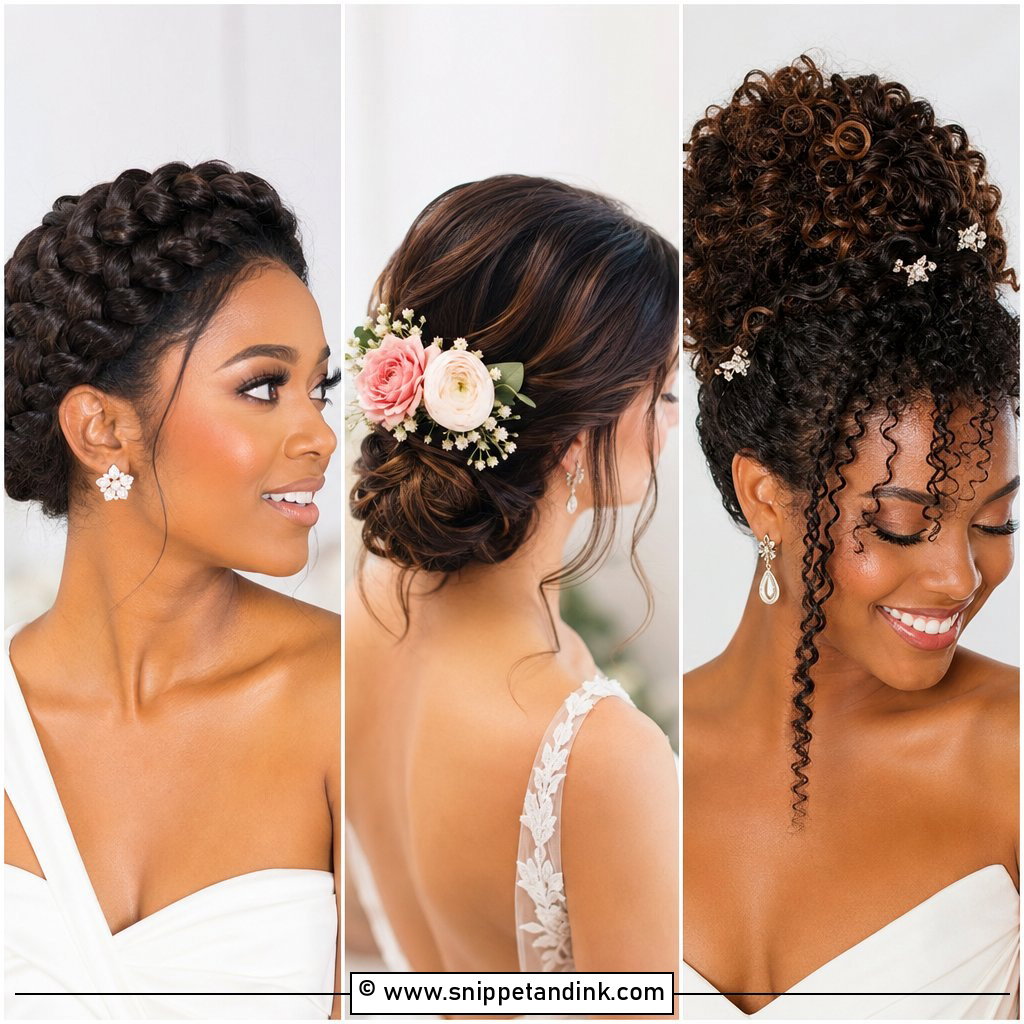
10. Wedding Hair Braided Crown
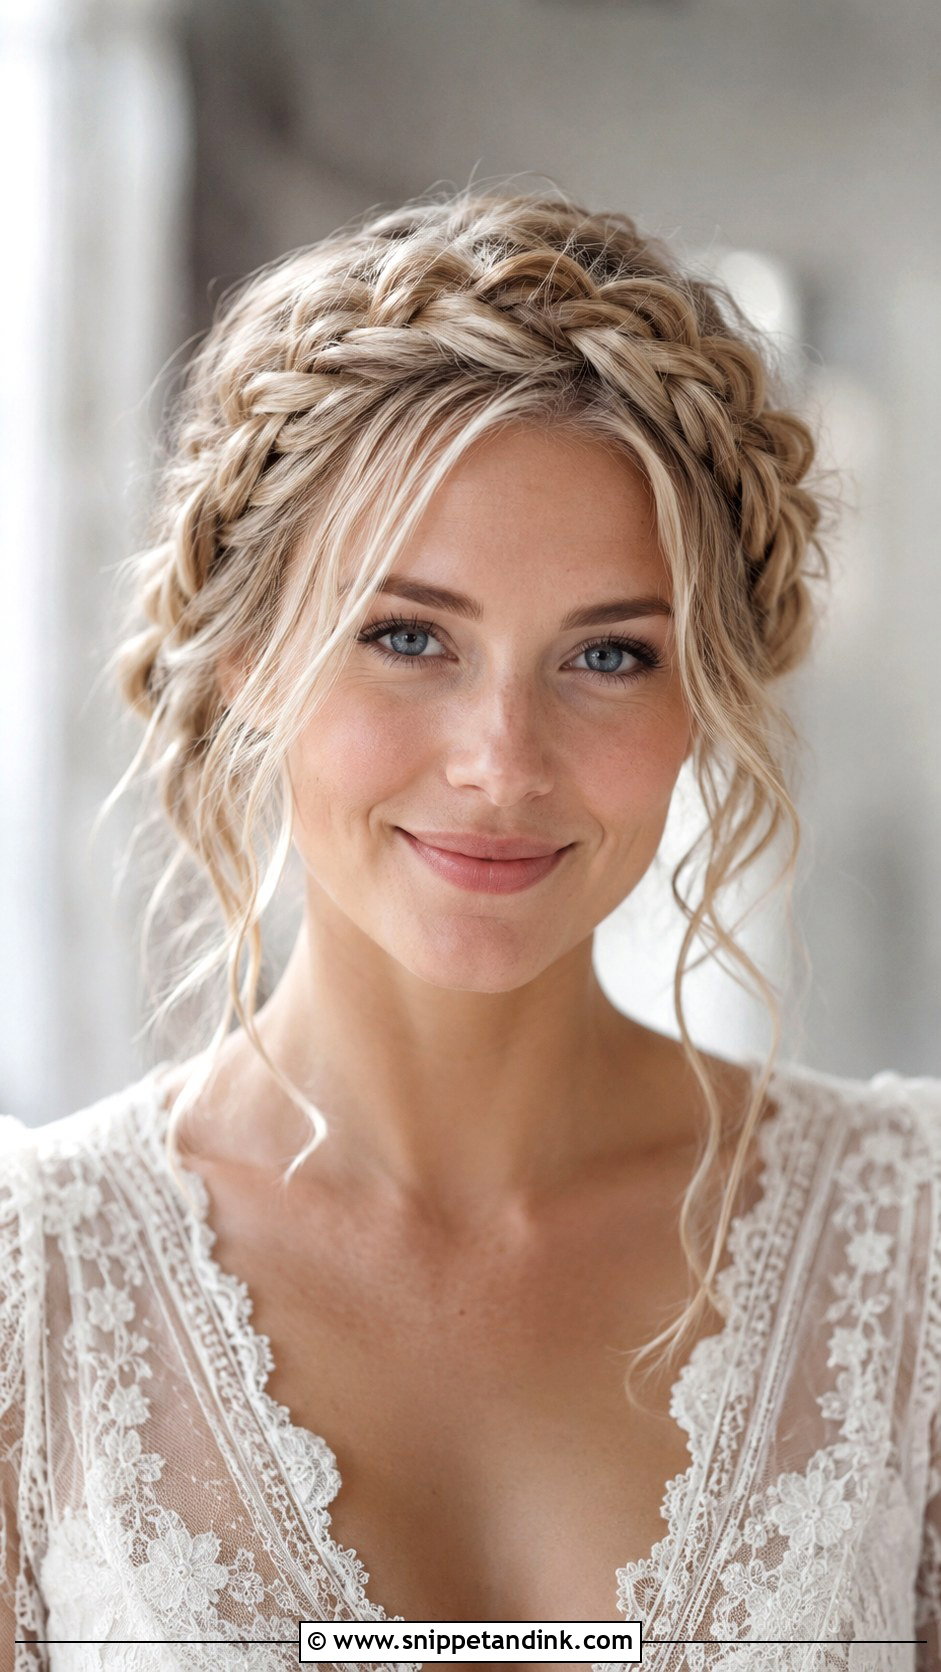
A braided crown frames the face from the hairline, which makes it one of the few styles that looks finished from the front with no accessory at all. It can sit like a halo across the top or wrap around the sides, depending on length. On fine or short layers, the braid at the front often loses pieces, so I use a little texture paste before braiding. Loosen it slightly once pinned, but not at the hairline itself, where gaps show up in front-on photos. Outdoor weddings and boho gowns suit it best.
11. Wedding Hair Soft Curls Down
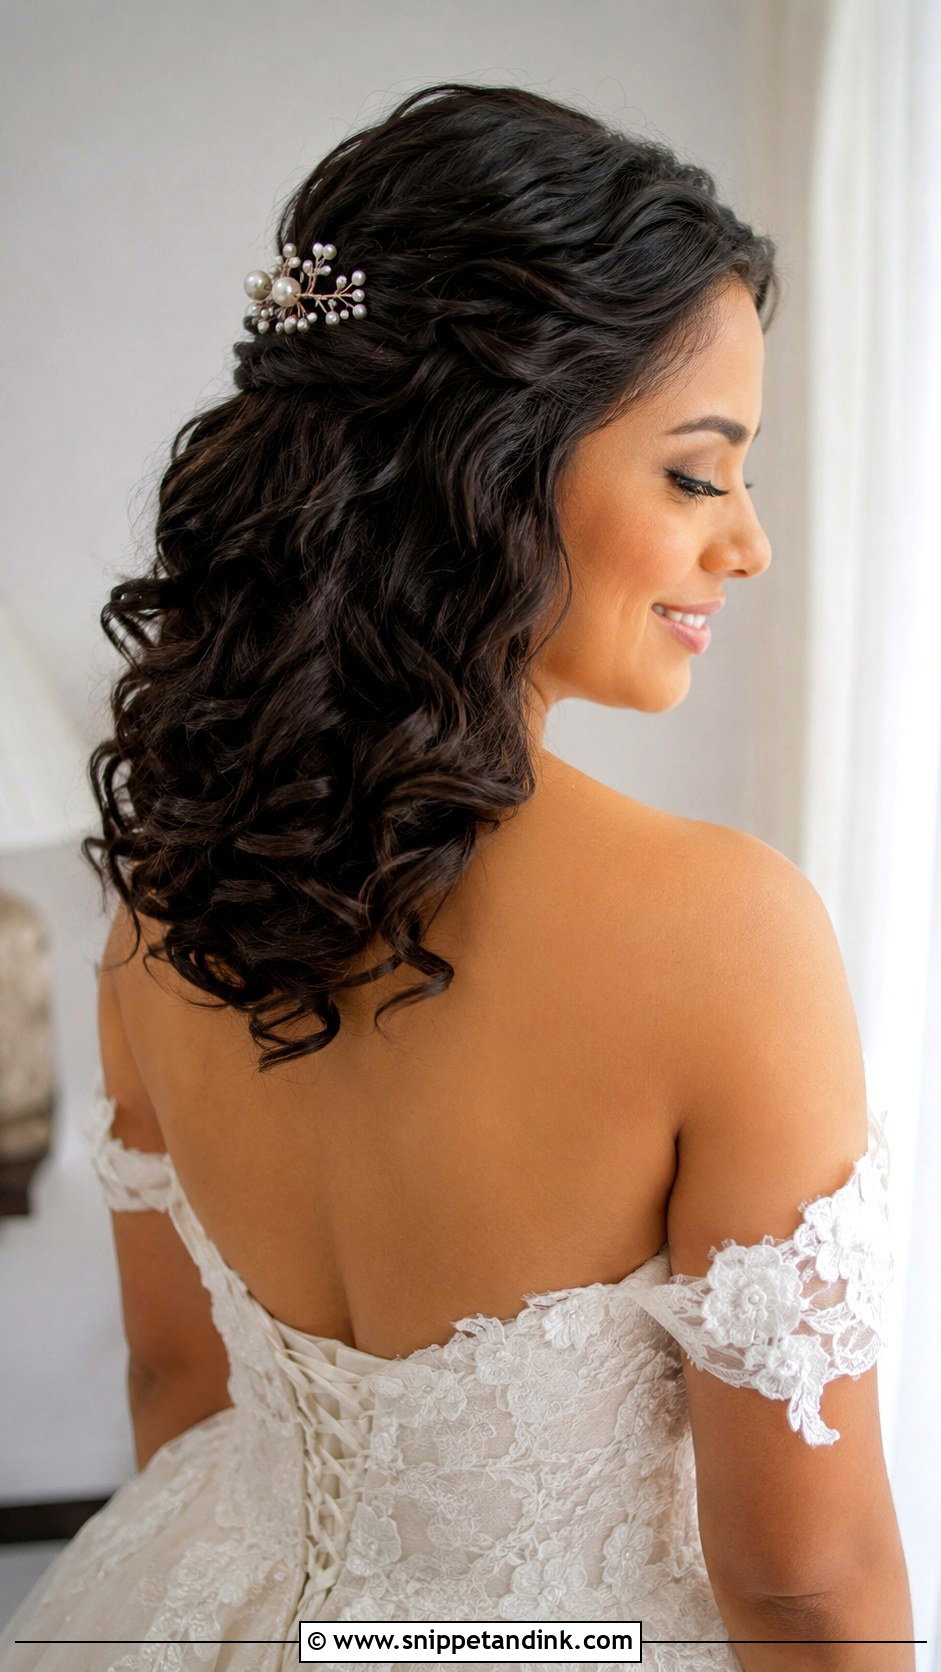
Soft curls down only look good from the front if they open away from the face. I curl the front sections away from the face on both sides, which keeps the features visible even as the curls drop. Curls turned toward the face slowly close in and hide the cheekbones. A side part reads glamorous; a center part reads softer. Use a lightweight product for definition, not something that makes them crunchy, and keep any comb or clip at the back.
12. Wedding Hair Slicked Back Bun
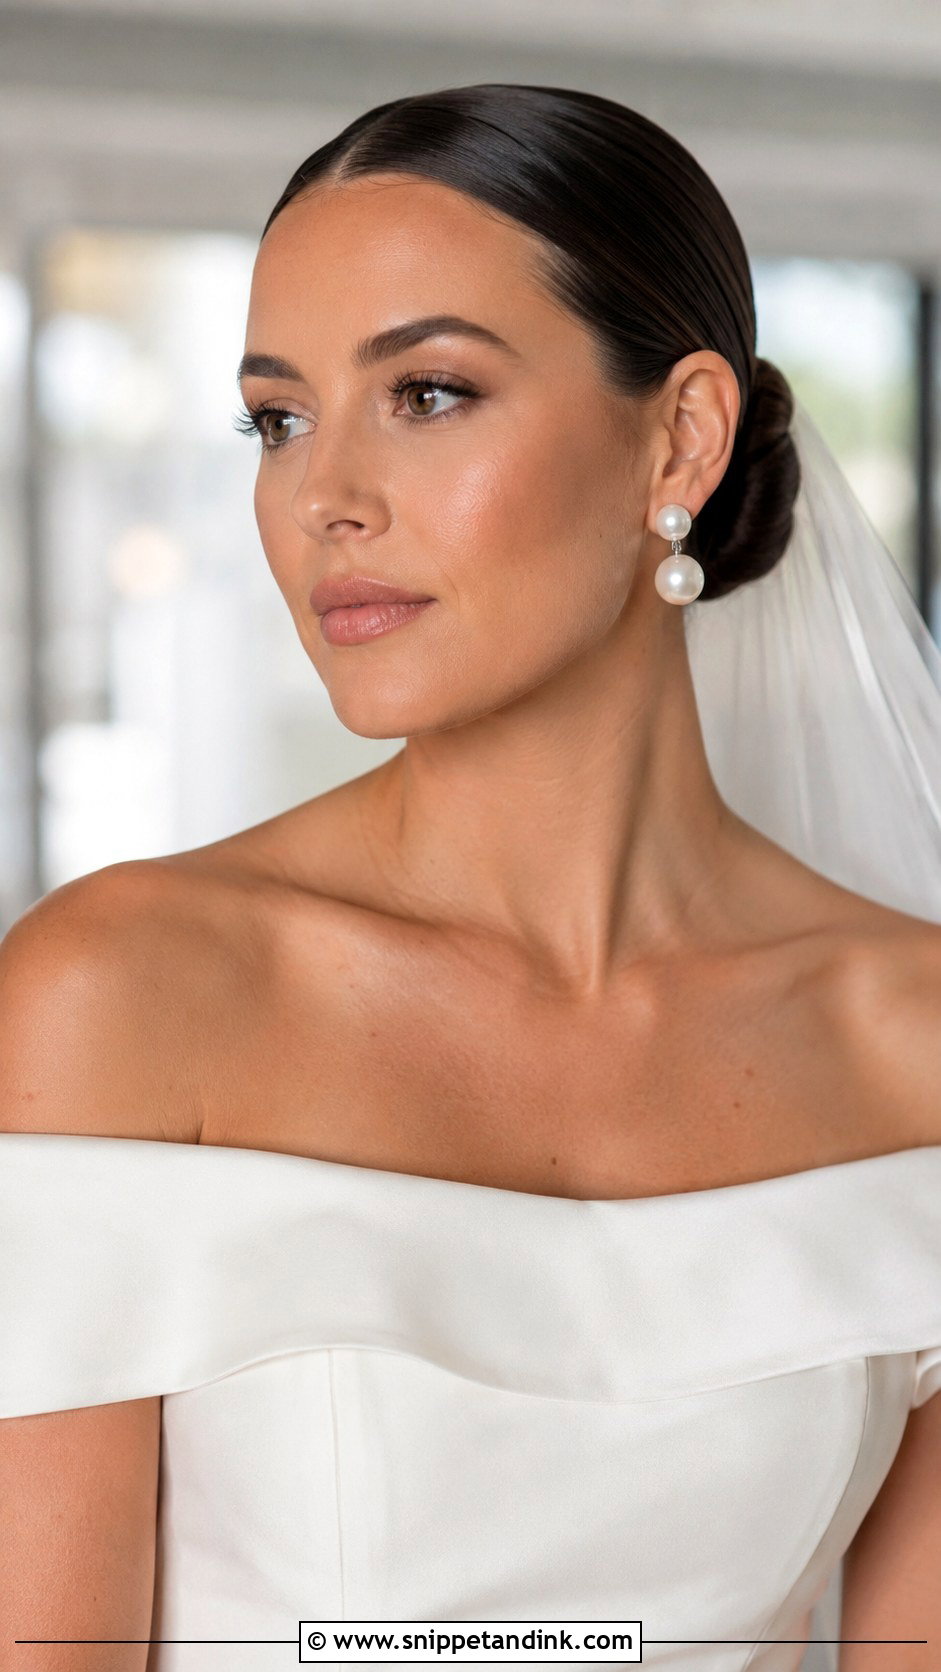
A slicked back bun puts every bit of attention on your face, brows and earrings. The front hairline does the heavy lifting here, so I smooth it with a firm cream and a boar bristle brush, then set any flyaways with a little hold. It looks sharpest with minimalist gowns and clean makeup. The bun can sit low or mid-height. If you’ve had regrowth or a cowlick at the front, mention it at the trial; this style shows both.
13. Wedding Hair Twisted Half Up
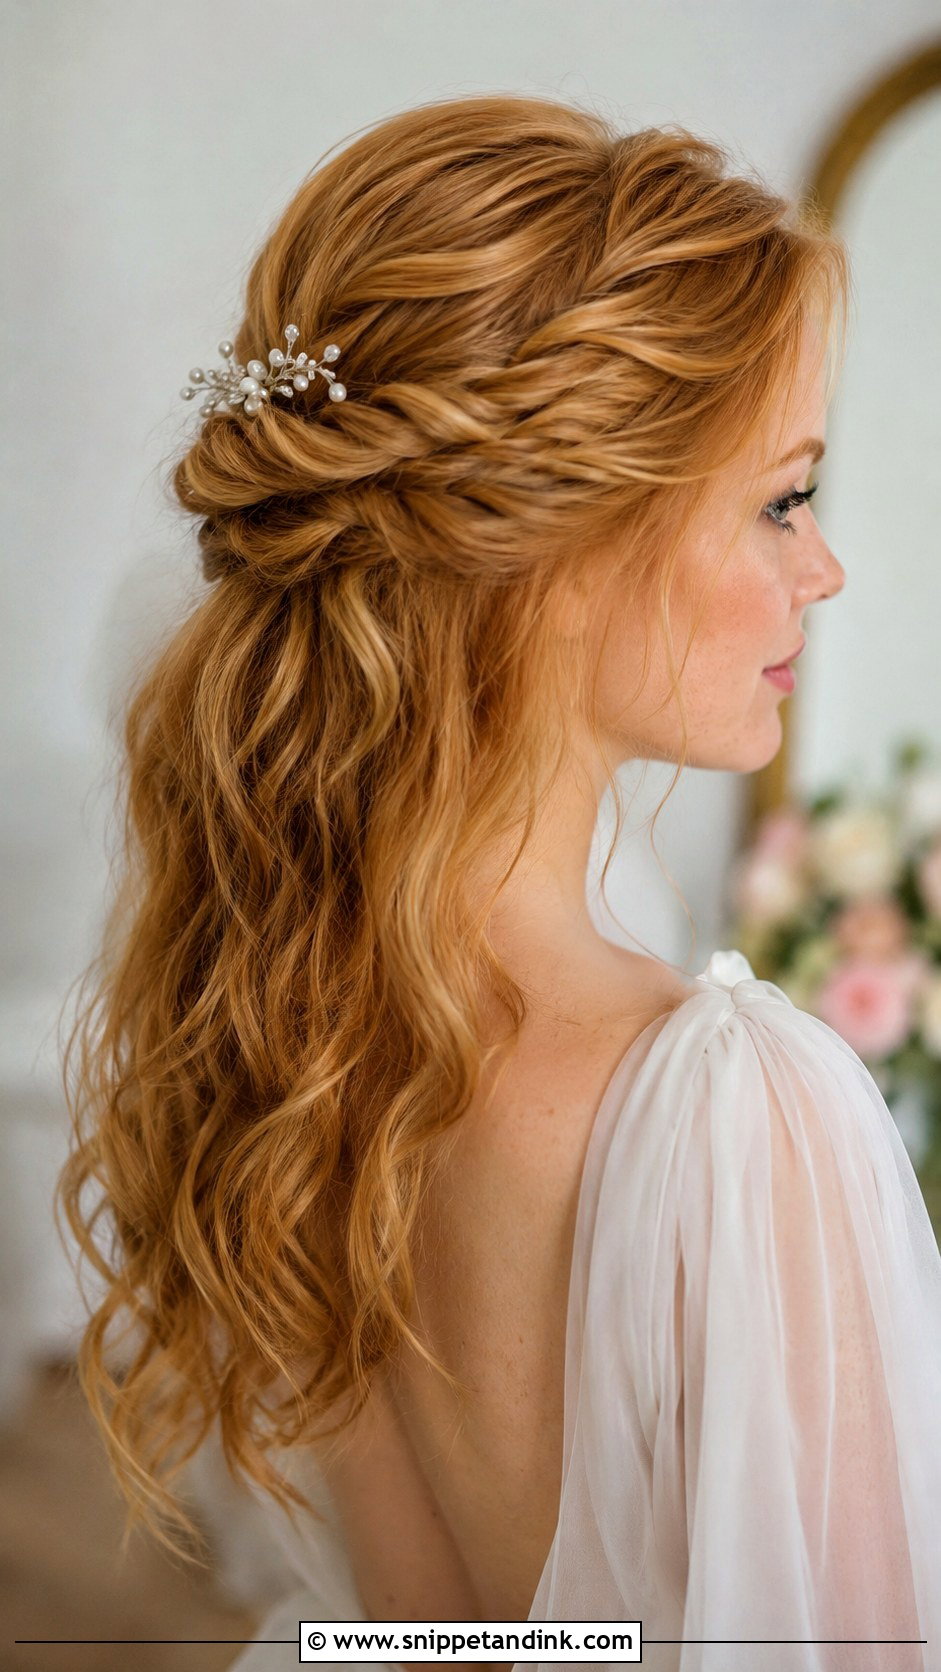
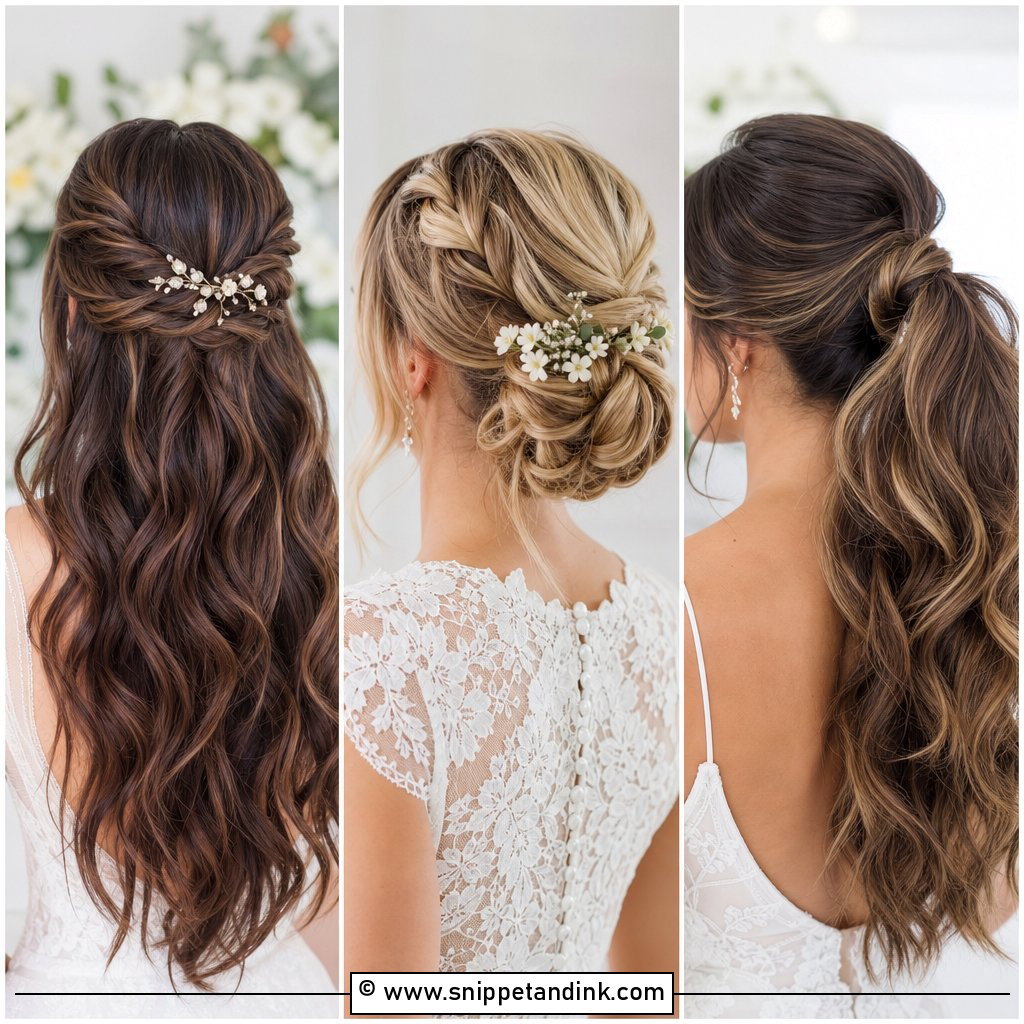
Twisted half up pulls the hair away from the face from both sides, so the eyes and makeup sit clear in the middle. It’s more detailed than basic waves and less formal than a full updo. It works on long and medium hair, waves and soft curls. From the front, keep gentle height at the crown, not a tight pulled-back look. I twist each side loosely and pin underneath before adding a small comb behind.
14. Wedding Hair Classic French Twist
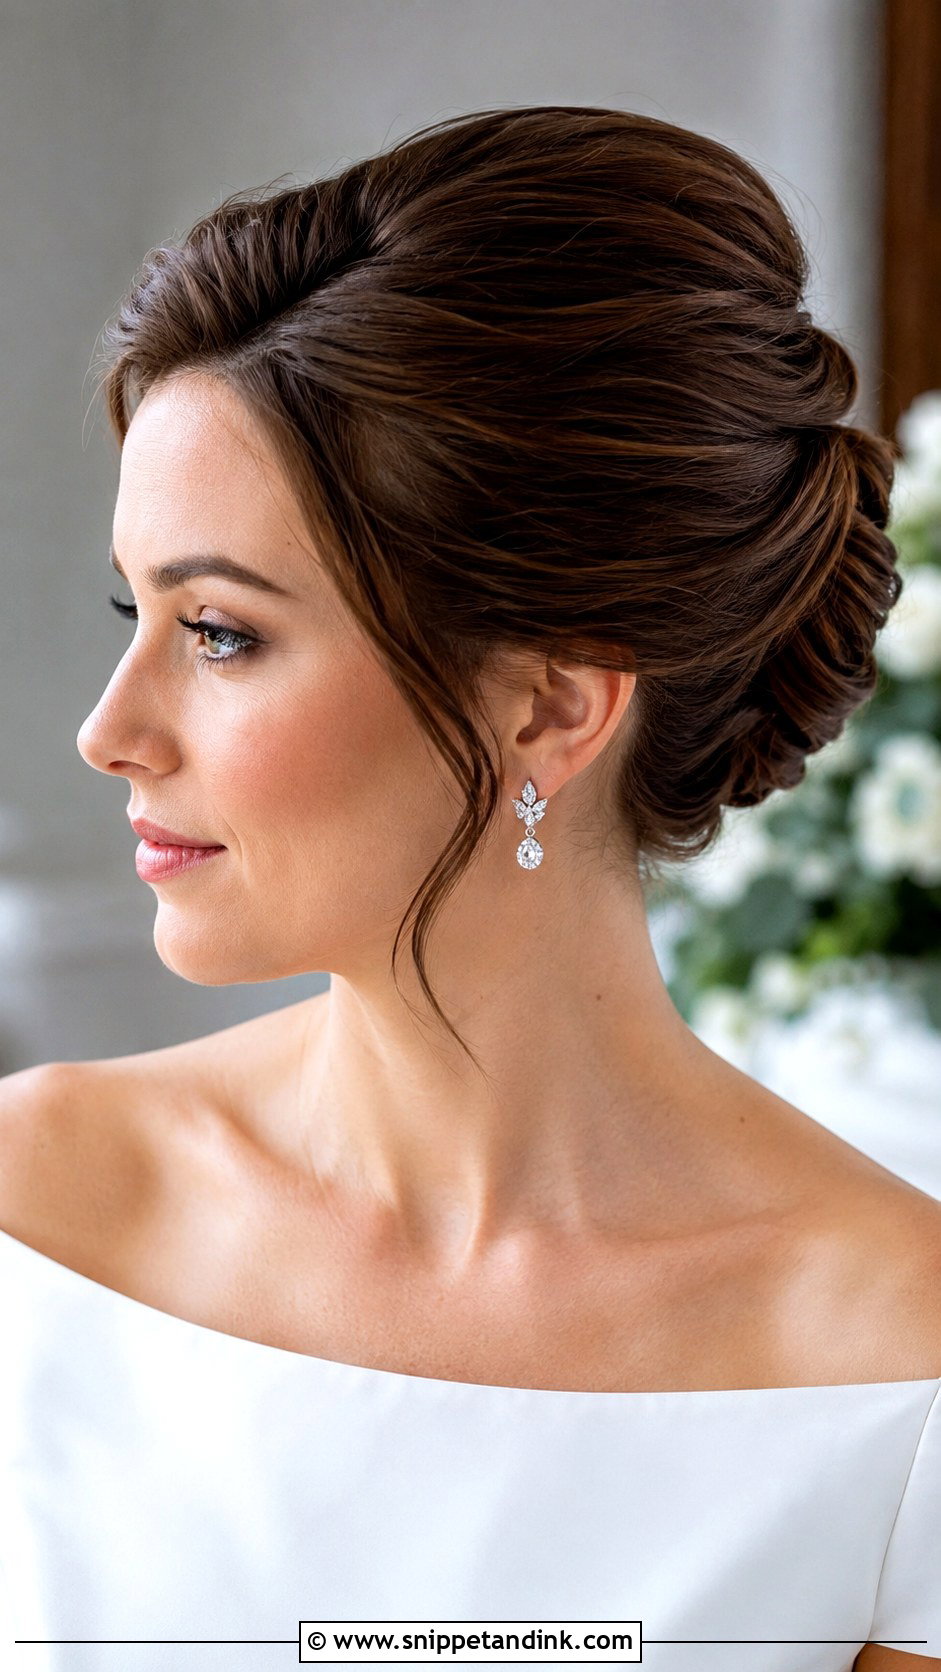
A French twist from the front is a clean upswept line with a little lift at the crown, which is why it’s still a favorite for formal weddings. The hair is swept back and tucked vertically behind. It can be smooth and sleek or softened with loose pieces near the hairline. The crown lift matters most; without it, the front looks flat against the forehead. I tease lightly at the root under a smooth top layer. Bateau necklines, pearl earrings and cathedral veils go with it.
15. Wedding Hair Natural Curls Updo
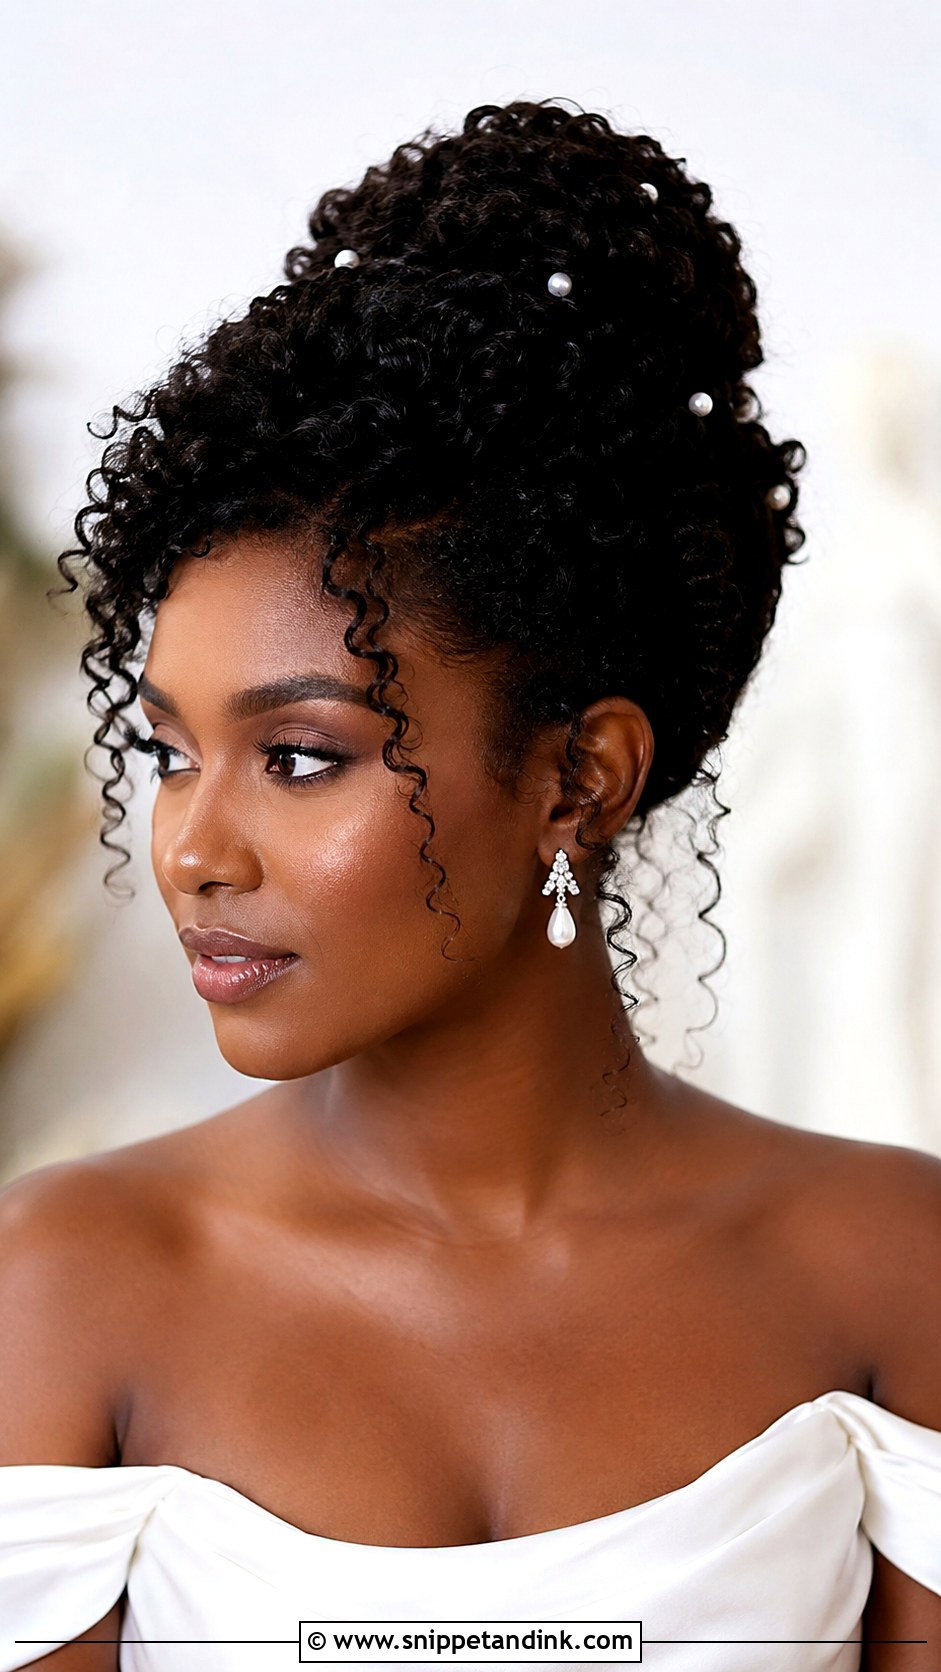
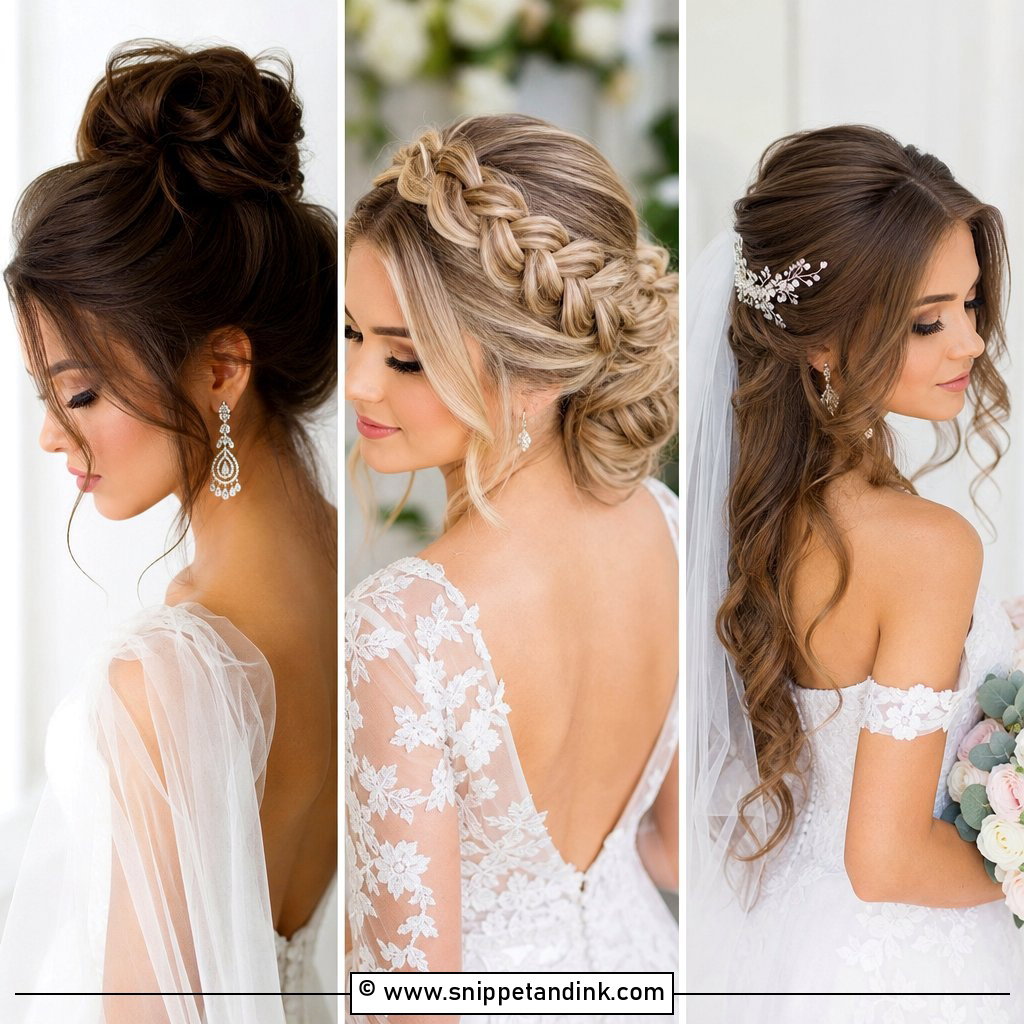
A natural curls updo looks impressive from the front because the volume and texture frame the face. The curls can be pinned high, gathered low or shaped into a soft crown silhouette. The front curls need the most attention: I define those individually with a little gel or cream so they don’t frizz into a halo by evening. Prep at home matters, with deep conditioning a few days ahead. Ask your stylist to keep your natural pattern and build a secure shape with U-pins. Veils, floral pins and off-the-shoulder dresses all suit it.
Tendrils That Stay Out of Your Lip Gloss
Face-framing pieces are the part of a wedding hairstyle that changes most over a day. Here’s how I keep them working for you:
- Length: pieces that fall to the jaw or collarbone stay out of the way. Pieces that end at the lips stick to gloss and lipstick every time you turn your head.
- Thickness: fine sections curl better and drop less than thick ones.
- Direction: curled away from the face, so as they relax they fall outward, not across the eyes.
- Timing: I set the tendrils last, after makeup is finished, so no foundation or setting spray gets caught in them.
The hairline in close-up
Close-up portraits show the hairline in a lot of detail. A few things help: a flyaway stick or a toothbrush with a little hairspray to smooth baby hairs, foundation blended right to the hairline so there’s no line, and a quick check for loose strands before the ceremony. Ask a bridesmaid to look at your front hairline in daylight just before you walk.
The Front Is What Ends Up in the Album
The back of a hairstyle is what you save on your phone; the front is what’s in the album. Before choosing, think about your part, the face-framing pieces, volume, bangs, earrings, neckline and veil placement together, since they all meet at the front. Bring photos taken from the front to your trial, and check the style in natural light near a window as well as under the salon lights. A front that looks right there will look right in your photos.
You'll Like These Ideas:


Leave a Reply