
Brides spend a lot of time looking at the back of an updo in inspiration photos, but the front is what guests see during the vows and what most portraits capture. From the front, an updo is really about three things: the part, the shape at the temples and whatever falls around the face. Those details flatter or fight your features far more than the bun behind them. So for each of these 20 updos, I’ve described how it reads face-on and what I adjust at the front to make it suit the person wearing it.
Your Hairline Decides More Than Your Face Shape
Face shape gets most of the attention, but the first thing I study at a consultation is the hairline. It’s where updos succeed or fail from the front, because everything is pulled away from it.
A cowlick at the front will lift any section brushed against it, so I part with it rather than against it. A widow’s peak looks sharp under a center part and softer under a side part. Thin or sparse temples show through a tightly brushed style; a looser front or a few wisps hide them. A high forehead suits braids or fuller fronts; a low forehead looks best with hair swept up and back.
Then consider the part itself. A center part emphasizes symmetry. A side part adds softness and lets volume sit on one side. If you’ve always worn a side part, switching to a center part for the wedding can feel strange in the mirror and look unfamiliar in photos.
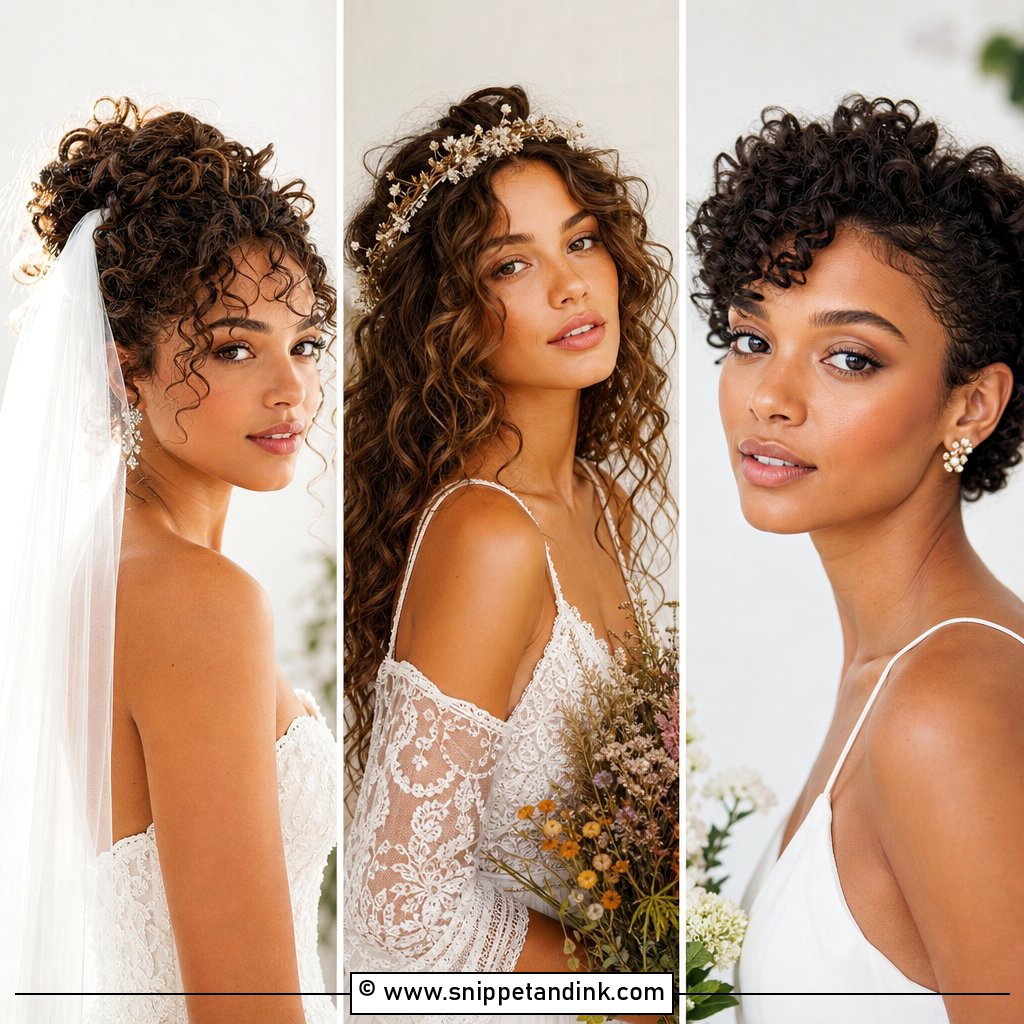
1. Low Bun Updo With Face Framing Pieces
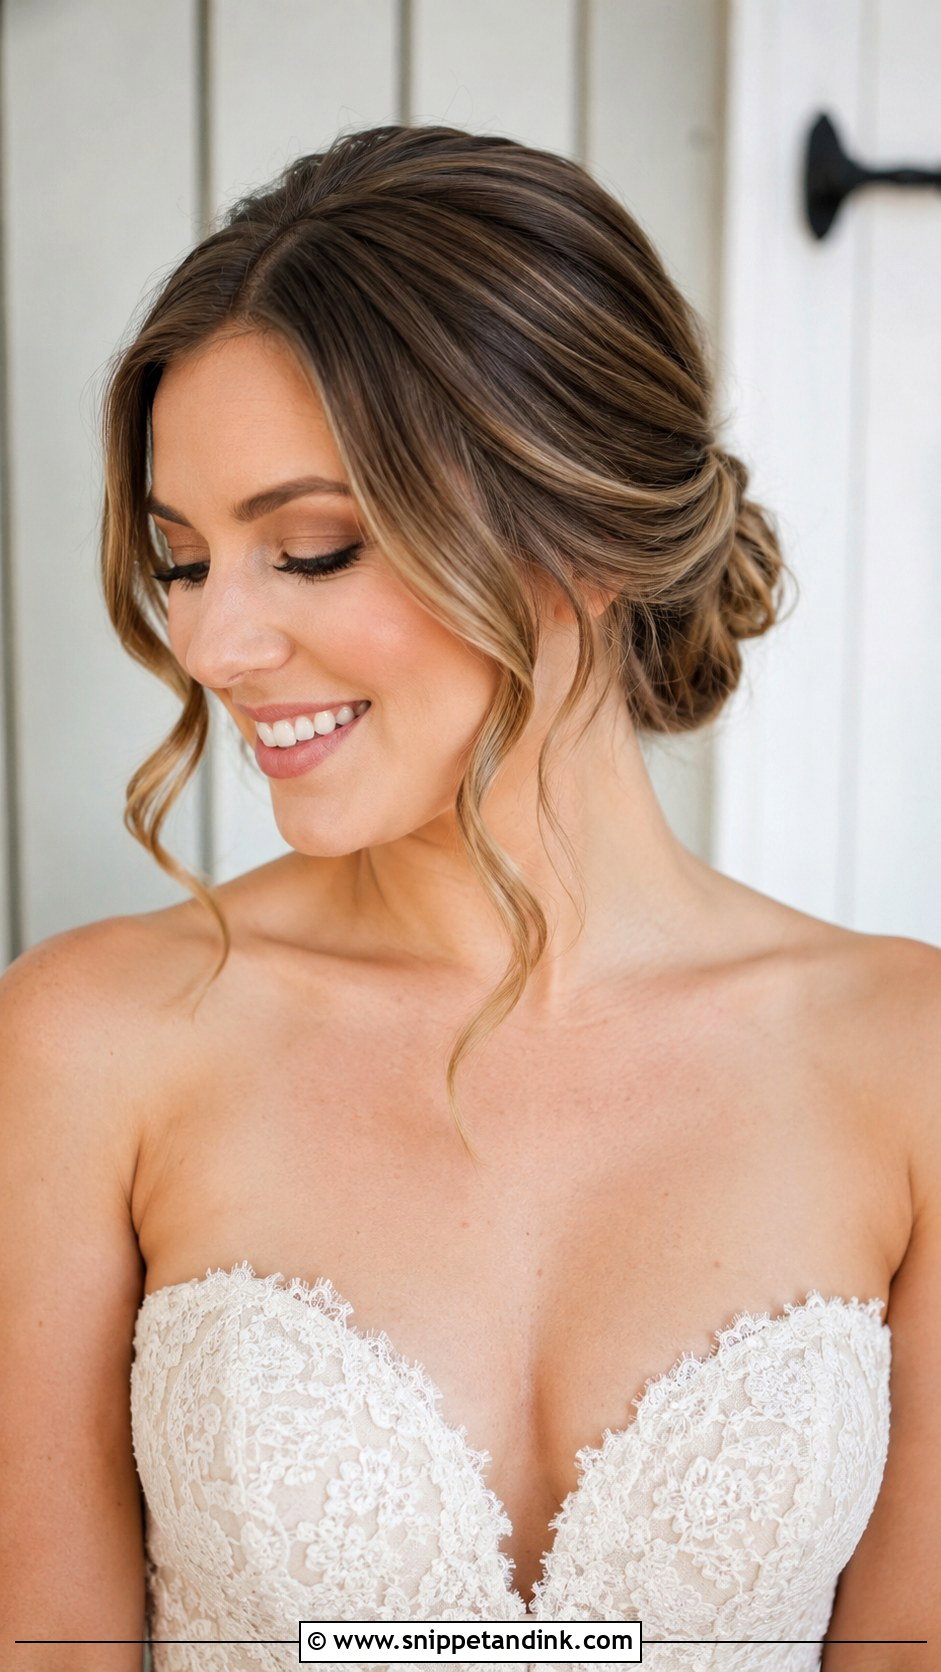
From the front, a low bun almost disappears, which means the soft tendrils left loose do all the work. I keep the crown smooth and let a couple of curled pieces fall near the ears, which softens a strong jawline. The length of those pieces matters: cheekbone length lifts the face, while chin length draws attention down. Suits almost any neckline. A small pin or flower near the bun shows from the side, not the front.
2. Voluminous Top Knot for a Glamorous Bride
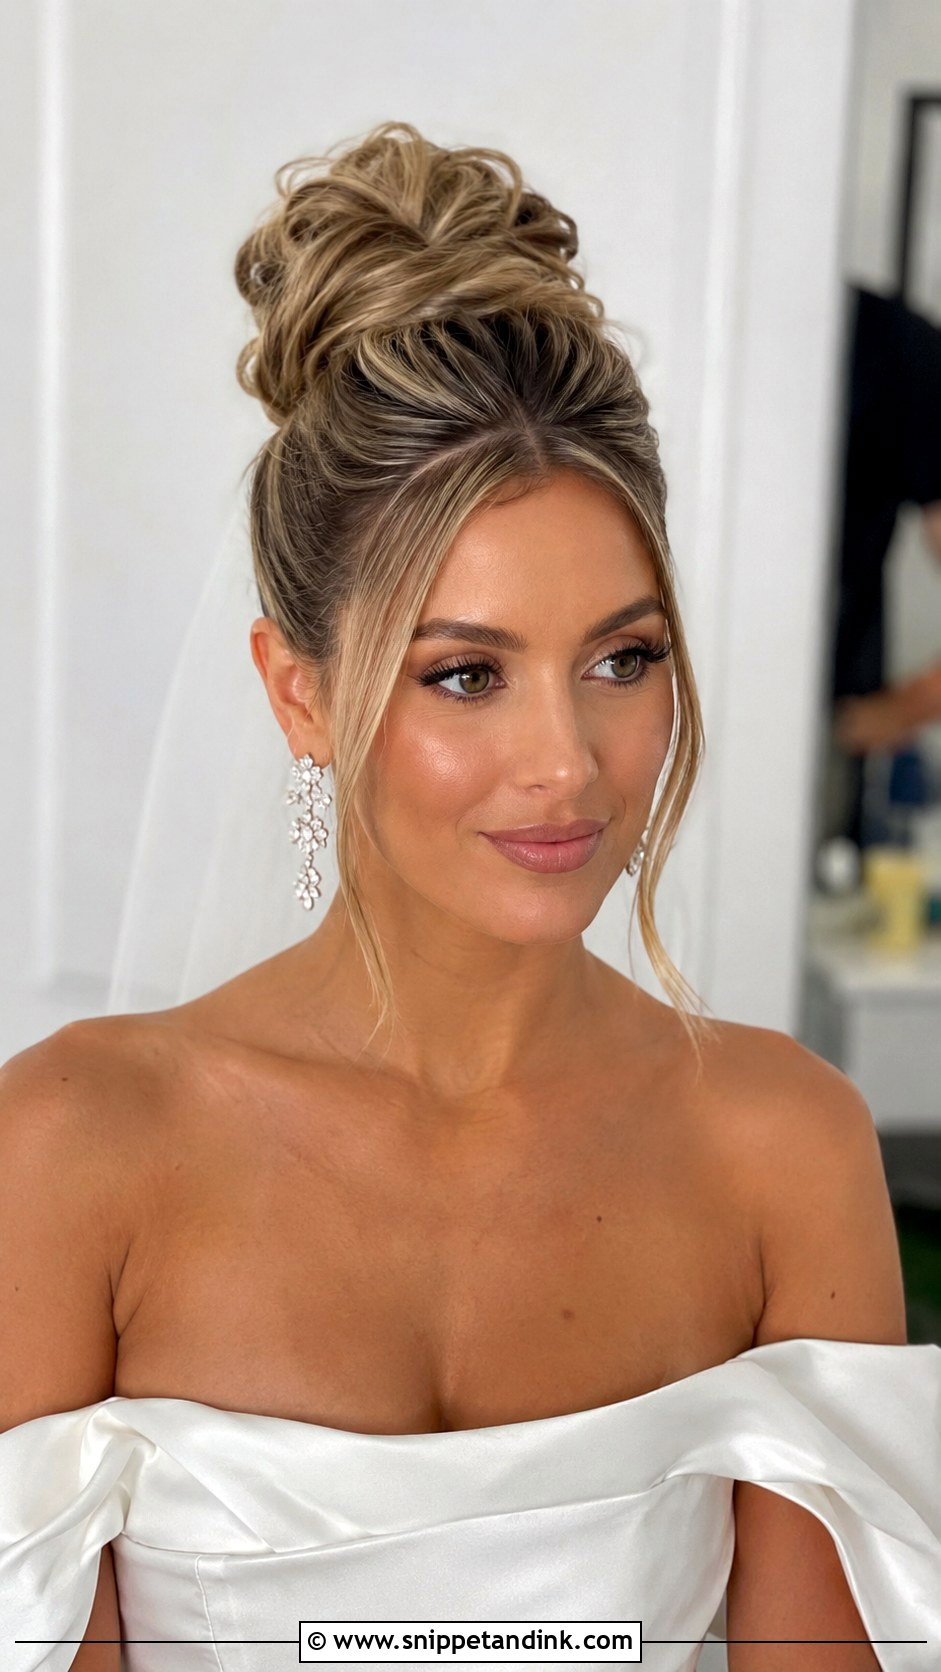
A voluminous top knot adds visible height above the head, which lengthens a round face and makes the neck look longer. I tease the crown gently before gathering everything up, then smooth the top layer so the front doesn’t look fuzzy. Height can overwhelm a long, narrow face, so I’d keep the knot a little lower for those brides. With a strapless or off-shoulder gown and statement earrings, the front stays clean and the focus goes to the face and collarbones. Very secure once pinned.
3. Romantic Loose Curly Updo
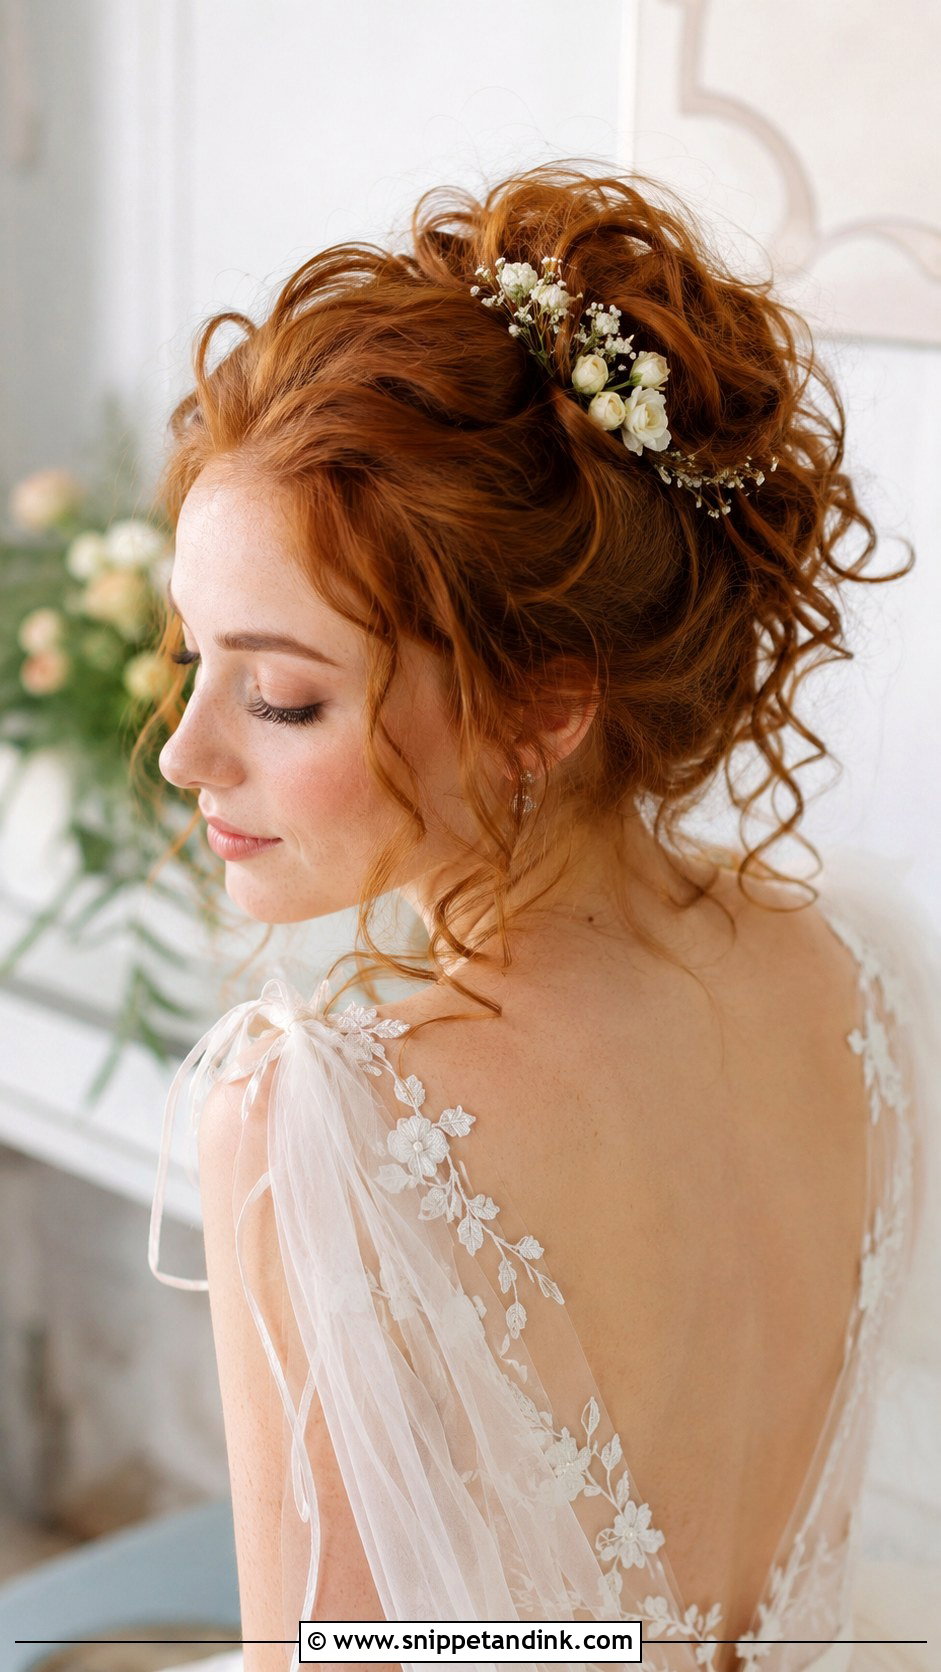
Here the curls are gathered loosely and soft waves spill around the temples, creating a soft halo face-on. It’s flattering because the texture blurs any harsh lines at the hairline. Naturally wavy or curly hair does this best; very straight hair needs a strong set to keep curl at the temples by evening. Pin loose sections lightly. Tiny floral accents tucked between curls are visible from the front if you place them near the ears.
4. Sleek Chignon Updo
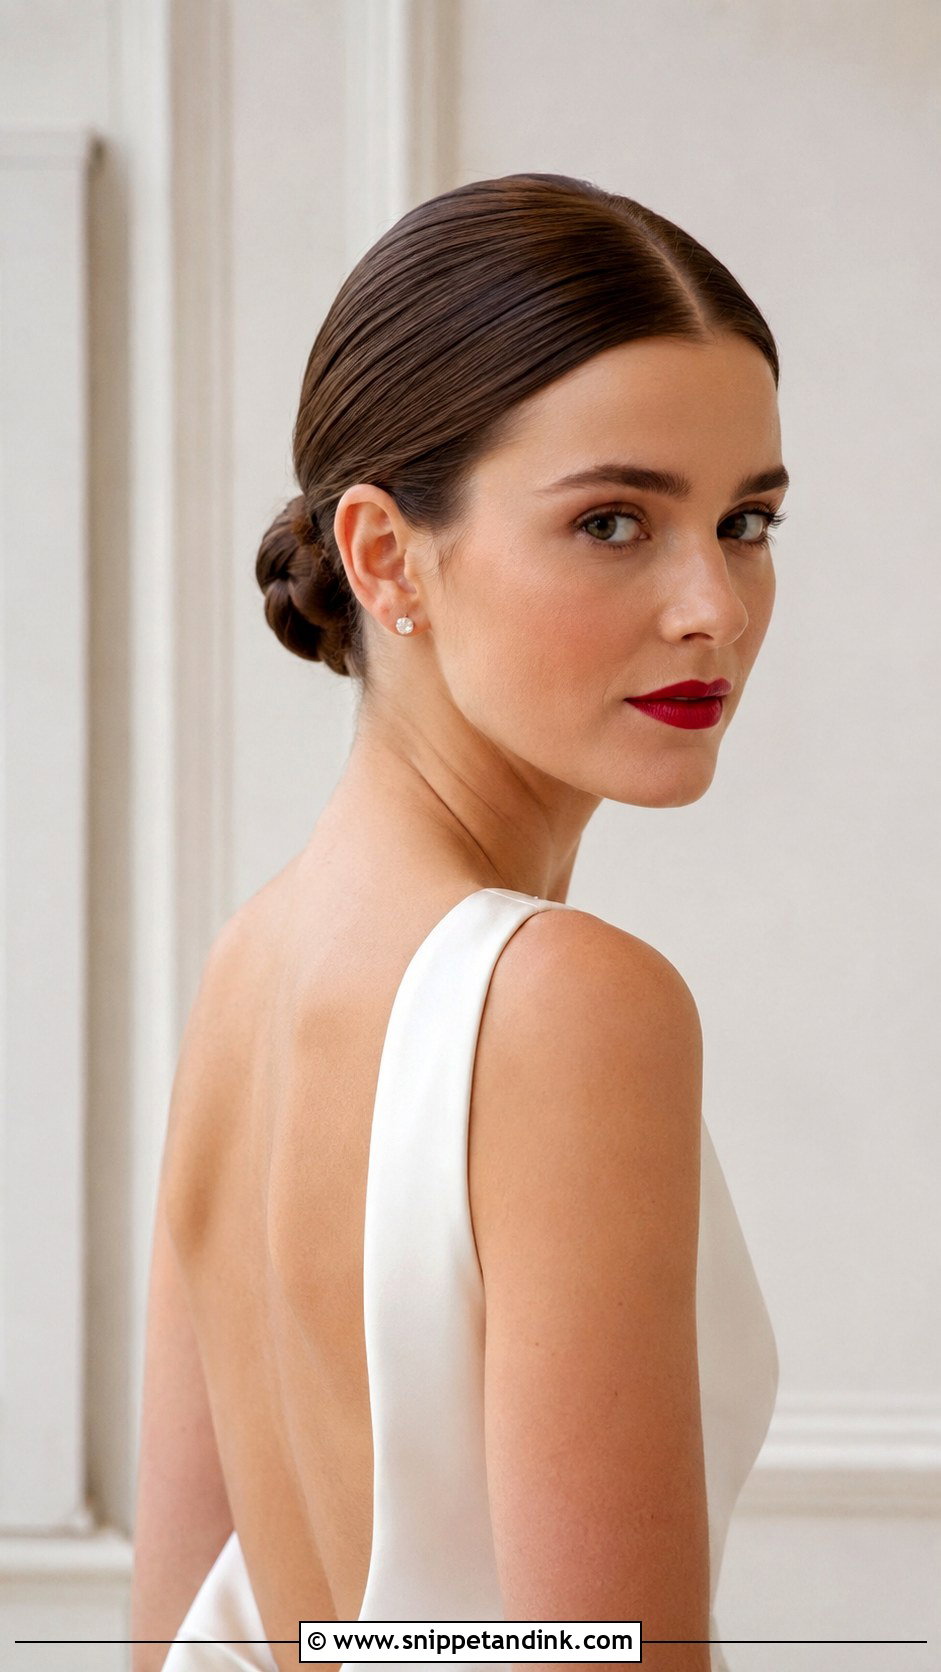
The sleek chignon hides nothing, so from the front your face shape, brows and jewelry become the main event. Hair is smoothed back and twisted into a neat knot at the back. I check the hairline carefully on this one, because any gaps or cowlicks at the temples show immediately. A center part gives symmetry if your features are balanced; a slight side part is kinder if they aren’t. Sleek satin gowns and a bold lip suit it.
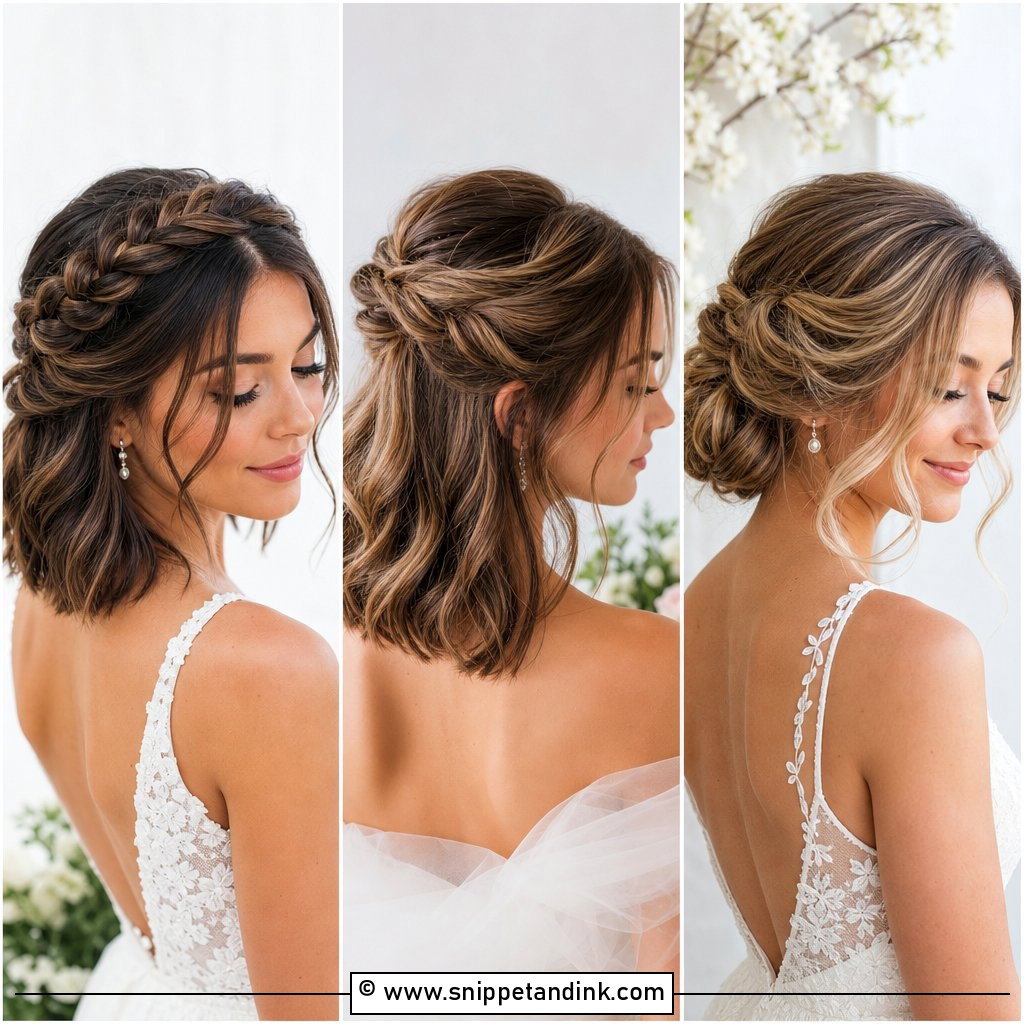
5. Braided Crown Updo
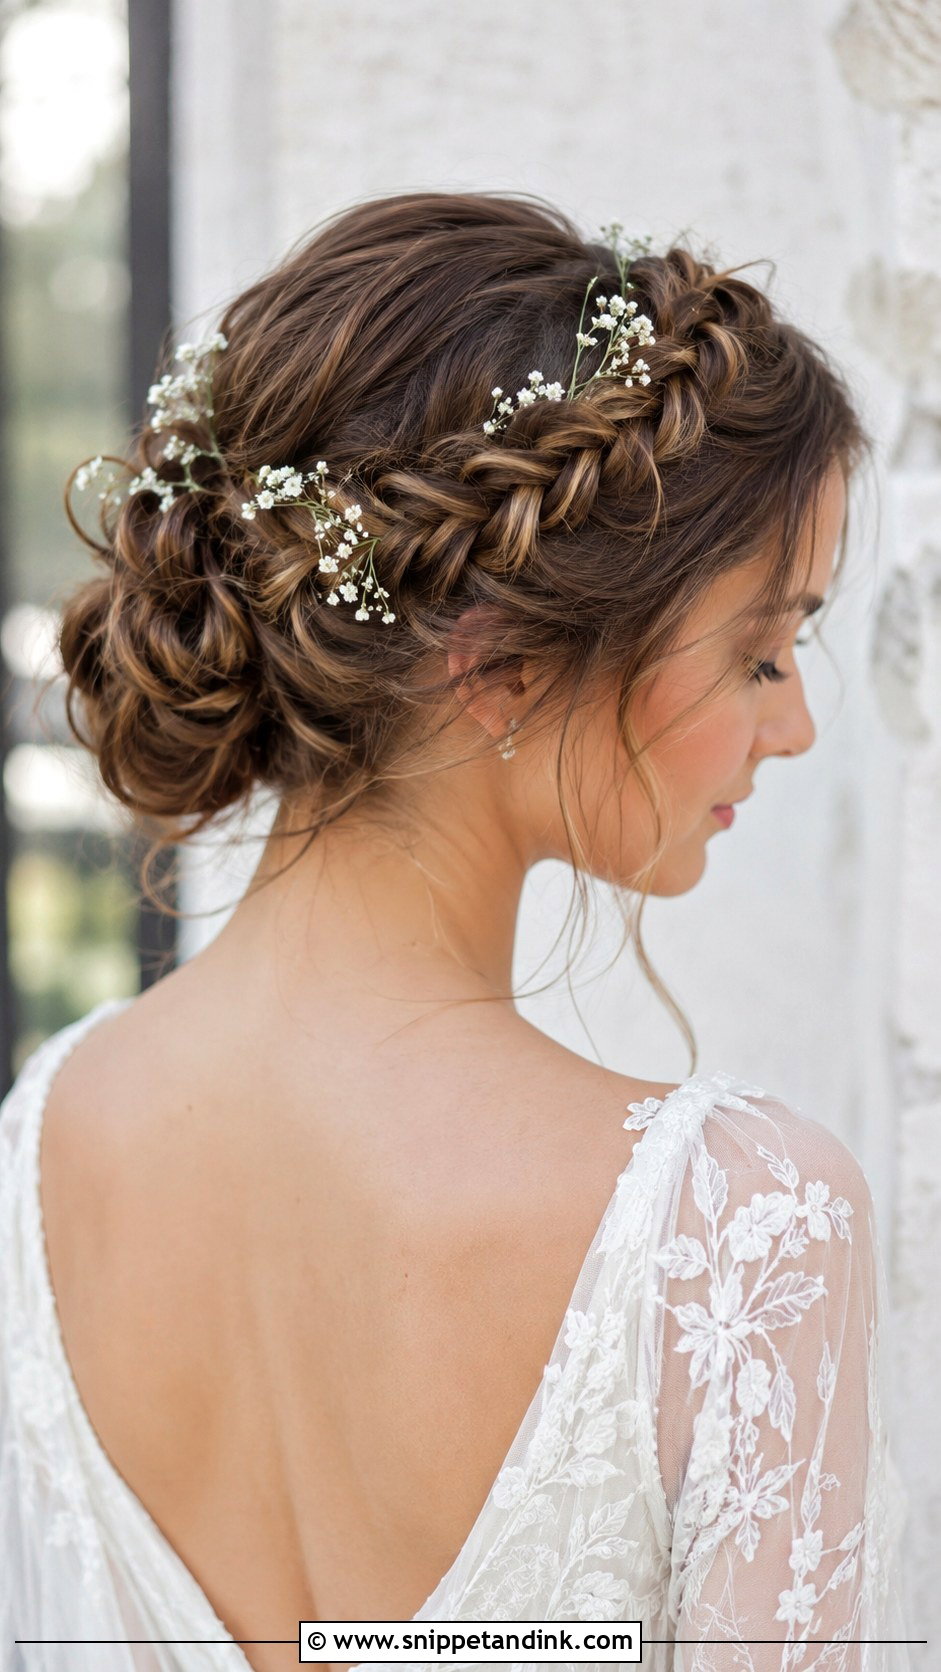
A braided crown is one of the few updos where the main detail sits at the front of the head. The braid frames the forehead like a band, which shortens a long face and draws attention up toward the eyes. Tuck in small flowers or baby’s breath for a fairytale finish. A high forehead suits it well; a low hairline can feel crowded, so I’d set the braid a little further back. Keep it neat or loosen it slightly.
6. Twisted Low Updo With Soft Waves
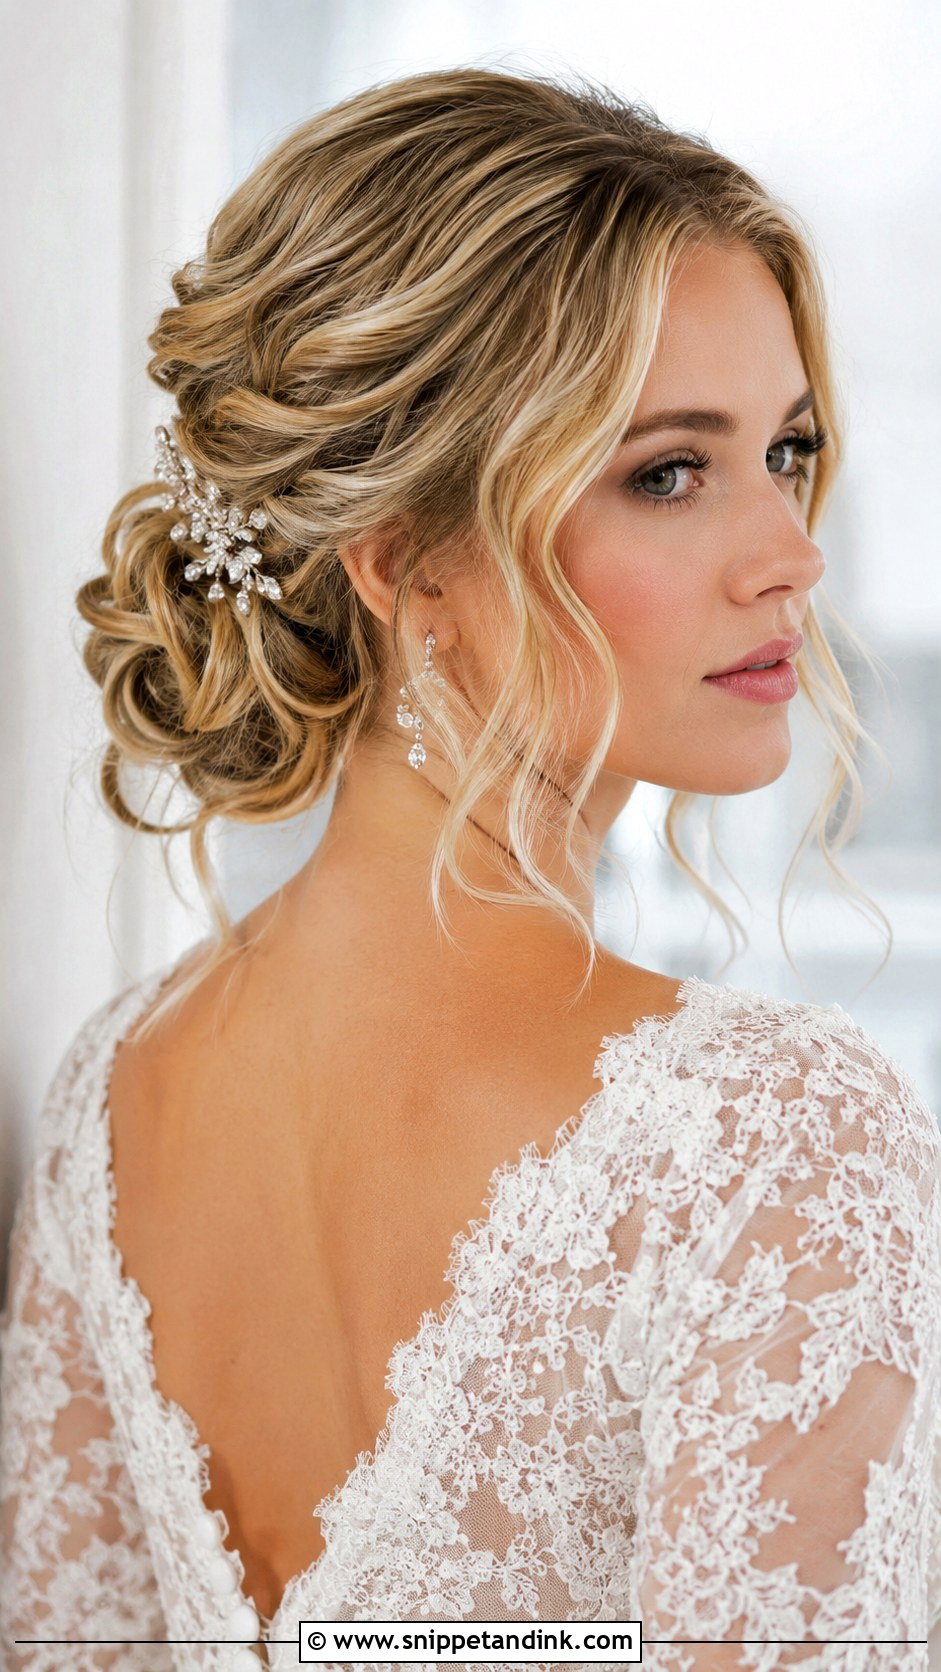
Twisted sections gather into a low updo, and soft waves frame the face. Face-on, the waves add movement while the twists give a bit of texture at the sides. I leave longer pieces near the cheeks, curled away from the face so they don’t fall into the eyes or the lip gloss. It sits between sleek and loose and suits lace gowns and vintage themes. A jeweled pin where the twists meet sparkles in side views.
7. Classic French Twist Updo
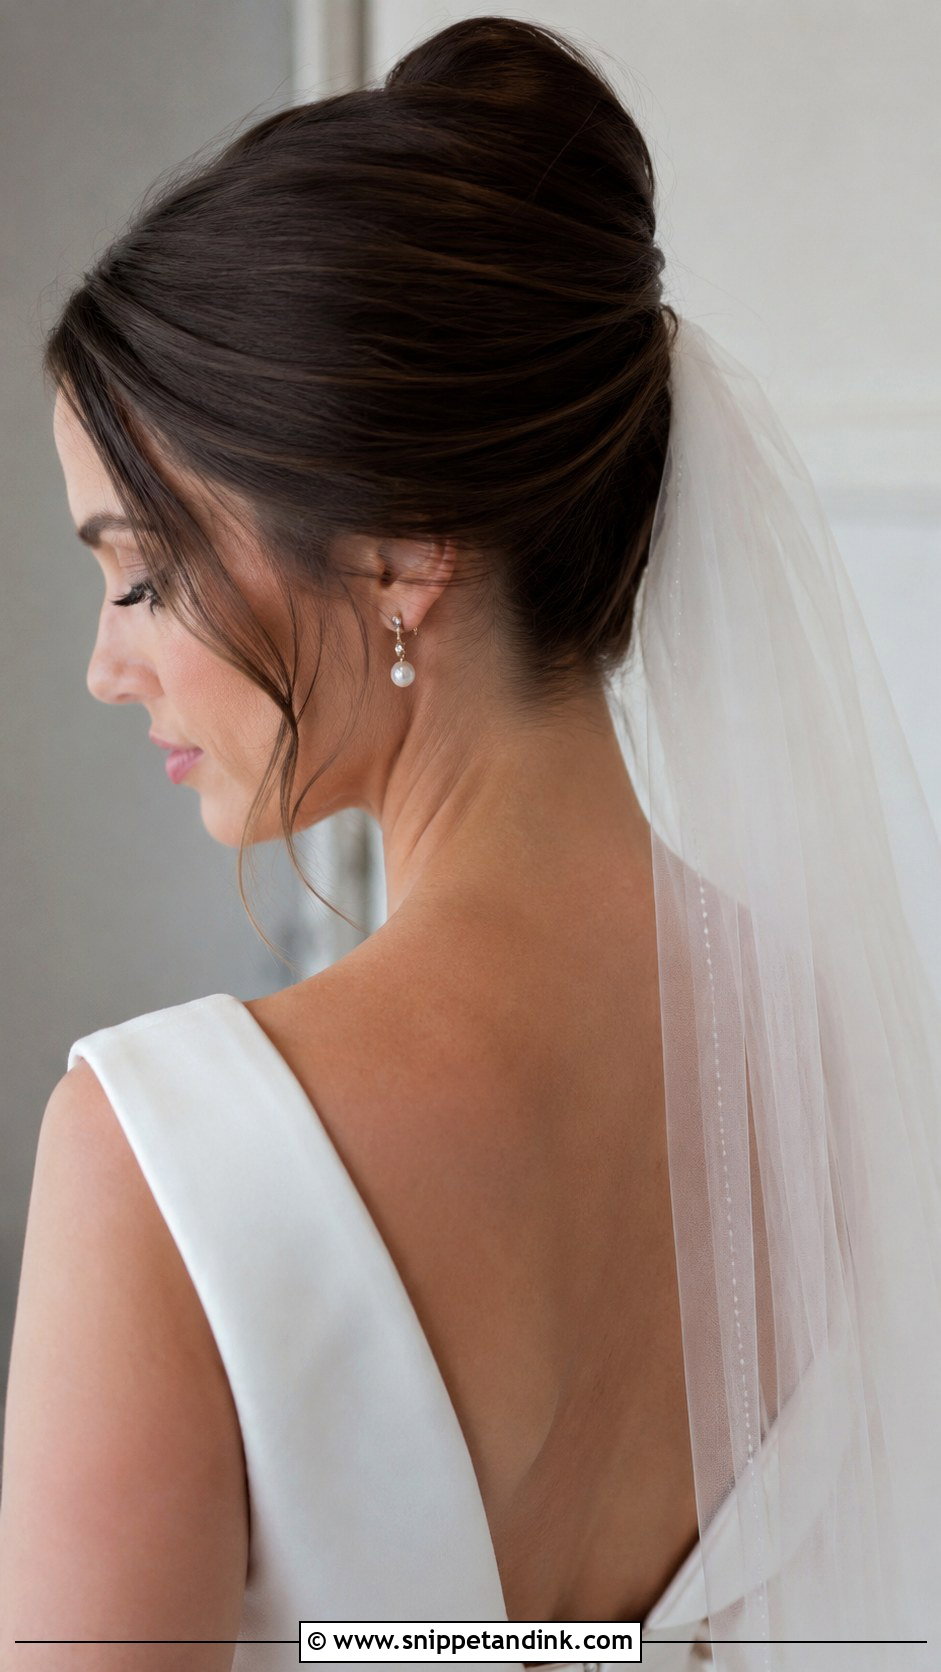
The French twist folds hair into a vertical roll at the back, so from the front the crown is smooth and the face is fully exposed. It makes the face look longer, which flatters round and square shapes but can exaggerate a long one; in that case I add a few soft tendrils or a side part to break the line. Height at the crown adds drama. It suits formal weddings, structured gowns, pearl earrings and a fingertip veil.
8. Floral Accented Bun Updo
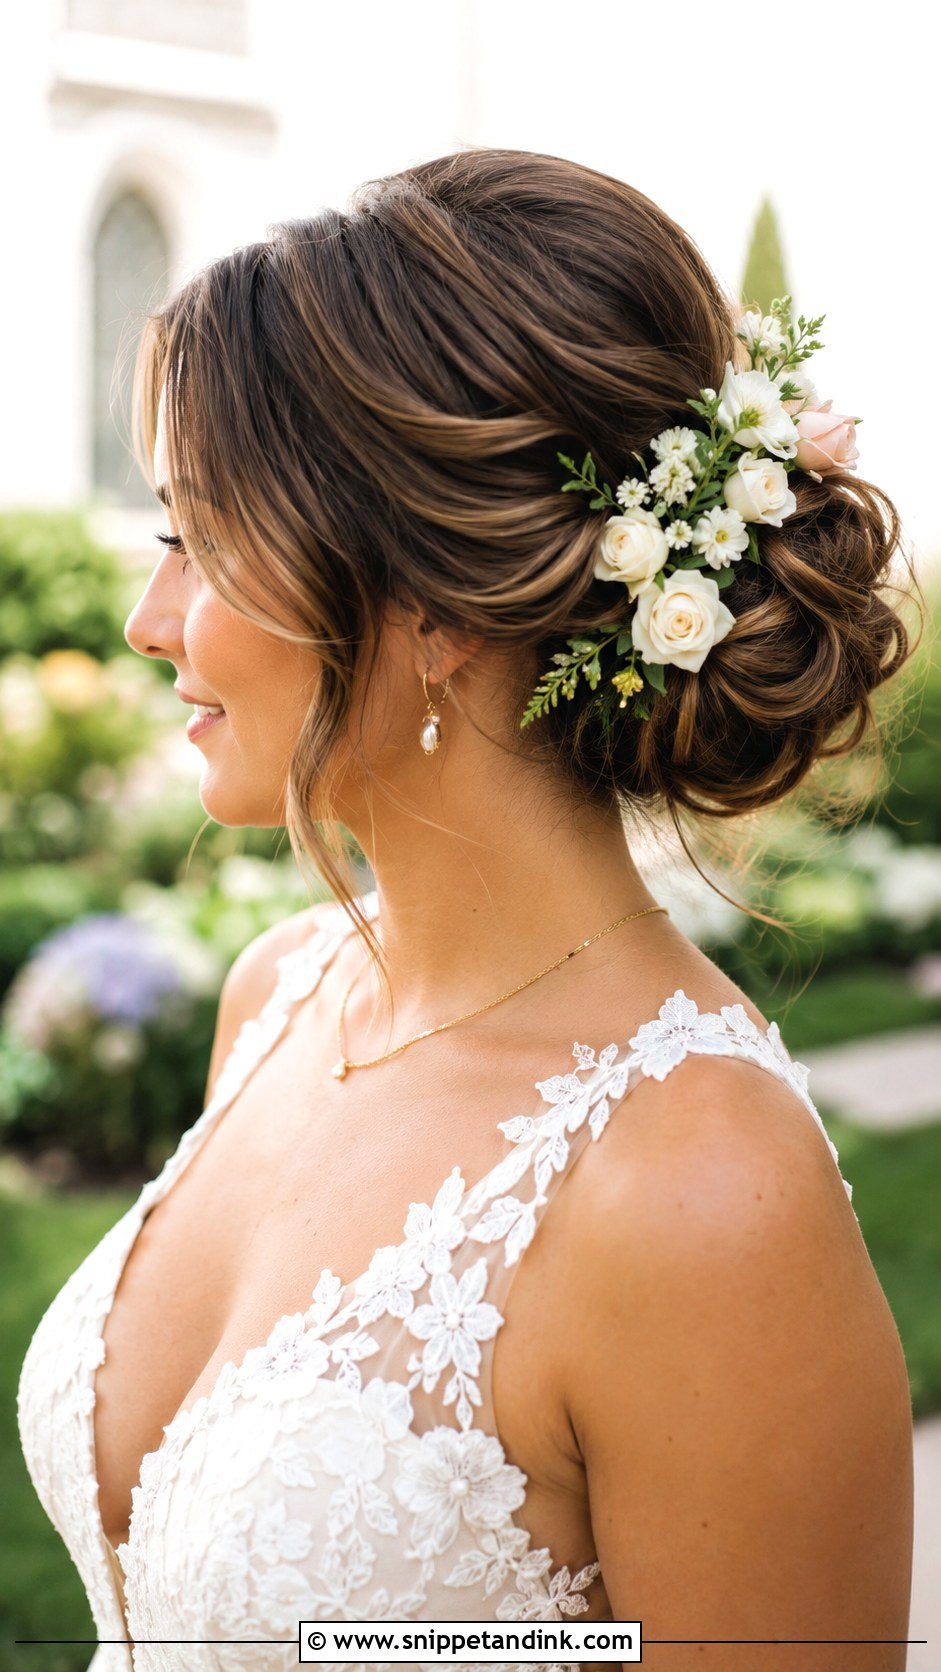
Fresh or silk blooms around a soft bun can peek out near the temples, adding color at the front. I place the largest flower slightly behind the ear on one side so it shows face-on without blocking the profile. Spring and summer blooms suit it, ideally matching the bouquet. Keep the bun soft rather than tight, and leave a few face-framing pieces loose.
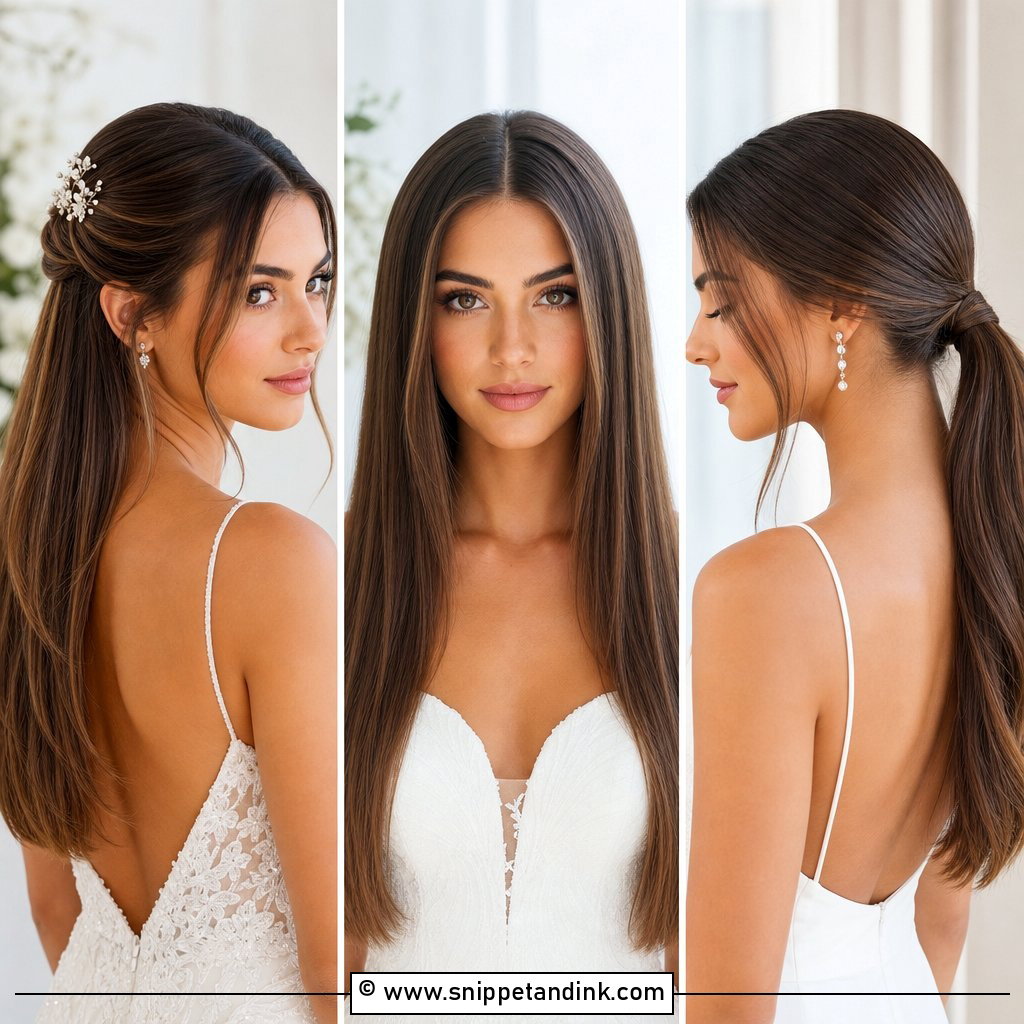
9. Half Up Half Down Bridal Updo
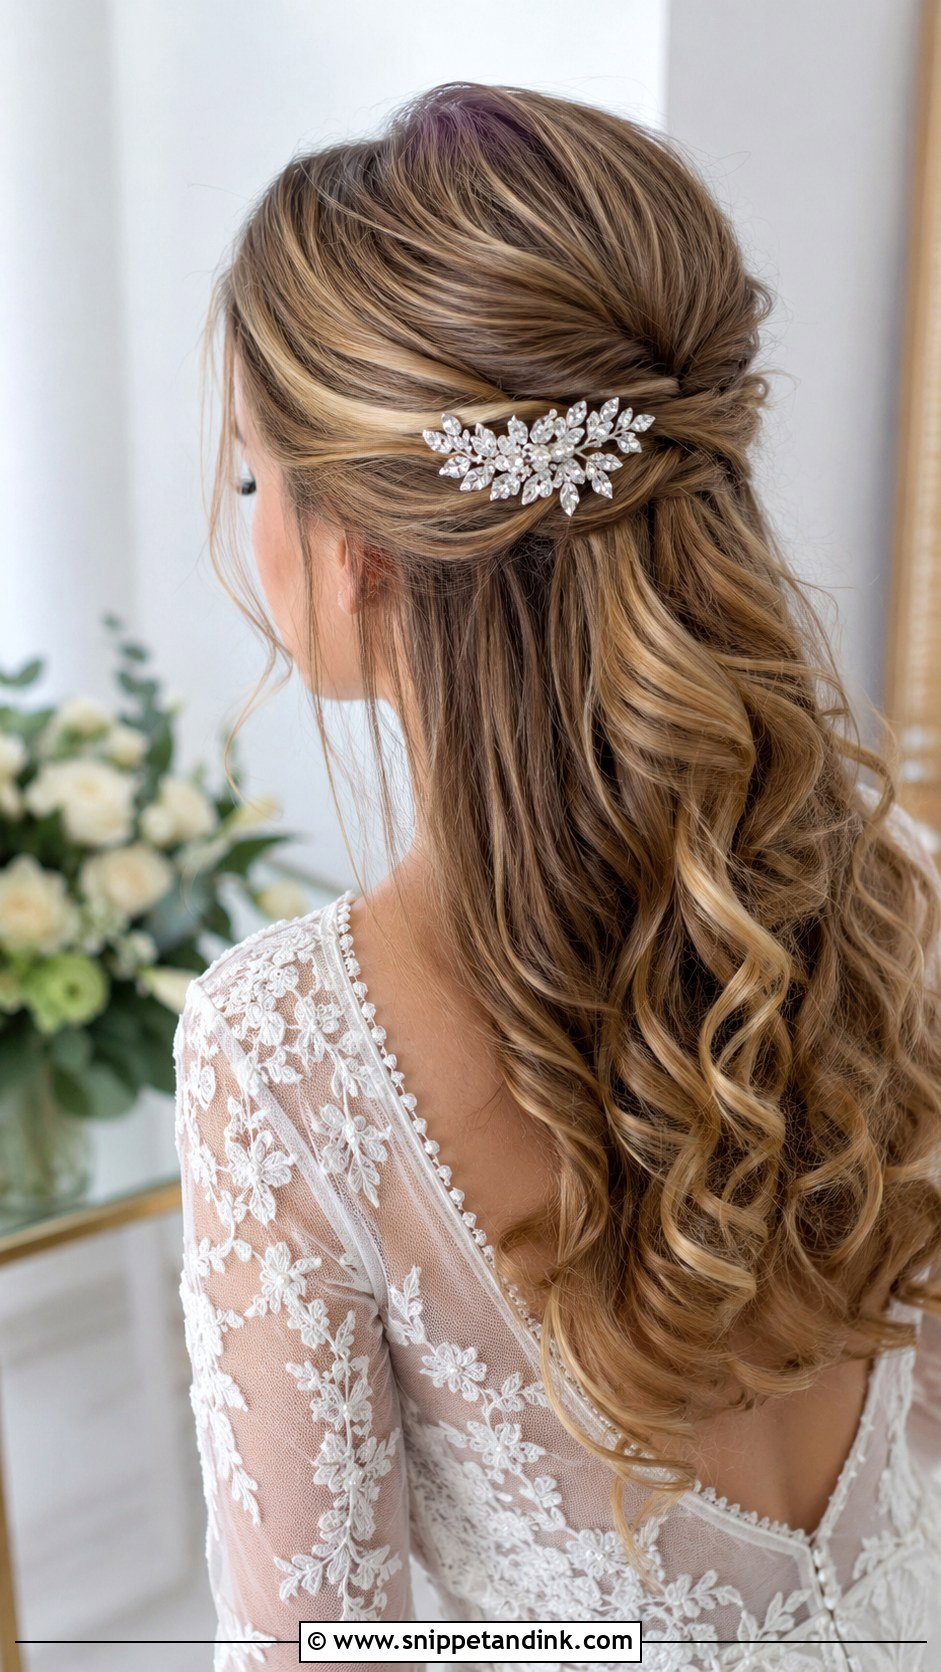
Half up, half down frames the face with length on both sides and a polished crown on top. From the front, the hair that falls past the shoulders softens a square or angular jaw. Curl the loose sections for movement. A sparkling clip or flower where the sections meet is visible mainly from the back. If you’ll be outdoors in wind, expect the loose lengths to blow across your face in some photos.
10. Messy Bun Updo for a Boho Bride
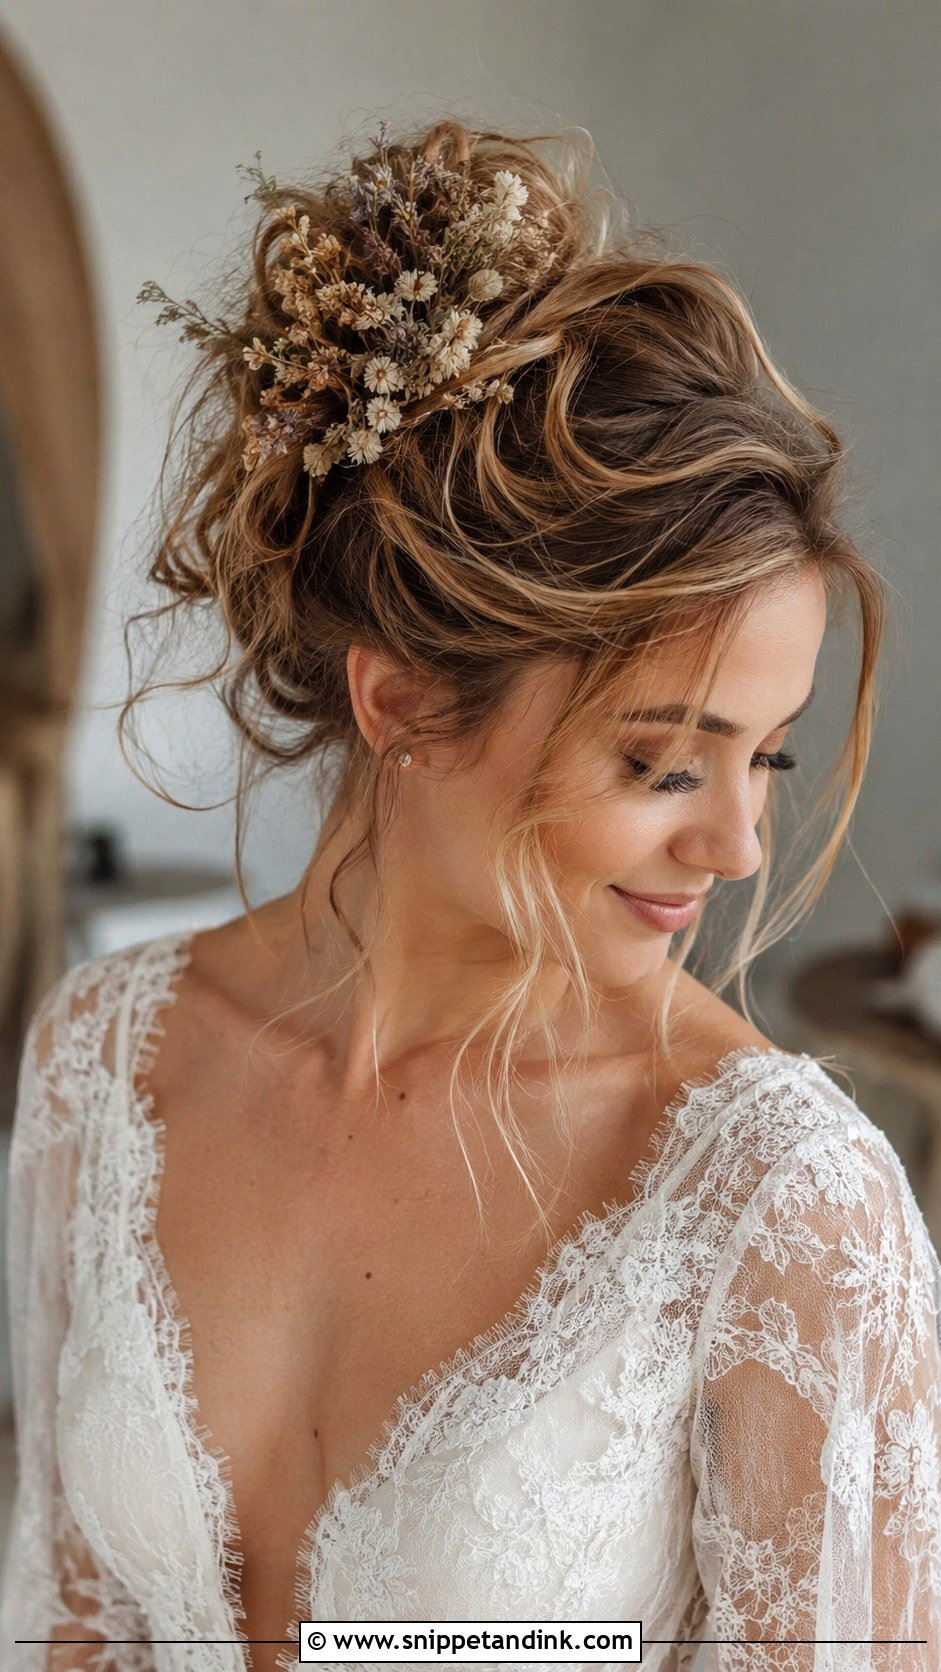
From the front, a messy bun is mostly about the wispy pieces around the face. I tease the crown gently before gathering, then pull out strands with intention, not at random, usually at the temples and in front of the ears. Too many and it looks unfinished. It suits outdoor, rustic and beach weddings, flowy gowns and natural makeup. Dried flowers or a delicate vine add a boho note.
11. High Bun Updo With Side Tendrils
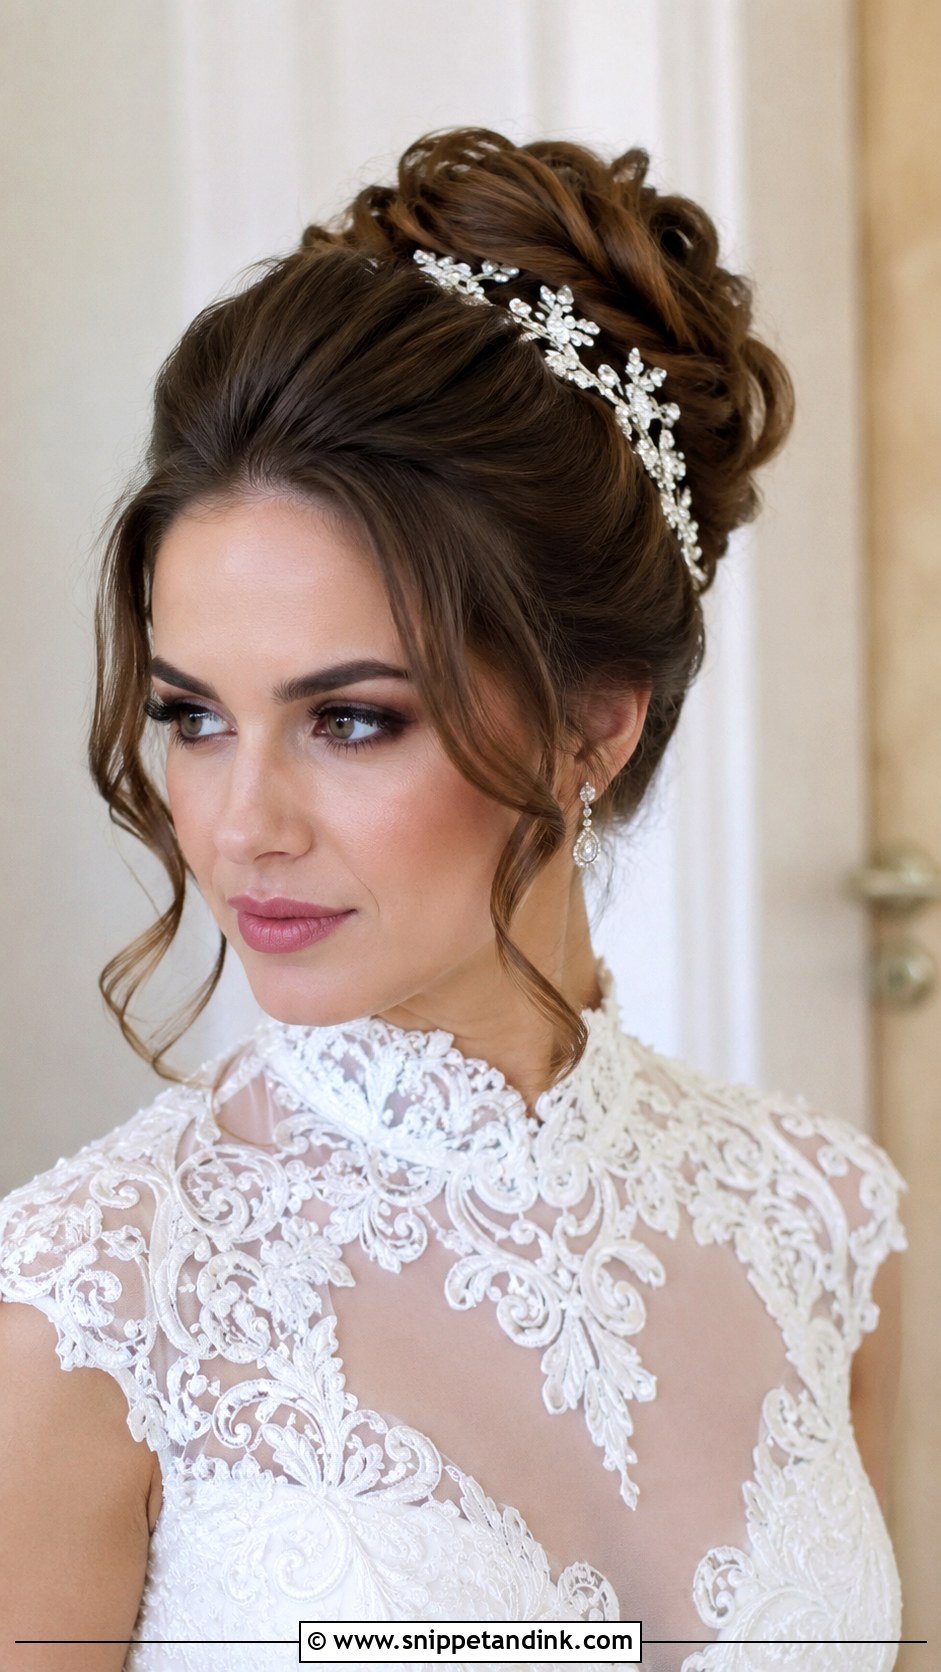
A high bun draws the eye up, and side tendrils soften the polished crown at the cheekbones. It’s a good match for high necklines, which would hide a low bun. I smooth the front first, then curl the tendrils with a small iron. A sparkling comb at the base of the bun shows from the side. It’s very secure, even through a lot of dancing.
12. Dutch Braid Updo
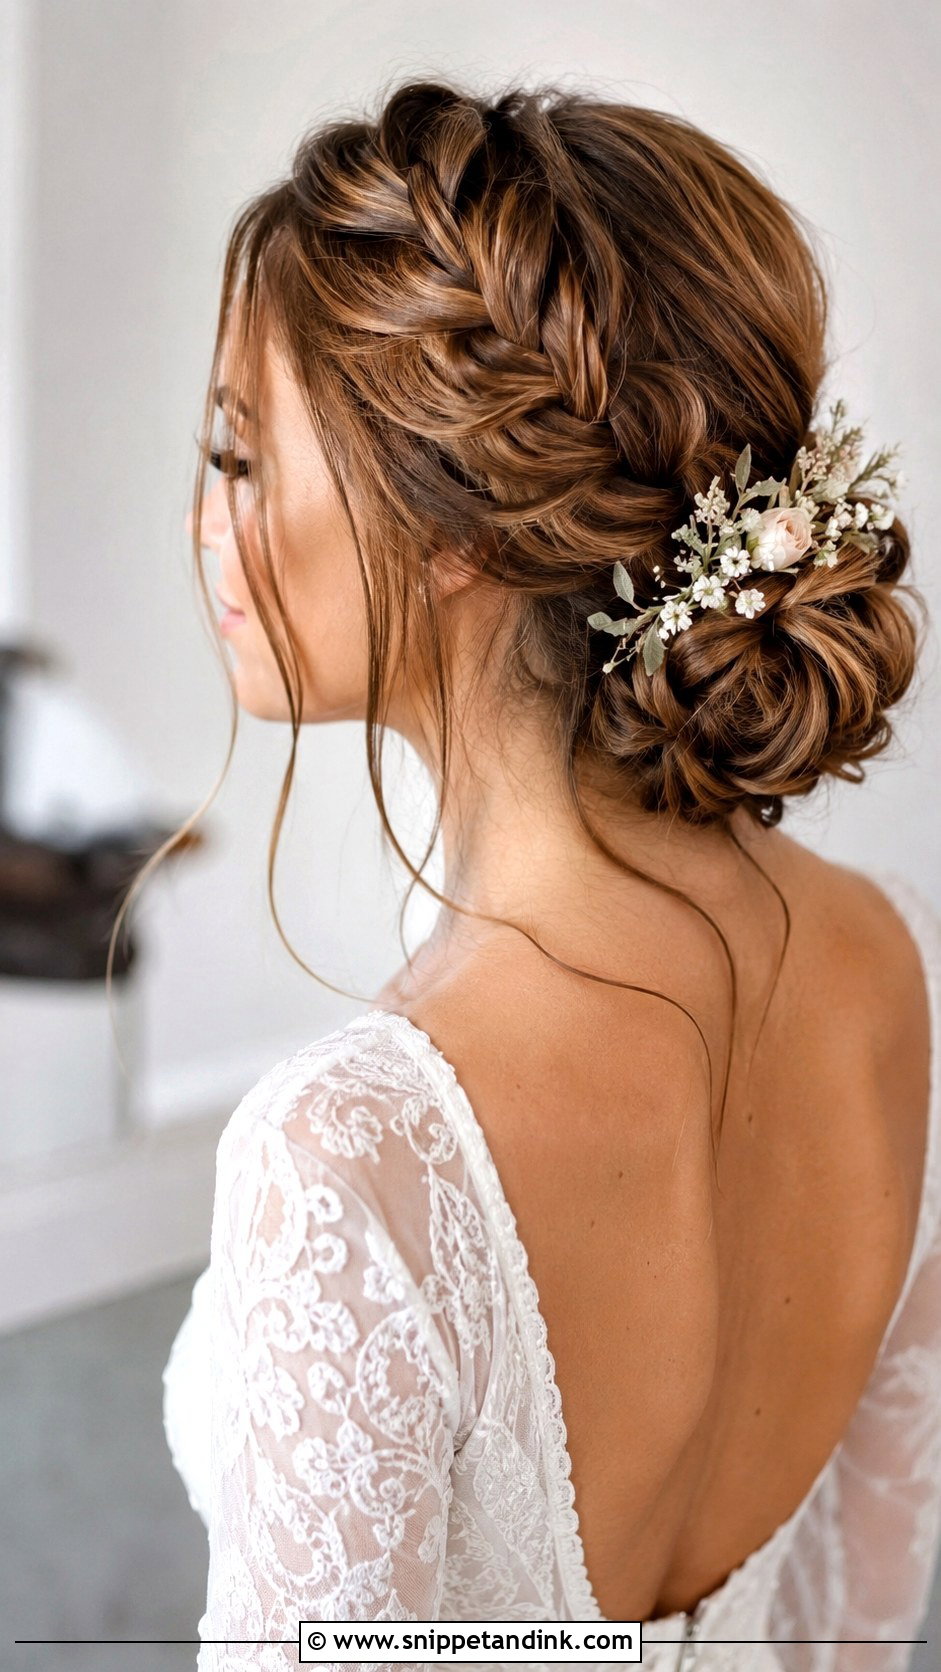
The Dutch braid updo uses a raised braid you can see from the front if it starts at the hairline or temple. Then it wraps into a low bun or twist. Starting the braid on the side of your fuller cheek balances the face. Leave a few face-framing pieces out to soften it. Small florals woven into the braid suit boho and modern themes. It holds extremely well.
13. Vintage Pin Curl Updo
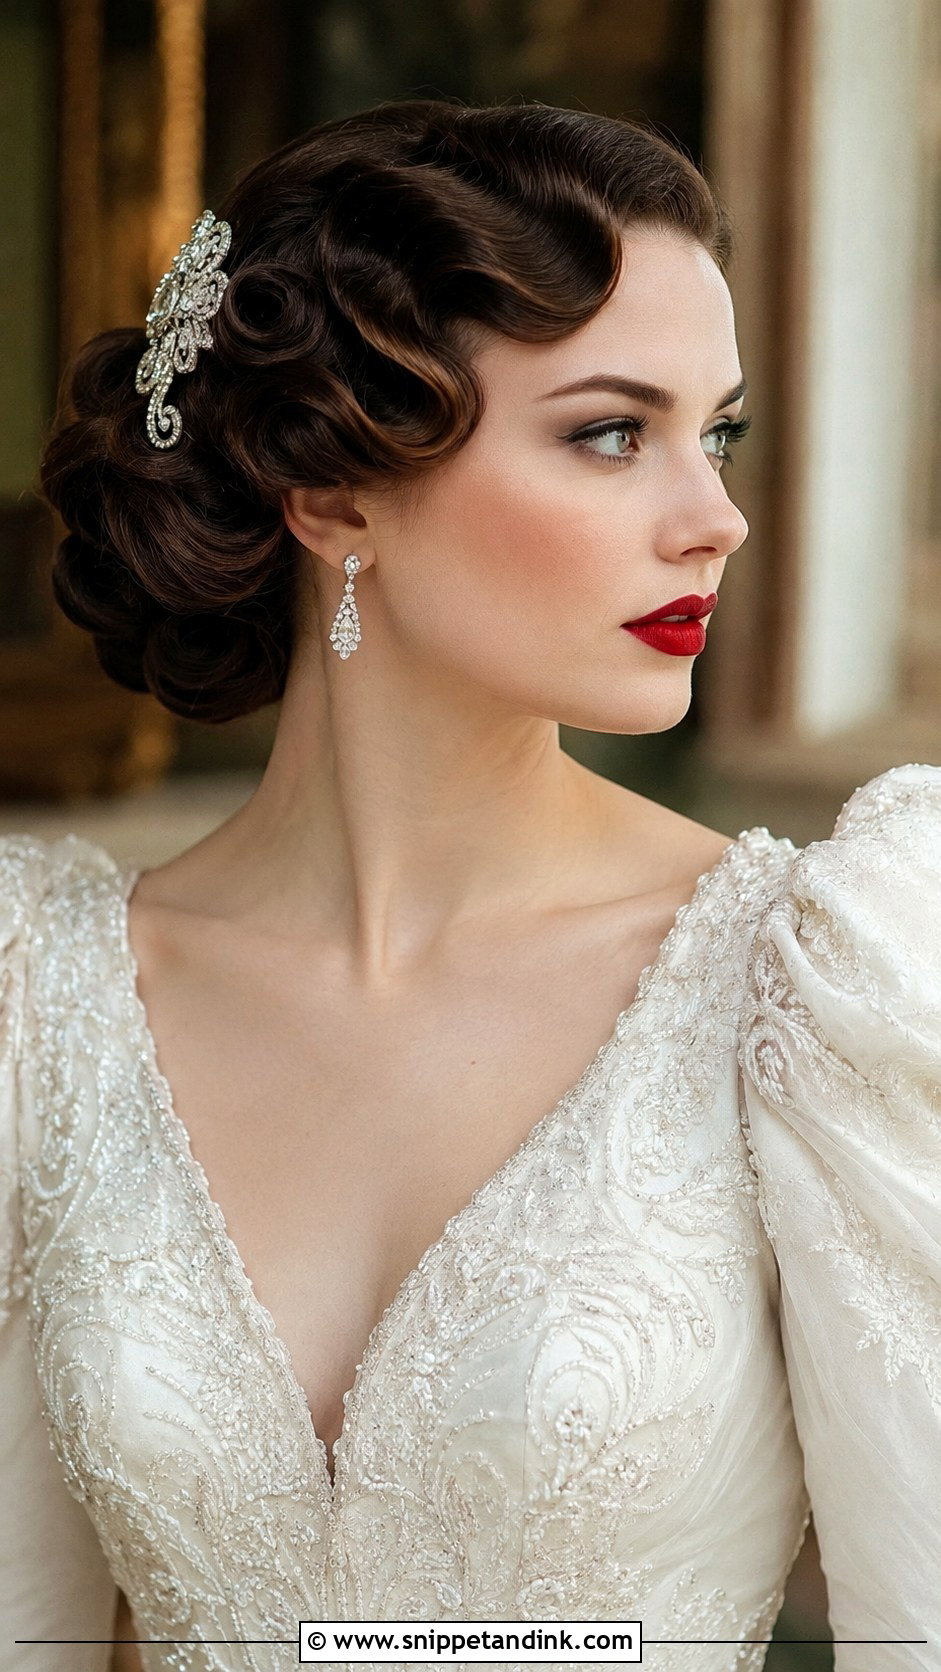
Vintage pin curls are set in small coils, brushed out and gathered into a sculpted updo, with defined waves framing the face. It suits 1920s and 1950s-themed weddings. The set takes time and needs to cool completely before brushing, or the waves lose their shape. A structured gown, red lips and a jeweled hairpiece or birdcage veil complete it.
14. Low Chignon With Center Part
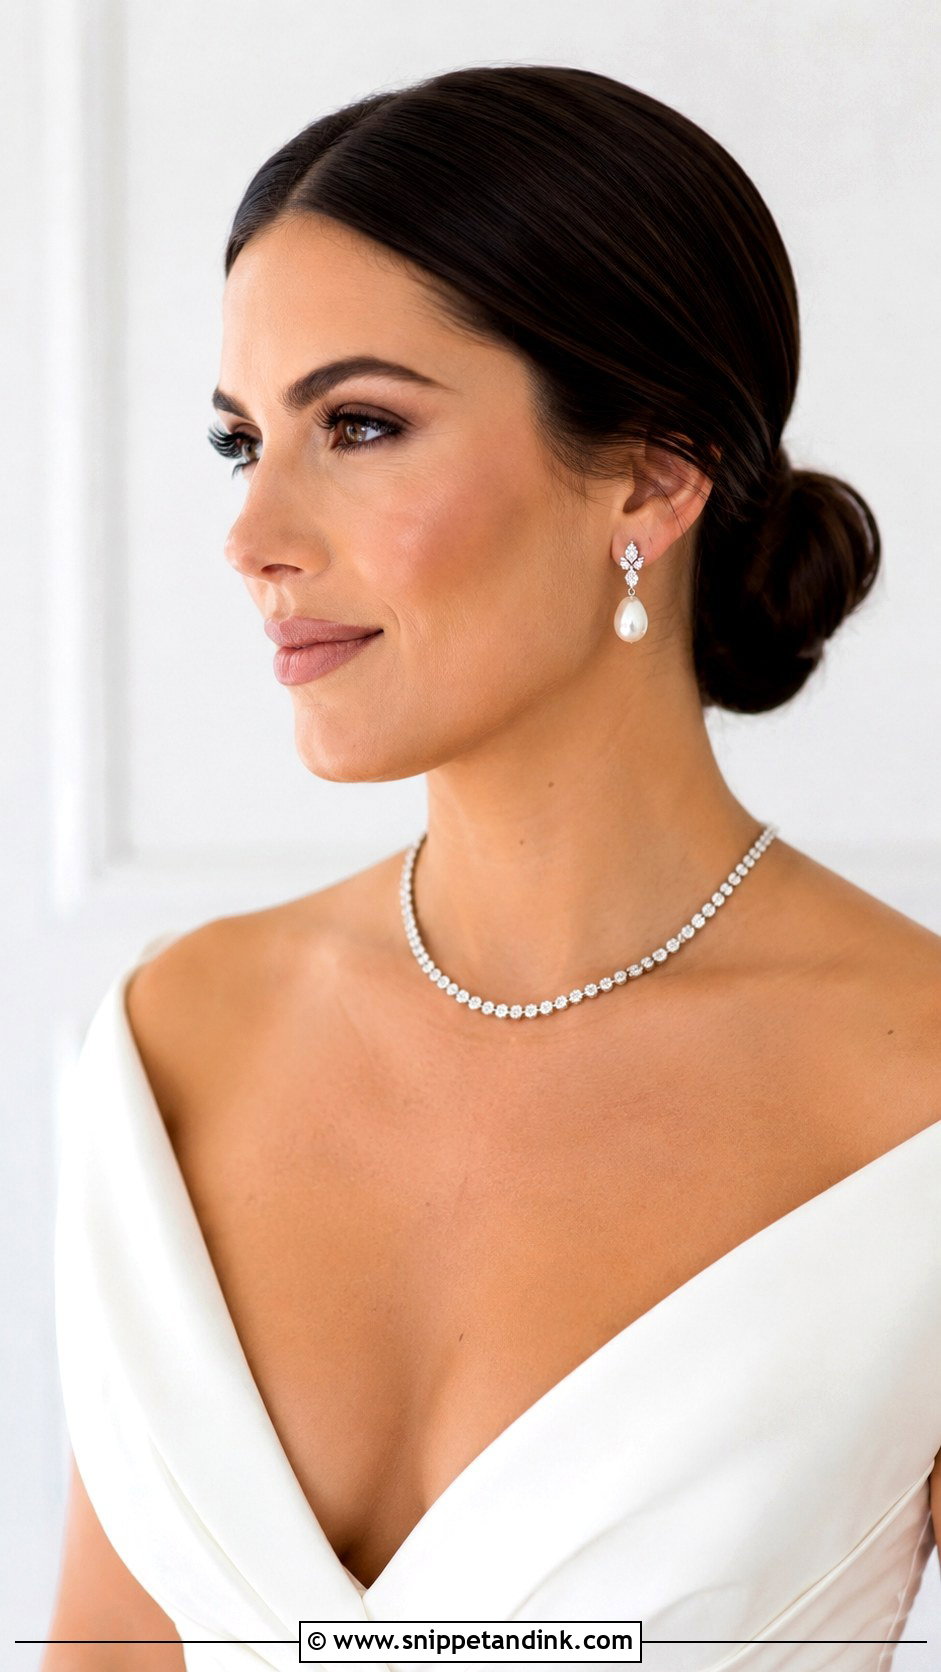
A center part splits the face in two, so I only recommend it when the features are fairly symmetrical and the hairline is even. The hair is smoothed into a low knot at the nape. The balanced frame suits contemporary and formal weddings with simple gowns and statement jewelry. Smooth every strand. If you have a cowlick at the front, tell your stylist early; it may need a slight off-center part instead.
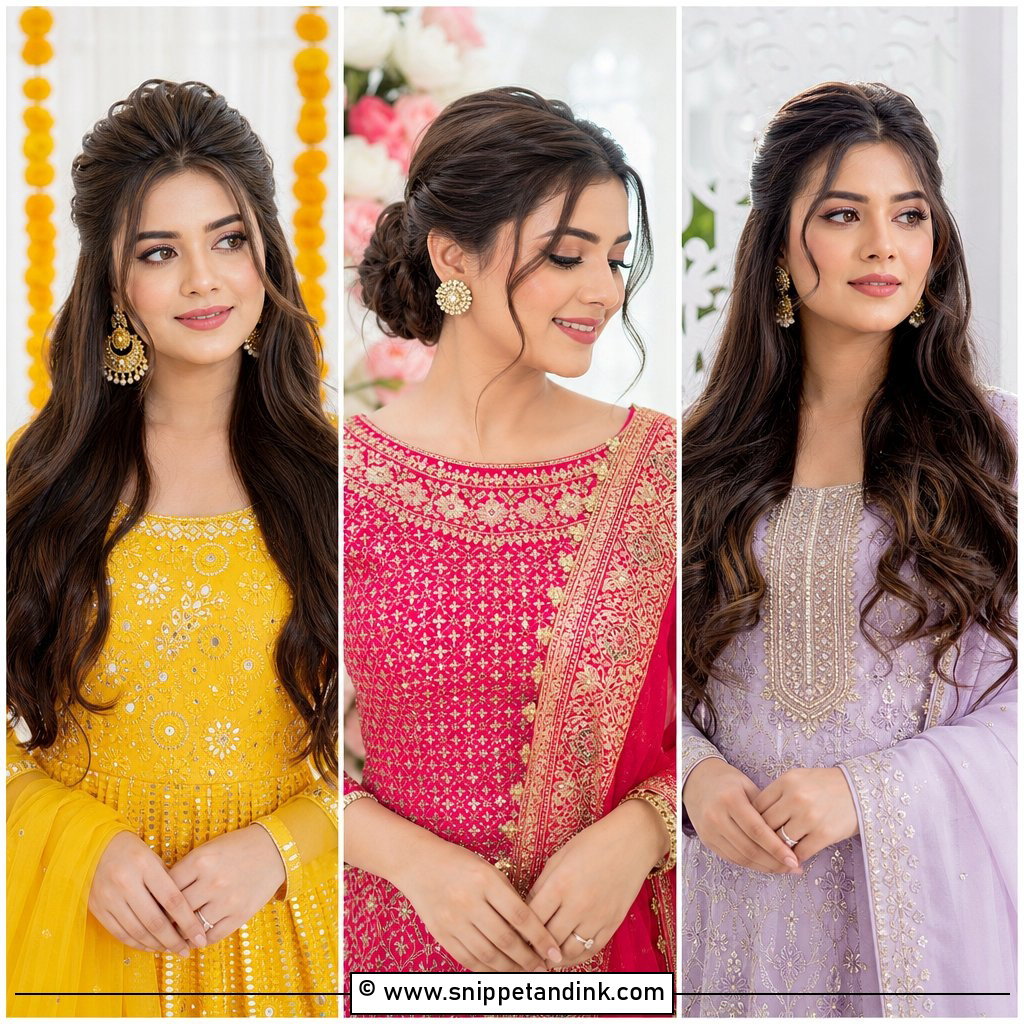
15. Curly Updo for Natural Hair
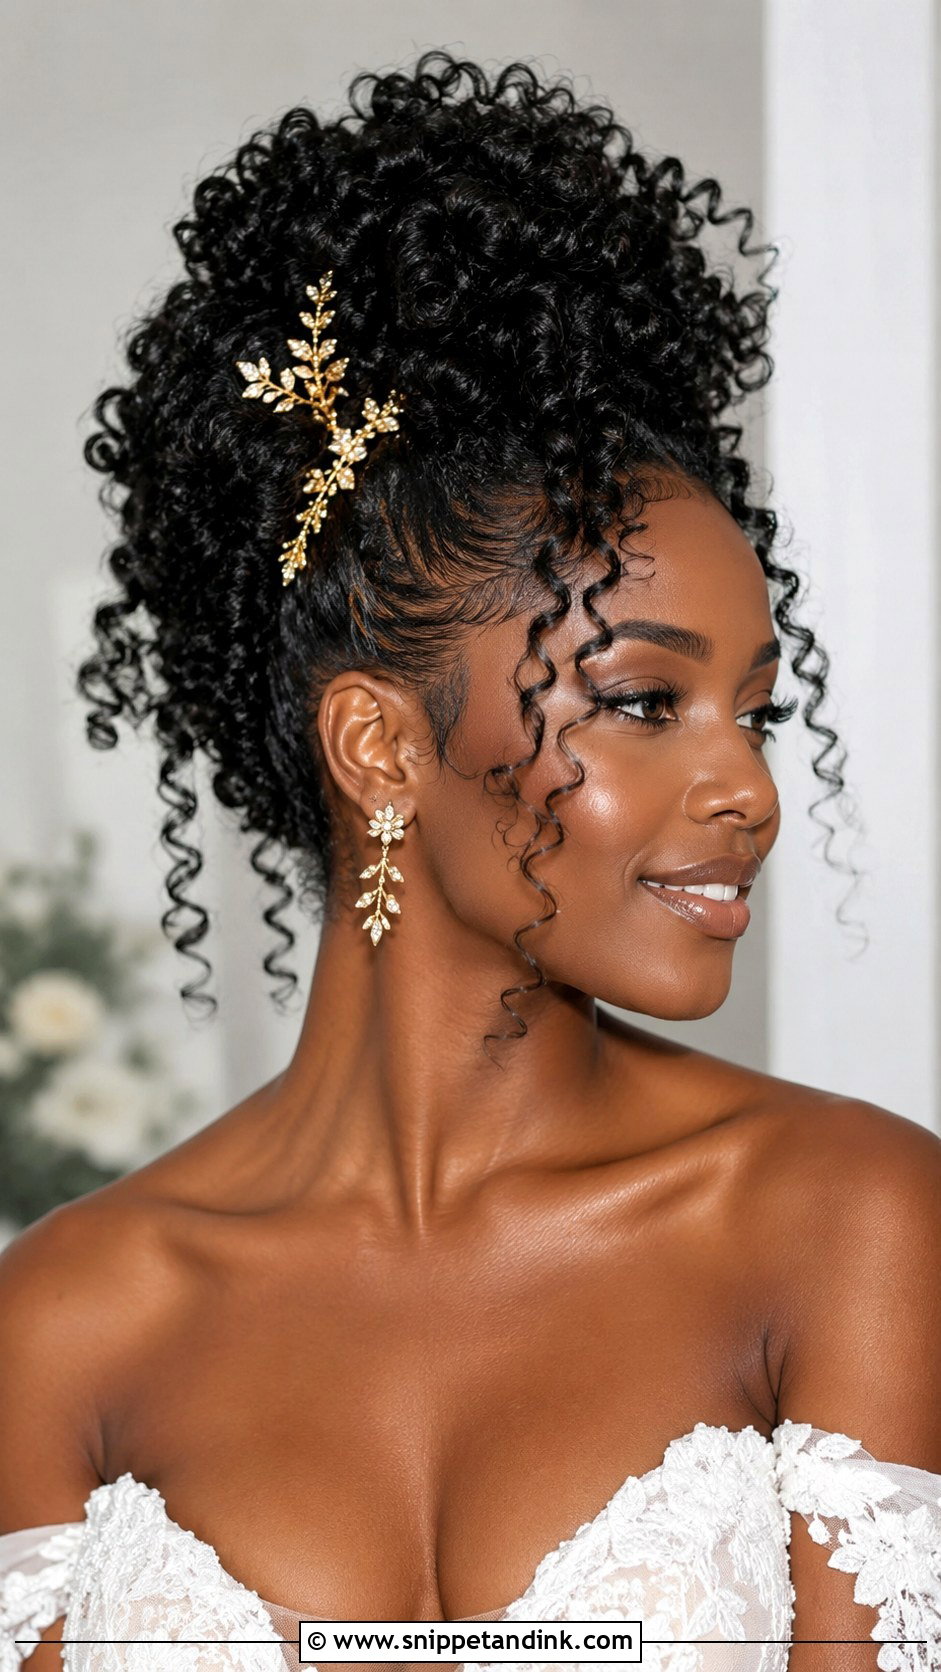
Defined coils gathered into a soft, full shape create a strong outline around the face from the front. I pin sections loosely to keep volume, and I leave a few curls at the face. The edges are where natural curls look different in photos, so I smooth them lightly without flattening the texture. Gold accessories or fresh flowers add detail at the sides.
16. Side Swept Updo
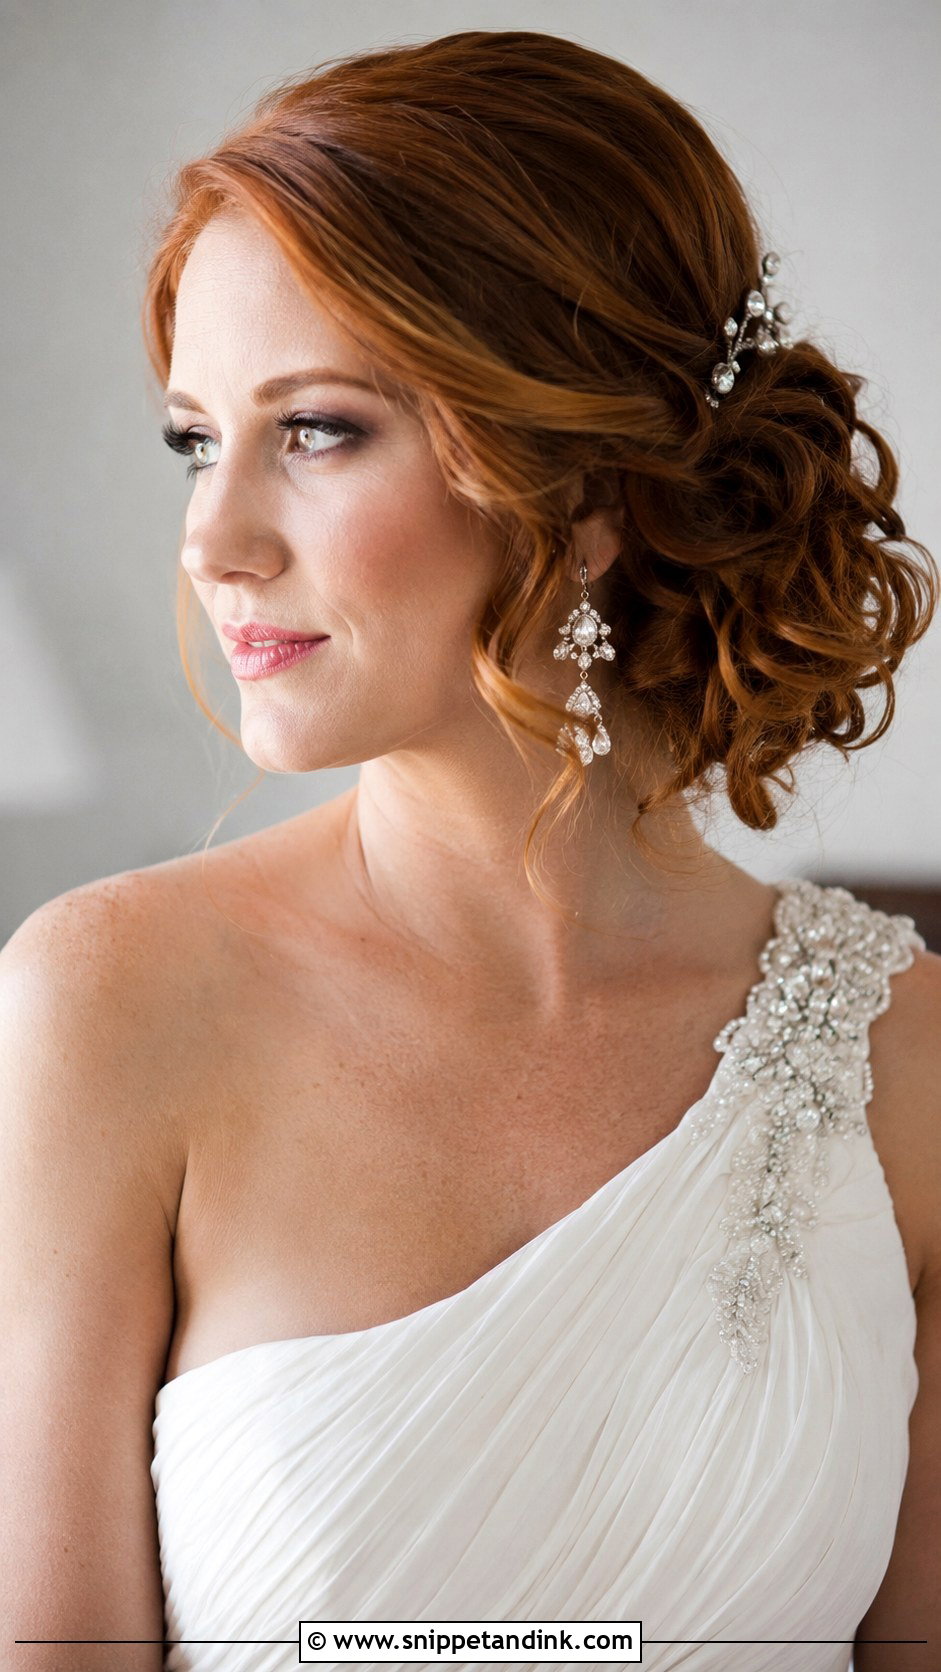
Hair gathered to one side creates a diagonal line across the front that leads the eye to one cheekbone. Put the gathered side opposite your stronger profile, because photographers will often shoot your open side. With a one-shoulder gown, wear statement earrings on the exposed side. Curl the swept sections for movement and pin flowers or a jeweled pin where the hair gathers.
17. Braided Bun Updo
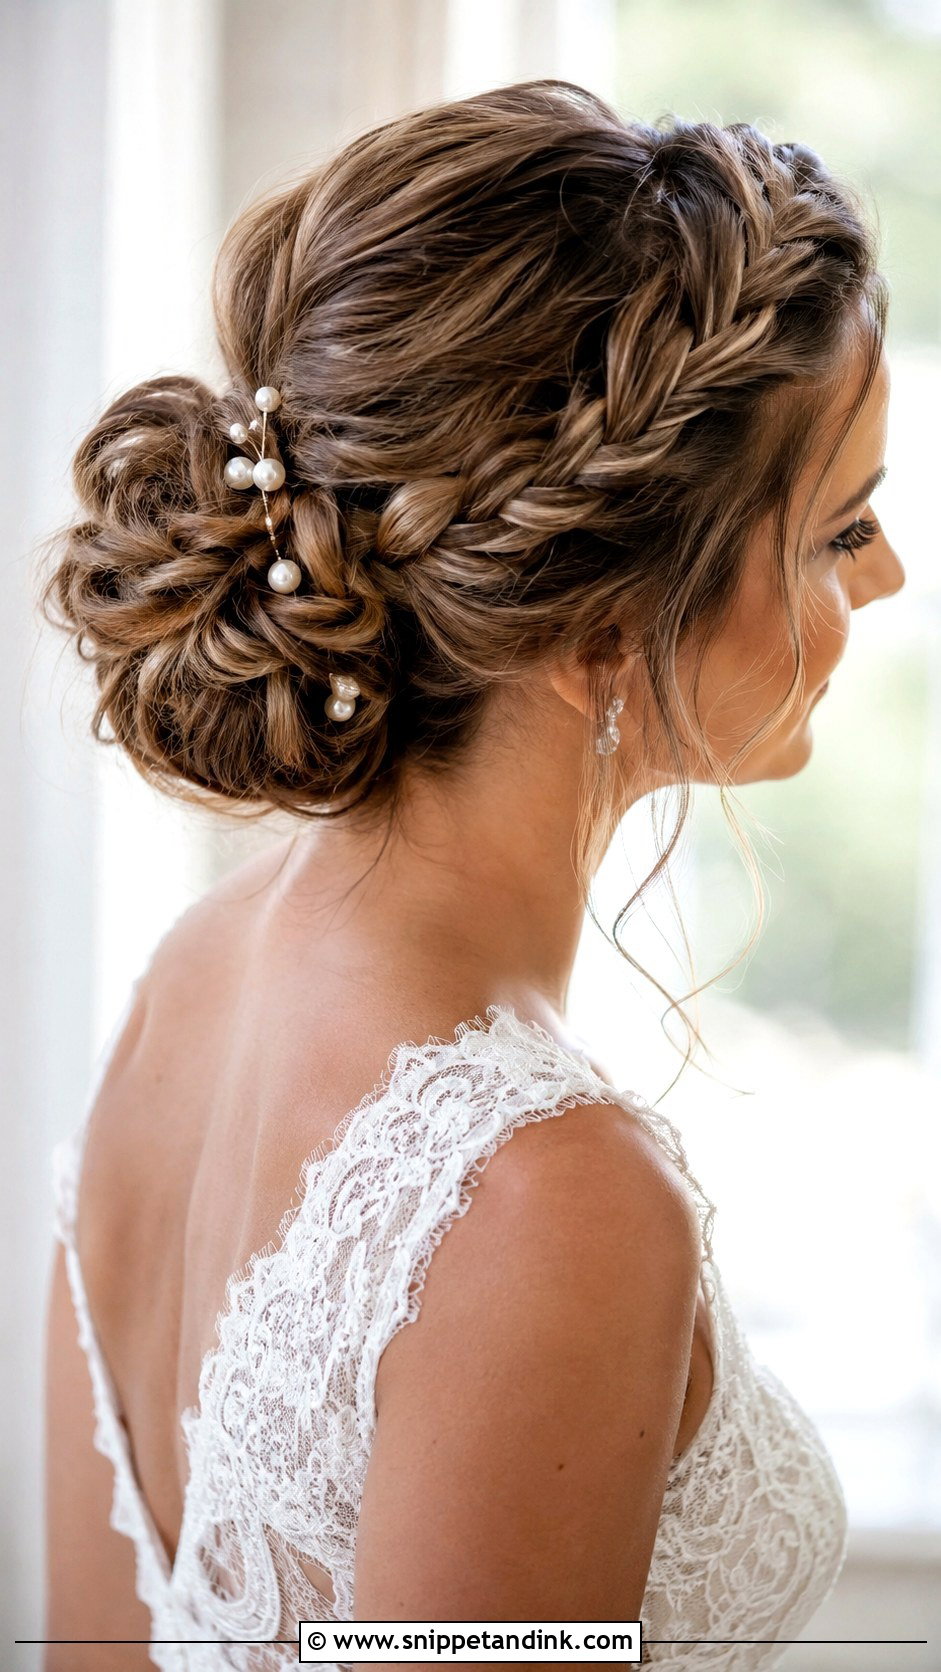
A braid wraps around or into the bun, and if it starts near the temple, you’ll see it from the front. Keep the braid neat for formal looks or loosen it for boho. Leave soft tendrils near the face. Small florals or pearl pins work well, and it suits lace gowns and outdoor ceremonies. It holds through hugs and dancing without much touching up.
18. Sleek Ballerina Bun Updo
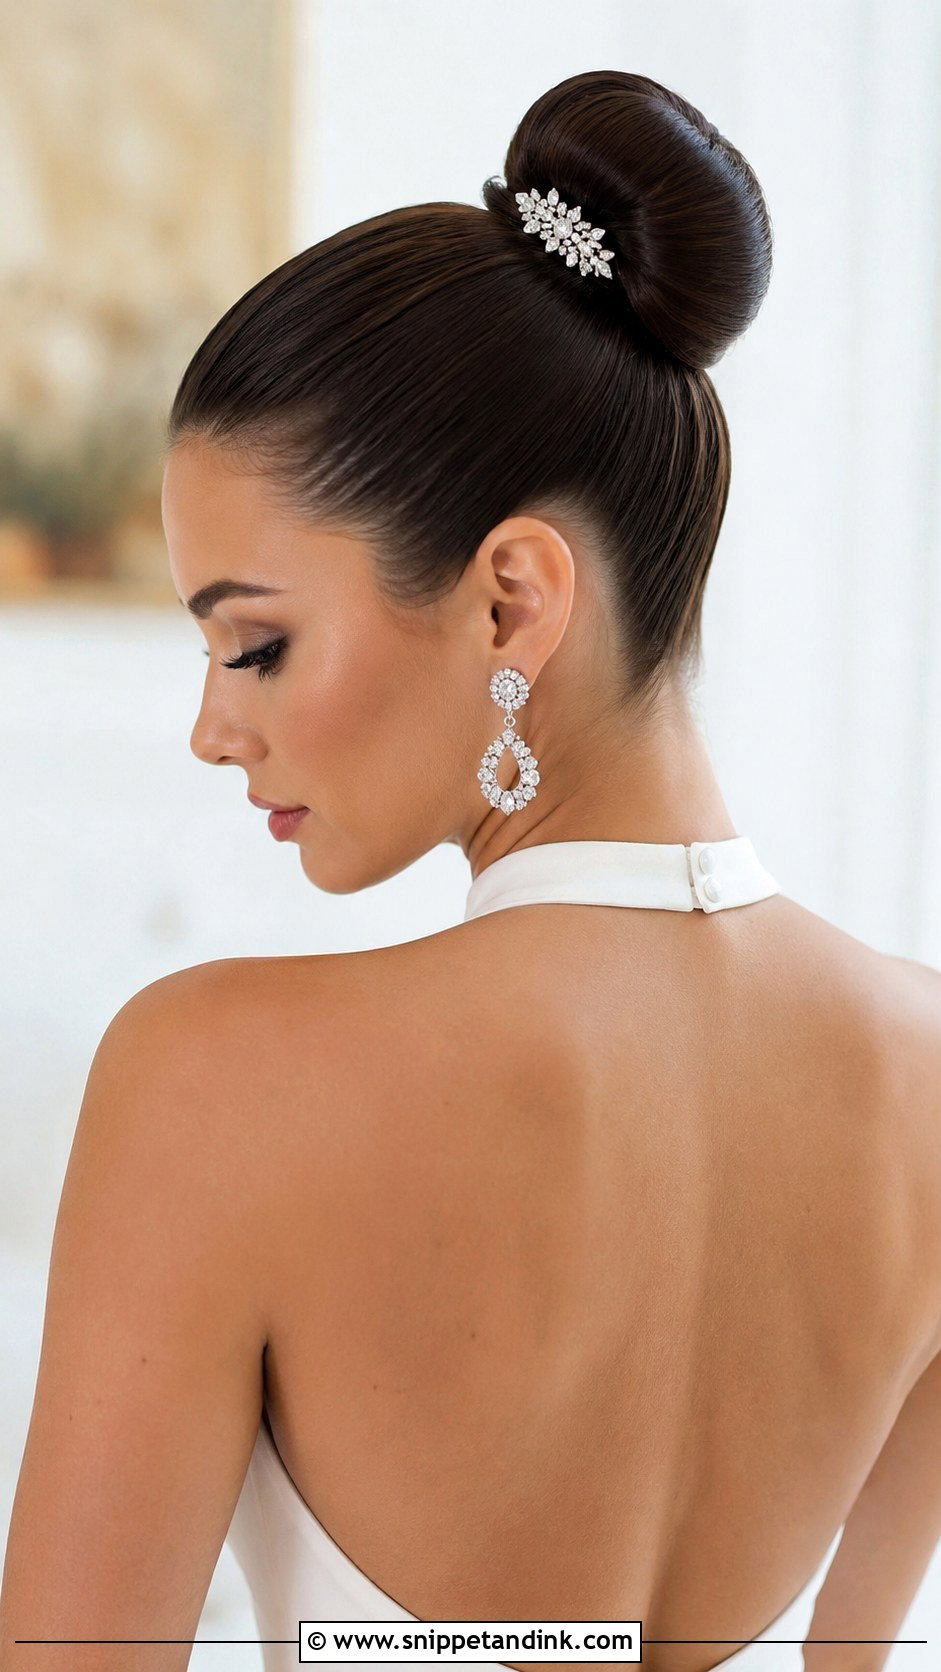
Sleek and high, the ballerina bun leaves the whole face bare from the front. I smooth the hair with gel or serum and brush carefully around the temples, where flyaways show first. It’s sharp and confident, best with sleek gowns and bold jewelry. If your hairline is thin at the temples, a tight high bun will show it; a lower placement or soft wisps help. A sparkling pin adds a little glamour.
19. Twisted Updo With Headband
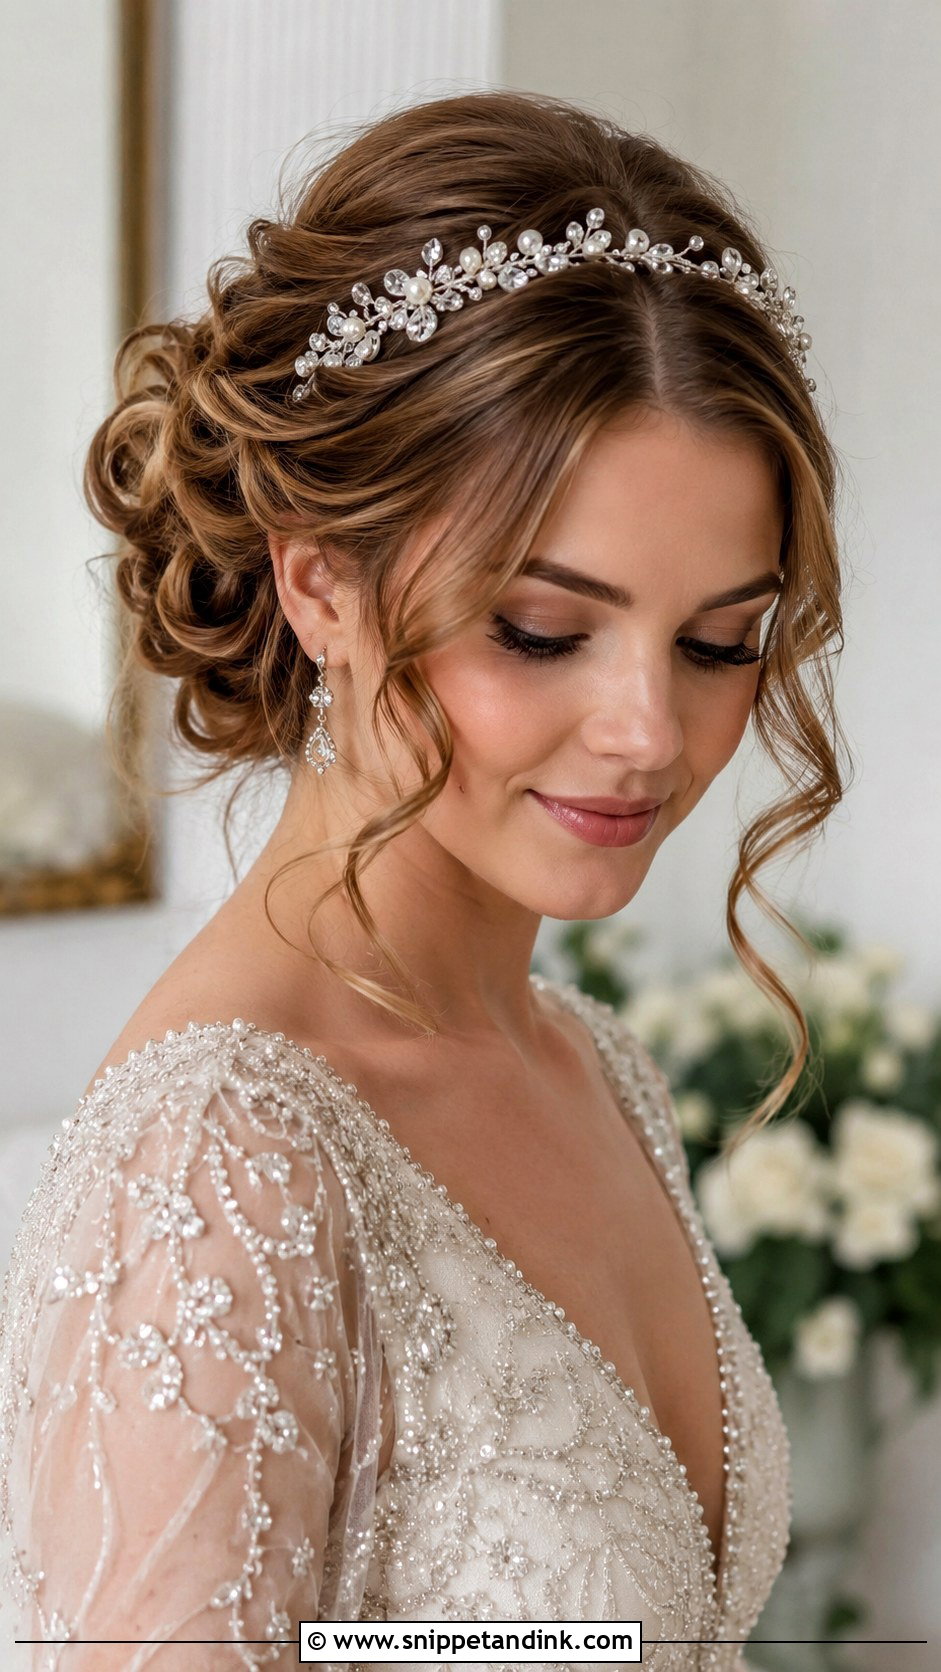
A jeweled headband sits right across the front, so it’s the most visible accessory on this list. I place it a finger’s width behind the hairline so it doesn’t look like it’s sliding forward, then build the twisted updo behind it. Crystal or pearl to match your earrings. Leave a few tendrils loose at the cheeks. It suits vintage and glamorous themes; a heavy band can press on the head, so wear it for a few hours at your trial.
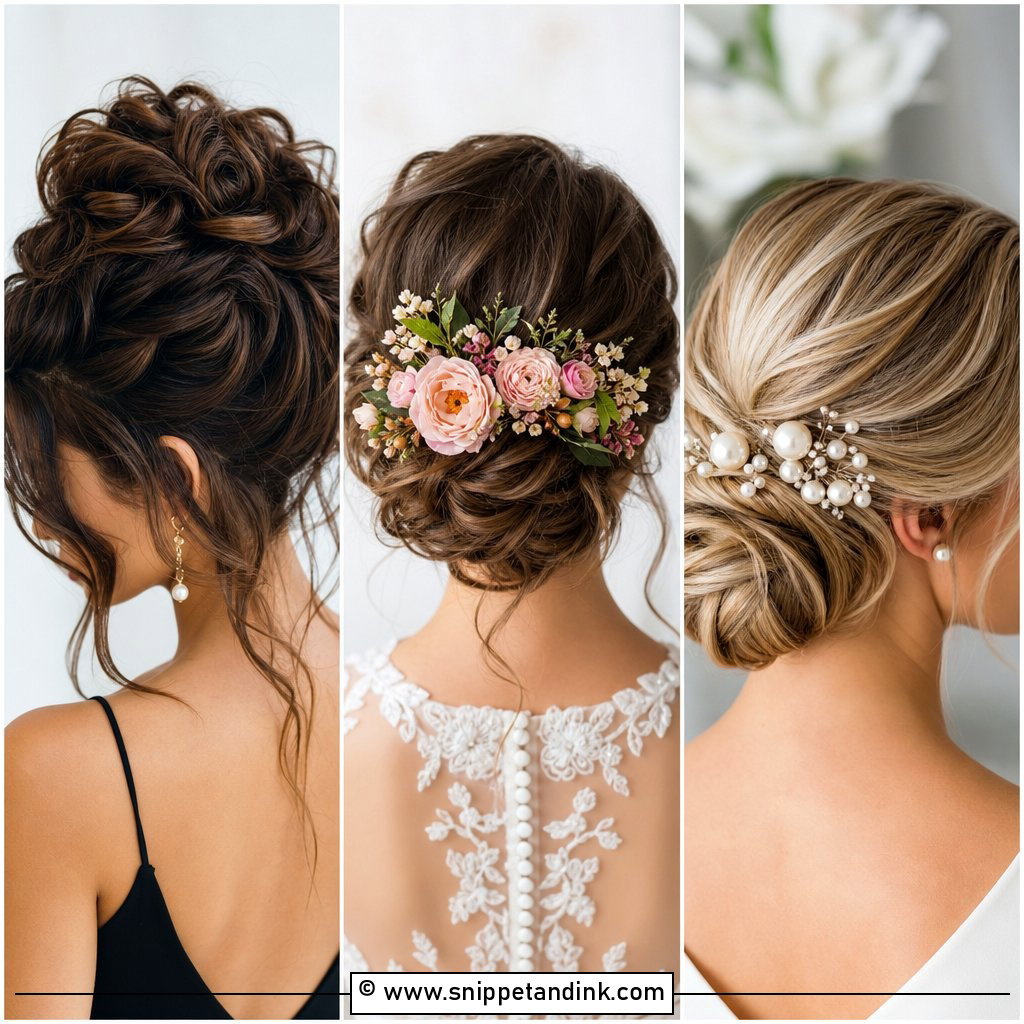
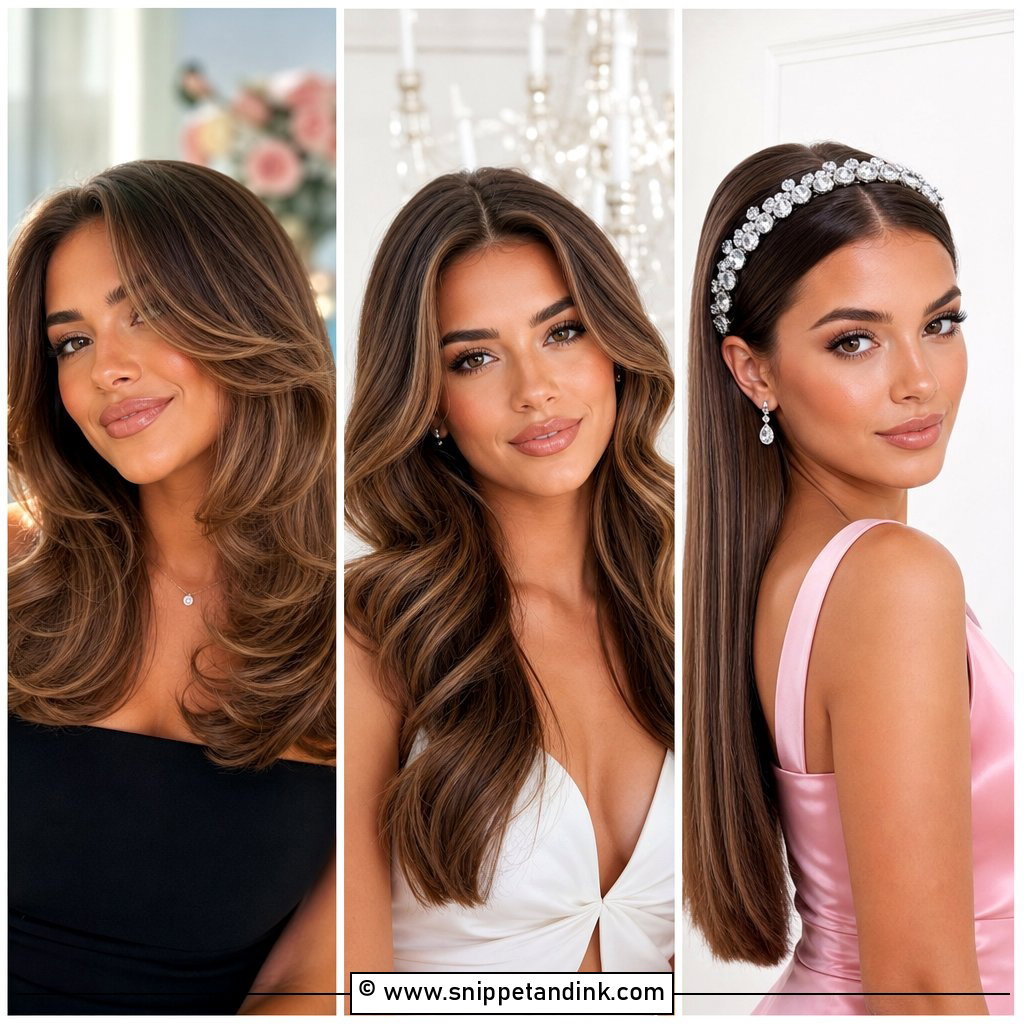
20. Soft Curls Pinned Back Updo
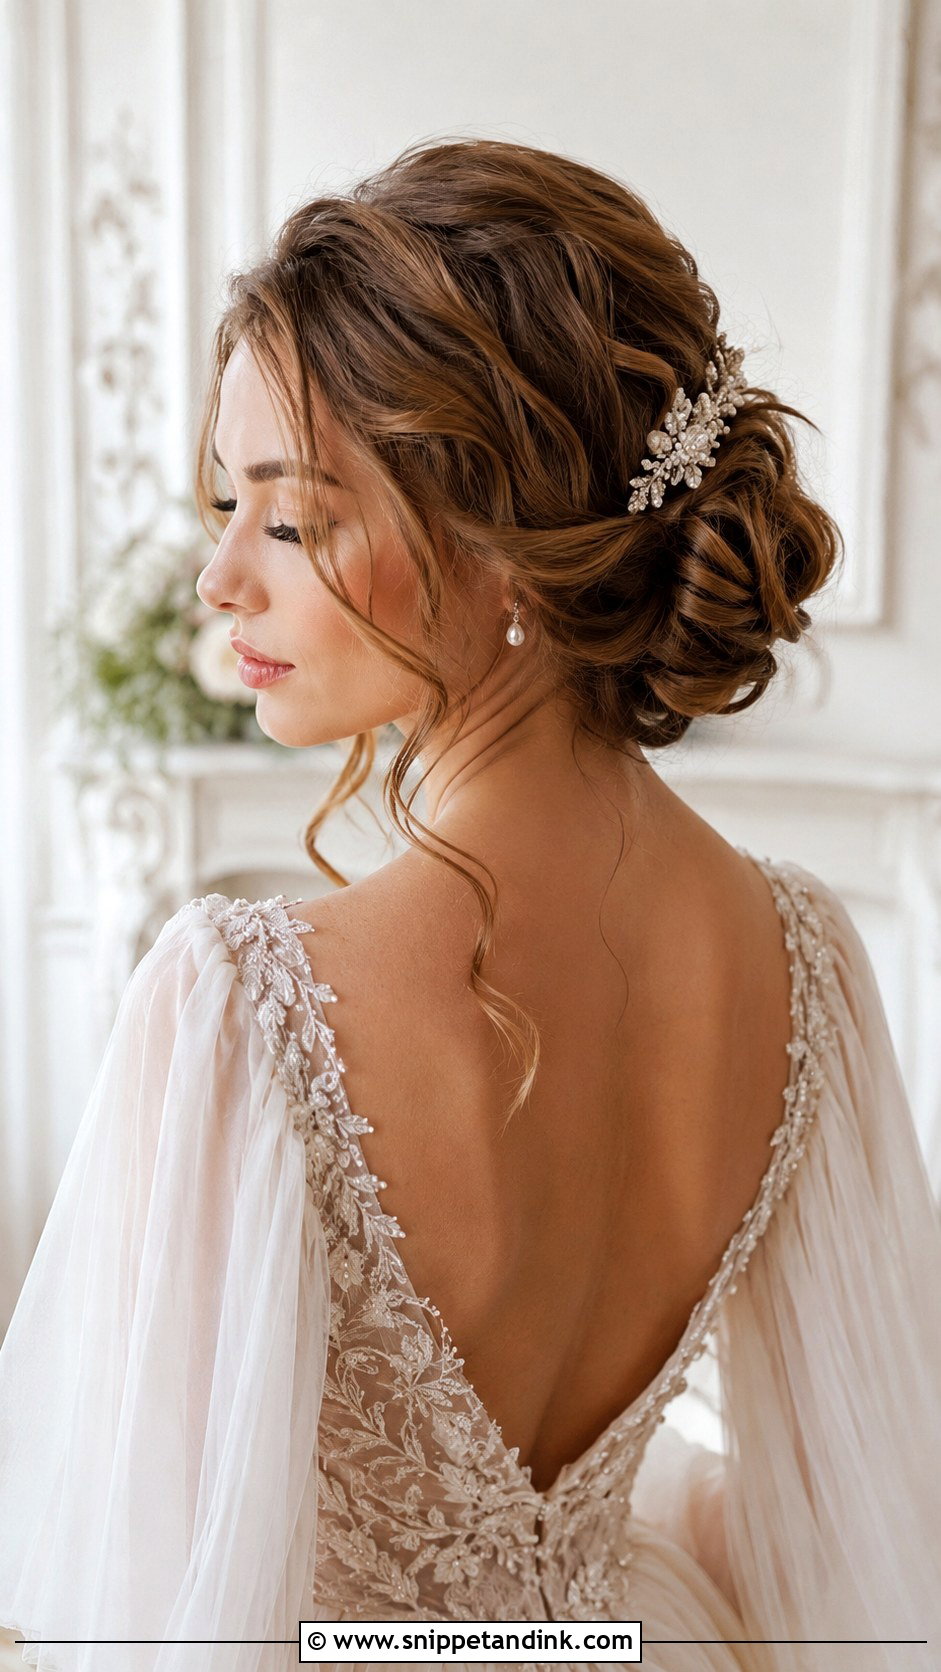
Soft curls are pinned loosely back, so from the front the face is open while waves frame it at the sides. It’s a forgiving style that suits most faces. Curl first, then pin sections away from the face. Leave a few tendrils loose. A sparkling clip or fresh flower adds a finishing touch. The curls soften gradually through the day, which usually looks better by the evening photos, not worse.
Face-Framing Pieces That Don’t Go Limp by Lunch
Almost every updo here relies on a few loose strands around the face, and they’re usually the first part of the style to fail. Here’s how I keep them alive:
- Curl them with a small iron, and curl them away from the face, so they don’t fall into your eyes or lip gloss.
- Let each one cool fully before touching it. Pinning a small clip into a warm curl and releasing it just before the ceremony gives the strongest hold.
- Spray lightly at the root, not the ends. Heavy spray on a thin strand makes it stiff and stringy.
- Leave fewer than you think. Two or three on each side read better from the front than a curtain of wisps.
No Fringe Trims in the Final Fortnight
A fresh trim around the face looks blunt and often too short, and it can make tendrils impossible to curl. Get any haircut or face-framing layers done several weeks before the wedding, ideally before your trial, so your stylist plans the front around the hair you’ll actually have. If you’d like a curtain fringe or layers for the day, test them during the trial, not after it.
Look at the Front First, Then Fall for the Bun
Your hairstyle frames every photo of your face, so the front deserves the most attention. From sleek chignons to romantic curls and braids, the right choice depends on your face shape, your neckline and your hairline. Think about accessories like flowers, pins or headbands, and always do a trial with your stylist, looking at photos from the front and in profile. When the front suits you, the rest of the updo tends to follow.
You'll Like These Ideas:


Leave a Reply