
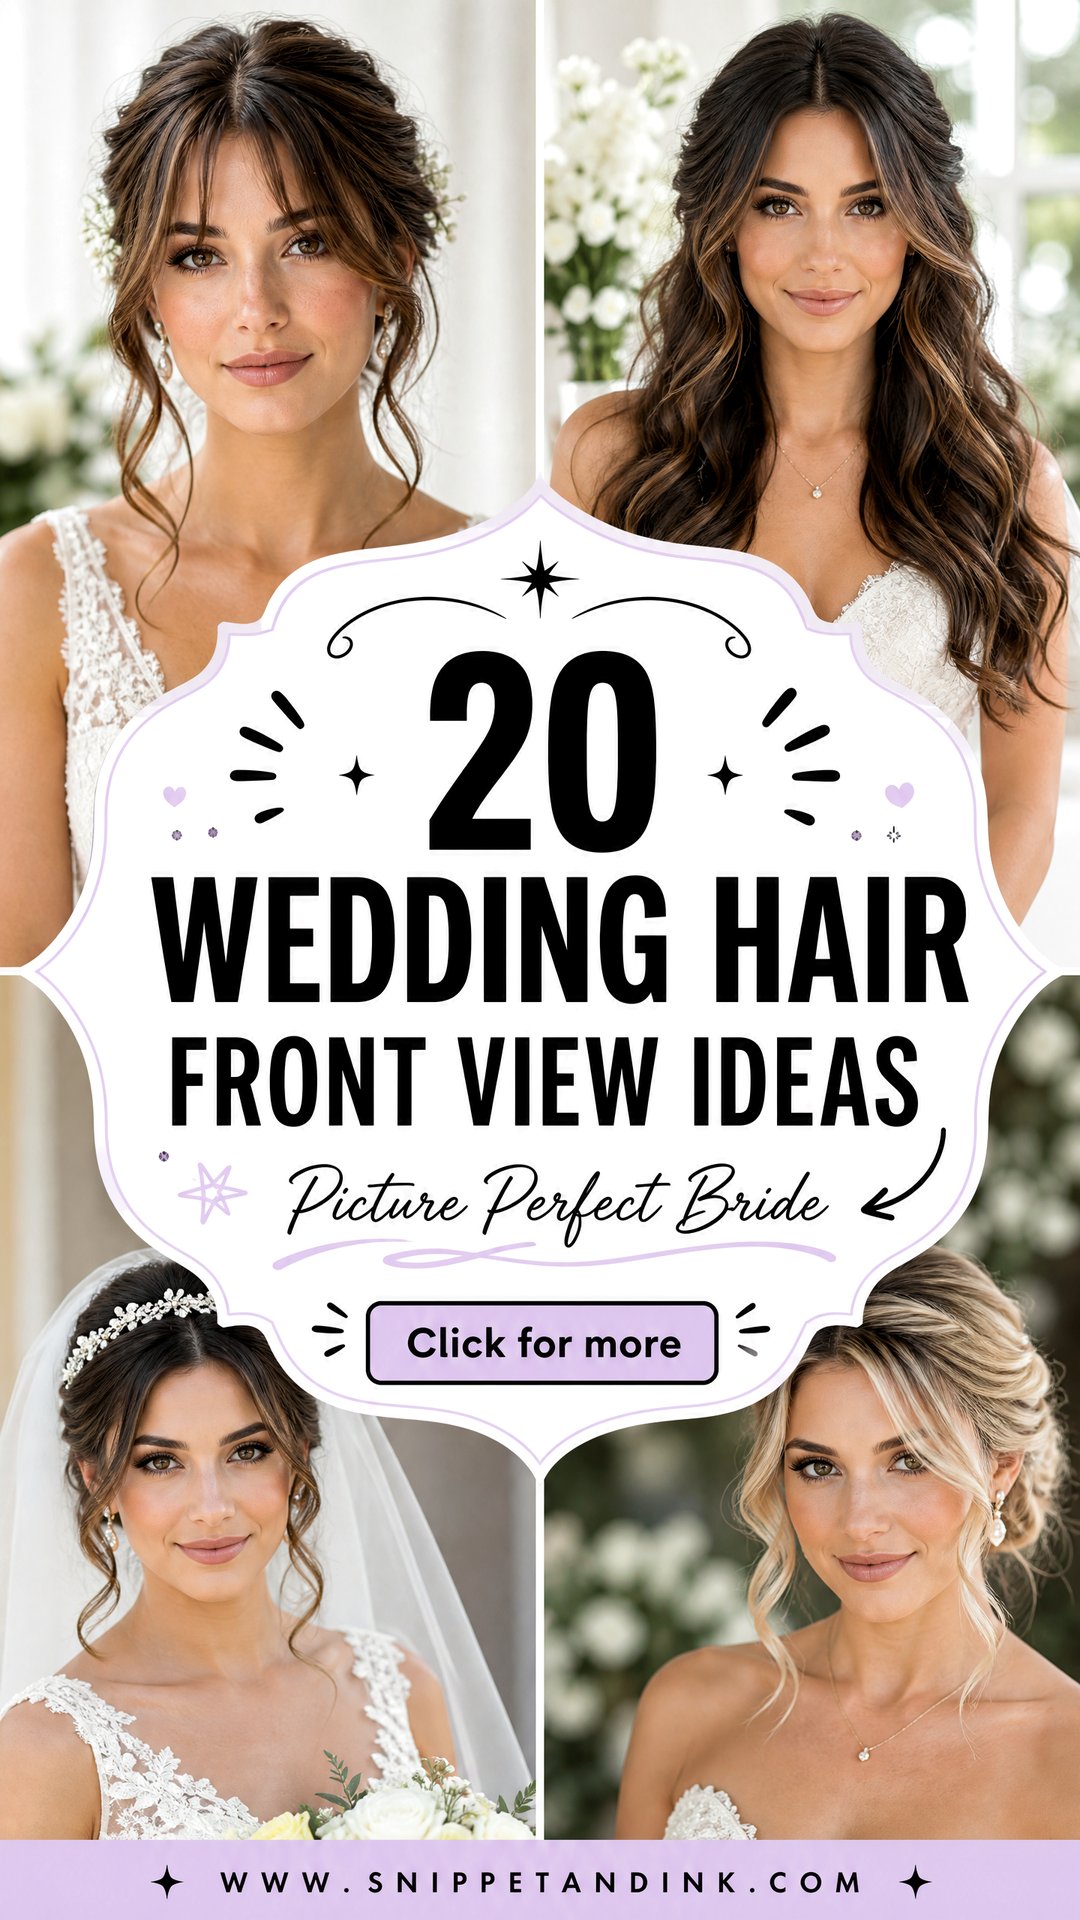
Most of your wedding photos are taken straight on. The aisle shot, the vows, the toast, the first look: the camera sits in front of you, and the back of the bun you spent an hour on barely appears. That’s why I judge every bridal style from the front first, by the shape it makes around the face, the width at the temples and how the parting sits. Below are 20 wedding hair front view ideas, with notes on what each one does to your face head-on, who it suits and where it tends to fail.
Why an Updo Can Look Great From Behind and Flat Head On
Most bridal inspiration photos are shot from the back or at three quarters. That angle flatters every updo, because you see the braids, the twists and the pins. Straight on, you see something else entirely: the outline around your face, the width at the temples and the parting. A style that’s all detail at the back can look like plain, scraped hair from the front.
When I plan a front view, I look at three things in order:
- Width at the temples. A round face usually looks better with height at the crown and a little flatness at the sides. A long face wants the opposite, a touch of fullness beside the cheekbones.
- The parting. Center parts emphasize symmetry. If one eye sits slightly higher or your features are uneven, a part just off center hides it.
- What is loose. Tendrils, fringe and face-framing pieces show up in every front photo, so they get the most attention and the most hold.
Bring a straight-on selfie of your face with your hair pulled back. It shows your stylist more than any amount of inspiration.
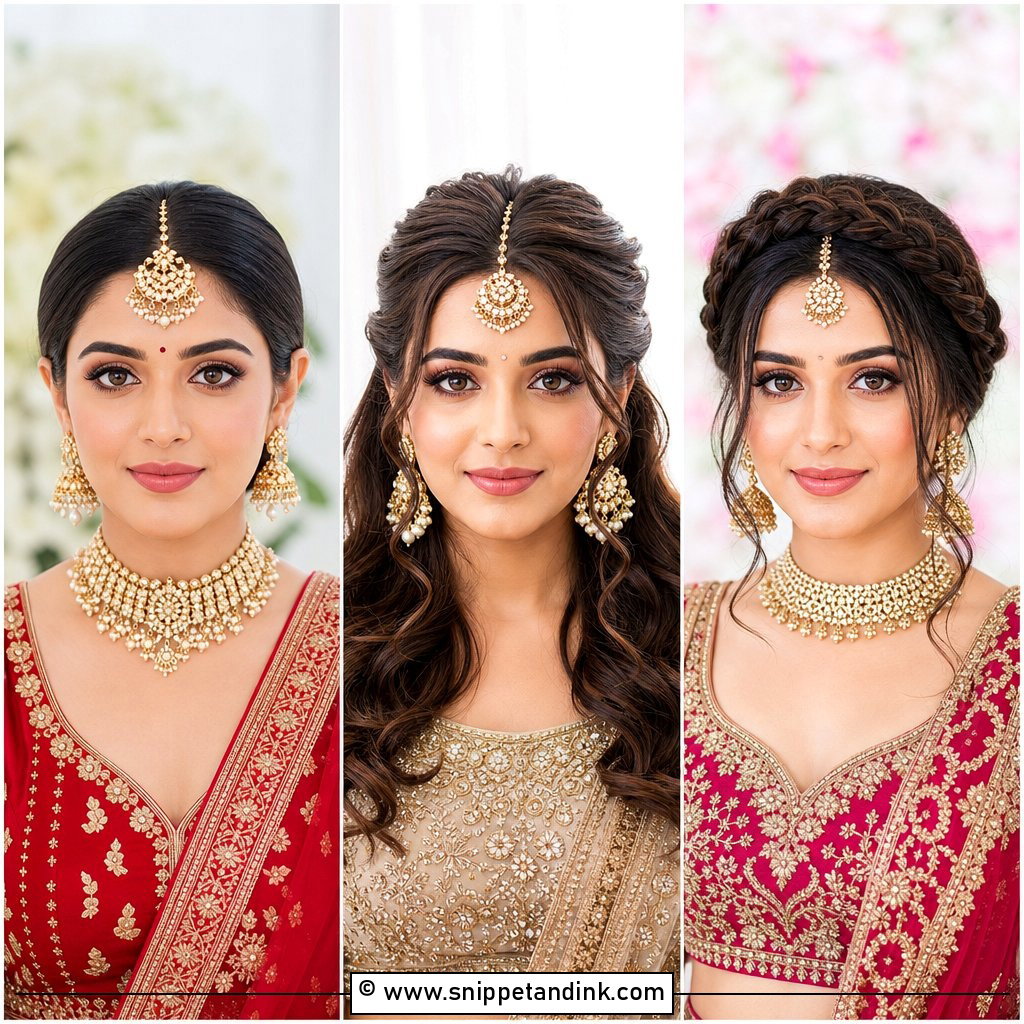
1. Half Up Half Down Wedding Hair Front View
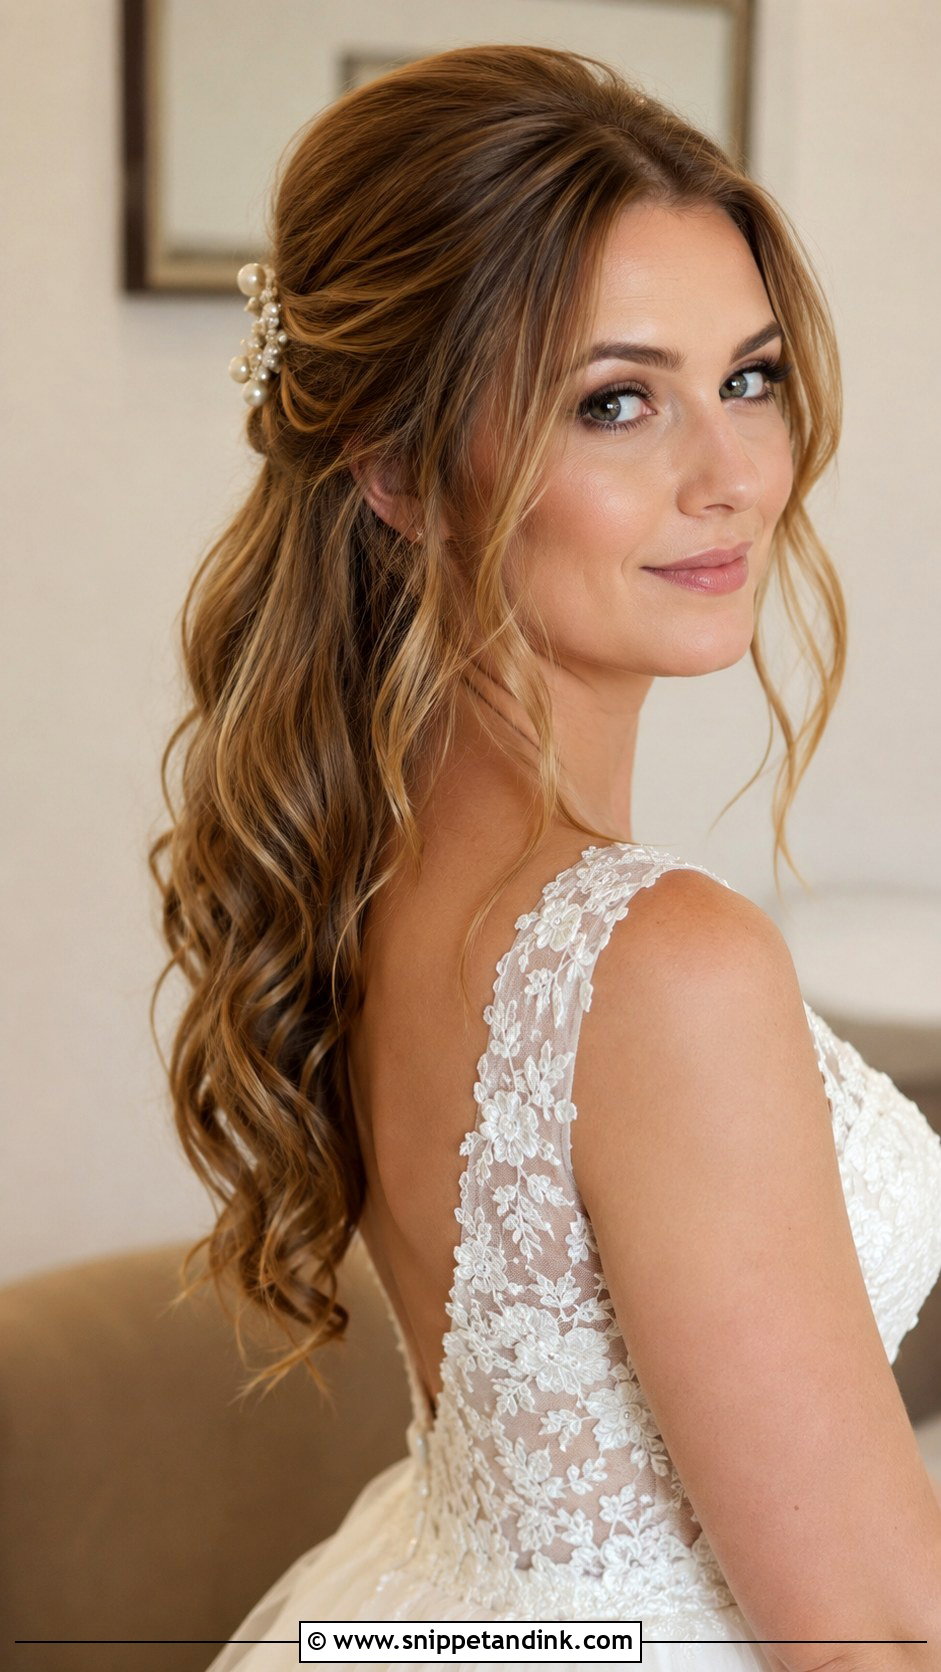
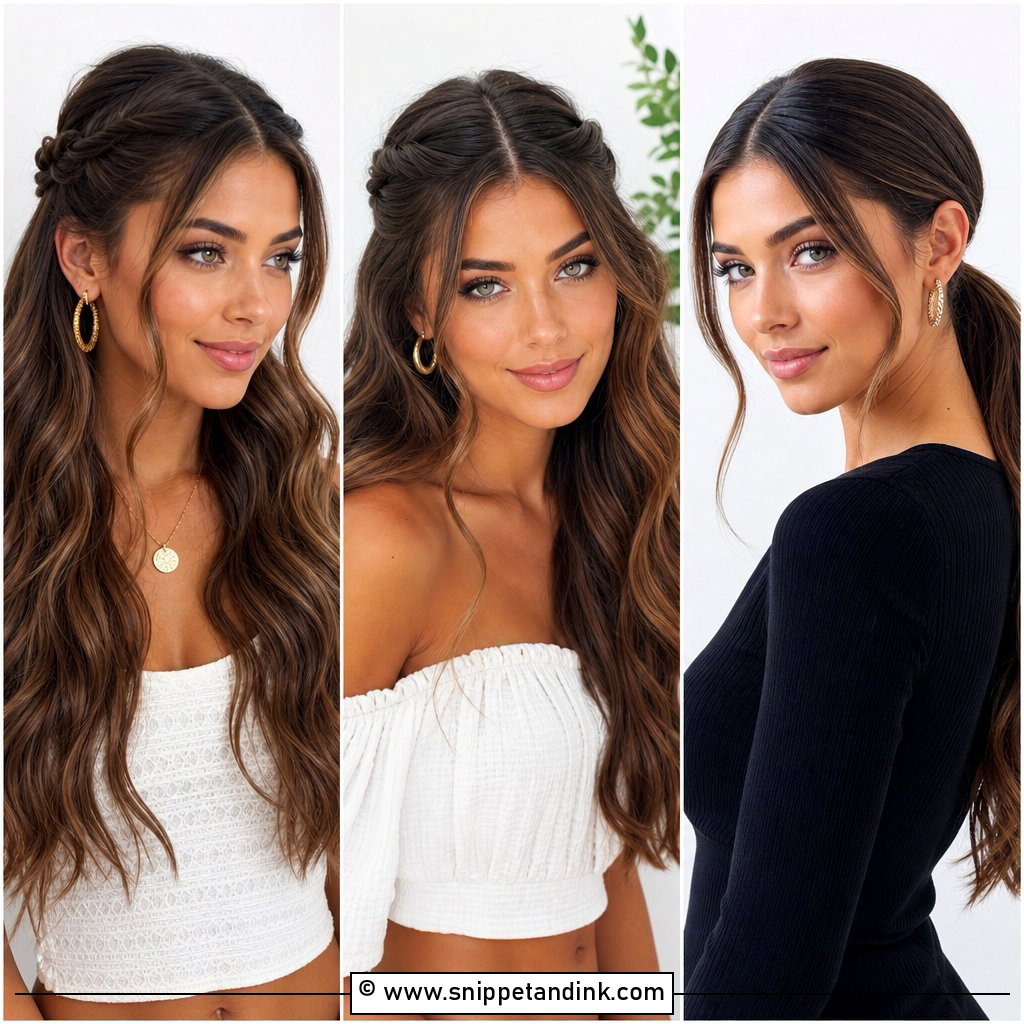
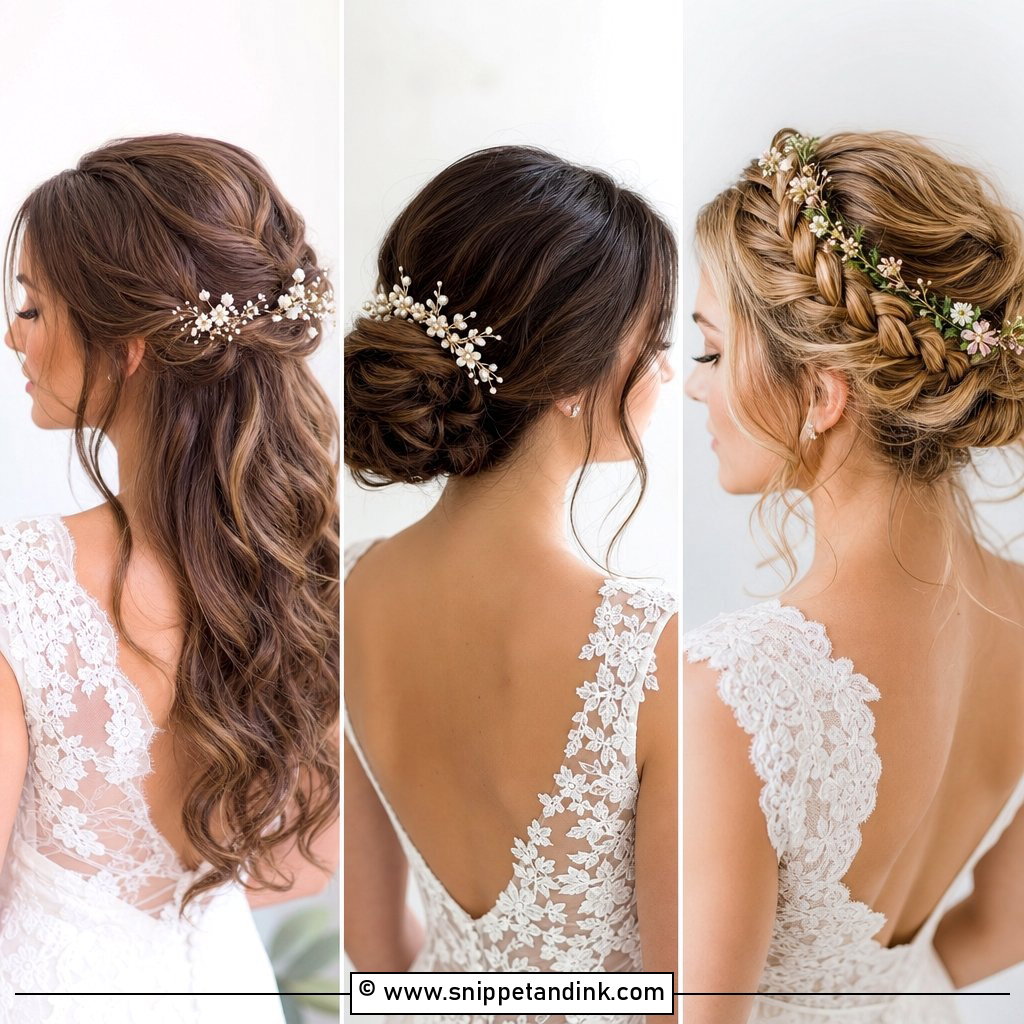
Half up, half down gives you lift at the crown and length on the shoulders, so the face sits inside a soft oval. Where it goes wrong is the join. If the top section is pulled too tight, you get a flat strip across the head from the front and a lump behind. I tease the crown lightly before I gather it, then hide the meeting point with a small twist or a pearl pin. It suits straight, wavy and curly hair, and it accepts almost any veil, because the comb slides in just under the join.
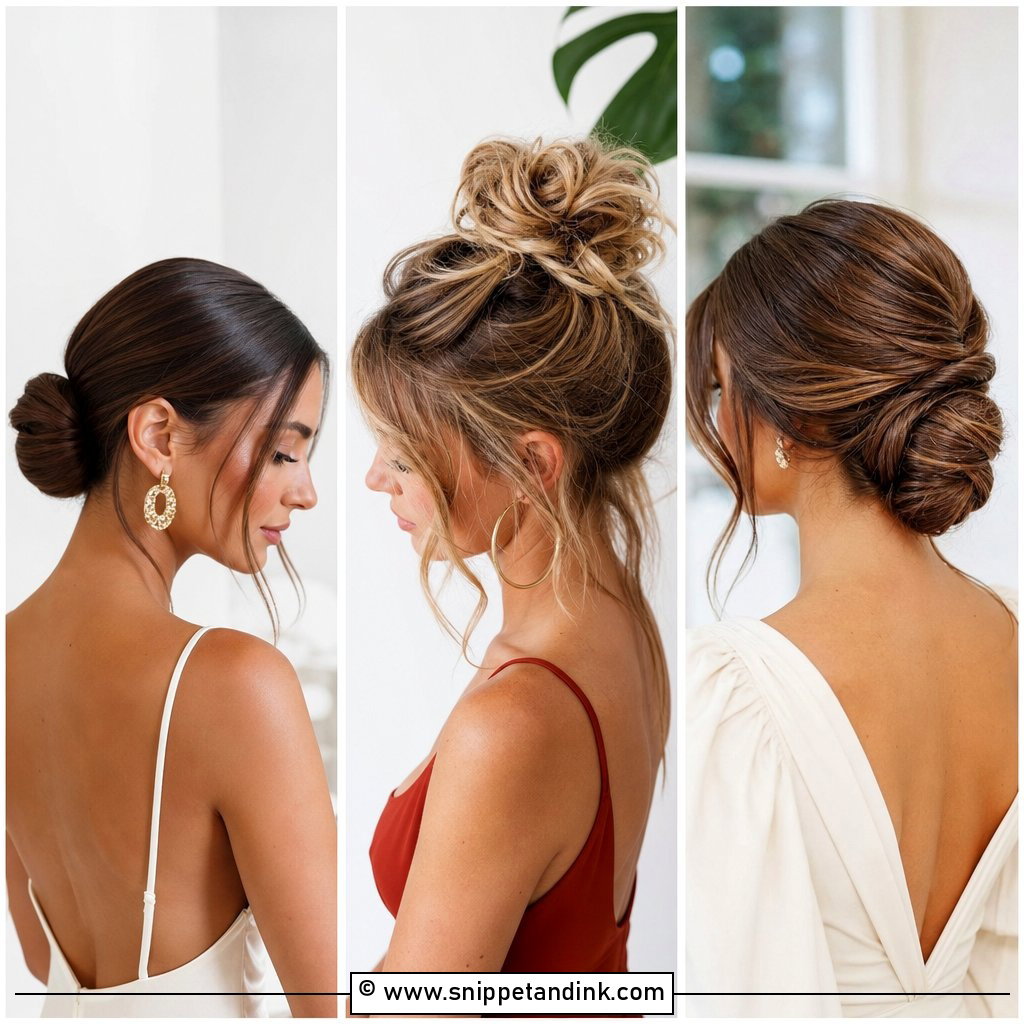
2. Low Bun Wedding Hairstyle Front View
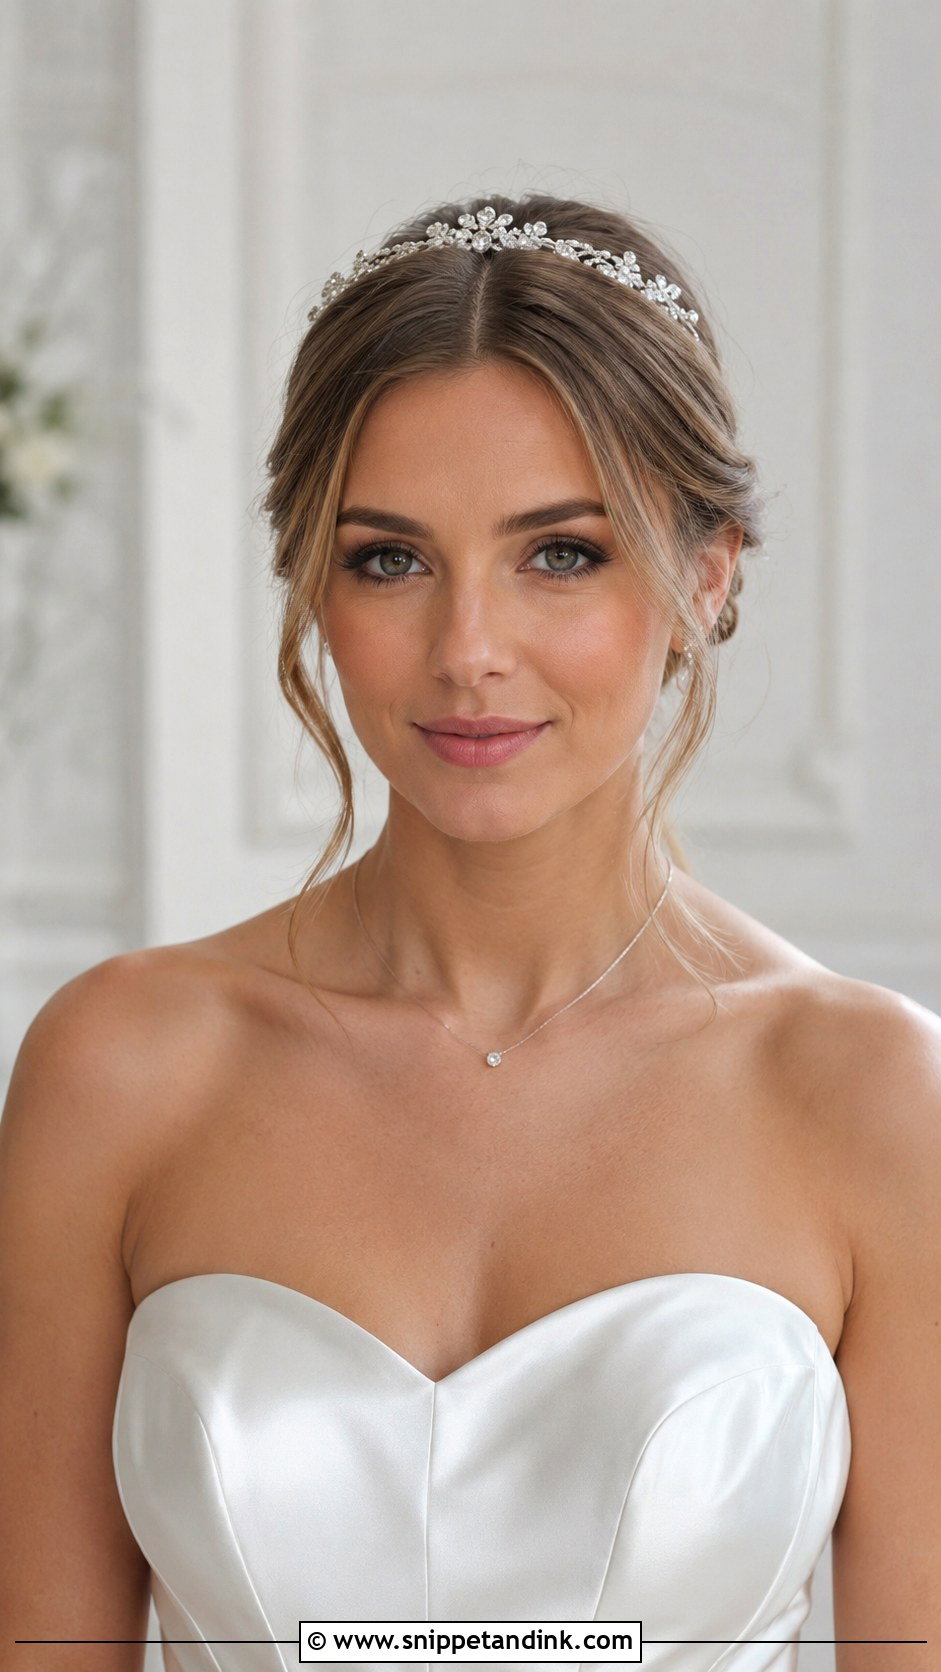
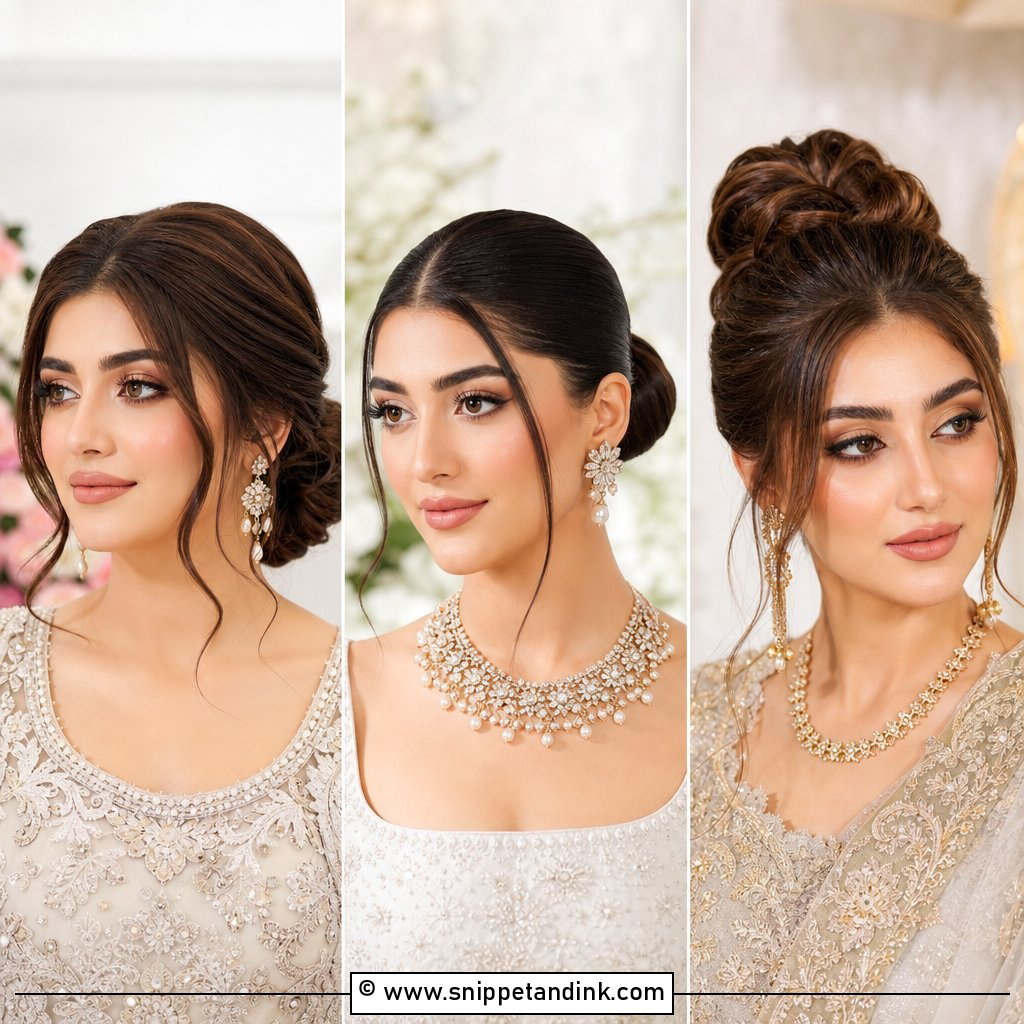
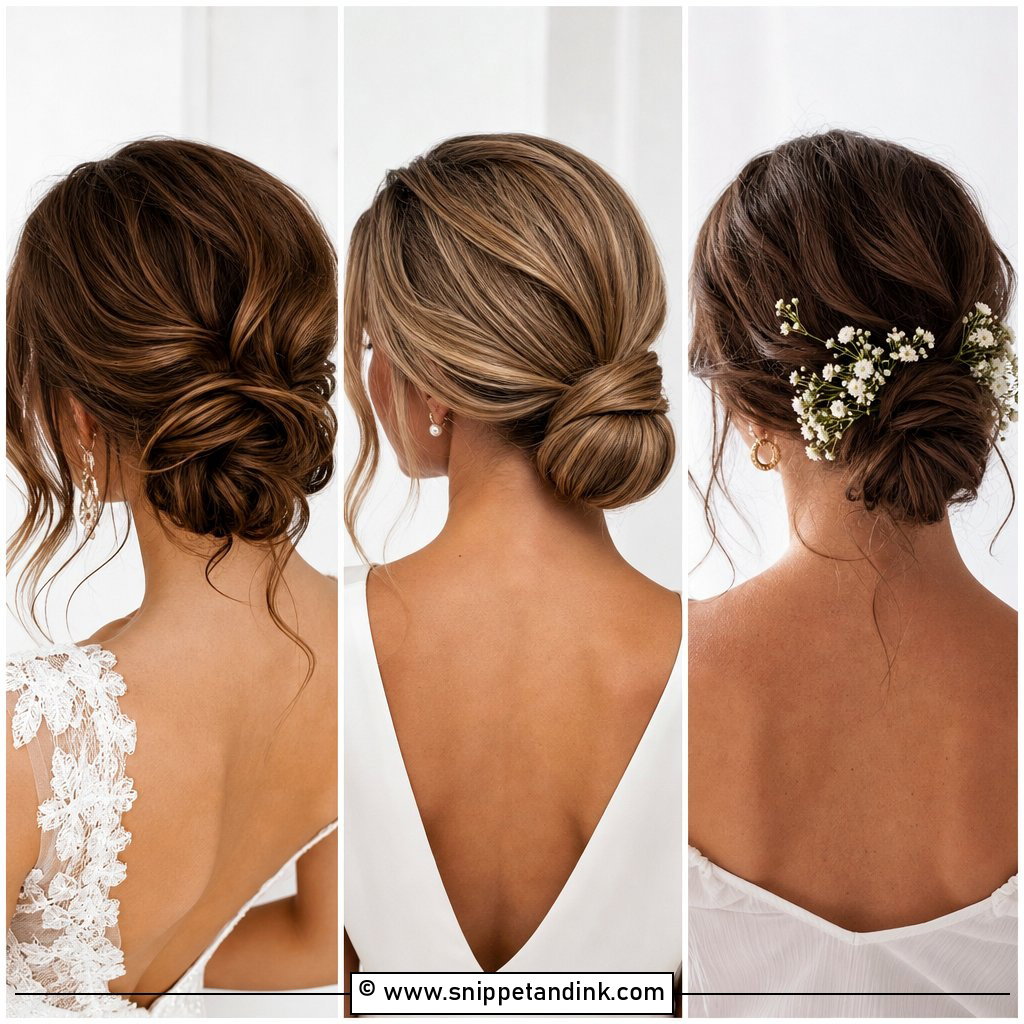
A low bun is the style I trust most for a long day. From the front it looks clean and close to the head, which puts all the attention on your features. The risk is severity: on a narrow face, hair scraped back with no softness can look harsh in flash photos. Two loose tendrils, curled away from the face, fix that. Because the weight sits at the nape and not on top, it rarely loosens during hugs or dancing, and a comb or a few short-stemmed flowers tuck into it without extra pinning.
3. Curtain Bangs Wedding Hairstyle
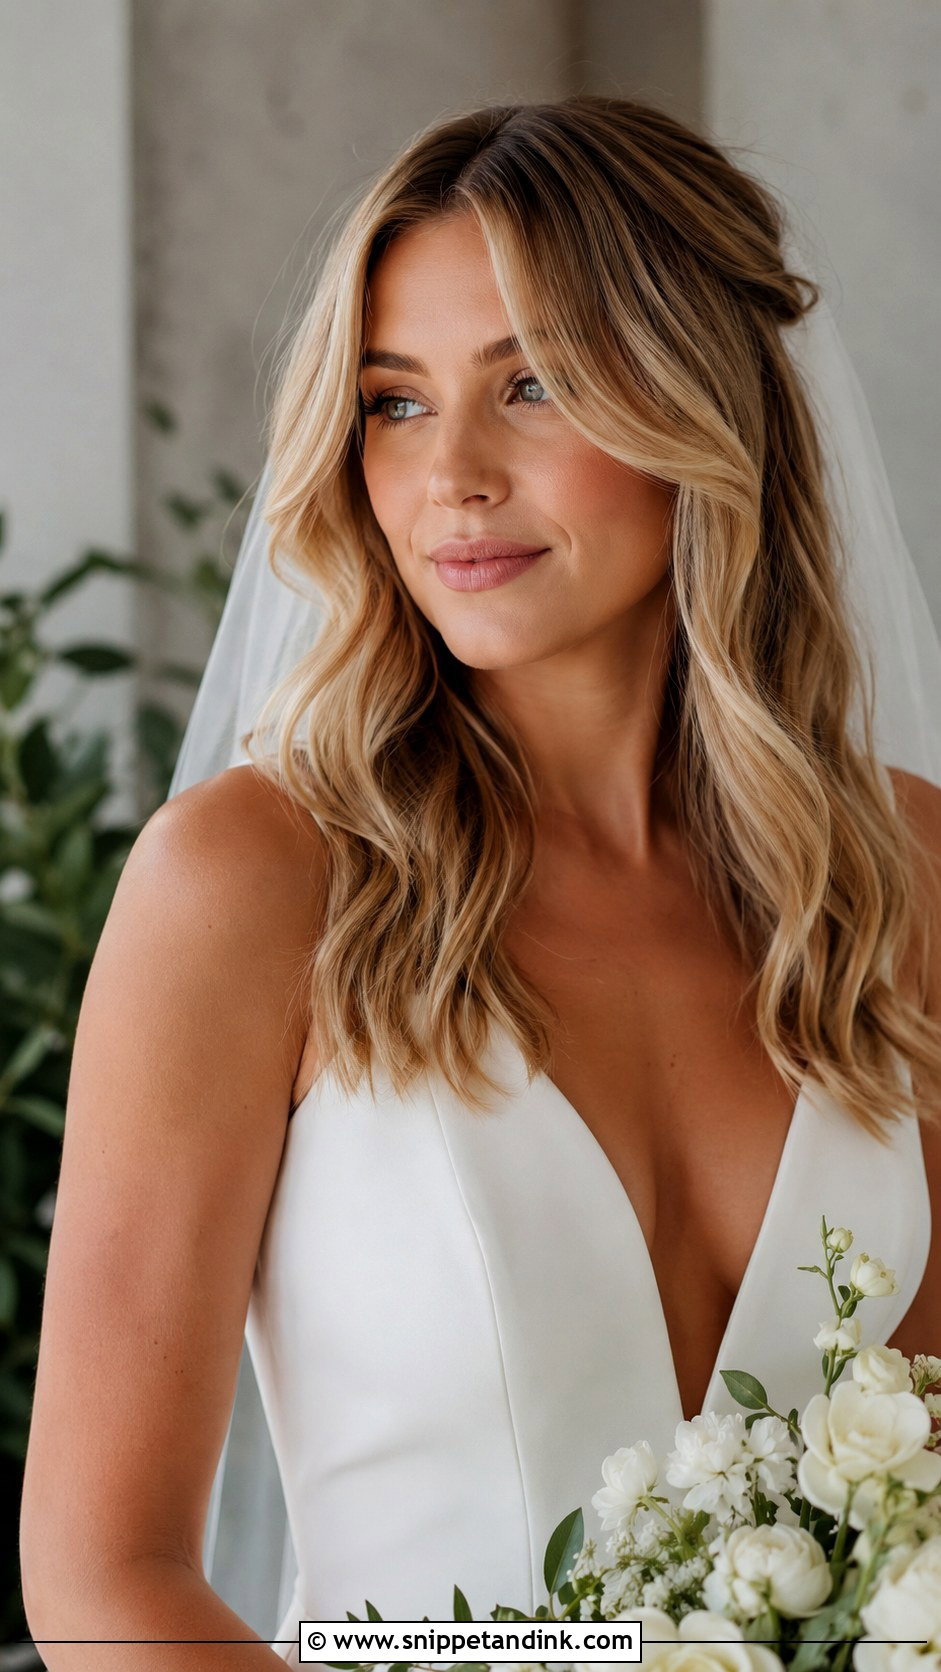
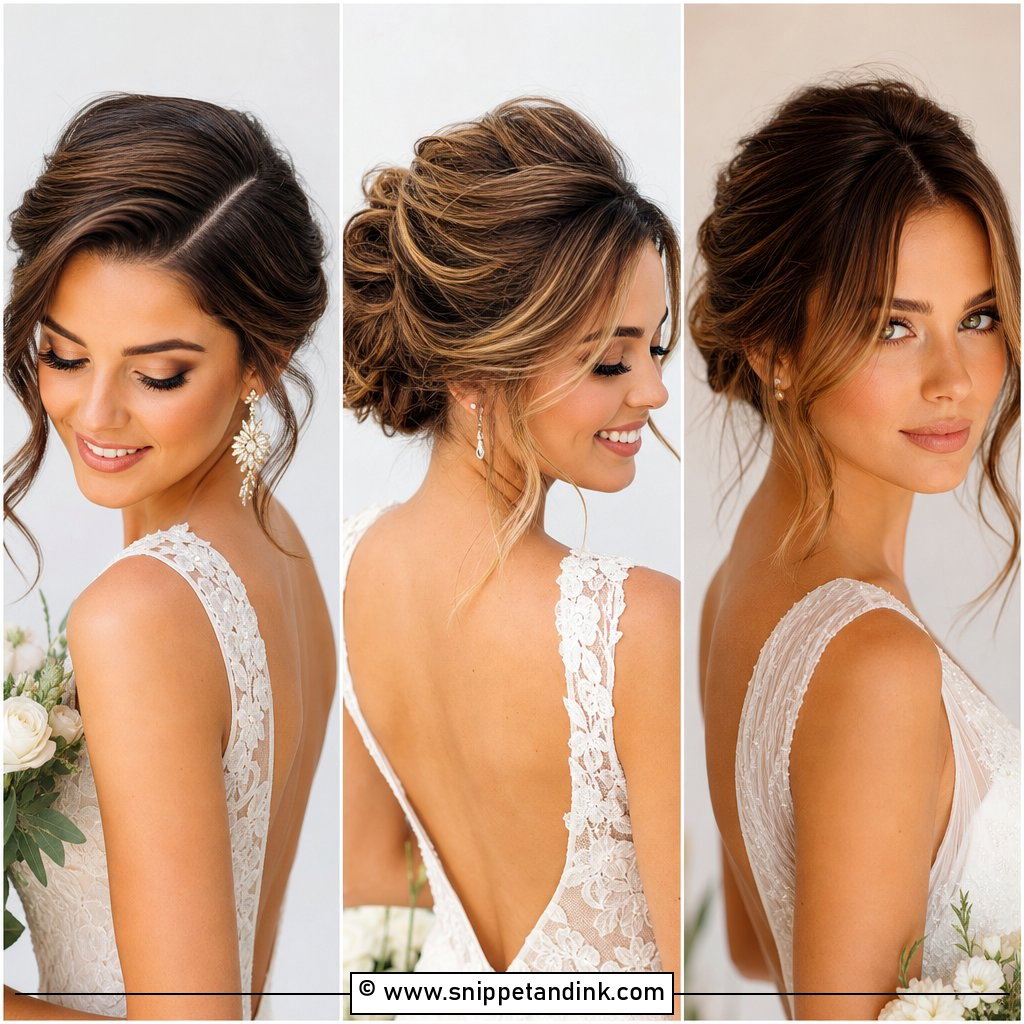
Curtain bangs are the one front detail that changes the face more than the style behind it. They part in the center and fall to the cheekbones, which widens the eye area and softens a long forehead. I always bend them with a large round brush rather than a curling iron, because tight curls in a fringe look dated on camera. If yours are freshly cut, have them trimmed two to three weeks before the wedding, not the week of, so they’ve settled and sit right on the day.
4. Braided Crown Wedding Hairstyle
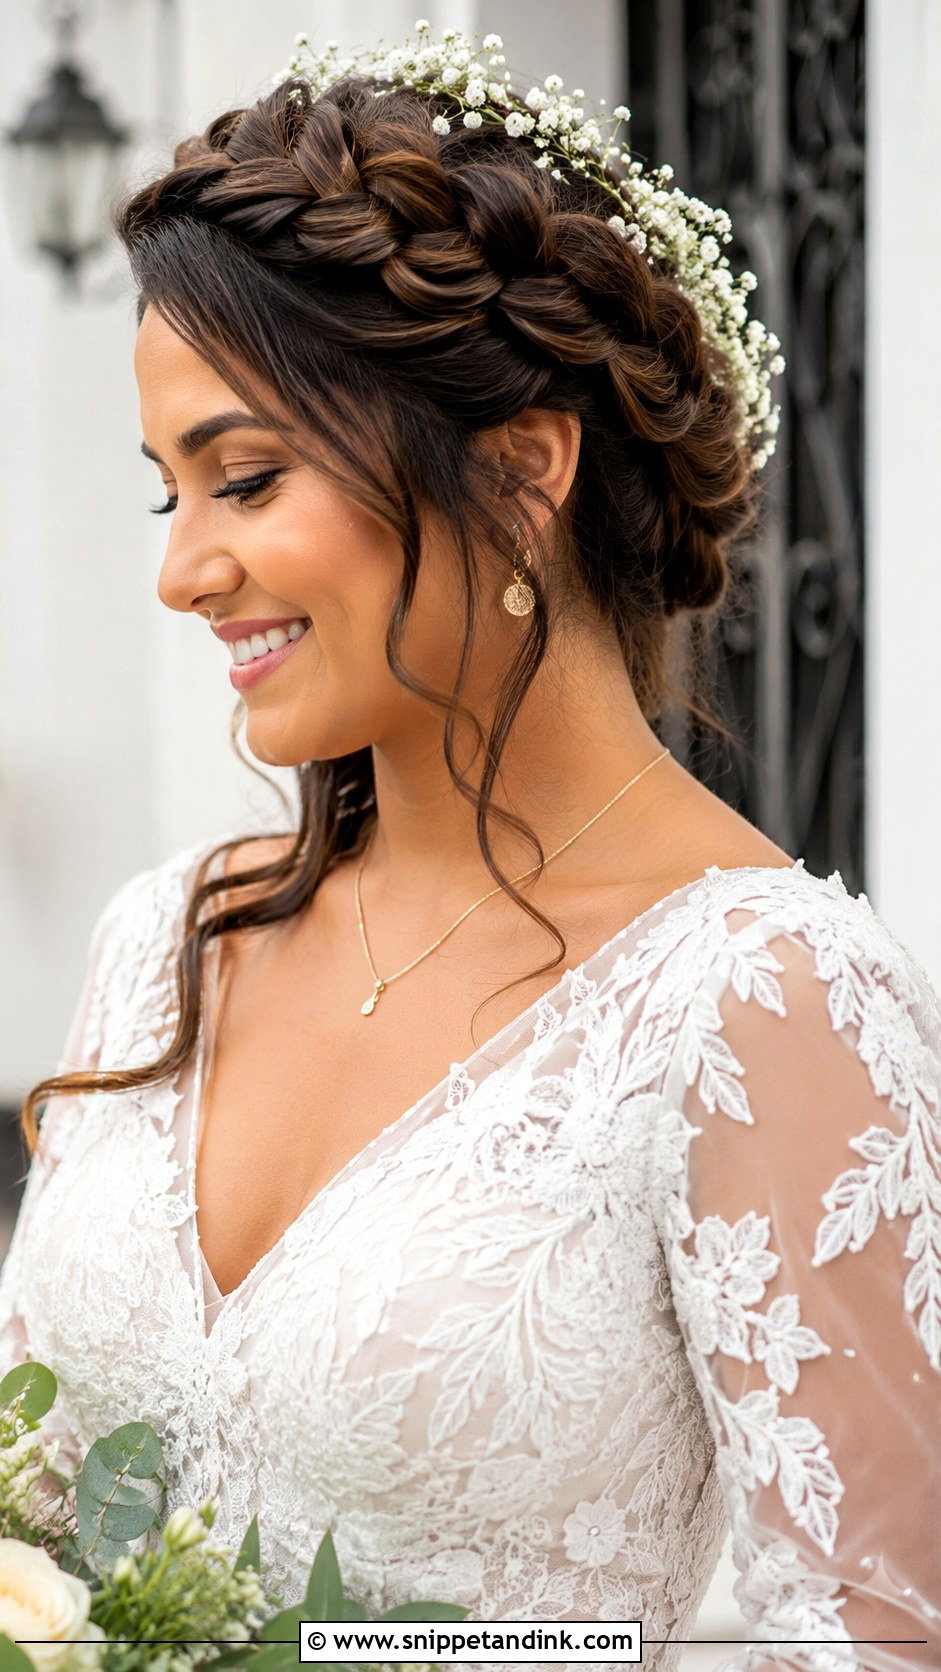
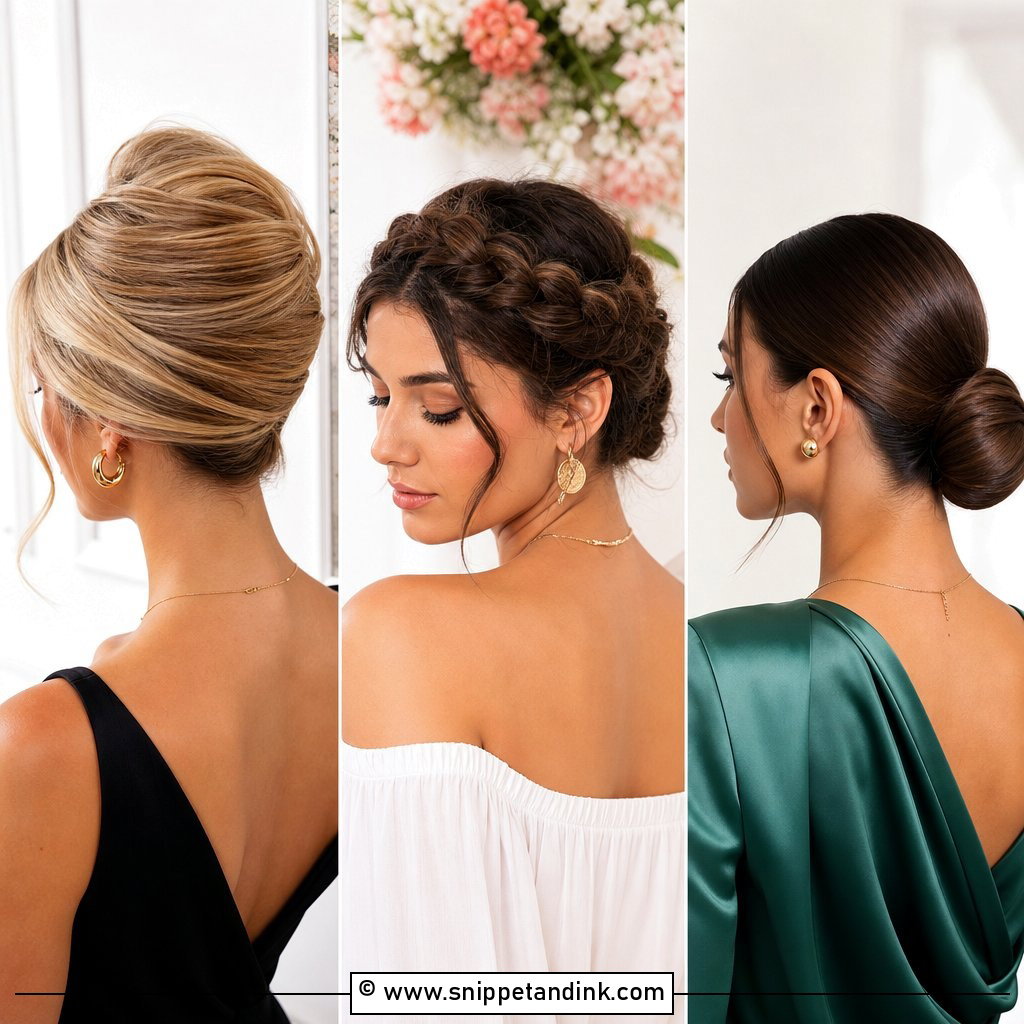
A braided crown circles the head and keeps every strand off the face, so from the front it reads like a halo with nothing hiding your eyes. You need length for it: hair that reaches at least the shoulder blades, or a hidden clip-in braid to fill the gap. One thick braid looks bold and graphic; several thin ones look softer and more textured. I pin it every few centimetres with U-pins pushed against the scalp, which keeps it comfortable and stops it sliding when a veil is attached.
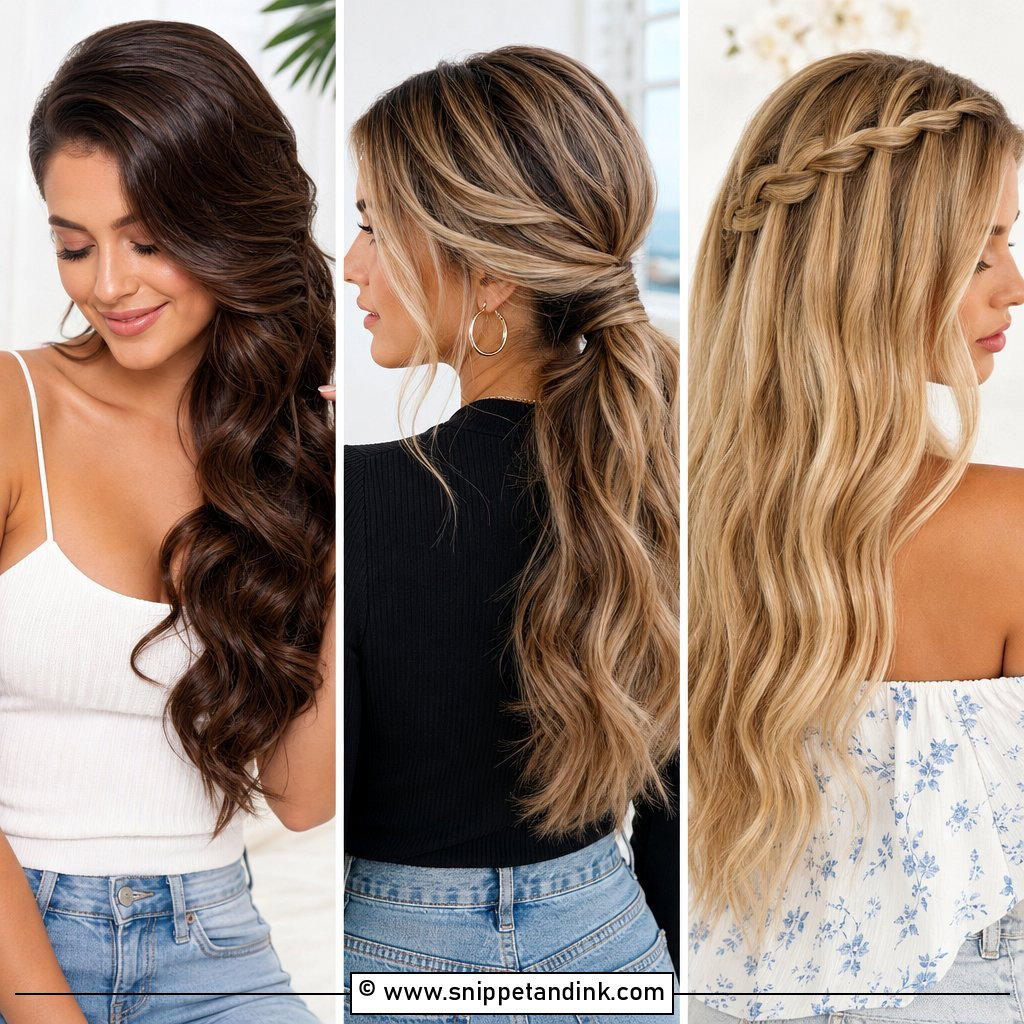
5. Sleek Low Ponytail Wedding Hair
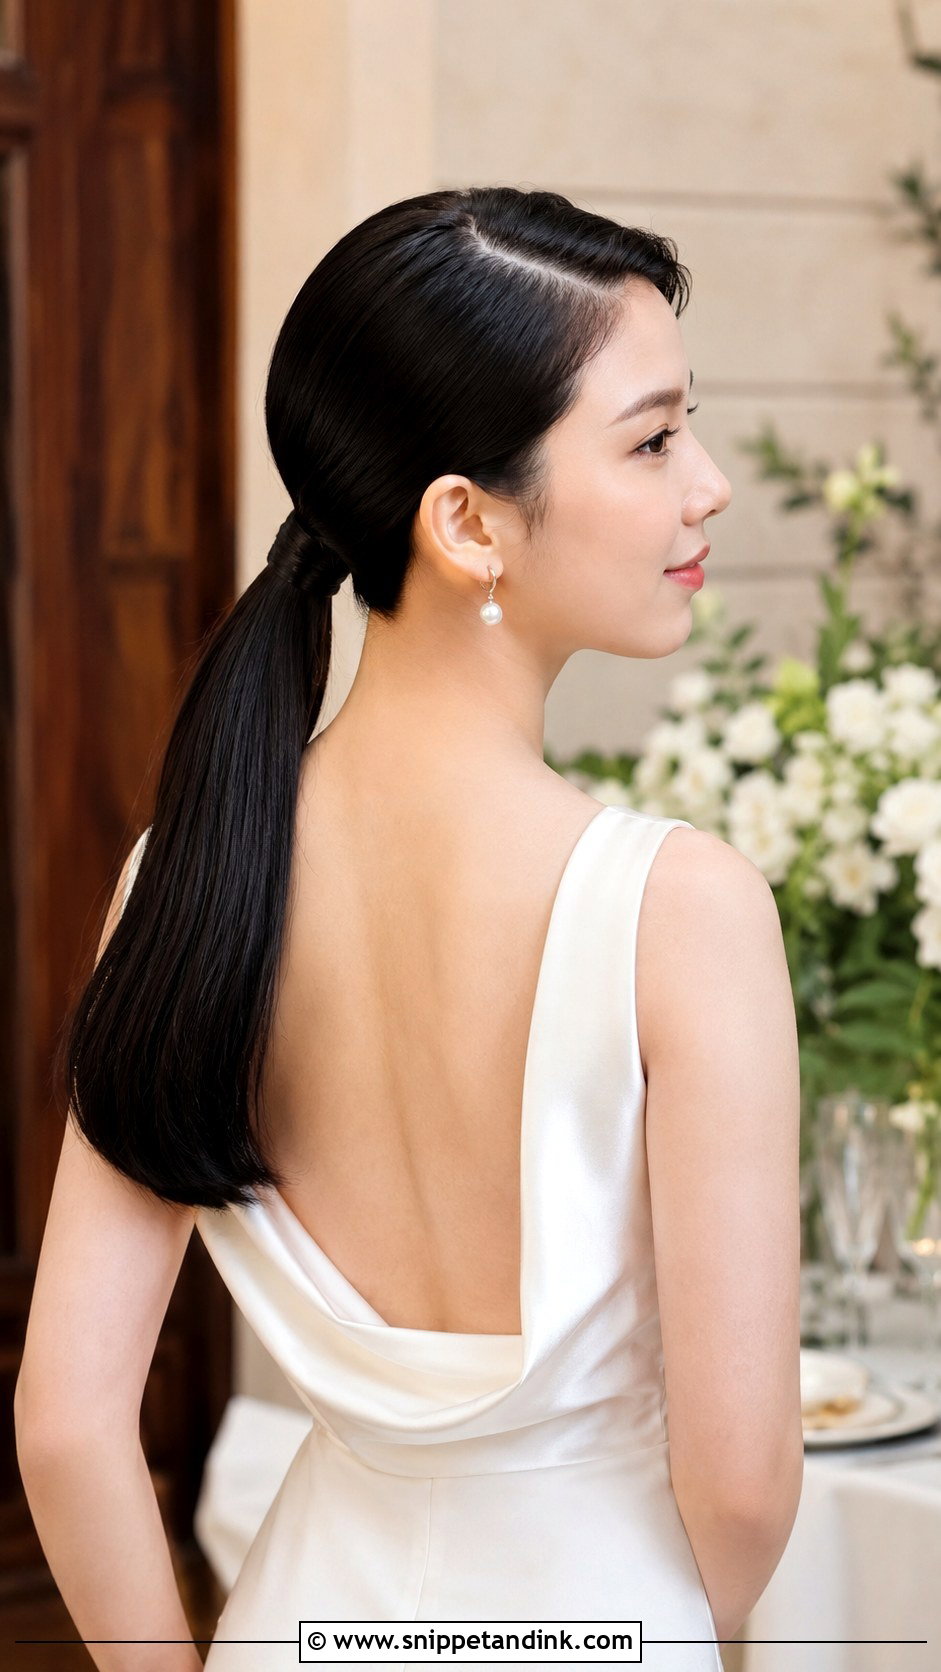
A sleek low ponytail shows off the jawline and cheekbones more than any other style here, and it’s honest about it. There’s nowhere to hide frizz or an uneven part. A center part reads classic; a deep side part reads editorial. I wrap a strand around the base to cover the elastic and pin it underneath, then finish with a light shine spray rather than heavy serum, which can look greasy under flash. It pairs best with satin gowns and plain necklines, where the clean line of the hair repeats the line of the dress.
6. Soft Waves Wedding Hairstyle Front View
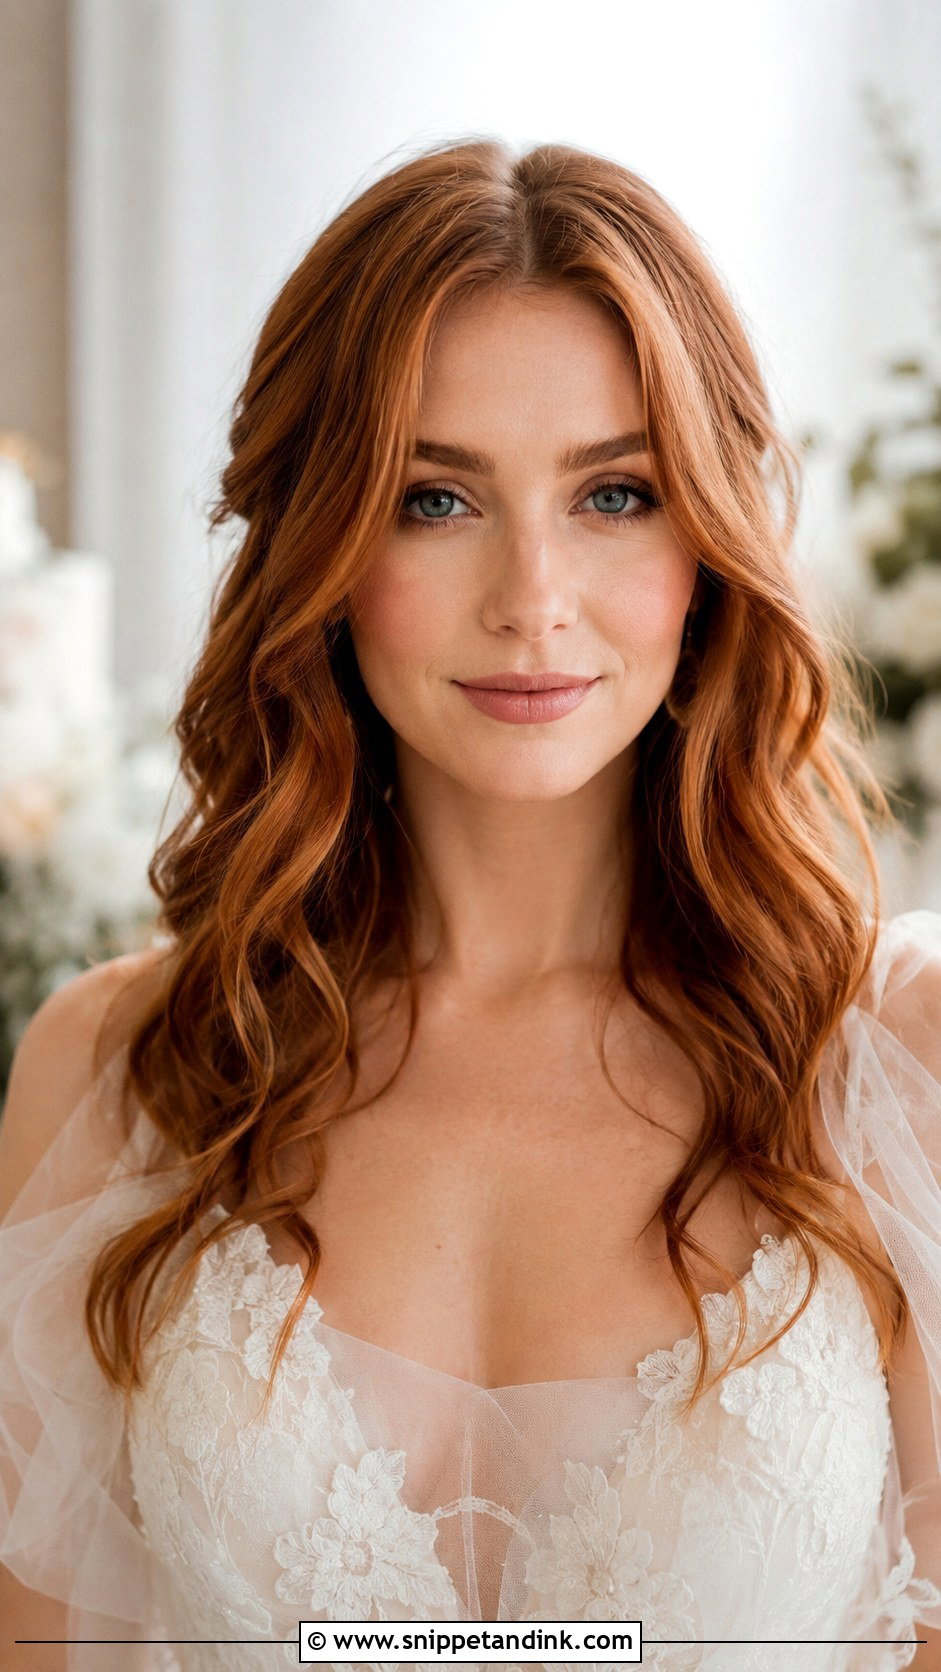
Loose waves are the most requested style I do and the one most likely to fall flat by the reception. From the front they should frame the face with a few bends, not ringlets. A center part keeps them modern, a side part leans old Hollywood. The trick is setting each curl and letting it cool fully, pinned in a loop, before brushing it out. In humid weather or on fine hair, expect the waves to relax by the evening, and plan for that rather than fighting it with more spray.
7. Chignon Wedding Hairstyle
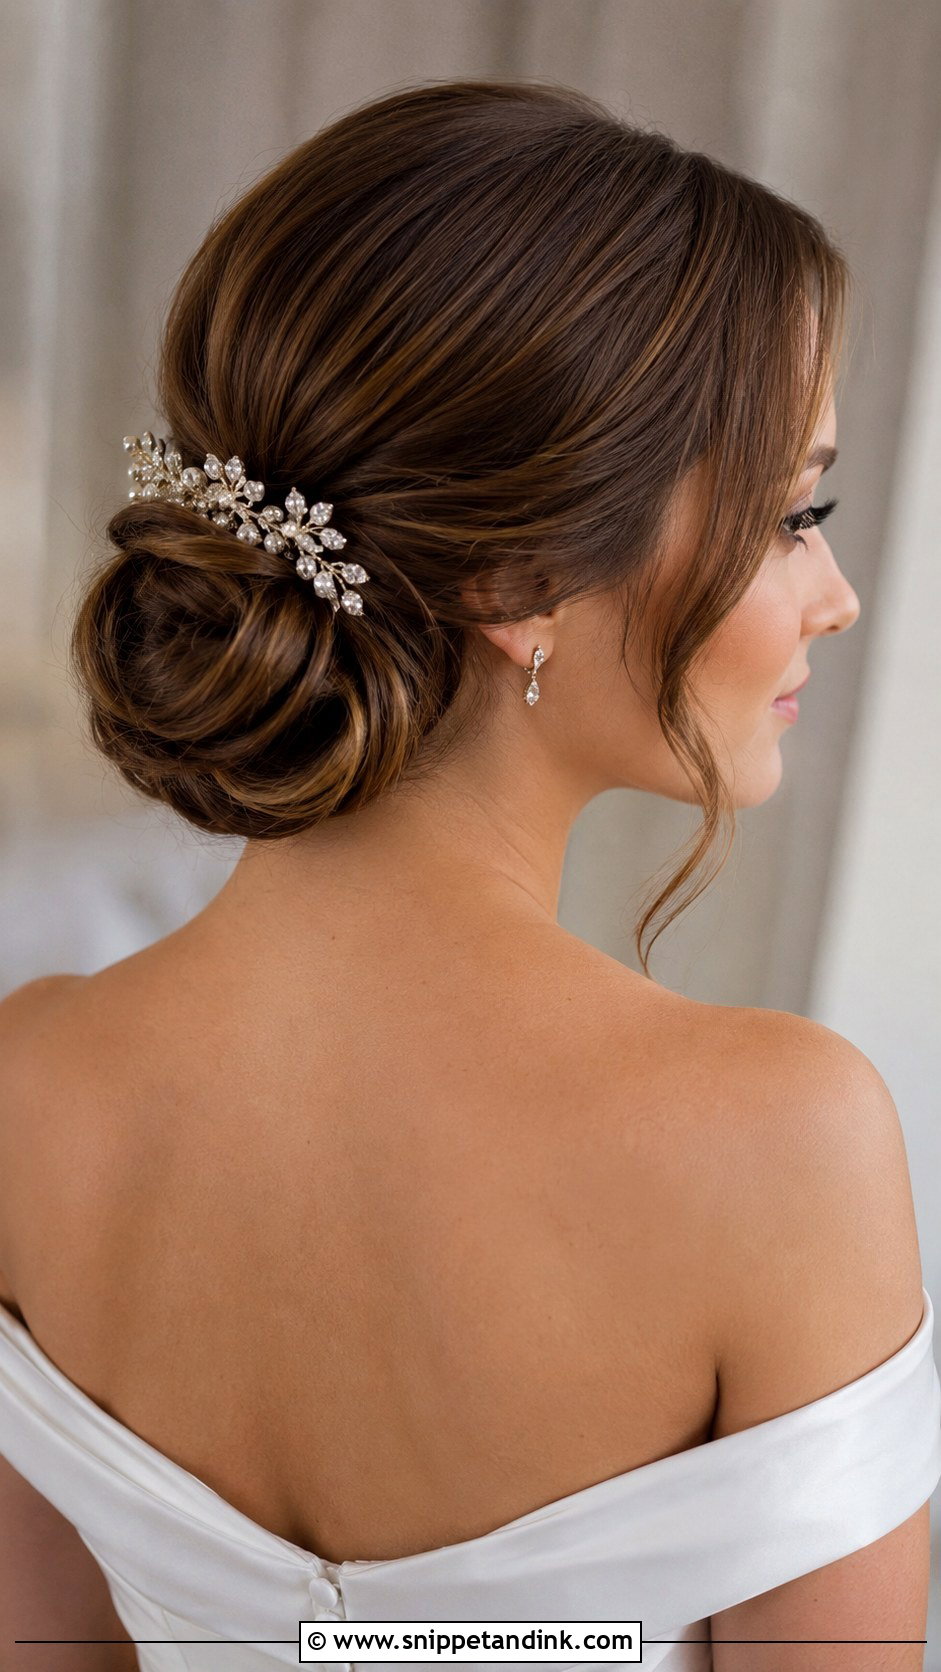
A chignon twists the hair into a smooth knot behind the head, so from the front you see a clean outline and the shape of your face. Worn low, it’s classic. Worn just below the crown, it looks more formal and lengthens the neck. I leave a few soft pieces at the temples because a fully slicked chignon can look stiff in photographs. It’s the style I suggest when the earrings are the statement, since the ears and neck stay completely clear.
8. Half Up Braided Wedding Hairstyle
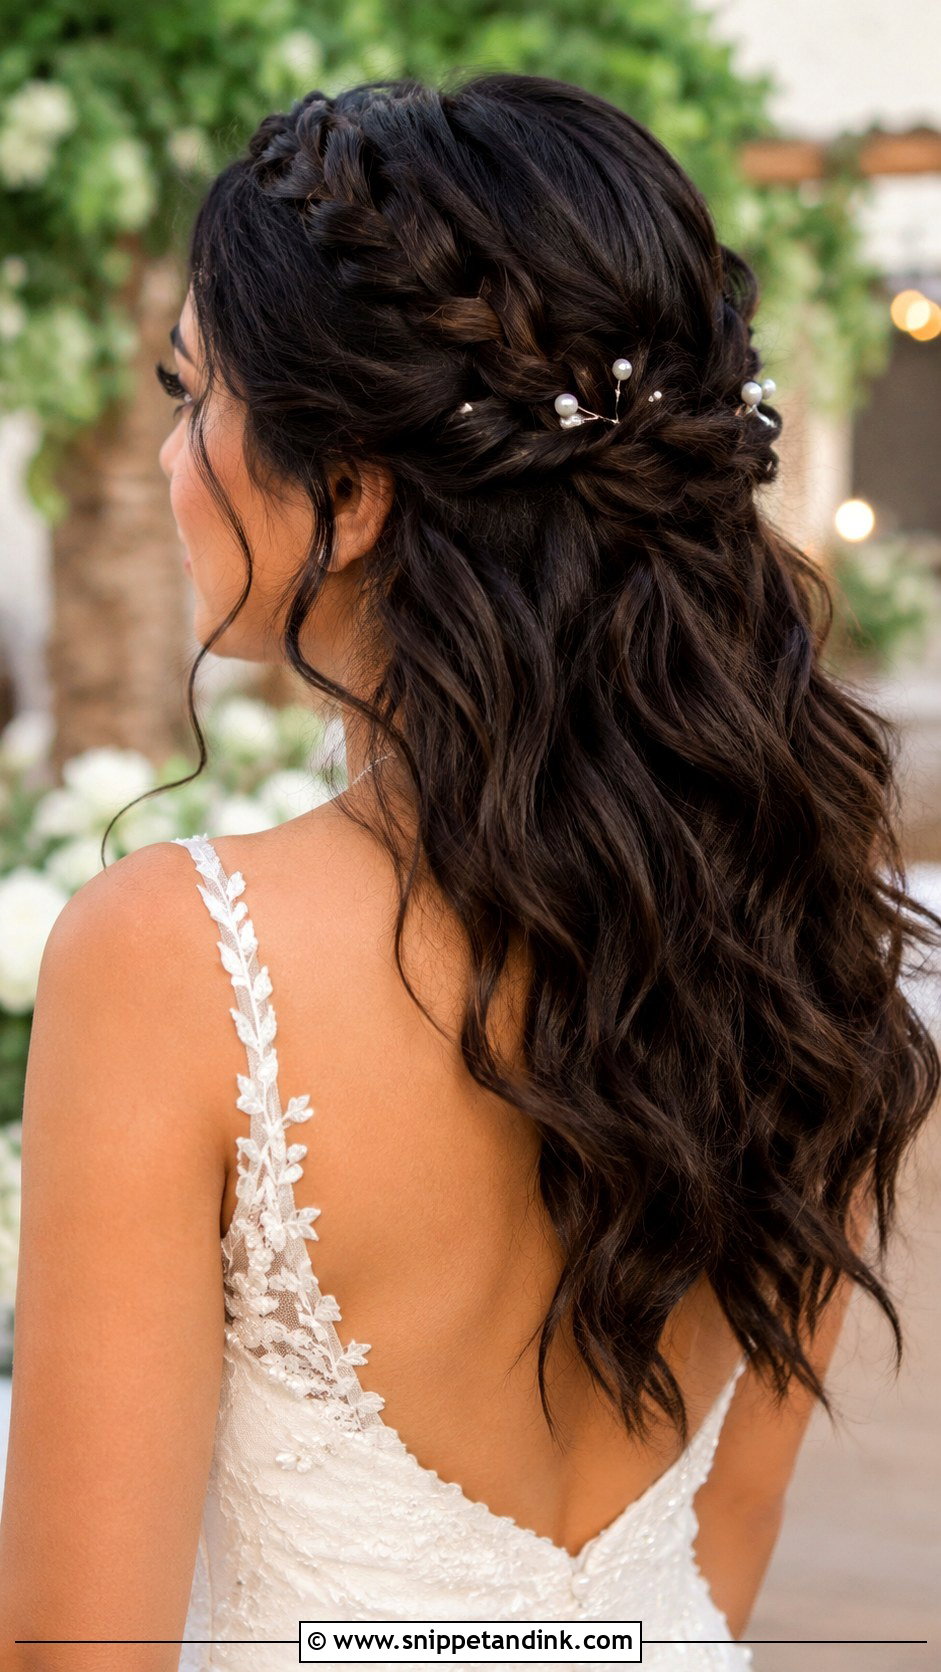
This version of half up adds braiding to the top section, which brings texture into the front view without pulling everything back. Two thin braids from the temples meeting behind the crown give the effect of a crown without its weight. You can keep it loose and tousled or neat and structured. On very fine hair I pancake the braids, gently pulling the edges wider, otherwise they disappear in photos from more than a few feet away.
9. Side Swept Wedding Hairstyle
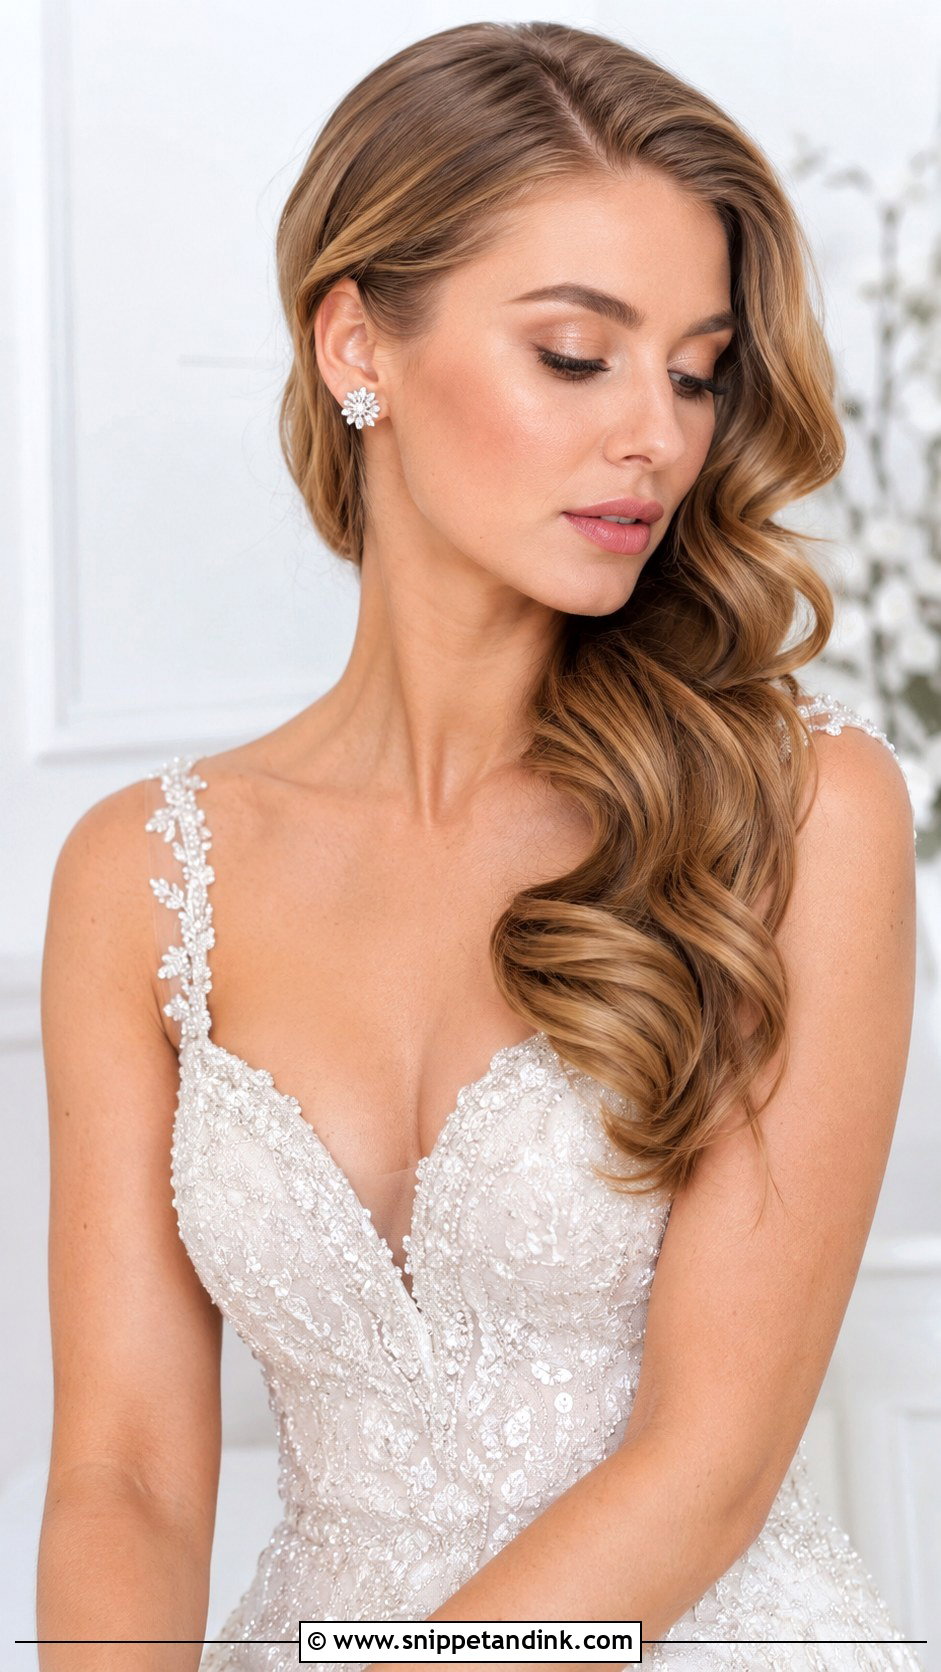
Side swept hair is asymmetric on purpose, and that’s what makes it photograph well straight on: one side of the face open, the other framed. A deep part does most of the work. The waves can fall over one shoulder or be pinned into a low side bun. I anchor the swept side with crossed bobby pins hidden behind the ear, because the weight of all that hair on one side will pull it loose otherwise. Put your one statement earring on the open side.
10. Boho Wedding Hairstyle With Waves
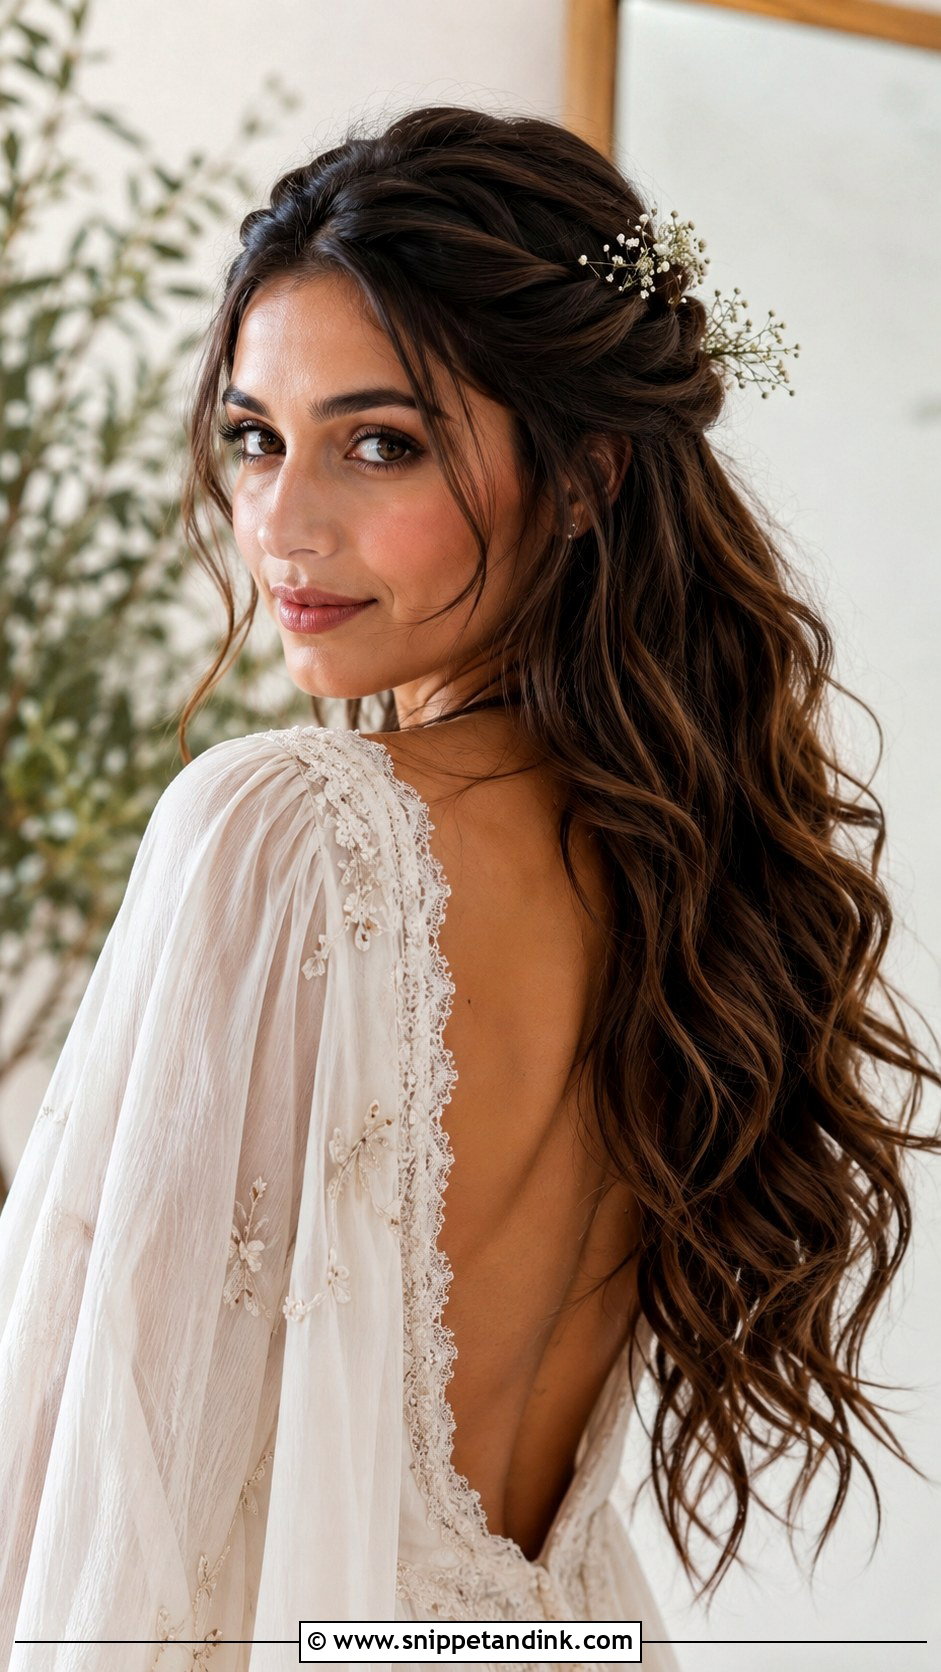
Boho hair is texture first. Loose waves, a twisted or braided front section and a few undone pieces around the face. You can add dried flowers, baby’s breath or a delicate vine. The mistake I see is too much undone: by mid-afternoon at an outdoor wedding, wind and heat turn deliberately loose into messy. I build it on a texture spray base and secure the front twists firmly, so the effect stays relaxed while the structure underneath doesn’t move.
11. Sleek Bun Wedding Hairstyle
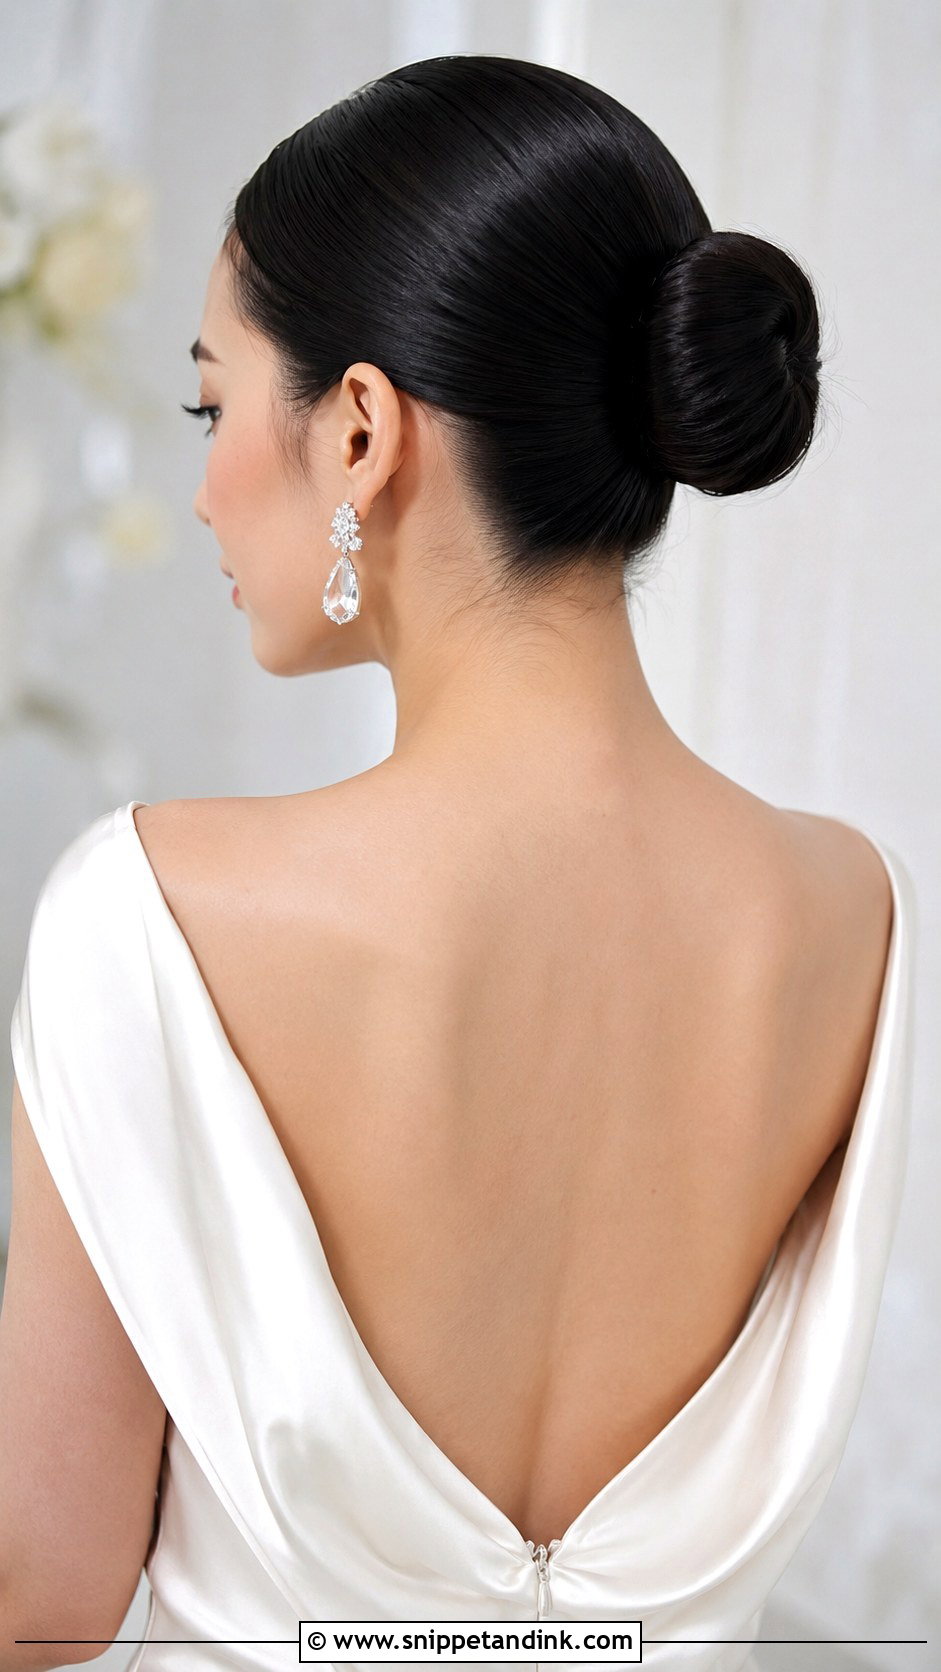
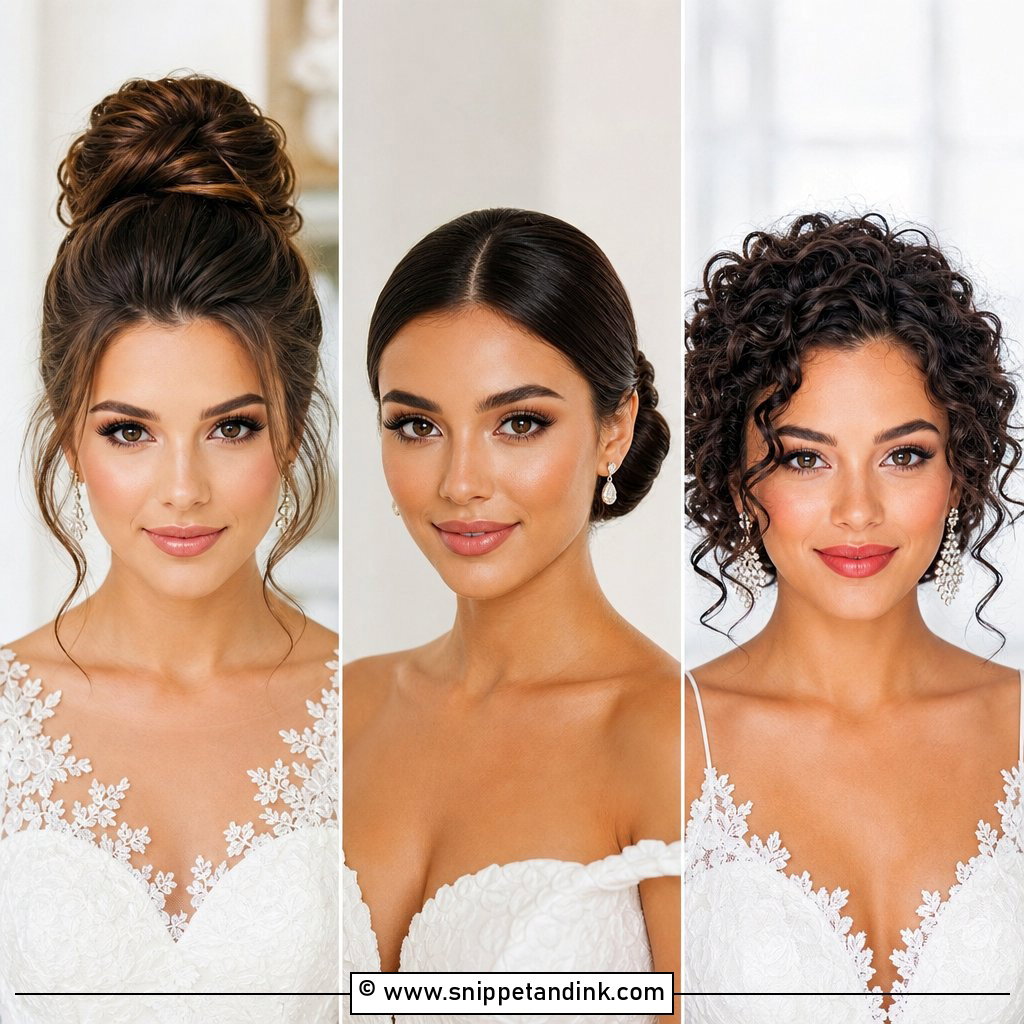
A sleek bun puts your face front and center with nothing to soften it, so I only recommend it to brides who are comfortable with that. A center part adds symmetry; a part just off center is kinder to most faces. The smooth finish needs a fine-tooth brush, a little gel at the hairline and patience. Bold lips and strong jewelry work here because the hair isn’t competing. It holds for hours, though baby hairs will start to lift by evening if the day is humid.
12. Wedding Hairstyle With Flowers
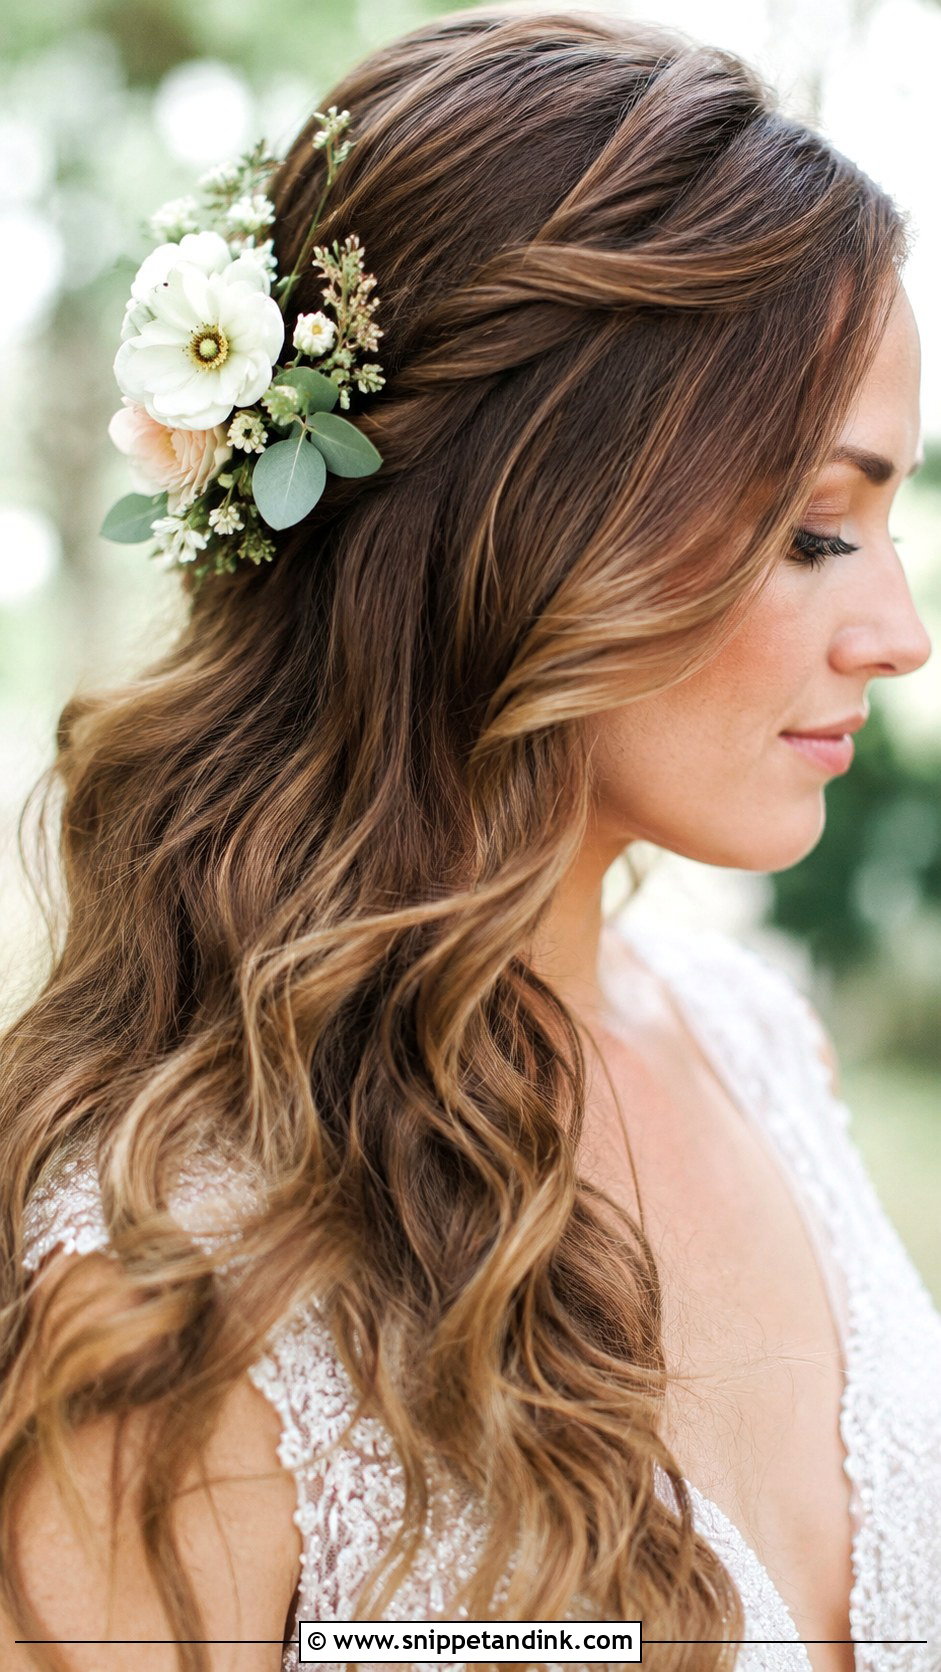
Fresh flowers add color to the front of the look, tucked into a braid, a bun or loose waves. Small blooms near the temple read well head-on; larger ones look better placed off to the side. You can use baby’s breath for a delicate feel or bigger heads for drama. Ask your florist for wired, hardy flowers and keep them cool until the last minute. Gardenias and some roses bruise and brown quickly against warm skin, while spray roses and wax flower last much longer.
13. Wedding Updo With Face Framing Pieces
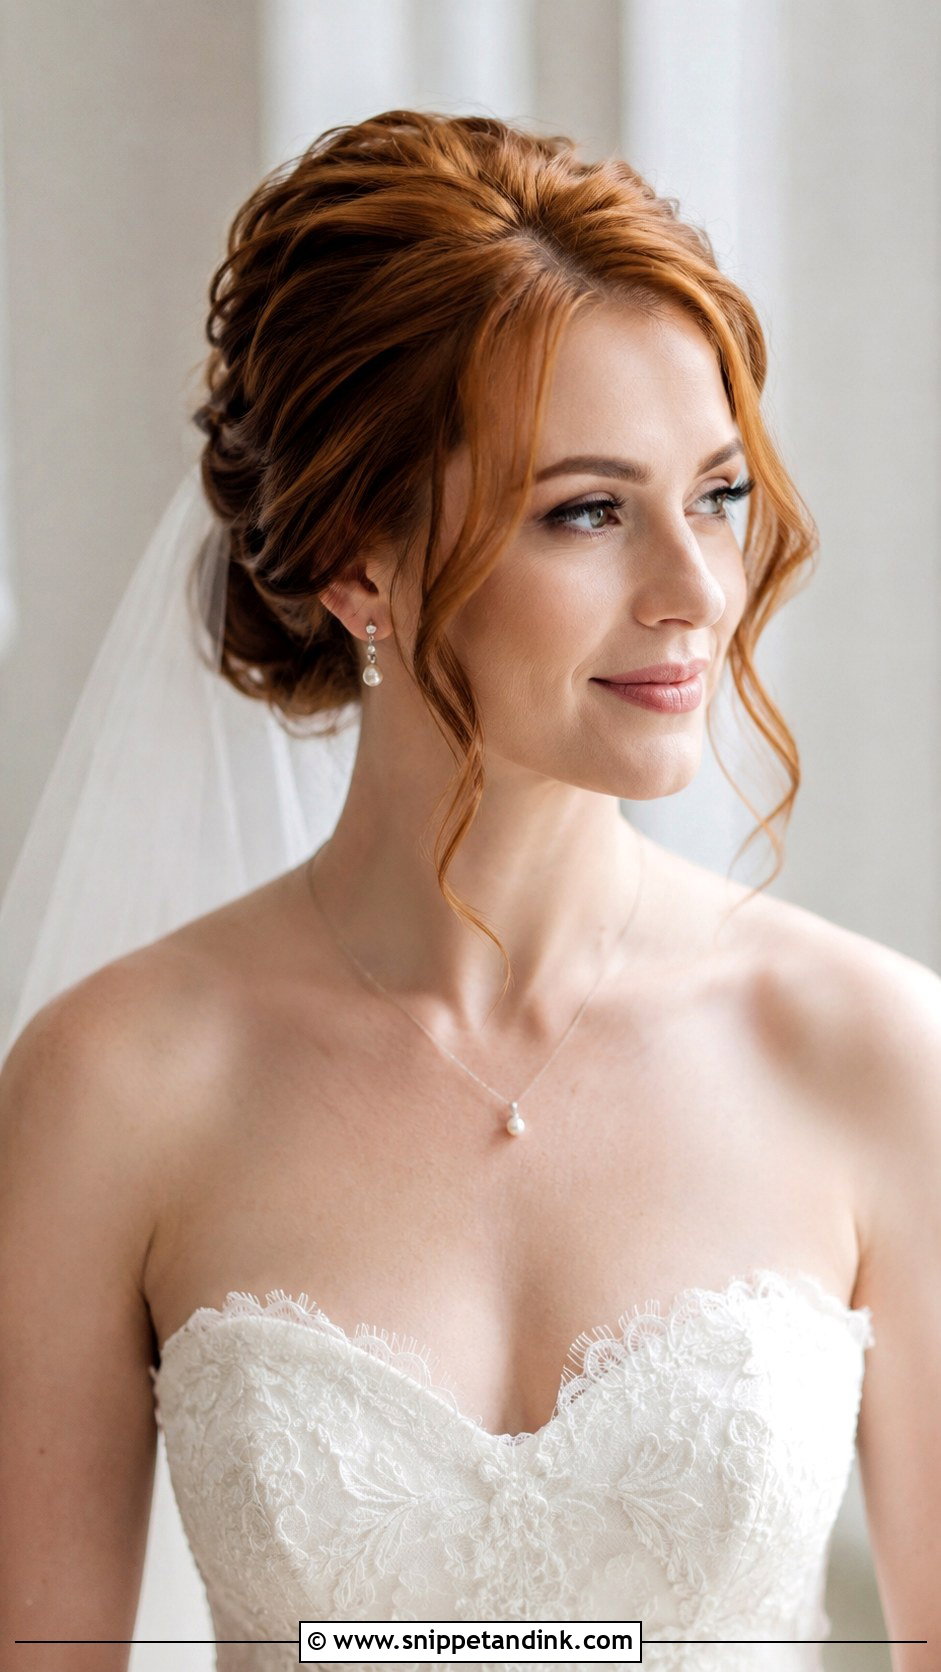
This is my answer for most brides who can’t decide between up and down. The hair goes back, and two or four face-framing pieces stay loose around the cheeks and jaw. Those pieces matter more than the updo itself in front-view photos. I cut them out from the hairline at the start, before anything else is pinned, so they’re even on both sides. Then I curl them away from the face; curled toward it, they can look like they’ve fallen out.
14. Vintage Wedding Hairstyle Front View
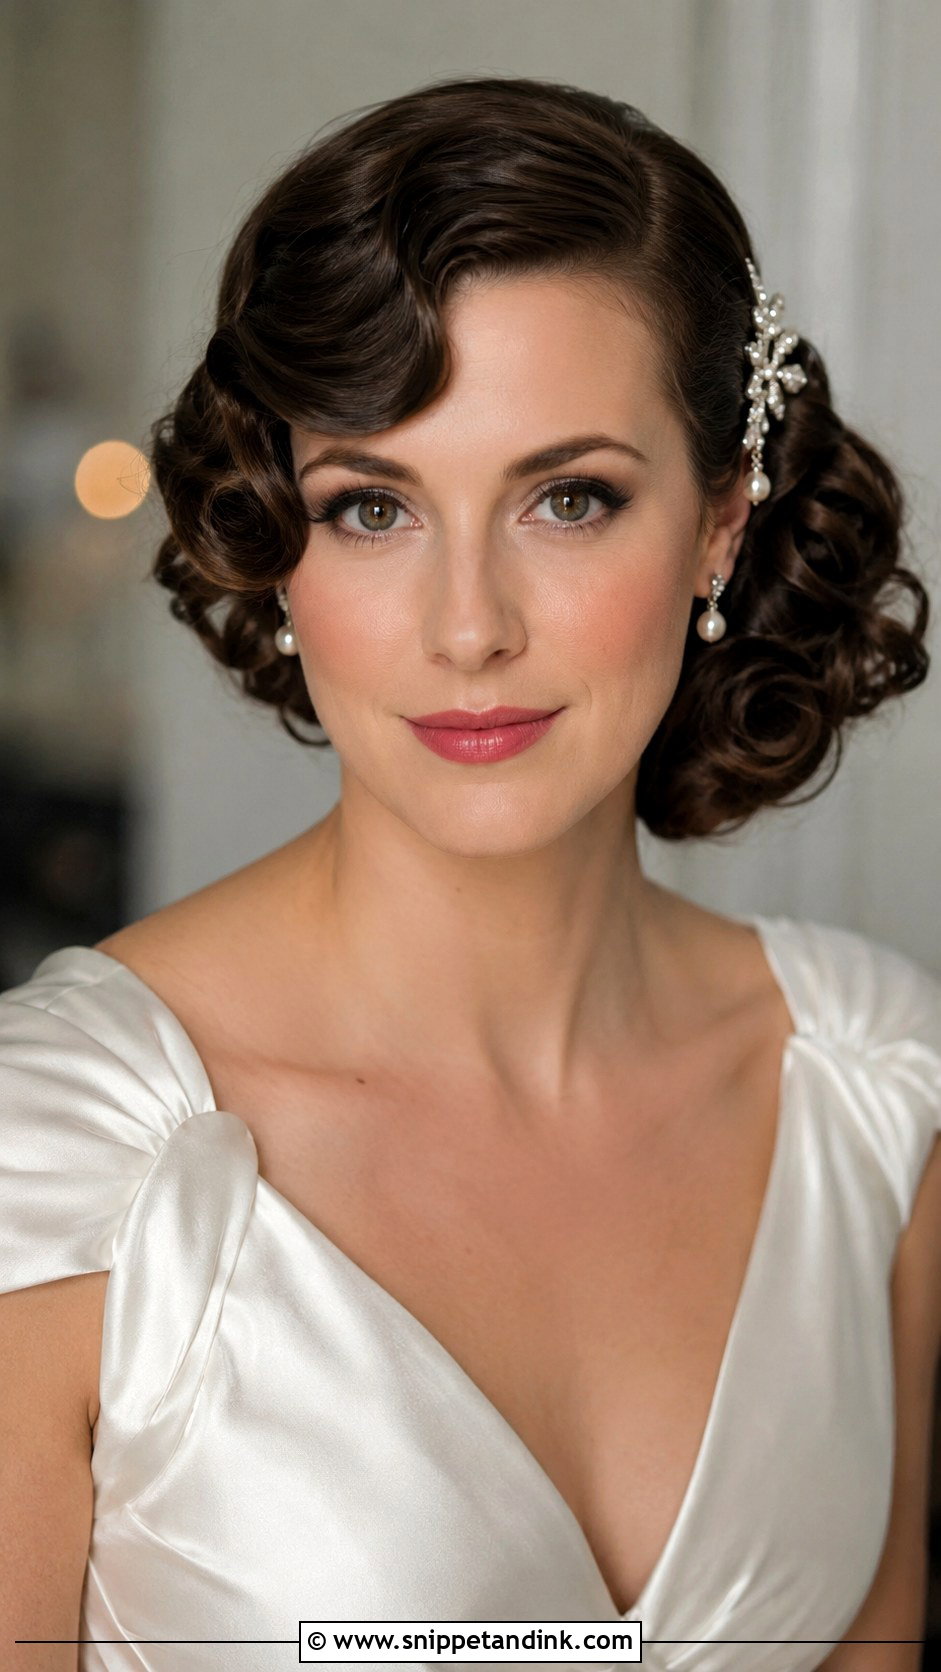
Vintage bridal hair borrows from old Hollywood: a deep side part, finger waves or structured curls, and a glossy finish. You can wear it swept to one side or pinned into a low roll. It needs more set time than any other style here, as curls are pinned and cooled before they’re brushed into waves. I wouldn’t suggest it for an outdoor summer wedding, since humidity softens the sculpted shape within an hour or two. With a classic gown and a red lip, though, it’s dramatic in the best way.
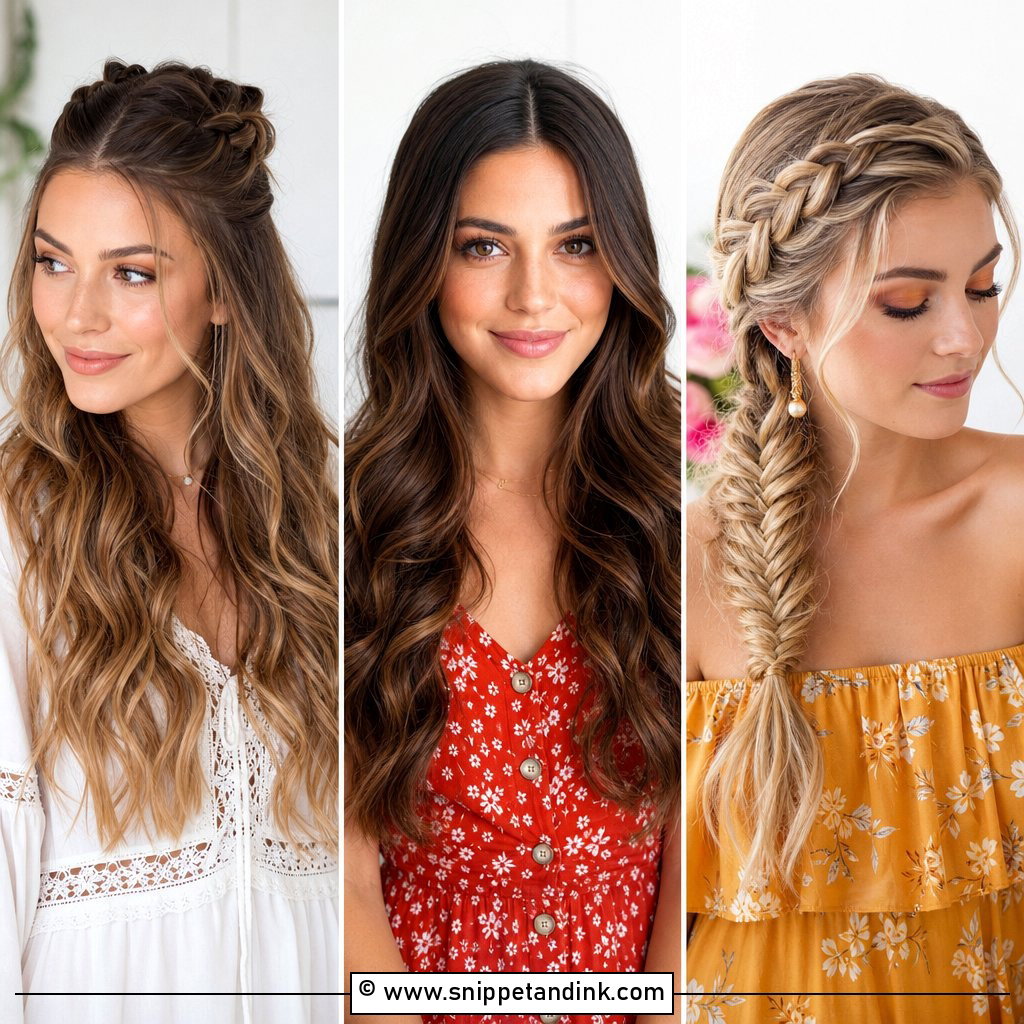
15. Wedding Hairstyle For Short Hair
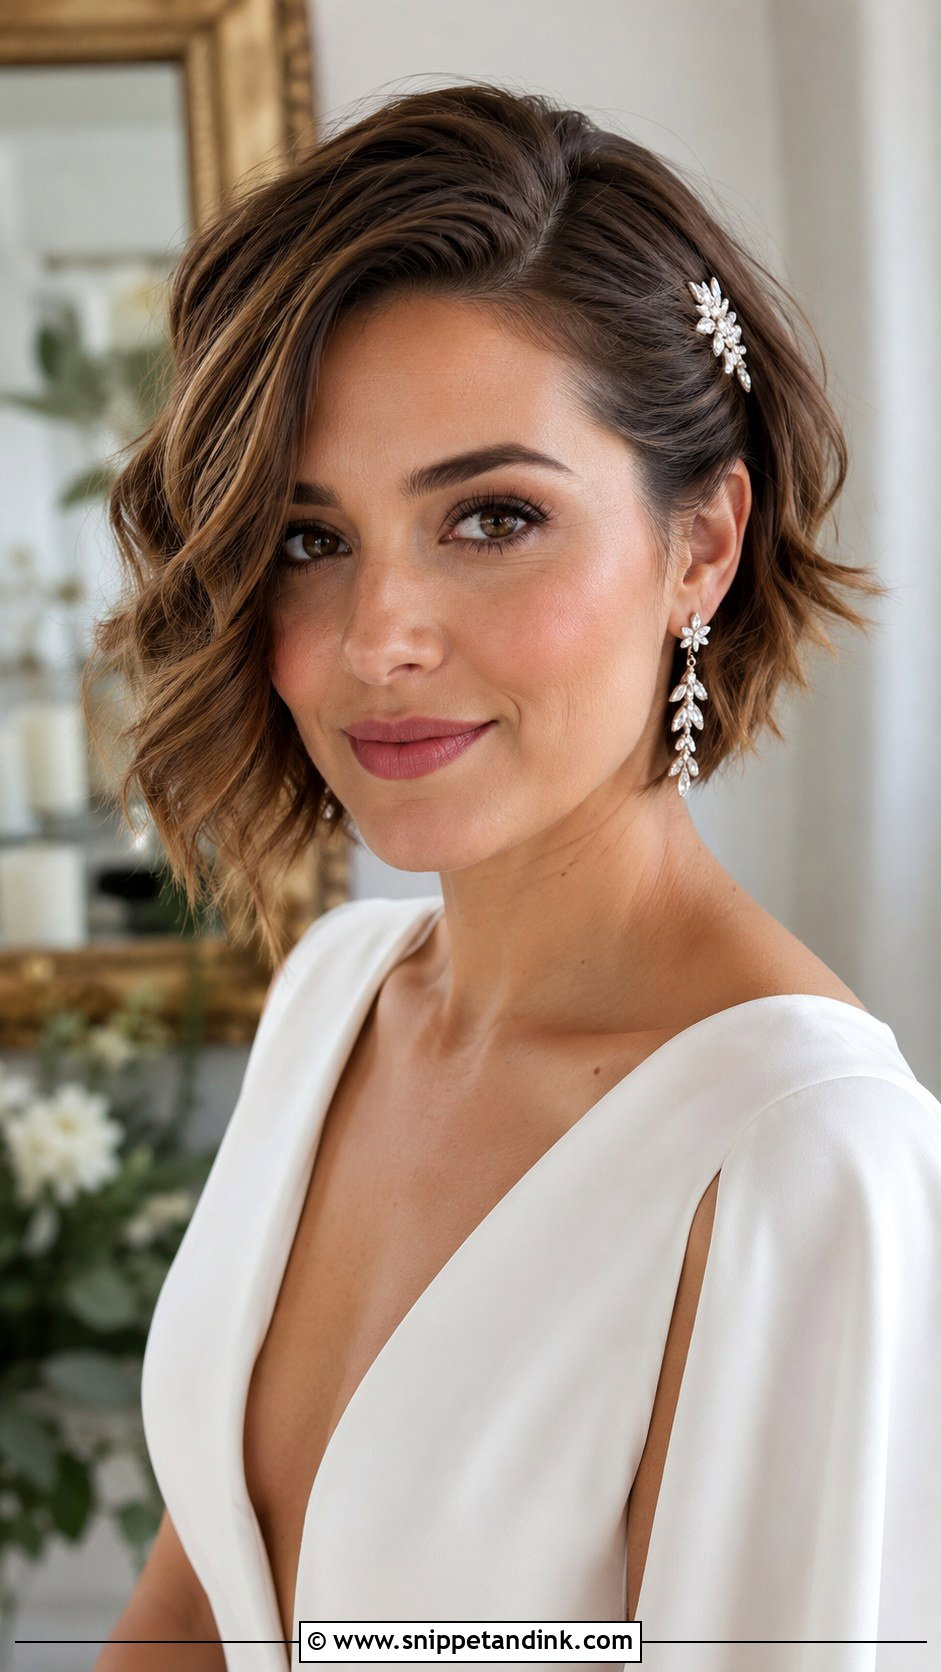
Short hair has plenty of front-view options. A textured bob or pixie looks modern on a wedding day with a little shaping. Soft bends, a deep side part or swept pieces at the hairline all change the face. Most short-haired brides worry about attaching a veil or accessory. A small clip or comb anchored onto two crossed pins holds well even on cropped hair. Book your last cut about two weeks out so the edges have softened.
16. High Bun Wedding Hairstyle
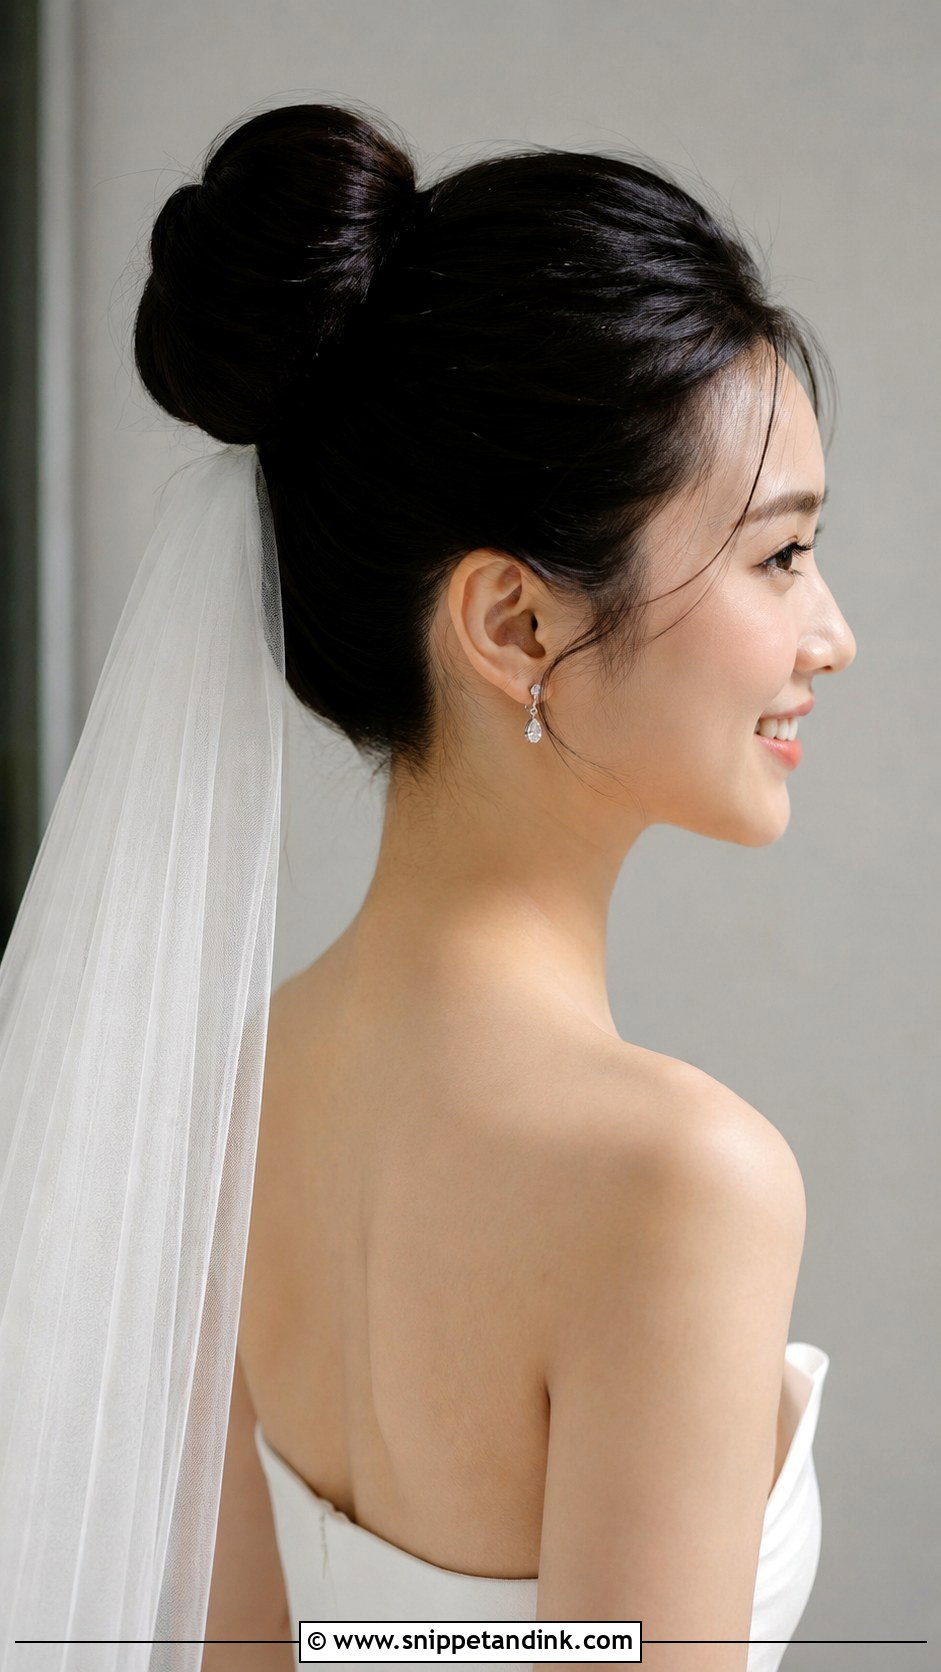
A high bun lifts everything up and back, which lengthens the neck and opens the face completely. From the front you see a tidy outline with a bit of height above the crown. That height matters if you’re petite or wearing a full gown. Don’t build it too tall, though, or it tips the proportions in seated photos. A long veil can come from under the bun, which helps balance the shape. It suits formal and black-tie weddings best.
17. Twisted Updo Wedding Hairstyle
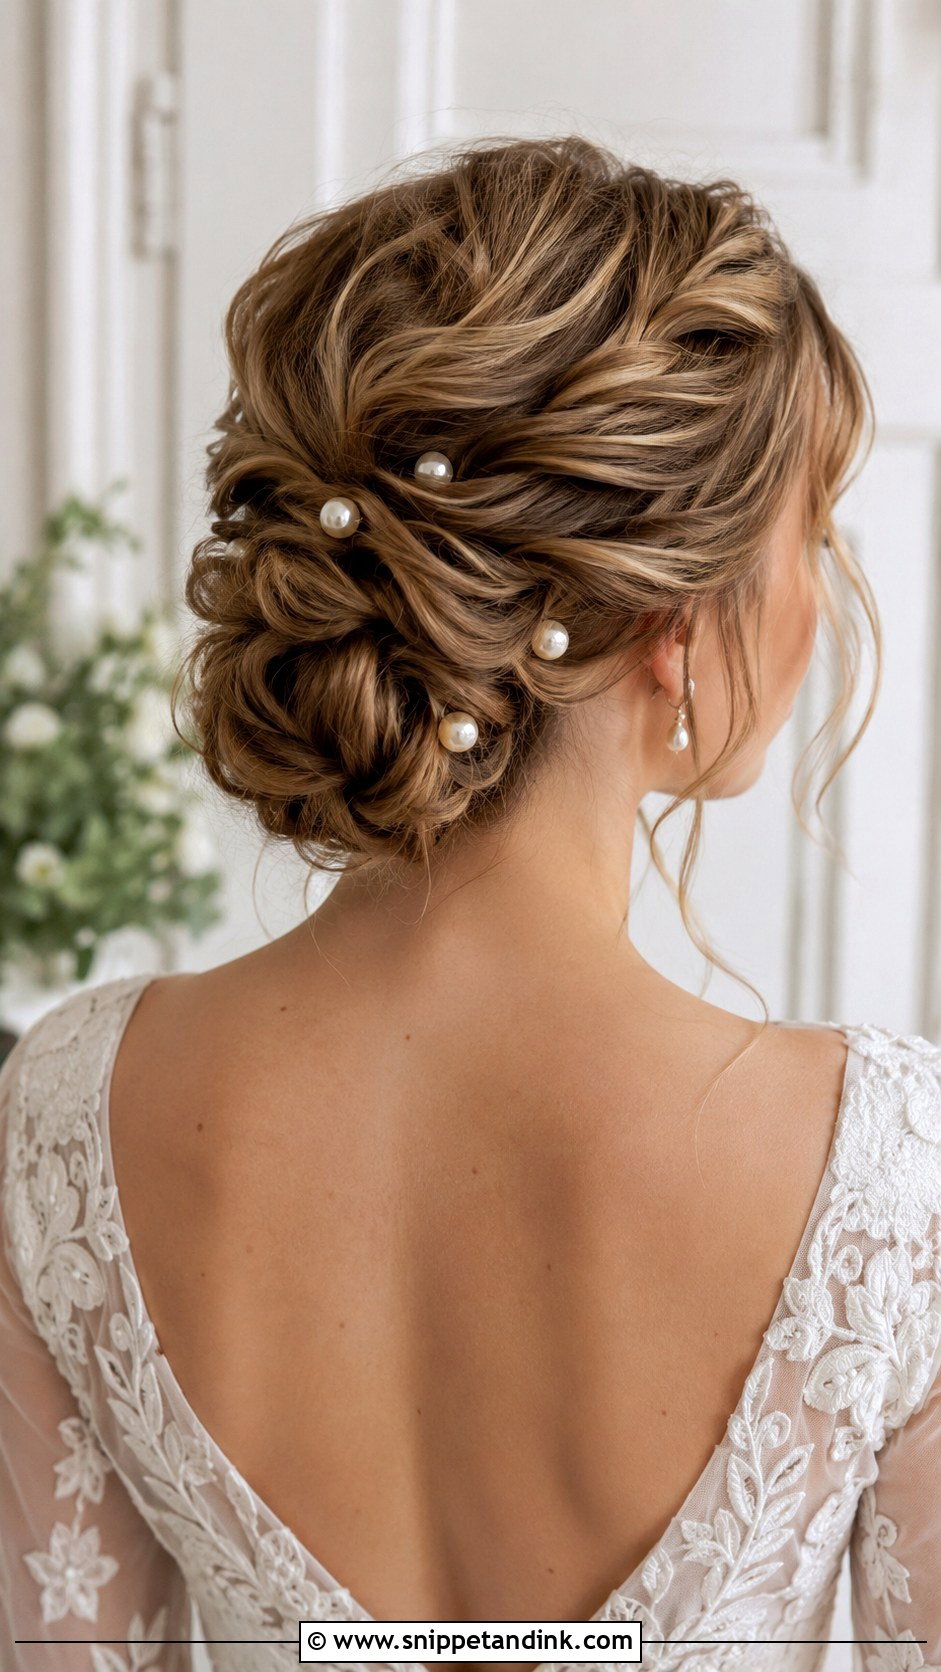
A twisted updo is built from sections rolled into loops and folds, and the texture is what sets it apart. From the front you mostly see the outline and a few twists at the temples. It looks complicated but it’s comfortable to wear, because the weight is spread across many small anchors instead of one. Pearl pins or a small comb sit naturally in the folds. Hair with second-day grip holds twists far better than freshly washed, silky hair.
18. Wedding Hairstyle With Veil Front View
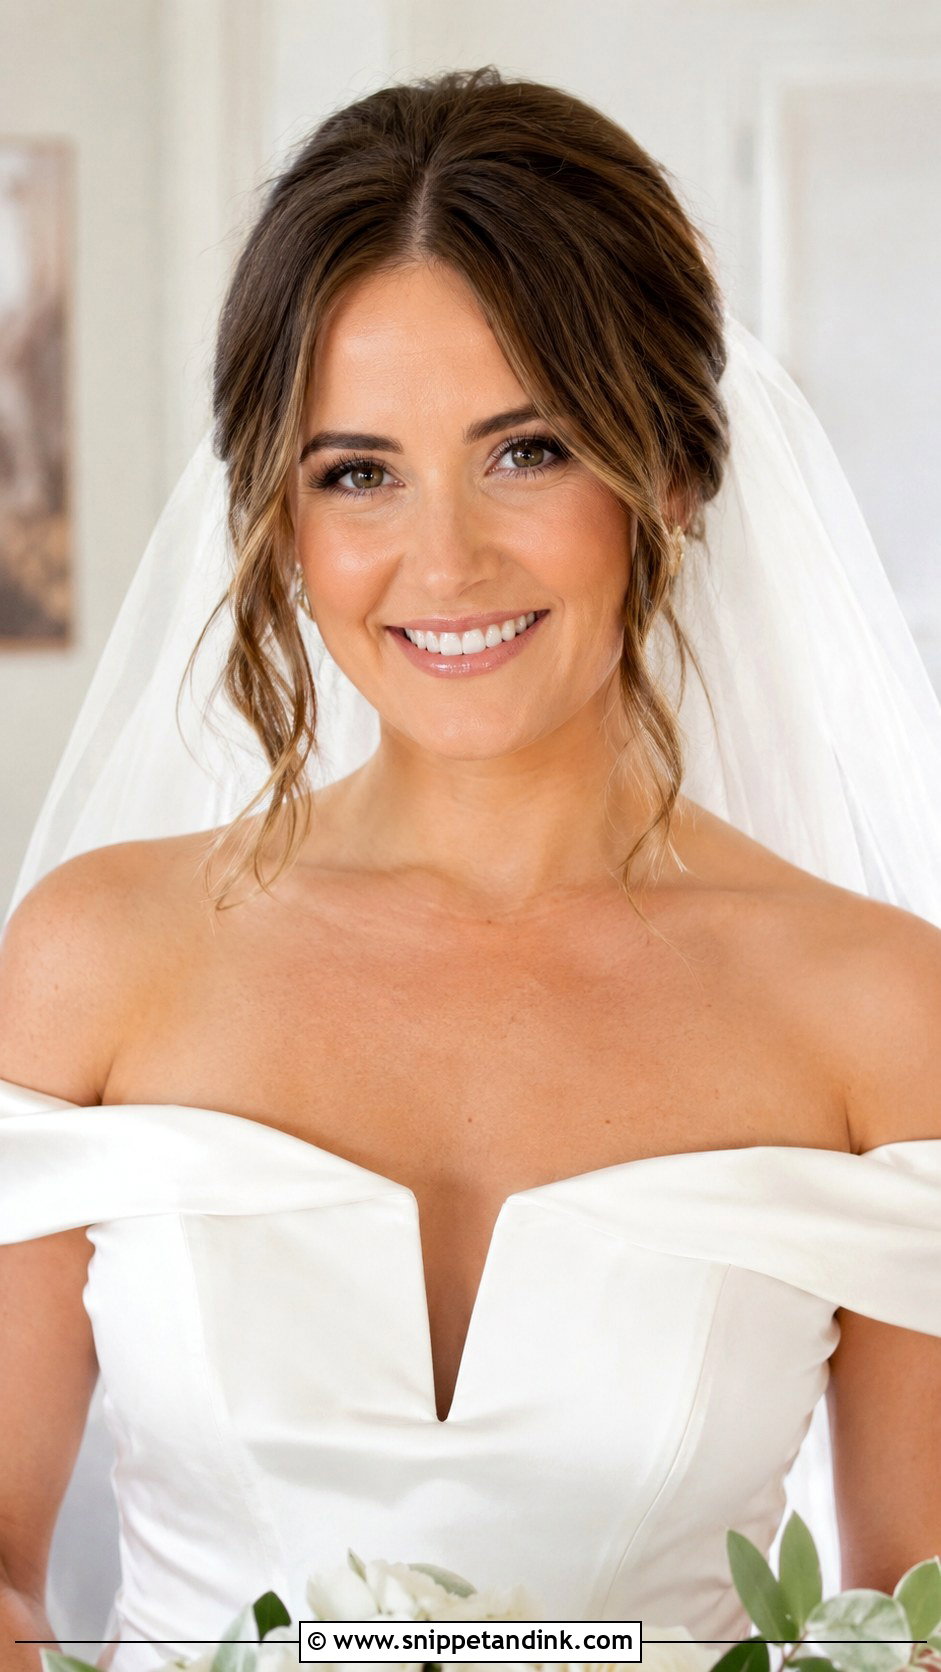
Veil placement decides how the front view reads. A veil anchored below a low bun falls behind you and leaves the face fully open. One anchored at the crown lies over loose waves and frames the face with fabric. A comb can also tuck behind a braid or sit under a high bun. I always pin the veil at the trial, not just the hair, because a heavy cathedral veil drags a soft updo backward and that changes the front completely. Bring the actual veil, or one of similar weight.
19. Wavy Bob Wedding Hairstyle
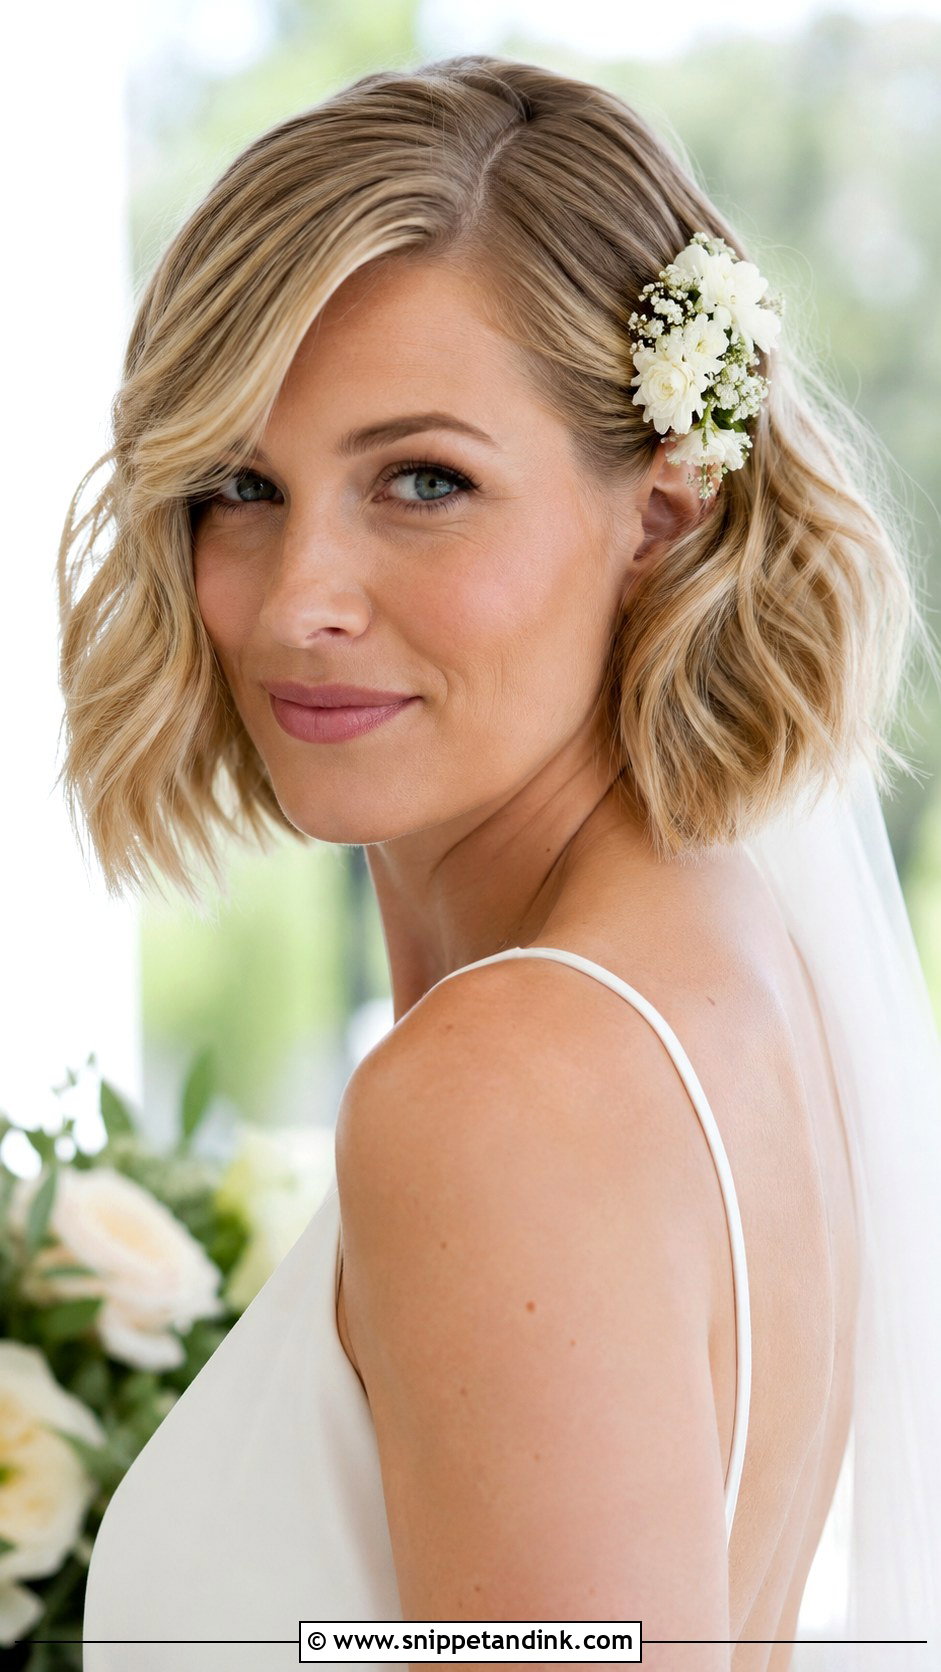
A wavy bob keeps all the movement of longer waves in half the length. From the front, the bends sit at cheek and jaw level and frame the face closely. A deep side part gives a vintage feel; a center part looks cleaner and more current. A jeweled clip or a floral pin is enough decoration. Bobs show uneven waves quickly, so I curl alternate directions and brush through gently with fingers, never a paddle brush, which can blow them out.
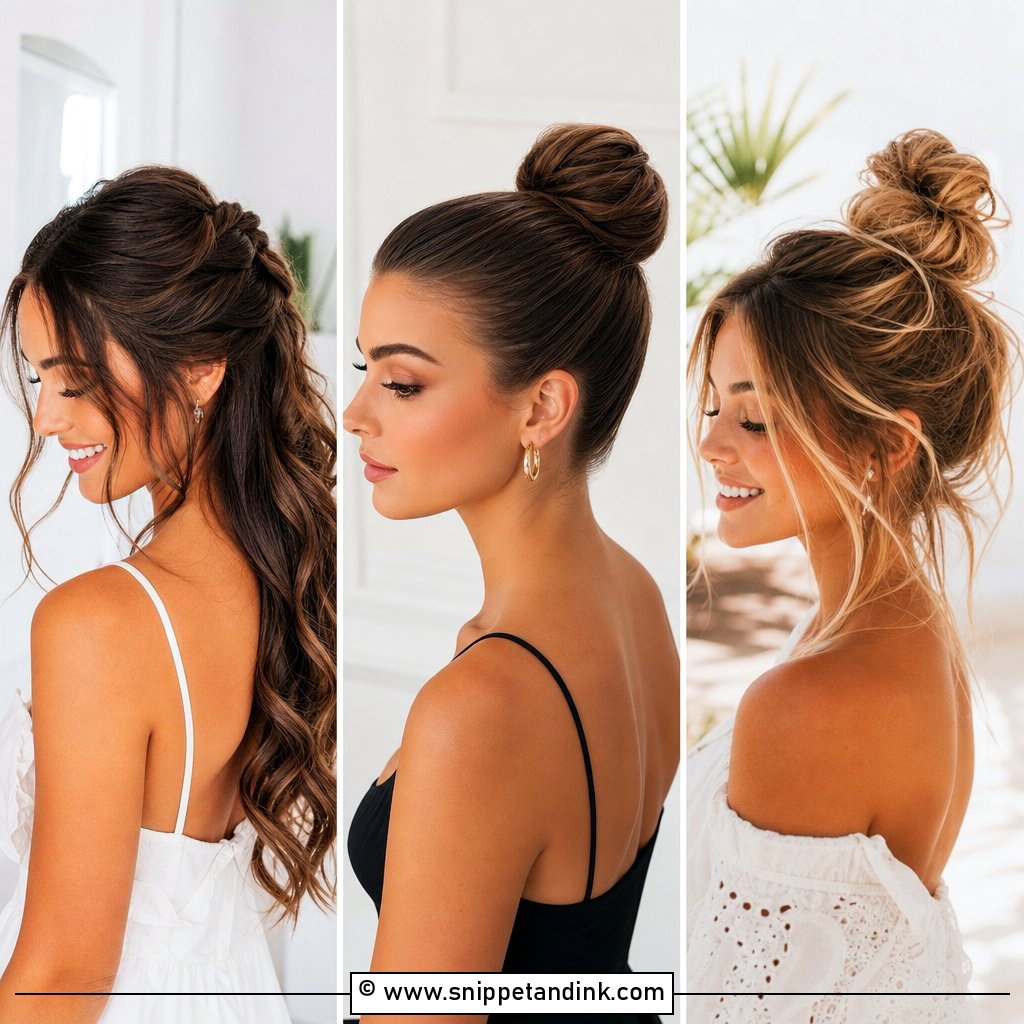
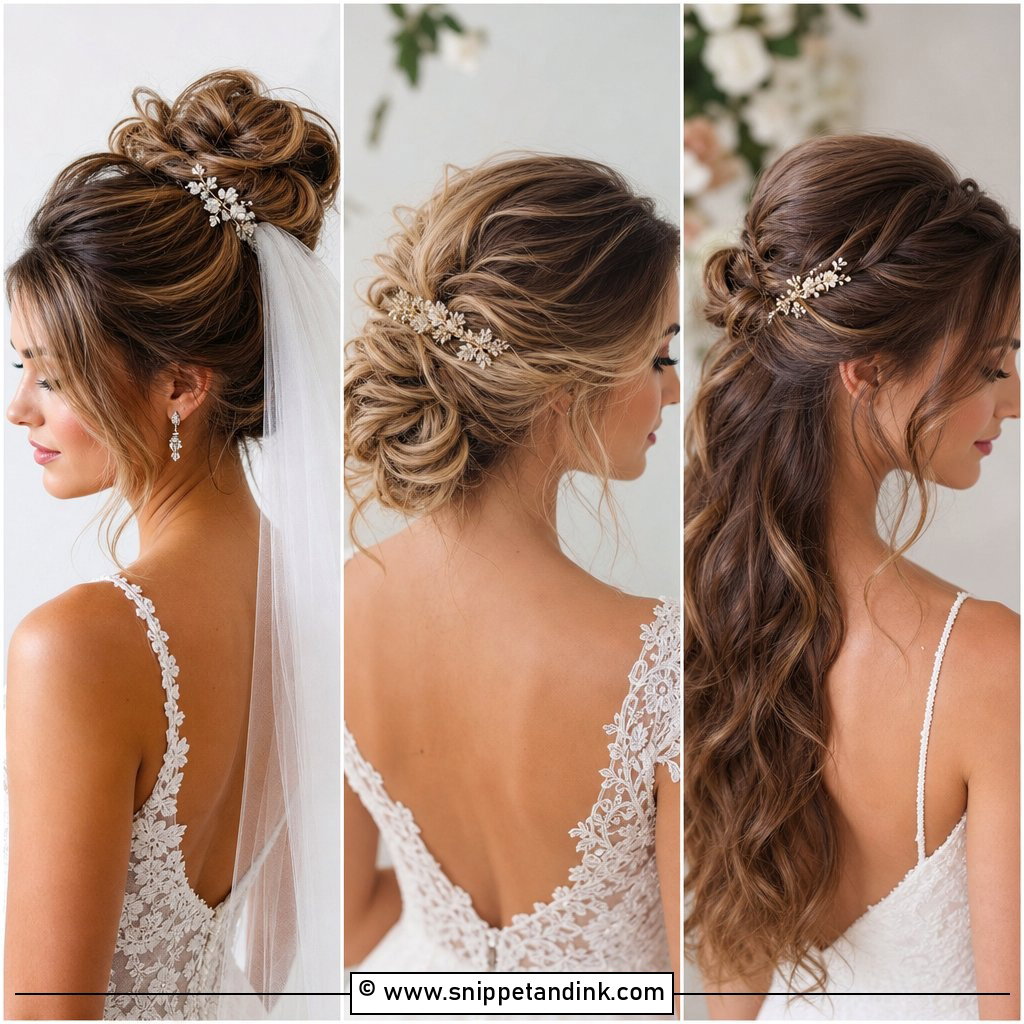
20. Pinned Back Wedding Hairstyle
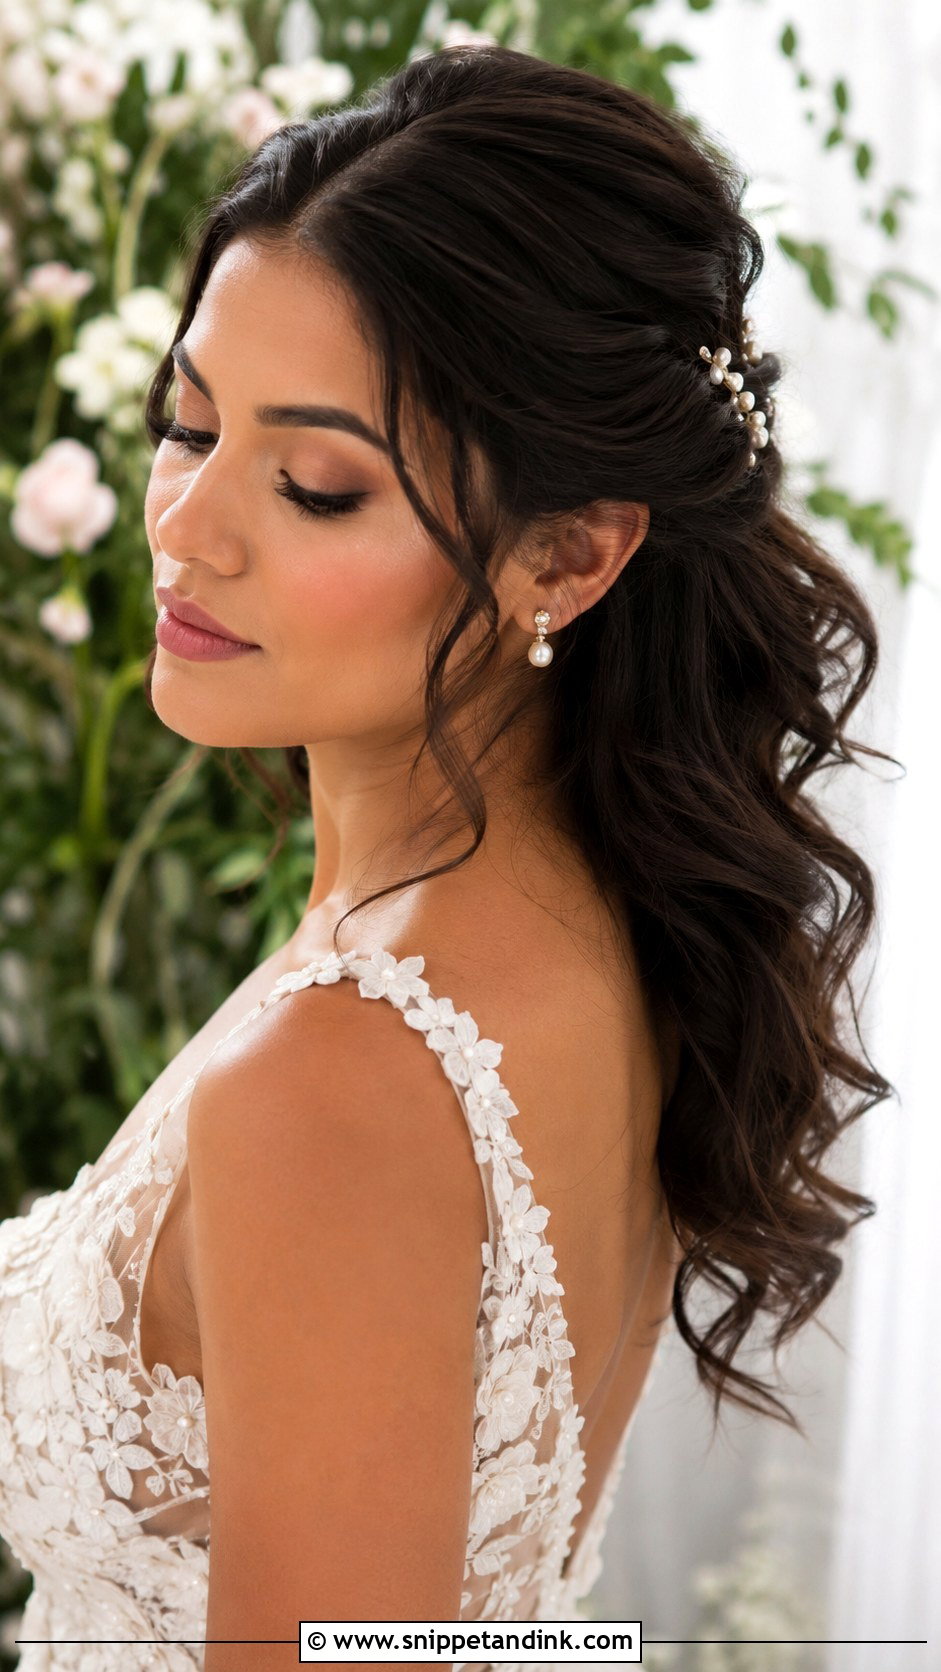
Pinning back the front sections keeps the face clear while the rest of the hair falls loose. You can pin one side or both. Decorative pins, pearls or small flowers make the pinned sections look intentional. This is the style I suggest to brides who want to feel like themselves in the mirror, because it’s close to how many people already wear their hair. It works on long, medium and wavy lengths. Pin into a small backcomb so the pins grip; on slippery hair they’ll slide within an hour otherwise.
Checking the Front Angle With a Phone Camera
Mirrors lie a little. You see yourself reversed and up close, and you instinctively tilt your head to the side you like. At the end of every trial I ask the bride to stand two or three meters from a window and take a straight-on photo, both with and without flash.
Look for three things in those photos. First, gaps: places where the scalp shows through at the crown or the part looks wide. Second, symmetry of the loose pieces, which often fall differently on each side. Third, flyaways that catch the flash and look like a halo of frizz. Each one is easy to fix at the trial and hard to fix on the morning.
Take one more photo that evening
If you can, keep the trial style in until the evening and take one more photo. Waves relaxing, tendrils going straight and the crown flattening all show up by then. That photo tells your stylist how much extra set and hold your hair needs on the day, which is far more useful than how it looked in the chair.
What Your Stylist Needs to See From You
Every style above changes how your face reads straight on, and that’s the angle in most of your photos. Pick two or three that suit your hair length and your dress, then bring screenshots of them, plus one of your own face from the front in natural light. A good stylist will look at all of it and tell you honestly which will hold, which will flatter and which will need adapting for your hair.
You'll Like These Ideas:


Leave a Reply