
Most brides plan their hair from the back, because that’s the view Pinterest loves. But the moment you turn to face your partner, and in nearly every portrait after that, the front view is what counts. From the front, a style is really about three things: where the part sits, how much height there is at the crown, and what happens to the pieces around your face. Below are 20 wedding styles judged from that angle, with notes on how I’d build each one so it reads well in photos from the front.
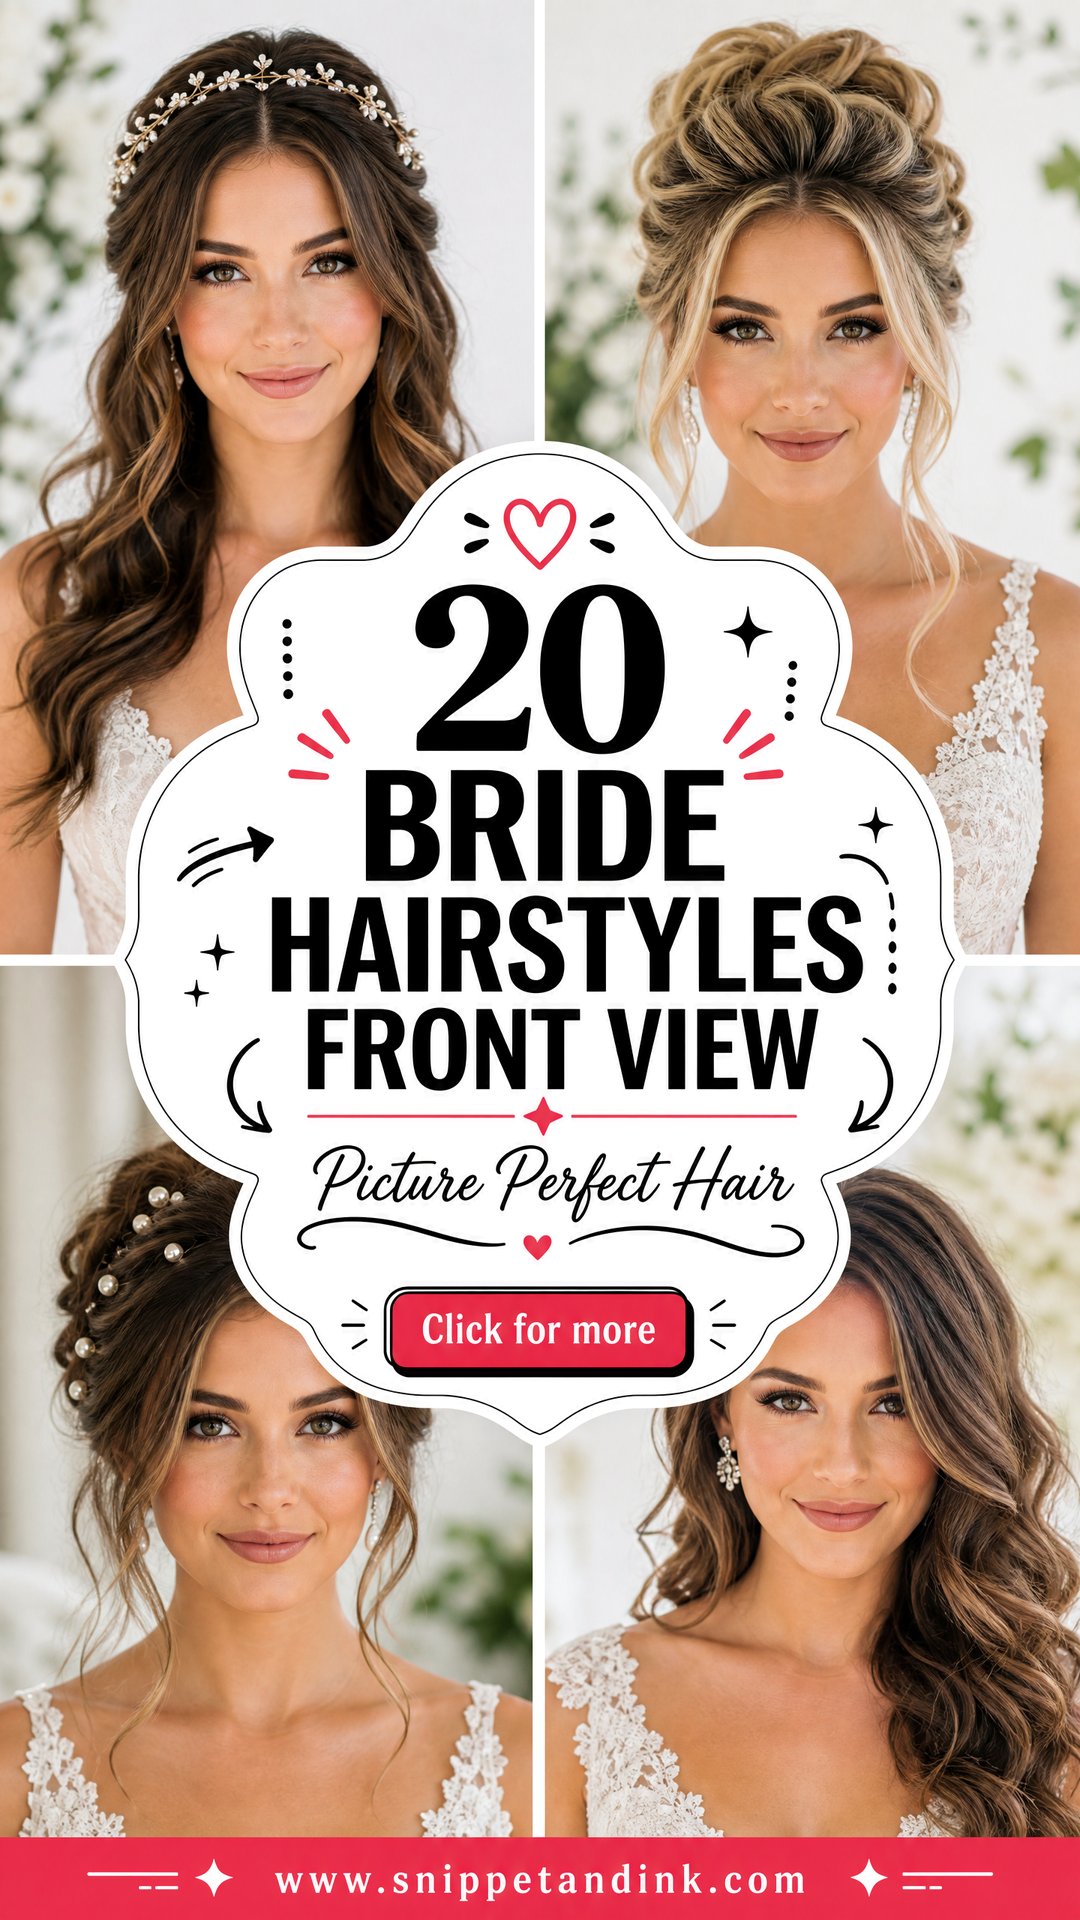
What the Camera Sees When You Turn to Your Partner
During the ceremony, guests mostly see you from behind and in profile. The photographer usually shoots from the aisle, the front rows or beside the officiant, which means the ceremony photos show your hair at three-quarter angle and face on. Portraits are almost all from the front.
That’s why I always check three things from the front at a trial.
The part
A part one finger’s width off center can look like a mistake in a straight-on photo. Either commit to a true center part or move it clearly to the side.
Height at the crown
A little lift balances a round or wide face; too much lengthens a long face. Look at the shape against your face, not the hair on its own.
Tendril length
Pieces that end at the cheekbone lift the face. Pieces that end at the jaw draw attention there. Decide on purpose.
Check the trial look with your phone’s rear camera held at arm’s length or by someone else. The front camera is too close and distorts the face, so it isn’t a fair judge.
1. Low Chignon Bridal Updo
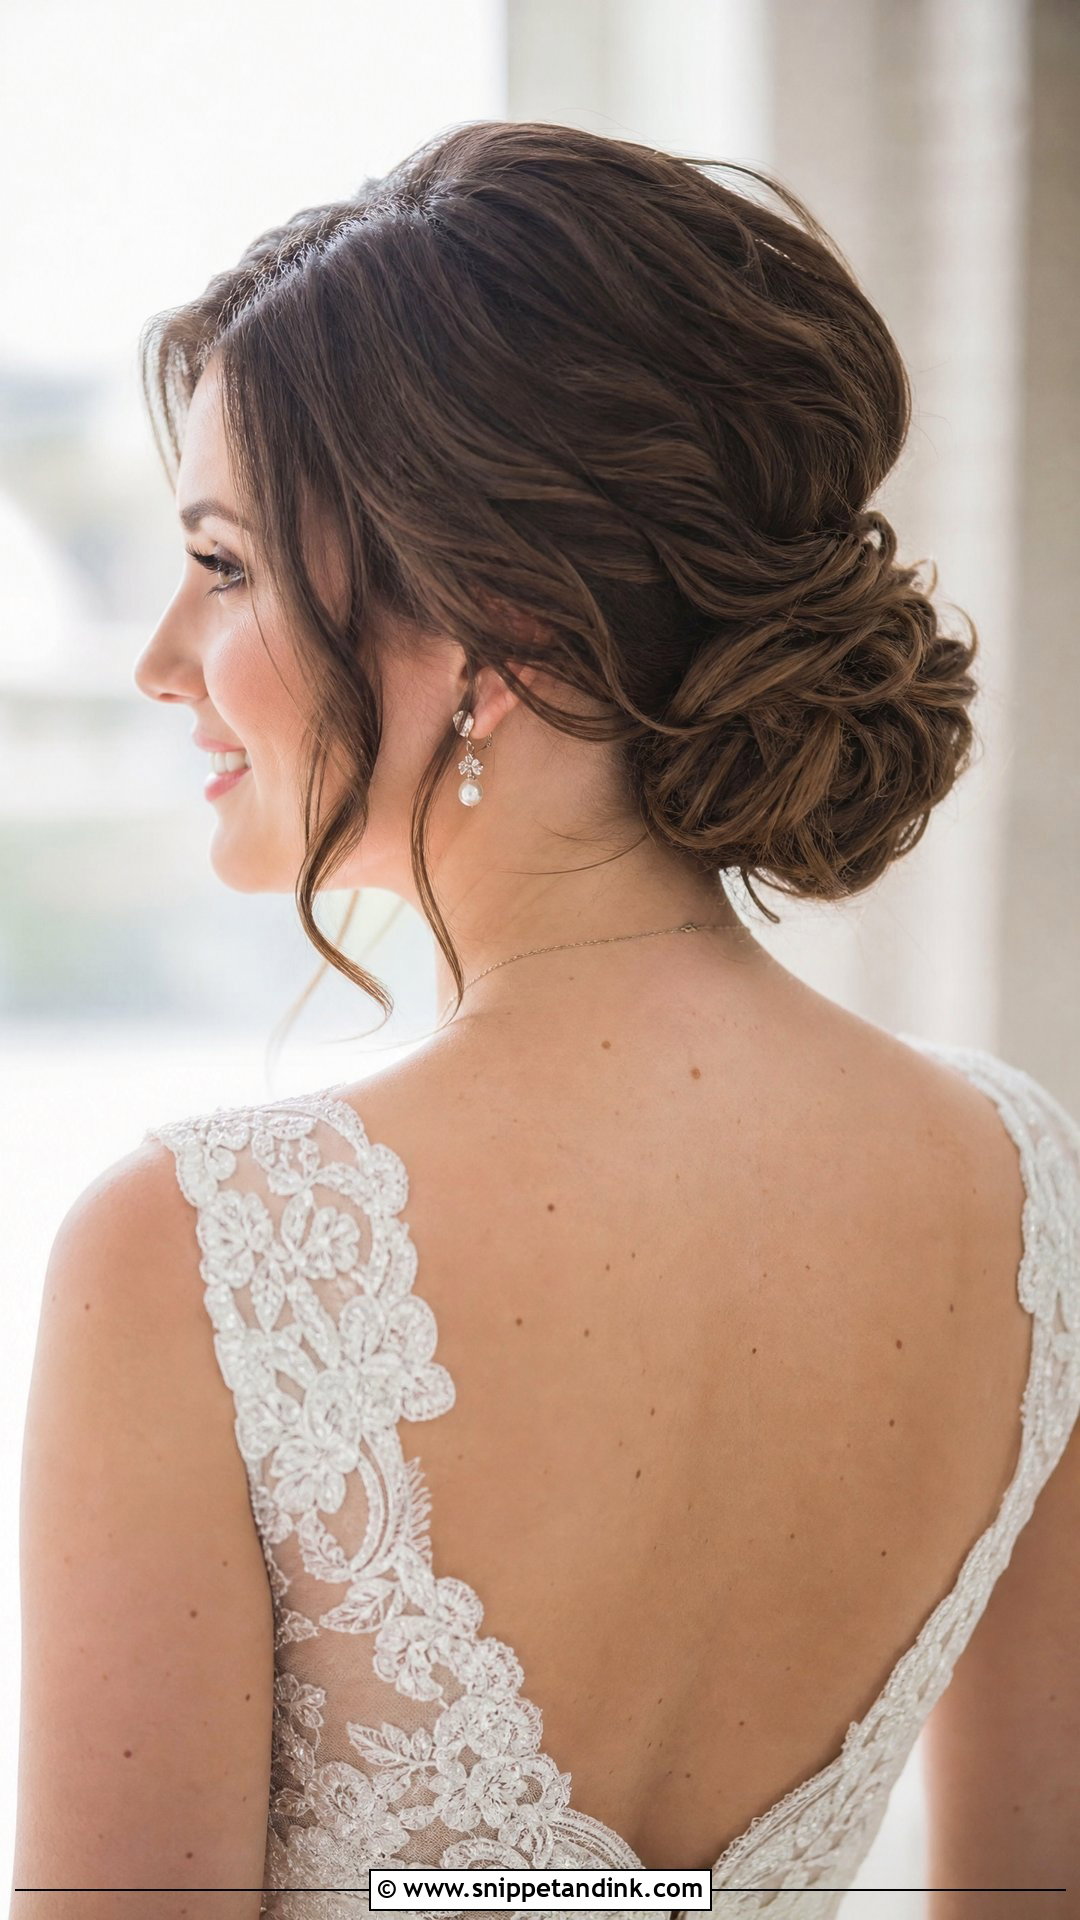
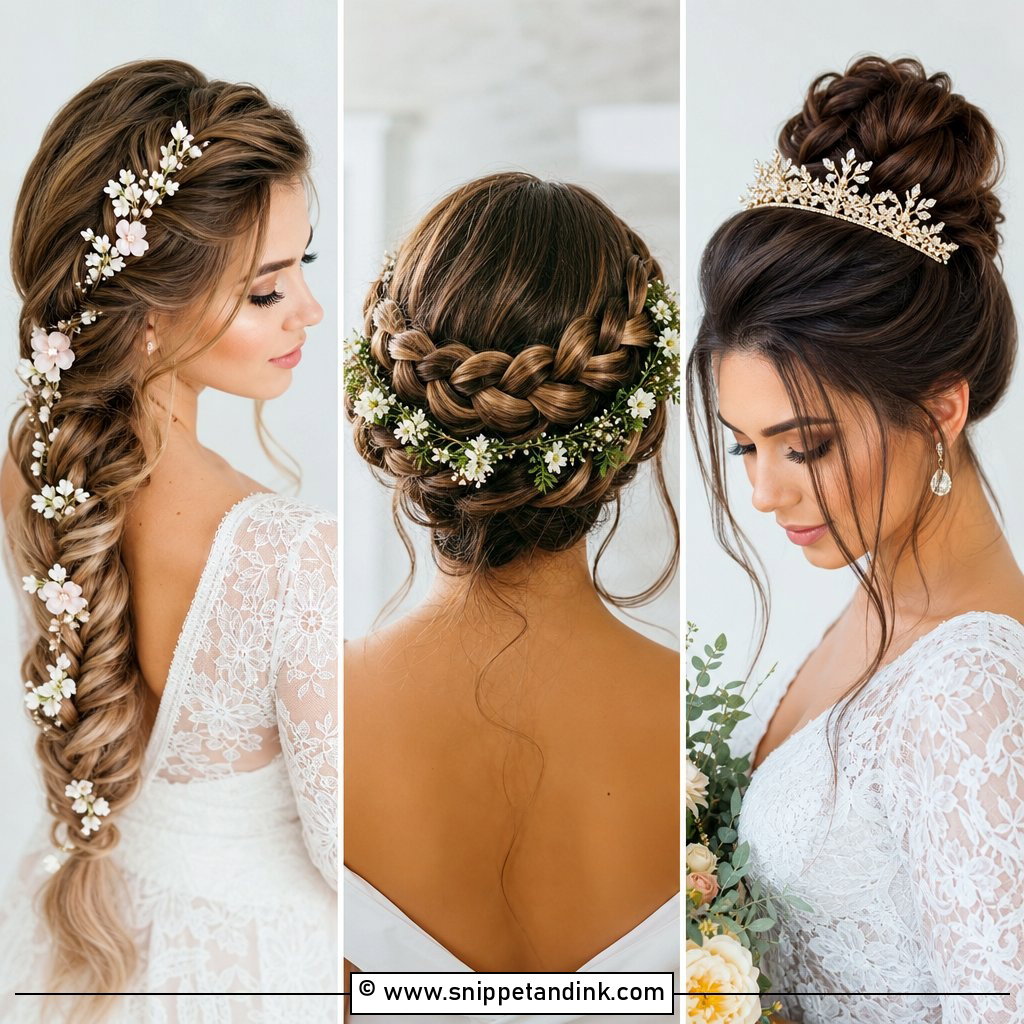
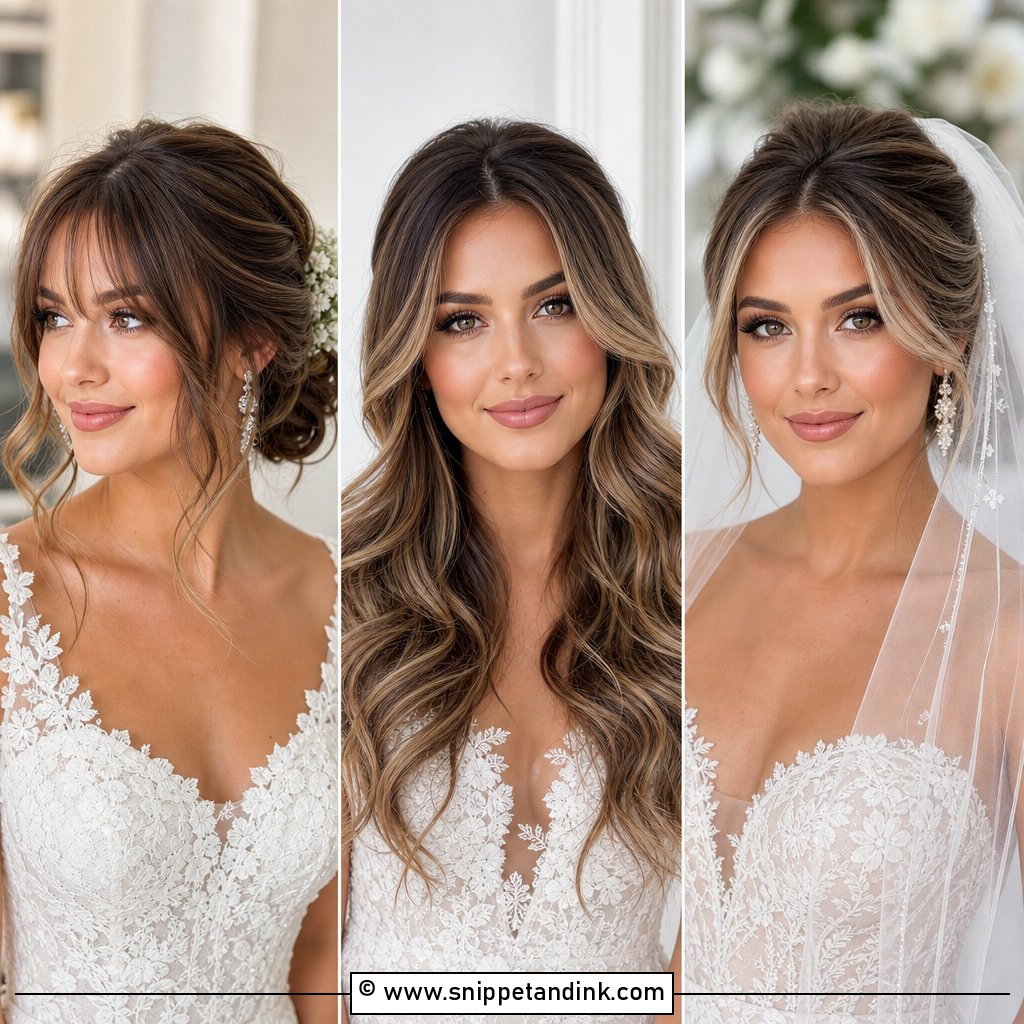
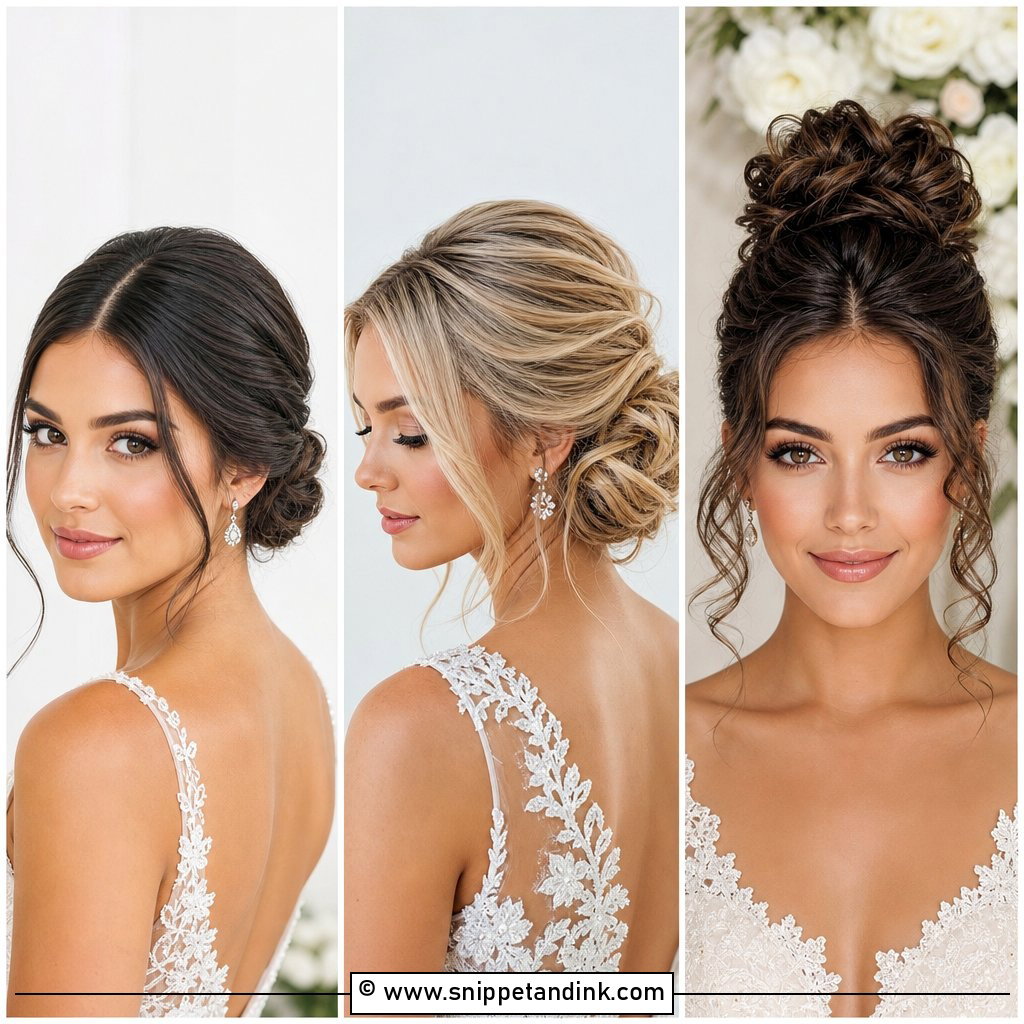
A low chignon sits at the nape, so from the front it barely shows, and that’s the point: all the attention stays on your face. Loose tendrils at the cheekbones do the softening, and I cut them in my head before I pull them, because a tendril that falls at the jaw reads very differently from one that ends at the cheekbone. The flat crown leaves room for a cathedral veil or a delicate tiara. It’s the least likely of these styles to look dated in your photos years from now.
2. Half Up Half Down With Loose Curls
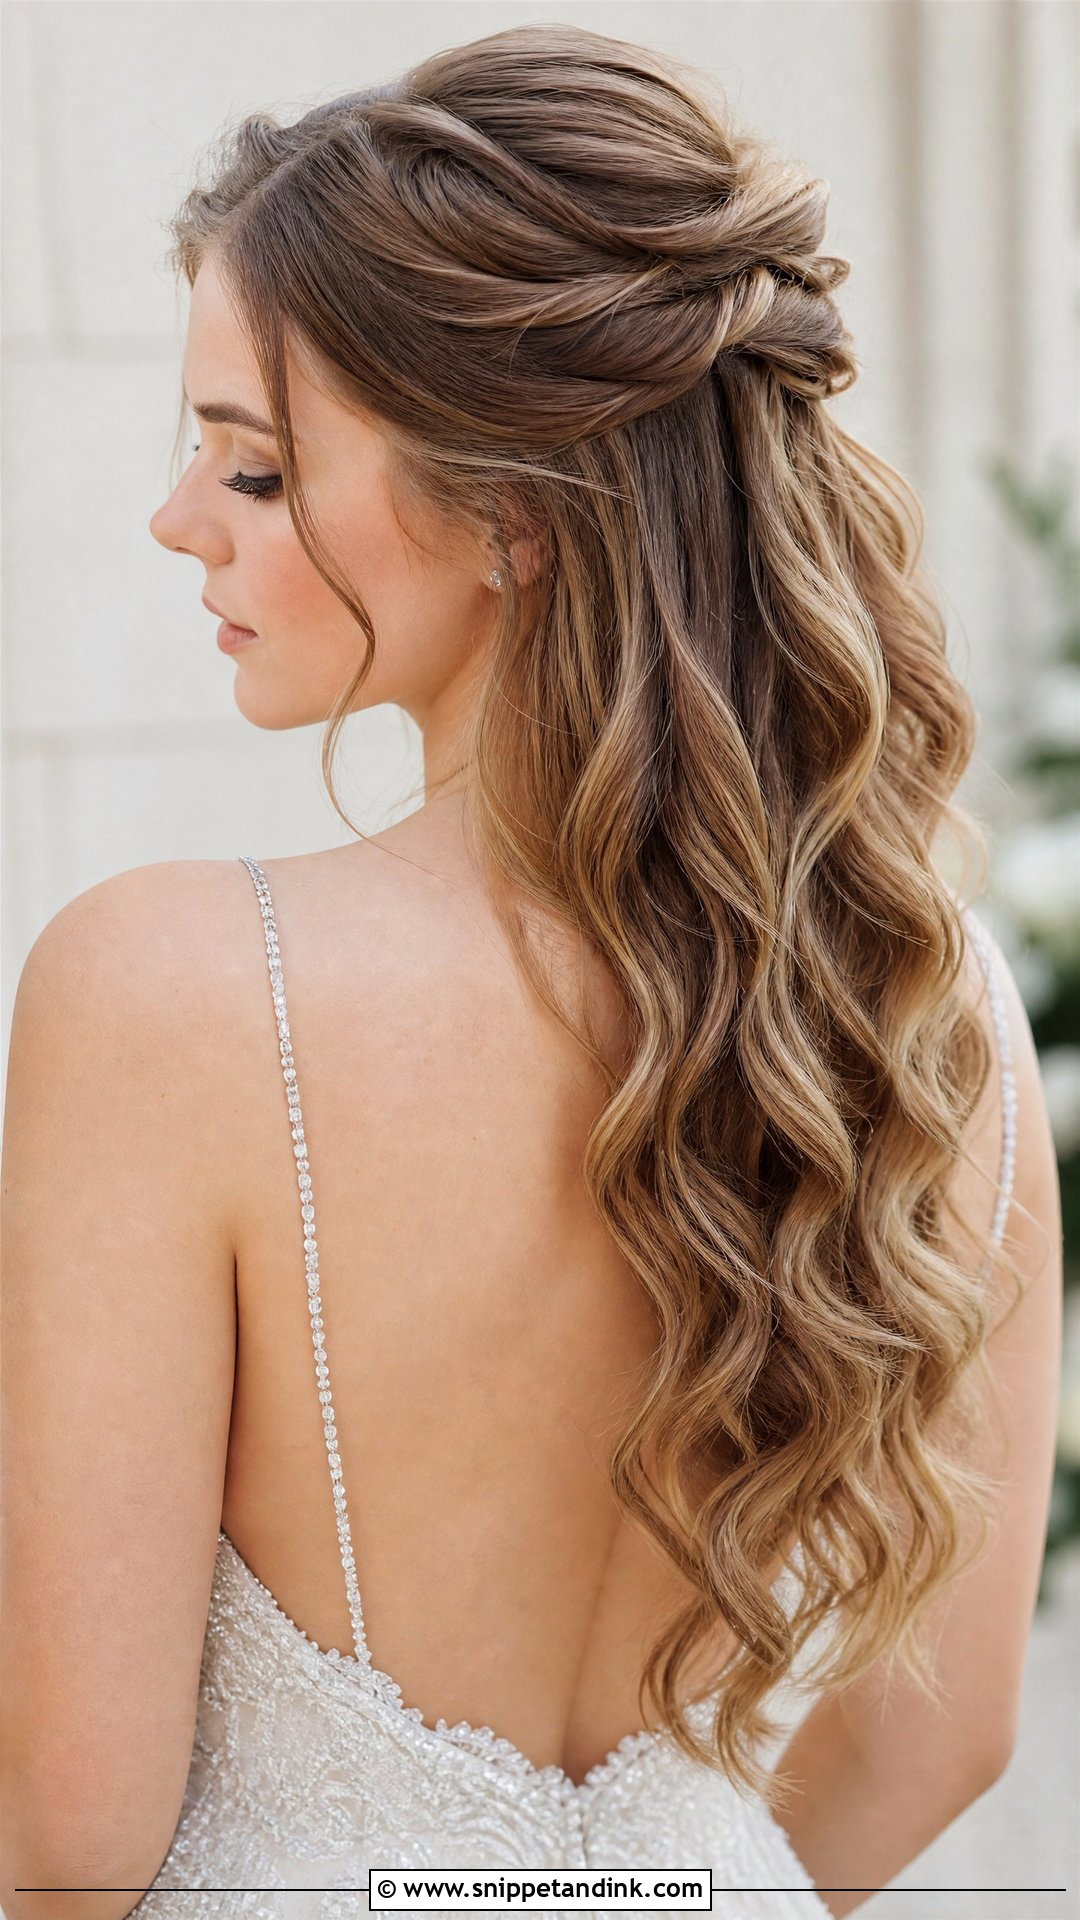
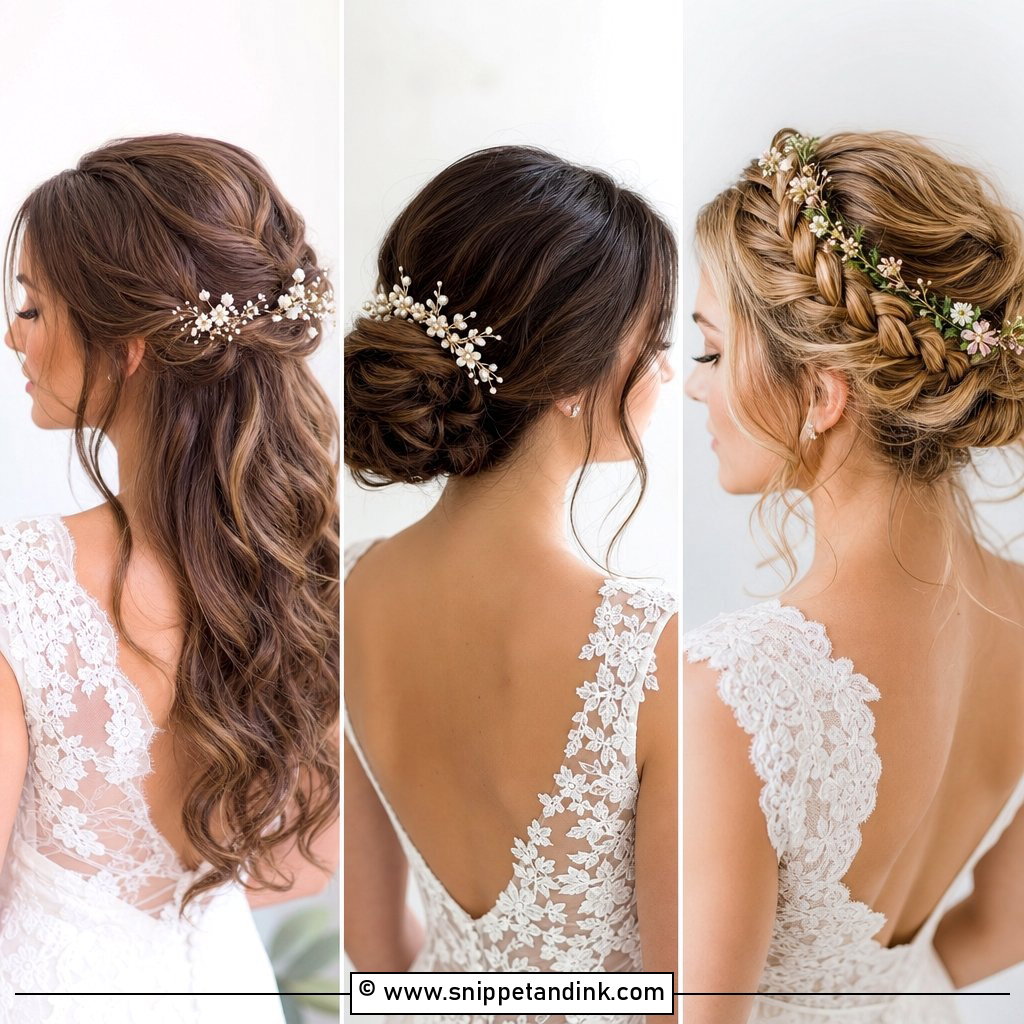
Half up gives you an open face and hair over the shoulders at once. From the front, the important detail is how the top section is lifted: pinned flat, it can make a round face look wider, so I add a little height at the crown before securing it. Face-framing pieces at the temples soften the hairline. It suits medium and long hair. A few pins or small flowers at the crown are visible only from the side, so don’t overspend on them.
3. Soft Romantic Waves
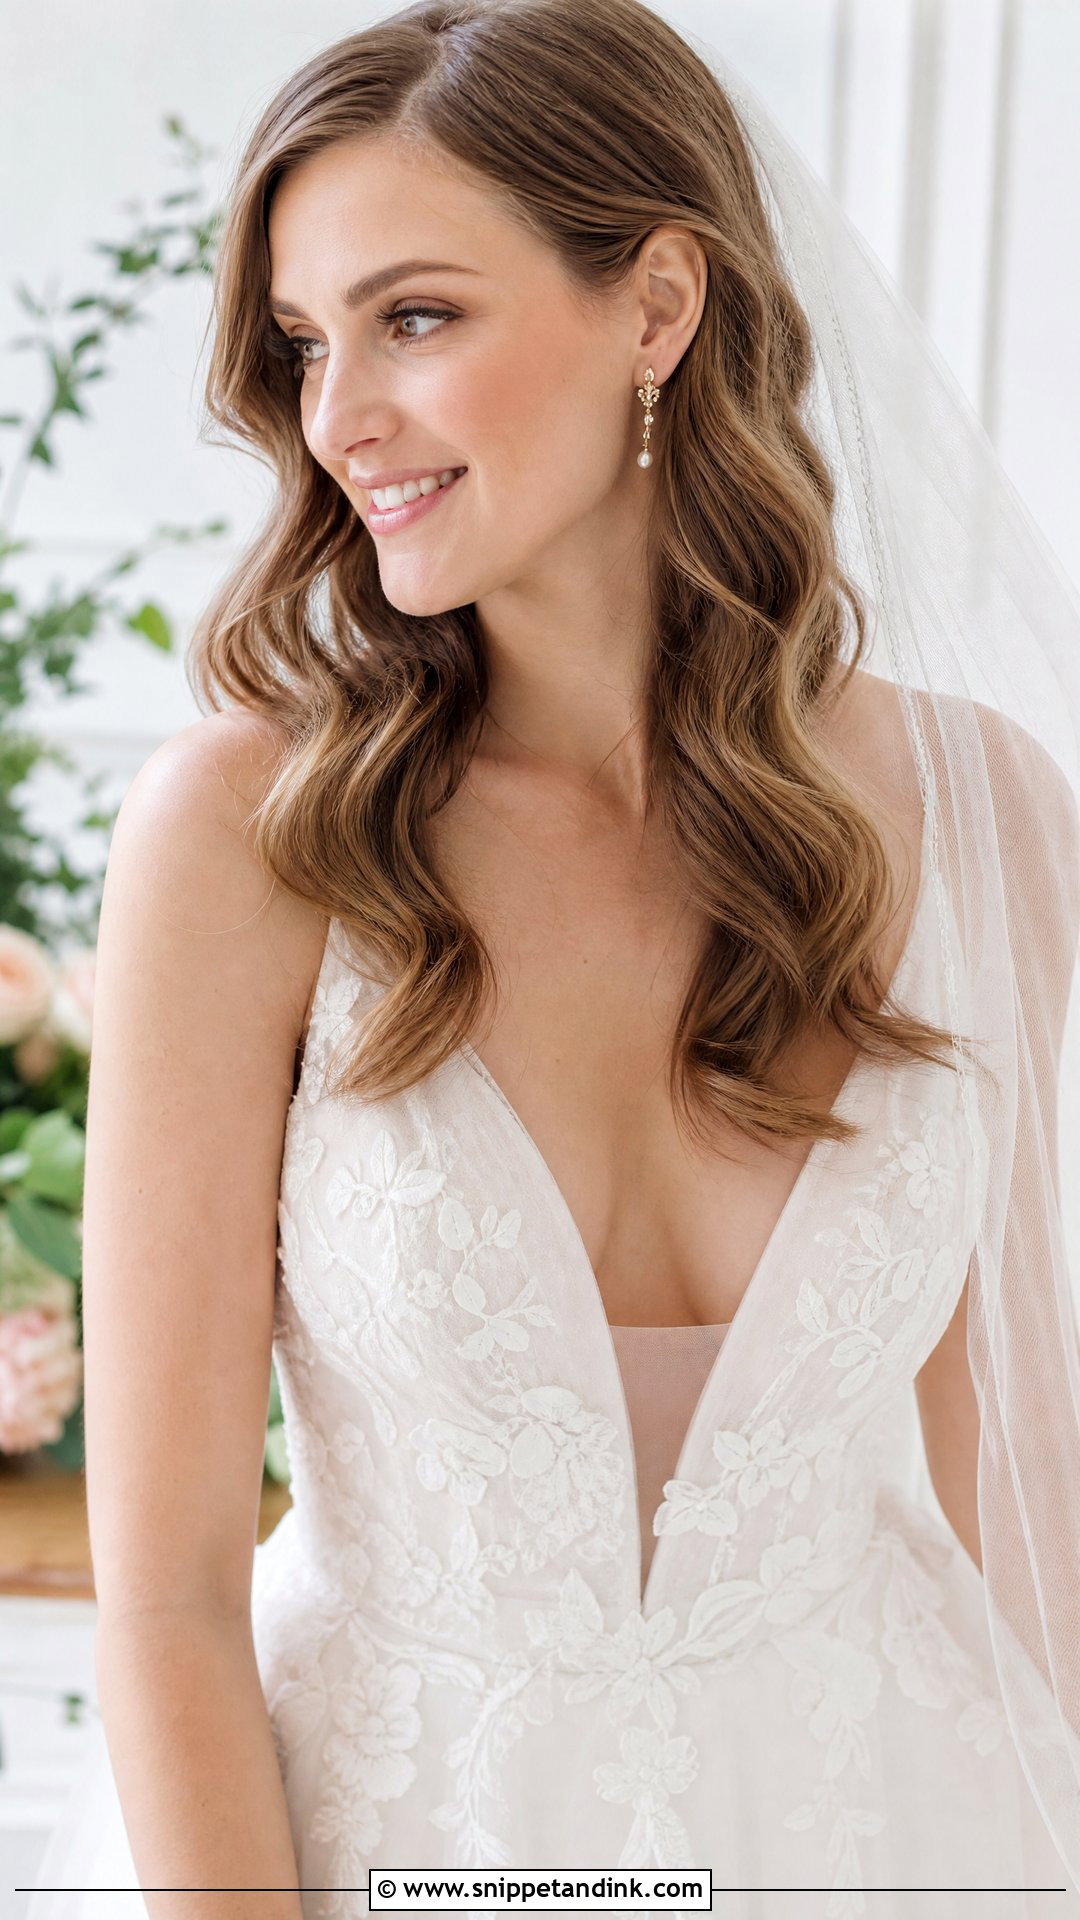
Loose waves worn down change most from front to back. From the front, they should part away from your face rather than fall into it, so I curl the front sections away from the face and the back sections in alternating directions. Fully down styles also hide your neckline and earrings more than you might expect, which is worth checking against your gown. A center part looks modern, a side part a little softer. Add a flower crown or leave it bare.
4. Sleek Low Bun
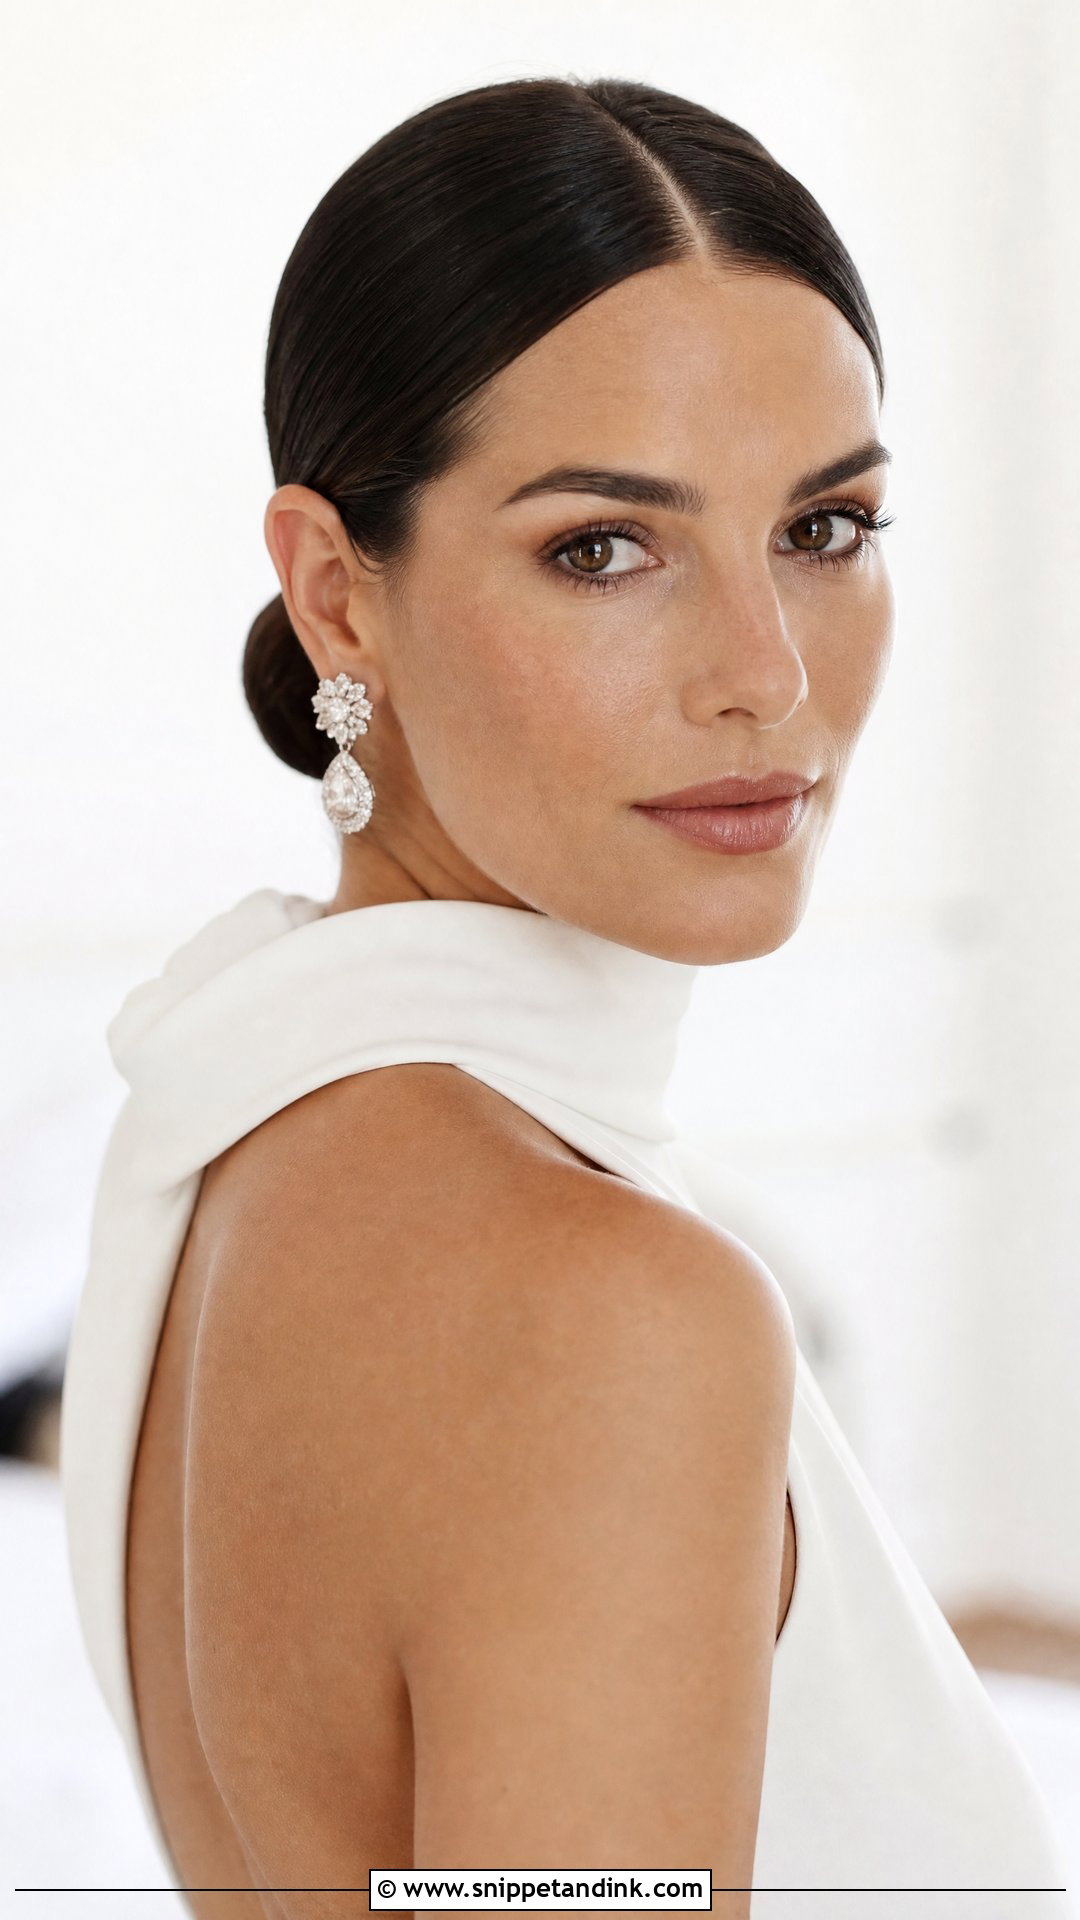
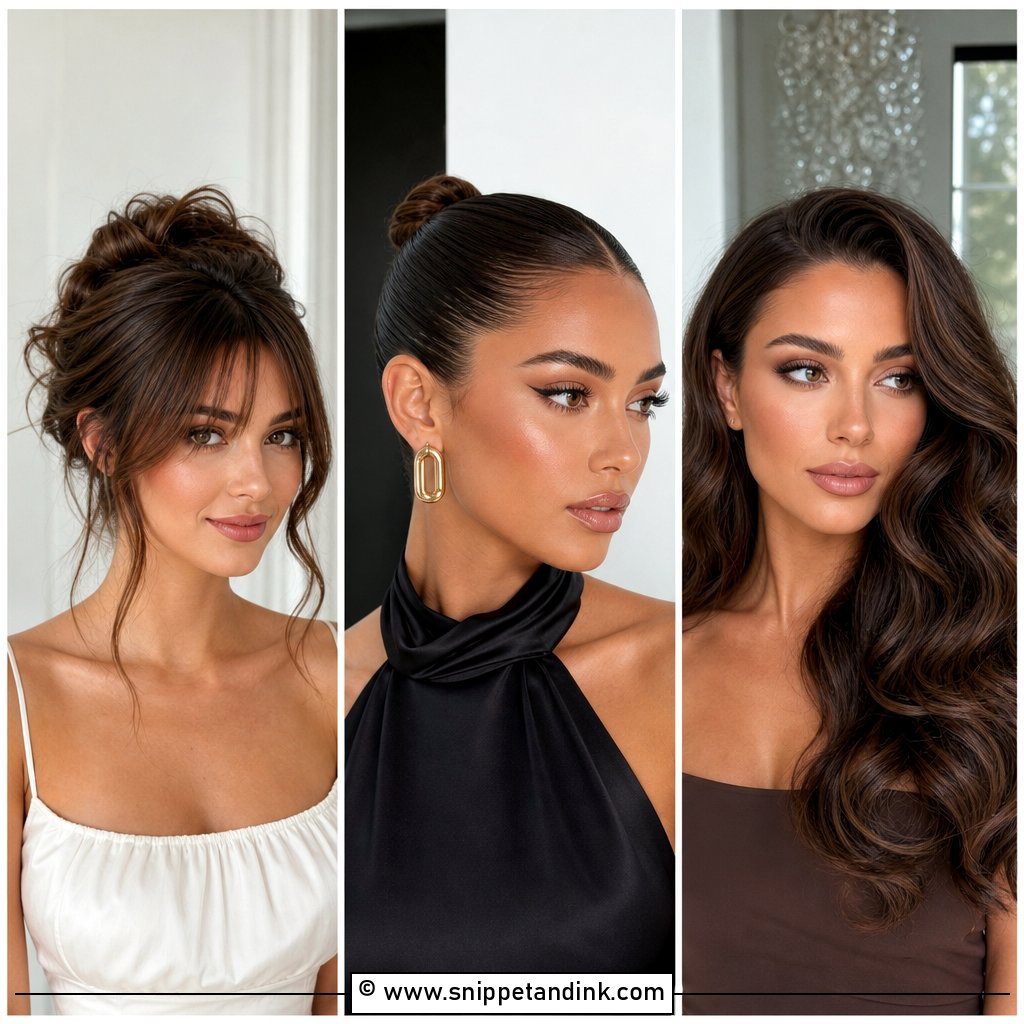
With every strand pulled back, a sleek low bun shows your bone structure like nothing else. That makes the hairline the whole style: if baby hairs or a cowlick stick up, they’re the first thing a camera sees. I smooth the front with a firm cream and a boar bristle brush, then mist and press with my palm. A center part keeps it sharp. Statement earrings and a bold lip look right with it, and nothing falls in your face all day.
5. Textured French Twist
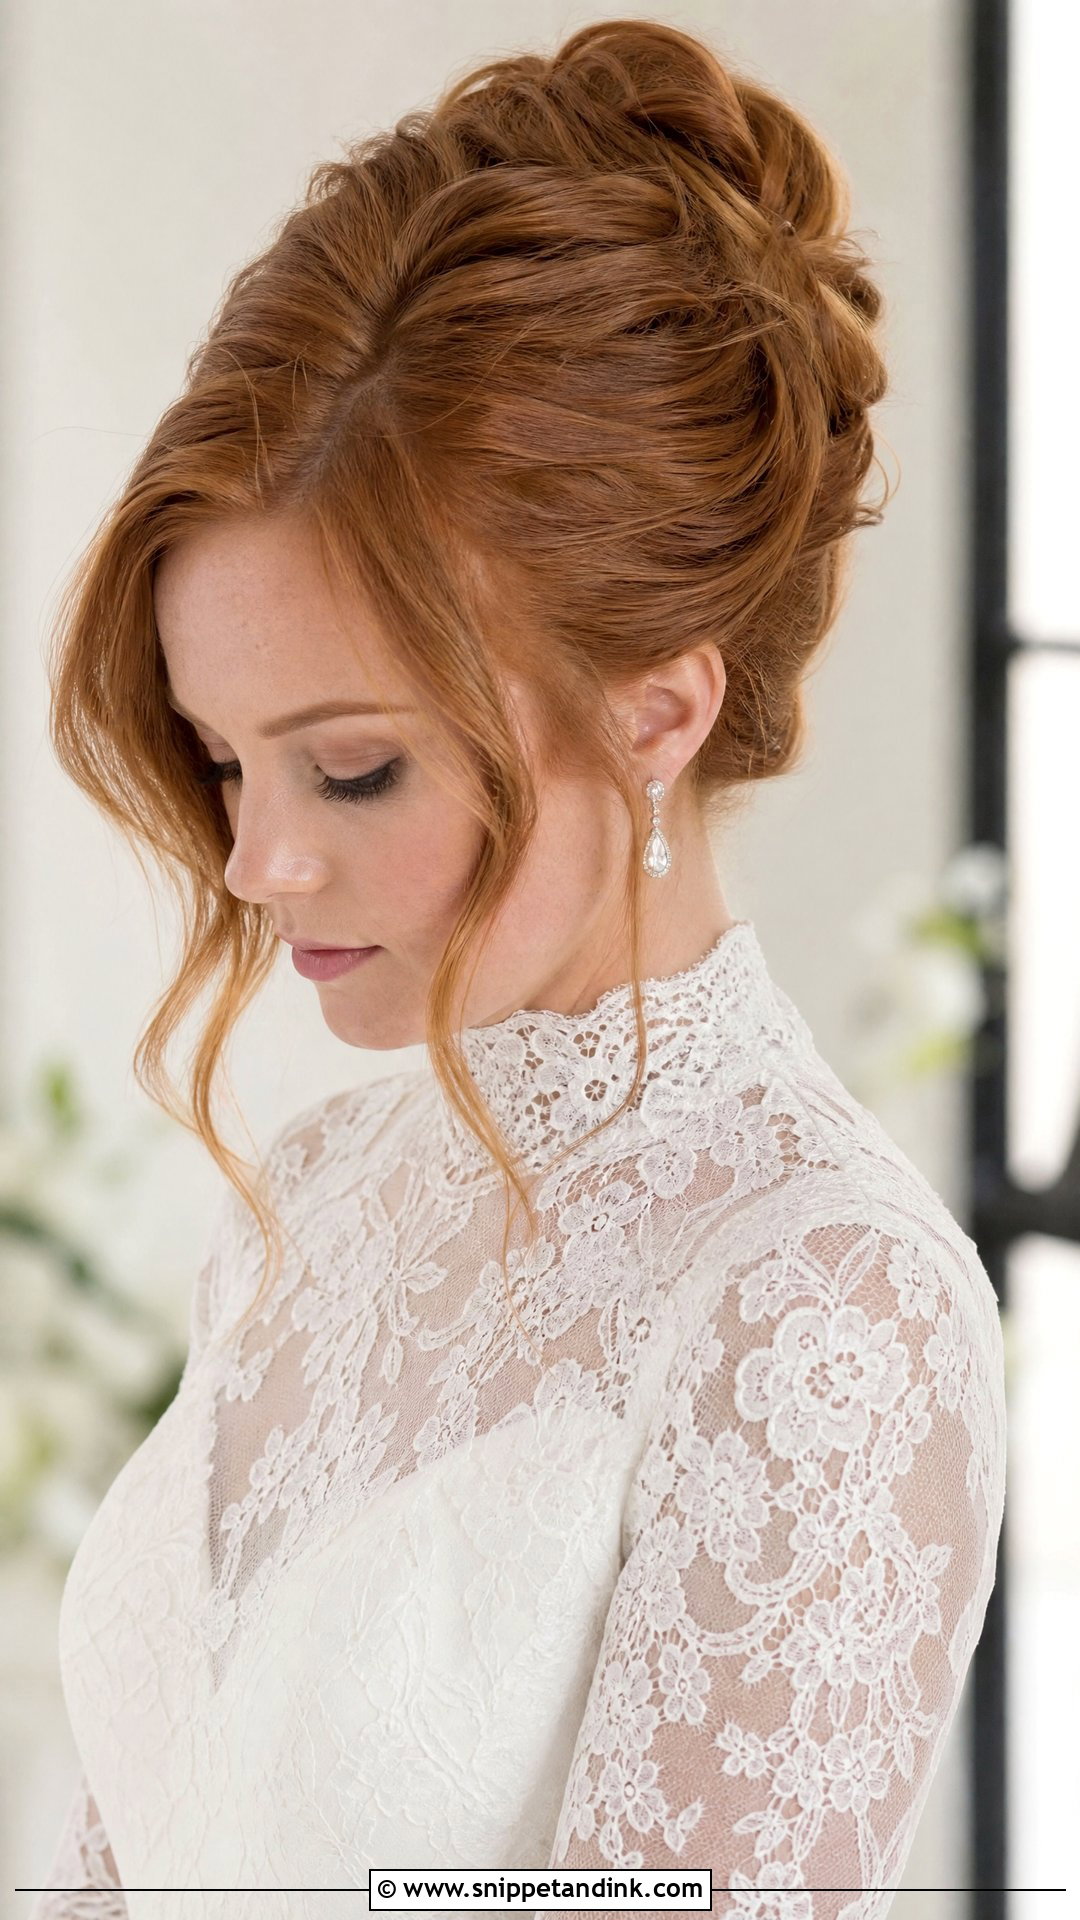
A textured French twist needs height at the crown to look right from the front; without it, the face looks long and the hair flat. I tease the crown lightly before folding the twist, then pull out a couple of loose tendrils to soften the edges. It pairs well with a high-neck gown or a vintage dress, since the clean sides leave the neckline uncluttered. The structured shape photographs neatly from the front and the side.
6. Braided Crown Updo
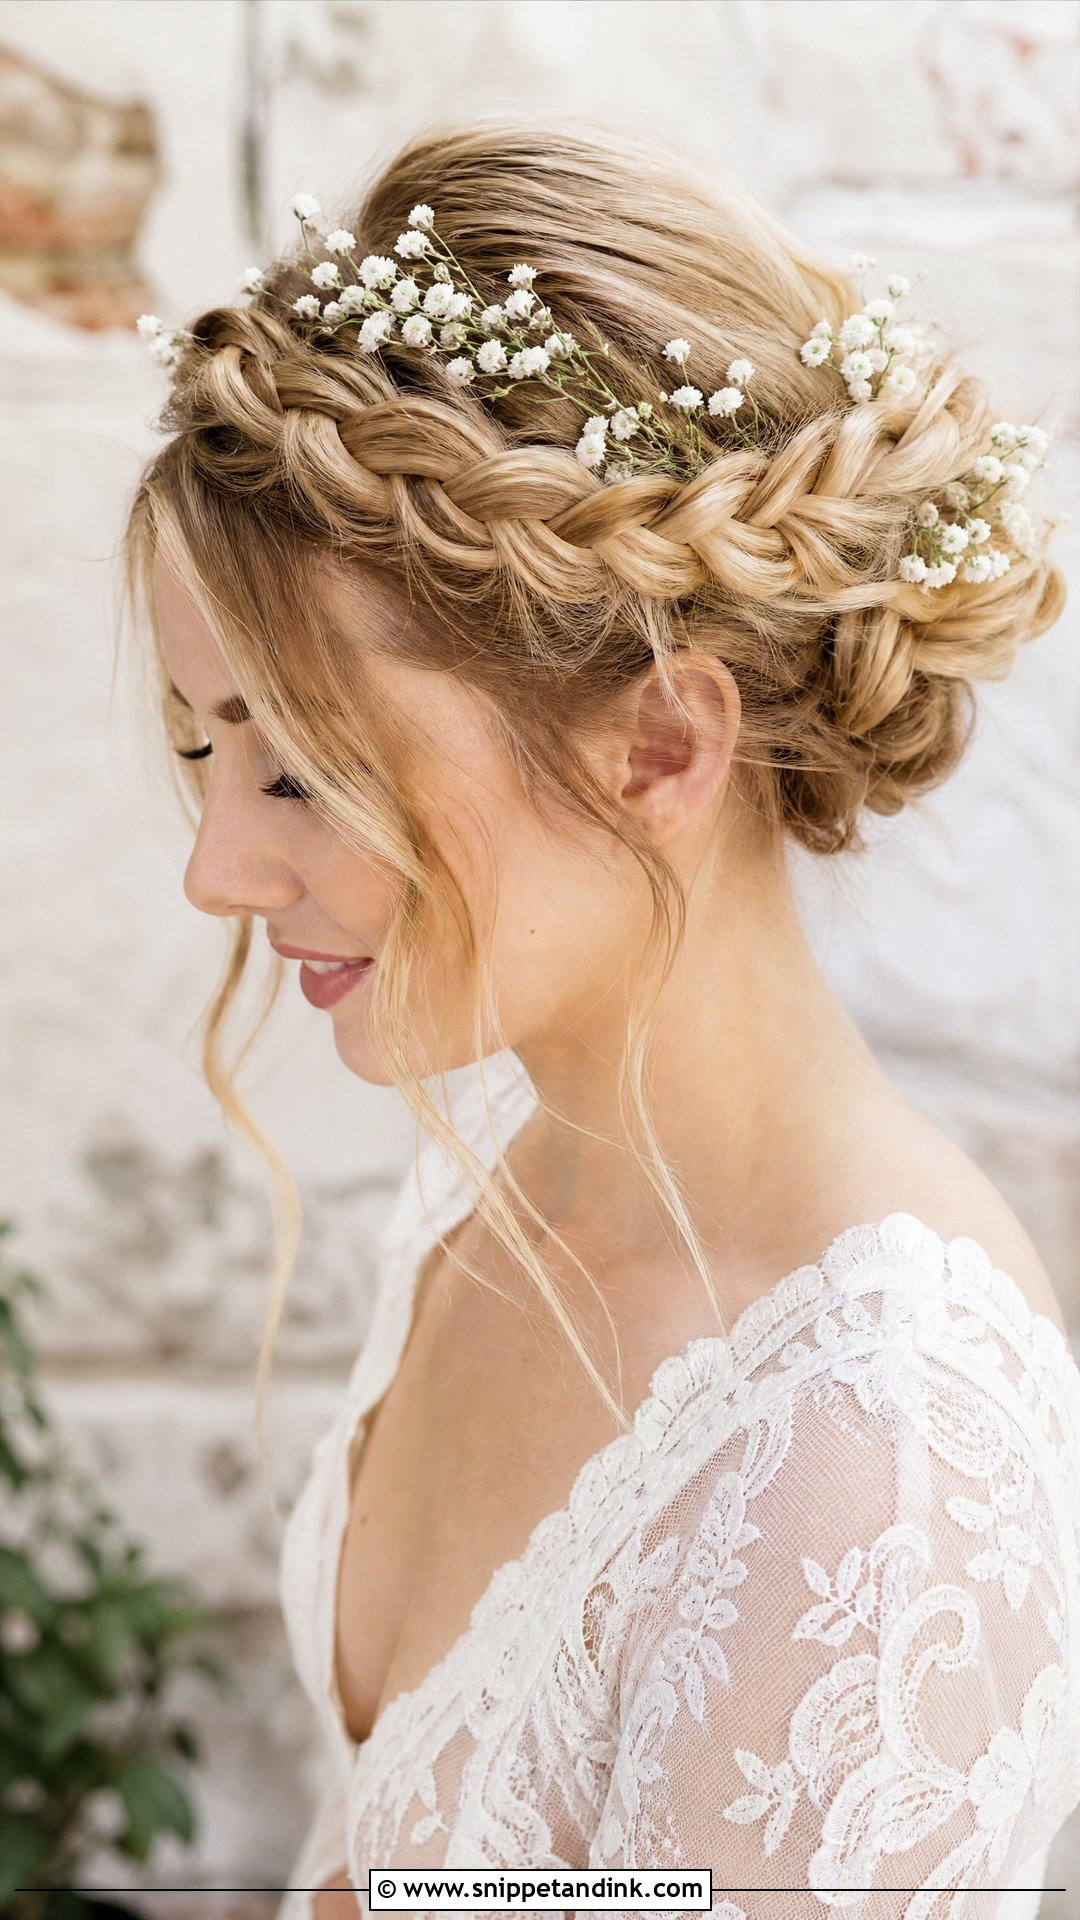
From the front, a braided crown frames your face like a halo, and the braid itself shows across the top of the head. The detail to watch is where it crosses the forehead: too far forward and it looks like a headband, too far back and you lose it in photos. I place it about an inch behind the hairline. It keeps hair off the neck for a warm-weather wedding. Baby’s breath tucked into the braid adds detail, and the style suits most lengths and textures.
7. Half Up Bun With Face-Framing Tendrils
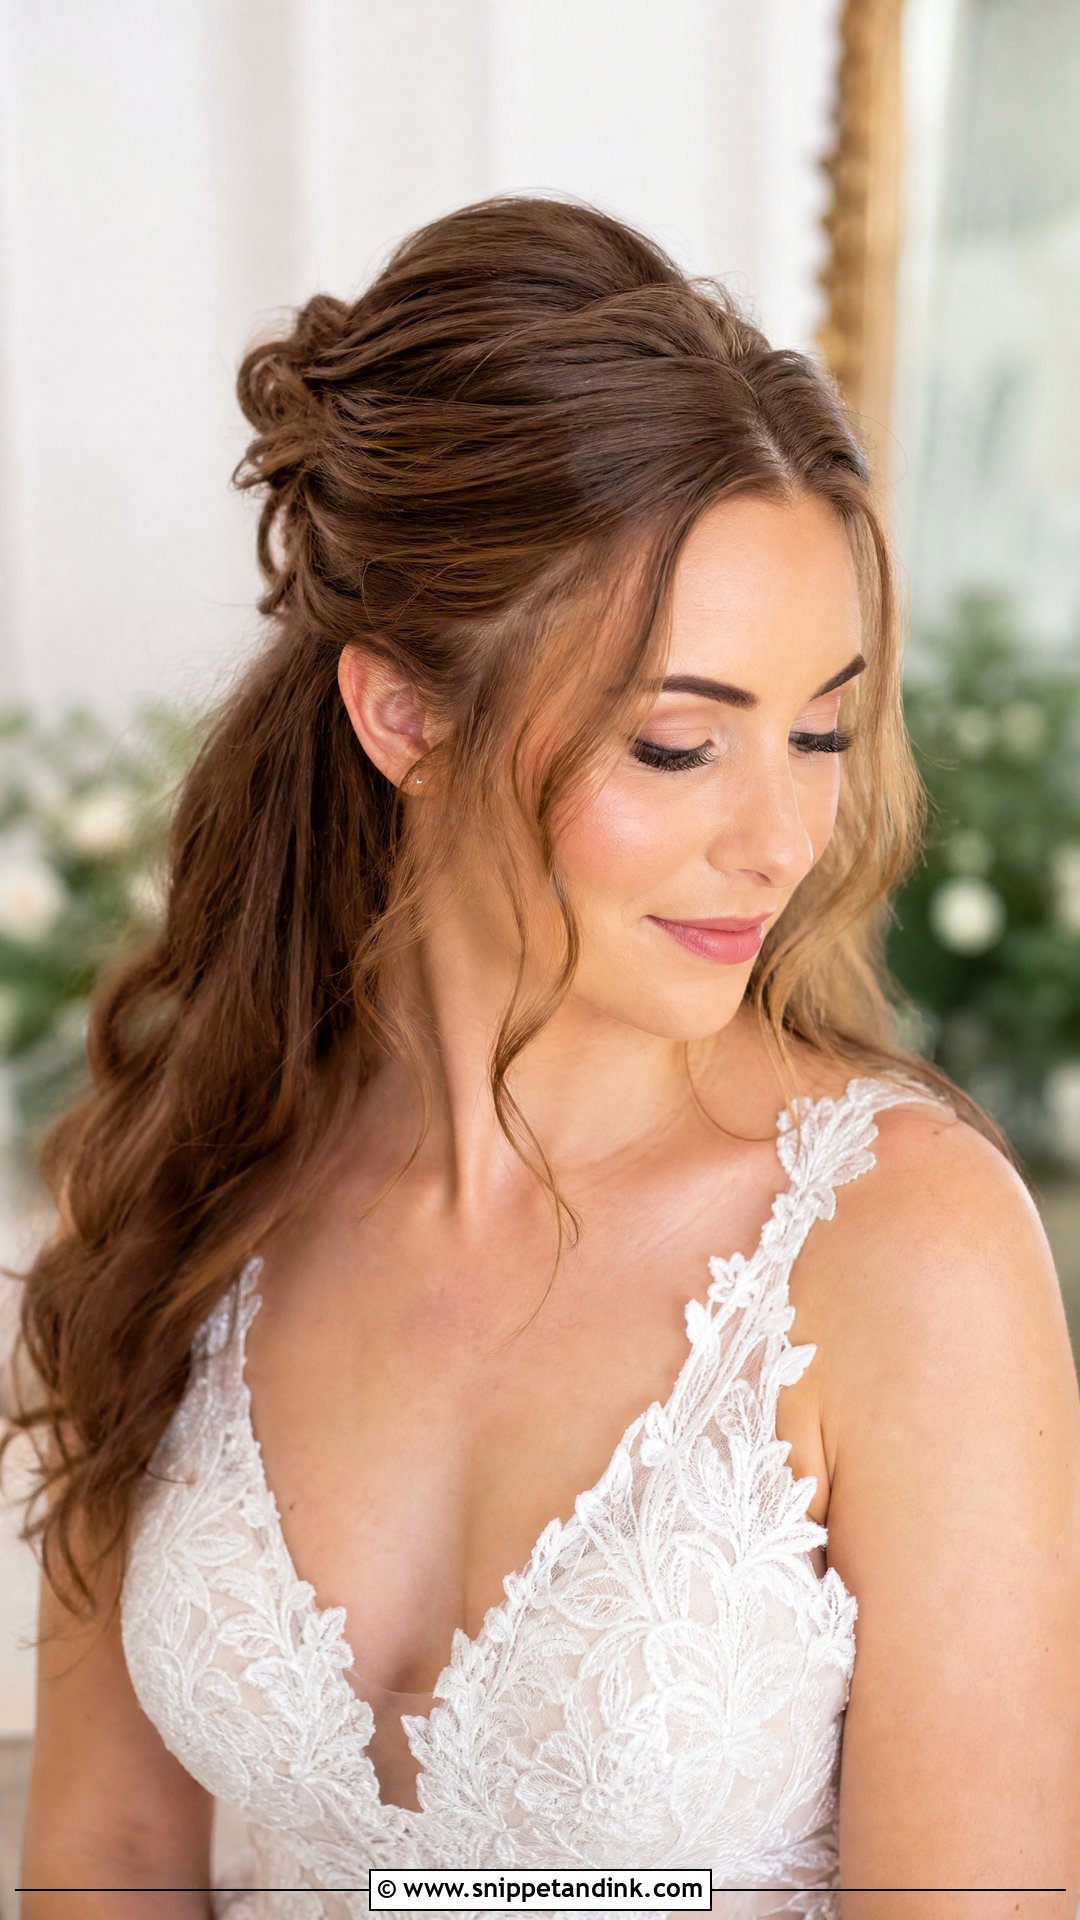
A half up bun lifts the top section into a soft knot while the rest falls loose. From the front, it adds height and opens the face, which is useful if your face is round. Delicate tendrils at the cheeks soften it. The bun can get heavy on very thick hair, so I hollow it out with a little padding rather than gathering all the hair into it. Add a sparkly clip or small floral pins if you like. Medium to long hair suits it.
8. Classic Ballerina Bun
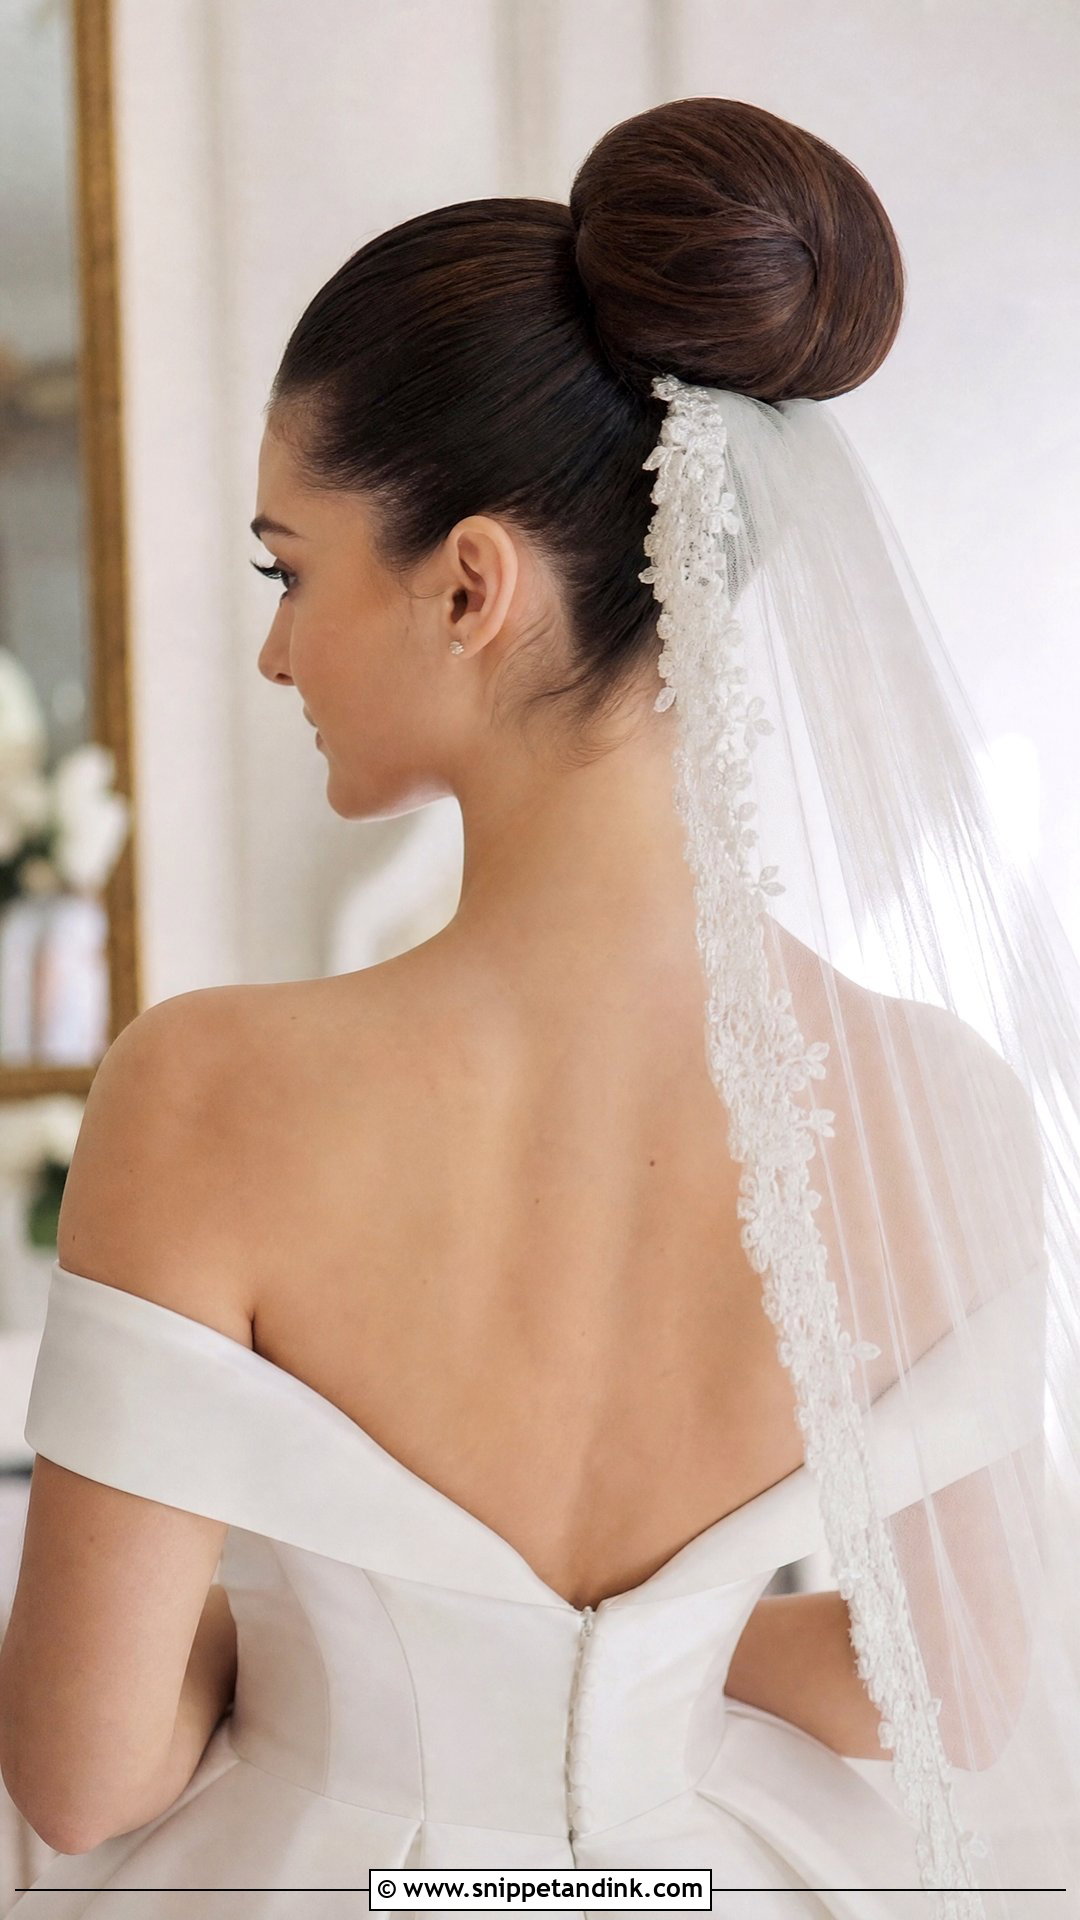
Set high at the crown, a ballerina bun shows from the front as a clean dome of height above the face, and it lengthens the neck. It’s a strong look for long faces only if the bun stays low enough not to add more length, so I usually place it slightly behind the crown rather than right on top. Smooth the front for a sharp finish, or loosen a few wispy pieces. It works with a statement veil under the bun or dramatic earrings.
9. Boho Waves With Braids
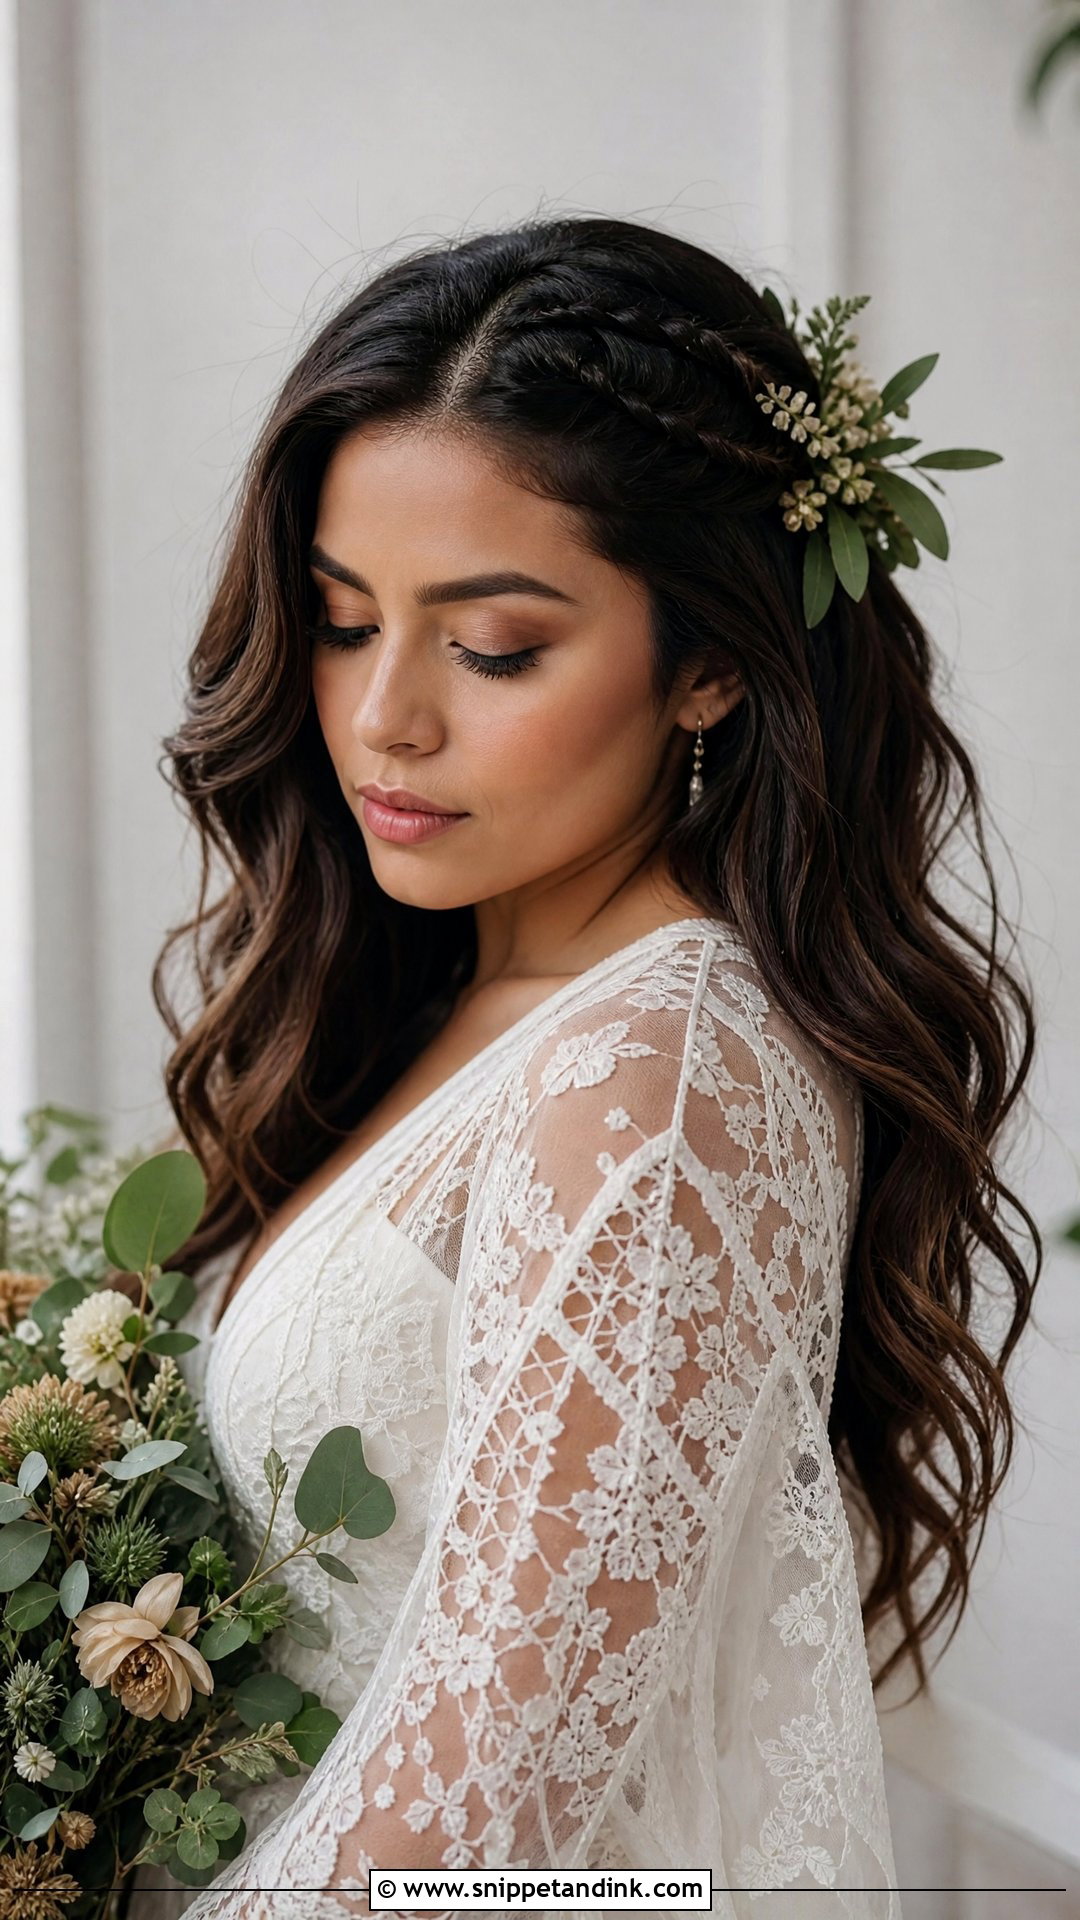
Small braids running back from the temples pull hair off your face while loose waves fall behind. From the front, the braids show as a fine line along each side, which frames the face nicely for an outdoor or beach wedding. I keep them thin, since chunky braids at the temples look heavy from the front. Wildflowers or a bit of greenery tucked in look natural with a flowing lace gown, especially in soft afternoon light.
10. Sleek Straight Hair Down
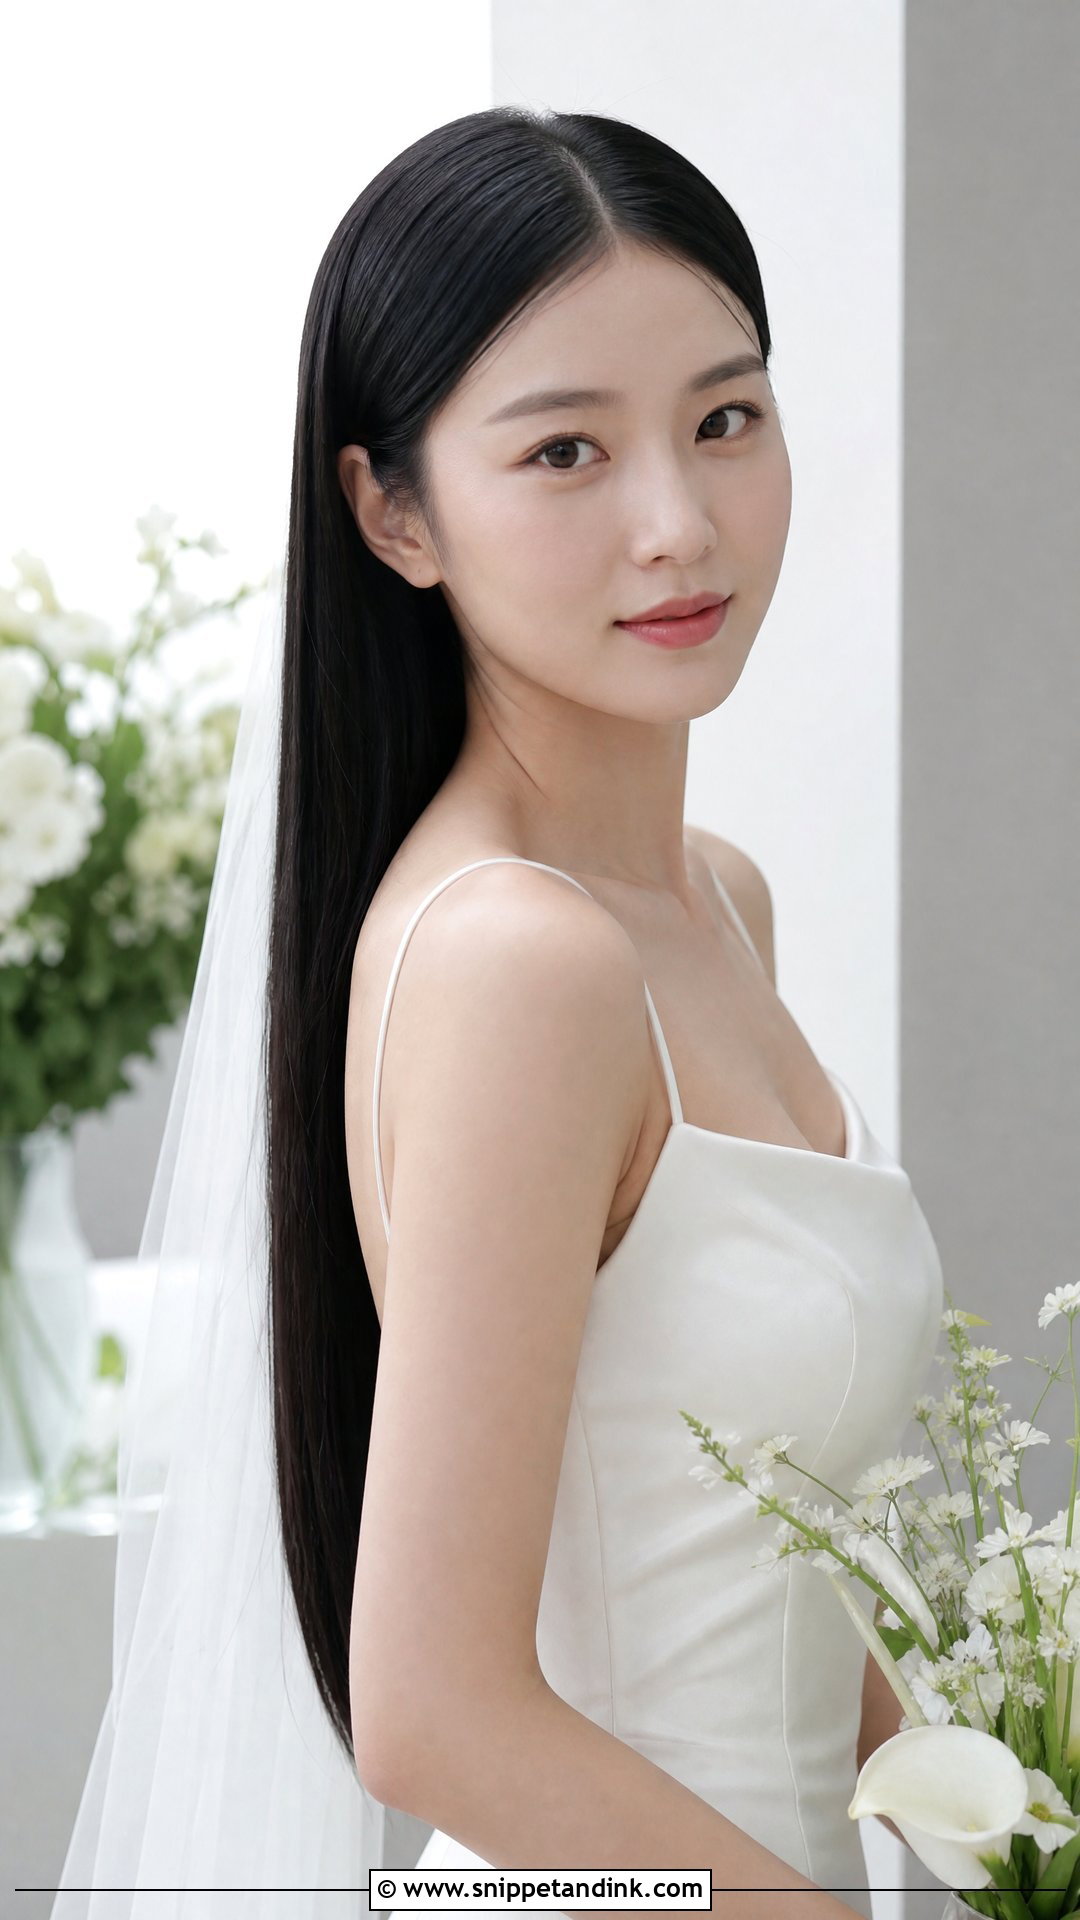
Sleek straight hair worn down depends almost entirely on condition. A good gloss treatment or trim a week before makes more difference here than any styling product. From the front, a center part keeps it modern and symmetrical; a side part softens it. I flat-iron in small sections and finish with a light serum on the ends only, because serum at the roots turns greasy under hot lights. A slip dress or contemporary gown suits it, and your jewelry stays in view.
11. Low Bun With Center Part
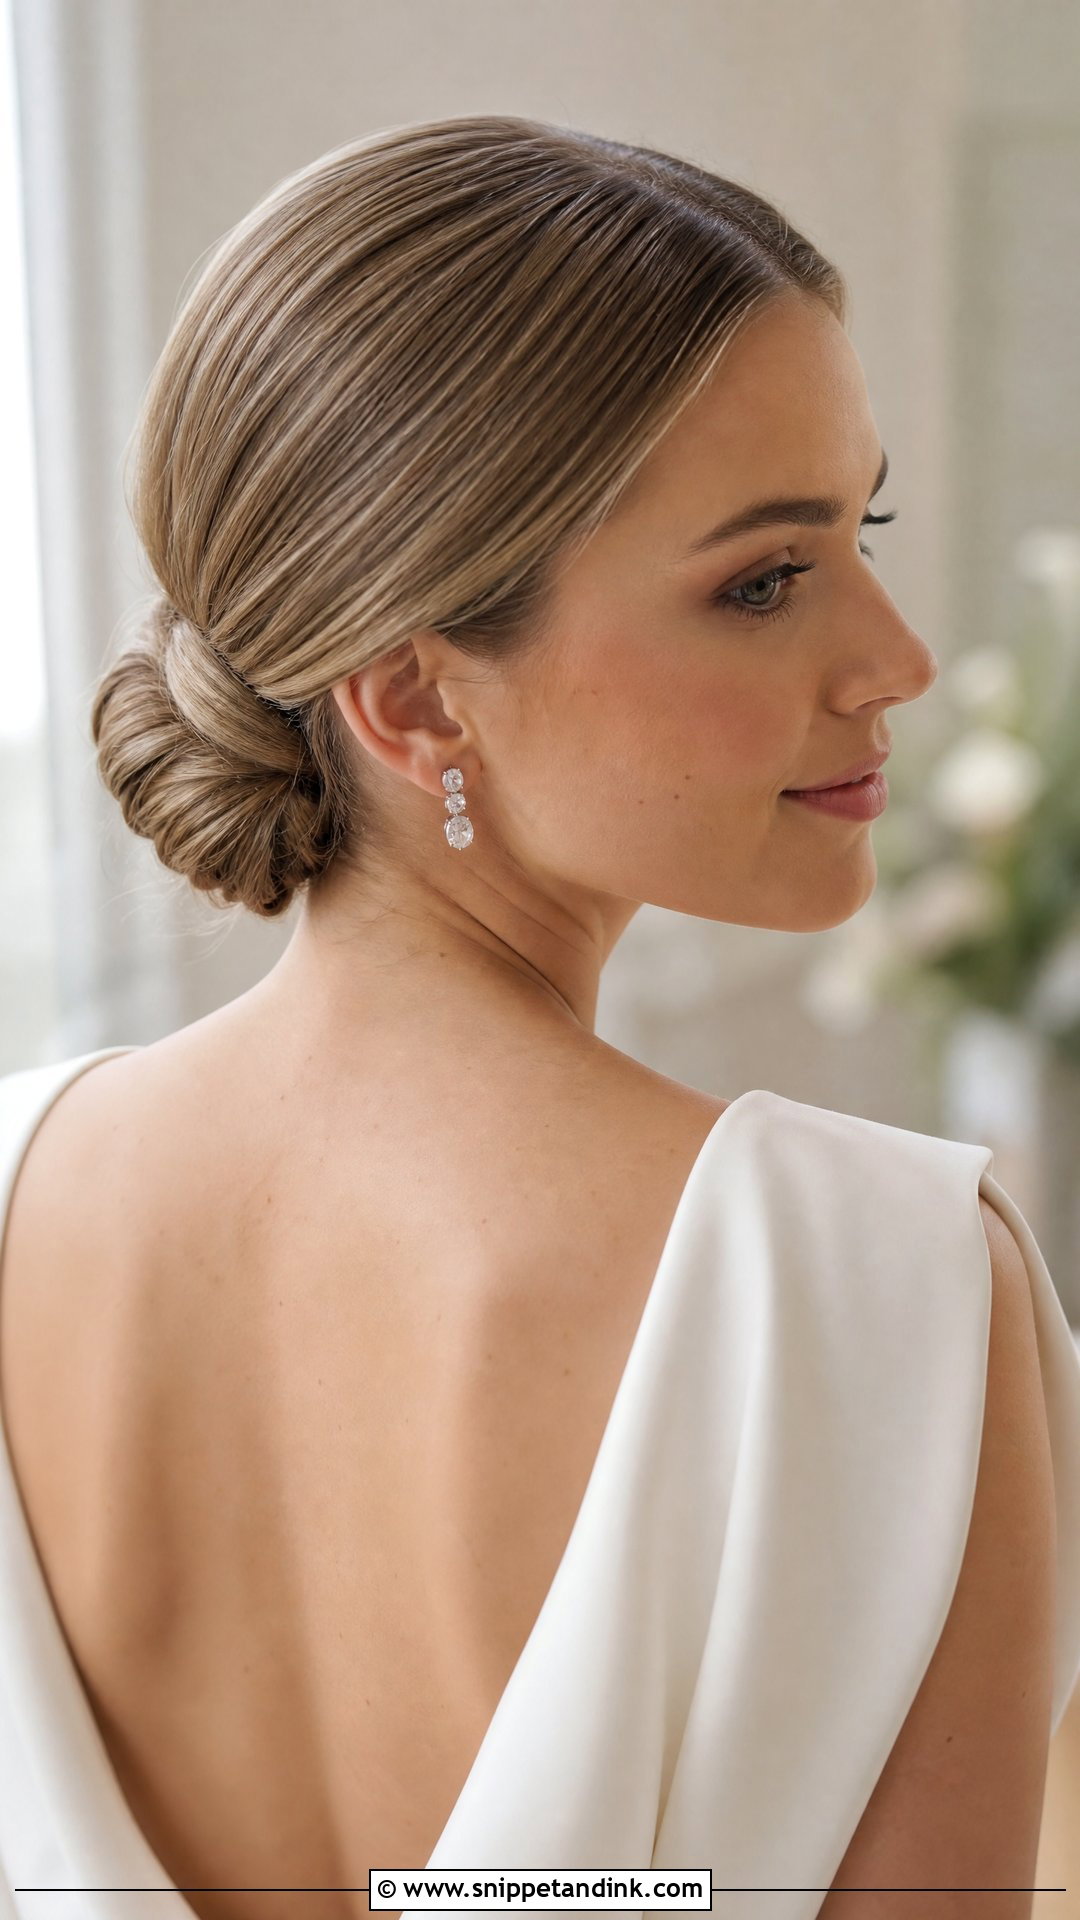
A low bun with a clean center part gives you the most balanced front view of anything here. The part has to be straight, so I draw it with a tail comb from the bridge of the nose back, not by eye. Then the hair sweeps smoothly to a soft knot at the nape. You can keep it sleek or add a little texture at the sides. It suits both simple and ornate gowns and stays put all day.
12. Curly Hair Half Up Style
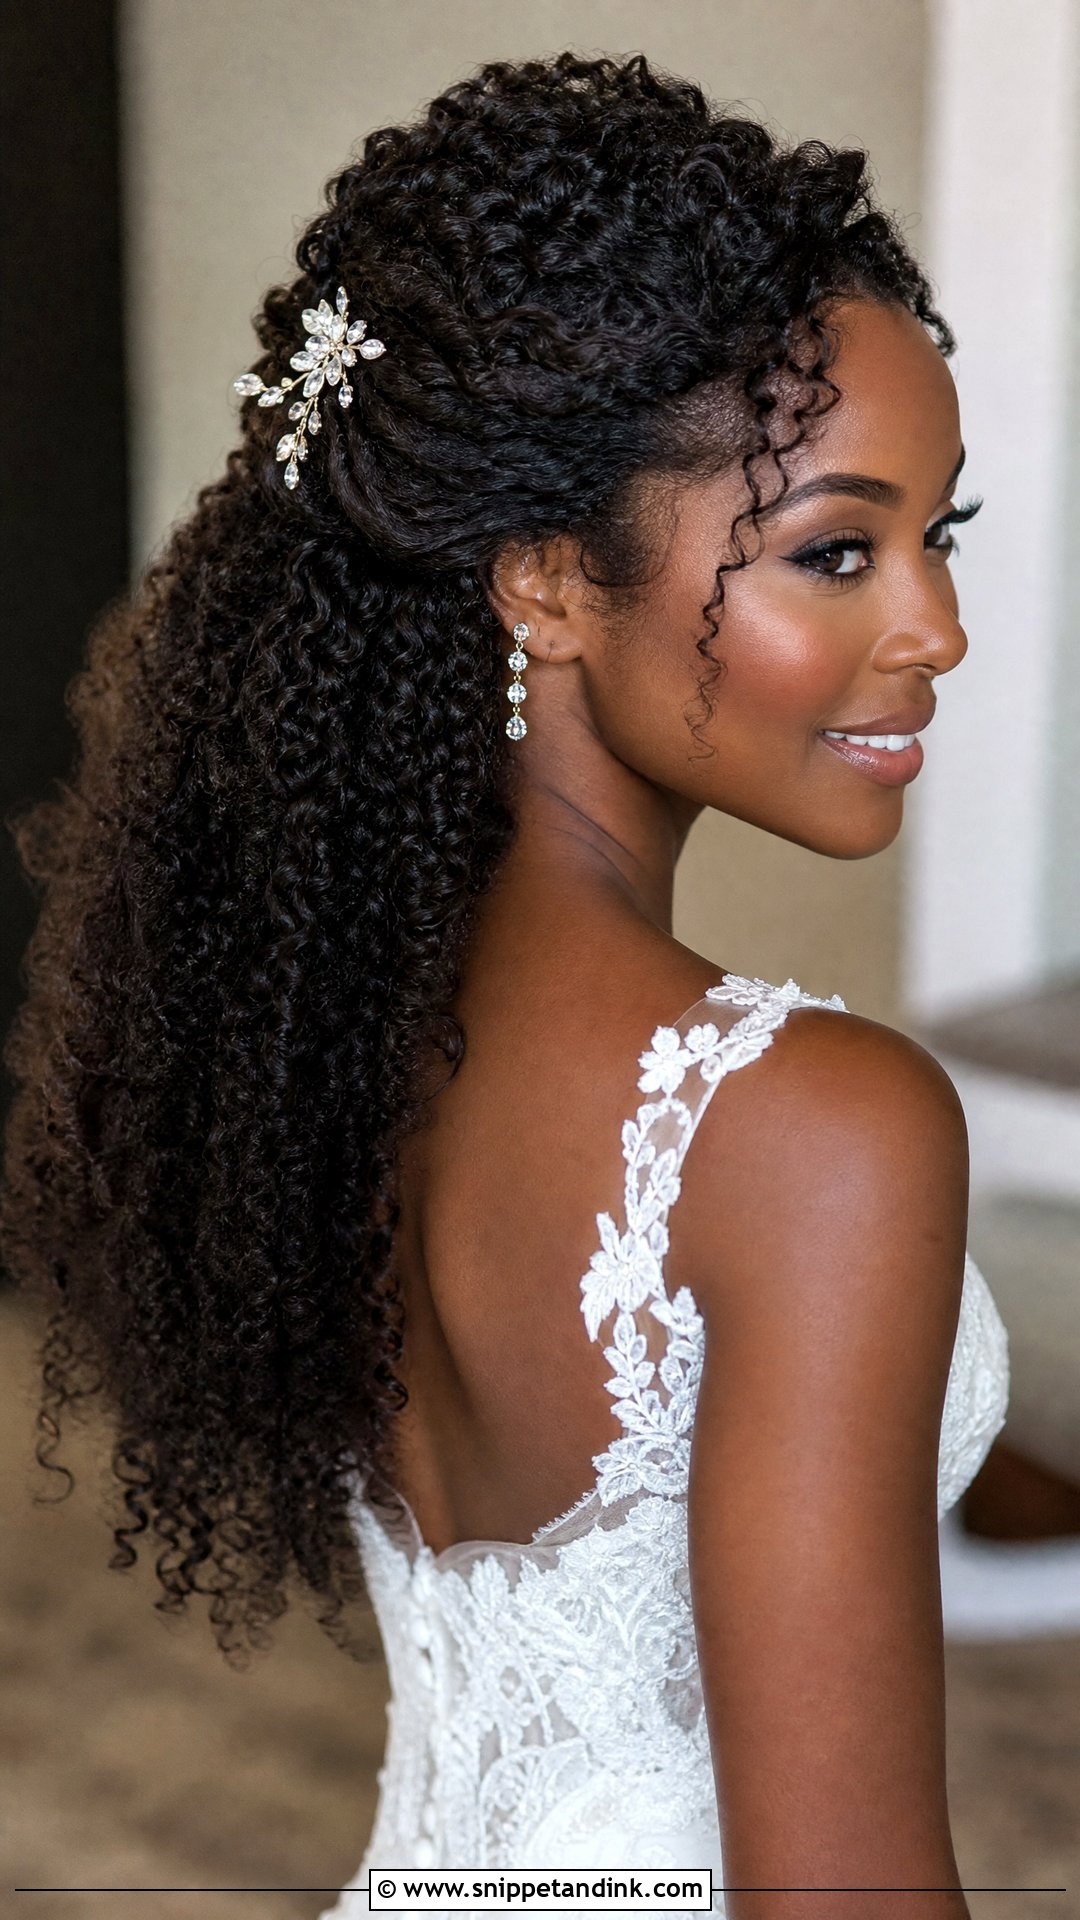
Pinning the top section back shows your face while curls bounce freely below, and I always style curly hair in its own texture instead of reshaping it. From the front, volume at the crown adds height. The curls shrink as the day warms, so I set the pinned section slightly lower than it looks right at first. A sparkly pin or fresh flowers finish it. It suits curly and coily brides and looks full of life in photos.
13. Side-Swept Curls
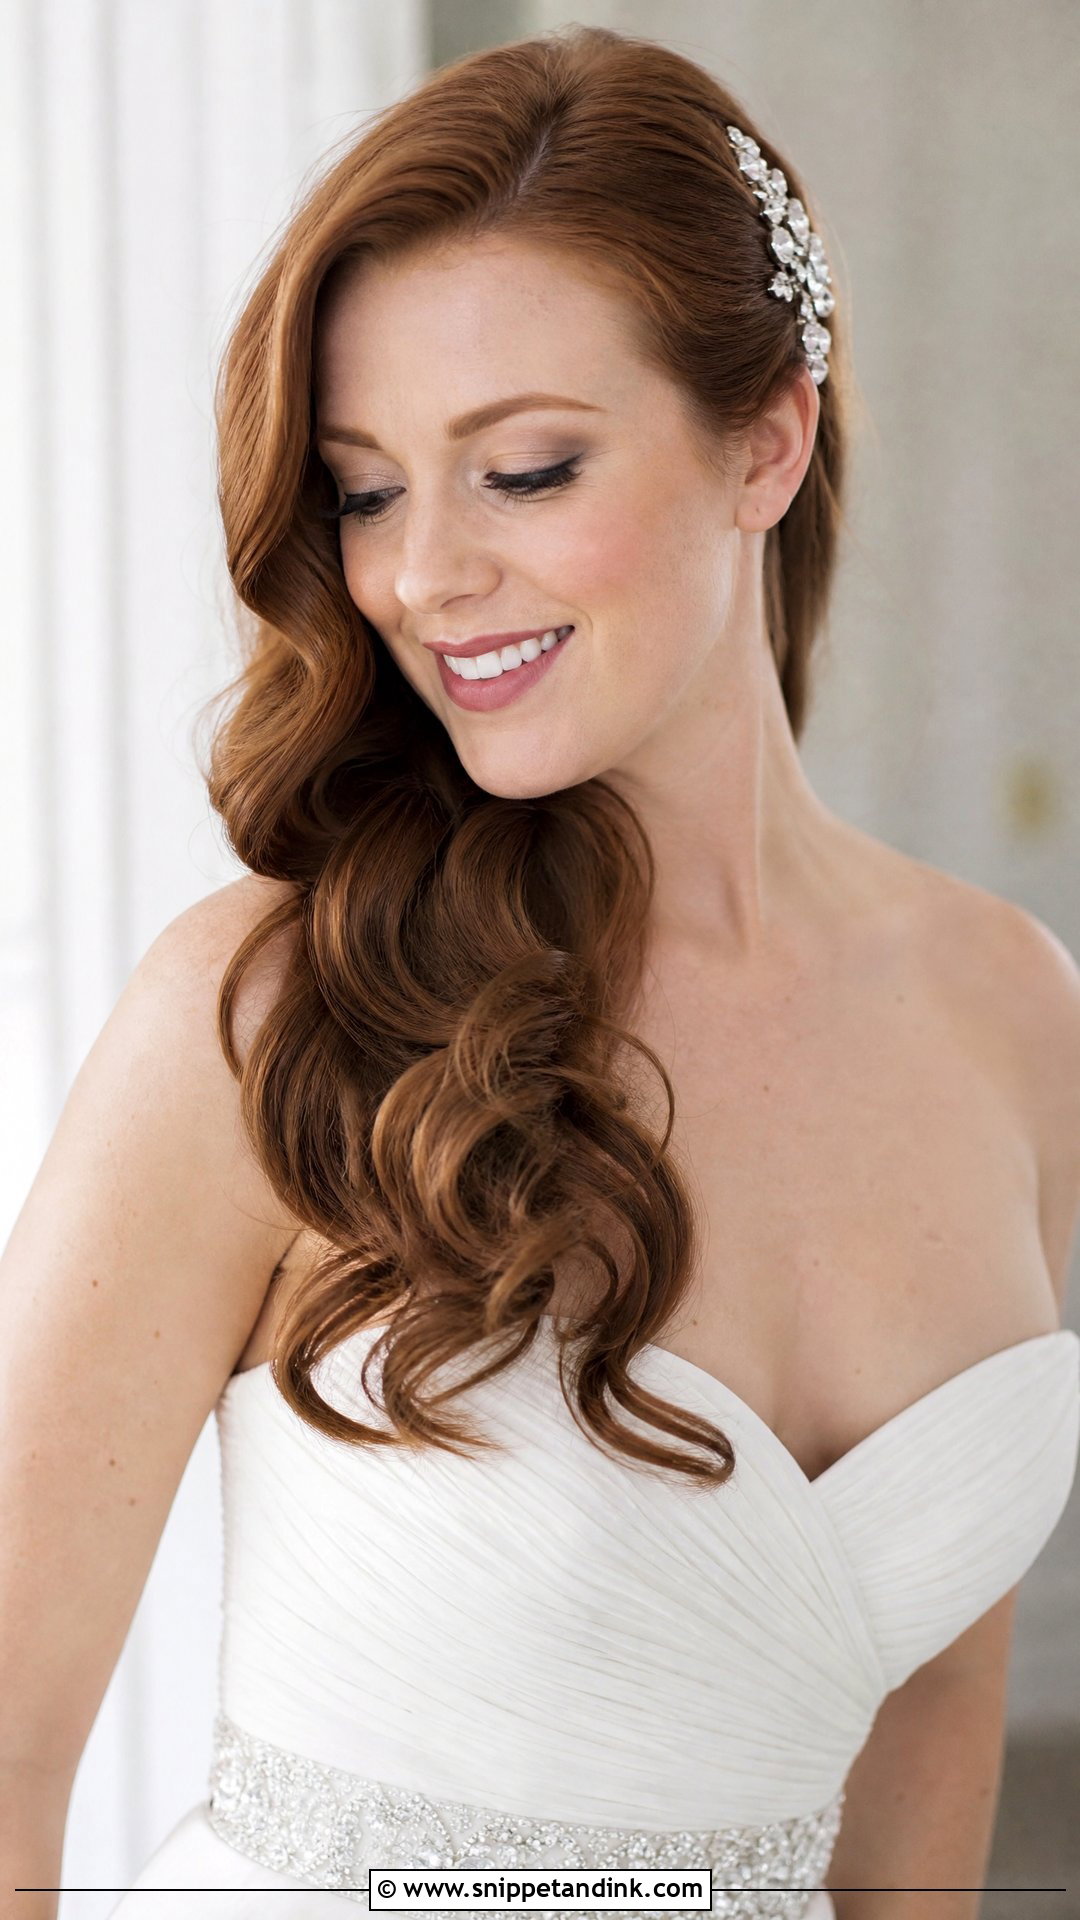
Side-swept curls drape over one shoulder, so from the front you see the volume on one side and bare neck on the other. It’s a strong match for strapless and one-shoulder gowns, provided the curls fall on the side opposite the shoulder strap. The deep part makes a sweep across the forehead; I pin it hidden behind the ear so it doesn’t drop into your eyes. A sparkly comb near the part catches light.
14. Polished Blowout
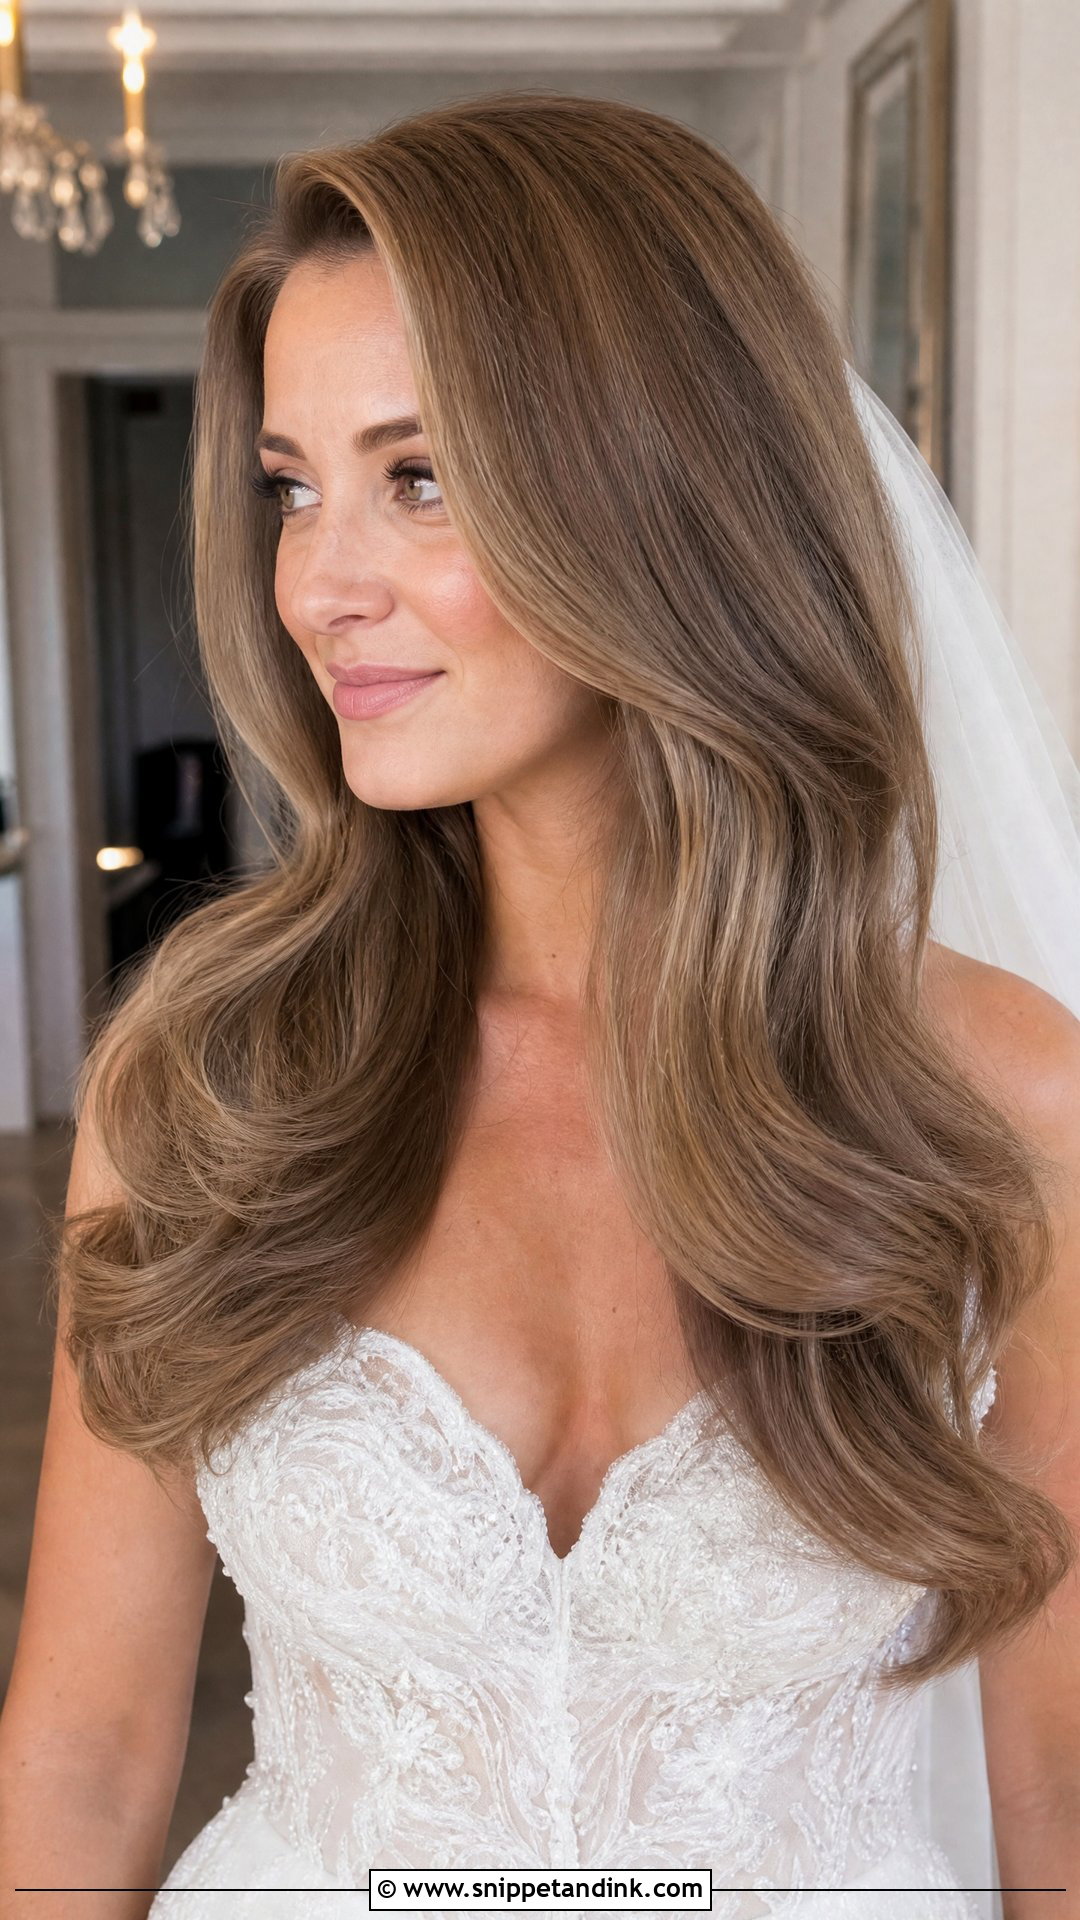
A polished blowout is the simplest look here, and the one that most depends on the stylist’s round brush. From the front, the curved ends frame the face with soft volume. It works with hair worn fully down and suits nearly every face shape, with a center or side part. The weakness is humidity: a blowout softens over a long day, so I set the ends in velcro rollers while makeup is done to lock in body.
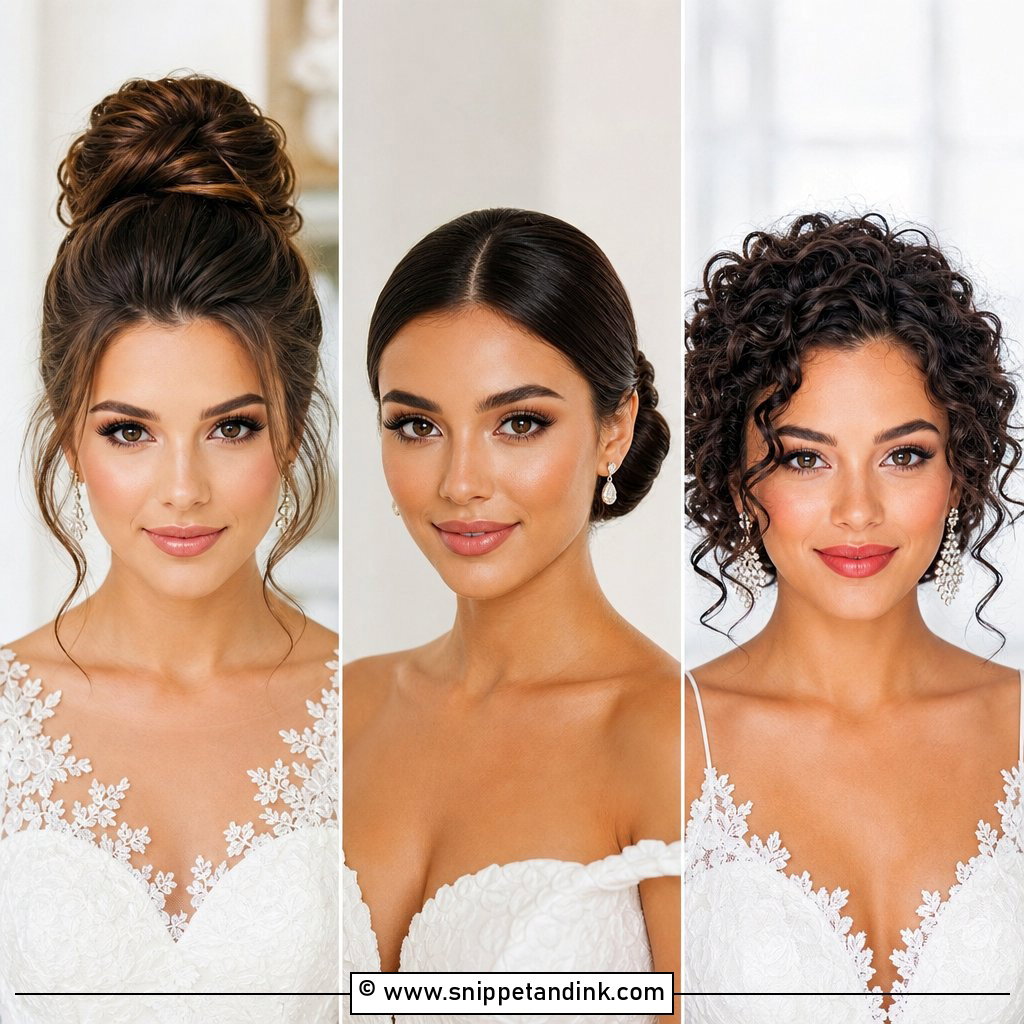
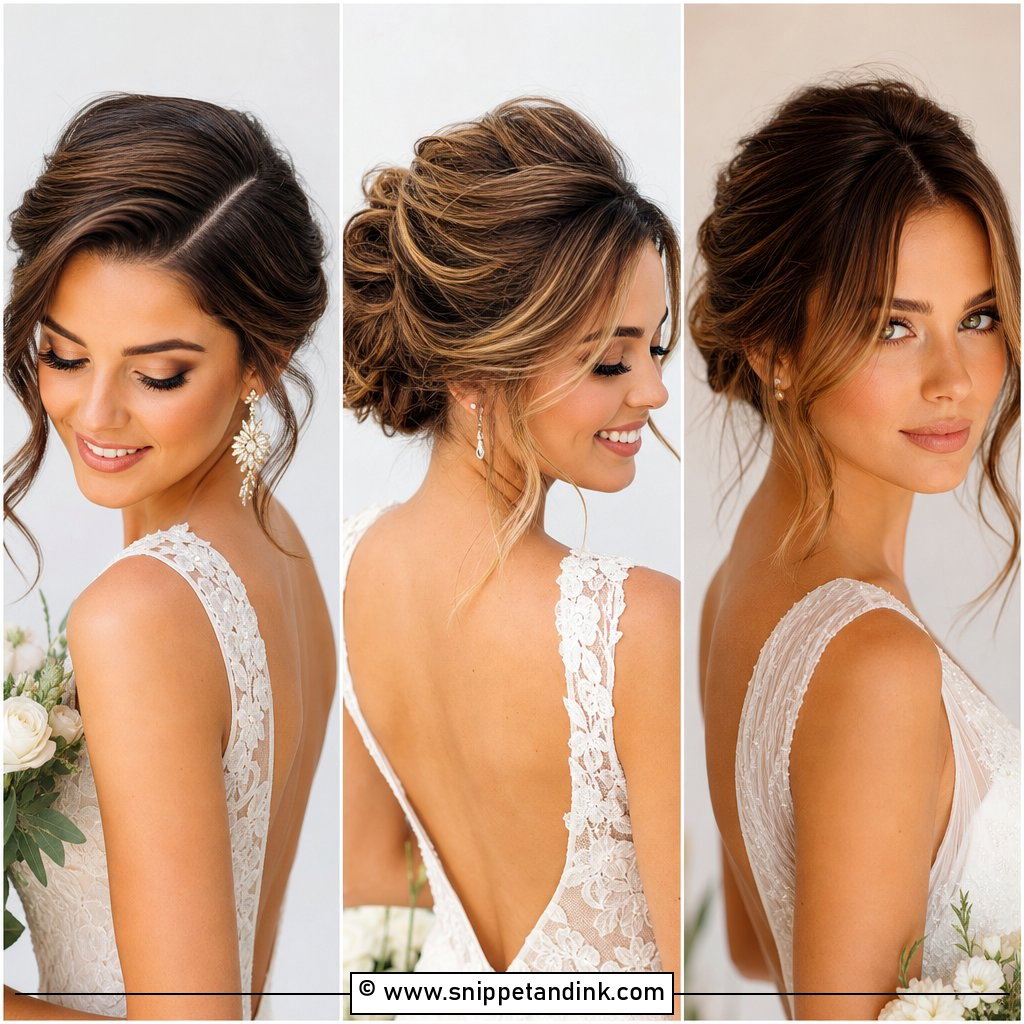
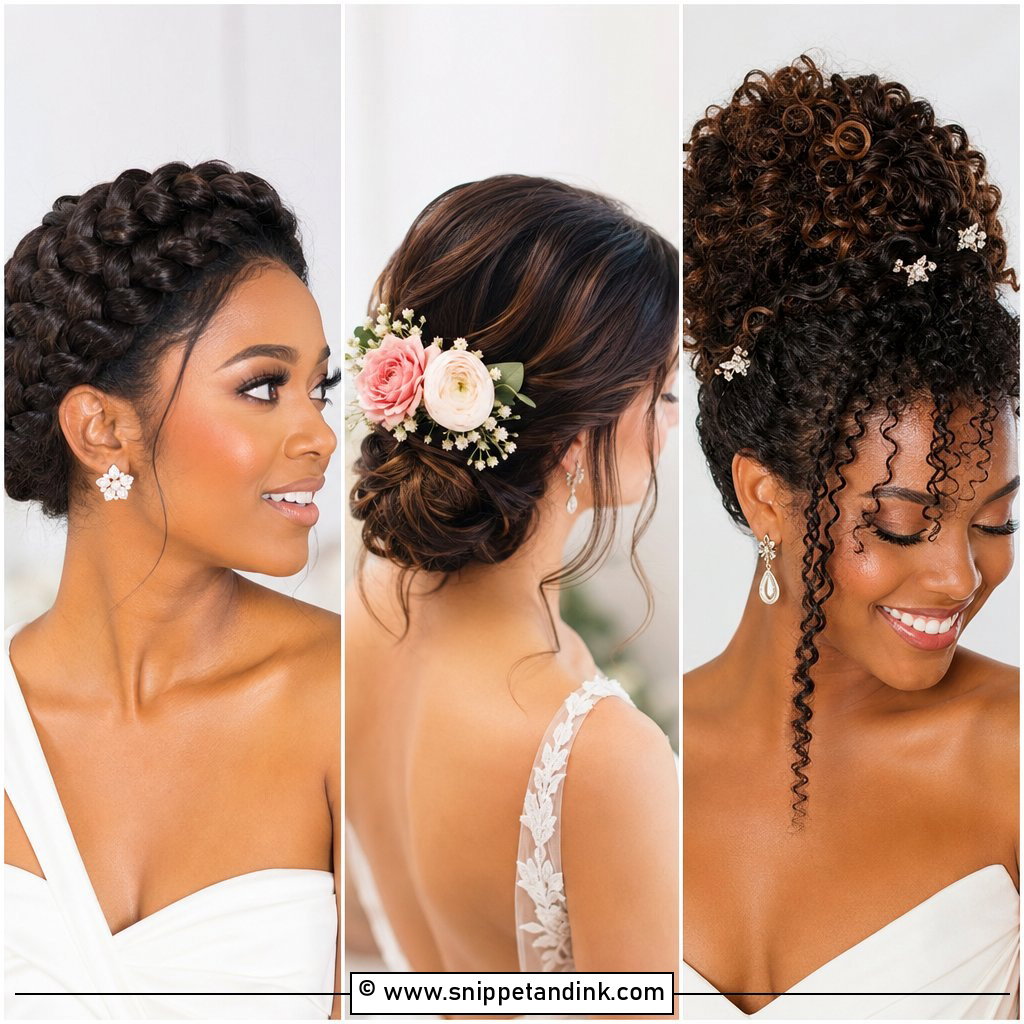
15. Twisted Updo With Volume
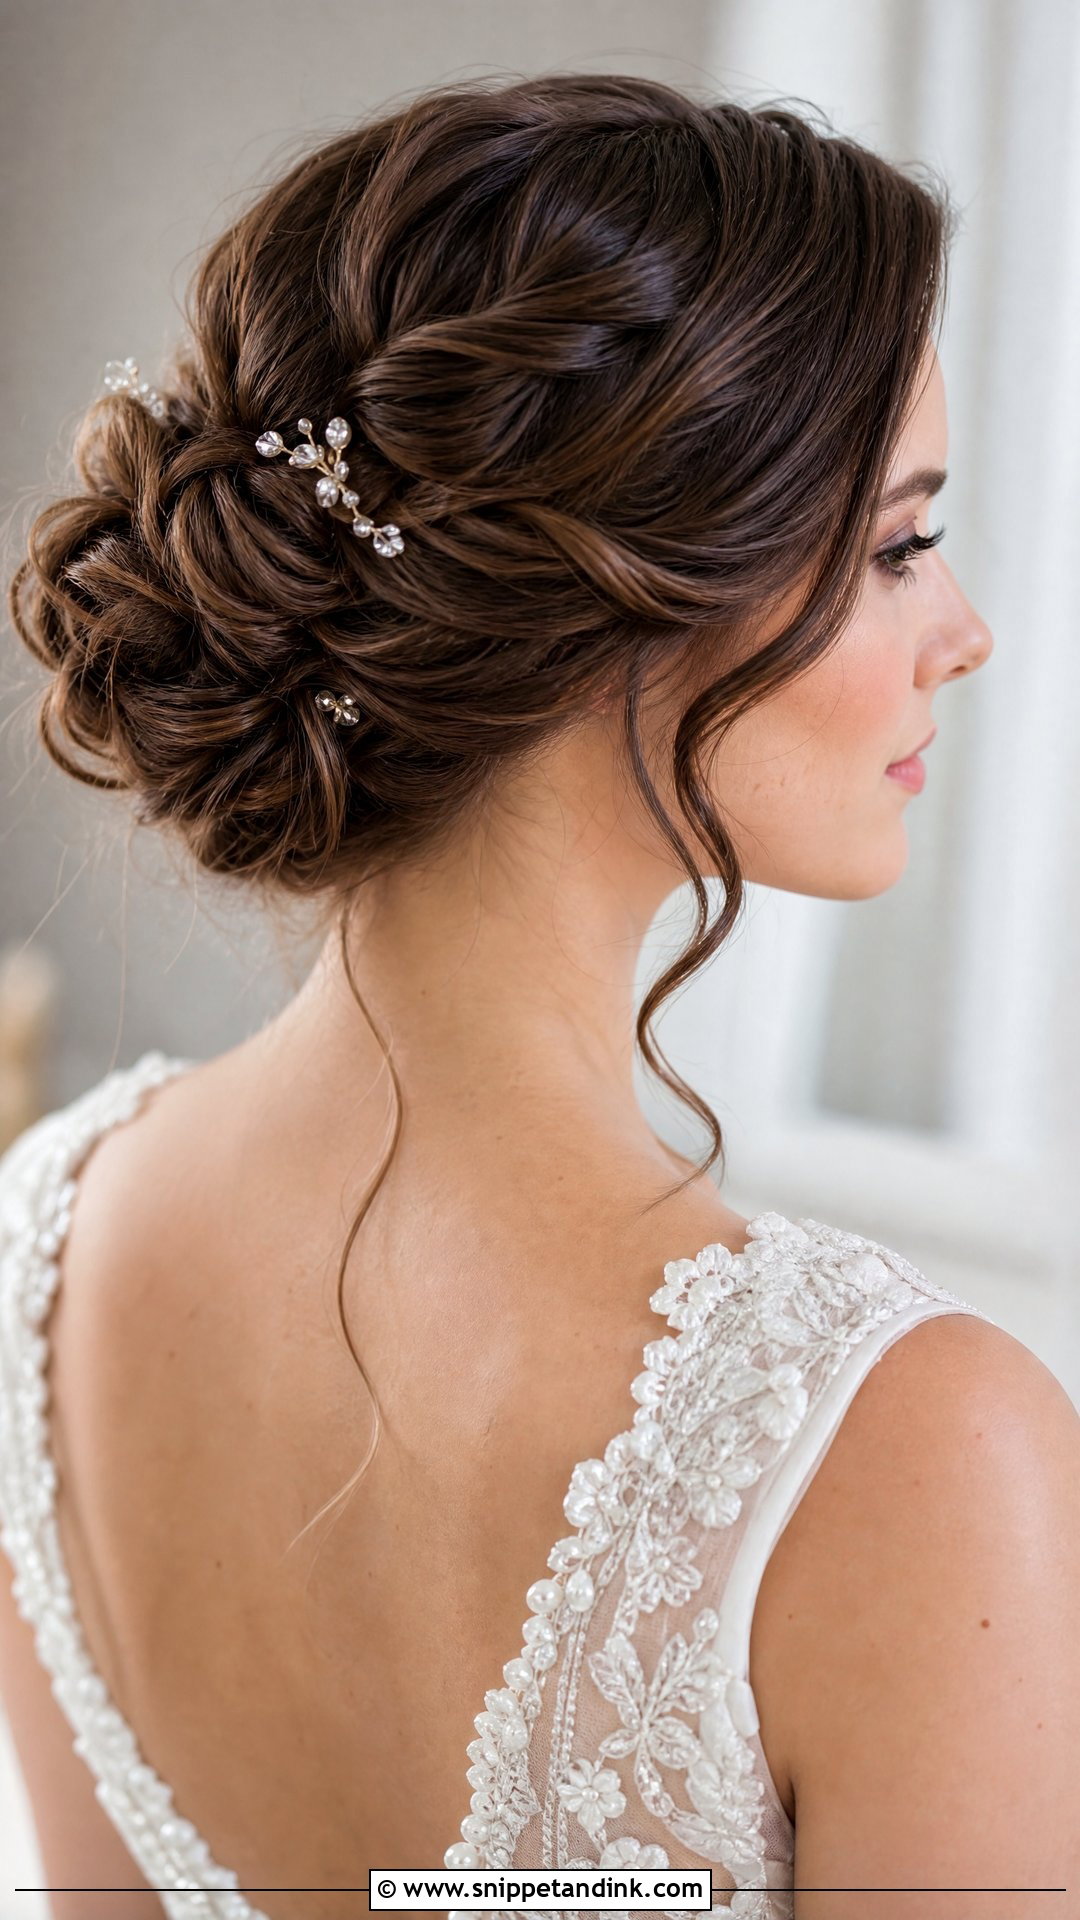
Soft twists gathered at the back with volume at the crown give you height and a lot of texture. From the front, you see the lift and a few loose pieces at the temples, while the twists themselves show mostly in profile. I twist each section and pin it into a small base so the structure holds through the reception. A statement veil or delicate hairpins sit well with it.
16. Loose Updo With Pearl Pins
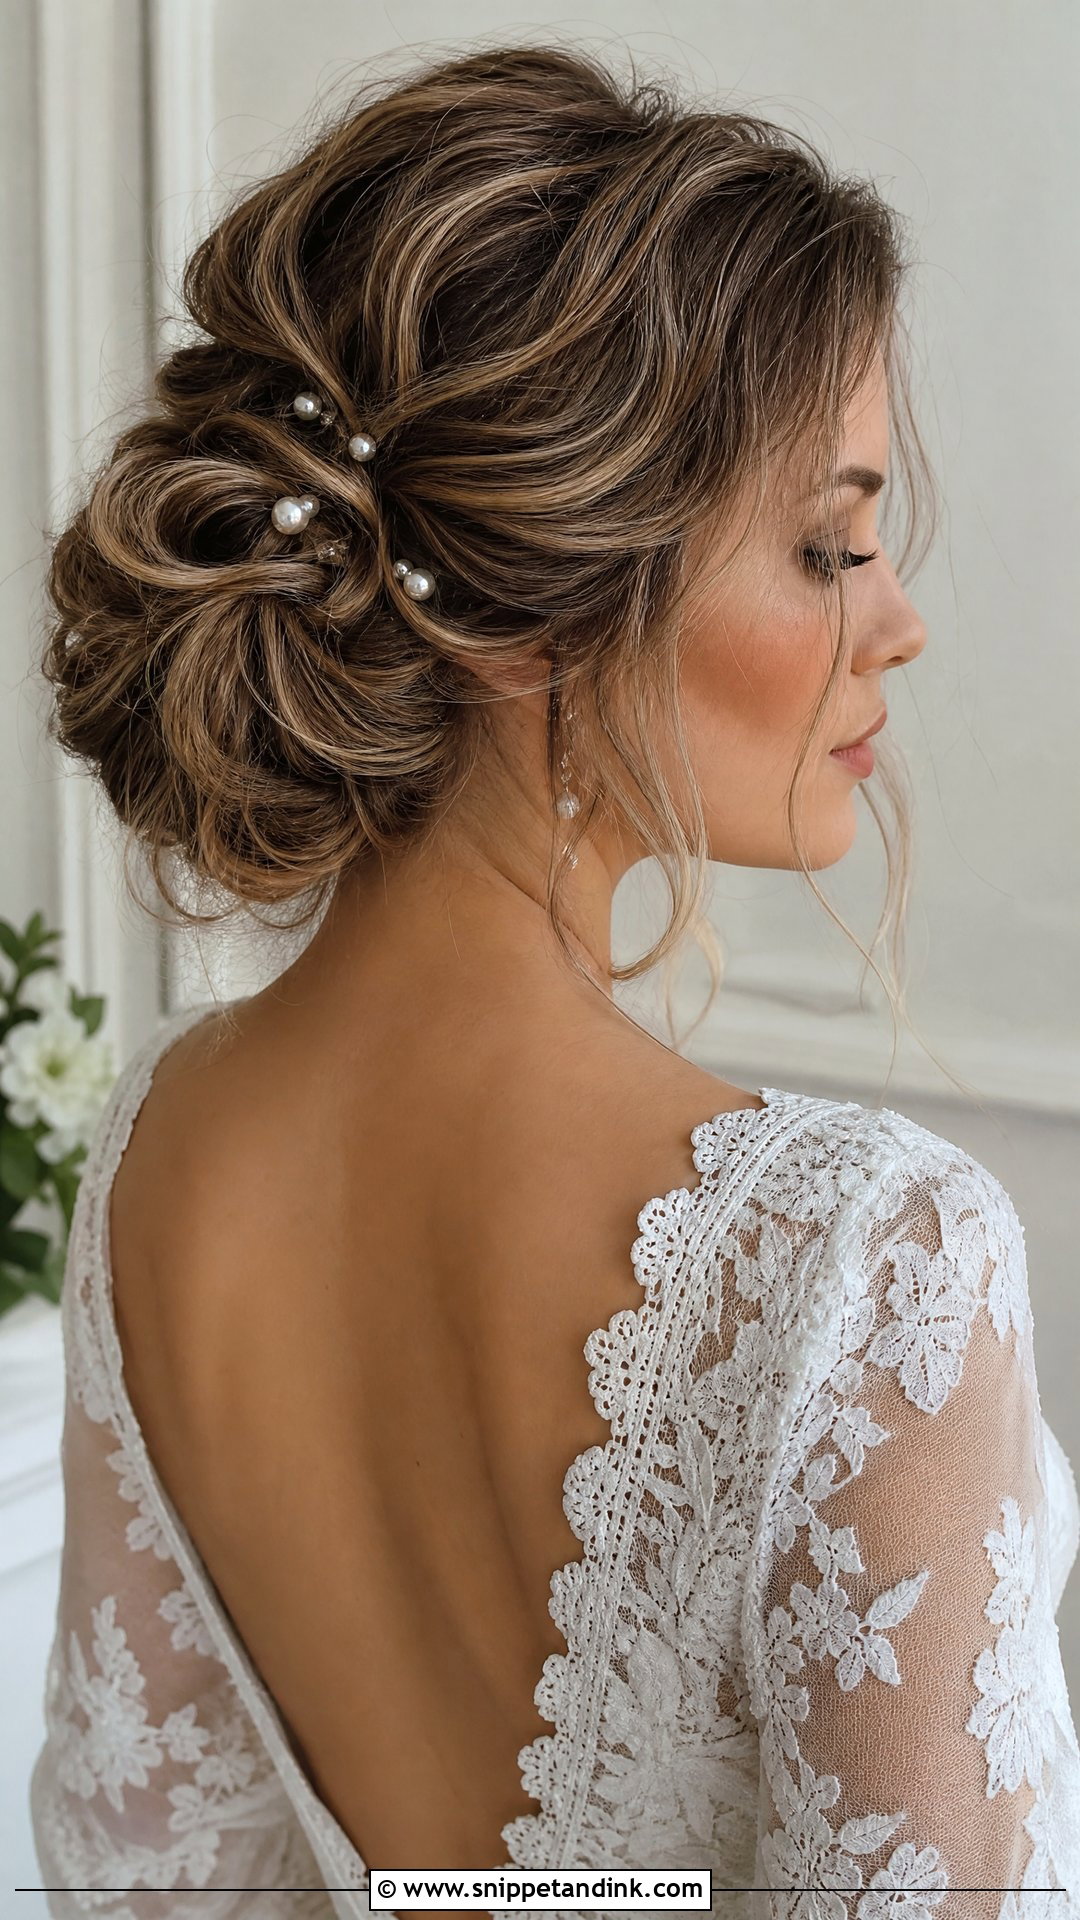
Pearl pins catch the light around a loosely gathered updo, which is why I place a few toward the front edge, where the camera sees them, and not only at the back. Wispy tendrils around the cheeks keep the look relaxed. It suits medium to long hair with some texture, and classic or vintage gowns. Choose pearls in the same shade as your earrings; cream and bright white side by side look mismatched in close-ups.
17. Chic Bob With Soft Waves
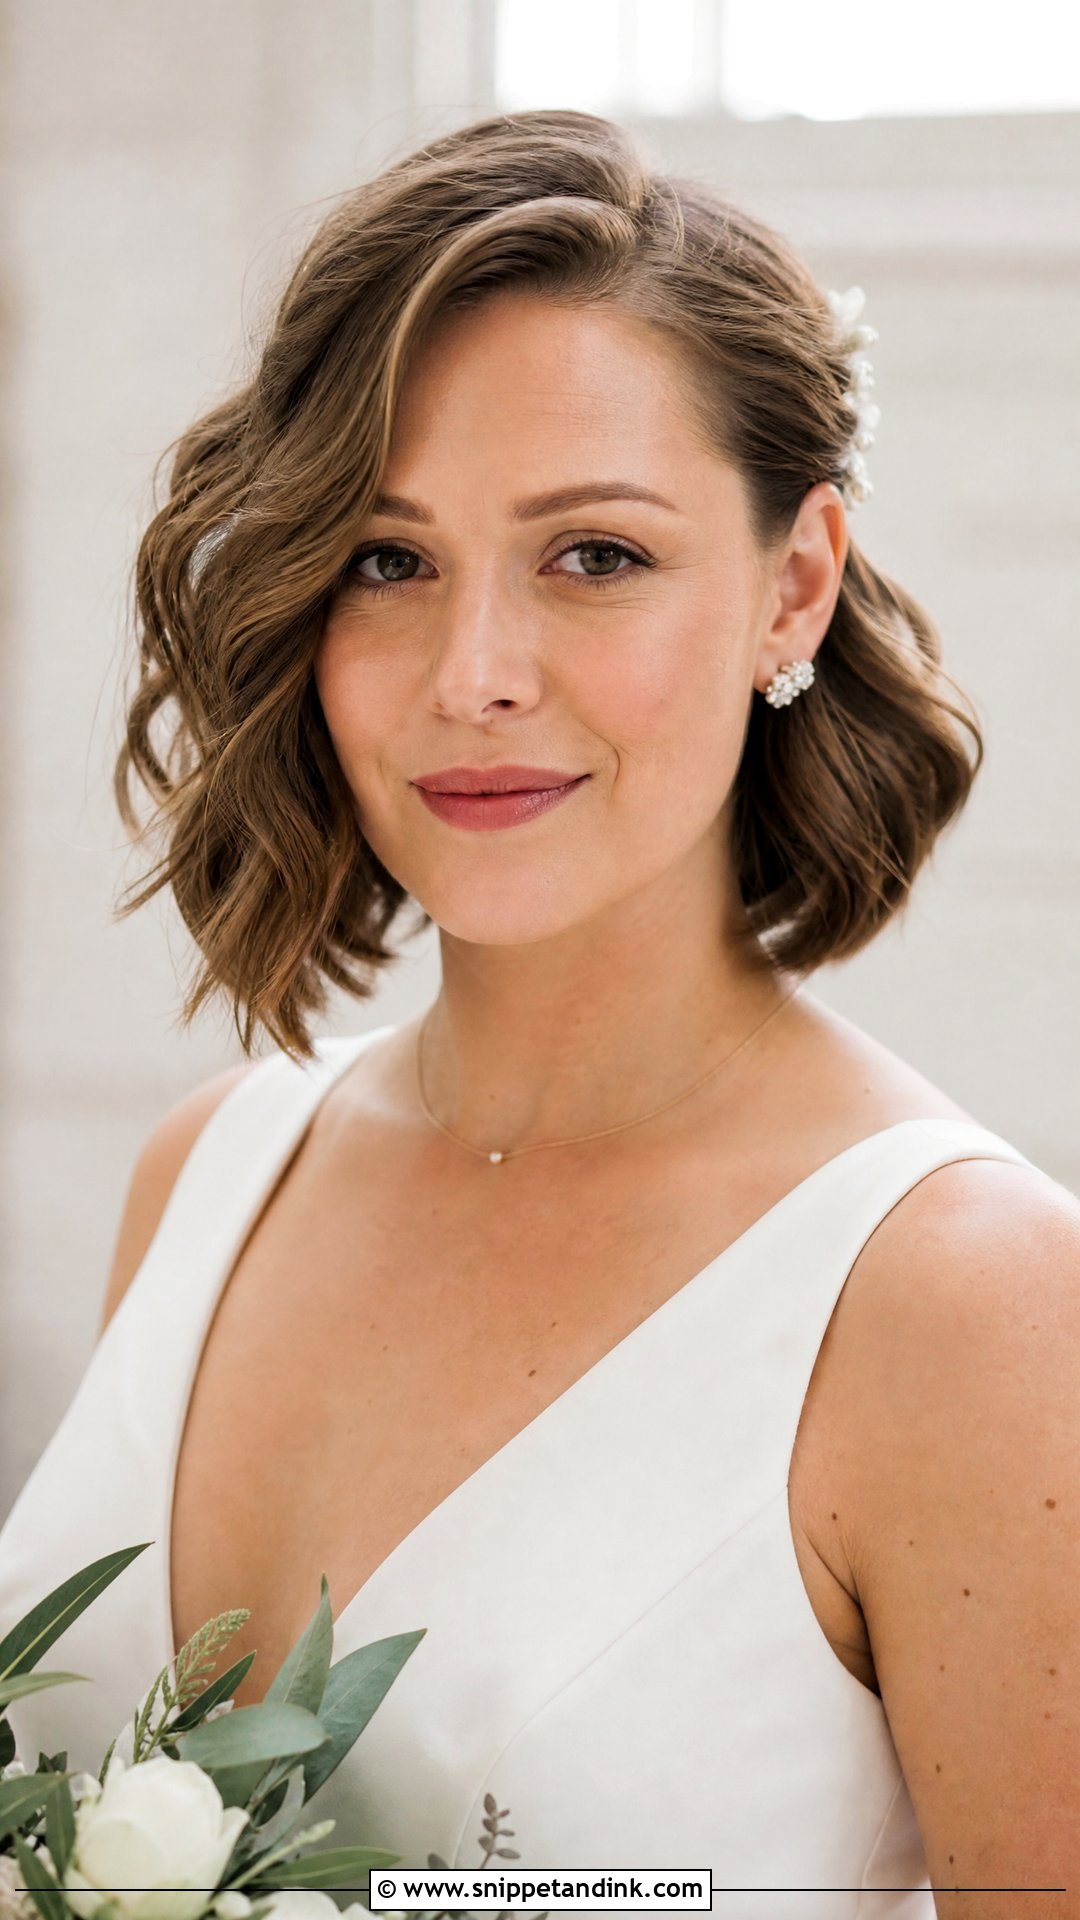
A bob with soft waves shows a lot from the front because there’s nowhere else for the hair to go. I wave it with a one-inch wand, leave the ends straight, and check both sides in the mirror for balance. Tuck one side behind the ear for asymmetry, or add a small clip. Minimal and contemporary gowns suit it, and for shorter hair it’s one of the easiest wedding styles to wear.
18. Wavy Hair With Side Part
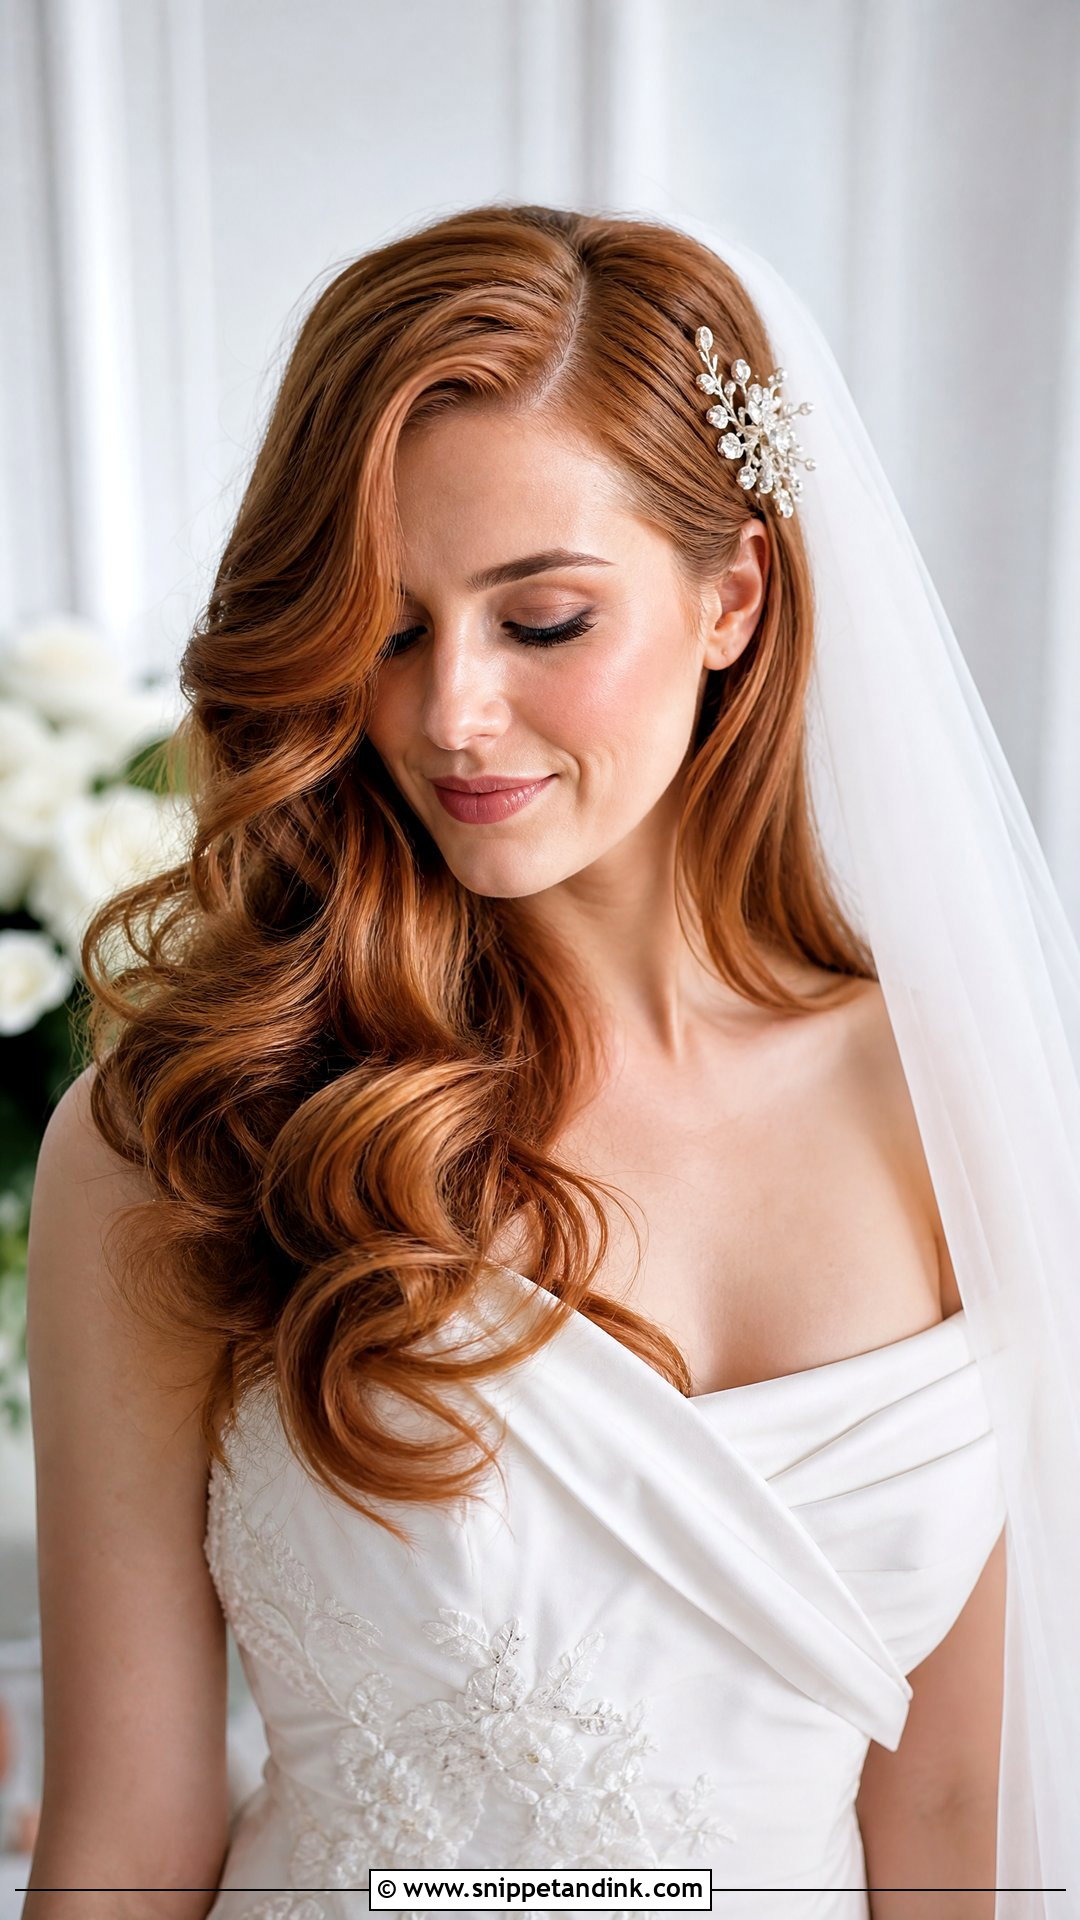
A deep side part sweeps across the forehead and frames one side of the face. From the front, the asymmetry flatters many face shapes because it breaks up the width. I set the part while hair is damp and blow-dry against it, so the lift lasts. Worn down, the waves move with you. The soft, voluminous finish holds better if you keep a small brush and spray with you for the evening. A sparkly pin near the part adds detail.
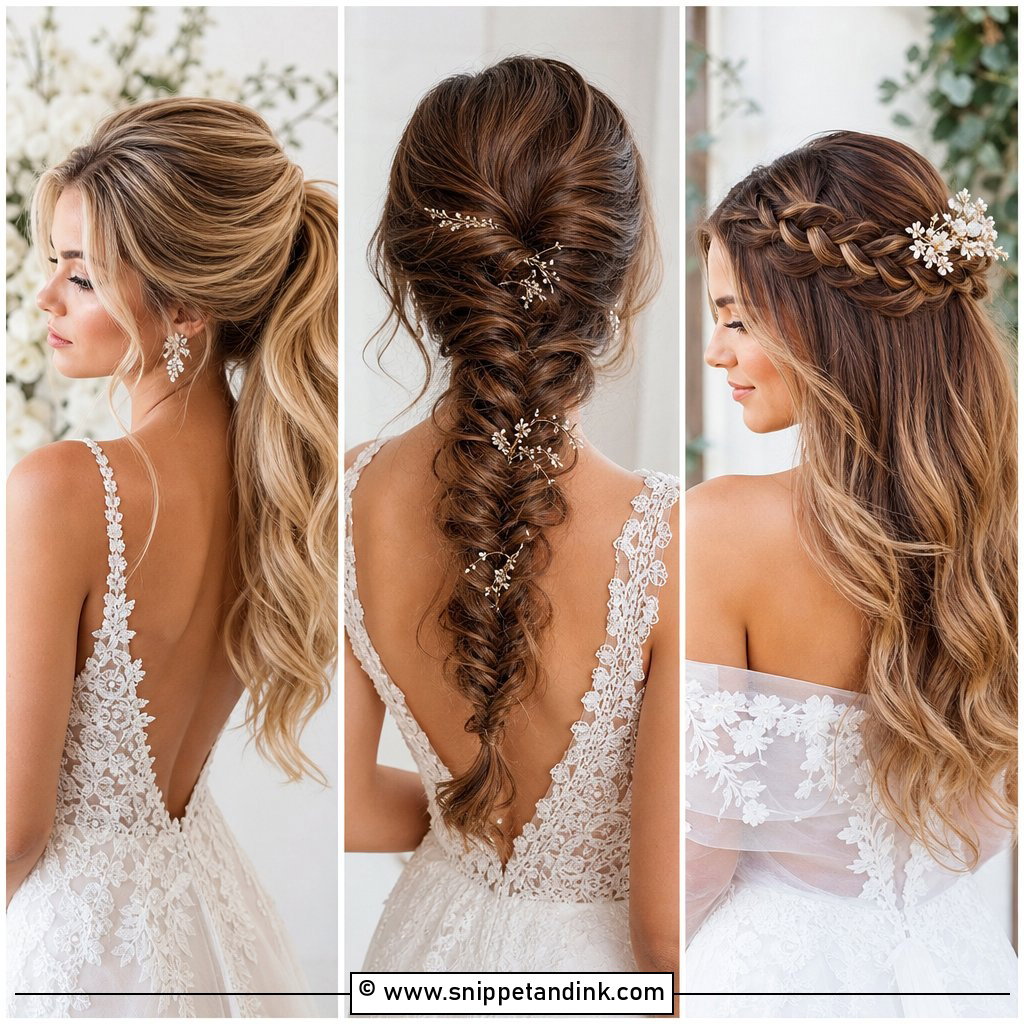
19. Sleek High Ponytail
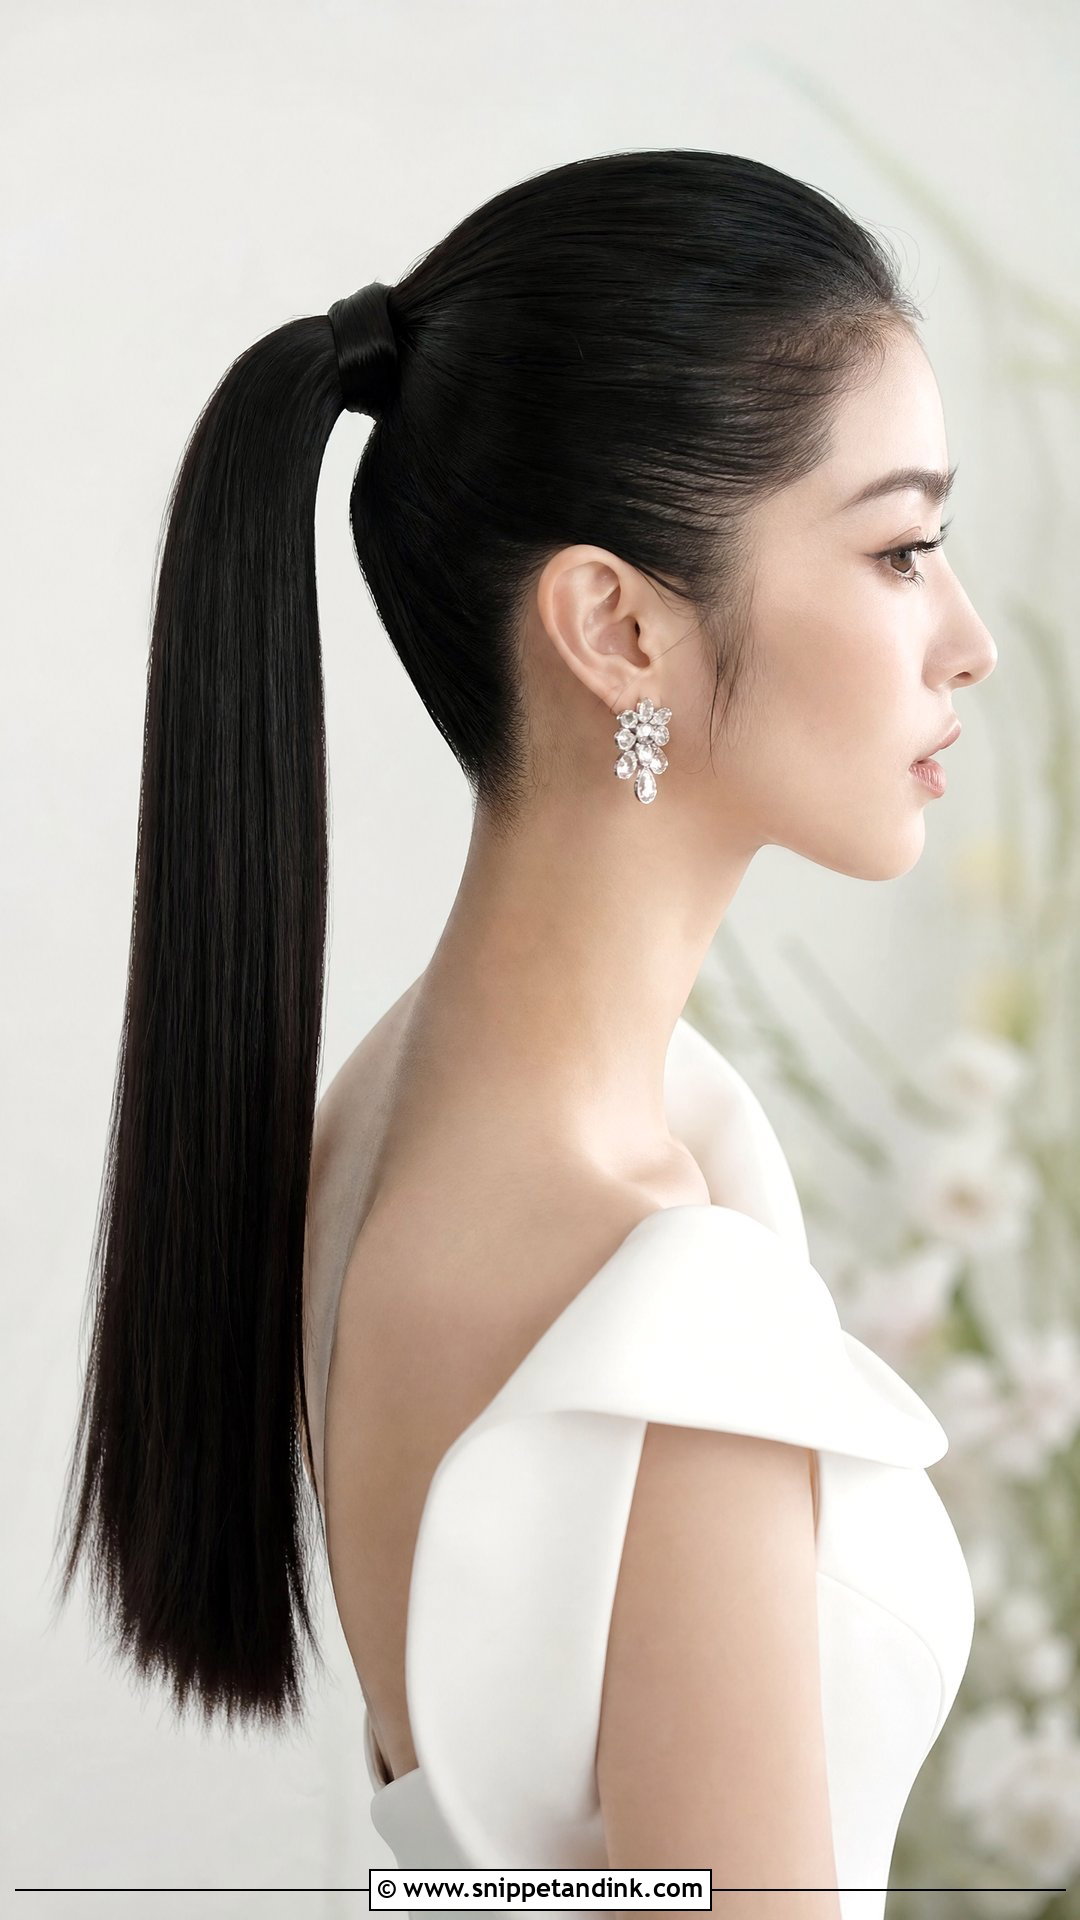
A sleek high ponytail pulls everything up and back, lifting the brows and cheekbones slightly in the process. From the front, it looks clean and bold. I wrap a section of hair around the base to hide the elastic, and anchor the pony with two crossed pins underneath so it doesn’t droop by evening. Statement earrings and a sculptural gown suit it. If your scalp gets sore with tight styles, wear it for a few hours after your trial before deciding.
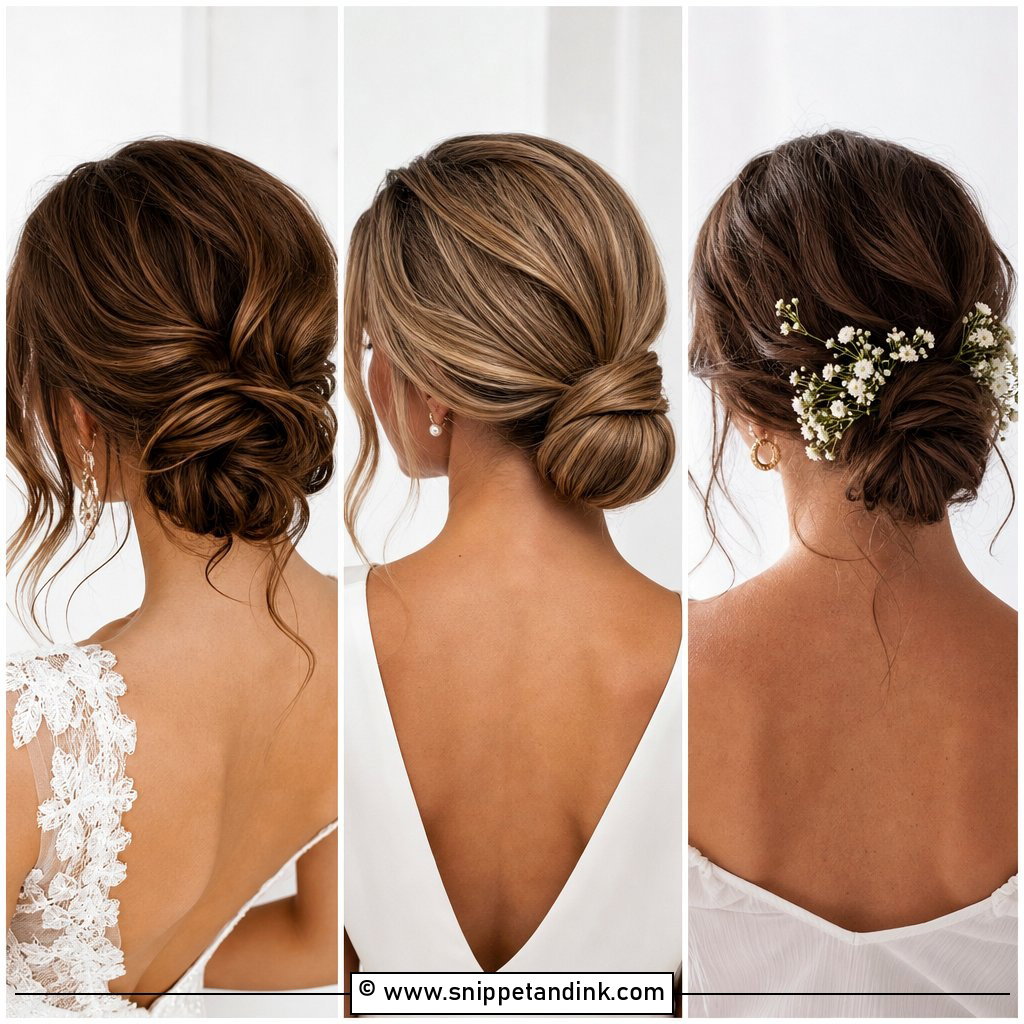
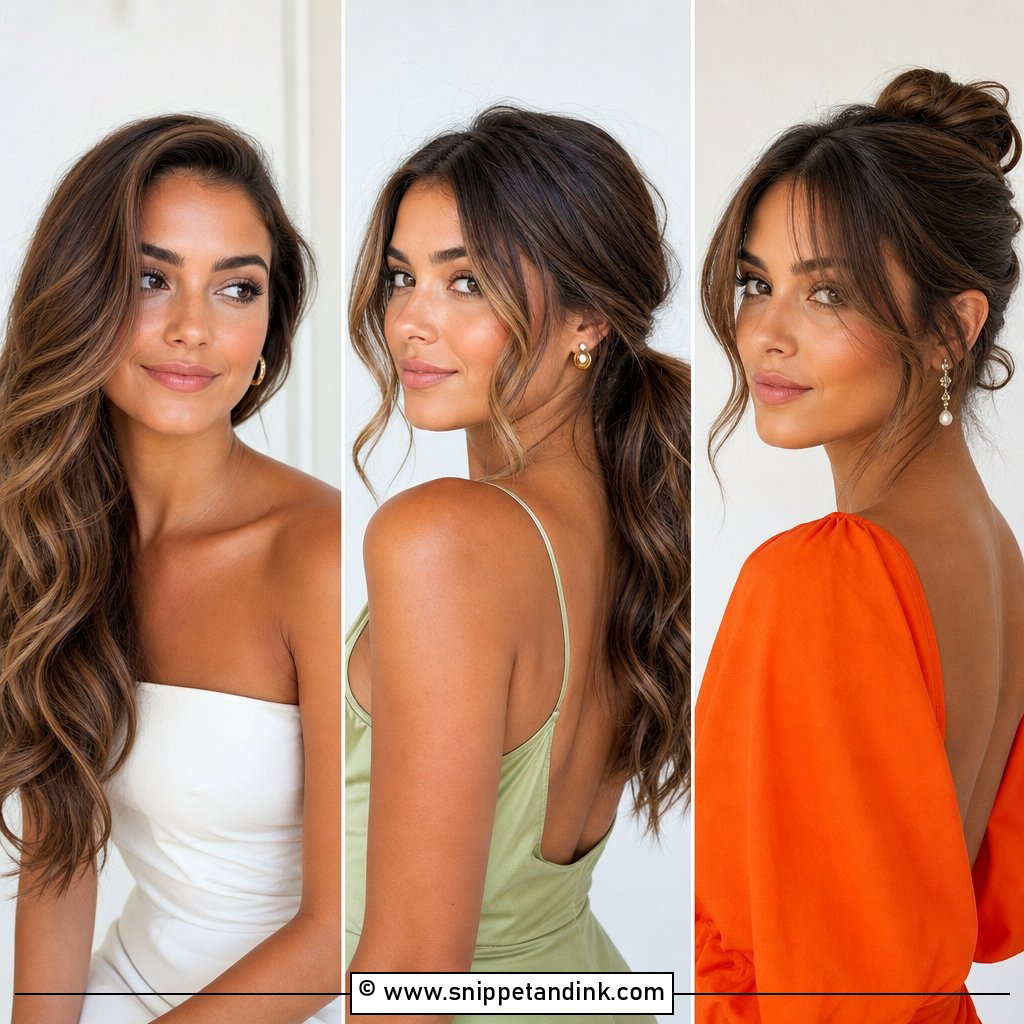
20. Undone Bun With Flyaways
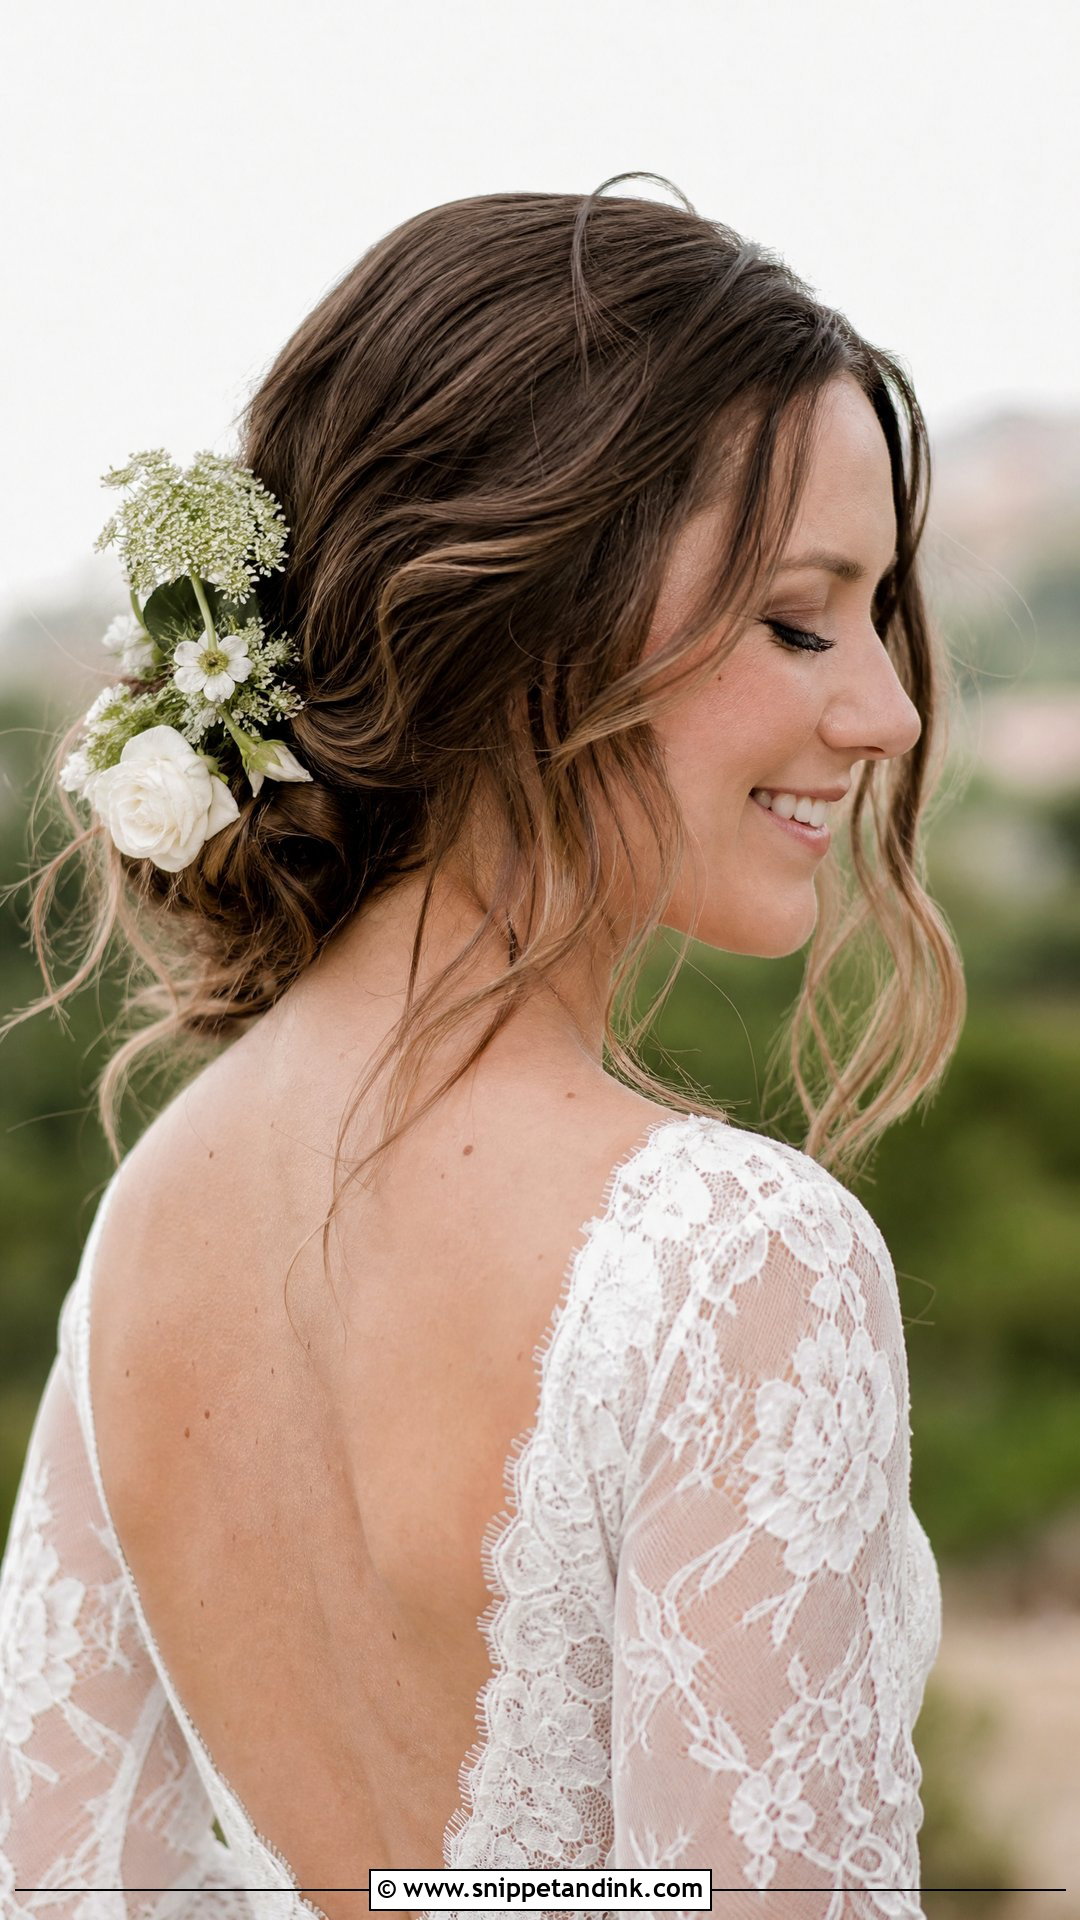
An undone bun sits low with plenty of volume and a few deliberate flyaways. From the front, those flyaways and the face-framing tendrils are the whole effect, so I pull them while you’re looking straight into the mirror, not from behind. It pairs with a boho or garden gown, and fresh flowers or delicate pins can go in the bun. It’s relaxed and doesn’t need much maintenance.
Face-Framing Pieces Change Shape by Evening
The pieces around your face move the most over a long day. Warmth, hugs and tears all work on them. Here is how I handle that.
- I curl tendrils with a smaller barrel than the rest of the hair, because they relax faster and need to start tighter.
- I leave them a touch longer than looks ideal in the morning; they lift as they relax.
- Fine hair gets a light texture spray before curling, so the curl has something to grip.
- For the day, your kit should include a small curling iron or a few velcro rollers, and someone who can use them. A two-minute refresh before portraits makes a real difference.
- If the pieces are collapsing and there’s no time, pin them back behind the ear. A clean front looks much better in photos than a limp tendril.
Parts shift too. Hair falls back to its natural part after a few hours, so if you’re wearing a part on the opposite side to usual, set it while damp and expect a small touch-up in the afternoon.
Let the Front View Decide
When you shortlist your styles, look at them face on, the way your partner will see you at the altar. Then think about your dress, your venue, and the weather. Book a trial with your stylist and take a straight-on photo in daylight and with flash before you commit. Bring your veil or headpiece if you have one, since both change the front view more than you’d expect. Wear the version of yourself you recognize, and your photos will look right for years.
You'll Like These Ideas:


Leave a Reply