
A side style does something a centered updo can’t: it gives the face one open side and one framed side, so the camera gets a cheekbone and an earring on one profile and movement on the other. I like them for brides who feel exposed with everything scraped back, and for guests who want a finished shape without a full updo. The catch is that asymmetry is heavier on one side, so the pinning underneath matters more than people expect. Below are fifteen versions I’d actually put in front of a client, from loose curls to a structured updo, with notes on which hair each one suits and where it tends to fail.
Deciding the Fall Side Before Your Trial
The first thing I check is not your face shape. It’s your crown. Most people have a cowlick or a natural parting that pushes hair one way, and if I fight it, the style keeps drifting back by mid-afternoon. So I usually start with the side your hair already wants to fall toward, then confirm it against two other things.
- Your dress: hair falls best on the side opposite a single strap or a heavy shoulder detail, so the two don’t crowd each other.
- The ceremony: find out which way you’ll be standing and which side guests and the aisle camera will see during the vows. Many brides want the open side, with the earring, facing their partner.
- Your earrings and any visible scar, mole or hearing aid you’d rather show or soften.
If all three point in different directions, I’d go with the crown. A style that sits naturally will outlast one that looks right only in the first hour.
One Heavy Side and a Tired Scalp
Asymmetric styles put all the weight on one side of the head, and that’s where the discomfort shows up after six or seven hours. My fix is to anchor the weight across the head, not just on the heavy side. I place a hidden foundation, often a small braid or a pair of crossed pins near the center back, so the load is shared.
At the trial, wear the style for at least an hour and tell me honestly if one spot aches. Moving a single pin can solve it. On the morning, ask your stylist to leave a couple of pins in your bag so a loose section can be reset after the ceremony without unpicking anything.
1. Side Swept Wedding Curls
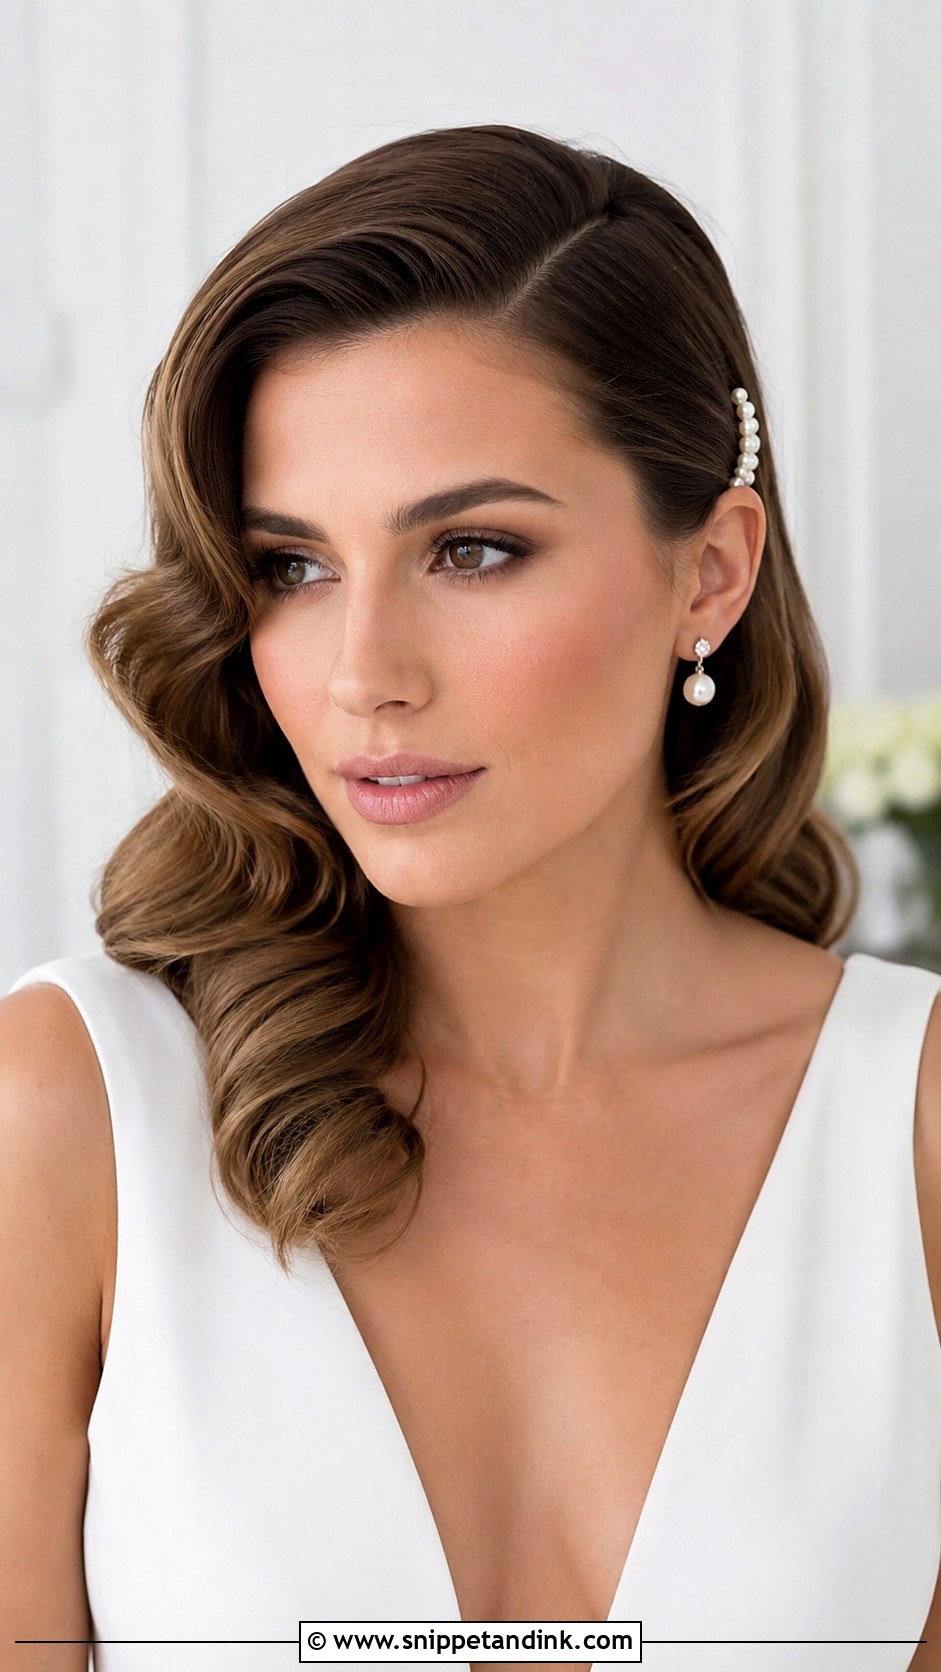
Curls swept over one shoulder are the version I get asked for most, and the one that drops fastest if the prep is lazy. I set each curl and let it cool fully in a pinned loop before brushing it out, because a warm curl pulled across the body loses half its bend within the hour. The shape sits nicely against strapless, sweetheart, off-shoulder, and one-shoulder necklines, since the bare shoulder balances the full one. Ask for brushed-out waves rather than ringlets if you want it to look current. The real work is hidden: two crossed bobby pins behind the ear on the heavy side carry the weight, and a deep part adds lift at the crown.
2. Side Ponytail Wedding Hairstyle
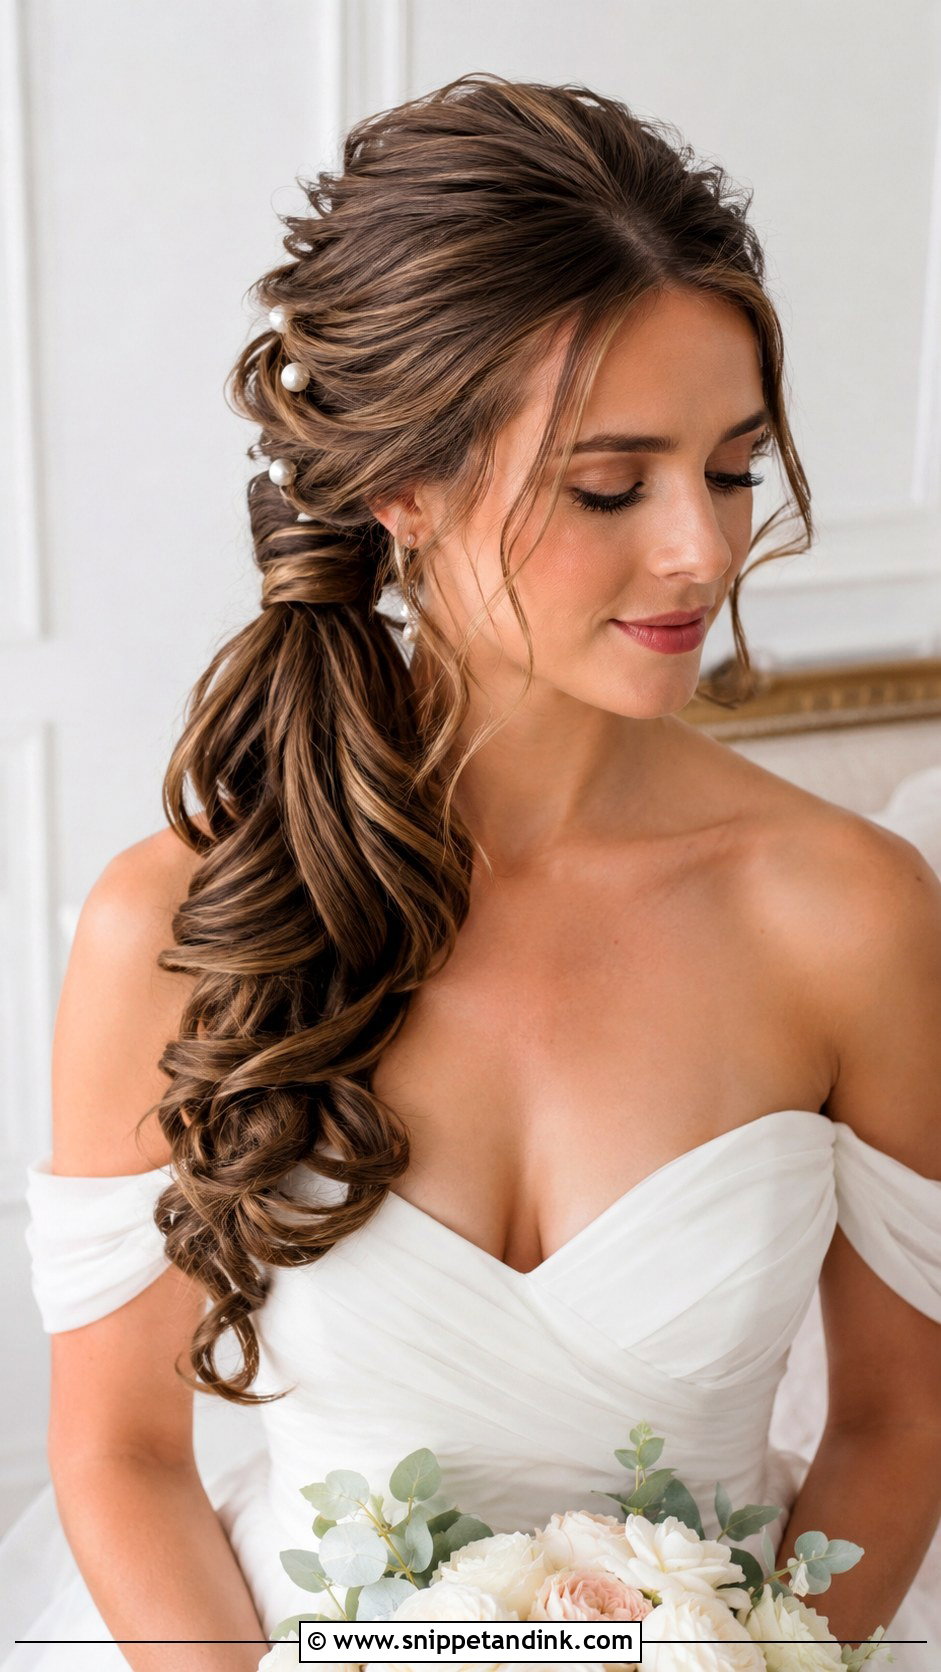
A side ponytail is my answer for the bride who wants her hair down in spirit but can’t stand it blowing into her lipstick. It keeps the length off the back of the dress while still giving movement over one shoulder. I secure it with an elastic first and then wrap a small section around the base, pinned underneath, so nothing shiny shows. The common failure is setting it too far forward: if the base sits under the ear rather than just behind it, it slides toward the front by the speeches. Outdoors, it’s one of the steadiest options I know, and a ribbon or small floral comb hides the base neatly.
3. Side Braid Wedding Hairstyle
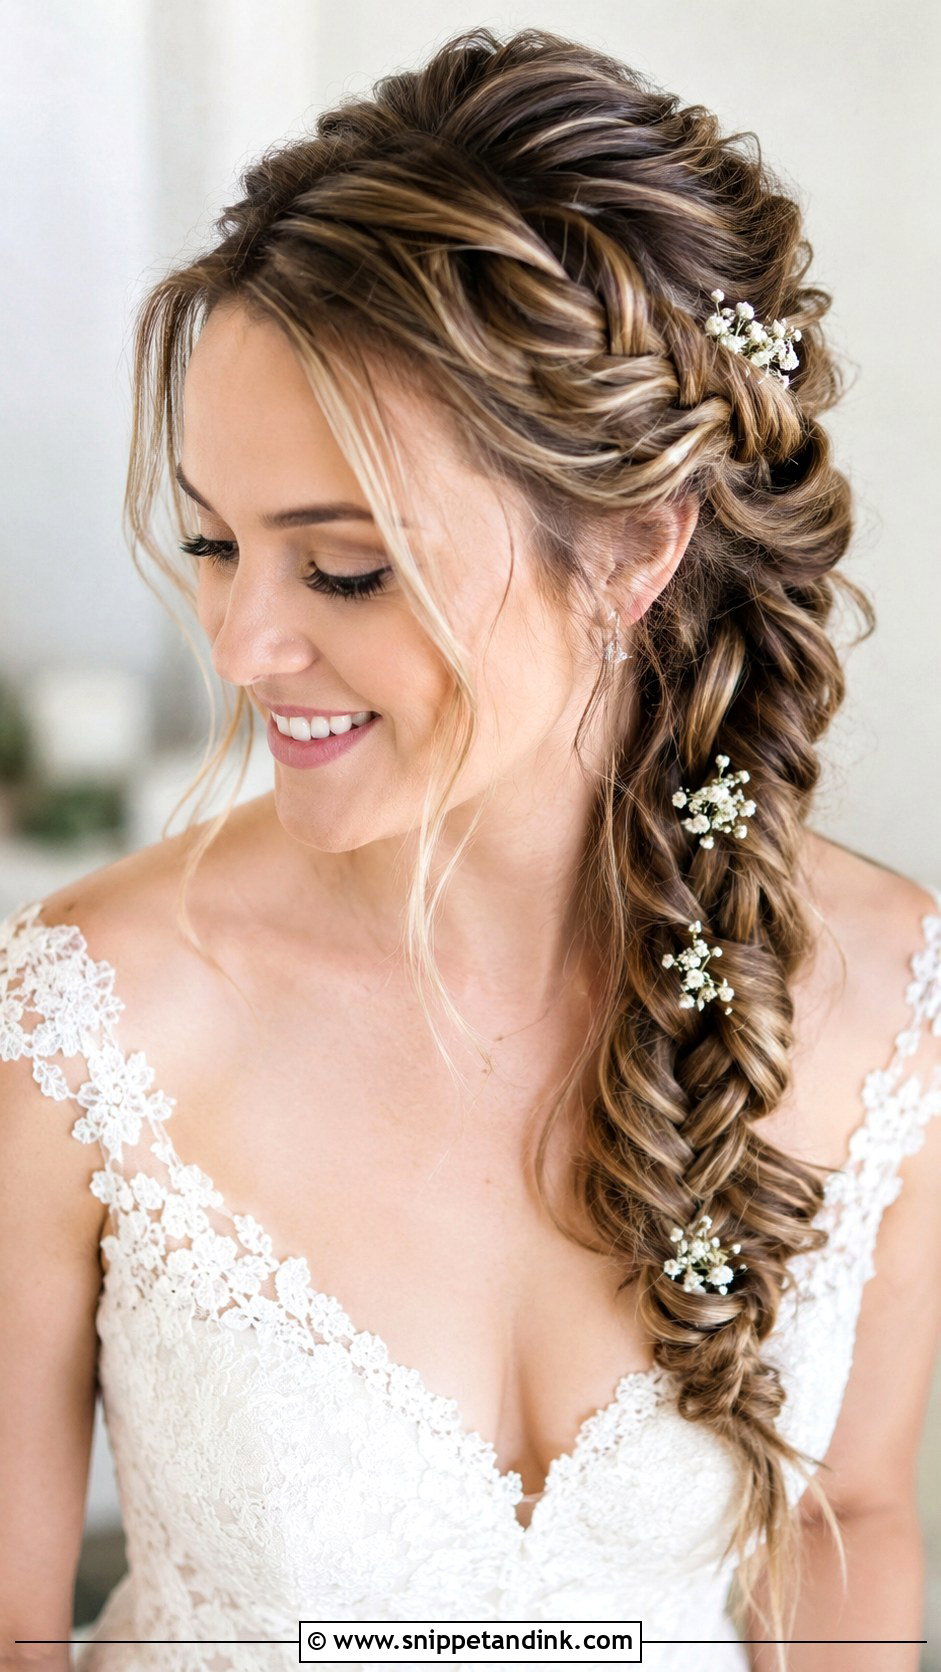
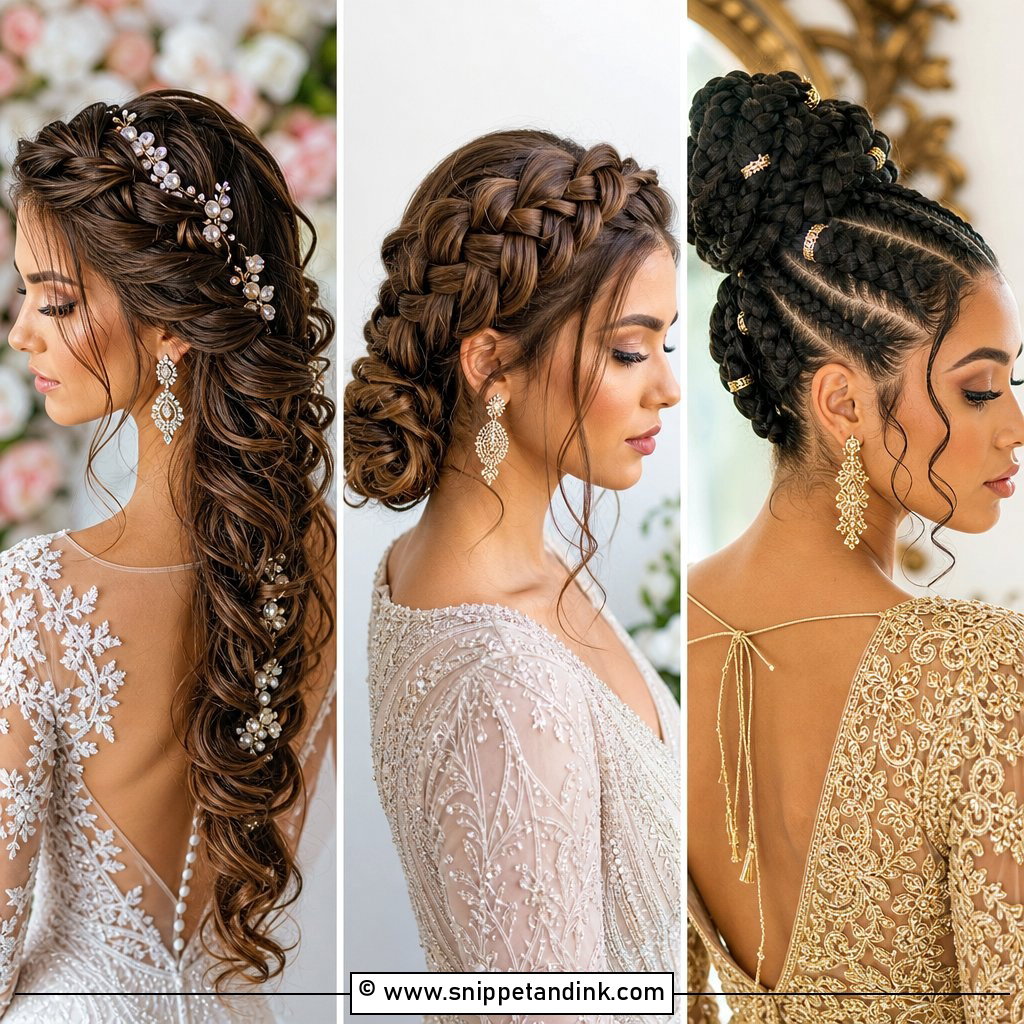
Braids carried across the head to one shoulder hold for a long day better than almost anything worn down. On thick, long hair I’ll usually do a loose Dutch braid, because the raised plait reads clearly in photos; on finer hair a French braid that I pancake out afterwards looks fuller than it is. Pull the loops apart gently and from the outer edges only, or the braid starts to look frayed by evening. Lace gowns and garden settings suit it well. Tuck small flowers or pearl pins into the braid’s gaps rather than on top, so they sit flush.
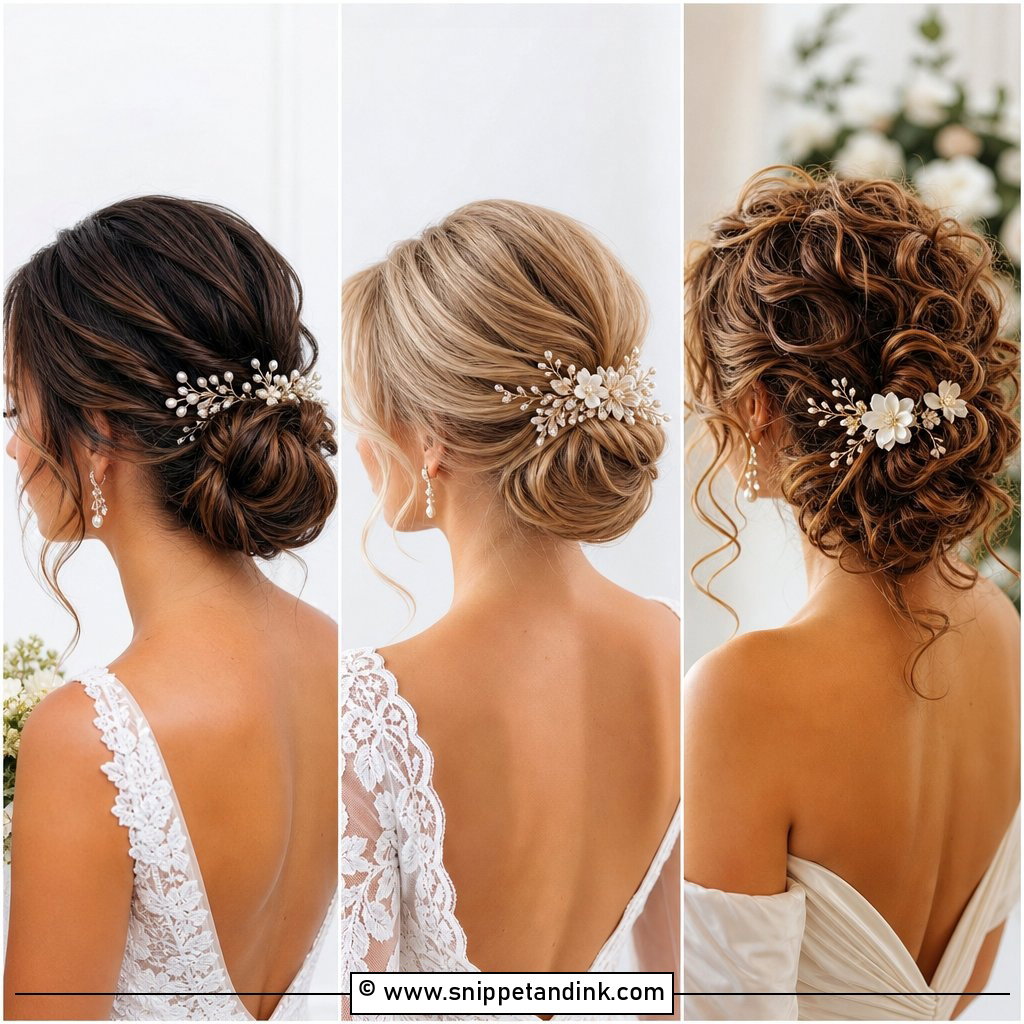
4. Side Bun Wedding Hairstyle
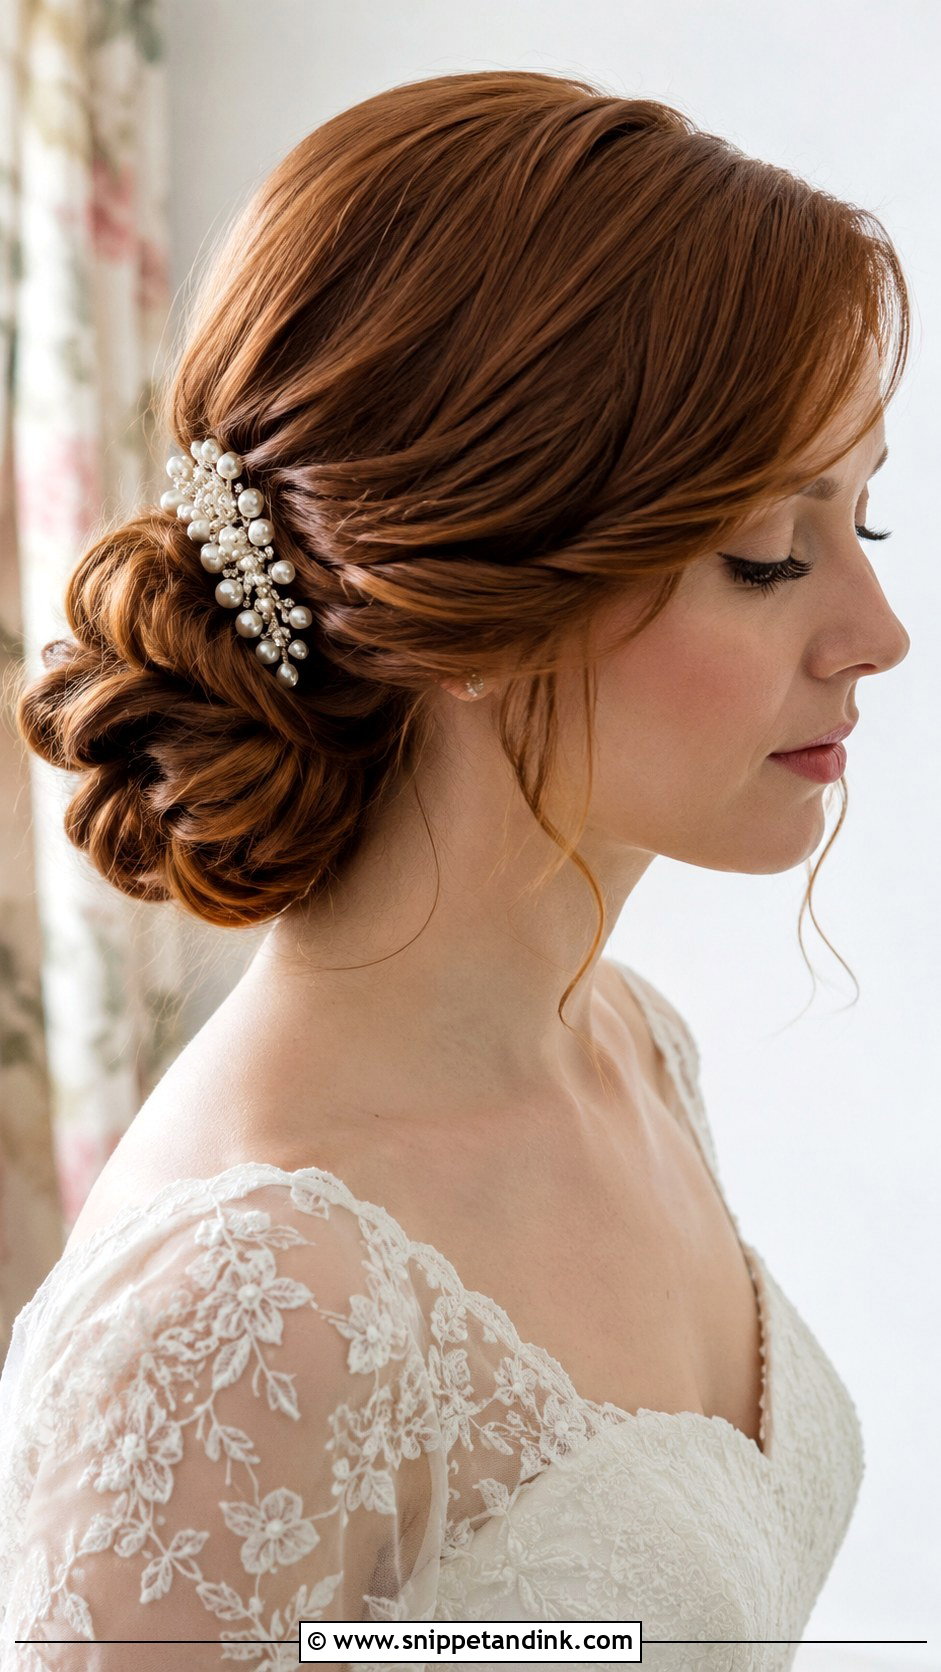
The low side bun sits just off center at the nape, and that slight shift is what keeps it from looking like a standard chignon. It suits medium to long hair, and I can finish it sleek, twisted, braided or slightly undone depending on the dress. If your gown has a detailed back, this is a practical pick, since all the length is lifted clear of buttons and lace. Loose tendrils around the face soften it, but I keep them to two or three; more than that and the bun looks like it is coming apart. One thing I check at the trial: lean back in a chair, because an off-center bun can press into a high-backed seat.
5. Side Swept Half Up Wedding Hair
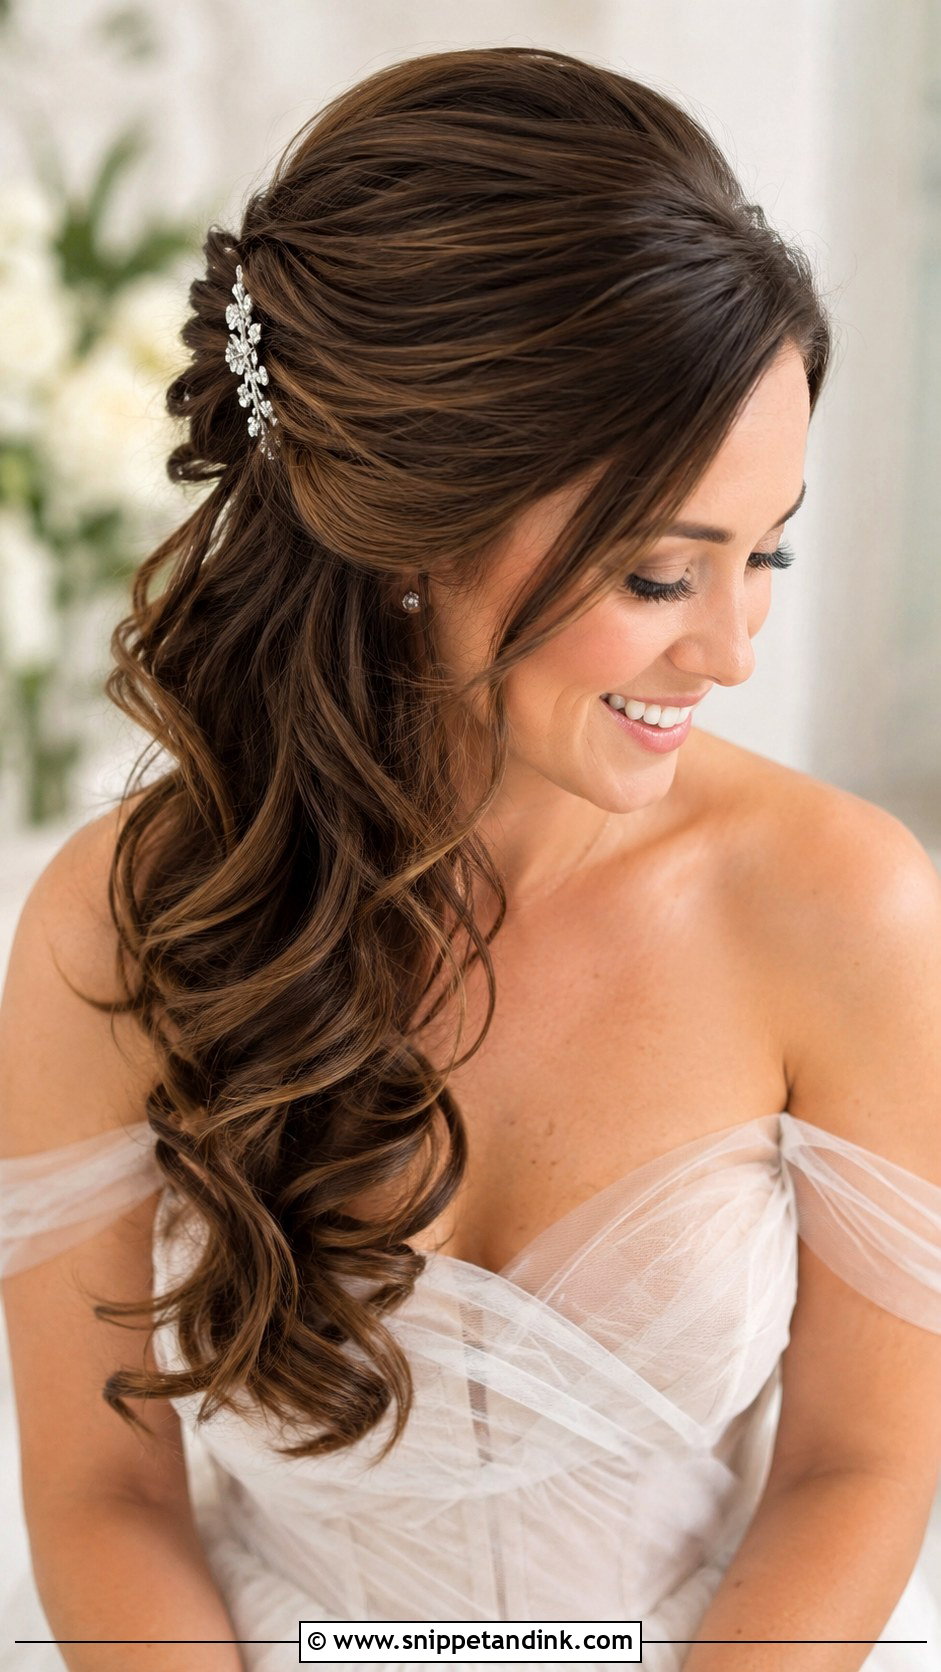
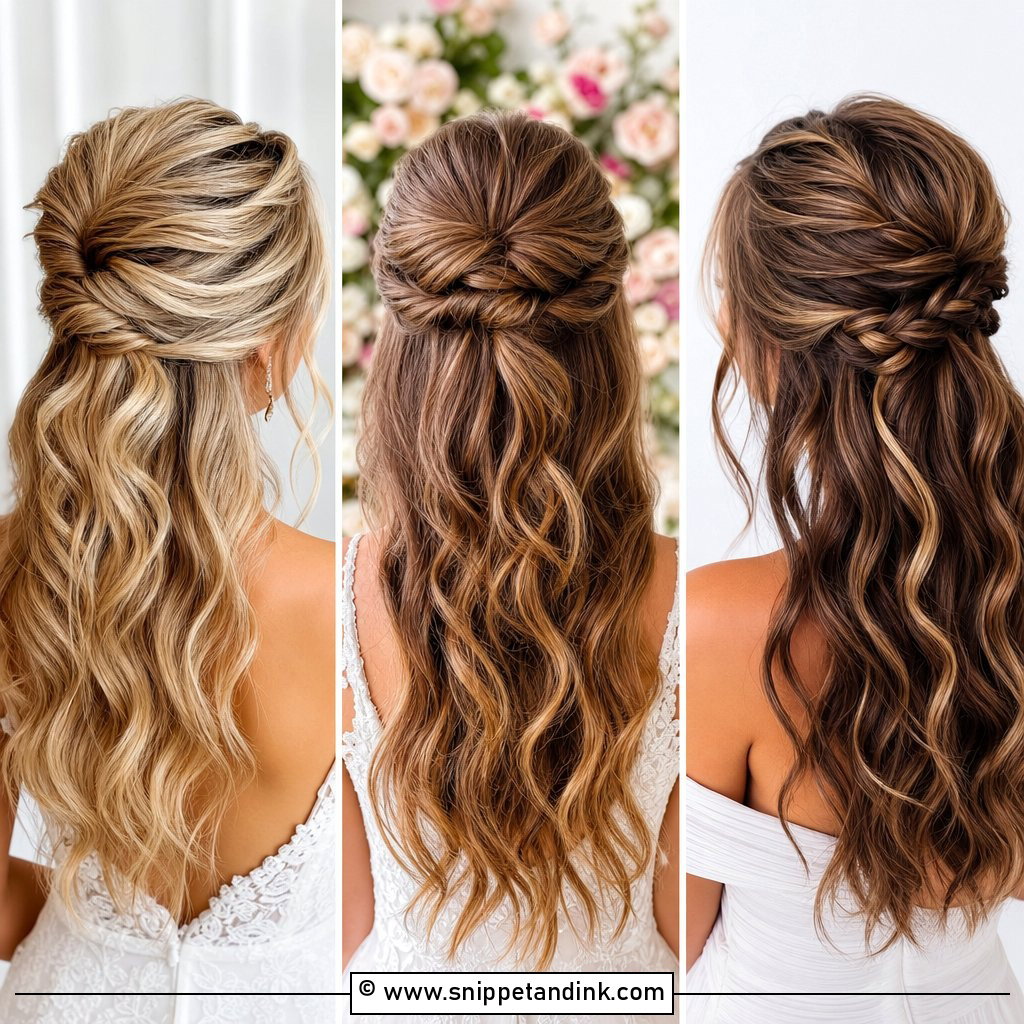
Half up and swept to one side gives you the feel of wearing your hair down with a bit of insurance. The top section is pinned toward one side, and the rest falls in waves over the shoulder. That pinned section is where I anchor a veil comb, which is why I suggest this shape to brides who want a veil but don’t want an updo. Soft pieces near the cheekbones flatter most faces. If your hair is very fine, I’d warn you that the loose length can flatten by evening, so a small padded section under the crown is worth it.
6. Side Part Wedding Waves
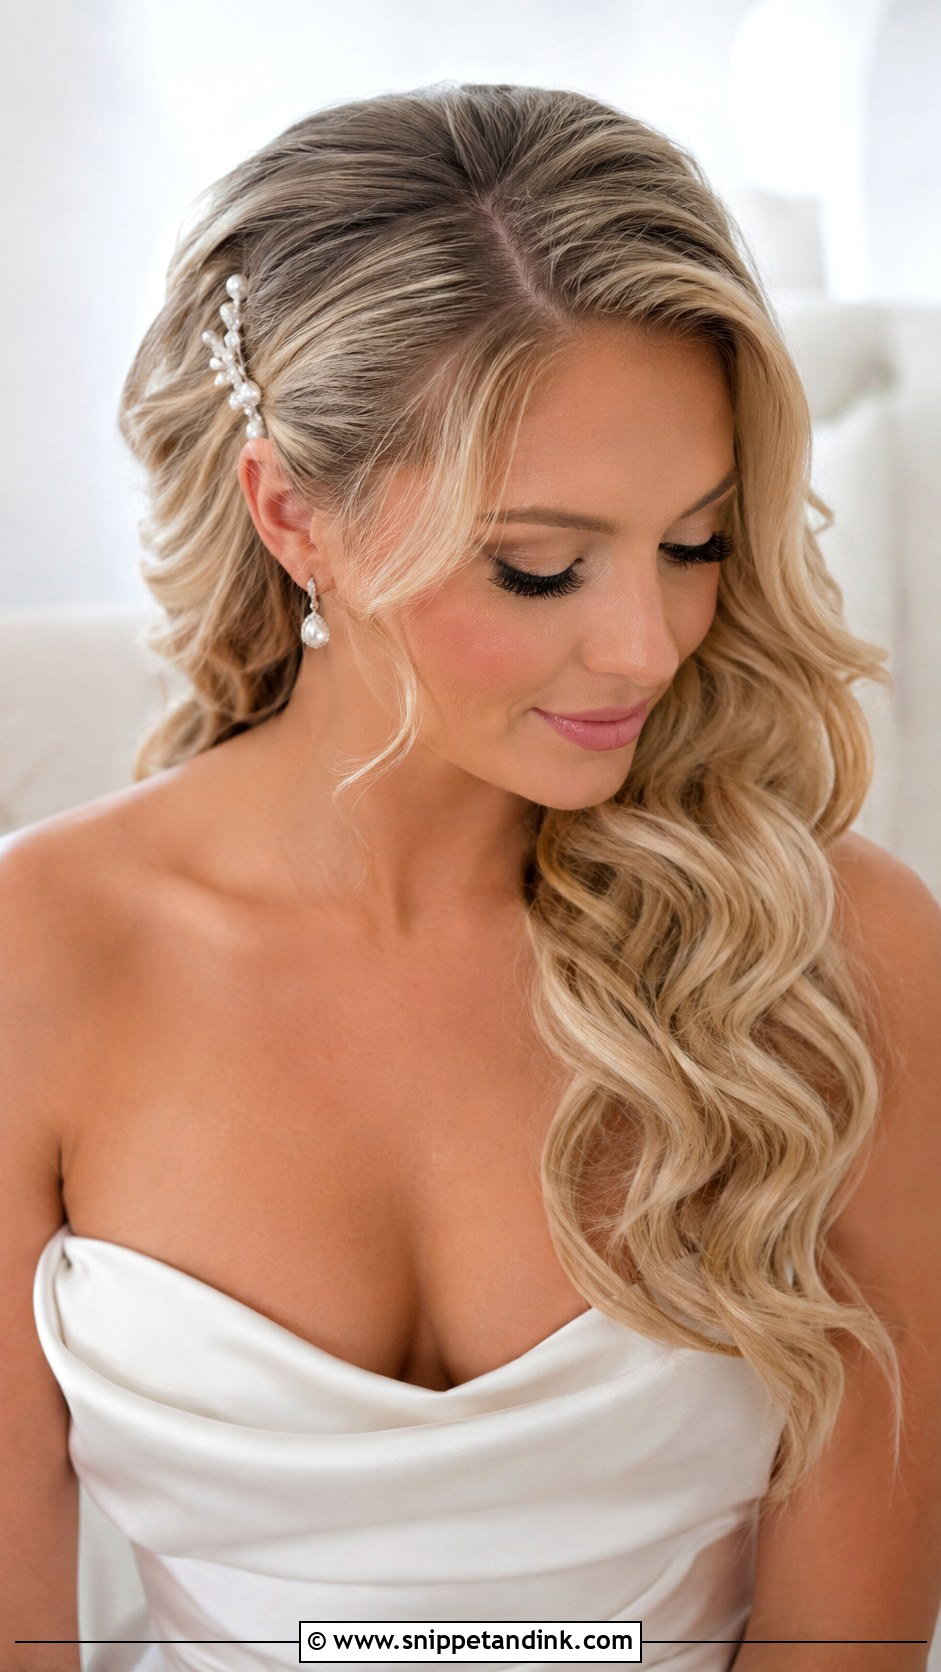
A deep side part with waves is closest to how many women already wear their hair, which is exactly why some brides feel most like themselves in it. Flipping the part gives instant volume without backcombing. I keep the waves brushed out for a classic finish, or tighter if the hair doesn’t hold a bend well. Medium and long hair both work. My usual problem area is the part itself: flyaways show there first, so I smooth that line with a small amount of product and leave the ends soft enough to touch. A single clip above one ear finishes it.
7. Side Chignon Wedding Hairstyle
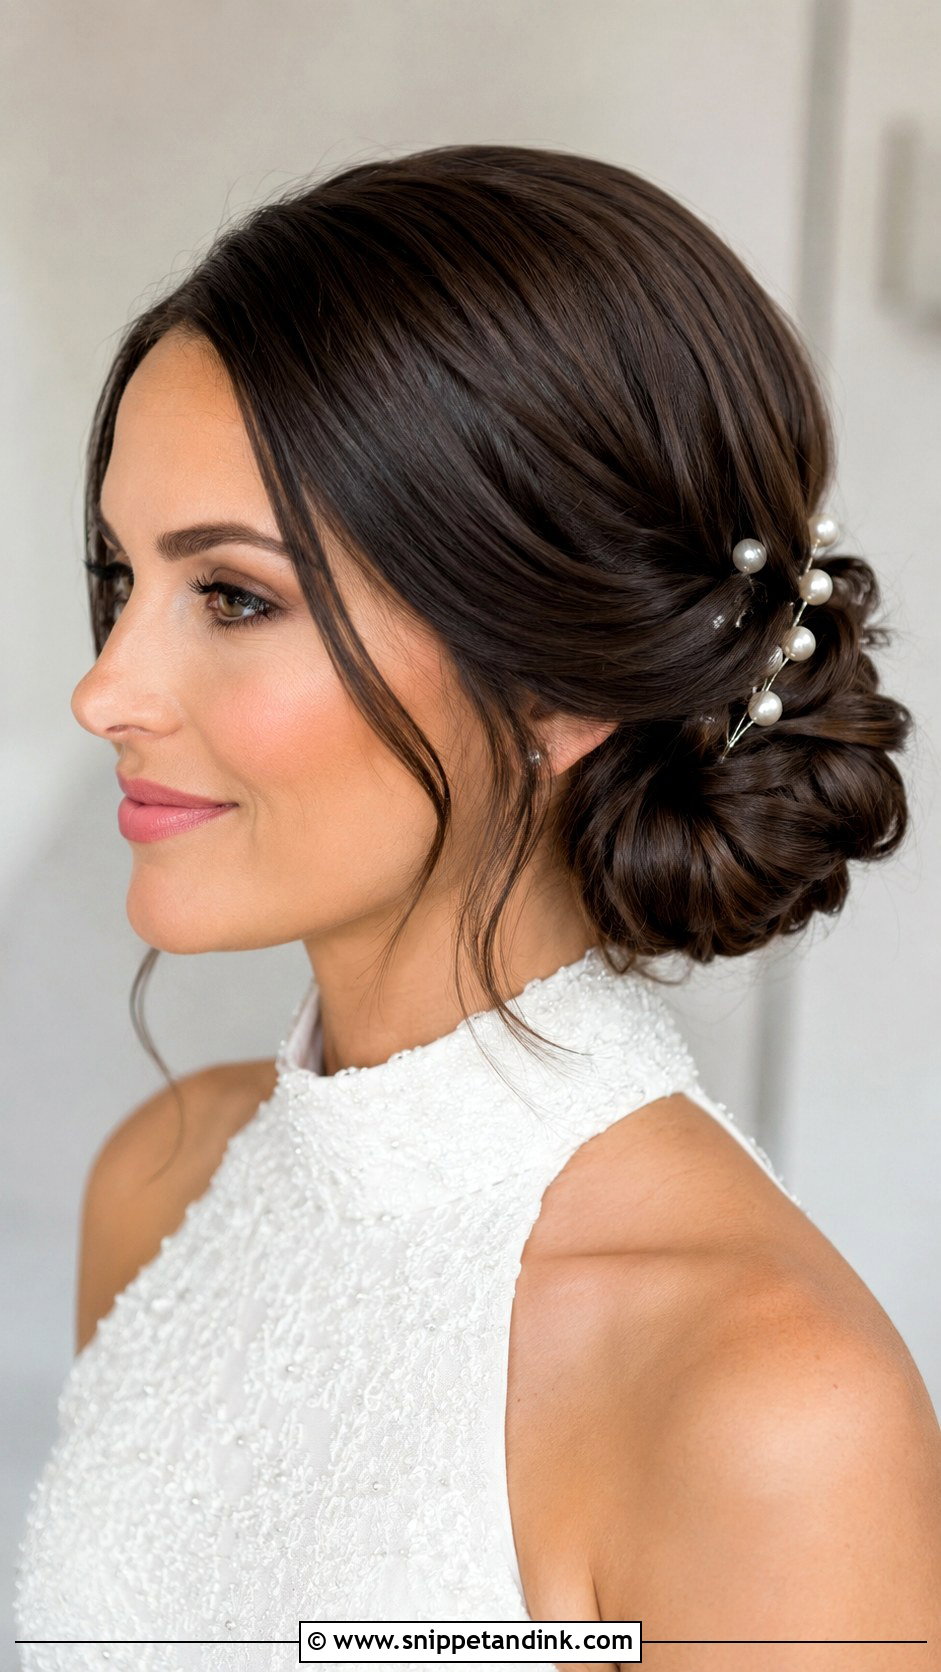
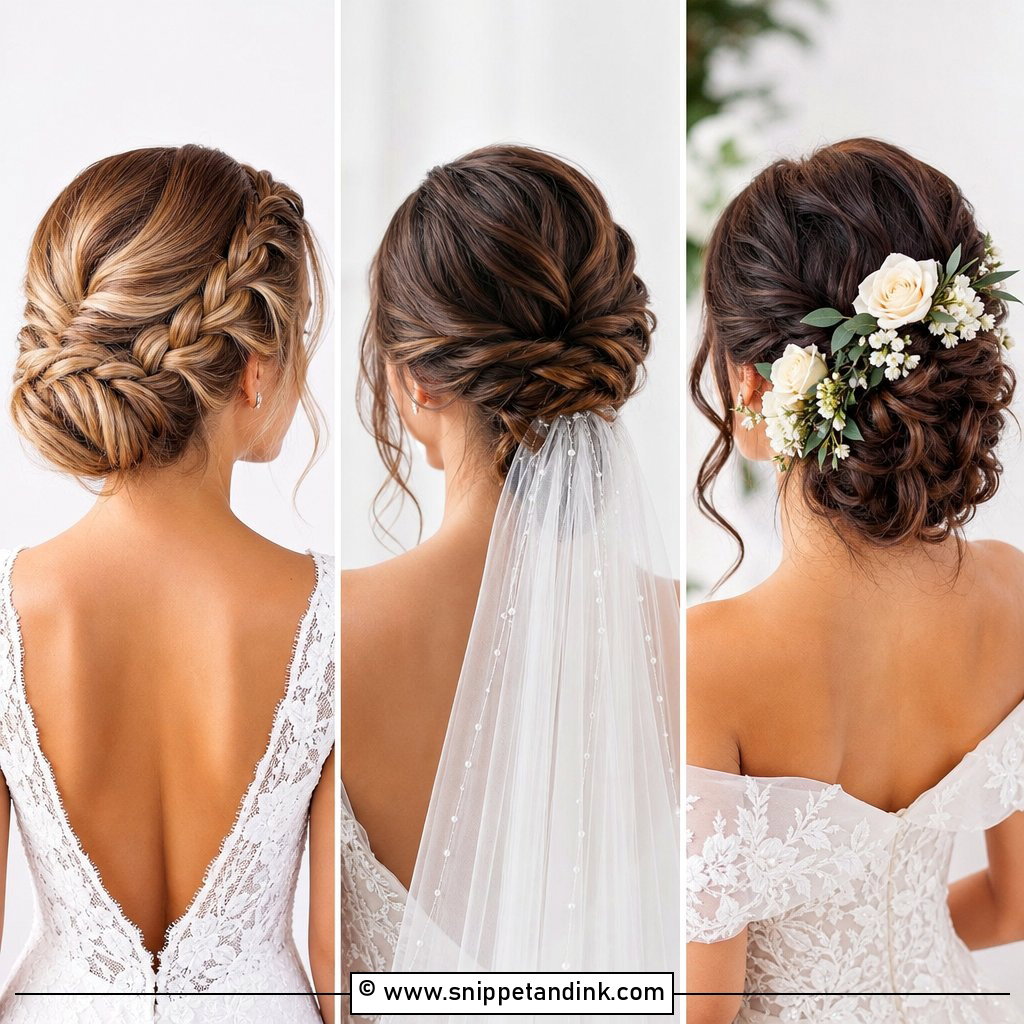
This is the low chignon worn off center, swept across the back from a side part and pinned near the nape. Formal venues and classic gowns suit it, sleek and sculpted or with a little texture left in. Because the neck and shoulders stay clear, earrings and necklines get the attention. In heat it’s one of my preferred options, since nothing touches the skin. A veil can sit just above the knot, and pearls or a comb can follow the pinned side; I place the comb before the veil so the veil has something to grip.
8. Side Swept Hollywood Waves
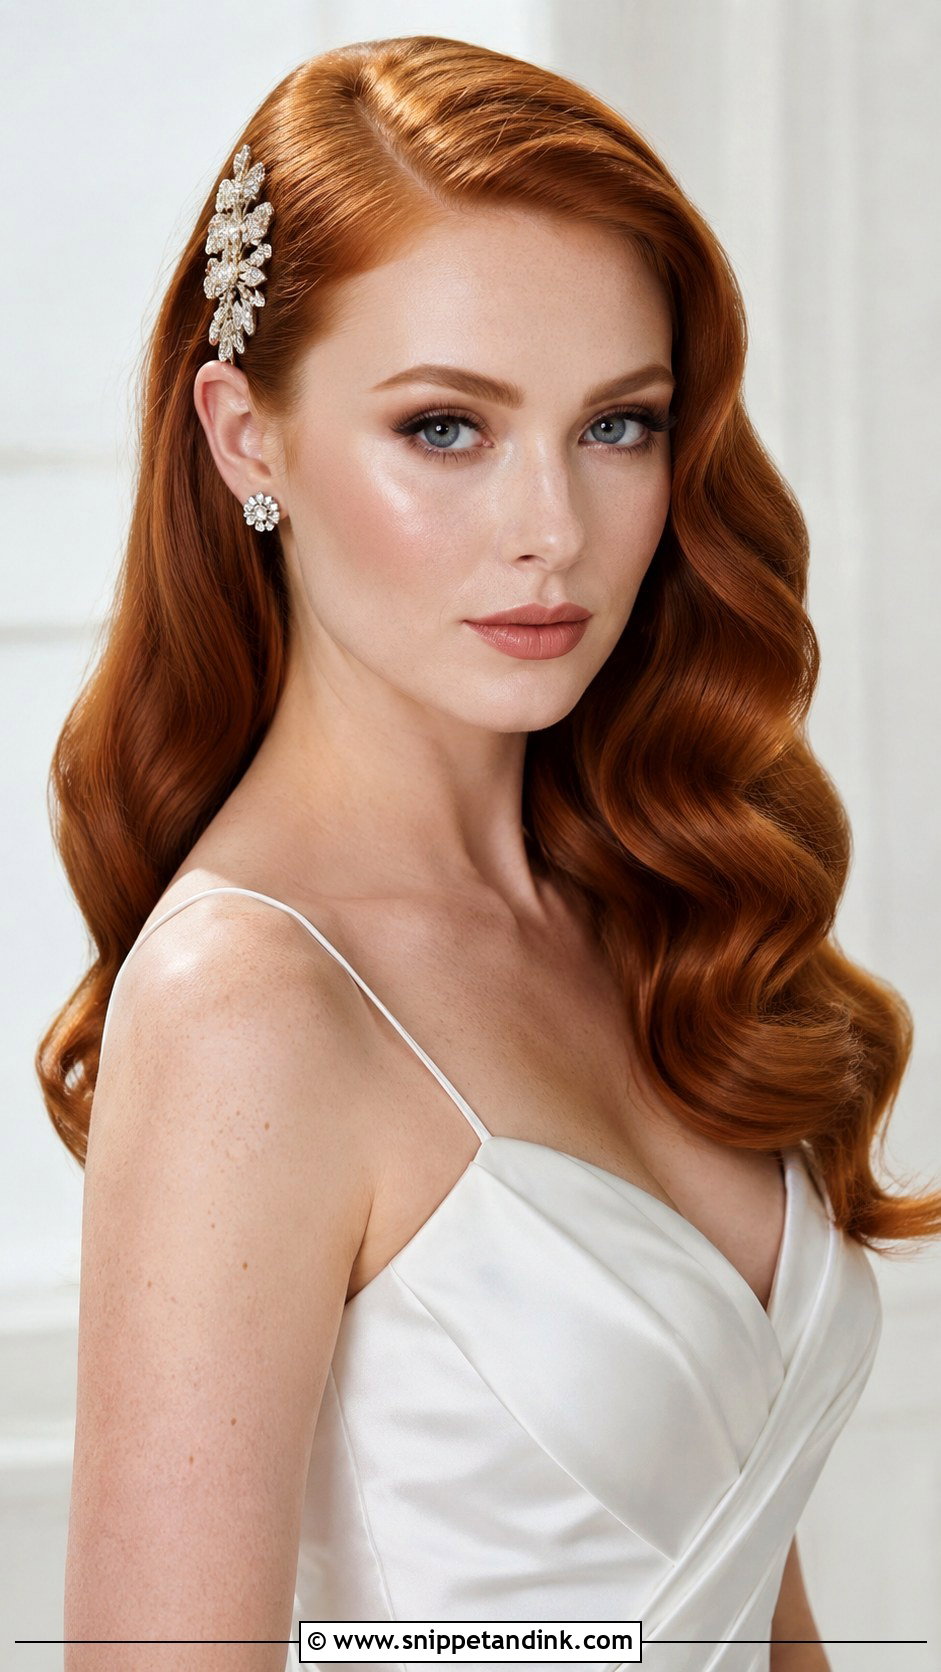
Hollywood waves are the most technical look on this list. The waves need to be uniform, glossy and set in one direction, then brushed into a single sheet that falls over the shoulder. They look sharp with satin, crepe, beaded, or structured gowns. I set them with a consistent barrel size, pin each curl flat to cool, then brush through with a boar bristle brush, holding the ridges with clips while spray dries. A strong side part is essential. Medium to long hair is easiest; shorter hair can get there with extensions. Humidity is the enemy here, so I’d avoid it for an outdoor ceremony on a muggy day.
9. Side Fishtail Braid Wedding Hair
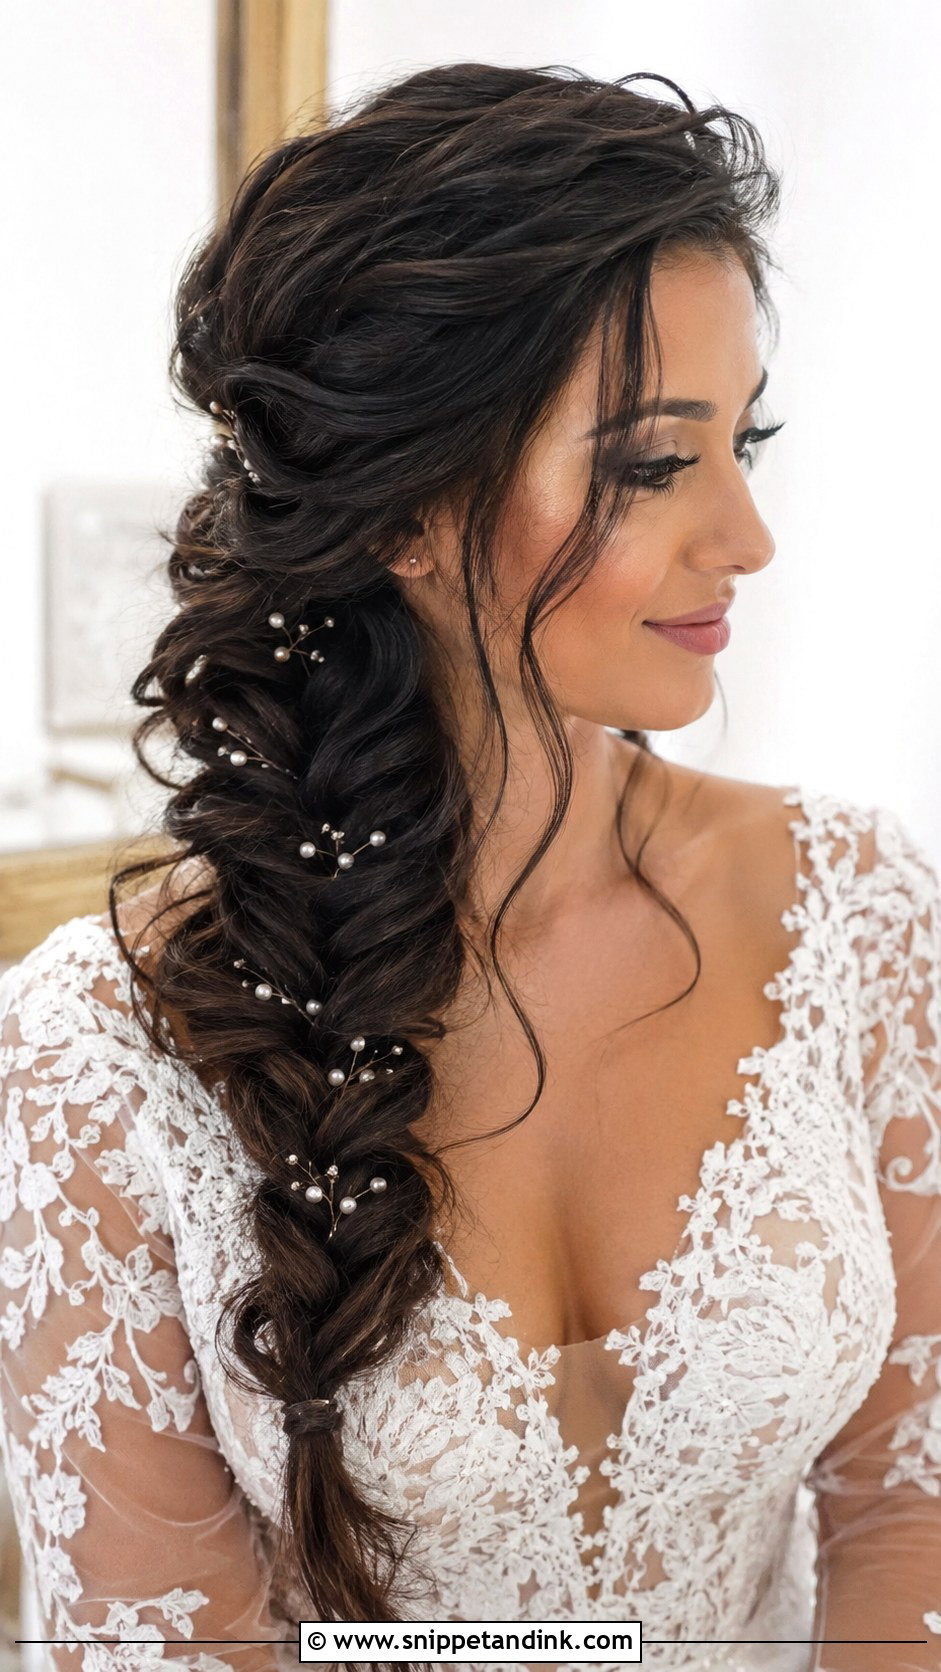
A fishtail shows its woven pattern clearly, which is why it photographs with more detail than a three-strand braid. It’s softer looking but still secure. I can start it high at the temple or low near the nape; with a cathedral veil I’d keep it low so the veil doesn’t sit on the plait. Gently loosening the edges makes it fuller. Fishtails take time, so if your hair is past the waist, budget extra in the morning schedule. Beach and garden ceremonies suit it, as do flowing lace or chiffon dresses.
10. Side Swept Curly Wedding Hair
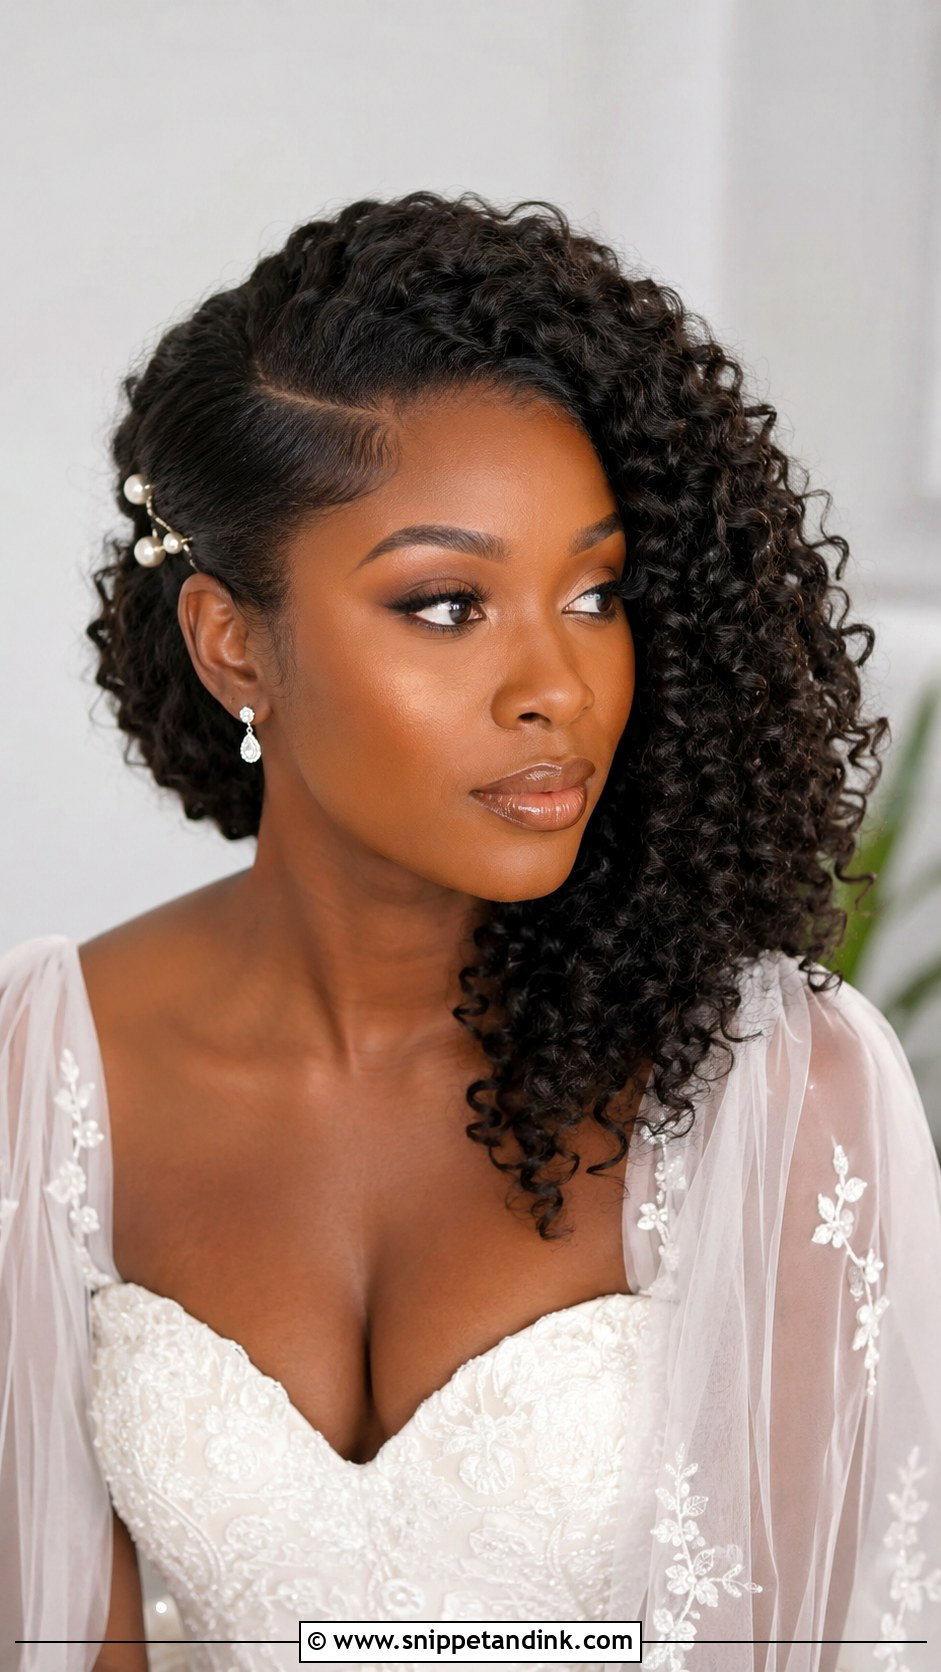
Natural curls deserve to stay curls. Rather than brushing them out, I guide the hair to one side and pin it from underneath so the curl pattern stays visible. Loose curls, tight curls and coily textures all work this way. A side part or a flat twist at the front controls the hairline while the rest stays full. Moisture is everything: I apply a cream or leave-in on damp hair and avoid brushing once it dries, or the definition turns to frizz. Small pearls, flowers or a jeweled pin on the pinned side add detail without fighting the texture.
11. Side Twist Wedding Hairstyle
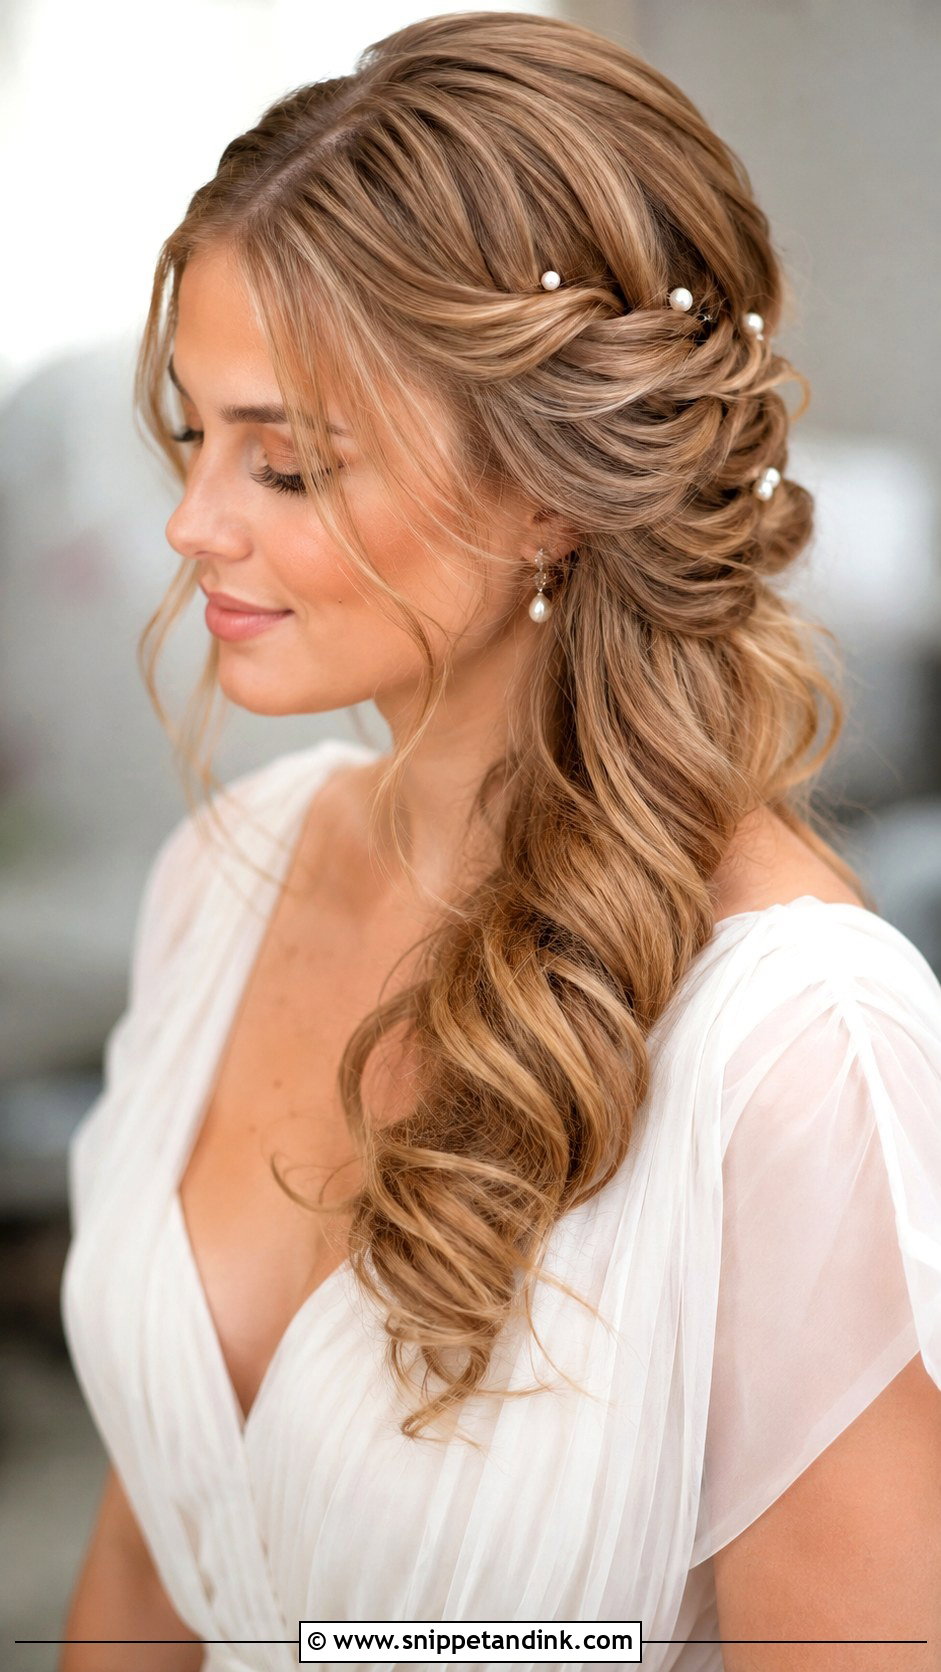
A twist is the quiet version of a braid. Hair is rolled from one side of the head toward the opposite shoulder, creating a clean line at the crown without bulk. I like it for shorter face-framing layers that keep escaping, because the twist traps them. It pairs well with loose curls, waves or a low side ponytail. If you want detail without a busy head, it is my default suggestion. Pearl pins set along the twist, every couple of inches, keep it secure and add shine.
12. Side Swept Wedding Hair With Veil
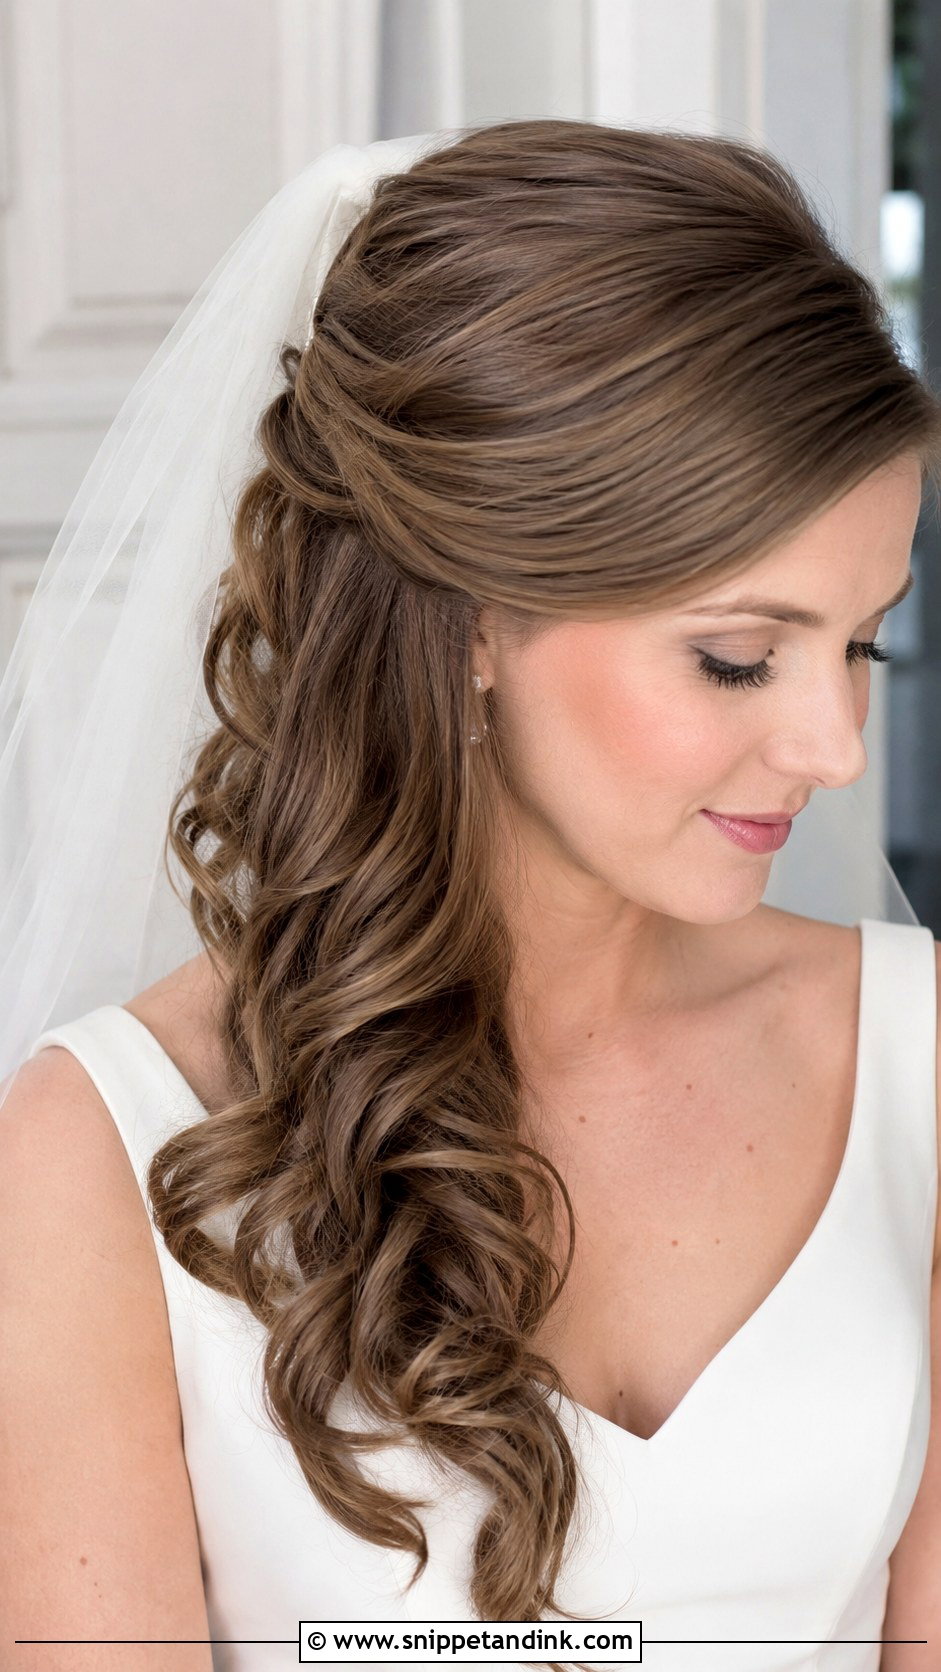
Getting a veil to work with a side style is about balance. The veil can sit at the crown, above a side bun, or tucked into a half-up section, but it shouldn’t cover the shape you’re wearing. Soft curls, waves and a low side chignon all work with one. I always test placement at the trial, and I insert the comb with its teeth facing down into a pinned base, not loose hair. Once the veil comes off for the reception, the side shape still reads as finished, which is a real advantage over some centered updos.
13. Side Swept Wedding Hair With Flowers
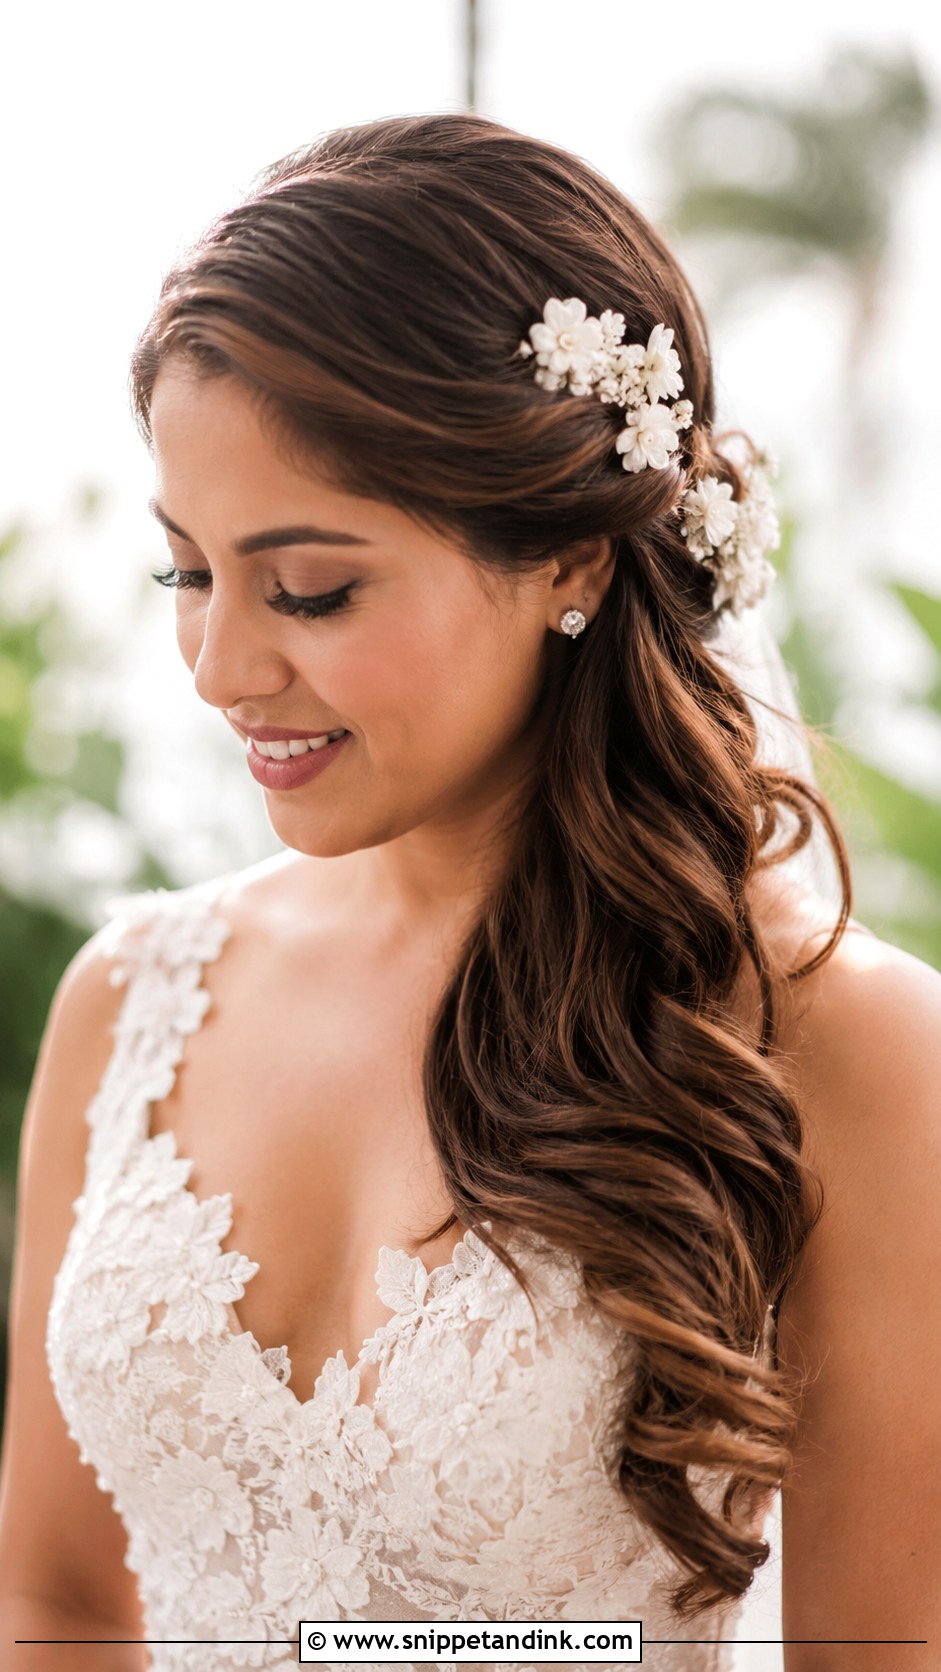
Flowers suit garden and outdoor weddings, and placement changes the effect: above the ear, threaded into a braid, or trailing along a low side bun. Smaller blooms usually look more refined than one oversized piece, because they blend in rather than sit on top. They work with waves, curls, twists or braids. Fresh flowers need to be sturdy, so ask your florist for blooms that hold up out of water; in heat, a good faux set is a sensible backup. Match them to the bouquet rather than trying to coordinate every color in the room.
14. Side Swept Short Wedding Hair
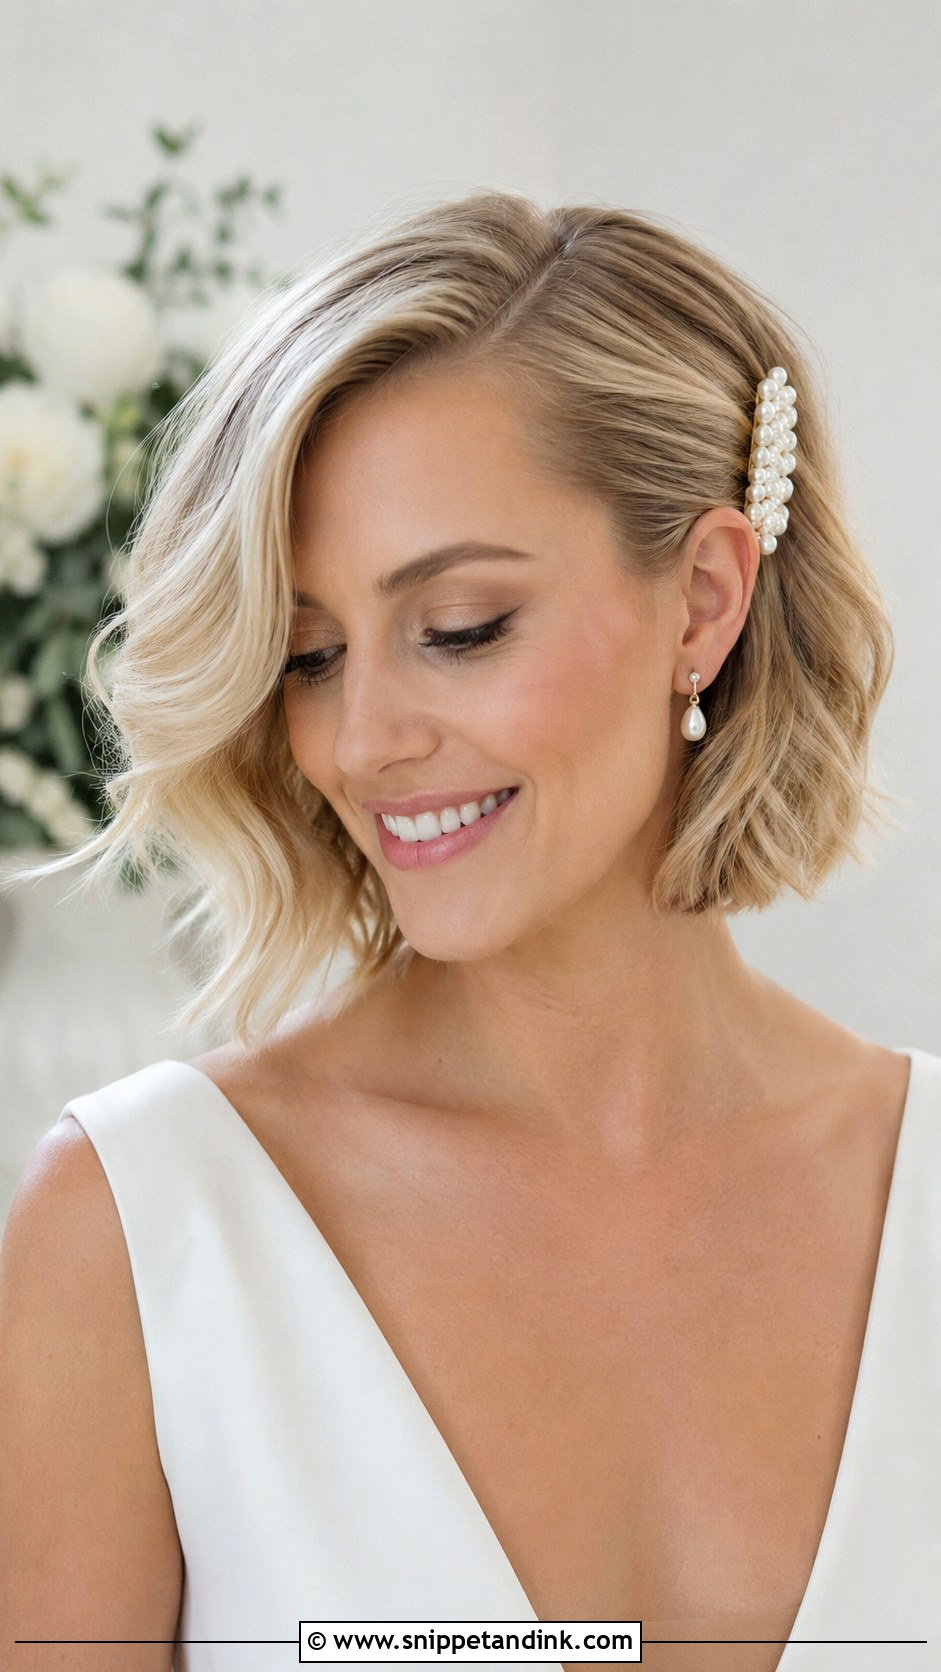
Short hair can absolutely go to the side. A bob, lob, pixie, or cropped cut can take a deep part, soft bends, polished waves or a tucked, sleek side. The point is to make it look intentional rather than everyday, so I add volume at the root and smooth the ends. A jeweled clip, pearl barrette or small comb does more on short hair than on long, because it has less to compete with. You also get the easiest day of anyone: no heavy pins, nothing to drop.
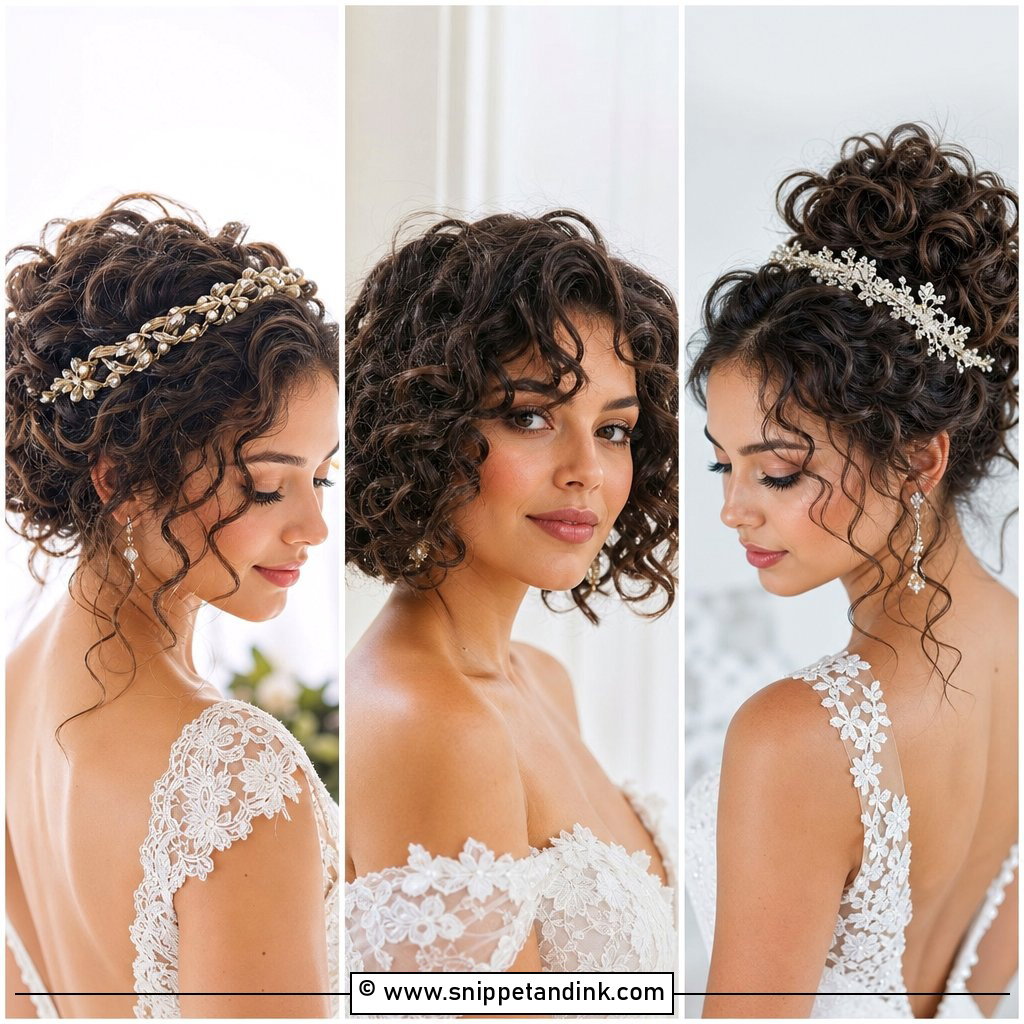
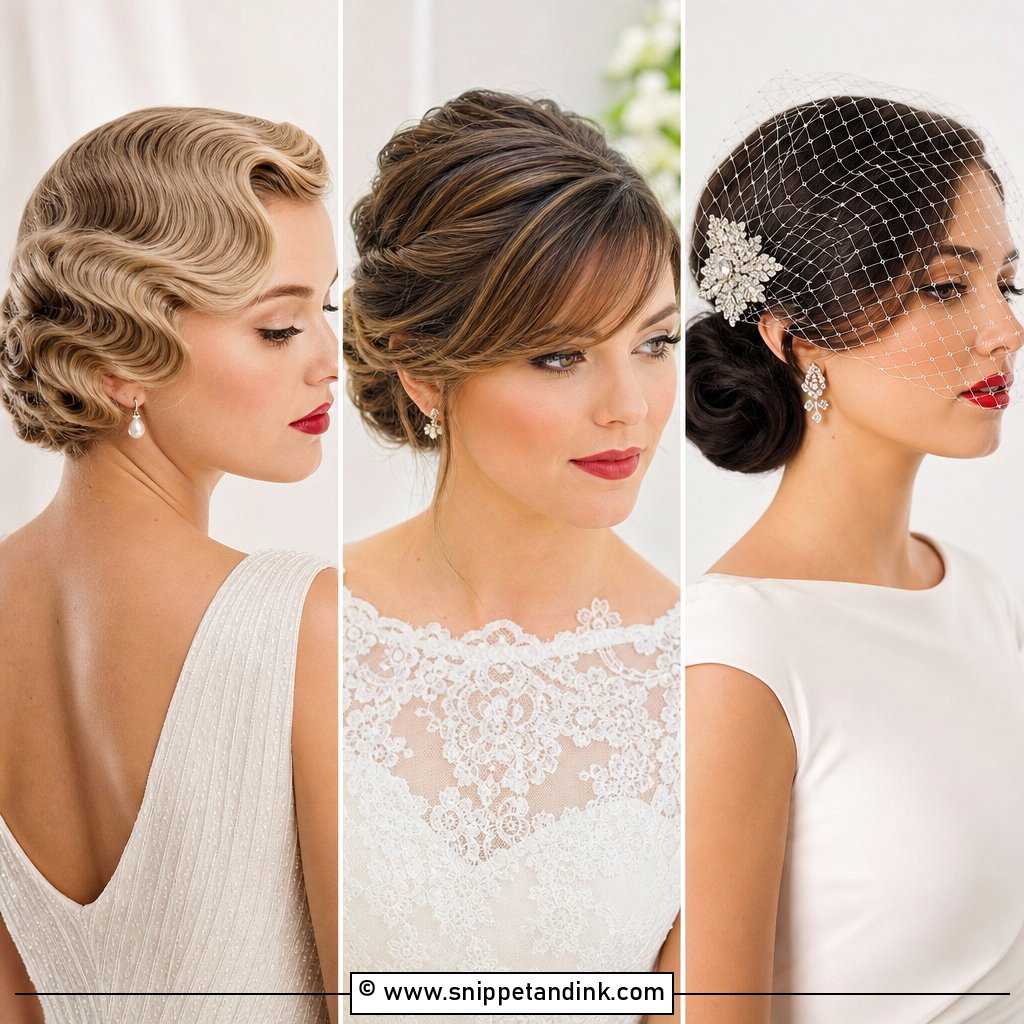
15. Side Swept Wedding Updo
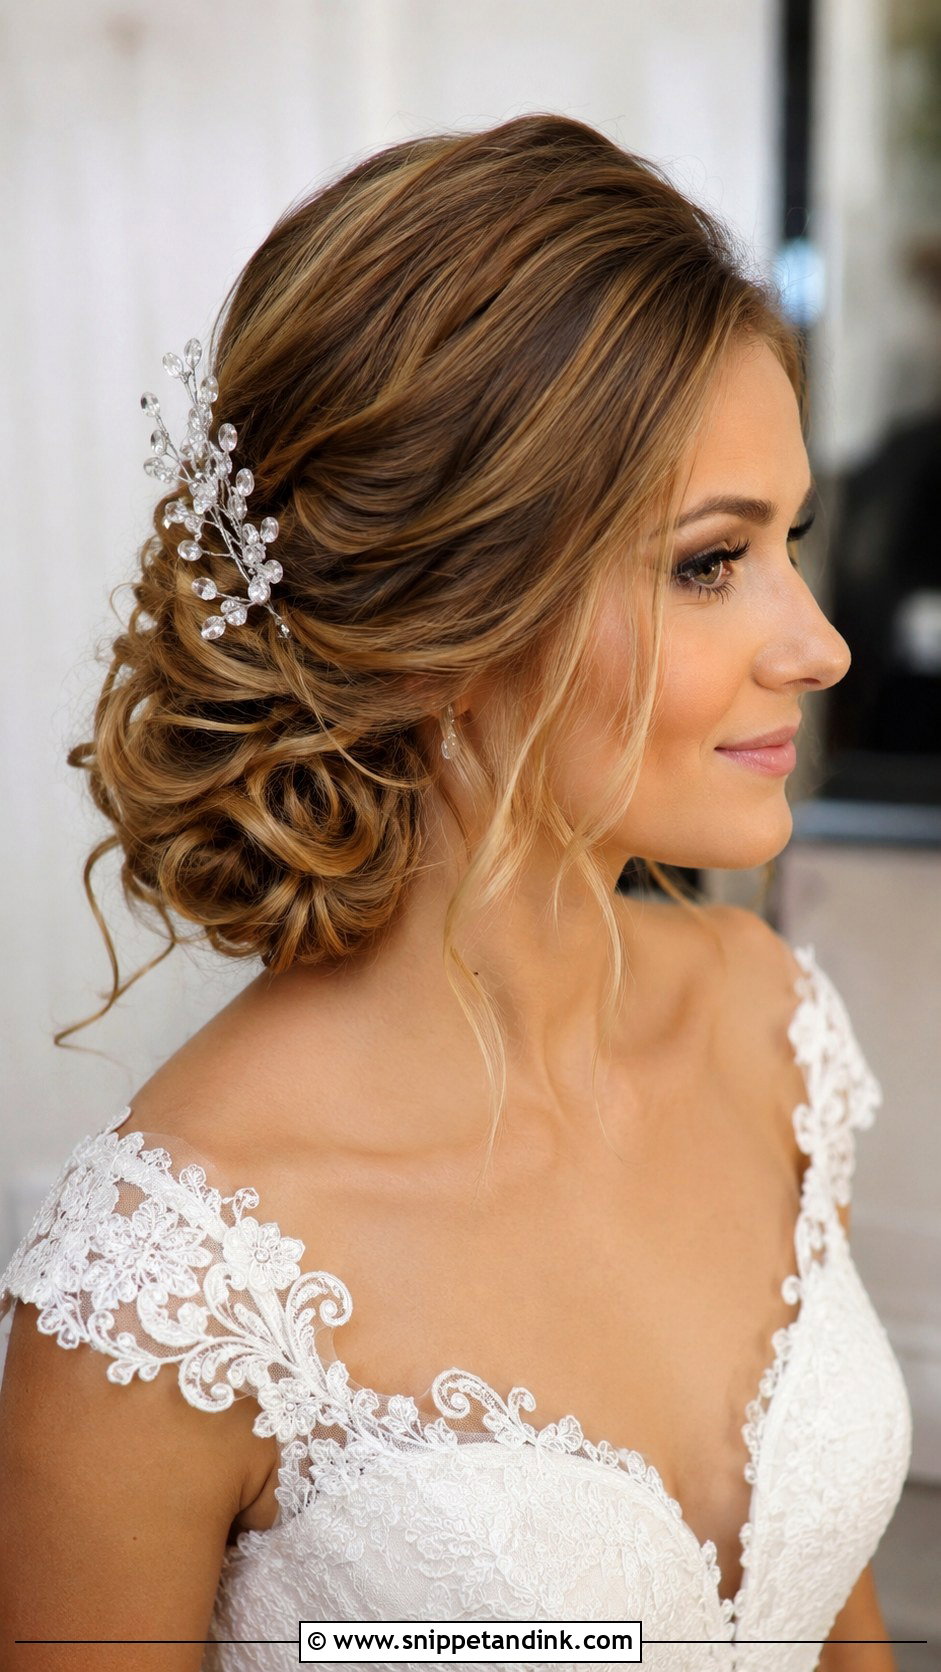
The side swept updo gives structure and all-day hold while still reading as asymmetrical. Hair is directed toward one side and pinned low, often with twists, curls or a braided element. Keeping hair off the shoulders makes it a good fit for detailed necklines and warm weather. I leave a few face-framing pieces so it doesn’t look severe. Pearls, crystals, a veil or a floral comb can all sit on the low side. If you’re dancing late, this is the one I’d trust most.
Wash Timing and Setting for a Side Style That Lasts
Freshly washed, very soft hair slides out of pins. For most textures I prefer hair washed the day before, or washed that morning and given grip with a texturizing spray at the roots. Curly and coily hair is the exception: it usually needs moisture more than grit, so I’d follow your normal wash routine.
For anything curled, I let every curl cool fully before touching it, then hold the shape with a flexible spray rather than a stiff one, so the waves move without collapsing. If the forecast is humid, a sleeker shape such as the chignon or ponytail will look far more like your trial photos than loose waves will. Pack a small comb, a few pins and a travel spray for the reception; that’s all a side style normally needs.
Your Crown, Your Neckline, Then the Shape
Side styles stay popular because they flatter without much fuss, and they adapt to almost any dress, hair texture or venue. Start from your neckline and your hair’s natural fall, then pick the shape. Bring your veil, clips or flowers to the trial, sit in it for an hour, and check both profiles in photos before you commit.
You'll Like These Ideas:


Leave a Reply