
Your hands end up in more wedding photos than most people expect: the ring exchange, the bouquet, the hand on a shoulder in every portrait. That’s why I usually talk brides out of complicated art and into a manicure that’s clean at the cuticle and soft in color. Sheer pink, milky white, fine French tips, a few pearls or a whisper of chrome cover most of what I’m asked for. The ideas below work for brides, bridesmaids and guests, on short nails as well as long, and most can be done in gel, dip, press-ons or ordinary polish. What changes between them is how long they last, which I cover first.
Gel, Dip, Press-Ons or Polish? Plan Around Your Wedding Week
The design matters less than the system it’s done in, because each one has a different lifespan and a different ideal appointment date. Here’s how I’d time each:
- Regular polish: the most fragile, usually good for a few days before it chips at the tips. Have it done the day before, and let it dry properly; polish can still dent for hours after it feels dry.
- Gel: typically lasts two to three weeks with no dry time. Book it two or three days before the wedding so any cuticle redness from prep has settled.
- Dip powder: similar wear to gel and a little thicker. Removal involves soaking and filing, so I’d only choose it if you’ve had it before without trouble.
- Press-ons: apply the night before. With glue they hold for days, while adhesive tabs are better treated as a one-day option.
If you’re travelling for a destination wedding, gel or press-ons are the safer bet. Regular polish rarely survives packing, flights and a pool.
1. Simple French Wedding Nails
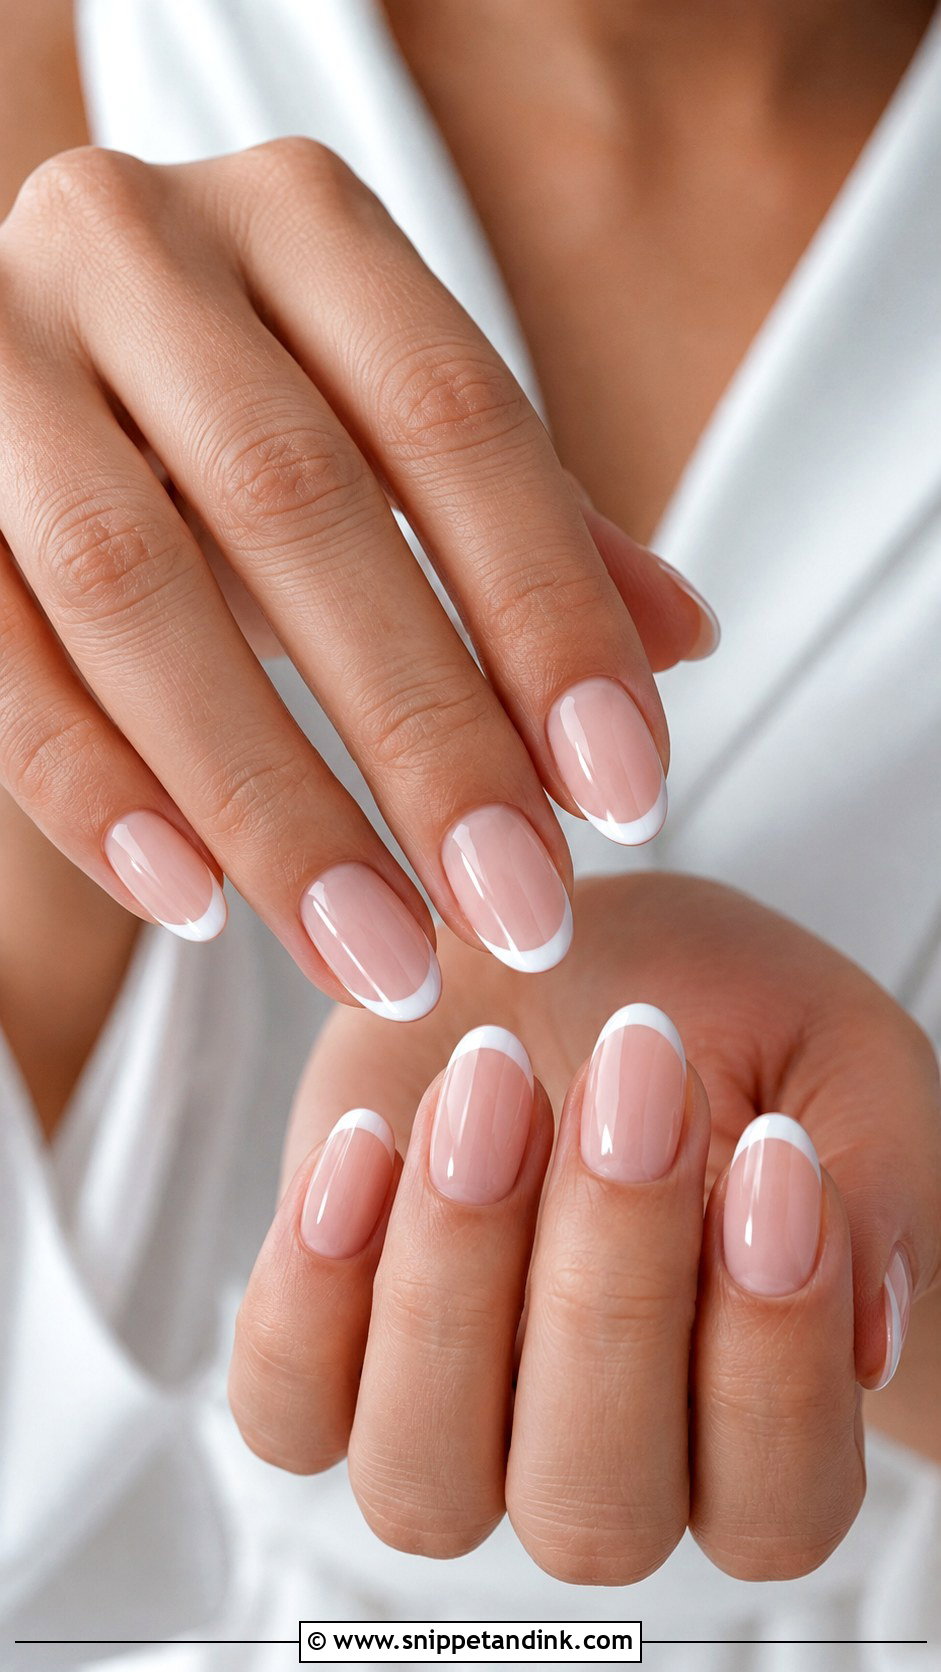
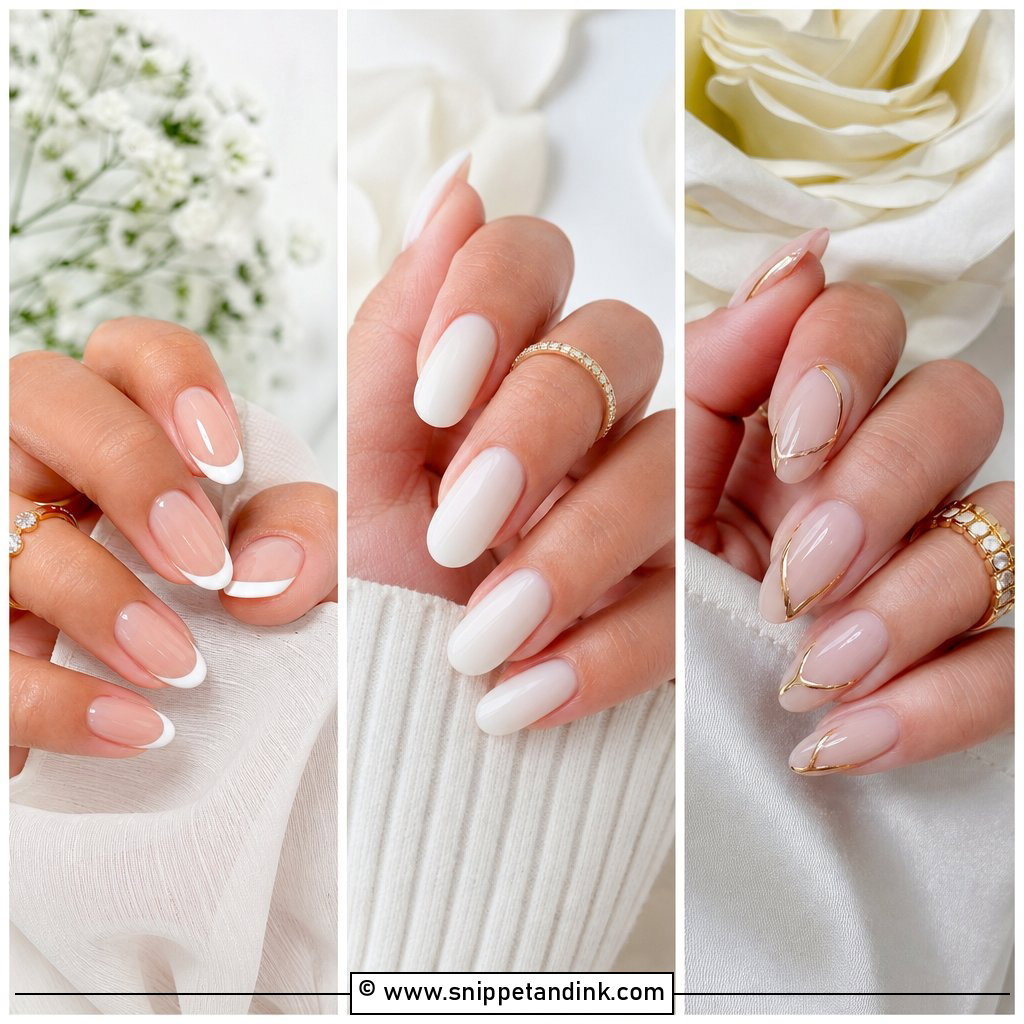
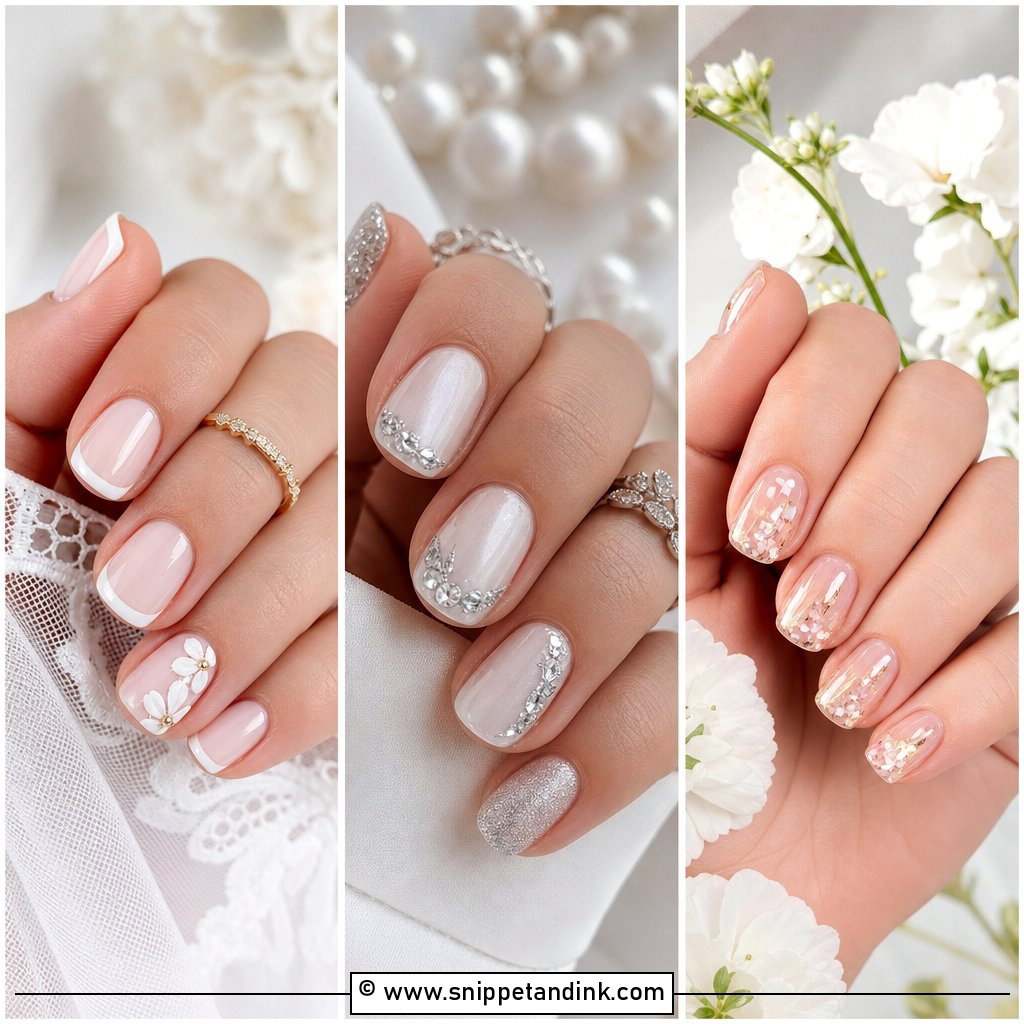
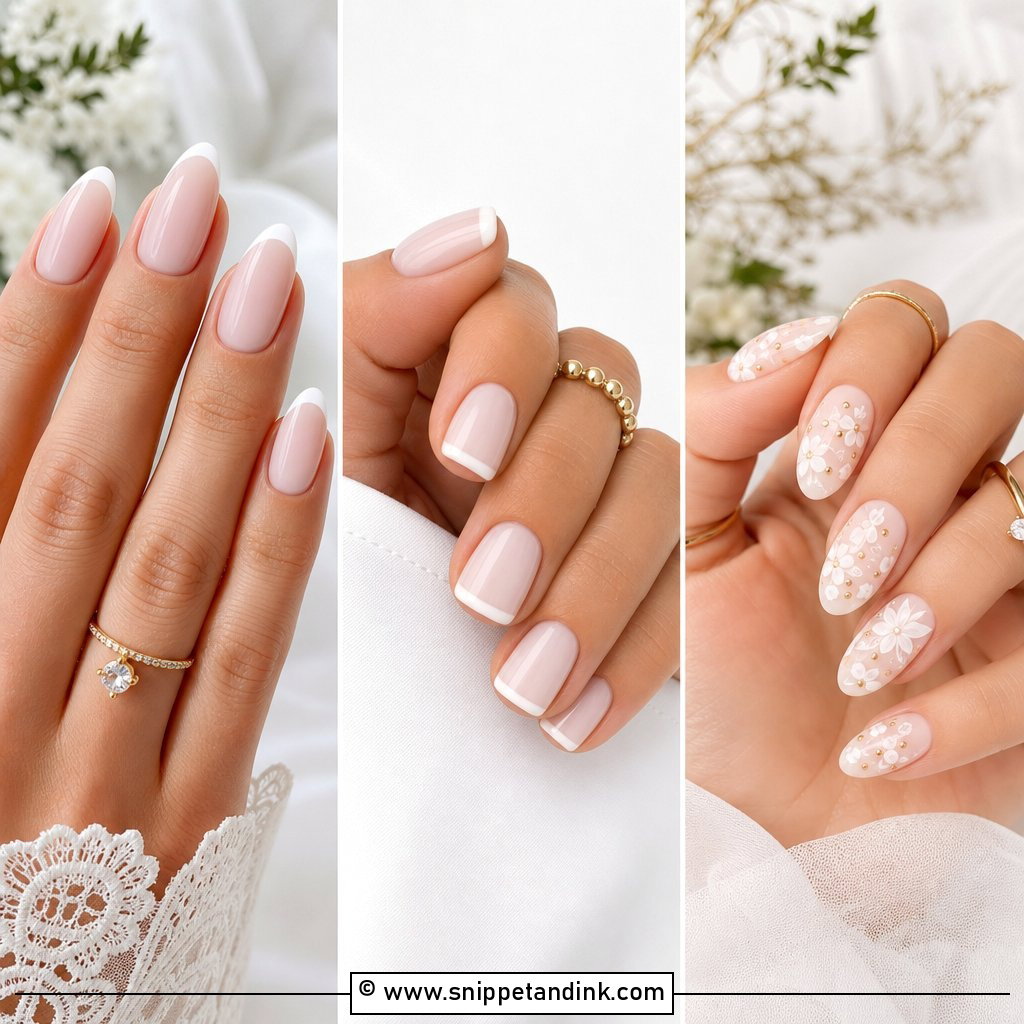
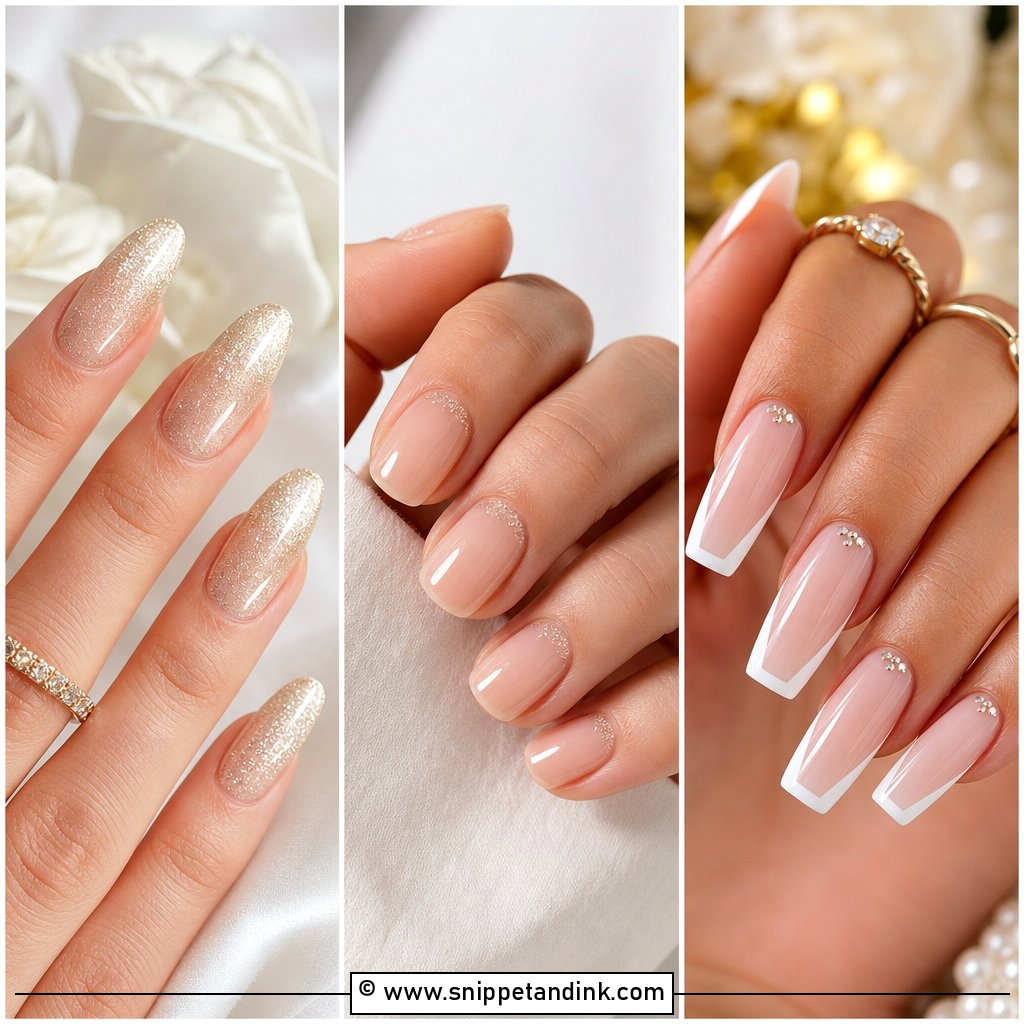
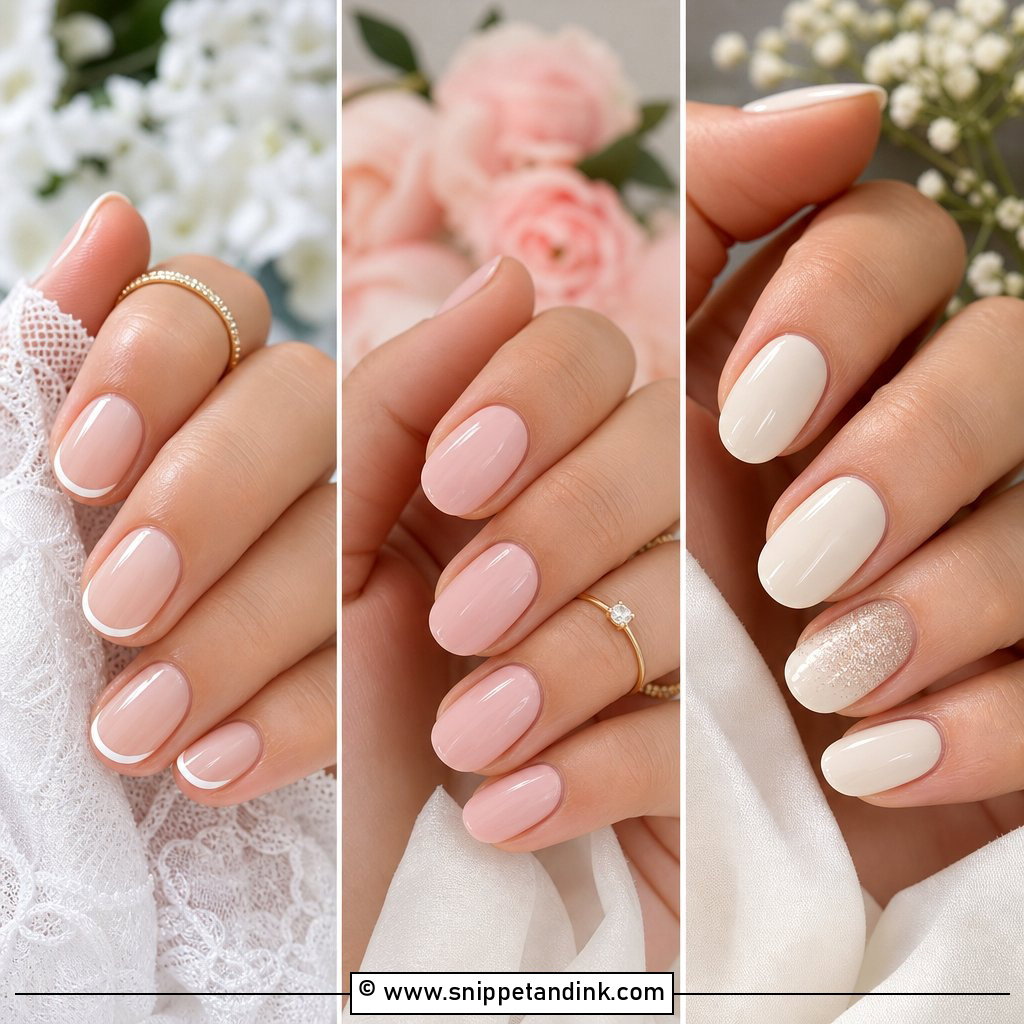
A French manicure stays out of the way of your ring and dress, and that’s its whole appeal. A sheer pink or nude base keeps the nail looking like your own, and a crisp white tip finishes it. I’d keep the white thinner than the classic chunky line; a fine tip looks current and it hides regrowth for longer. Short squoval, oval and soft almond shapes all carry it. The hardest part is a symmetrical smile line, so at home, a silicone stamper or tip guides give you a far neater result than freehand.
2. Milky White Wedding Nails
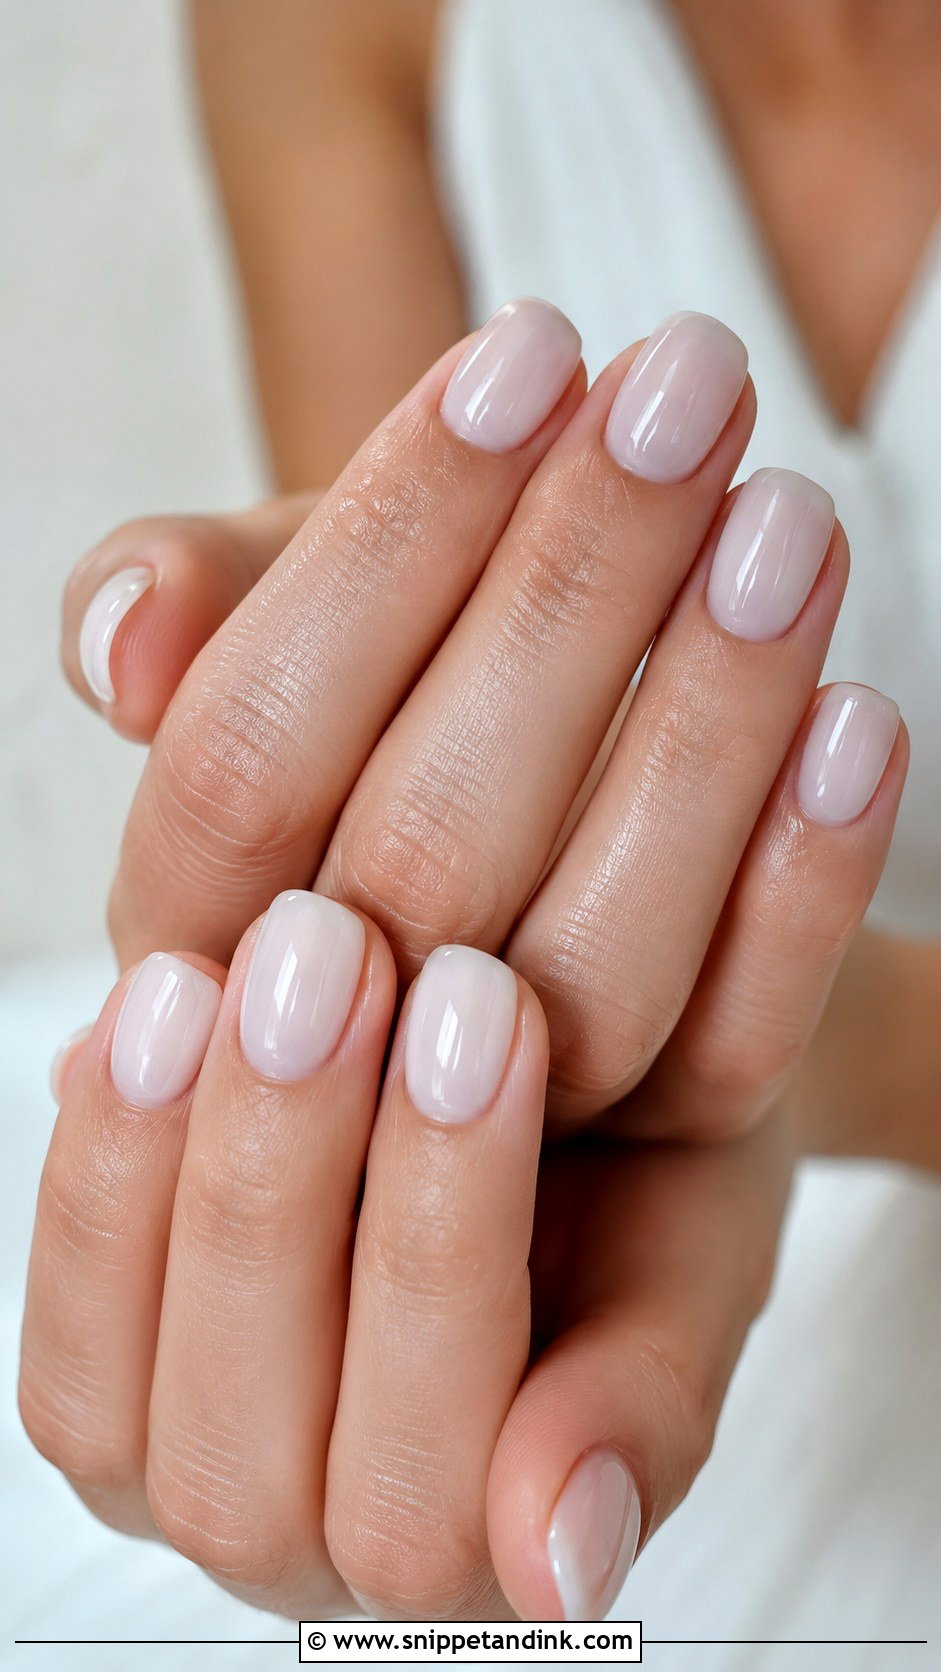
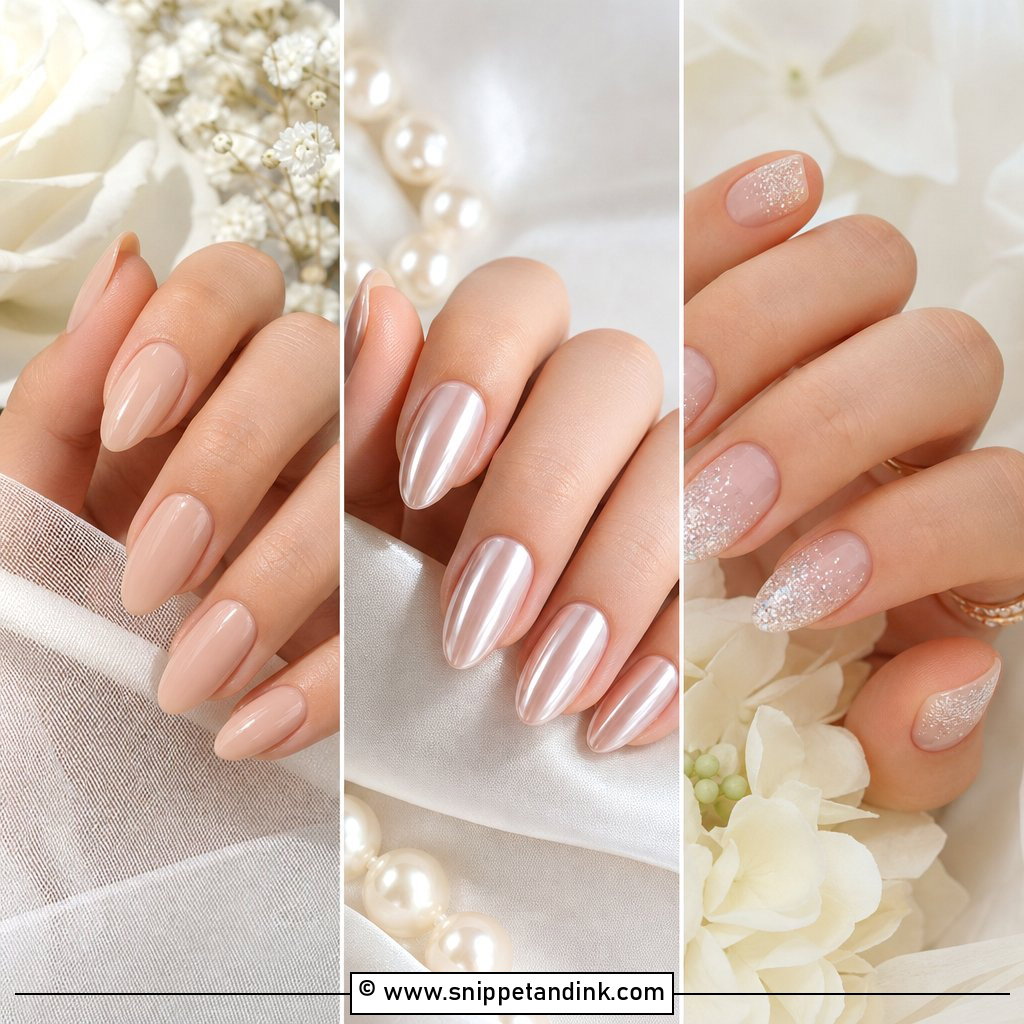
Milky white wedding nails sit between sheer white and creamy nude, which is why they suit almost every skin tone. Two thin coats give a translucent, cloudy finish; a third makes it more opaque. Milky polishes are notoriously streaky, so I always apply thin coats and let each settle for a moment before the next. Thick coats pool at the sides and look uneven up close. A high-shine top coat makes the surface look glassy, which is exactly what you want in ring close-ups.
3. Nude Pink Wedding Nails
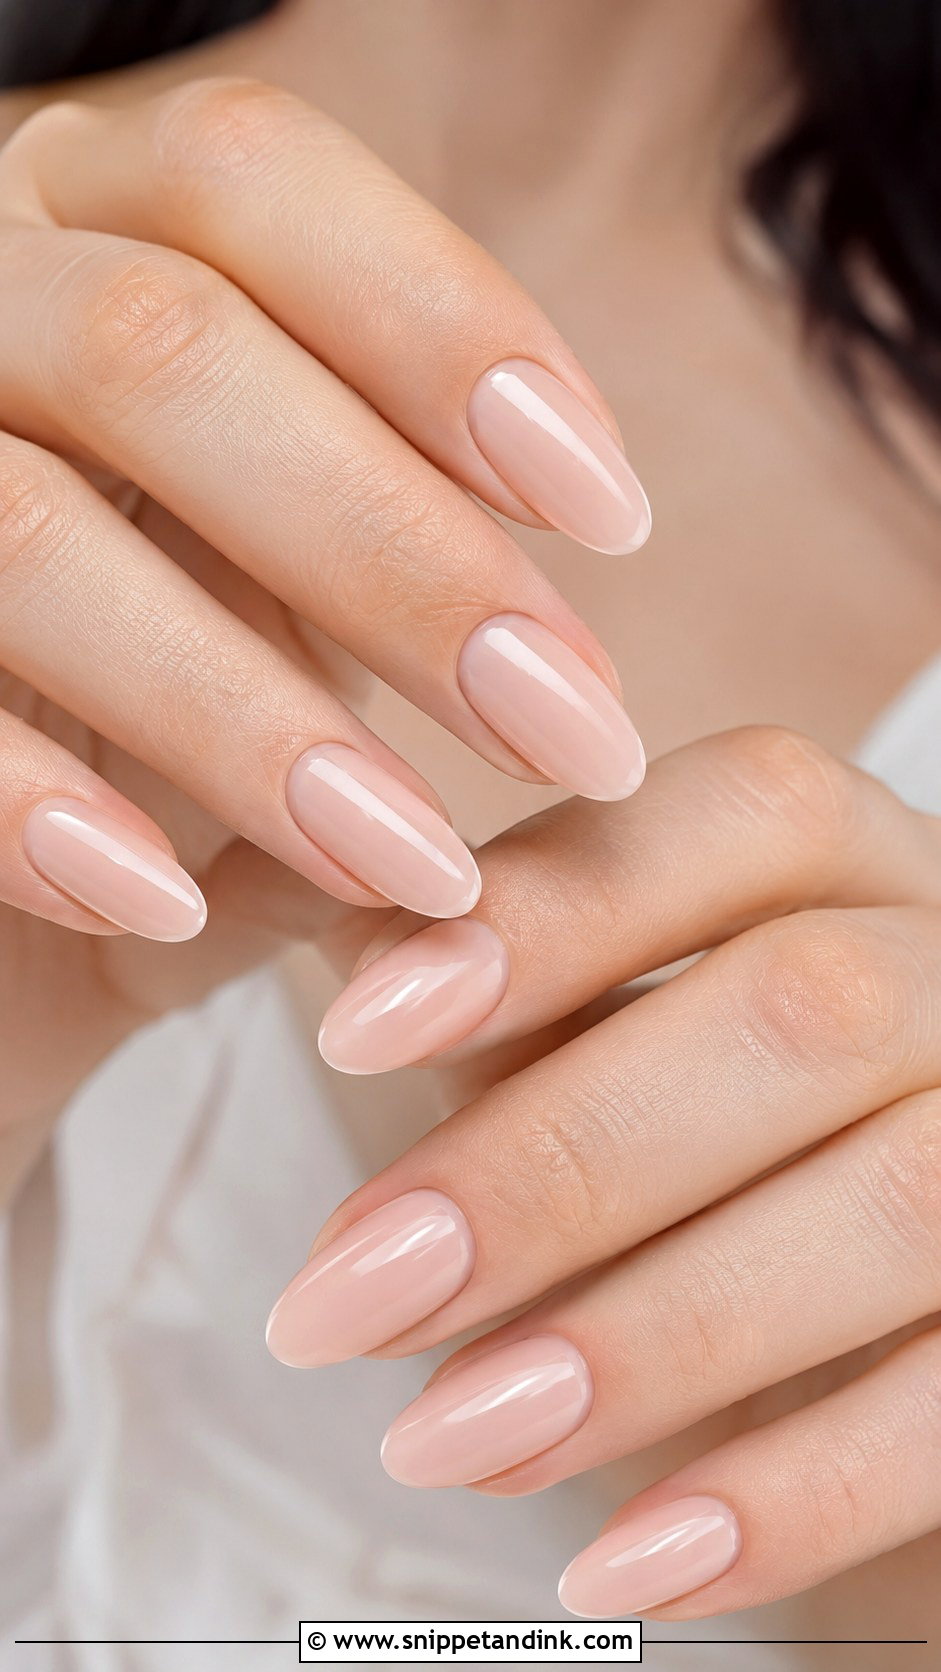
A nude pink only works if it matches your undertone. Hold the bottle against your knuckles, not your nail, because that’s the skin the polish sits beside in photos. Fair skin tends to suit baby pink or blush. Medium skin wears rose beige or peachy pink, and deeper skin looks rich in warm mauve, caramel pink or cocoa nude, where pale pinks can turn chalky. Keep the finish glossy. A practical bonus: a small chip barely shows on a nude, which matters on a busy wedding weekend.
4. Pearl Wedding Nails
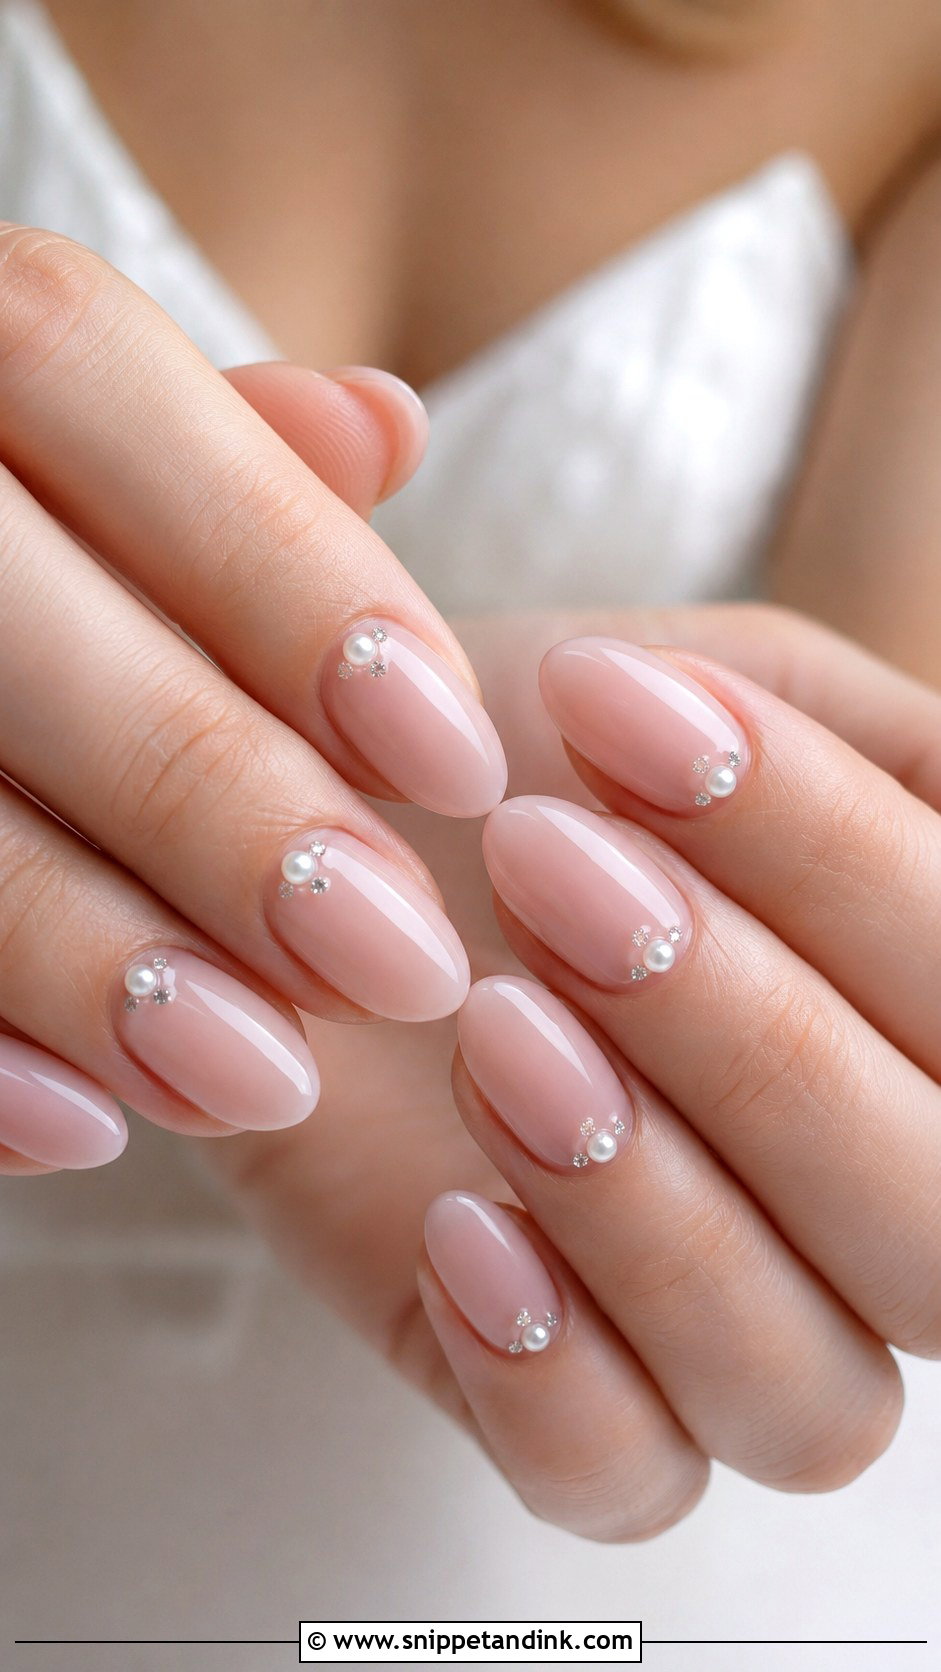
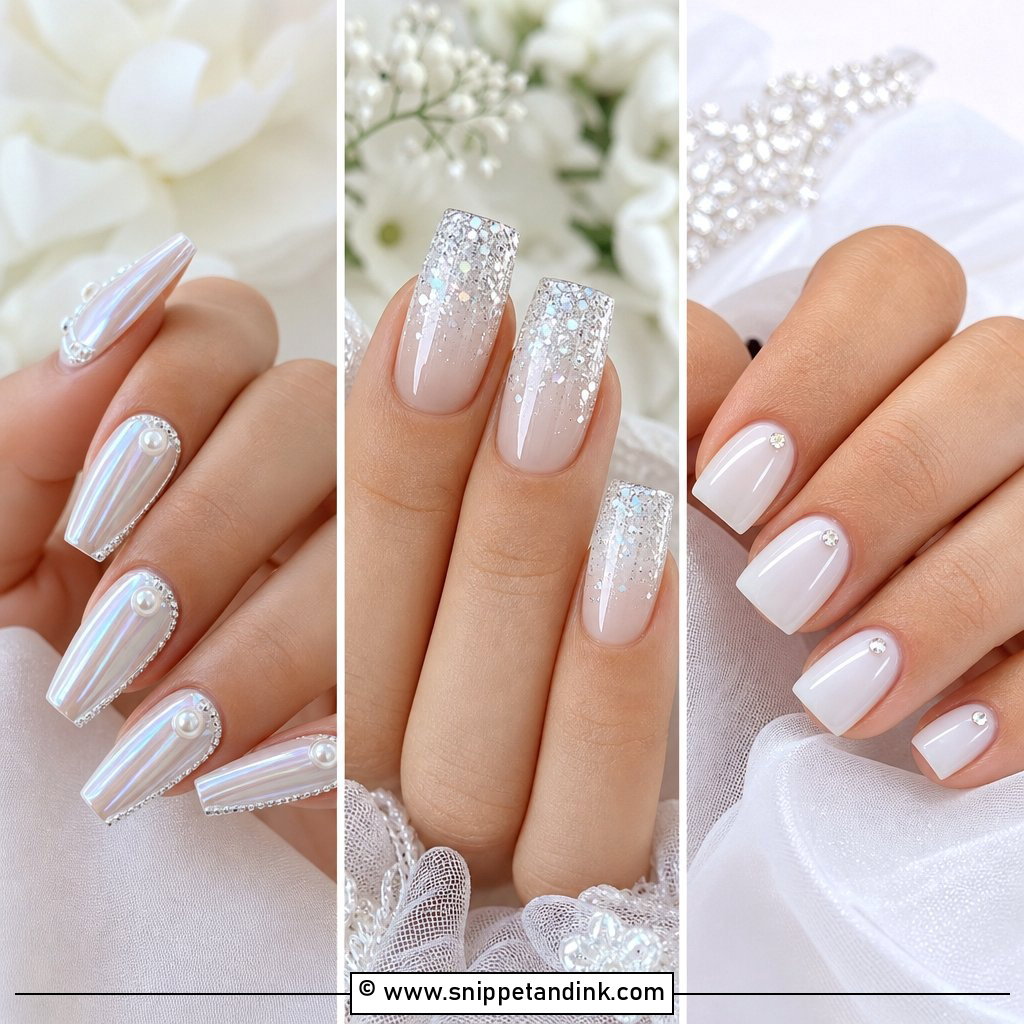
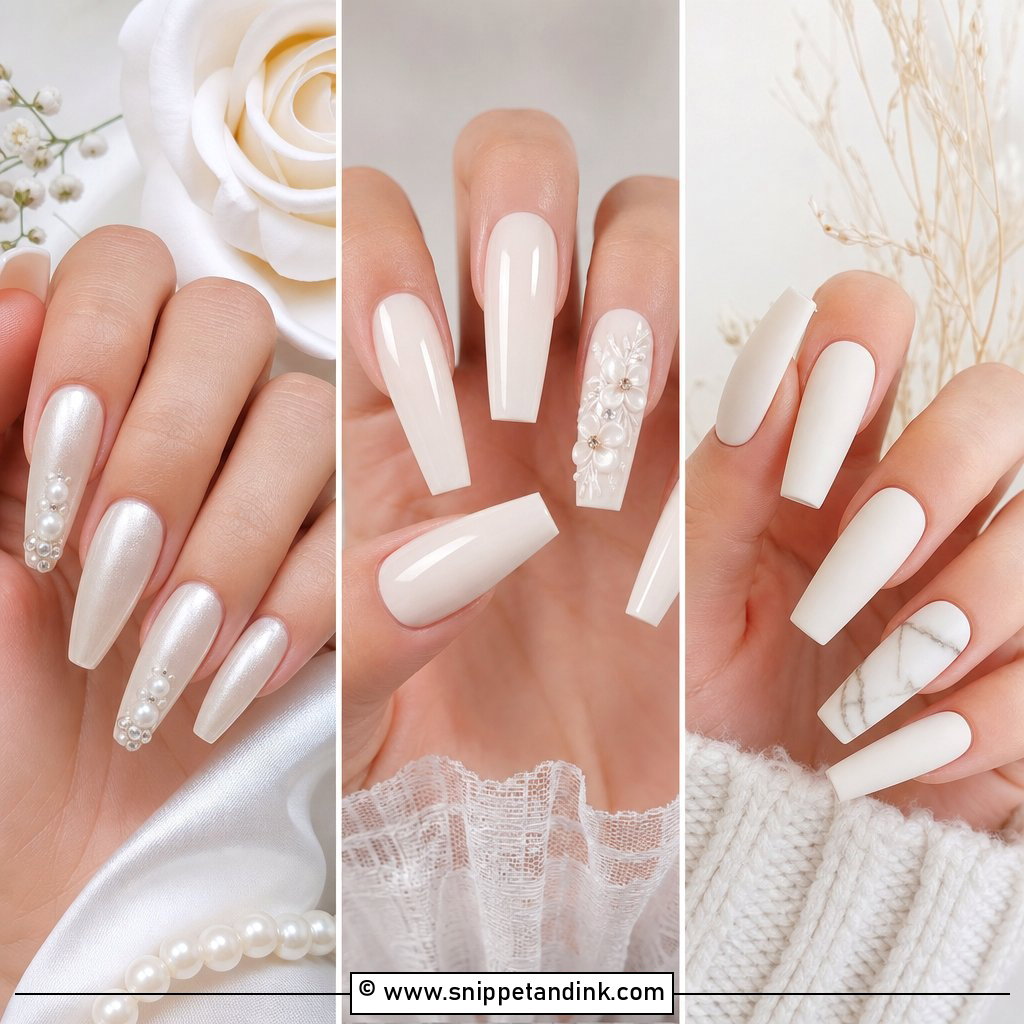
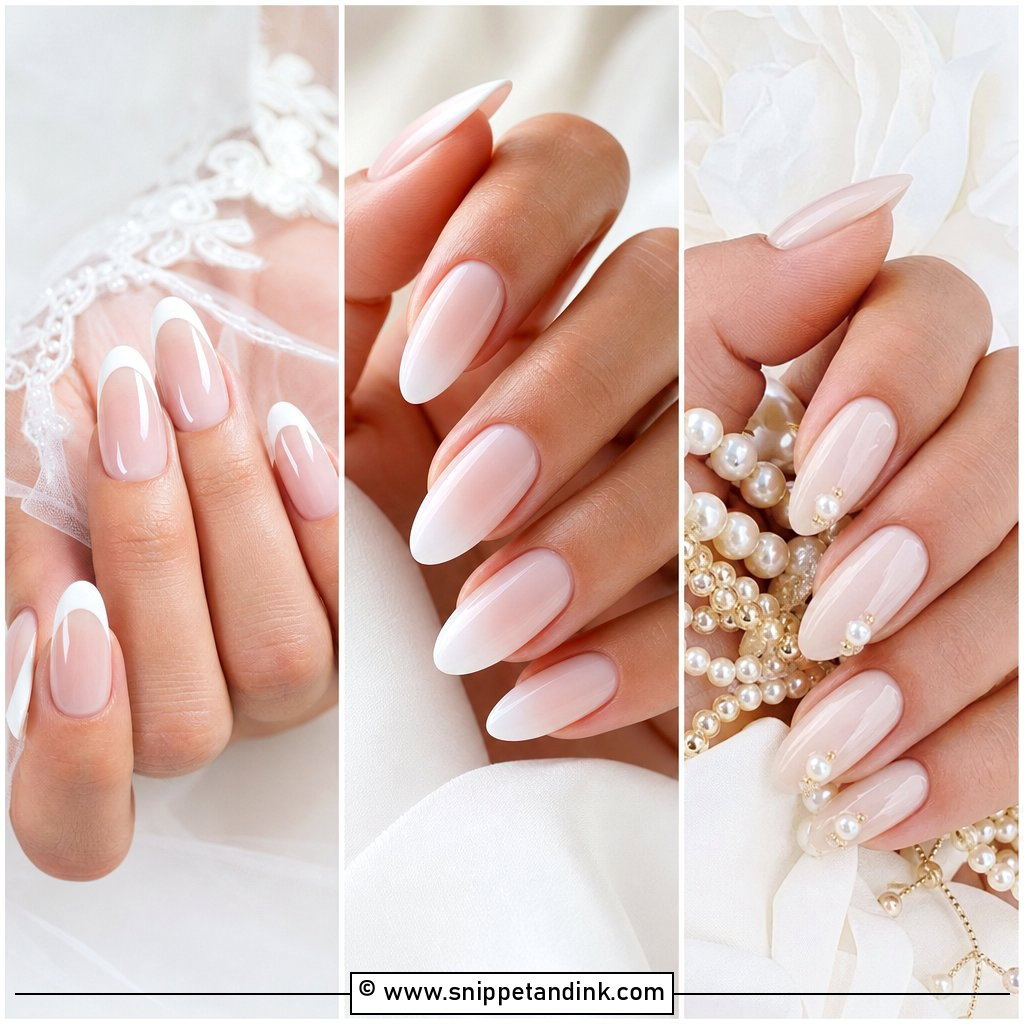
Pearls add detail without much risk, provided you keep them small. Start with a sheer pink, nude or milky white base, then place tiny pearls near the cuticle on one or two nails, with space between them. I set them into a thick gel layer and cap the edges with top coat, because a pearl that’s only glued on will snag tights, lace and veil tulle. Short almond and oval shapes suit this best. With press-ons, choose flat-backed pearls; rounded ones lift off at the first knock.
5. Chrome Wedding Nails
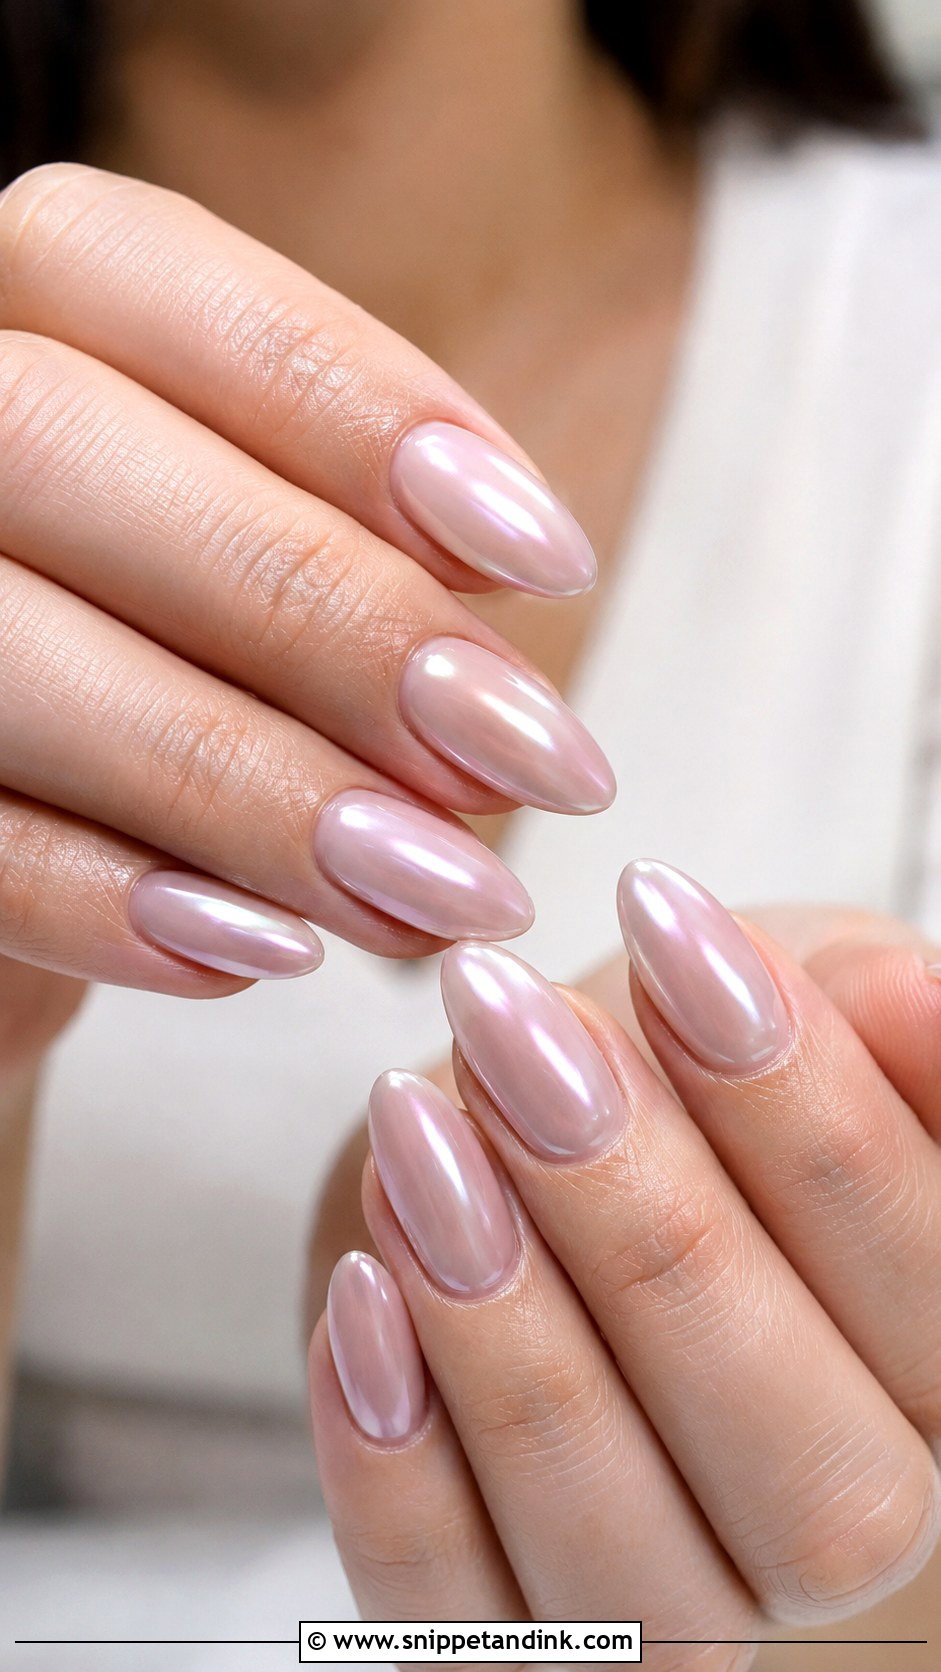
Chrome looks polished in photos with very little effort. A pearl chrome powder rubbed over a sheer pink, nude or milky white base gives a smooth glazed finish that catches light without sparkling. If you like minimal nails but want a little glow, this is the one I’d suggest. Chrome powder needs a no-wipe top coat underneath, and if the base isn’t fully cured it goes patchy, so it’s better done in a salon than at home. Skip heavy silver chrome for a classic look; soft white or pink reads more bridal against both modern and traditional gowns.
6. Short Wedding Nails
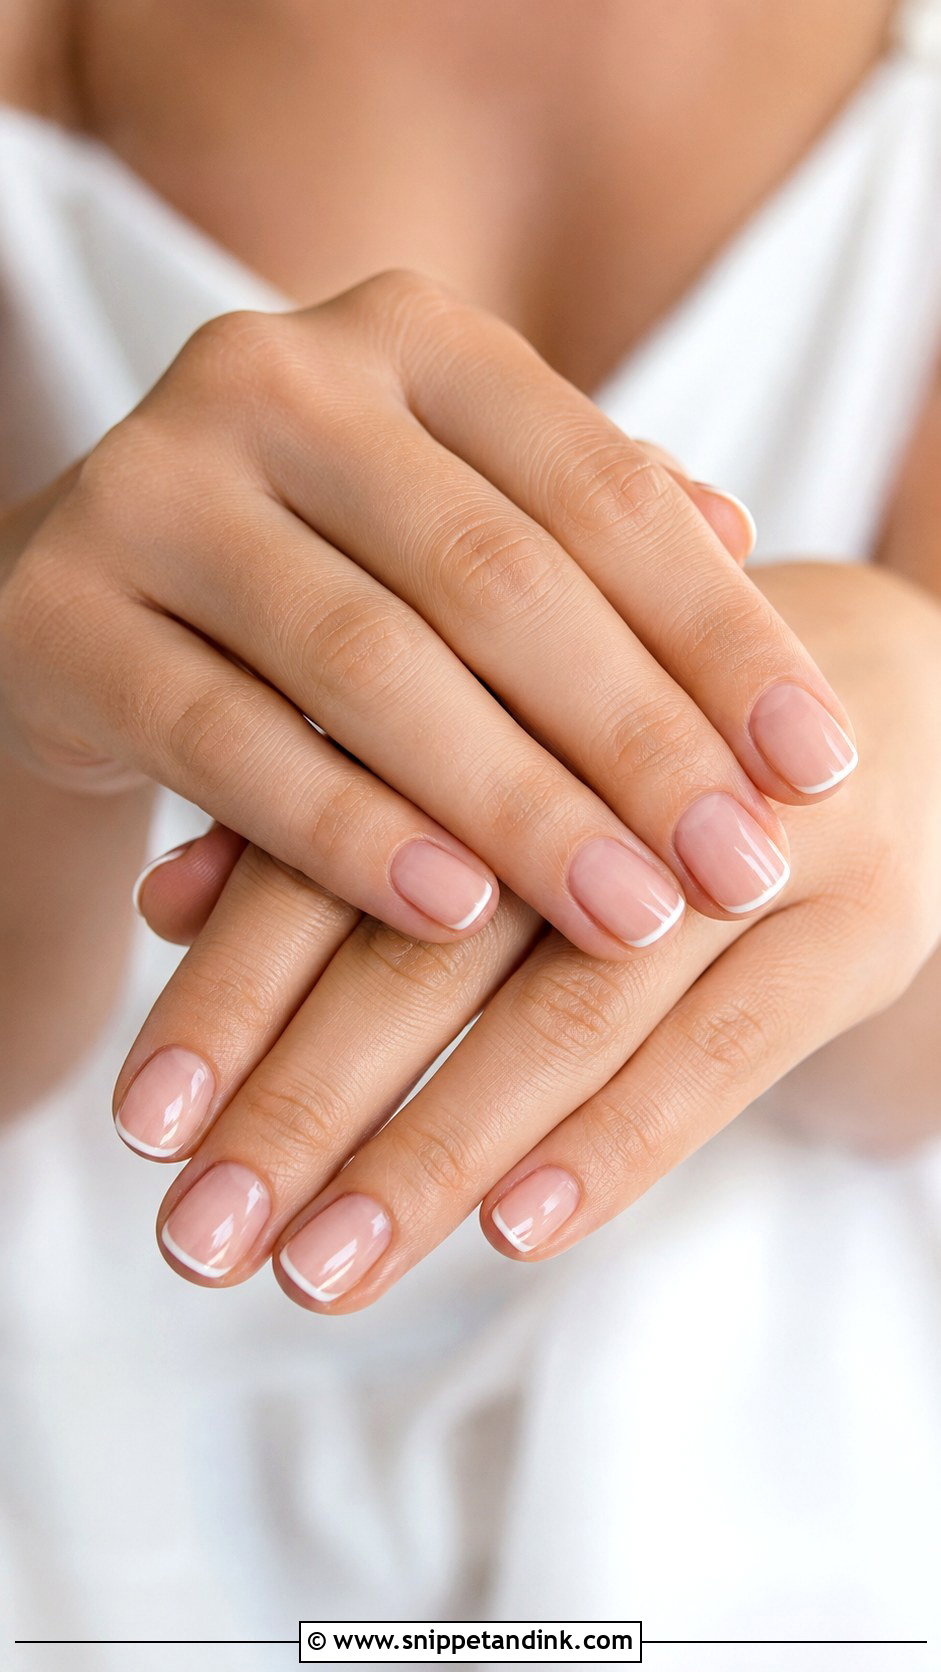
Short nails can look every bit as finished as long ones when the shape is even and the cuticles are clean. A short squoval or rounded shape is comfortable and hard to break across a long weekend. Sheer pink, soft beige, milky white or a tiny French tip all suit it, and you can add a single pearl or a thin chrome layer if you want a detail. I recommend this to anyone who doesn’t normally wear extensions. Your hands behave the way you’re used to, and nothing catches on lace or hair.
7. Almond Wedding Nails
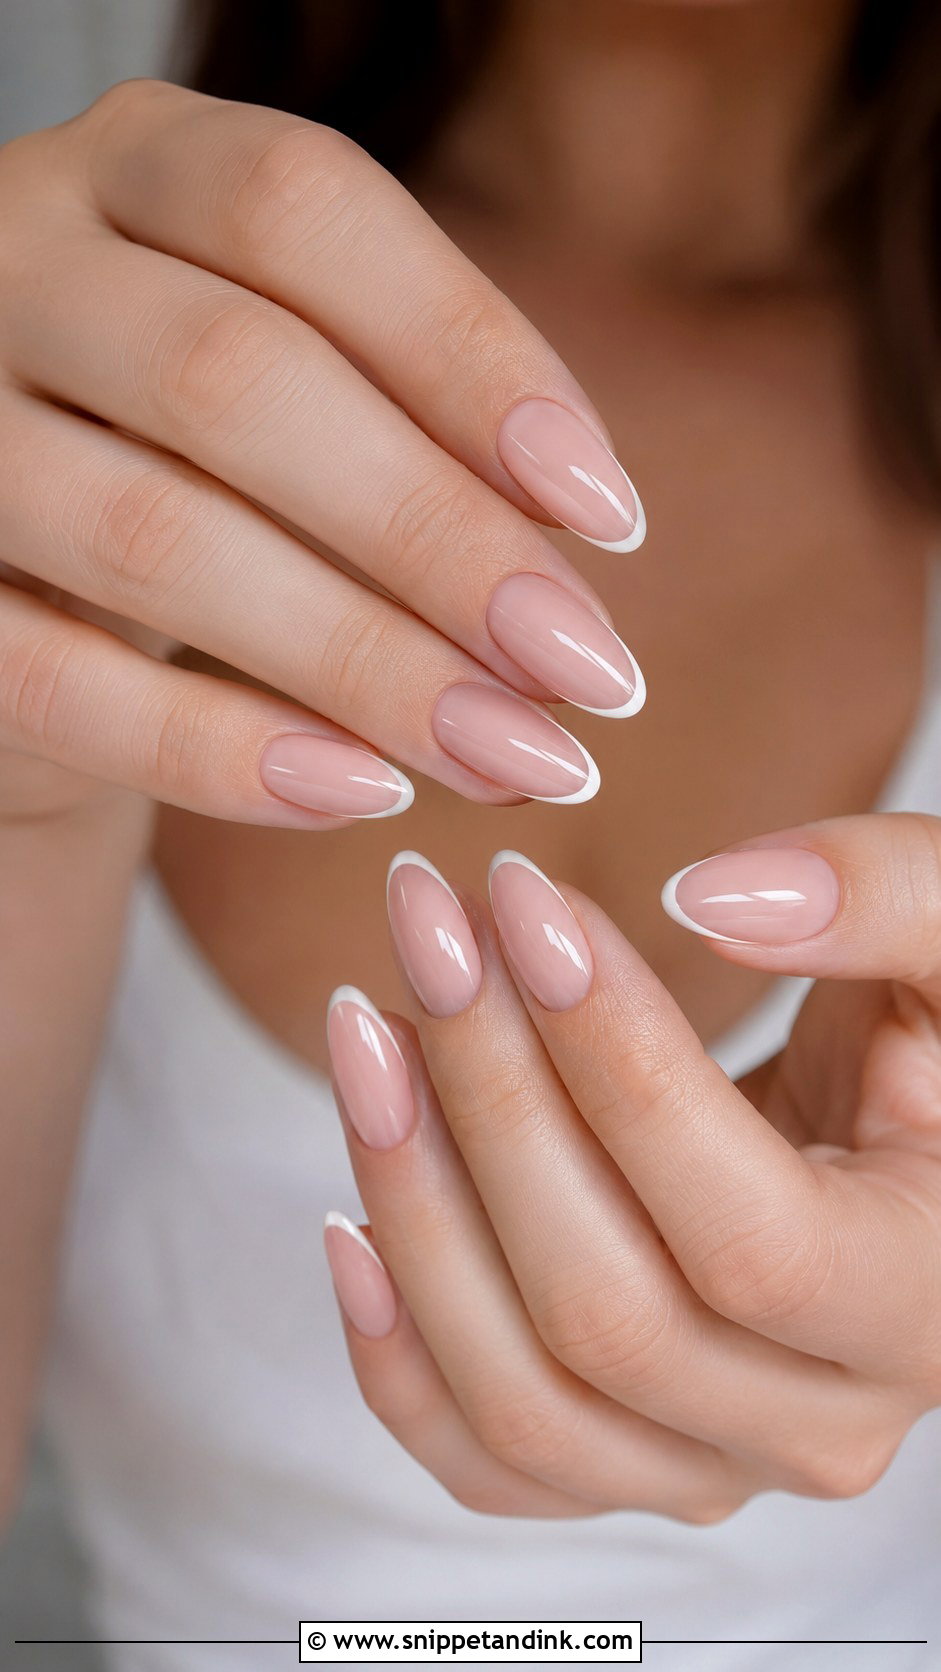
Almond shapes taper toward the tip, which visually lengthens the fingers. Blush pink, milky white, nude and sheer beige all suit the shape, and a thin French tip or pearl chrome is enough detail. There’s room on the nail for a tiny accent without crowding. If your natural nails are short, soft gel extensions or press-ons create the shape quickly. I’d keep the length medium. A long almond point is surprisingly awkward for fastening a necklace, managing buttons or holding a pen to sign the register.
8. Oval Wedding Nails
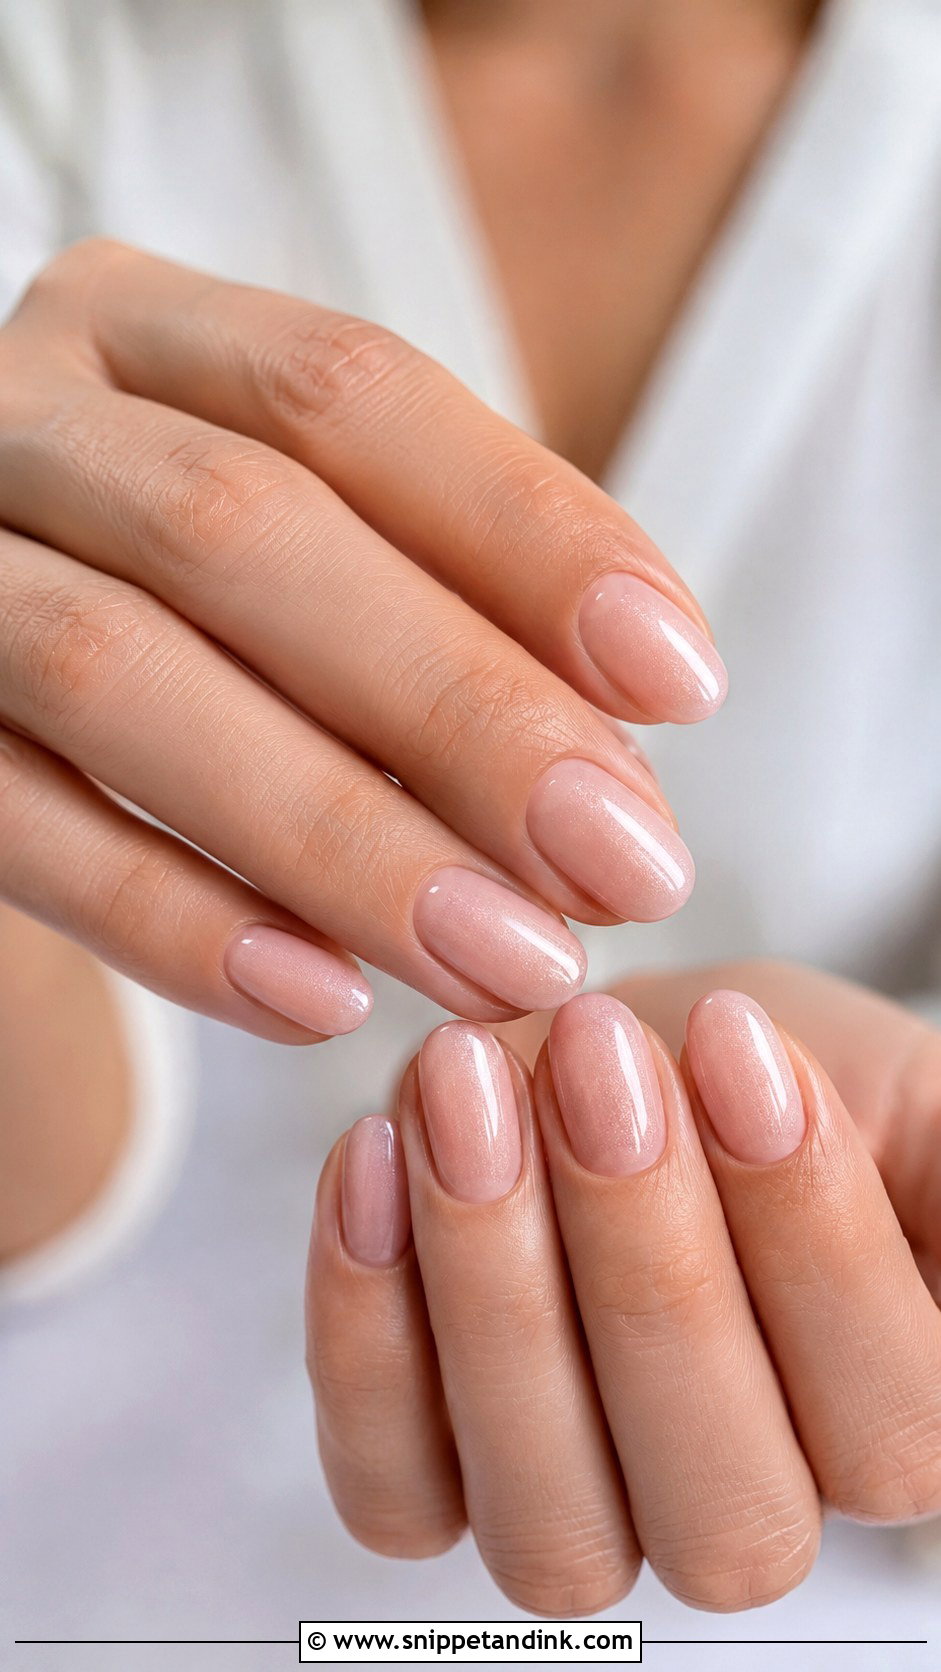
Oval nails sit neatly between short natural nails and longer almonds, and they flatter most hands. Sheer pink, creamy nude or milky white gel all work. I like a micro French tip on this shape because the curve of the tip follows the natural free edge, so it looks drawn on by nature rather than painted. For something more special, add a soft shimmer top coat or one tiny pearl at the base. Ovals are also less prone to snapping than squares, since there are no corners to catch.
9. Square Wedding Nails
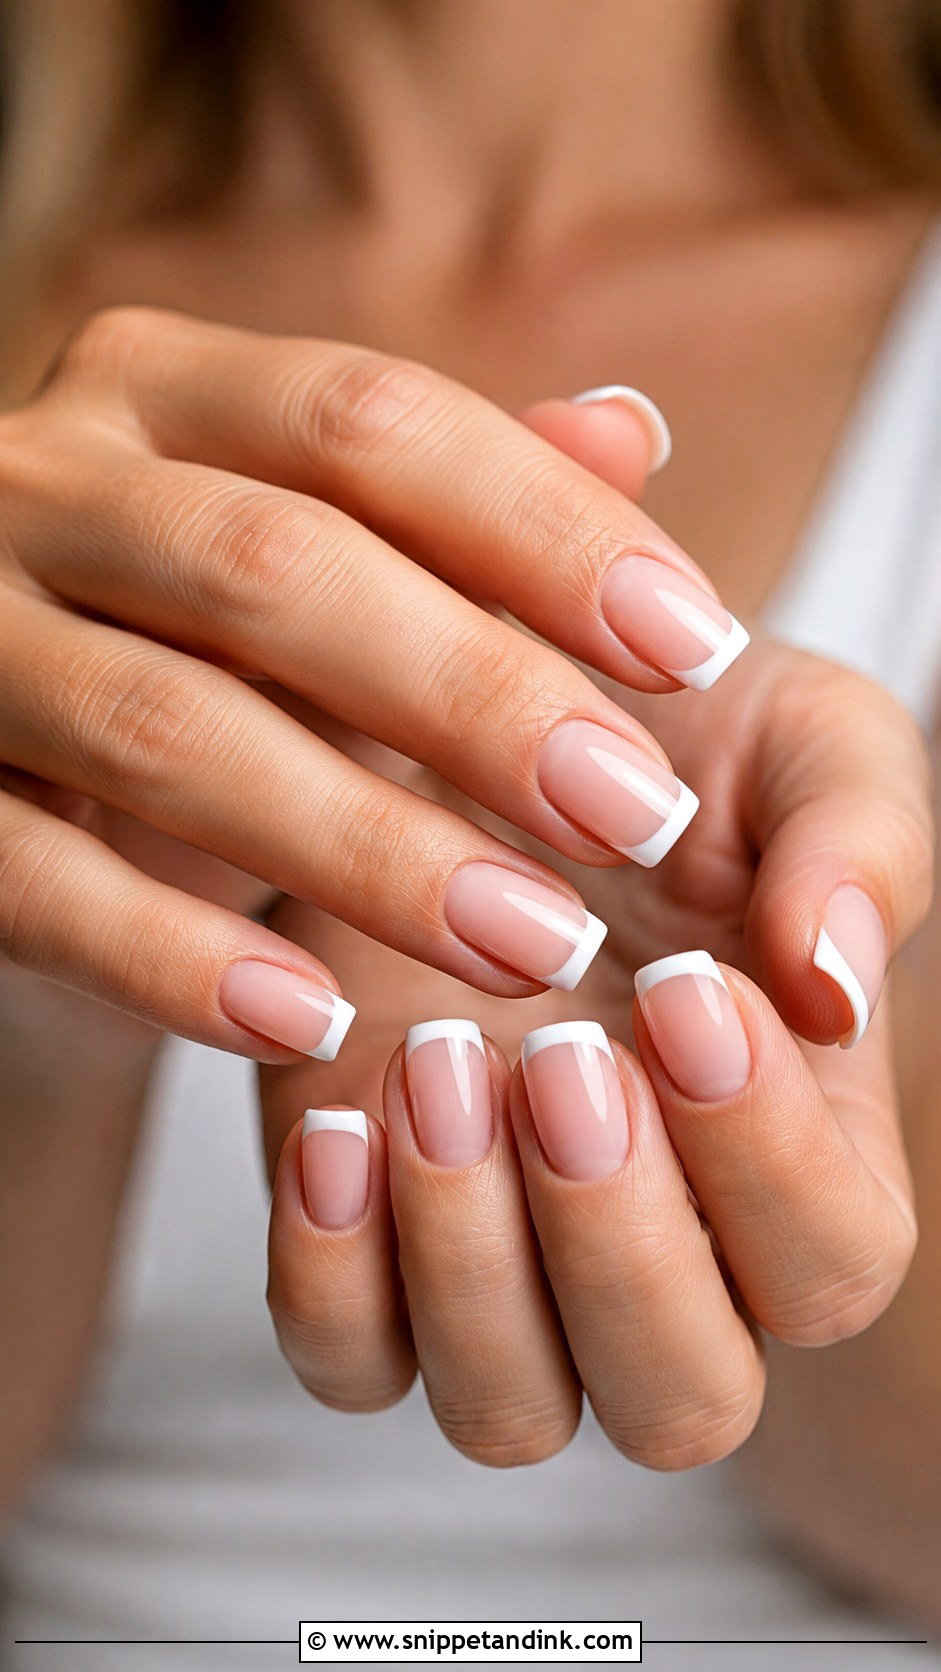
Square nails give a neat, structured look, and for weddings I soften the corners slightly. Sharp corners catch on fabric and chip first. A short or medium length with a sheer nude base and white tips looks crisp. Pale pink, creamy beige or a soft chrome finish keeps it simpler. If your nails naturally grow with a straight edge, this shape is the easiest to maintain, and it holds gel and dip evenly across the free edge.
10. Baby Boomer Wedding Nails
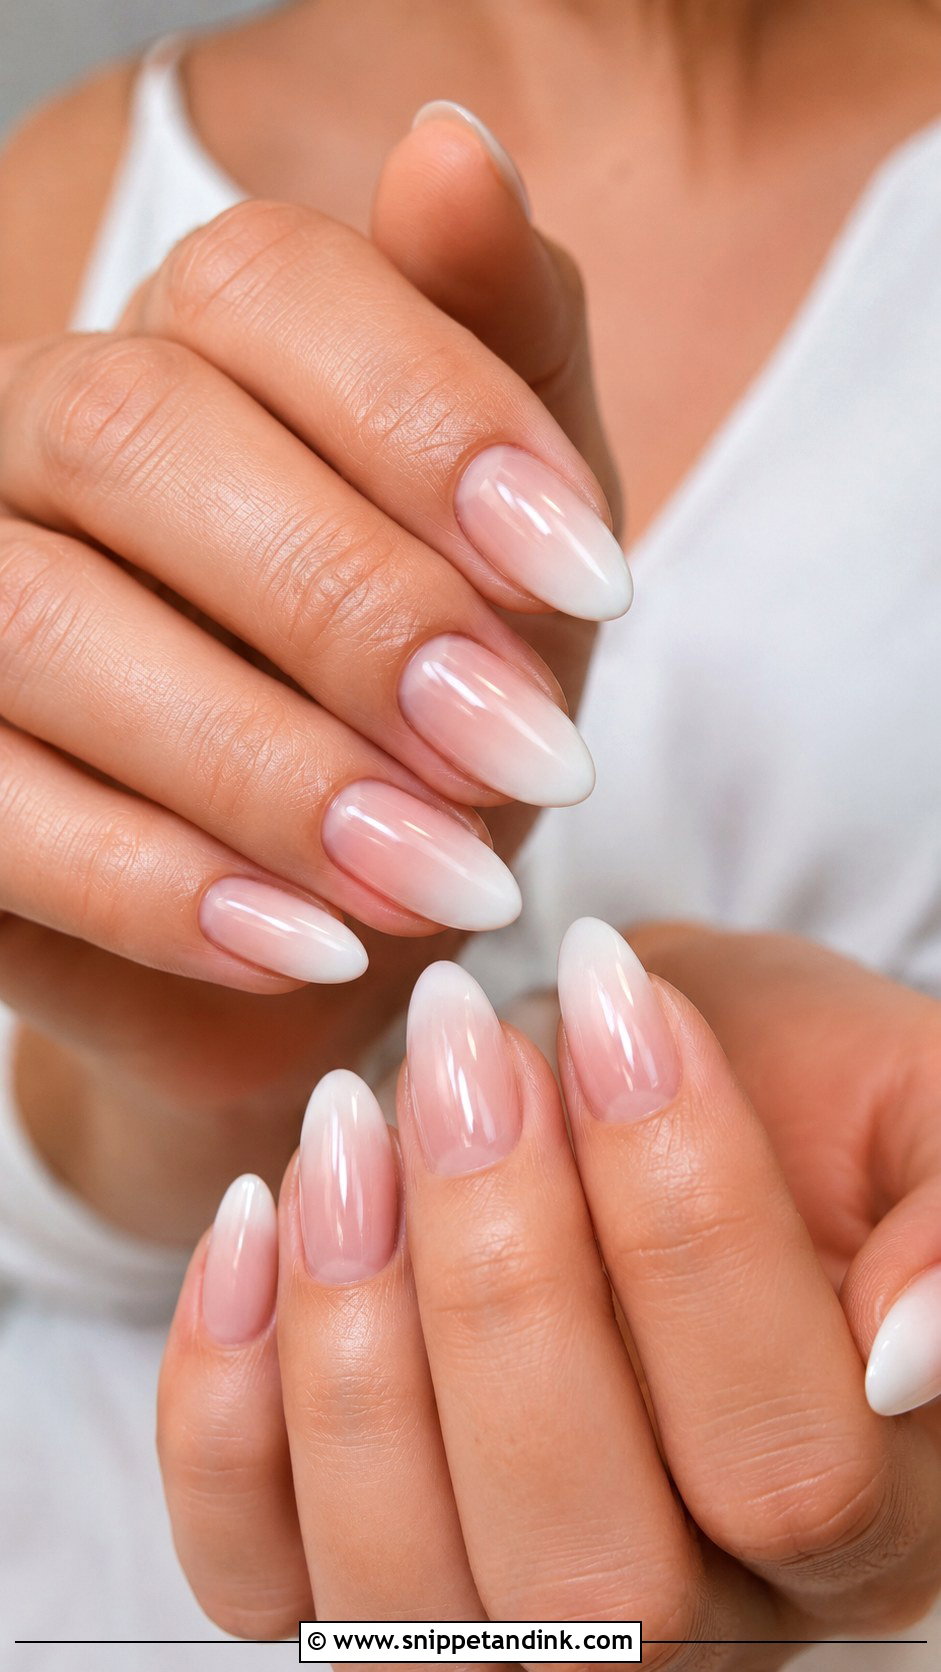
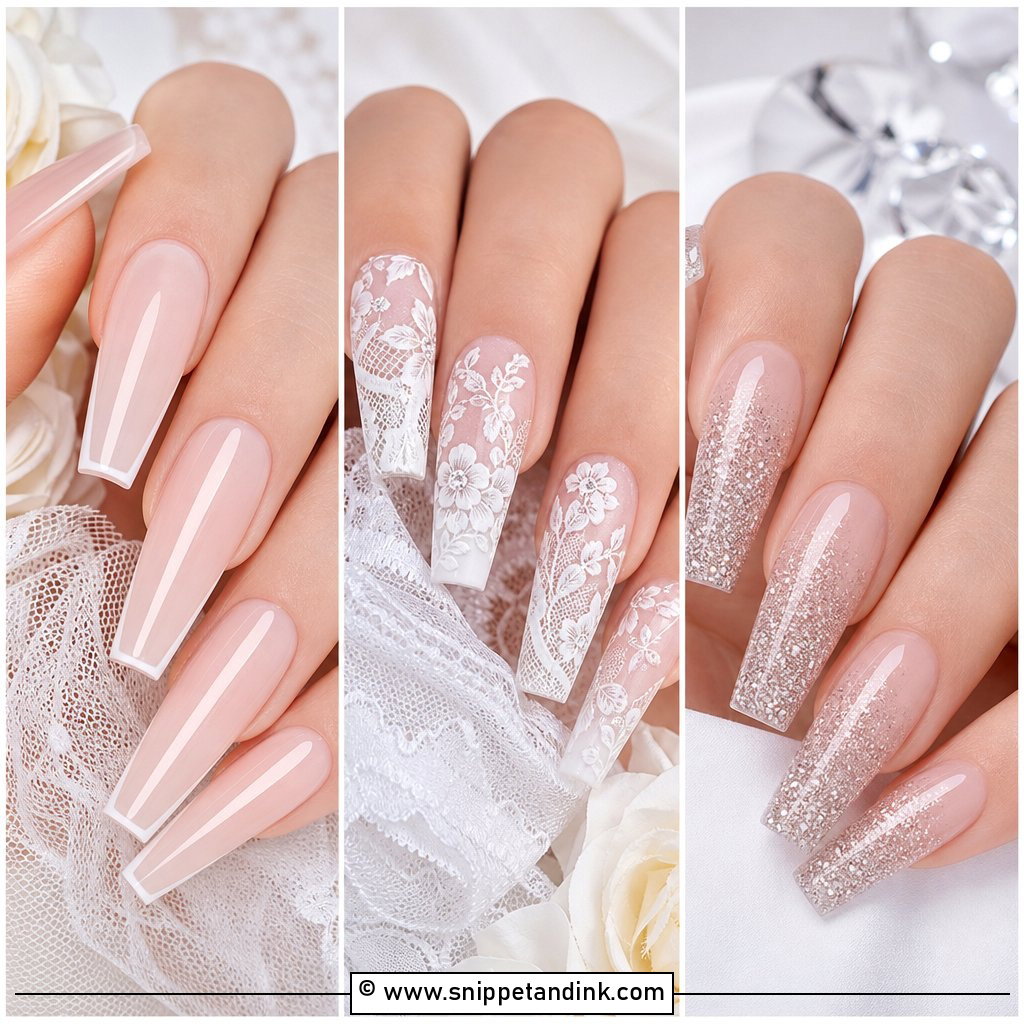
Baby boomer wedding nails are a soft ombré take on the French manicure. Instead of a sharp white line, the color fades from nude or pink at the base into soft white at the tip, which gives you the French look without hard contrast. I build the fade with a sponge or airbrush and seal it with a thick gel top coat to smooth the texture. Almond, oval and coffin shapes all carry it. Ask your nail tech for a pink-and-white ombré with a glossy finish. Because there’s no line at the cuticle, regrowth hardly shows, so an appointment a few days before the wedding is fine.
11. Blush Wedding Nails
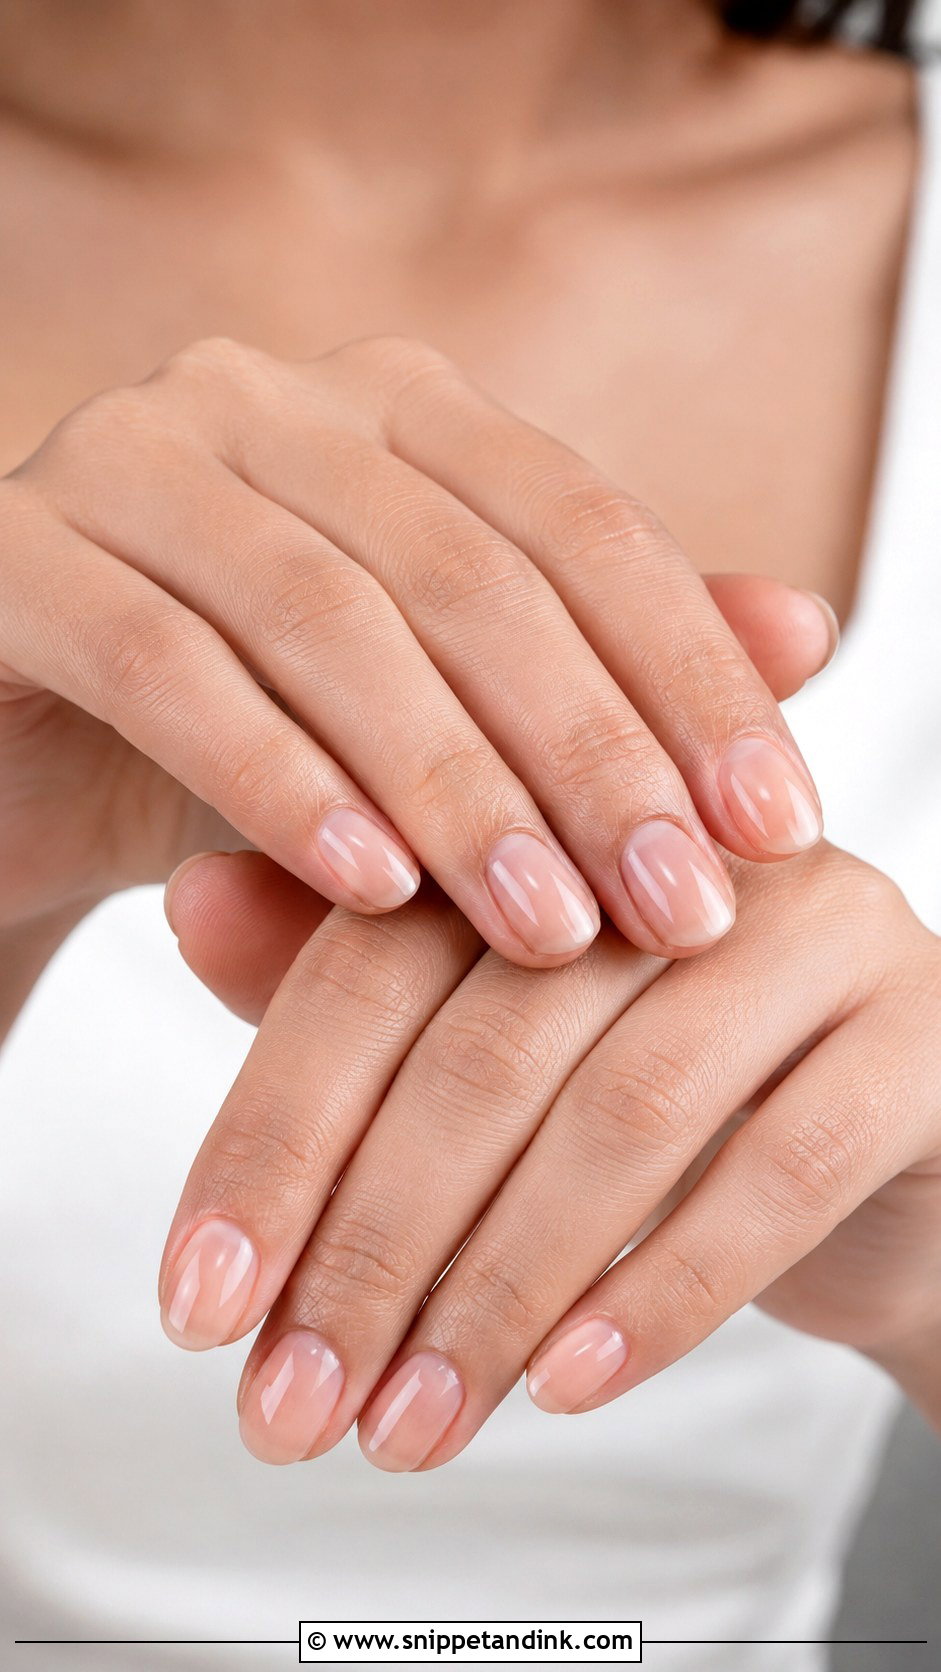
Blush gives the nails a soft pink glow and makes hands look healthy. It comes sheer, jelly or creamy, and the jelly versions are the most flattering in my experience because a little of the natural nail shows through. It’s a good route if white nails feel too bridal for you. Every length works. For a modern touch, add a barely-there chrome powder or a shimmer top coat, and keep the rest of the design plain so the color stays the focus.
12. White Tip Wedding Nails
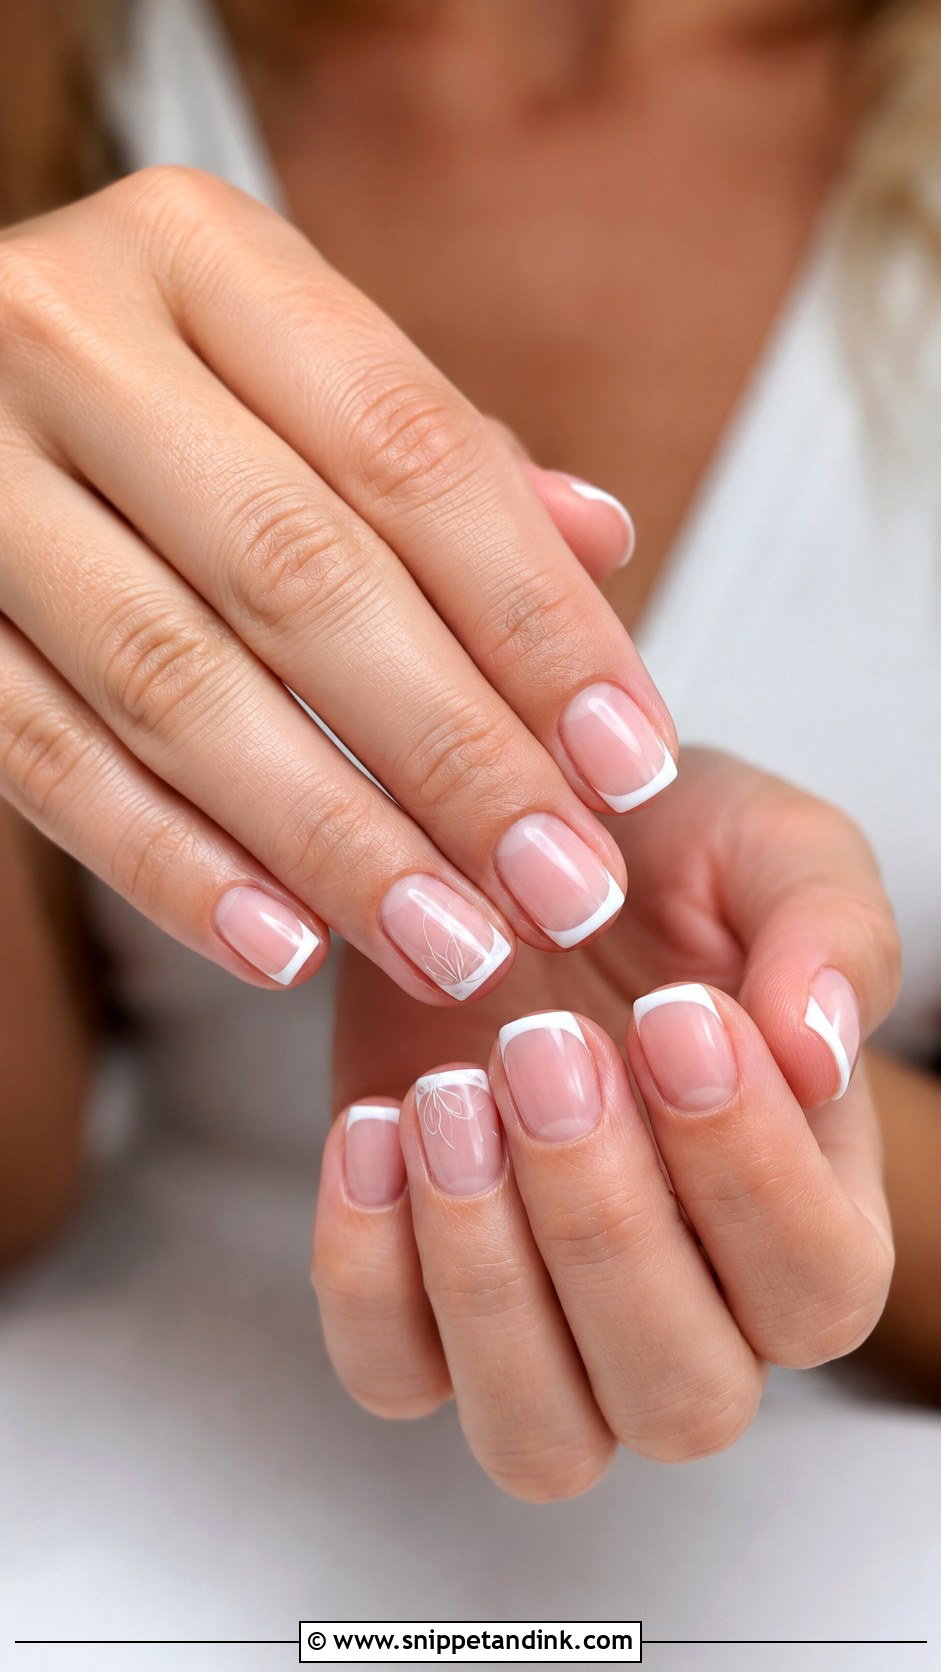
A white tip doesn’t have to follow the classic French proportions. It can be thinner, softer or slightly rounded to suit your nail shape, which is useful on short nails where a thick tip makes the nail bed look stubby. Very fine tips suit short nails best. Off-white or a soft milky white is gentler than stark bright white, which can look almost blue in flash photos. Finish glossy for a classic look, or with a pearl chrome top coat for more glow.
13. Floral Wedding Nails
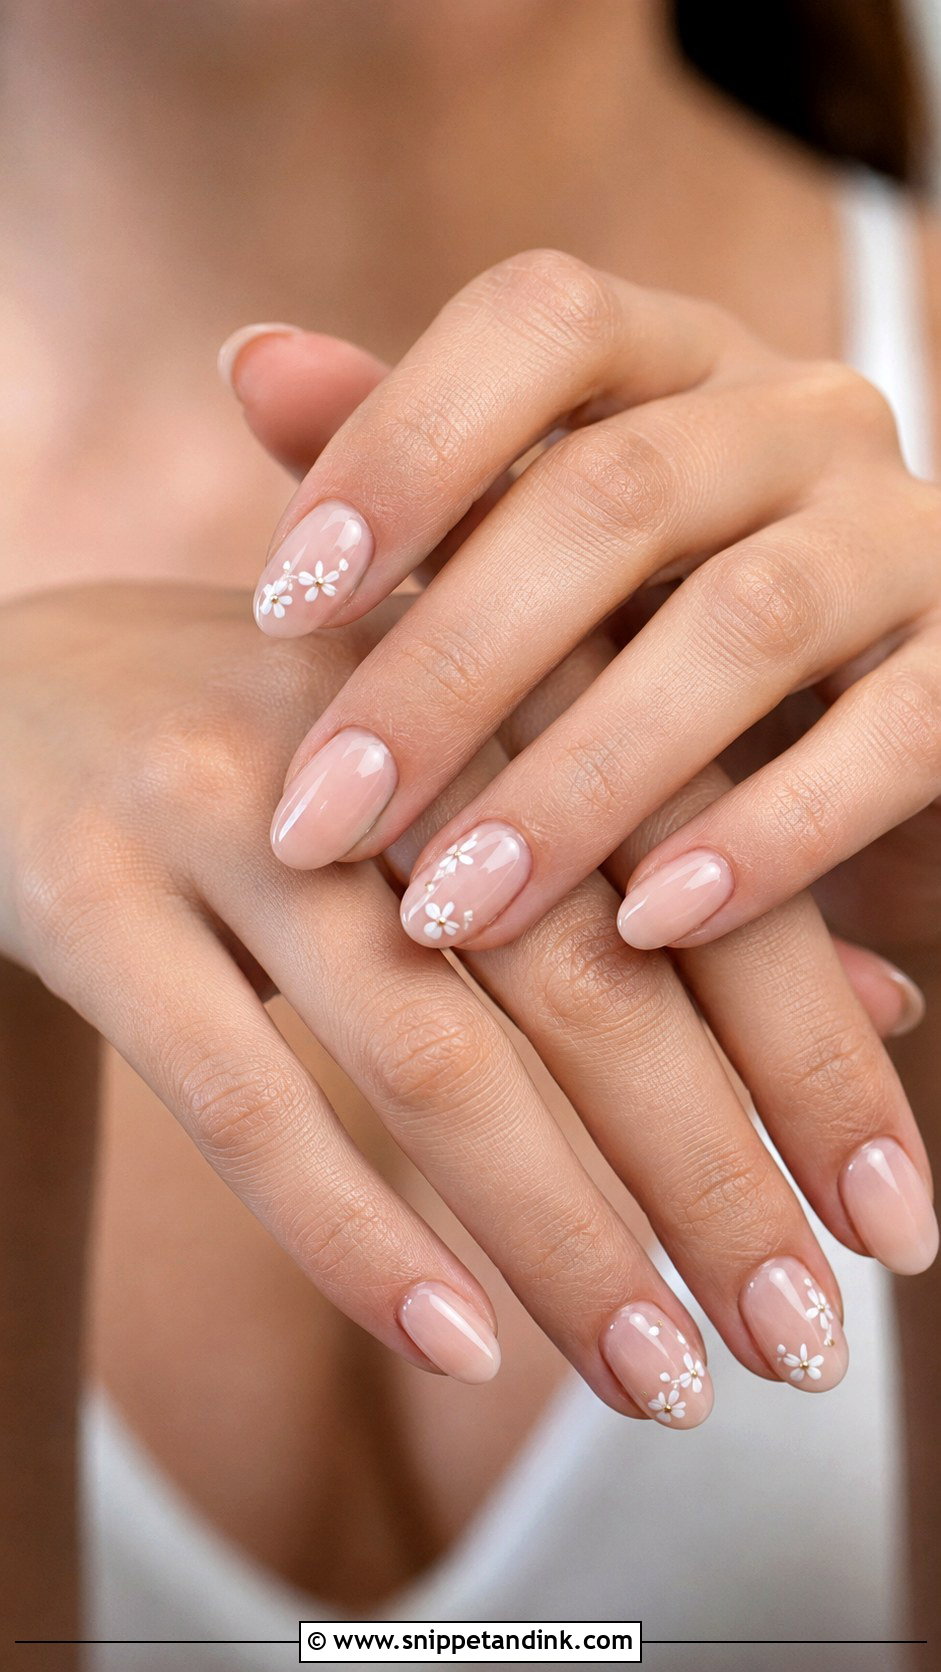
Floral art stays easy when the flowers are tiny. I paint them with a dotting tool: five dots in a ring for petals, a contrasting dot in the center, on one or two accent nails over a sheer nude, blush or milky base. Detailed petals take far longer and smudge if the gel isn’t cured between layers. Soft-colored florals suit any season, though they feel most natural at spring and summer weddings. Short oval and medium almond nails give the art enough room. A glossy top coat seals it and smooths the raised dots.
14. Glitter Ombre Wedding Nails
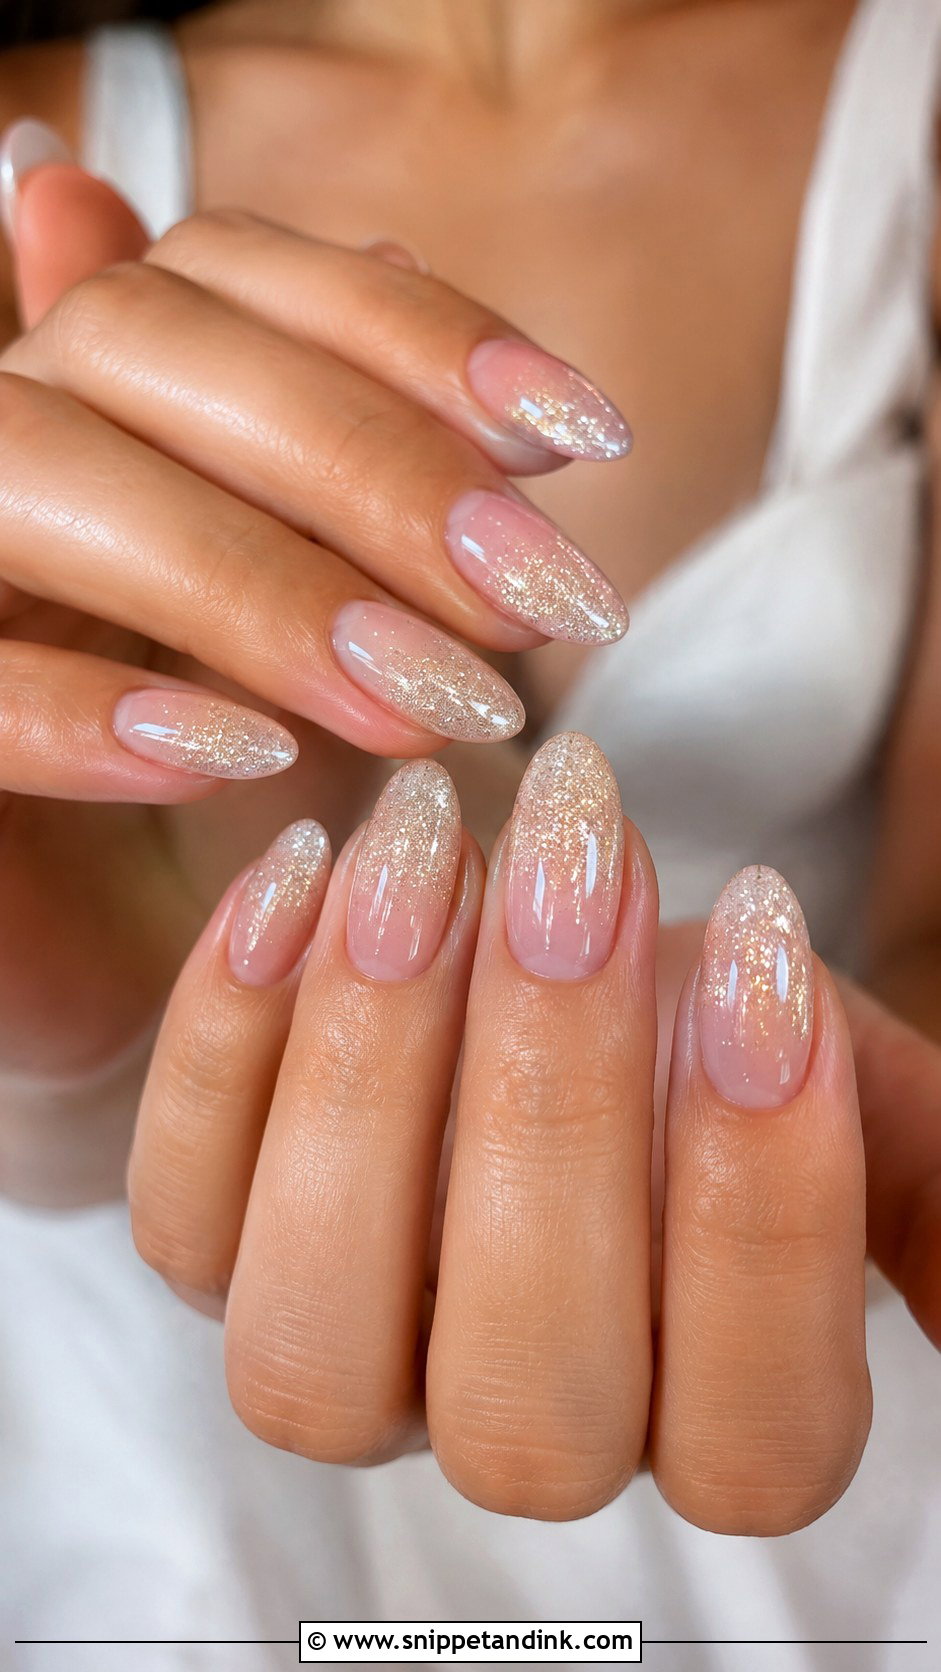
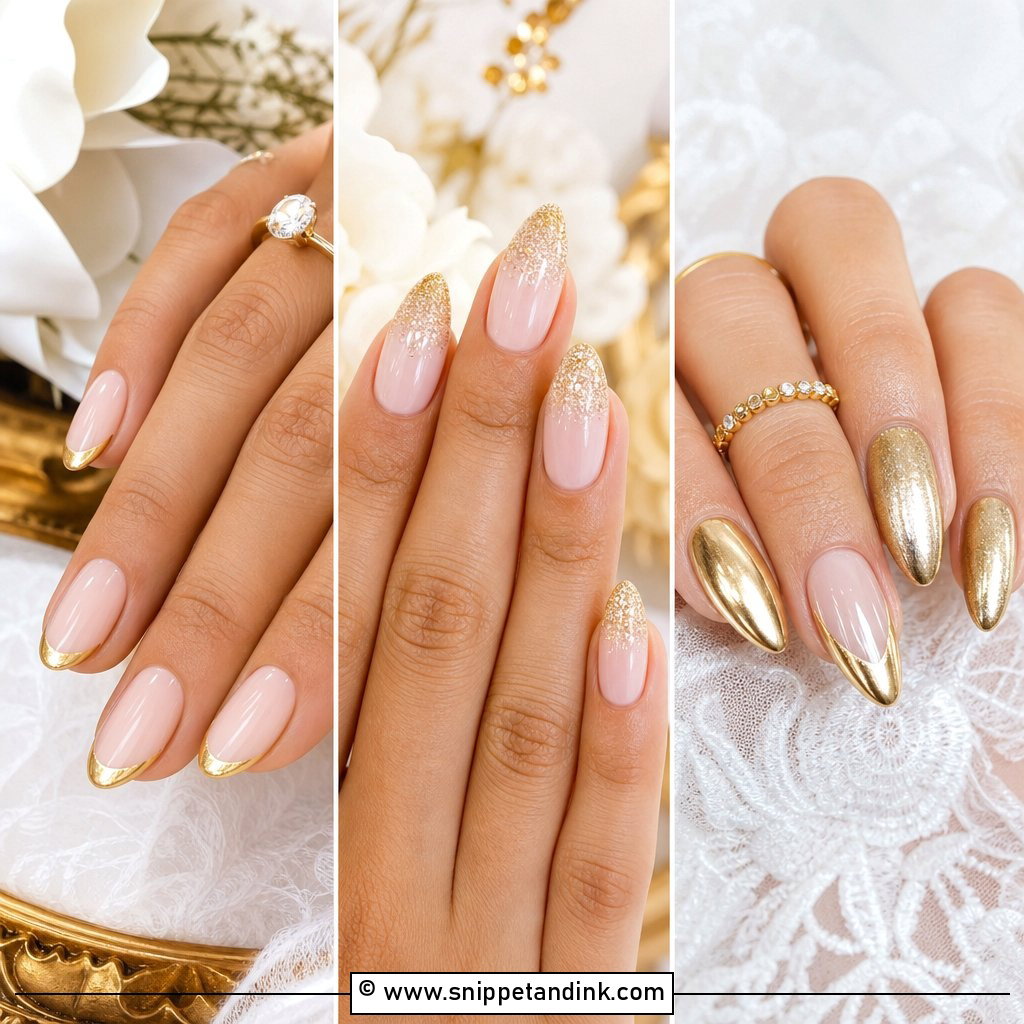
Glitter ombre wedding nails keep sparkle under control. The glitter is concentrated at the tip or cuticle and faded into a nude or pink base, rather than covering the whole nail. Fine champagne, silver or rose gold glitter works best because chunky glitter shows texture in close-ups and is miserable to remove. It sits well with beaded dresses and satin gowns, and on oval or almond nails. Ask specifically for fine or micro glitter, and for a thick top coat over it so the surface is smooth, not gritty.
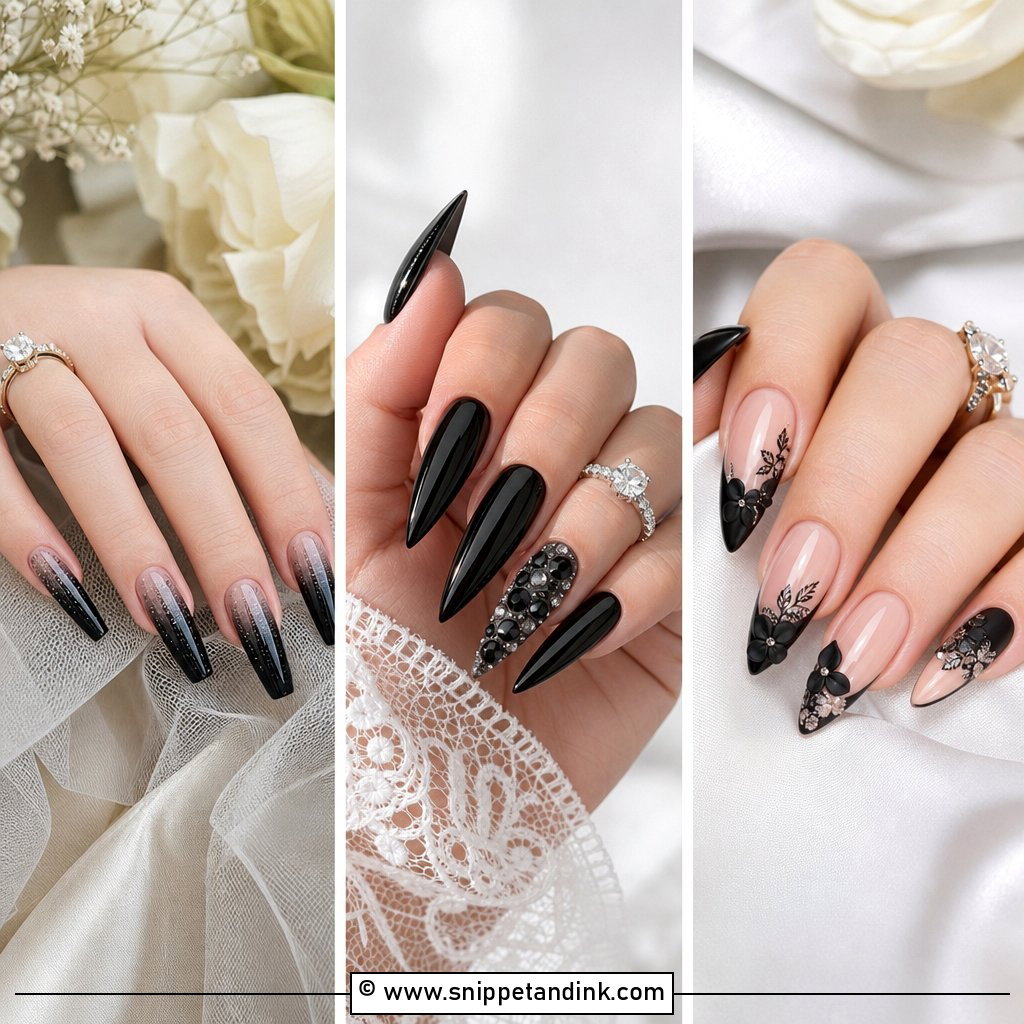
15. Gold Accent Wedding Nails
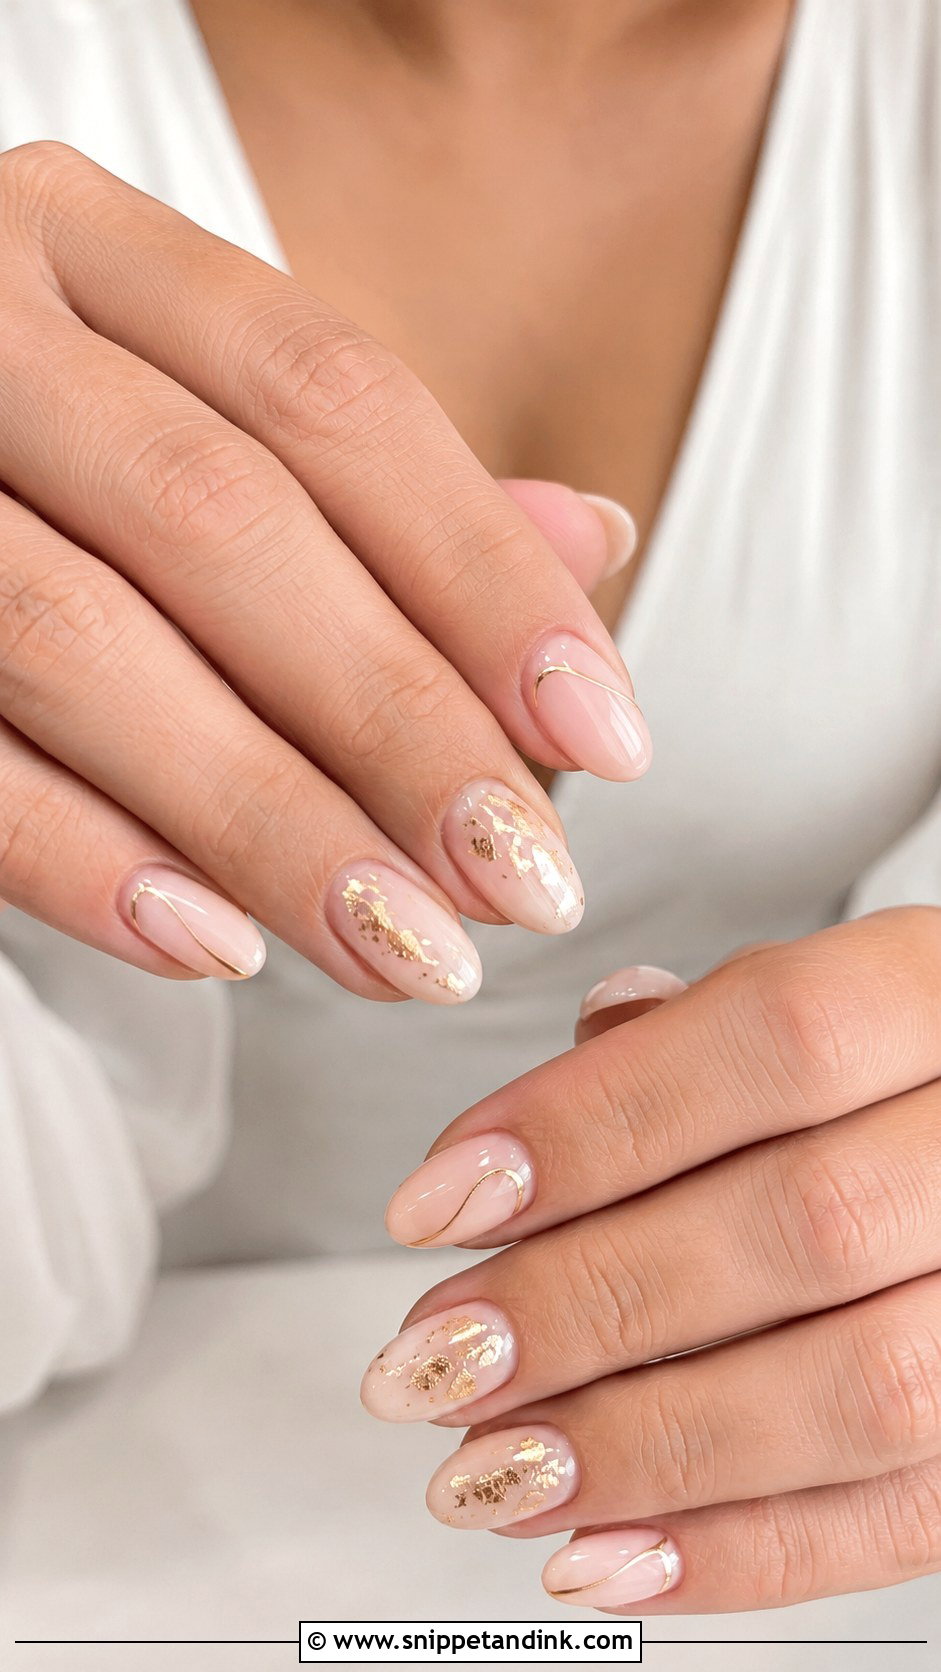
Gold accents bring warmth, and they look most intentional when they echo your jewelry. A nude, blush or milky base keeps the set bridal, while thin gold lines, tiny foil flakes or small gold dots add detail. One gold accent nail per hand, with the rest plain and glossy, is the easiest version and the most forgiving. Foil needs to be fully sealed under top coat or its edges lift and catch. Short oval, almond and squoval nails all suit it. If your ring is white gold or platinum, look at the silver version next instead.
16. Silver Accent Wedding Nails
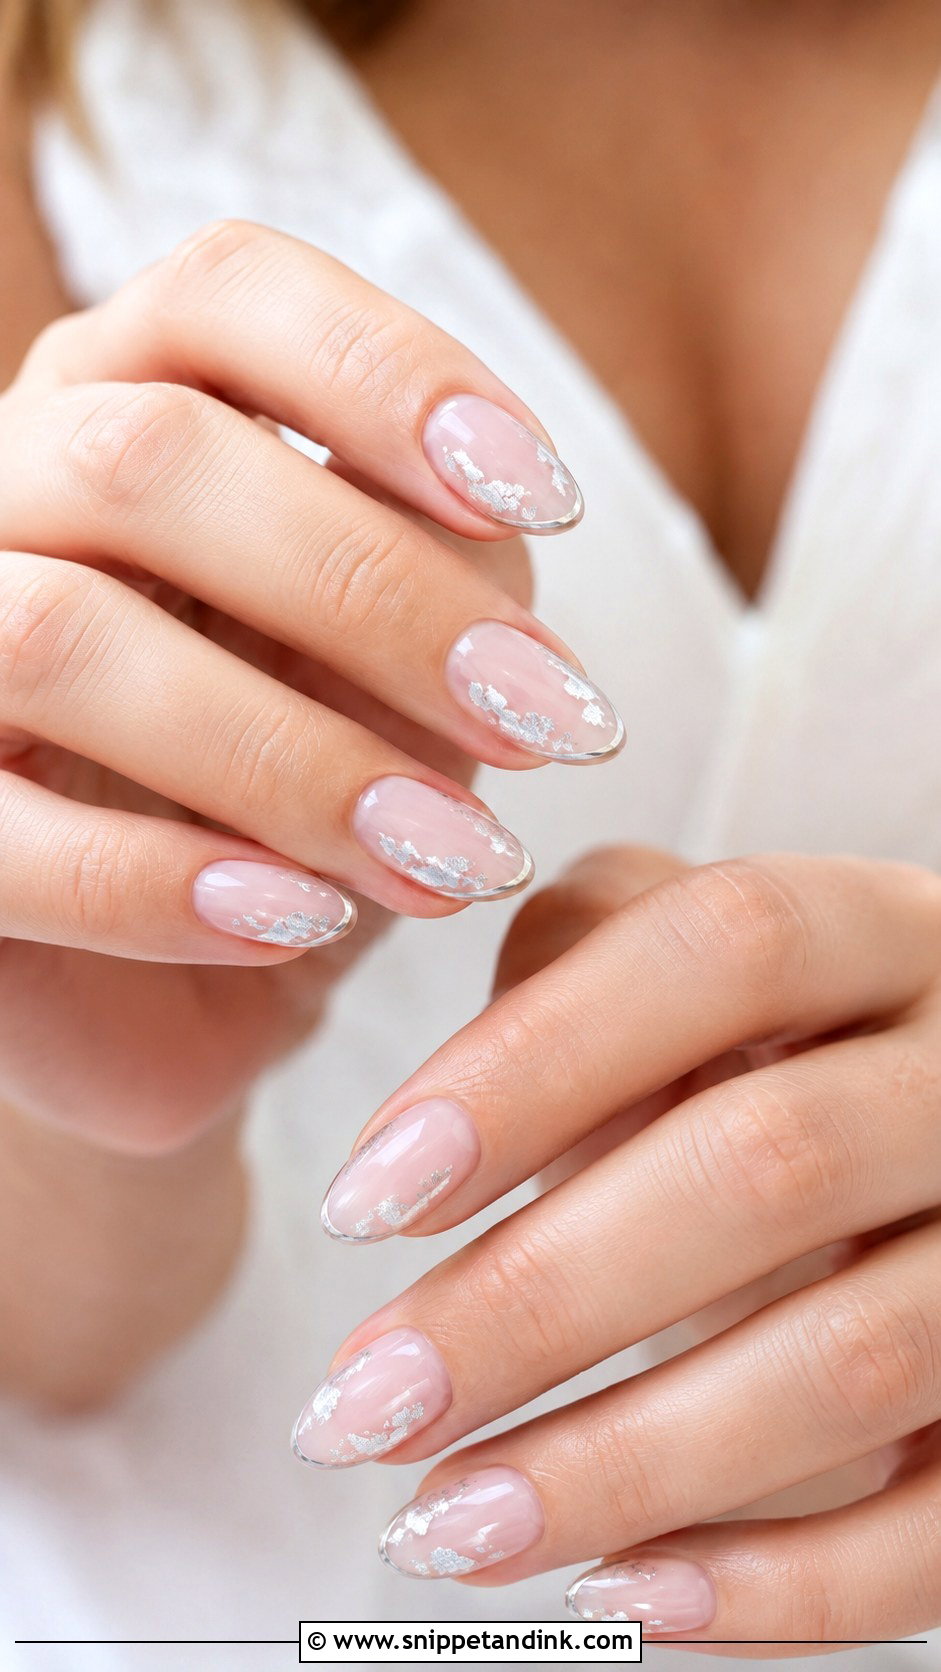
Silver accents match platinum and white gold rings and cool-toned bridal looks. Start with a soft pink, sheer nude or milky white base, then add a thin silver line, a little silver foil or a fine shimmer detail. Winter weddings, sleek hair and modern dresses suit it, but it works in any season. For an easy version, choose one accent nail per hand or a very thin silver French tip. Silver striping tape is the quickest way to get a straight line at home, but trim it short of the free edge so it doesn’t peel.
17. Press On Wedding Nails
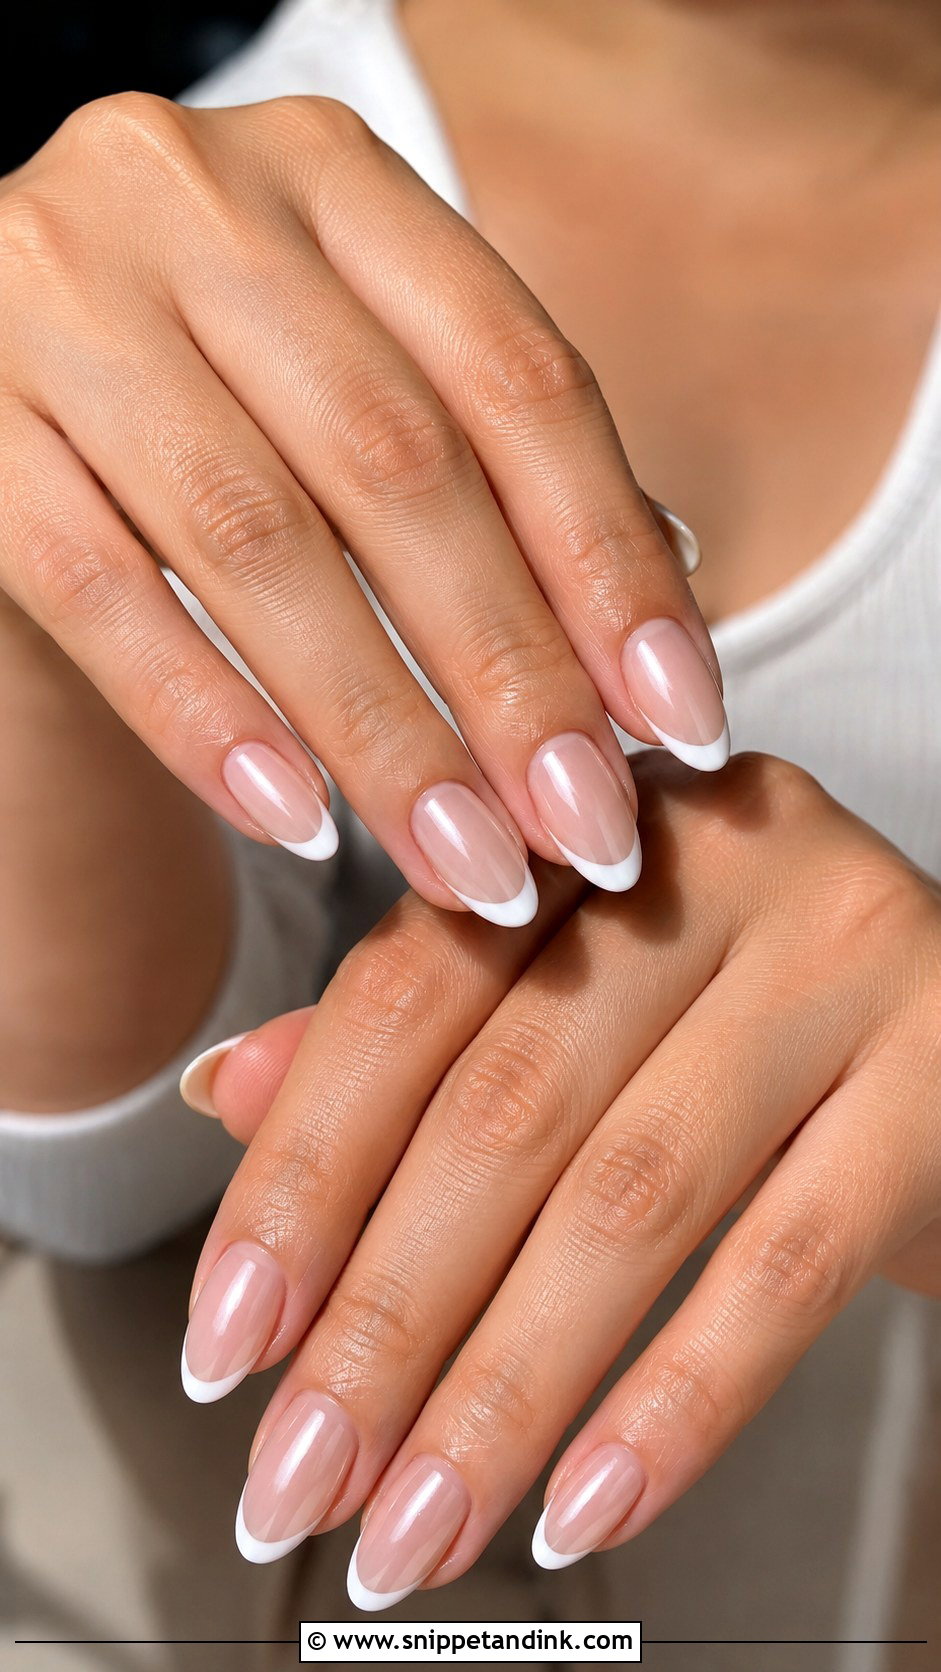
Press on wedding nails are a good option if a salon appointment doesn’t fit your schedule. Bridal designs are easy to find now: French tips, milky white, nude chrome, blush and pearls. Choose a length and shape you already wear comfortably, and size each nail carefully; one that overhangs the side wall will pop off. Prep matters more than the brand. Clean and lightly buff the nail plate, push back the cuticles, wipe with alcohol, then use glue for a multi-day hold or adhesive tabs for a single day. Pack a tube of glue in your bag, since one always loosens. Applied carefully, they’re hard to tell from salon nails in photos.
18. Matte Wedding Nails
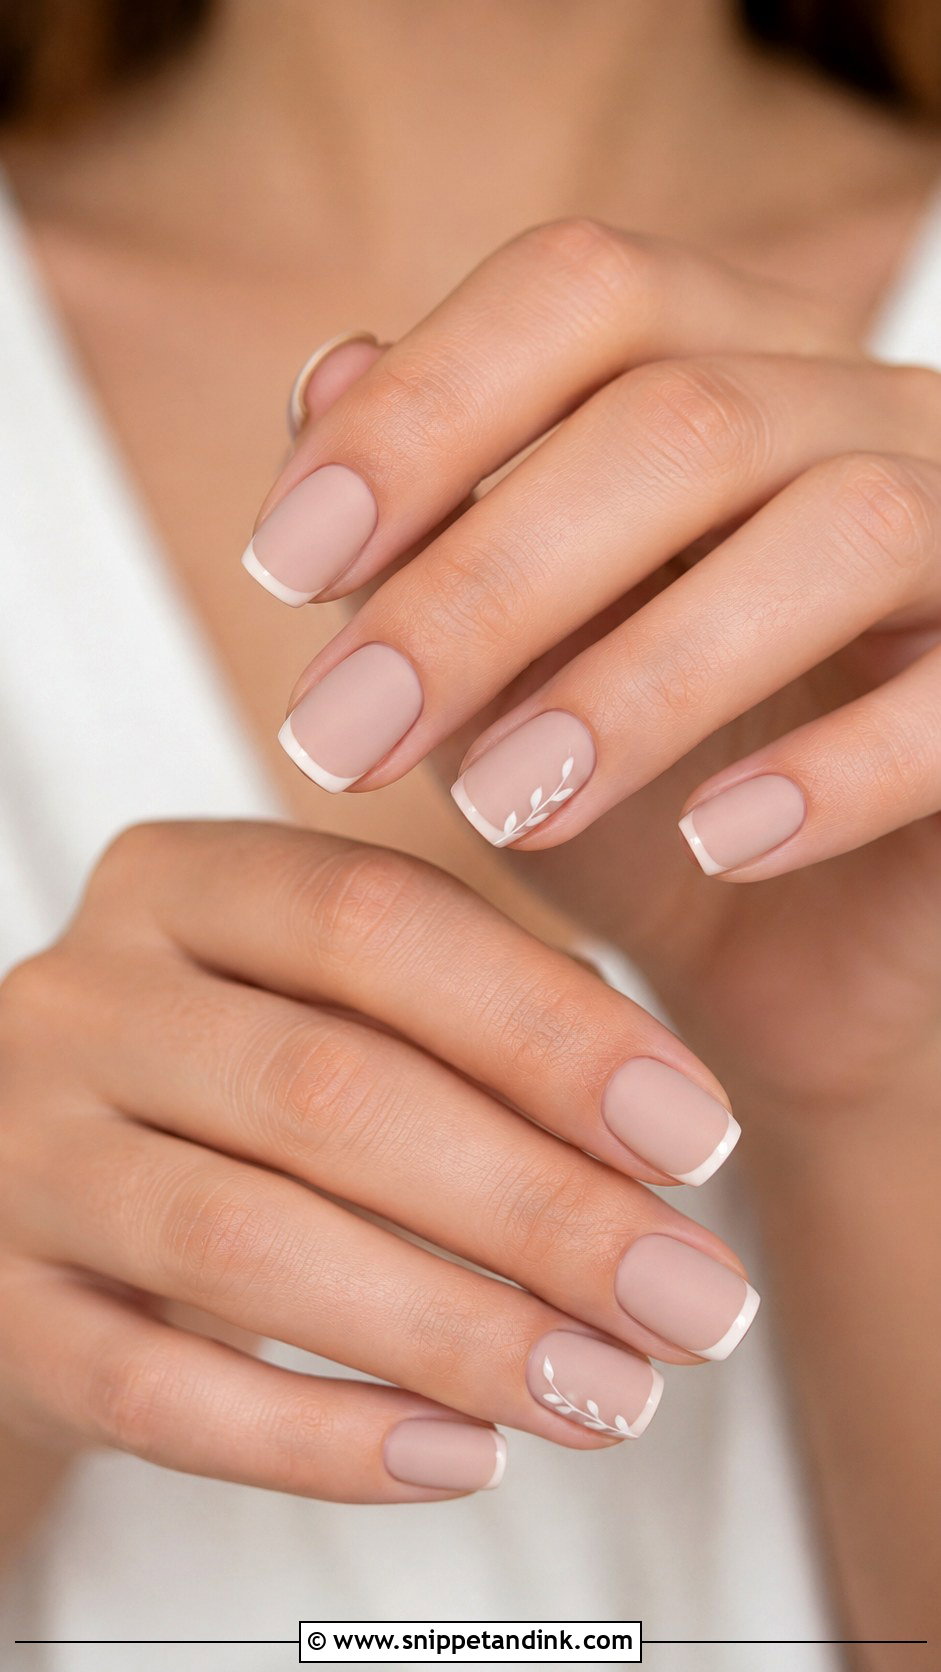
A matte top coat turns nude, blush or milky white polish into a velvety finish that’s quieter than gloss. It’s understated, which suits brides who don’t like shine. The catch is that matte shows every bump and ridge in the nail, so the base has to be completely smooth, and it also picks up stains from hand cream and self-tan more easily than gloss. Short squoval, oval and almond shapes work best. If you want a detail, a glossy French tip over the matte base gives a subtle contrast.
19. Lace Wedding Nails
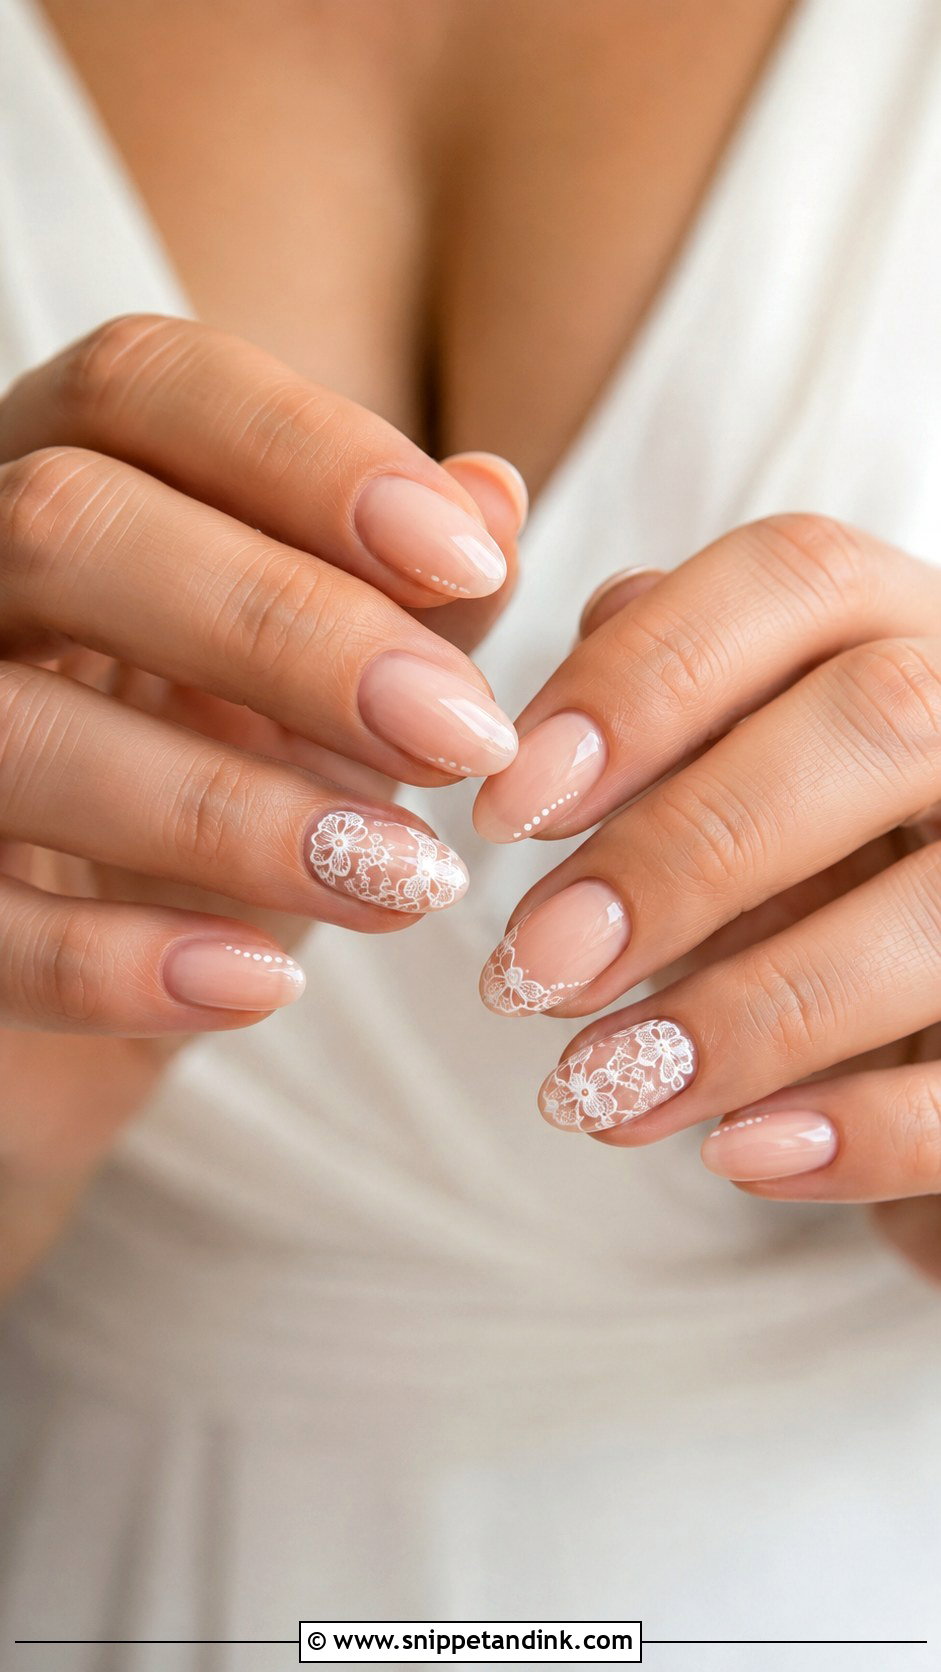
Lace art reads best when it’s suggested rather than copied. I use a fine striping brush and white gel to paint small curves, dots and loose floral shapes on one or two nails over a sheer nude or milky base, never a full lace pattern on every finger. It ties in nicely with lace sleeves, a lace-edged veil or embroidered details on the gown. Oval and almond shapes give the art a softer frame. Keep the other nails plain, or the set starts to look busy.
20. Something Blue Wedding Nails
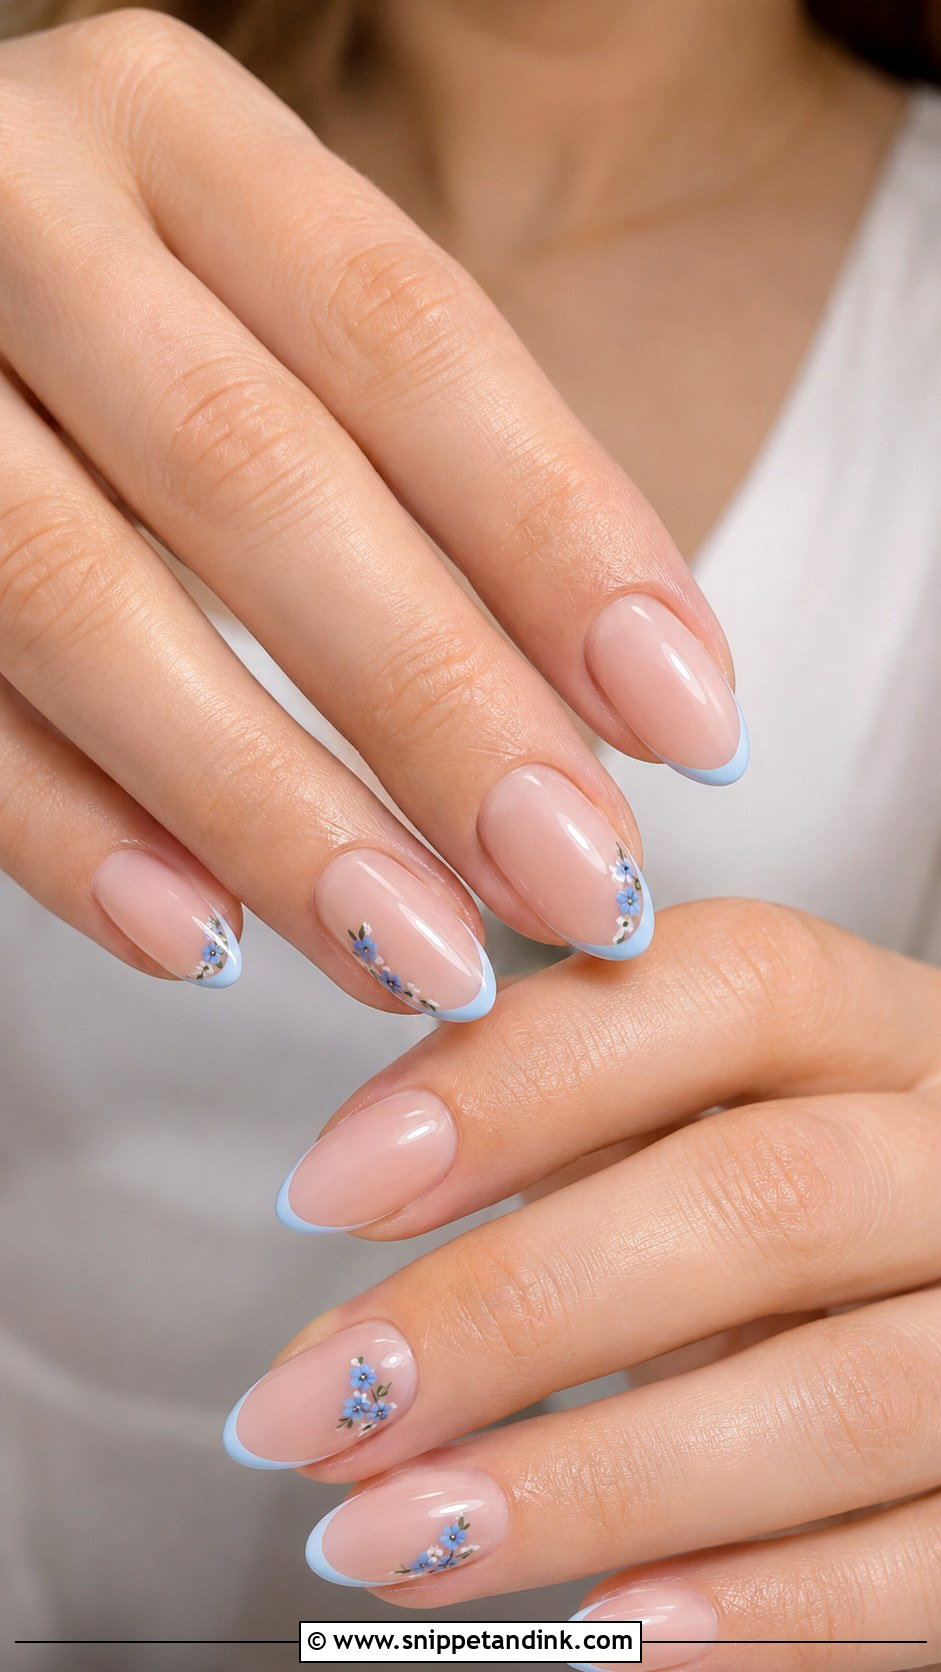
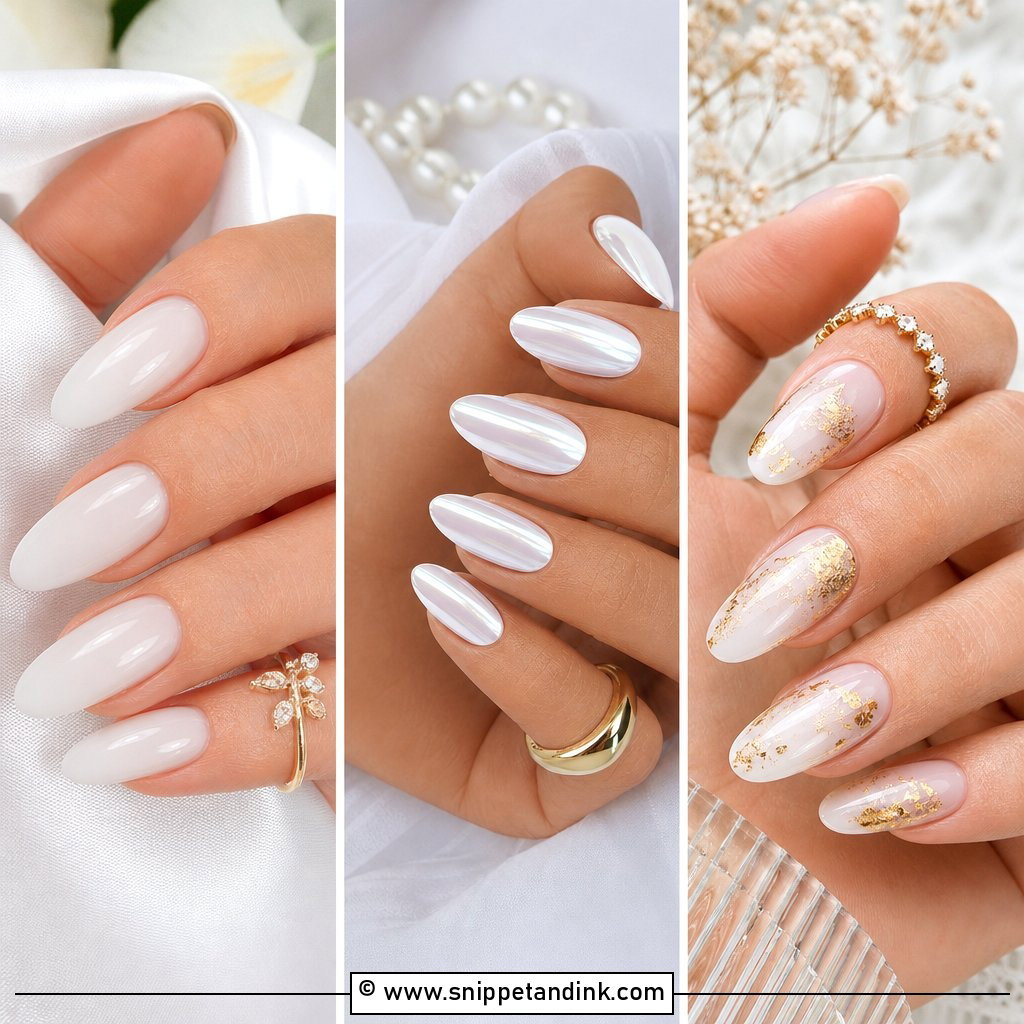
Something blue doesn’t need a full blue manicure. A pale blue French tip, one tiny blue flower, a soft blue accent nail or a small hidden detail near the cuticle all count. Pair it with a sheer nude, milky white or blush base so the set still feels bridal. Baby blue and powder blue are the easiest shades because they stay soft in photos; brighter blues pull focus from the ring. Bridesmaids and guests can borrow the same idea when they want a little color.
Ring Shots Show Your Cuticles More Than Your Polish
Photographers shoot rings with macro lenses, and at that distance a dry cuticle or a little lifting at the base of a gel nail looks huge. The color choice matters less than the prep in the two weeks before.
- Massage cuticle oil in every night for at least two weeks. It’s the cheapest thing on this list and does the most.
- Don’t cut your own cuticles in the last few days. Cut skin can redden and peel, and that redness shows in photos.
- Wear gloves for washing up and cleaning that week; hot water and detergent dry the skin and loosen gel.
- Put hand cream on before the photographer arrives, then wipe the nails themselves so the gloss isn’t dulled.
A Broken Nail on the Morning Isn’t a Disaster
It happens more often than brides fear: a car door, a dress zip, a stubborn hairpin. If the break is above the nail bed, file the others down slightly to match rather than leaving one short nail. If it’s a split, a tiny piece of a tea bag or silk wrap glued over the crack and topped with a coat of polish holds for the day.
I also suggest buying one press-on set in a shade close to your manicure. If a gel nail lifts or snaps, a single press-on over a filed nail covers it until you can see your nail tech after the wedding.
Sheer Color, Clean Cuticles and One Small Detail
You don’t need long extensions or heavy art for a manicure that looks bridal. Soft color, an even shape, healthy cuticles and one small detail are what show up well in close-ups. French tips, milky white, nude pinks, chrome, pearls and tiny florals all fit that brief. If you can, book a test appointment a few weeks ahead to try the shape and shade, so the wedding-week manicure is a repeat of something you already know you like.
You'll Like These Ideas:


Leave a Reply