
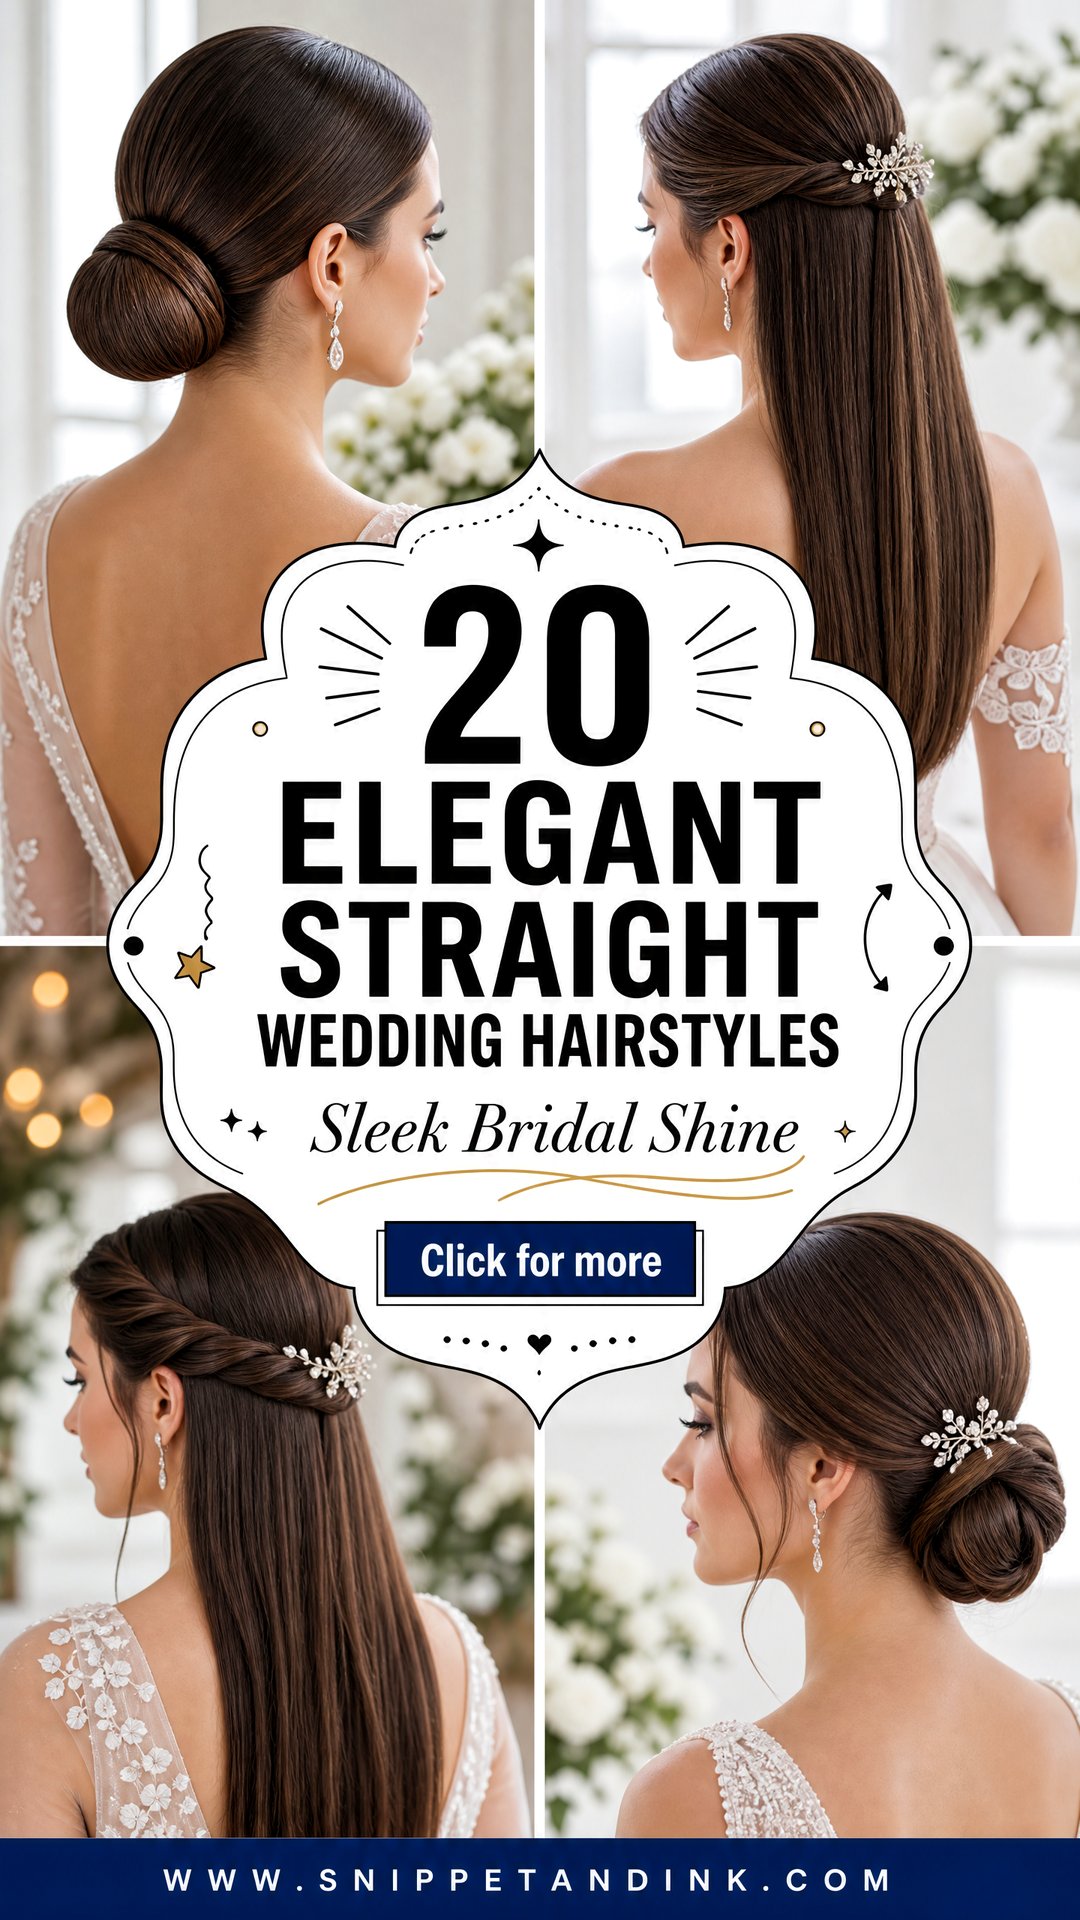
Sleek, straight hair is the style I’m asked for most by brides who don’t want to look overdone, and it’s also the one that hides the least. A curl can disguise a cowlick or a dented section. A glass finish shows every kink, every flyaway and every pin. That’s why the real work happens in the blow-dry, not in the last five minutes with the iron. Below are 20 straight looks I’d actually put on a bride, from a loose middle part to a tight high bun, with notes on what each one needs from your hair and where it tends to fail.
Why Glass-Straight Hair Needs More Prep Than Curls
Curls are forgiving. A sleek style isn’t, because light bounces off a smooth surface and shows every dent, kink and dry end. Most of what makes the styles below hold up happens a day or two before I ever pick up an iron.
When to wash and what to skip
- Wash the day before or the morning of. Straight hair separates and flattens at the roots once oil builds up, and it shows on camera far sooner than it does with textured styles.
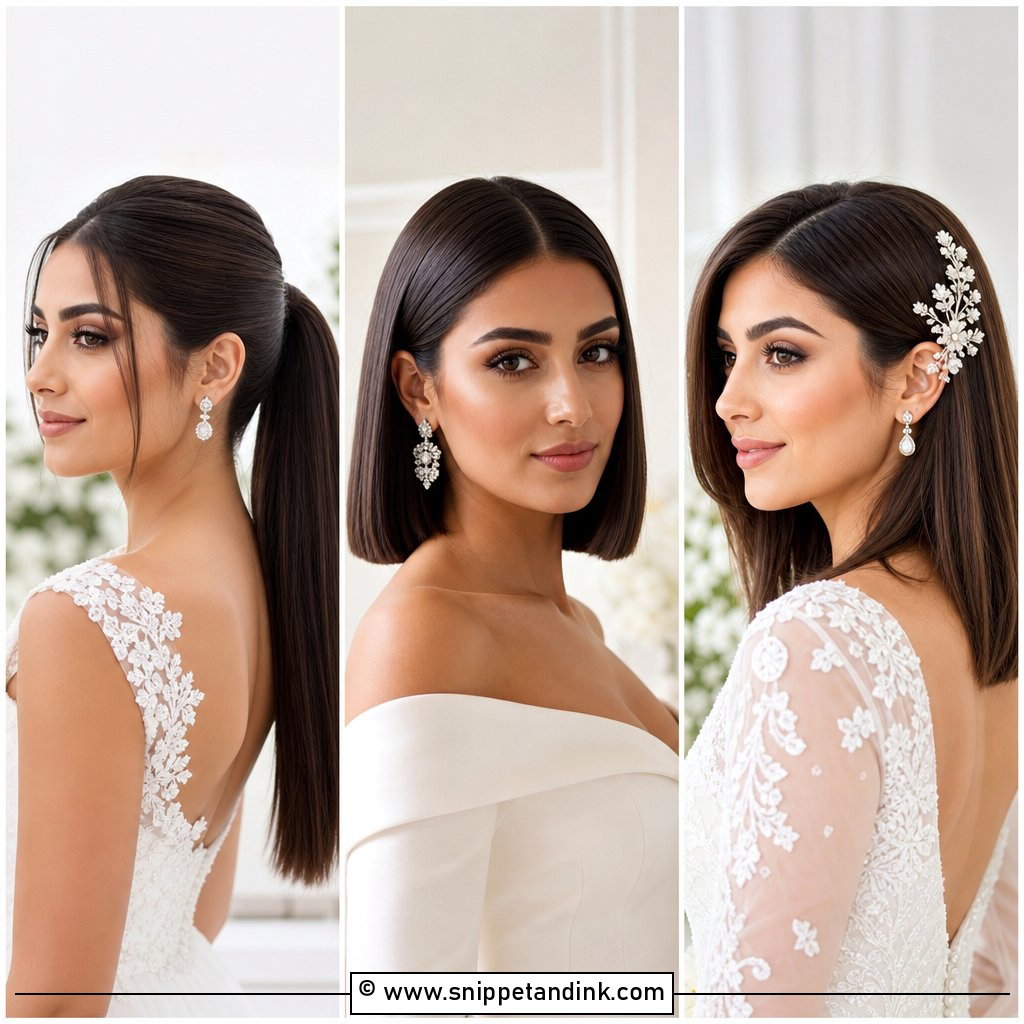
- Skip heavy masks and oils the night before. They weigh hair down and make it so slippery that pins and veil combs won’t hold.
- If you use a lot of silicone-heavy products, do a clarifying wash a few days out. Buildup makes hair look dull instead of glossy, no matter how well it’s ironed.
- Don’t book a fresh color or toner the day before. Give it about a week so the shade settles and the hair isn’t freshly stressed when the heat goes on.
How much heat is enough
I set the flat iron as low as gets the job done: cooler for fine or highlighted hair, hotter for thick, coarse hair. One or two slow passes per small section is the goal. Going over the same piece again and again makes hair flatter but duller, and bleached ends can scorch. If your hair is lightened, ask your stylist what temperature they’re using before they start.
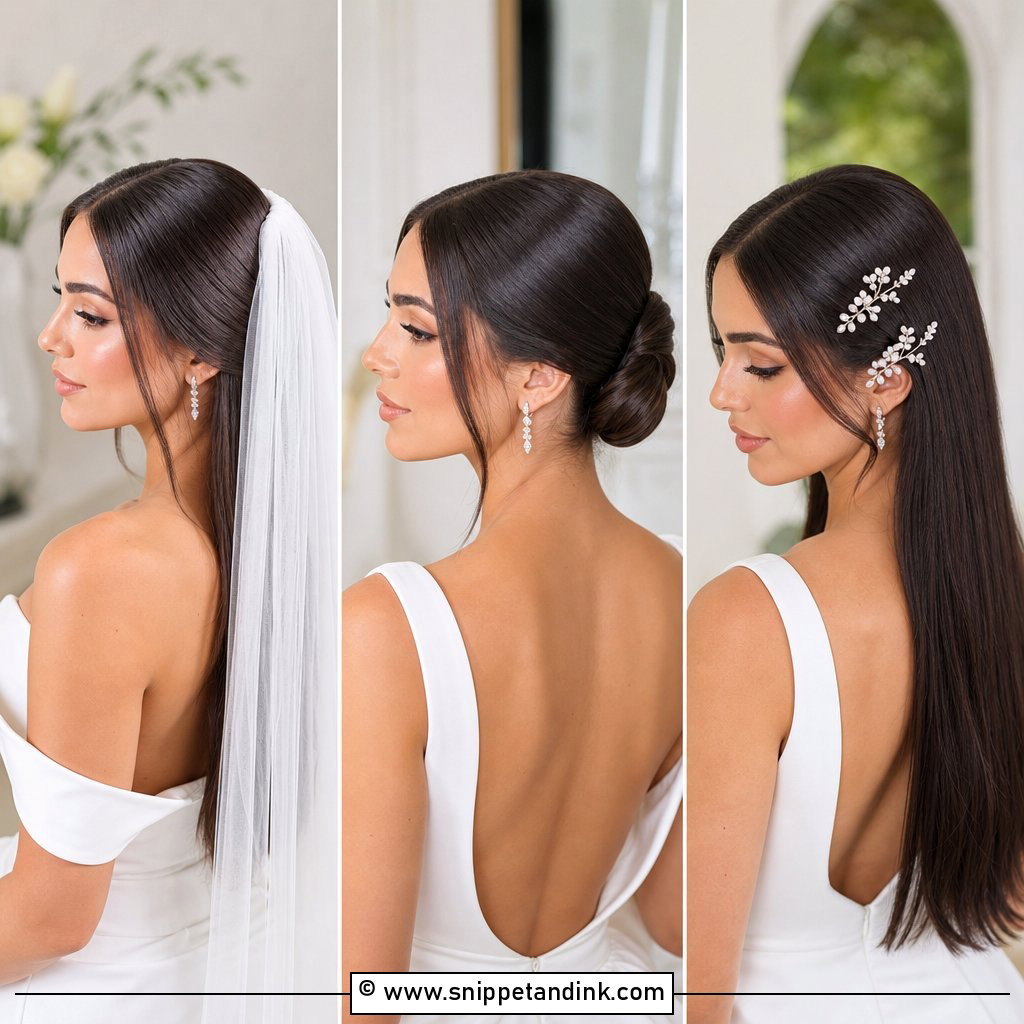
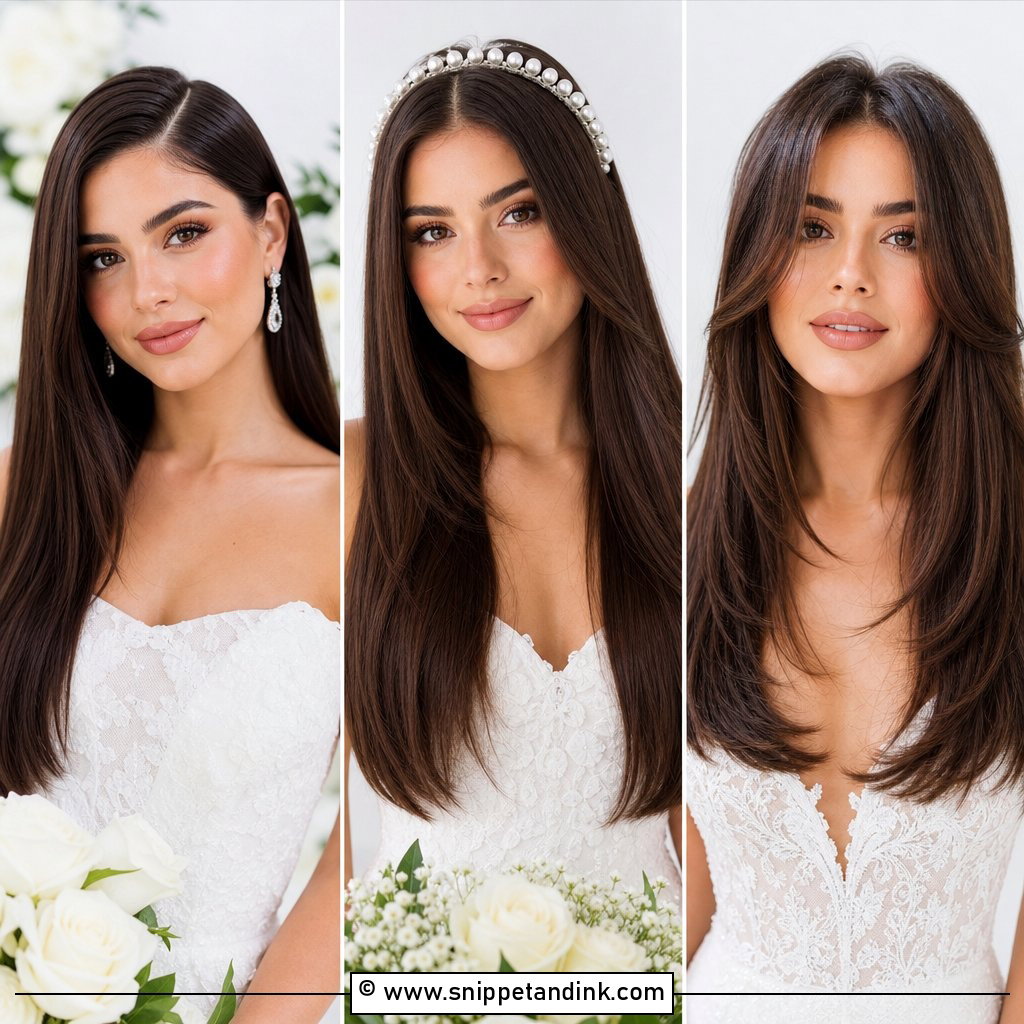
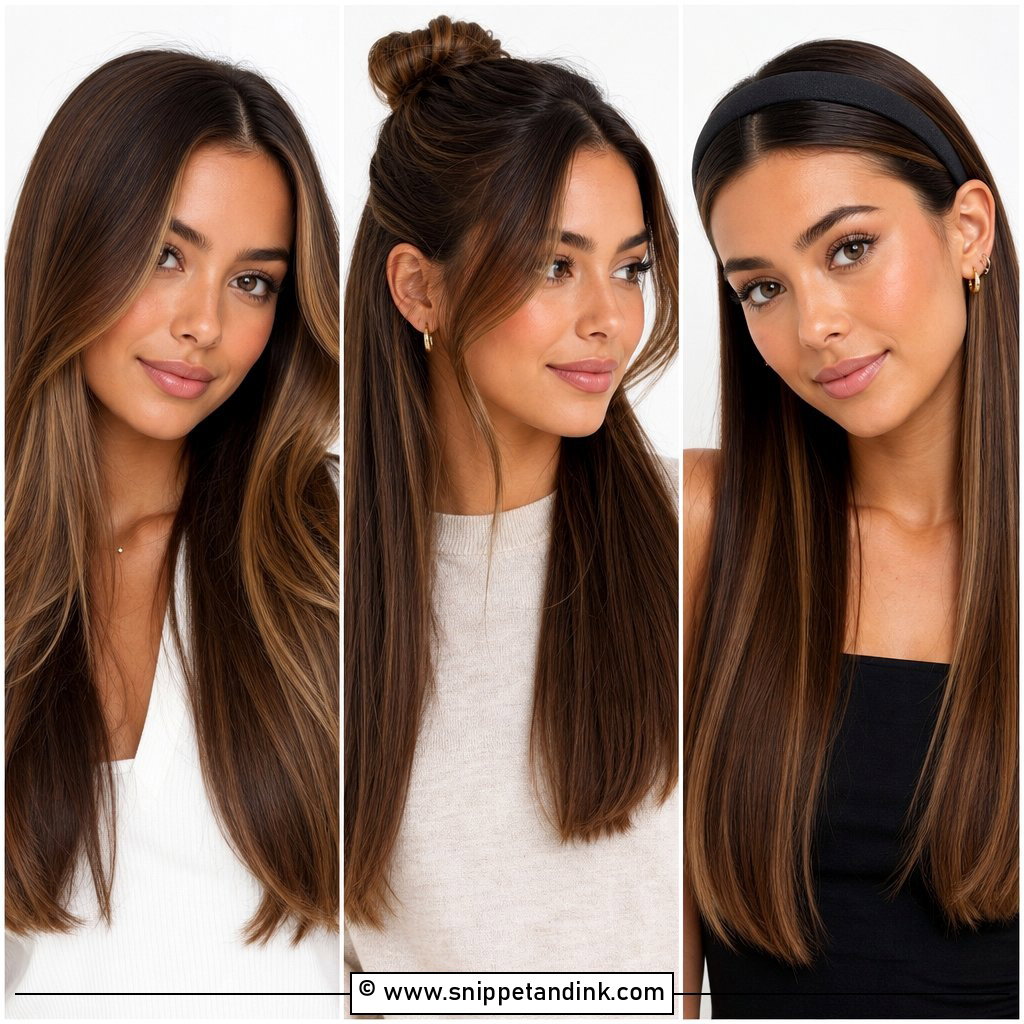
1. Sleek Straight Hair Down
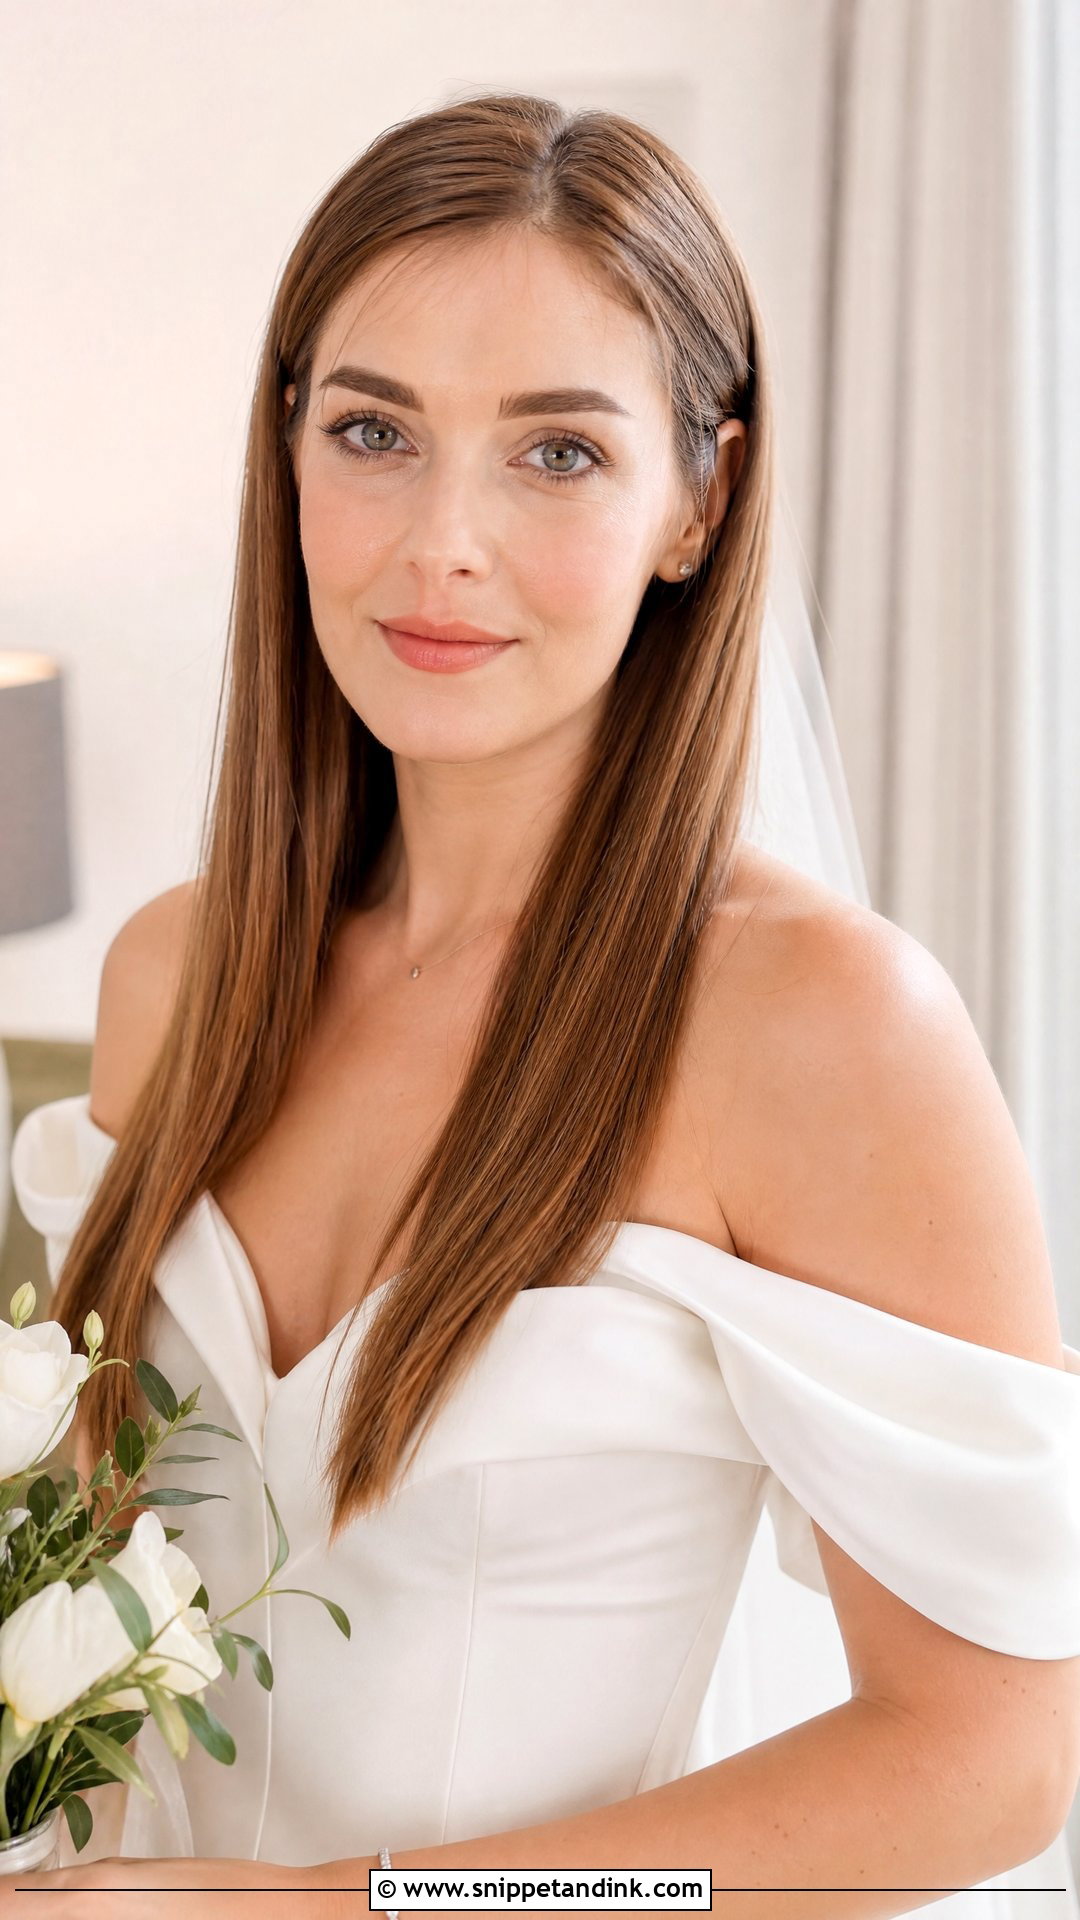
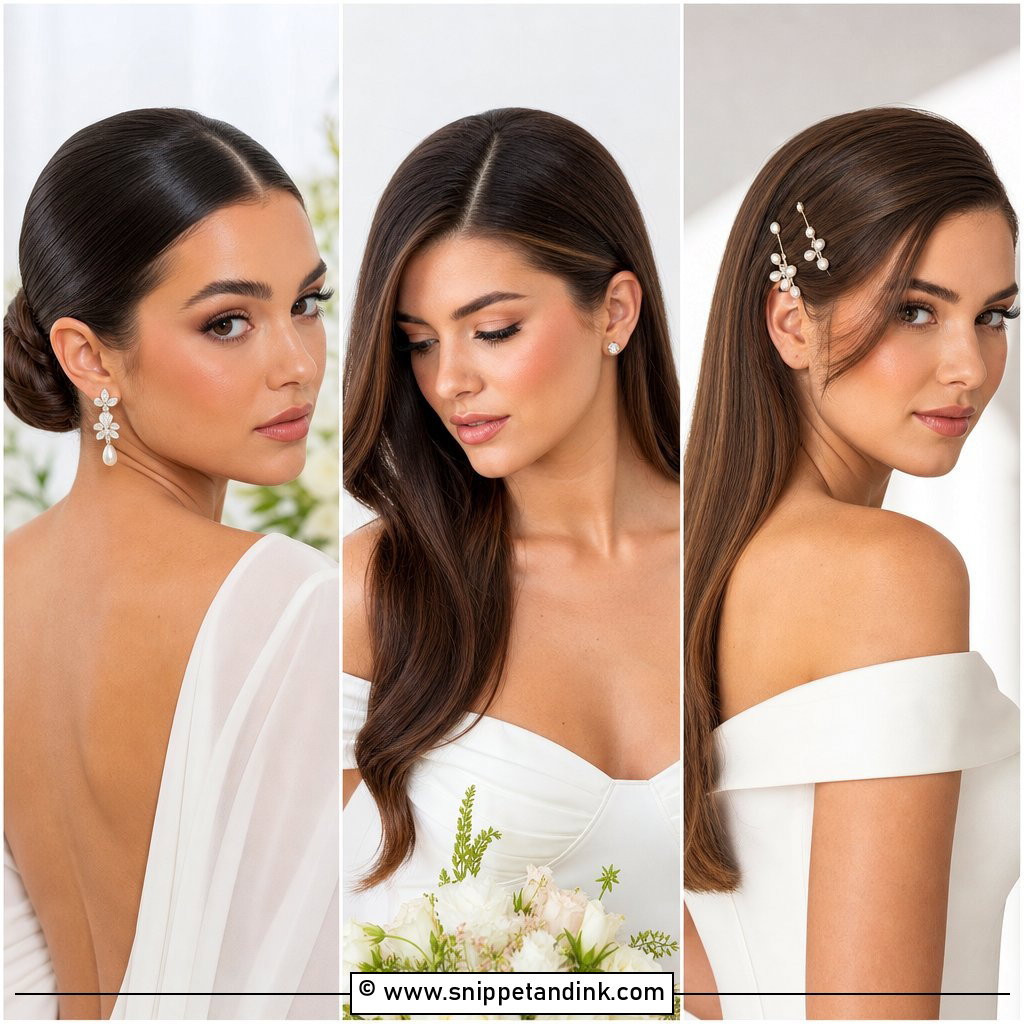
Worn loose and flat, this looks like the easy option, and it’s the one I prep hardest. I blow-dry each section with a paddle or large round brush, nozzle pointed down the hair shaft so the cuticle lies flat, and only then follow with a flat iron on small sections at the lowest heat that still smooths. Serum goes on the mid-lengths and ends. Put it near the scalp and the roots look greasy by the first dance. A long veil or a hair vine tucked behind one ear sits well on top. Very fine hair can look thin when it’s this flat, so I sometimes leave a slight bend at the root.
2. Straight Hair With a Middle Part
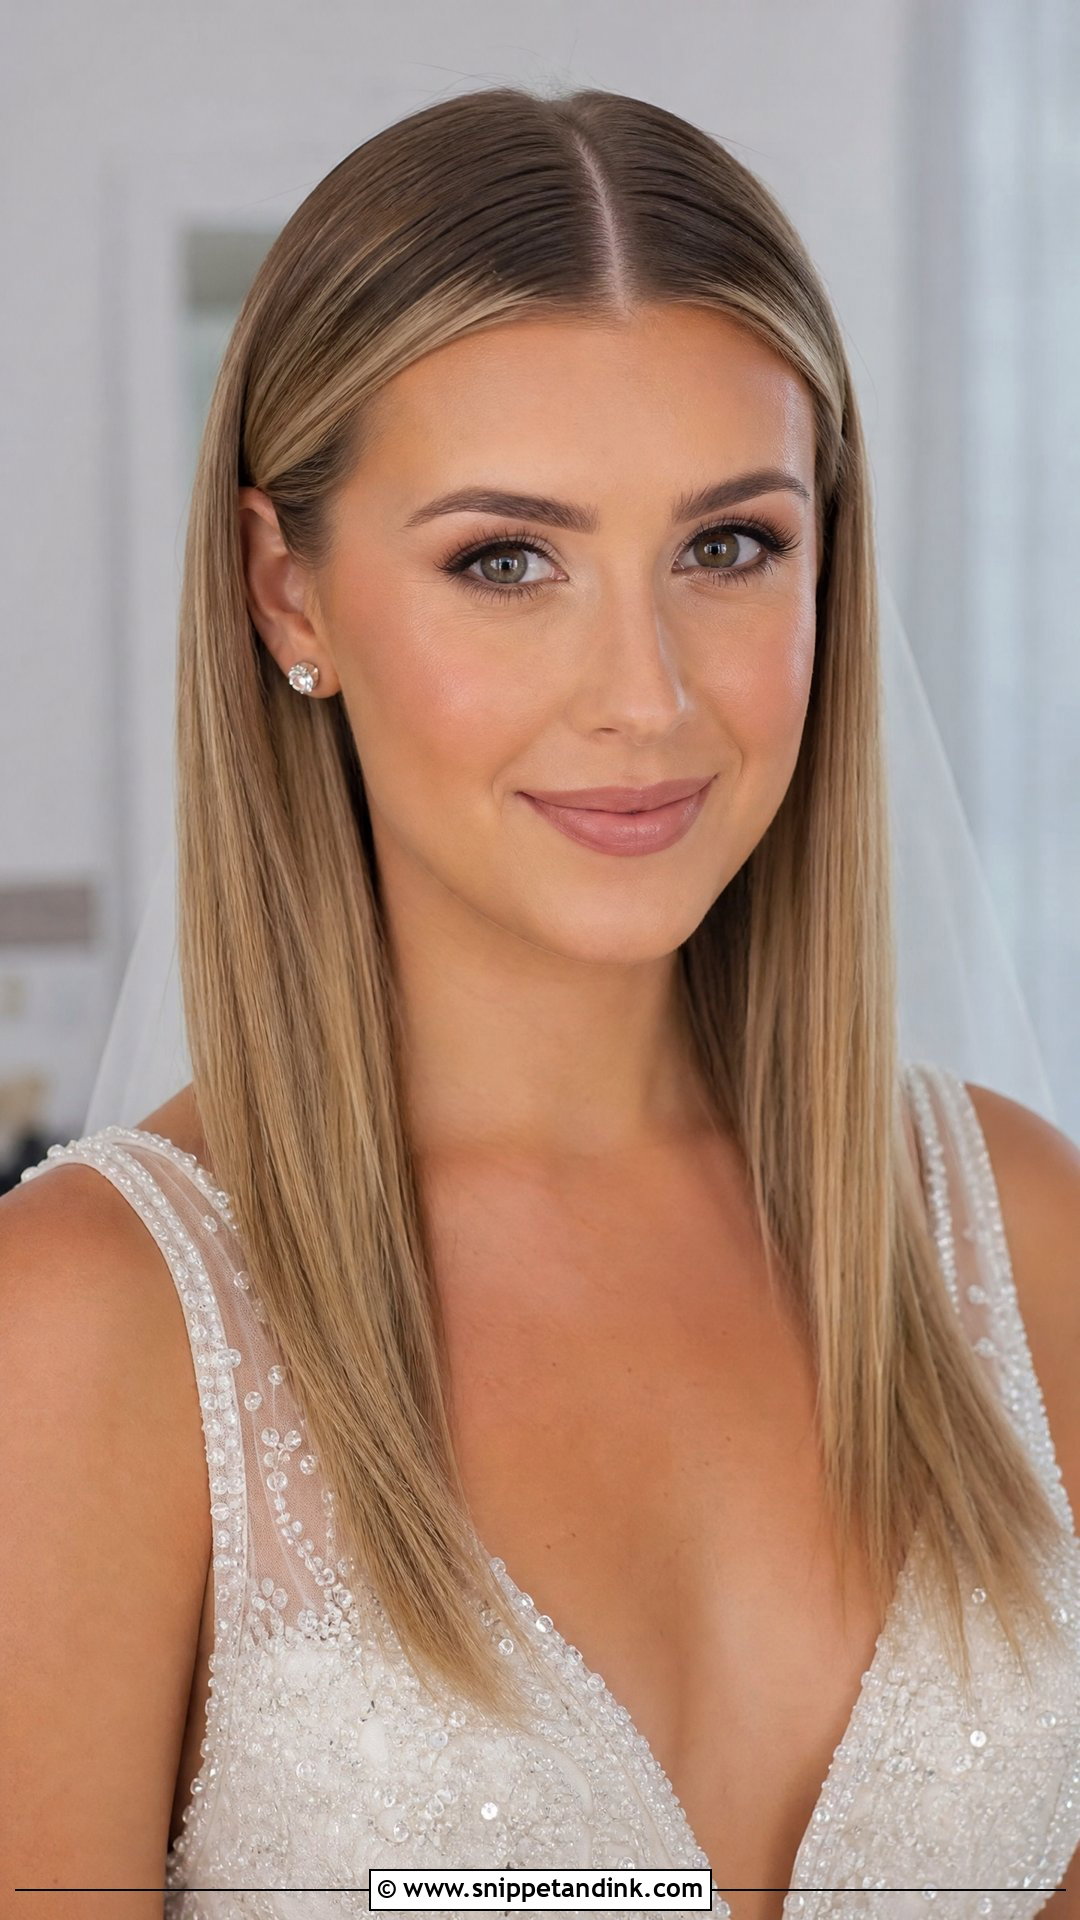
A center part is honest about symmetry, which is why I map it before the wedding morning. Few faces are perfectly even and most hairlines have a natural swirl, so I look for where the hair wants to split rather than forcing the dead center. Both sides get smoothed straight and checked in a mirror from the front, because half an inch of difference shows clearly in a straight-on portrait. Oval and heart-shaped faces carry it easily. With a strong cowlick at the front, I’d shift the part slightly or go to a side part instead.
3. Sleek Low Bun
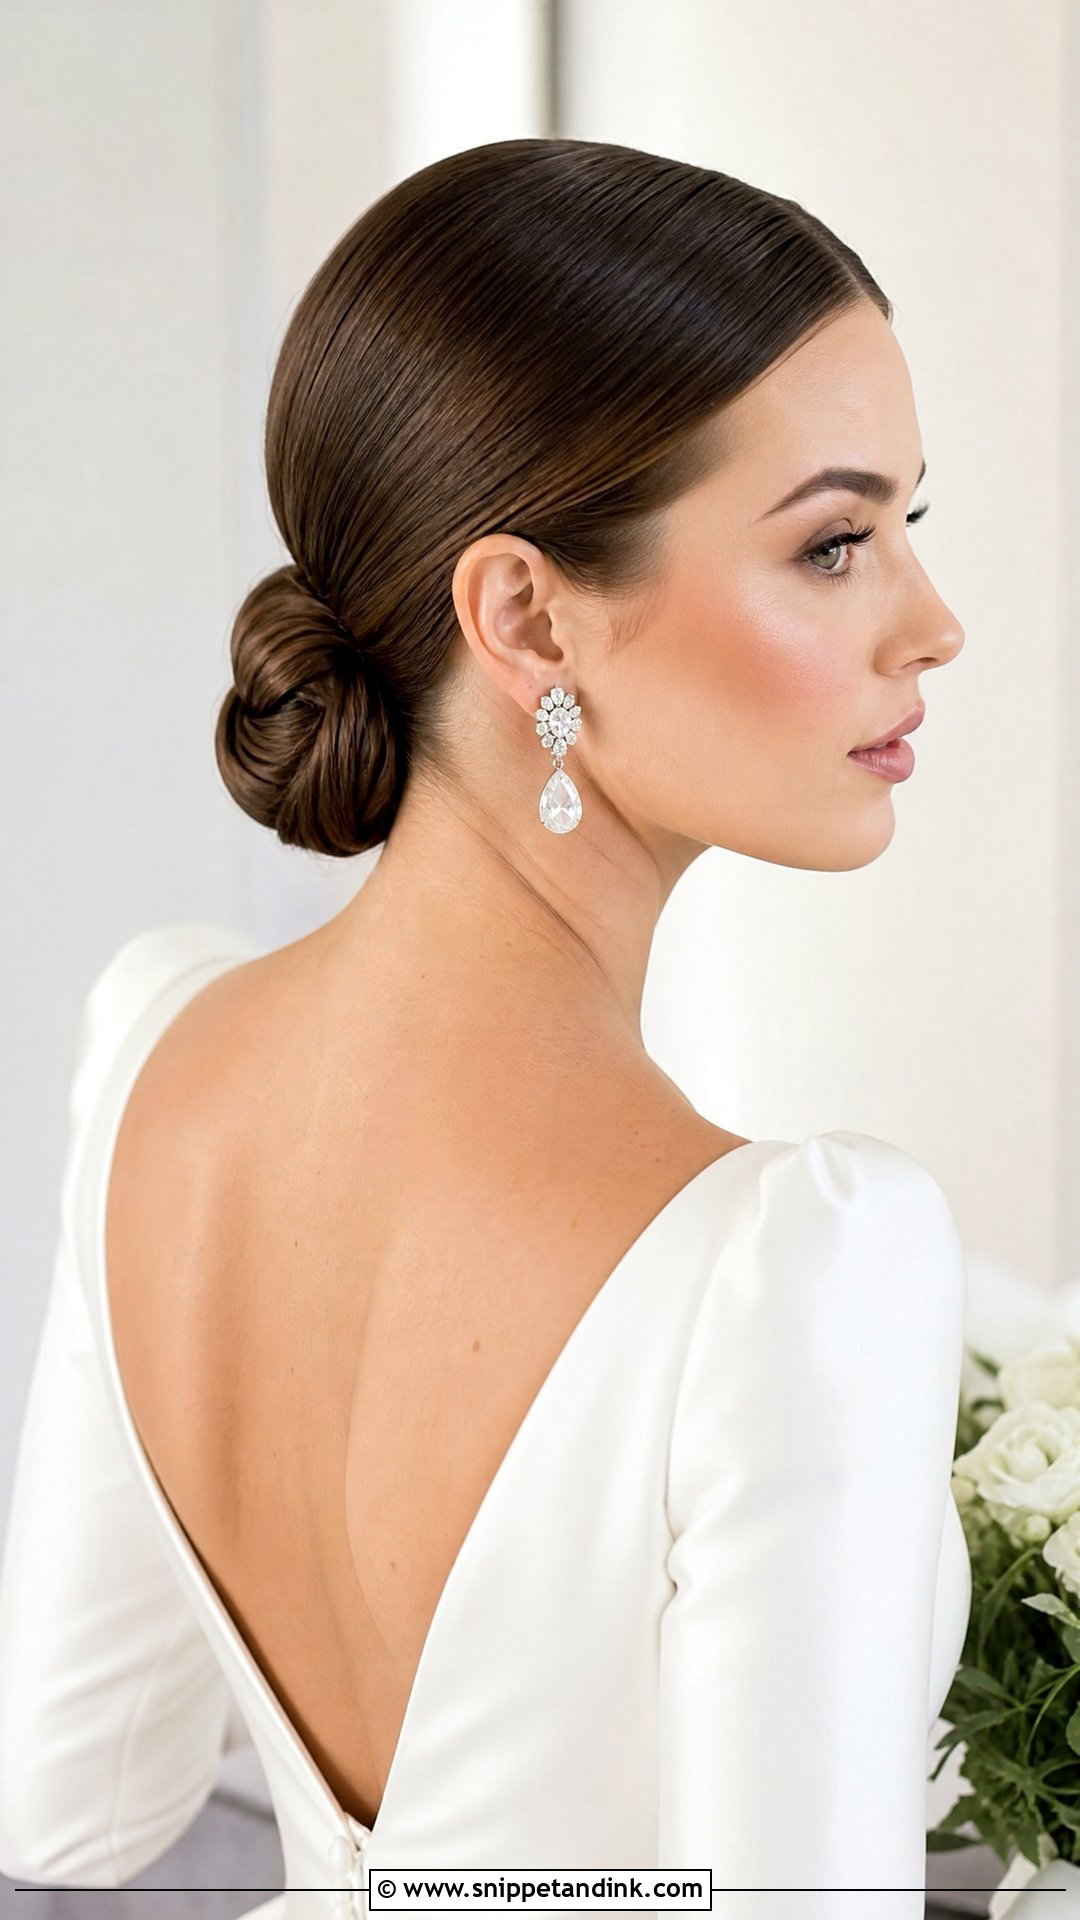
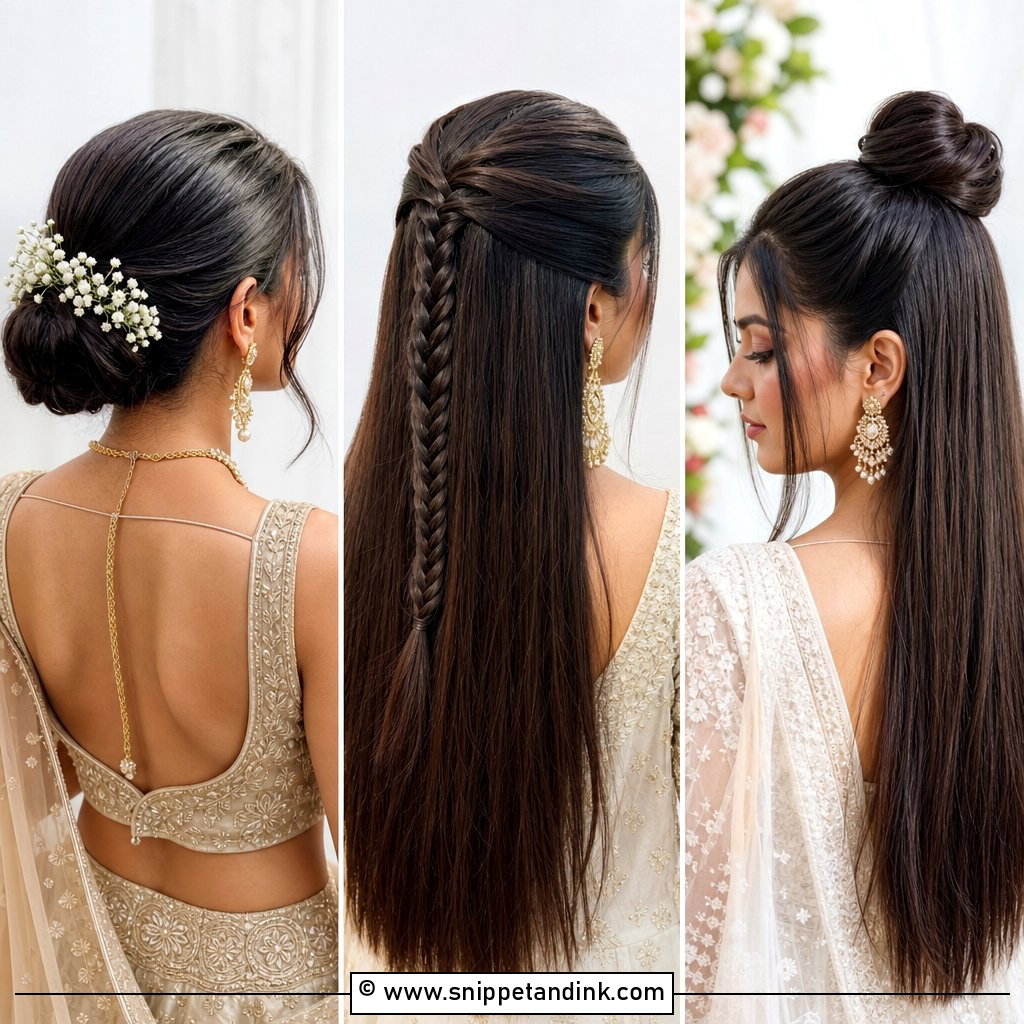
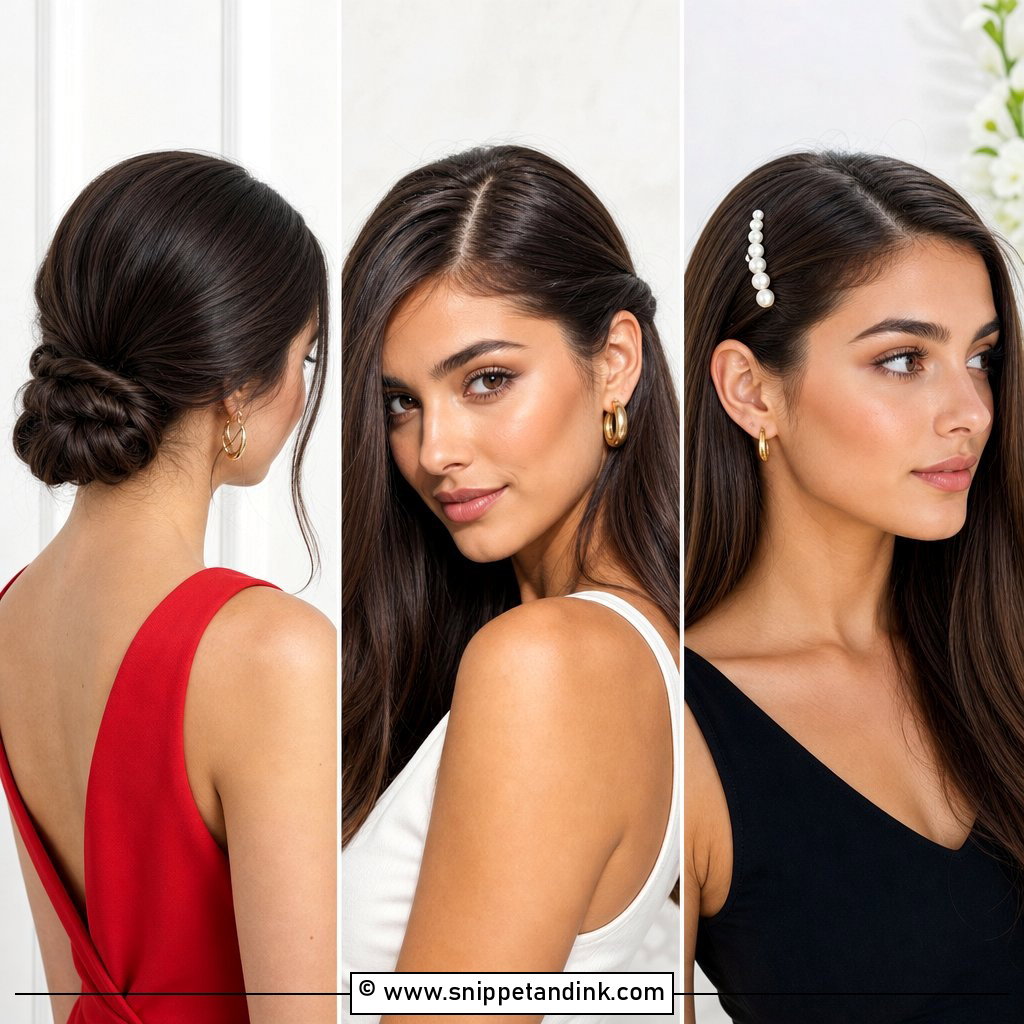
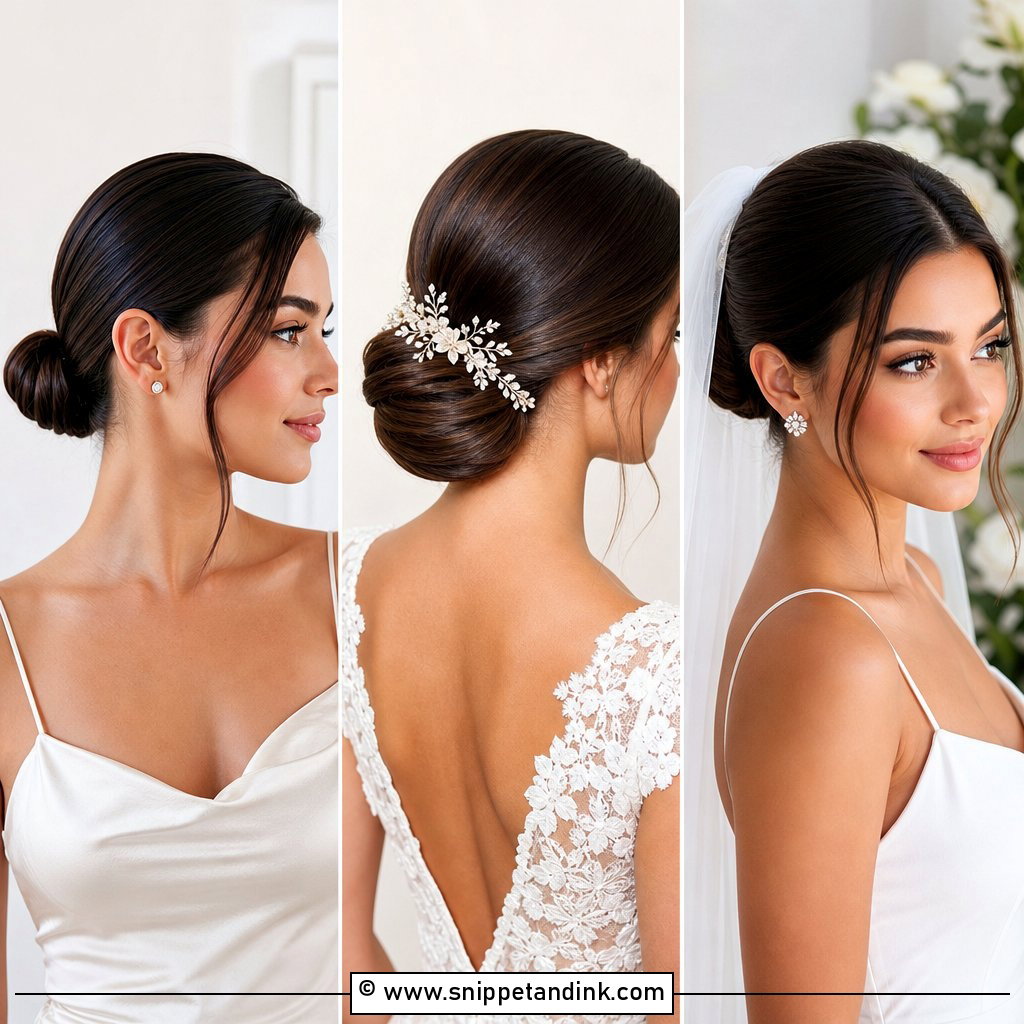
A sleek low bun at the nape survives almost everything a wedding throws at it: hugs, dancing, a veil going in and out. I brush the hair back with a boar bristle brush and a little cream, tie it with an elastic first, then twist and wrap the bun around that base and pin into the elastic rather than into loose hair. Pins anchored to the band are what stop it sagging by evening. It leaves your ears clear for statement earrings and gives a cathedral veil comb a solid place to grip just above it.
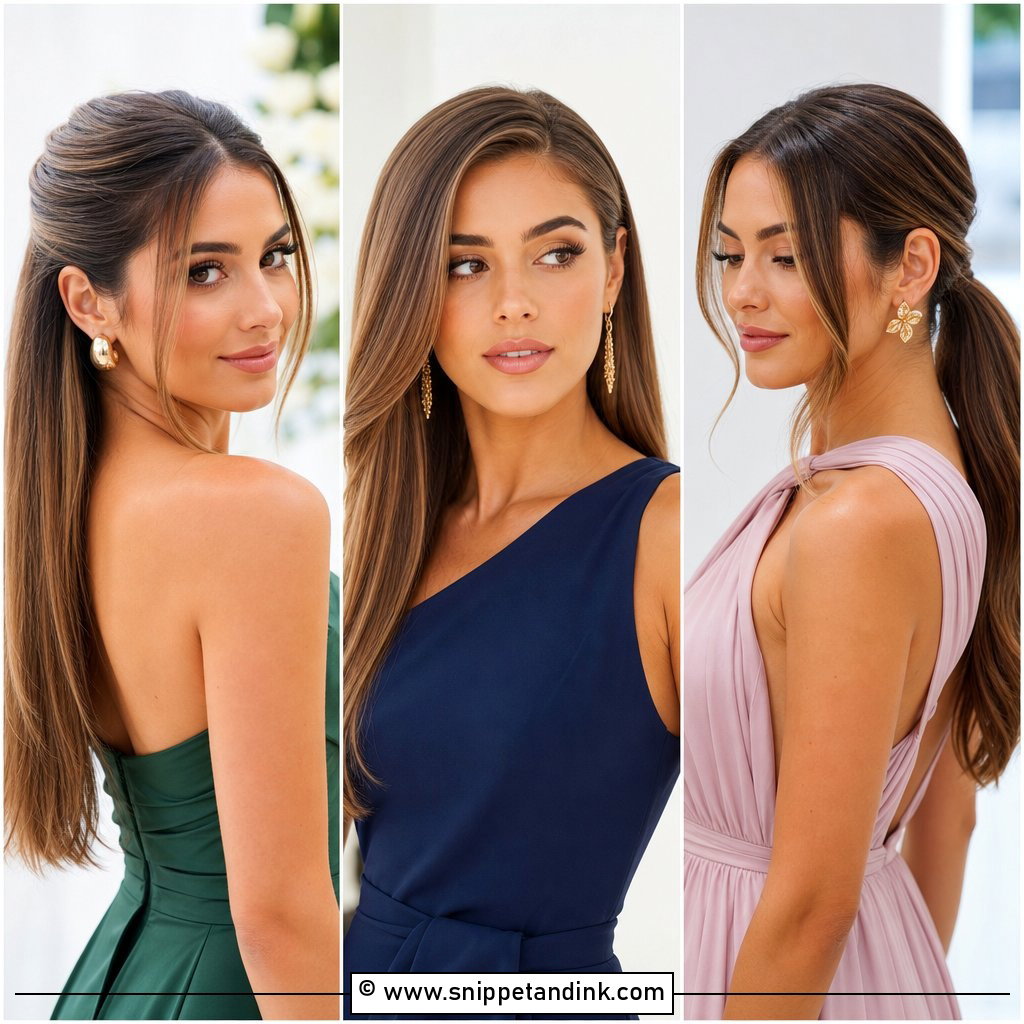
4. Straight Half-Up Half-Down
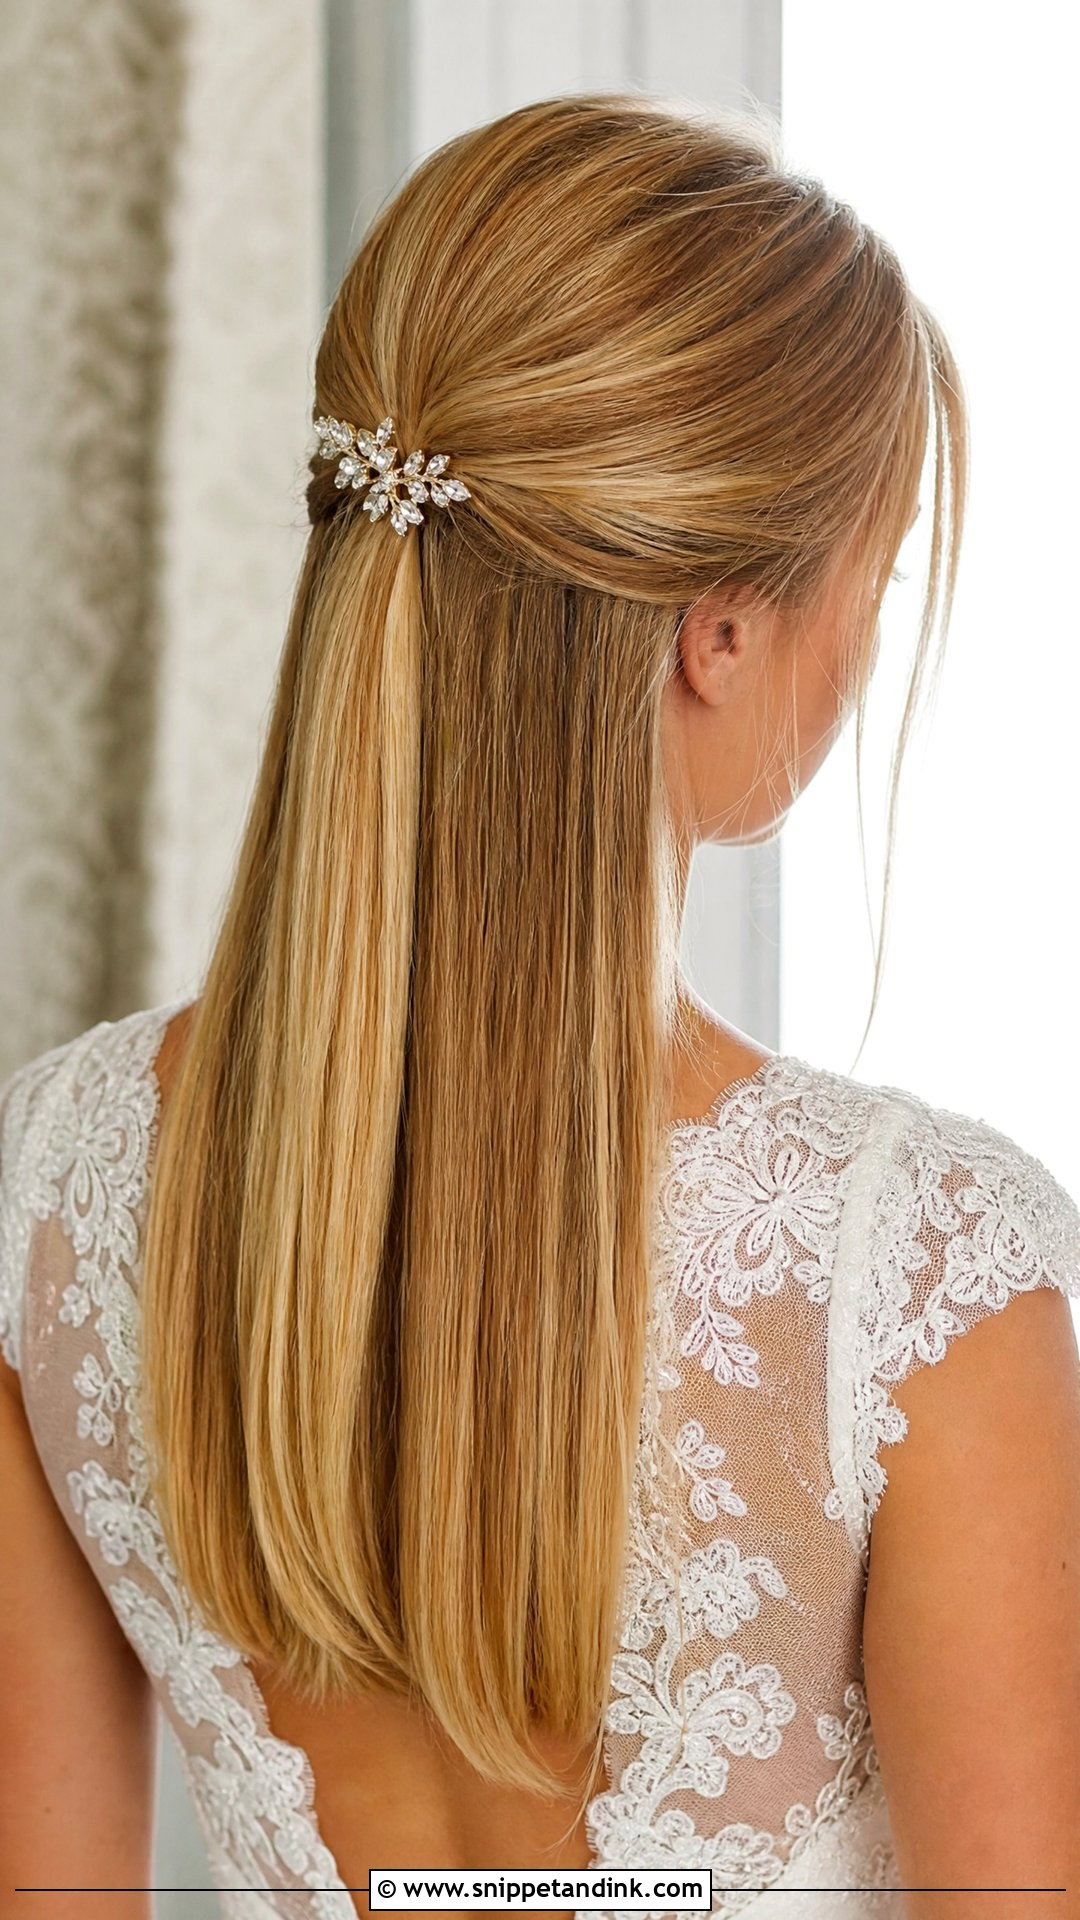
Half-up suits the bride who wants her length on show but doesn’t want hair in her face during the vows. The catch with straight hair is that the gathered section slips, since there’s no texture for pins to grip. I tease the underside of the top section very lightly and mist it with dry texture spray before securing it, then hide the pins under a clip, a twist or a small bow. Decide where your veil goes before the trial. Above the gathered section or just under it changes how I build the base.
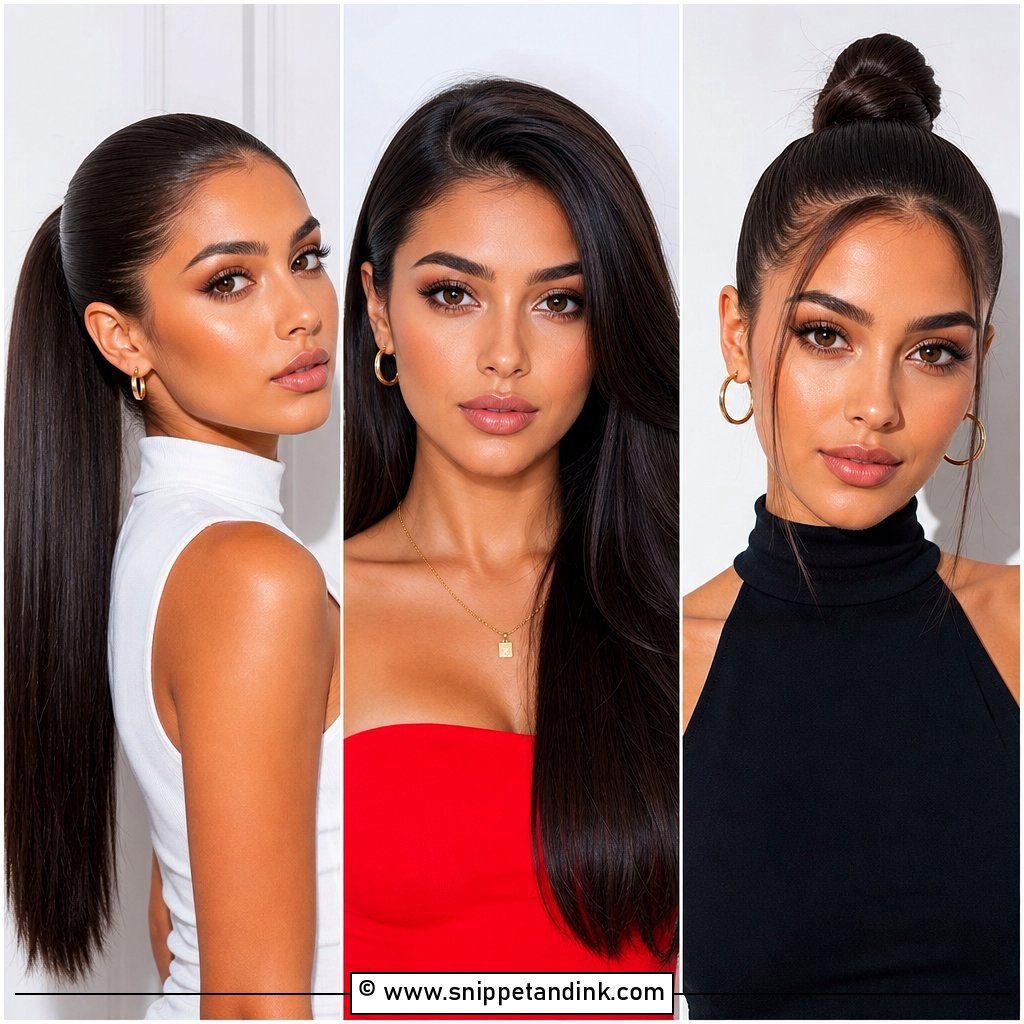
5. Sleek Straight Ponytail
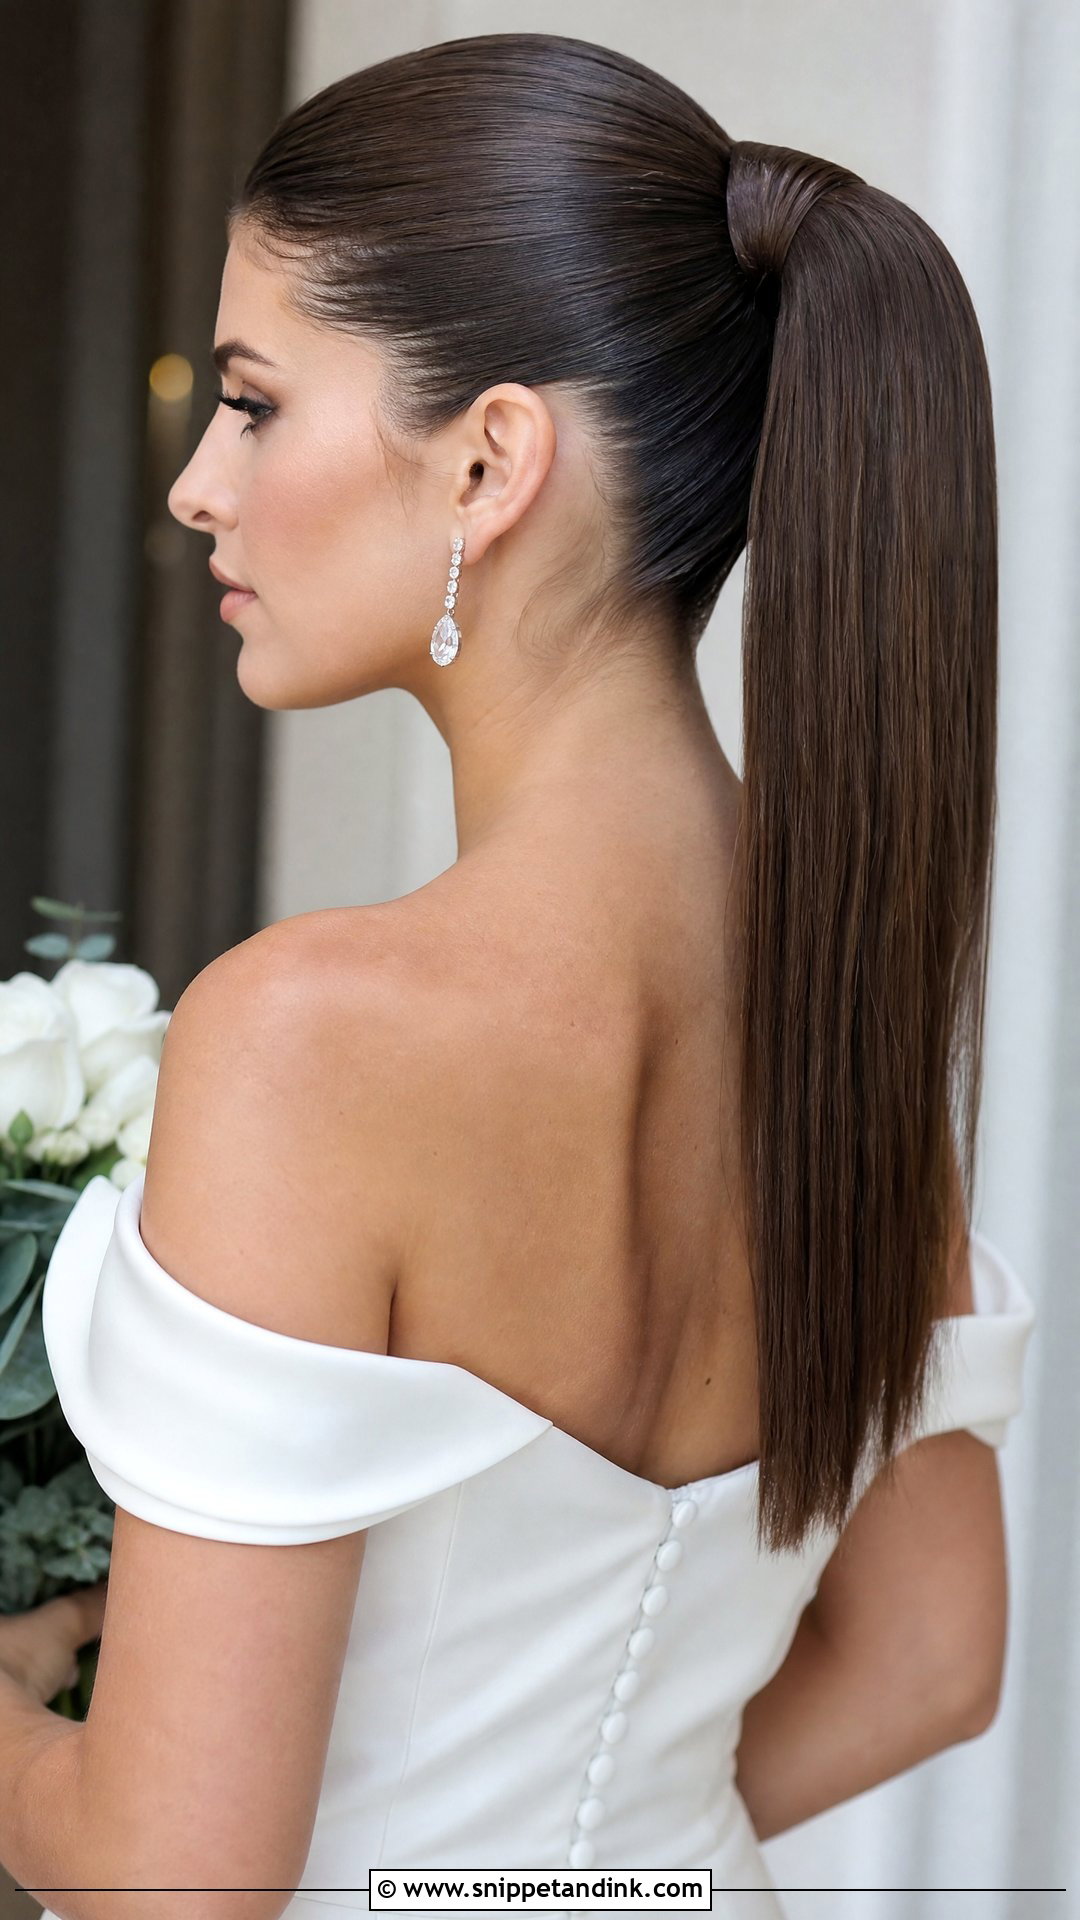
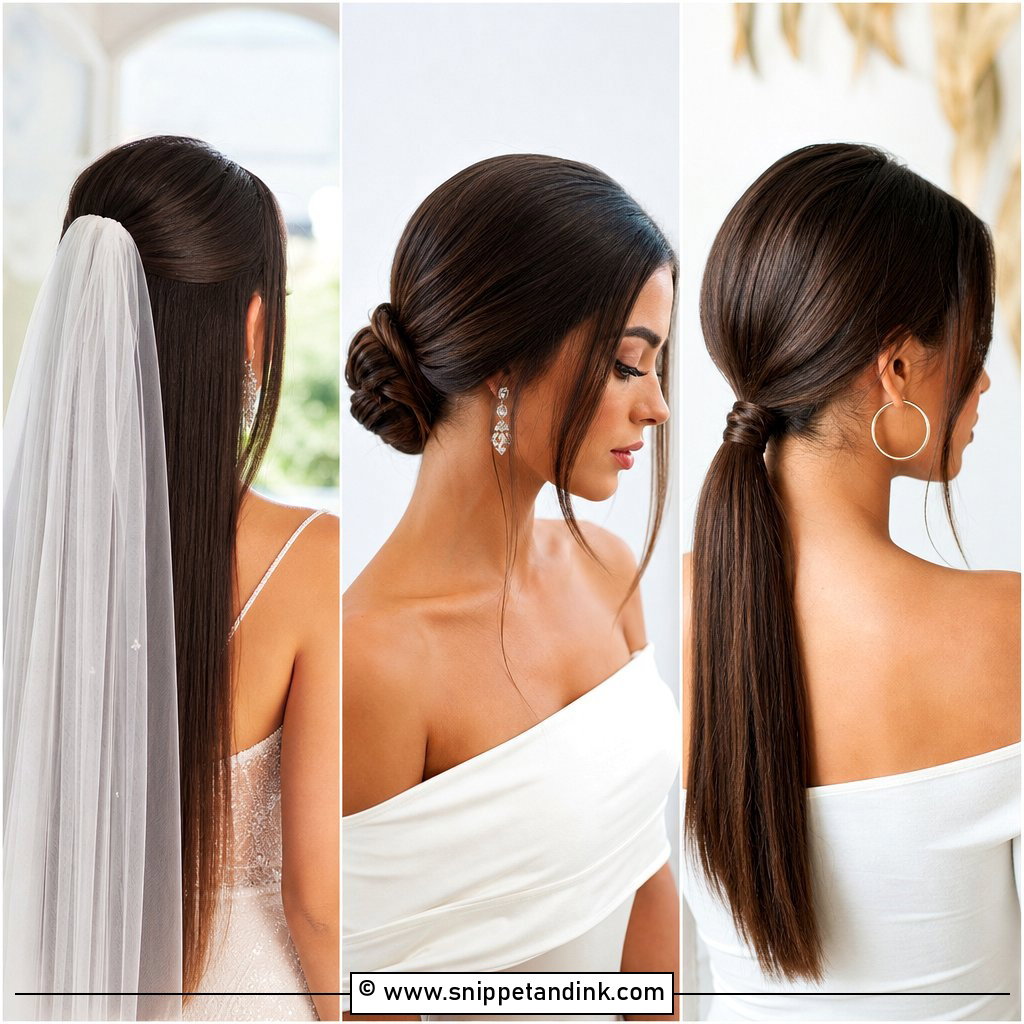
A sleek ponytail lives or dies at the base. I gather the hair with a smoothing brush, tie it with a strong elastic, then wrap a small section of hair around the band and pin the end underneath. That wrap is the difference between a gym pony and a bridal one. A high pony shows off cheekbones and jawline but pulls on the scalp after a few hours, so I always ask whether tight styles give you headaches. A low one is gentler and sits better under a veil. On thin hair I sometimes add a clip-in ponytail piece so the length doesn’t look sparse.
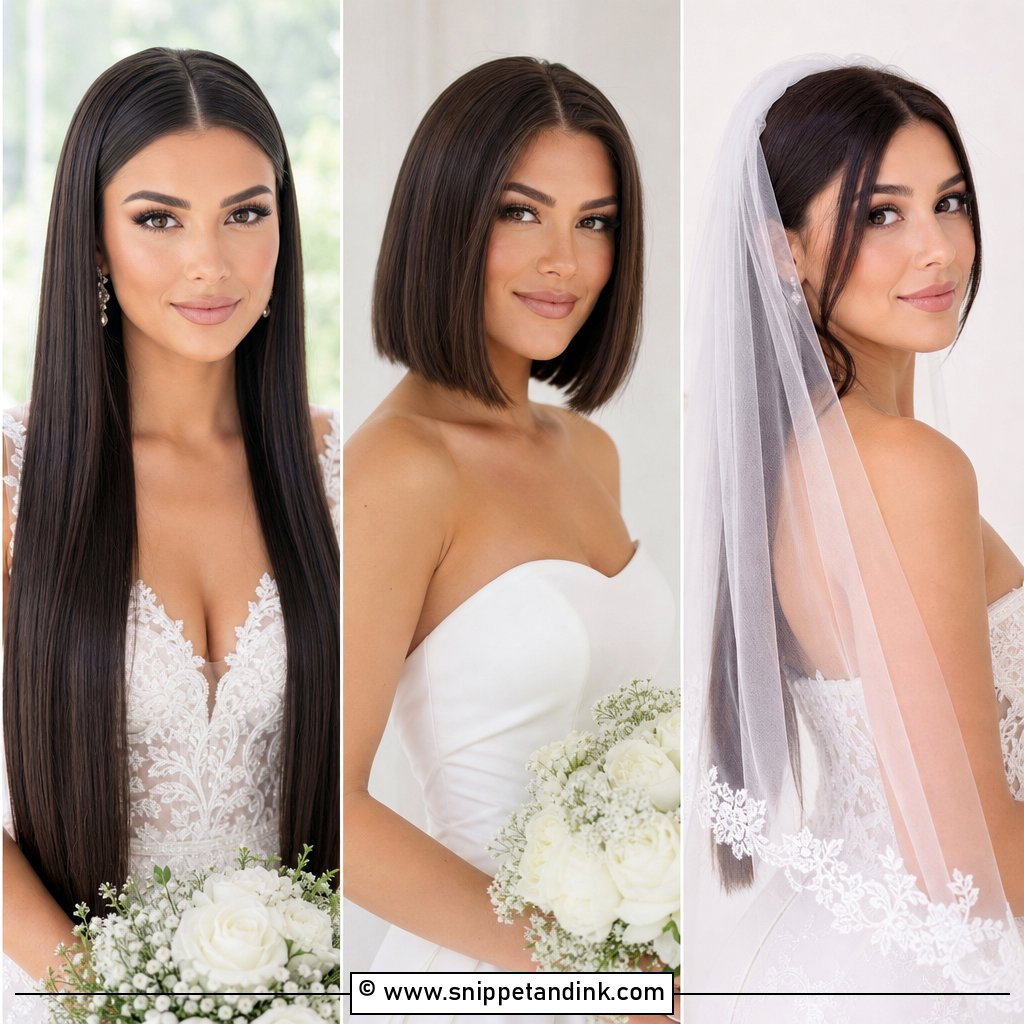
6. Straight Hair With a Veil
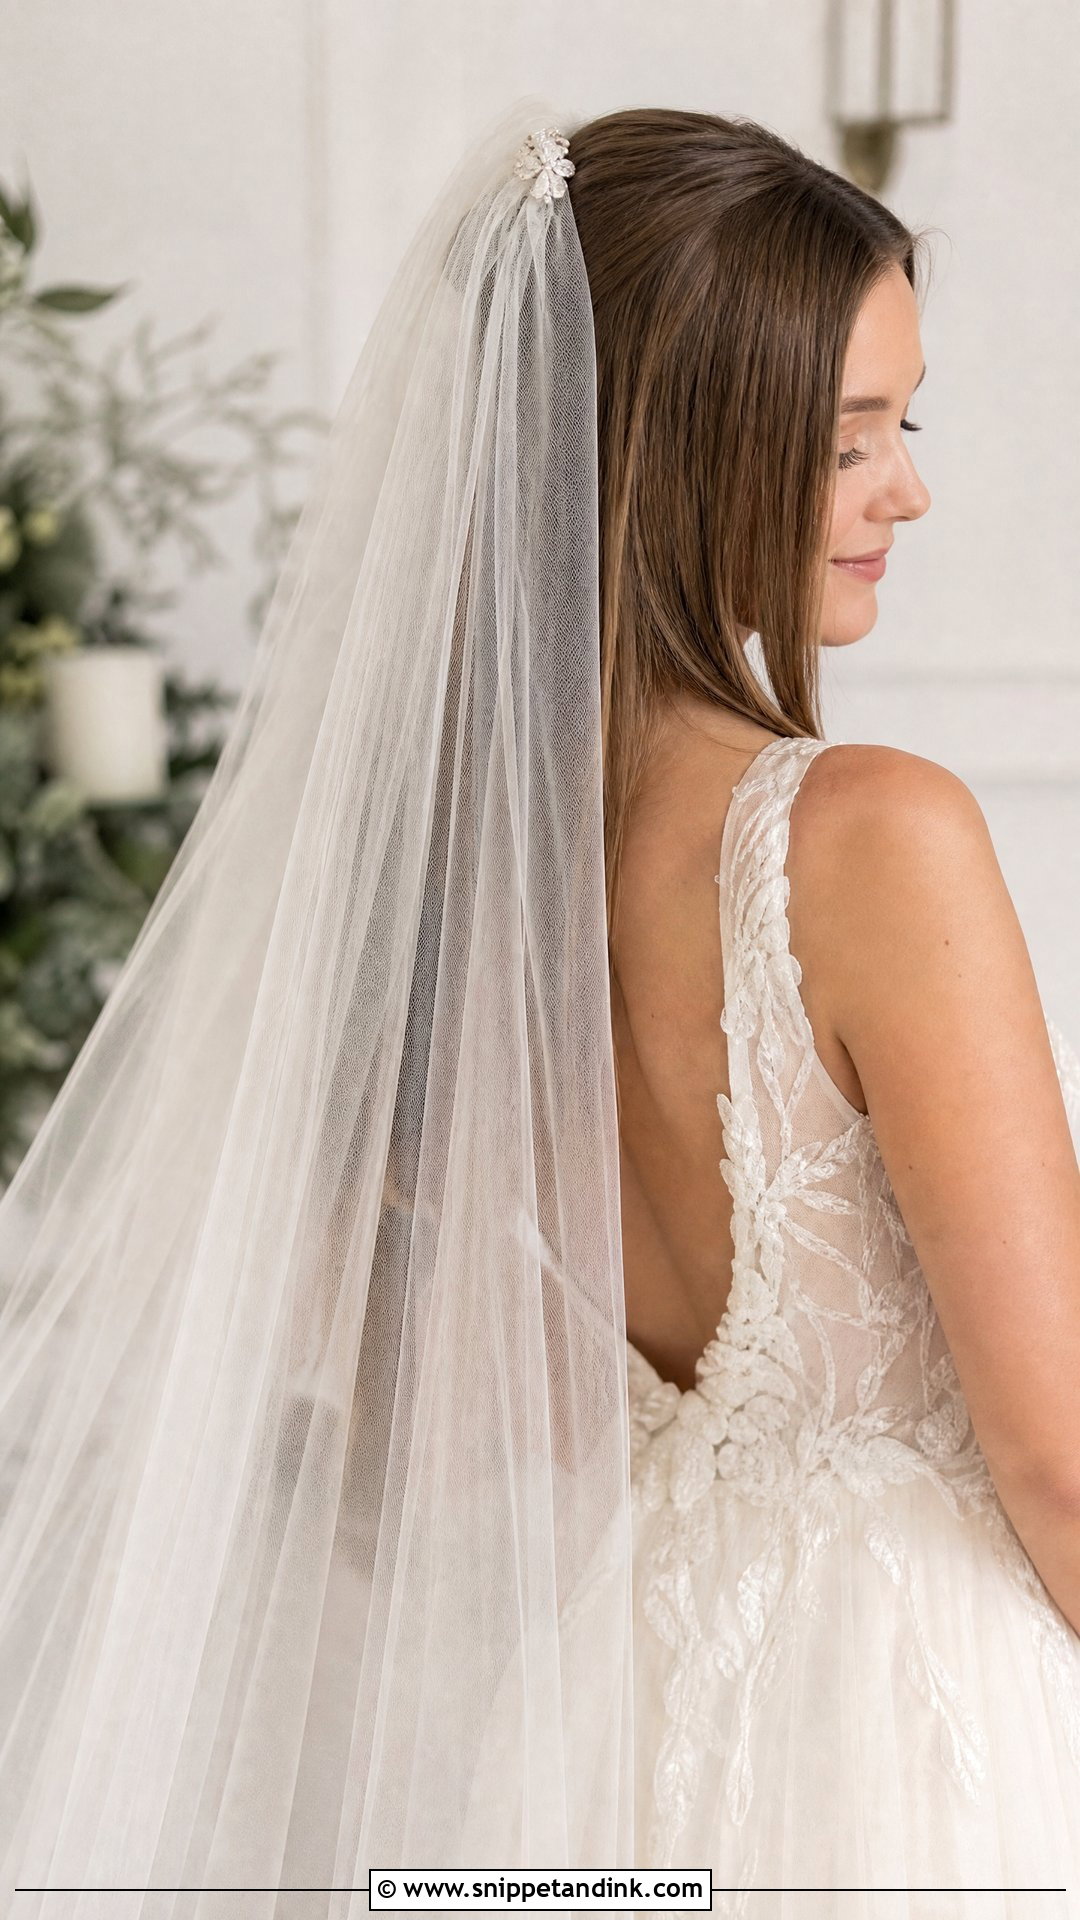
Straight hair is the easiest surface for a veil to sit on, and the slipperiest. A comb pushed into freshly ironed hair can slide straight out, so I build a small anchor first: a few crossed bobby pins, or a tiny braid hidden under the top layer for the comb to grab. Long cathedral veils pull backward, so that anchor matters more as the veil gets heavier. Worn down, your hair shows softly through a sheer veil. Worn back, the veil’s edge becomes the focus. After the ceremony the comb lifts out and the hair underneath is still smooth for the reception.
7. Sleek Straight Chignon
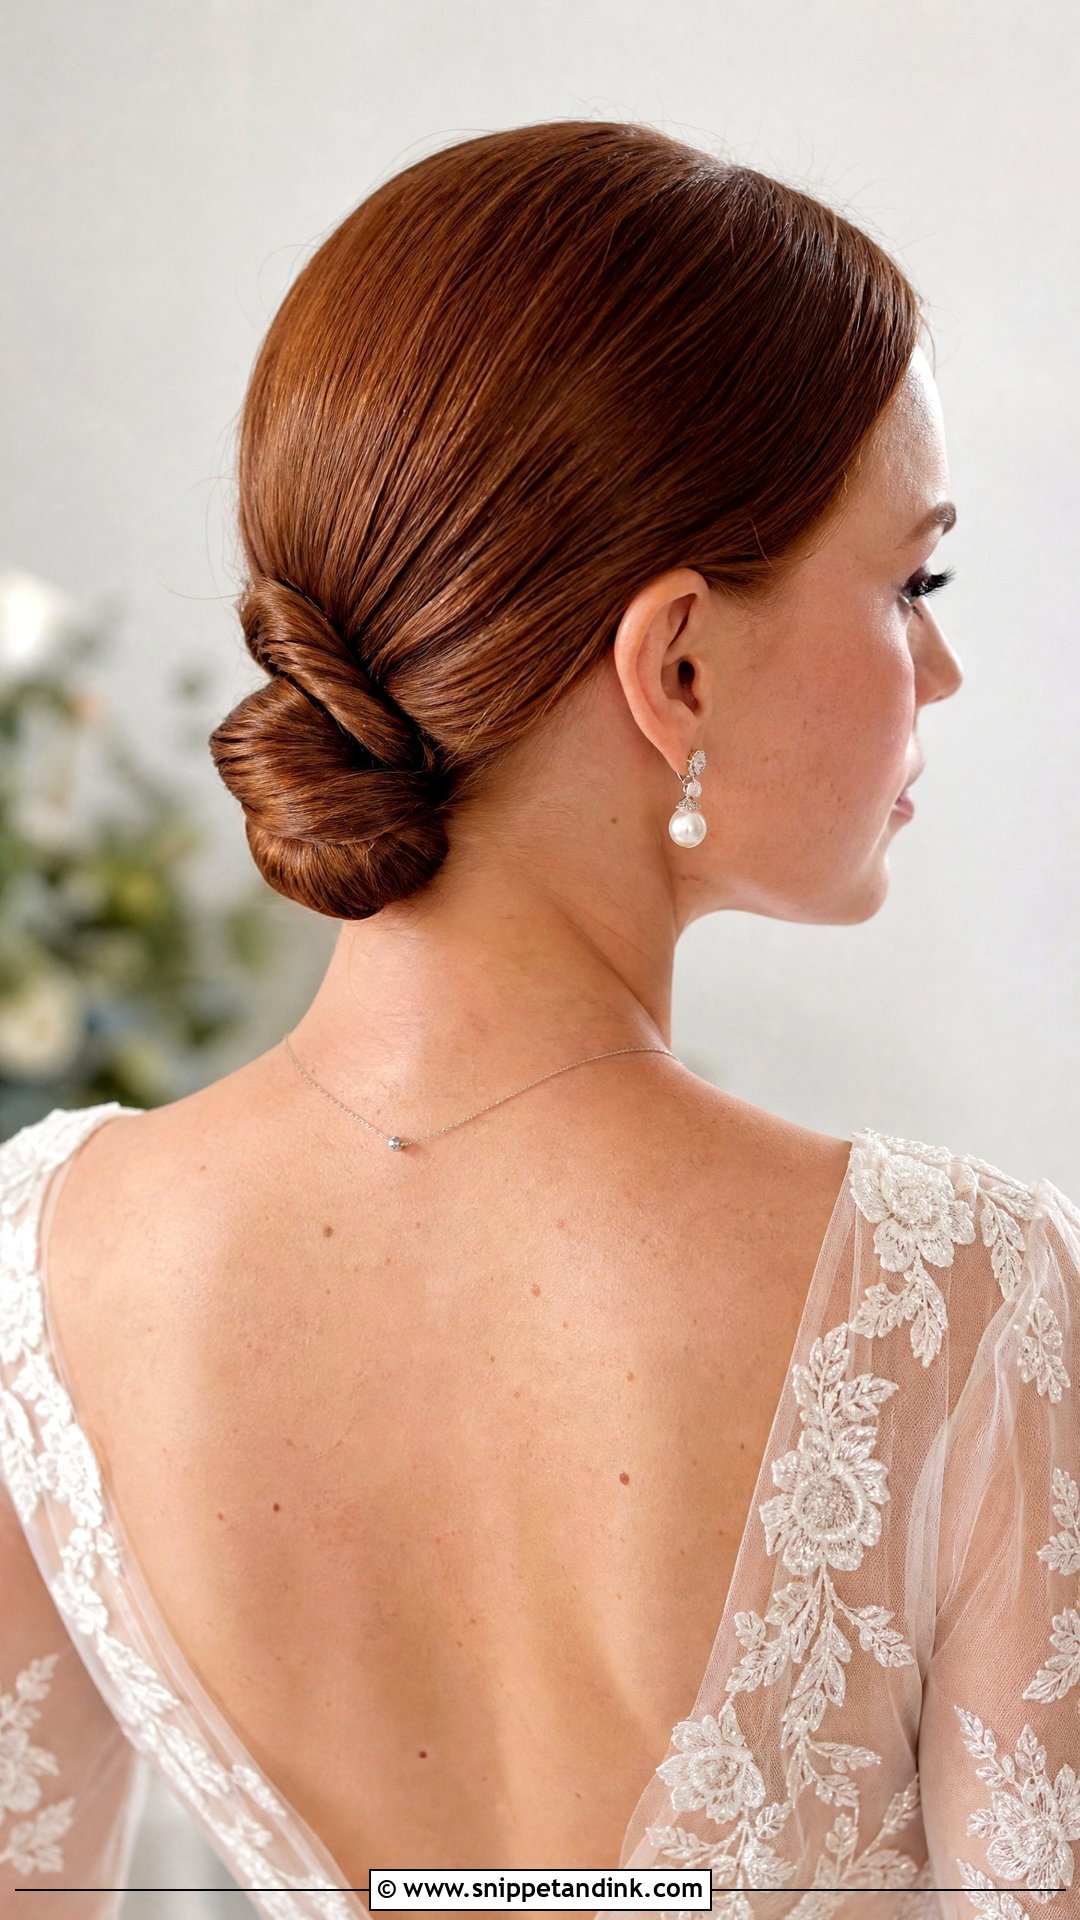
A chignon is a twisted knot at the nape, softer than a tight bun, and it’s what I’d reach for at a formal evening wedding. I smooth everything back, twist the length loosely, fold it under itself and pin through the folds. Very silky straight hair usually needs a mist of texture spray first, or the twist slowly unwinds. It frees the neckline for an open-back dress and pairs well with drop earrings or a single headpiece. Keep the finish glossy rather than wet-looking, because heavy gel reads hard on camera.
8. Straight Hair With Side Part
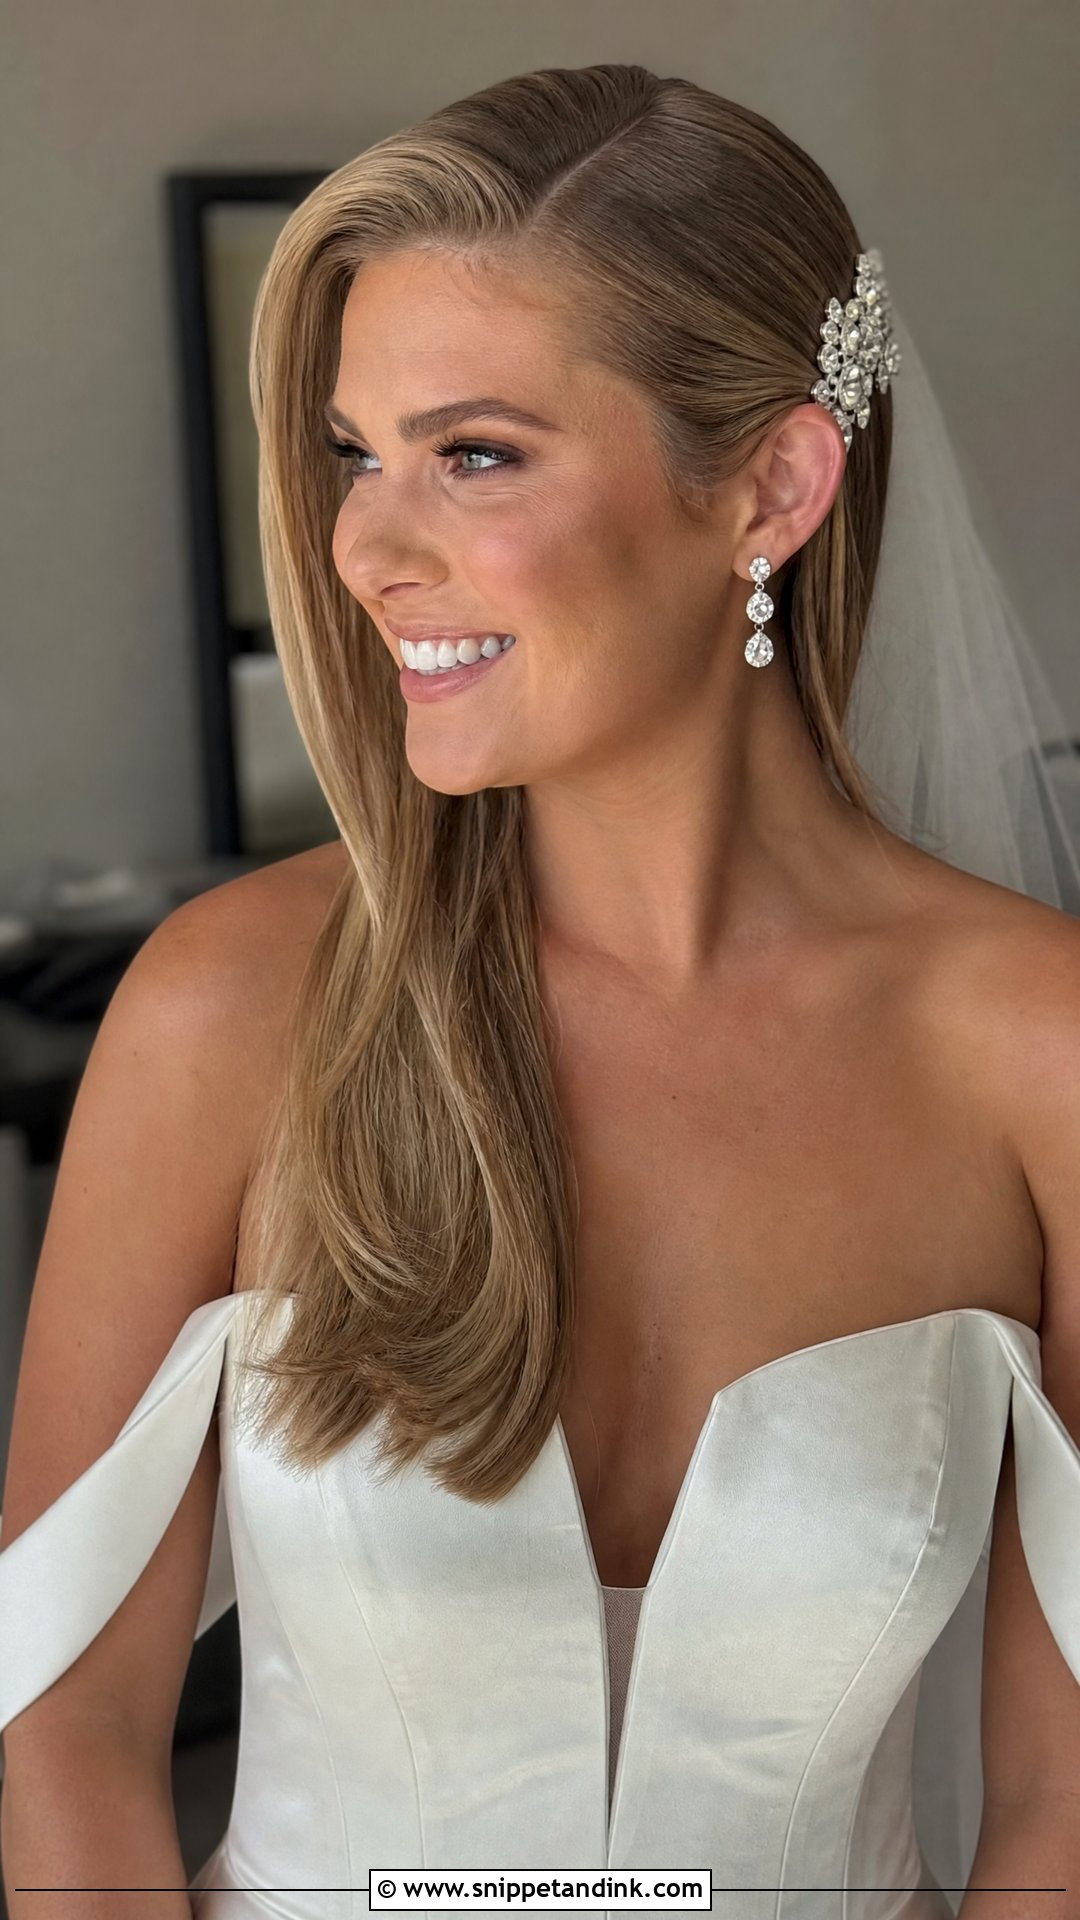
A deep side part moves weight to one side and lifts the crown without any teasing, which is why it flatters round and square faces. I set the part while the hair is still damp. Trying to move a part after the blow-dry means fighting the direction the roots dried in. The heavy side tends to fall into the eye, so I tuck it behind the ear with a hidden pin or put a decorative clip on the lighter side. It’s a strong vintage shape. If you’ll be leaning down to sign papers and hug relatives, that pin behind the ear saves you constant fixing.
9. Straight Hair With Flowers
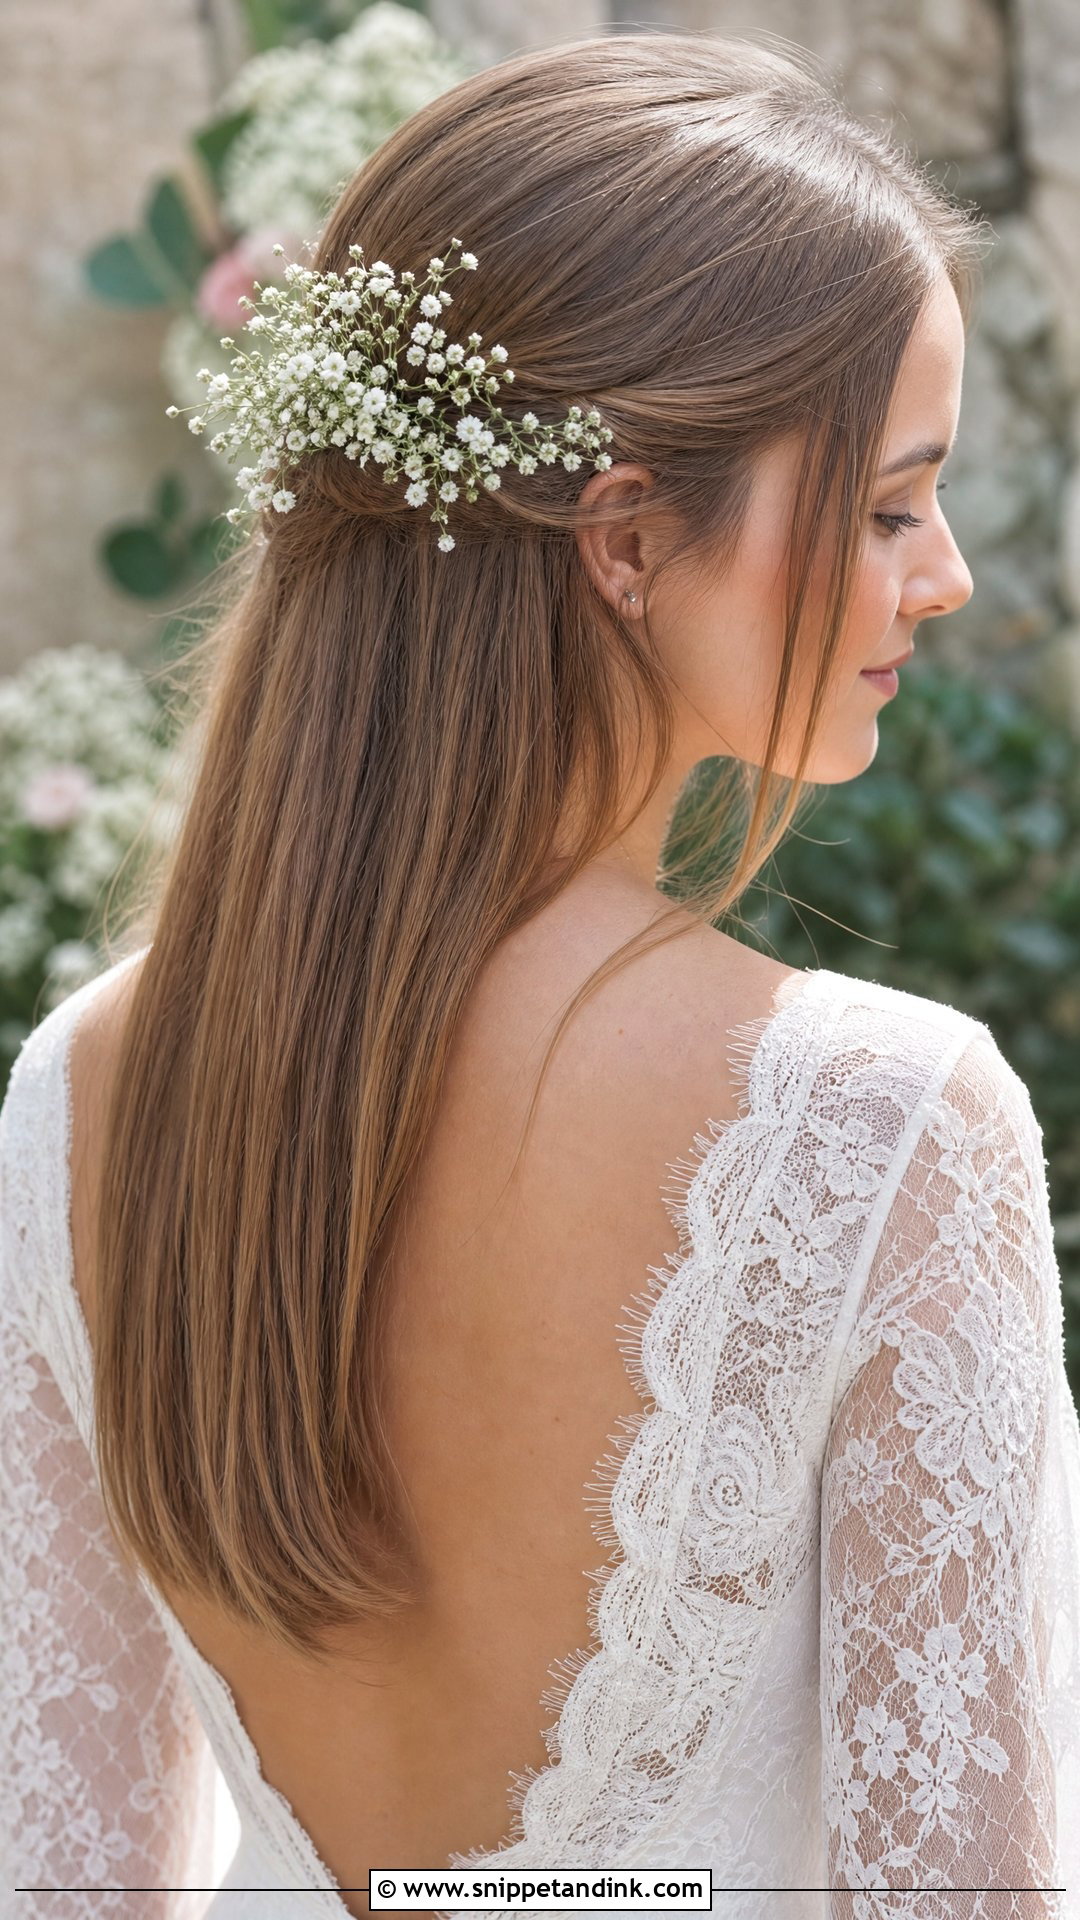
Flowers stand out more against smooth hair than in curls, because there’s no texture to hide the stems. That means your florist and I need to talk early. Baby’s breath and small spray roses hold up well out of water, while hydrangea and gardenias bruise and wilt fast in warm air. I wire or pin each stem into a small hidden braid or bun so nothing slides on straight strands. Garden and outdoor weddings suit this best. Keep a few spare blooms in a cool box for after the photos.
10. Straight Hair With Braided Crown
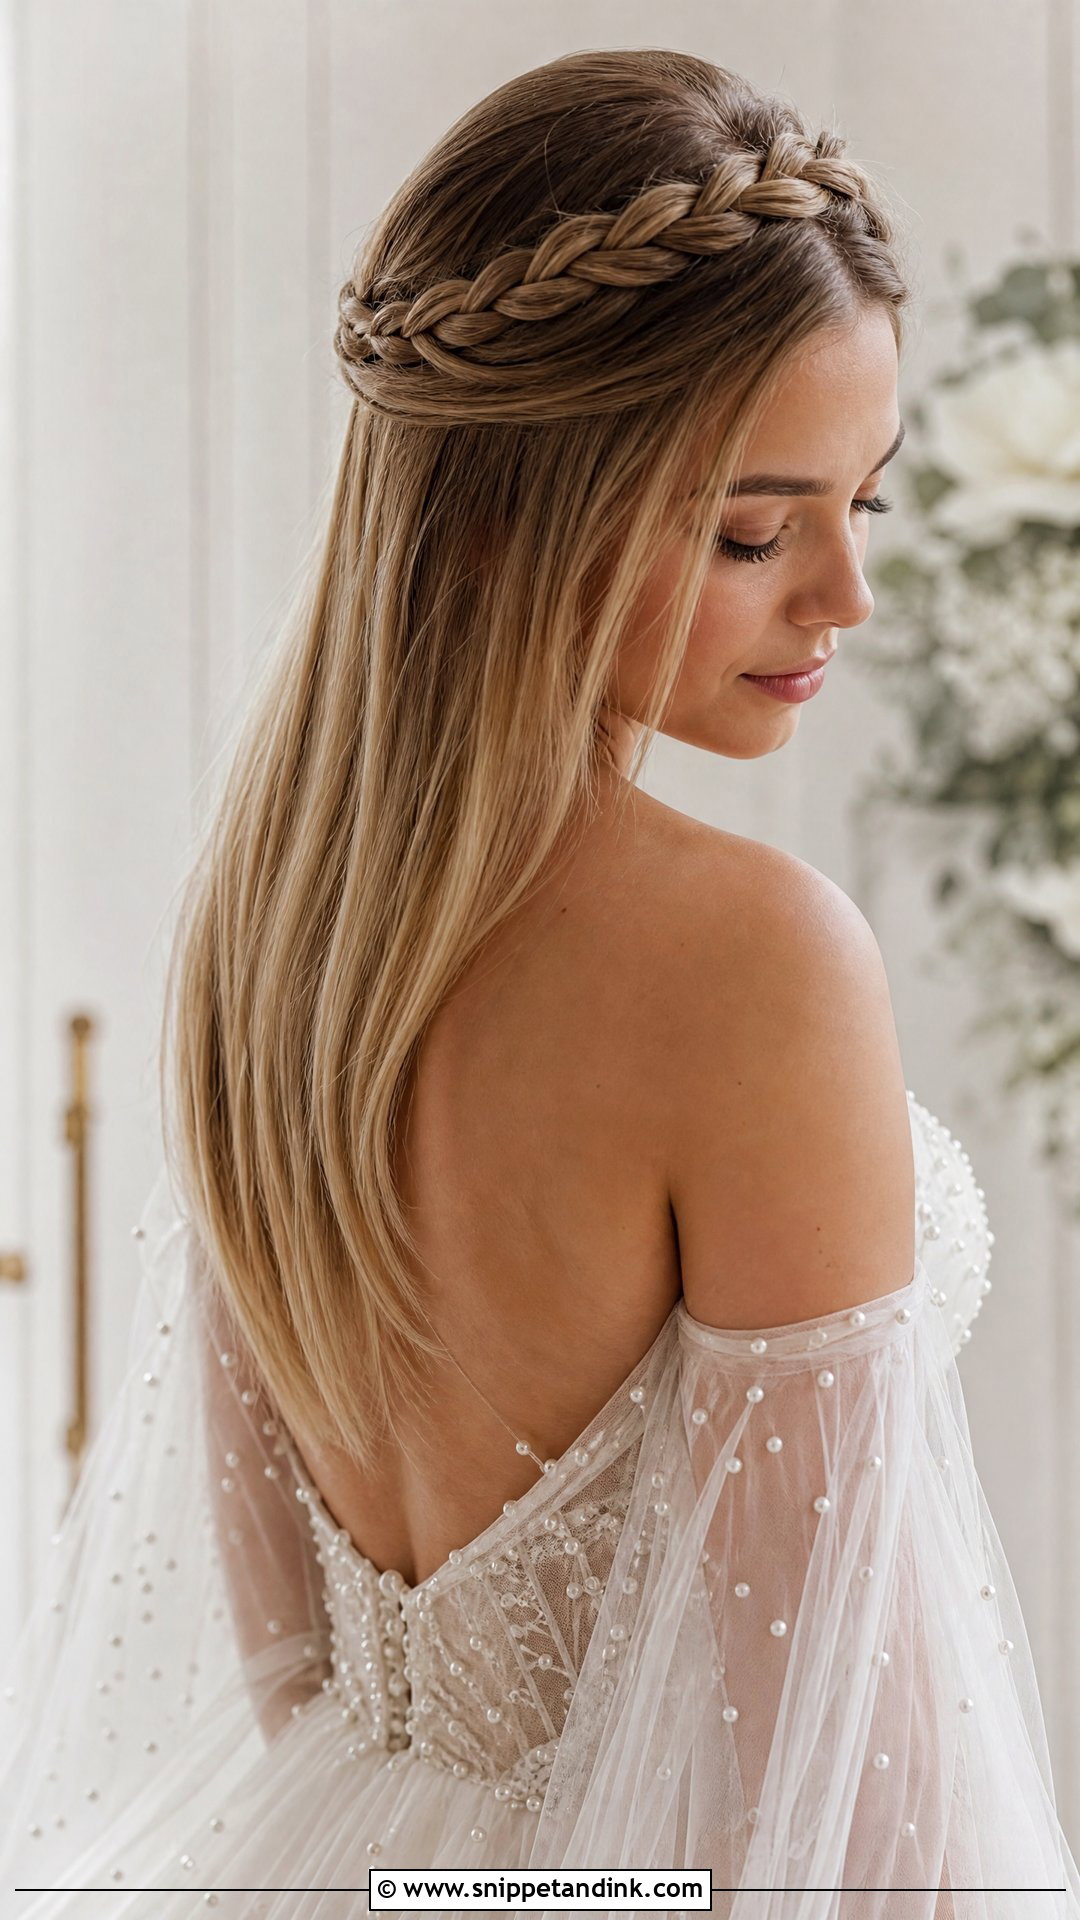
A braided crown adds texture exactly where straight hair has none. I braid along the hairline and pin it across the top of the head like a halo, leaving the rest loose or gathered into a bun. Freshly ironed hair is too slippery to braid neatly, so those sections get a light texture spray or dry shampoo first. Short layers poke out of a braid, and if yours sit well above the shoulder, a crown can look fuzzy by the reception. Tiny pearls or flowers can be pinned into the plait once it’s set.
11. Sleek High Bun
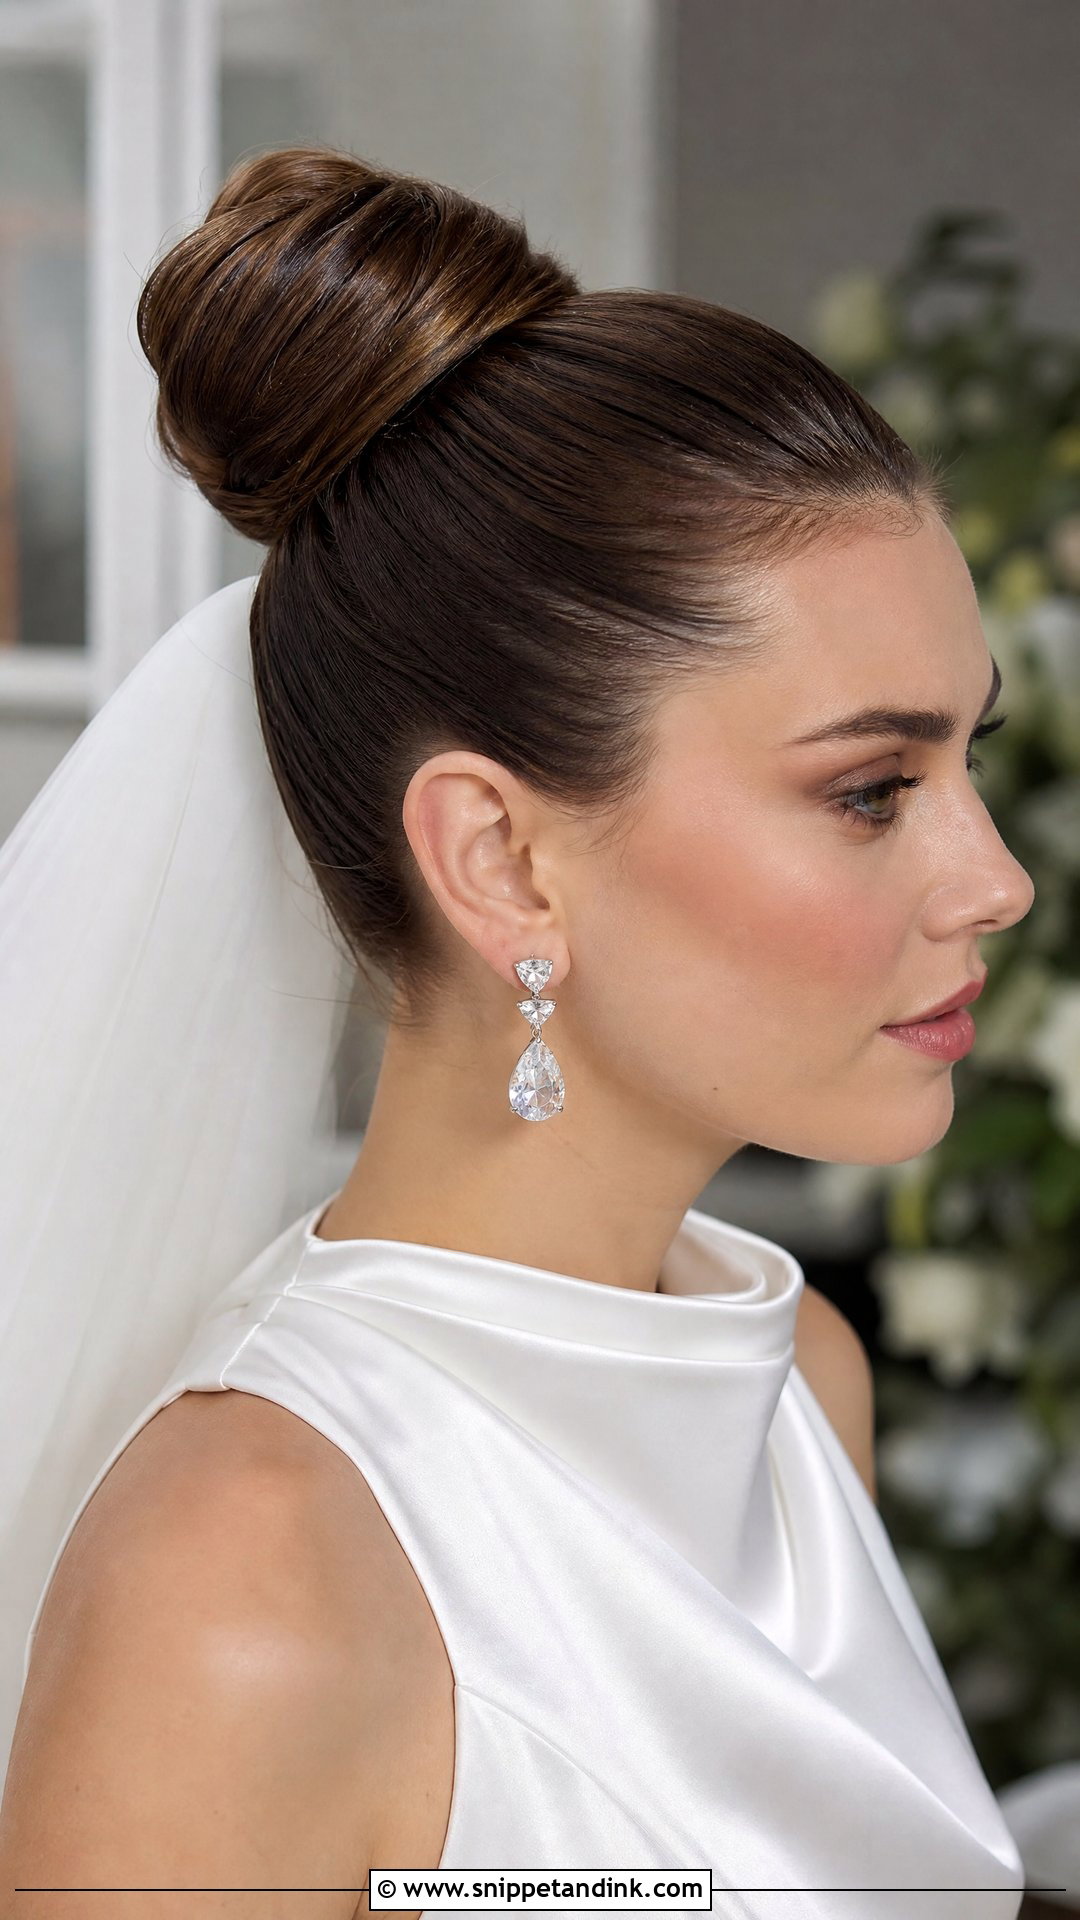
Sitting high on the crown, this bun lifts the whole neckline and keeps your neck cool through the dancing. It also exposes every bump in the brushing. I brush upward in stages with your head tilted back and check the nape with a hand mirror before tying. The bun wraps around an elastic and is pinned to that base, sometimes over a small donut if the hair is thin. Statement earrings and a clean, minimal gown suit it. Be aware it can strain the scalp over a long day, and a veil comb has to go under or behind it, never on top.
12. Straight Hair With Headband
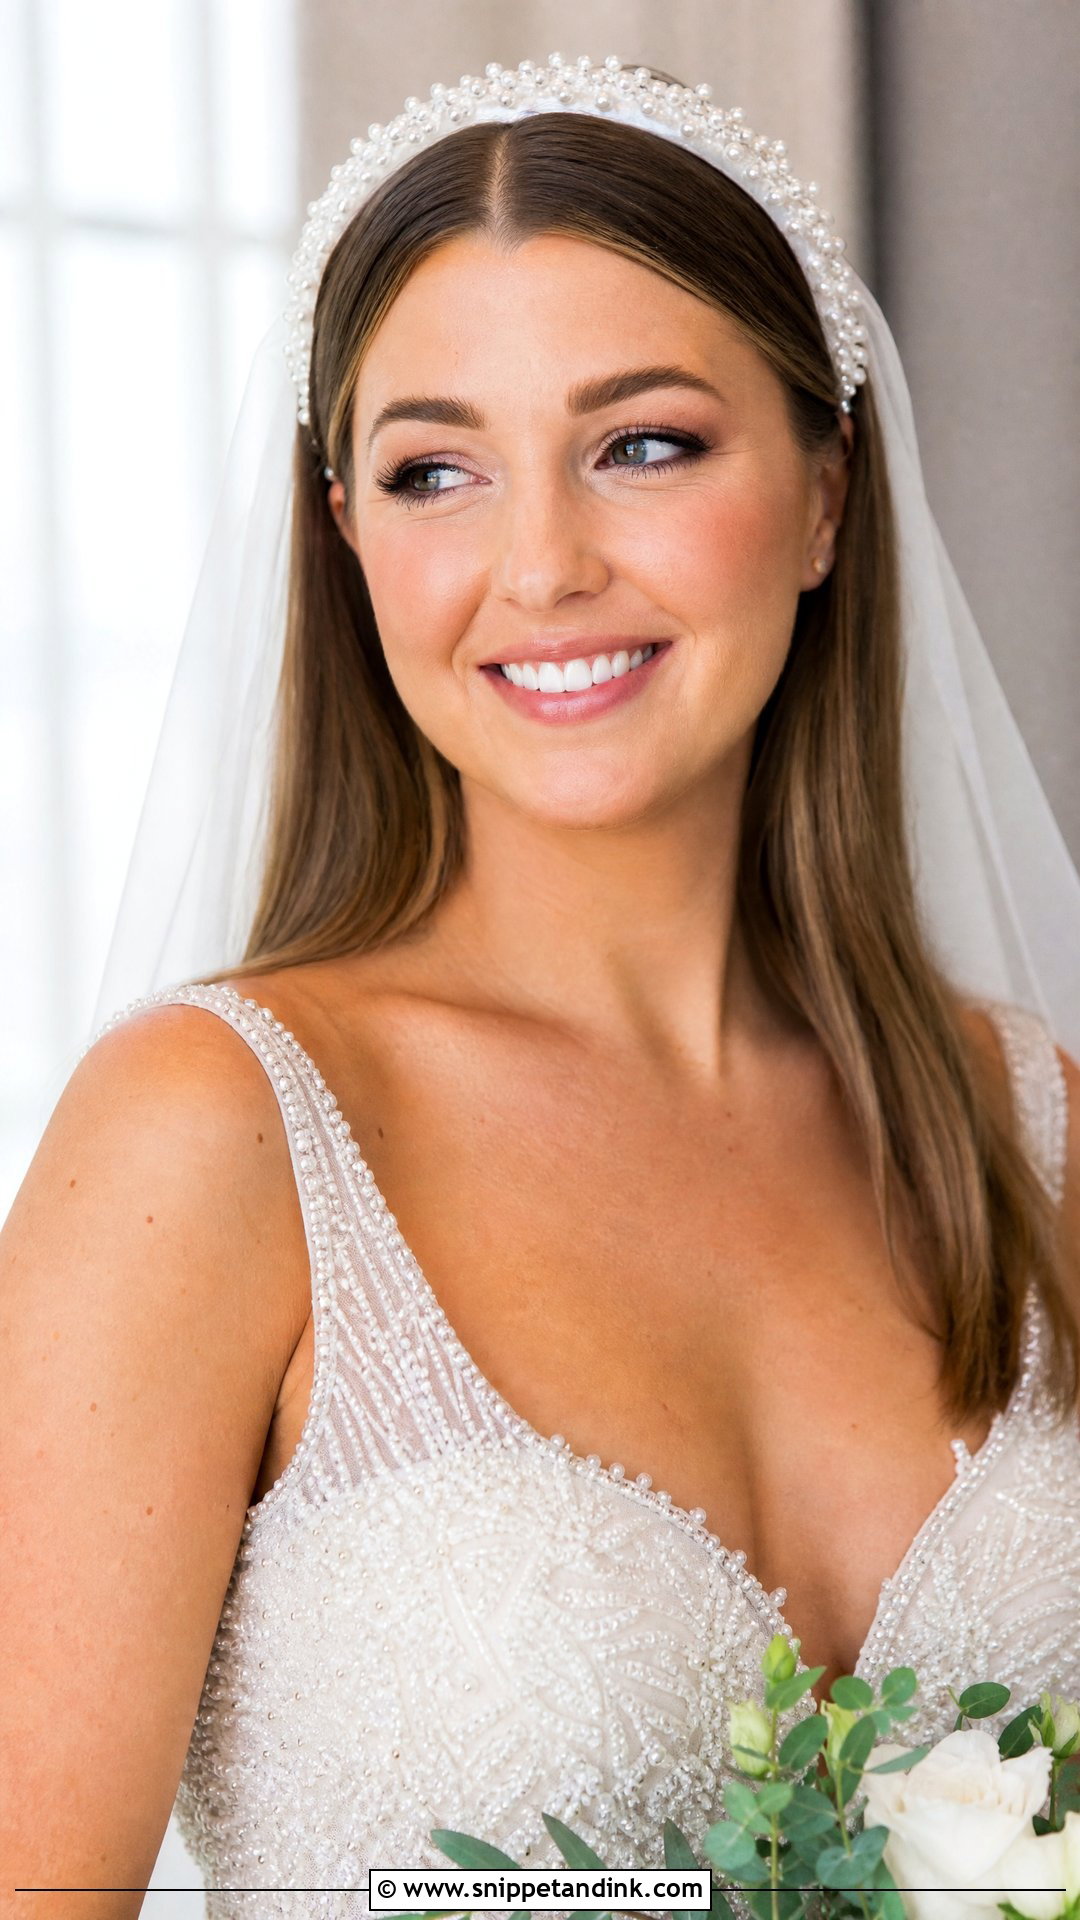
A pretty headband is the least fussy way to dress up straight hair, and it does real work by holding the front pieces back all day. The trouble is that headbands slide on silky hair and press on the skull behind the ears, so I have brides wear one for at least an hour at the trial. Two bobby pins crossed under the band at each side stop it creeping forward. Pearl and crystal bands look polished; fabric or floral ones look softer. With a veil, the comb goes just behind the band so the two don’t fight.
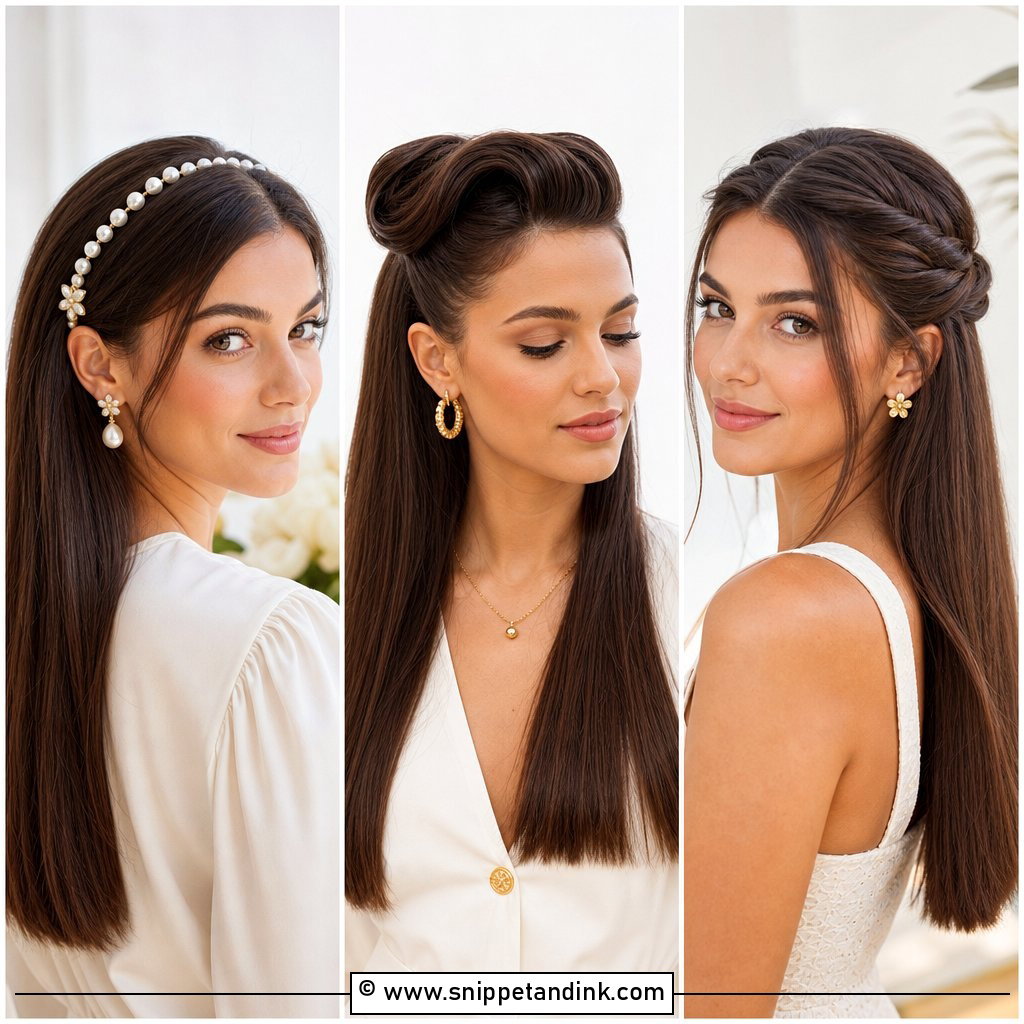
13. Straight Hair With Twisted Sides
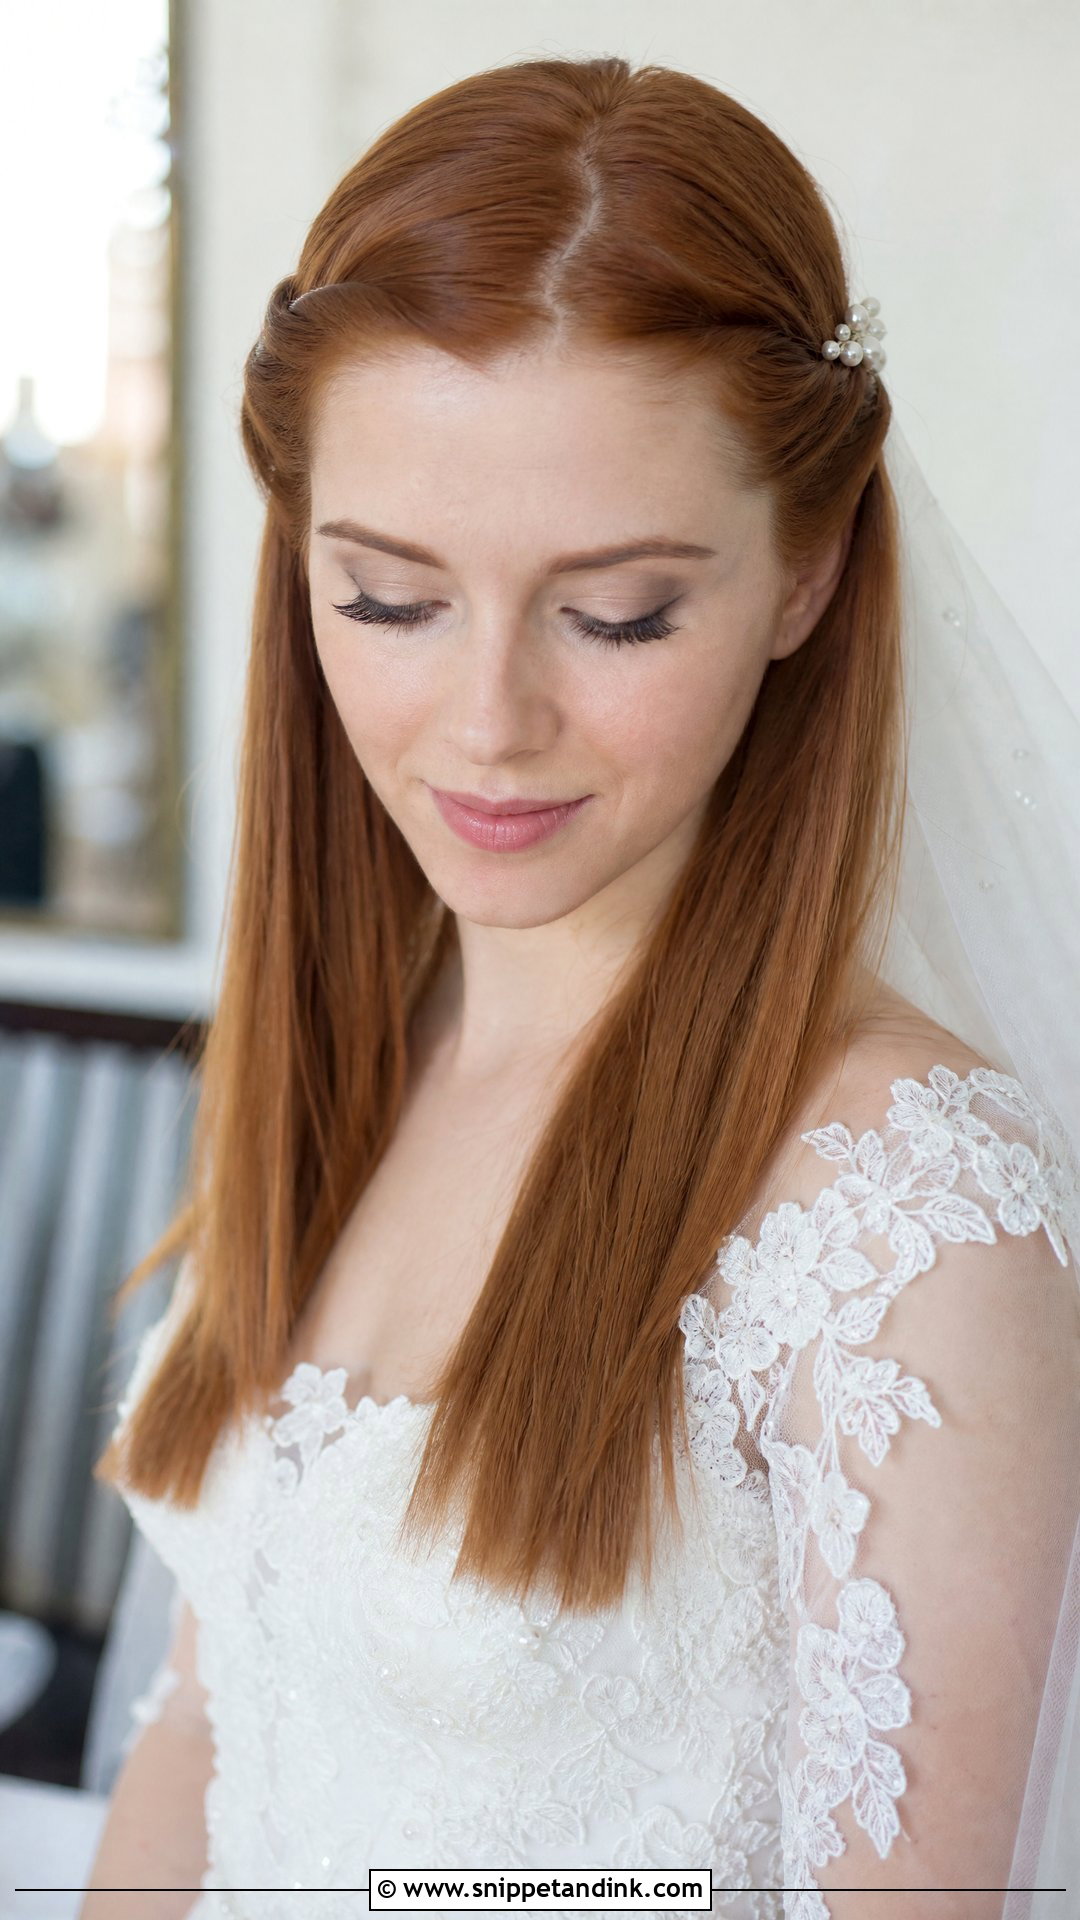
Here two front sections are rolled back and pinned at the crown while the length stays straight. On very silky hair the twists can unravel within the hour, so I twist slightly tighter than looks right and pin across the twist, not along it. It keeps hair off your face during the vows without the formality of an updo. Pearl pins or a small flower can sit where the twists meet. A veil placed just below them covers the pins and makes the back look finished.
14. Glossy Straight Lob
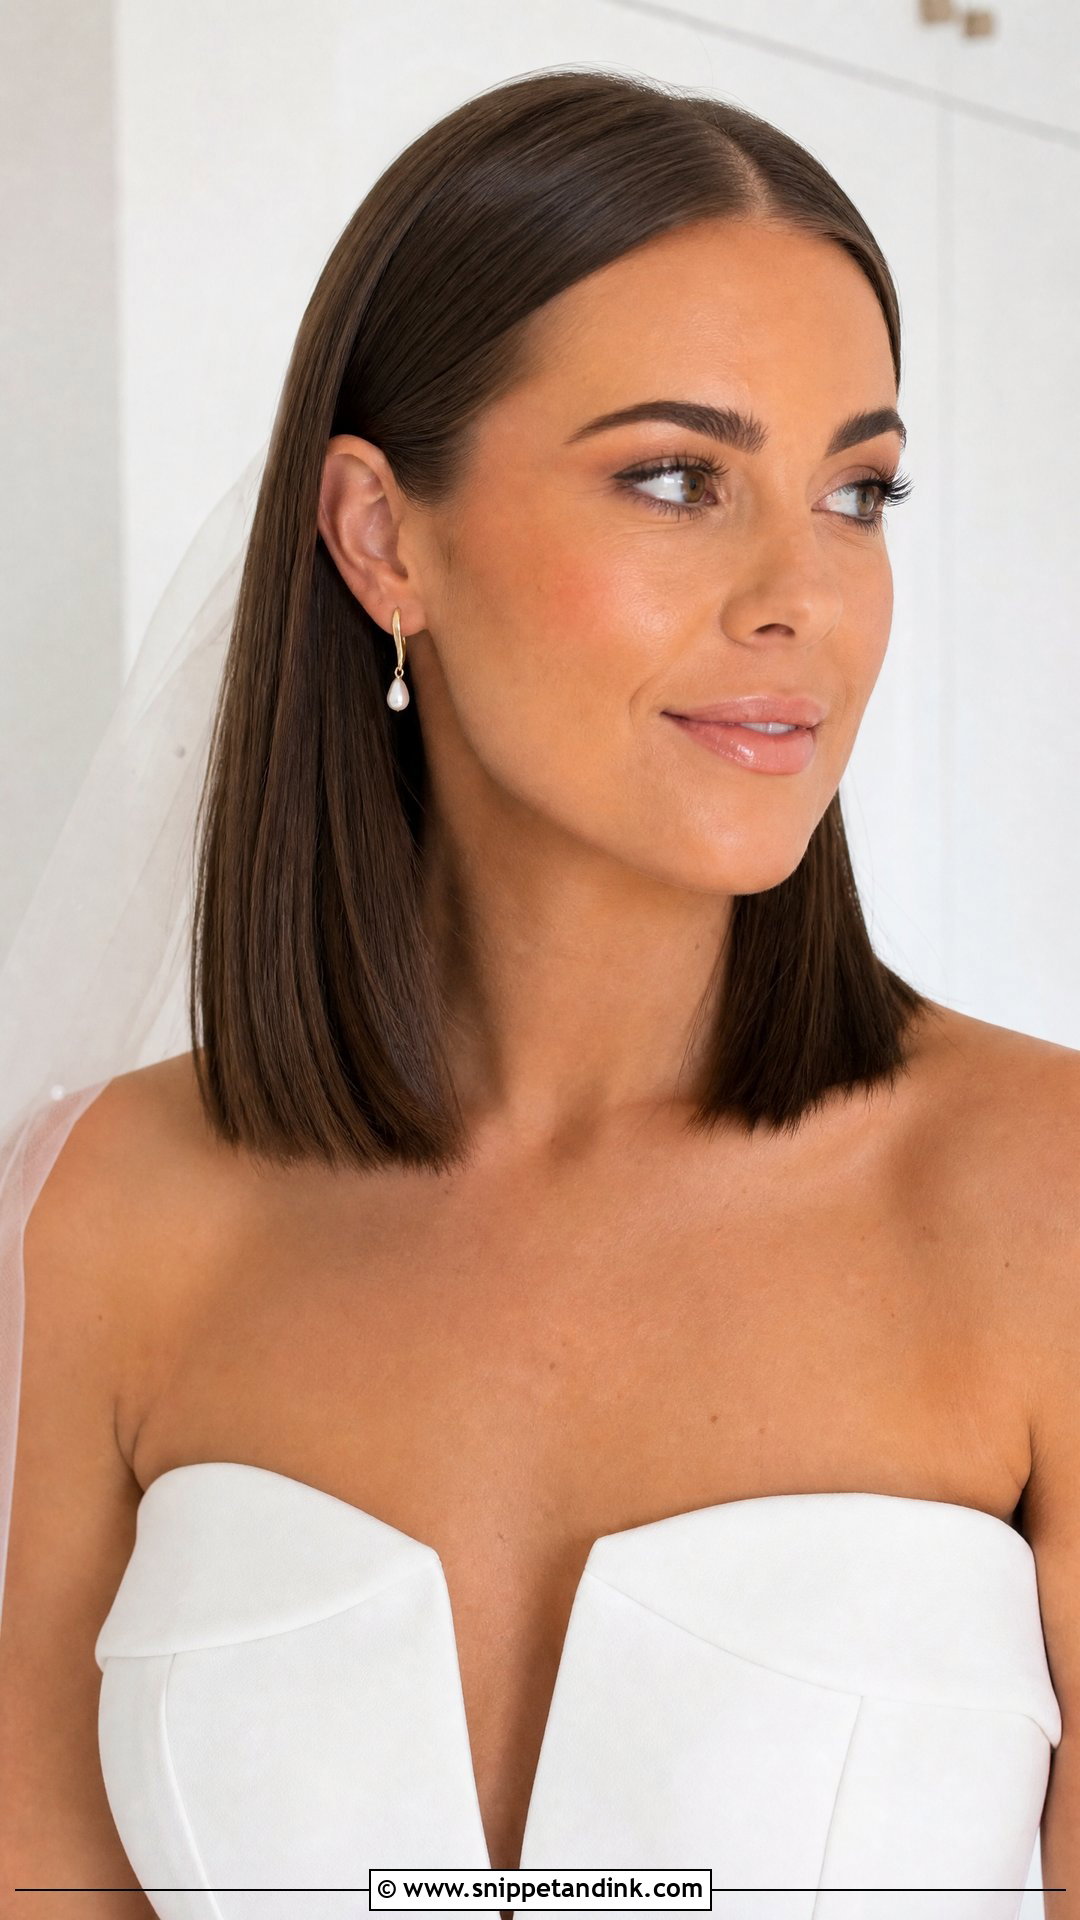
Shoulder-length hair looks sharp when it’s straight, but it shows the haircut more than any other style here. Have the ends trimmed one to two weeks before the wedding so they’re fresh but have had time to settle. I smooth it with a round brush and bend the ends very slightly under, because a completely flat cut can flip outward where it hits the shoulders. It suits a shorter-haired bride who doesn’t want extensions, and it leaves plenty of room for bold earrings. The glossy straight lob needs almost no touch-up through the day beyond a quick pass with a small brush.
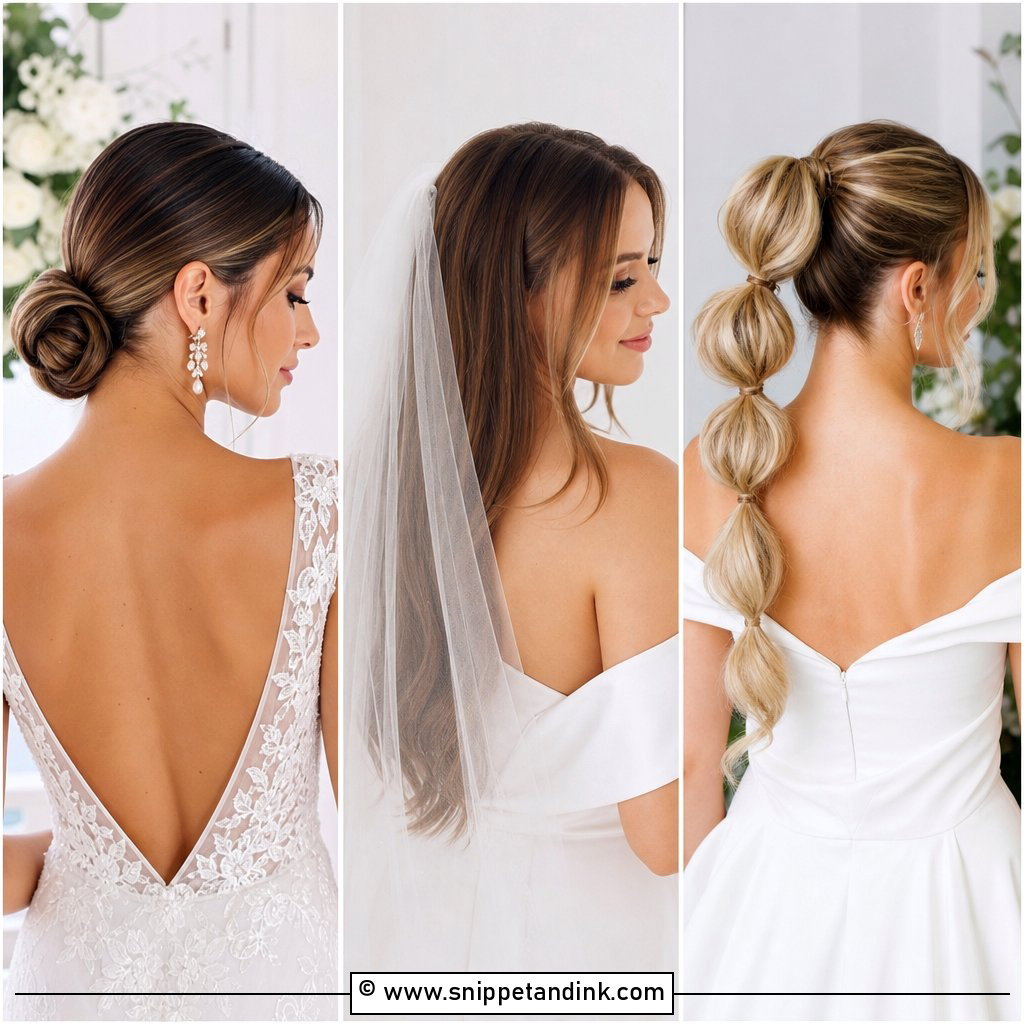
15. Straight Hair With Pearl Pins
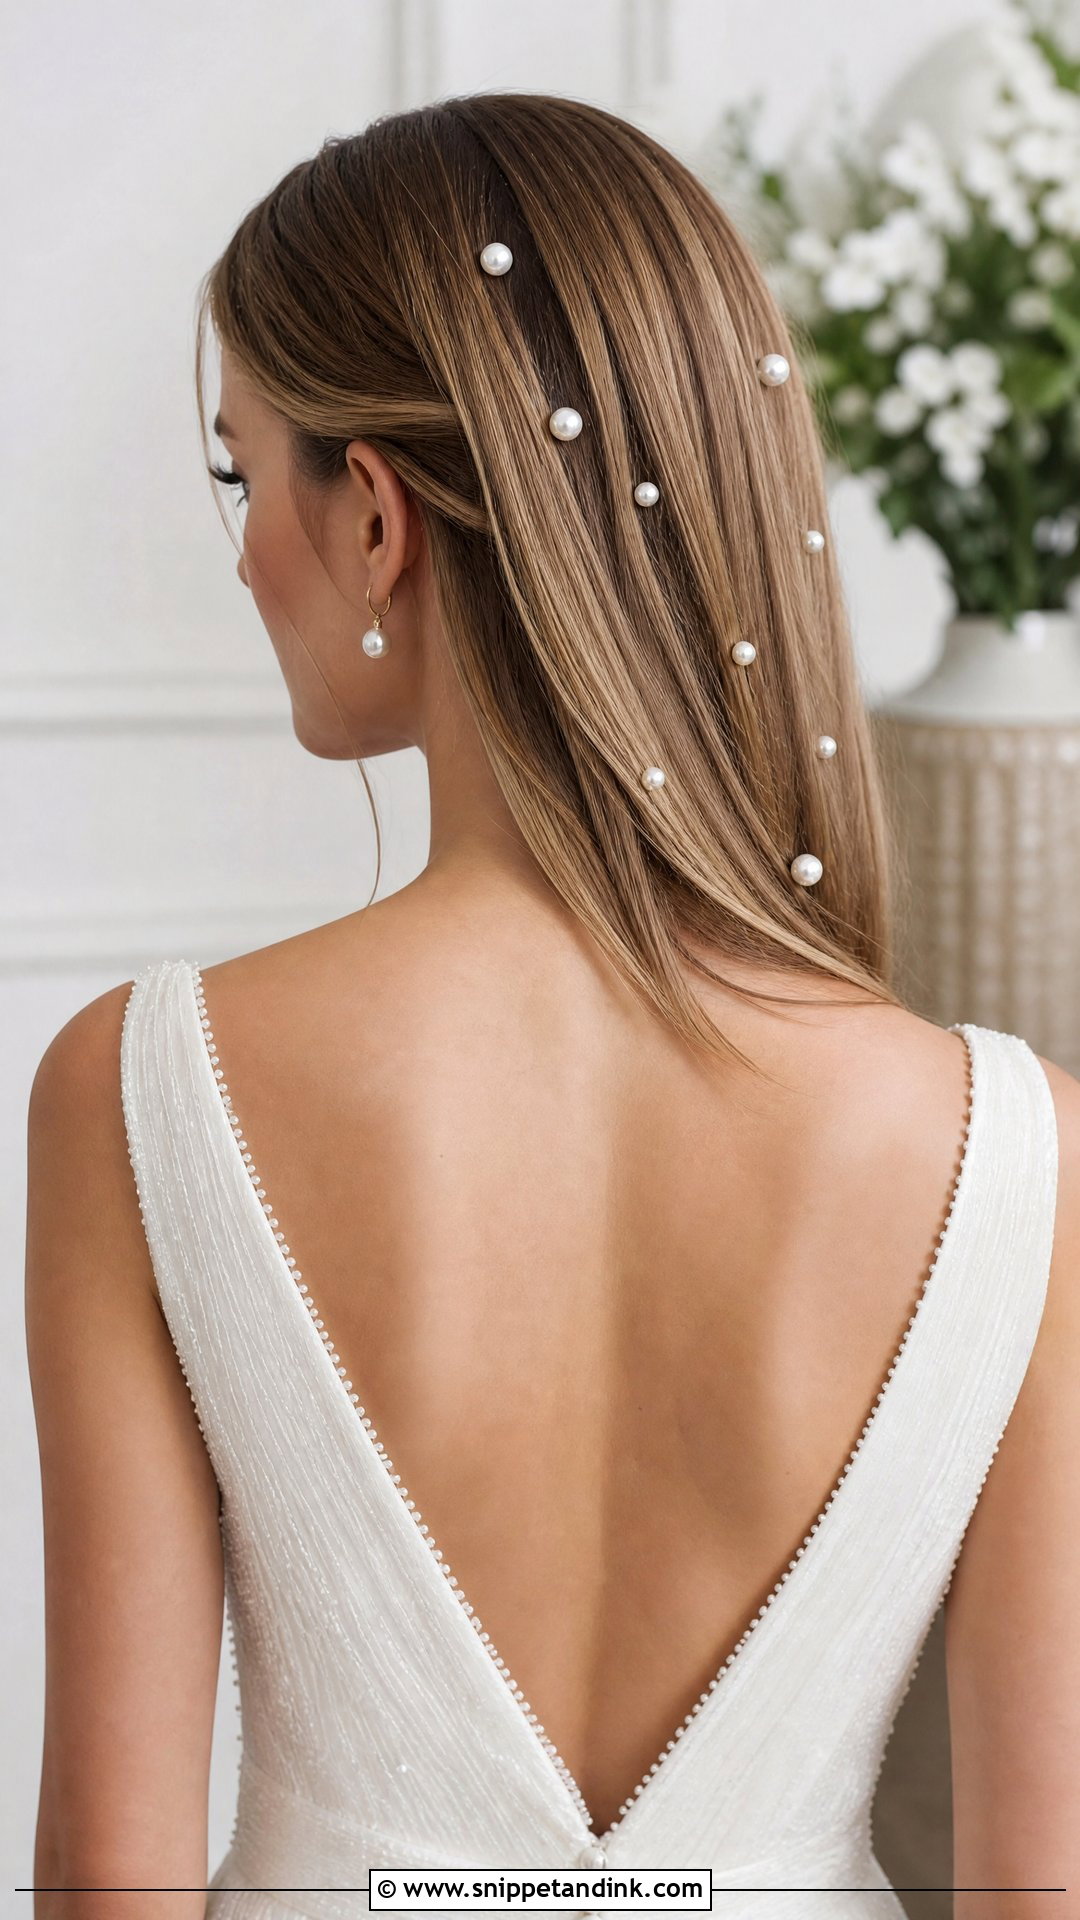
Pearl pins are mostly about placement. I set them where light will hit, along a part, through a half-up section or around a bun, and push each one into a hidden crossed bobby pin so it can’t slip out of smooth hair. Too many look busy on straight hair because there’s no texture for them to blend into. Somewhere between five and nine is usually plenty. Pearls sit happily with ivory and champagne gowns, and they’re an inexpensive way to make a simple style look finished.
16. Straight Hair With Deep Waves at Ends
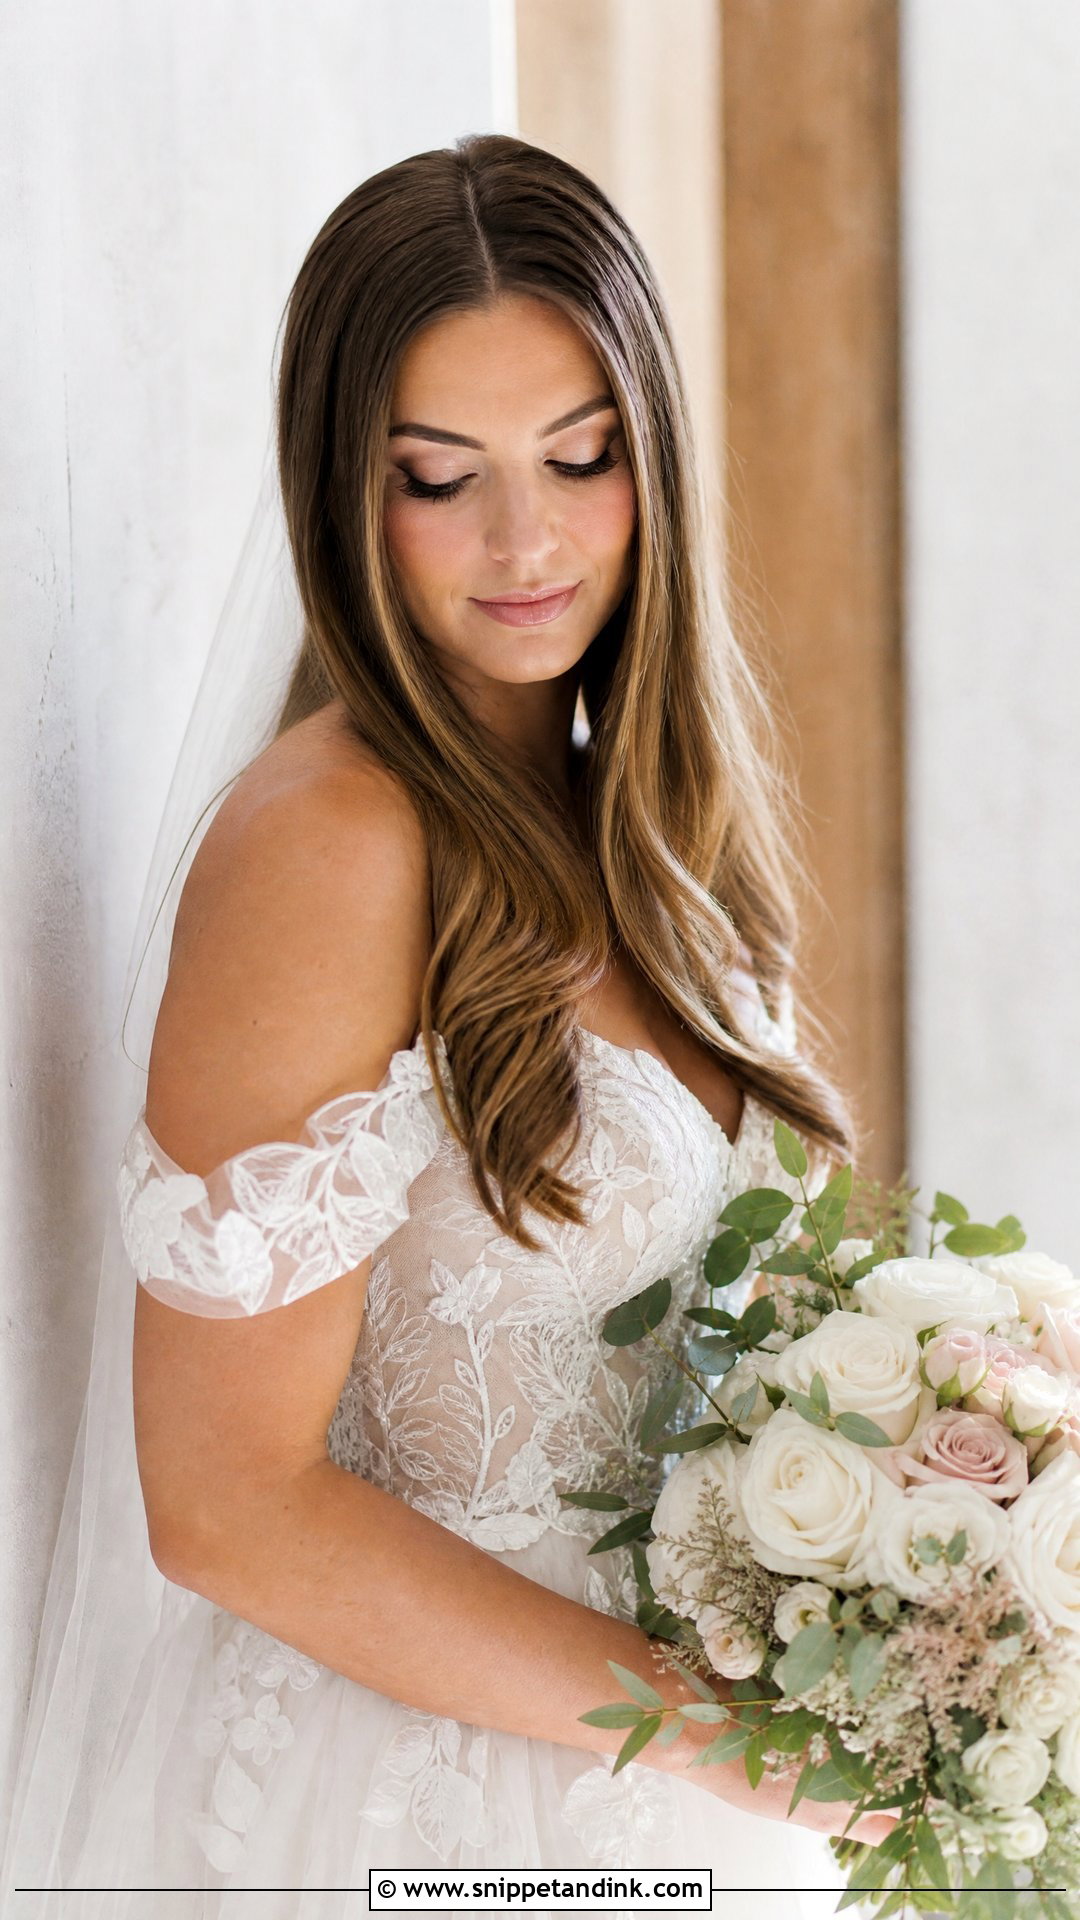
Bending only the last few inches keeps the top sleek but stops the ends looking blunt. I use a large barrel, wrap just the bottom section, let each curl cool in my hand and brush it out once it’s cold. Hair that drops curl quickly gets a light hold spray before the iron touches it. This is my usual answer for a bride who wants straight hair but worries it’ll look plain in photos. It also gives a half-up style some movement at the back.
17. Straight Hair With Bouffant Crown
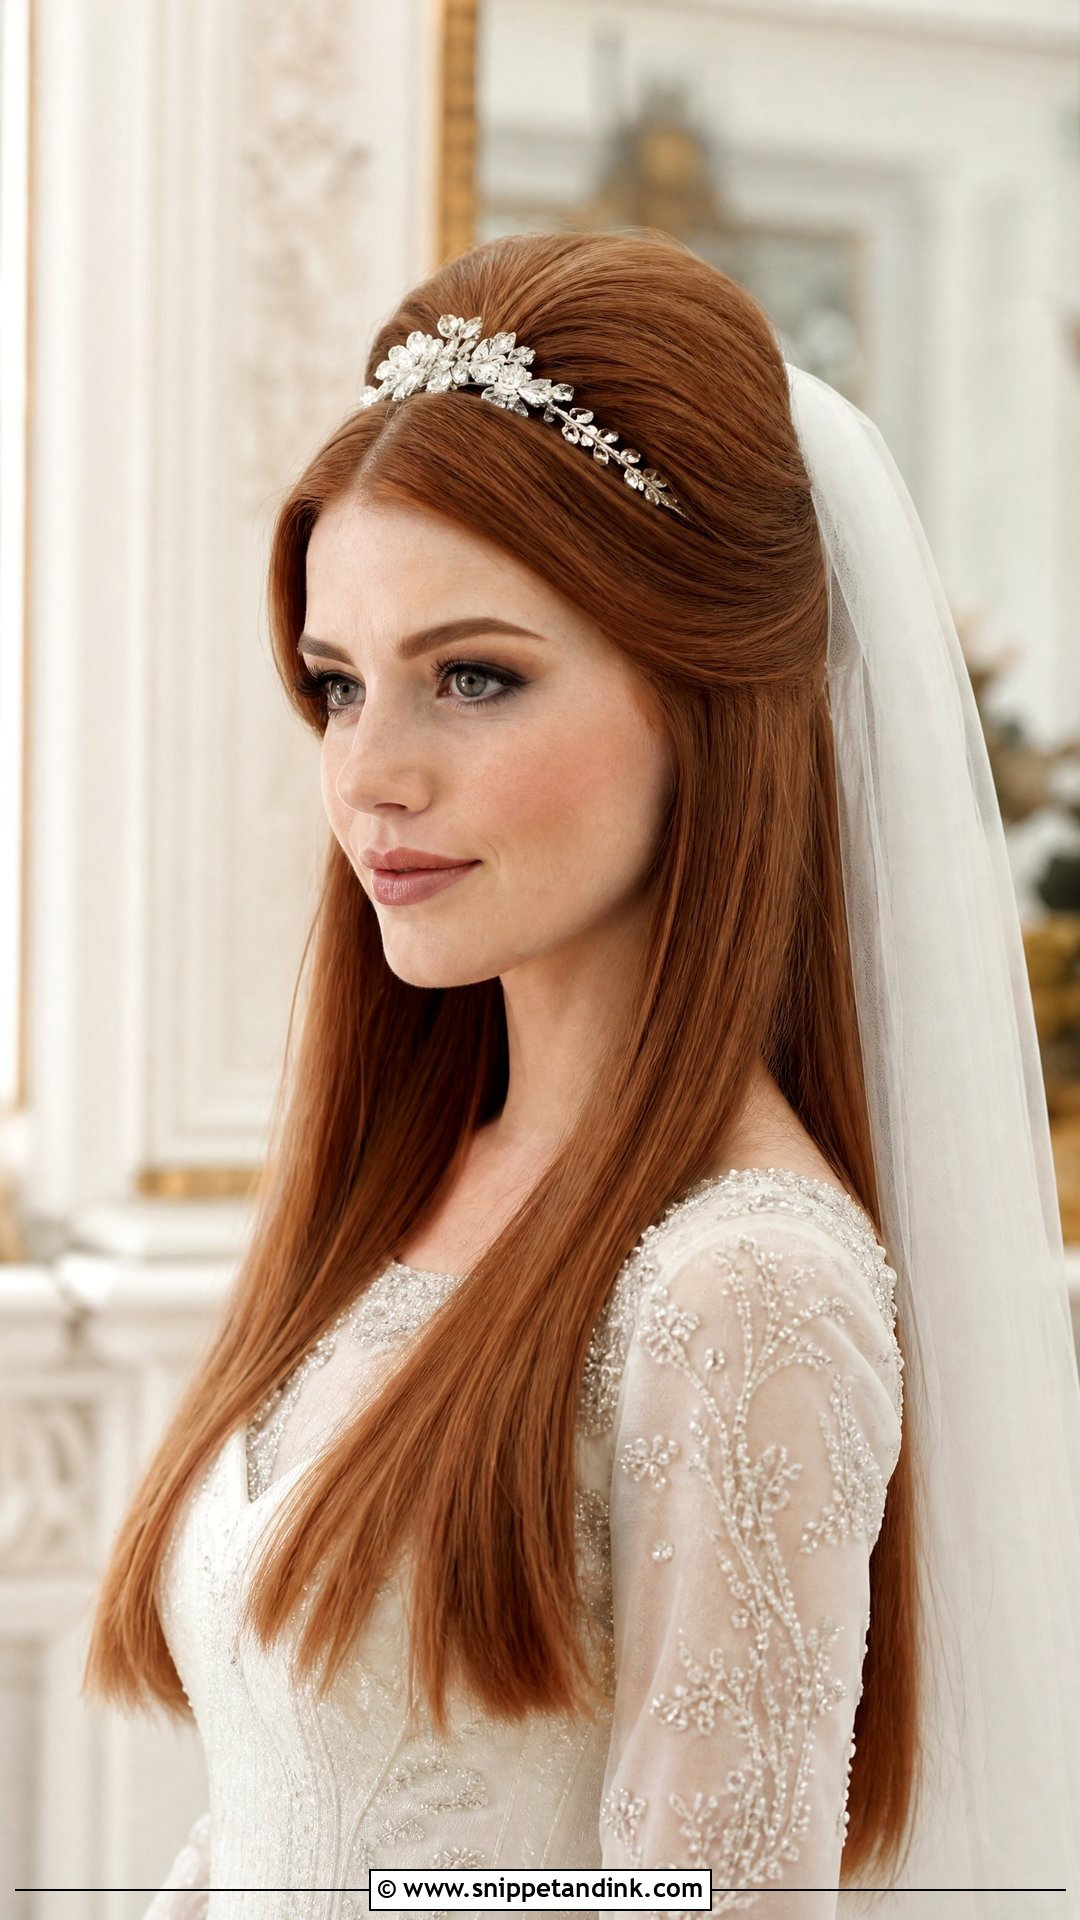
This one adds height at the top of the head while the length stays straight. I backcomb small sections at the roots, smooth a thin top layer over the teasing so the surface stays glossy, and pin the lift from underneath. Height lengthens the face, so for a long or narrow face shape I keep the volume low. It’s a 1960s shape at heart and suits a veil or a tiara set just behind the lift. The next morning, work the teasing out gently with conditioner, never with a dry brush.
18. Straight Hair Tucked Behind Ears
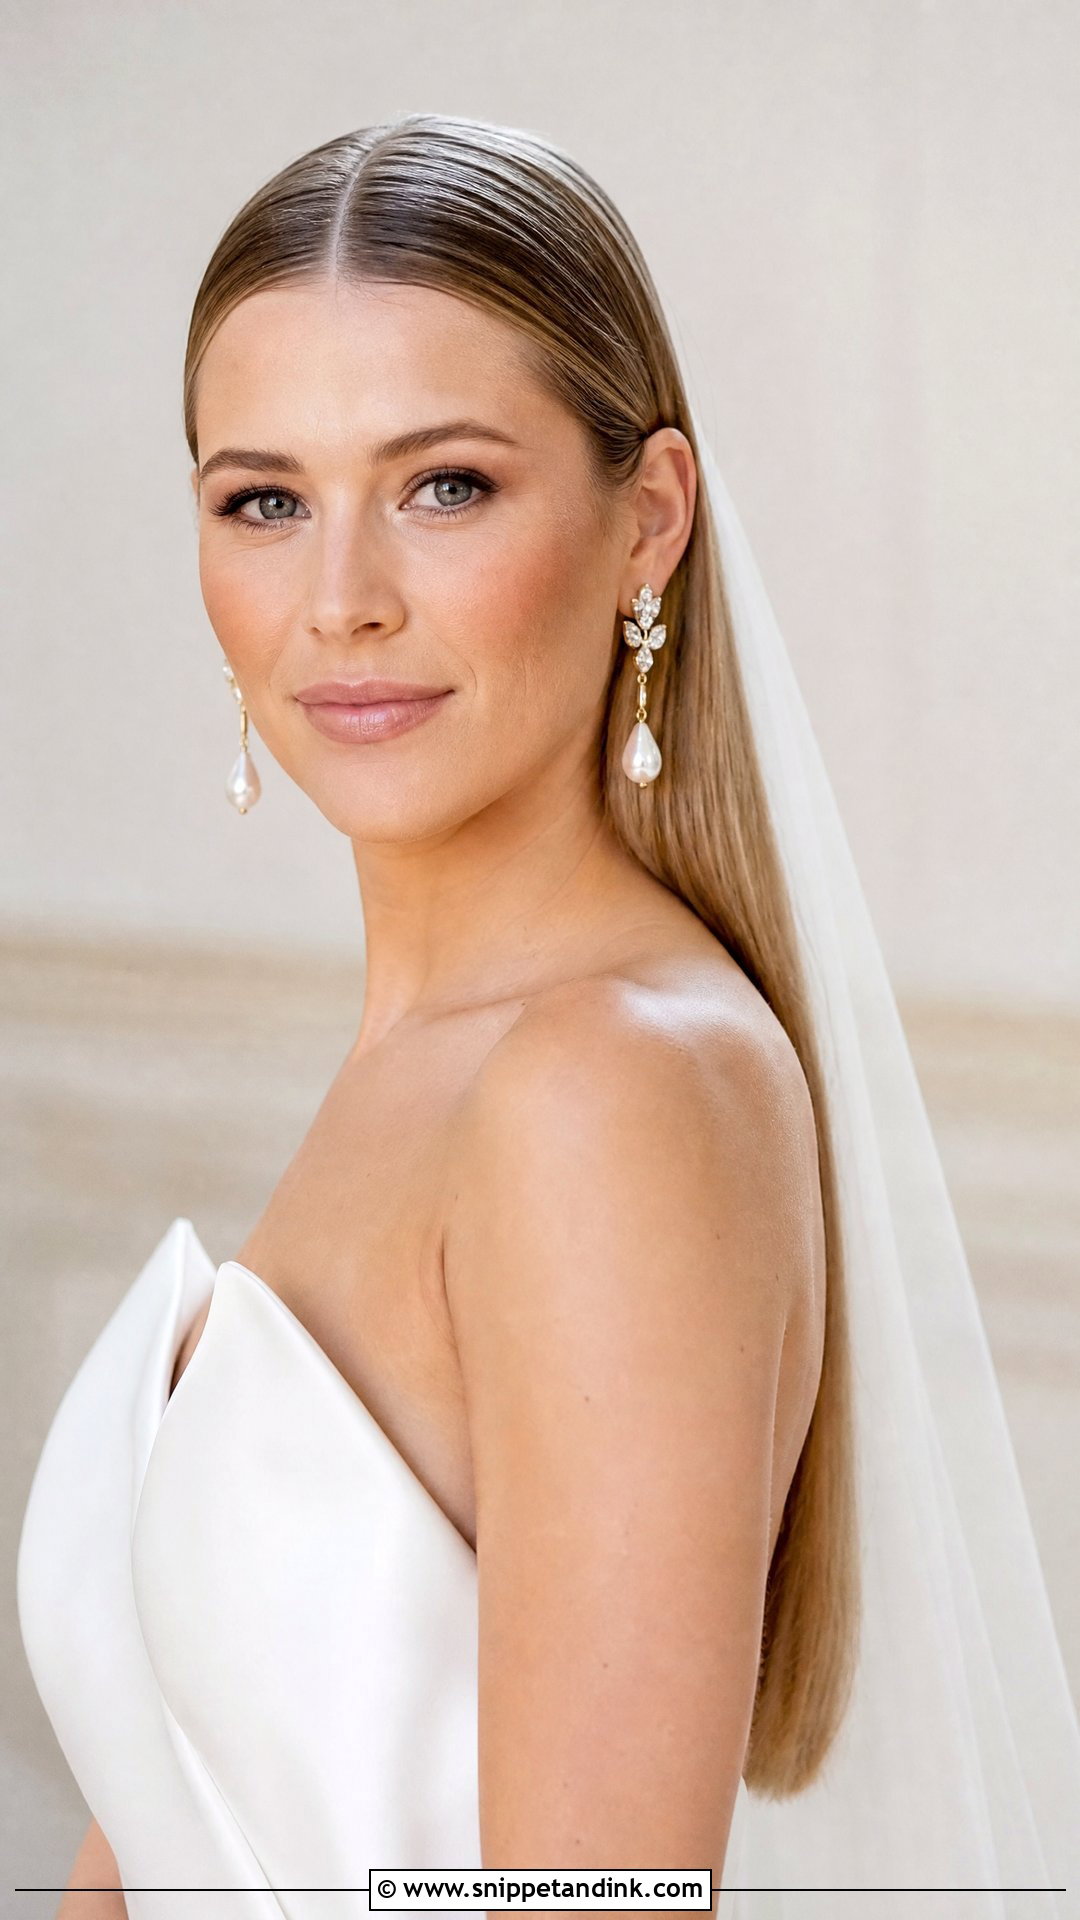
Tucking straight hair behind both ears is about as minimal as bridal hair gets, and it puts your earrings and jawline front and center. It also relies on hair staying where you put it, which straight hair rarely does. I slide a small bobby pin behind each ear, hidden in the underlayer, so the hair doesn’t fall forward every time you laugh. A center or side part both work. Keep serum on the lengths only; around the ears it makes hair clump into stringy pieces.
19. Straight Hair With Low Side Bun
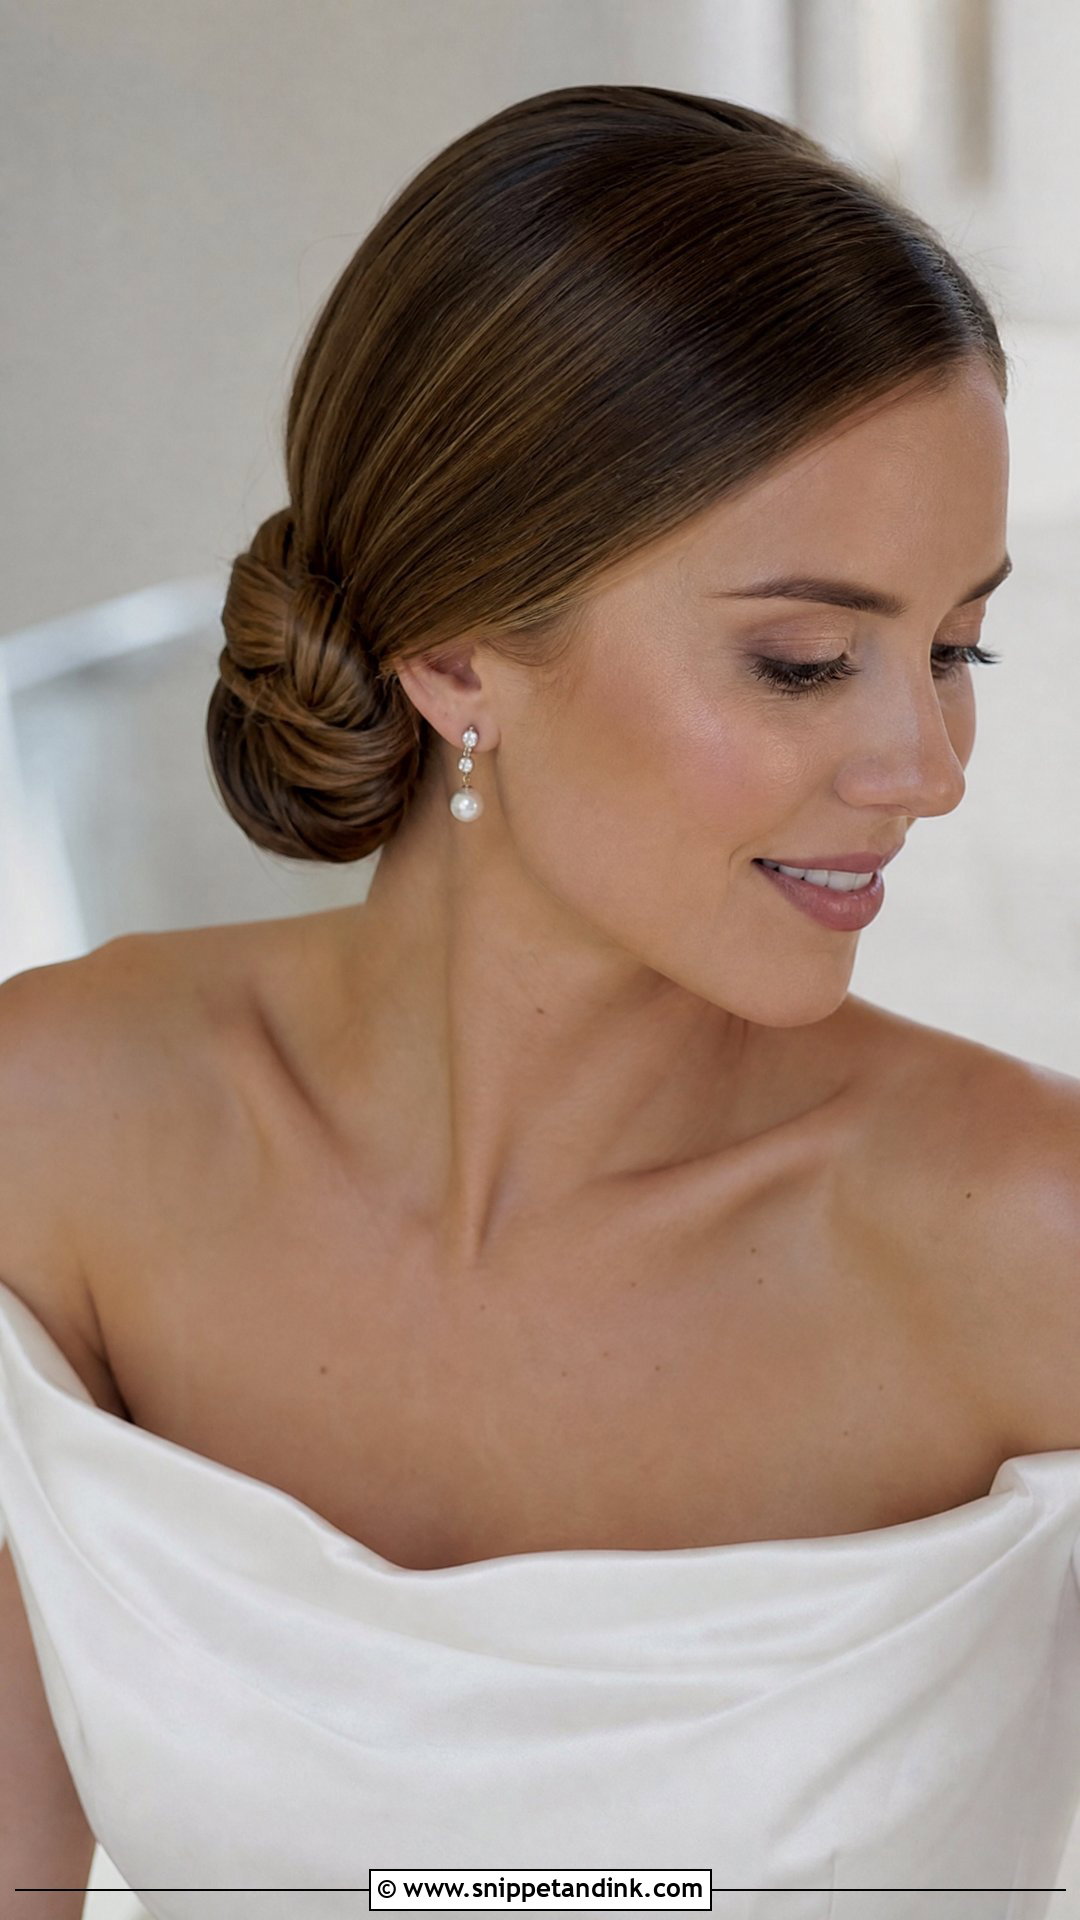
This knot sits just behind one ear and leaves the other side bare. I smooth everything to one side, tie the base slightly off-center at the nape, then twist and pin the bun so it peeks out from the front. Base placement is the detail that matters: set it too far around and it pushes against your shoulder in seated photos. Wear your earrings on the open side. A veil or flowers fit opposite the bun or just above it, and the shape suits a formal hall as easily as a garden.
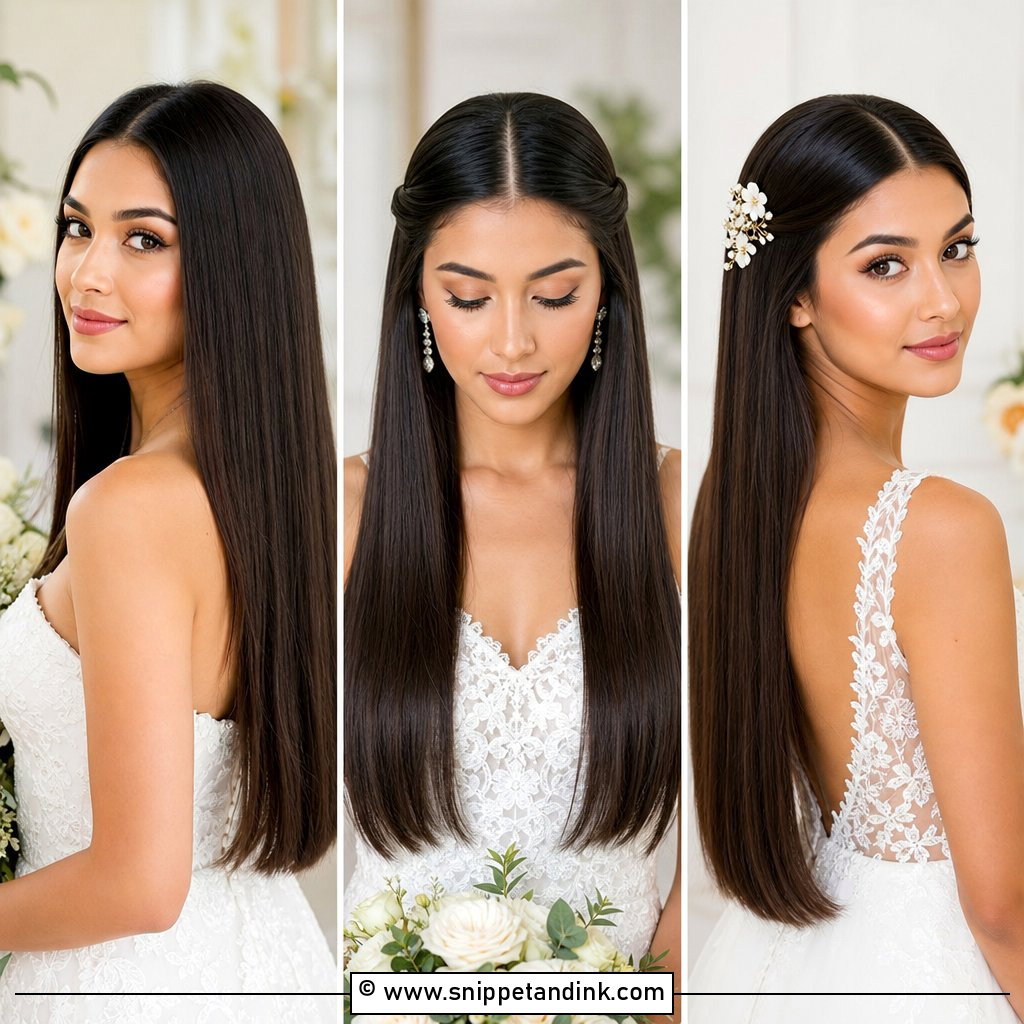
20. Straight Hair With Sparkly Hair Clip
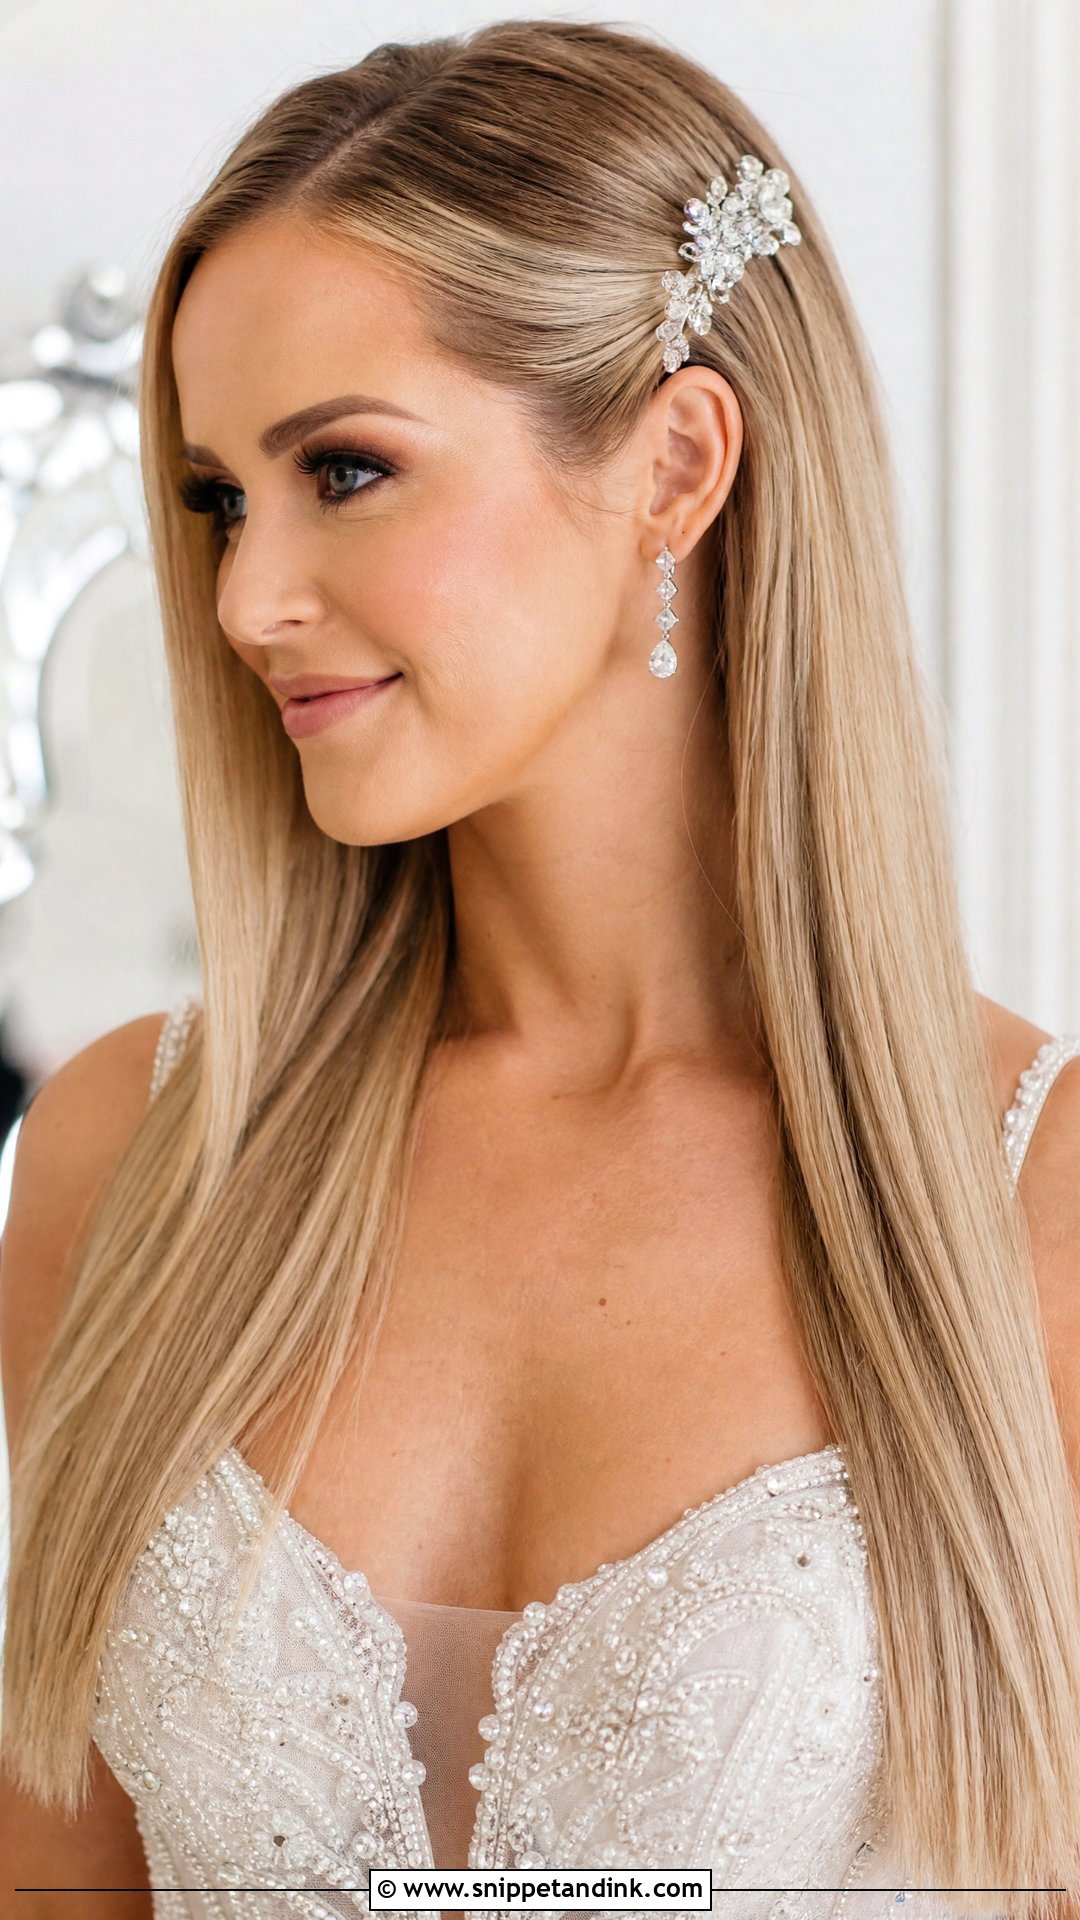
A sparkly hair clip replaces a whole styled section: pin one side back, slide the clip over the pins, done. Crystal and rhinestone clips are heavier than they look and drag downward on silky hair, so I always anchor the clip over crossed bobby pins rather than clipping onto loose strands. Two or three small clips layered together look current, while a single larger piece reads more formal. Try the clip with your veil at the trial, since a big clip and a comb can crowd the same spot.
Humidity and Static Over a Long Wedding Day
Sleek styles fail in predictable ways, which means almost all of them can be planned for.
Damp air
Hair takes in moisture from the air and swells back toward its natural pattern. For a wavy-haired bride at a summer garden wedding, the ends can start bending within a couple of hours. An anti-humidity finishing spray over the completed style helps. So does choosing a bun or pony over hair worn fully down when the forecast is muggy, because an updo hides frizz and loose hair shows it.
Flyaways and flat roots
Dry winter air and synthetic veil tulle both make straight hair lift and cling. A pea-sized drop of serum warmed between the palms and pressed, not rubbed, over the surface calms it down. By evening the roots usually look flatter as natural oil travels down the hair; a little dry shampoo worked in with the fingertips before the reception brings some body back.
Hand these to whoever is holding your bag:
- a fine-tooth comb and a small paddle brush
- six or so bobby pins in your hair color
- a travel bottle of shine serum
- mini dry shampoo and a small hairspray
Silk Pressing Natural Hair for a Sleek Wedding Look
Every look here is possible on curly and coily hair, but the straightening should happen before the wedding morning, not during it. A silk press from someone experienced with your texture gives the smooth finish with far less heat stress than repeated passes while you’re also getting your makeup done.
- Have a test press several weeks ahead to see how your hair takes the heat and how long the finish lasts in your climate.
- Book the real press a day or two before, so any puffy sections can be fixed and you aren’t sitting under the iron for hours on the morning itself.
- Wrap the hair in a silk scarf every night and sleep on satin until the wedding.
- Humidity reverts pressed hair quickly. For an outdoor or summer date, a sleek bun or ponytail protects the press much better than hair worn down.
- If you’ve had heat damage before, say so. A smooth updo built over stretched hair, rather than fully pressed hair, can look almost identical once it’s brushed back.
A Mirror Finish Is Built in the Blow-Dry
Straight hair covers a lot of ground, from a low bun and a high pony to pearl-adorned strands worn loose. What every one of these shares is prep: a careful blow-dry, low heat on the iron, and pins anchored into something solid instead of slippery hair. Bring your pictures to the trial, wear a top with a neckline close to your dress, and ask your stylist to show you how the style looks a few hours later, not only at the end of the session. That’s where you’ll see which look really belongs to your hair.
You'll Like These Ideas:


Leave a Reply