
Straight hair is the hair I get the most nervous questions about at trials. Brides assume it can’t hold a style, and partly they’re right: smooth, flat cuticles reflect light well but give a pin almost nothing to grip. The good news is that sleek styles are exactly what straight hair does best, and once it has some grip it will last through every dance and hug. Below are 25 wedding looks I’d actually put on straight hair, from glassy low buns to a sharp bob, with notes on how each one behaves over a long day and who I’d steer away from it.
Why Straight Hair Slips, and How I Give It Grip
Most straight hair is smooth because the cuticle lies flat, and that same flat surface is why pins slide out and curls drop. Before I attempt any of the styles below, I spend the first part of the appointment adding texture. That’s not about changing the look; it gives the hair enough friction to hold a pin, a comb or an elastic.
Wash the day before, not the morning of
Freshly washed straight hair is the most slippery hair I work with. I ask brides to wash and fully dry their hair the evening before, without conditioner on the roots, and to skip heavy serums. One day of natural oil gives it a little hold. If your roots get oily overnight, a dry shampoo at the root the morning of soaks that up and adds grip at the same time.
What I do before the first pin goes in
- Texture spray through the mid-lengths, worked in by hand, especially for updos and braids.
- Bobby pins crossed in an X wherever weight will sit, because a single straight pin slides out of smooth hair.
- A small hidden braid or pin anchor where a veil comb will go, so the comb has something to hook into.
- Light teasing on the underside of sections that need to stay up, brushed smooth on top so it never shows.
Fine, straight hair benefits most from this. Thick straight hair holds better on its own, but it’s heavy, so I use more pins and rely on U-pins for updos so the weight is spread rather than hanging on a few points.
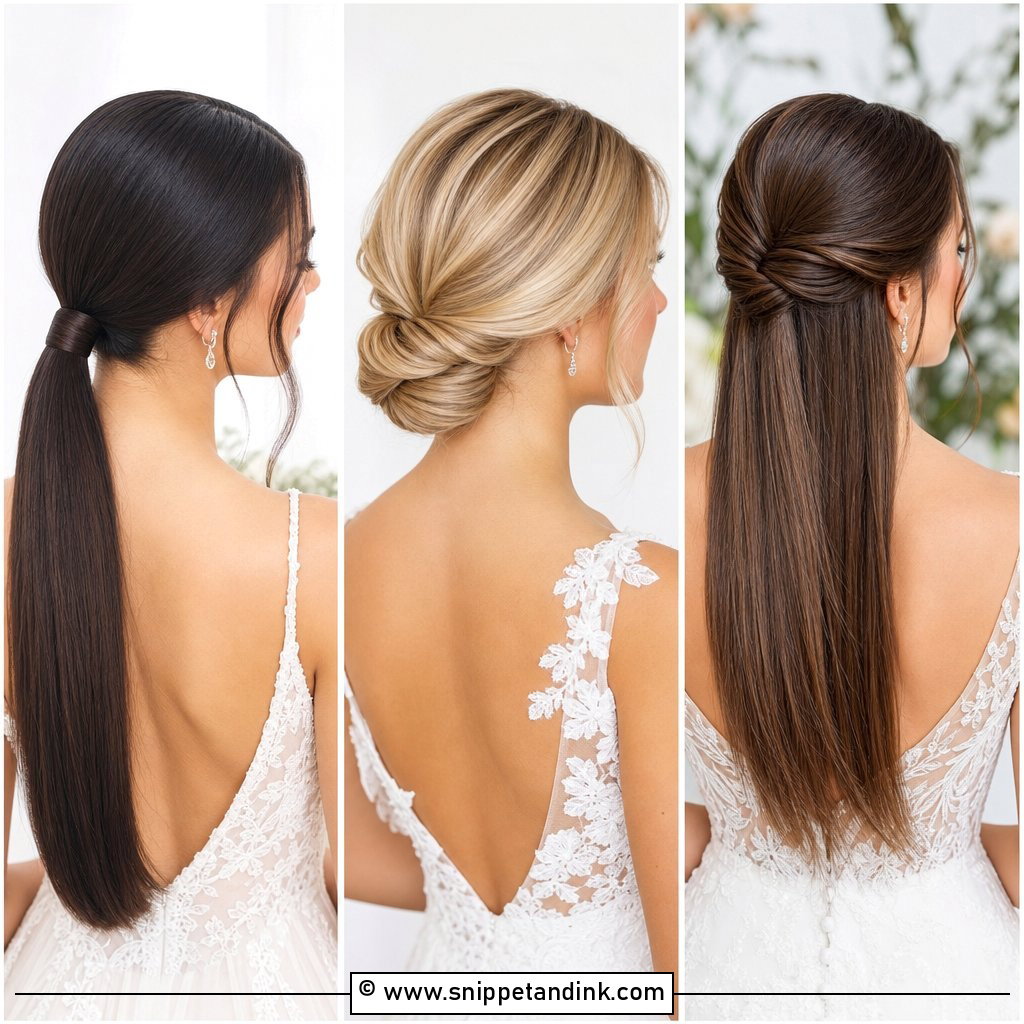
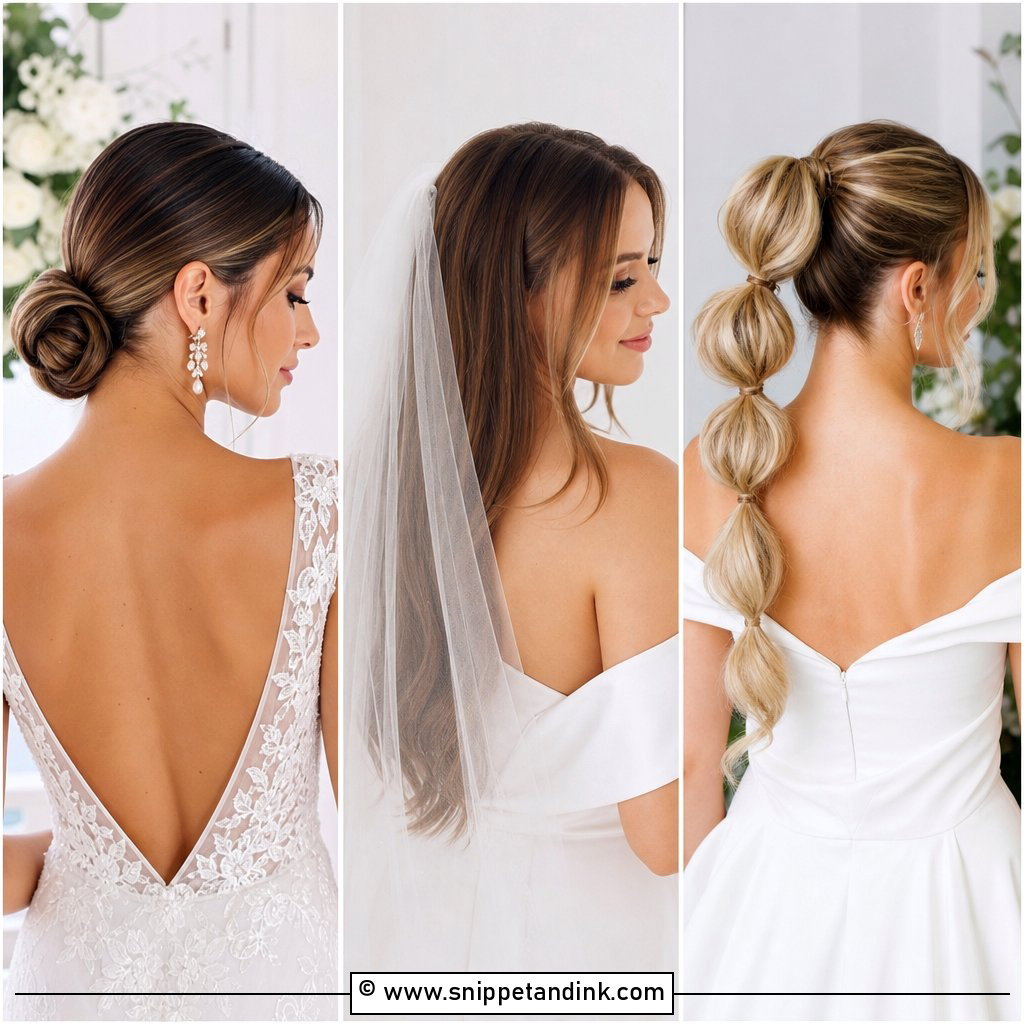
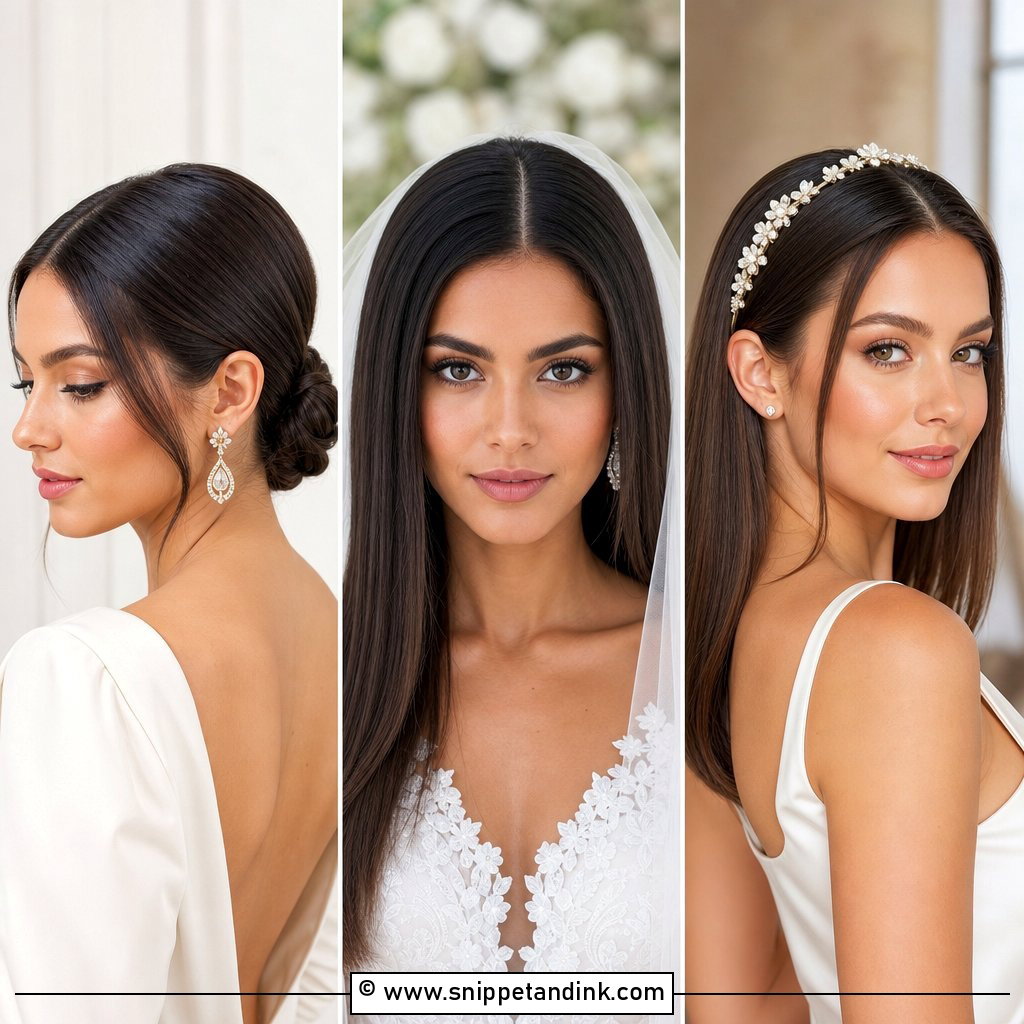
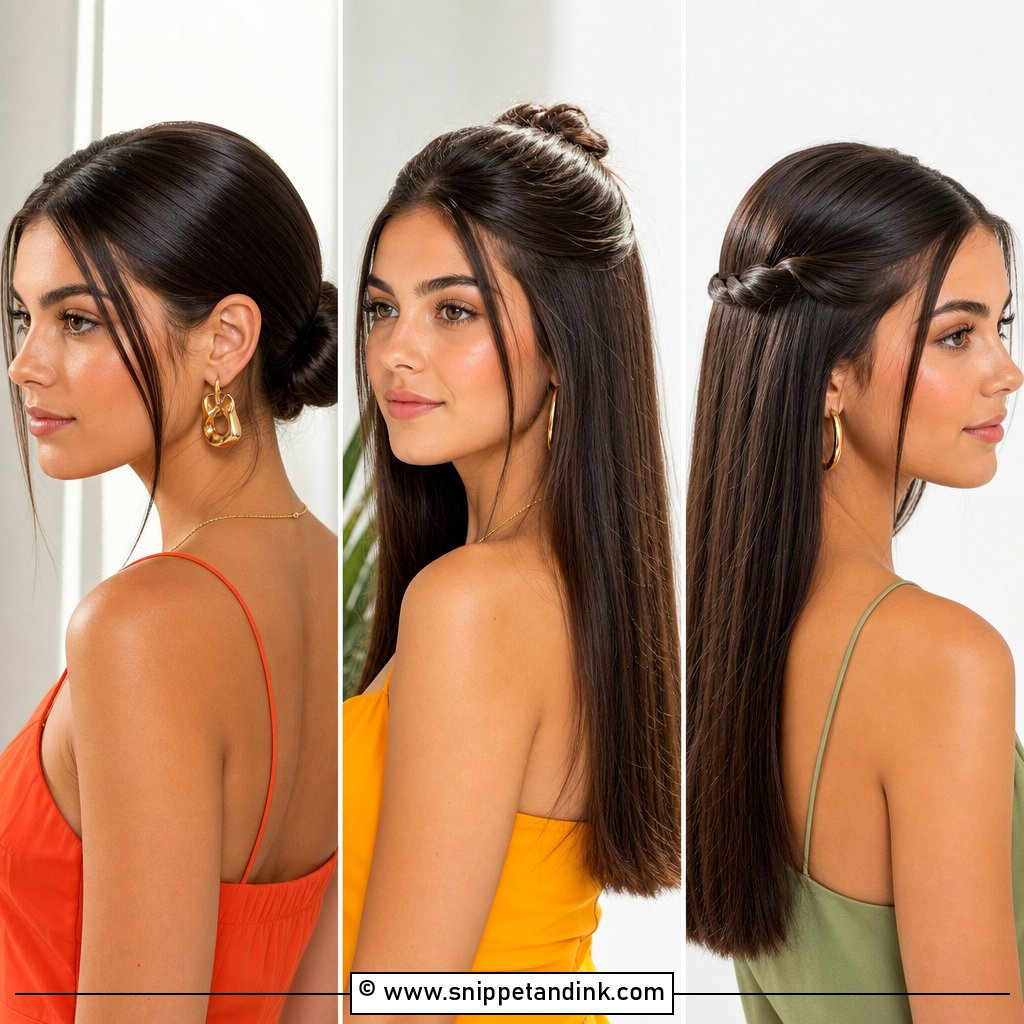
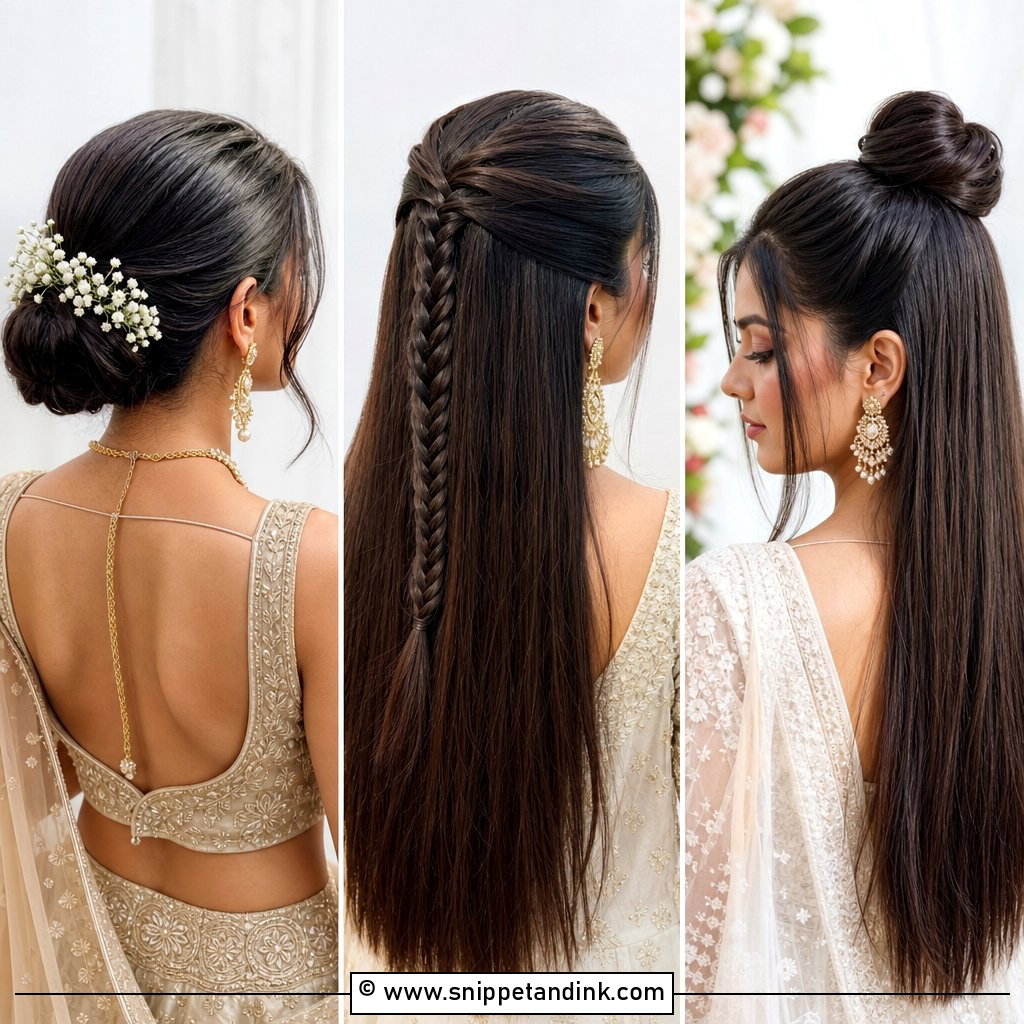
1. Sleek Low Bun for Straight Hair
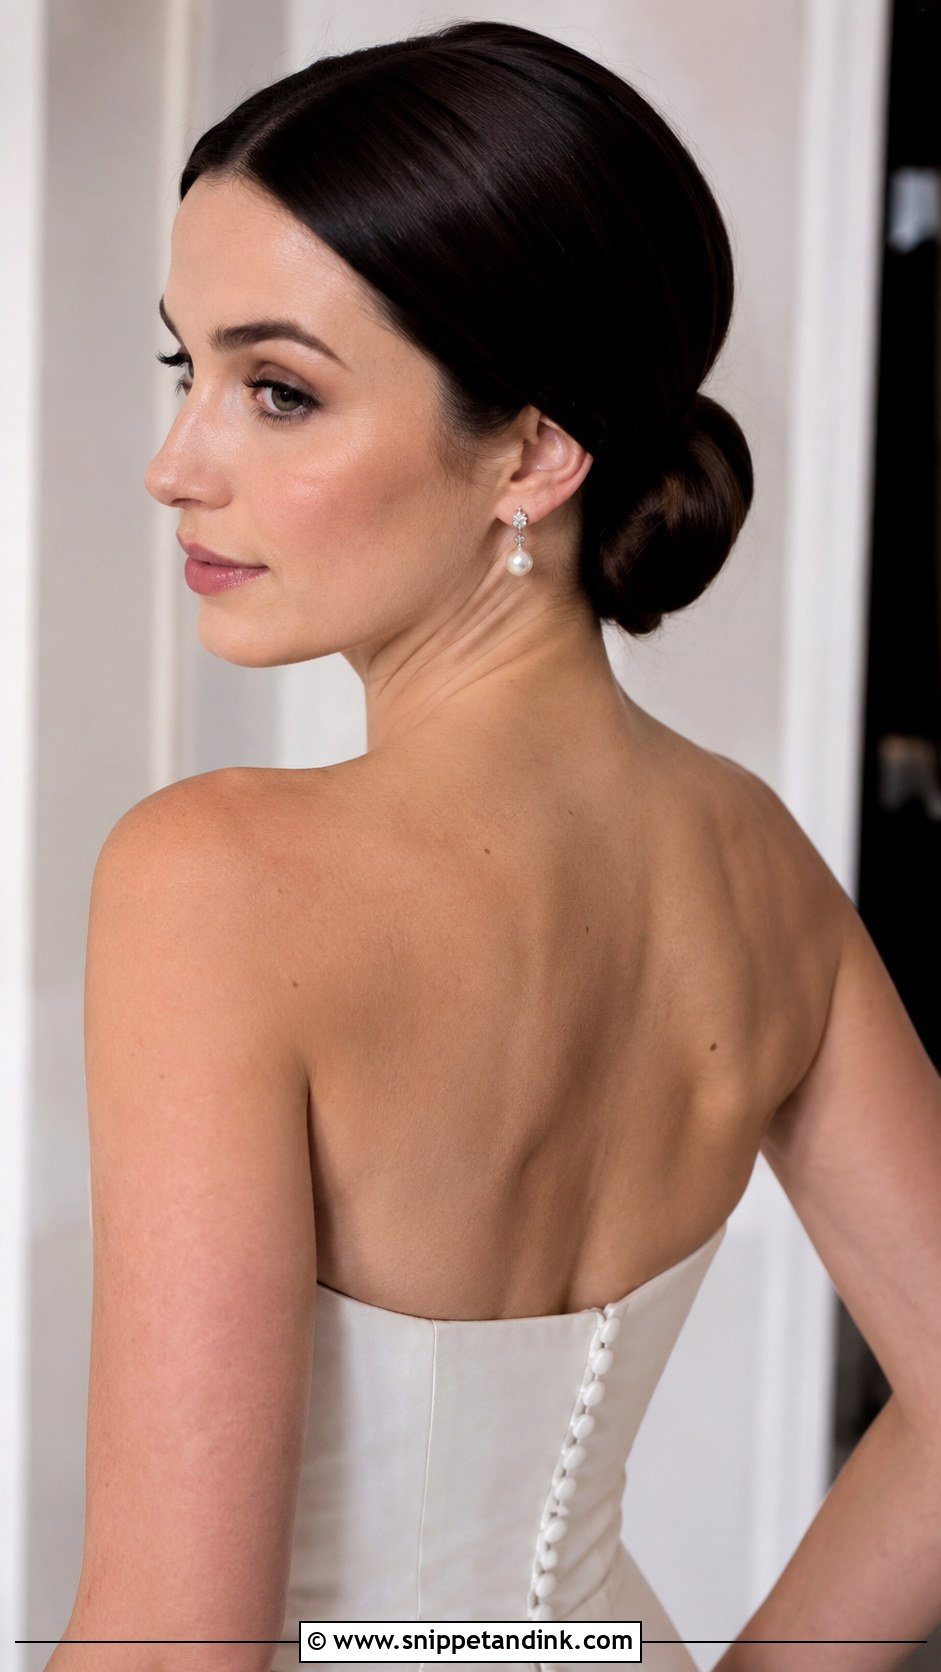
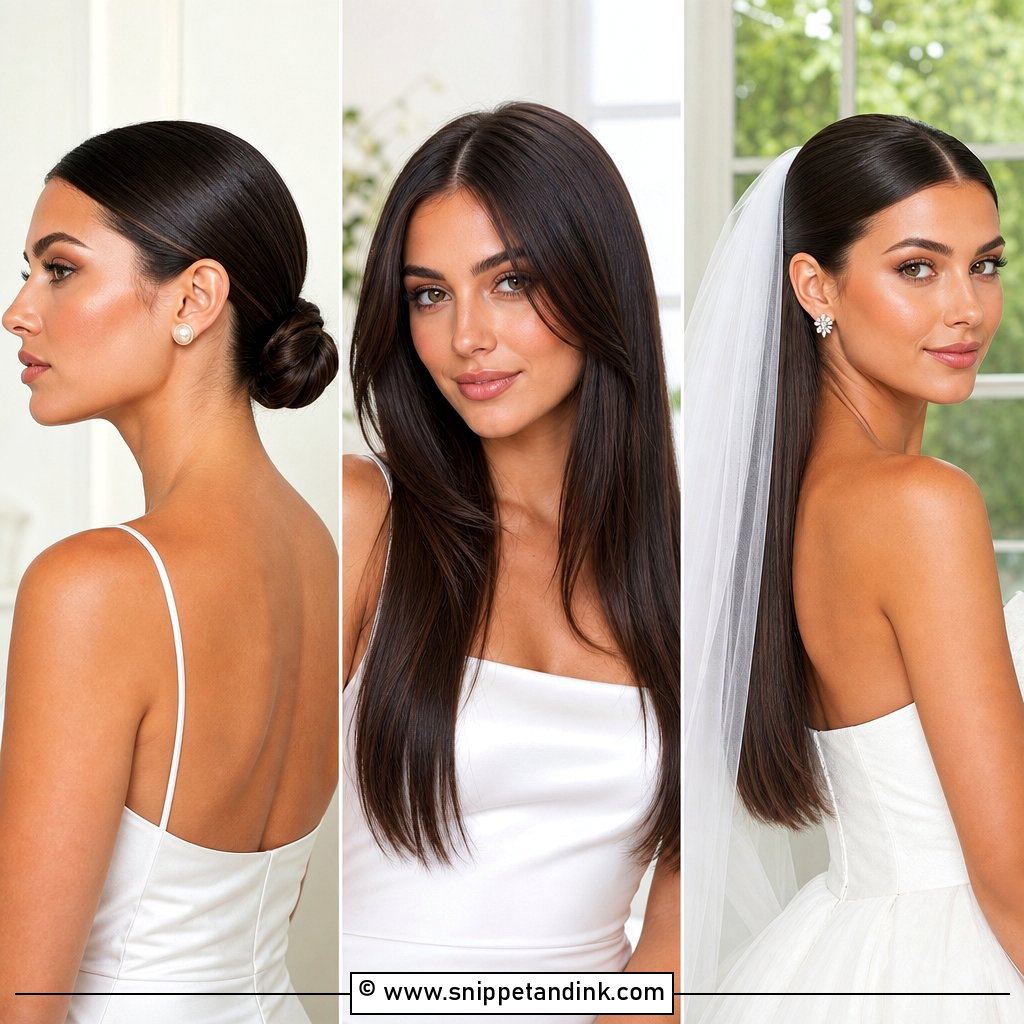
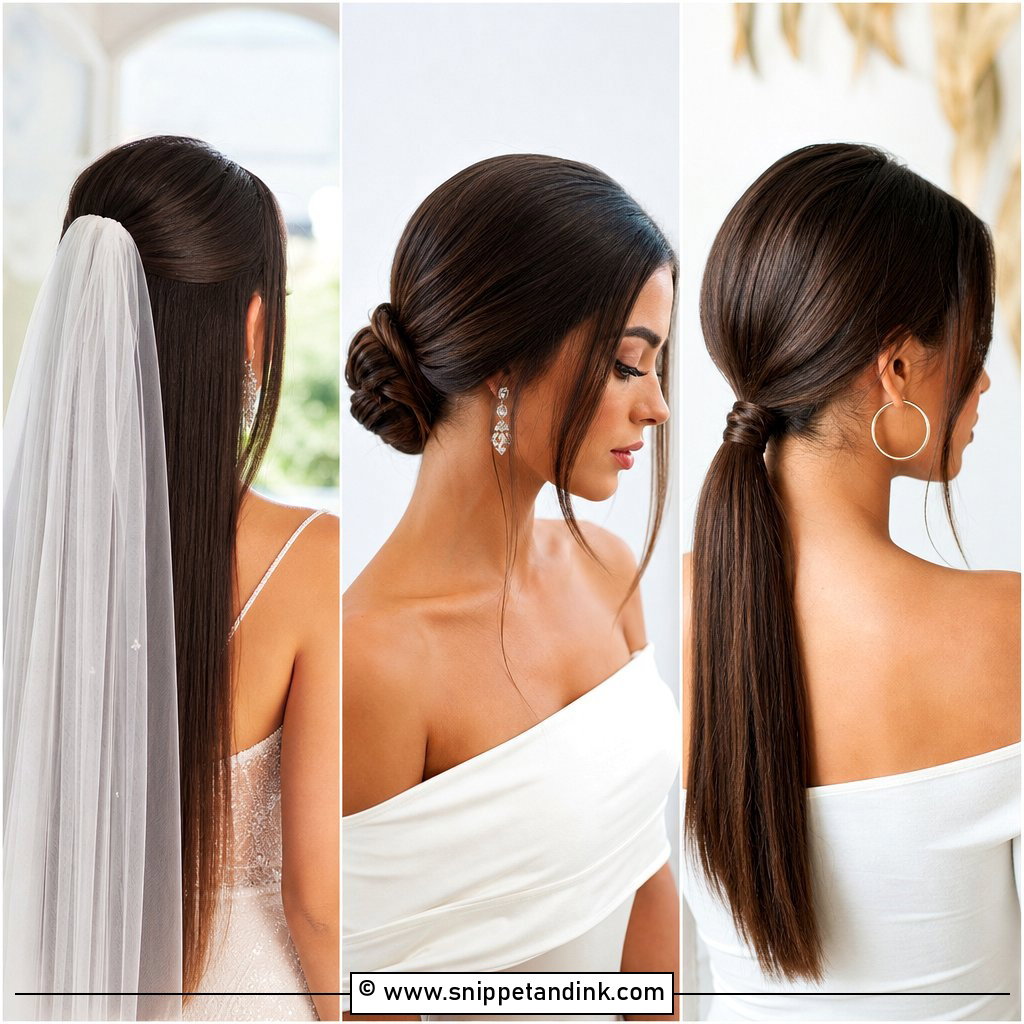
I start every sleek low bun with the parting and the ponytail, not the bun itself, because that base is where the smoothness is won or lost. I brush the hair back with a boar bristle brush and a little smoothing cream, secure it at the nape, then wrap and pin. On straight hair the bun holds its shape well, it shows off the jawline and earrings, and a veil comb slides neatly in above it. The one thing I warn about: it shows every ridge, so if your hair has a stubborn cowlick at the crown, we iron that area flat first.
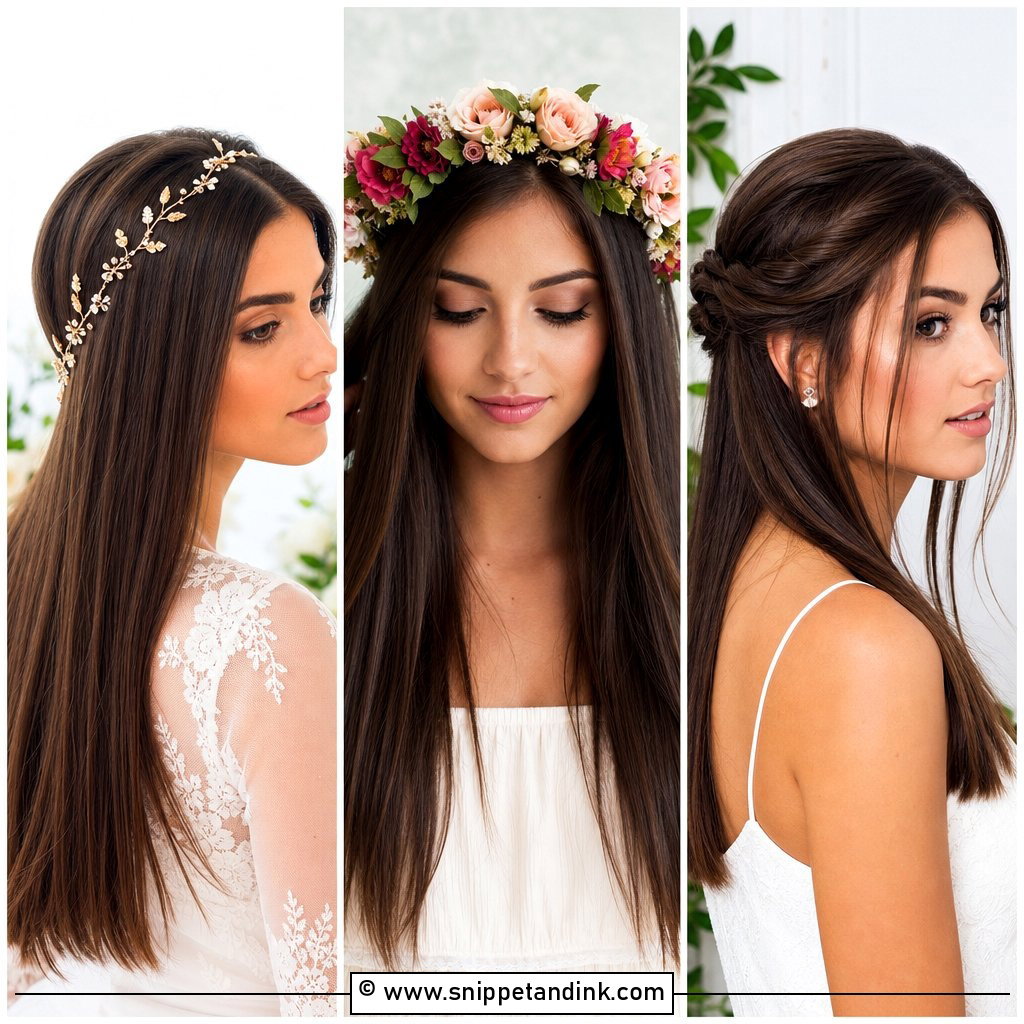
2. Straight Hair Half-Up Half-Down Wedding Style
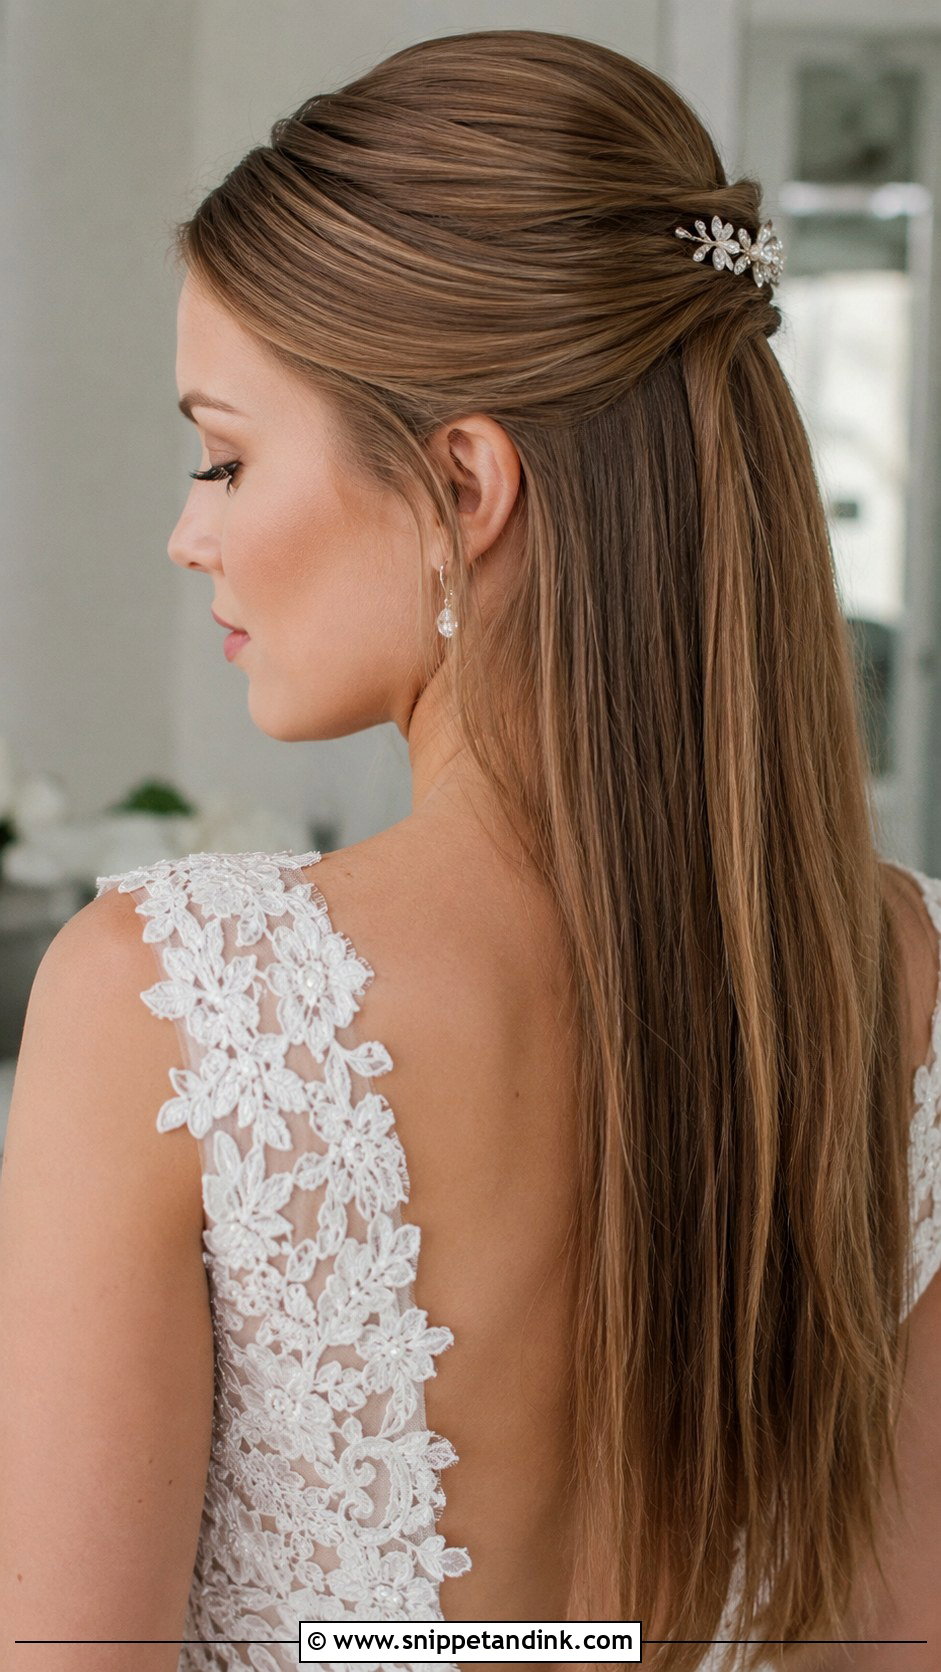
Half-up is the style I suggest most to brides who can’t choose between up and down. The catch with straight hair is that the pinned top section tends to slide down by the evening because the pins have nothing to bite into. I tease the underside of that section lightly and cross two bobby pins in an X where the sections meet, then cover them with a small clip. Done that way, it frames the face for photos and still looks neat when you sit down to eat at the reception.
3. Straight Hair Low Ponytail for Wedding
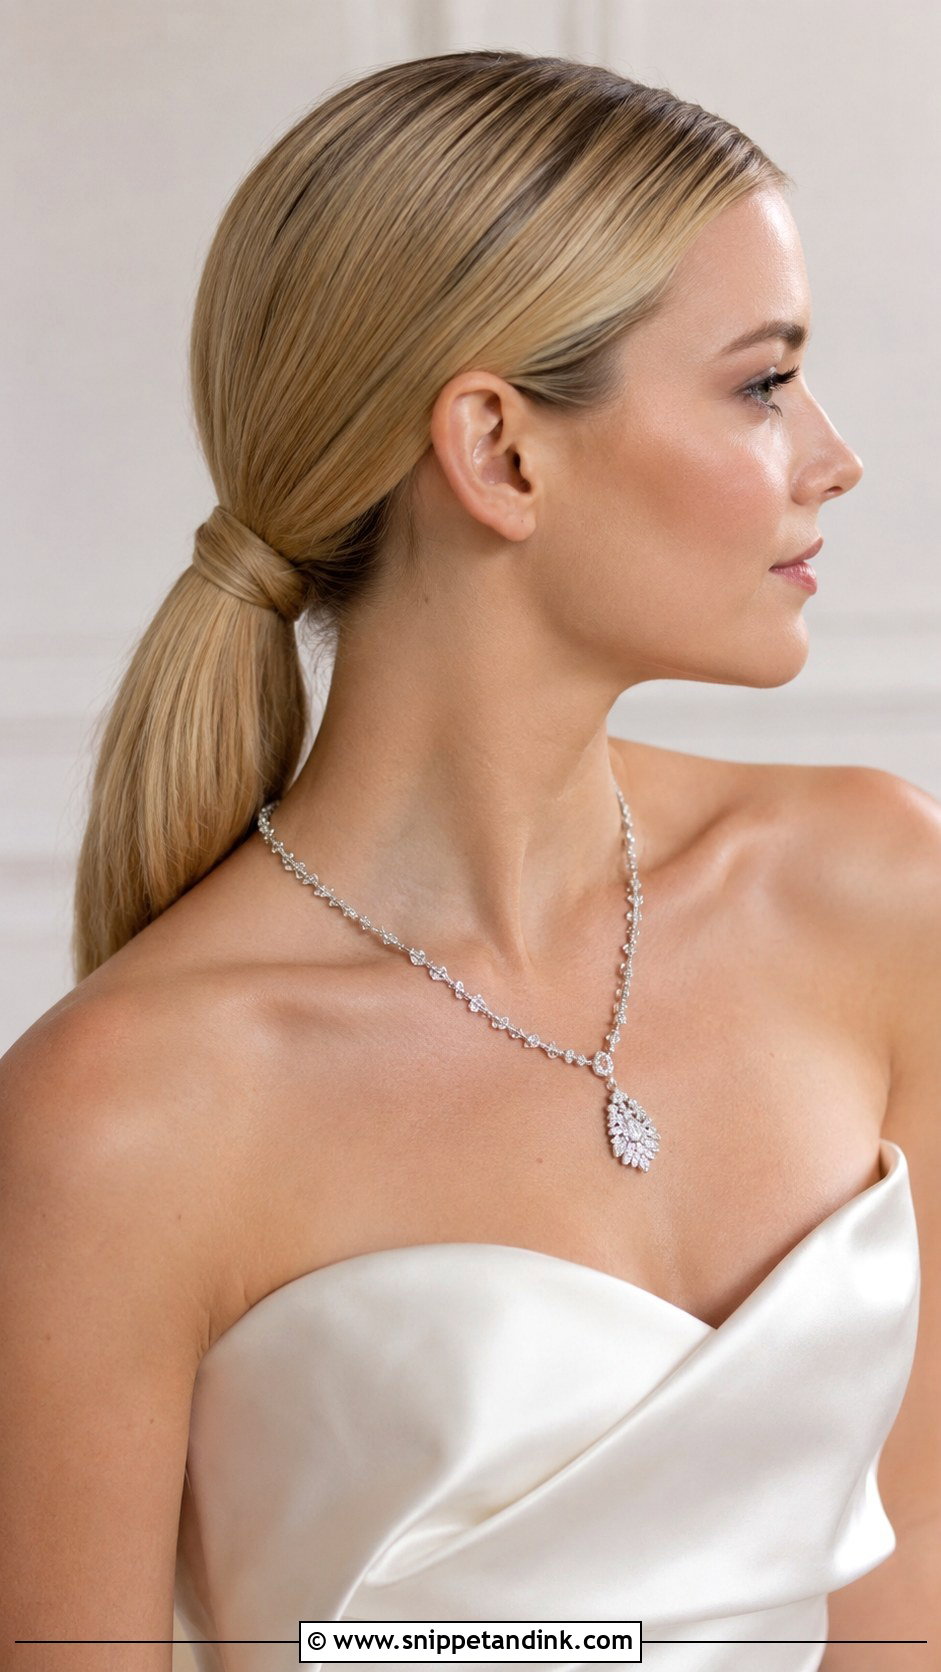
A low ponytail looks simple, but on a bride it has to be cleaner than any everyday version. I set the elastic slightly off-centre at the nape so it sits right in the side profile, then wrap a strand of hair around it and pin the end underneath. Straight hair suits this beautifully because the length hangs in one glossy sheet. It keeps the neckline open for a detailed gown back. If your hair is very fine, I add a hidden second elastic halfway down so the tail doesn’t thin out by the first dance.
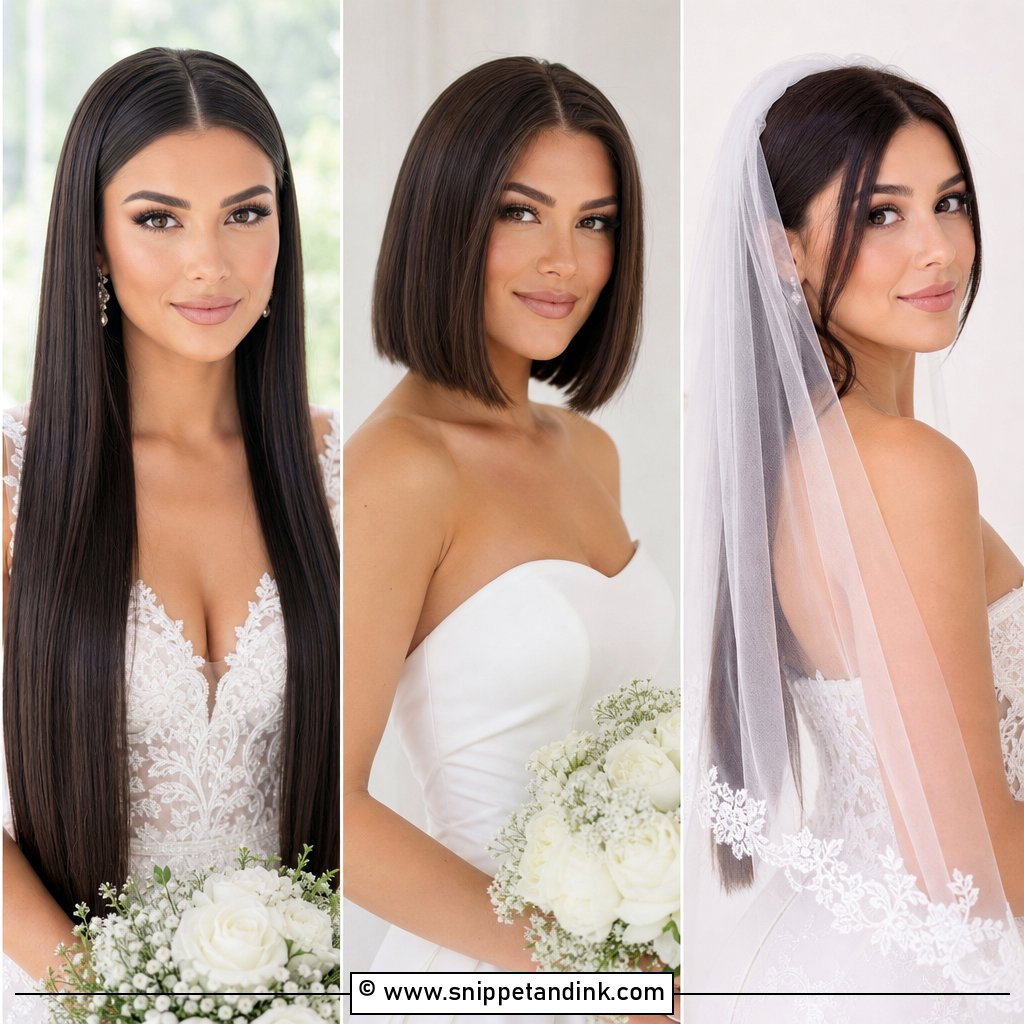
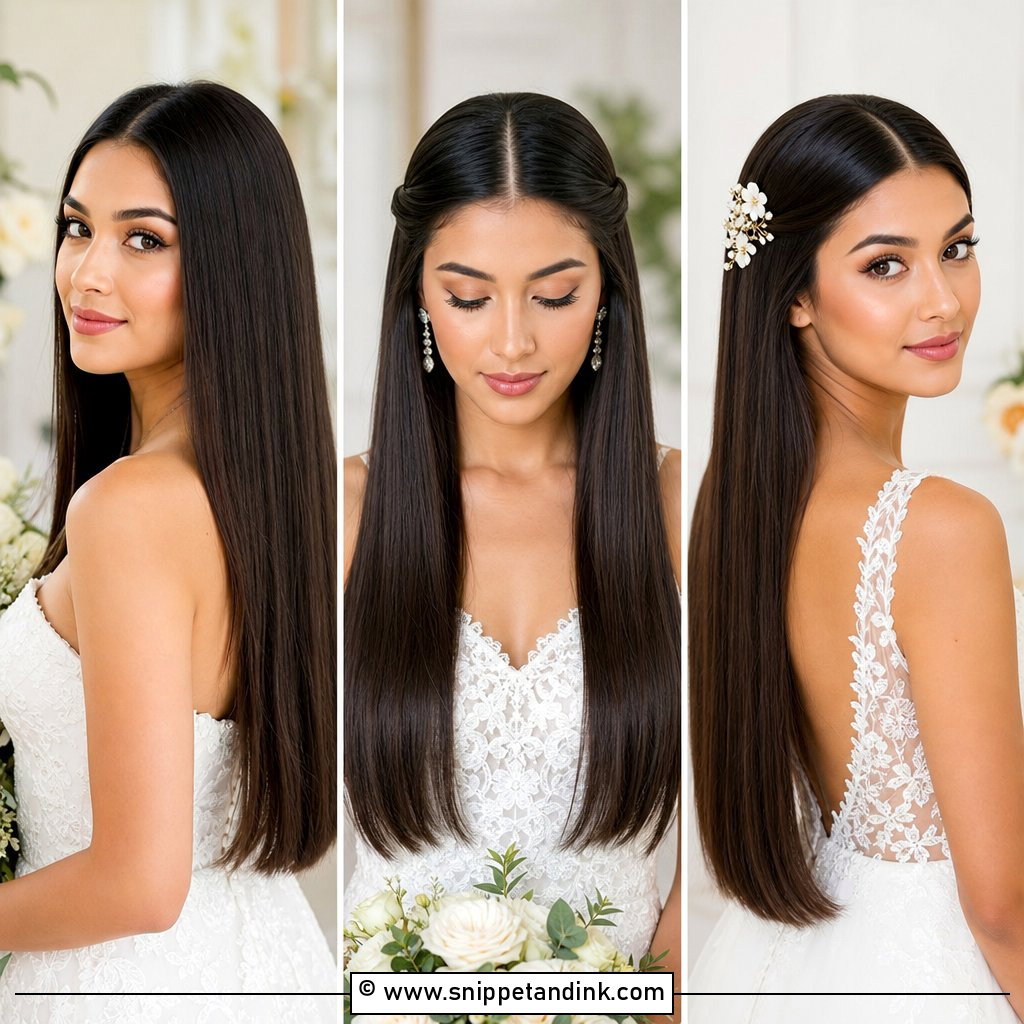
4. Center Part Straight Hair Down
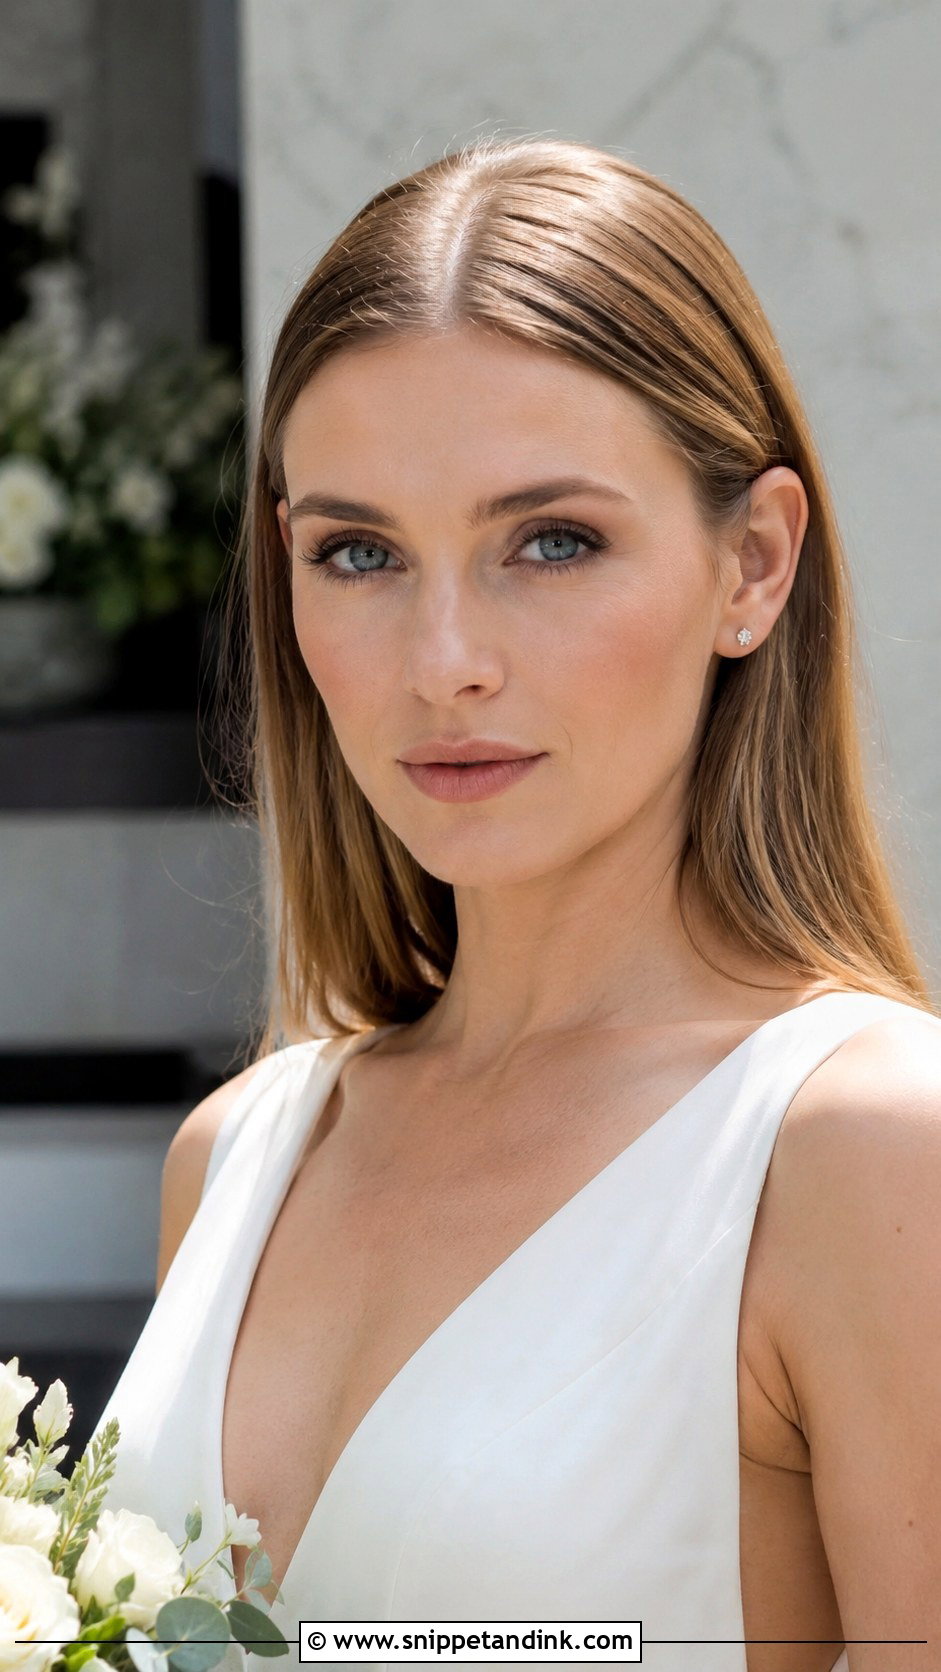
Worn down with a centre part, straight hair needs more prep than people expect. I flat iron in small sections at a moderate heat with a protectant, because one pass too hot leaves the ends dry and they frizz the moment you step outside. A little lift at the crown stops it from looking flat against the head in photos. Honestly, I’d steer brides with very oily roots away from this one for an afternoon ceremony: by the reception the parting can look greasy, and a centre part puts it right at the middle of every front-on shot.
5. Sleek Straight Hair High Ponytail
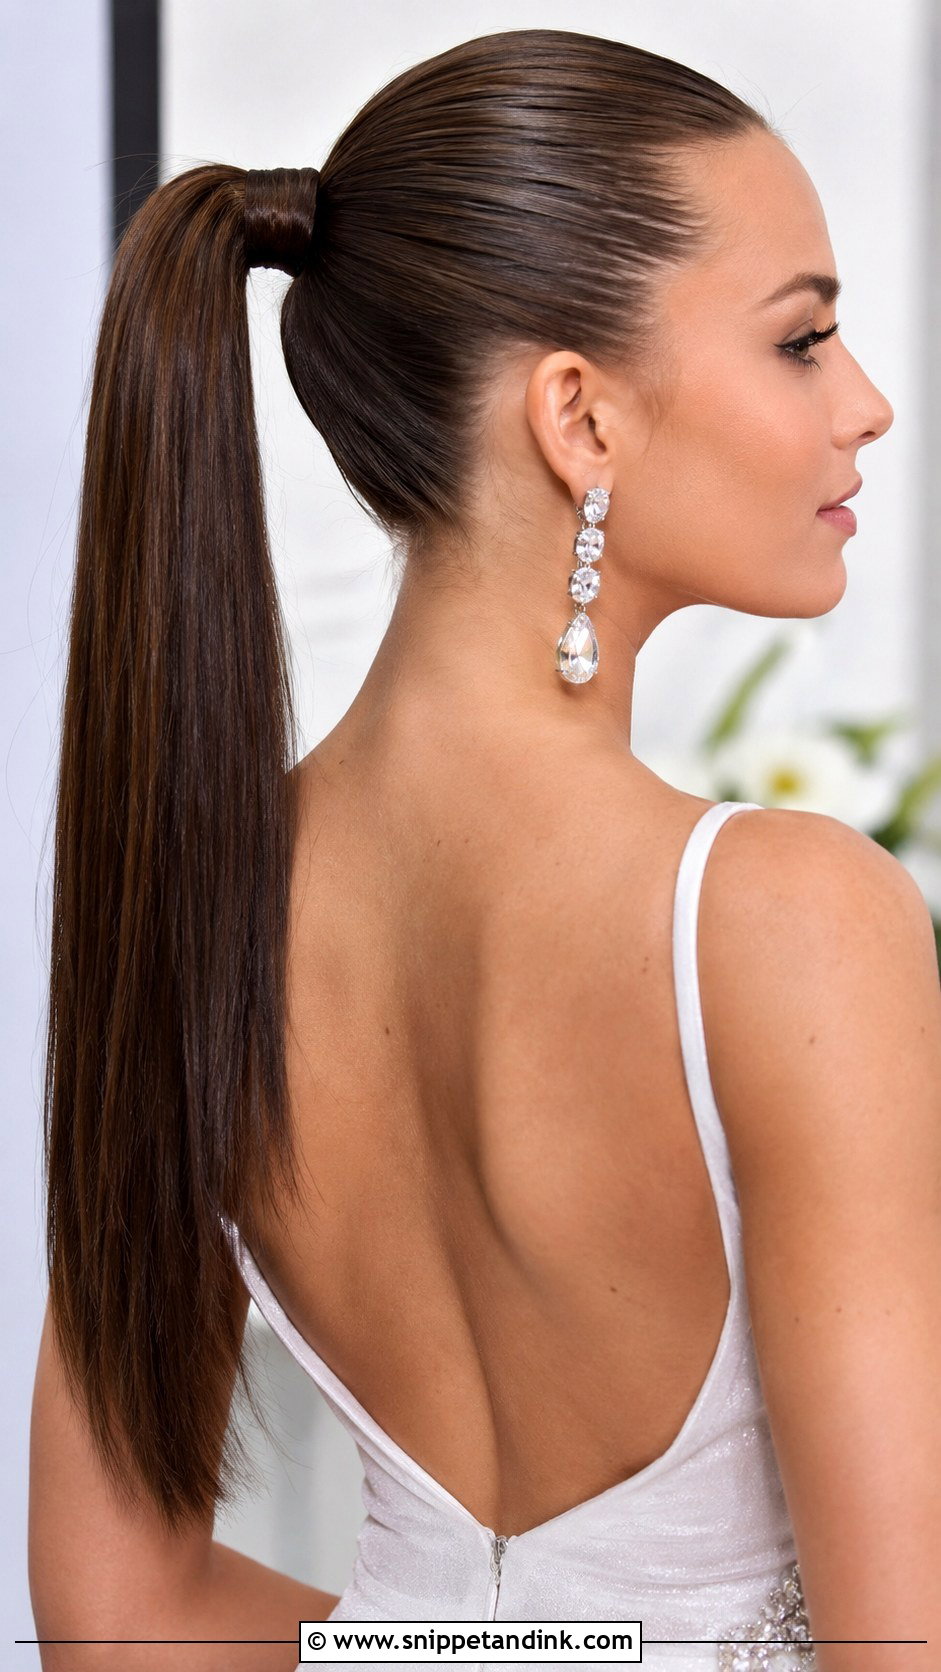
A high ponytail on straight hair gives that long, swinging movement no other texture quite matches. I build it with two elastics, one tight at the base and one just below, so the weight doesn’t drag it lower over the hours. The wrapped base hides both. Here is my honest warning: a tight, heavy pony can give some brides a headache by mid-afternoon, so at the trial I ask you to wear it for a few hours before we commit. Pair it with a simple gown neckline so the hair stays the focus.
6. Straight Hair Chignon for Bride
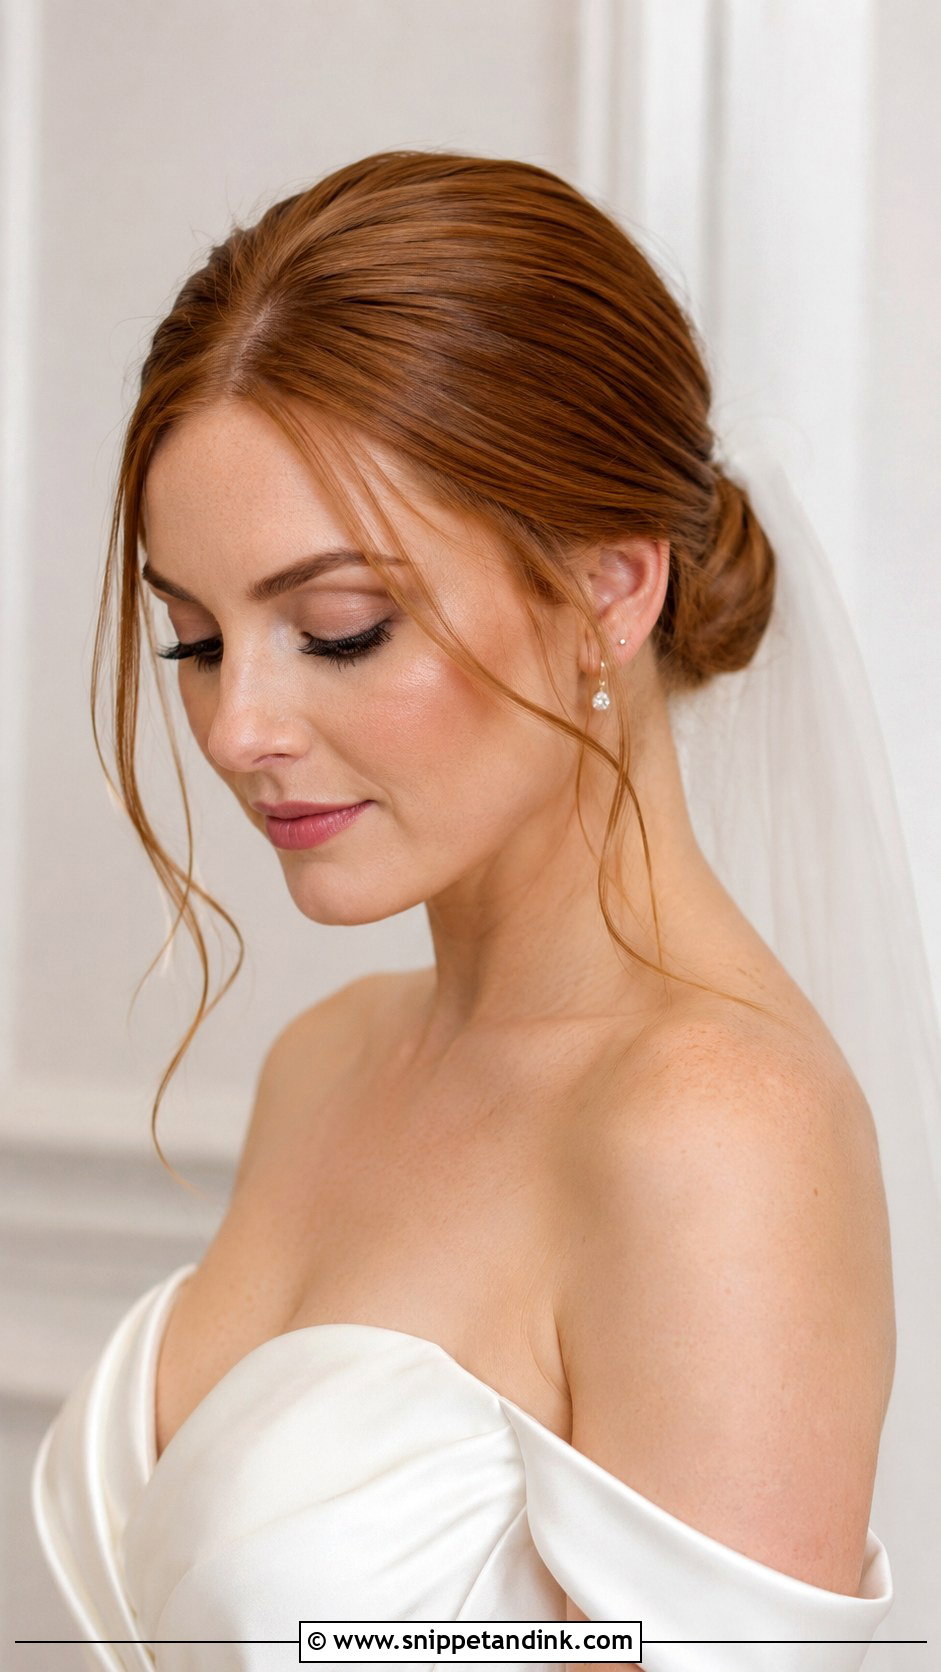
The chignon is my default for a church ceremony and a long veil, and straight hair takes it easily. I roll the hair under at the nape and pin it into a rounded coil, using U-pins rather than bobby pins because they hold the shape without flattening it. On straight hair the outer curve looks clean and glassy. Leave a couple of soft pieces out by the ears if you want it less formal, but I’d keep them few, as too many loose bits on straight hair start to look accidental rather than planned.
7. Straight Hair With Face-Framing Tendrils
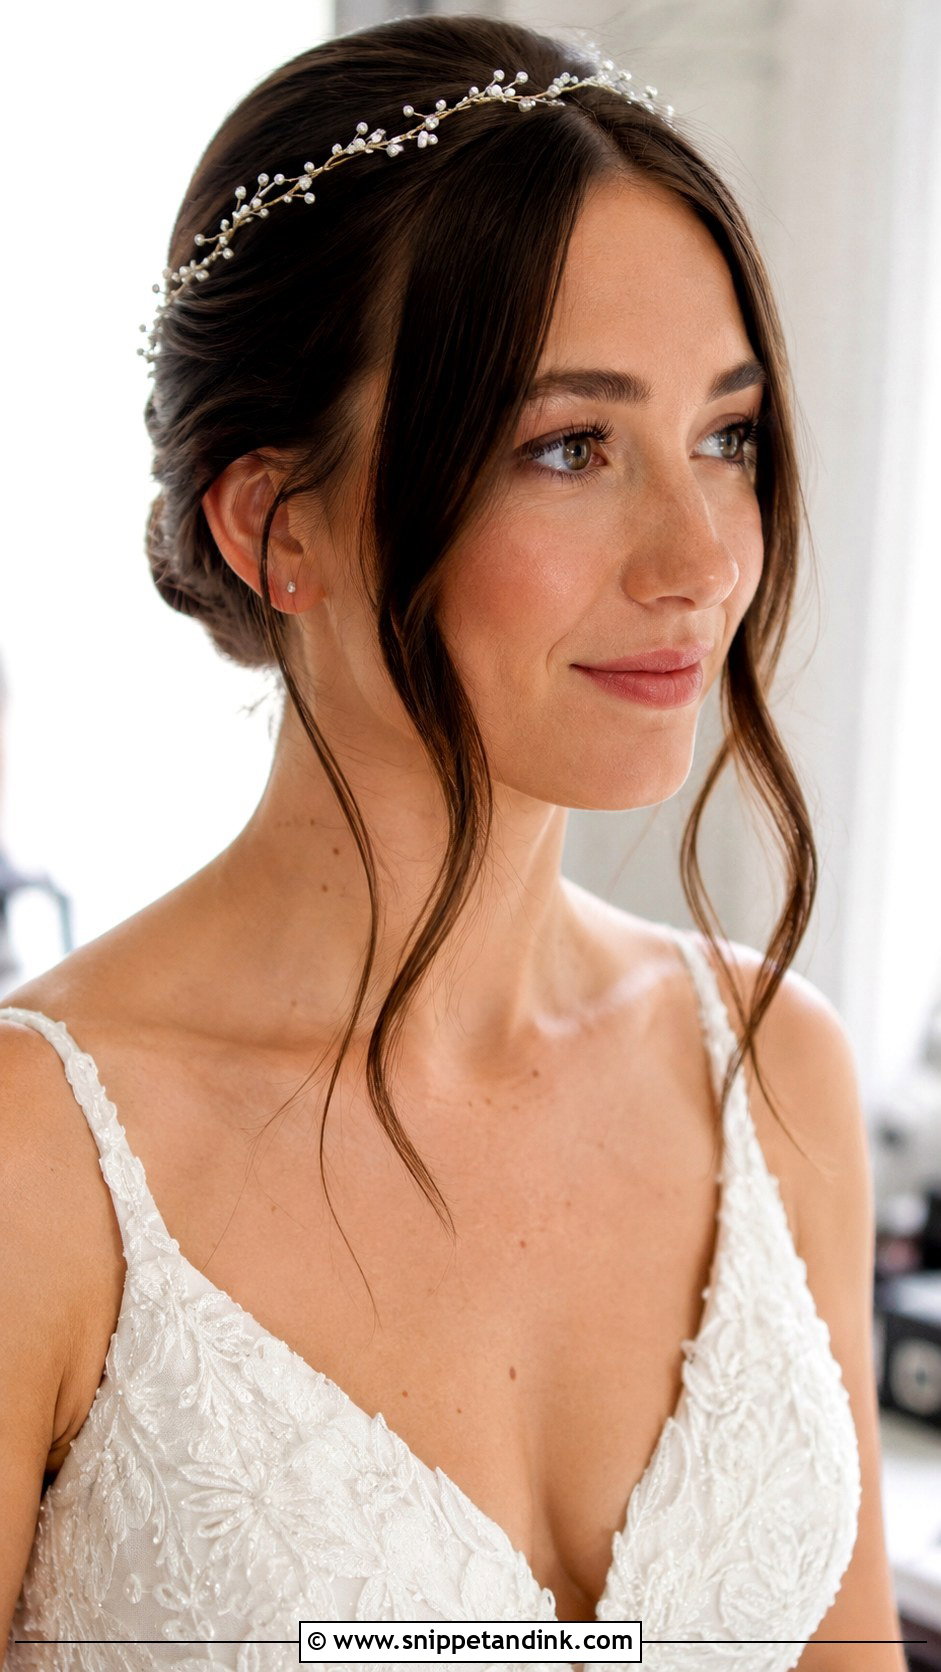
Face-framing pieces are the part of a sleek style that brides adjust most on the day. I cut nothing and pull nothing out at random: I choose two or three sections at the hairline, iron them with a slight bend away from the face, and set them with a light spray. Straight tendrils need that bend, or they lie flat against the cheek and look limp in photos. They pair with a bun, a ponytail or an updo, and they soften a style that would otherwise read very strict.
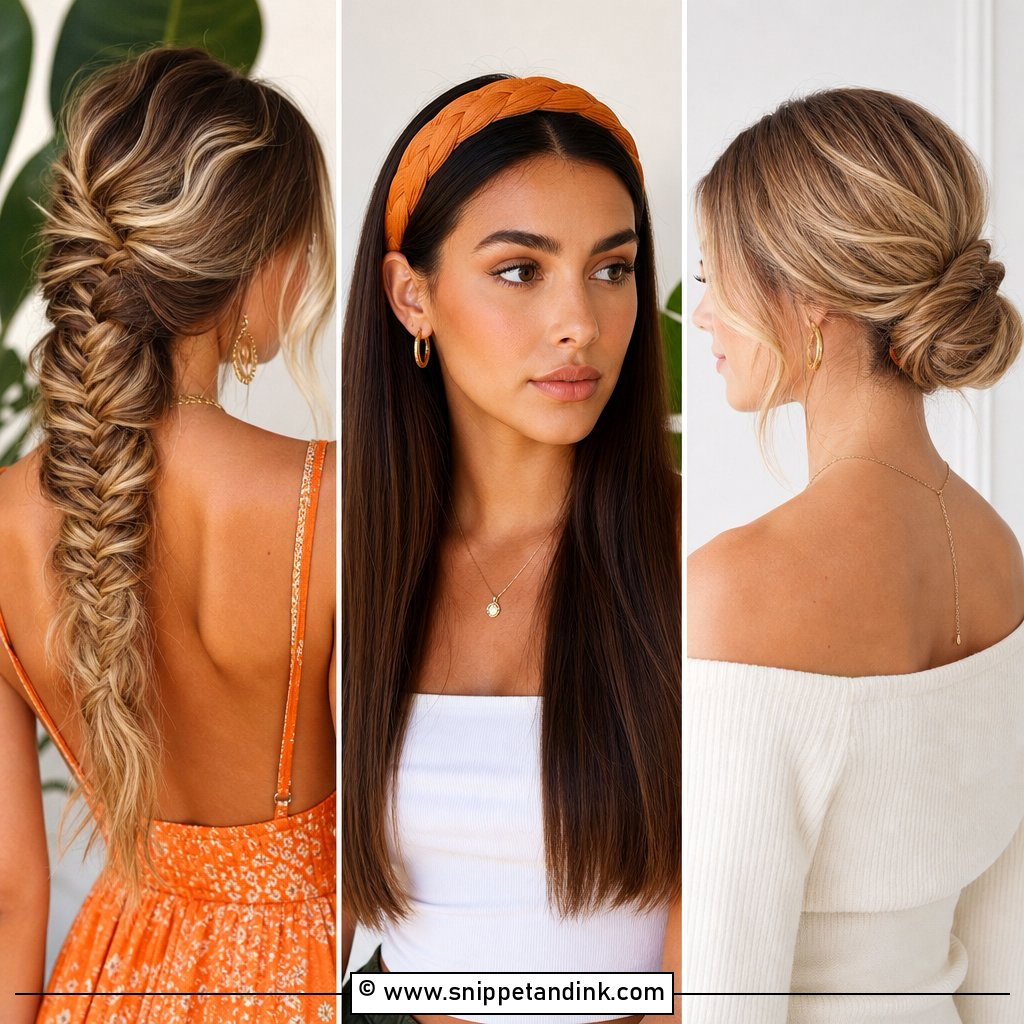
8. Straight Hair Braided Half-Up Wedding Style
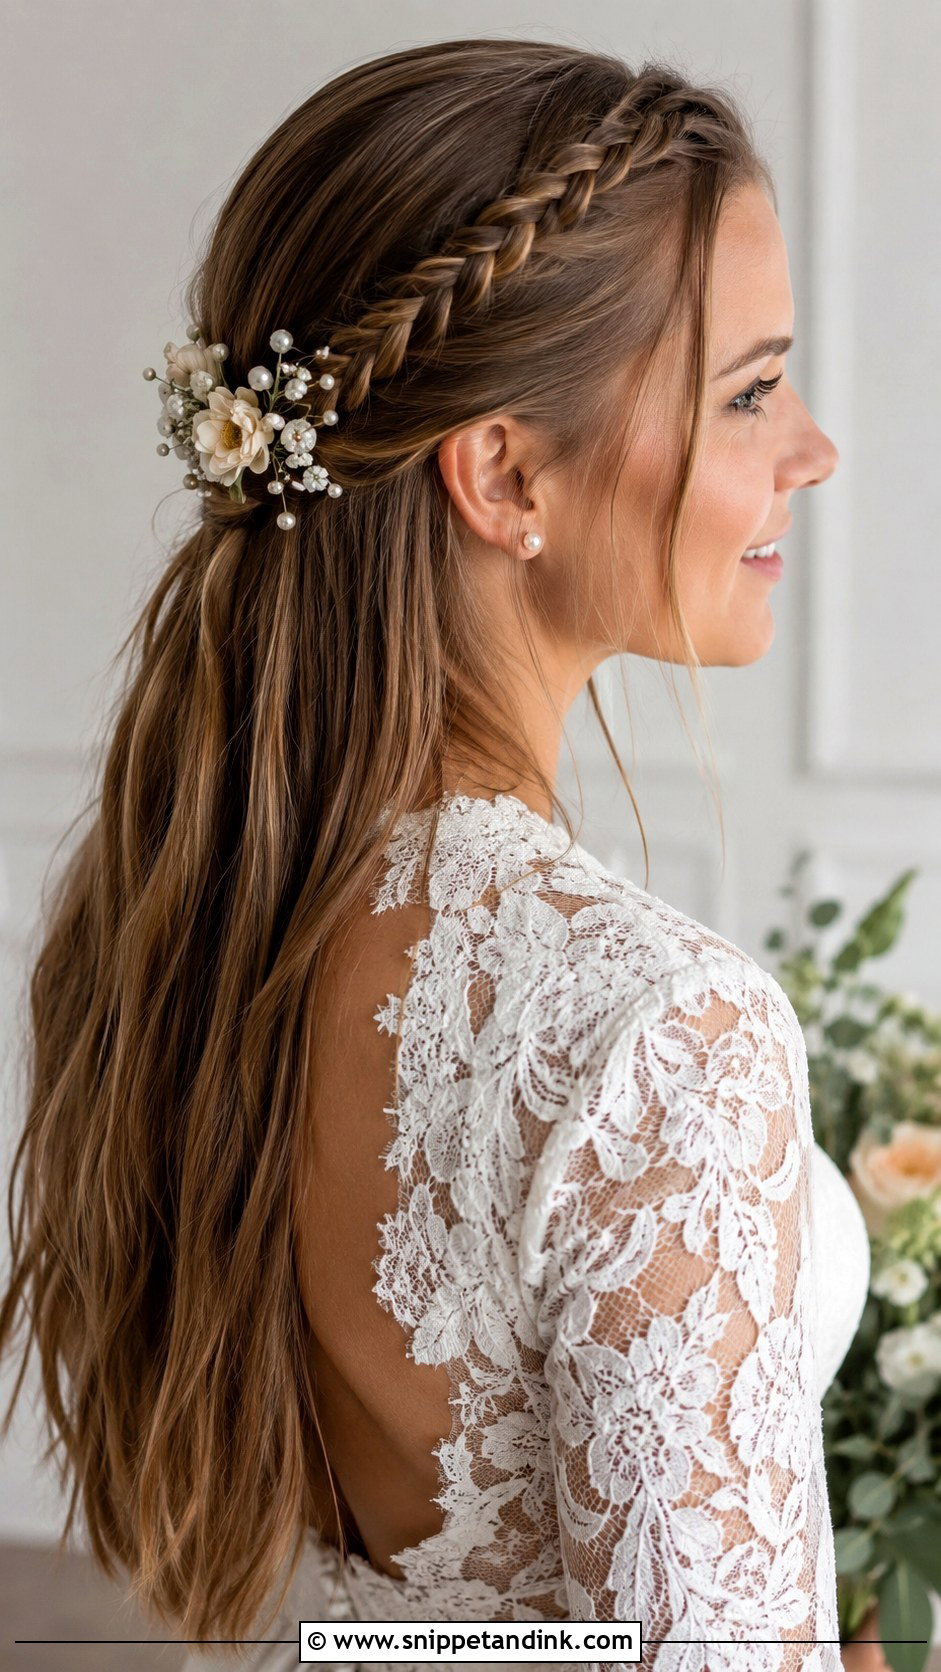
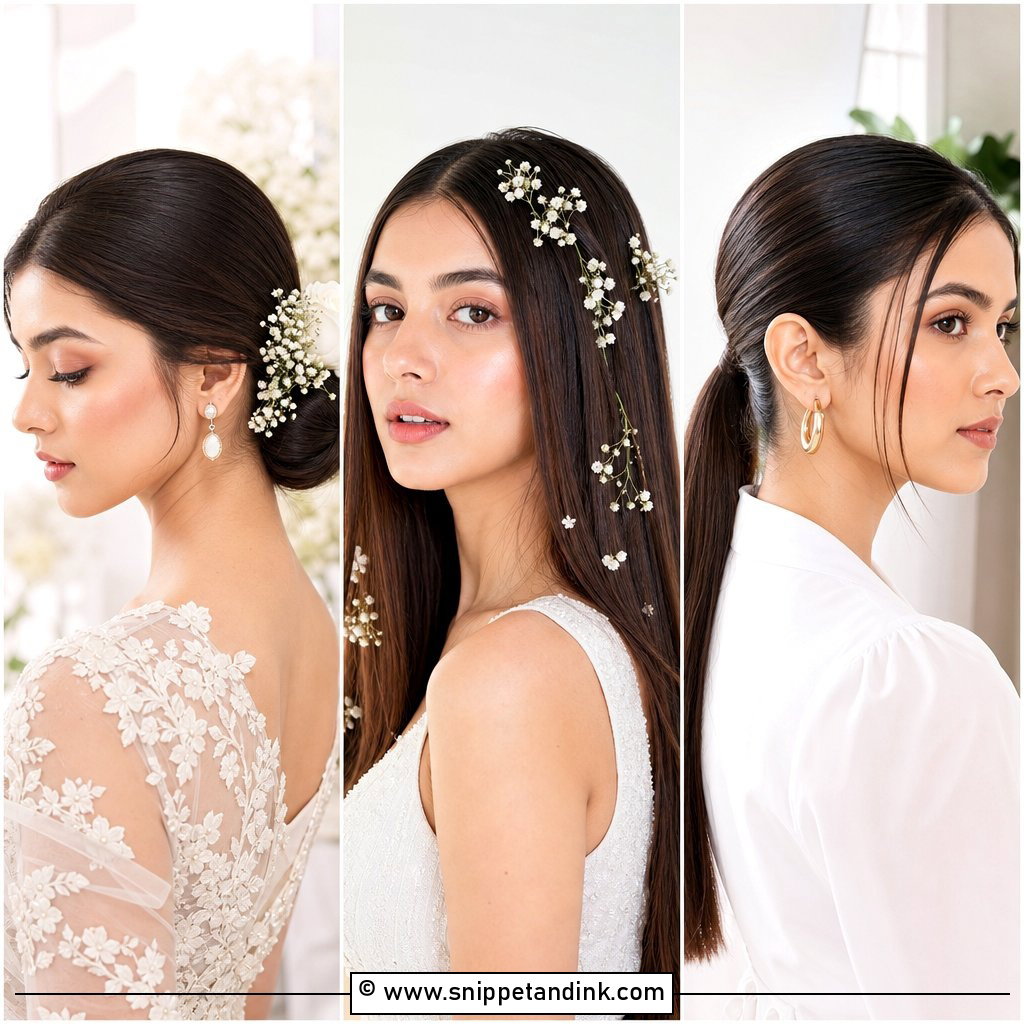
Braids on straight hair can be a little slippery to work with, so I prep the top sections with texture spray before I start. A three-strand braid gives a neat line; a fishtail holds better on fine straight hair because there are more crossovers gripping each other. The contrast of braided crown and smooth lengths is what makes this look work. Small flowers or pearl pins can sit along the braid, and the braid itself gives them something to grip, which loose straight hair never does.
9. Straight Hair Bun With Veil
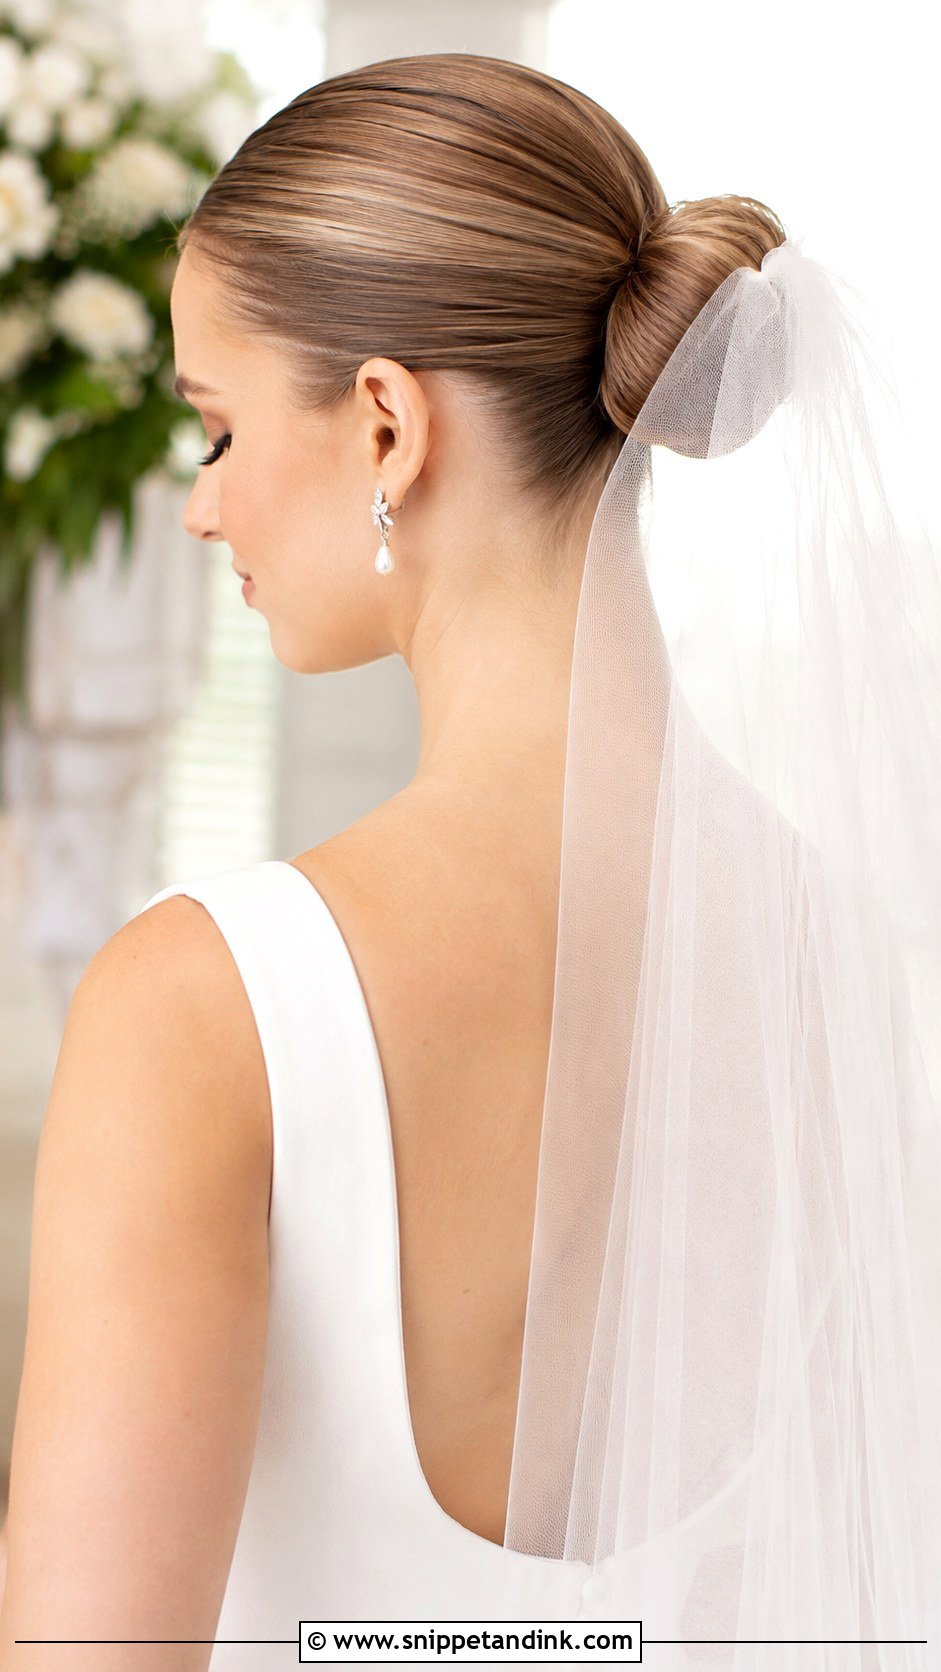
When a bride wears a veil, I plan the bun around the comb, not the other way round. On straight hair a comb slides out easily, so I build a small hidden anchor of crossed bobby pins where it will sit, and the comb’s teeth hook under those. A comb above the bun lets the veil fall wide; below the bun it sits closer to the back of the gown. Once the veil comes off for the reception, the bun stays smooth because it was never bearing the veil’s weight alone.
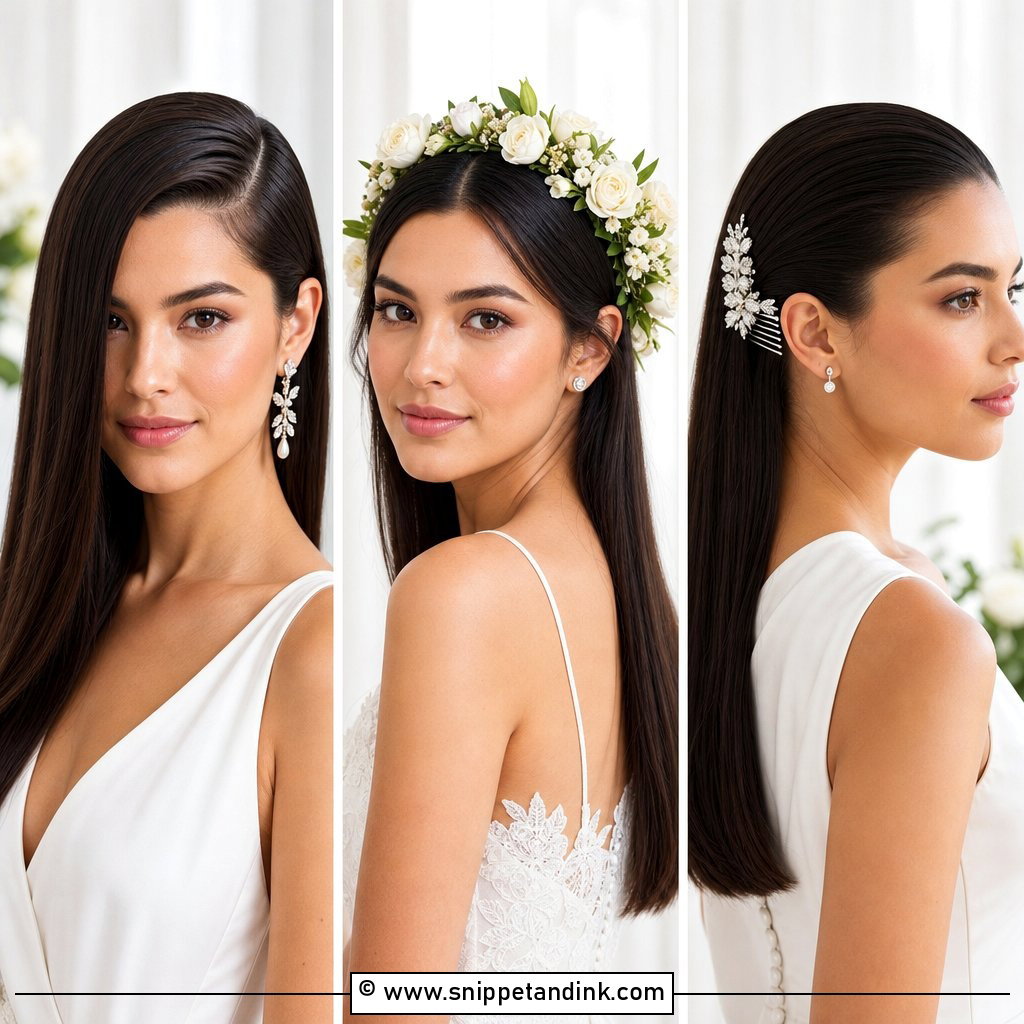
10. Straight Hair Side-Swept Wedding Style
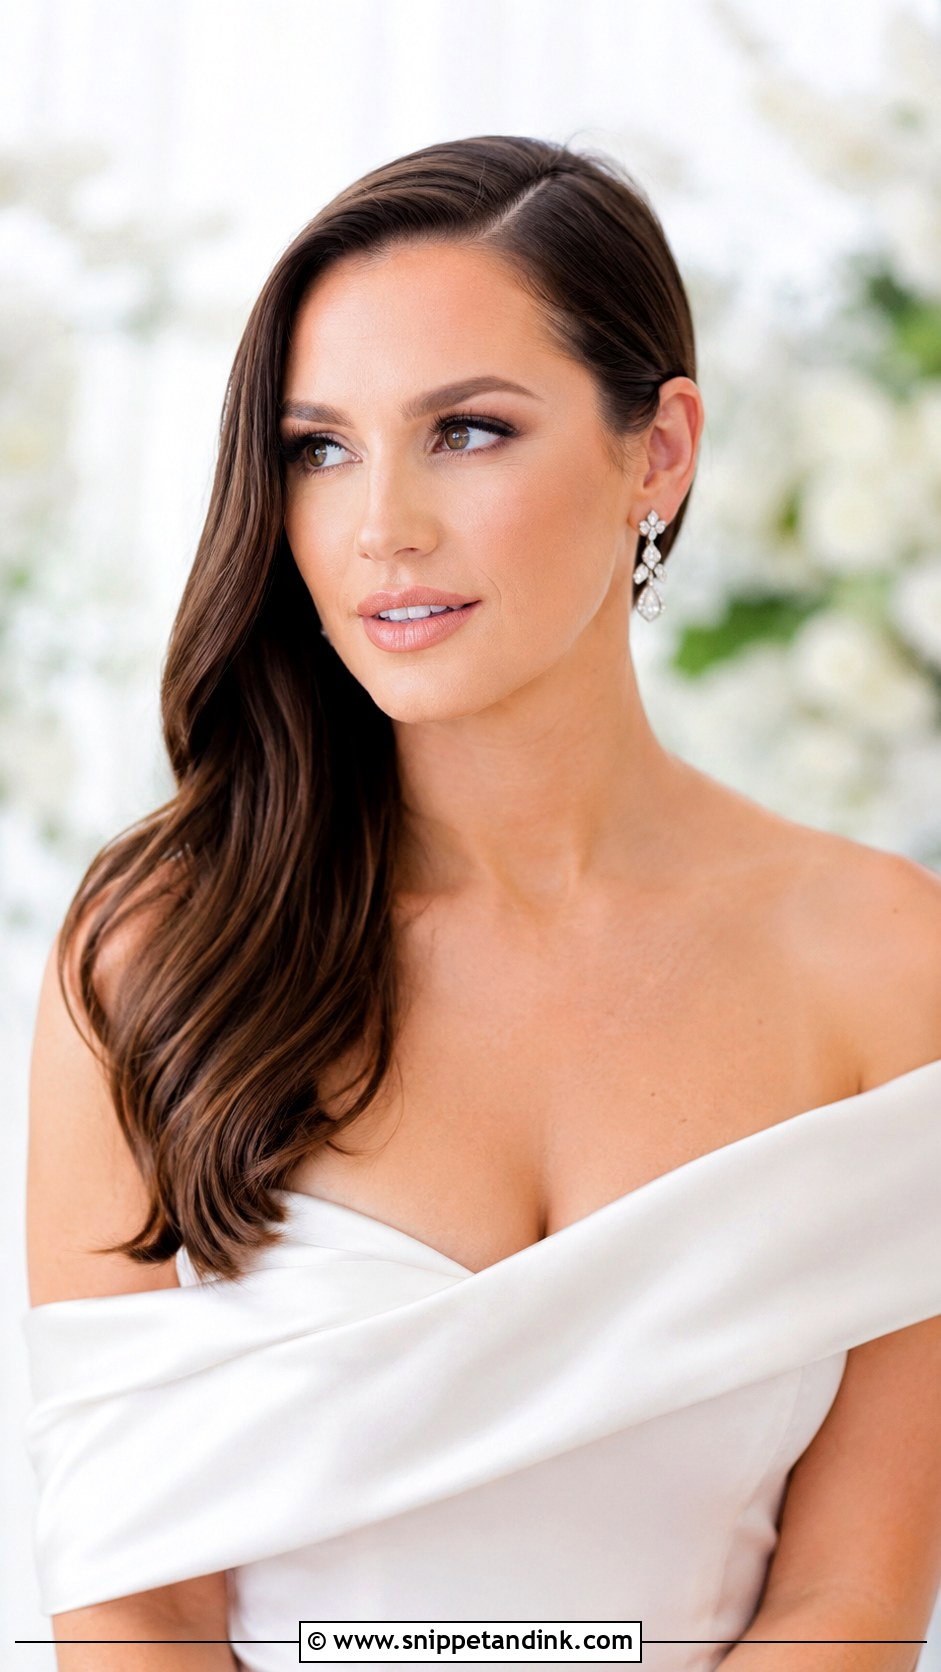
A side-swept style needs a firm base on the side you sweep away from, or straight hair slides back to centre as soon as you move your head. I pin a row of crossed pins behind the ear on that side and then brush the hair over them so they disappear. Worn down or as a soft side updo, it gives an old Hollywood line and leaves one ear free for a statement earring. I’d avoid it if you’ll be hugging lots of guests on one side; it does get pushed around.
11. Straight Hair Top Knot for Bride
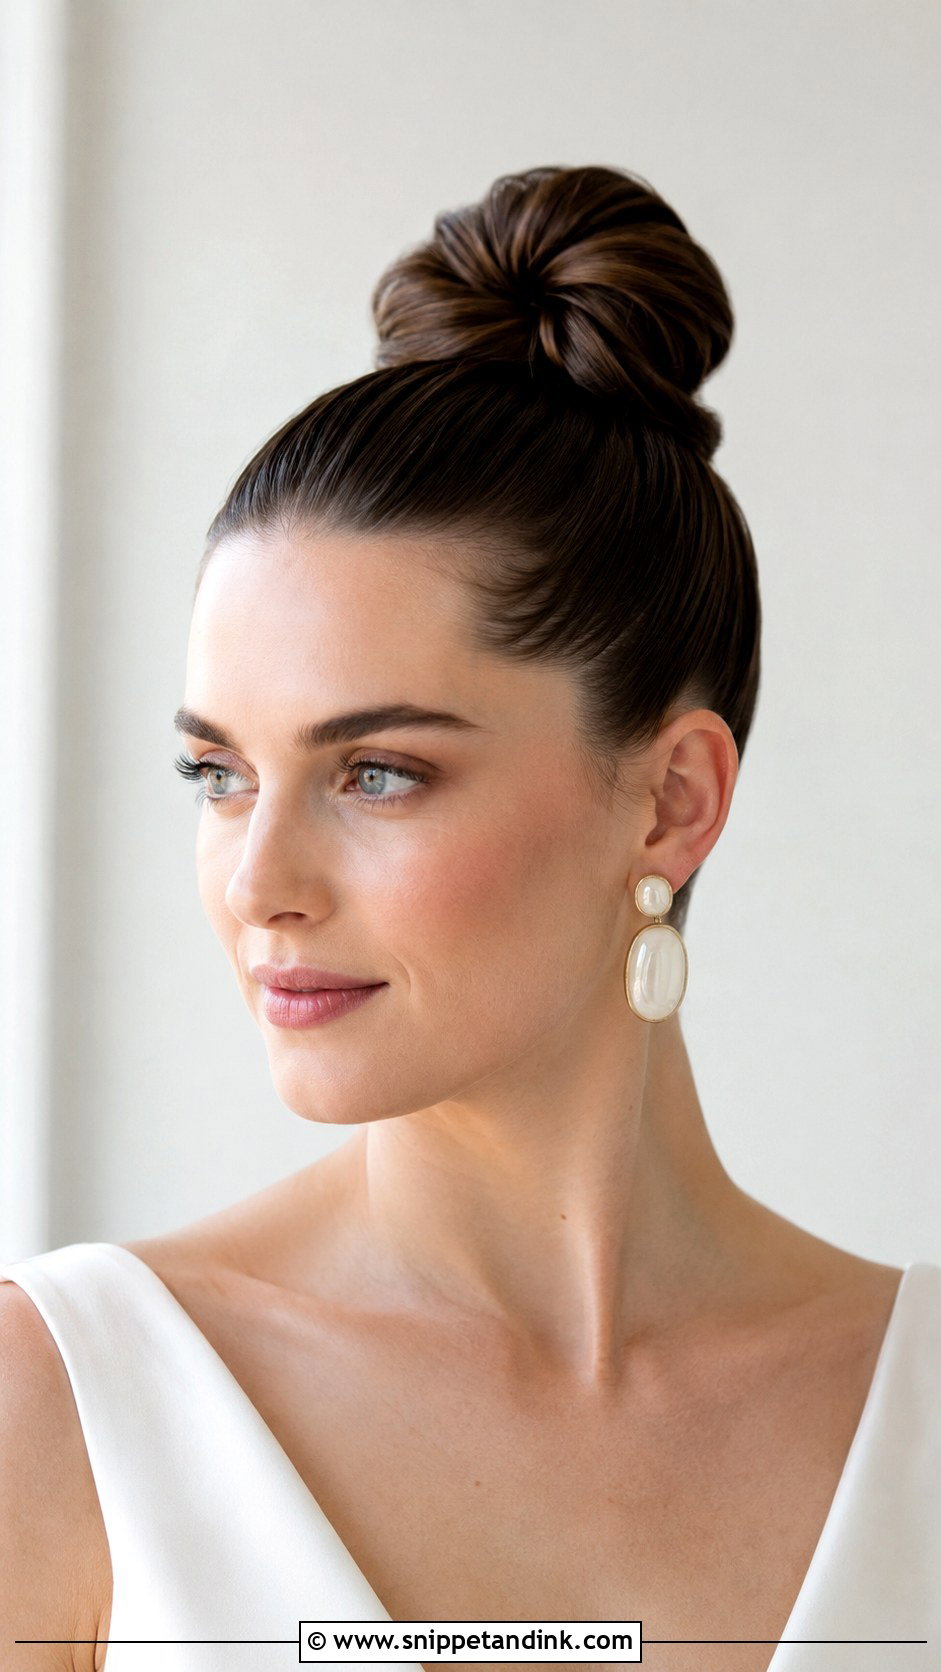
Top knots only look modern when they’re properly smooth, and that takes patience with straight hair because every bump at the hairline shows. I brush up from the nape with the head tipped forward slightly, then secure and wrap the knot. Lifted on the crown, it lengthens the neck and keeps every strand off the face all day. It suits minimalist gowns. It’s not one I’d recommend with a long cathedral veil, as the veil has nowhere neat to sit.
12. Straight Hair Flipped Out Ends
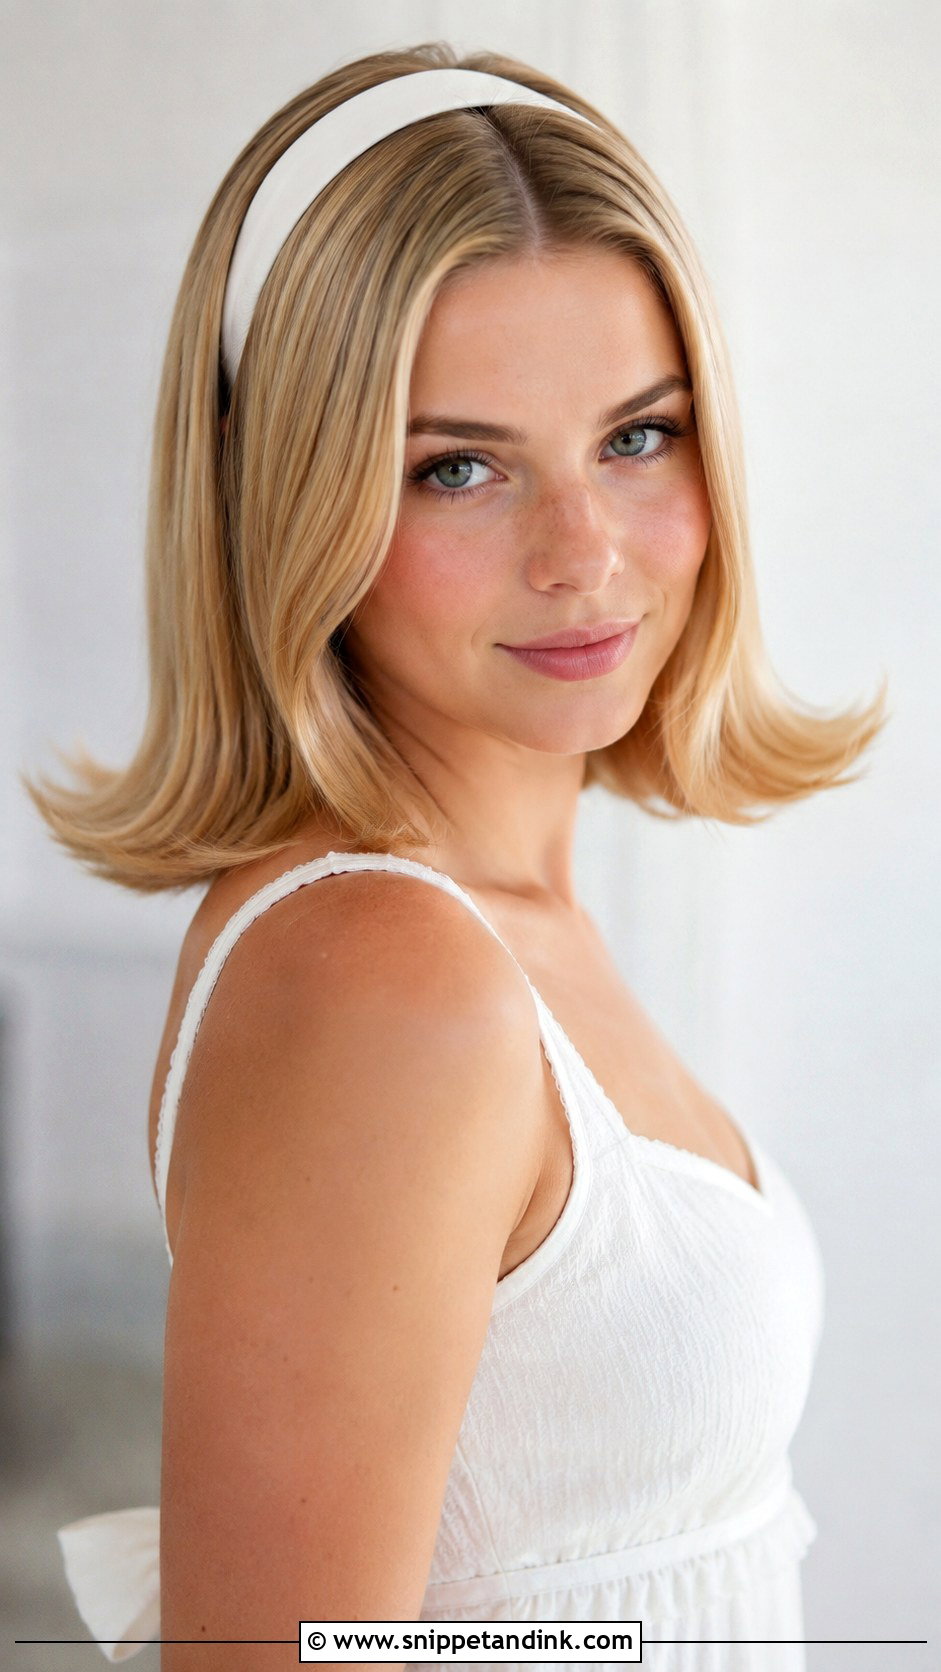
Flipped-out ends give straight hair a playful, retro feel. I flat iron the lengths smooth, then turn the iron outward at the very end and hold it a second longer so the flip sets. It’s best on bobs and shoulder-length hair, where the flip has enough weight to bounce but not so much that gravity pulls it straight again. Humidity is the enemy here: in a damp outdoor setting the flip relaxes within an hour, so I’d save this one for an indoor reception. A headband finishes it neatly.
13. Straight Hair Low Bun With Hair Accessory
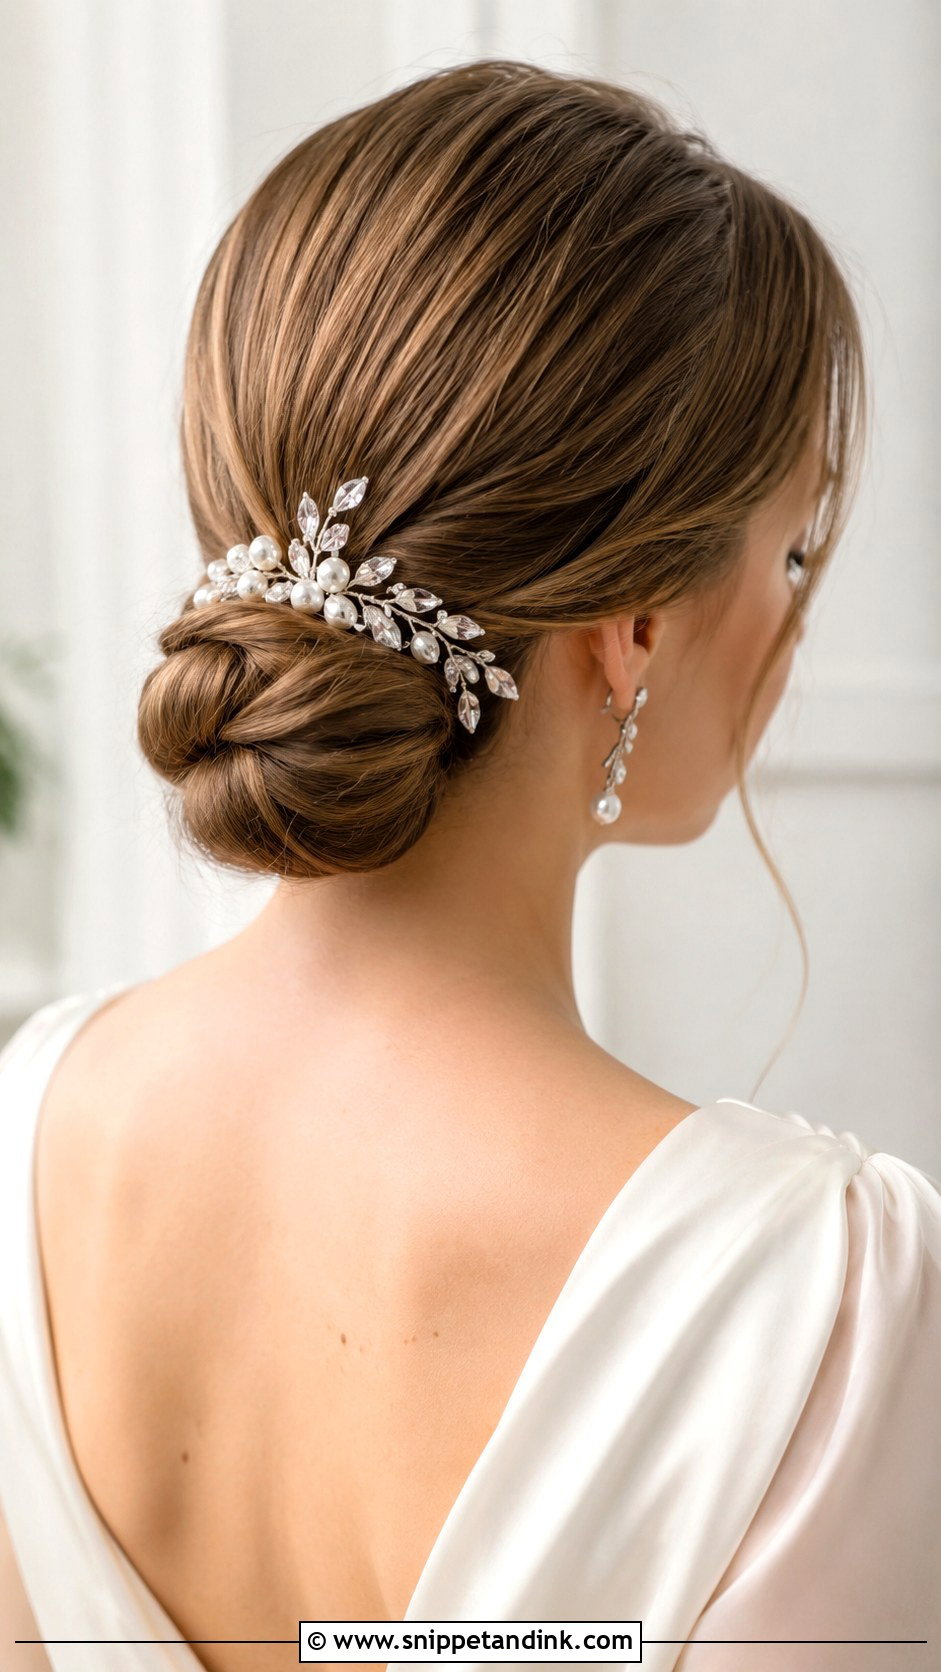
A plain low bun becomes bridal the moment a real accessory goes in, and on straight hair the accessory does more than decorate. A jeweled comb or a wide satin band actually helps hold the bun, because smooth straight hair gives pins little to hold. I place the accessory last, once the bun is pinned and sprayed, and anchor it into the bun itself rather than the loose hair around it. Keep it to one piece; a smooth bun is the right backdrop for a single strong accent, not three.
14. Straight Hair Sleek Middle Part Updo
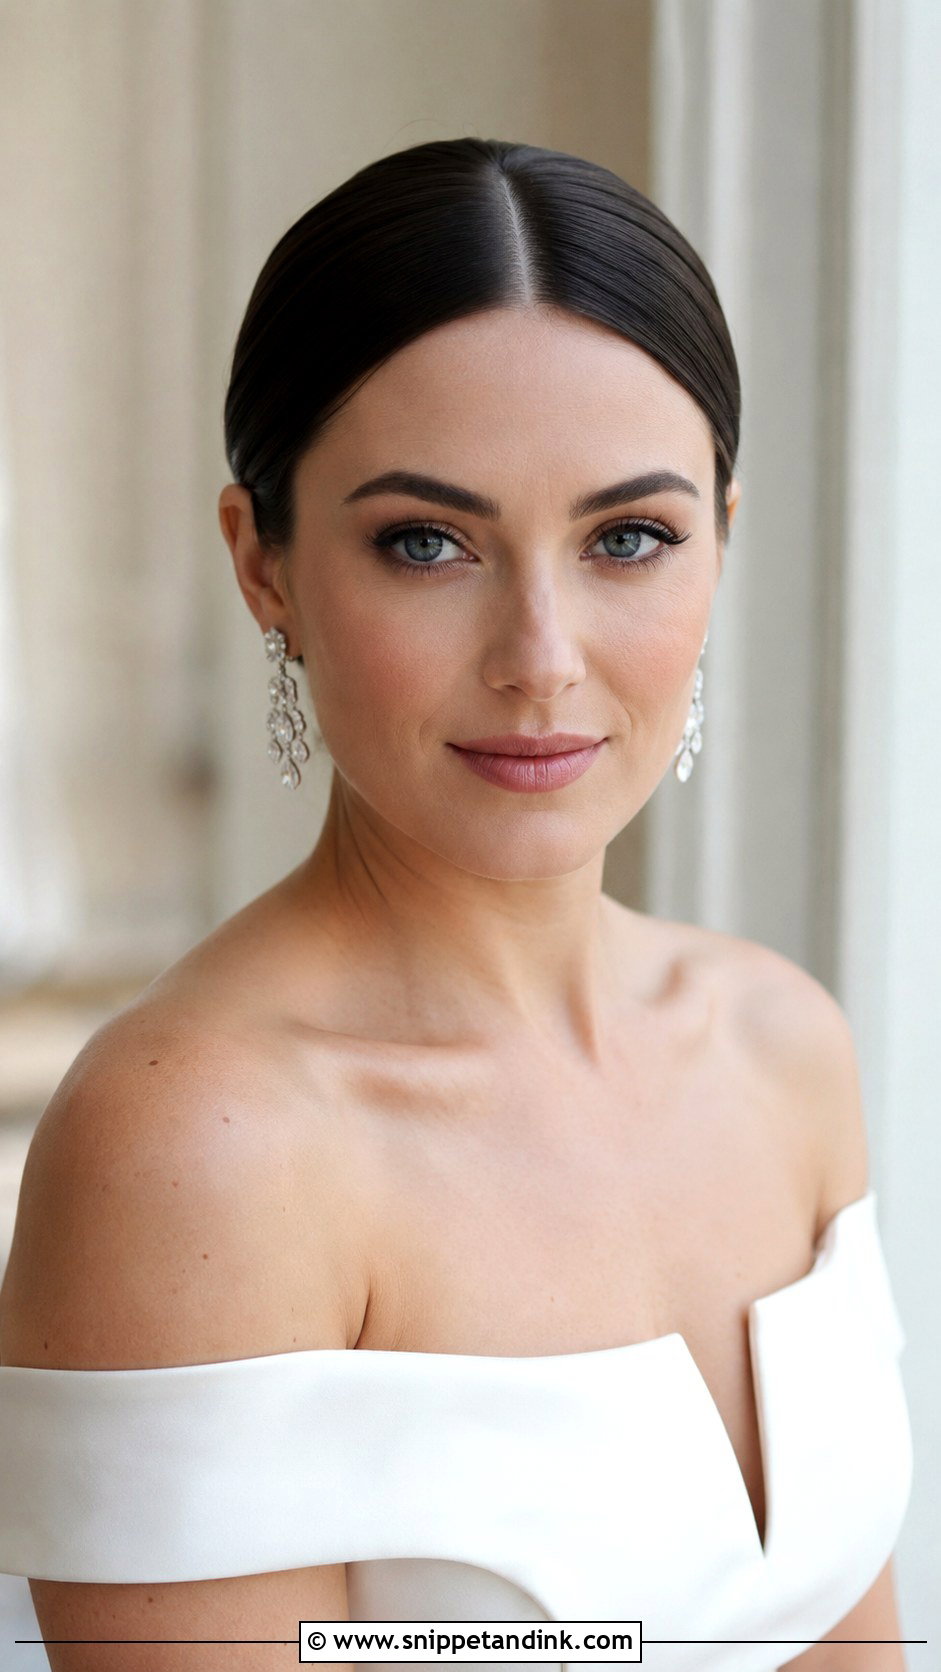
A middle-part updo depends entirely on a straight, clean parting, so I draw it with the tail of a comb and check it in the mirror from the front before anything else. From there the hair sweeps back into a smooth shape at the back. It gives a symmetrical, modern frame that looks sharp in portraits. I’d only steer you away if your face is noticeably asymmetrical and that bothers you, because a centre part draws the eye to the middle of the face.
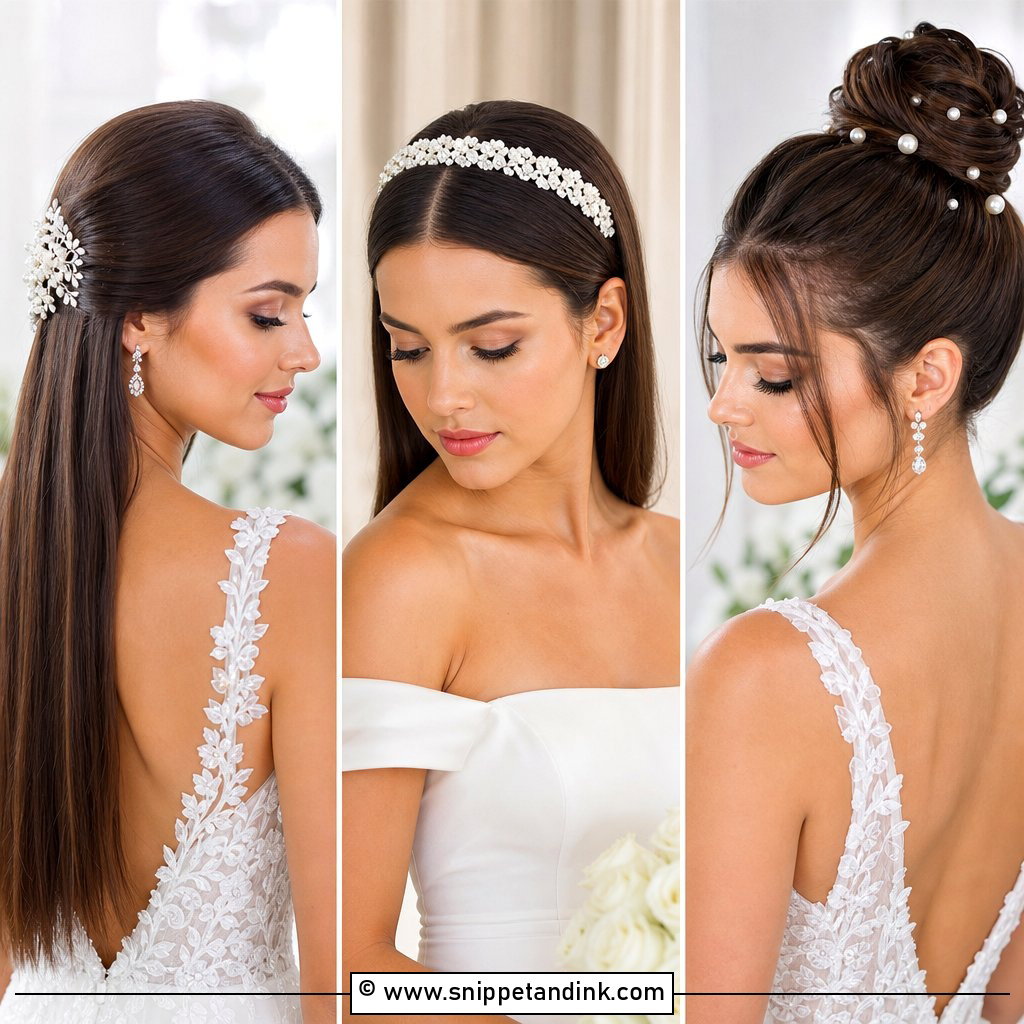
15. Straight Hair Twisted Updo
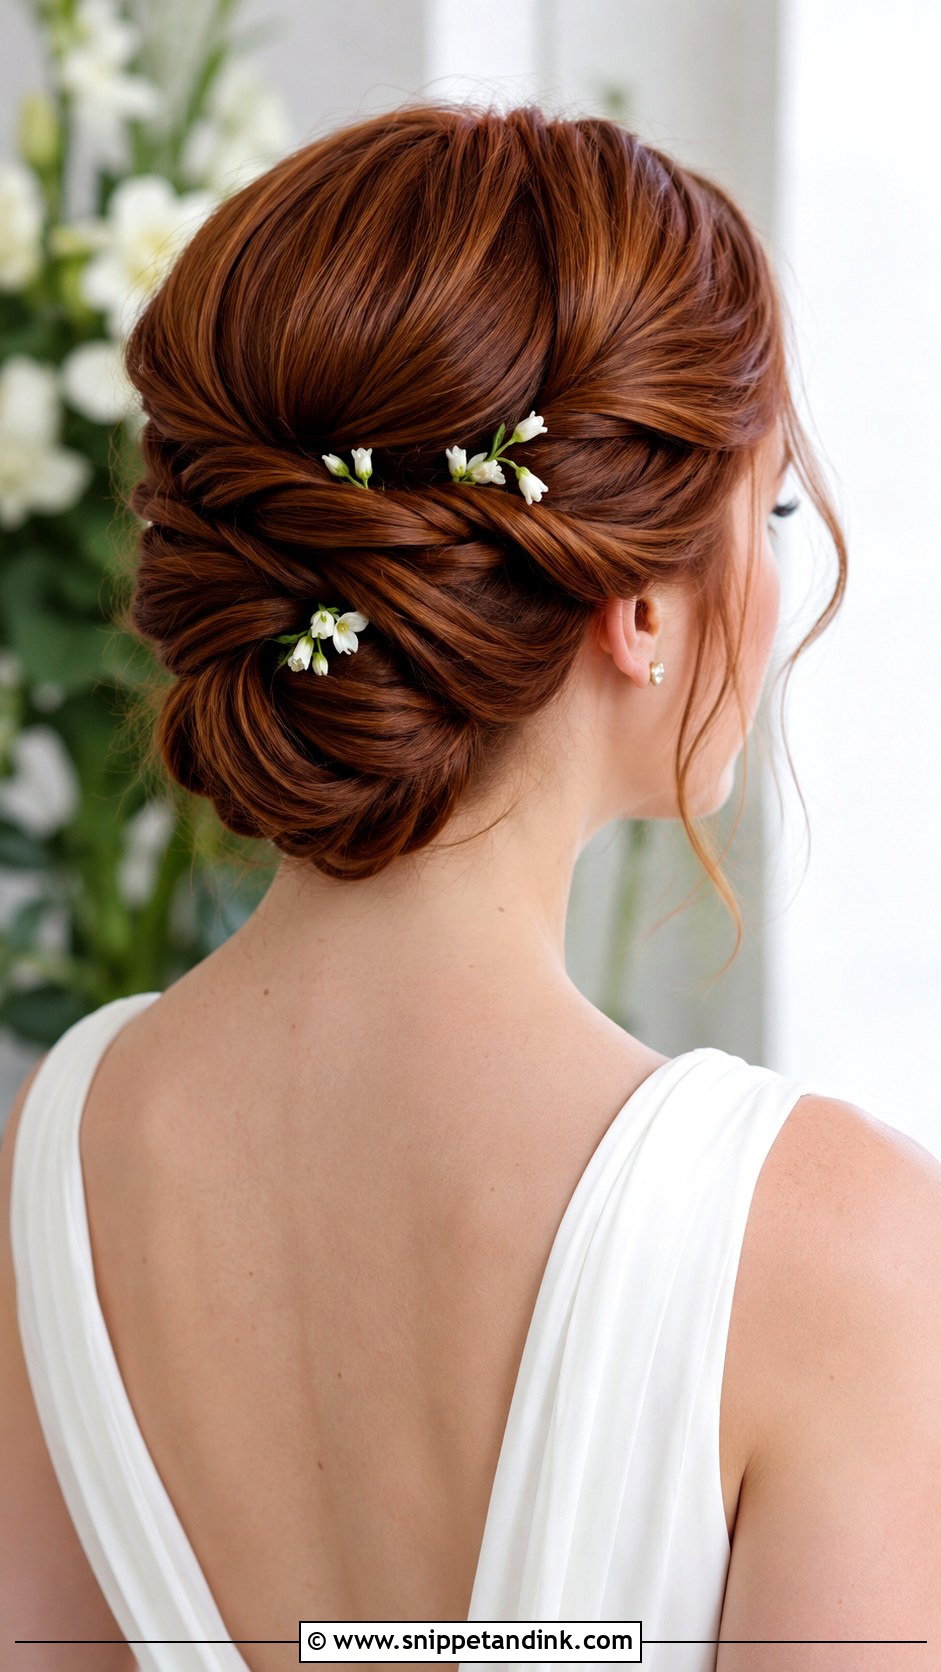
Twists add texture without the commitment of braids. I take sections, twist them away from the face, and pin each one into the arrangement at the back. Straight hair makes each twist look neat and defined, but it also unwinds easily, so I twist slightly tighter than looks necessary and spray each section before pinning. Formal receptions suit it best. Tucking a few small pins or flowers between the twists hides any pins that show.
16. Straight Hair Wrapped Ponytail
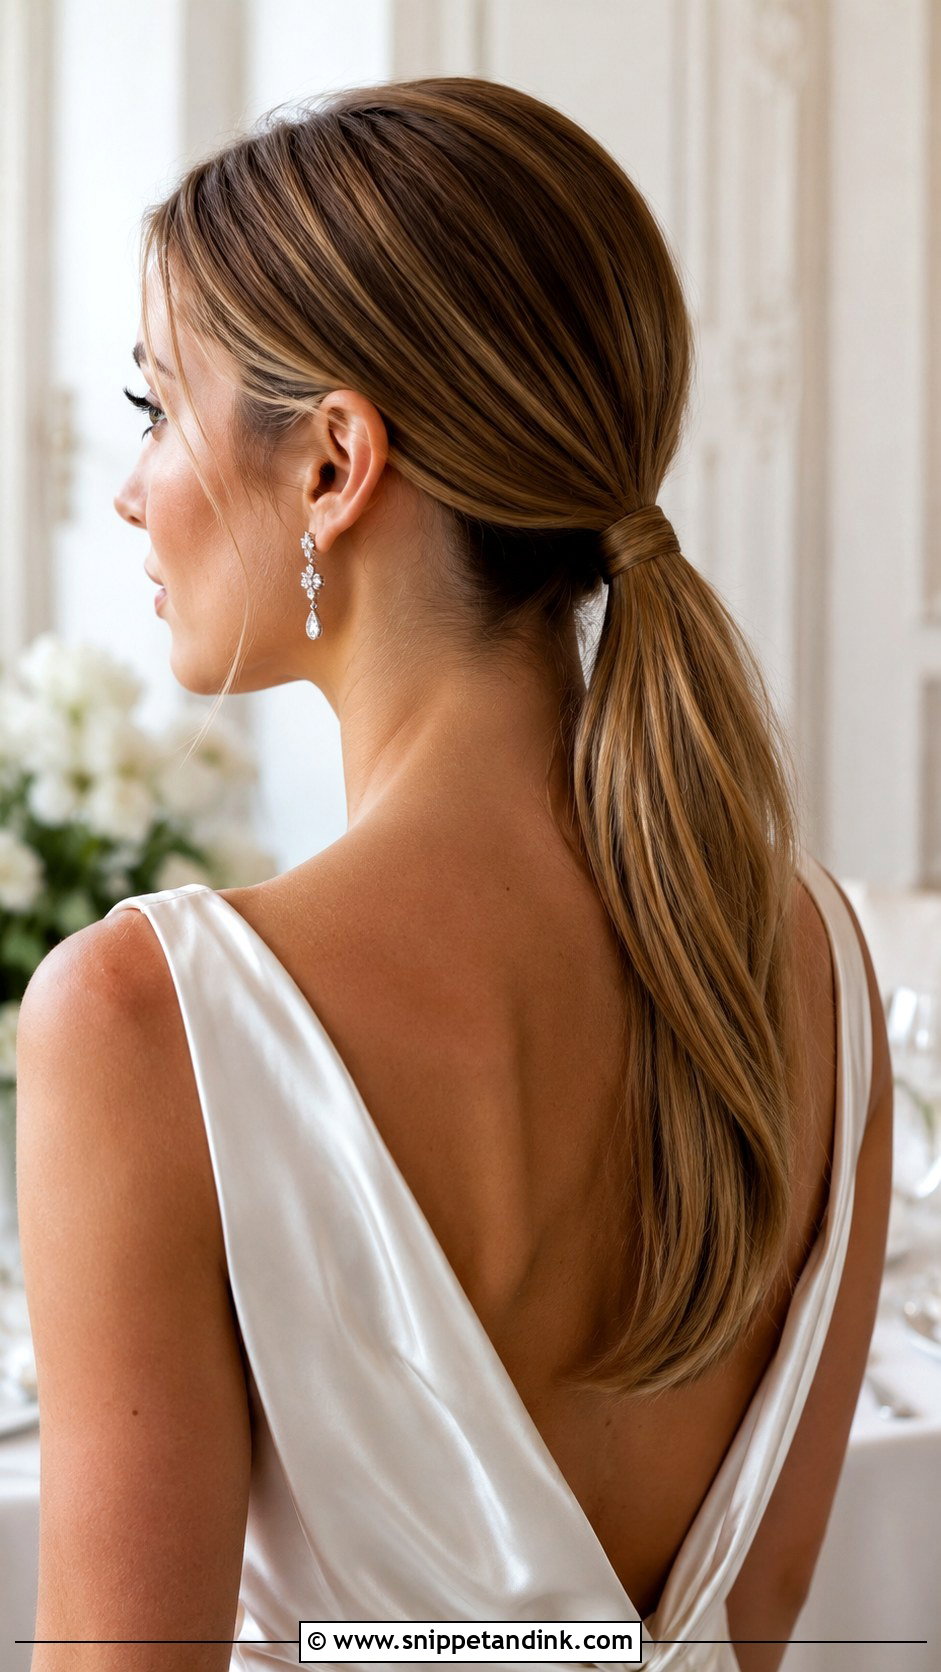
Wrapping the base of a ponytail is the step that makes it look finished. I take a thin section from underneath, wrap it around the elastic two or three times, and pin the end into the base so it can’t unwind. On straight hair that wrap lies flat and glossy. Worn low it’s quiet and polished; worn high it has more drama. It’s the style I suggest to brides who hate fuss, because there is very little that can come loose over the day.
17. Straight Hair Half-Up Top Knot
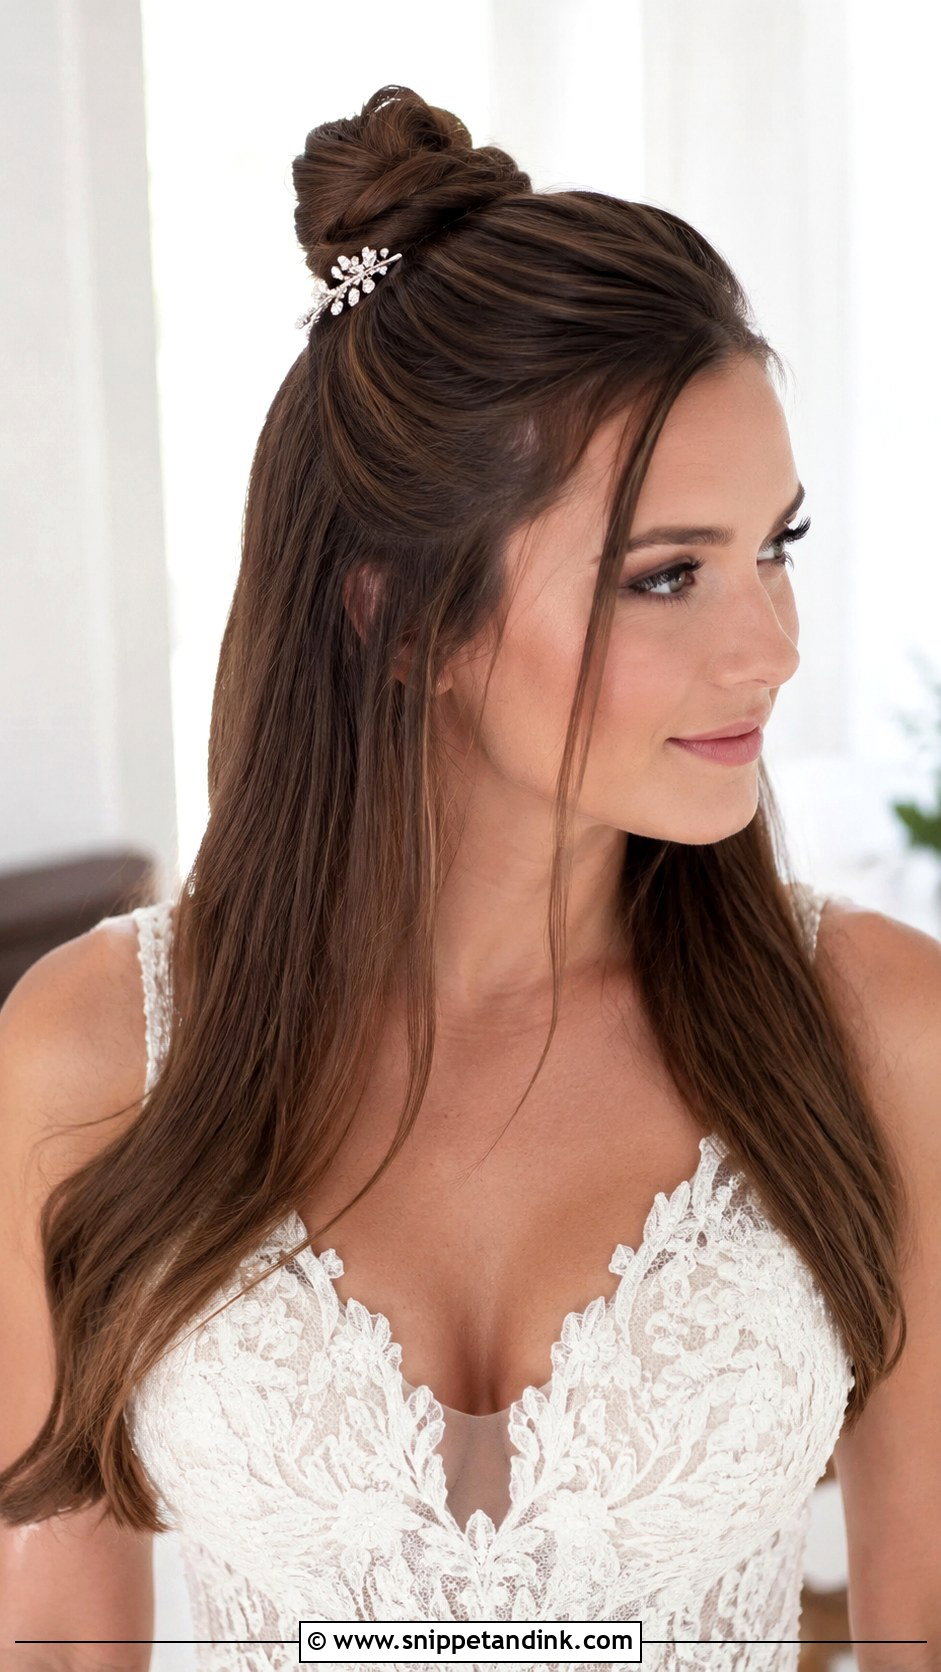
A half-up top knot is playful and keeps the hair off the face while the lengths stay down. The knot itself needs grip, so I tease the base slightly and use a small elastic before wrapping. On straight hair the lower lengths look smooth next to it. I’d recommend it for relaxed weddings and younger brides. One honest point: the knot sits where a veil comb would go, so if you’re wearing a veil, we’d place the comb below the knot instead.
18. Straight Hair With Pearl Pins
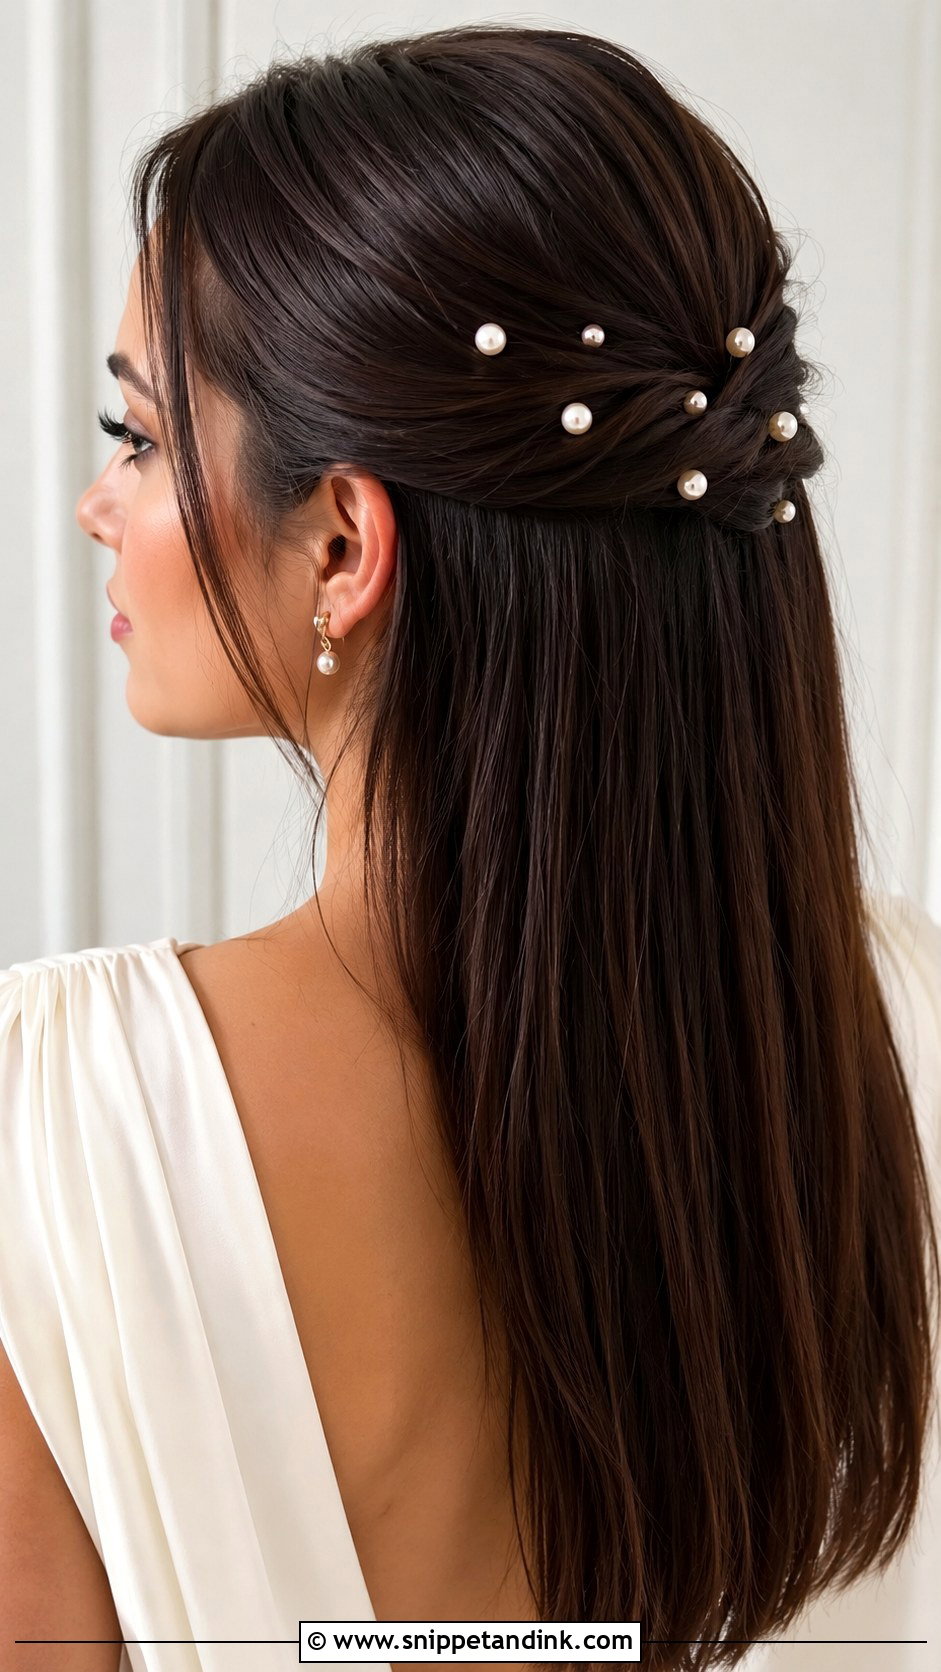
Pearl pins on straight hair need a little planning, because a scattered pin on smooth hair slips more than it would in curls. I slide each pin in at a slight angle against the hair direction and catch a few strands underneath first. They work worn down, half-up or in an updo. I usually place them in a loose diagonal line rather than at random, so they read as deliberate in photos. They’re an affordable finishing touch.
19. Straight Hair Slicked Back Bun
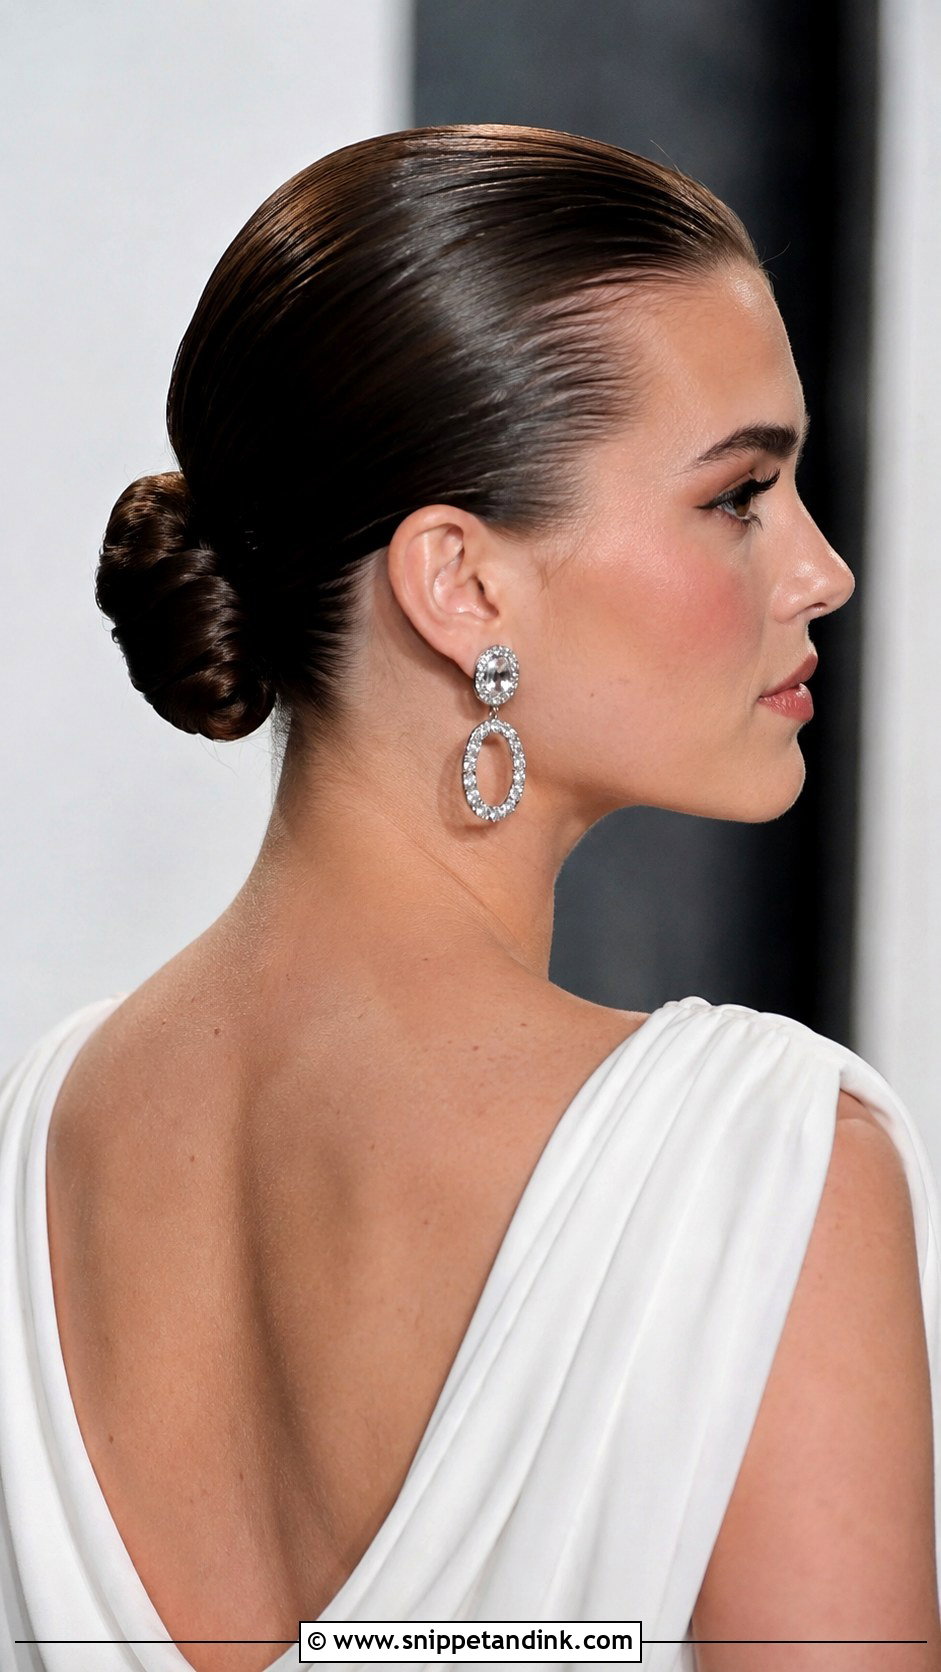
A slicked-back bun is the boldest style on this list. I use a strong gel at the hairline and a smoothing cream through the lengths, then pull everything back with a firm brush. Too much gel can flake as it dries, so I work in thin layers and let each one set. It exposes the whole hairline and face, so it rewards good skin prep and makes earrings and makeup the focus. If you have a receding or uneven hairline that you’re self-conscious about, this isn’t the look I’d pick for you.
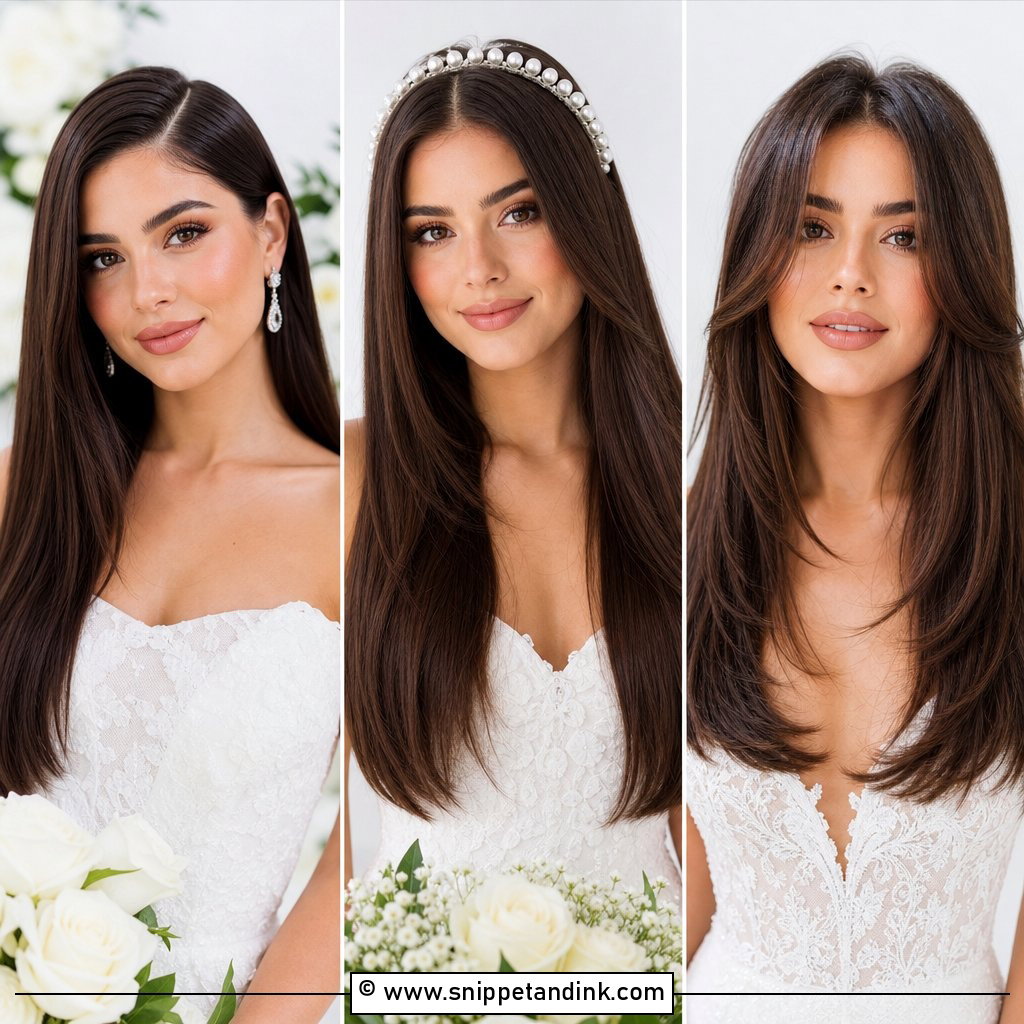
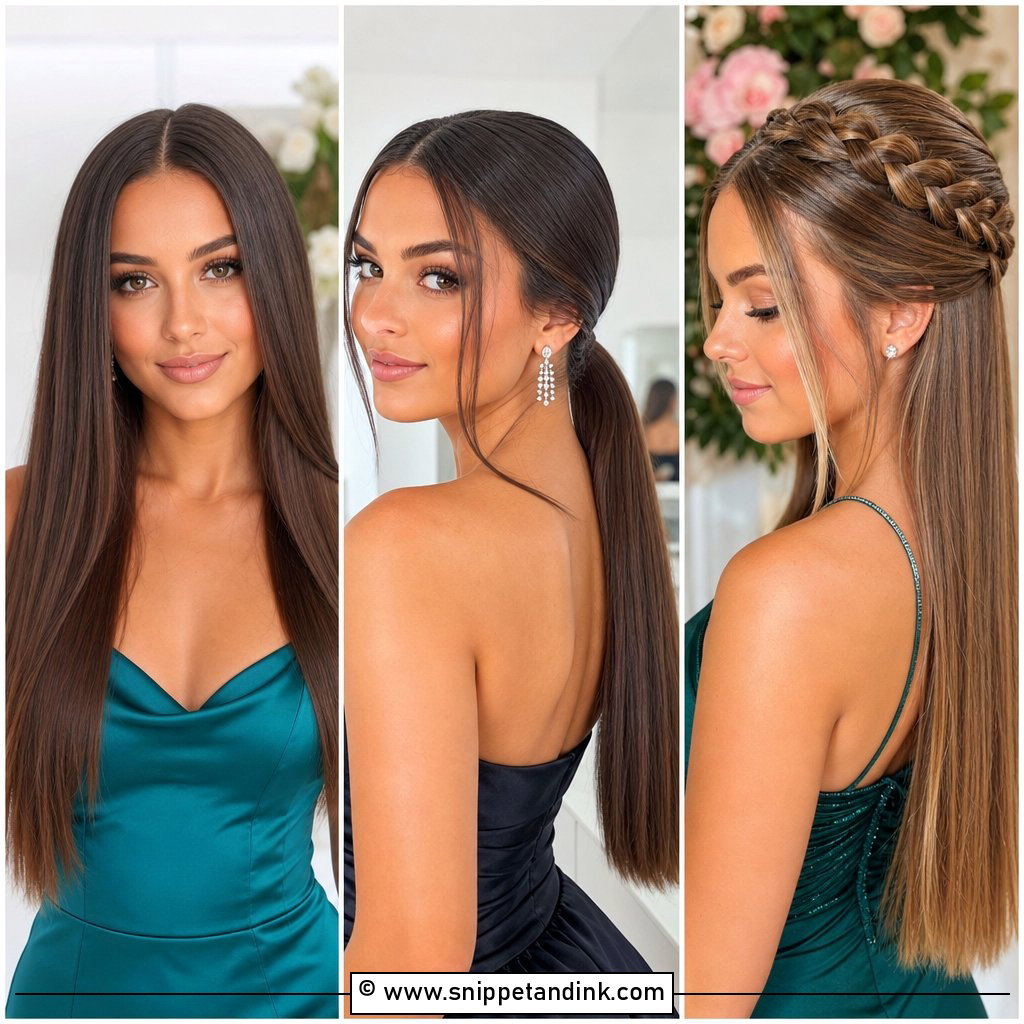
20. Straight Hair Long Layers Down
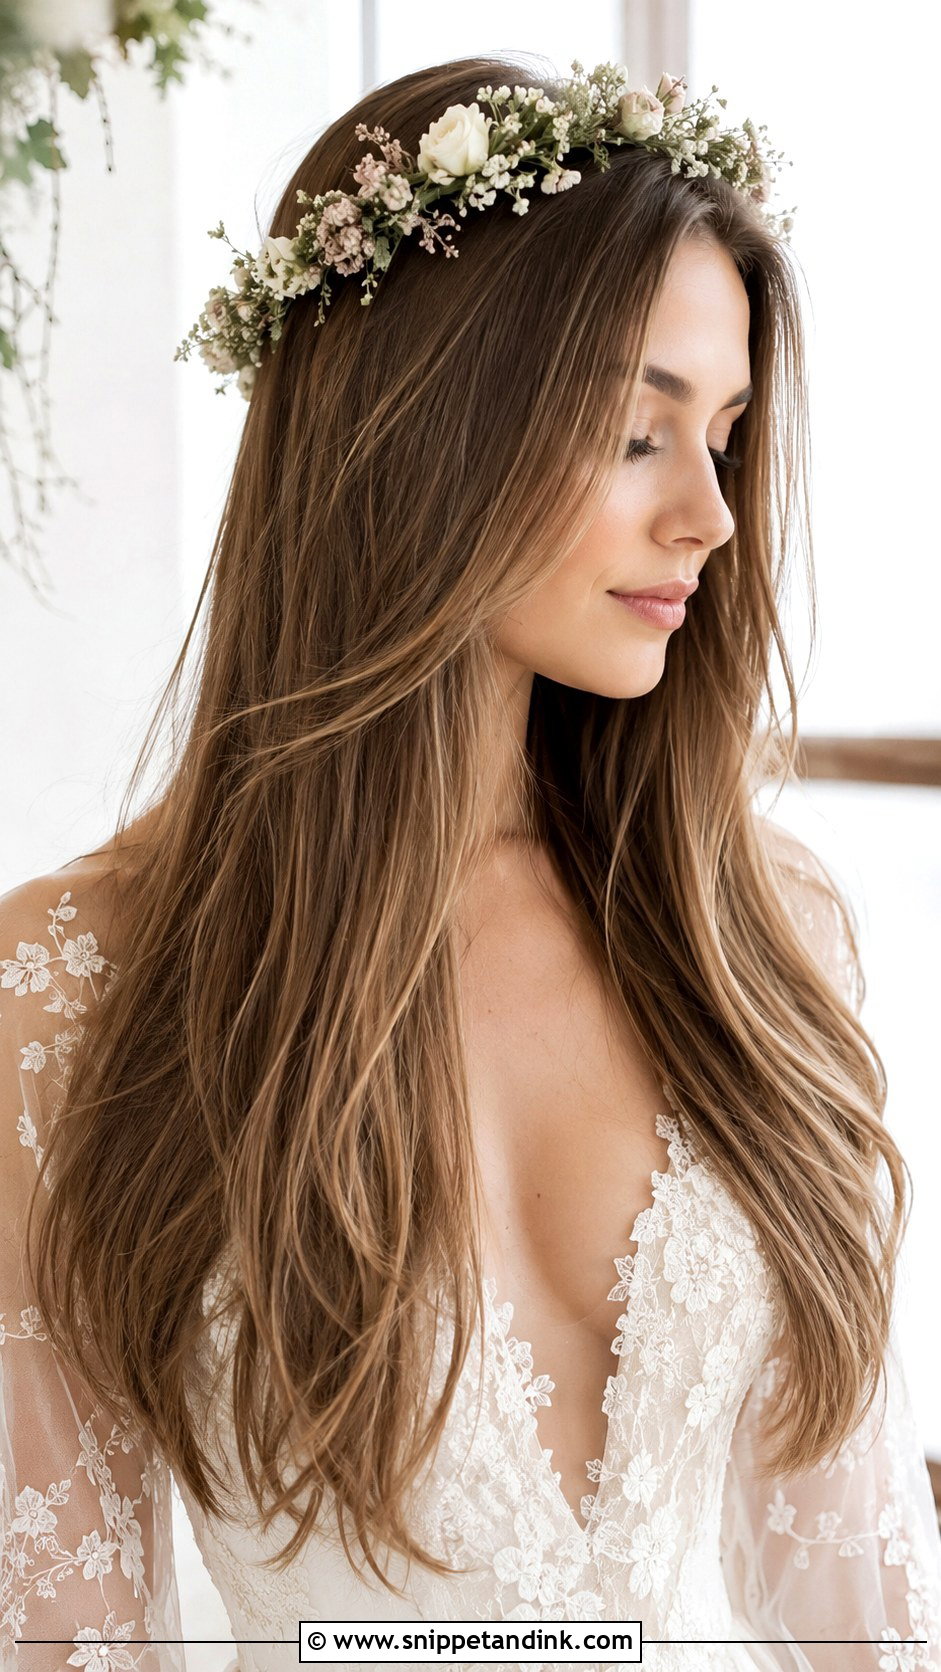
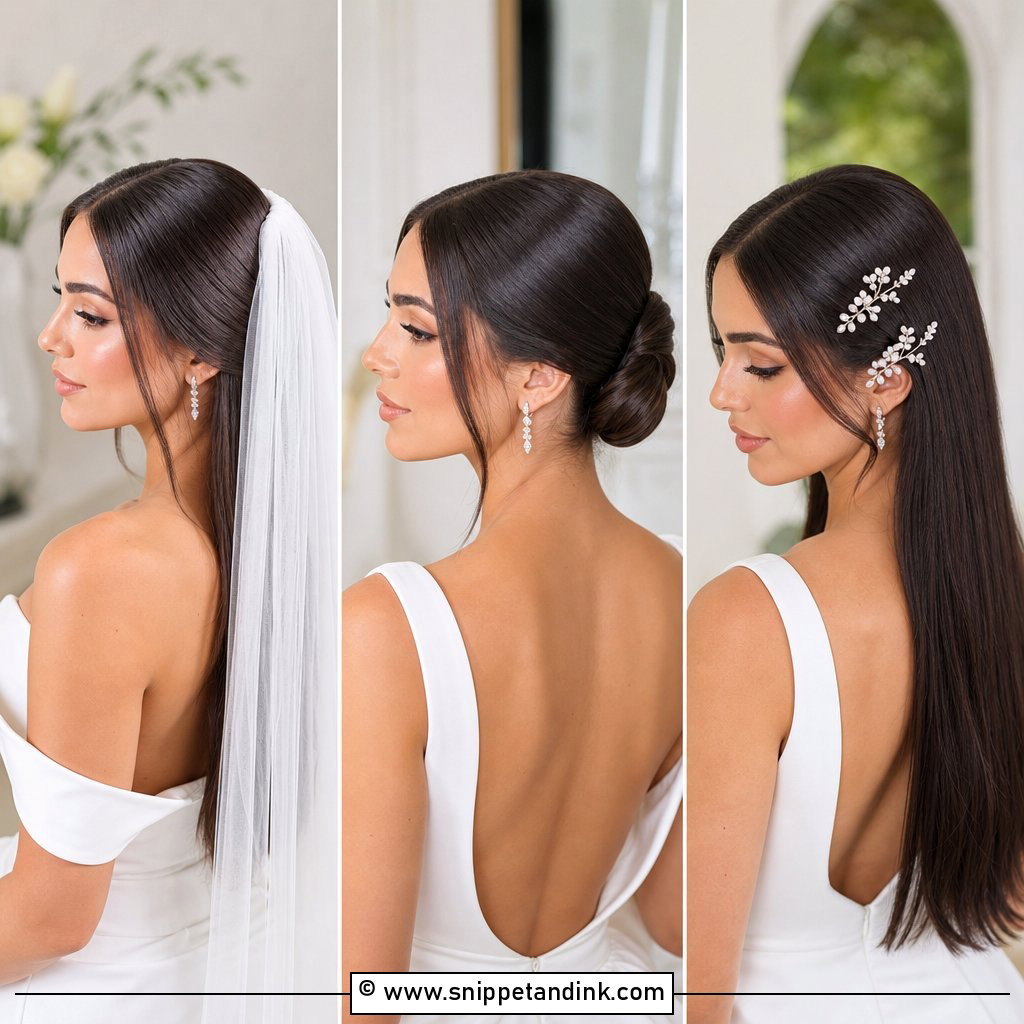
Long layers are what keep straight hair worn down from hanging in a flat sheet. I flat iron with a slight bend at the ends of each layer, so they overlap and show movement as you walk. A good cut matters more than the styling here, so if you want this, get the layers cut four to six weeks before the wedding, not the week before. A flower crown or a few pins suit outdoor weddings.
21. Straight Hair Sleek Bob for Wedding
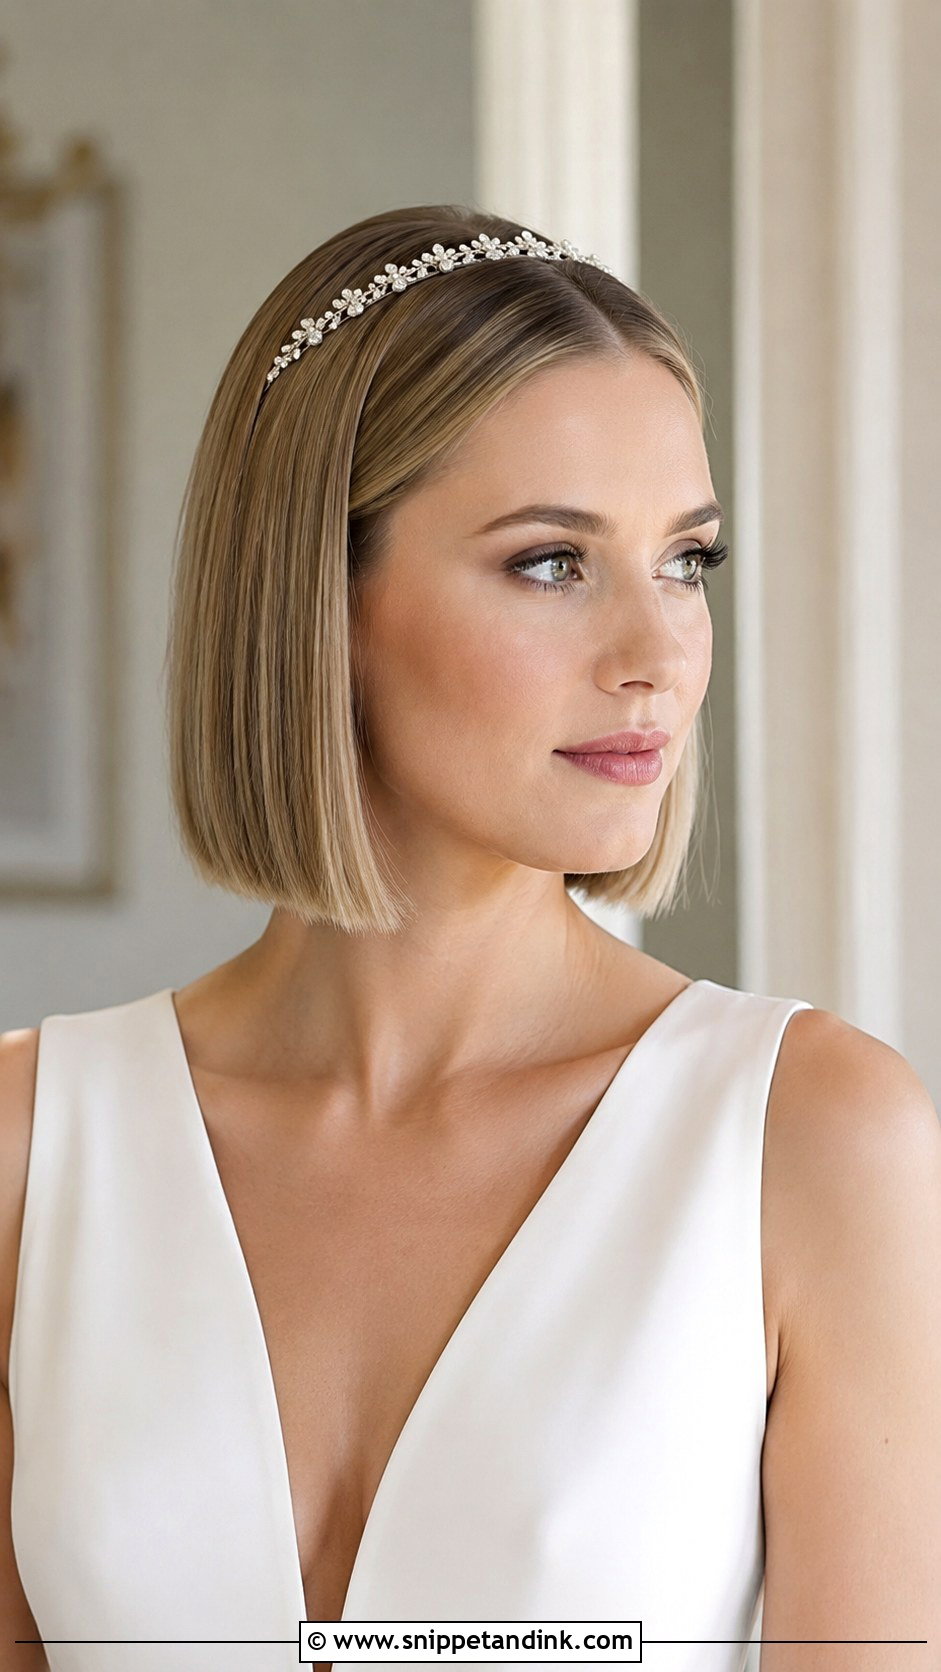
Short hair is every bit as bridal as long hair. A sleek straight bob needs a flat iron, a light shine product, and a clean part, and it rarely moves out of place. I like a centre or side part depending on the face shape. A delicate headband or a single jeweled pin can make it more festive. Check the length: a bob cut too short to tuck behind the ears limits how you can wear earrings and a veil.
22. Straight Hair Braided Crown
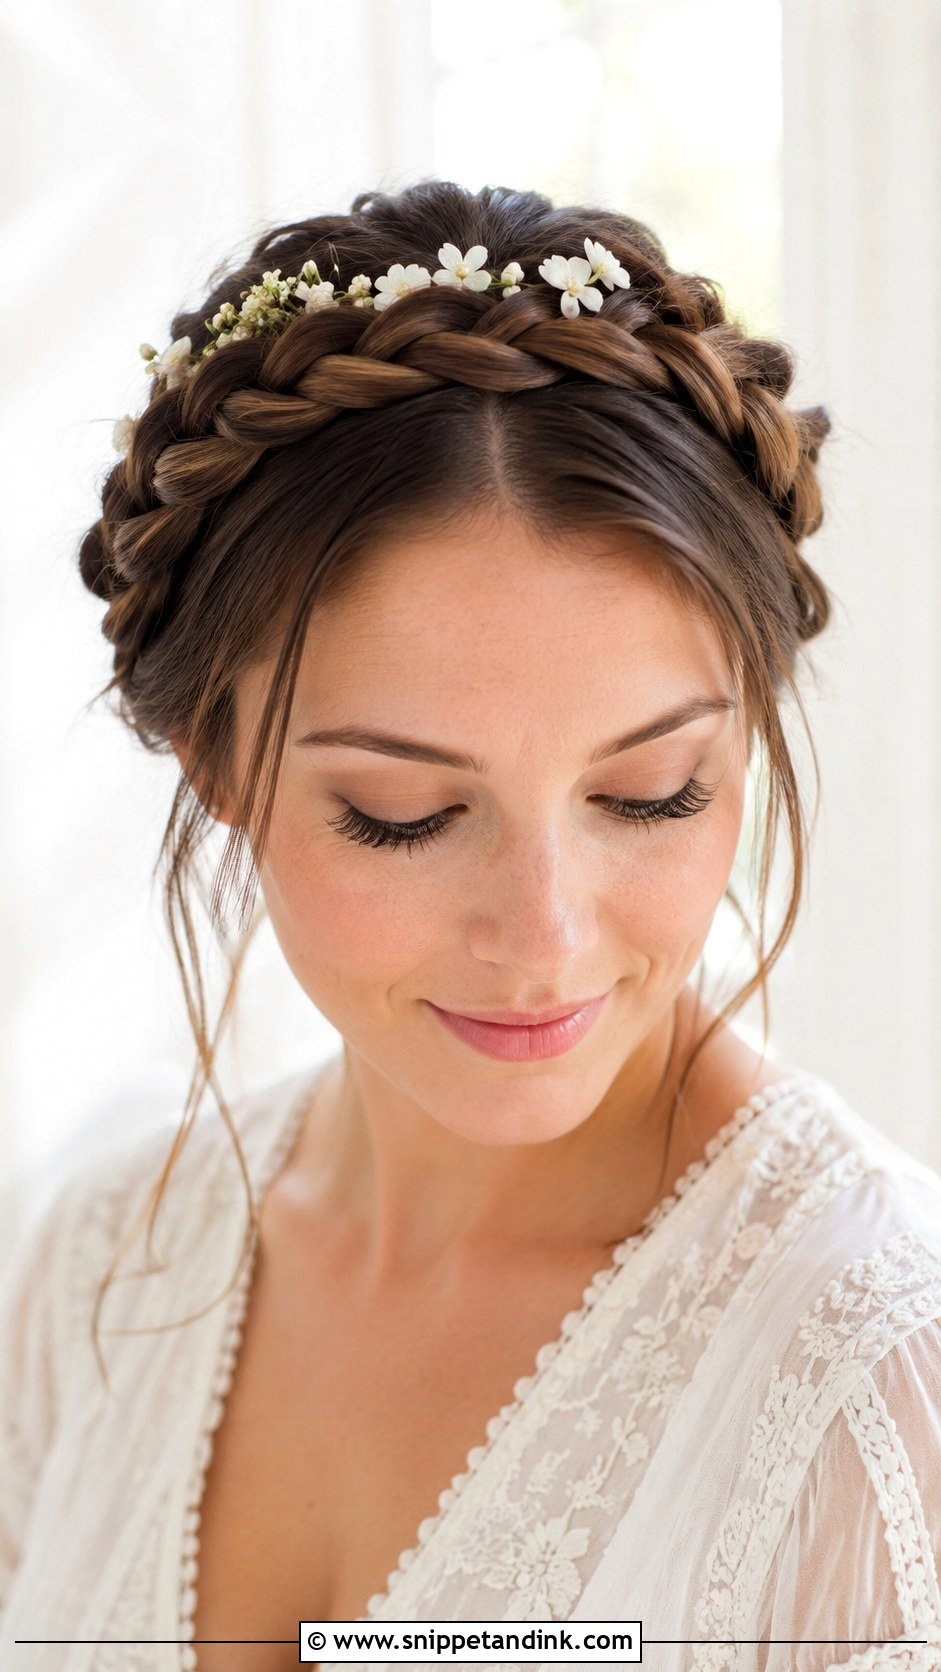
A braided crown is one of the most secure styles you can put on straight hair, because the braids wrap the head and pin into each other. I braid two sections from behind the ears, take them over the top, and hide the ends underneath. Each braid looks smooth on straight hair, and once anchored it doesn’t drop. Garden weddings suit it. I’d leave the flowers small; too many and the braid itself disappears in photos.
23. Straight Hair Tucked Behind Ears
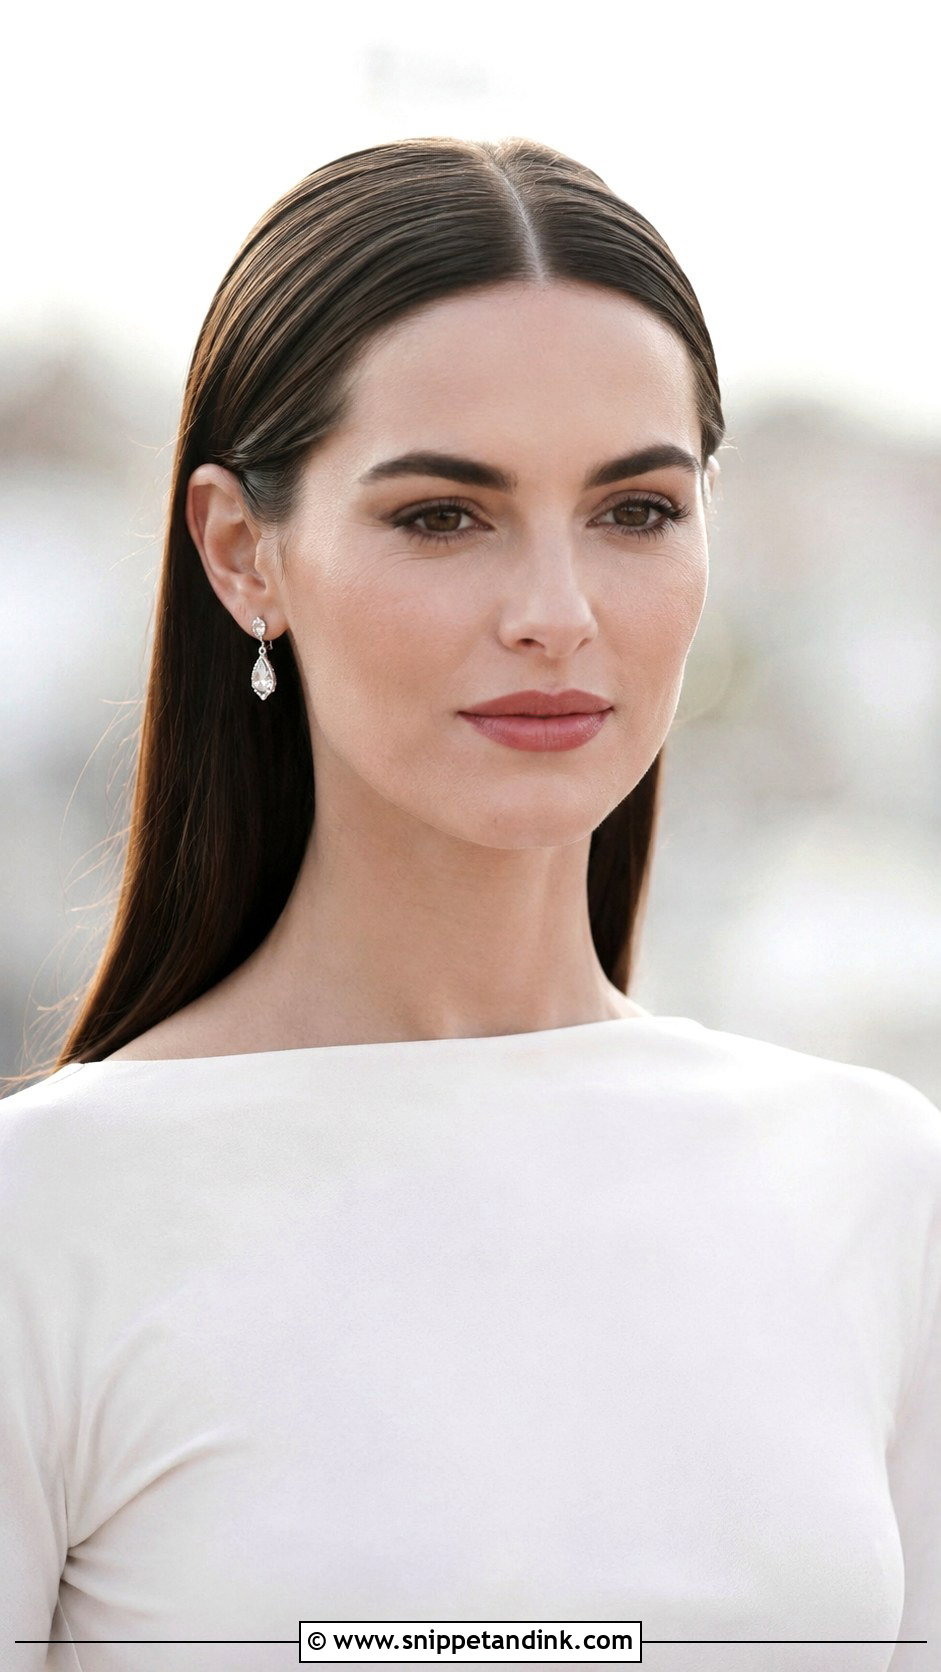
Tucking the hair behind the ears is the most understated look here, and that’s the point. I part the hair, smooth both sides back behind the ears, and add a little lift at the crown so the shape isn’t flat. The earrings become the focus. It needs a little setting spray at the ear, because straight hair slips forward when you look down. For a minimalist bride in a clean gown, it says enough without any extra decoration.
24. Straight Hair Low Knotted Bun
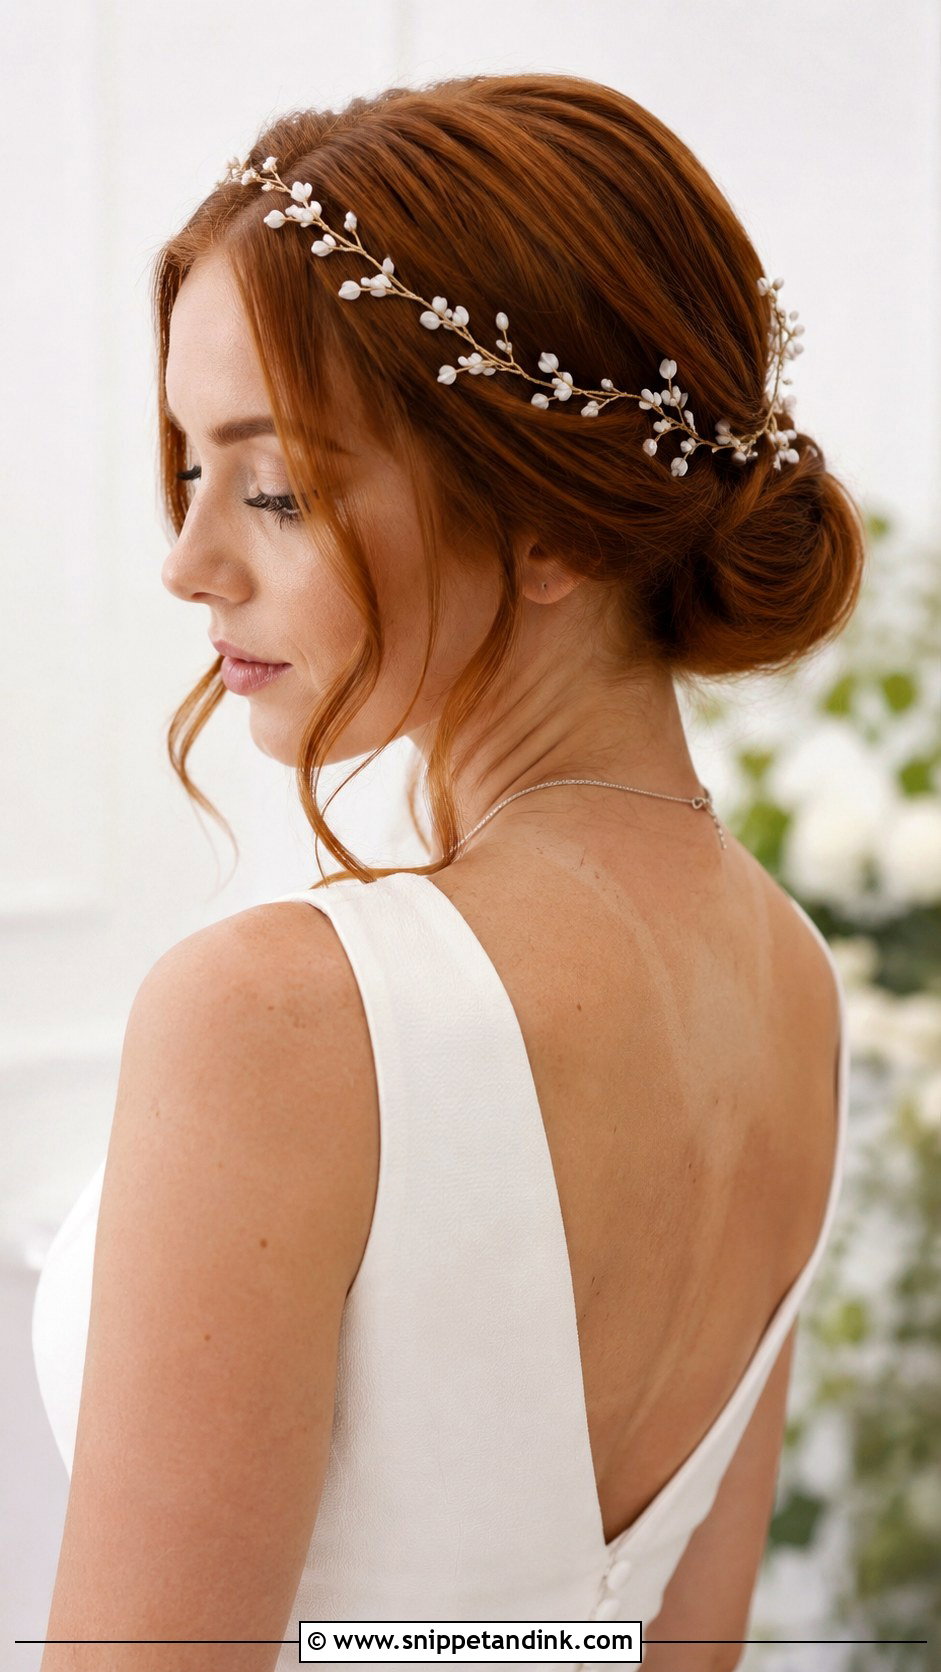
A low knotted bun is softer than a sleek bun. I tie the hair into a loose knot at the nape and pin it with U-pins, leaving it slightly relaxed. On straight hair the knot holds a smooth surface while the shape stays soft. It sits comfortably under a veil or with a hair vine. It’s one of the more forgiving styles for a long day, since a slightly loose knot looks intended even by the last dance.
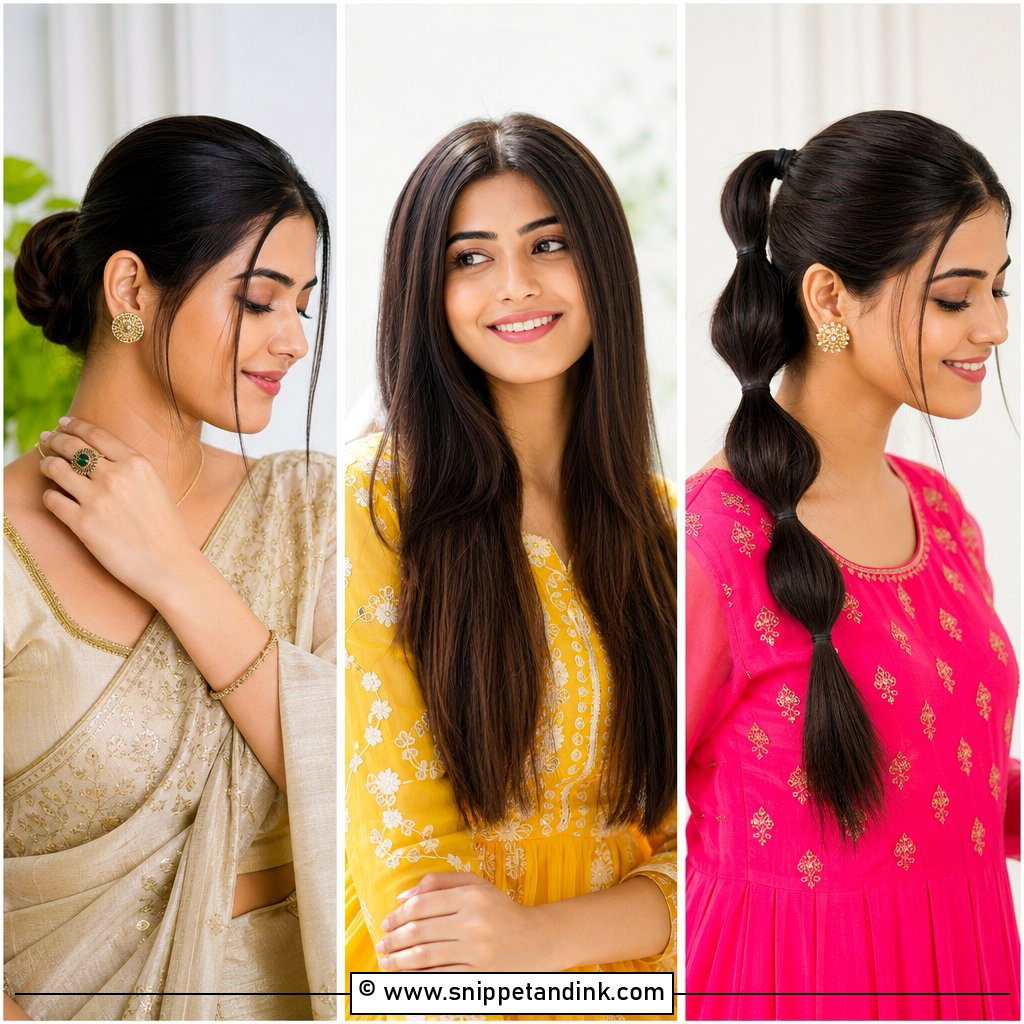
25. Straight Hair Side Part Sleek Down
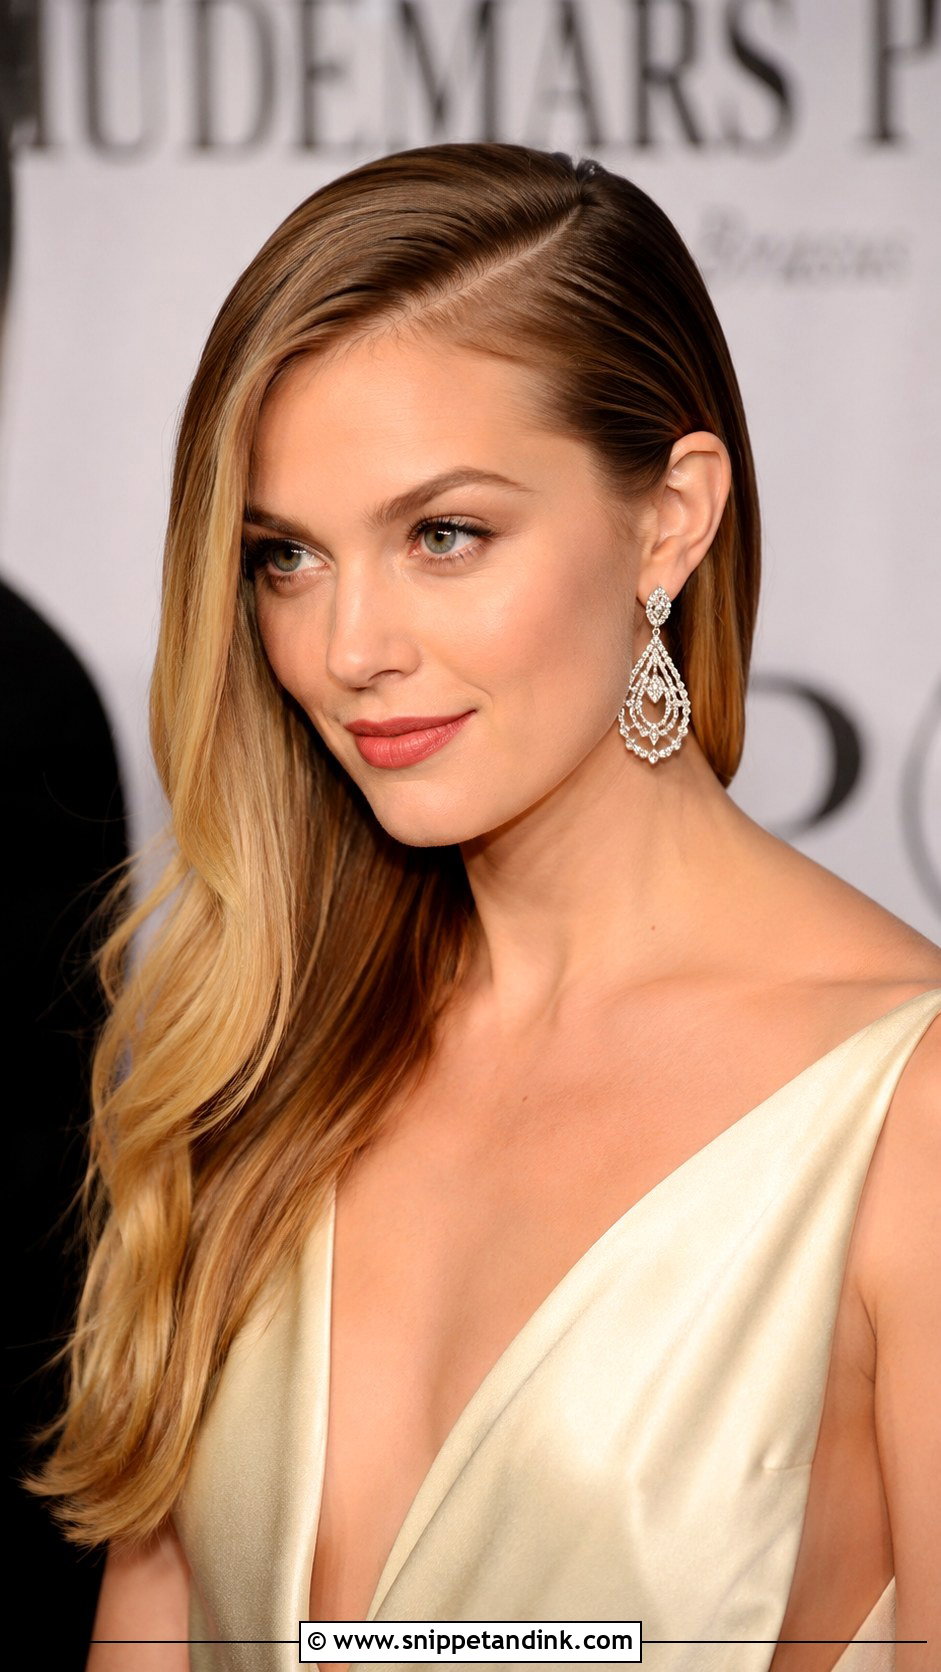
A deep side part changes how the whole face reads, and it gives straight hair some instant volume at the root on the heavier side. I flat iron the lengths smooth and pin the part line discreetly under the top layer so it doesn’t shift back. It has a glamorous, old Hollywood feel and leaves one ear clear for a statement earring. Expect to tuck it back once or twice during the day; that is part of wearing it, not a sign it’s failing.
Sleek Hair Hides Nothing in Close-Up Photos
Curls and waves forgive a lot. A sleek style forgives almost nothing, and a photographer’s close-up lens shows details you won’t notice in a mirror. These are the three things I check at the end of every sleek look, and again before the ceremony.
Flyaways along the hairline
Short broken hairs around the face and crown stand up as soon as the hair is pulled back, and in backlit shots they glow. I smooth them with a toothbrush and a little gel or wax stick, never with lots of spray, which tends to make them stiff and visible. Ask whoever is doing touch-ups to carry a wax stick rather than a can.
Shine that turns into grease
A glossy finish looks polished at noon but can look oily by evening under flash, particularly at the parting. I use the shine product on the lengths only and keep the roots matte. If you have naturally oily hair, a pinch of dry shampoo along the part before the reception photos fixes most of it.
The part line and the elastic
A crooked part, or an elastic peeking from under a wrap, is the first thing that catches the eye in a sleek look. I check both from behind with a hand mirror, and I ask you to turn your head both ways. If the wrapped strand has loosened, I re-pin it before you walk out rather than hope it holds.
How Much Polish Your Straight Hair Really Needs
Straight hair can go many directions, from a glassy chignon to a bob with flipped ends. I’d let the gown and venue lead: sleek and polished suits a structured dress and an indoor evening, while soft tendrils and braids suit a garden. Whichever you pick, the prep matters more than the style itself, so book a trial, wear the look for a few hours, and bring the photos you saved from this list to your stylist so you can talk through how each one will hold on your hair.
You'll Like These Ideas:


Leave a Reply