
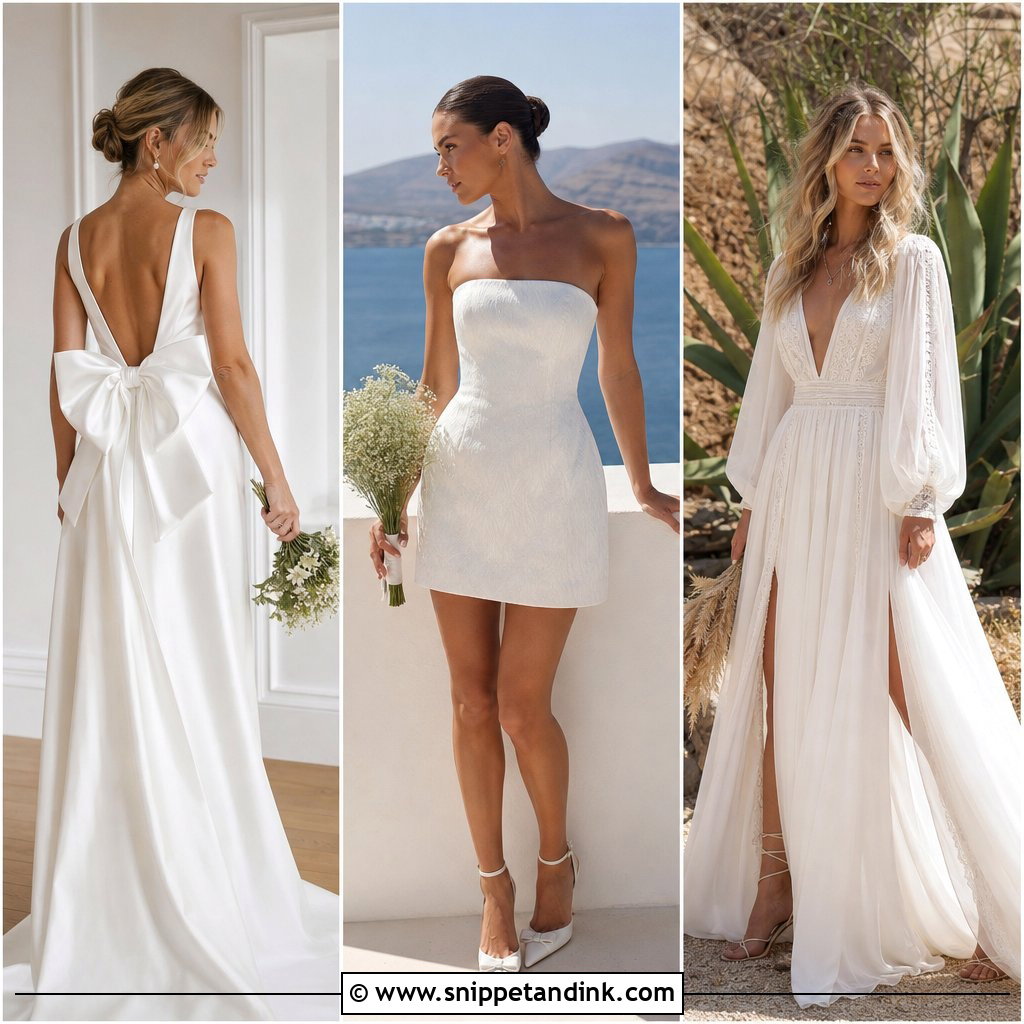
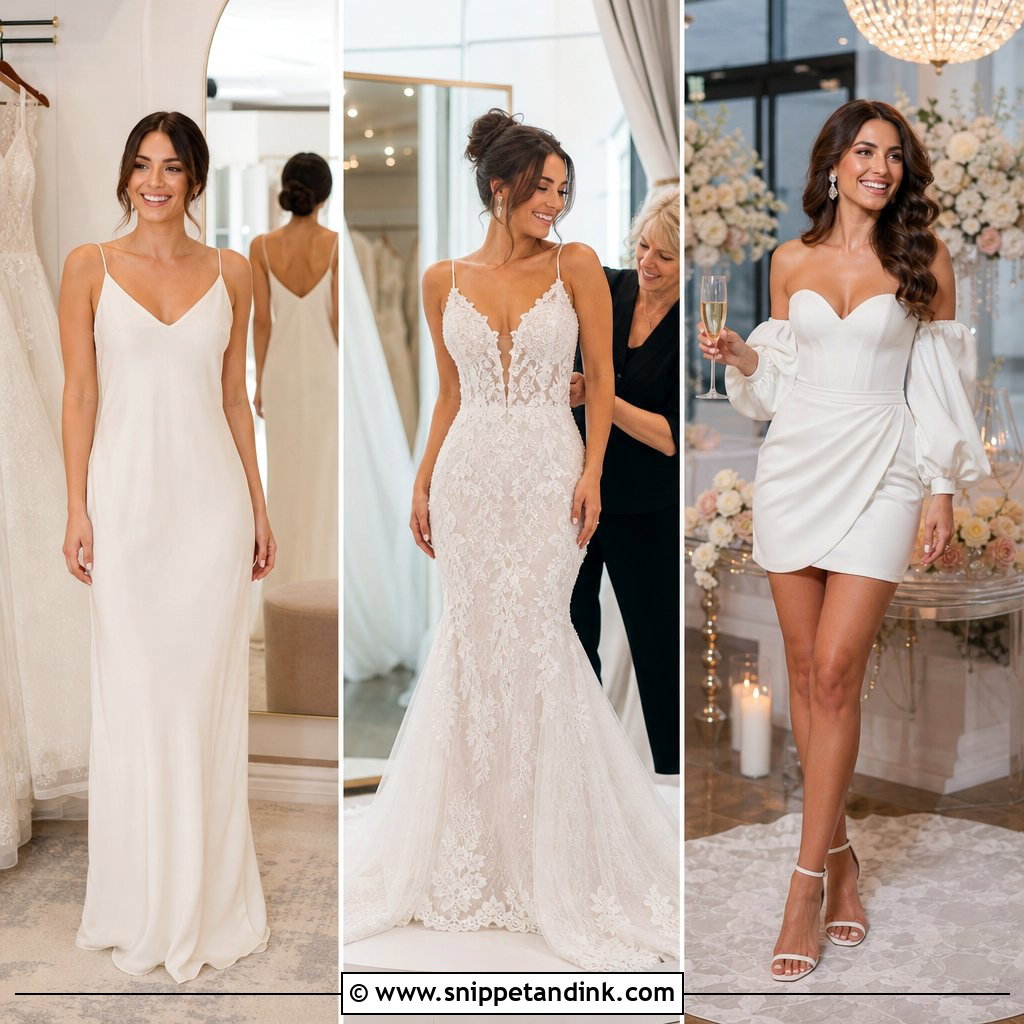
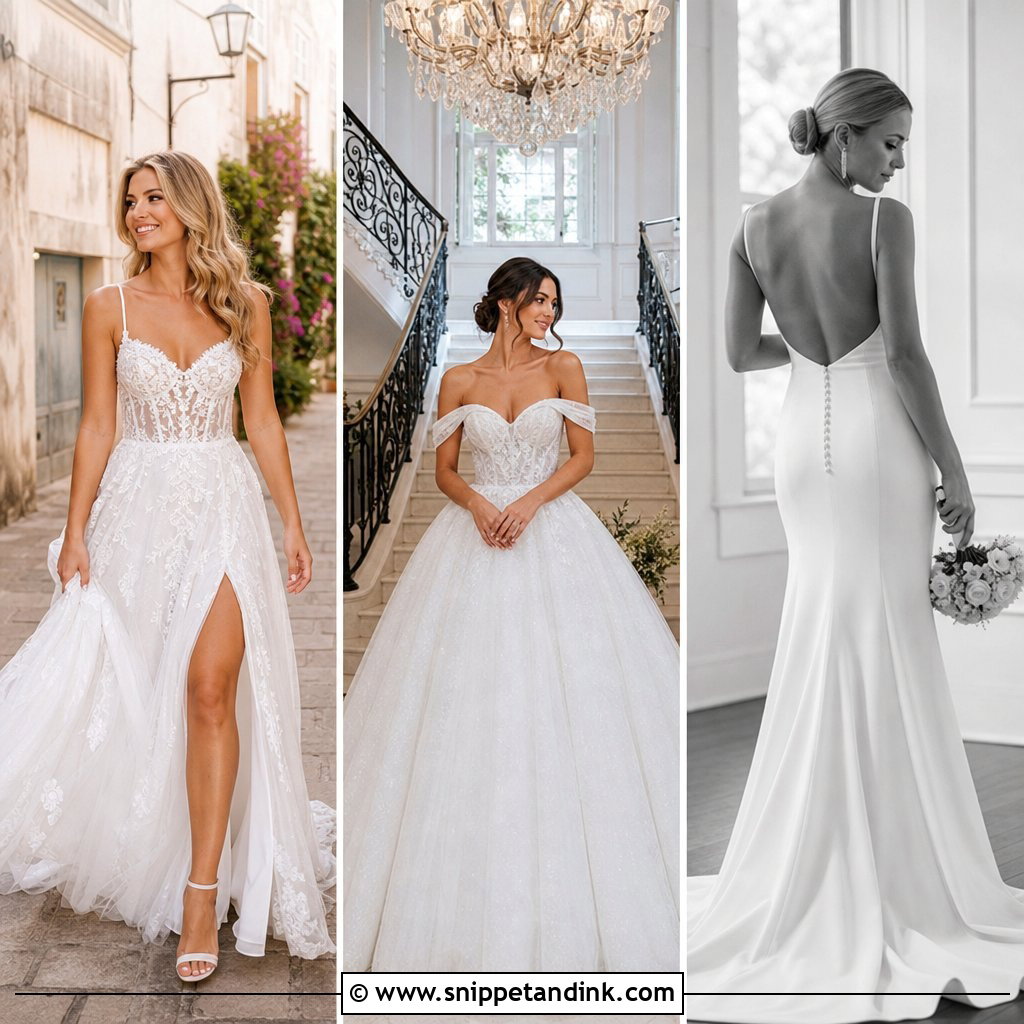
A good bridal portrait depends on three things working together: the dress, the way it is styled from head to toe, and a spot where the light and background let it read clearly. The twenty looks below cover classic, modern, romantic, modest, seasonal and less traditional gowns, and for each one I explain how I would shoot it: where to stand, which angle shows the shape, where the bouquet should sit and what tends to go wrong on camera. Ballroom, garden, beach or courthouse, the same rule applies. Pick a background that contrasts with the dress, and leave time for more than one angle.

Getting the Gown Camera-Ready in the Final Hour
Most of what spoils a dress photo happens before the camera comes out. Creases from the car, a bustle half done up, a hanger loop poking out at the shoulder or a phone in a hidden pocket all show in a full-length frame, and none of them are easy to fix in editing.
- Steam the dress at the venue, not the night before, and hang it high so the train does not touch the floor.
- Tuck the inner hanger loops into the bodice before you step in; they slip out at the shoulders in almost every gown.
- Empty the pockets. A phone or a tissue shows as a lump in side views.
- Make sure the bustle is fully let down for portraits, with every hook released.
- Ask one person to fluff the train and straighten the veil between frames; it saves a lot of time.
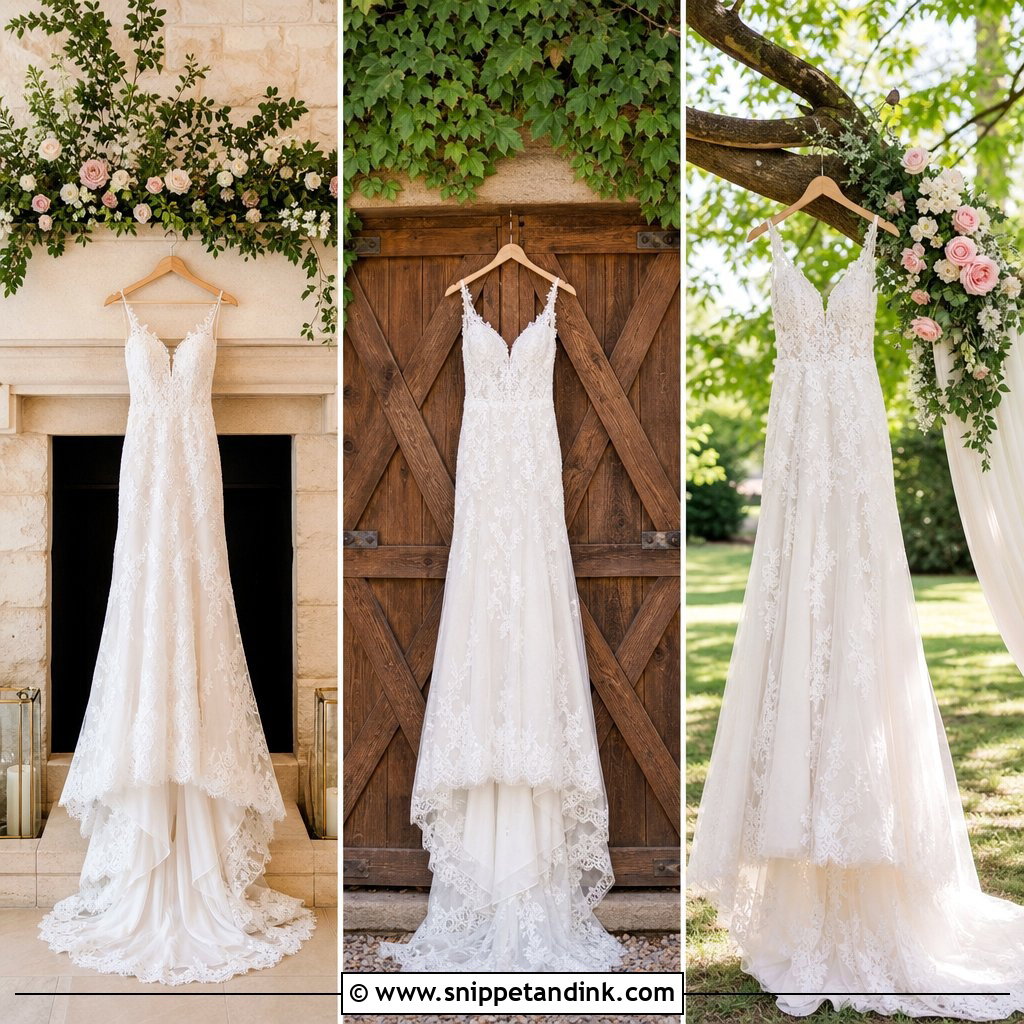
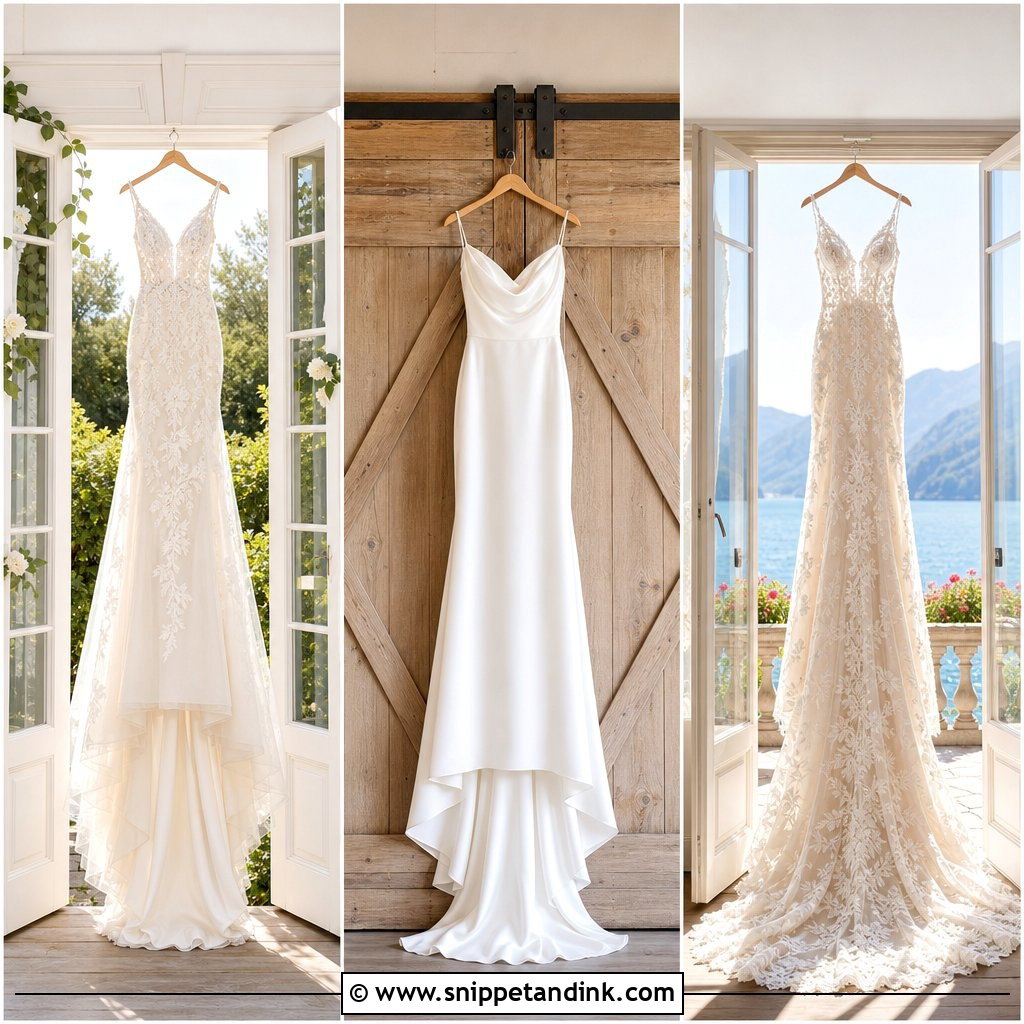
If you want photos of the dress on its own before you put it on, bring a wooden or padded hanger. The plastic one from the shop rarely does it justice, and a plain window or doorway makes a far better backdrop than a hotel wardrobe.
1. Classic Ball Gown Wedding Dress Photo
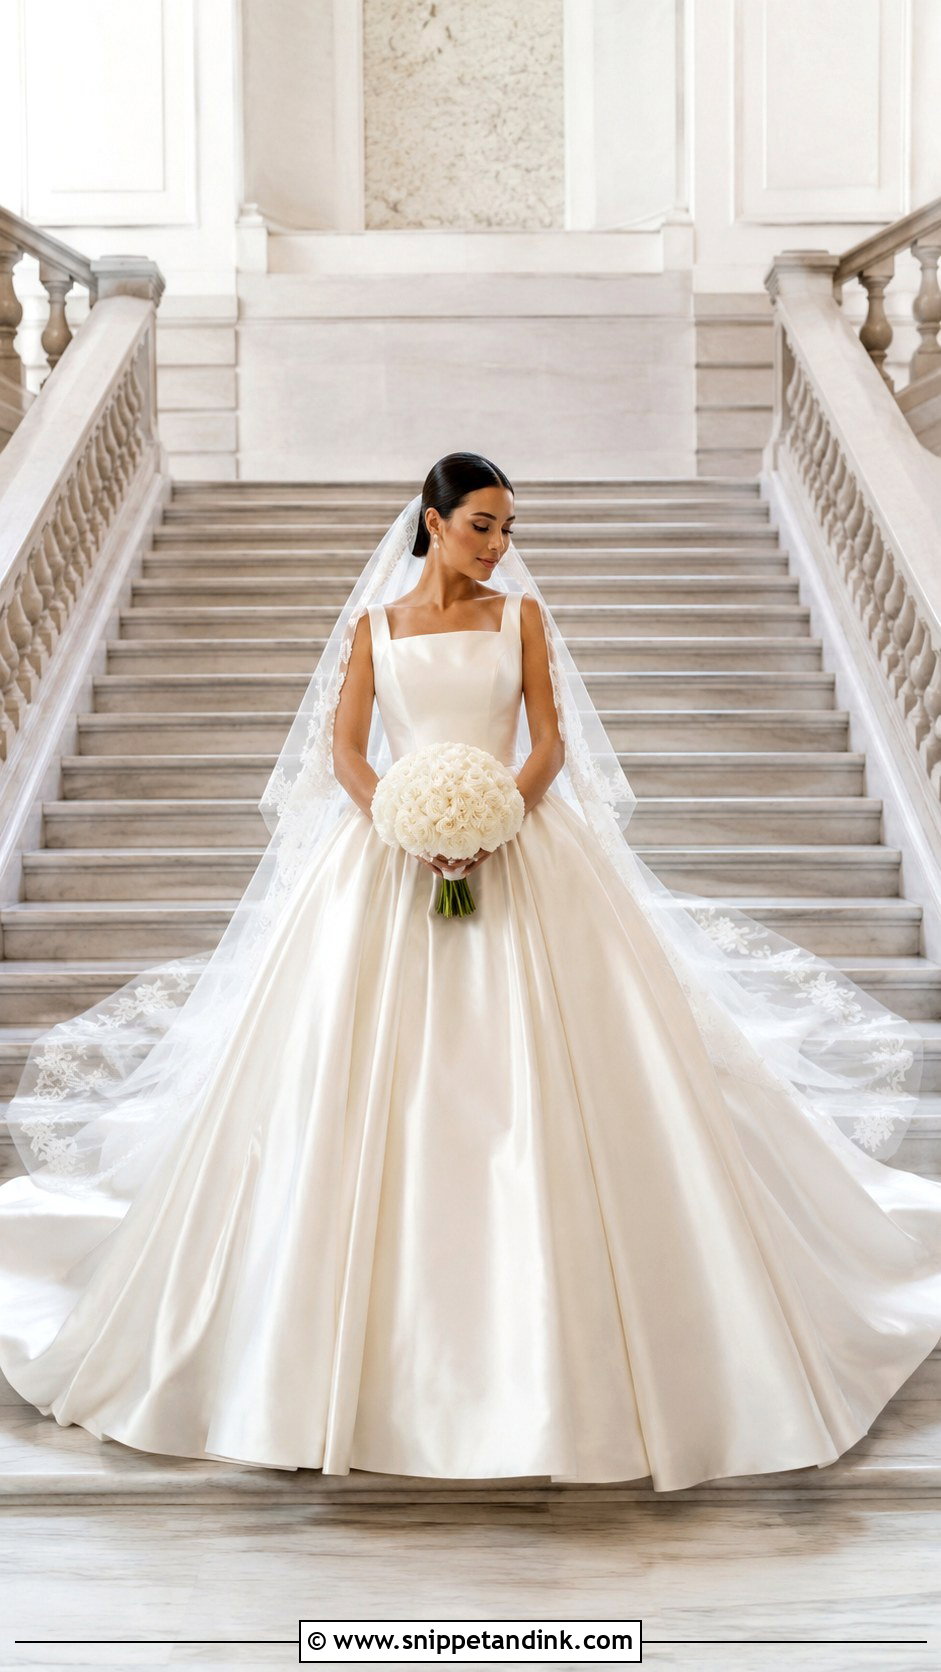
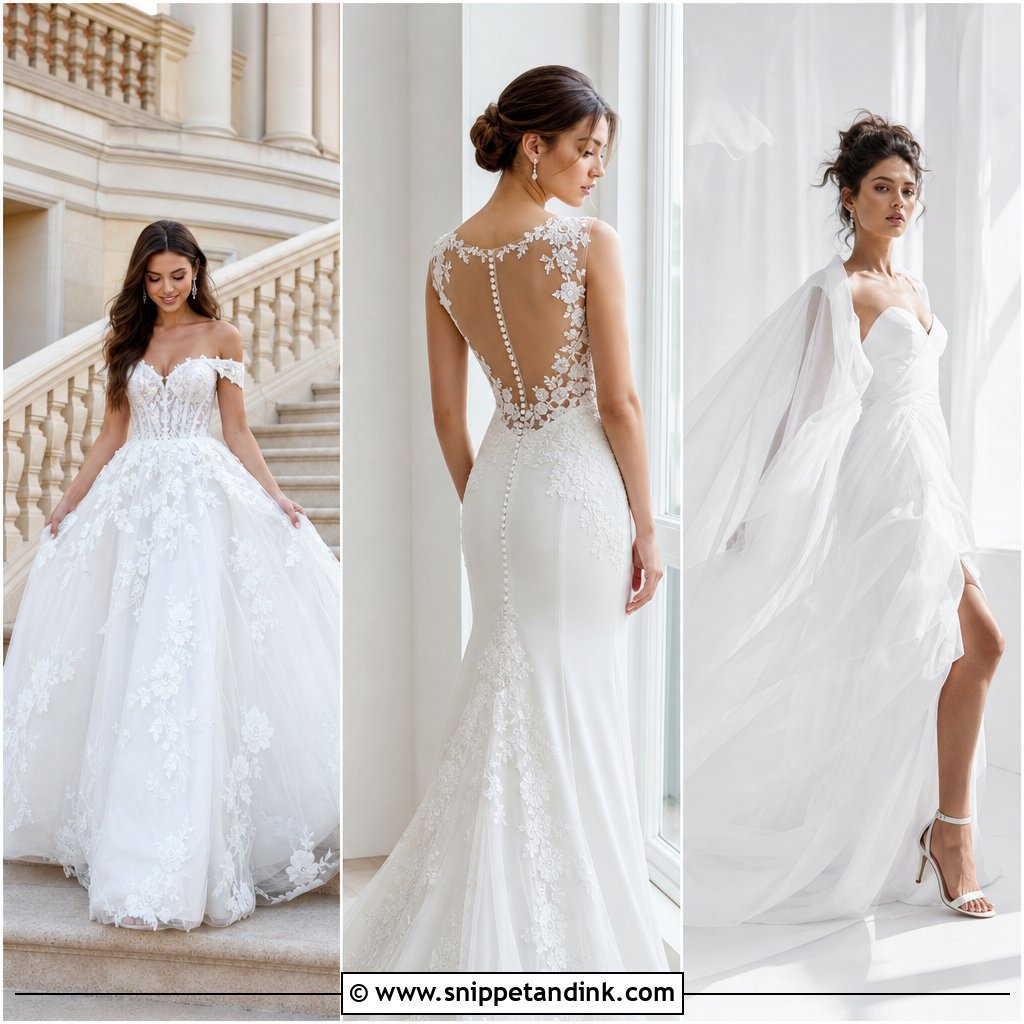
A ball gown is all about scale, so the first frame I want is a full-length shot with plenty of space around the skirt. A wide staircase, a long hallway or the middle of a bright ballroom gives that room. Before I shoot, someone spreads the skirt evenly so the hem forms a clean circle; one bunched side throws the whole shape off. I shoot straight on for the silhouette, then drop the camera to about hip height, which adds drama without hiding the bodice. Hold the bouquet at your waist, not your chest, or it covers the neckline and the fitted waist the dress was built around.
2. Lace A-Line Wedding Dress Photo
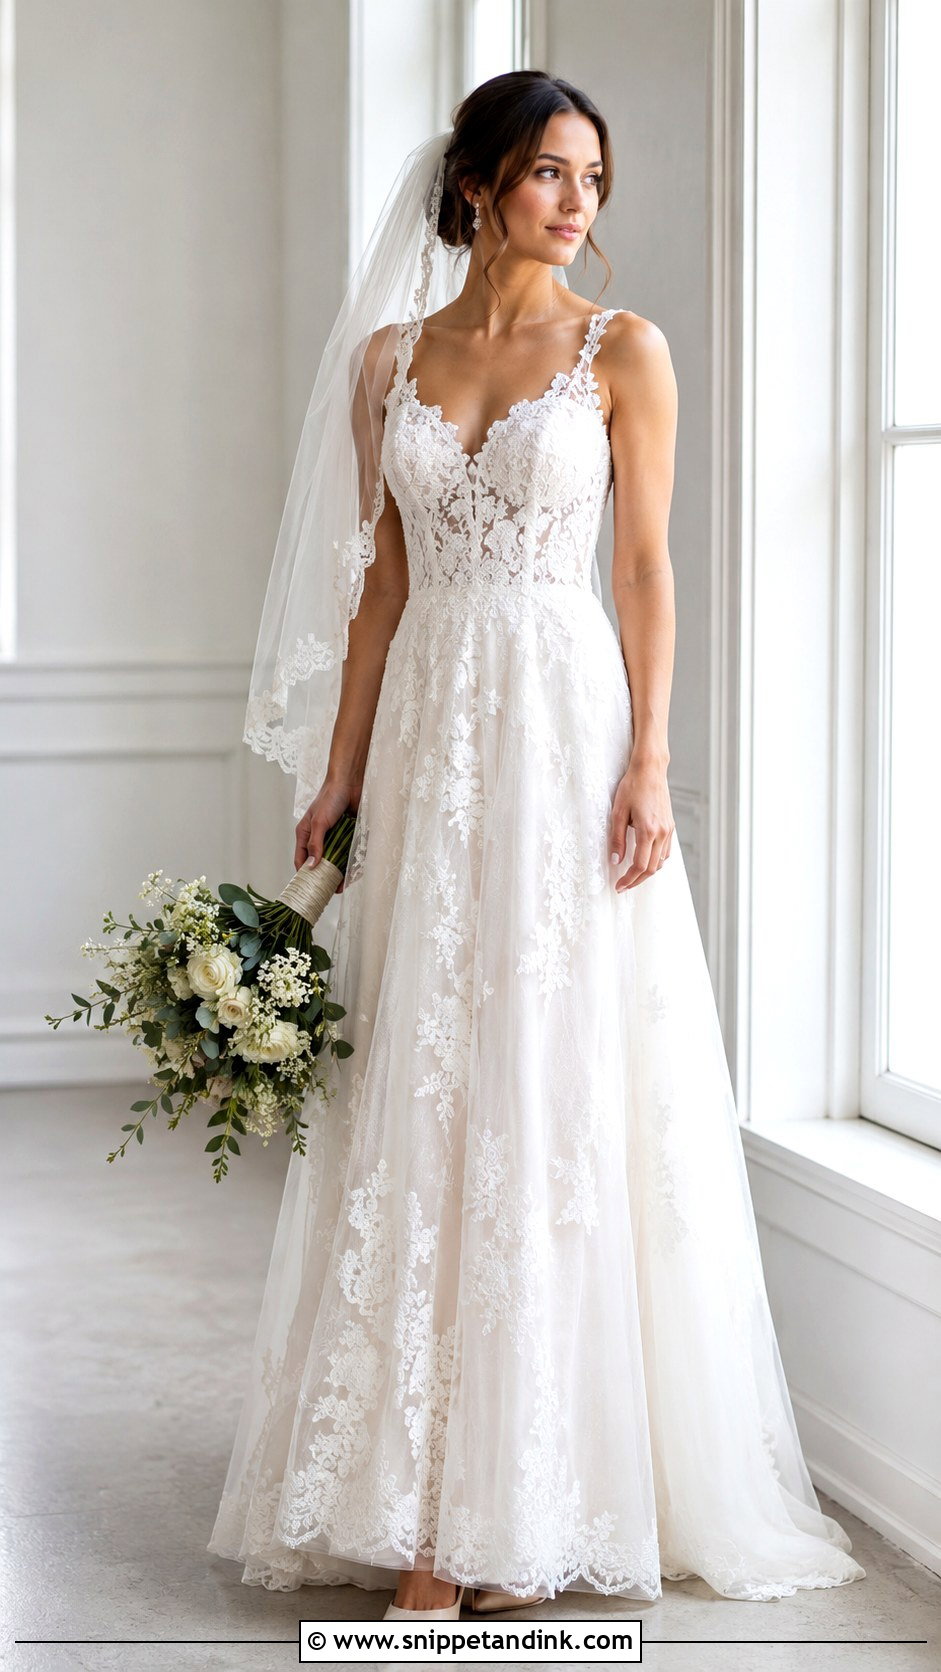
Lace shows its pattern best in soft, directional daylight, the kind that comes through a tall window or falls under a covered porch. Direct sun flattens it. With an A-line lace dress, I turn the bride’s body slightly away from the camera and bring her face back toward the light, which narrows the waist and lets the light skim across the lace. A plain stone wall or a neutral room behind keeps the pattern from competing with a busy background. Make sure the whole hem and train are in frame for at least one shot; brides often regret losing the bottom of a lace skirt.
3. Minimalist Satin Wedding Dress Photo
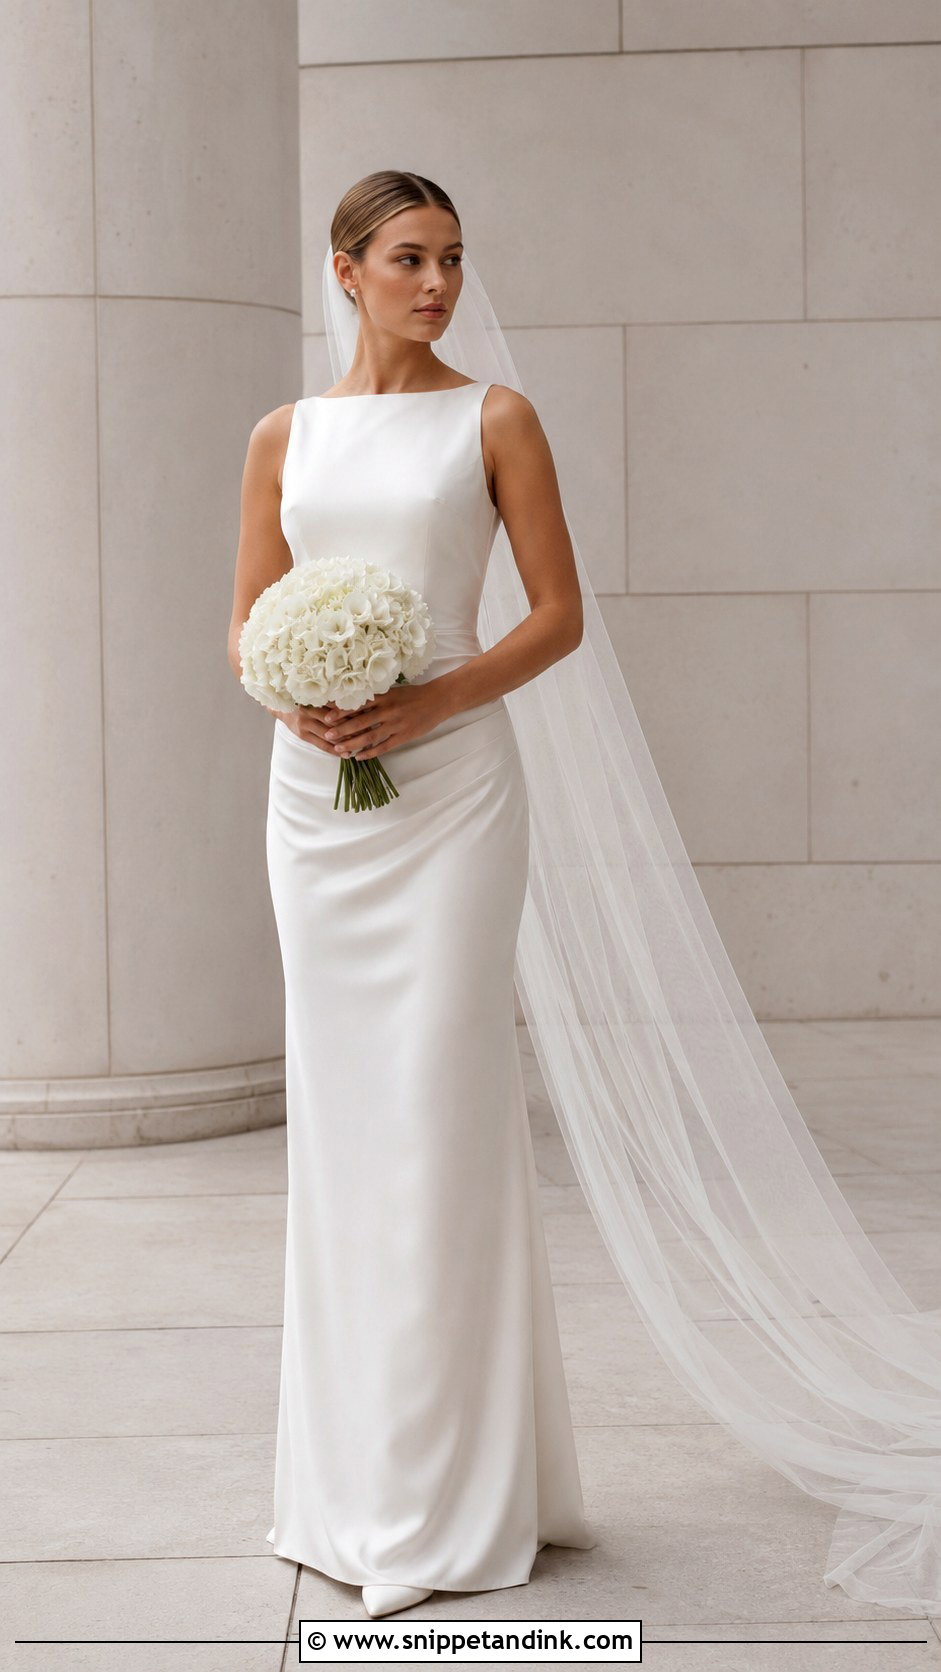
Plain satin is unforgiving in flat light; it can look like white plastic. Side light fixes that by putting a gentle sheen down one side of the dress and shadow down the other, so the seams and shape appear. A column or sheath with a clean neckline looks best against modern architecture, a white studio wall or a long hotel corridor. Stand tall with one foot slightly forward and one arm relaxed. I always take front, side and back shots of a minimalist gown, because the construction is the whole point. A long veil gives some movement in an otherwise still picture.
4. Long Sleeve Wedding Dress Photo
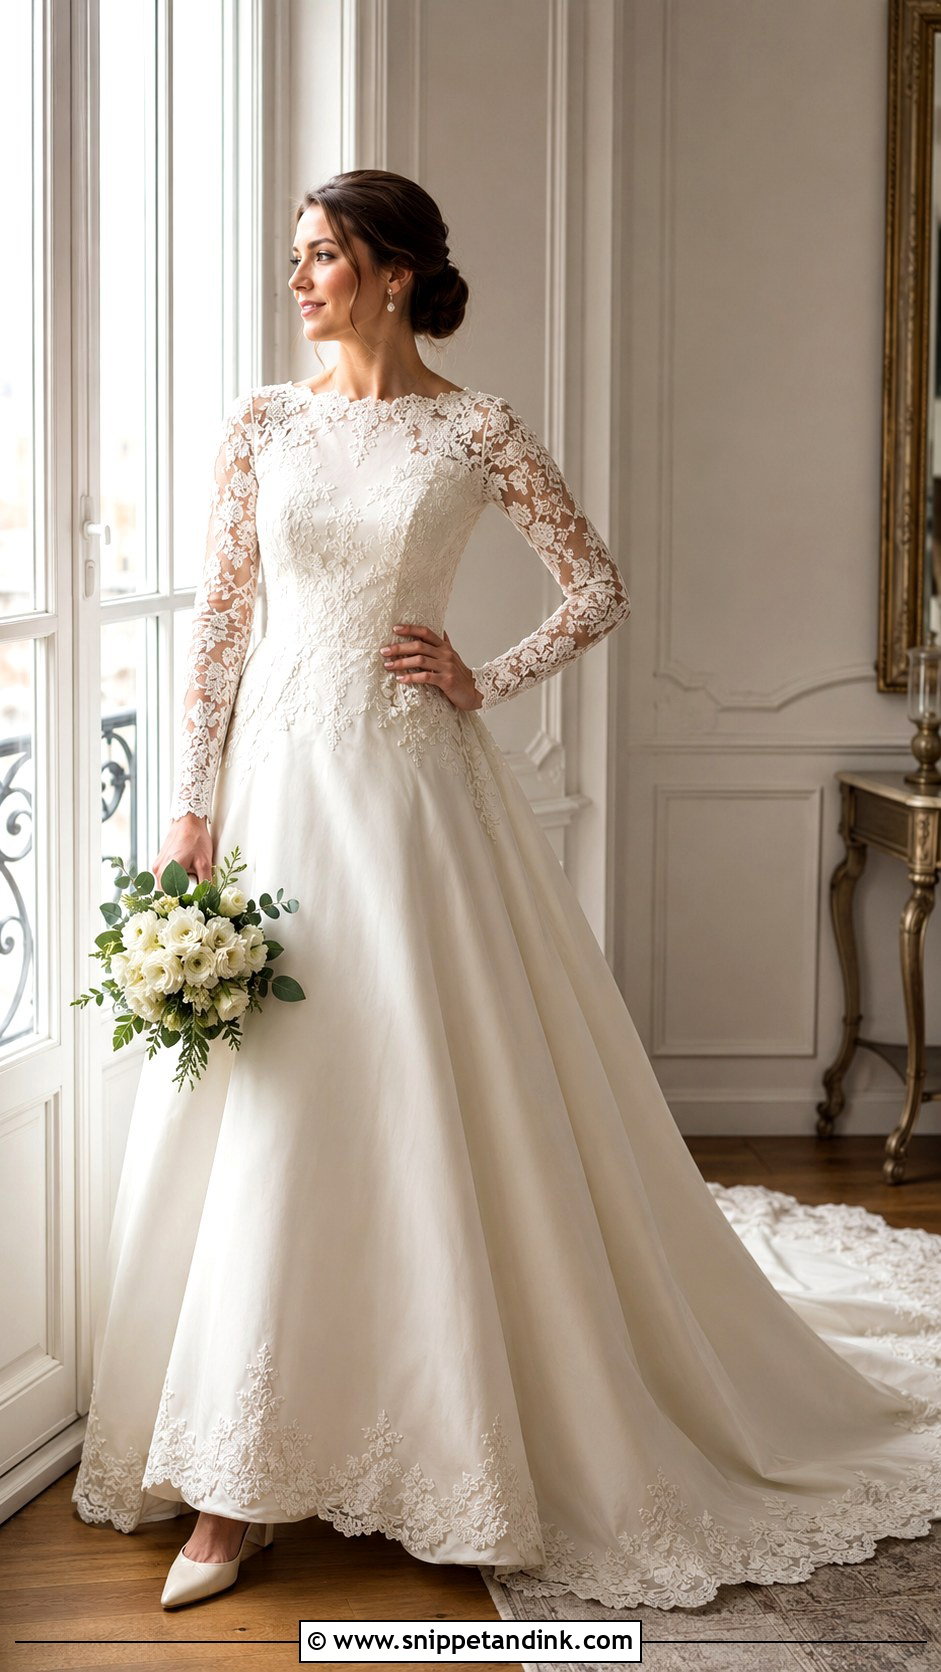
Sleeves frame the upper body and the hands, so I pay more attention than usual to where the arms go. Sheer lace sleeves look soft; fitted crepe looks clean. A tall window lights the sleeve pattern without blowing out the white. Rest one hand gently at the waist and let the other hold the bouquet below the bodice. Then turn away and look back over your shoulder to show the back closure and the train. The common mistake is pressing the arms against the body, which flattens both the sleeve and the waist; a small gap looks far more relaxed.
5. Off Shoulder Wedding Dress Photo
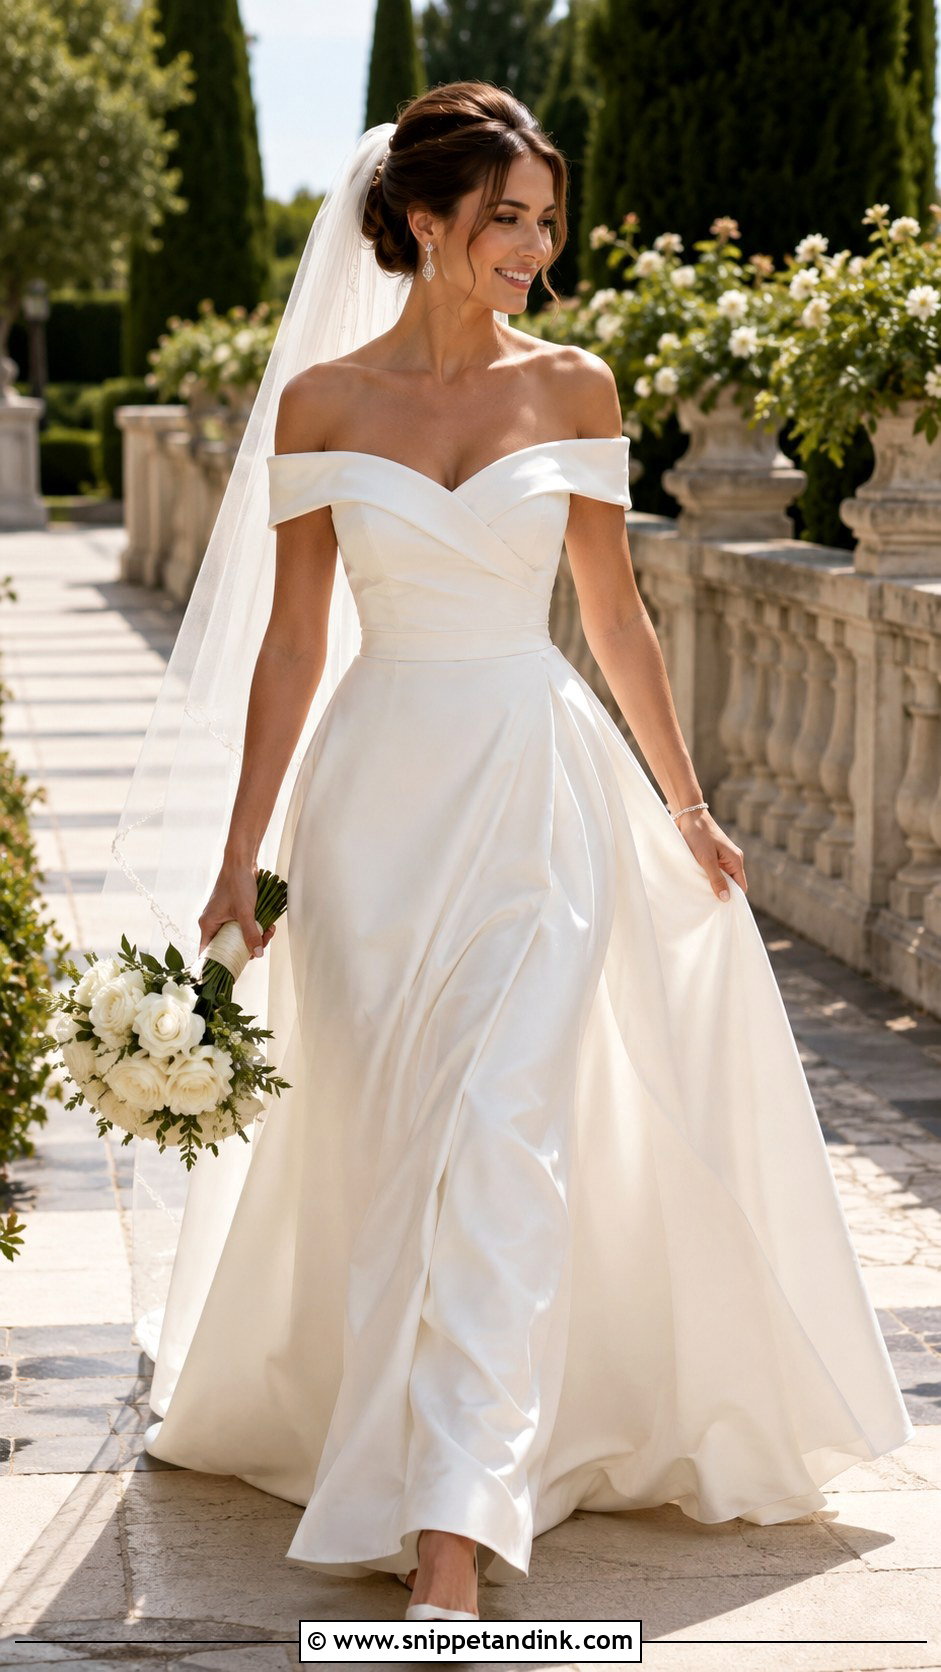
Off-the-shoulder necklines put the focus on the collarbones and face, so the bouquet has to sit lower than usual or it hides the one feature the dress is about. I ask the bride to angle her torso a little and turn her chin back toward me, which lengthens the neck. An updo and a veil set below it keep the neckline clear. A bright garden path, terrace or plain room all work. I always add a walking shot: gentle movement relaxes the shoulders, which tend to creep up when people stand still and pose.
6. Strapless Corset Wedding Dress Photo
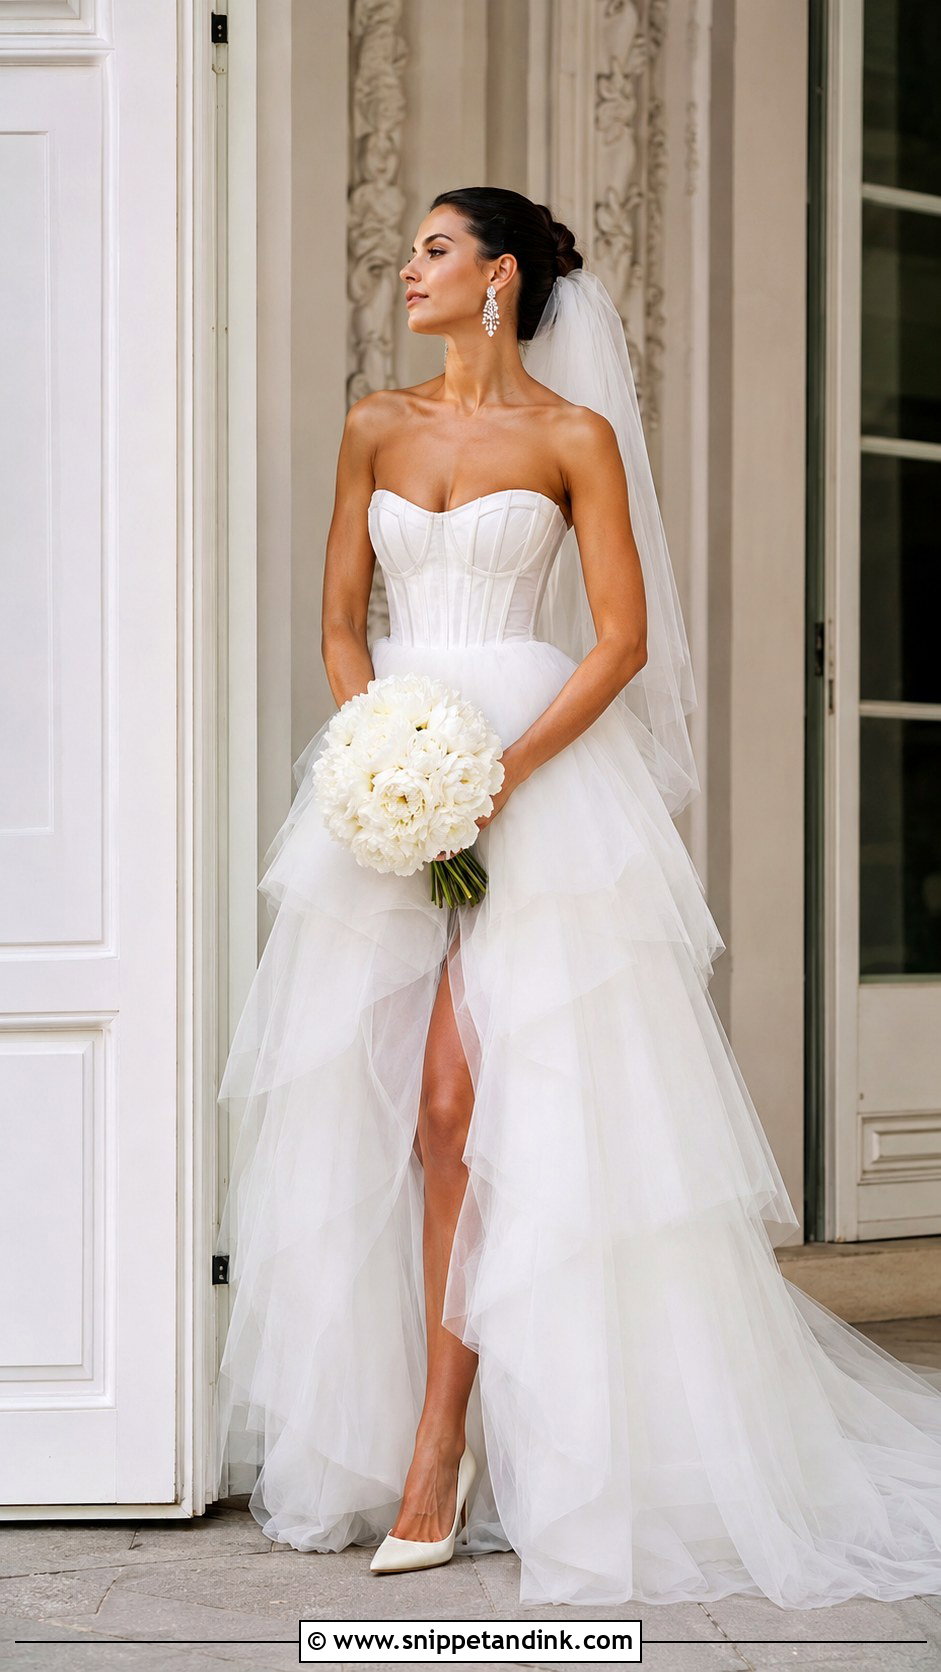
A corset bodice looks architectural, so a grand doorway or a plain stone background echoes it well. Keep the bouquet at hip level so the seams and the waist stay visible. A three-quarter angle is my default here; it shows the shape of the bodice and the volume of the skirt in one frame. Before the first shot, I check the neckline sits level and the boning lines are straight, since a strapless bodice shifts as the bride moves and a tilted neckline is one of the most common things retouched afterward.
7. Mermaid Wedding Dress Photo
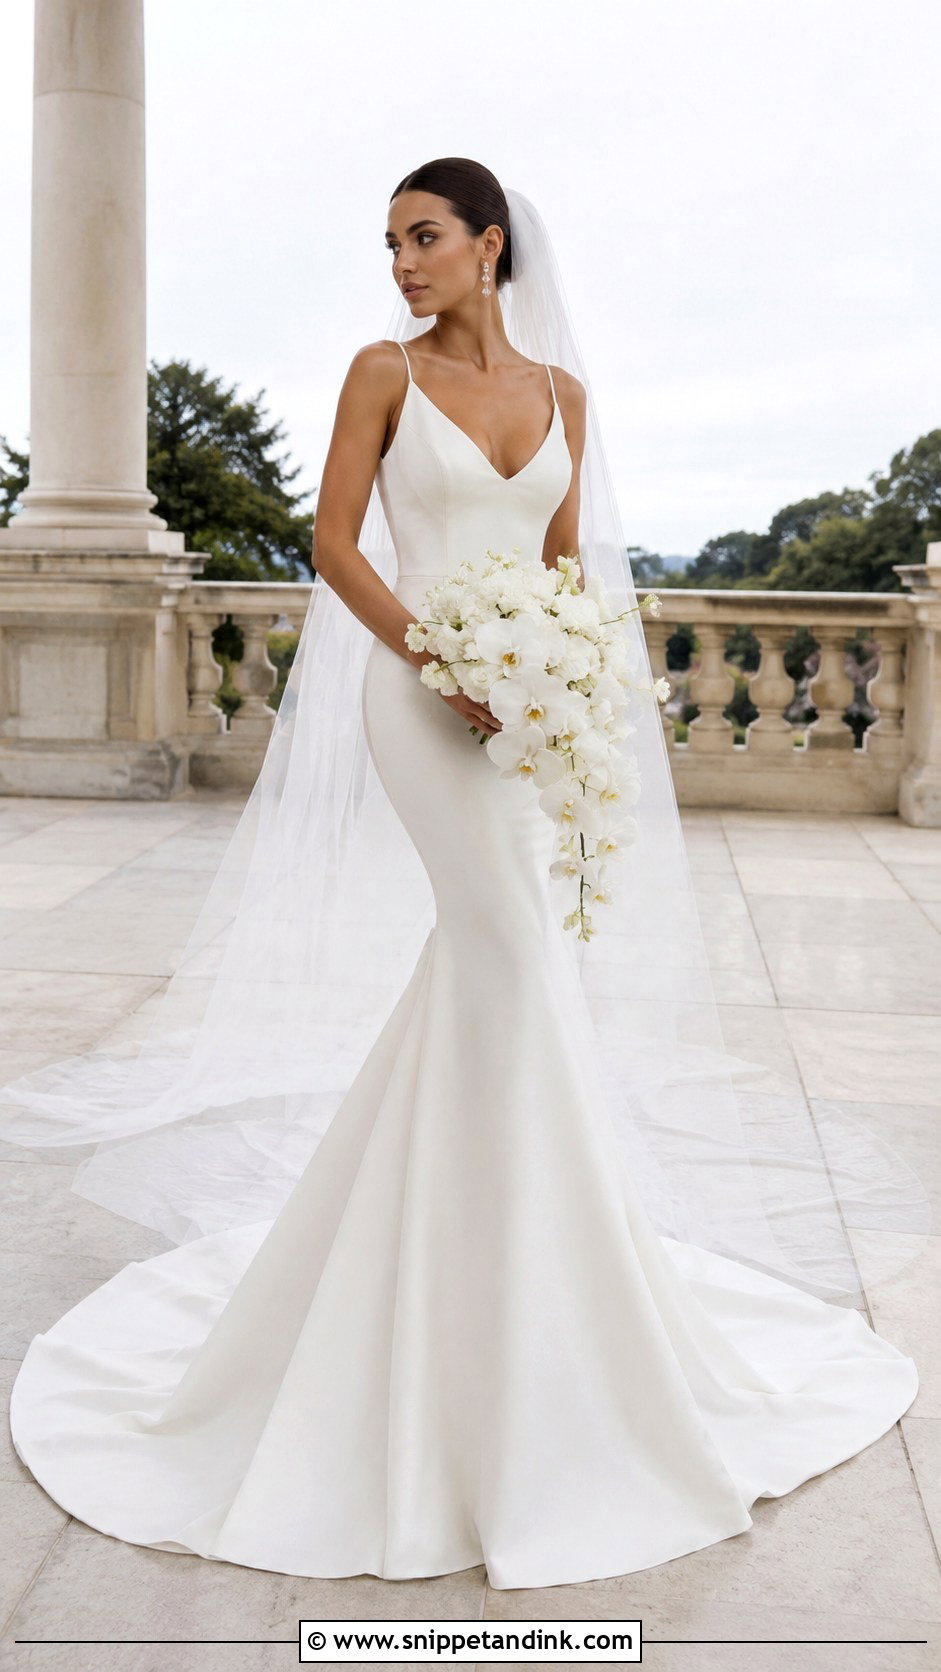
What a mermaid photo has to show is the change from fitted to flared. I place the bride at a slight angle with her weight on her back leg and the front knee relaxed; it creates a curve without looking forced. A clean hallway, an open terrace or a neutral wall leaves space around the flare. Before shooting, someone needs to arrange the lower skirt so the flare fans out evenly, because a mermaid hem easily folds under itself when you step into place. I always take one still portrait and one walking shot from the side, where the flare moves best.
8. Boho Wedding Dress Photo
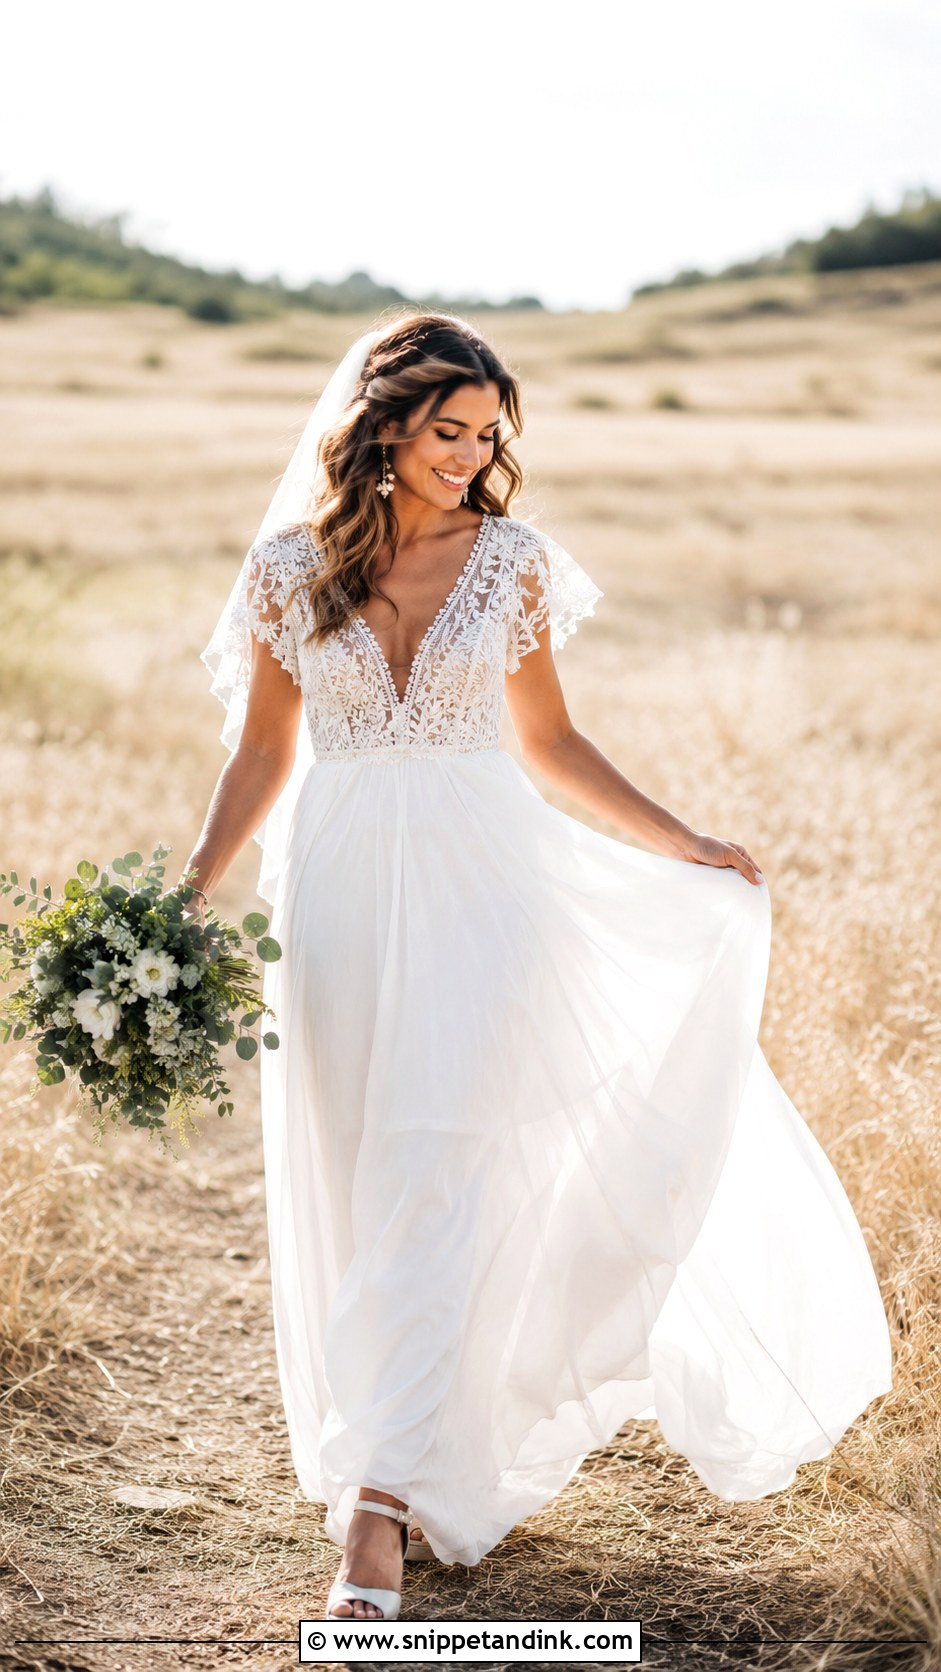
A boho dress needs movement and texture, so I shoot it outdoors with the bride walking slowly rather than standing still. Chiffon, crochet lace, soft tulle and embroidery all come alive in a light breeze. An open field, pale rocks or a bright woodland path keep the background simple. Lift a little of the skirt off the ground as you walk; it shows the shoes and gives the fabric somewhere to swing. Woodland light can turn white green where it bounces off leaves, so I look for a gap with open sky above the bride.
9. Vintage Wedding Dress Photo
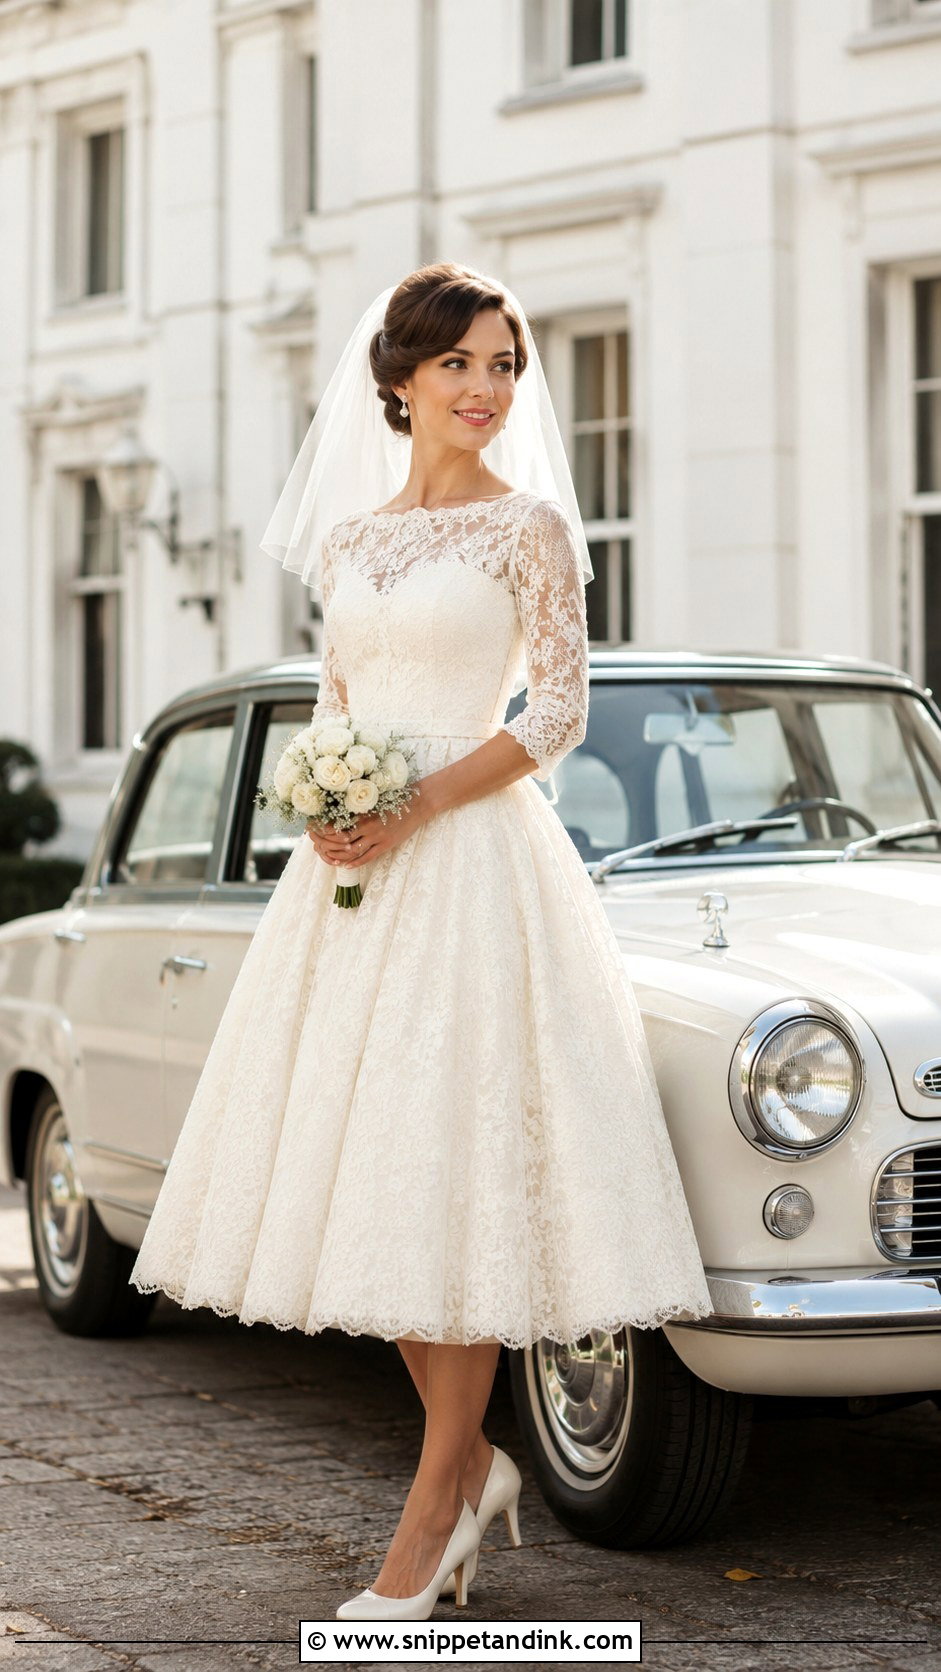
Vintage portraits work when they feel personal rather than themed. A tea-length lace gown, a bias-cut satin dress or an older-style long sleeve looks best in a bright historic interior, beside a classic car or in a plain garden. Gloves can work if they suit the sleeve length. Use a full-body standing pose with one foot turned slightly out to show the shoes and hem, and a side profile for buttons, lace edges or a draped neckline. In editing I keep the colours natural, because heavy sepia filters date badly and make an authentic vintage gown look like a costume.
10. Plus Size Wedding Dress Photo
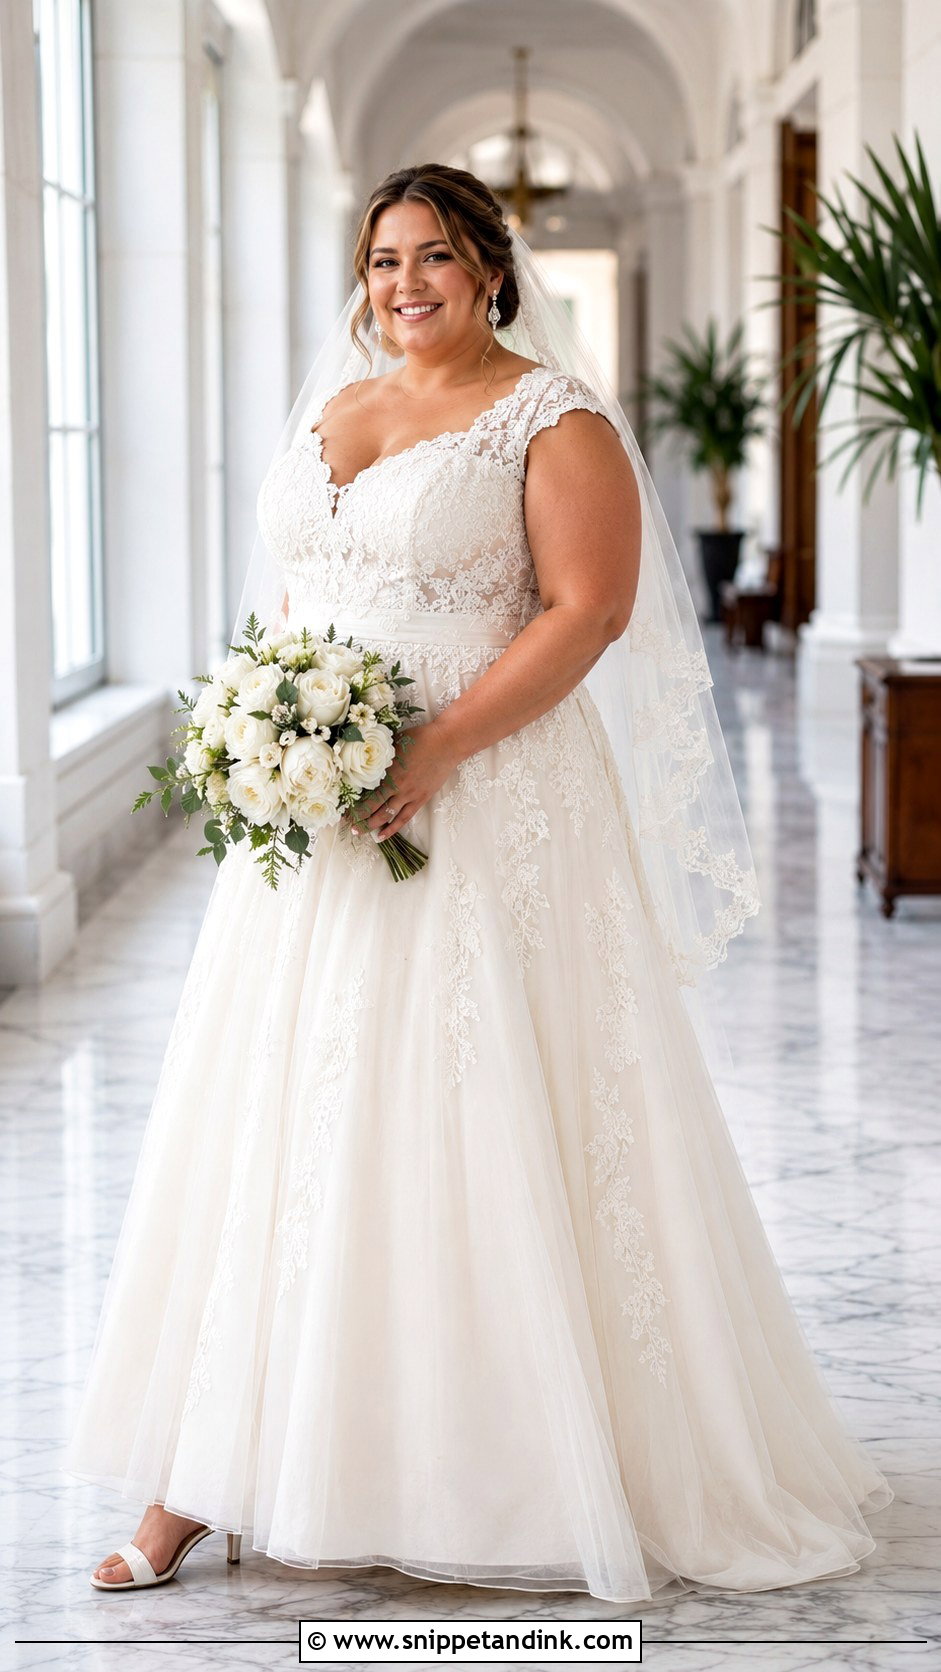
For a plus-size bride, I start with comfort, because a bride who is comfortable relaxes her shoulders and that shows. Wear the silhouette you love. I angle the body slightly while keeping the shoulders open, put one foot forward, and keep the bouquet below the natural waist to hold a long line. Even, bright light keeps the dress detail and skin tones natural. Camera height matters: shooting from slightly above eye level is generally more flattering than from below. I always take full-length, seated, walking and back views, since variety serves every body better than one supposedly flattering pose.
11. Petite Wedding Dress Photo
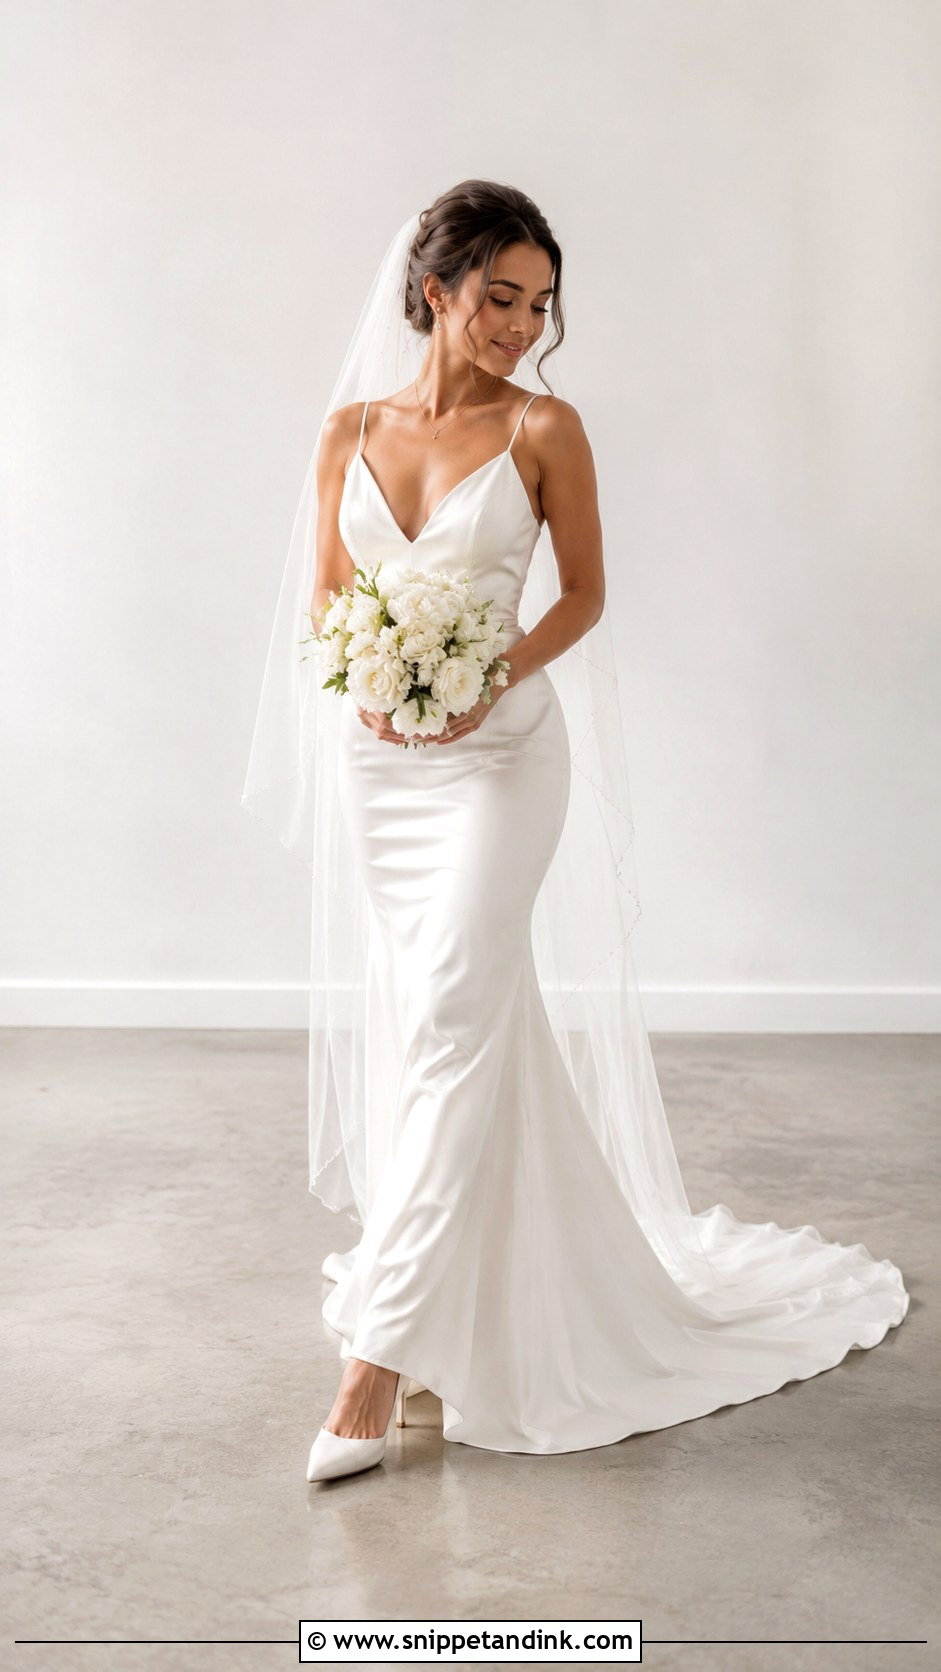
With a petite bride, camera height is the main thing I adjust. A very low angle can distort the body and make the dress look shorter, so I shoot from about waist or chest height and leave room for the whole train. I also keep her away from huge furniture or oversized architecture, which shrinks her in the frame. A vertical pose with relaxed arms and one foot forward adds length. A clean A-line, sheath or fit-and-flare reads clearly, and the hem should be altered so no fabric pools around the shoes, since that pooling shows up in every full-length shot.
12. Modest Wedding Dress Photo
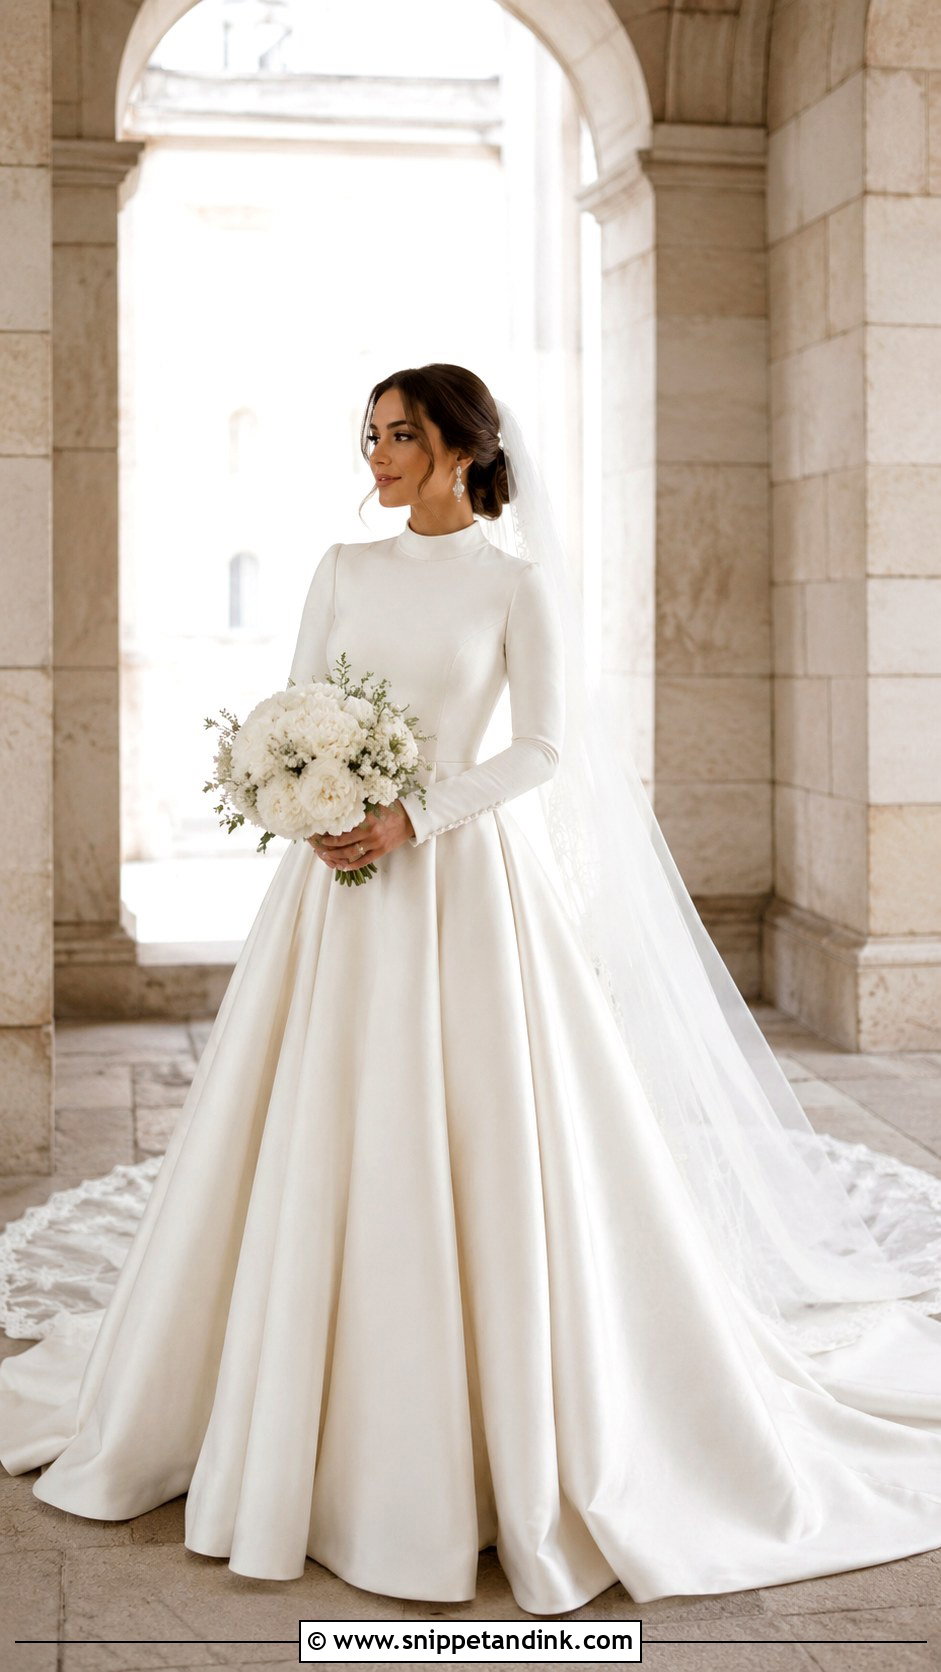
A modest dress often has the most beautiful construction details, and the photos should show them. I place the bride near a bright window, a pale archway or a formal garden wall, then shoot one front-facing frame to show the full shape and one over the shoulder for the veil and back. Keep the bouquet at hip level so the neckline and waist stay visible. Crepe photographs clean; lace and embroidery add texture. Before each set, smooth the sleeves, cuffs and skirt, because long sleeves wrinkle at the elbow and those creases are obvious in close-ups.
13. Beach Wedding Dress Photo
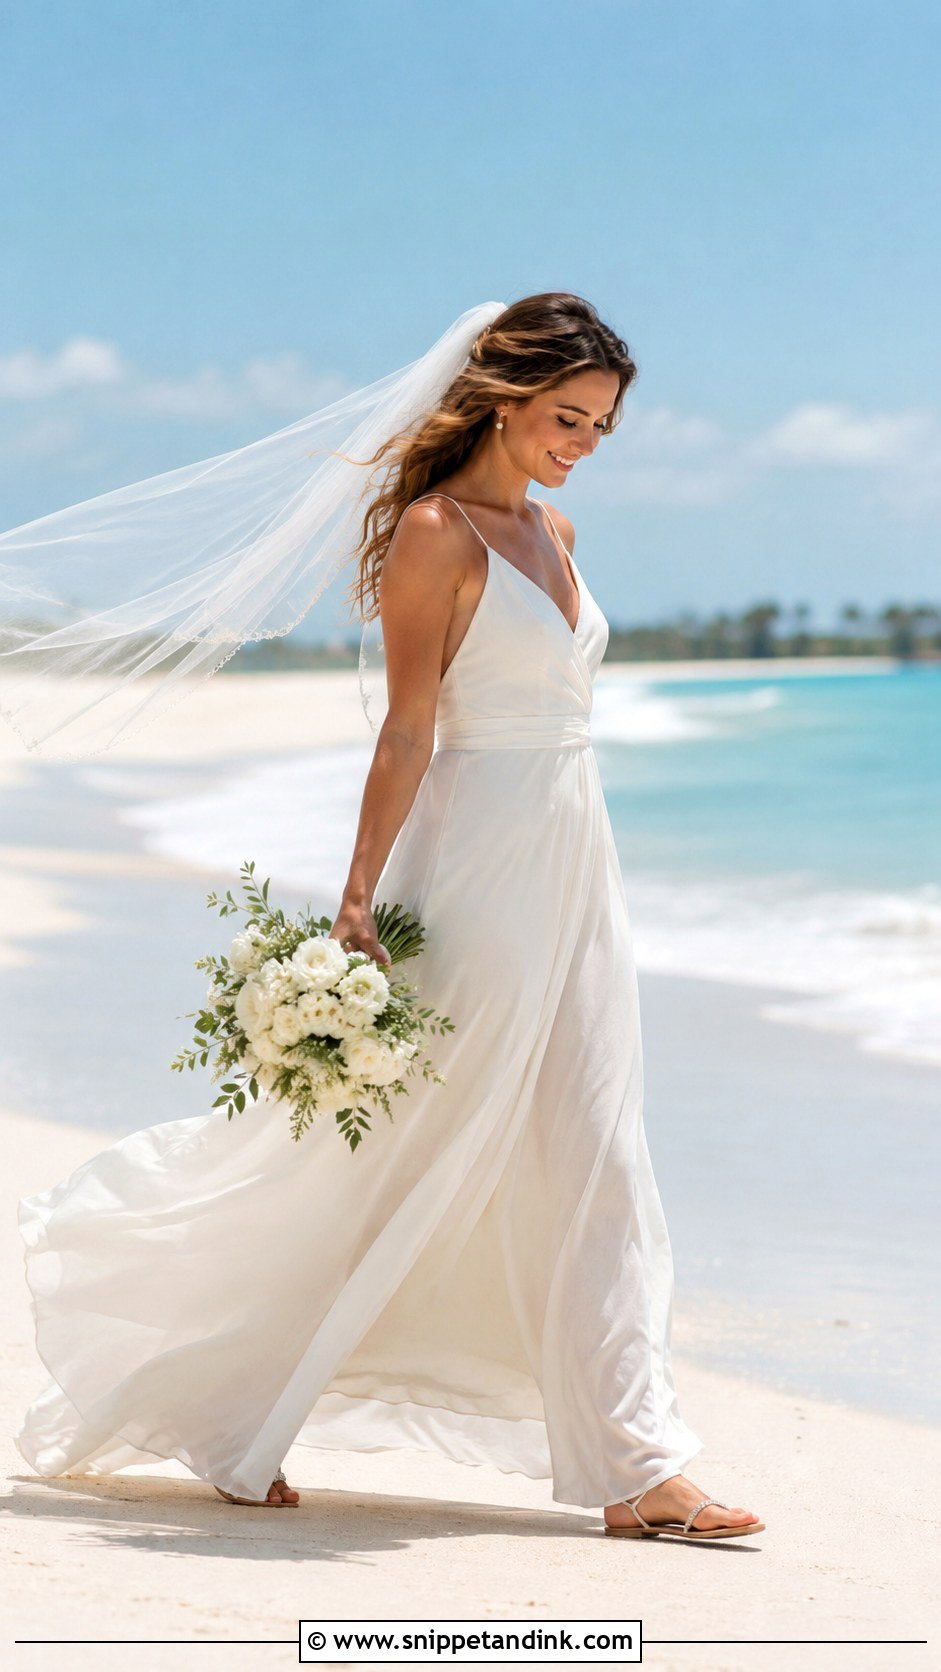
Beach light is bright and reflective, so I shoot early or late in the day when it is softer; harsh midday sun bleaches out white fabric and makes everyone squint. A light chiffon, crepe, tulle or lace dress with a manageable train moves best. Take full-body photographs near the waterline and walk parallel to the shore so I can catch the dress in profile. Check the wind direction first. I position the bride so the breeze blows the veil and hair behind her, not across her face, and the skirt moves with them.
14. Garden Wedding Dress Photo
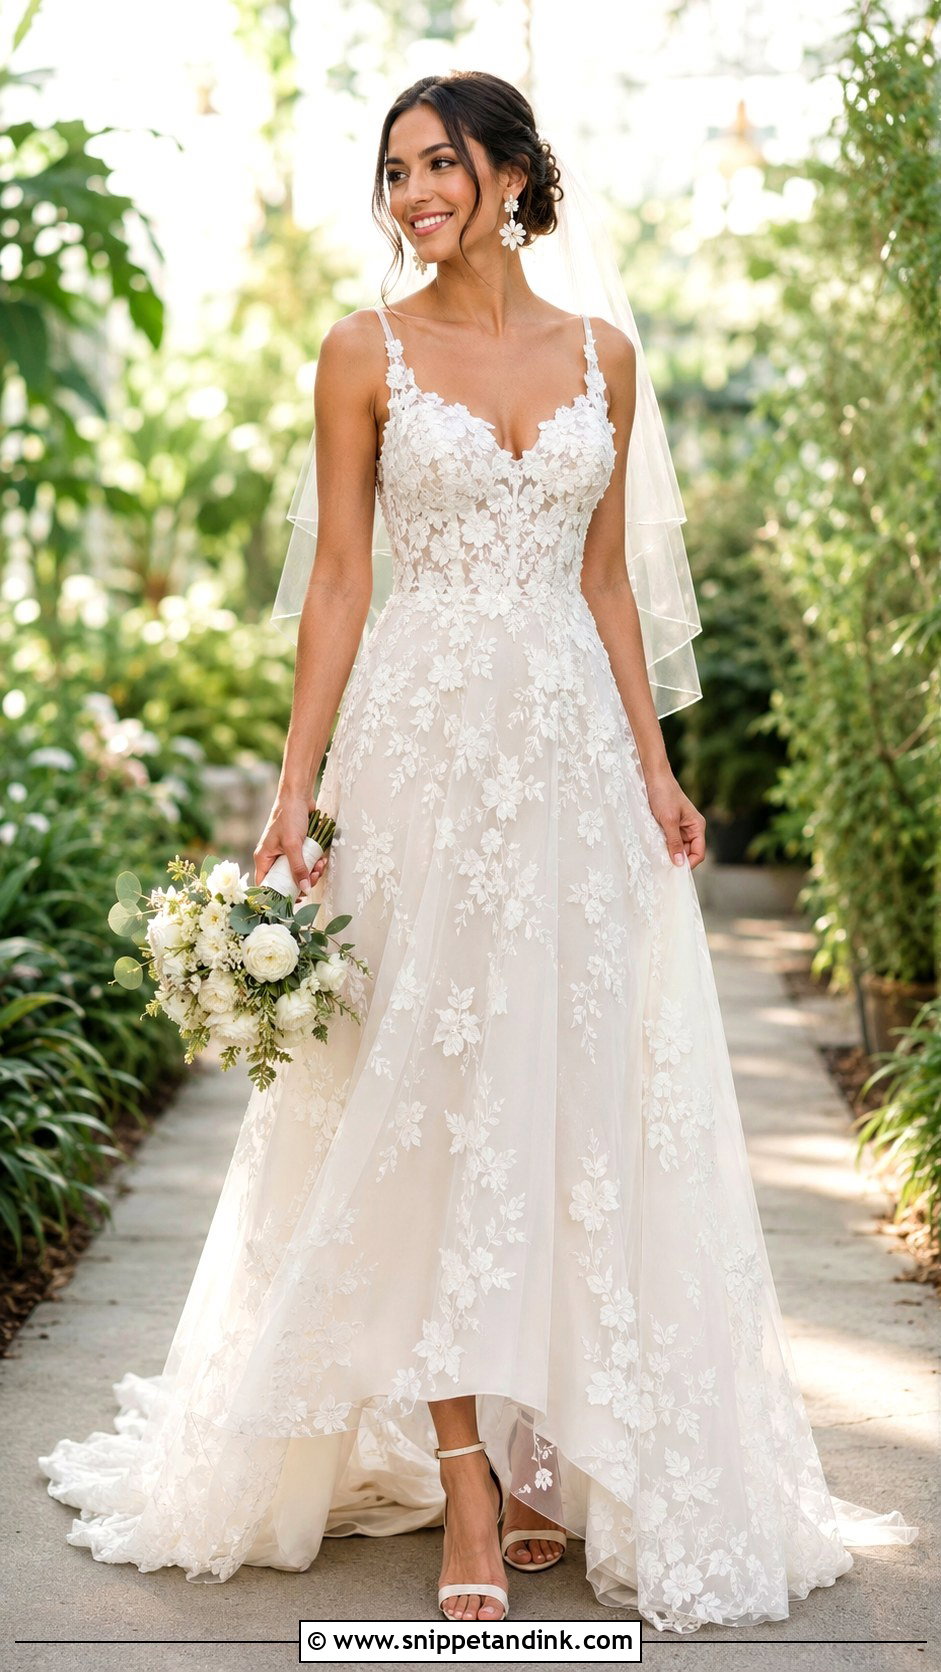
In a garden, I keep the bride on the path rather than in the planting. It keeps the full silhouette visible, protects the hem from soil and stops leaves crowding the frame. Floral appliqués, embroidered vines or delicate lace suit the setting, and the bouquet should coordinate with the garden without matching it exactly. A slight turn shows the bodice and the depth of the skirt. The thing I look for most carefully is what is behind your head. A stem or branch that appears to grow out of your hair is easy to miss on the day and impossible to un-see afterward.
15. Courthouse Wedding Dress Photo
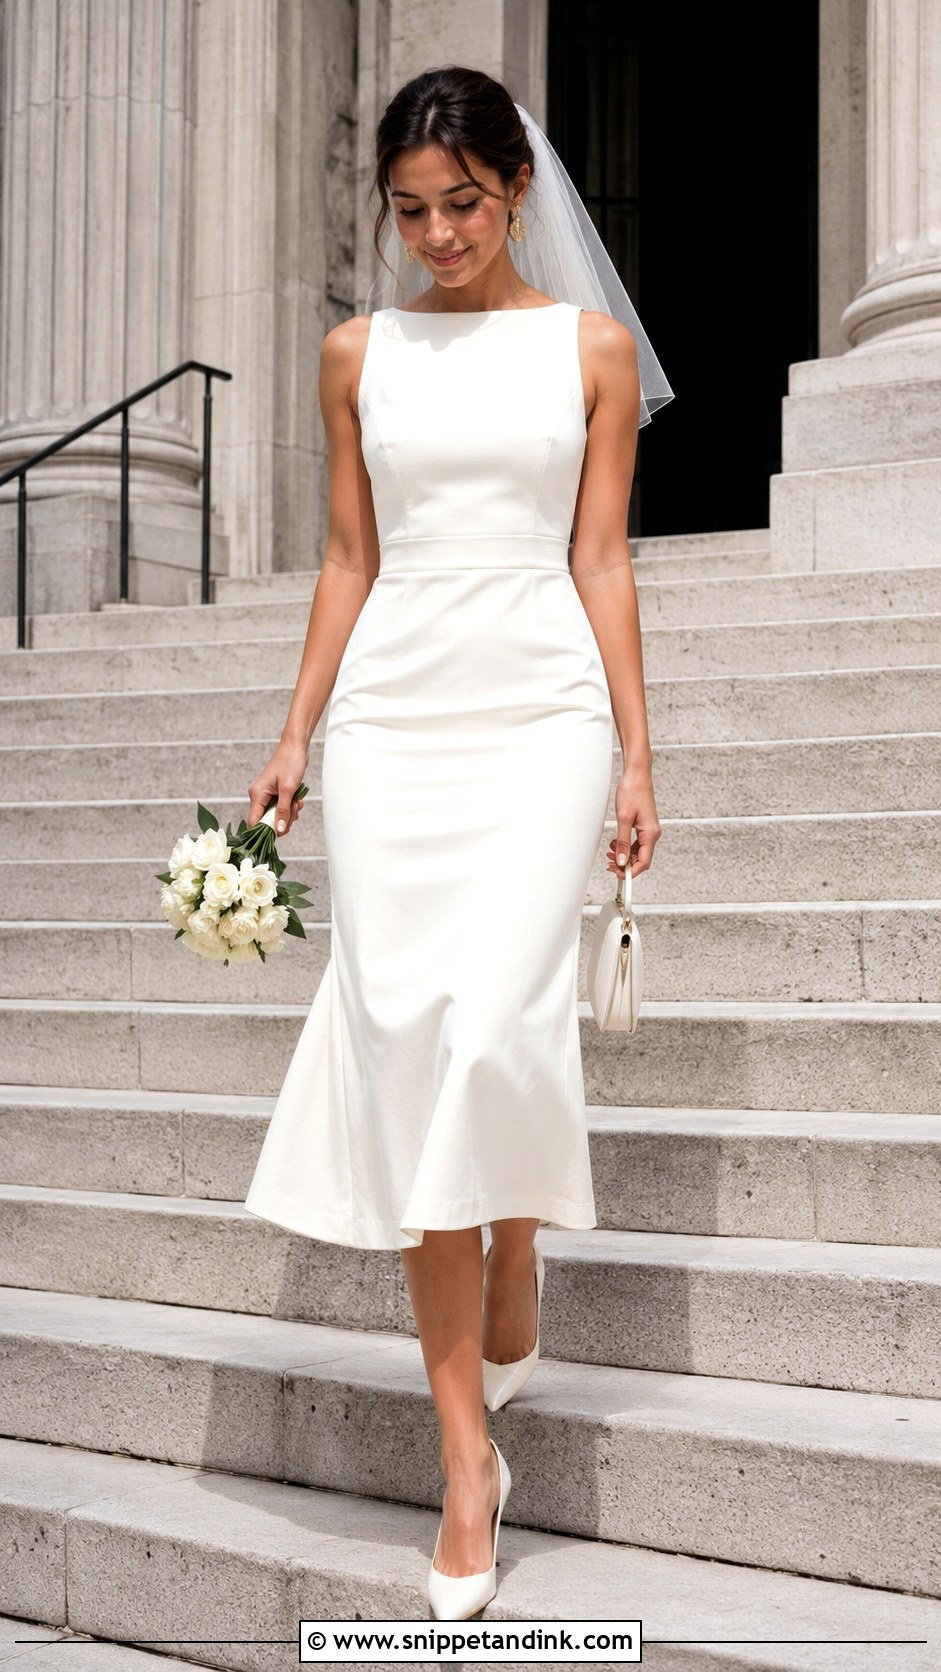
Courthouse weddings move fast, so I plan a few strong frames rather than a long session. A tailored midi, sleek column, structured mini or bridal suit with a short veil or hair accessory reads well against steps, tall windows or stone columns. A walking shot down the steps captures the energy of the day; a straight-on frame shows the full outfit. Steam the dress before you leave home, because there is rarely anywhere to do it at the courthouse, and a creased skirt in a clean architectural shot is very noticeable.
16. Winter Wedding Dress Photo
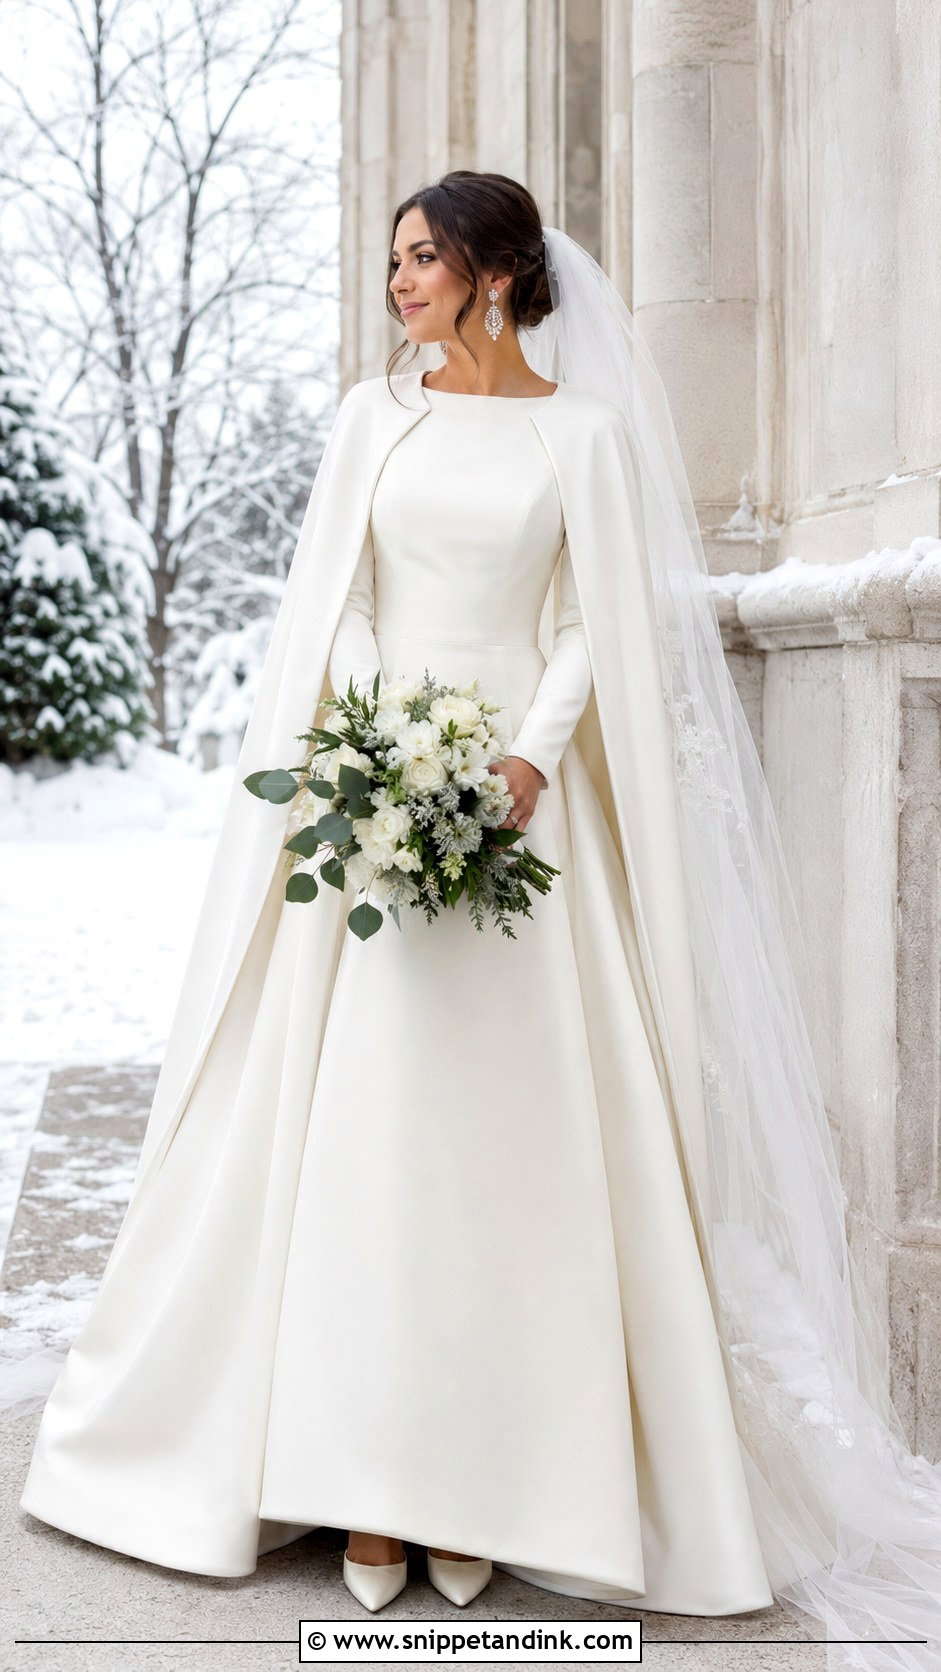
Winter portraits are a balance between staying warm and showing the dress. Heavier satin, mikado, crepe or layered tulle with sleeves suits the season. For outdoor shots, a white tailored coat, faux-fur wrap or bridal cape looks right, but I always take it off for a few full-length frames so the gown itself is recorded. Pale stone, evergreens or a bright window all work. Cold makes hands clench and shoulders rise, so I work in short bursts and let the bride warm up between them. Lay a clean sheet or ground cover under the hem on wet ground.
17. Black Wedding Dress Photo
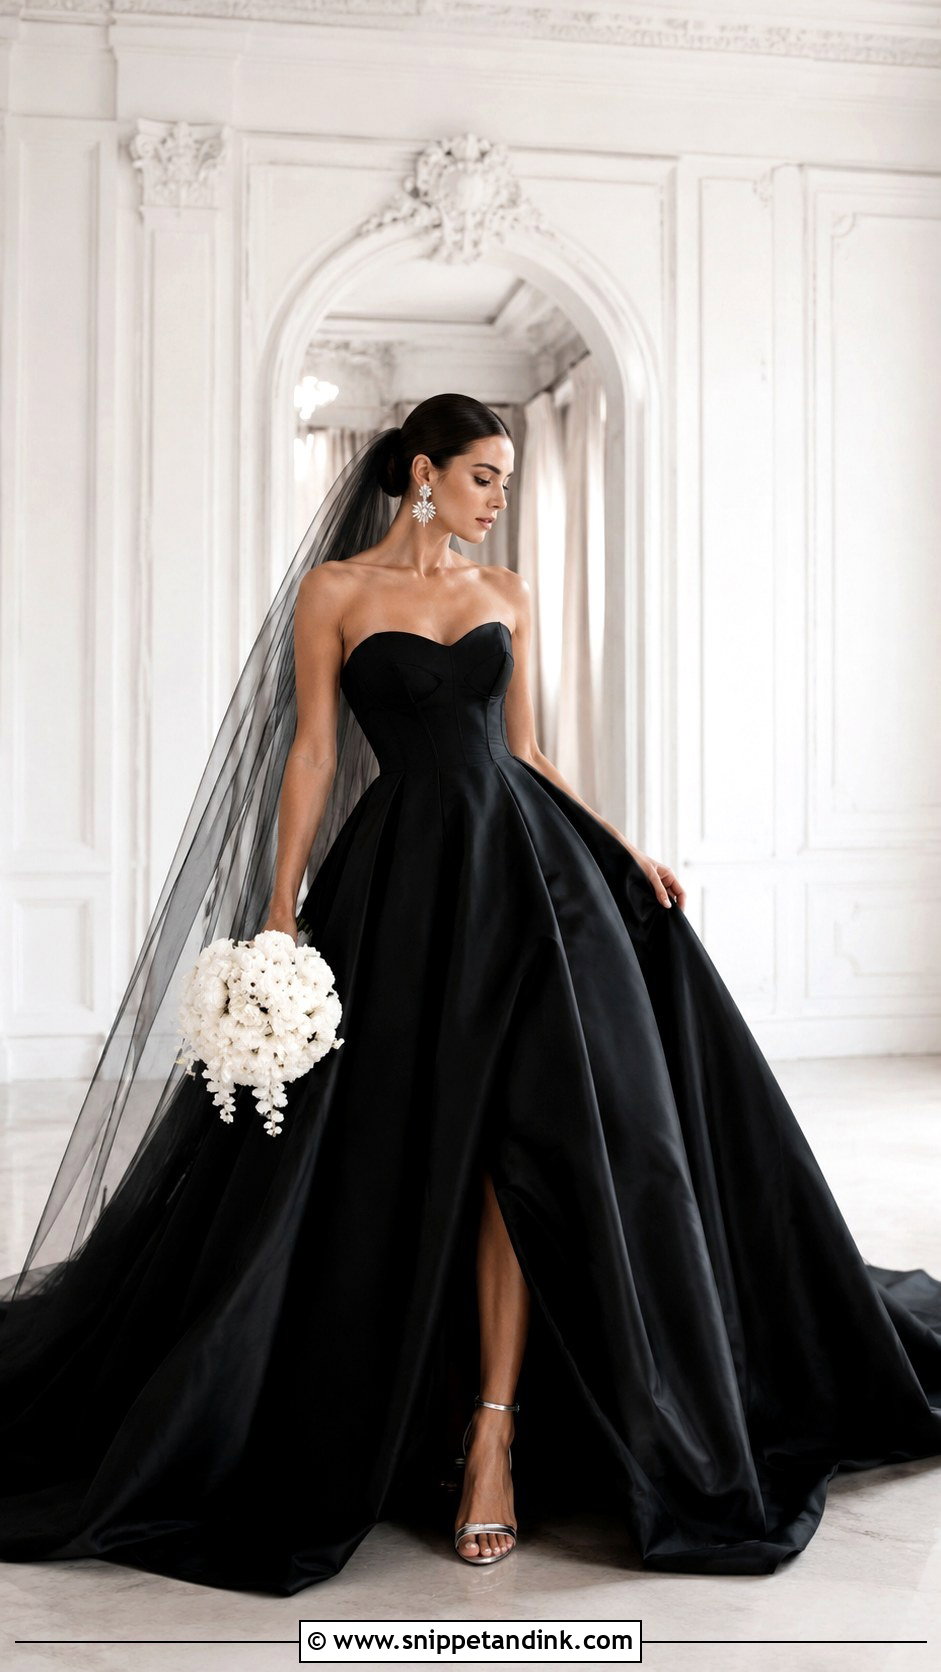
Black fabric absorbs light, so a black dress needs a light background to stay separate from it. Pale stone, a white room or a bright terrace work; dark surroundings swallow the seams and texture. I place the bride where even light falls across the front and side, then take a full-length front view and a backlit veil shot for softness. Exposure is the technical challenge, since the camera wants to brighten black and that can wash out skin. Lint, loose threads and powder marks show more on smooth black, so a lint roller is worth having nearby.
18. Floral Wedding Dress Photo
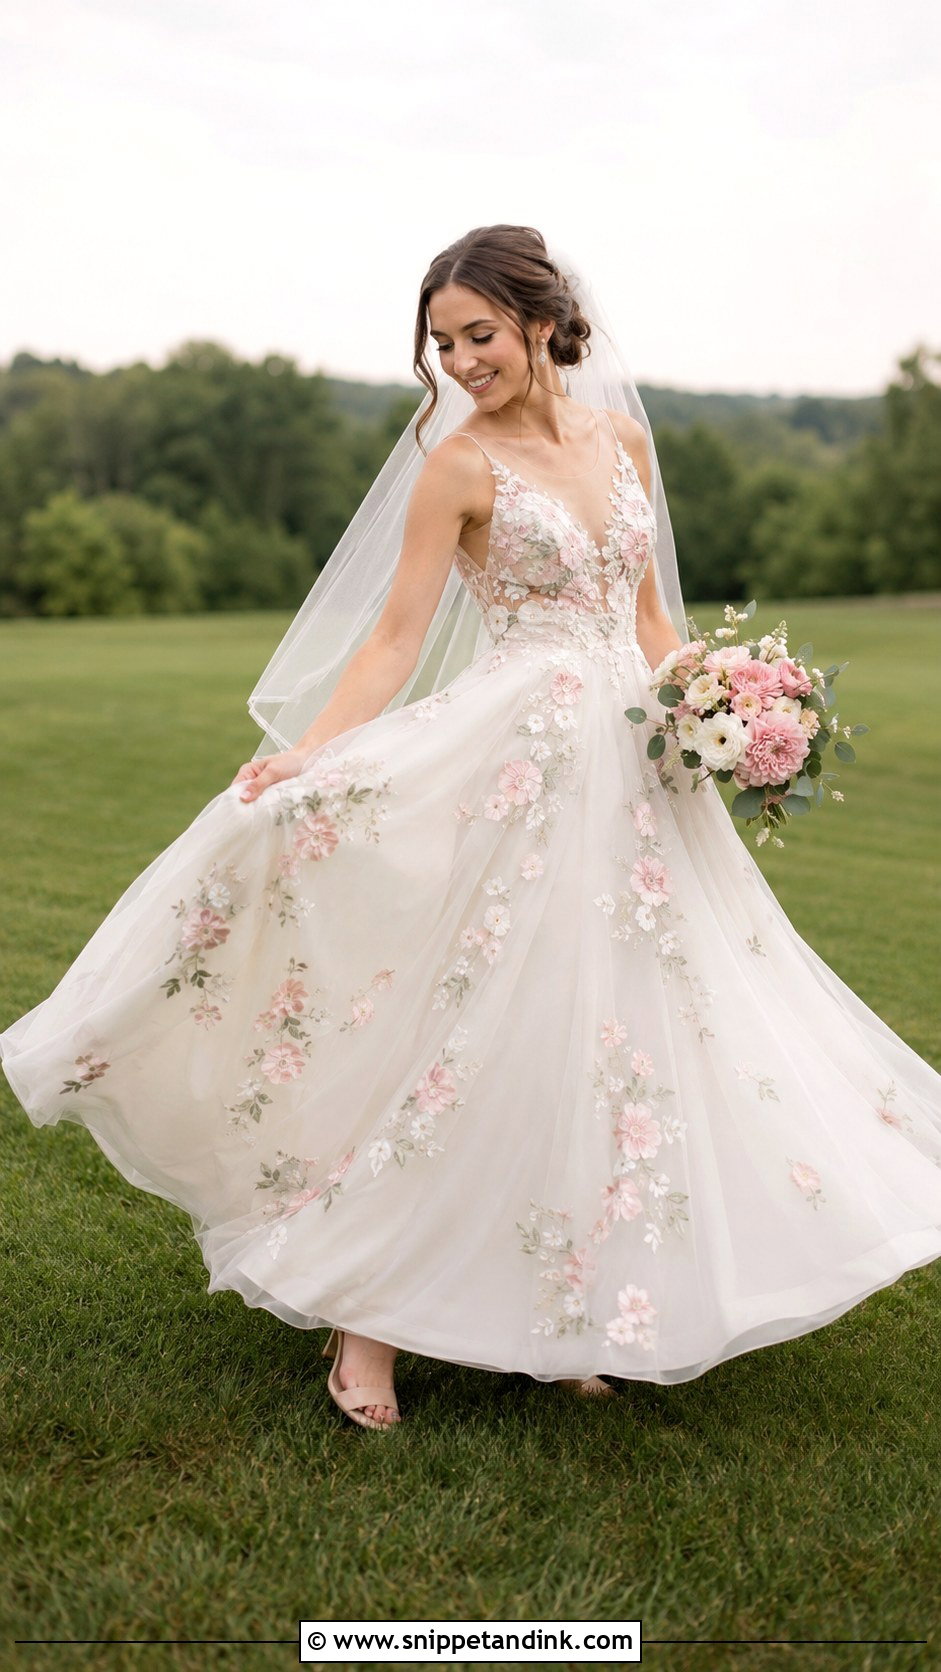
A floral dress already brings colour and pattern into the frame, so I keep the background plain: a pale wall, an open lawn or a lightly planted path. A border full of flowers behind a floral dress turns the picture into one busy pattern. Turn slightly to show how the motifs are placed across the bodice and skirt. The bouquet should pick up only one or two colours from the dress. I take one still portrait and one gentle twirl, because layered appliqués lift and catch the light when the skirt moves.
19. Short Wedding Dress Photo
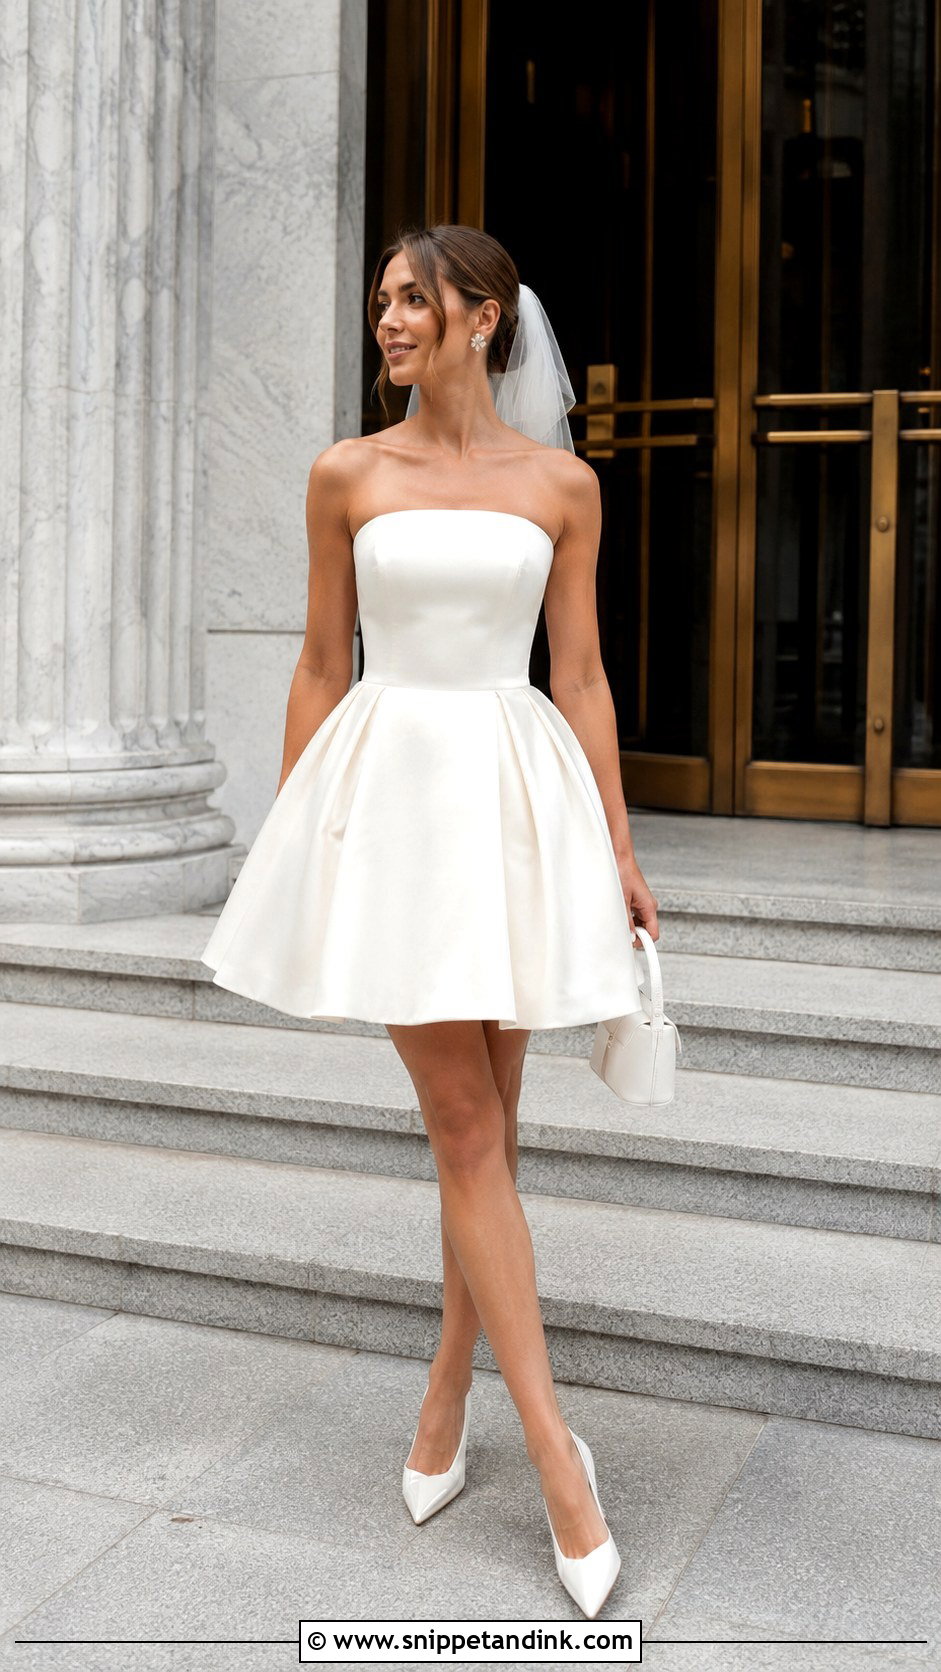
With a short dress, the legs, shoes and hemline are part of the picture, so I frame for them. Stand with one leg slightly forward and the shoes in view. A bright city pavement, a courthouse entrance or a modern room keeps the background clean. I always add a walking shot and a skirt-swing shot for movement. Full skirts on short dresses can look very different from below, so check the dress from several angles beforehand; a hem that sits perfectly from the front can lift higher than you expect when shot from a lower angle.
20. Reception Wedding Dress Photo
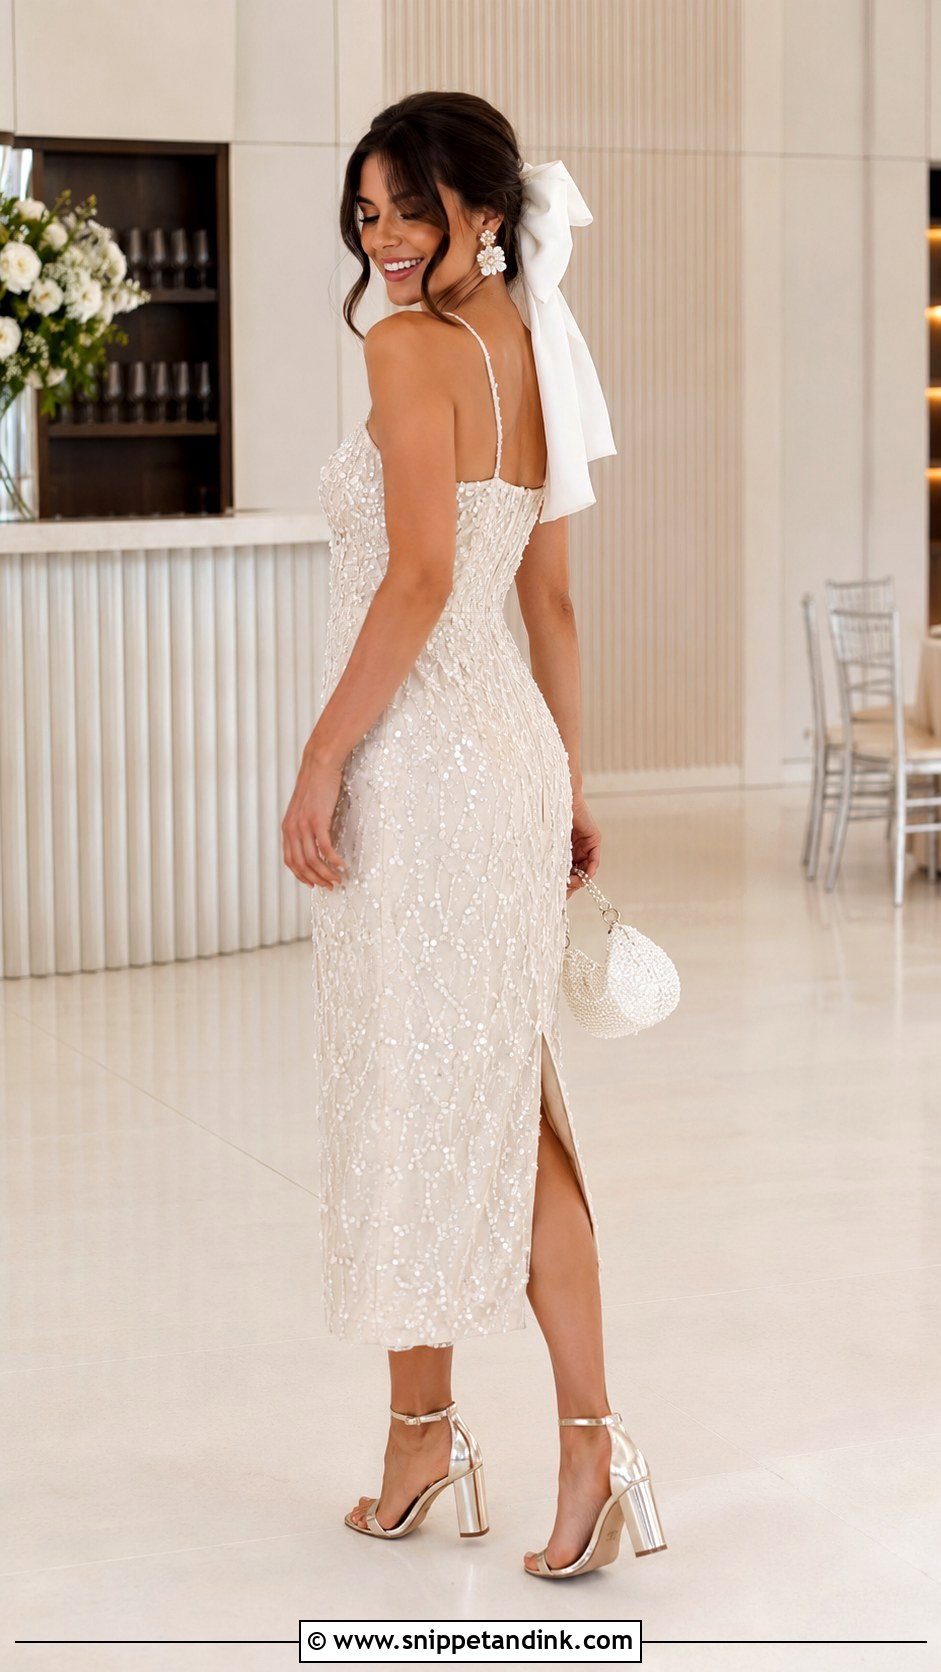
A reception outfit is a second look, and it deserves its own portraits. A slip dress, feather-trimmed midi, beaded column, jumpsuit or short dress with comfortable shoes and statement earrings photographs well with movement. Replace the ceremony veil with a bow, comb or headband if you like. I shoot it before the room fills up, in a bright hallway, on the empty dance floor or at the venue entrance, because ten minutes later there will be people behind you. Take a full-length portrait and a few walking or turning frames, and make sure the shoes and accessories are in at least one.
Ivory, White and Champagne Change With the Light
Bridal whites are rarely pure white, and the camera notices. Bright white can glow blue in open shade, ivory looks warmer and creamier in late afternoon sun, and champagne or blush tones can read almost beige under yellow indoor lighting. Light also picks up colour from its surroundings, so grass and leaves can give a dress a faint green cast and a red brick wall can warm it.
I deal with most of this by correcting colour balance in editing, but some things are better solved on the day. Avoid mixed light, such as a window on one side and warm lamps on the other, which leaves the dress two different colours in one frame. If your dress is an unusual shade, tell your photographer beforehand so it is matched to the gown rather than corrected toward pure white.
How Long Dress Portraits Really Take
Brides often expect the portraits of the dress to take a few minutes. In practice, a relaxed set with several angles, a walking shot and some details takes around fifteen to twenty minutes for one outfit, and longer if the location changes. Arranging a long train between frames alone takes time.
Build it into the timeline: before the ceremony if you are doing a first look, or straight after, while the light is good and the dress is still fresh. If you have a reception outfit, plan a separate ten-minute slot for it early in the evening.
Front, Side, Back and Moving: The Four Frames to Ask For
The bridal photos people treasure show how the whole outfit fits and moves, not just the gown on a hanger. Take these looks as a starting point and adapt them to your venue, body, comfort and taste. For every outfit, plan at least one front view, side angle, a back portrait and a movement shot. Keep the bouquet below the details that matter, check the train between frames and choose backgrounds that contrast with the dress. Most of all, wear something you are comfortable in. Relaxed shoulders and a real smile do more for a photograph than any pose.
You'll Like These Ideas:


Leave a Reply