
As a guest you have one job with your hair: it has to look the same at the last song as it did walking in. That’s why I steer most guests toward a bun. It keeps hair off a sweaty neck, it doesn’t get crushed against a chair back during a long ceremony, and it leaves room for earrings. The real choice is where it sits and how much texture it carries, and that depends on your hair more than on the dress. Below are 20 wedding guest bun hairstyles, each with what I’d watch for if you were sitting in my chair, plus a section on pinning one yourself so it actually stays.
Pinning a Bun at Home That Lasts Past the Speeches
Most guest buns fail for the same reasons: the hair is too clean, the base is too loose, and the pins are pushed straight in instead of locked. Here is the order I use when I set a guest bun, and it works just as well in your own mirror.
- Wash the day before, not the morning of. Second-day hair has grip; freshly washed hair is slippery. If you must wash, add dry shampoo or texture spray at the roots and through the lengths.
- Build the base first. Tie a ponytail where you want the bun to sit, then put two bobby pins crossed in an X through the elastic and into the scalp. That base is what the rest of the bun hangs from.
- Use the right pin for the job. Bobby pins clamp hair flat and hold the base; open U-shaped pins hook the bun shape to the base without flattening it. Most people use bobby pins everywhere and wonder why the bun looks compressed.
- Lock each pin. Slide it in against the direction of the hair, then turn it and push it back toward the centre so it catches both the bun and the base underneath.
- Spray at the end from about an arm’s length away. Close-up spray makes wet patches and stiff spots that photograph shiny.
Give yourself a test run a few days before, and wear it for an afternoon. If it moves when you shake your head gently, it will move during the dancing.
1. Low Messy Bun for Wedding Guest
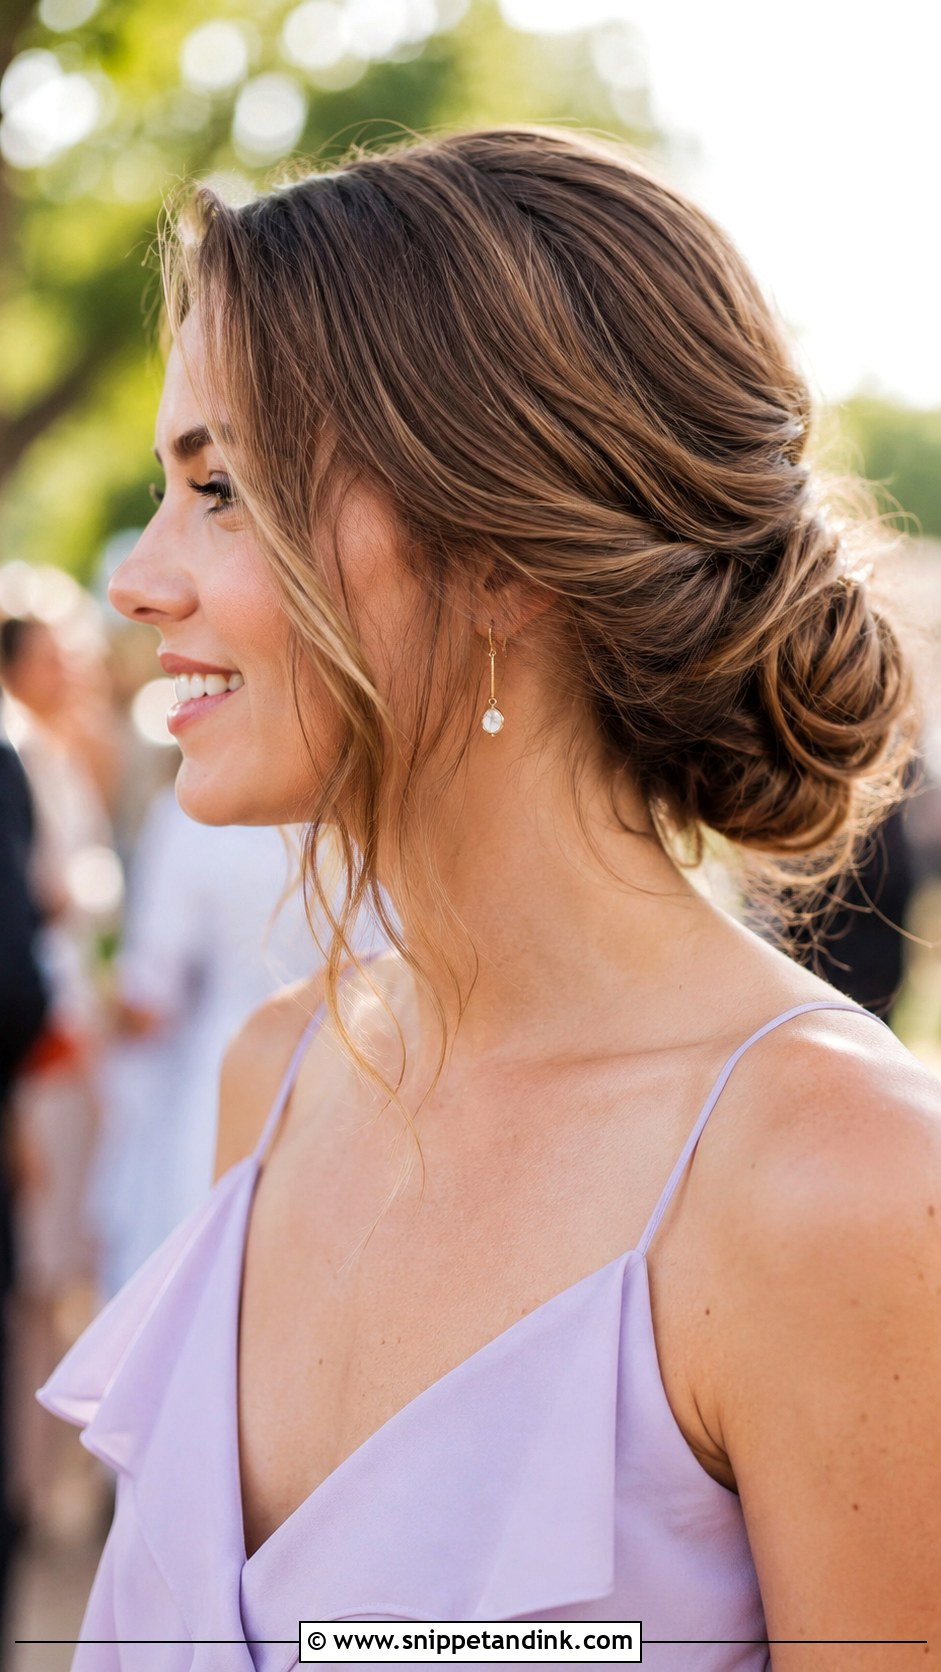
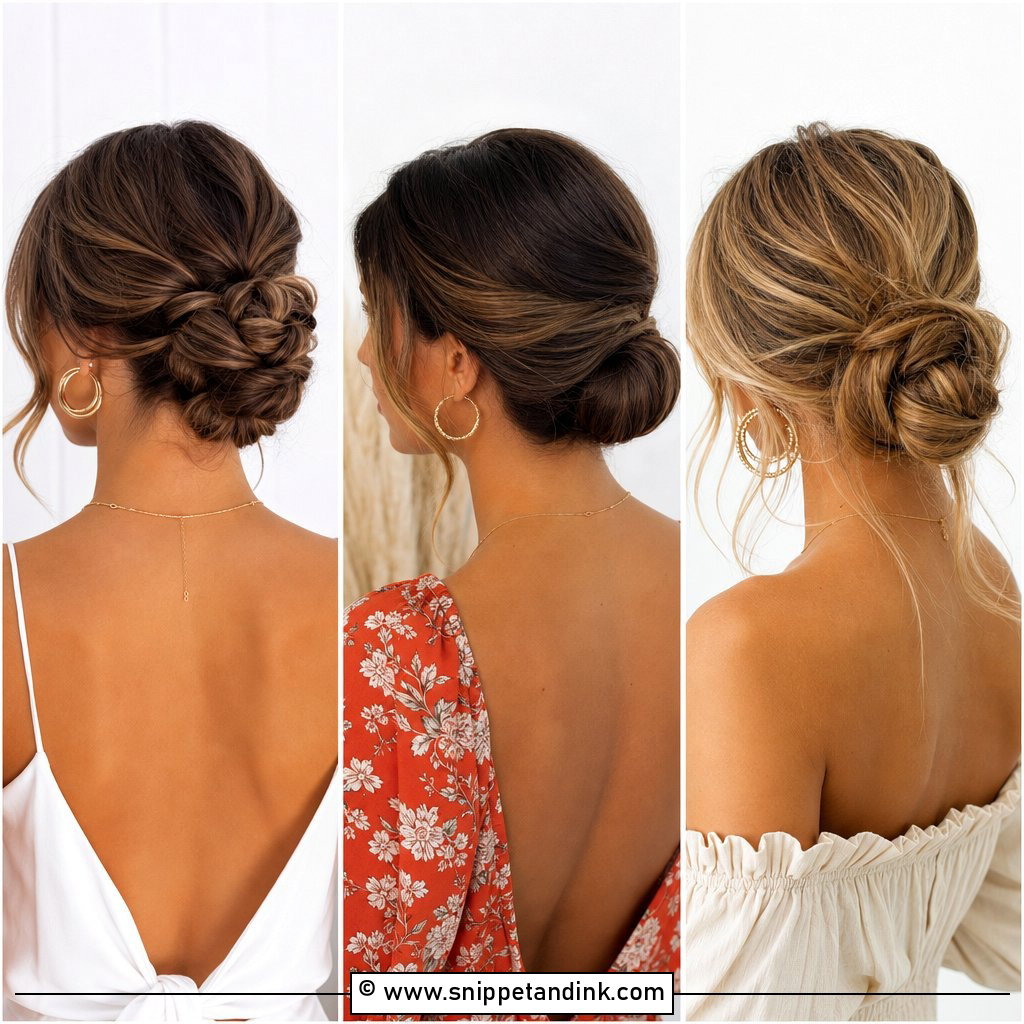
Soft pieces fall around the face and the rest gathers loosely at the nape. The trick with a low messy bun is that the mess has to be built, not left to chance. I add texture spray and a quick bend with a large iron first, because a messy bun on silky, freshly washed hair just slides out by dinner. Pull your face pieces out before you secure the base, not after, or you’ll drag the whole shape loose. It forgives almost any length from the shoulders down, which is why it’s the one I suggest most for outdoor and rustic weddings.
2. Sleek Low Bun With Middle Part
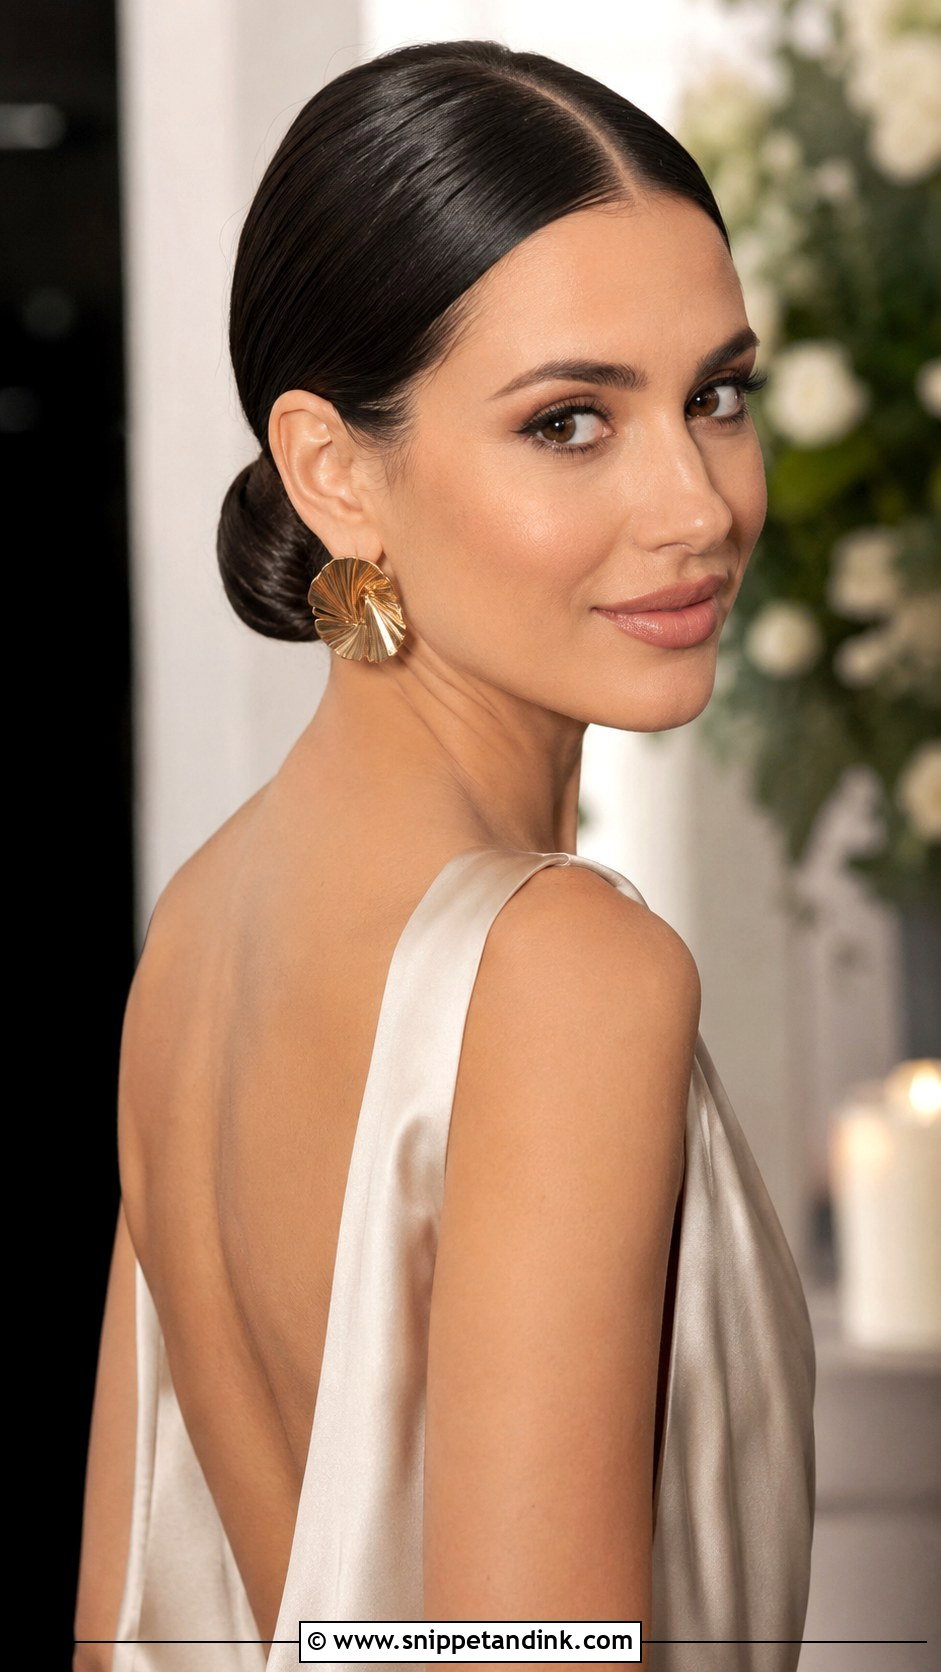
A sharp middle part and every strand brushed back to a tidy knot at the nape. This bun shows everything, including a crooked part, so I set the part with the tail of a comb while hair is still slightly damp and dry it flat in place. A drop of shine serum through the lengths keeps flyaways down, but go easy at the roots or it reads greasy under flash. It suits minimalist gowns and black-tie dress codes, and it puts your earrings in full view. If your hairline has a lot of baby hair or a cowlick at the front, expect to fight it all night.
3. Classic Chignon Bun
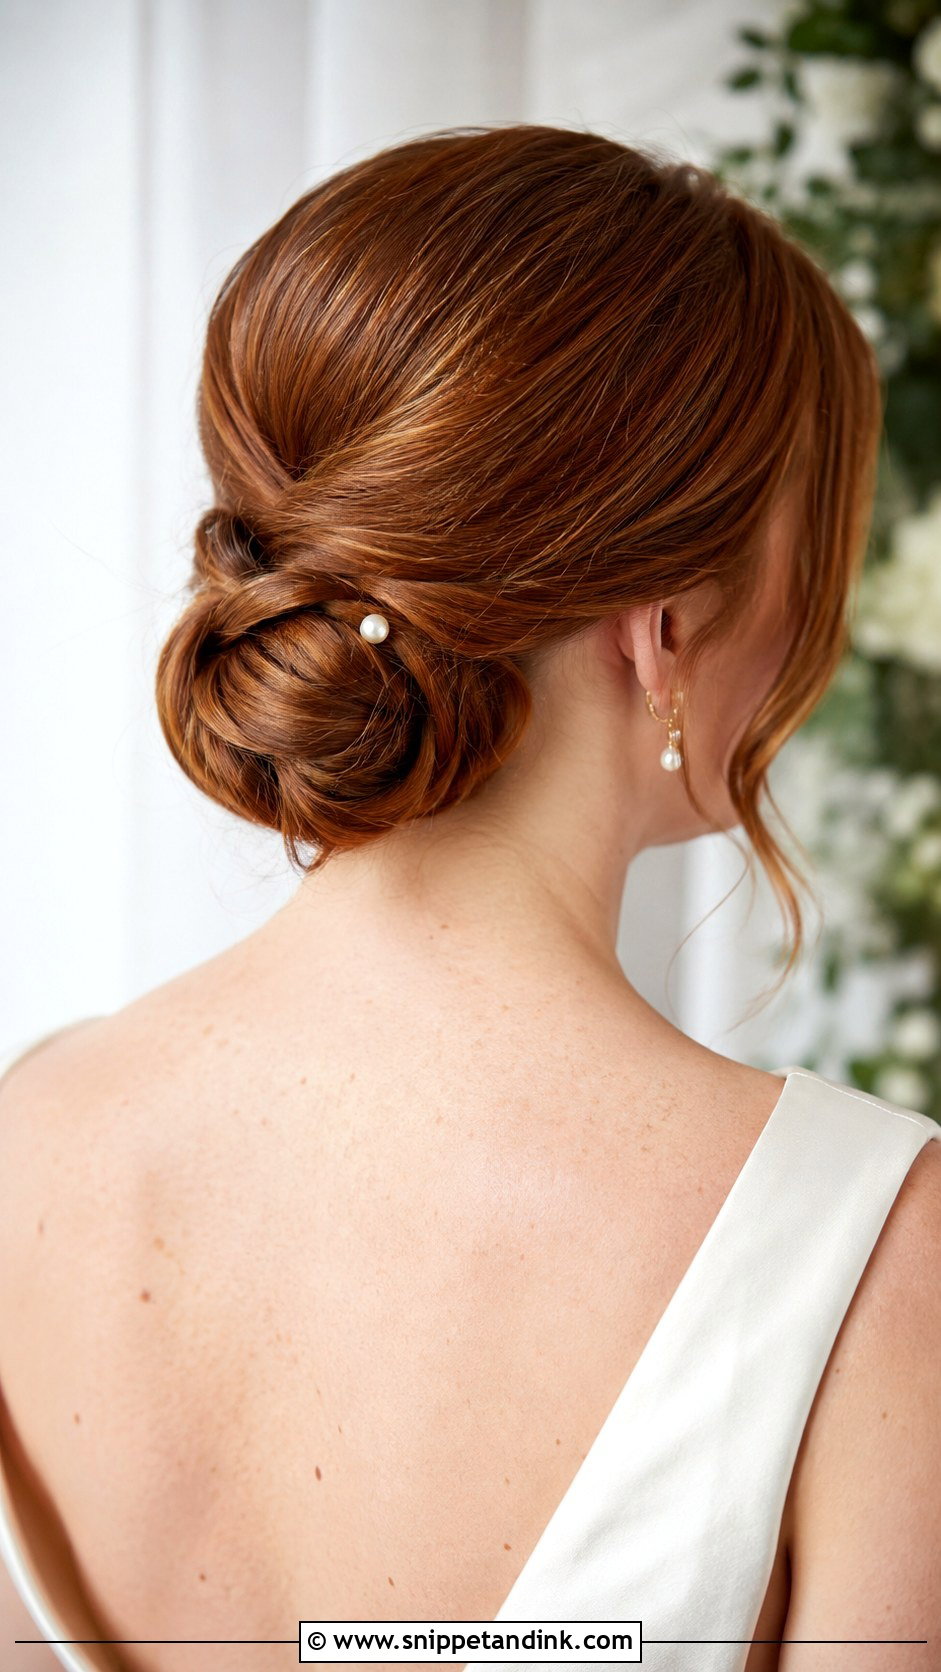
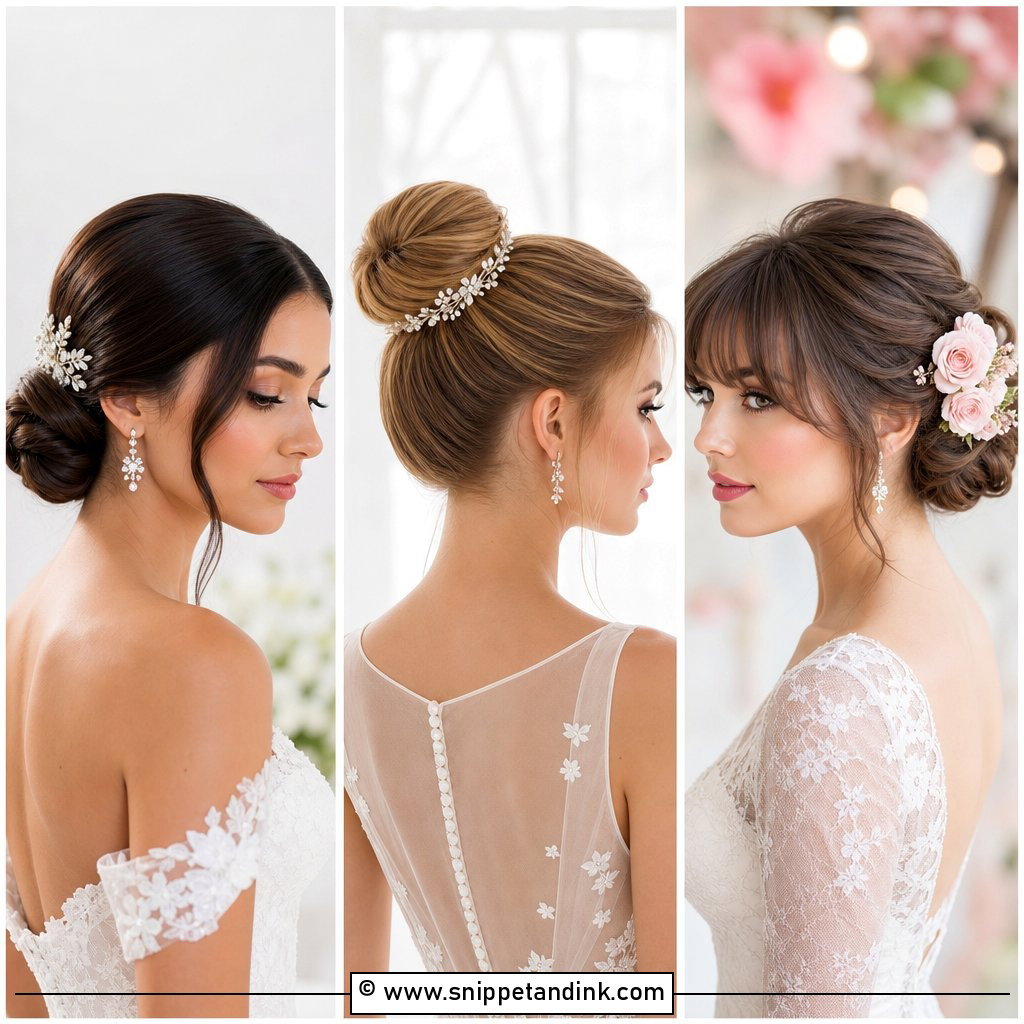
The chignon is the oldest trick in the updo book and still one of the most reliable. Hair is looped or rolled into a soft knot that rests low against the neck. Because the weight sits right on the occipital bone, it’s the bun least likely to drag or loosen, which matters if you’re wearing it for ten hours. I keep it smooth for evening and pull a few loops looser for daytime. A single pearl pin or a small flower is plenty; anything bigger fights the shape.
4. Braided Bun Updo
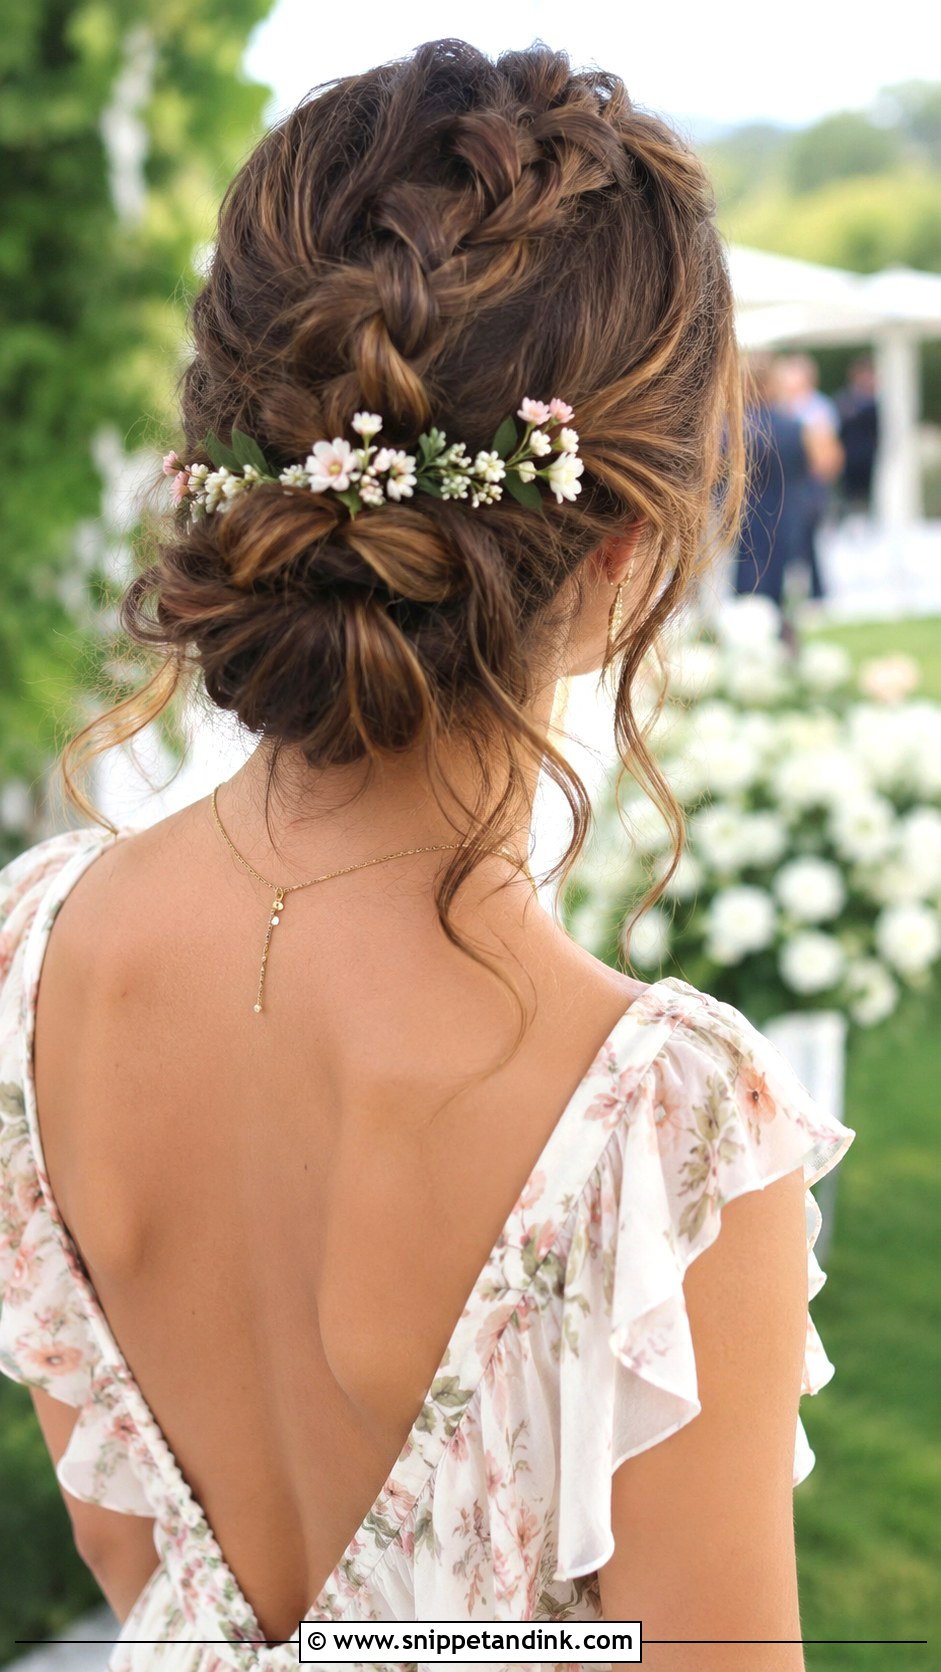
A braided bun gets you texture and a clean outline at once. You can run a French braid along the crown into the knot or wrap a simple plait around its base. The braid does double duty: it decorates and it acts as a built-in anchor for your pins, so this one holds through dancing better than a plain knot. My warning is about layers. Short layers poke out of braids, so if your hair is heavily layered, braid it slightly damp with a little cream and pancake it gently once it’s dry. Tiny flowers tucked between the sections suit garden and boho weddings.
5. Side Swept Low Bun
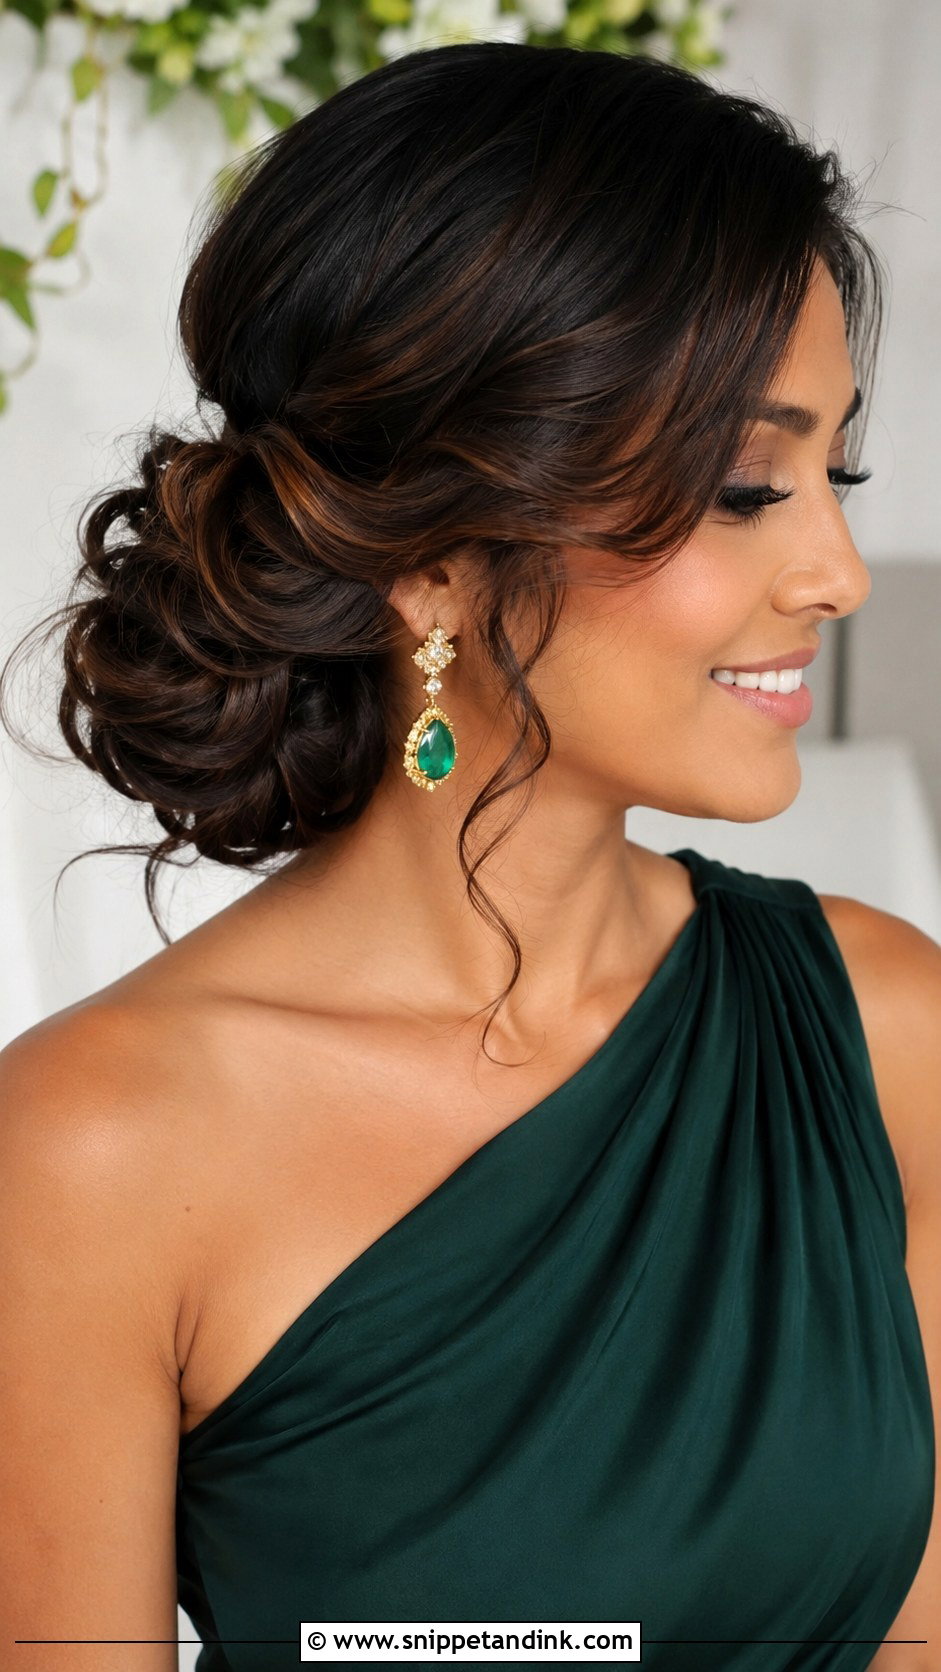
Sweep everything to one side and gather it into a soft bun just behind the ear. The asymmetry shows off a one-shoulder neckline and lets a statement earring take the other side. Placement is where it goes right or wrong: too far forward and it brushes your jaw every time you turn, too far back and it just looks like a normal bun that slipped. I put it just behind and slightly below the ear lobe. If you’ll be hugging a lot of people on one side, choose the side you’ll be less likely to get squashed on.
6. Twisted Rope Bun
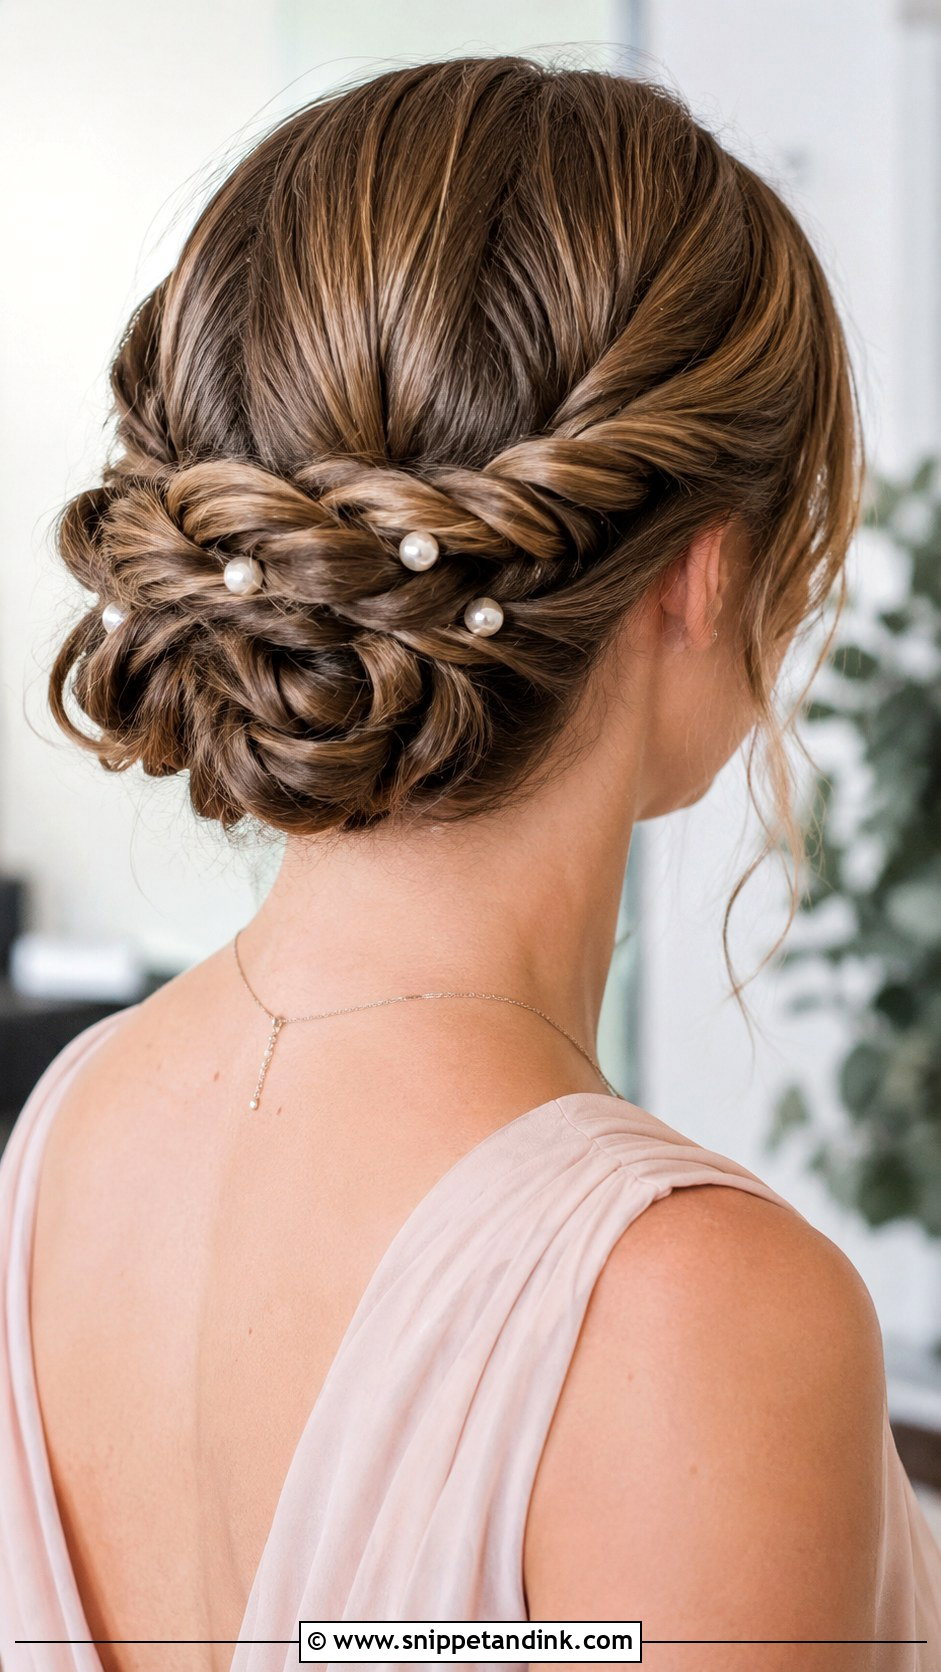
Sections of hair are twisted like rope and coiled together into a textured bun. Twisting packs hair tighter than a braid, so it gives fine hair visible bulk without padding. I twist each section away from the face and then wrap in the opposite direction; that tension is what stops the coil from unwinding on a hot day. It needs at least shoulder-length hair. Pearl pins tucked into the grooves sit securely because the twists grip them.
7. High Ballerina Bun
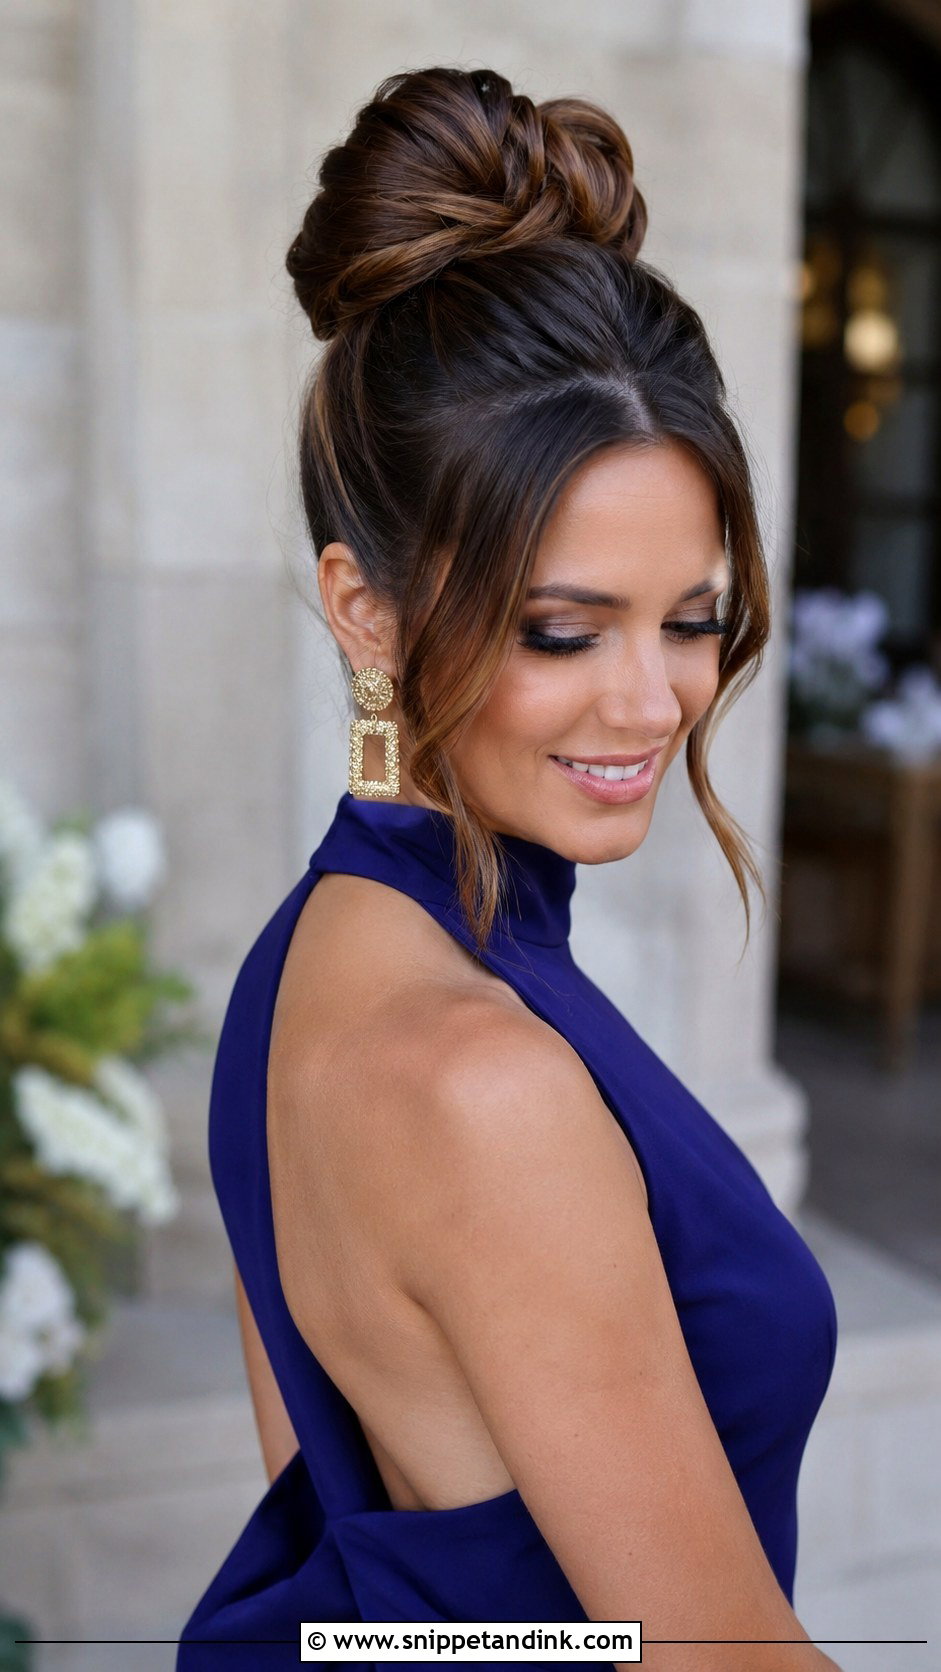
Hair pulled up high and wrapped into a smooth, round knot at the crown. It lengthens the neck and keeps hair completely off it, which is a relief at a summer reception. The weak point is the ponytail base: on thick hair one elastic isn’t enough, and the whole thing starts to tilt by late evening. I use two elastics and a few pins crossed through the base before wrapping. Leave a couple of face pieces out if you find the full scraped look too severe on you.
8. Curly Bun With Loose Tendrils
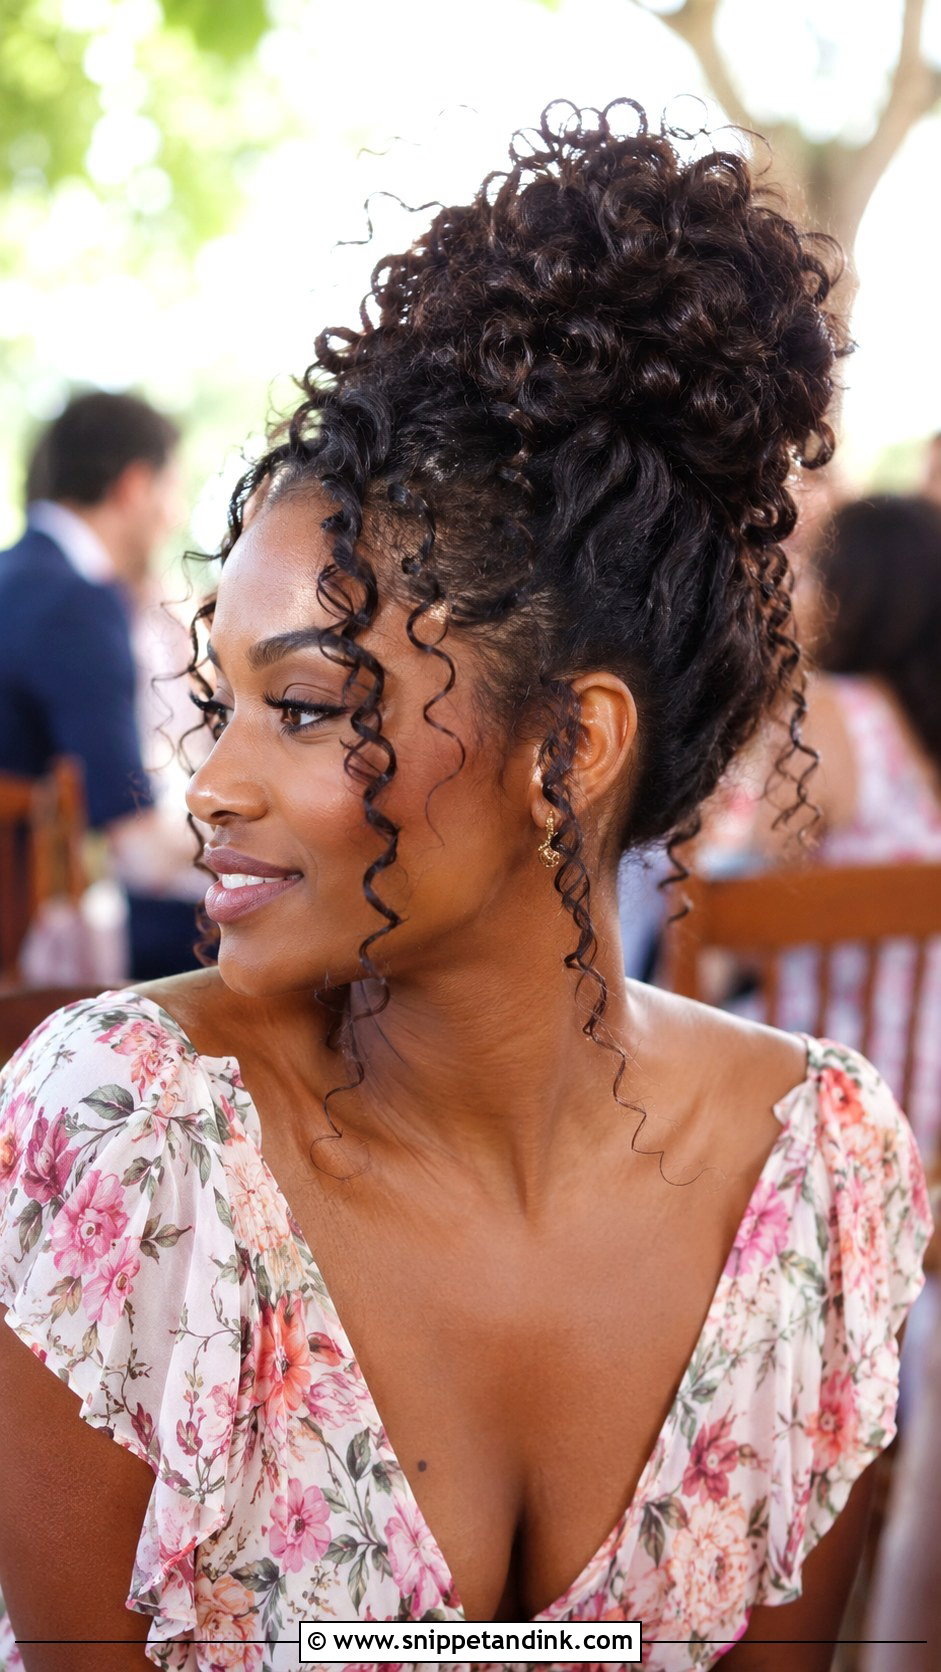
Curls gathered into a soft, full bun with a few spirals left loose around the face. Natural curl holds a bun better than straight hair because it grips itself, so you need fewer pins and almost no heat. I work in a curl cream or gel while the hair is wet and let it set completely before gathering; touching it half-dry is what causes frizz. Set your loose pieces apart early so the bouncy tendrils keep their own clean ringlets. On tightly coiled hair, a satin-lined scrunchie protects the base far better than a rubber elastic.
9. Pearl Embellished Low Bun
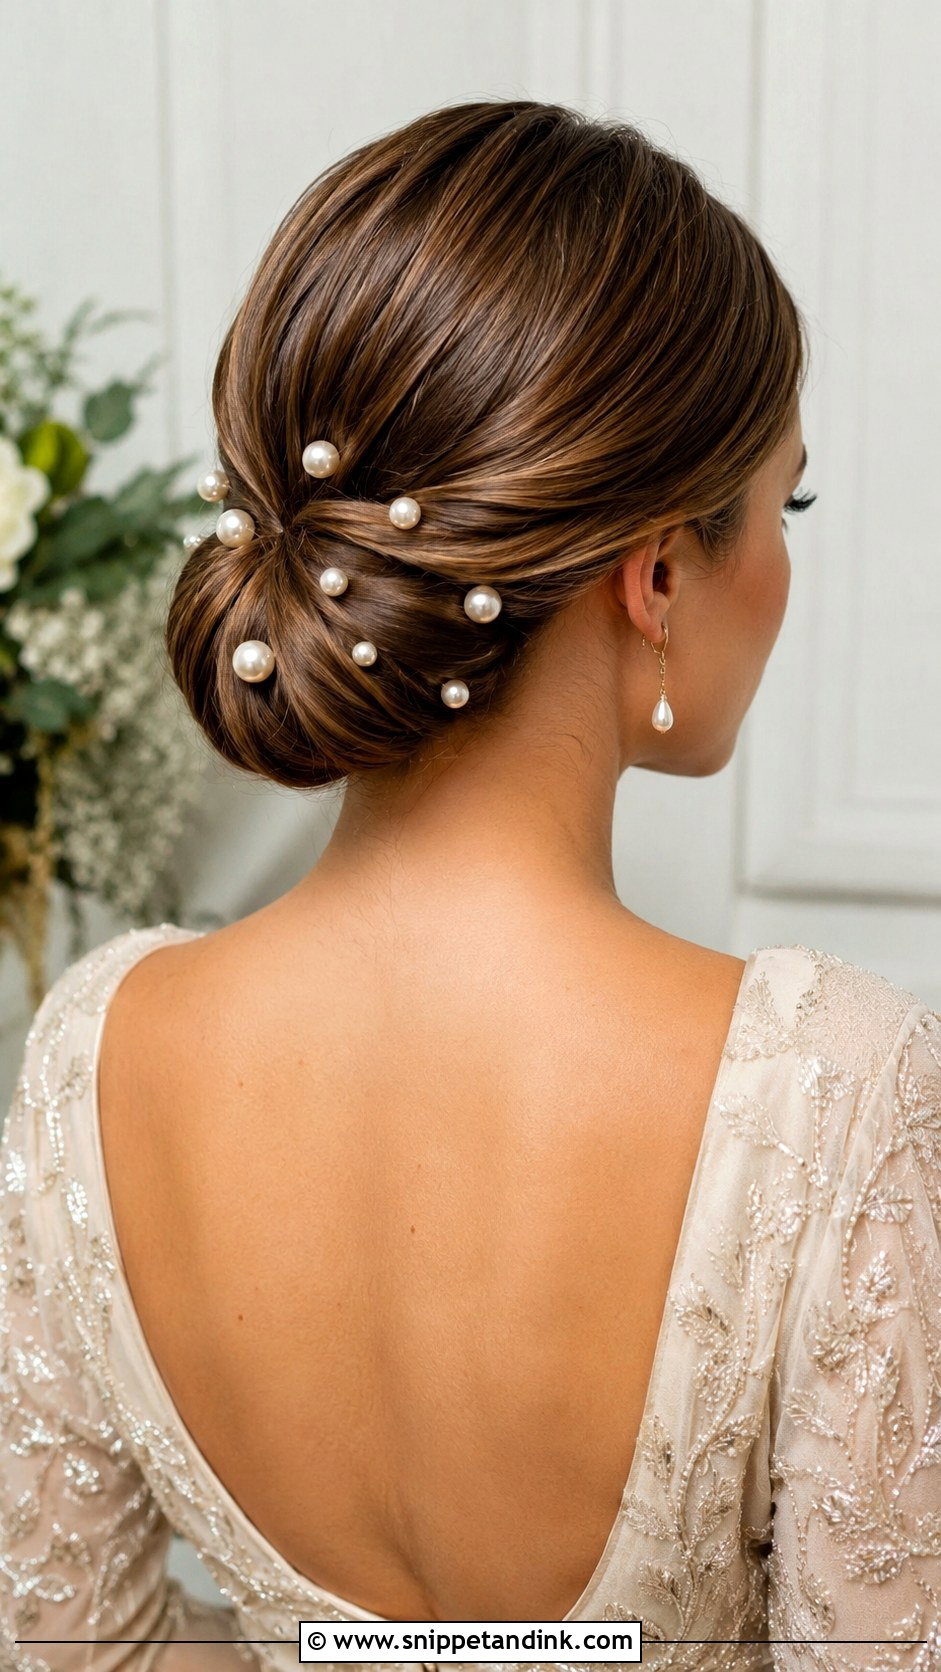
A smooth low bun with pearl pins scattered through it. Pearls catch soft light rather than flashing like crystals, so they read as quiet detail in photos. Placement matters more than quantity: I set them where the hair curves, so each one sits at a slightly different angle. Clustered pins work best on one side of the knot, scattered pins on a wider, flatter bun. Buy pins with a small grip at the end, because plain smooth ones slide out of glossy hair within the first hour.
10. Messy Bun With Face Framing Pieces
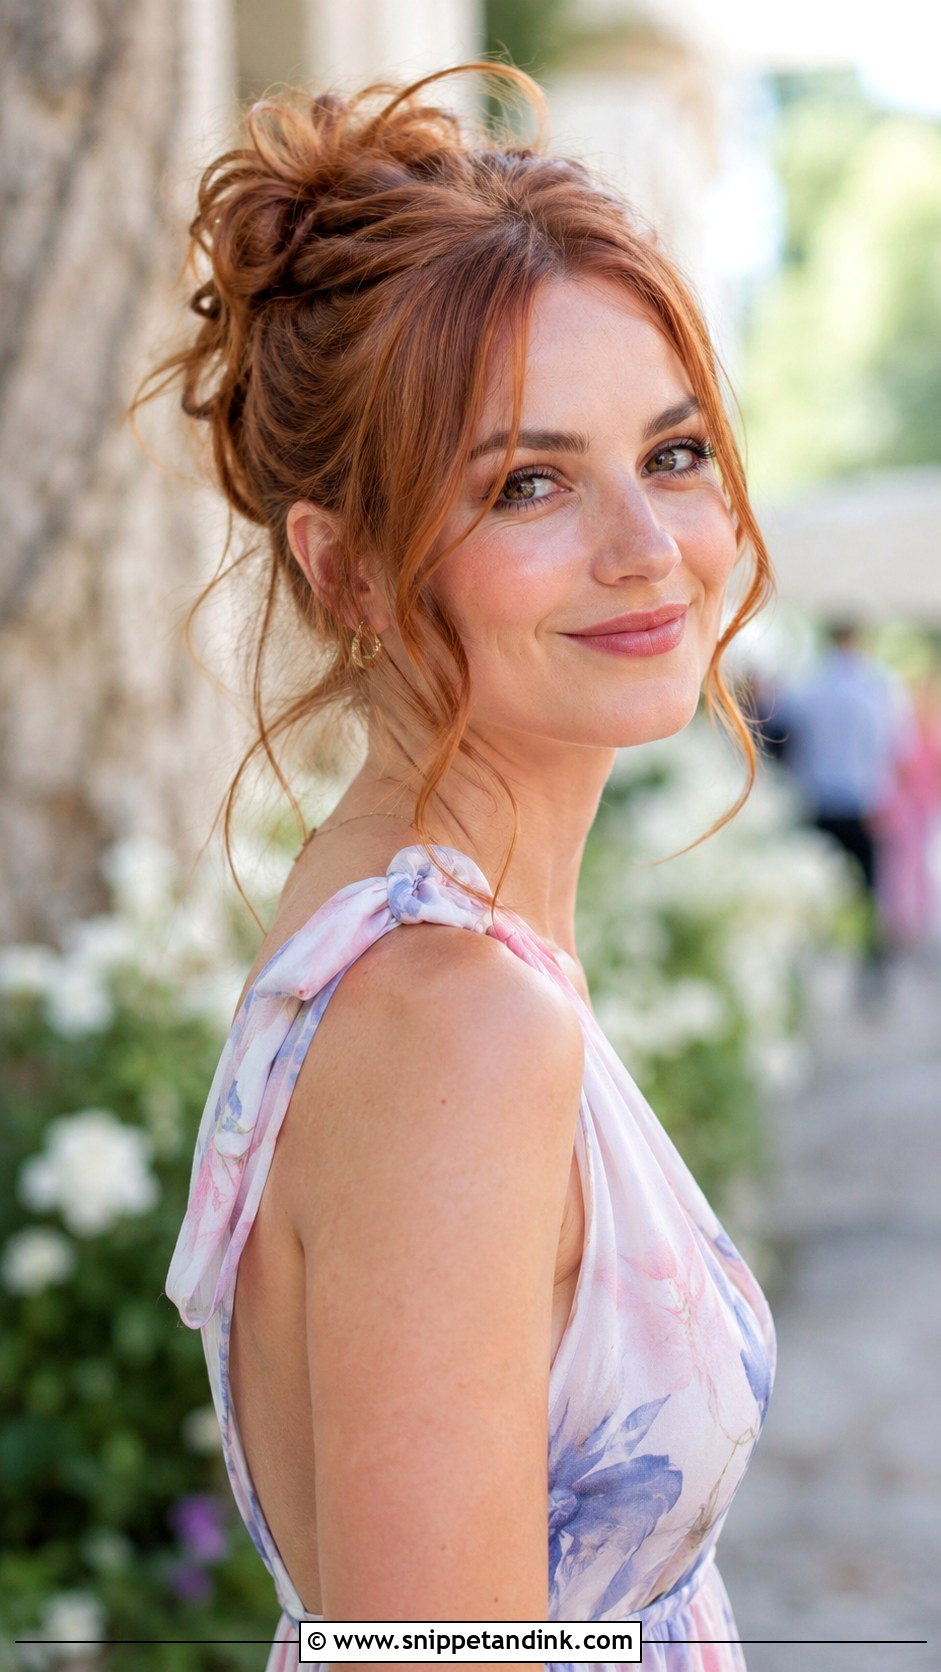
A loose bun at the back with soft pieces left around the cheeks and jaw. The face pieces are what make or break it. Pull them too thick and they look like the bun has fallen out; too thin and they look stringy. I take a pencil-width strand from in front of each ear and one from each temple, then curl them away from the face. A dry texturizing spray gives the airy finish. On very straight, fine hair the loose pieces drop flat within an hour, so set them with a little hairspray while they cool.
11. Sleek High Bun With Sleek Edges
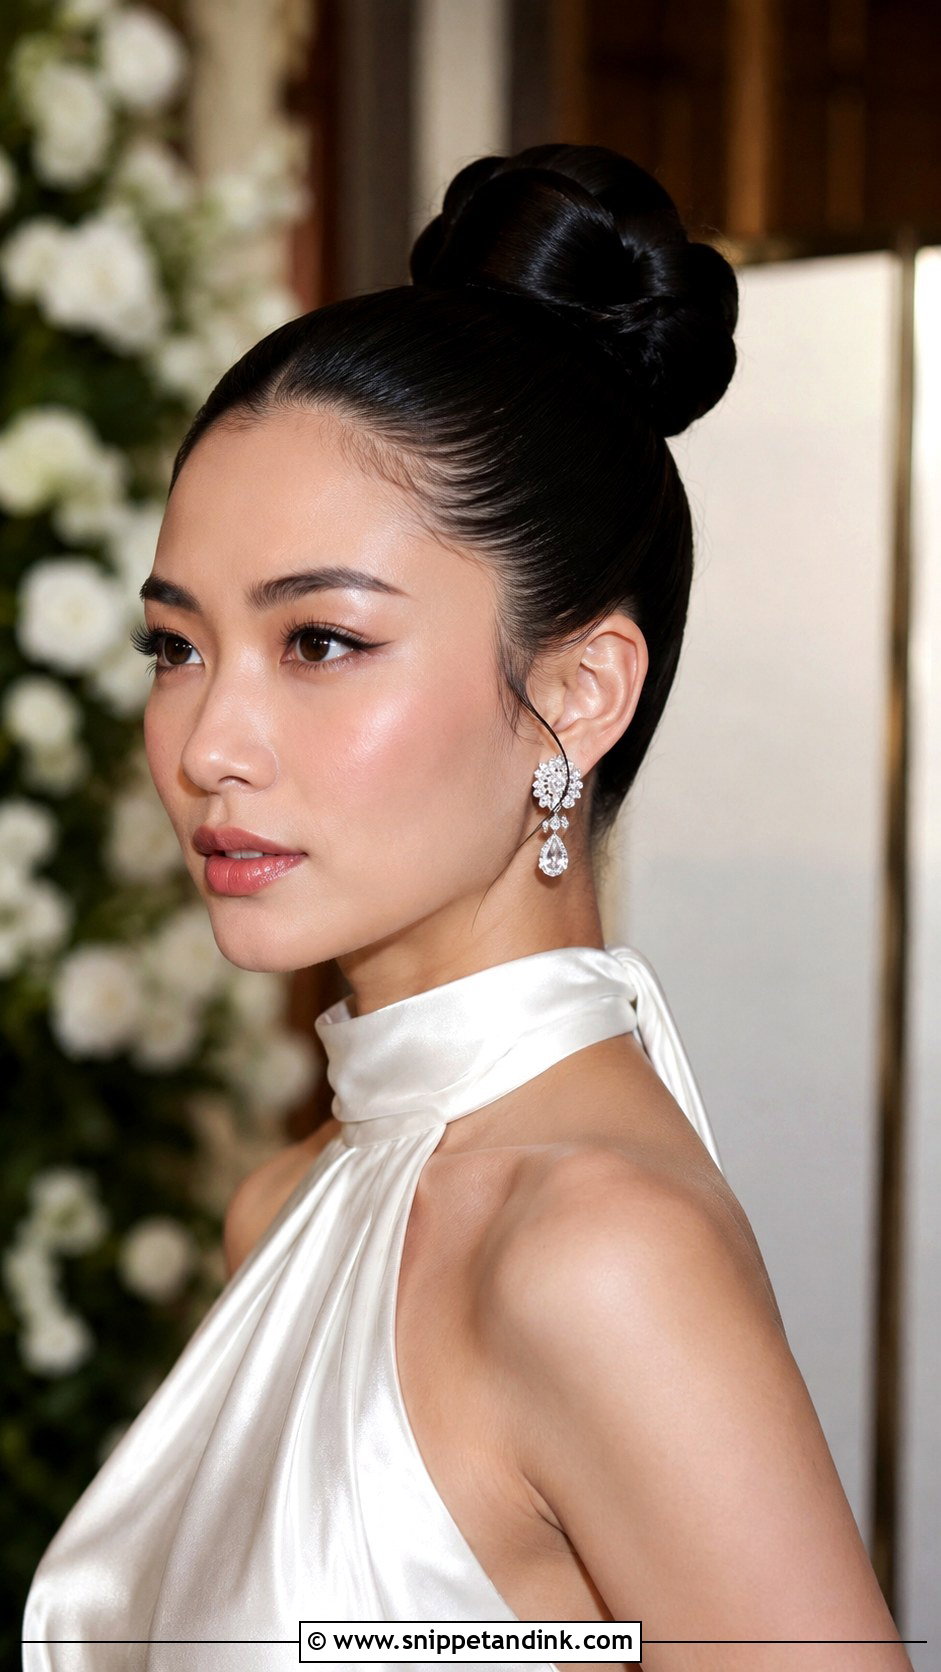
Every strand brushed up into a tight, glossy knot at the crown with the edges smoothed down. This is the most demanding bun on this list. The gel has to be applied in sections with a soft brush and set with a silk scarf tied over the hairline for ten minutes, otherwise ridges show. It also pulls hard on the hairline, so I’d skip it if your edges are fragile or you already get headaches from high ponytails. Worn with a sleek satin gown it looks sharp and deliberate.
12. Low Bun With Dutch Braid
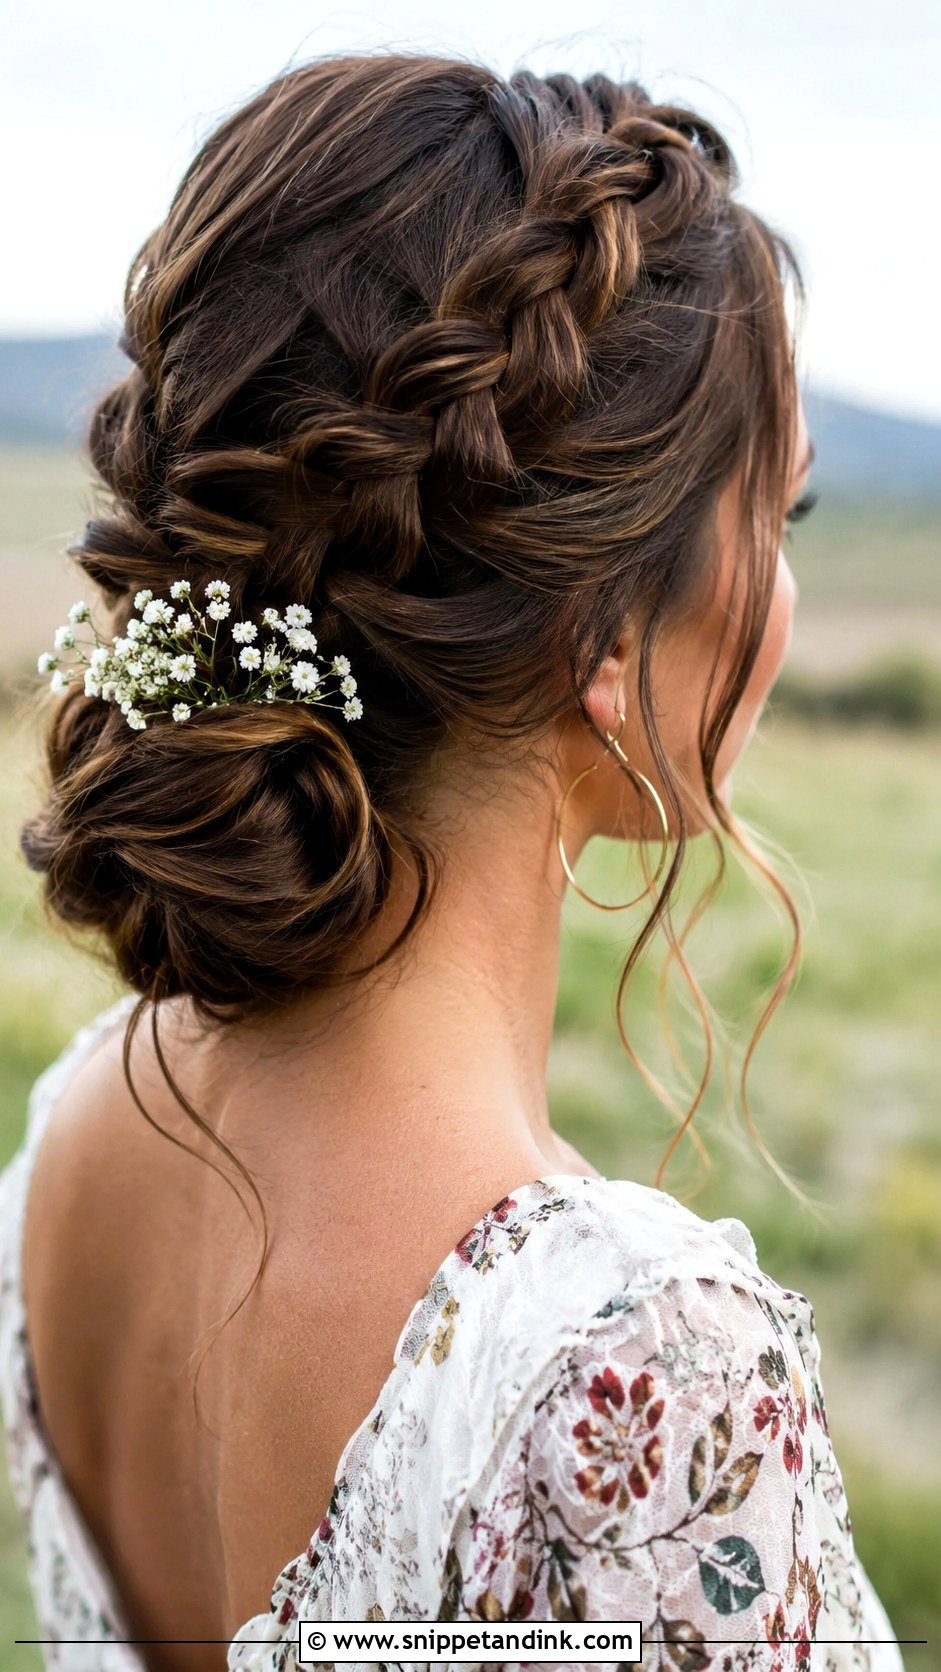
A Dutch braid runs raised along the scalp and flows into a low bun at the nape. Because the braid is crossed under rather than over, it stands up off the head and photographs with real depth. I braid it slightly tighter at the hairline than I want the final look, then loosen the edges with my fingertips, because loosening goes one way only. It needs mid-length or longer hair to reach the bun. Small flowers along the braid suit boho and rustic weddings, and the Dutch braid bun stays tidy for the whole night.
13. Romantic Loose Bun With Waves
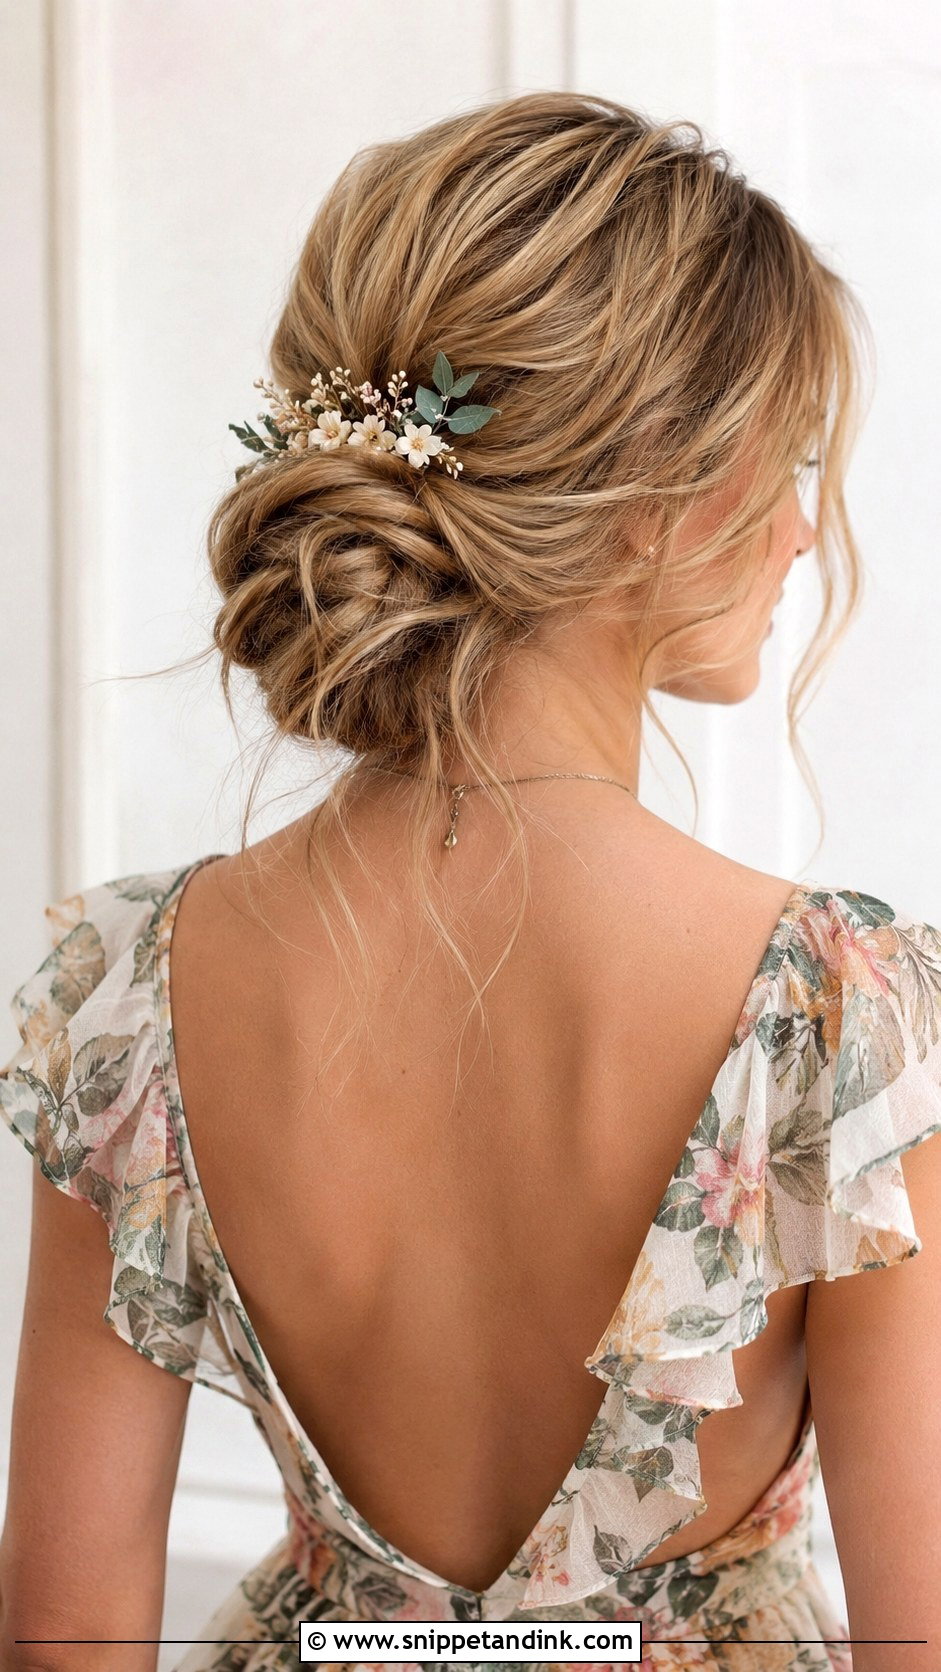
Curl everything into loose waves, then gather it into a relaxed bun with plenty of wavy pieces left free. The waves have to be set before the bun goes in. I curl, let each section cool fully in a pin curl, and only then brush through gently. Skip the cooling step and the waves fall out before the ceremony is over. A light flexible spray keeps it soft rather than crunchy. It suits medium to long hair and spring or summer daytime weddings best.
14. Twisted Halo Bun
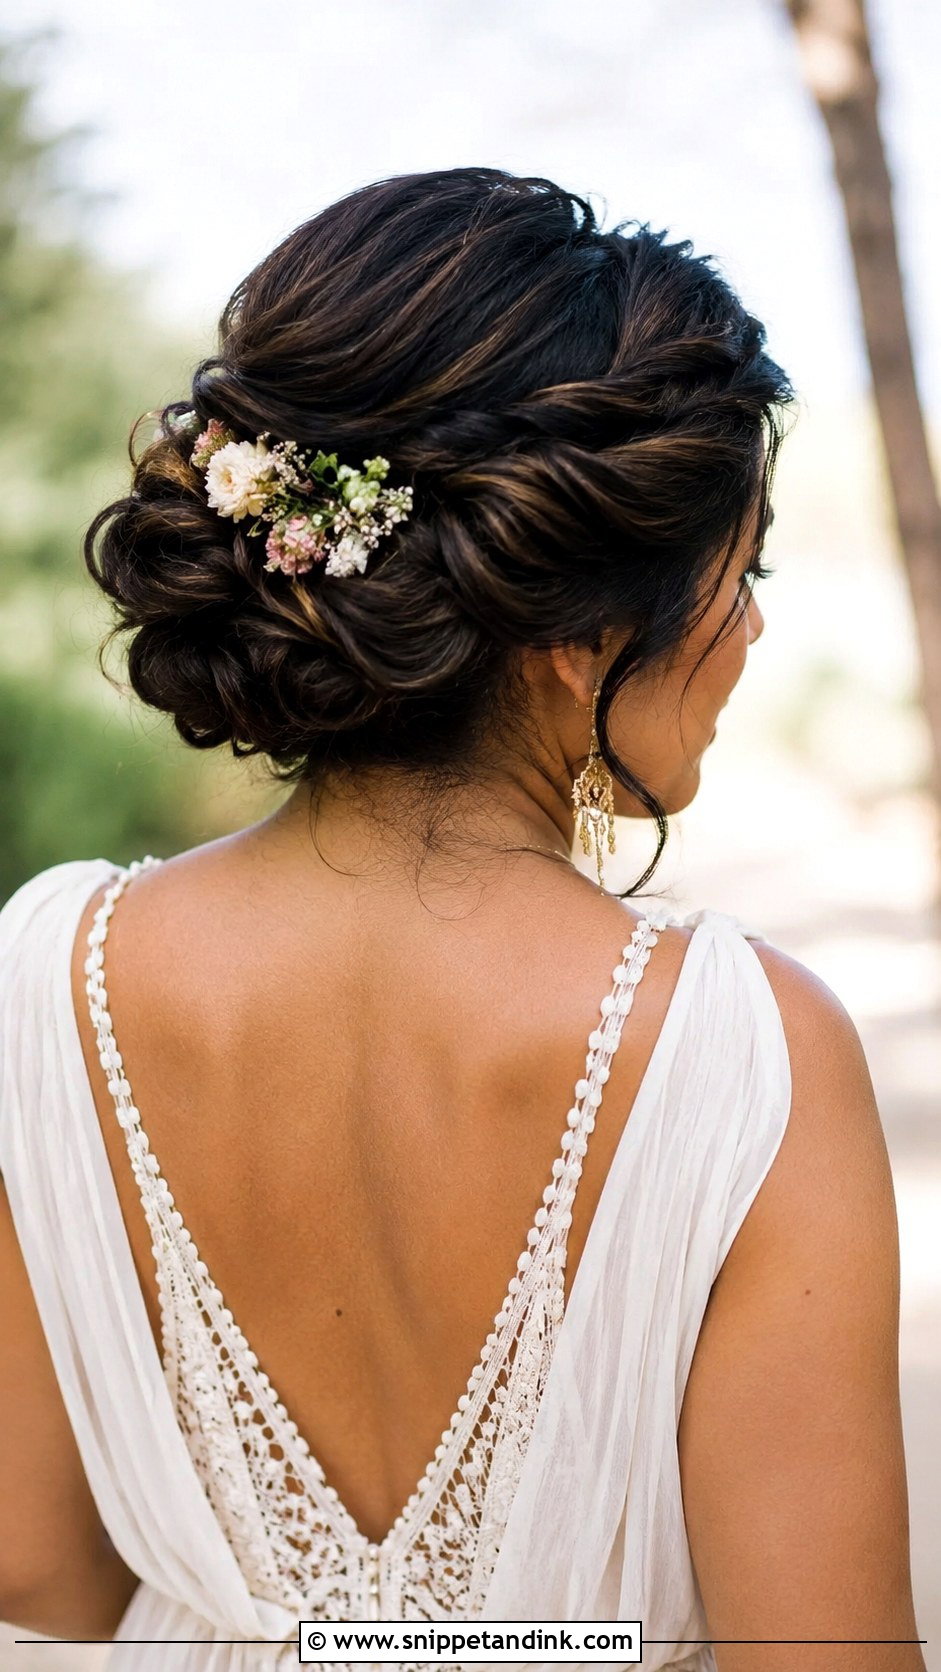
Twisted sections wrap around the head in a crown and finish in a tucked bun. The halo needs length to reach all the way around, roughly past the shoulder blades, or the twists run out before they meet. I anchor the twist with pins every few centimetres and hide them by sliding each pin back into the twist itself. It’s a wonderful choice under a fascinator or hat, since the crown shape gives a flat platform for the band. Small blooms or pearl pins along the halo finish it.
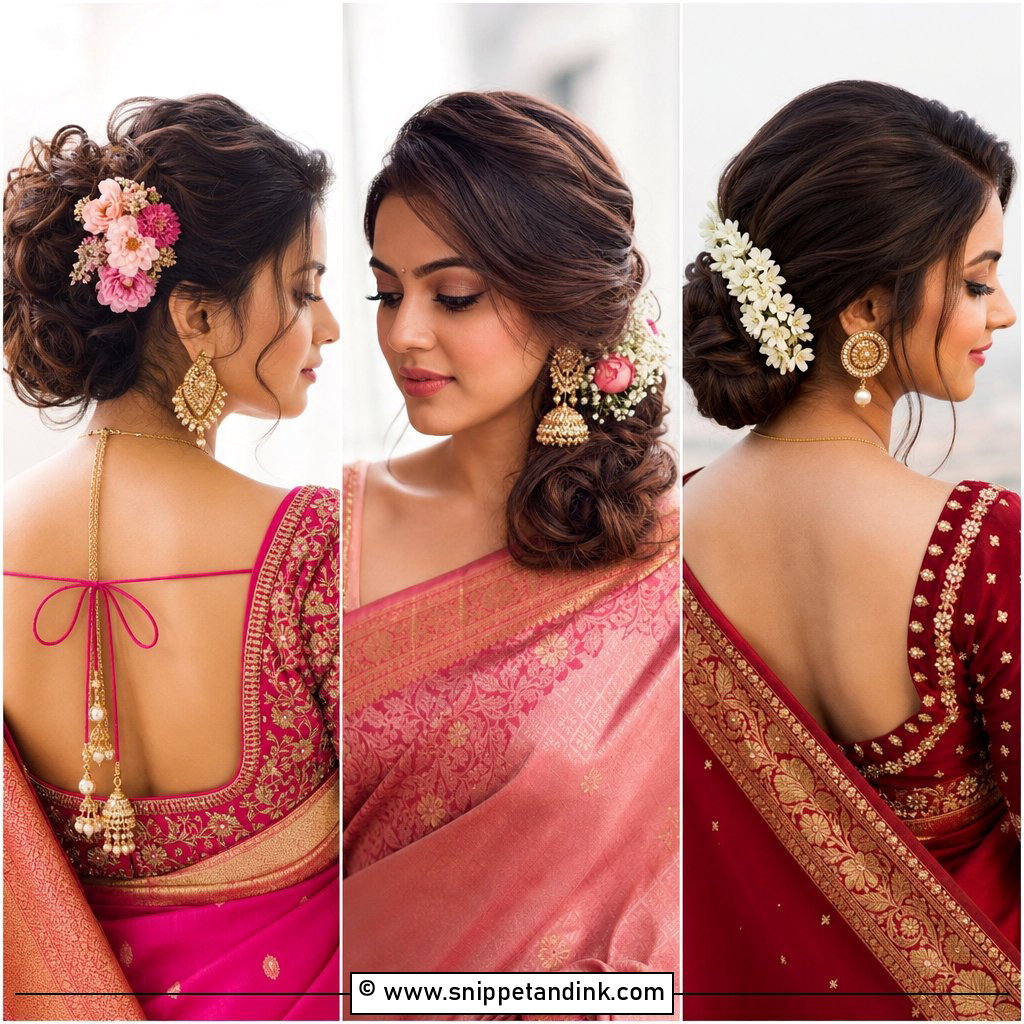
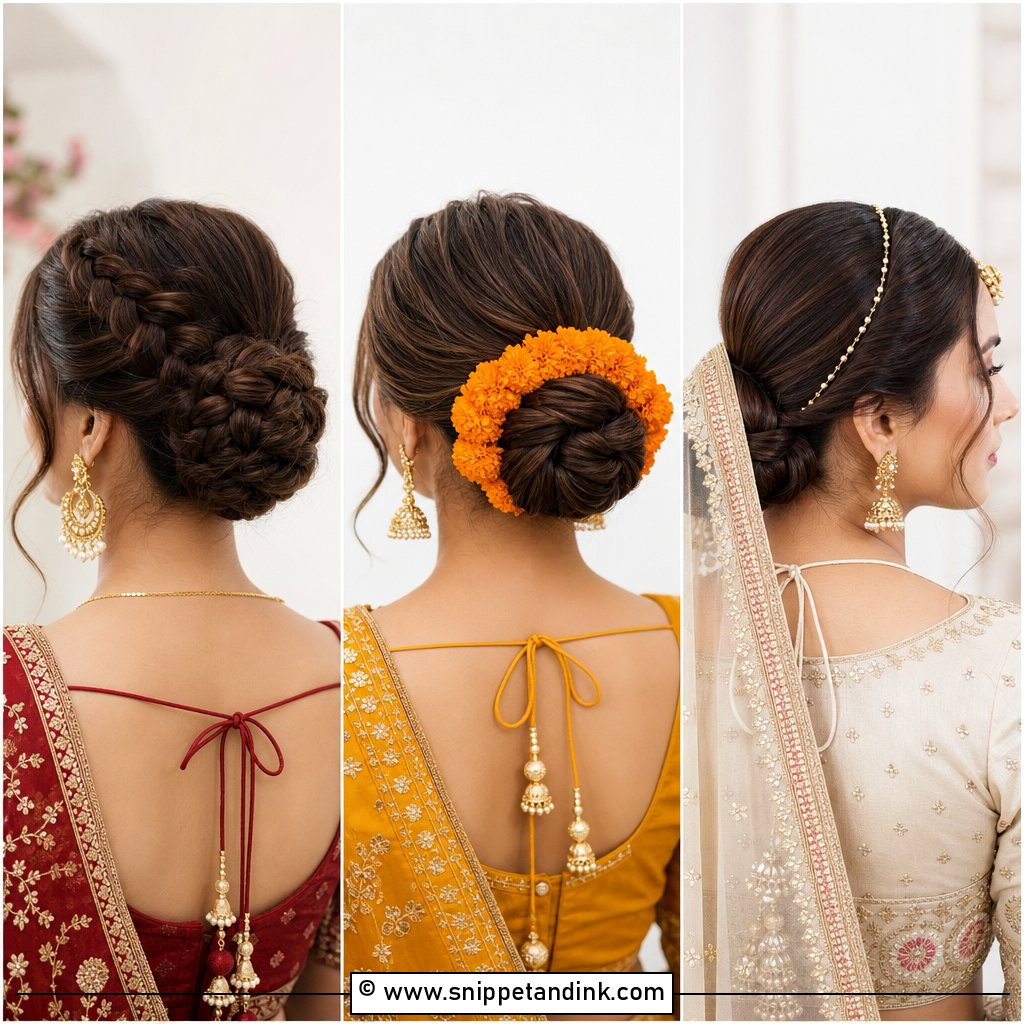
15. Slicked Back Bun With Statement Earrings
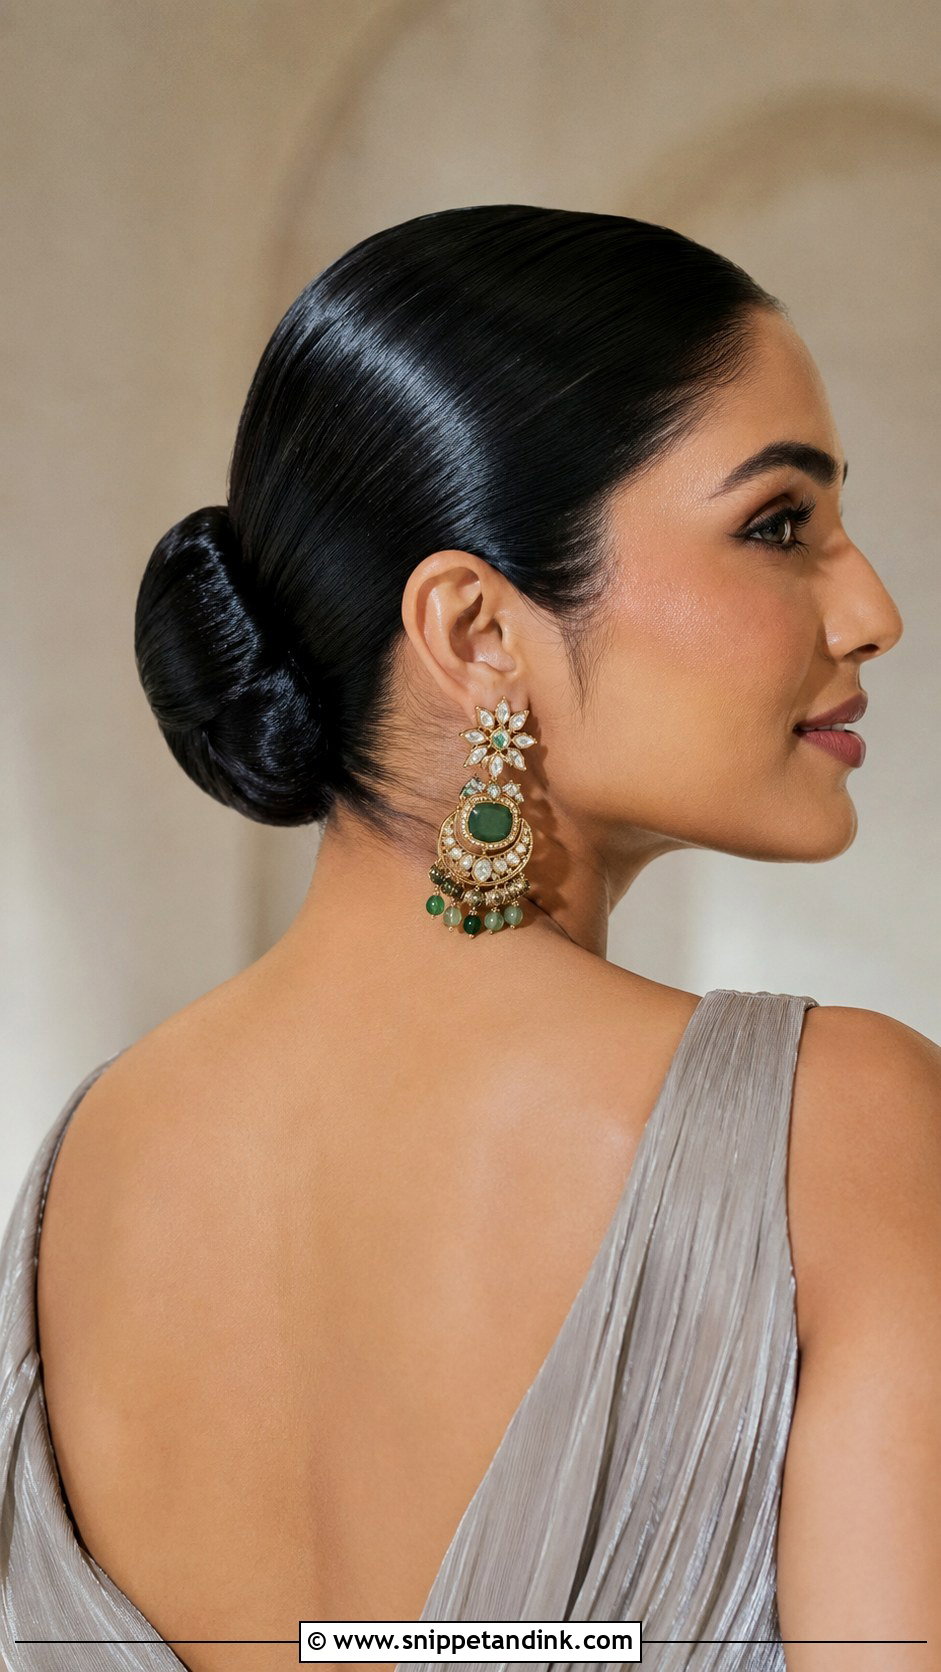
Hair slicked straight back into a smooth low knot, with a clean surface and nothing near the face. Here the earrings do the talking, so I treat the hair almost as a frame. Strong-hold gel applied to damp hair and brushed back with a boar bristle brush gives that polished surface without white flakes. Remember that slicked-back hair shows your hairline and ears completely, so it rewards confidence. If your face shape prefers some softness, leave a sliver of baby hair at the temples instead of scraping everything.
16. Floral Adorned Bun
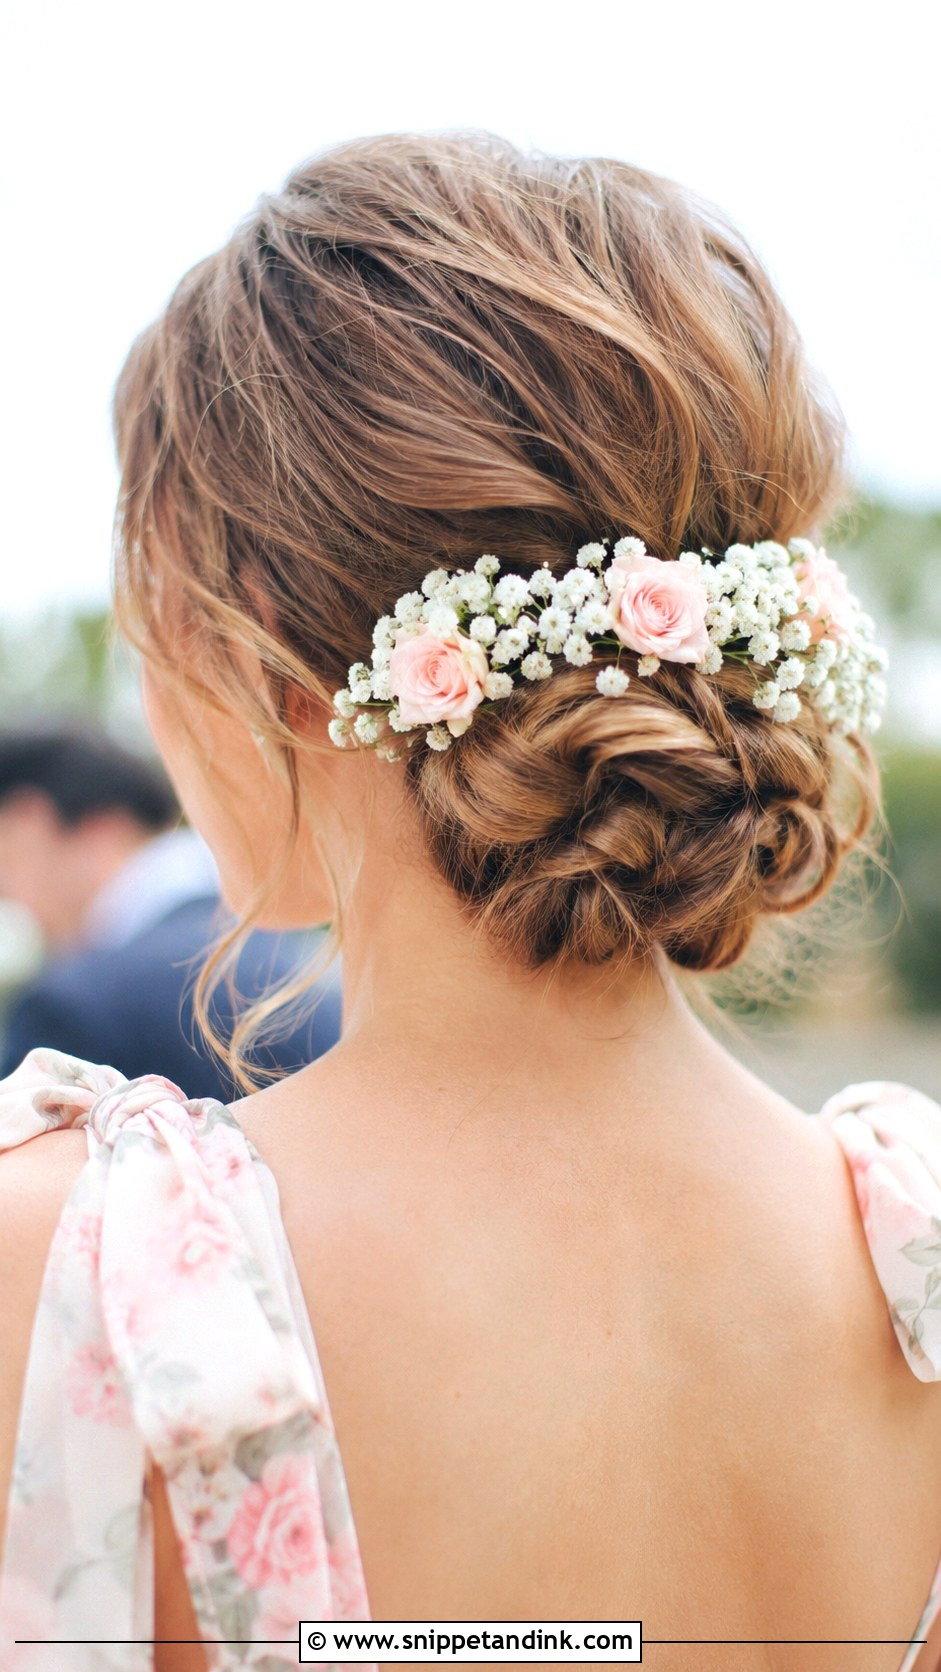
Fresh flowers turn a soft low bun into something seasonal. Tuck in small blooms like baby’s breath, spray roses or jasmine, and match them to the wedding palette or your dress. My advice from experience: wire the stems first or use floral pins, because a cut stem just pushed into hair wilts and falls out by the reception. Choose sturdy flowers for summer heat; baby’s breath and spray roses cope much better than gardenias, which brown at the edges where they’re handled. Silk flowers are the safe option for an all-day outdoor event.
17. Knotted Bun Updo
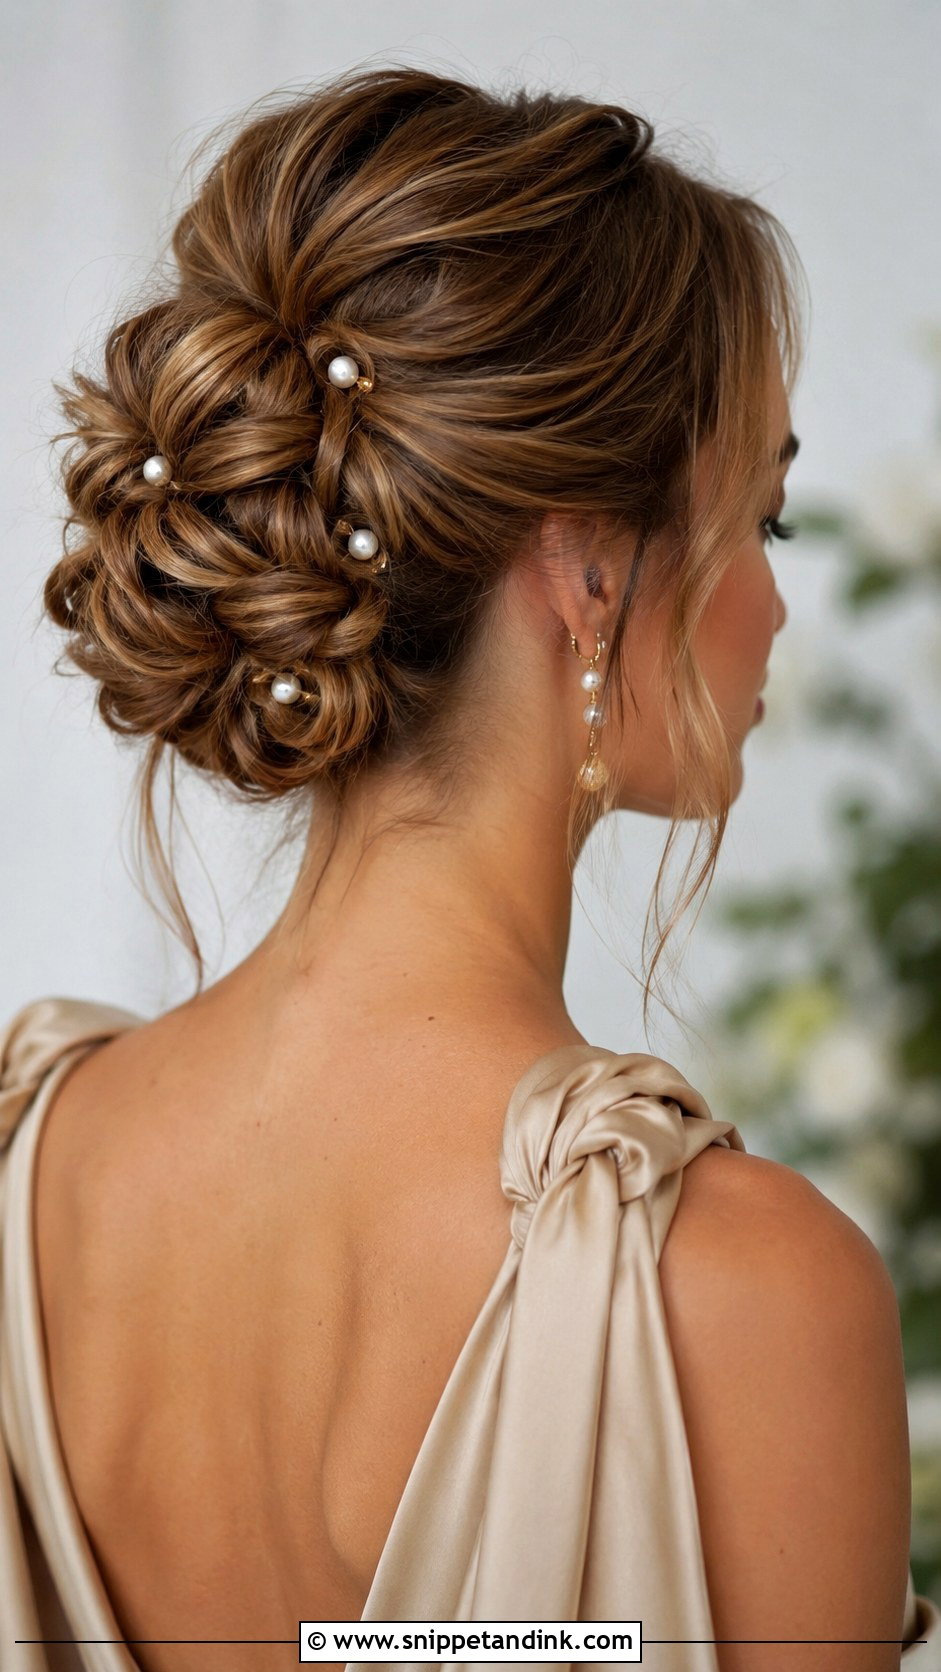
Hair is divided into sections, each tied into a soft knot, and the knots are pinned together into one full bun. The knotting gives a handmade texture that looks far more complicated than it is. It also locks itself: each knot acts as a stopper, so the pins have something solid to grip. I’d suggest it for medium to long hair with some natural grip; very silky hair needs dry shampoo first or the knots slip open. Low for daytime, higher for evening, and the knotted bun takes pearl pins well.
18. Bubble Braid Bun
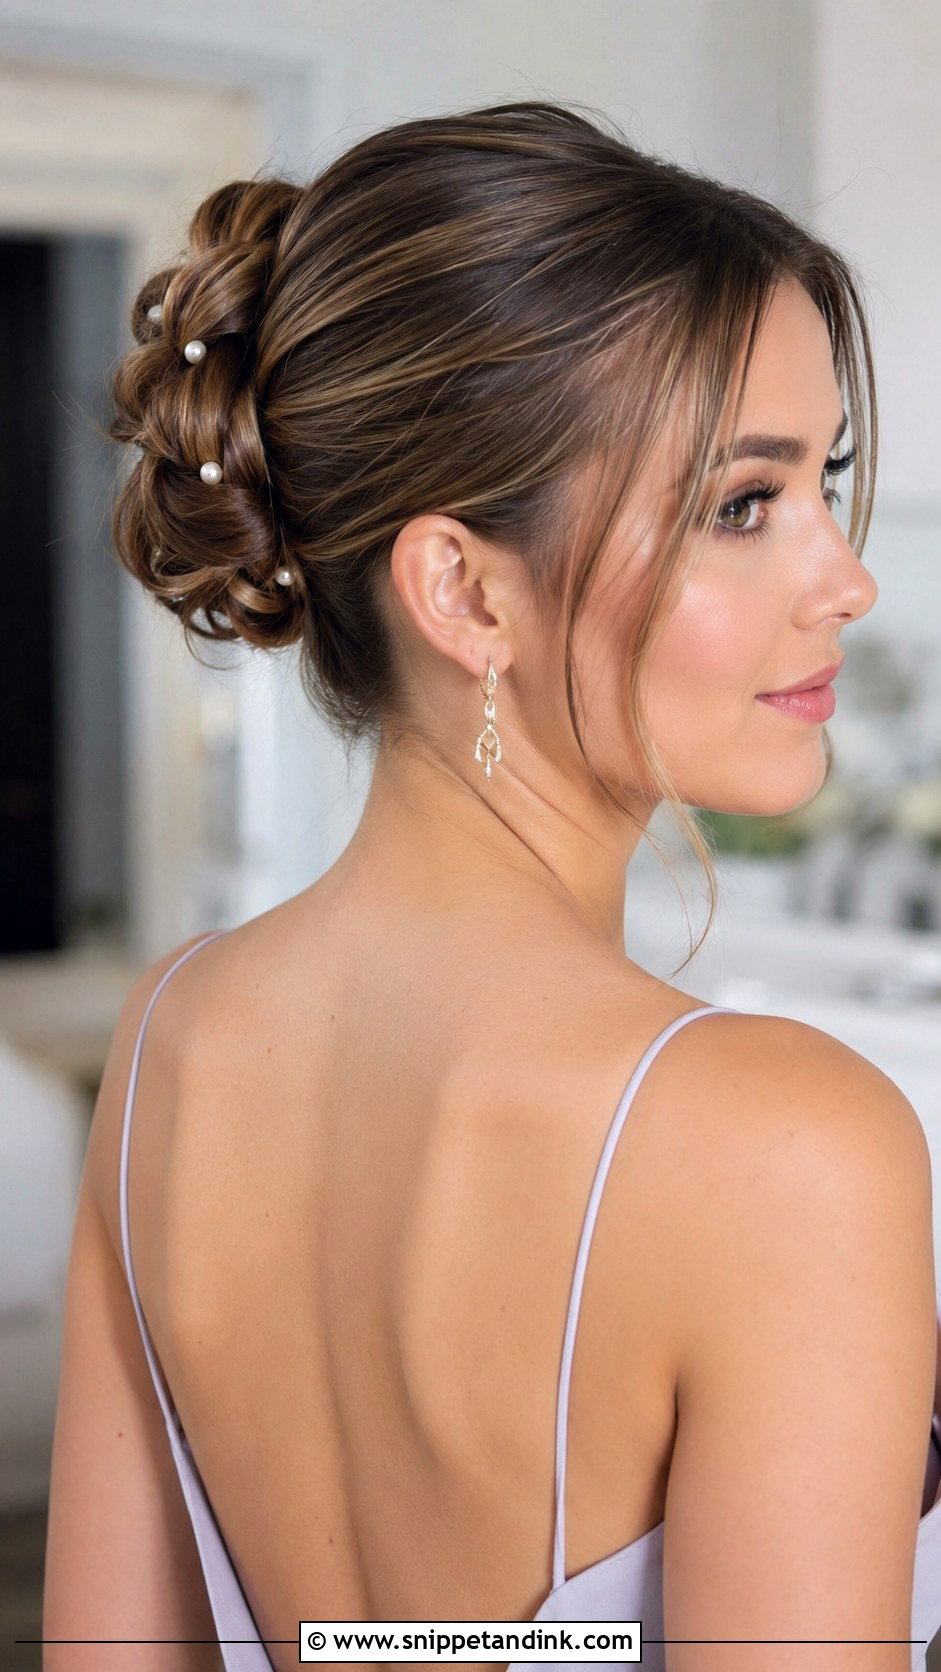
Tie a ponytail with clear elastics at intervals, pull each section out into a small bubble, then coil the length into a bun. It’s playful and suits a fashion-forward or younger crowd. The elastics are the thing to get right: use the clear silicone kind, which grip without snapping hair, and space them evenly or the coil looks lumpy. On fine hair I tease each bubble slightly before pulling it wide. Tiny pearls between the bubbles add a little detail without taking the fun out of it.
19. Vintage Rolled Bun
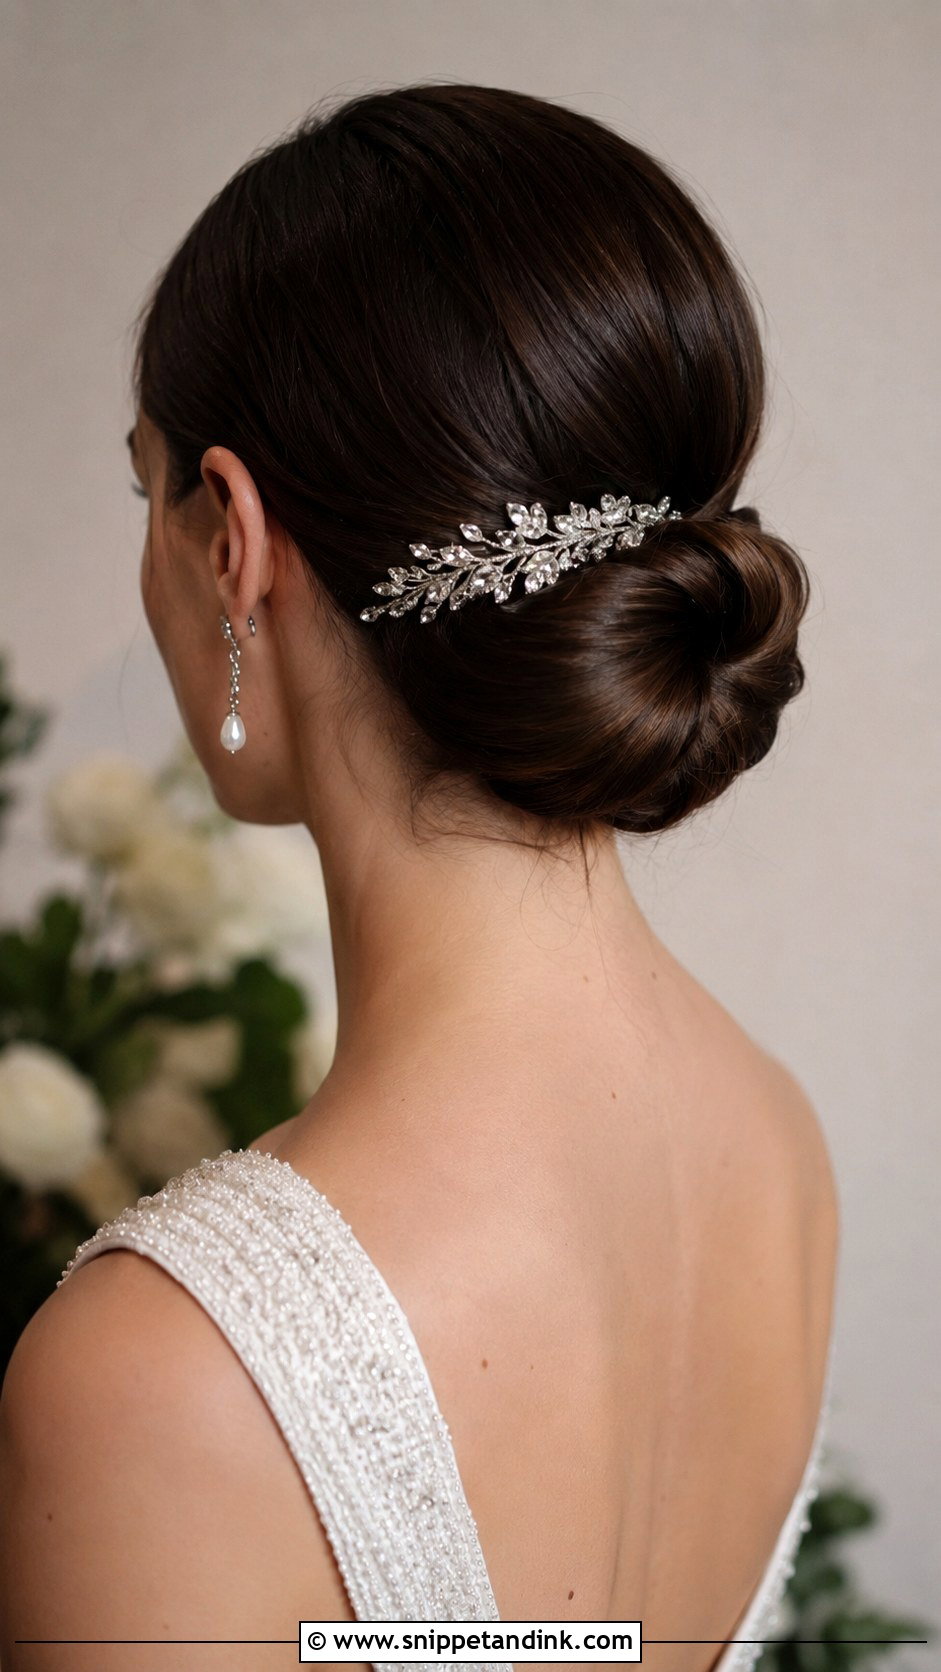
Smooth, sculpted rolls of hair are pinned into a shape at the nape or to one side, with an old Hollywood feel. Rolls need structure. I set hair on hot rollers or a large barrel first so it has memory, then shape each roll around two fingers and pin it from underneath. A little pomade keeps the surface smooth. It works best on medium to long hair and suits classic gowns and formal evening weddings. A sparkly comb at the side of the rolls finishes the vintage look.
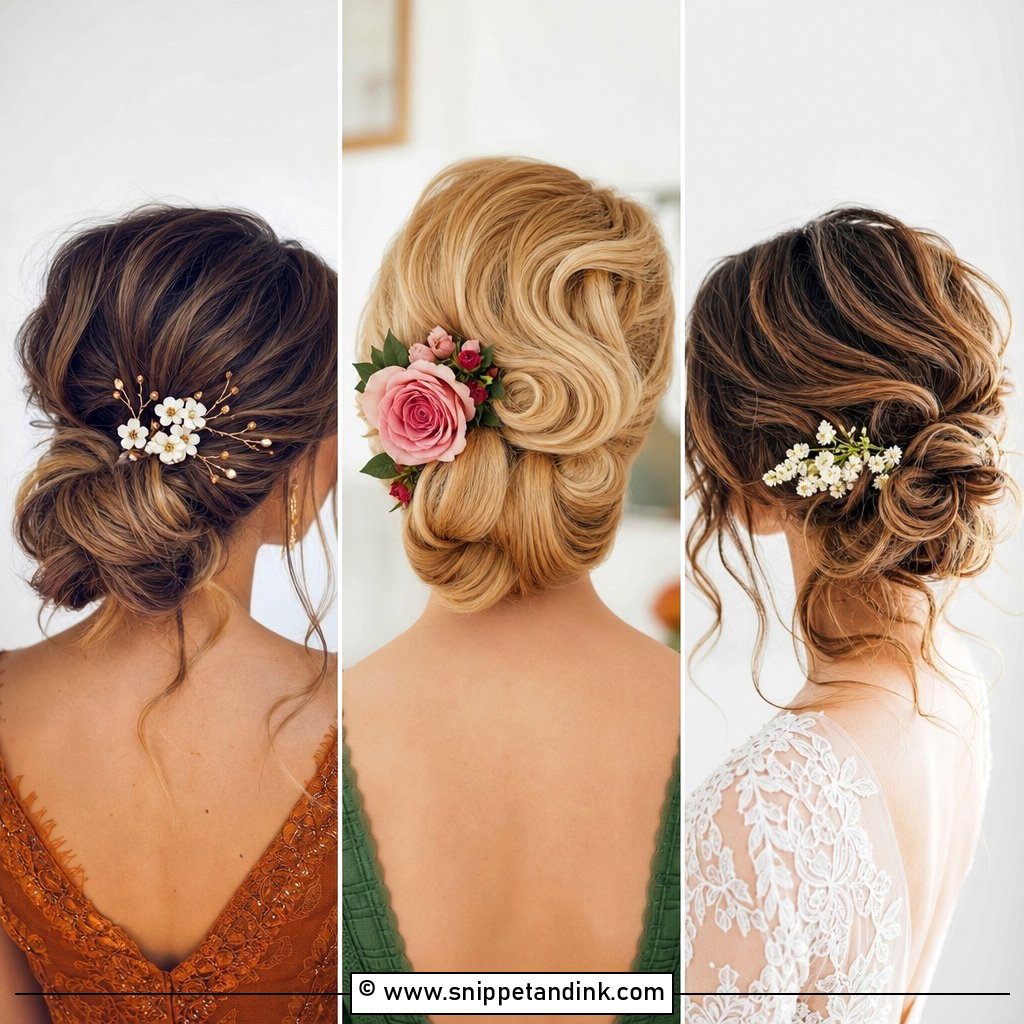
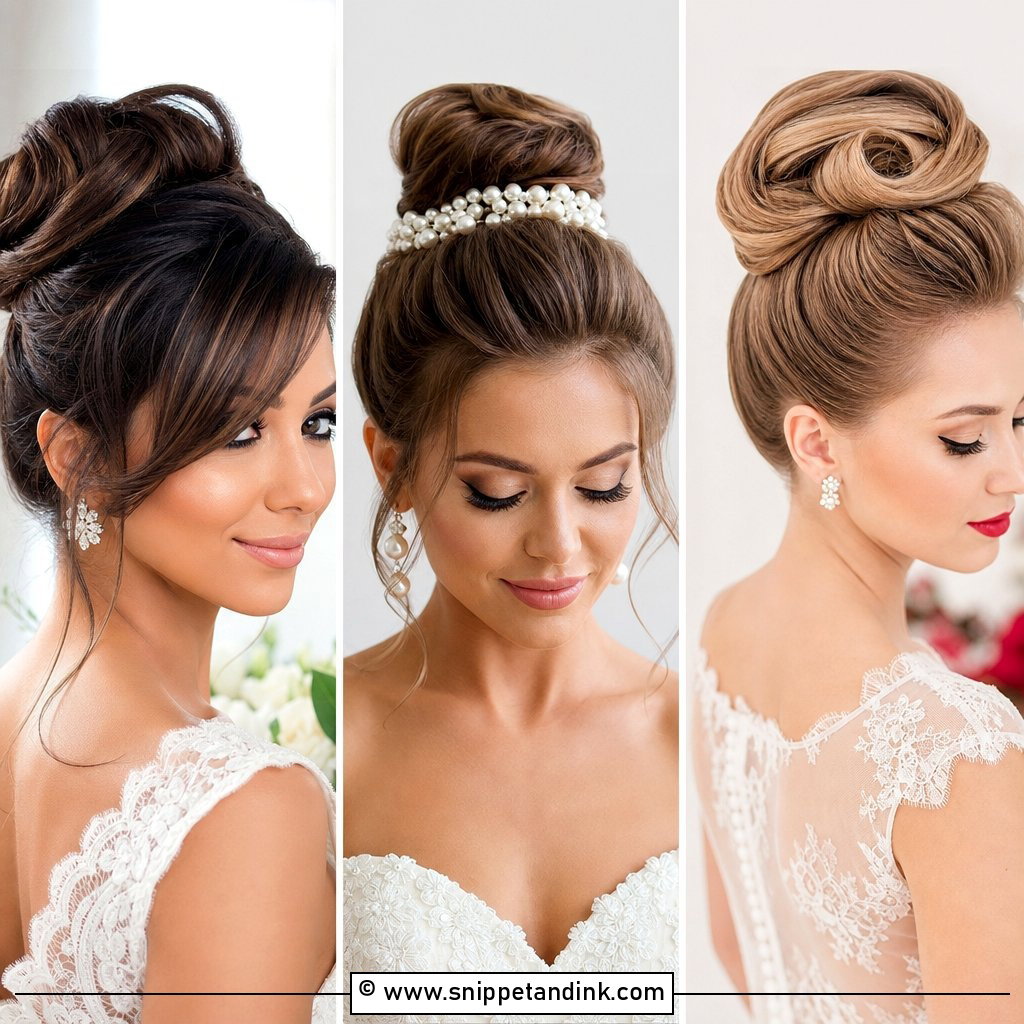
20. Half-Up Bun With Loose Ends
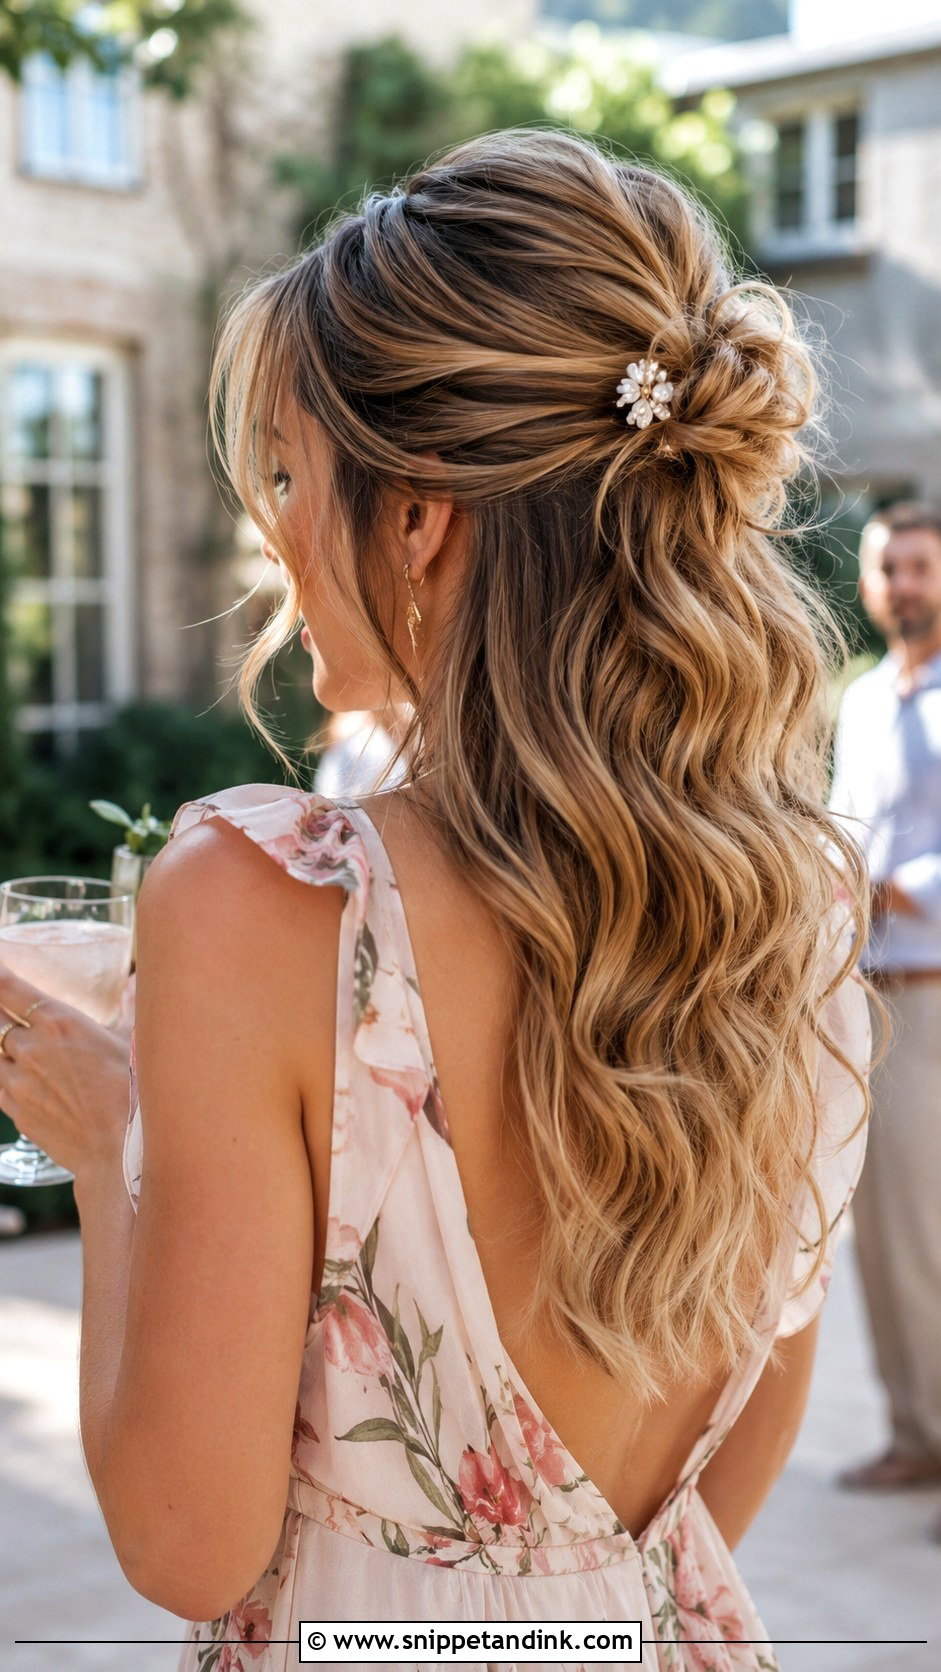
Can’t decide between an updo and hair down? The top section goes up into a soft bun and the rest falls loose underneath. It keeps hair off the face while still showing length, and it suits long hair with soft curls through the ends. The downside is that the loose lengths behave like any down style: in humidity they lose their curl, and they tangle against a lace or beaded back. I secure the bun with a small elastic plus two crossed pins so it doesn’t slide down the back of the head. A small pin or flower at the bun is enough.
Your Hair Density Picks the Bun Before Your Dress Does
I always look at density before style, because the same bun behaves completely differently on different heads of hair.
Fine or thin hair
Textured, twisted and messy buns are your friends, since they add volume where sleek styles expose every gap. A small donut or a mesh bun filler in a colour close to yours makes a low bun look fuller. I’d avoid the sleek high bun unless your hairline is strong.
Thick or heavy hair
Weight is the enemy, so keep the bun low where the head supports it, and split very thick hair into two sections, pinned one over the other. High buns on heavy hair can give you a headache within a couple of hours.
Short or layered hair
If your hair only just reaches a ponytail, a low knotted or messy bun hides short ends better than a smooth chignon. Braiding the back first collects the shortest layers so they don’t escape.
If It Slips Halfway Through the Reception
Pack a tiny kit in your clutch: six bobby pins, two U-pins, a clear elastic and a travel spray. When a bun starts sagging, don’t push pins into the loose part. Find the base, take out one or two pins near it, twist the slack hair back around the base, and lock the pins again through both layers. It takes two minutes in the bathroom mirror. If a messy bun loses its face pieces, twist them loosely and tuck them behind the ear rather than trying to curl them again.
A Bun Is Only as Good as Its Anchor
Sleek or soft, high or low, every bun on this list stands or falls on the same thing: a solid base and pins placed where they grip. Start from your hair’s density and texture, then let the dress and venue decide placement. Practise once before the wedding, take your small repair kit with you, and finish with one personal detail like a pearl pin or a few fresh flowers. You’ll spend the evening dancing instead of checking the mirror.
You'll Like These Ideas:


Leave a Reply