
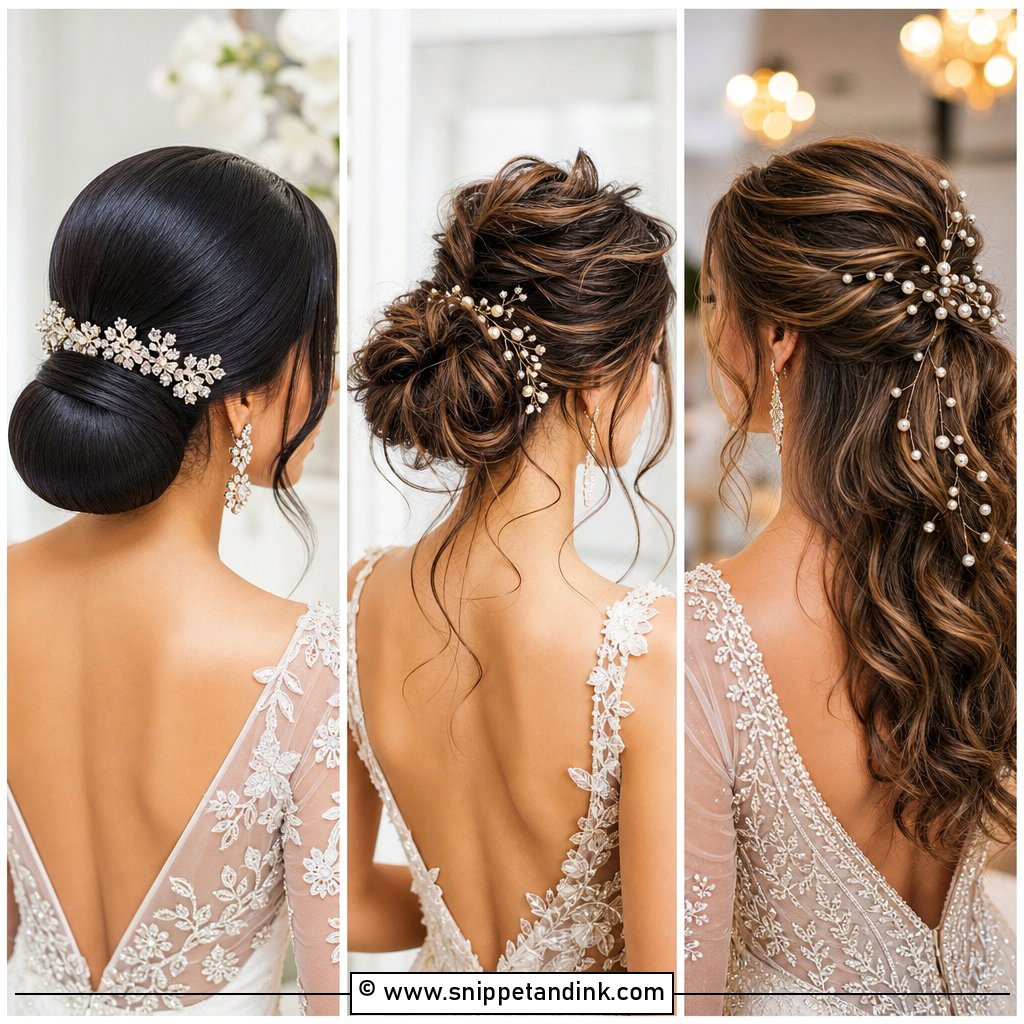
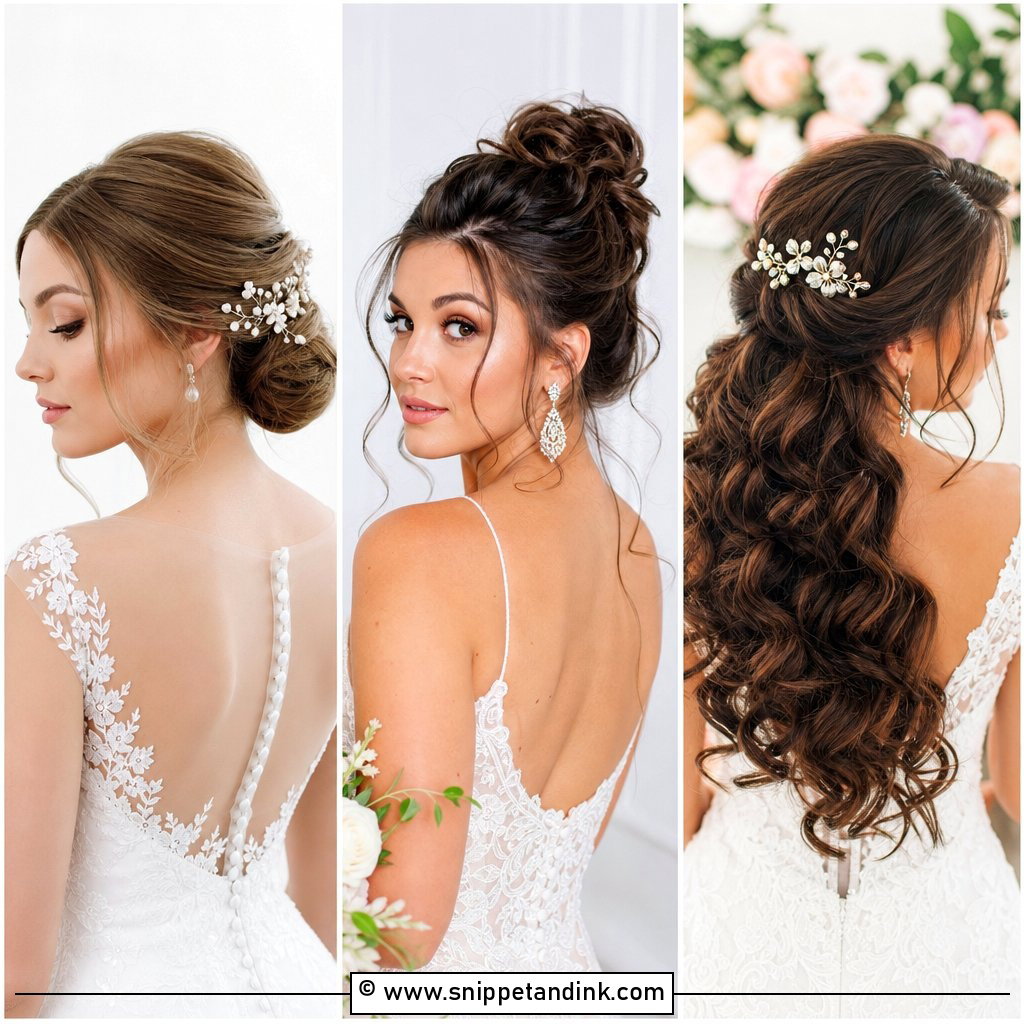
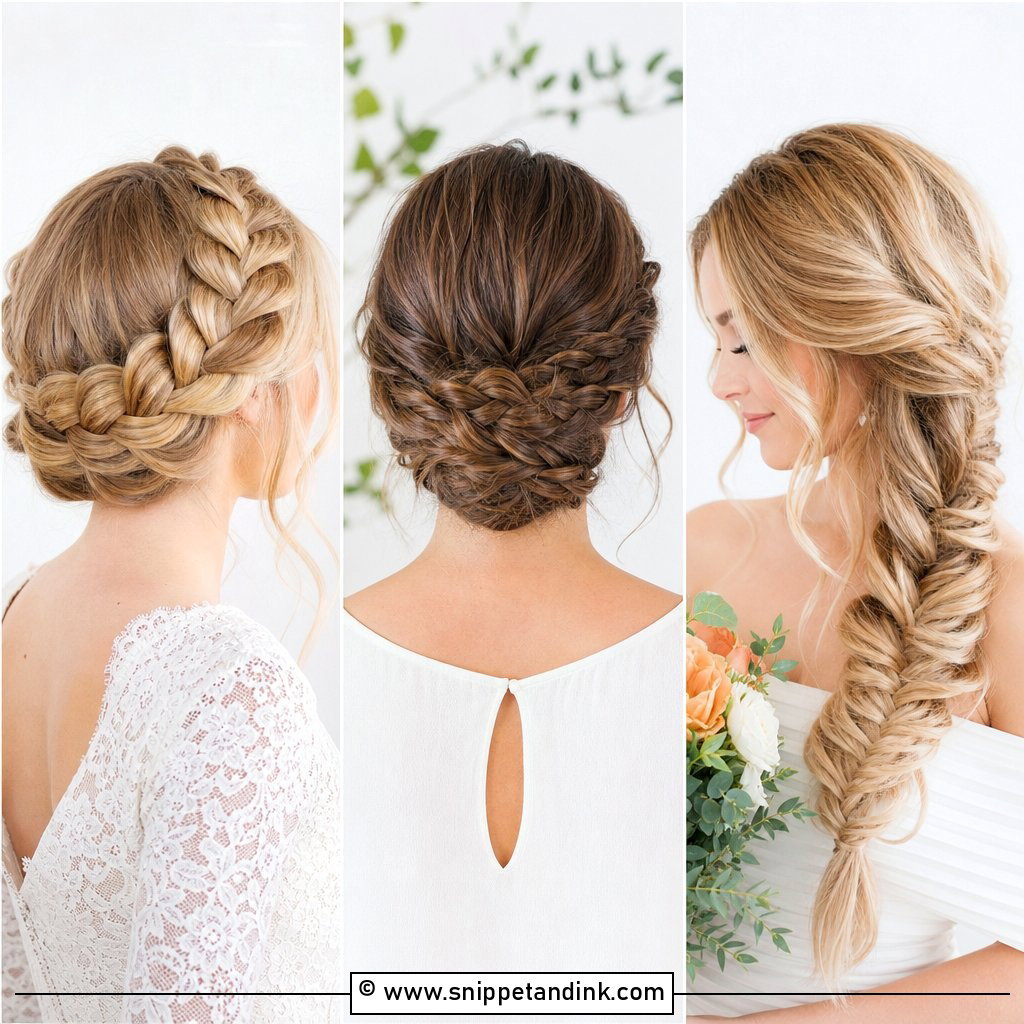
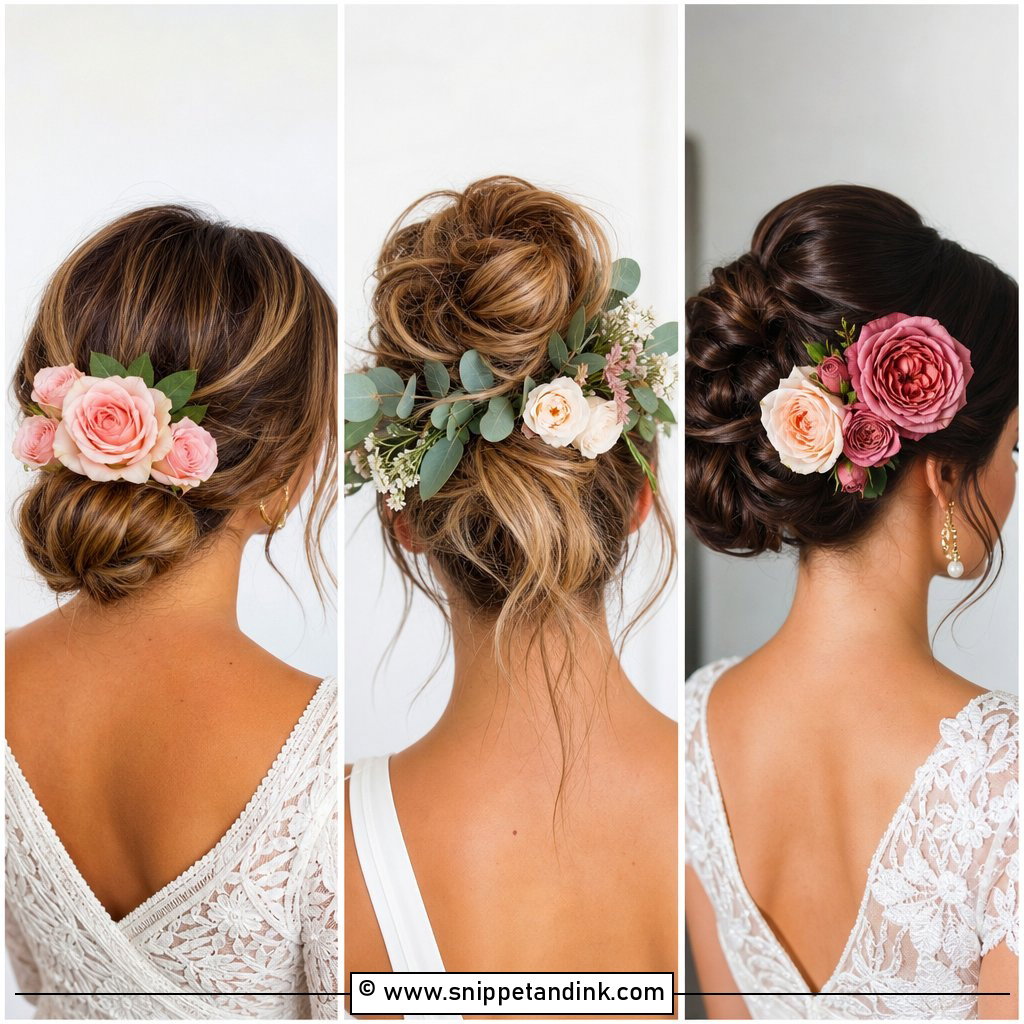
Guest hair has one job that bridal hair doesn’t: it has to look finished without pulling attention toward you. This year that’s easier than usual, because the shapes guests are asking for are clean ones. Ballet buns, glossy blowouts, low ponytails, a single bow. Below are 20 wedding guest hairstyles for 2025, each with my notes on how it’s built, what hair it needs, and how it behaves after six hours of hugging relatives and dancing.
Reading the Invitation Before You Pick a Hairstyle
The invitation tells me more about which hairstyle a guest needs than the dress does. Dress code, start time and venue all decide how polished, how secure and how weather-proof your hair has to be.
- Black tie or formal evening: smooth shapes with structure, such as the ballet bun, chignon or Old Hollywood waves.
- Cocktail or semi-formal: half-up styles, twisted buns and side-parted curls sit right in the middle.
- Garden, beach or barn: soft texture that is meant to move, such as beach waves, braids or a messy bun.
- Religious ceremony with a head covering: a low bun or low ponytail lets a scarf sit flat.
Then look at the hours. A ceremony at two followed by a reception until midnight is ten hours of wear. Hair worn down rarely looks the same at the end of that, so I usually steer long-day guests toward an updo or a ponytail and save down styles for shorter afternoon events.
1. Sleek Ballet Bun
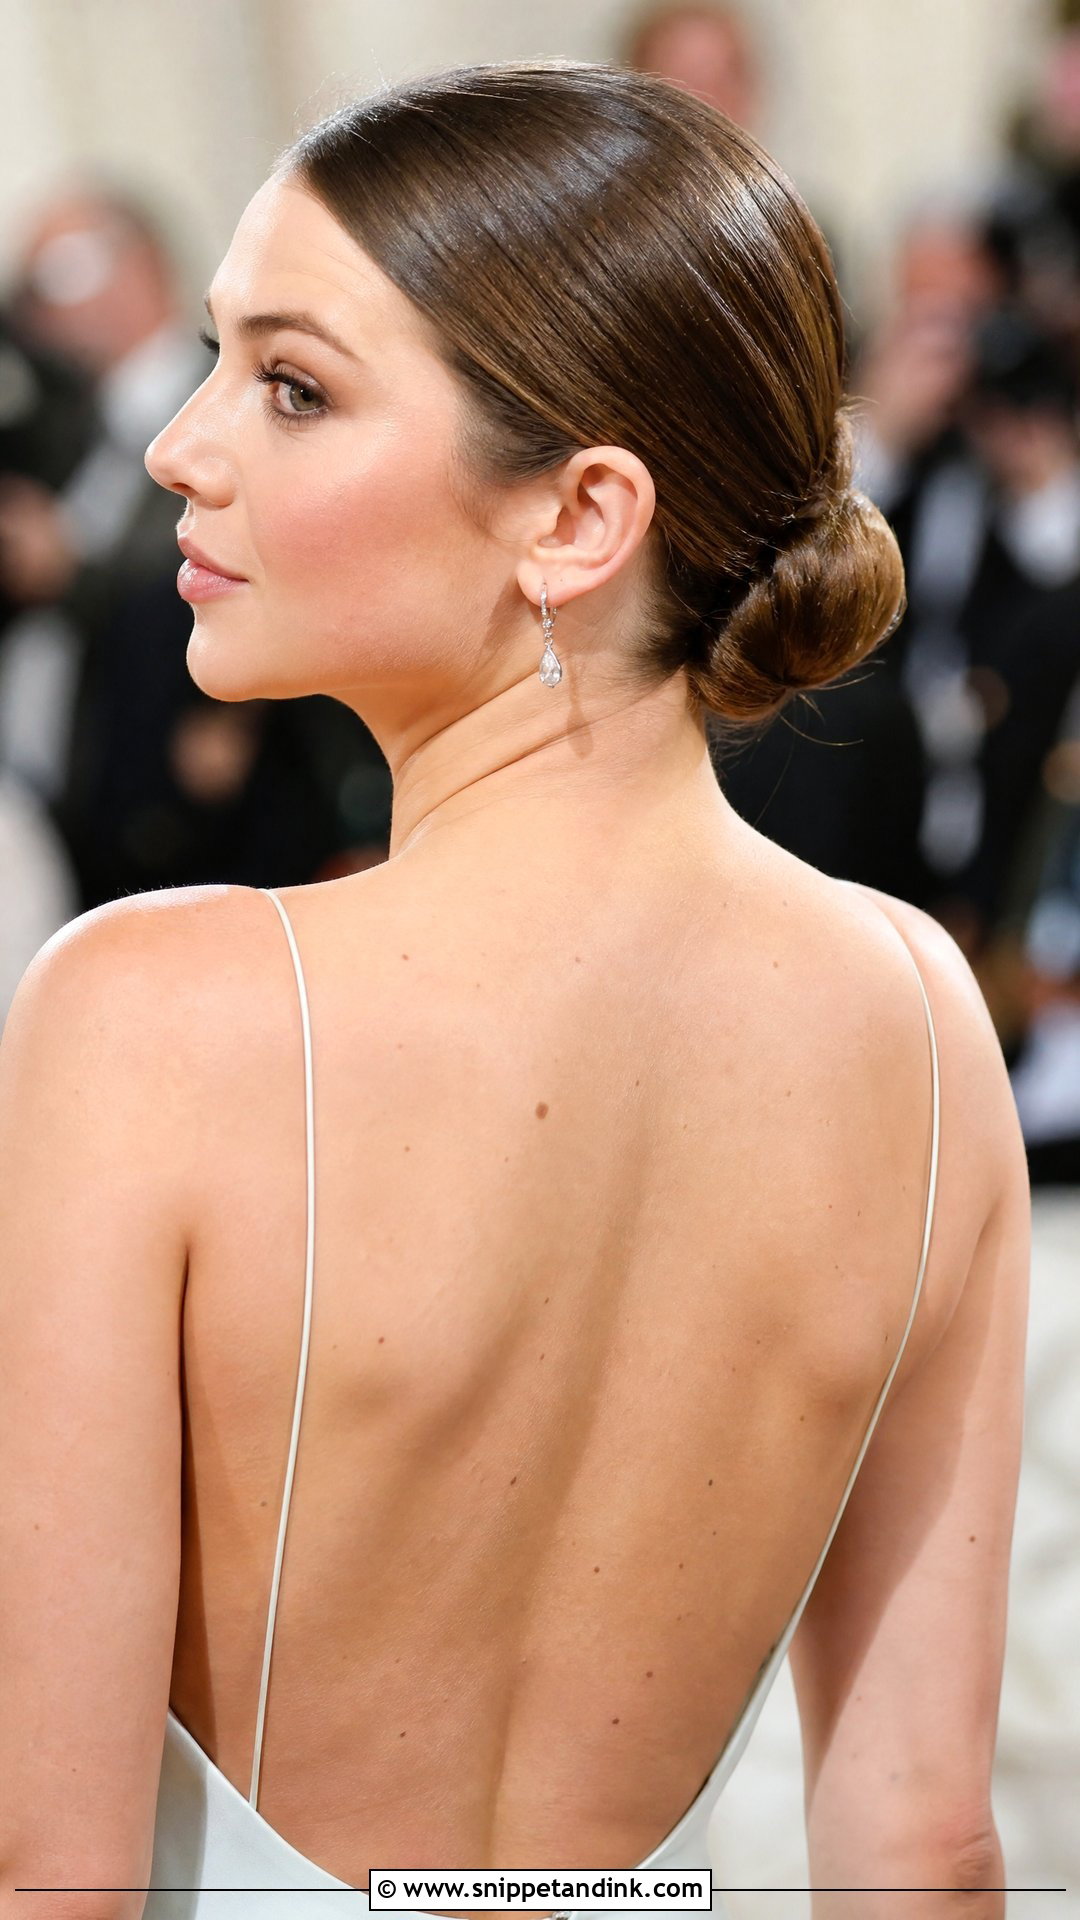
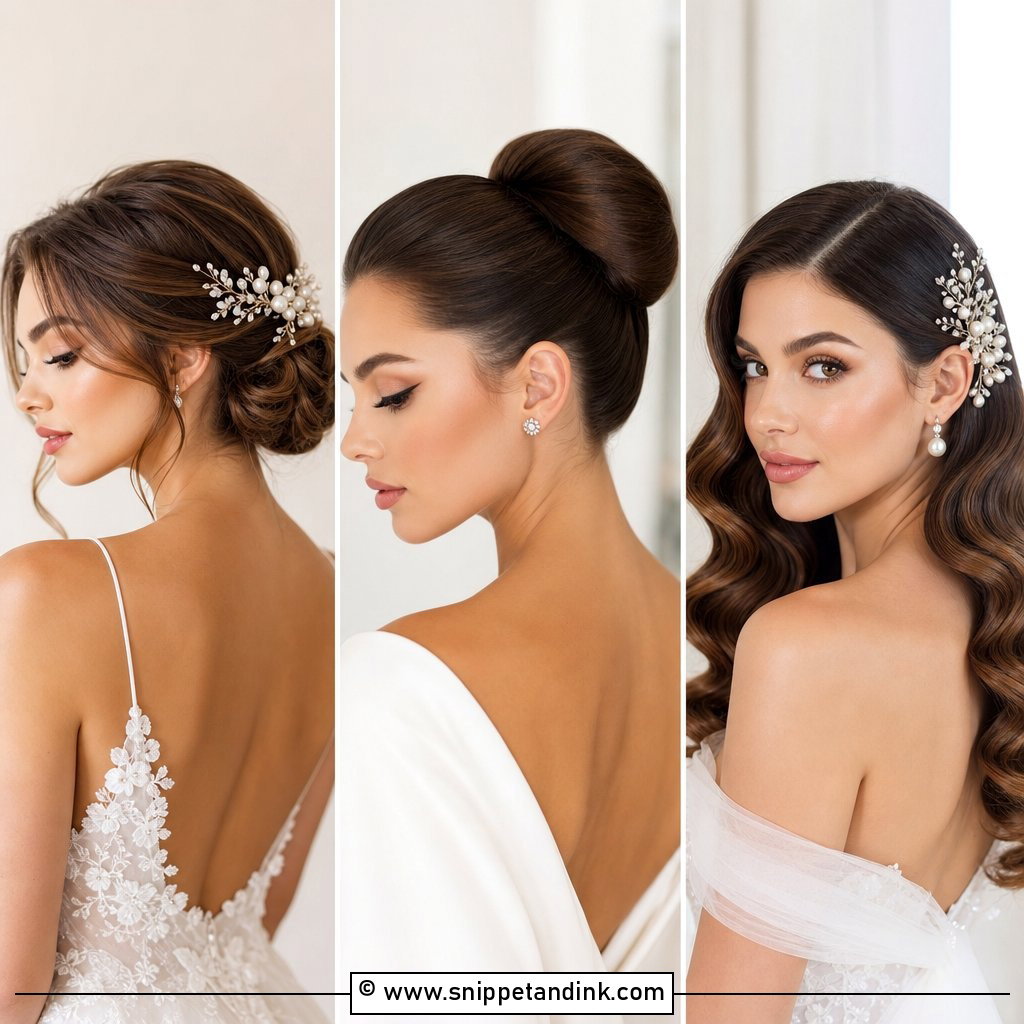
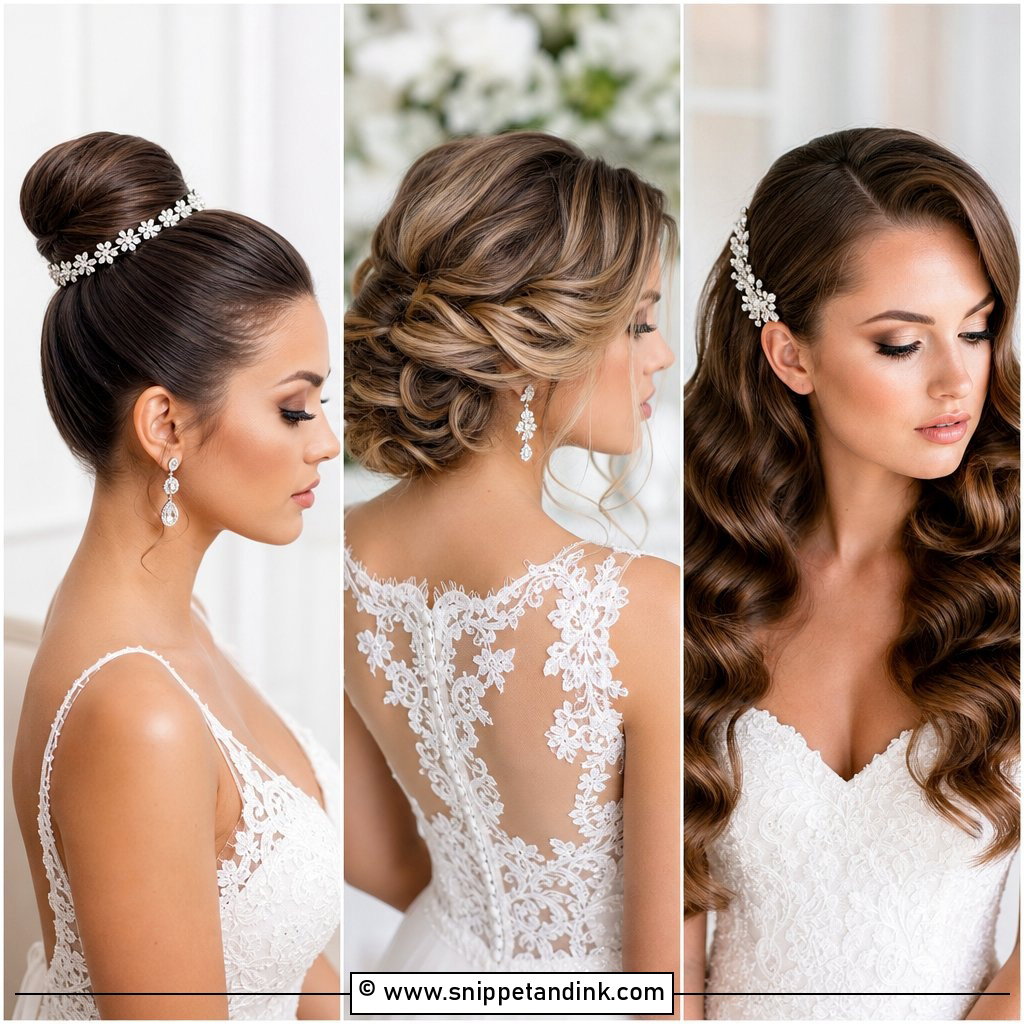
The ballet bun is the tightest, smoothest bun you can wear, which is exactly why it photographs so cleanly and exactly why it fails if the prep is rushed. I smooth the hair back with a firm gel and a boar bristle brush while it’s still slightly damp, then let it set before I coil it. Wear it high for a contemporary dress, low for a high neck. If your scalp is sensitive, the sleek ballet bun is not the style for a ten-hour day.
2. Old Hollywood Glamorous Waves
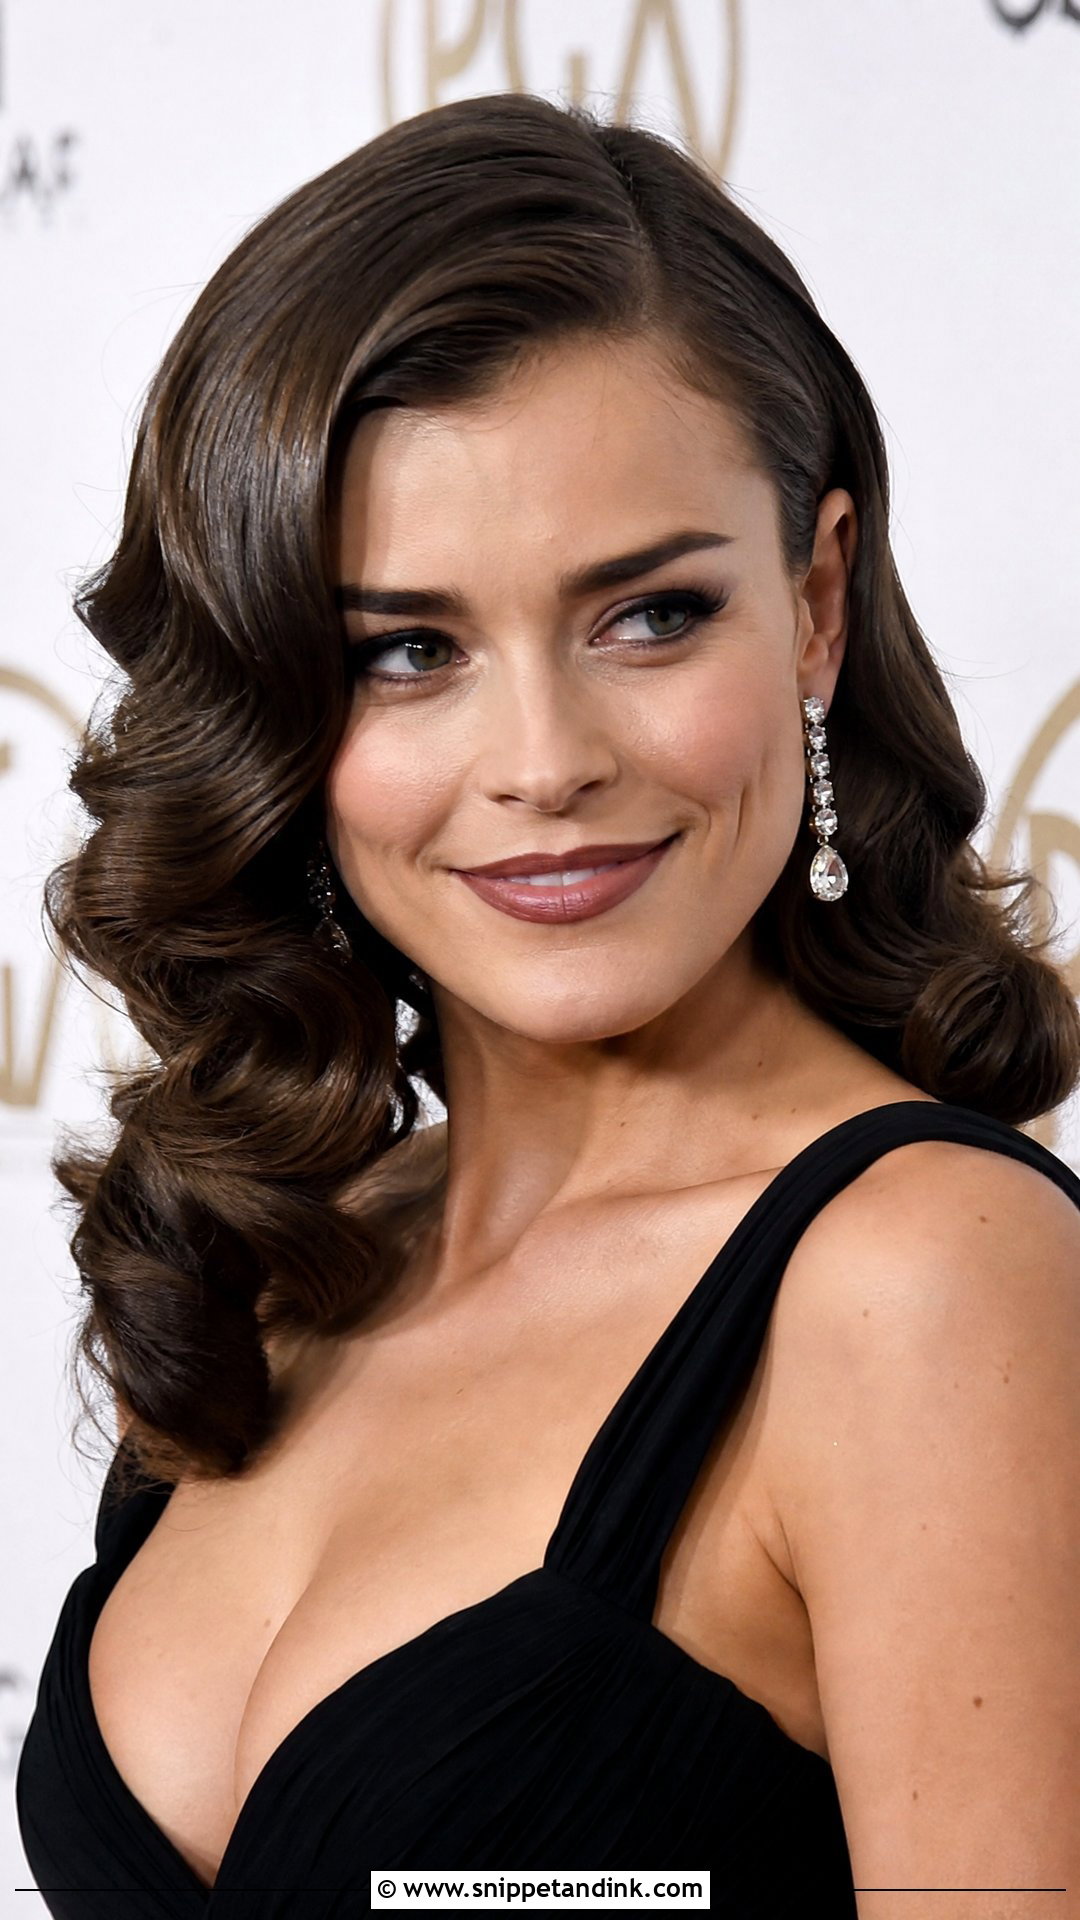
Old Hollywood waves are one continuous S-shape running down the head, not a set of separate curls. To get that, I curl every section in the same direction away from the face, pin each curl to cool, then brush the whole lot out with a wide brush until the curls join up. A deep side part is what gives the shape. Medium to long hair works; layered hair breaks the wave up, so it looks less sculpted. A red lip finishes it.
3. Half-Up Half-Down With a Bow
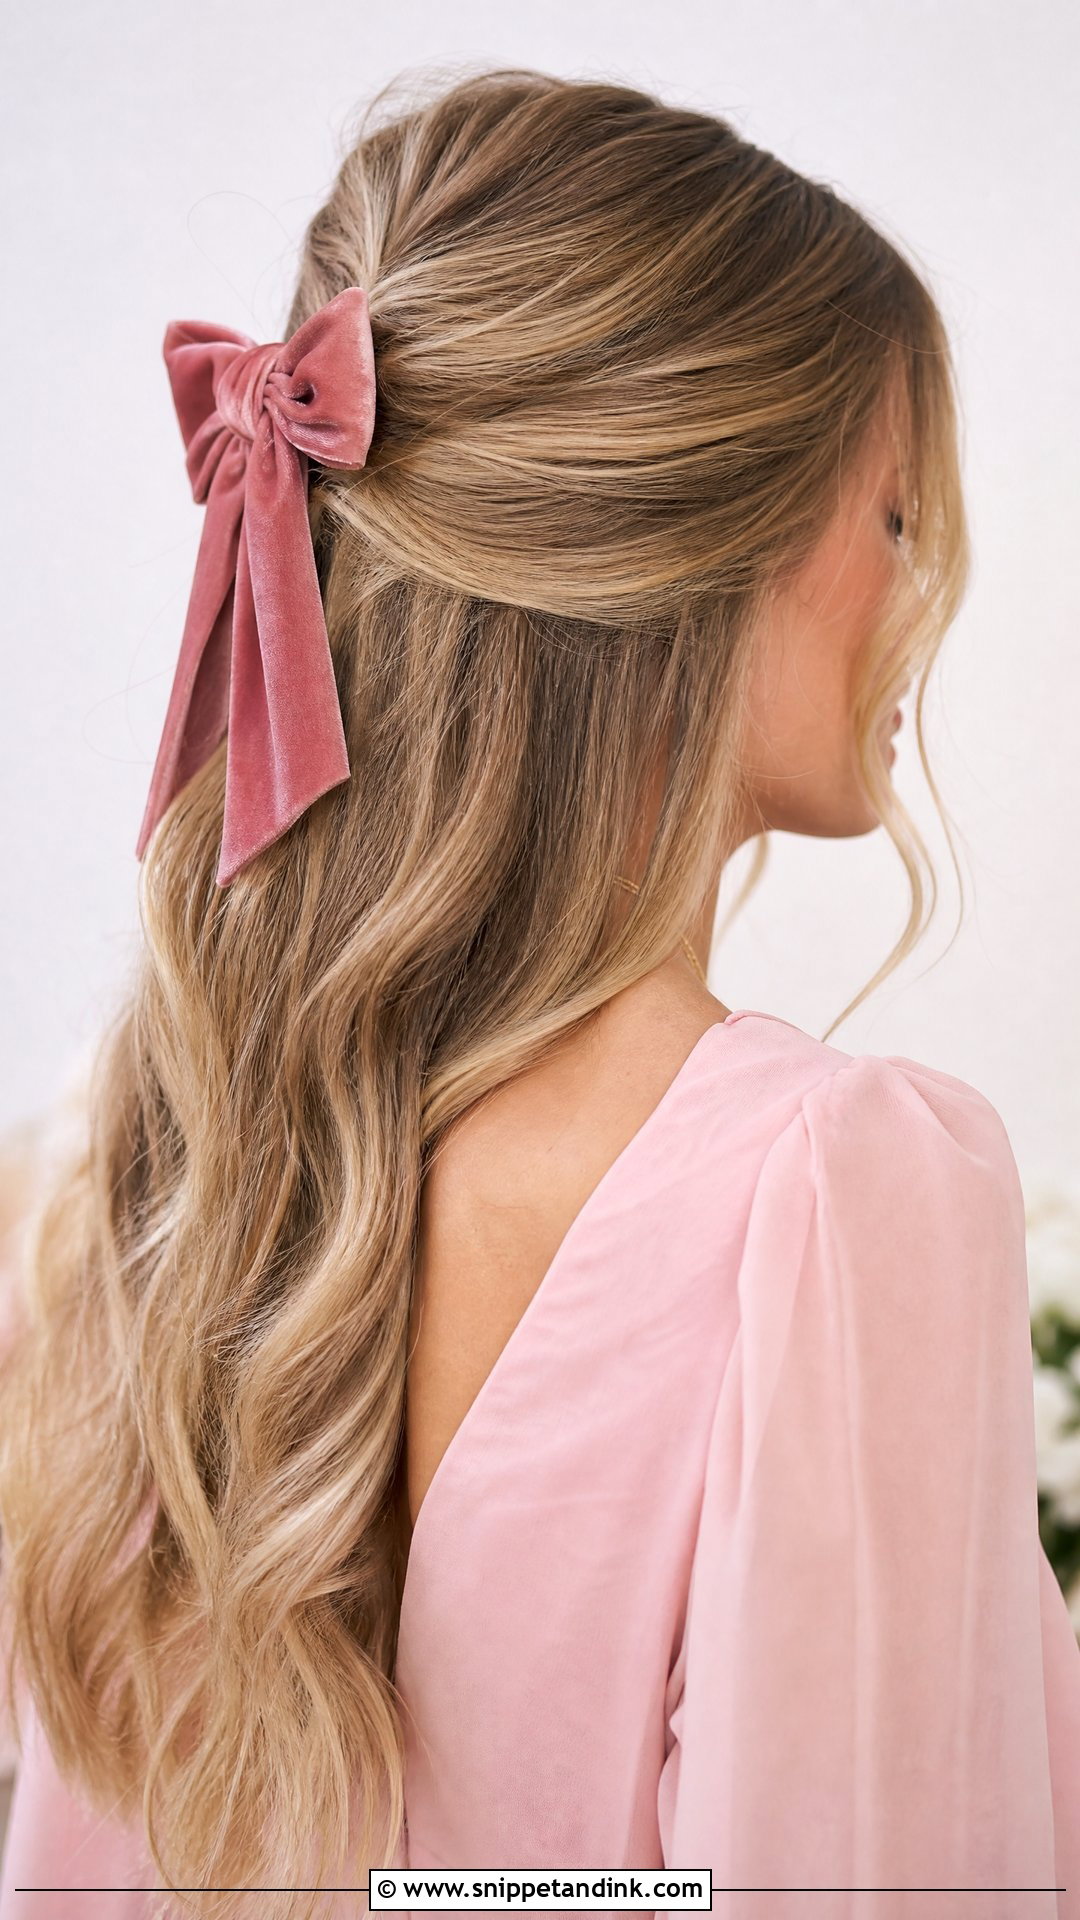
A bow makes a simple half-up feel finished in one move. I gather the top section, secure it with a clear elastic, and tie or clip the bow over that, never straight onto loose hair, because a ribbon on its own slides out within the hour. A velvet bow holds its shape better than silk and reads well in evening light. Fine hair needs a little backcombing under the bow so it has something to grip.
4. Sleek High Ponytail
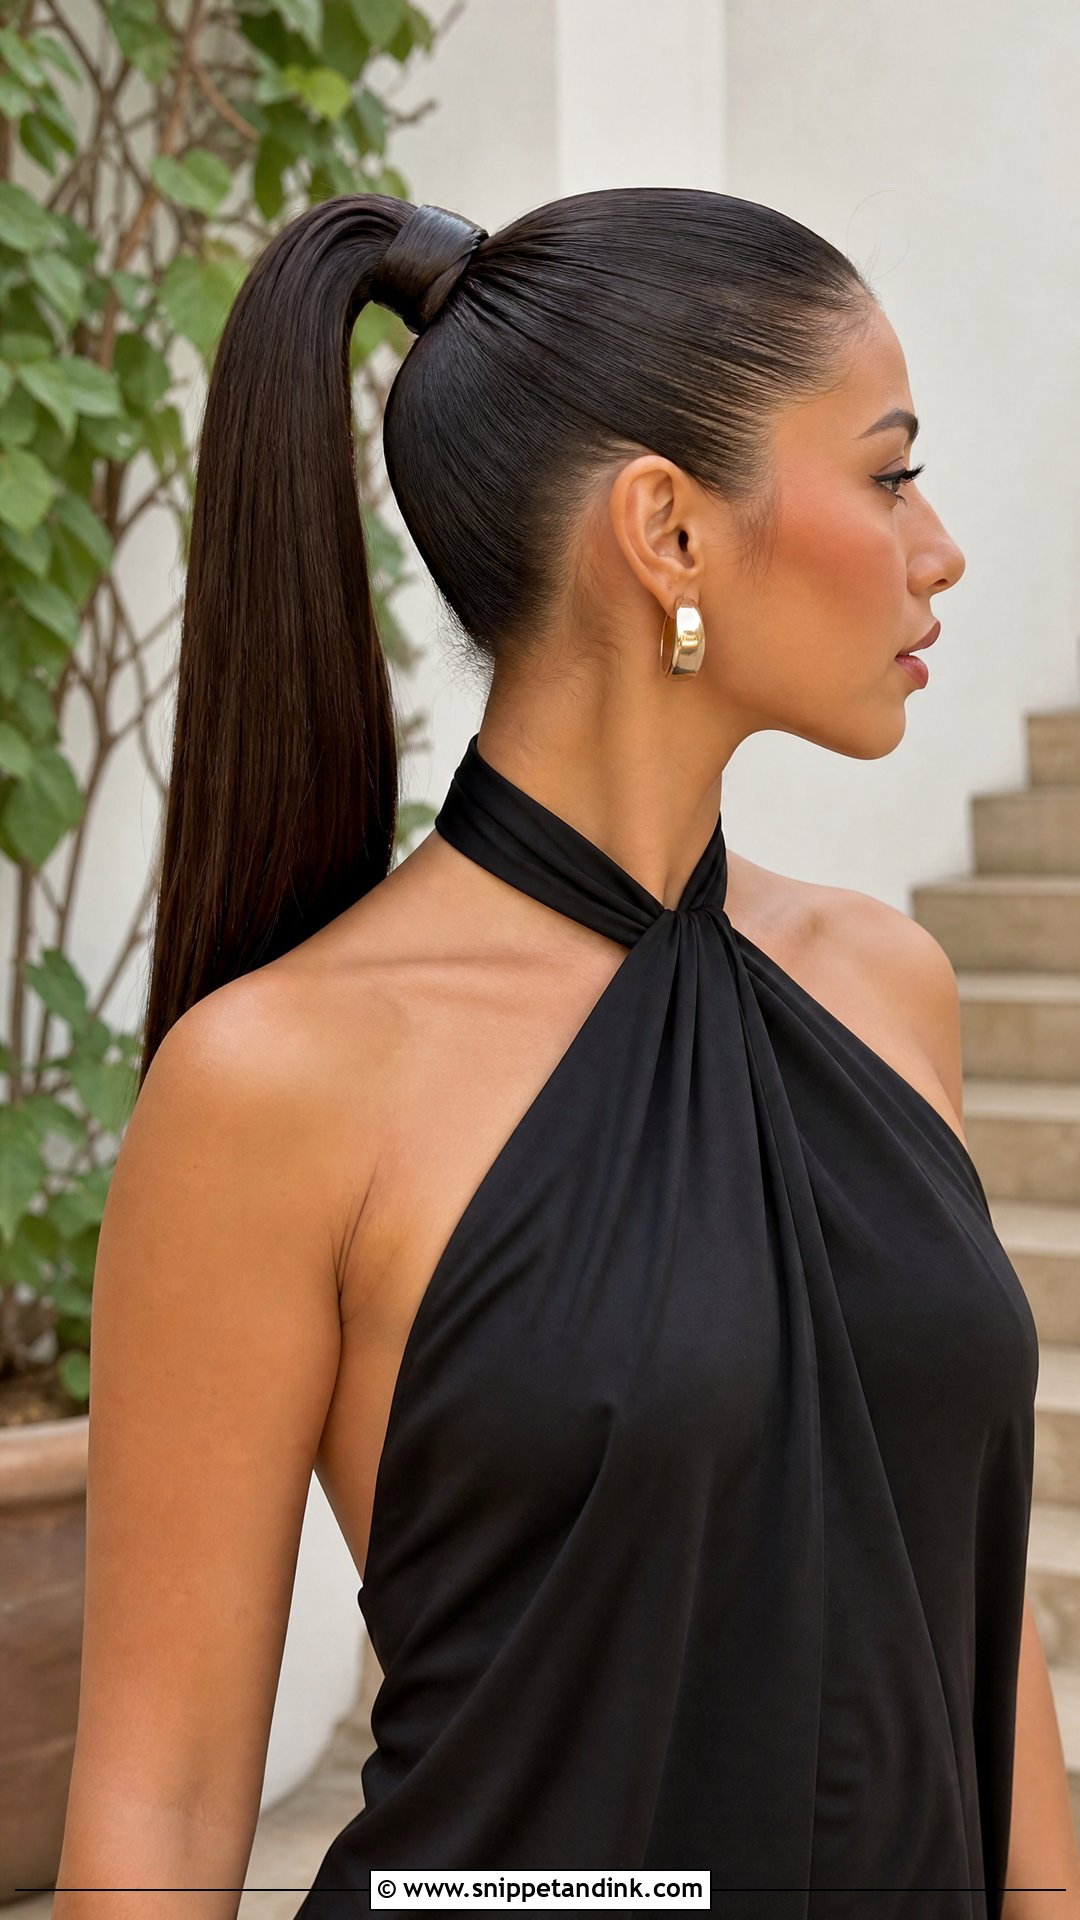
The face-lifting effect people talk about with a high ponytail is real: brushing everything up at the crown does pull the skin at the temples slightly upward. I place the elastic right at the occipital bone or just above it, and wrap a strand around it to hide the band. Heavy, waist-length hair is the exception. The weight drags on a high pony, and many guests take it down before dessert because of the tension.
5. Soft Romantic Beach Waves
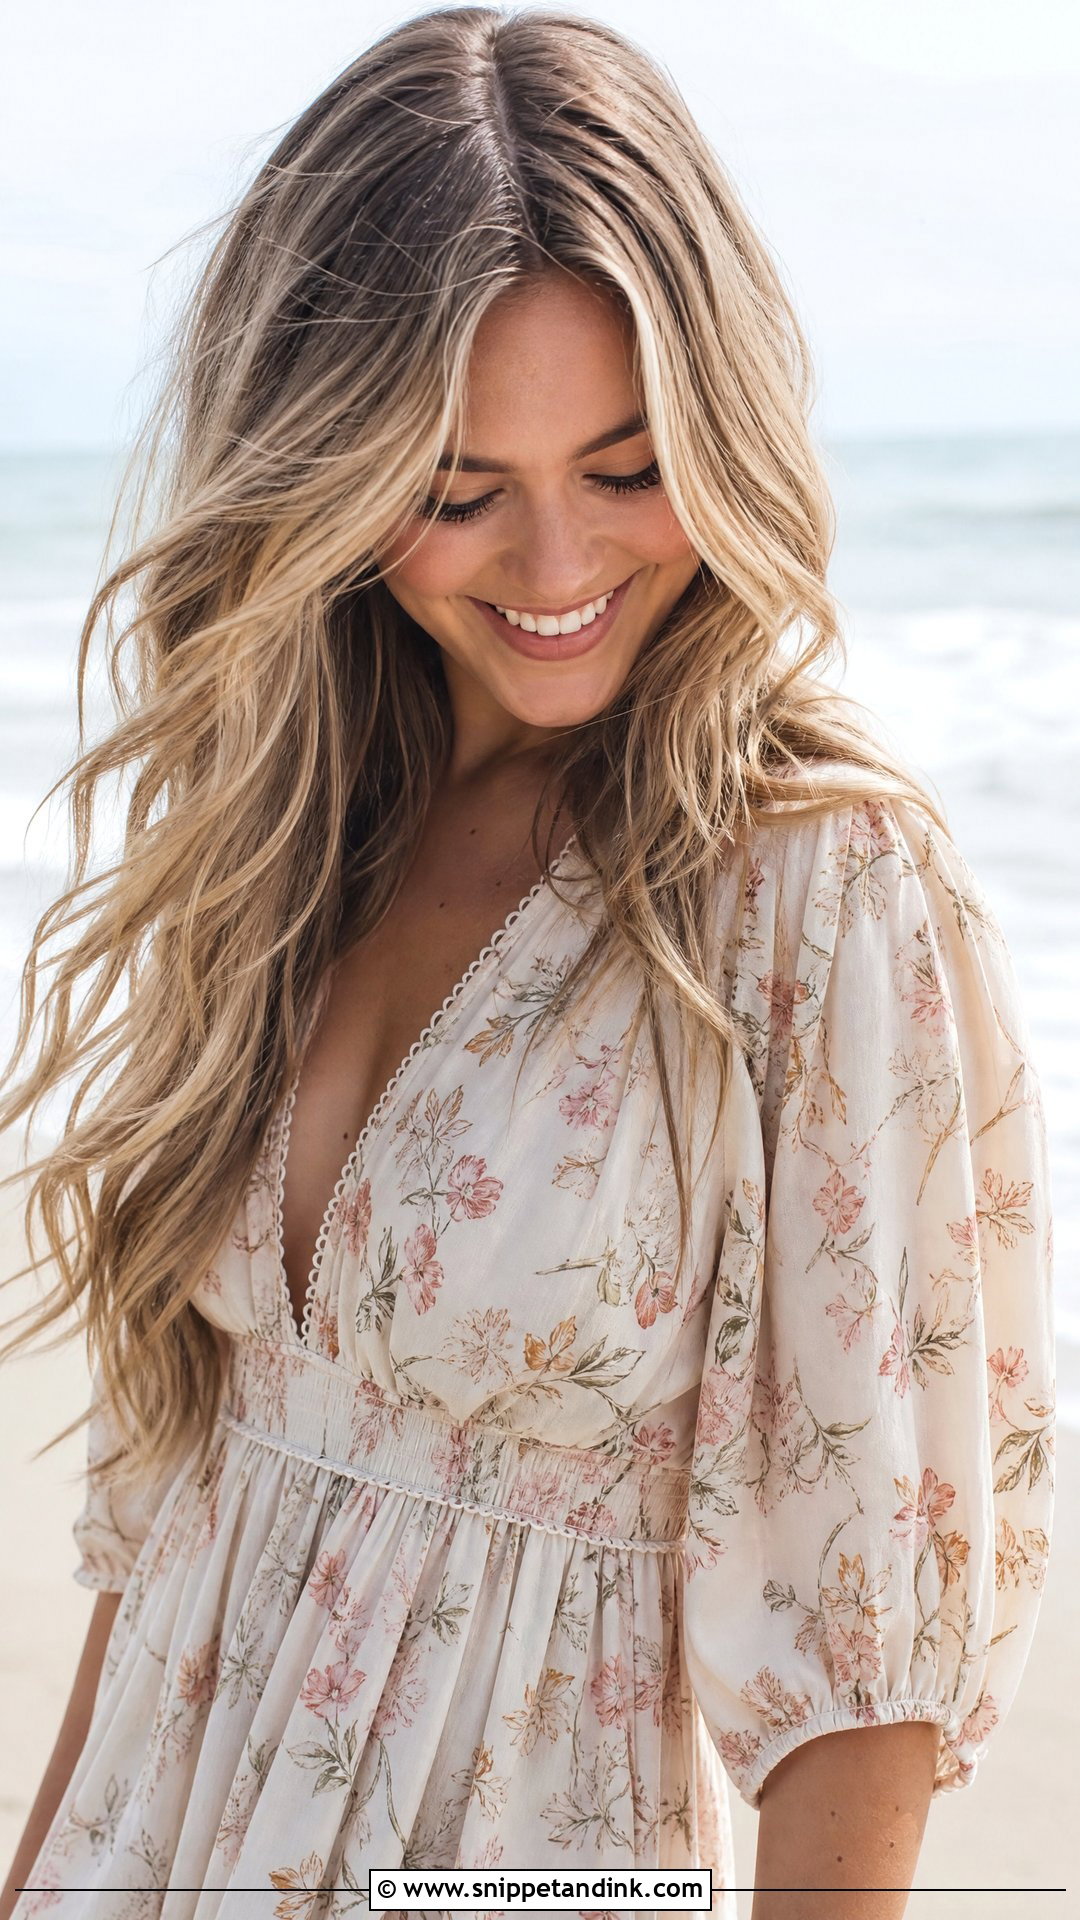
Beach waves suit an outdoor or relaxed wedding because they’re supposed to move. I curl with a flat iron or a wand, leave the last inch straight, and break the waves apart with fingers once they’ve cooled. A light texture spray adds grip. Very straight, fine hair loses this style fastest; prep with a mousse at the roots and you’ll still have movement at the toasts.
6. Classic Low Chignon
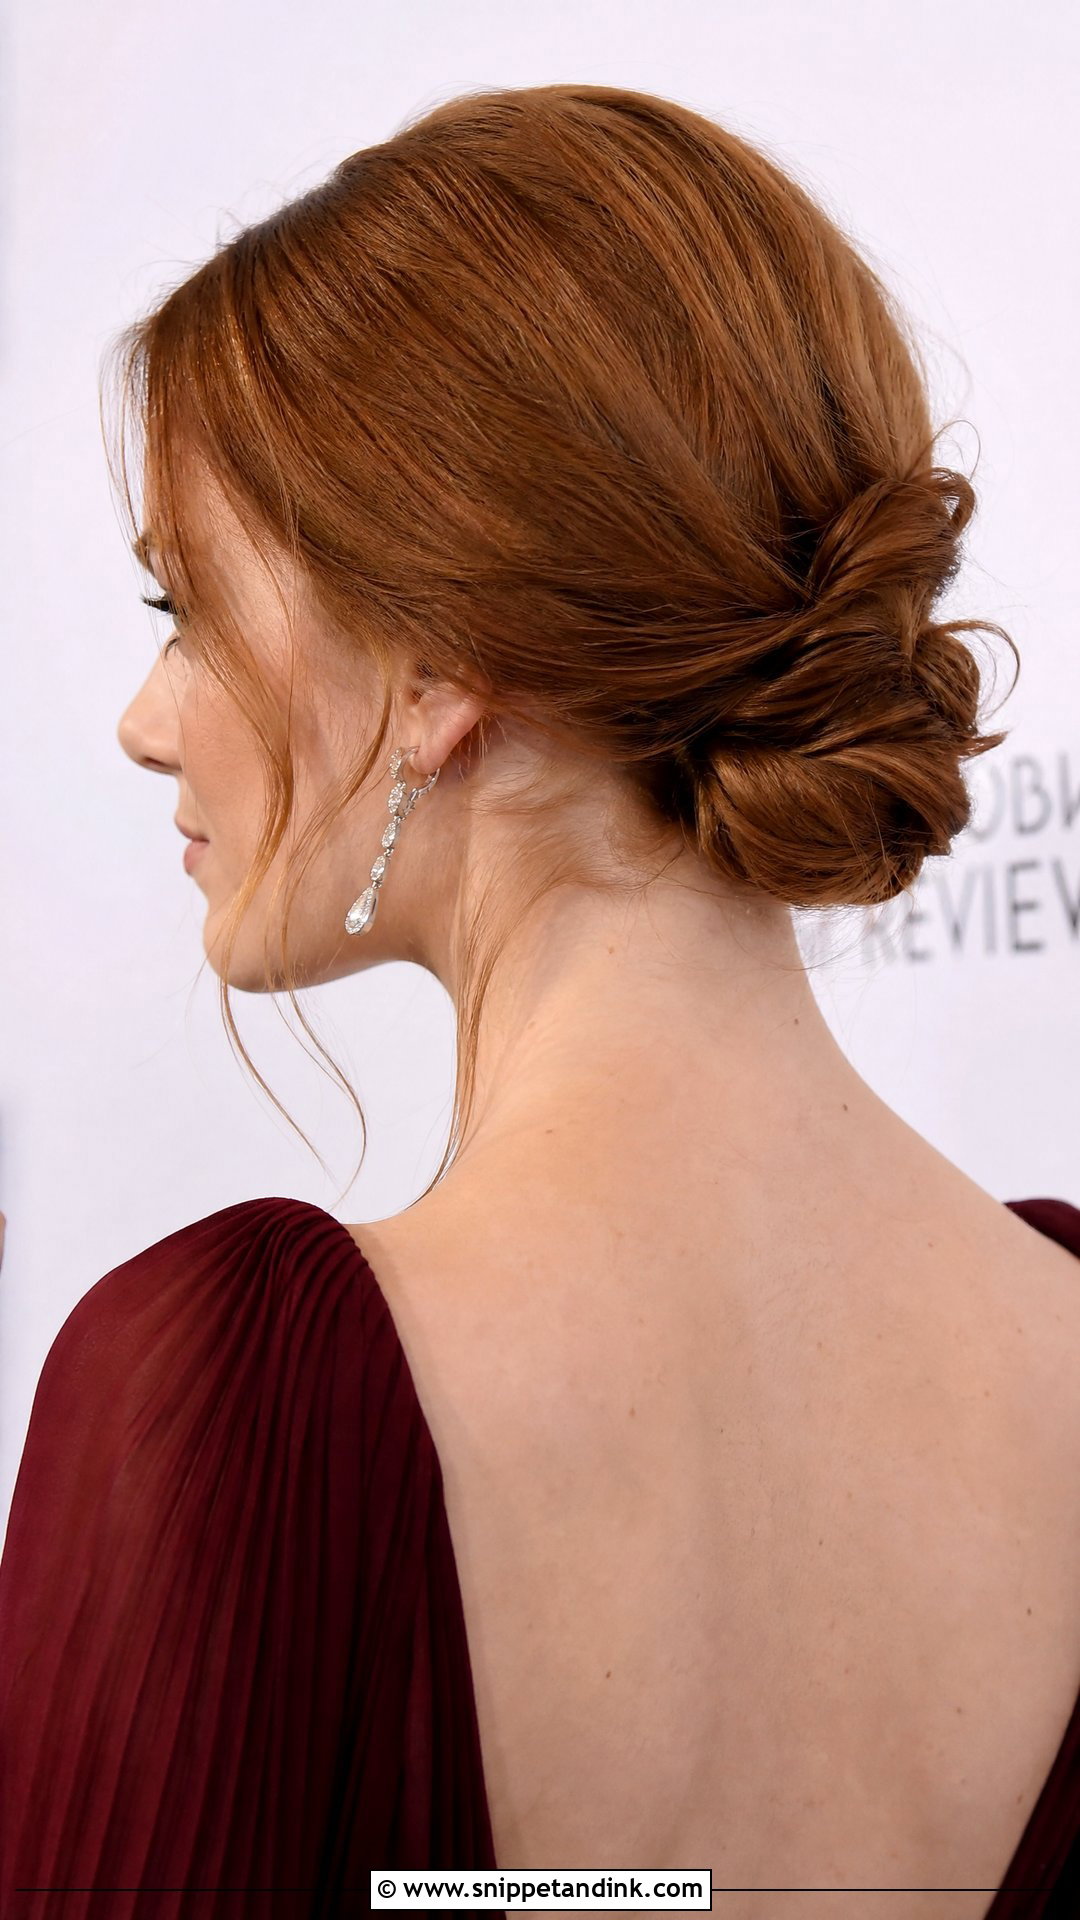
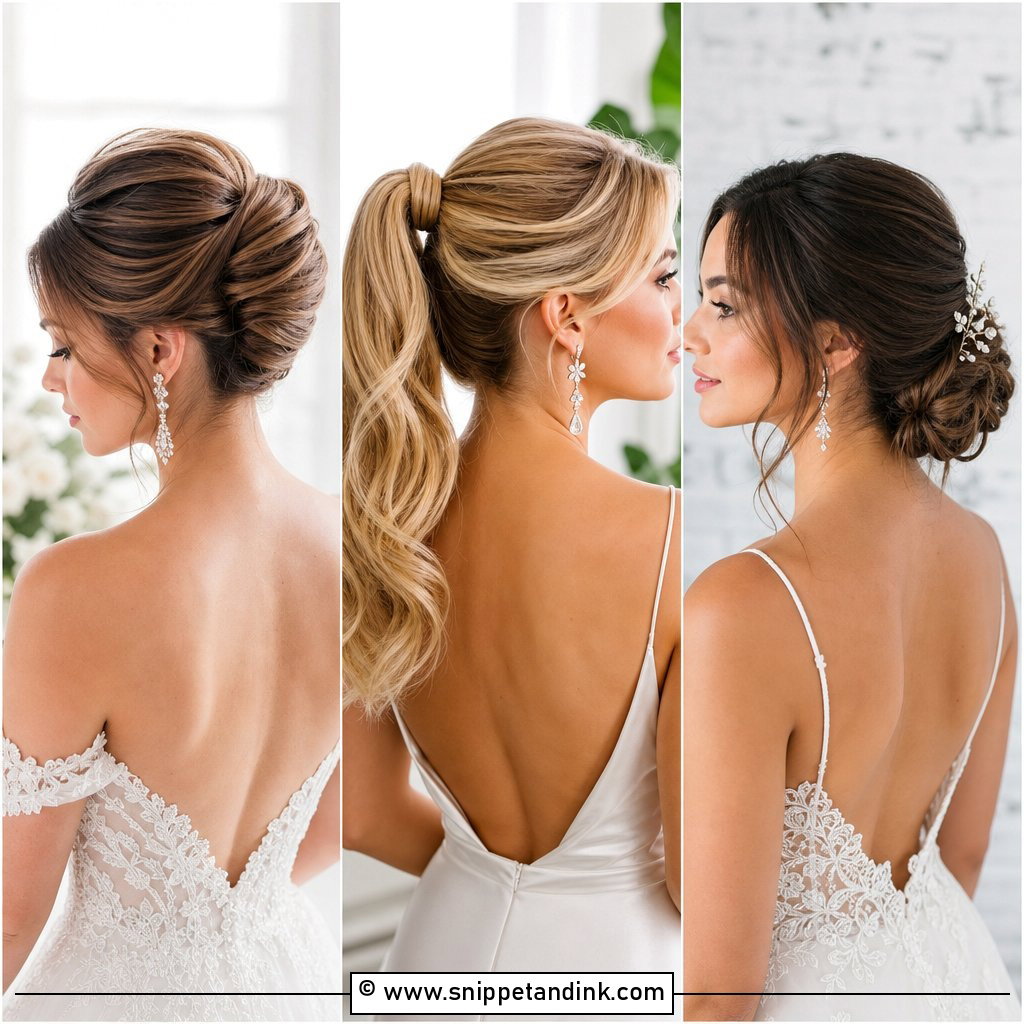
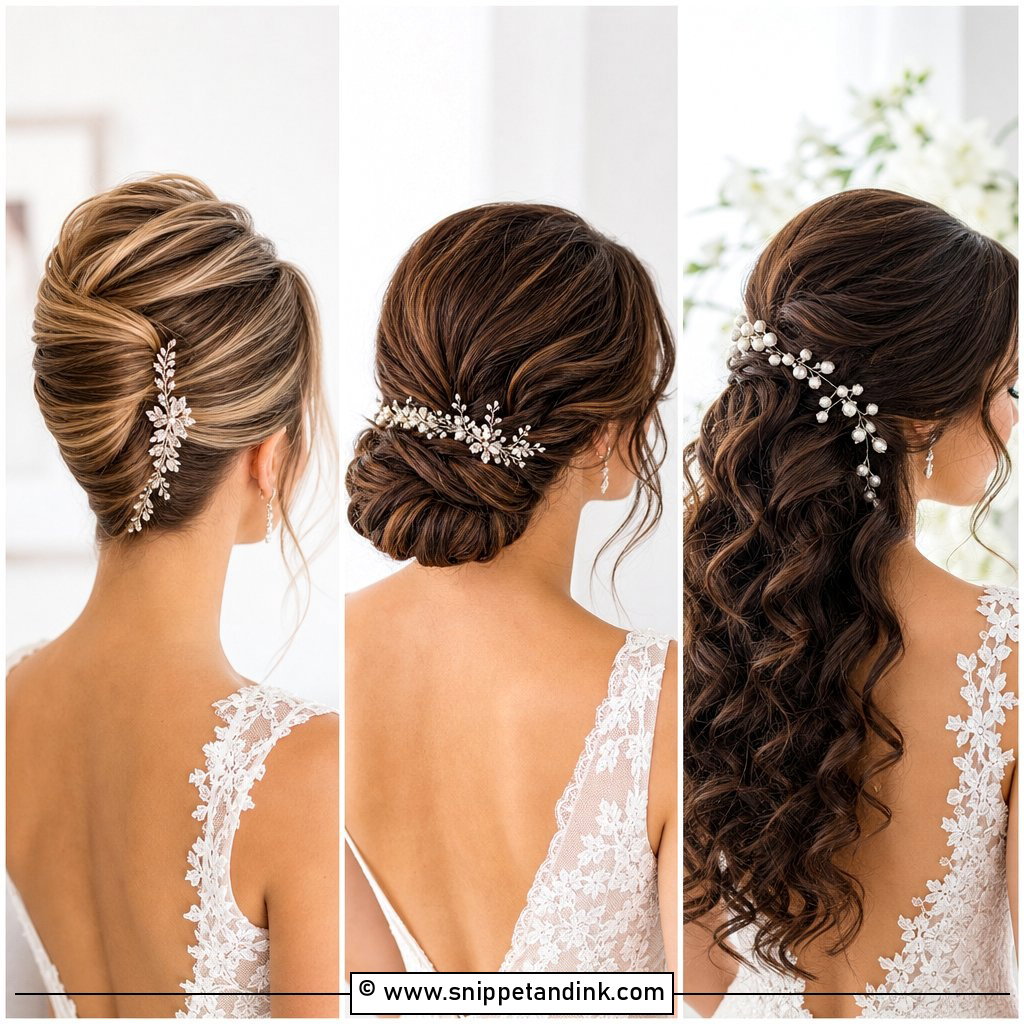
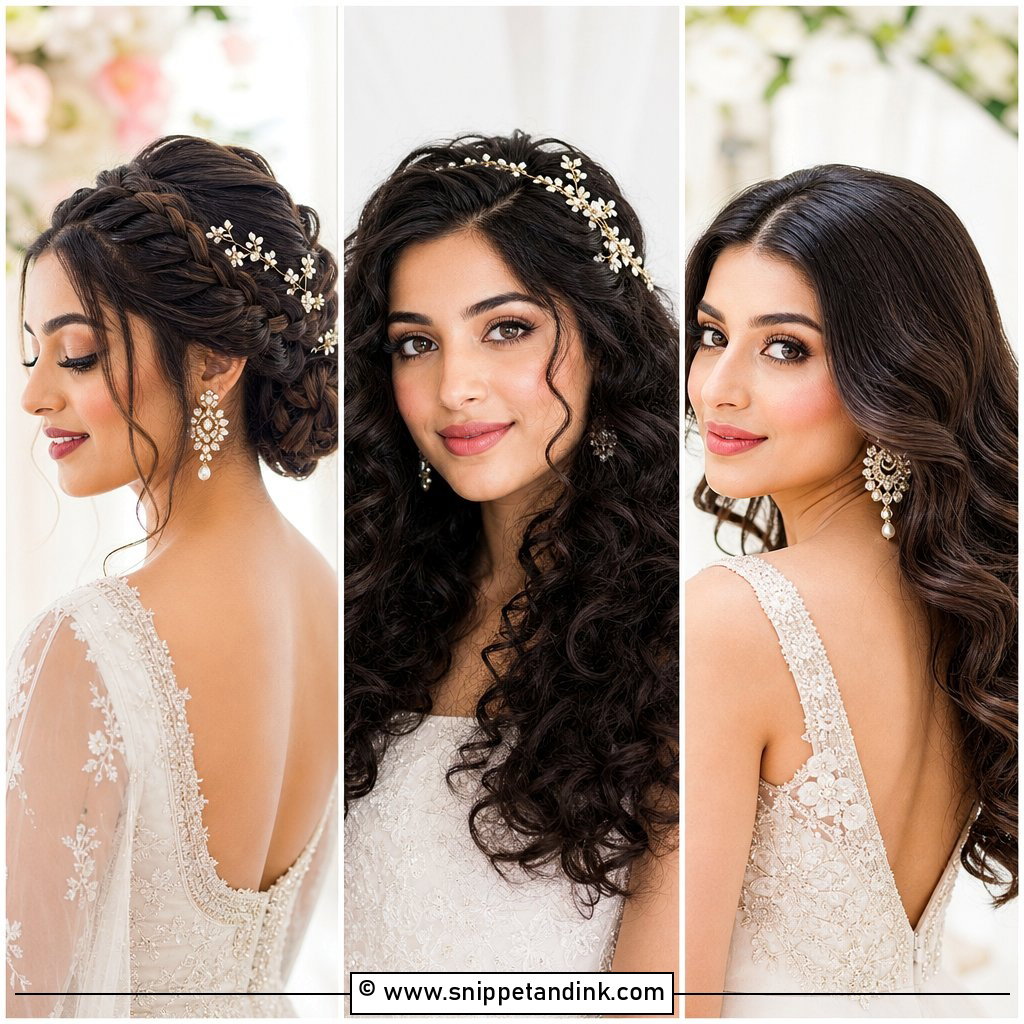
A chignon is a twisted coil at the nape, and the real work is in the pinning. I anchor the base with crossed pins first, coil the hair around them, then tuck the end inside the coil and pin through the coil into the anchor. Pinned like that, it won’t move when you hug people. It needs medium to long hair. A single hairpin above the coil is more than enough decoration.
7. Twisted Half Updo
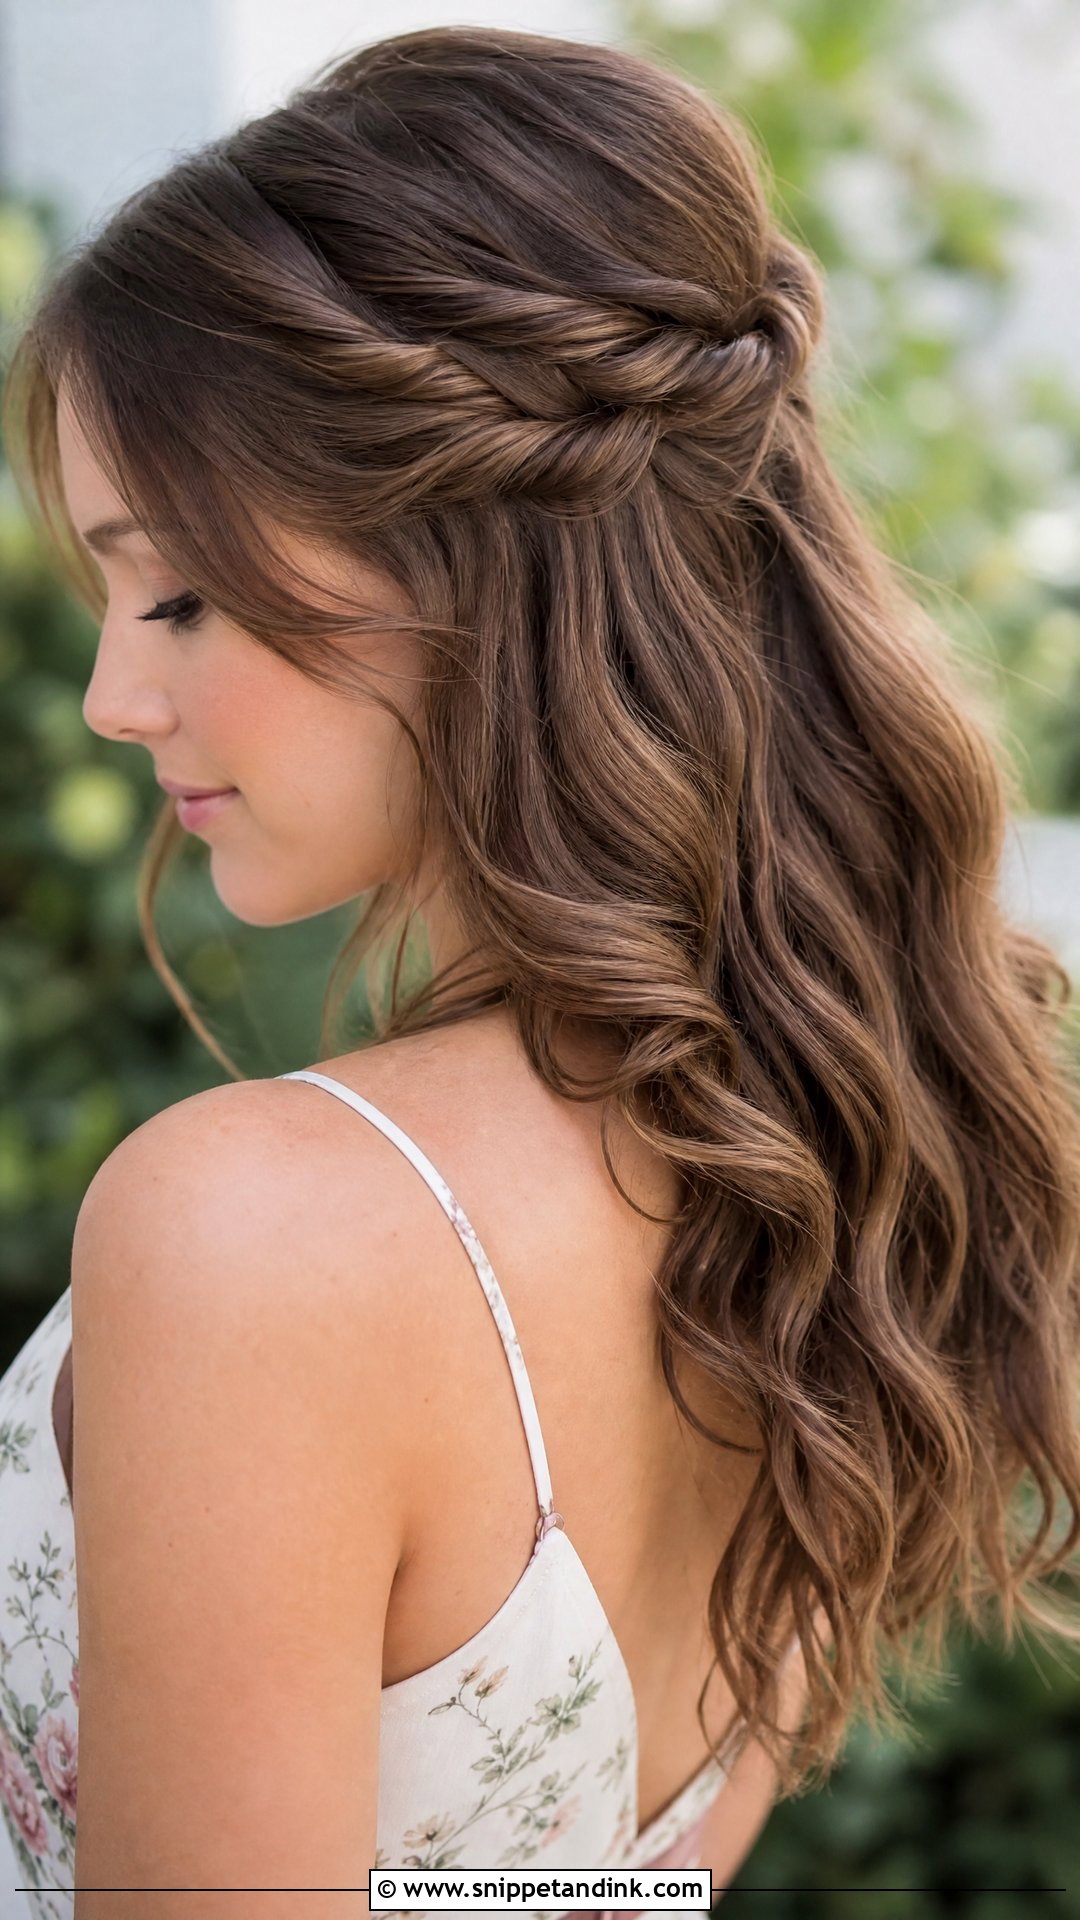
The twisted half updo suits nearly every hair type, because twists grip on straight, wavy and curly hair alike. I twist two sections back from each temple and secure them at the crown, then loosen each twist slightly with my fingertips so they look full. Leave the rest in waves. On very slippery, freshly washed hair the twists unwind, so I always add a dry texture spray first. A couple of sparkly pins where the twists meet hide the elastic.
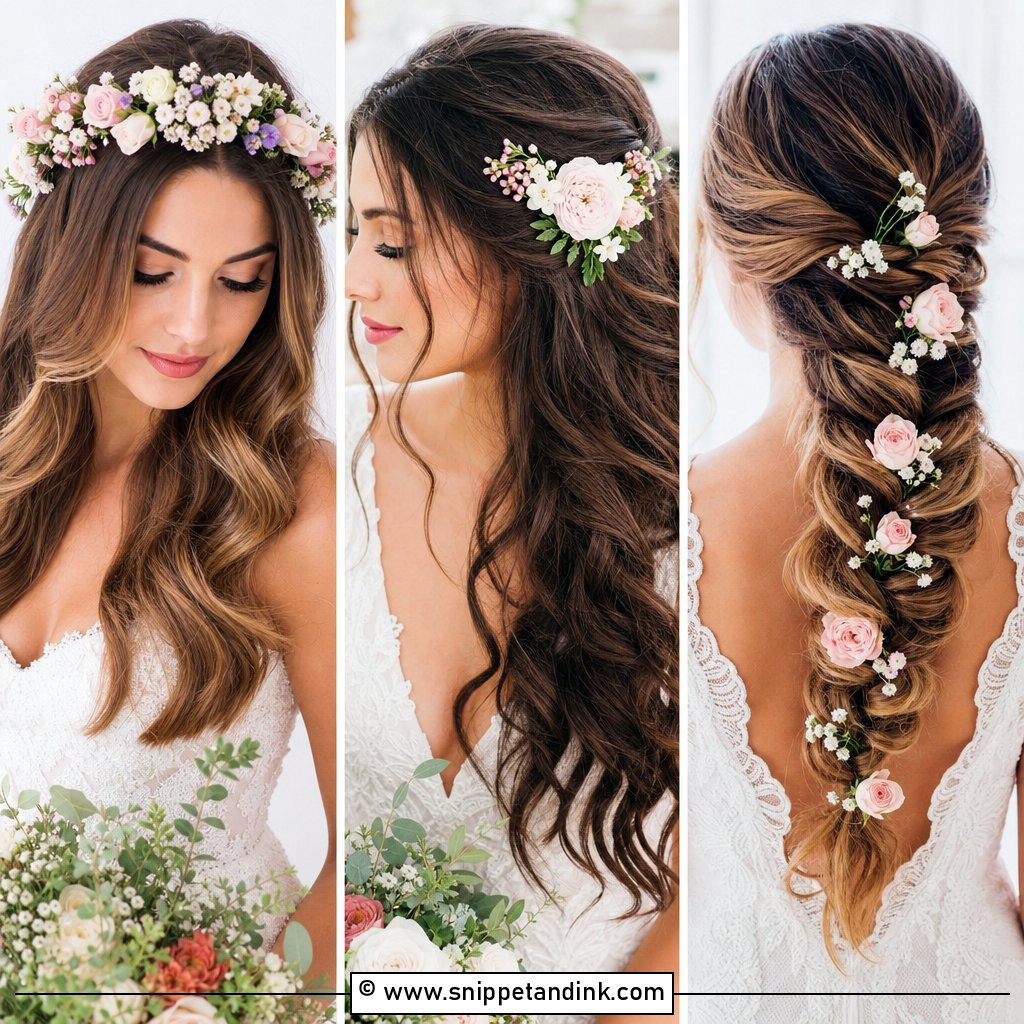
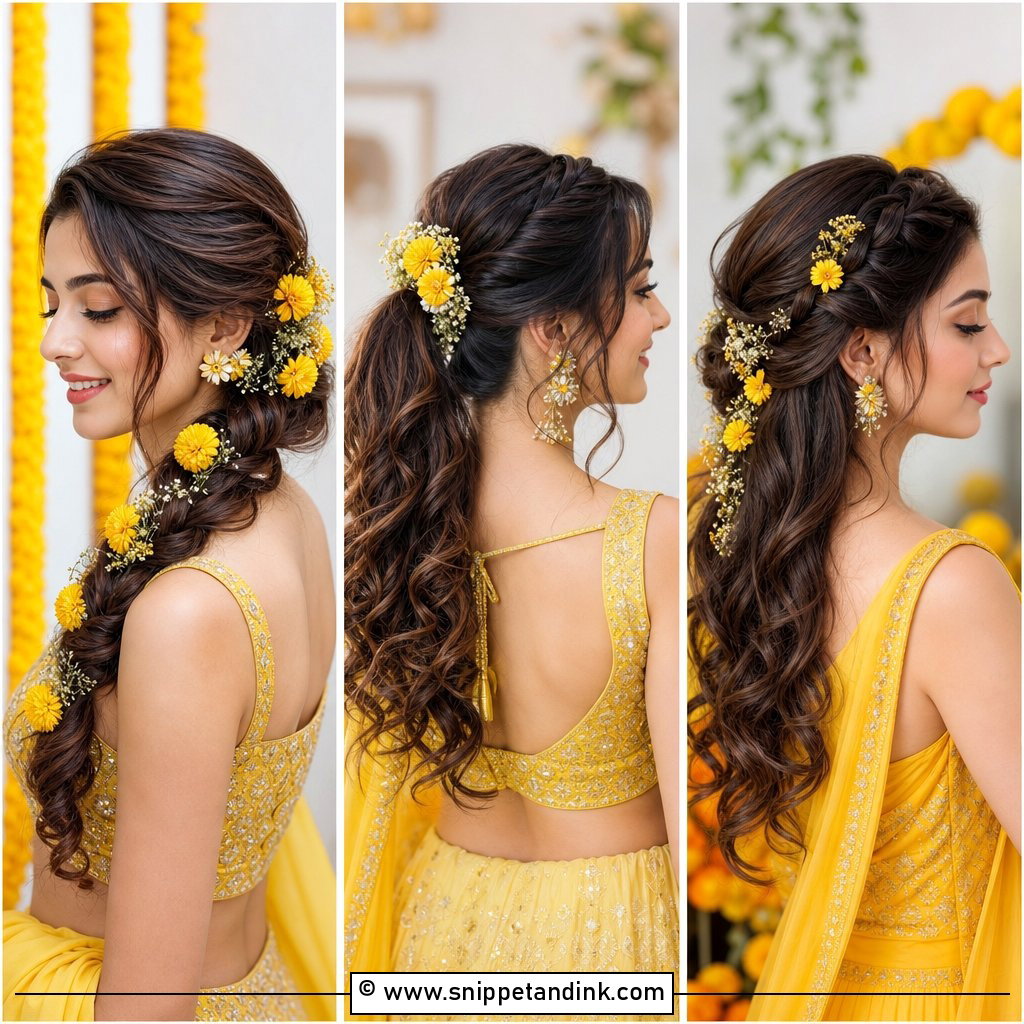
8. Bohemian Braids With Flowers
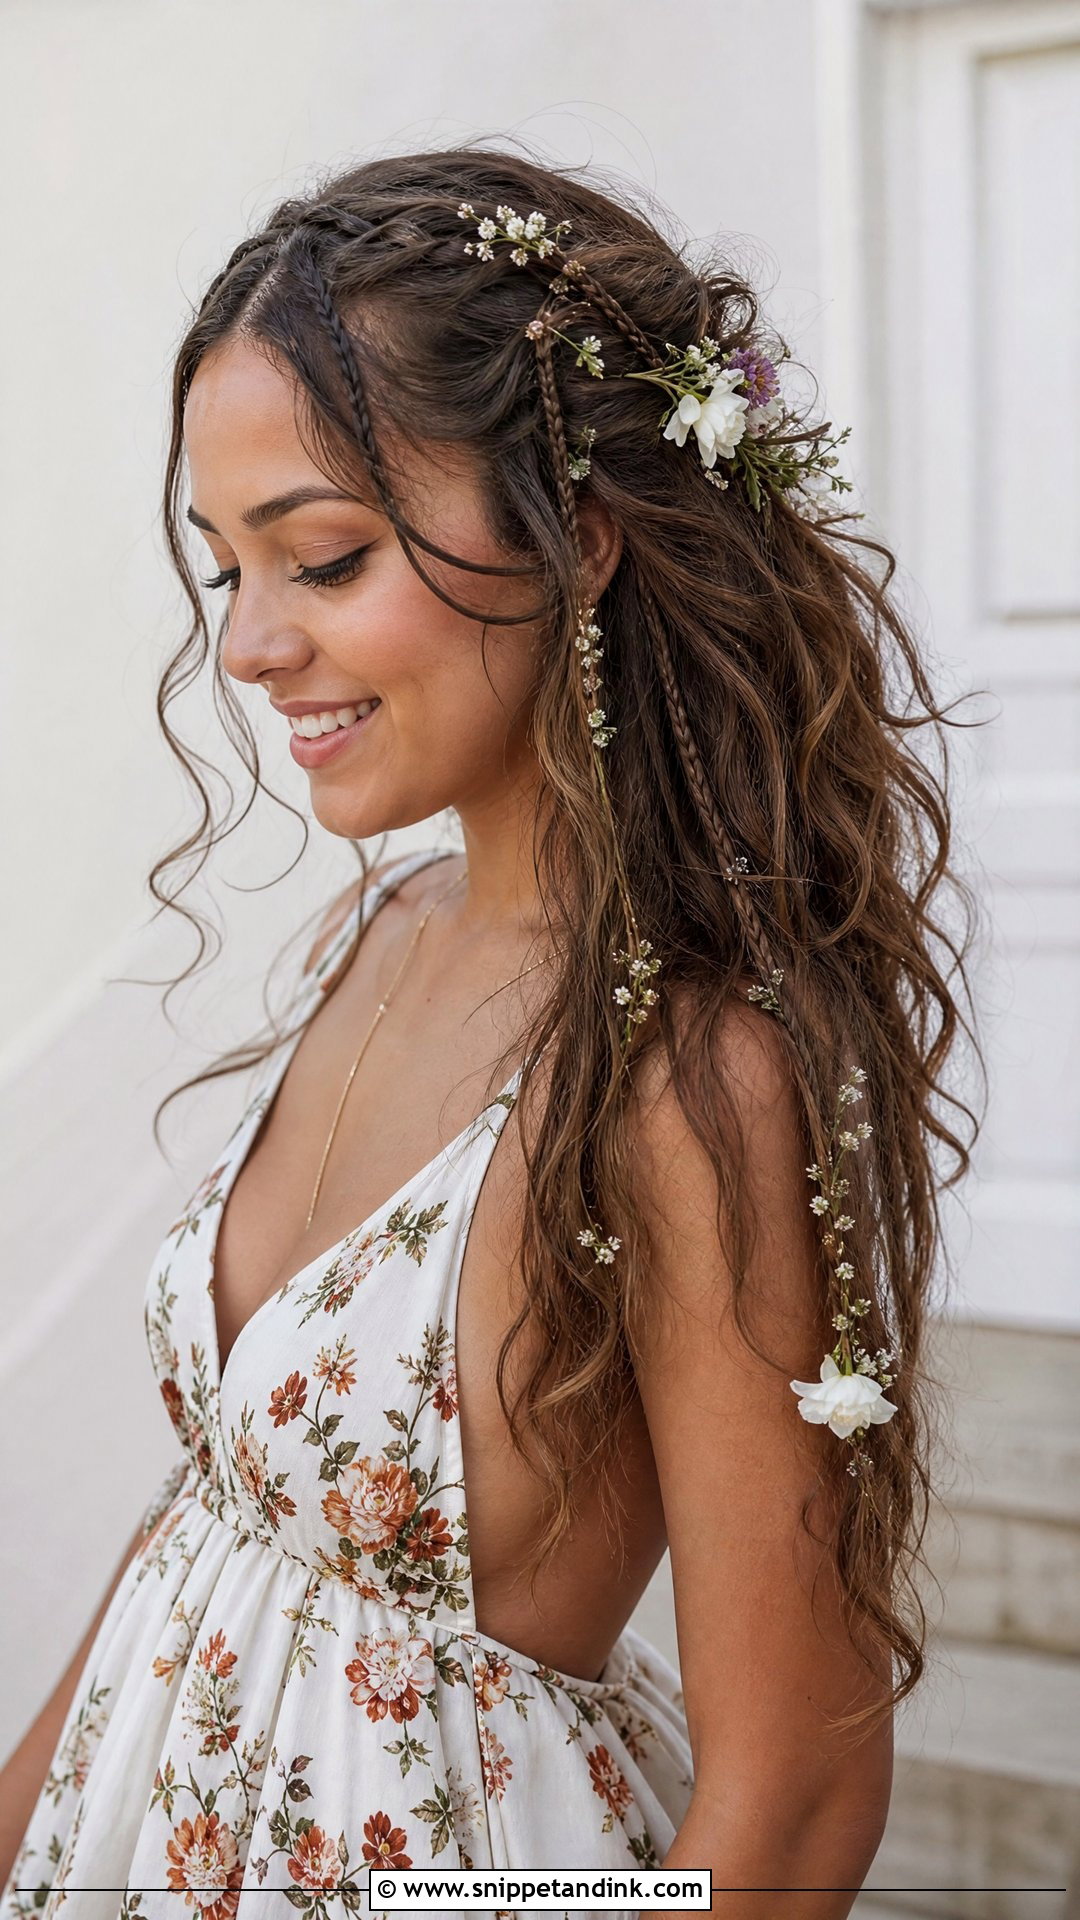
Thin braids look most natural when they’re braided from slightly textured hair, not freshly straightened hair. I braid two or three narrow plaits through loose waves and tuck flowers along them. Use silk flowers or hardy blooms such as waxflower and spray roses; soft petals wilt in a few hours of summer heat. Wavy and curly hair suit this best, because the texture hides where the braids start and stop.
9. Sleek Low Bun for Medium Hair
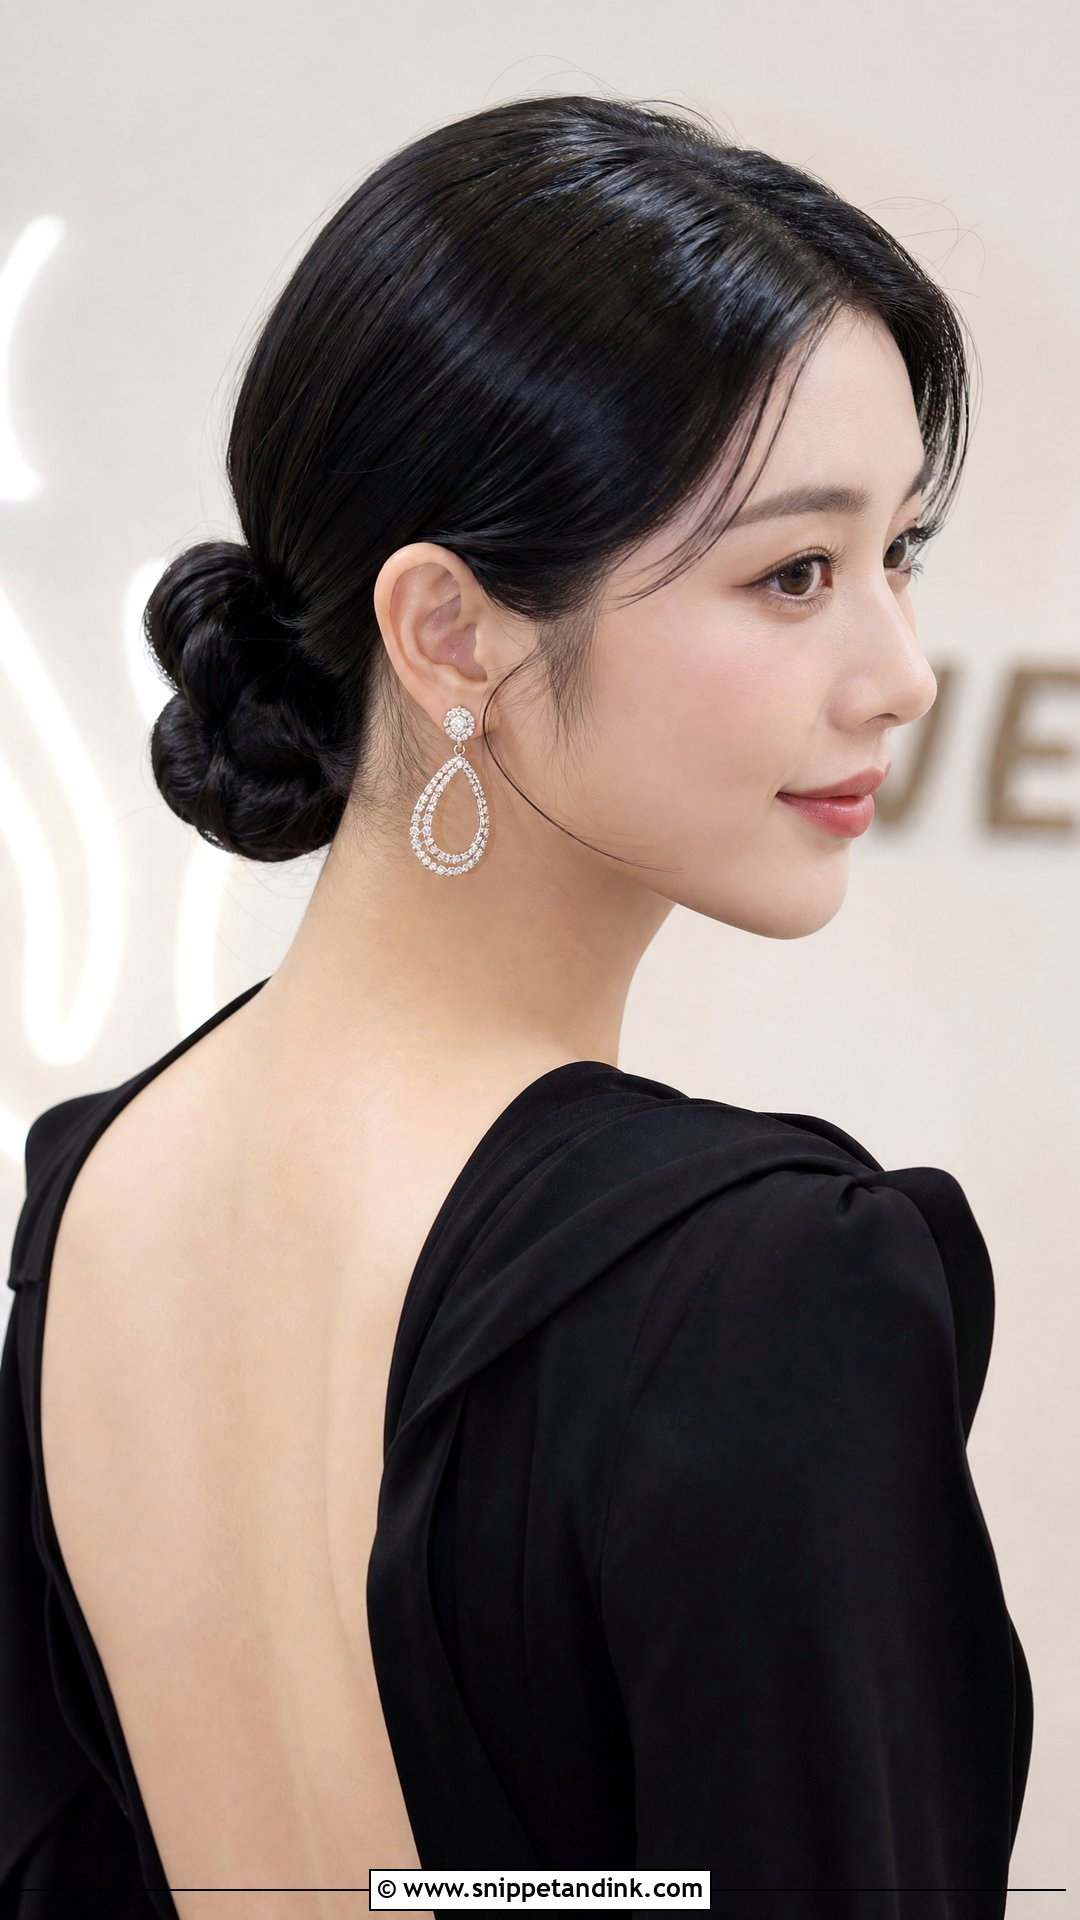
If the forecast says humid or windy, this is the one I’d choose. A sleek low bun is the most weatherproof style on the list, because there’s no loose hair for the air to work on. Medium-length hair works well; I twist it into a compact knot at the nape and use a small bun net in your hair color if the knot looks thin. Smooth the hairline with gel on a toothbrush to catch flyaways.
10. Glossy Bouncy Blowout
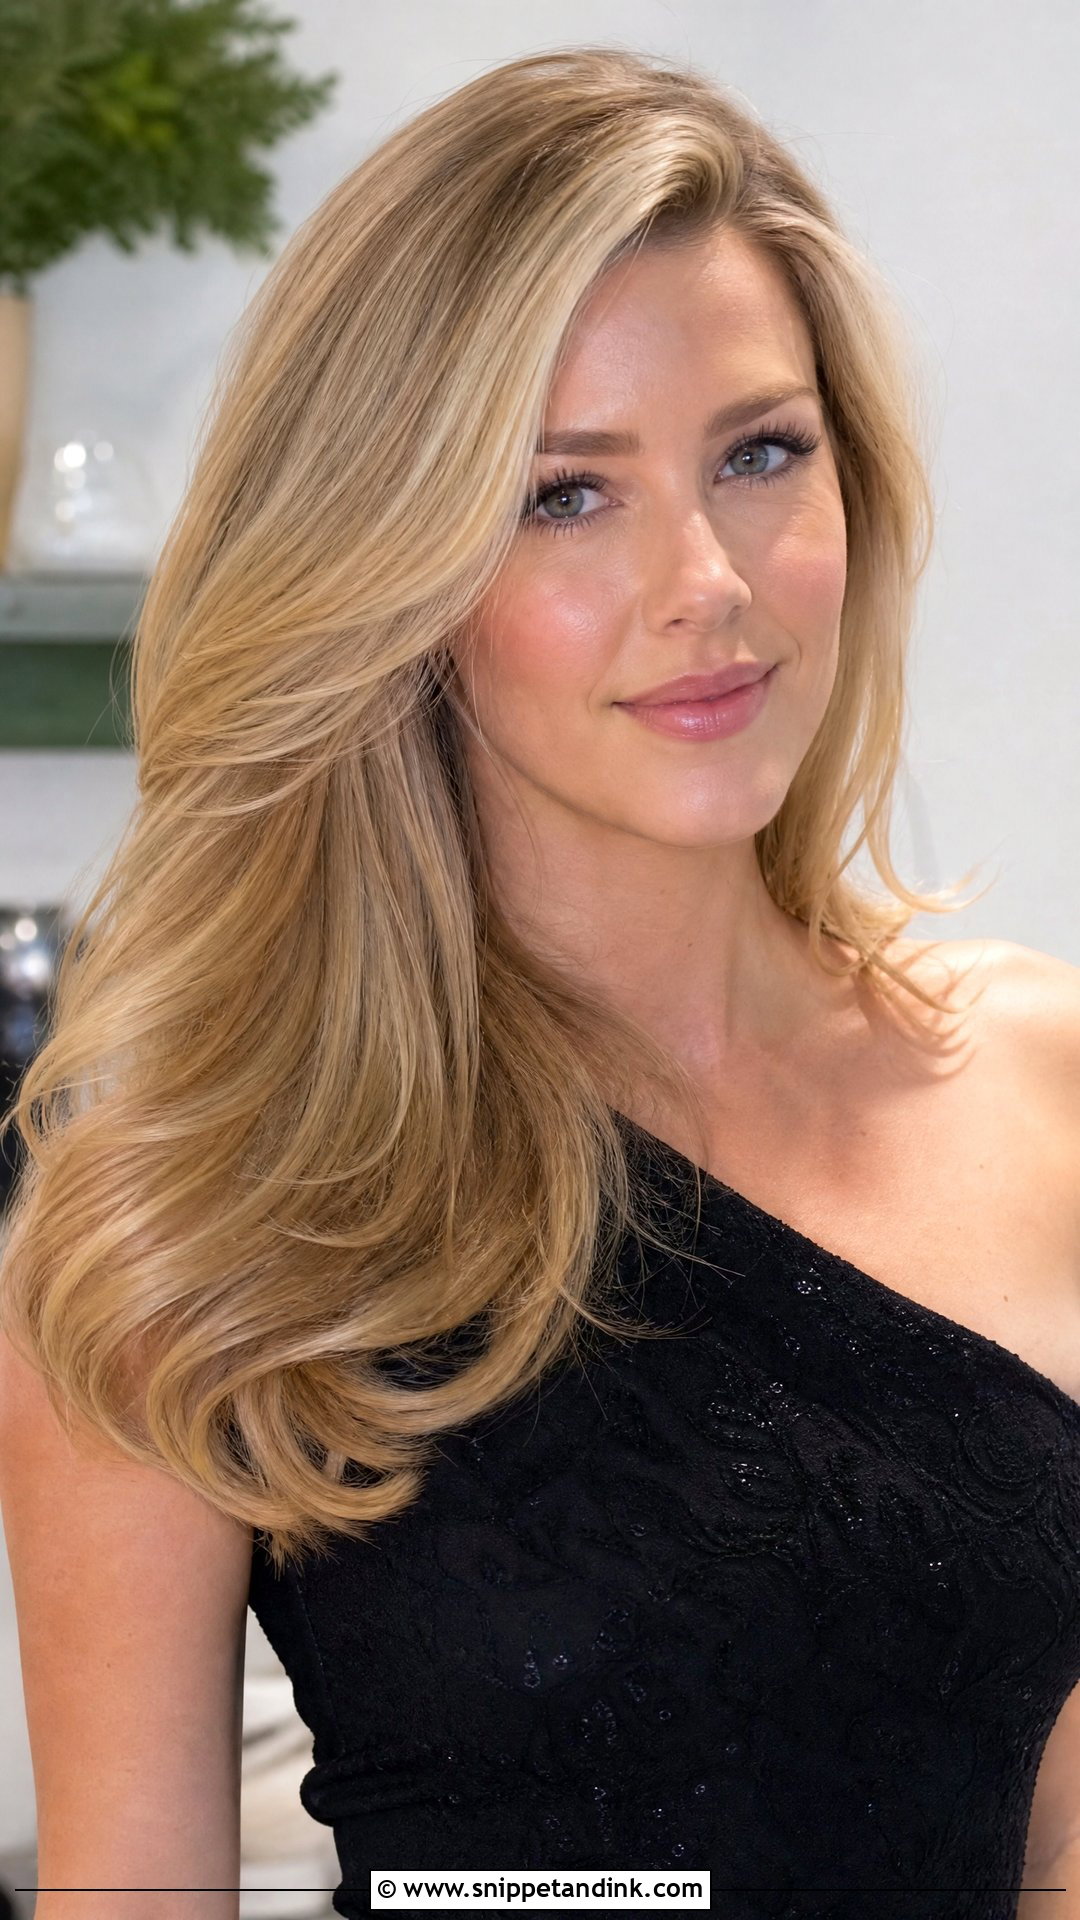
A good blowout is the simplest style here and, honestly, one of the harder ones to keep. Volume from a round brush relies on the hair cooling around the brush, so I hold each section for a few seconds after the heat stops. Finish with a shine spray, not oil. The weakness is humidity: a blowout can drop to flat by the evening if the air is damp, so pack a travel round brush or a couple of velcro rollers for the reception.
11. Halo Braid Crown
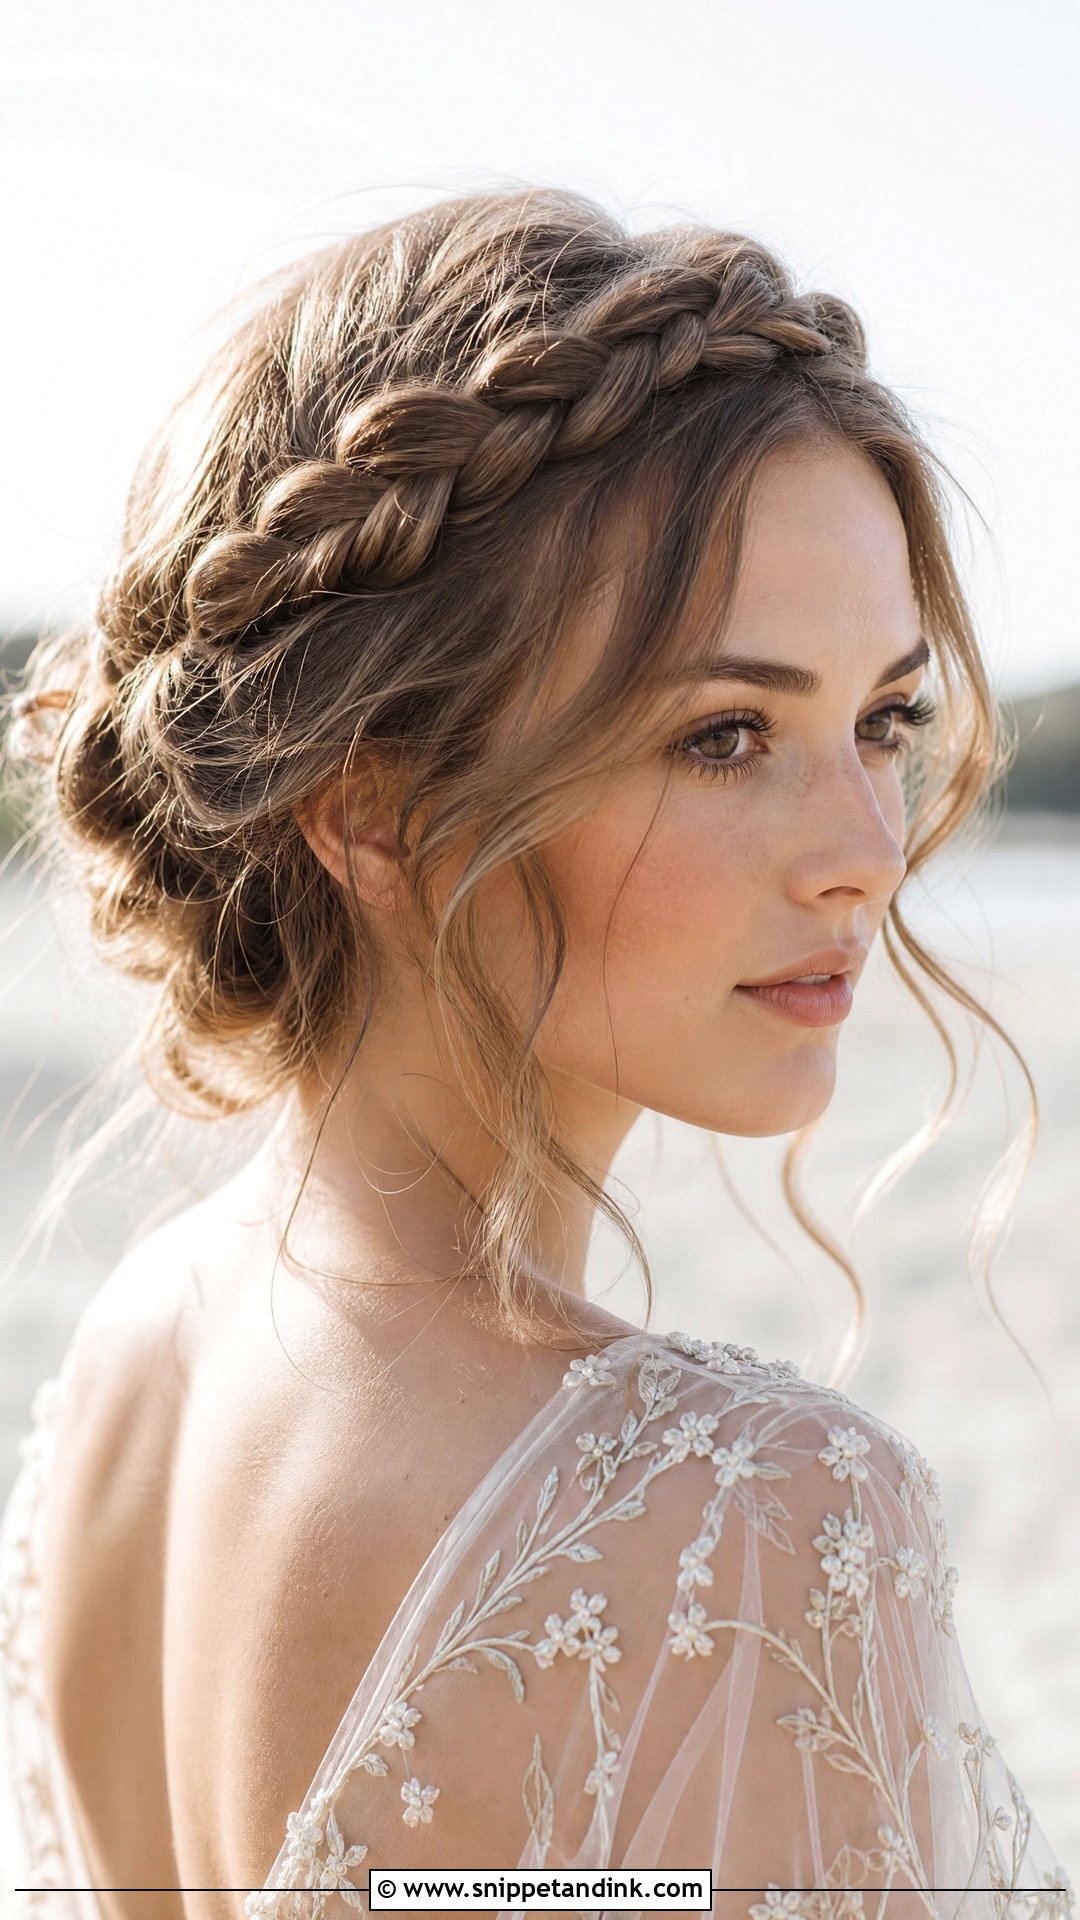
The halo braid wraps around the head like a crown and looks more intricate than it is. It does need length: if the braid won’t reach around your head, I use two braids, one from each side, joined at the back. Pin with long bobby pins inserted against the direction of the braid. It keeps every strand off the neck, so I suggest it for summer outdoor weddings.
12. Soft Curls With Side Part
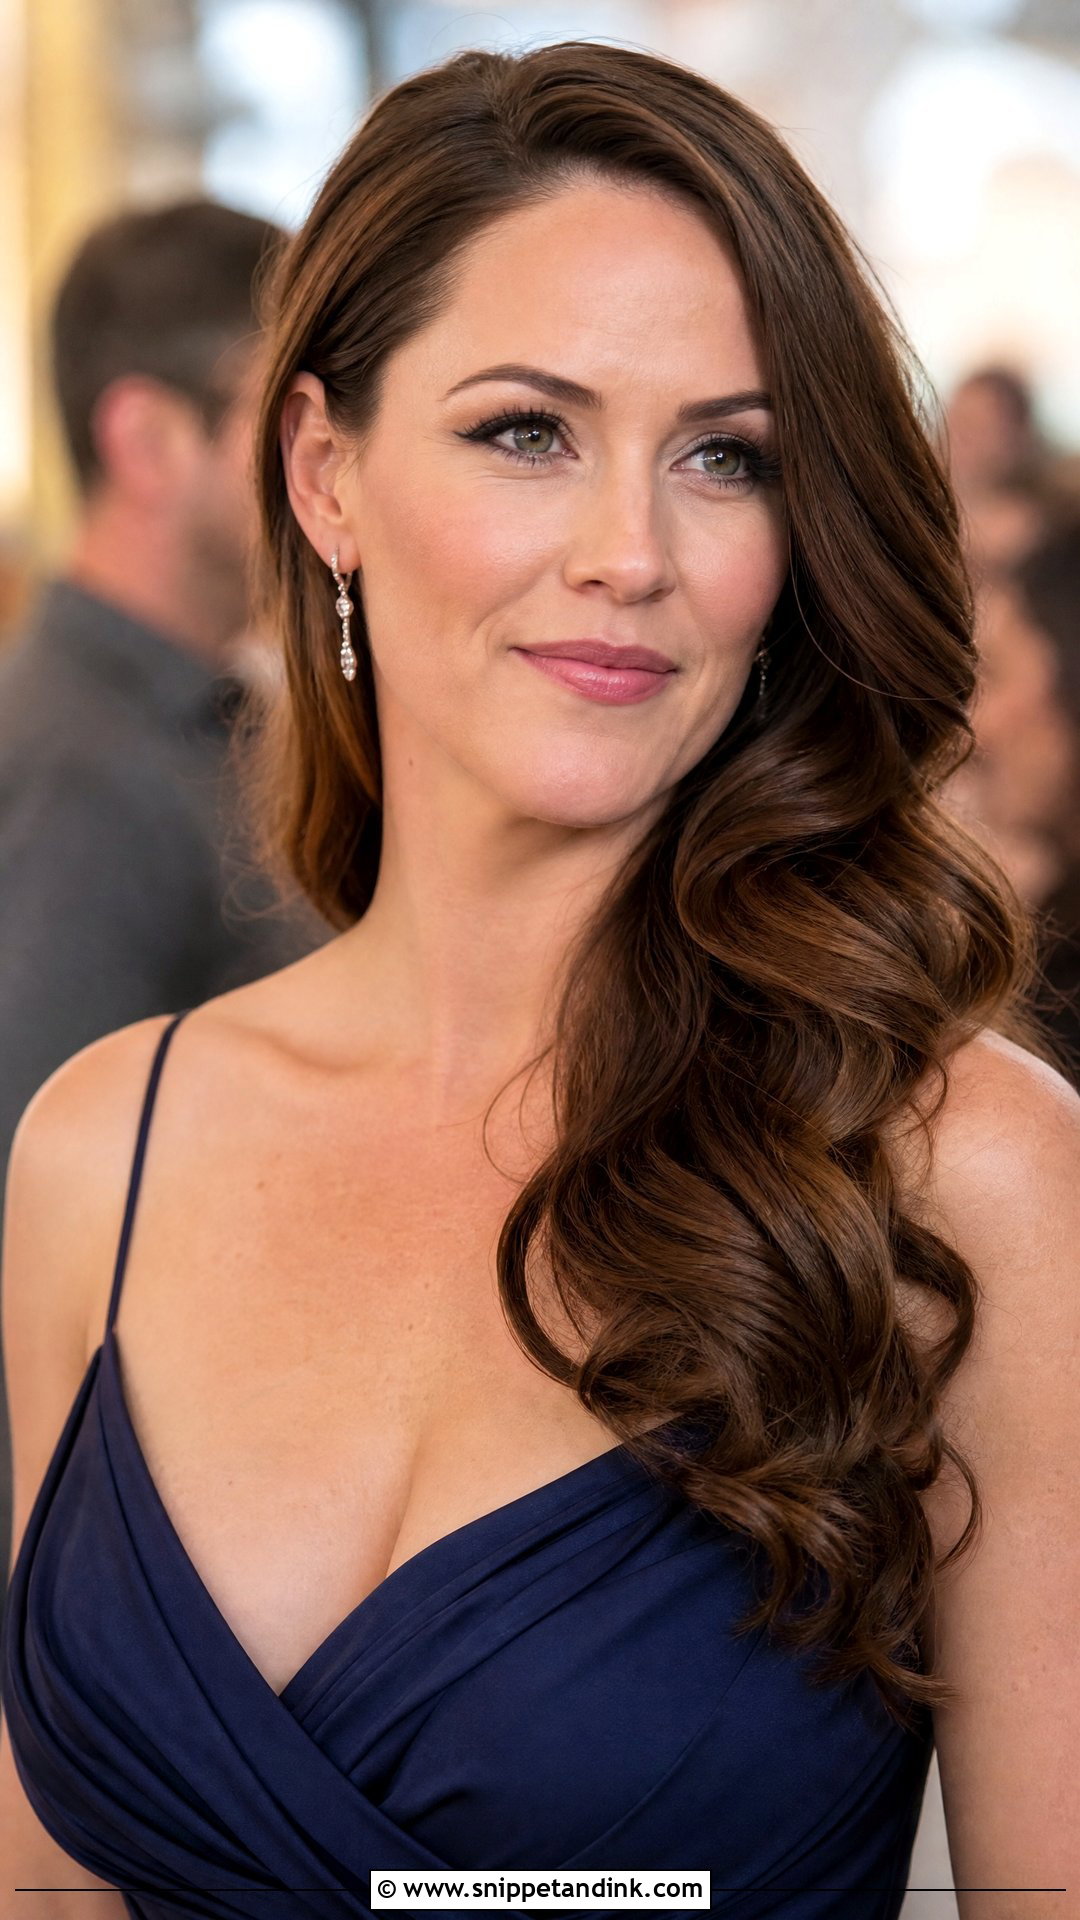
A deep side part shifts the volume to one side of the face and changes the whole look. I curl the hair, brush it through, and place the part in line with the arch of the eyebrow on the side you’re photographed from most. The heavier side can go over a shoulder. Curls with a side part read as polished at a daytime wedding and as glamorous in the evening, which is useful if you’re attending both.
13. Messy Bun With Face-Framing Pieces
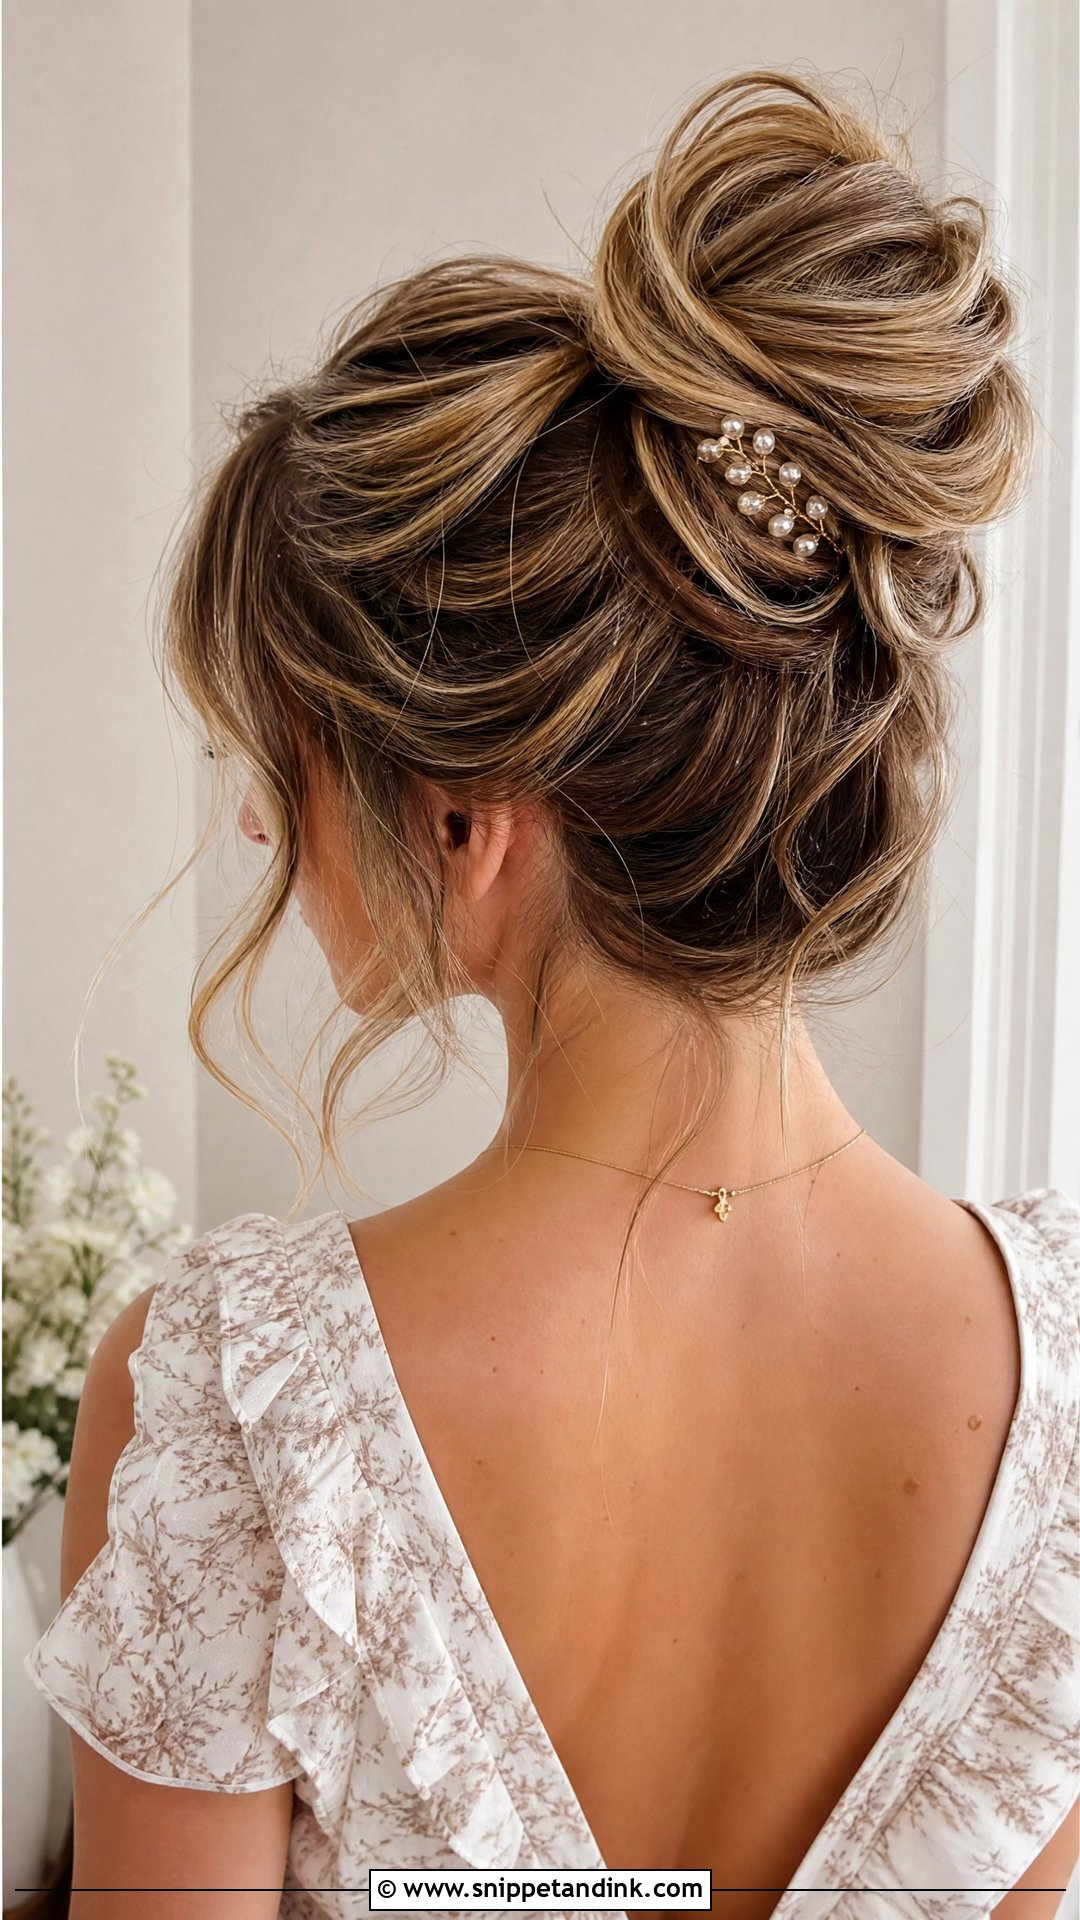
The messy bun is the forgiving option. I gather the hair into a loosely gathered knot, pin it with crossed pins, then tug a few pieces out around the face and at the nape once the bun is secure. Second-day hair holds this best. It suits a casual or boho wedding, and it only looks better as the night goes on.
14. Sleek Straight Hair With Center Part
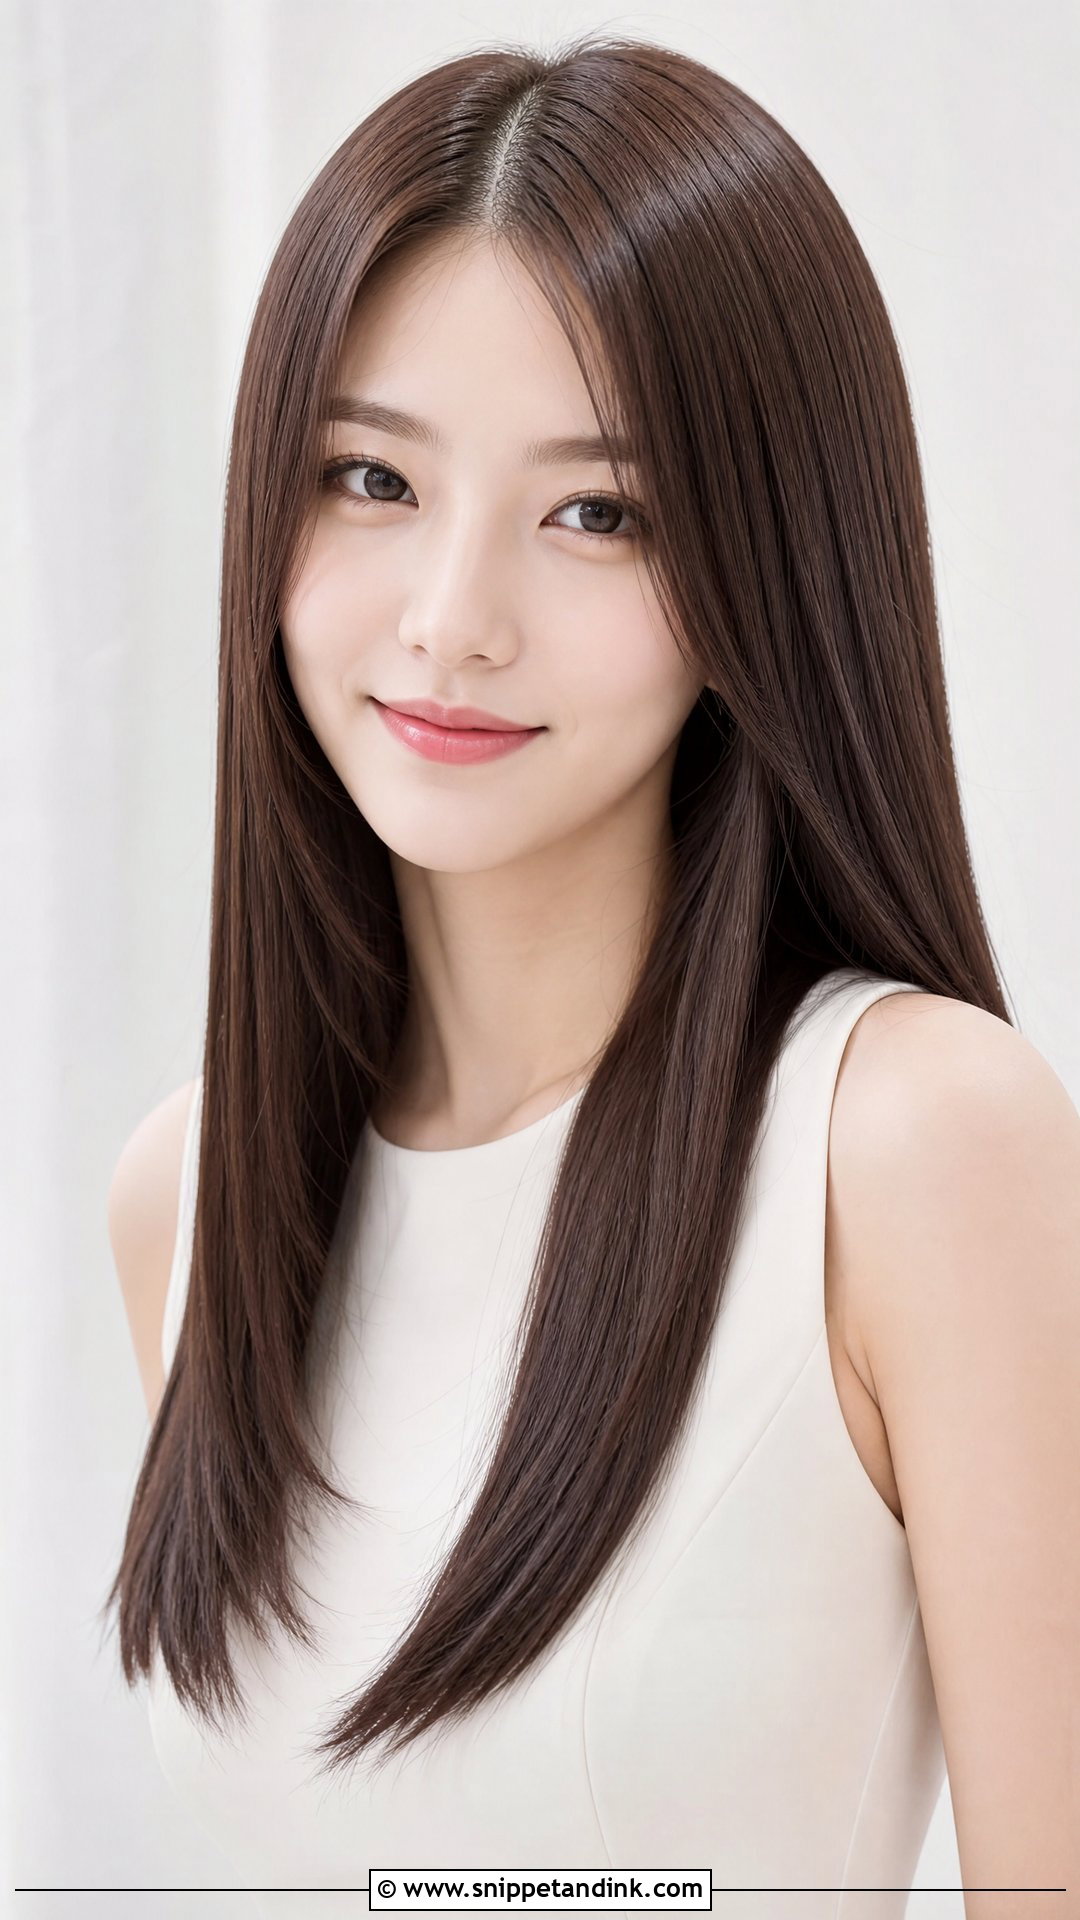
Sleek straight hair with a sharp center part is all about precision: one crooked line and the effect is gone. I part with the tail of a comb, from the tip of the nose straight back, and flat-iron in small sections at a moderate heat to avoid flattening the roots too much. A little serum on the lengths gives the shine. Be aware that dead-straight hair shows every frizz in humidity, so it suits indoor or cooler weddings better.
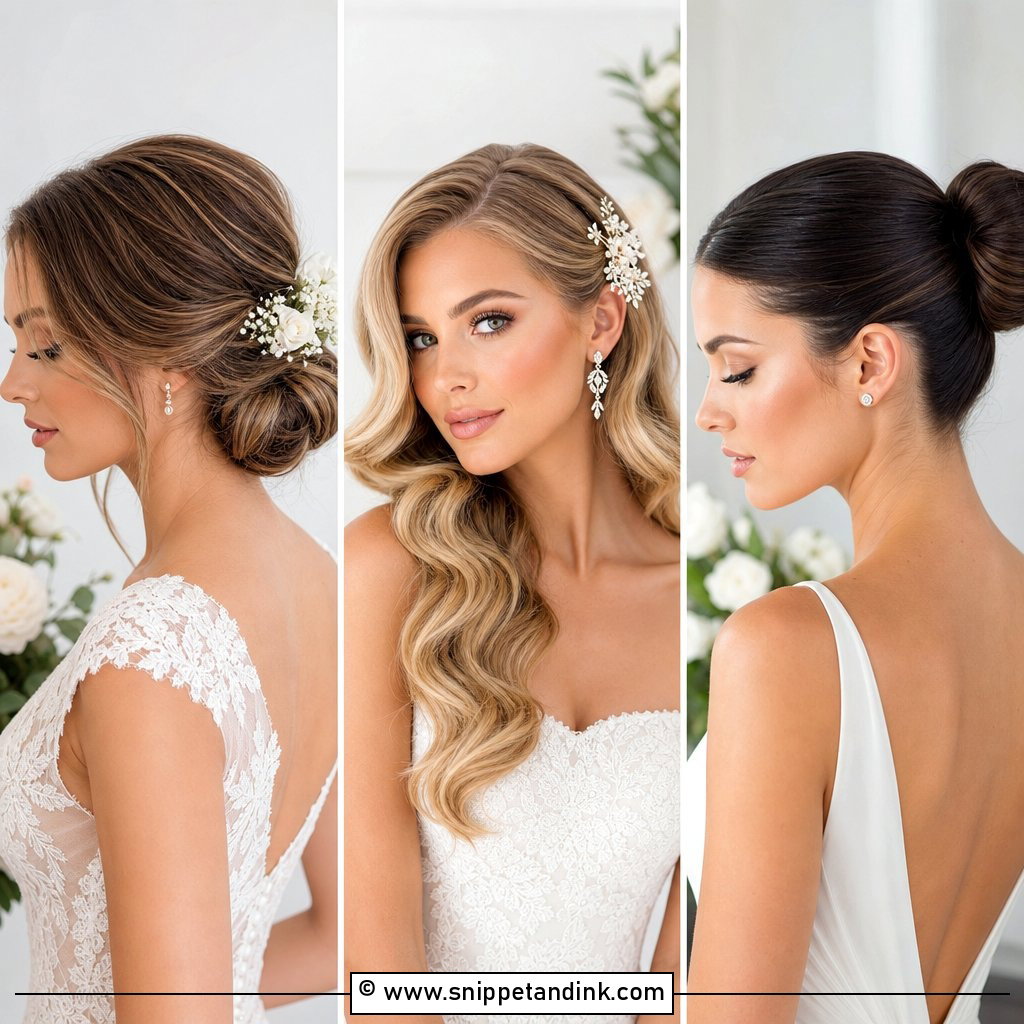
15. Twisted Low Bun With Accessories
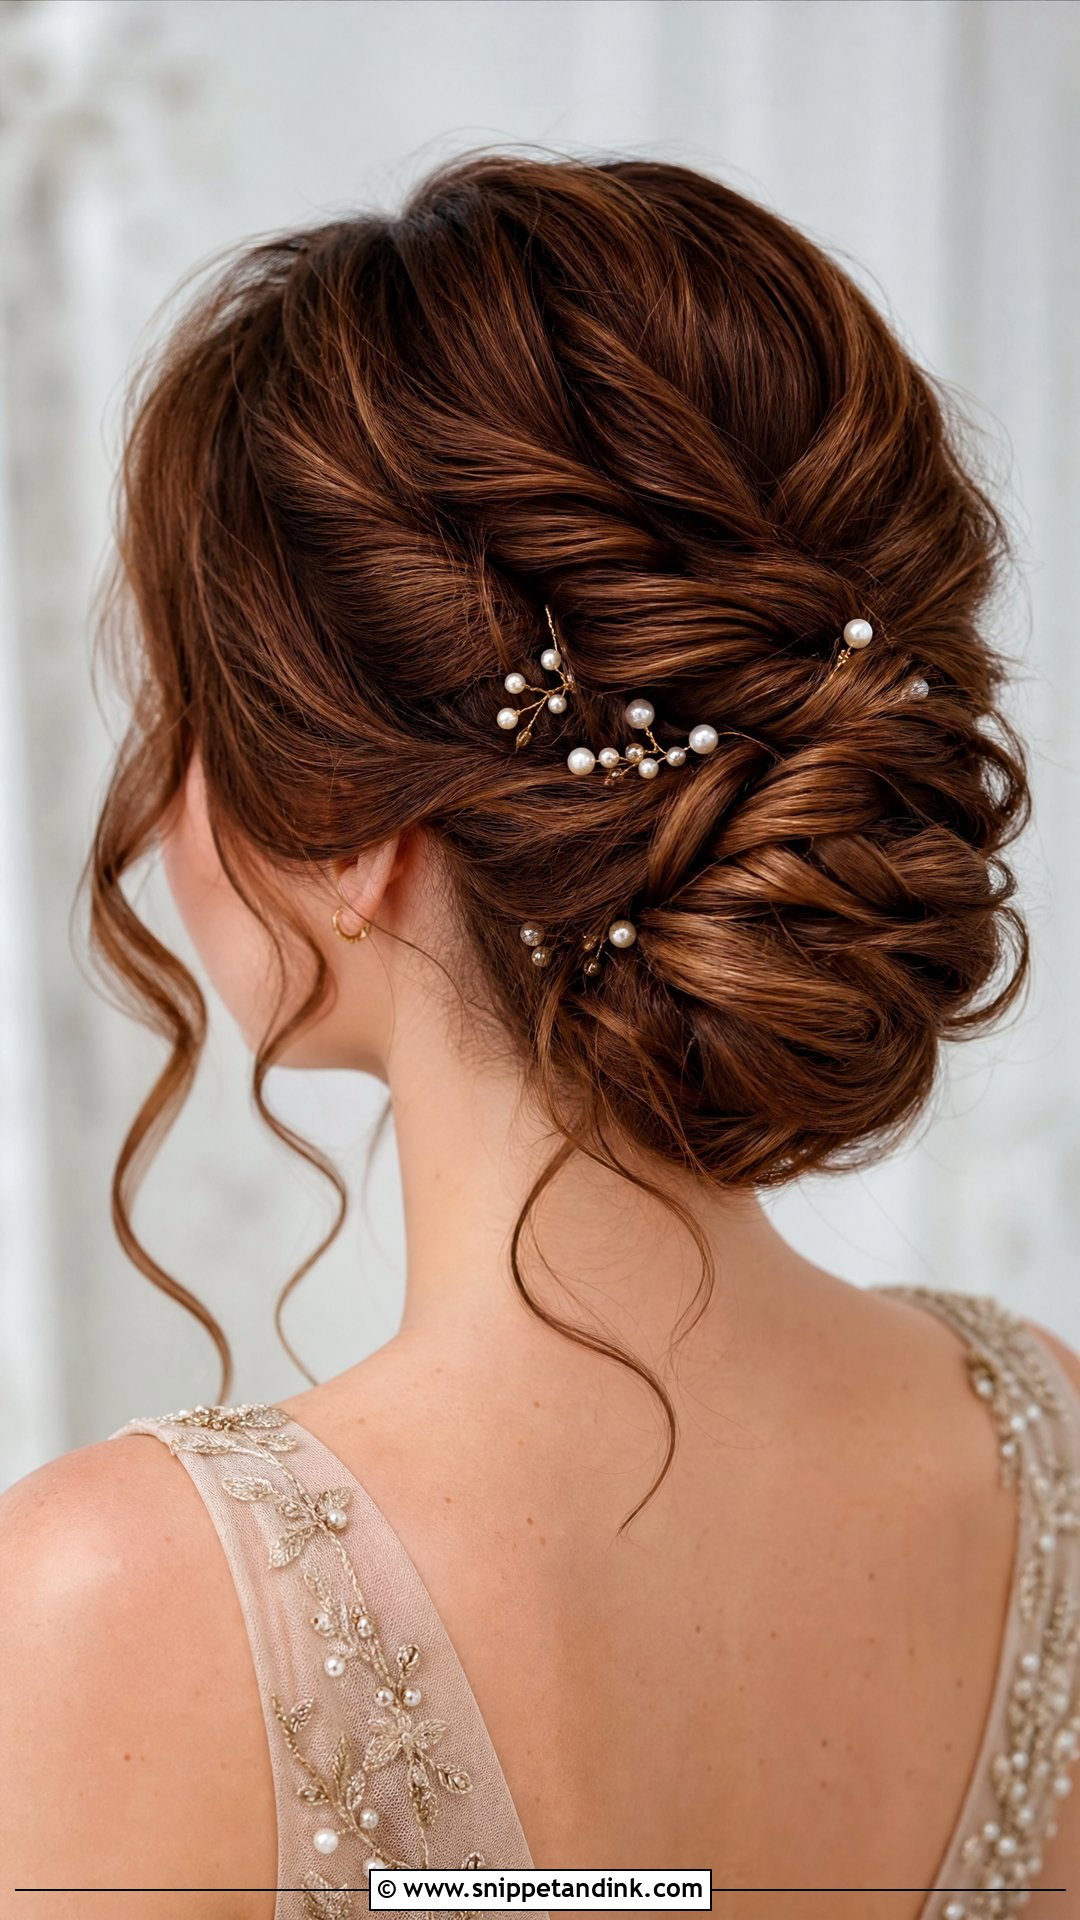
This twisted low bun is the base for whatever pins, pearls or comb you want to add. I twist two side sections back over the knot, which builds a little texture for accessories to grip; on a smooth bun, decorative pins slip. Set the accessory last, angled into the twists. It’s a good formal choice for medium to long hair, and the embellished low bun lets a simple dress feel dressier.
16. Curtain Bangs With Loose Waves
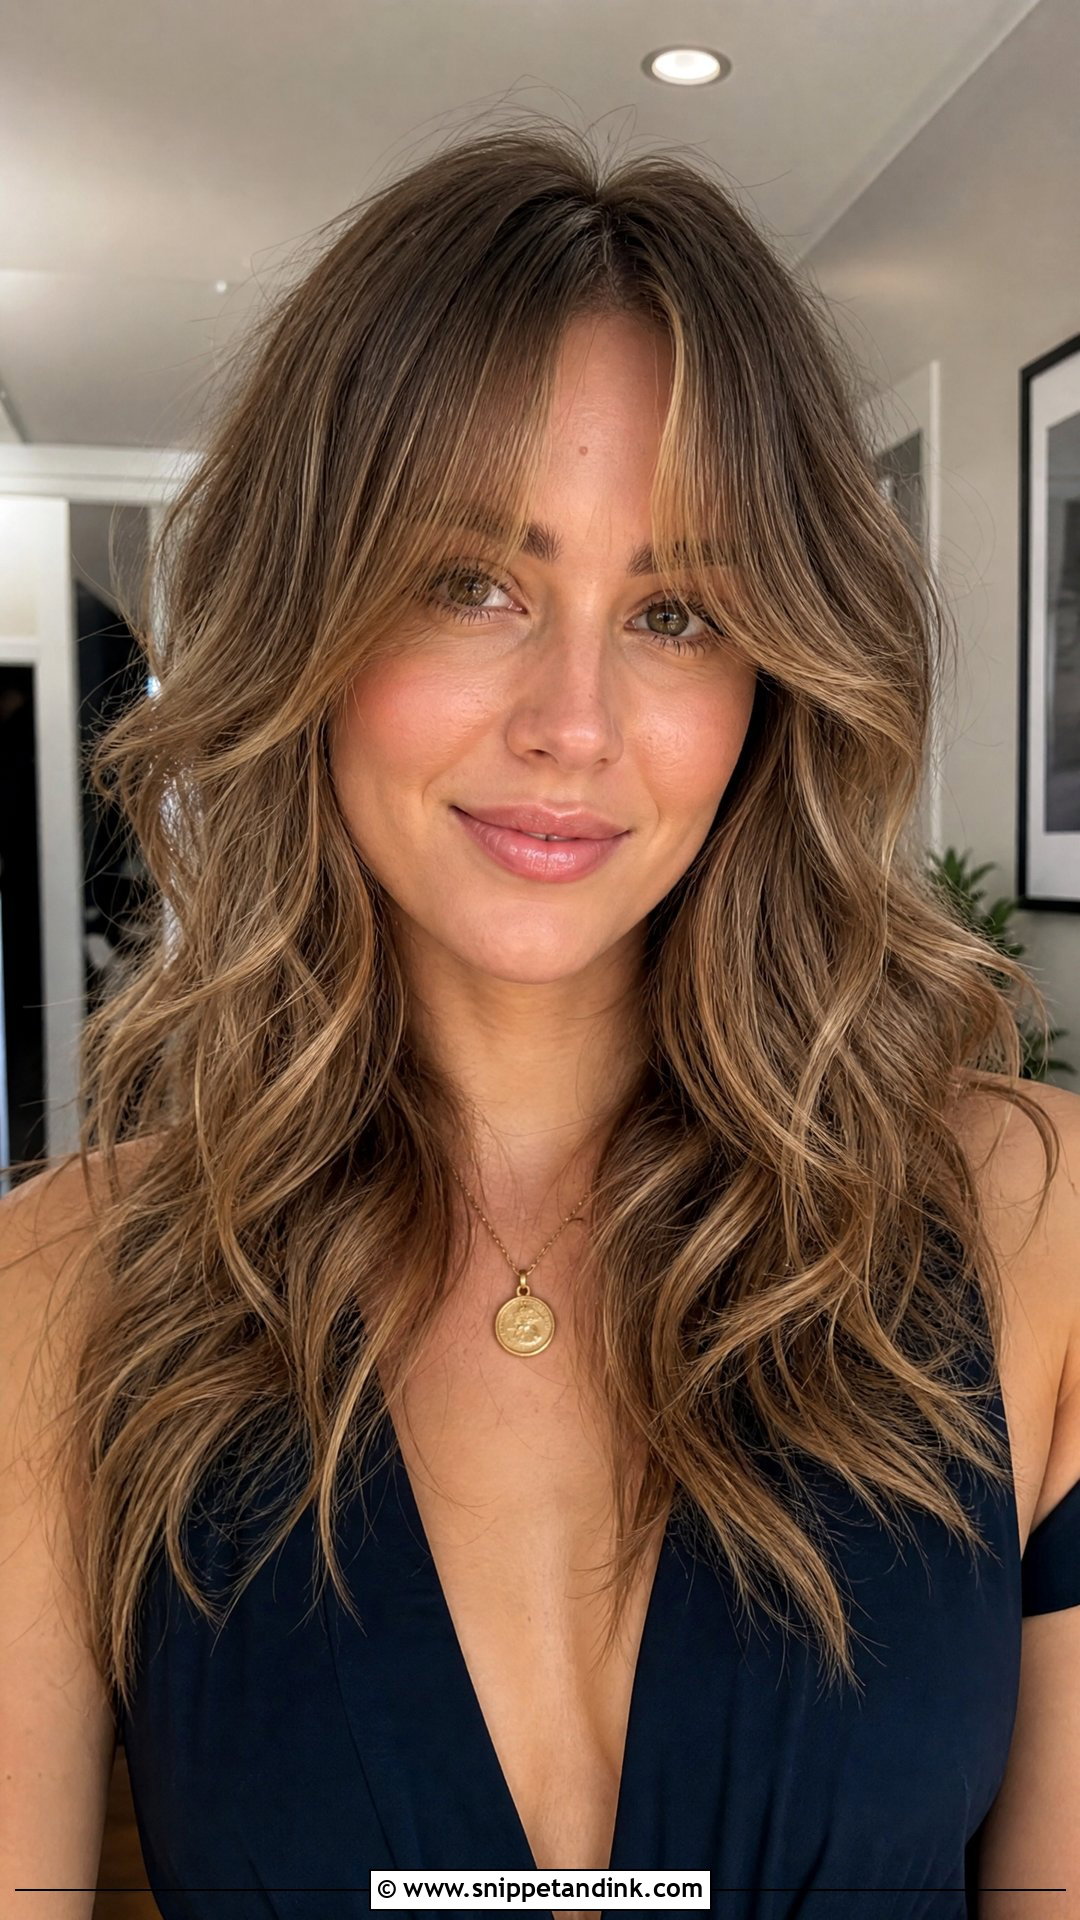
Curtain bangs blend into loose waves only when both are curled away from the face. I set the fringe on a round brush, then curl the front sections the same way so they meet at the cheekbone. A light texture spray keeps it moving. This is the soft option for a casual or semi-formal wedding, and curtain bangs with waves grow out gracefully if you’re in the middle of growing a fringe out.
17. Braided Updo for Long Hair
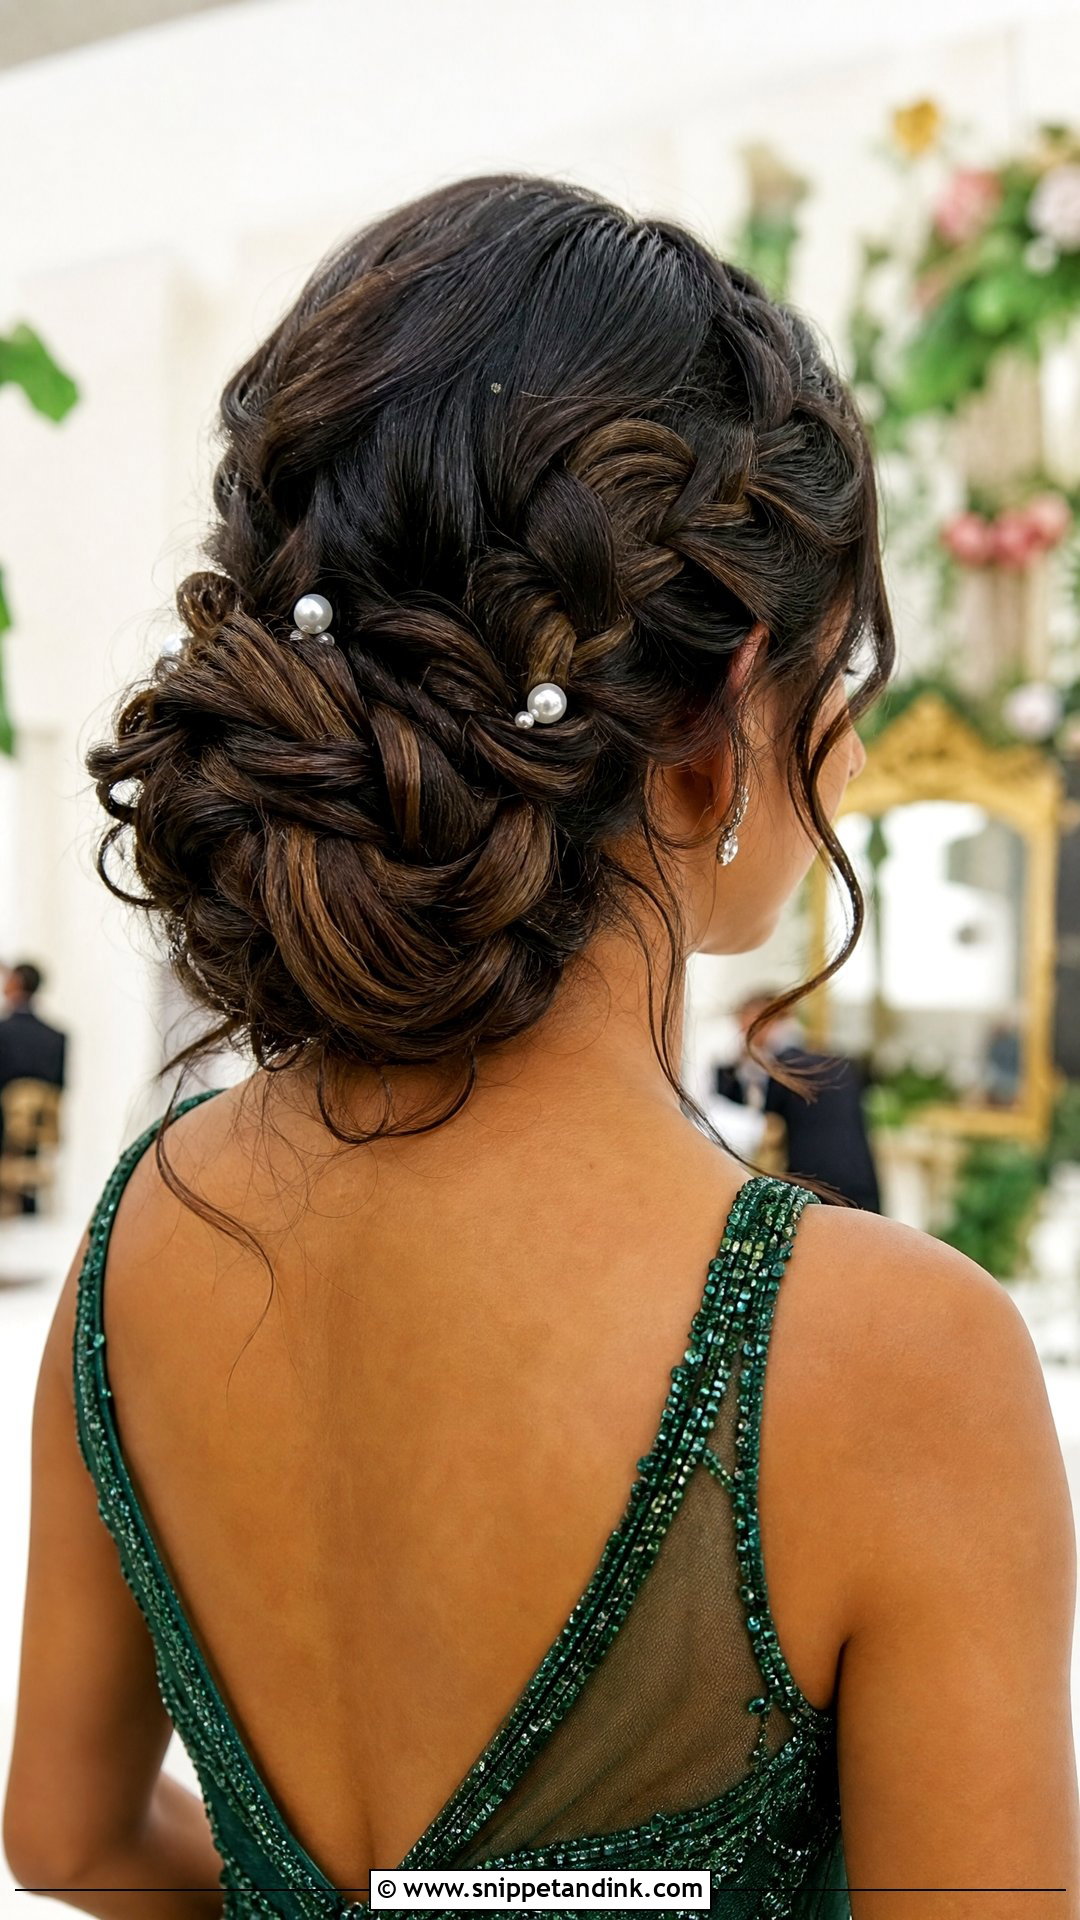
Long hair gives you enough material for a braided updo with real structure. I braid three or four sections, pancake each braid by pulling the edges outward, then pin them into a shape at the back. Pancaking is what makes braids look full in photos. Small flowers or pearl pins sit well in the gaps. It’s a strong choice for a summer formal wedding because nothing touches your neck.
18. Pixie or Short Hair With Textured Waves
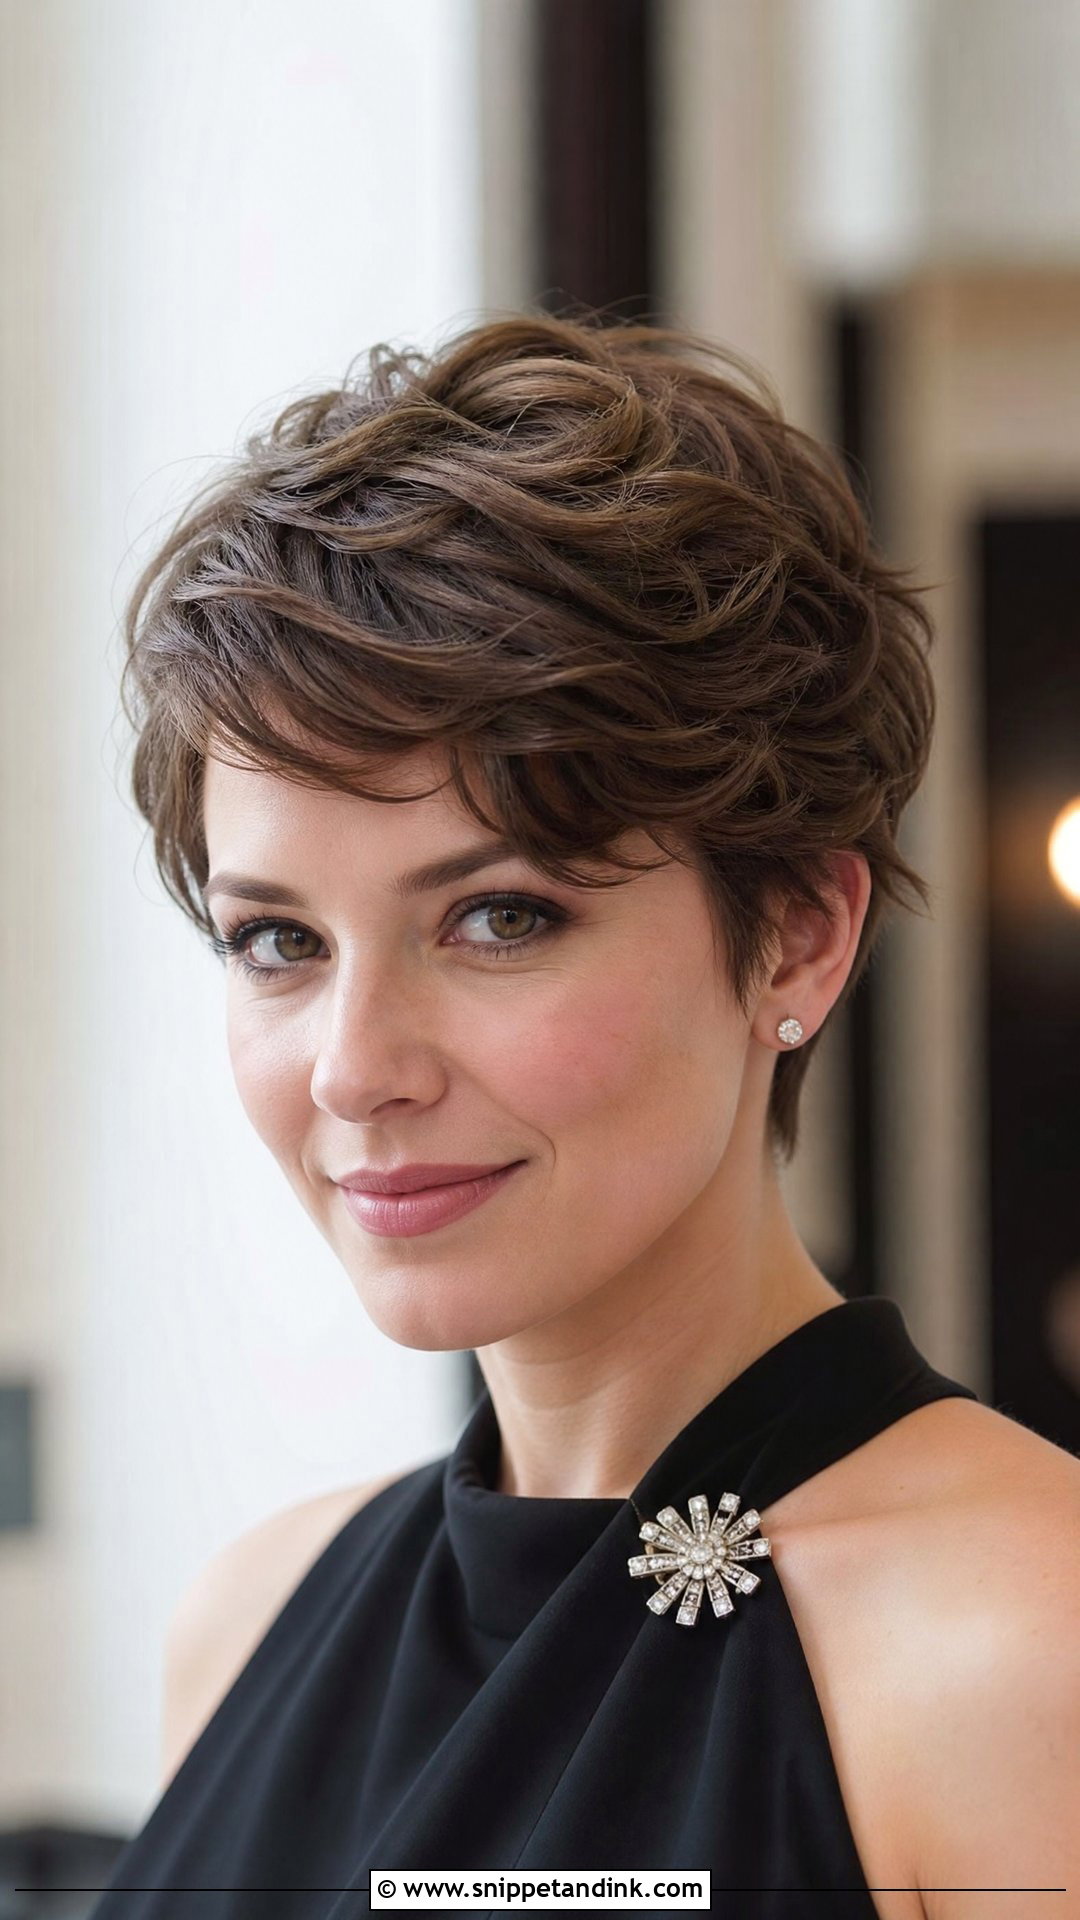
Short hair doesn’t need extensions to look wedding-ready. Pixies, bobs and lobs all take textured waves well. I use a small flat iron and twist it a half turn on each piece, which gives bends rather than curls. Then a texture spray and fingers. On a pixie, I focus the texture at the crown and keep the sides close. A single sparkly pin above one ear dresses it up.
19. Side-Swept Updo
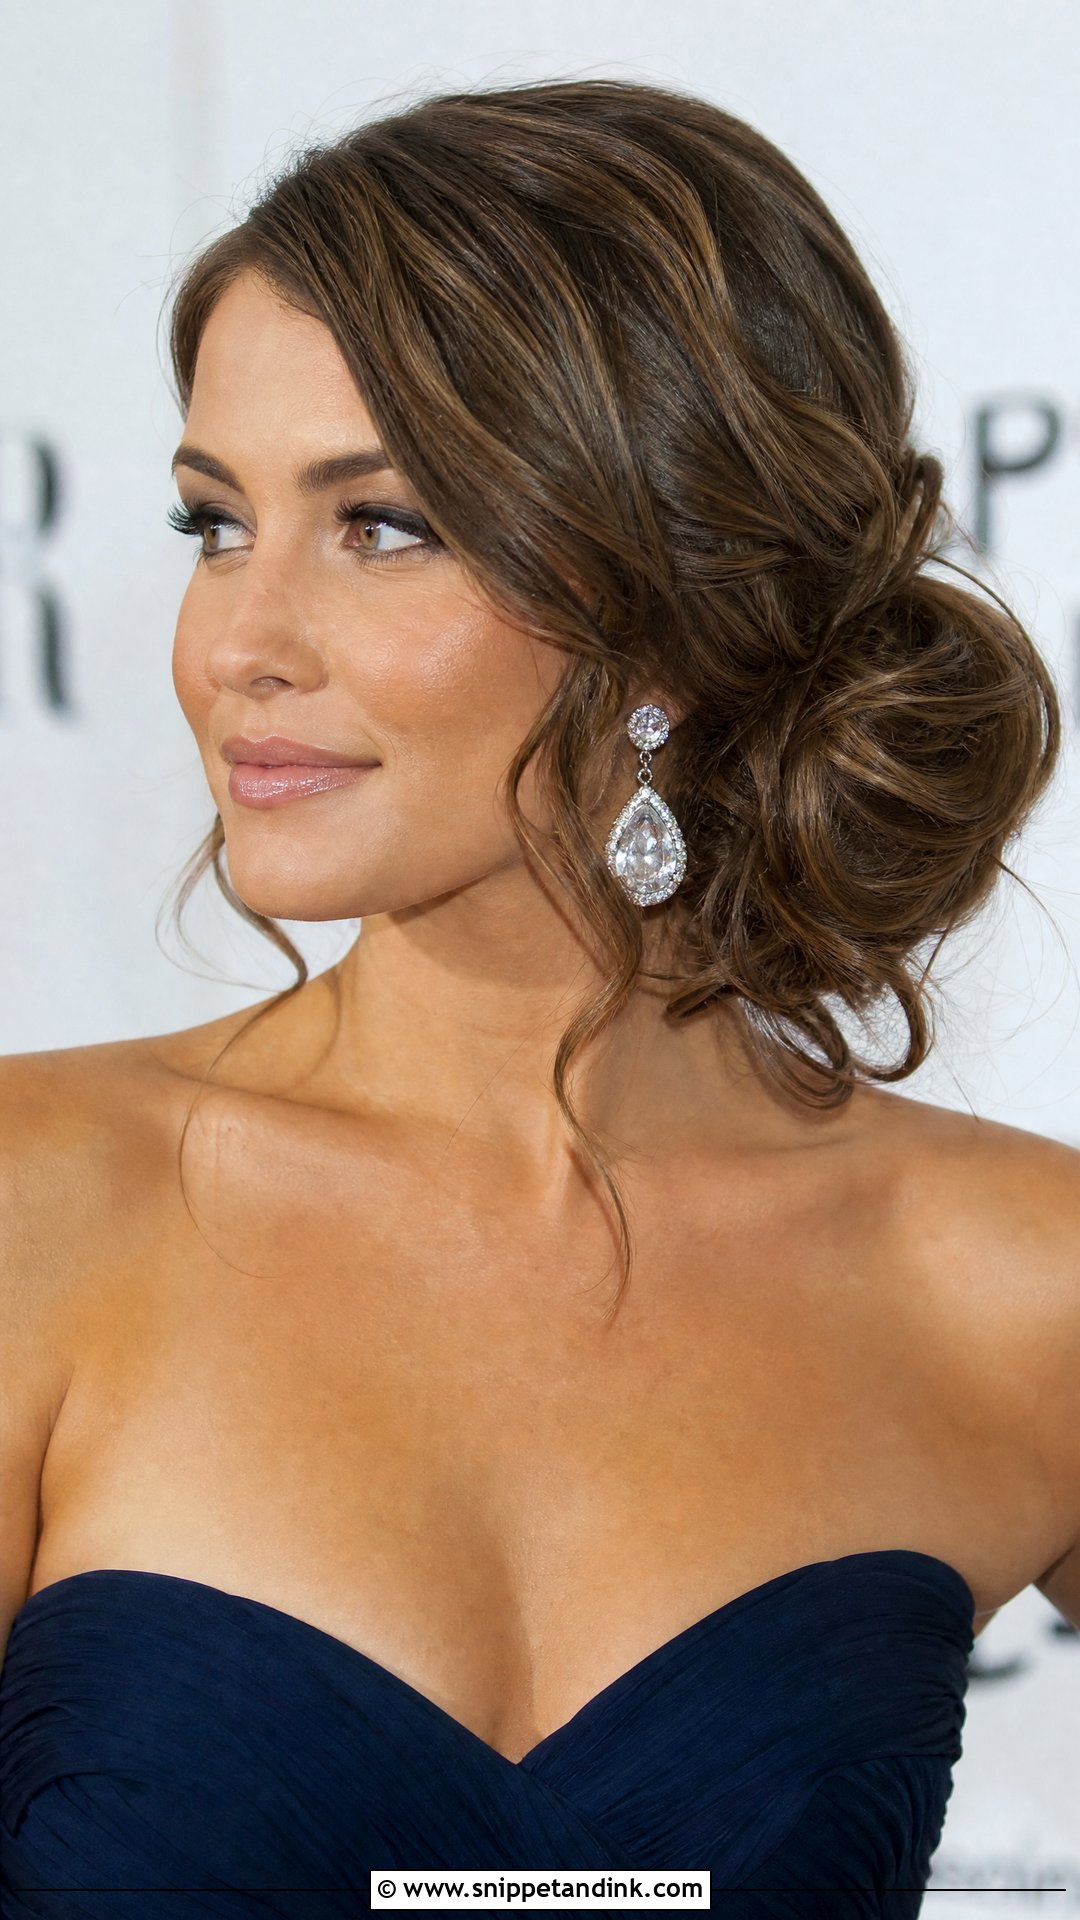
A side-swept updo gathers everything to one side into a soft roll or knot. Curl first: curled hair holds the sweep without falling back toward the center. I pin it below the ear on the side opposite your part, so the hair travels across the back of the head. One statement earring on the bare side is the natural pairing. It suits medium and long hair.
20. Polished Low Ponytail
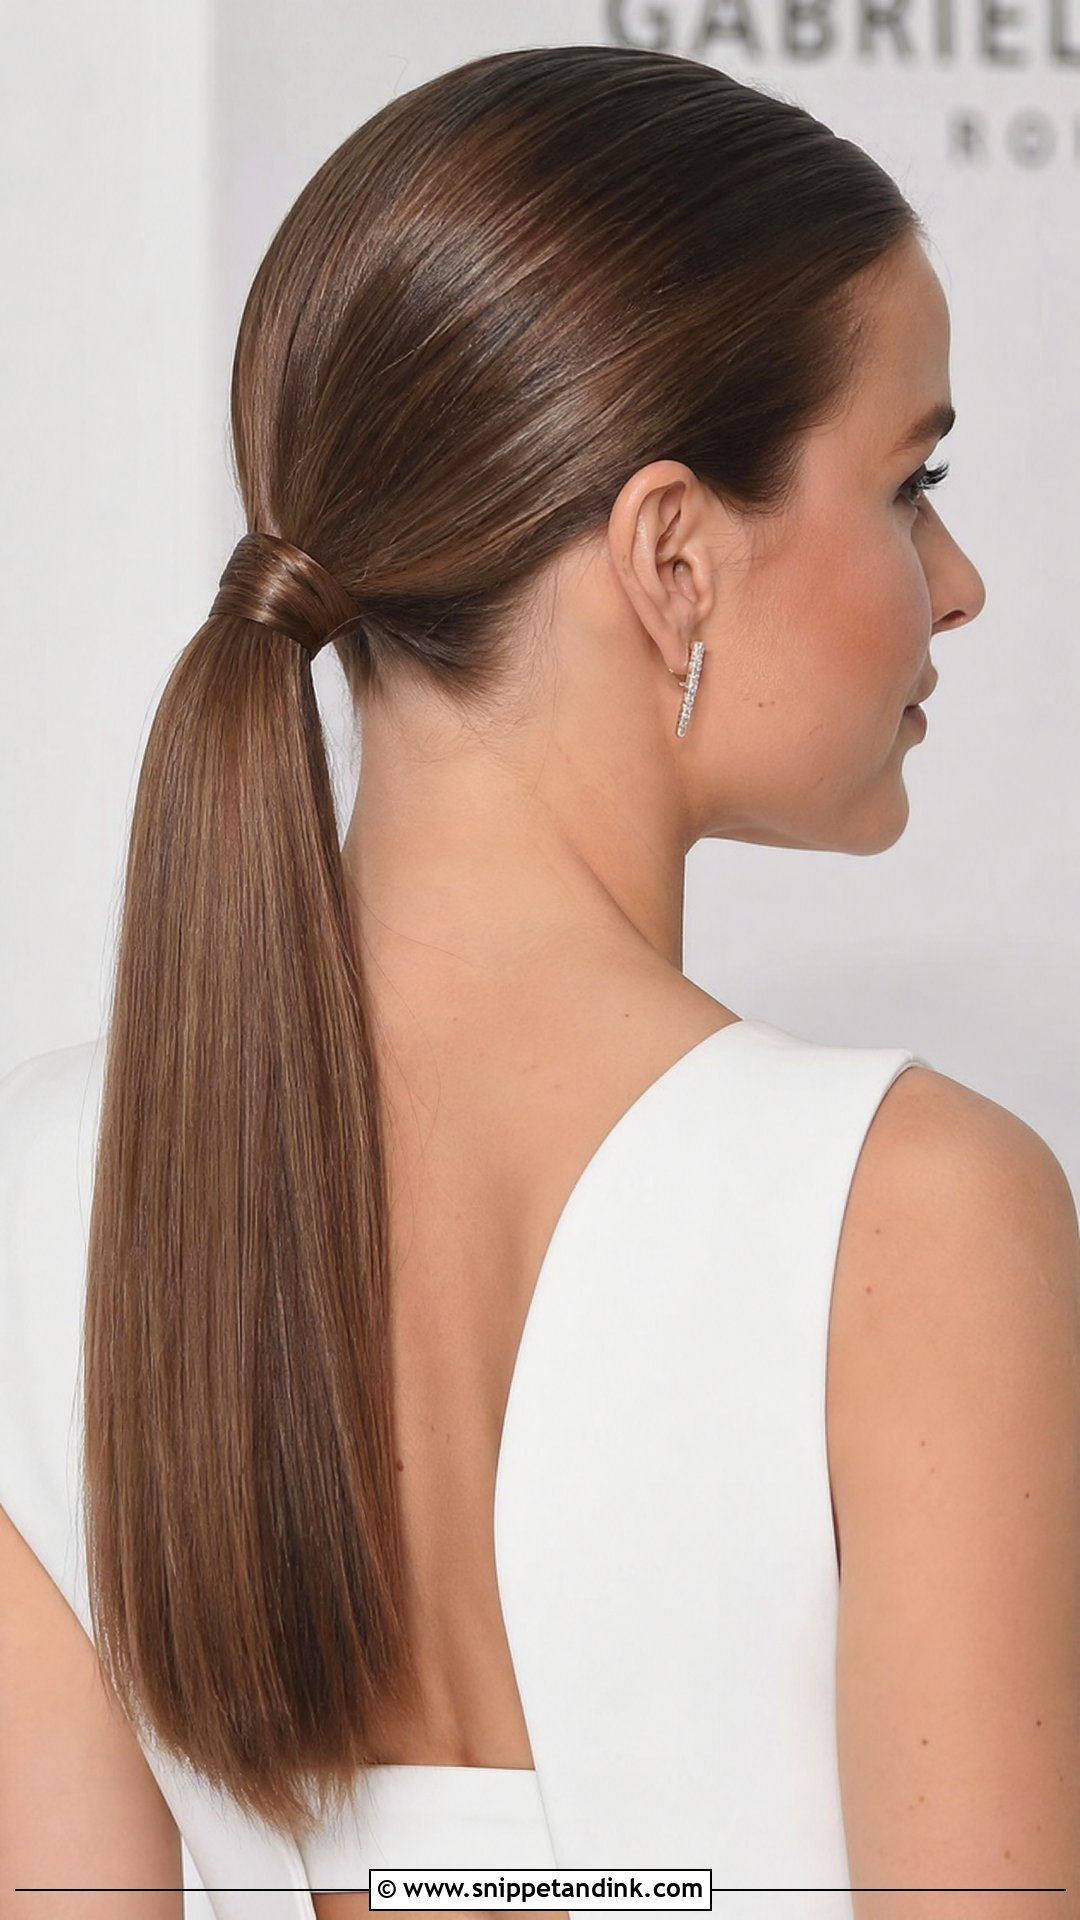
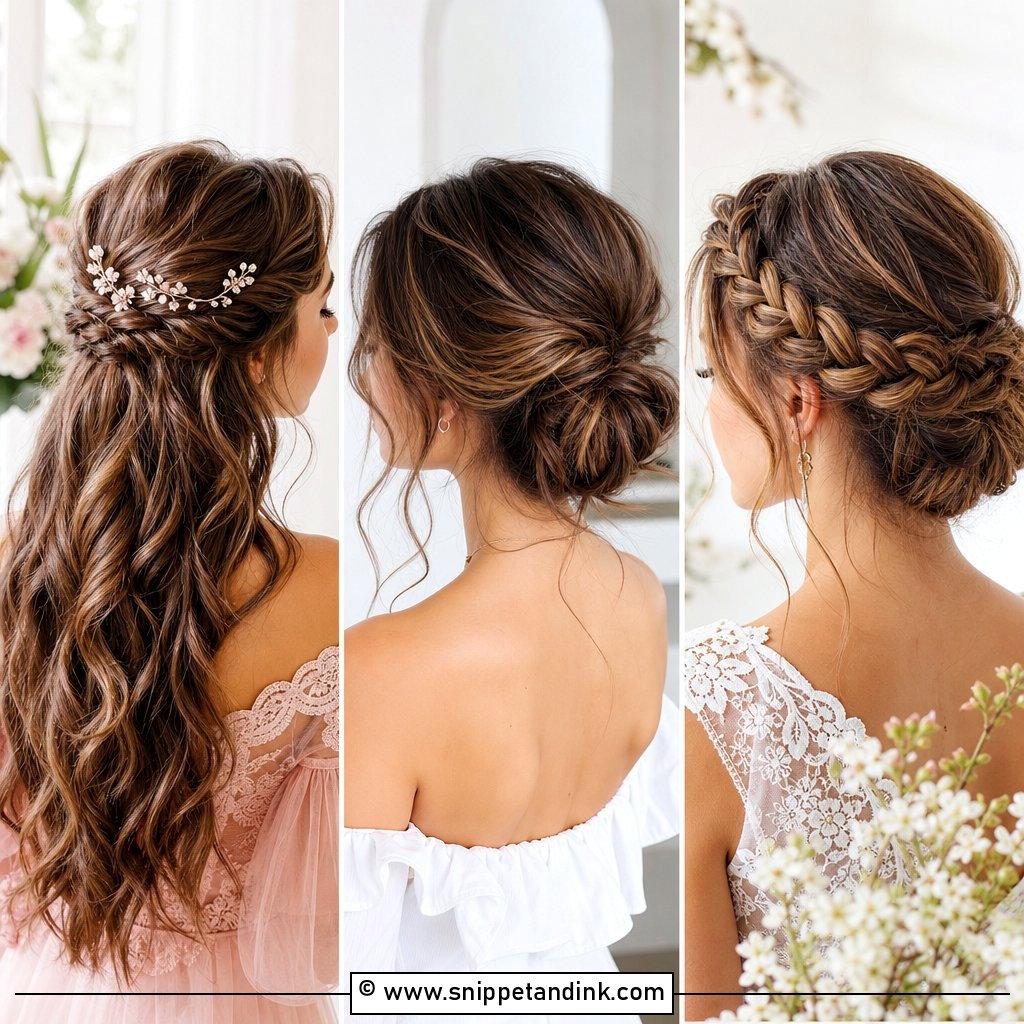
The low ponytail is the most comfortable style in this list. It sits at the nape with no tension on the crown, so it’s what I suggest to guests who get headaches from updos. I smooth the hair back, secure it low, and wrap a strand around the elastic, pinning the end underneath. The tail can stay straight or get loose waves. A shine serum on the lengths makes it look polished enough for a formal wedding.
Sleek Styles Without the Headache
Half of this year’s list is slicked back, and the most common complaint I hear about sleek styles is pain. A ponytail or bun pulled very tight puts constant tension on the scalp, and after a few hours that becomes a headache. Fixing it is mostly about where the tension sits.
- Brush the hair back smoothly but secure it a little looser than you think you need; gel gives the sleek look, not tension.
- Use a spiral elastic or two small elastics instead of one very tight one.
- Place high styles slightly lower than the crown if you have thick, heavy hair.
- Take ten minutes to try the exact style on a normal day; if it hurts after an hour at home, it will hurt more at the wedding.
Flyaways and the gel line
Sleek hair shows every baby hair along the hairline, and gel that dries white or flaky shows up badly in flash photos. Apply gel to damp hair, brush it in thoroughly, and let it dry before you add hairspray. A clean toothbrush with a little gel tames flyaways at the temples later on. If your gel tends to flake, change products before the wedding, not on the morning of it.
Dress Code First, Trend Second
Trends come and go, but the guest styles that last are the ones matched to the invitation, the forecast and your own hair. A sleek bun for black tie in July, waves for a garden wedding in May, a low ponytail if you’ll be on your feet all day. Do one practice run the week before, set out your pins and products the night before, and you’ll spend the day enjoying the wedding rather than checking a mirror.
You'll Like These Ideas:


Leave a Reply