
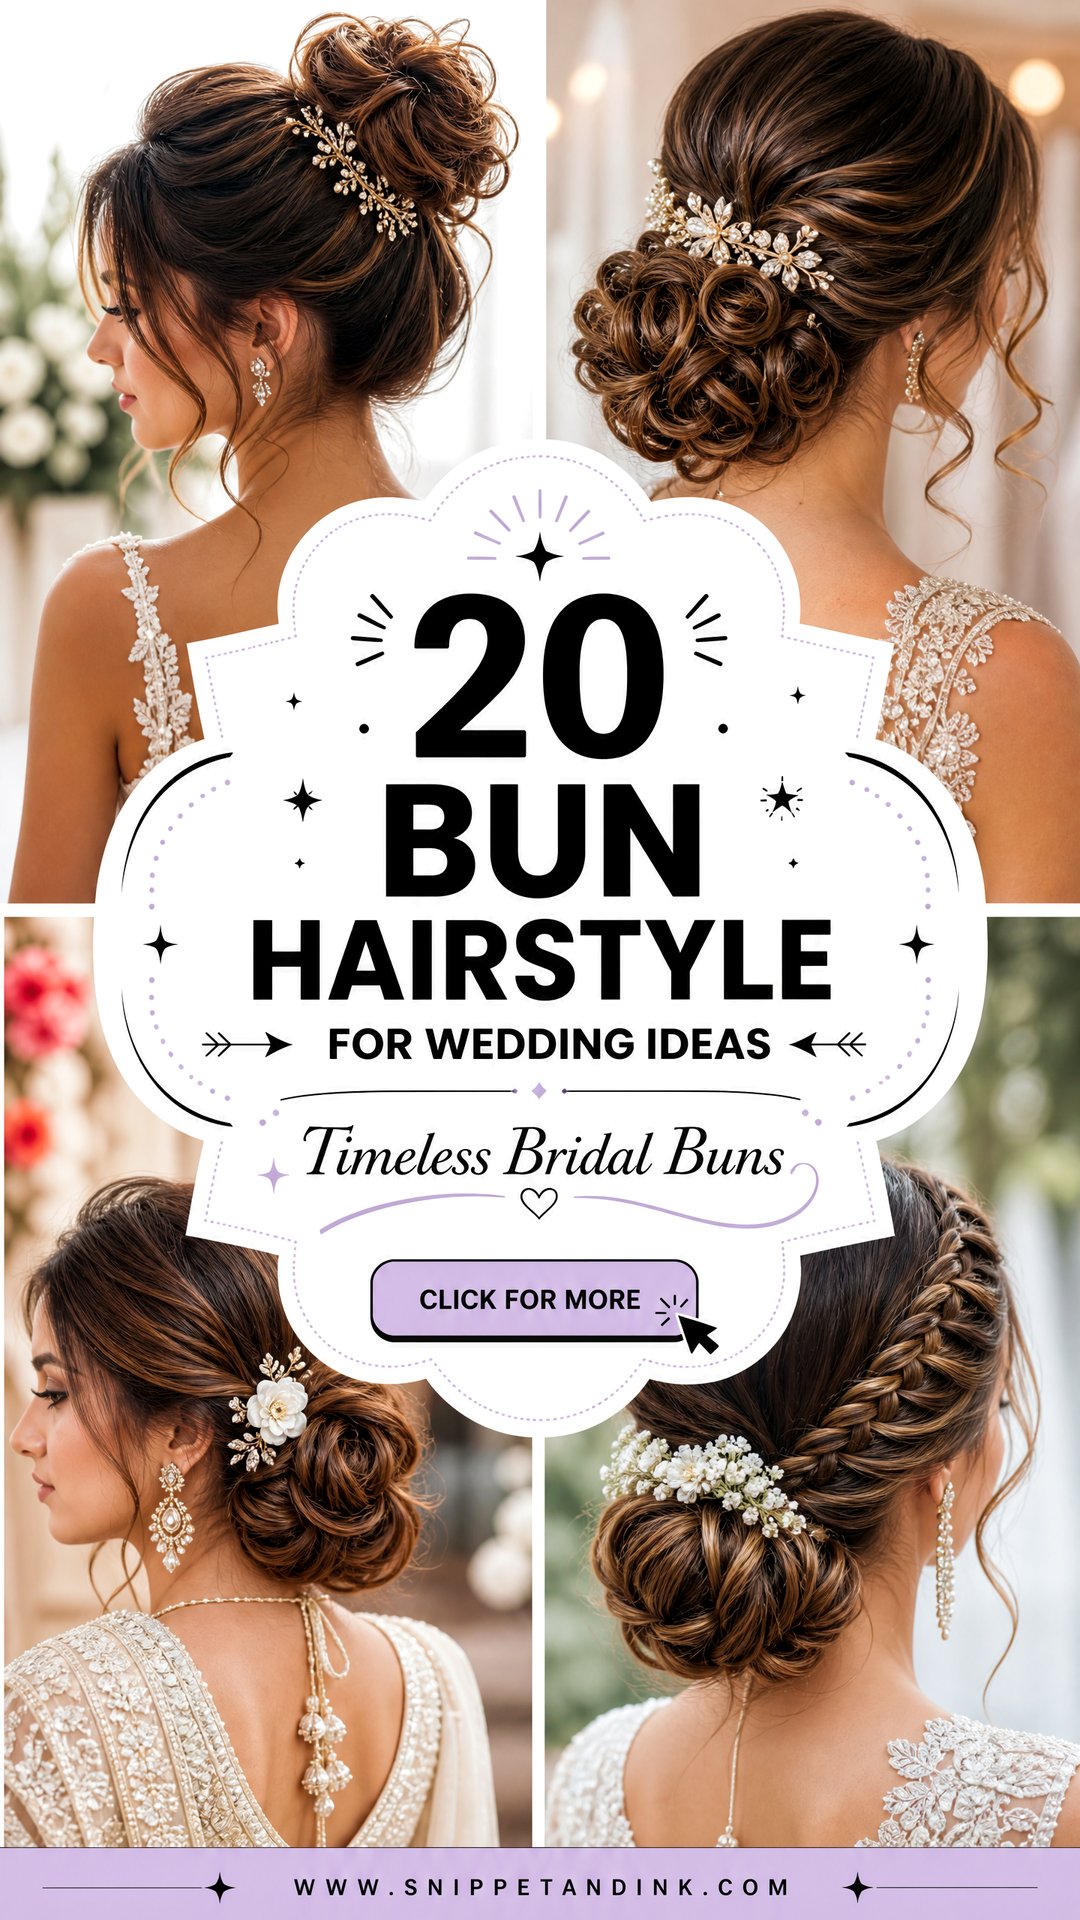
Most of the brides who sit in my chair asking for something down end up in a bun by the trial’s end, and usually for practical reasons. A bun keeps hair off a sweaty neck, holds a veil comb better than loose curls ever can, and still looks finished at midnight. The twenty styles below range from a glassy low knot to a loose braided one dotted with pearls. As you look through them, notice where each bun sits on the head, because placement decides more about how it suits your dress than the shape does.
Nape, Crown or Off to One Side
Before I talk about texture or accessories, I look at where a bun should sit. It’s the decision that changes how a style works with your gown, your veil and your face, and it is easy to overlook when you are scrolling through photos of other brides.
Low at the nape
This is the most forgiving placement. It holds a veil comb well, stays comfortable through a long day, and suits high necklines, illusion backs and anything with detail at the shoulder blades. If your gown has buttons all the way up, keep the bun small so it doesn’t sit on them when you turn your head.
Mid-back of the head
The middle position looks balanced from the side, which is the angle most candid photos catch. It is the one I suggest for brides who aren’t sure, because it suits most necklines and lets the veil fall from the bun or above it.
High at the crown
Height lengthens the neck and suits strapless and off-shoulder dresses. It also puts more strain on the scalp and works only with shorter veils fixed beneath it. If you are tall and your partner isn’t, a high bun adds even more height in photos, which some couples love and others don’t.
To one side
A side bun is the natural partner to a one-shoulder gown. Think about which side faces the guests at the altar, since that is the profile that will appear in most ceremony photos.
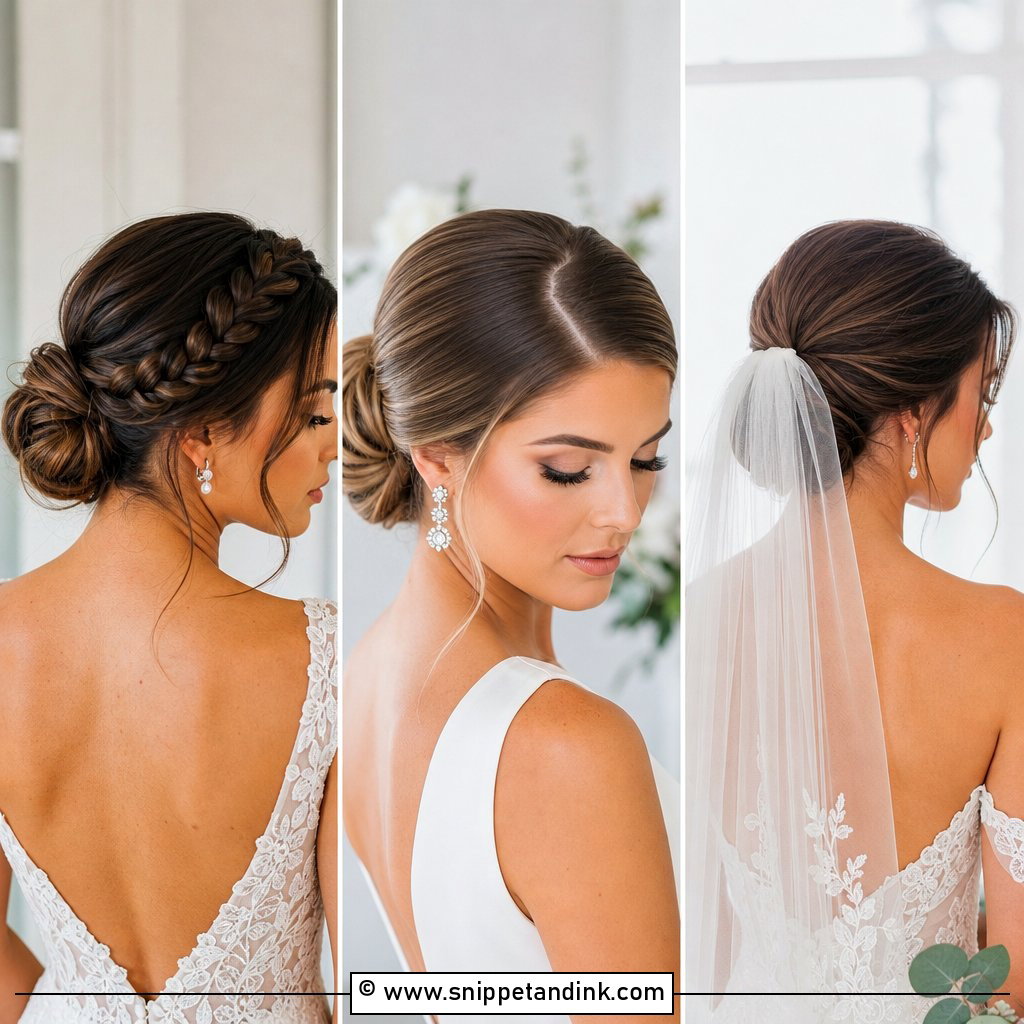
1. Sleek Low Bun for Wedding
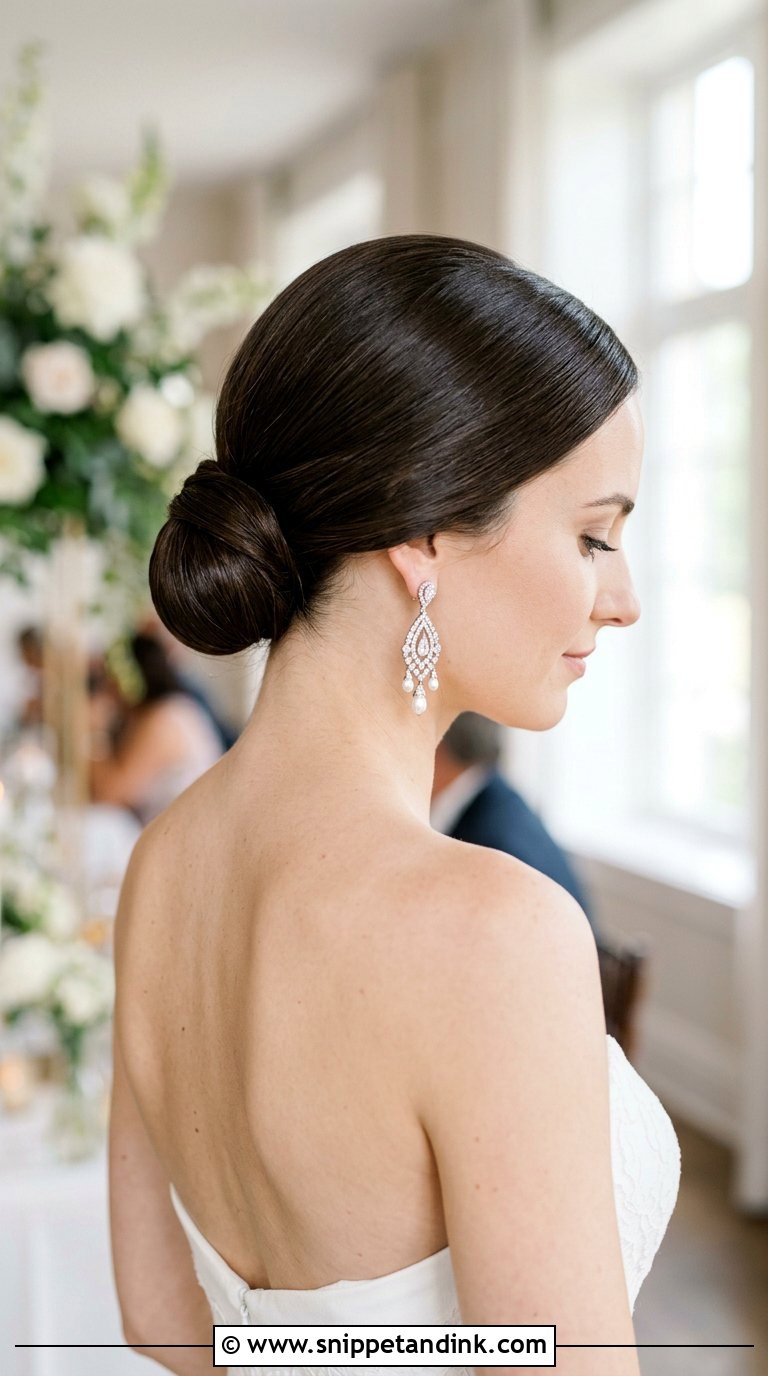
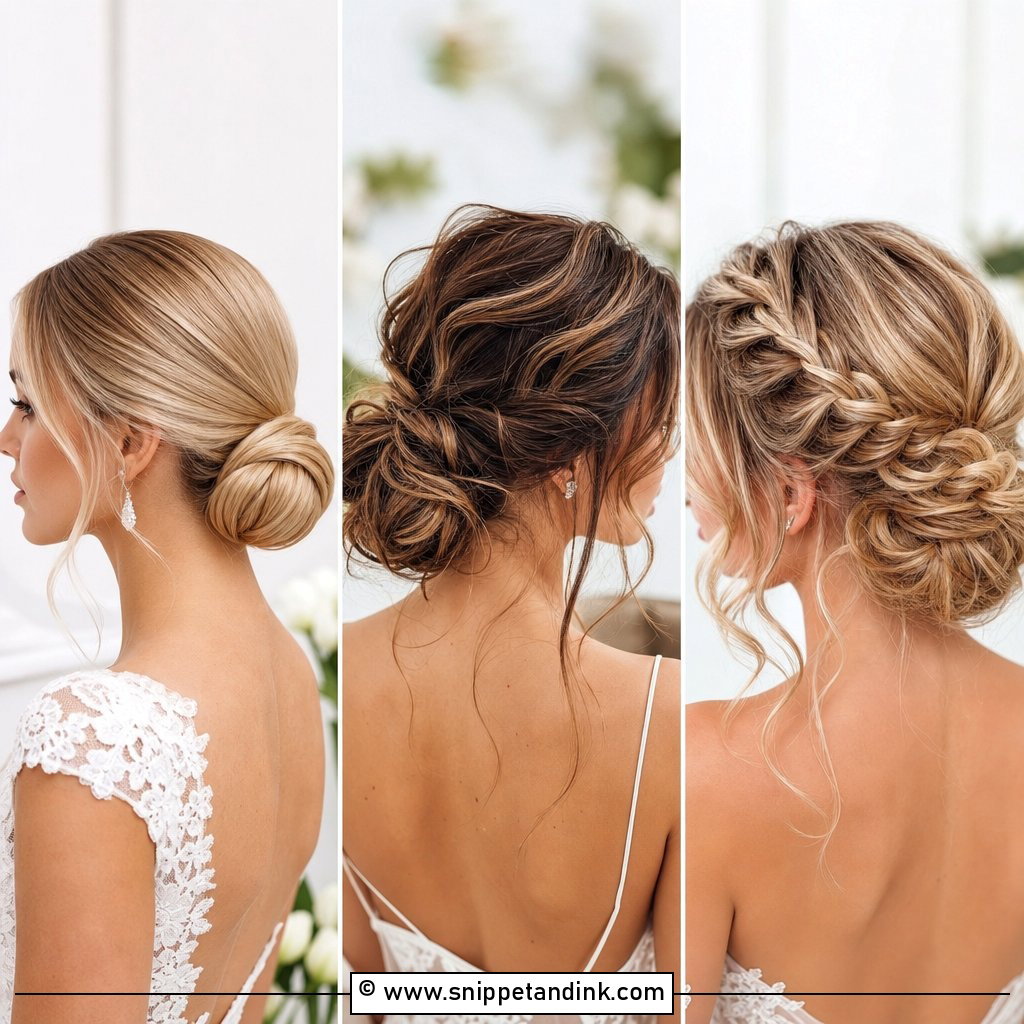
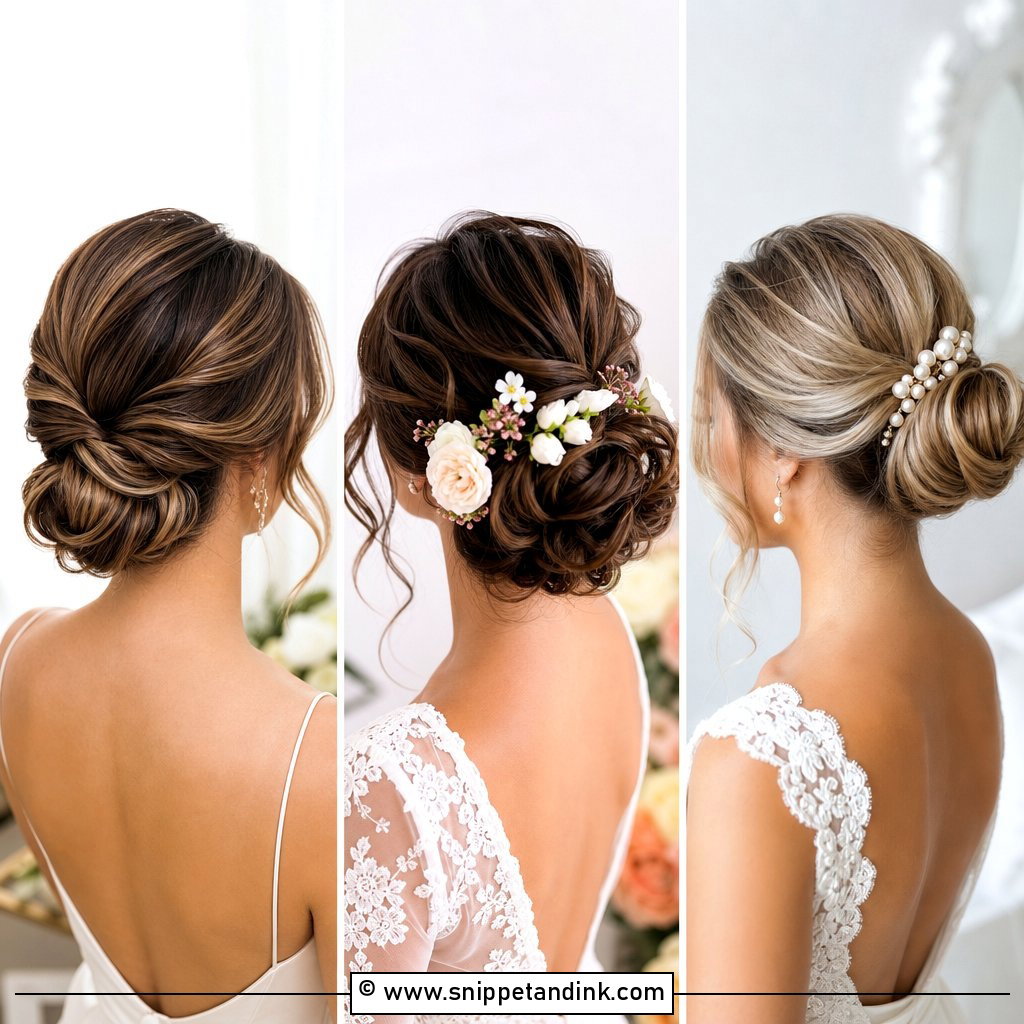
A sleek low bun is the style I trust most for a long day. I smooth it back while the hair is still slightly damp with gel, set it with a cool blast from the dryer, then wrap the knot around an elastic and pin it in a criss-cross so nothing can rotate. It suits minimalist gowns and big earrings because there is nothing in the hair competing with them. A cathedral veil sits very cleanly over it. The catch: it shows every bump and flyaway, so if your hairline has a lot of baby hair, plan on a toothbrush and a little edge cream rather than expecting it to lie flat on its own.
2. Messy Bun for Wedding
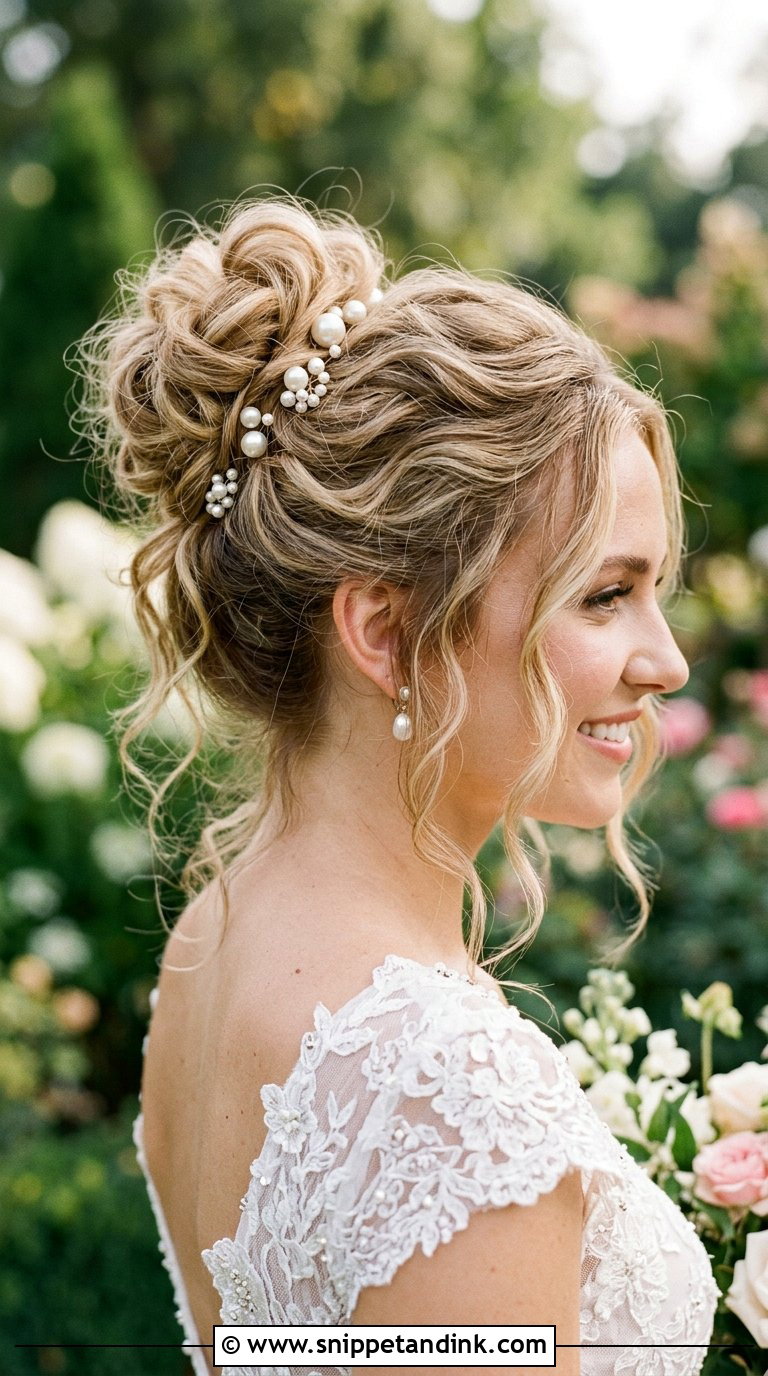
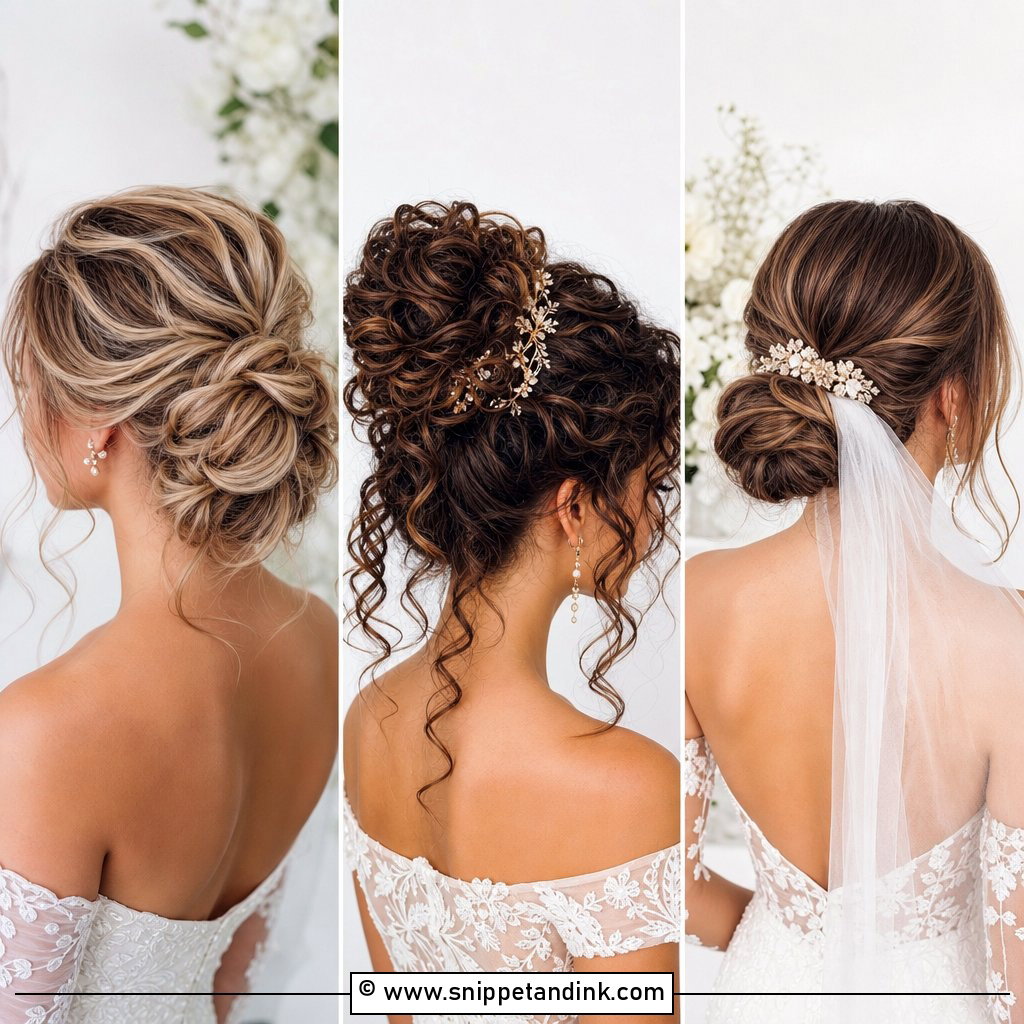
The messy bun is harder to do well than it looks. Undone hair that holds for ten hours is actually built: I curl everything first, let the curls cool completely, pin the knot loosely, then pull out the face pieces last so they keep their bend. Without that base, a messy bun on silky hair just slides down by the speeches. Dress it up with pearl pins for a ballroom or leave it bare for a garden ceremony. It is the one I steer straight-haired brides with very fine hair away from unless we add texture spray and a padded base underneath.
3. Braided Bun for Wedding
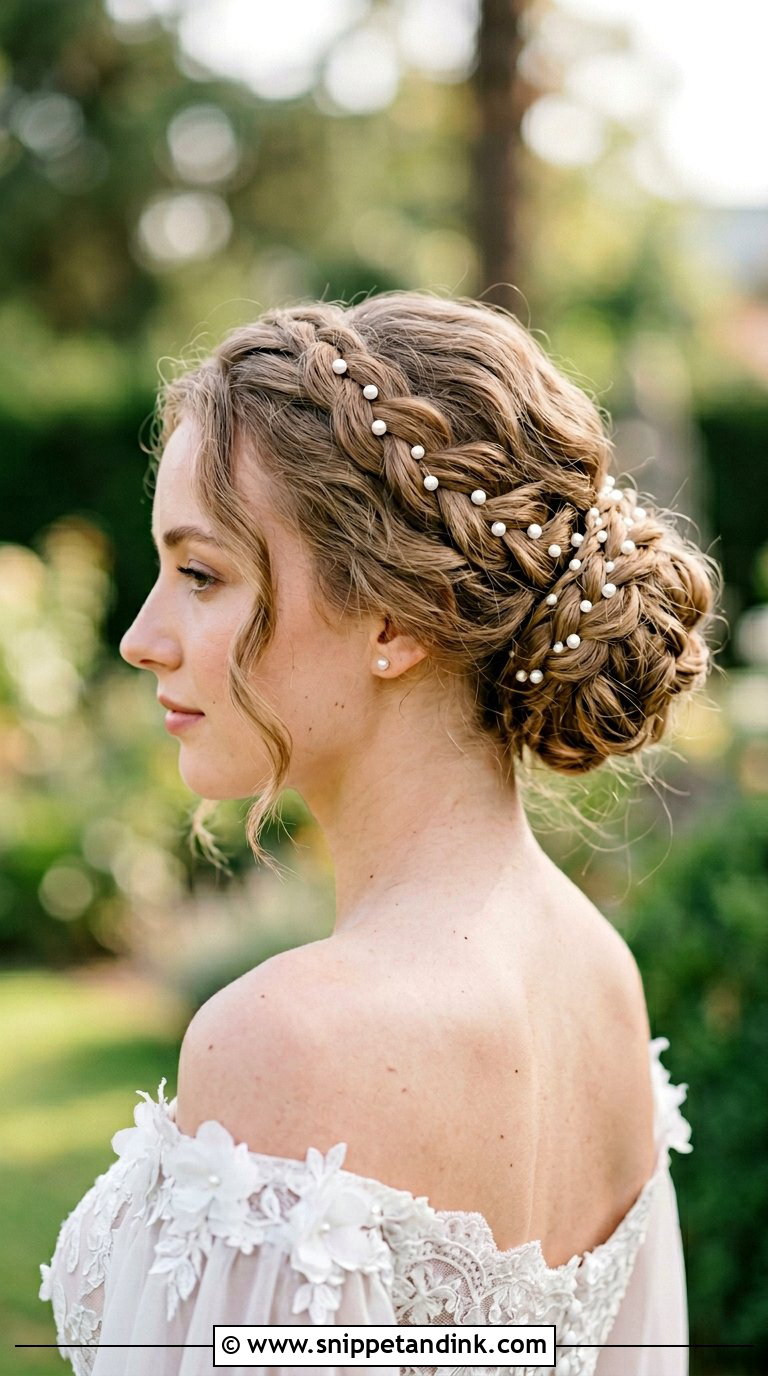
Braids give a bun something to grip, which is why they hold so well. I’ll either wrap one thick plait around the base of the knot or work two or three thin ones through the back and tuck their ends inside. A French braid gives a tidier line; a fishtail reads softer and more woven. Keep any pearls or tiny flowers to the braid itself, so the pattern still shows from the back where your guests will be looking during the vows. Layered hair with short pieces around the nape can poke out of the plaits, so ask your stylist to plan for that at the trial.
4. Low Bun With Face-Framing Tendrils
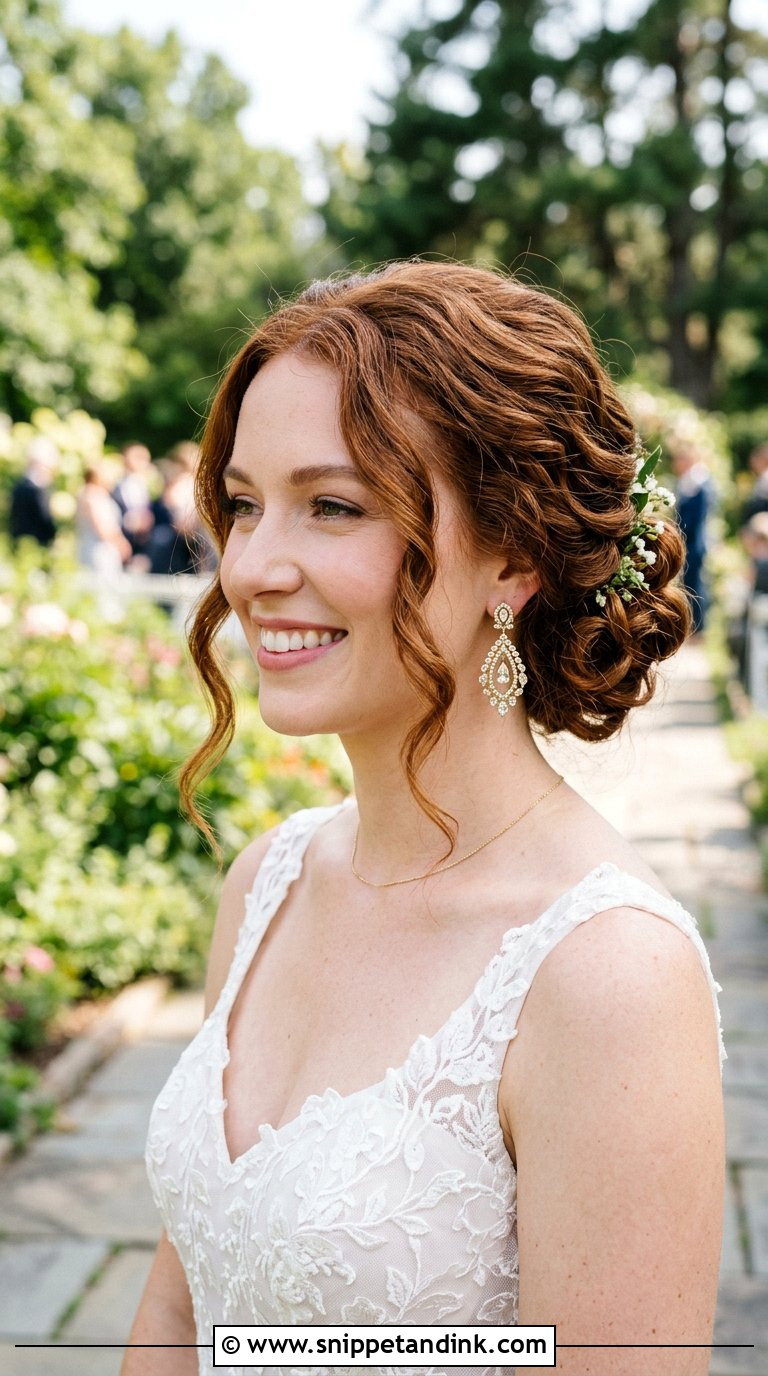
Tendrils change the whole mood of a low bun, but they are where most trials go wrong. Cut too short or curled too tight, they look like springs; left straight, they hang limp by the first dance. I take them from just in front of the ear and at the temples, keep them no thicker than a pencil, and curl them away from the face with a larger barrel so they open into a soft bend. They soften a strong jaw and look lovely with a sweetheart neckline and drop earrings. Just know you will be tucking them behind your ear while you eat, and that is fine.
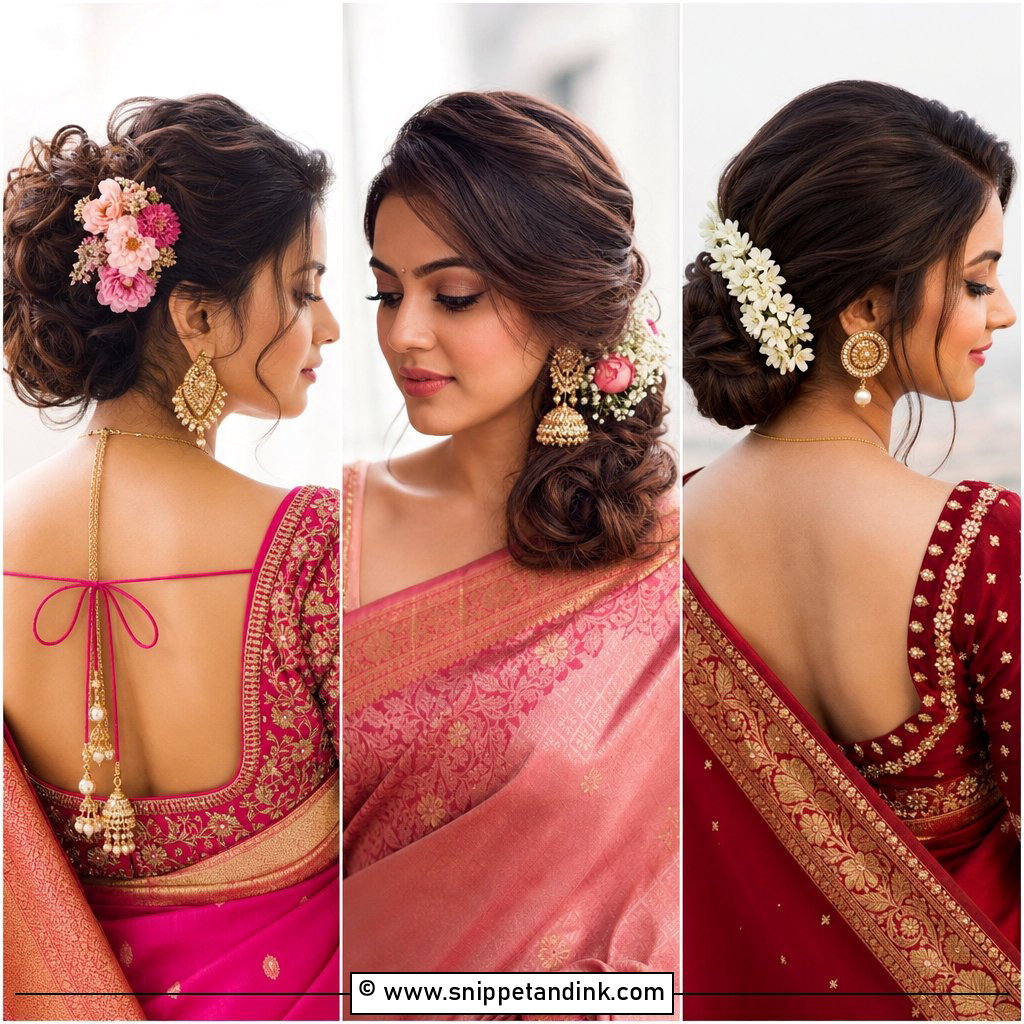
5. Floral Bun for Wedding
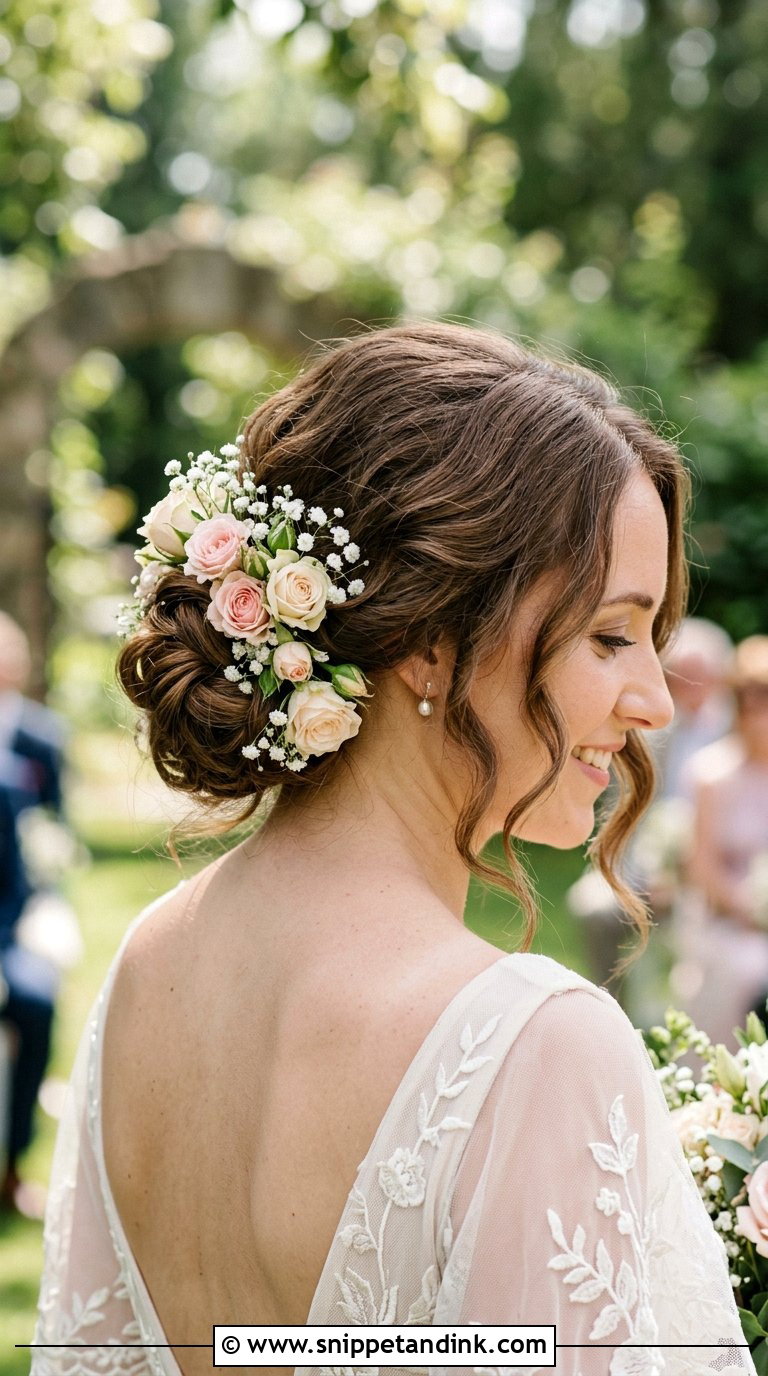
Flowers in a bun need to be chosen with the clock in mind, not only the colour. Fresh blooms that sit out of water for hours will wilt against warm hair, so I ask the florist for hardy stems that tolerate it and have them wired and kept chilled until the last minute. Small buds tucked around the base read soft and natural; one or two large blossoms make more of a crown. Baby’s breath, roses, and ranunculus all hold up better than delicate garden flowers that bruise easily. Matching them to your bouquet ties the look together in photos, and fabric flowers are the safer call for a hot summer afternoon.
6. Curly Low Bun for Wedding
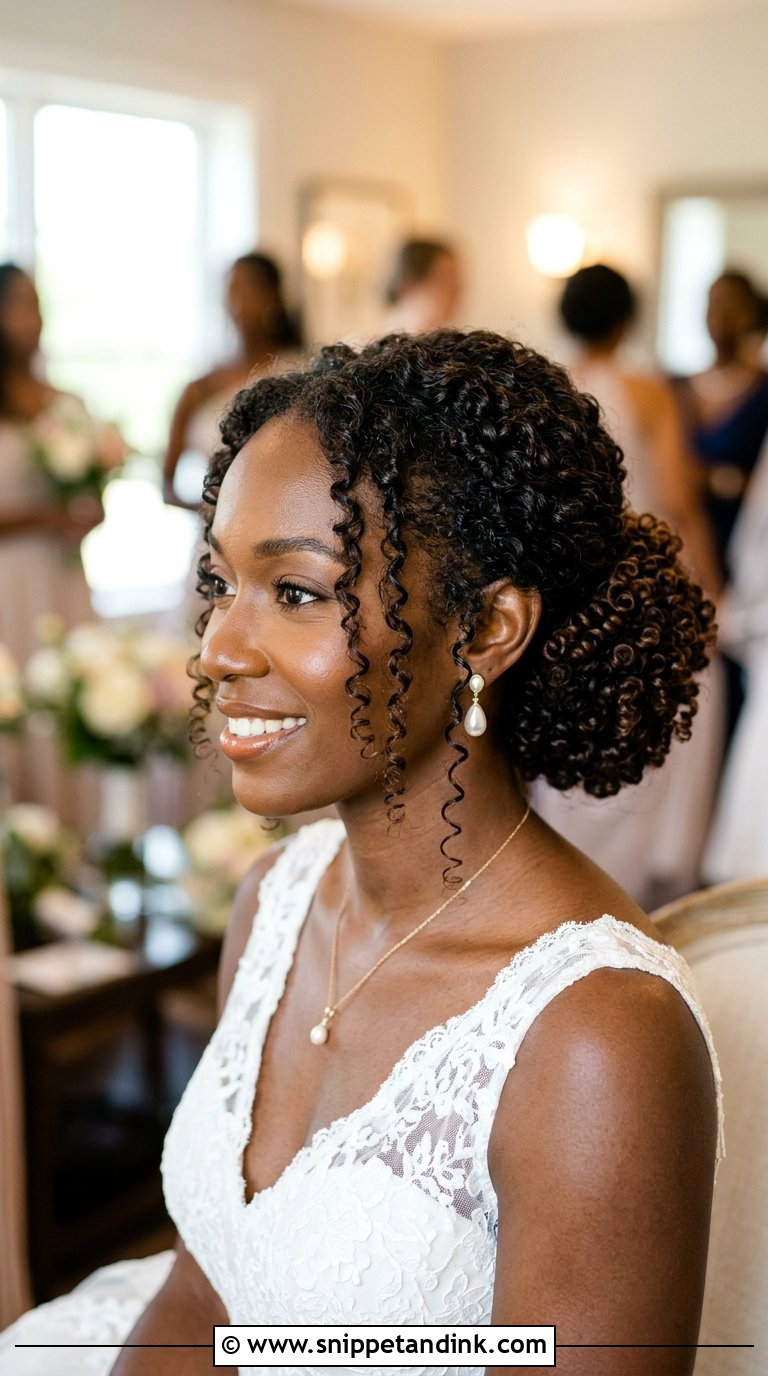
For curly and coily hair, I build the bun around the curls rather than fighting them. That means stretching the hair only as much as the style needs, gathering it low with a soft scrunchie or a satin-wrapped elastic, and pinning each section where it naturally falls instead of forcing it smooth. Pins go in from underneath so the coils keep their shape on top. A few spirals left loose around the face finish it. If your wash day falls the night before, refresh rather than rewash on the morning, because day-old curls hold pins much better than freshly washed ones.
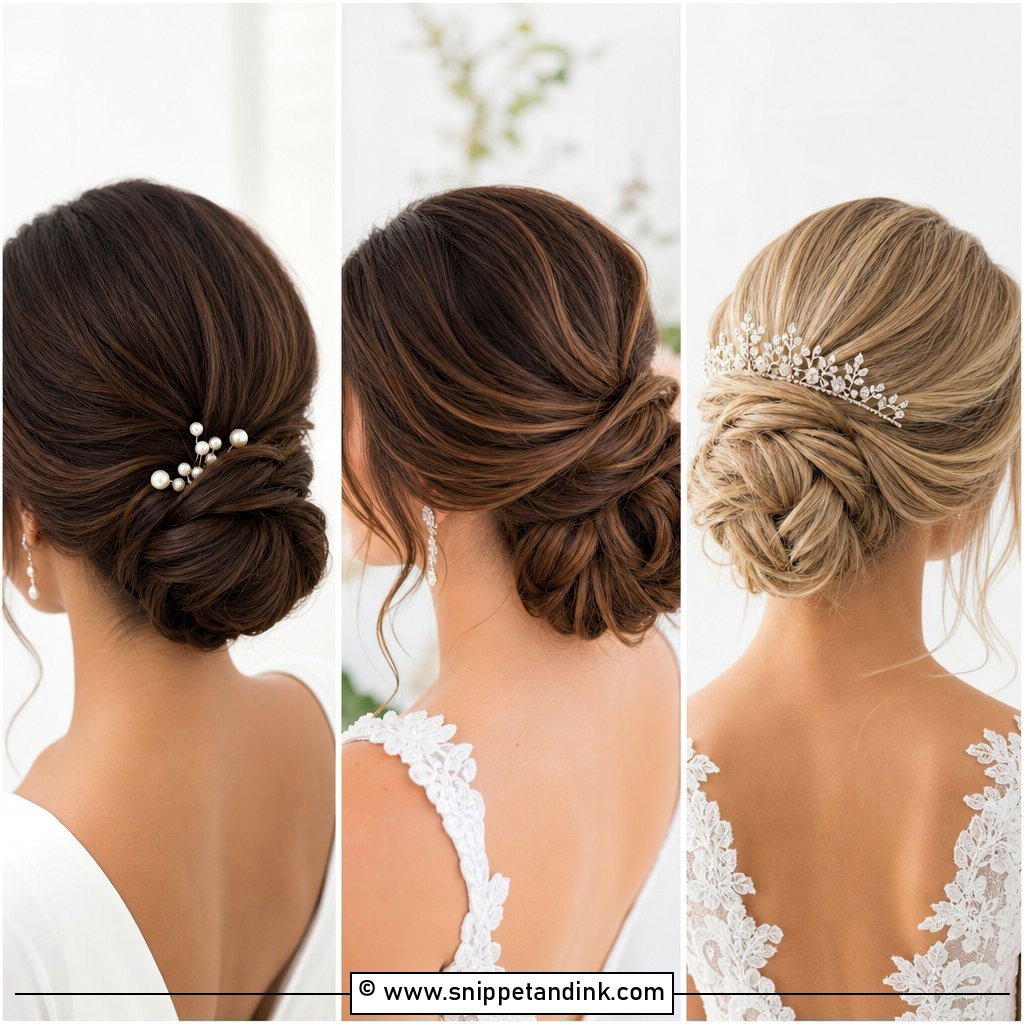
7. Chignon Bun for Wedding
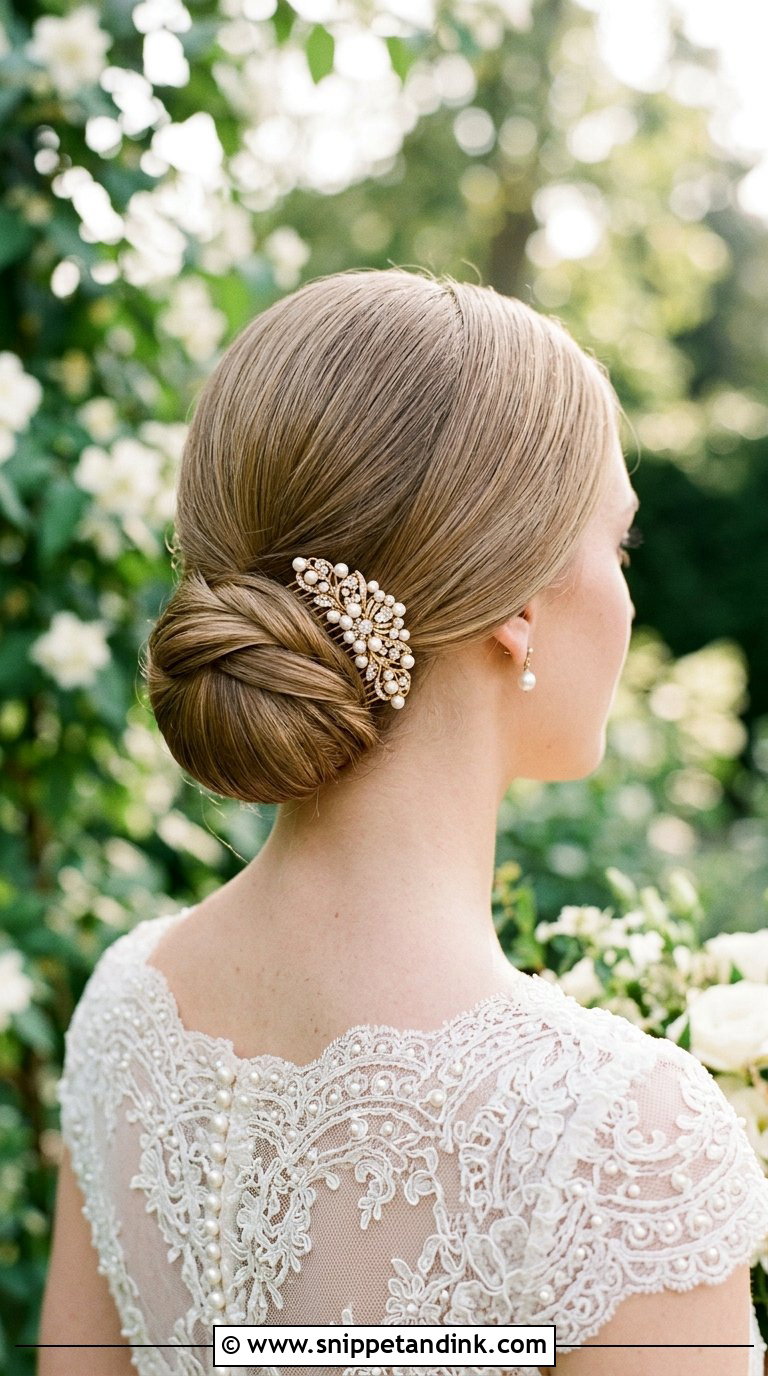
A chignon is the bun I reach for when the dress has detail at the back. The hair is rolled and folded into a low shape at the nape rather than wound around itself, so it lies close to the head and leaves lace or buttons visible. It has French roots and suits vintage gowns and pearls particularly well. Kept sleek, it is very formal; set with soft waves first, it relaxes. A comb tucked just above the roll gives a little shine. Shoulder-length hair can usually manage a small chignon with the help of a padded insert, which most stylists carry.
8. Twisted Bun for Wedding
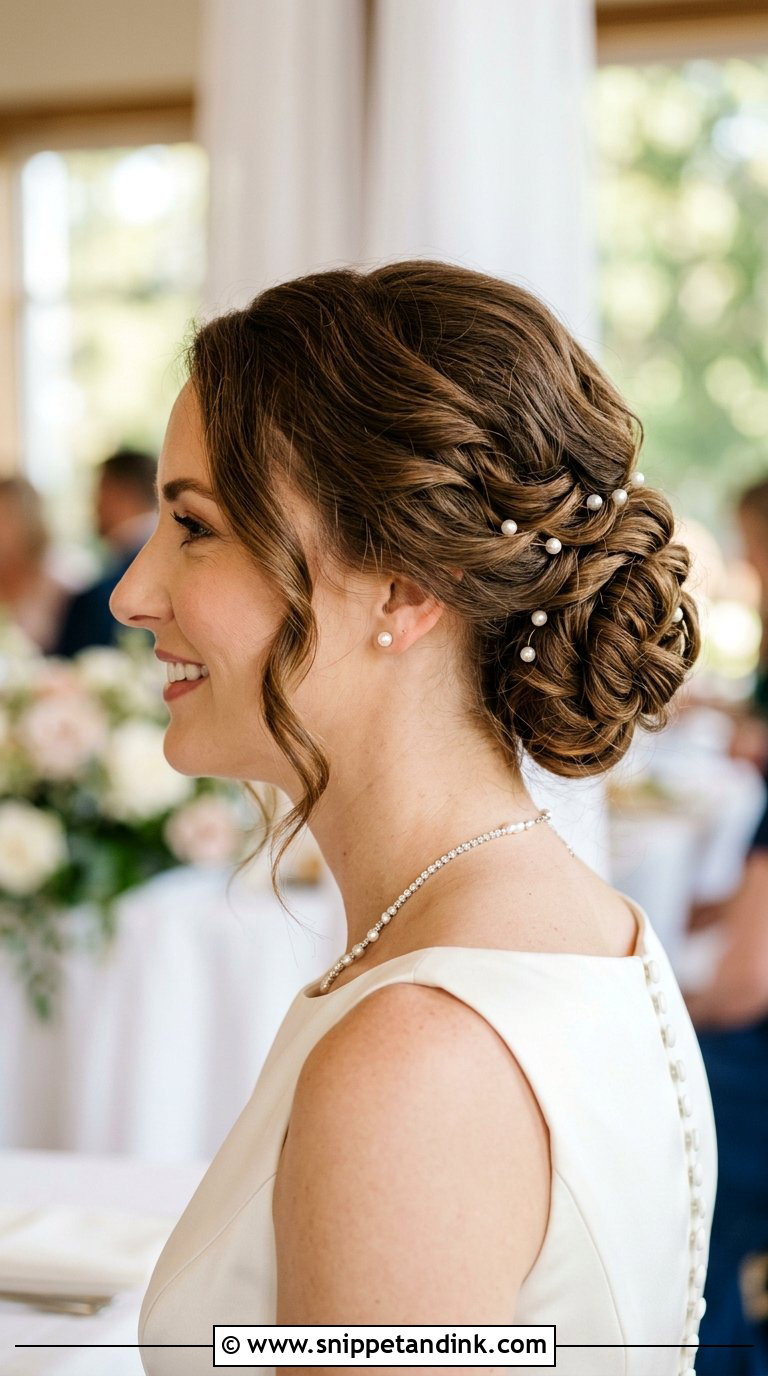
Twisted buns look complicated but hold better than many smooth ones, because each twist locks against the next. I take sections around the head, twist them toward the centre and pin each one as I go, so the bun is really a cluster of small anchors. Loose twists give a softer finish and tight ones look more defined; tight is the better choice for windy outdoor venues. Small pearl pins sit nicely in the grooves between the rolls. The back of this one is what people see during the ceremony, so it is worth checking in a hand mirror at your trial.
9. High Bun for Wedding
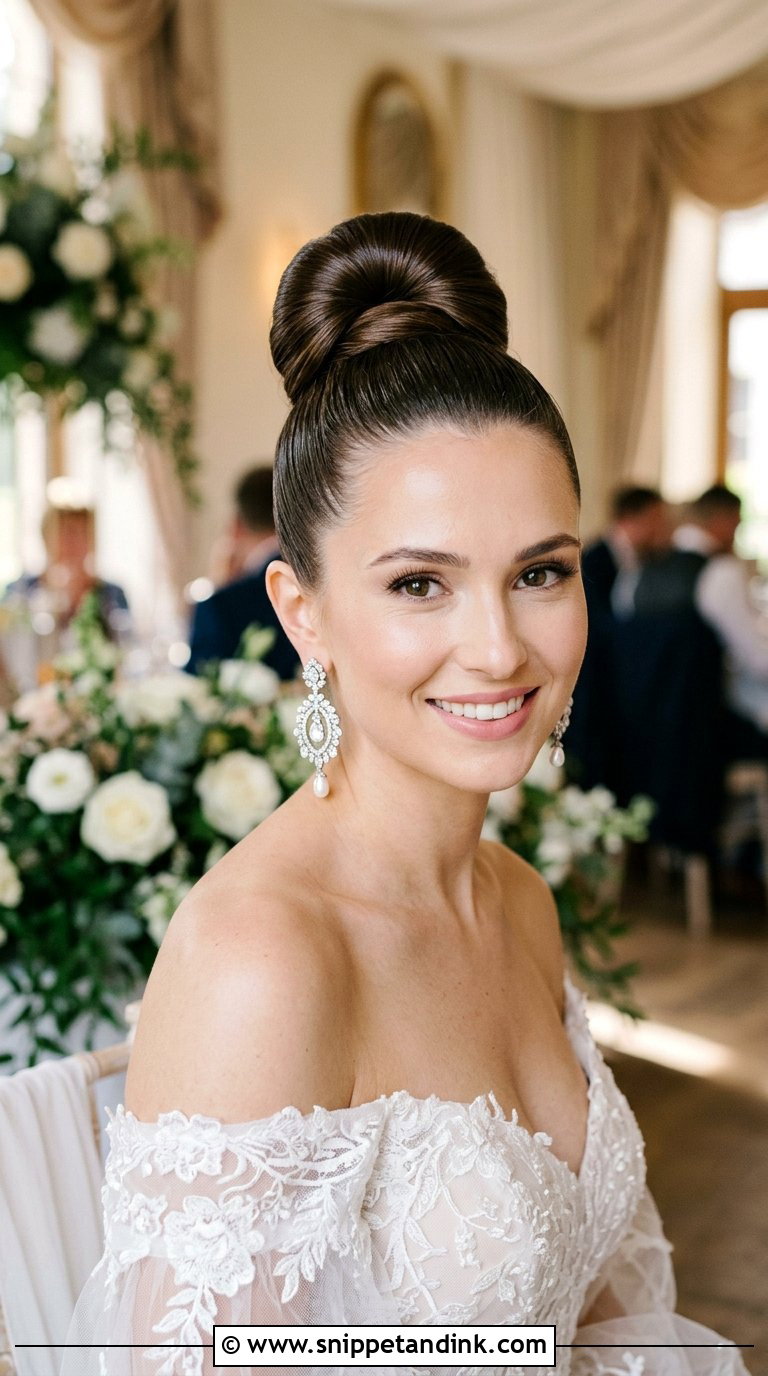
A high bun lifts the face and makes the neck look longer, which is why it suits off-shoulder and strapless gowns so well. I place it at the crown, roughly in line with the cheekbones if you tilt your head, and secure it to a ponytail first so the weight doesn’t drag. It pairs best with a birdcage or elbow-length veil attached underneath the knot; a long veil pinned below a high bun tends to tip it backwards. You can keep it sleek for a ballerina line or soft for something gentler. If your hair is very heavy and long, I usually suggest dropping it slightly toward the back of the crown so it doesn’t give you a headache by dinner.
10. Boho Bun for Wedding
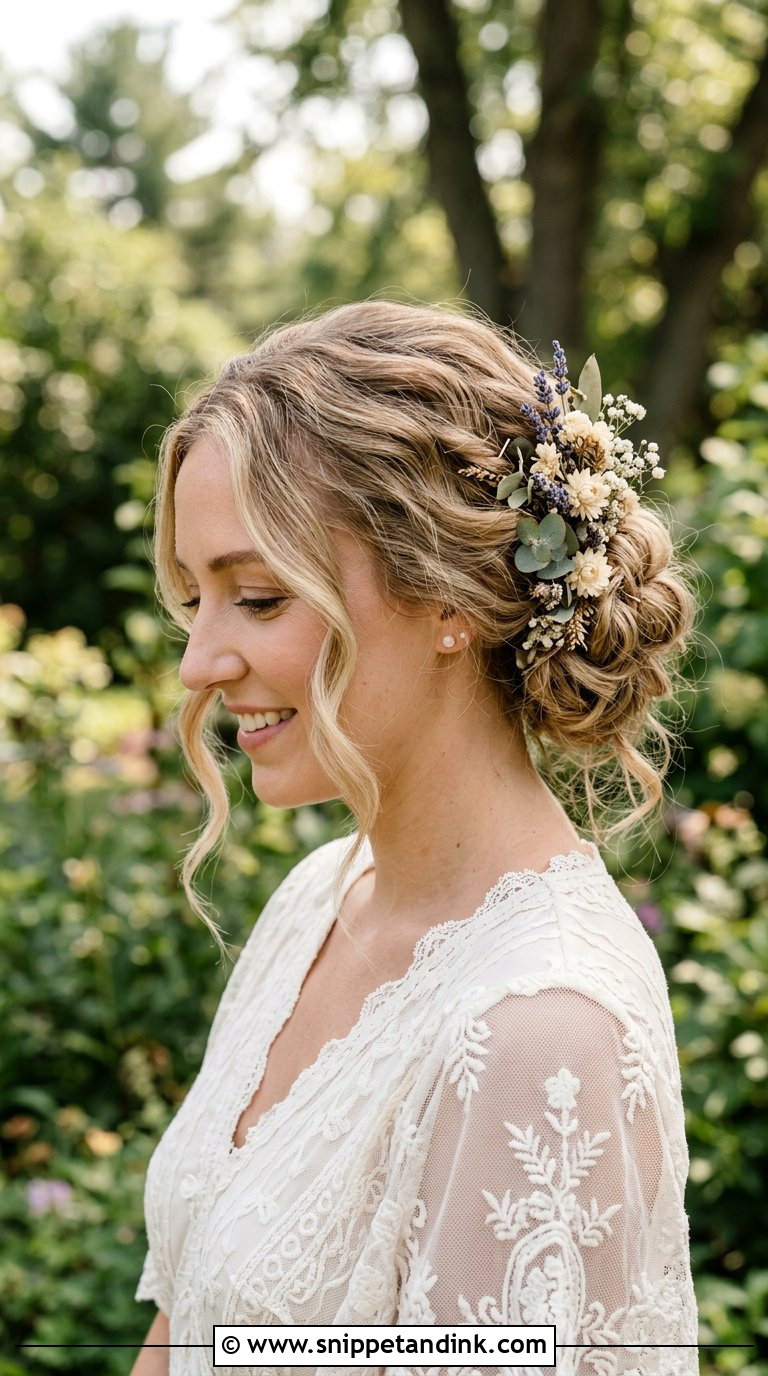
Boho buns get their charm from texture, so the work happens before any pins go in. I wave the hair with a flat iron or wand, brush it out loosely, then gather it into a low, slightly uneven knot and let pieces fall around the face. Add dried flowers, greenery, or small gold pins for an earthy finish. It suits beach, garden and woodland settings. On a beach, though, wind and salt air will loosen it faster than you expect, so I set it with more hidden pins than it looks like it needs and keep a few spares in the bridesmaid’s bag.
11. Side Bun for Wedding
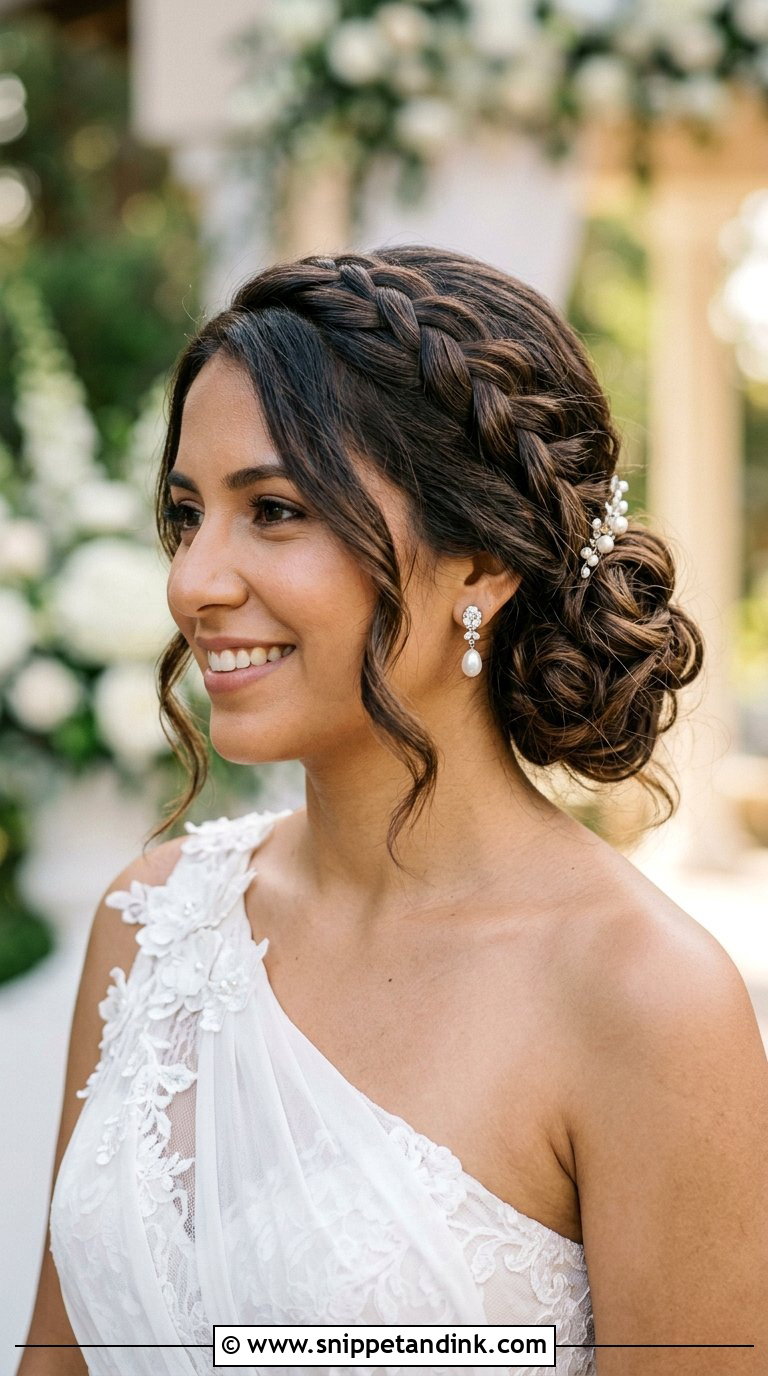
A side bun is one I fit to the dress first. It sits at the side of the neck and frames one shoulder, so it is a natural match for a one-shoulder gown, with the bun on the bare side and the earring on the other. I ask brides which side they usually part their hair and which side their partner will stand on, because that side should be the one facing the camera at the altar. A braid leading into the knot adds detail. It does need more pins on the heavy side than a centred bun, and a strapless dress with a lot of beading at the neckline can catch on the knot.
12. Pearl Embellished Bun for Wedding
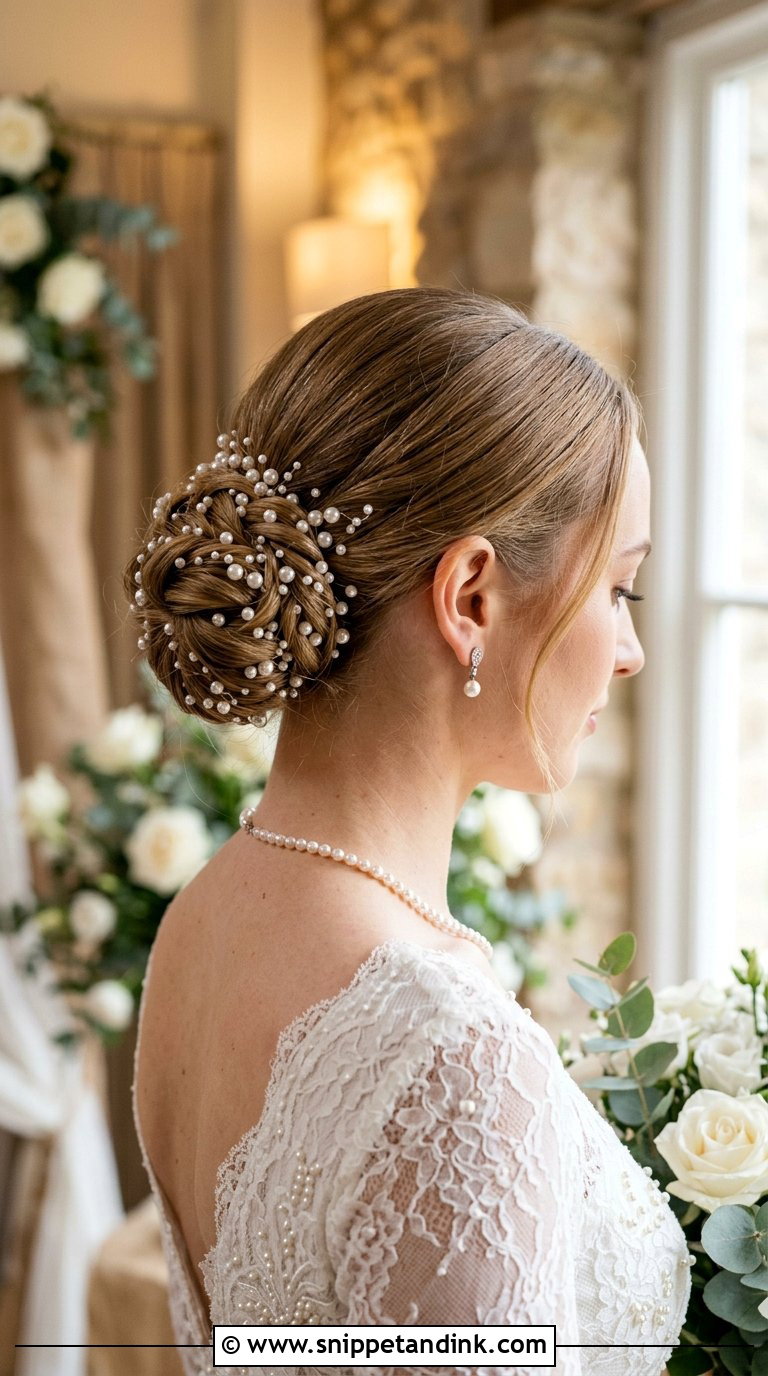
Pearls are forgiving in a bun because they catch light softly and do not clash with most gowns. Scattered pins look delicate; a pearl comb or headband gives more weight at the front. I place scattered pins in a loose diagonal rather than a ring, which looks more natural from every angle. Matching earrings or a necklace ties it together. Ivory-toned pearls sit better against warm undertones and very white ones against cooler skin, so hold them next to your face at the trial before committing. Classic and formal weddings suit this best.
13. Vintage Bun for Wedding
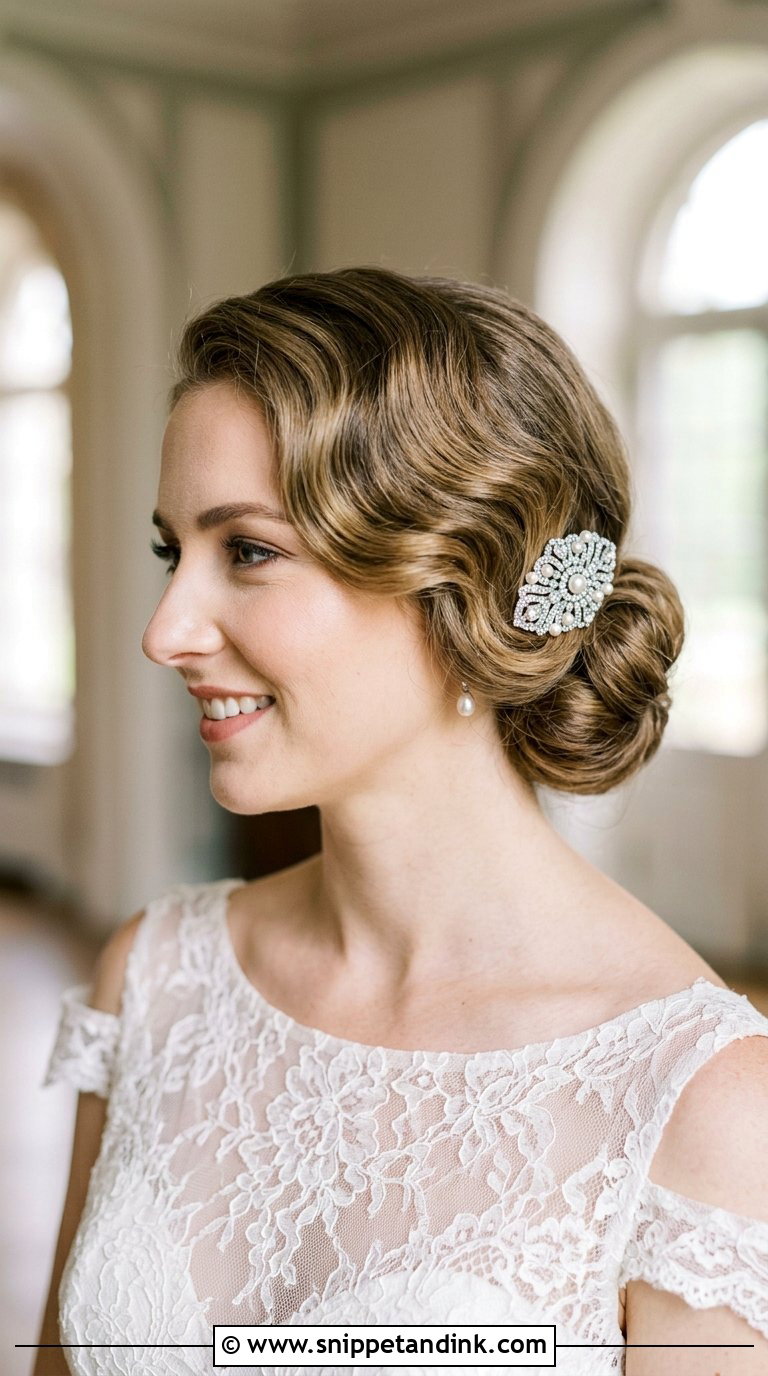
Vintage buns borrow from old Hollywood, so the front matters as much as the knot. Think soft finger waves, rolled sections and a polished low bun behind them. Real finger waves are set wet and take time to dry, so I usually fake them with a flat iron and clips, and that needs a good extra twenty minutes on the morning schedule. Lace gowns and antique accessories suit it, and a brooch or crystal comb finishes it. In humid weather, waves that are brushed out too soft will lose their ridges, so keep them firmer than you think you want.
14. Fishtail Braided Bun for Wedding
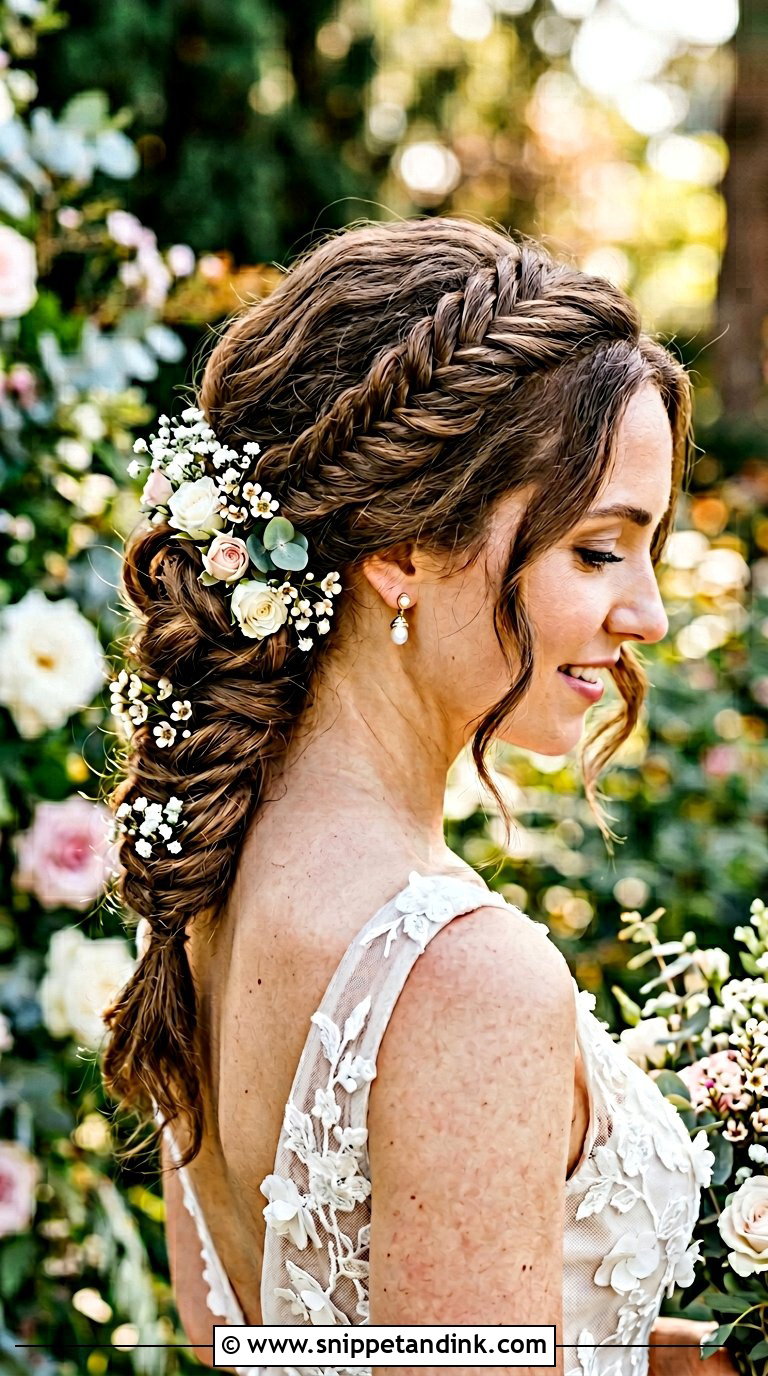
A fishtail braid coiled into a bun shows off the weave more than any other braid. I braid it slightly loose, pull the edges gently to widen it, then wind it round and pin through the outer loops so they stay flat. Small flowers or pearls slotted between the strands look sweet in a garden. It needs medium-length hair at least; anything shorter than the shoulders struggles to give enough braid to coil. If your hair has been recently highlighted, the fishtail shows off the colour variation, which can look rich or messy depending on how fresh the roots are.
15. Sleek High Bun for Wedding
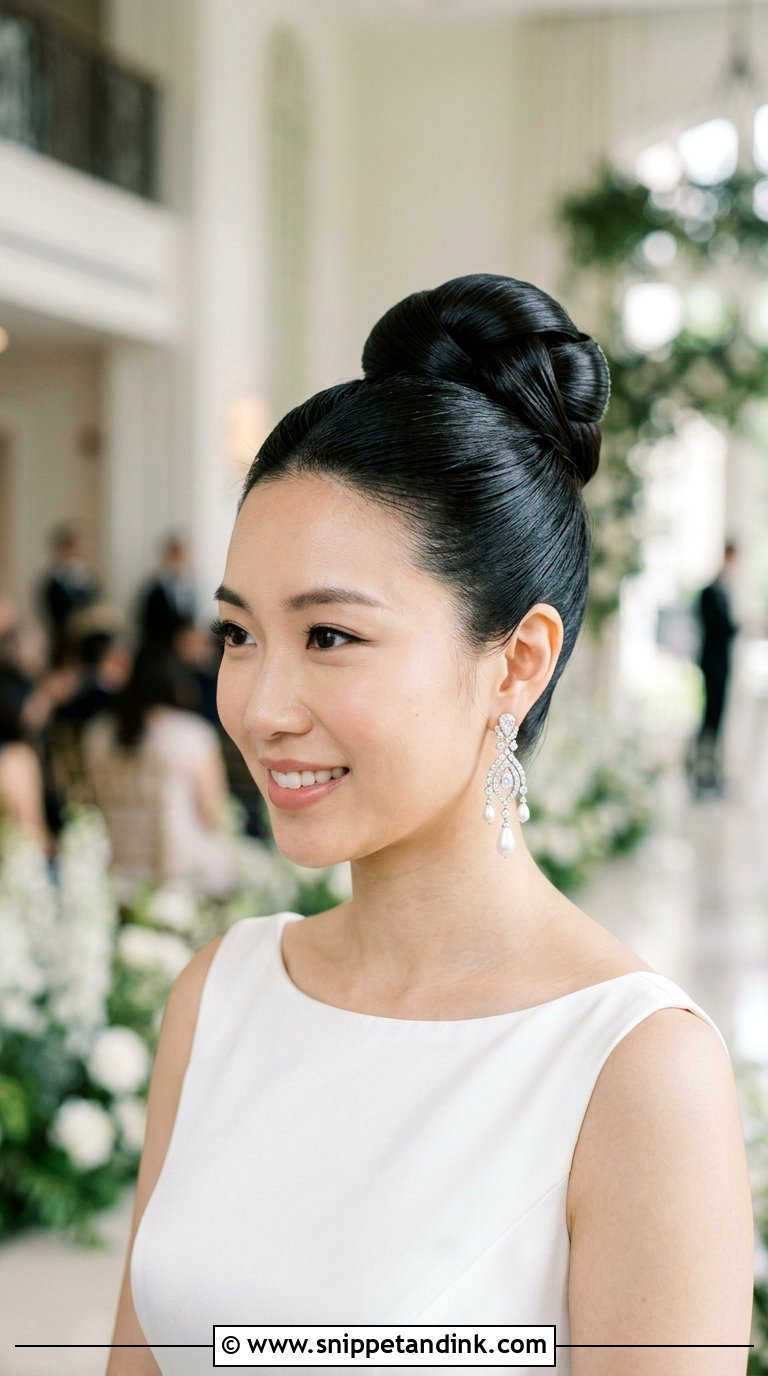
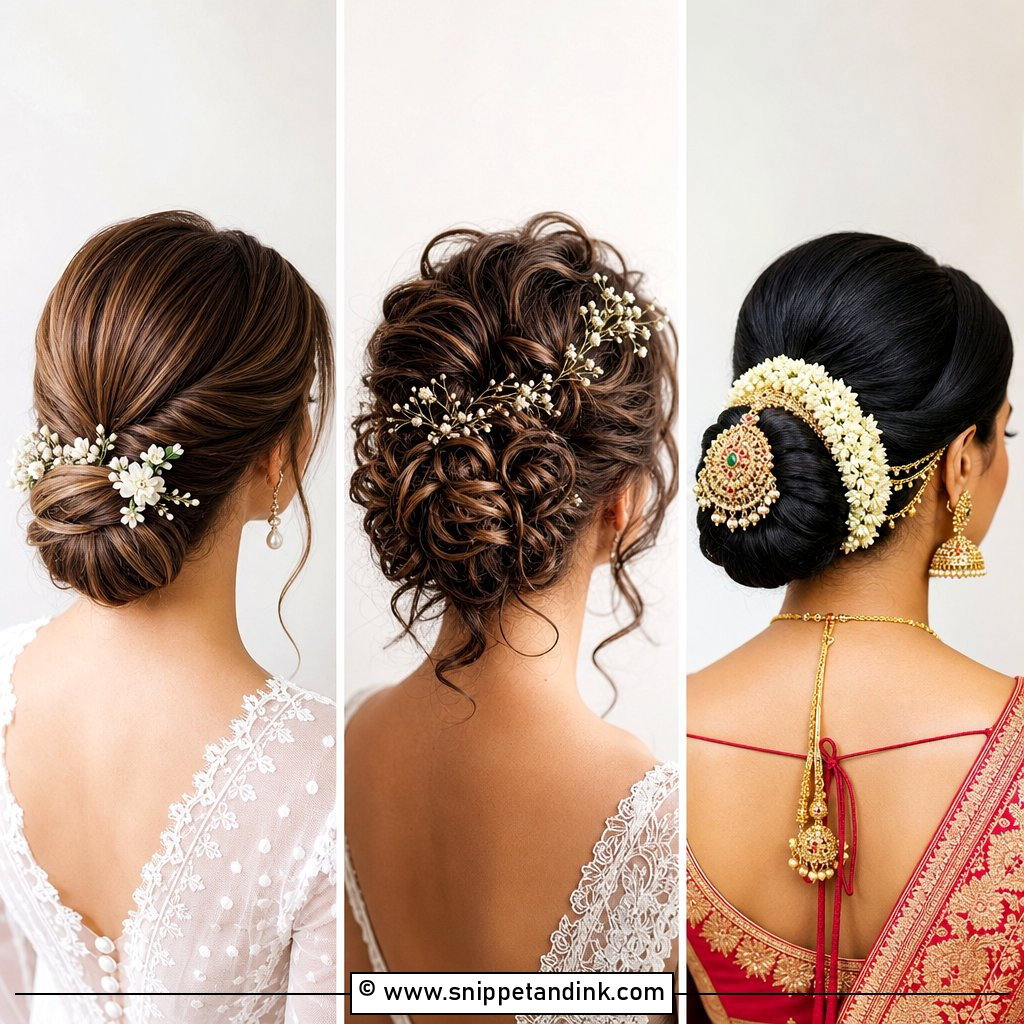
A sleek high bun is sharp and editorial, and it is the least forgiving style in this list. Everything goes up to the crown with gel and a firm brush, the ponytail is secured with two elastics, and the knot is wrapped and pinned flat. It suits minimalist gowns and dramatic earrings, and it makes the neck look very long. The tension at the crown is real, though. I’d steer you away from it if you get tension headaches or have a sensitive scalp, because a tight high pony for ten hours can be miserable. A slightly softer version, a little lower, still gives the same clean shape.
16. Low Bun With Veil for Wedding
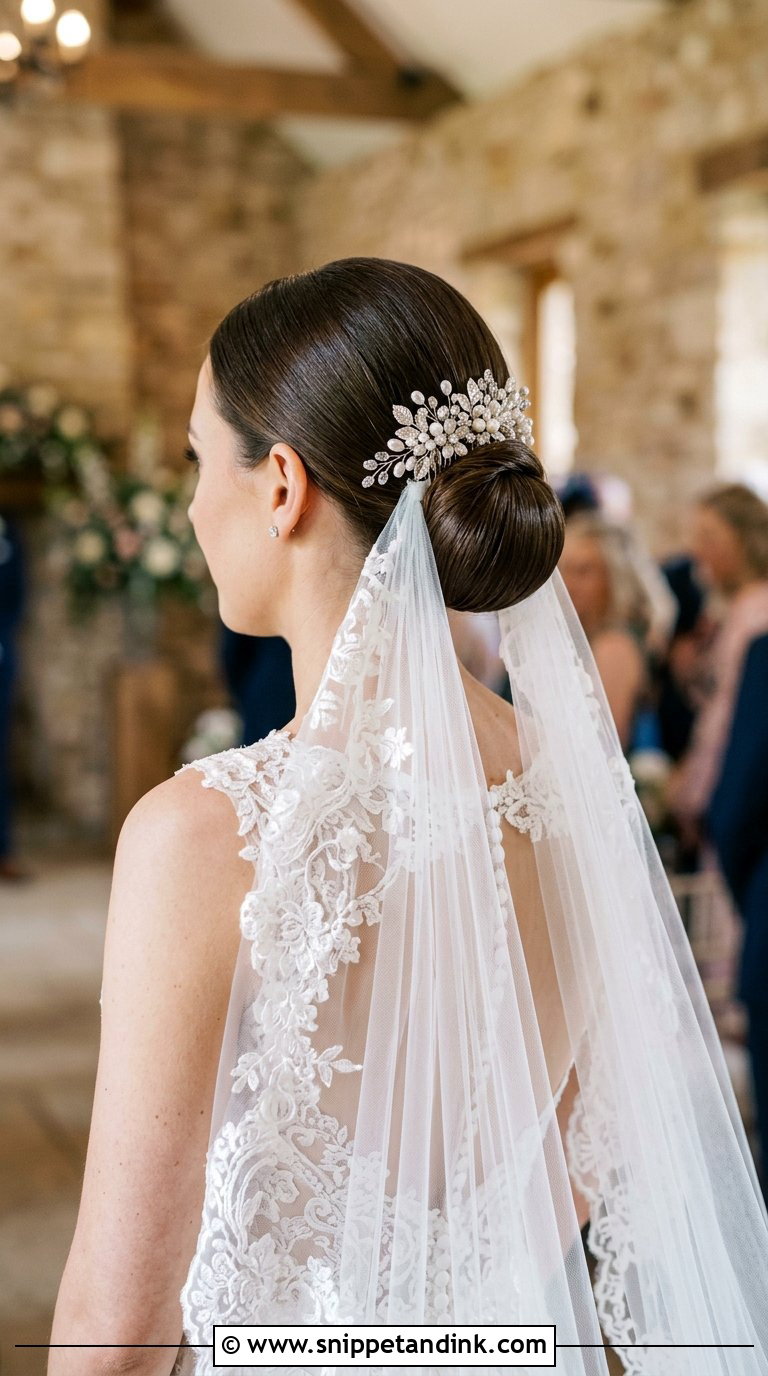
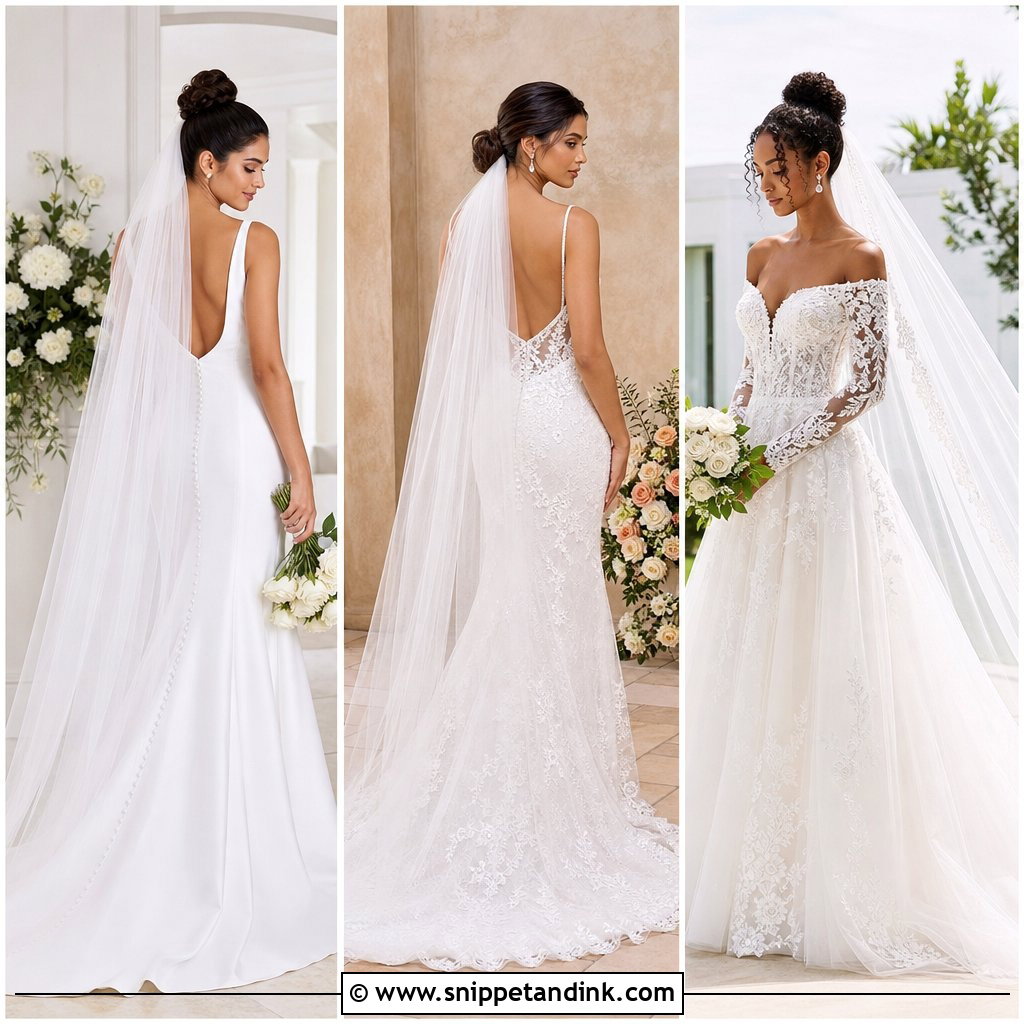
A low bun is the easiest base I know for a veil. The comb slides in just above the knot, or just below it if you want the veil to fall straight from the nape, and the bun acts as a shelf that takes the weight. Longer cathedral veils drape especially cleanly from this position. When the veil comes off for the reception, the bun underneath is already finished, with no gap where the comb was if it was placed right. I always pin the comb with two crossed bobby pins through its teeth, since a heavy veil can pull a comb loose in the first gust of wind.
17. Textured Bun for Wedding
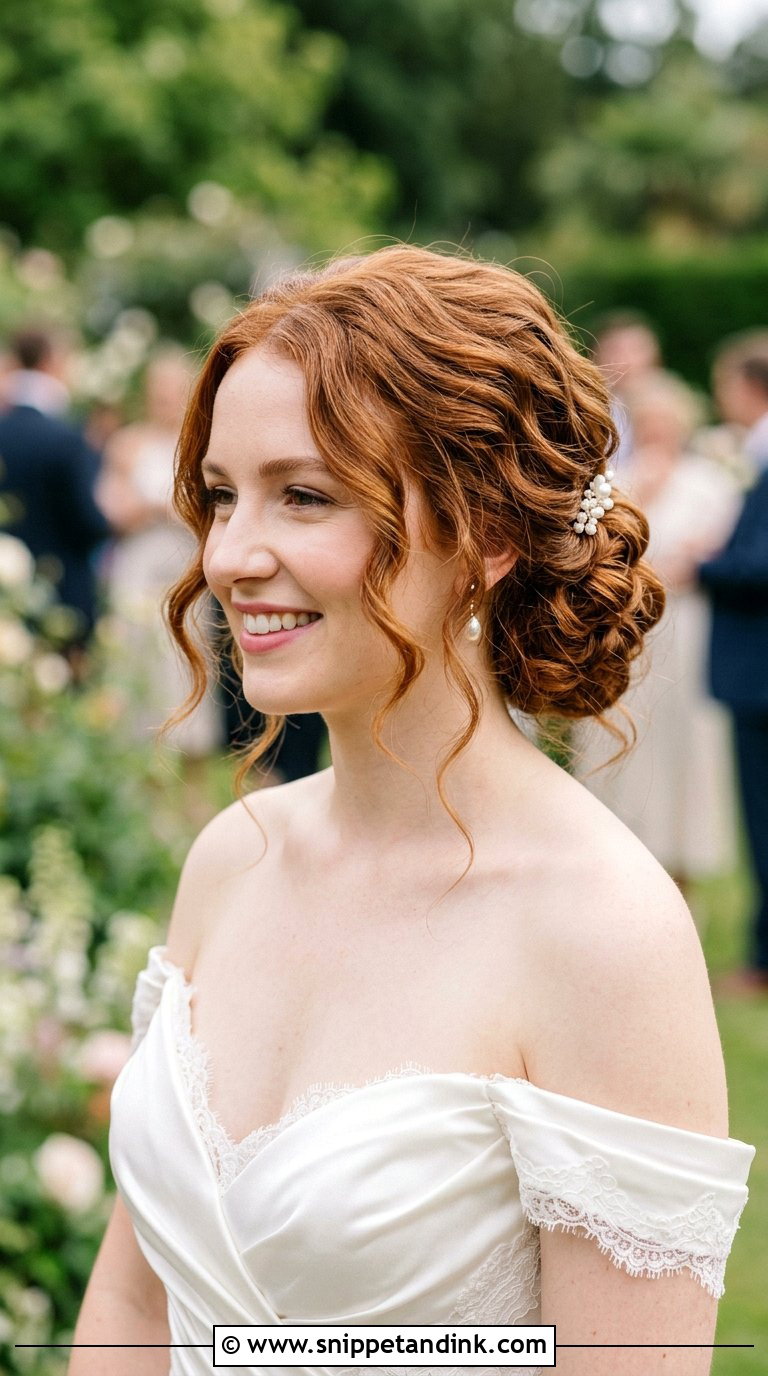
Texture is the thing that holds a bun up on fine hair. I prep with a little volume mousse on damp roots, curl or wave everything, then tease lightly at the crown before pinning the knot. The grit gives the pins something to bite into. Thick hair needs less teasing and more sectioning, since it can turn into a heavy lump if it is all gathered at once. A few loose pieces around the face soften it. It works for boho and glamorous weddings alike, but avoid adding oil or shine spray until the very end, or the texture slides out.
18. Crown Braid Bun for Wedding
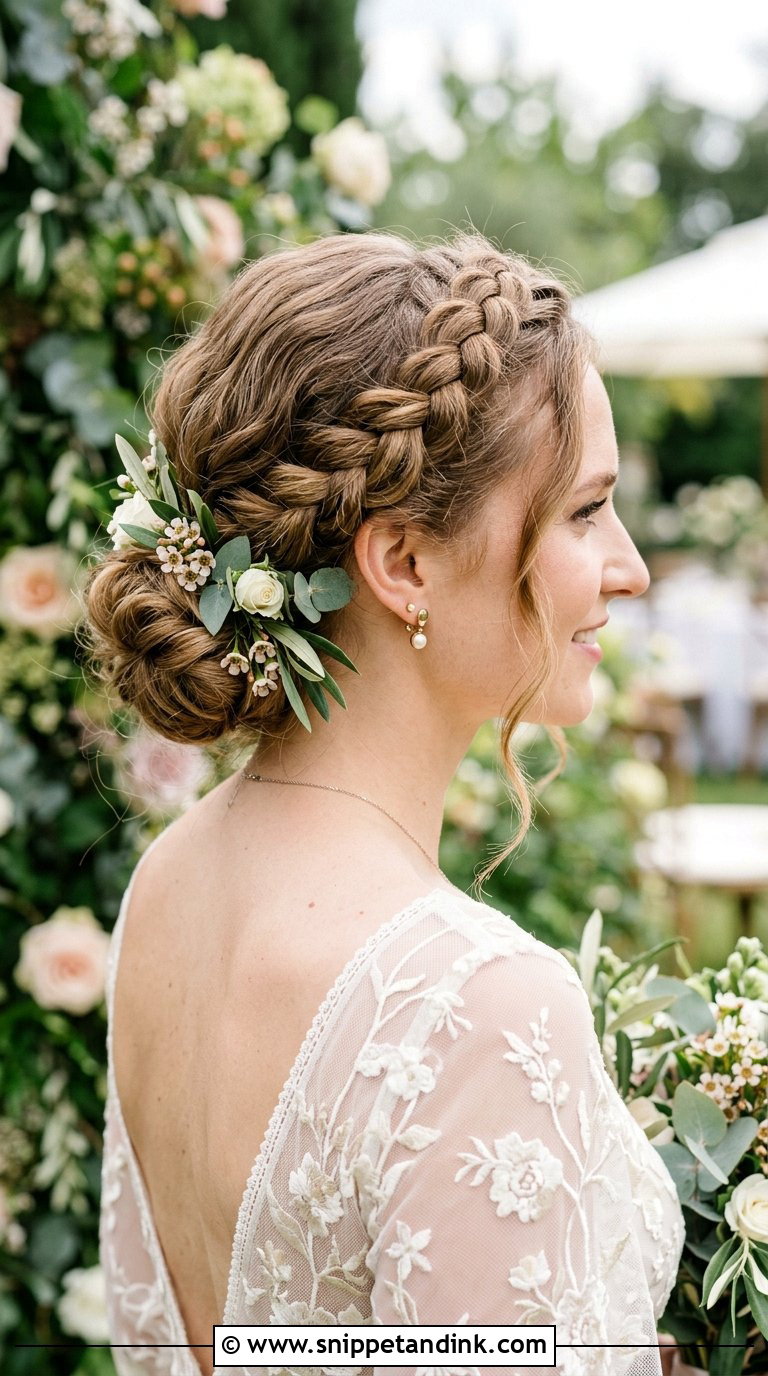
A crown braid that ends in a bun frames the face like a halo. I start the braid behind one ear, take it over the top of the head and back down the other side, then gather the rest into a soft knot at the nape. Small flowers or a little greenery tucked into the braid suit garden and boho weddings. It does need longer hair, at least past the shoulders, and layered cuts often need a few extra pins to keep shorter pieces in the plait. For a princess-inspired look, the halo shape is hard to beat.
19. Loose Knot Bun for Wedding
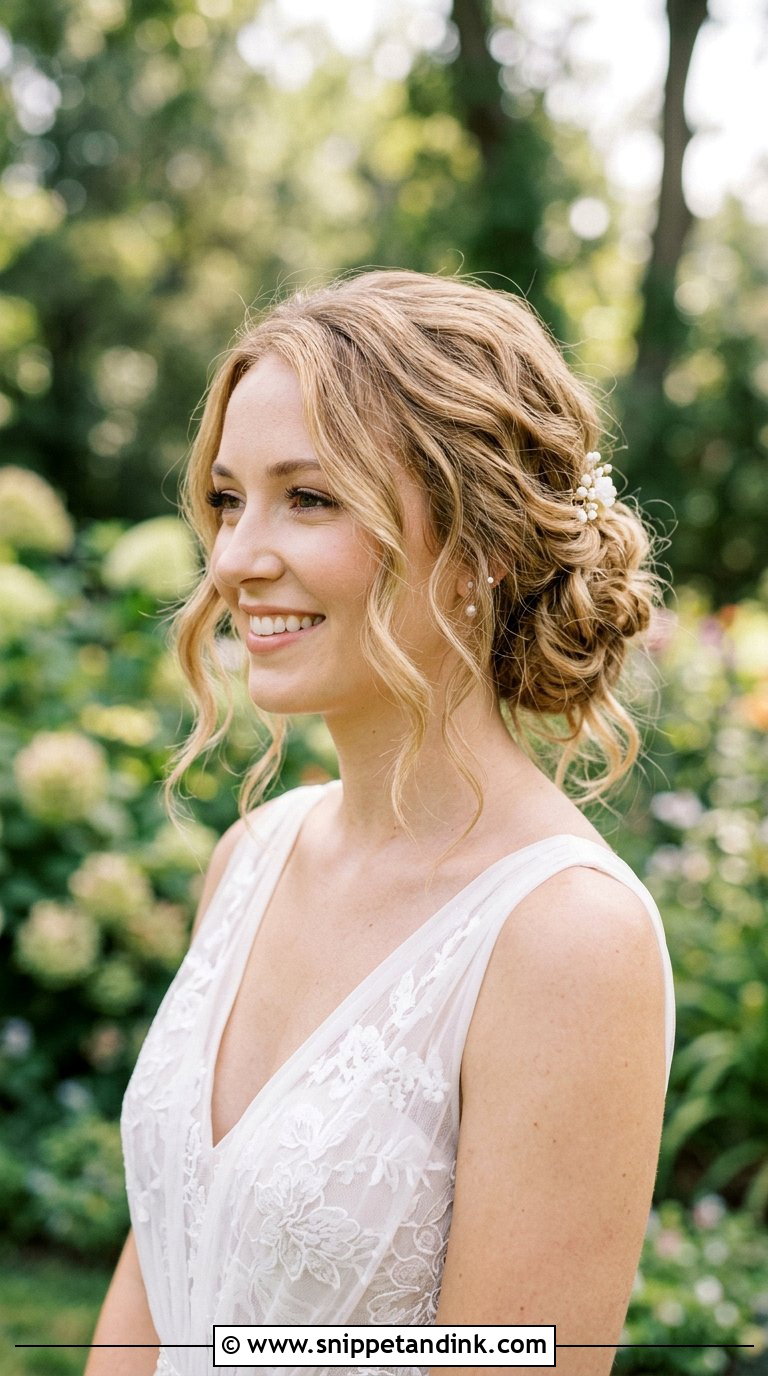
The loose knot bun is for the bride who wants to forget about her hair. I wave the hair, gather it softly without a tight elastic, and let a few pieces fall naturally. It can sit low or slightly higher, depending on your neckline. Outdoor and relaxed weddings suit it best, with flowing gowns and fine jewellery. The honest trade-off: a very soft knot will look softer still by evening. If you want it to look the same in the last photos as in the first, ask for a hidden elastic underneath to anchor it, which won’t show once the knot is loosened over it.
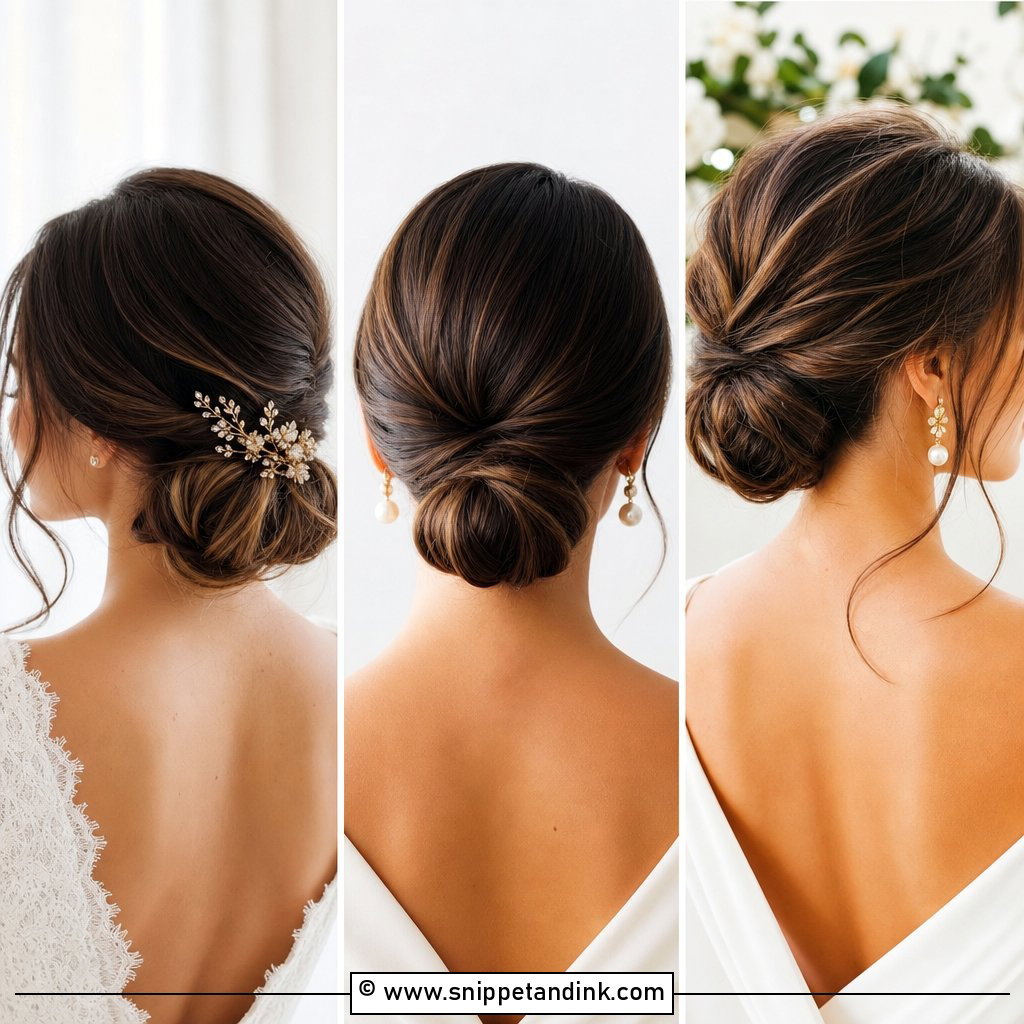
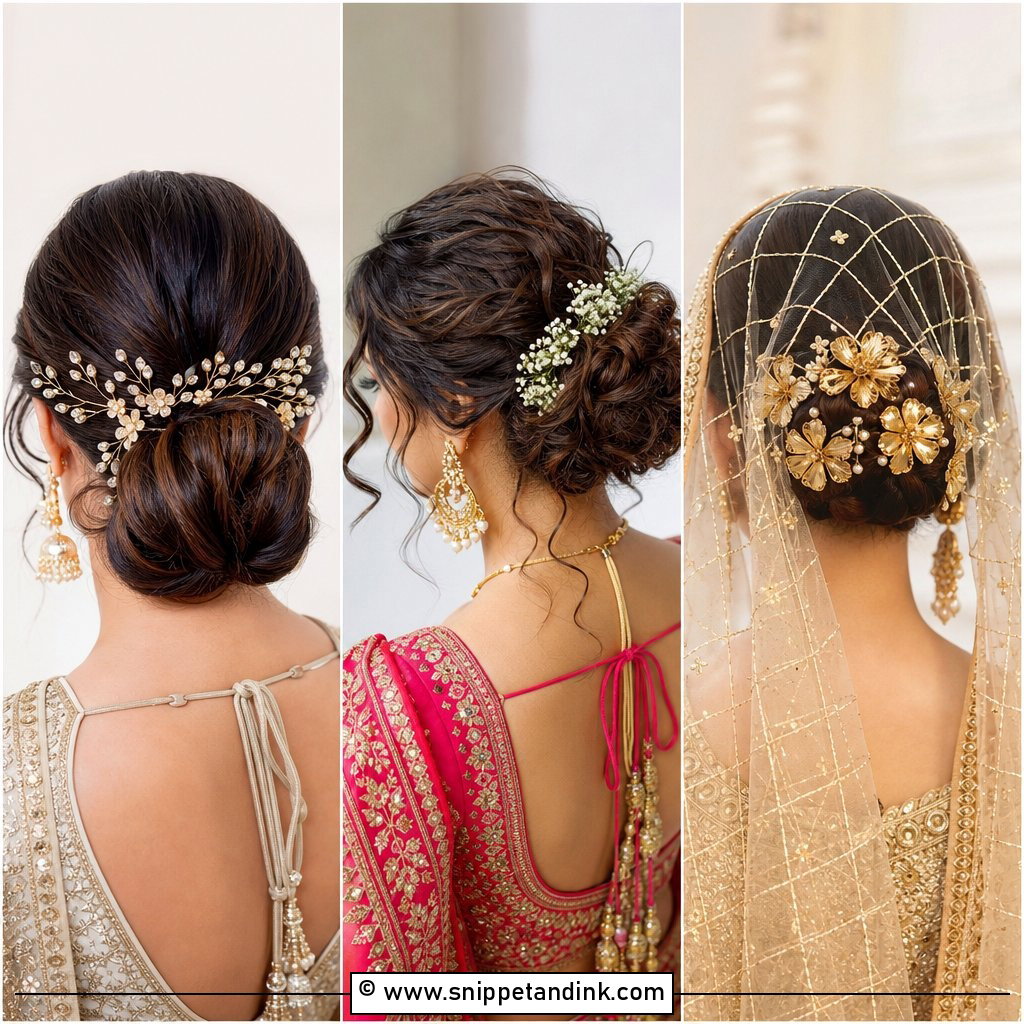
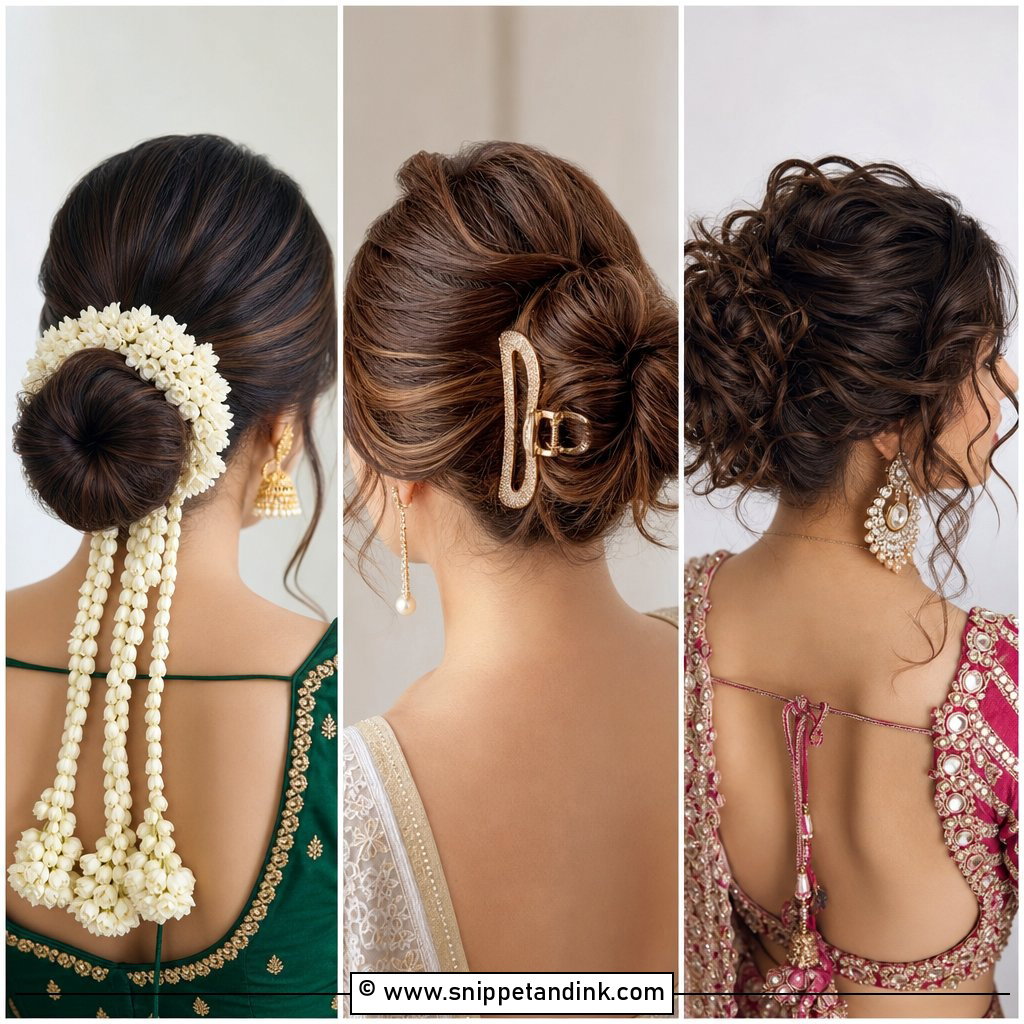
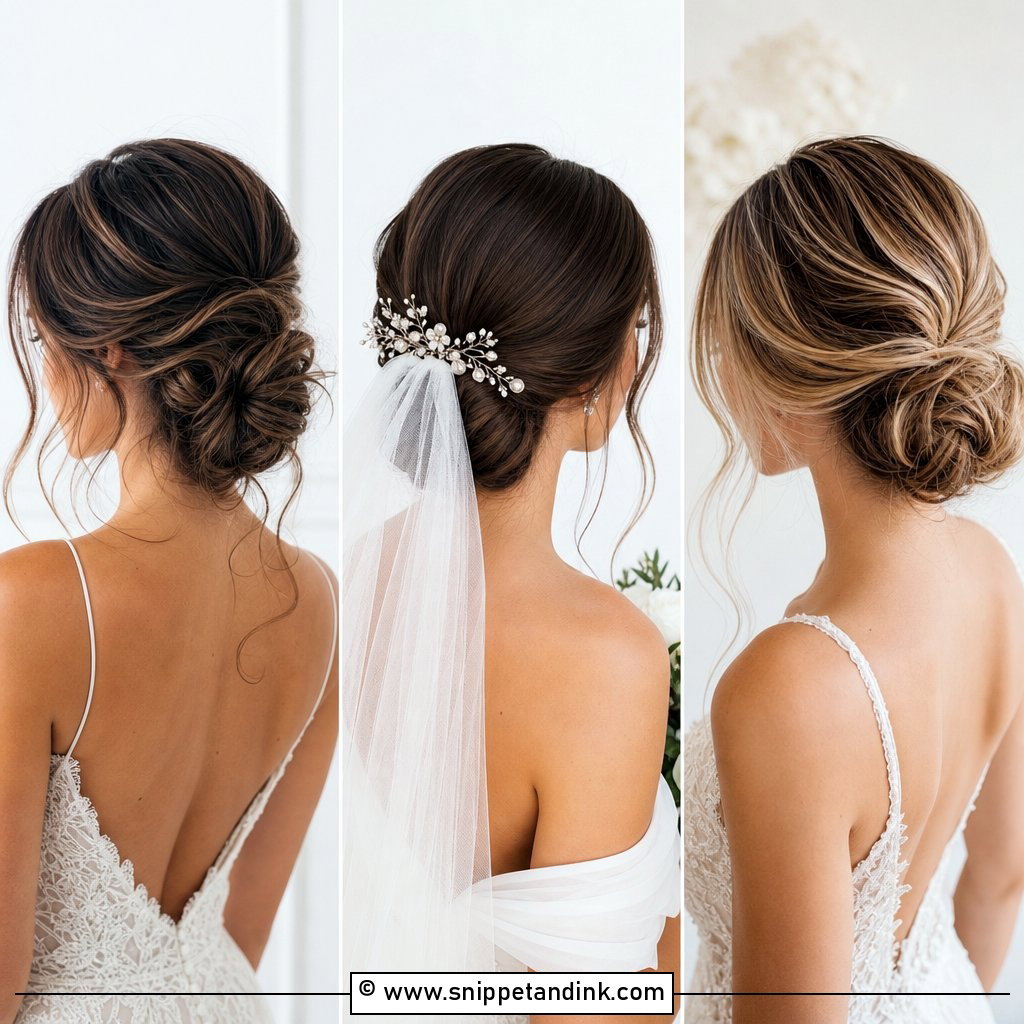
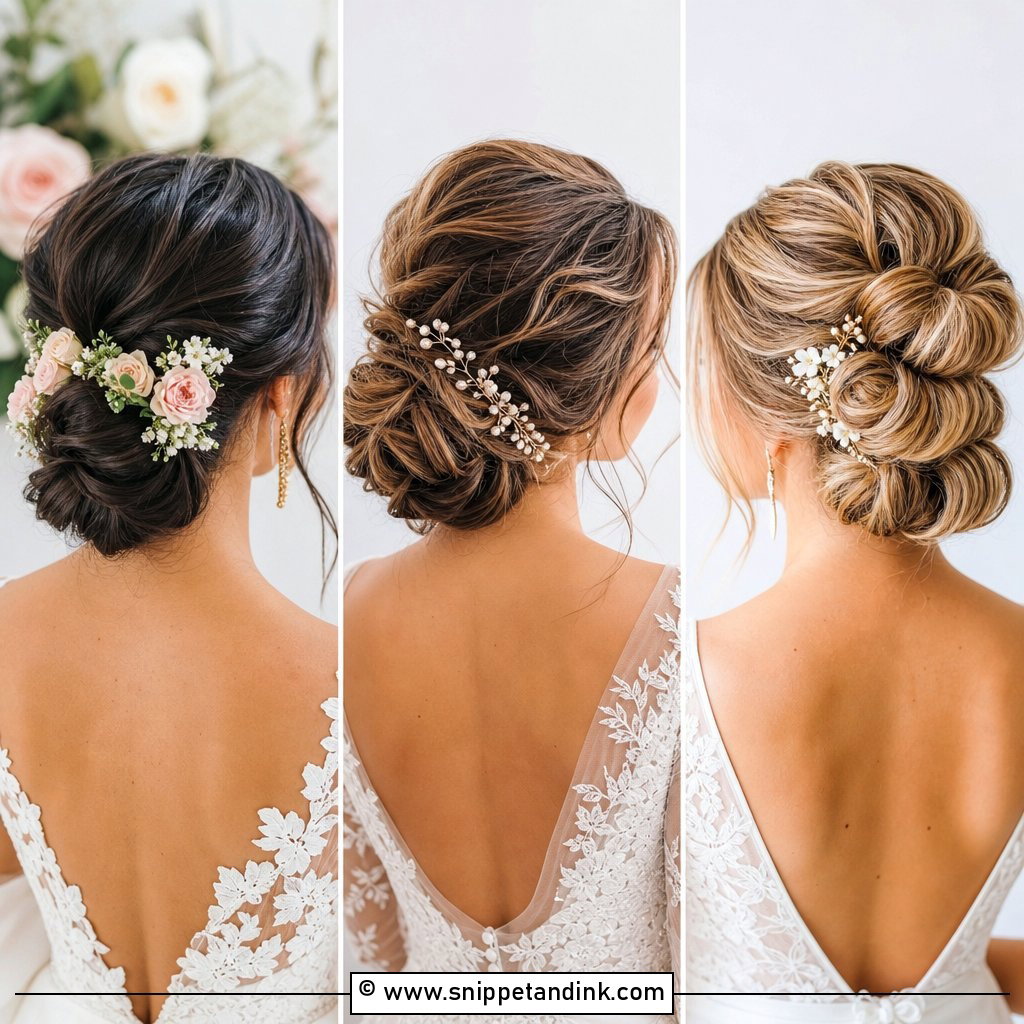
20. Accessorized Bun for Wedding
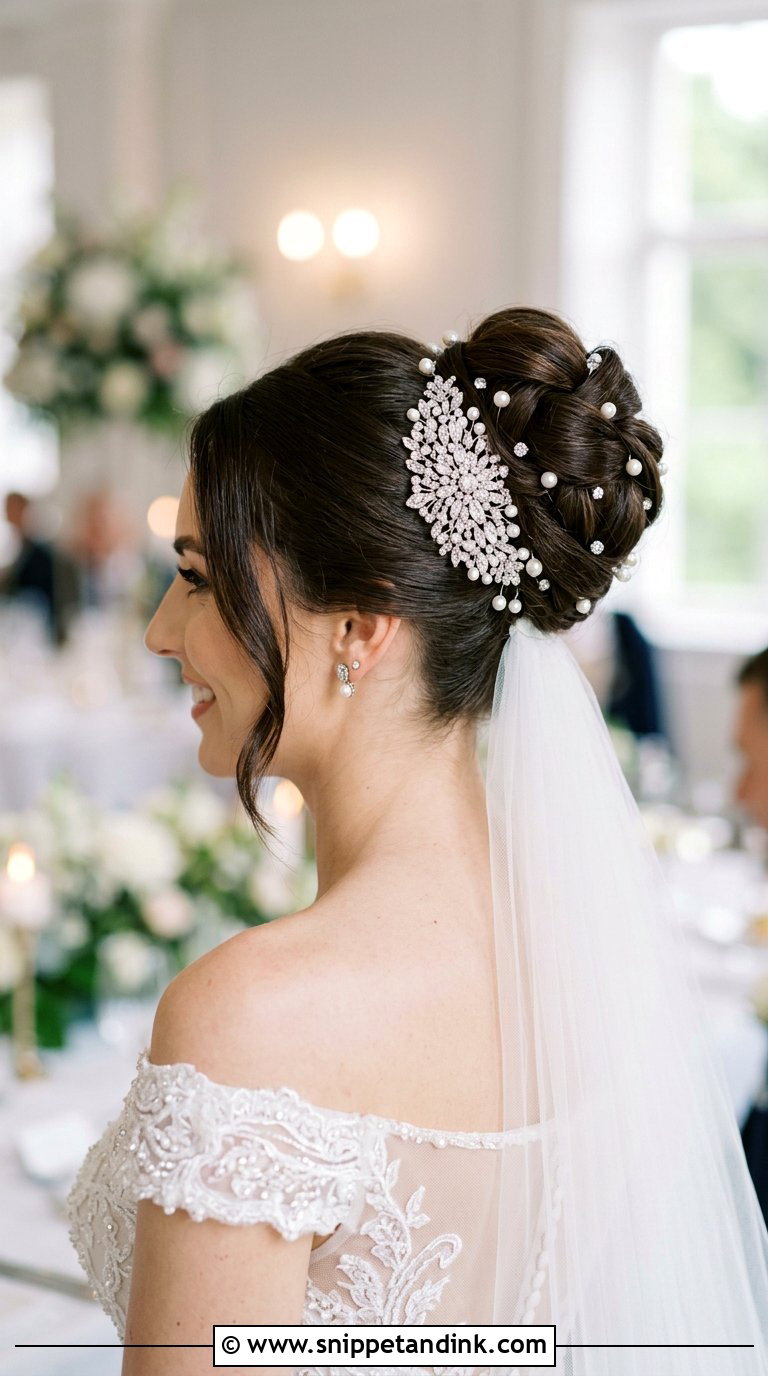
Accessories can carry a plain knot, but placement is everything. Whether you pick combs, pins, headbands or a jewelled halo, each one lifts a simple bun if it sits where the bun meets the head, because that edge frames the piece. Crystals, rhinestones, fresh flowers and pearls each suit a different mood, so match them to the gown’s detailing rather than the theme alone. I prefer one main piece and a few small pins to echo it. Bring your actual accessories to the trial, because their weight decides how many pins the bun needs underneath.
How Many Pins a Wedding Bun Really Takes
Brides are often surprised by how much hardware goes into a bun that looks simple. A medium bun on average-density hair usually takes somewhere between twenty and forty pins, and thick or very long hair can need more. The trick is that most of them are invisible. Here is how I build one that lasts:
- Secure a ponytail or base first with an elastic. Pins anchor much better into a base than into loose hair.
- Use bobby pins for anchoring and U-shaped hairpins for shaping. Bobby pins grip; U-pins tuck and hold the outline without flattening it.
- Cross pins in an X where the most weight sits, usually the bottom of the knot and just above the nape.
- Spray hairspray on the pins themselves before they go in for extra grip on silky hair.
- Pin the veil comb last, through the base, never just into the outer layer of the bun.
If a bun feels heavy or pulls at your trial, say so then. Pain at the trial becomes a headache by the reception, and it almost always means the weight isn’t spread across enough anchor points.
When a Bun Starts Slipping at the Reception
Dancing, hugs and a warm room loosen even a well-made bun. A small kit in a bridesmaid’s bag fixes most problems in two minutes: a dozen bobby pins in your hair colour, a travel hairspray, a few clear elastics and a fine-toothed comb. If the knot sags, push it up, slide two pins in a cross underneath it and spray. If face pieces go flat, twist them around a finger and pin them back for a few minutes while you sit through the speeches; they will come out with a bit more bend. And if the veil comb starts to slip, take the veil off. By the time it slips you have probably had all the veil photos you need.
Your Dress Back Decides the Bun More Than the Photos Do
The bun that suits you is the one that matches your dress and your day. A sleek low knot suits a quiet, formal gown; a loose braided one suits an outdoor wedding where the wind will have its say. Look at the back of your dress, the length of your veil and the weather you expect before you settle on a shape, then test it at a trial and wear it for a few hours. Tendrils, pearls and flowers are the finishing touches, and the right ones make the bun yours.
You'll Like These Ideas:


Leave a Reply